vulcanbomber
-
Posts
396 -
Joined
-
Last visited
Content Type
Profiles
Forums
Gallery
Events
Everything posted by vulcanbomber
-
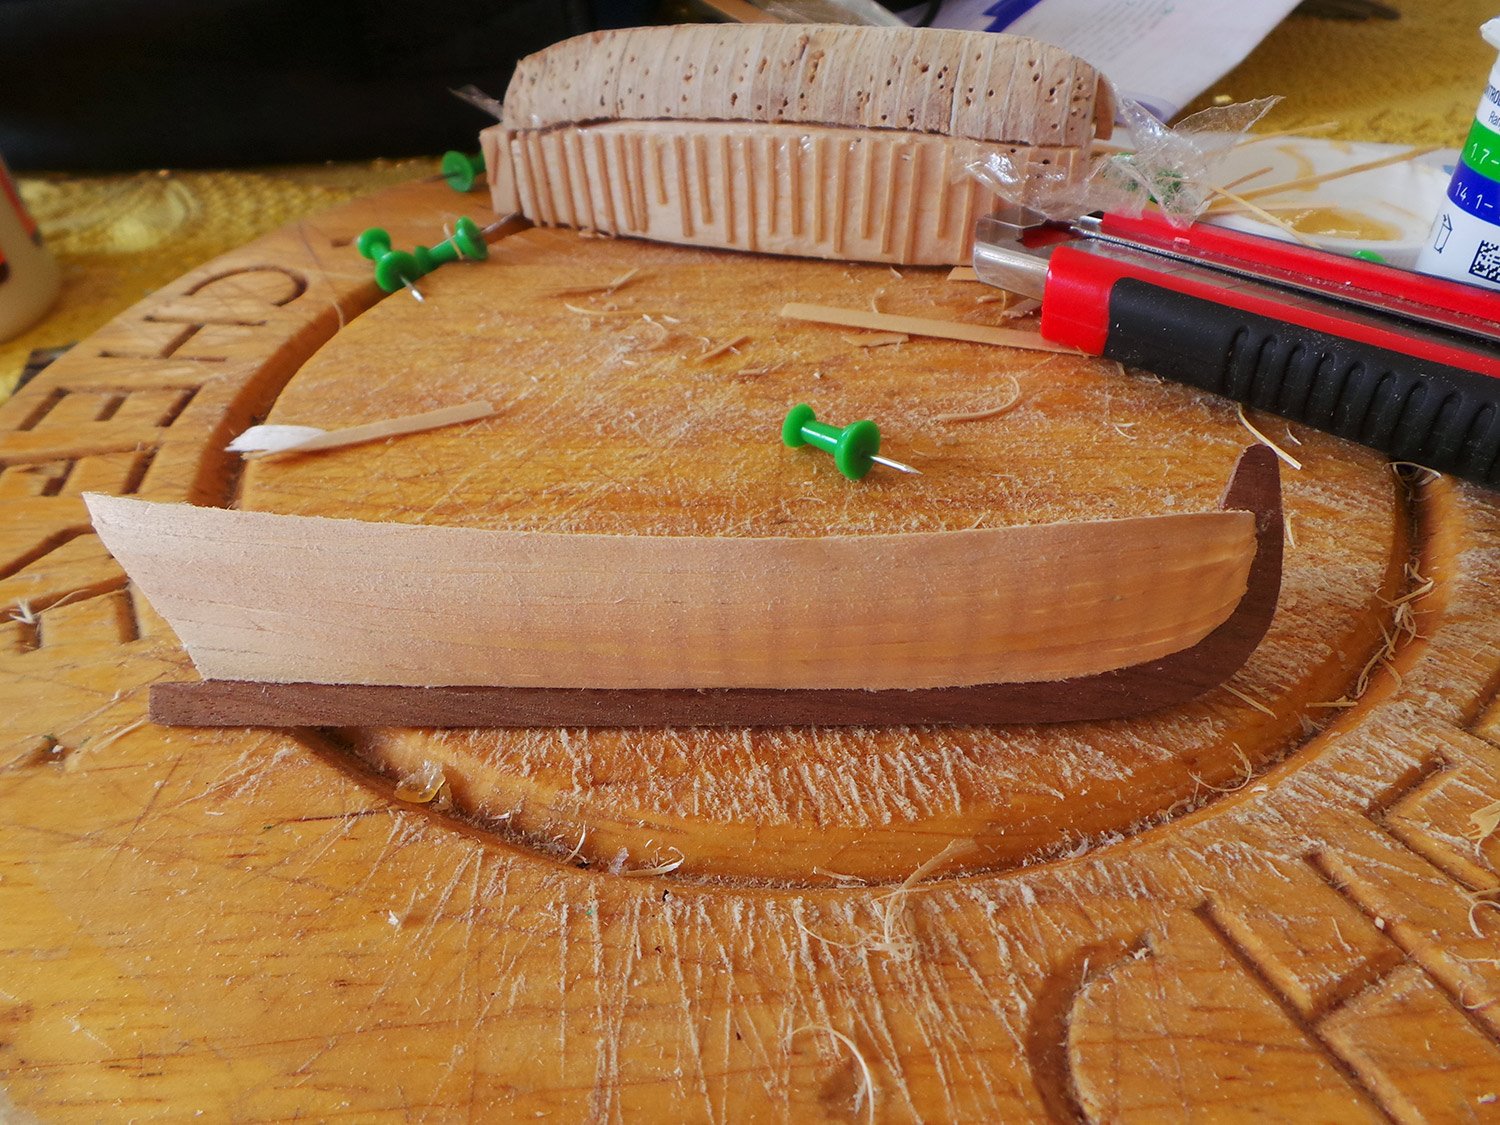
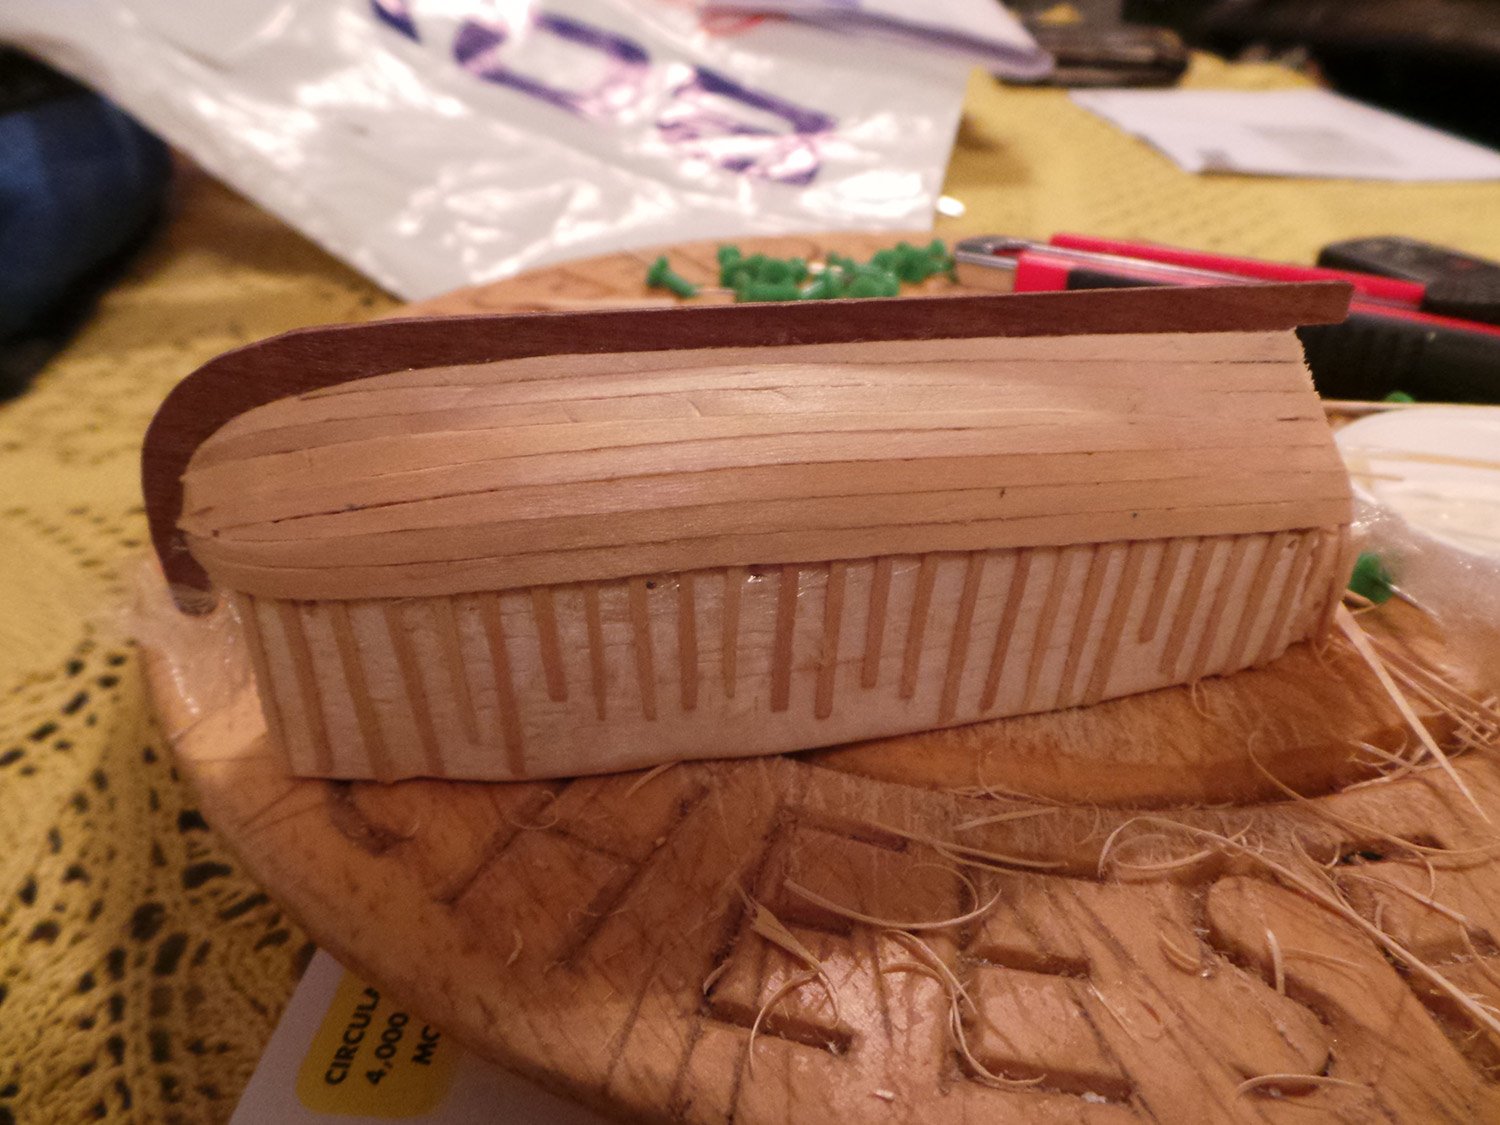
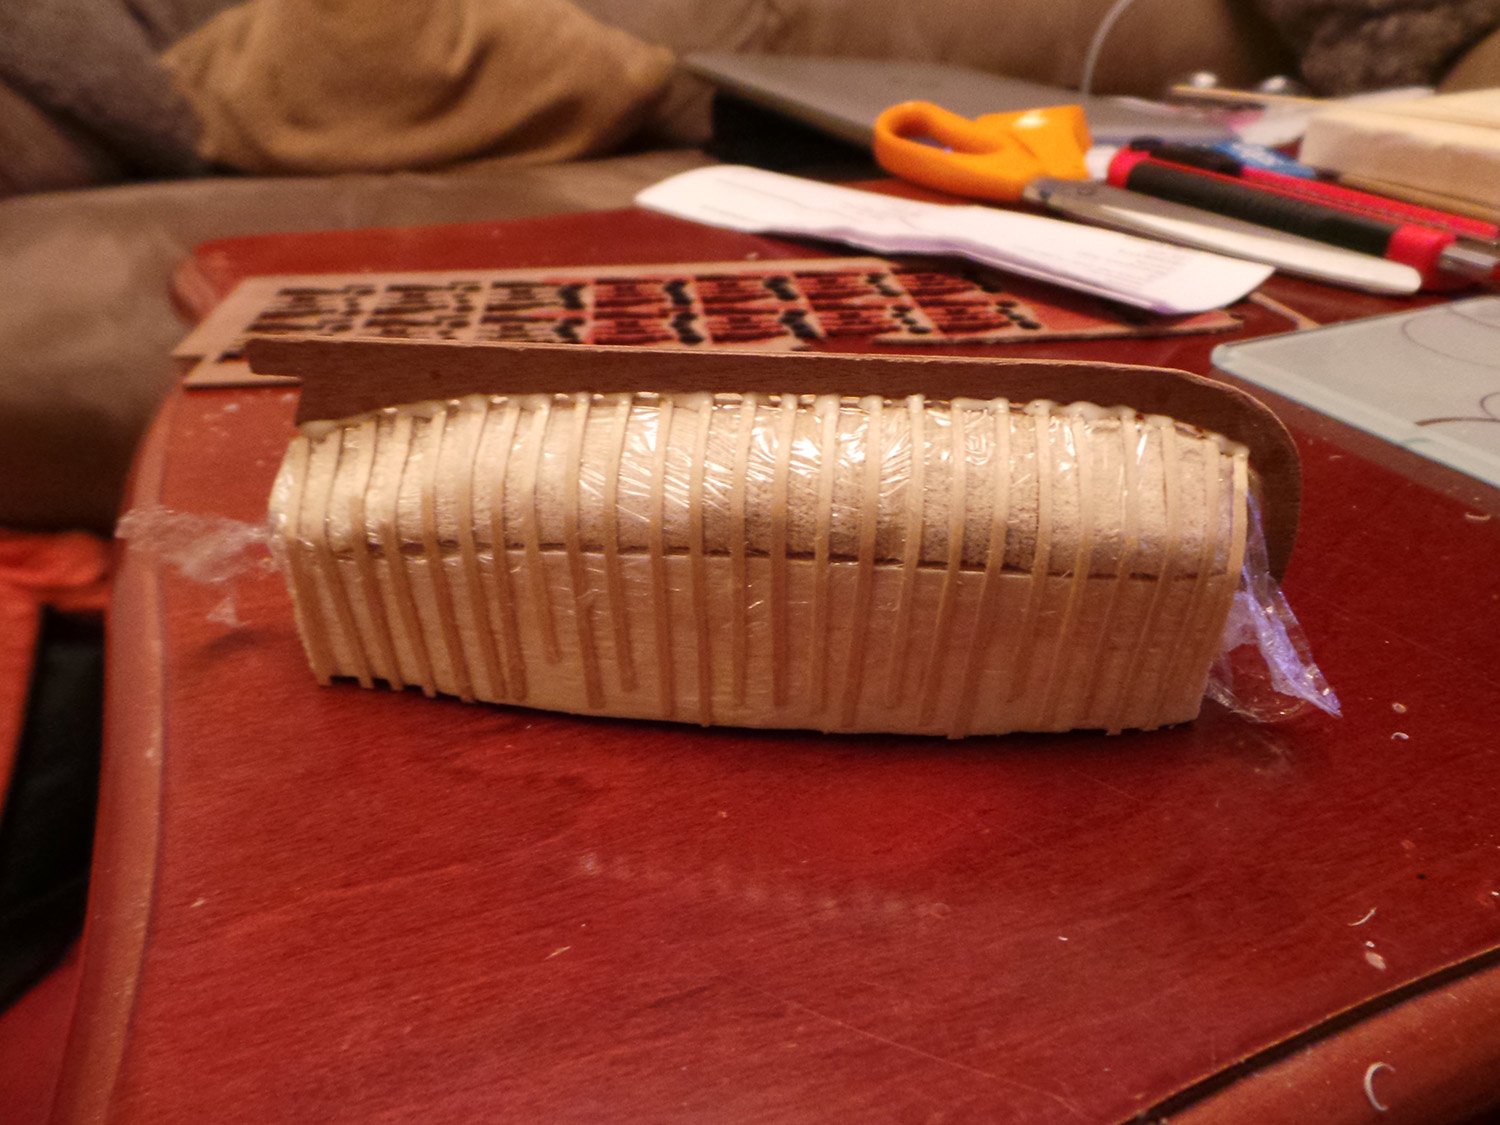
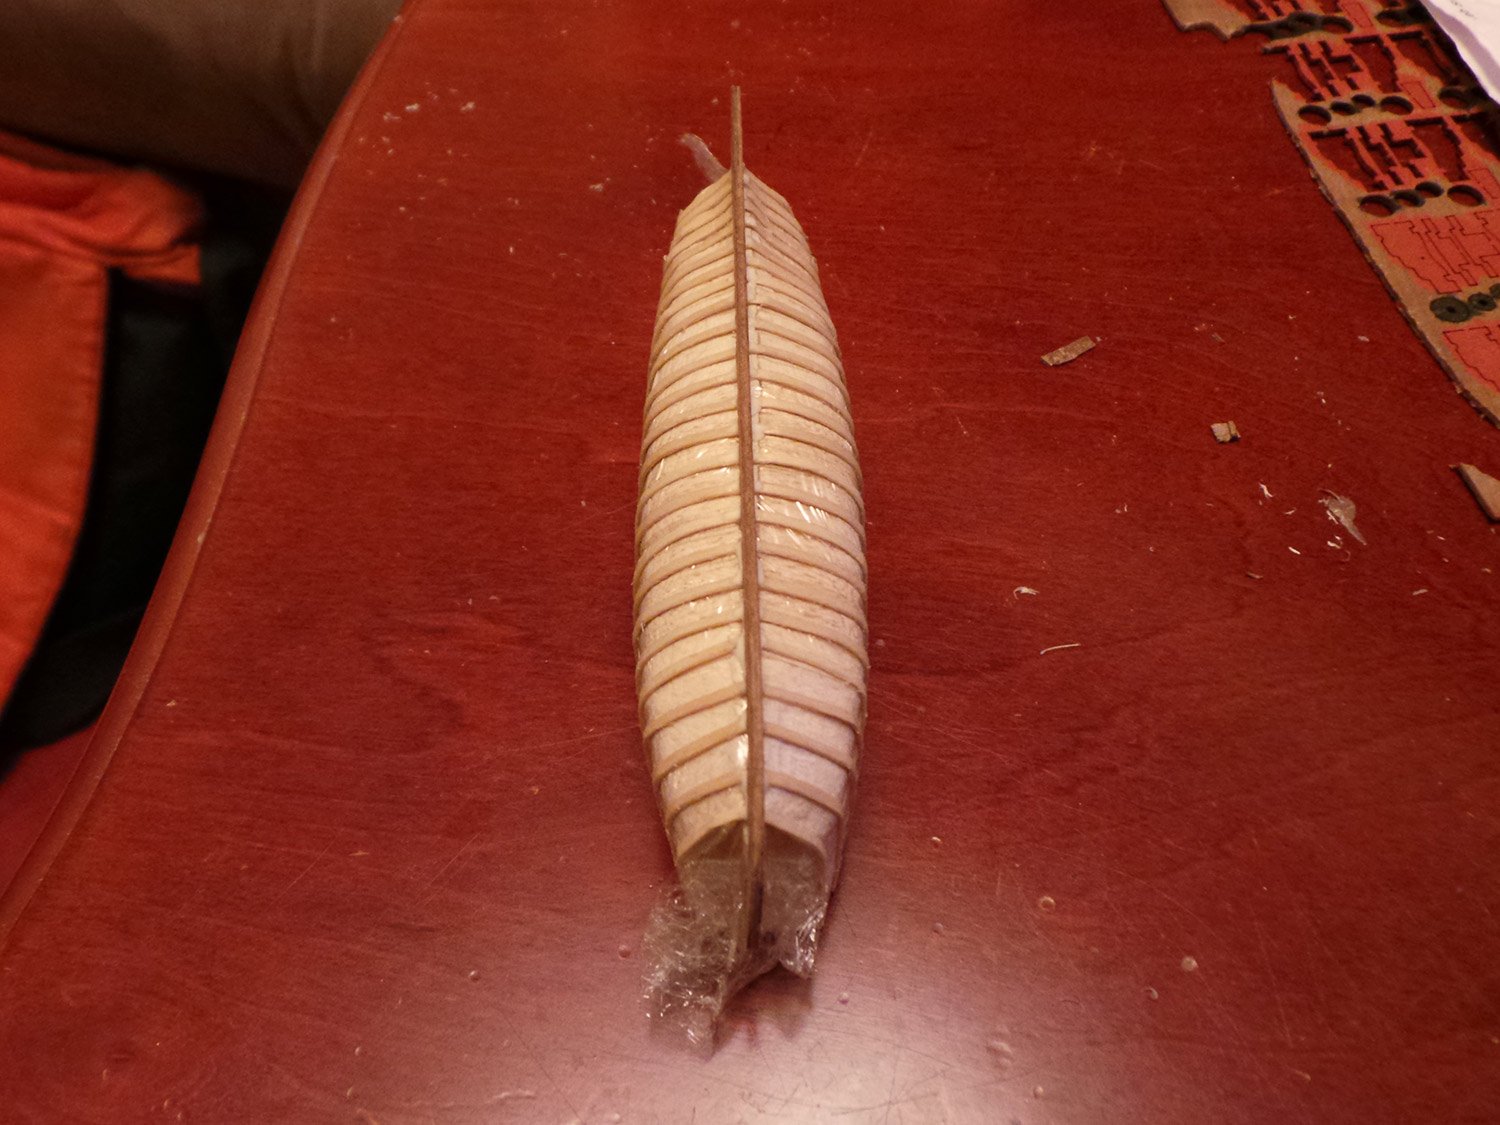
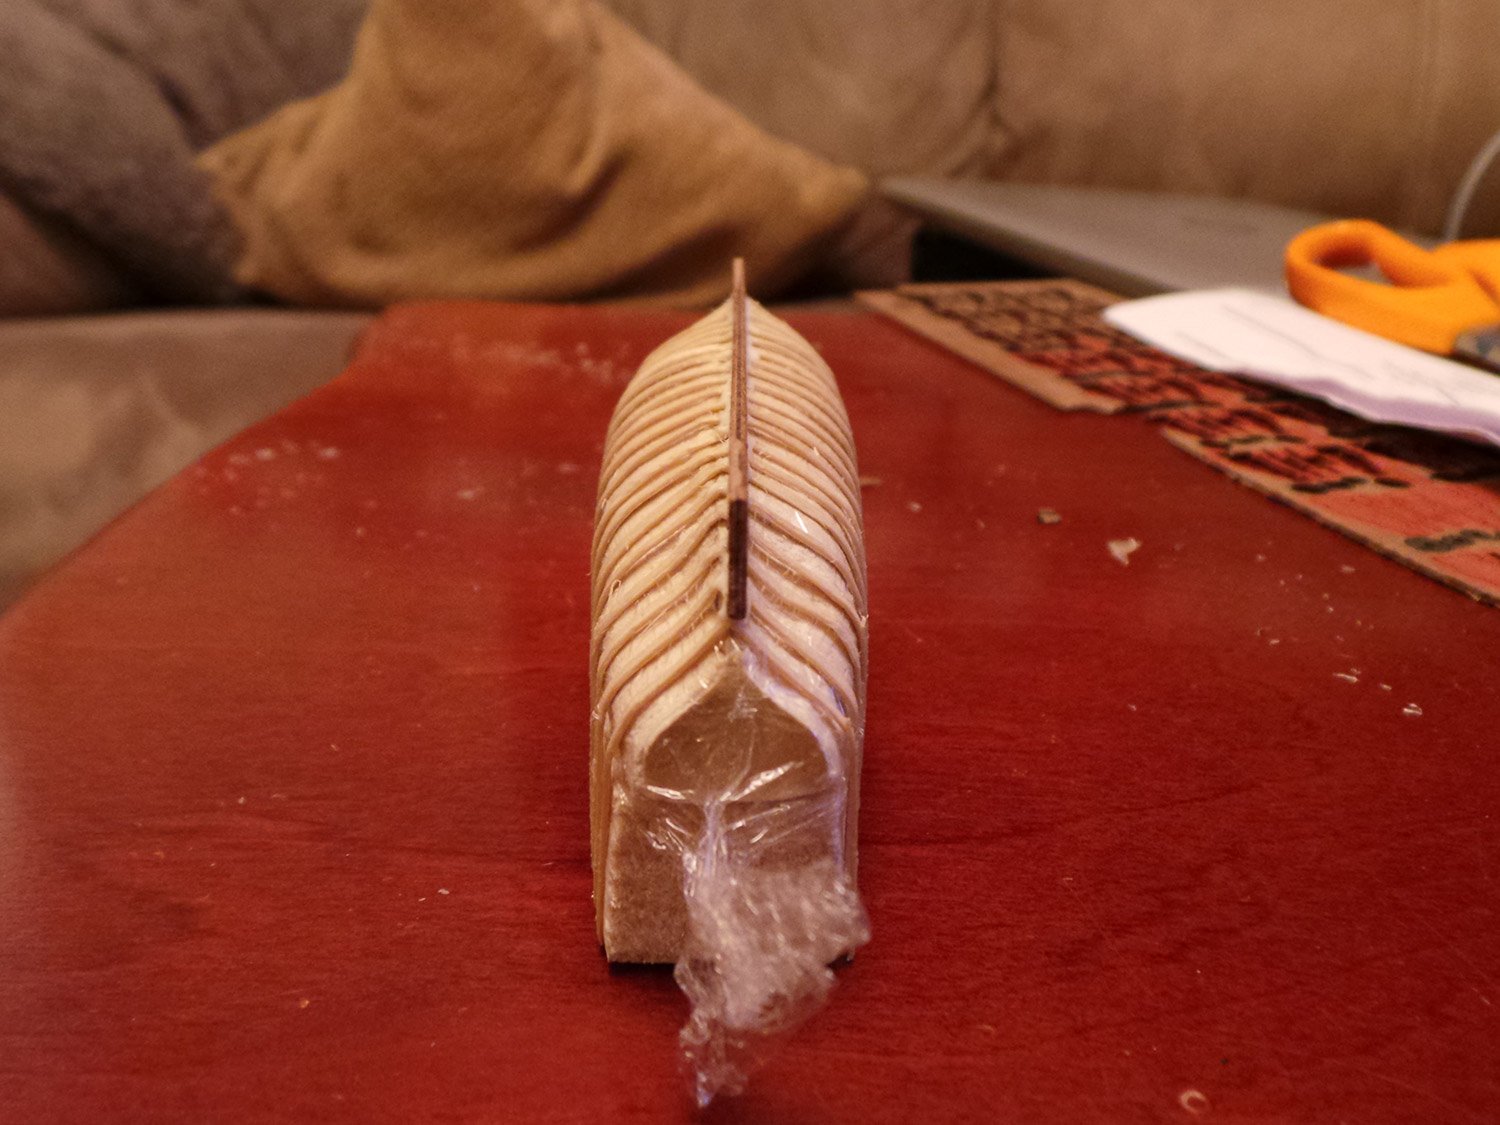
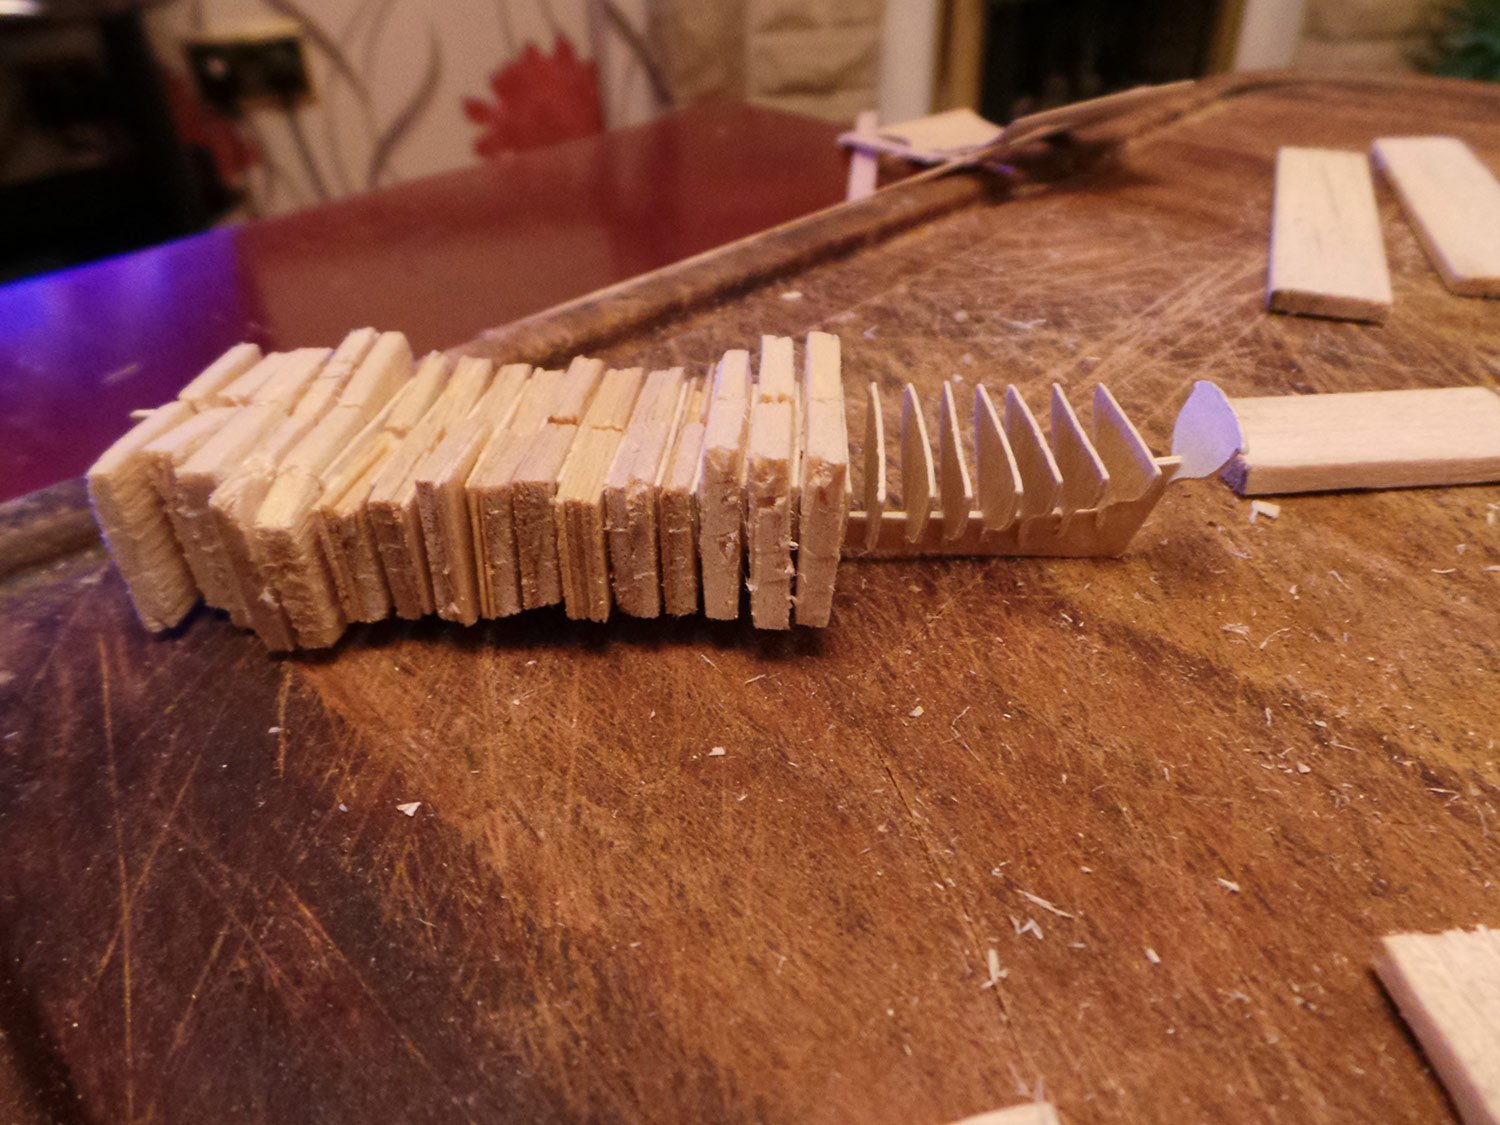
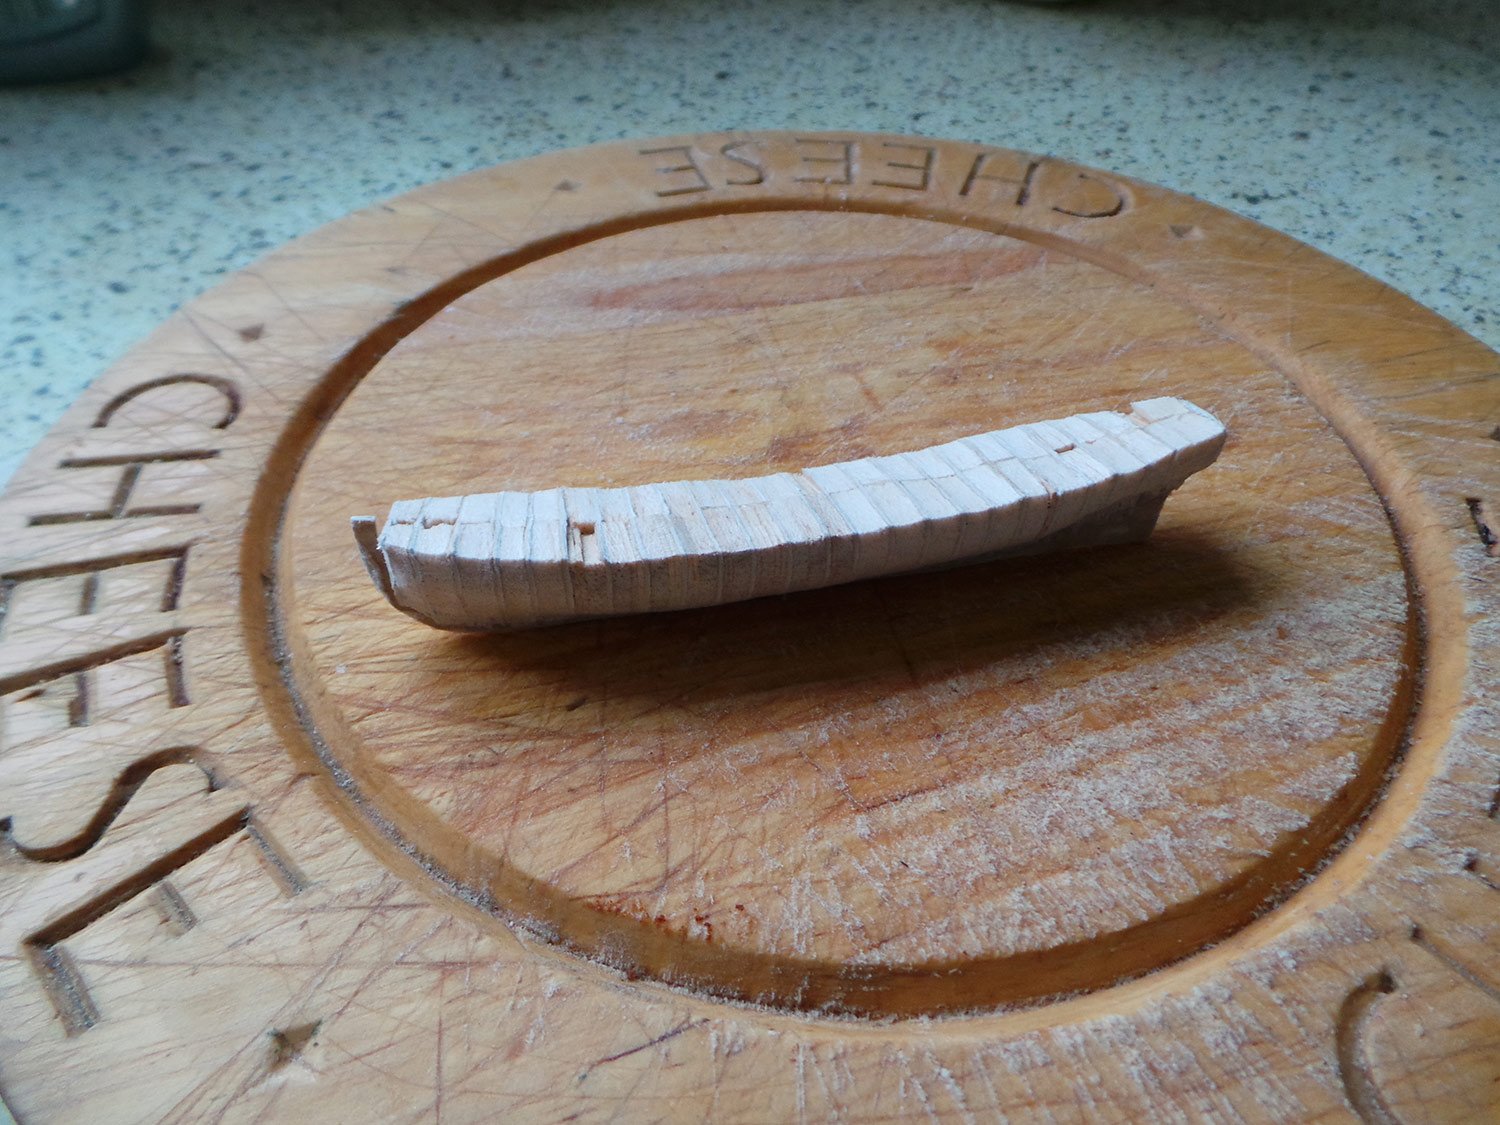
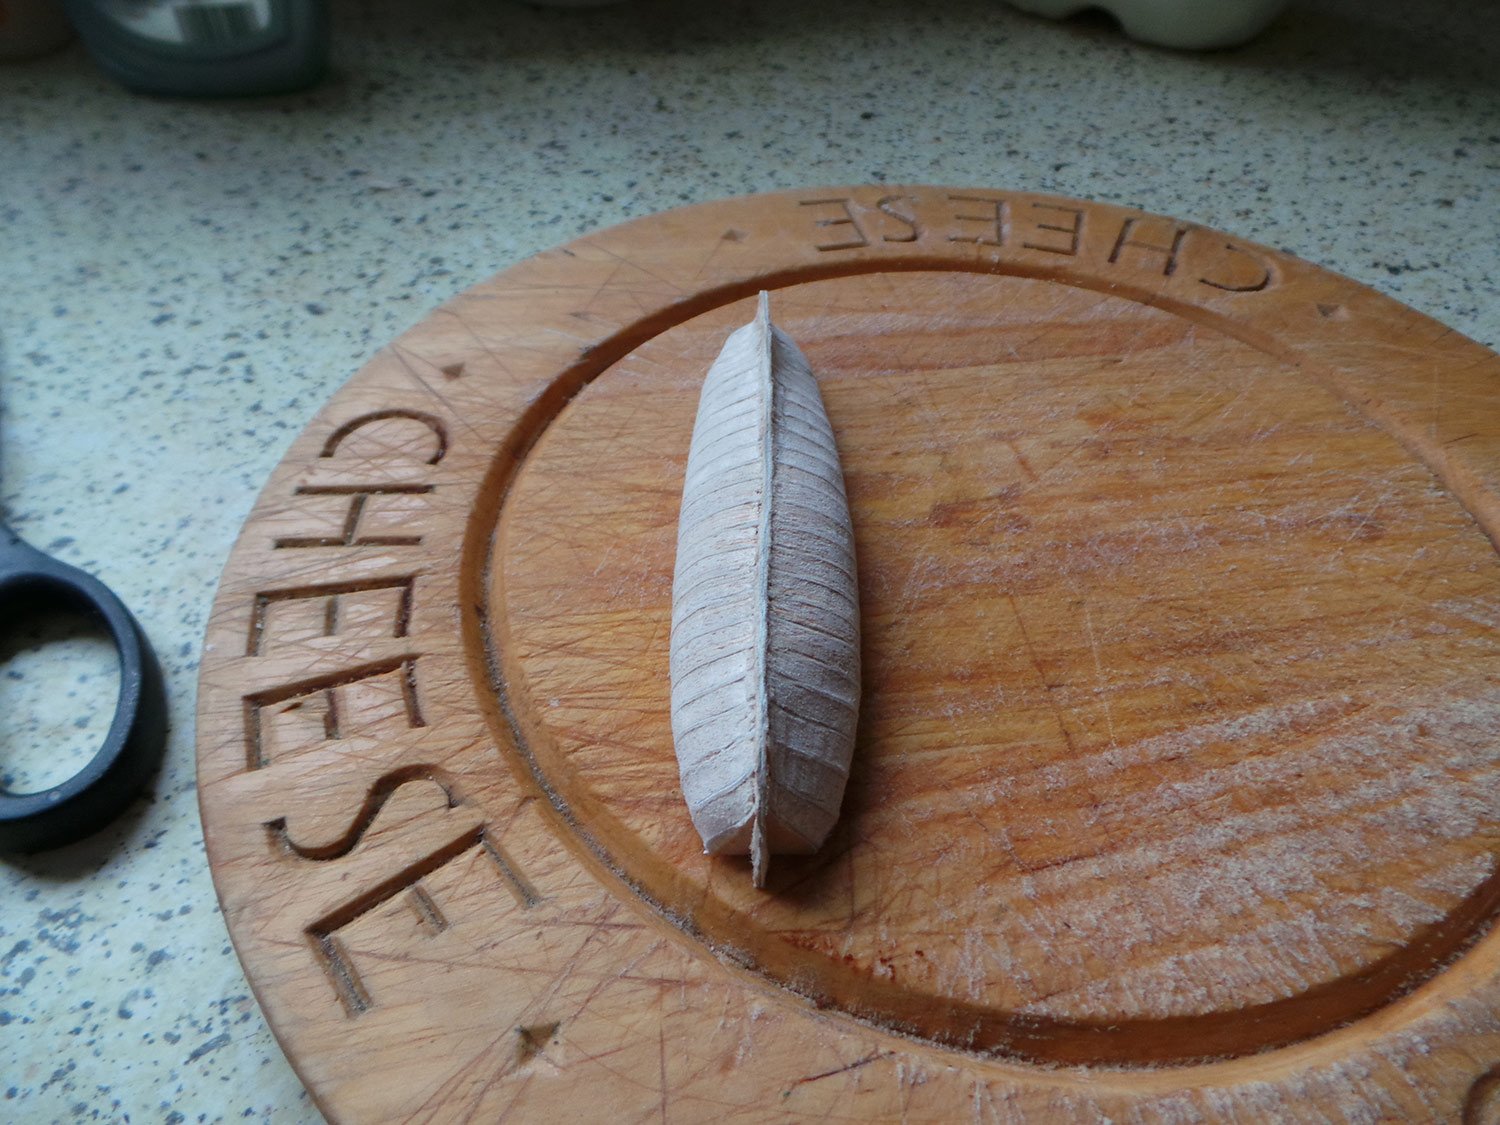
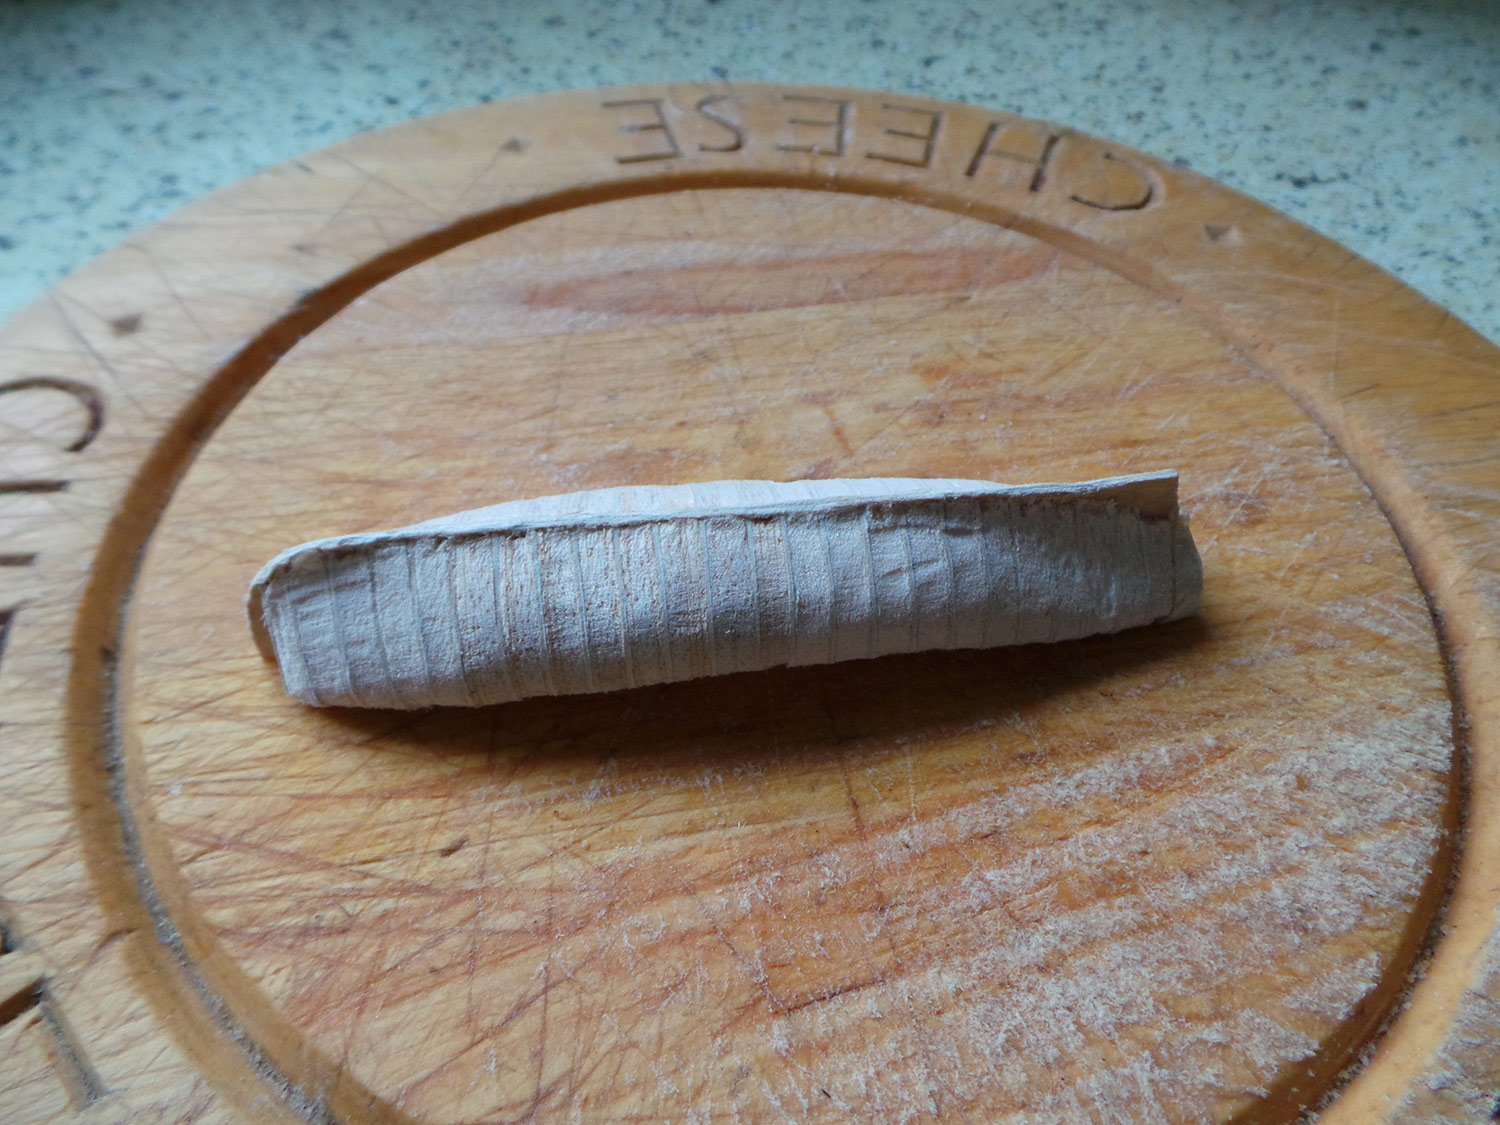
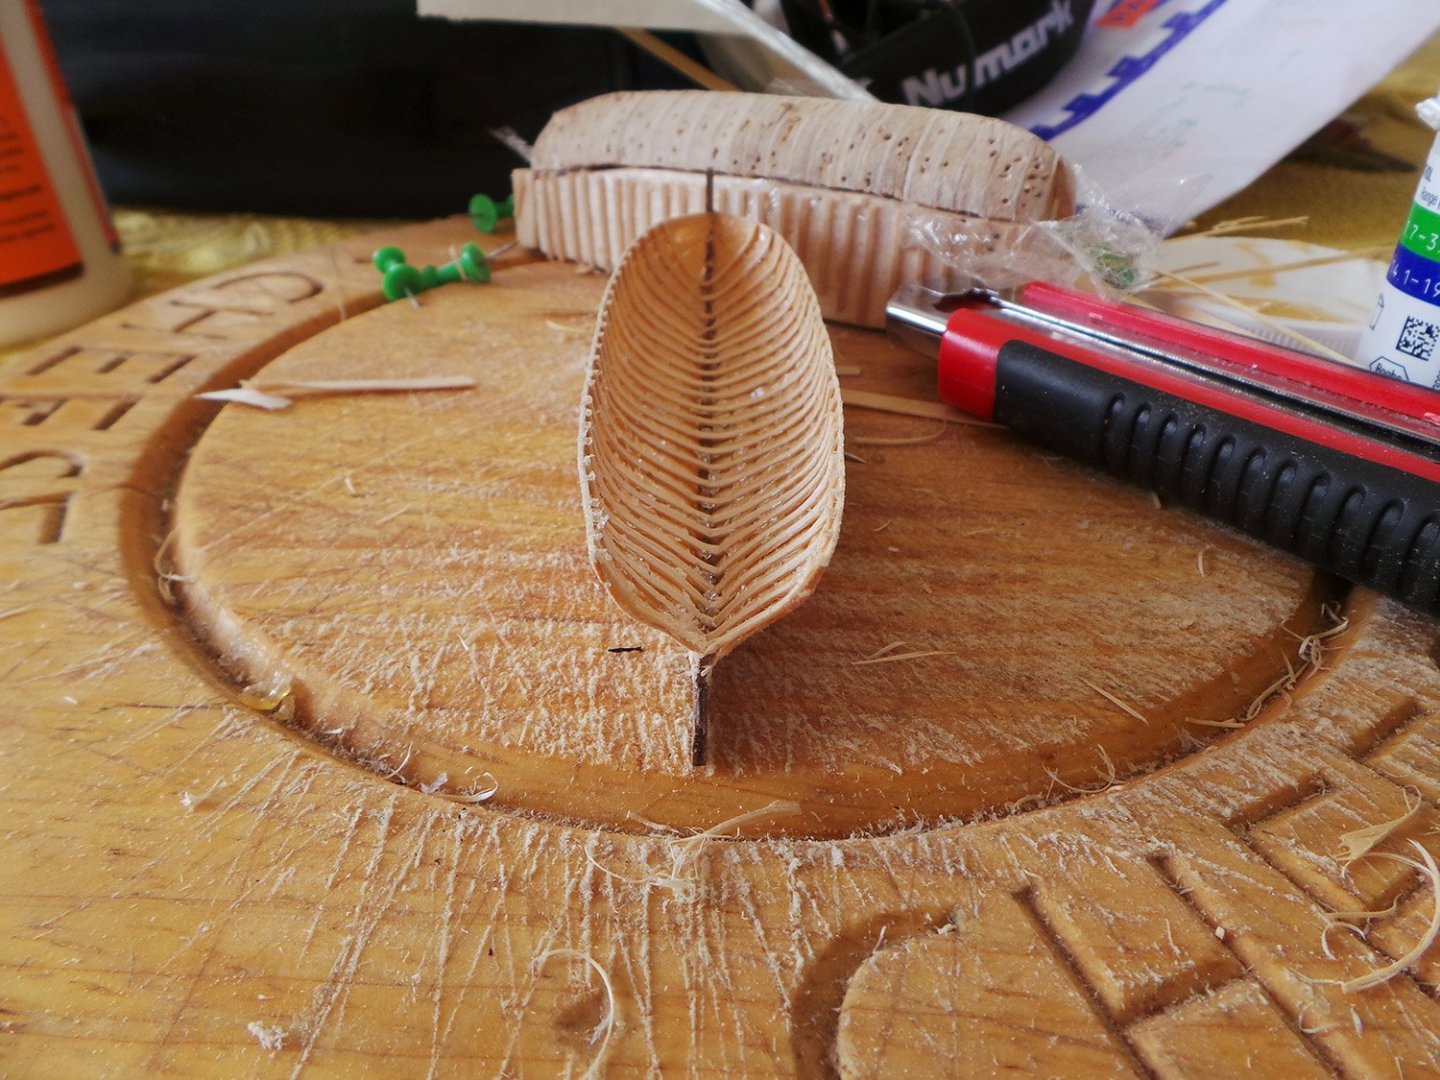
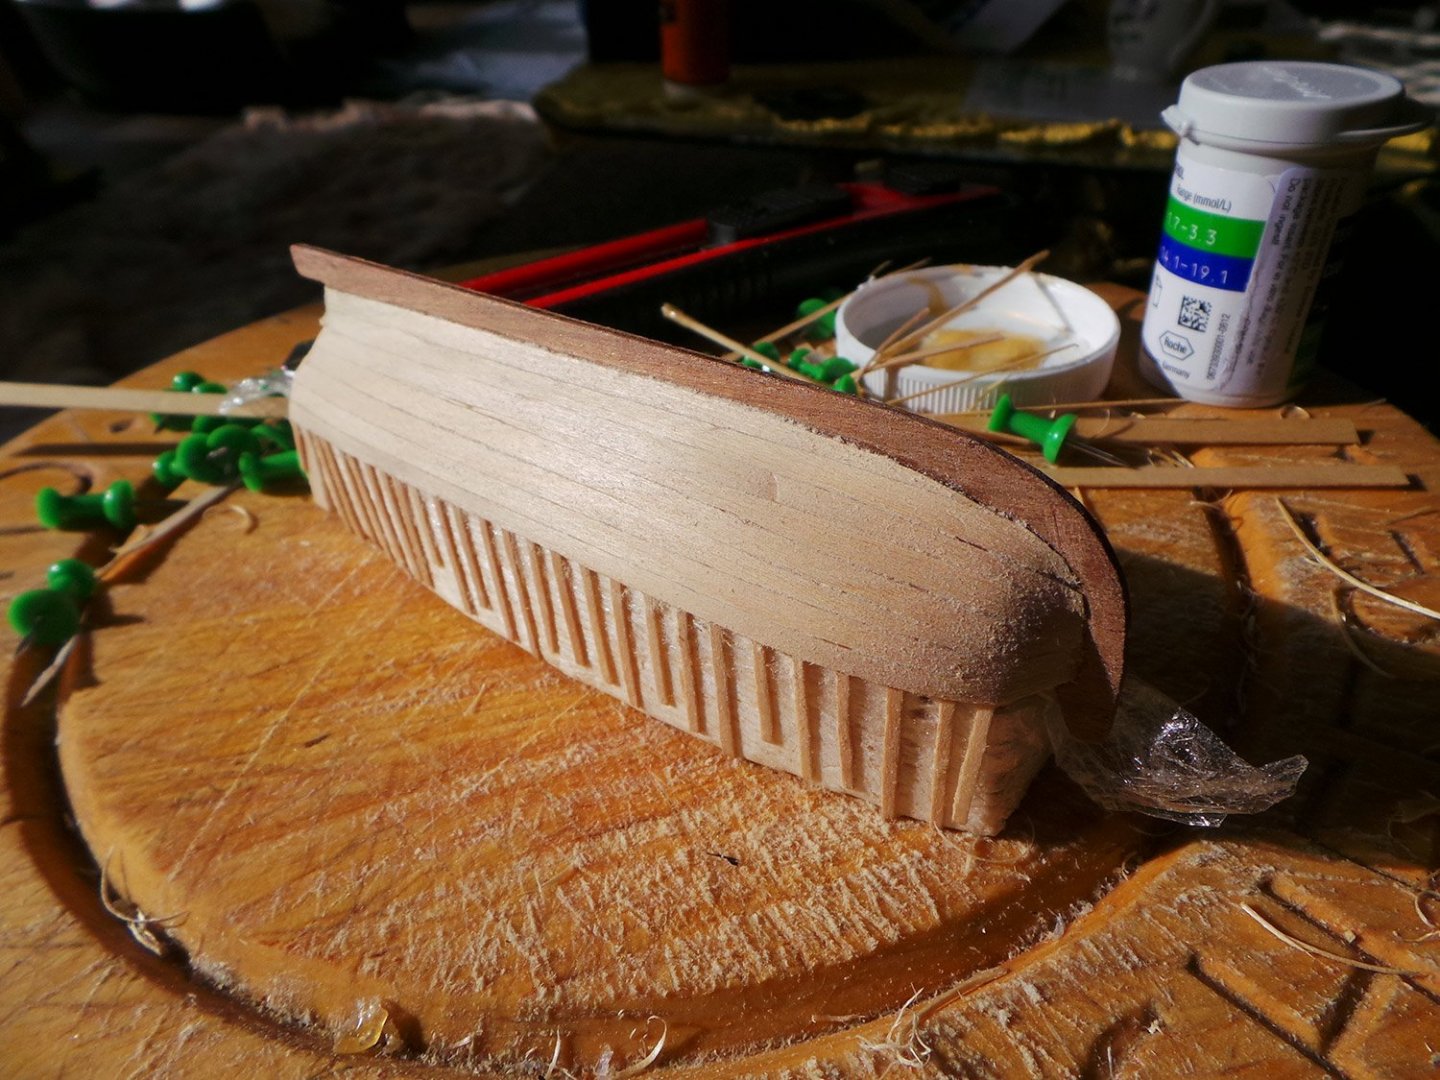
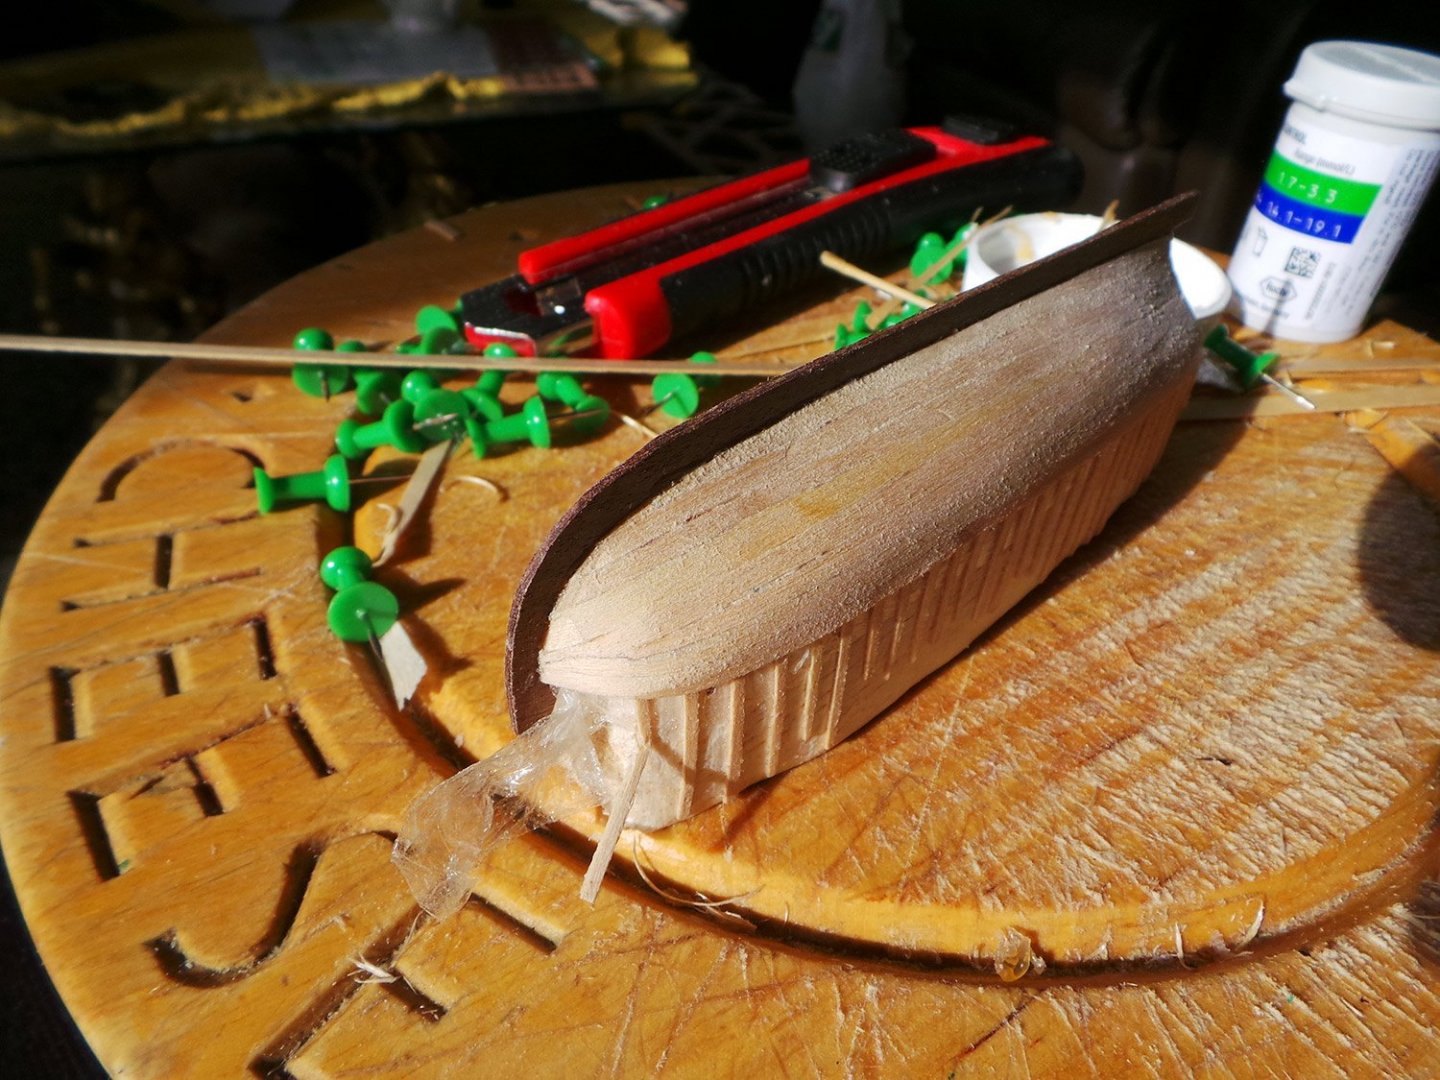
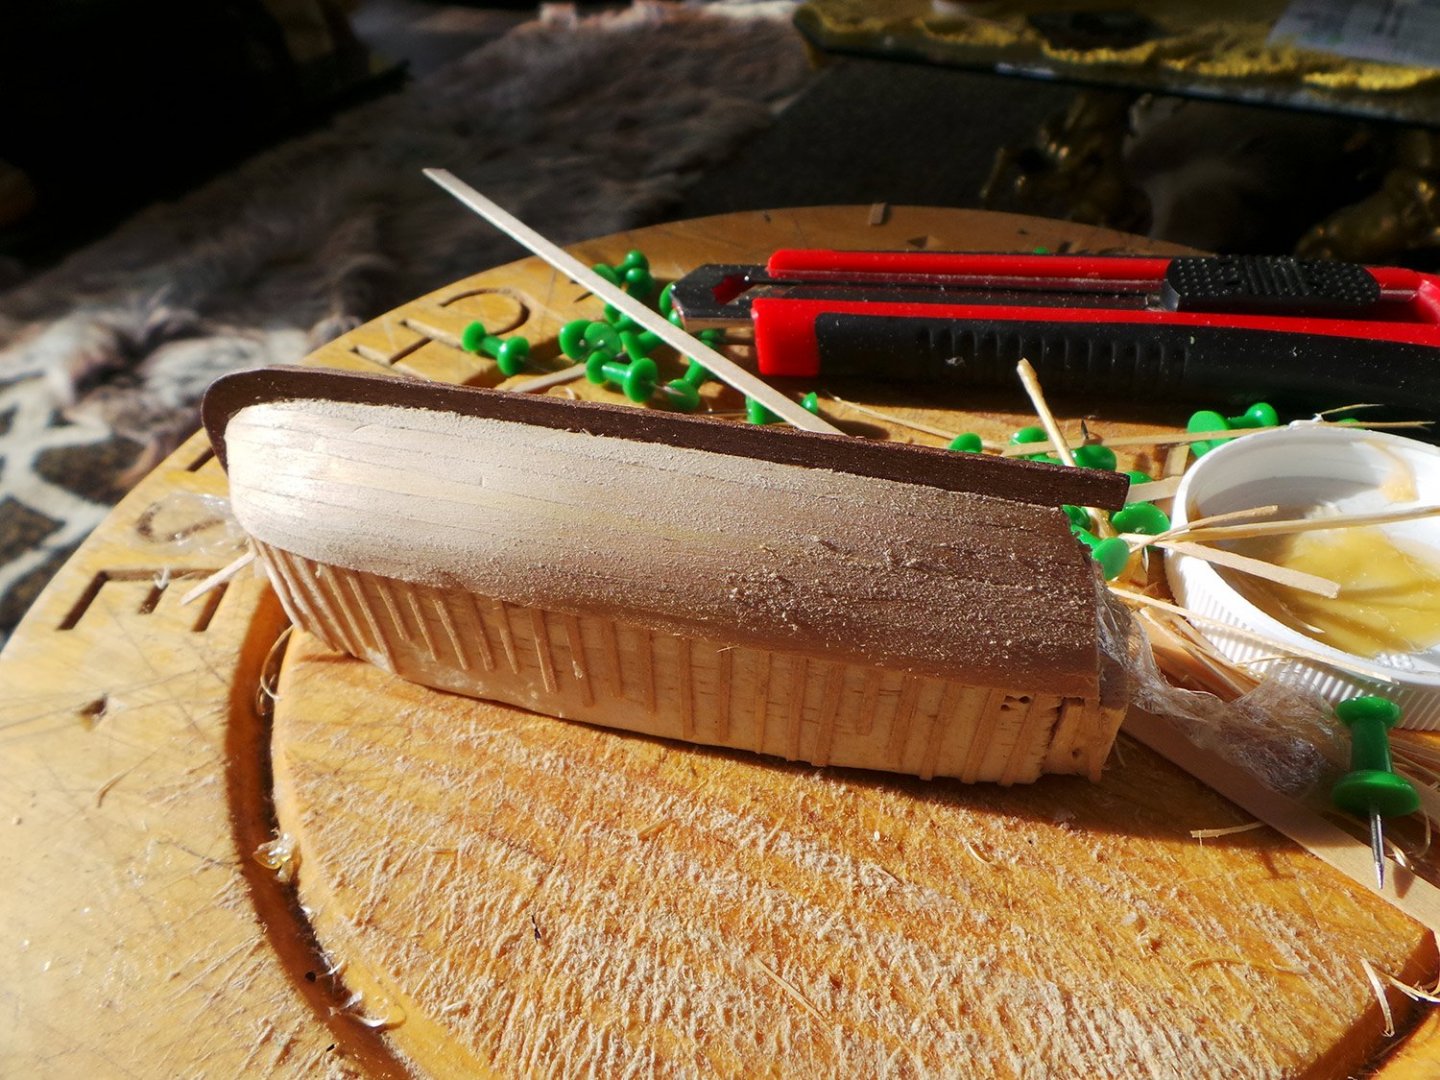
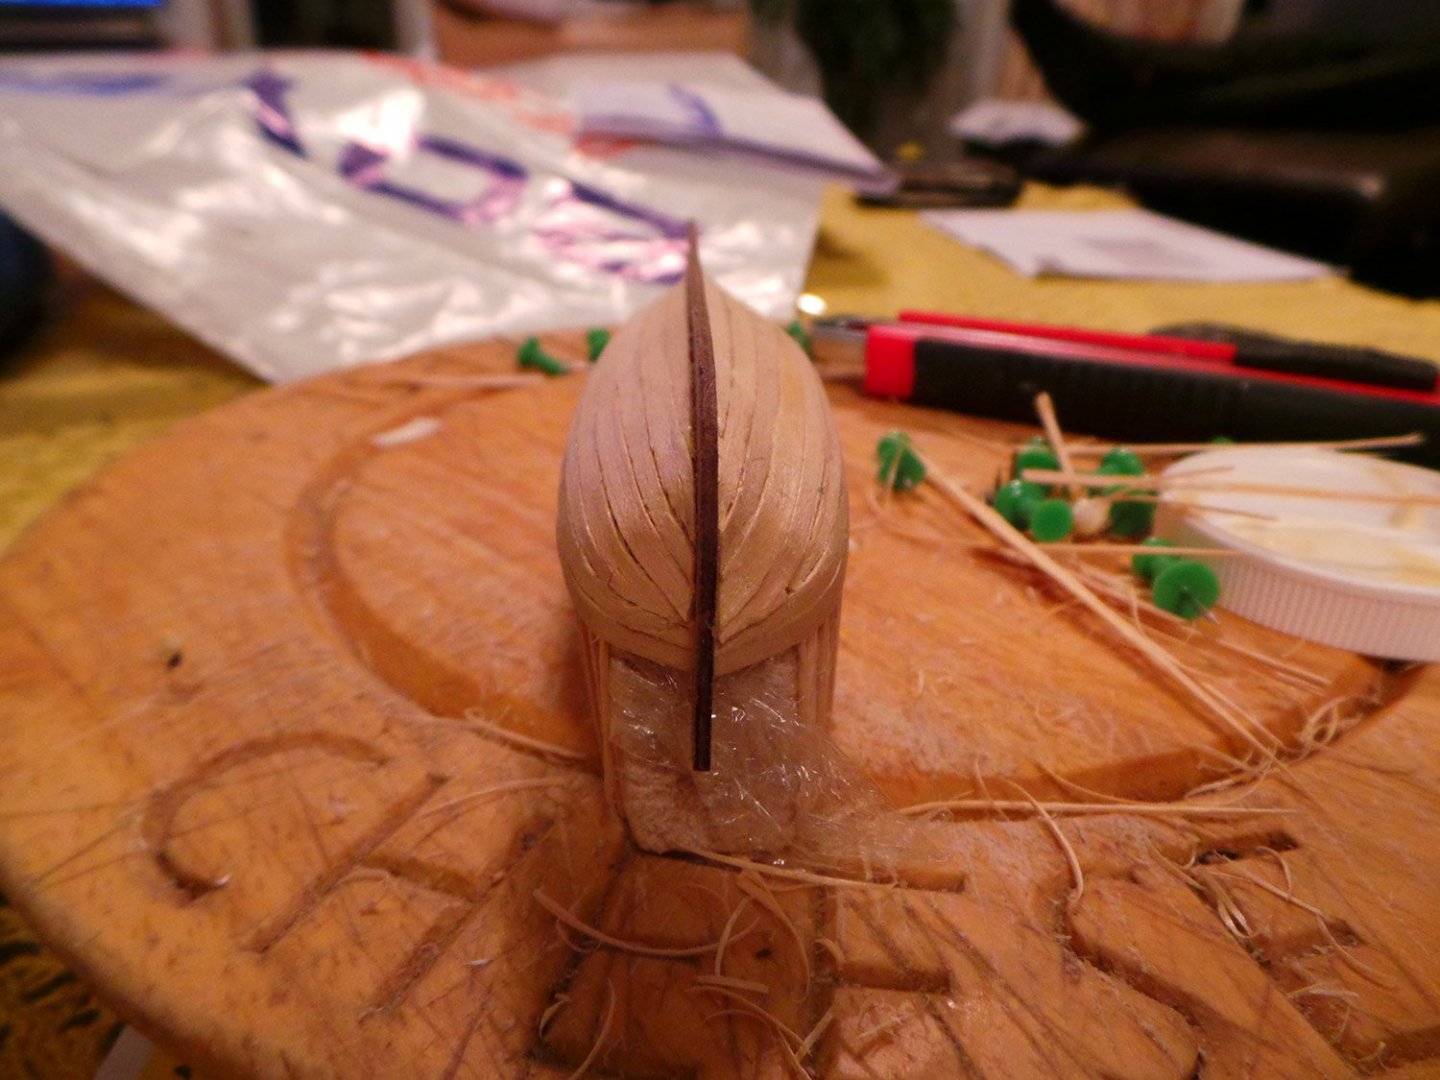
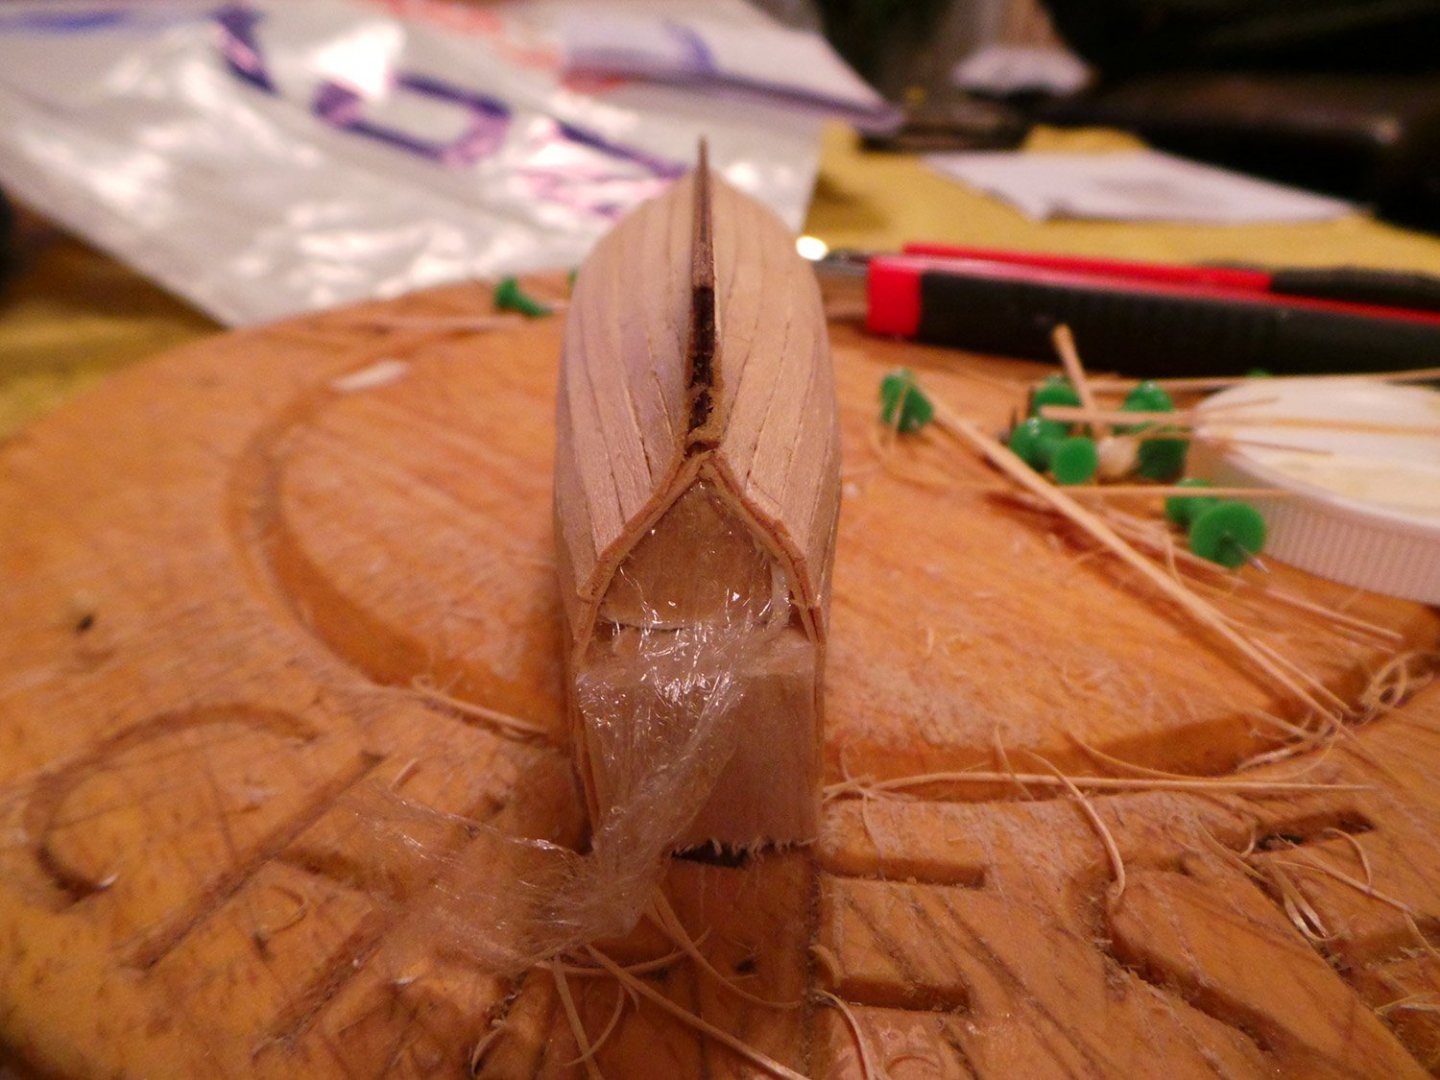
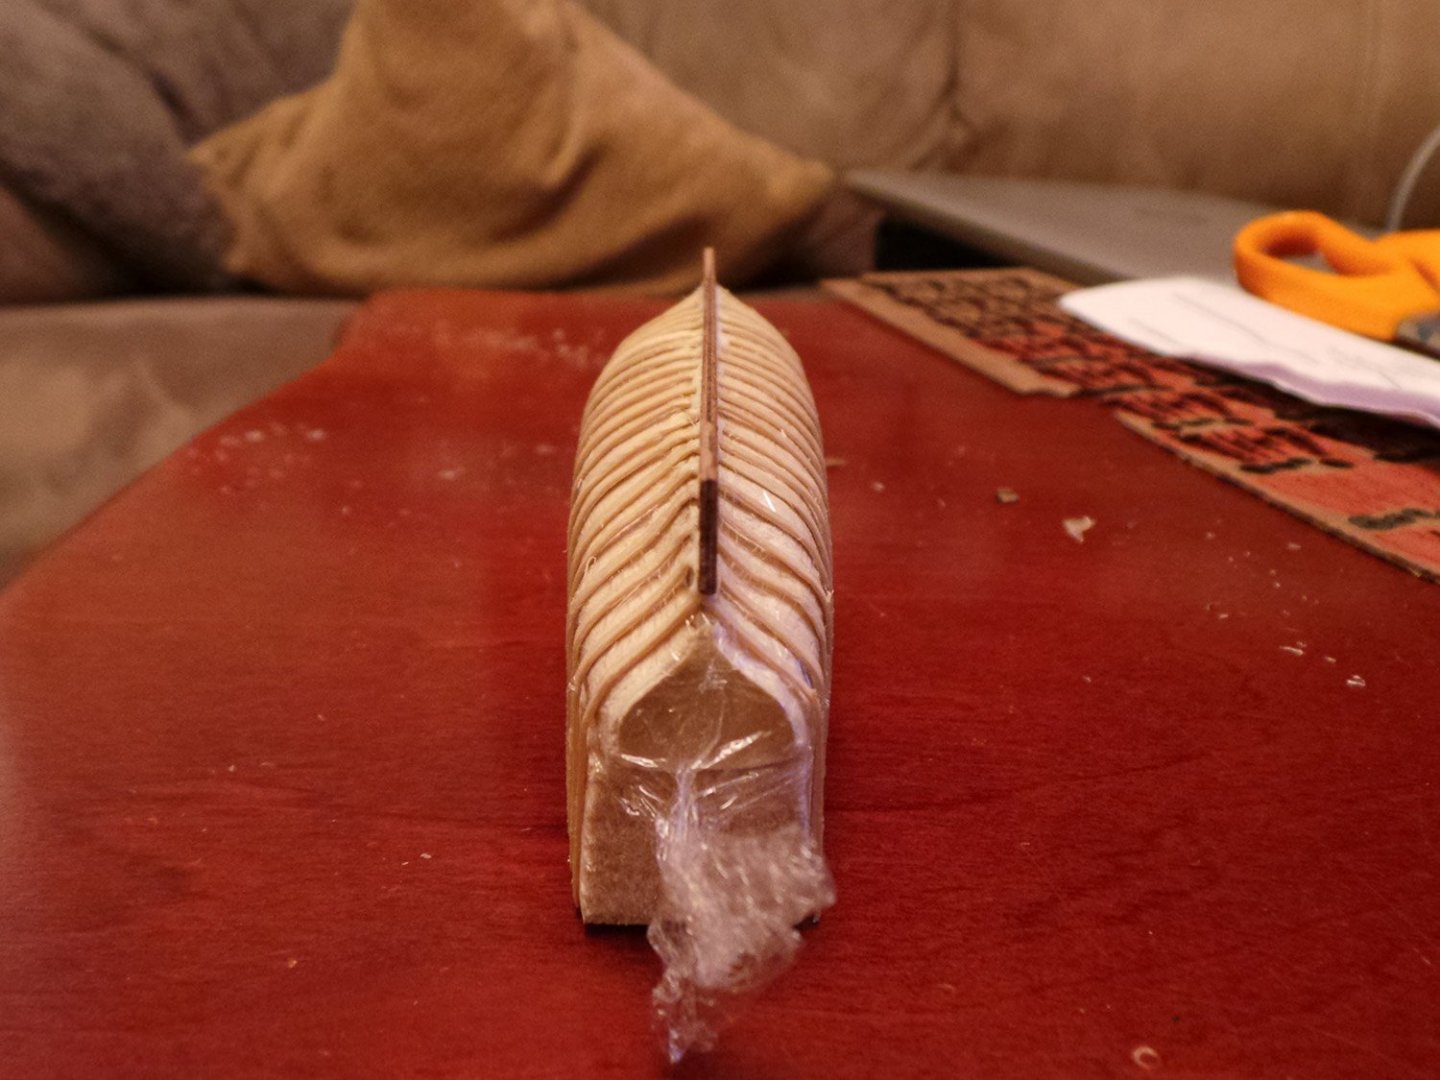
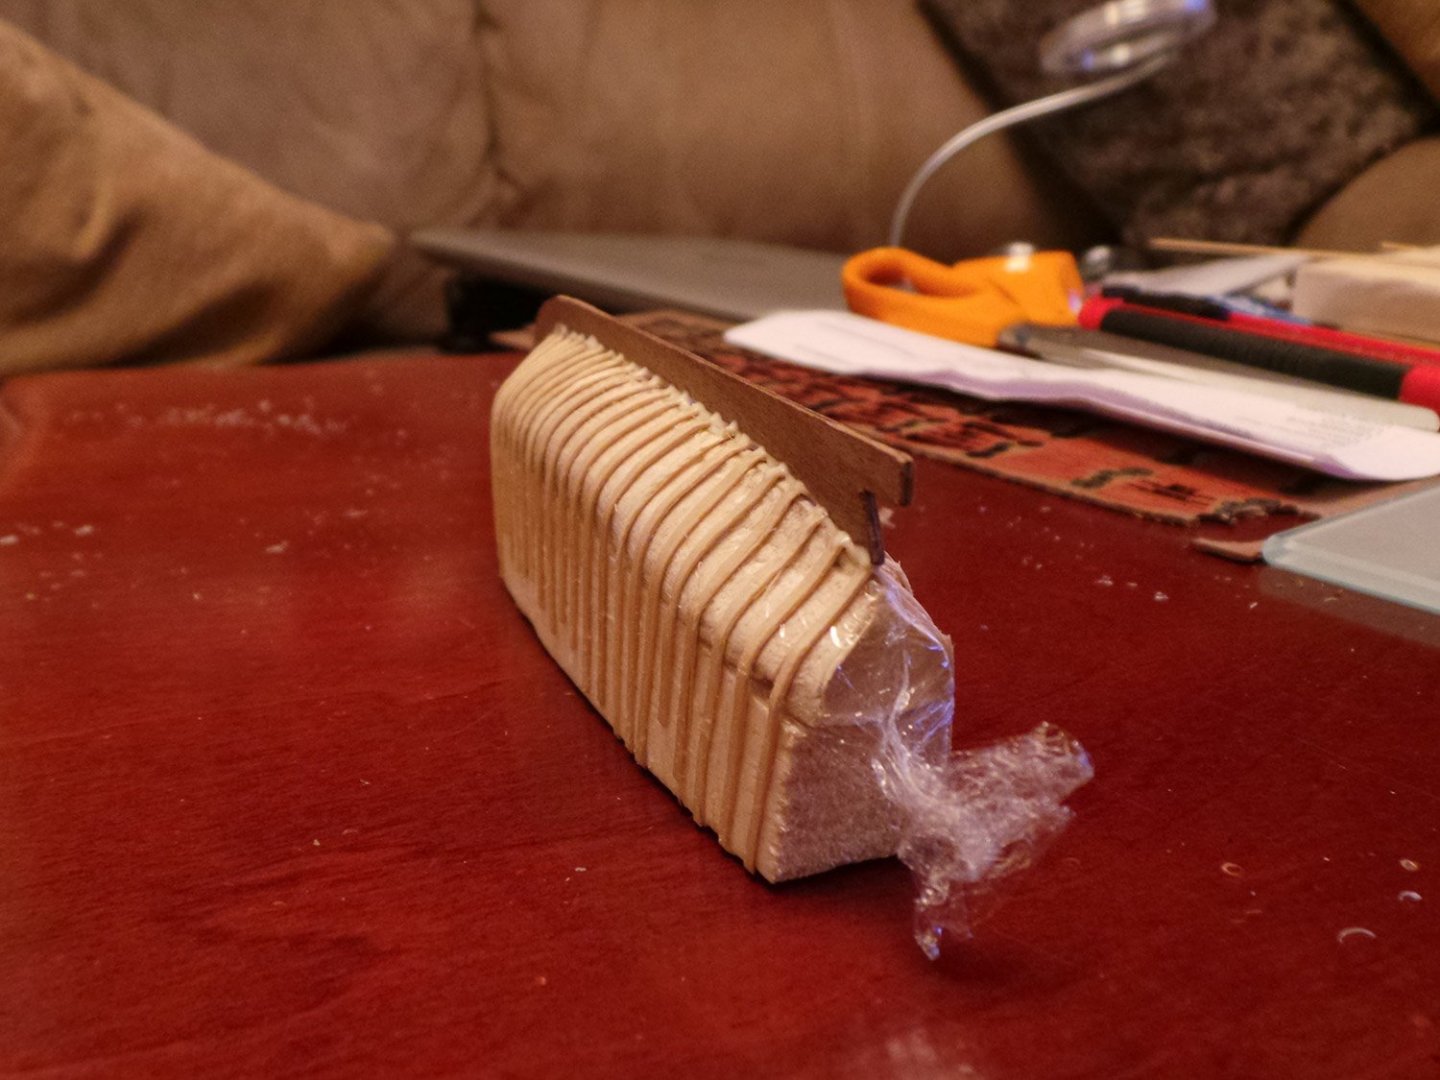
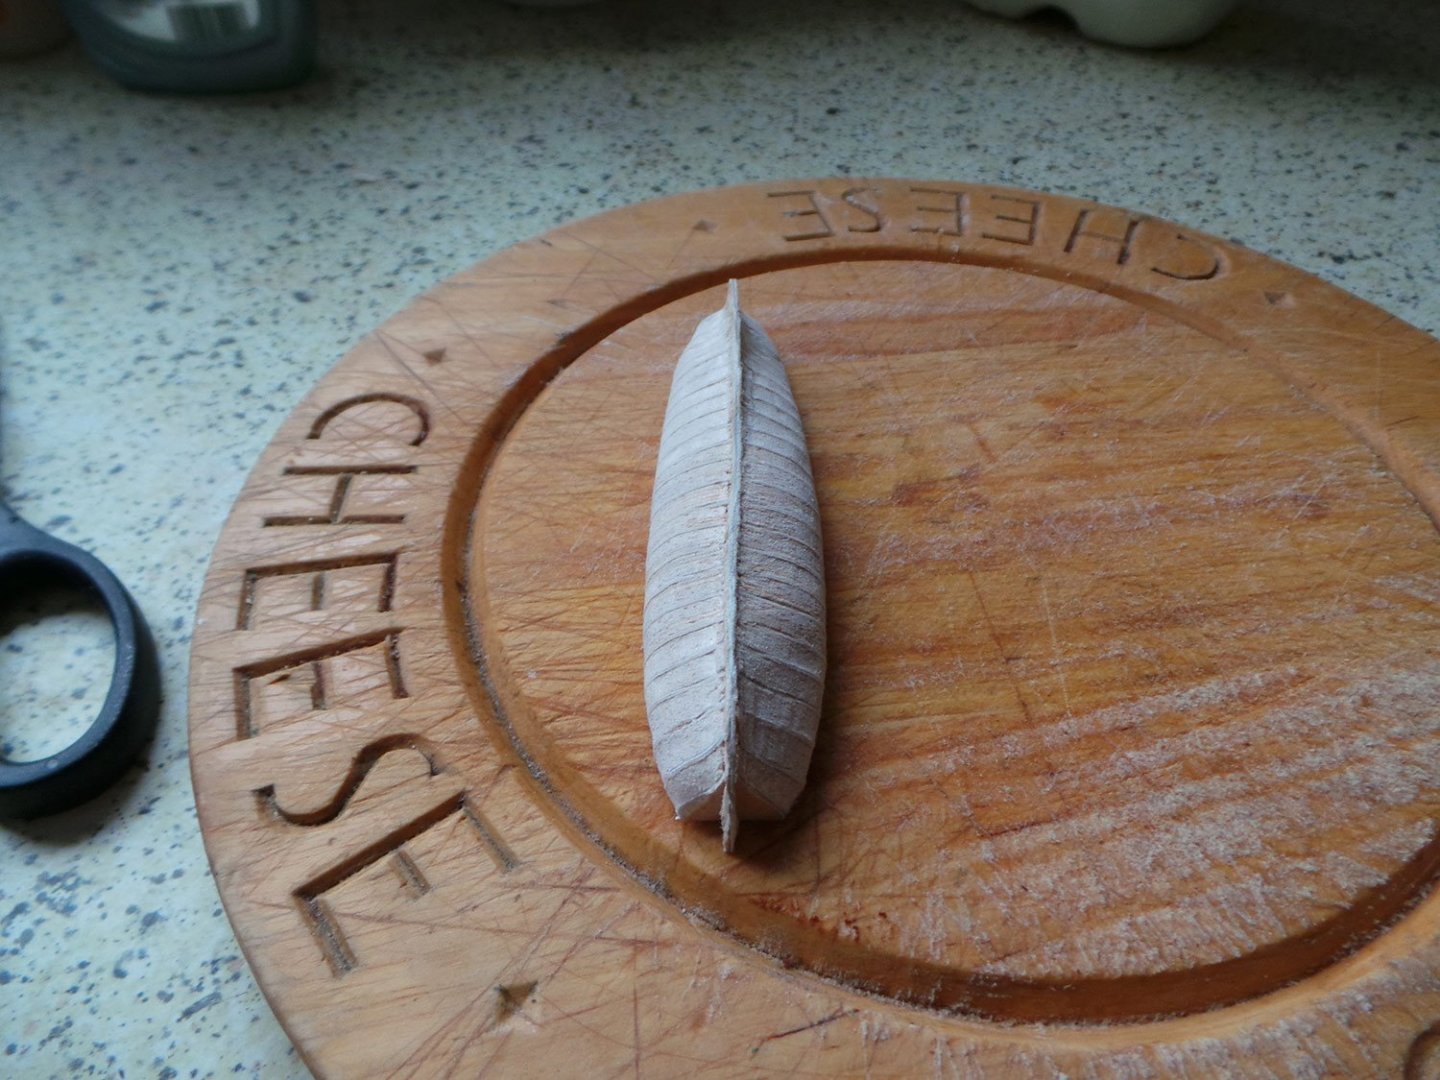
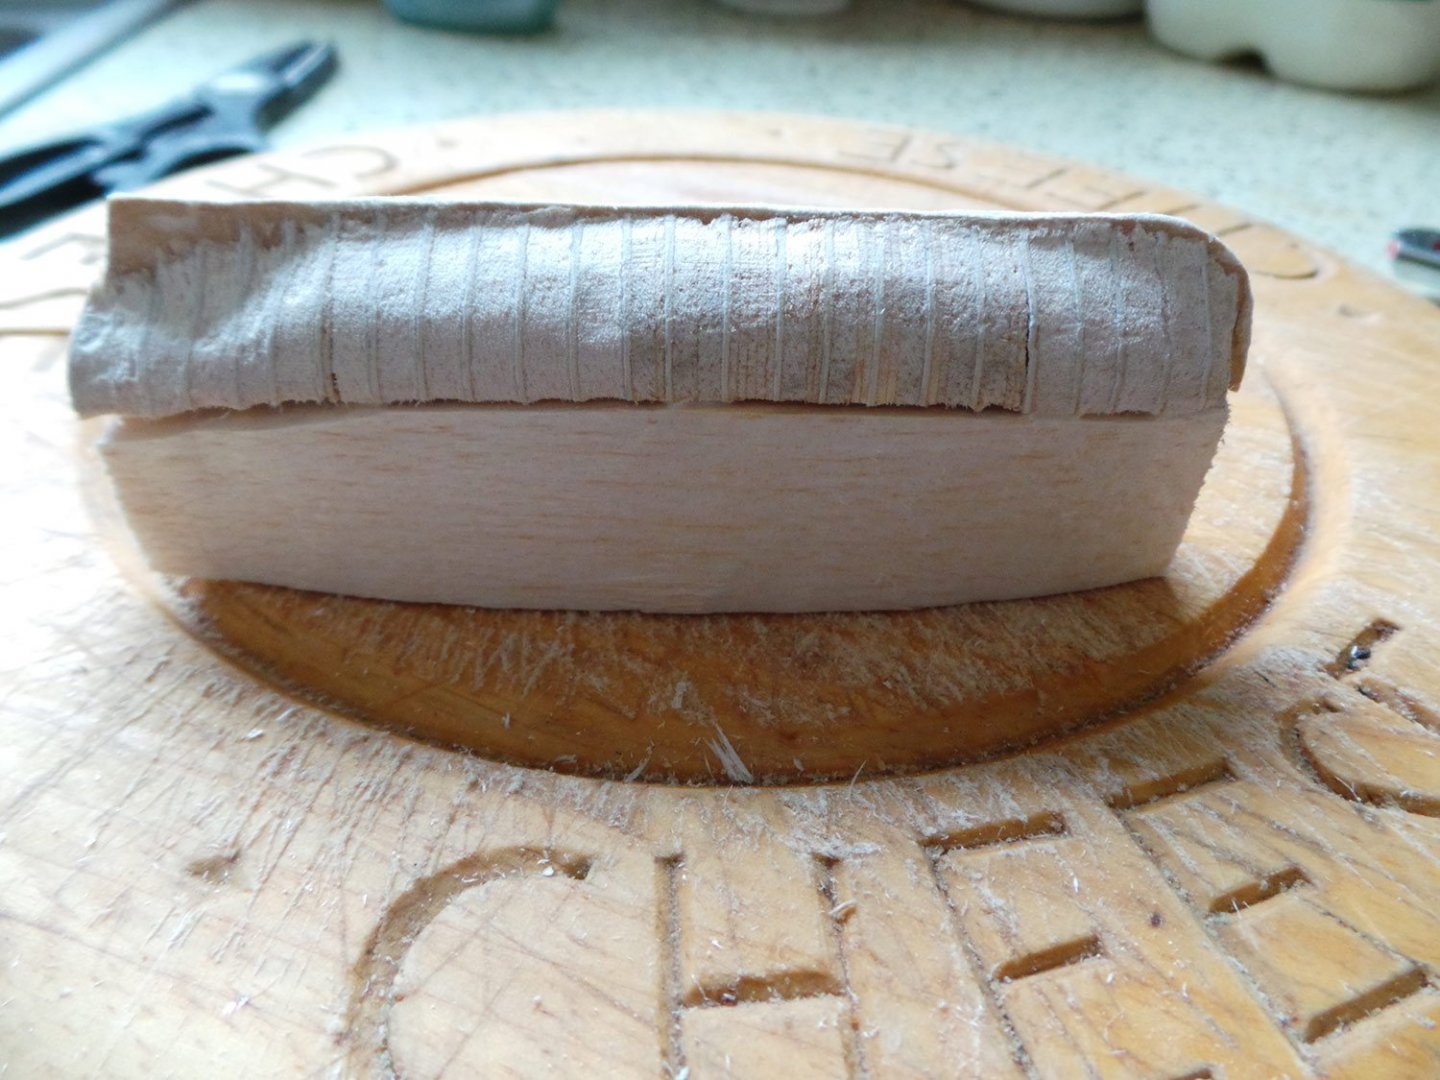
Pinnace cont.... Hull sanded today and I think it has turned out well. Ribs cut just above the final strip. Now the moment of truth...... will it come away from the plug?? Yesssssssss!!!!! with just a little coaxing it came away quite easily. Success!!! Just need to add the transom, then I can start fitting the Pinnace out.


- 161 replies
-
- 13
-

-
- pegasus
- victory models
- (and 1 more)
-
Hello and welcome to MSW. The problem you are experiencing with the hull planking is due to not tapering the planks enough. As the bow of the ship is curved, the planks need to be tapered more to accommodate this. Unfortunately, the only way I can see of correcting the planking is to remove it and start again, or give it a good sanding down and then do a second planking with a thinner plank, usually 0.5mm. You also need to make sure the bulkheads are faired really well to help assist with the hull planking. If you have a look at my build log of my San Francisco, you will see how I approached it. I know my version is double planked, but you can see how the first planking was done and then the second planking done in a slightly different way. (Click on the small arrow in the grey bar to go directly to the post) But to avoid the clinker effect, they definitely need to be tapered at the bow. Otherwise you are making a really good effort and the decks are looking great.
-
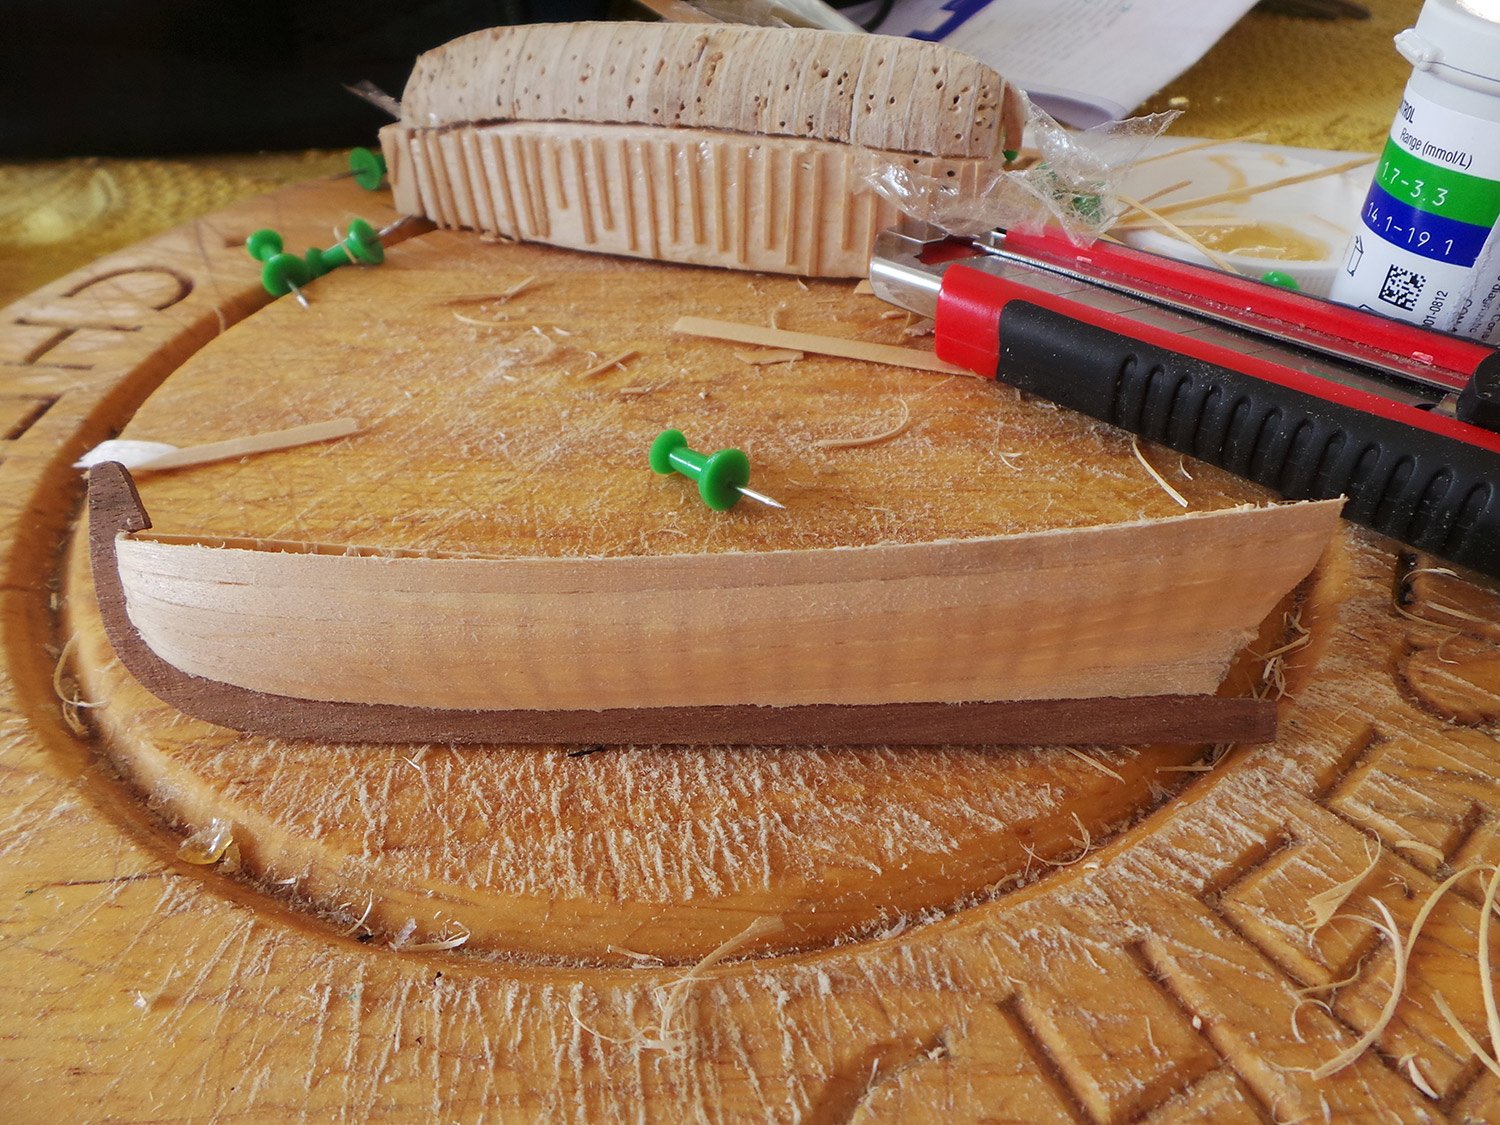
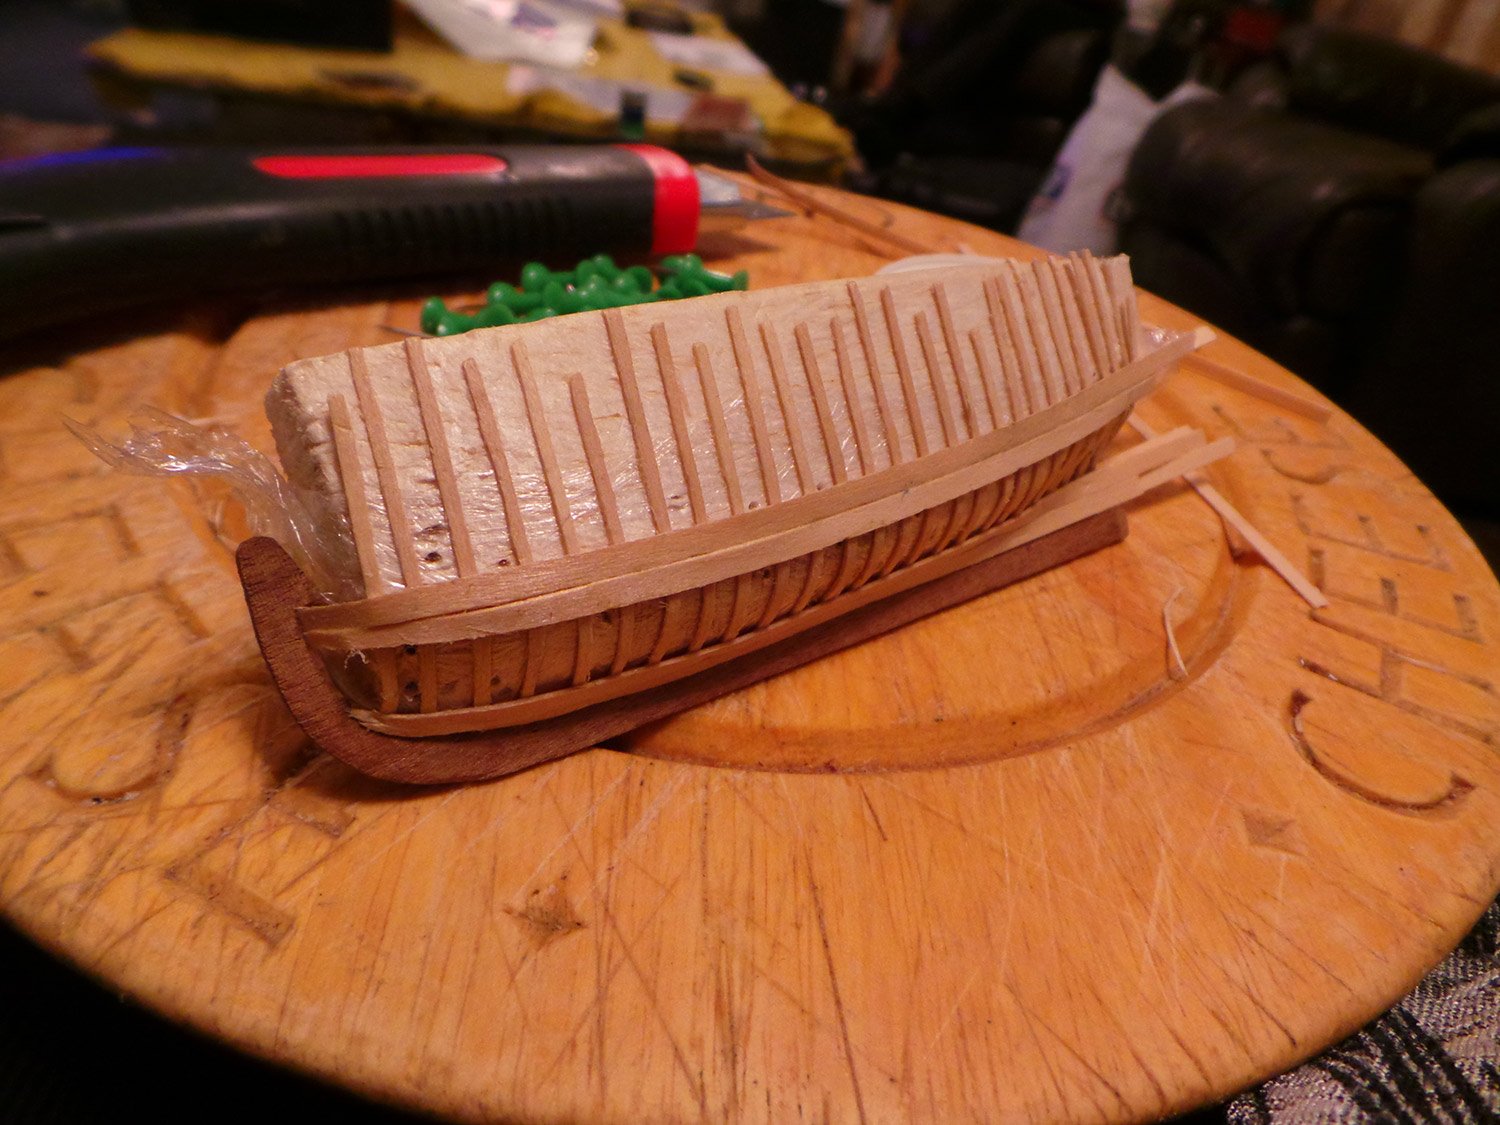
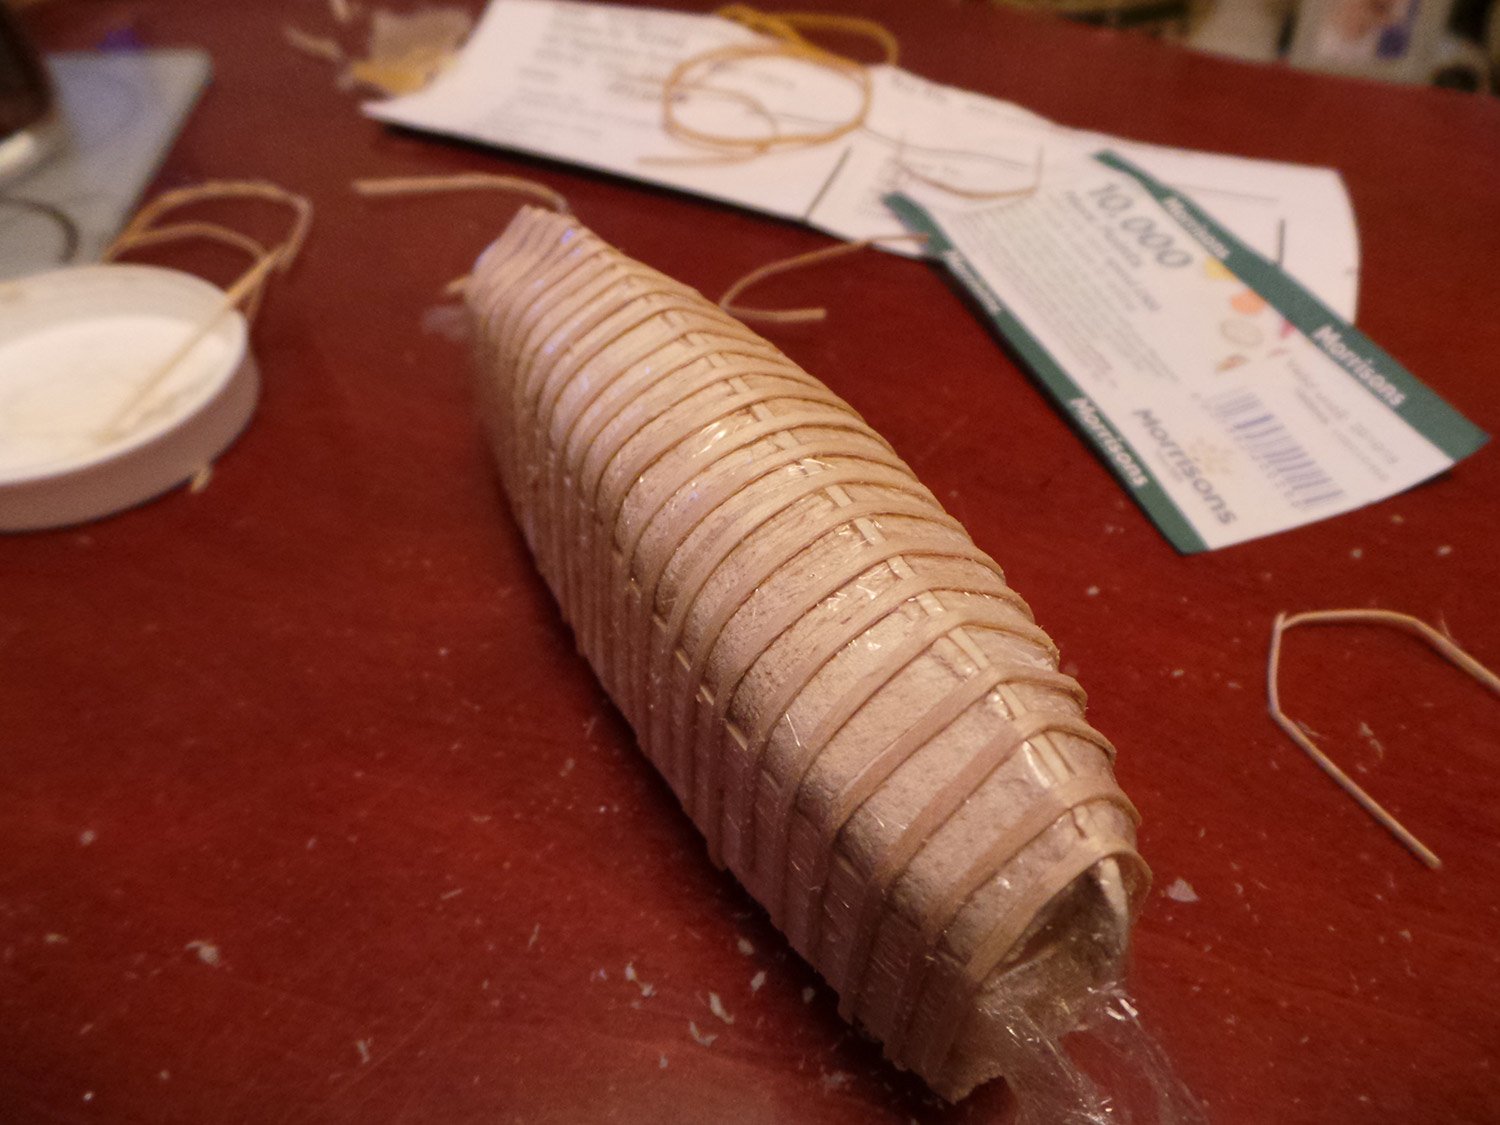
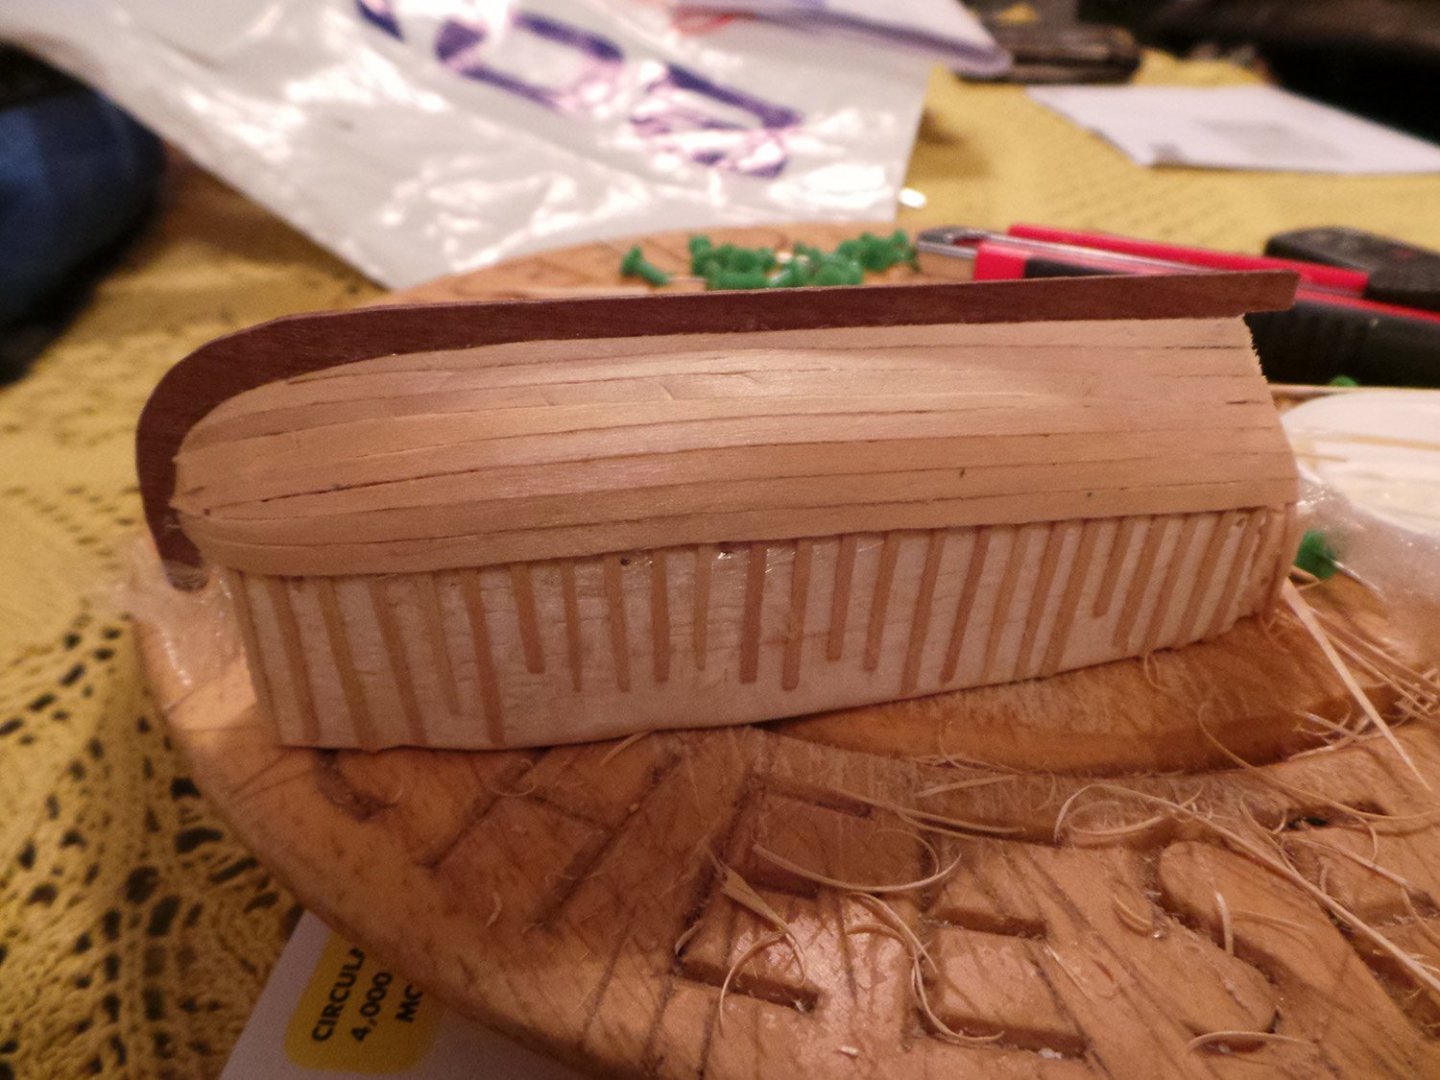
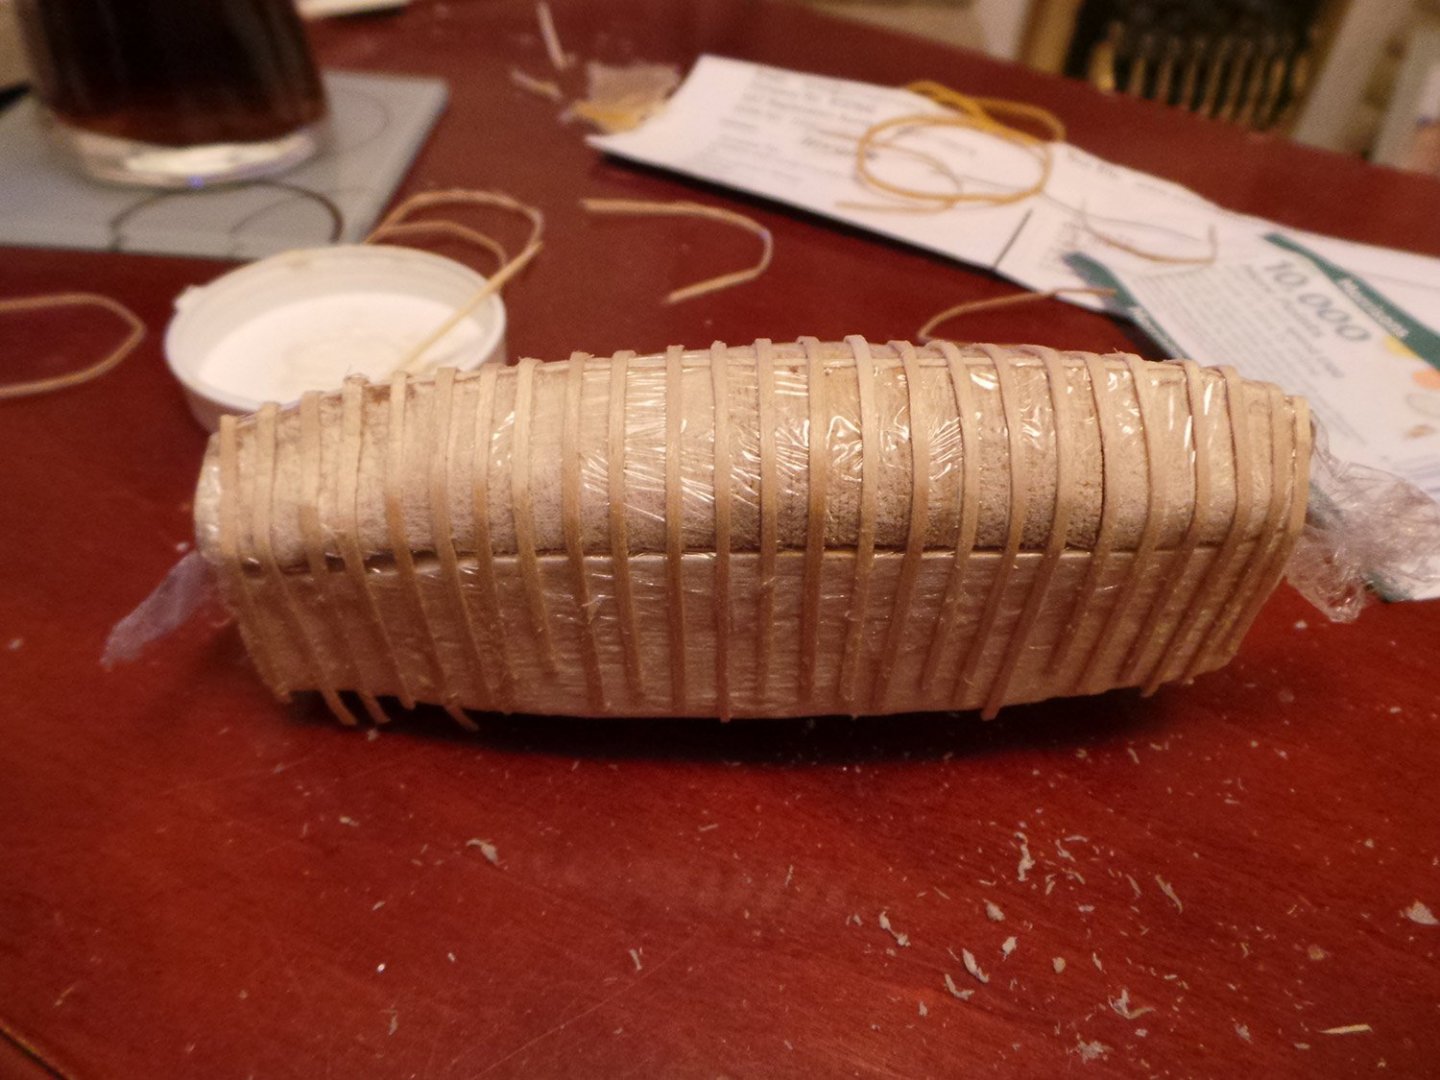
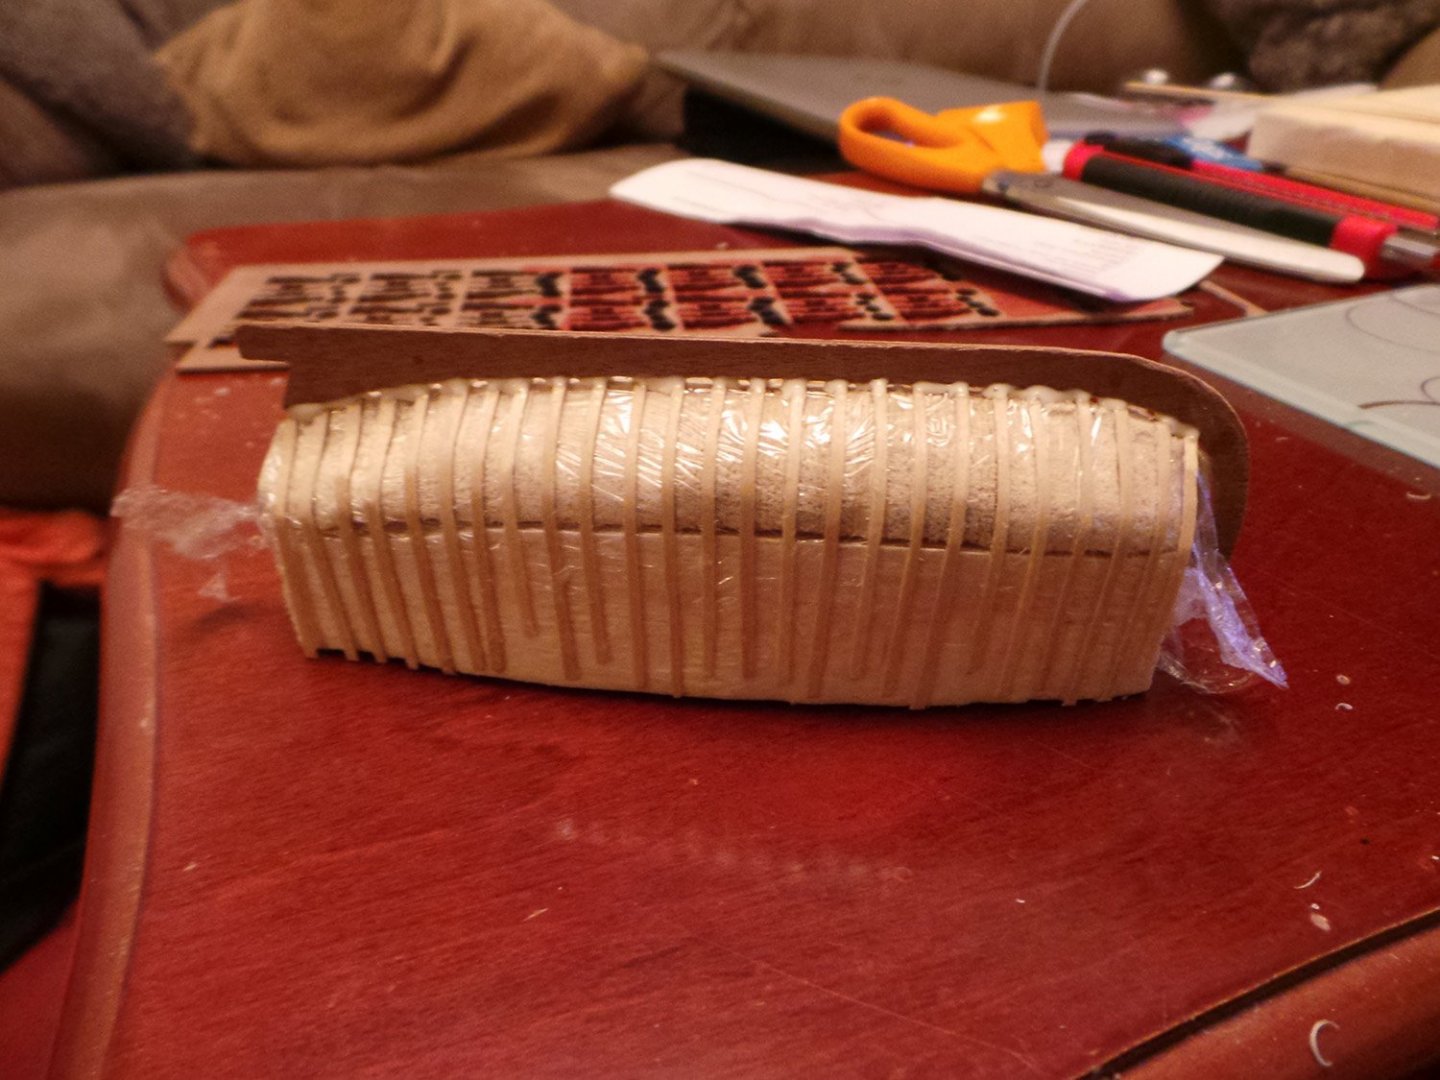
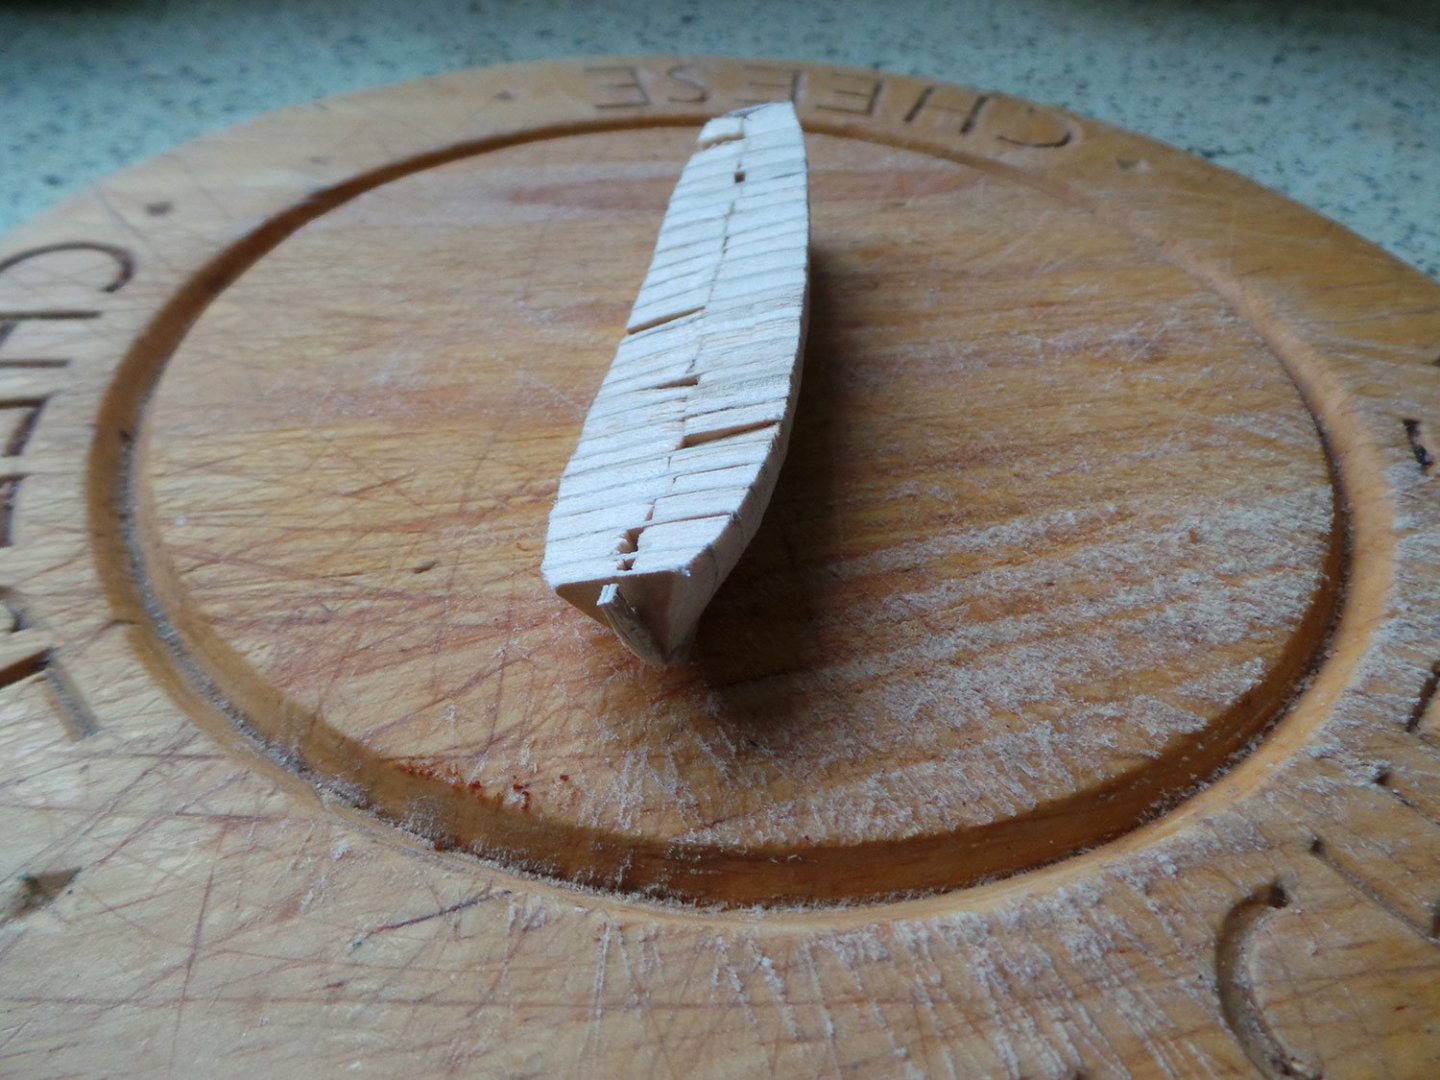
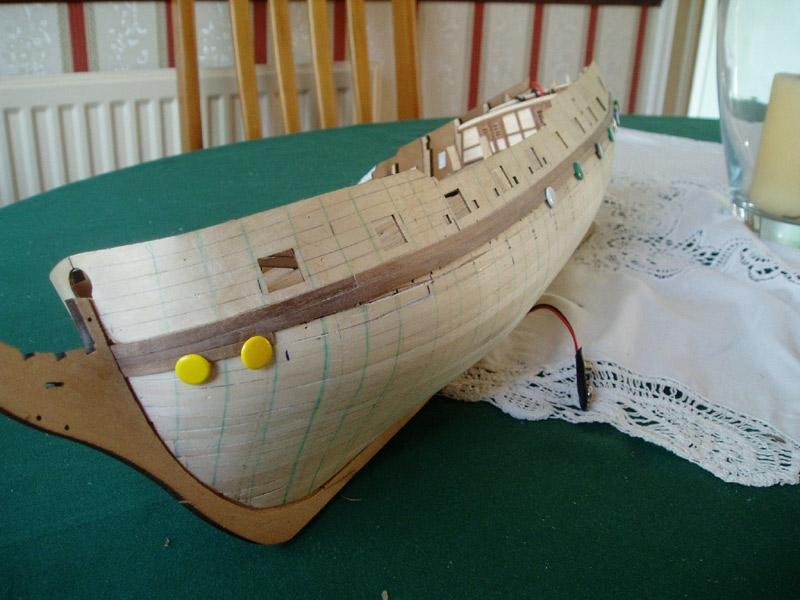
Spent most of today planking the hull. Quite pleased with how it has come out. Needs a good sanding now and then hopefully remove it from the plug. Started by placing the strips on both sides to mark the topmost edge of the hull. Two strips at top and bottom on both sides now placed. Hull completed. Will let it thoroughly dry and set overnight and then sand the hull tomorrow.


- 161 replies
-
- 8
-
-
- pegasus
- victory models
- (and 1 more)
-
Wow! I've seen these card kits and have often wondered about them. That detail is simply amazing. I'm watching with a great deal of interest and maybe a yearning of making one of those kits myself, but first I'll sit back and watch the Master at work!
-
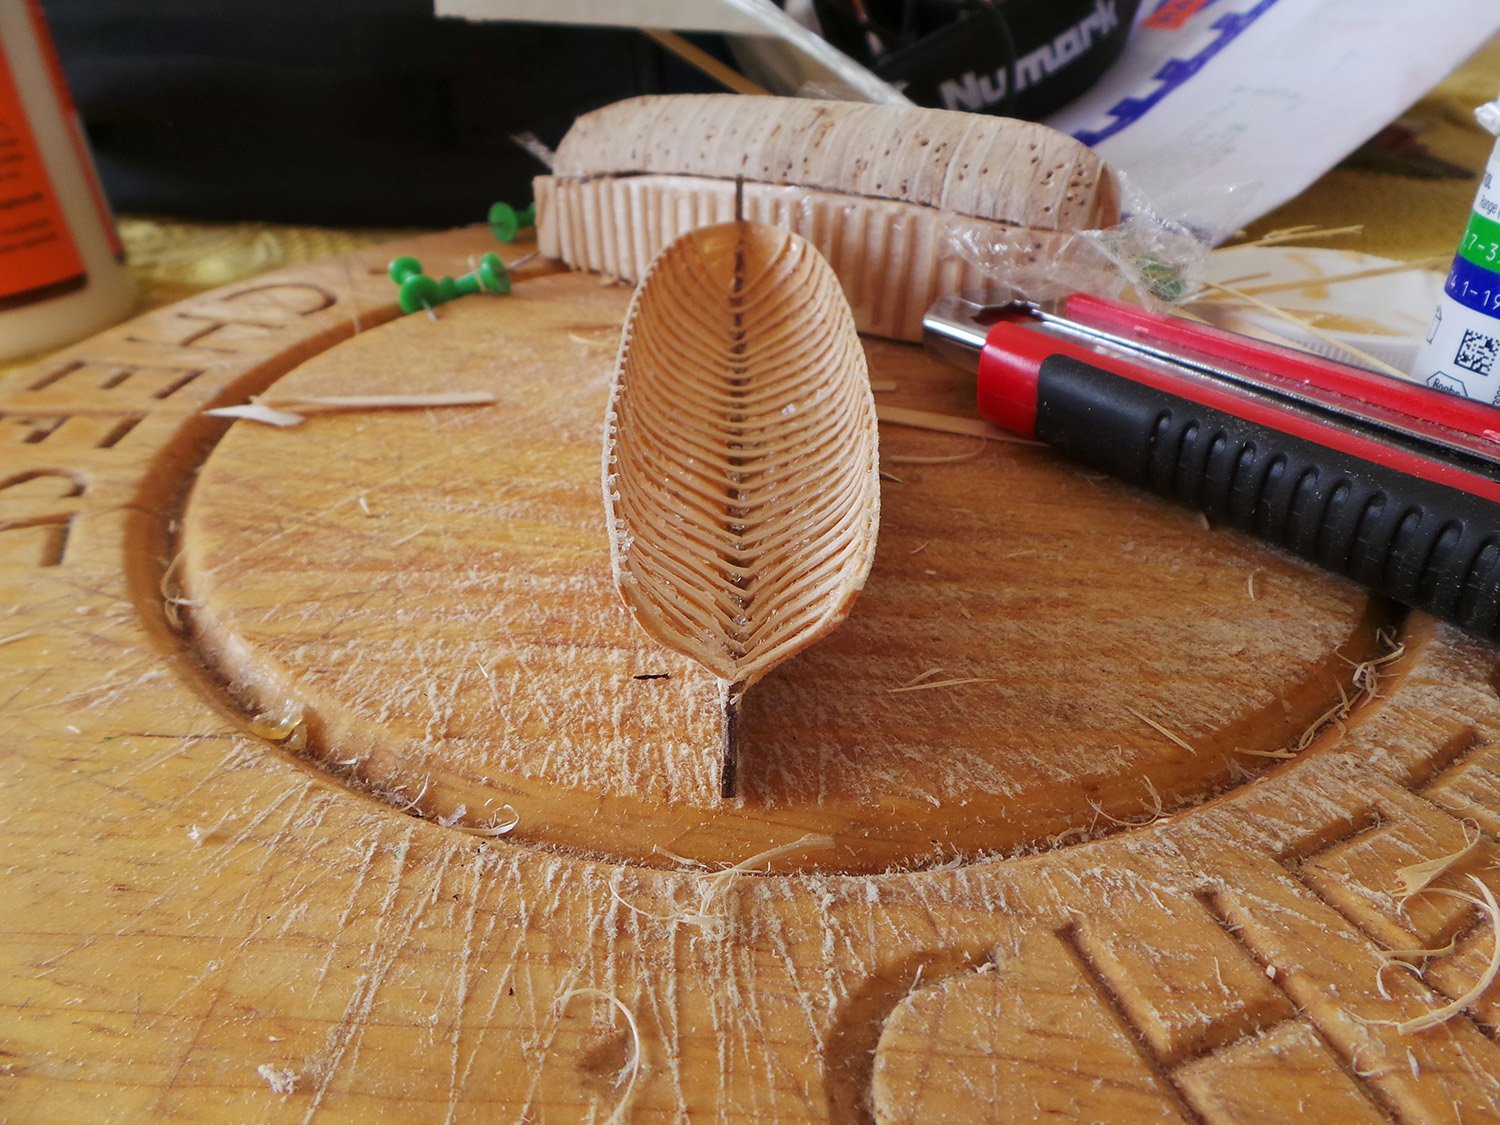
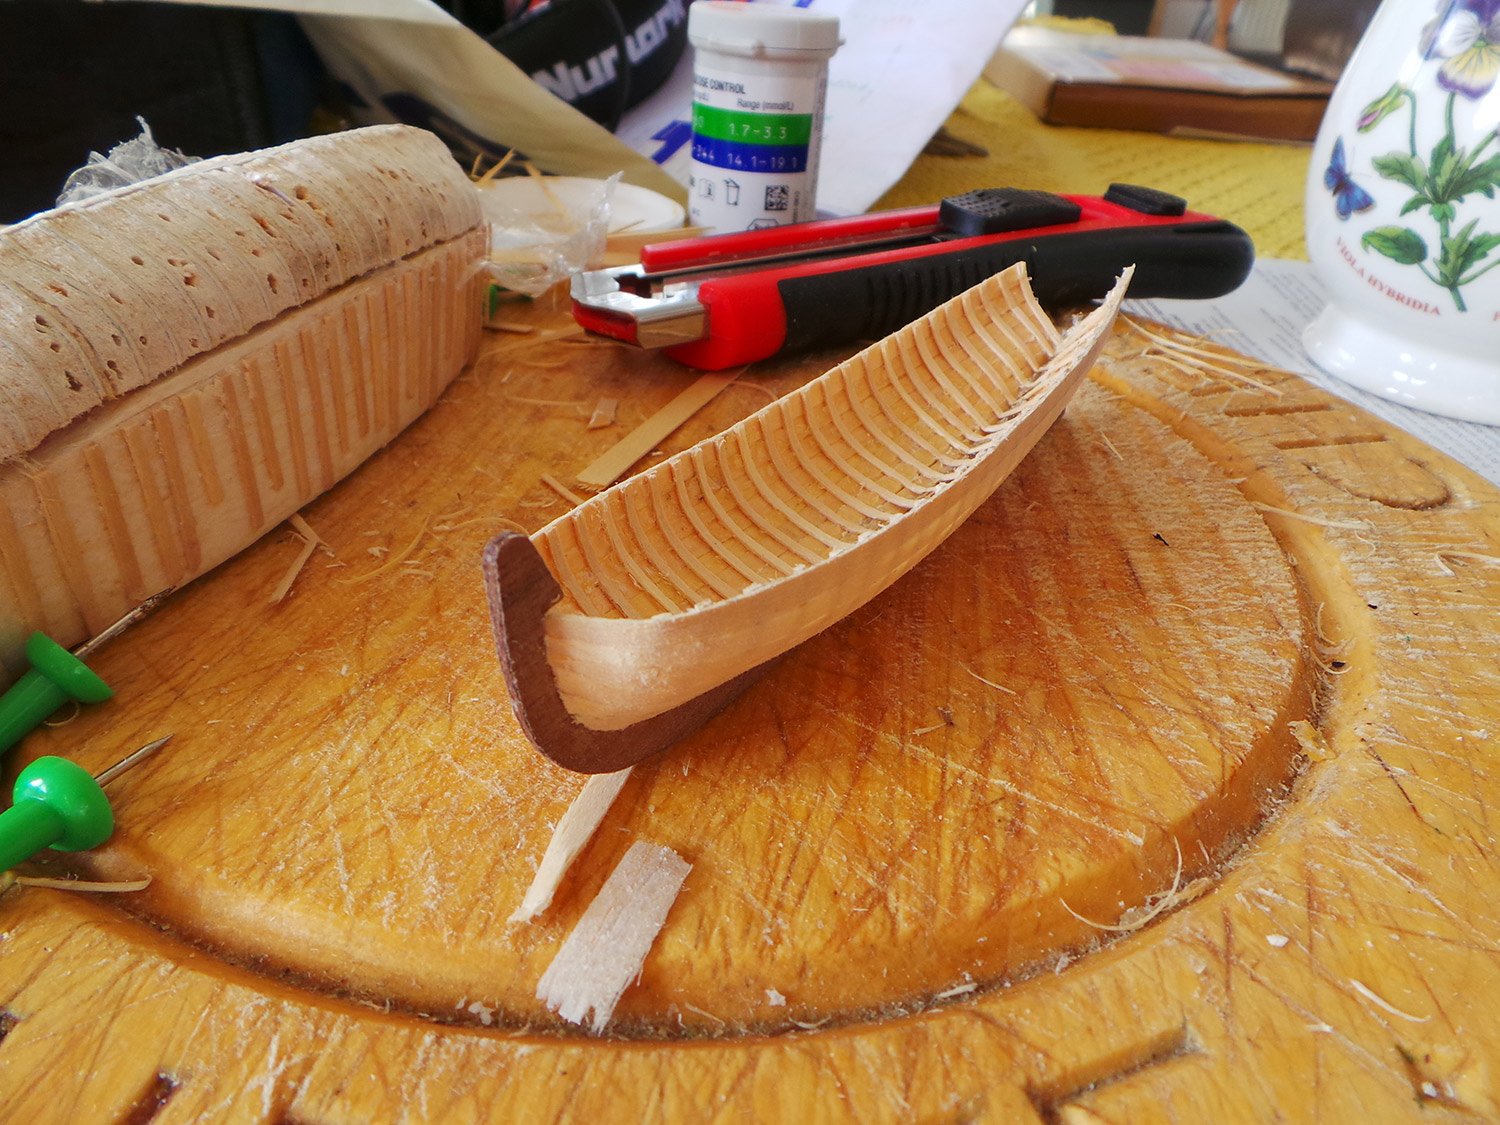
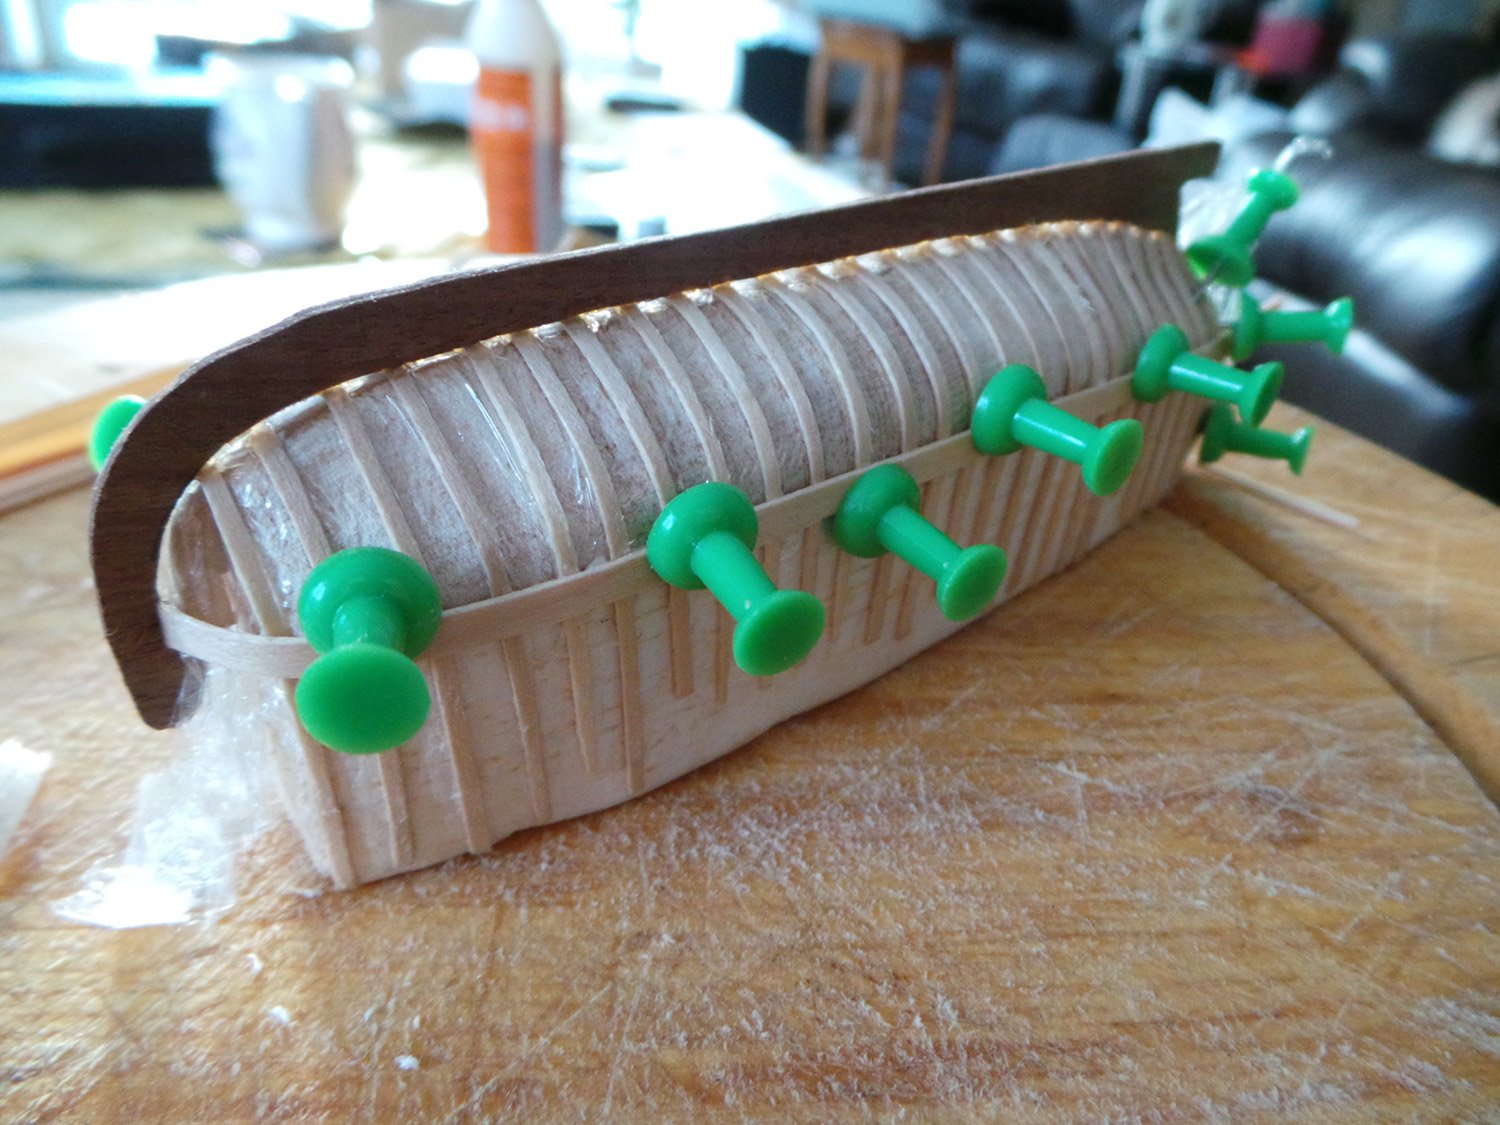
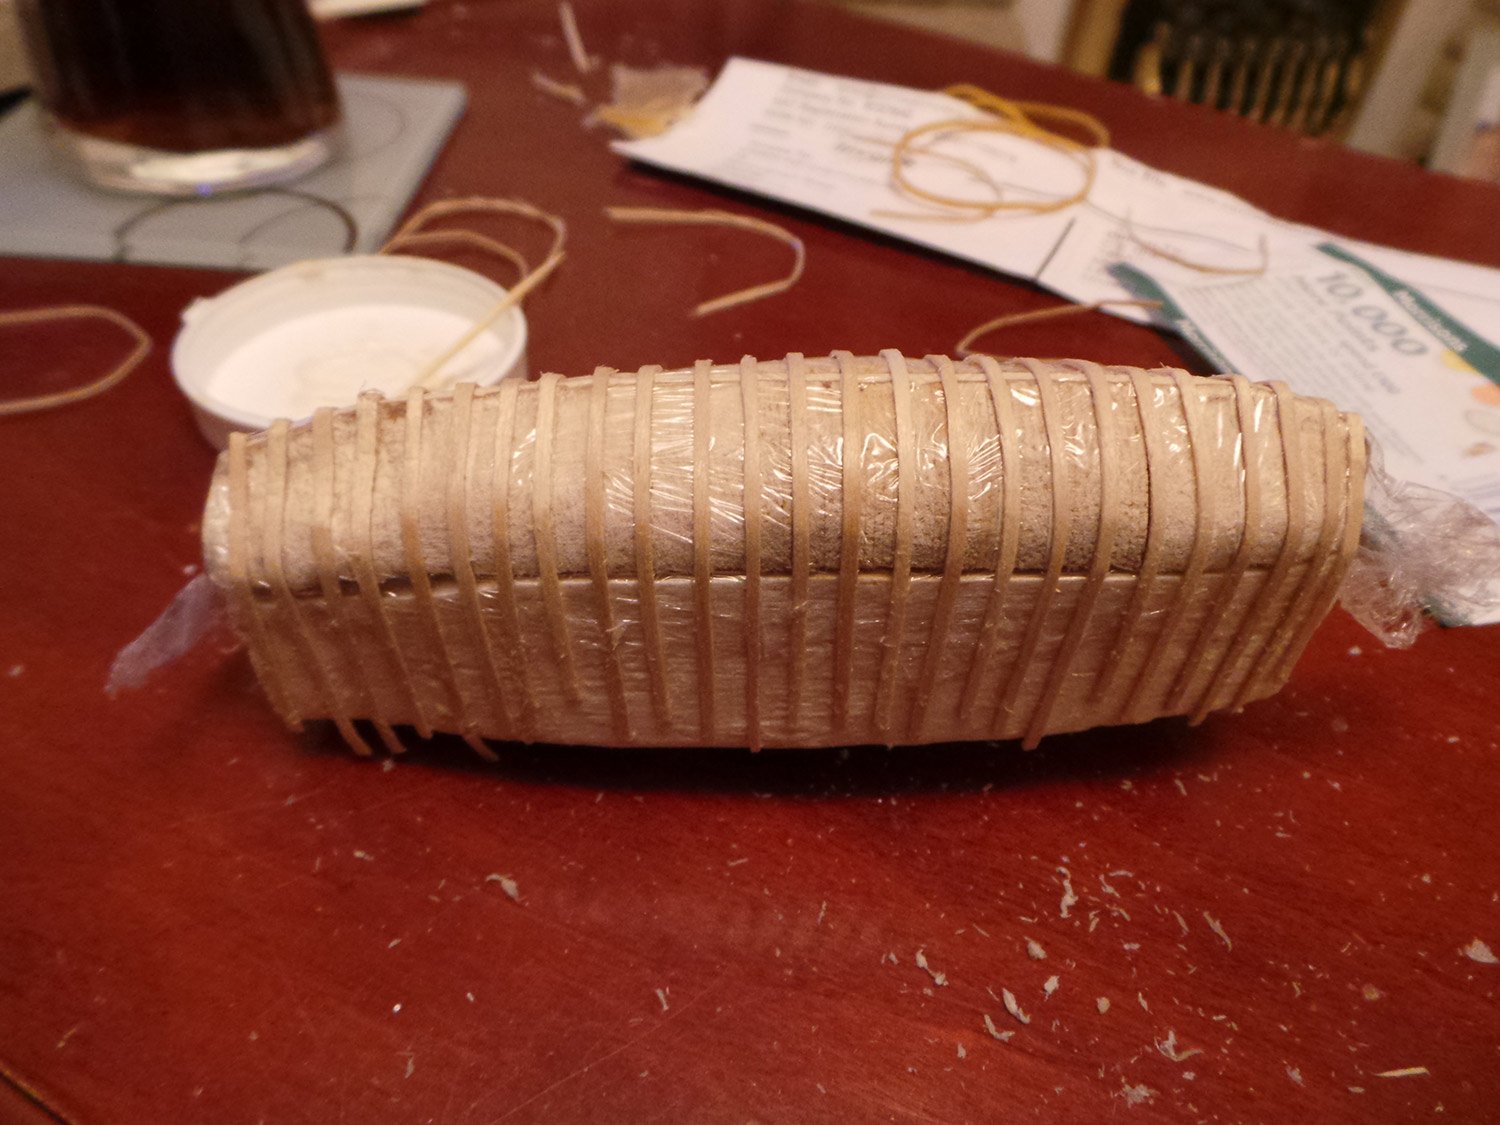
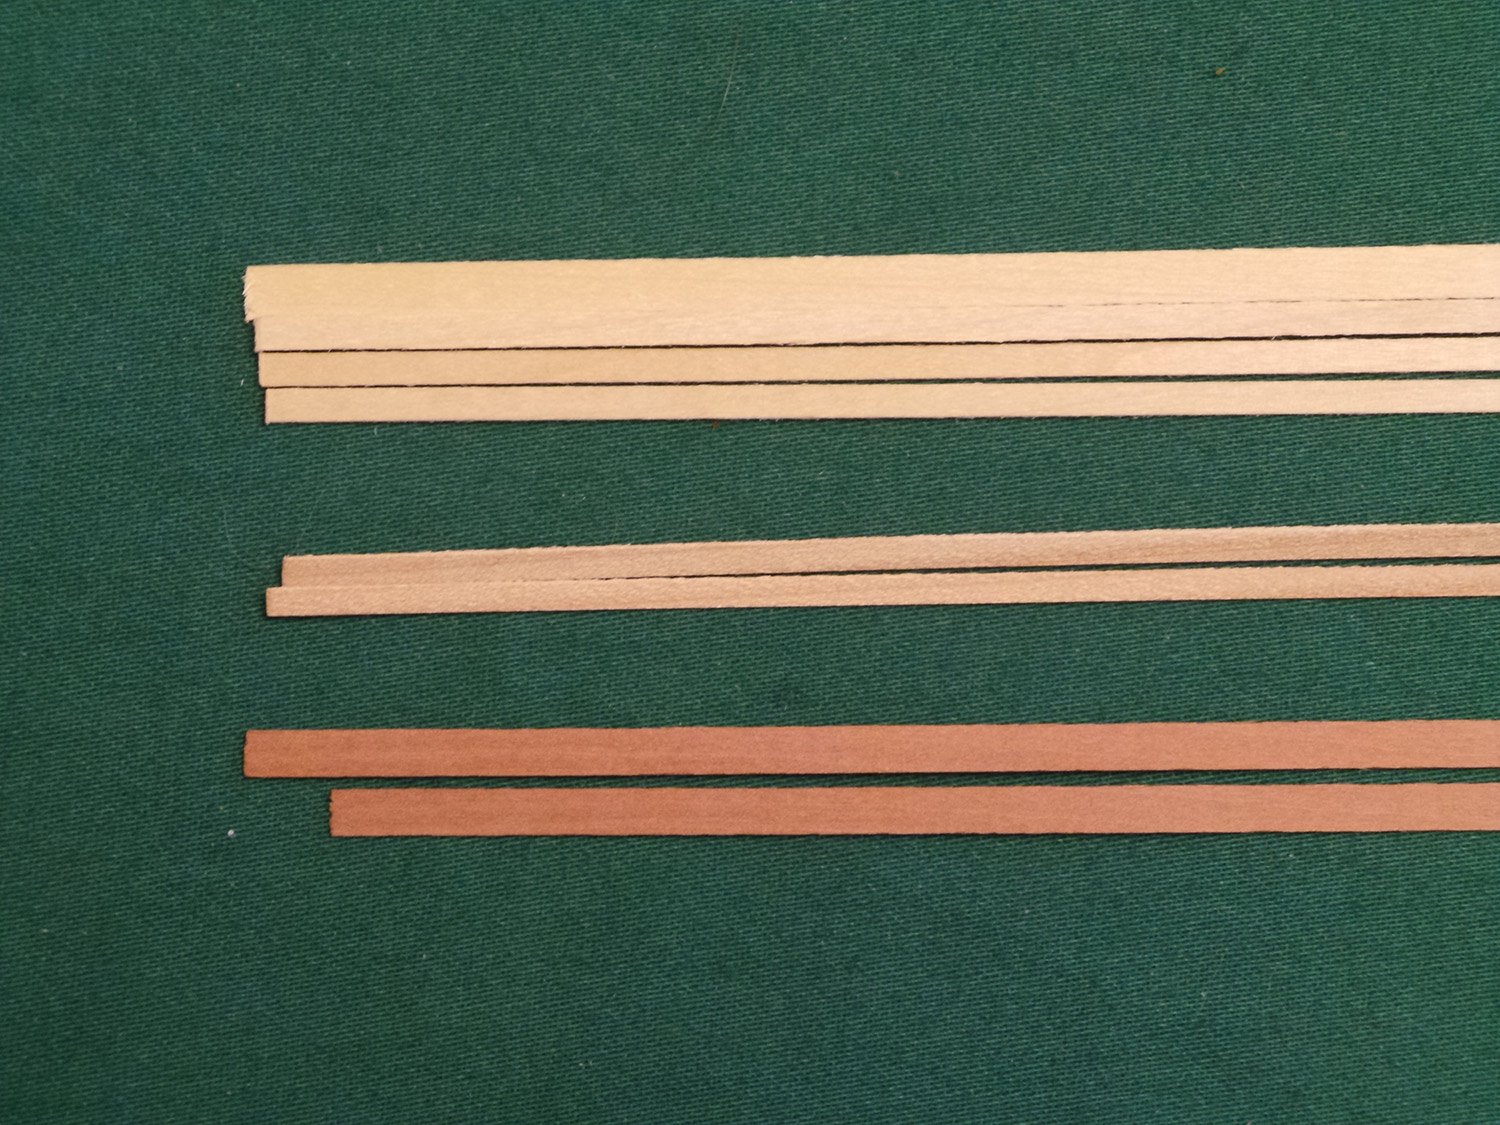
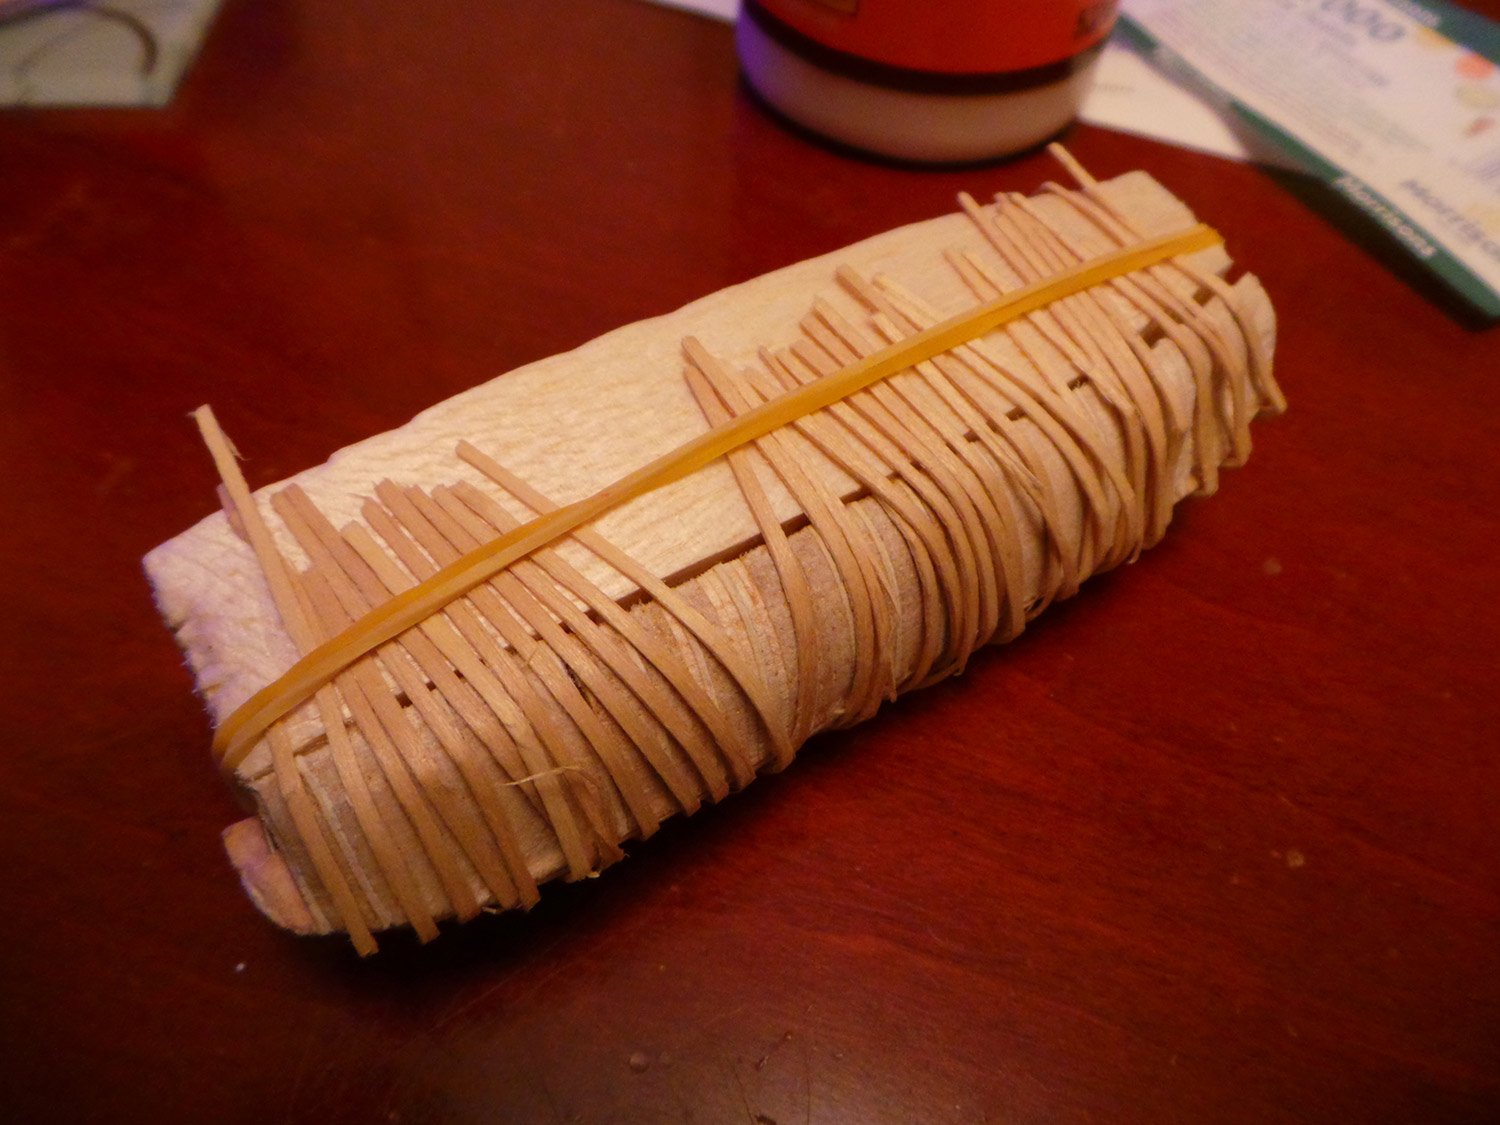
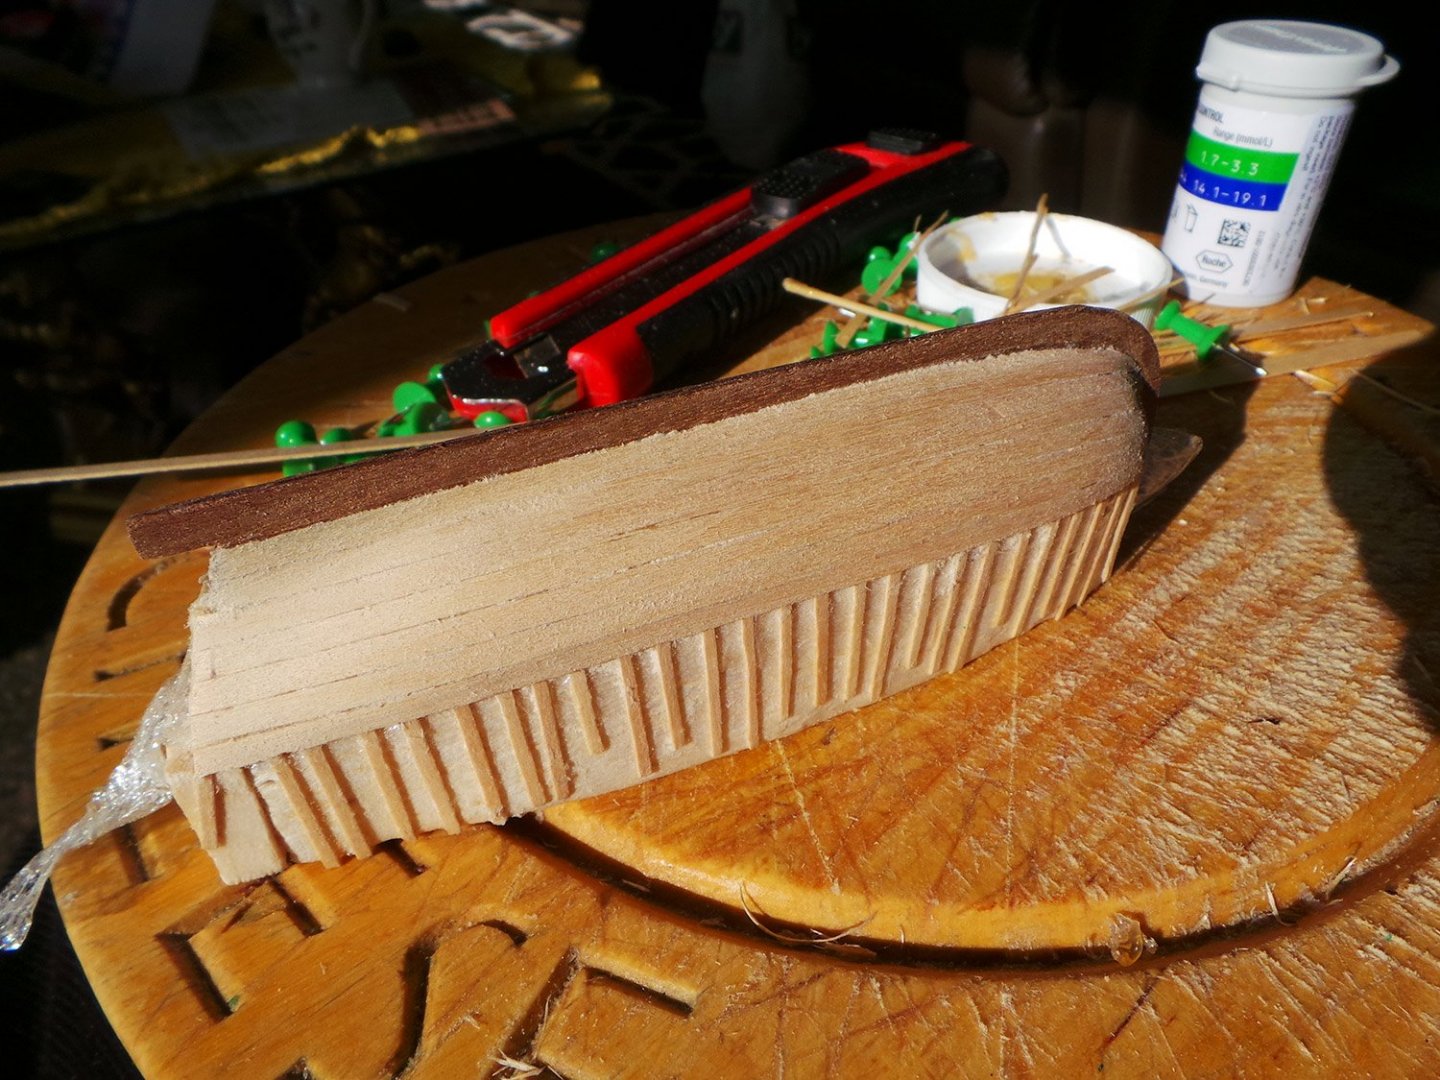
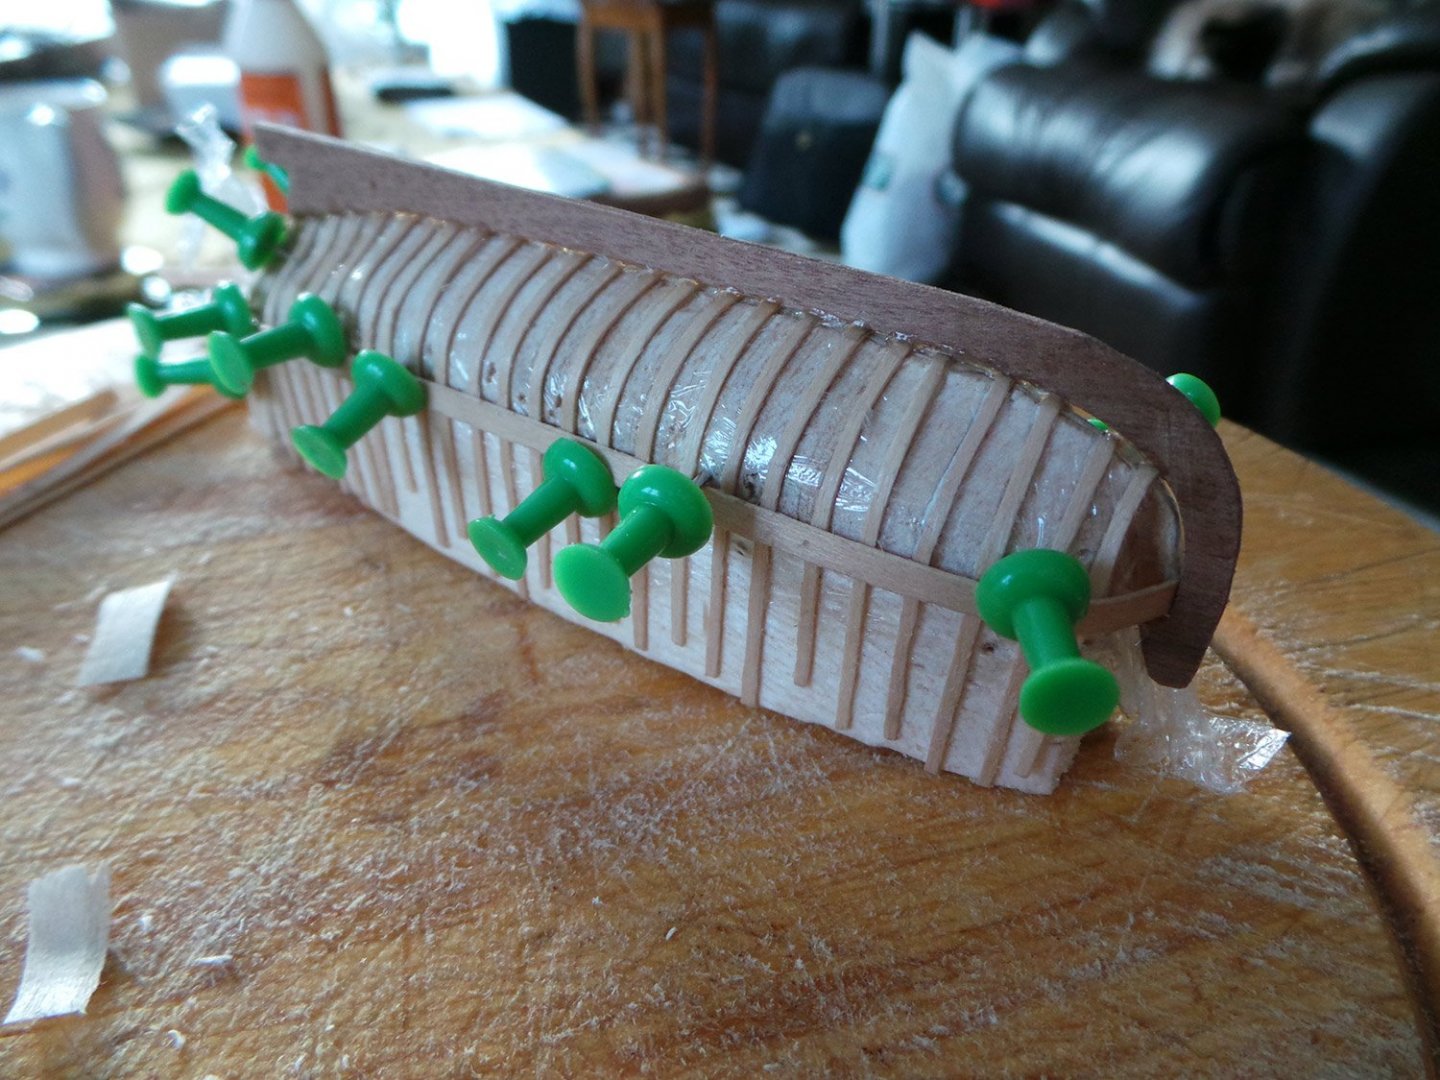
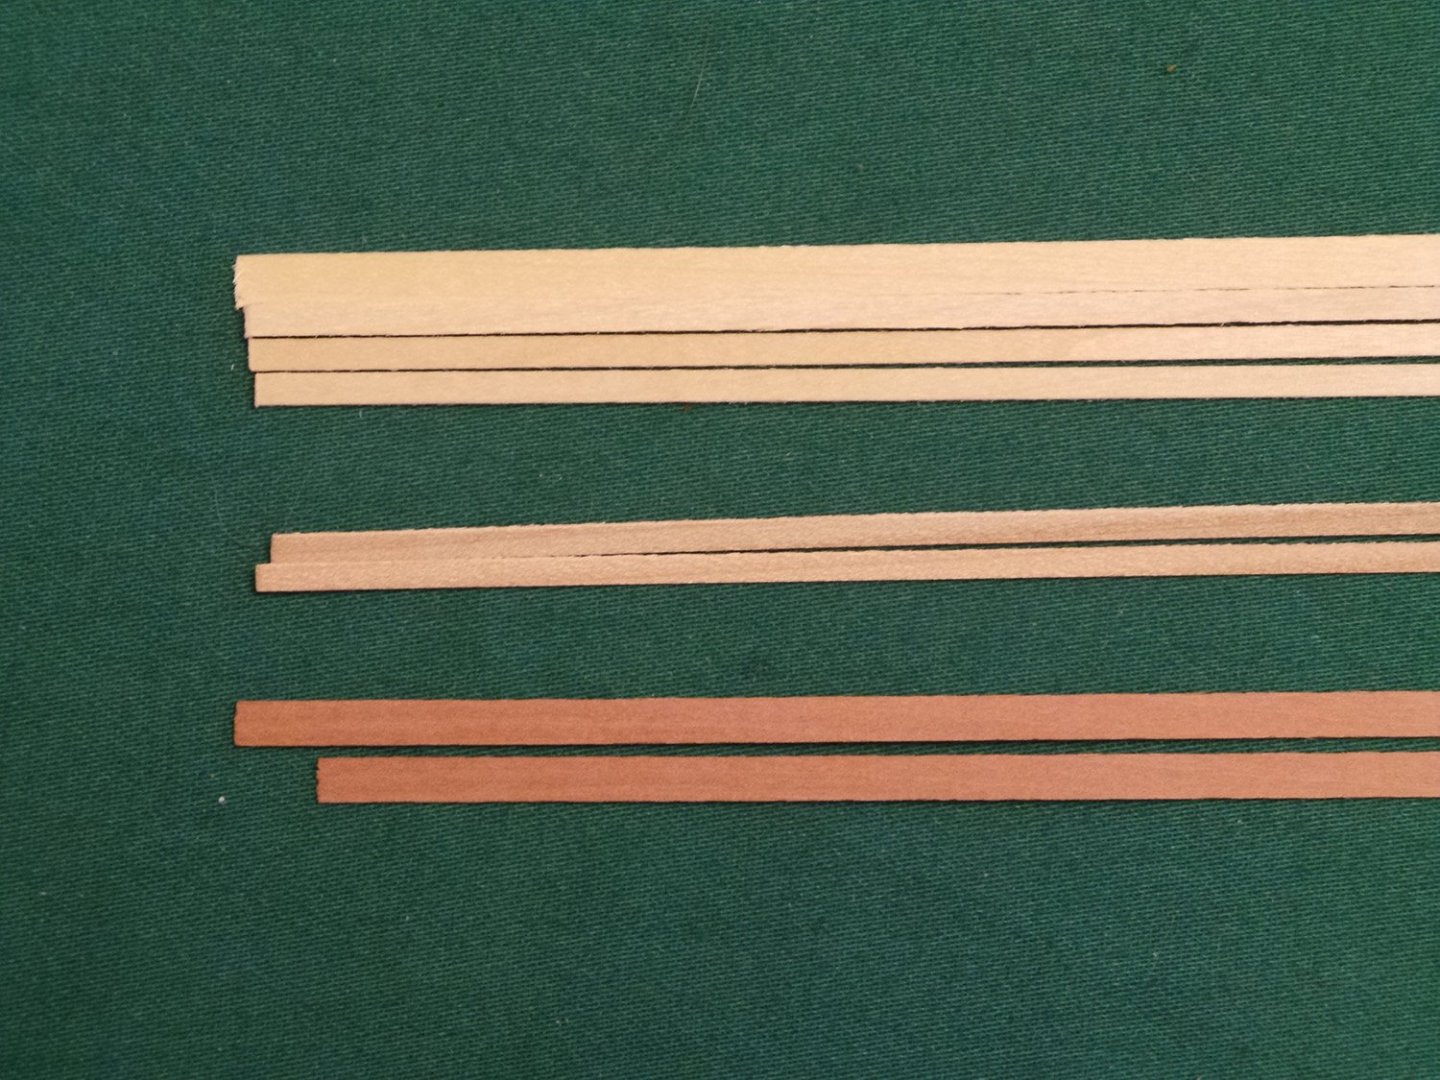
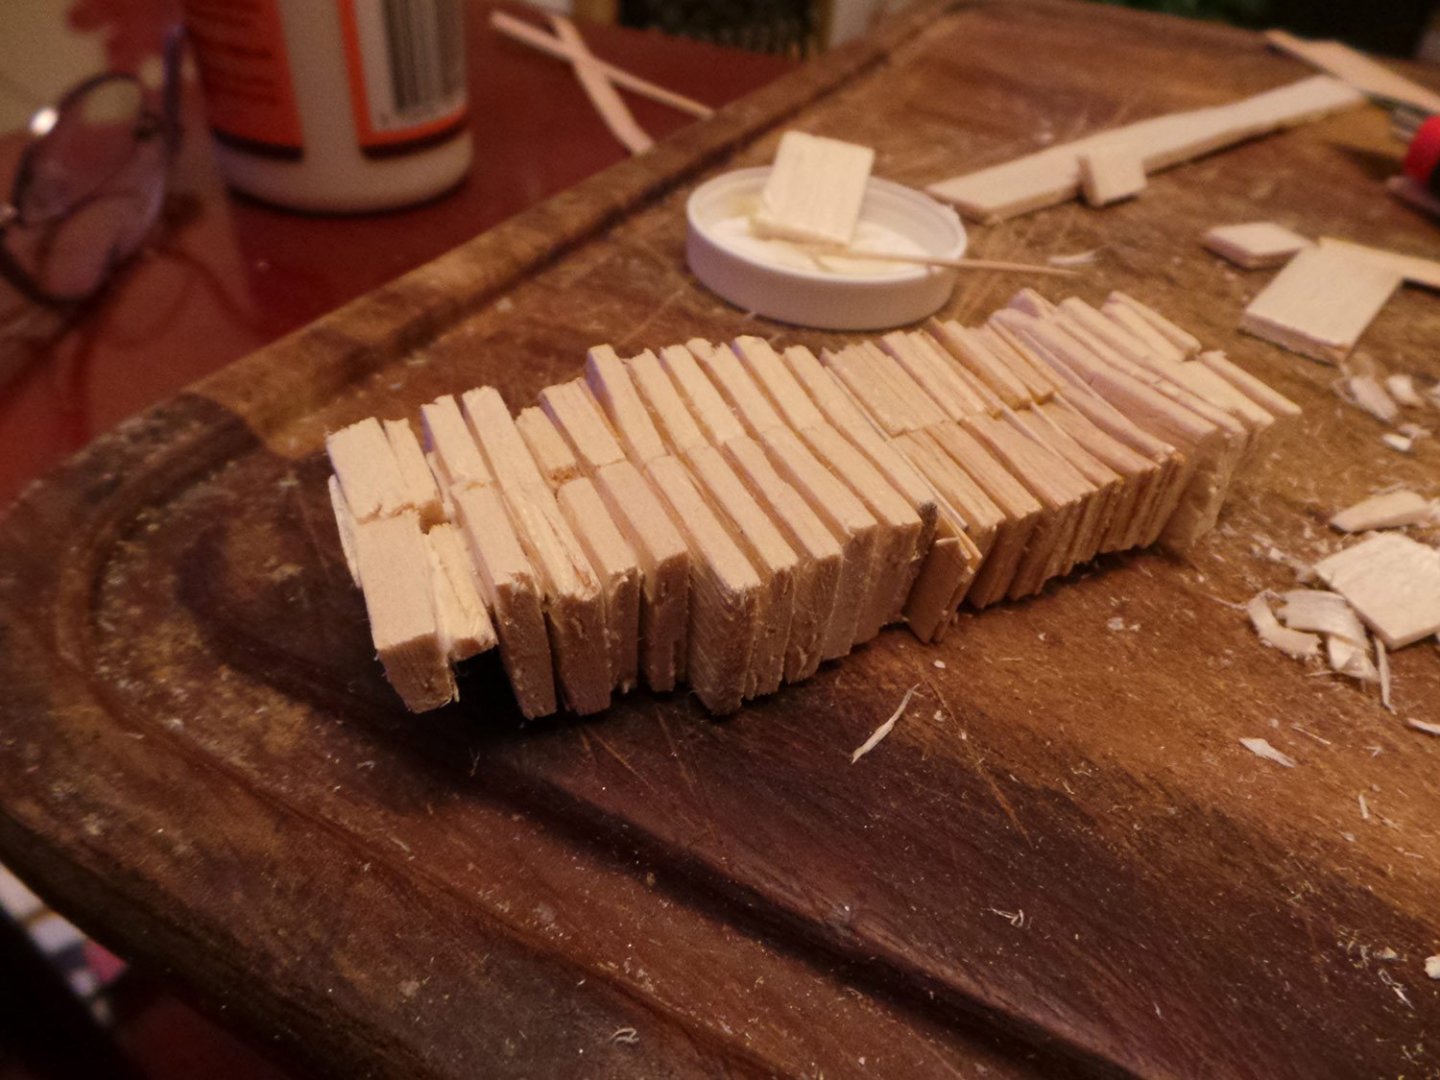
Thanks for looking in John and B.E. My wood strips arrived yesterday. (Well, they actually arrived a couple of days earlier, but whoever took them in forgot to tell me!!). I chose Maple, Pear, and Cherry. Maple is top, Pear is middle and Cherry bottom. I cut a 3mm strip of Maple in half down the length and then cut it into strips for the 'ribs'. After boiling them in a saucepan to make them pliable, I bent them over the plug and held the ends down with rubber bands and left overnight for them to dry and set into shape. I also used some clothes pegs held down with rubber bands (not shown) at the stern to get the reverse curve shape. This is the result after completely dry and with the pegs removed Next I put a piece of cling film over the top part of the plug to stop anything sticking to it, leaving the bottom part free of cling film to stick the long ends of the ribs to to hold them in position while it is planked. I then left it to set overnight. Next day I made a cardboard template of the keel, getting a good fit before cutting a keel out of a some walnut from the parts sheet of Pegasus (actually the edge of cannon carriages sheet where it was just big enough!) Now keel is glued into place So, this is where I am at now. Next step: the hull planking.


- 161 replies
-
- 8
-
-
- pegasus
- victory models
- (and 1 more)
-
I made my sails from a very old bedsheet. The older and thinner the better! I show how I furled my sail starting from this post on my log (Click on the small arrow in the grey bar to go to the actual post) To show the sail furled, I added the martnets (not in my kit plans) which helped to draw the sides of the sail to the yard. I also explain how these were made and attached in a post a bit further down the page. Hope this helps Caroline
-
Nice progress. I really enjoyed the rigging on my San Fran. Are you going to modify any of it like I did, or just keep with the instruction? Your transportation in the car was a brilliant idea!
-
Thanks Druxey, I will bookmark that site.
-
It's nice to be able to see the lines of the ship appearing, she is certainly starting to turn into a Swan! The decking looks good. I used an oil based Ronseal clear satin varnish. I like the satin as it gives just a nice sheen, without being too shiny. As Spyglass says, the water based versions can react with the ink on the planks, so if you can find oil based, that would be better.
-
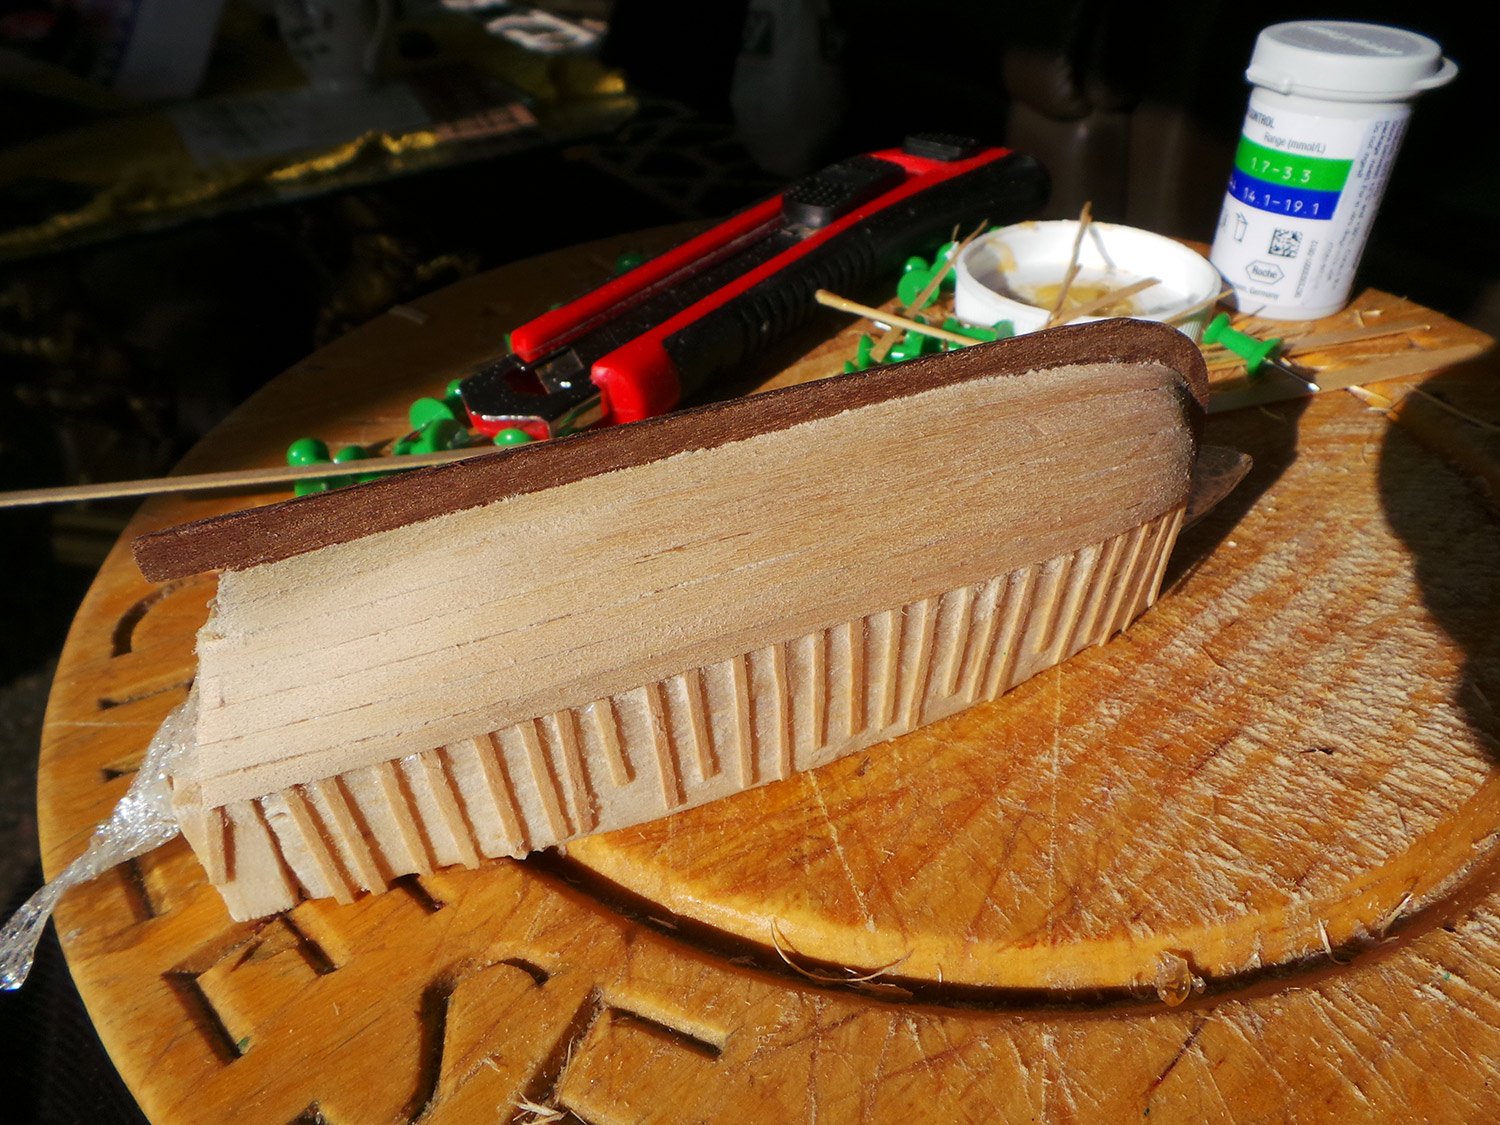
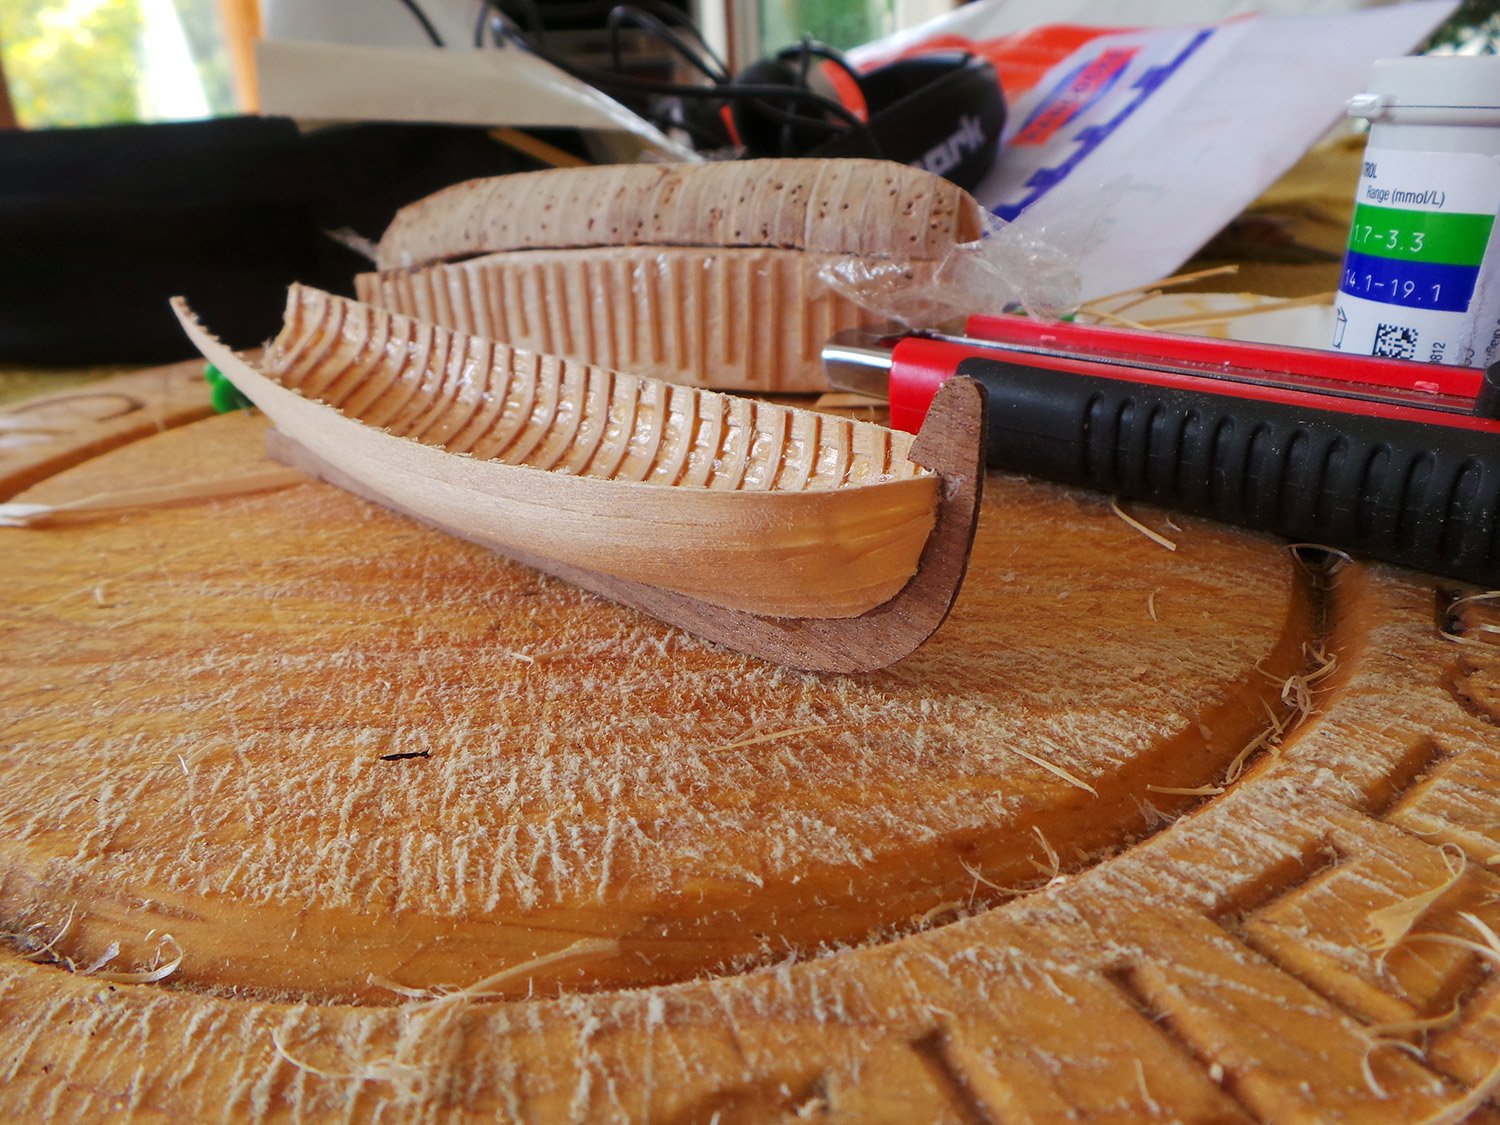
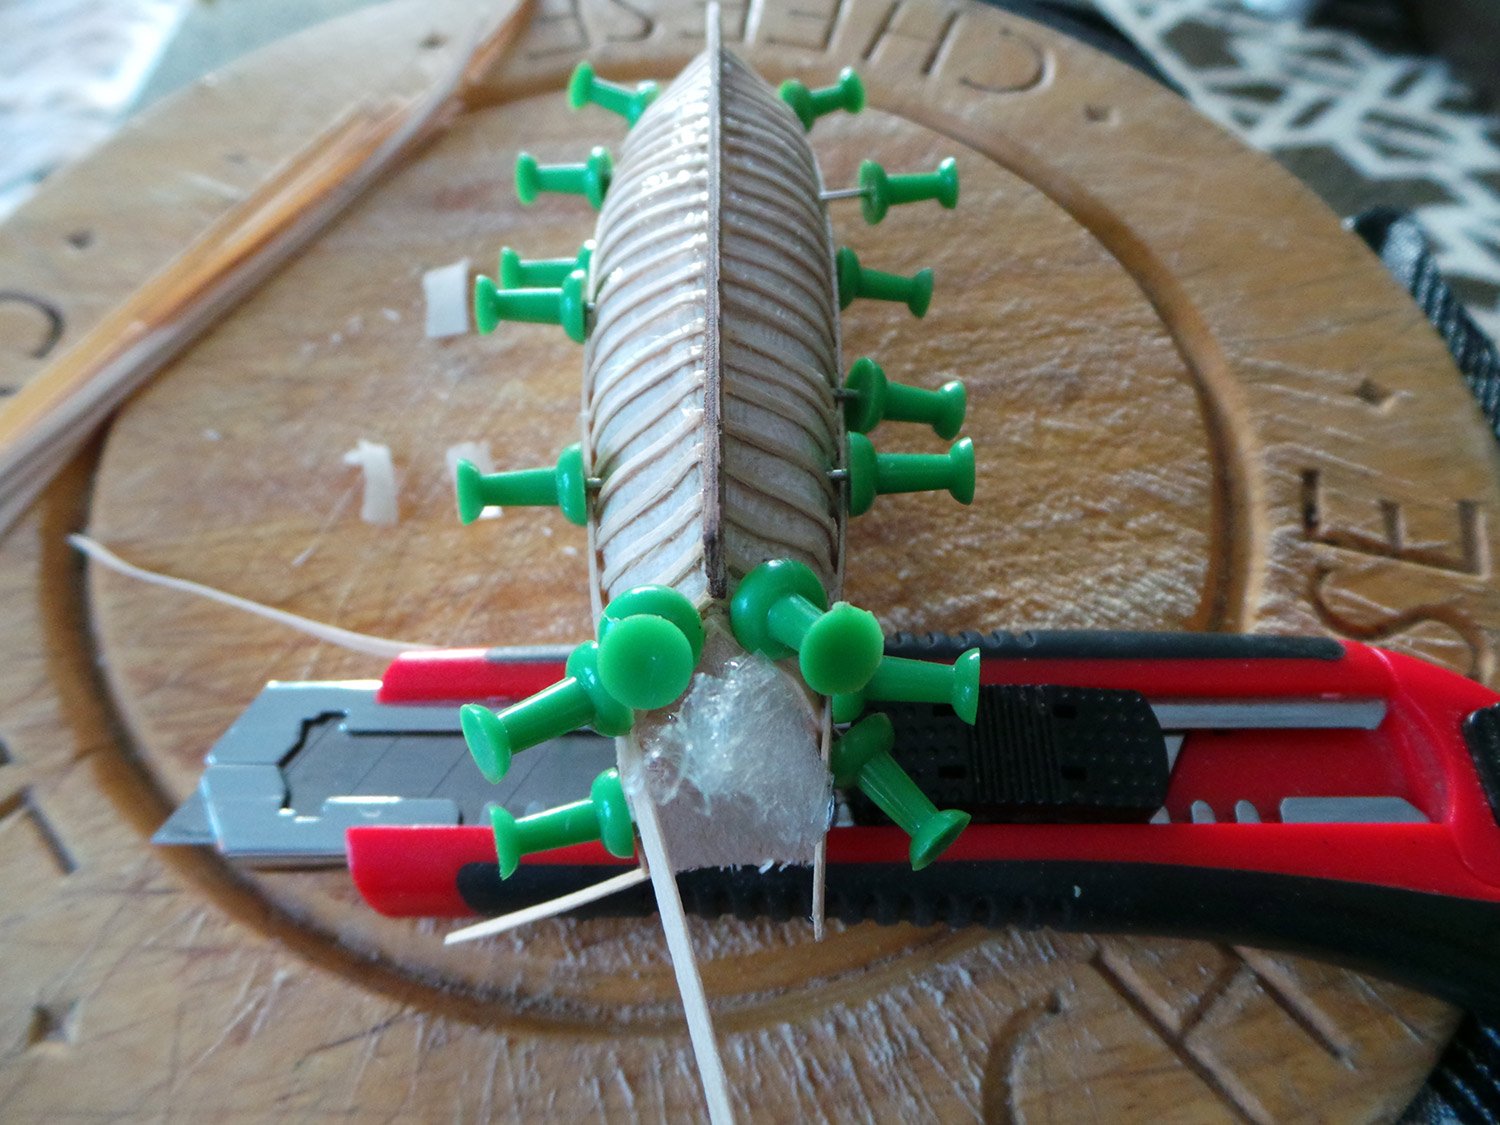
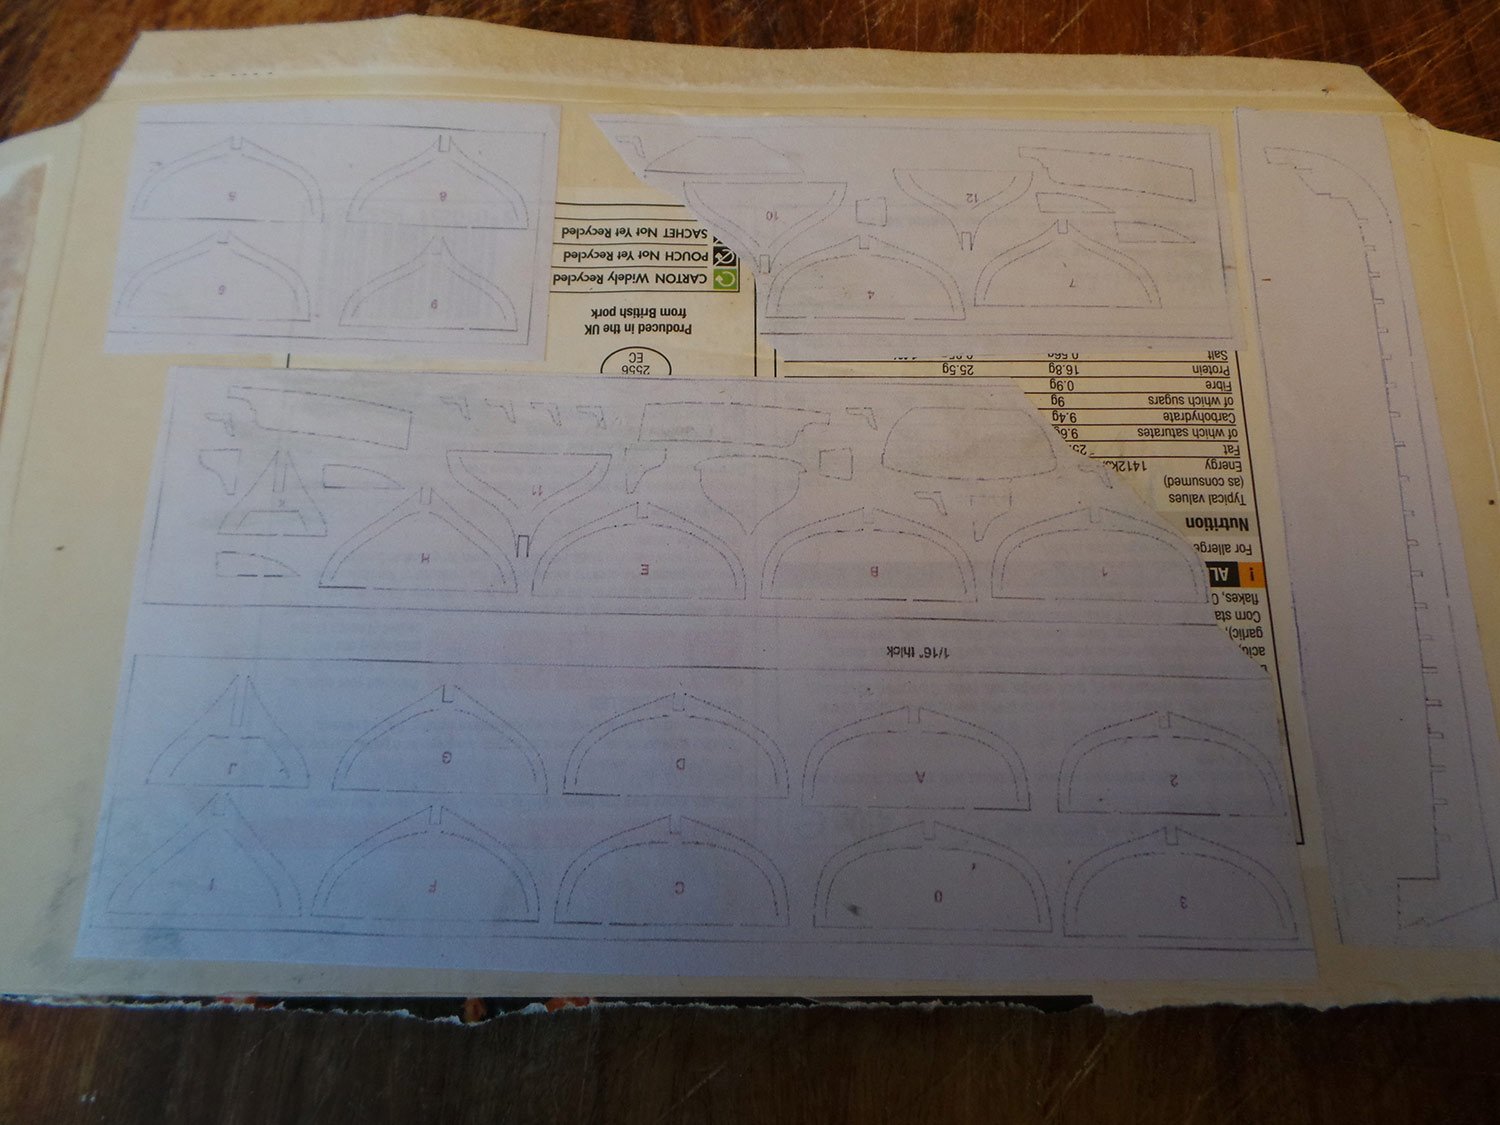
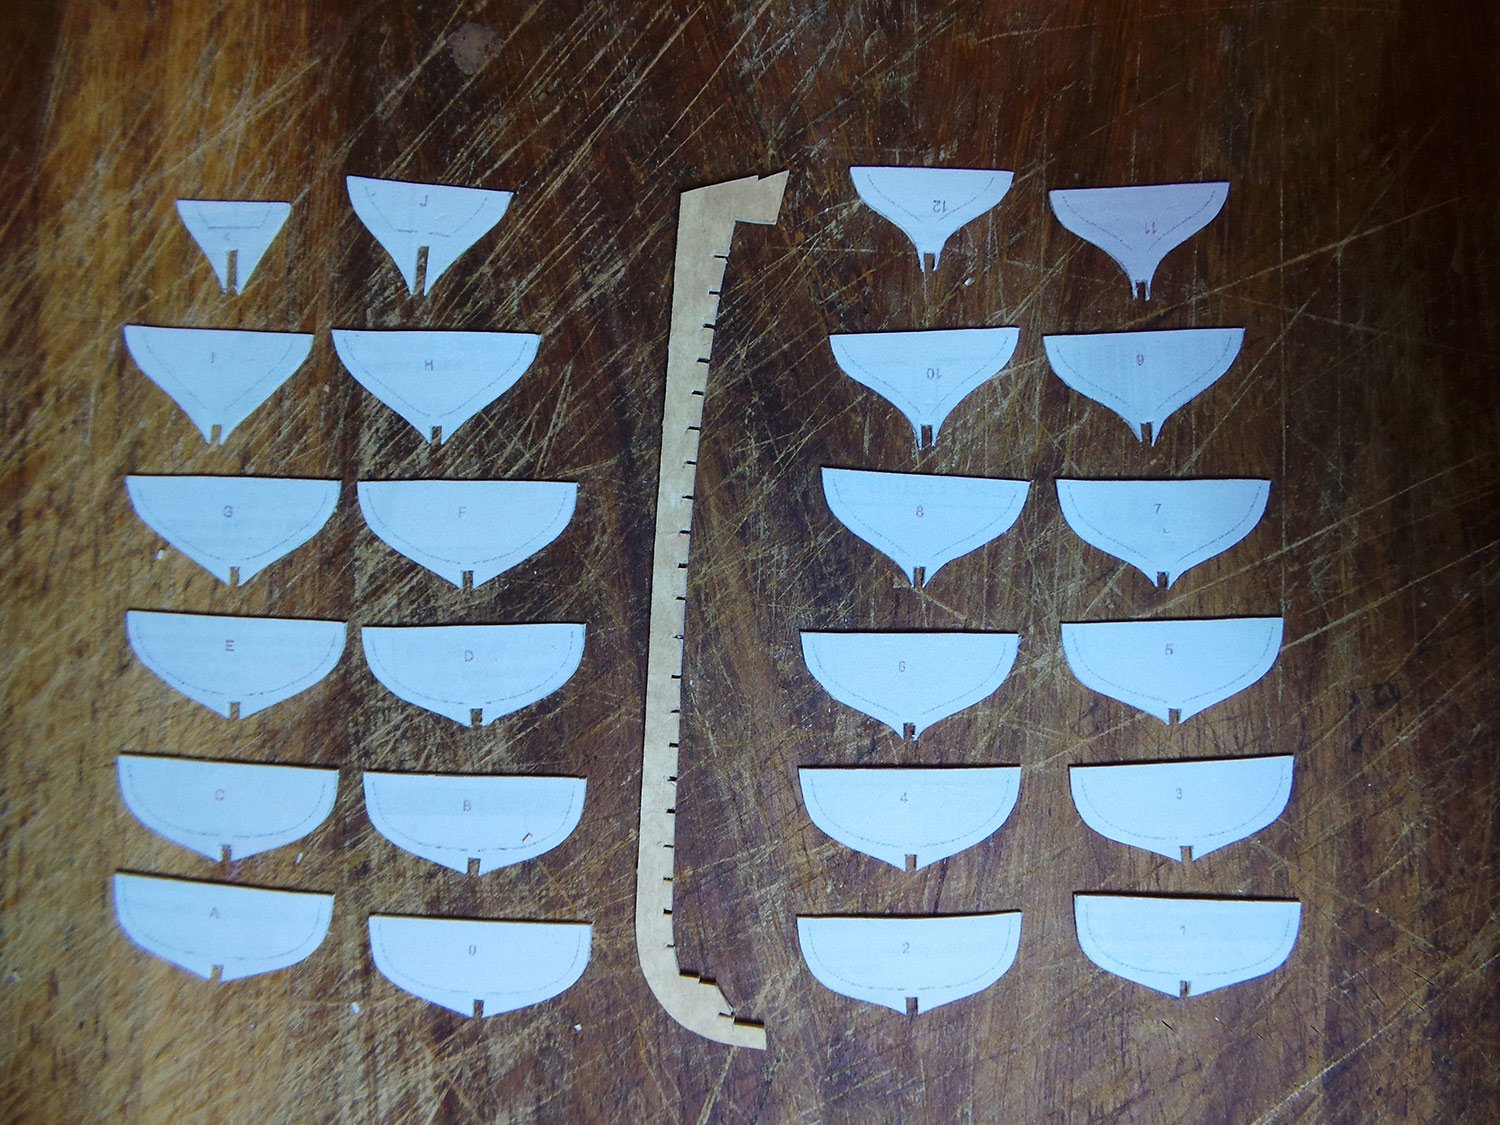
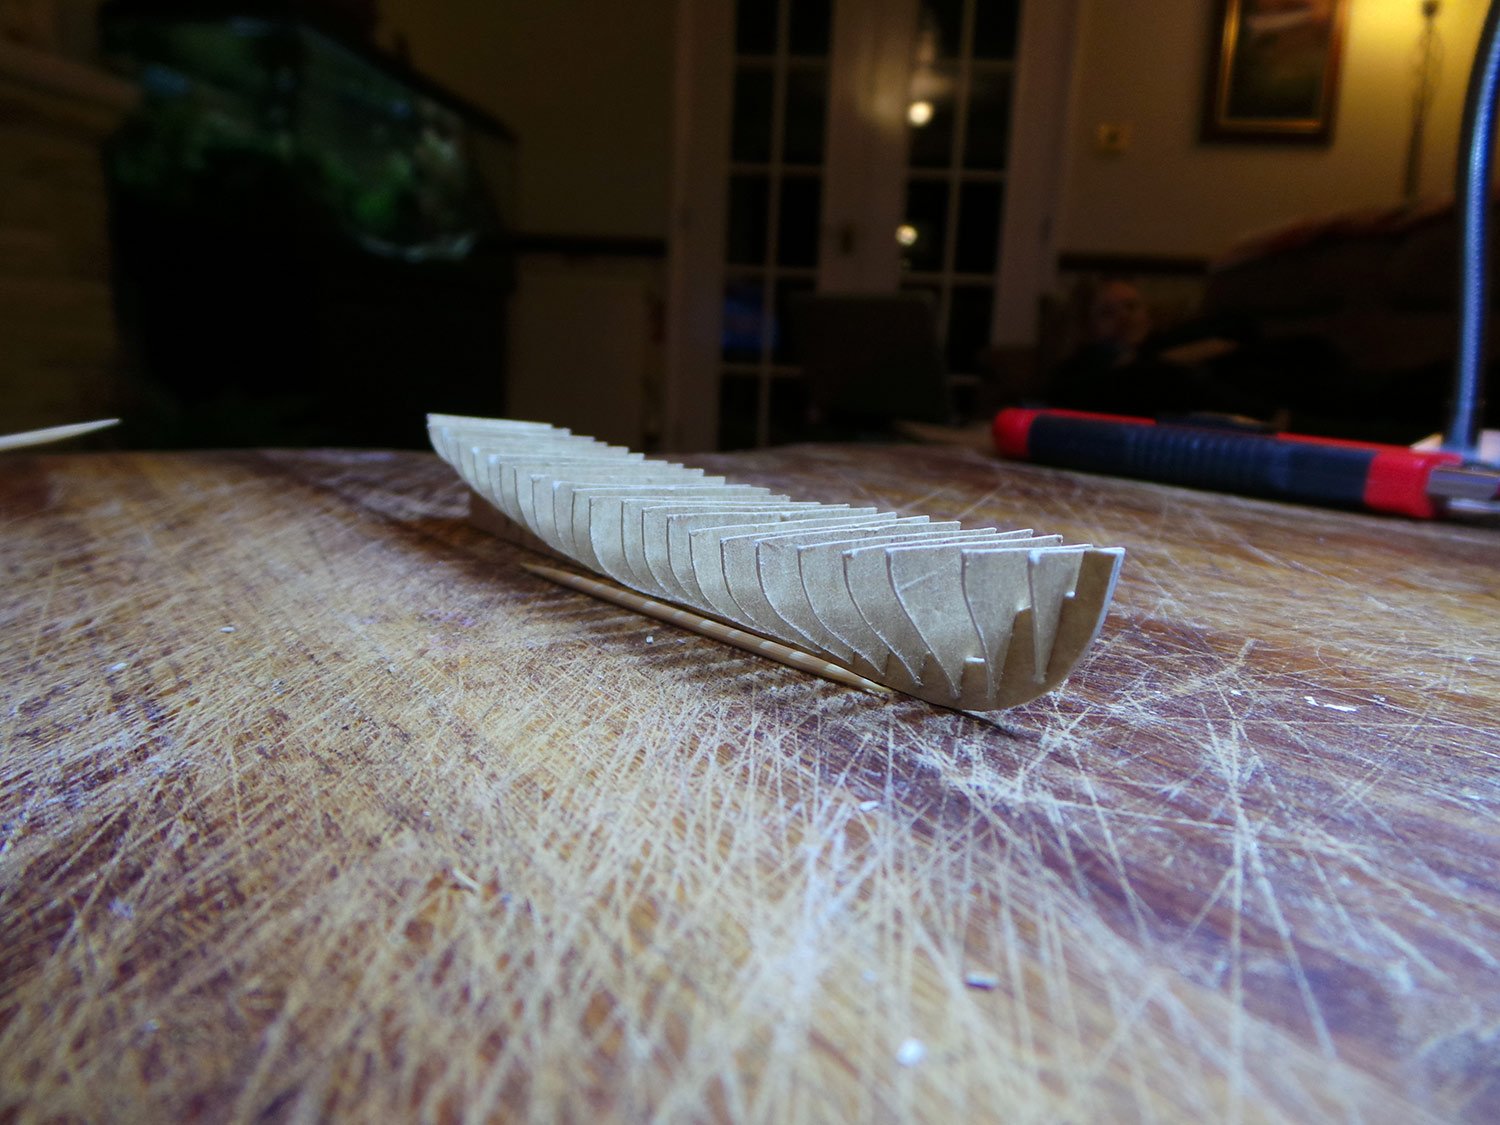
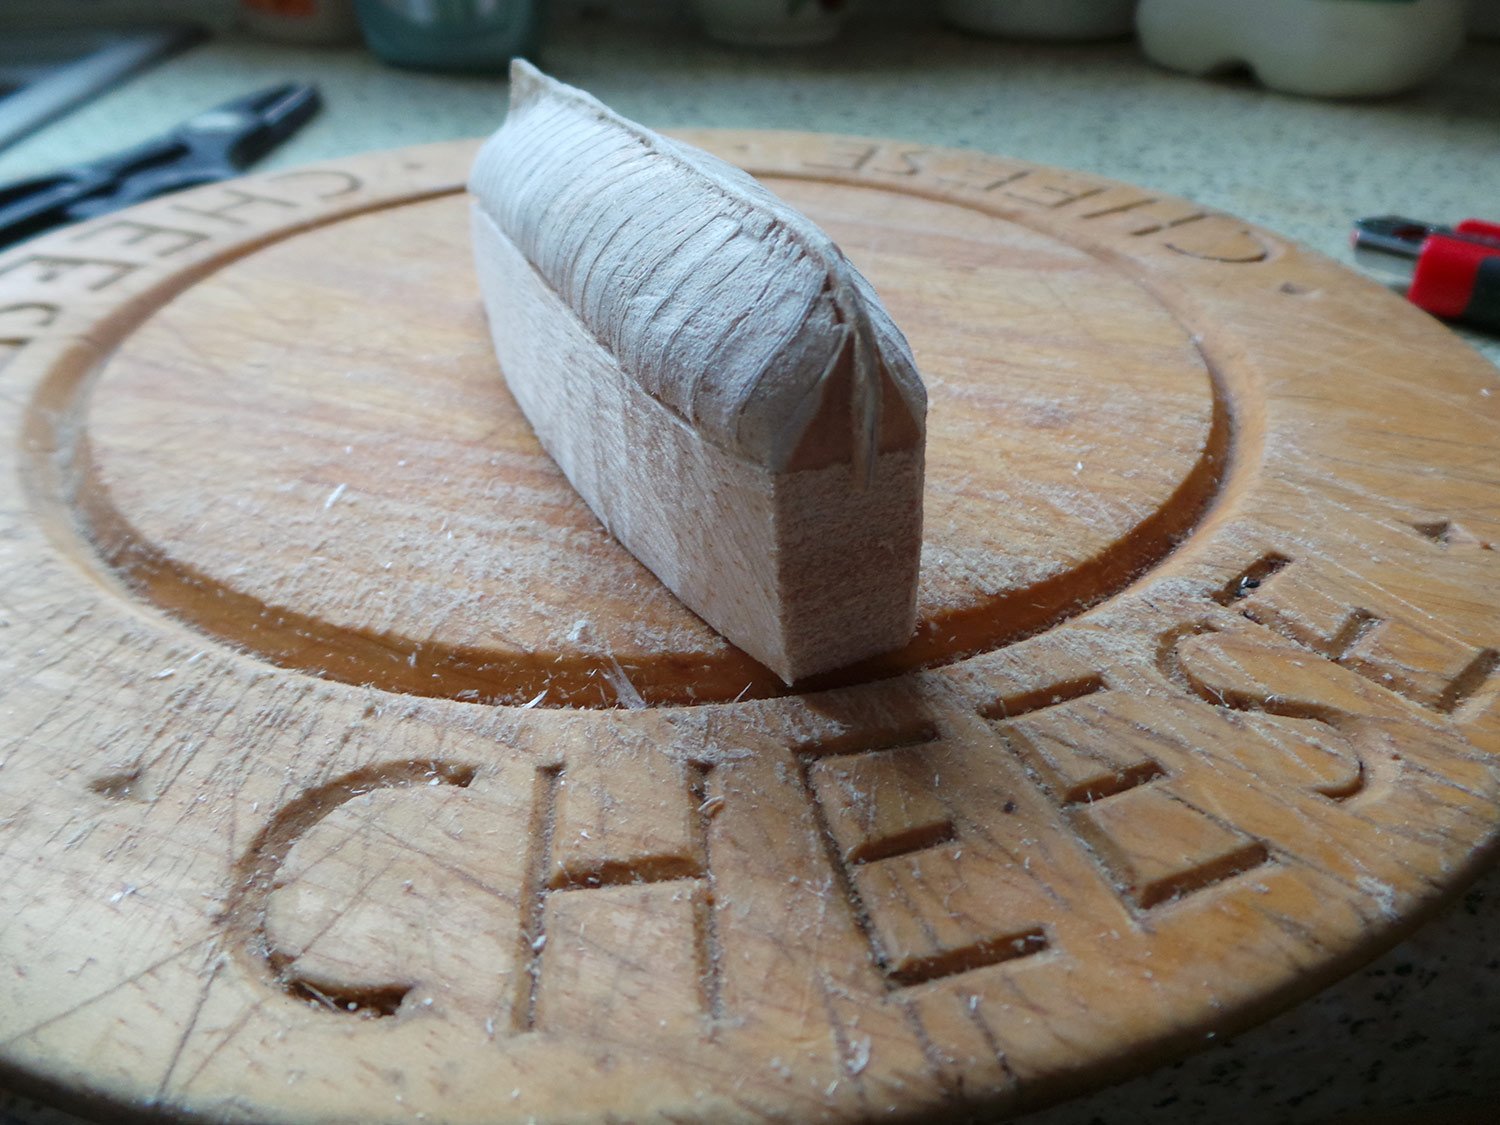
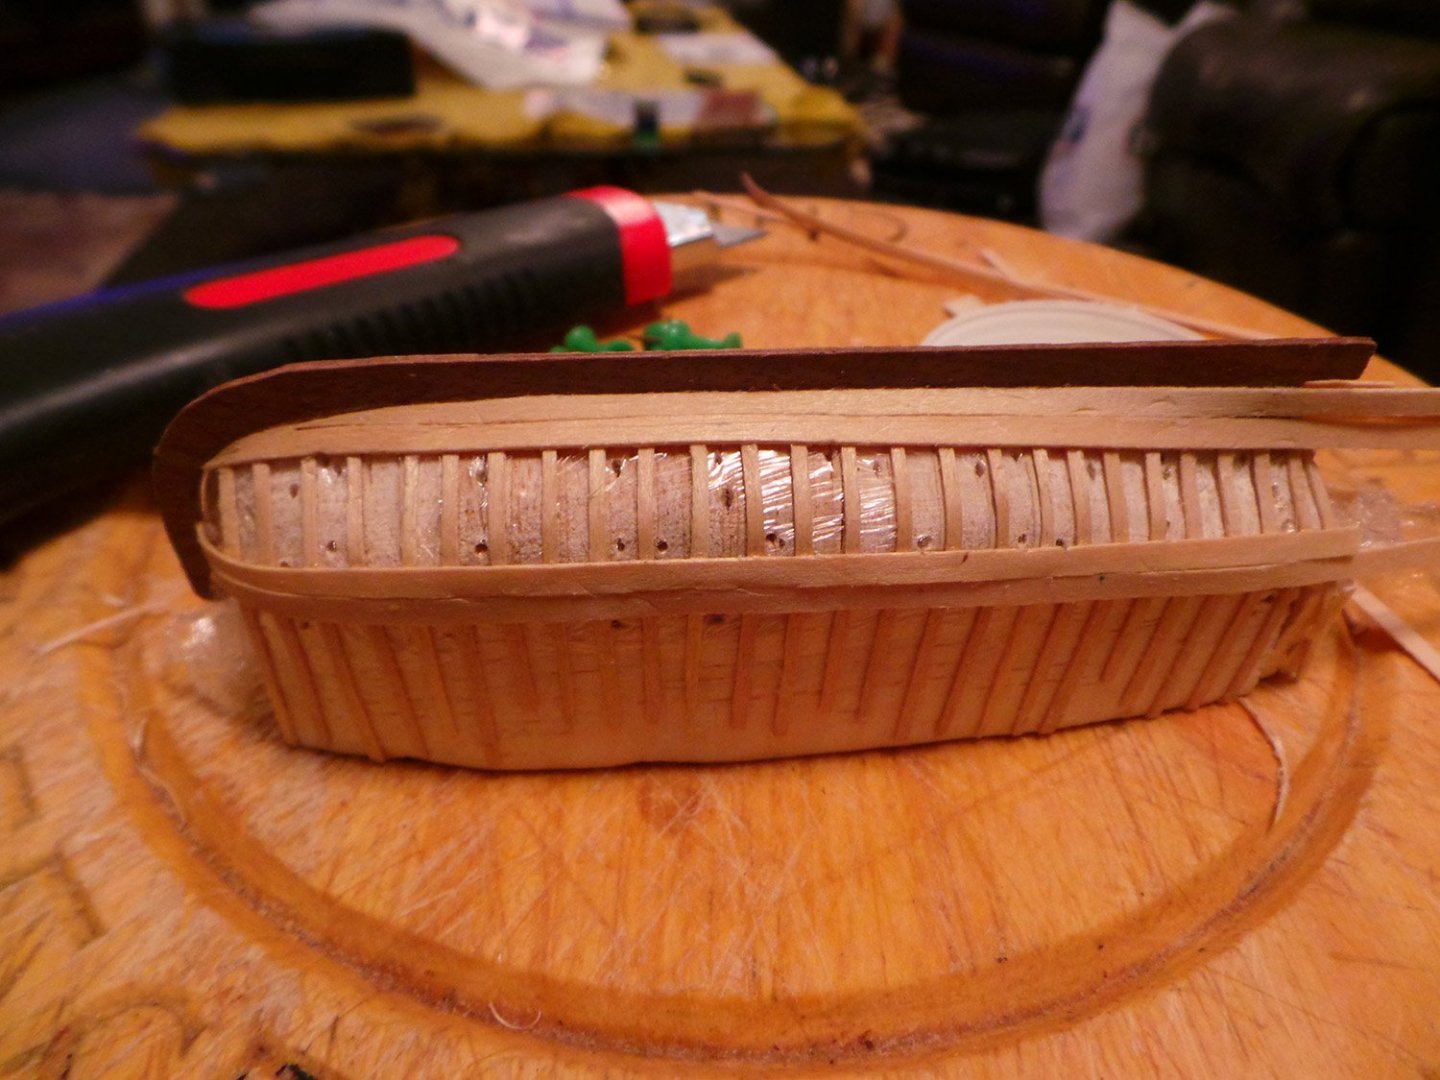
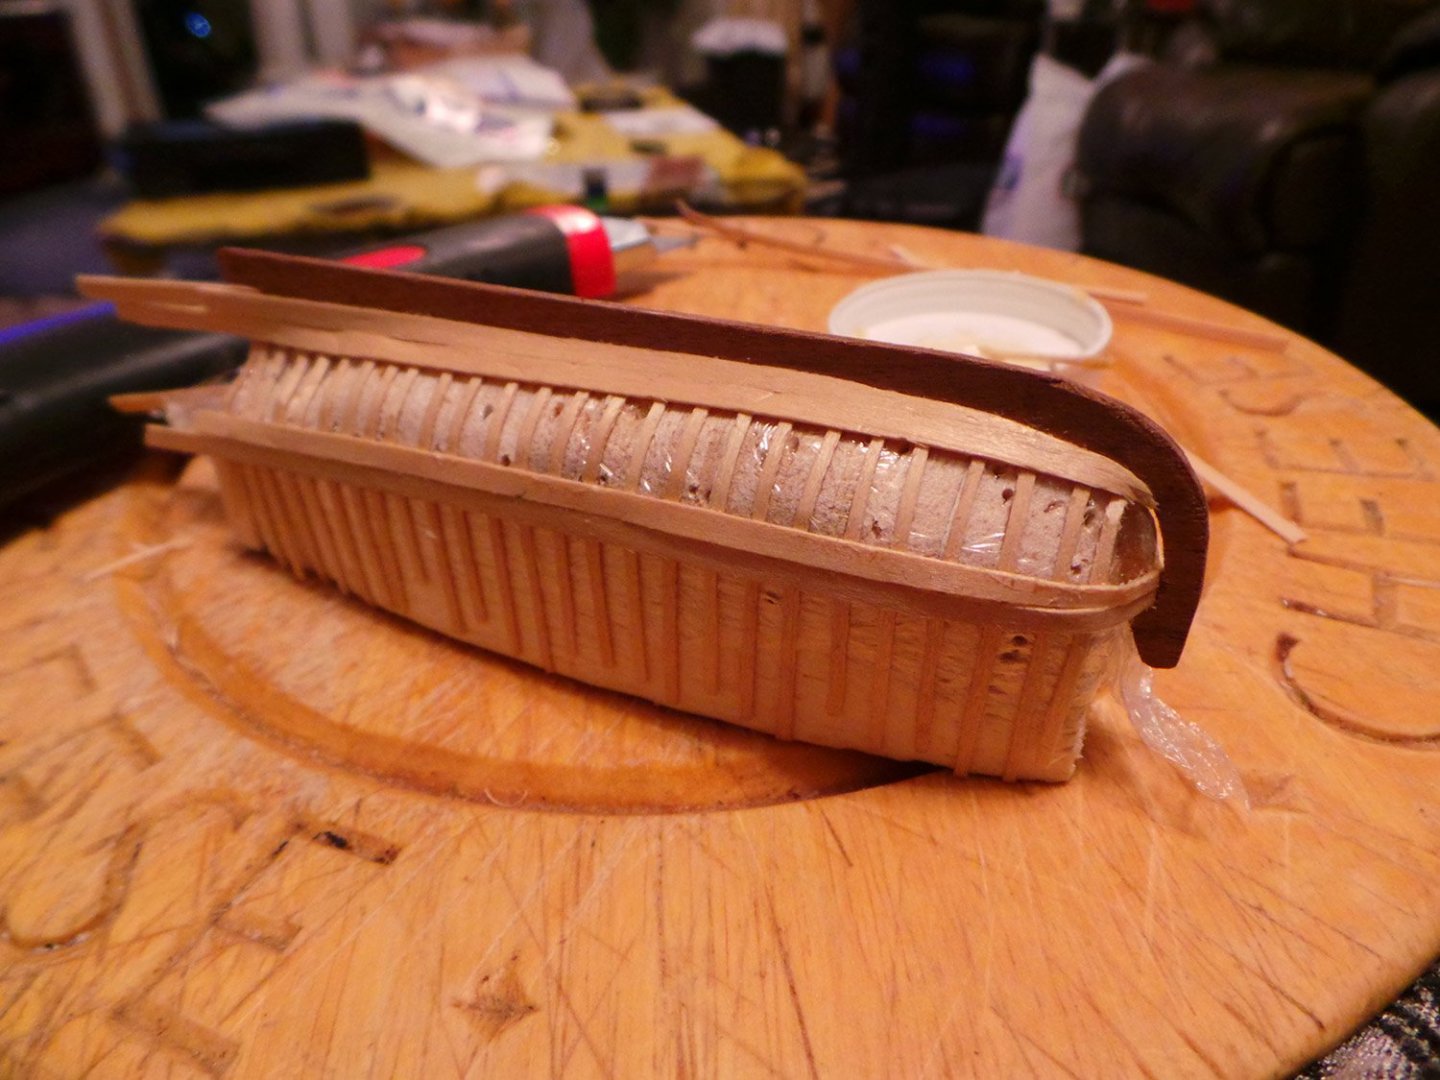
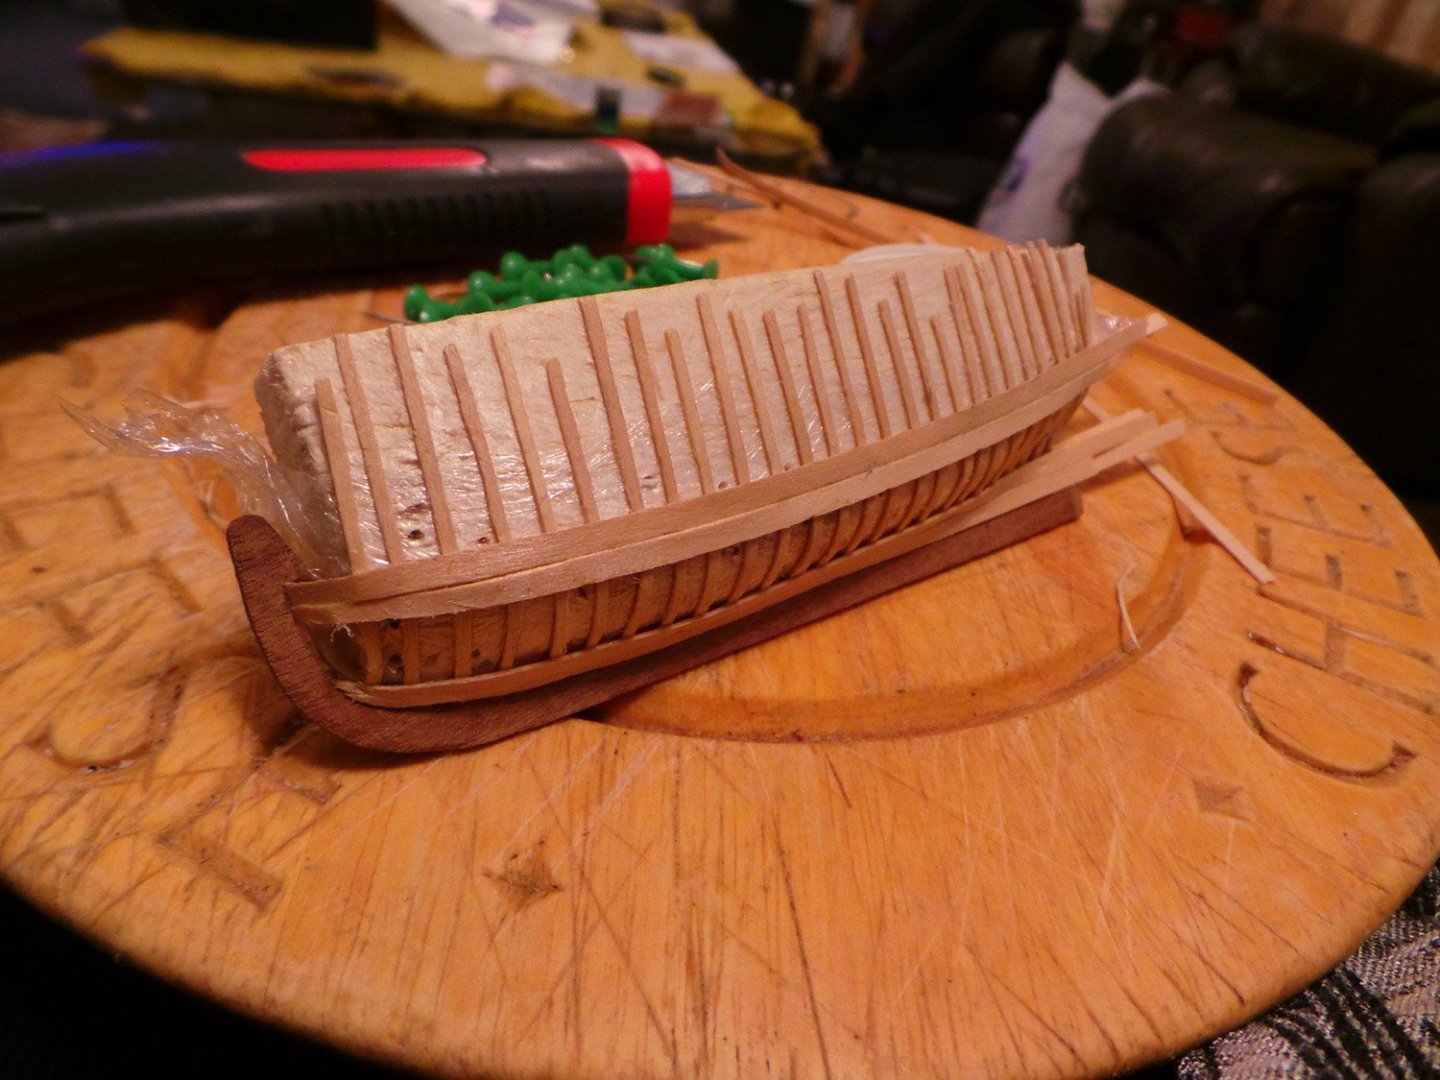
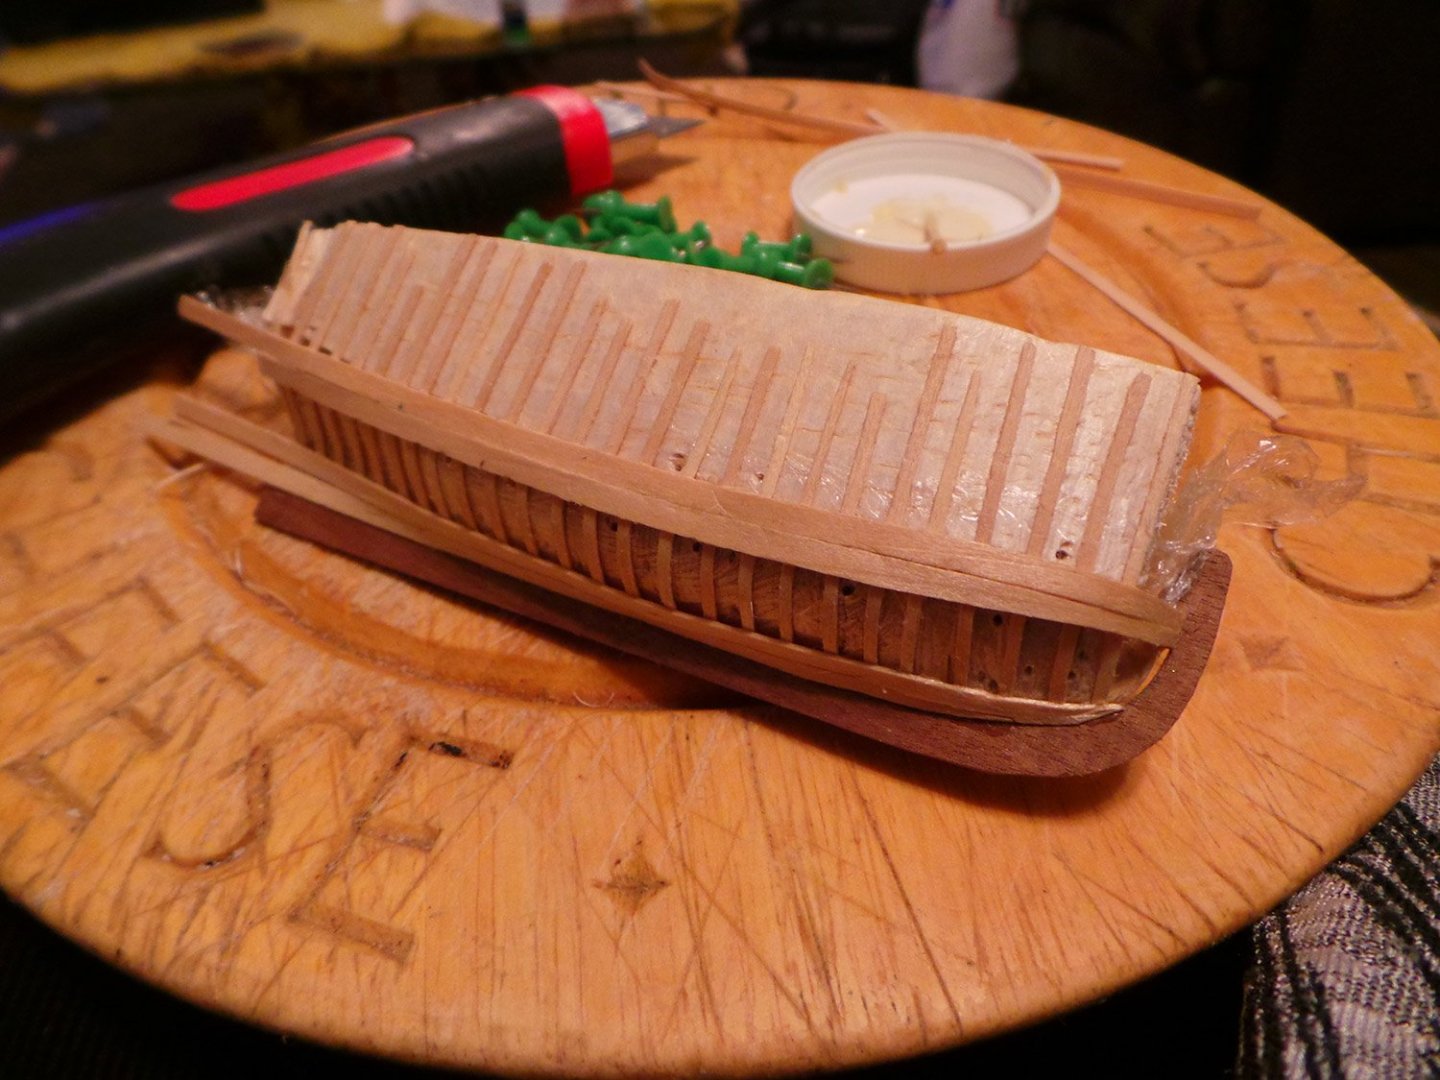
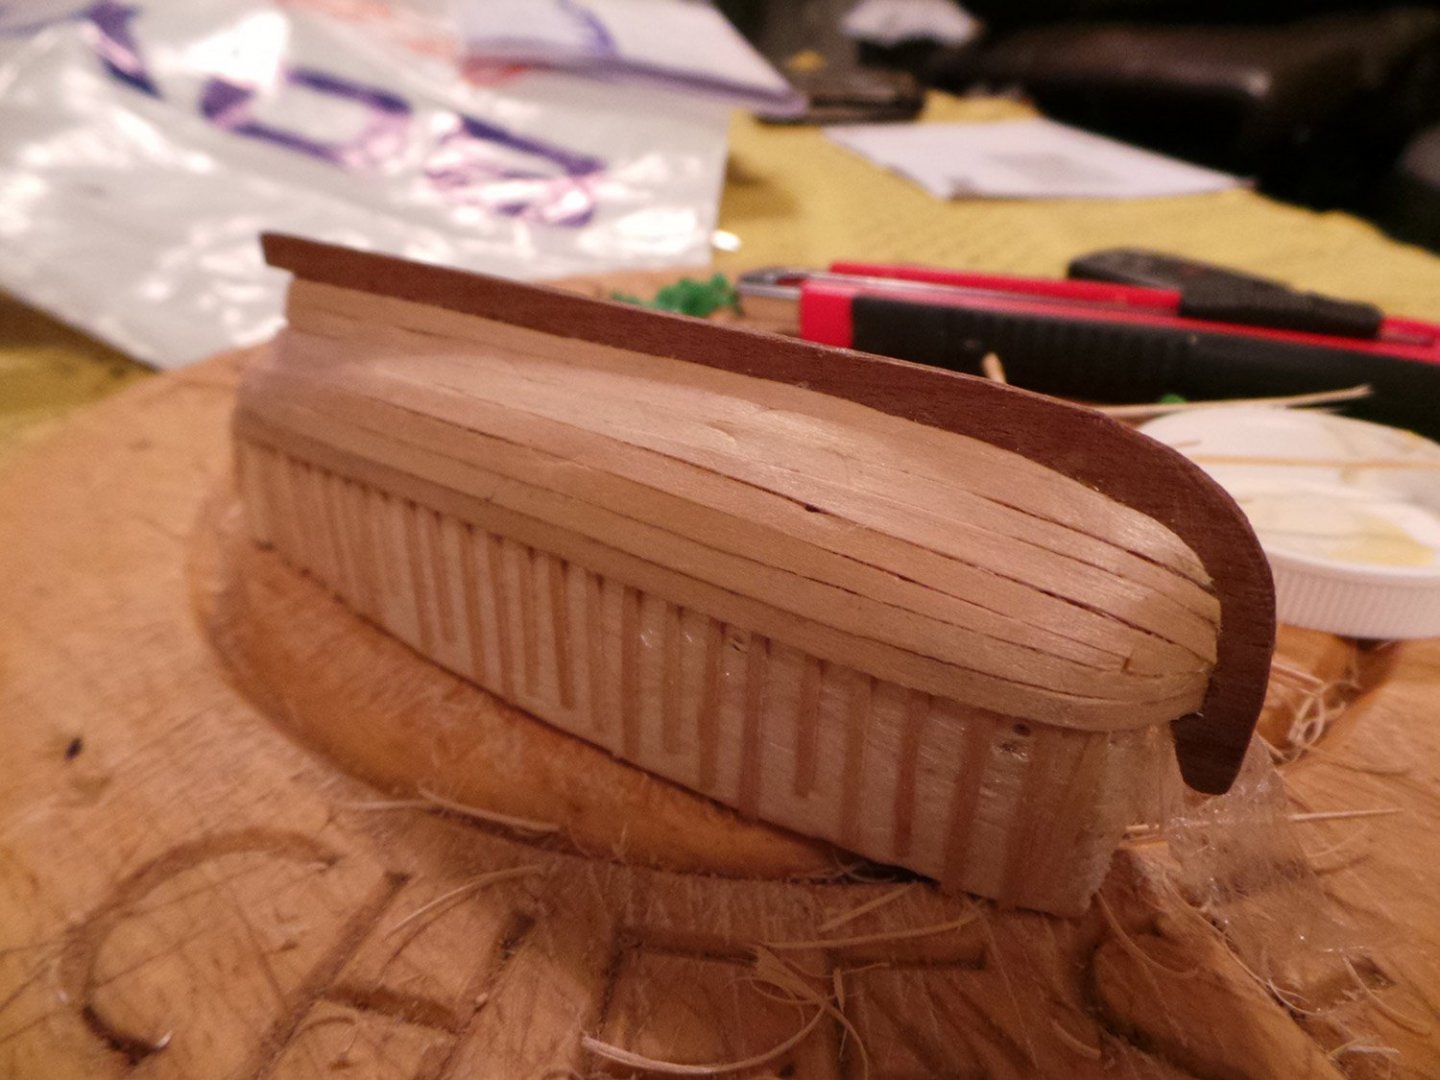
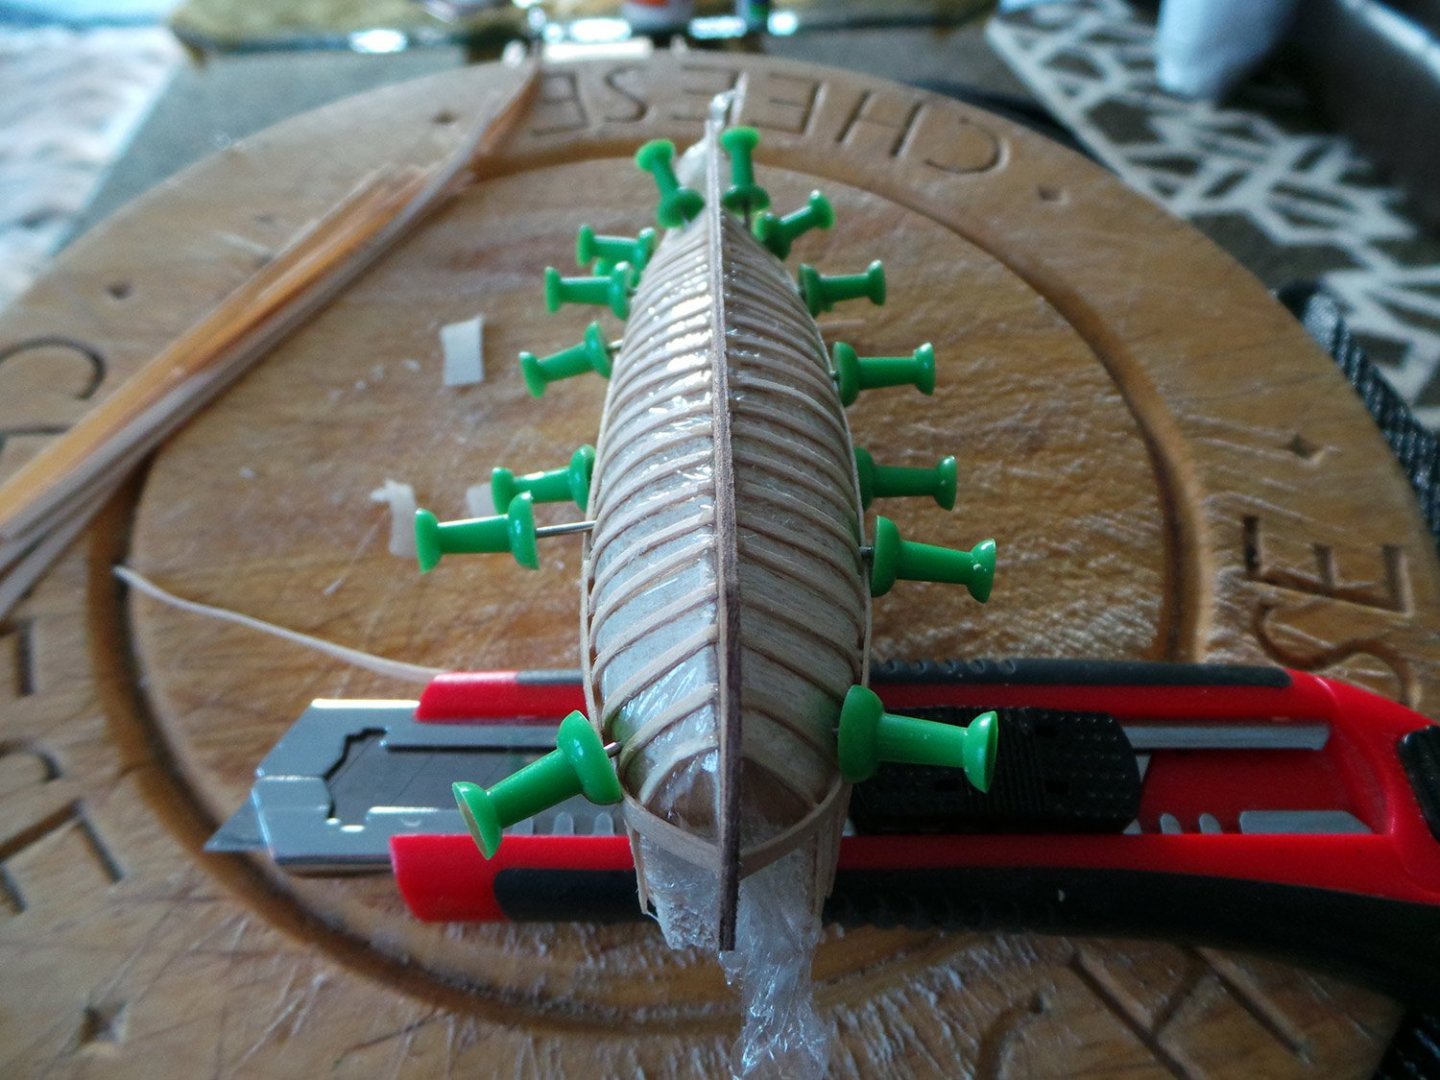
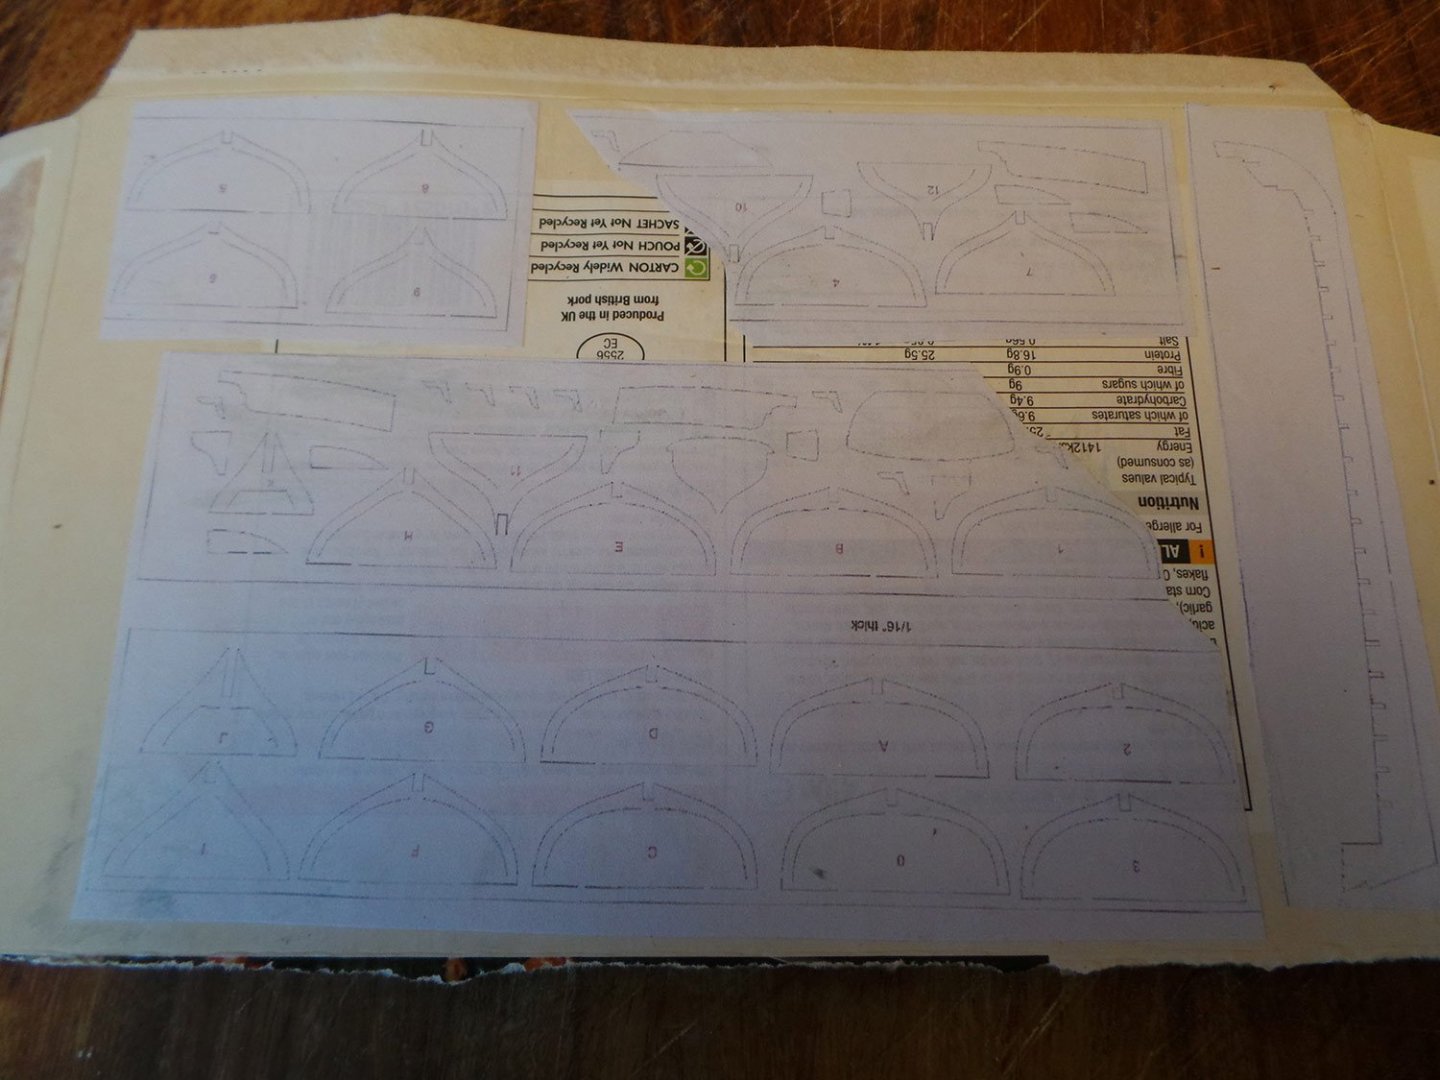
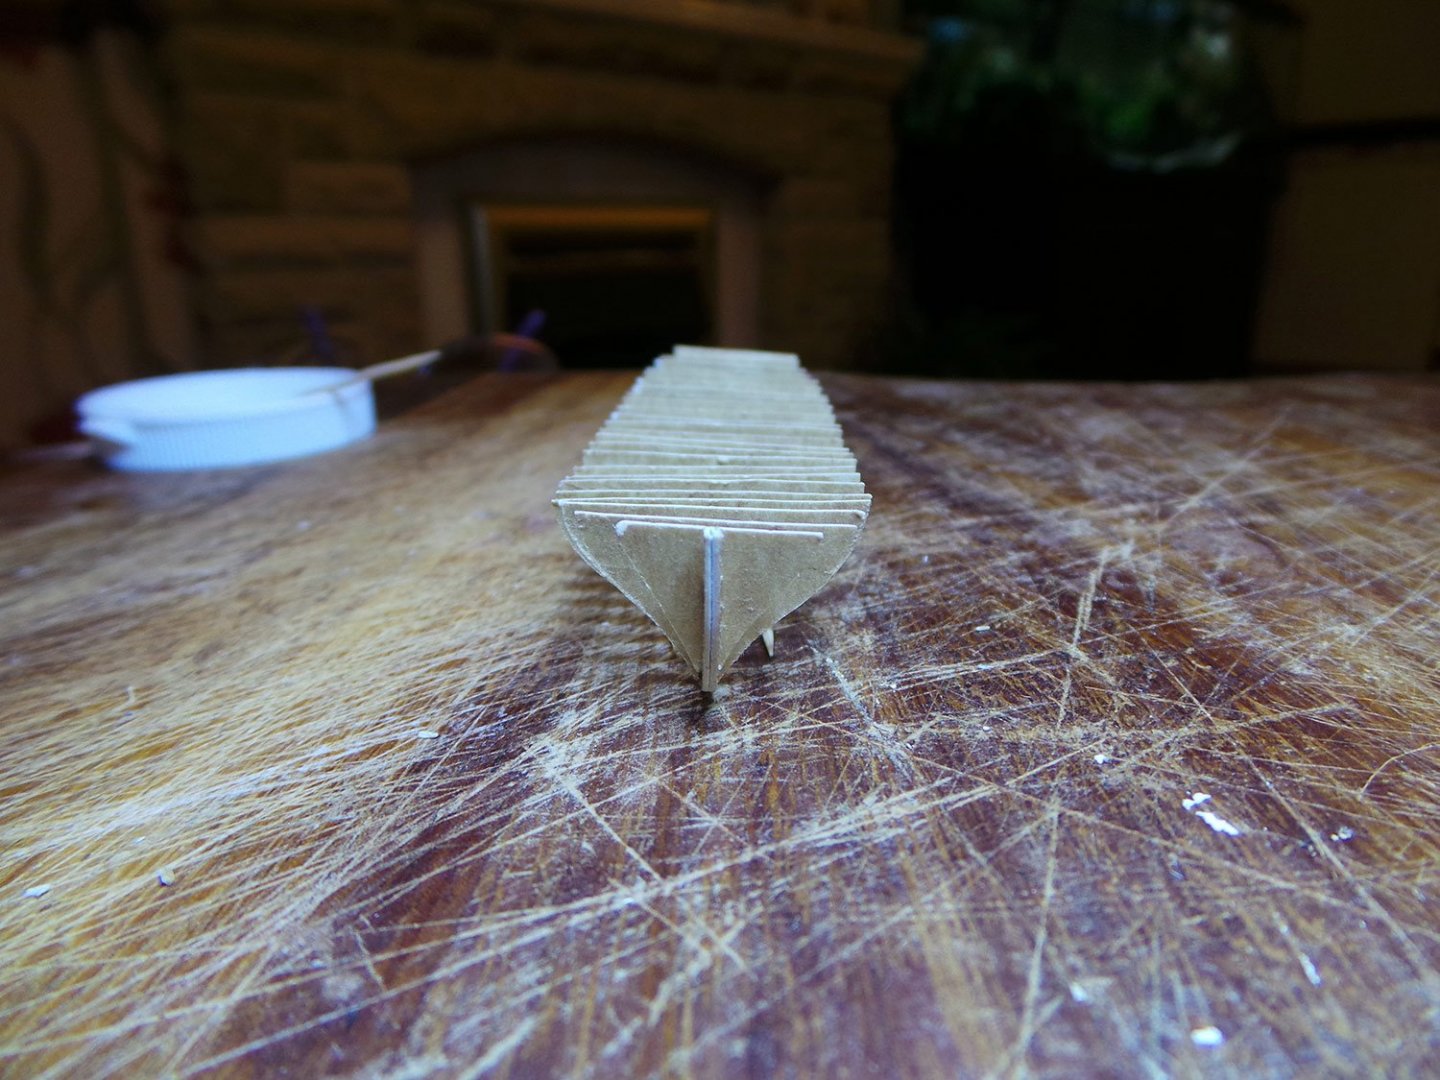
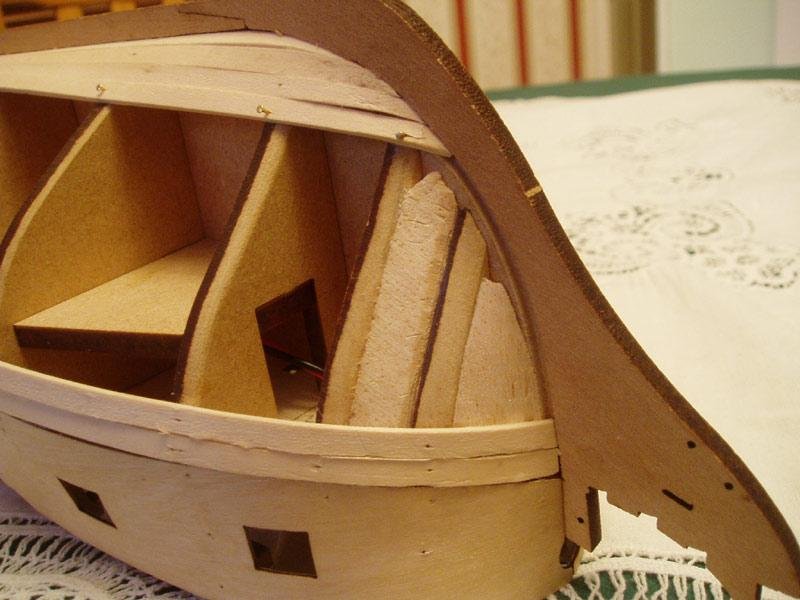
I'm starting to make the boats for Pegasus. She will have a 25ft Pinnace and a 19ft Longboat. I'm thinking of having the Pinnace stowed on board and toying with the idea of having the longboat shown being lowered from the yards, to show all the tackle and how it was used - but that's only an idea at the moment. I am trying a different approach to making the pinnace. In stead of plank on frame, I am attempting a plug method. Never done this before, so don't know how it will turn out, but it is something I want to try. A good tutorial I am using is by John (Jim Lad) and can be found Here and Part 2 is Here. This is how I made my plug. First I glued some scaled down parts to some card and cut them out and glued the frames to the keel, using plenty of glue to keep the frames in place. After the frames had dried completely, I filled the gaps in with balsa. After a good shaping and sanding. I needed to add some more height to the plug in order to glue the ends of the ribs to while making the boat. It's not perfect, but I hoping it will be good enough to use. If it doesn't work out, I can always go back to the plank on frame method anyway!


- 161 replies
-
- 7
-
-
- pegasus
- victory models
- (and 1 more)
-
Nice shaping there. Good job.
-
Don't worry about the rake of the masts. Once the decks are all in place, they will determine the position of the masts naturally. The only thing you need to make sure is that the mast holes are not obstructed in the decks or the keel. The gunport strip look pretty good to me. One thing to check is that the bowsprit hole will be in line with the sloped part of the false keel at the bow. I can't remember for sure, but I think I attached the false keel before attaching the gunport strips, but I know the false keel was definitely attached before I started the first planking.
-
Thanks for the replies guys. I have some plans now. Yes, that is more or less what I am aiming for, a 19 Foot longboat and 25 foot pinnace. Just need to get started now!
-
I am wanting to scratch build a pinnace and longboat for my Pegasus. I like the Pinnace from Model Shipways that Blue Ensign built for his Pegasus and would like to make one myself along with a Model Shipways longboat (both a a reduced scale). The question I have is: is it possible to purchase just the plans for them? as i will need to reduce the scale to suit Pegasus. Thanks Guys Caroline
-
No, you don't need to. but is handy if you just want to highlight a comment from a previous post. It's down to a matter of persona choice really. I have planked decks both using the pencil method (on my San Francisco) and with a dark cotton (on my Pegasus) Pencil can be fainter in appearance, and the cotton, depending on how dark it is can be a bit more noticeable. I found if using the cotton method, it made it easier to glue the cotton to the edge of the plank first and then when dry, plank as normal. I quite like the effect I achieved with the cotton on my Pegasus. Have a look in my build logs.
-
Models always seem to look different in photo's, don't worry about it too much. If it looks fine to the naked eye, it generally is! I use wood glue to stick the planks; as it is slow to dry, little dabs of cyano along the length helps to hold the planks in place while the wood glue dries. There is usually some left over deck planking, but not enough to completely planks the lower deck. I only plank immediately below the hatches on the lower deck as this area is all that you will see.
-
Spyglass has given some very good help there. I, too, use a standard kettle to steam the planks - just watch the steam on your fingers! It is also very important, like Spyglass mentions, to make sure the planks are completely dry before fixing to the ship. I used to steam and place in the evening so that they would be well and truly dry by the next evening. Take your time and you should do fine.
-
Yes, pre-bending the strips will help a lot. I used steam to heat them up where they needed bending, it helps when they are supple and less are likely to snap. place them against the hull while they are hot and hold in place until cooled using pegs, rubber bands and anything else that will help. There are lots of tutorials on hull planking on MSW, but the one I used as a guide when I made my first build was 'Simple Hull Planking For Beginners' which can be found here: http://modelshipworldforum.com/ship-model-framing-and-planking-articles.php Don't forget, we are here to help, and no question is a silly question!
-
You are making good progress. As Spyglass says, make sure you fair the bulkheads well, Use a strip of the planking and hold it against the bulkheads and you will see where more fairing is needed to get a nice smooth curve. The more time you spend here getting the shaping right, the easier it will be later on in the planking. Edit: You might find adding some balsa in between the fore and aft bulkheads will help when planking.
-
I haven't built a longboat, but looking at the picture of the book page, it looks like the end ribs are not vertical but are angled slightly? I would look at future steps in your instructions and see how it looks further on in the build. I'm sure someone will be along that can help you.
-
Your San Francisco is coming along nicely. I like your table, very unusual.
- 88 replies
-
- 1
-
-
- finished
- artesania latina
- (and 1 more)
-
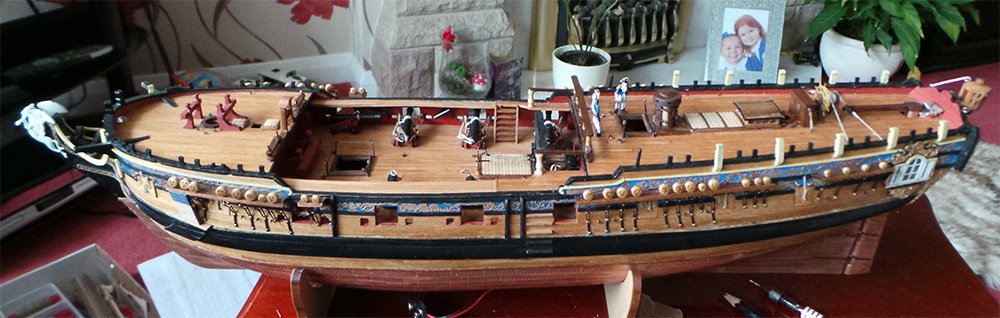
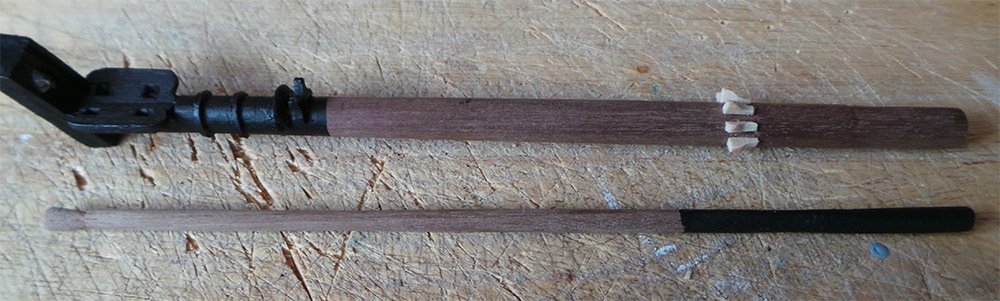
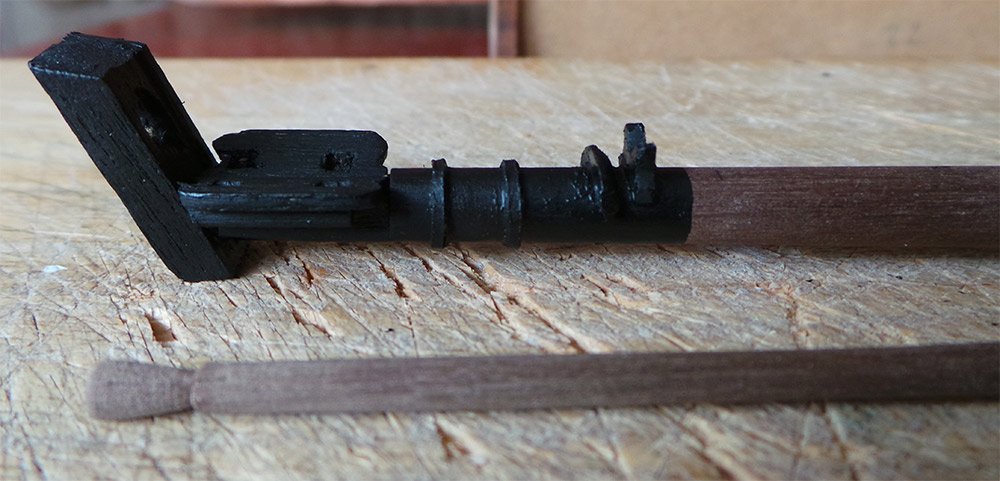
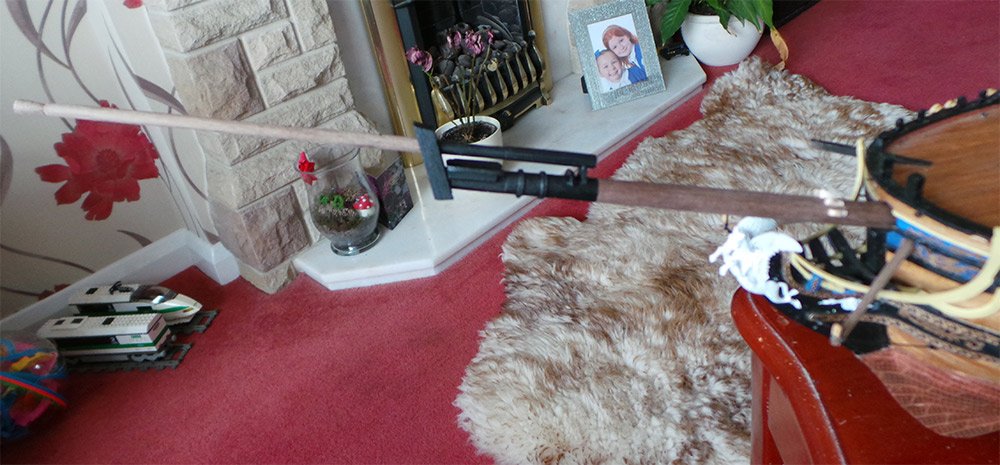
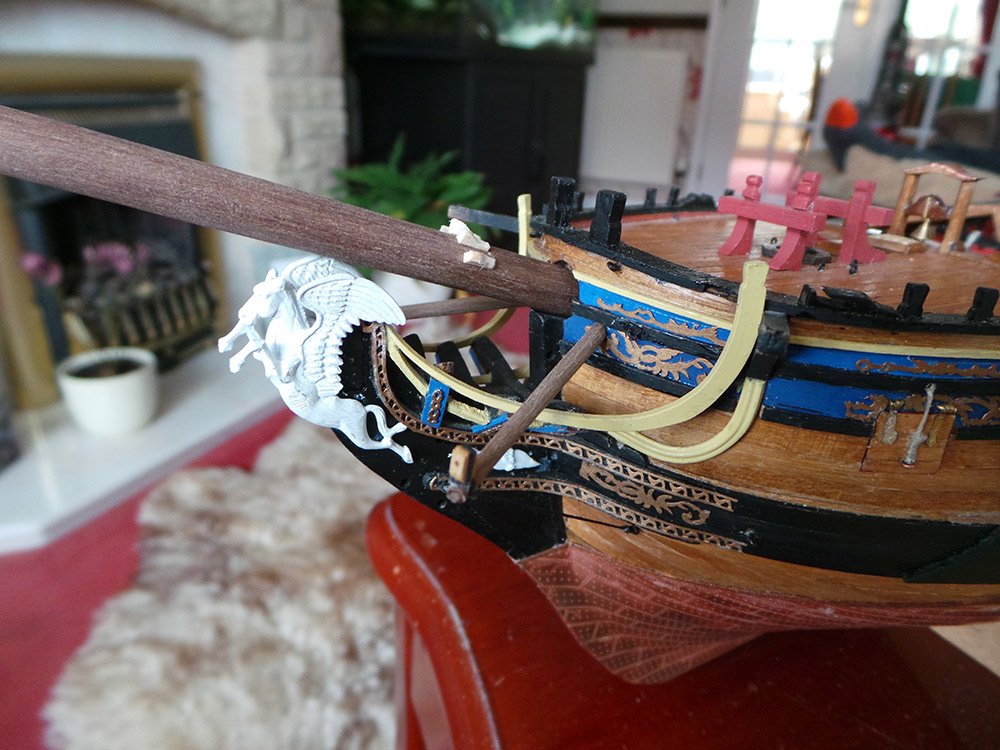
Boomkins in place and bowsprit made. I have bashed the bowsprit a bit using B.E's log and Lee's 'Masting and Rigging' book as a guide. I remade the bowsptit/jibbom cap as it was impossible to get the kit supplied one to fit properly due to the angle of the holes, when I filled the holes to match the angle needed I didn't like the end result. Also scratched some new bees, added the bee blocks, remade the jibboom saddle and made the spritsail yard saddle. I need to add the fairlead saddle and have the woolding still to do, but I am pleased with my interpretation. The jibboom still needs lashing to the bowsprit. I will stain the gammoning cleats brown to match the bowsprit more.
- 161 replies
-
- 9
-
-
- pegasus
- victory models
- (and 1 more)
-
I like the way you are adapting the build. I'm looking forward to seeing how the castings come out.
-
Nice! She's looking really good.