vulcanbomber
-
Posts
396 -
Joined
-
Last visited
Content Type
Profiles
Forums
Gallery
Events
Everything posted by vulcanbomber
-
I do love the Royal Caroline and hope to build her myself one day. This is a superb build.
- 128 replies
-
- 2
-

-
- panart
- anatomy of the ship
- (and 1 more)
-
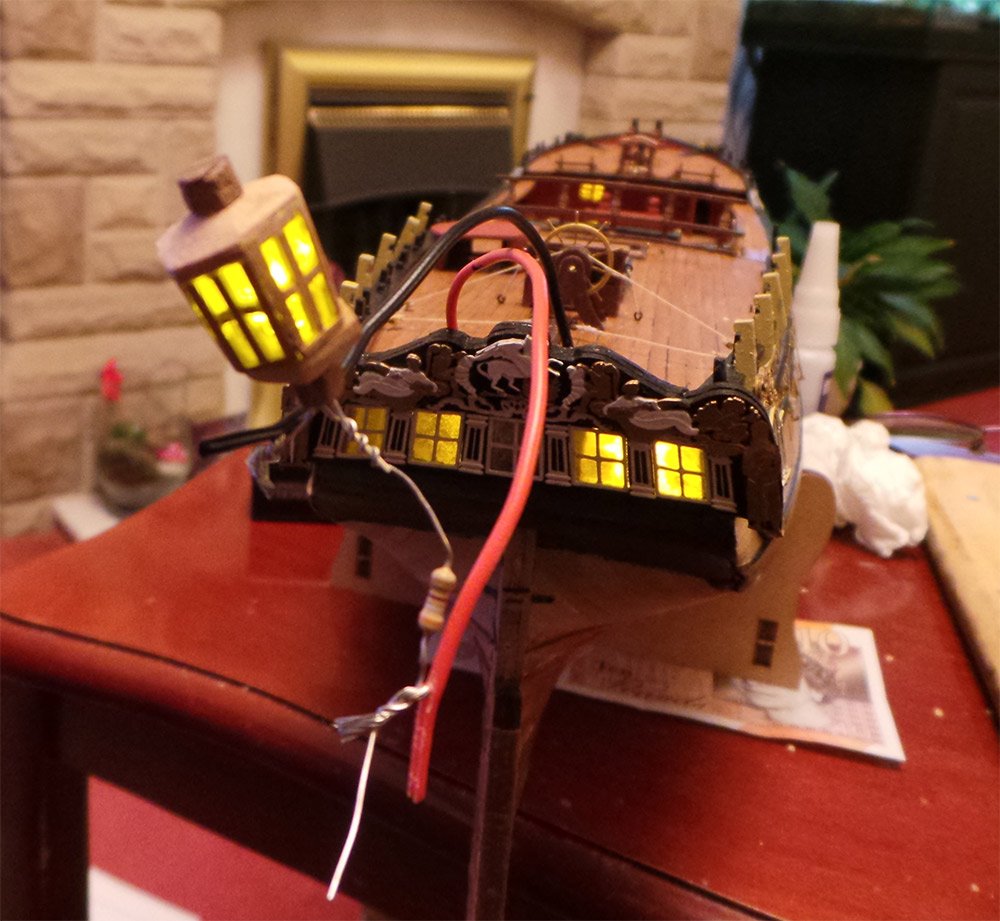
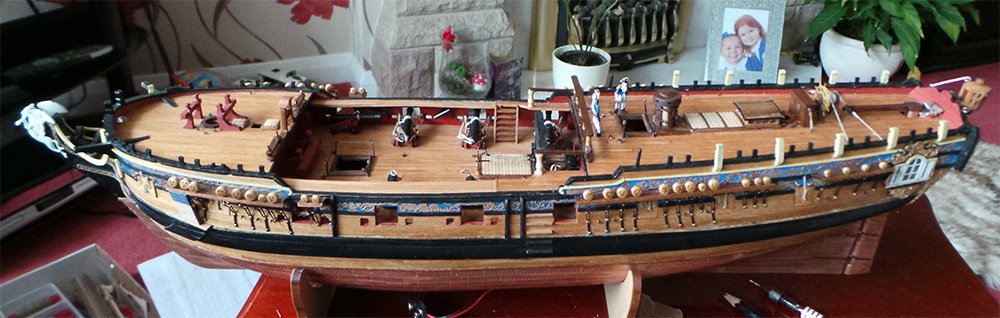
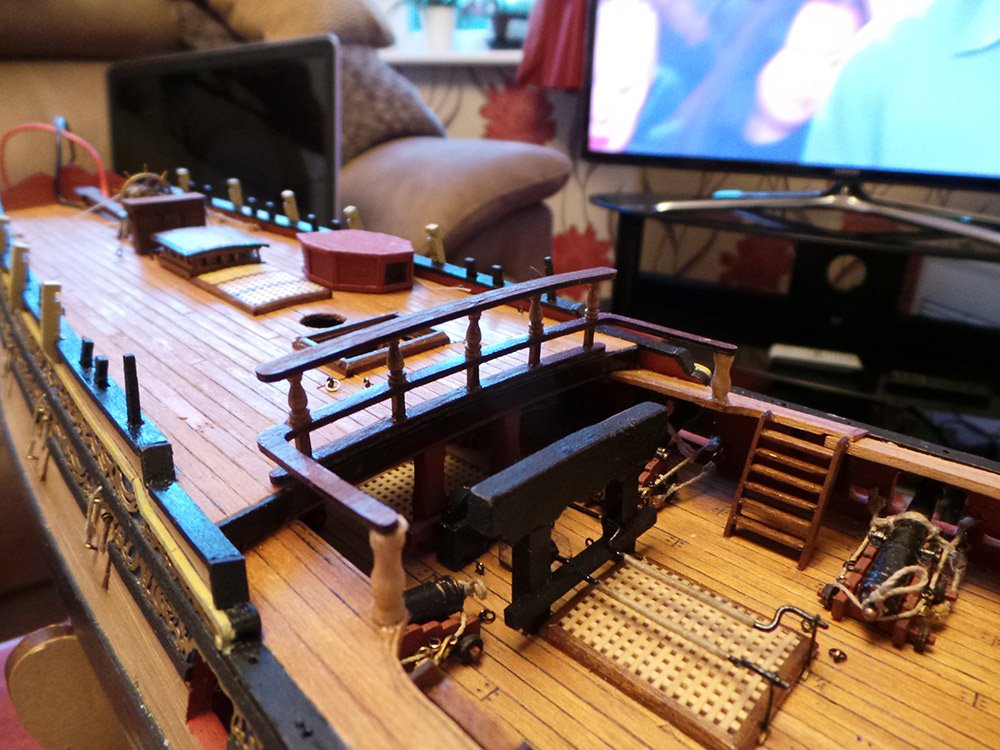
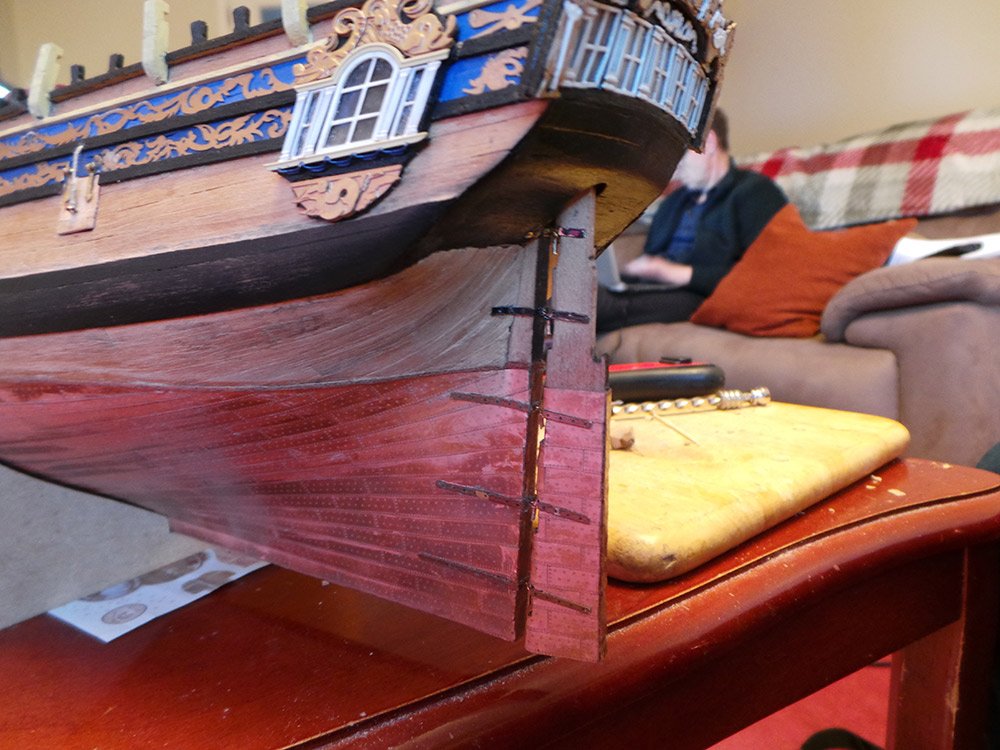
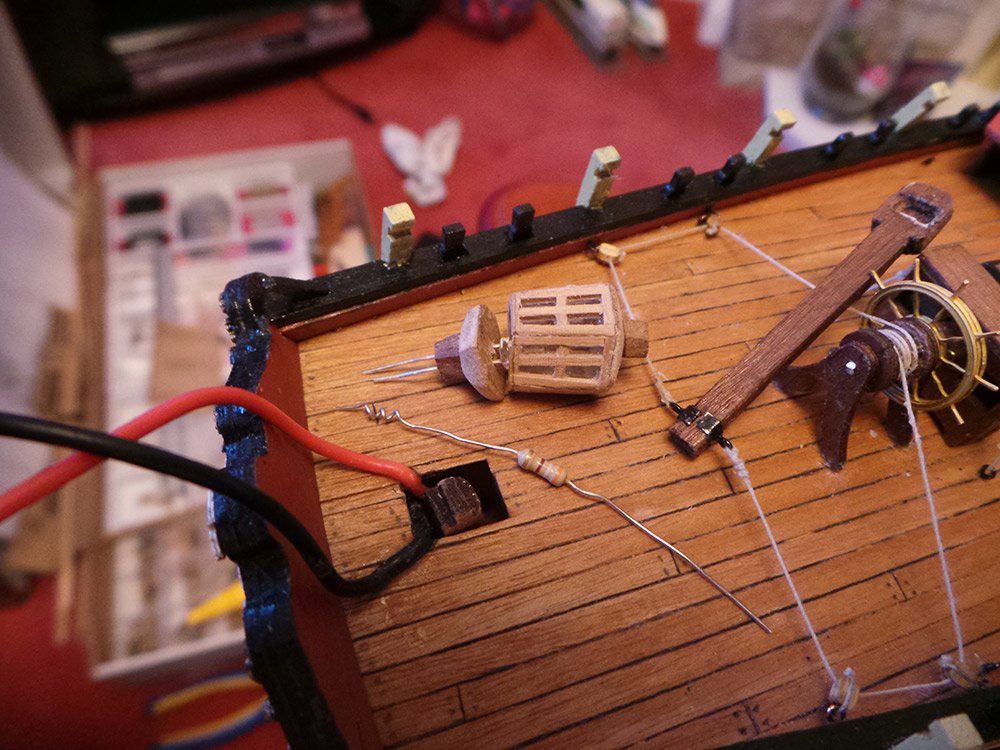
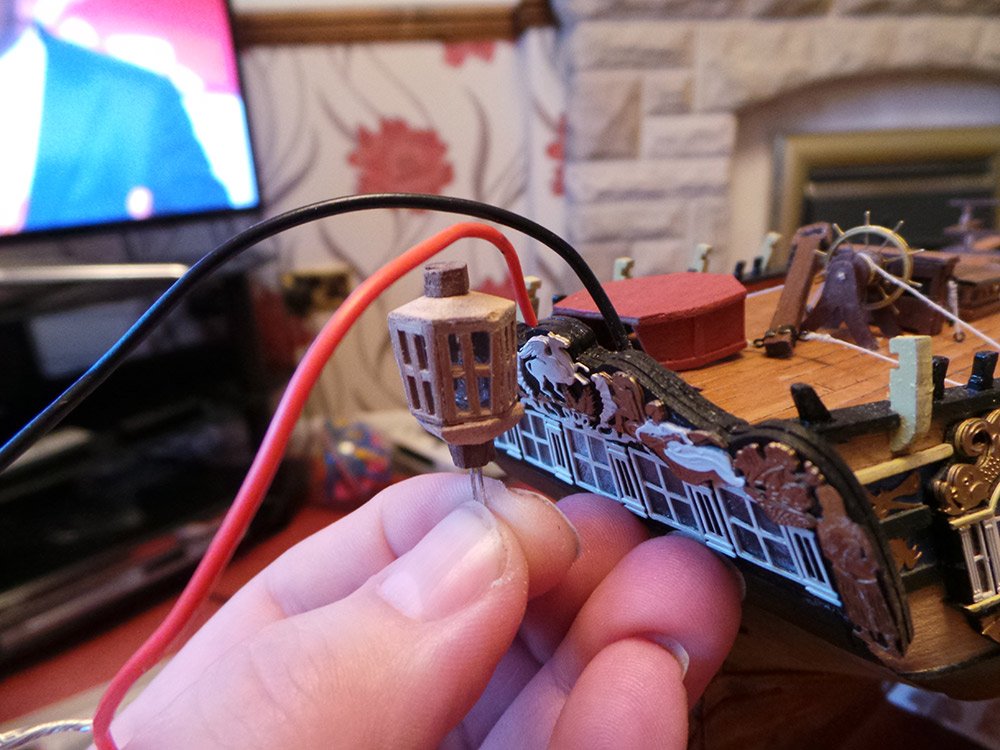
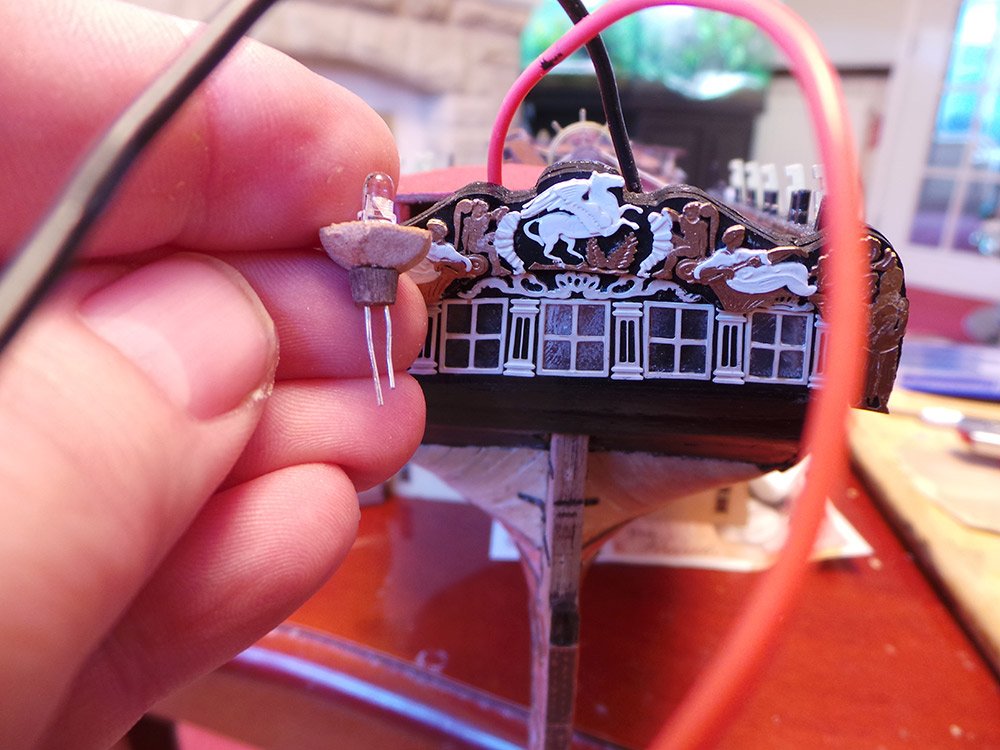
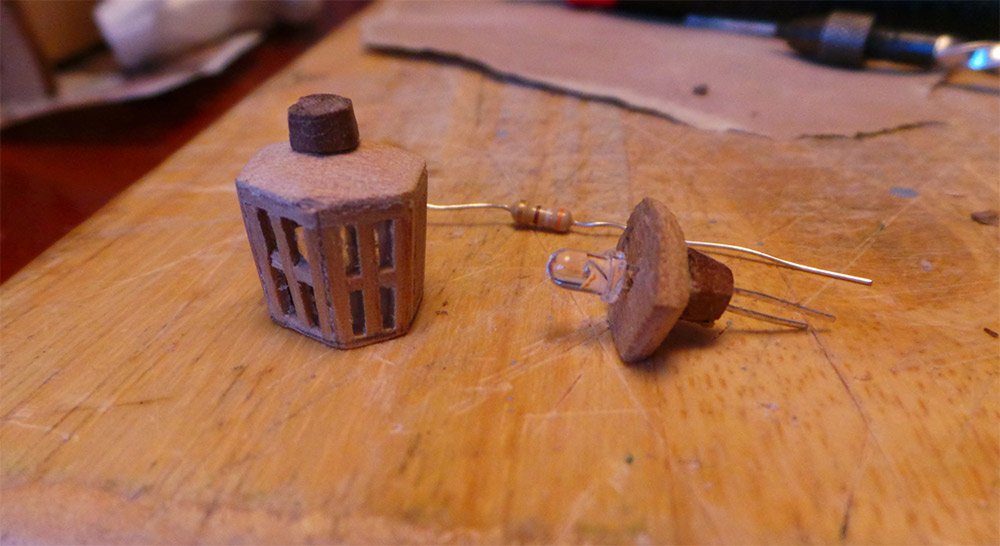
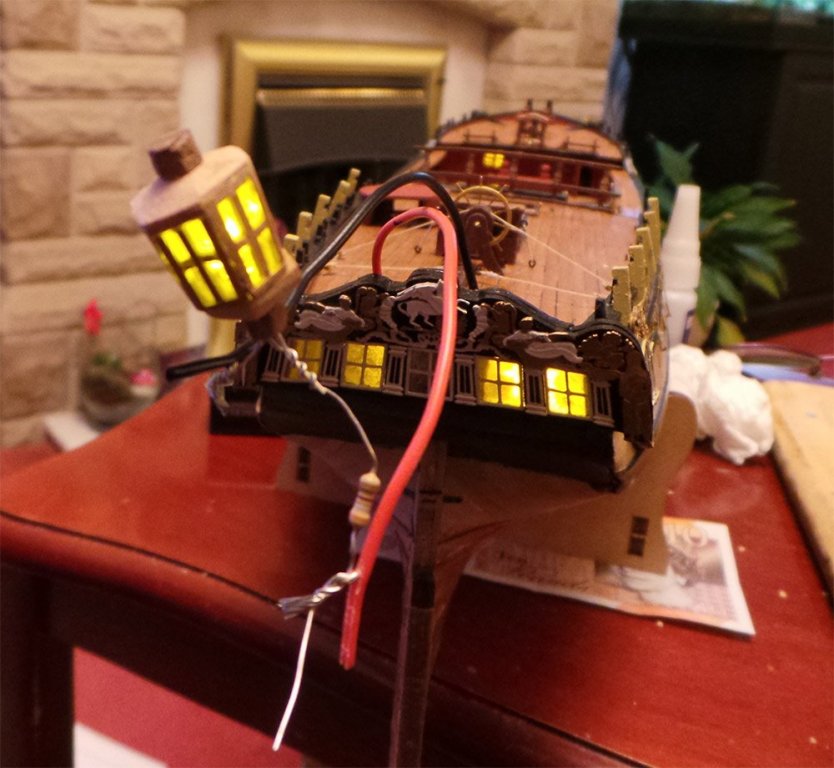
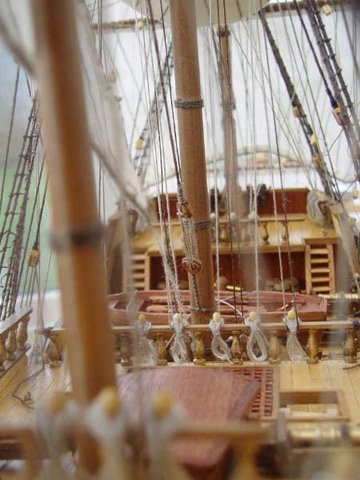
I have added the belfry, quarter deck rails, ladders. Installed the binnacle and ship's wheel and the rudder. I am now making the stern lantern as that needs to be fixed in place before I can attach the rudder head housing. The lantern will be functional, that is why there are two wires protruding from the stern. I have got to the stage where I am having to work out how to connect the lantern's LED to the wires and resistor (all of which will be hidden by the rudder head housing) and the lantern to the ship. Unfortunately, the LED's 'legs' are too short to be used as the lantern supports and would have been too flimsy anyway. I need to find some way of disguising the 'legs' and provide support for the lantern, I think I will have to take the wires through the stern fascia to meet the LED's 'legs. I think I'm going to have to sleep on it and see if I can come up with a way of getting the lantern in place and functioning. If any one has any Idea's I'd also be interested!
- 161 replies
-
- 8
-
-
- pegasus
- victory models
- (and 1 more)
-
Just been through your build and it is fantastic. Love the cabin details. A simply stunning model.
-
Looking very nice. I like the details you have added.
-
Very nice Mustafa, she is a beauty. I shall have a look at your Santa Maria.
- 59 replies
-
- 1
-
-
- artesania latina
- san francisco ii
- (and 1 more)
-
Hi Piet, It's good to be working on Pegasus again. I didn't realise how much I've missed working on her until I started up again.
- 161 replies
-
- 1
-
-
- pegasus
- victory models
- (and 1 more)
-
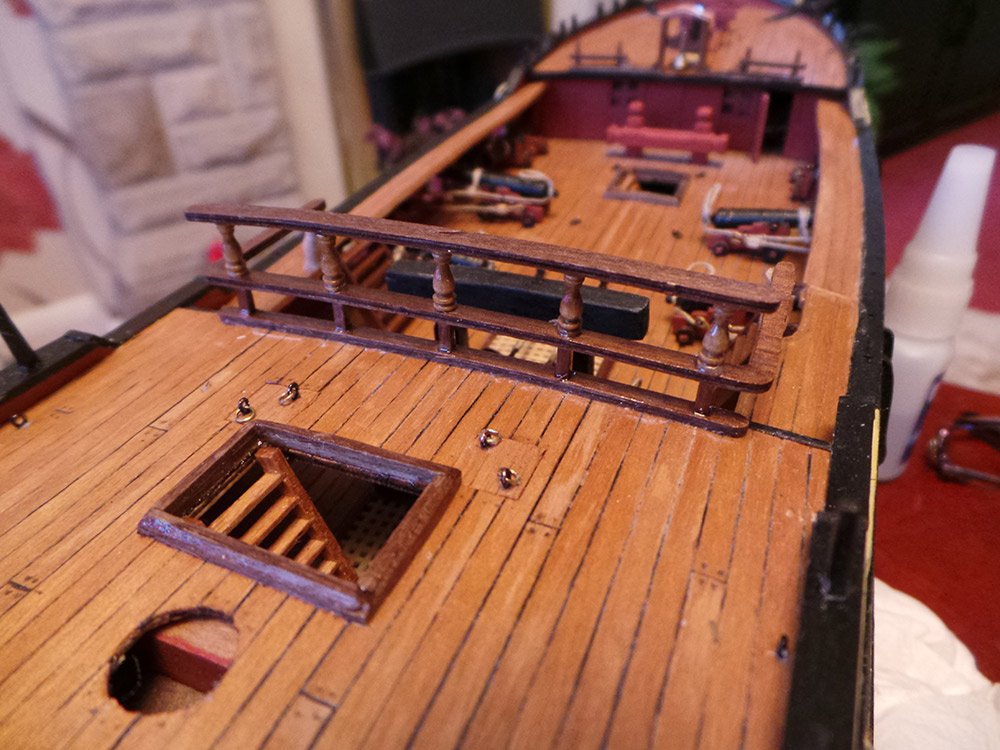
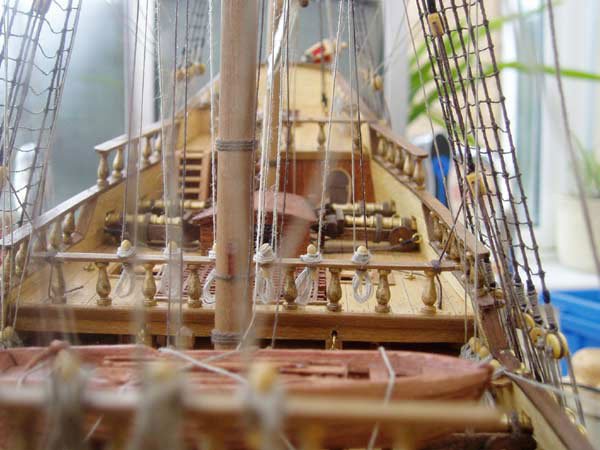
Gangway and gangplanks installed on both sides now, along with the ladders. I made the ladders from some walnut strips, as I didn't think the kit provided ones were nice enough for use on deck, but they were okay for the hatch ladders. It has all had a coat of clear varnish. Next I'm going to do the belfry and rails on the fore deck and the quarterdeck rails. I'm going to modify the belfry and rails on the fore deck using Blue Ensign's build log as a guide.

- 161 replies
-
- 8
-
-
- pegasus
- victory models
- (and 1 more)
-
Looking good. That's some very intricate painting and very nicely done.
- 91 replies
-
- 3
-
-
- deagostini
- vasa
- (and 1 more)
-
I think we have all had these hiccups during a build at one time or another. As Mark and Steven have mentioned above, always dry fit until you are happy the parts fit together well. Regarding the keel, you could use the planking to straighten out the warp, but I don't know how successful it would be in the long run, as there would be more stress on one side than the other and I would be worried if the planking came undone over time. I have never had a problem with a keel and have never tried it, but I'm sure if you search 'warp keel' in the search box, you will find some solutions that have been tried and tested.. I personally would undo the frames (if possible) and start again. I'm sure you will find a solution and your longship will turn out fine.
-
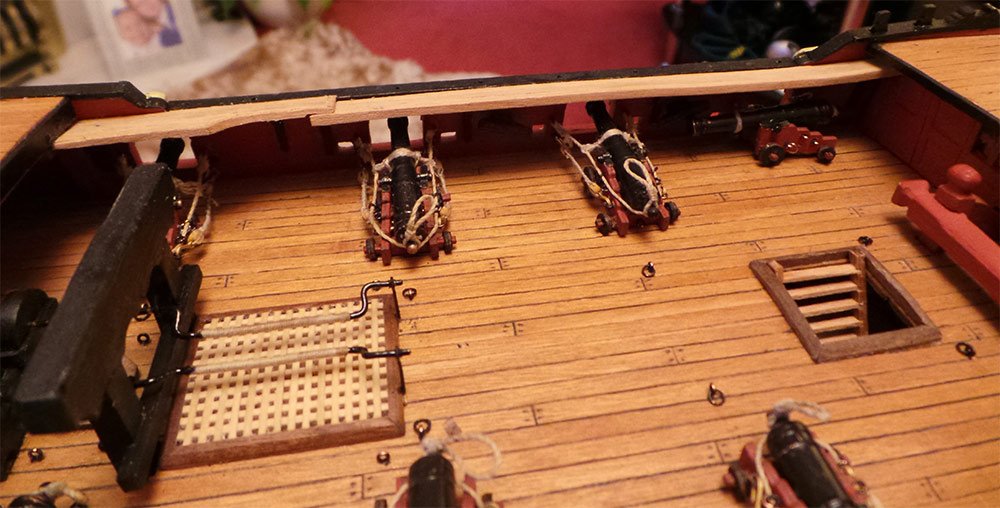
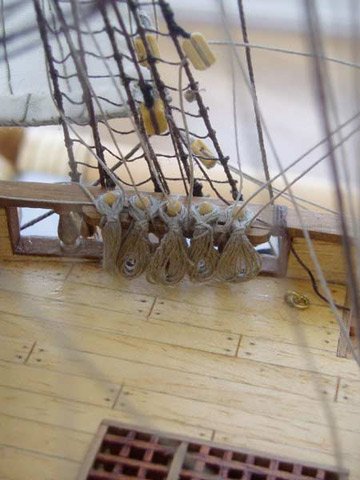
Hi Popeye. Thank you, I'm happy with the look of them. As B.E said, it would be unusual for them to be stored on deck like that, but I wanted to display some sideways, just to give a different perspective.
- 161 replies
-
- 3
-
-
- pegasus
- victory models
- (and 1 more)
-
I have attached the gangway and gangplanks on one side. I made 8 new supports for the gangplanks using the kit ones provided as a template. So glad I had a Dremmel for Christmas! I'm pleased with the results. Other side to do now, then the stairs.
- 161 replies
-
- 8
-
-
- pegasus
- victory models
- (and 1 more)
-
Looking very nice. I think having sails make the ship come alive, though they can obscure the details on deck, that's why I partially furled the main sail on my San Francisco.
- 59 replies
-
- 1
-
-
- artesania latina
- san francisco ii
- (and 1 more)
-
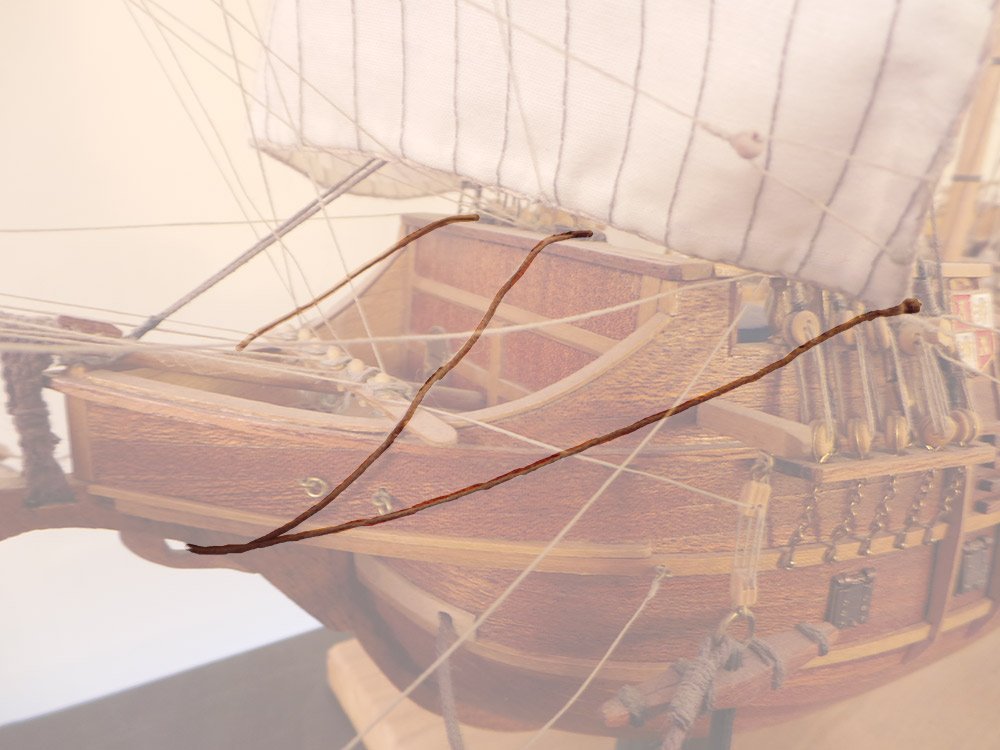
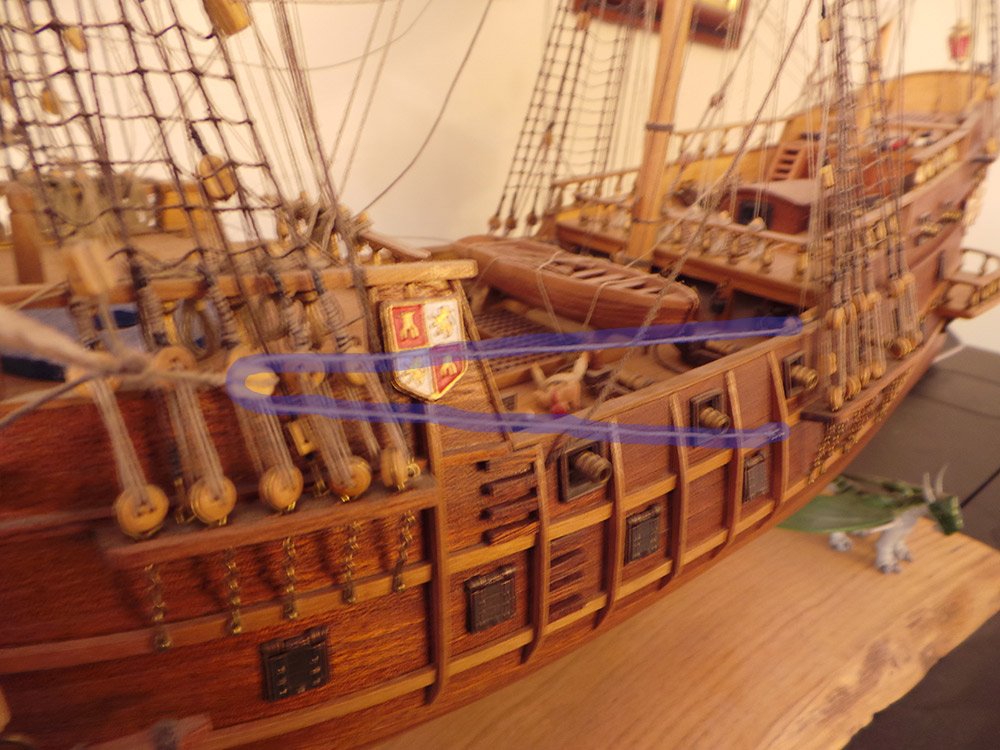
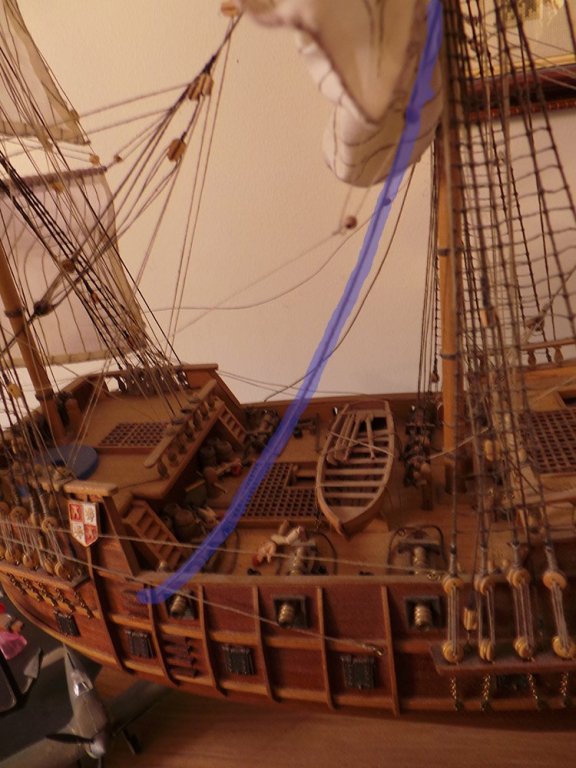
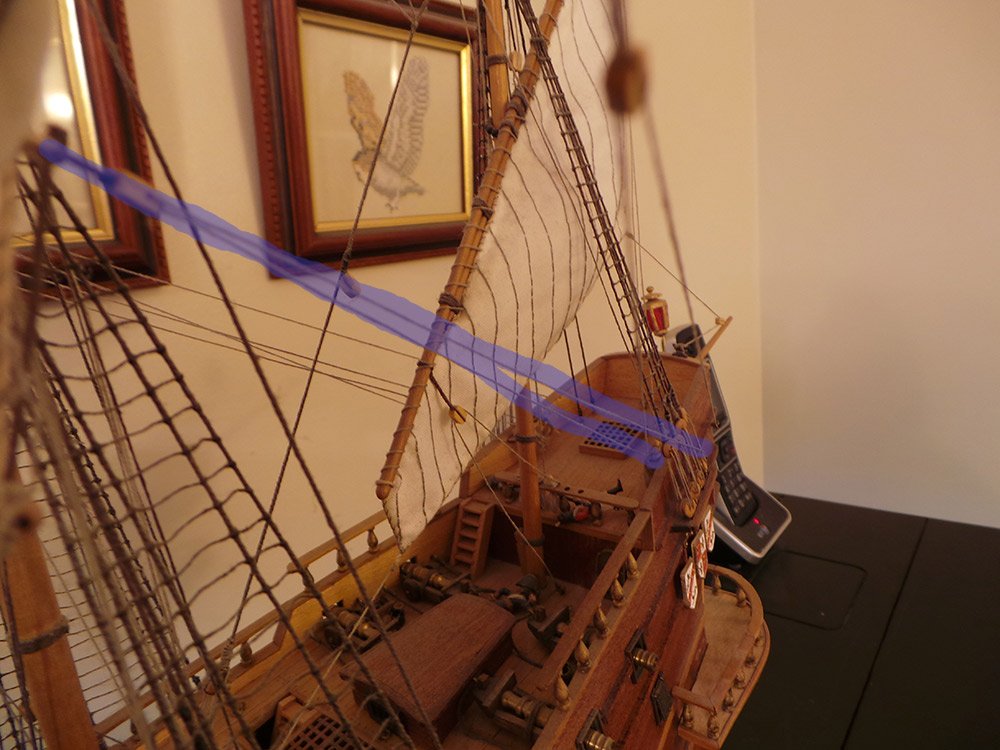
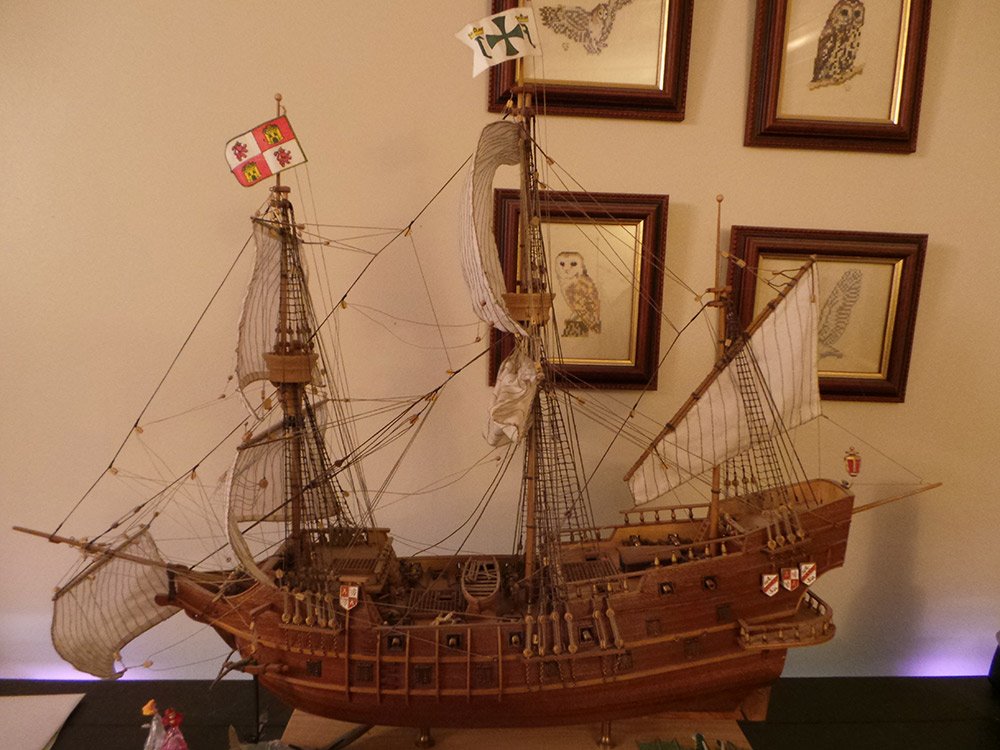
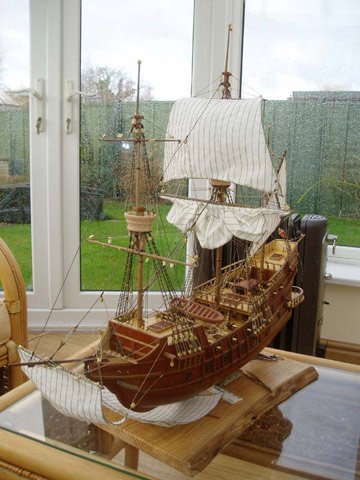
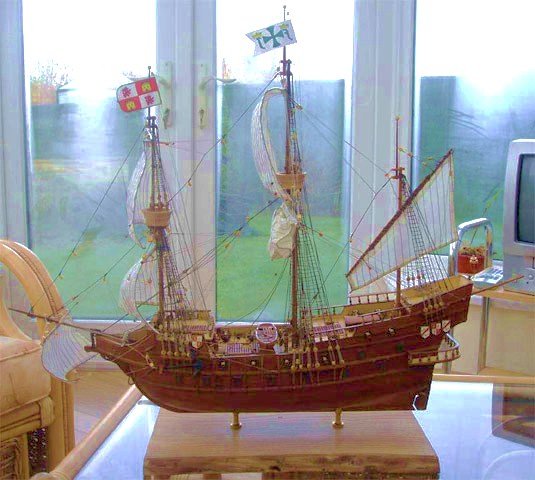
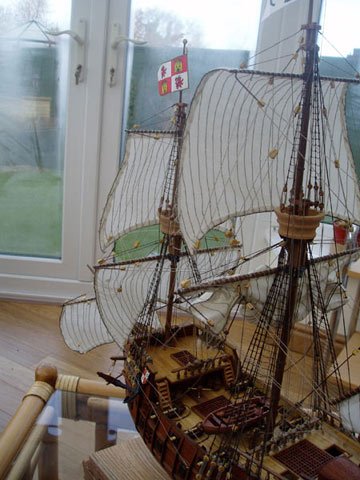
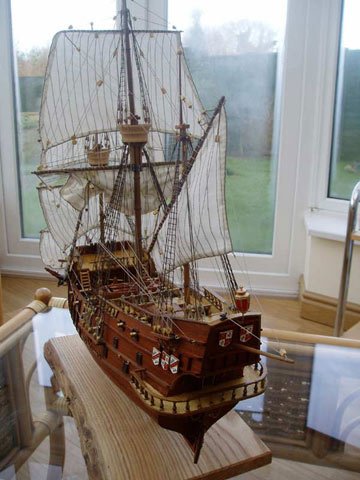
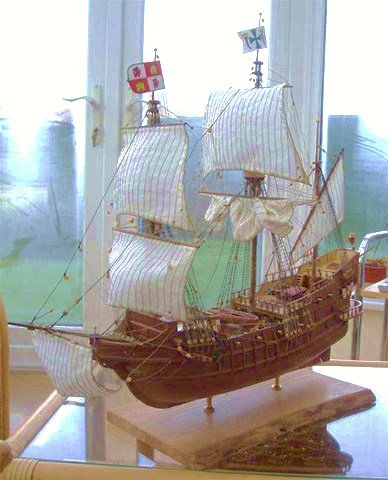
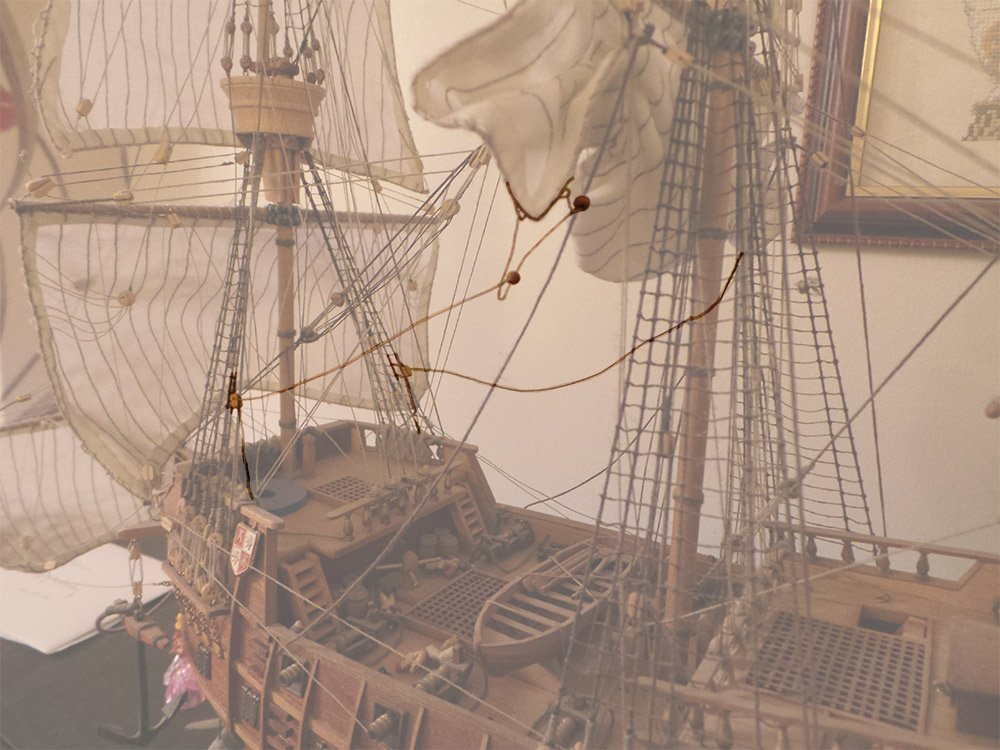
Next was the tack and sheet lines from the lower sail on the fore mast and the main sail on the main mast. The tacks from the sail on the fore mast went under the beak and through the small piece I had attached there earlier before going to a belaying point on the rack in the bow. The sheet line was attached to an eyebolt on the side of the hull, passed through a block attached to the sail and belayed in the waist (highlighted in blue). The tack line from the main sail went through the fairlead I made in the hull and to the belaying point next to it. The sheet line was attached to an eyebolt on the side of the hull at the stern, passed through a block attached to the sail and belayed on the quarter deck. (highlighted in blue) I think that is all the extra's I put on the ship, the rest of the rigging was on the plans. (as far as I can remember, it was about 8 years ago!!) The finished ship


- 122 replies
-
- 5
-
-
- finished
- artesania latina
- (and 1 more)
-
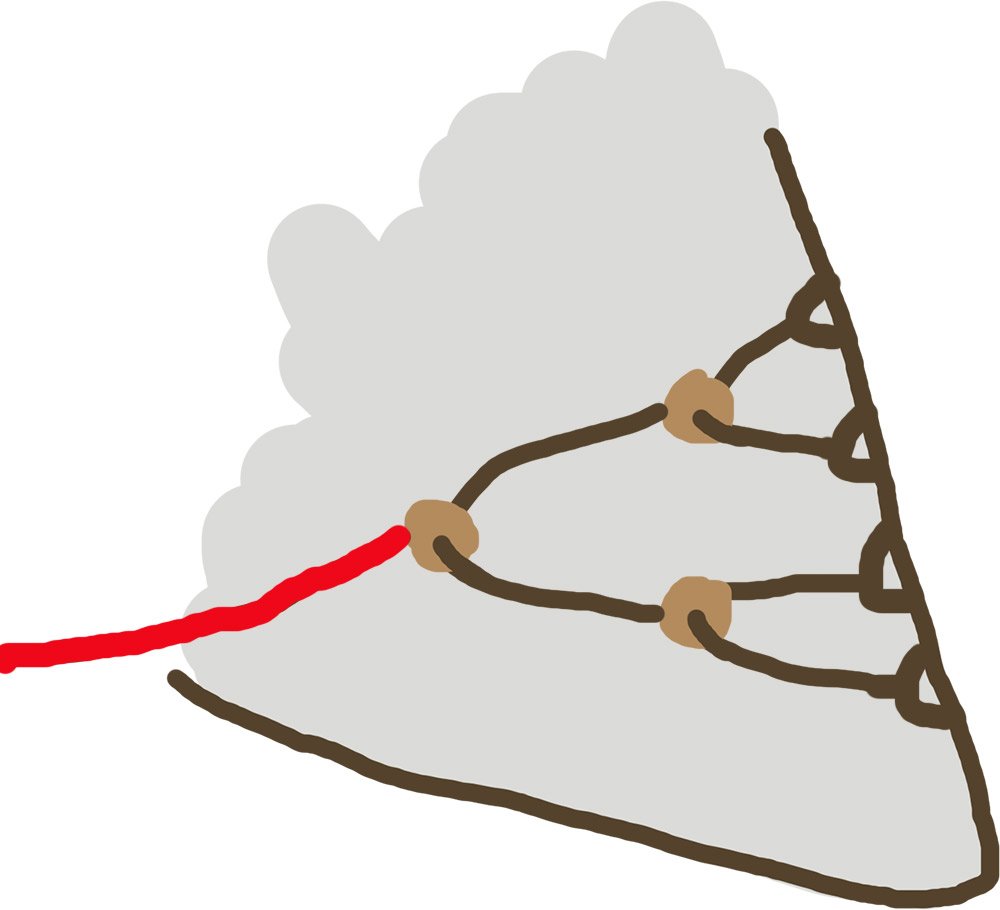
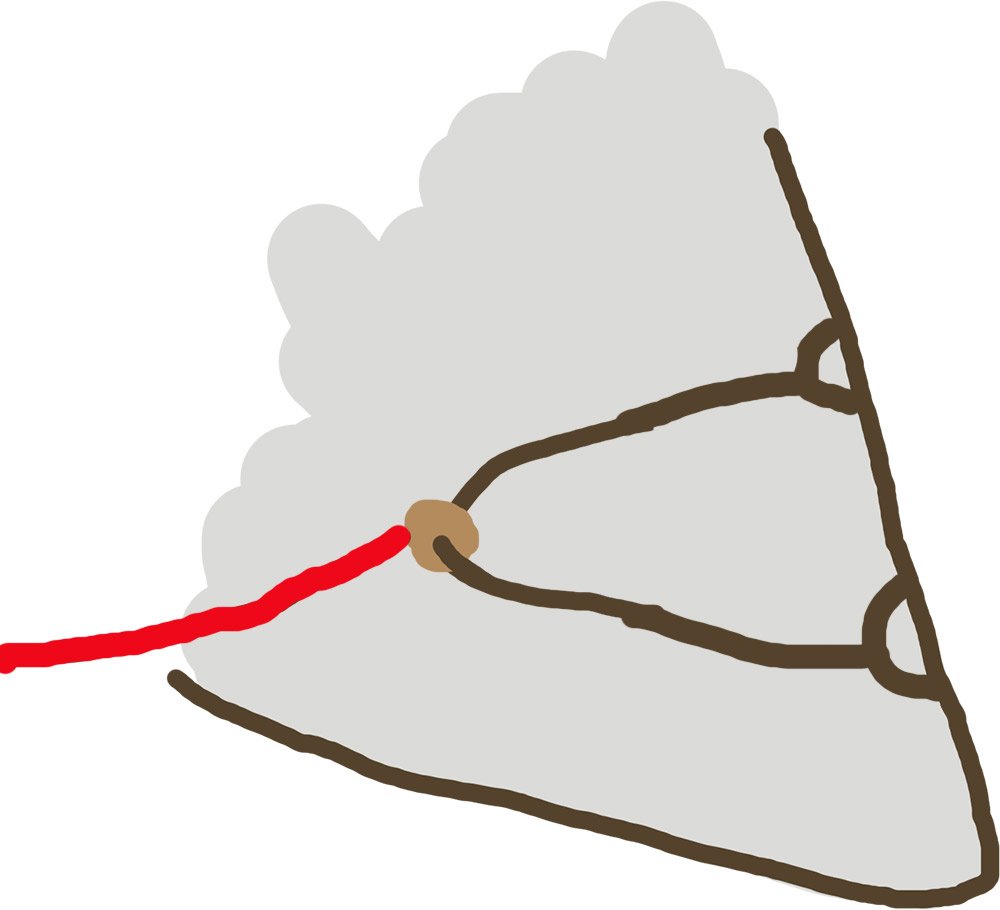
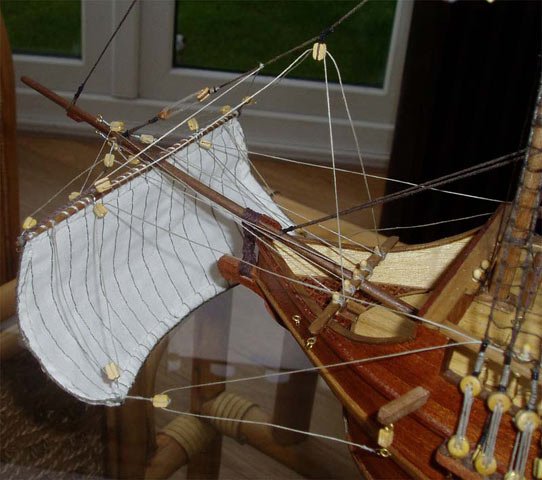
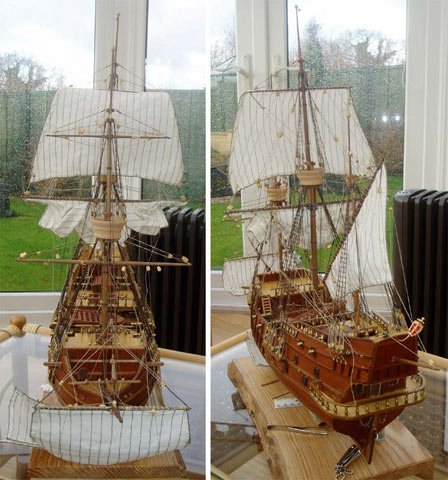
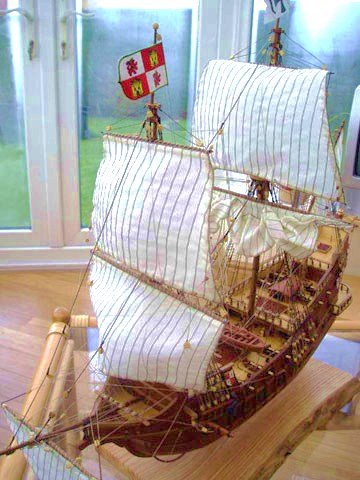
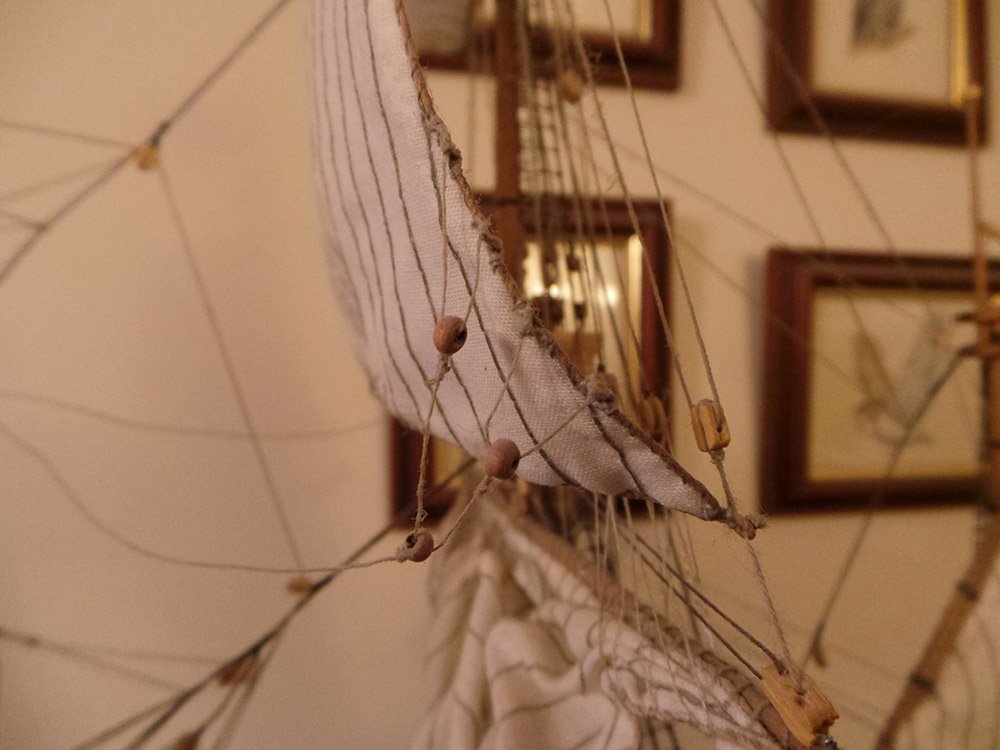
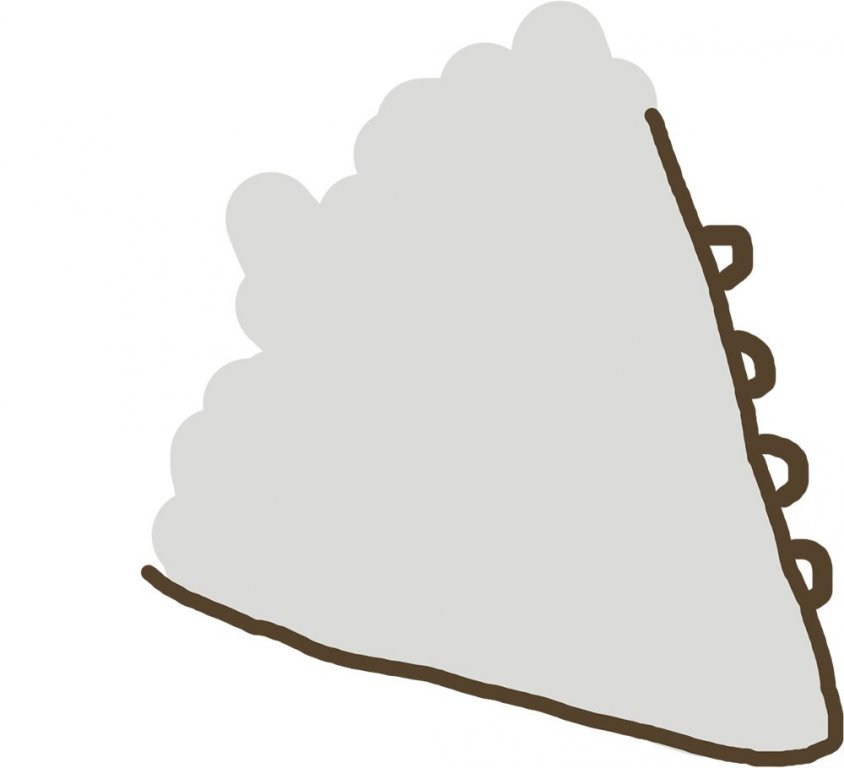
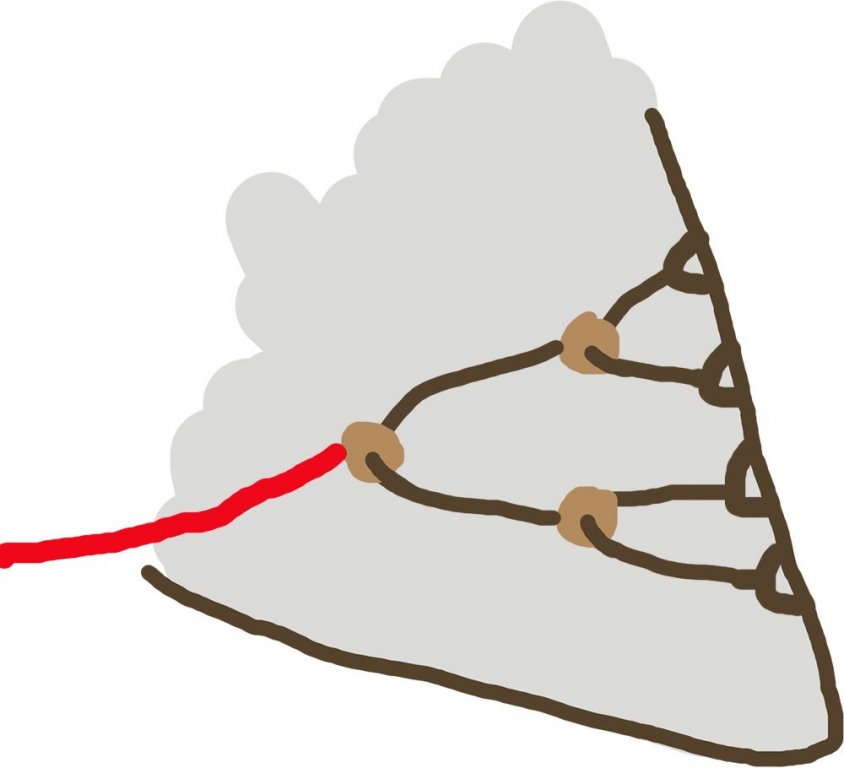
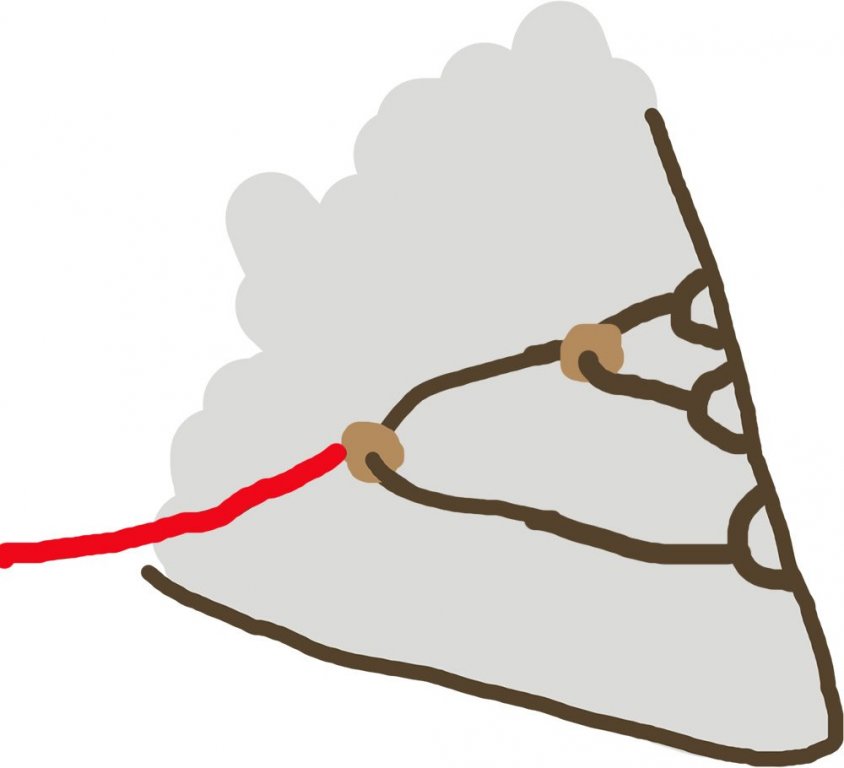
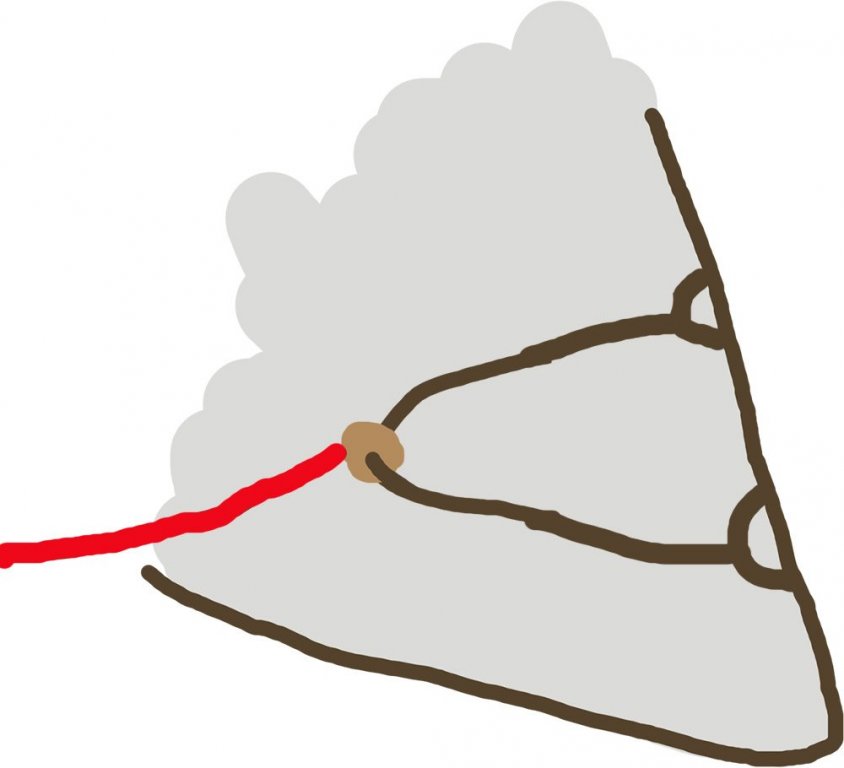
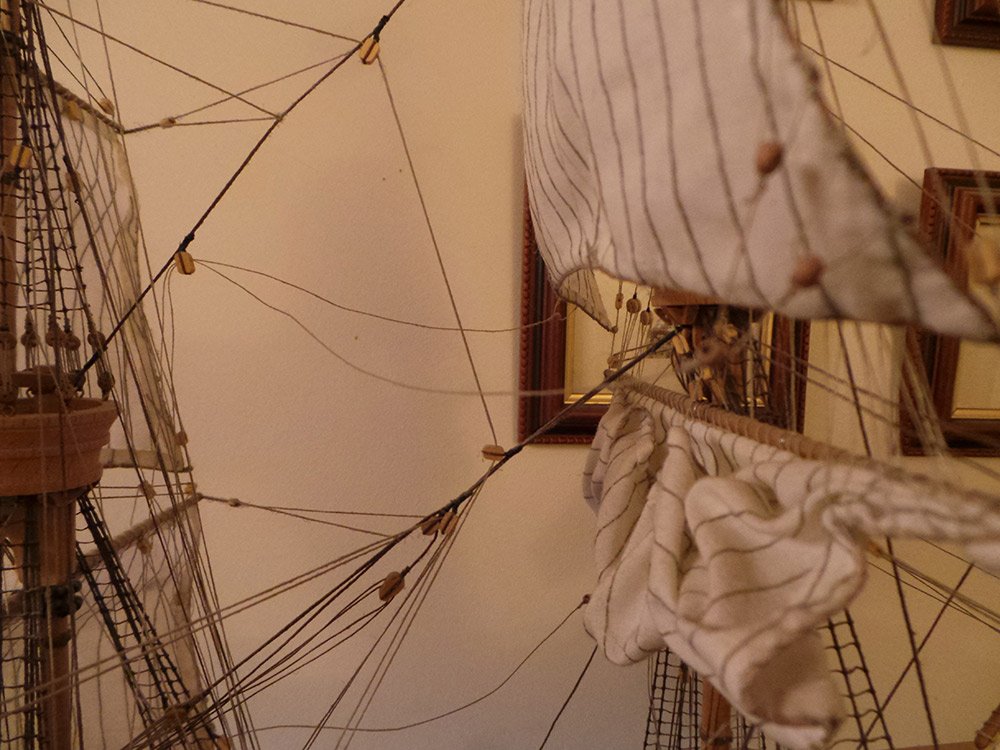
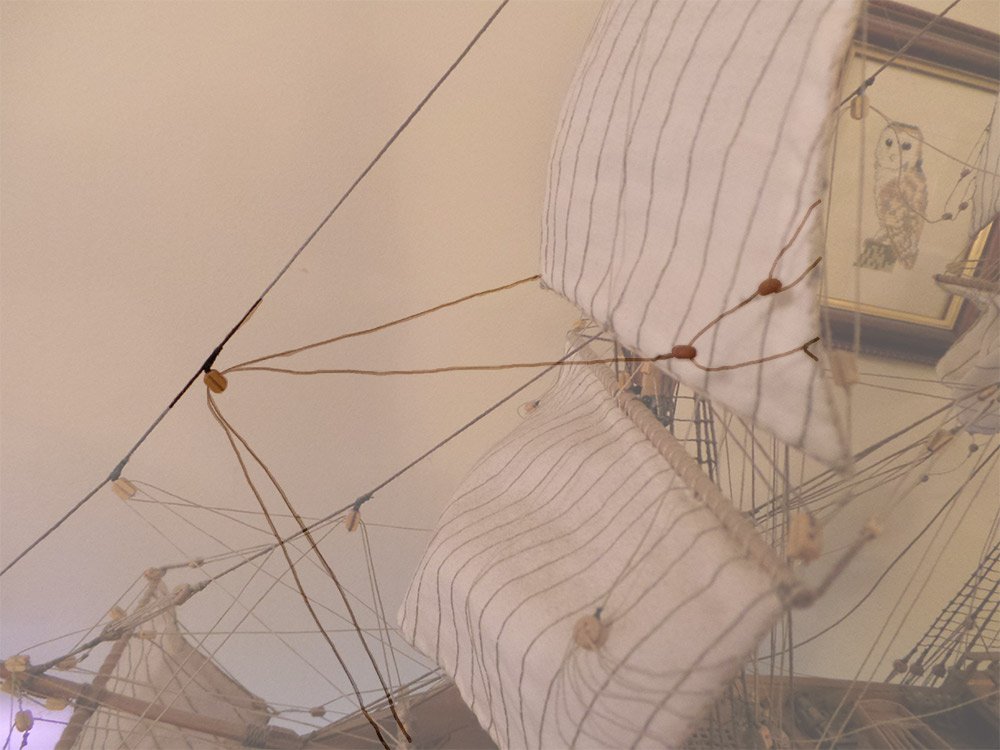
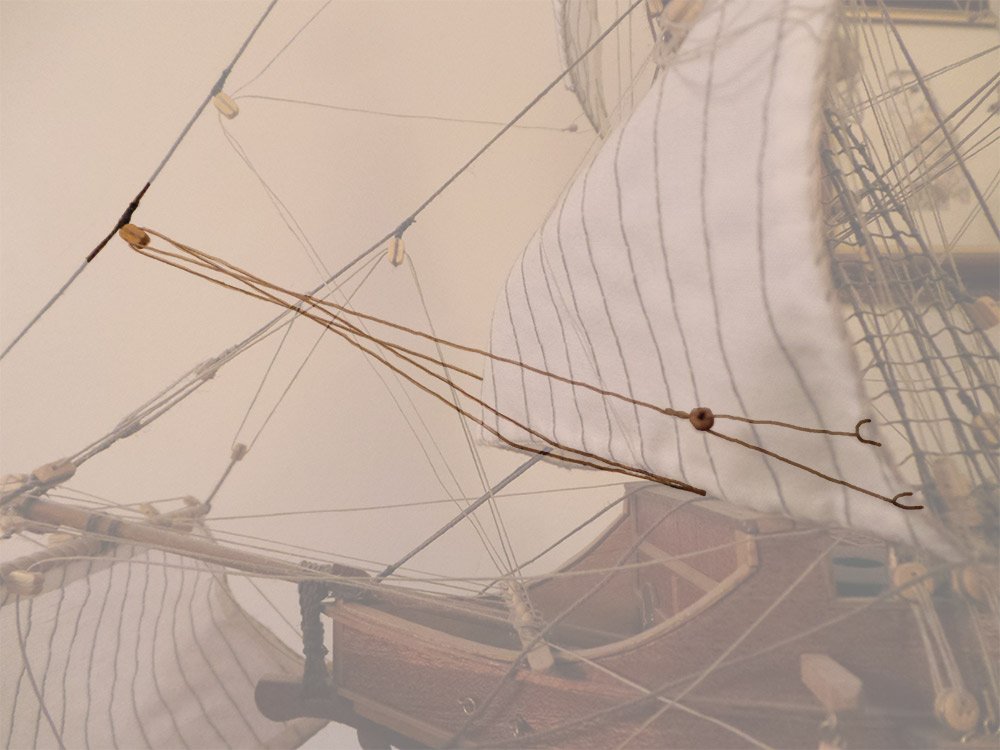
Hello mtbediz, I hadn't actually realised I hadn't completed the restoration on my San Fran build log. I will try and complete it so all the information I had is replaced. I left it previously with how I attached the bridles and bowlines to the sails, I don't think these were in the kit plans. It has been a while since I completed the ship, so I will do my best to remember what I did. The bridles and bow lines were attached to the main sail and top sail on both the main and fore mast. This is the bridle on the main mast topsail This sail has the most parts to make the bridle. 1. First make four small loops at the edge of the sail, the upper most one about a third of the way up the sail. 2. Next attach some line to the top loop, take it through the middle of a small bead and attach the other end to the second loop, do the same with the bottom two loops. 3. Then take another length of line and attach one end to the top bead (I tied it through the hole), then take the other end, thread it through another bead and then attach to the bottom bead. Attach the bowline to the last bead (shown in red) 1. 2.3. Repeat on the other side of the sail. The other three sails are done in a similar way, the only difference is the number of loops and beads used for each bridle. 4.The main sail on the main mast and the top sail on the fore mast has 3 loops on the sail edge and 2 beads. 5.But the bottom sail on the fore mast only has two loops on the sail edge and one bead: 4.5. Now the bridles are attached to the sails, we can deal with the bowlines (shown in red in the diagrams above). The bowline from the topsail on the main mast went to a double block attached to the stay, then down to a belaying pin on the fore deck, as can be seen below. The bowline from the main sail went to a single block attached to the edge of the shrouds on the fore mast, then down to a belaying pin: The bowline from the fore top sail went to a double block attached to the stay then down to a belaying point in the beak: The bowline from the lower sail on the fore mast went to another double block attached to the stay (a bit below the one for the top sail) taken under it's sail and belayed at a point by the fore mast rack (I didn't have room to belay it in the beak). That is how I did the bridles and bow lines.

- 122 replies
-
- 2
-
-
- finished
- artesania latina
- (and 1 more)
-
Yes, I would leave the violin blocks as well. You are doing a good job adding the sails and rigging. I had a lot of fun researching and adding the rigging that was not included in the plans for my San Francisco. In fact I found rigging my San Fran an enjoyable experience - even the ratlines!
- 59 replies
-
- 1
-
-
- artesania latina
- san francisco ii
- (and 1 more)
-
You have a nice looking ship there. Love the Hull colour, the Mahogany was a good choice.
-
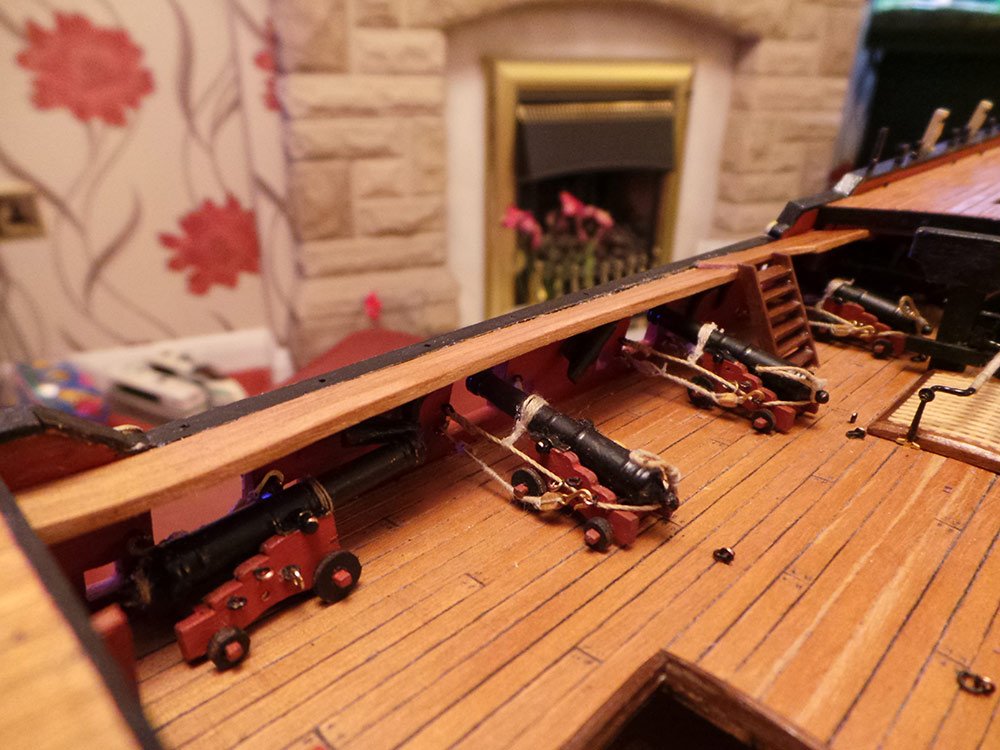
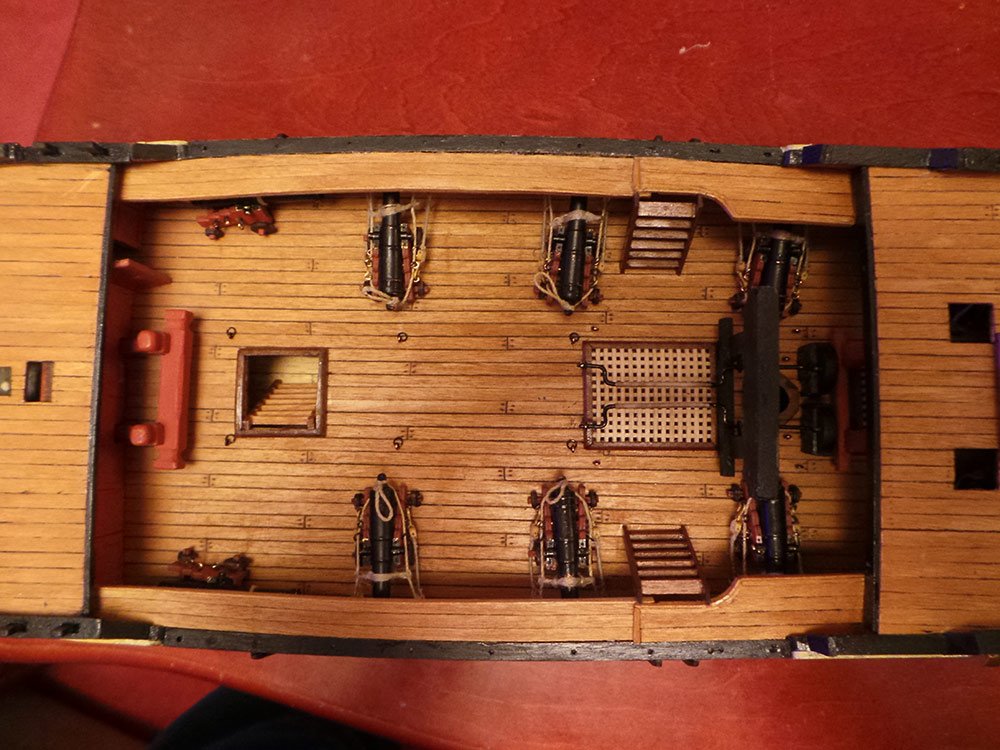
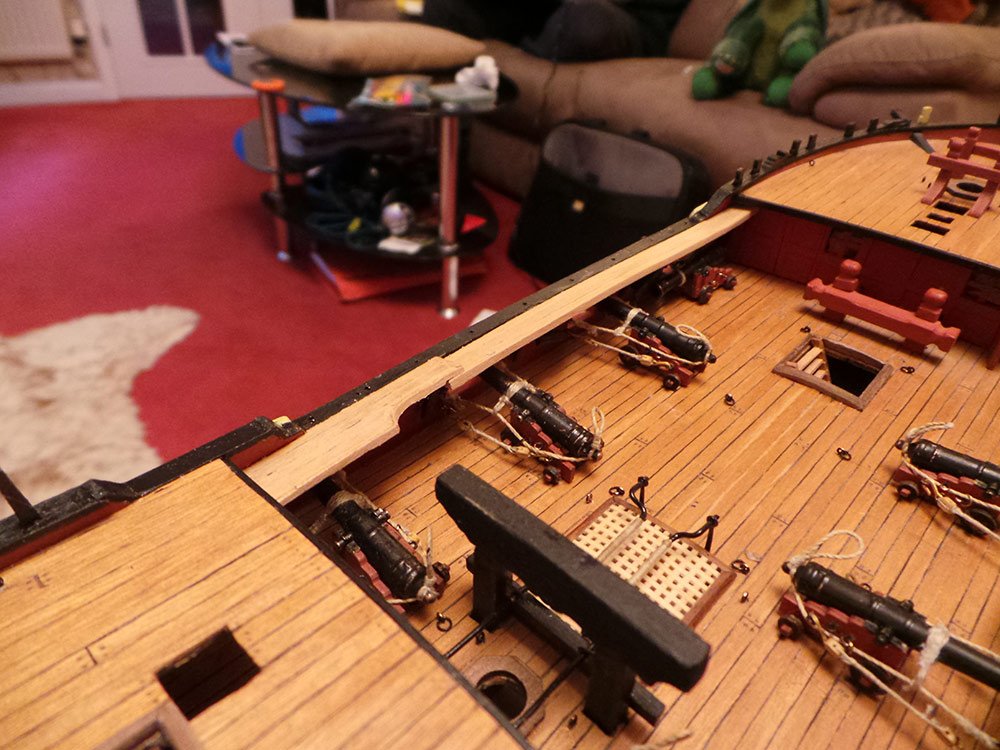
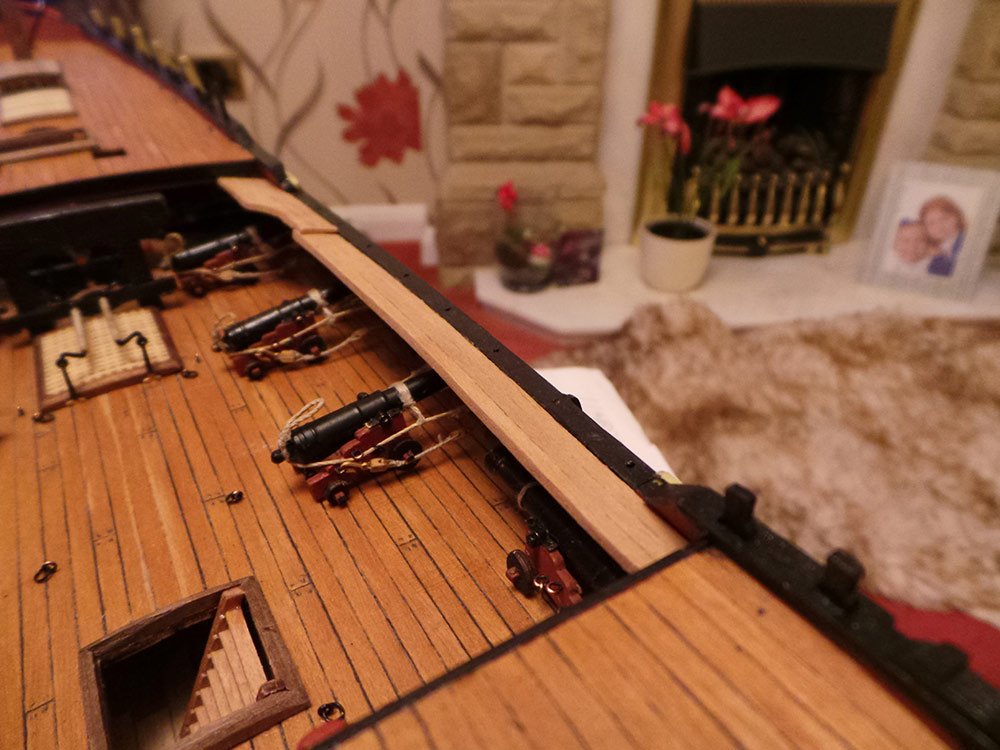
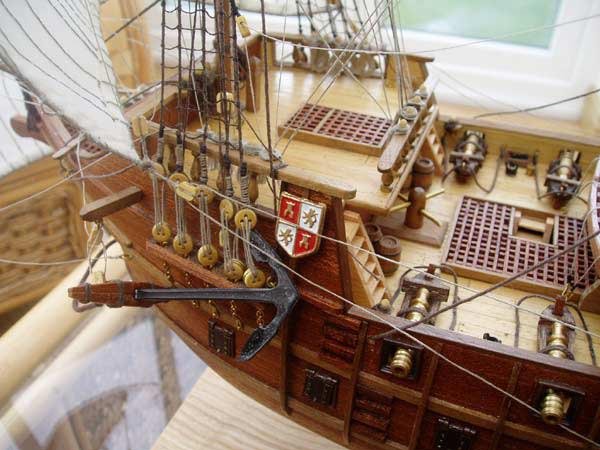
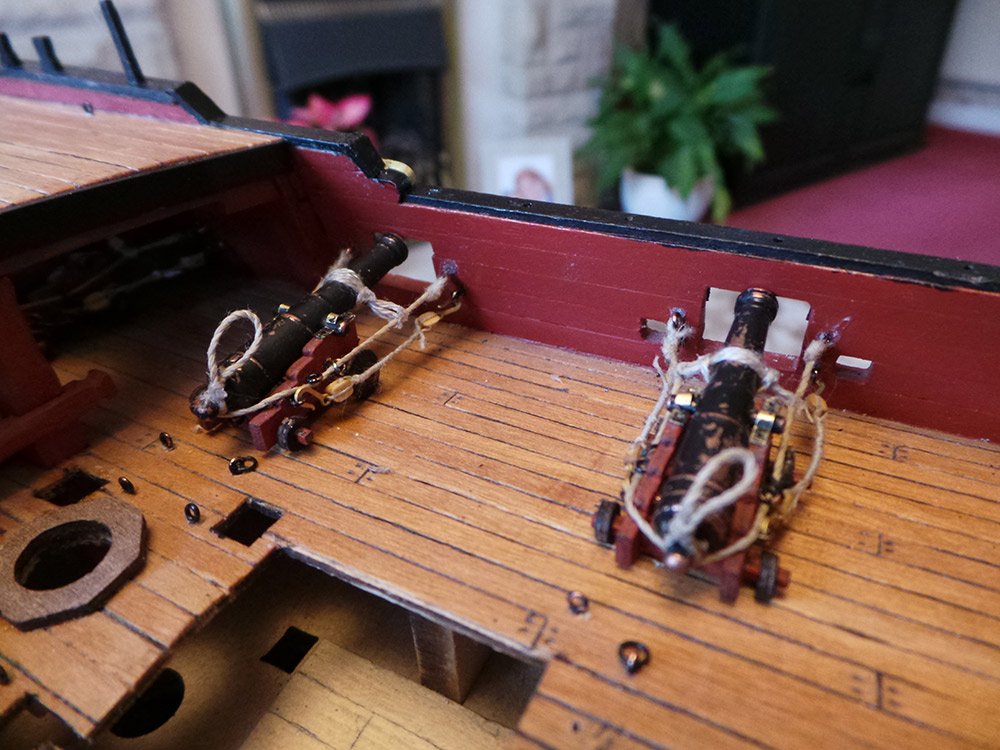
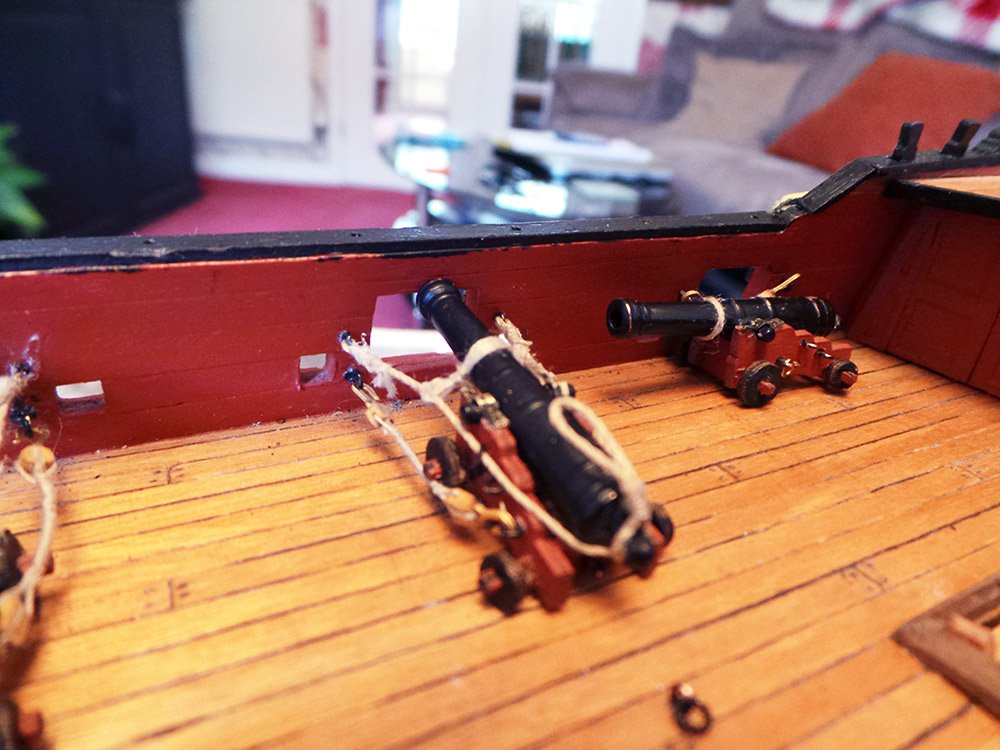
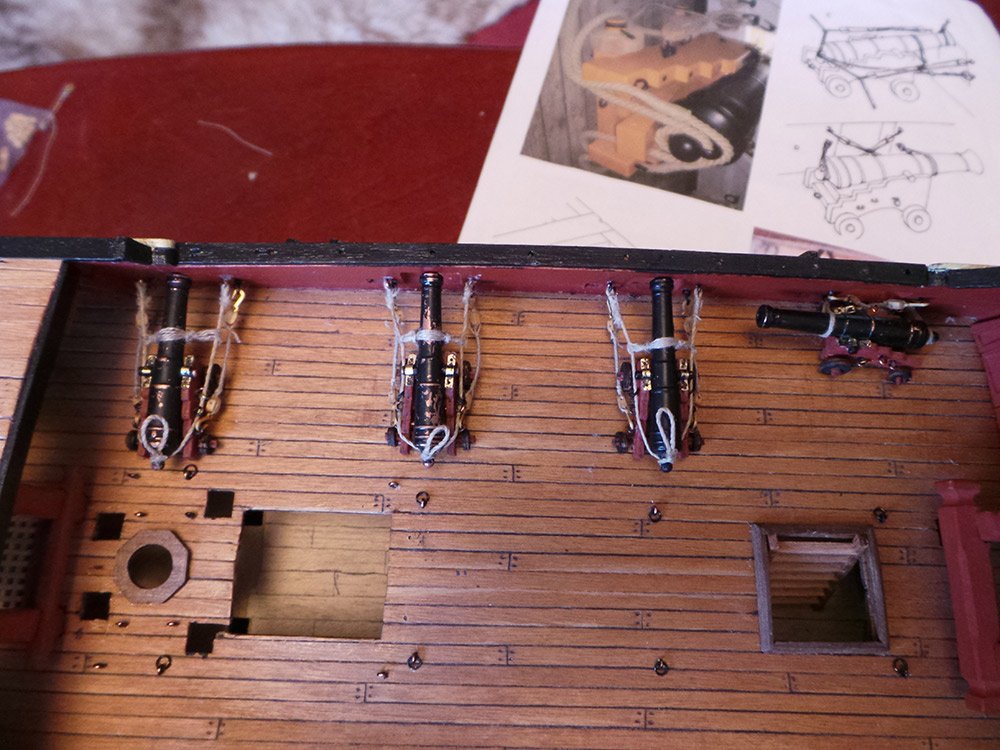
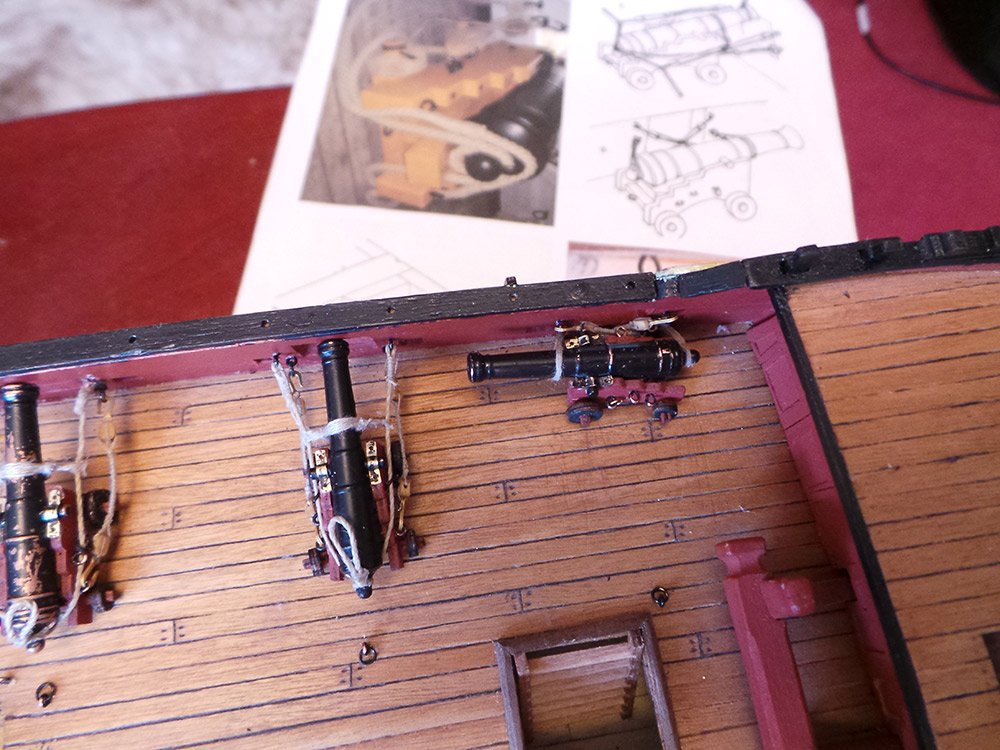
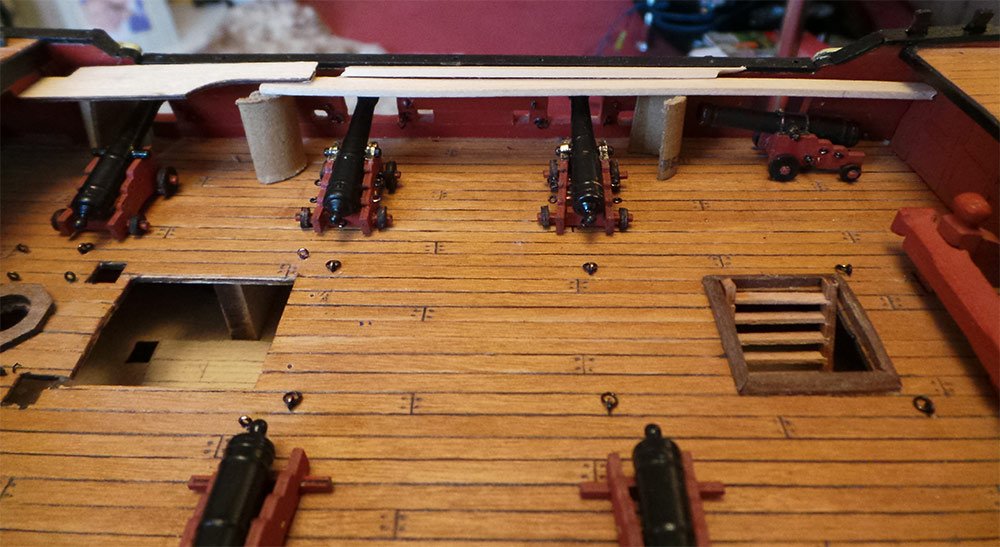
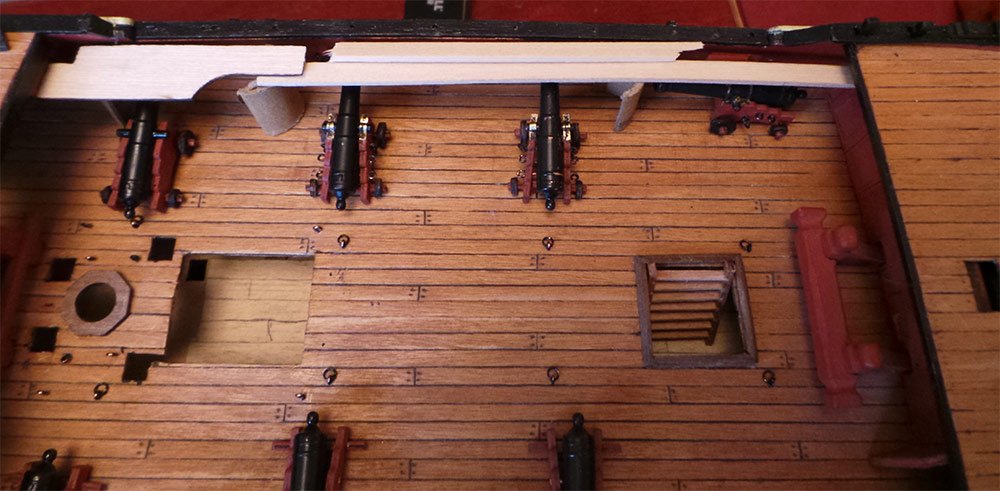
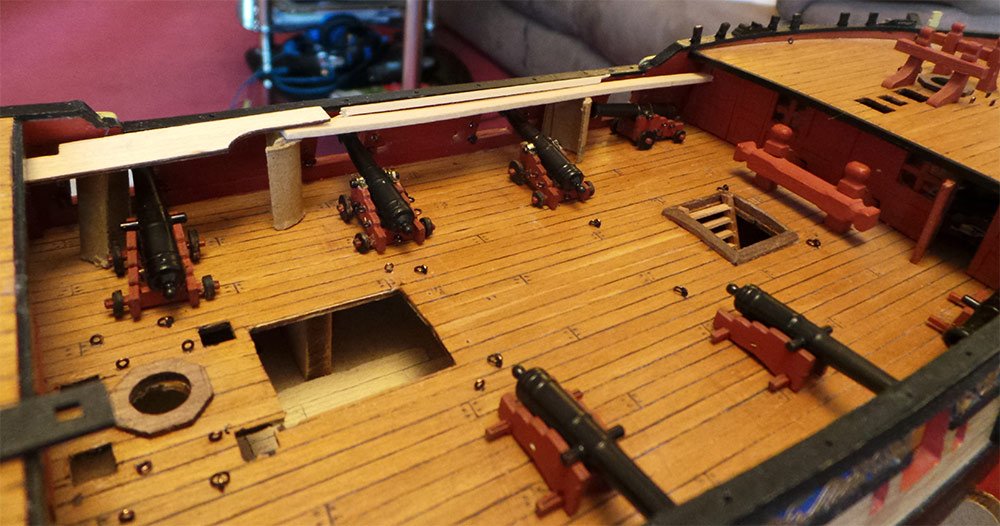
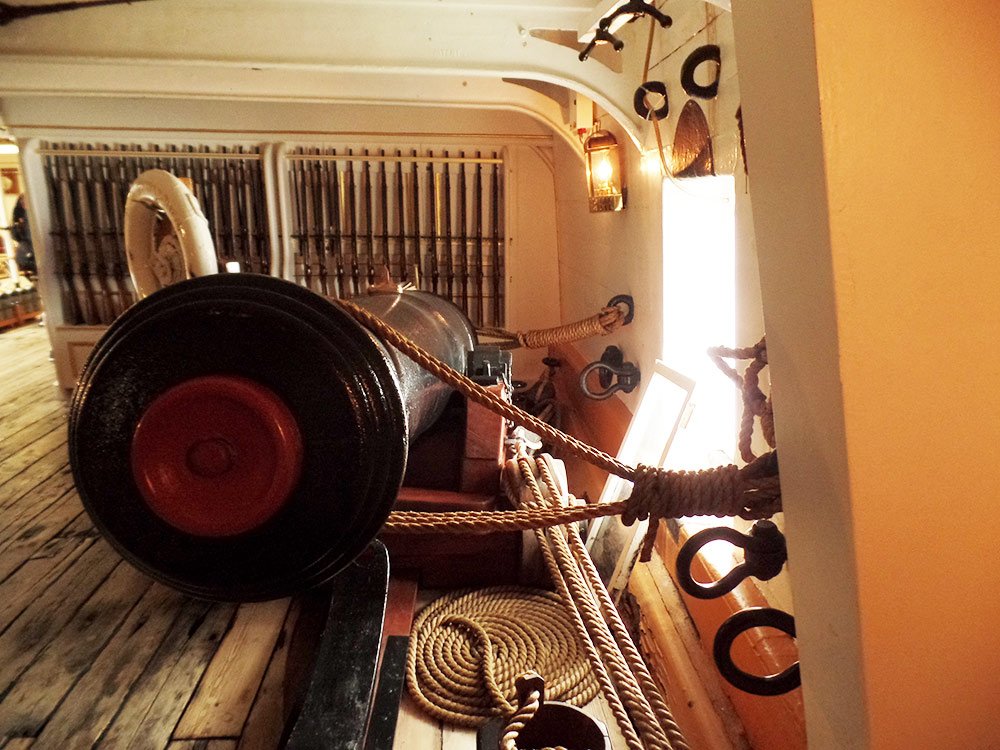
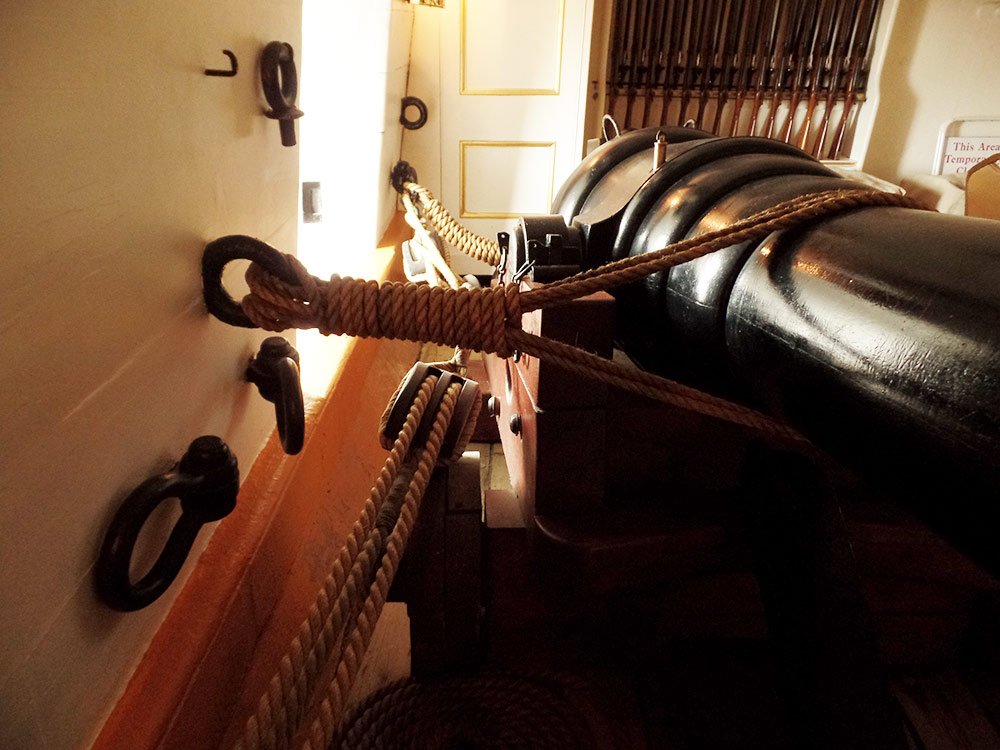
Thanks Sam. I know the cannon wouldn't have been lashed alongside ordinarily, but I wanted to show it anyway. Maybe the Captain was planning something! Hi John, I think I can get away with it! Here are the port side cannons installed. It has taken me all week, fiddly little whatsits! Next the starboard side.

- 161 replies
-
- 9
-
-
- pegasus
- victory models
- (and 1 more)
-
Fantastic model. The weathering details are superb, you'd think it was the actual ship!
-
Those ratlines are very tidy. Good job on the boat too. I think a lot of us have made the ship's boat instead of using the horrible metal one provided in the kit!
- 59 replies
-
- 1
-
-
- artesania latina
- san francisco ii
- (and 1 more)
-
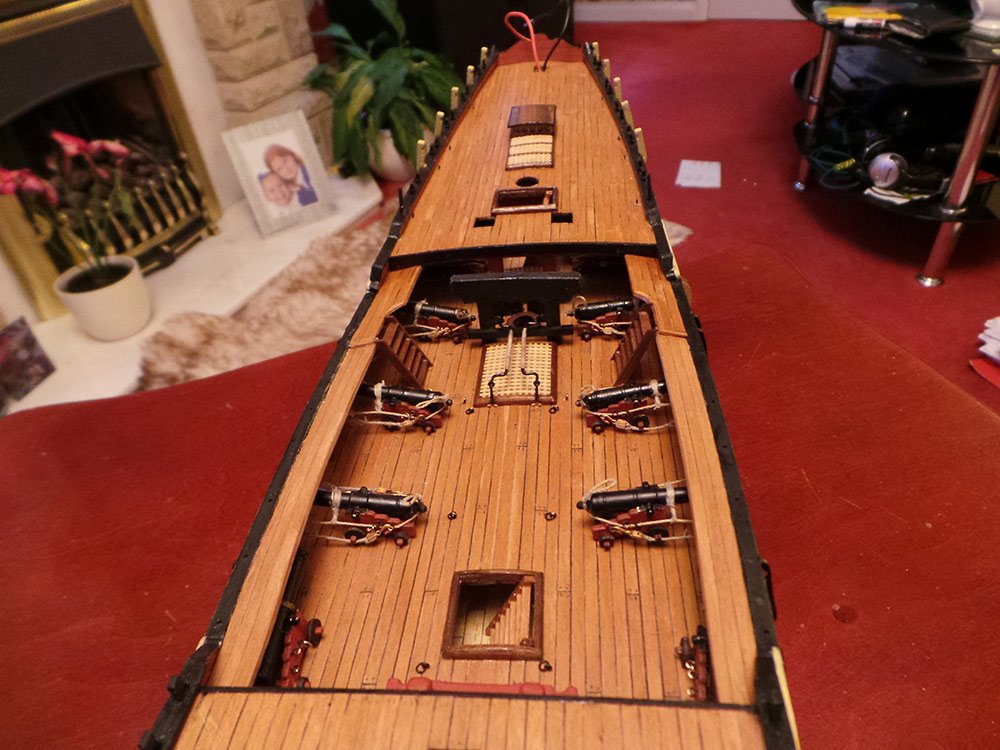
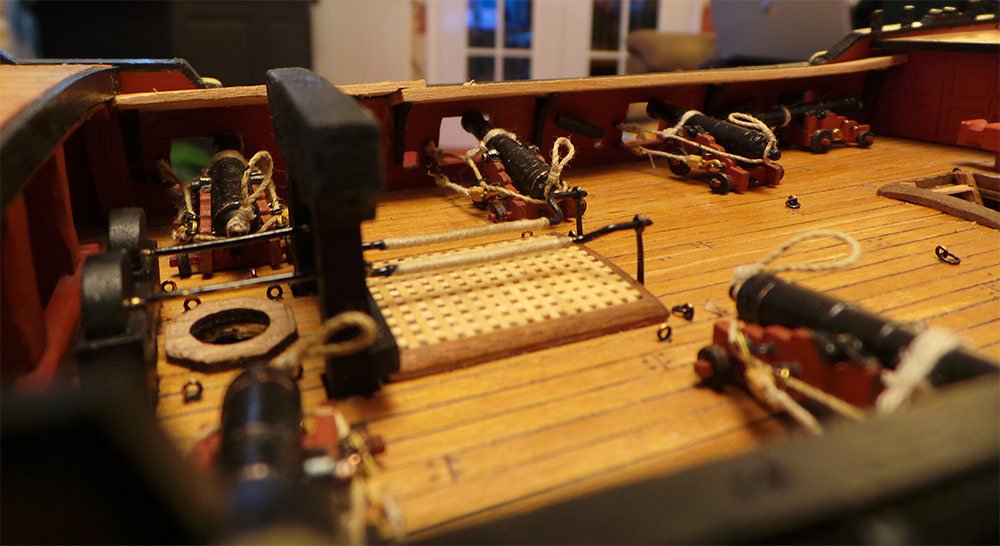
Regarding the cannon stowage, I think I am going to stow one cannon alongside near the bow on each side and the other 6 stowed the same way as the ones under the quarter deck. I also think I am going to install the gangplanks too. I have made a mock up to see how it would all look and I think it will look okay.
- 161 replies
-
- 6
-
-
- pegasus
- victory models
- (and 1 more)
-
Agamemnon is looking very good. I will follow the rest of your build with interest.
-
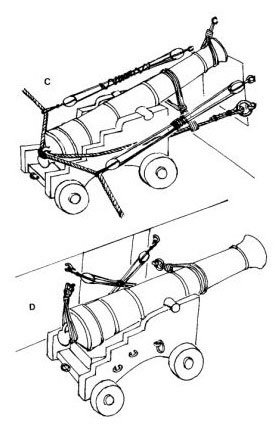
Hi B.E Yes, the binnacle and skylight were fiddly, but I enjoyed making them. Thank you for your comments regarding the cannon stowage. When I was making my San Francisco, I saw the example of the sideways lashing in the drawing above and decided I would like to stow one that way on another build. I take on board your comments and am now thinking about maybe leaving it on Pegasus and stow them as I have under the quarter deck. (would they be lashed that way or would they be run out permanently?) I am toying with the idea of installing the gangplanks like you did on your Pegasus; and if I do, then you wouldn't be able to see much details on a cannon lashed sideways anyway. Hmm, some thinking to do.
- 161 replies
-
- 1
-
-
- pegasus
- victory models
- (and 1 more)
-
I'd like some advice on the cannons on the main deck. I want to show them in a stowed position, but unlike the syowd ones under the quarter deck, I want them sideways on instead. I have some good reference pictures of sideways stowed cannons and how the rigging is on them, but what I would like to know is if all 8 cannons would be stowed sideways at the same time, or if it would only be some of them?
- 161 replies
-
- 6
-
-
- pegasus
- victory models
- (and 1 more)
-
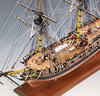
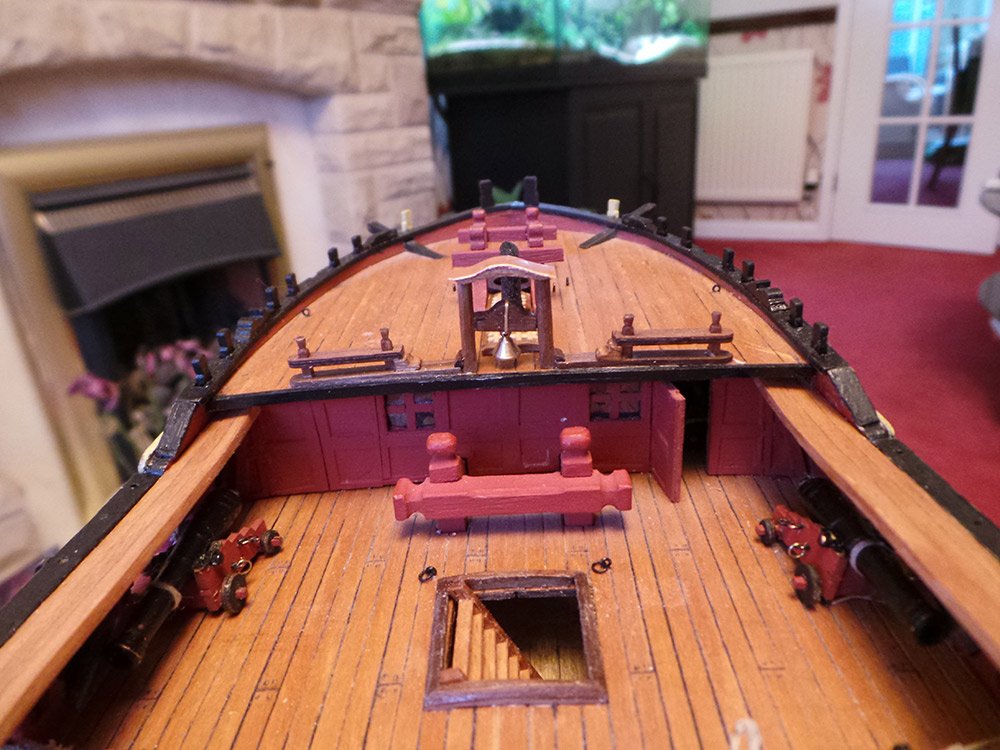
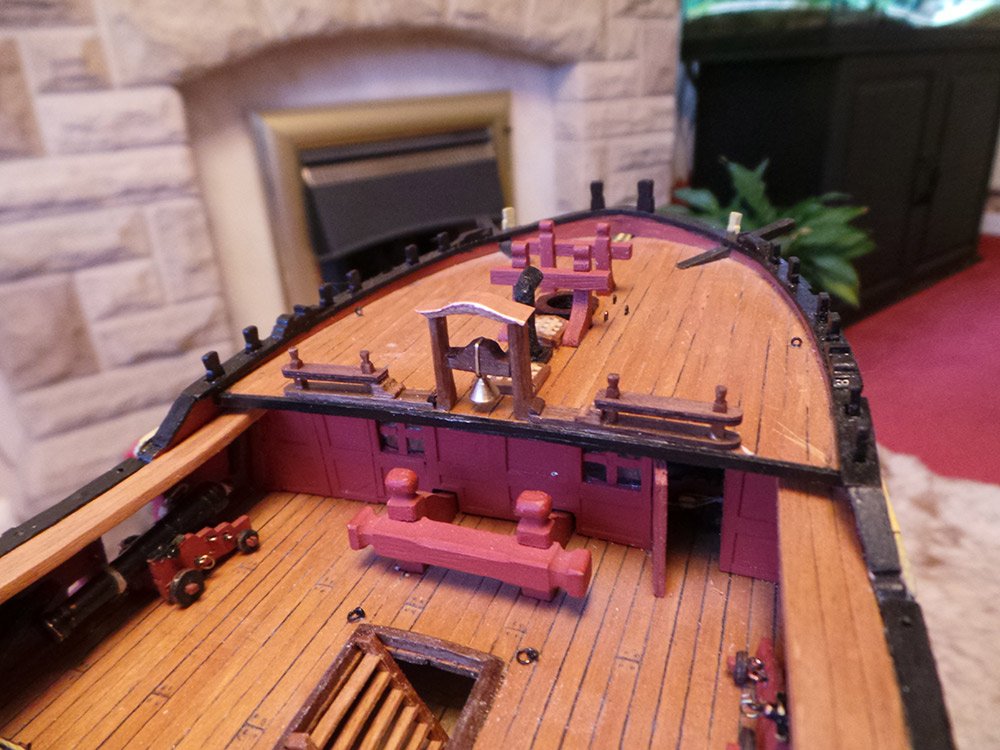
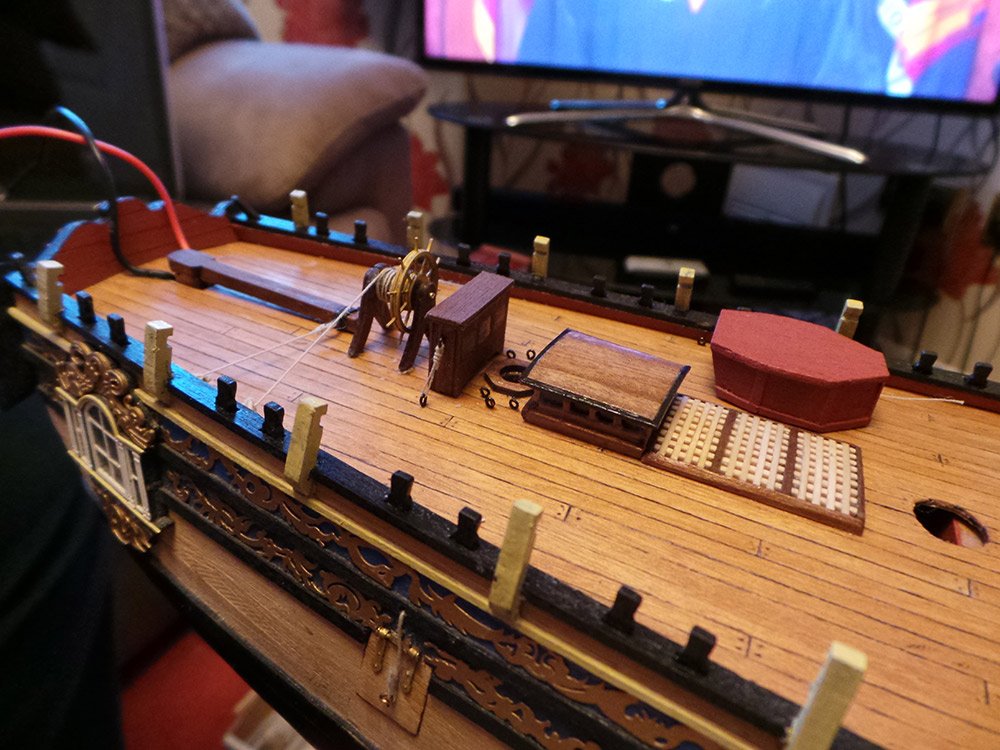
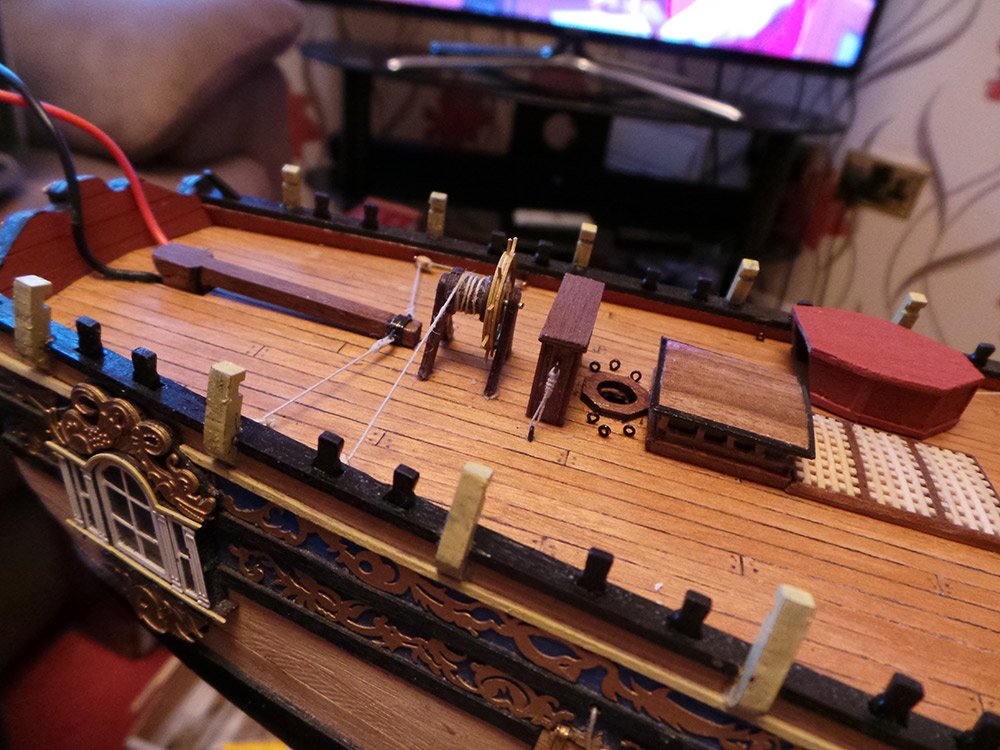
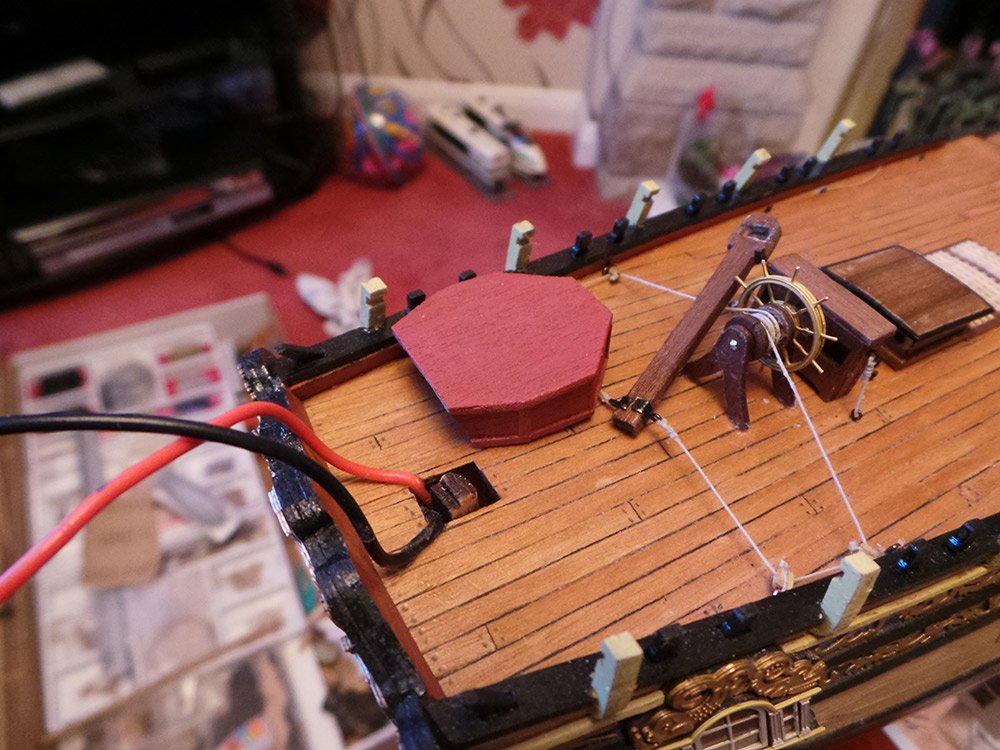
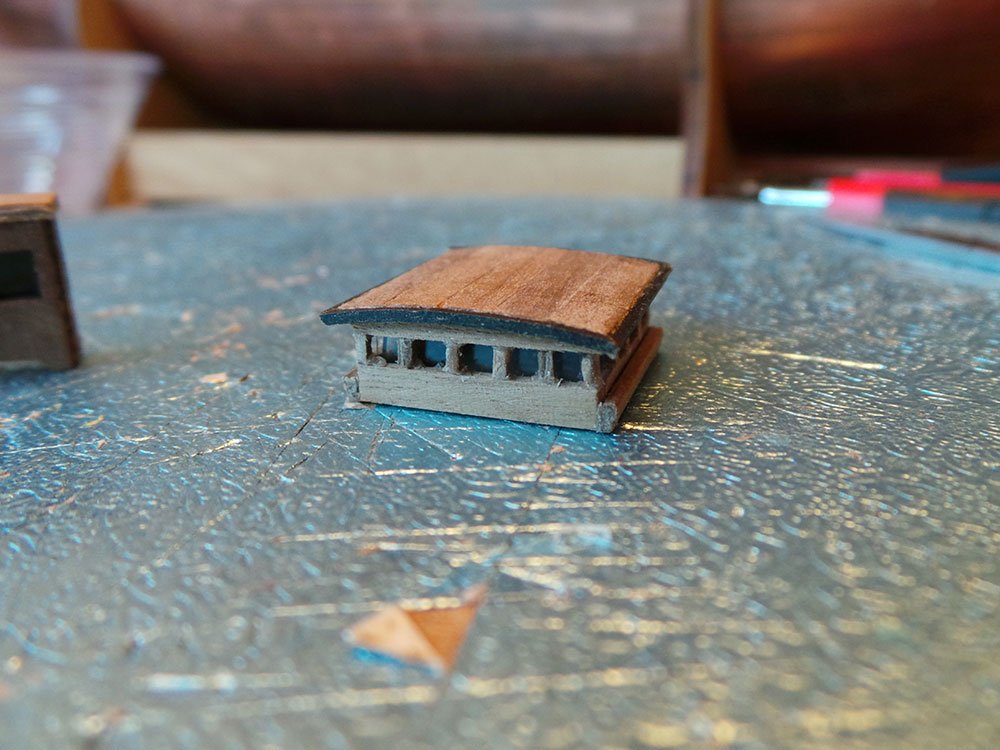
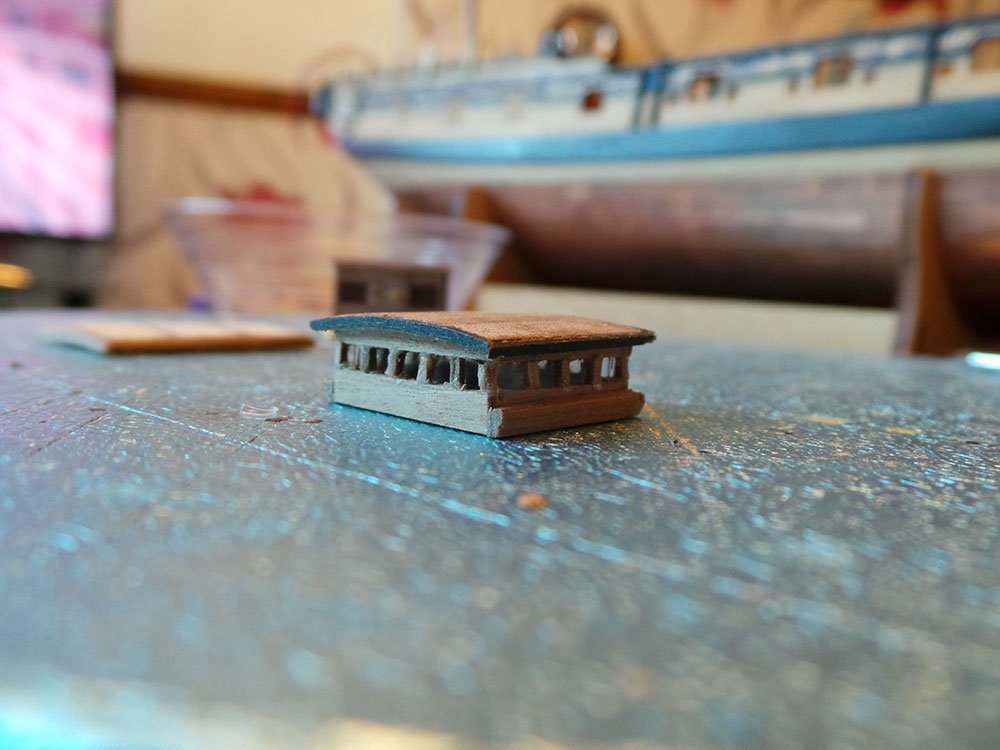
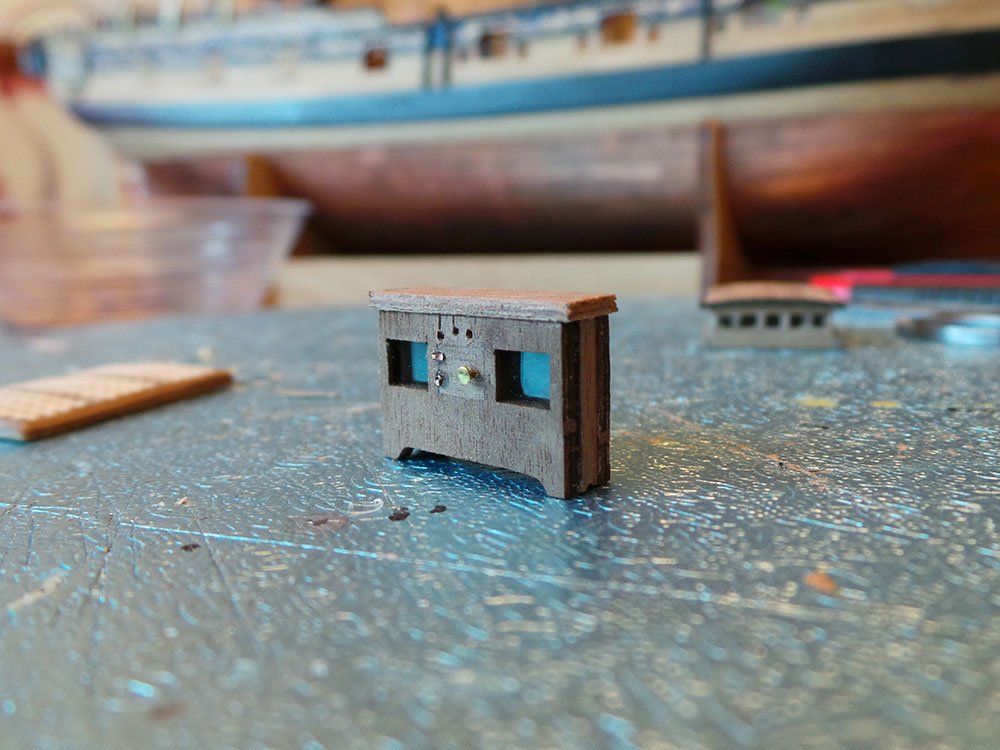
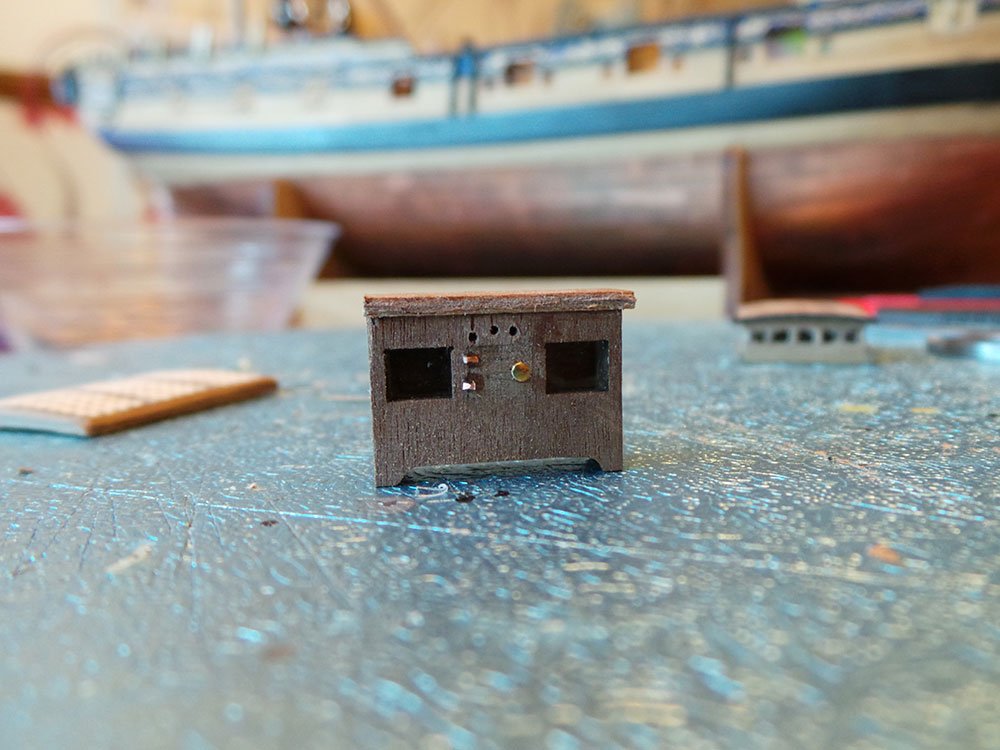
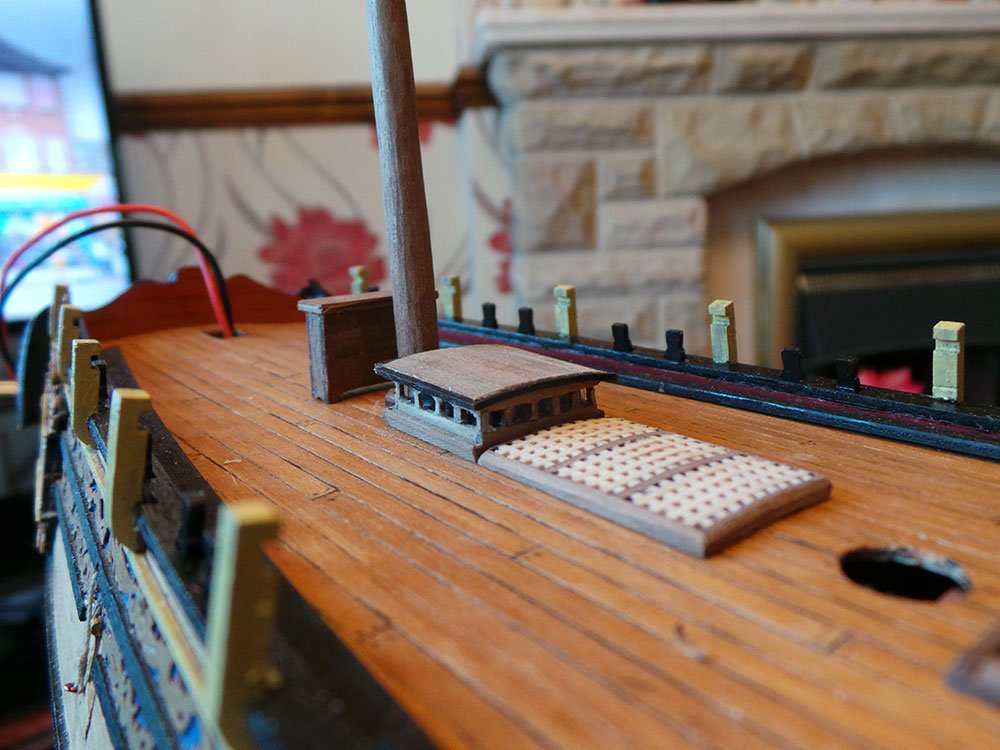
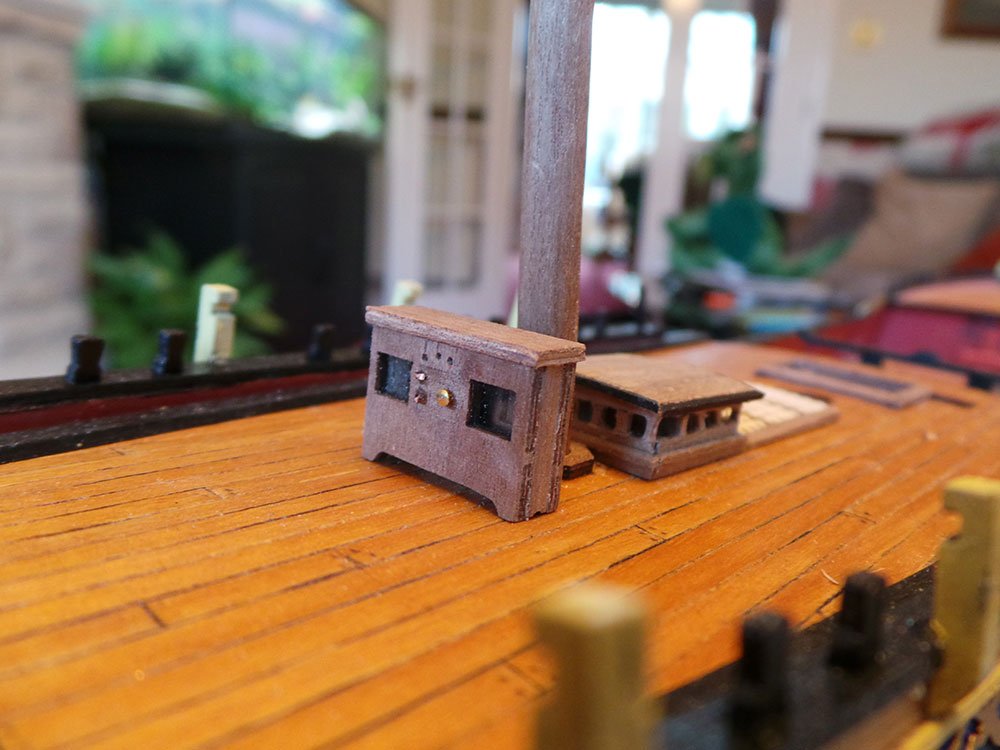
It took me all day to make the clerestory light as a replacement to the skylight. A very fiddly little thing, but I think it has turned out quite well. Then I altered the kit provided binnacle to resemble something more like the one in Blue Ensigns build (hope you don't mind BE) The clerestory and binnacle just placed in position on the quarter deck. Next I intend to do the elm tree pumps, ship's wheel and rudder housing (which will be modified)
- 161 replies
-
- 11
-
-
- pegasus
- victory models
- (and 1 more)