


DenPink
-
Posts
818 -
Joined
-
Last visited
Content Type
Profiles
Forums
Gallery
Events
Posts posted by DenPink
-
-
-
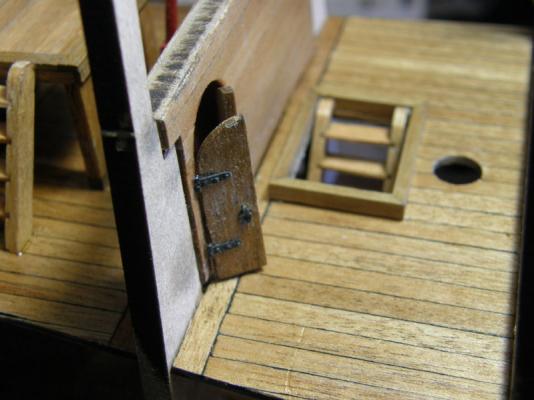
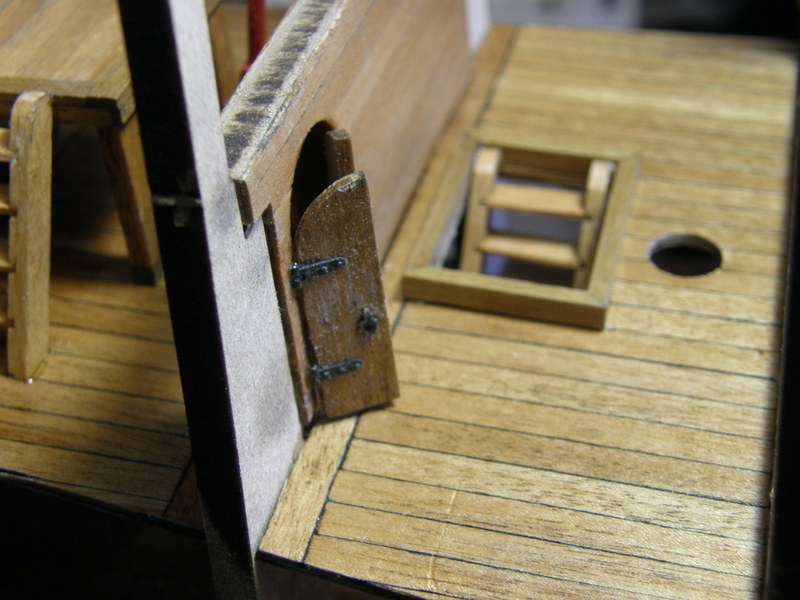
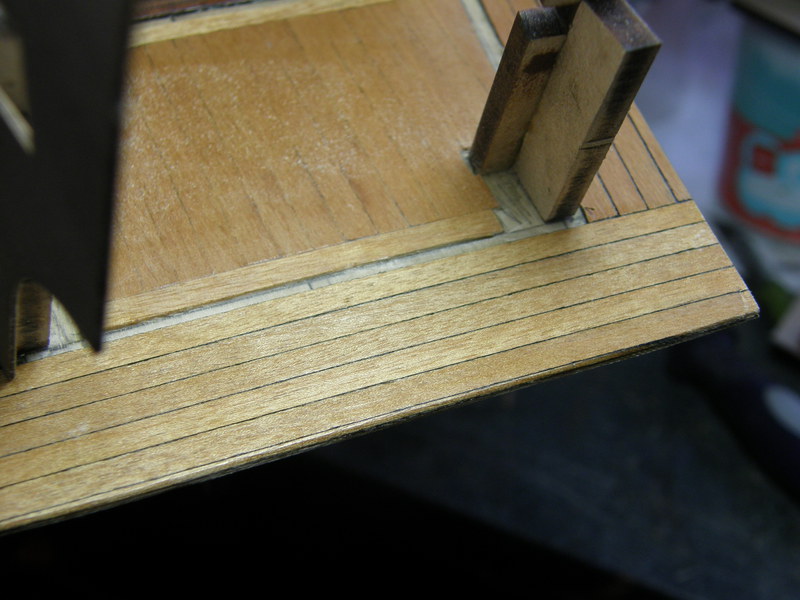
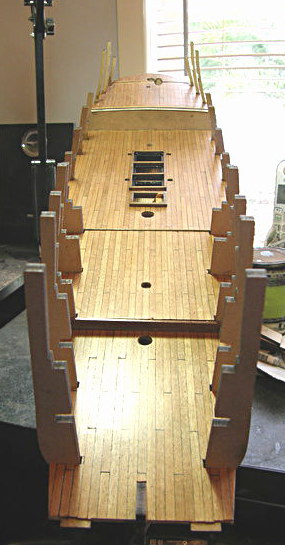
Hi
Stairs in place, doors on.
Next is dry fit the next deck, now I am going to plank it,
Sorry about the dust.
Denis.


- Seventynet, mtaylor, coxswain and 10 others
-
 13
13
-
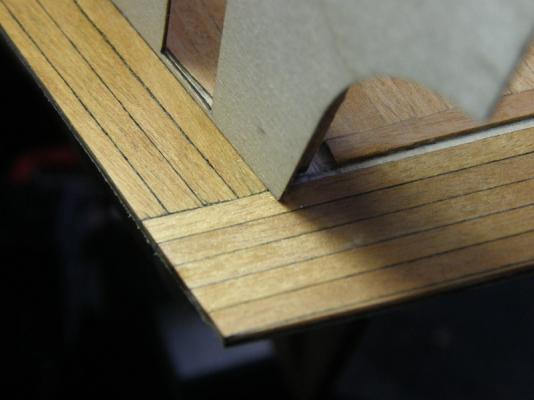
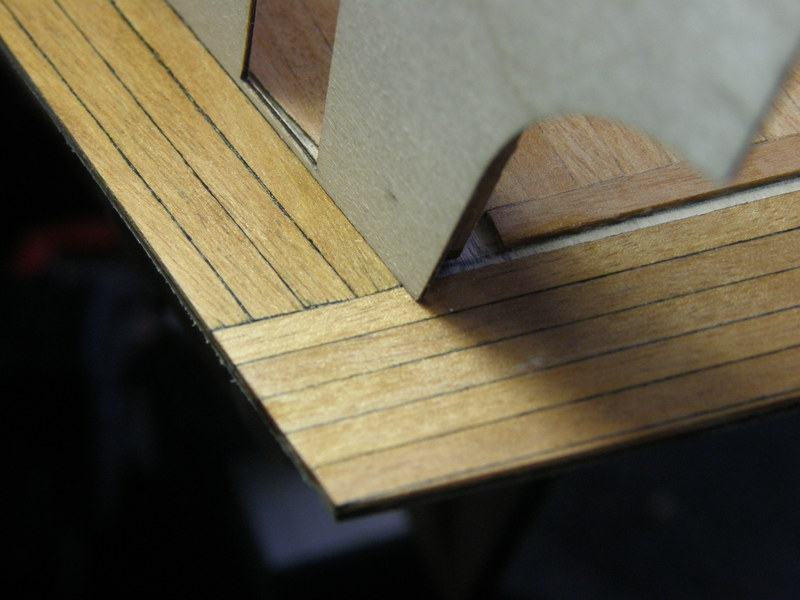
Hi all
Just a little update.
I have fitted the cabin deck and planked the walkway on the outside.
I did not put the caulking lines on the inside planks.
I am a bit mad about this as I do like to see the caulking lines.
I don't know if they did caulking on the inside of the cabins in 1577 as I was not born then ( the wife said I was so I will not argue with her
 ).
).I have dry fitted part 51 to see what it looks like, yes I know it is too far over to the right.
Will now sand and put a coat of satin varnish on the walkways as they have only got two coats of sanding sealer.
Denis.

-
Hi Ron
That is just outstanding workmanship.
Pat your self on your back my friend.
Denis
- mtaylor, kiwiron, Captain Slog and 1 other
-
4
-
-
-
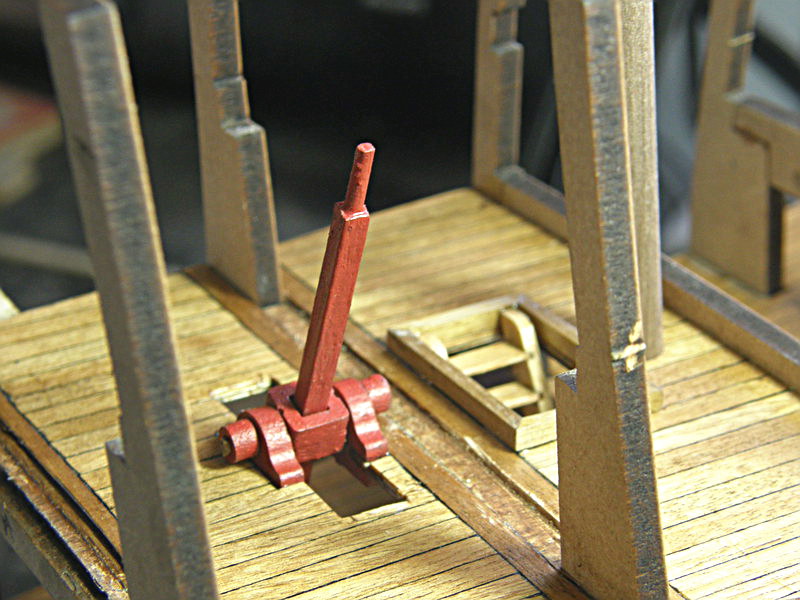
Hi all
First thank you all for your likes and comments.
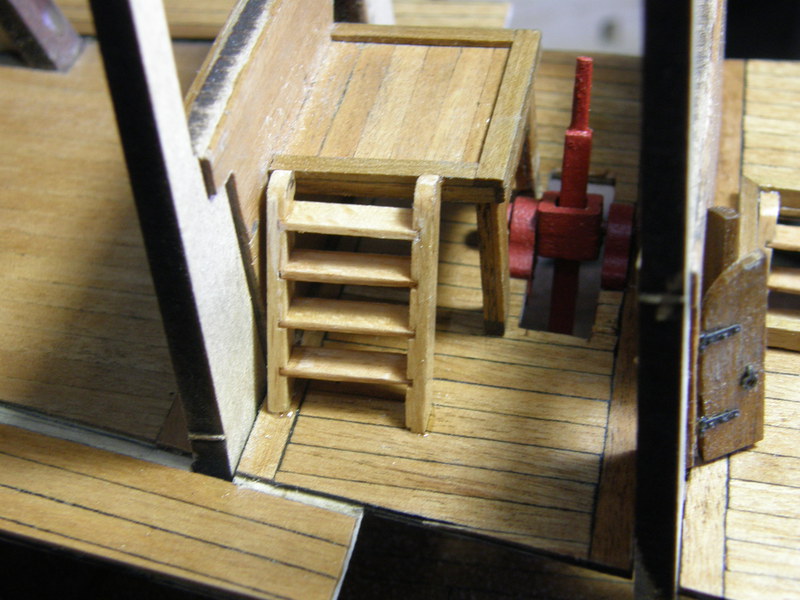
Just a small update.
Capstan in, Whipstaff in place , stairs in.
Denis.


-
-
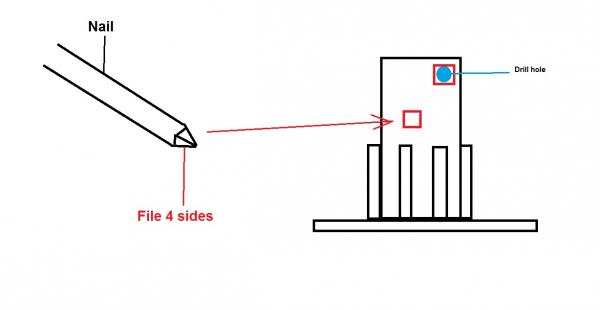
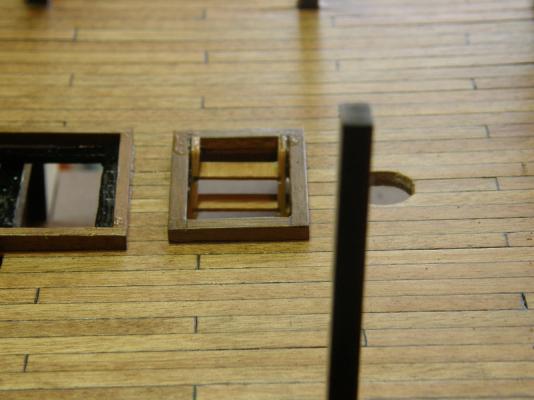
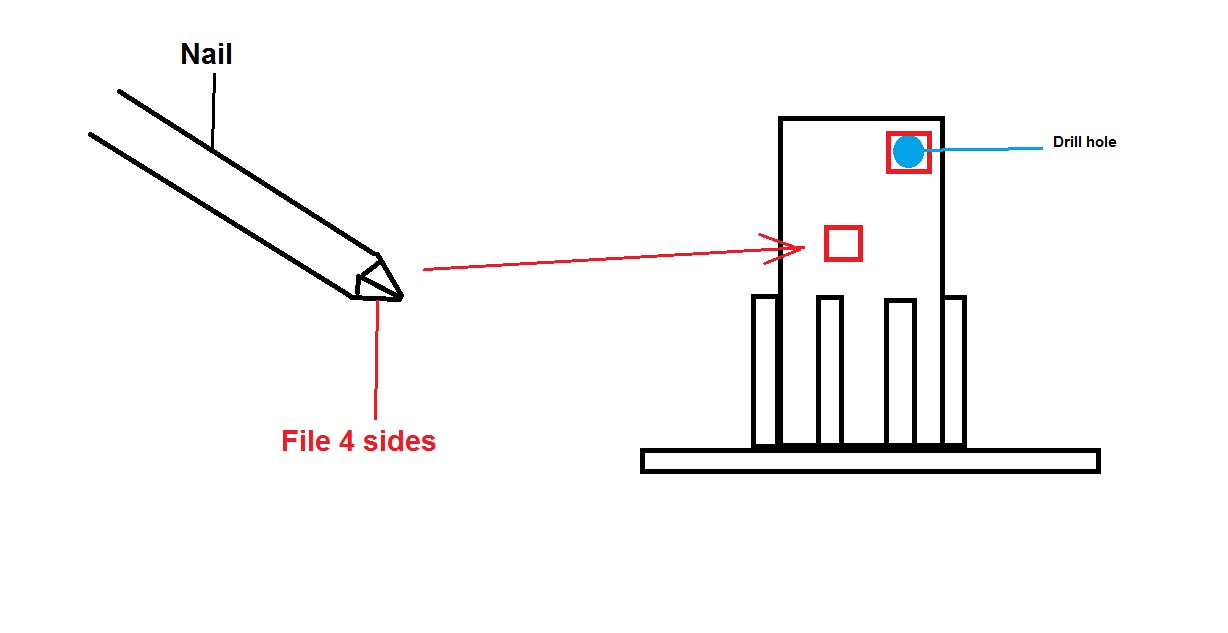
Hi All
I don't know if this will help anyone in the future.
The Revenge has two capstans, the instruction book says drill holes and square them off with a file.
Sorry I have not seen a file that small.
I came up with this but I did not use it on my capstans as I had made them and one glued in place.
But it was playing on my mind.
I got a small nail, then filed 4 sides on it to a point ( see attachment ).
After you drill the hole just put the nail in and give it a small tap.
Now you have a square hole.
Denis.
- UpstateNY, CaptainSteve, Visi and 4 others
-
7
-
Hi Mark
I have the same as you.
When I looked at them I thought at the time they looked a bit on the large side.
I did not say anything as I was doing the hull planking at the time and I forgot all about it till now.
Have you asked Peter about it ??.
Denis.
-
-
-
Hi Denis,
really looks great. I like the shine of the deck and the accuracy of the planks. The kit seems to be a neat piece of fun

As I don't know Amati so far can you please tell me something about the instructions? On pic shows a booklet - but are there "real" plans too?
Looking forward to your next update

Cheerio
Max
Hi Max
Sent you an email Ok.
Denis
-
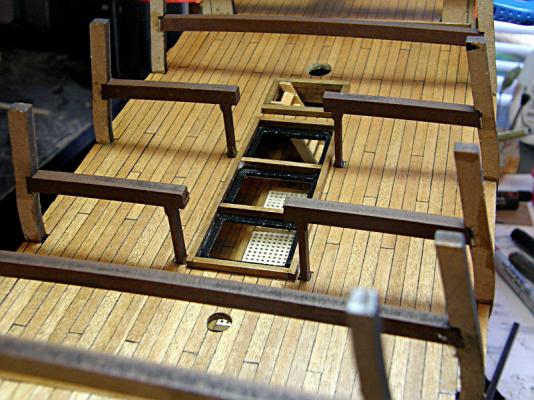
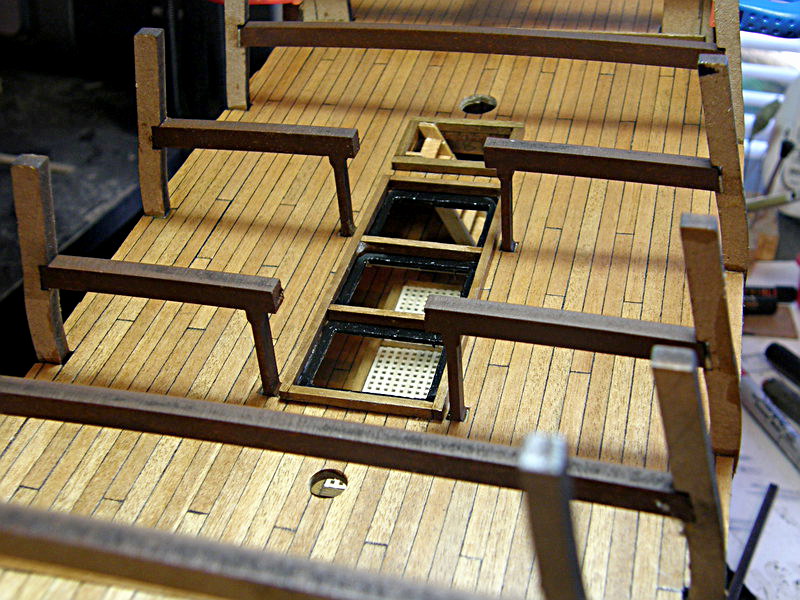
Hi all
Just a little update ha-ha.
Stained and glued some of the beams in on the gun deck.
Sorry that is all I have done.
Denis.


- maggsl_01, UdoK, CaptainSteve and 8 others
-
11
-
Hi Brian
Thank you also for them nice words my friend.
Denis.
-
-
-
-
I second that Brian I would be lost with out my Byrnes disc sander.
Denis
-
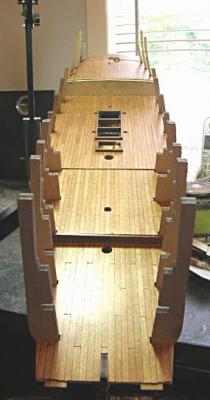
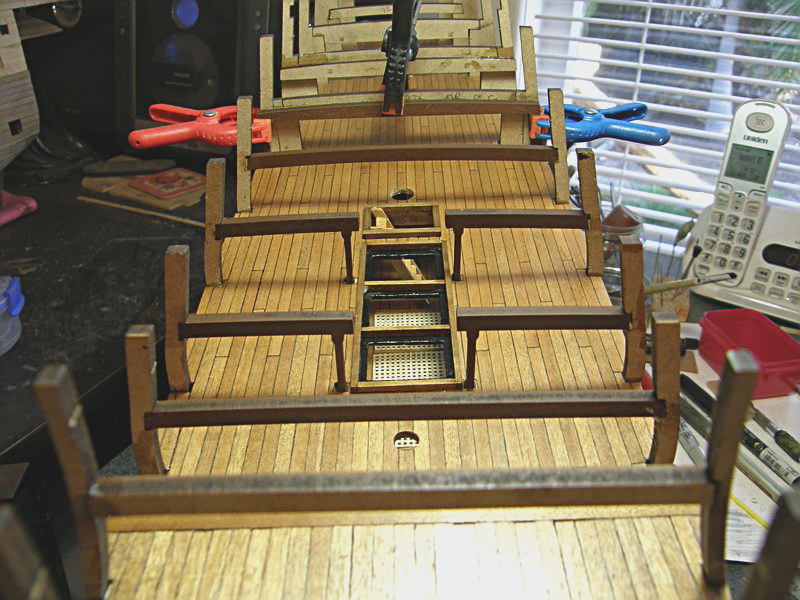
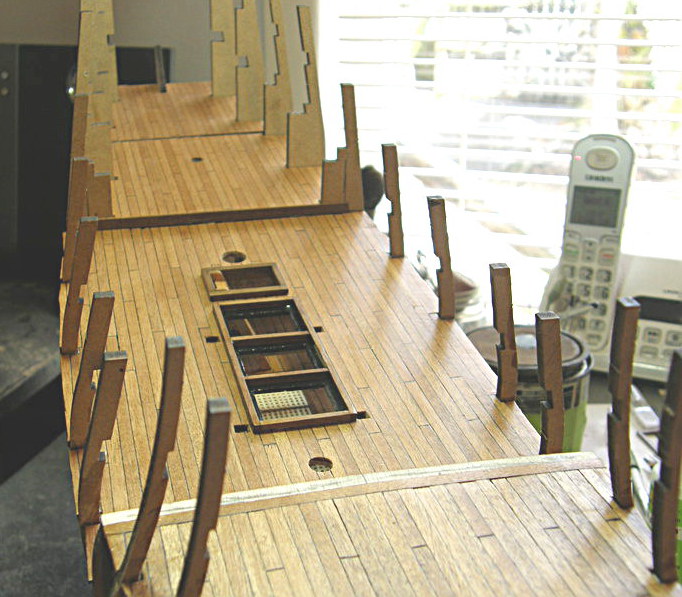
Hi all
Just a small update.
Decks are fitted and steps to gun deck.
Denis.

- BLACK VIKING, kiwiron, edmay and 8 others
-
11
-
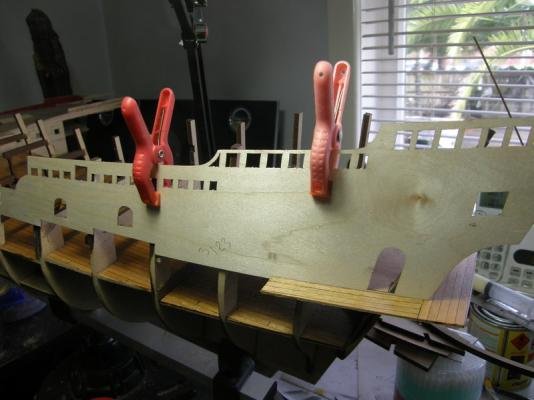
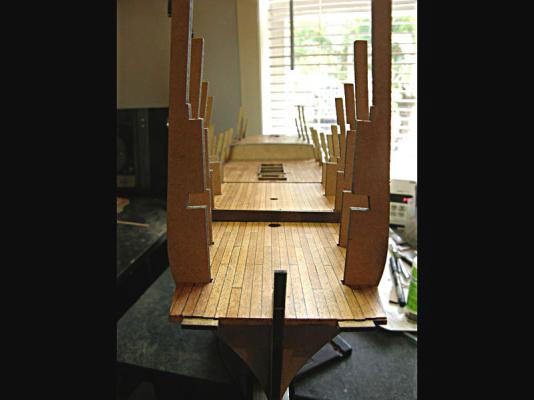
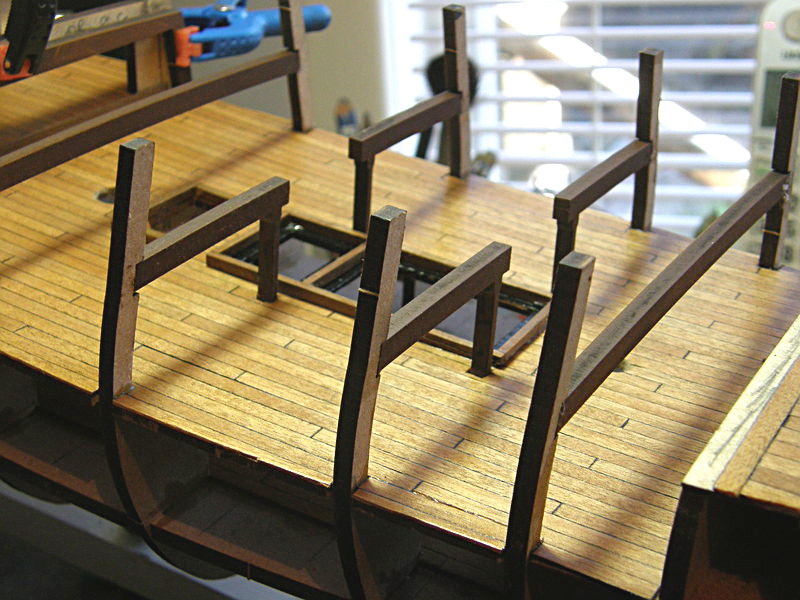
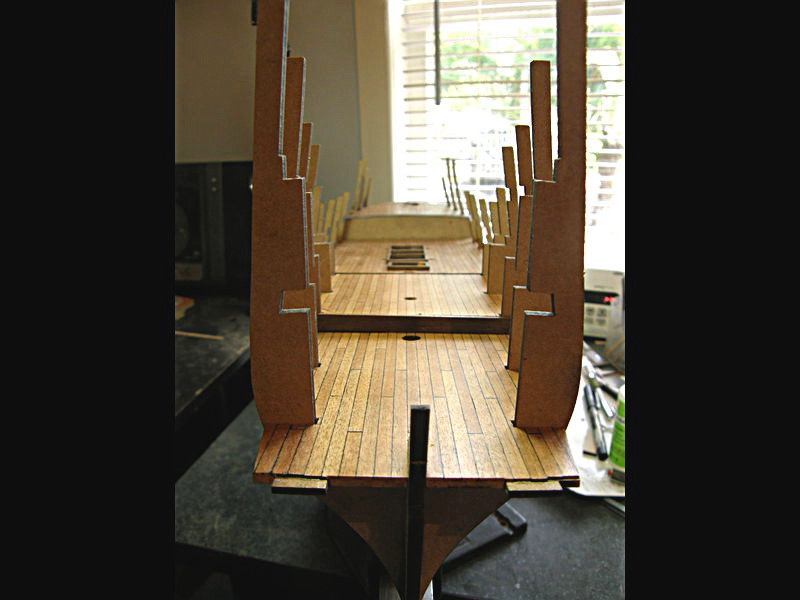
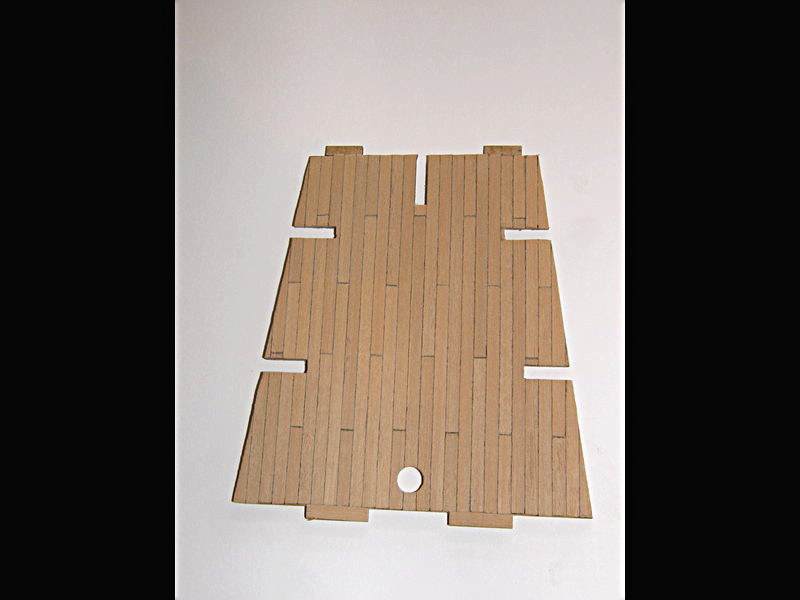
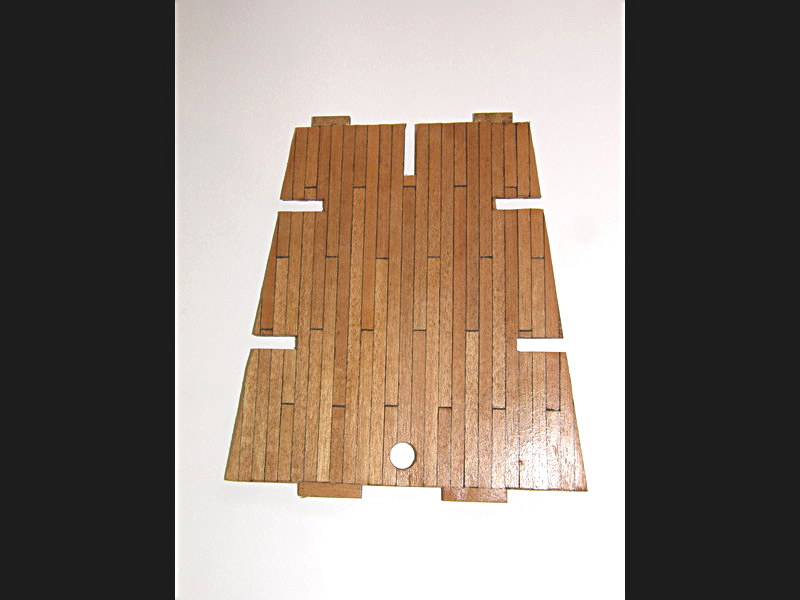
Hi
I have come up against a problem ha-ha, well not a problem as such.
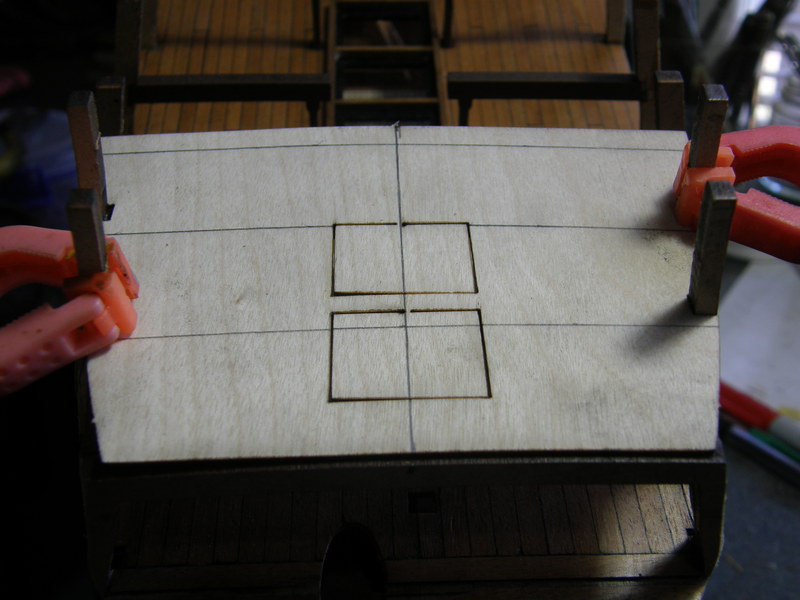
Part 42 Bow deck, fit to bulkhead frames.
The only way you can do this is just about bend it double ( it is only 0.83mm thick ).
Now it is fitted, you have to draw lines for other parts.
Now remove parts 42 and plank it.
Like Martin said in his Revenge log, no way can you do this as the planks are 1mm thick and the deck when you have finished planking will be to stiff to bend it, you will bugger the planking up.
As I have started my planking on the other decks with the first plank going down the centre line, so no way am I going to cut the deck in half.
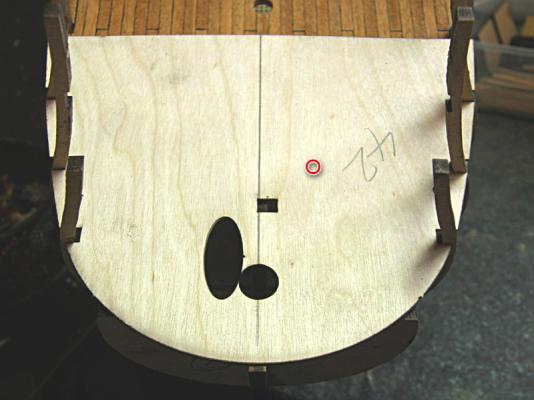
One other thing is on this deck is a square cut out, mine is just to the side of the centre line, the book has it way over to one side ( see red on photo ) ???.
Denis.
-
-
-


HMS Revenge by Denis R - Victory Models (Amati) - Scale 1:64
in - Kit build logs for subjects built from 1501 - 1750
Posted · Edited by Denis R
Hi all
Well I have made a boo boo , not the first time and will not be the last .
.
The forecastle deck I planked of the ship.
I then glued it to the bulkhead frames.
I did not realize that the top of the frames had to be cut off, after gluing the deck on, then plank the deck.
No big deal I only had 3 planks each side to take off.
I decided to have a rest from planking, so I have made the helmsman canopy.
The kit supplies a strip of walnut shaped like an L, this goes on the inside to reinforce the 4 corners.
After you have glued the 4 parts together it is time to put the trim on the outside 1x2mm, do this first before you plank the roof.
When you have fitted the trim file or sand to shape to the roof line, now fit the roof planks 1x2mm.
I have applied 2 coats of sanding sealer, and 1 coat of satin varnish (2 more to go).
Will stain the inside later.
Denis