


mati
-
Posts
122 -
Joined
-
Last visited
Content Type
Profiles
Forums
Gallery
Events
Posts posted by mati
-
-
Thank you Greg.
Regarding to blacken technique.
I'm using Brass Black solution from Birchwood Casey.
Very good and permanent effect... but provided after very careful cleaning (no dust, grease, fouling)
As a finish layer after blacken I used to apply microcrystalline wax for time protection
Potassium Polysulphide or Liver of Sulfur it's smelly thing but it's working fantastic on copper and you can apply straight on wood without stains.
I'm using LoS in gel. Small drop diluted with drop of water you can apply straight on detail. After a moment you just need to wash it with water (I'm using wet brush)I hope it'll help
Kind regards,Mati
-
-
Thank you for appreciation

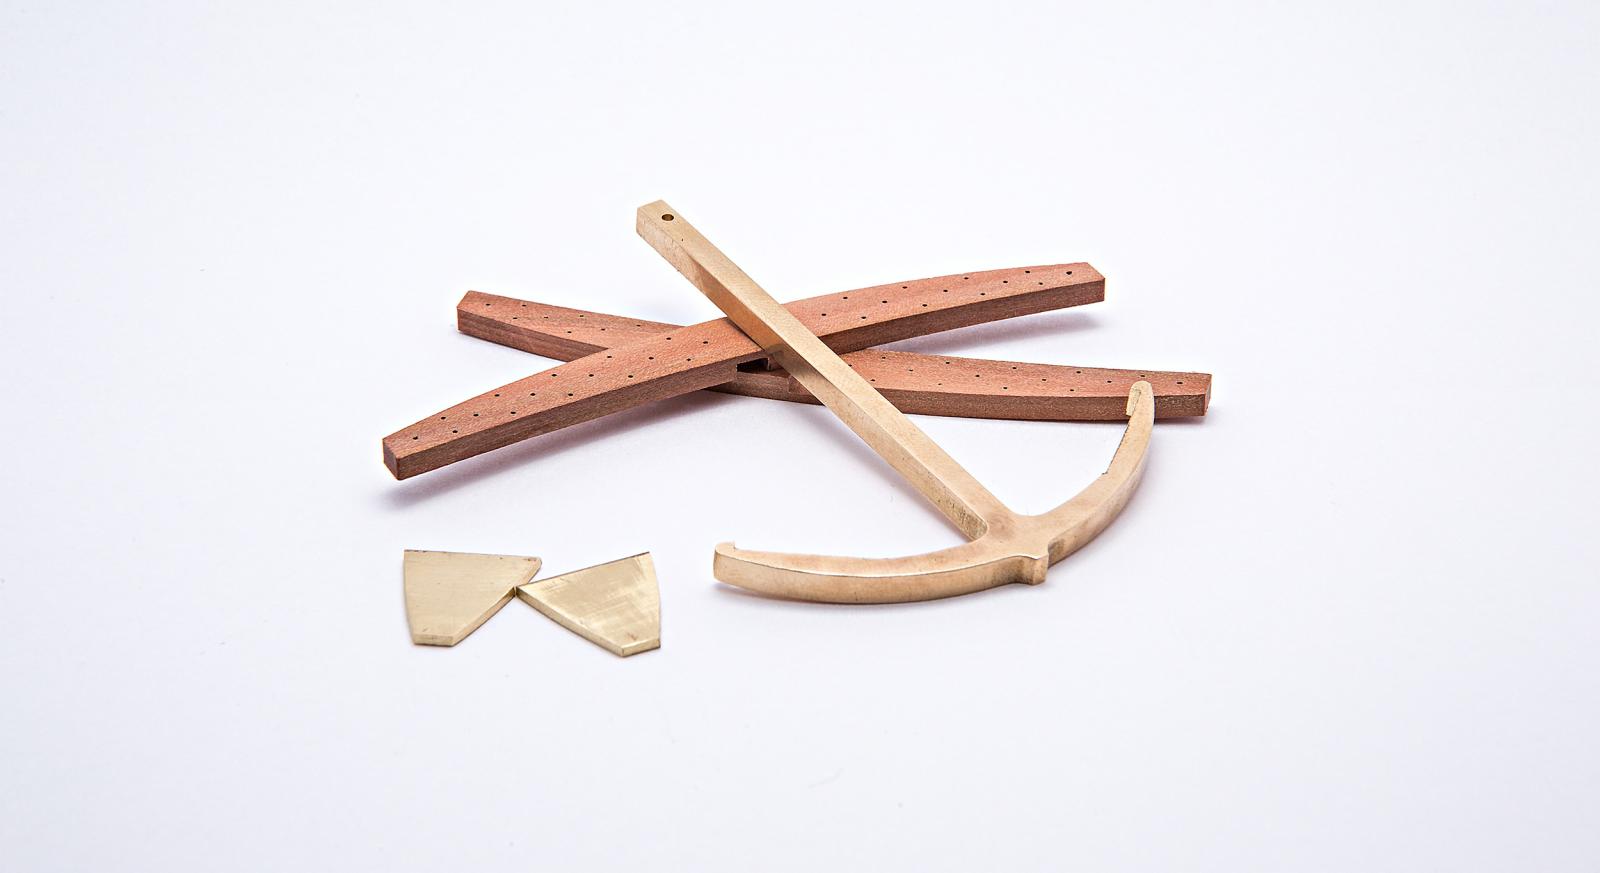
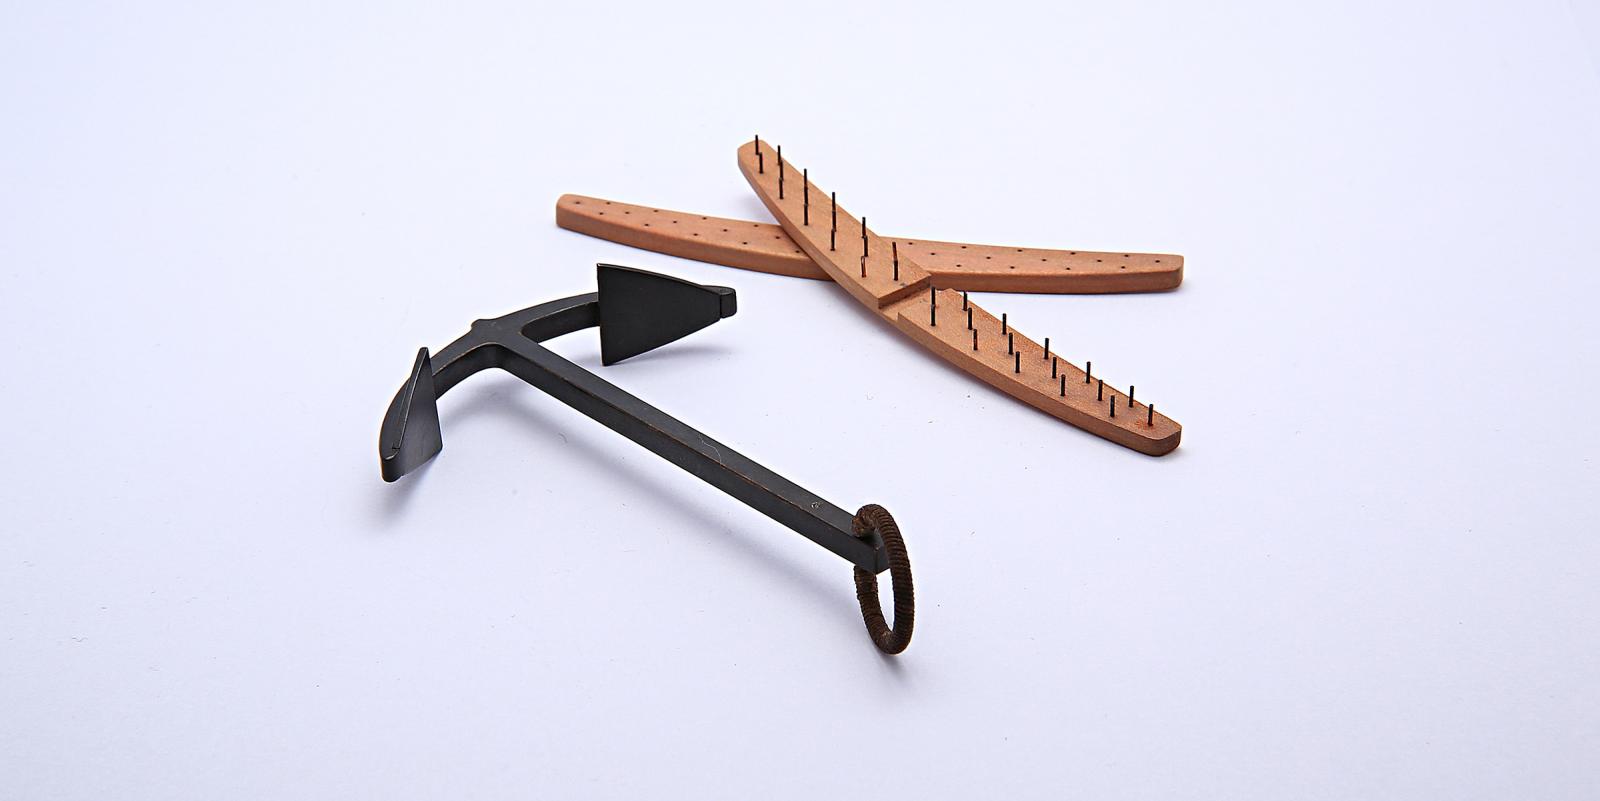
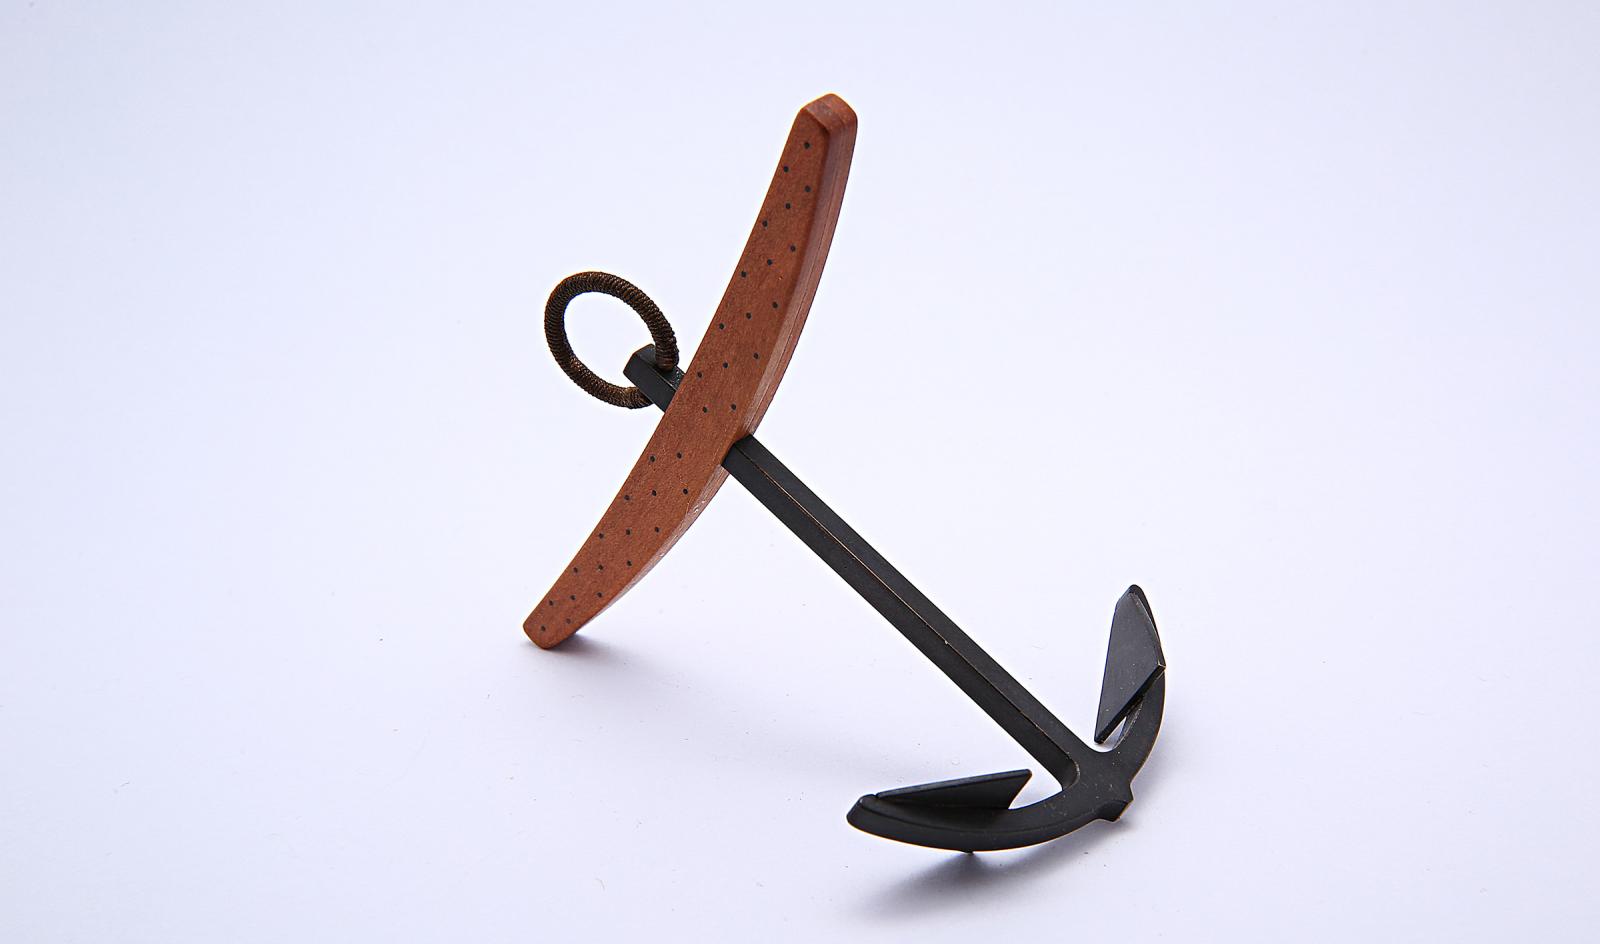
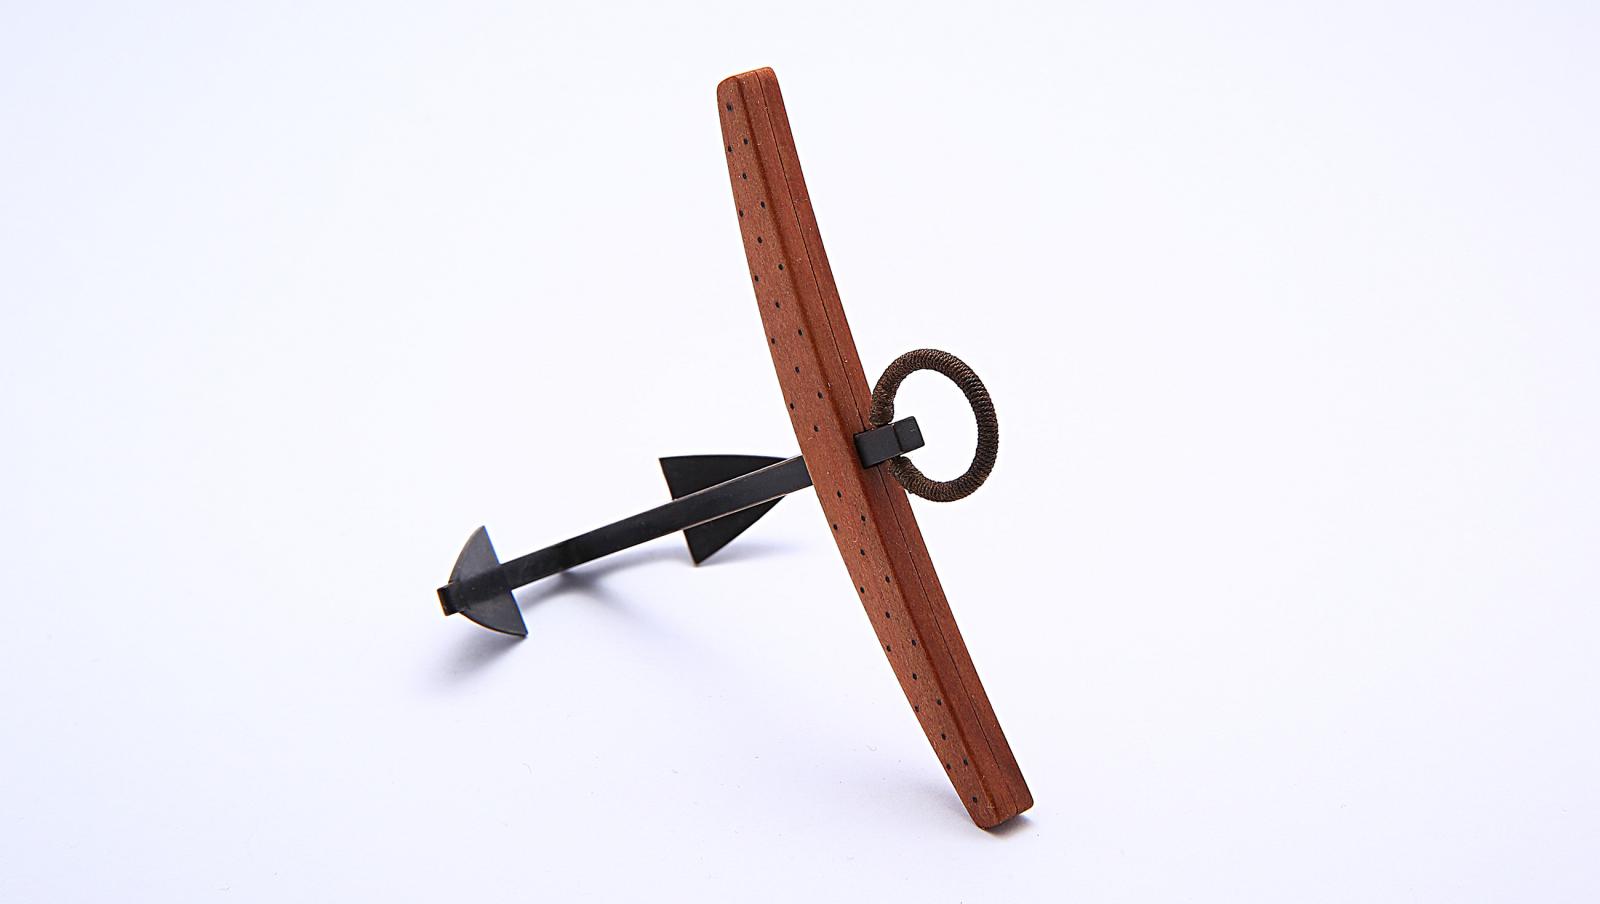
This time main anchor.
Material: brass for anchor and copper for bolts
Soldering: silver paste
Blacken finish: Brass Black and potassium polysulfide for copper bolts
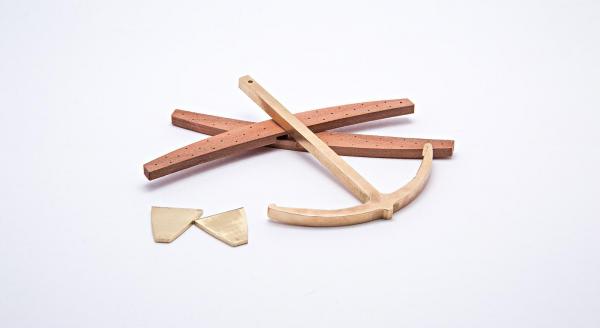
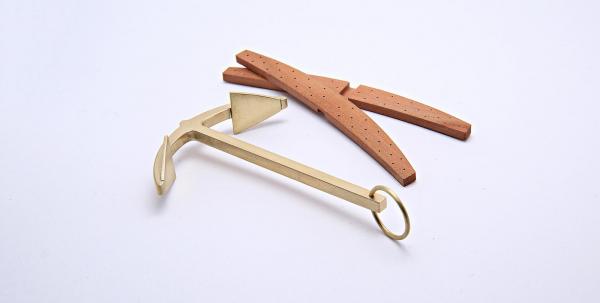
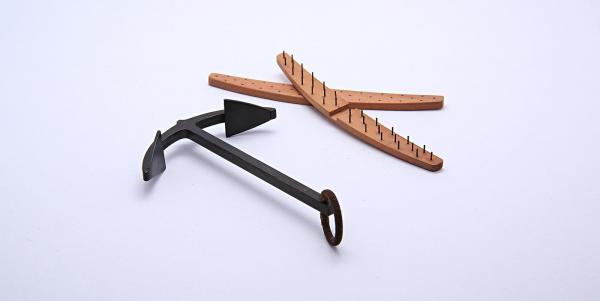
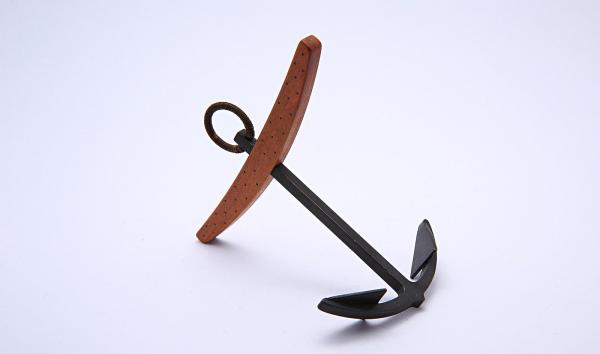

Cheers
Matt- qwerty2008, sonicmcdude, janos and 18 others
-
 21
21
-
Hi,
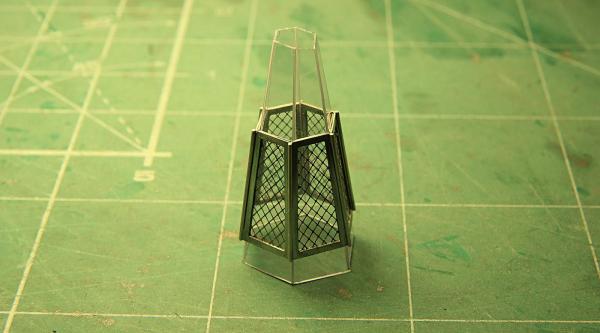
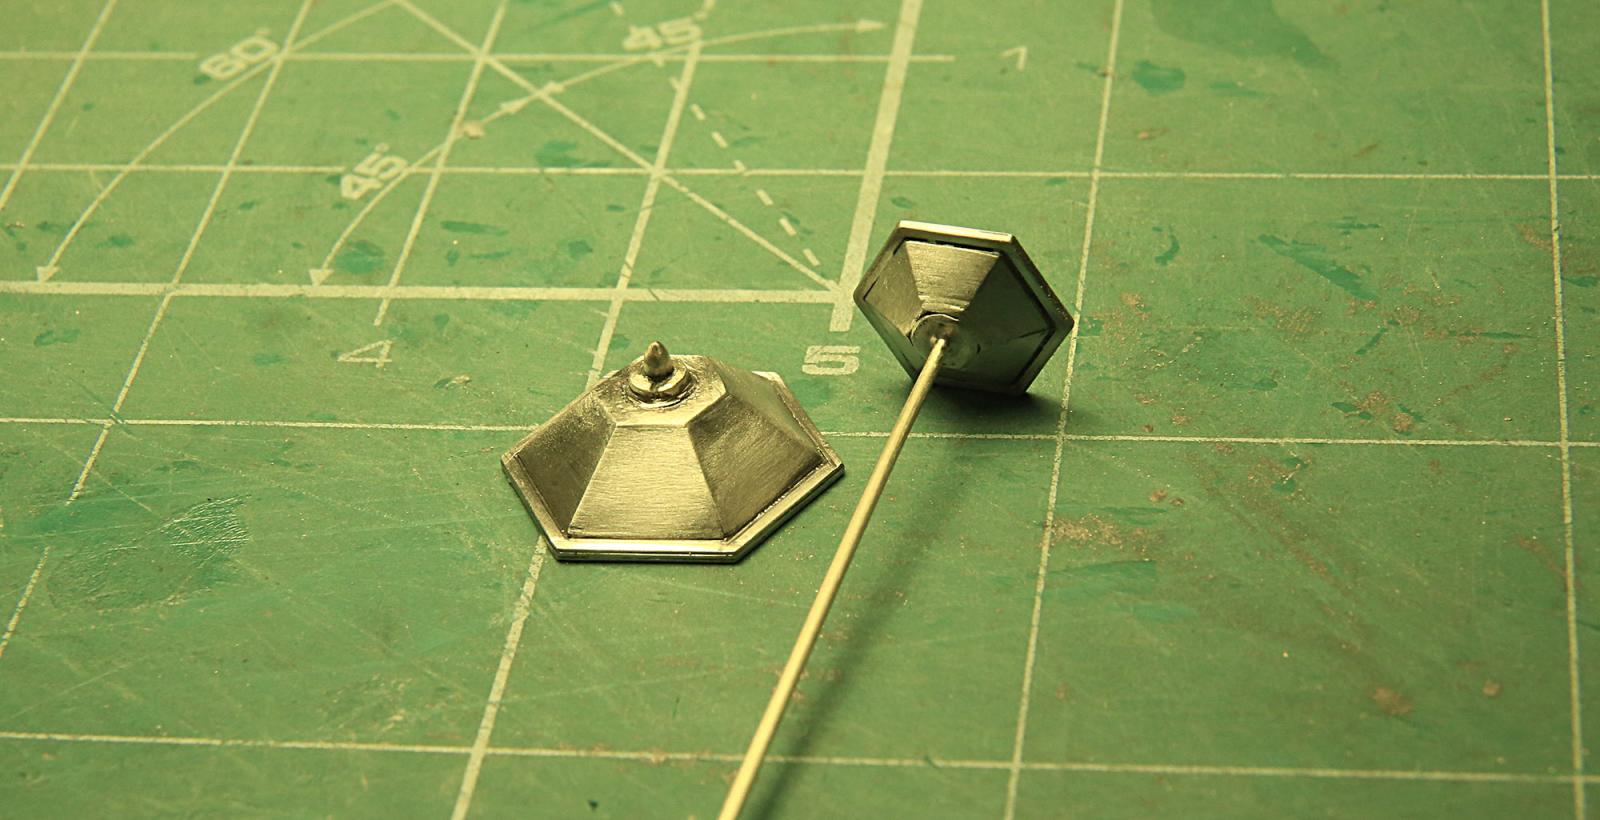
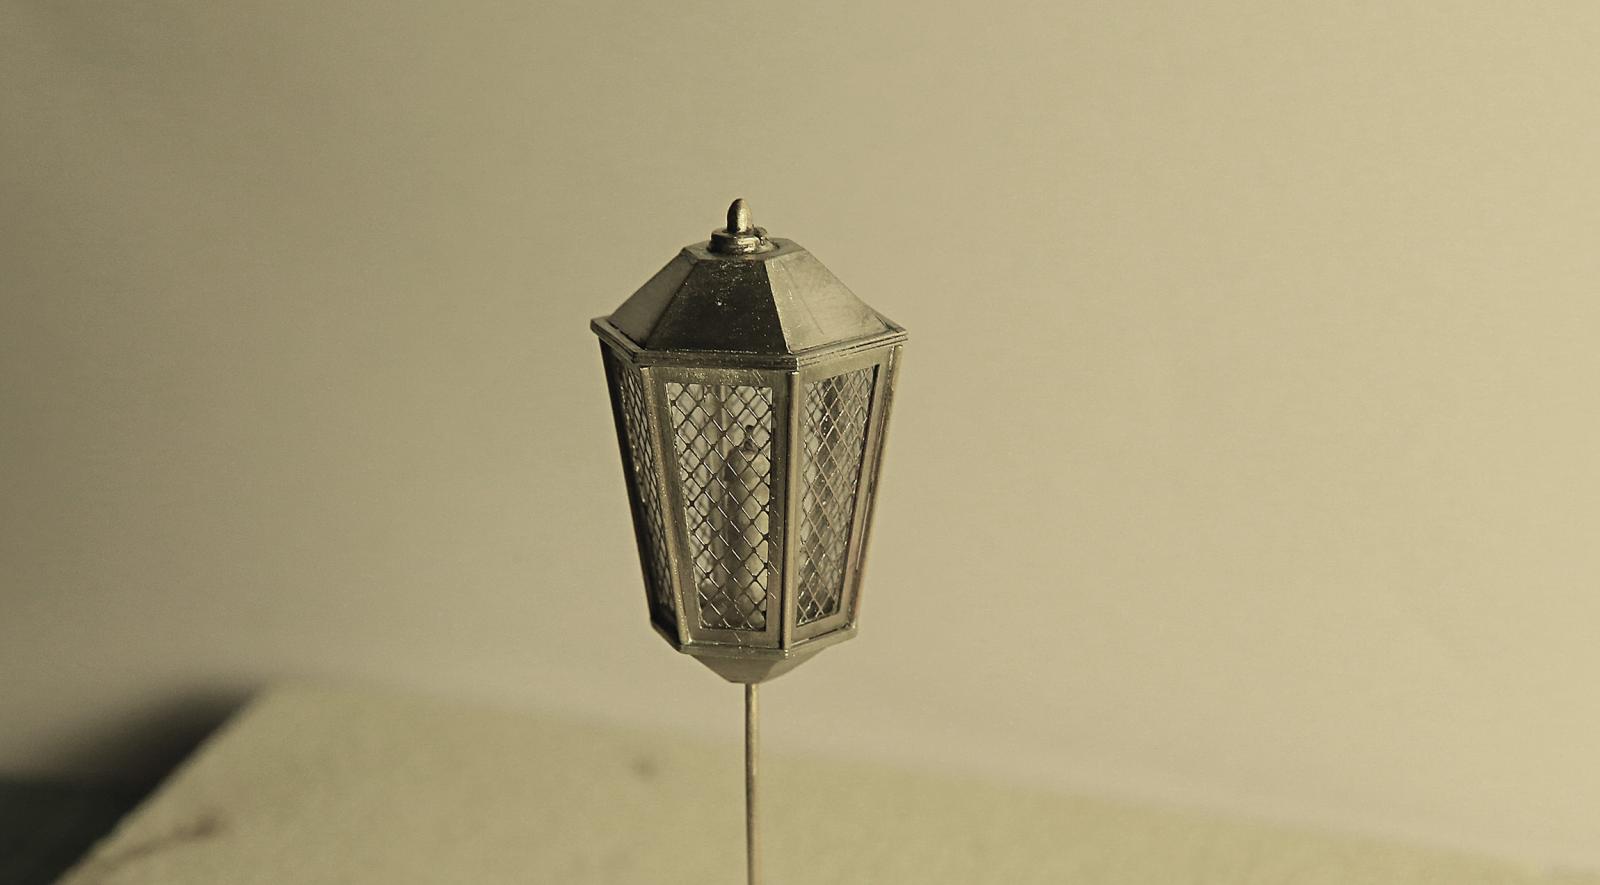
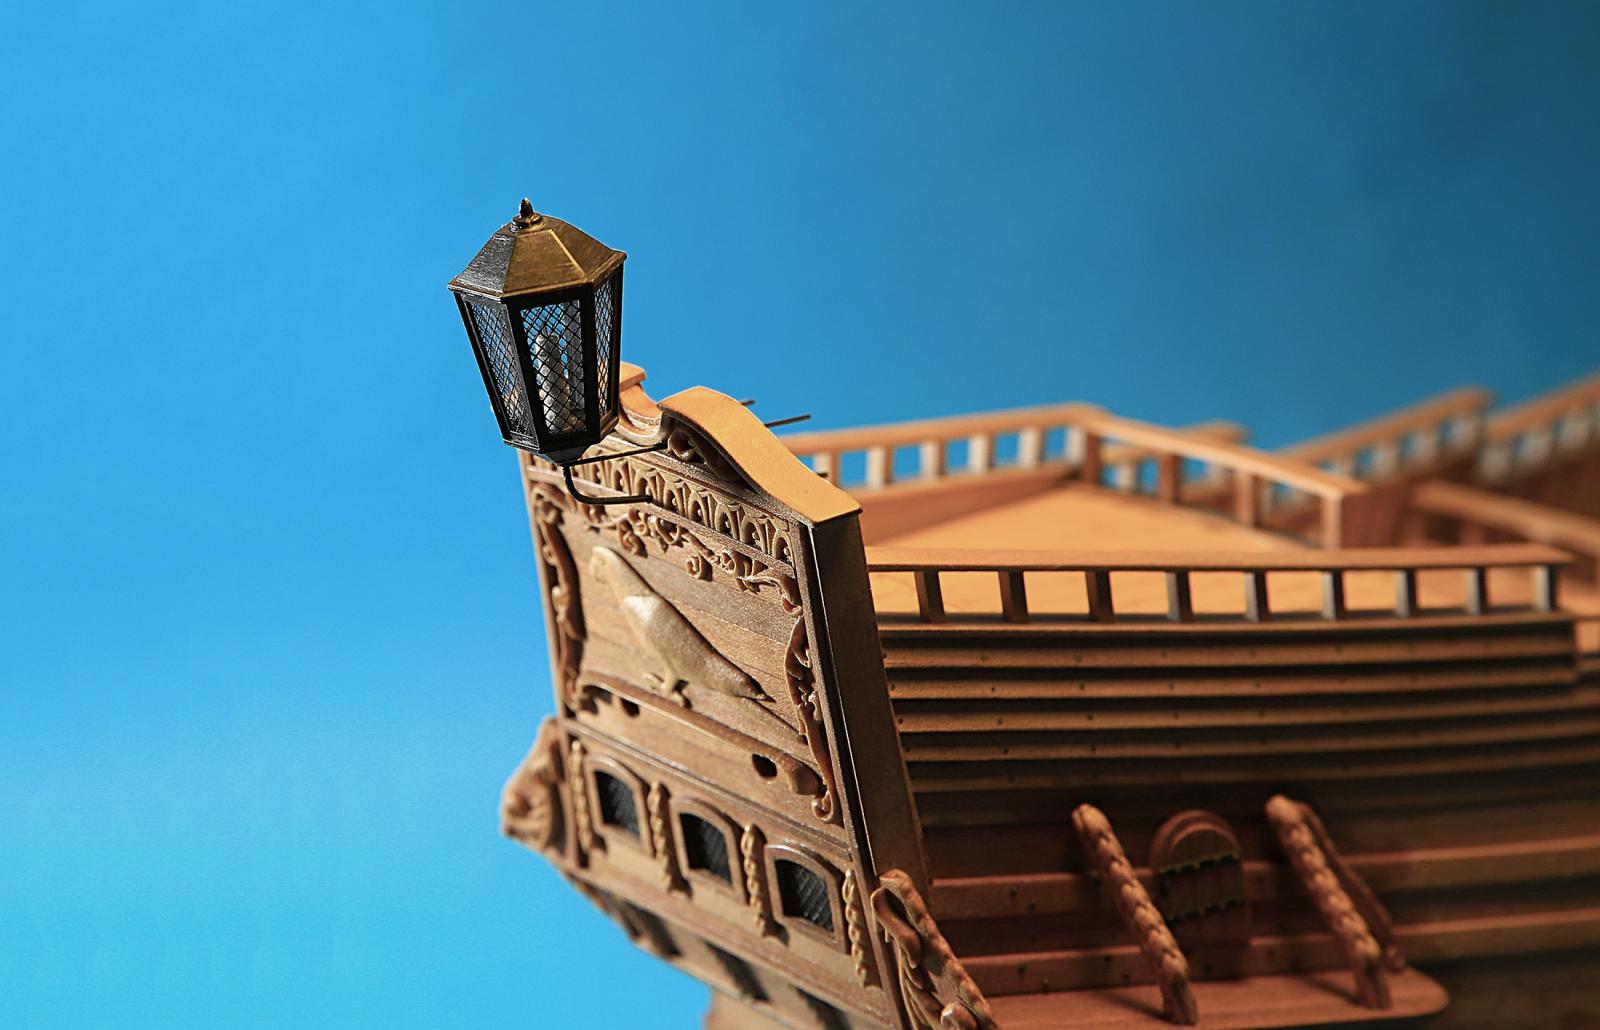
This time I have for you lantern

Idea was to create something which look like lantern just a little
A little bit of photoetched details and some other brass parts.
Soldered with copper paste.
In total it's 28 pieces excluding candle
Finish layer of micro-crystalline wax.
Enjoy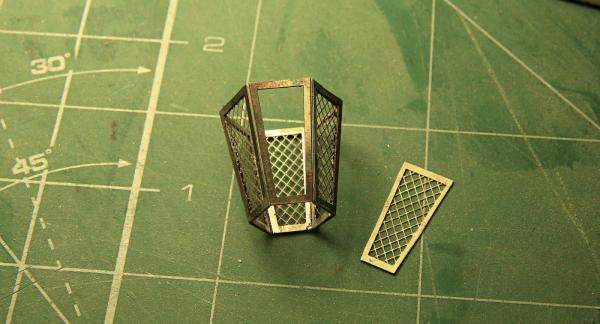


-
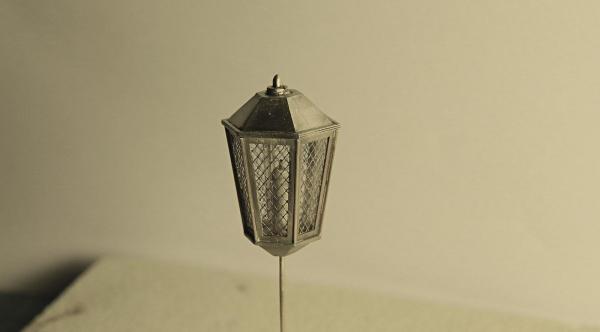
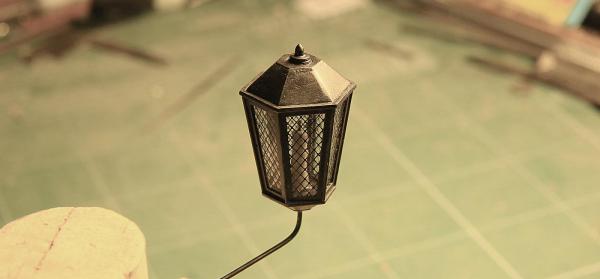
Thank you Reg
Small update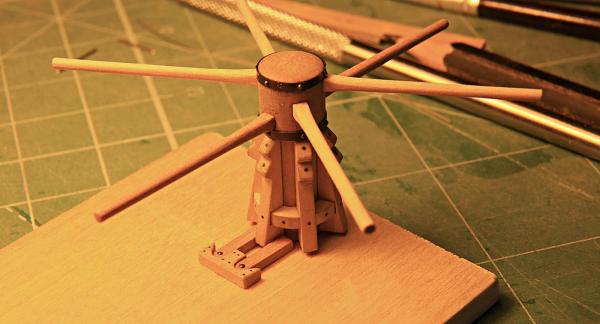

Cheers
- amateur, Mirabell61, mtaylor and 16 others
-
19
-
-
-
Hi,
Highly recomend you to familiarize yourself with this log!
This is complete model of HMS Prince
http://www.koga.net.pl/forum/viewtopic.php?f=7&t=15478&start=120
This is our Polish model ship building forum (I hope Admin won't get upset for that commercial ) and we truly proud that we have such a great member.
Ryszard built real masterpiece after many years!!
I belive that sooner or later he'll achive gold medal in C1 for his model.
Anyway... just becouse you building similar vessel maybe it can be helpful for you.
Kind regards and keep up a good job!
Matt -
Ed,
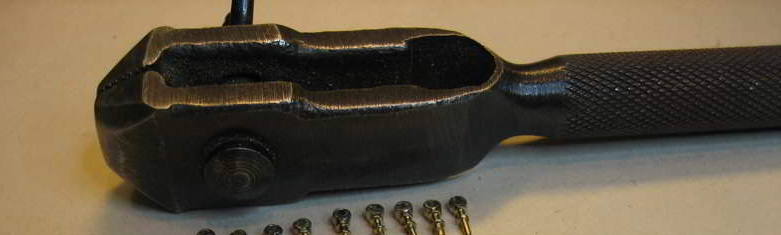
Try to replace steel nails from stamp.
Once I used medical needles (very thin of course) It'll give different patter on plates... I think more realistic.
I reamed a little bit inner hole of the needle... it gave nice effect of copper bolt head and flat one. Simply, idea is to stamp only the pattern.
Good luck!
Best regards,Matt
-
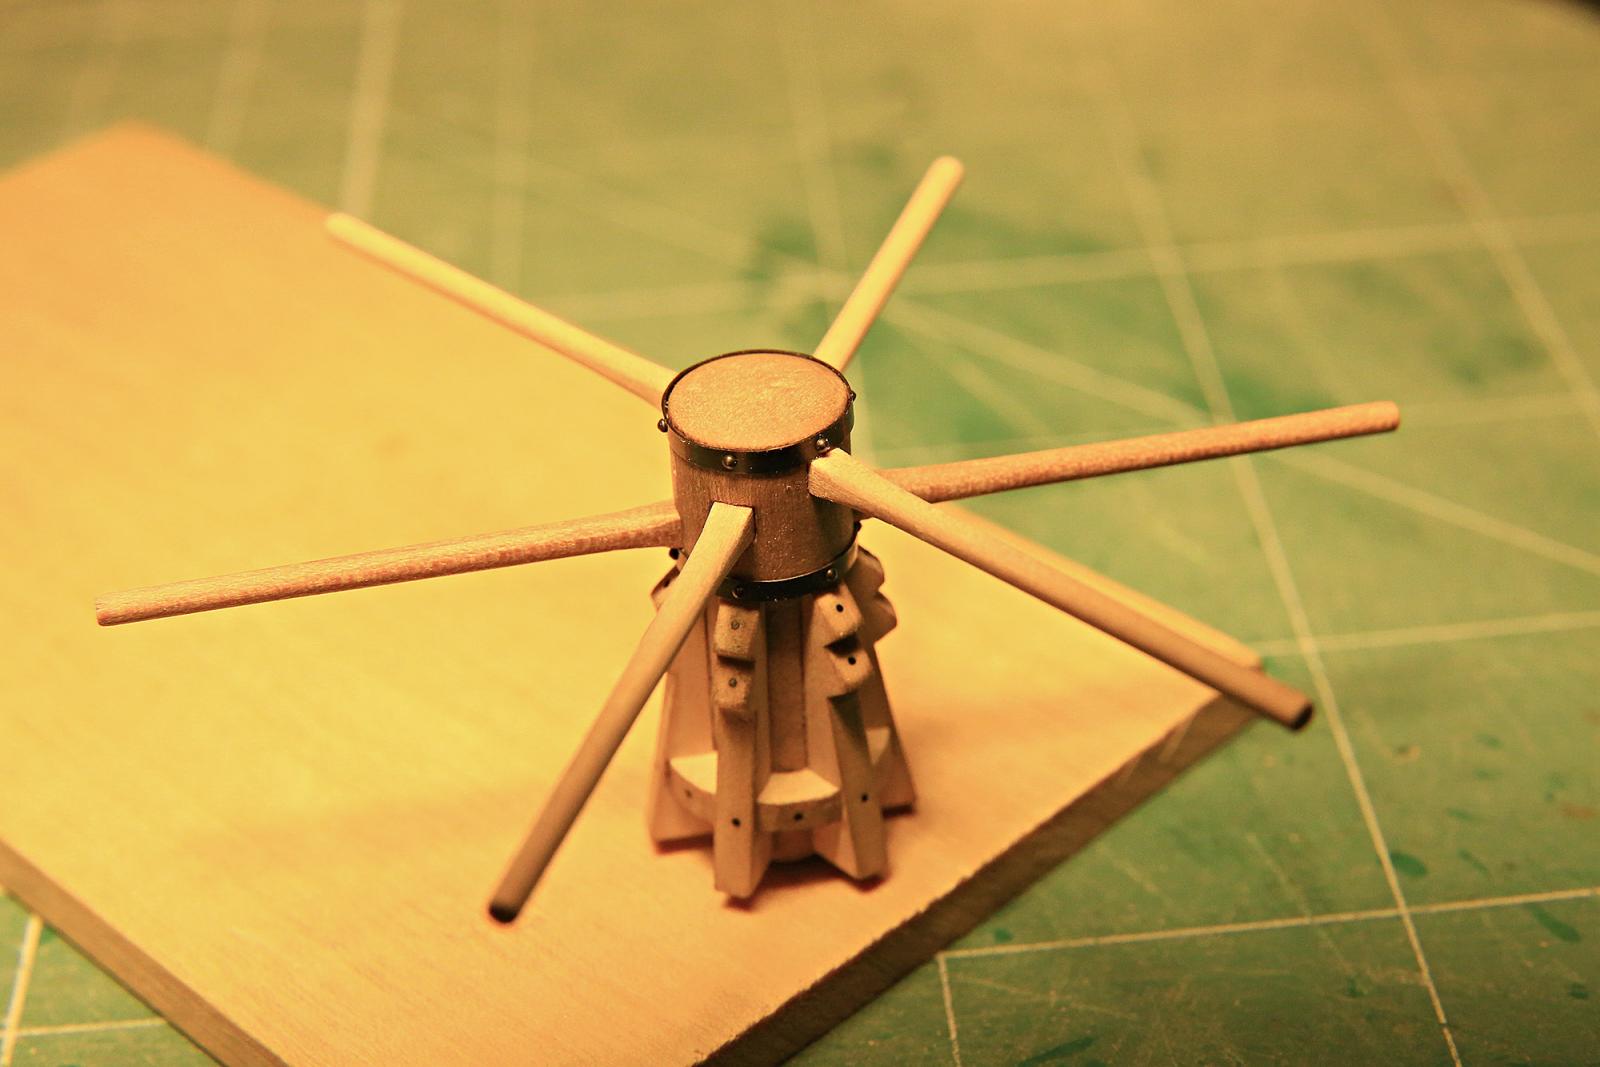
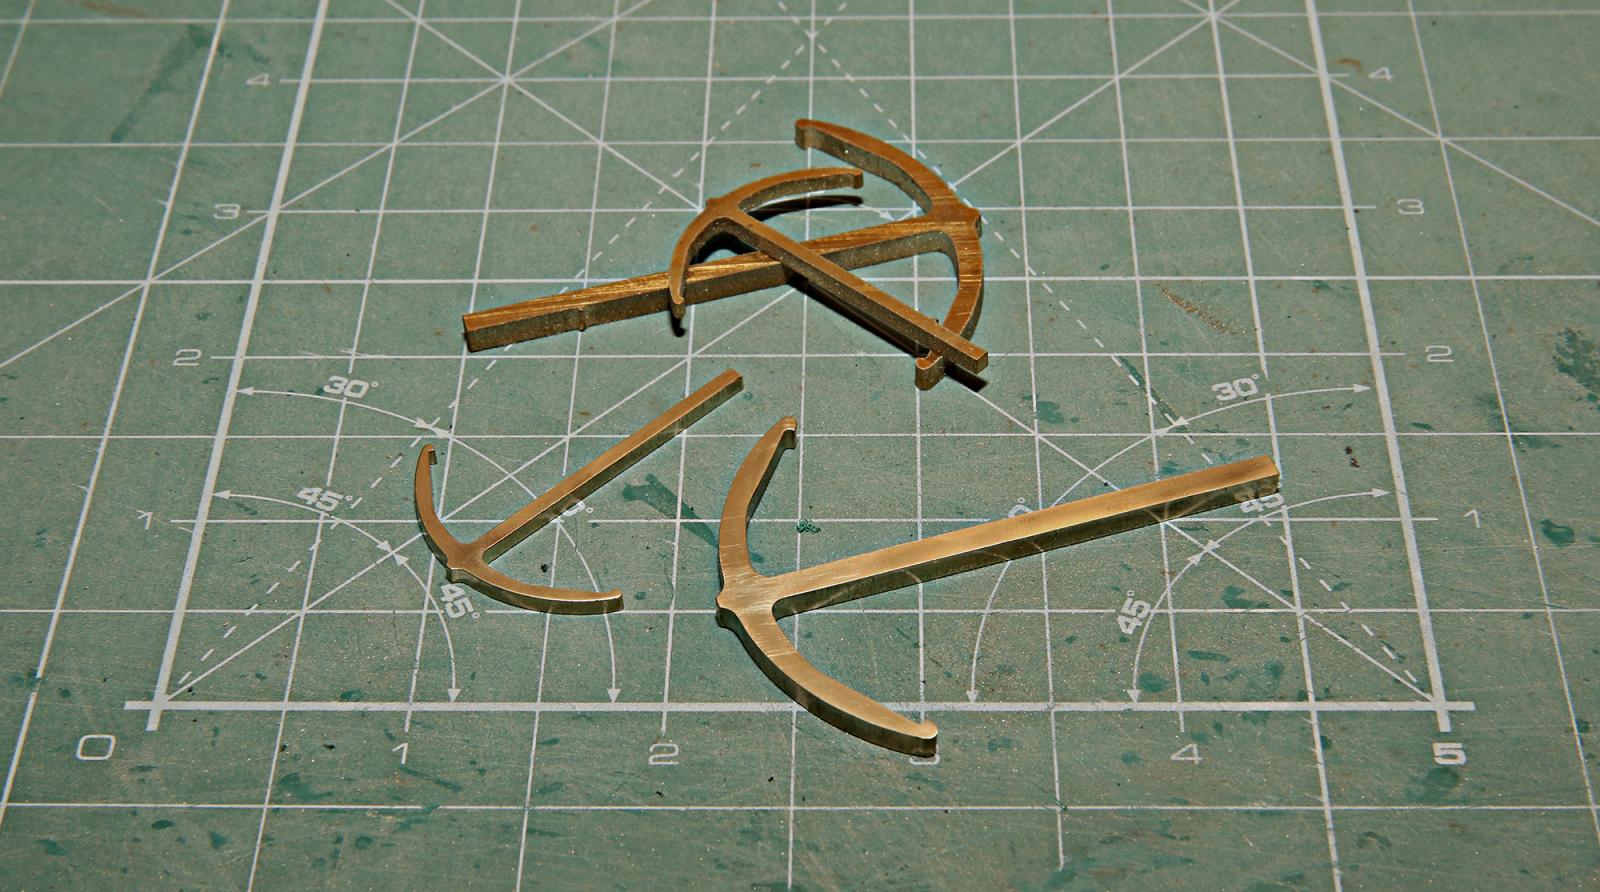
Hi fellows!!
I noticed that some of my photos are missing so I uploaded them again... for those who look into that log
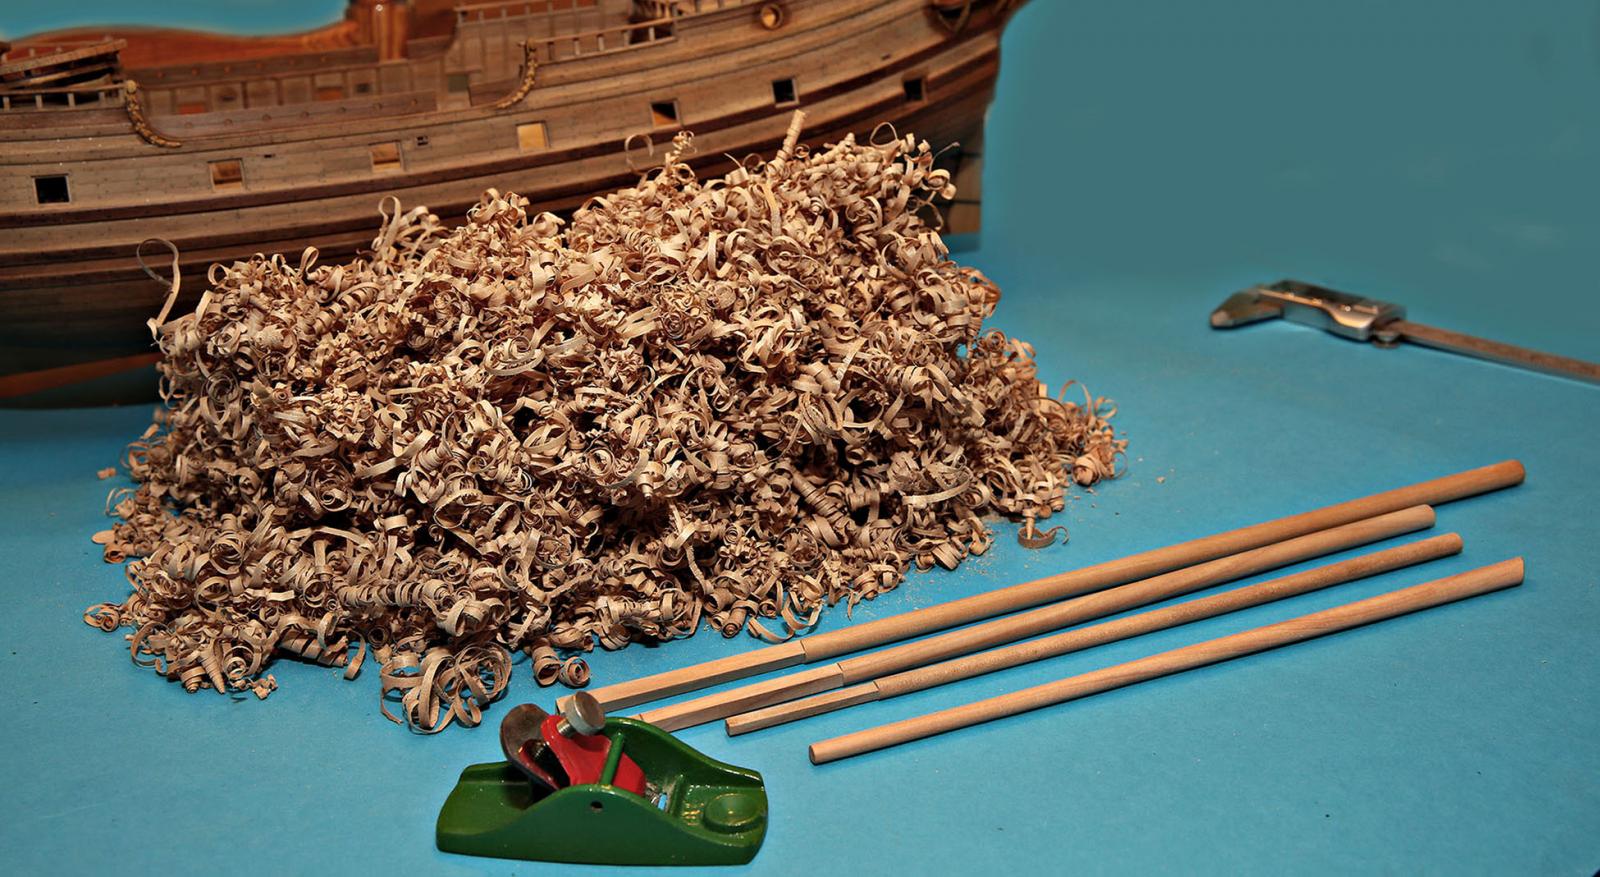
This time I have small update as well... anchors (brass cut out from sheet using water-jet)
They still need final polish.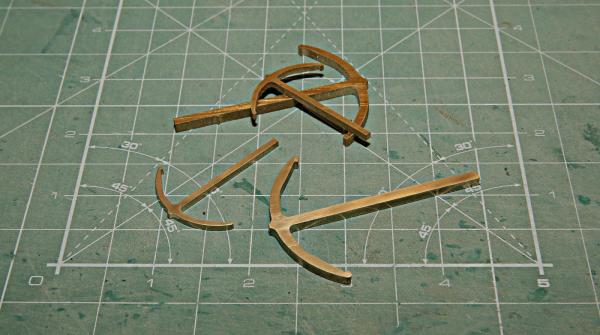
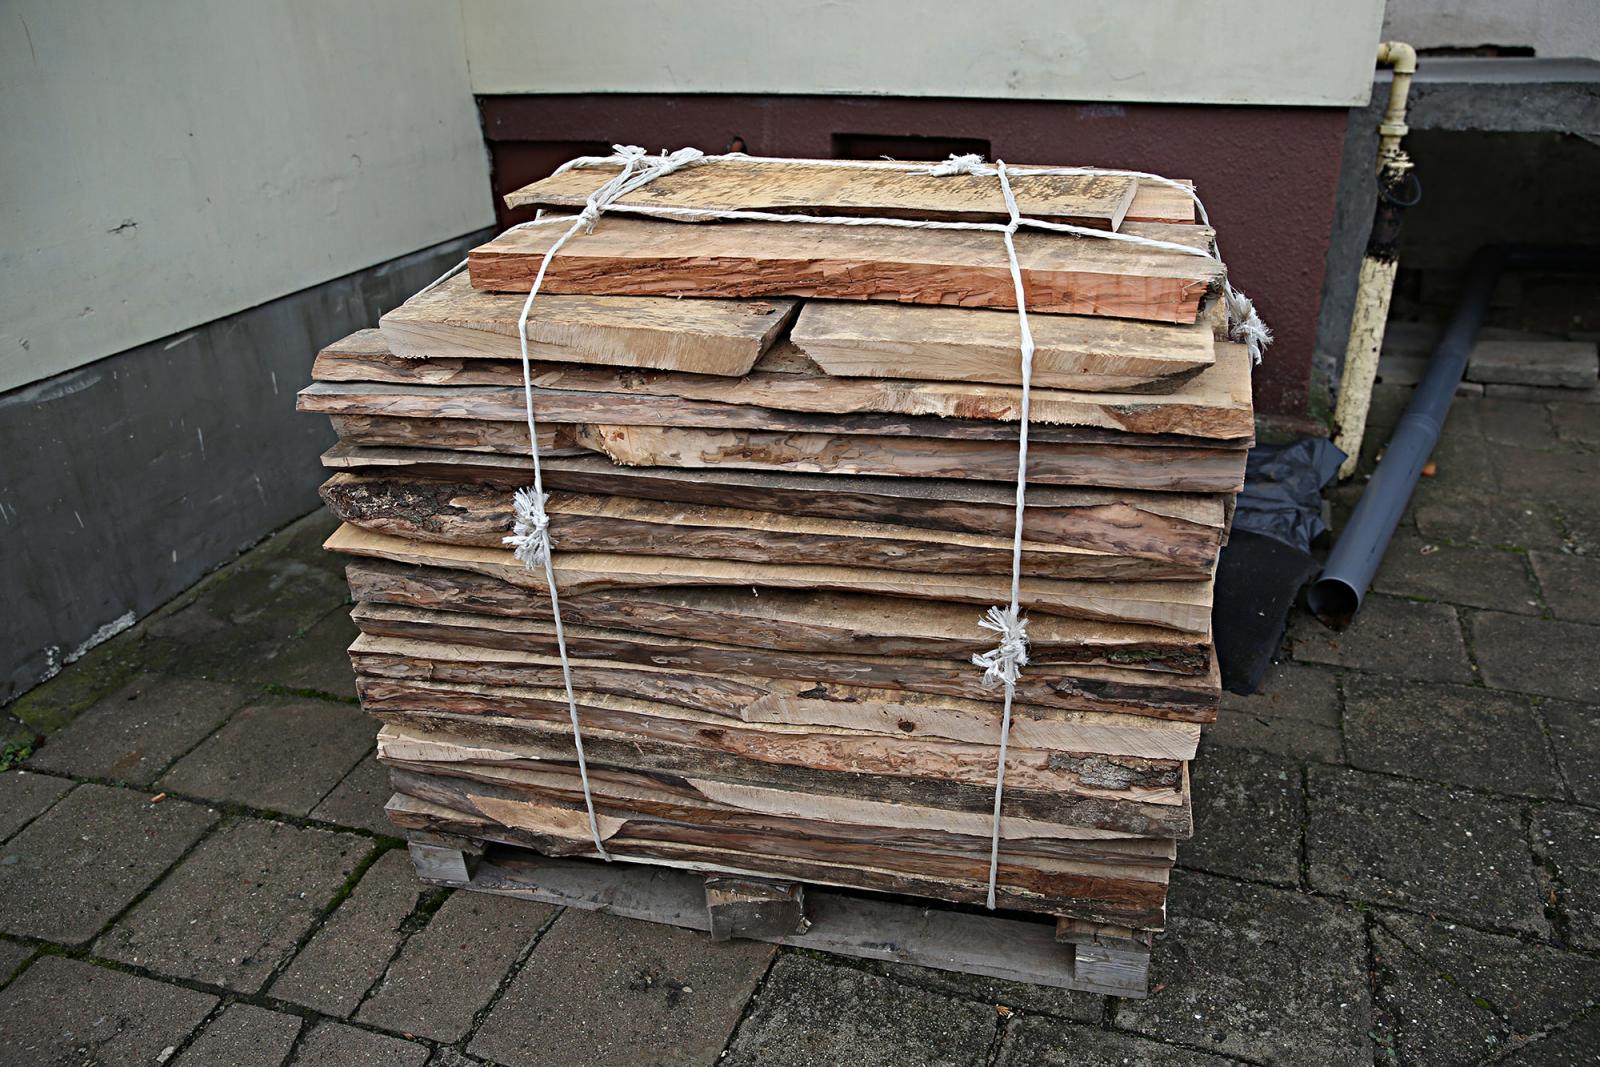
Also... 800kg of pear wood

Not much this time... but I'll try more next time

Cheers,Matt
- Mike Y, Mirabell61, cog and 11 others
-
14
-
You have my word that model someday 'll be finished
As Awas wrote above I'm "seaman" and when I'm coming back home after 6 months contract for 2 months off not every time I have time to sit and "push" work ahead.
I'll try to do something this time, becouse I have 2,5 months off...
At least I'll try...
Best regards and thank you for intrest!!
Matt -
That's what I was waiting for!!
Glad to see you back with update!
And of course... as usually I read your post with great plesure!
Waiting and hunting on your next update
Cheers,
Matt -
I'm always waiting for your update!
...and it's everytime big plesure to read and look at your work
I can't wait when you 'll finish your drawings
That 'll be absolutely stunning publication...
Keep up a good job!
Cheers,
Matt
-
-
Remco your model is real masterpiece!
So good to see such a sterile work!
No simplification that's what I like!
Can you tell me which wood you used for deck planks?
If you have link 'll be great...Best regards,
Matt
-
Keith,
I don't know what's happened but should be paraffine not parish
haha... just some mistake...Rosin 'll give plastic properties... but don't give it to much.
Colour of mixture you can control with tar or asphalt...
As regards to soap... most probably provide alkalize properties. As you know bees wax i quite high with acids.
I've never used carnauba wax but I know that is used as a hardener for bees wax and here that kind of feature is unnecessary. You don't want to achive crust.
You mention about boiling of oils... it'll help I belive to penetrate more deeply wood.
That kind of wax mixture is very natural let say... it was use for many many years in furniture workshops. Can be polished as well... provide very nice shinny layer.I belive you 'll find a lot of information about it in internet as well.
As I said making and covering is quite problematic... also quite stinky as they told me (I like that smell anyway and it not bother me at all) so many people just give up... and on the end of the day they 'll use tung, linseed oil warm or cold or other inventions But try... it'll be always some other experience.
Good luck
Matt
-
Michael,
Of course I can give you formula.
You need bees wax, paraffine, terpentine, extraction naphtha, rosin and natural soap and you need to add also some dark colour so I'm using birch tar or asphalt.
As regards to proportion... here situation is more complicated...
You need to take more or less the same amount of wax and parish and cooked with liquids (don't allow to boil... otherwise you gonna play like a fireman ... I recomend to use electrical cooker) and other components. Let it cool down and then try how it's work.You just need to try to do it and draw conclusions becouse process of making and covering is quite problematic and the best way to understand it is to get dirty
I saw somewhere into the abyss of MSW that somebody already showed very similar mixture very recently... but I don't remeber where
Good luck
Thank you ALL for very nice comments!
Cheers,
Matt- RdK, themadchemist and riverboat
-
3
-
Jan and that is exactly what I'm using. Common pure asphalt... very very dense.
I have friend who got for me a jar of asphalt. He's employee in one of petroleum refinery.Unfortunately I don't have any link to any web site where you can buy it.
Generally the reason why I add asphalt to bees wax mixture is to gain more vintage colour of wood.
And it's really works
But like a replacment for asphalt you can use wood tar (e.g. birch)Matt
-
Thanks Guys for nive comments.
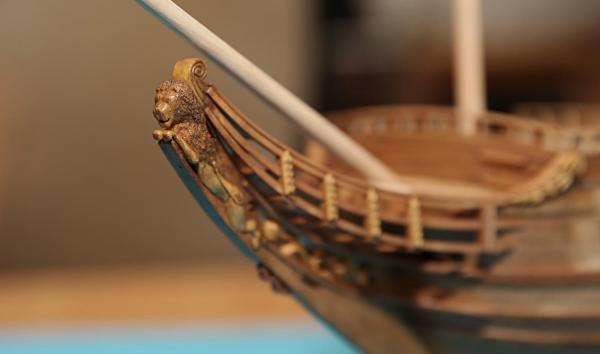
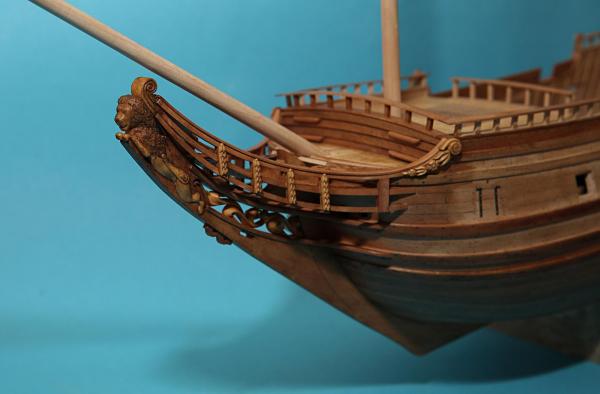
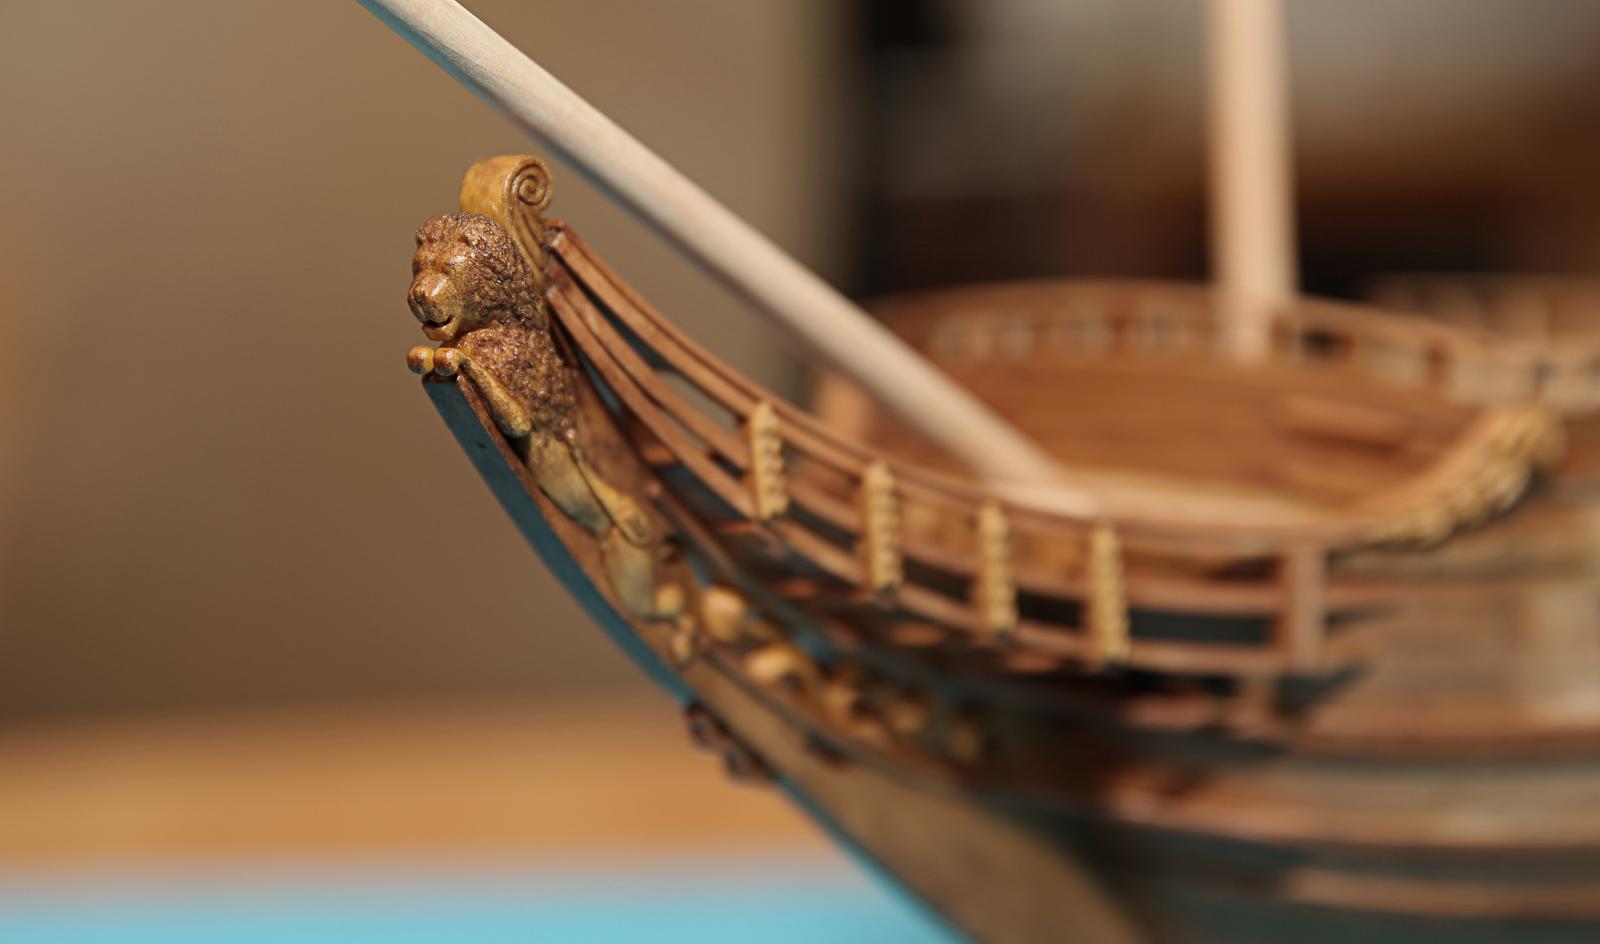
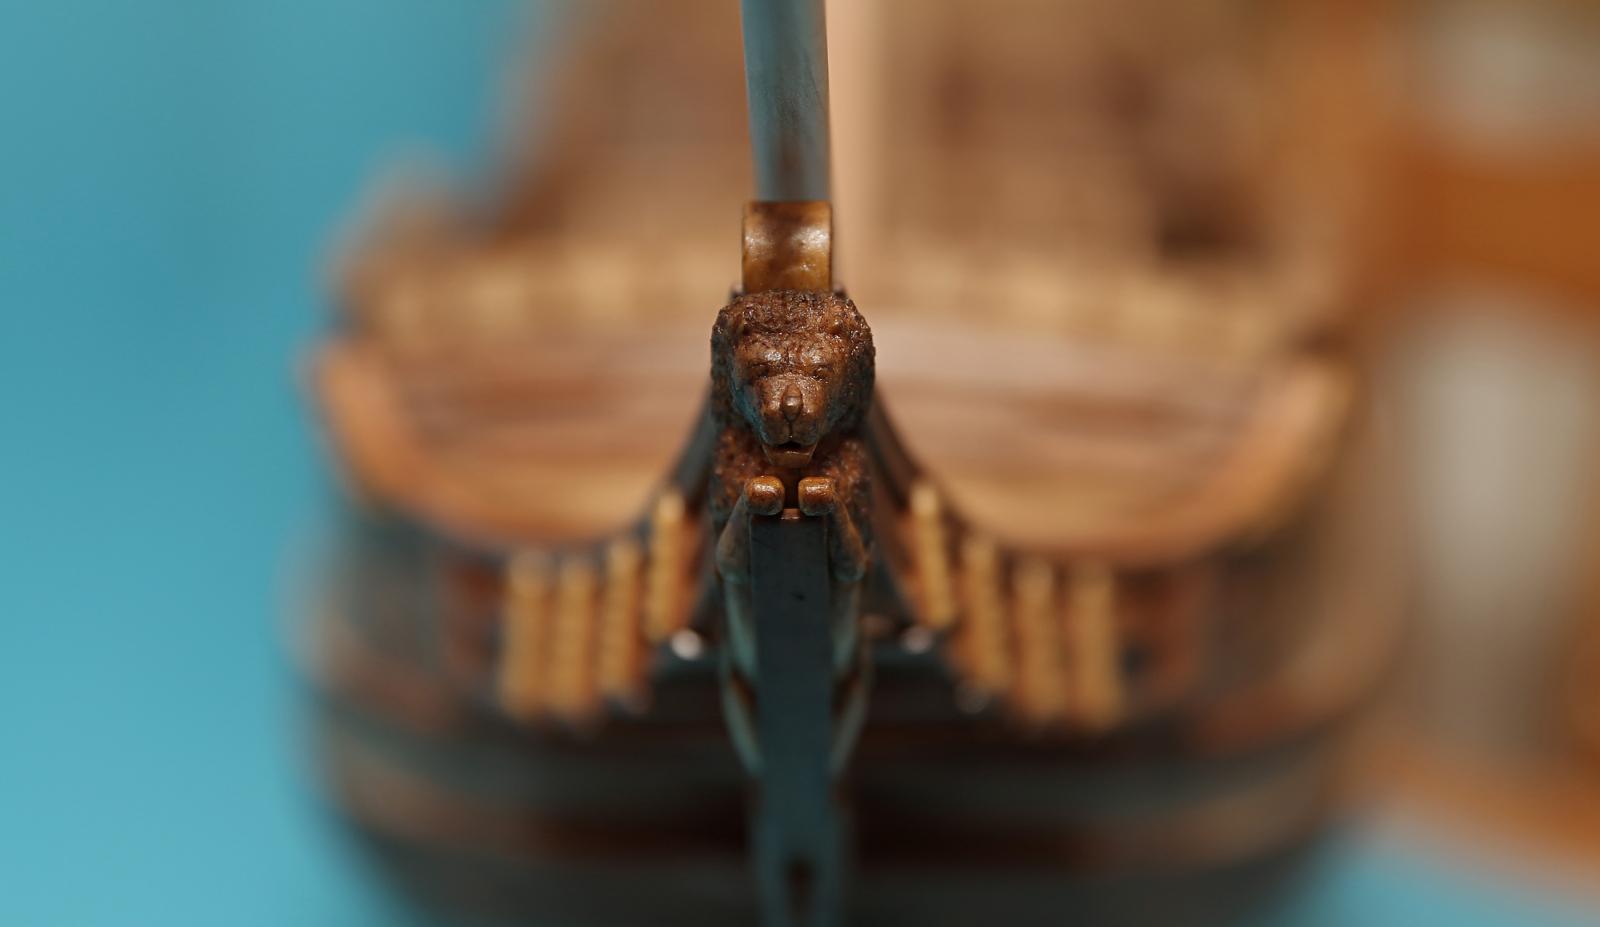
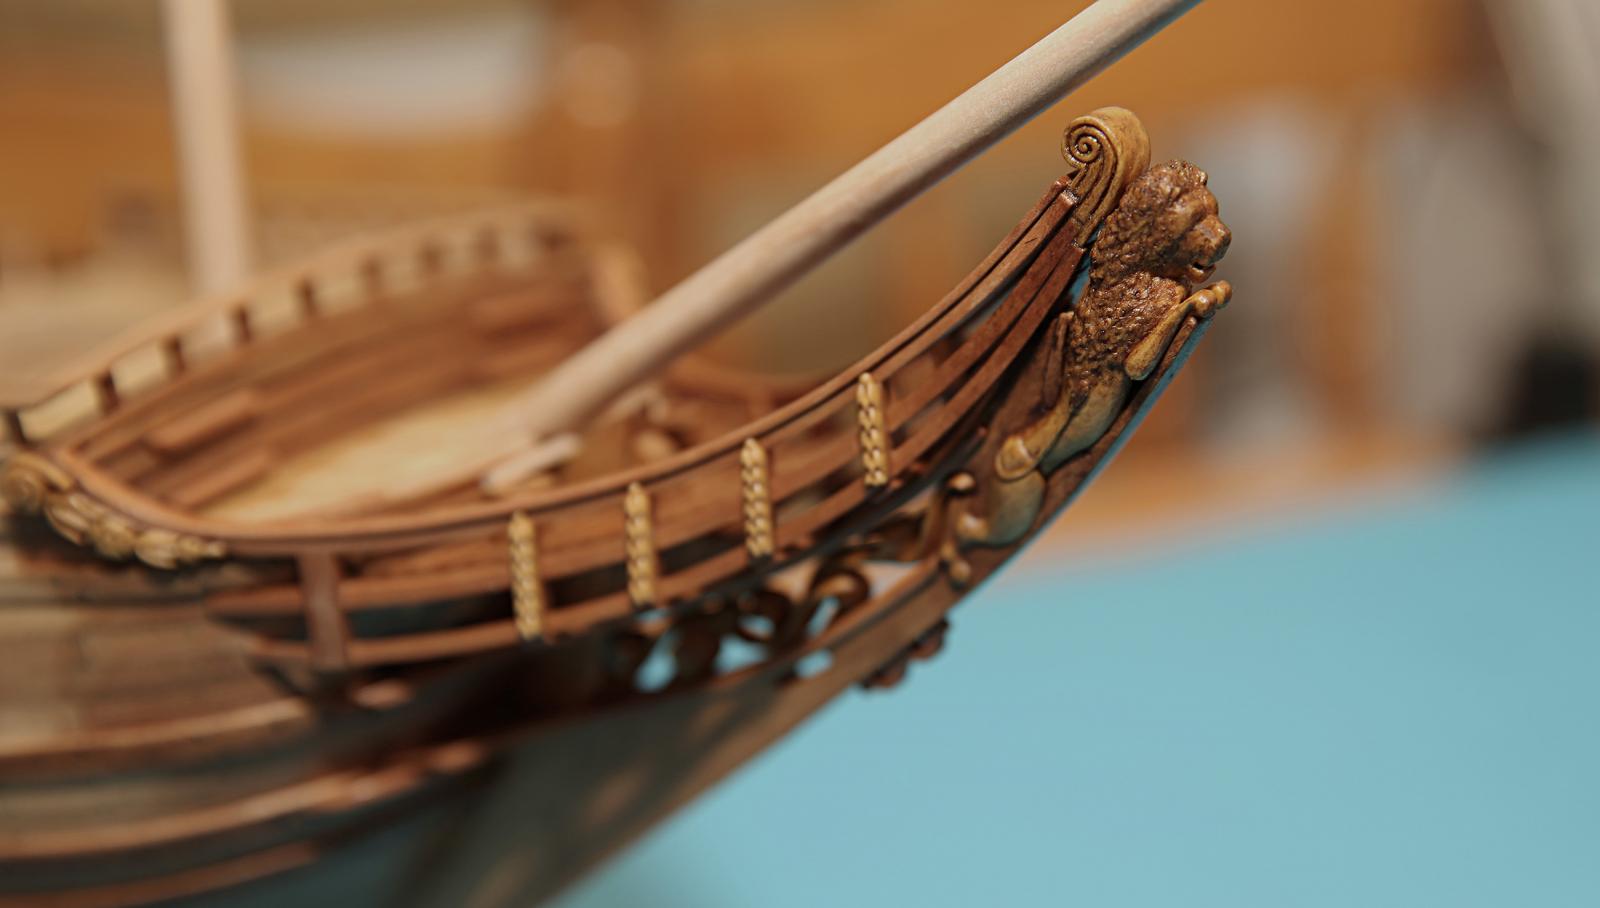
Janos,I covered figurehead with mixture of bees wax, terpentine and asphalt and after when dried out I add some more dirt effect using bitumen.
-
Thank you fellows for positive comments!
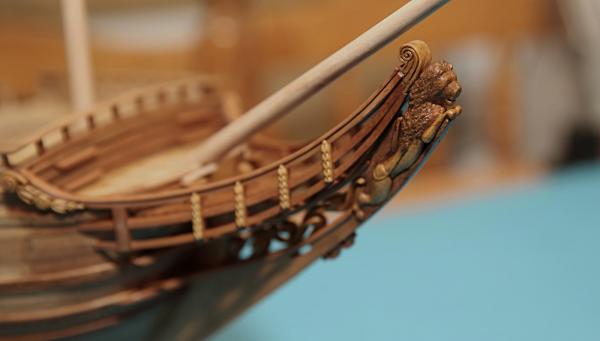
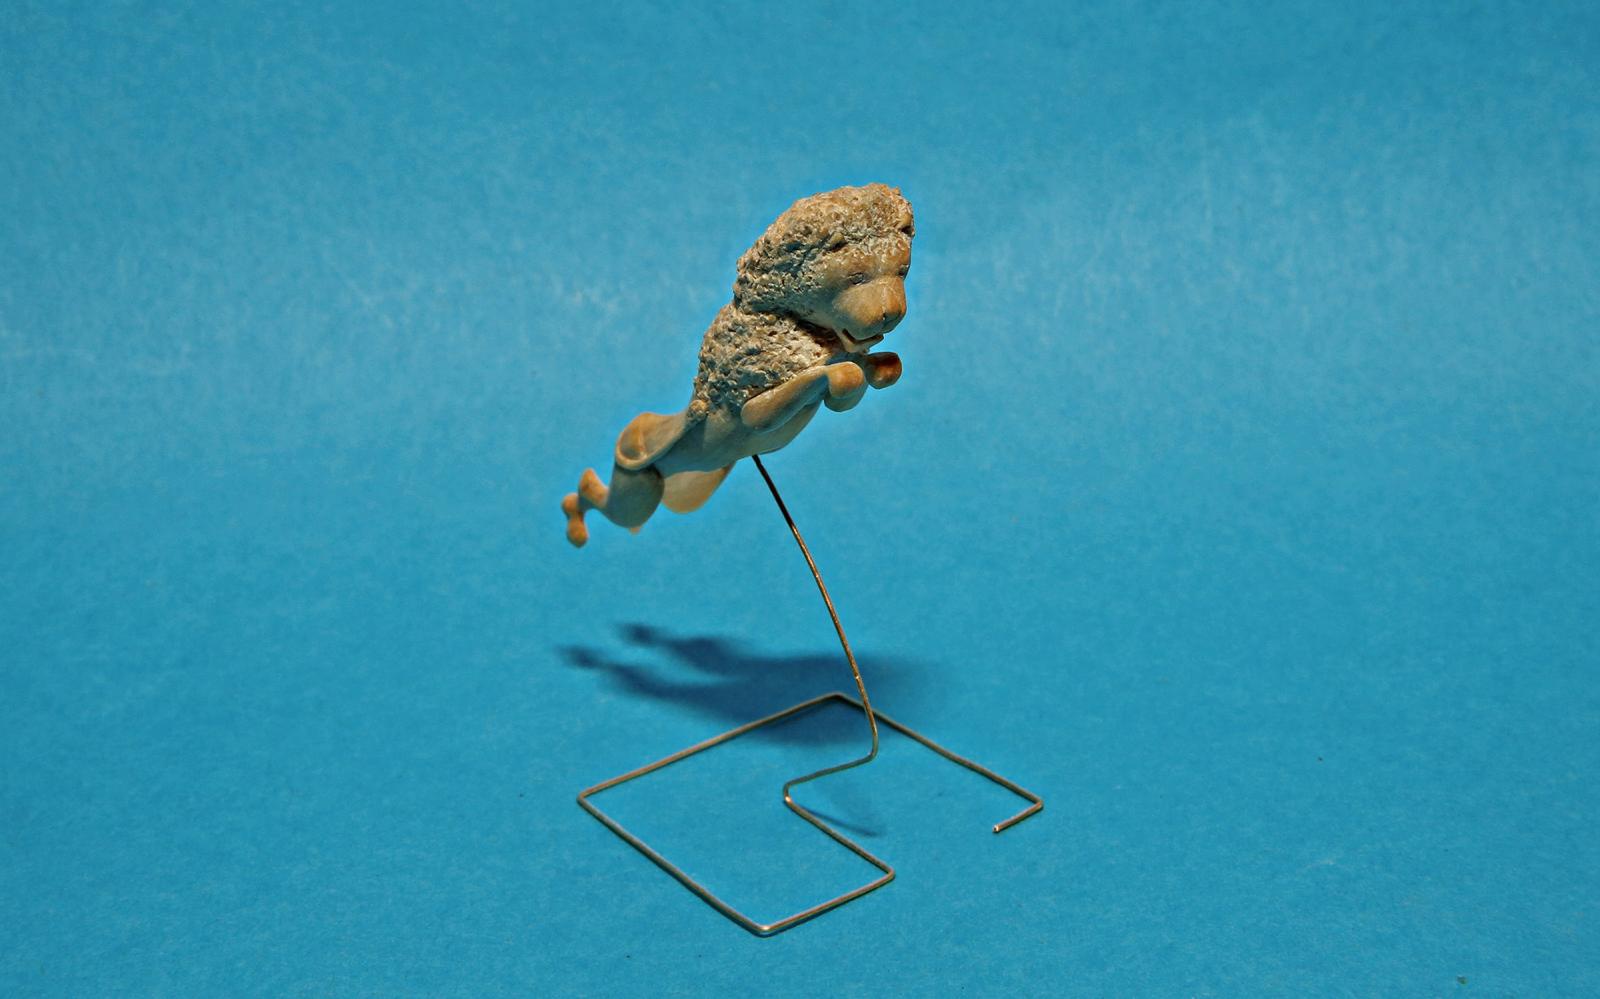
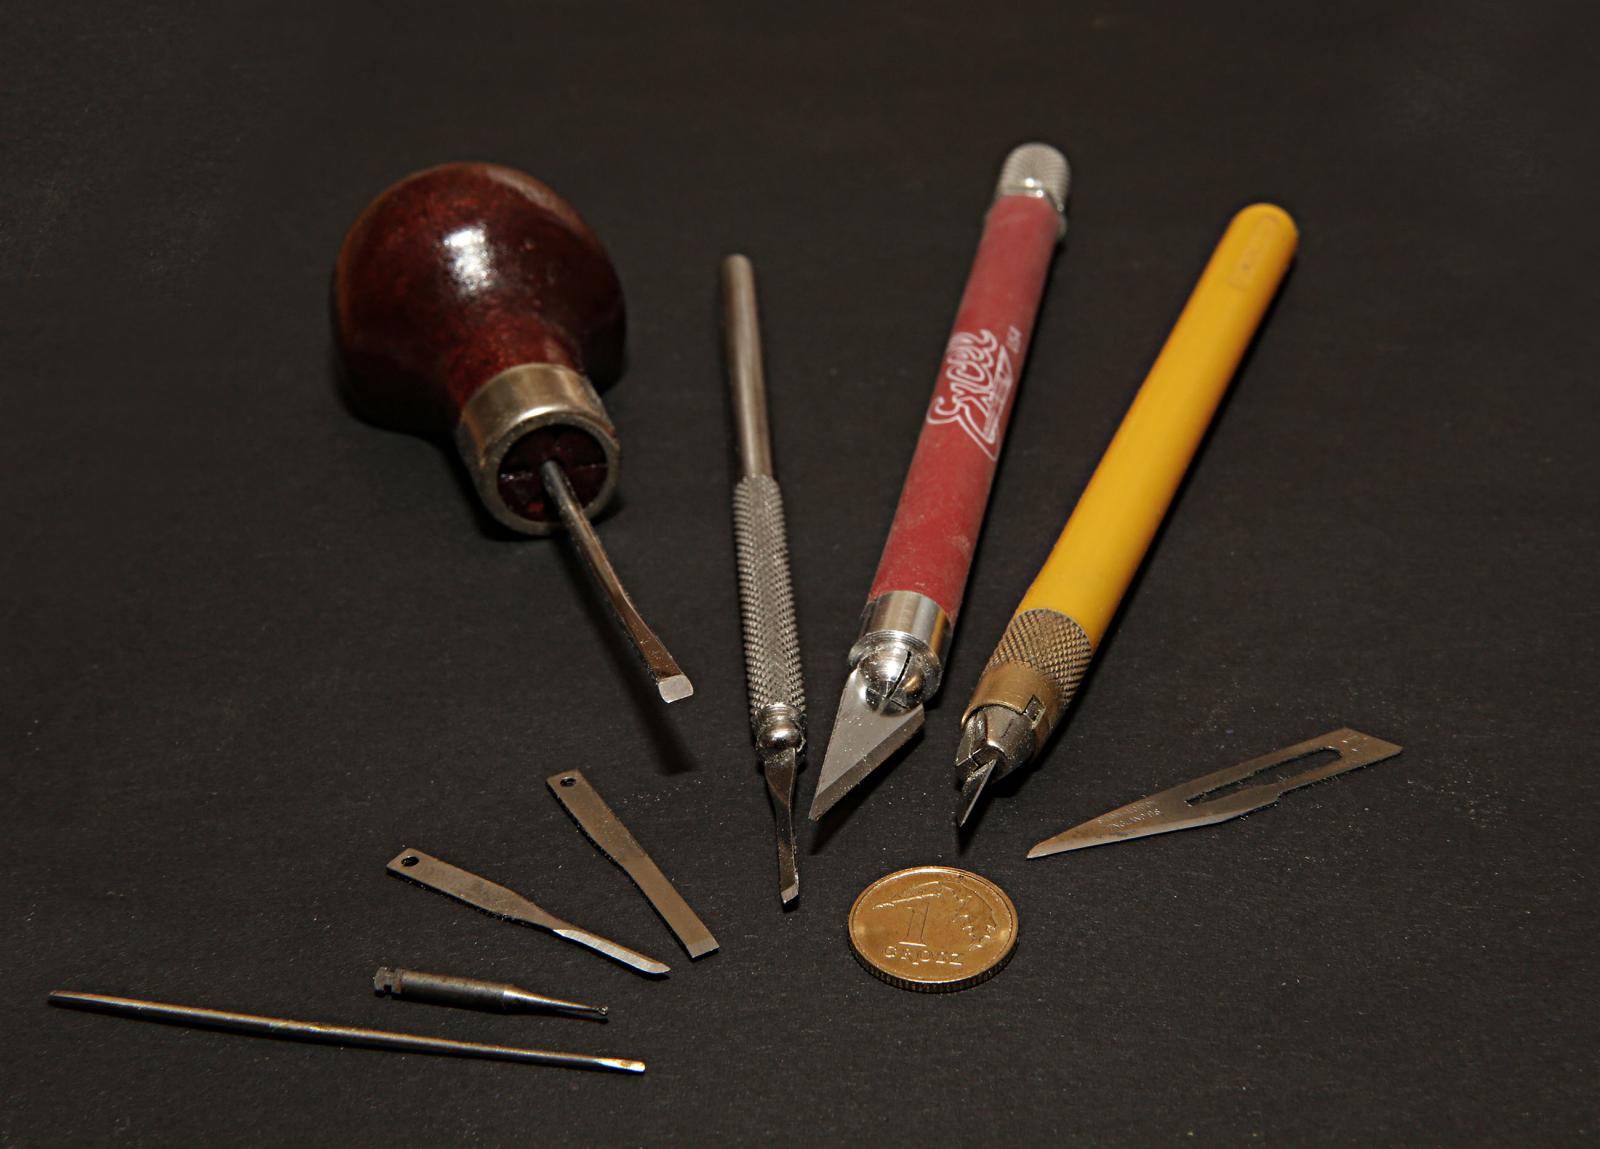
Last two days I spend with figurehead. Which is lion
I used laotan boxwood. Fantastic material for carving.
I'm quite pleased with final effect... that was my first carved figurehead and to my astonishment witout scrap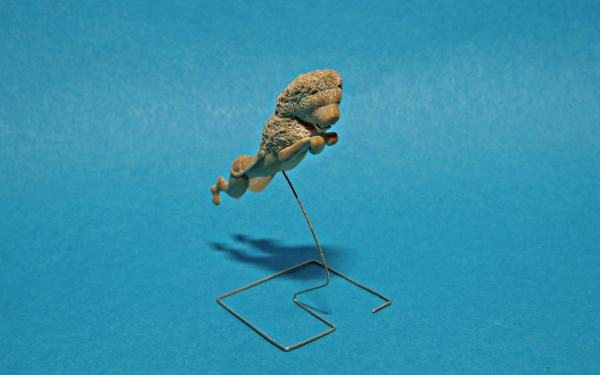

And some tools which I used for carving...
Without any fancy stuff...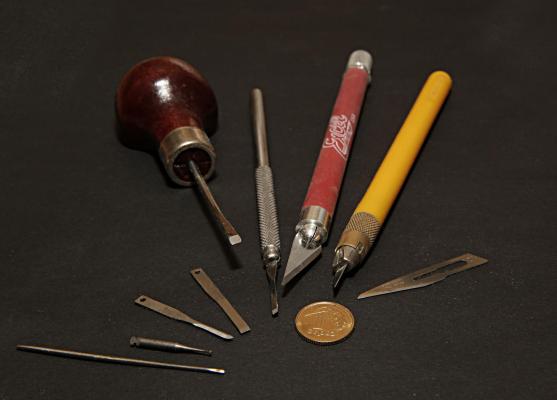
Best regards,
Matt
- Anja, Model Mariner, klimi and 16 others
-
19
-
-
-
Absolutely outstandig JOB Johann!!
I really enjoy your updates.
Yoo planning to build full rigged model or just hull of the ship??
I also have small, silly question...
Do you know where can I buy small hand vice like yours??
I'm looking for that jig long time... without good result
Cheers,
Matt -
It's always pleasure to see your update!
Beautiful work from the hands of real craftsman!
Best regards,
Matt


Papegojan 1627 by mati - FINISHED - 1/48
in - Build logs for subjects built 1501 - 1750
Posted
Thak you Mike for you kind comment I really appreciate that somebody is following my build.


Ok... another episode
This time 3 pound gun carriage. 1 from 12
On the 1 page you can see gun carriages which I made long time ago... and I'm glad that all of the previous are hidden under the deck In those days I thought that they look ok. I should slap myself for that
So... gun carriage after face lifting

Wood: pear
Metal parts: brass and copper
For rope I used polyester thread.
Thank you
Cheers
Matt