hamilton
-
Posts
1,933 -
Joined
-
Last visited
Content Type
Profiles
Forums
Gallery
Events
Everything posted by hamilton
-
 Hi Meredith: These experiments are great and truly inspiring! I hope you will at least use some of these (despite potential contract with Chuck's blocks). A quick question - OcCre only supplies 4mm blocks with their kit - how did you determine the variable sizes of blocks to be used at various points of the rigging for this model? I couldn't find any detailed rigging info for this vessel, though I imagine there must be published sources of such.....any hints? I'm thinking those 4mm blocks will look awfully clunky up on that fore royal yard! hamilton
 -
Hi Craig: There are two secrets to speedy modelling - first, don't care particularly about the results; second, shirk as many other responsibilities as possible without destroying your livelihood. The first tends to make you unpopular with other modellers. The second makes you unpopular with everyone else! In any case, the photos of your Emma are clarifying a lot that seems very vague in the plans/instructions - especially as concerns the well...Looking forward to more.... hamilton
-
Glad to see an update to this log - great work so far! Just got my Emma in the mail a couple of weeks ago, but won't get to it probably for a year or so.....by then you'll be done and I can steal all of your techniques! hamilton
-
Grazie Gianni! hamilton
-
plank length
hamilton replied to maltbyguy's topic in Planking Techniques's Click Here for Topics dedicated to planking!!!!
If you go to the article downloads area, AEW has prepared a very useful plank length calculator.... hamilton -
Hi John: Always been curious about this one and the Brittania - both are quite large, no? Looking forward to your progress on this one hamilton
-
Though I'm no expert, it would make sense that the ratlines would be left natural (though I've featured them as black on every model I've built save one), for the reasons noted above....this might be another area of heated debate between historical accuracy and modeller's preference..... hamilton
-
She's looking Gorgeous Bob! The details bring so much life to the model. hamilton
-
Wow - having built the Phantom as my first model I know how small these parts you've made must be! Magnificent work - I'm particularly impressed with the chainplates - I found those to be very finicky! Again - amazing work here! hamilton
-
Hi Meredith: What stunning work! I love the aging on the copper plates - looks very authentic, and you're right the quality of the hobby mill wood is FAR superior to what is supplied by OcCre - I replaced the deck strips, but only with lime sourced at my local hobby shop....An improvement over OcCre's materials but nowhere near as nice as yours. I've now just finished the first planking (have to clean it up now) - the 2mm strips were not very easy to work with, I have to say, and I'm a little worried about the material supplied for second planking.... in any event, your build is setting a very high bar for this model! Well done! hamilton
-
Hello there: First of all, sorry moderators if I've posted this in the wrong place....since technically it is a solicitation. Second, let me say that there are some great tutorials available on hull planking on the downloads section of this site. However, I feel there must be something I'm missing.... I've made several plank-on-bulkhead models over the last several years, but I have never been happy about the planking and never truly understood how to do it properly....my results have been ok, but for the most part I apply liberal doses of wood filler and paint below the waterline to hide my poor results...... However, every time I approach the planking, I feel like I make the same mistakes, and confront the same frustrations and end up just kind of patching it together and flying blind...despite following along with the several good tutorials I have found. It has been very frustrating and I would much rather approach this part of my builds with more confidence and better results - it would be nice, for example, to show a well-planked wooden hull at some point in the future... And so I'm making this plea - if there are any modellers out there in the greater Vancouver area who would be willing to spare a couple of hours to pass on their techniques and wisdom I would be very grateful - a bottle of your favourite wine or spirit, a case of your favourite beer, or if it's more appropriate some other form of compensation for your time and patience! Apologies for sounding (being) desperate! Though I'm sure I'm not the first hamilton
-
Beautiful work Doug! Love this ship and would love to build her one day - you've done an excellent job hamilton
-
Incredible detail and wonderful craftsmanship - I don't cease to be impressed by your metal work, Ian - and your modelling skills overall! Beautiful stuff hamilton
-
Hi Jason: A milestone indeed - I know what you mean about finding a rhythm to this part of the build - on a vessel like Snake there must have been a good number of clove hitches to complete these things - no small feat! hamilton
-
Beautiful work Jason, as usual - the Snake certainly makes an attractive model - even more so in such capable hands. And I'm supremely jealous of the Diana! I'll be following that build very keenly hamilton
-
Just repeating what everyone else has already said - WOW! Excellent work - Chuck's method of making the great cabin floor certainly produces wonderful results hamilton
- 2,191 replies
-
- 1
-

-
- confederacy
- Model Shipways
- (and 1 more)
-
Very impressive Bob - the beauty of the detail is matched only by the cleanliness of the work! Inspiring indeed hamilton
-
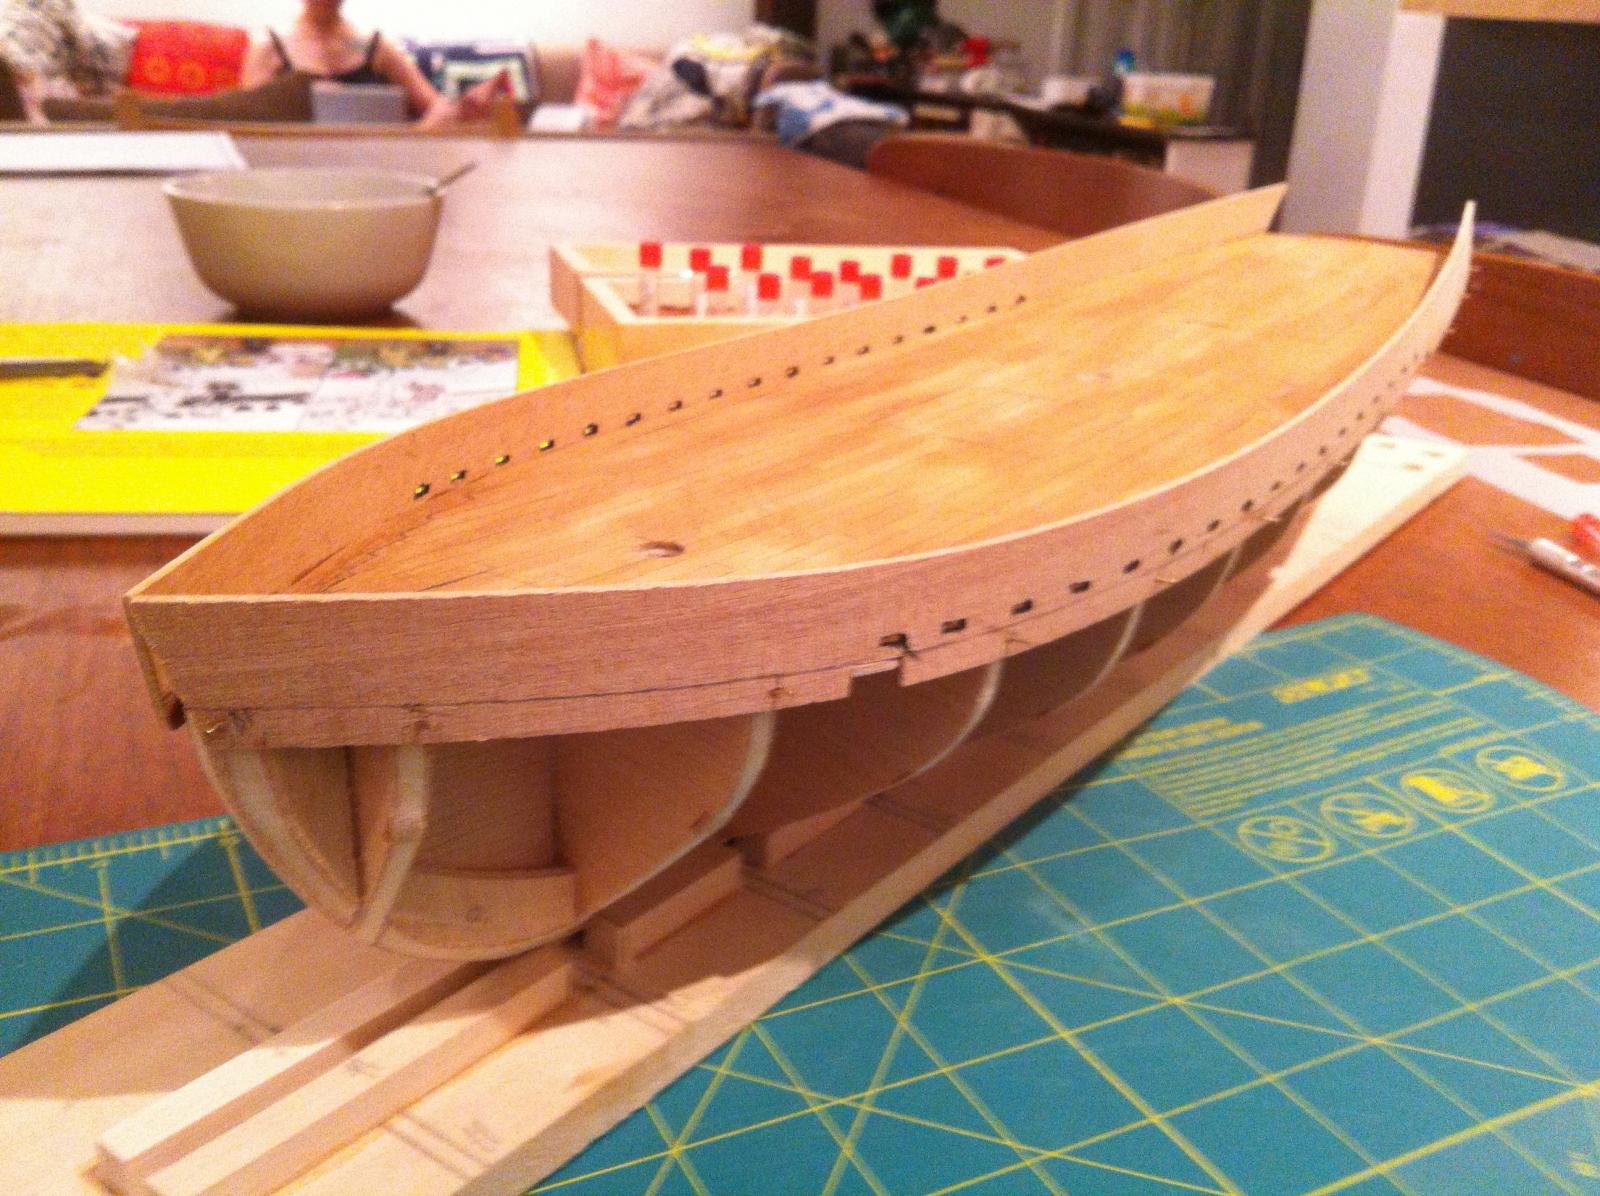
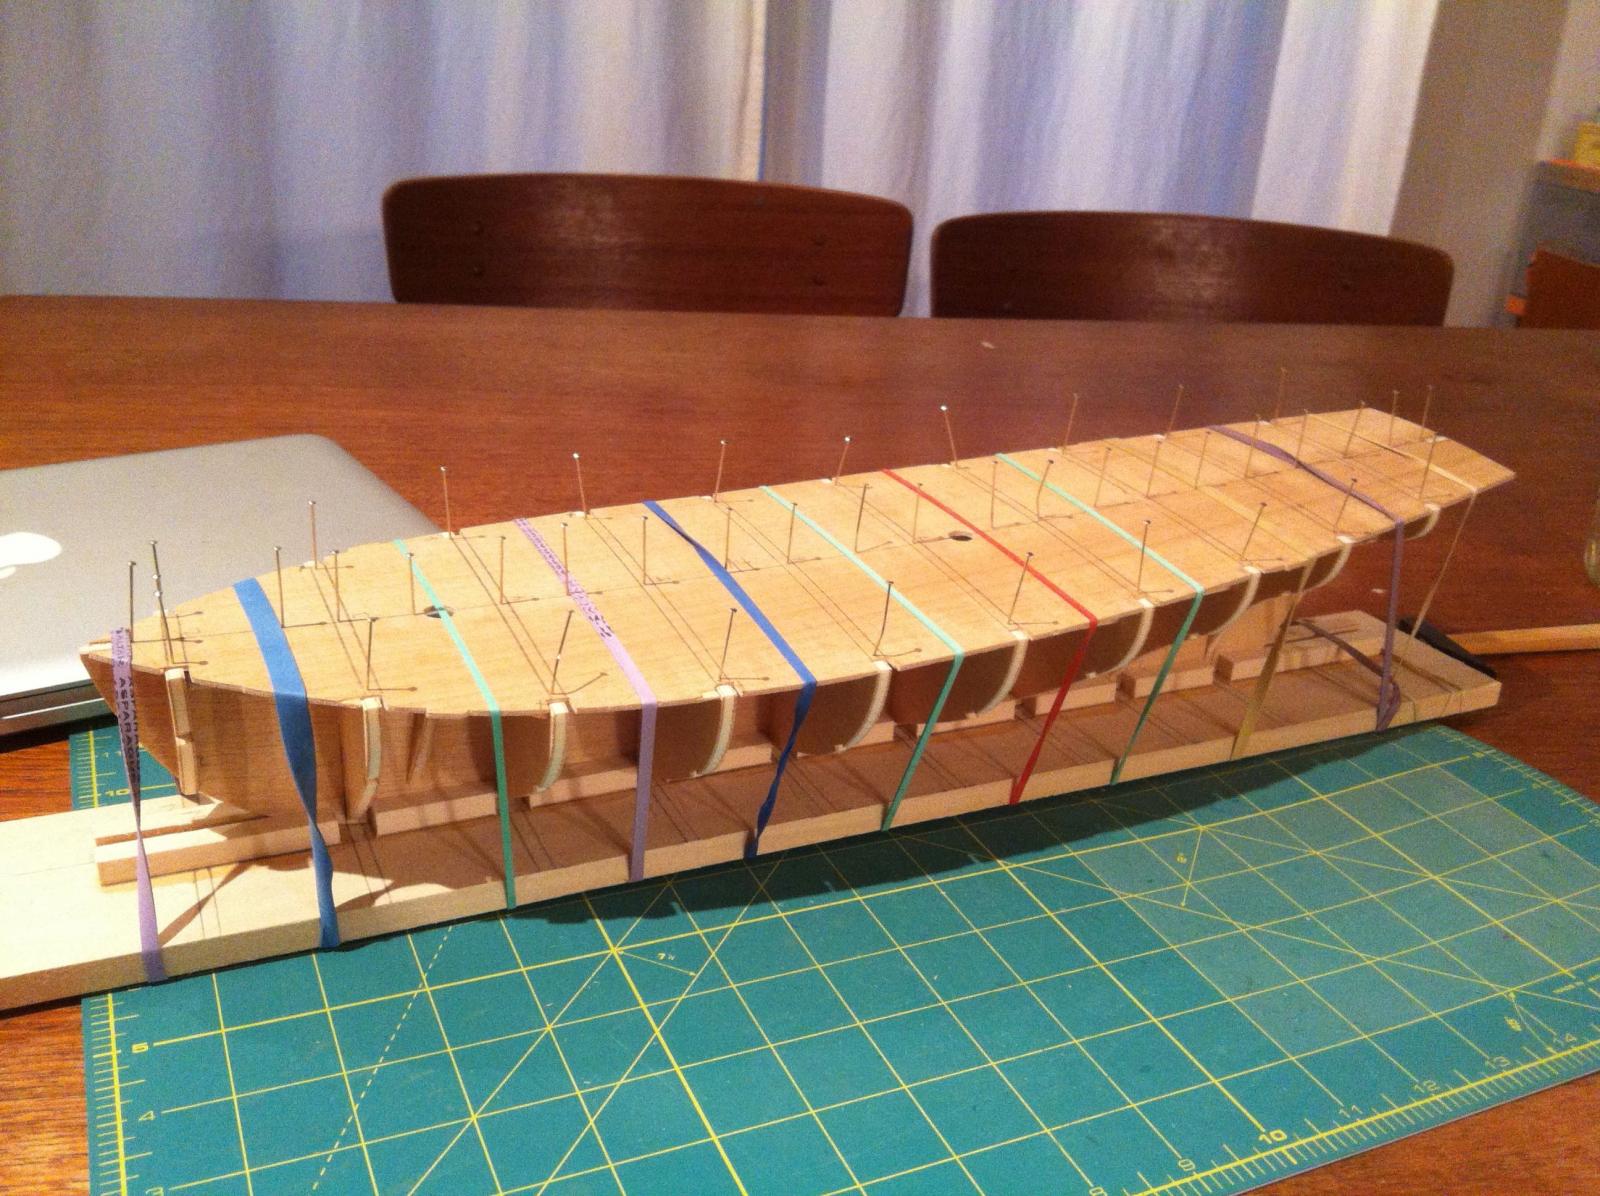
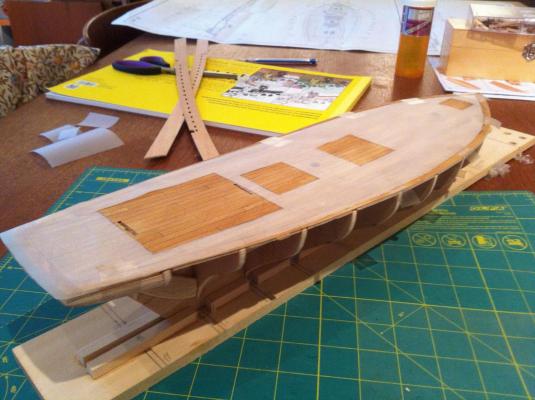
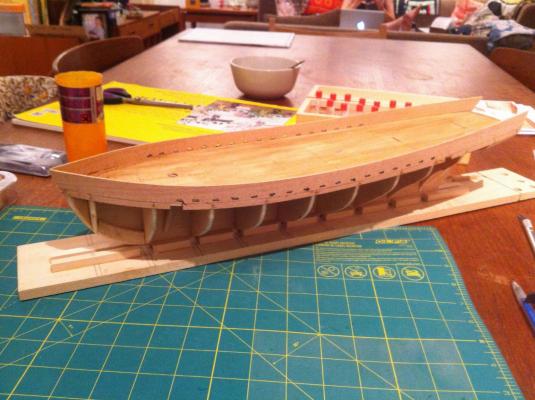
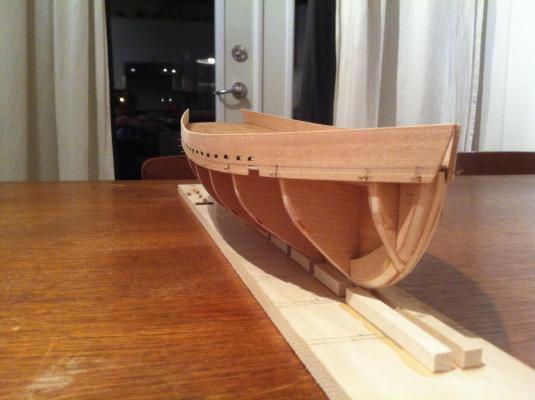
Well there are no close-ups of the deck, but in the following shots you can see the blotchiness....Not happy with it, but I'm not exactly sure what can be done, and I know it will be covered up will all kinds of detritus to distract the eye....onwards, then, armed for the future with the insight not to do this again! In other news, I've spent a couple of days just focusing on fairing the hull and working out the installation of the long single-piece bulwarks. It's quite tricky to install these, but they were not nearly as finicky as the ones I installed on the Pinky. In the end, I think they went on well - I took quite a bit of time to get the symmetry right... Anyway, here are the photos - hope you're all doing well hamilton

- 69 replies
-
- 4
-
-
- fair rosamund
- occre
- (and 1 more)
-
Thanks Harlequin - whenever you're ready! Looking forward to seeing more of the Bellona hamilton
-
Love the Diana - hope to build this, too one day. Looking forward to your build hamilton
-
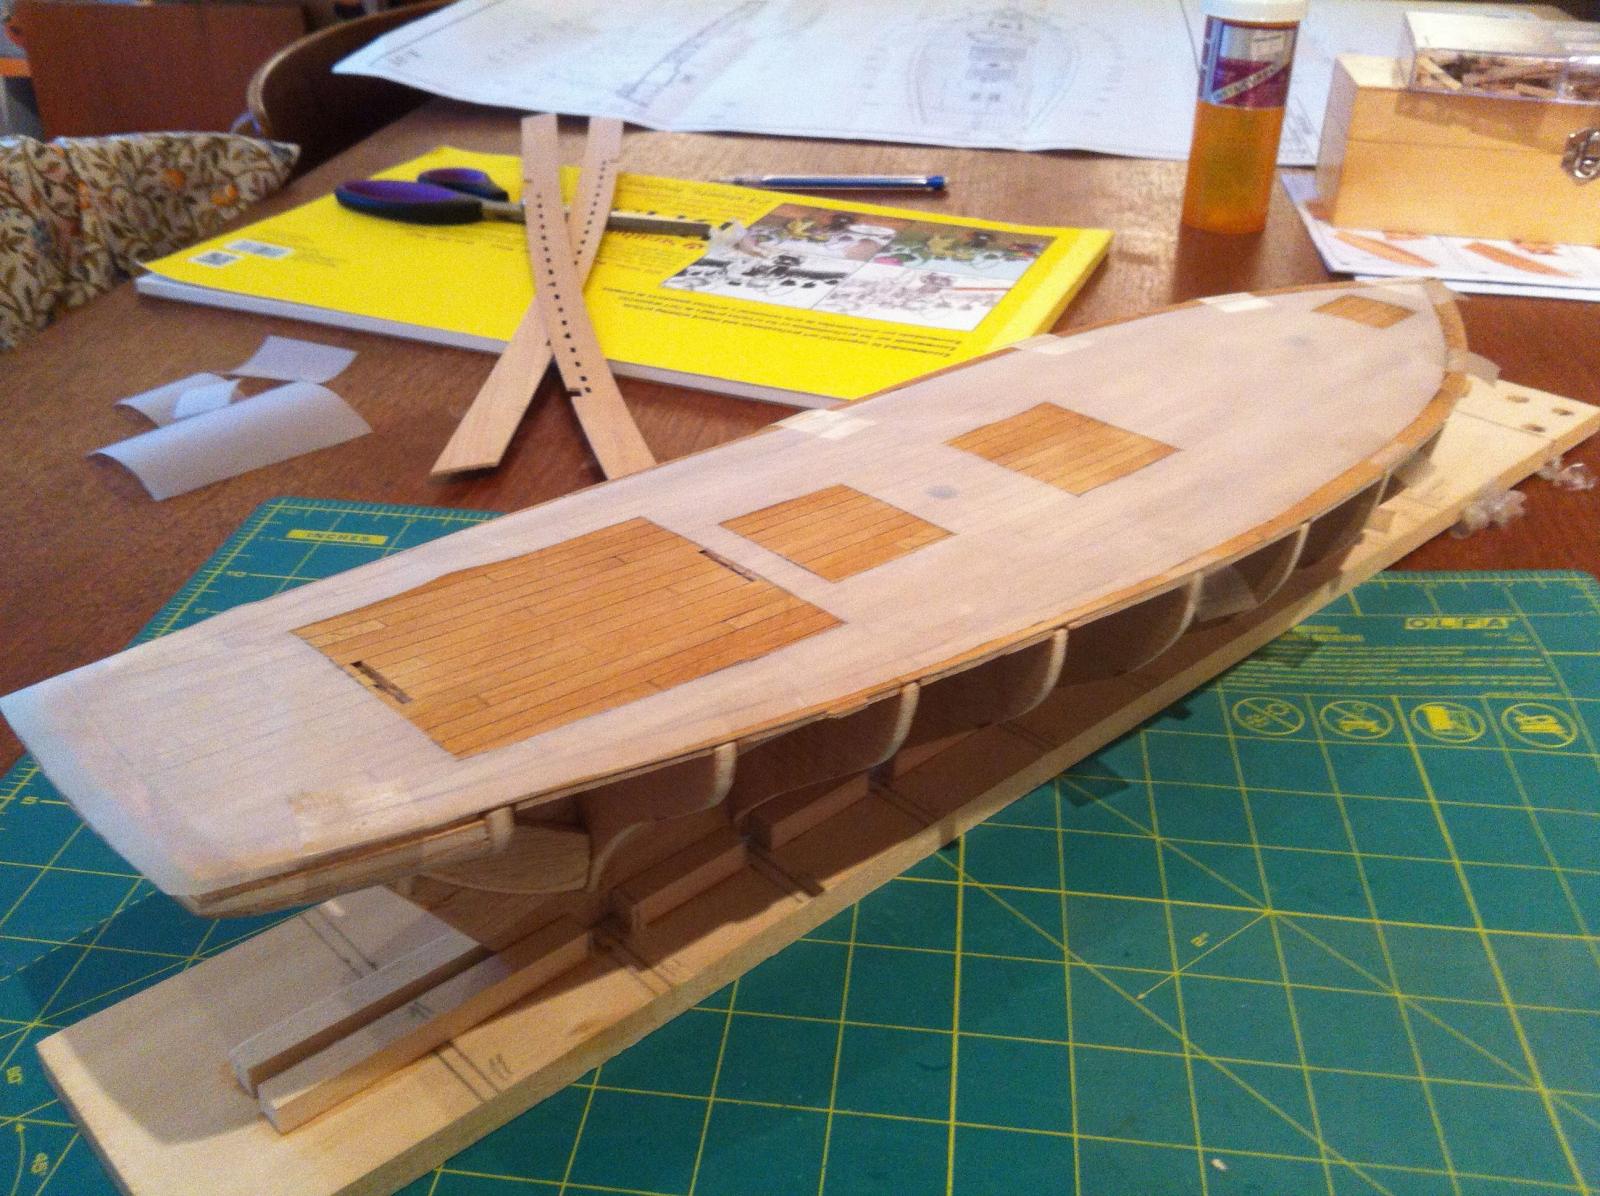
Thanks Bob, BE, Rich and Augie: I've now finished planking the deck, but I'm too embarrassed to show it.....I added nibbing to the deck planks at the bow and this worked out fine. But because of the size difference between the bow & stern margin planks (3/64") and the middle ones both port & starboard & the deck planking (1/32"), I had to sand the thicker ones flush. I thought (mistakenly) that using a heavy grain sandpaper (80) would be the best approach to getting rid of the excess wood. But when happened was that it left all kinds of unsightly scratch marks on the deck planks - almost like someone keyed my deck...no amount of sanding with lighter grain sandpaper worked to get rid of these..... Then there was the staining....I decided to lightly stain the deck with Minwax golden oak, slightly diluted. I did this with my Glad Tidings and I was really happy with the results. However this time it turned out quite blotchy - only later did I read (somewhere on this forum) about applying wood conditioner before staining and now I'm kicking myself.... I'm sure it will be fine after all the deck fixtures are installed, but at present it is quite unsightly.....I may post some photos later as a warning to those who dive into such things heedlessly......for now, I'll sign off hamilton
-
This is a really ambitious project! Looking forward to watching it come together - will you be able to get it out of the workshop when it's done? hamilton
-
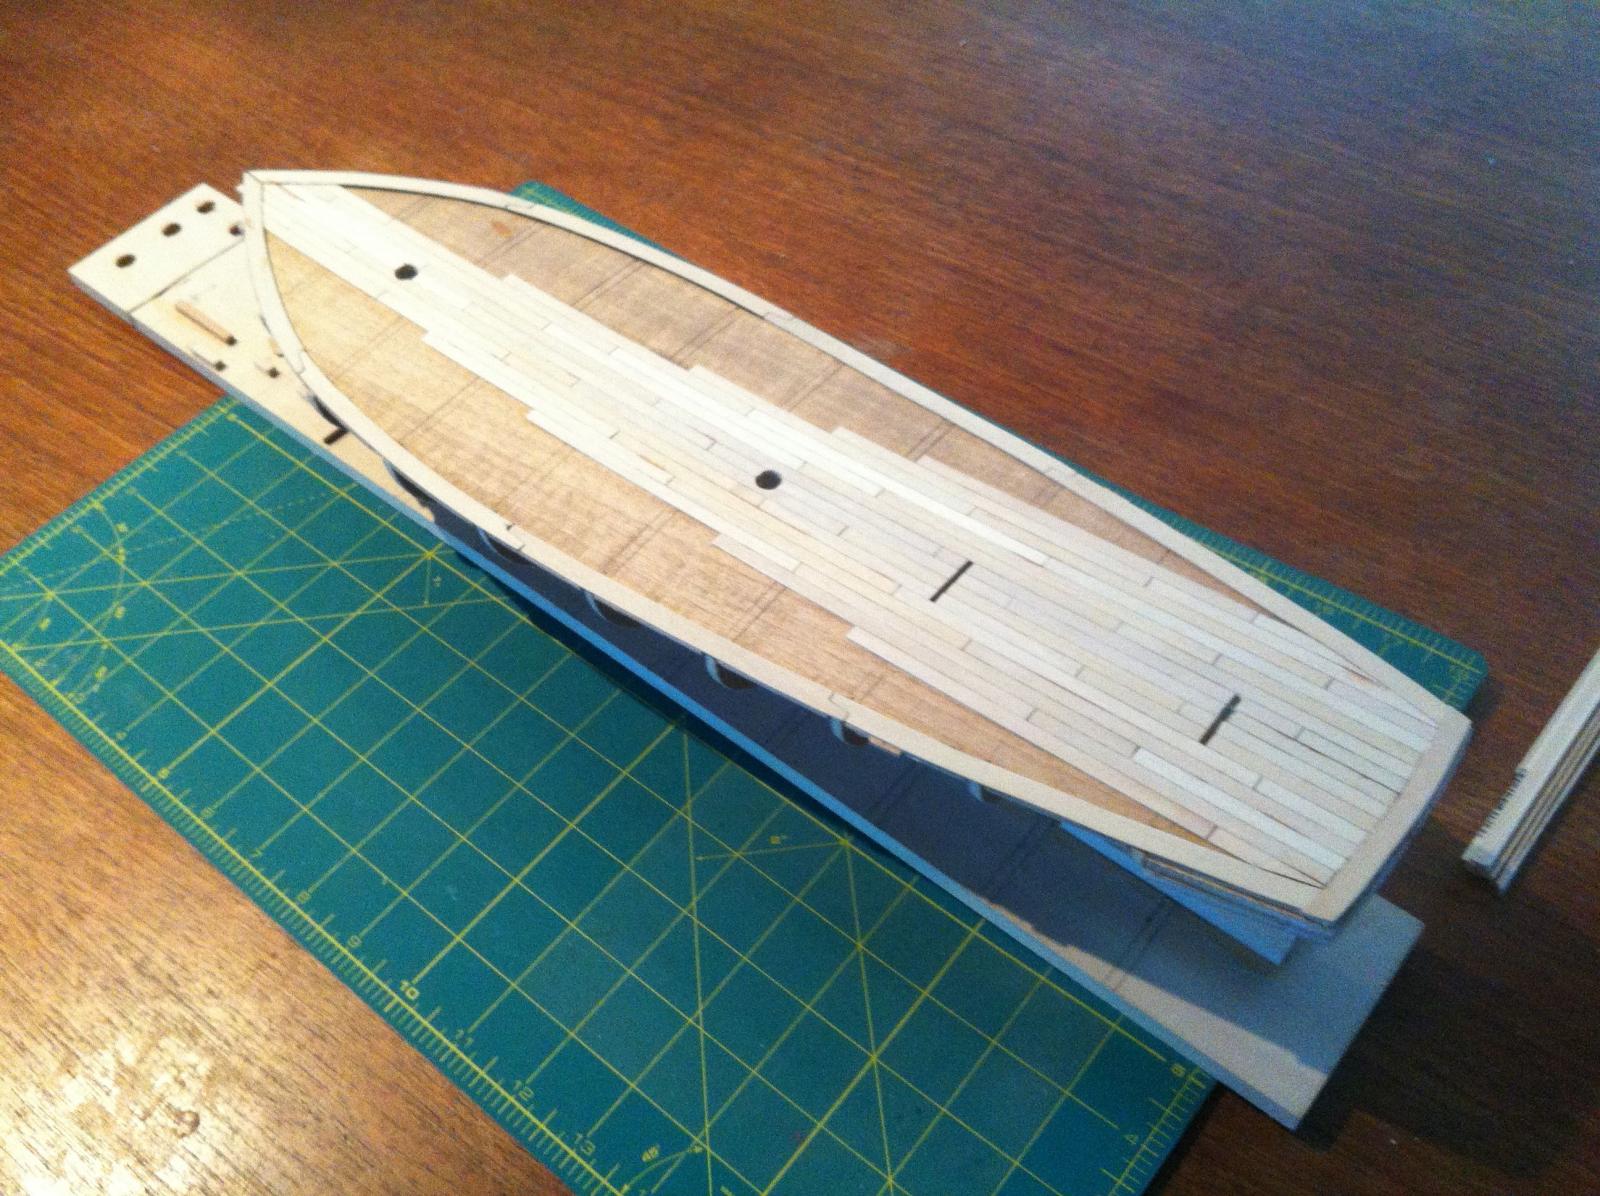
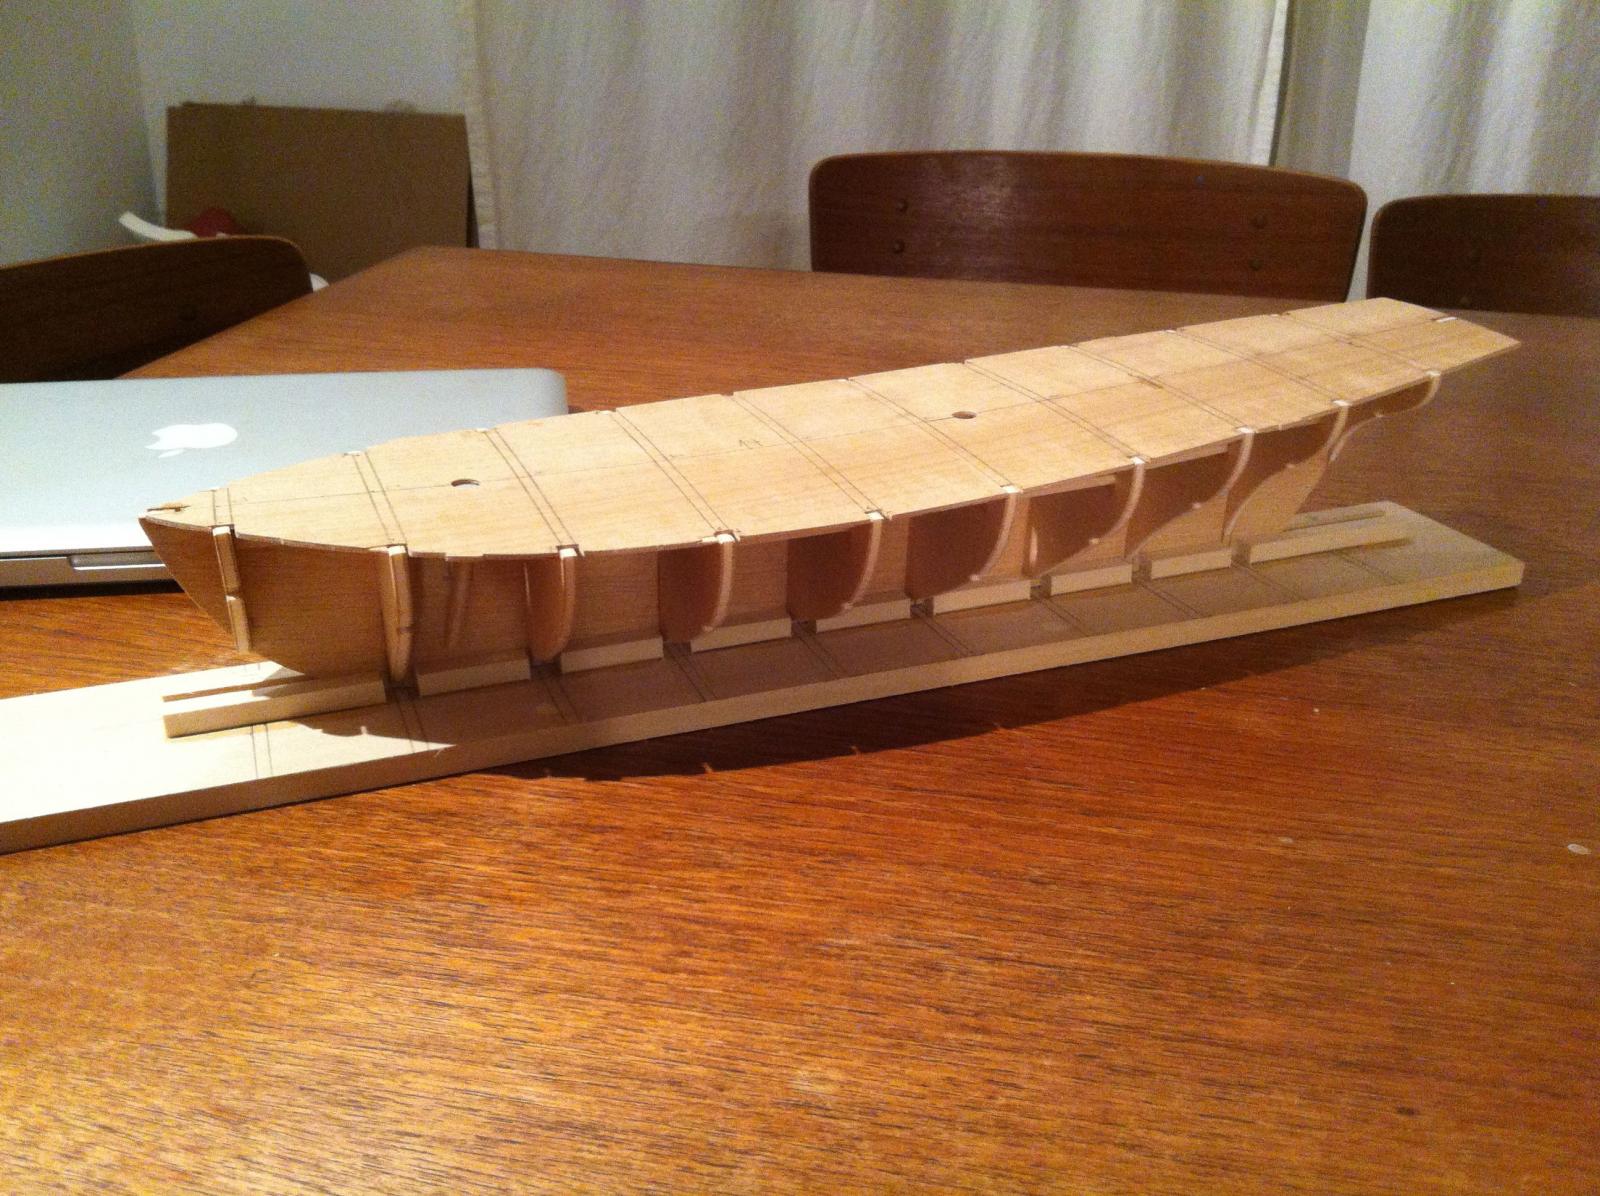
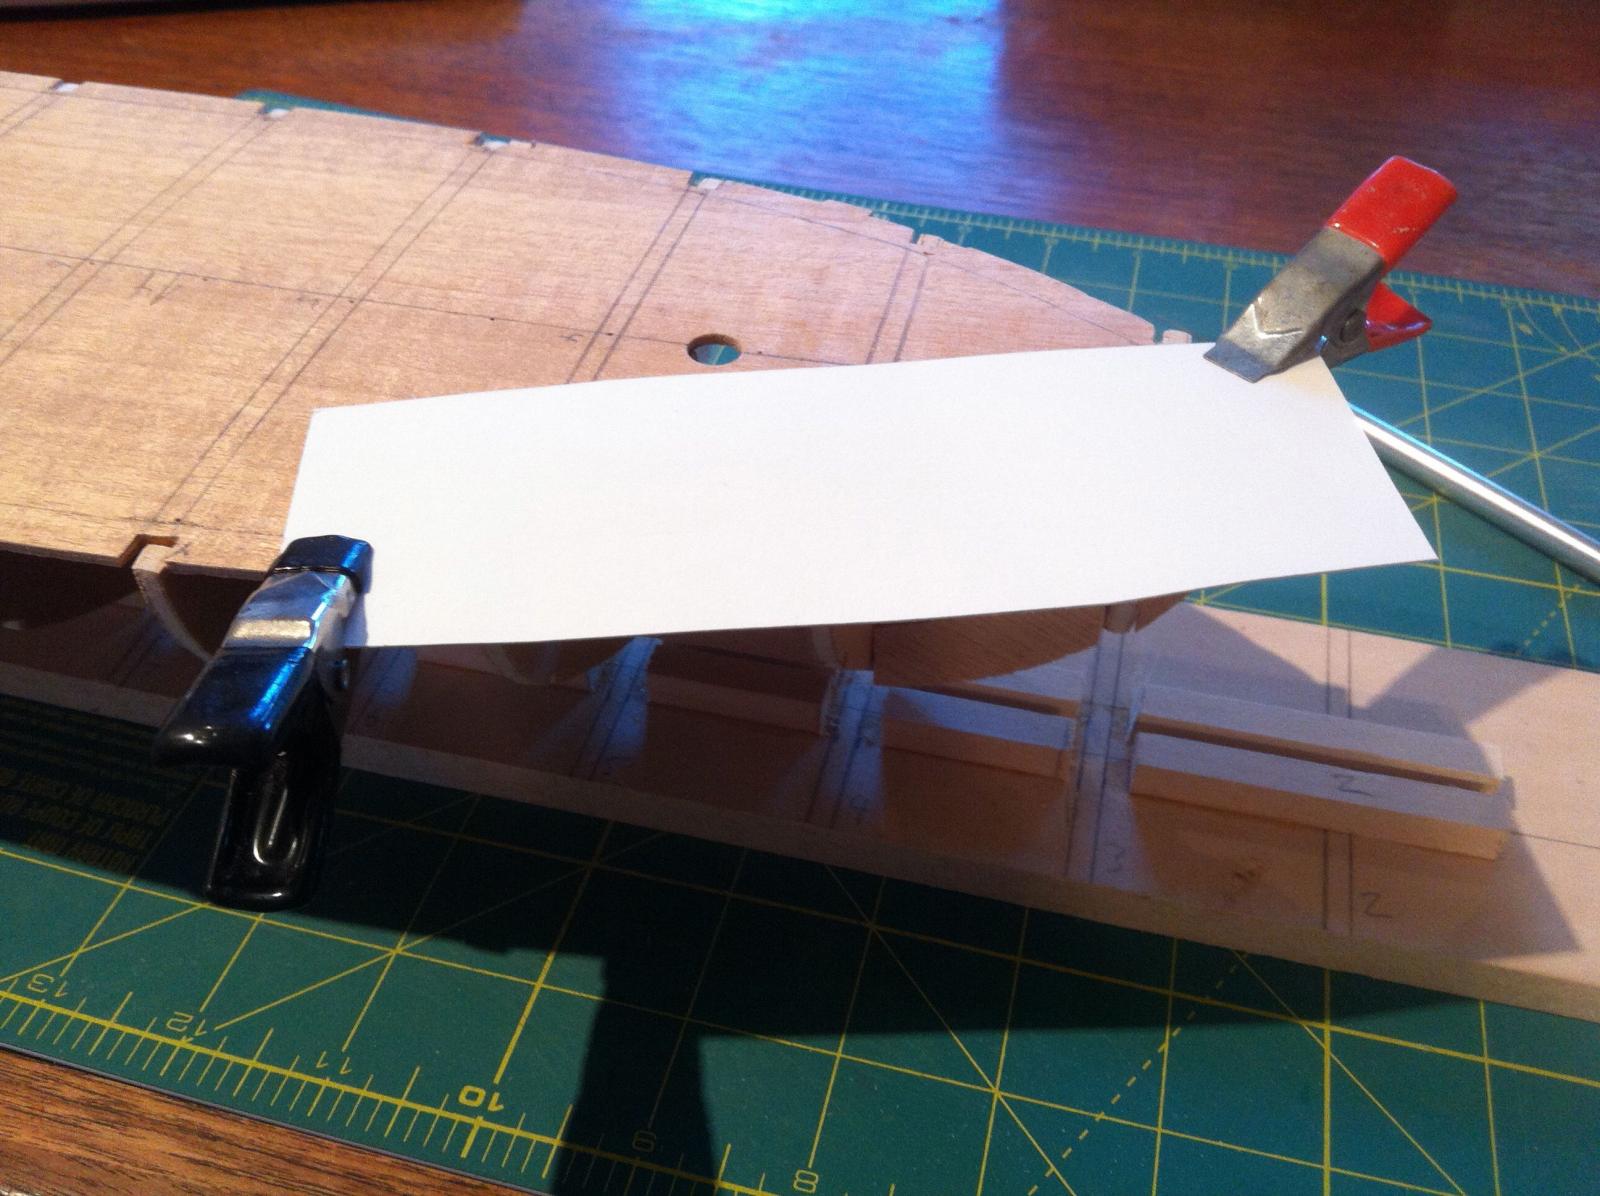
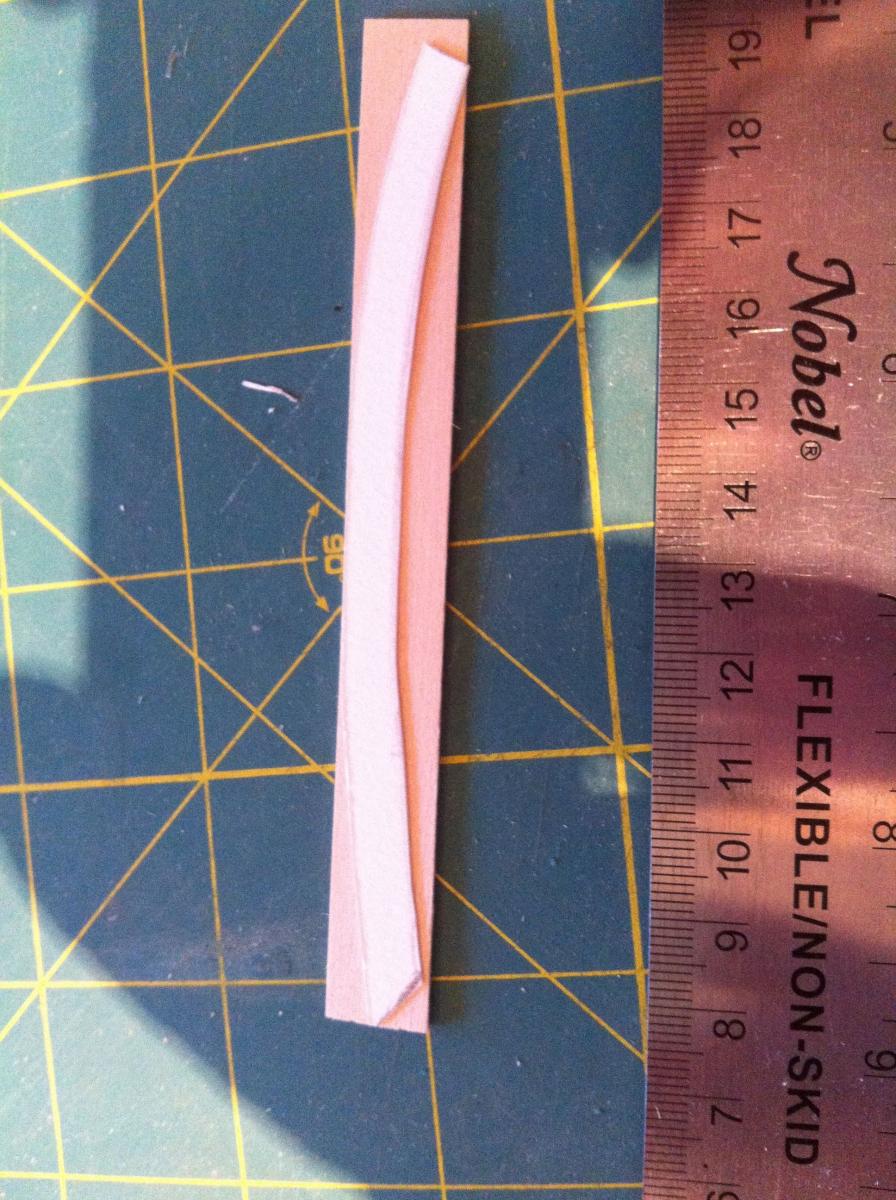
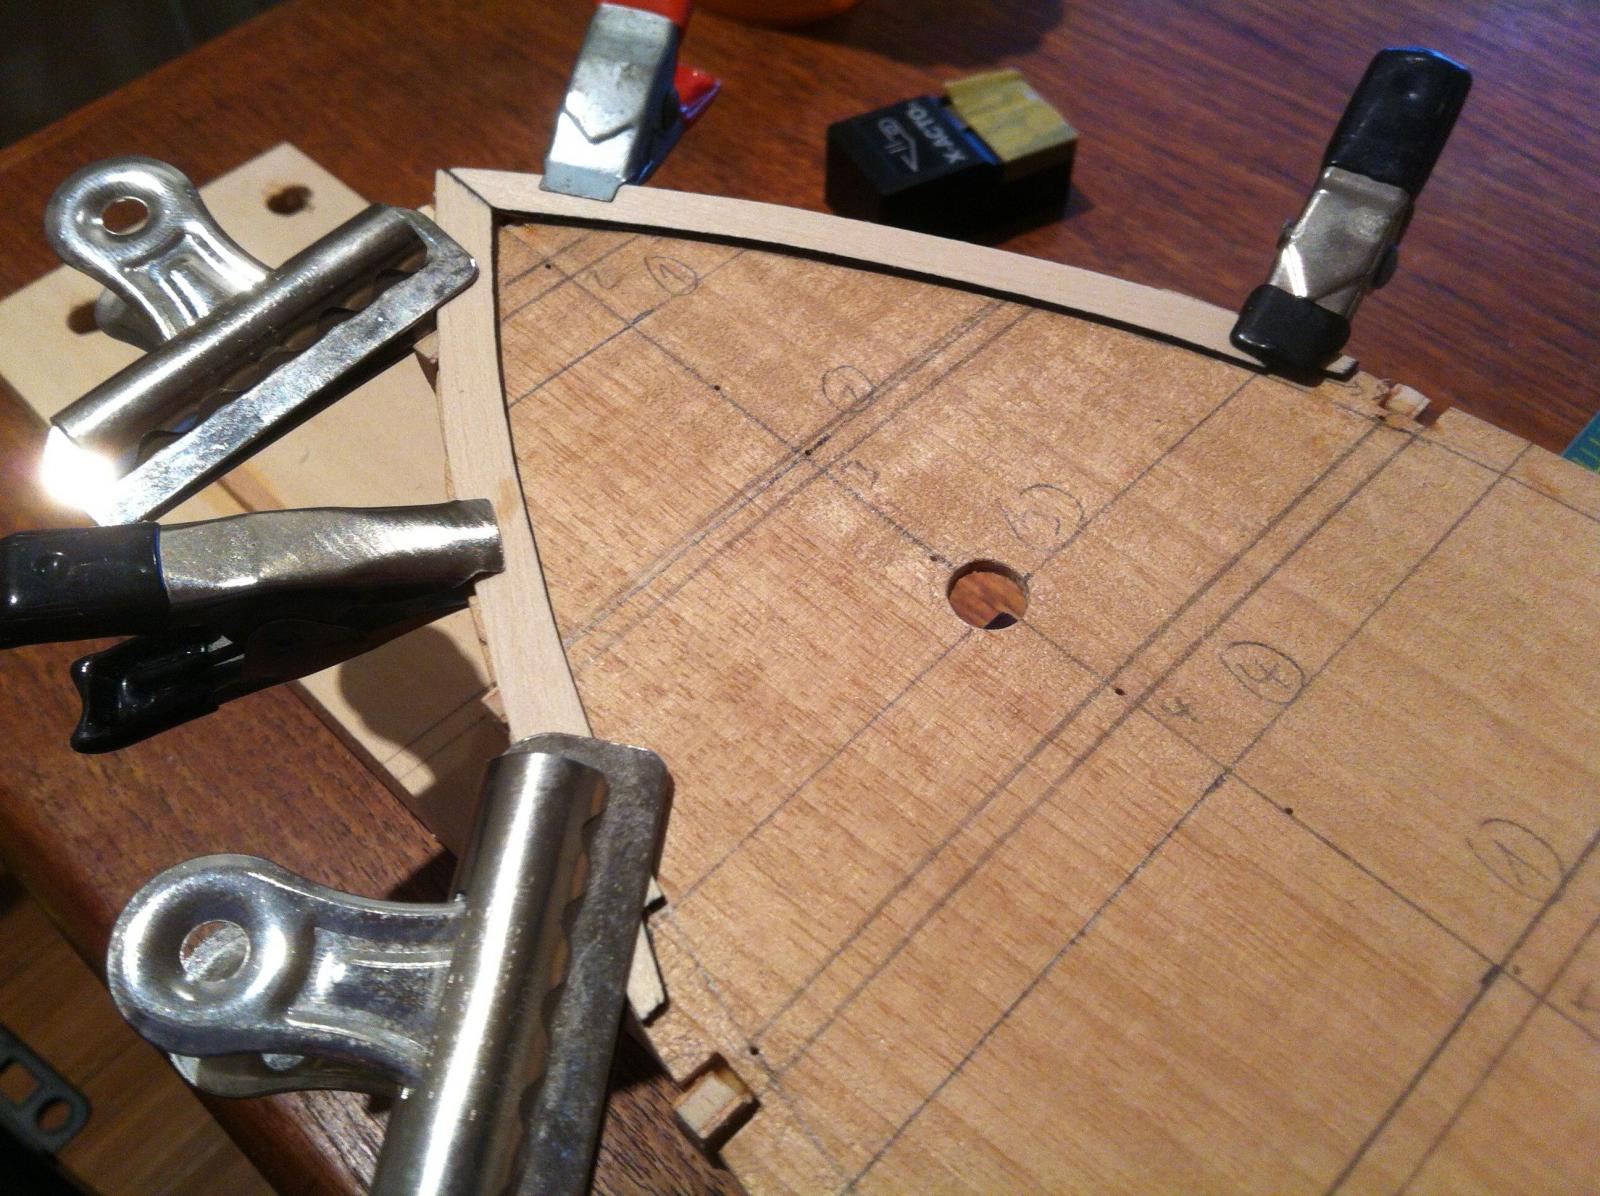
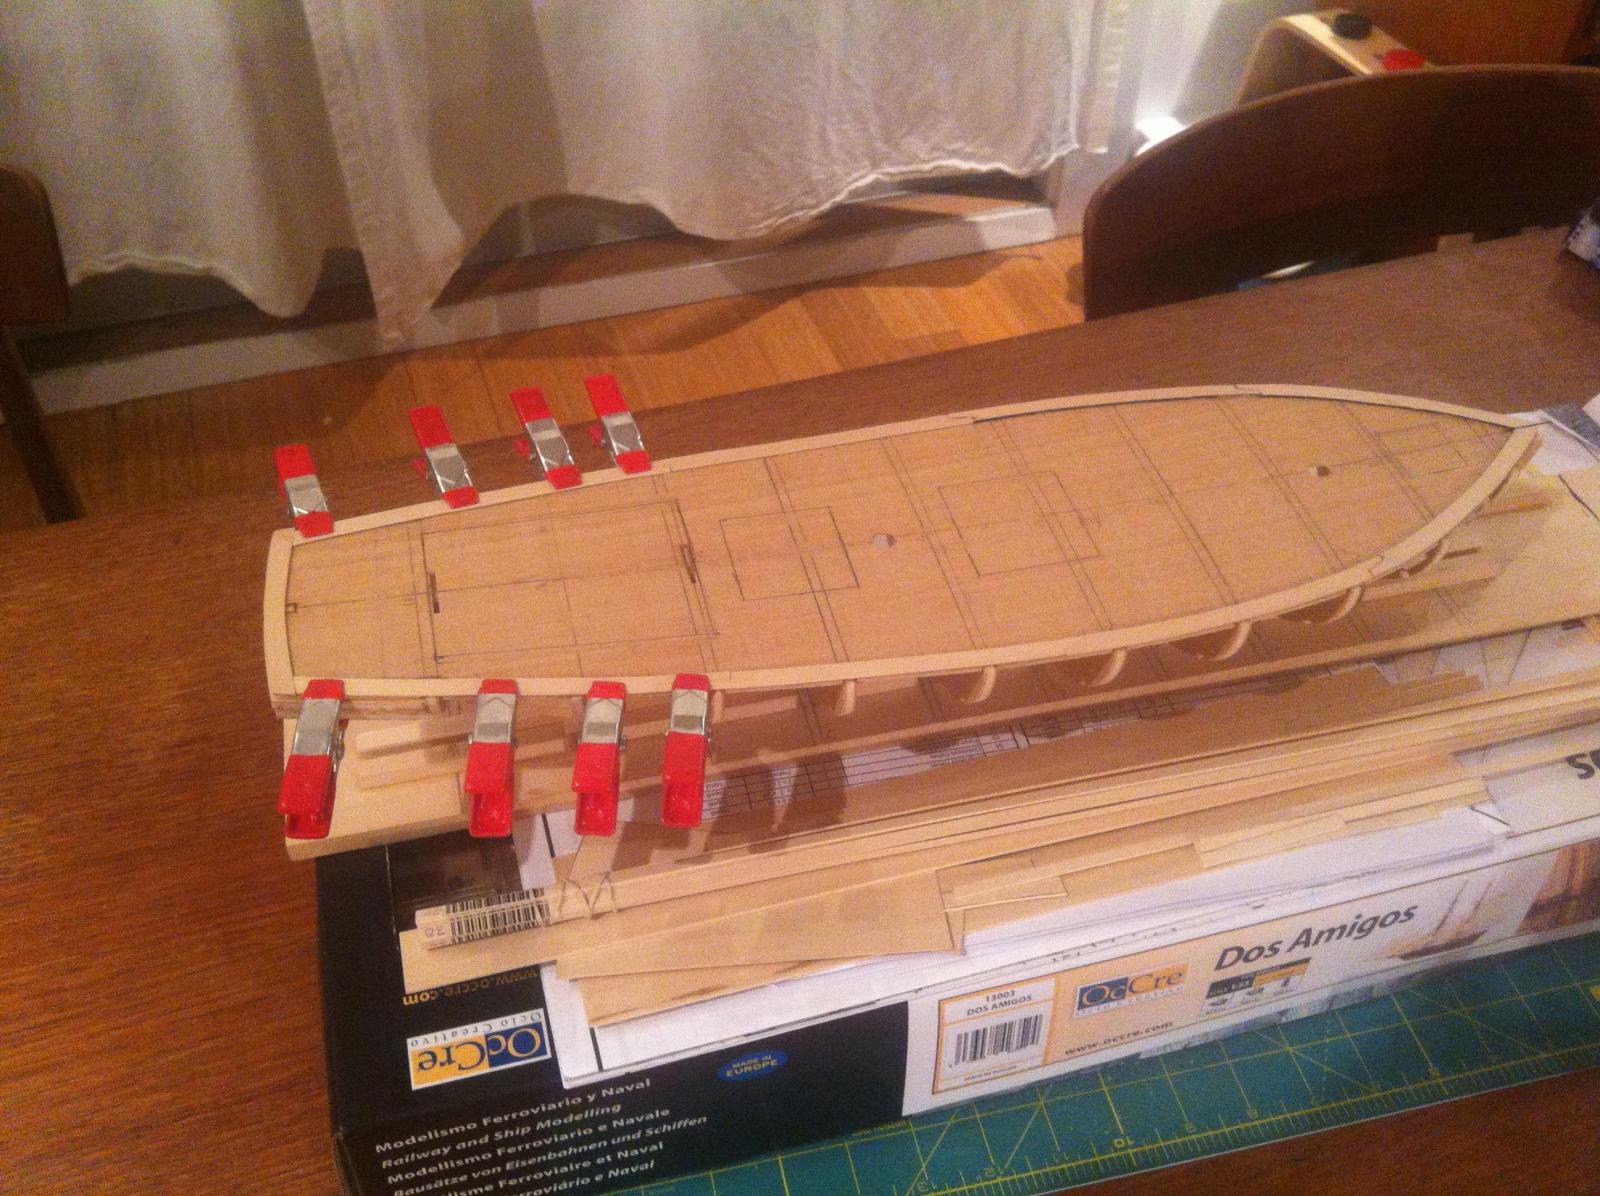
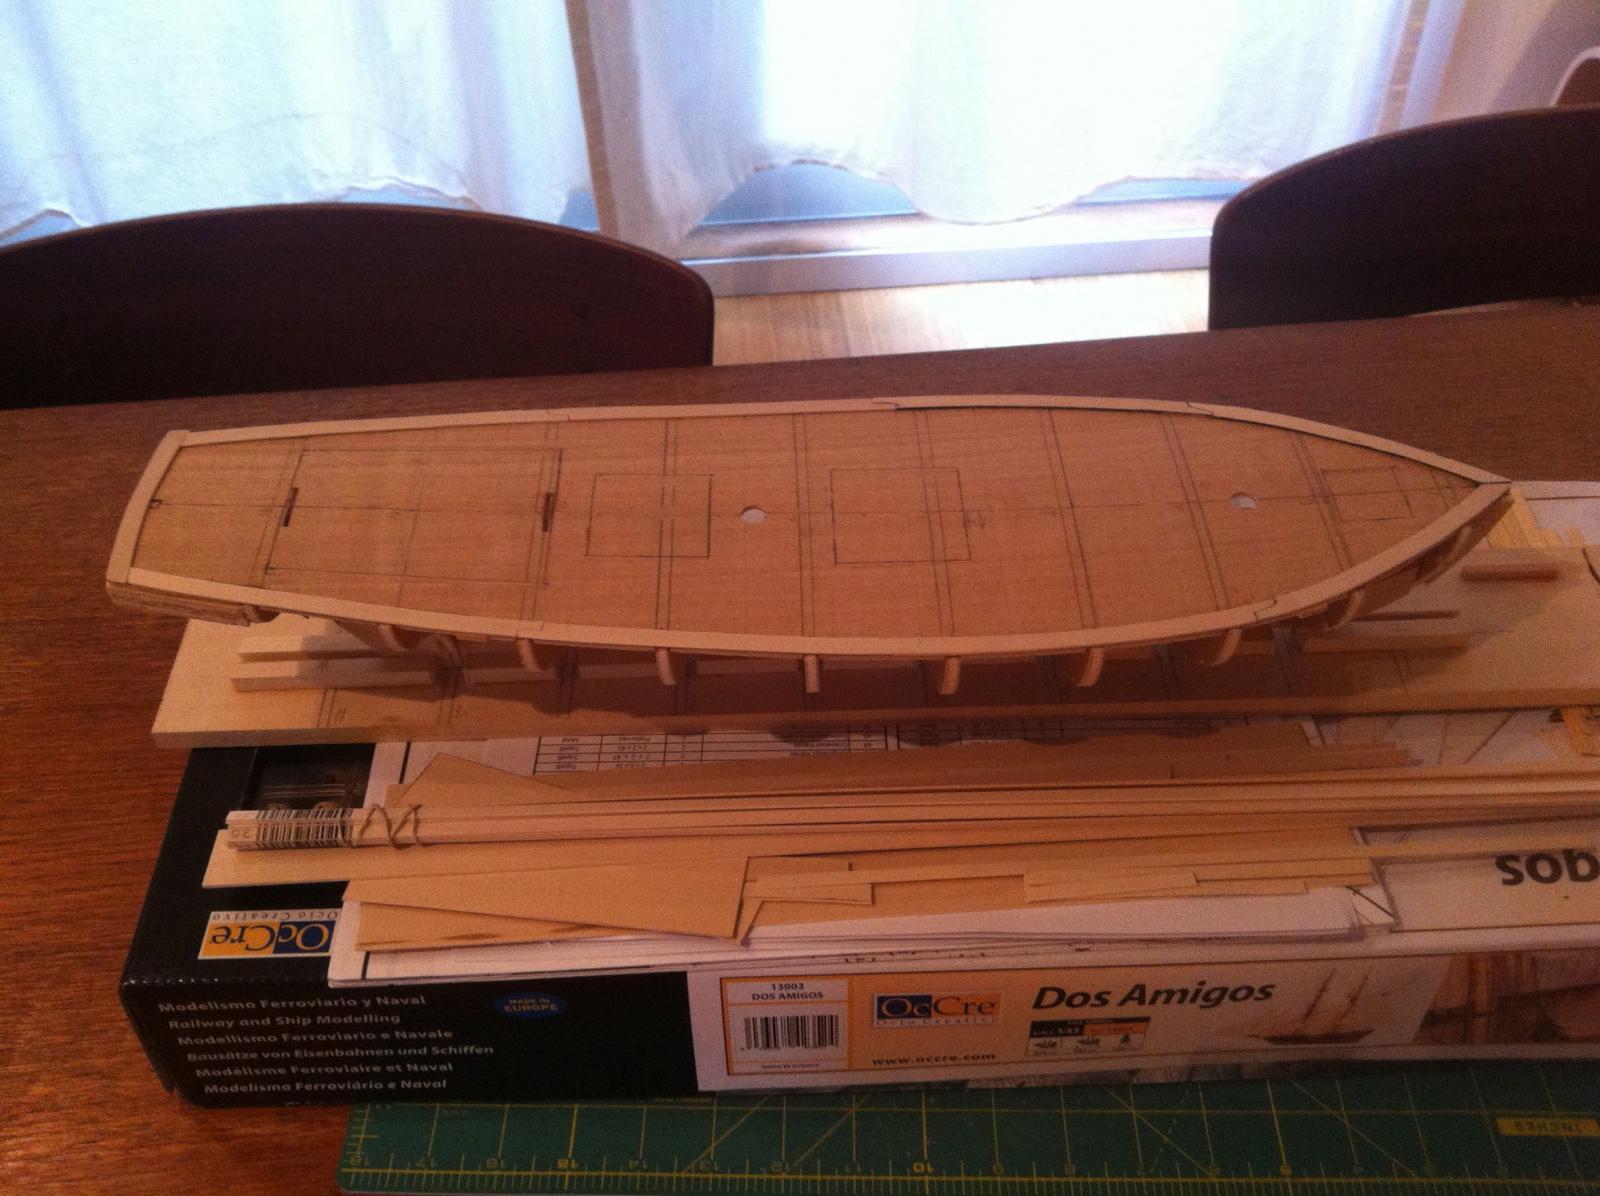
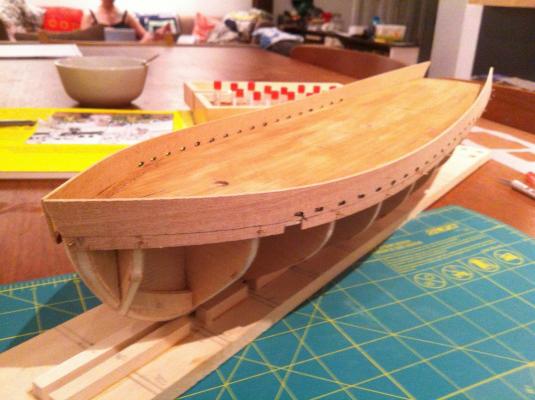
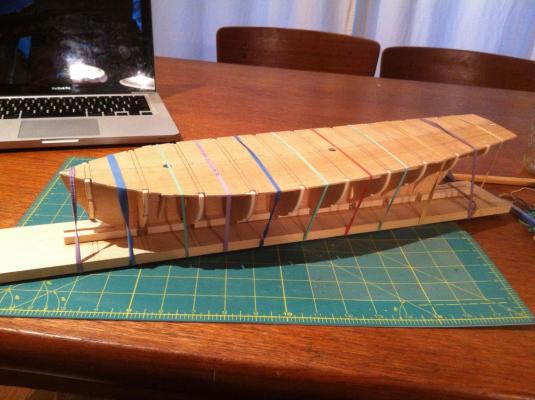
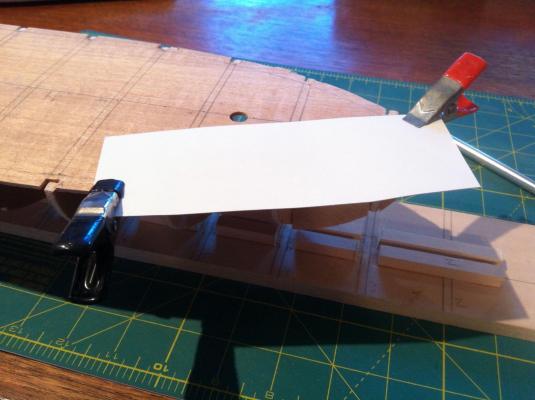
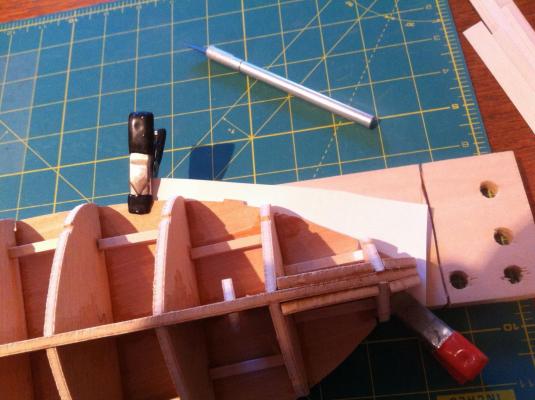
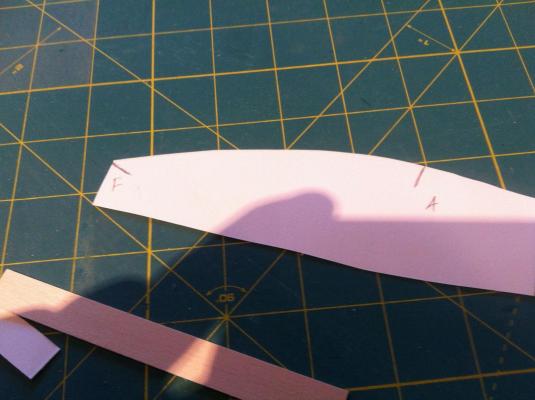
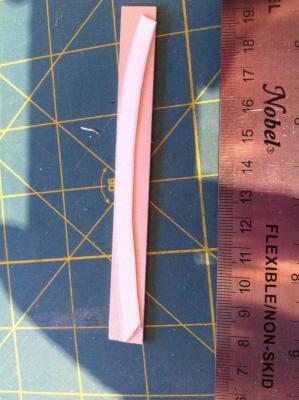
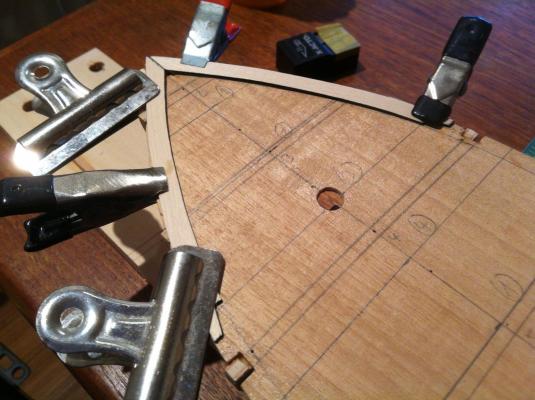
A bit of progress on Fair Rosamund: The deck - came in the same rather disappointing ply as the bulkheads - kind of fuzzy and messy, but a little more solid. Had to fix the bulkhead extension slots to fit the framework - no big deal. Marked the deck up for planking (centre line & positions for the deck planks. Here are some photos Margin planks - not featured as part of the kit - I borrowed this feature from Meredith, who included them on his build. I may have cut mine a little wide, but they'll eventually be partly thinned by the inboard bulwark planking. I guessed at a measurement of 7mm by looking at Meredith's build log and judging the width of his margins relative to the sub-deck. I decided to make the margins in 4 sections, scarfed together. I made templates using bristol paper and transferred these onto 10mm x 3/64mm lime - unfortunately I only had enough of this material for the first 2 planks port and starboard and the plank across the stern....my local wood supplier only had 1/32 or 1/16" sheets, so the last 2 planks on both sides are 1/32 - eventually I'll sand the others down to match. Here again are some photos of the process - the same process was used for each of the margin planks Next steps - fairing the frames & deck planking/finishing - fun times ahead! hamilton


- 69 replies
-
- 9
-
-
- fair rosamund
- occre
- (and 1 more)
-
It means "personal message" - it's like a private email sent directly to a forum member - you can send a PM by clicking on your own user name at the top of the page (in the blue banner) where you'll see an option called "personal messenger" - or if you scroll over or click another users name, you will see an option to "send message". This is a much more secure way to share information with other users that you might not want floating around.... hamilton