hamilton
-
Posts
1,920 -
Joined
-
Last visited
Content Type
Profiles
Forums
Gallery
Events
Everything posted by hamilton
-
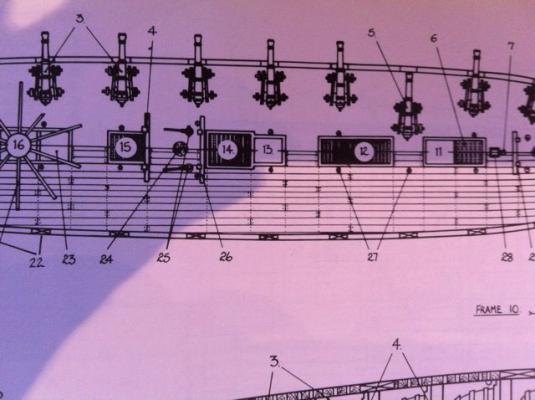
 Hi there: I'm wondering what I should do about the waterways on my HMS Blandford (kit bashed from the Corel Greyhound kit). I've painted the inboard bulwarks red, and the deck is varnished maple. The material supplied by Corel is dark walnut. So should the waterway be painted like the bulwarks or natural like the deck? Thanks in advance for any and all advice and assistance. hamilton
 -
Beautiful work - what an impressive hull!! hamilton
-
Excellent work Jason - very precise and clean hamilton
-
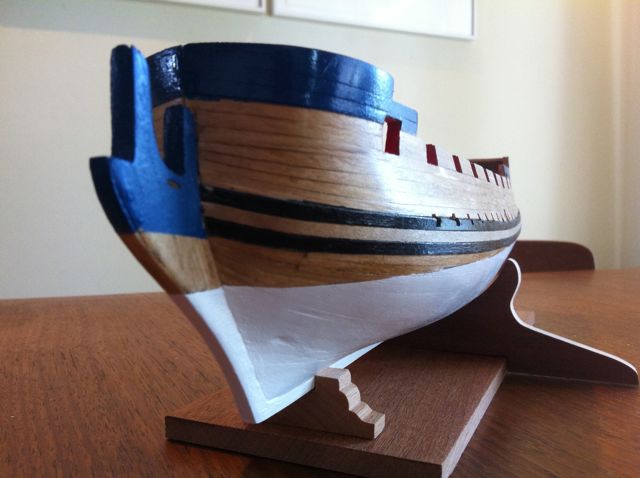
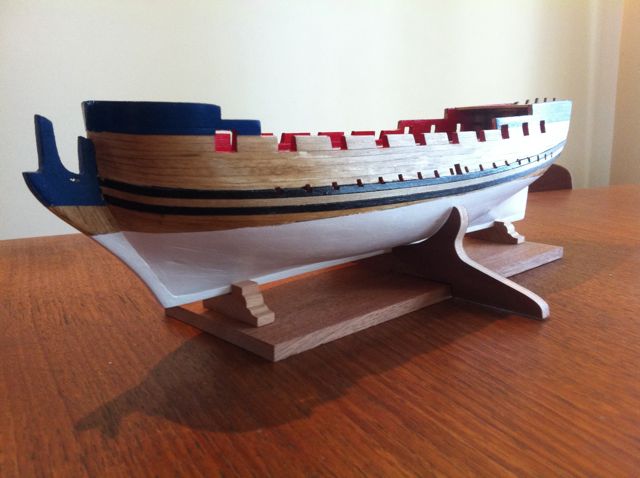
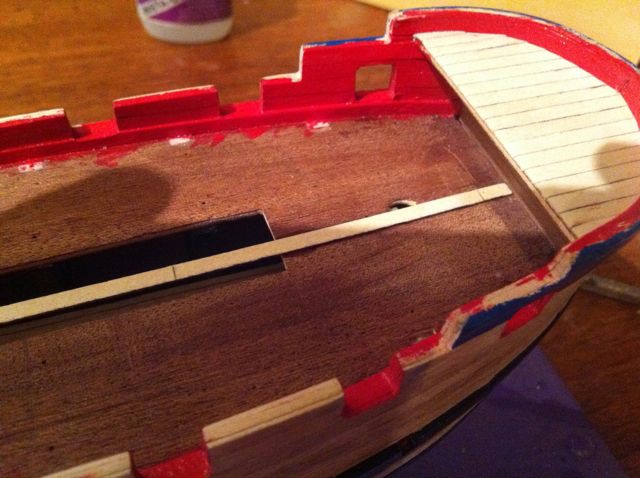
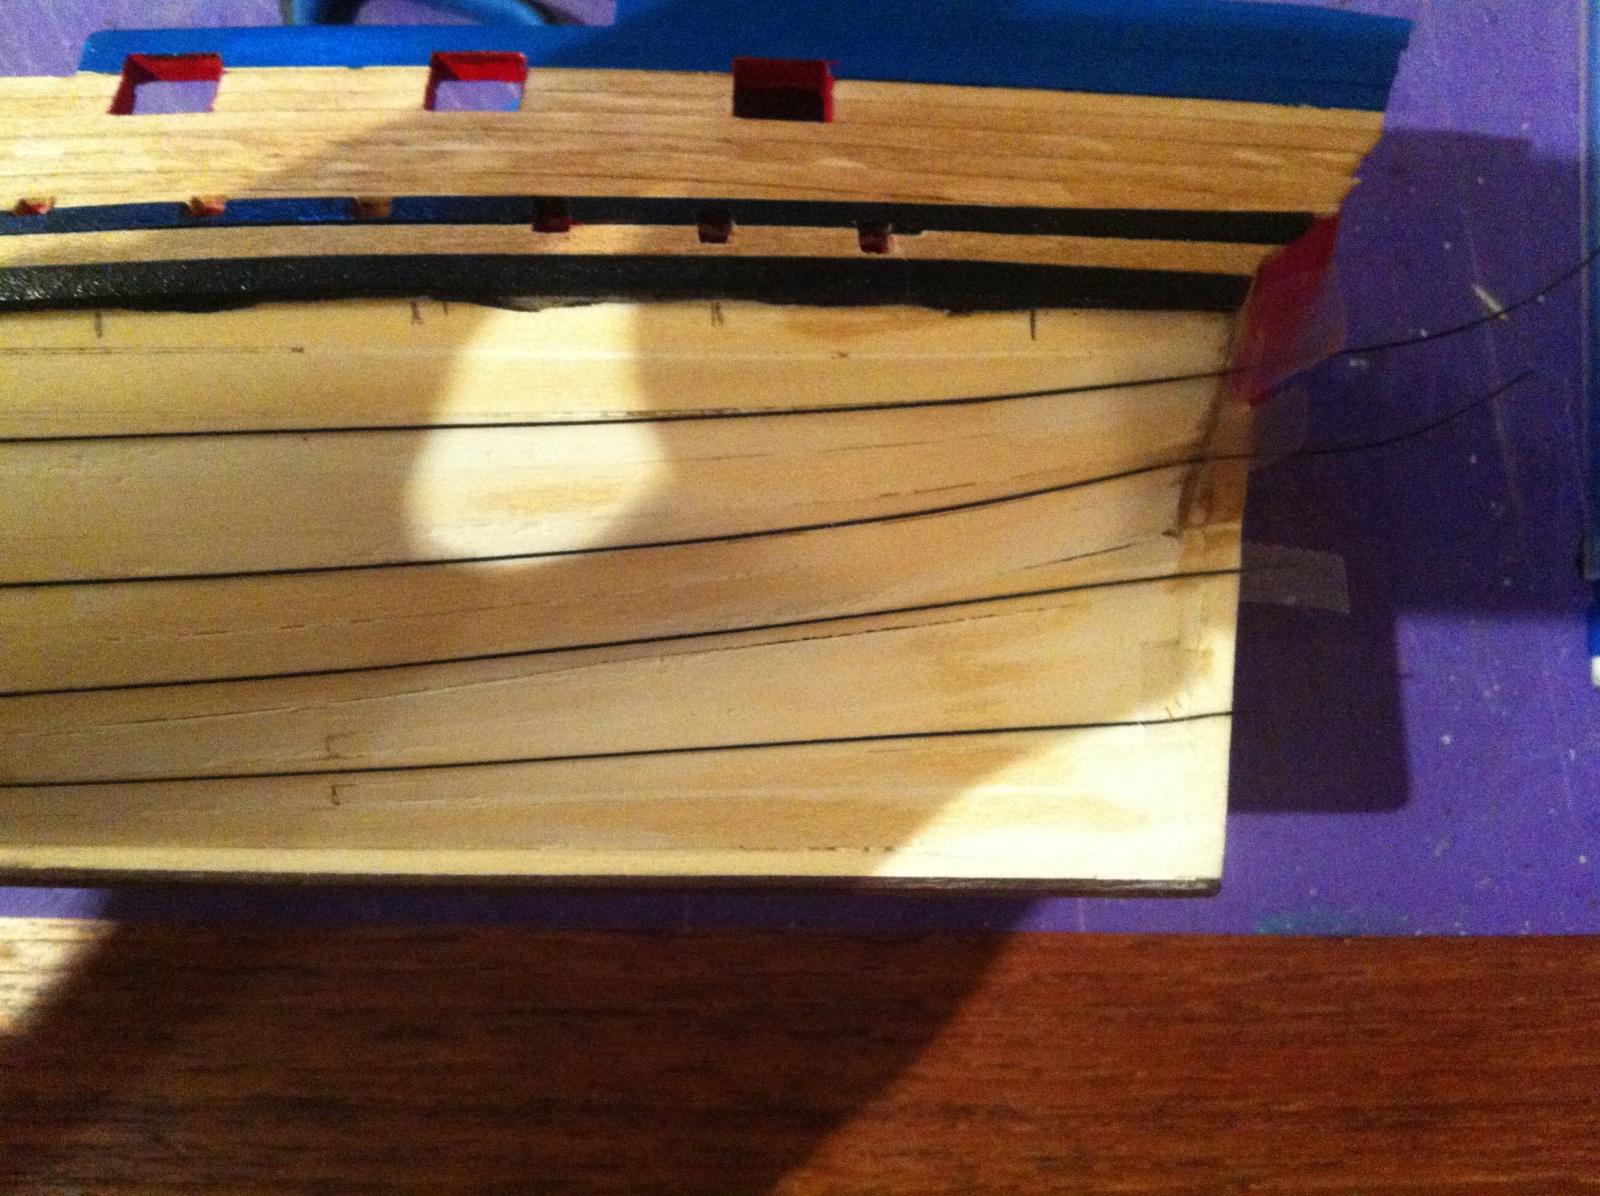
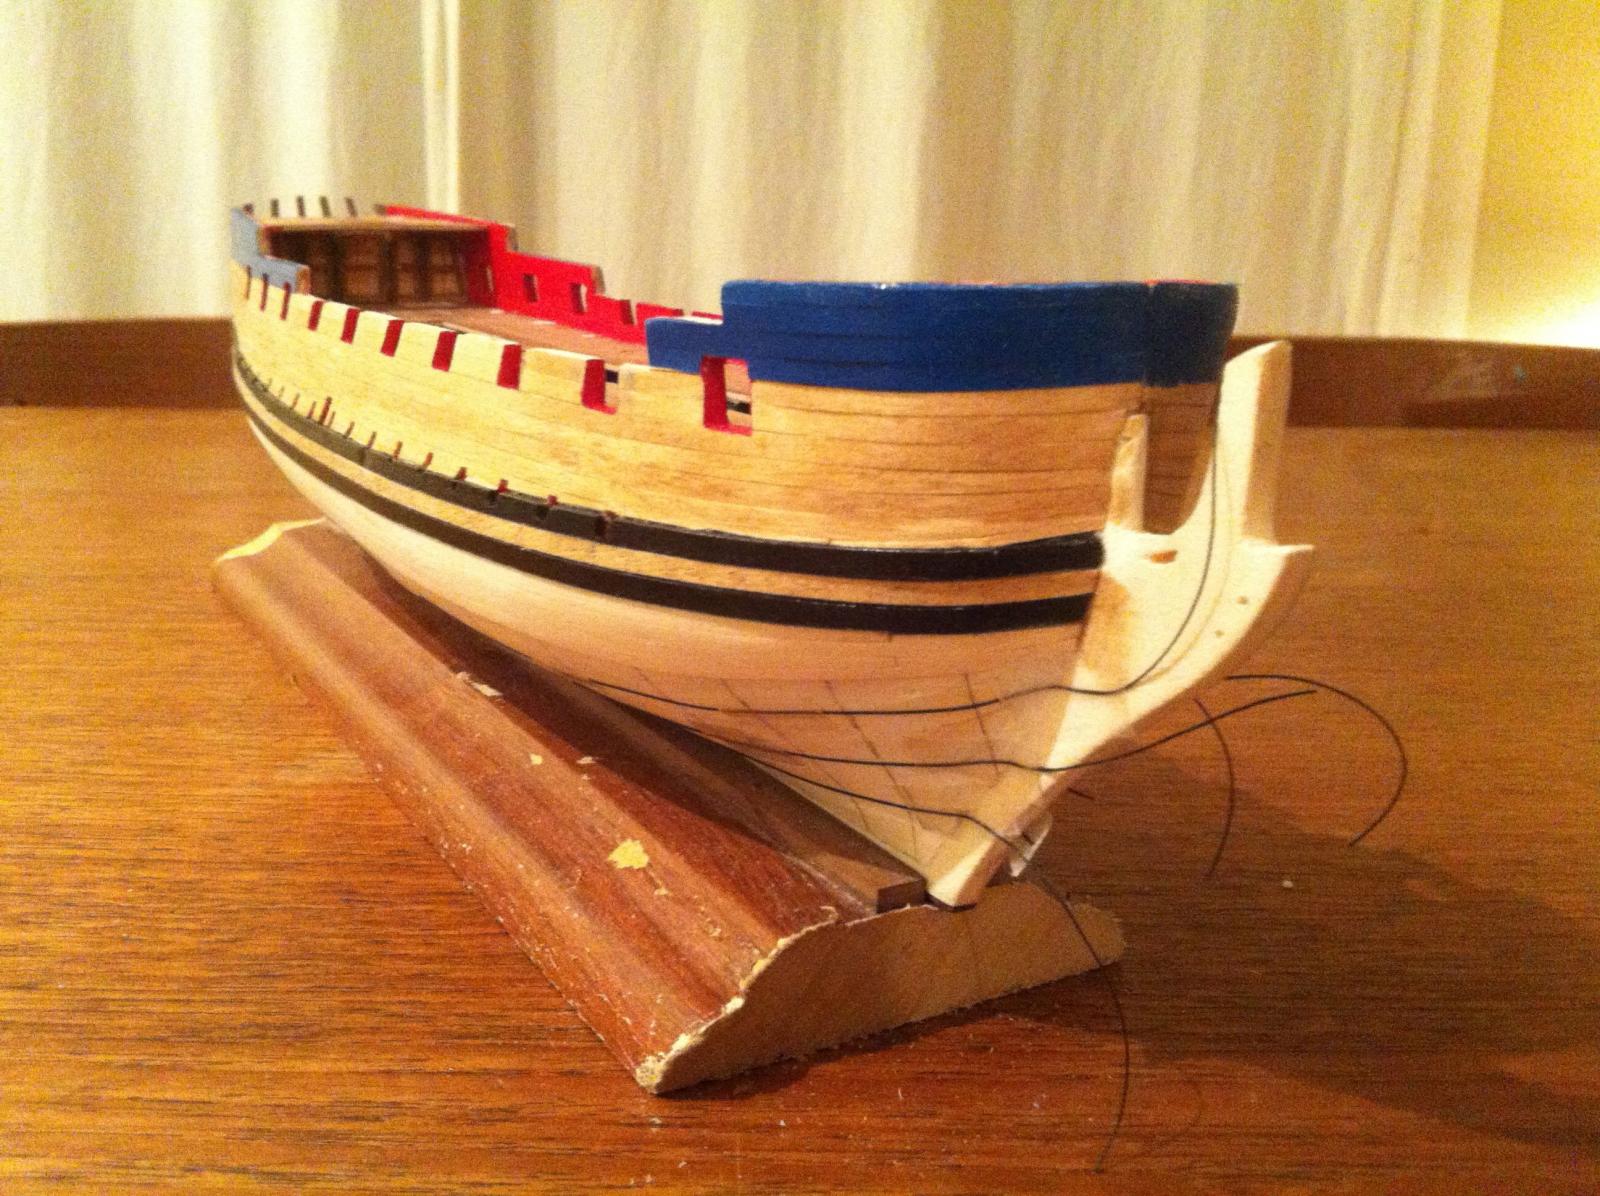
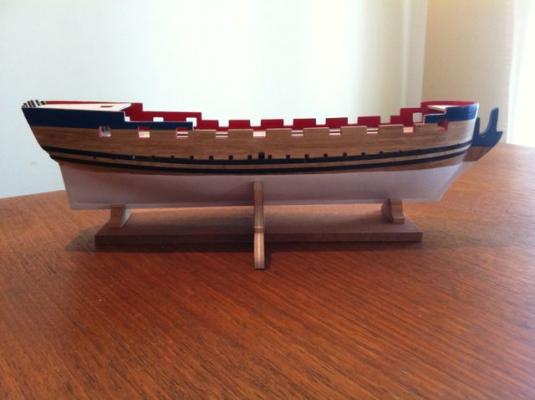
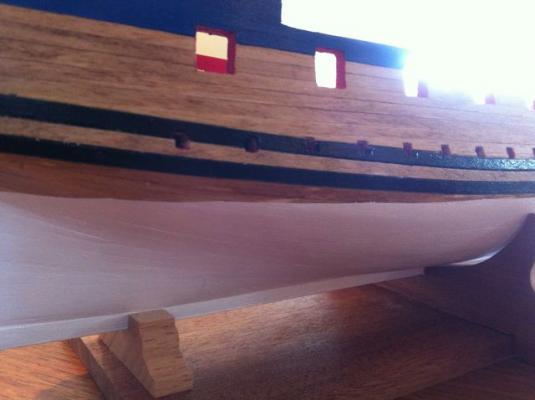
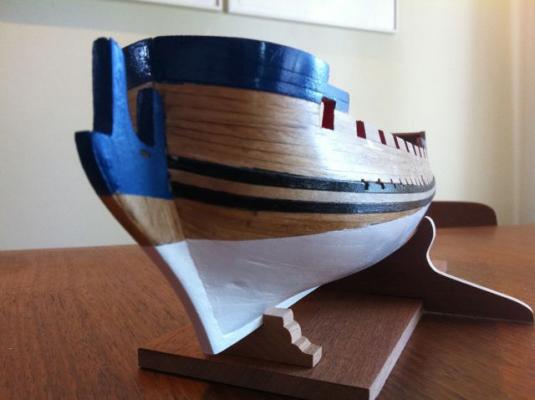
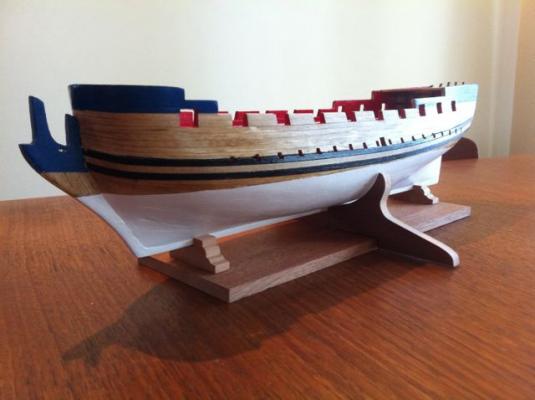
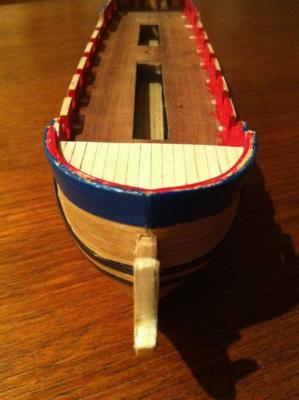
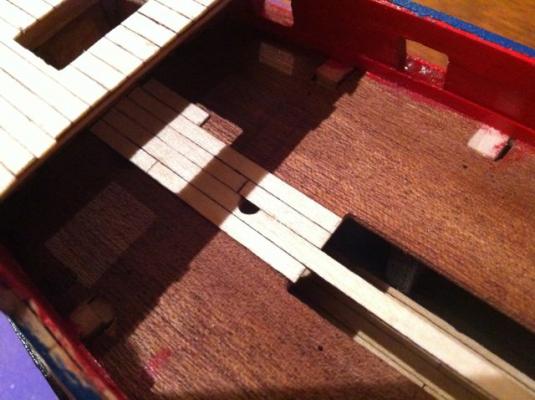
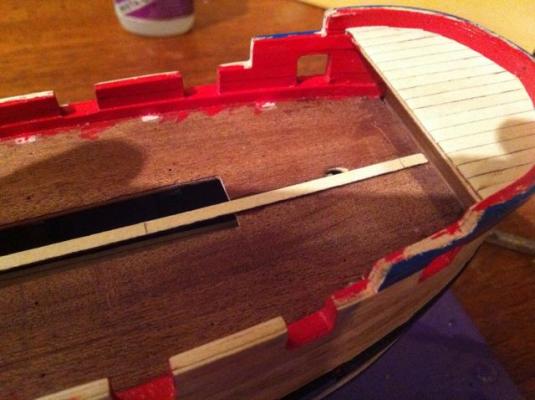
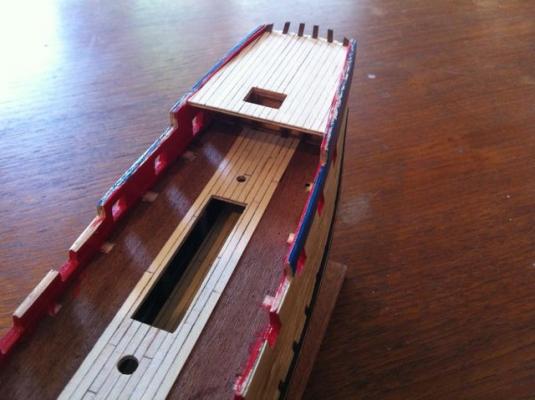
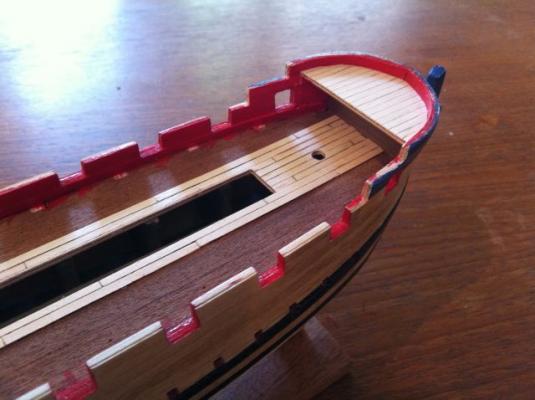
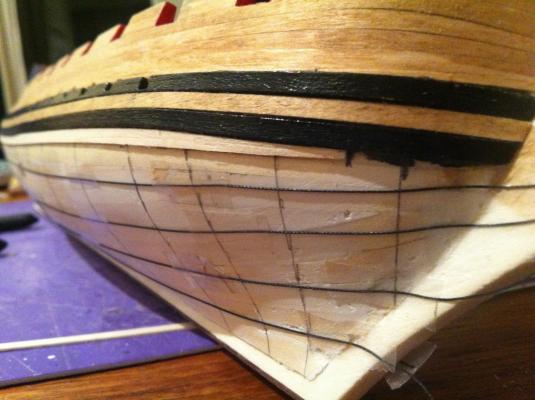
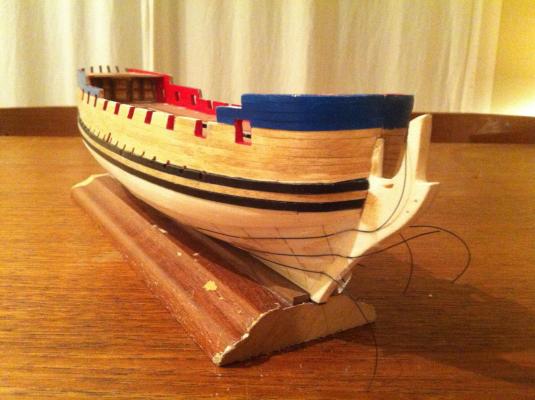
Alright - the hull is planked and finished and the deck planking has begun....photos follow, but here is a brief digest of the progress 1. Second hull planking - in the last episode, I had lined off the hull and laid the second planking in band "A". I needed 2 dropped planks on both sides in the first and third strakes below the waterline. In band "E" (close to the keel) I ended up needing a great number (4 on each side!) of steelers....Clearly my planking skills need work.....I was less concerned about this on this particular build, however, since the hull is finished below the waterline and the actual structural dimensions of the planking would be hidden - I suppose I could have simply said that the planking went perfectly and without a hitch! 2. Keel/stem/sternpost planking - the kit calls for 1mm planking to be used here - no way!! It's much too thick. I used .5mm beech supplied for the deck planking instead. A very straightforward process - I planked the stem semi-vertically from the waterline up, and horizontally the rest of the way. Very straightforward. 3. Hull finishing - The top of the stem from the lower wale upwards is painted blue. There is a patch of exposed wood between the lower wale and the waterline at both stem and stern. The lower hull is "tallow", though I painted it Titanium White. Marking the waterline was a pain, since the jig I built (a pencil taped at an appropriate location to a block of basswood) was a little unstable. But eventually I got it. I followed advice given by Randy (lamarvalley) and Nigel (NMBROOK) and applied several coats of poly to the unfinished hull. I then stained the upper portion with Golden Oak, waiting for it to thoroughly dry. I then masked the waterline, sanded below and gave it five good coats, sanding between. A final coat of poly to finish. -- One issue I encountered was with masking. In my impatience to finish the hull, I used scotch tape to mask the waterline. My experience using Scotch has been good - a nice clean line. The issue is that because it is transparent it is really hard to see....As a result when I peeled the tape back there were some jags at the waterline. I quickly went out, bought some Tamiya tape, re-masked at those points that needed correction and using a scalpul blade (and paint where necessary) made the corrections. 4. Deck planking - the f'csl planking was very straightforward. As for the quartedeck - Goodwin clearly shows a nibbed margin plank. At first I attempted to replicate this, but my efforts were both unsuccessful and exceedingly frustrating. In the end, I went with this simpler planking scheme. Goodwin shows no butts on either q-deck or f'csl. The main deck is planked in 60mm lengths in a 4-butt shift. This is shown clearly in his book - I determined the plank length using the deck planking calculator in the MSW database - very handy! I've not yet completed the deck planking, but you can see it in process below. 5. The stand - I constructed the stand - the parts took a lot of modification, but eventually I got a good fit. The hull is not permanently mounted yet - I won't do this until a bit later in the build. Anyway, that's it - more regular updates will follow now as I move into the next stage of the build. In the immediate future I will be: -- finishing the deck planking - considering trunneling the deck, but with 3mm plank widths I'm not sure I could take it!! What do you guys think? -- adding the rails - the plank sheer between the gunports on the main deck (which extends fwd and aft); the main cap rail (with similar extensions), the f'csl rail & the quarterdeck rail -- adding the quartergalleries (I'm using the kit-supplied ones, but I may have a stab at making new ones from scratch following the simplest of the suggestions in Goodwin -- building the transom - this is going to be a real challenge for me....but hopefully it will turn out ok. Alright - enough talk! Here are the photos hamilton


-
The crow's nest looks great! I had to look very hard to try to find the seam...I can only imagine it was very slow and painstaking bending these to shape without them splintering! Excellent work! hamilton
-
It's very late at night over here Harlequin, so I won't write long (need to get some sleep for an early am swim) - but she is shaping up very nicely - it doesn't look like you've had to do any bulkhead correction to get a nice fair run of the planks - phew! Looking forward to more hamilton
-
Yikes!! I didn't realise there was demand....don't you have enough to occupy you with your Berlin, Ferit? But I promise I won't leave you waiting for long....I'm waiting to resolve a question around the finishing of the hull and then I will reveal the results....In the meantime, keel planking plus deck planking will keep me occupied....photos soon I promise hamilton
-
Oh happy day! The hull planking is complete! Feeling good about it - no pictures to show yet - still have the keel, stem & sternpost to plank up and the finishing to do before I update....but the hard part is over....and it's looking.....well, not bad...phew! hamilton
-
Hello there: I should probably know the answer to this question - so sorry in advance for block-headedness....but.... I posted a question here earlier about how to prevent bleeding between the above-waterline section of the hull on my HMS Blandford (stained) and the below waterlne section (painted tallow). I got a great description of a process from Randy (RNBrook). There he suggested that I first apply stain, then coat with a few coats of polyurethane, allowing this to dry thoroughly. Then sand with 320 grit paper. Then apply paint. Sounds good to me and this is the way I would like to go. Here's my question - the paints I use are Golden artist paints (acrylic), while the stain is (obviously) oil based....so - do I use an acrylic or an oil-based poly? I'm assuming acrylic (for the sake of the paint) but will this have any adverse effects on the finish of the stained sections? Again, I feel myself getting dumber even thinking about this question, but if anyone could set me straight I promise to be more thoughtful in the future! Thanks, hamilton
-
Looking great, Augie - I like the natural wood finish on the spars - a nice choice, which I might imitate myself when I get to the Syren (in about a year's time!)... hamilton
- 1,668 replies
-
- 1
-

-
- syren
- model shipways
- (and 1 more)
-
Hello Ferit: The stern looks excellent! Someone (I'm sorry but I forget who it was) complimented you on the addition of the port lid rigging - looking at your stern, I almost feel that if I gave a little tug to the line, the gun port would open, and I would find a fully rigged canon behind it! Even if it's not really there, the detail you provide certainly provokes the imagination! hamilton
-
Thanks Randy and Nigel - looks like the consensus is in! And thanks Nigel for the detailed description of your process....very helpful! I'll post a photo of the results in my log once it's all done hamilton
-
Hi there: I'm currently working on Corel's HMS Greyhound, which I'm building as HMS Blandford, following the basic external configuration, fittings & rig outlined in Goodwin's Anatomy of the Ship Blandford. On this build, the hull will be painted below the waterline and finished with Golden Oak stain (apart from the wales, which are black) above the waterline. Second planking began with the double wales and filling strake, then above the wales and now the lower hull. The waterline runs immediately below the wales at mid-ships, but there are sections of "exposed" planking at both bow and stern, where the planks rise above the waterline. I want to finish these areas with a clean line, obviously, but I'm not sure which of the following methods will reduce the chance of bleeding (or whether it matters at all): 1. Mask the waterline (below) and stain the portions of planking at bow and stern and then re-mask and paint the lower hull 2. Mast at the waterline (above) and paint the lower hull, then remask and stain the exposed portions... Maybe this doesn't matter at all and I'm overthinking....Any help at all will be much appreciated! Thanks in advance! hamilton
-
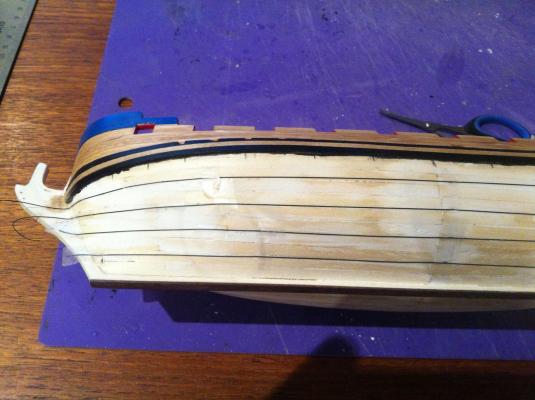
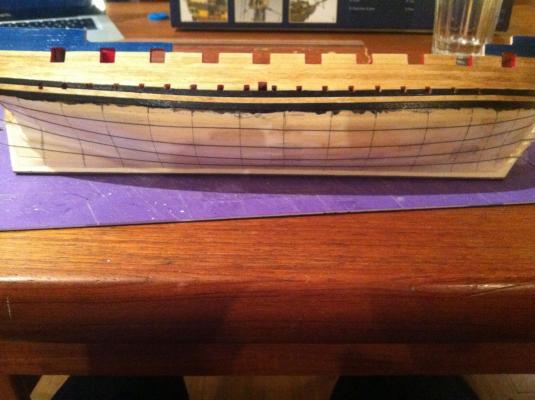
Alright, then - I thought I'd just give a brief update on the (rather slim) progress on the second planking. I spent a quiet afternoon yesterday touching up the paint on the gunport linings, sweep ports and wales. Not a lot done. Today I lined off the lower hull and managed to get "Band A" on the starboard side planked - using 1mm x 3mm lime. Eventually, this will be painted white below the waterline and stained at bow & stern where the planking rises above the waterline. Band "A" required 2 dropped planks - not the most sightly, nor perhaps strictly speaking correct. But so far so good. Here are a couple of shots to whet the appetite. I will probably hold off on further updates until the lower planking is completed and finished up...Until then.... hamilton

-
Thanks Mark - for the compliment and the links! hamilton
-
Of course you're right!! I had forgotten....It's been a year - long enough for me to bury that particular trauma quite deep - thanks for dredging it up again!! And thanks for the kind words. hamilton
-
I guess it's one of those expressions that never entirely caught on in the colonies (at least not here in the frigid north - or at least not in my day). Didn't I read it in a Rudyard Kipling novel? It means go slow and carefully and achieve your ends....not my strong suit I'm afraid! hamilton
-
Beautiful work! hamilton
-
Beautiful work! The scratched gun port lids are a great addition - I'm amazed at the detail you were able to add here. hamilton
-
PS - your kevels are a marked improvement over the metal ones supplied with the kit! hamilton
-
Ferit: Please - I'm blushing!! If there is any "incompetence" in your build, you've done an expert's work at covering it up! All I can see is nice, clean and well-detailed craftsmanship! hamilton
-
Hi Richard Wonderful work - I love the detail you've added - it really brings the model to life! hamilton
-
Very nice work on a really beautiful ship! I feel like your pics sell this kit much more than the promo shots I've seen from Corel! hamilton
-
Beautiful planking! hamilton
-
Thank you Ferit - this is high praise coming from a master such as yourself! If my results are even half as clean as what you've done with the Berlin, I will be more than satisfied! hamilton