GrandpaPhil
-
Posts
6,154 -
Joined
-
Last visited
Content Type
Profiles
Forums
Gallery
Events
Everything posted by GrandpaPhil
-
How to access the digital NRG JOURNAL?
GrandpaPhil replied to Zzzz's topic in NAUTICAL RESEARCH GUILD - News & Information
If you join the NRG, can you access back issues of the NRJ? -
Teutonic knight c. 1200 by wefalck
GrandpaPhil replied to wefalck's topic in Completed non-ship models
I had the Chevalier Bayard by Imrie Risley. It was very nice. -
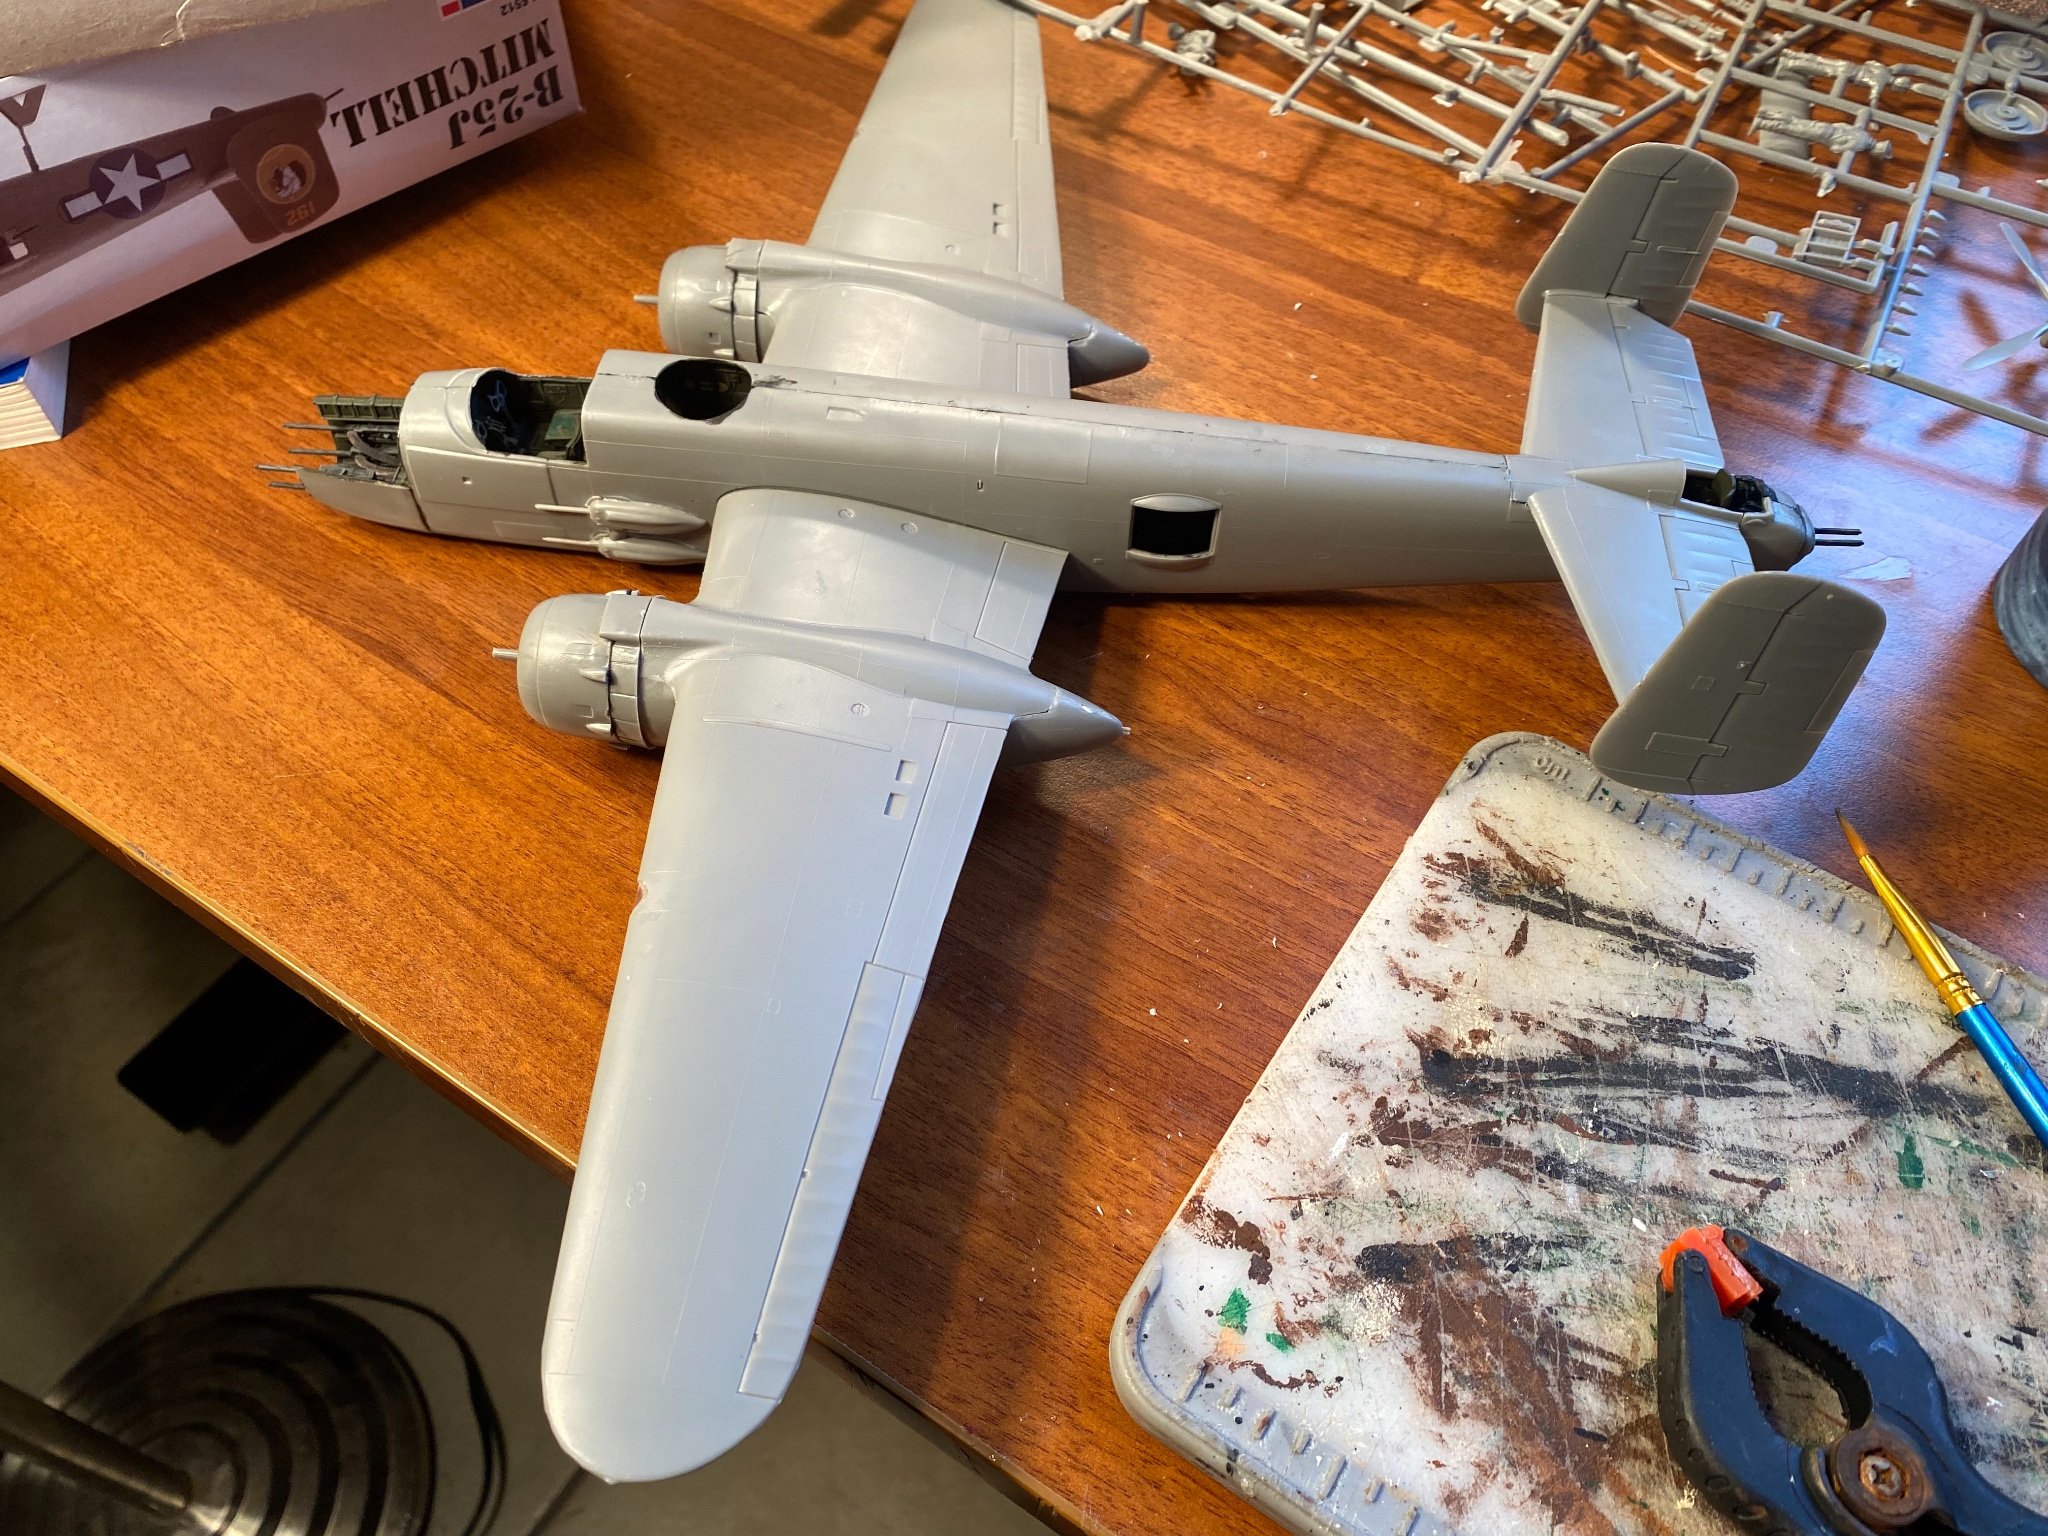
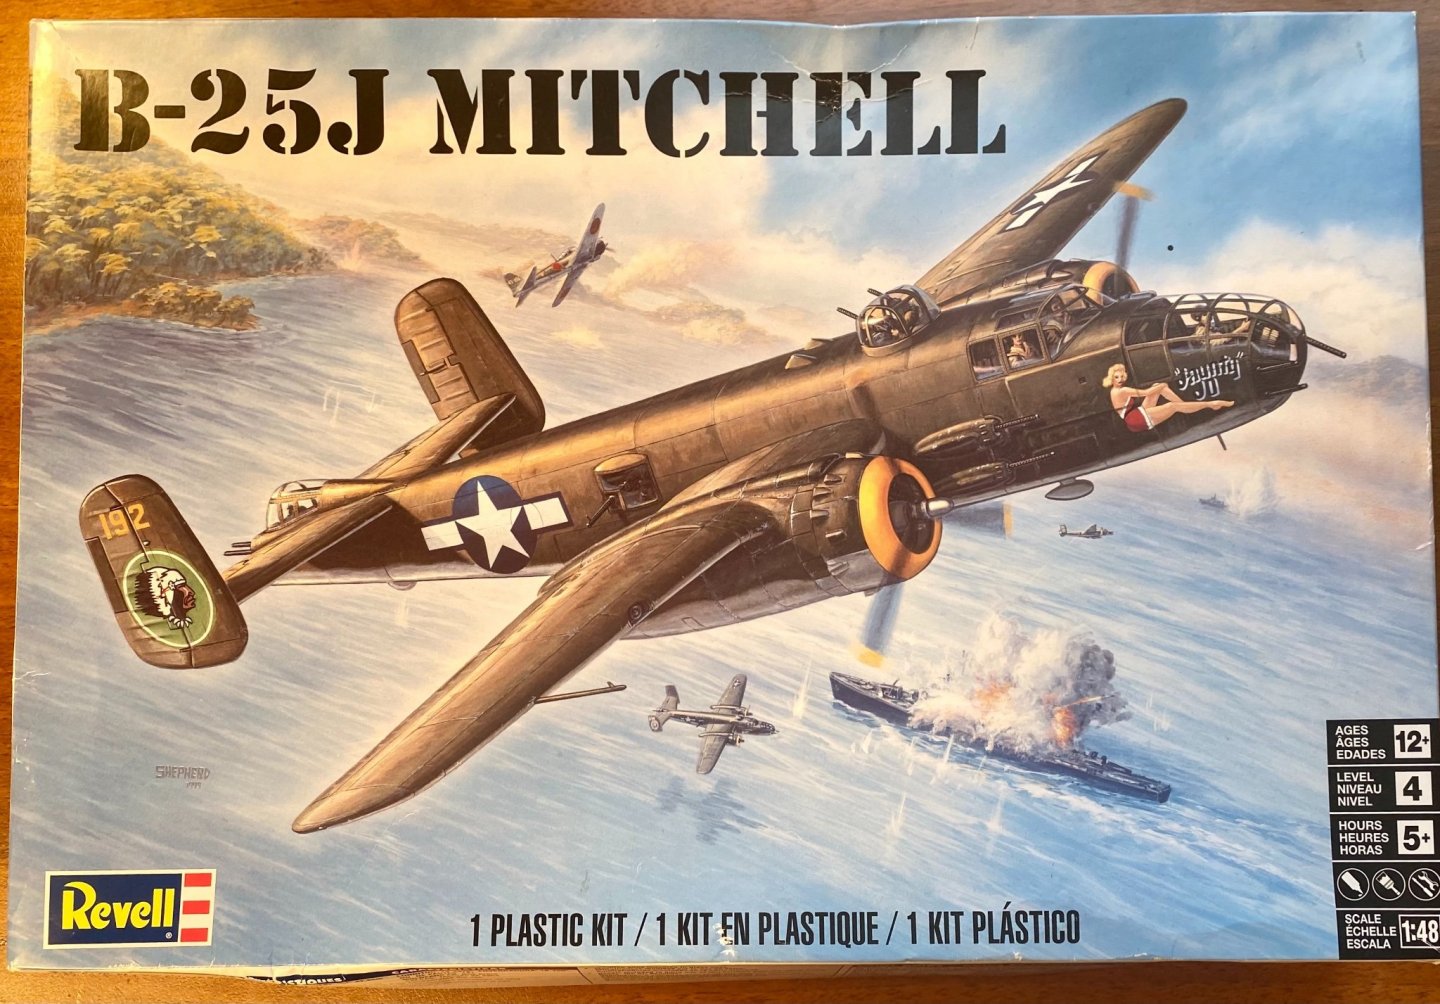
Denis, I watched your builds. They were incredible. This is my second B-25. The first was a Guillows kit. Tonight, I trimmed up the mold lines and filled the gaps with putty.
-
Very nice!
-
PS - this model is getting finished!
-
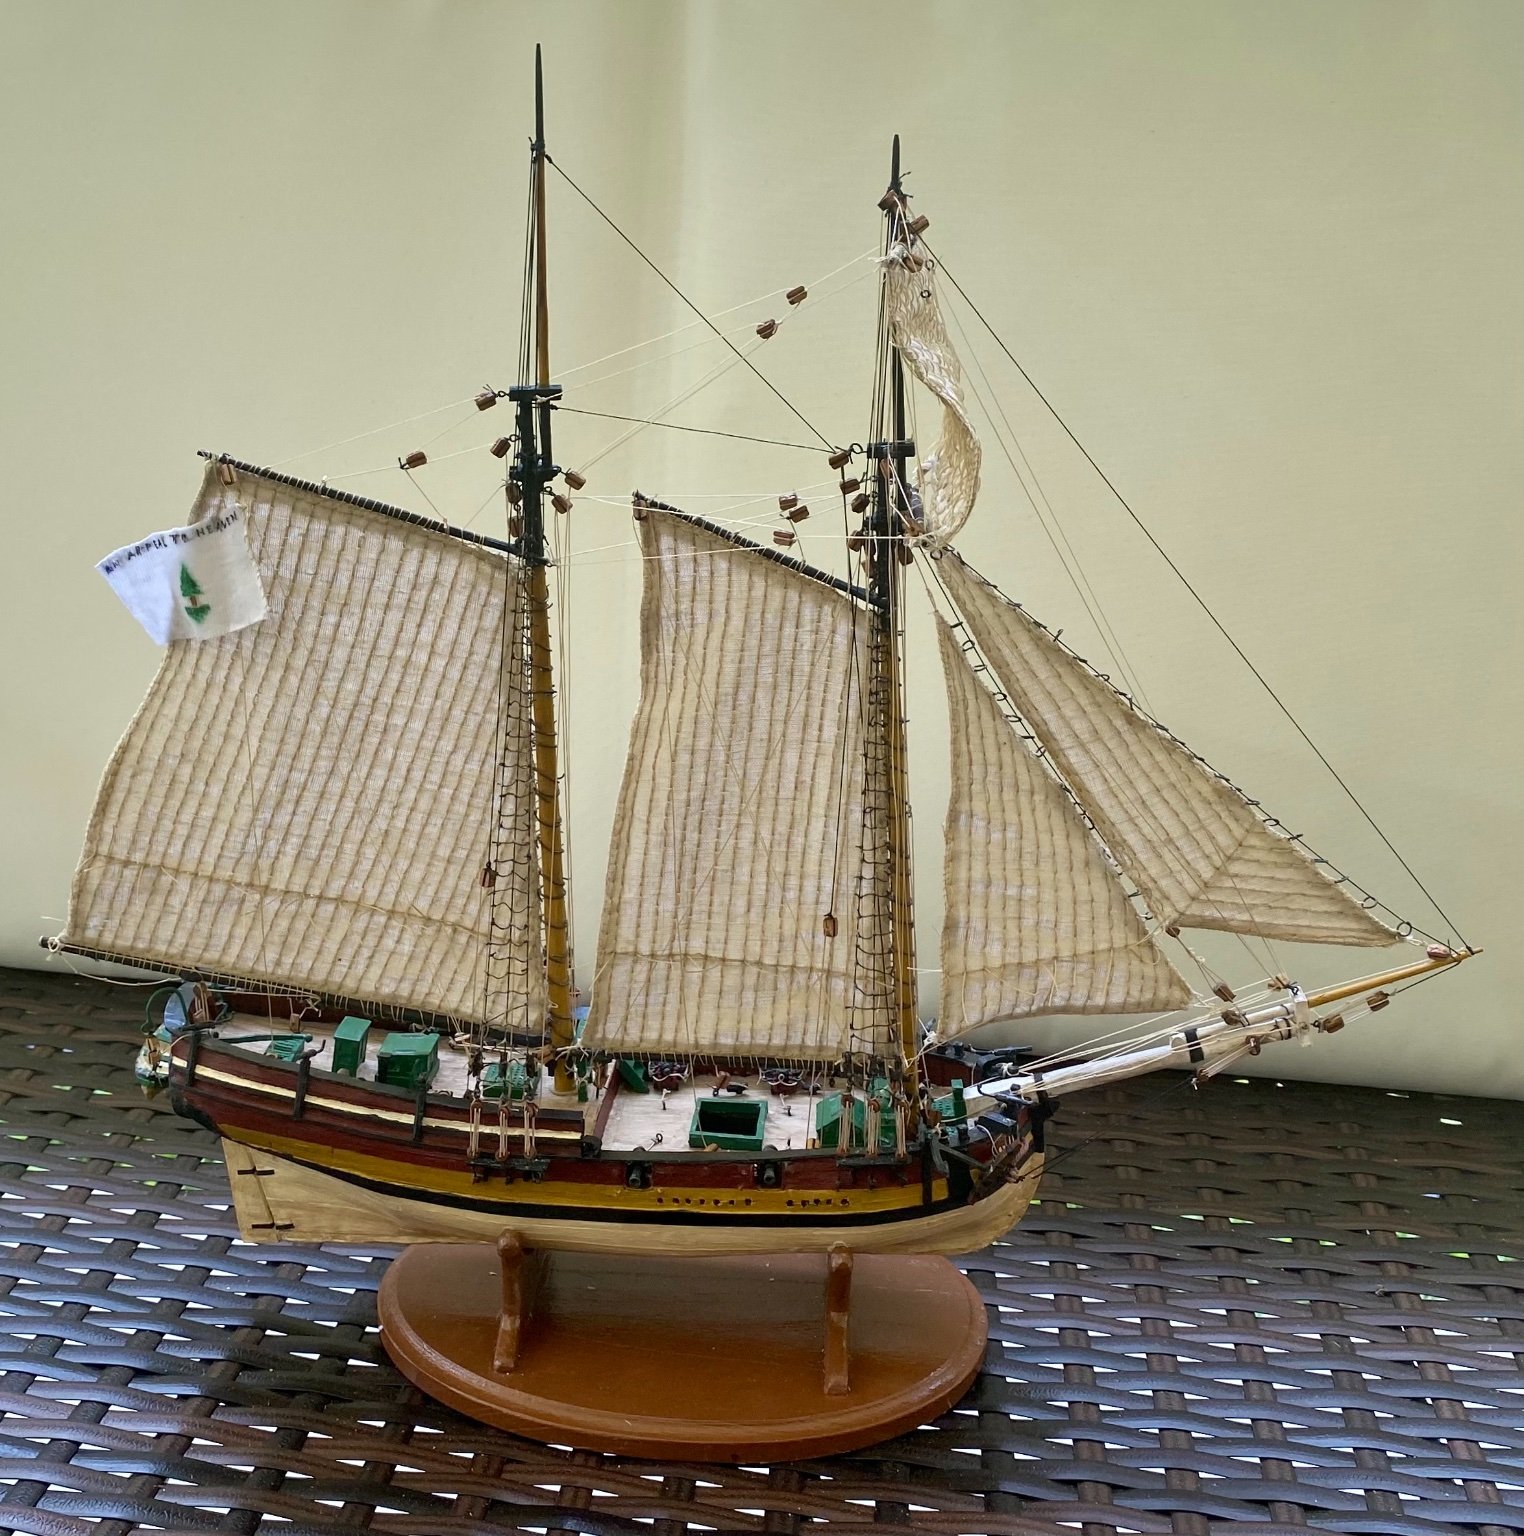
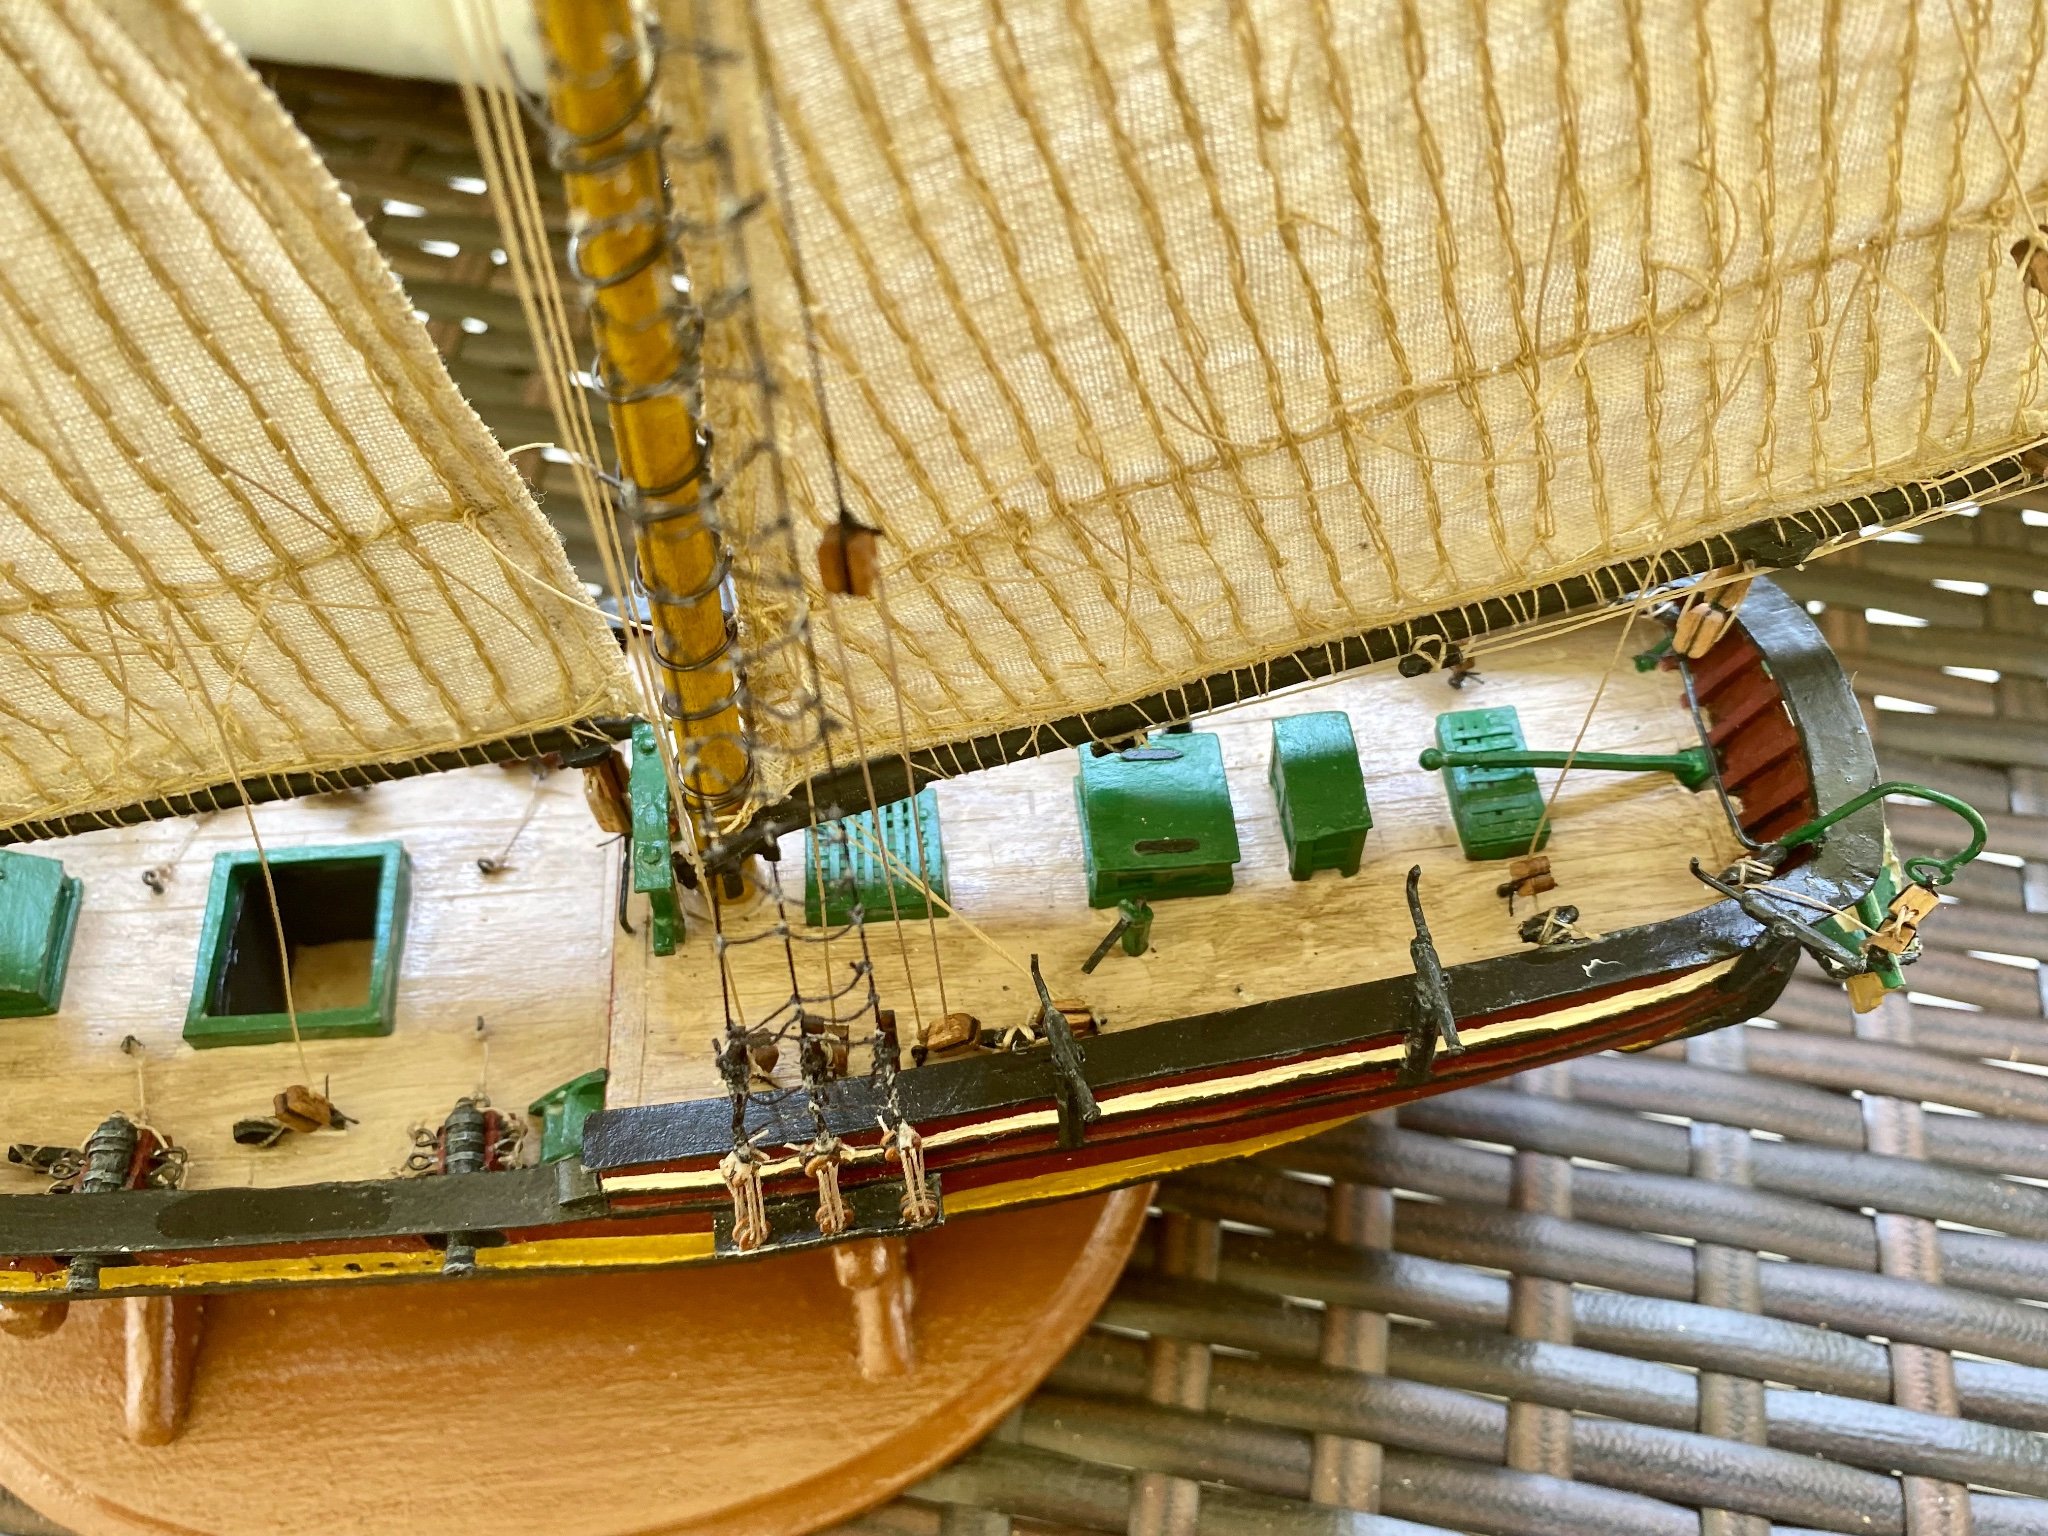
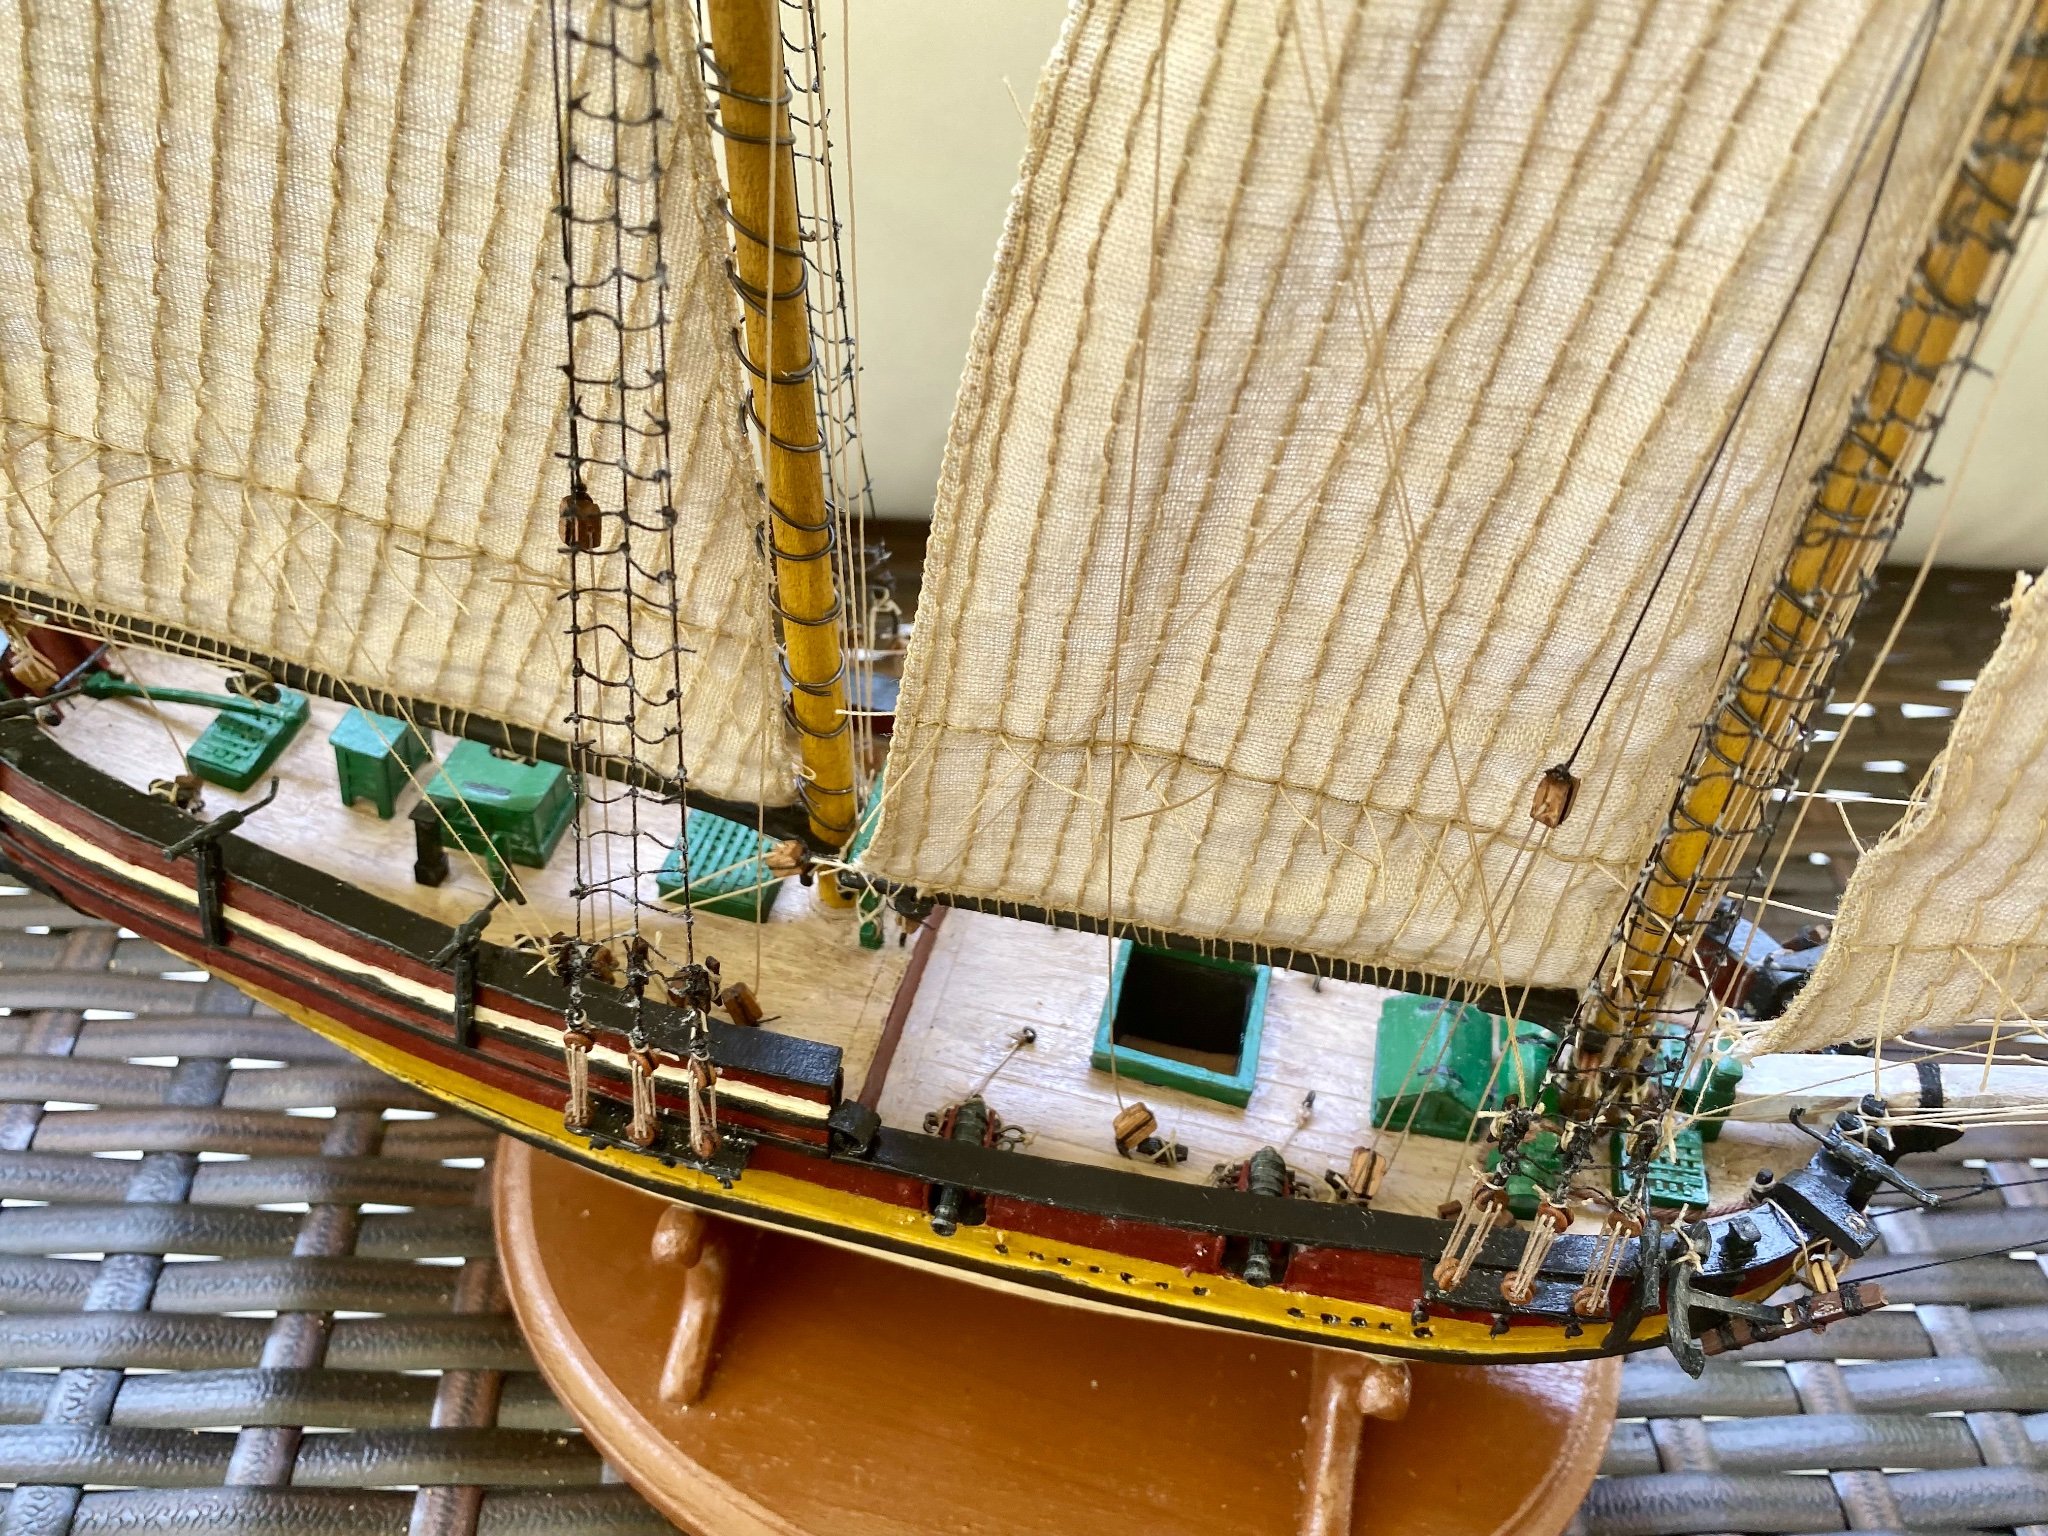
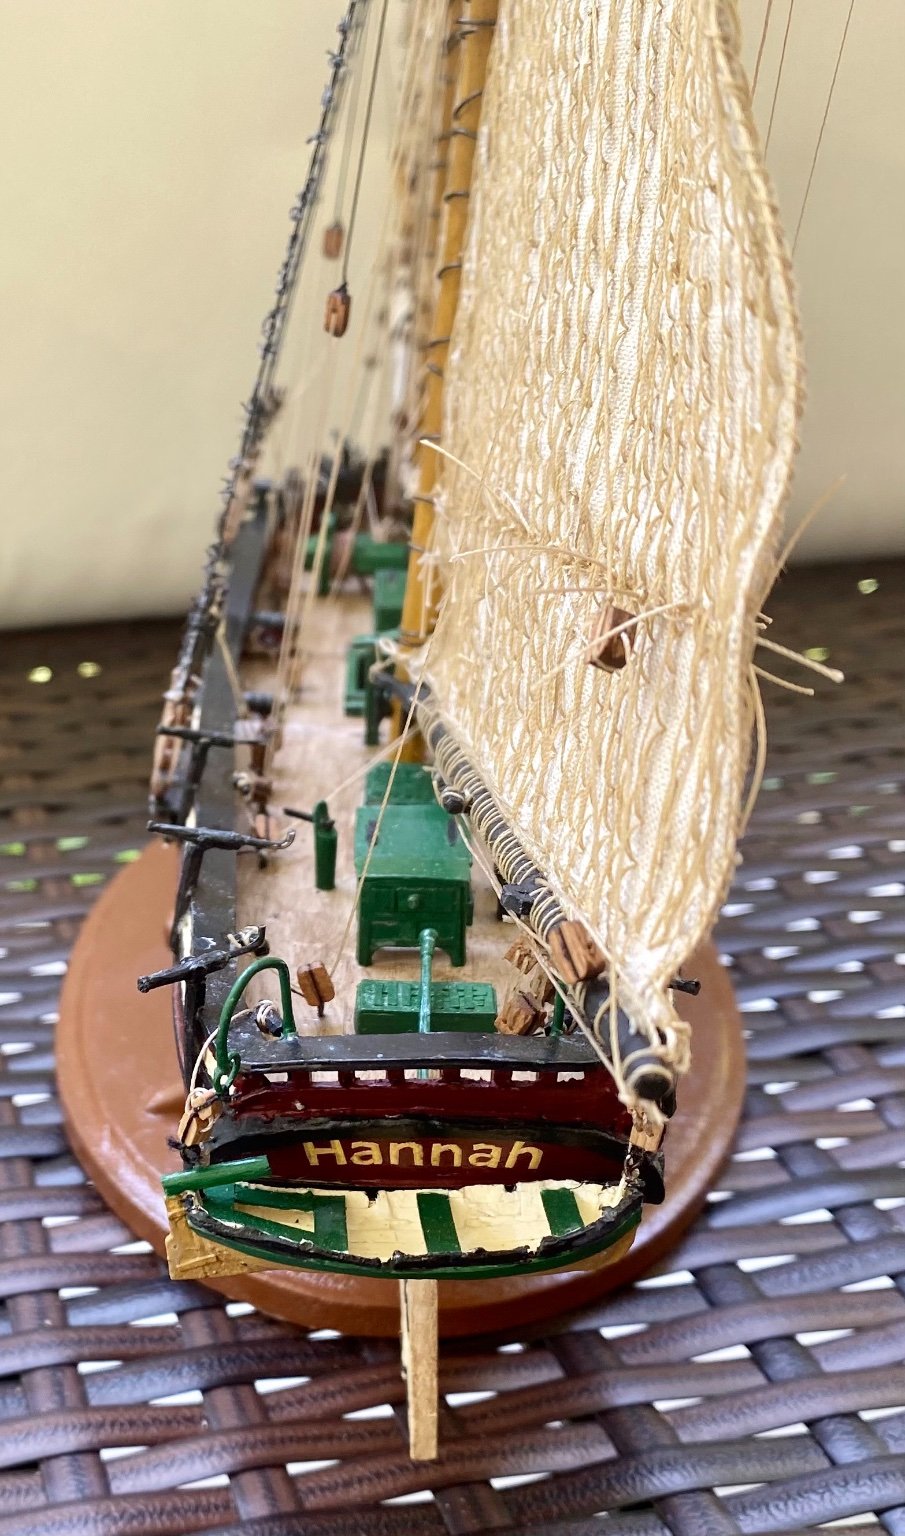
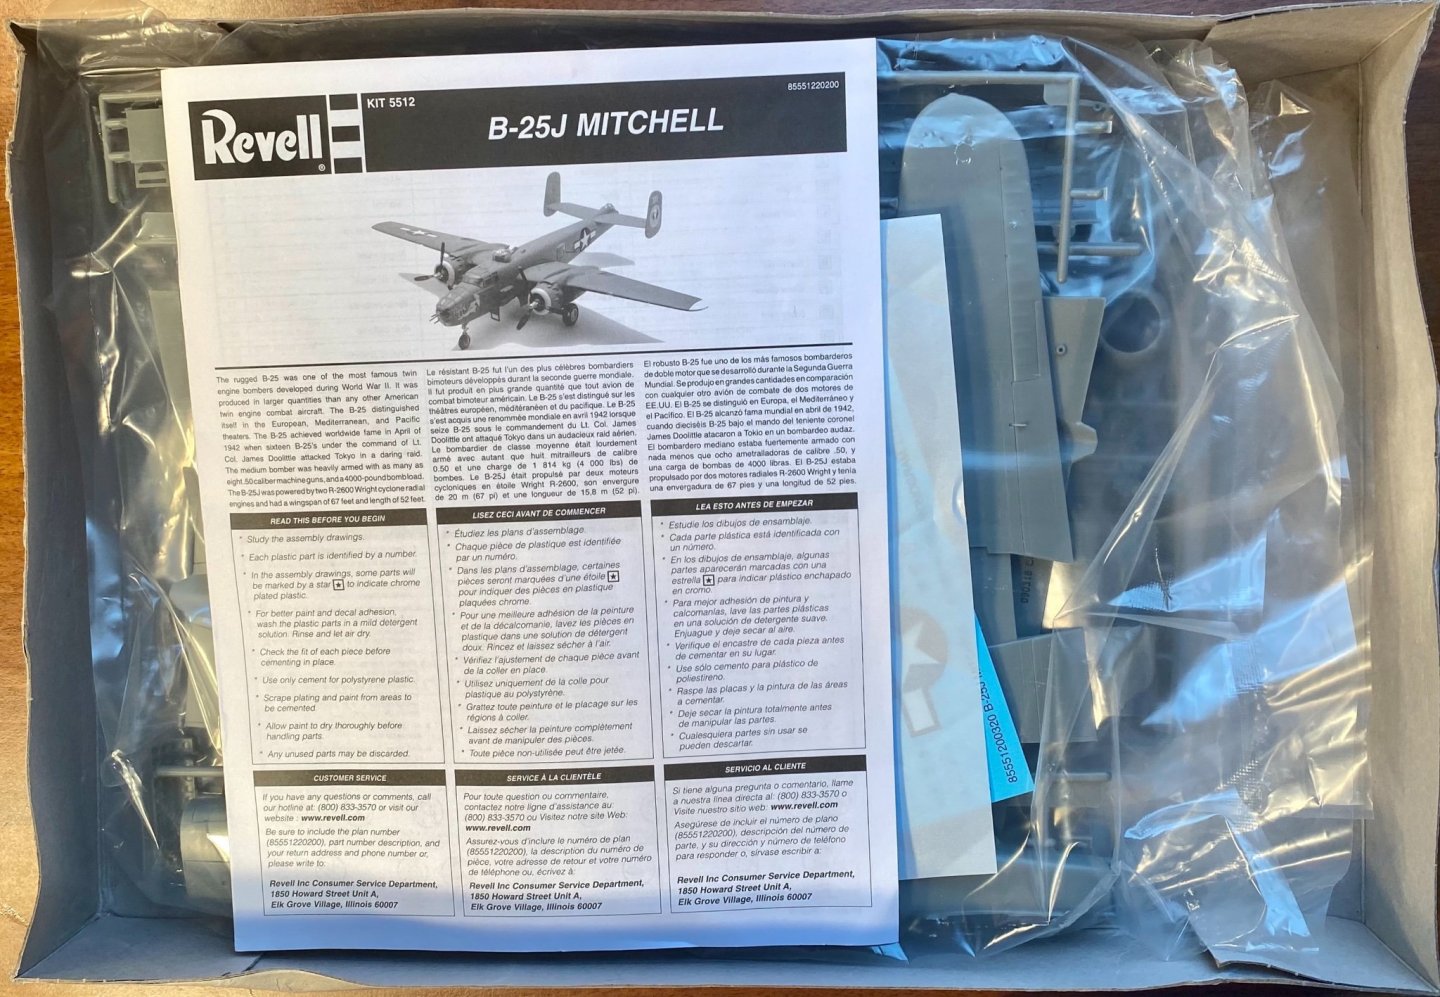
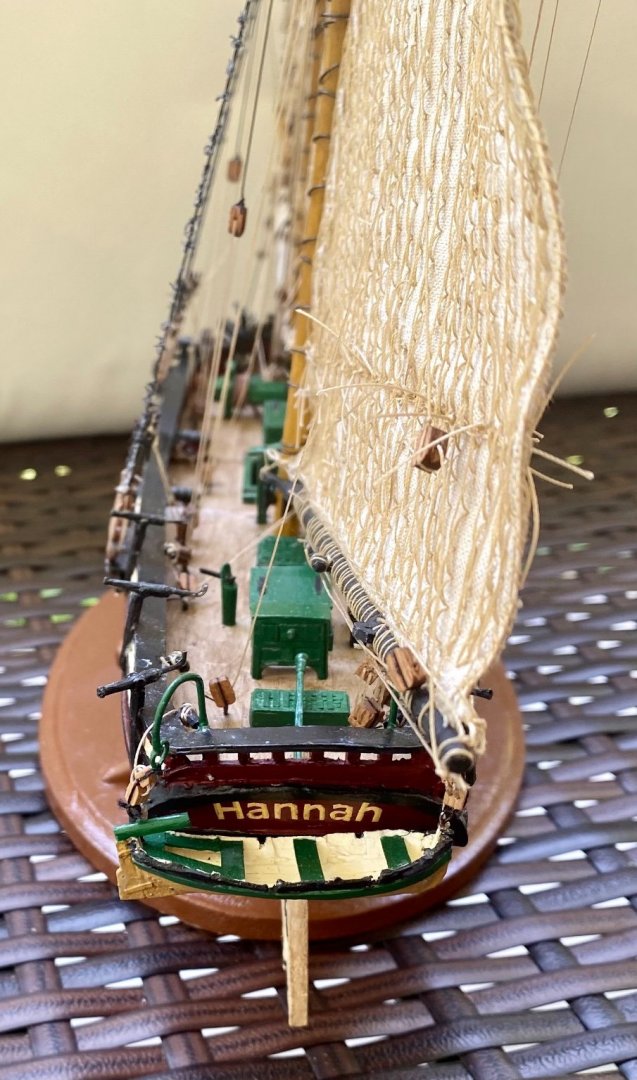
The Hannah is done. That makes a total of 2 scratch built ships that I have made. I am over half completed on a 1/48 B-25 (plastic kit with custom paint job and markings). I started it yesterday once I decided that I had finished the Hannah. Being a plastic kit, that should only need one more good weekend to complete and then game on for the Victory.
-
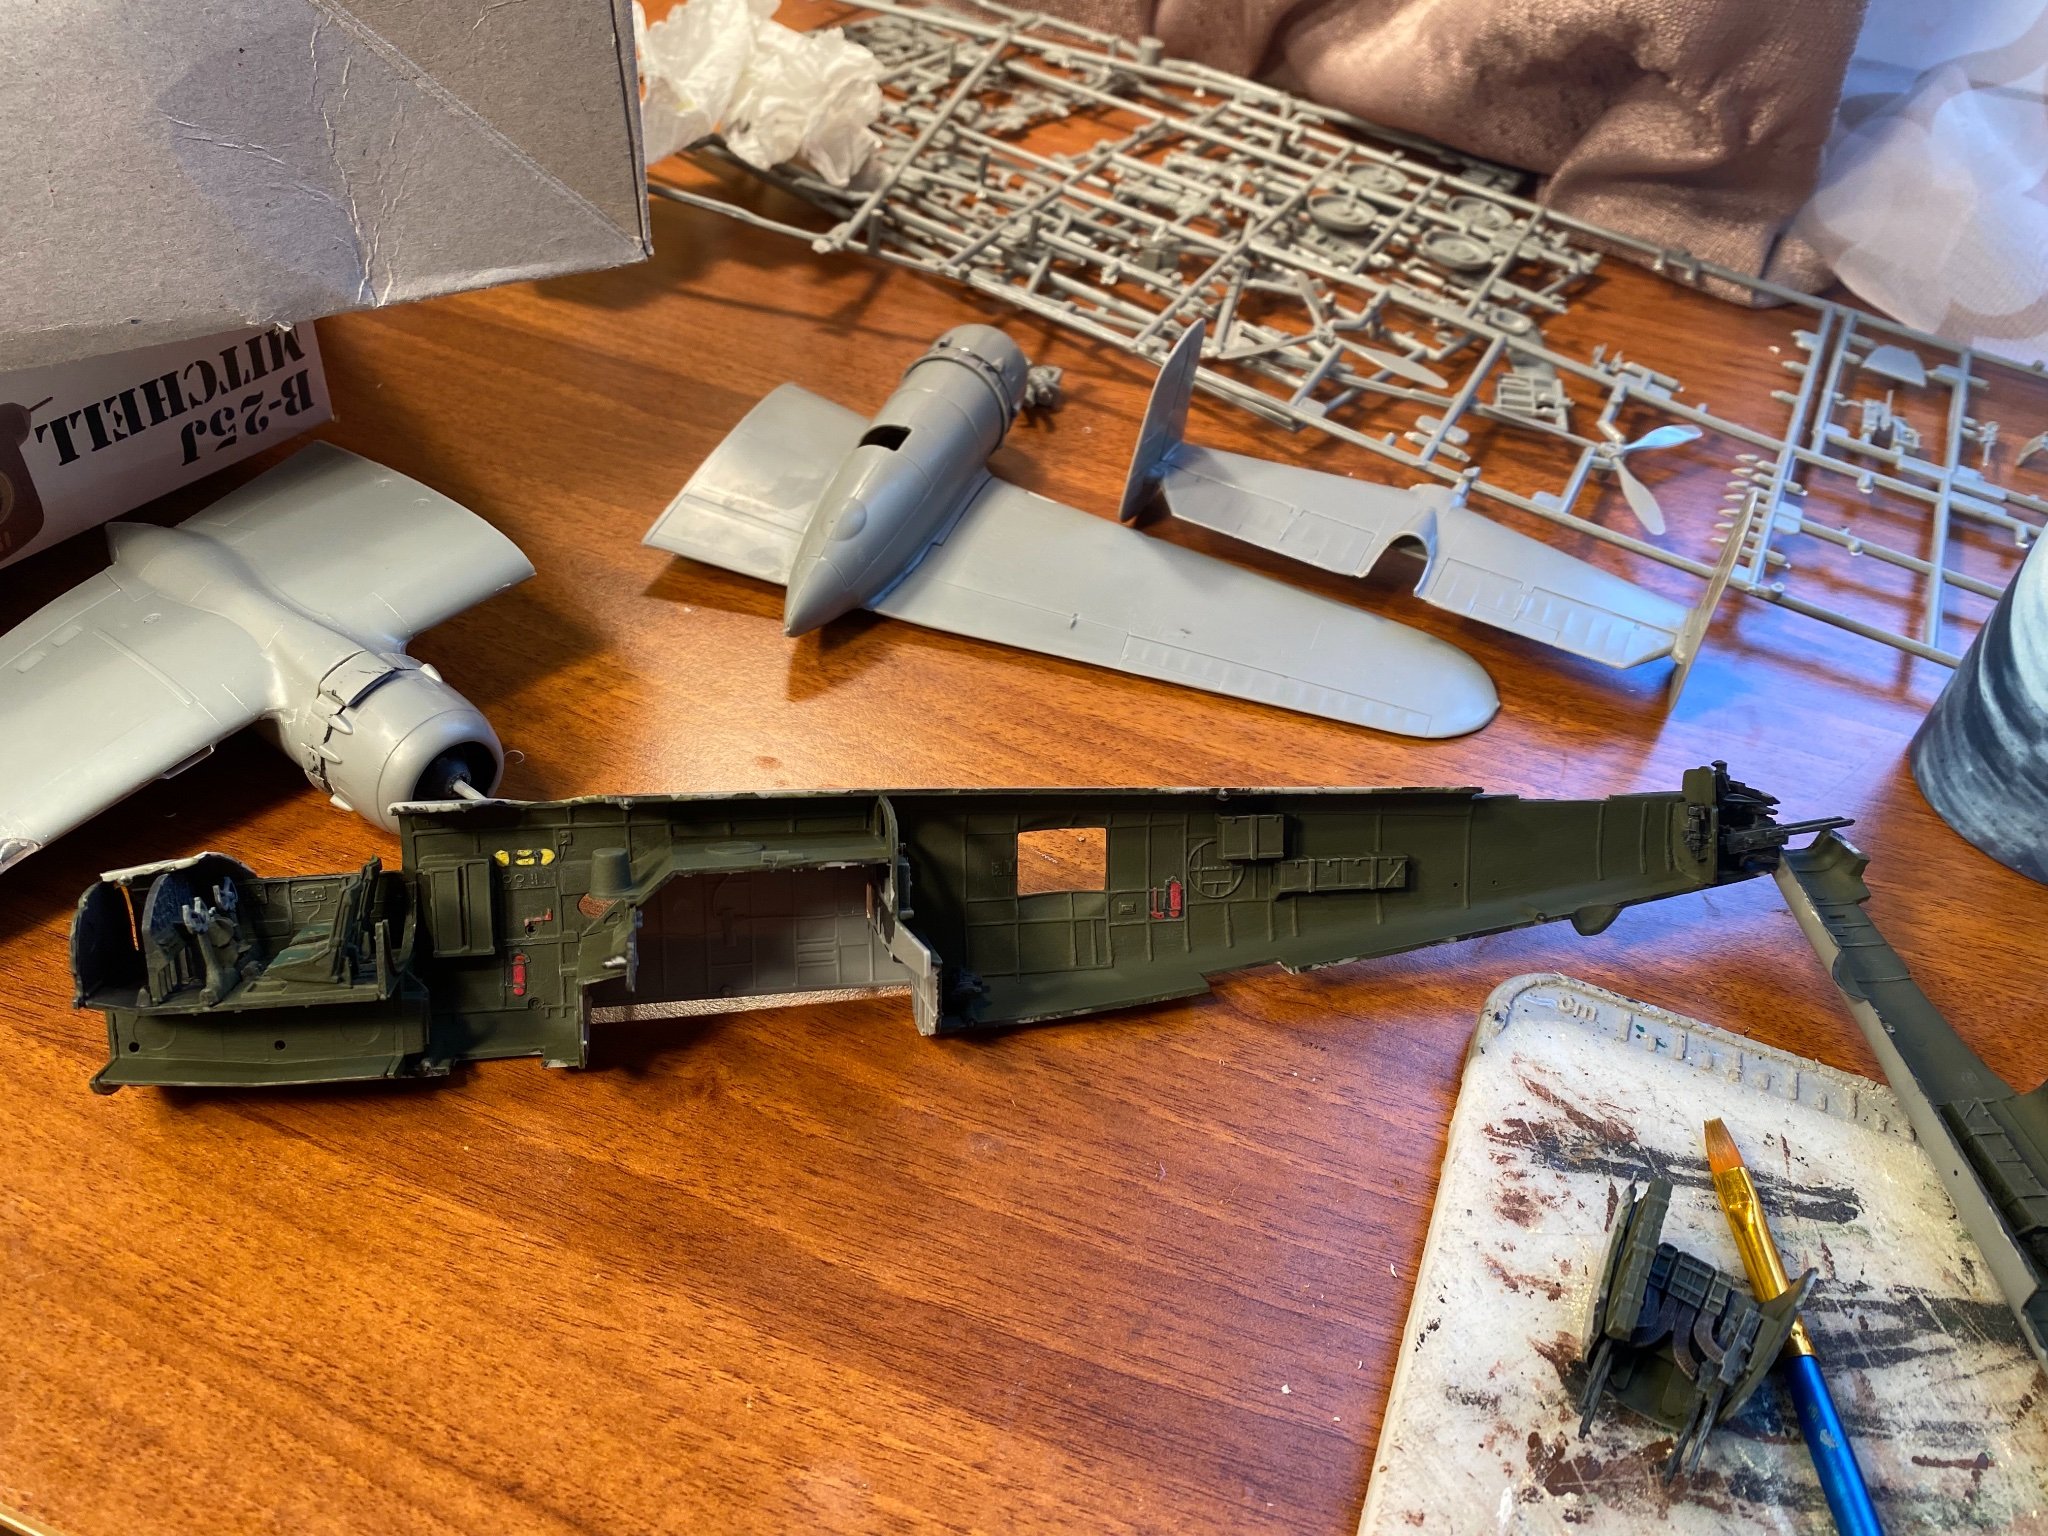
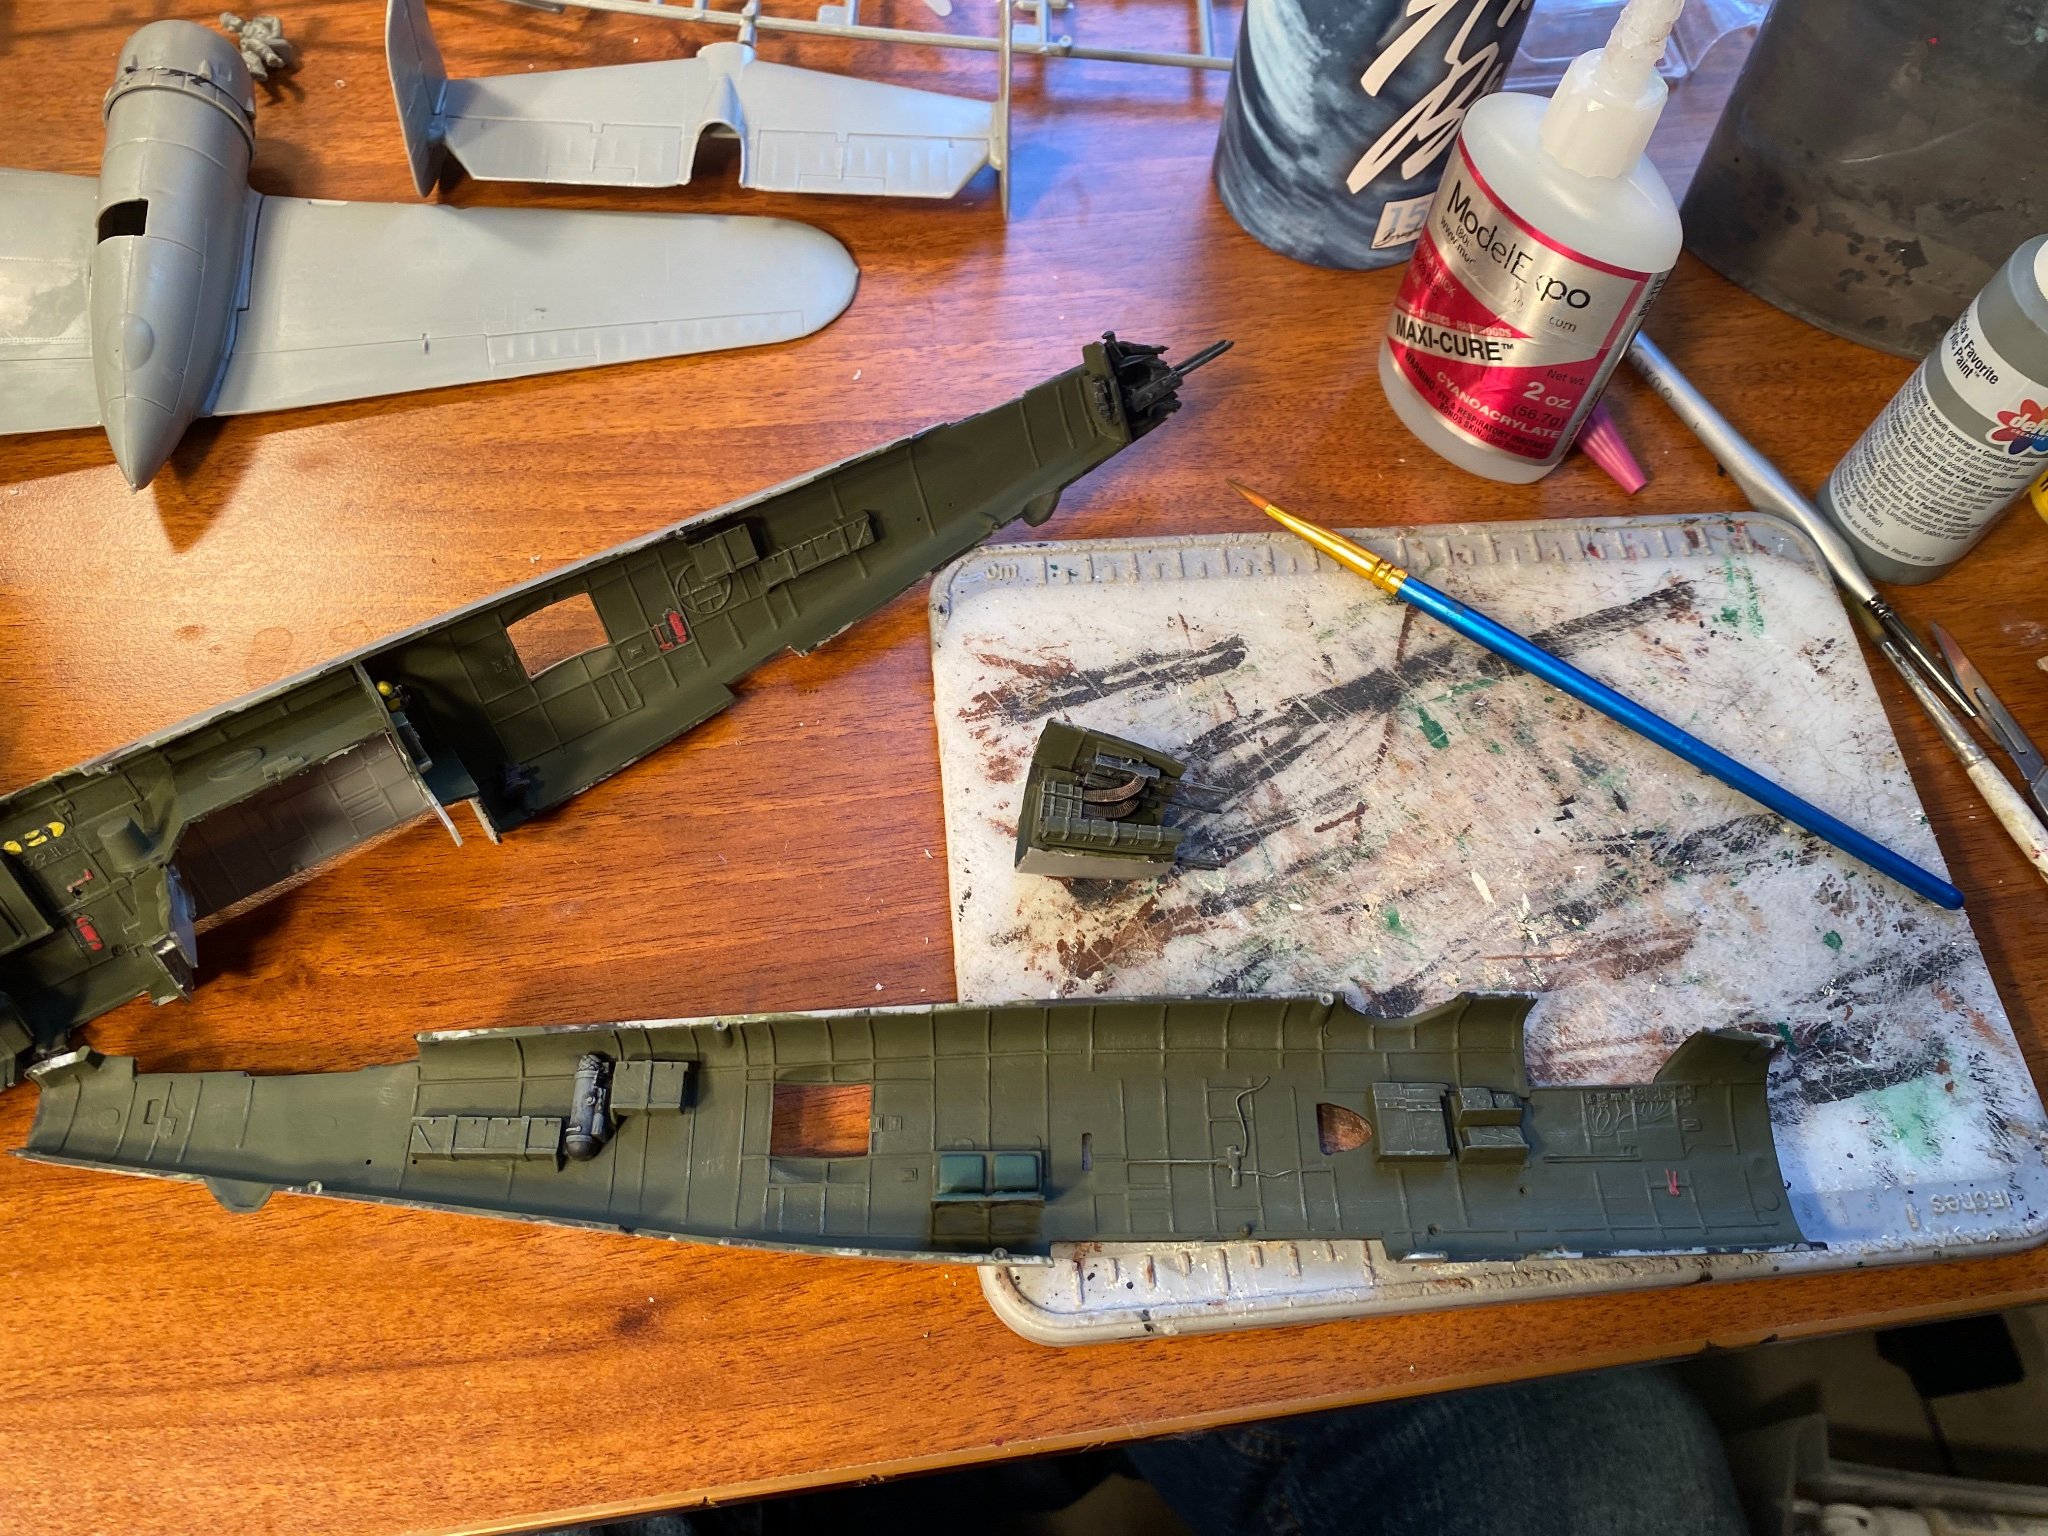
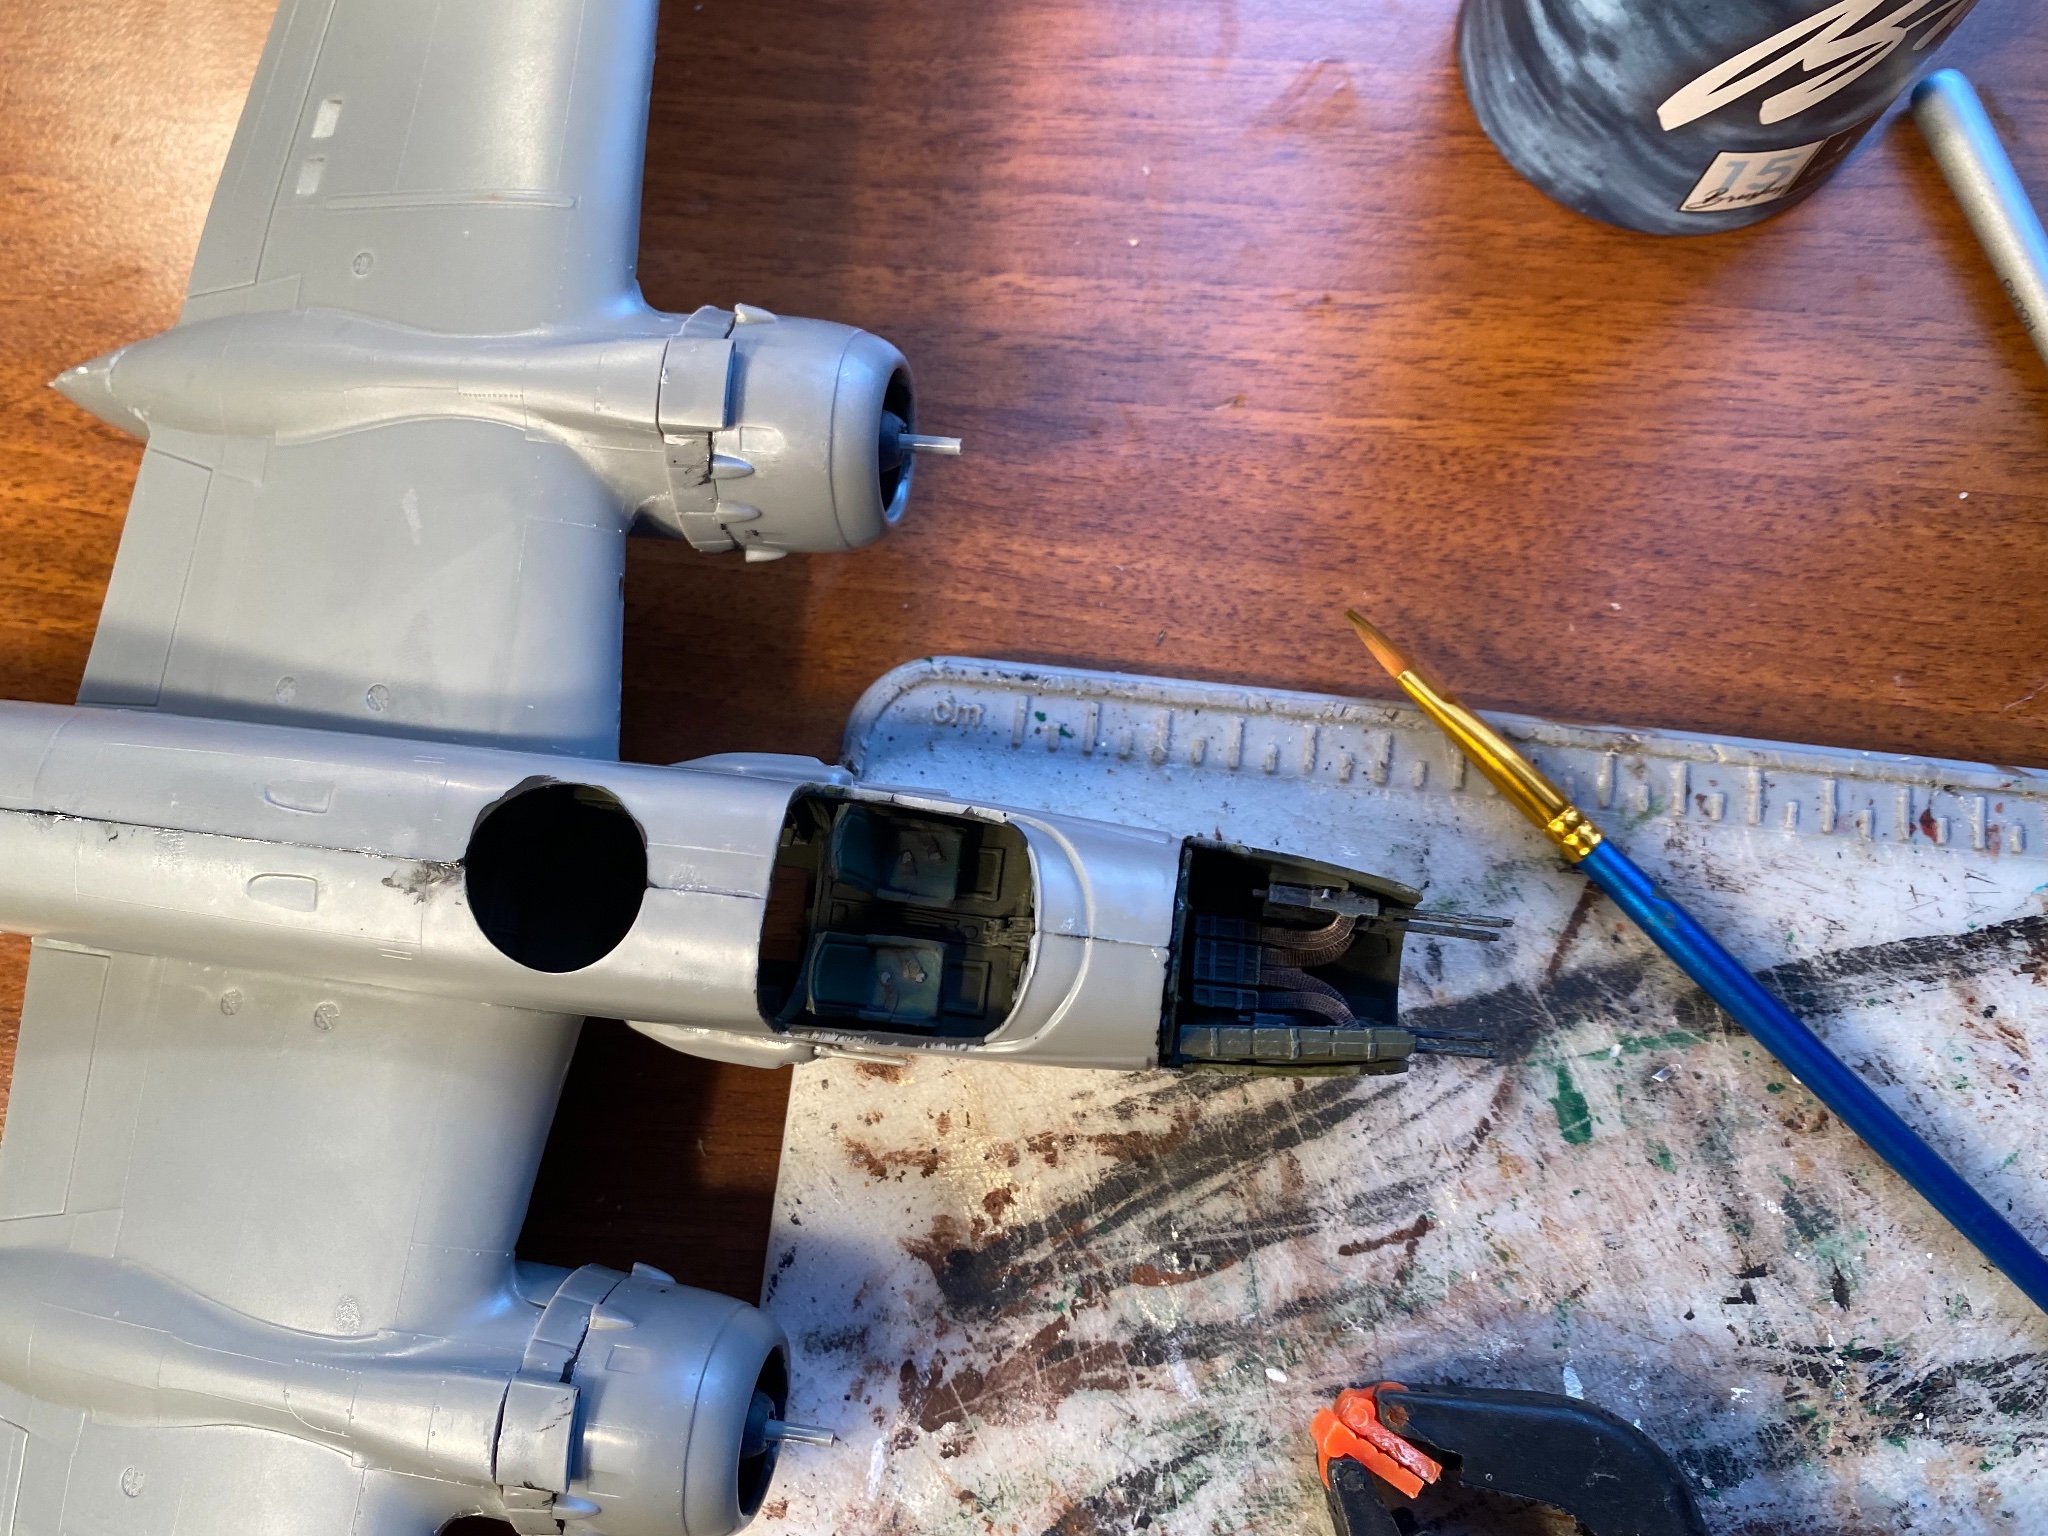
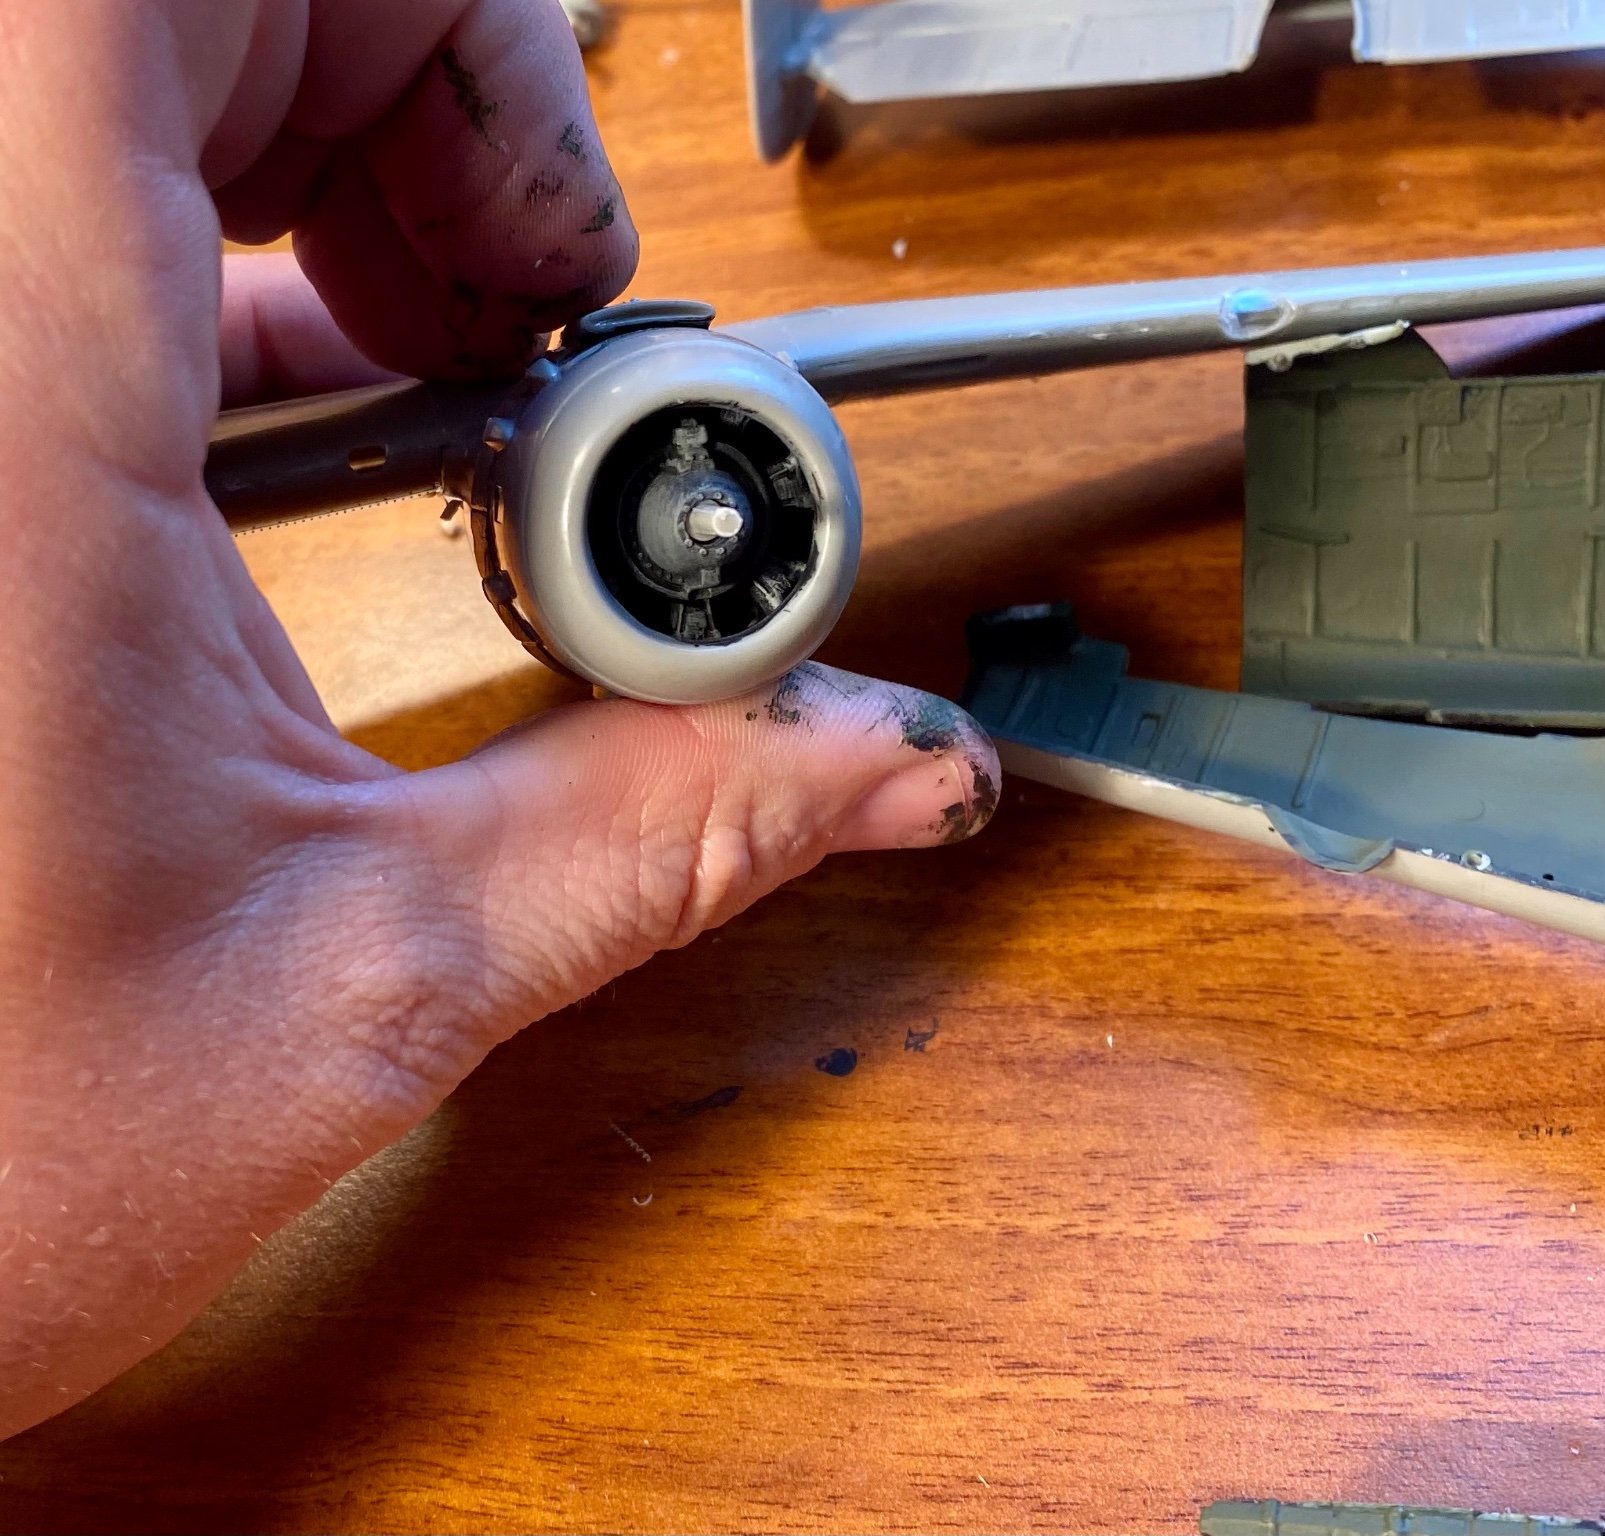
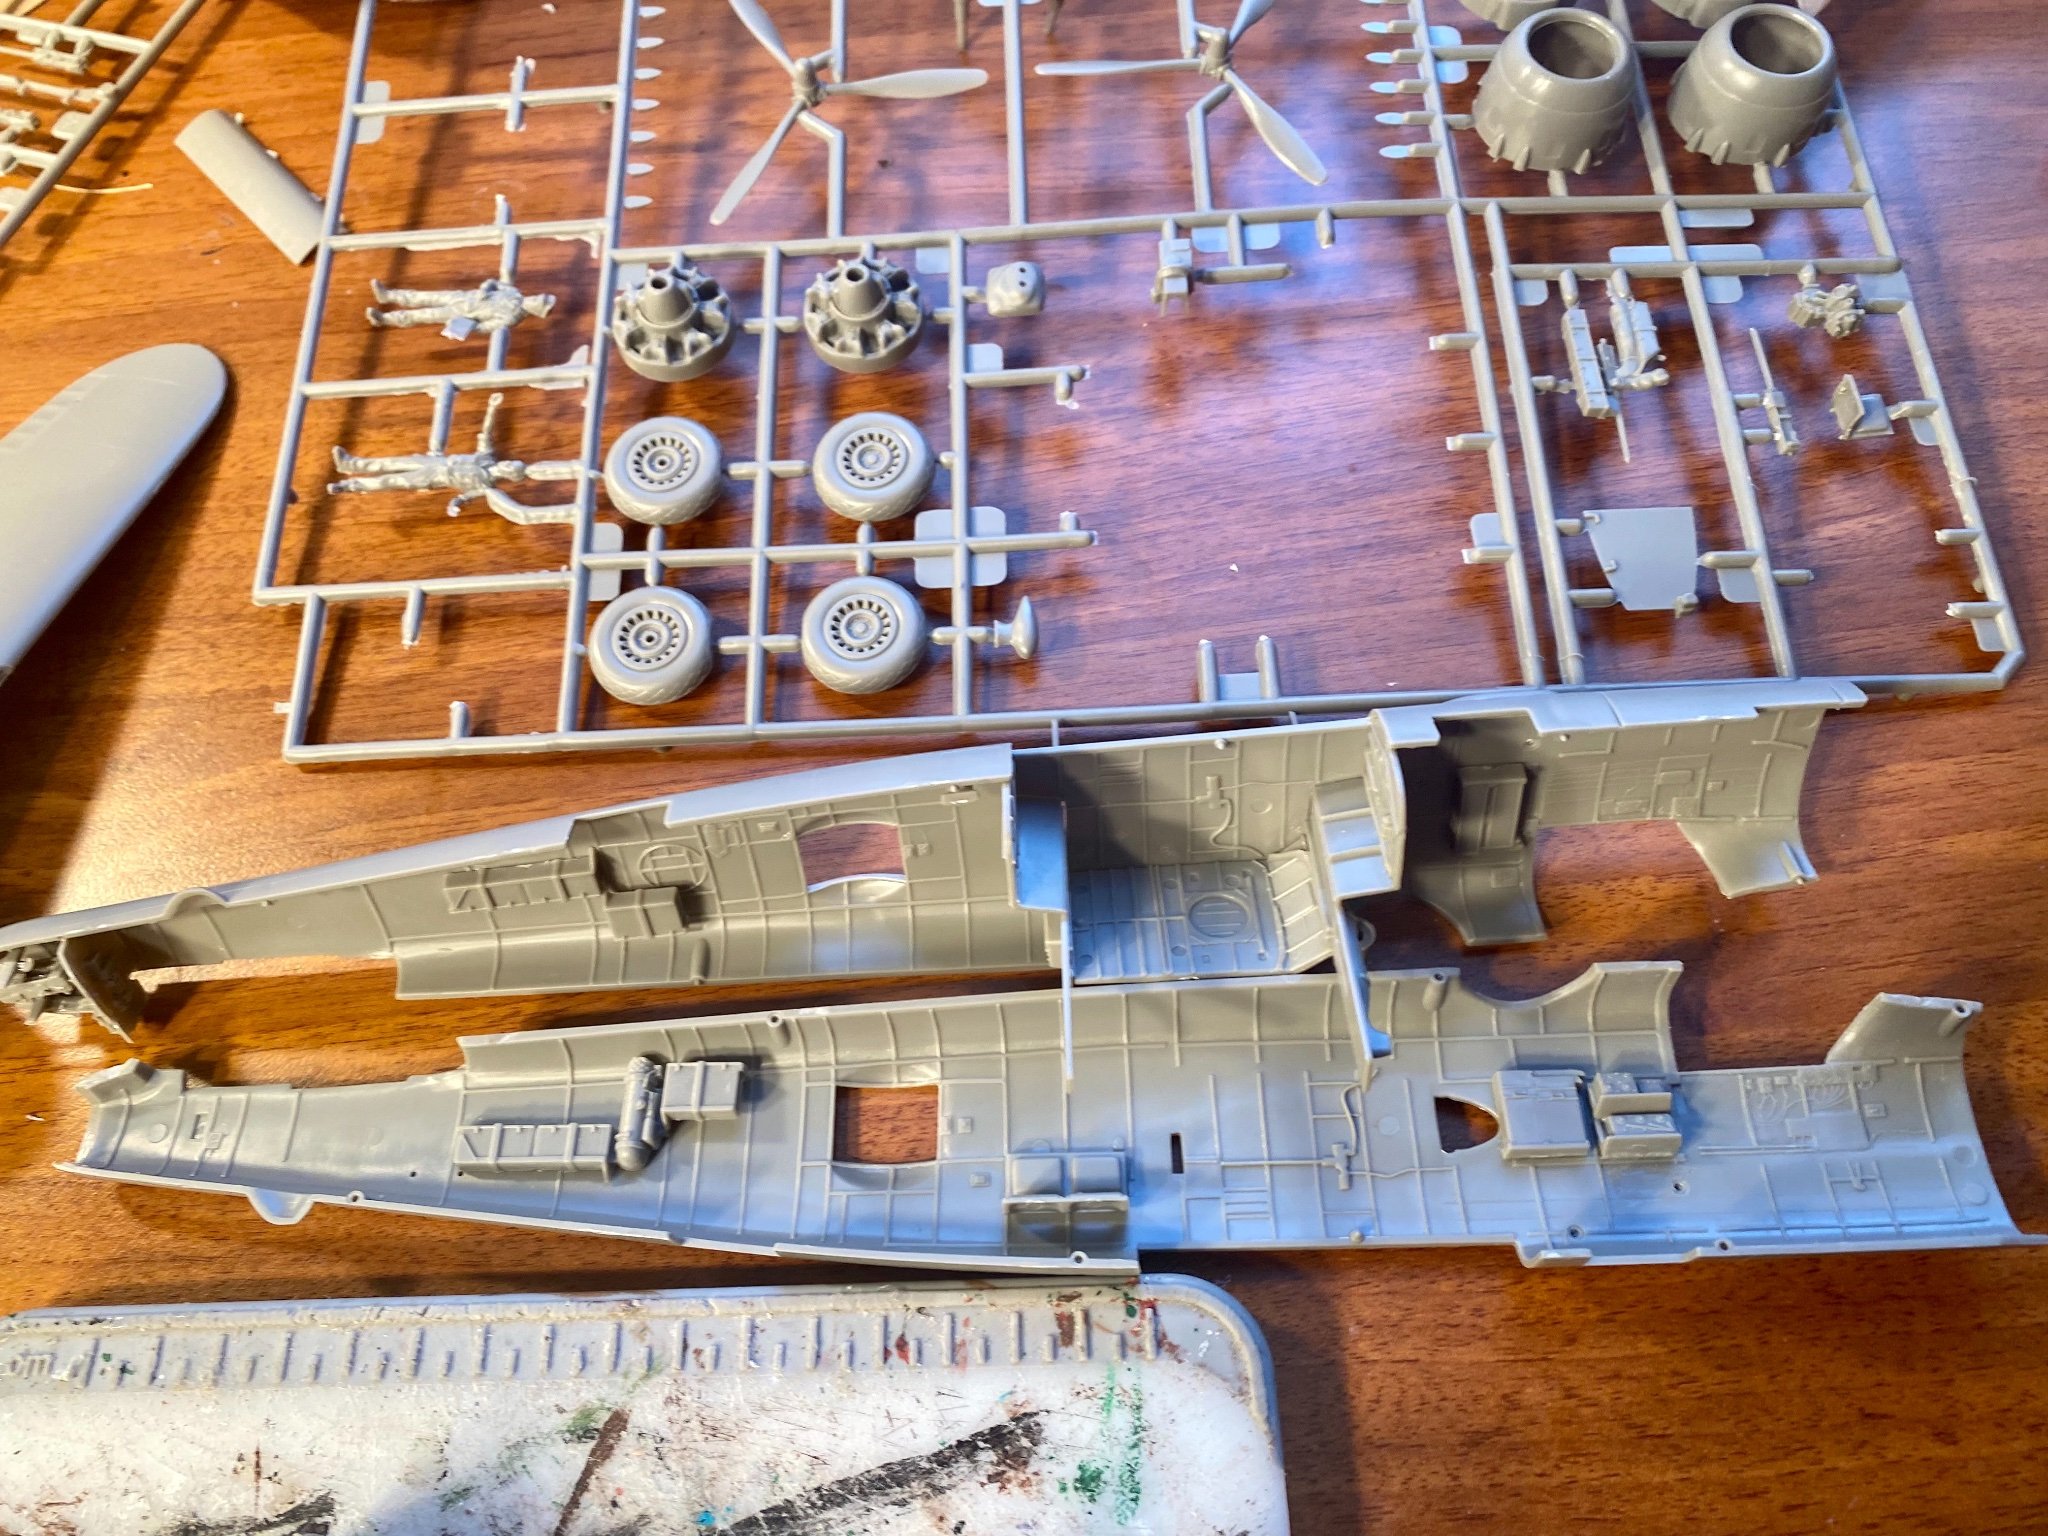
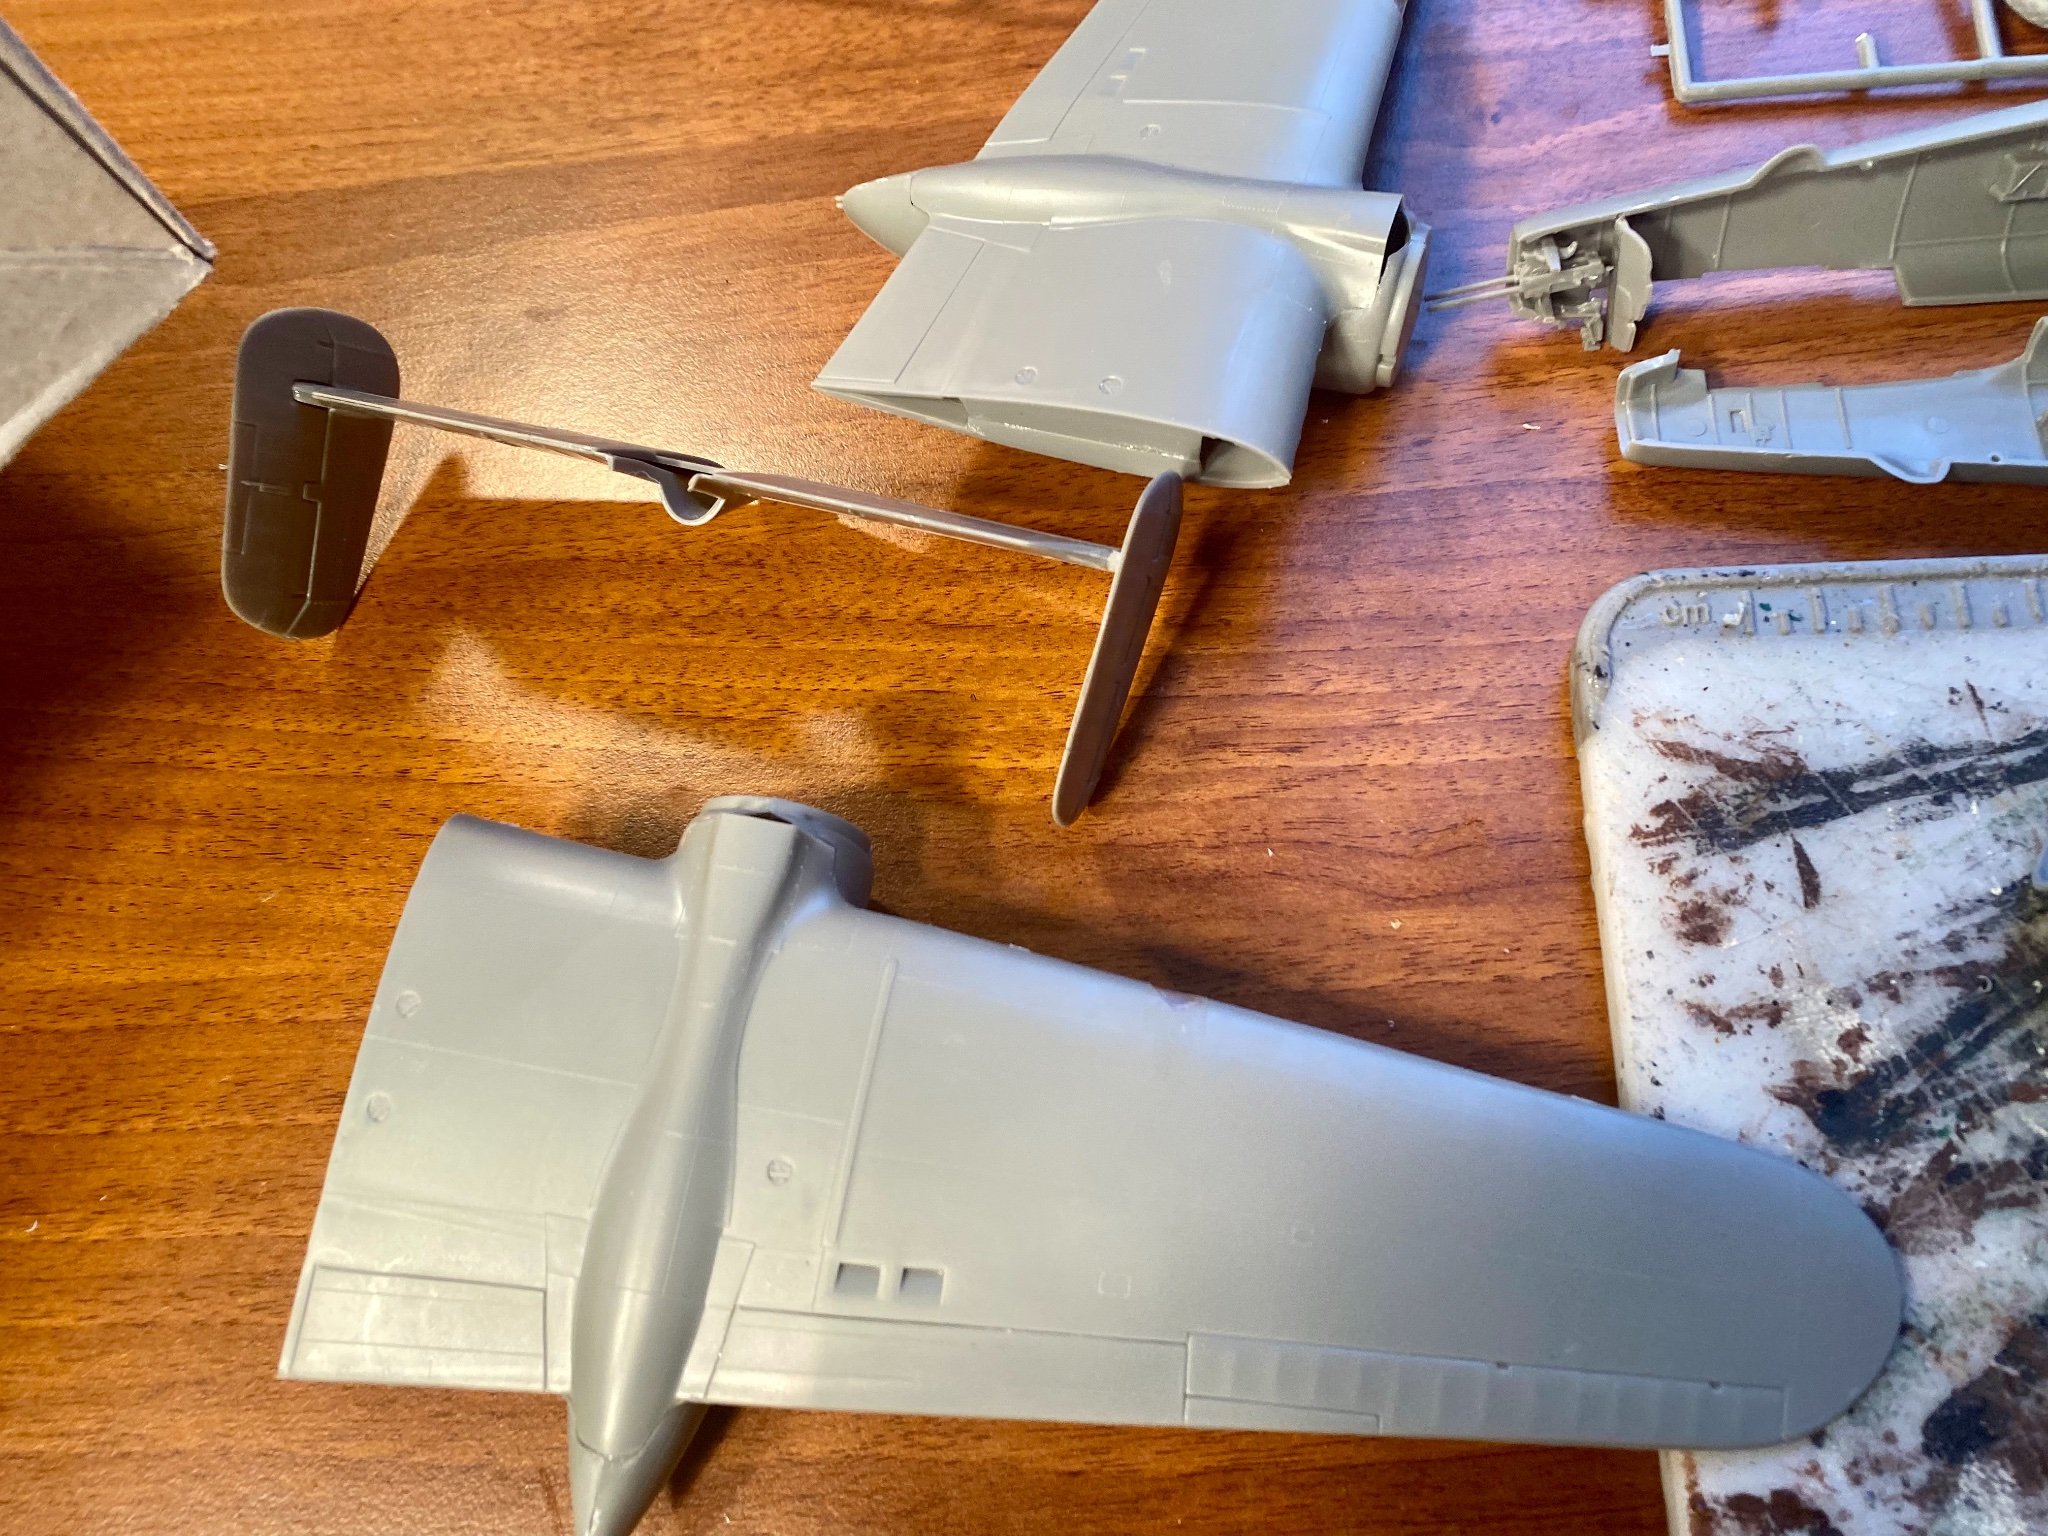
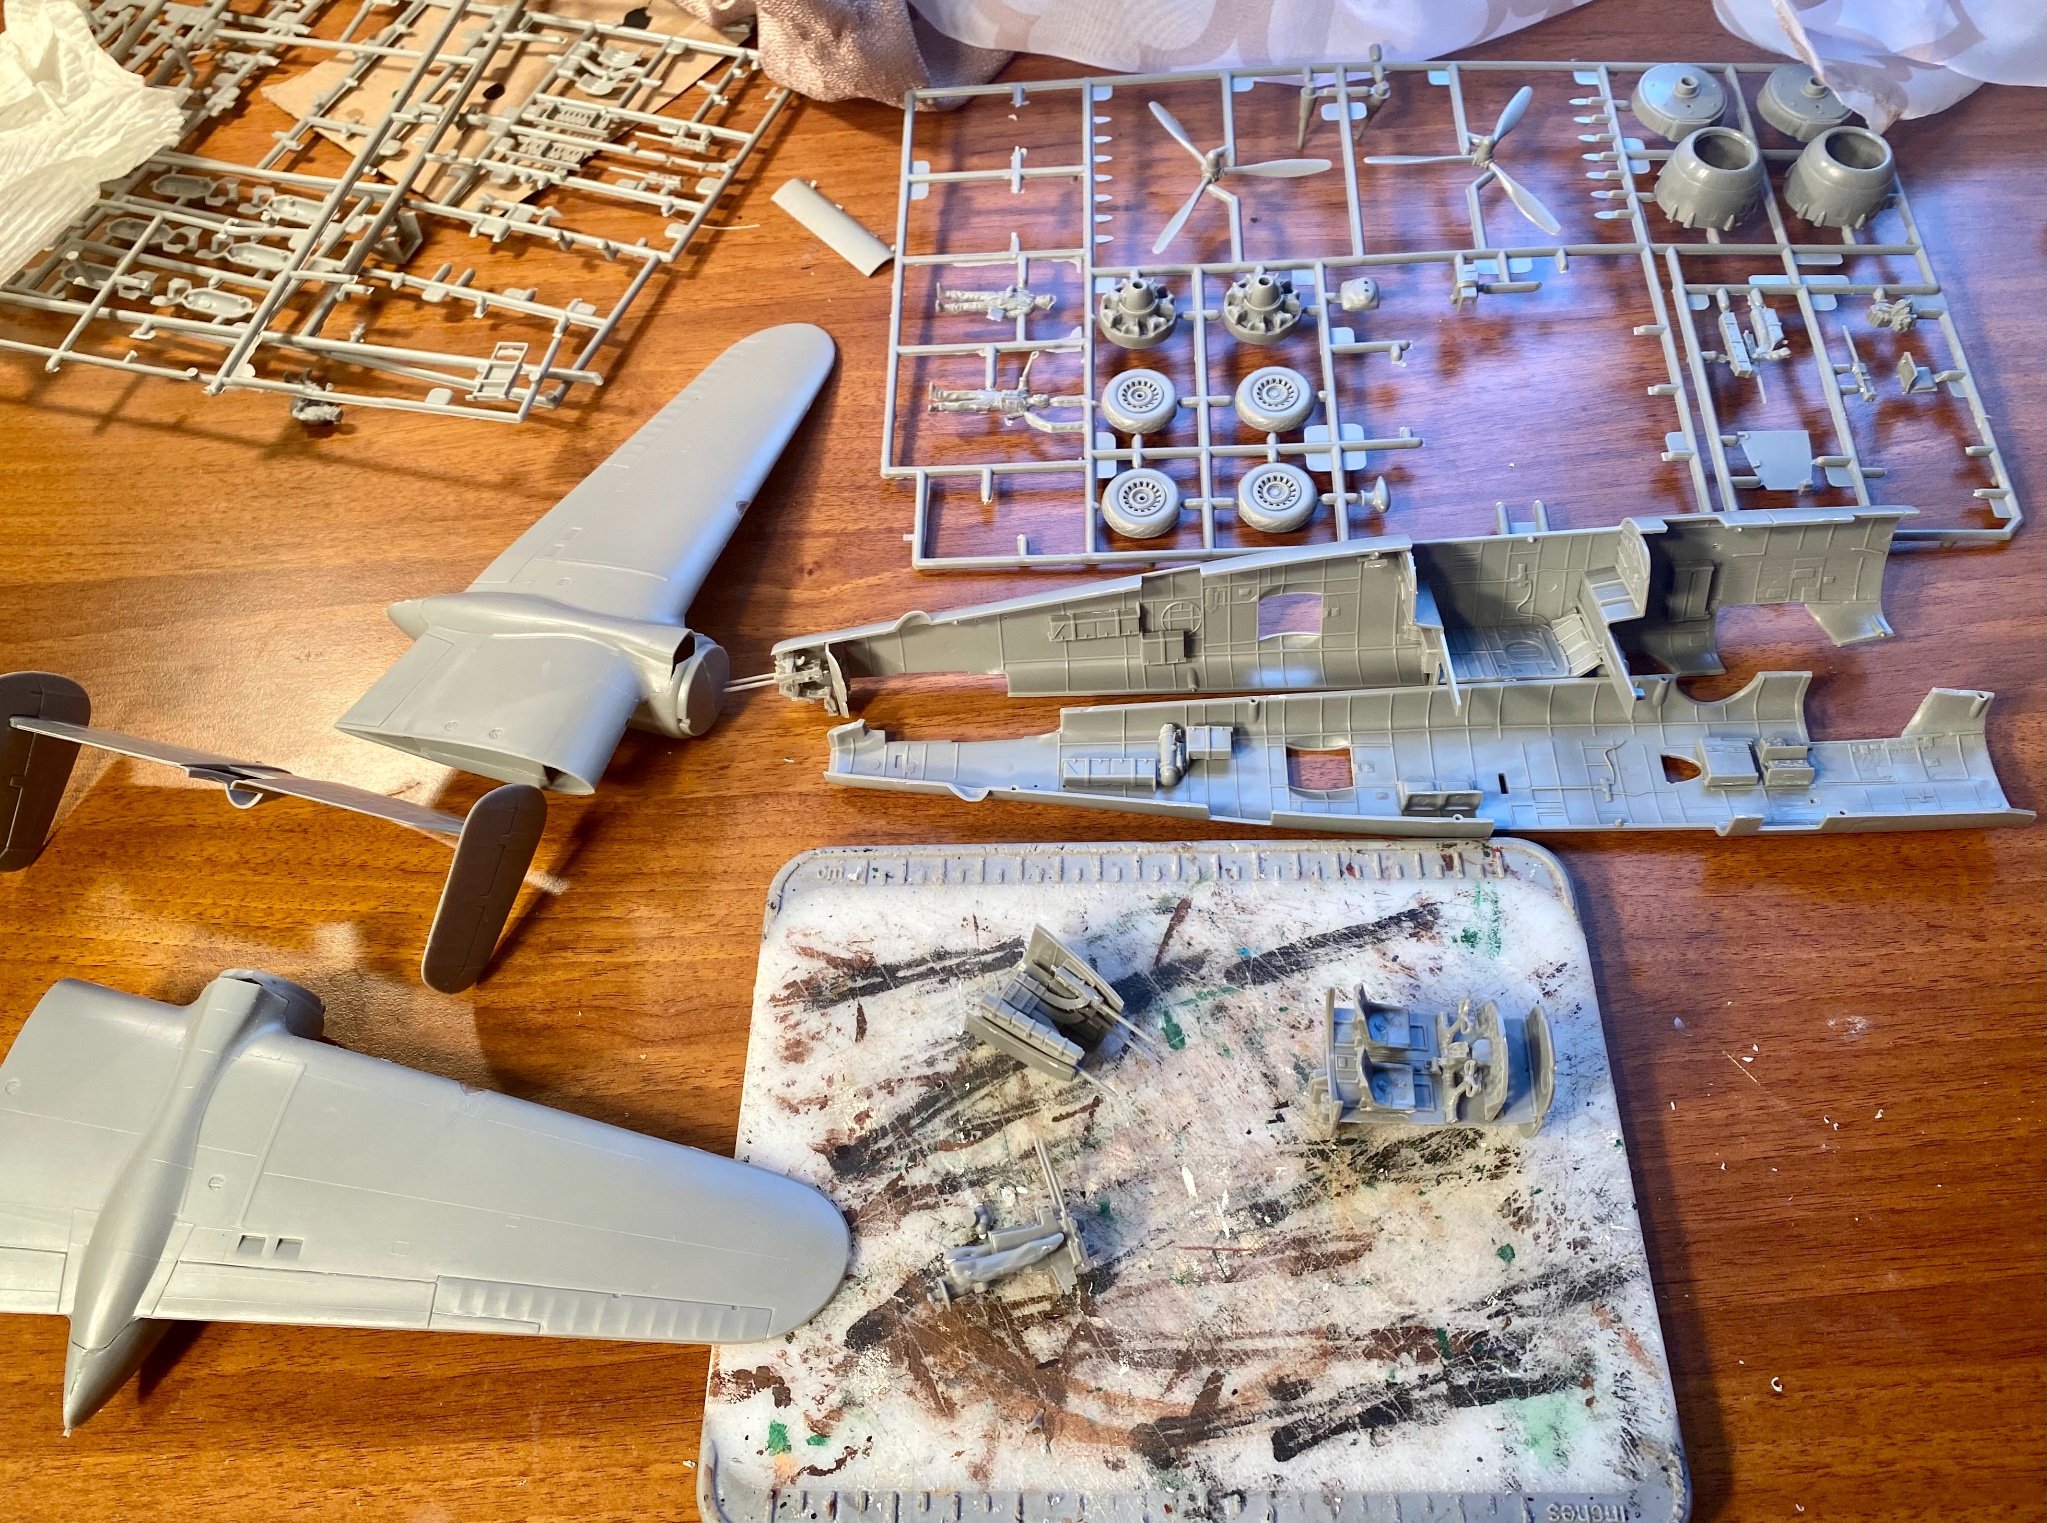
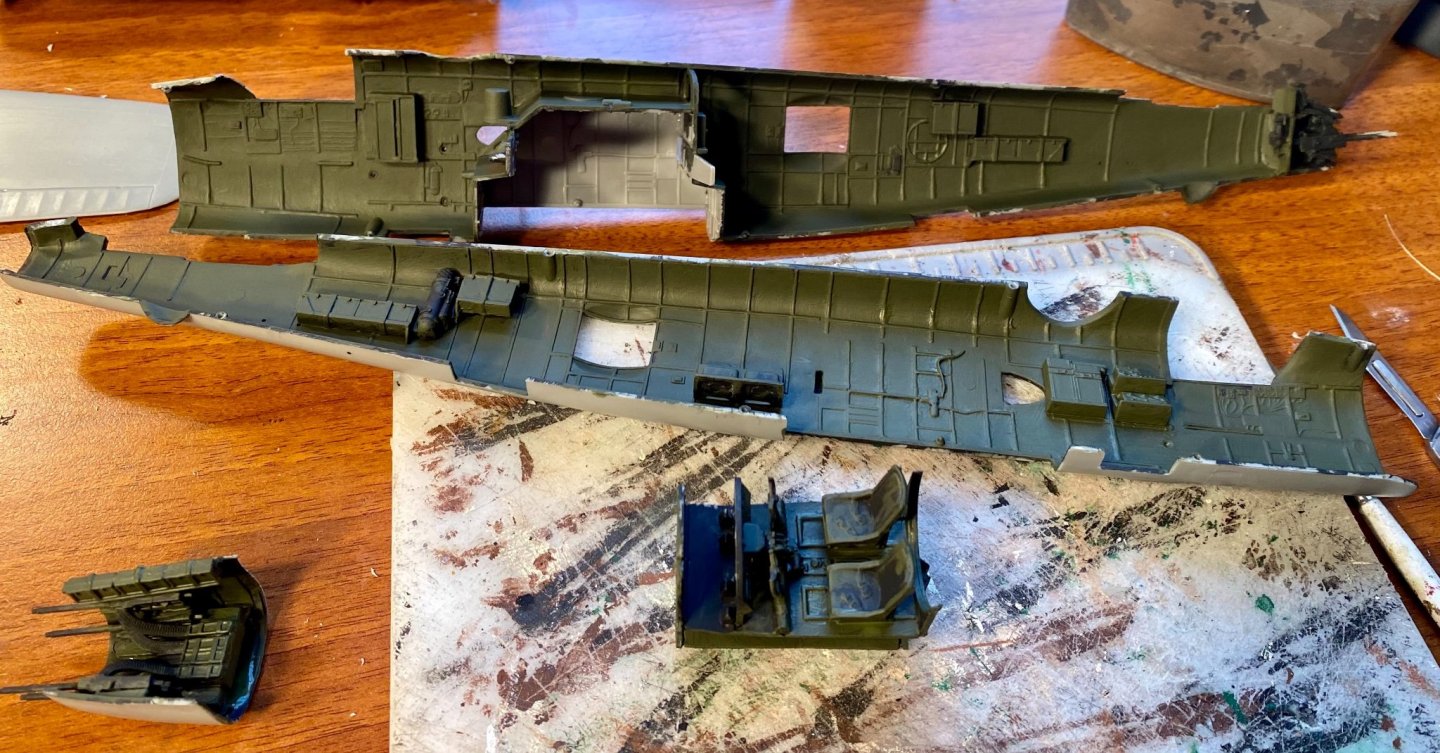
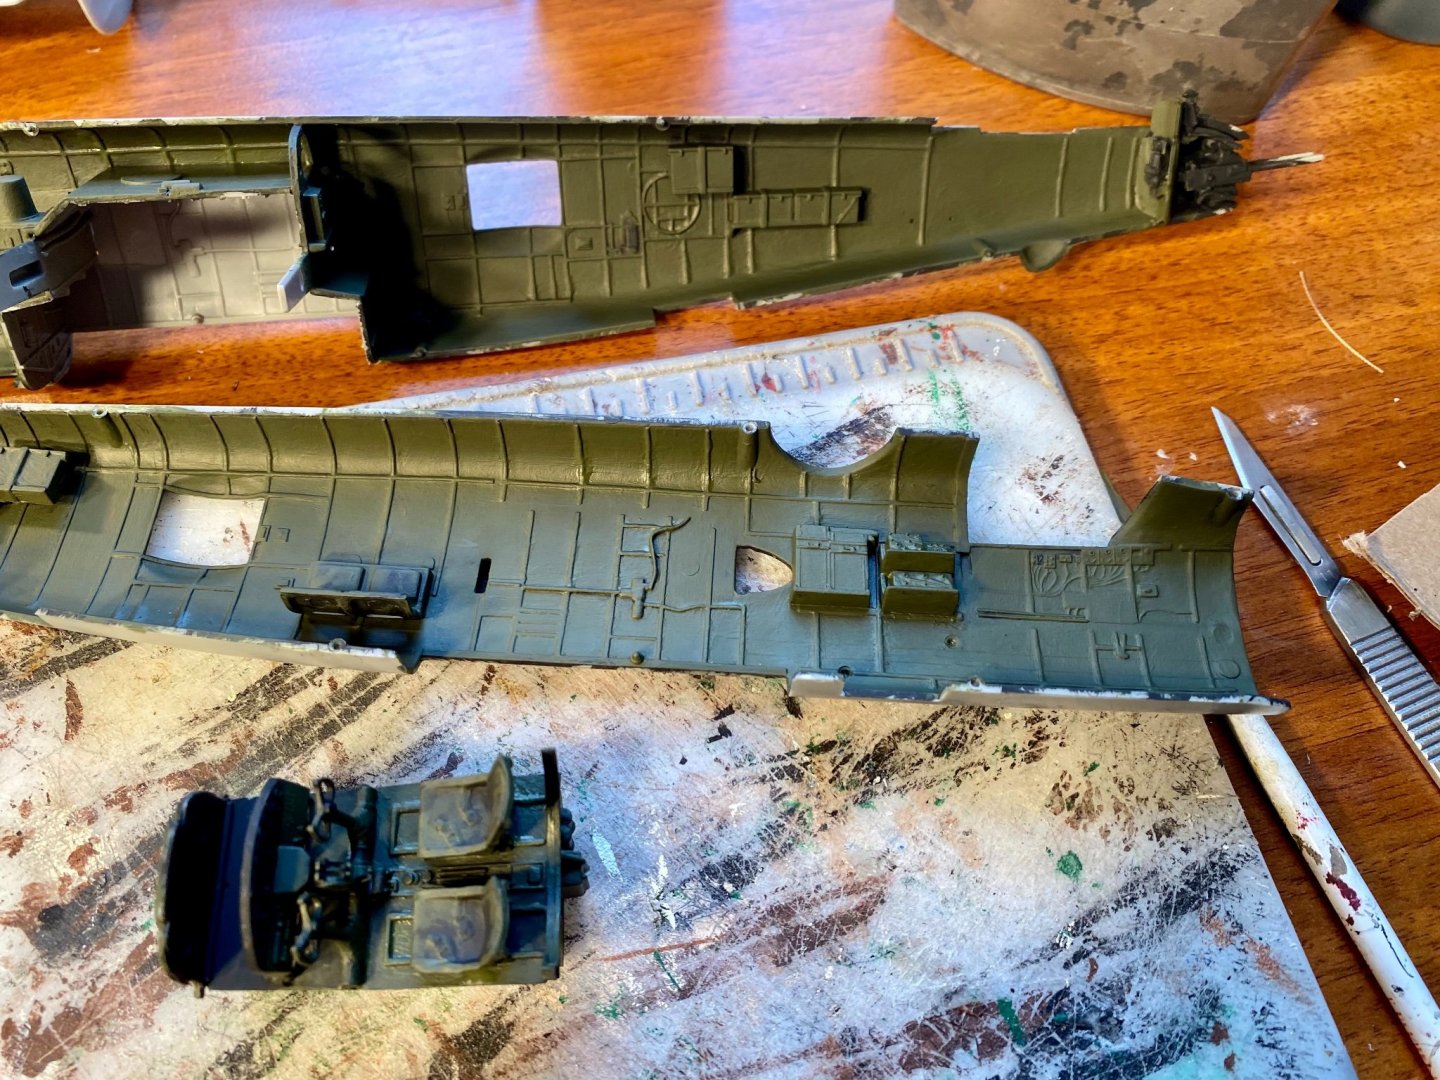
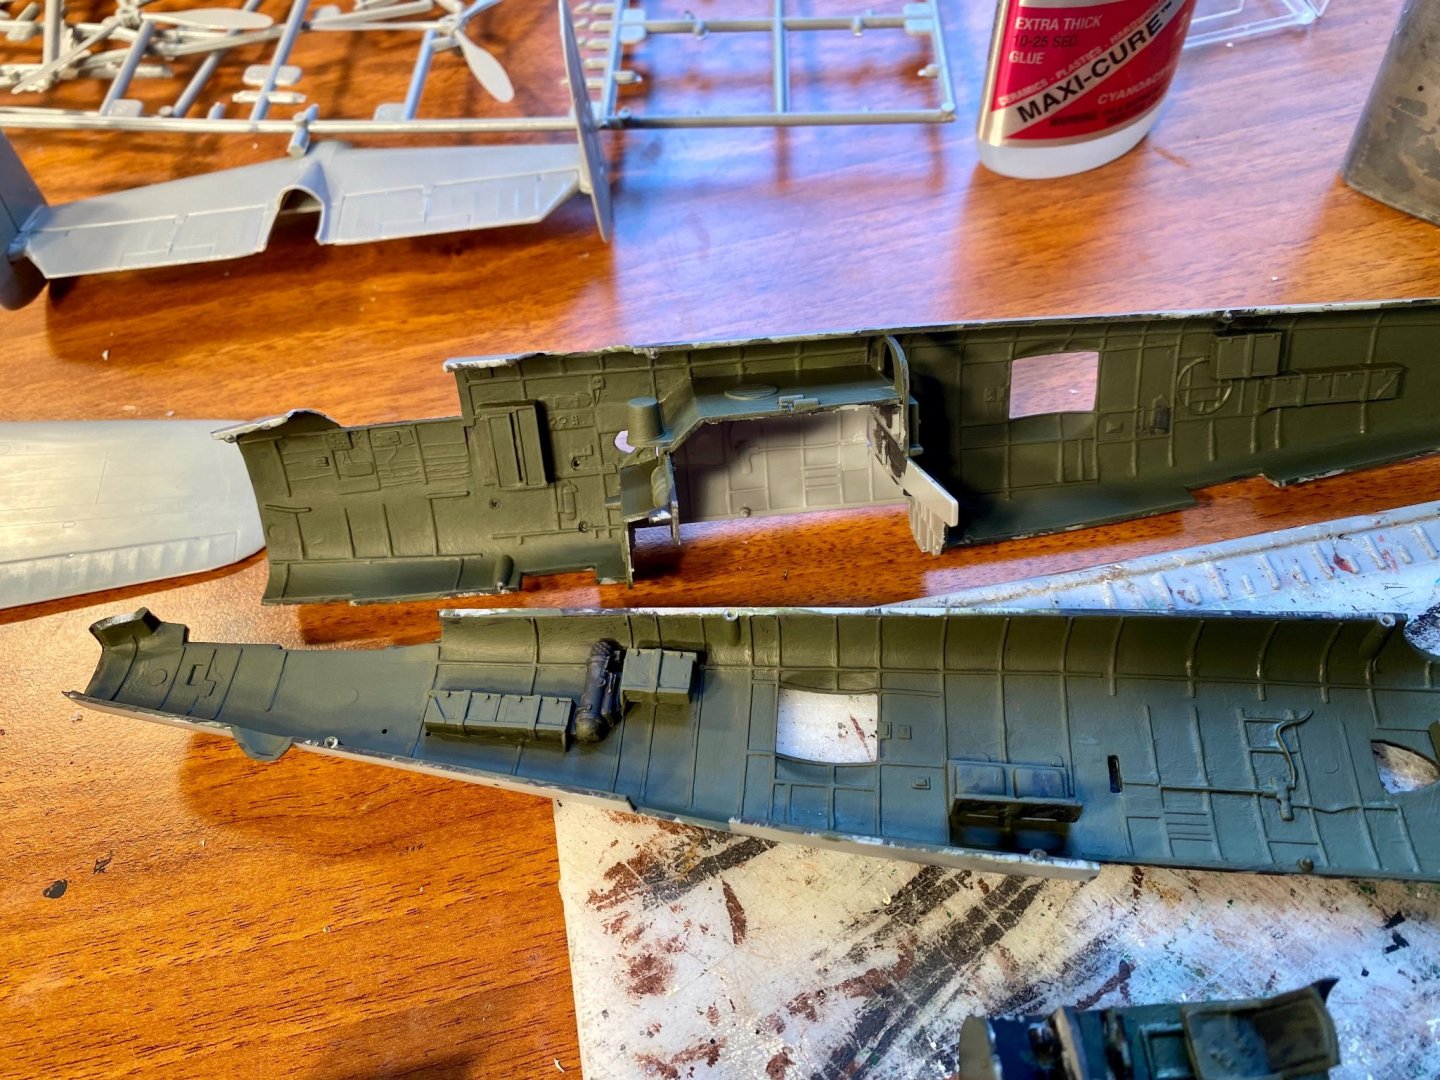
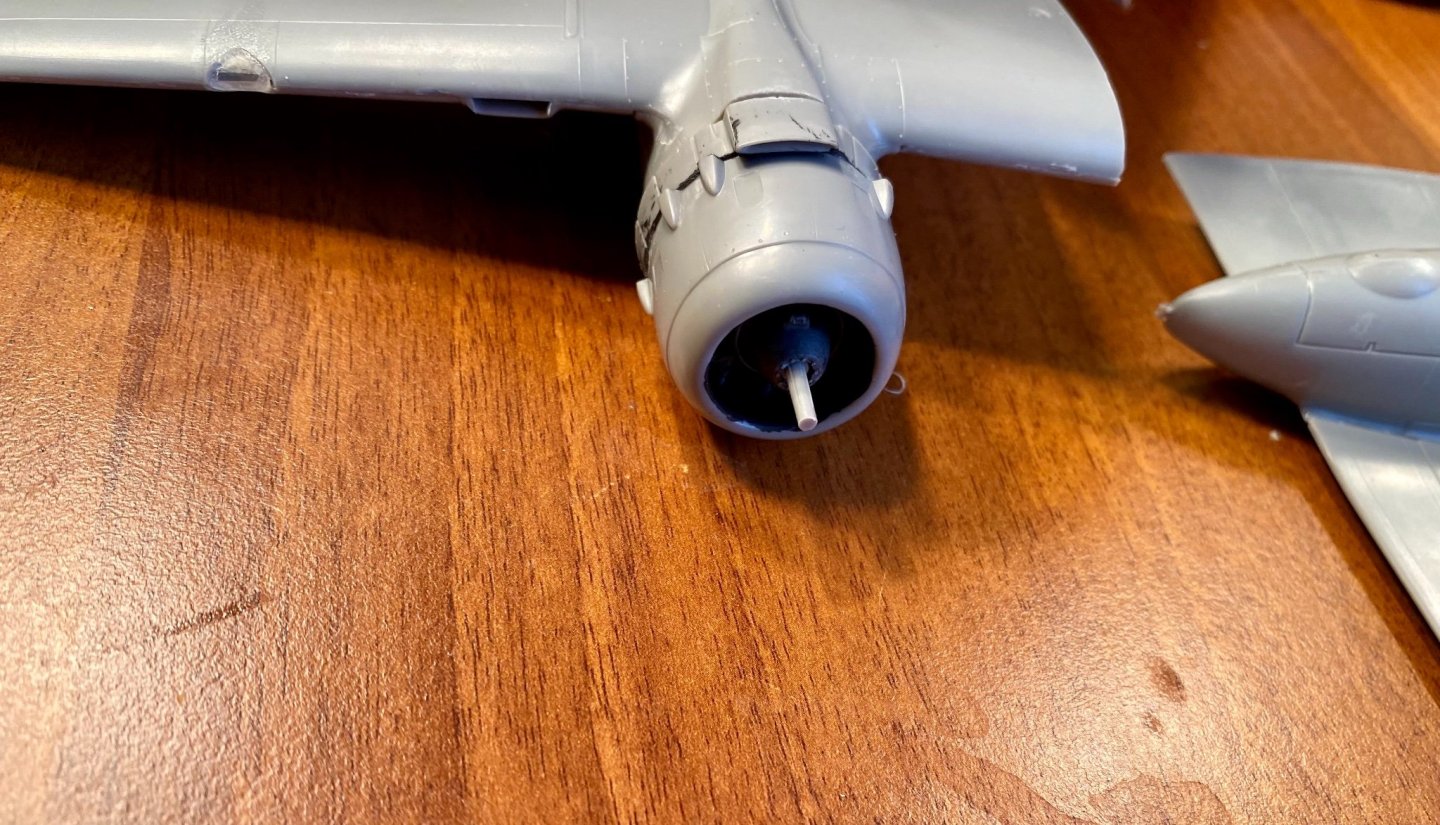
The interior is base coated an olive drab: The engines are painted with faux metallics and installed: Time for the detail painting and highlighting! Then it’ll be time to assemble most of the model!

- 29 replies
-
- 10
-

-
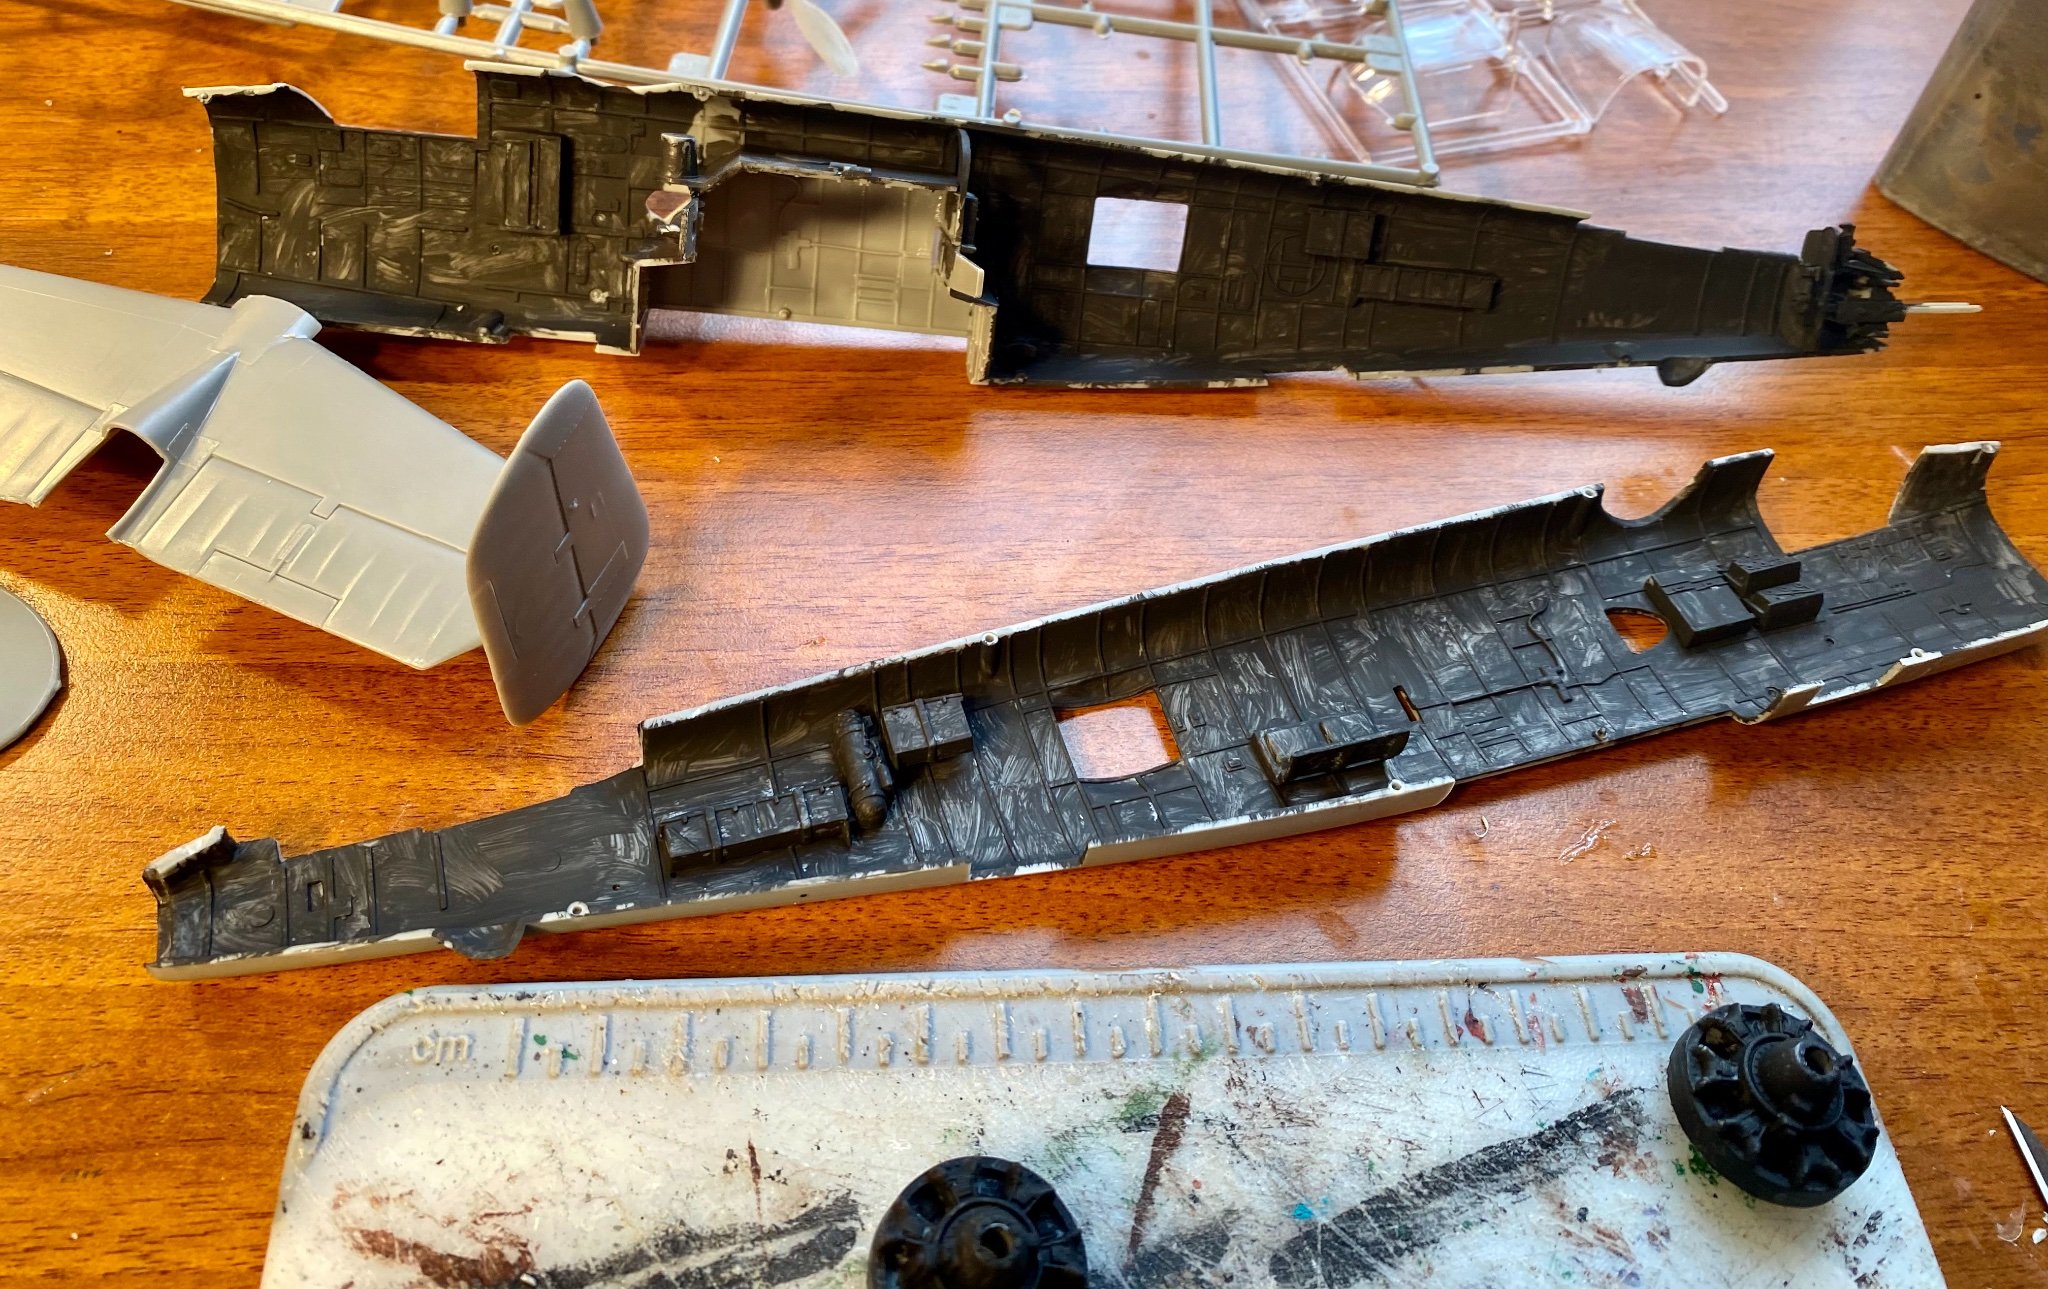
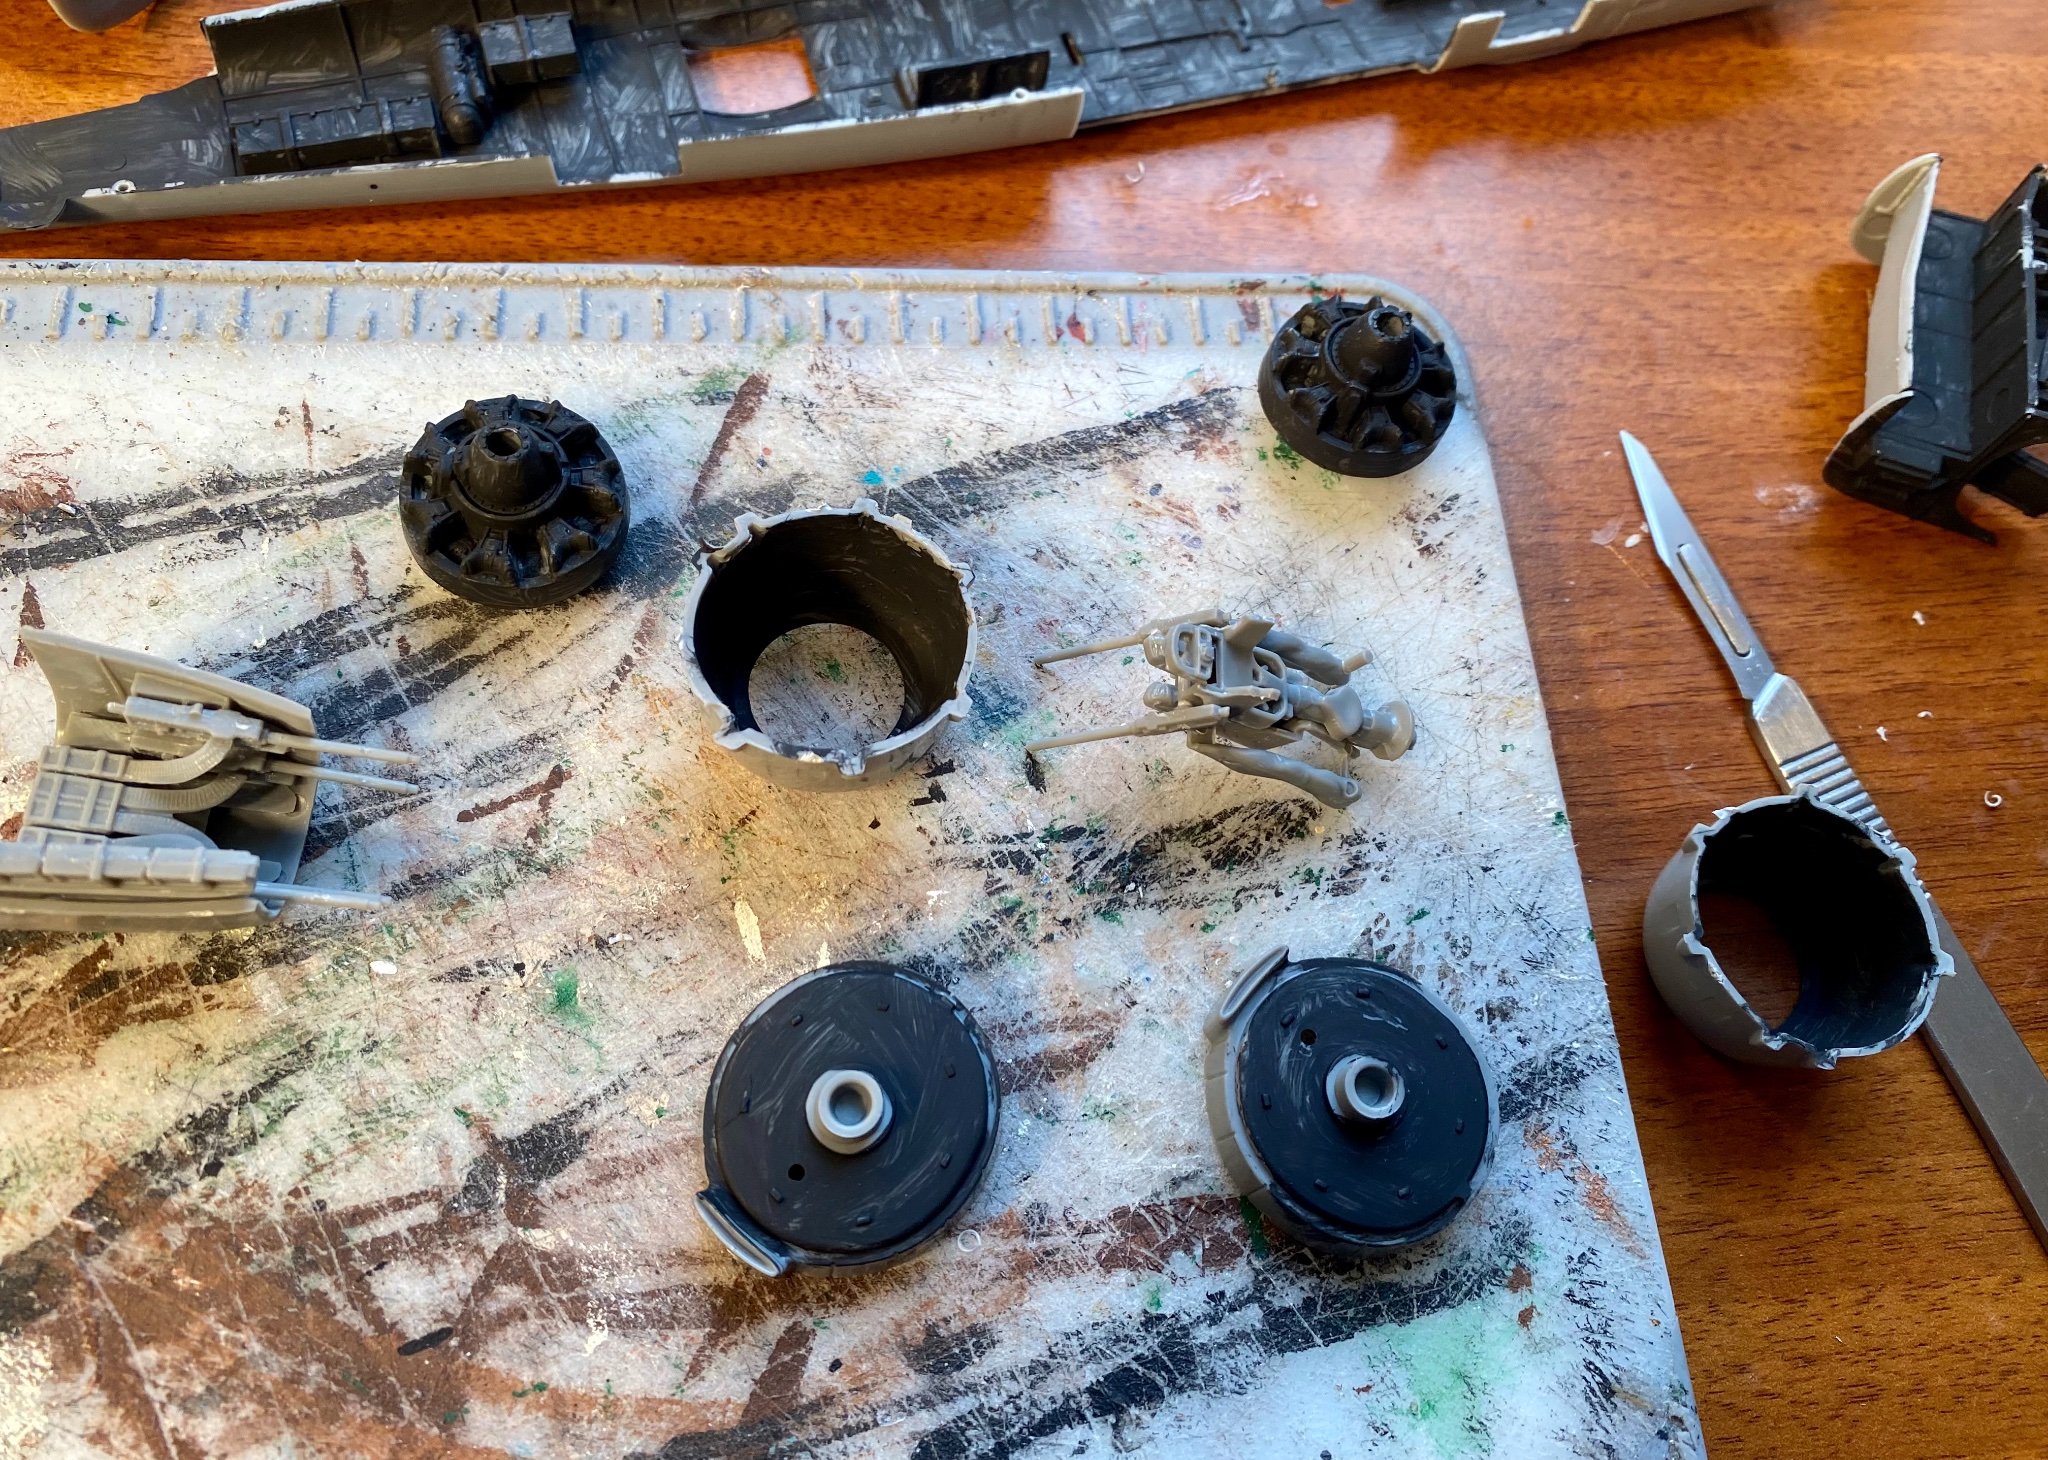
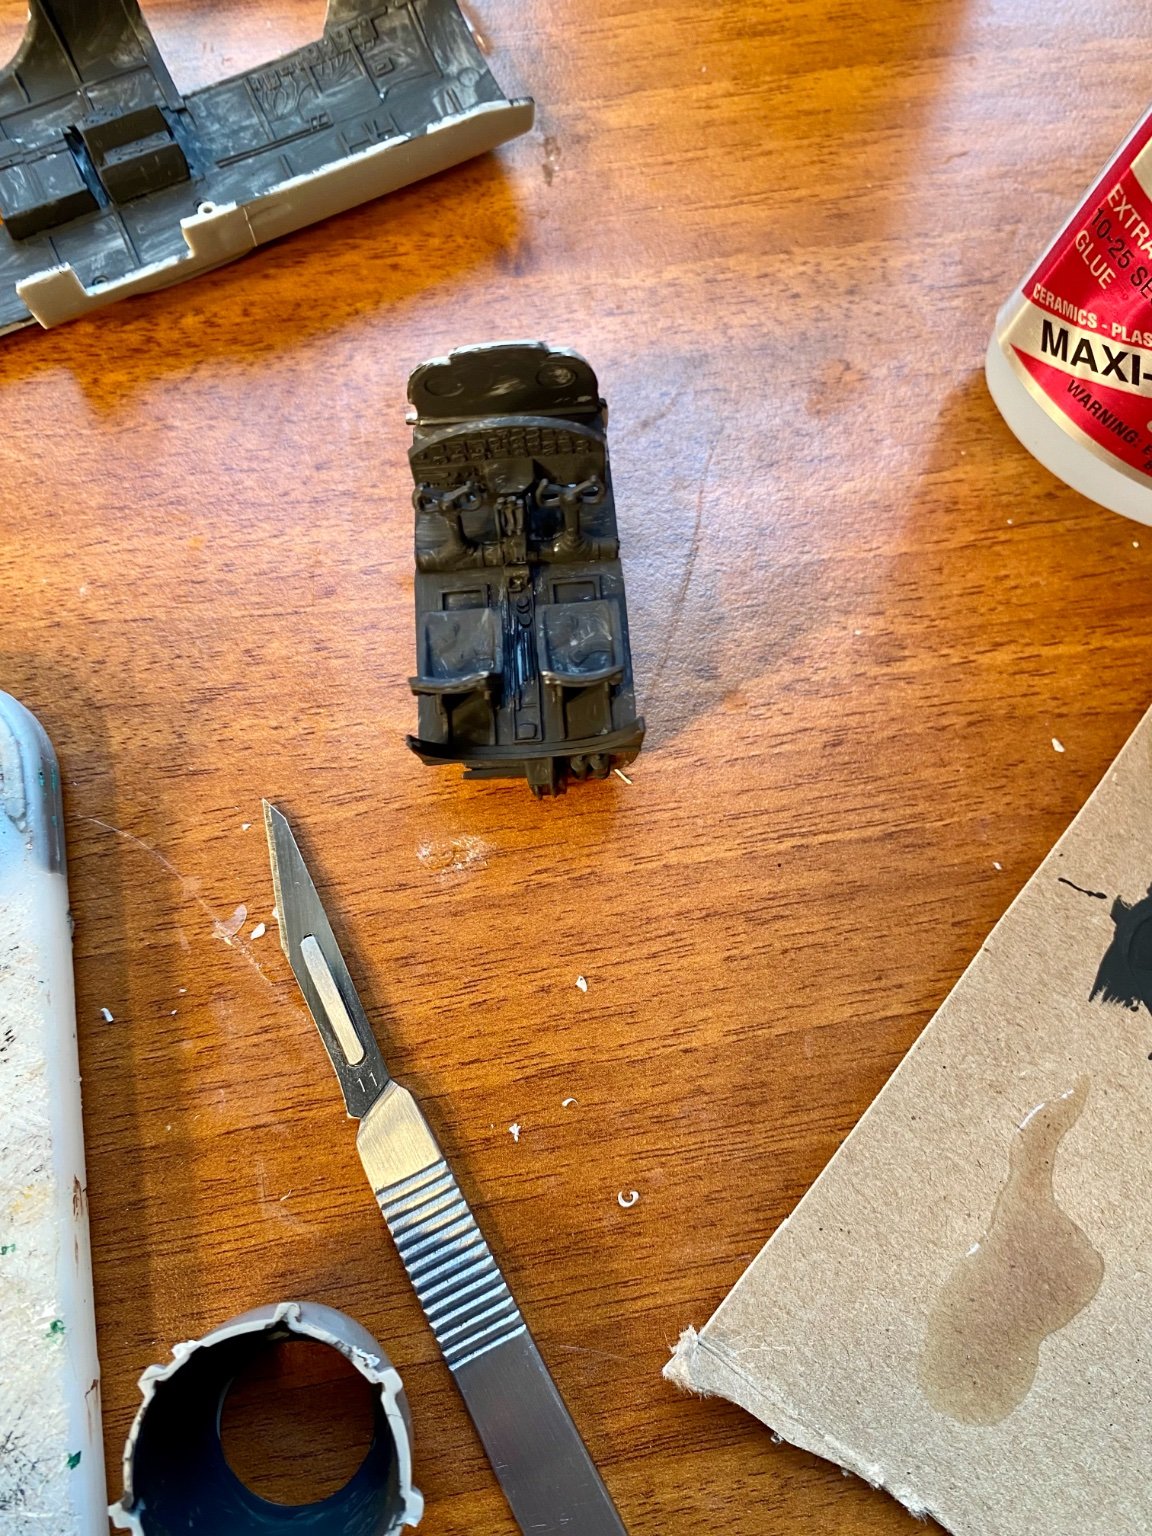
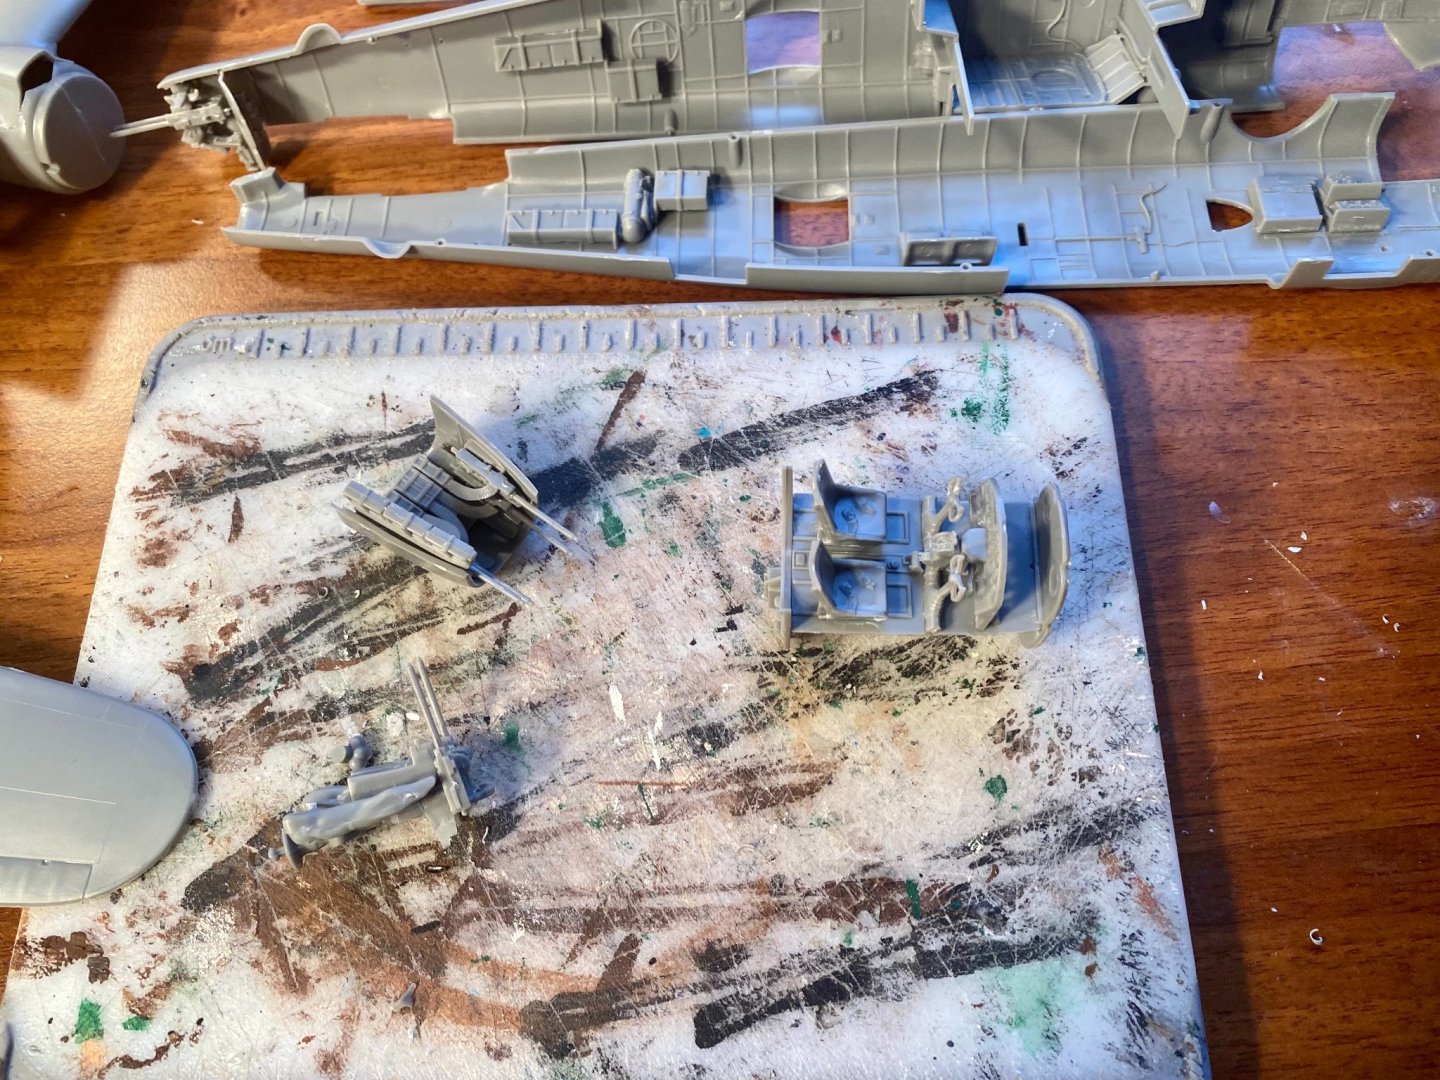
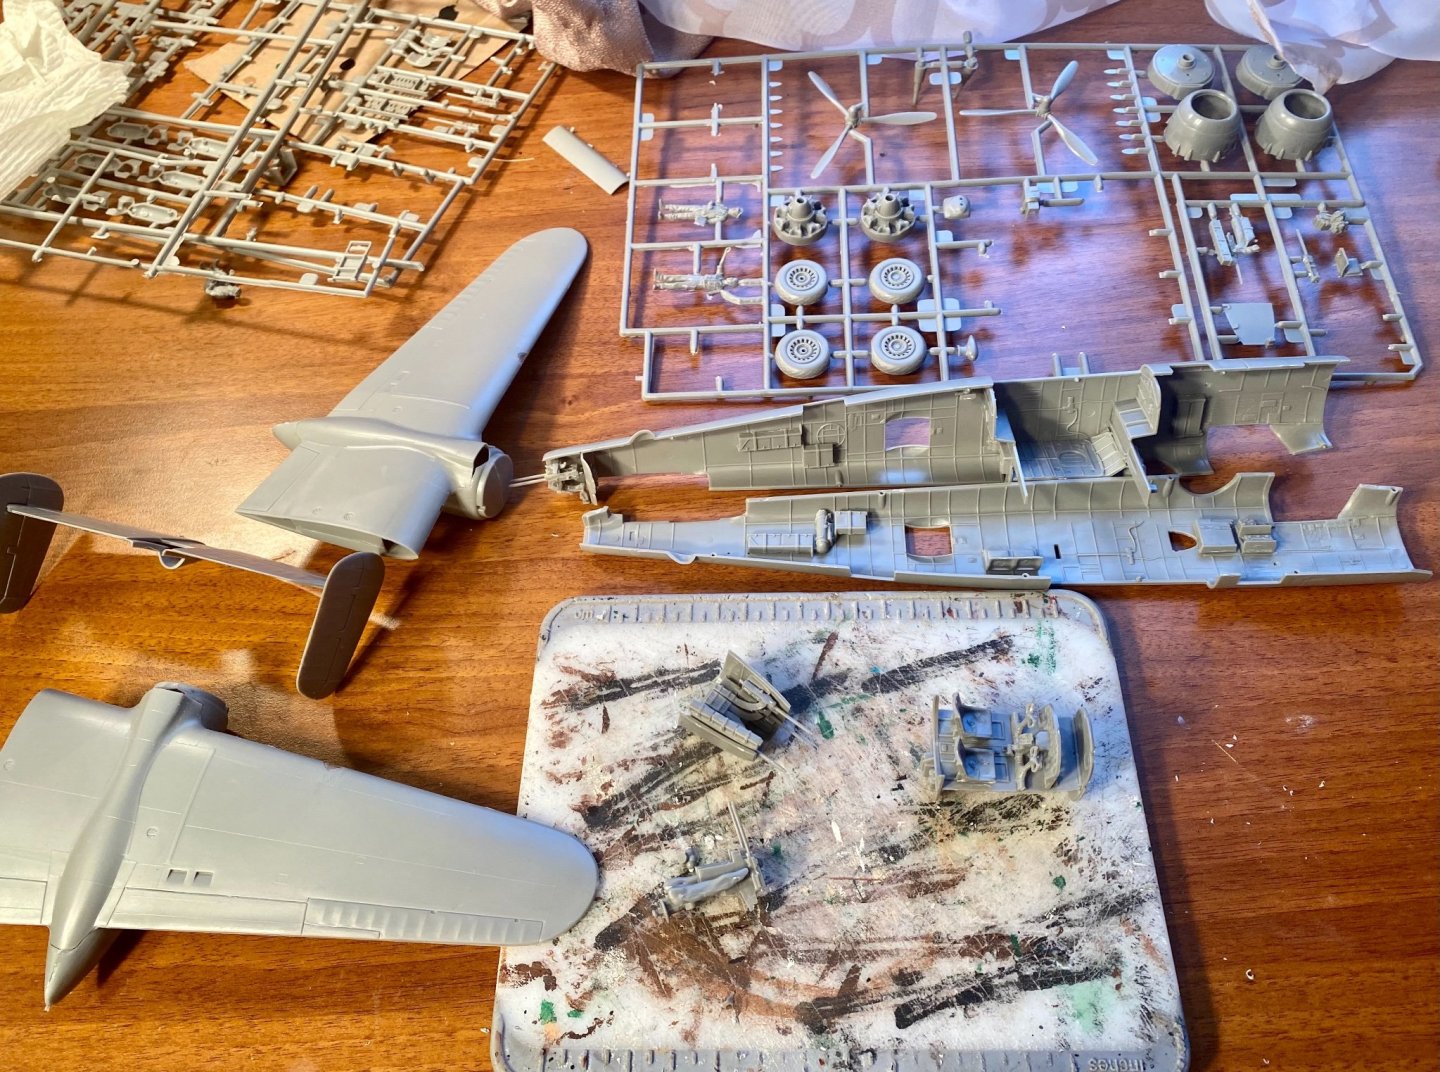
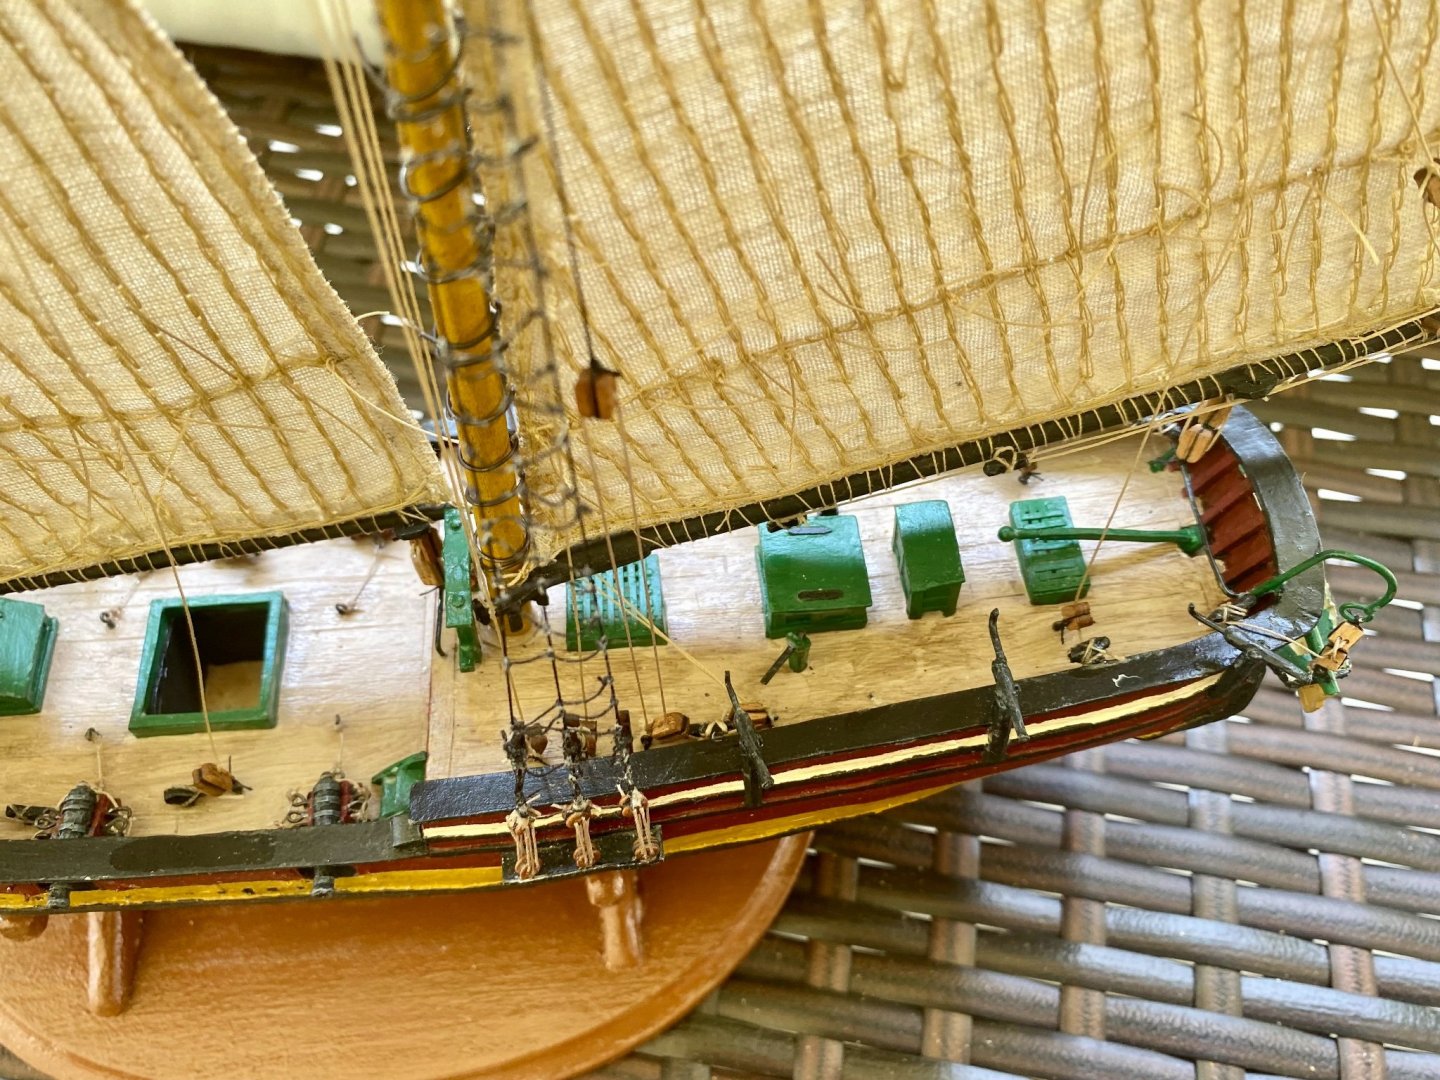
Welcome all! Thank you very much for stopping by! Currently working on deciding build order and painting order. Most of the interior will not be visible, but enough will that I am taking care to get it as right as possible (I test fitted all major assemblies). I learned to paint by wargaming many years ago. So, I usually start by painting everything black to give the model depth, especially in interior sections. Then I paint from the inside out, although there is much drybrushing as normal painting going on.


-
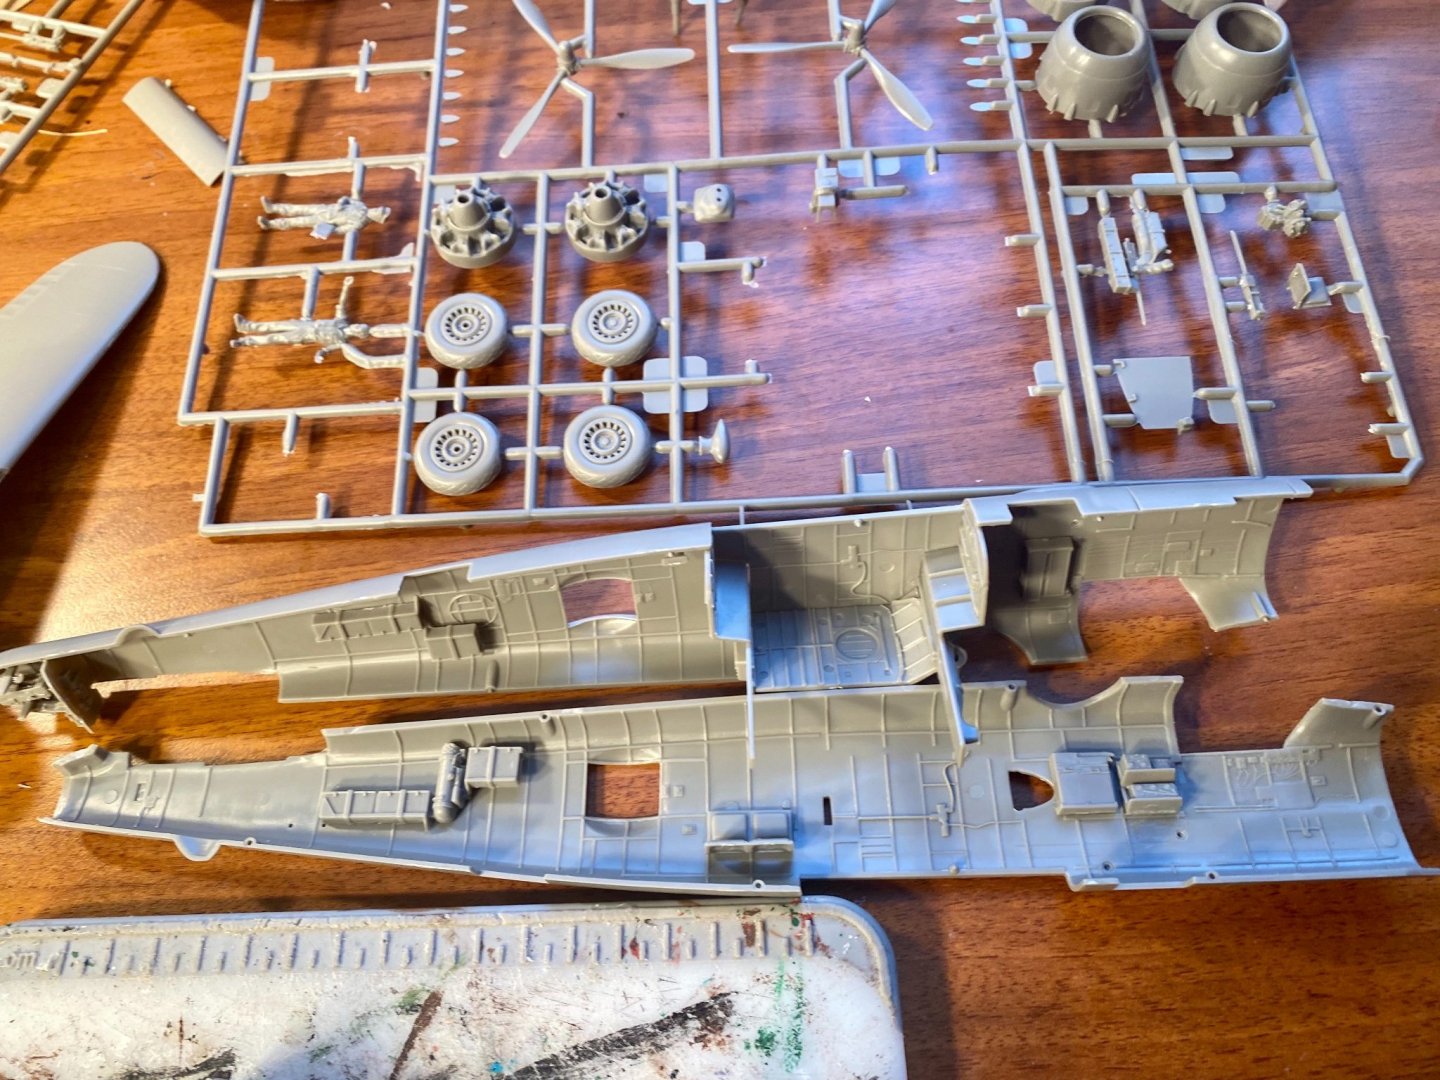
Most sub assemblies are glued together and all interior parts will be ready for painting after the glue cures:

- 29 replies
-
- 11
-
-
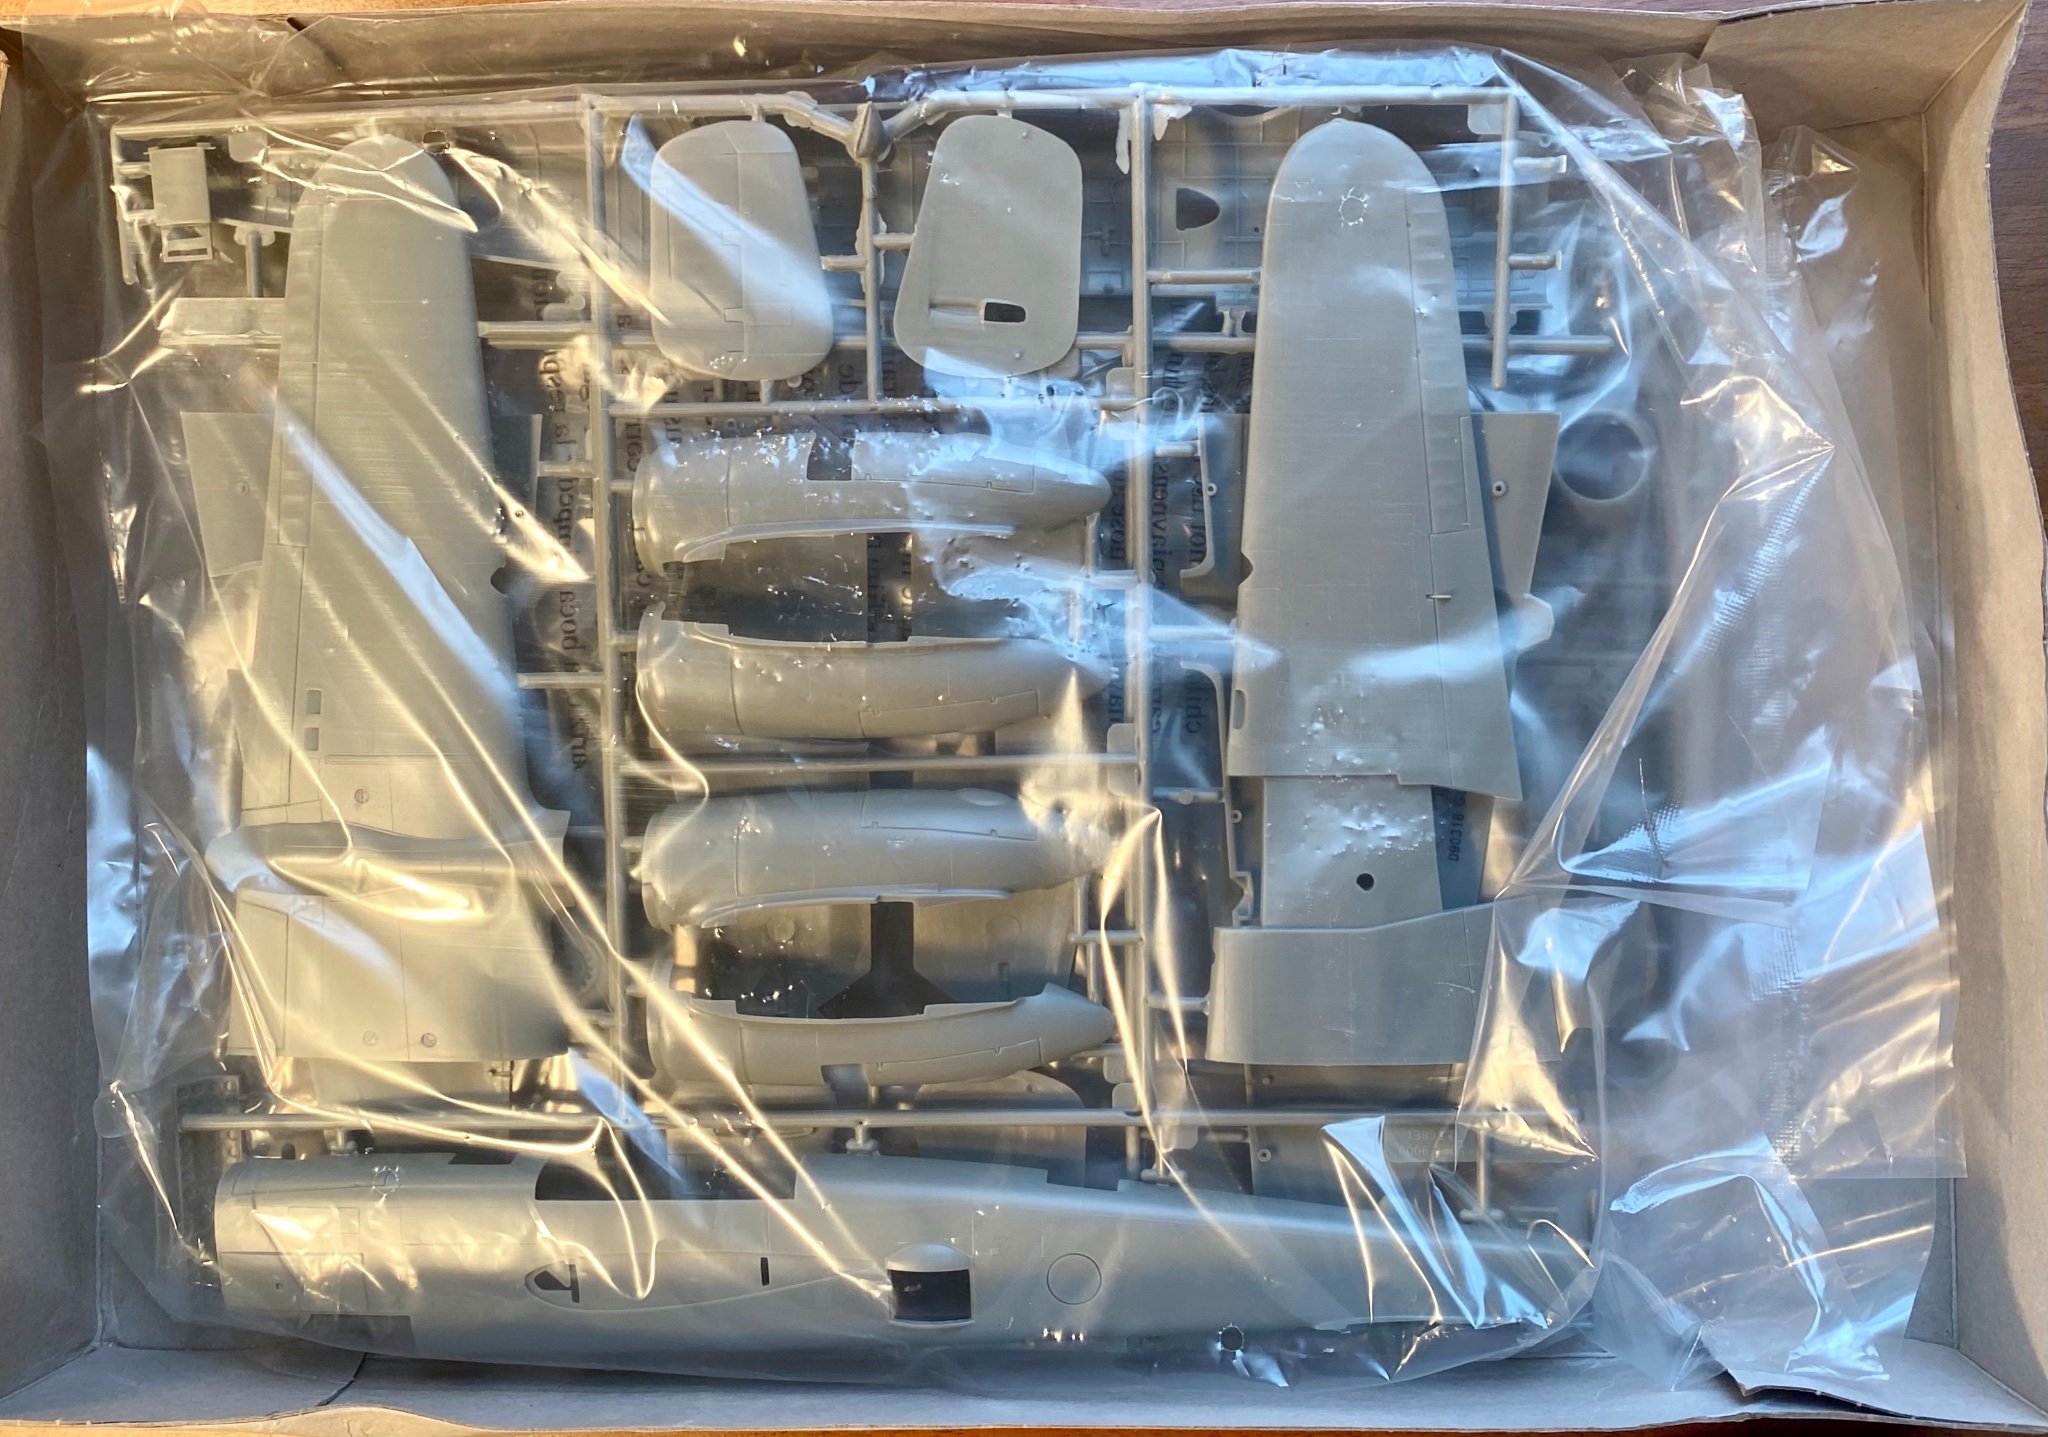
This is a Revell B-25J Mitchell and will be built as the Bomber “Panchito” of the 477th Bombardment Group. It will be built in the same fashion as my Hustler and my Black Widow (flying on a stand).

-
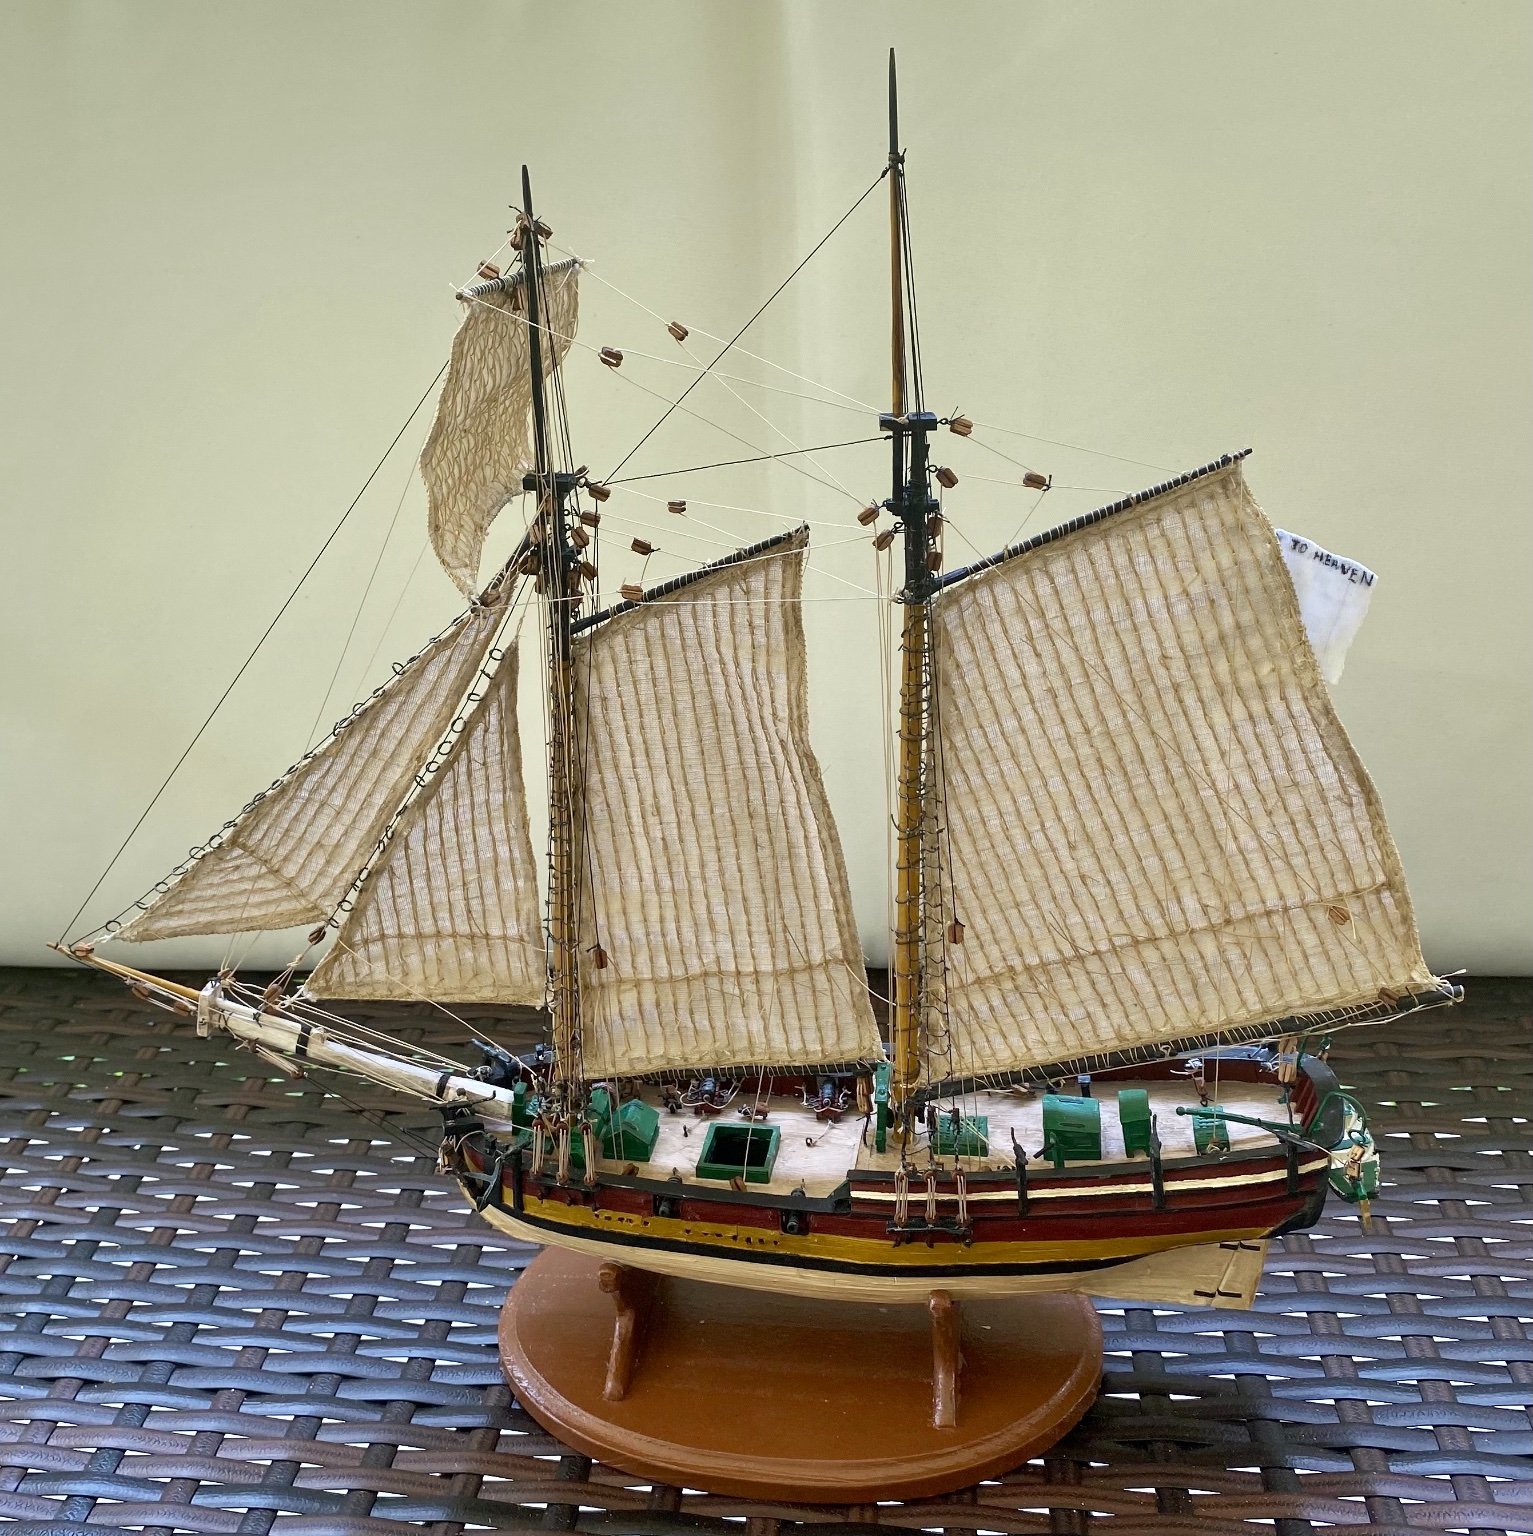
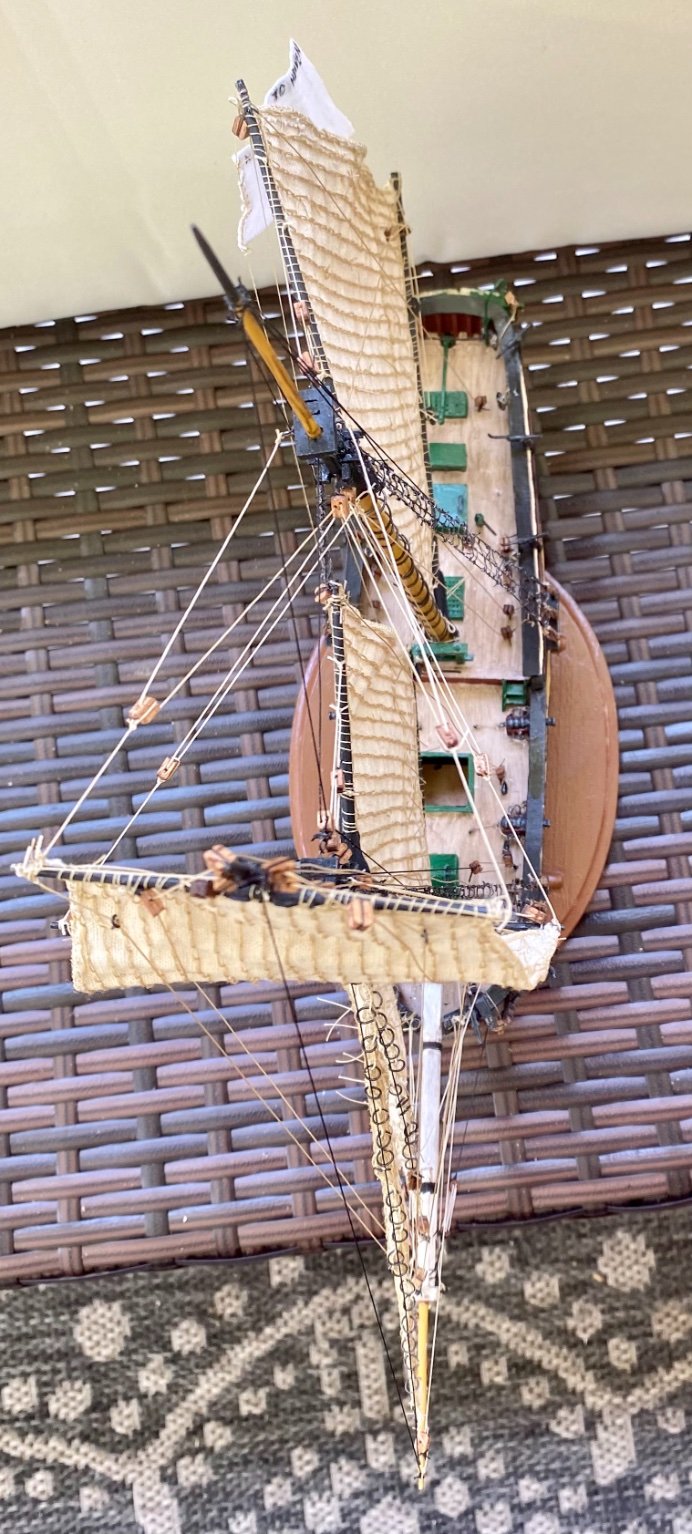
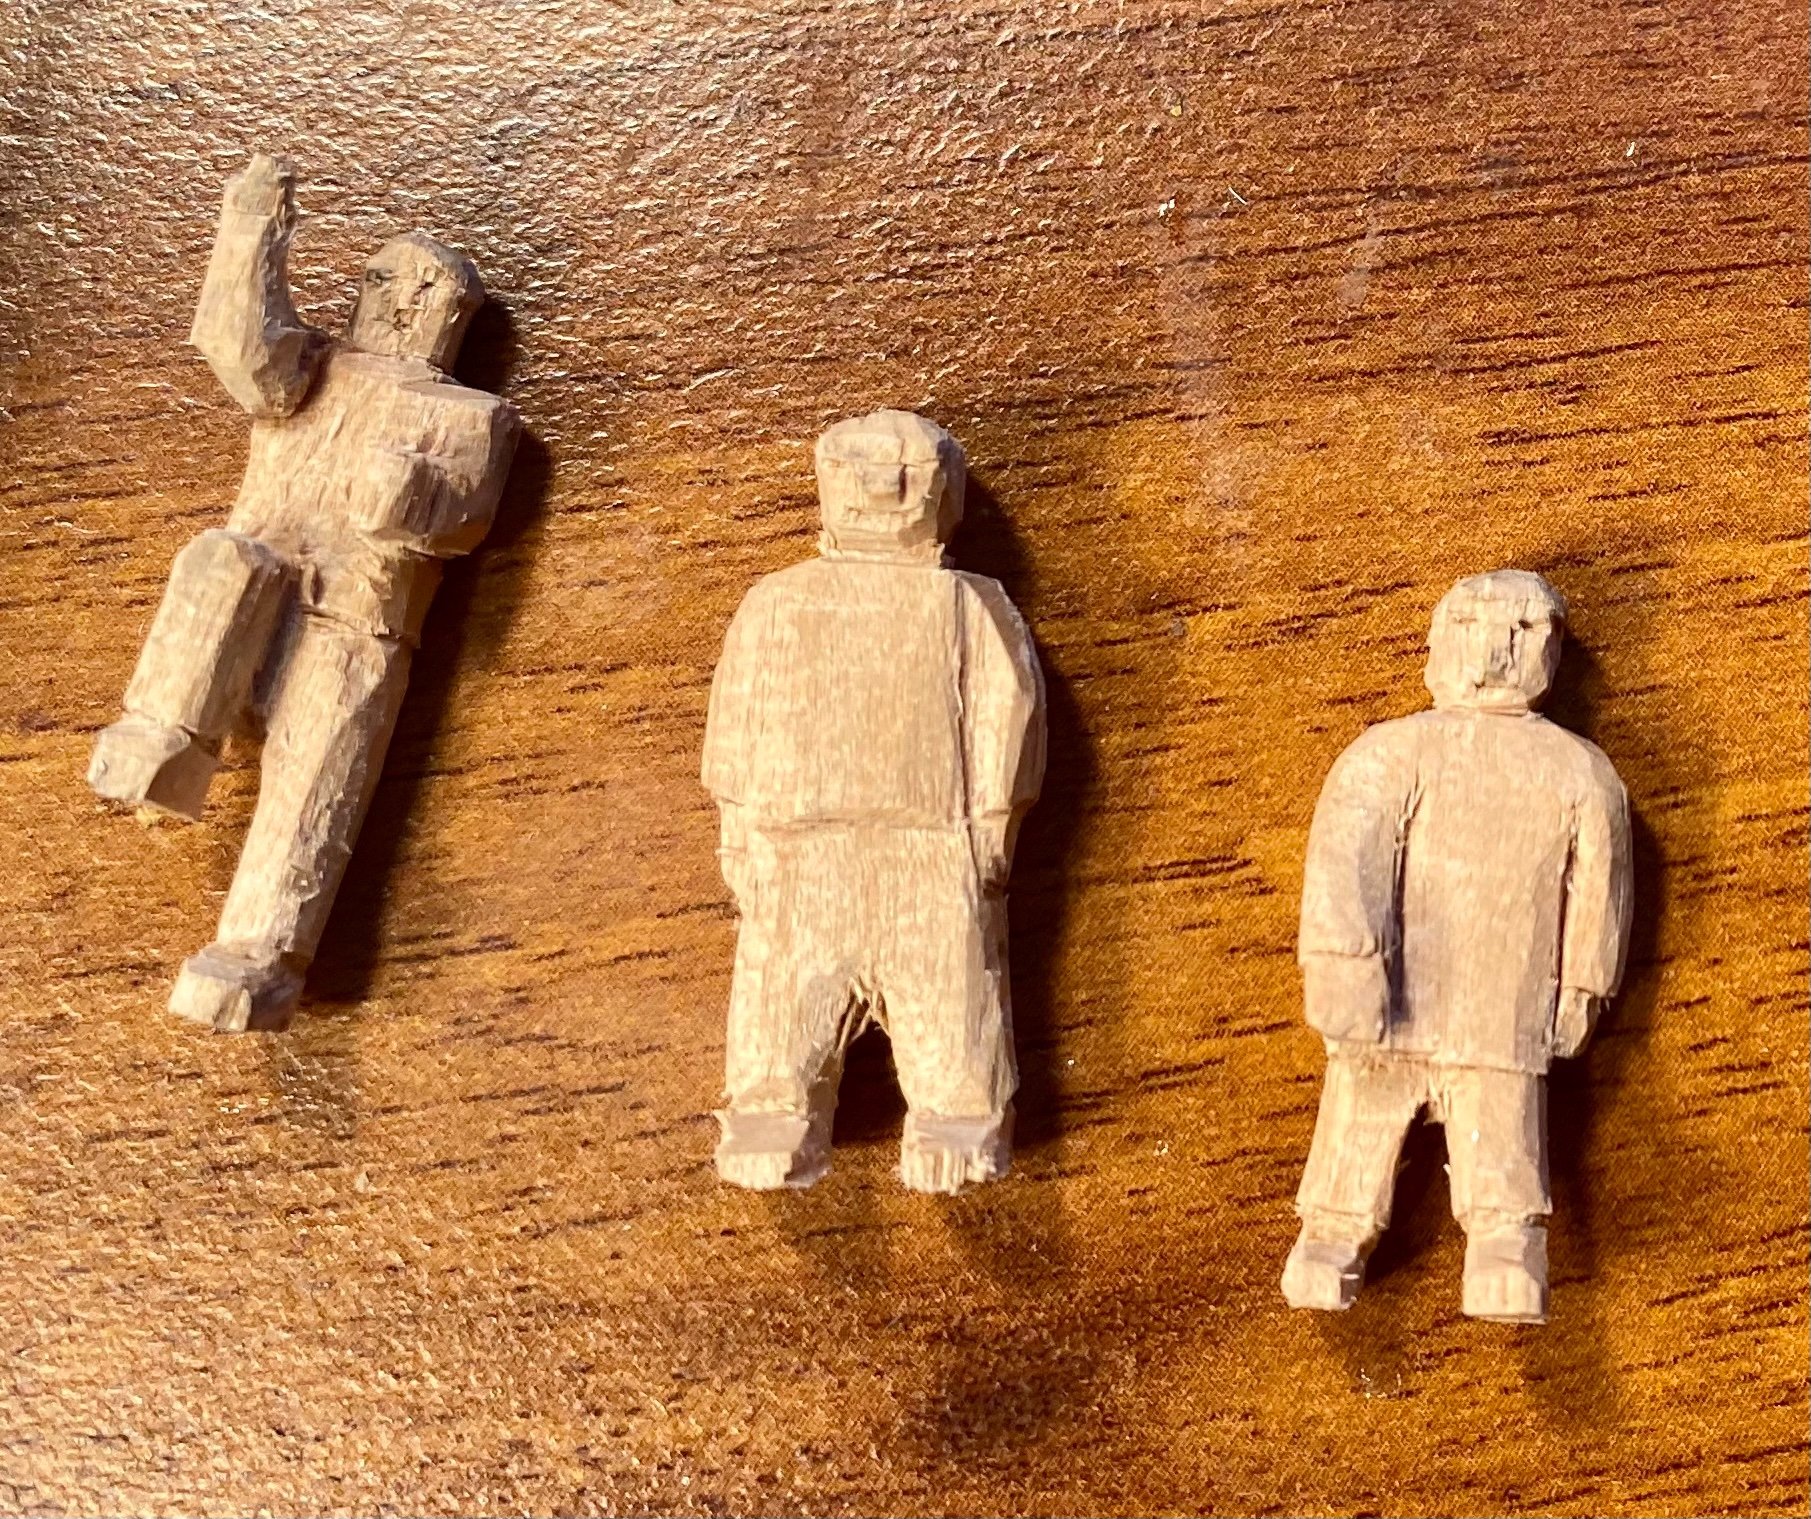
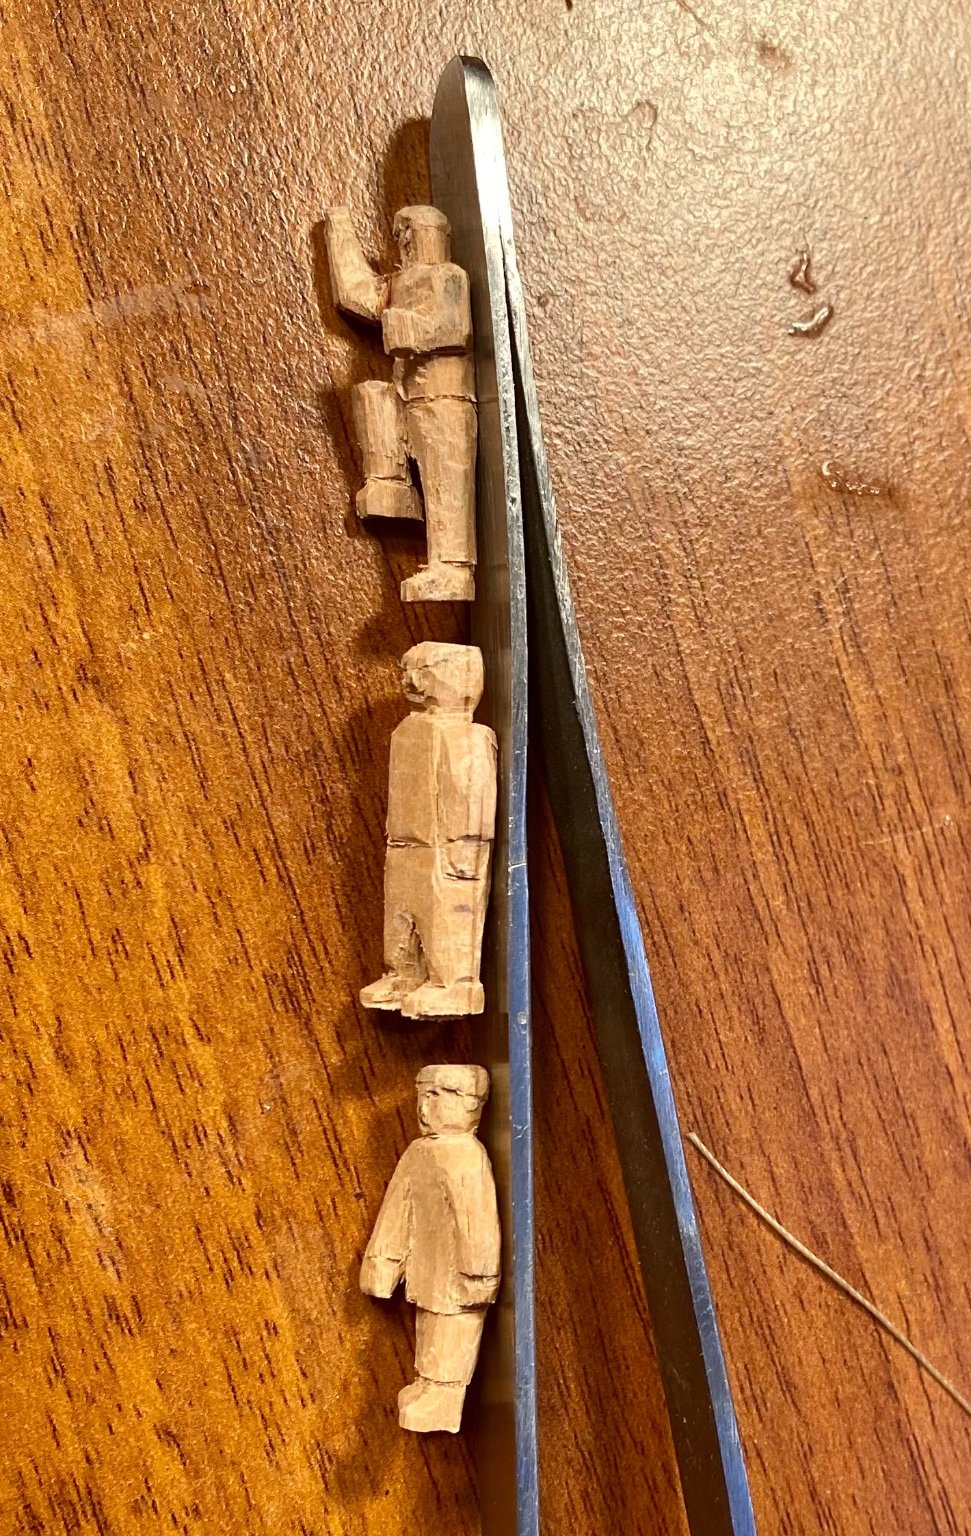
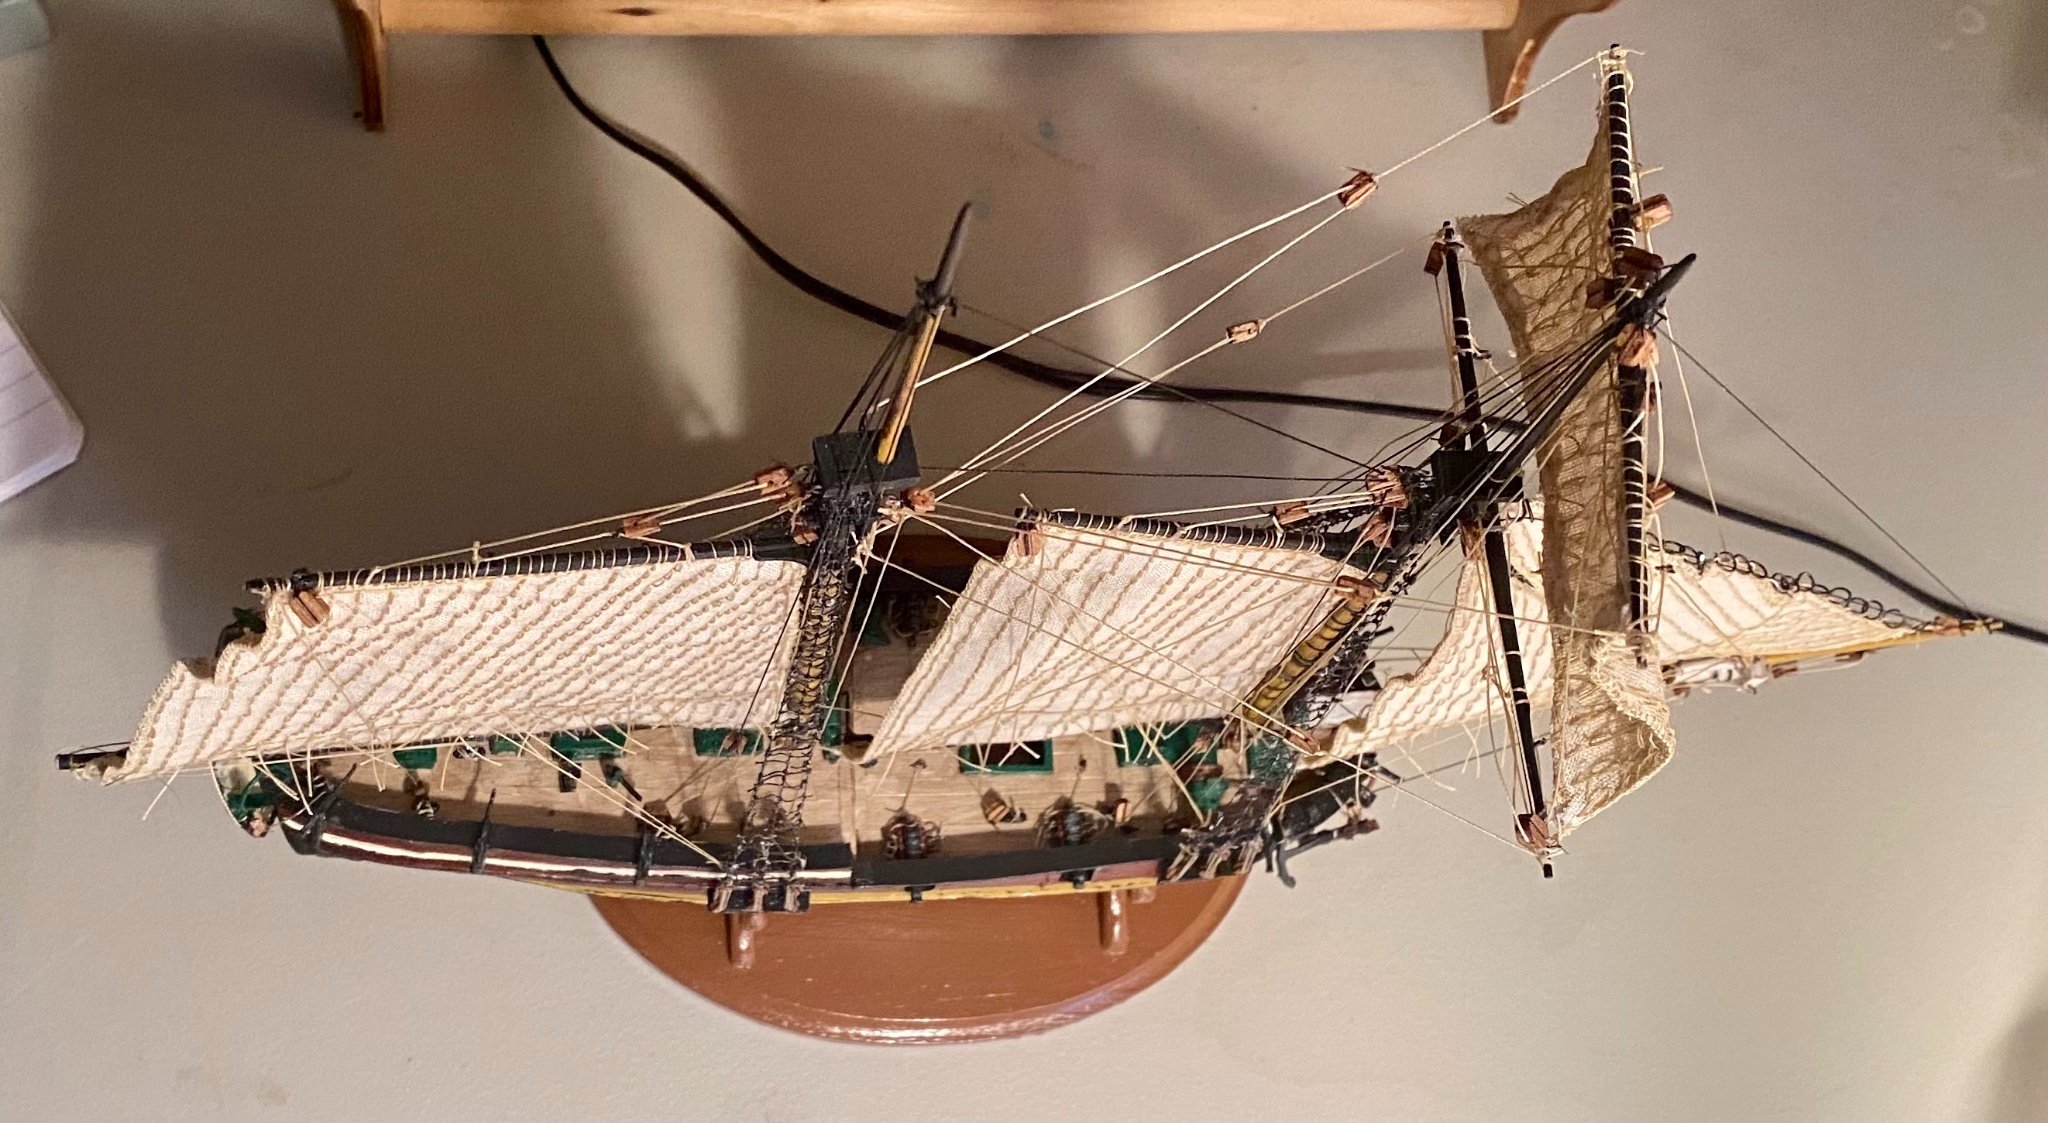
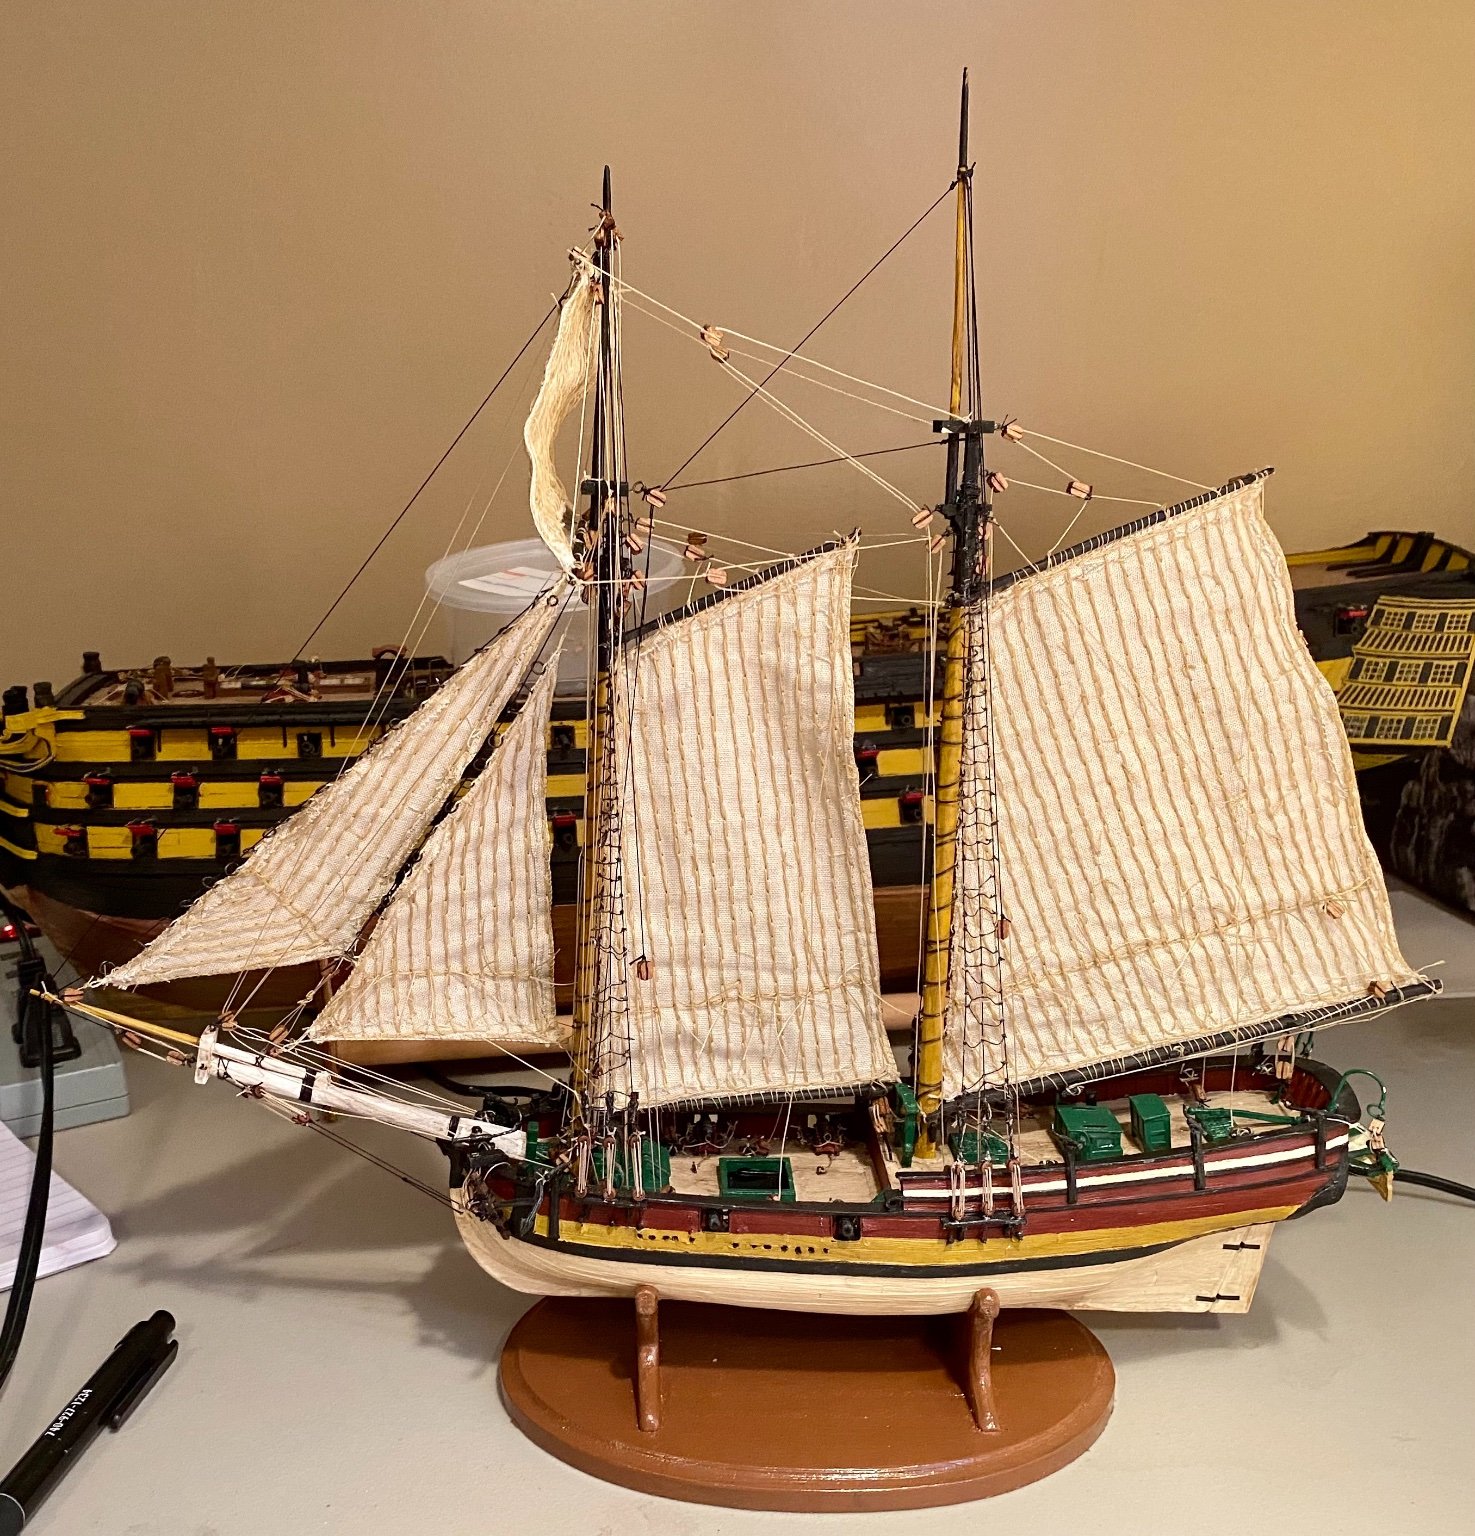
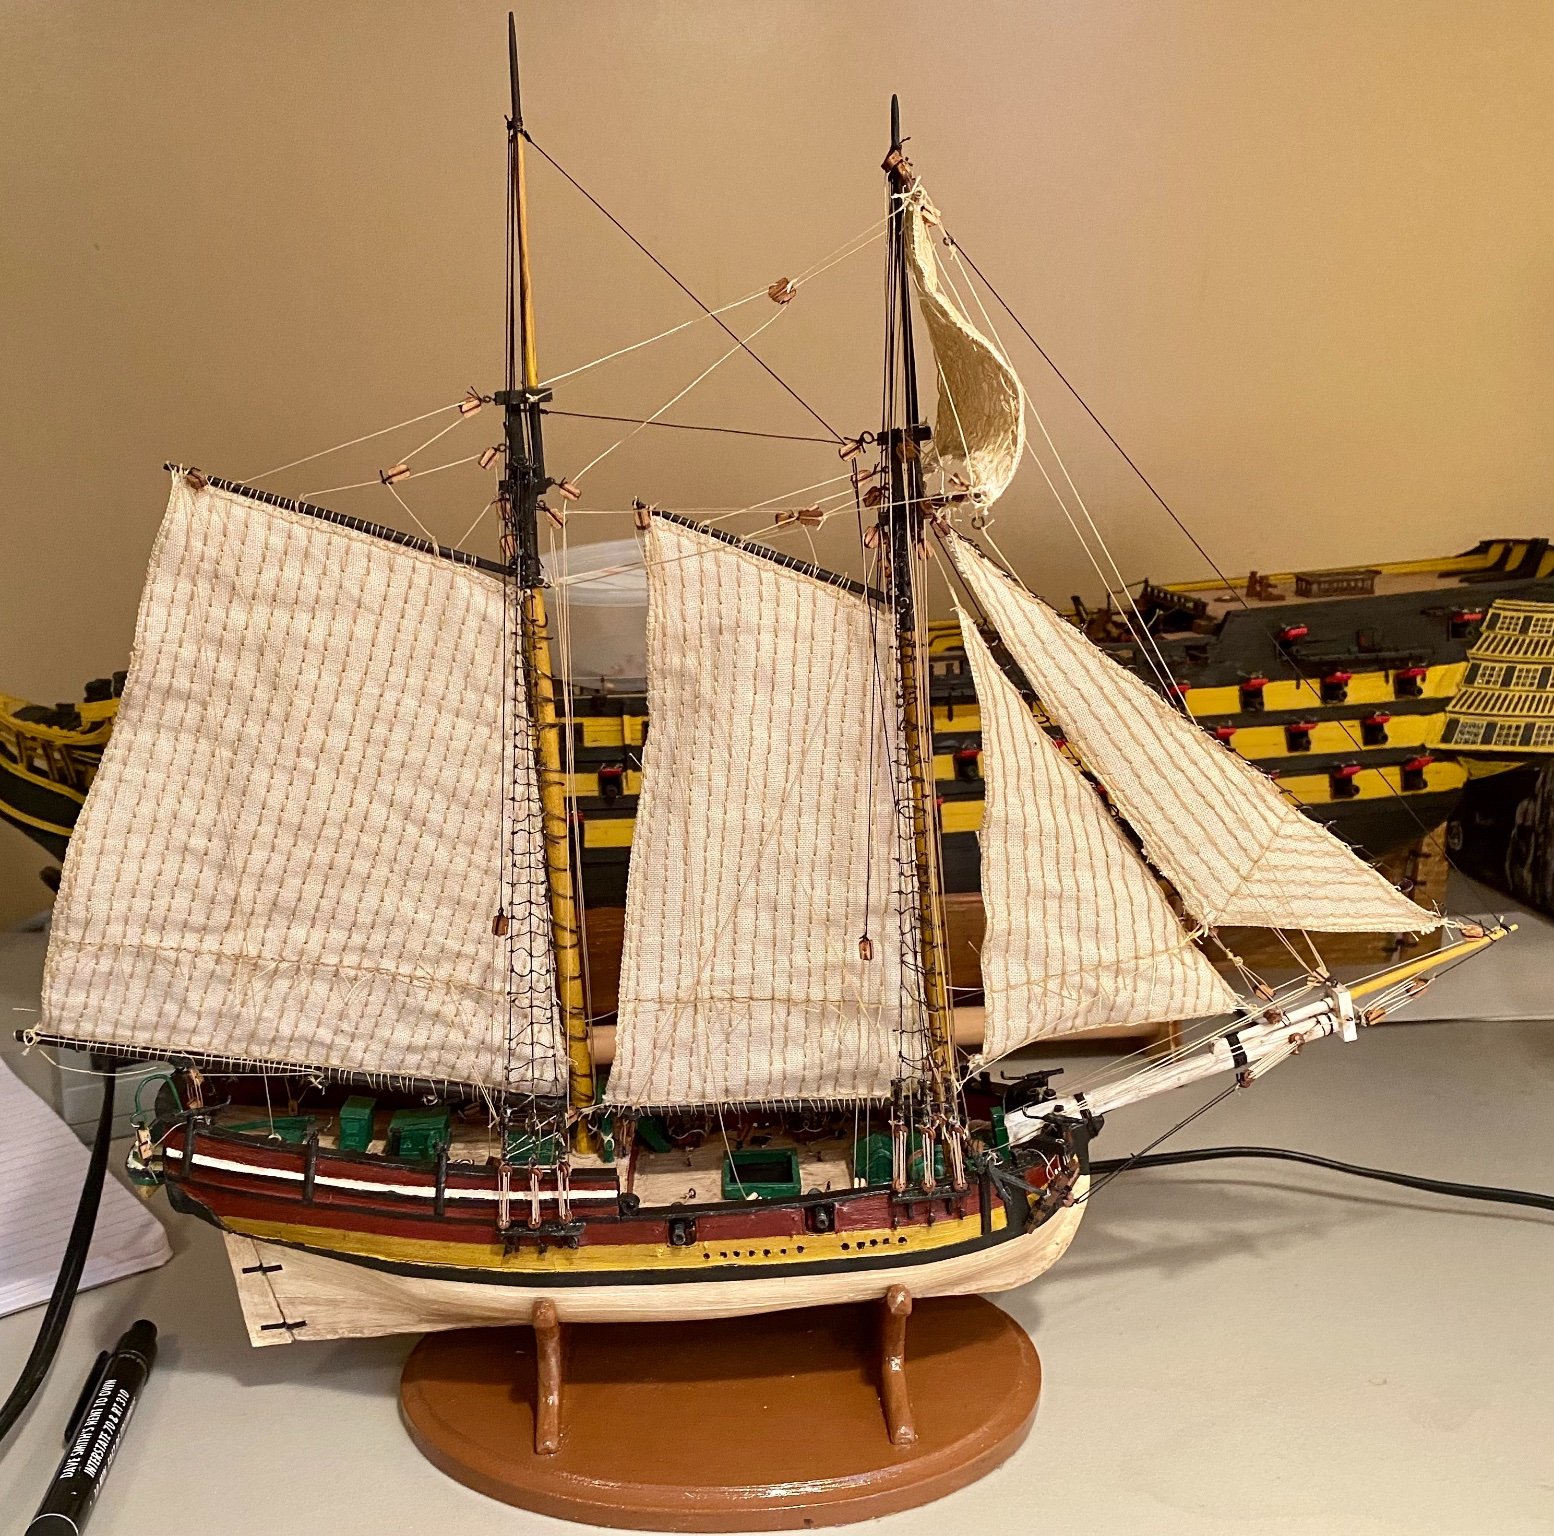
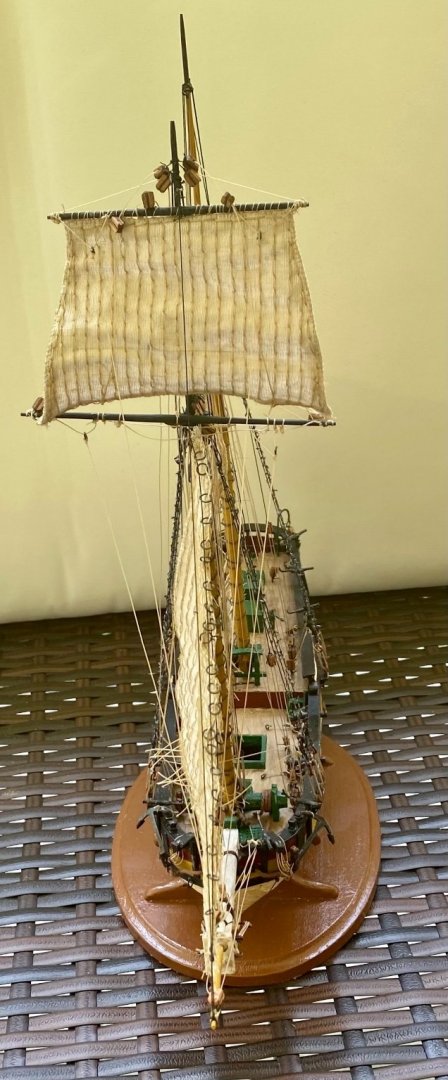
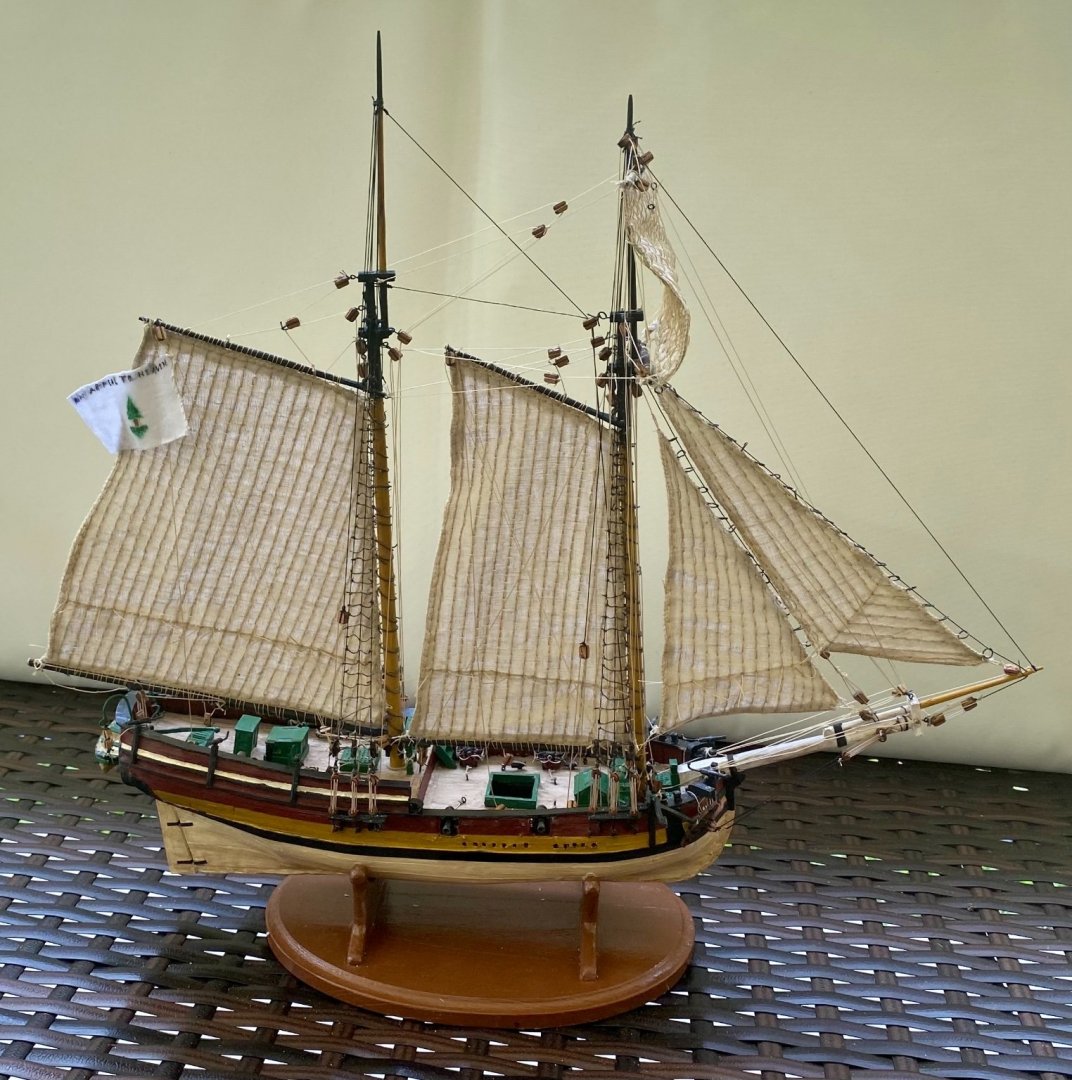
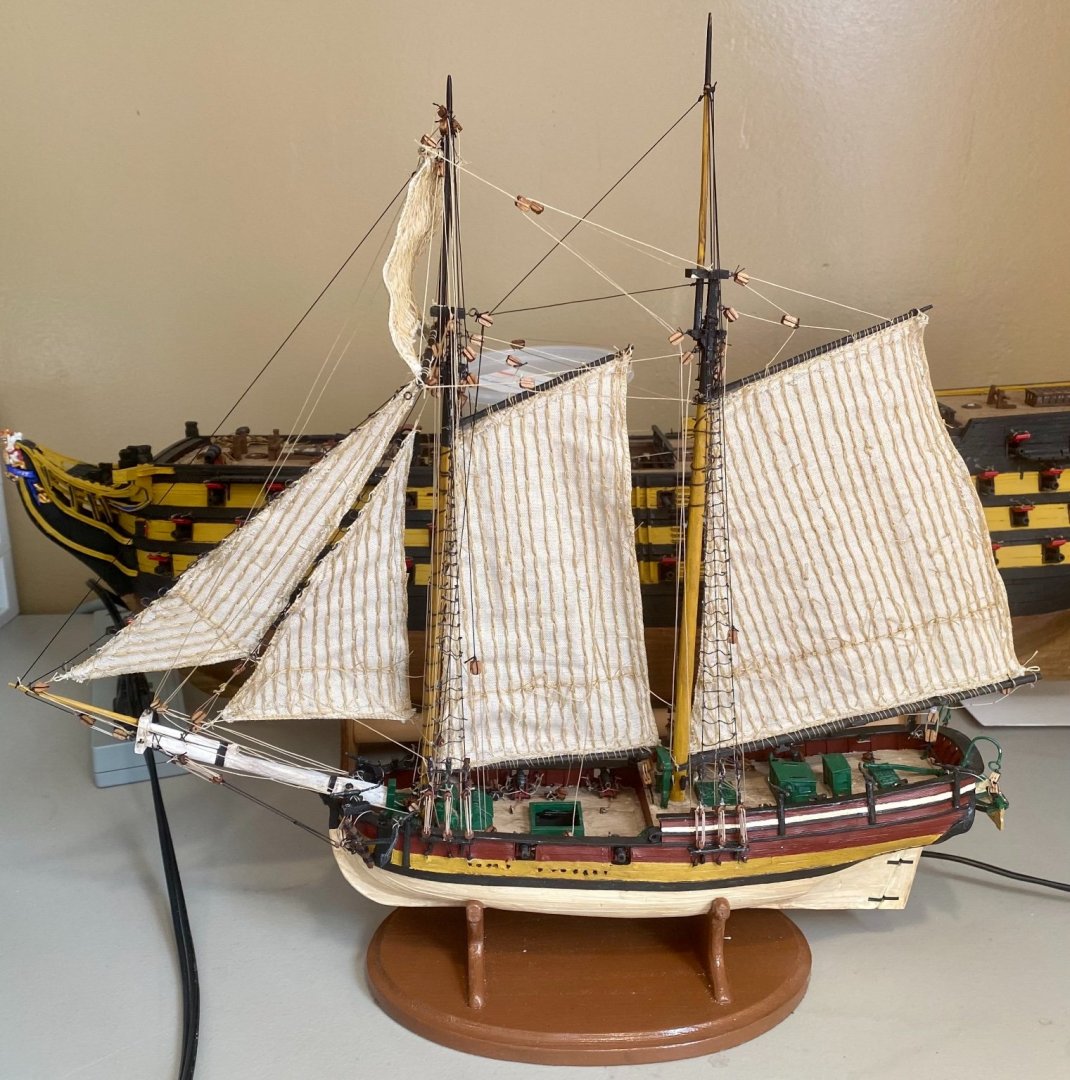
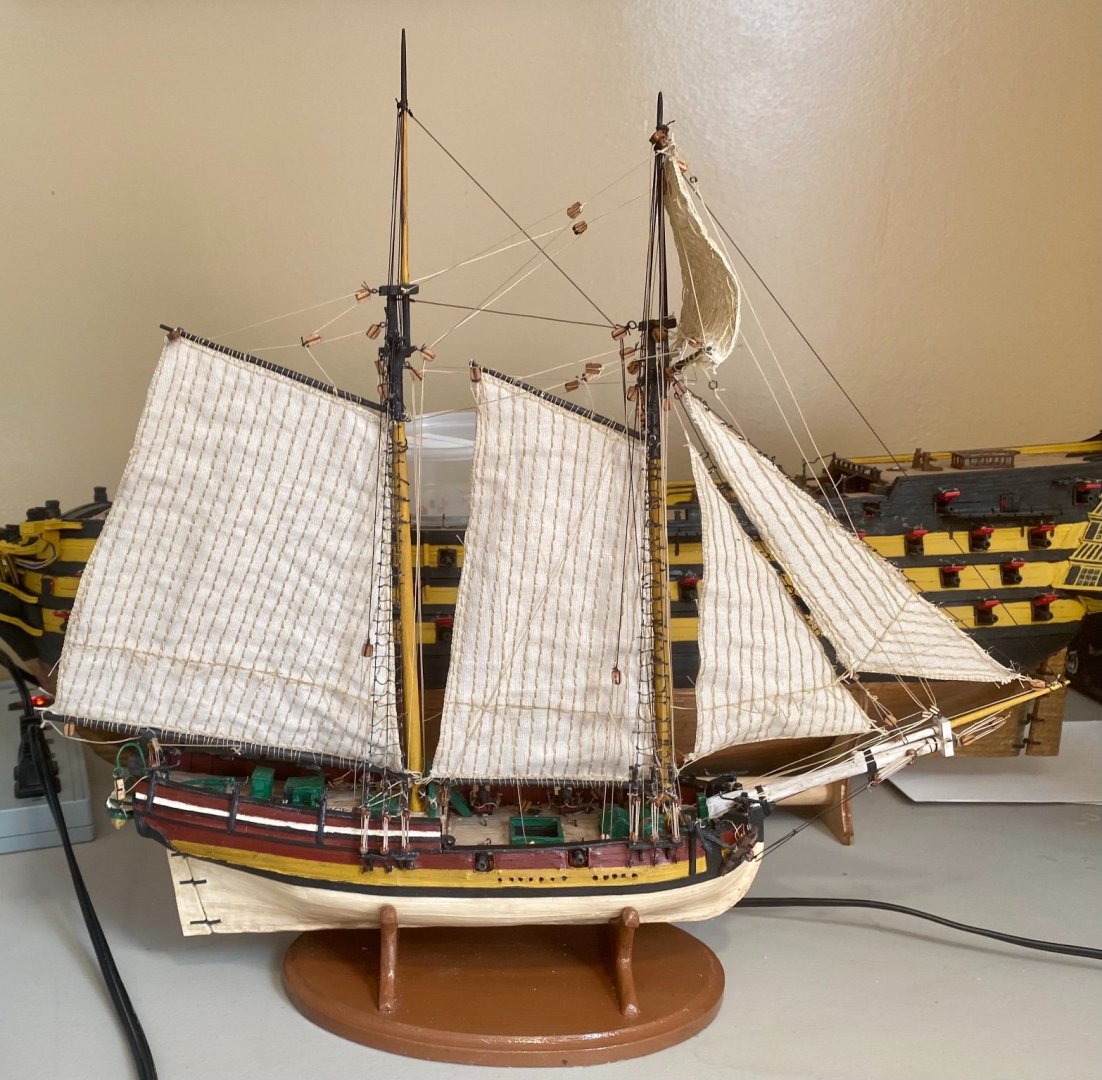
I think that I’m calling Hannah done. I know I talked about making crew figures and I made some. However, I didn’t think they added much to the model, especially as crowded as the deck already is. Thank you all for following along, for the comments and the likes!


-
Looking great, OC!
-
Congratulations! Well done!
-
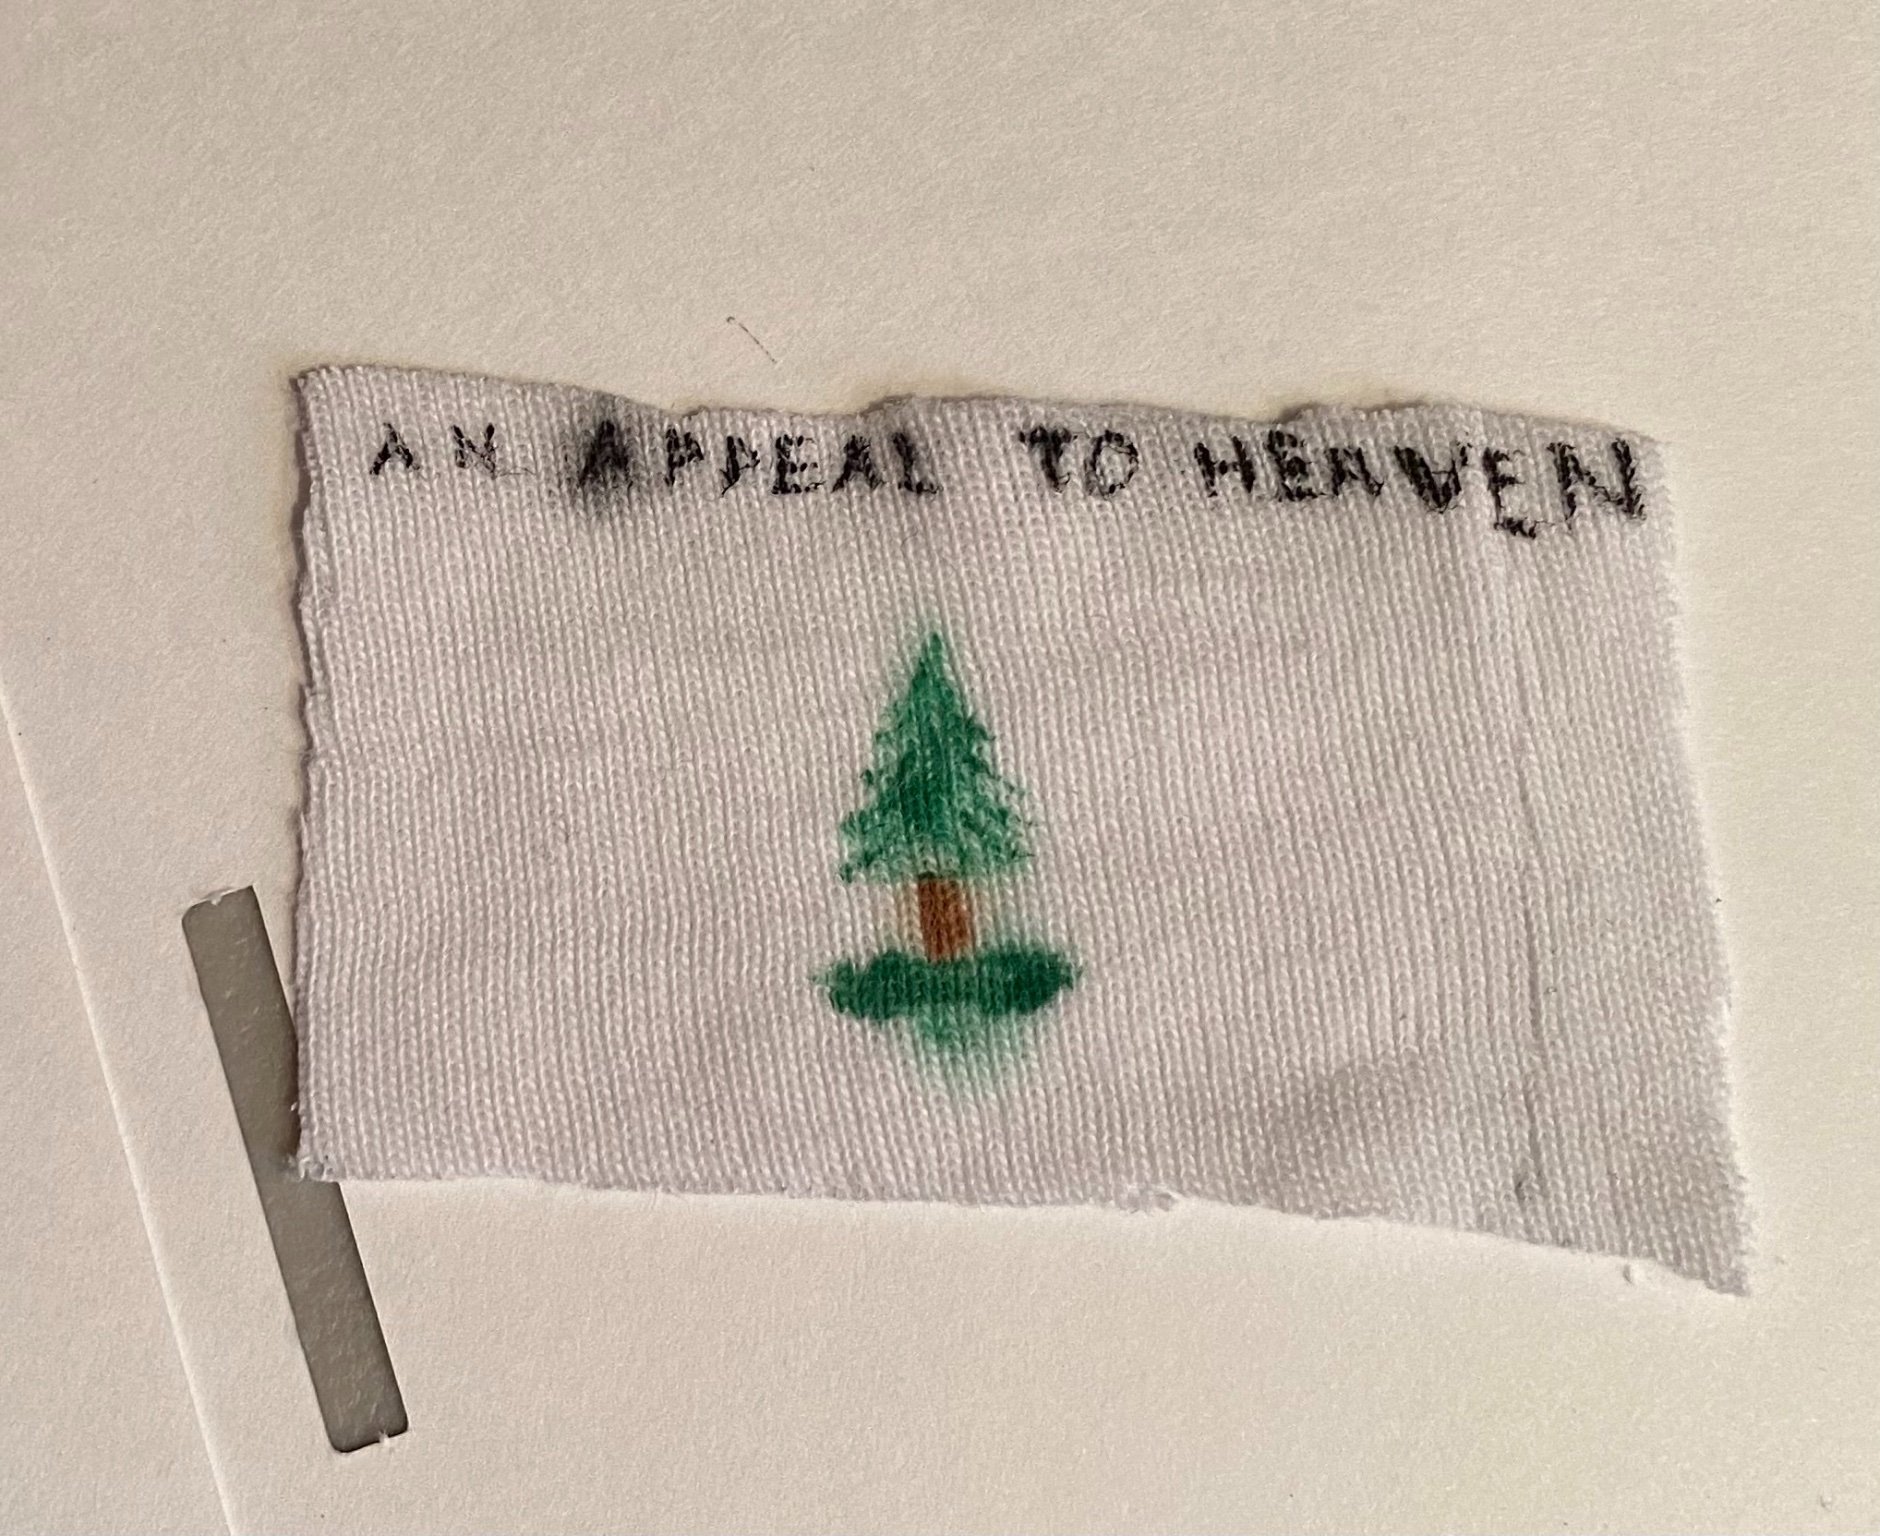
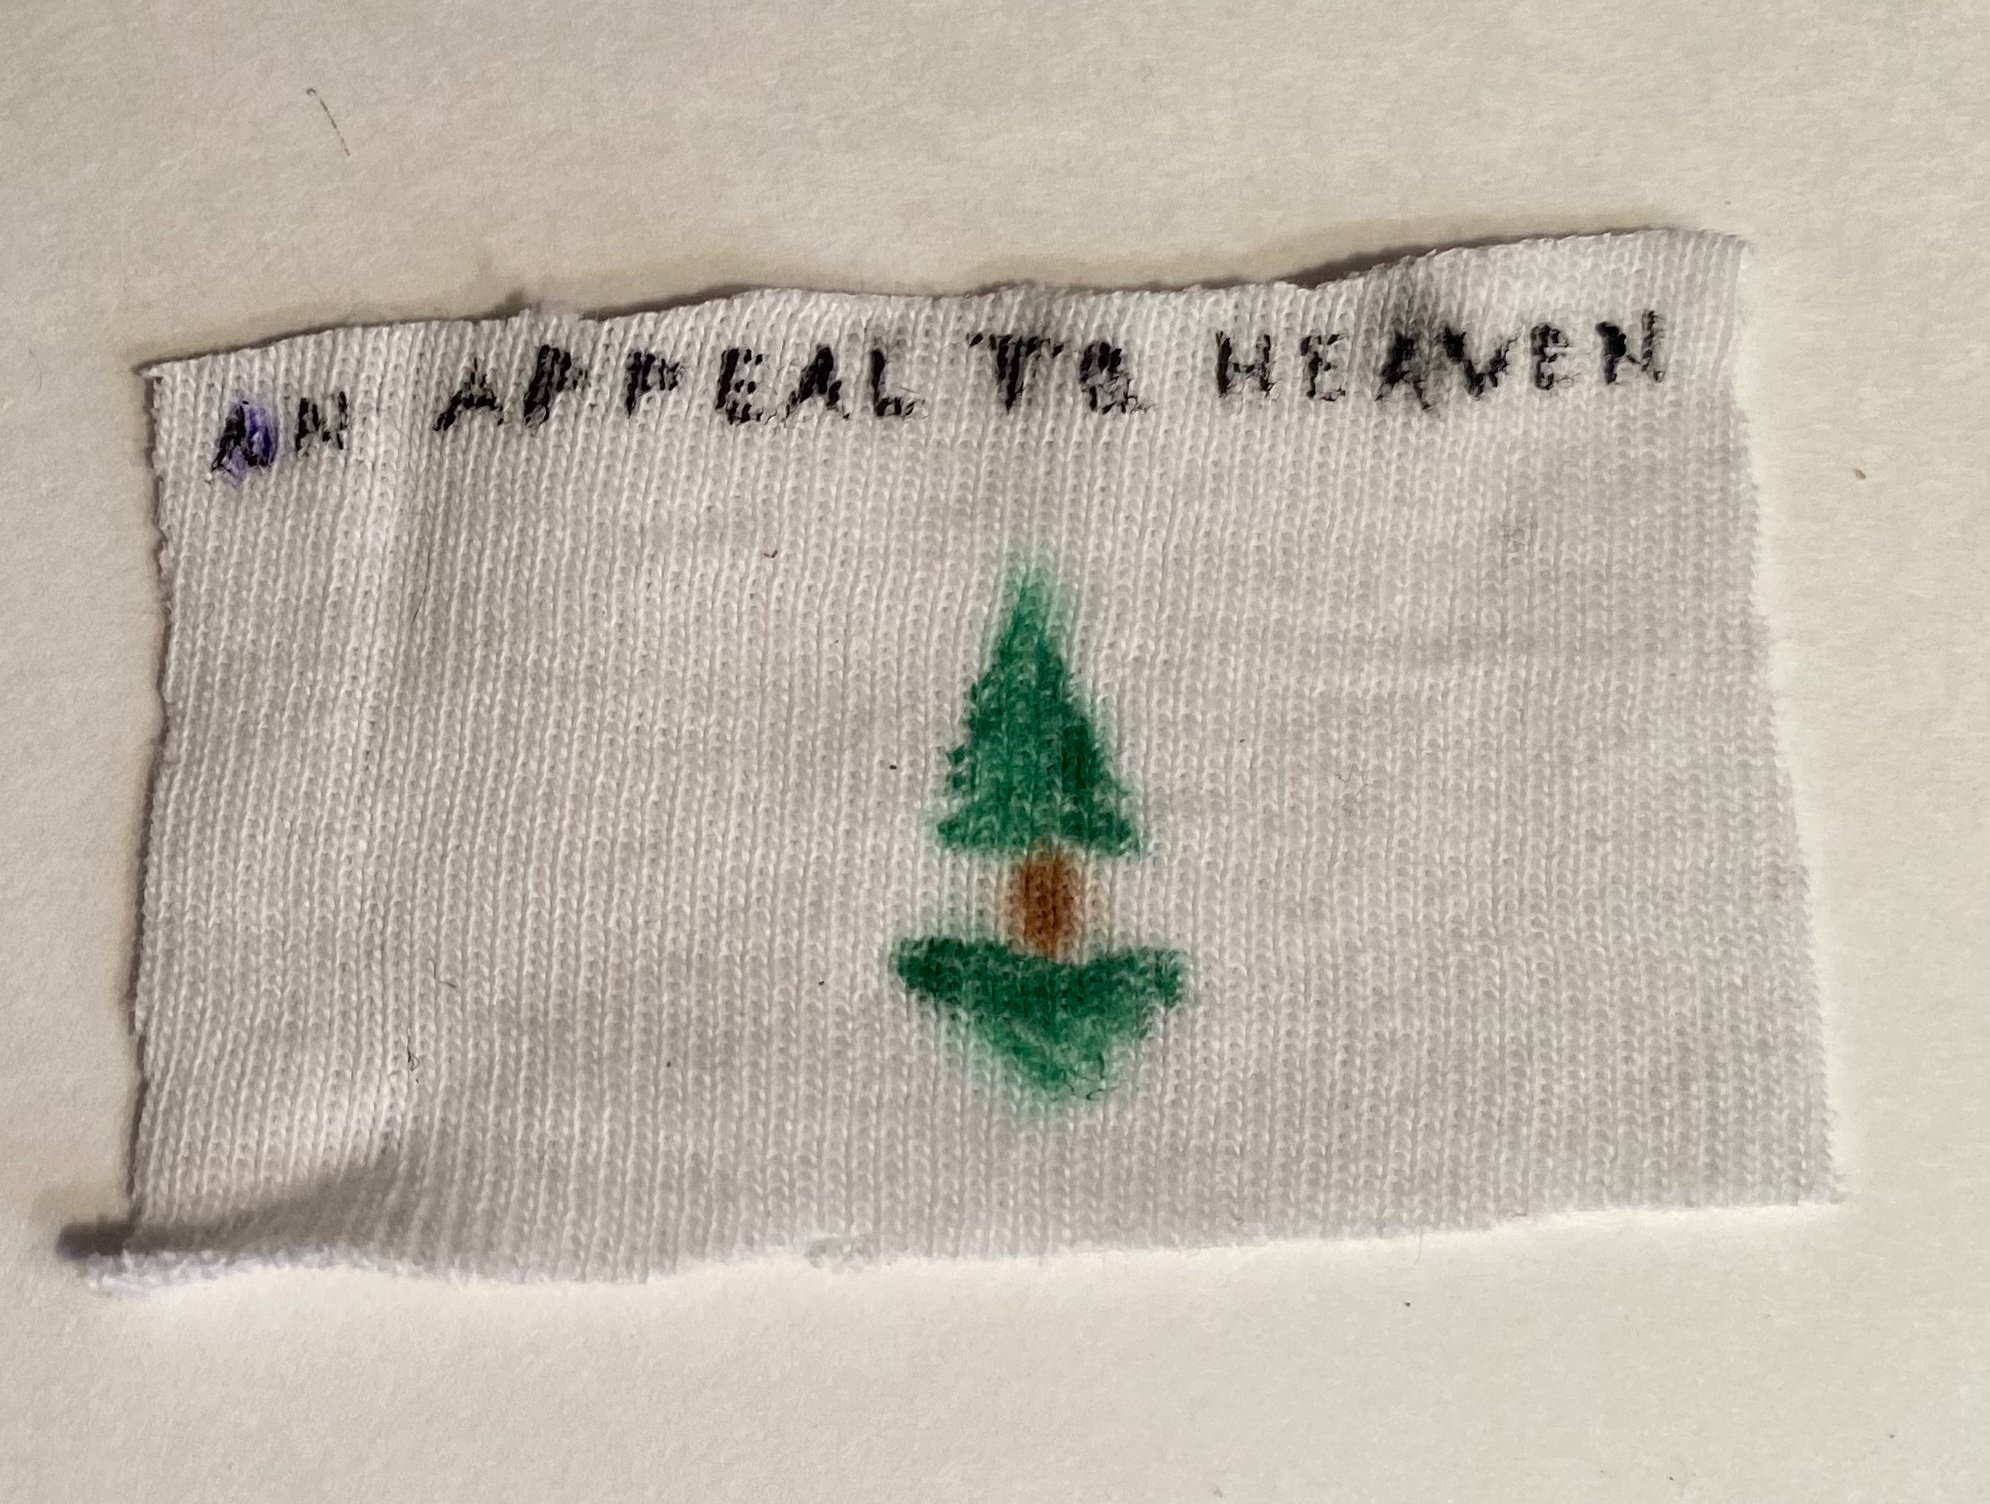
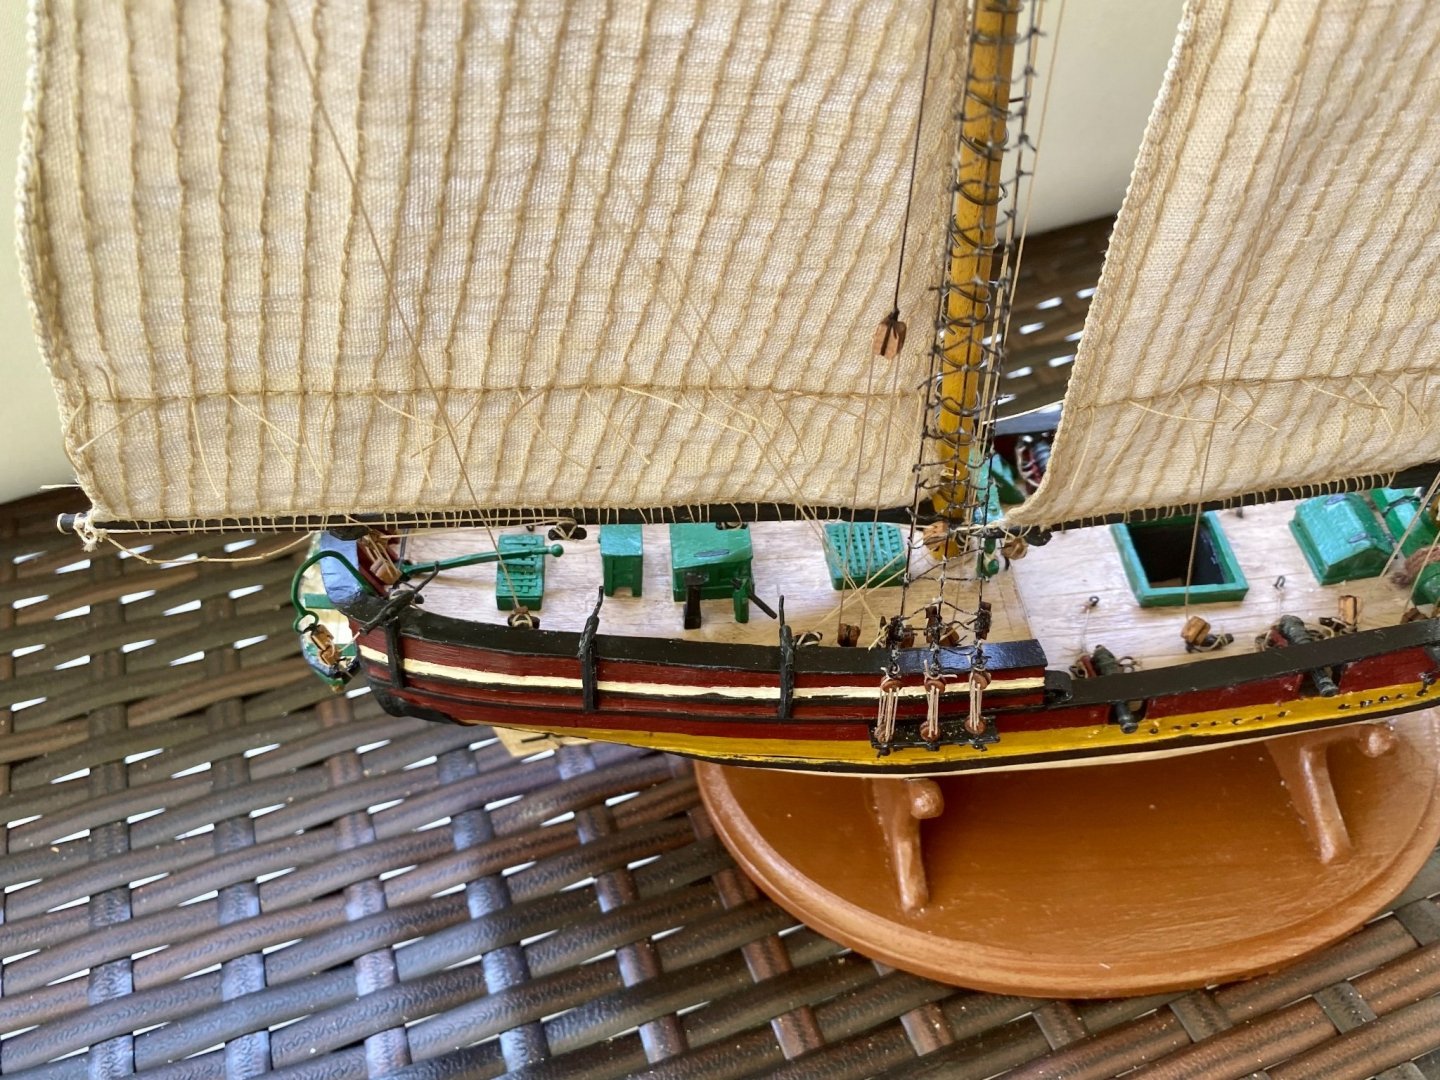
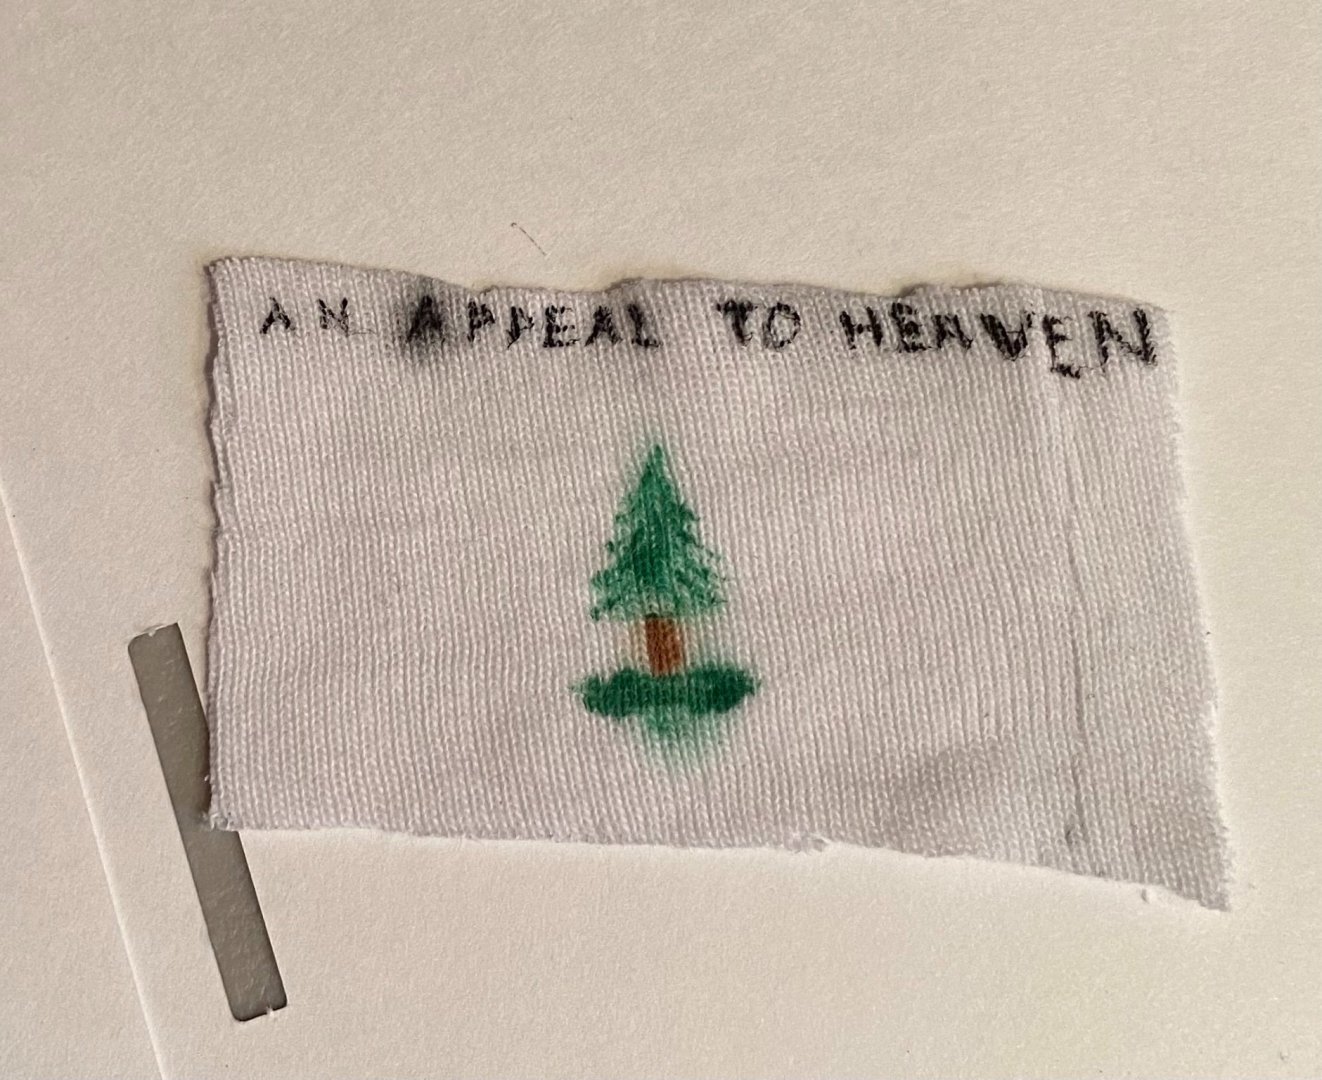
A flag: It still needs some trimming and isn’t as good as a lot of them, but not bad for my first scratch made cloth flag. That used be a t-shirt once upon a time, lol.

-
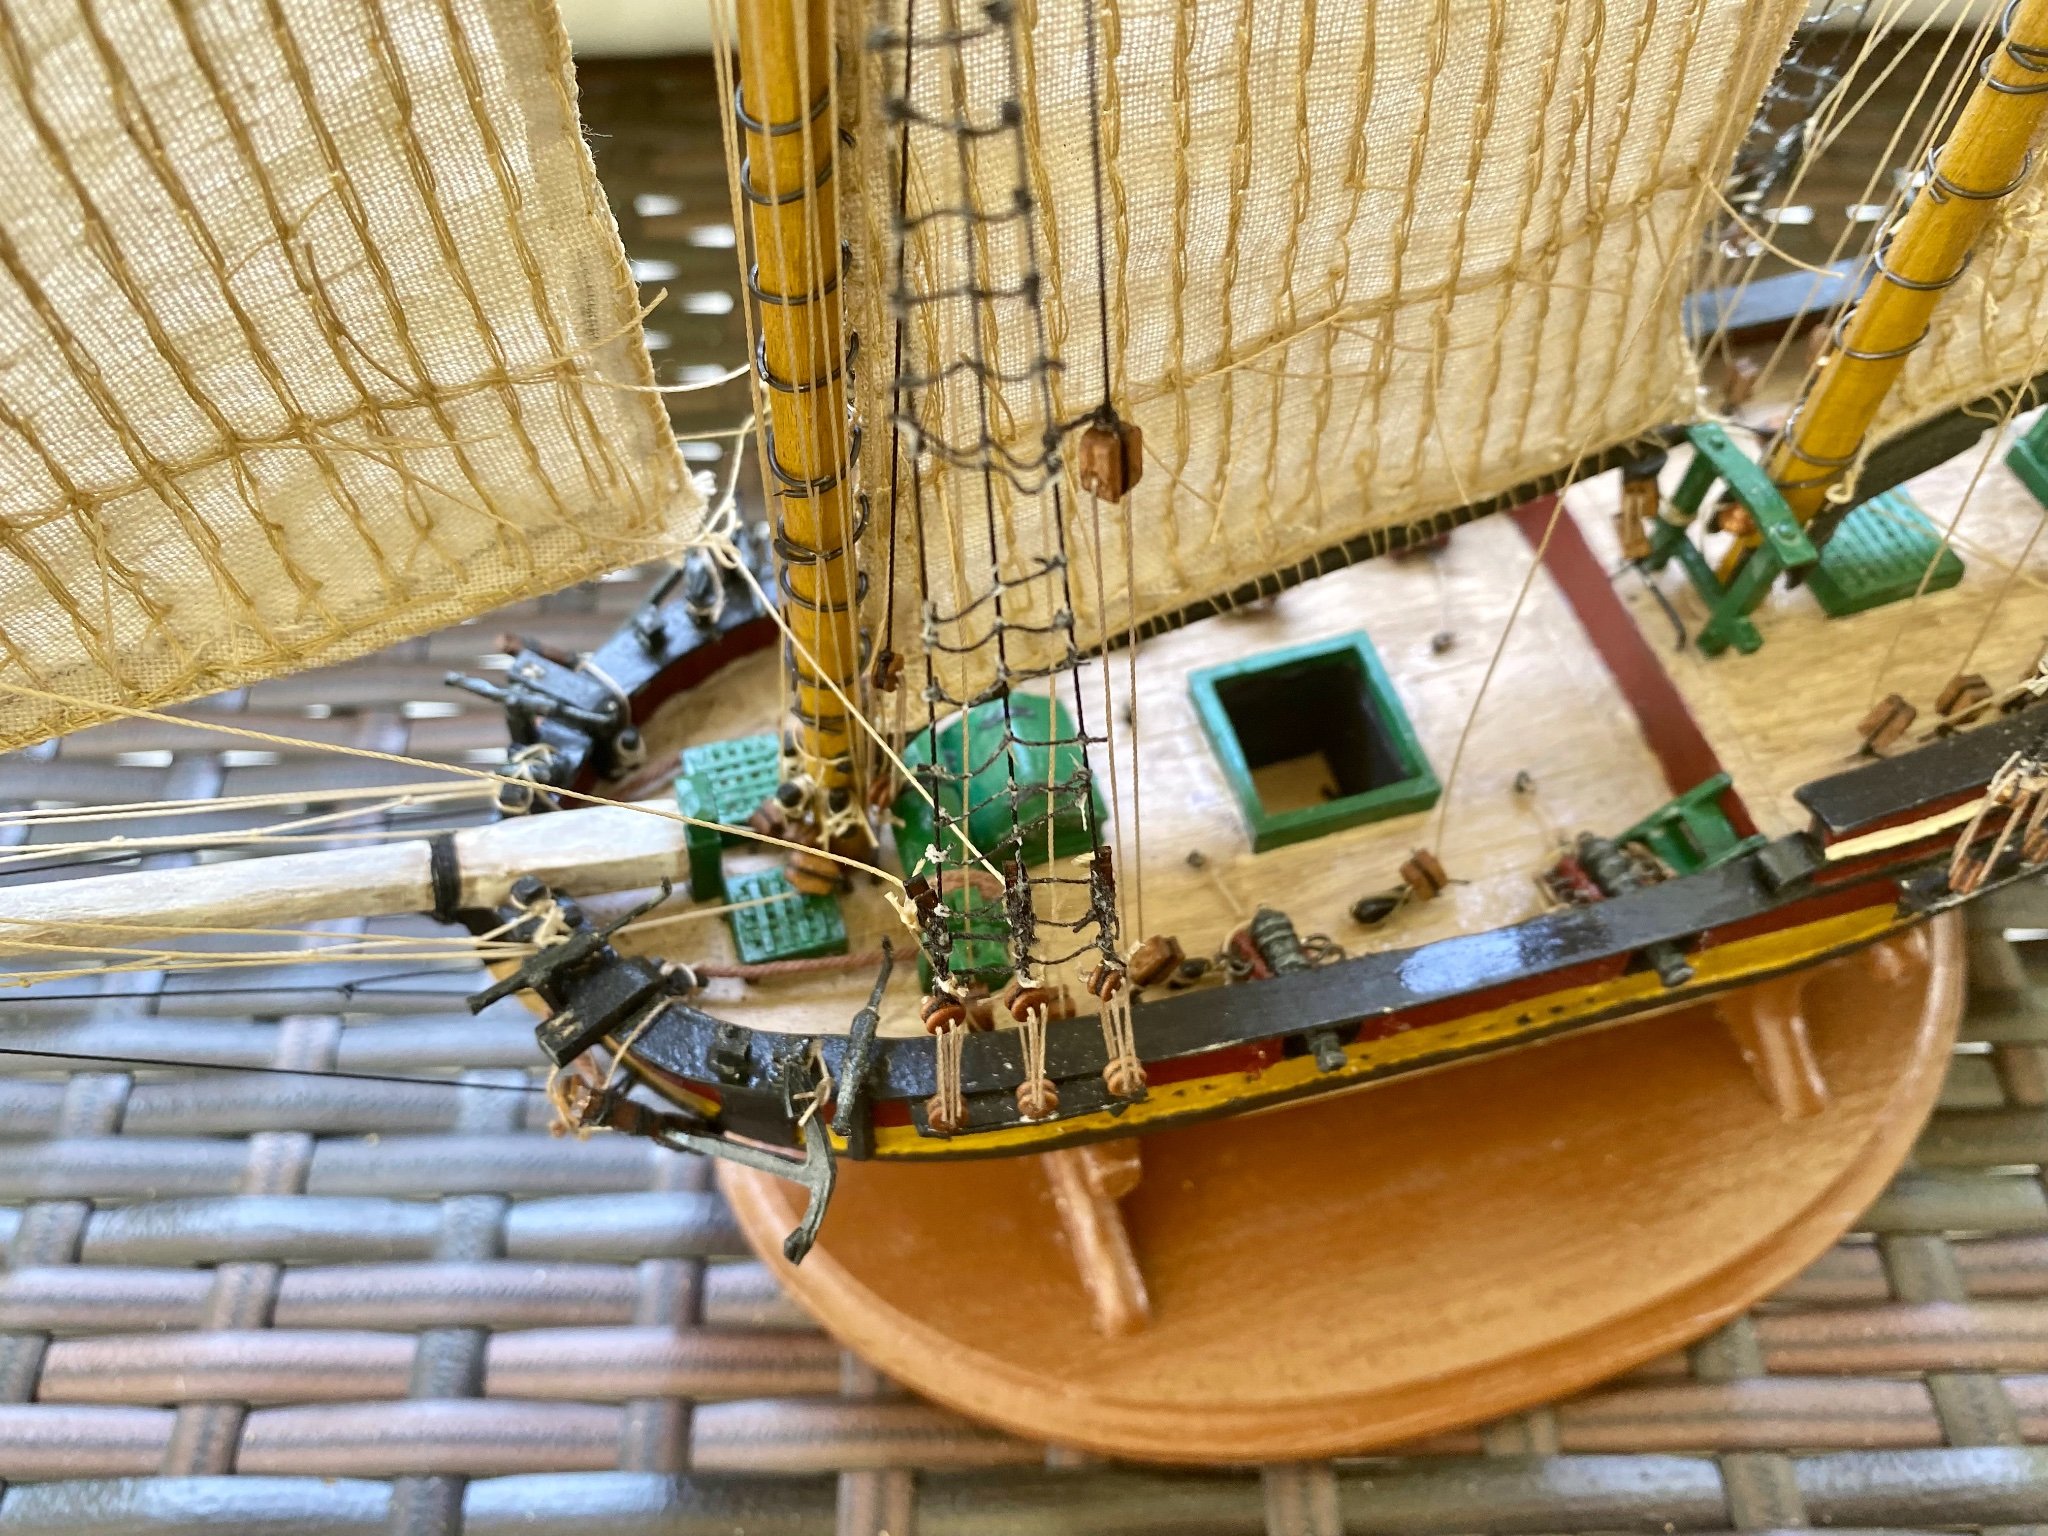
The next steps are making a flag, the Appeal To Heaven Flag, making crew members and rope coils. Then on to touch ups! During a work trip, last year, I carved 3 figures. These are the first figures that I have ever carved. I have one more blank for a climbing figure. So I will use that and then try my hand at sculpting. I have a couple packets of modeling clay and I really want to learn to sculpt.


-
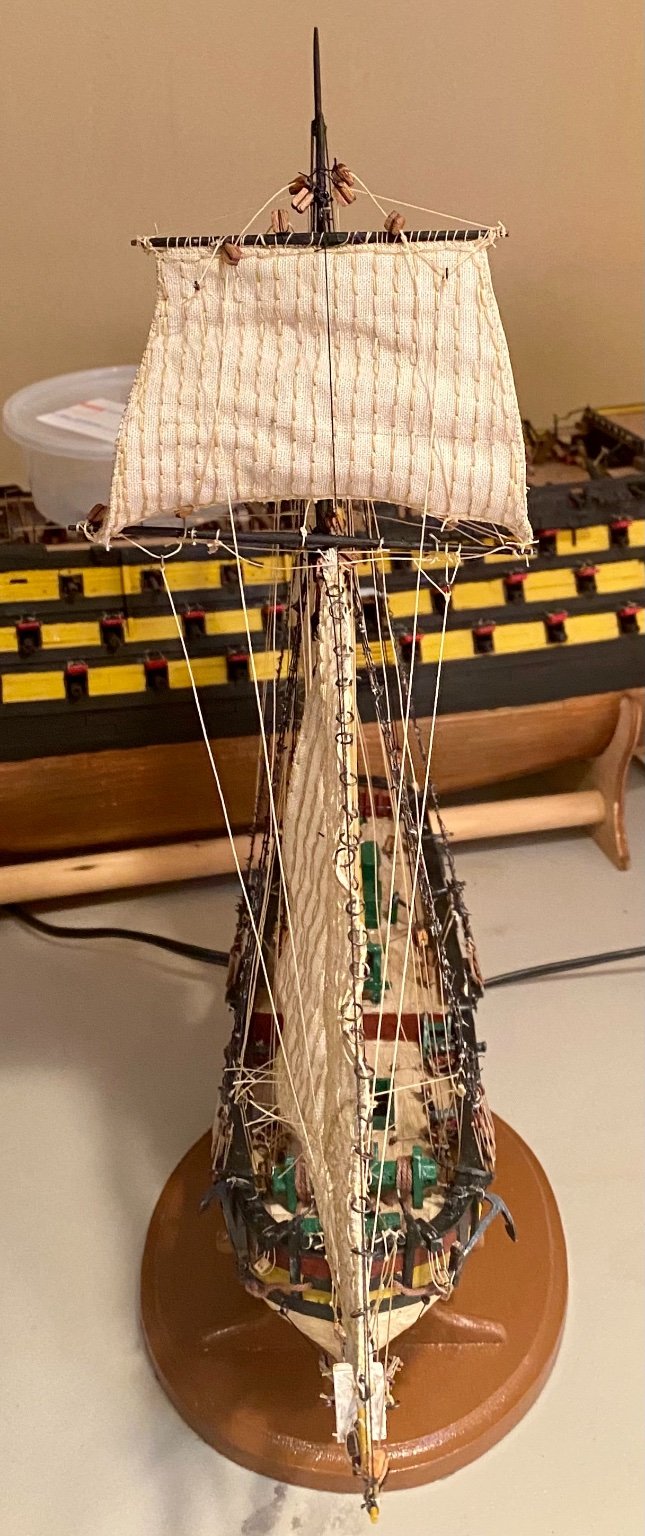
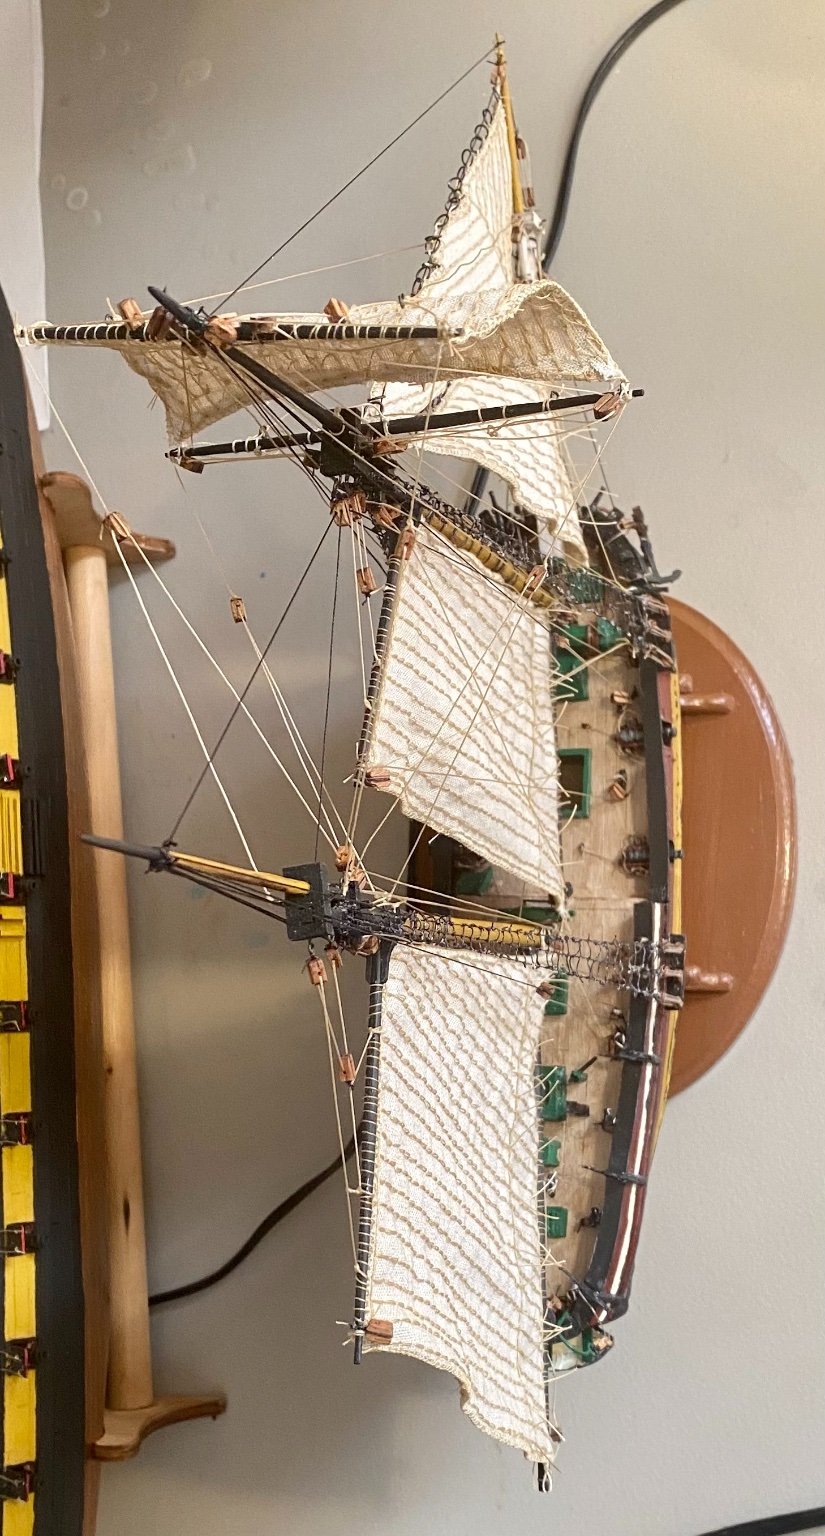
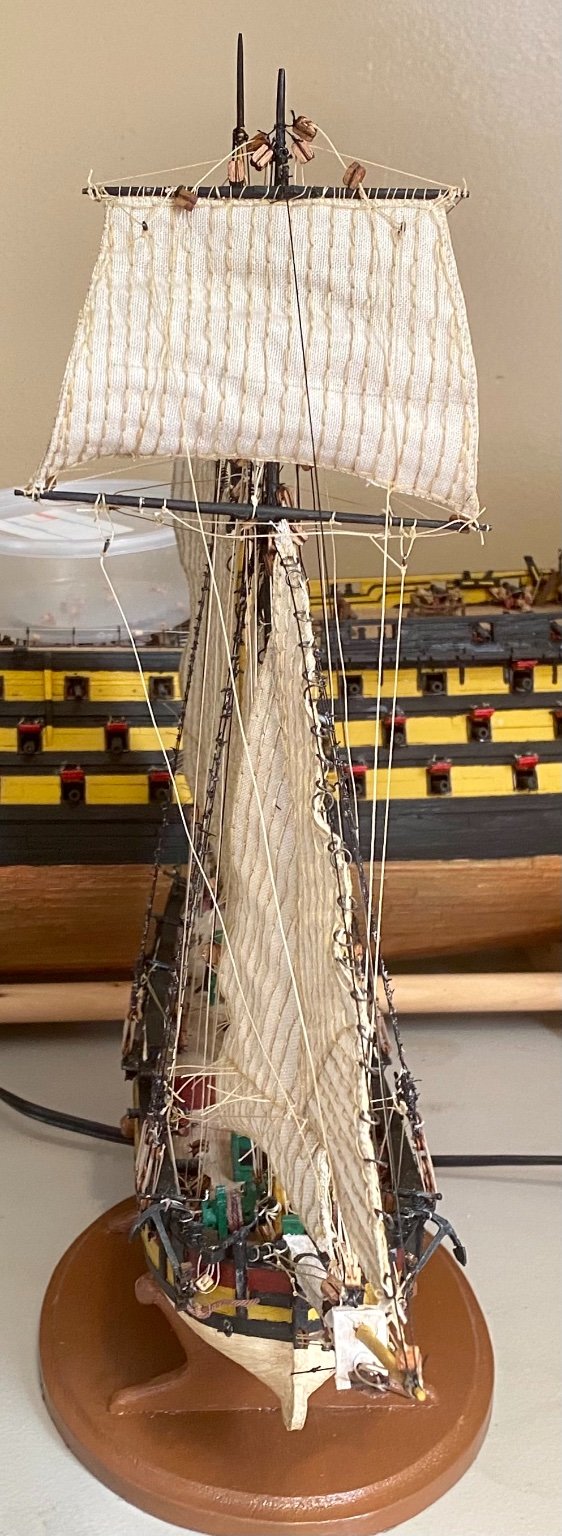
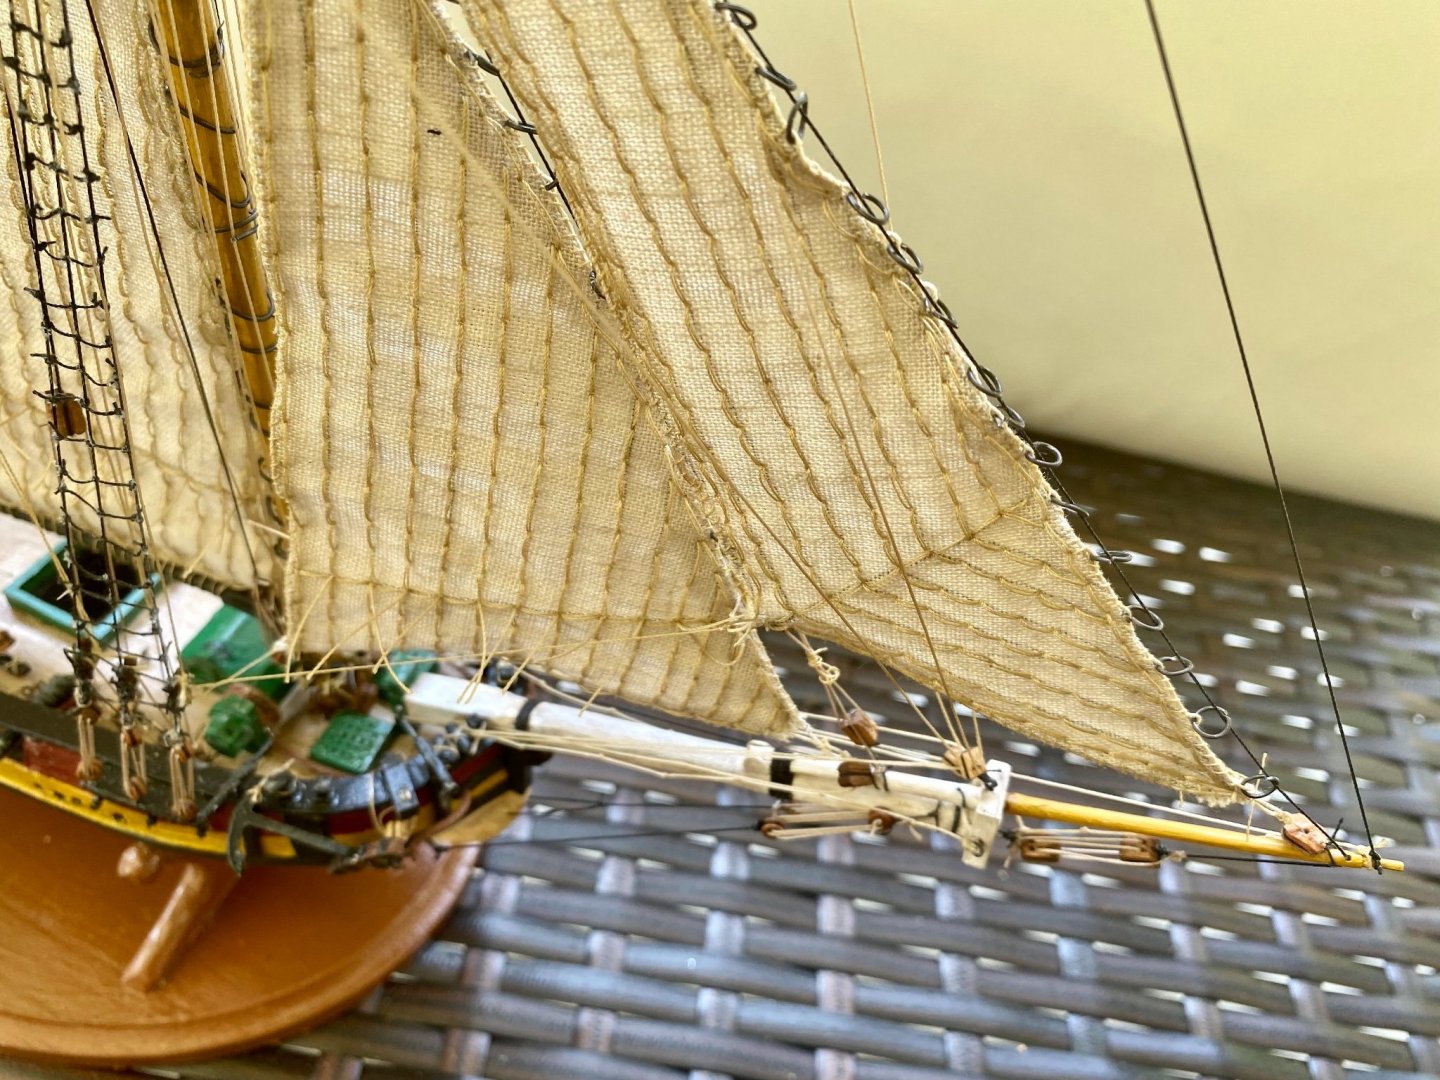
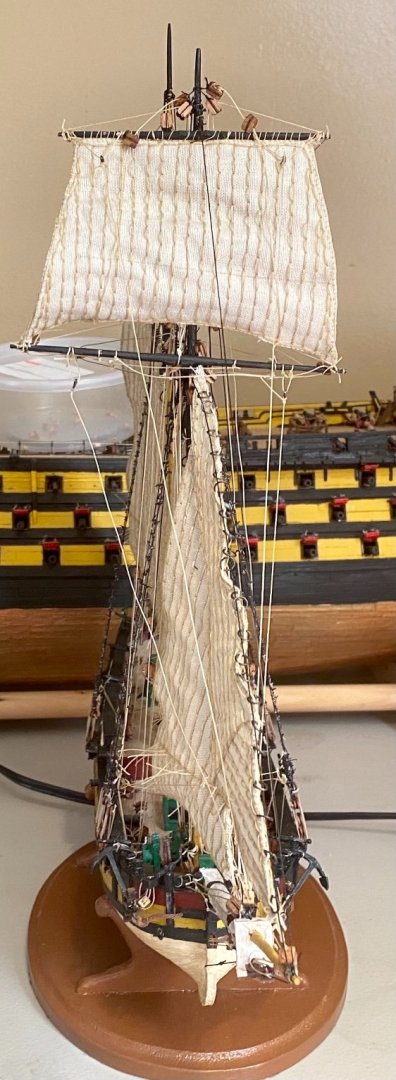
The fore topsail is rigged, but the tension on the rigging needs some adjustment because the yards are slightly whopper jawed. The main sail is on and in the process of being rigged. All that will be left after this are the flag, the crew and a bunch of rope coils. Then, I really need to finish Victory. I see a lot of those sitting in the background of people’s work benches.

-
I just received my Victory Models plans of HMS Revenge, drawn by Chris Watton, from Cornwall Model Boats. They are awesome! I have never seen a set of plans more complete. I will be building the Revenge after I finish Victory (I know better than to start another major project before finishing the Victory).
-
Welcome to Model Ship World!