GrandpaPhil
-
Posts
6,161 -
Joined
-
Last visited
Content Type
Profiles
Forums
Gallery
Events
Everything posted by GrandpaPhil
-
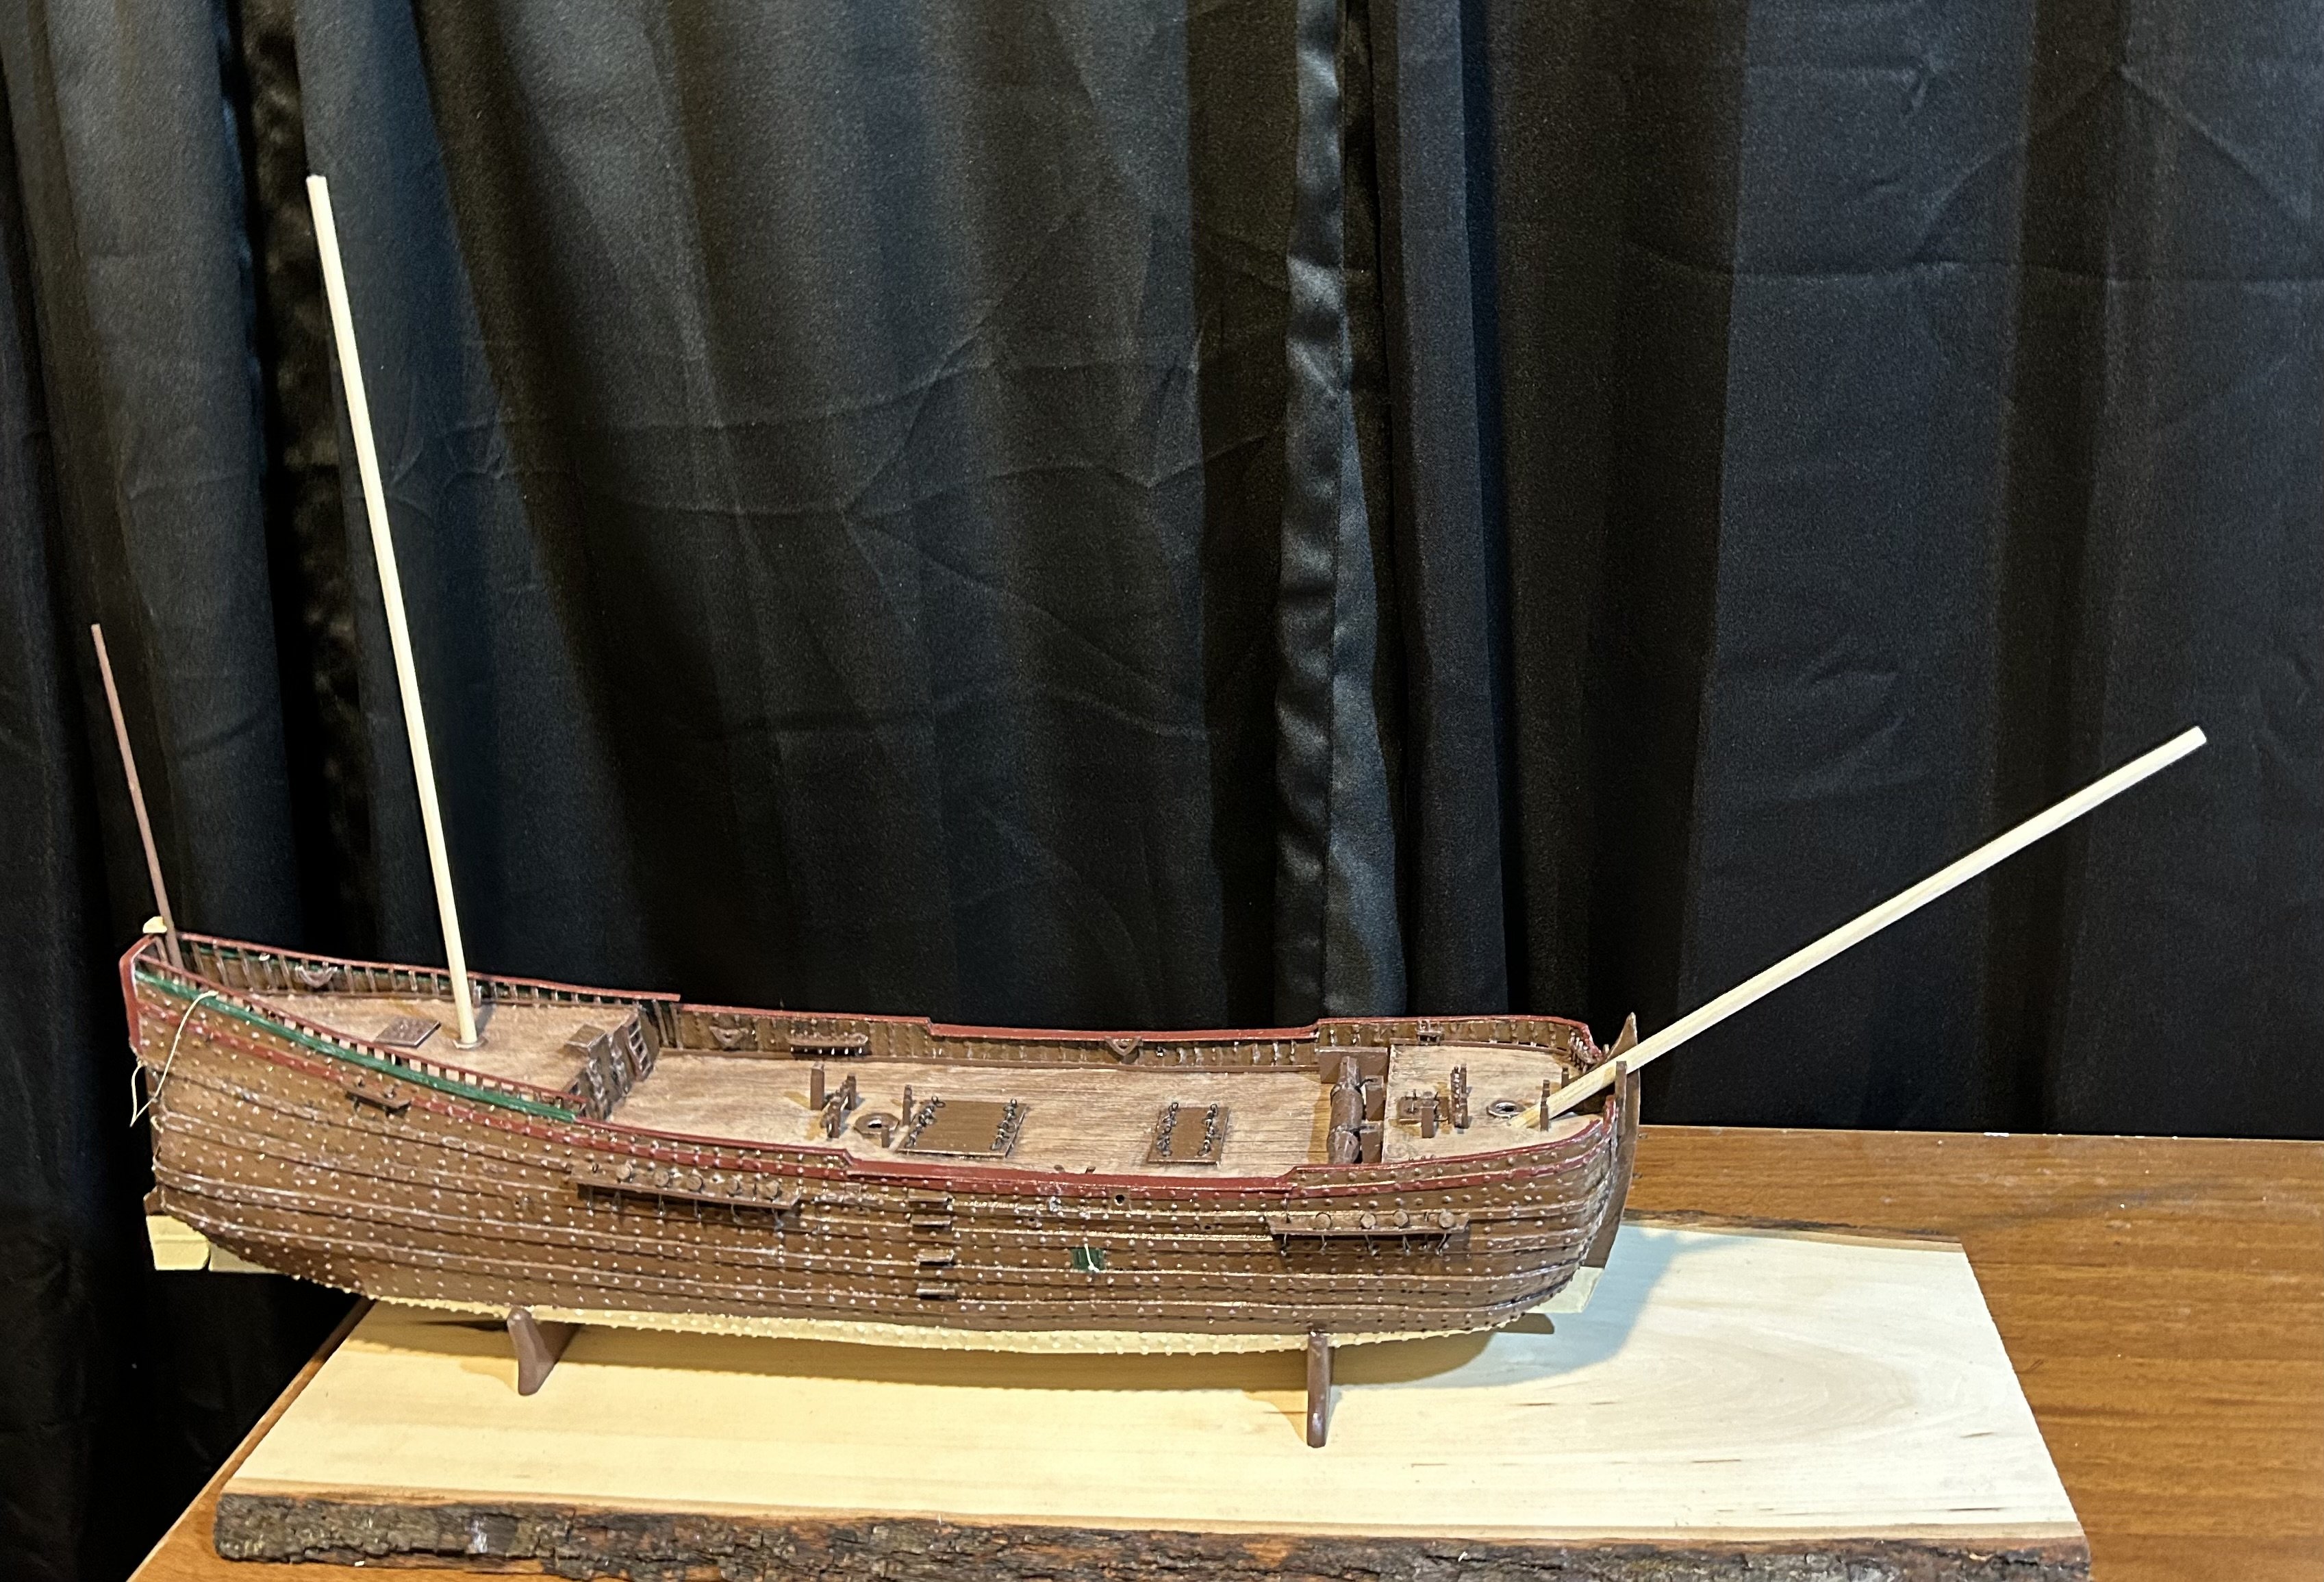
Thank you very much, Micha! Started on the masts: The flag pole is made and installed. The bow sprit is made and just sitting there. The mizzen mast has not been shaped yet, it is only cut to length, but is sitting in place. I need to go to a hardware store and get another dowel rod for my last two masts. I have some, but they have warped over time. They are all one piece masts since this ship was built in the 17th century when they still had old growth forests. The remaining masts will stand about 18-19” off the decks and be 11/32” in diameter at the base.

-
Welcome!
-
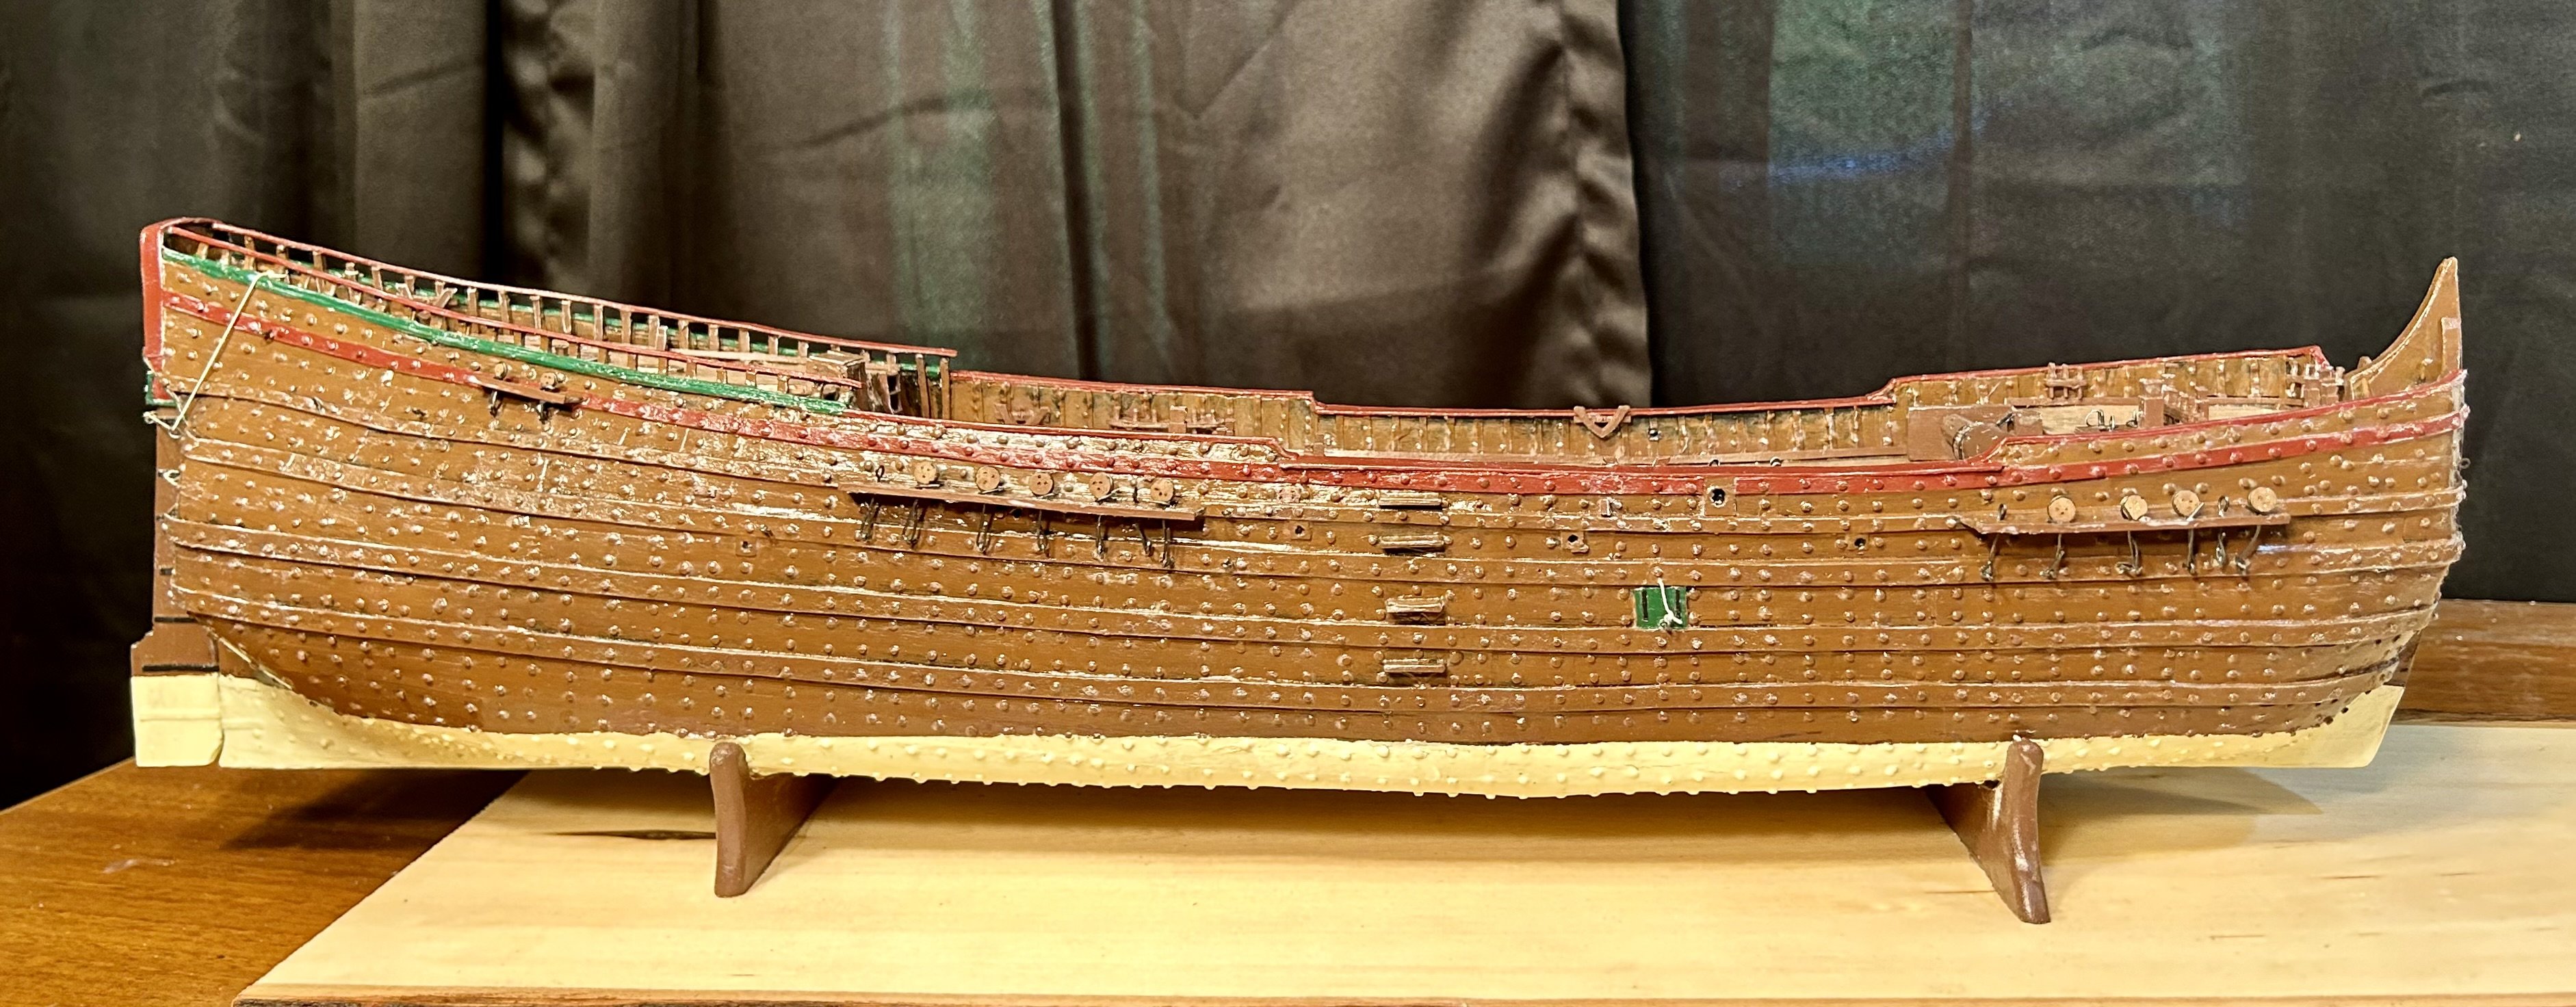
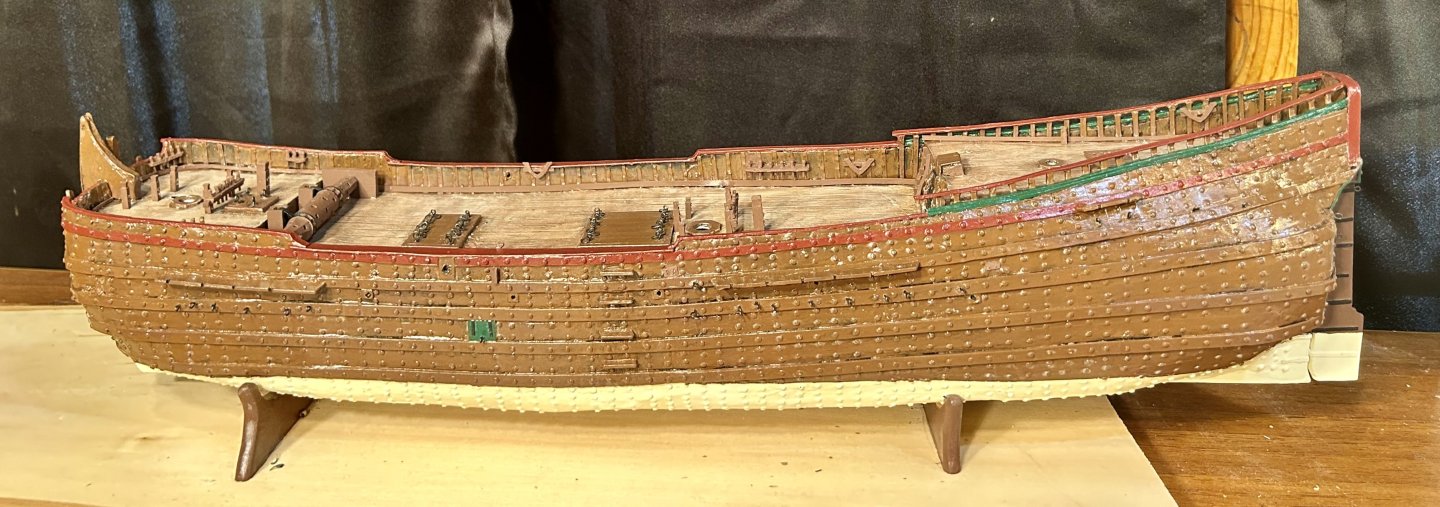
The hull is done: It is now time to make the masts and rig this model! This includes sails. Since the anchors will be going on the forward channels, is it better to wait until the forward shrouds are installed to add them on these sorts of vessels?


-
Nicely done!
-
Looking good! I added “planking” to mine. However, this being a steel ship, you could always add plating made of thin card. That would cover the hole too.
-
Welcome!
-
Alrighty, I have my full complement of deadeyes! We are not going to discuss how many deadeyes I actually made that kept breaking, lol.

-
Hello from Kiowa, Colorado
GrandpaPhil replied to Doug from Kiowa's topic in New member Introductions
Welcome! -
Welcome!
-
Welcome!
-
Happy Birthday Craig!
-
Or, dropping a rope and sliding down.
-
Check industrial supply shops for their micro-miniature tools, too. They are usually more precise than hobby supplies and better. I use scalpels from medical suppliers on E-Bay because they are far sharper and cheaper than X-Acto type blades. They last longer too.
-
There might be an equivalent in Europe. I use Excel because that’s the best available hobby saw in the US. You might check a hardware store for a woodworking razor saw. That tool is typically used for cutting trim in cabinetry.
-
Alright, I figured out the 1/8” diameter deadeyes: It took me two hours and nearly 20 attempts to get 5 good ones. I need 30 of them. First, I mark the holes. Second, I use a straight pin as a center punch. Third, I drill the hole. Fourth, I cut the groove around the deadeye with my trusty scalpel. Fifth, I cut the deadeye off of the dowel rod with my trusty razor saw. Lastly, I CAREFULLY finish drilling the holes. All movements throughout this process must be slow and measured or the deadeye will disintegrate.

-
Welcome!
-
Excellent work!
-
Welcome!
-
Speaking of deadeyes, here’s 40 x 3/16” deadeyes. I only needed 36 of them, but I always make extra. These are not anywhere near as nice as machine made deadeyes or those made by other people on this forum, but they will fulfill the function and look decent once installed. I’ll clean them up a bit when I ink them brown. I need 30 of them now that are 1/8” diameter. Those will be interesting.

-
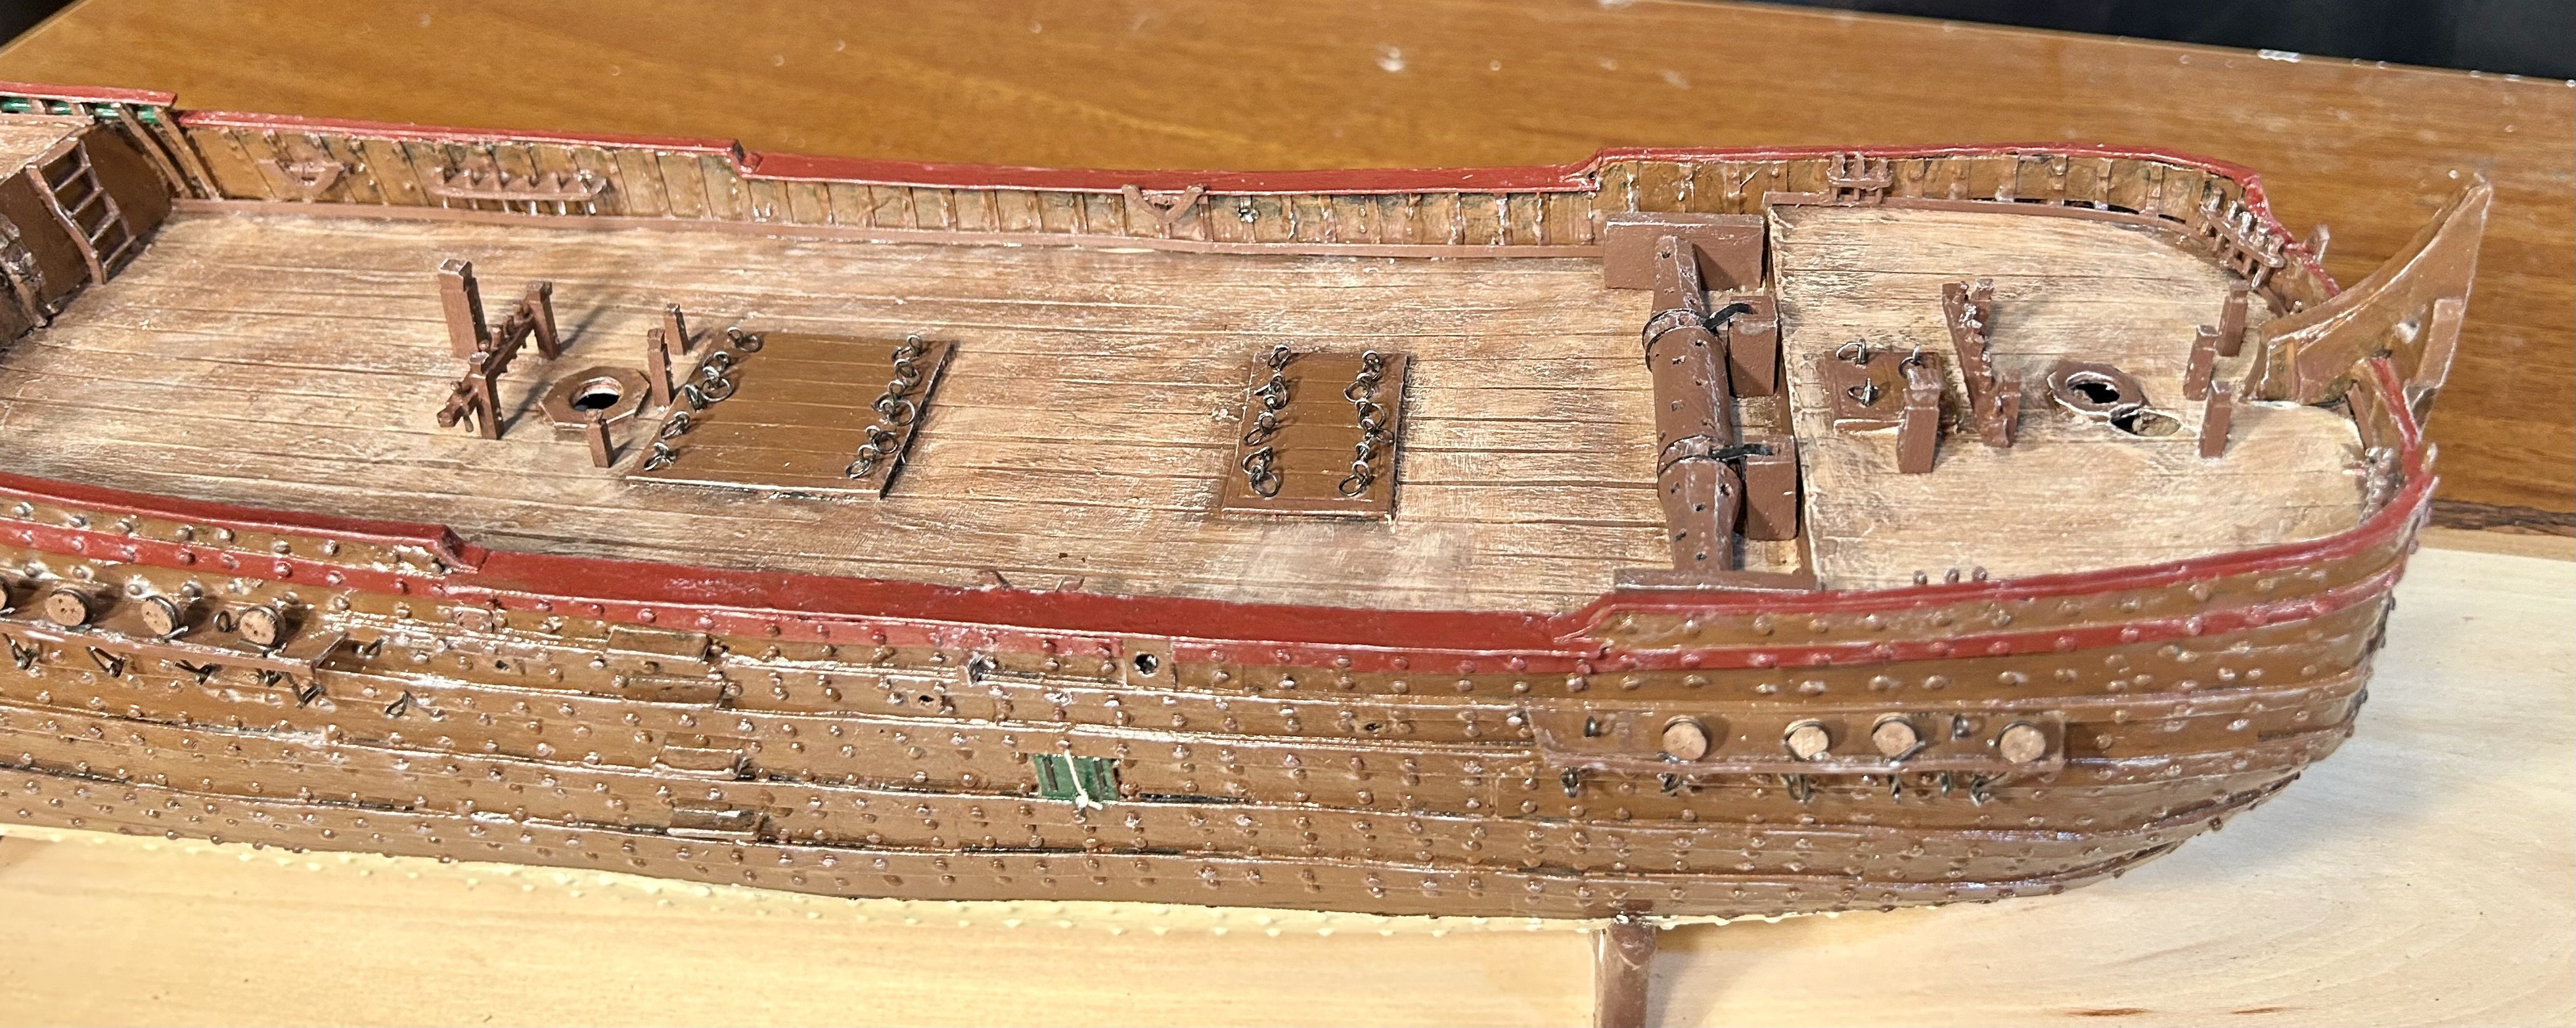
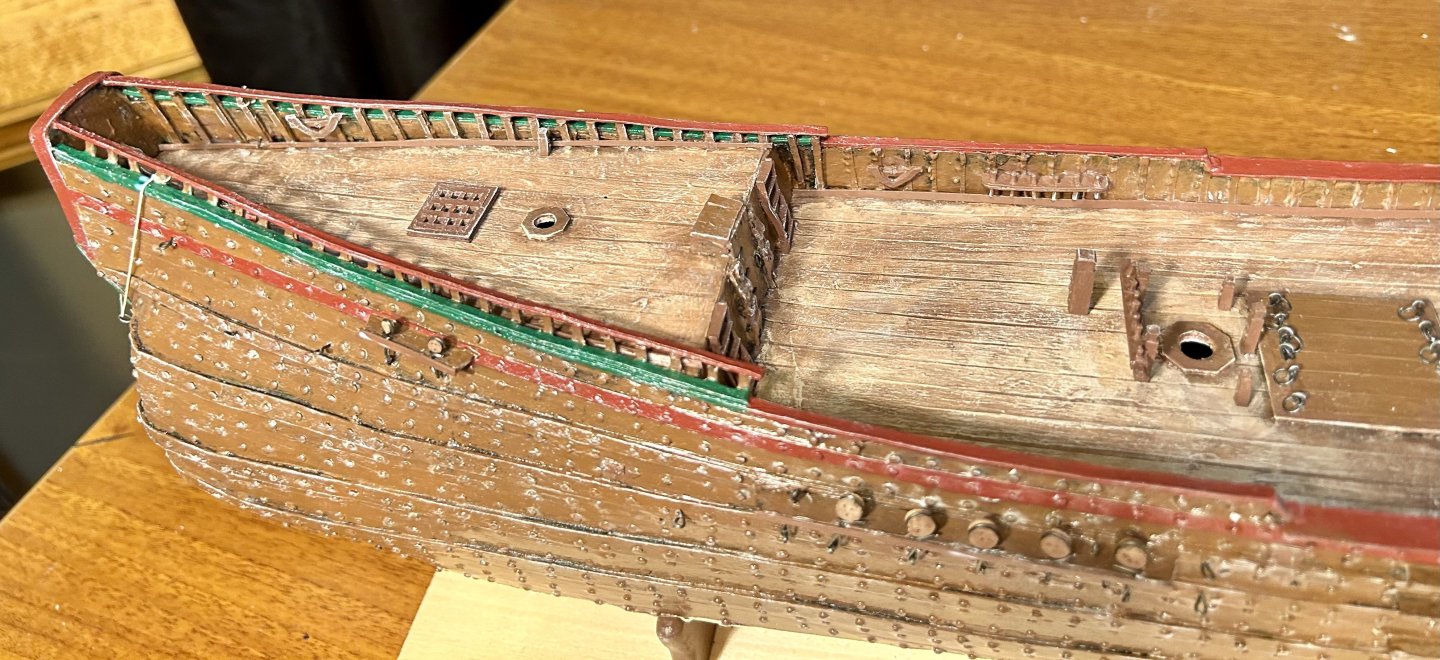
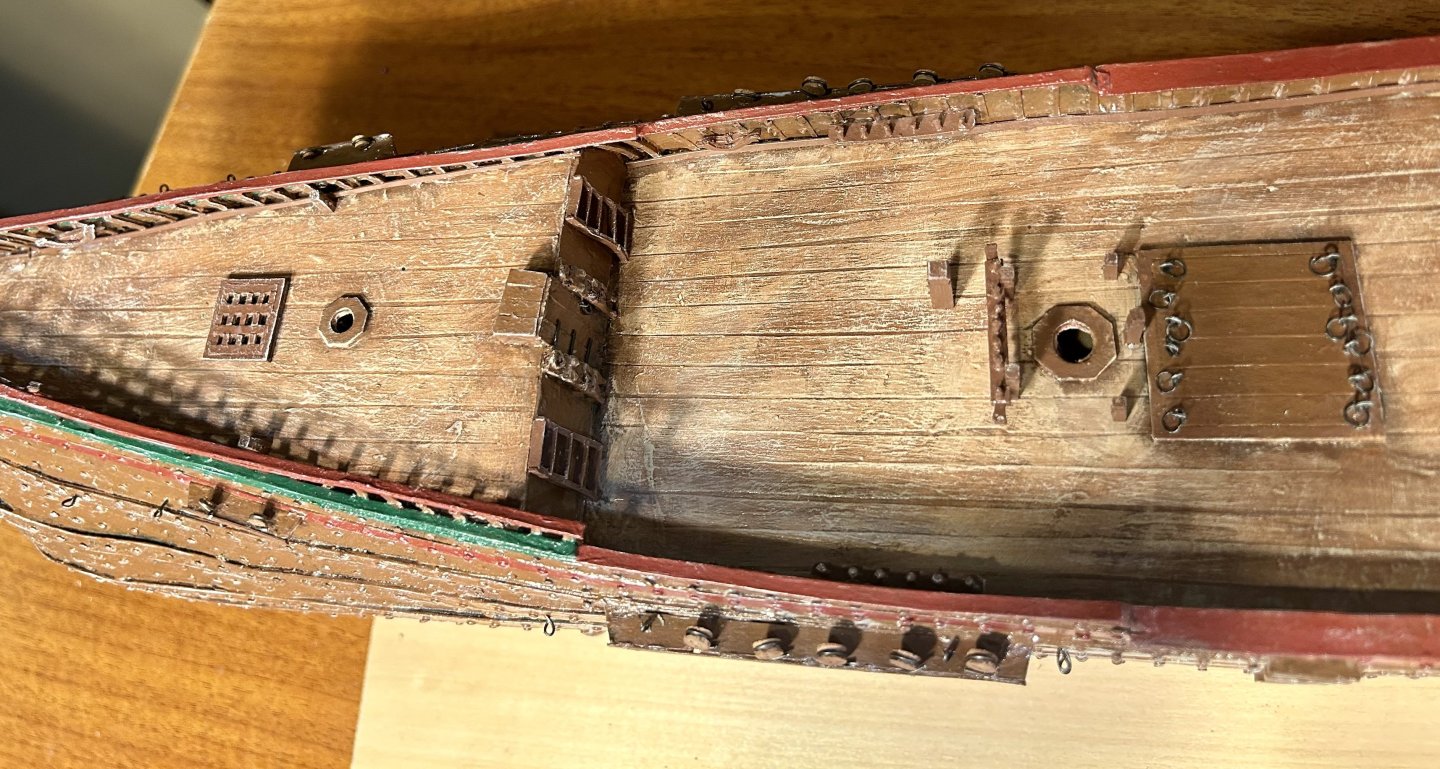
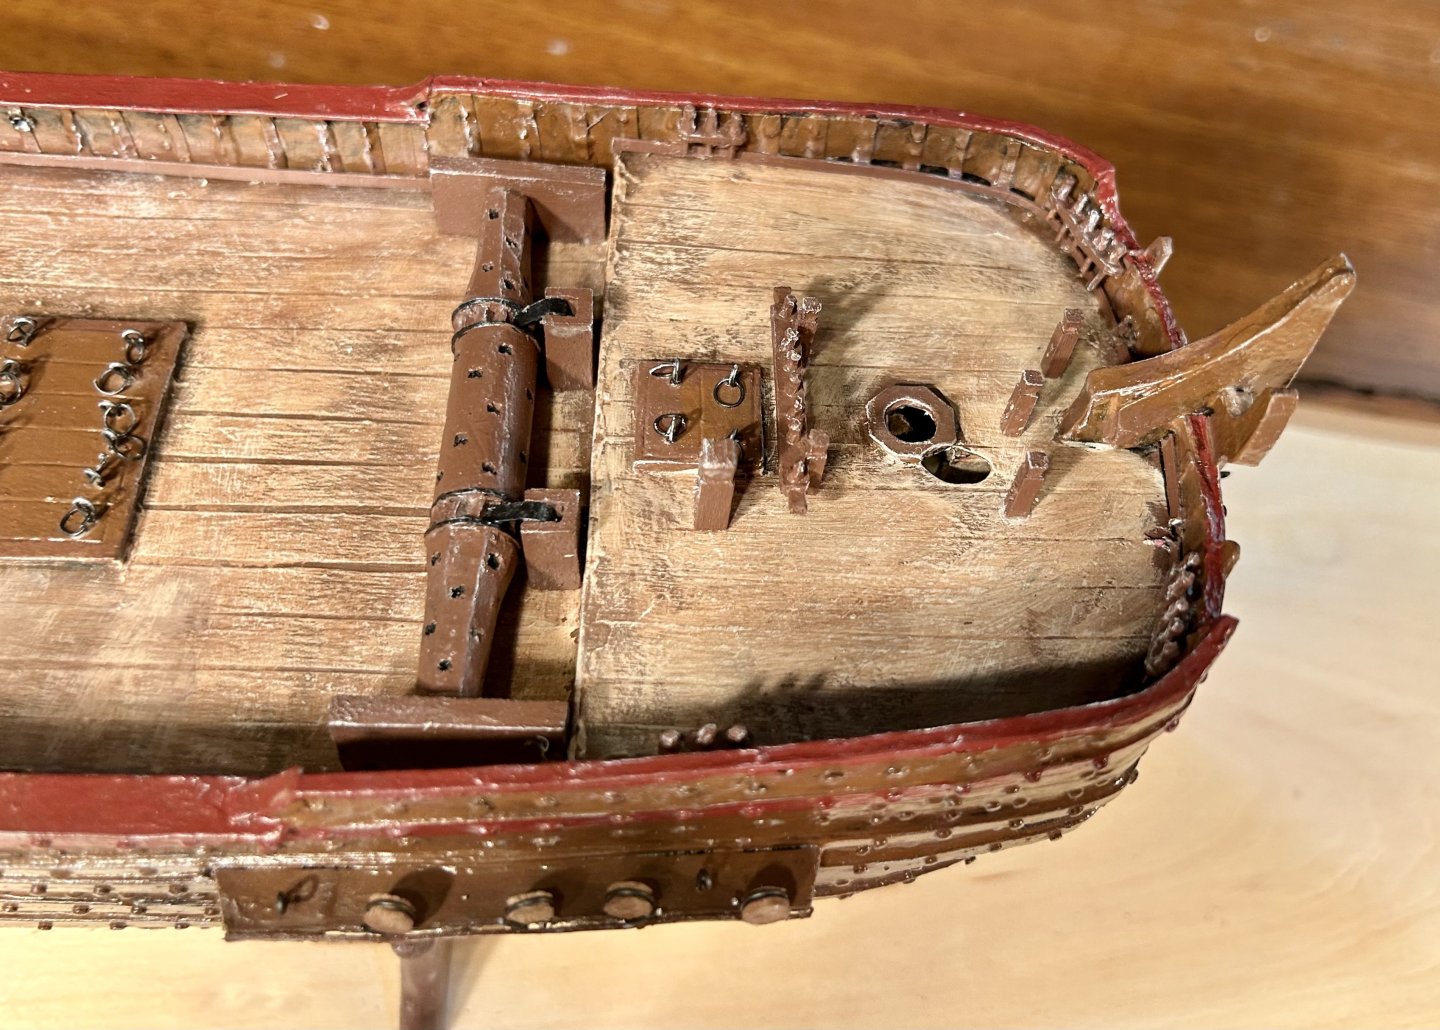
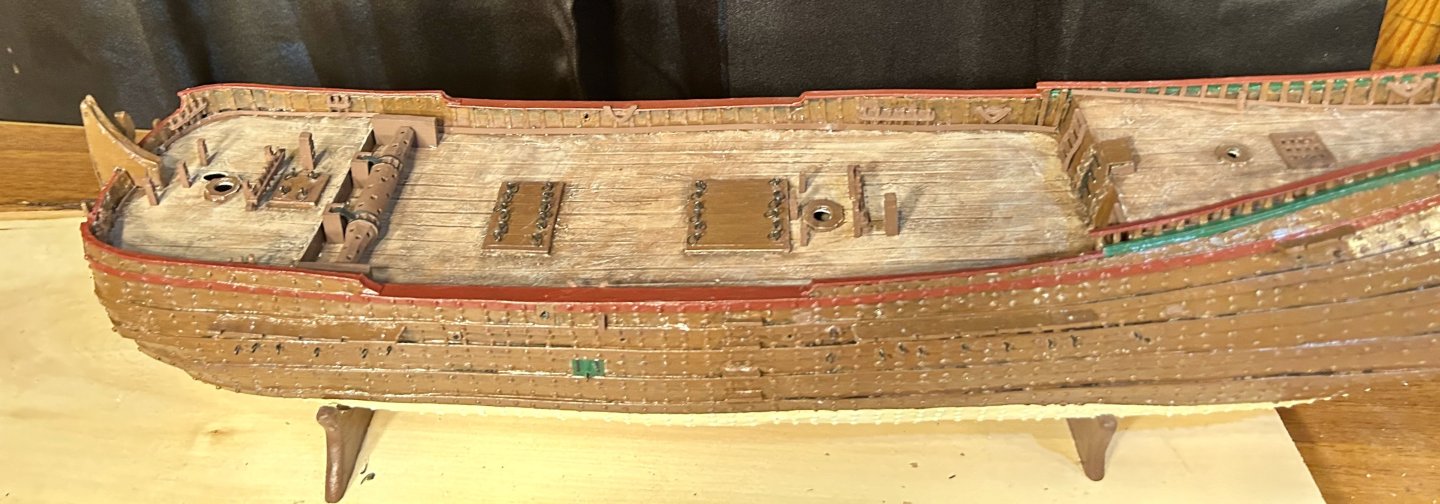
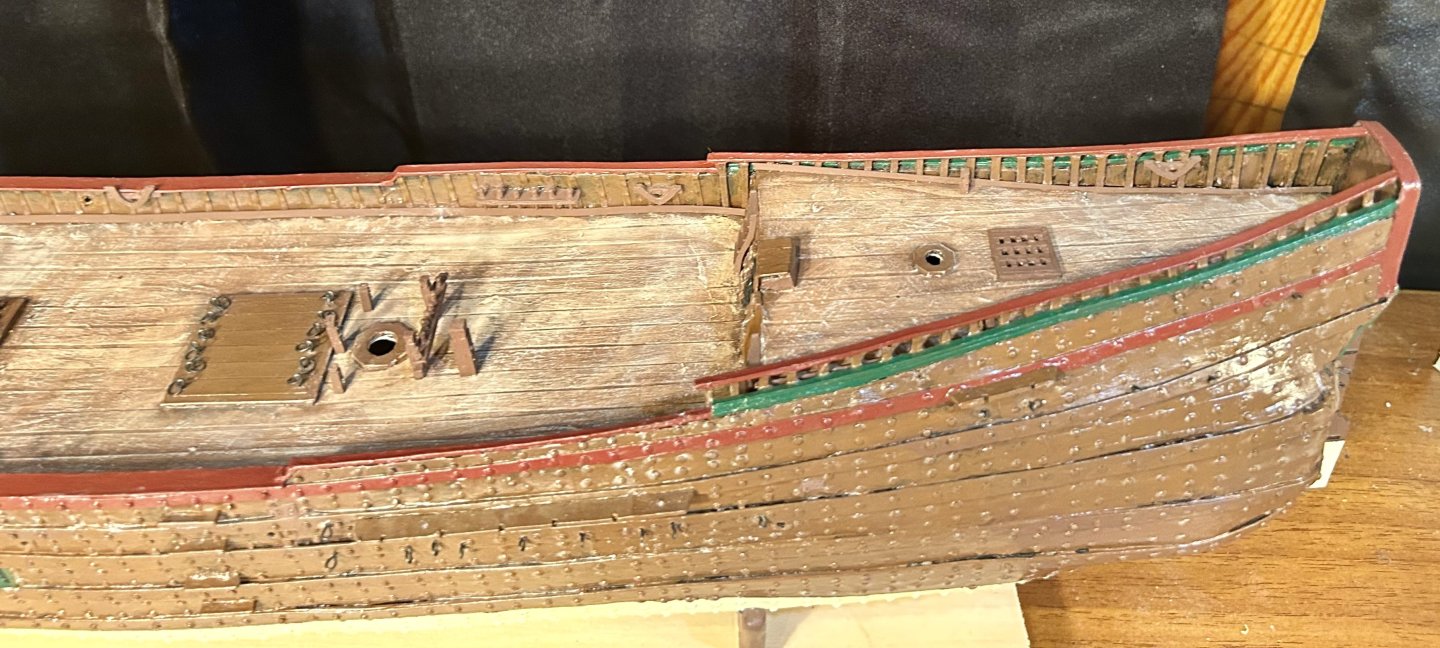
All eyebolts are installed in the hull. Touch ups are done. The hull is now ready for final sealing and weathering. I have to let the model dry overnight so the paint can cure prior to sealing. This prevents paint bleed over. Once the sealant dries I’ll drybush the hull to make it look well used but well cared for. Then I’ll run a drill bit through all holes to clear them. After that it will be time to install chainplates with their respective fittings. Somewhere along the way the hull rigging will get done to include the anchors. I’m getting ready to make the deadeyes now.
-
Alright, I did some research. I have a plan, have perused my plans and have a good idea of what I need to do. I just found out that I will be making multiple types of blocks, including some that I had never heard, such as the ramshead block and the Continental lifting block. I have heard of fiddle blocks, but have never used them. The learning process is half the fun for me. I am thoroughly enjoying this model. I have only completed two square rigged vessels, but neither had even half of the rigging that they should have, so rigging this model with a full set of rigging lines will be a first for me. The major benefit is that after I build this, the Revenge should be a lot more manageable. Now to finish the hull fittings and get the rest of the painting done. Then I can add hull rigging. The deadeyes and chain plates, along with the covering pieces will be among the final pieces that get added to the hull.