MORE HANDBOOKS ARE ON THEIR WAY! We will let you know when they get here.
×


GrandpaPhil
-
Posts
5,862 -
Joined
-
Last visited
Content Type
Profiles
Forums
Gallery
Events
Everything posted by GrandpaPhil
-
Welcome!
-
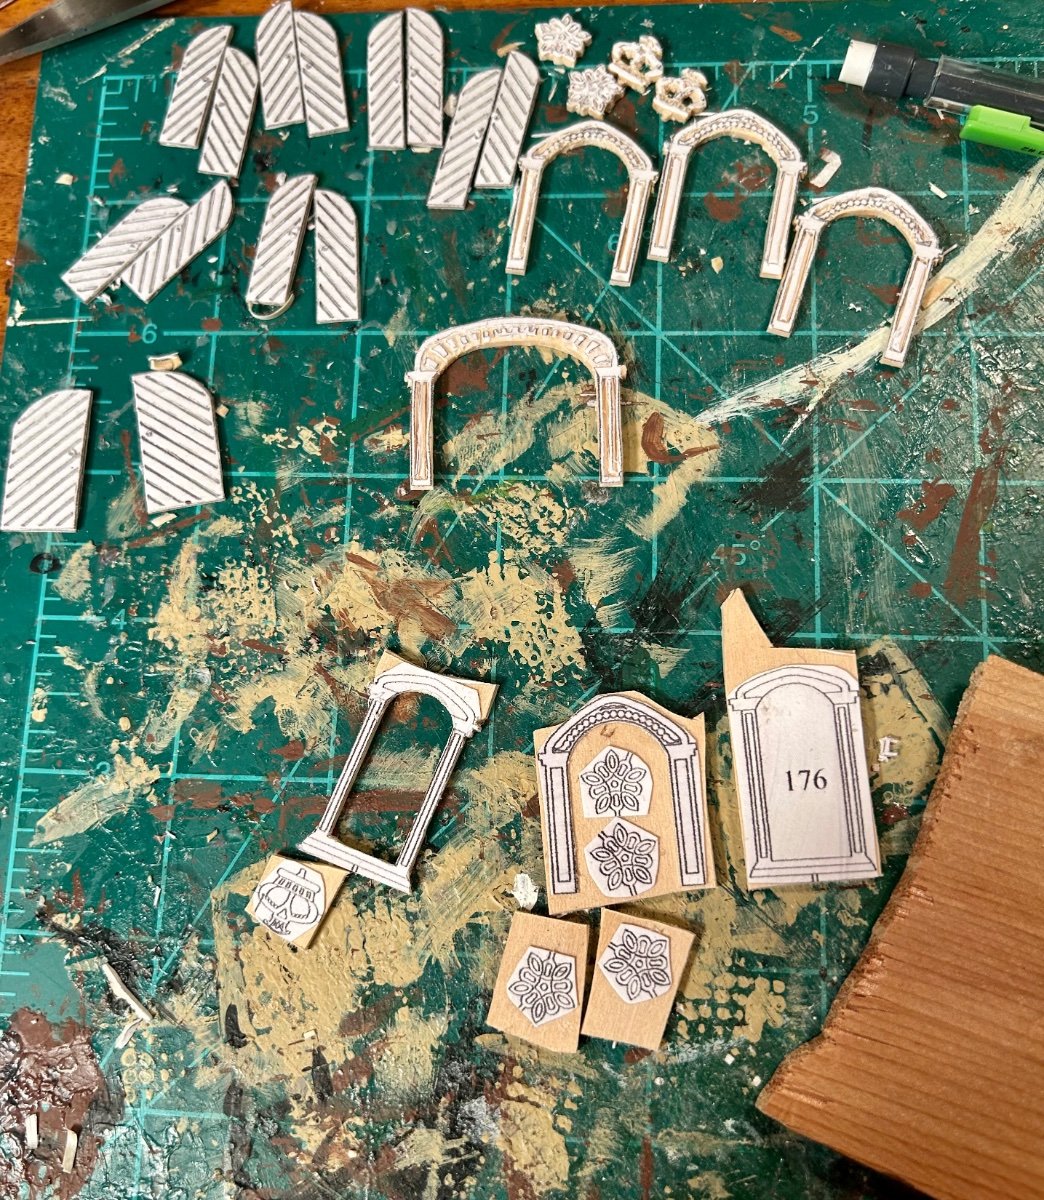
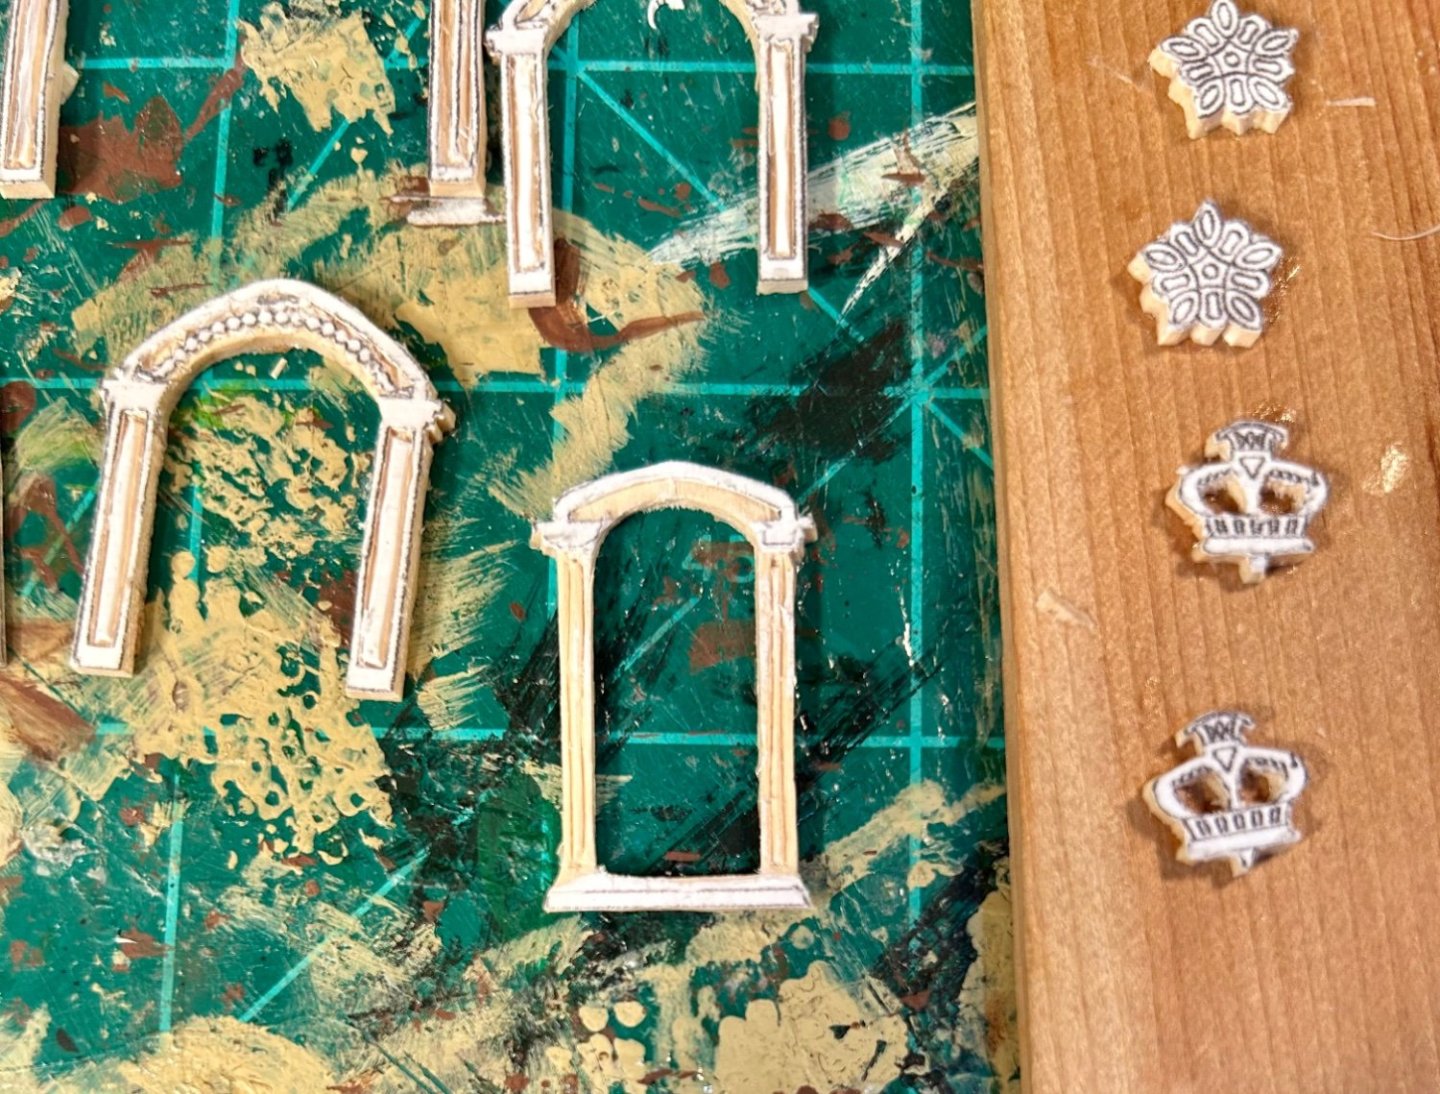
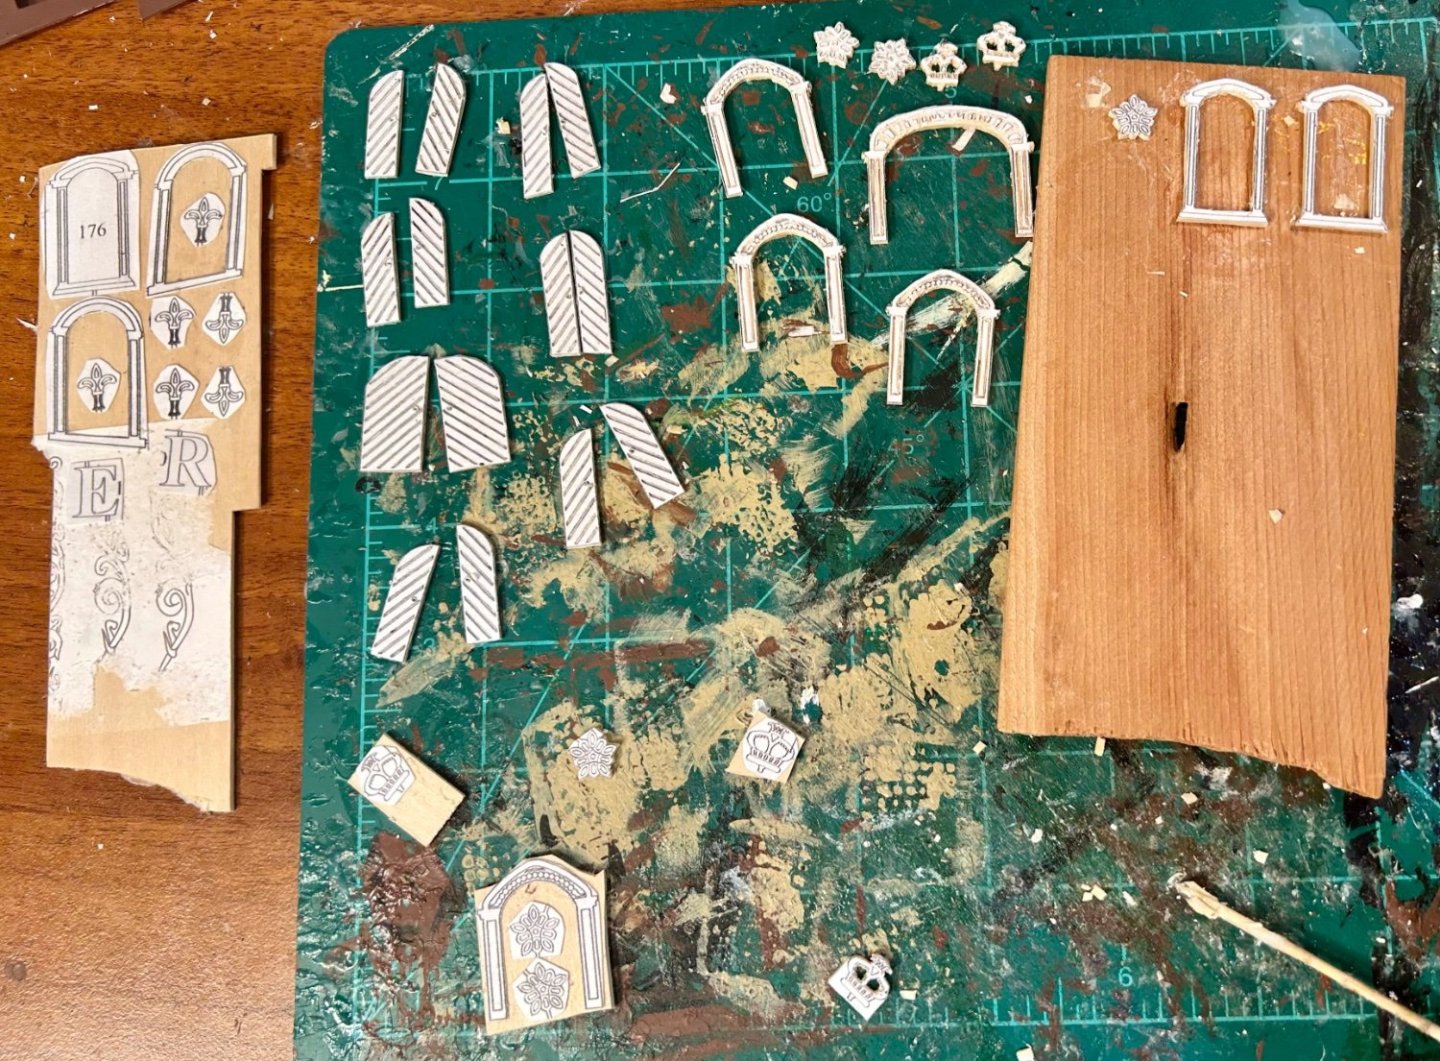
First stern gallery window frame:
-
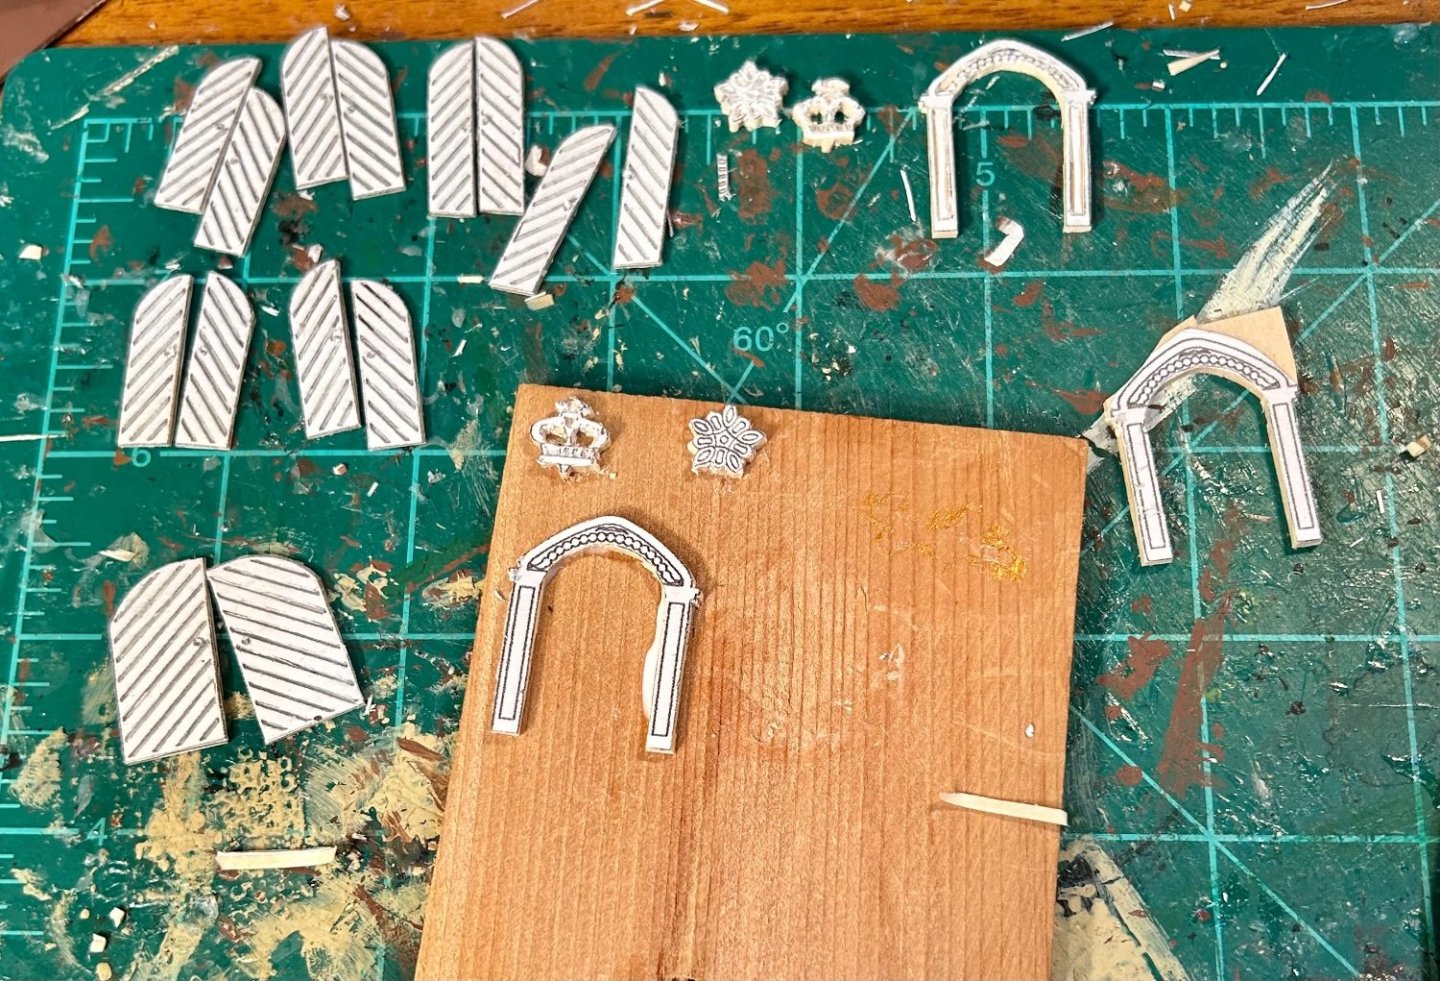
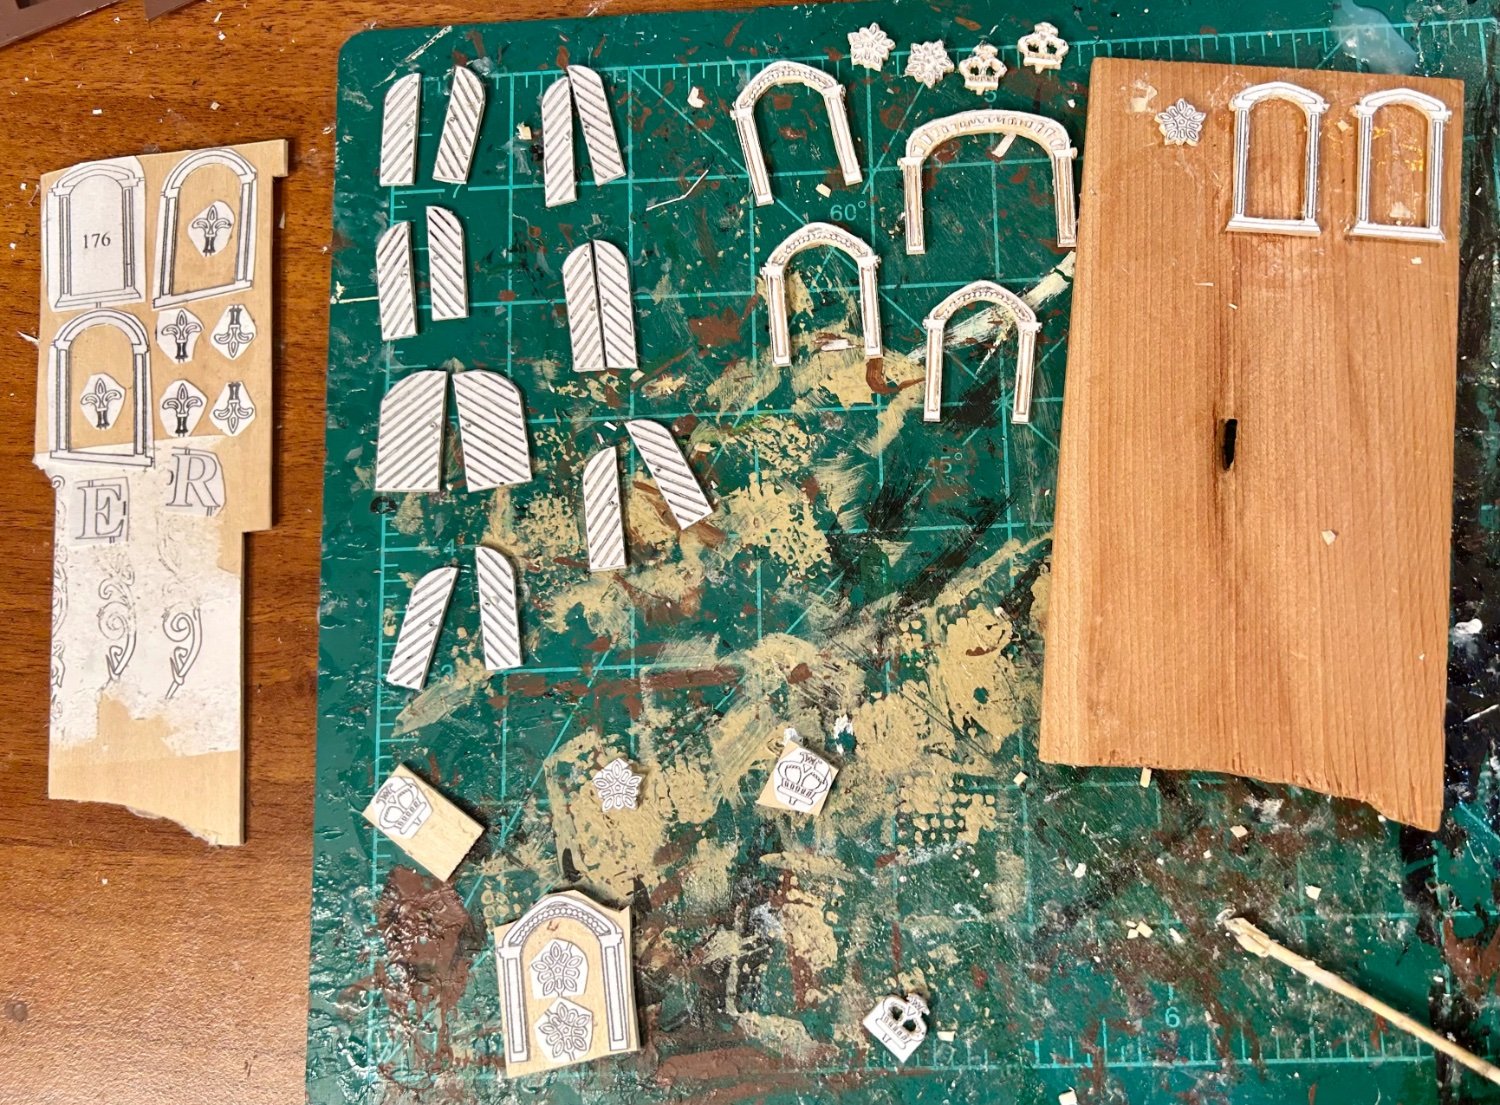
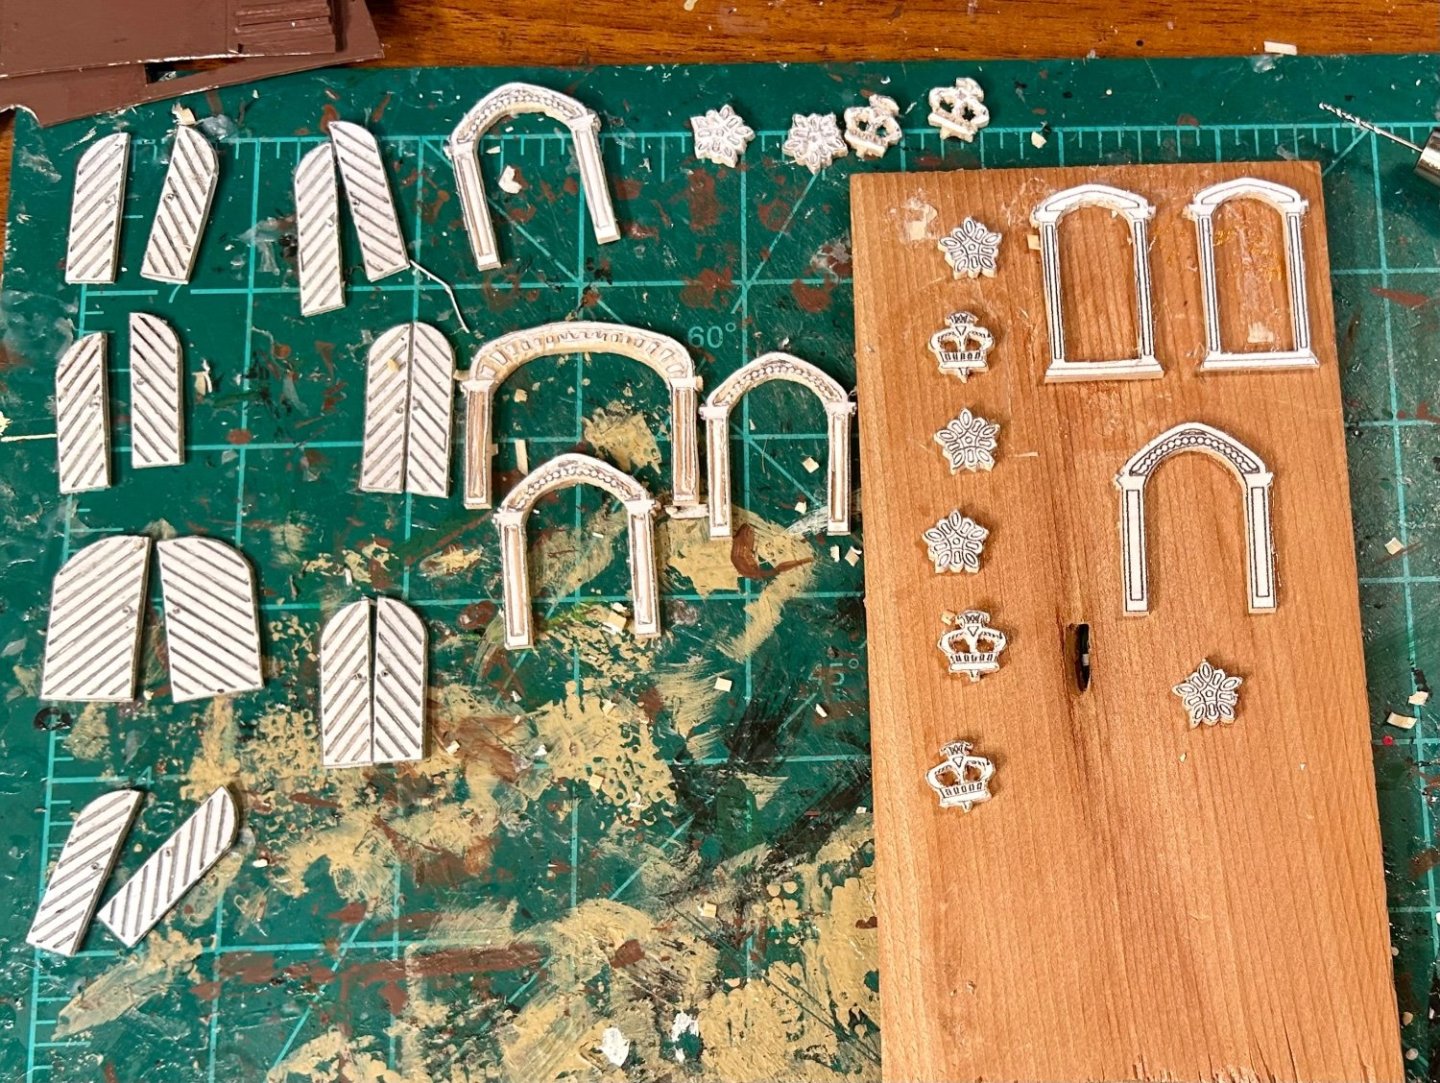
Made some progress: Got more pieces roughed out and attached to the carving board!
-
Game back on for the Revenge! I’d show pictures of the dollhouse but let’s just be honest, I’m much better with card, and my gluing is terrible. That’s one reason why I paint everything and don’t typically try card kits of things like tanks and planes. Now, using the card kit pieces like I’m using the plan sheets for this model, with everything getting replaced and painted, that I can do. Here’s where I’m at with the carvings: Progress is slow but steady! In other news, I bought the Victory Models HMS Vanguard plan set from Cornwall Model Boats today. Another future project to add to my stash.
-
Would the rigging plans from the Victory Models HMS Vanguard, an Arrogant Class 74 from the 1780’s, apply to the Bellona from 1760?
-
The Admiral’s small dollhouse is about 90% complete. Turns out I’m a lot better at building model ships than building dollhouses. Truth be told, I’m not too great at wood models. I’m much better with card. I’ll be back to working on the Revenge shortly.
-
Looking good! If you are concerned about the strength of the wing root joints, you could mod the kit and either dowel the wing roots with toothpicks or just pin them with sewing pins.
-
Hello from the Ruhr area in Germany.
GrandpaPhil replied to madtatt's topic in New member Introductions
Welcome! -
Nice finish Tomek! Also, they have 3D printed guns and carvings, and laser cut sheets! I got my kit a couple of months ago. It will be one of my next projects!
- 26 replies
-
- 1
-

-
- Seahorse
- De Zeven Provincien
- (and 2 more)
-
The Admiral bought a small dollhouse kit and asked me to build it for her. She is a doll collector. So, the Revenge will be on a back burner for a bit until I finish building her dollhouse for her.
-
Newbie to ship and boat building
GrandpaPhil replied to kgstakes's topic in New member Introductions
Welcome! -
Looking good! These build logs are my primary inspiration for all my bad ideas!
-
P-38J Wicked Woman by DocRob - FINISHED - Tamiya - 1/48
GrandpaPhil replied to DocRob's topic in Non-ship/categorised builds
Excellent work! Excellent finish! -
I didn't admit that in public did I?
GrandpaPhil replied to Nate_A's topic in New member Introductions
Welcome! -
I’ve been really happy with the McKay book. It has been my primary reference for my Victory model.
-
McKay said he based his data on the best current thinking back in 1987.
-
I’ll take a look this evening!
-
They have good drawings of them, including location, in John McKay’s 100 Gun Ship Victory.
-
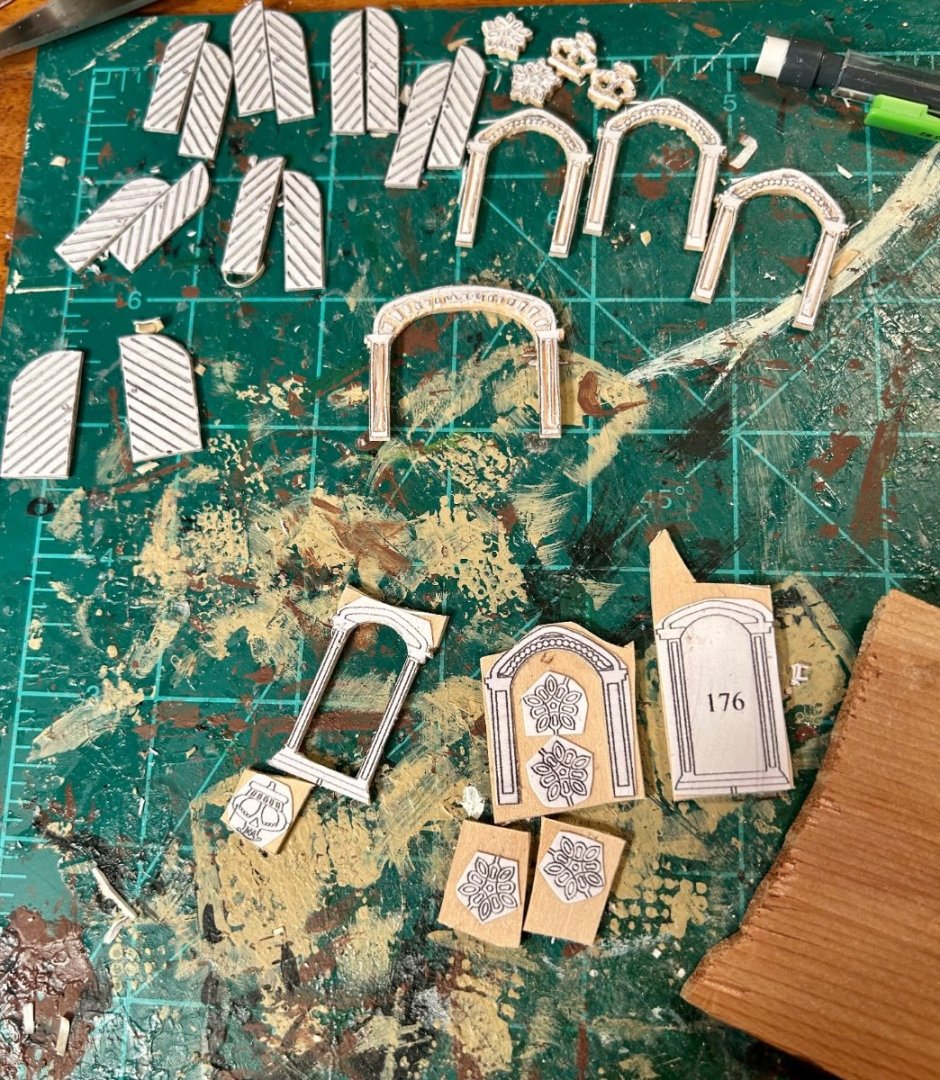
They aren’t hard to carve. I made the full set for my Victory out of a 1/8” square basswood strip. I used a scalpel to shape them.
-
Have you thought about carving replacement carvings yourself?
-
USS Constitution by mtbediz - 1:76
GrandpaPhil replied to mtbediz's topic in - Build logs for subjects built 1751 - 1800
Looking good! -
8 down, 20 to go in this group: I almost have all the parts I need to continue working, but I might as well finish carving the quarterbadges and the stern window frames.
-
My carving collection is growing: