GrandpaPhil
NRG Member-
Posts
6,161 -
Joined
-
Last visited
Content Type
Profiles
Forums
Gallery
Events
Everything posted by GrandpaPhil
-
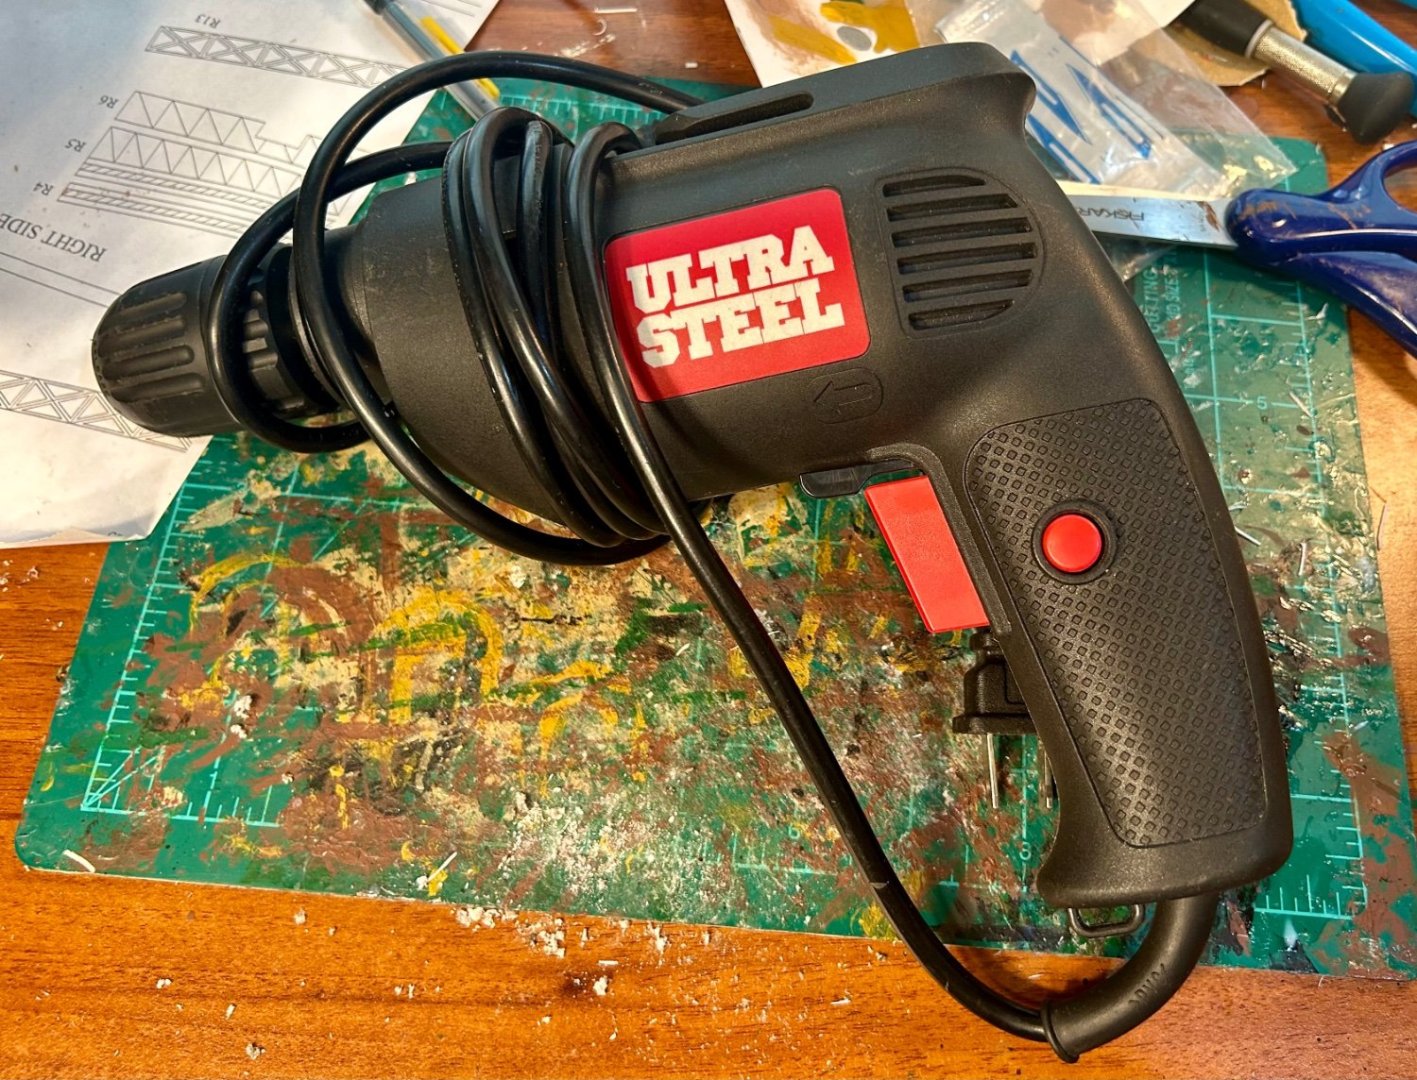
The one power tool that I typically end up using for model making: That’s a cheap drill I bought nearly twenty years ago. There’s nothing better for drilling things like hawse holes and mast holes in models. It also works quite well for drilling out mounting points on plastic model aircraft if you plan to display them on a flight stand.
-
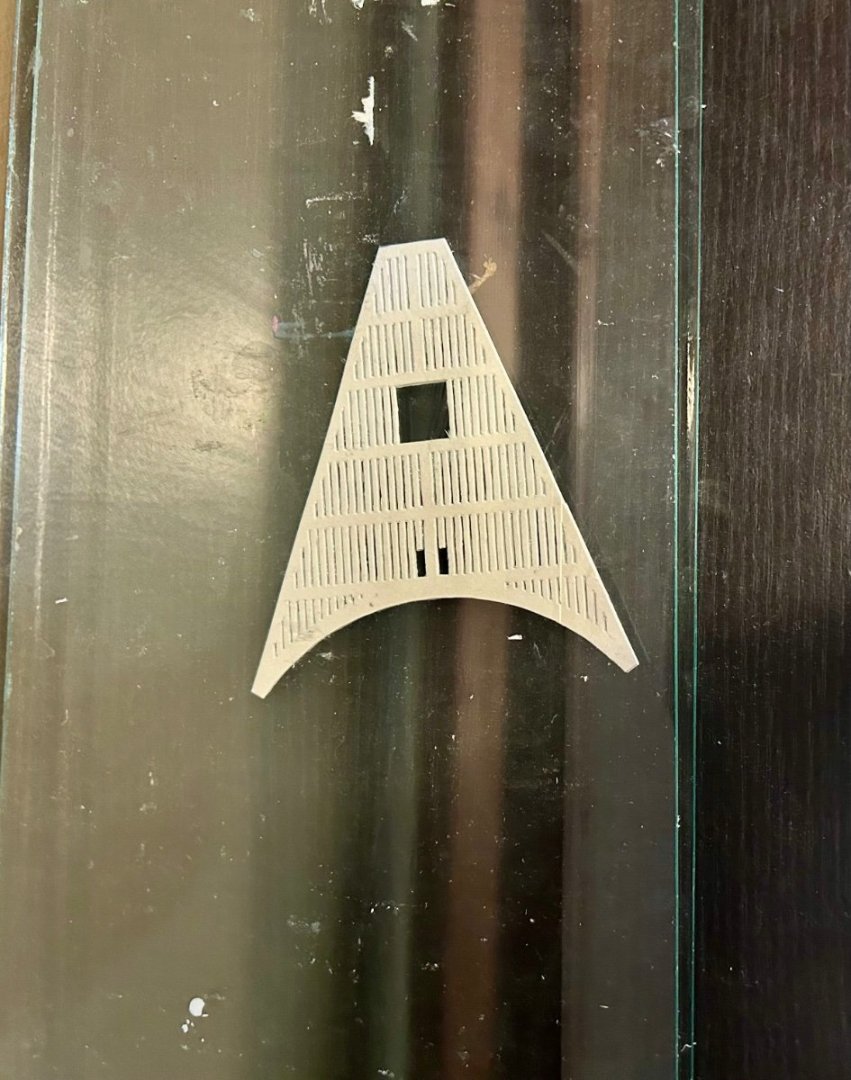
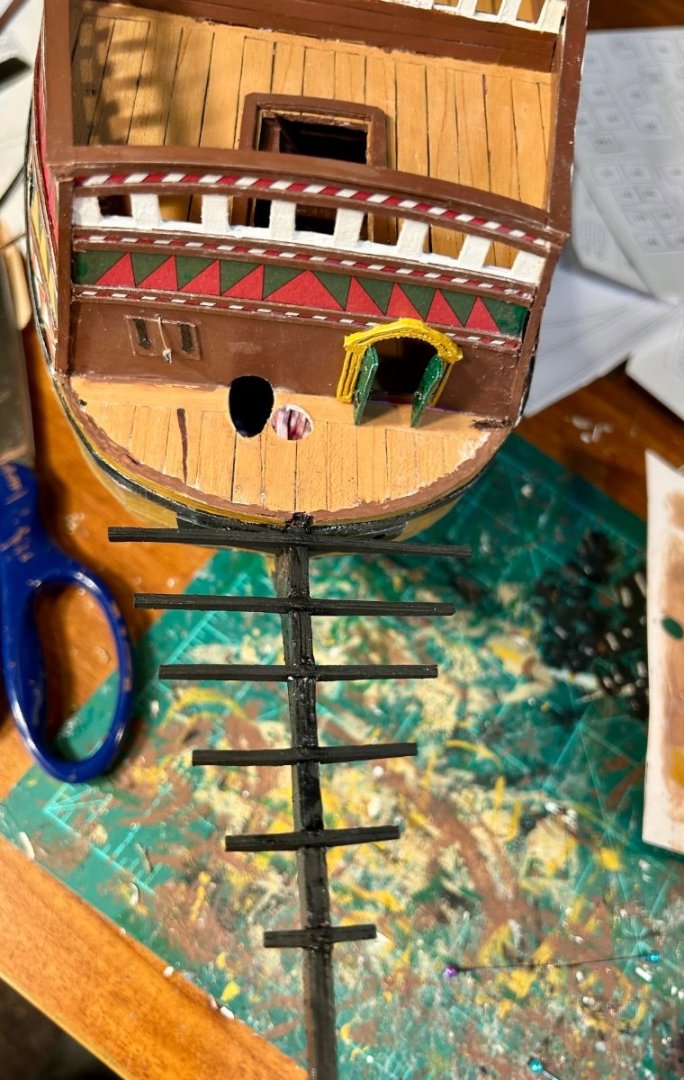
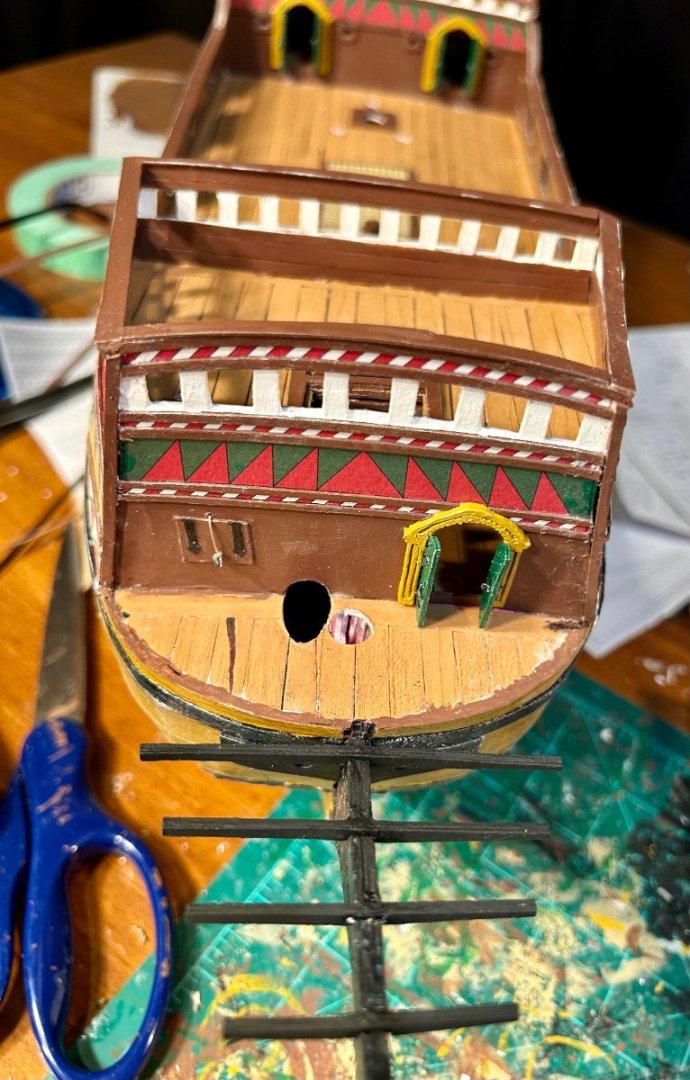
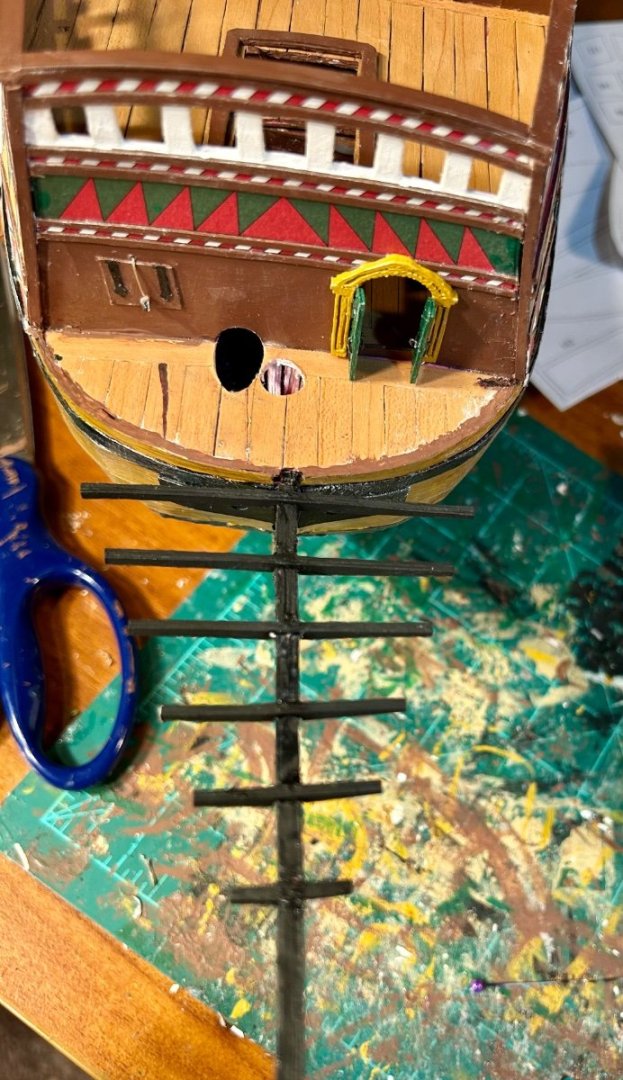
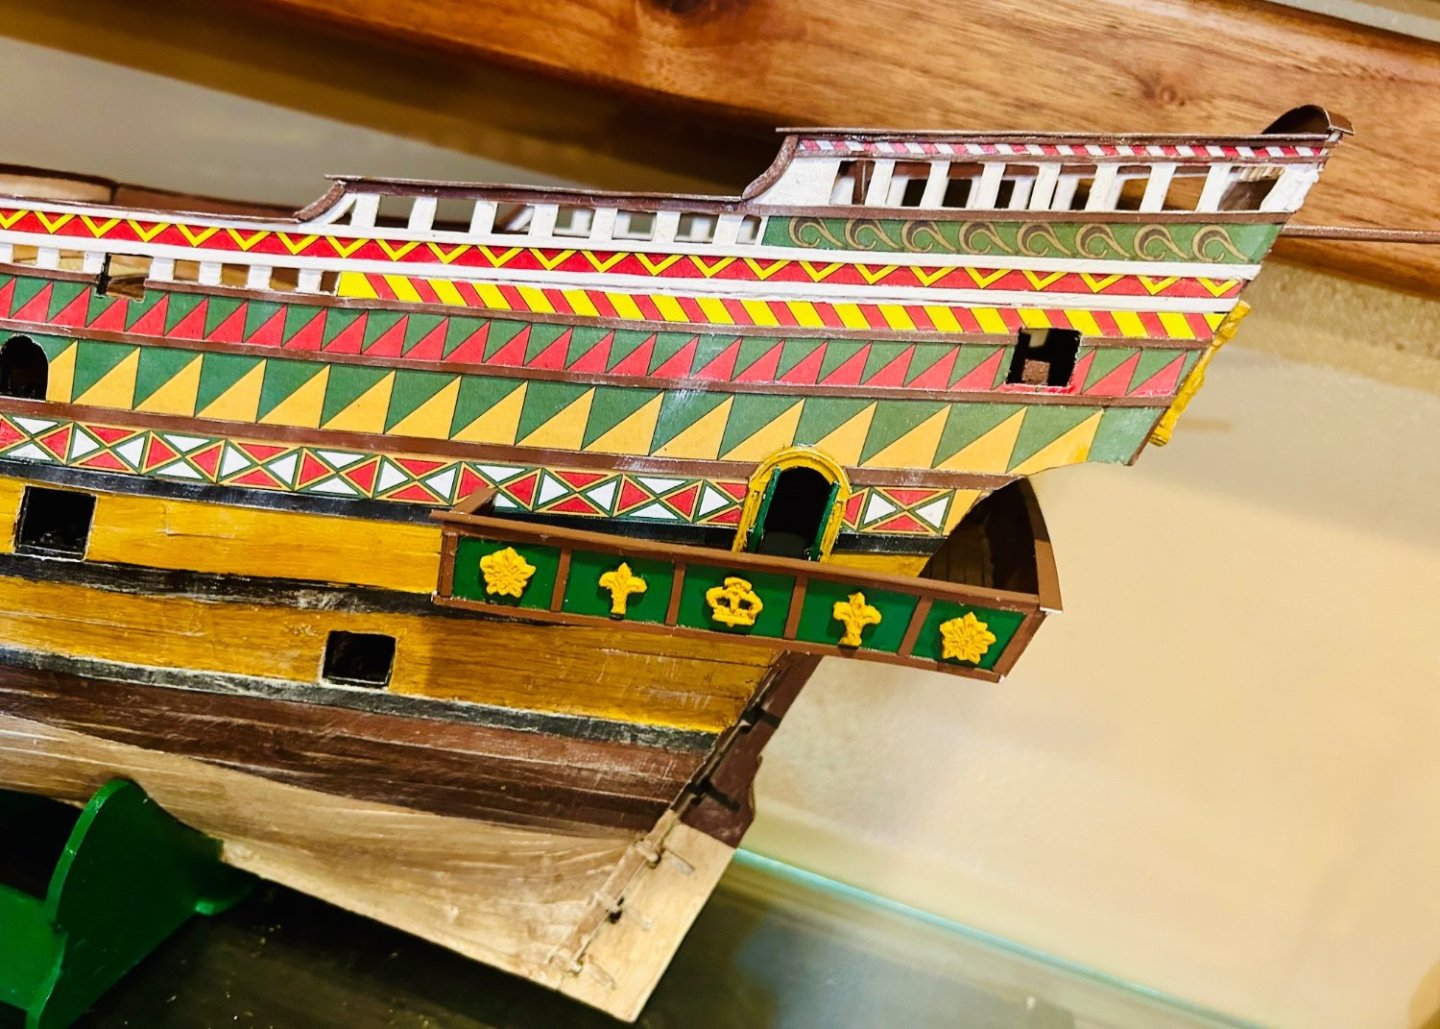
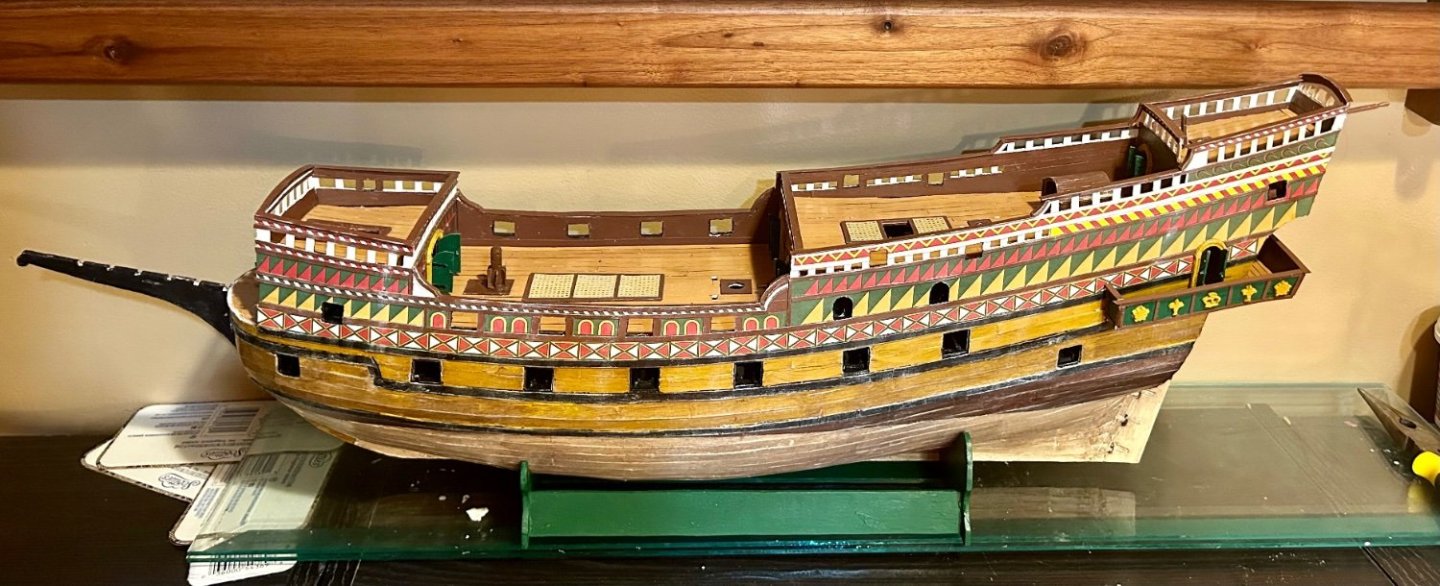
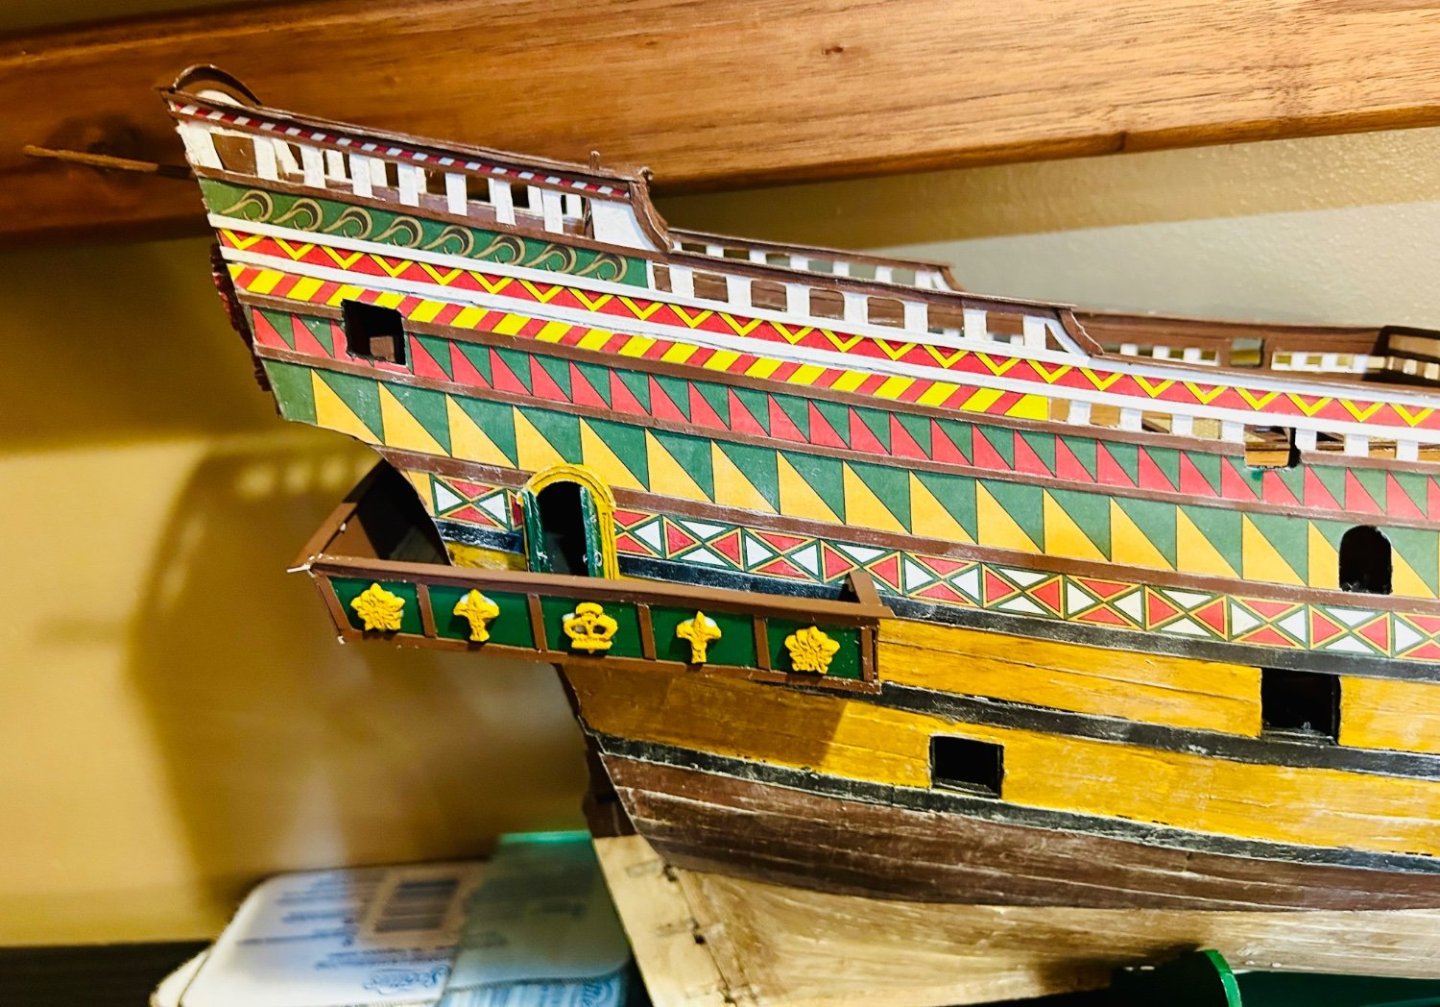
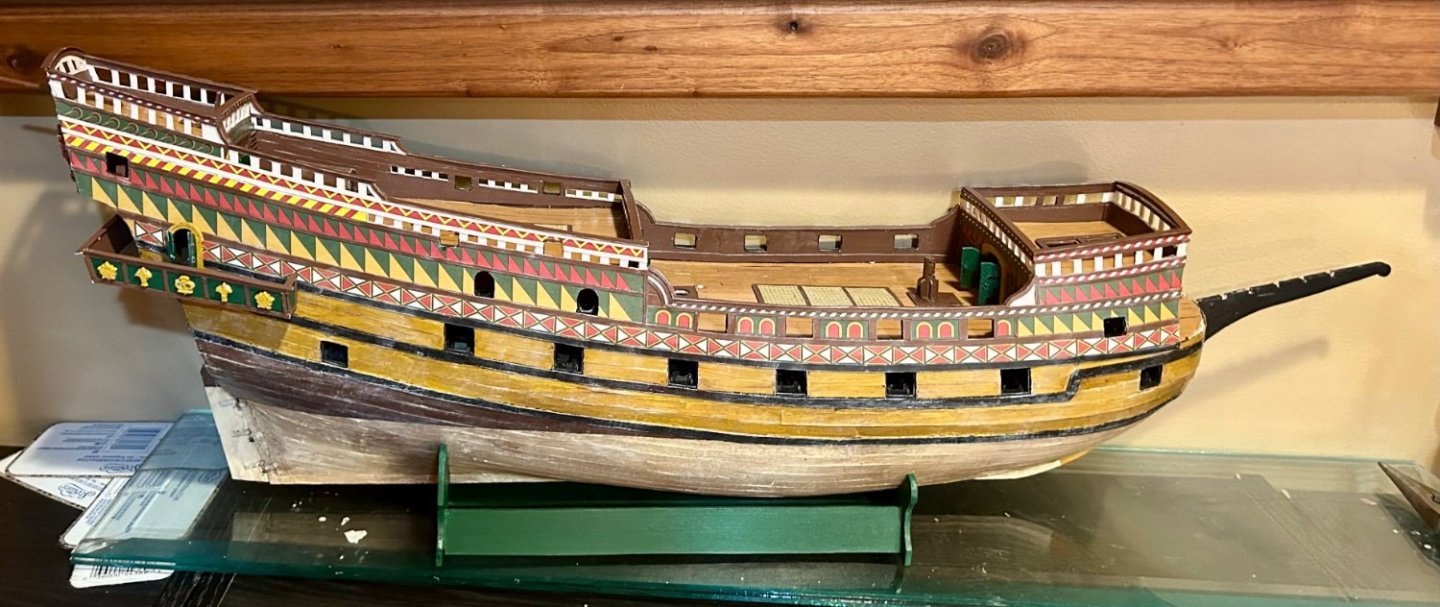
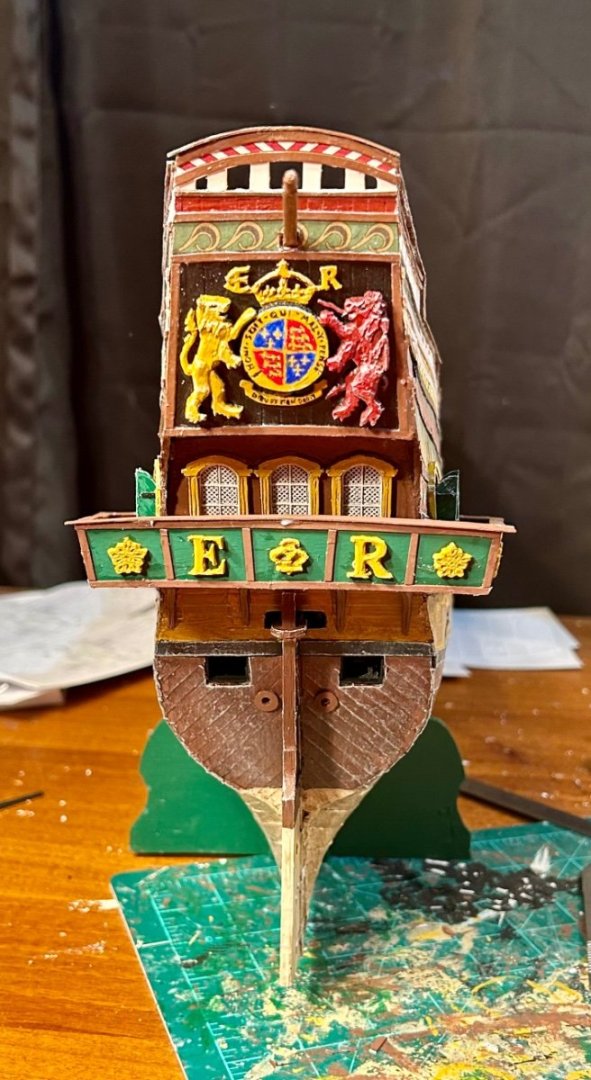
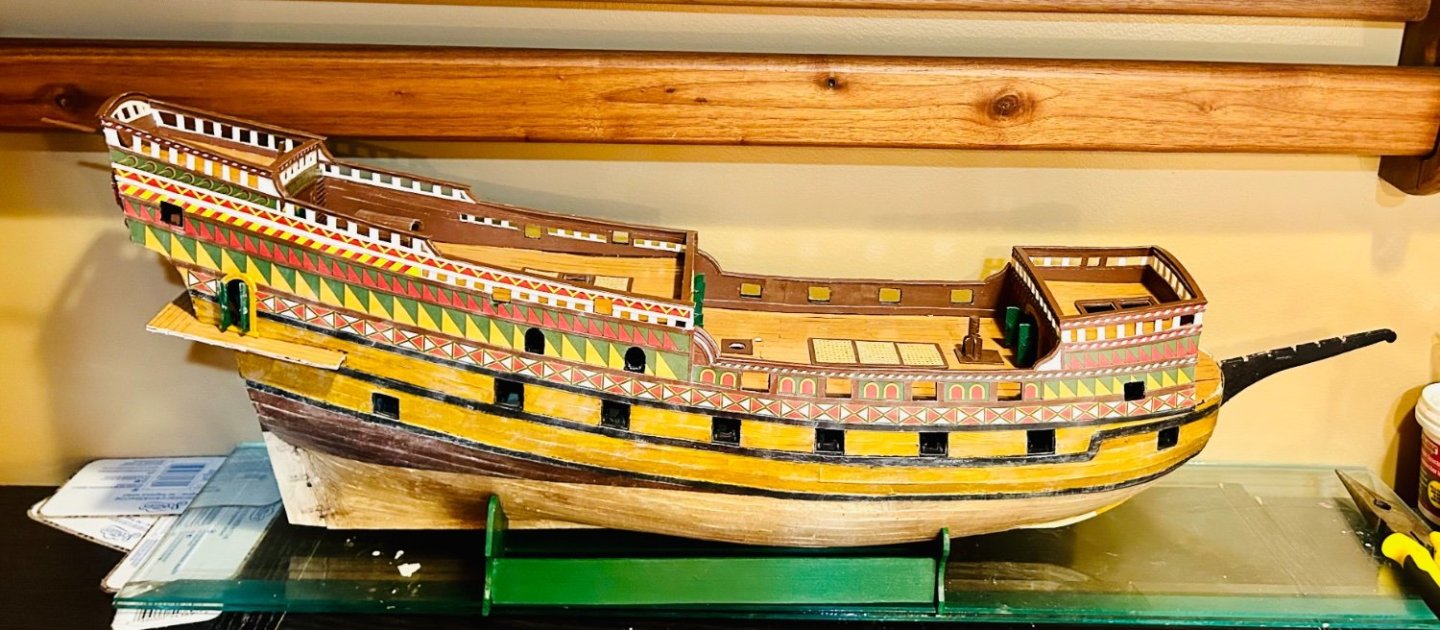
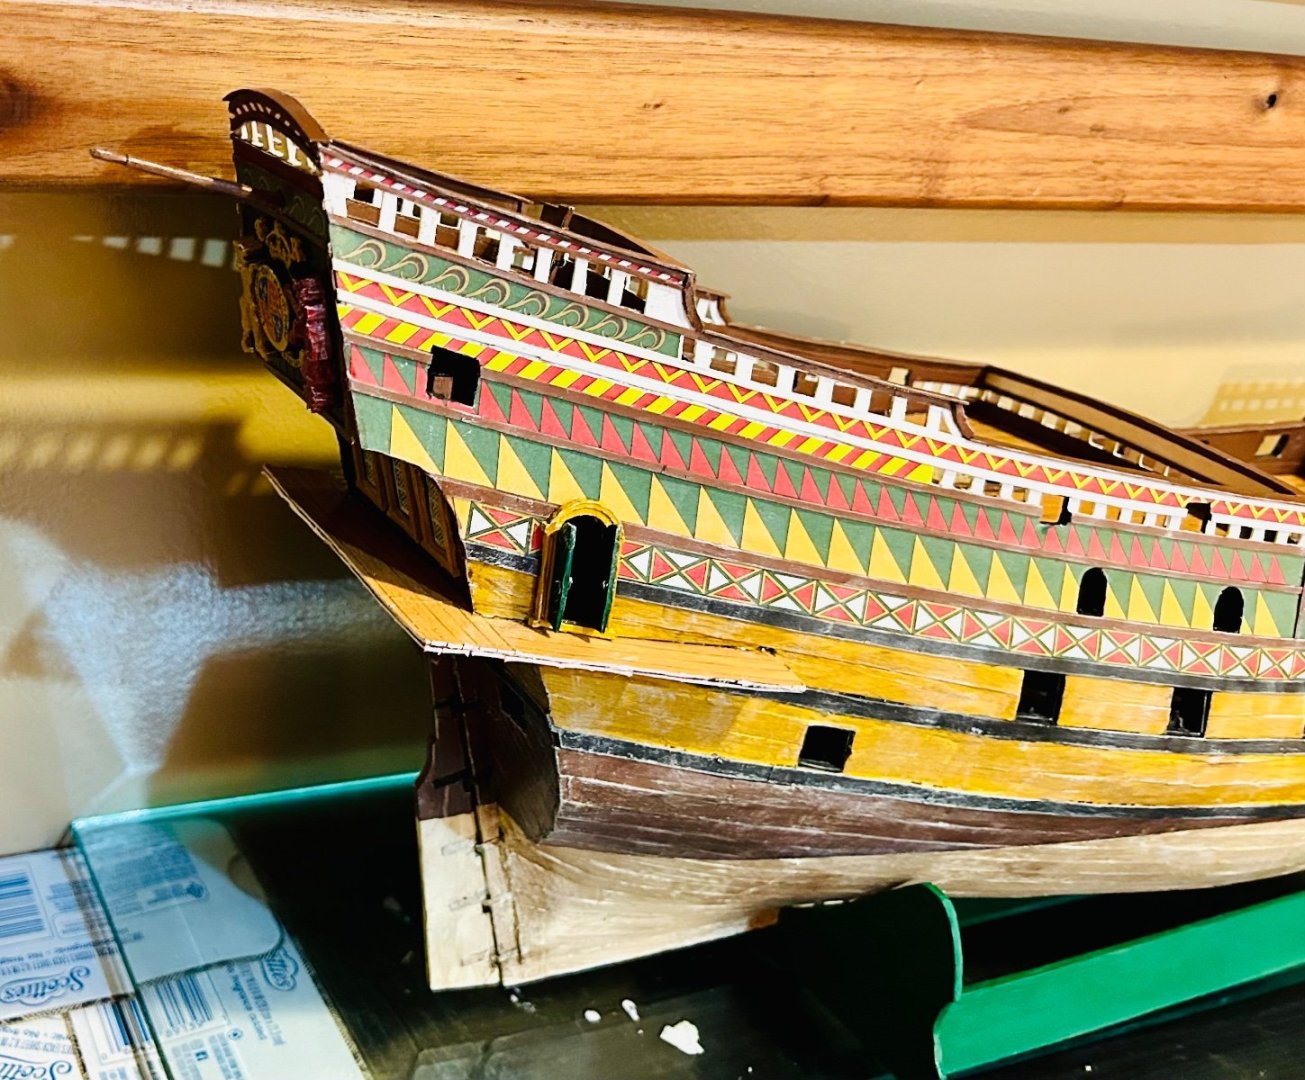
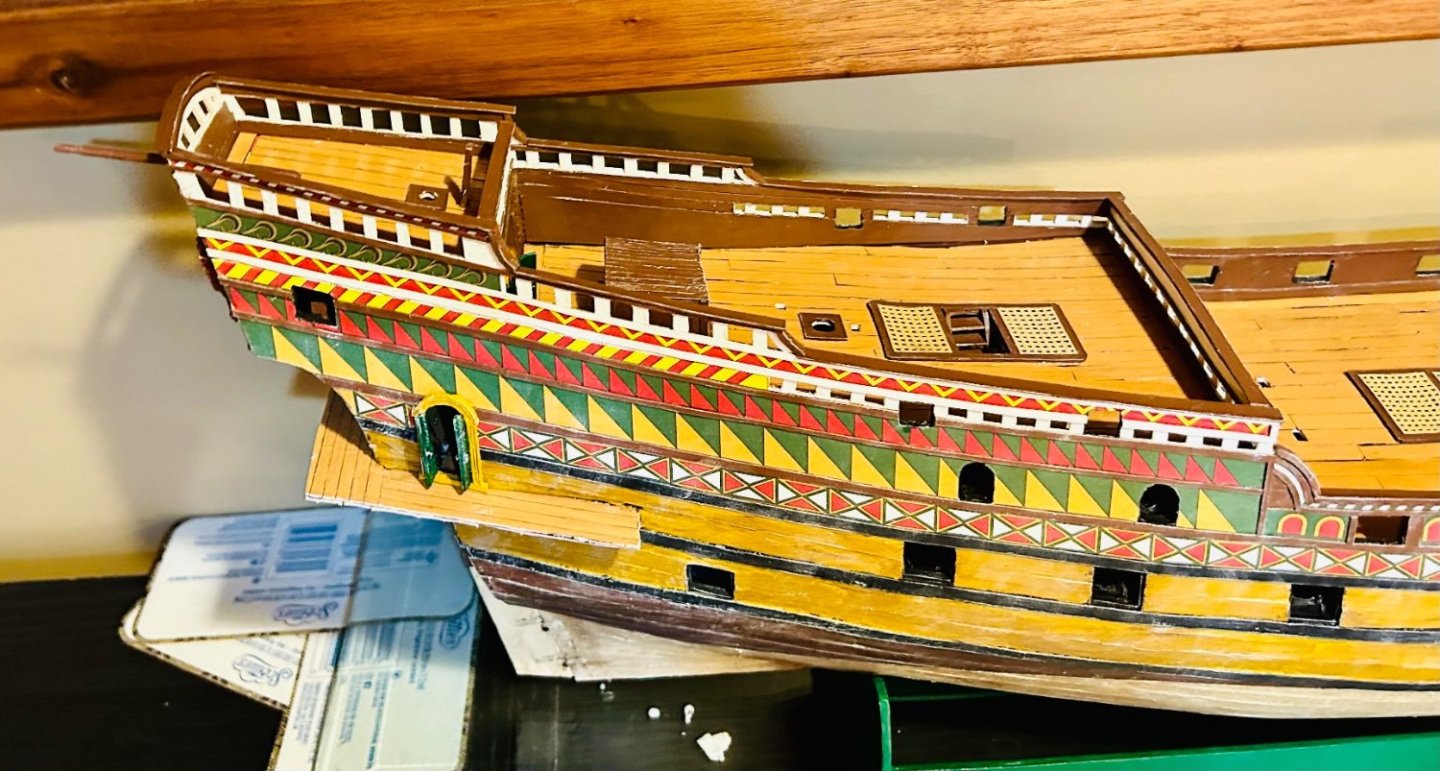
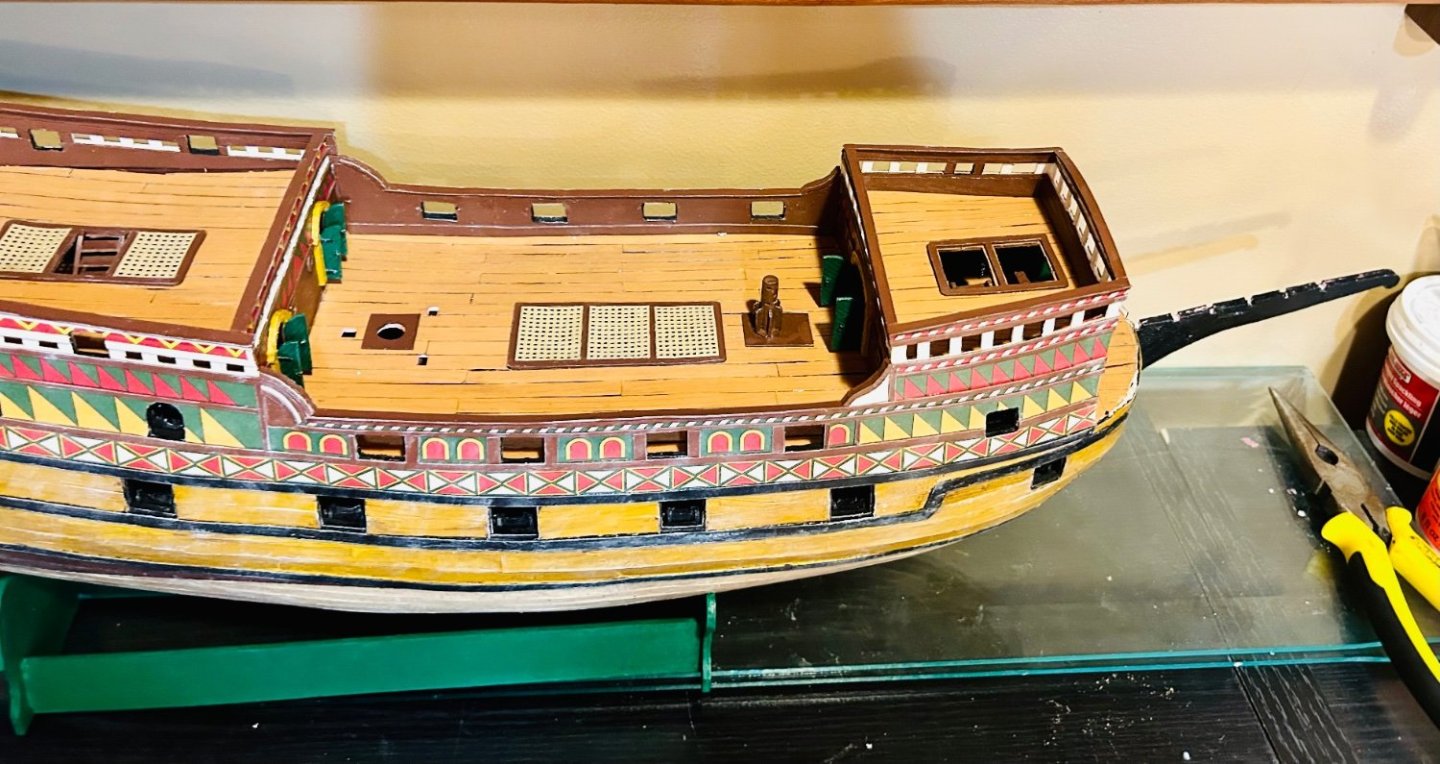
The head grating is between glass and drying now: Time to get the entire head touched up and resealed. For the newer folks, the head is one of the trickier parts of the ship with many fiddly parts that have to be precision made and fitted with a lot of guesswork involved. This is actually one of the first times that I have had a set of head timbers that I didn’t have to make based off measurements from the deck plan and the outboard profile utilizing typical structures from a given time period and nationality. This one has bulwarks instead of head rails which makes this a LOT easier than what I am used to. I will probably completely finish the head, to include the figurehead, before moving on.
-
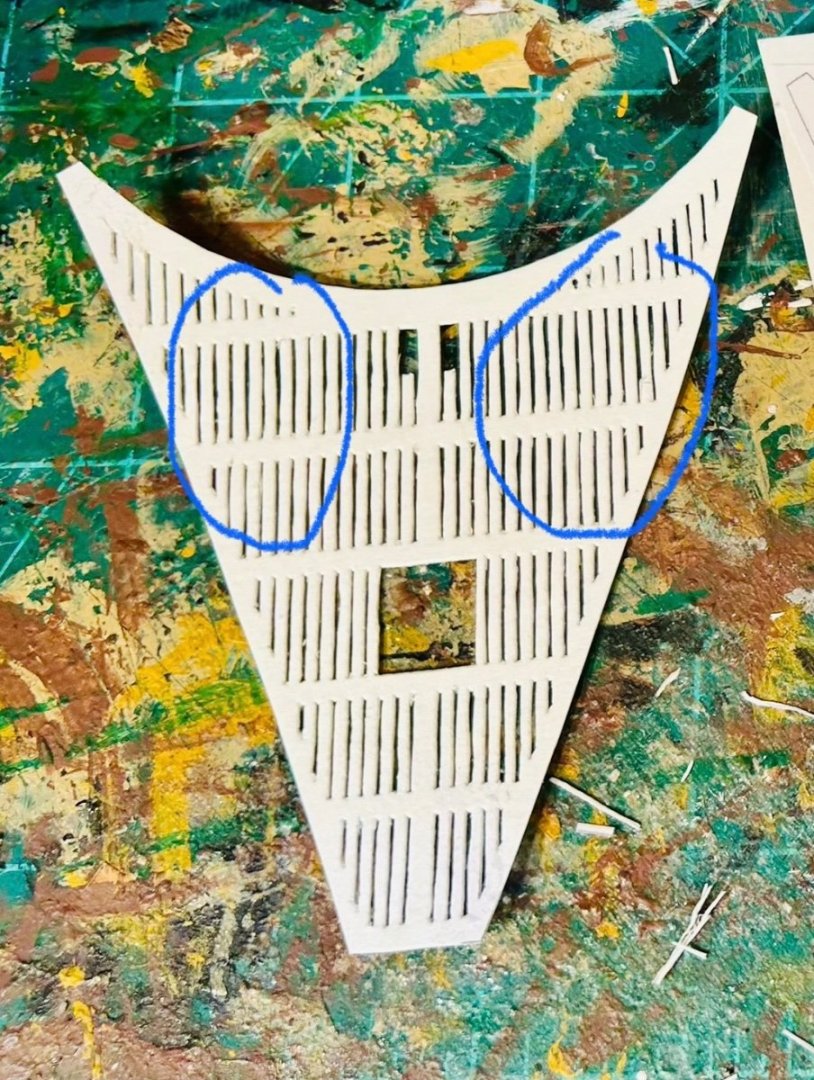
The heads (seats of ease) would most likely have been located on the head grating to either side of the bowsprit. The Mayflower has a similar design to my build, the Revenge. This is my head grating. The blue circles are approximately where I’ll be putting the heads on mine.
-
Patrick, Lol! The angle of the camera made the bend look a lot worse than it was. However, there was a slight angle that I straightened out. That’s one downside to card, it needs additional support a lot of the time. Good call! Everything should be fixed in place once I add the gratings. Also, thank you very much for the information on the seats of ease. I try to be thorough with my models.
-
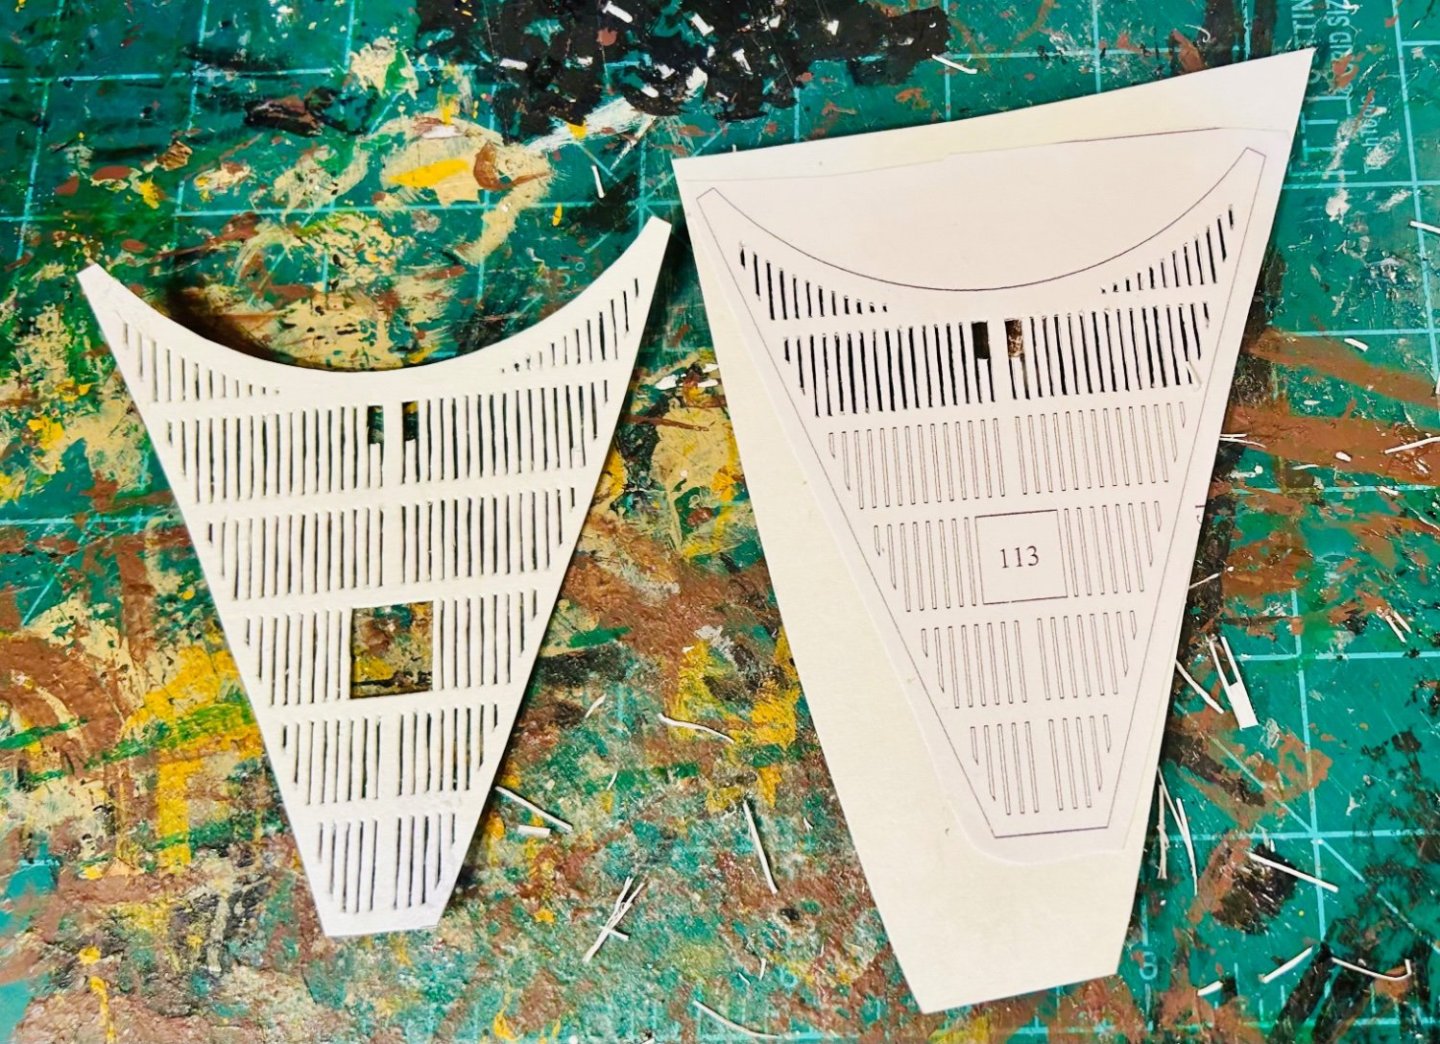
The head is taking shape: The head timbers are lot more square and straighter than they look in the pictures. Next up is to cut out the head gratings and the sides of the head. I also need to make the scroll work. I was going to use card, but I want to try making it of wood first. I think it would look better.
-
Still working on the head. Question for everyone: the seats of ease are not marked on the plan set. Would it be safe to assume that the seats of ease in a late 16th century English ship would have been in the usual location on the head grating, on either side of the head? And that each one would have seated two?
-
There are plans for the hull of the Morris on Plate VII of Chapelle’s “The History of American Sailing Ships” which means that there is a full set of plans available from the Smithsonian. The Revenue Cutters were relatively standardized so it should not be too difficult to find/come up with dimensions and drawings for masts/rigging.
-
Pirate Ship by calt4 - RESTORATION
GrandpaPhil replied to calt4's topic in - Build logs for subjects built 1501 - 1750
Very cool! -
Welcome!
-
Welcome!
-
Hull painting etc.
GrandpaPhil replied to Charlie pal's topic in Painting, finishing and weathering products and techniques
I would paint the red over the white. Remember that painter’s tape with sealant is your friend. -
Thin pieces of card, painted black, make excellent rudder gudgeons.
- 37 replies
-
- first build
- BlueJacket Shipcrafters
-
(and 1 more)
Tagged with:
-
Welcome!
-
I have the Seahorse kit that I would like to enlarge to 1/64 scale and then build from that. The cedar that I just used for the carvings I just made for the Revenge worked well, but was brittle from age. I am going to have fun with all the decorations on De Zeven Provincien. The carvings are becoming some of my favorite pieces to make.
-
kit review SMS Sleipner by Hamburger Modellbaubogen Verlag
GrandpaPhil replied to ccoyle's topic in REVIEWS: Model kits
Very cool! -
Paint help
GrandpaPhil replied to Late to Soleil's topic in Using the MSW forum - **NO MODELING CONTENT IN THIS SUB-FORUM**
There is a section dedicated to paint and finishing questions here: https://modelshipworld.com/forum/21-painting-finishing-and-weathering-products-and-techniques/
About us
Modelshipworld - Advancing Ship Modeling through Research
SSL Secured
Your security is important for us so this Website is SSL-Secured
NRG Mailing Address
Nautical Research Guild
237 South Lincoln Street
Westmont IL, 60559-1917
Model Ship World ® and the MSW logo are Registered Trademarks, and belong to the Nautical Research Guild (United States Patent and Trademark Office: No. 6,929,264 & No. 6,929,274, registered Dec. 20, 2022)
Helpful Links
About the NRG
If you enjoy building ship models that are historically accurate as well as beautiful, then The Nautical Research Guild (NRG) is just right for you.
The Guild is a non-profit educational organization whose mission is to “Advance Ship Modeling Through Research”. We provide support to our members in their efforts to raise the quality of their model ships.
The Nautical Research Guild has published our world-renowned quarterly magazine, The Nautical Research Journal, since 1955. The pages of the Journal are full of articles by accomplished ship modelers who show you how they create those exquisite details on their models, and by maritime historians who show you the correct details to build. The Journal is available in both print and digital editions. Go to the NRG web site (www.thenrg.org) to download a complimentary digital copy of the Journal. The NRG also publishes plan sets, books and compilations of back issues of the Journal and the former Ships in Scale and Model Ship Builder magazines.

