GrandpaPhil
-
Posts
6,150 -
Joined
-
Last visited
Content Type
Profiles
Forums
Gallery
Events
Everything posted by GrandpaPhil
-
Congratulations! Well done!
-
Well done!
-
Try brushing on the next layer with the brush strokes going fore and aft. I used that on a carrier with good success to create the impression of nonskid. If you decide to strip the deck, you can use contact paper, like for cabinets, to add wood texture. That’s what I did on my Prince de Neufchatel and my Hannah builds, on this forum.
-
To the best of my knowledge, anything that will remove the wash, will remove the rest of the paint. Have you thought about drybrushing to add texture?
-
Congratulations! Well done!
-
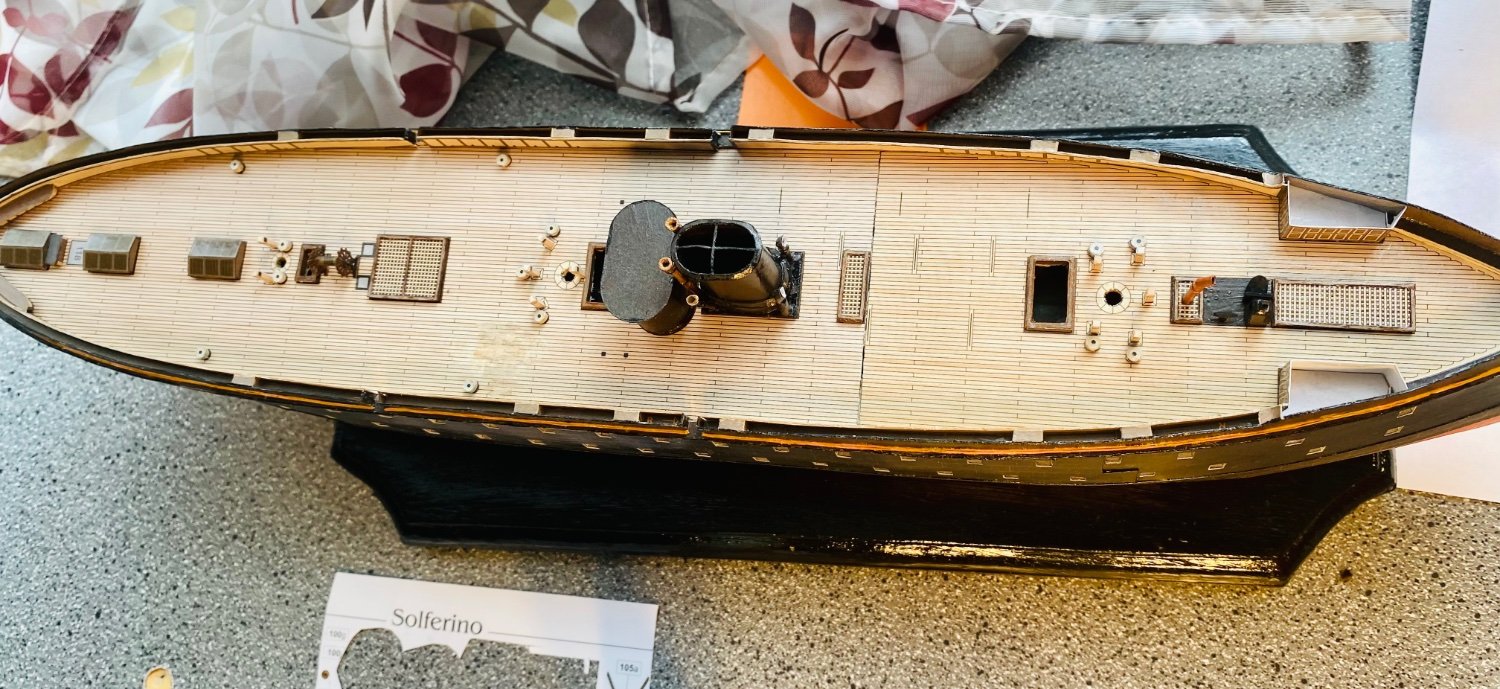
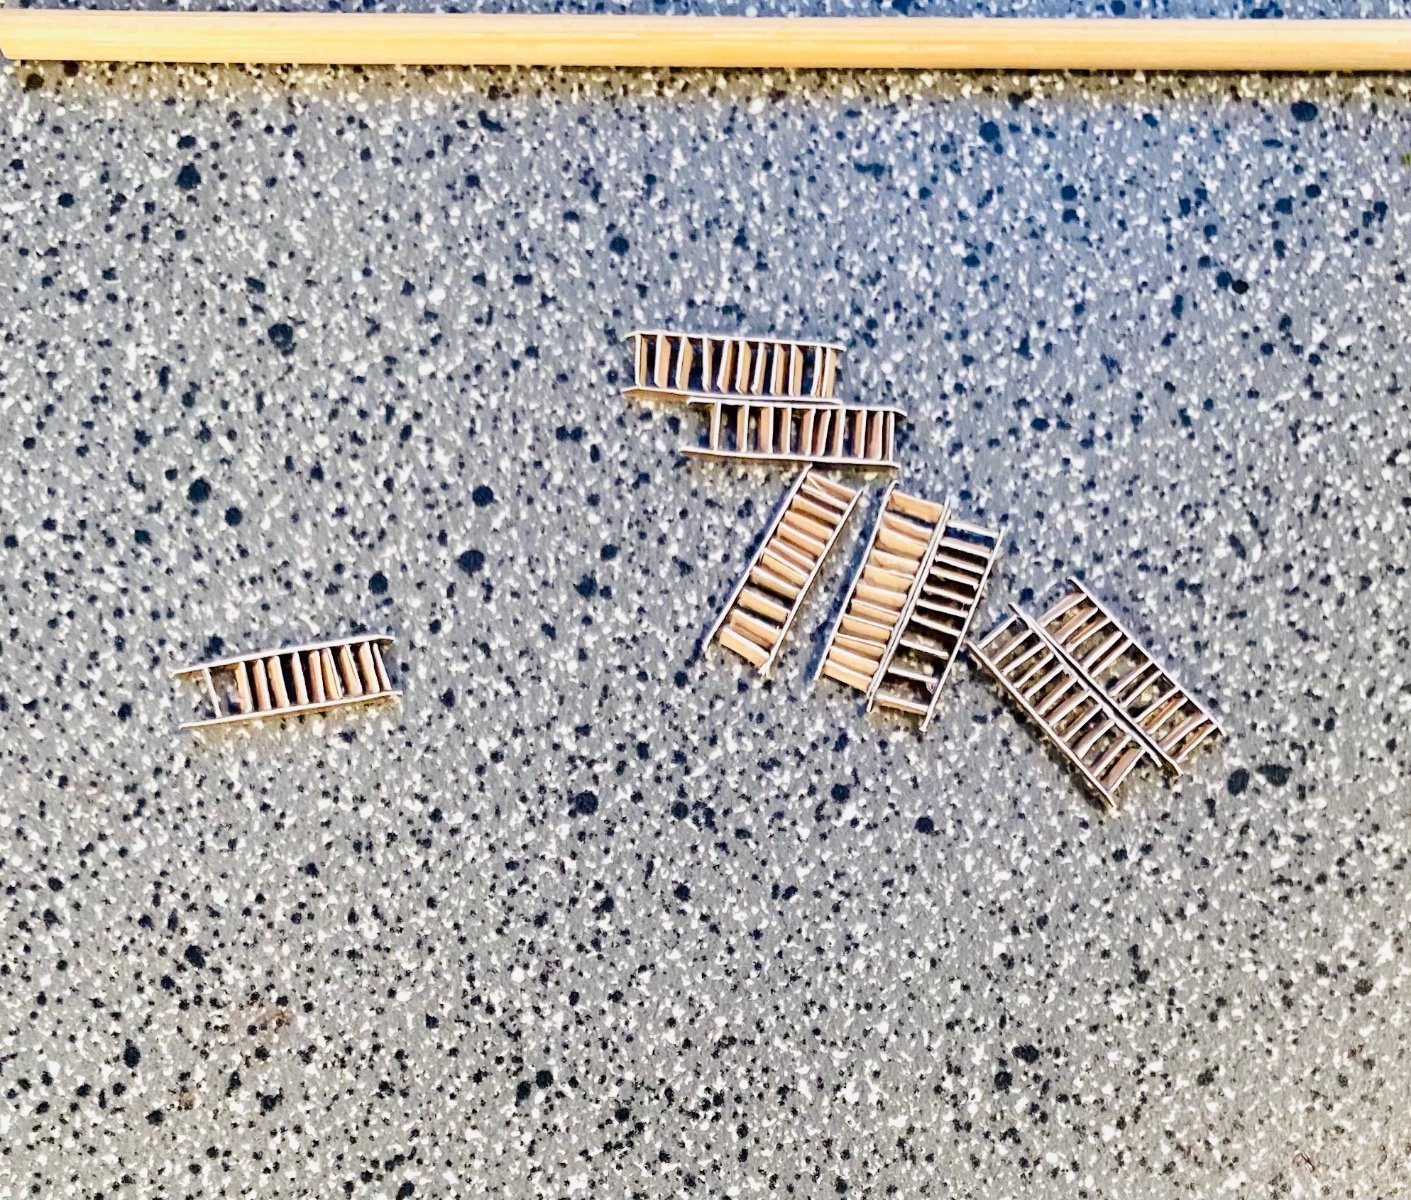
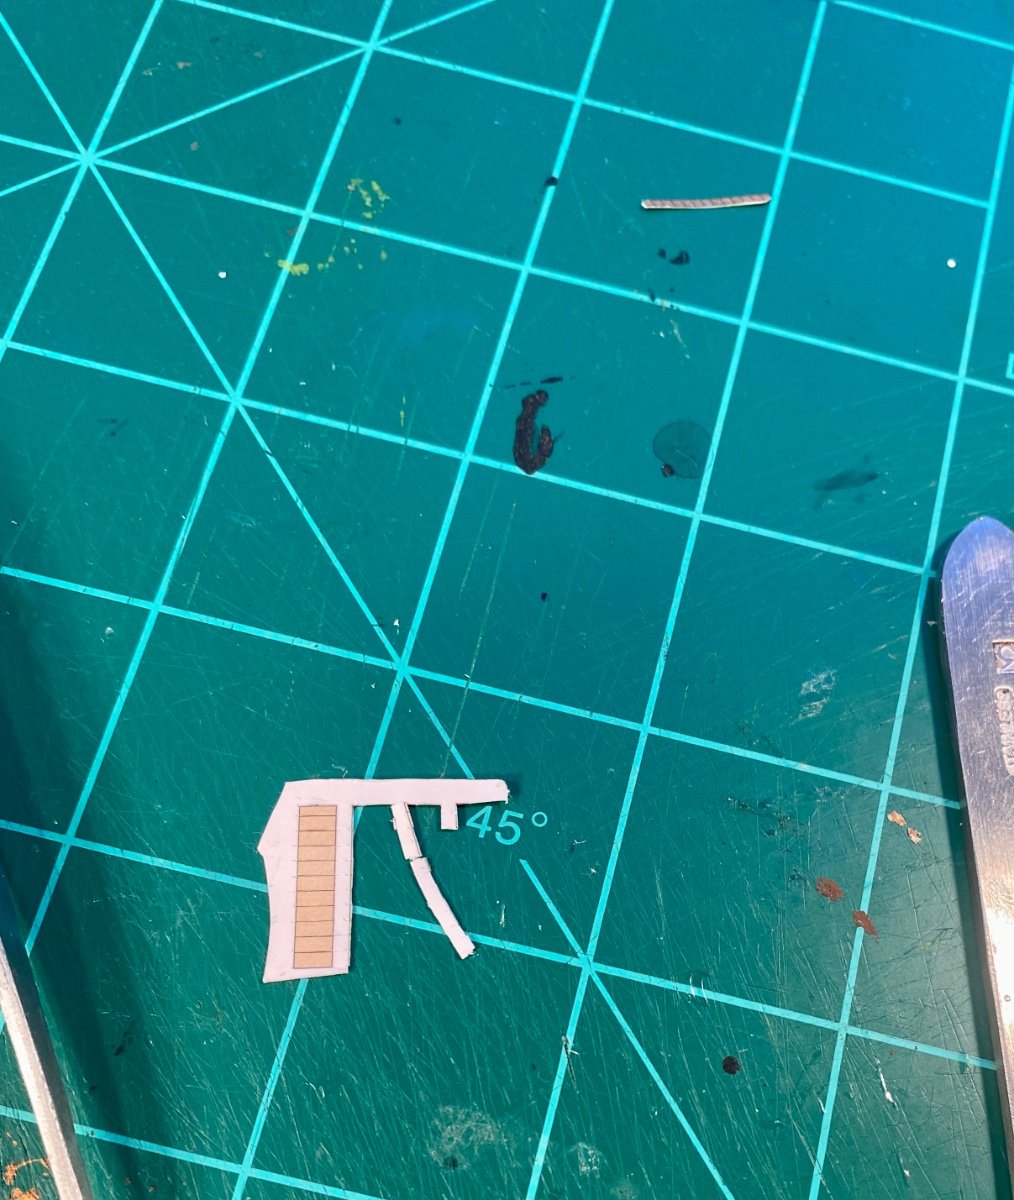
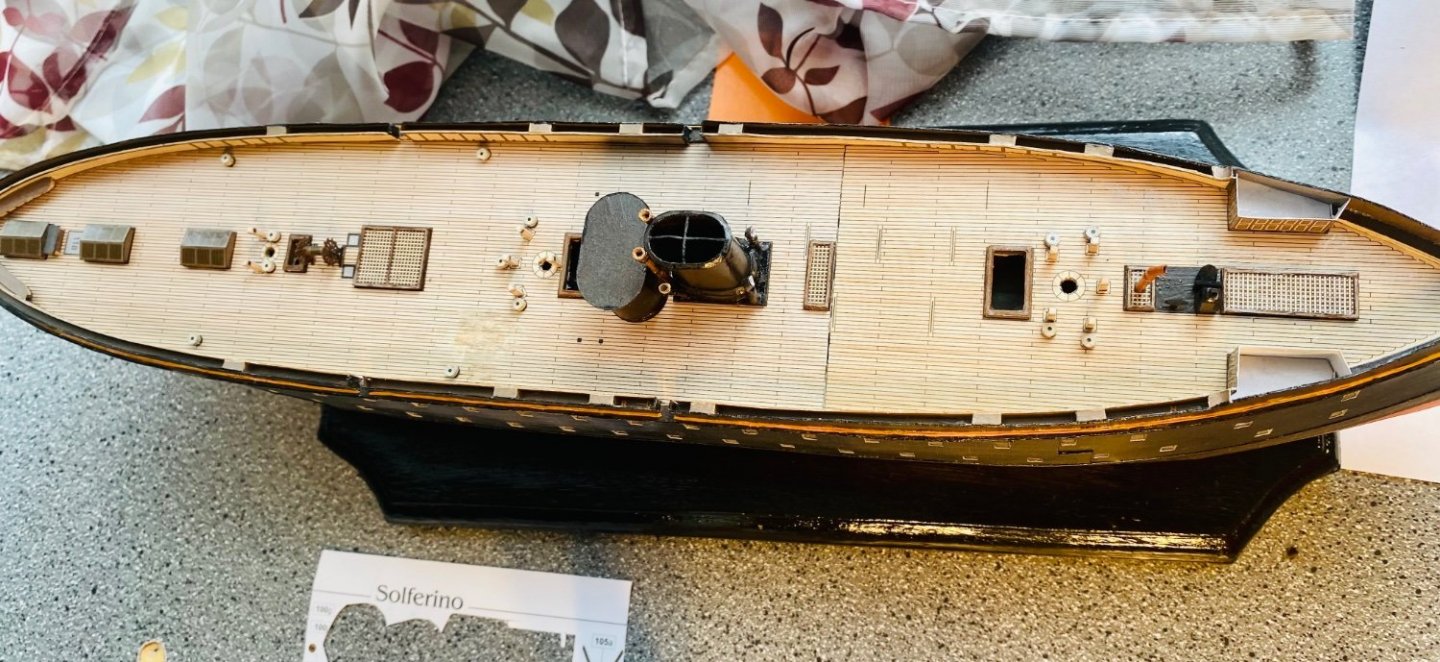
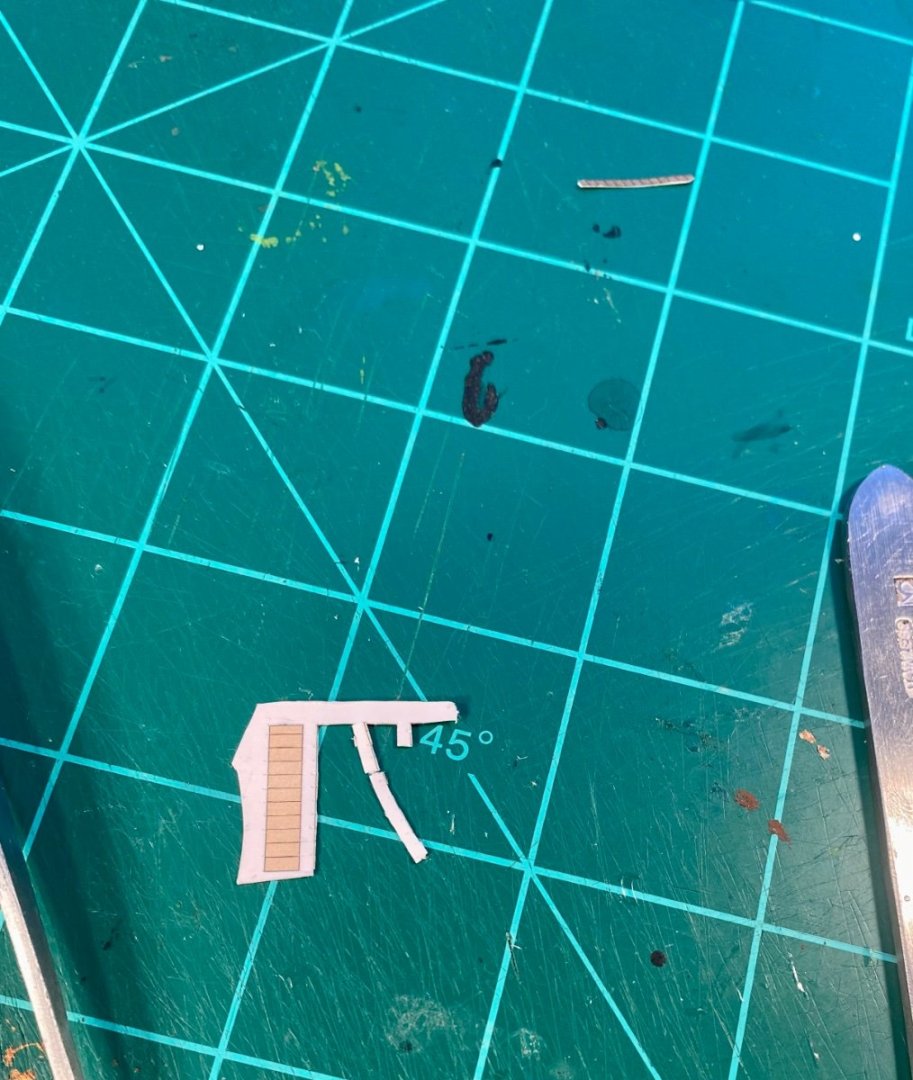
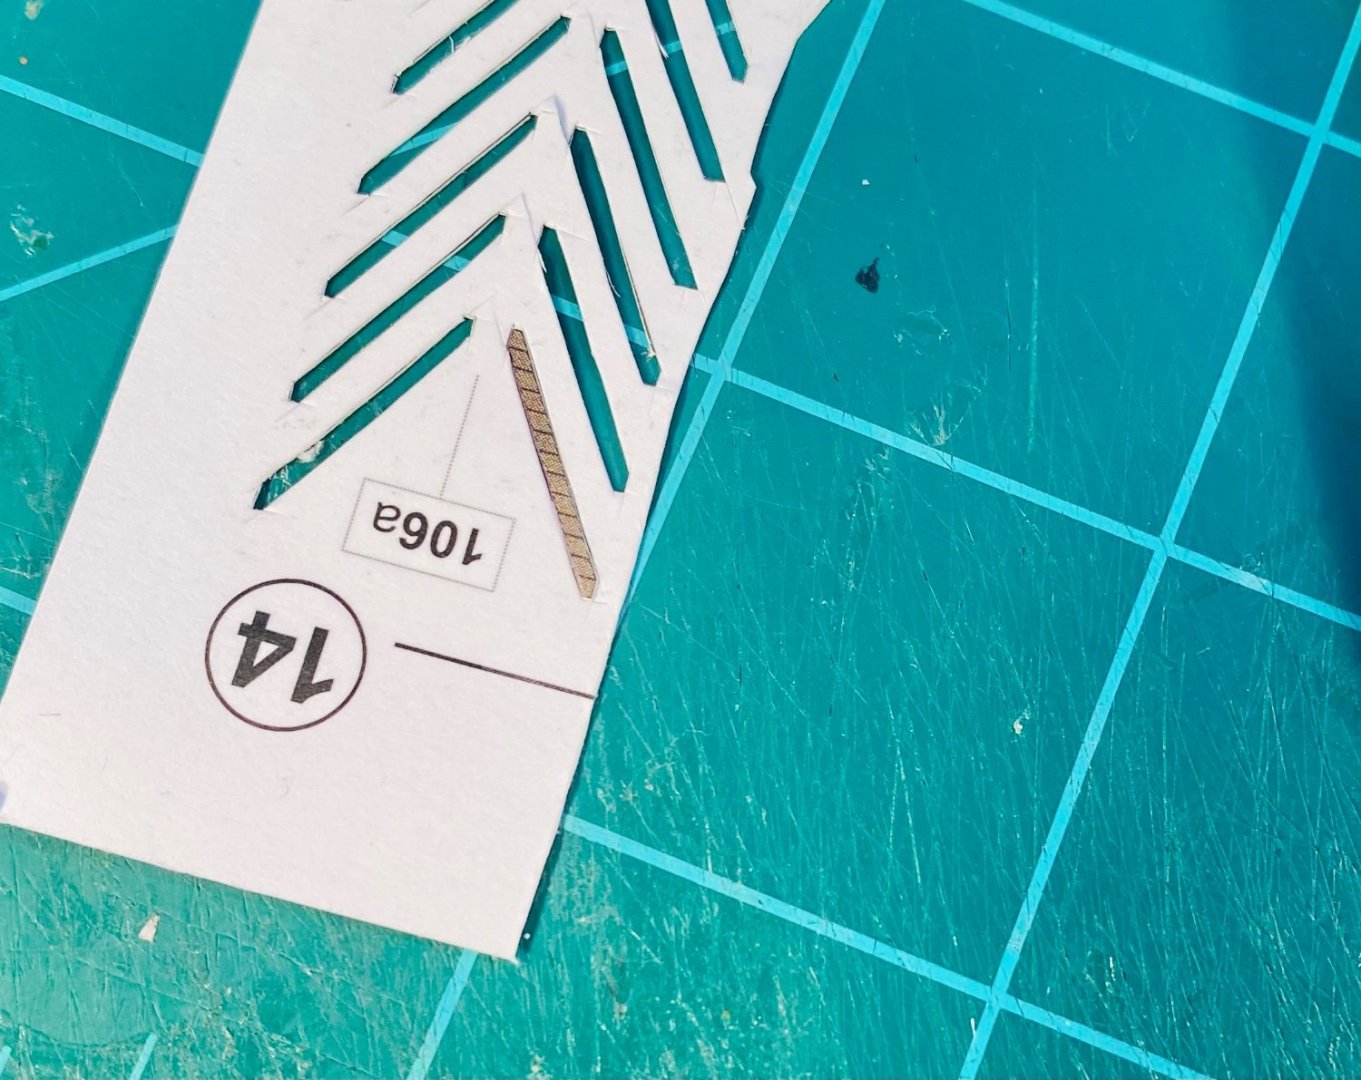
The ladders are assembled and mostly edge painted now. I made a test railing piece, out of wire, and attached it. I’m not really happy with it or how the ladders went together at all. Here in a little while, I’m going to seal the ladders to stiffen them up (I still need to finish edge painting them as some pieces were reglued). I will also make the rest of the railings from black thread, stiffened with thinned down white glue. For the next round of ladders, I’m going to make a ladder making jig, a la Zu Monfeld, because they will actually be visible. I also want to mod the kit and make the observation platform railings from thread. In other news, I edge painted the Solferino’s deck fittings. I’ll seal them when I seal the ladders. I have been enjoying building card models enough that I bought the Shipyard Models 3 Pack of Northern European ships, Part 2, from Ages Of Sail, today. That comes with their kit of the cutter HMS Alert, the French lugger Le Coureur and the frigate HMS Mercury. All 3 will most likely be rescaled to 1:72 scale (which is the scale I’m using at home for my collection of ship models). The Mercury’s rigging/sail plan will also be used for my Winchelsea build when I get to it, with the mast proportions set out by Zu Monfeld.


- 278 replies
-
- 14
-

-
Congratulations! Nicely done!
-
Good deal on long tweezers.
GrandpaPhil replied to Bob Cleek's topic in Modeling tools and Workshop Equipment
Thank you very much for the heads up. I saved them in my watch list. -
Welcome!
-
Dan, Your models are awesome! I’m looking forward to watching this one! Quick question for you. How do you make your ladders and railings at this scale? Phil
-
I’m down to the last ladder going down, then I need to decide whether I’m making the railings from thin wire or string stiffened with glue as the instruction manual calls for. After the last one dries, I will edge paint them, add railings and install.

- 278 replies
-
- 10
-
-
I personally like sails on my models. I have used them on all of my recent builds.
-
Attn: ALL LINDBERG Model fans! (Test your knowledge?)
GrandpaPhil replied to BoSmith_12's topic in Plastic model kits
Was it the Lindberg Blue Devil Destroyer? I had that one back in the 1980’s. It is 1/125 scale and meant to be motorized. It is still in production. I almost bought another one a couple years ago, but I have way too many models in my stash as it is.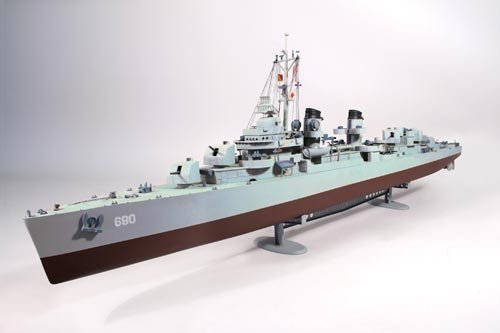
-
SIB (Skier in Bottle) by Glen McGuire - 1/80
GrandpaPhil replied to Glen McGuire's topic in Completed non-ship models
Very cool! -
Very nicely done!
-
Congratulations! Very nicely done!