GrandpaPhil
-
Posts
6,150 -
Joined
-
Last visited
Content Type
Profiles
Forums
Gallery
Events
Everything posted by GrandpaPhil
-
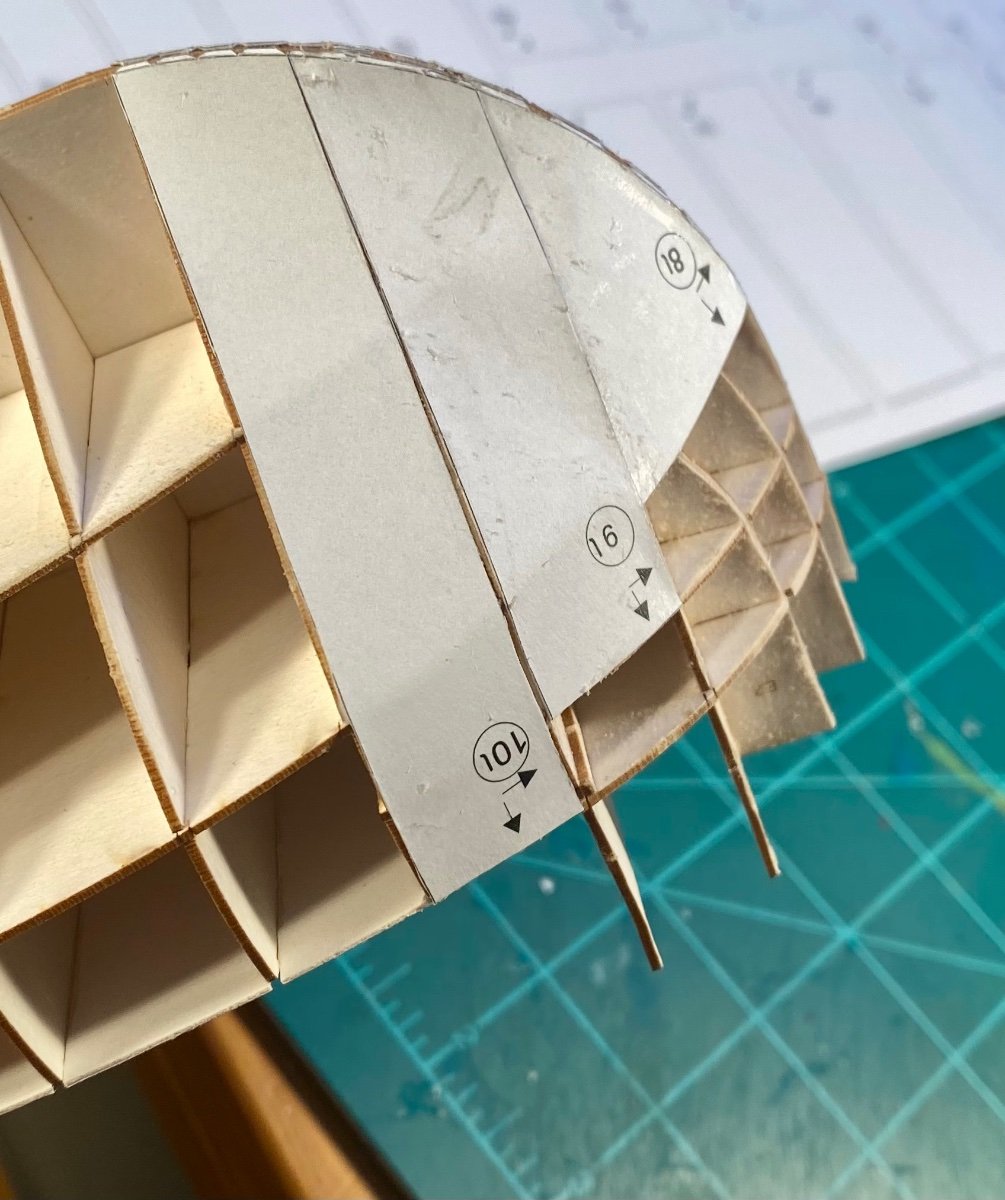
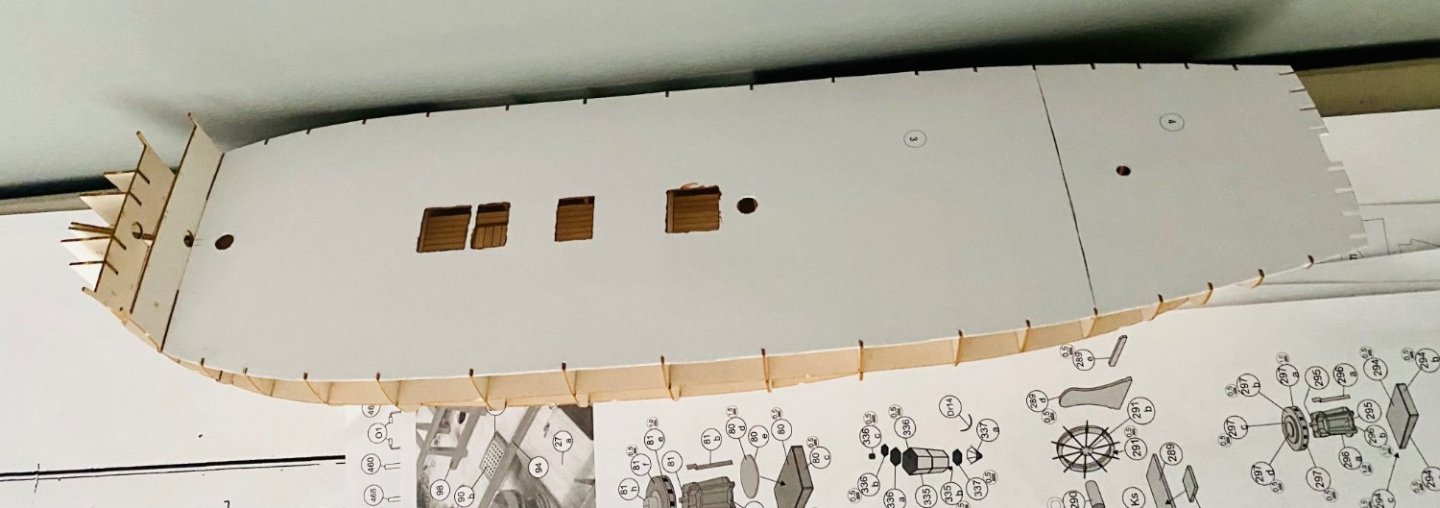
Lol, they do have some neat stuff over there. However, this forum is second to none in terms of the sheer amount of information and skill sets available to model builders. Model Ship World has literally changed my life. I would never have have advanced to the skill level I am at now if I hadn’t found this forum. This forum is the only reason my last few ship models exist. The level of craftsmanship here is far beyond what I would have ever believed possible. The really advanced model builders are incredibly helpful and friendly, which has helped me tremendously. Here’s the Mercury: I’m still working on the inner covering, a couple of pieces at a time. The hull will get spackled and sanded before it gets the outer covering, in the near future.


- 54 replies
-
- 23
-

-
Congratulations! Well done!
-
Congratulations! Very nicely done!
-
Very cool technique!
-
I’ll use drywall spackle on the under layer to make a nice smooth surface to “plank” a second time. I used a similar method to plank the hulls of the Hannah and the Prince de Neufchatel. Making progress: I will definitely need filler (drywall spackle for card models). I usually use pulp board for the first layer. So this is kind of interesting. I’m taking notes for future builds.

- 54 replies
-
- 12
-
-
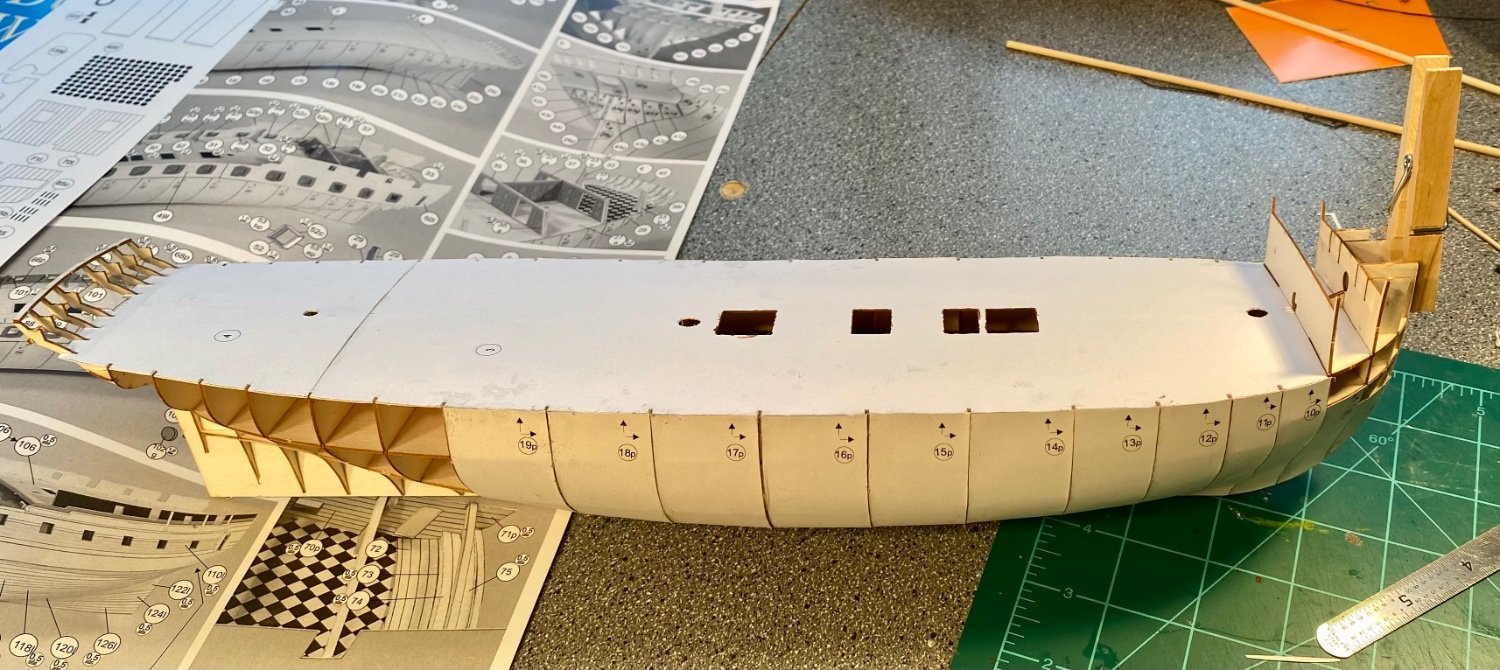
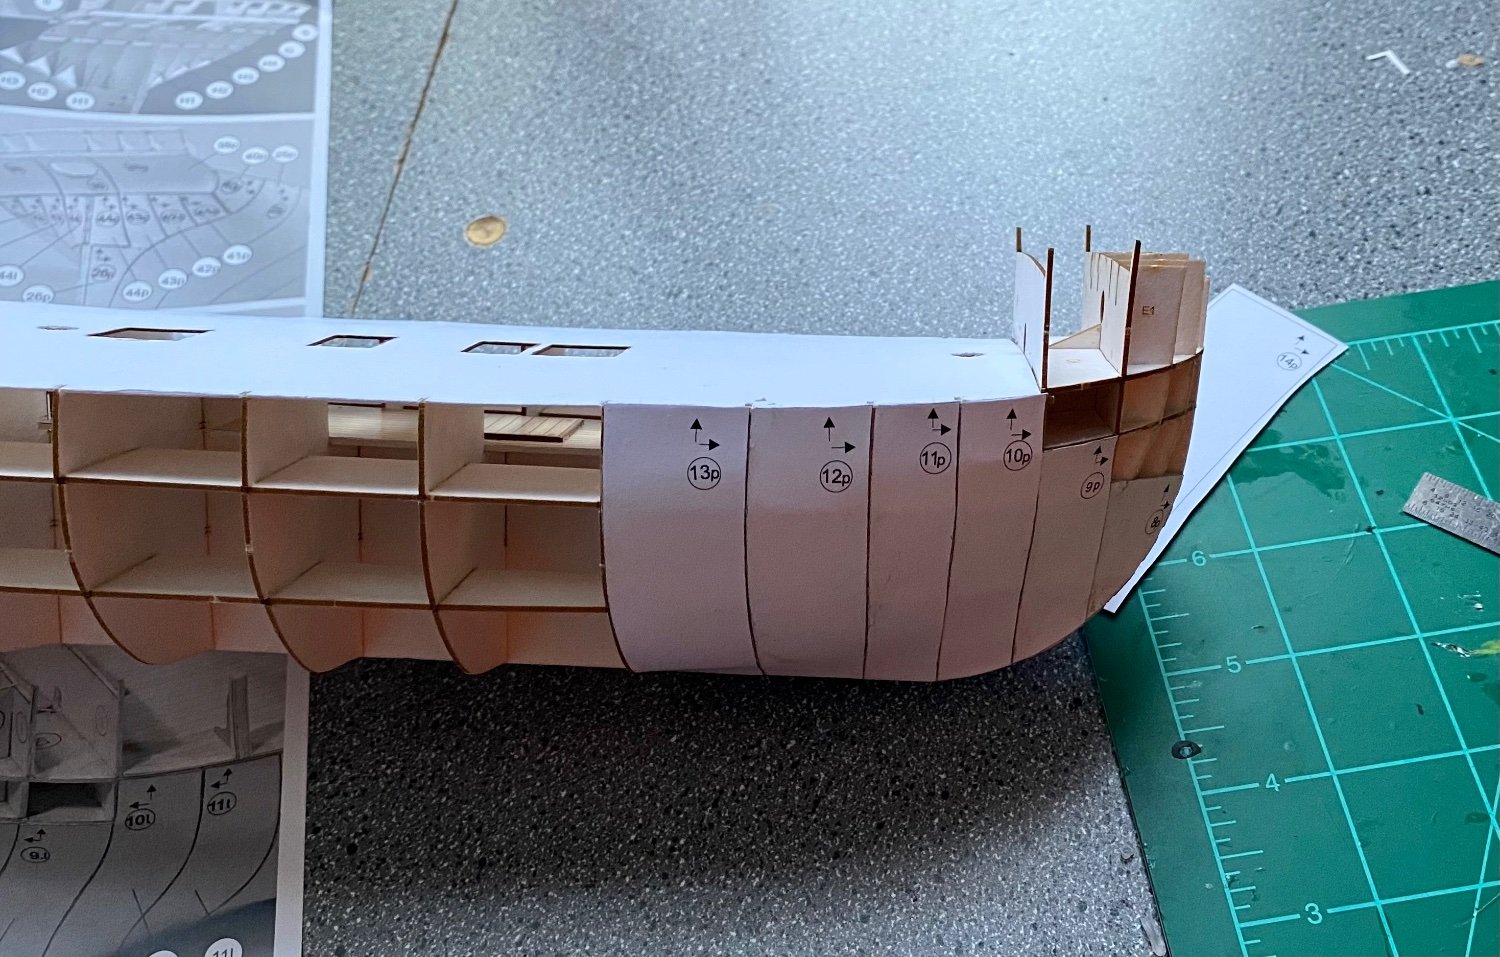
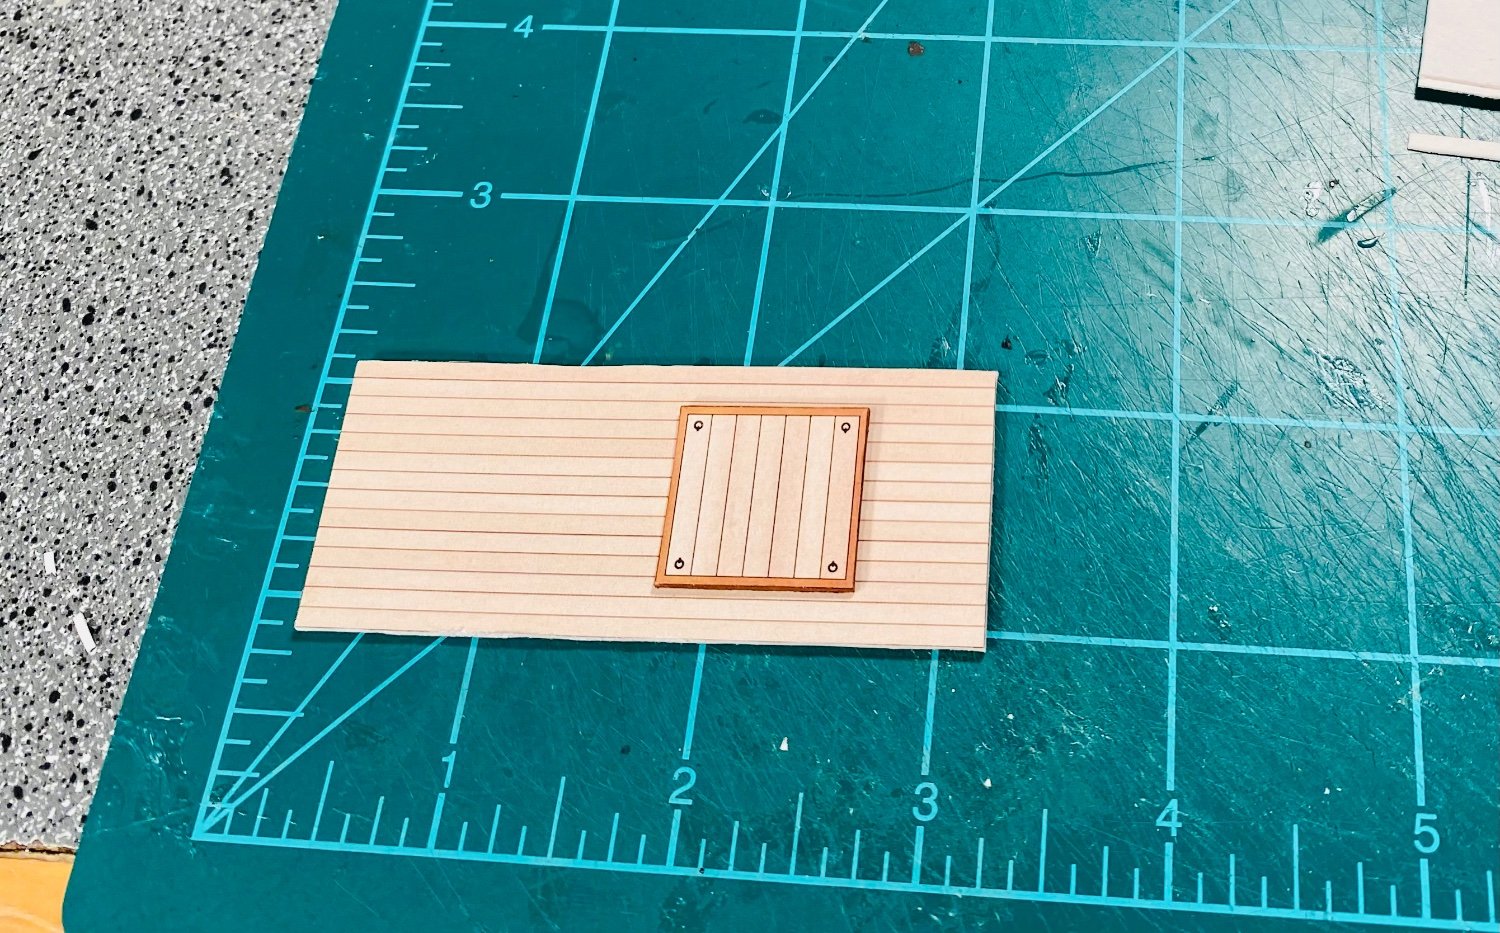
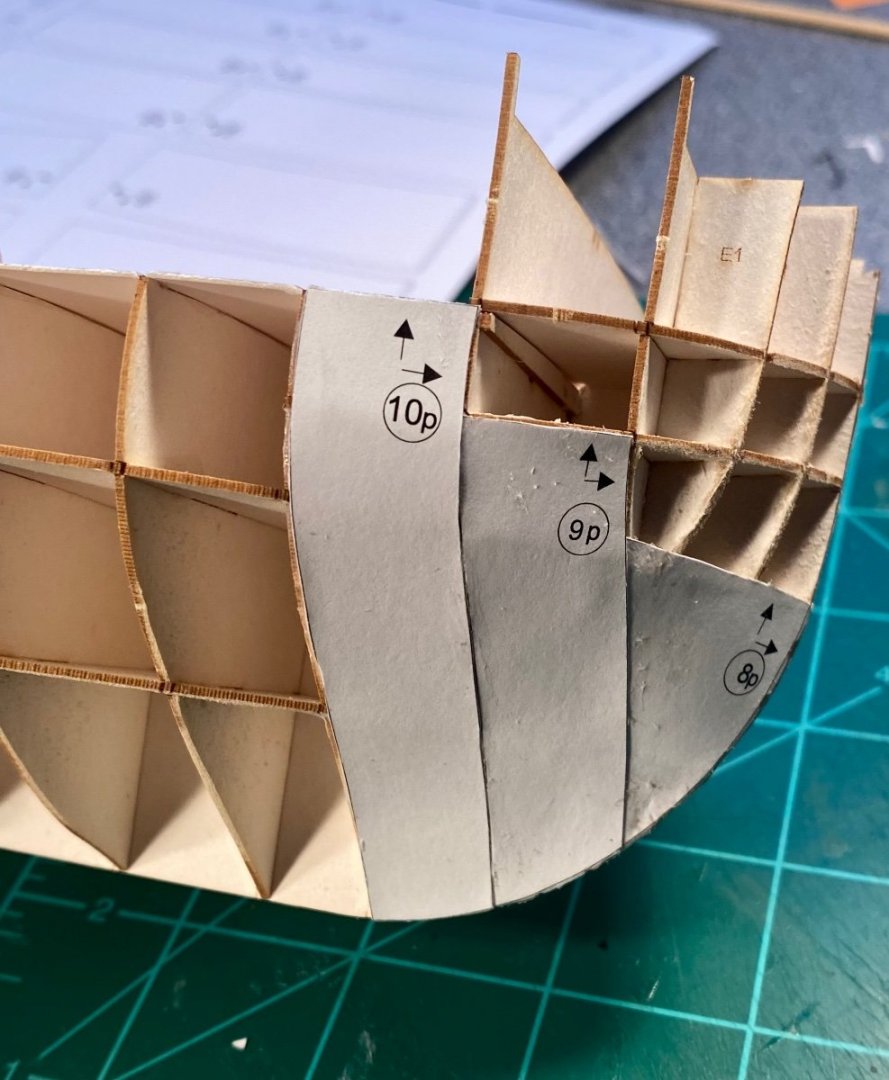
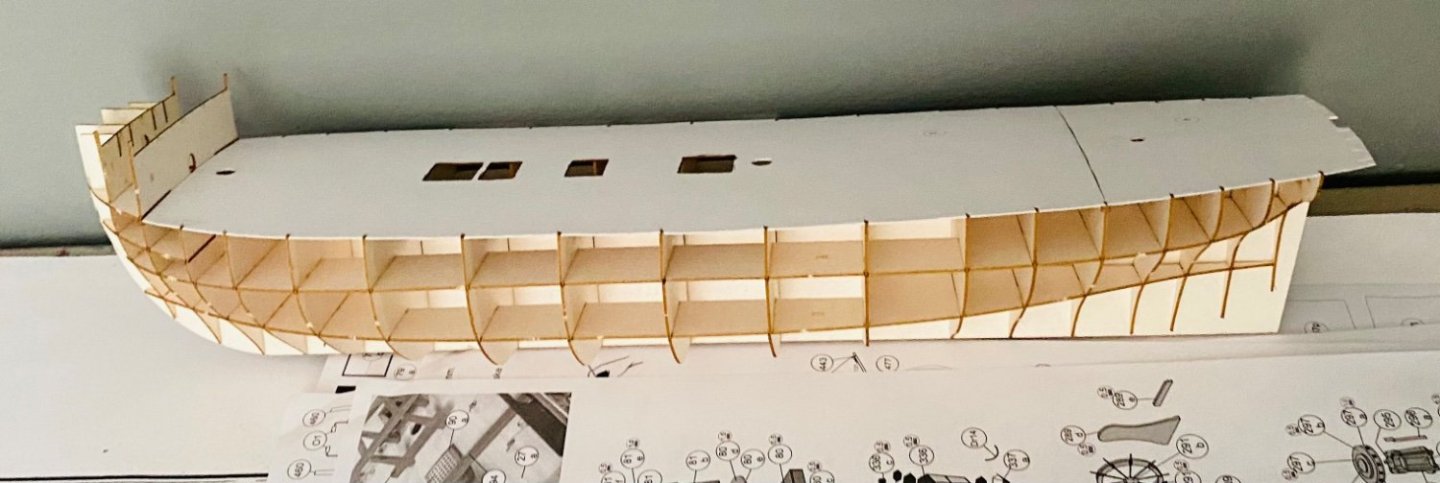
Thank you all very much for the comments and the likes! I started covering the hull today. The first covering is with very thin card.
-
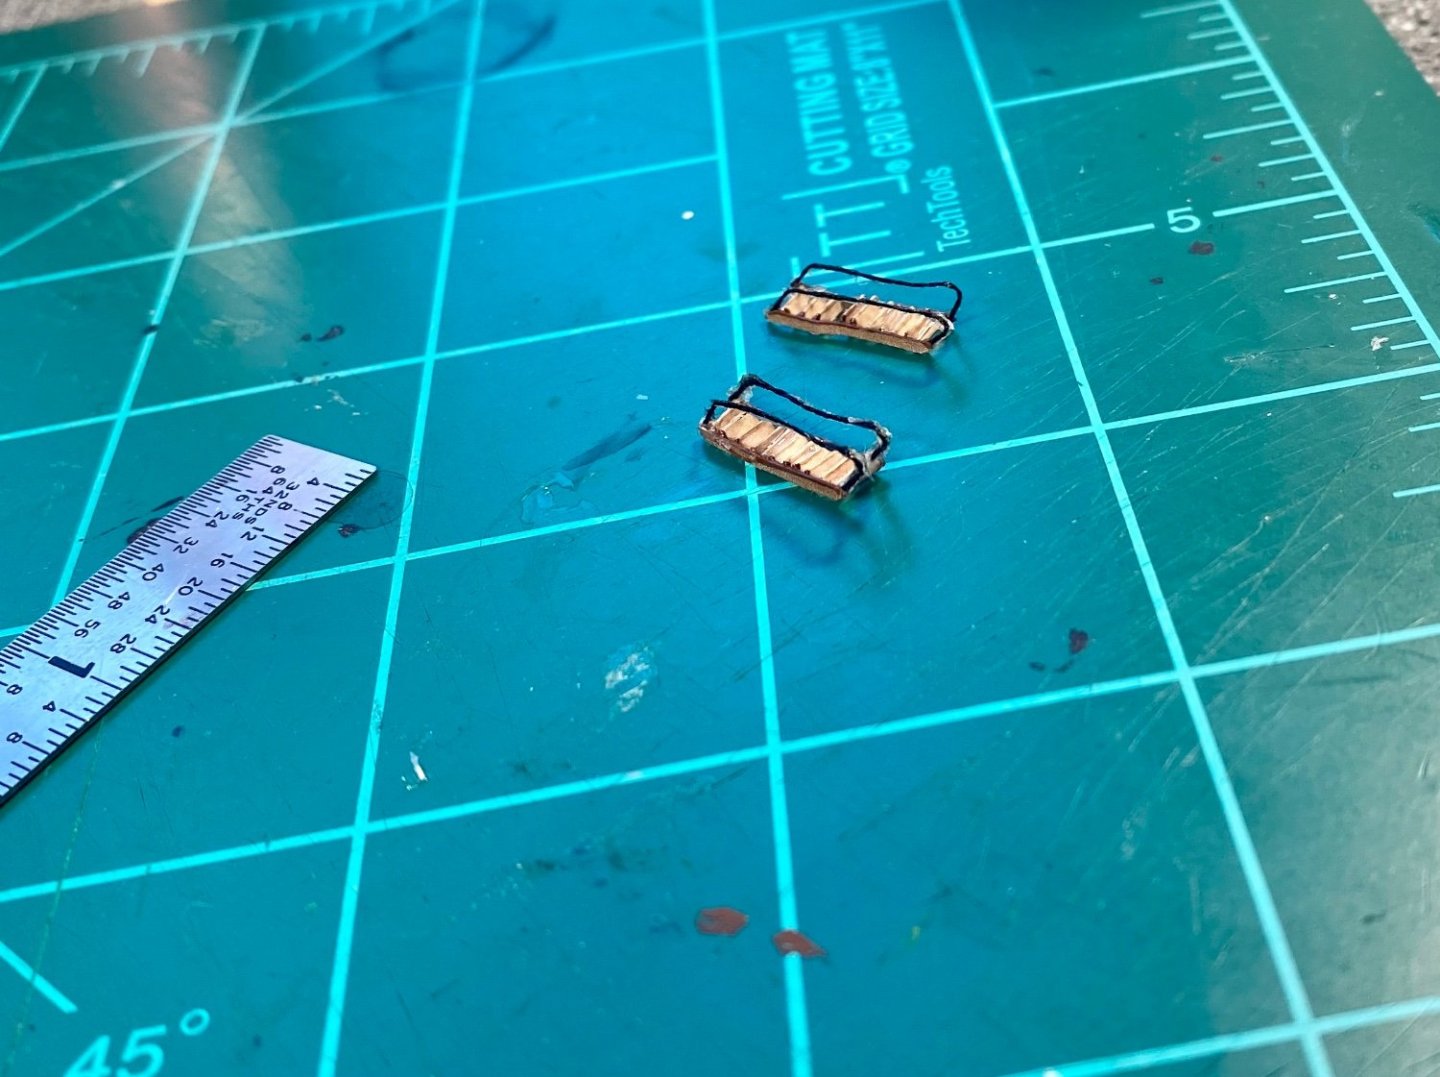
I like the technique for the ladders!
-
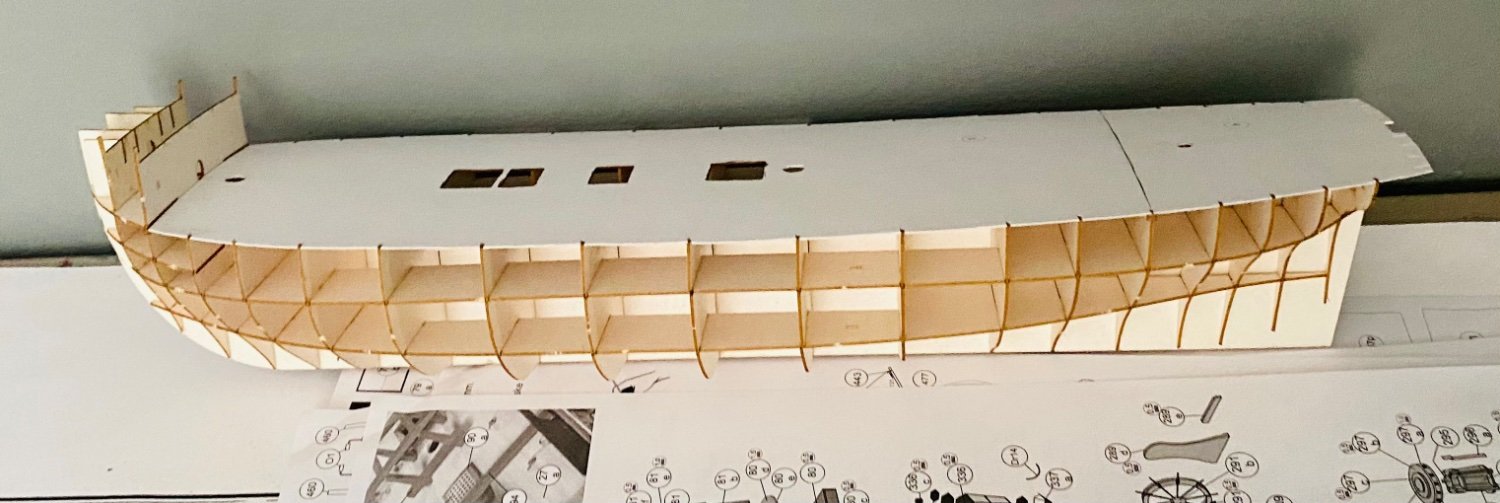
The stern framing is on: I already faired the hull in preparation for covering. It has the same vertical covering that my Prince de Neufchatel does. It has a second layer of planking too.
- 54 replies
-
- 15
-
-
Their HMS Alert and Le Coureur kits are very nice, too. The full set of 3 models (including the Mercury) only ran me $85, with shipping, from Age Of Sail. It’s the Northern European Sail, Part II set. The Alert or Coureur would make an excellent starter kit.
-
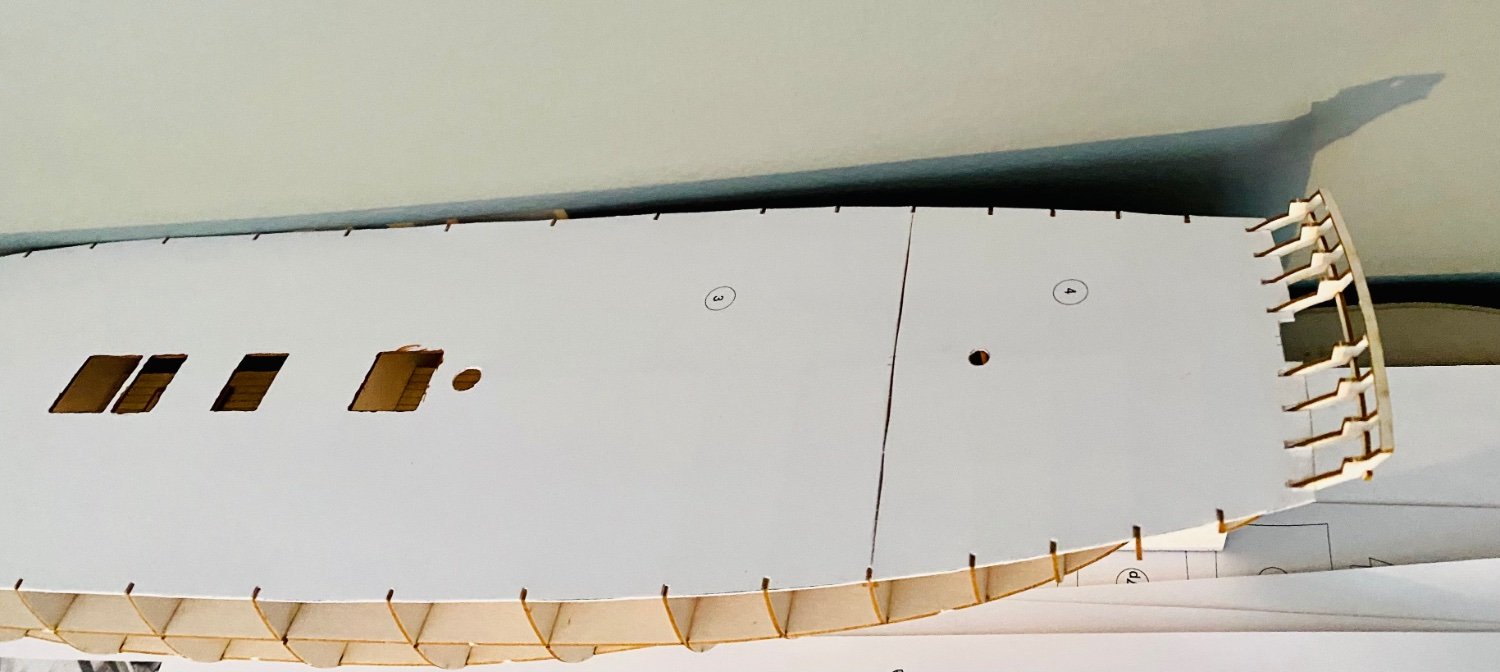
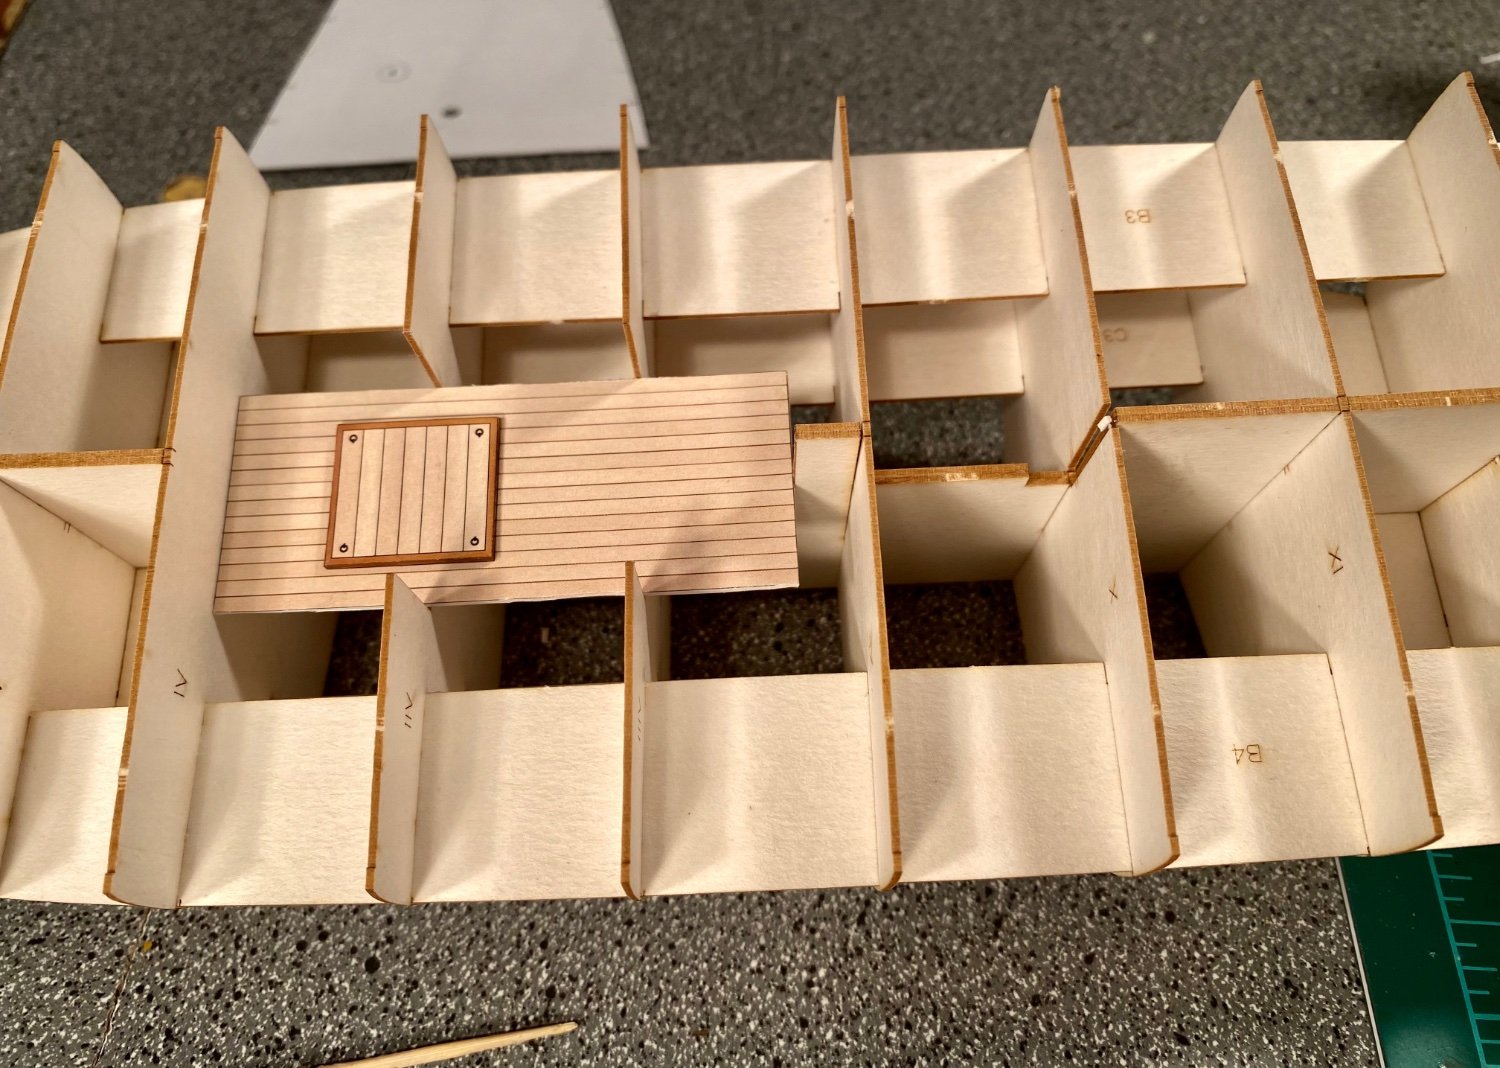
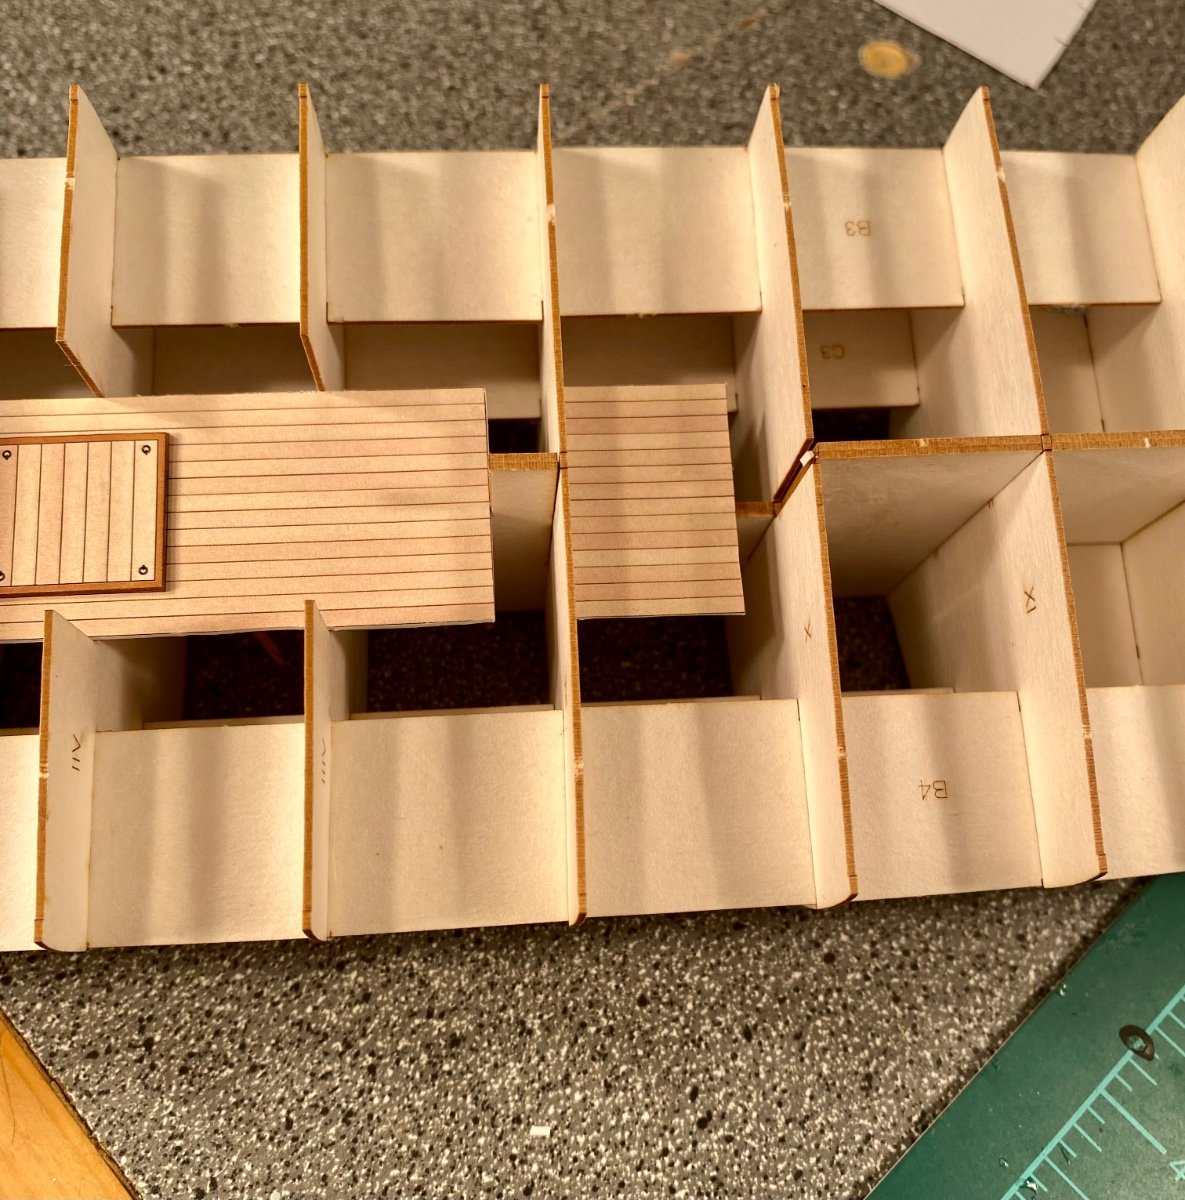
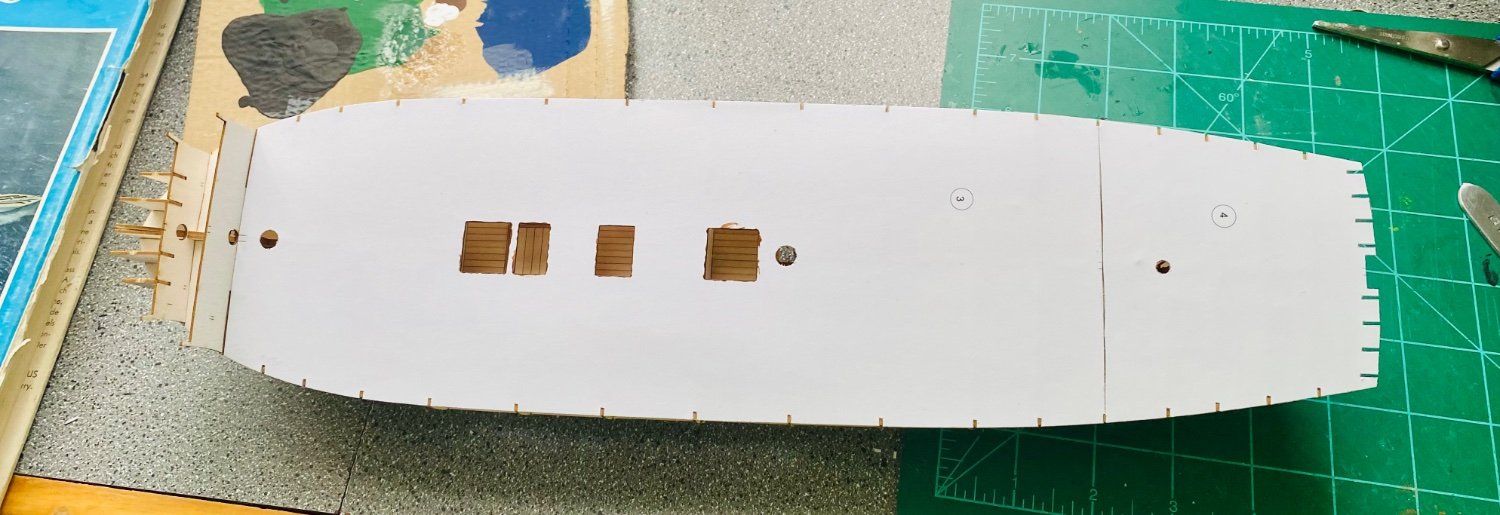
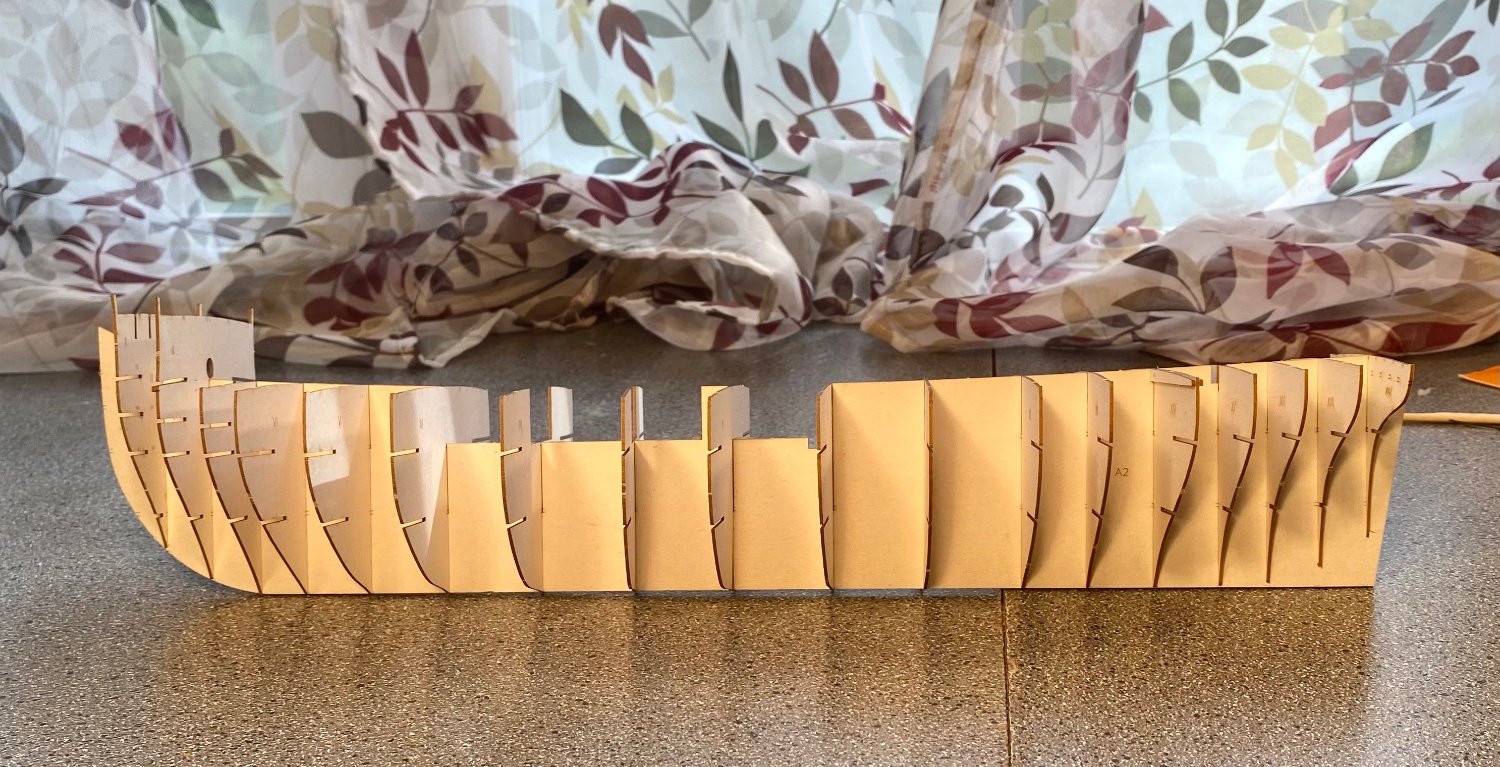
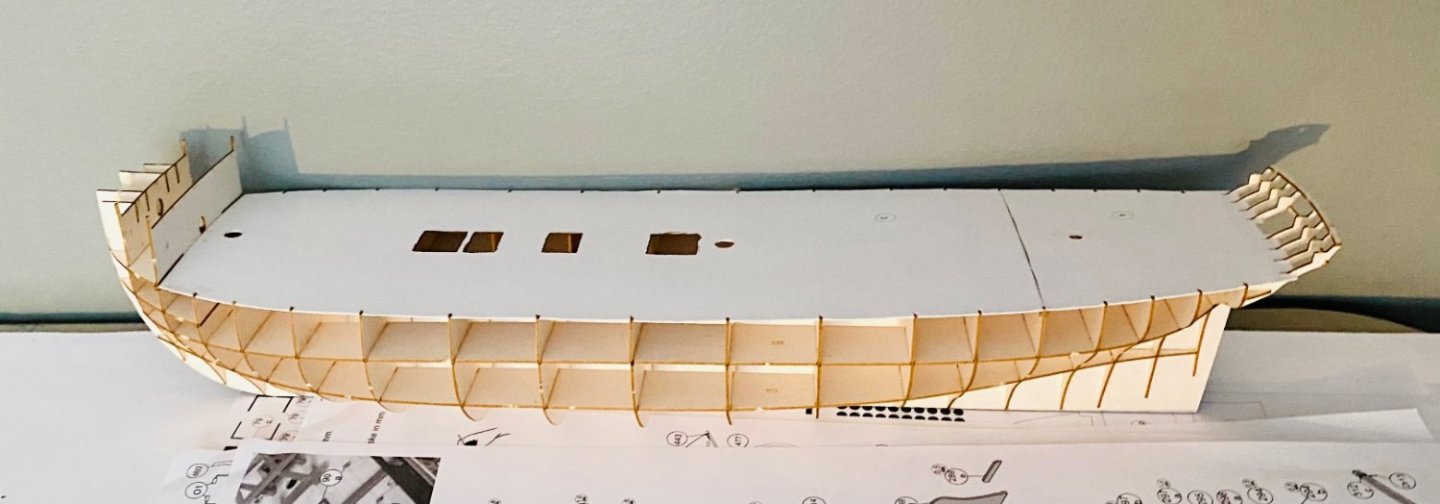
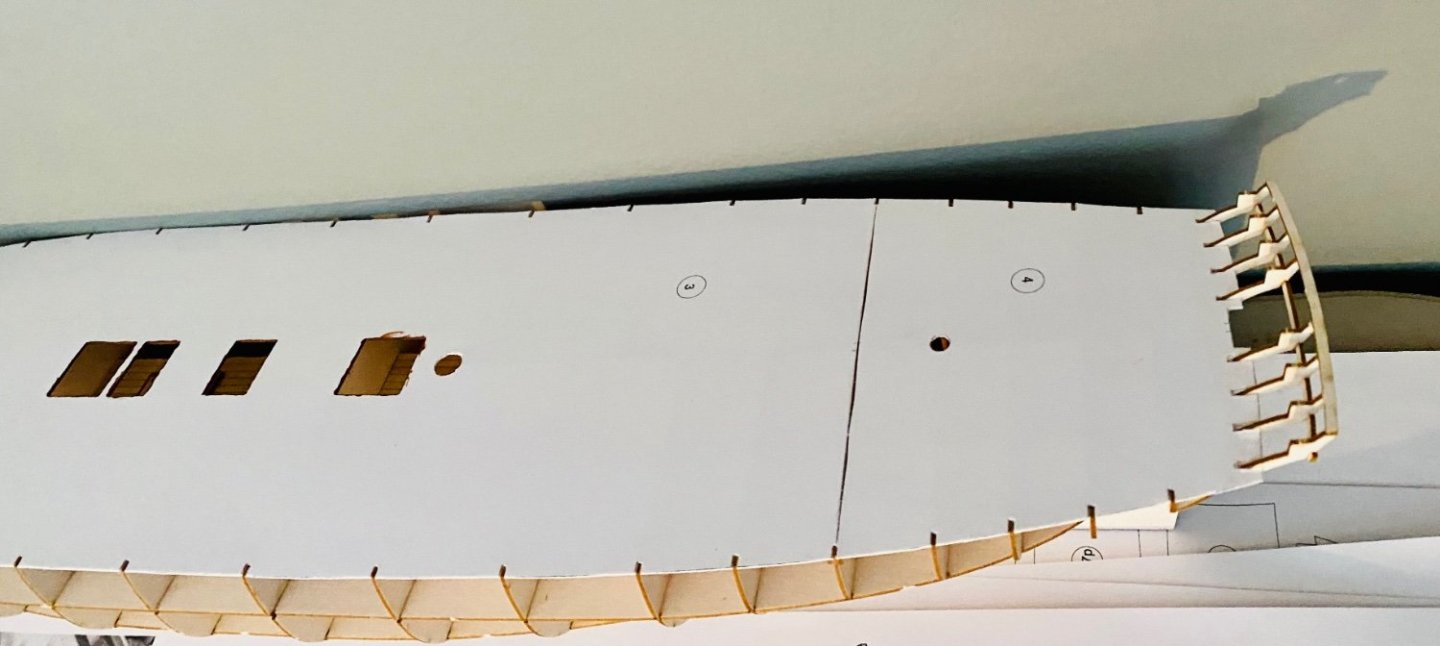
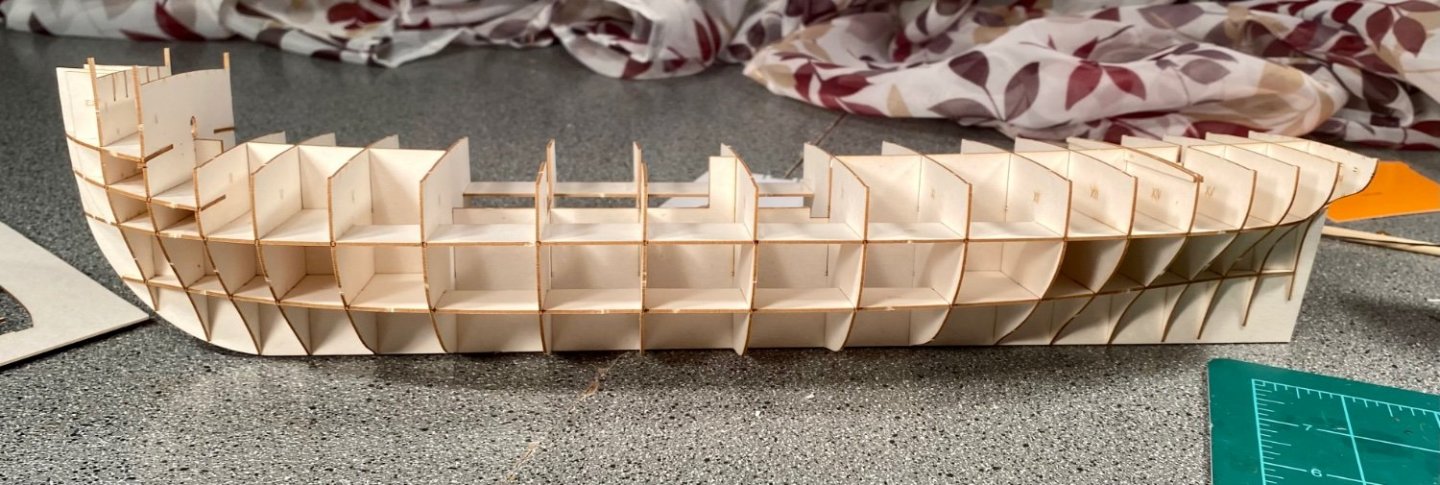
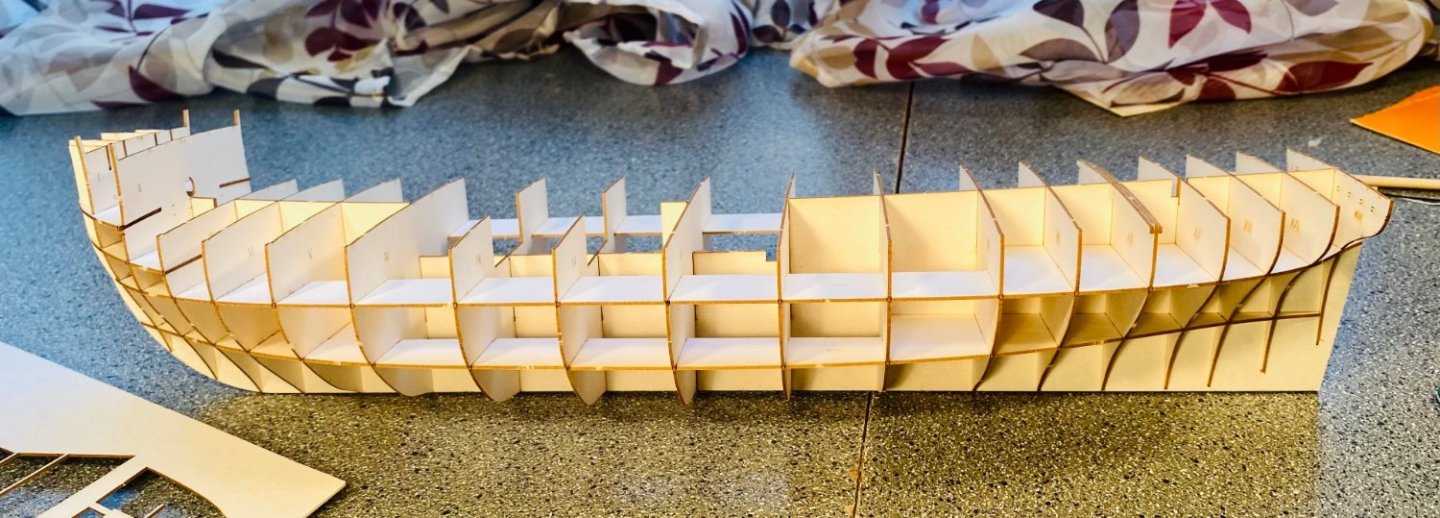
Bulkheads/Framework: Here’s the first lower deck pieces: Here are the lower decks in place: The false main deck is on: I’ve never built a model with an actual enclosed gundeck before, so I’m paying very close attention to how it goes together for use on my Magenta. Also, the framework is very rigid on this model. I would like to duplicate it on future builds (Magenta at the moment).


- 54 replies
-
- 18
-
-
I have a Dremel rotary tool, but I’ve never used it on a model. I have used a normal drill, on a model, a few times, but those occasions are few and far between. It is too easy for things to very wrong, very quickly, on a model, with power tools.
-
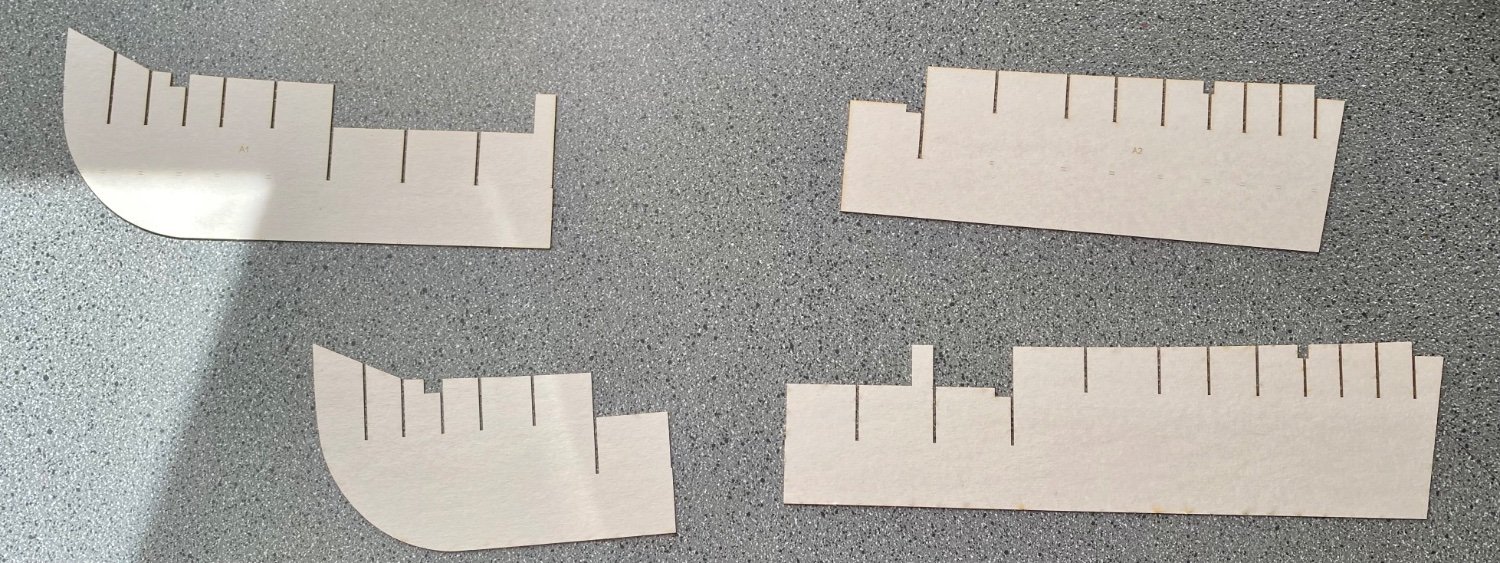
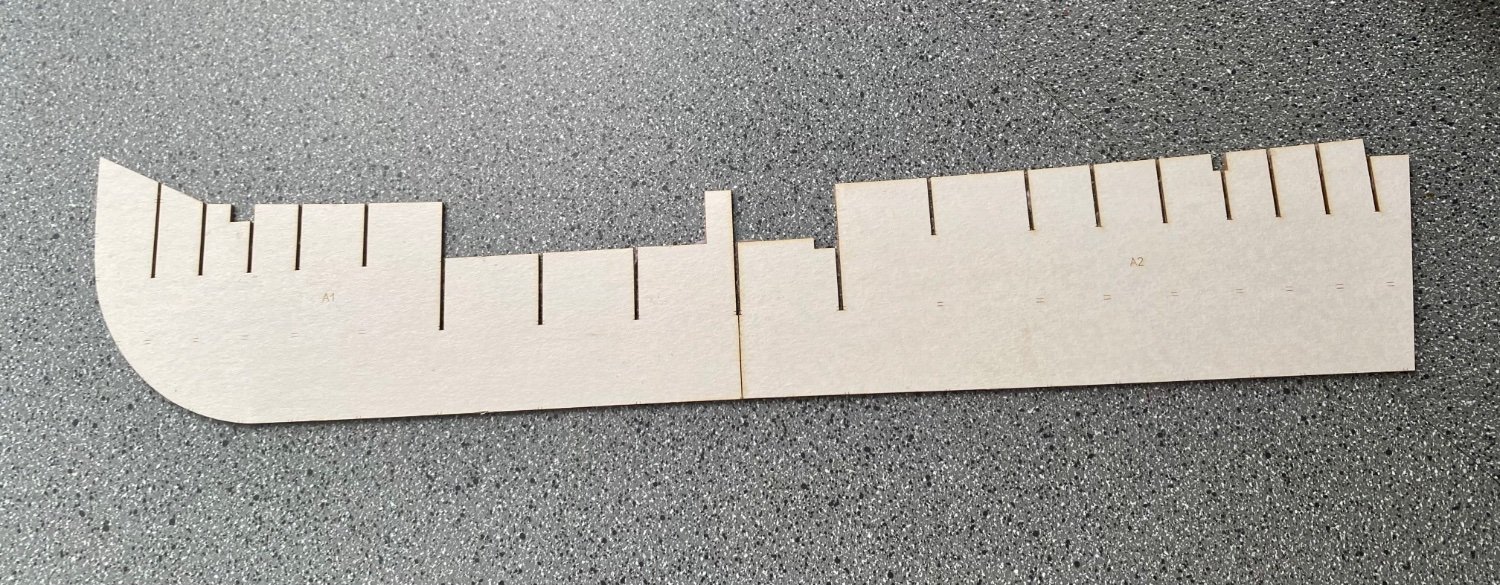
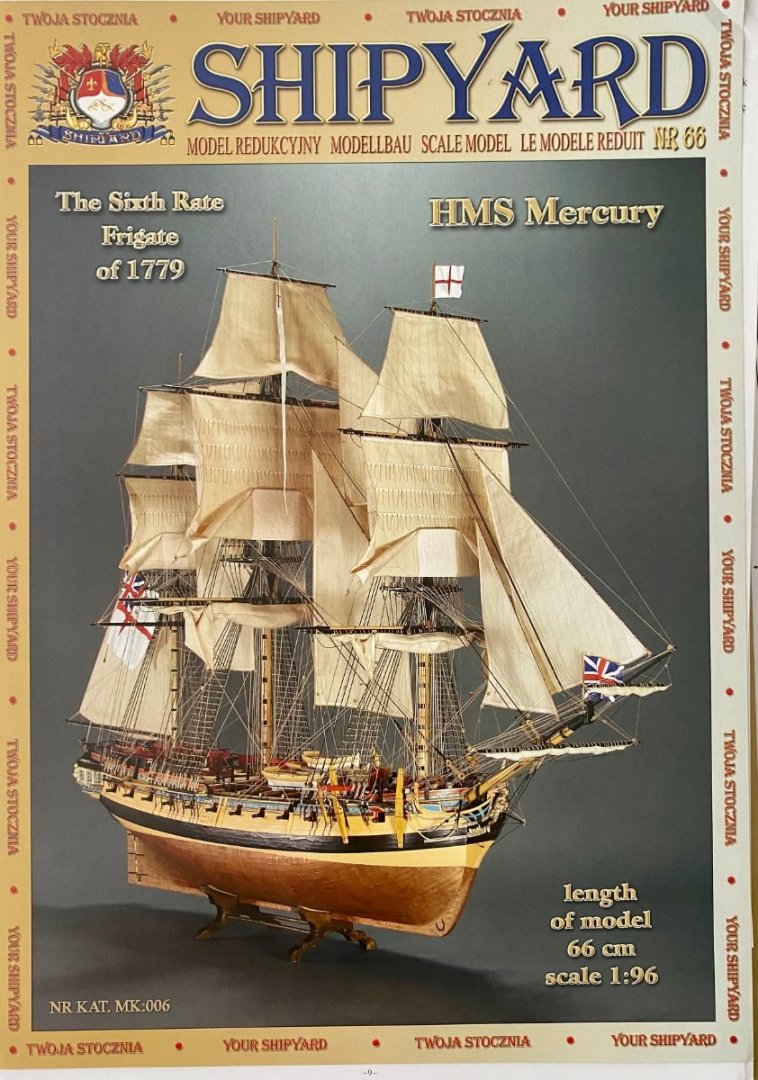
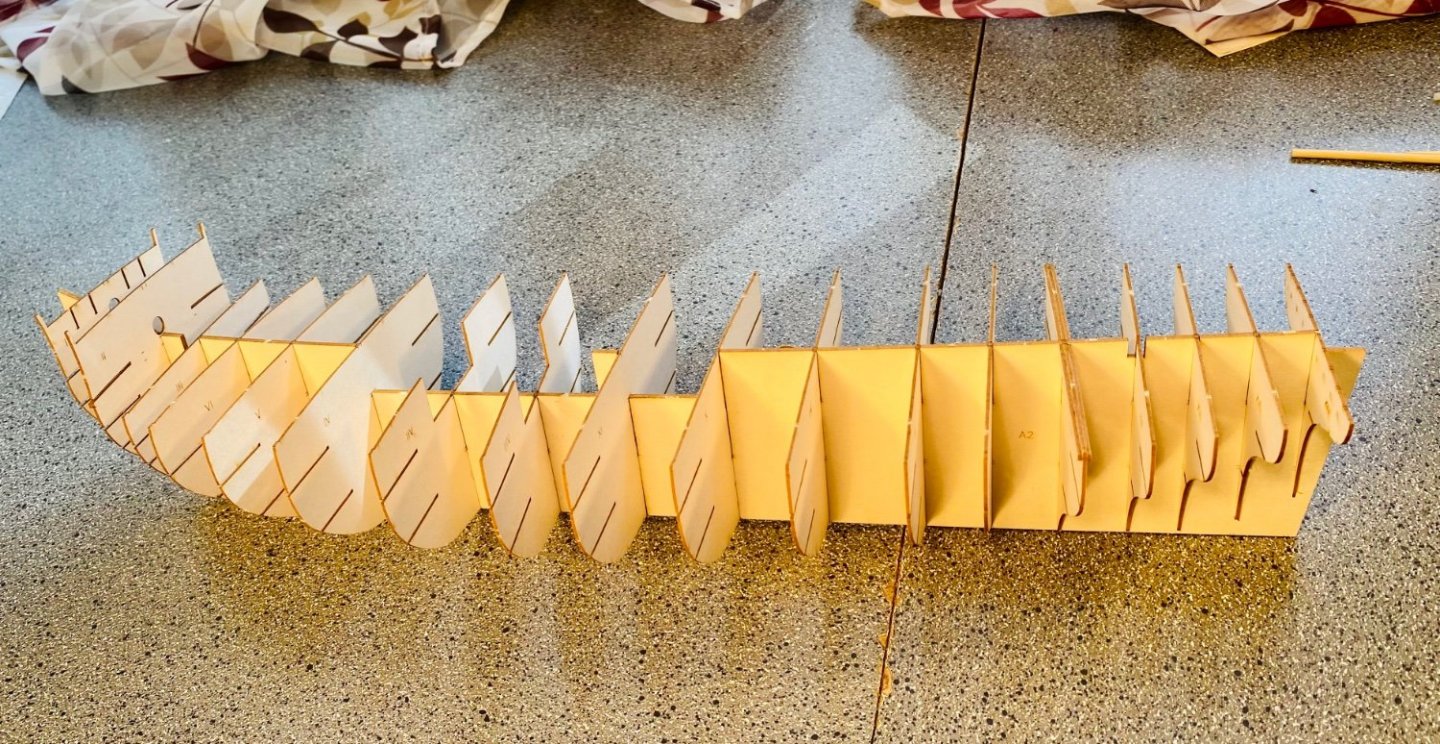
I decided to alter this build and build my Mercury as a sister ship from the same series of ship, the HMS Nemesis, launched a year later. The primary differences appear to be the carvings, which I would have made anyways, and will be conjectural, much like the ones on my Prince de Neufchatel. I’ll keep the rest of the build log up until I had this idea because it is a snapshot in time of my thought process at that time, up until post 55. -Original log- I started my HMS Mercury by Shipyard Models. I couldn’t help it. I had to do it, lol. I’ve been wanting to build a frigate for a long time (a few years now). So, I started one. HMS Mercury was a Sixth Rate 28-Gun Enterprize Class Frigate. Her primary battery consisted of 24 x 9 lb. guns. This is a POB kit, out of card. Something I have learned in my last two completed builds is that I work well in card and I enjoy it. I am intending to build it straight out of the box, with hand carved guns and decorations. Sails will be made from muslin again. So here’s the start: Here’s the lower deck pieces and the false main deck: The Mercury is a little farther along than what I’m showing here. The laser-cut cardboard framework, which came with the base kit, is fall together quality. I had the frame assembled and glued within a couple of hours. Everything lined up perfectly. If you have never tried a Shipyard kit, I cannot recommend it enough. I have not been this happy with a kit for a long time.


- 54 replies
-
- 14
-
-
1/200 Trumpeter IJN YAMATO - issued by MRC/Gallery Models
GrandpaPhil replied to yvesvidal's topic in REVIEWS: Model kits
You and me both! Very nice kit!- 104 replies
-
- 6
-
-

-
- MRC/Gallery
- Yamato
- (and 1 more)
-
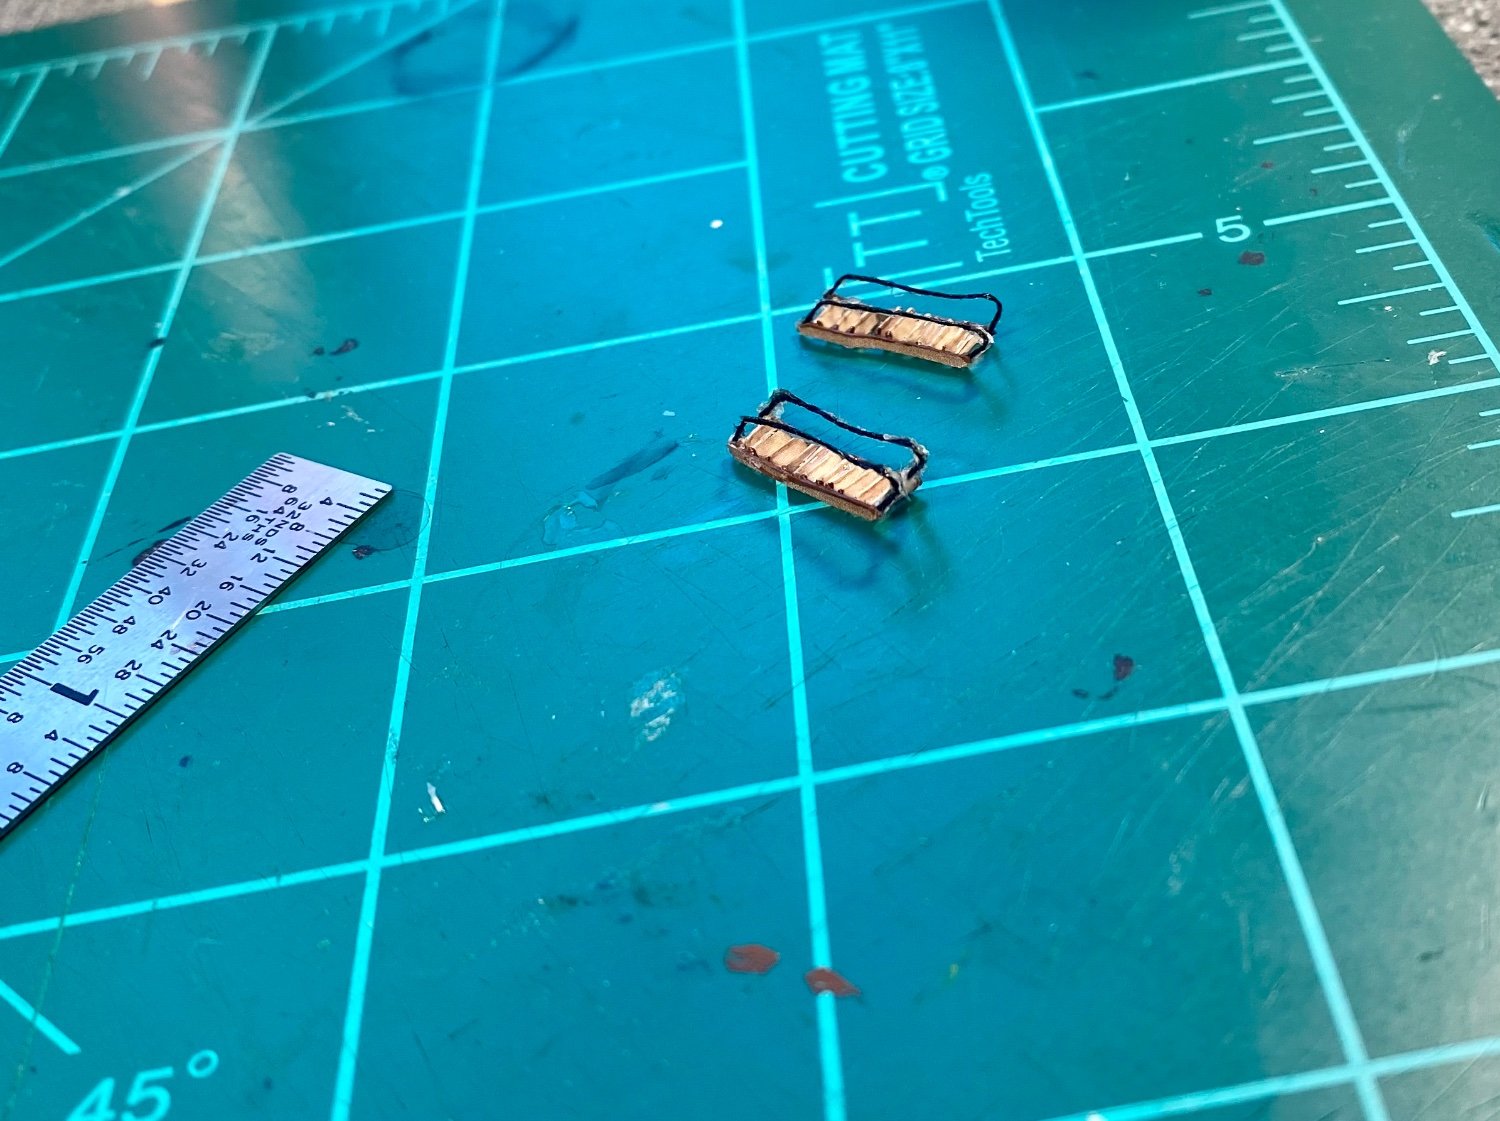
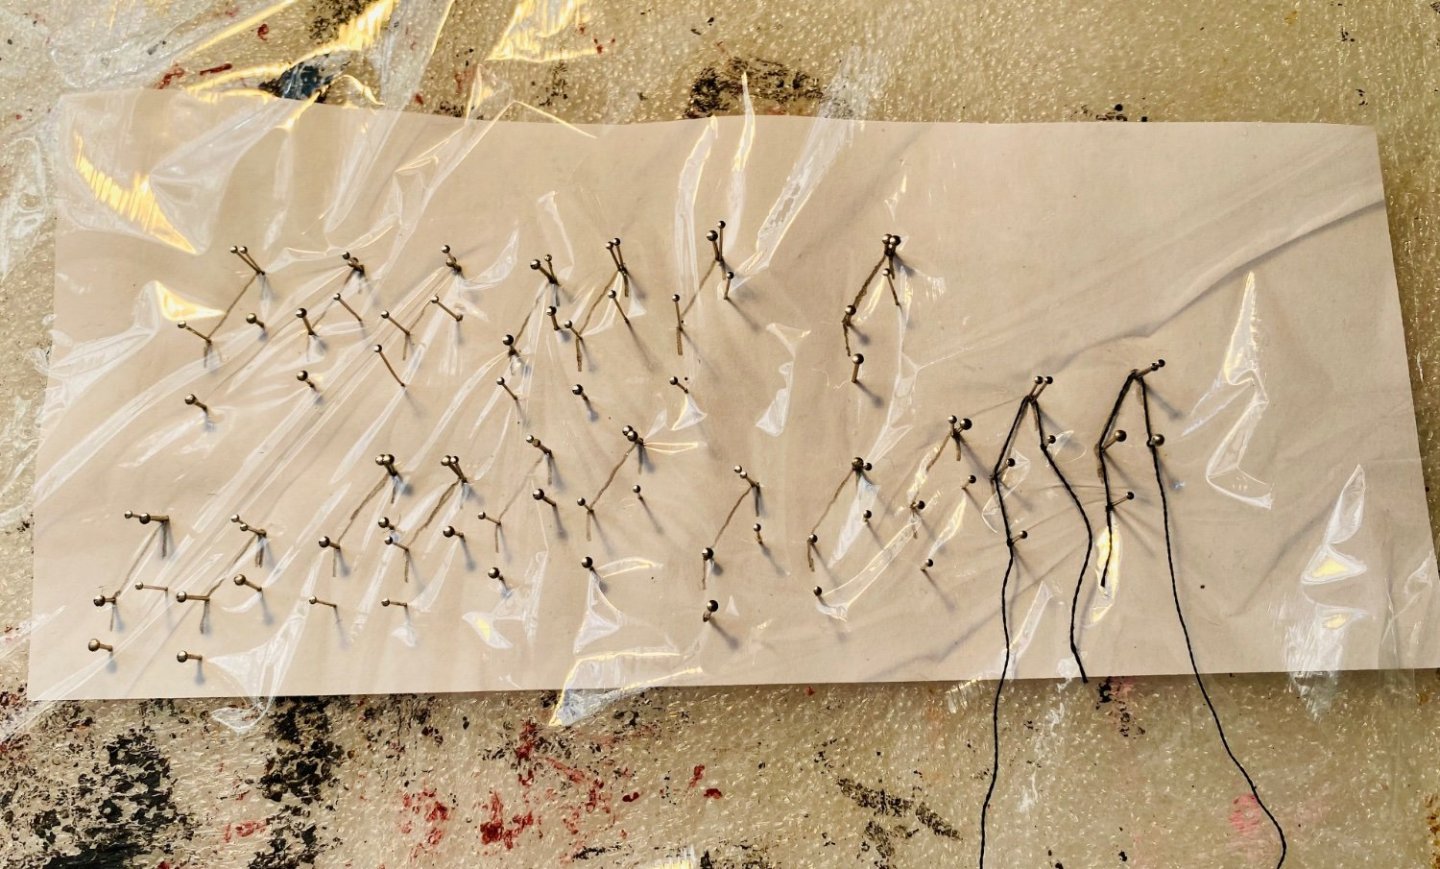
Starting to make some forward progress again. The string railings are working. The trick is to seal them twice. They are not perfect, but they will do. The next round will be much cleaner and much better. This is a continual learning process.
- 278 replies
-
- 13
-
-
I made 18 railings: 18 patterns traced on paper and pins put in to stretch the thread (DMC Floss). Floss laid down. Railings glued with thinned down Elmer’s glue and set aside to dry.


-
I really like fully rigged models, with sails. I bought a Shipyard Models HMS Mercury, a British 28-Gun Frigate from 1779. It should be rigged very closely to the Winchelsea (and the Triton). I am going to use the rigging and sail plans for the Mercury, adjust for size based off the mast proportions in zu Monfeld, to generate the masting, rigging, sail and belaying plan for Winchelsea, once I print the plans (I haven’t made it that far yet). This will be fun!
-
Welcome!
-
What's a good kit for learning rigging?
GrandpaPhil replied to Mark m's topic in Masting, rigging and sails
A cutter or a schooner is a great way to learn rigging. I will also vouch that a slightly larger scale is easier to learn rigging on. -
Congratulations! Well done!
-
Very nice!