HOLIDAY DONATION DRIVE - SUPPORT MSW - DO YOUR PART TO KEEP THIS GREAT FORUM GOING! (Only 24 donations so far out of 49,000 members - C'mon guys!)
×


Richmond
-
Posts
383 -
Joined
-
Last visited
Content Type
Profiles
Forums
Gallery
Events
Everything posted by Richmond
-

Best and most detailed Cutty Sark kit..?
Richmond replied to Bare_Koala's topic in Wood ship model kits
If I am not mistaken the Woodyjoe link appears to be the Japanese language version, there is an English language site selling woodyjoe kits at at zootoyz.jp this is the same link as for kit manufacturers in another post on this forum, it's a very detailed site. RICHMOND -
Tamiya extra thin or the Mr Hobby Mr Cement S for most parts it's very neat and welds the pieces together and evaporates leaving little or no trace on surfaces which can be lightly sanded away. CA for PE I use Zap thin and medium but I have seen people use glue sticks for certain PE situations, haven't tried myself. Also use Revel Contacta Professional in certain situations it's the same as the 'classic' glue we all used to use as kids and make such a mess but this one comes with a neat application tube. I would be wary of using it on visible areas. Micro crystal clear for clear parts such as canopies on planes.
-
Marvellous. Great attention to detail. May I ask what paints you are using, are you using some sort of levelling thinner as well?
- 193 replies
-
- 5
-

-
- wilhelmina vii
- fishing
- (and 1 more)
-
DAN Thank you, I am not a great lover of EBAY but note it is available from a few music shops in Australia at about the same expensive price that you quote, if I am really lucky it may be available to purchase from musical instrument shops in Darwin. I am making slow but good progress this weekend, I will post an update to the log soon. RICHMOND
-
CHANNELL Great build, so clean and neat. For reference there is another fantastic build of the Bismark on the Flory Model site - you do not have to join to see the log. http://www.florymodels.co.uk/trumperter-1200-bismark-file/ RICHMOND
-
Beautiful colours
-
Minwax stains in Australia
Richmond replied to vossy's topic in Painting, finishing and weathering products and techniques
I am advised you can get on Amazon but they will not ship to Australia. Why not contact them via their website and ask if anyone distributes in Australia. -
CHRIS Thank you for your kind attention. I had thought of about this but didn't think the 1mm could be that critical. However I think I am safe to stick with the individual bulkheads and longitudinal elements at 1.5mm +, in fact I am already making the slots wider, that just leaves me the horizontals to re laminate in 1mm. Thankfully card is so cheap in terms of stuff ups. RICHMOND
- 14 replies
-
- 4
-
-
- digital navy
- V108
- (and 1 more)
-
I have stuffed up already - I have laminated to 1.5mm and not 1mm as I was laminating along with my Mauretania build which was 1.5mm - I am going to stick with the 1.5mm though and see how it goes - this is all about practice. I will probably revert to above waterline as the parts are so small.
- 14 replies
-
- 3
-
-
- digital navy
- V108
- (and 1 more)
-
I have decided to build the V108 using the tutorial produced by Chris. Well, I have downloaded the files and have mounted the required parts onto 1mm white card laminated with an extra sheet of index card to achieve the 1.5mm thickness required, which I will not bore you with. I will be running this build concurrently with the RMS Mauretania build also in card. I will update with photographs as the build develops in due course.
- 14 replies
-
- 6
-
-
- digital navy
- V108
- (and 1 more)
-
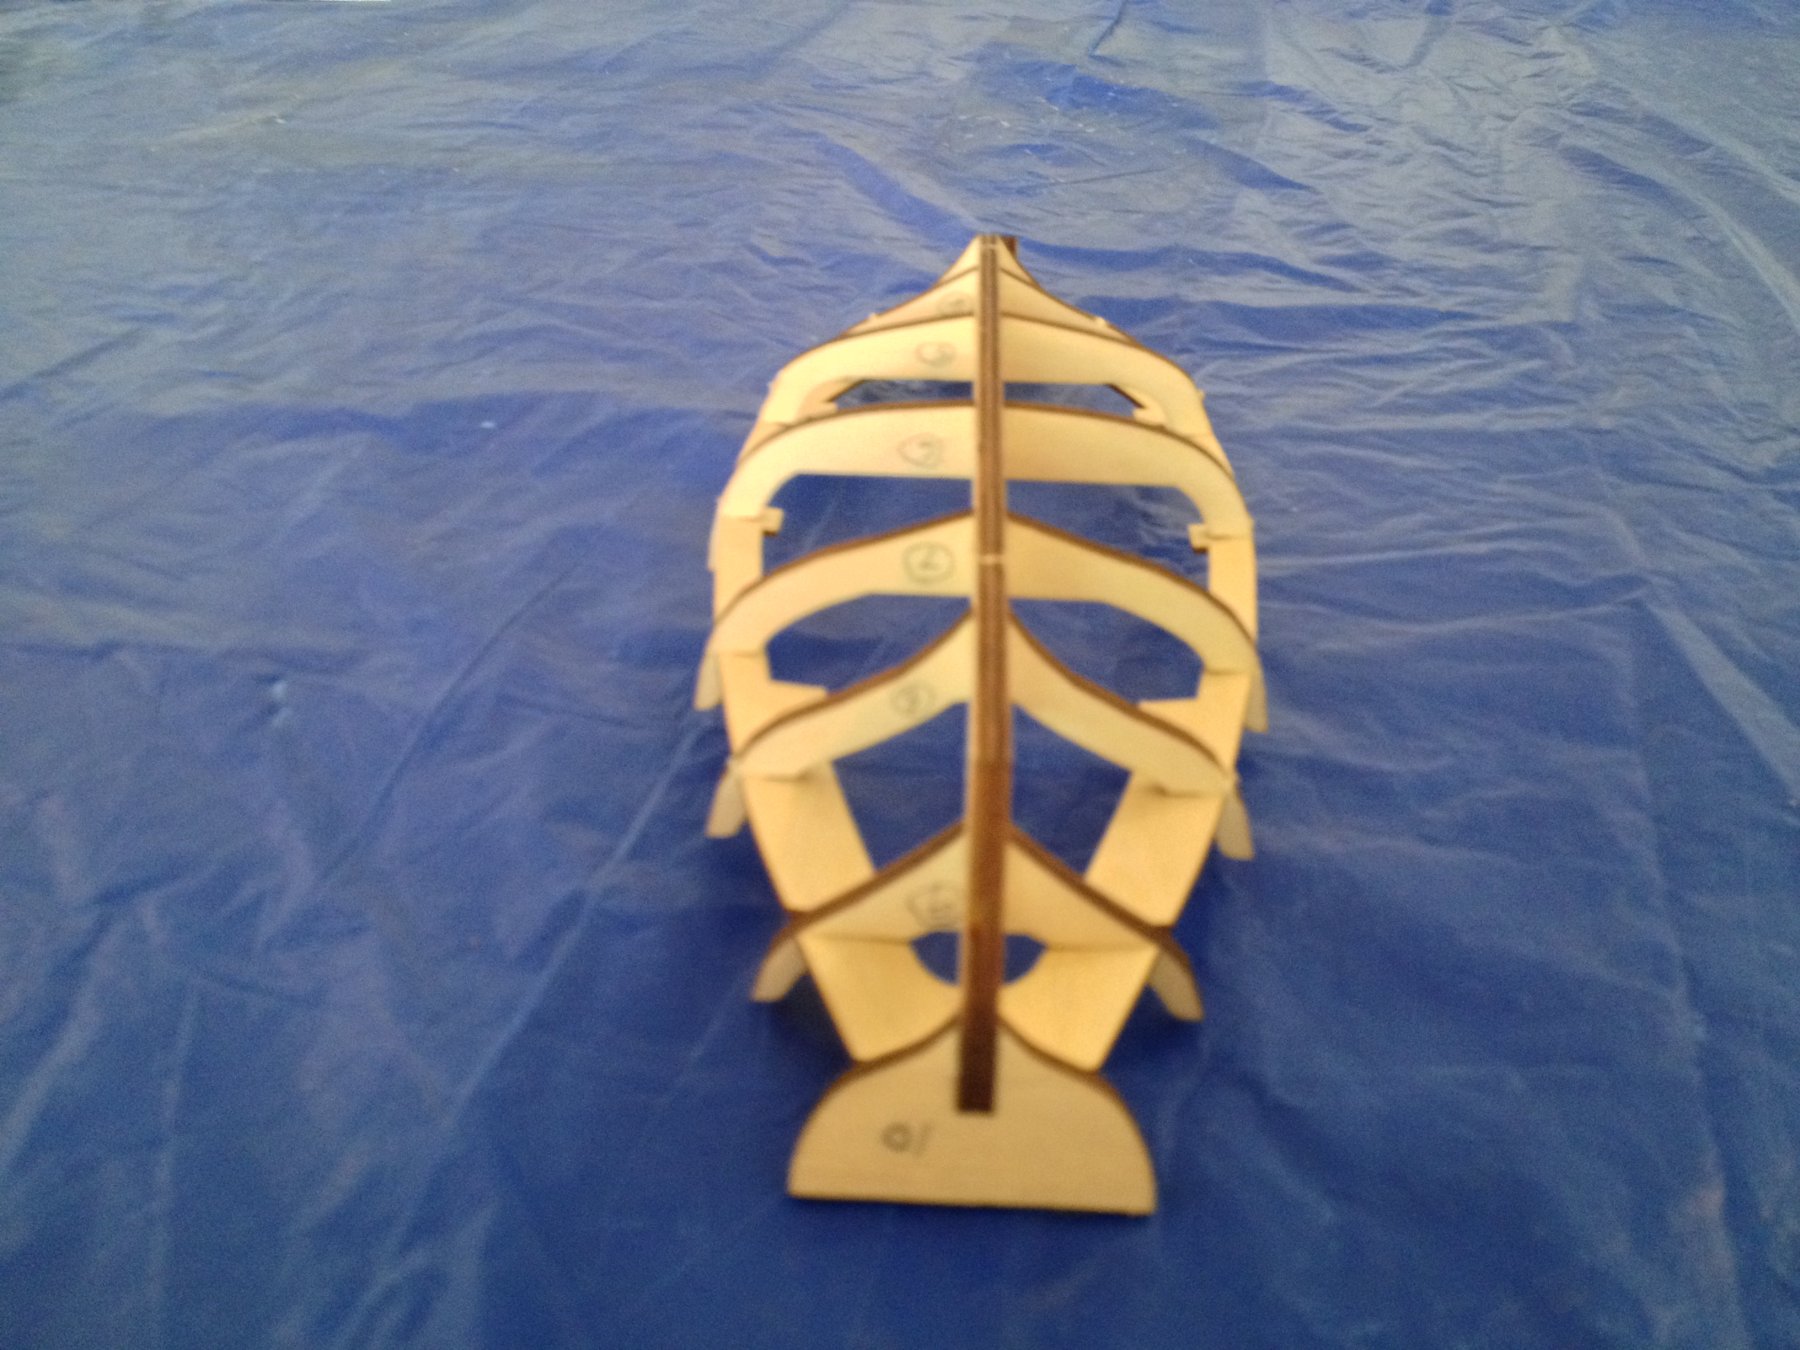
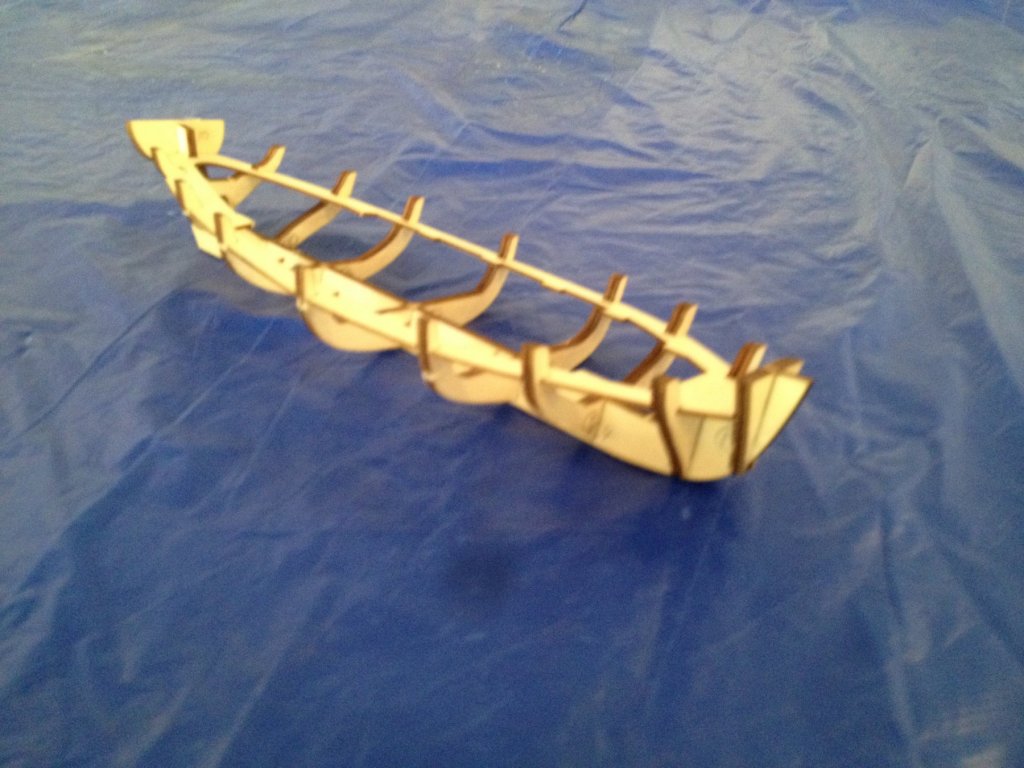
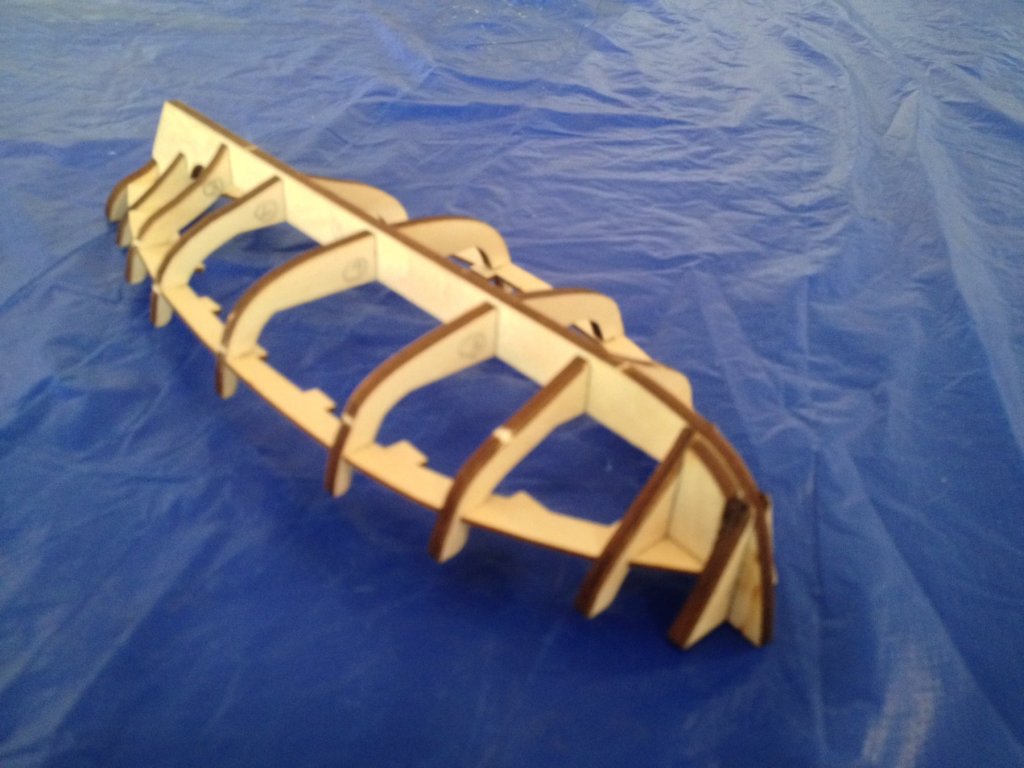
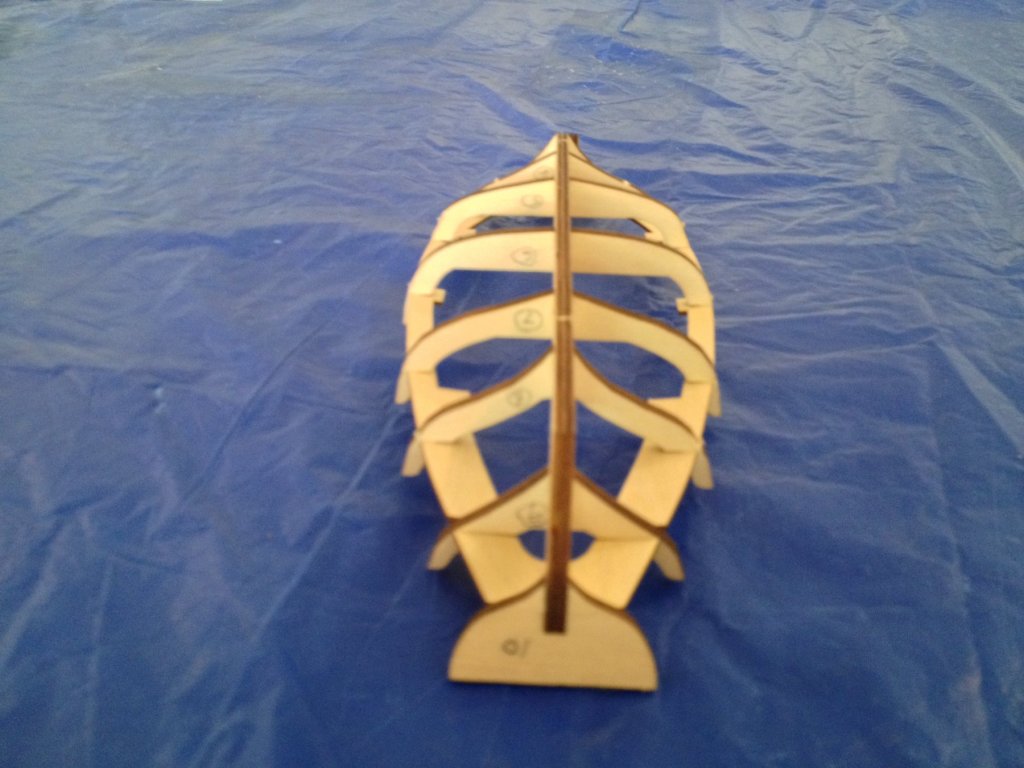
I am on R&R today so more modelling time. Instruction Reference 1 I have fitted the 4mm plywood frames and transom to the 4mm plywood keel and I found these to be a very accurate and tight fit. I have decided not to glue them, as far as I can see, they are not going anywhere. There are small 4mm ply reinforcing parts at the transom and bow that need gluing in but I have left these for the time being. Instruction Reference 2 I then fitted what is called up in the instructions as the deck, not sure this is the correct term? This was laser cut from 1.5mm plywood and I found this to be very troublesome part, it was quite difficult to get in position and I was afraid of damaging it. Once it was in, however, it was not going anywhere. I will need to glue /clamp to get it to fit flush to all the frames. Photographs Hopefully these don't need any explanation. By the way I am using an iPhone 4, it's a work phone given to me in 2012. I am adverse to lining Apples pockets however perhaps now's the time to ask my employer to get me the latest model or maybe I should just invest in a digital camera!
- 5 replies
-
- 3
-
-
- san juan nepomuceno
- artesania latina
- (and 1 more)
-
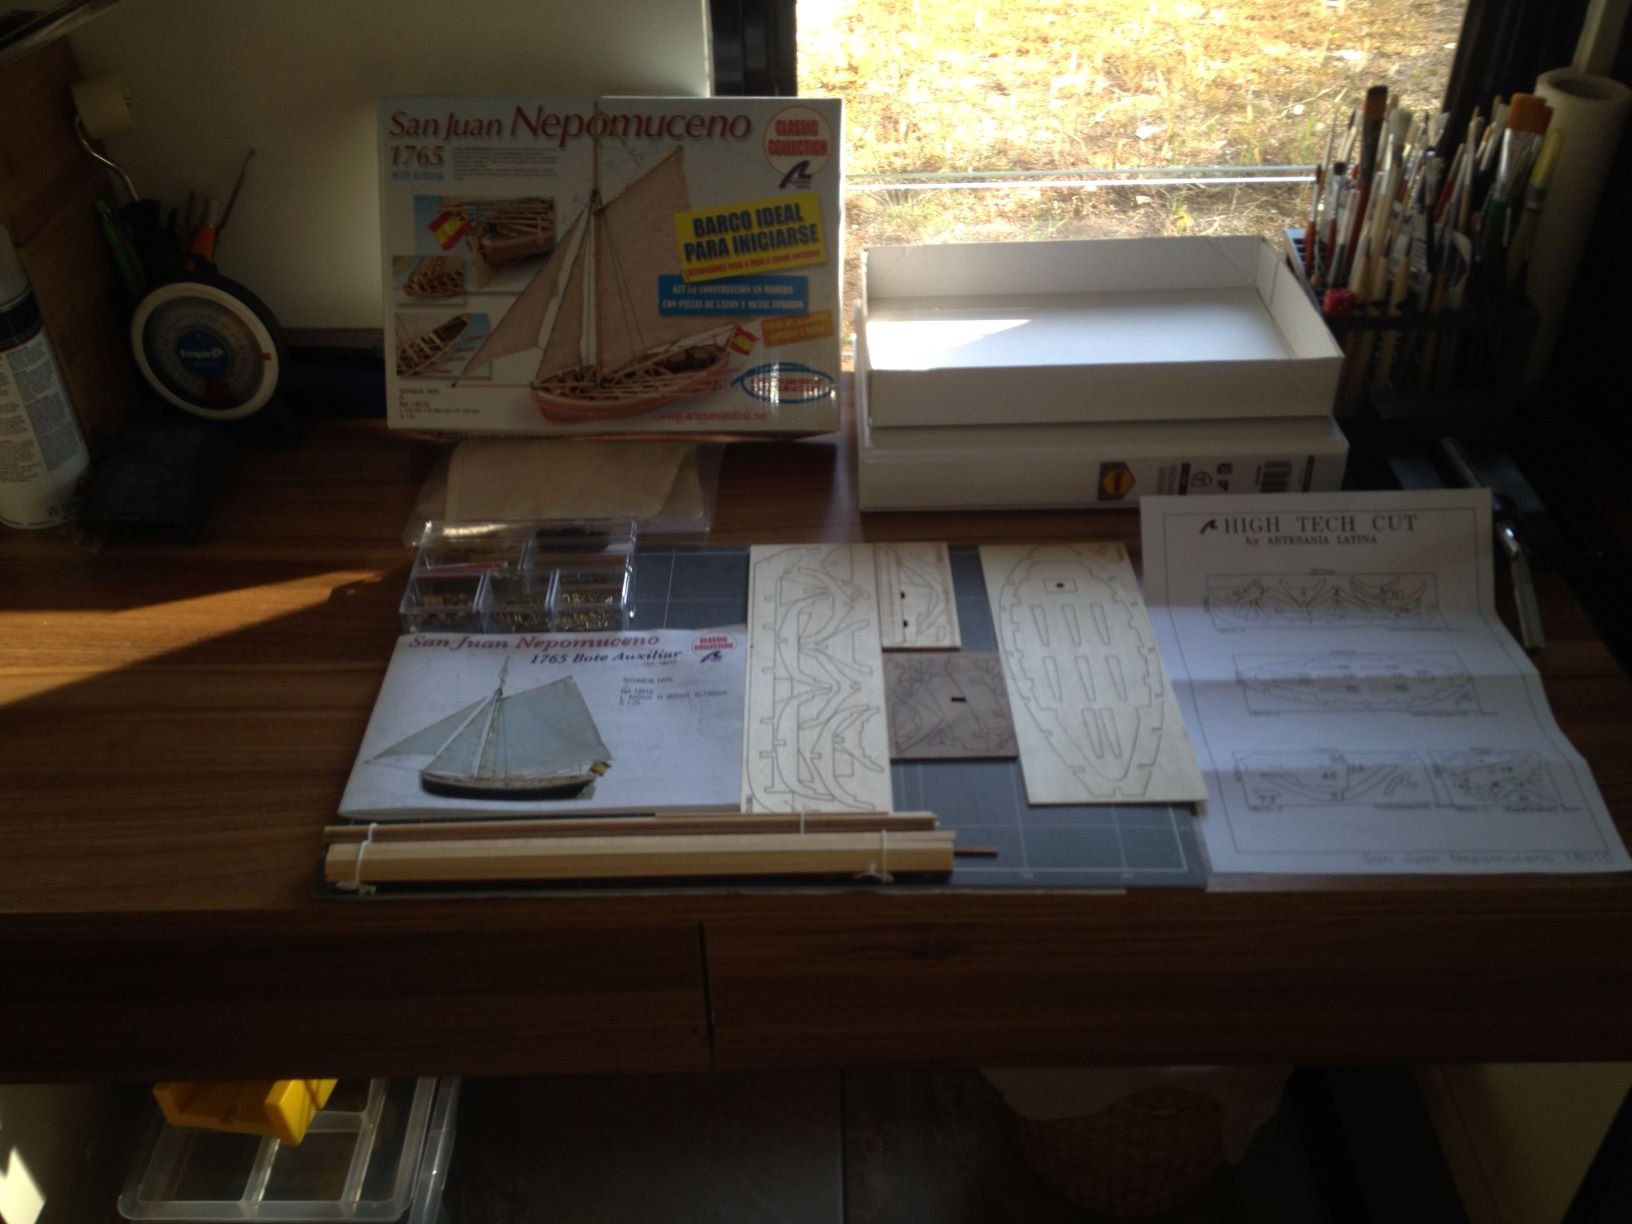
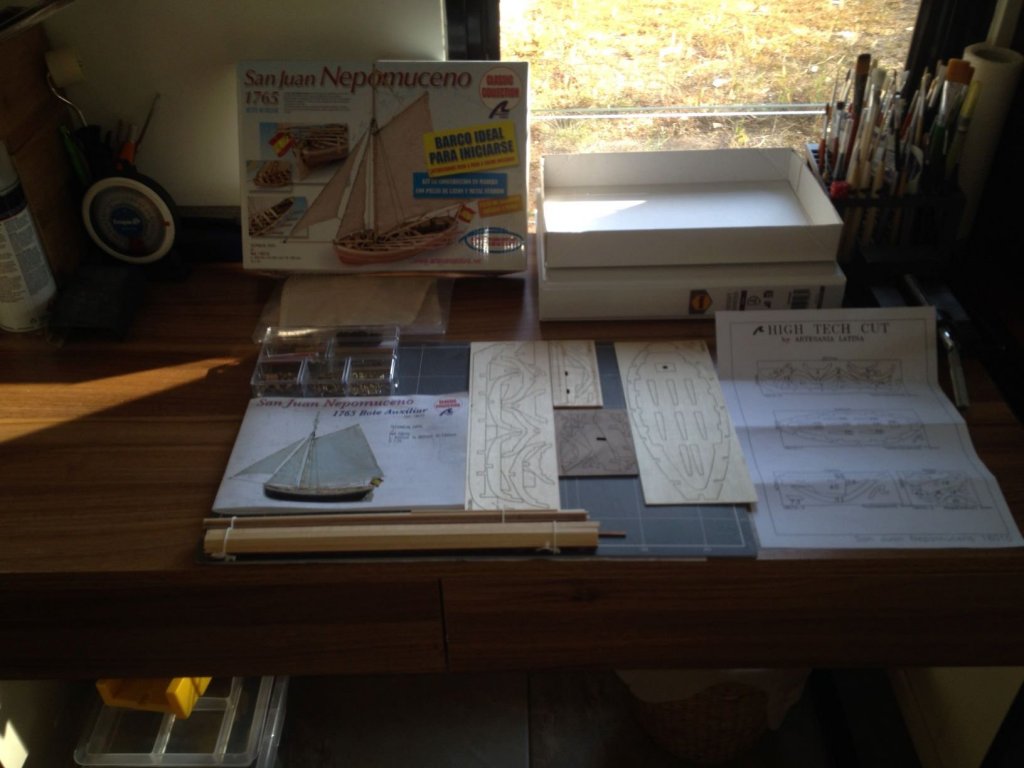
Well my first ever wooden ship build will be the San Juan Nepomuceno - Boat Auxiliar a cheapish model I picked up from an online retailer (BNA) here in Australia. Without much further ado here is a photograph of the kit unboxed. I had to scale this down as I believe there my be a limit to image size on the forum.
- 5 replies
-
- 5
-
-
- san juan nepomuceno
- artesania latina
- (and 1 more)
-
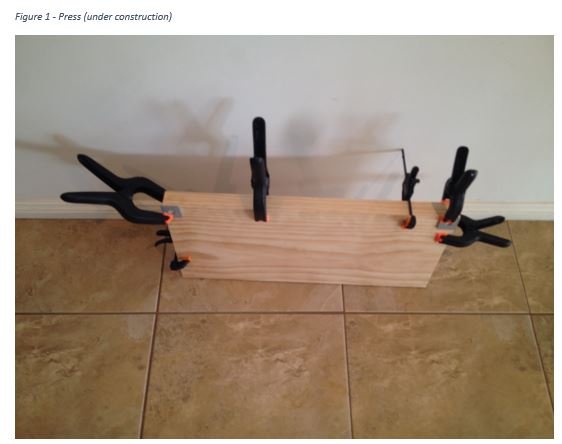
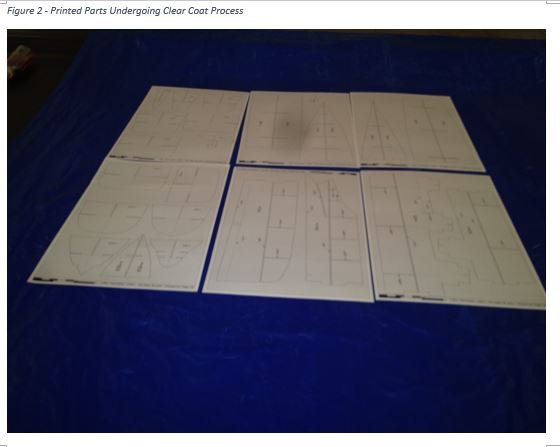
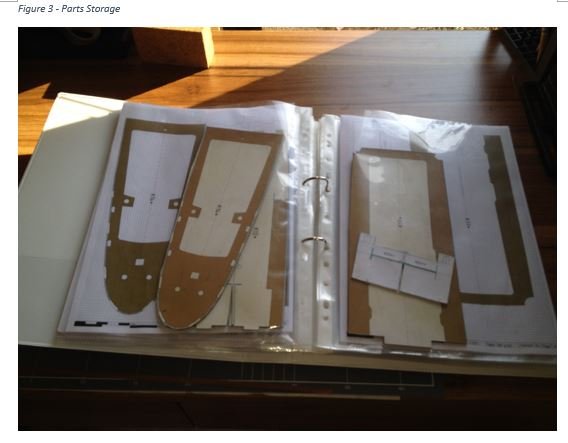
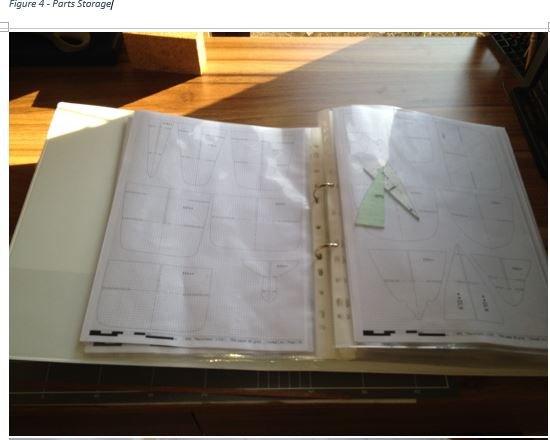
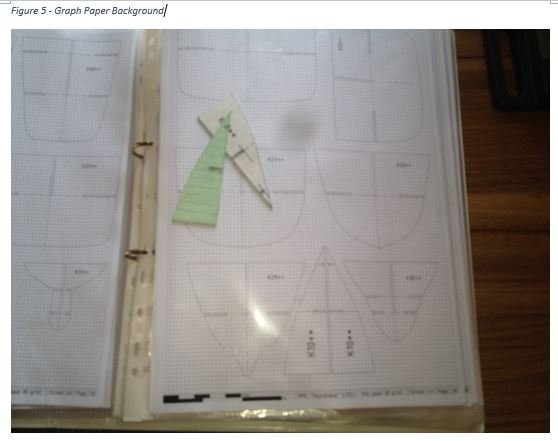
Well, there has been some progress. So what has been achieved, well not a lot as I have gone back to the drawing board as I found my laminating and cutting to be unsatisfactory. I have finally found a local art supplier who stocks 1mm card (my previous attempts of gluing 5 x A4 pieces of photographic paper to achieve 1.5mm thickness were horrendous, however laminating smaller index card achieved better results). I started out with black card which was very unsatisfactory as the black comes off when you are cutting and defaces the printed face which looks very untidy. I have now found some white card. To achieve 1.5mm thickness I laminate two pieces of index card to the 1mm. Figure 1 - I found an interesting video on Youtube by an American lady who goes by the name of Sea-Lemon, she has nearly a million subscribers. She has made a DIY press made out of two bread boards which you bring together by tightening wing nuts. Today I purchased some pine shelves cut in two and have started to make my own press which is 600mm long. To me this is preferable to book stacking. The photo sort of shows roughly how it will look when complete, bolts and wing nuts will replace the clamps at each corner - you can see the square washers which I will use on both sides. Figure 2 - I have reprinted all the hull sections with graph background (which doesn't show up on the low res photo). I have coated the paper with 3 coats of Dulux clear coat spray, coating was recommended by Chris in several of his builds. Once this is dry I will start the lamination process. Figures 3 & 4 - I have printed off the whole pdf and placed in plastic sleeves and then use the plastic sleeves to store the parts as they are produced. Not sure if was Danny or Chris who came up with this idea, if it someone else please pm and I will edit the post. By the way the yellowing you can see is a result of me not reading Chris's post properly and I ended up using a clear varnish spray (idiot) - thankfully this will not show up once the build is complete. Figure 5 - I have added a graph paper background of the design pdf to assist me with lining up the slotted cuts on the bulkheads - they must align and be at perfect right angles - failing this as I found to my distress causes major problem with alignment and twisting of the centre section if you try and bodge it. Anyway here are some photos, apologies for the poor resolution, I will try up my game on this front.
-
I suffer from the same problem, I have been working on a card model for many weeks now having never worked on card. I have started the log which amounted to just a picture of the model, however I am trying to achieve perfection or should I say perfection within my capabilities before I actually post the build. There has been a lot of rework. I am not even contemplating a DORIS work of art, I just need to show something good before I post, I am getting there albeit slowly. Thankfully card models are so forgiving in that it costs so little to throw away work and start again.
-
I am not getting the best results when sanding the edges of bulkheads etc with a lot of distortion, thickened edges which causes issues when assembling the hull and looks quite unprofessional. Is this a result of some method, i.e. direction of sanding, incorrect grade of sandpaper or failure to wick. I haven't seen references to methods for wicking with thin CA's - the how to, when to and why to. ditto sanding methods. Maybe I have overlooked them. I would appreciate members inputs into this discussion.
-
On wooden ship scratch builds, I have noticed that builders cut the printed bulkheads to shape including the slots and then laminate the bulkheads to the wood, cutting the wood around the then laminated bulkhead . Can this practice be followed on card builds and does it provide benefit. RICHMOND
- 1 reply
-
- 1
-
-
Nice build and informative log.
-
CHRIS Thanks, I have been looking through your tutorials and builds, Dan's work as well as Captain Slog's. Unfortunately, for me, some of this viewing was post build commencement. RICHMOND
-
EDUBARCA I downloaded it from a forum I am member of at papermodelers.com. It is free to join. I would be happy to send it to you subject to the administrators not deeming it falling foul of copyright or other issues. I would have to wait for their confirmation of such. Regards RICHMOND
-
My first mistake!, it looks like I have inadvertently posted this in the incorrect section of the forum. Hopefully the administrators can fix this one up.
-
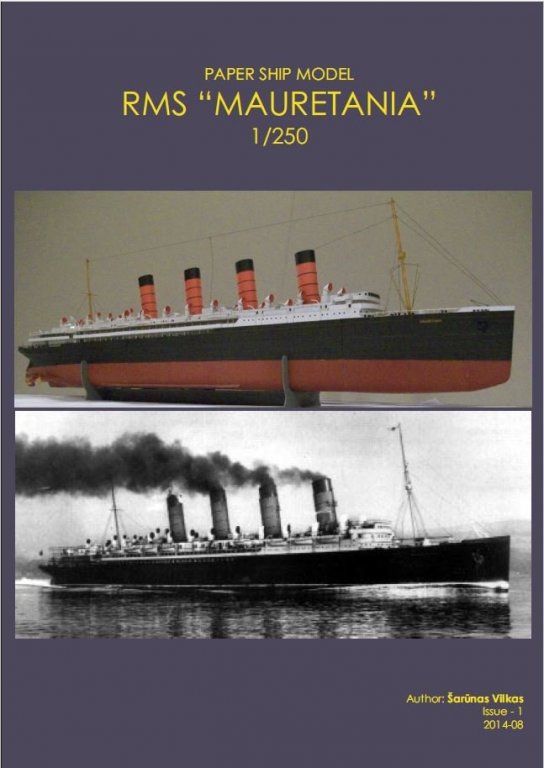
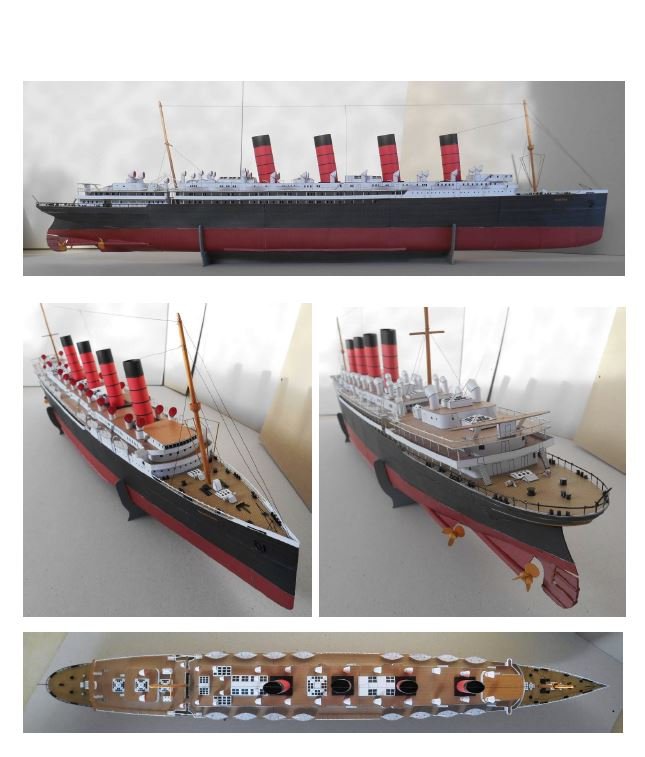
I am attempting my first ever card model "RMS Mauretania" a free download from papermodelers.com, she is around 1m long. Its a bit complex for a first build, but it was free and I hope I can learn from my mistakes and gain some useful tips from the forum to enable me to tackle a published card model from SHIPYARD probably HMS Mercury. I will try and be as open and honest as possible highlighting the stuff ups, I will obviously make, and the lessons I have learnt from those stuff ups. I have been working on the model for several weeks now and will post the beginning of the build in due course. Here is what the finished product is meant to look like 😕