Richmond
-
Posts
383 -
Joined
-
Last visited
Content Type
Profiles
Forums
Gallery
Events
Everything posted by Richmond
-
 Collingwood, the suburb in Melbourne (Australia) is actually named after Cuthbert Collingwood. So you could say, indirectly, Collingwood, the team, is named after him also. Richmond
 -
Jaager Thanks. I actually have lots of trees on my rural property and several trees fall each year due to termites and many branches in high winds during the Wet Season; quite a lot came down during the cyclone. However its all spotted gum and ironbark - not sure if this is suitable for ship building. At the moment its forming a pile awaiting a burn permit, permits only get issued during the Wet. I am considering growing some fruit trees - however I am not sure how old trees need to be before they are deemed suitable for building? Regards Richmond
-
Beautiful work Chuck. I'm still in.
- 421 replies
-
- 4
-

-
- medway longboat
- Syren Ship Model Company
- (and 1 more)
-
Hello from Darwin
-
No problem Nils Regards Richmond
-
I did forget to mention that I have not yet glued the starboard side horizontals sections Nor have I secured the upper horizontals on either side (which should be apparent from the photographs). As the reverse does not have the printed guides I will have to measure the drops from the port side and transfer these starboard. This is something I should have attended to before fixing the bulkheads, a lesson learned but its really not much of a game changer. I actually printed out a mirror of the kit - but never did put it to good use, it would have been perfect on the lateral.
-
There is a dealer in Australia now. Our distributor in Australia: Darya Churilina 124 Hubert st. Lilyfield, NSW 2040 Australia darya.projects@gmail.com Not sure how their prices stack up.
-
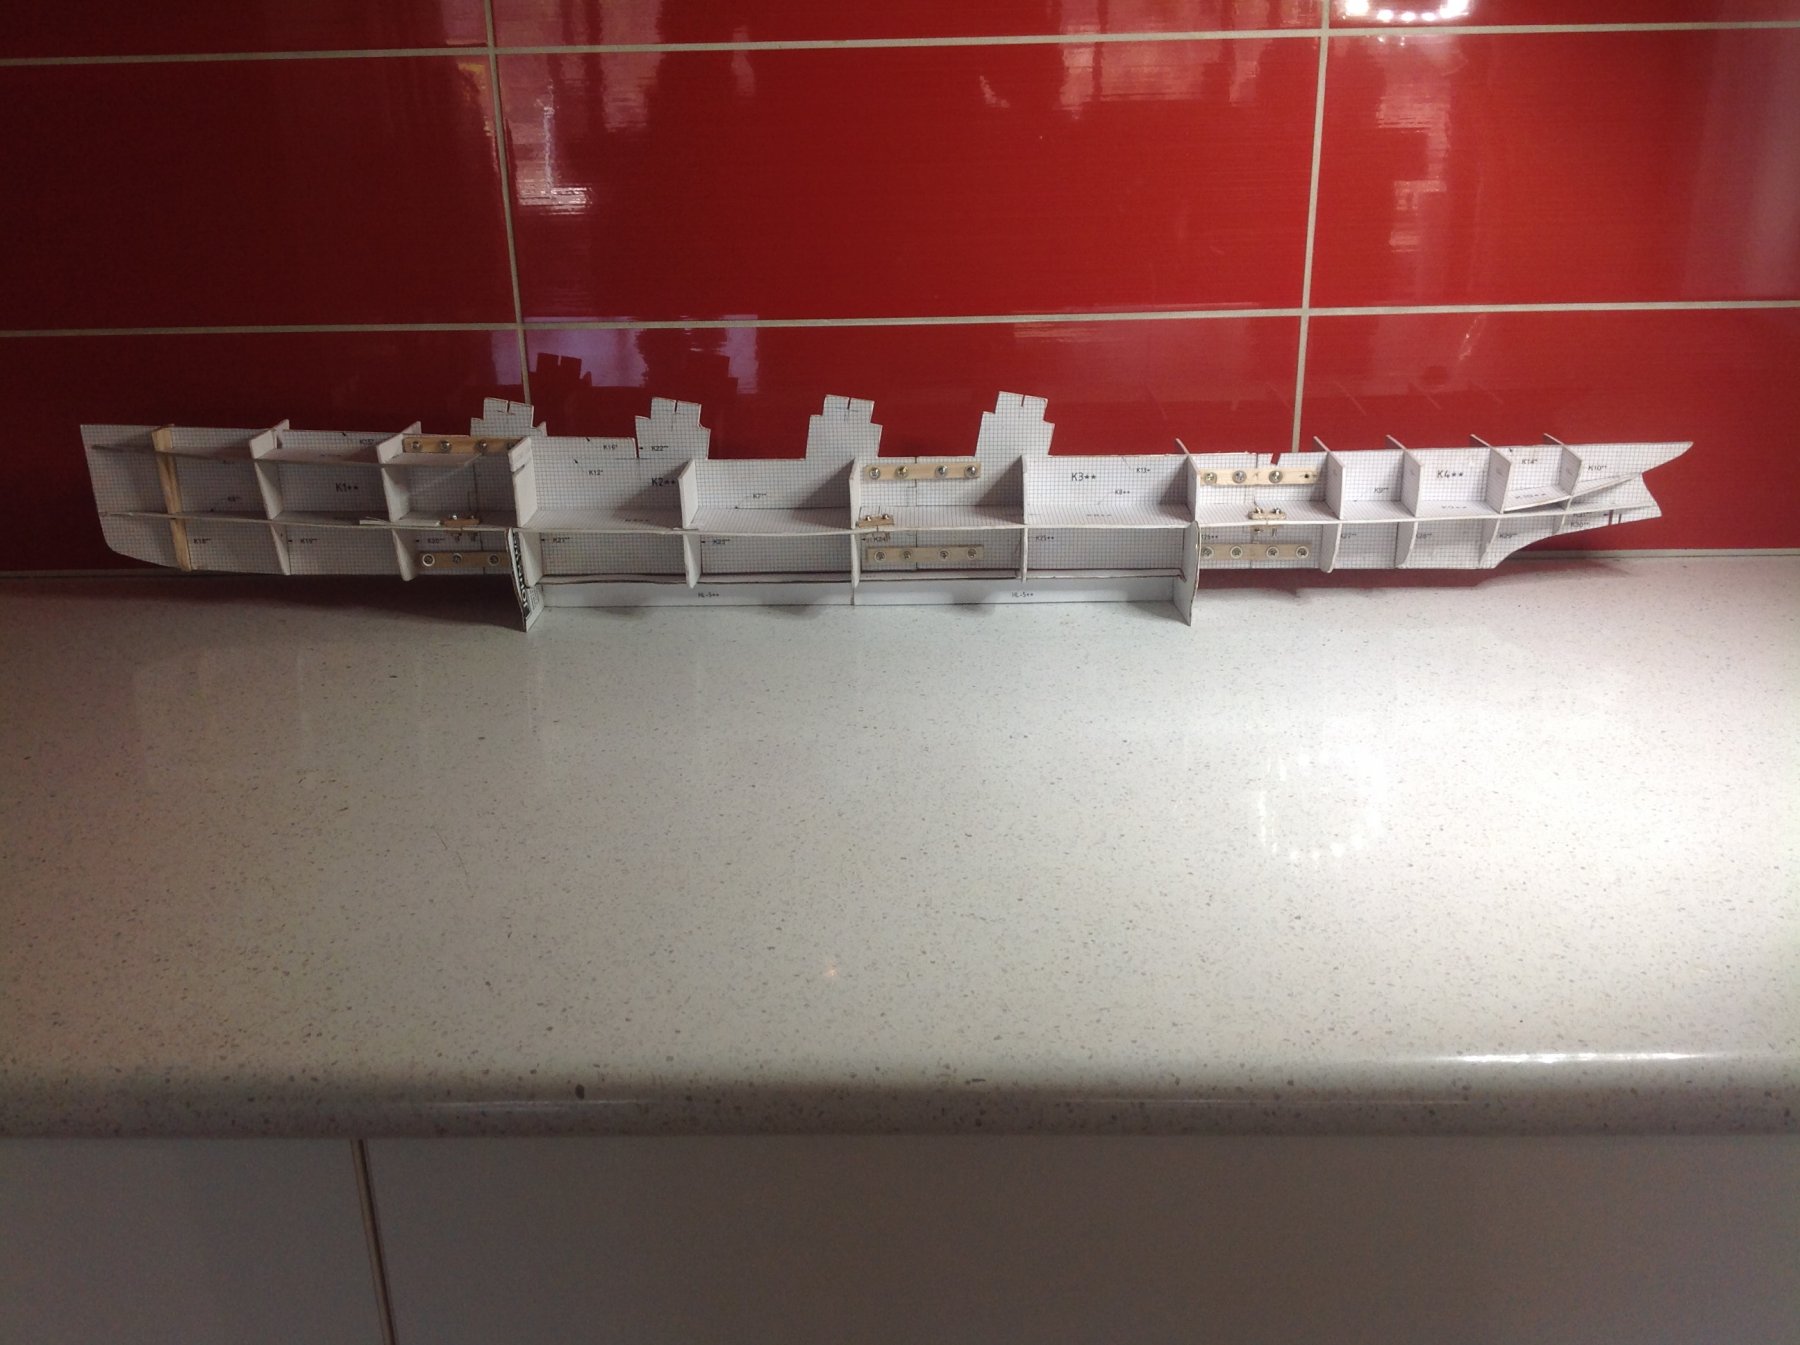
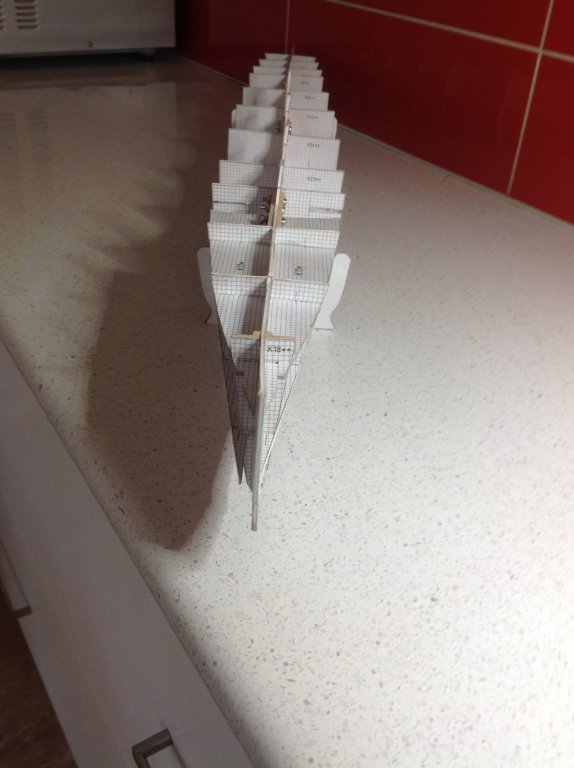
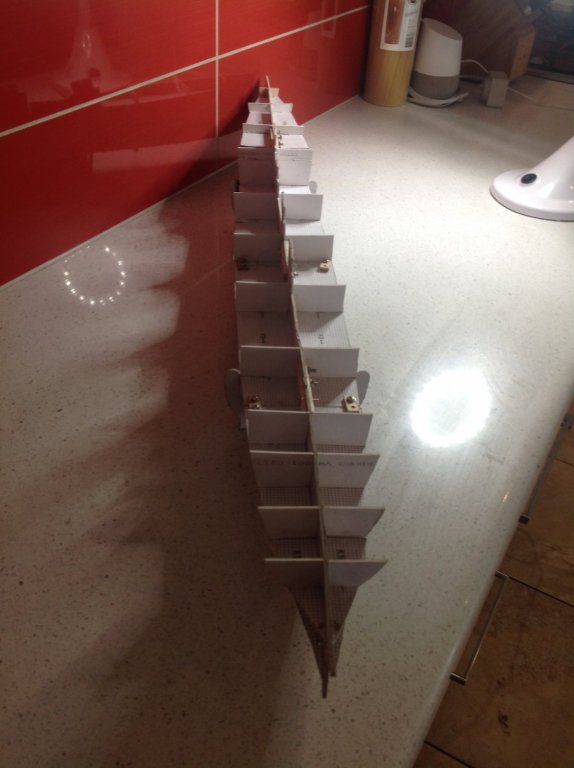
There has been further progress on the Mauretania. The vast majority of hull sections have been assembled (all except two bulkheads). I have not fitted the final bulkhead at the stern as this was a poorly designed piece and as Danny has mentioned it may be better to use balsa here. Also I need to tidy up the bow section and tighten some of my fasteners. I have also assembled the cradle. All parts were glued with PVA and clamped as required and I ended up with some reasonable alignment of the horizontal sections. You may be able to discern from the photographs the lateral sections which were clear coated and those which were not. From left to right parts 1, 2 & 3 were coated. Part 4 at the stern was not clear coated as this was a rework piece and you may be able to note the dirtiness of the piece. I know it will never be seen but it is a reminder to keep your work area and hands clean. Not such an issue on something that will be covered but a good discipline to have throughout the rest of the build. Another issue is over handling - the more you handle the poorer state the parts end up with. I really need to reduce the amount of dry fitting next time around. HELP - I would appreciate some tips on wicking. I do own some Zap Thin CA but was reticent to use it without some clear guidance on how to wick including how to apply and in what quantity and would be interested how far my 1oz /28g bottle would last. ZAP is not available locally and I have to mail order from Melbourne. I haven't seen any thin CA in our local DIY Chain; for any Australians out there can you get thin CA in Bunnings? I have some minor warping /twisting of the main lateral towards the stern but nothing which cannot be sorted when I assemble the initial deck pieces. So next up fitting of the lower deck structures which hopefully straightens everything up and then onto some skinning. REMINDER TO MYSELF - Never attempt a future card model which doesn't have laser cut hull sections

-
Artic Thank you, that is very helpful. I usually stick with Tamiya or GSI 'acrylics' but may consider Vallejo with their bigger size pots for the build as I have to mail order most of my paints. I have never used Vallejo or any of the other true acrylics such as Revell or the GSI aquas and I would like to see how they go. I was wondering if it's the fact you are using a true acrylic that you require more paint? Having never used a true acrylic I wouldn't know. Did you prime? Richmond
- 82 replies
-
- 2
-
-
- revell
- cutty sark
- (and 3 more)
-
I am looking at ordering the same ship myself, it would be great to have your log to help me with my build. Out of interest how many pots of standard model paint would be required to airbrush the hull? By the way for a hand paint your hull looks fantastic. Richmond
- 82 replies
-
- 1
-
-
- revell
- cutty sark
- (and 3 more)
-
Tim Korabel state that if you buy from Russia, you will not get instructions in English, is this correct? Richmond
-
Greenstone Who are the dealers in Australia? Richmond
- 216 replies
-
- 2
-
-
- masterkorabel
- ships
- (and 3 more)
-
Imagna Thank you, that is the one I found when conducting a search earlier today. Richmond.
-
Tim May I ask the name of the Russian seller? Richmond
-
Greenstone Is there an English language version of your website? Richmond
- 216 replies
-
- 1
-
-
- masterkorabel
- ships
- (and 3 more)
-
and another!
-
Byrnes Table Saw Tips (requested)
Richmond replied to Matrim's topic in Modeling tools and Workshop Equipment
There are some fantastic resources on YouTube re table saw safety, I thoroughly recommend you have a look at them. I have never used one, but having watched the videos and even after watching those videos I would never go near one, I am too much of a daydreamer to use one safely. There are models out there (probably high end commercial machines) which can sense a hand coming into contact with the blade which then causes the saw to brake immediately. However its not just your hands which are in danger if you misuse these machines. -
Too good!
-
Thank you Danny for more sound advice. I will examine the stern in more detail and consider the knock on effects - something that comes to mind immediately (at work) with the balsa infill is the horizontal structure each side of the lateral - I assume I would have cut these off at the stern section of the hull as they wouldn't be required anymore? RICHMOND
-
I am so tempted to purchase a table saw, however they really scare me. Out of interest what model # is it? Great build by the way.
-
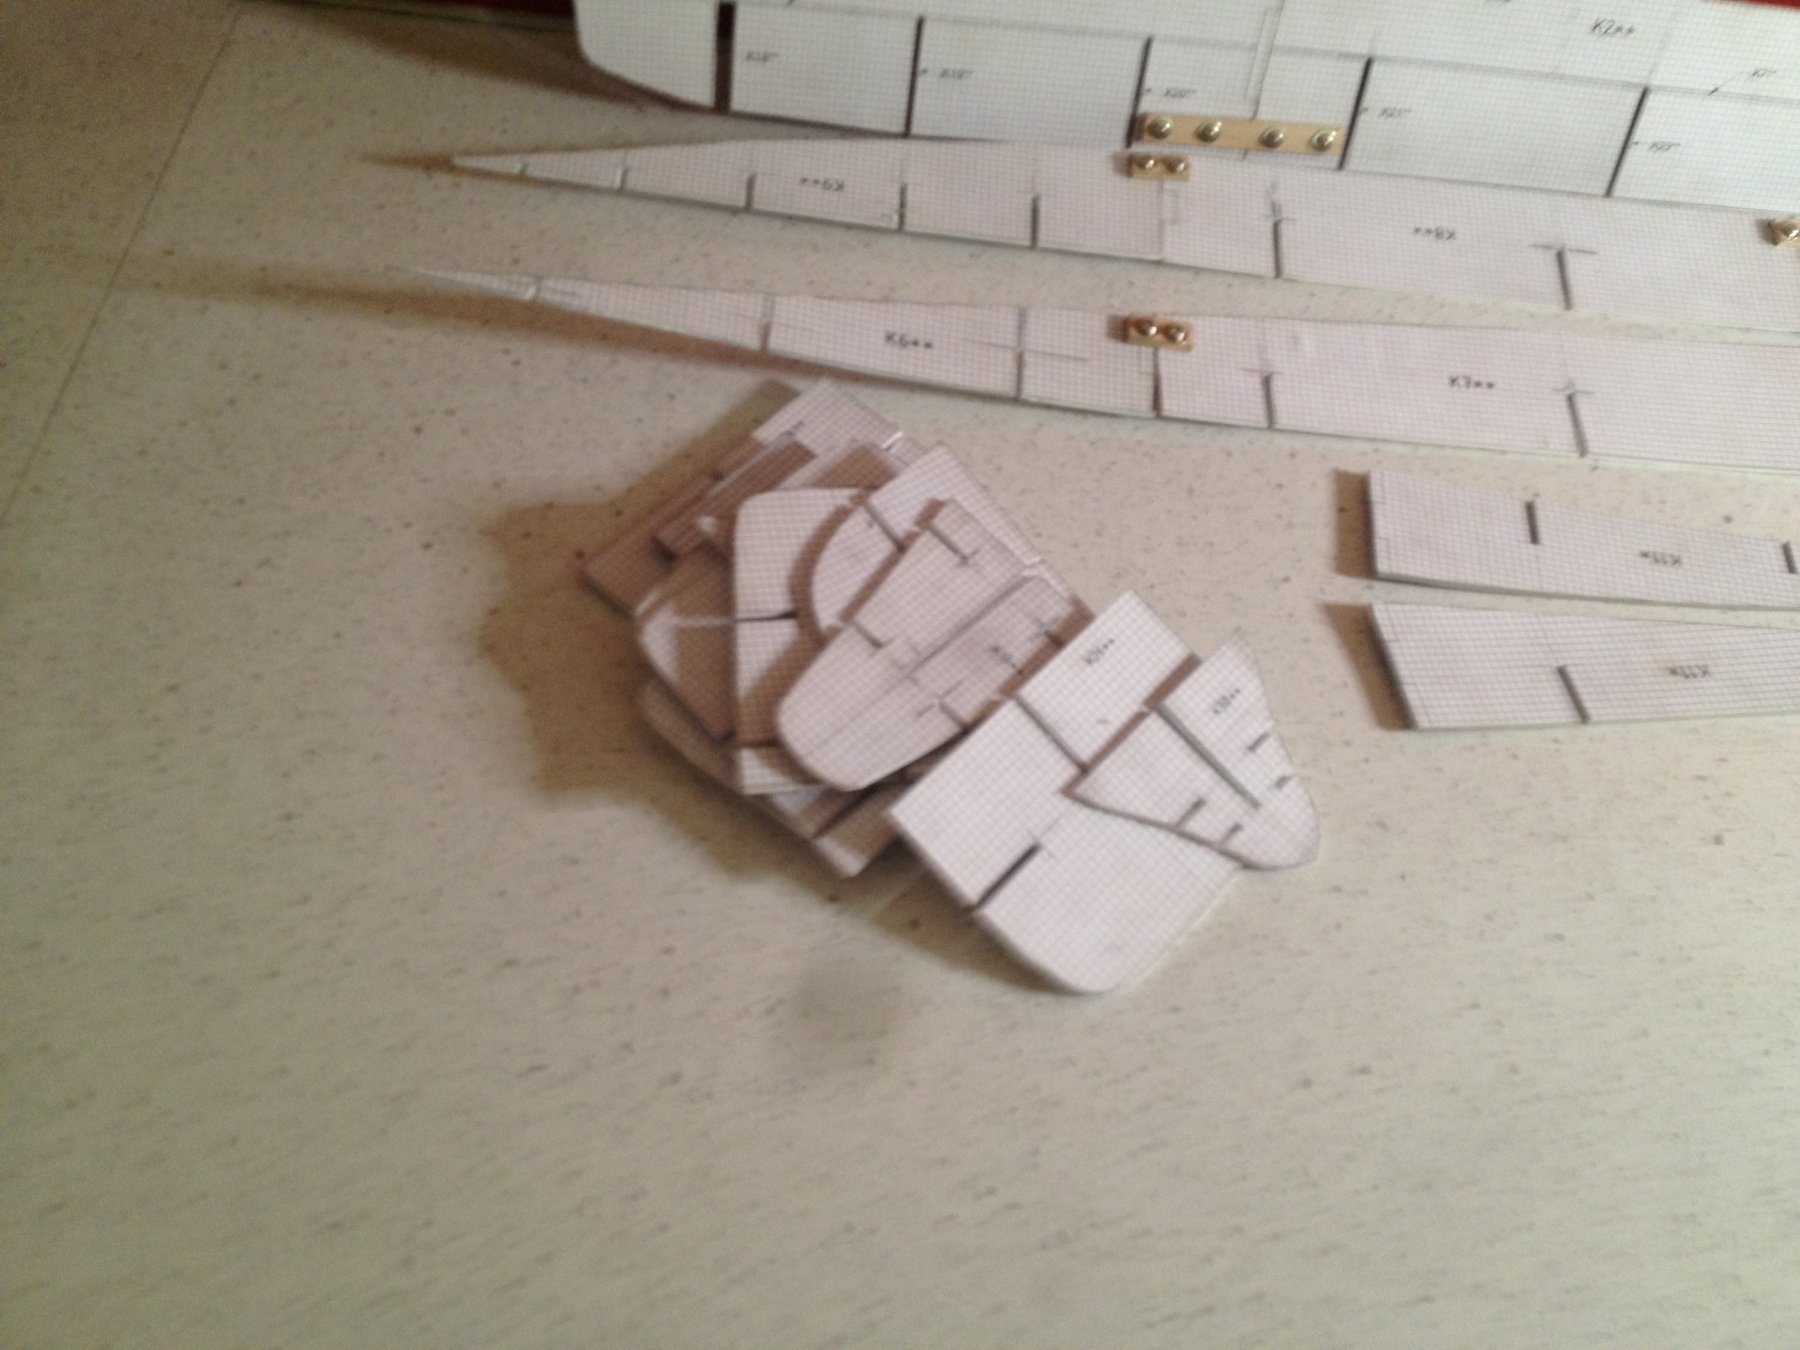
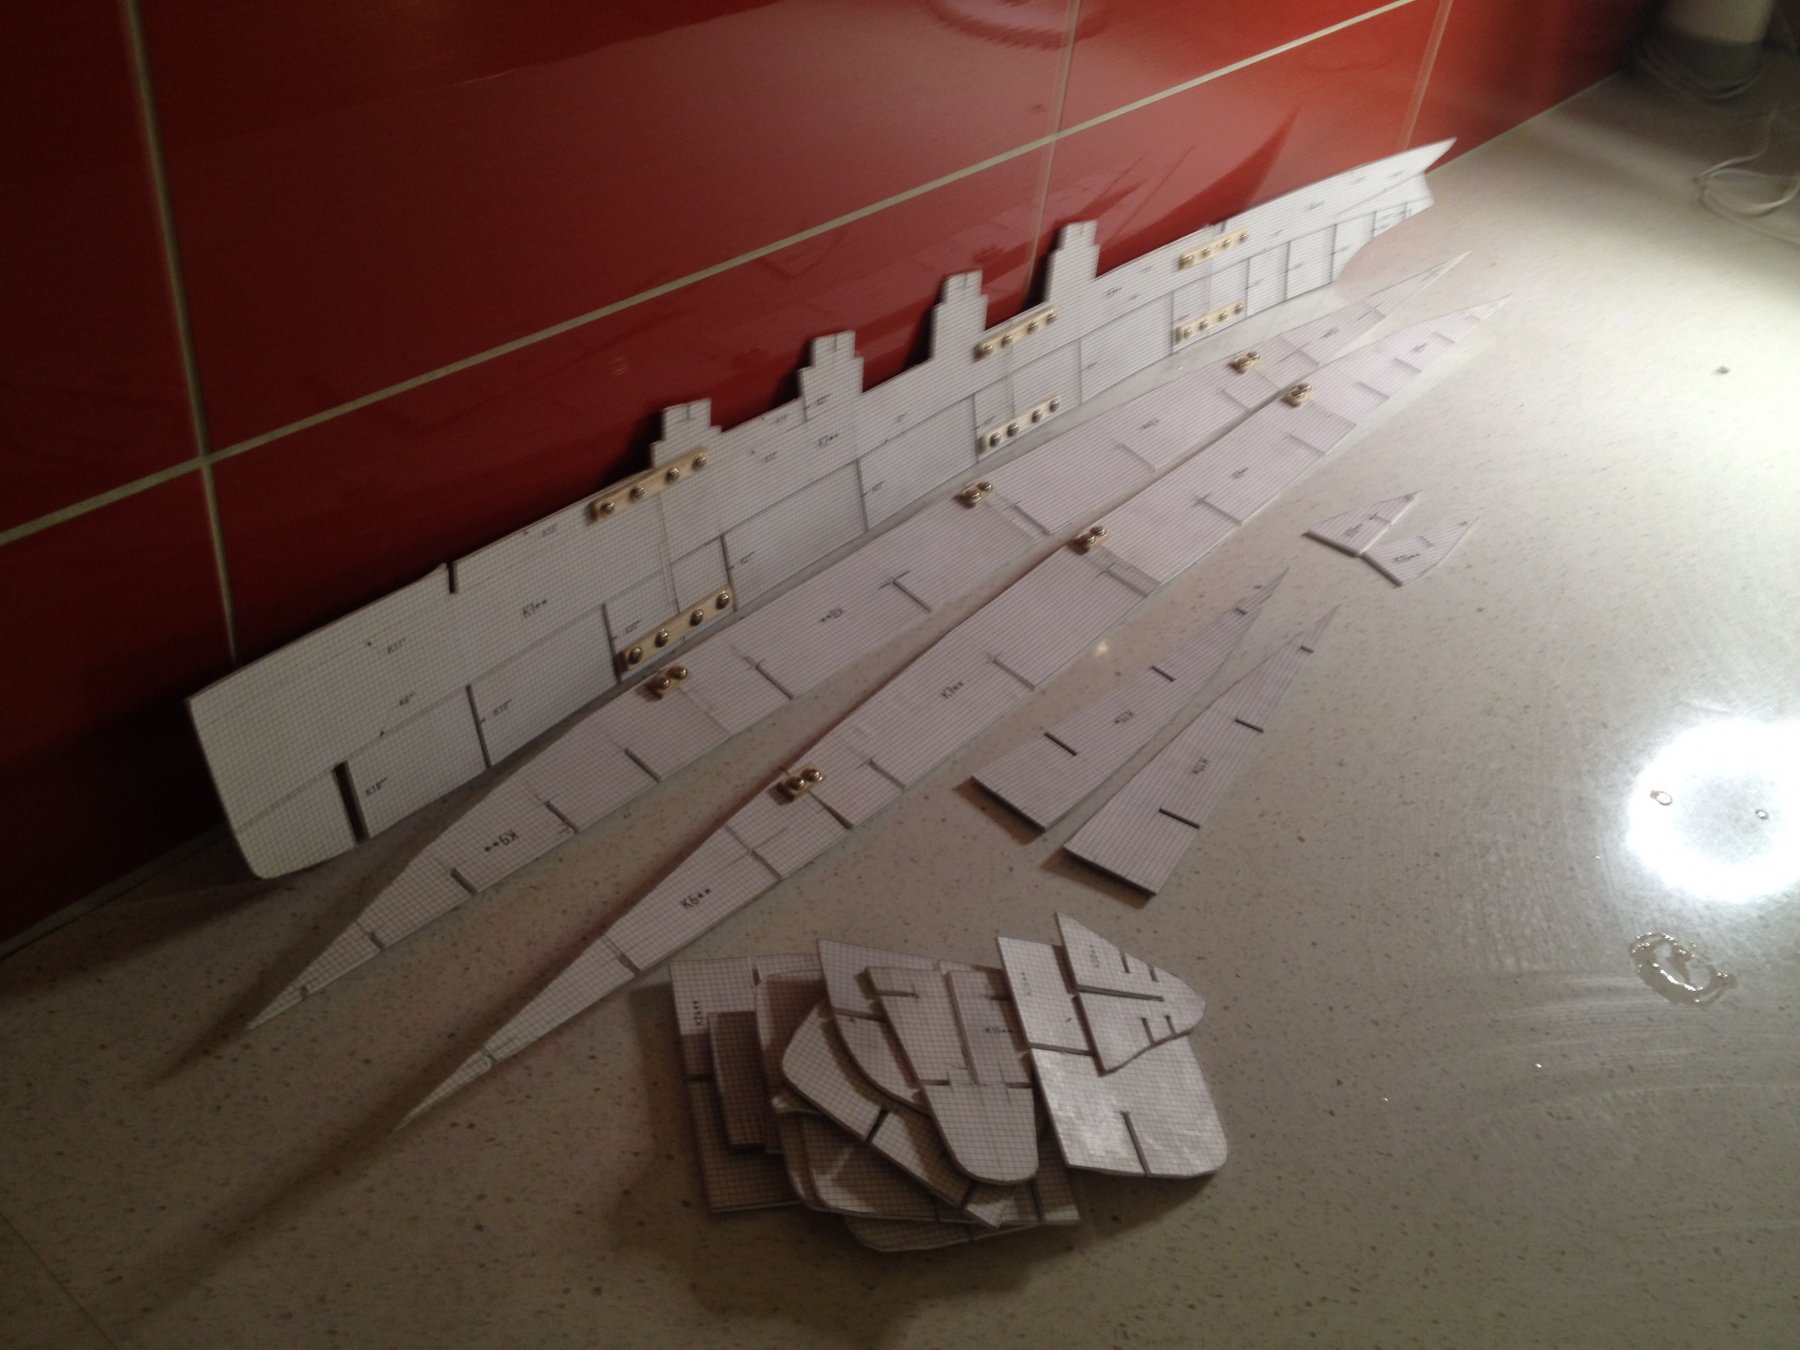
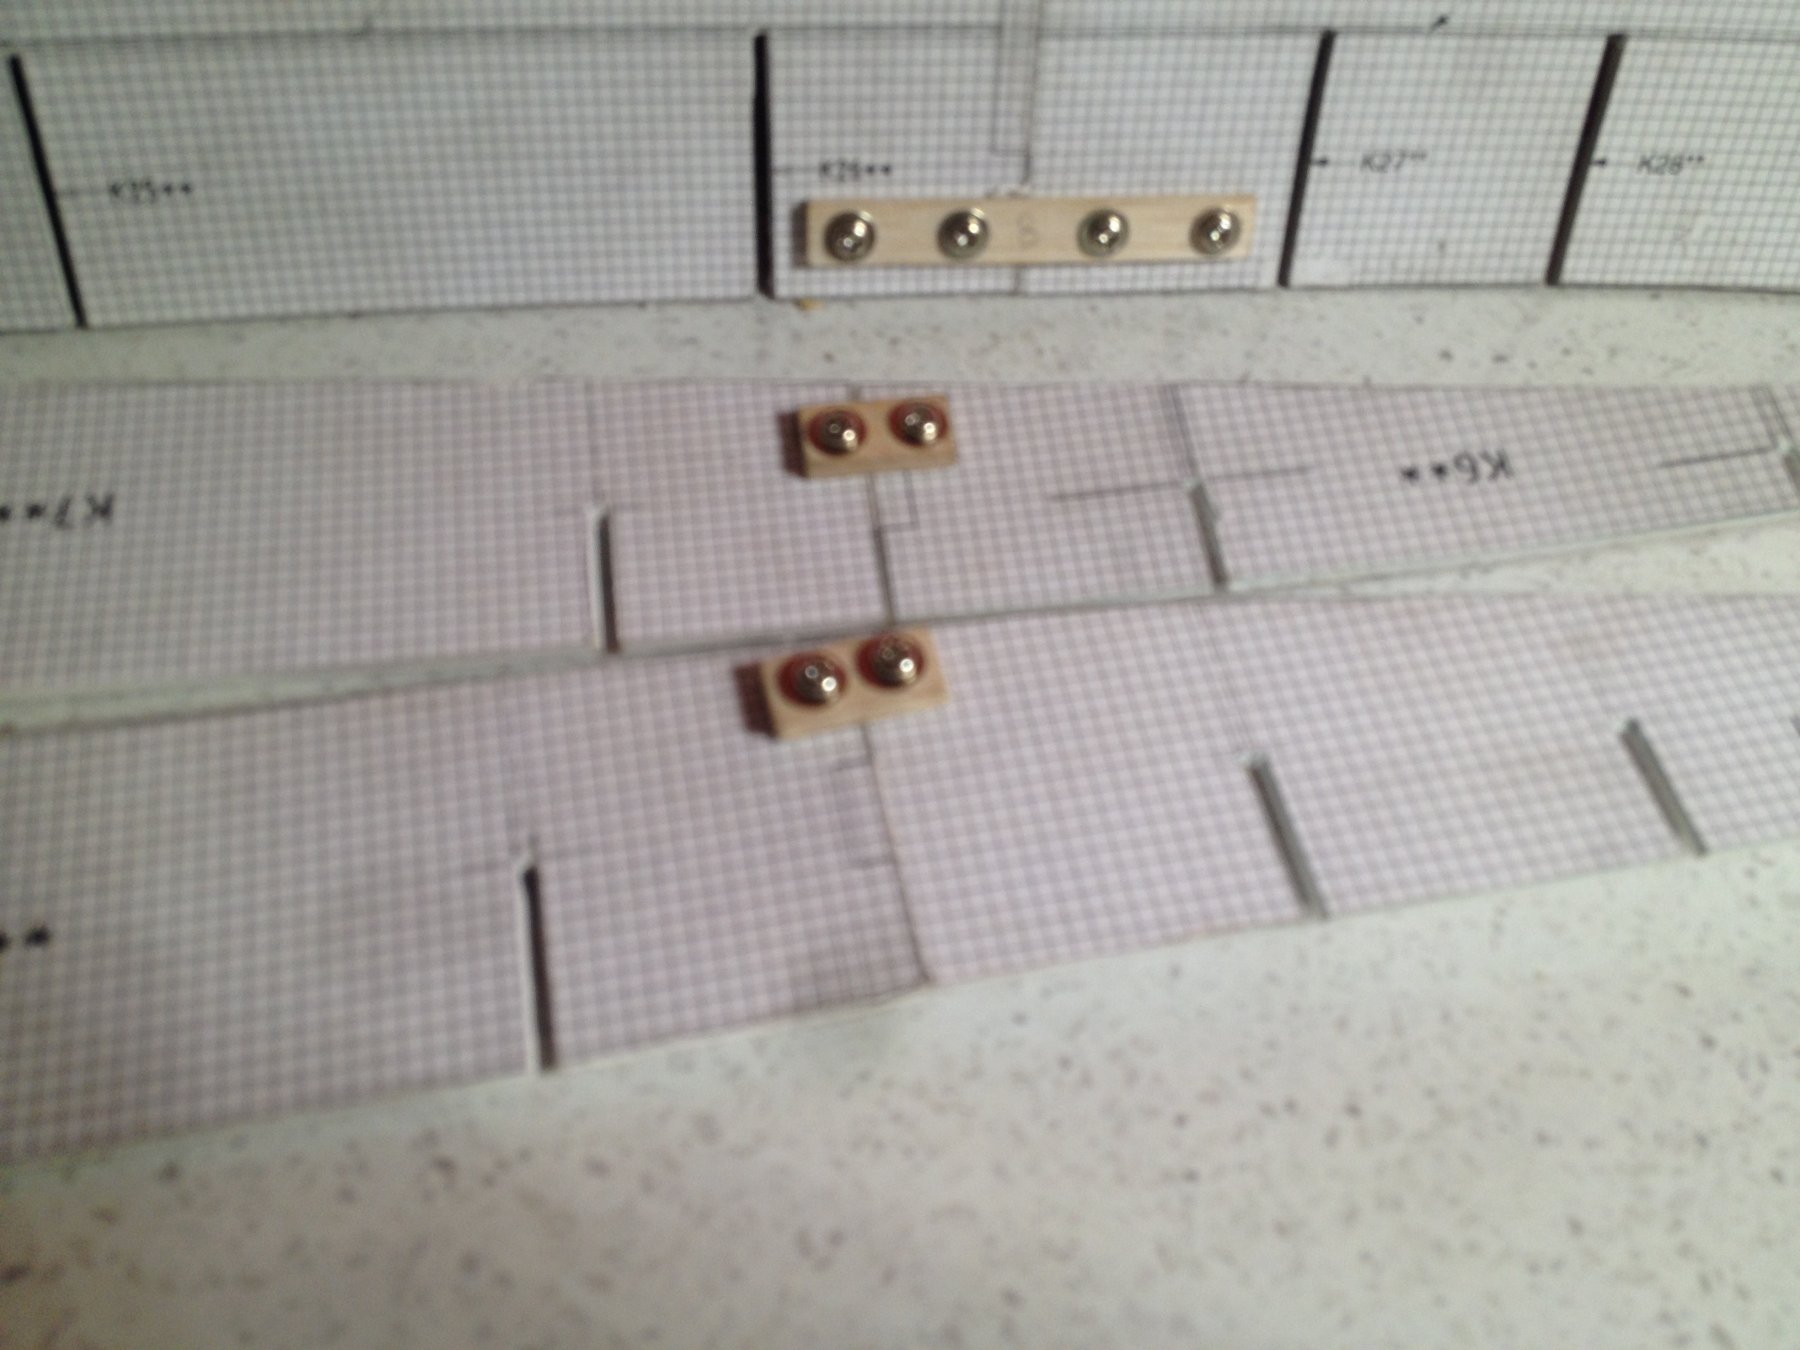
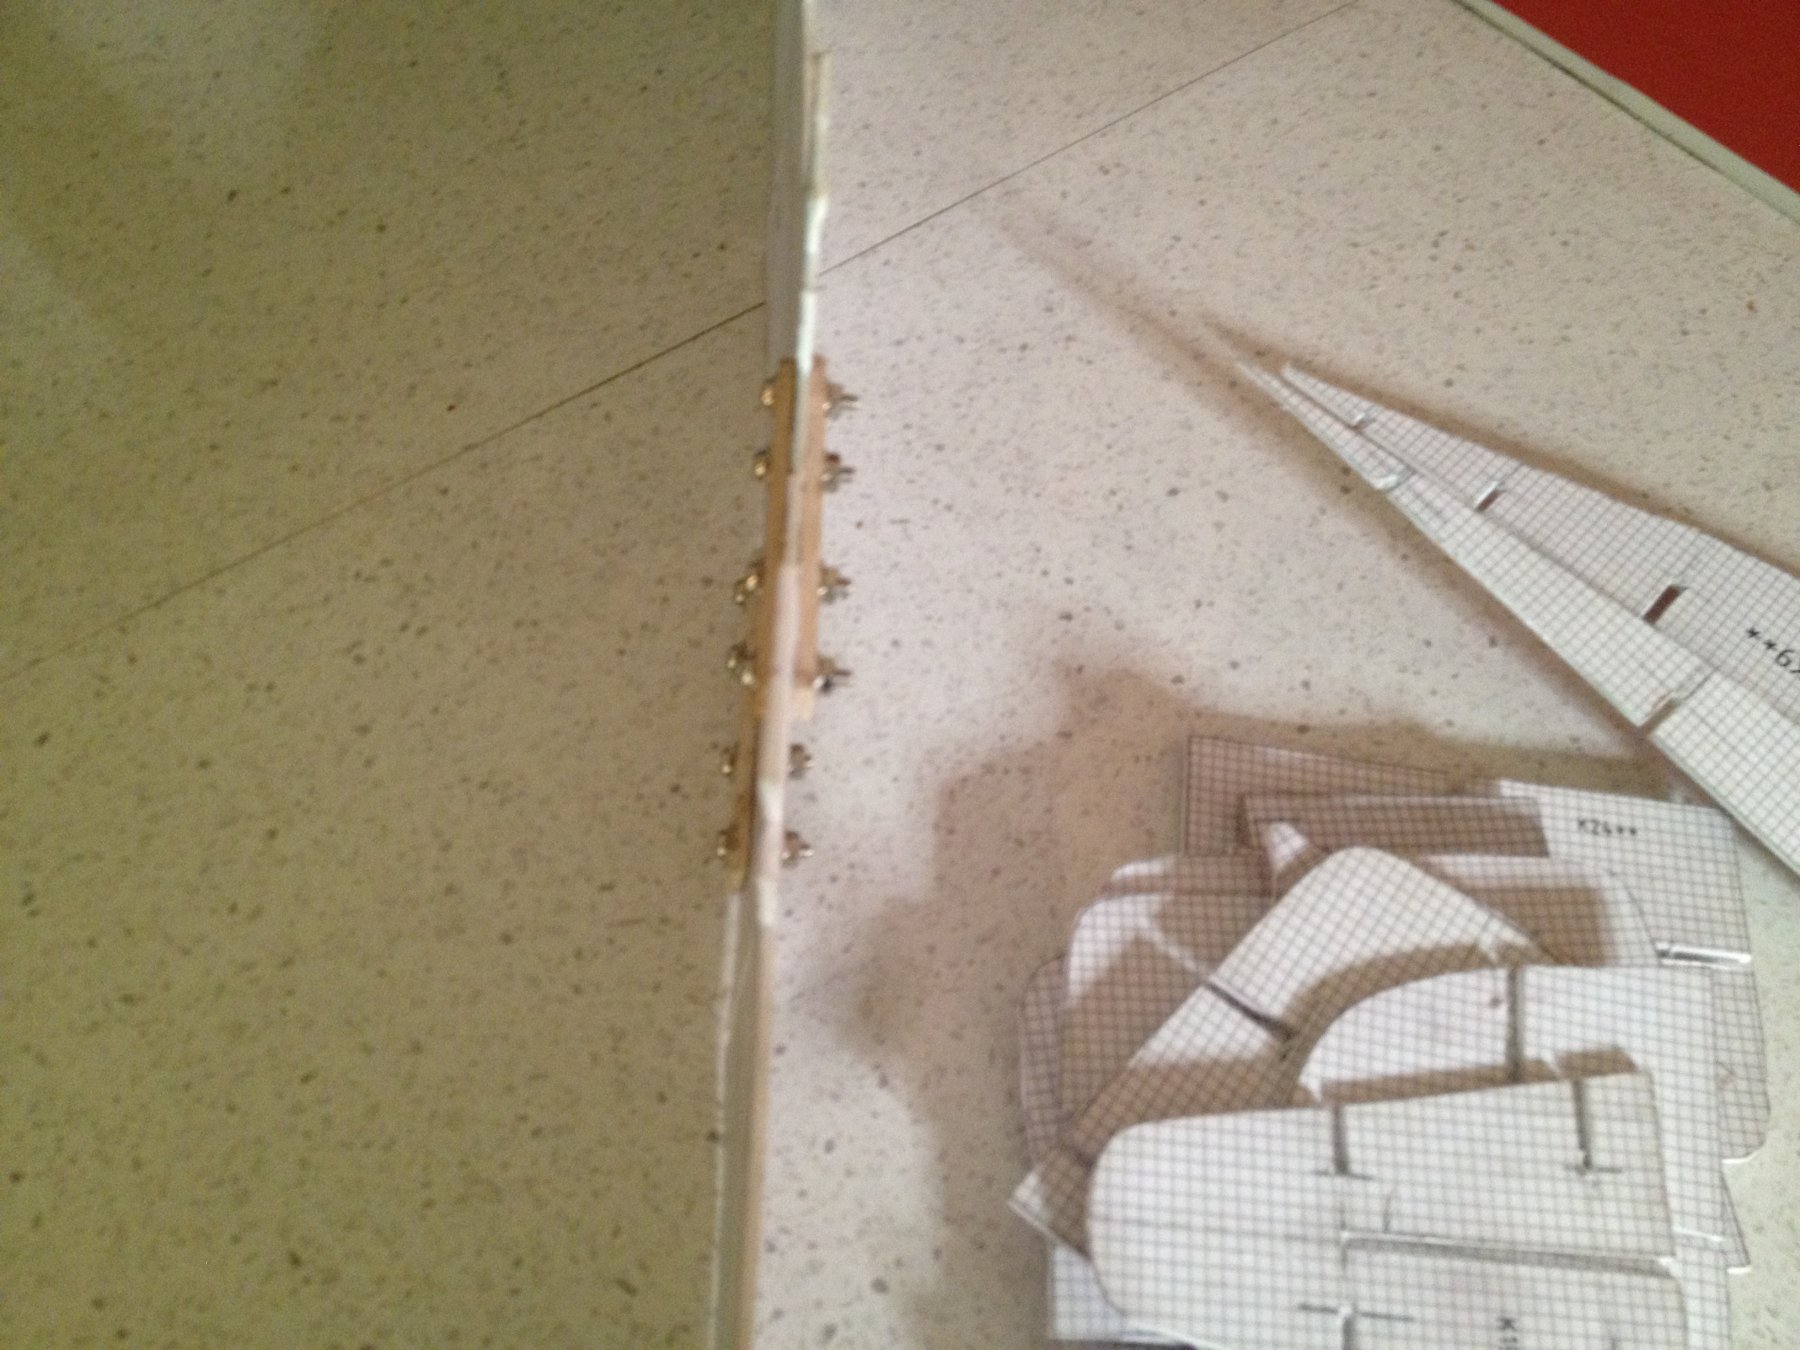
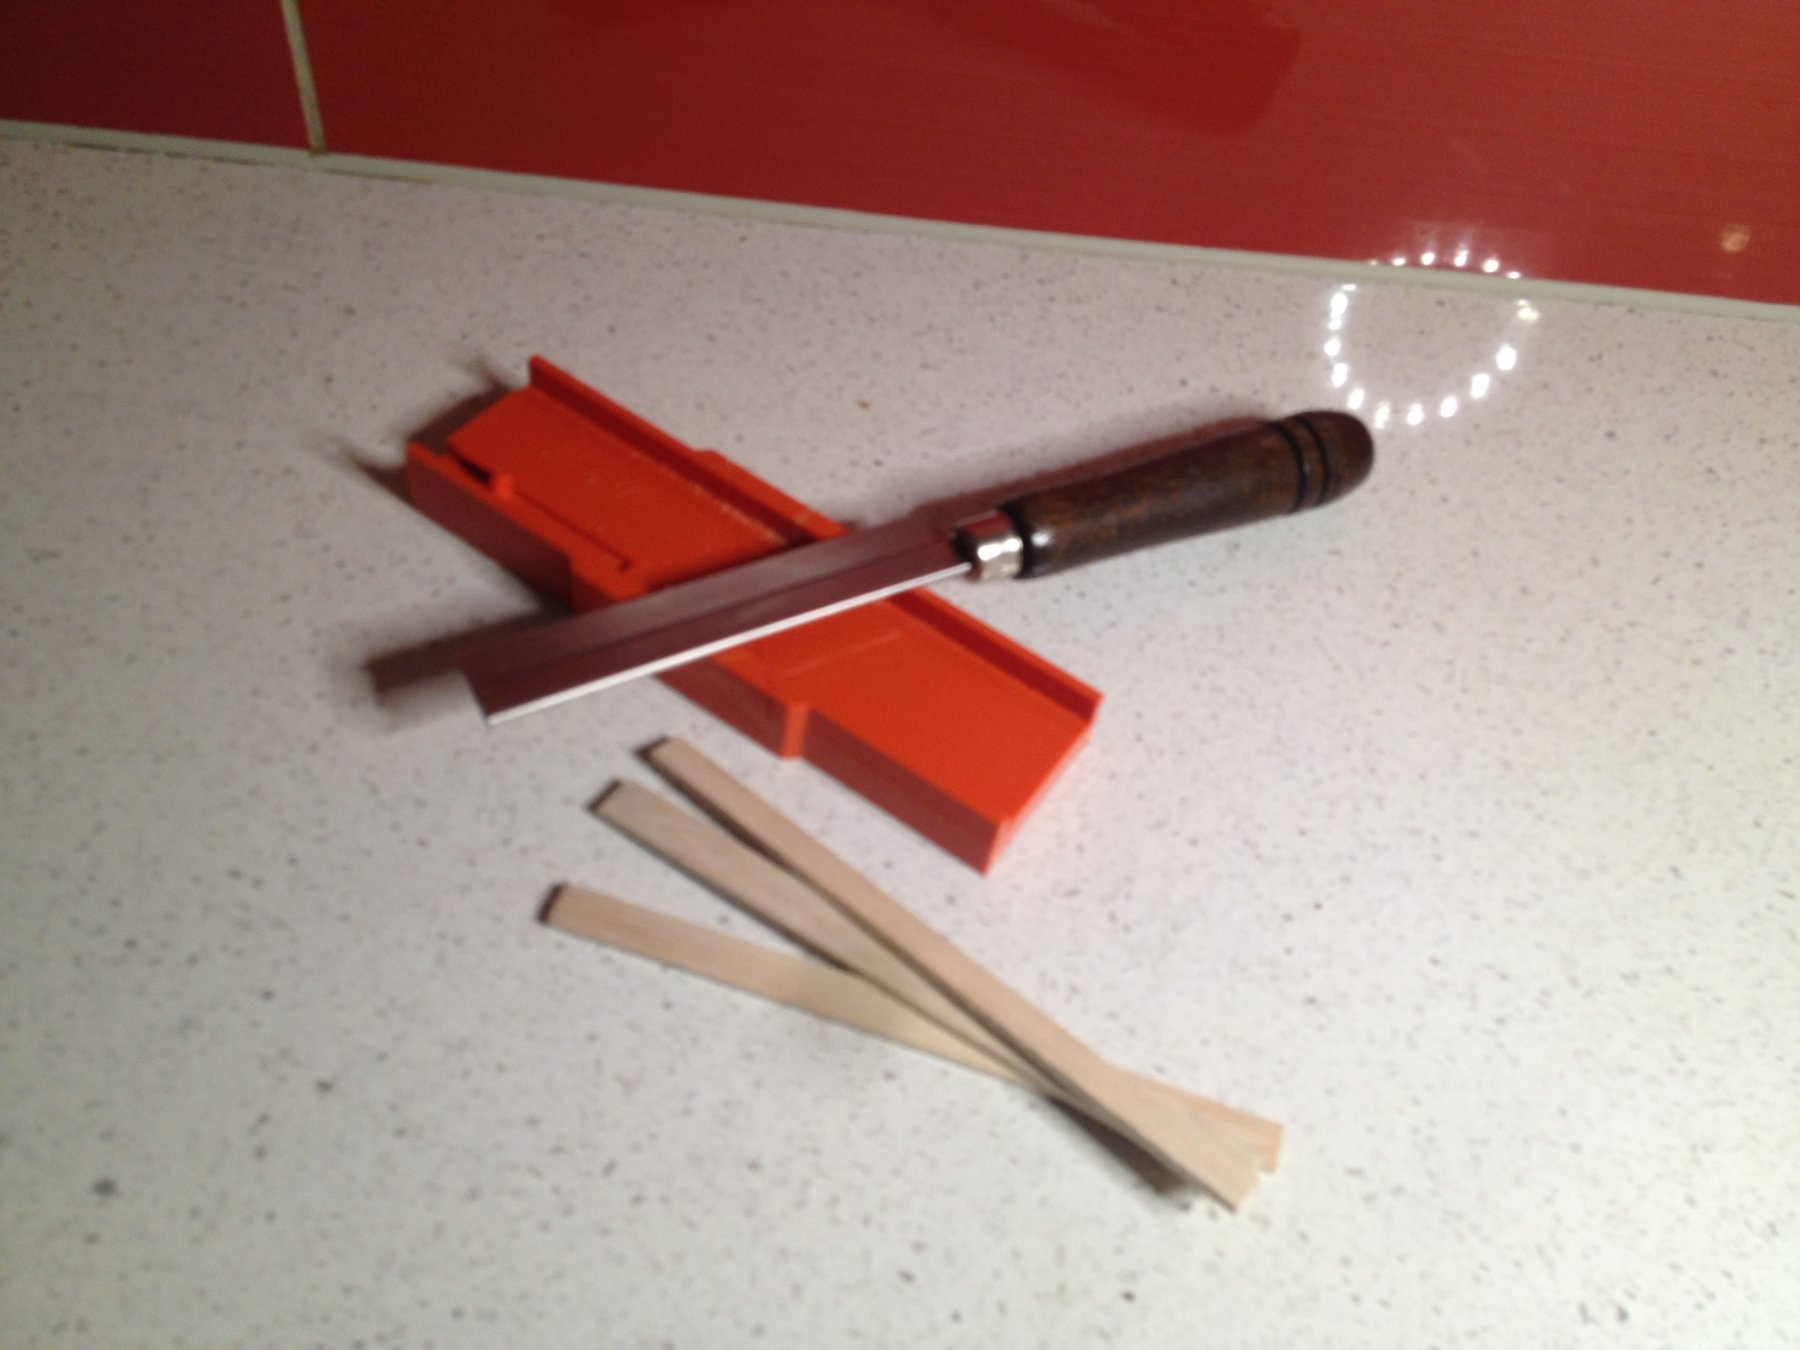
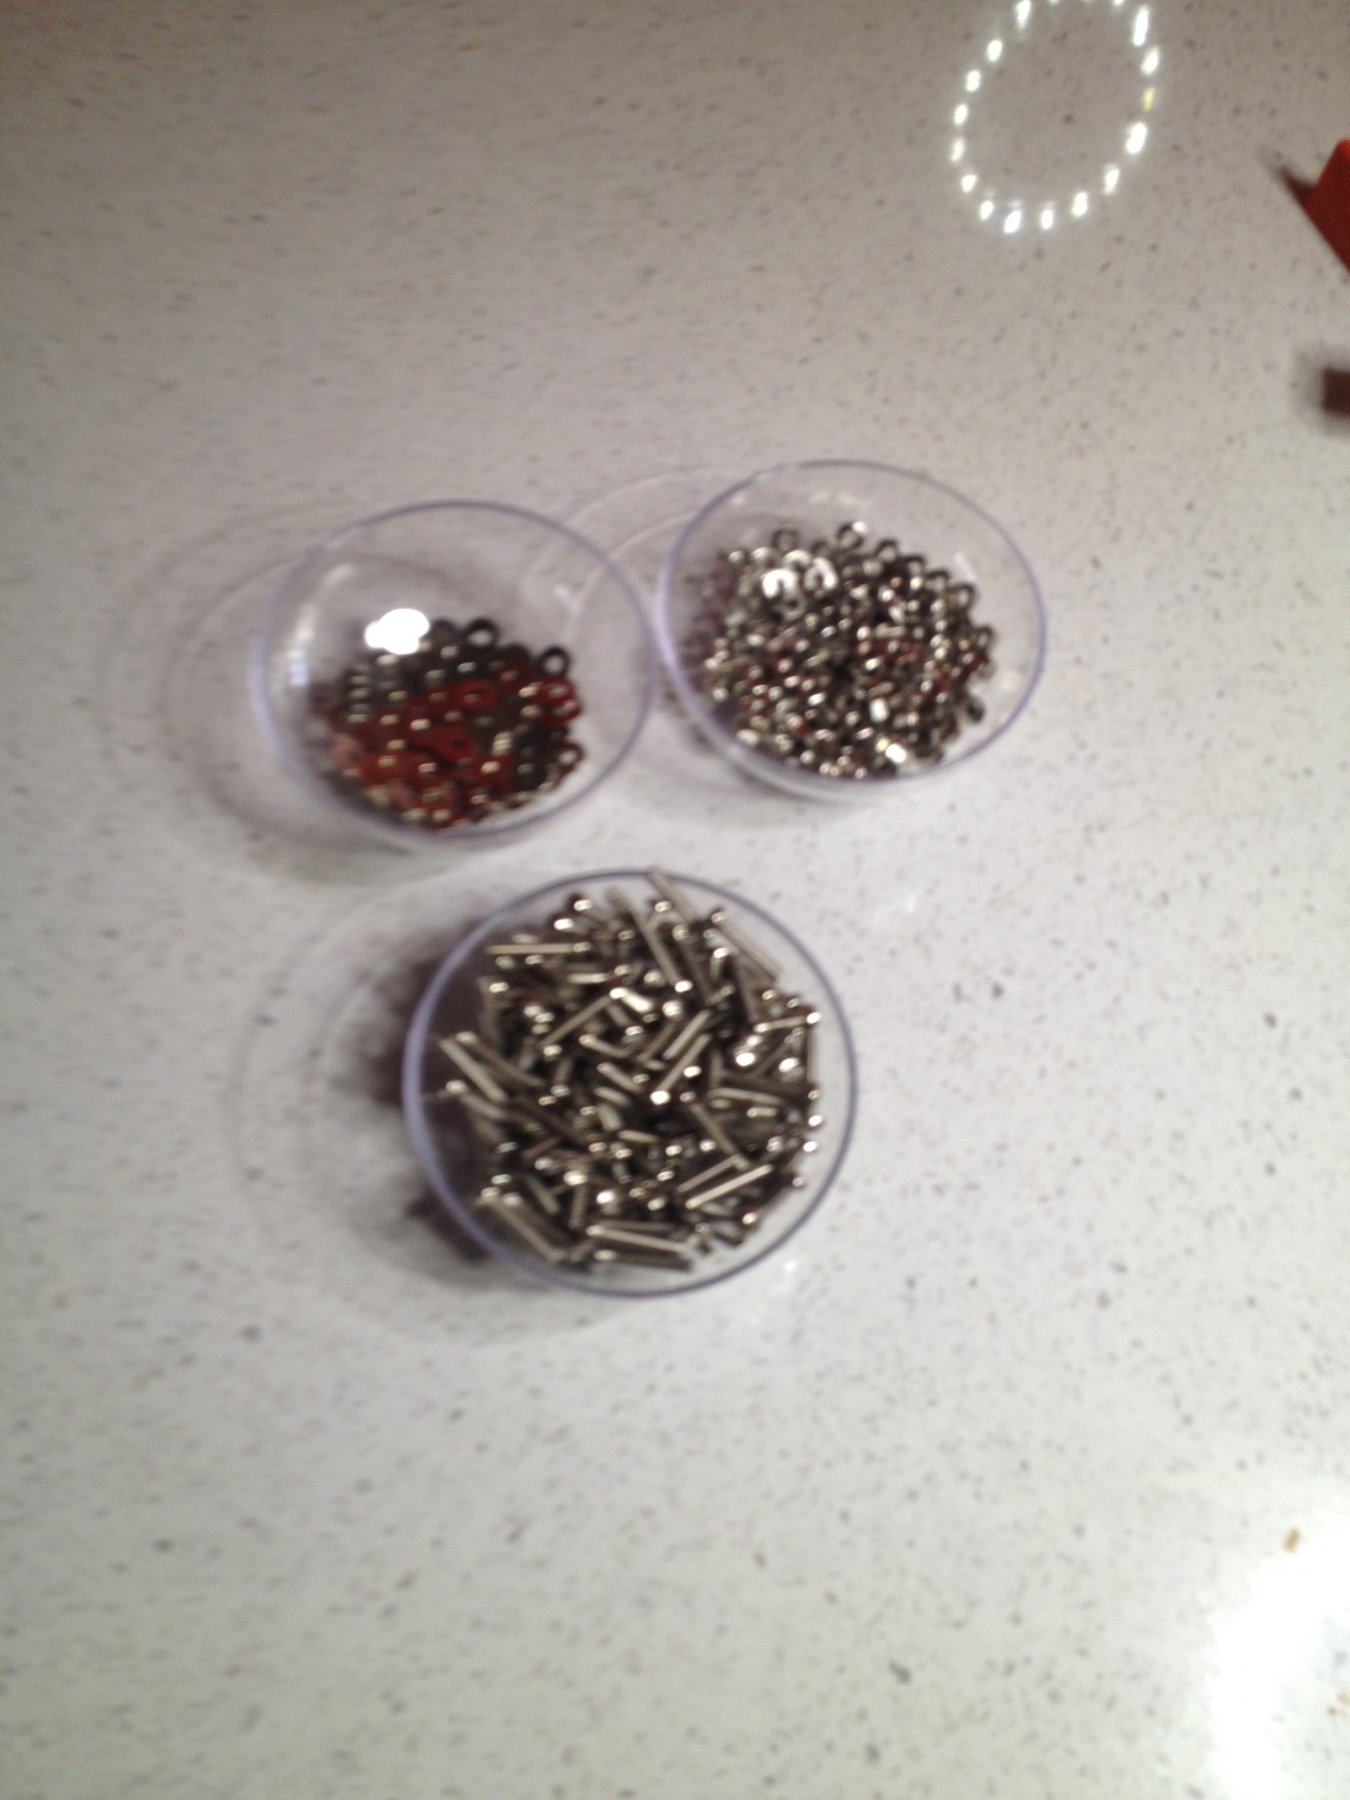
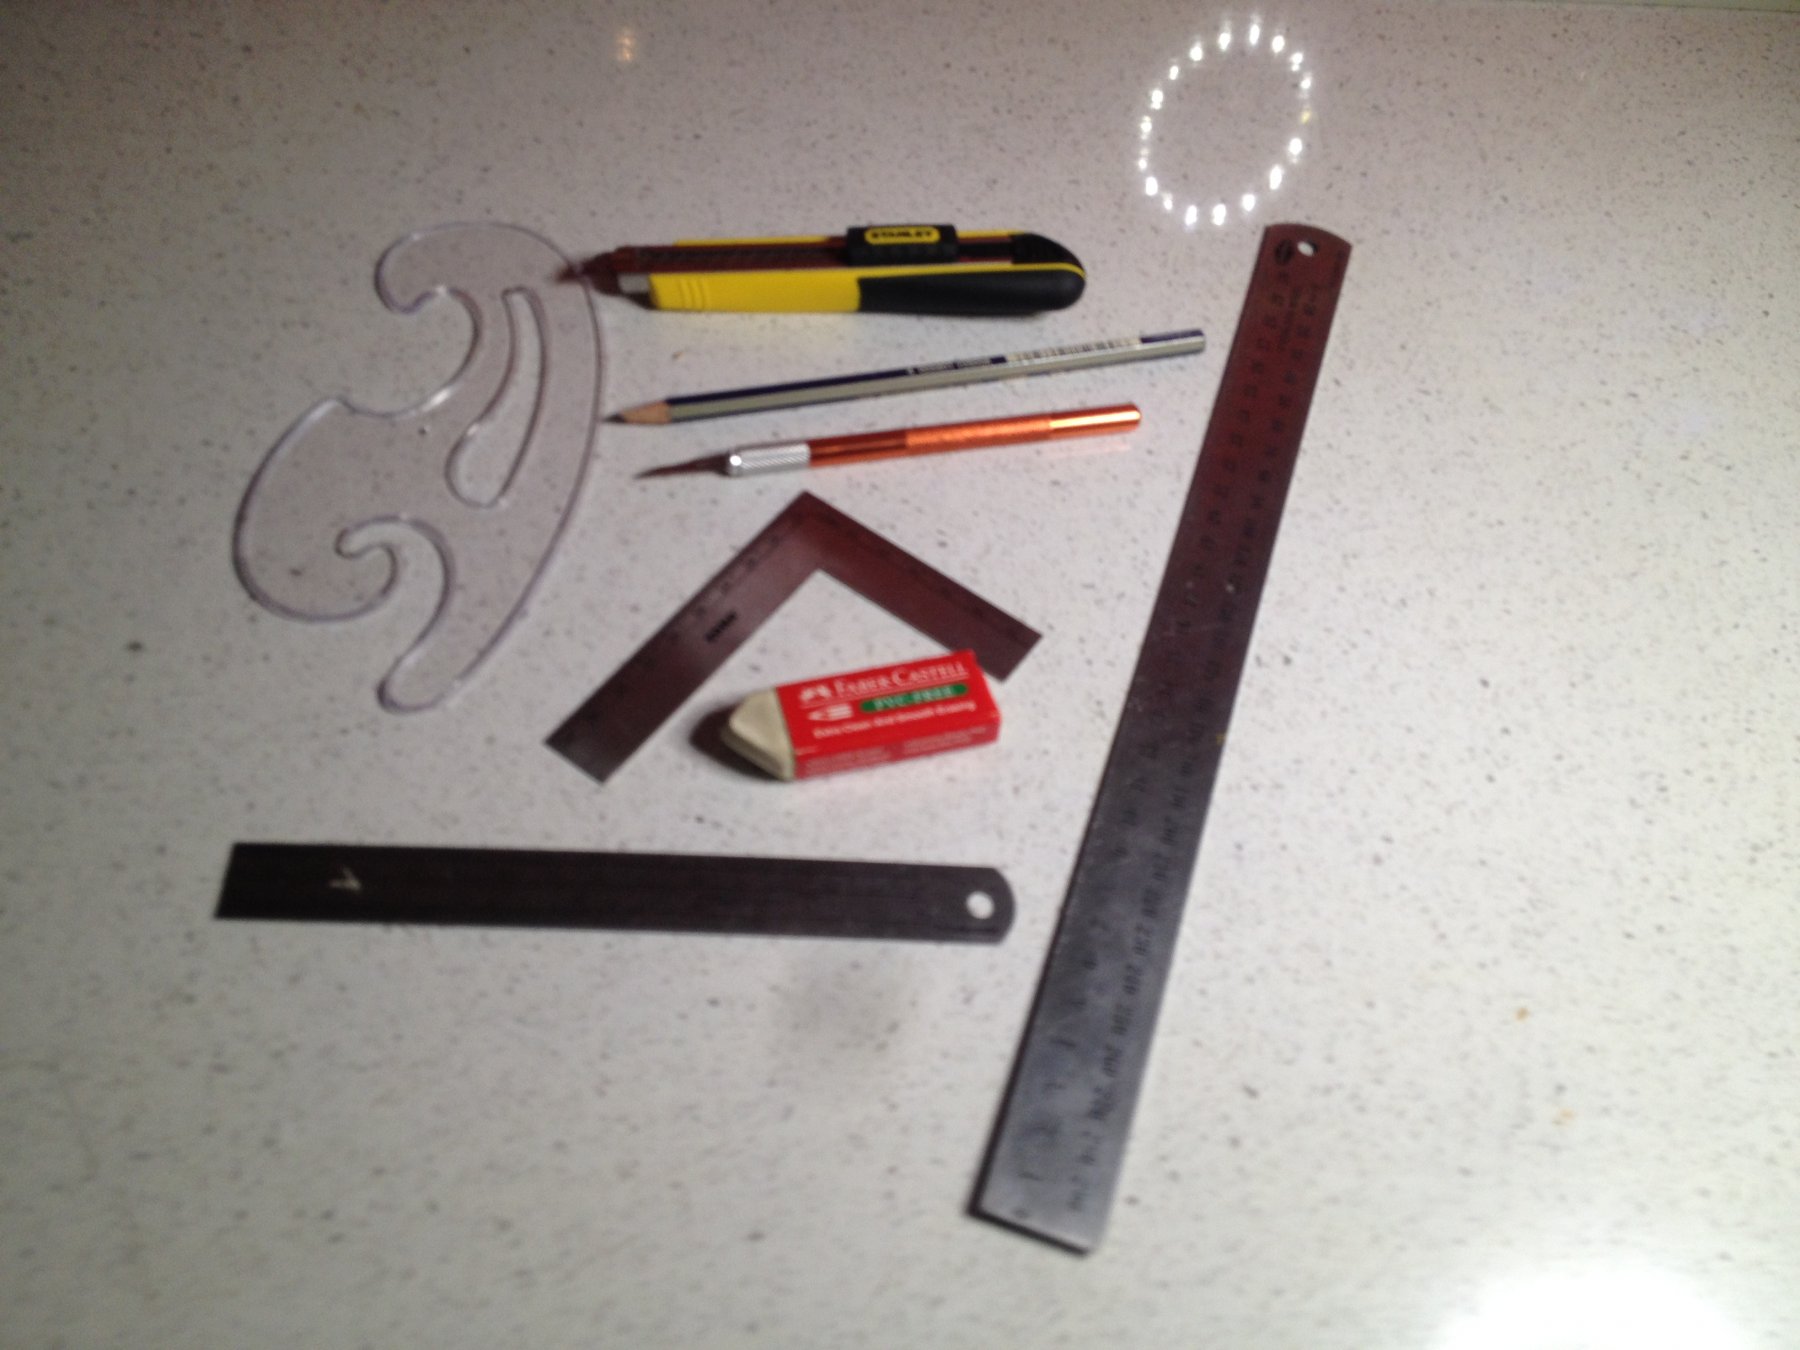
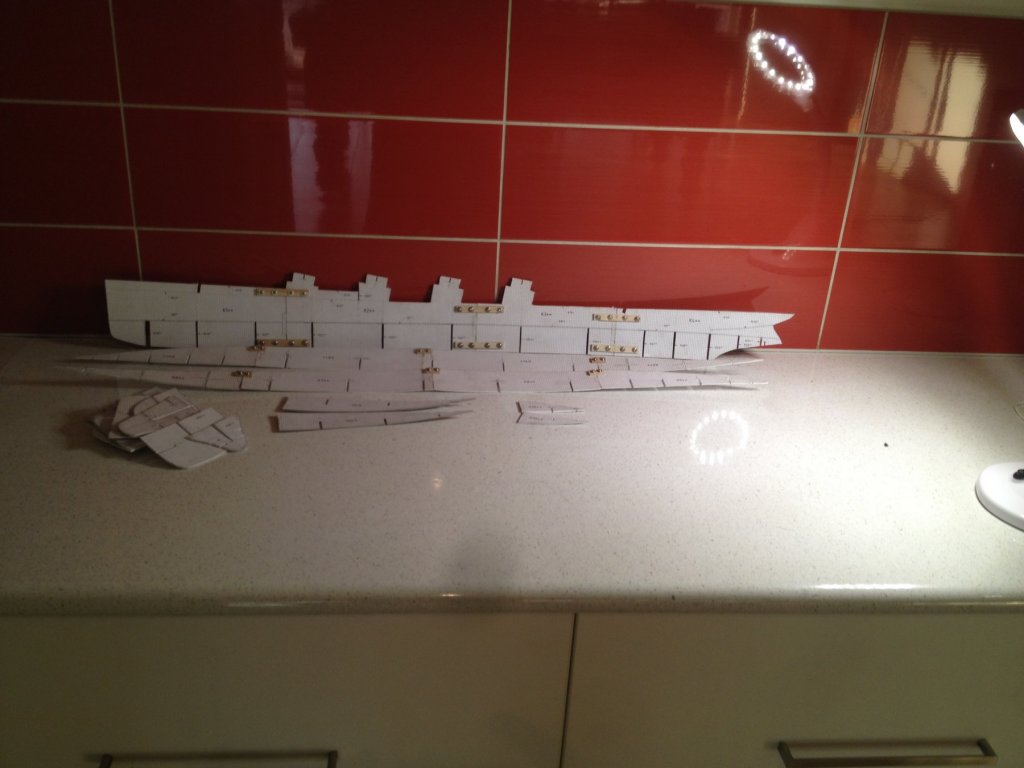
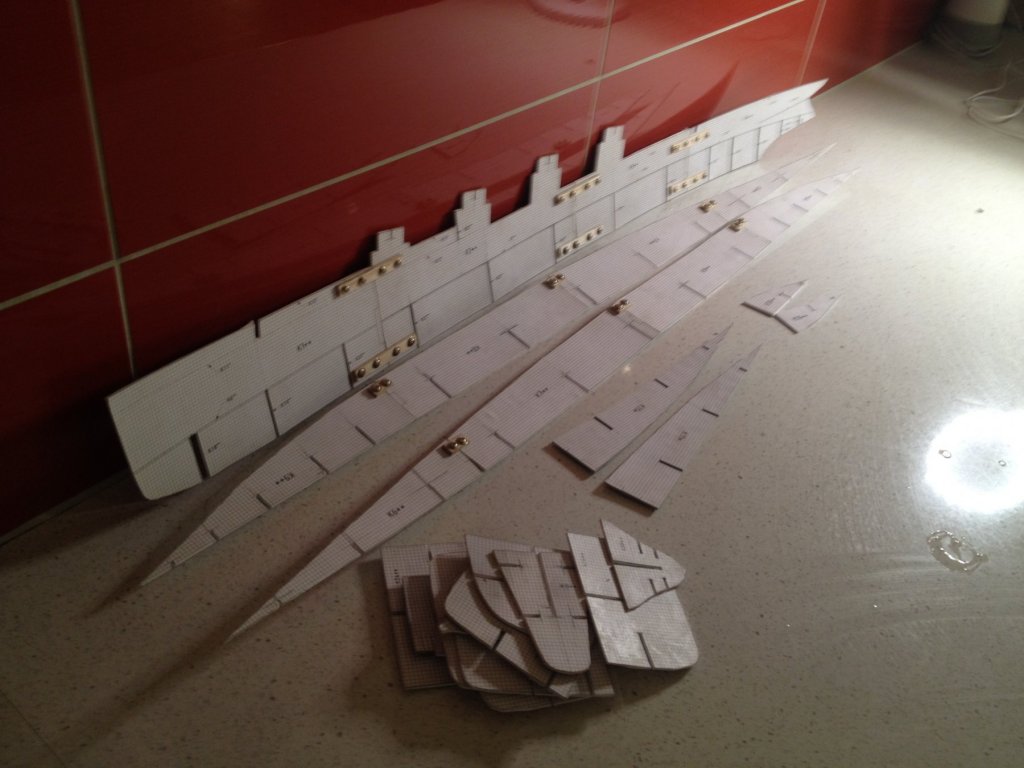
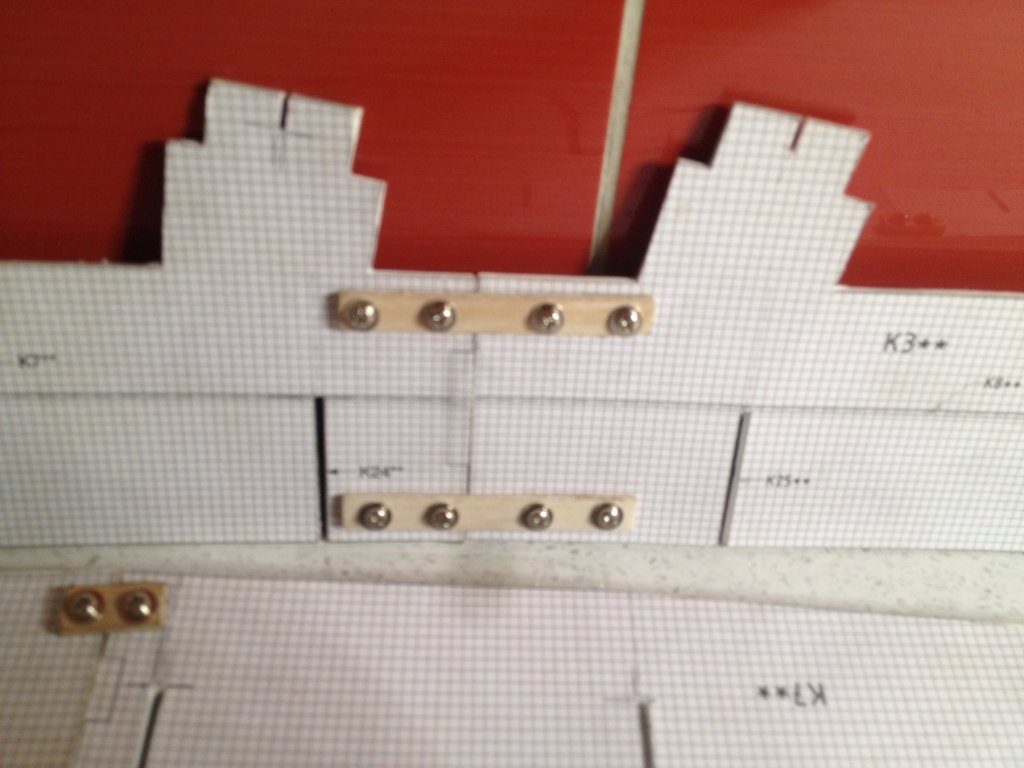
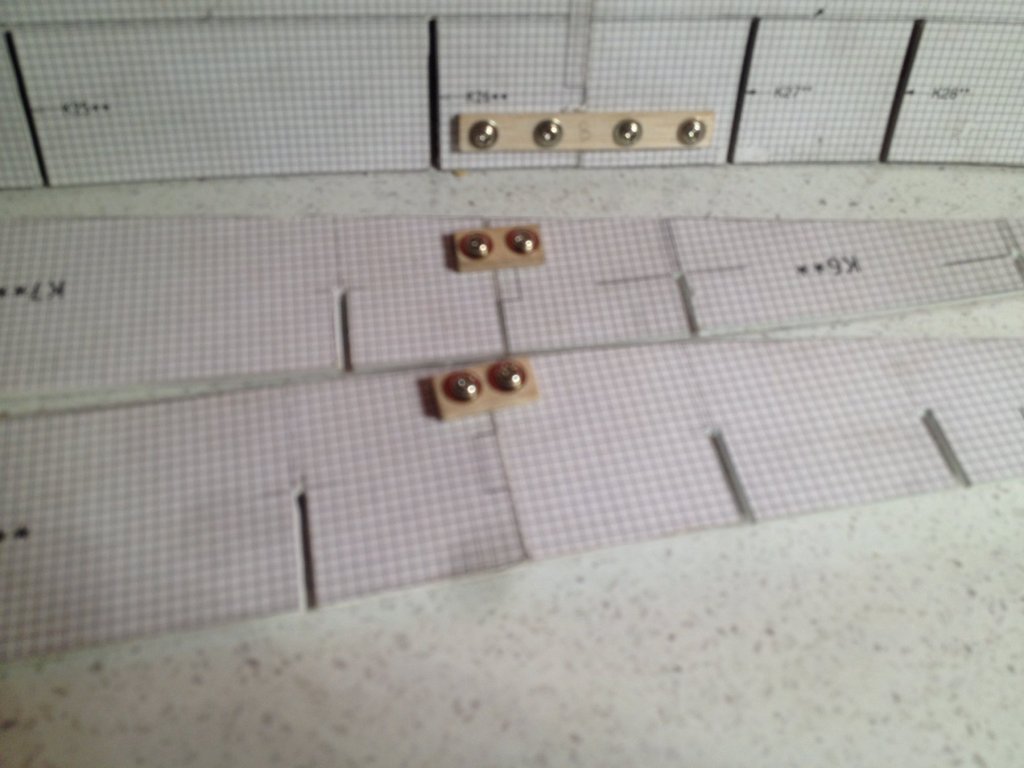
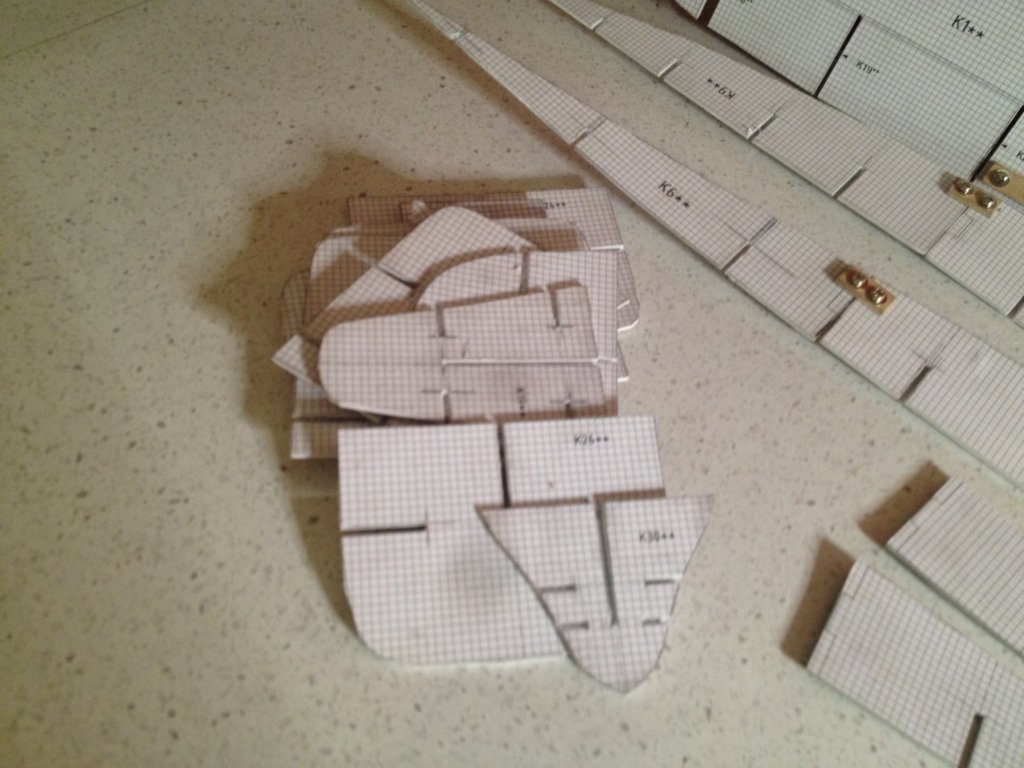
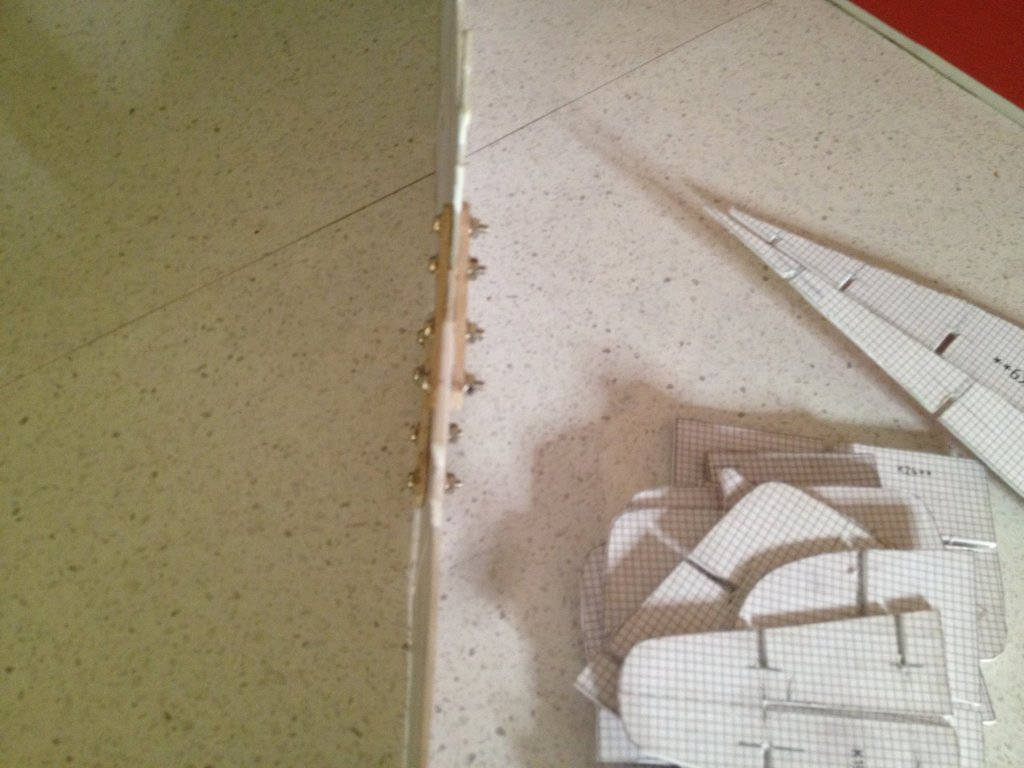
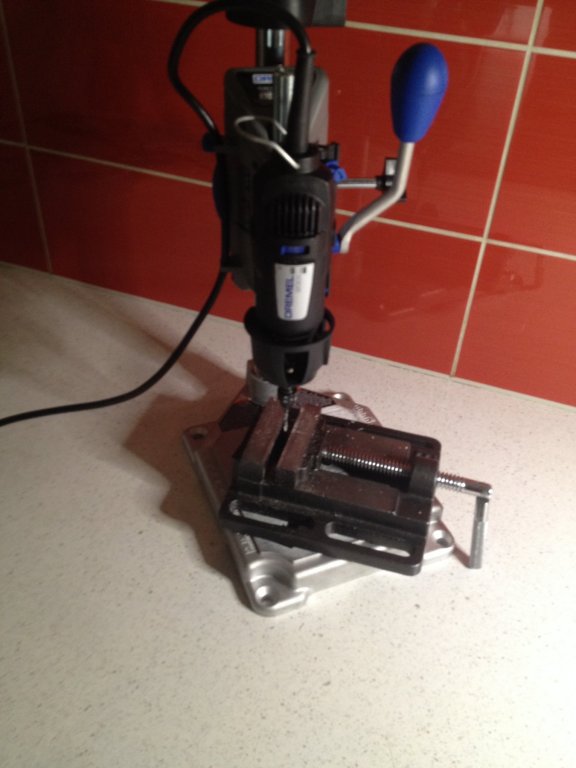
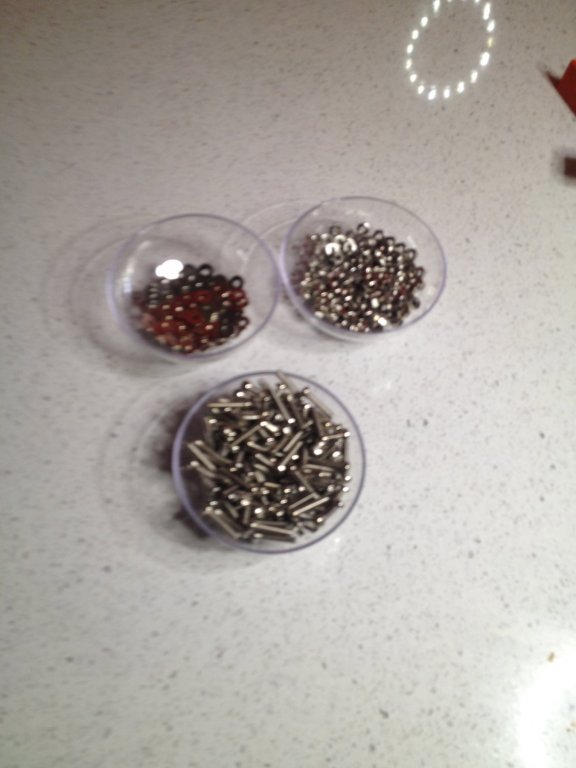
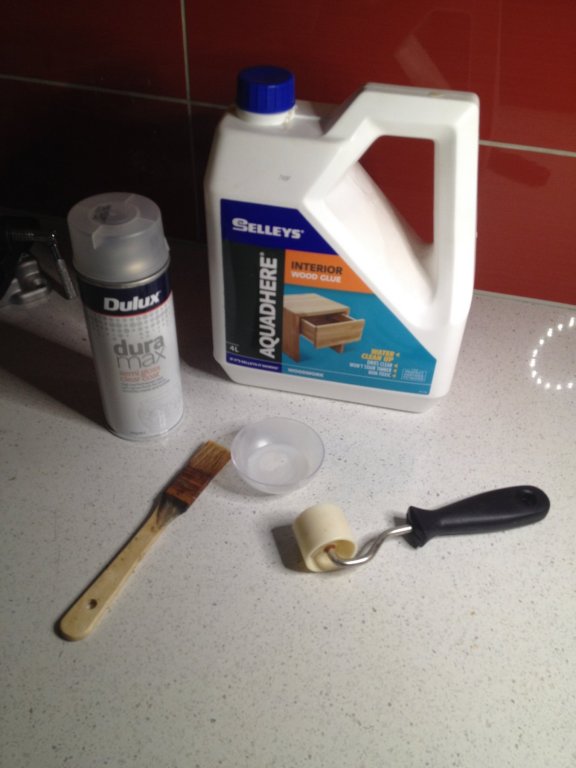
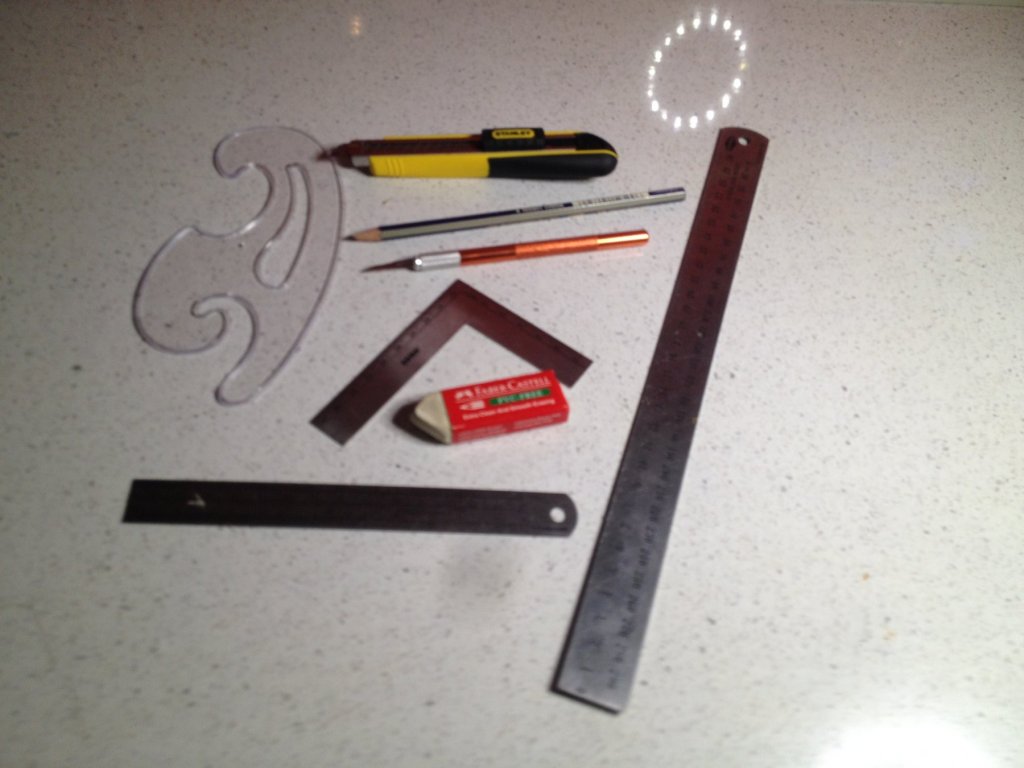
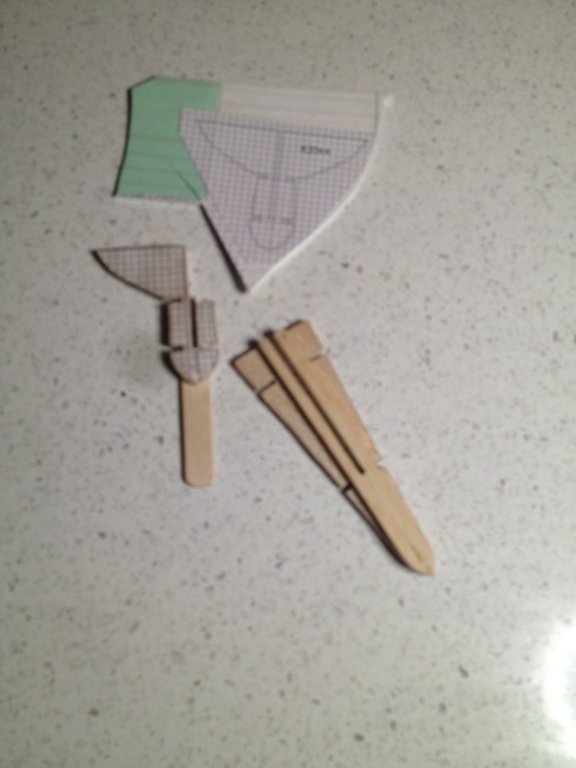
There has been some 'significant' progress on the Mauretania. All hull sections have been printed out and laminated to 1.5mm card. You will again note that I applied a graph paper background to the PDF, this allowed for greater accuracy when cutting the attachment slots. All parts were printed on to 200GSM sprayed with a Dulux clear coat (however it has already been pointed out this wasn't a good choice). Parts were glued to the card using Selleys Interior PVA decanted into a disposable plastic bowl purchased in bulk from a catering firm and pasted onto the card with a large brush. I utilised a wallpaper seam roller to ensure a good and neat fit of the paper to the card ensuring a clean attachment with no undulations. I ensure I kept everything clean of glue by utilising a damp cloth in between rolling and dipping the roller into water before each roll. NOTE - a clear coat makes a major difference when laminating especially when there is water around it really protects the paper and prevents soaking and sticking of paper to roller. After drying parts were cut from the card using a craft blade. I then remarked all the slots and extended the slot ends with pencil marks and coloured in the cut out in red pencil to ensure greater efficiency and accuracy when cutting, the pencil marks were erased after cutting was complete. For final cutting I used a straight edge (a metal rule)as a guide or 90 degree metal rule when cutting the slots. French curves or plain free hand were used for radiuses. I then used an Xacto with a number 15 blade for punching / chiselling out the ends of the narrow slots. NOTE - I really find the craft knife with snap off blades to be the most efficient option when cutting card; my Xacto and No 17 blade have been put away as it blunts too easily. The design of the end bulkheads left a little to be desired, with the proximity of horizontal and vertical slots undermining the stability of the structure. I got around this (or tried to get around this) by laminating to Balsa and even trying some additional engineering on top of this - however although results were OK on the bow bulkhead the stern has proven to be troublesome due to the grain of the Balsa - I will probably end up 'halfing' the piece and glue independently to each side. Obvious modifications were required to the lateral slots to accommodate the thicker lamination. You should be able to pick this up from the photographs of the lateral at the bow. NOTE - You may be able to pick out that the laterals and horizontals come with 'jigsaw' connections between parts - I did away with these as I just couldn't see an upside in utilising them. I joined the laterals and horizontals together with balsa from a child's craft pack available at a chain DIY store (Bunnings). I cut these with an Zona Ultra Thin Kerf Razor Saw and associated Zona Mitre Box and drilled both the timbers and the card! using a Dremel and the associated Dremel Drill press. Timbers are attached both sides of the pieces and fastened with M3 bolts which I purchased very cheaply in packs of 200 from a chain electronics store (Jaycar). Next up clean up of parts with an eraser and assembly of the superstructure and on to the dreaded skinning. I am really not sure if the voids need to be filled with foam to provide a better base for applying the skin, hopefully we can discuss at a later juncture.


-
Many thanks Dave Richmond
-
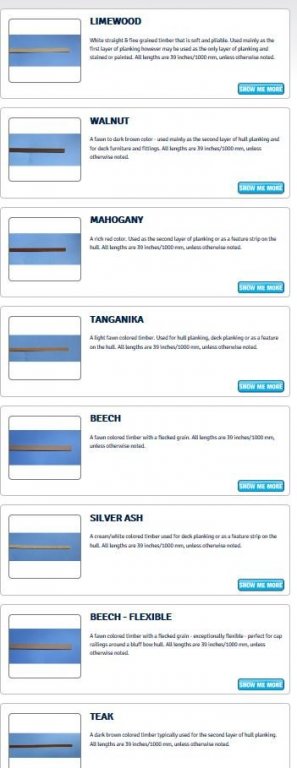
I was wondering if anyone could recommend a first layer planking material from the limited options available in Australia below - I need to order new planks as the method of planking I am adopting for a build requires more timbers than that supplied in an AL kit I have. I don't like to rely on the narrative provided by the supplier. Limewood, Walnut, Mahogany, Tanganika, Beech. Silver Ash, Teak
-
Great workmanship. Would be interested to know at the end of the build how many man hours were required to achieve such quality.
- 421 replies
-
- 4
-
-
- medway longboat
- Syren Ship Model Company
- (and 1 more)