HOLIDAY DONATION DRIVE - SUPPORT MSW - DO YOUR PART TO KEEP THIS GREAT FORUM GOING!
×


src
-
Posts
2,300 -
Joined
-
Last visited
Content Type
Profiles
Forums
Gallery
Events
Everything posted by src
-
Steve, I agree with the others, she looks great! For your contrasting wale, maybe something lighter? Sam
-
Hmmmm.. I think the first error is buying the kit, the second is starting, but the biggest sin would be giving up. Not that I think you have any intention of that. You recover well from your (mis)adventures, I've no doubt this will be the same. Sam
- 1,756 replies
-
- 3
-

-
- constitution
- constructo
- (and 1 more)
-
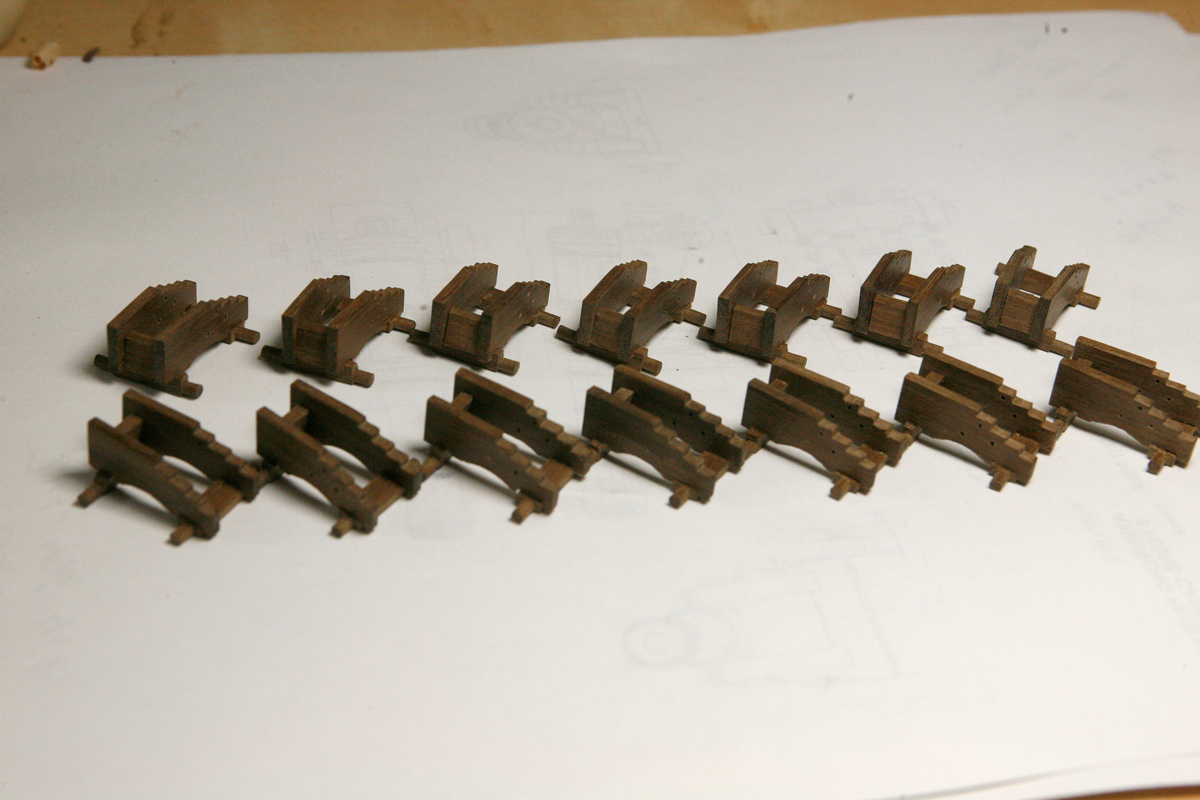
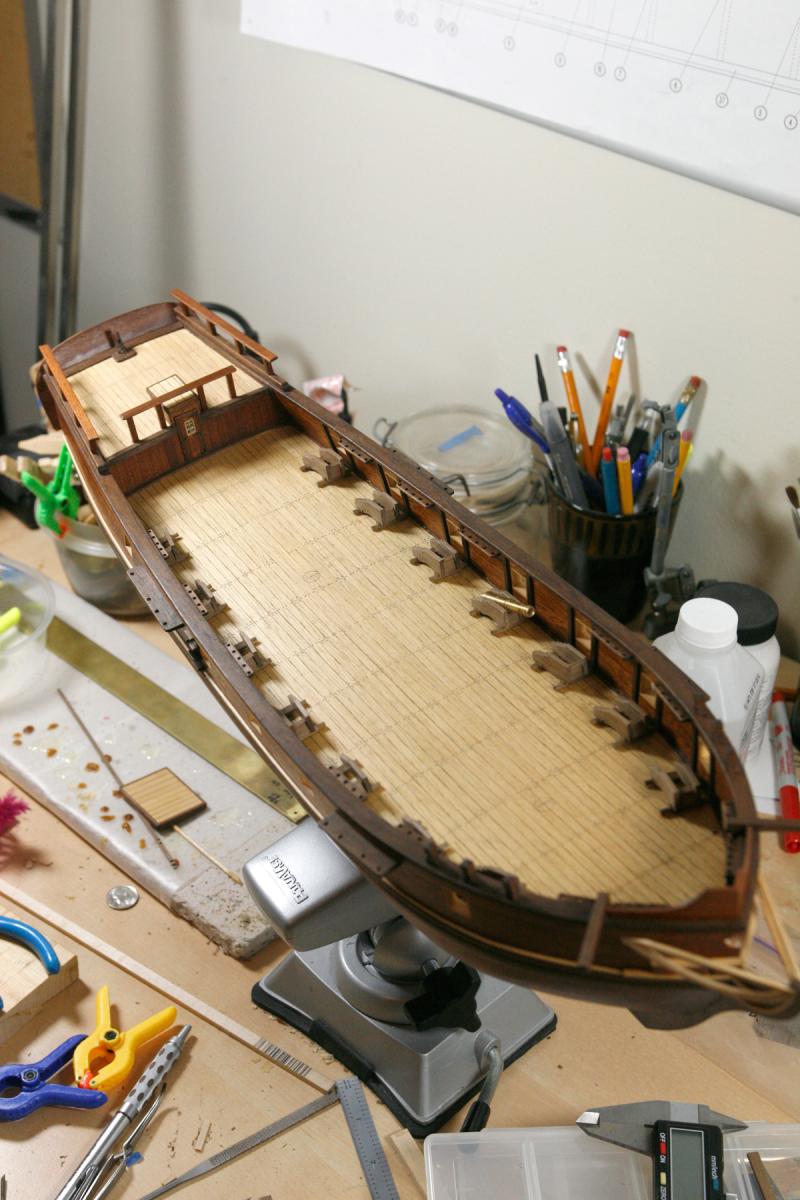
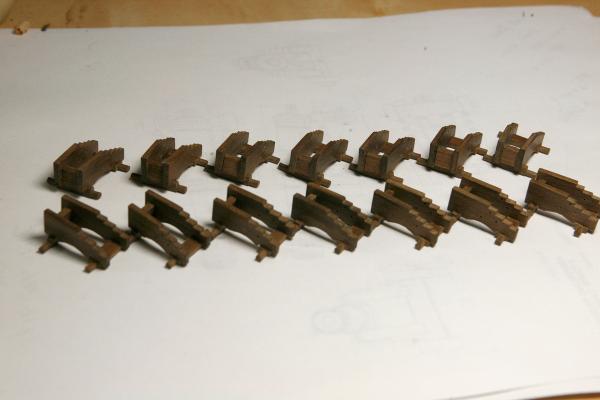
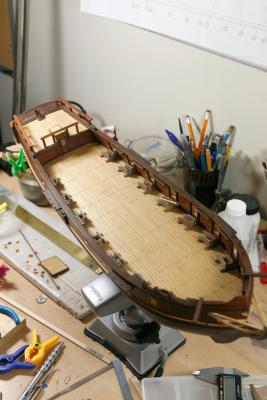
Just a quick update. I have assembled all my carriages to a certain point. Still ned to make the Bolsters, Quoins and trucks as well as all the metal work. I am thinking of displaying with an unconventional arrangement with the carriages lashed sideways, at least the two front carriages. That will hide my oops from earlier. I need t do some research and see how common this was. Sam
-
Sjors, what model saw is that? I would love to have a small compound miter saw like that, Iwasnt aware there was one available Sam
-
Steve, Sorry to hear about your staining misadventure, thats frustrating. Your new planking looks good though, even the joggled ends. Sam
-
Rich, How are your carving skills? Even a so-so carved eagle will look better than the P.E. part they gave you.
- 1,756 replies
-
- 2
-
-
- constitution
- constructo
- (and 1 more)
-
Rich, Planking looks good. Two planks a day sounds familiar. Sam
-
Sjors, A compound miter is a miter in two planes; both a bevel and a miter. Think of the miter needed to install crown molding or the miter you need on your planking at the stem. You need an angle to match where the plank meets the stem but there is a second angle running towards the inner portion of the ship. Am I explaining this ok? I can see it in my head but never had to describe one. Here is a picture of one, maybe that will help. Sam
- 1,873 replies
-
- 4
-
-
- occre
- san ildefonso
- (and 1 more)
-
Sjors, Nice!! Will that chop saw do a compound miter?? Sam
-
Rich, Great job. You would think I could do something like what you described , in my head that's exactly how I would approach it. I don't recall what it was I was doing, but it didn't work for me so that's when I did the M&T joint. That's the great thing about hobbies like this, doesn't matter how you get there, it's the end result that matters. Sam
- 1,756 replies
-
- 1
-
-
- constitution
- constructo
- (and 1 more)
-
Rich, I did basically the same as dgbot and augie, with the addition of a mortise chopped into the hull. Most people recommended to use a couple of brass pin like you did on your channels. I questioned my ability to get all those holes drilled accurately enough to keep everything lined up and even. The mortise and tenon gave me strength and the ability to screw things up slowly rather that quickly. Watching your build I am confident whatever method you choose you'll do just fine. Sam
- 1,756 replies
-
- 1
-
-
- constitution
- constructo
- (and 1 more)
-
Rich, welcome Home! Sam
-
Its a good job Vivian! Well worth the wait. Sam
-
Slog, J, thank you so much! I agree, its great seeing others progress, it helps keep the enthusiasm up. Sam
-
Sjors, Now I see the difference! Subtle but nice. Sam
- 1,873 replies
-
- 1
-
-
- occre
- san ildefonso
- (and 1 more)
-
Rich, When I made the chain plates for my Enterprise I started with a bunch of rings made from wrapping wire around a drill bit the correct diameter, that gave me consistent ring sizes, then it was just a matter of shaping the pre soldered rings. That kept everything consistent. I would imagine the more experienced builders out there can find flaws with my chain plates, but I am generally pleased with them. Sam
- 1,756 replies
-
- 1
-
-
- constitution
- constructo
- (and 1 more)
-
Sjors, What am I missing? It looks the same to my inexperienced eyes? Sam
-
Am I understanding correctly, you want to make round wire flat? I would say either heat it and pound it flat with a hammer or smooth jawed pliers. Home depot or Lows should have something. If you want a nice pair try a parallel jaw plier at a jewelry supply house. There are plenty online, my favorite is http://www.ottofrei.com/home.php. Just look up parallel pliers. Now if you want to make your own chain plates its not as hard as it seems, just time consuming. There are a couple of good topics in the forums in the metal working section. Sam
-
Thanks Rich, I am plodding along here. a couple of carriages a day. Hope to have something to show for my troubles in a day or two (or five ) Sam
-
Wow! She's gonna be a big girl! Do you have room in your bathtub for her? Really enjoying watching this come together, its the first card model I have followed from the start. Sam
-
What did Constructo give you for chain plate material? That wire you wanted to straighten out? Sam
-
So, where are the pictures......... Sam
-
Rich, Cut some length(s) and place them on a smooth surface - your self healing mat is great for this- and then take a piece of 1x3, 2x4 what ever and just roll it back and forth. The link below is about making nails but there is a section where the builder shows how to do it. http://modelshipworld.com/index.php?/topic/3315-making-small-nails-with-round-head/?hl=nails Sam
- 1,756 replies
-
- 1
-
-
- constitution
- constructo
- (and 1 more)
-
good to see you up and about again. We'll wait patiently for pictures. Sam