Edwardkenway
-
Posts
3,047 -
Joined
-
Last visited
Content Type
Profiles
Forums
Gallery
Events
Everything posted by Edwardkenway
-
 Beautifully done Craig, 👏👏 and I'm watching avidly for Andrews rendition 😁
 -
Looks real nice Andy, but then I had no doubt it would😁😇
-
Handley Page Heyford by RGL - FINISHED - Matchbox - 1/72
Edwardkenway replied to RGL's topic in Non-ship/categorised builds
It's turned to be a great model, all power to you!! -
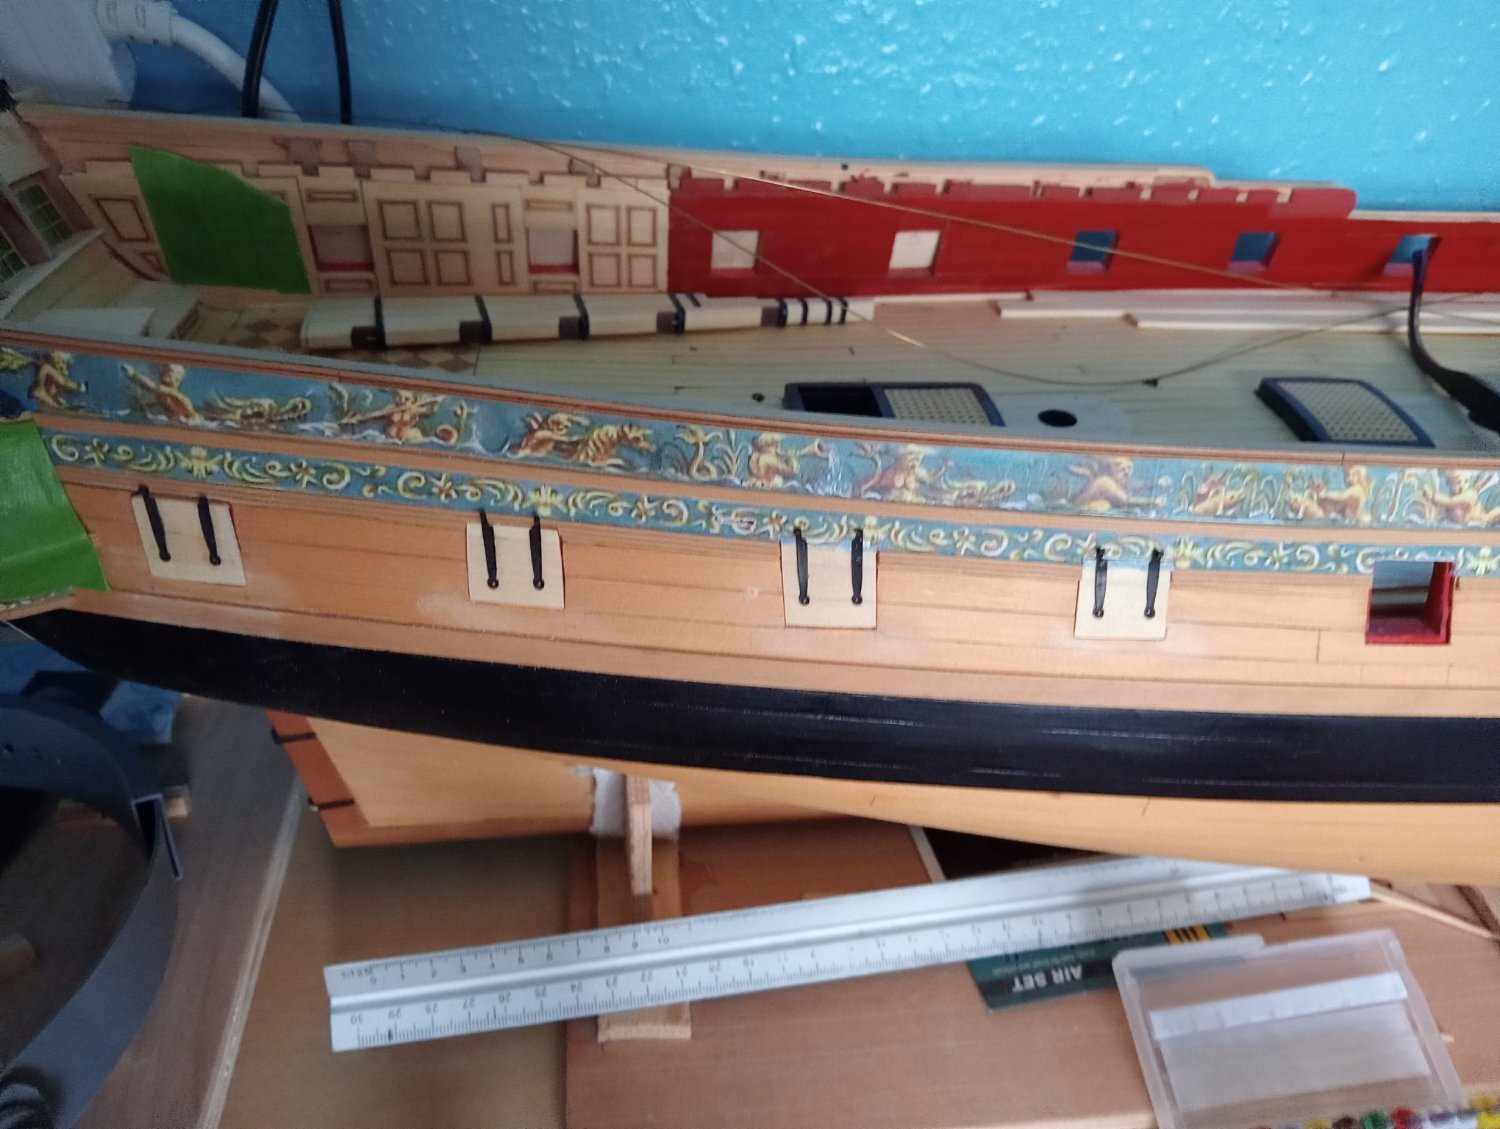
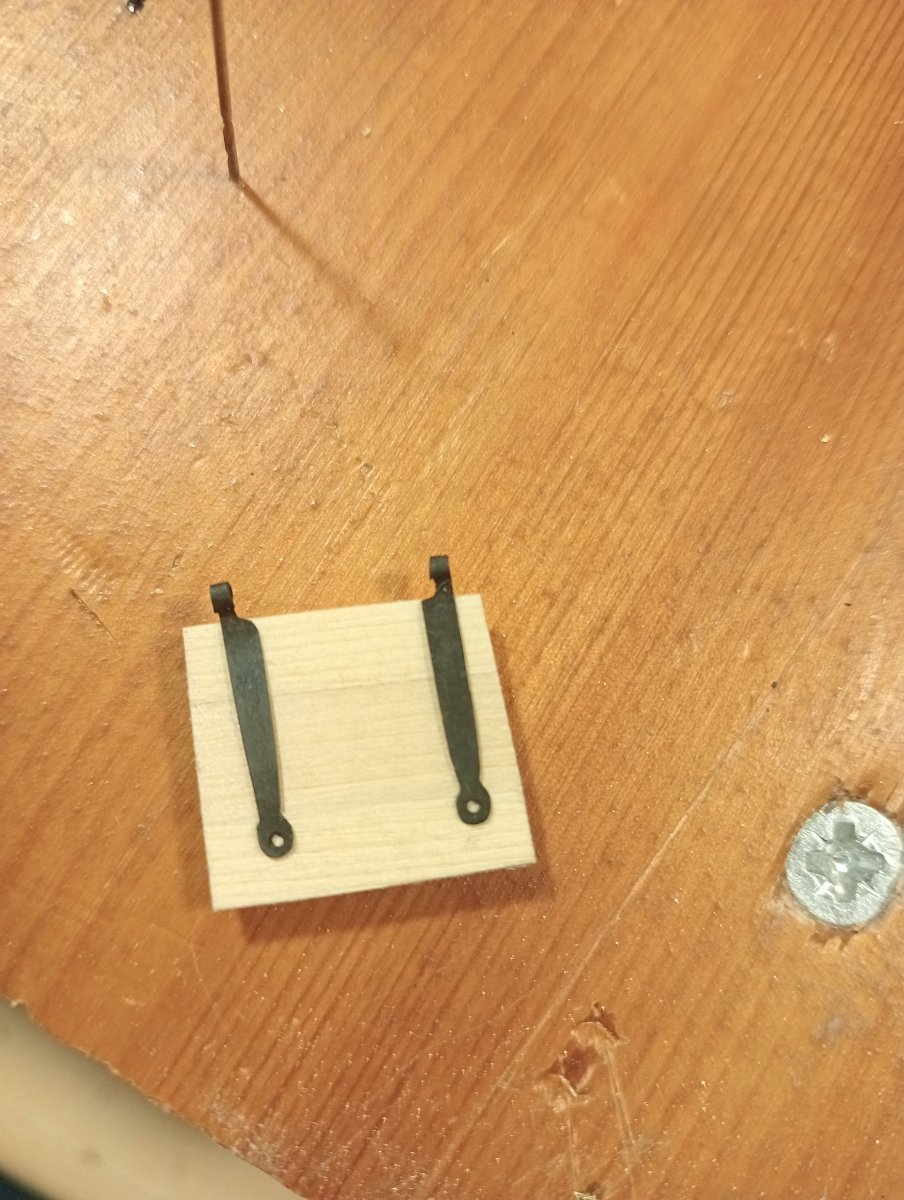
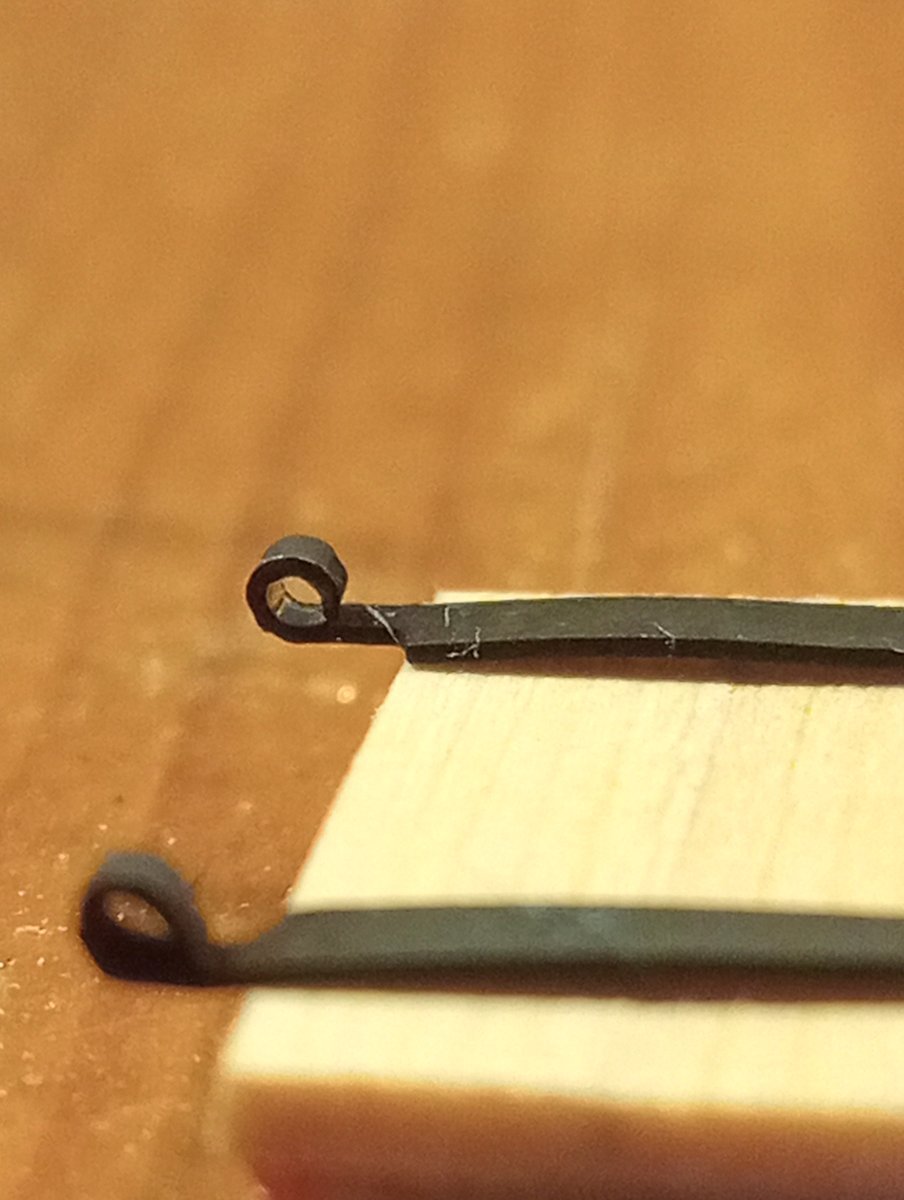
Thanks to all for the encouraging comments. Over the last week or so, I've made eight hinges, only 12 more to go, but I've only got enough brass strip for 9. The search is on for some more strip. 4 gun port lids have had their hinges fitted I still need to make and fit the pivot for the hinges and remove the molding where the hinge will sit. An order of .8mm wire has arrived, so I will make the larger ring bolts. Thank you everyone who has commented, and for the likes, or for looking in. Cheers

-
Must be the fertilizer used, or they're mutant alien veggies.... Welcome to the Twilight Zone😱
- 333 replies
-
- 10
-

-

-
Source for 1/16th x1/64 brass strip?
Edwardkenway replied to glbarlow's topic in Metal Work, Soldering and Metal Fittings
Glenn, CMB usually have some 3mm wide by Occre https://www.cornwallmodelboats.co.uk/cgi-bin/sh000001.pl?WD=brass 1%2F16in strip&PN=Occre-Brass-Strip-OC17040.html#SID=3142, although it's showing unavailable at the moment. -
I have the same problem, I used a couple of spare from my AL whaleboat but need more. Im sure CMB used to have some, it was from Occre https://www.cornwallmodelboats.co.uk/cgi-bin/sh000001.pl?WD=brass 1%2F16in strip&PN=Occre-Brass-Strip-OC17040.html#SID=3142
- 840 replies
-
- 3
-
-
- winchelsea
- Syren Ship Model Company
- (and 1 more)
-
welcome to MSW
-
Certainly, if one has access to a large bench saw and thickness planer, timber can be found by contacting a tree surgeon in ones area, who more often than not, are more than willing to give you wood. Also local timber yards stock clearish constructional timber in various lengths, thicknesses and widths for a fraction of the price of PAR/PSE wood eg £3.50 for 6ft of 4x2 spruce. In my own case I have carpenter/ joiner acquaintances withe the right kit, if or when I need.
-
Hearty congratulations!!!, nicely done against what appears to be stiff competition.
-
Can't wait not to see your logs you won't be doing😁
-
B and Q do a clear pine board, 1.2m x 400mm x 18mm for around £30. 2.4m is £50 Is the tug wider than 400mm? Other than that most builders merchants have a timber section. Would not a good sheet of marine ply be suitable? A 2.4 x 1.2 x 9, 12 or 18 mm would be around £30-50 respectively. Just chiming in here😉
-
Looks absolutely wonderful Fred, and yes between you and Glenn, I'm very sorely tempted to do a Cheerful. Maybe a year or two down the line it may come to fruition. Winnie is keeping my hands full at the moment. After seeing what great work you've done with Cheerful, I think you'd certainly make a Winnie to be proud of.
- 113 replies
-
- 1
-
-
- Cheerful
- Syren Ship Model Company
- (and 1 more)
-
Hello from the Mid Chesapeake area!
Edwardkenway replied to C Keith's topic in New member Introductions
Keith, welcome to MSW -
, welcome to MSW
-
Resistance and futile come to mind🤔 We all know....😁
-
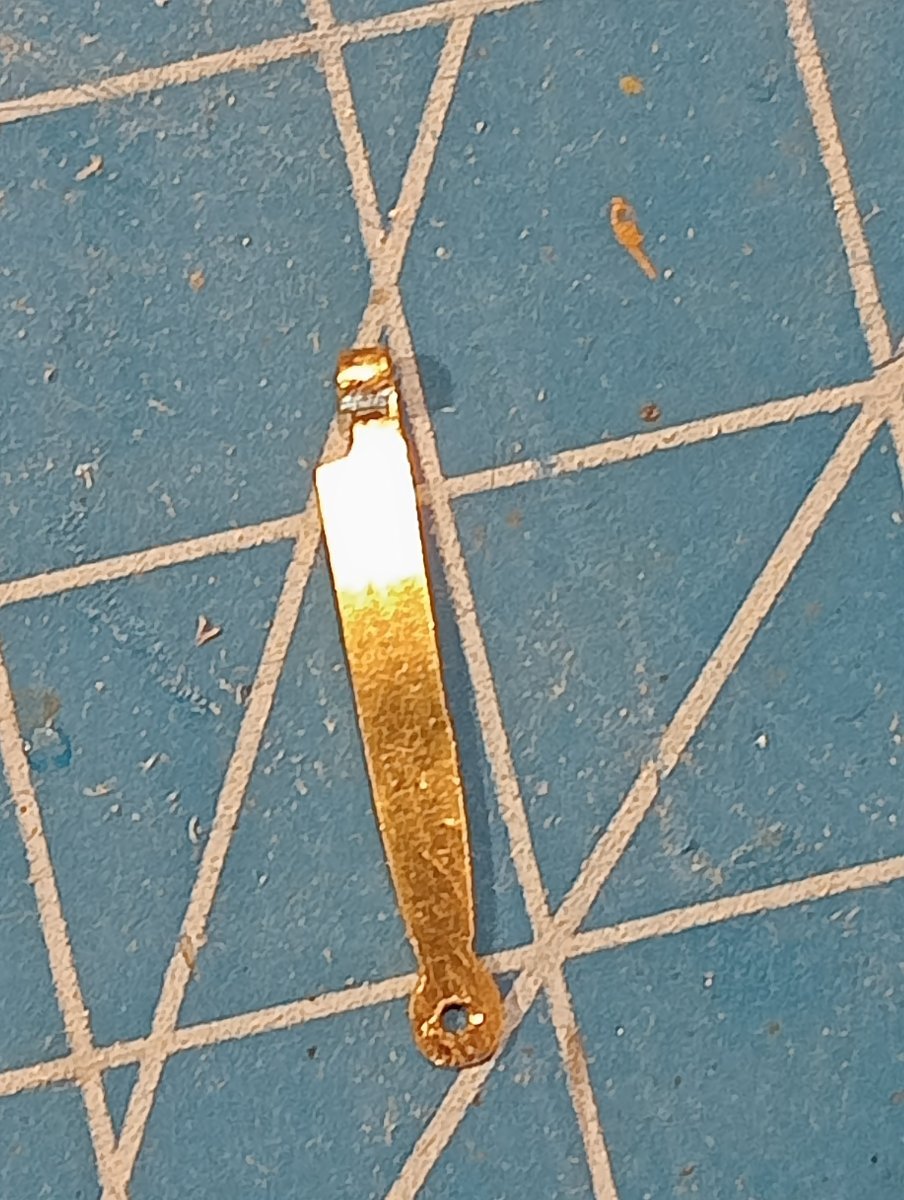
Cheers Dave E. Not wanting to put it off any longer, I sat down with some brass strip and a flat file. The following results may not be perfect, but for a first attempt, well..... blackened makes them look a tad better Need to make some small eyebolts and split rings now. New skills being learnt, as I would have gone off the peg and purchased them before this build. To everyone looking in, commenting and giving the thumbs up, many thanks. Cheers


-
Denis, welcome to MSW. Do please set up a build log when you start your steam launch.
-
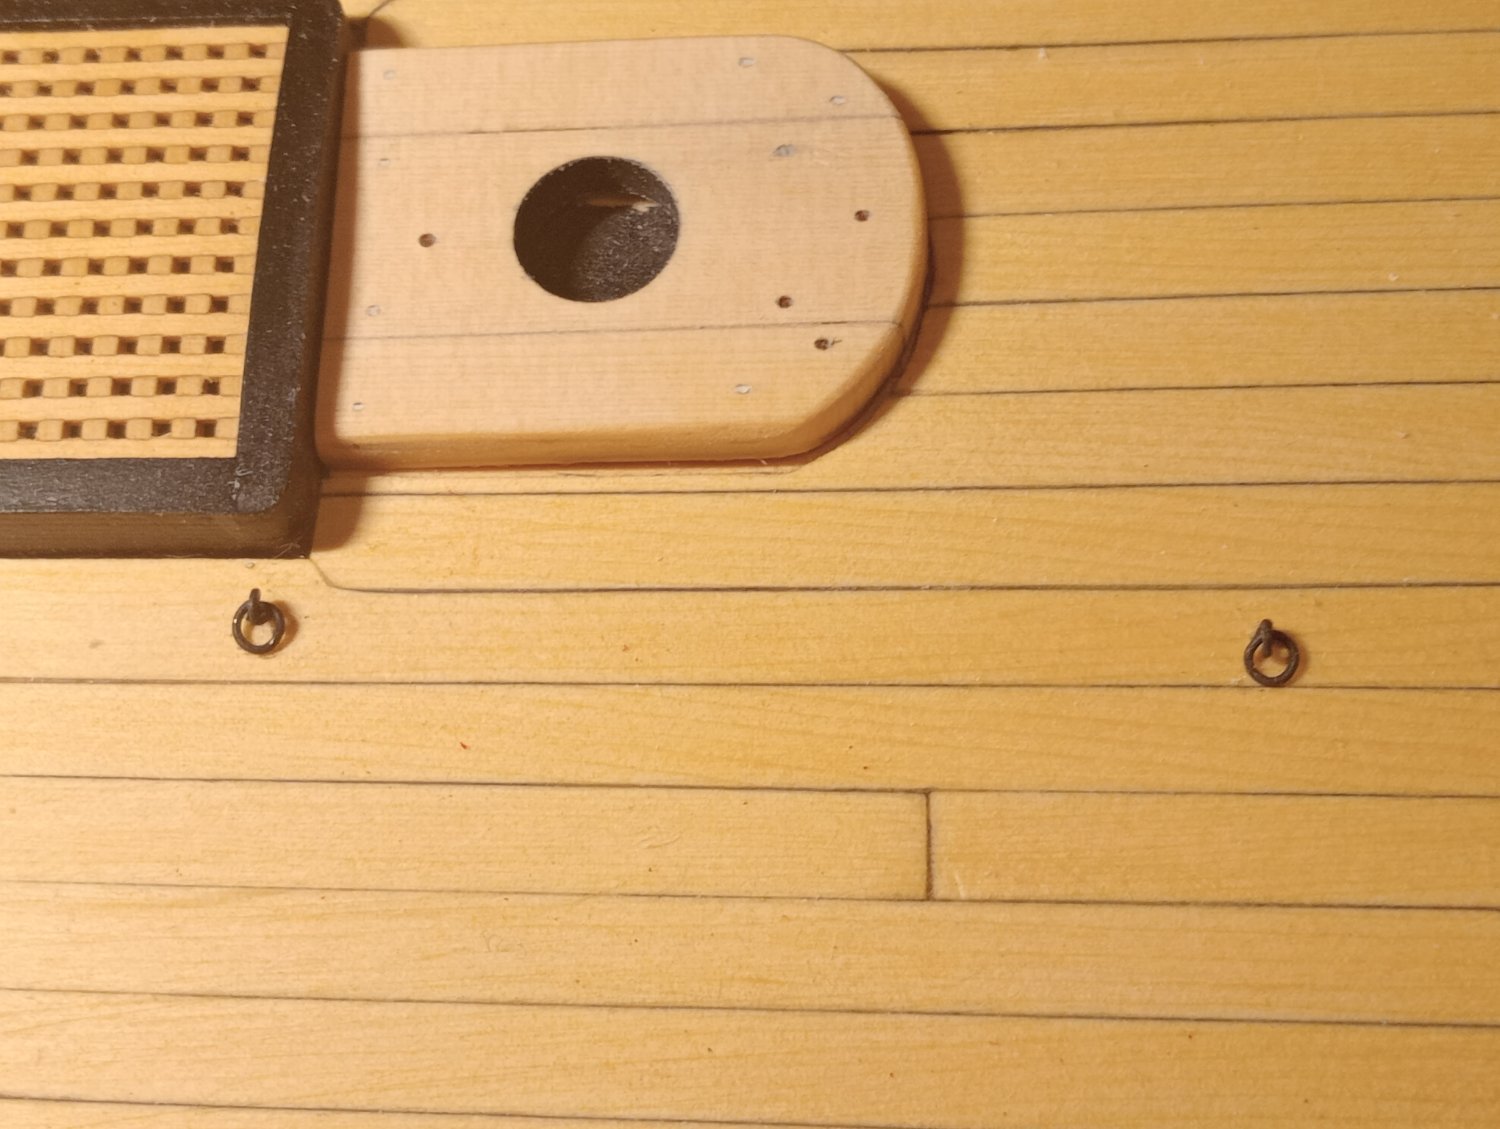
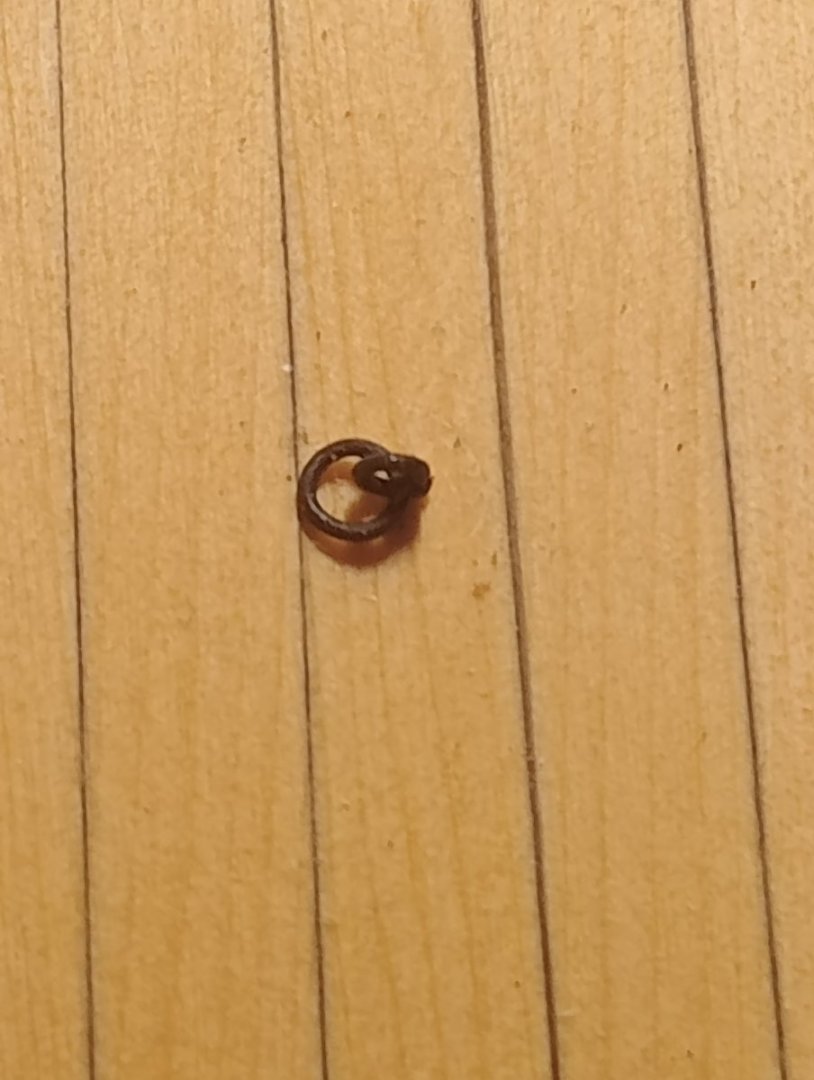
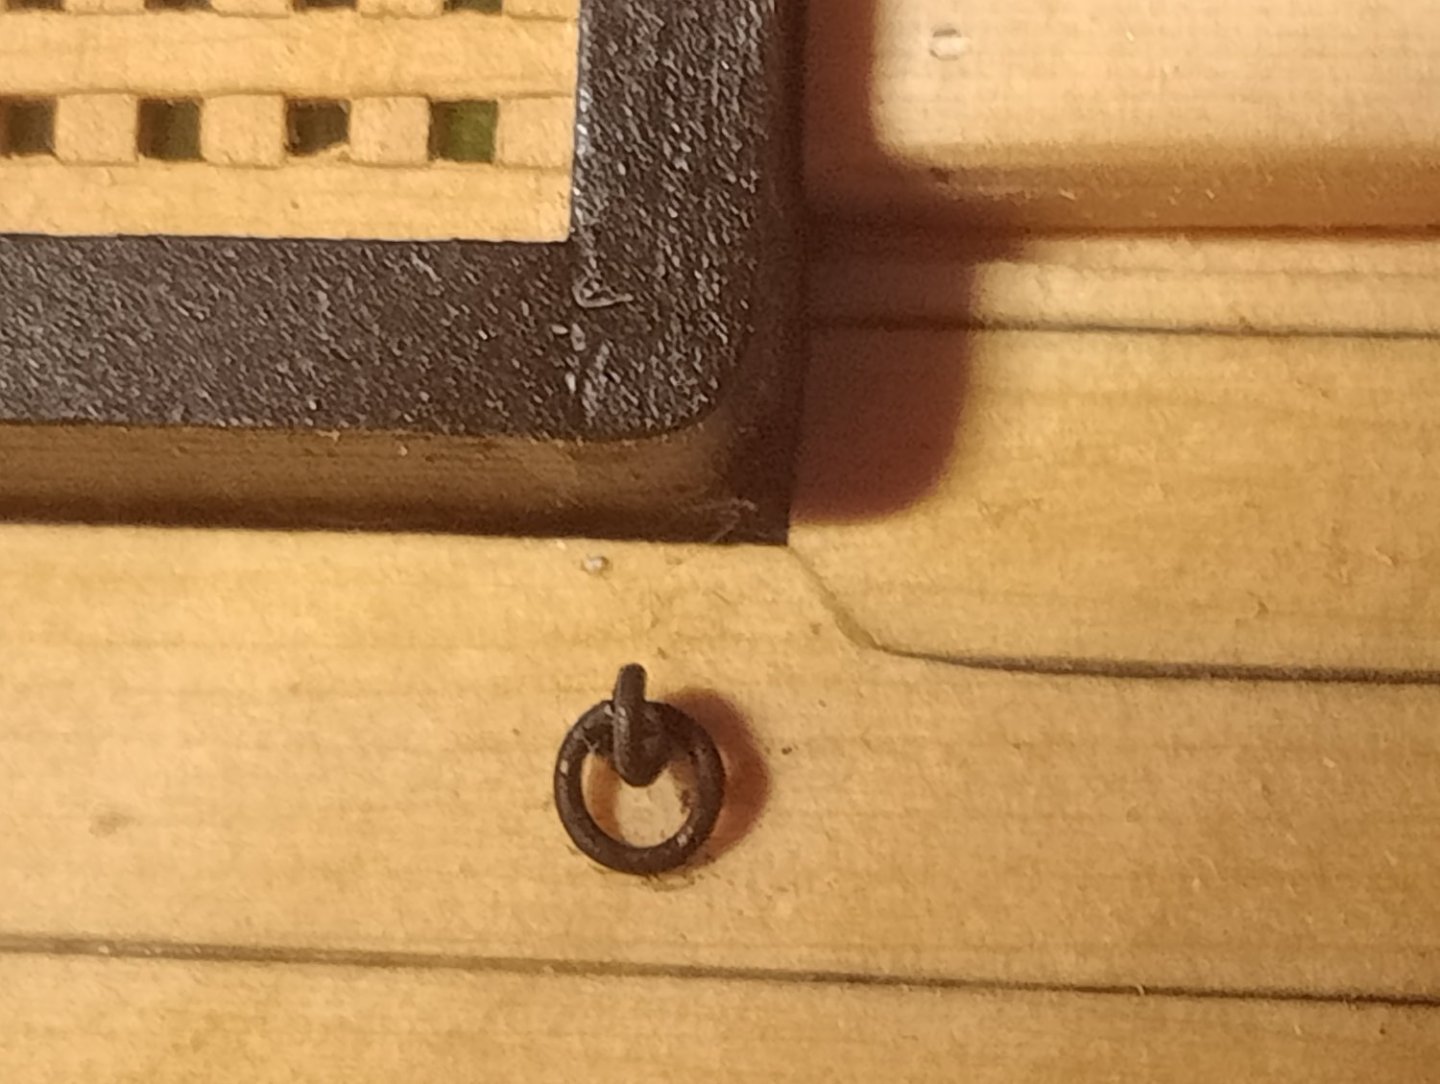
Just a small update, I've dry fitted a couple of ring bolts Just to see what they look like on the deck I've used brass wire at .5mm, which according to the conversion chart is equivalent to 24 gauge, and blackened If I'm honest, I'm doing these, just so I can put off making the port lid hinges. I'm not sure how or where to start with those, even though I've read and reread the hinge bit in the monograph 🤷😬😕. Any pointers be will be gratefully received. Thanks once more for your comments, likes and visiting. Cheers

-
Looks great! Very nice planking Indeed. Another Winnie to aspire to.
-
I know what you mean. I saved all the offcuts from the hull planking, even the very short ones, now I'm glad I did not throw them out. I'm definitely having the ports open as a couple of them are very oddly shaped🤔
-
It now looks pure WW2 as opposed to late 19th century steampunk! Nice coverage, very even and flat. I imagine it is pretty easy to get drips, considering all the small parts, railings and crane jibs.
-
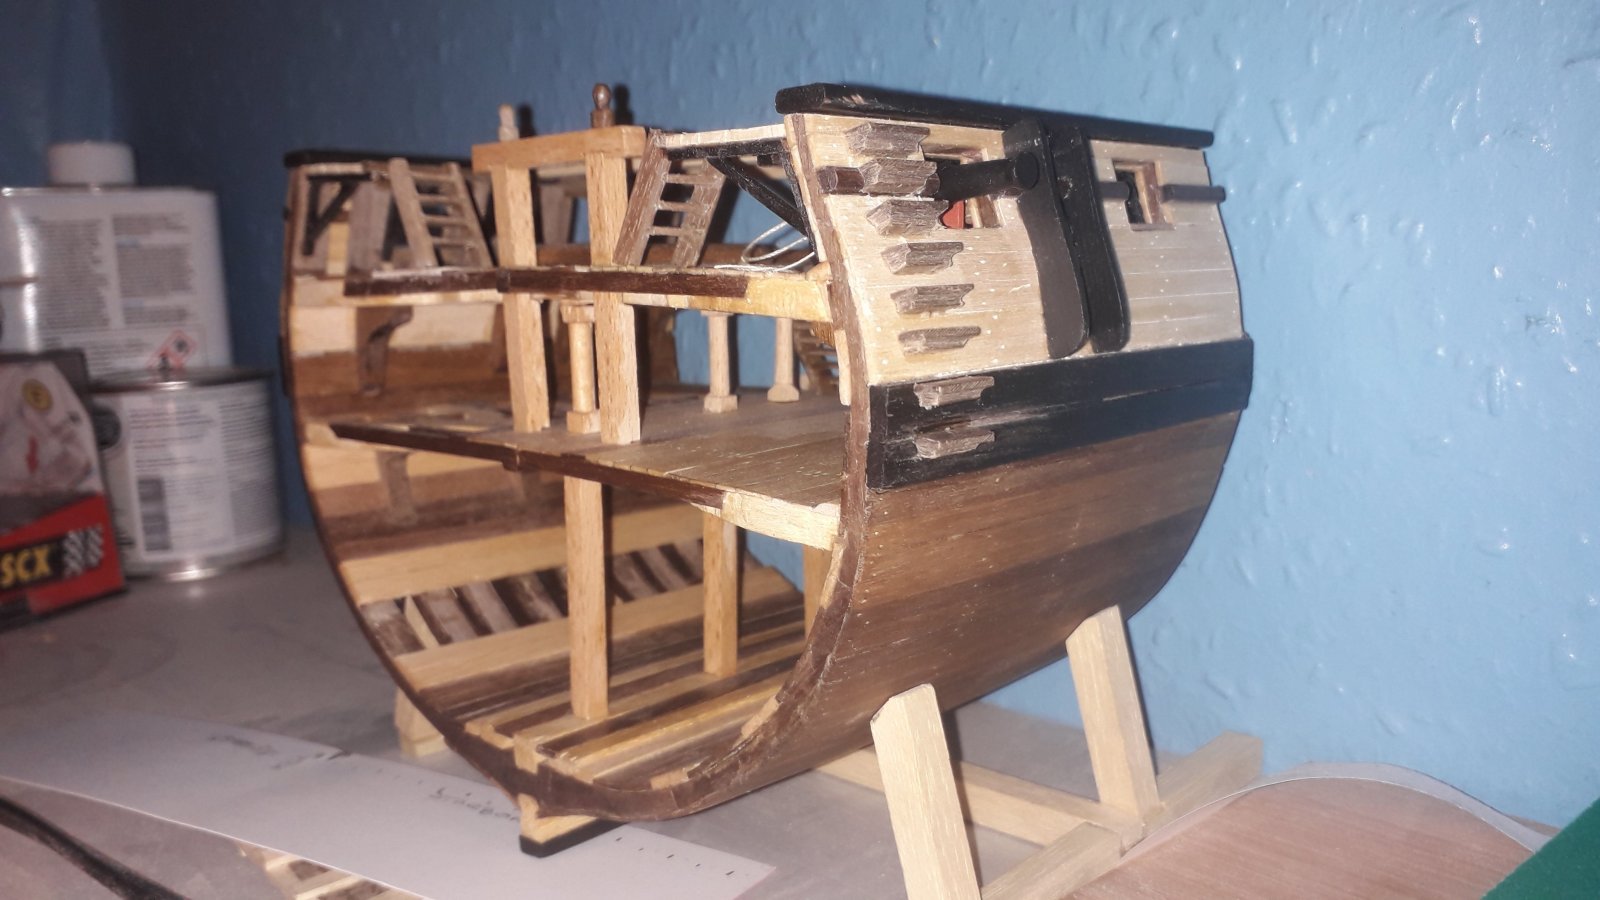
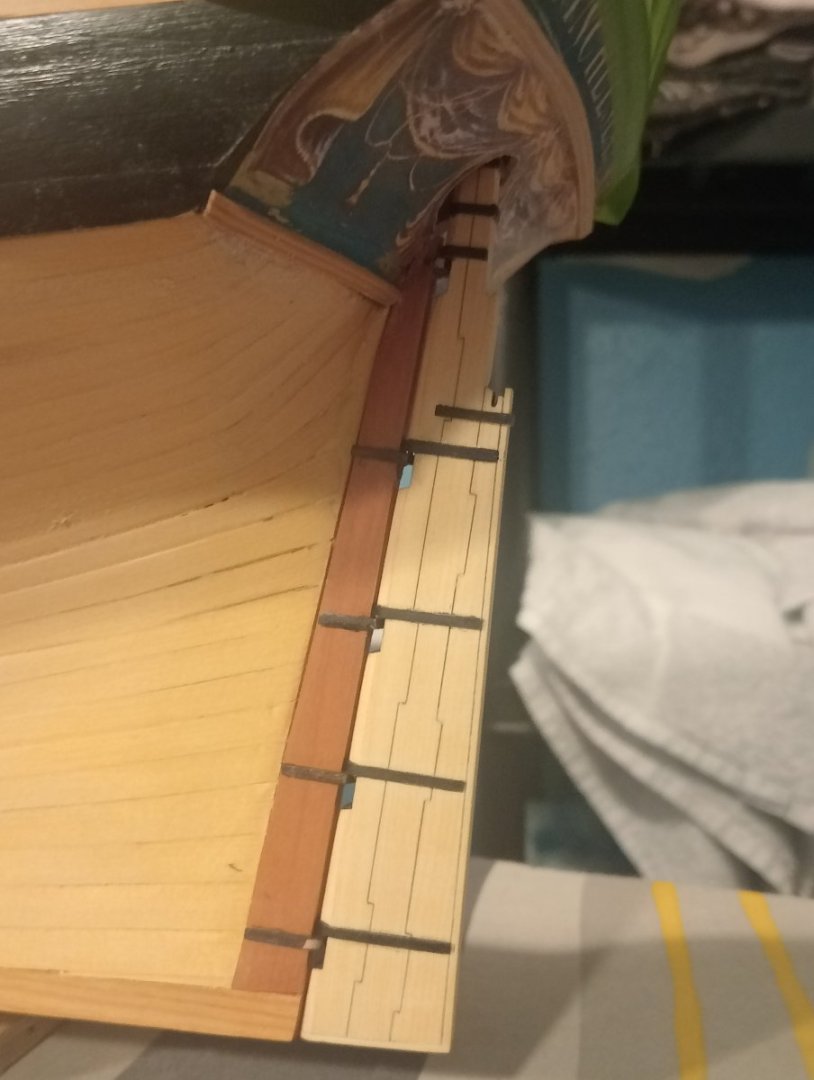
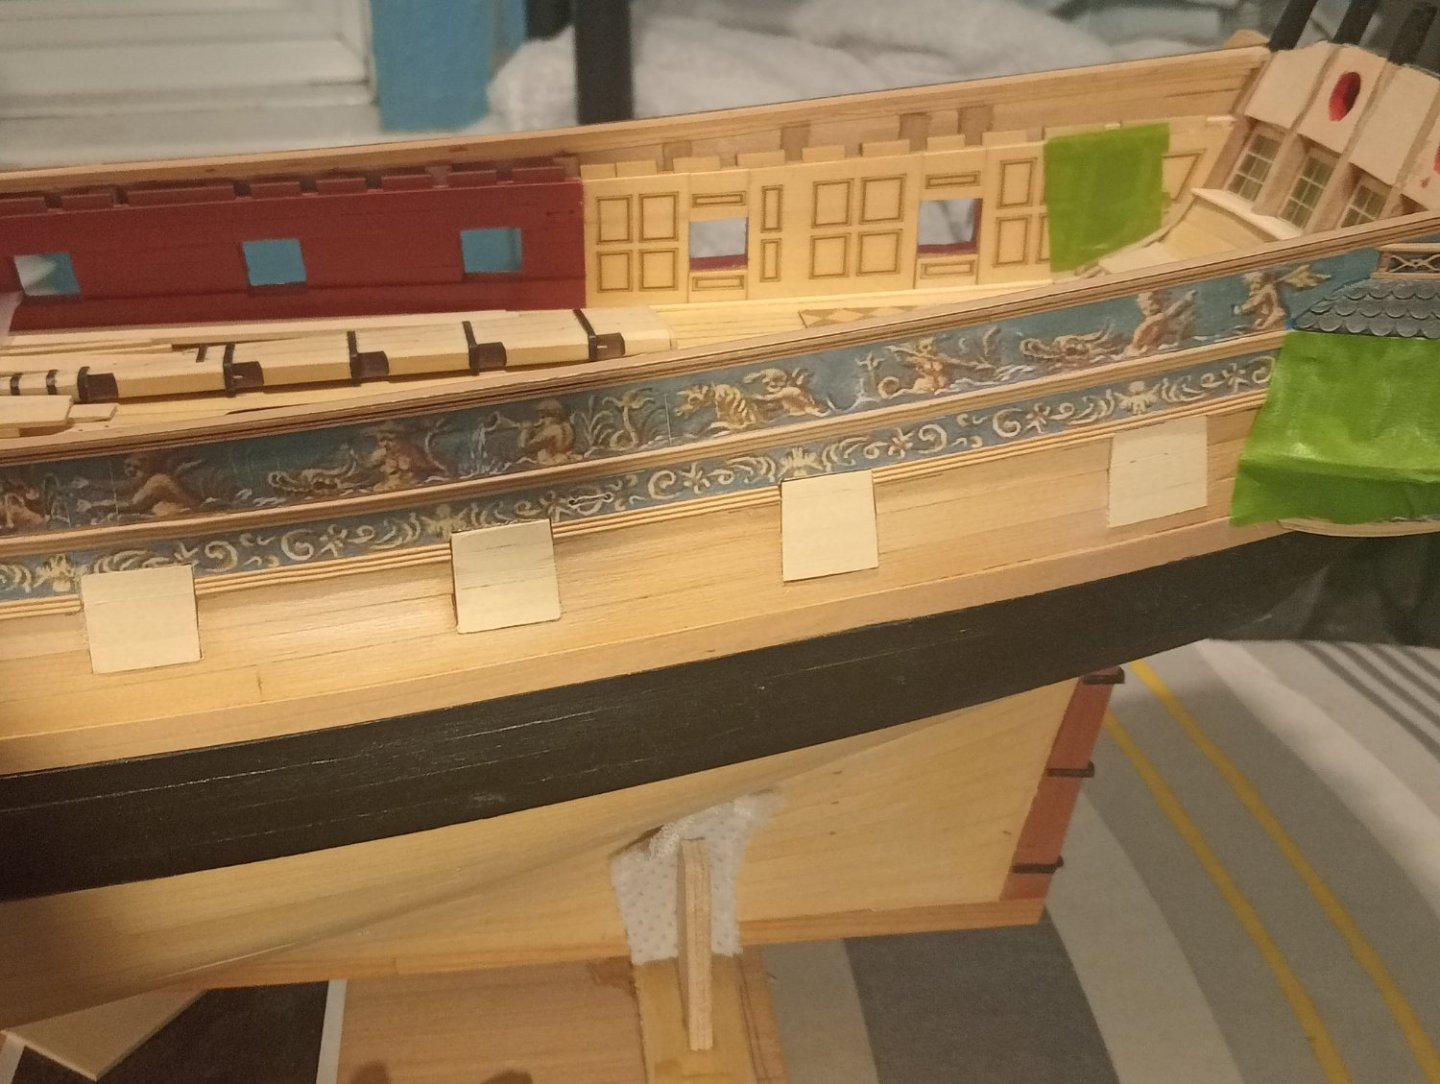
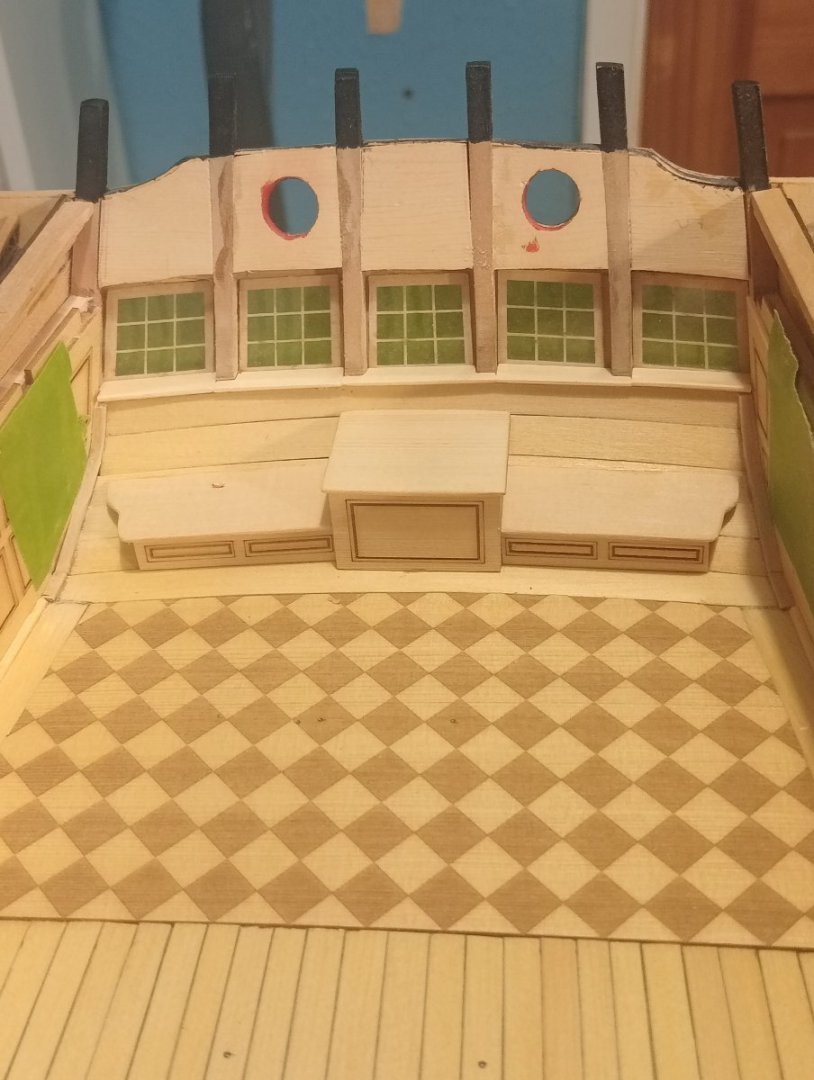
With the deck done and finally just going with something approaching a quadrant profile for the waterways, I've moved on to the rudder. I had a mishap with topmost bracket on the sternpost, as in breaking it getting it from the fret🙄. With the hole in the counter drilled, I fitted the cabin benches. Also a start be was made on the gun port lids. Inbetween all this I'm also making up some eyebolts and split rings. I tried Glenn's (glbarlow) method for the eyebolts, not a great success for me, I could not make them consistent, so I went back to the twist method. Thanks for all the comments, likes and dropping by. All is greatly appreciated. Cheers
-
I'm still plumping for the lighter grey. It must be said that, in the different light, the darker one does look a tad lighter. My two pence worth