HOLIDAY DONATION DRIVE - SUPPORT MSW - DO YOUR PART TO KEEP THIS GREAT FORUM GOING! (Only 72 donations so far out of 49,000 members - Can we at least get 100? C'mon guys!)
×


Mahuna
-
Posts
1,504 -
Joined
-
Last visited
Content Type
Profiles
Forums
Gallery
Events
Everything posted by Mahuna
-
 Great idea on using balsa (I knew there must be SOME use for it) and the wood strip for spacing. Another great approach that I'll borrow.
- 831 replies
-
- 5
-

-
- Armed Virginia Sloop
- Model Shipways
- (and 1 more)
-
Hi Patrick - sorry to hear about your ailment. Please follow the doctor's orders - the shipyard will still be there when you're better (voice of experience speaking ), and we'll all still be here waiting for updates!
-
Thanks Brian! I think the real value of build logs is in the explanations of how a modeler achieved a task in addition to showing the work.
- 831 replies
-
- 5
-
-
- Armed Virginia Sloop
- Model Shipways
- (and 1 more)
-
The coils look really good. How about showing us your jigs for making them?
- 831 replies
-
- 5
-
-
- Armed Virginia Sloop
- Model Shipways
- (and 1 more)
-
Hi Patrick Sorry I'm late to the party - I just found this log. Looks like an ambitious project and I'm looking forward to another of your excellent builds.
-
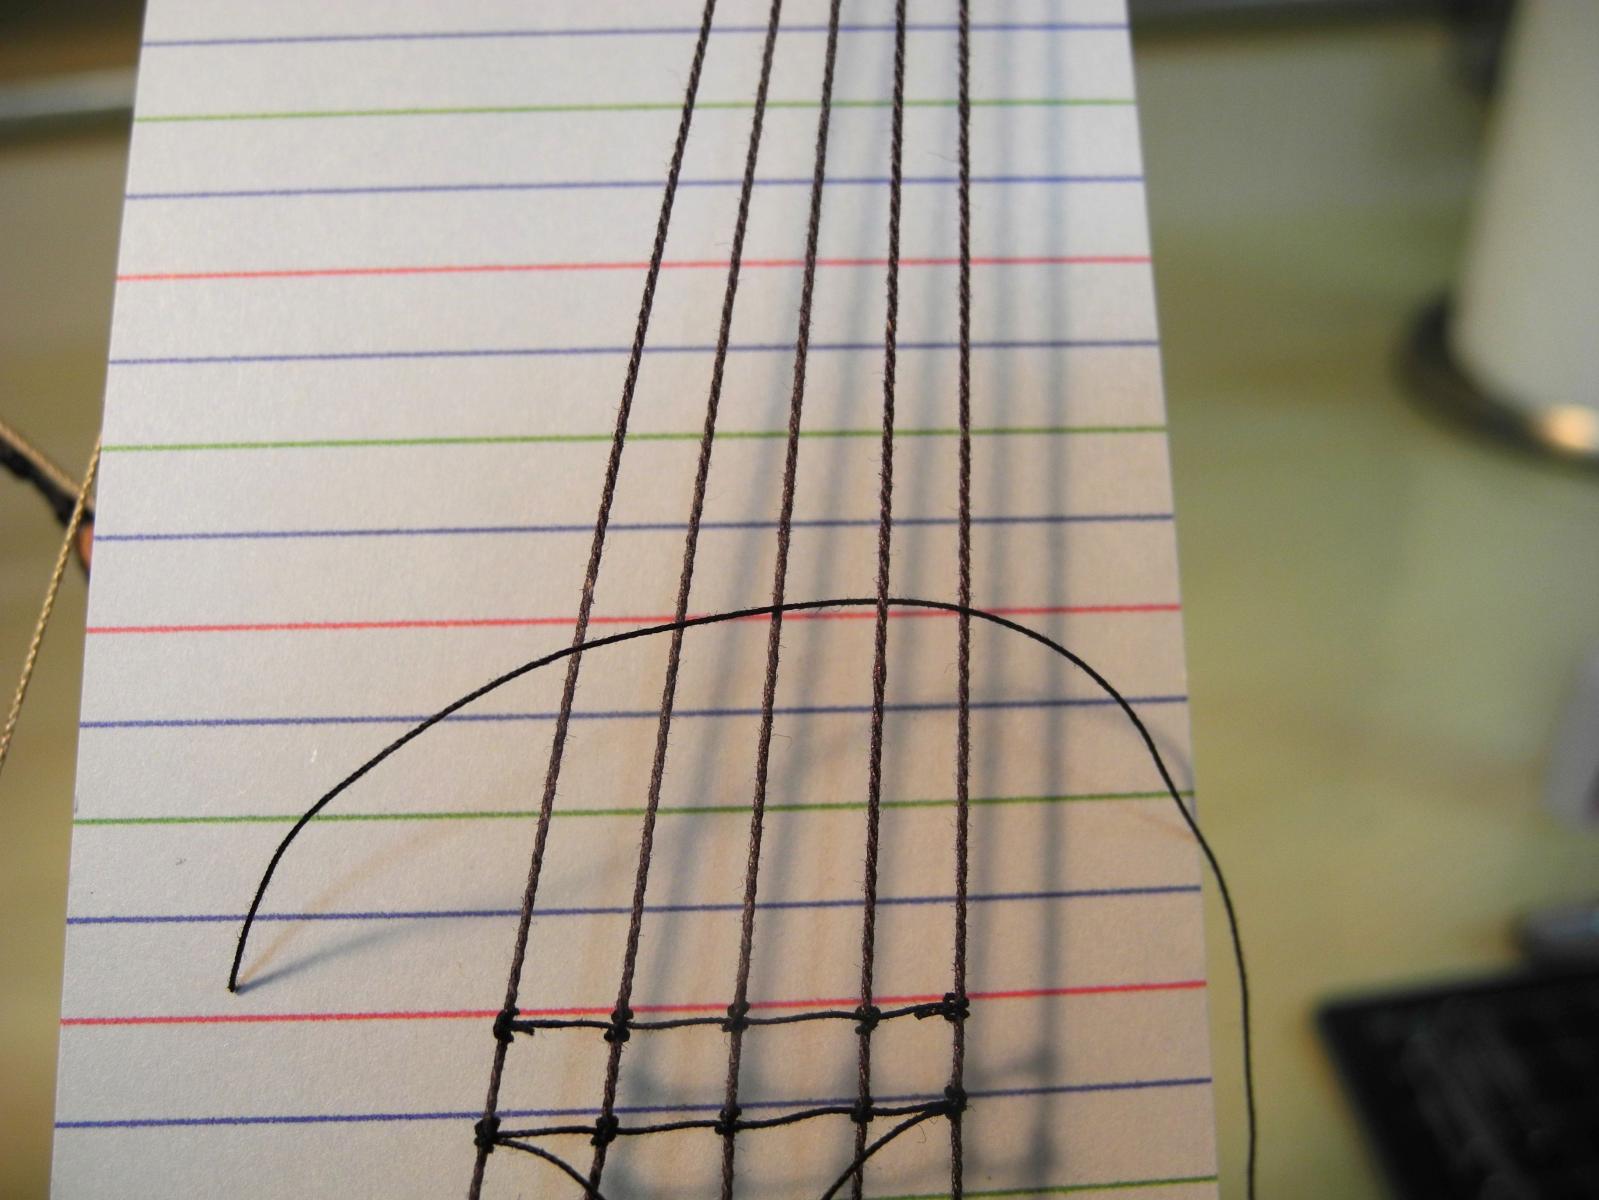
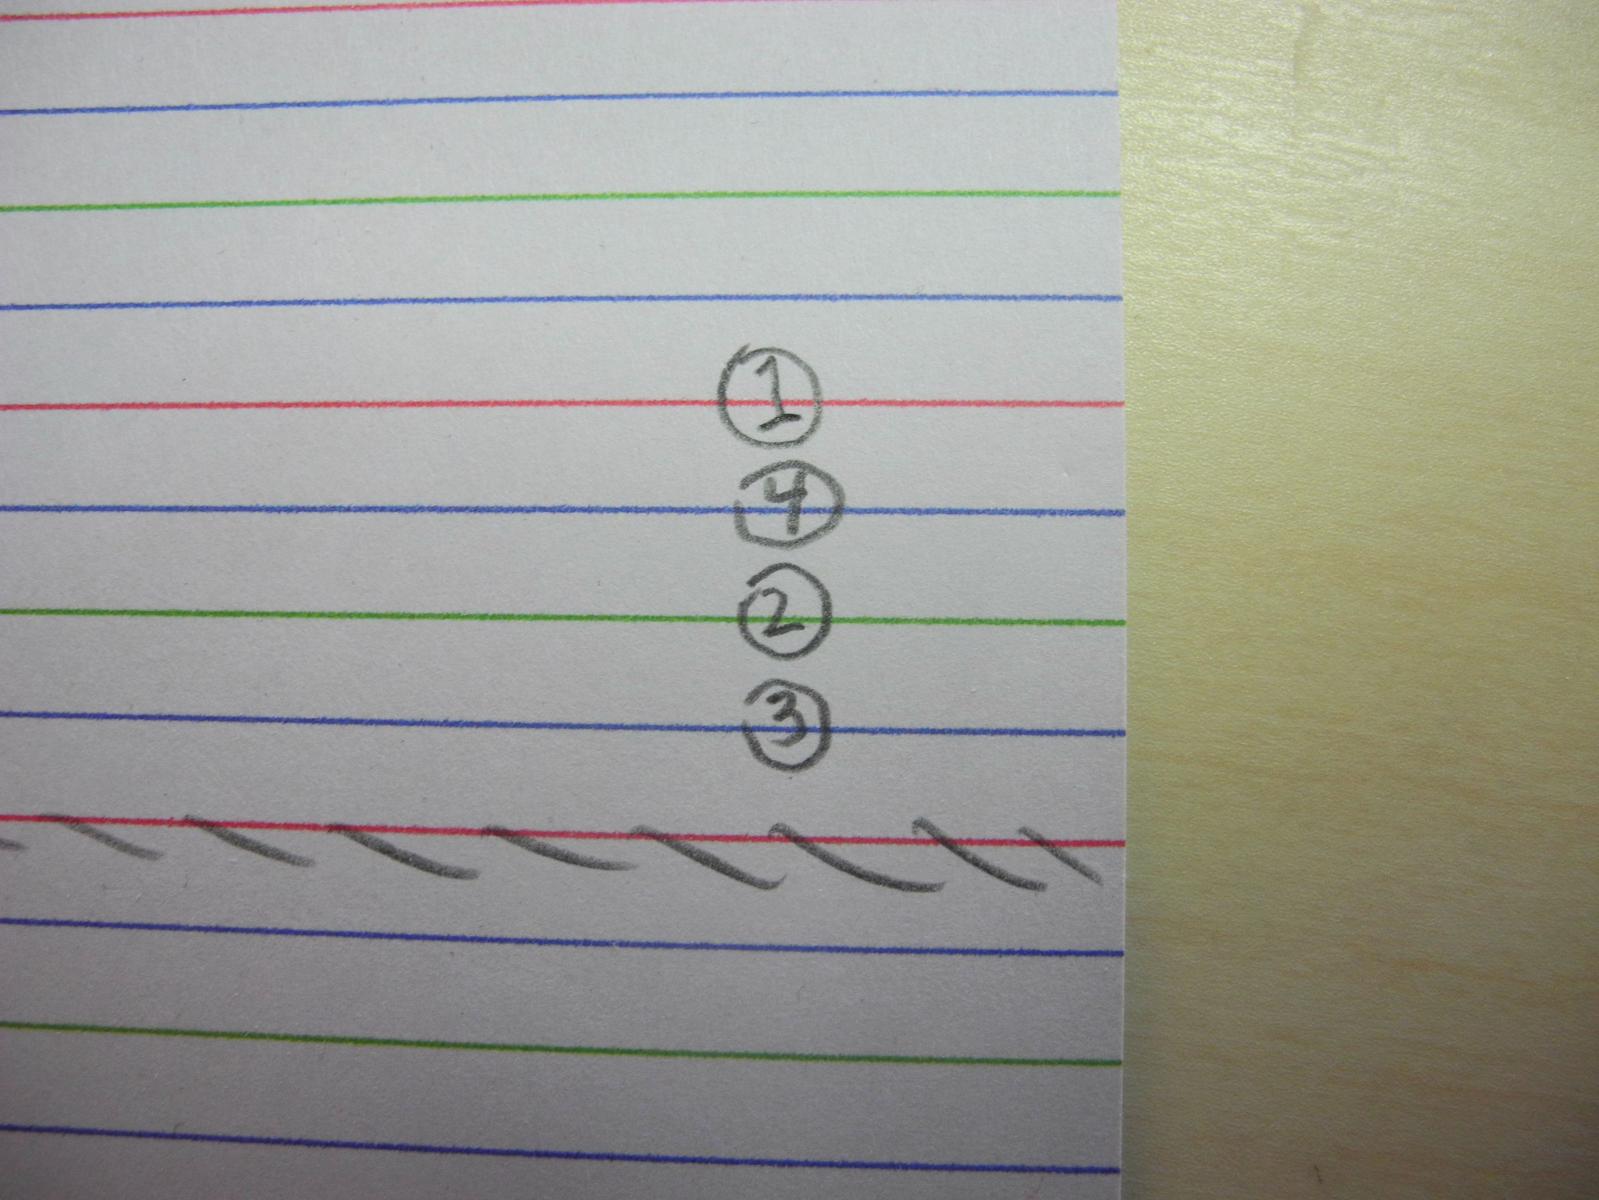
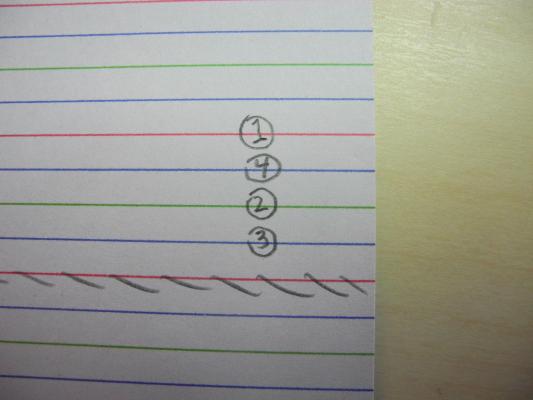
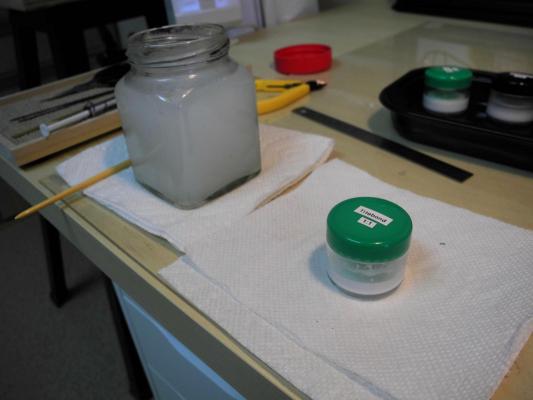
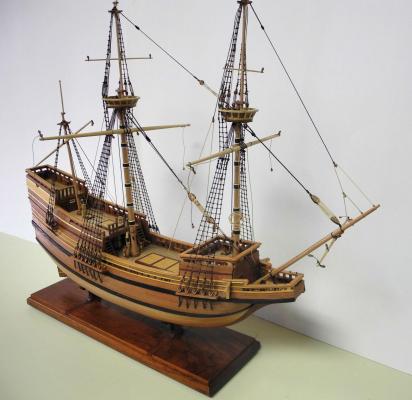
Part 20 – Ratlines Well, roughly 1,000 knots later and the ratlines are done. As with most other aspects of this build, it was quite a learning experience. I had never tied ratlines before (my previous rigging experience was the simple rig on the Phantom), and it took a while for me to figure out what would work best for me. Here are some of the lessons learned: 1. Anchoring the line. I decided to use the knot sequence shown in one of Dan Vadas’s posts, where the end knots face inwards. Starting the first knot required that the loose end be ‘anchored’ so that I could work the other end around it for the first knot. I tried tape and small clips to hold the line steady, but was unhappy with how much risk this seemed to hold for the rigging. Then I tried simply tucking in the loose end of the line between two shrouds at the far end – duh! – felt pretty dumb wasting all that effort with clips and things. 2. Organizing the work. I had made up a card with lines 3/16” apart (about 15 actual inches) and color-coded the lines (shown in the prior photo). The idea was to tie the ratlines at the red lines, then at the green lines between the reds, and finally at the blue lines. I found that working up the shrouds like this caused a lot of alignment issues. I finally decided to break the work down into sections, completing all of the ratlines below a red line before moving up. I still used the red, then green, then blue sequence, but only for 4 ratlines at a time. 3. Fixing the knots. When I first started I was leaving a strand of string on each of the end knots, thinking that I would adjust them all when all of the ratlines were tied. Consequently the knots were moving all over the place whenever I inadvertently touched a finished ratline as I was working on an adjacent one. I finally decided that I needed to finalize each ratline before moving on to the next. I kept a small jar of Weldbond diluted 1:1 with water next to the ship, and painted a little on each knot once I had finished tying and adjusting the ratline. When the glue set for a couple of minutes I snipped off the ends of the ratlines. 4. Frequent Breaks. My first couple of days I spent as much time in the chair as I could stand, tying as many ratlines as possible. Talk about tiring! I found that after too long I started to force things and made lots of mistakes. After too much of this I decided to take a short break after every 4-line segment. I got out of the chair, moved around a little, stretched briefly, then got back to it. So each 4-line segment was a mini project, and I felt good when each was completed. The breaks cost a lot less lost time than the do-overs, and were like little rewards for work completed. 5. Be generous with the line. After a few ratlines it became apparent that I may not have enough line to finish. I started using lengths of line that were as small as I could manage in order to conserve what line I had. This caused a lot of problems, and actually wasted a lot of line. I finally took a break and dyed more of the line. The work went much more smoothly when I gave myself a generous amount of line for each ratline. Overall, I’m pretty happy with the results, and I think I’ll be much better prepared to take on ratlines again – if I ever do another ship with them. The next part will be making and installing the figurehead. I’m not sure how long this will take, but it will likely be several days before I post the next section.
-
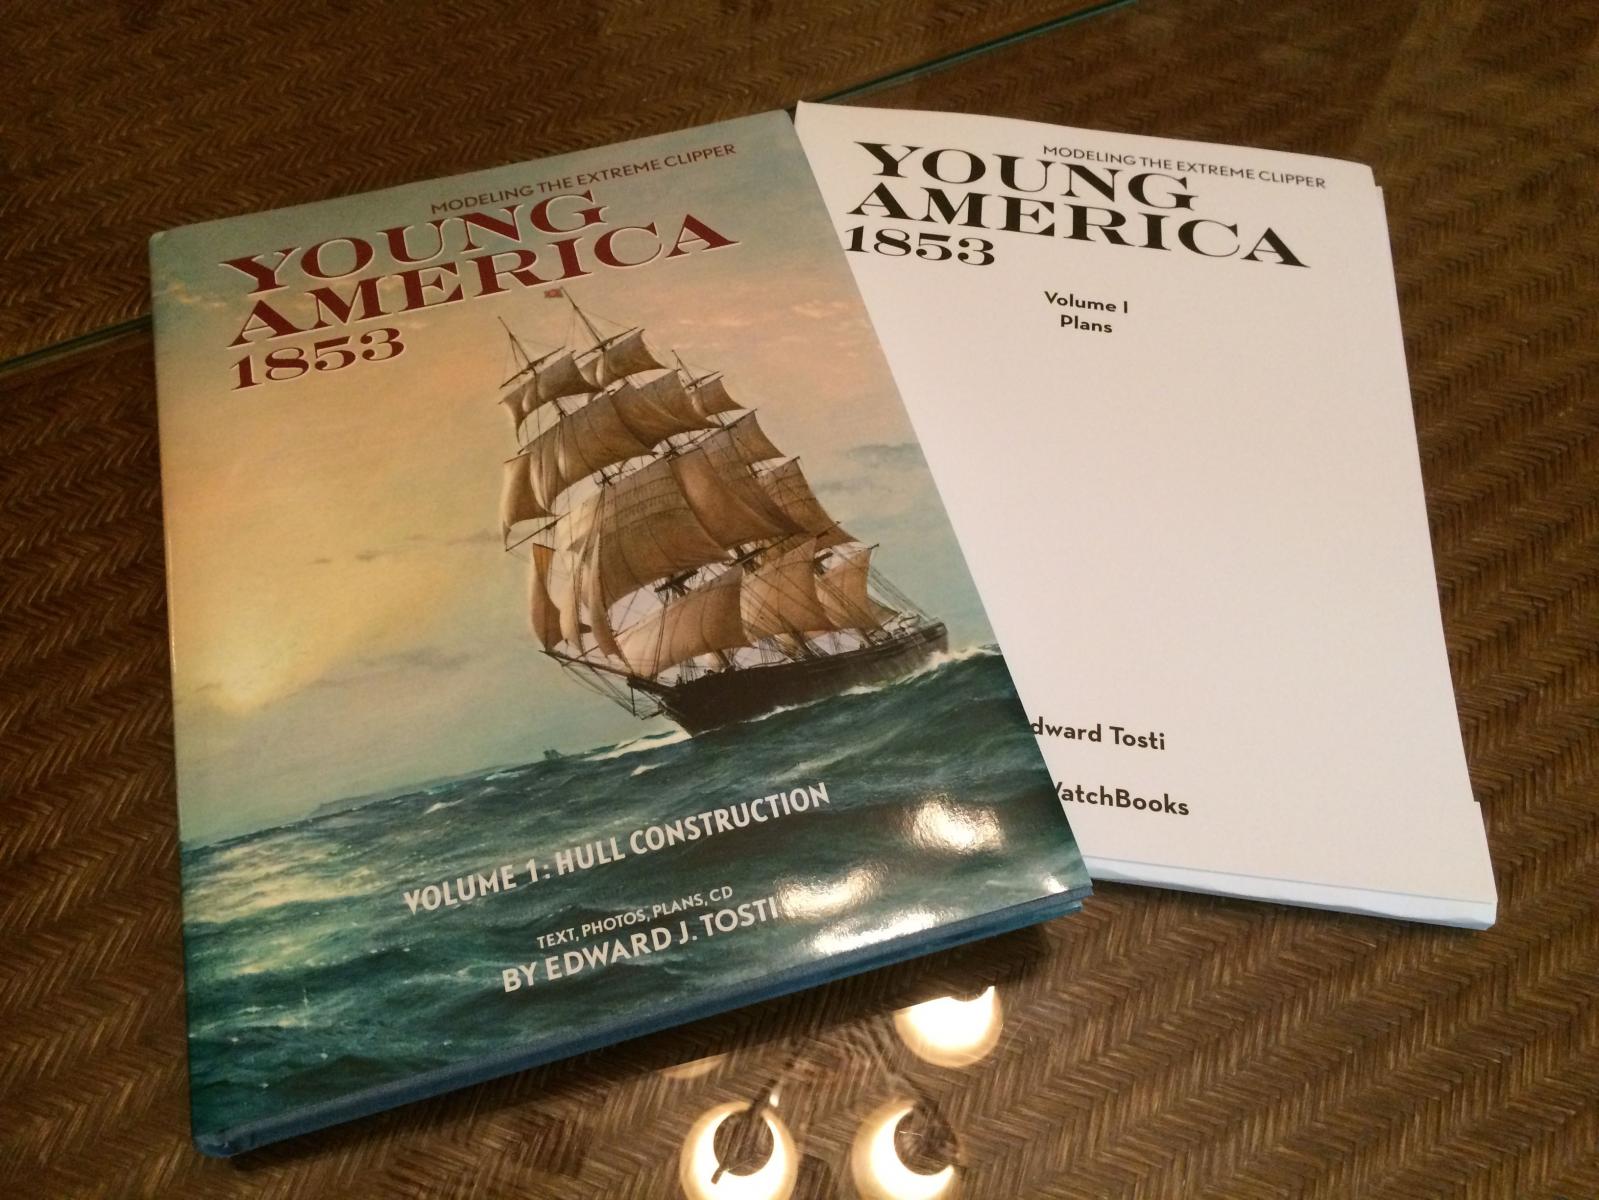
Ed - I just received my copy - thank you! The only problem is - I'll be reading your book instead of finishing my current build. Oh well, life is a series of choices.

- 56 replies
-
- 10
-
-
Hi Brian It was a treat to see the AVS in person yesterday - thanks for bringing it to the meeting. You've done an awesome job on her, and you should be very proud to say this is only your second ship.
- 831 replies
-
- 5
-
-
- Armed Virginia Sloop
- Model Shipways
- (and 1 more)
-
Thanks Daniel. Creating jigs and tools is one of the aspects of scratch modeling that I really enjoy.
-
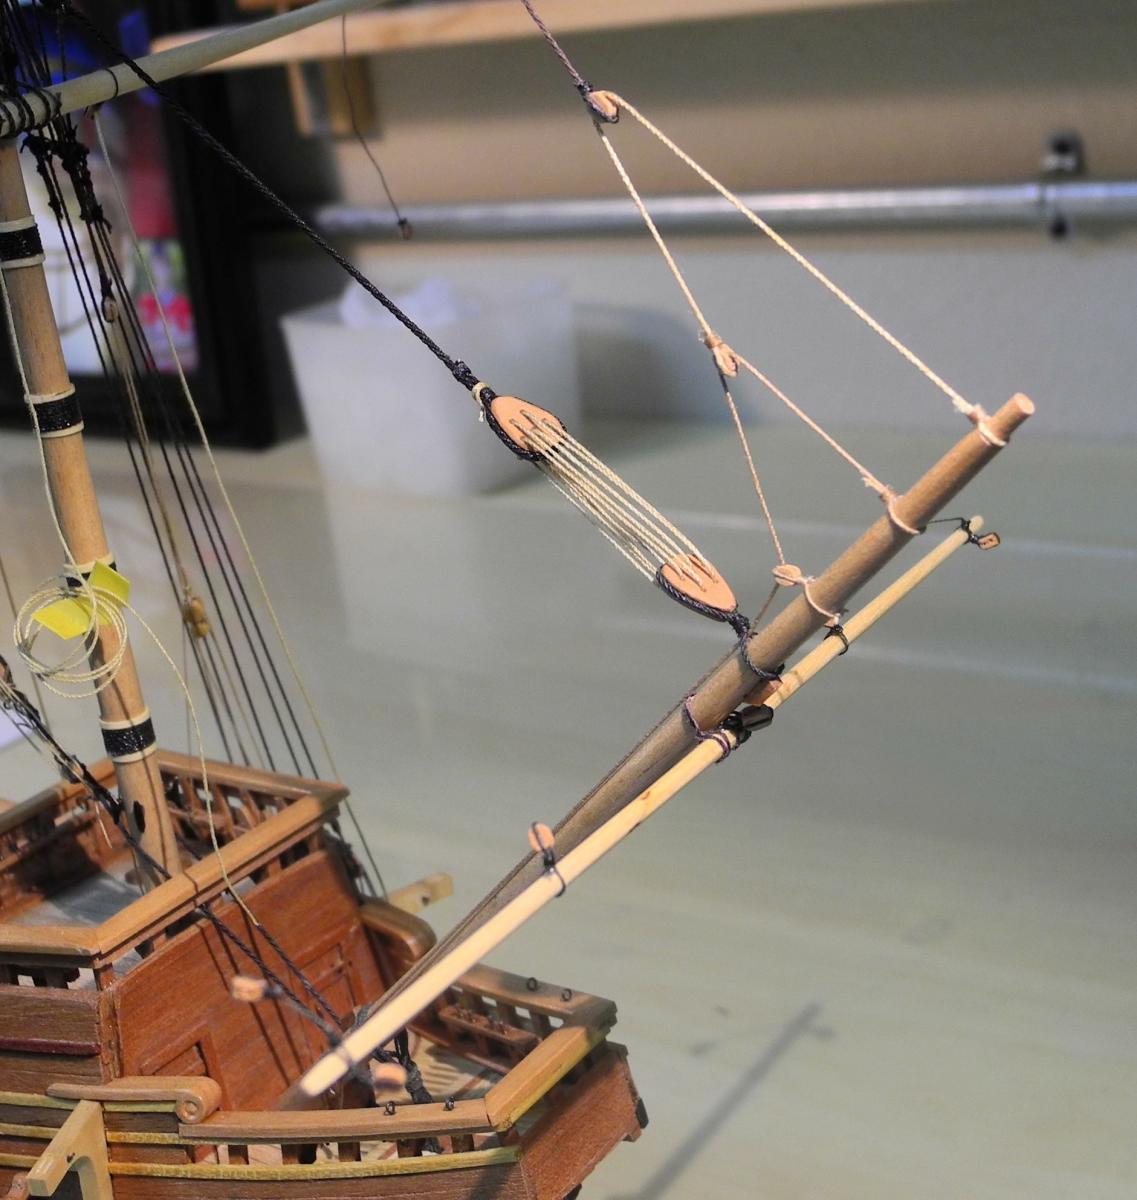
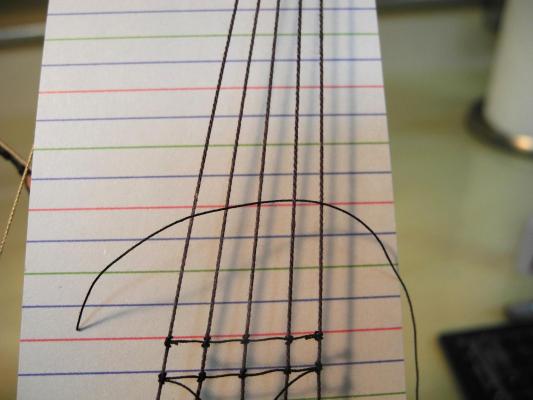
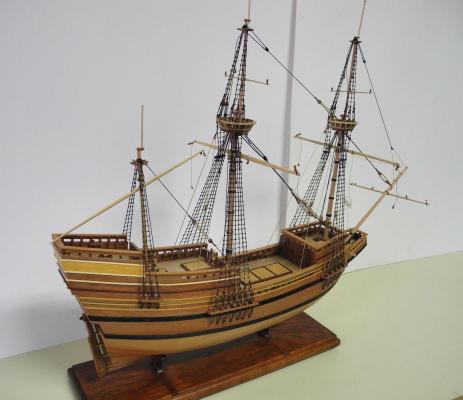
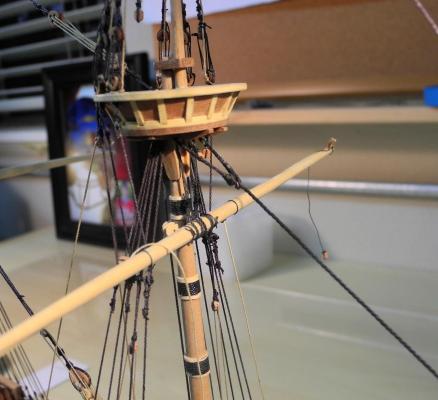
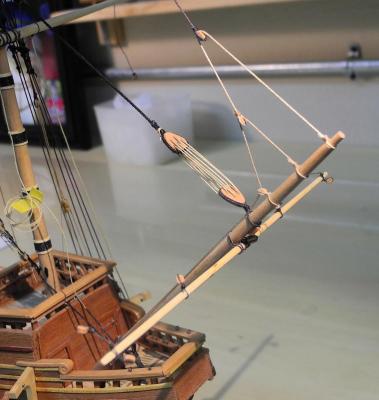
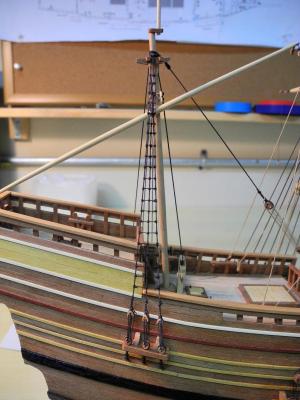
I’m (finally) back at work on Paragon – my surgery was a success and I’m able to work on the ship with no pain. Thanks again to all who sent their best wishes for the operation. I started by doing some needed surgery on Paragon. I replaced the aftmost main shroud on the port side that was in danger of breaking. I seized the new shroud to the futtock pole and it looks good. I also tried hardening the two shrouds that were twisted, so that the upper deadeyes would sit straight. I painted a 1:5 solution of white glue on the shrouds to stabilize them. It worked to a great degree, but the shrouds wound up being noticeably shorter. I wouldn’t think the diluted glue would soak the lines since I had treated them with wax, but they seem to have shrunk. I also stabilized some of the lower deadeyes that were too loose. I put some small beads of Tightbond glue between the deadeyes and the chainplates and this did the trick. I didn’t think to take any photos of this work, but I’ll take some shots of the way it looks now and will post them later. I also replaced the fore stay (the loop formed by the splice and the mouse was way too big). This required that the deadeyes on the forestay needed to be removed and re-installed. At the same time I decided to move the spritsail yard further out on the bowsprit, since its current position wouldn’t look right once the figurehead is in place. Here are a couple of photos of the new forestay and the spritsail yard. So on to ‘new’ work: I had started to tie ratlines on the main starboard shrouds when the leg pains made it too difficult to work in that position. So now I’m back at the ratlines, and I’m not happy at all with the look of the ratlines that were already tied. I’ve been cutting away some of the old ratlines and installing new. This photo shows a combination of the two. The older ratlines are mostly higher up on the shrouds, with the new ratlines lower down. I’ll keep working on this area until I’m happy with it, but I wanted to move on to shrouds that were empty. I completed the starboard mizzen shrouds, and I’m fairly happy with the results. This is my first try at ratlines, and I’m learning how to tie the ratlines so that they look fairly good. All the while, though, I’m wondering why I decided to build a ship with this complex rigging at this scale. I’ve started to calling them ‘dratlines’. I think you’ll see simpler builds and larger scales in my next couple of builds. I’ll post some more when I’m done tying the dratlines and will move on to the rest of the rigging.

-
If you can find a good price on a 14" Delta, Jet, or Grizzly, and if it's in good shape, I think any of those would be fine for what you need. A high quality blade like the Woodslicer makes a world of difference. And there are upgrade kits available for improving the guides if you need to.
-
Hi Max: I have an old 14" Rockwell bandsaw originally manufactured in the 1940's and then rebuilt/reconditioned before I received it (a gift from a very good friend). If I didn't have that bandsaw I think I'd be buying my lumber from one of the 'model shipyards' (The Lumberyard for Model Shipwrights, or Crown Timberyard) - I don't think an inexpensive 10" bandsaw would do the resawing that is necessary, but I might be wrong. I would buy billets of the thickness I needed (the width of planks, for instance), and then cut them down to the final plank dimensions as I mentioned earlier. You have some great tools in the Byrnes saw and thickness sander, and now it's just a matter of some practice to find what works best for you. Have fun!
-
Gilmer Woods in Oregon (GilmerWood.com) normally has American Holly, Castello Boxwood, and European Pear for sale. All of these woods are fairly expensive, but I've never calculated their board/ft price - they sell pieces they have in stock. The pieces vary in size and price, but generally have squared sides. This makes it easier to cut down to the sizes you'll want on the Byrnes saw and thickness sander. I normally cut the piece on my 14" bandsaw with a Woodslicer resaw blade down to a little more than I want for thickness on the finished size. Example - let's say I want to mill planks that are 1/8" wide and 1/16" thick. I cut pieces (billets) that are approximately 5/32 thick on my bandsaw (using a ripping guide to do so). Then I'll use the thickness sander to bring these billets down to a uniform 1/8" thickness (I can't get that level of precision on the bandsaw). Then, on the Byrnes saw, I'll cut the 1/16" thick planks off this billet. I'm not confident in my ability to cut the planks to that precise thickness, so I cut them a little heavy (maybe 1/64 or so heavy), then will use the thickness sander to bring them to the precise thickness. I hope this helps answer your question.
-
Hi Patrick What a great build - very inspiring. Especially now, since I'm finally getting back to work on my Paragon build. My surgery went very well, and now I've started 'surgery' on Paragon to correct some issues before going further. I'm looking forward to watching your next project.
-
Hi Bob - great job, as usual. Ok, so what are the 'other things' you're going to move on to?
- 127 replies
-
- 5
-
-
- dragon class
- yacht
- (and 1 more)
-
Albatross by KevinR - 1:32 scale - Skipjack
Mahuna replied to KevinR's topic in - Build logs for subjects built 1851 - 1900
Kevin - I'll be starting my day in Crisfield, MD and coming across the Bay Bridge/Tunnel, so won't have time to see everything in the Norfolk area. I plan to see the Mariners Museum, since I believe they have exhibits related to the Chesapeake Bay crabbing and oyster industries. Ron - I do hope to make measured drawings of the winders - both hand and powered. I'll share them when I can. -
Looking for a Bench Top Drill Press
Mahuna replied to FlounderFillet5's topic in Modeling tools and Workshop Equipment
Hi Kurt This drill press looks very similar to the 'made in china' drill presses you can find in Jewelry supply houses, the big carton stores, and even Amazon. The Micro-Mark 'amazingly low price' is pretty much what you would expect to pay anyplace else. I had one just like it and got rid of it.- 31 replies
-
- 2
-
-
- Drill Press
- Microlux
- (and 1 more)
-
Albatross by KevinR - 1:32 scale - Skipjack
Mahuna replied to KevinR's topic in - Build logs for subjects built 1851 - 1900
Hey Kevin My trip east is actually for the NRG Conference in Mystic. I expanded the trip to visit the St Michael's museum, The Norfolk Maritime Museum, and the Naval Academy and Smithsonian museums. I'll also be visiting my son in Midlothian, and will be heading to Portsmouth on Saturday 10/16 to see the ships that participated in the Great Chesapeake Bay Schooner Race. I'm also hoping to see the Skipjack Kathryn up close. This Skipjack is a National Landmark, and has recently been rebuilt (for the second time). I first learned about her when I found the plans in HAER. She's unique in that she's one of the few skipjacks that have longitudinal hull strakes, rather than herringbone strakes. I'm hoping to scratch build her, but have a lot of research to do before I can begin. It will be a long trip, lots of driving, but I'm really looking forward to it. Please arrange for nice weather. And yes, I'll be happy to send you measurements of the Hand Winder, especially the height. I'll put a reminder in my calendar. -
Albatross by KevinR - 1:32 scale - Skipjack
Mahuna replied to KevinR's topic in - Build logs for subjects built 1851 - 1900
Hi Kevin I'll be visiting the museum in a few weeks, and enjoyed your photos. Thanks for the link to your album. -
Looking for a Bench Top Drill Press
Mahuna replied to FlounderFillet5's topic in Modeling tools and Workshop Equipment
Max Congrats on finding a good deal on a Sherline package. They have an accessory called a Sensitive Drilling Attachment. I use this on all of my drilling with very tiny bits. I stopped using my small drill press when I got this. Sensitive Drilling Attachment.pdf- 31 replies
-
- 4
-
-
- Drill Press
- Microlux
- (and 1 more)
-
Great idea Jay. I'm not sure of the setup you used - "..used the old 'Monkey-Ward's' (Dremmel like) motor.." Was this off the mill or somehow mounted on the mill? I would have thought the bits could be used right on the mill using a drill chuck or a collet.
-
Albatross by KevinR - 1:32 scale - Skipjack
Mahuna replied to KevinR's topic in - Build logs for subjects built 1851 - 1900
Hi Kevin I'll be following along, and look forward to seeing your posts. -
Hi Grant A friend pointed me to your post on making a mortar for your bomb vessel - great job. You're obviously getting very proficient with your mill and lathe.