


LyleK1
-
Posts
531 -
Joined
-
Last visited
Content Type
Profiles
Forums
Gallery
Events
Posts posted by LyleK1
-
-
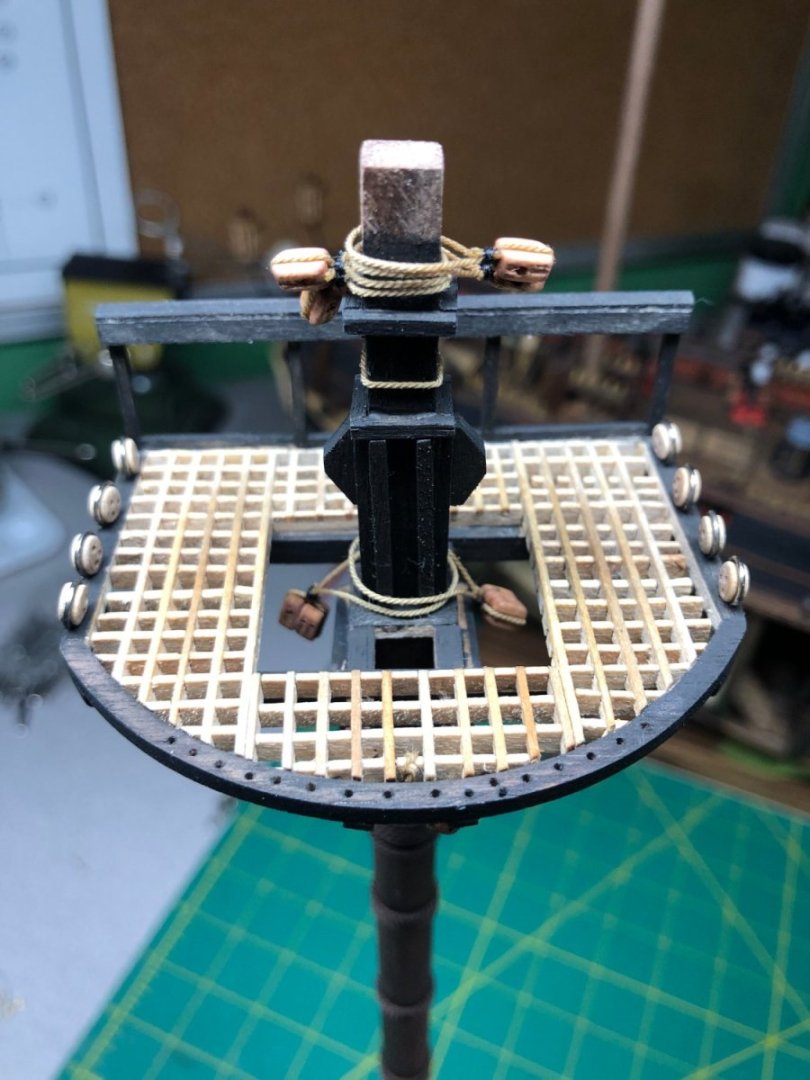
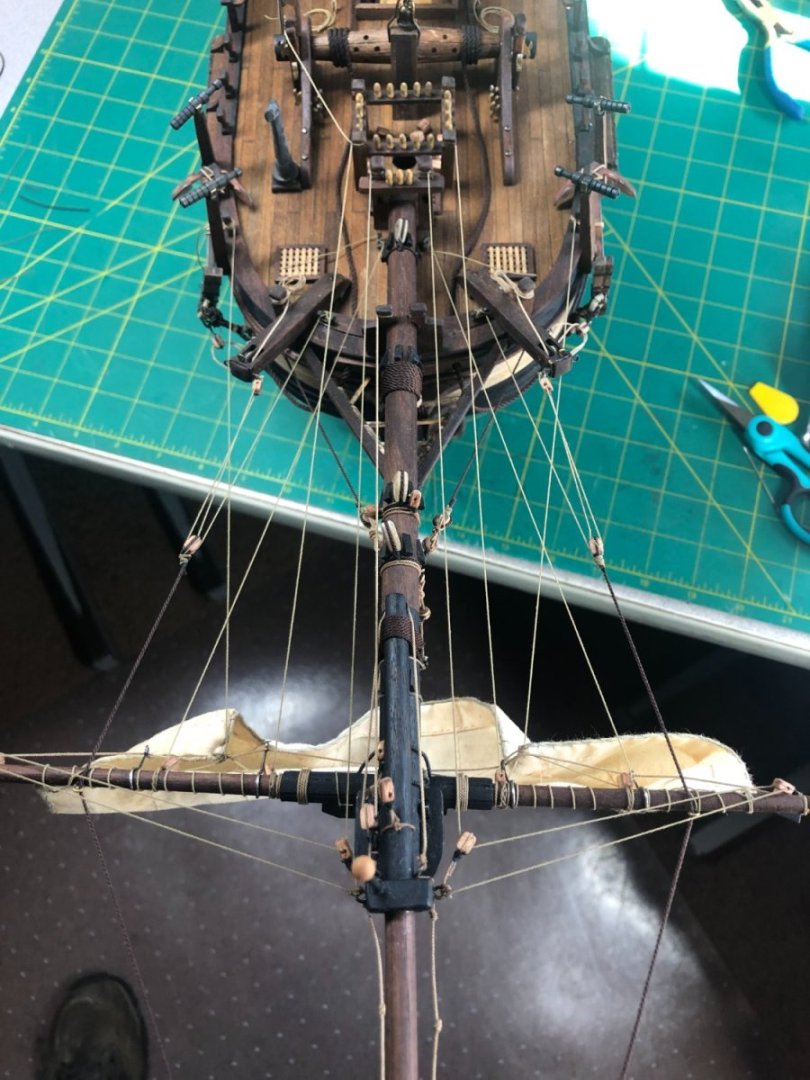
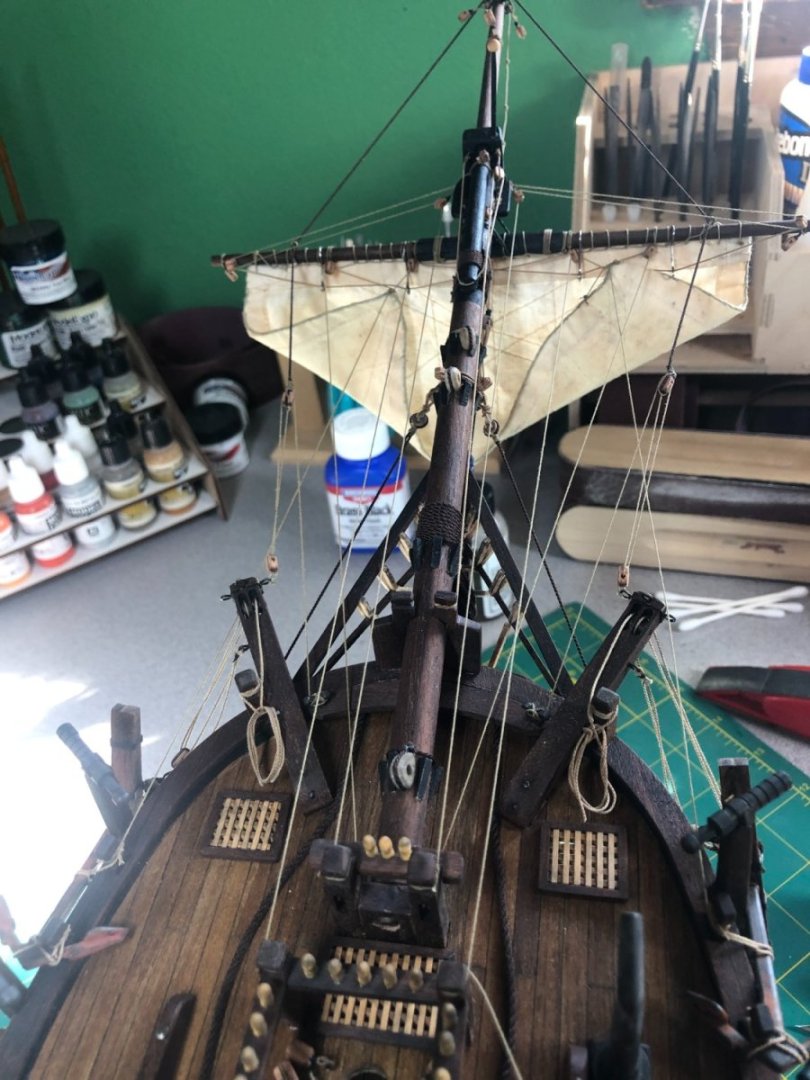
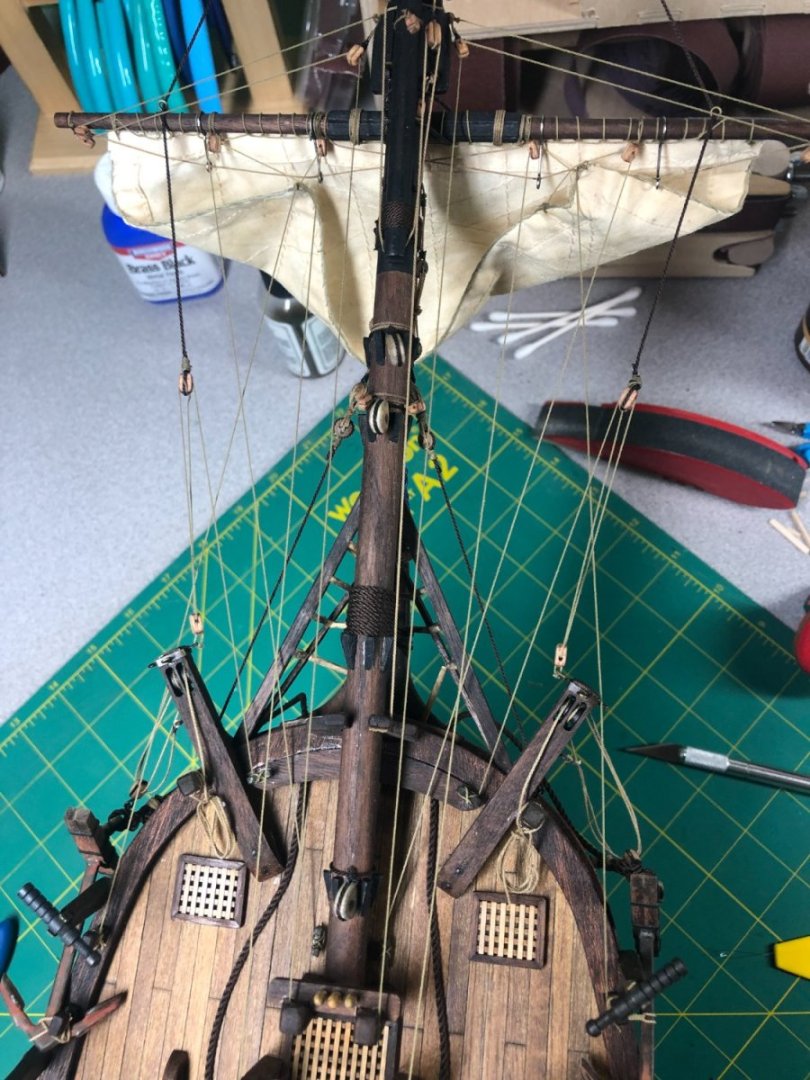
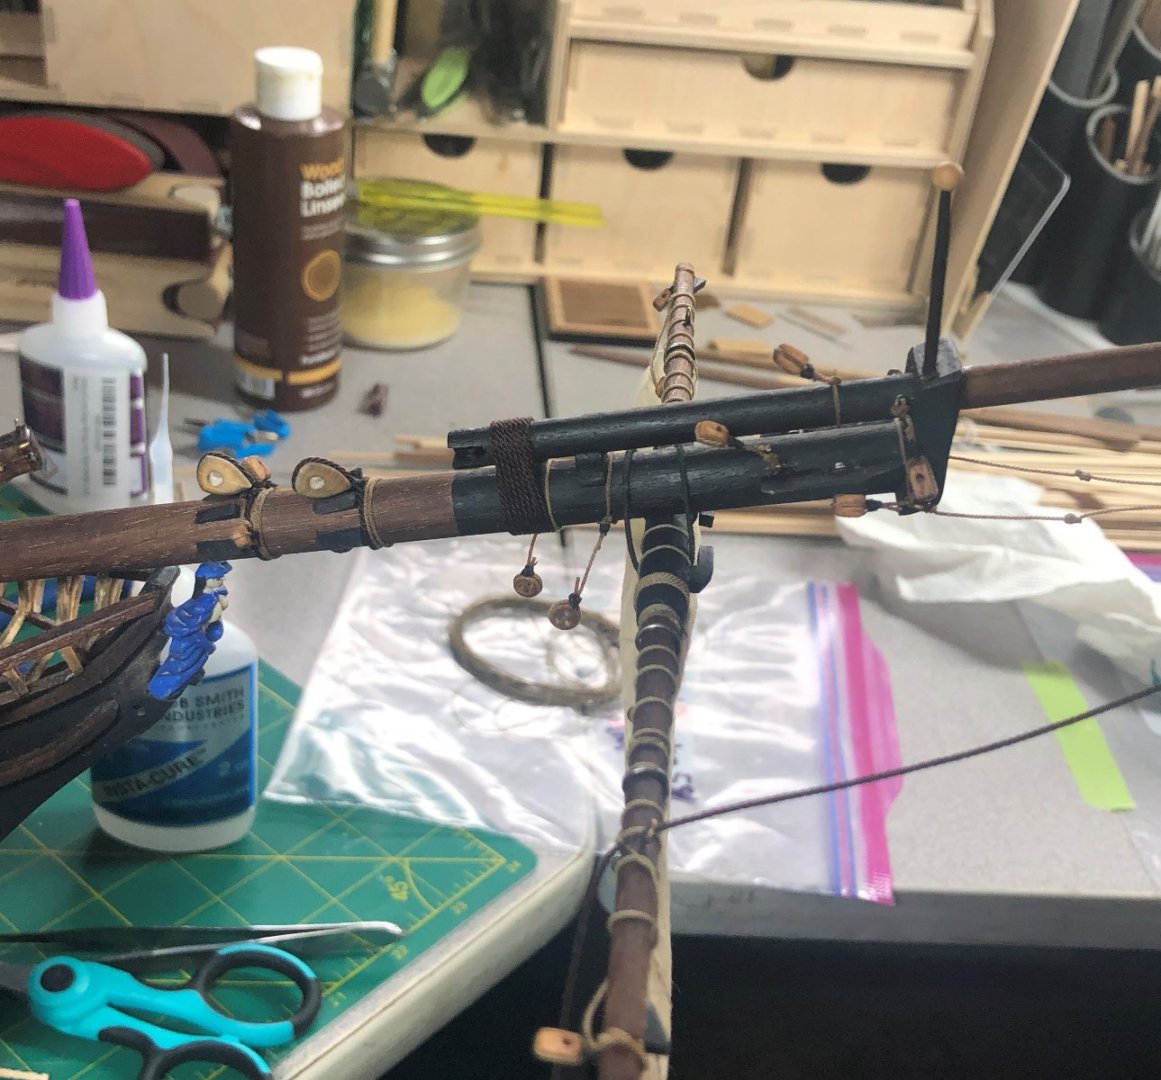
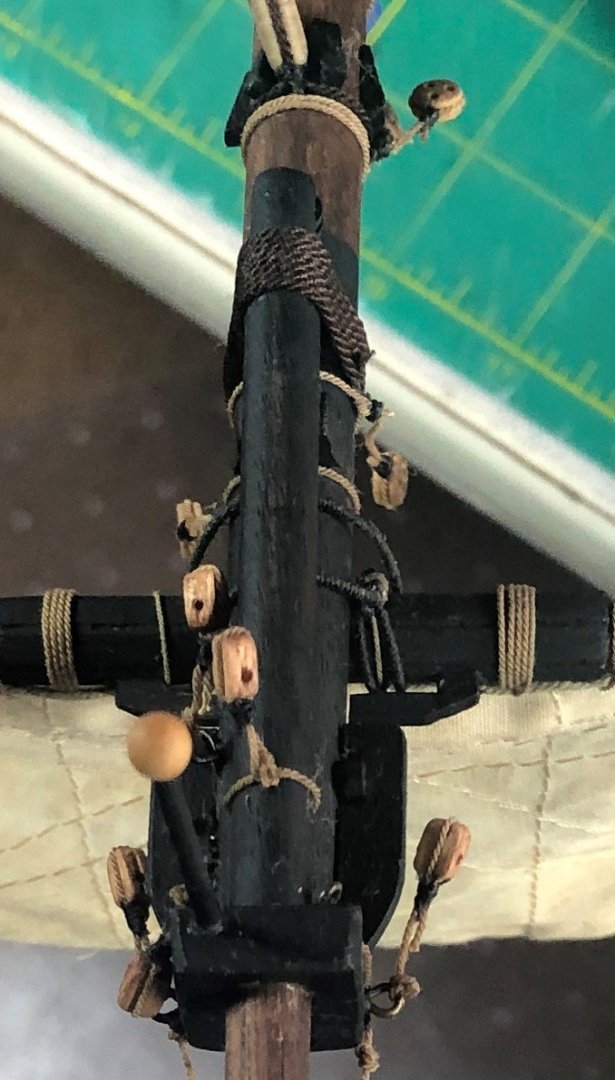
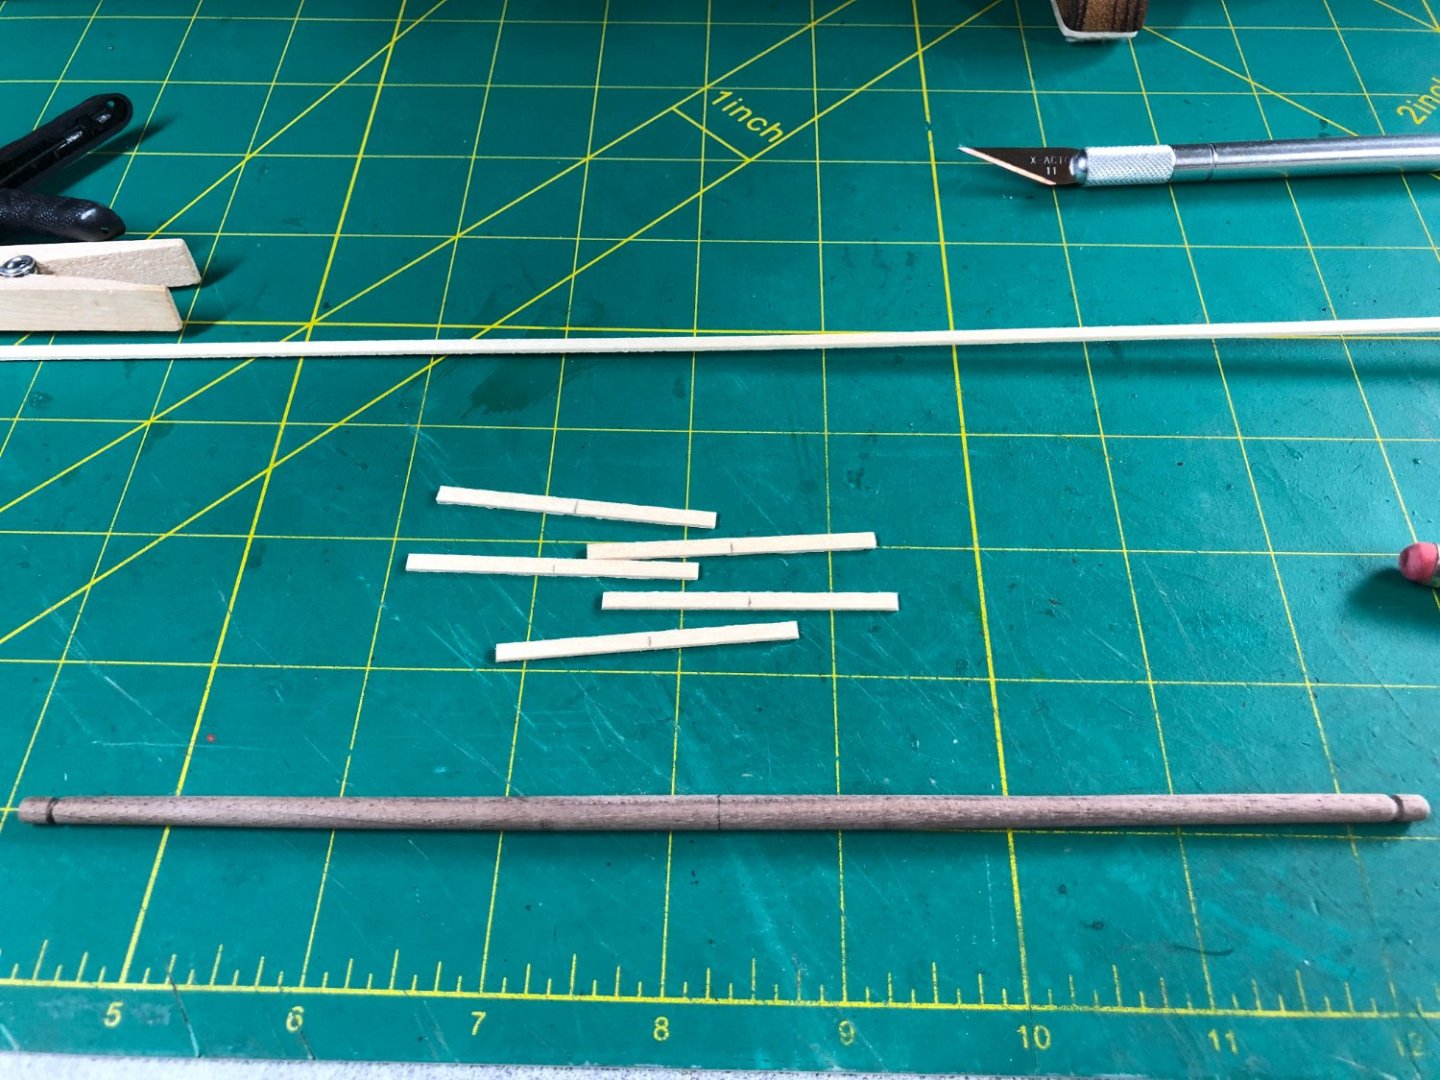
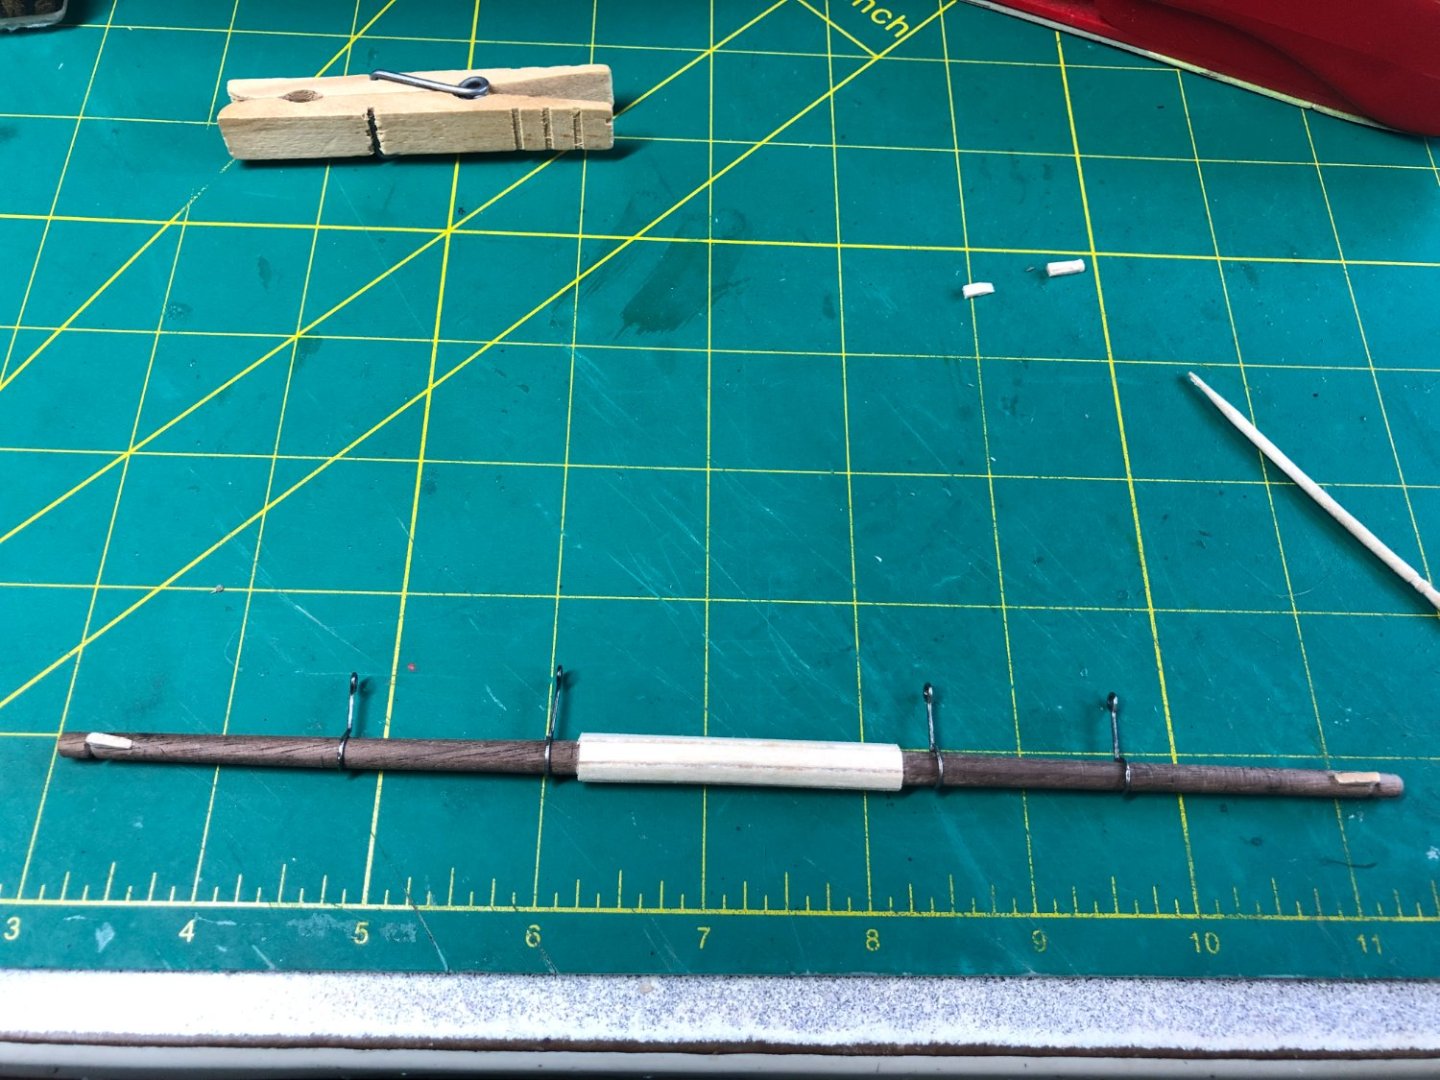
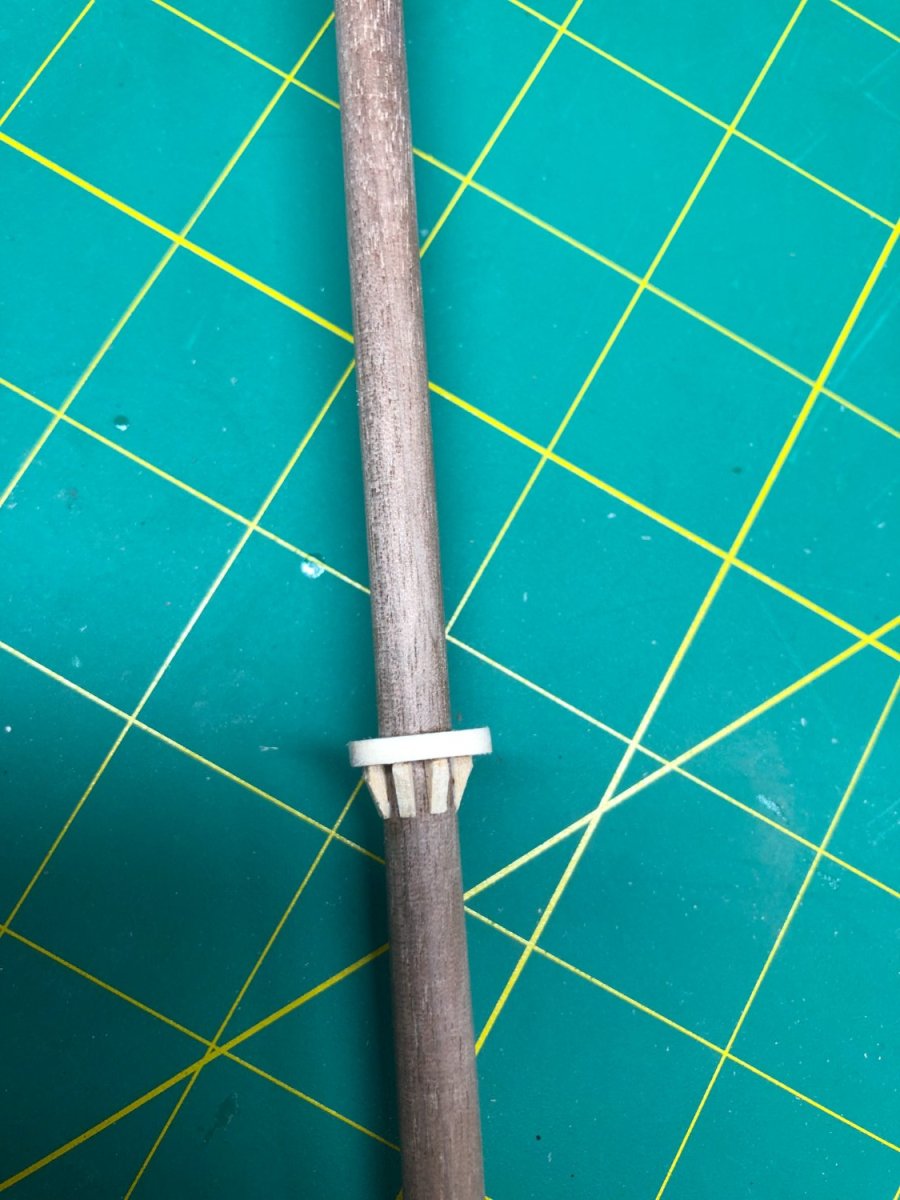
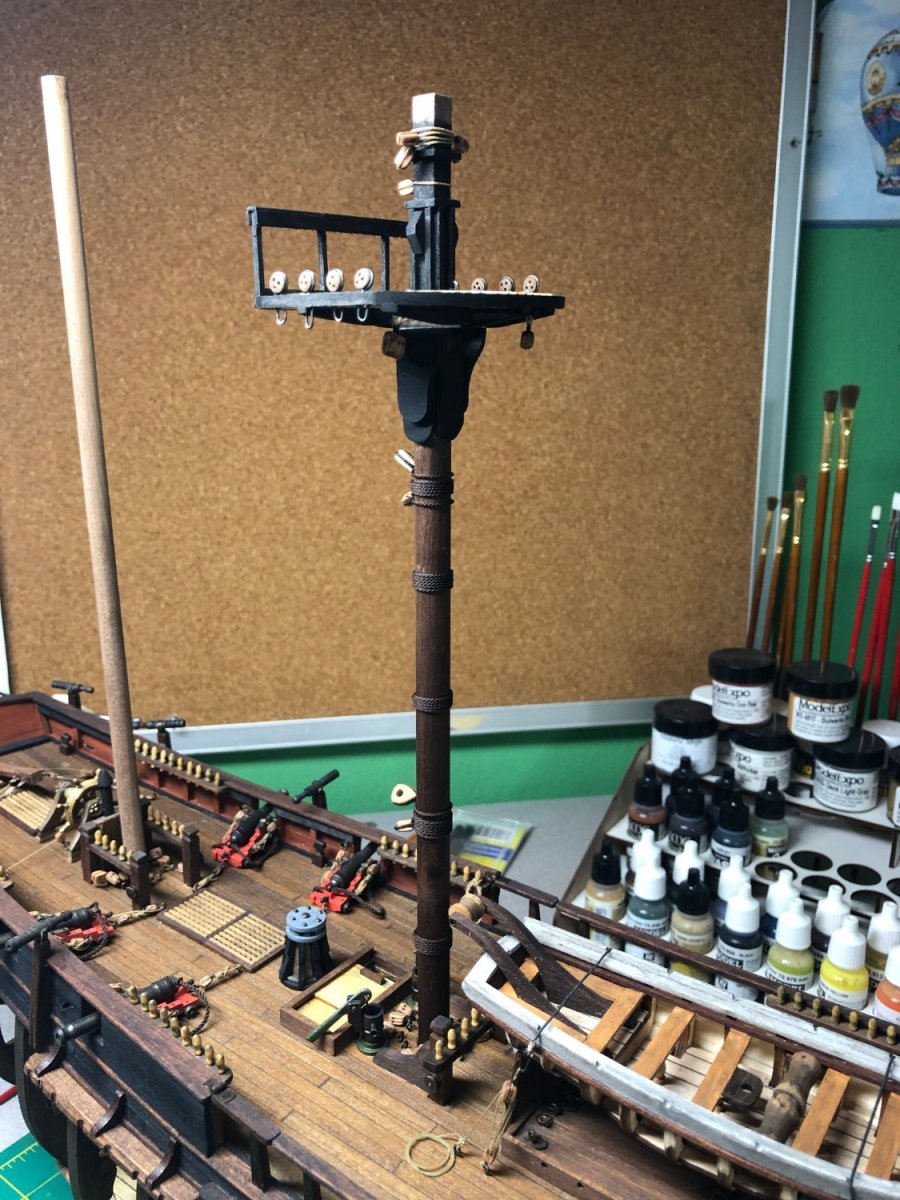
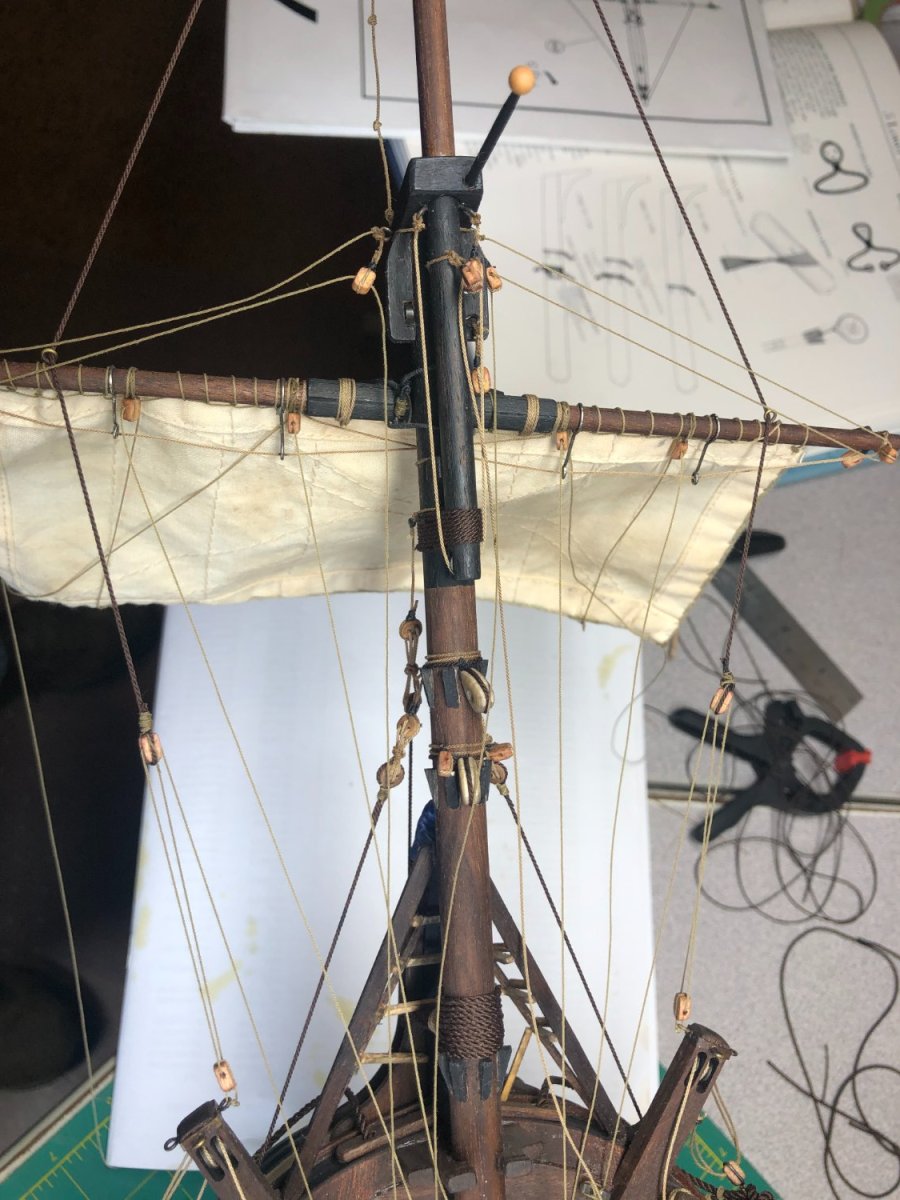
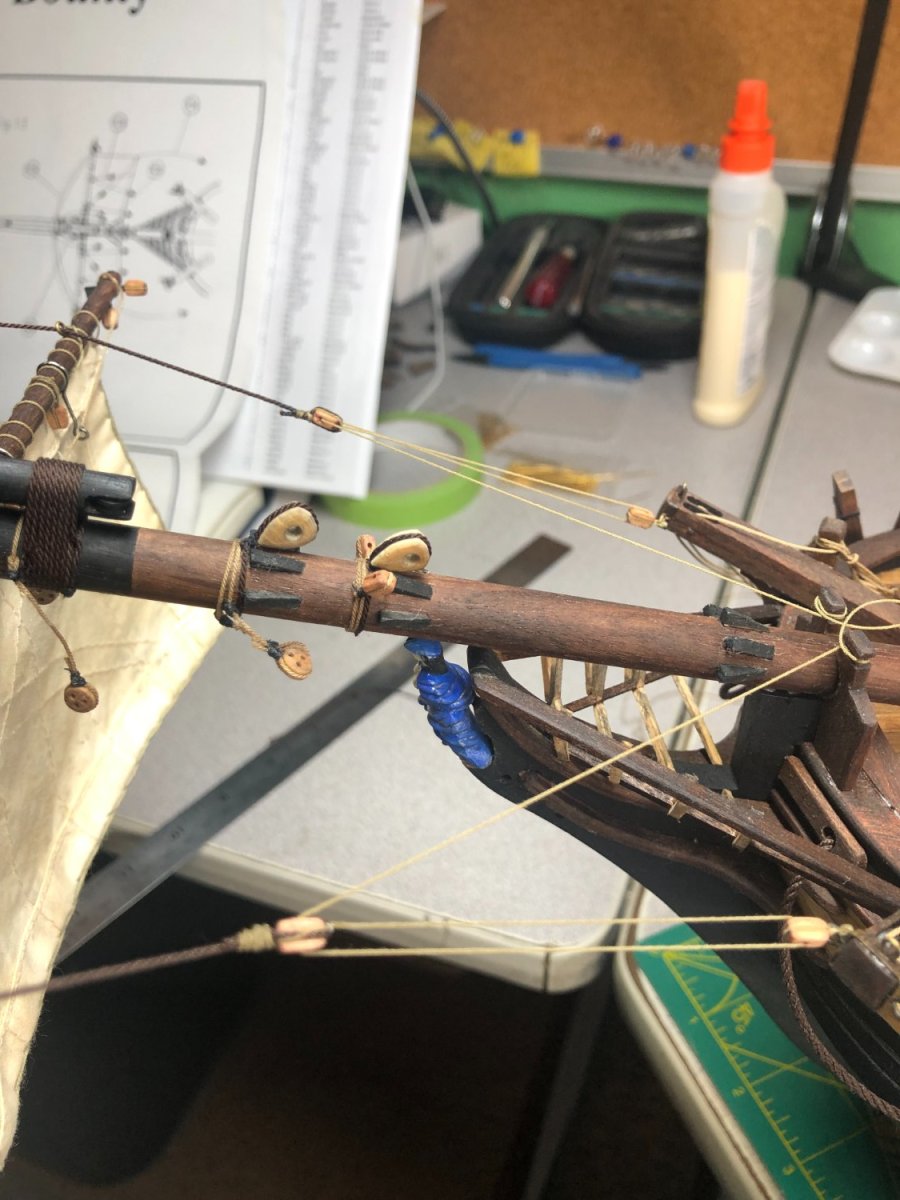
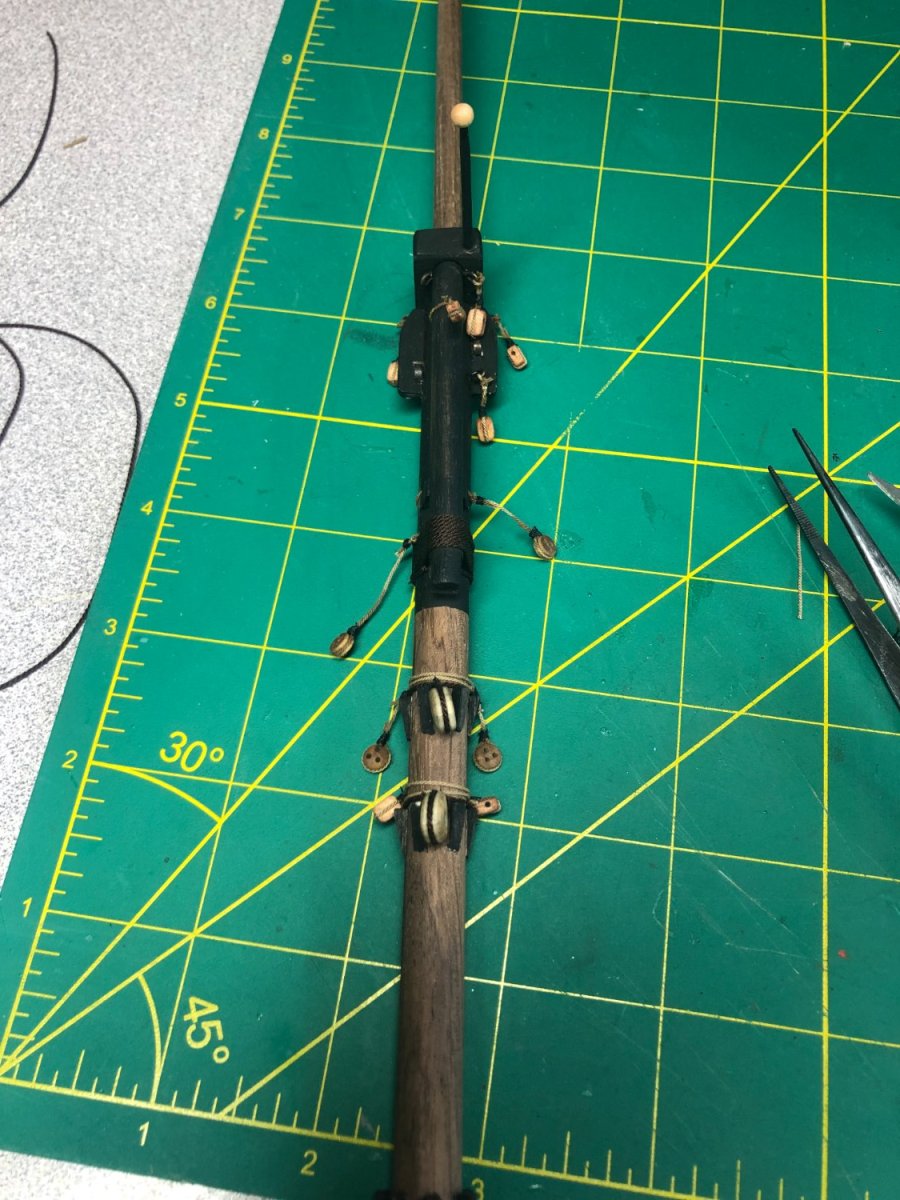
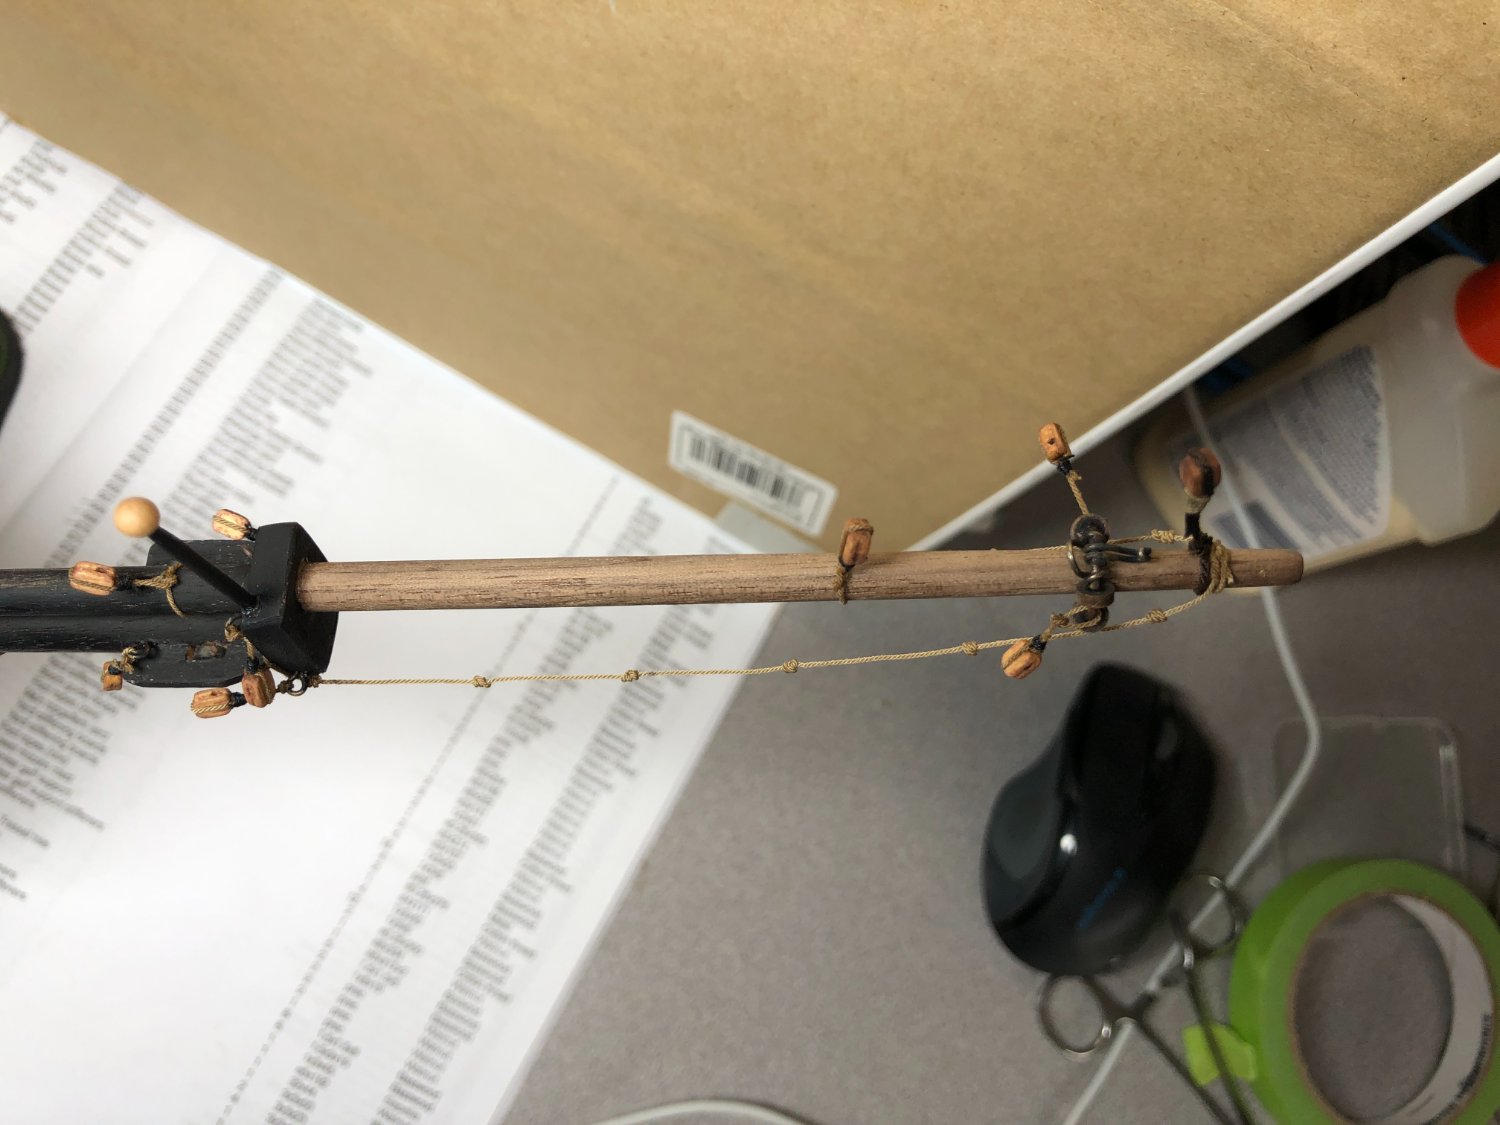
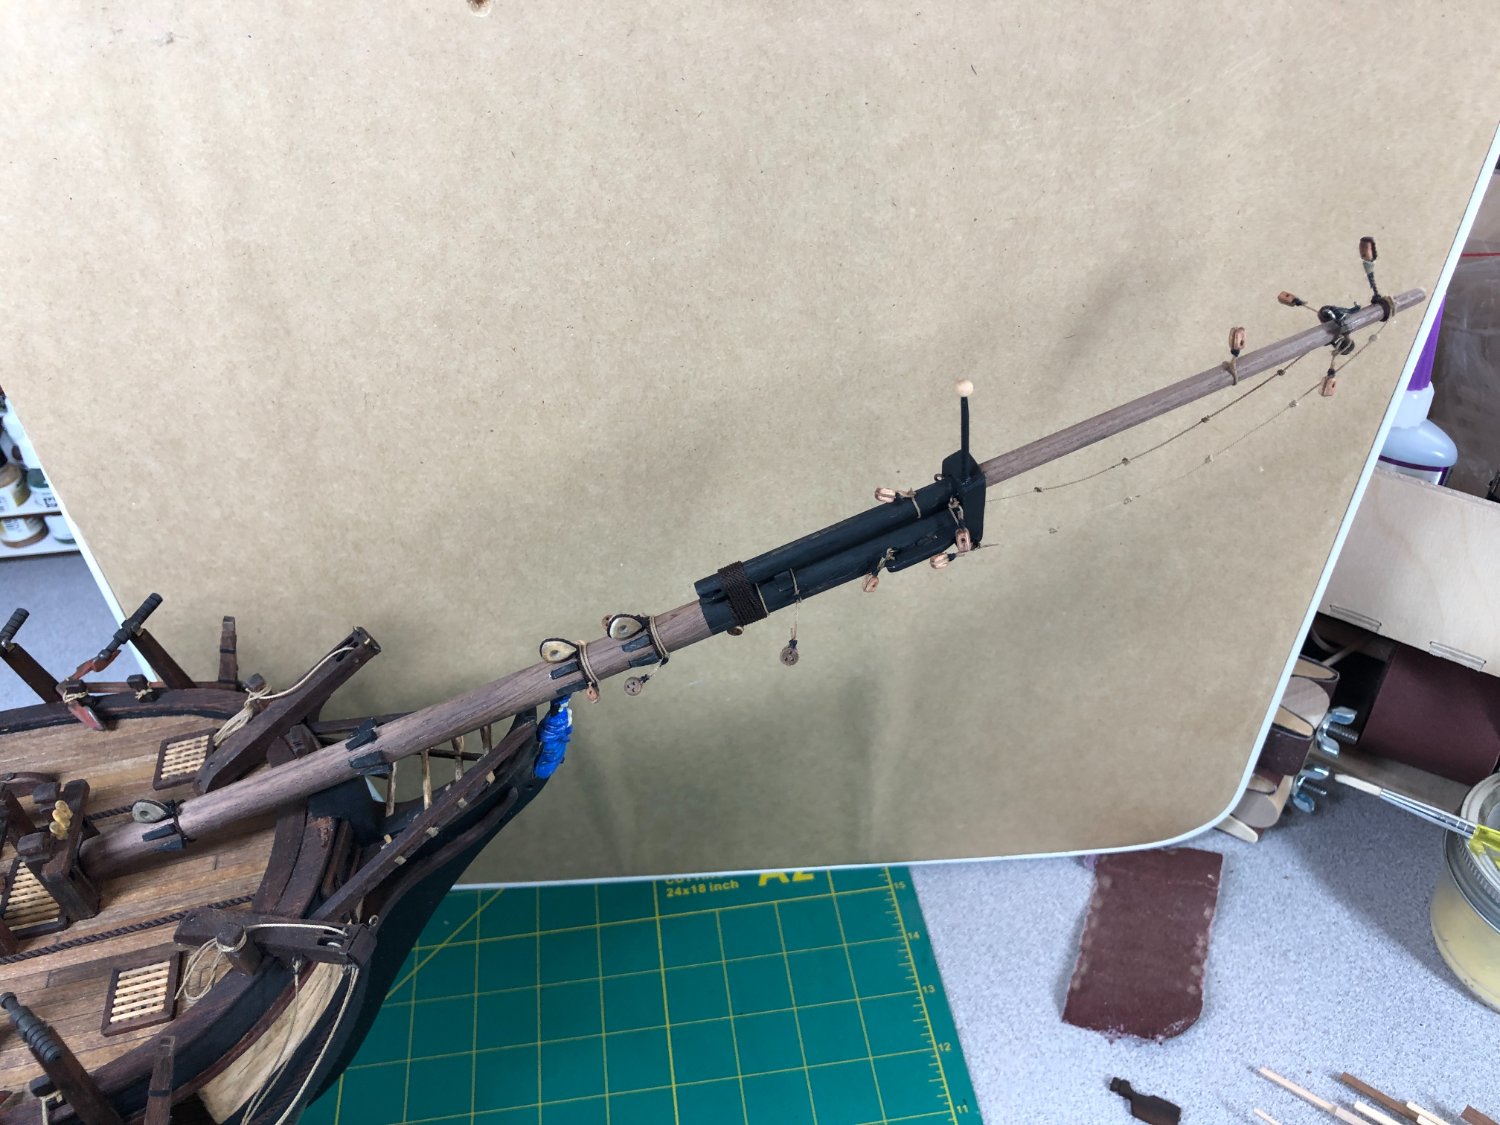
The mizzen mast again is nearly identical, on a smaller scale than the previous masts.
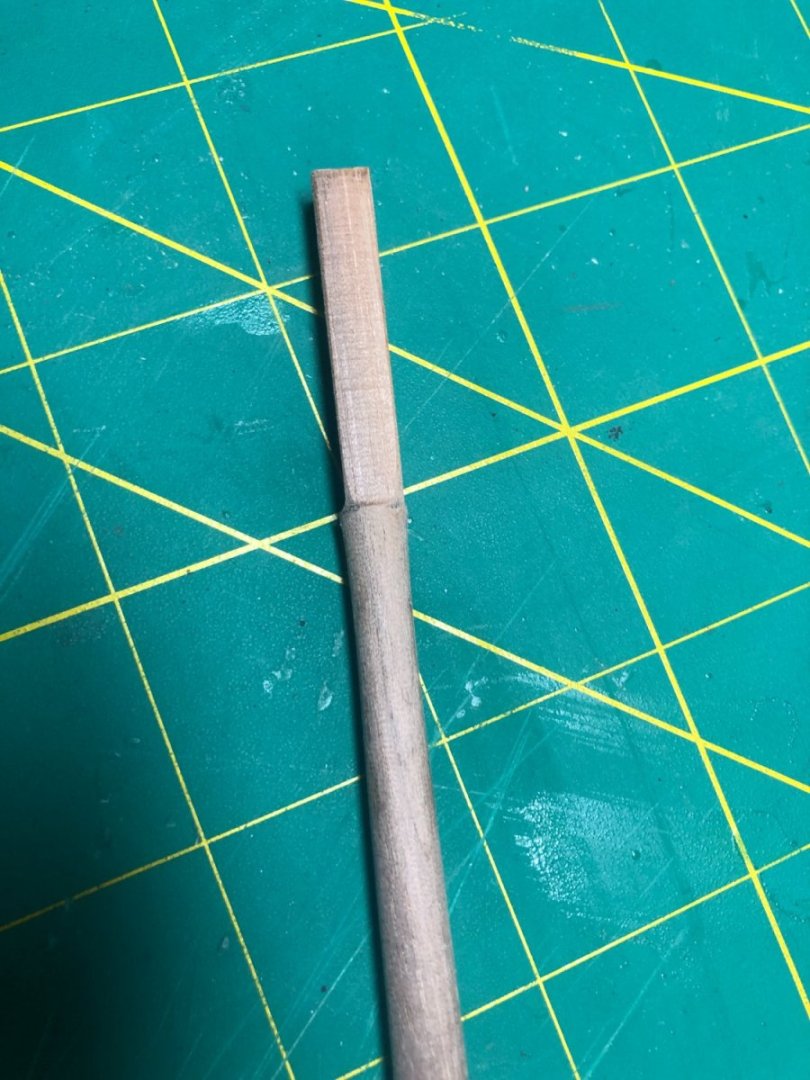
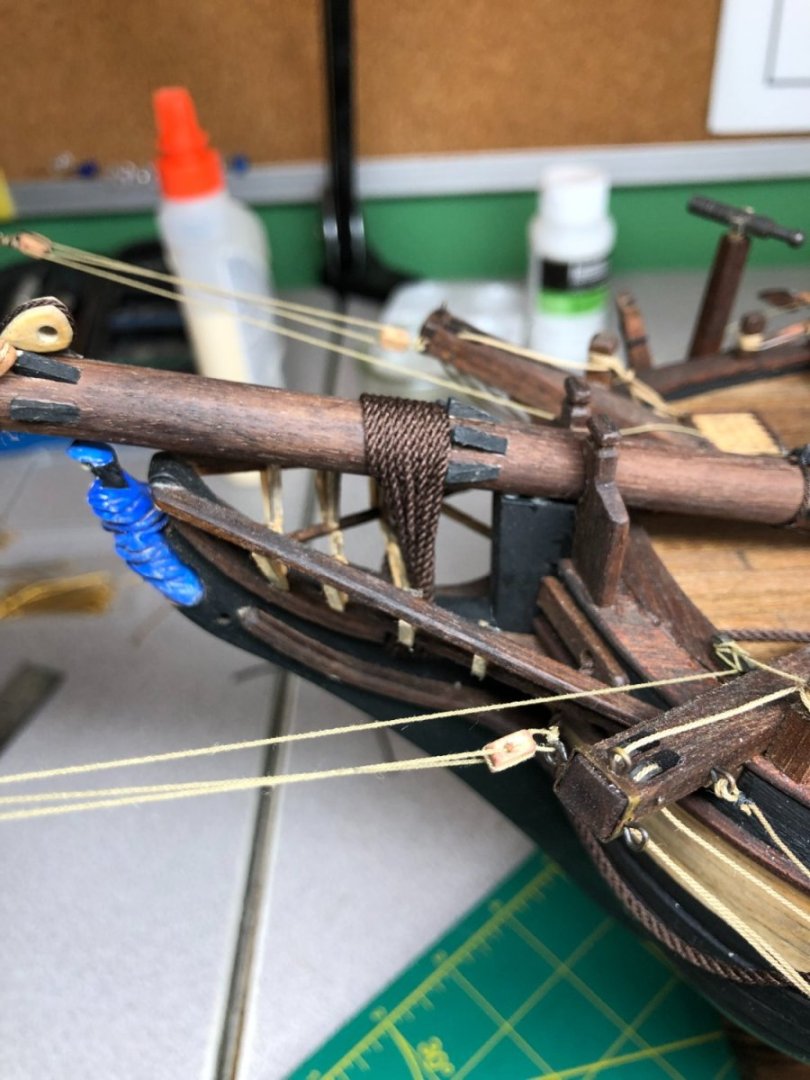
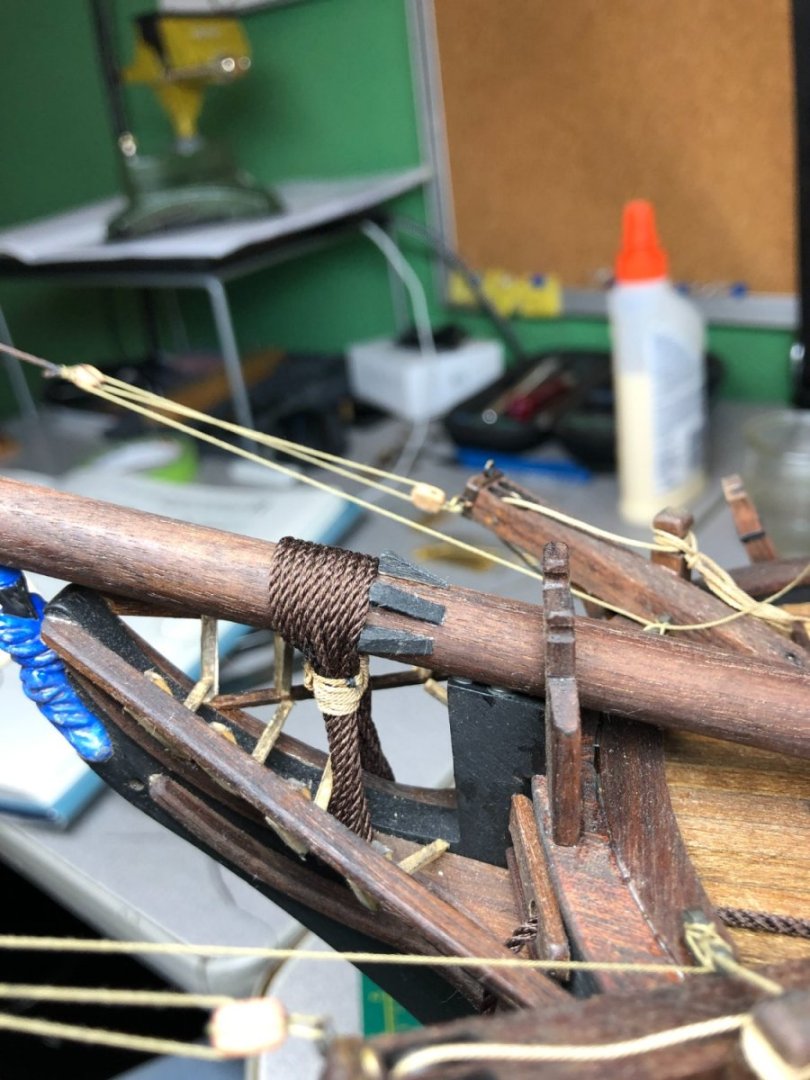
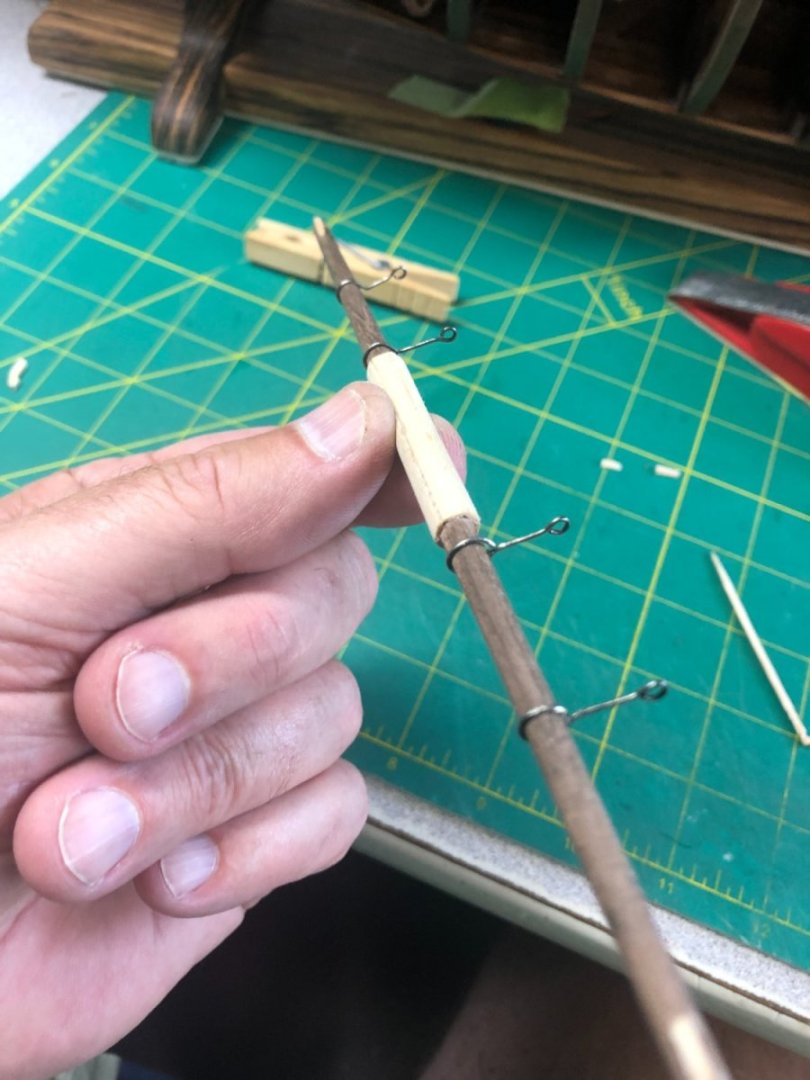
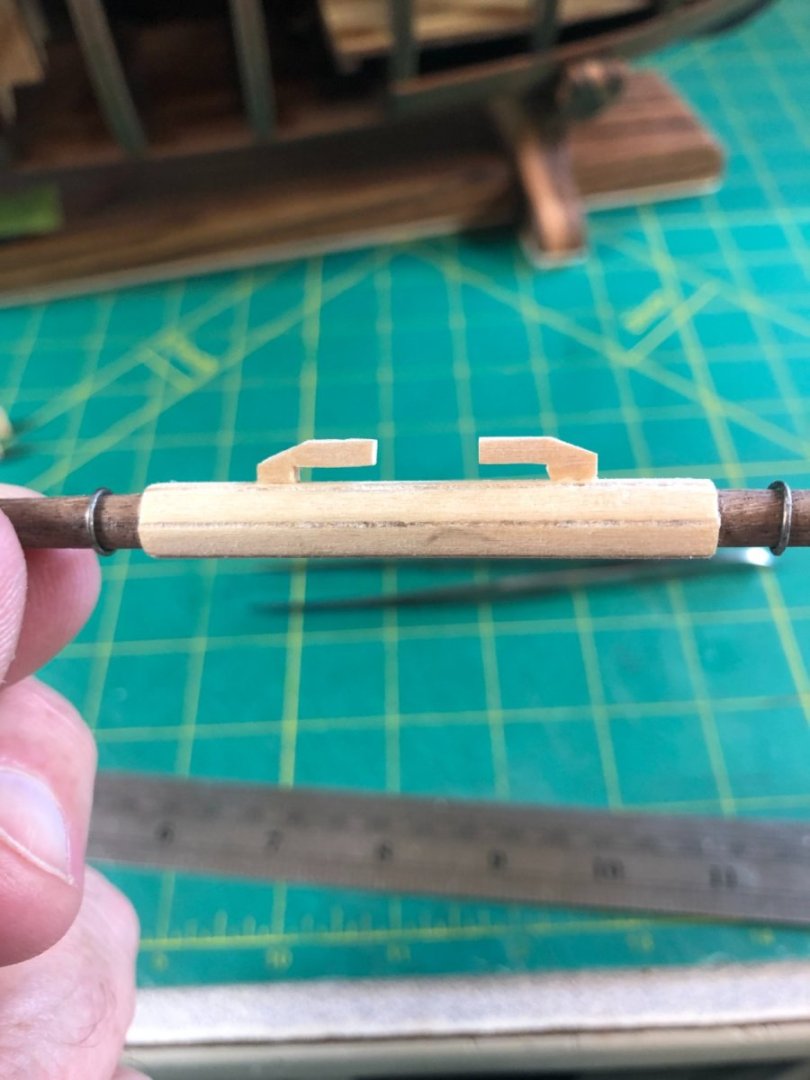
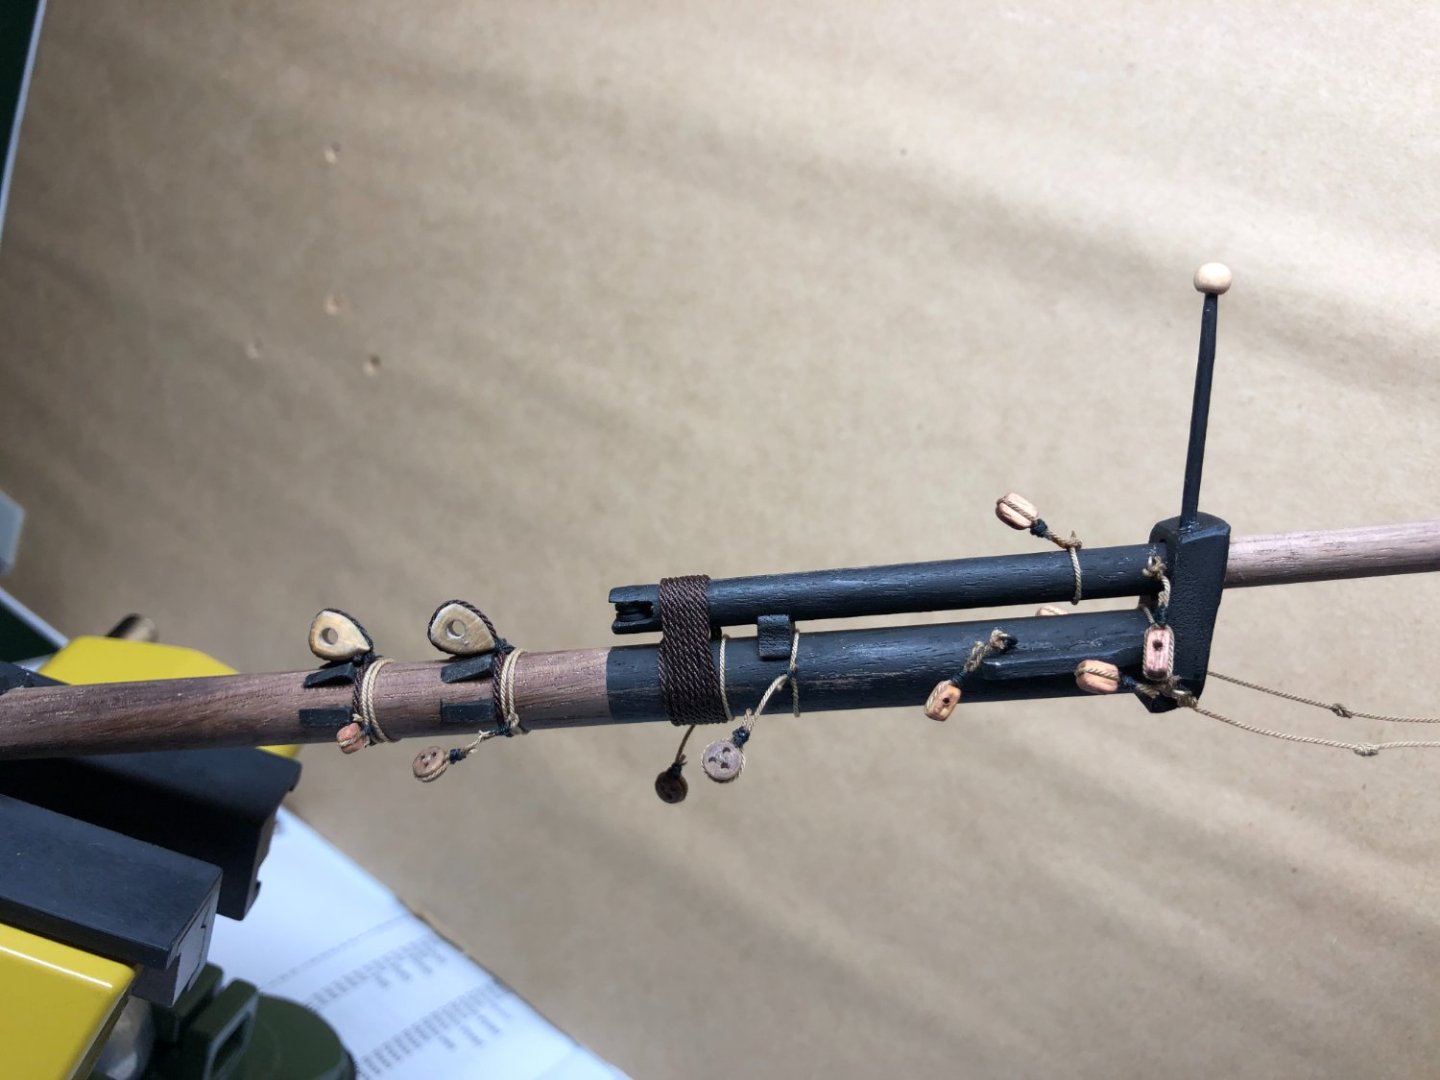
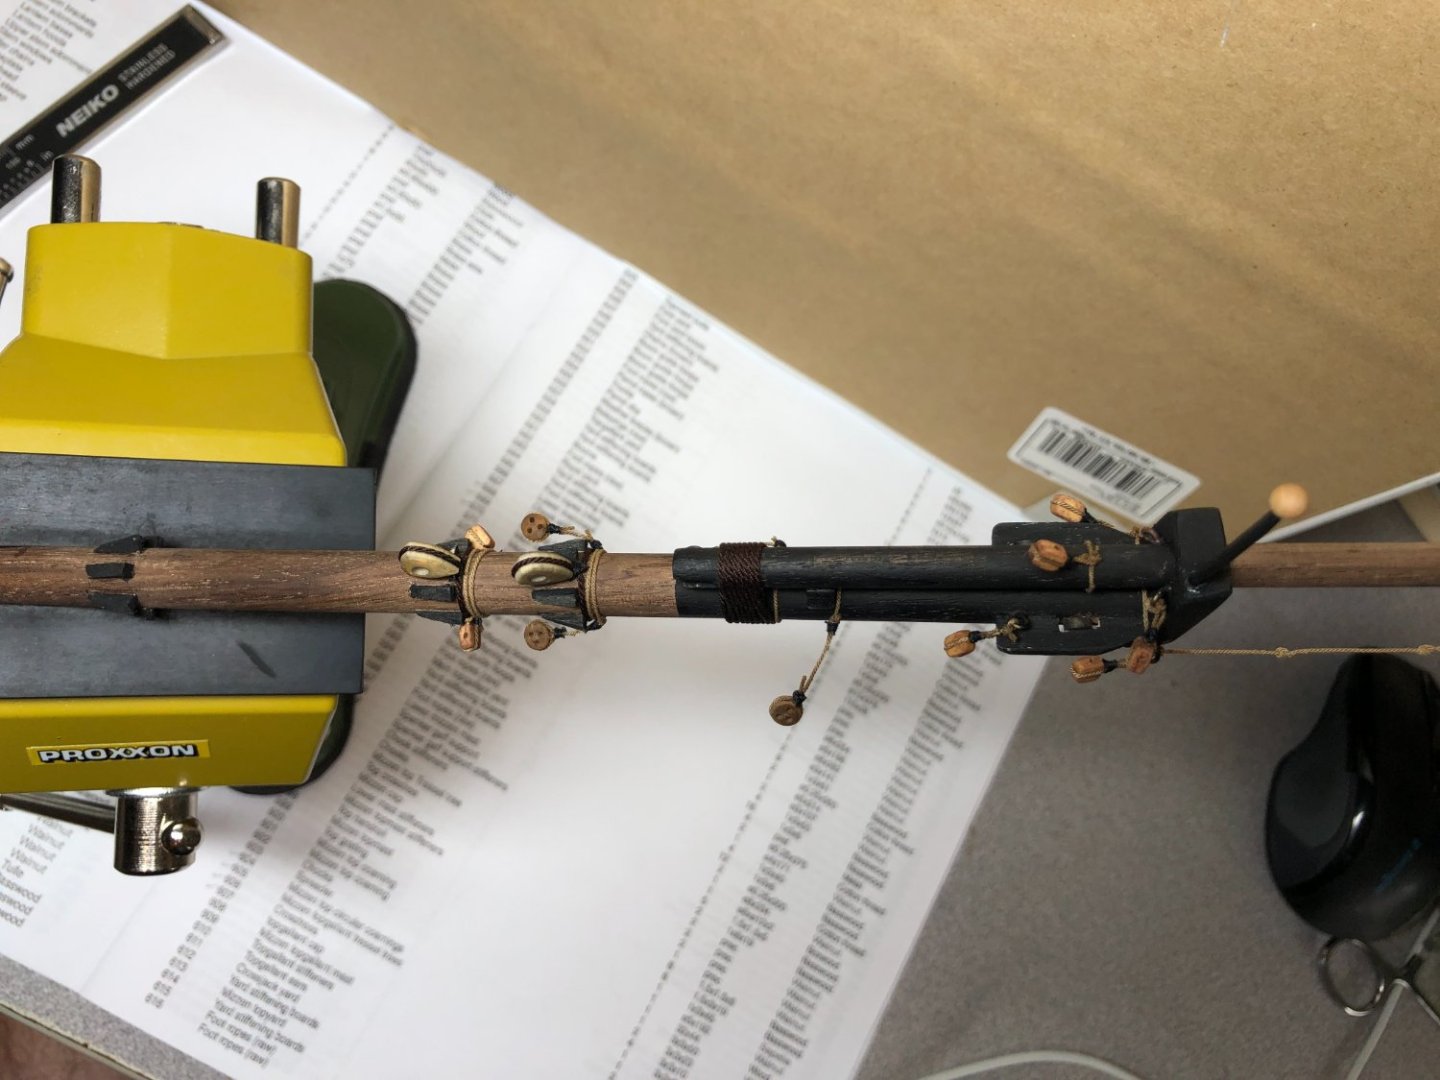
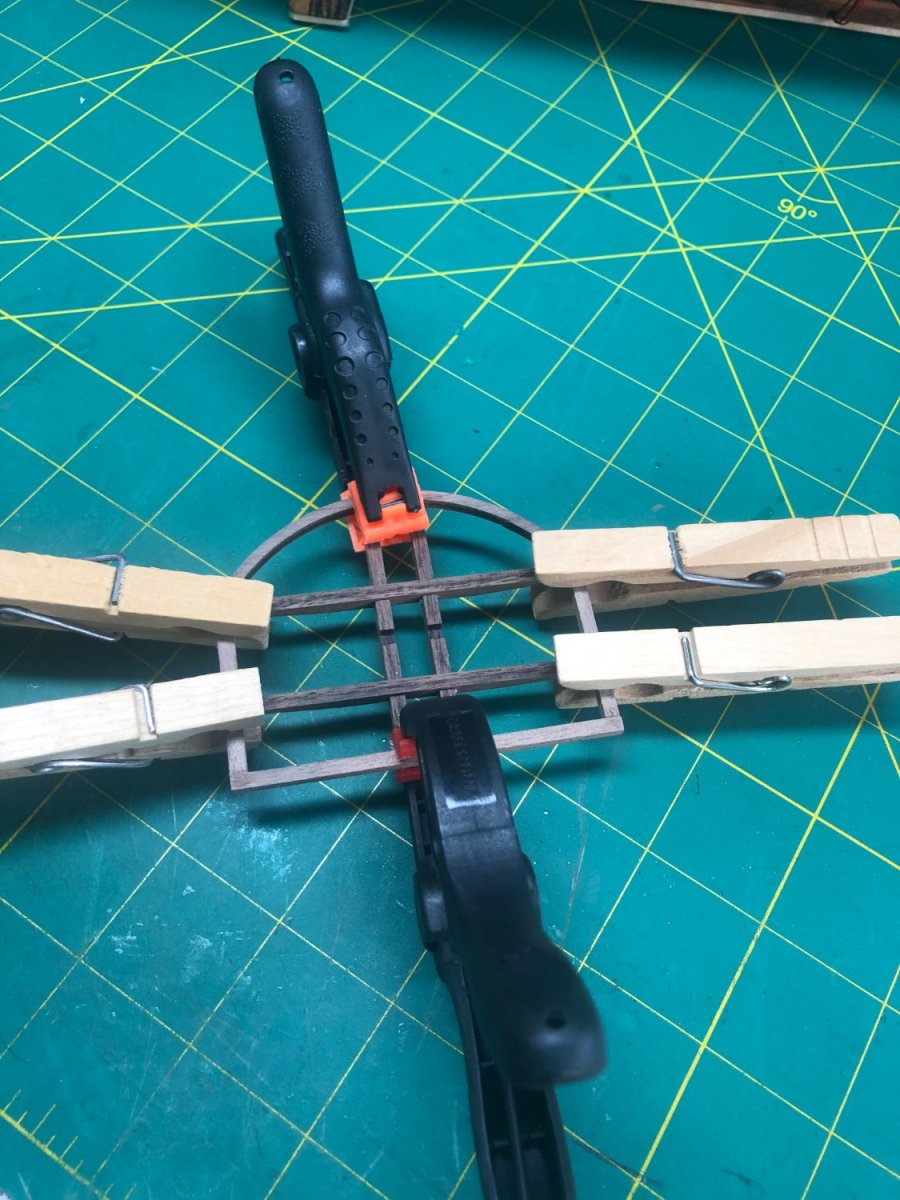
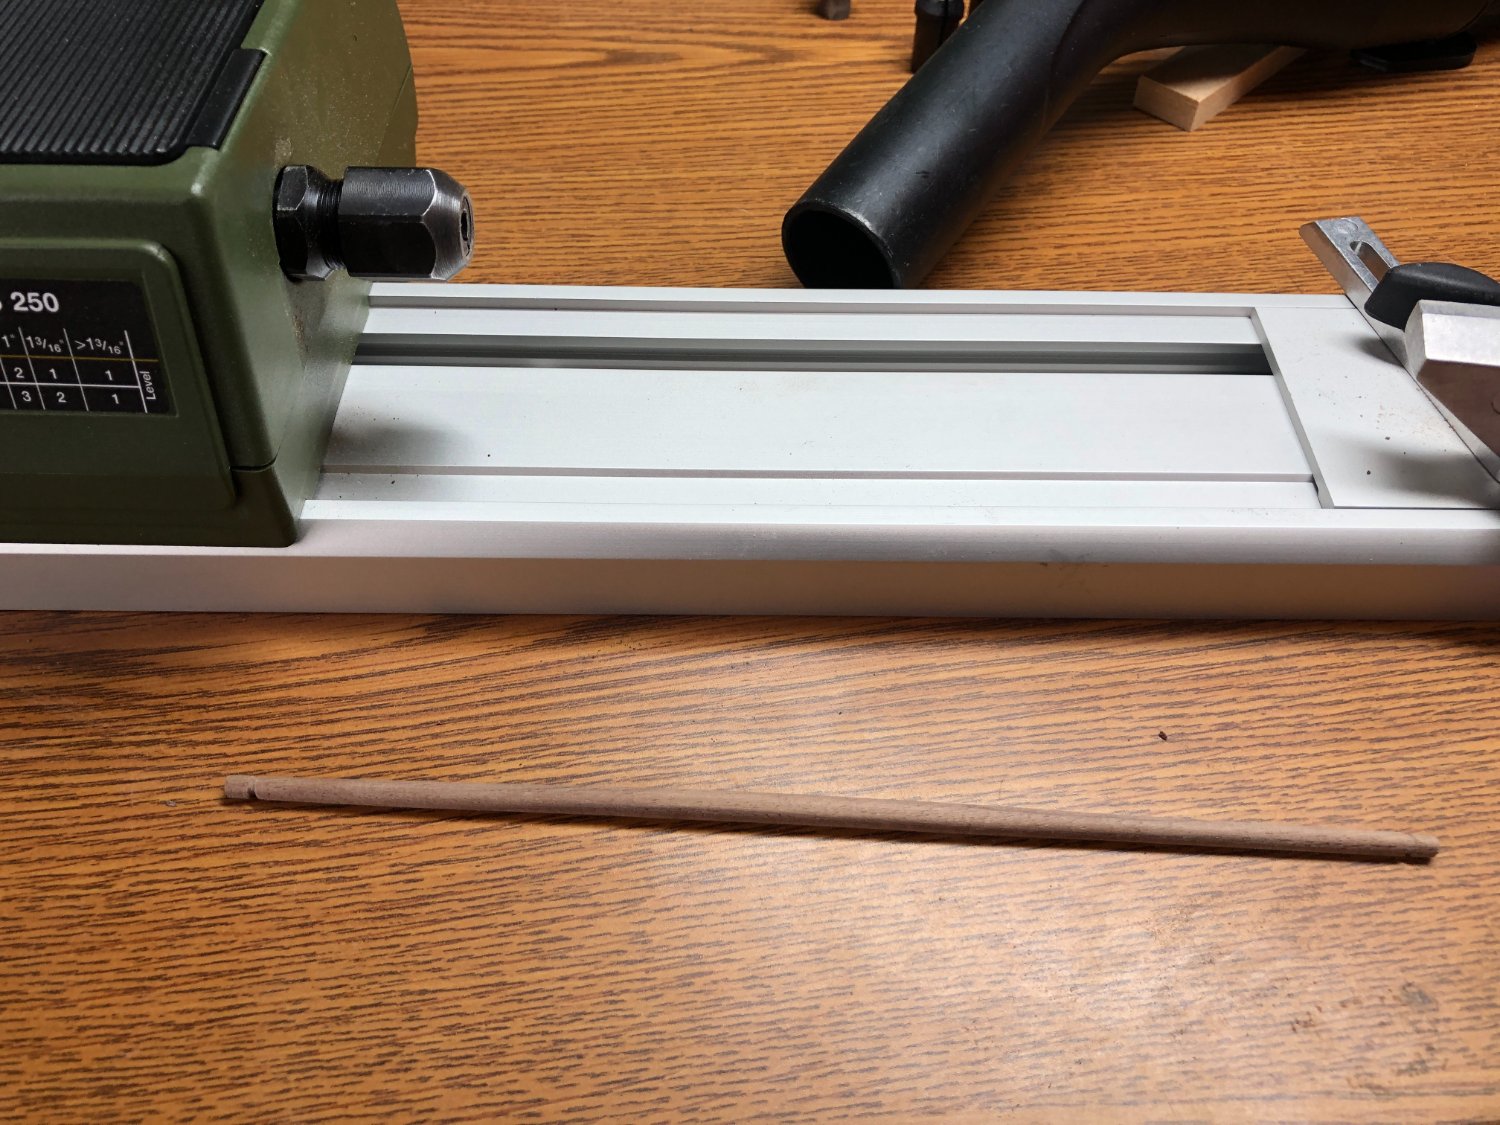
Just some quick points... Squared off the mast head with my mini mill:
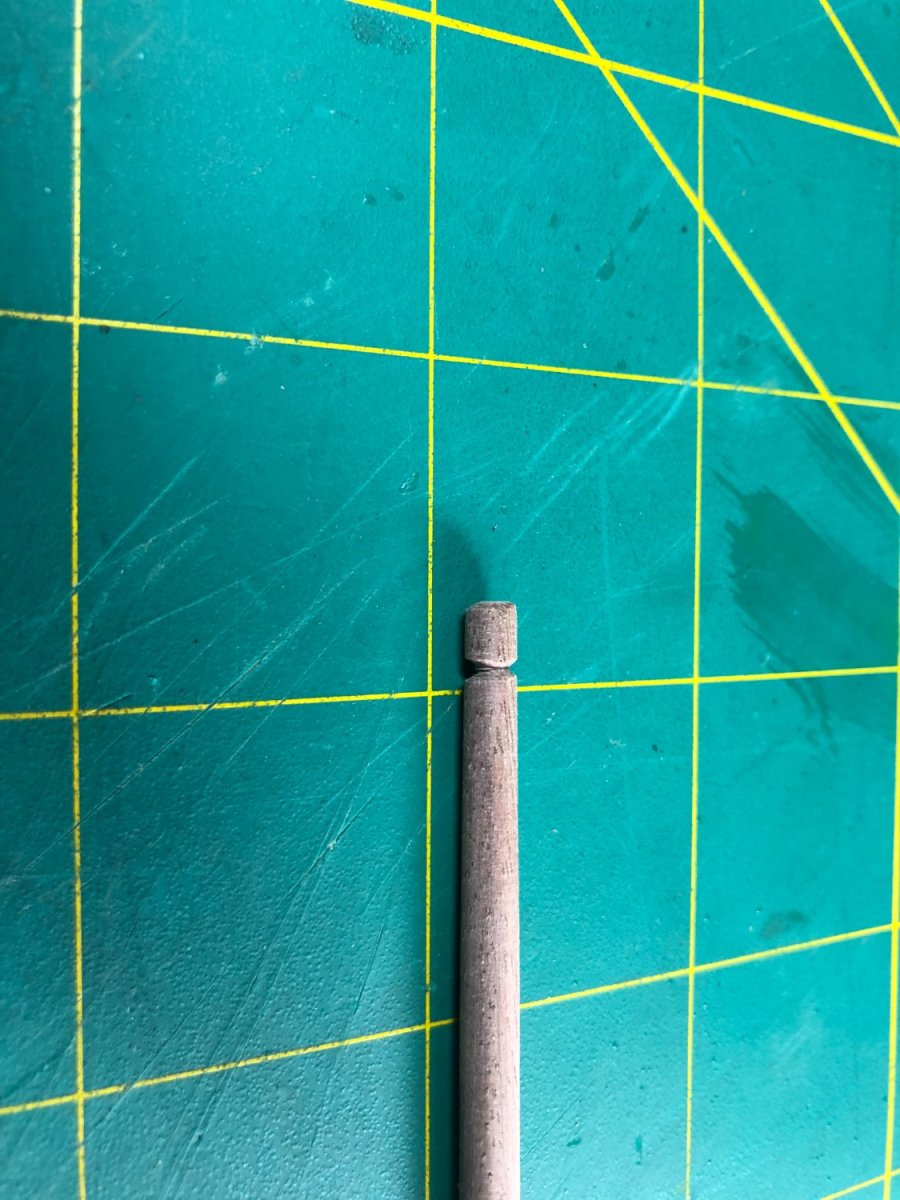
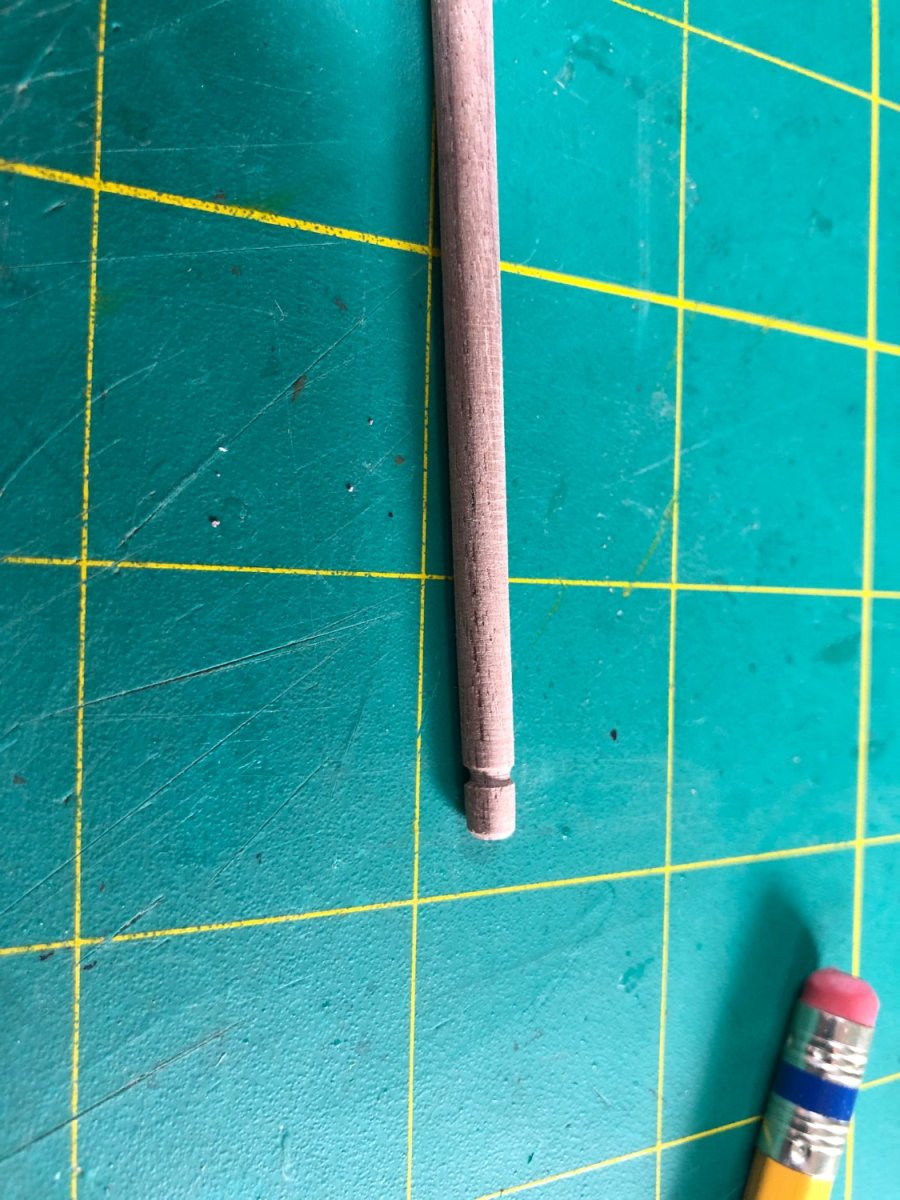
Assembly of the masthead was similar too:


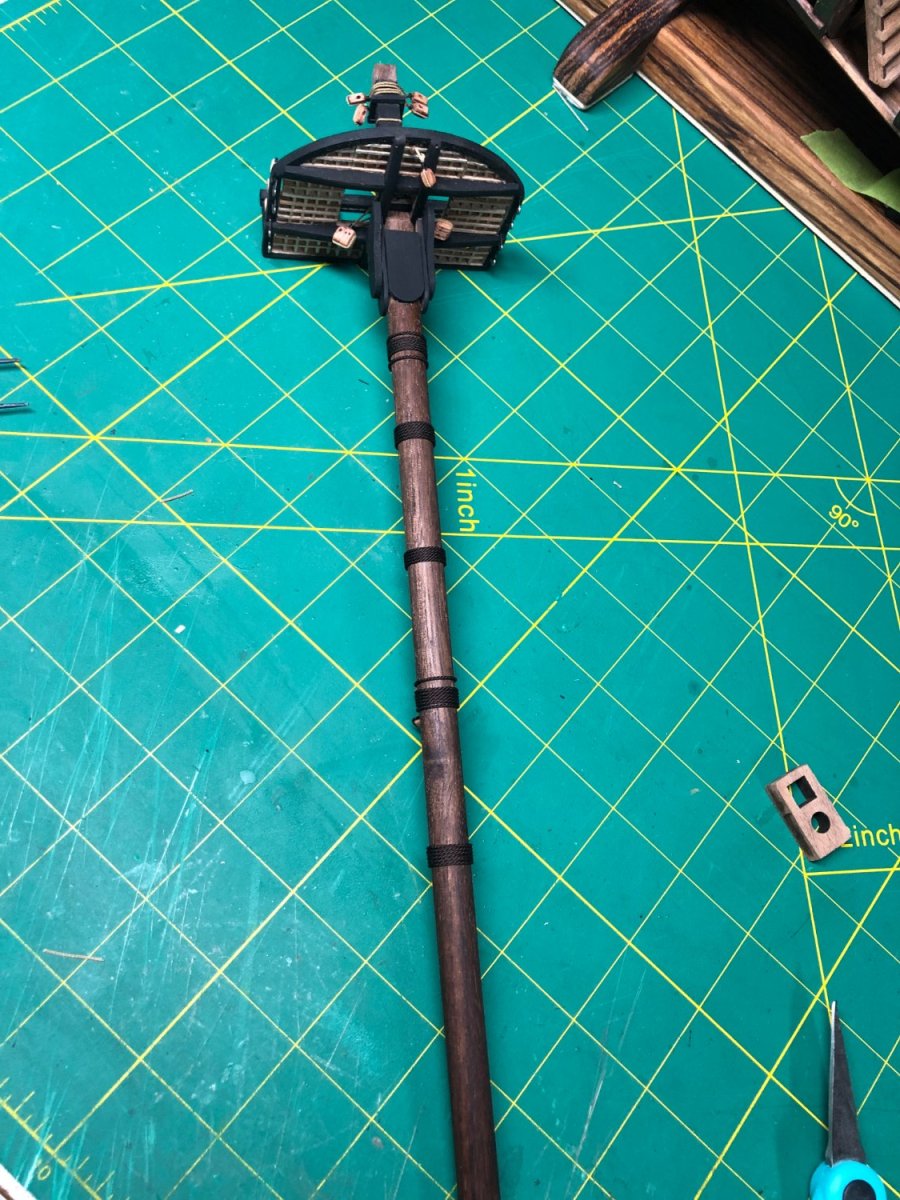
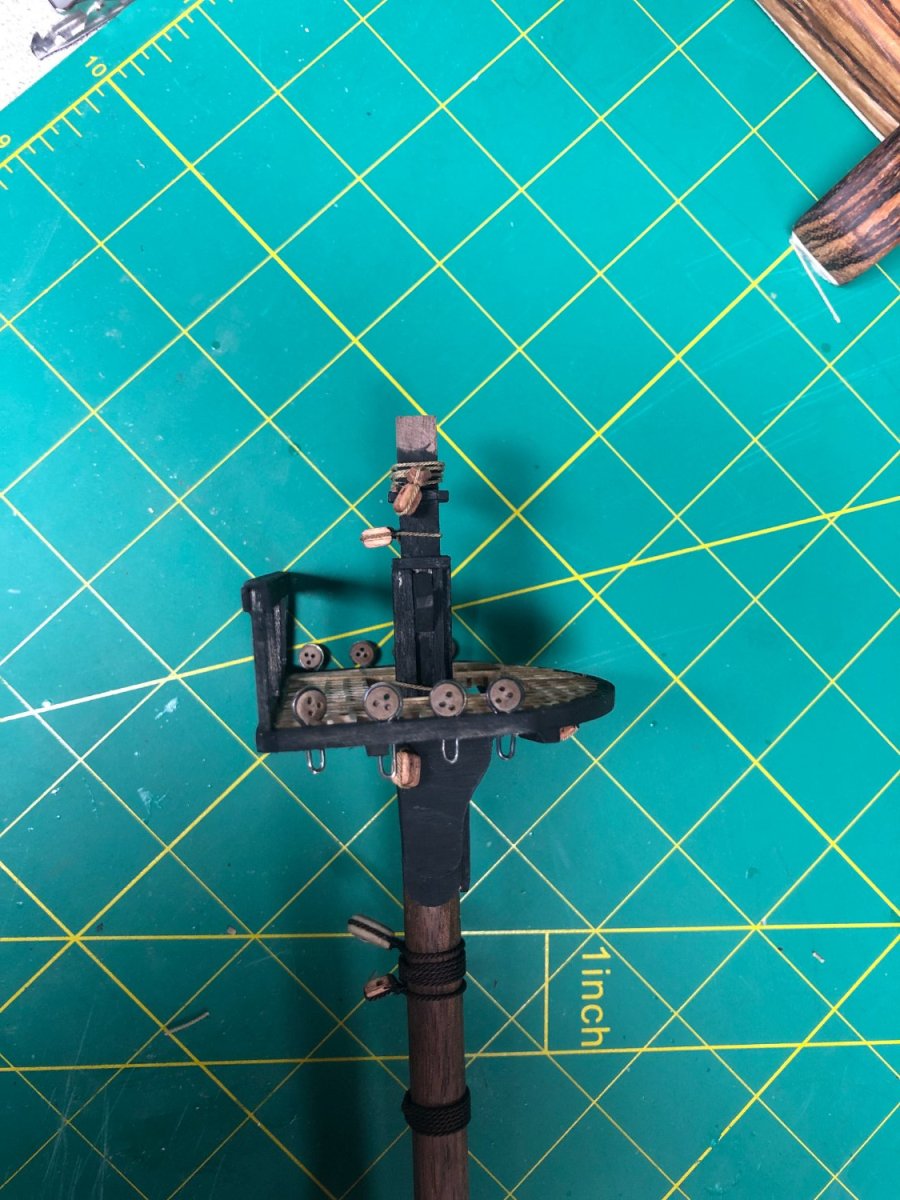
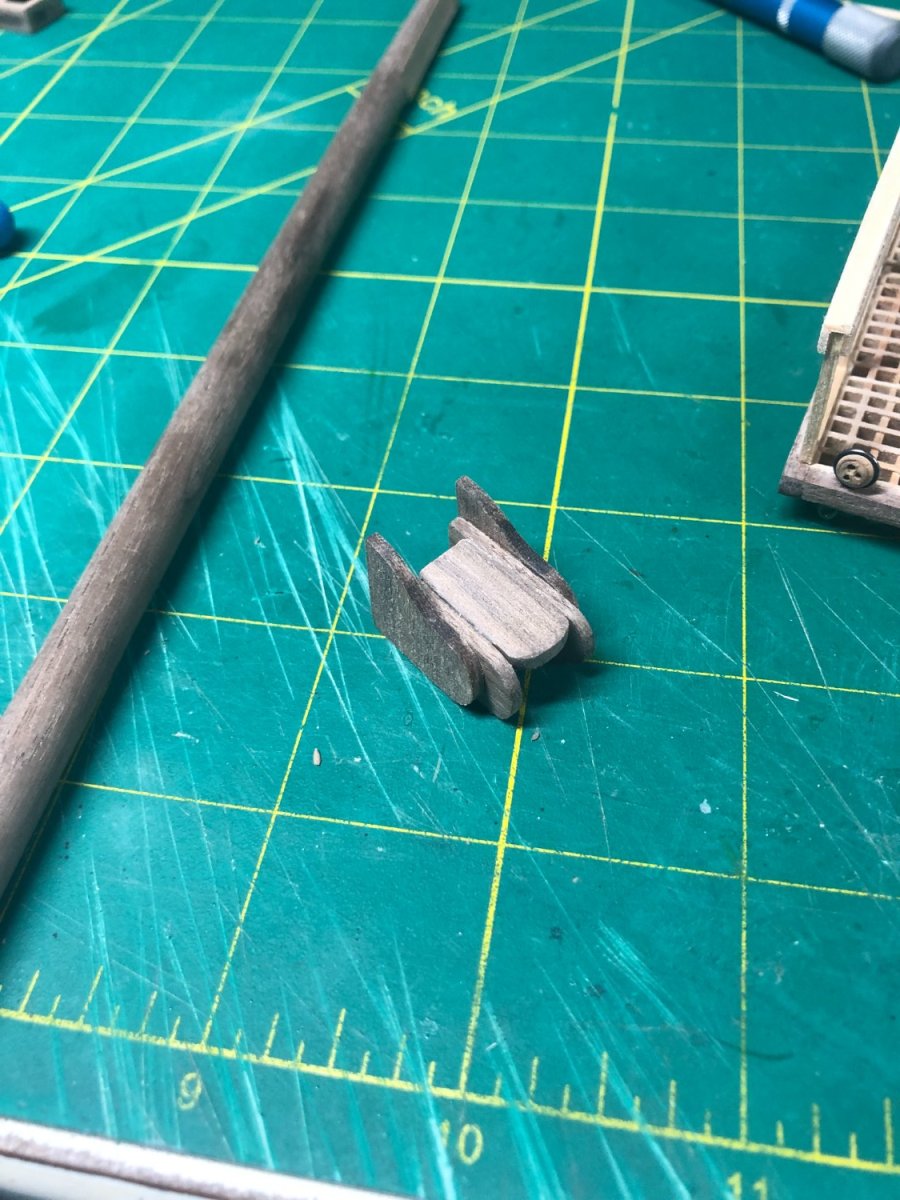
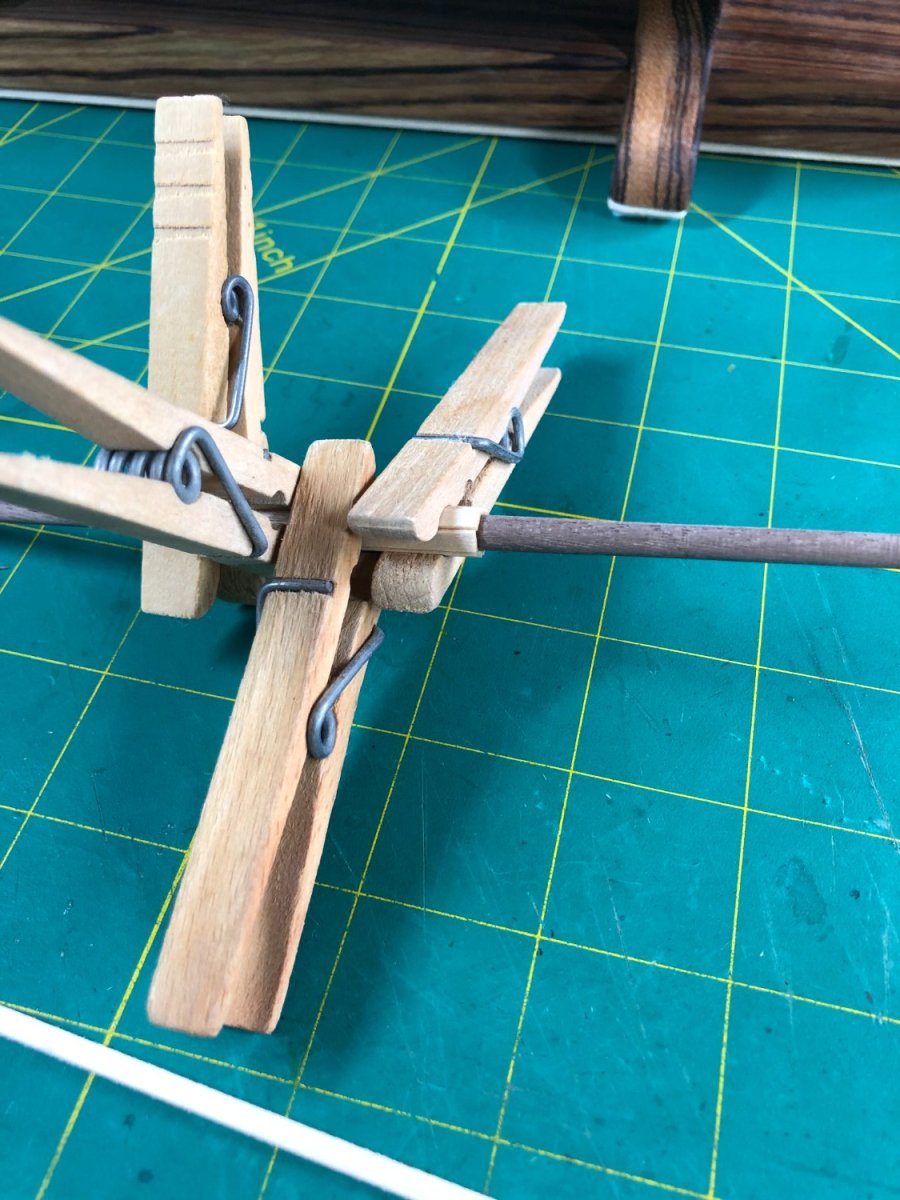
And finally the support for the Spanker Gaff Support:

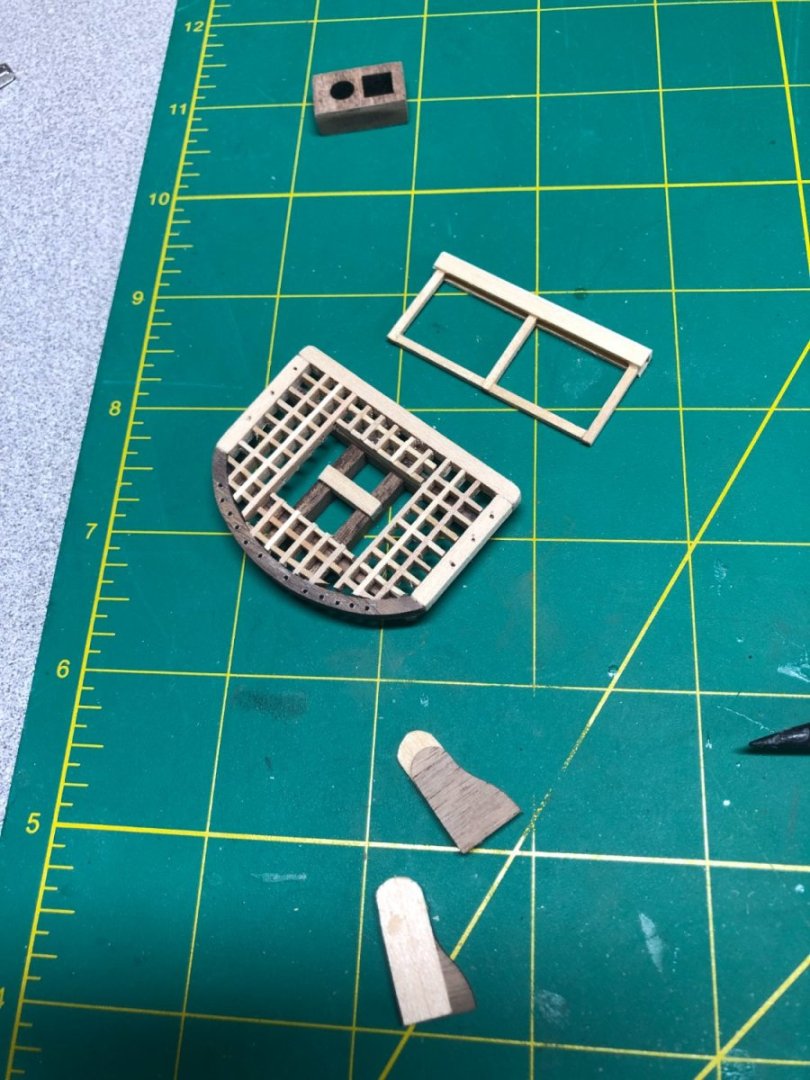
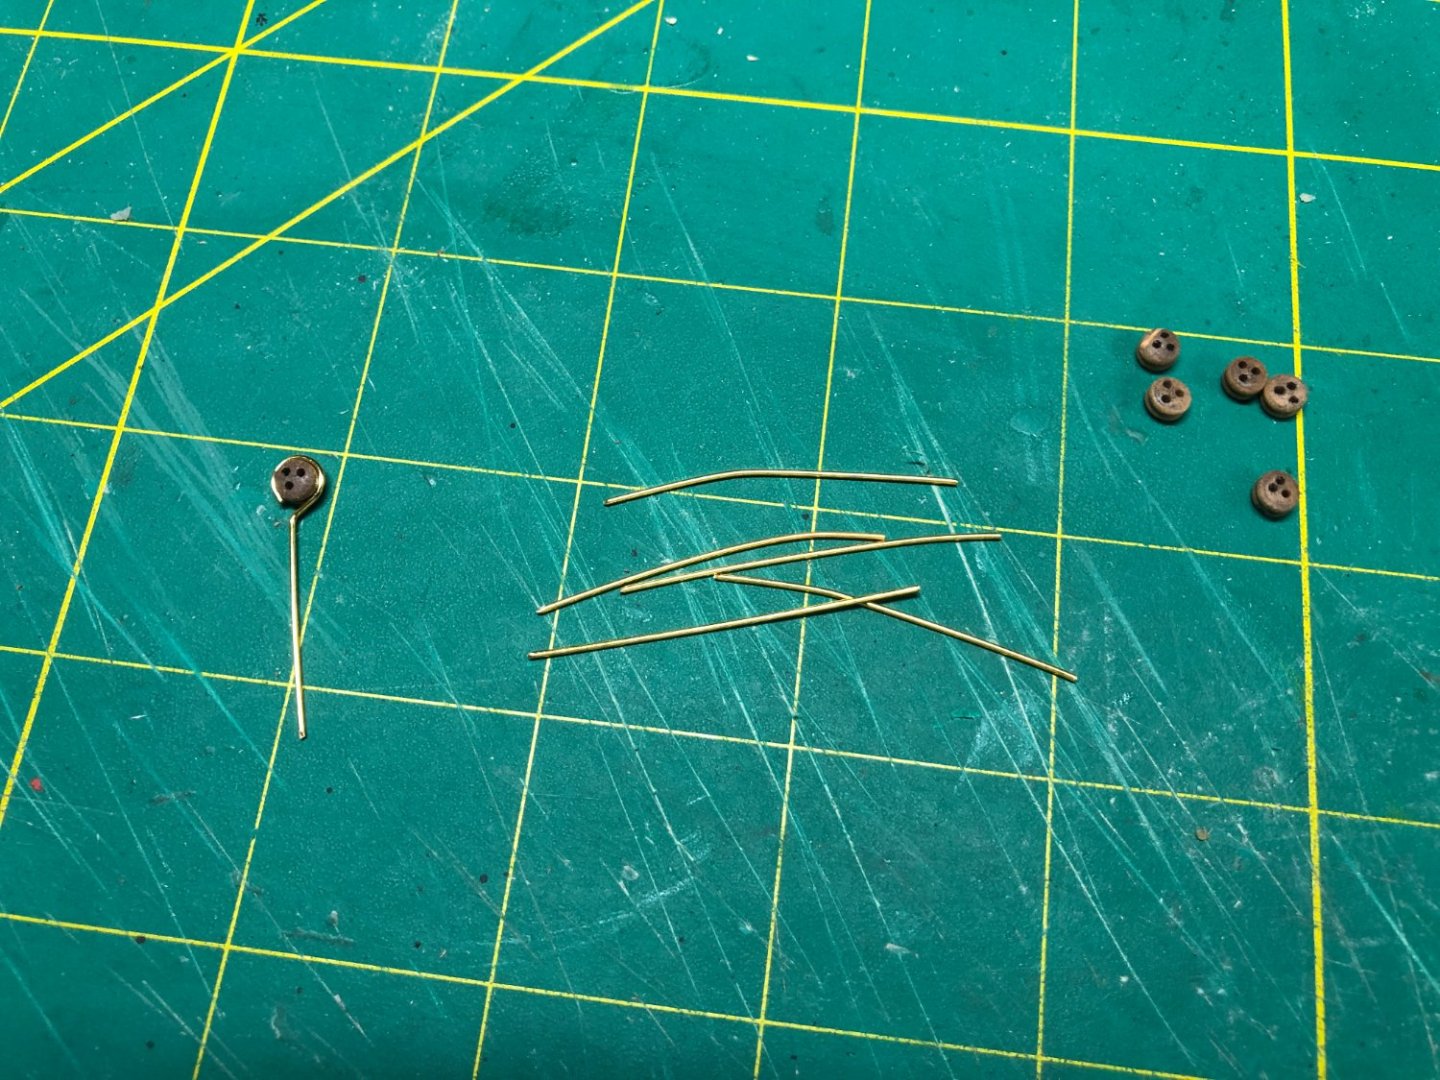
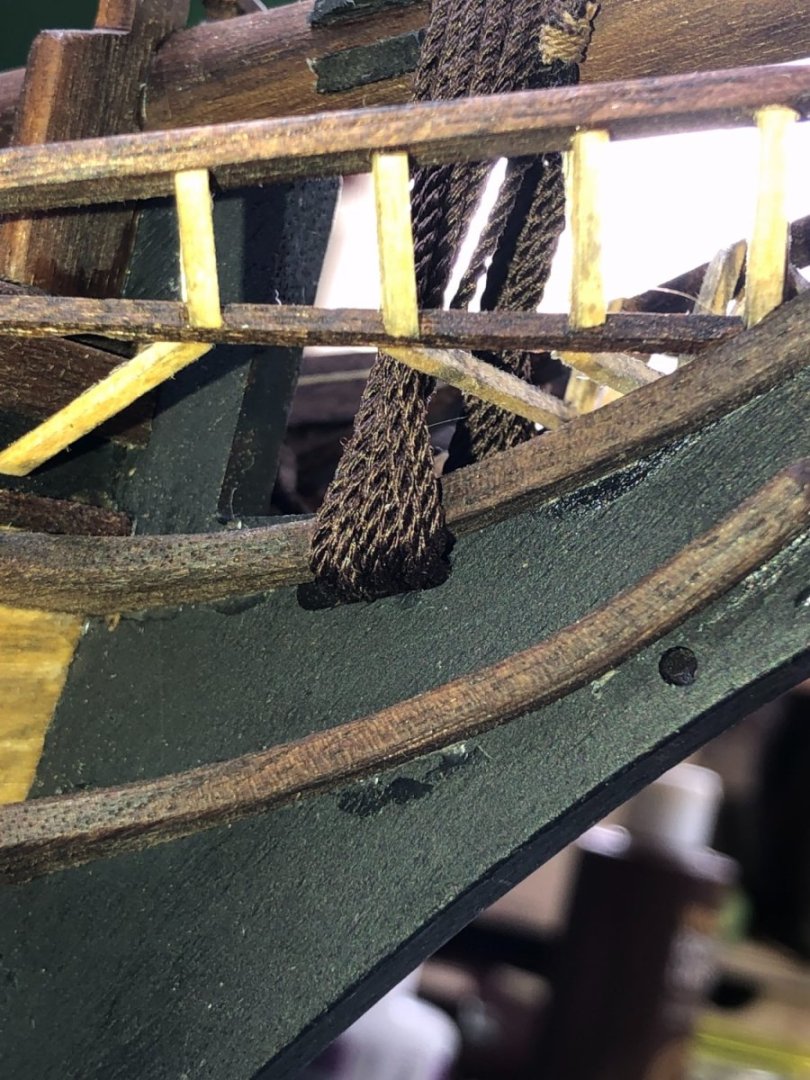
Blocks to be added tomorrow and work on mounting the deadeyes has begun:
The mizzen mast will be mounted tomorrow and the rigging for the lower masts will get under with with the Fore Stay and Preventer Stay.
- AJohnson, Dave_E, mort stoll and 1 other
-
 4
4
-
The lower main mast is basically identical to the foremast... a bit taller but otherwise the same.
I don't need to go over the procedures used since they too, were identical.
Finished product below:


Next up is the mizzen mast... and then the rigging really gets going!
-
Back at it!
Still some projects around home but the Bounty is getting her just priority right now!
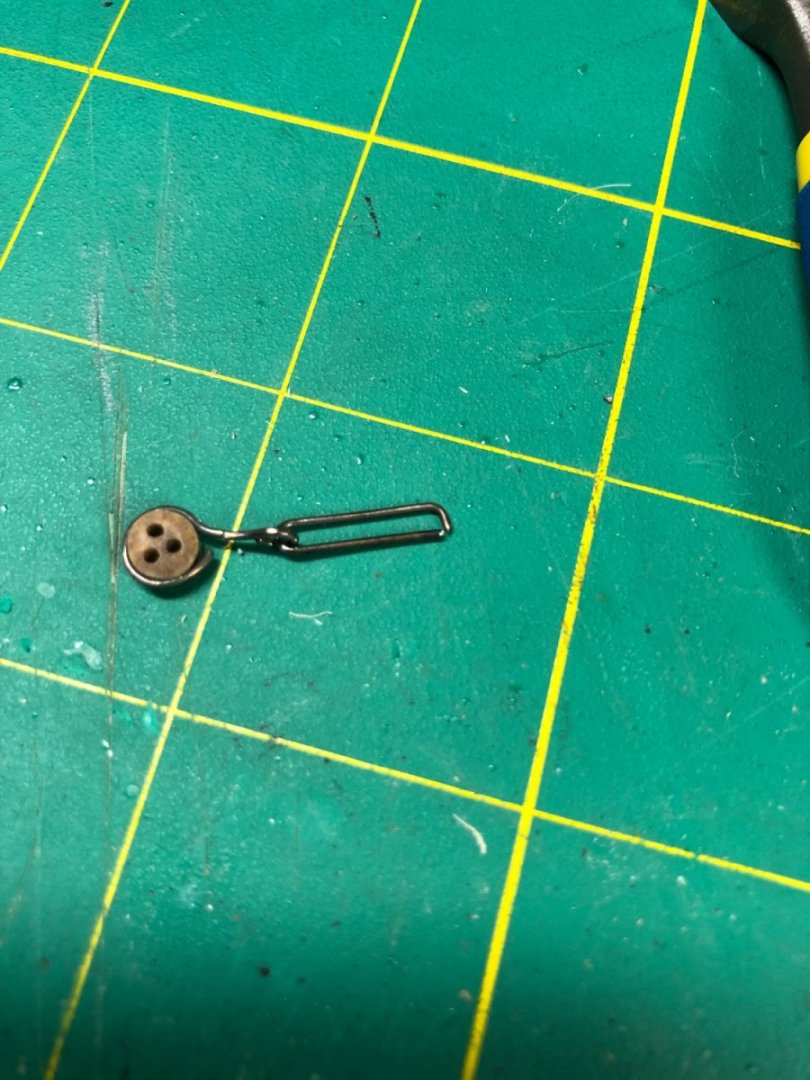
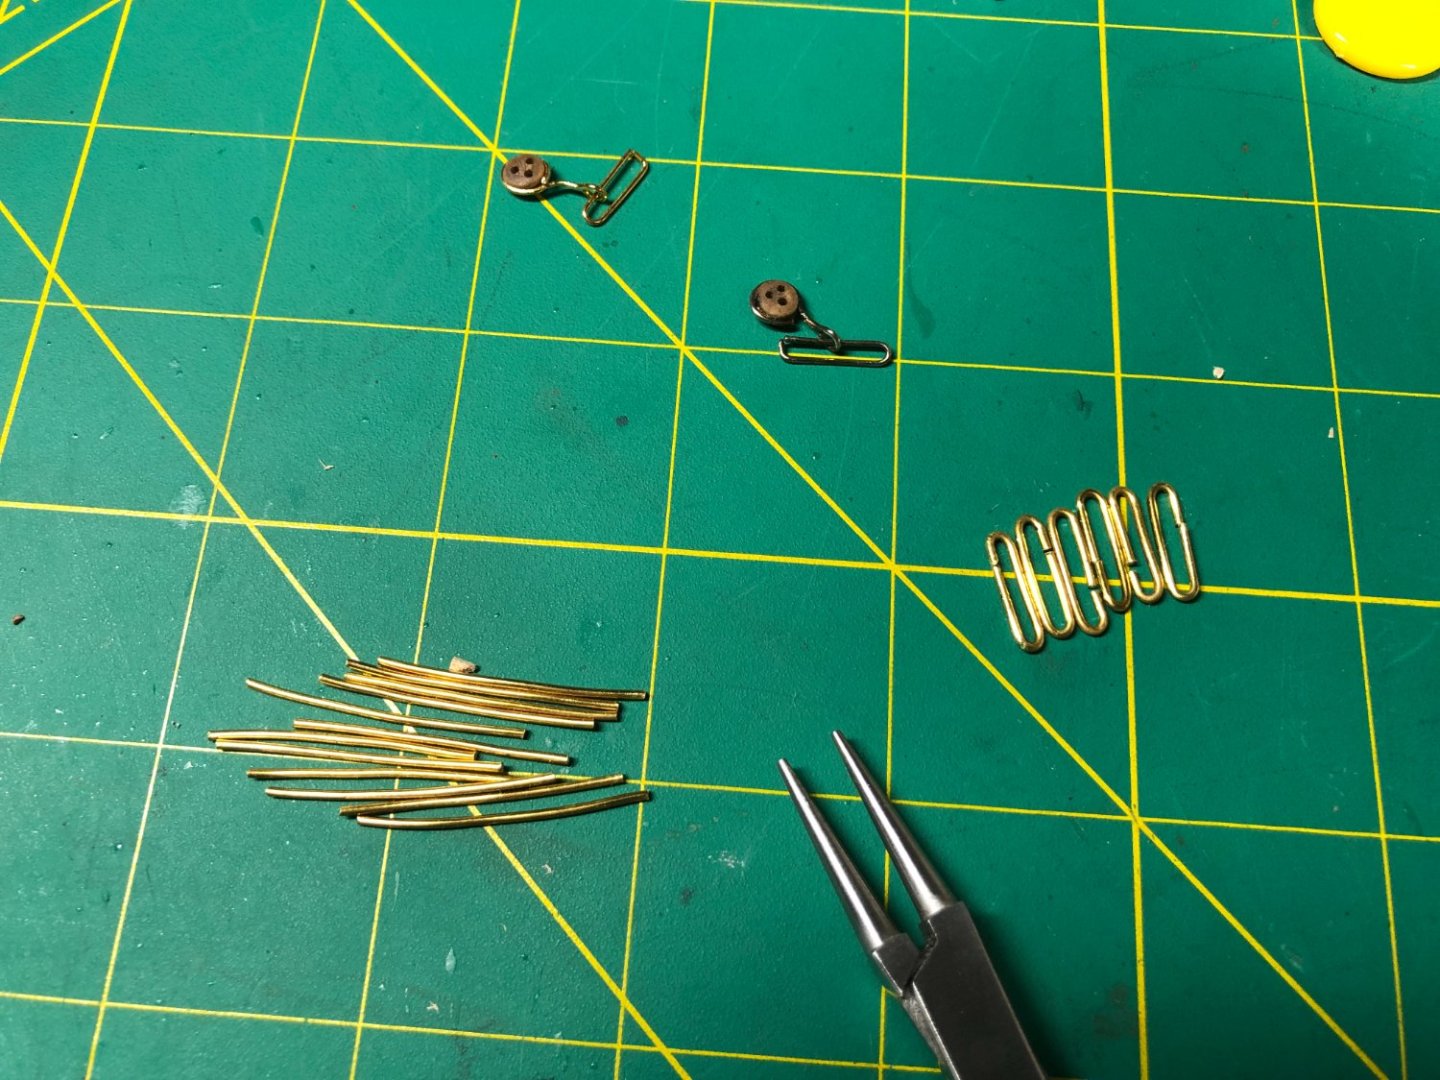
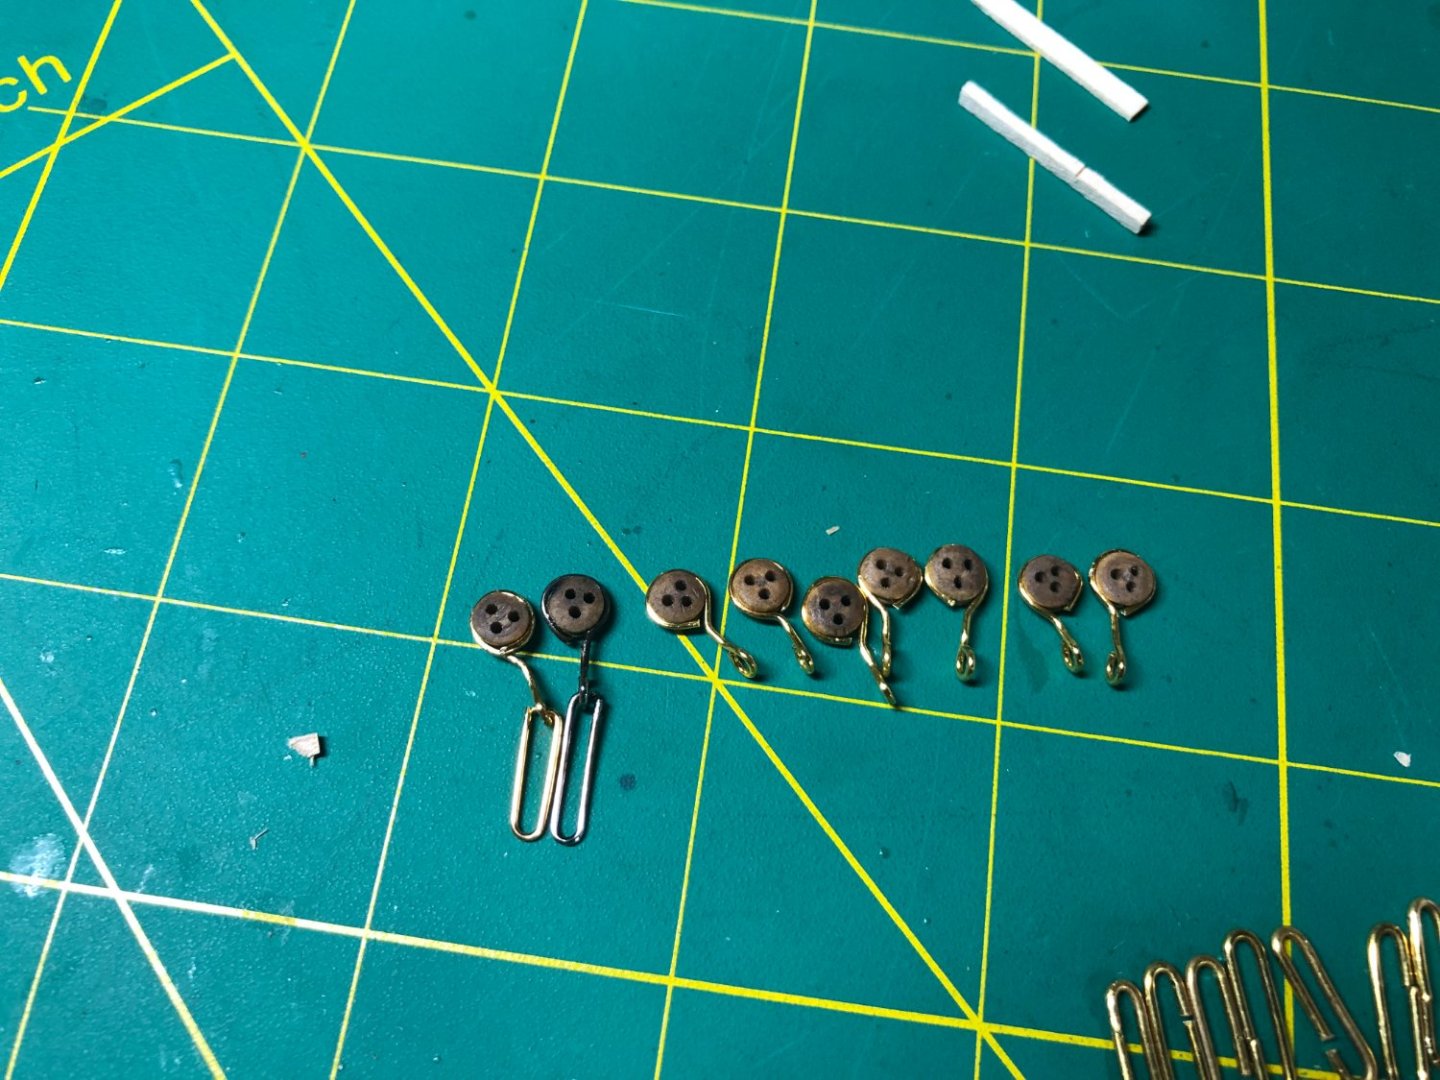
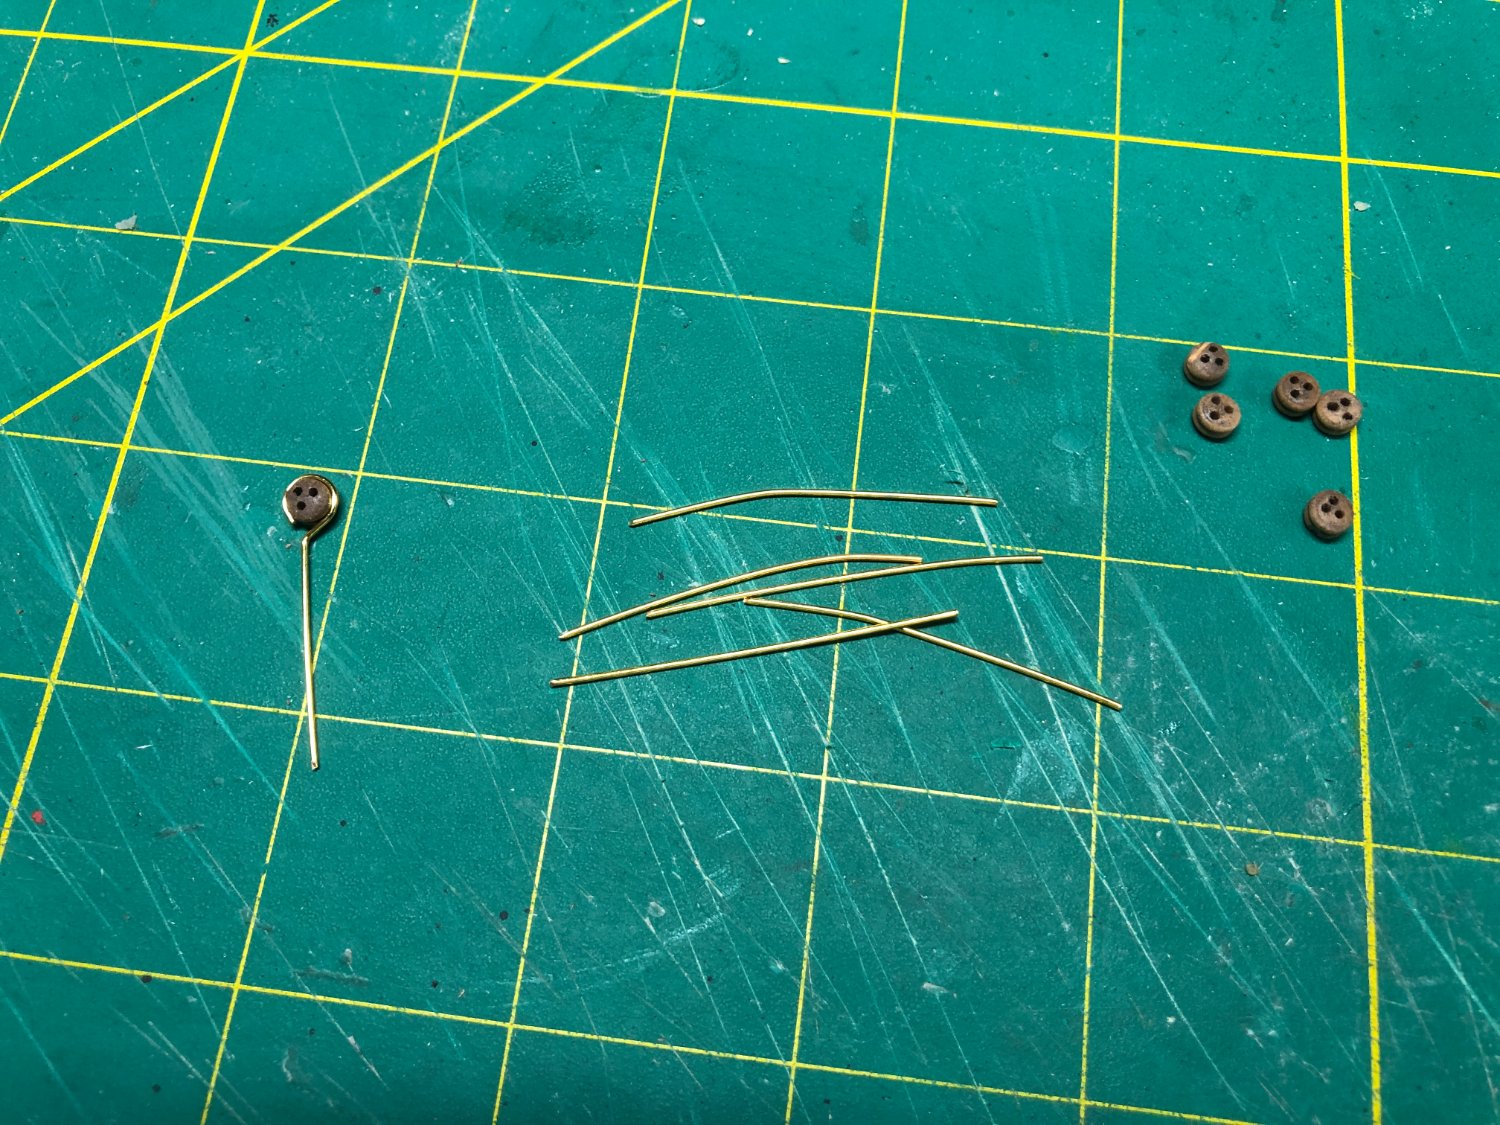
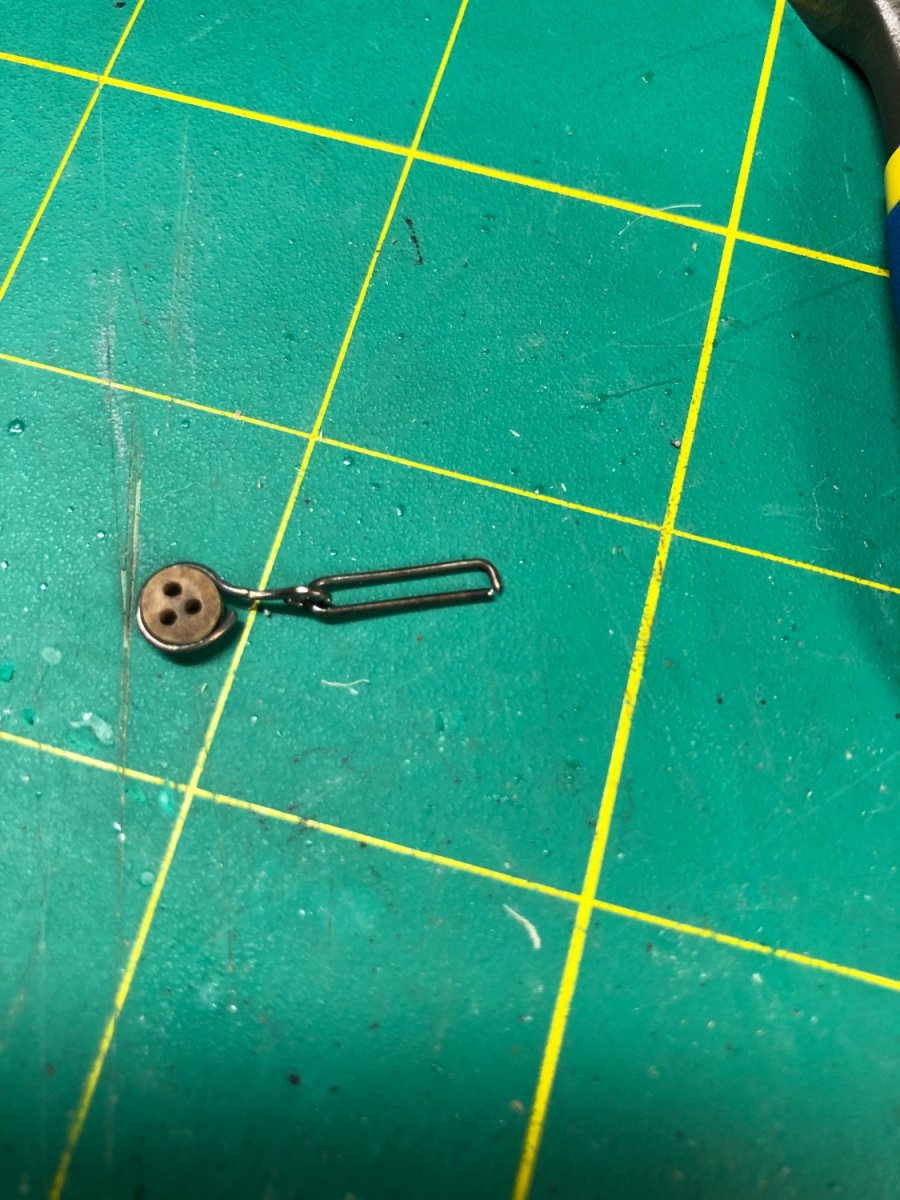
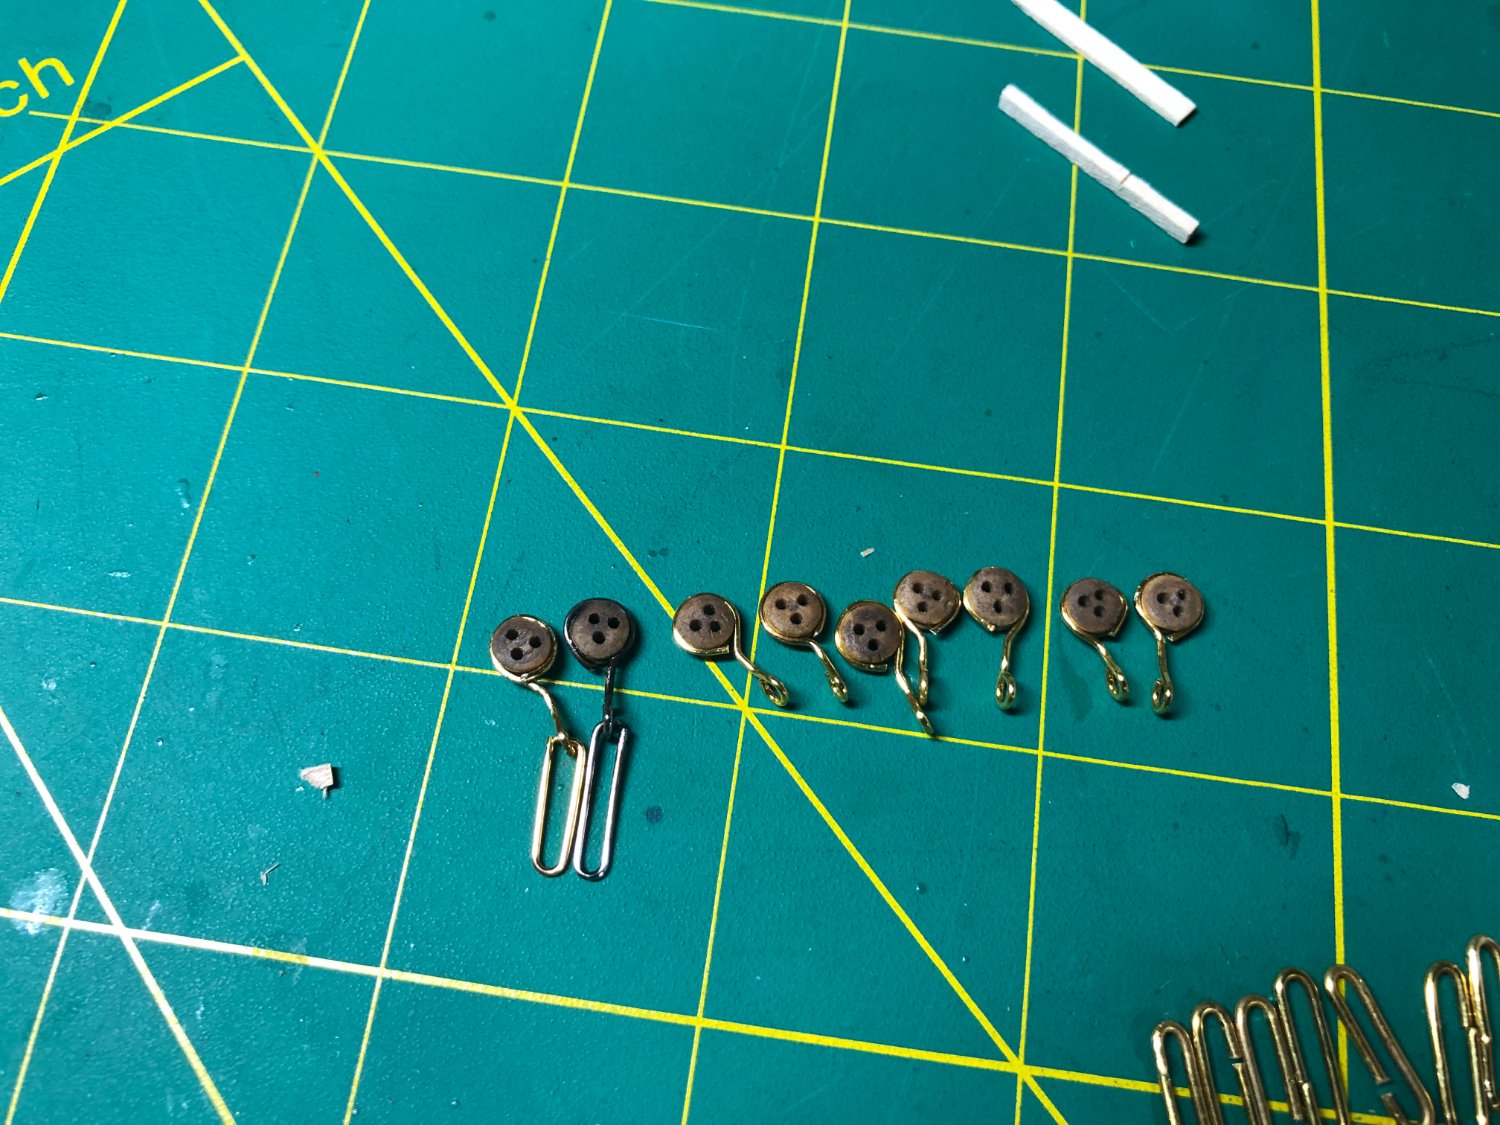
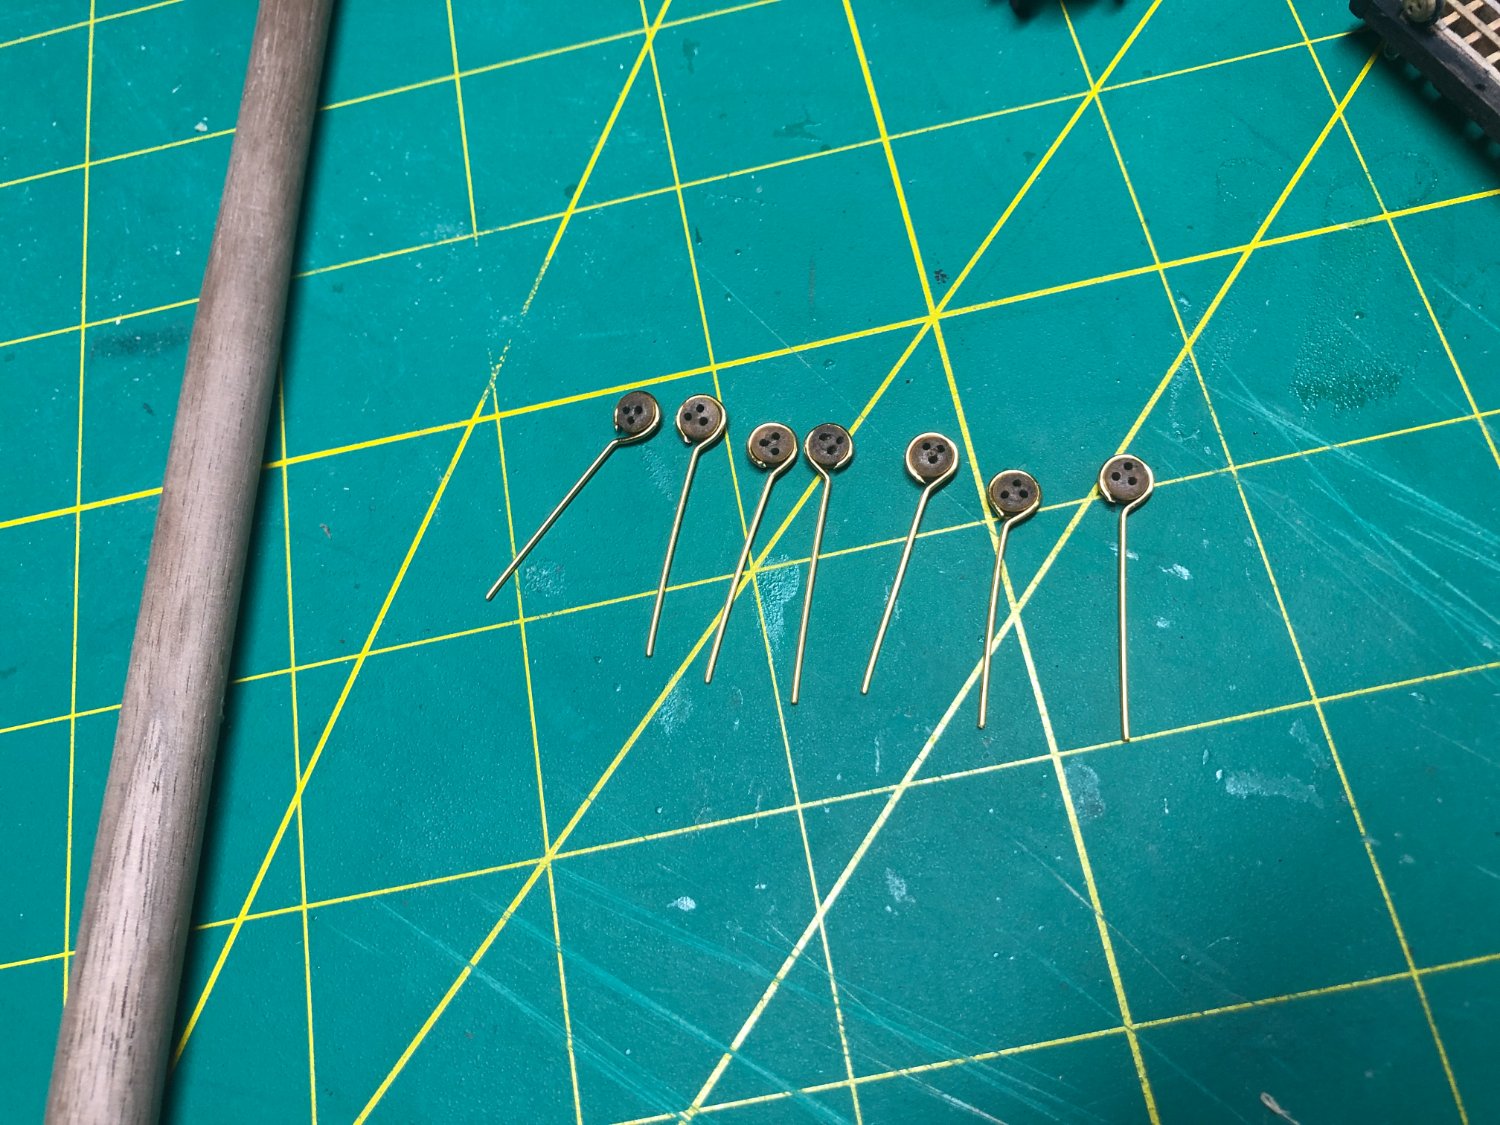
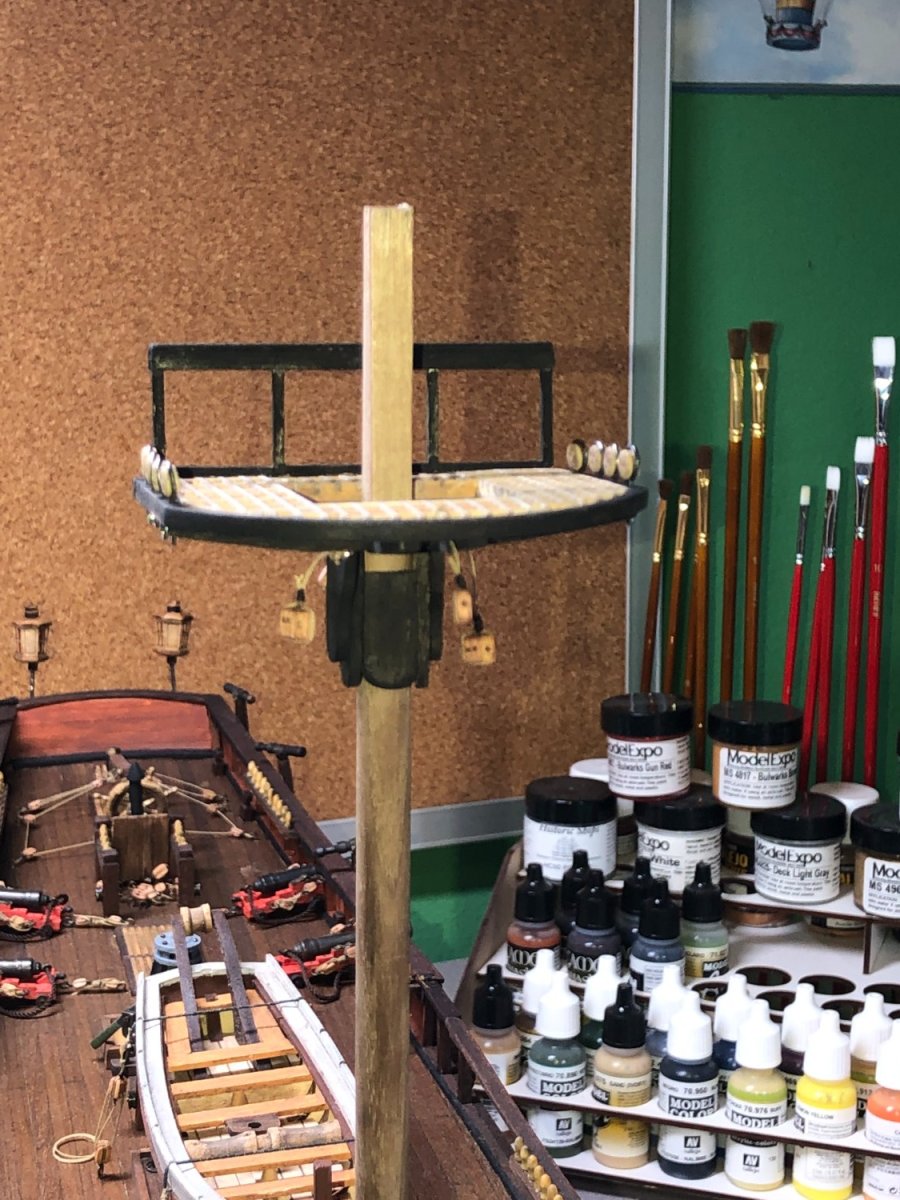
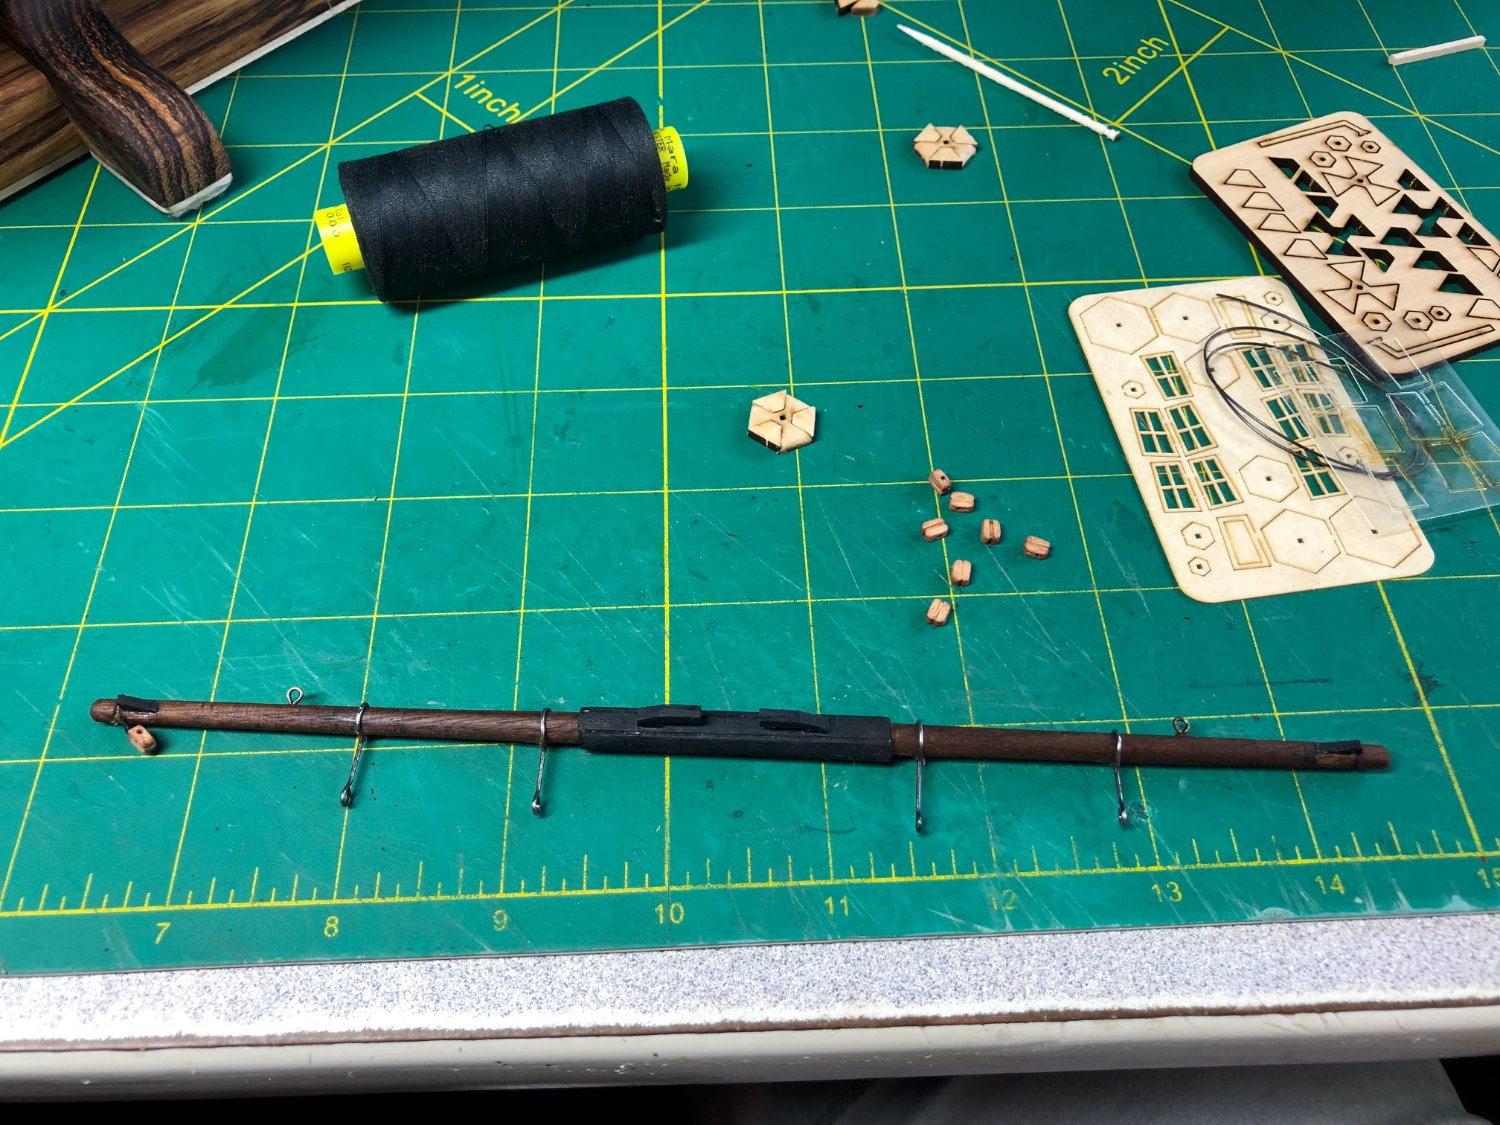
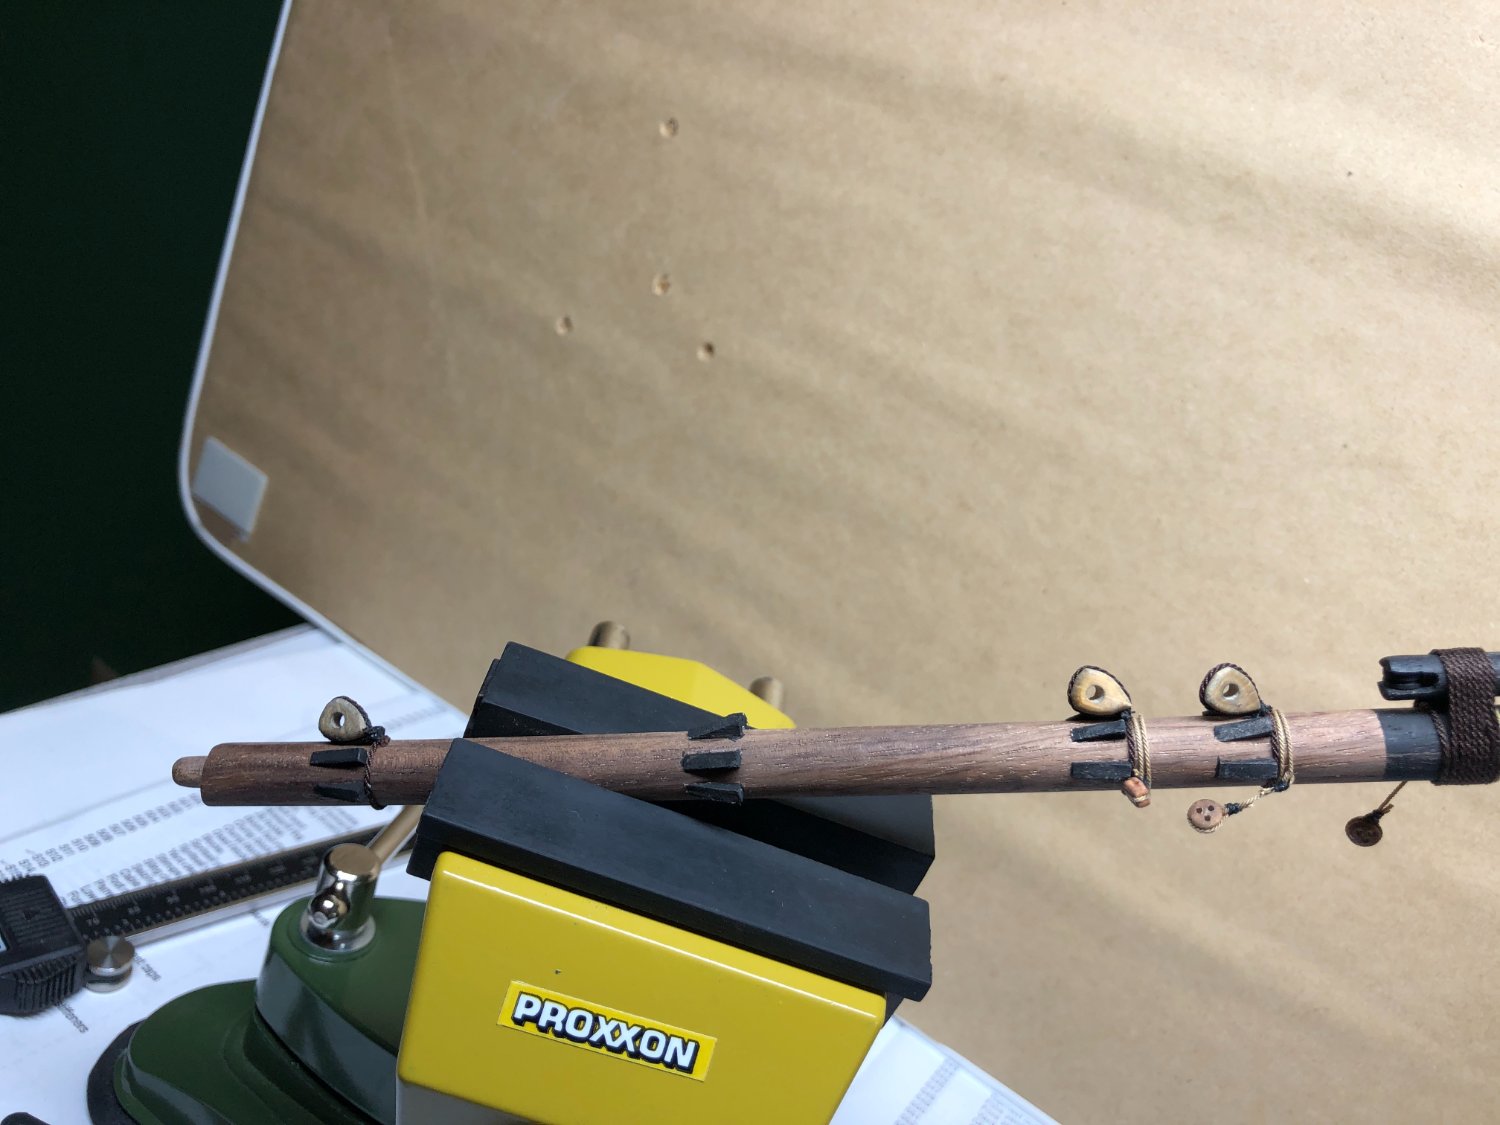
With the bowsprit completed, I've moved on to the foremast. I started by working on the deadeyes and chain links and the deadeyes for the foremast top:
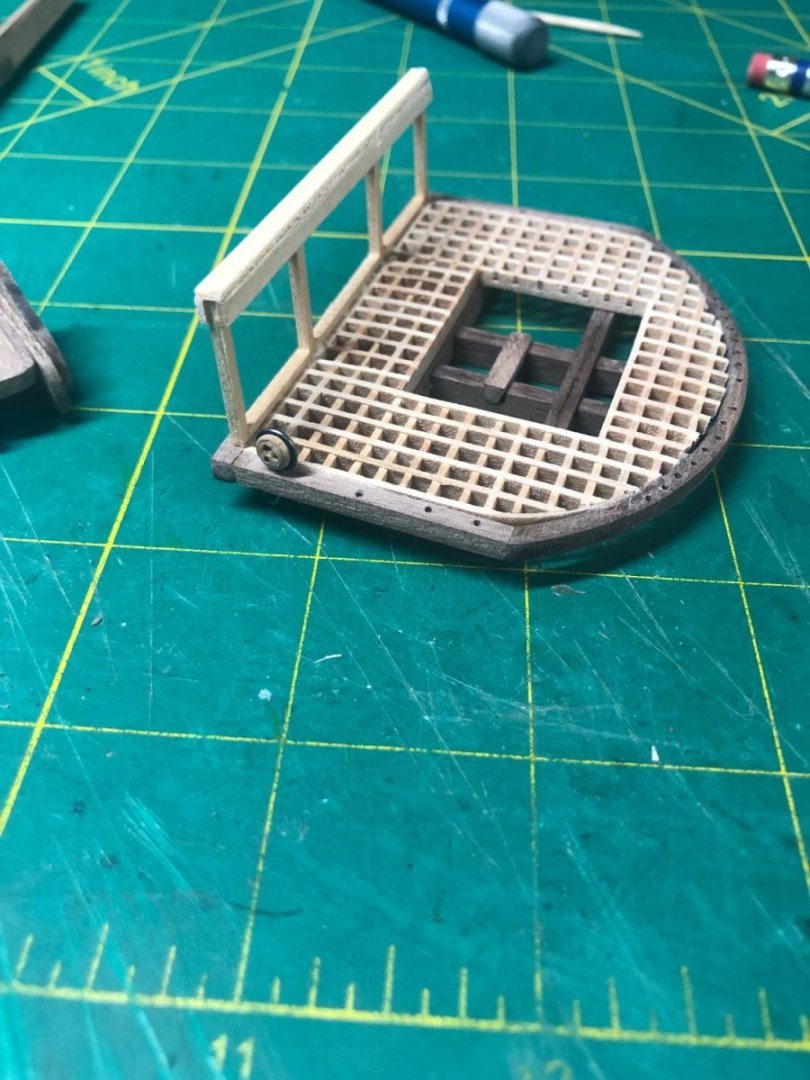
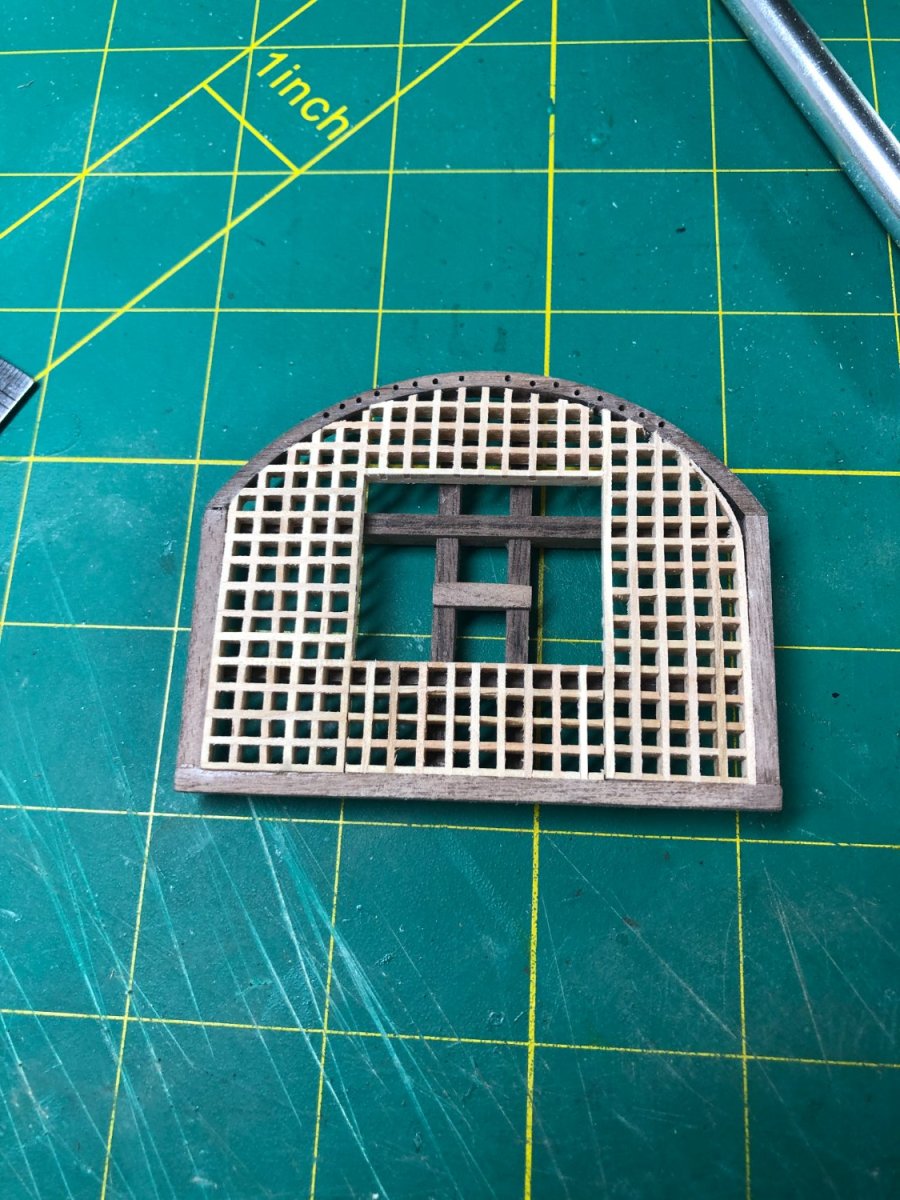
The foremast was sanded to the proper diameter and work started on the foremast top:

Grating added and holes drilled for the rigging:
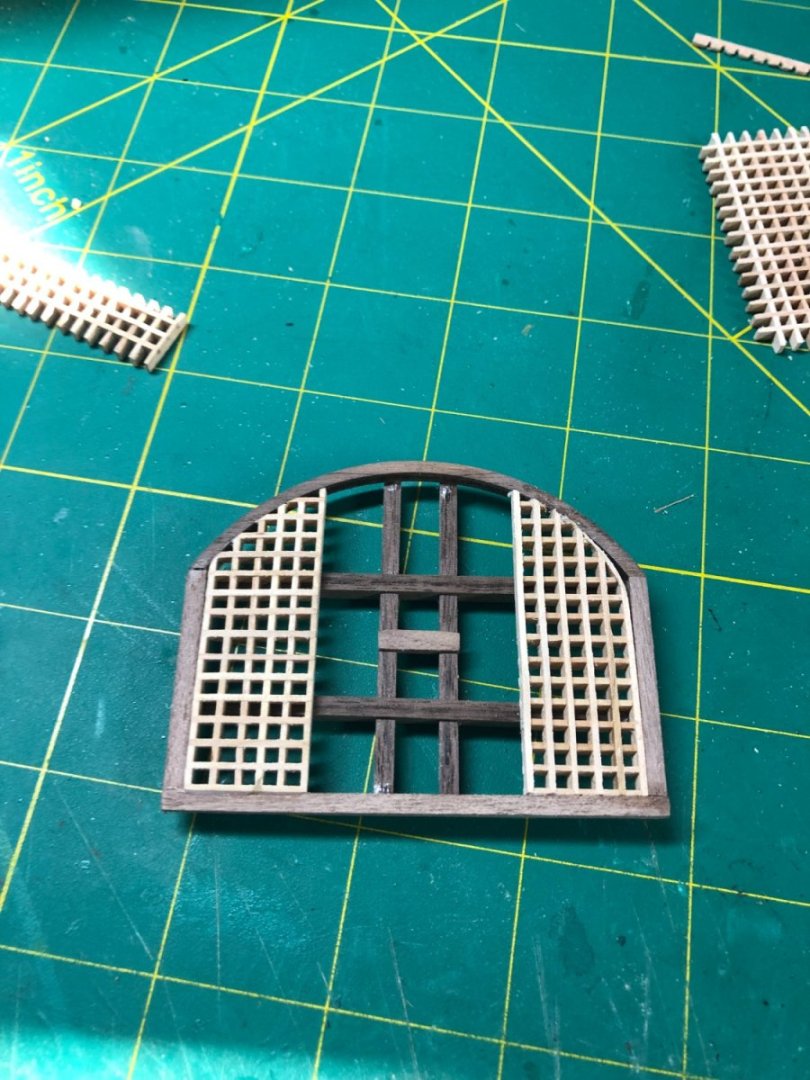

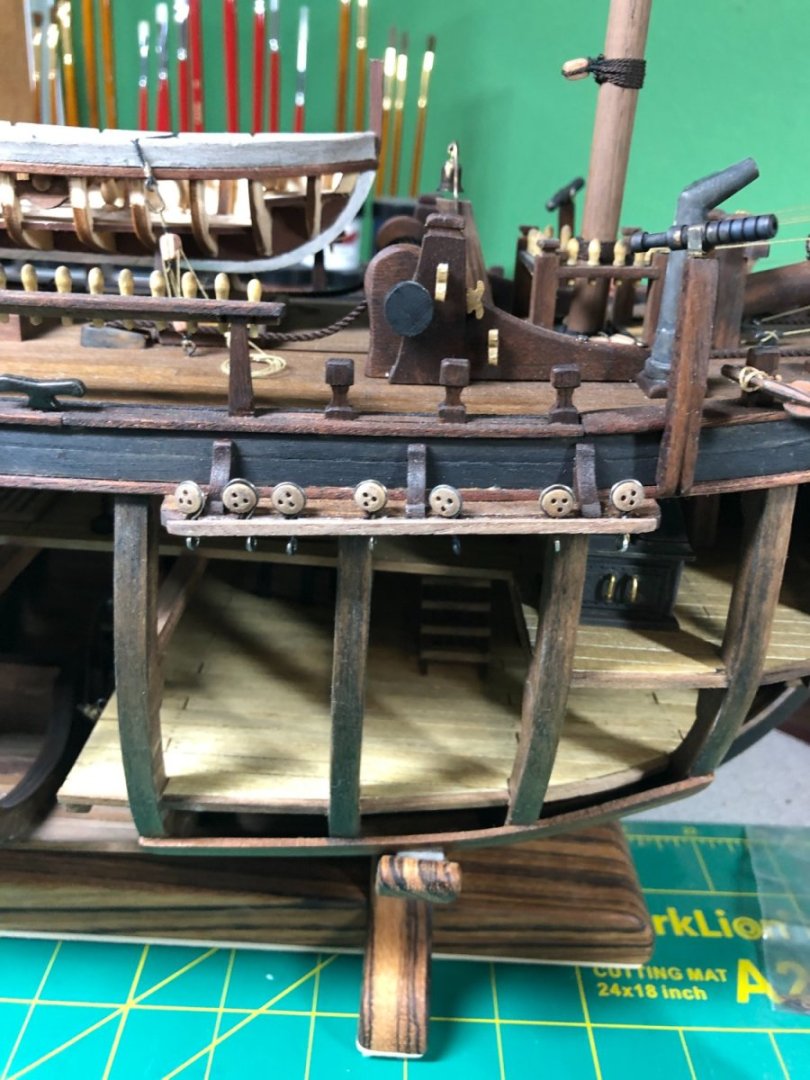
I altered the railing from what the kit show but I think it looks better:
The cheeks are assembled and ready to be added after some paint:

Deadeyes added and painting completed, ready for installation:
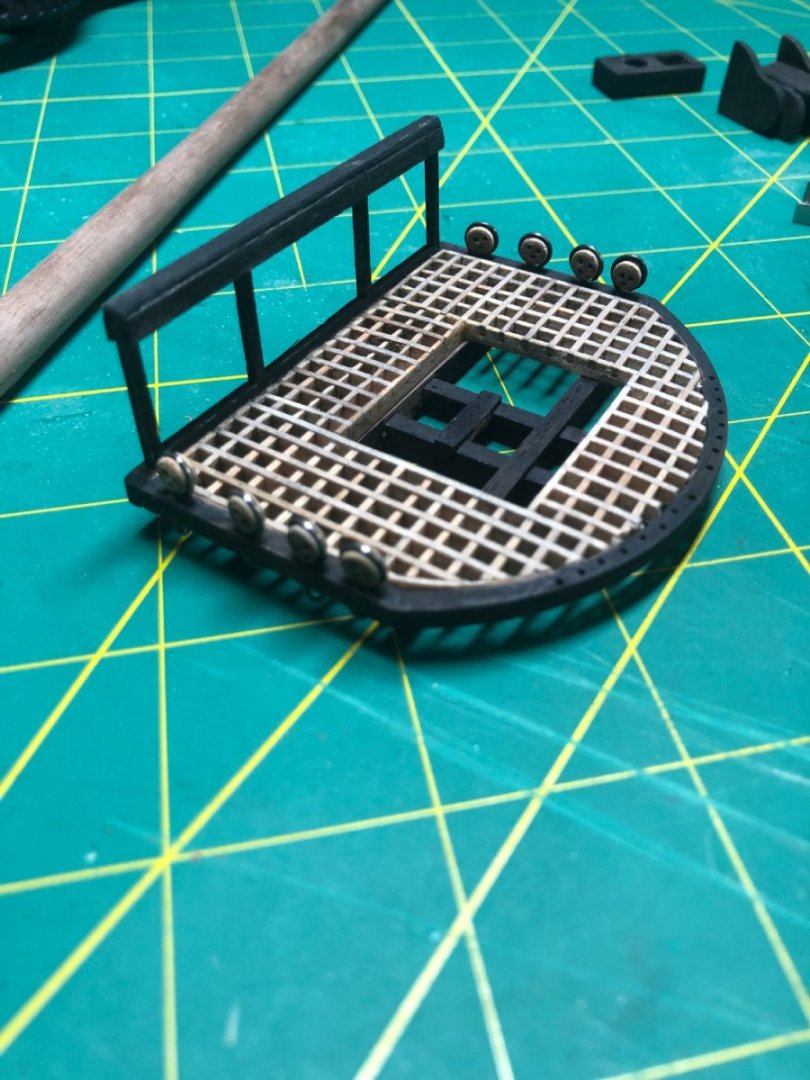
Glued into place:

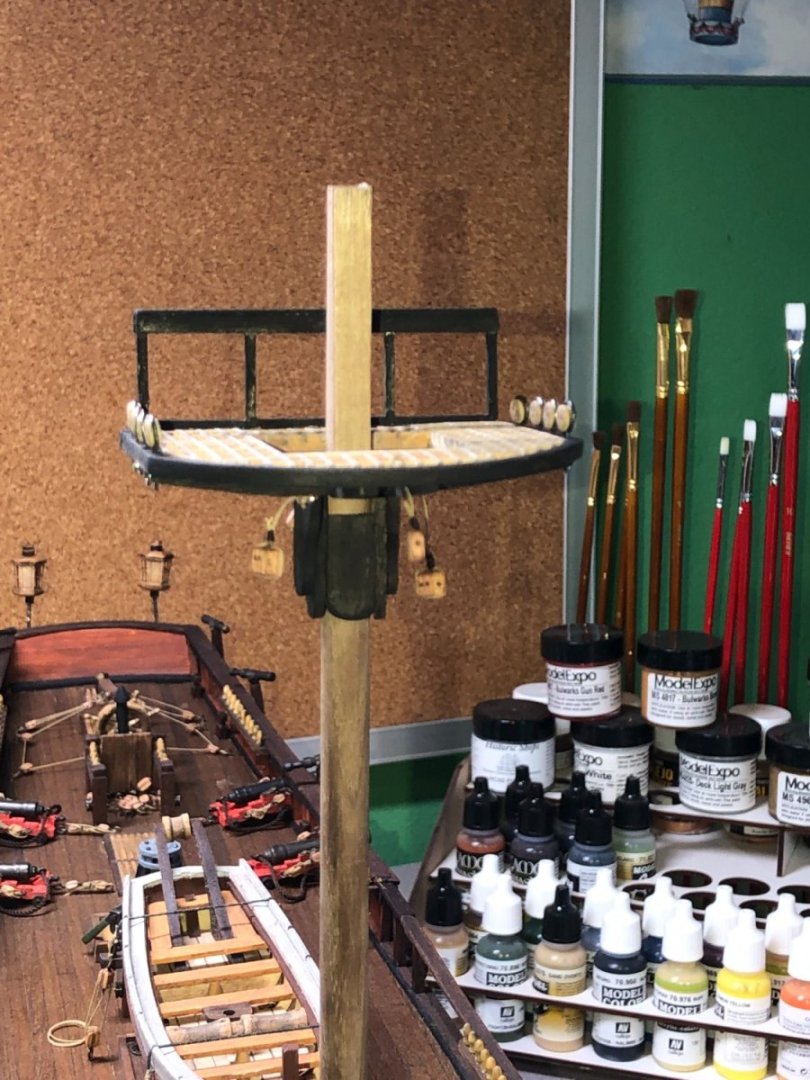
The mast is not glued into place yet. I'll be doing the rigging preparations next before gluing it into place.
Shroud lines, and upper mast bracing will be added (before final placement).
-
-
10 hours ago, Dave_E said:
Do you have to pull the big ship out of the water during winter?
Hi Dave...
No she stays in the water year around.
-
-
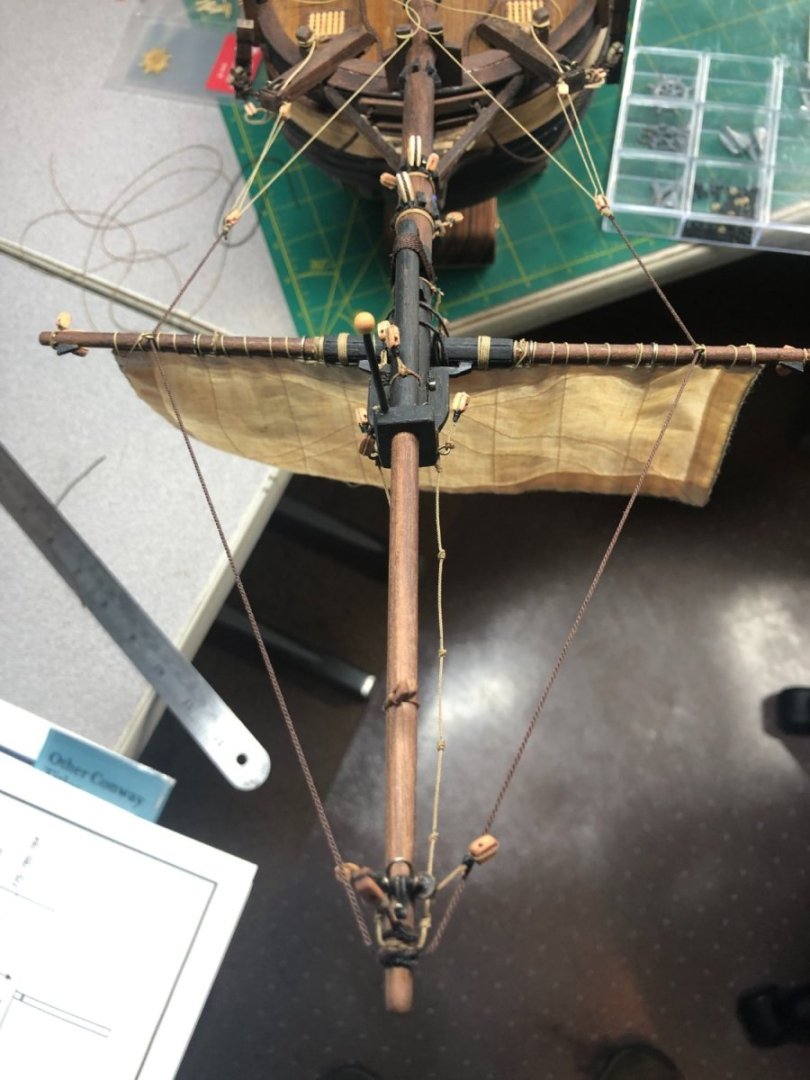
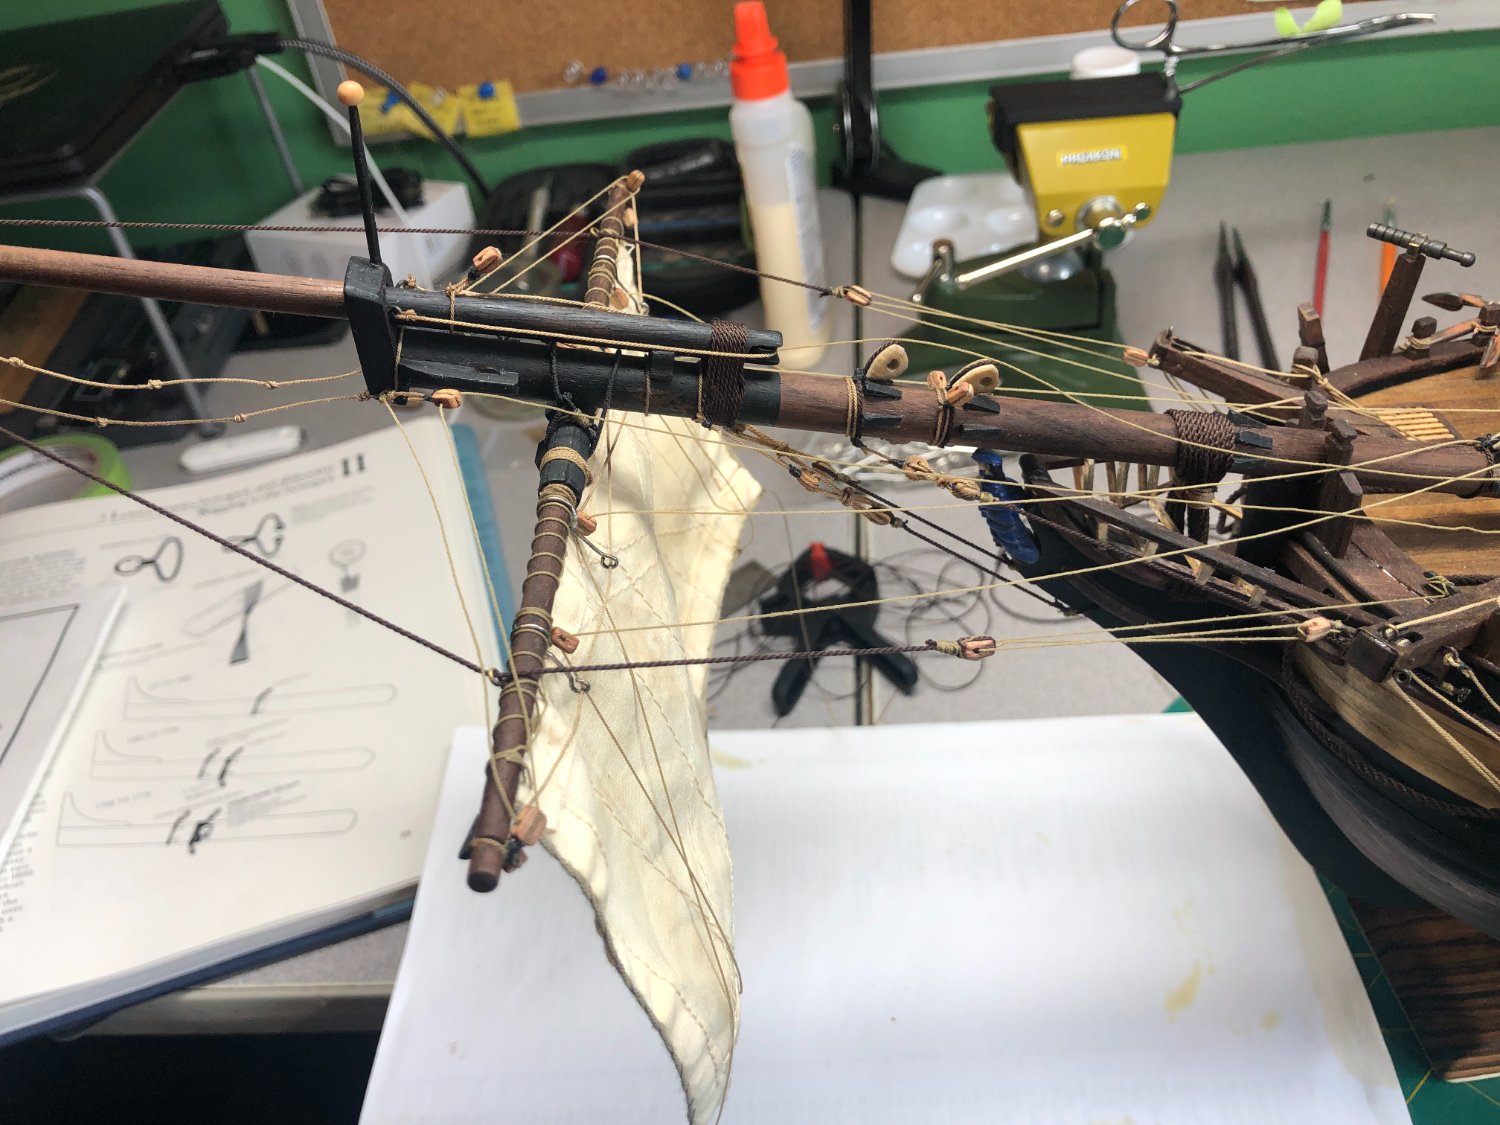
Bowsprit and sprit sail are done! May do some minor modifications on the sail but overall, I'm done with the running lines for both the sail and the yard:

In the midst of placing the lines!

Front view of the sail:
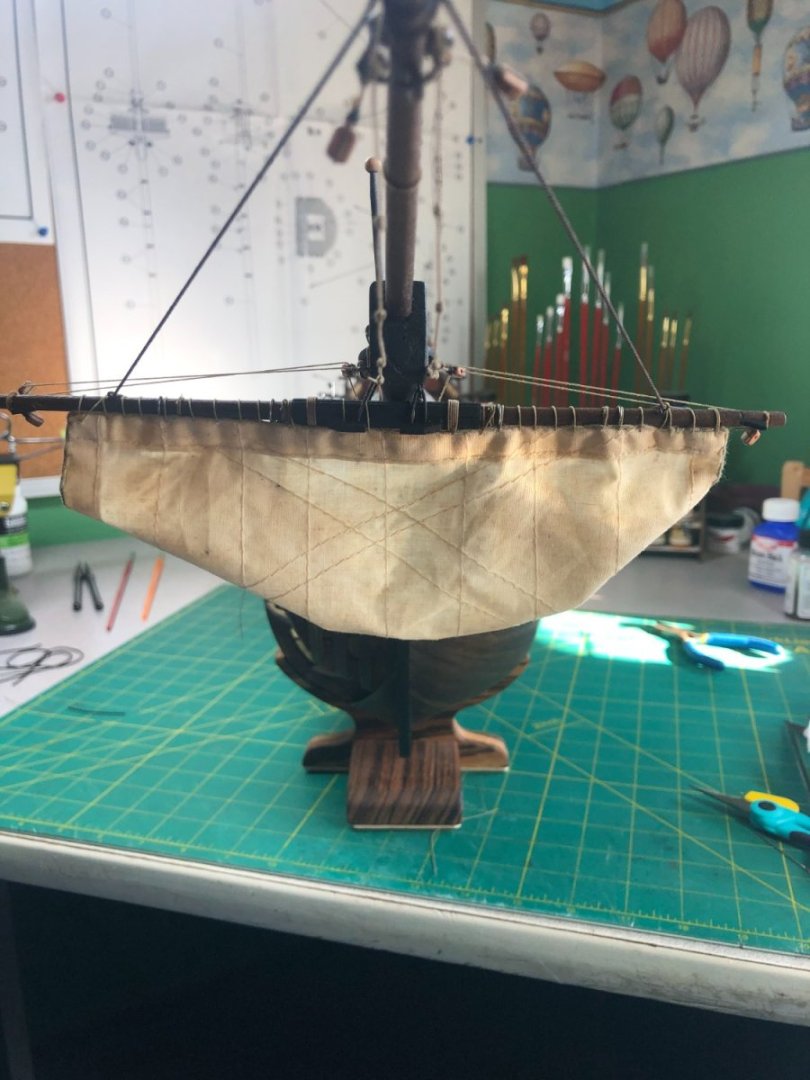
All lines secured:
Foremast work coming up!
- Dave_E, scrubbyj427, Trond and 3 others
-
6
-
Lots of pictures today...
I spent 5-6 hours working on the rigging of the bowsprit... still not done but close.
Started the day with gammoning the bow sprit to the stem. I continue to use the rope I made with my Rope Rocket.
The gammoning was done with twist by starting forward on the bowsprit and aft on the stem hole:

Once I got 10 wraps, I tucked the end through the loop knot and tied it off. Not necessarily correct but given that it is invisible, I took the easier route!
The final line pulls the twist tight:
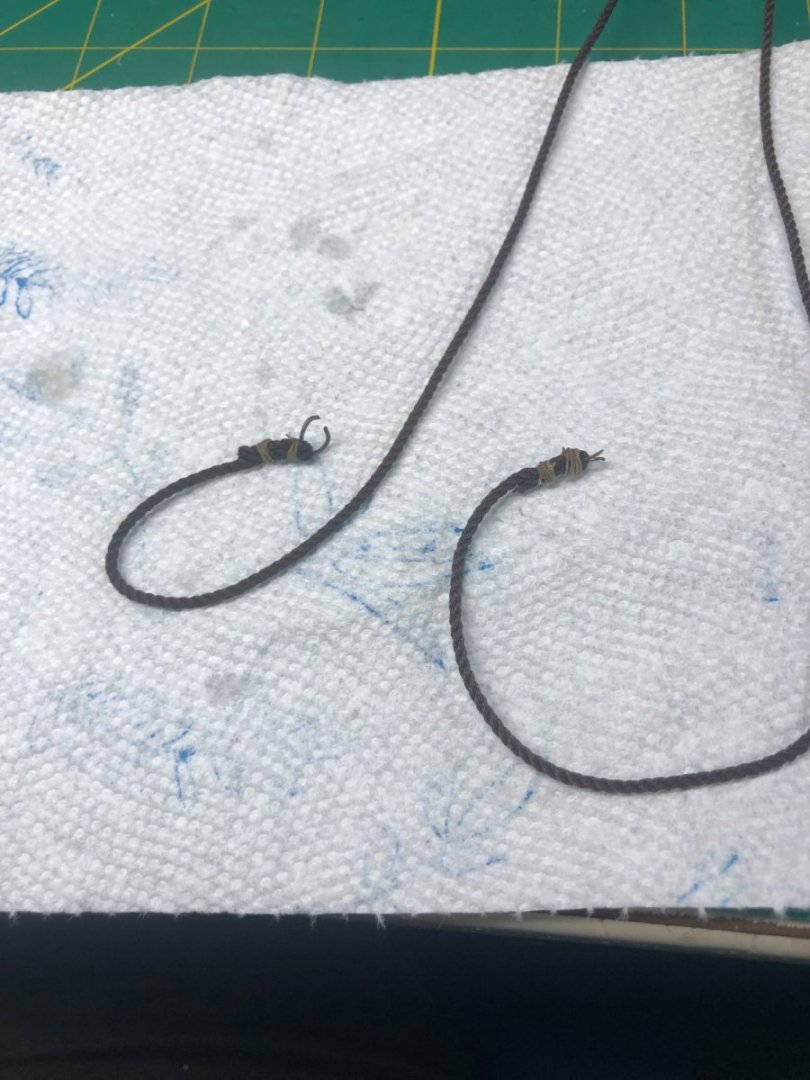
Next up were the 4 bobstays. 2 go to the stem and 2 go to the upper bow area near the cathead timbers. Pretty straightforward work with my biggest concern was trying to keep lines the same length, etc.
These are the 2 that end near the catheads:


These are the 2 ending at the stem:

- Dave_E, ccoyle, mort stoll and 5 others
-
8
-
As I previously posted, I haven't aged/weathered the next sail yet but will provide details of my process when I do the next set.
I have a ton of projects that are in progress and haven't done a lot but wanted to post an update. Our summer weather is about done which means more time in the workshop!
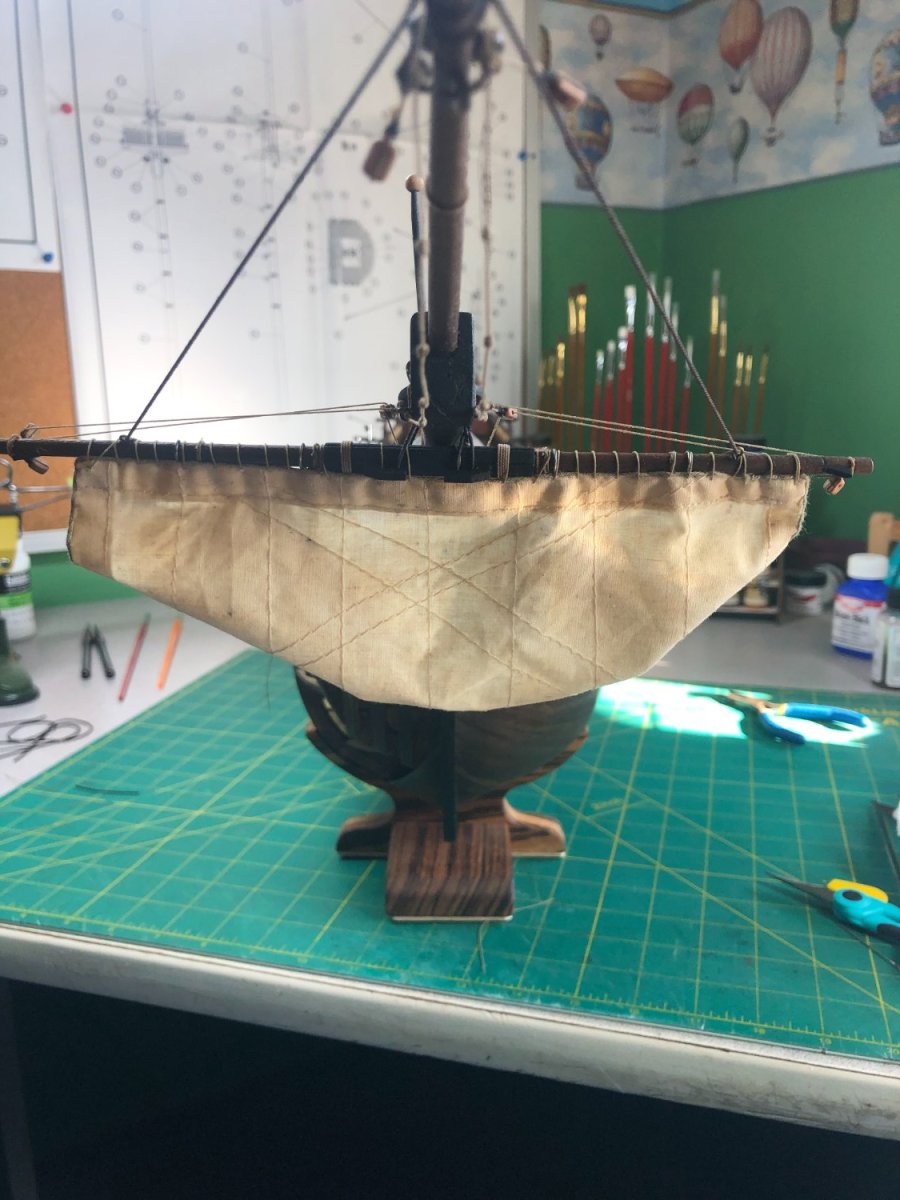
The sprit sail is now mounted on the yard:

I used a line stitch to keep the sail from riding up the yard and as is visible, it hangs nicely from the bottom of the yard!
I then attached the yard to the bowsprit:
The line has been served and is attached to the yard with a loop and then wrapped around the bowsprit:
Finally, I attached the sprit guys and ran the pulley system with just the final tie off point left to do:

The lines are not tied in their proper places as I have to add the cleats.
I plan to run the standing rigging for the underside of the bowsprit next along with the sprit sail running lines.
- mort stoll, ccoyle, TOM G and 4 others
-
7
-
On 9/18/2022 at 8:13 AM, TOM G said:
Some guy's dip the sails in tea. Once dried dip again to get darker. Brew up some and test it on similar material.
I did something similar... I forgot about my last post!
I haven't done any other sails yet but promise to post details when I get the next sail going!
-
-
List of books that I’d like to add to my small library sent to Gerry!
Hope to get 10-12 books!
- mtaylor and Roger Pellett
-
2
-
-
10 hours ago, AJohnson said:
Hope you don’t mind me saying that, just my humble opinion and others may disagree, you are making a lovely model.
Your point is well taken and I certainly don’t mind it at all.
Weathering has made the build much more difficult and time consuming but I do love the look… the new ship look is great but a used vessel look is more realistic to me.
As to the sails, I agree that it can be too much and have done a ton of research to find a balance… I am planning to do each sail individually and will either dry set it (as mentioned) or if it appears to be too much, it will be furled.
I should mention that the picture I took of the sail was still in a damp state, once it dried, it is a bit lighter… see the attached picture.
I appreciate your opinion!
Thanks!

-
So many details to think through before moving forward!
Final decision on the the sails is to mount them in what some have called a "Dry Set". I've only seen this reference in a couple of places, so, I'm not sure that the name is correct.
Essentially, rather than fully furled sails, some and maybe all will be partially furled in a manner that was used to allow the sails to dry while in port or on anchor.
This particular set-up will still require most, if not all of the running lines to be in place.
Now that I have that nailed down, I can move forward with the work.
I finished the spritsail yard and it is ready for the sprit sail:

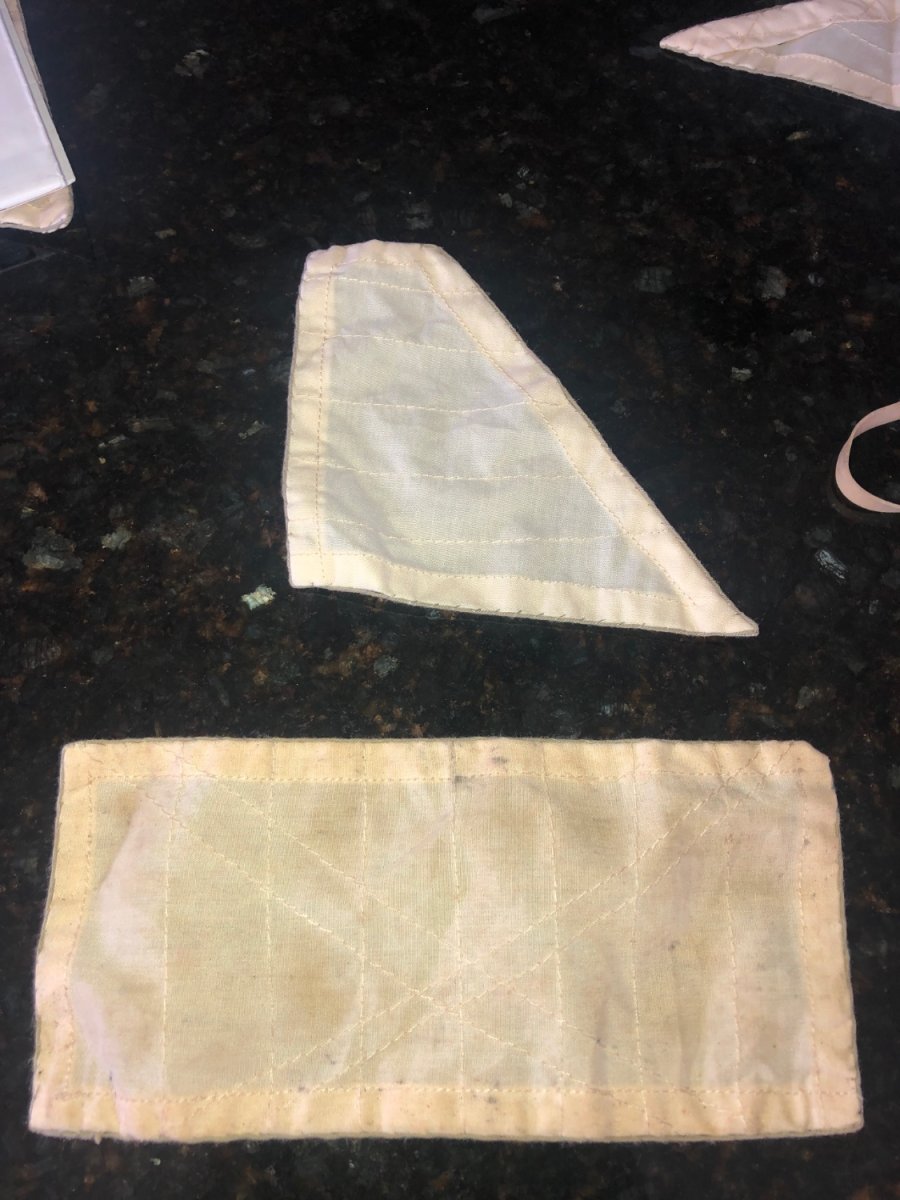
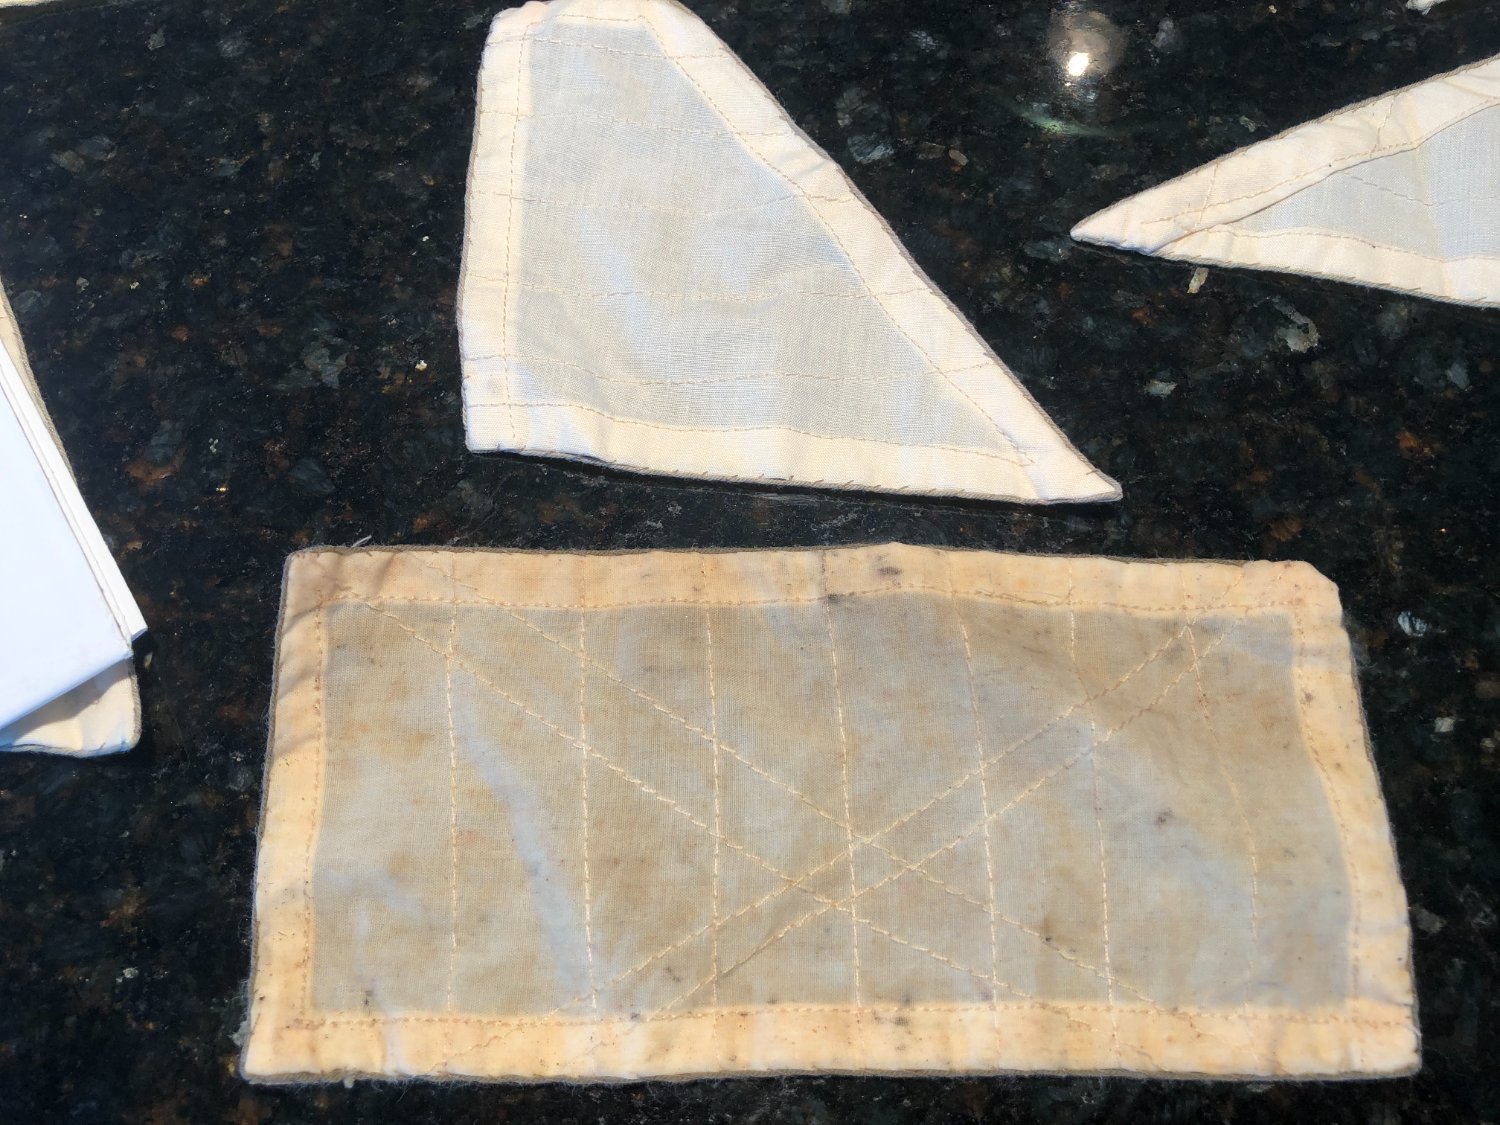
Speaking of the sails, coming to a method of aging them has been an exercise in patience... mostly in weeding through the different methods available and deciding on which one will work best for this build.
I finally found one that I like and did the sprit sail using that method. Pictured below is the sprit sail (front and back) aged and another sail to show the difference:
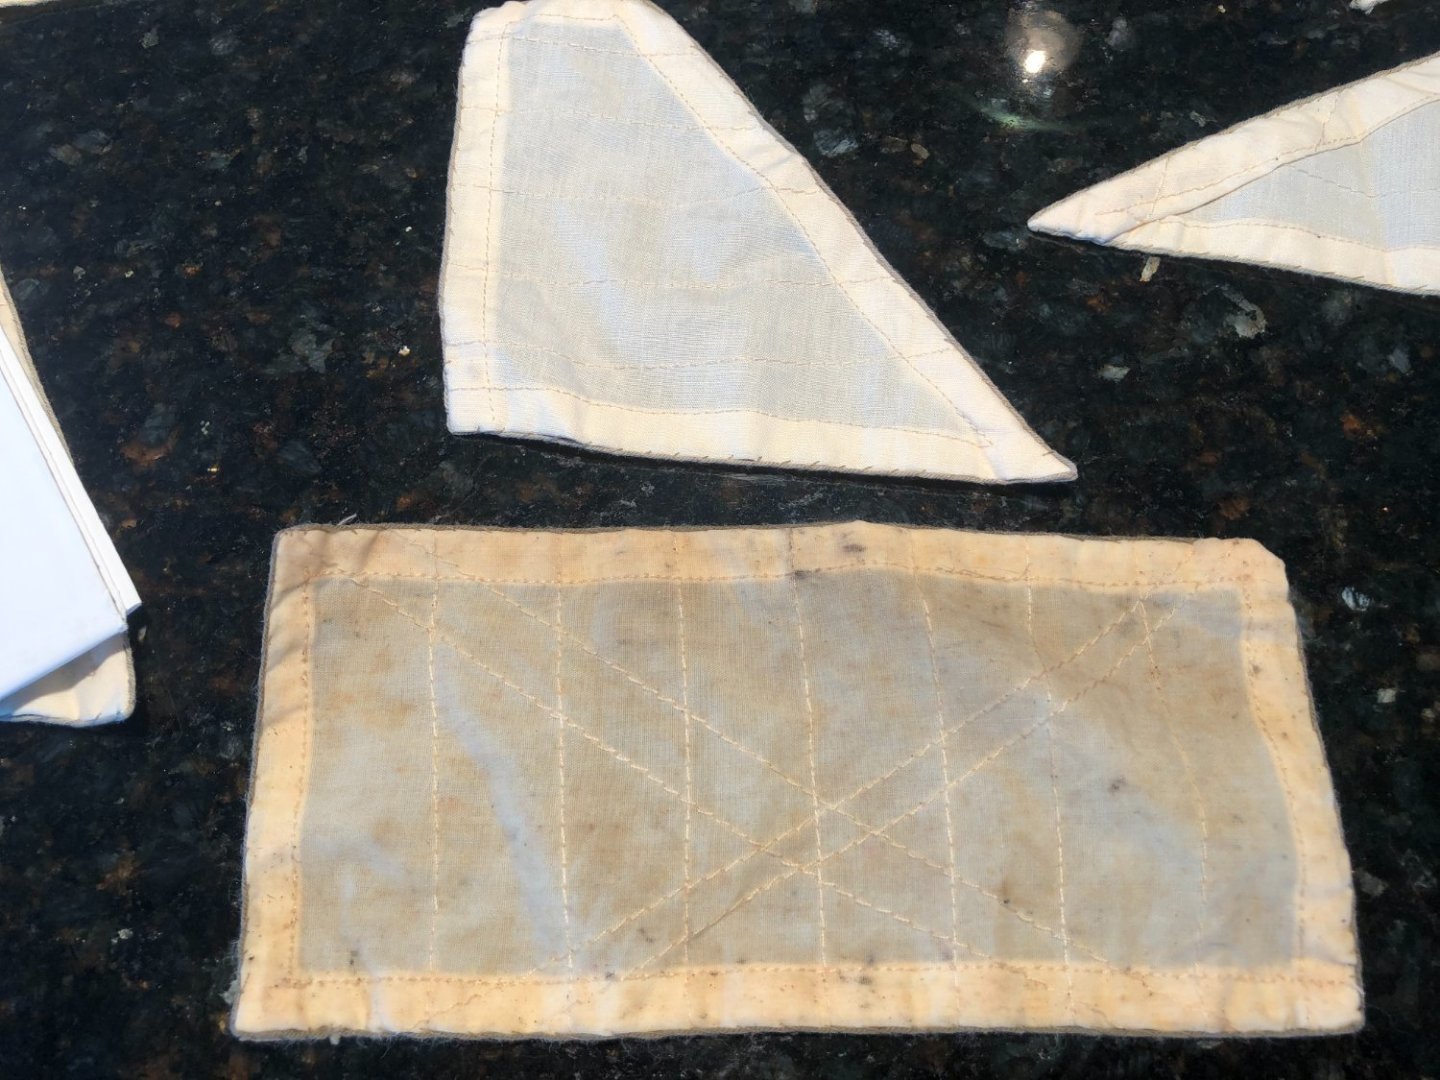

I love the uneven color and some of the splotchy areas! I'm not sure the photo's do it justice...
The method used will be detailed with some pictures in my next update but I am pleased with the final product.
I mounted the bowsprit too:


Any opinions on the sail aging?
- mort stoll, TOM G, Dave_E and 2 others
-
5
-
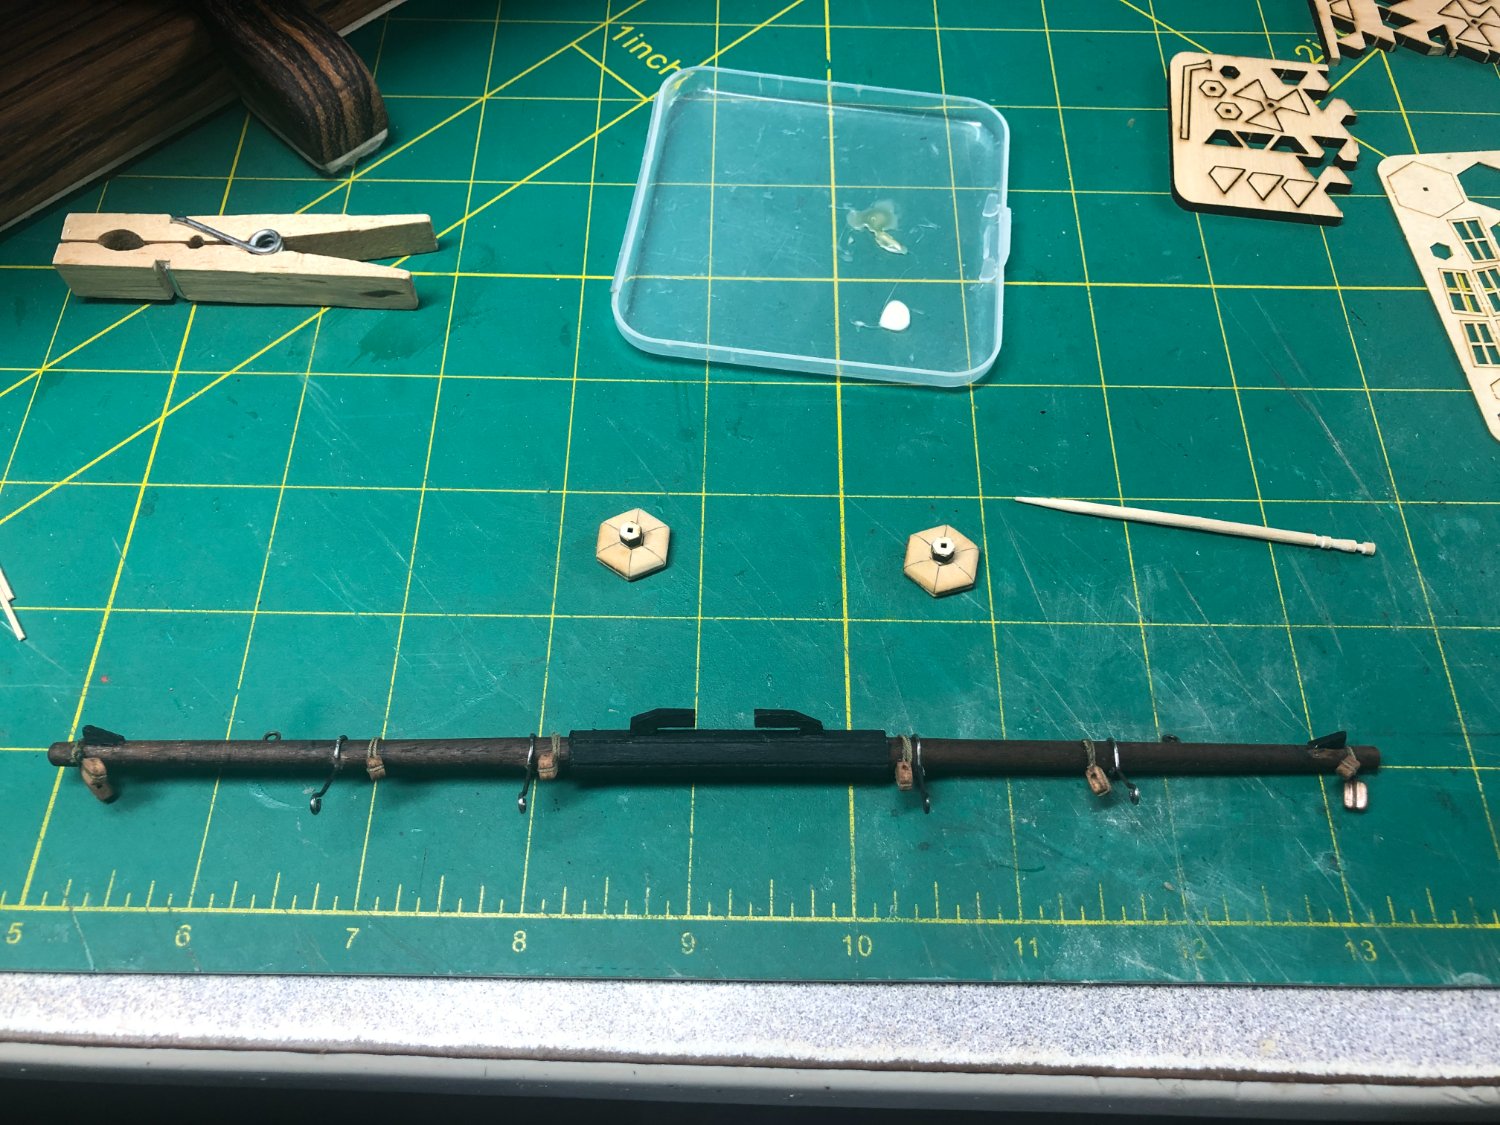
Spritsail yard is done except for the parrel... waiting on some clamps to help with serving the line necessary for the parrel. Should arrive later today:

Notice the lamp tops...
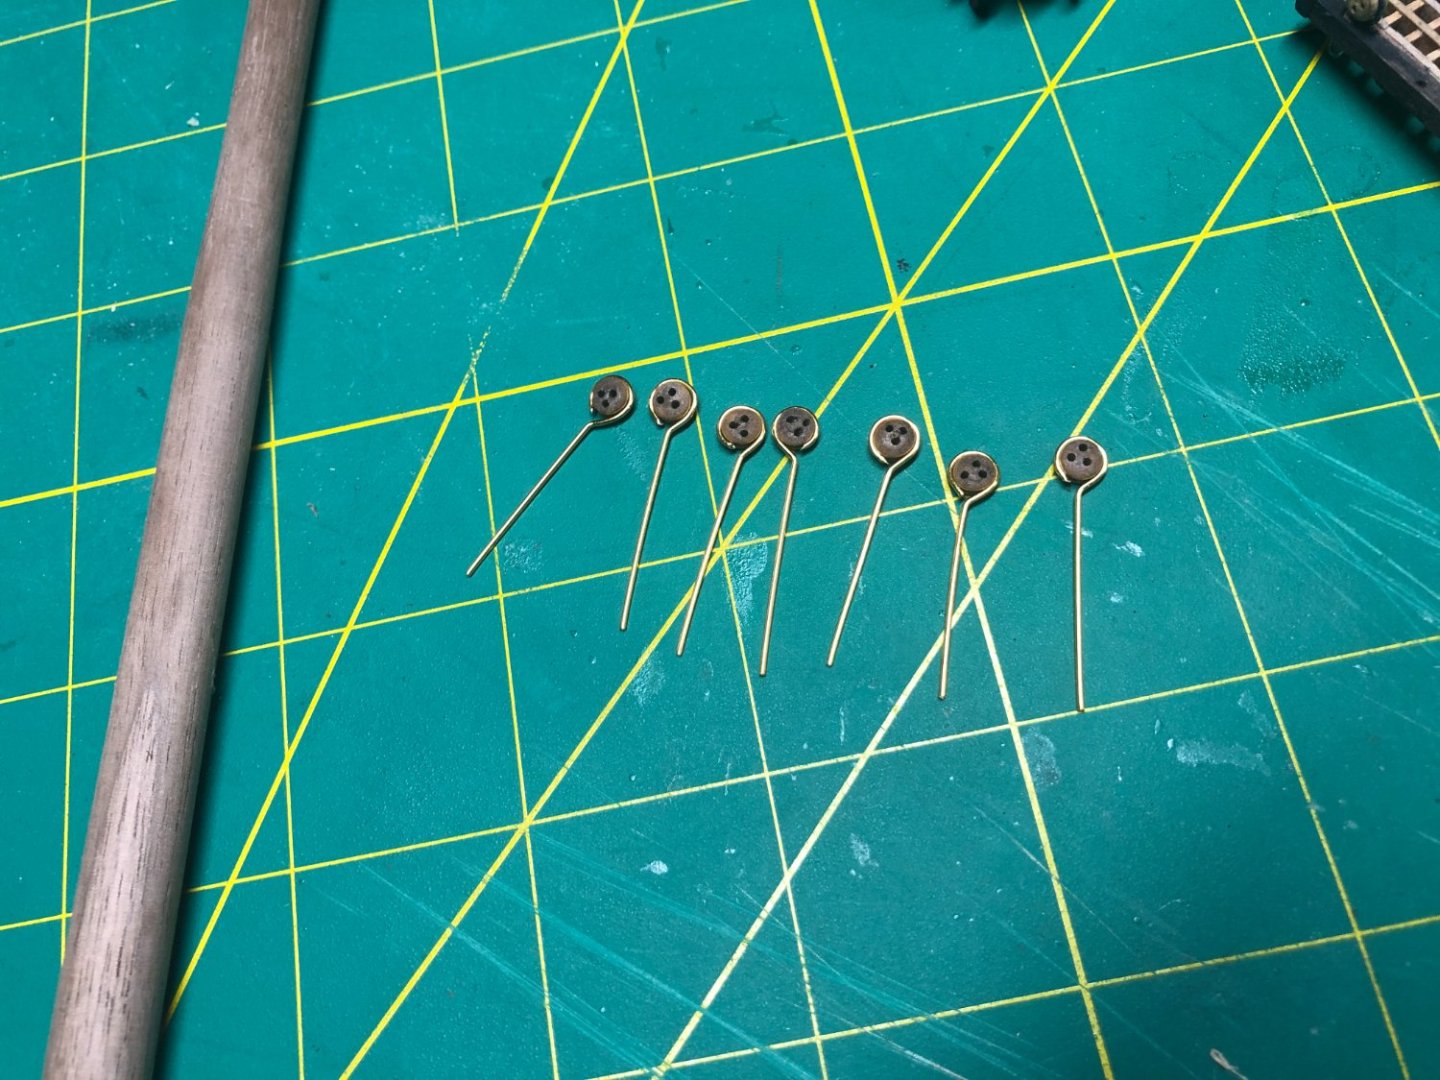
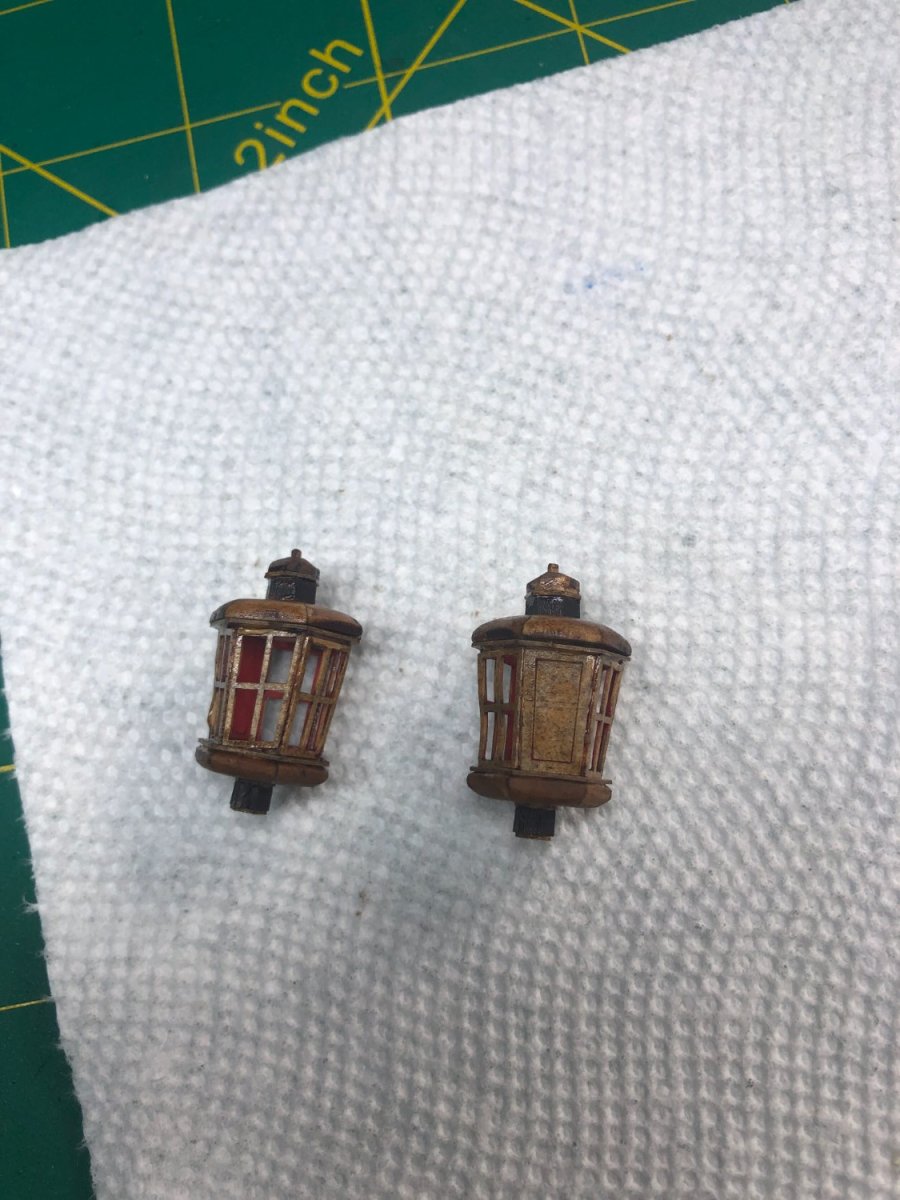
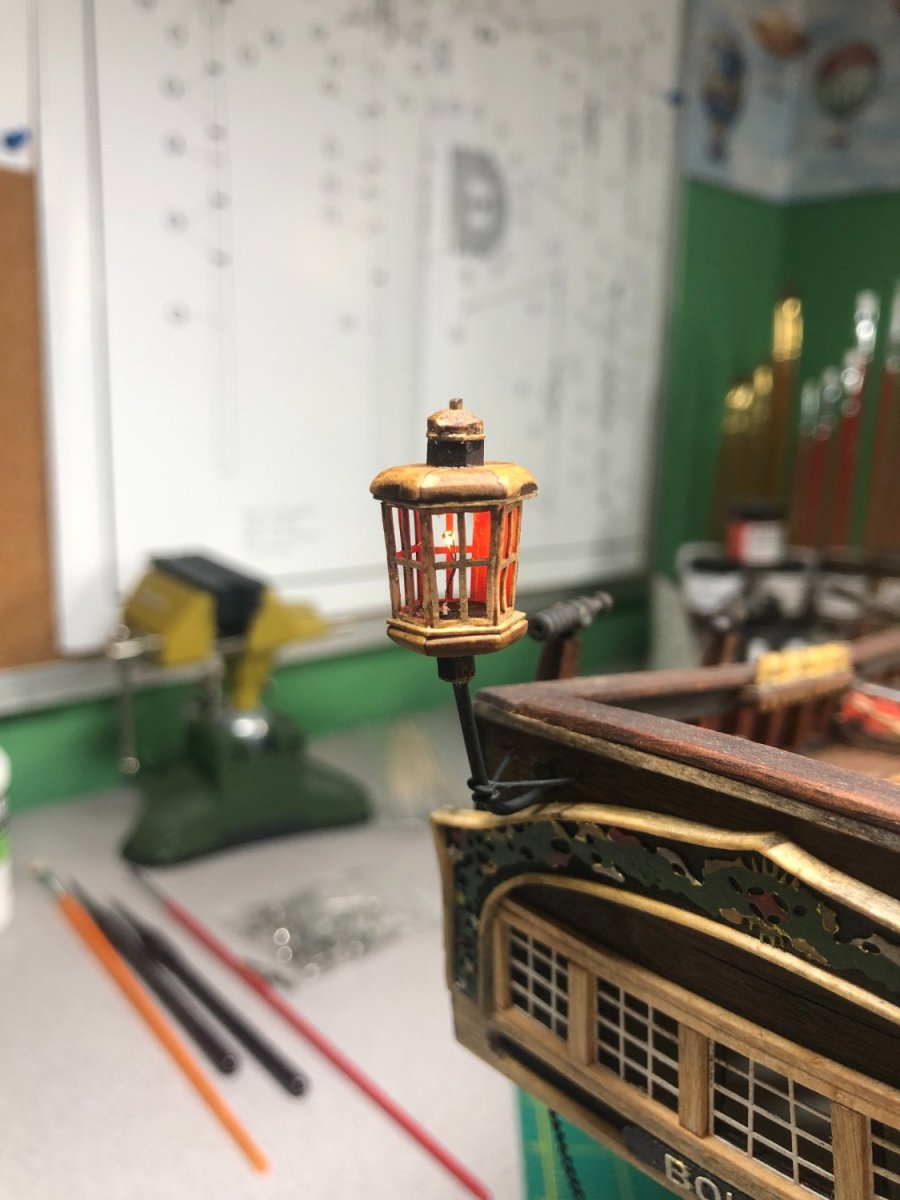
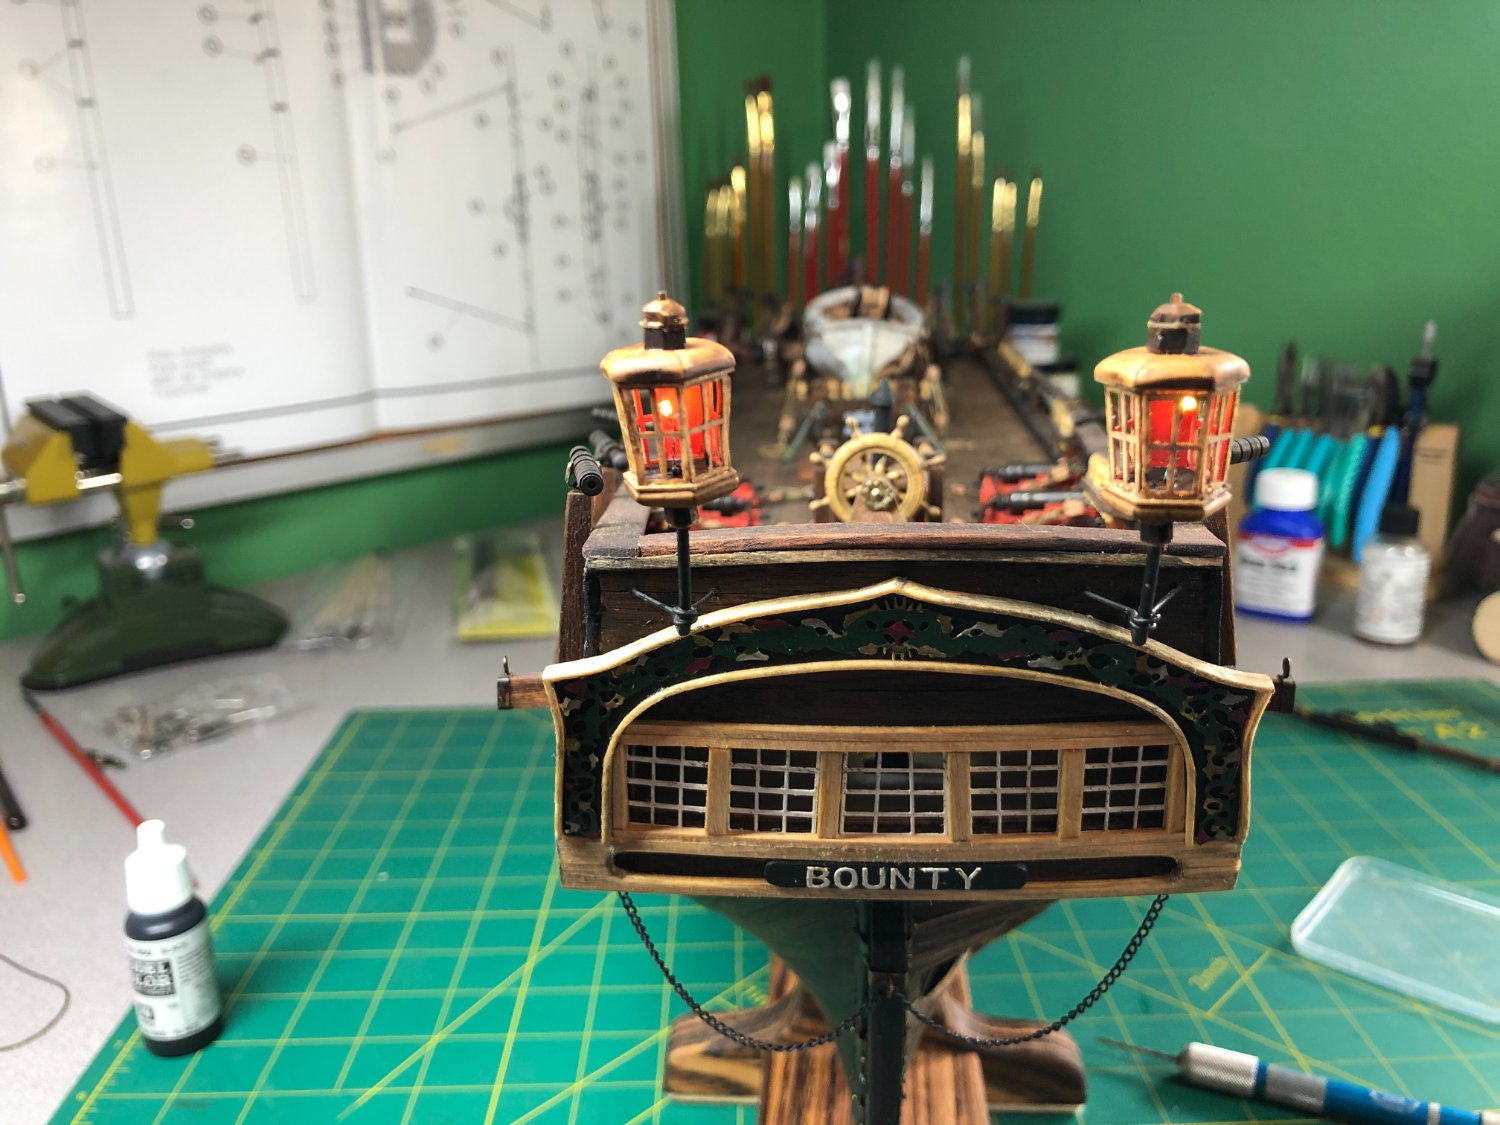
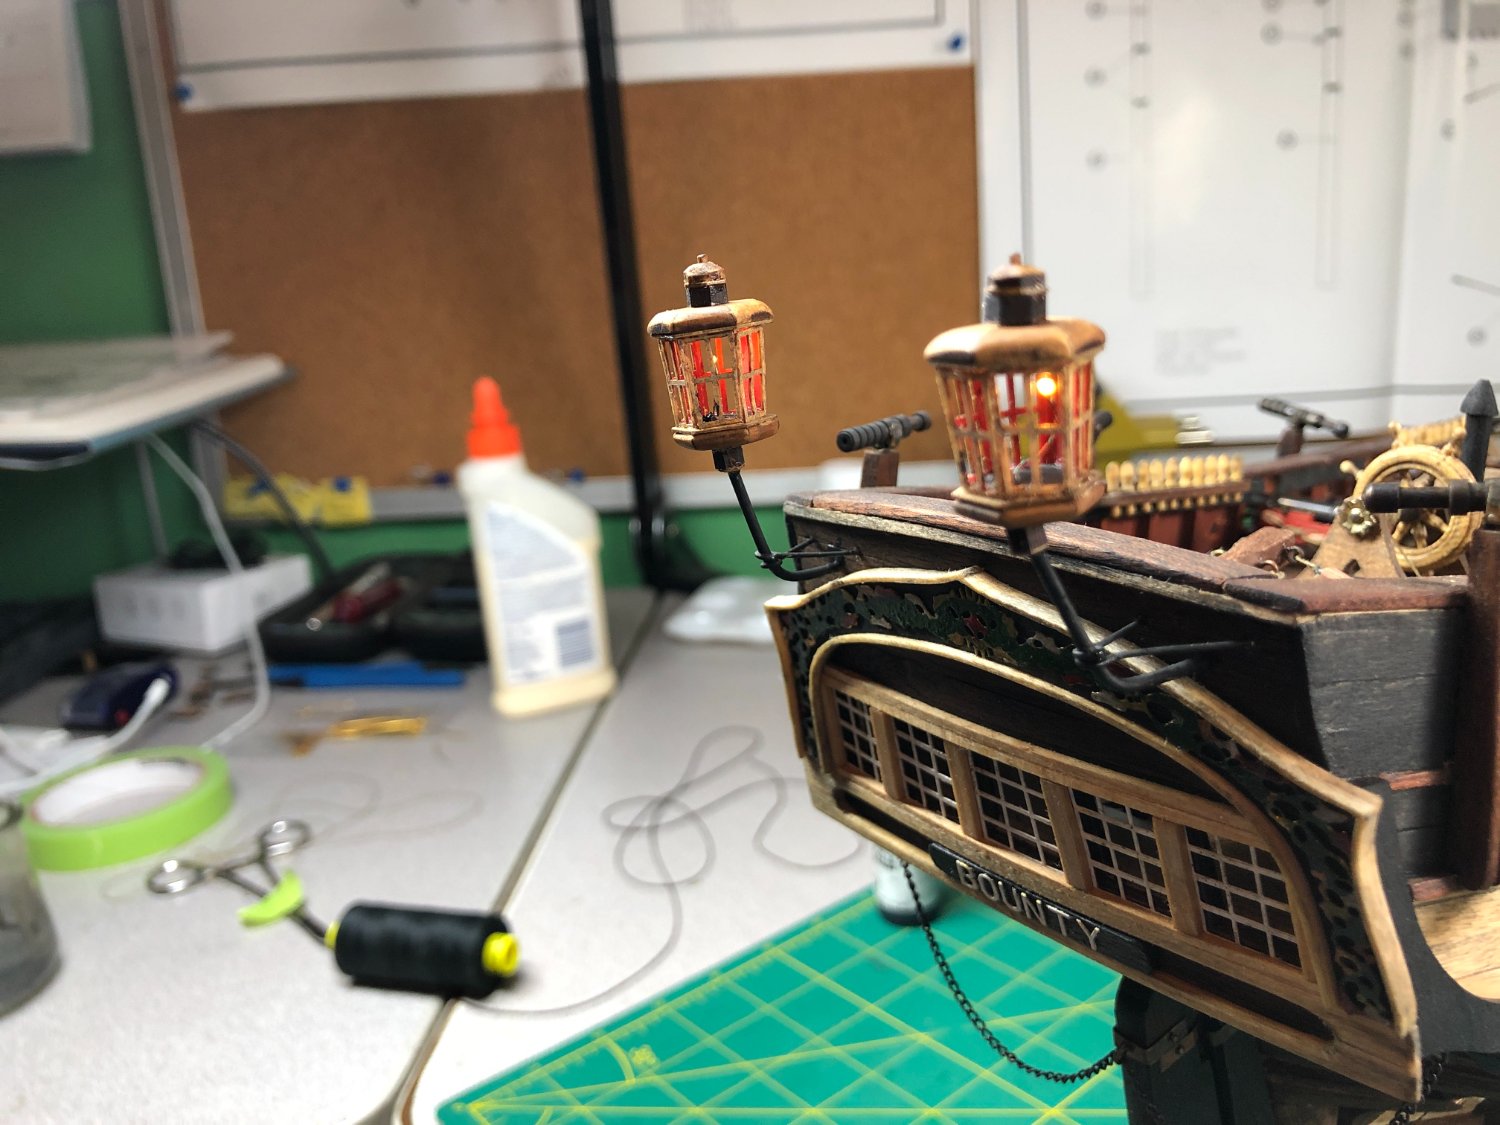
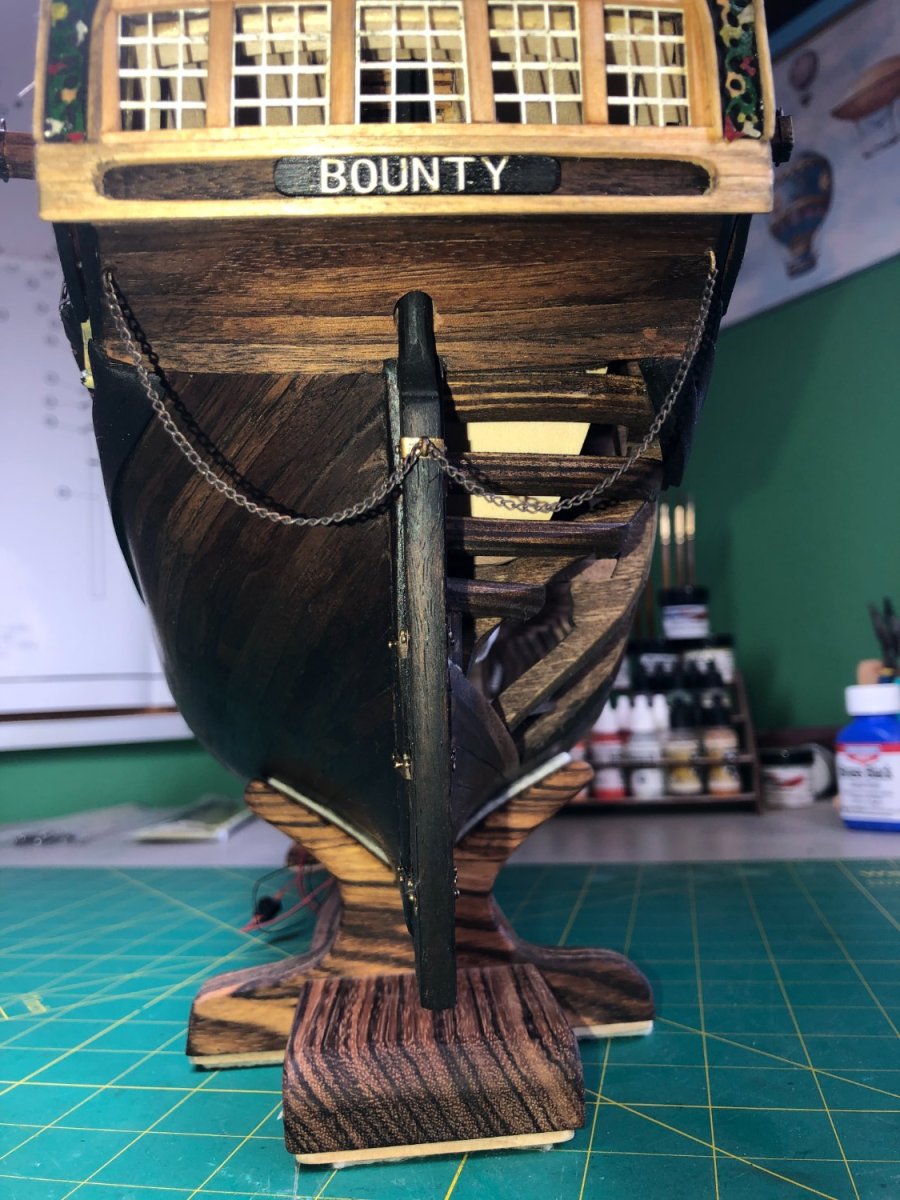
I finished the stern lamps. I think they turned out better than the ones provided in the kit:


I decided early on that I am going to display the Bounty with furled sails. I purchased silkspan to make the sails since the provided sails are way too bulky for furling.
I need to do some research but it seems to me that it would be best to furl the sail to the yard before mounting it to the mast ( or bowsprit, in this case).I also need to understand the lines that need to be attached, etc.
So, I'll update things once I get a clue!
Any suggestions or guidance is welcome!
- TOM G, scrubbyj427, Dave_E and 3 others
-
6
-
Before starting on the spritsail yard, I decided to clean up a couple of loose ends.
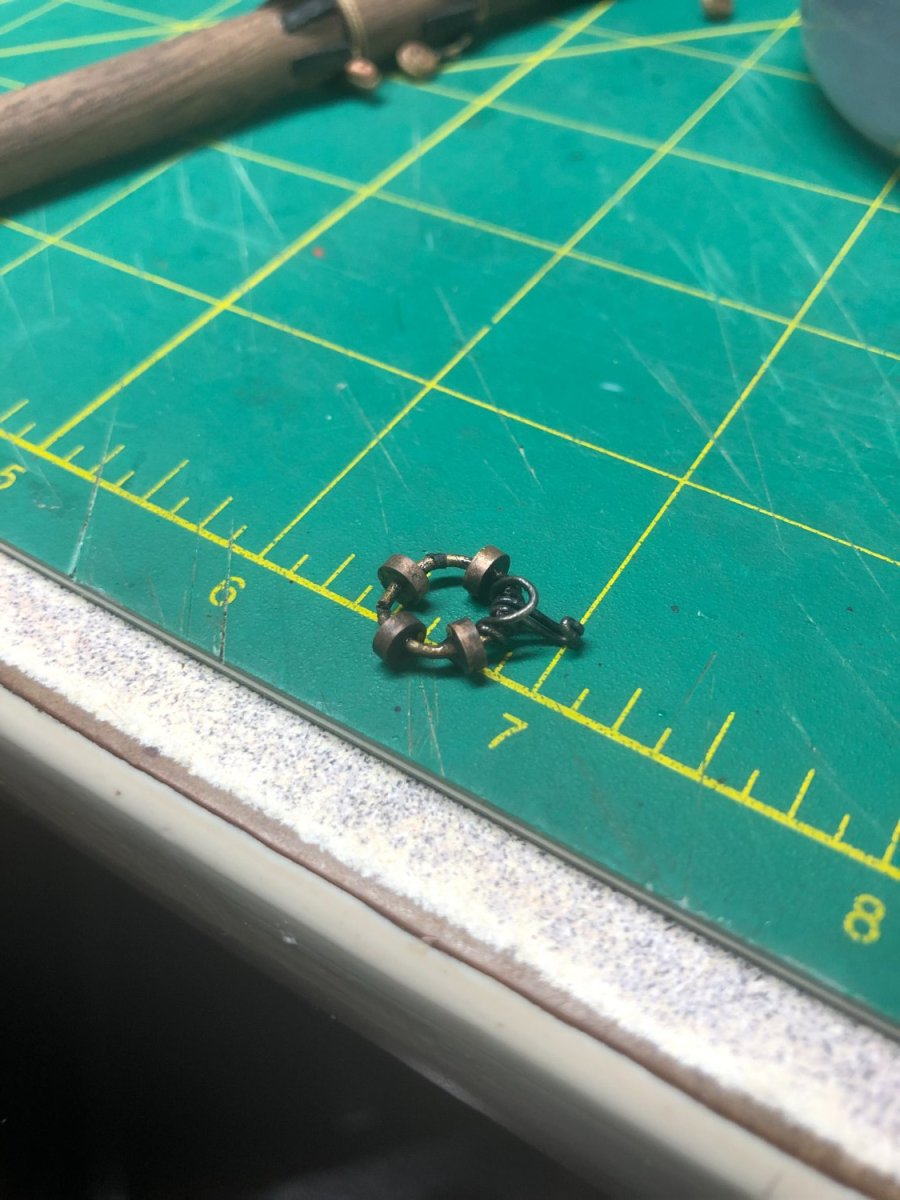
First, the chain that is secured to the anchor:

Not much to add, aged it and attached it! Will add rust to it when I do the final touch-ups on the model.
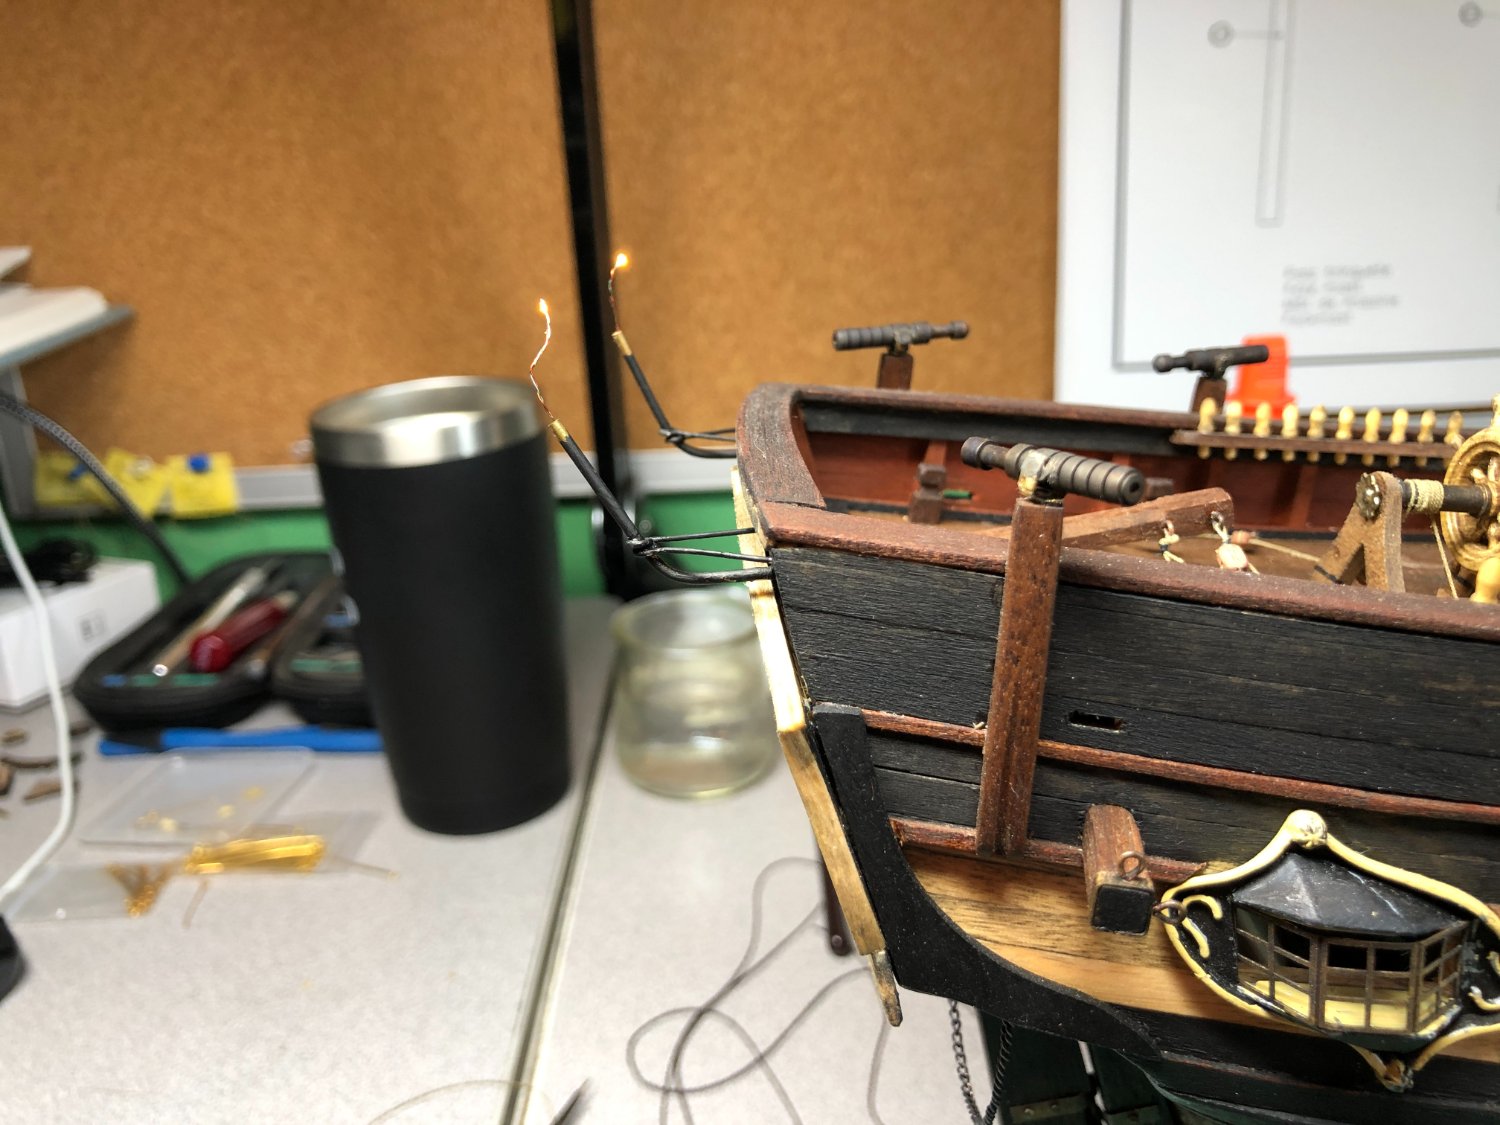
Second item is the the stern lanterns. A bit tricky... I'm not using the lanterns that came in the kit but have purchased a set from Syren Ship Model Company and will assembly them for this model. Before the assembly, I have to secure the tube to the stern and install the braces. Keep in mind that both lanterns have a small light that runs through the tube and I had to be very careful not to damage the wires and light. Straight forward but complicated too:
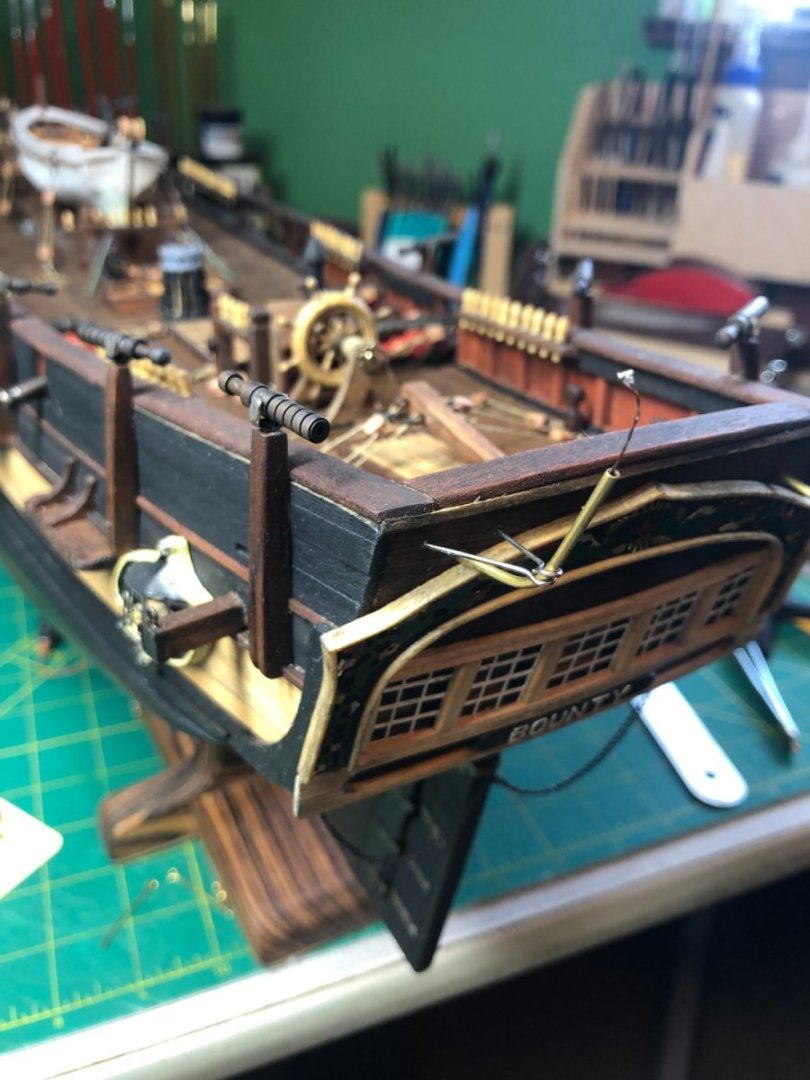
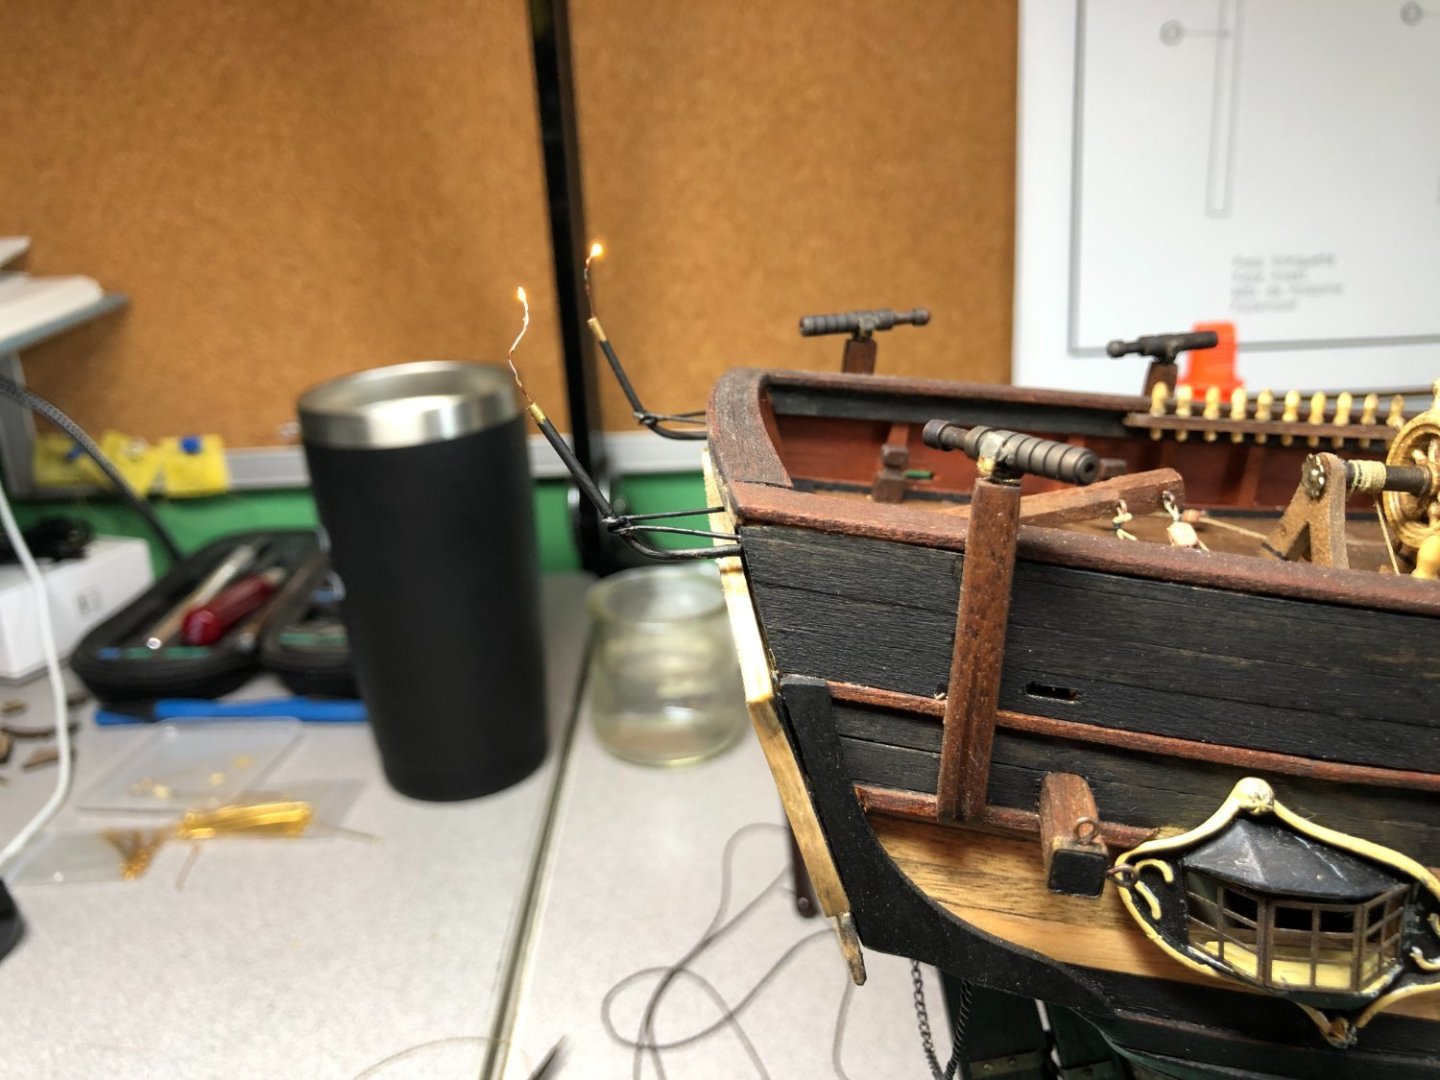
Once installed, I painted the supports and tubes black. I checked to ensure the wiring/lights survived... not that I could do much about it now!
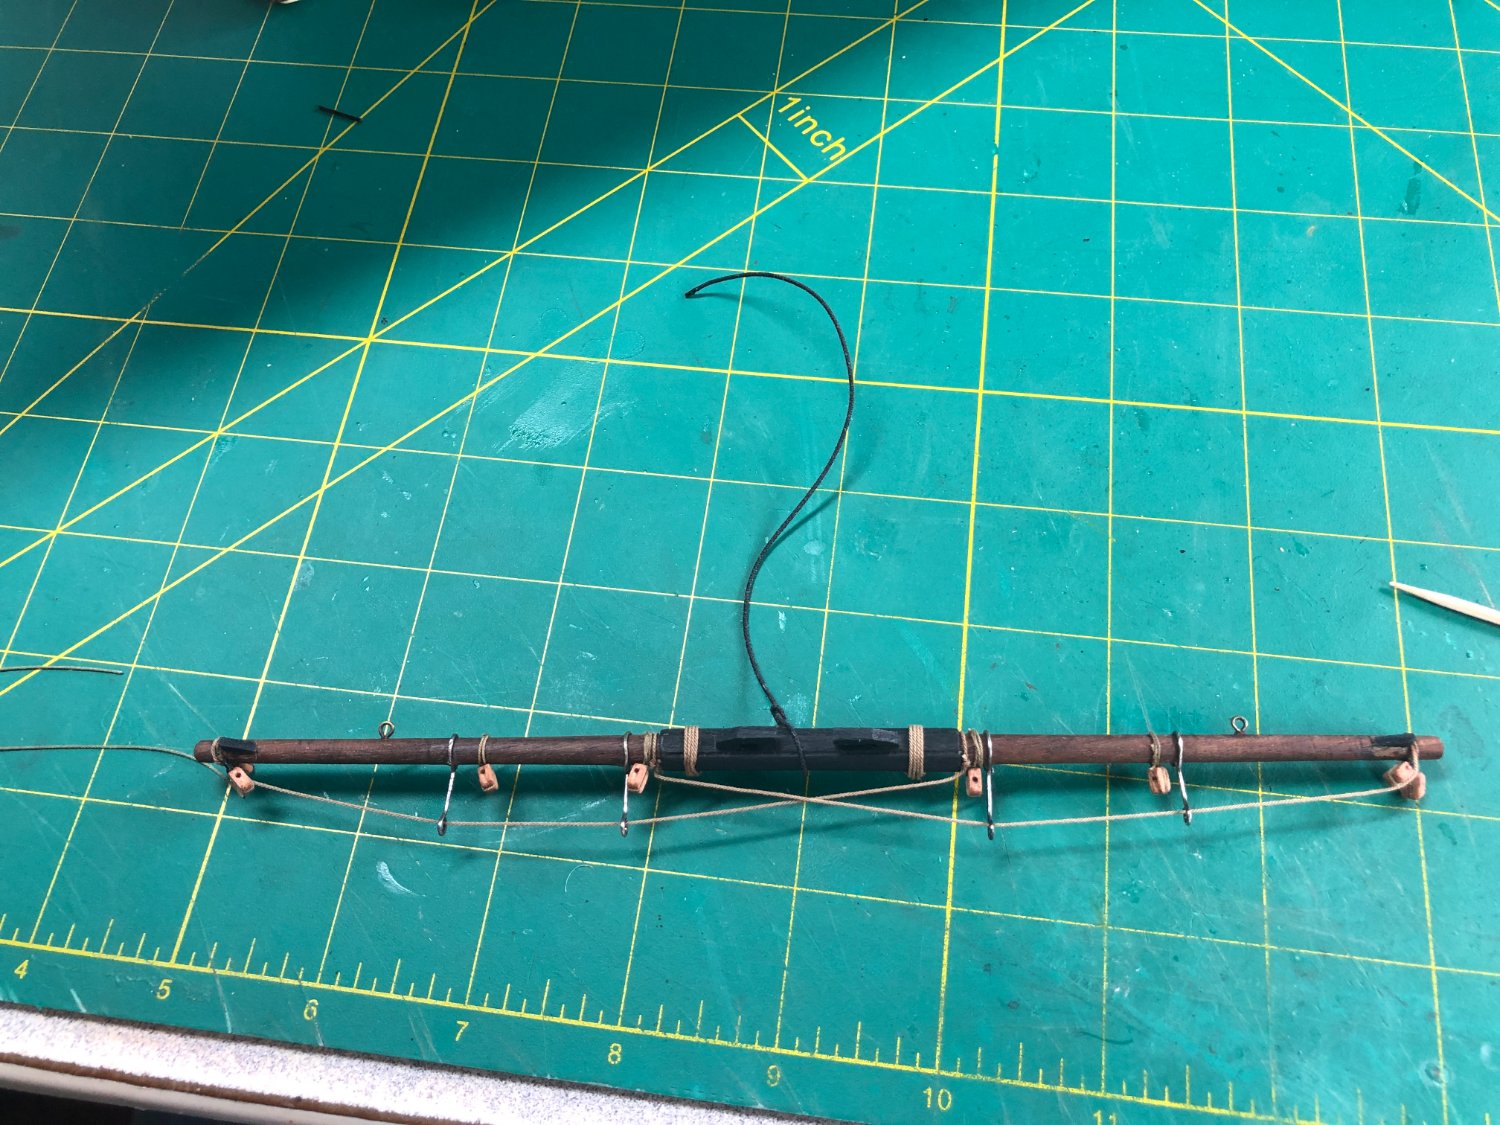
On to the spritsail yard... Using my mini lathe, I shaped the yard per the drawings and added the tip grooves:

Adding the center strengthening pieces was straight forward too:


The supports and the cleats were added. All per the drawings:
After painting, I started adding the blocks, seizing's and parrels but still have a ways to go to finish them:

The beginnings of the stern lanterns can be seen in the above picture too.
More in a few days!
-
37 minutes ago, Trond said:
Finished adding the rudder. Learned that neext time it is beeing attached early and before adding deck fittings.
Looking at the picture now I might paint top part rudder brown. The only problem is getting the same color. Any thoughts guys?
If you don't know the formula for the color, I'd just leave it. It looks fine and if you repaint it and the color doesn't match... well, you won't be happy with it!
-
"So, I have a lath with a mill."
That's quite the set up!
Well done!
-
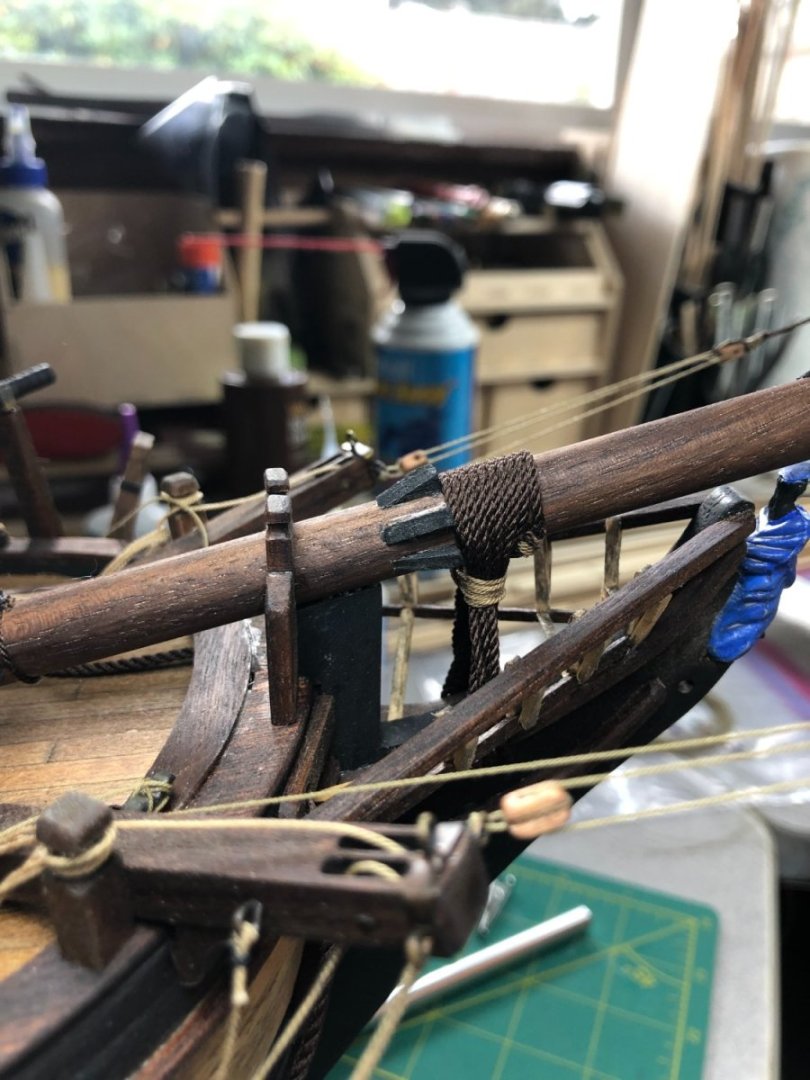
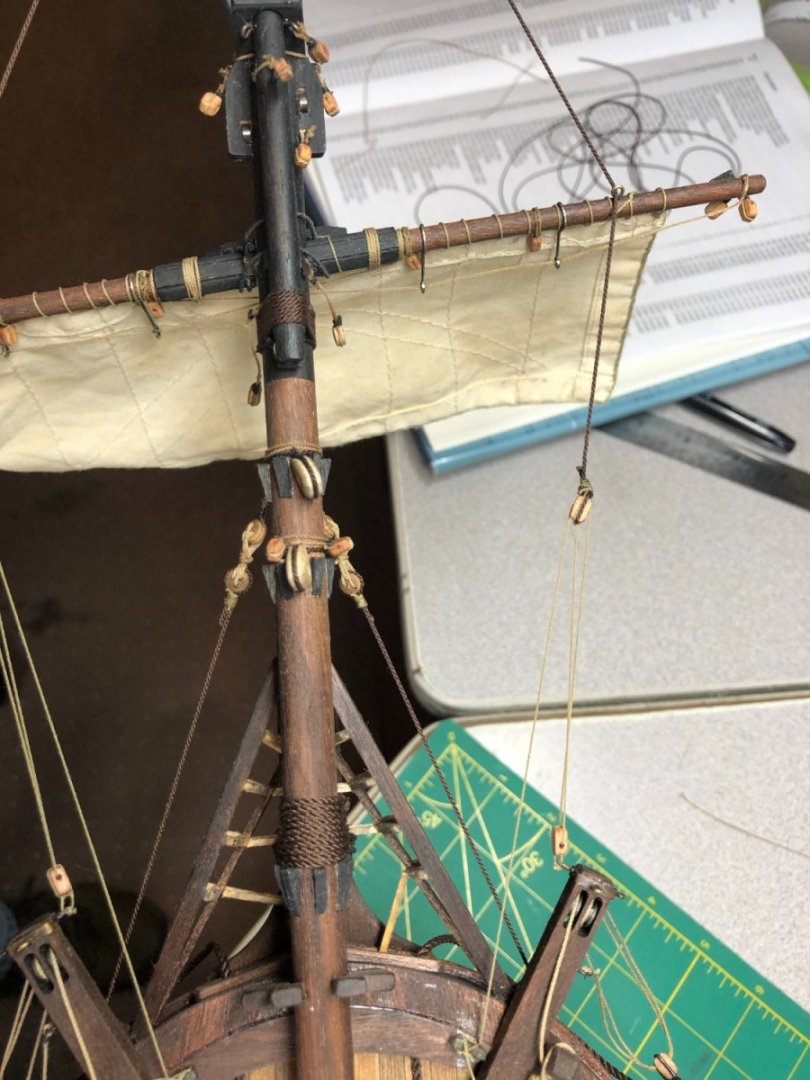
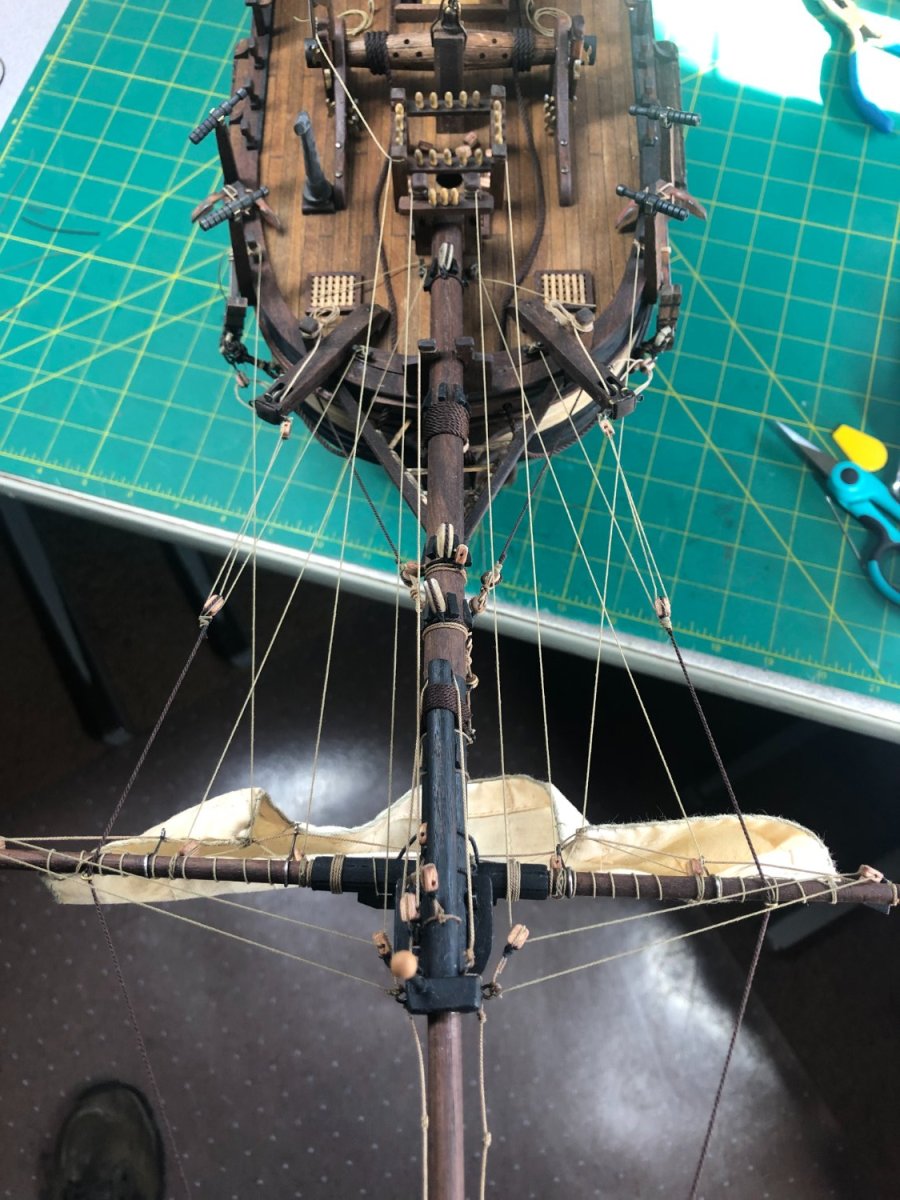
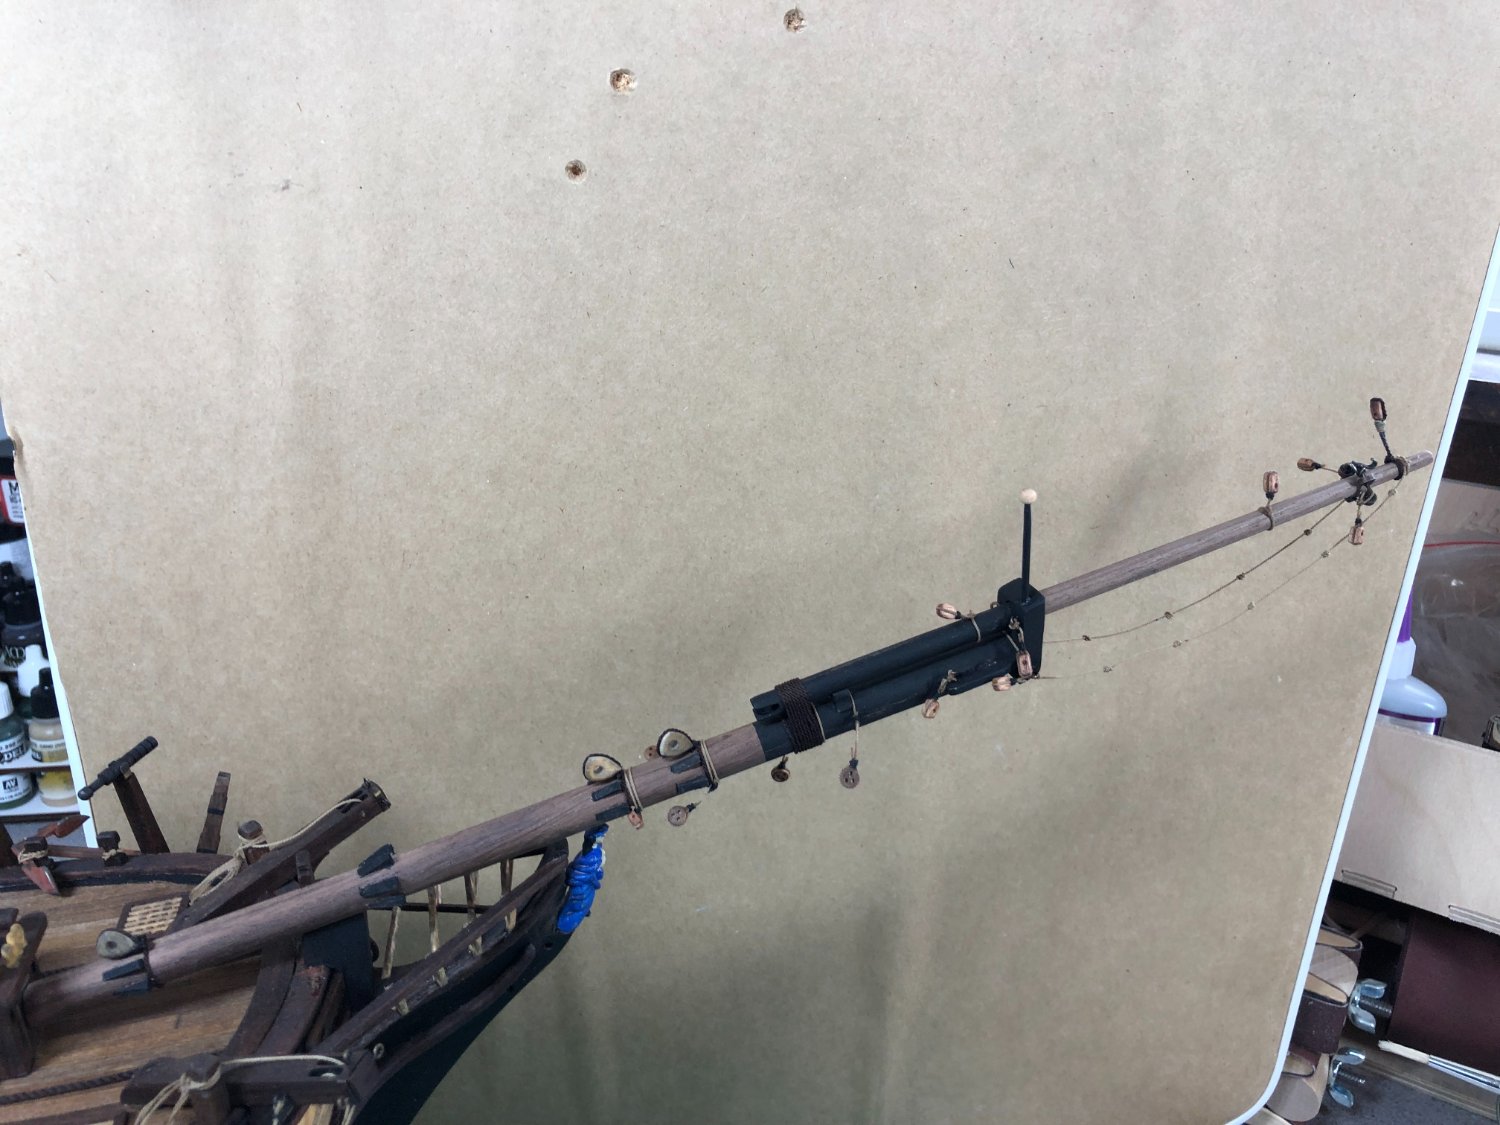
Lots of pictures going forward on the masting and rigging. I've looked at numerous sources for the little details that are just not well pictured or explained.
So, going forward, I will attempt to make it bit easier on the next builder!
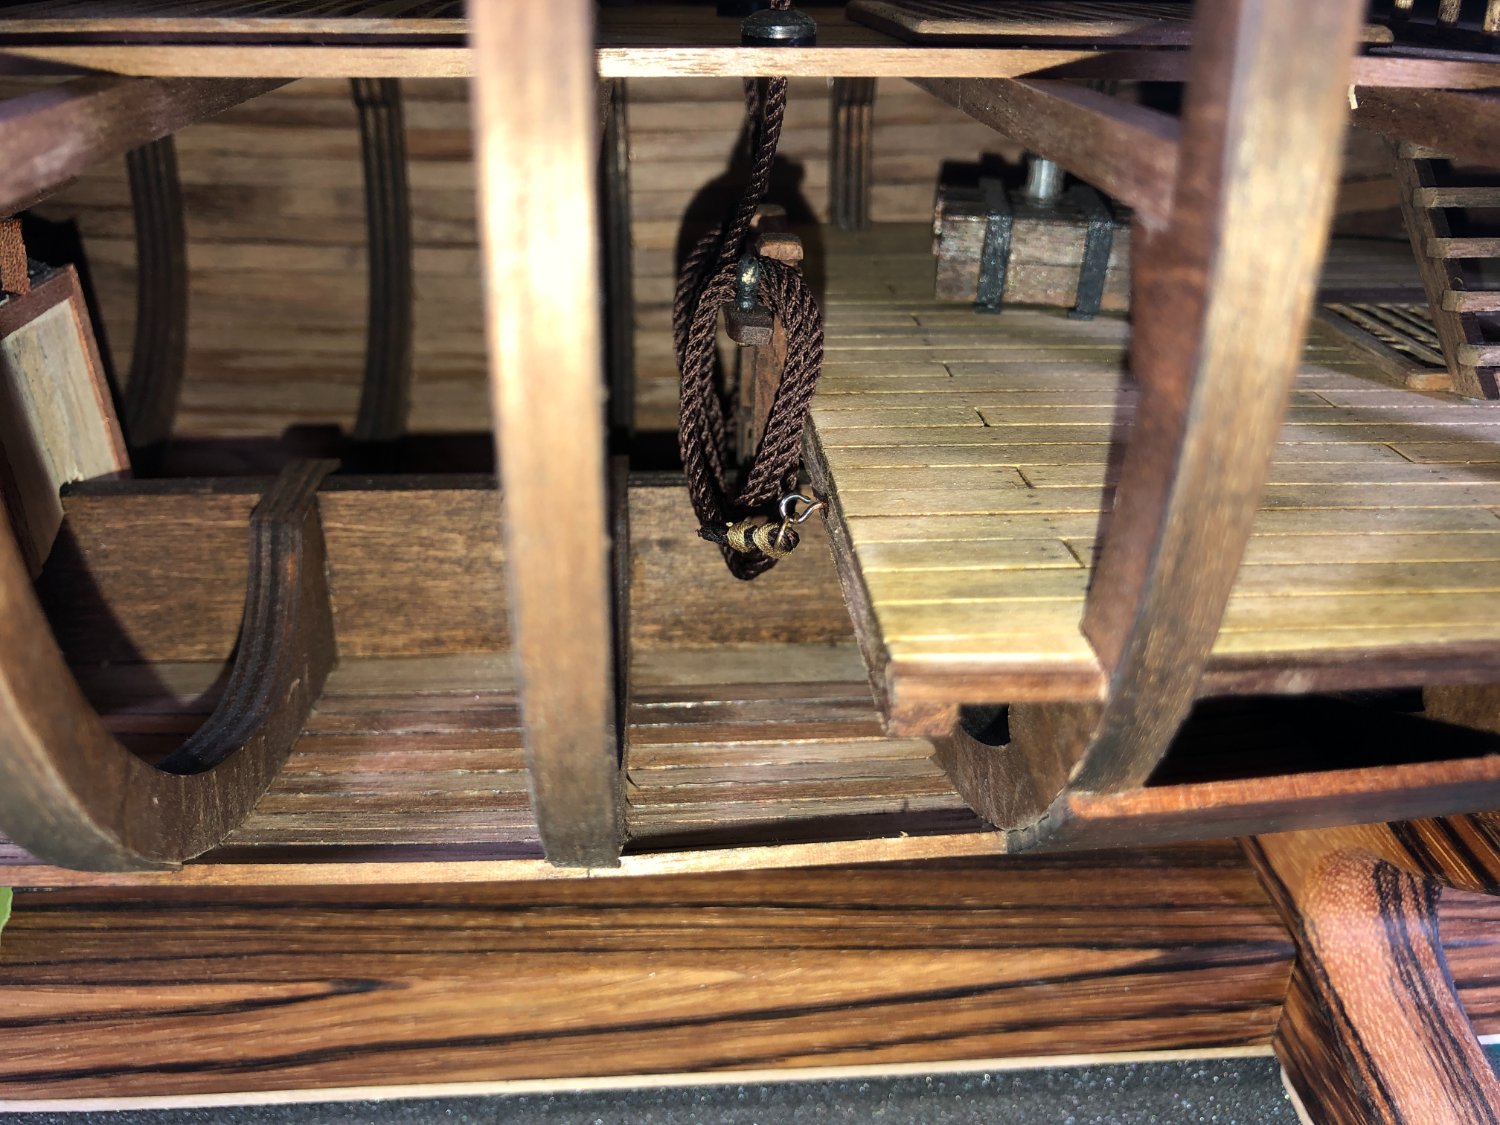
I went back and reattached the anchor rodes in the mid-bilge area:

Figured it would be easier to do now when the masts are not on the boat!
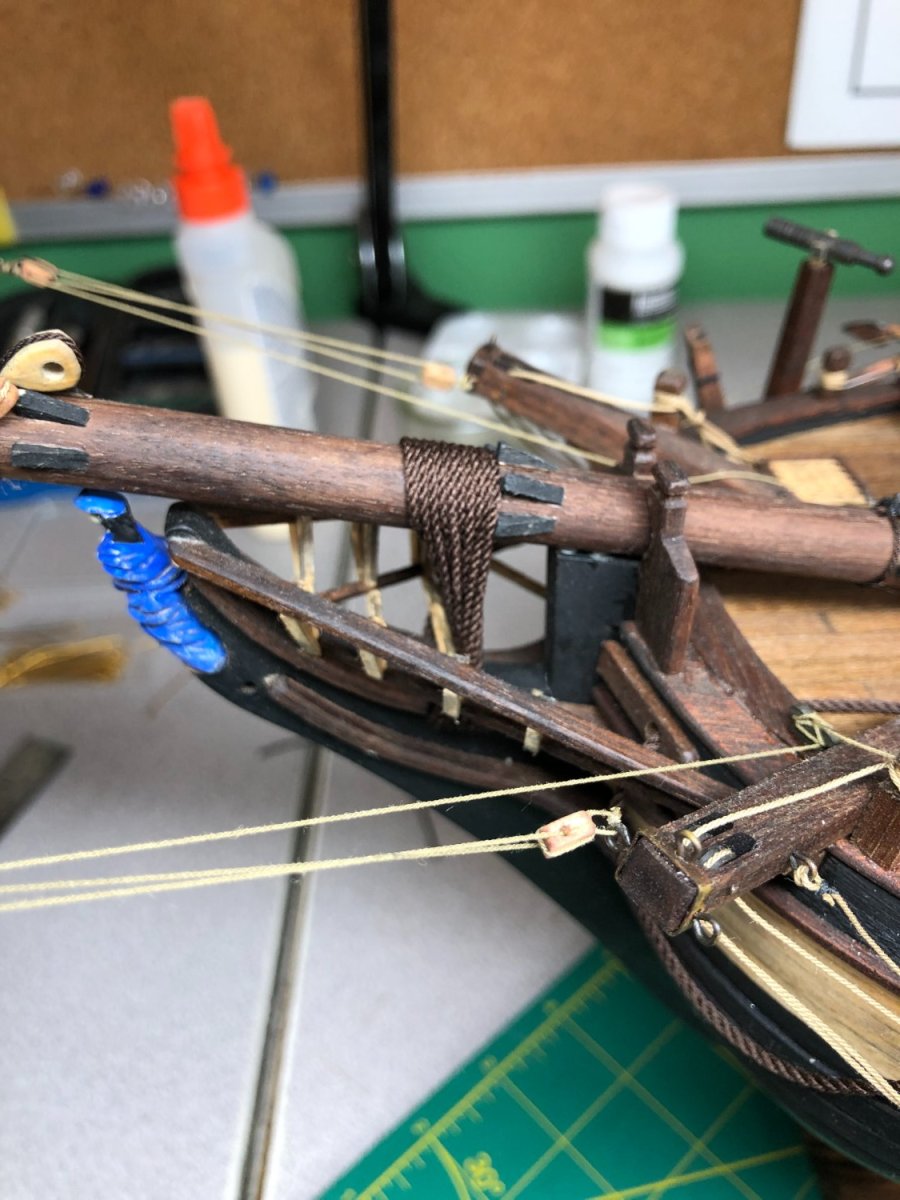
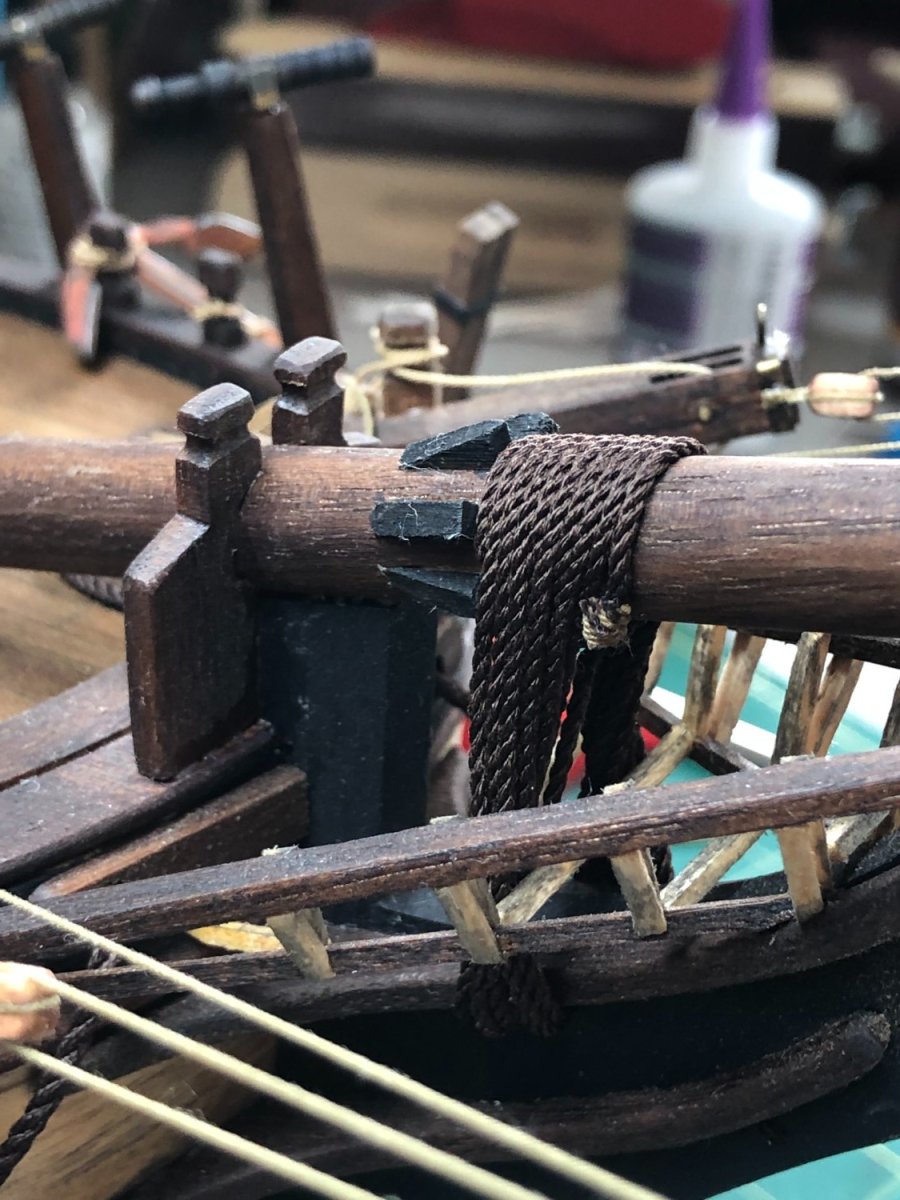
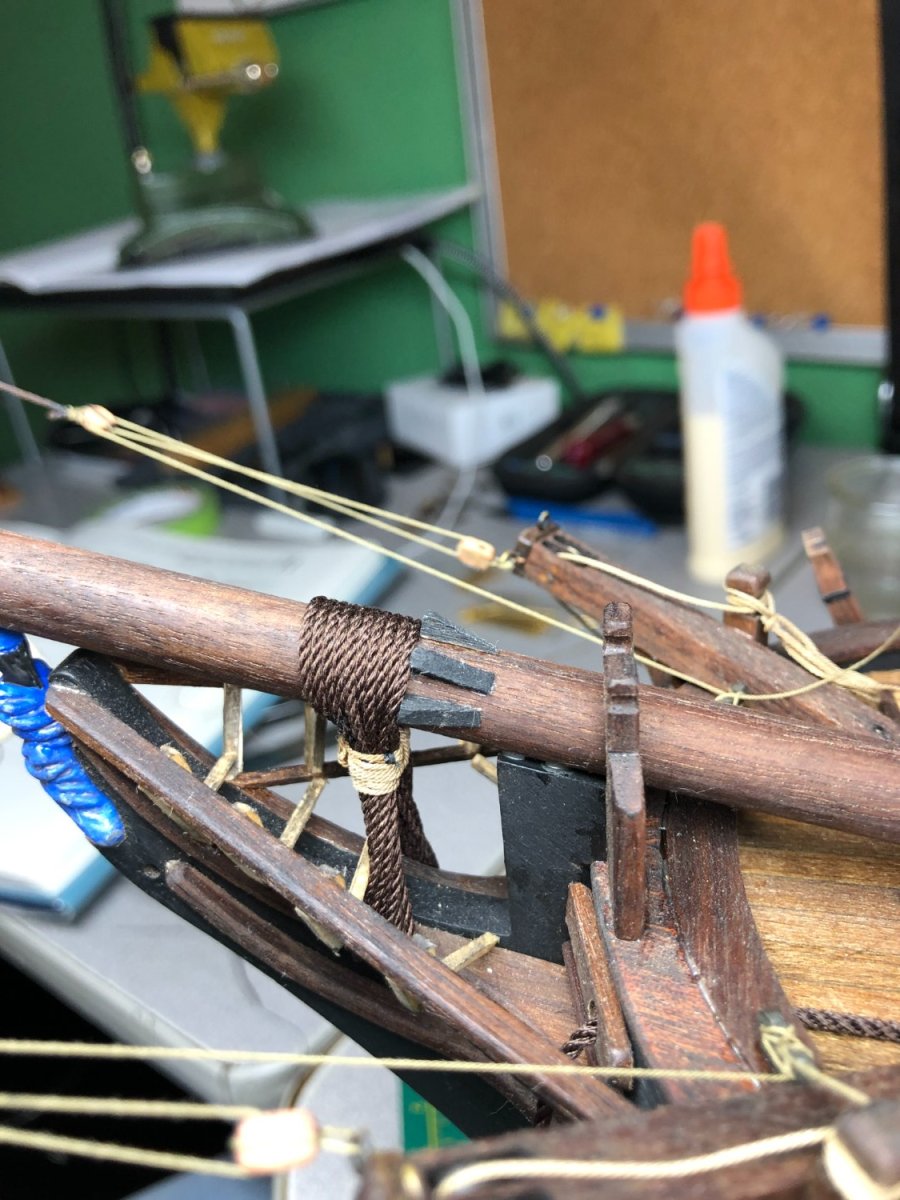
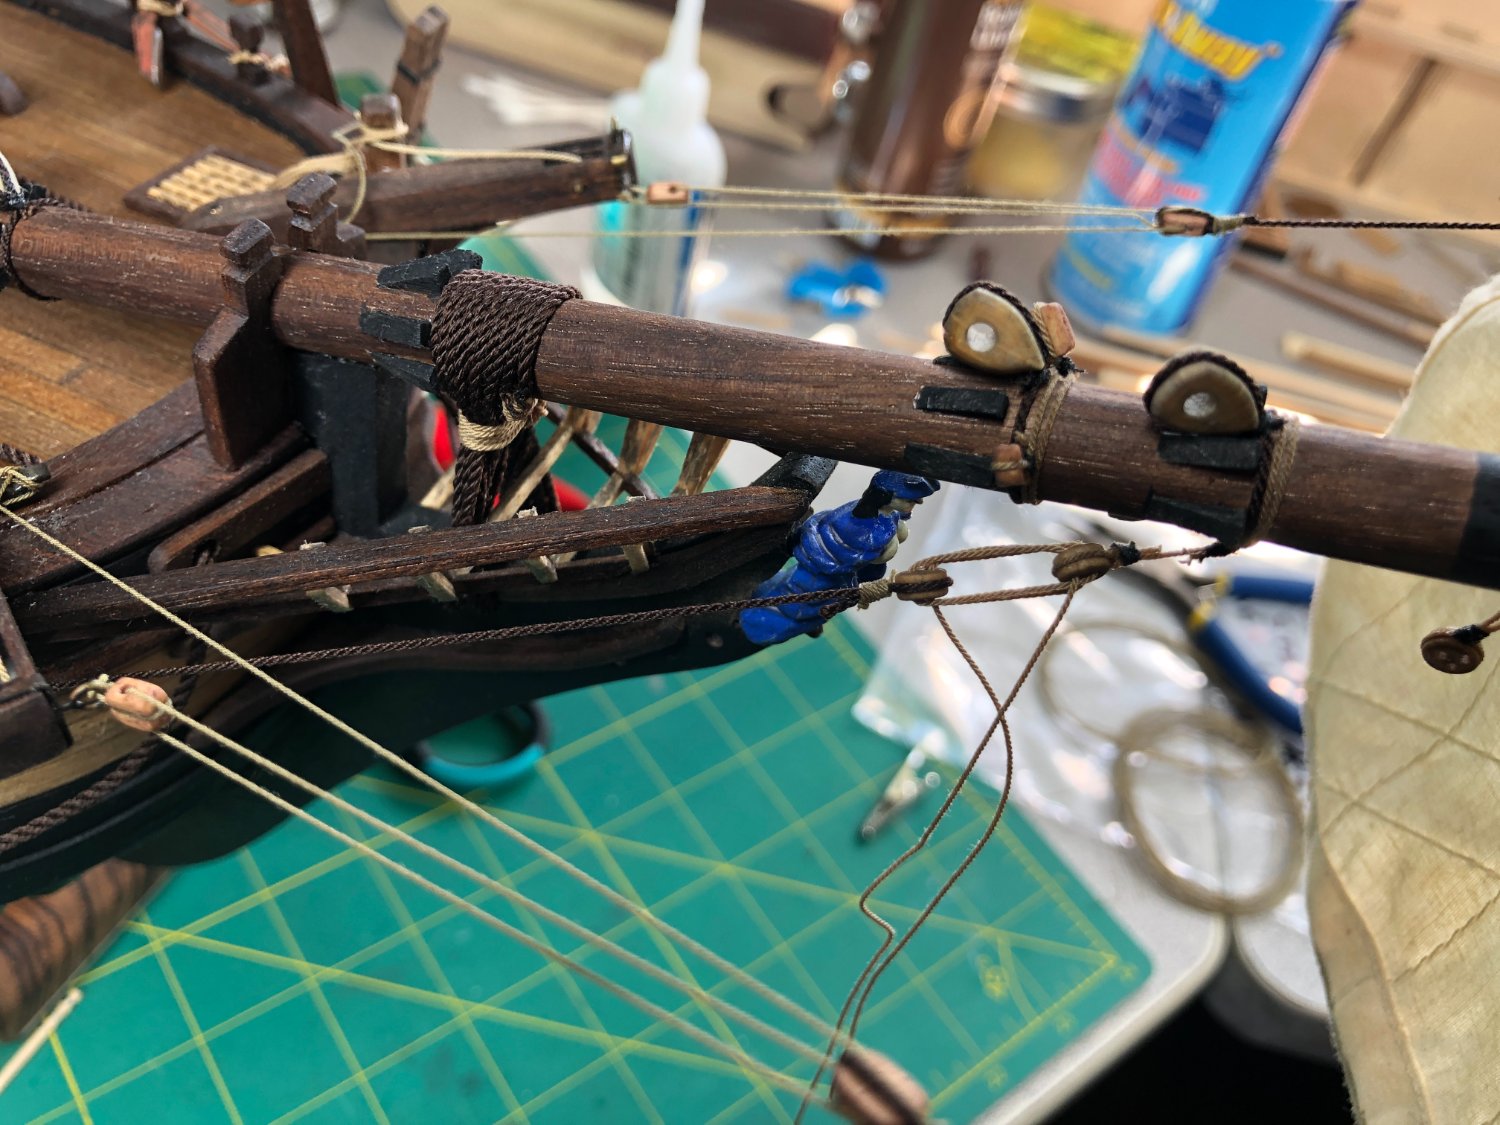
The rigging attached to the bowsprit was very hard to follow but I am confident I got most of (if not all) it right. As mentioned nothing gets done until I've researched it first unless it's REAL obvious!
The next series of pictures is that rigging being incrementally installed:
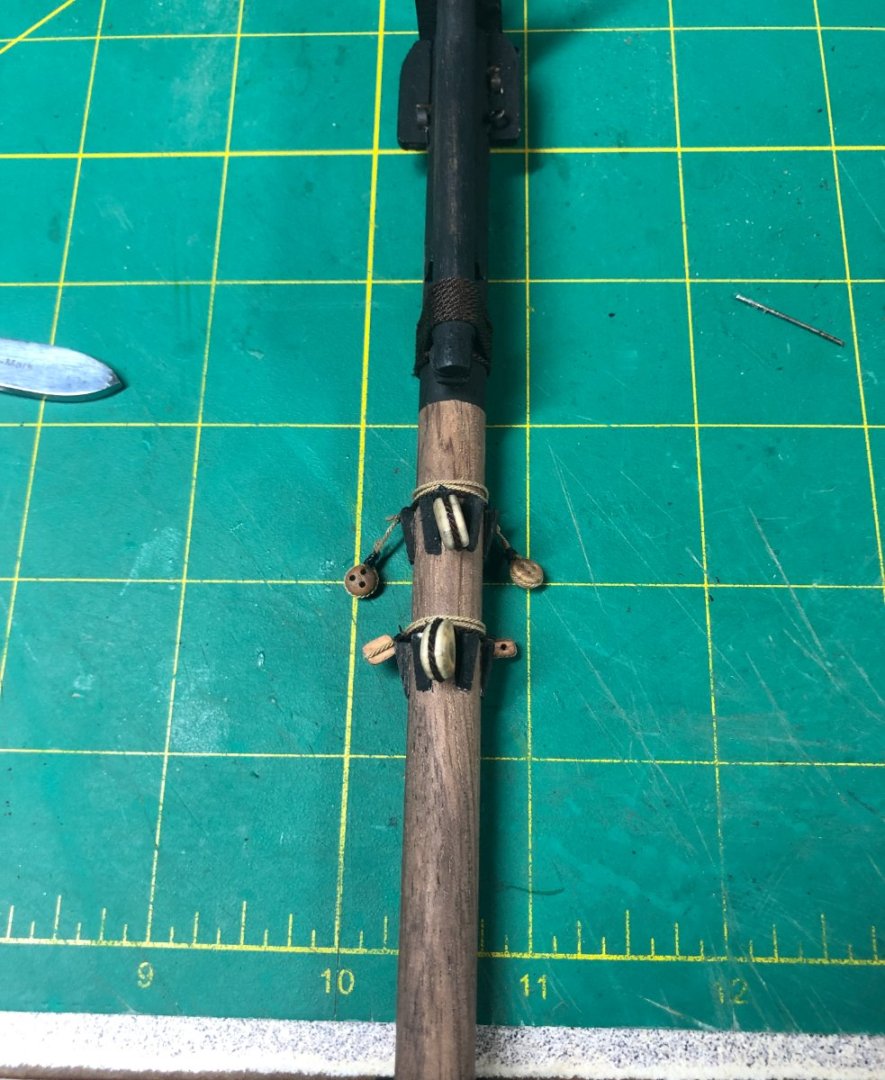

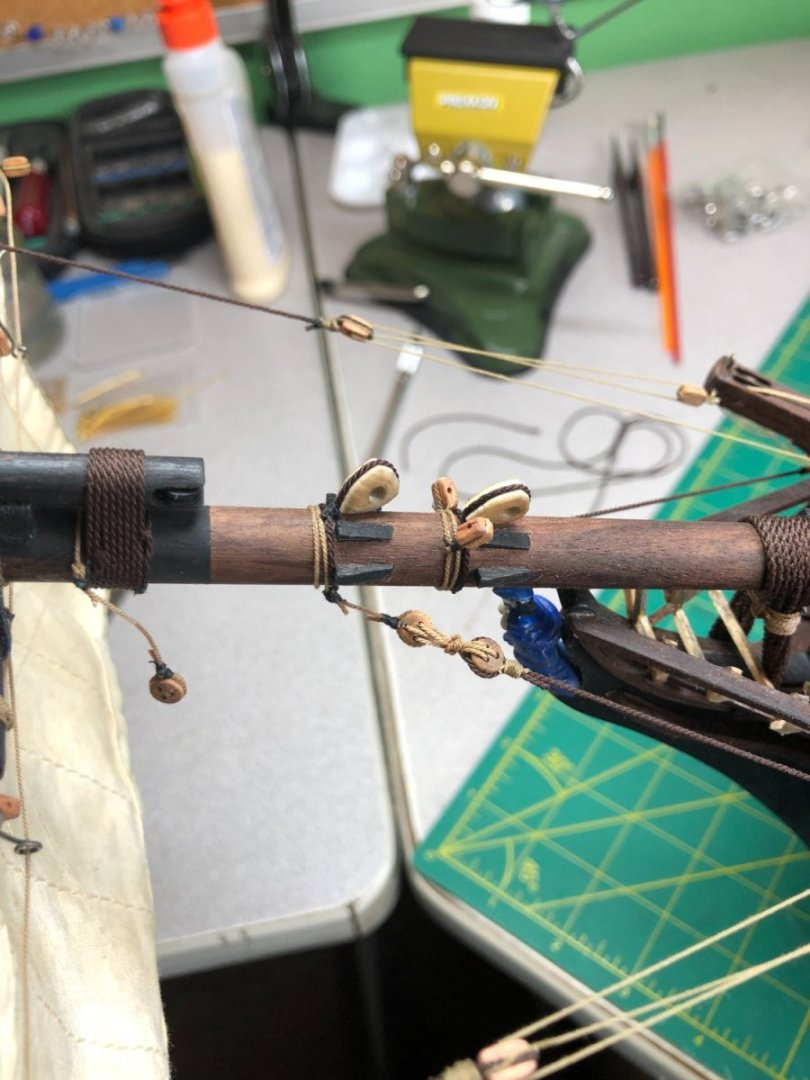
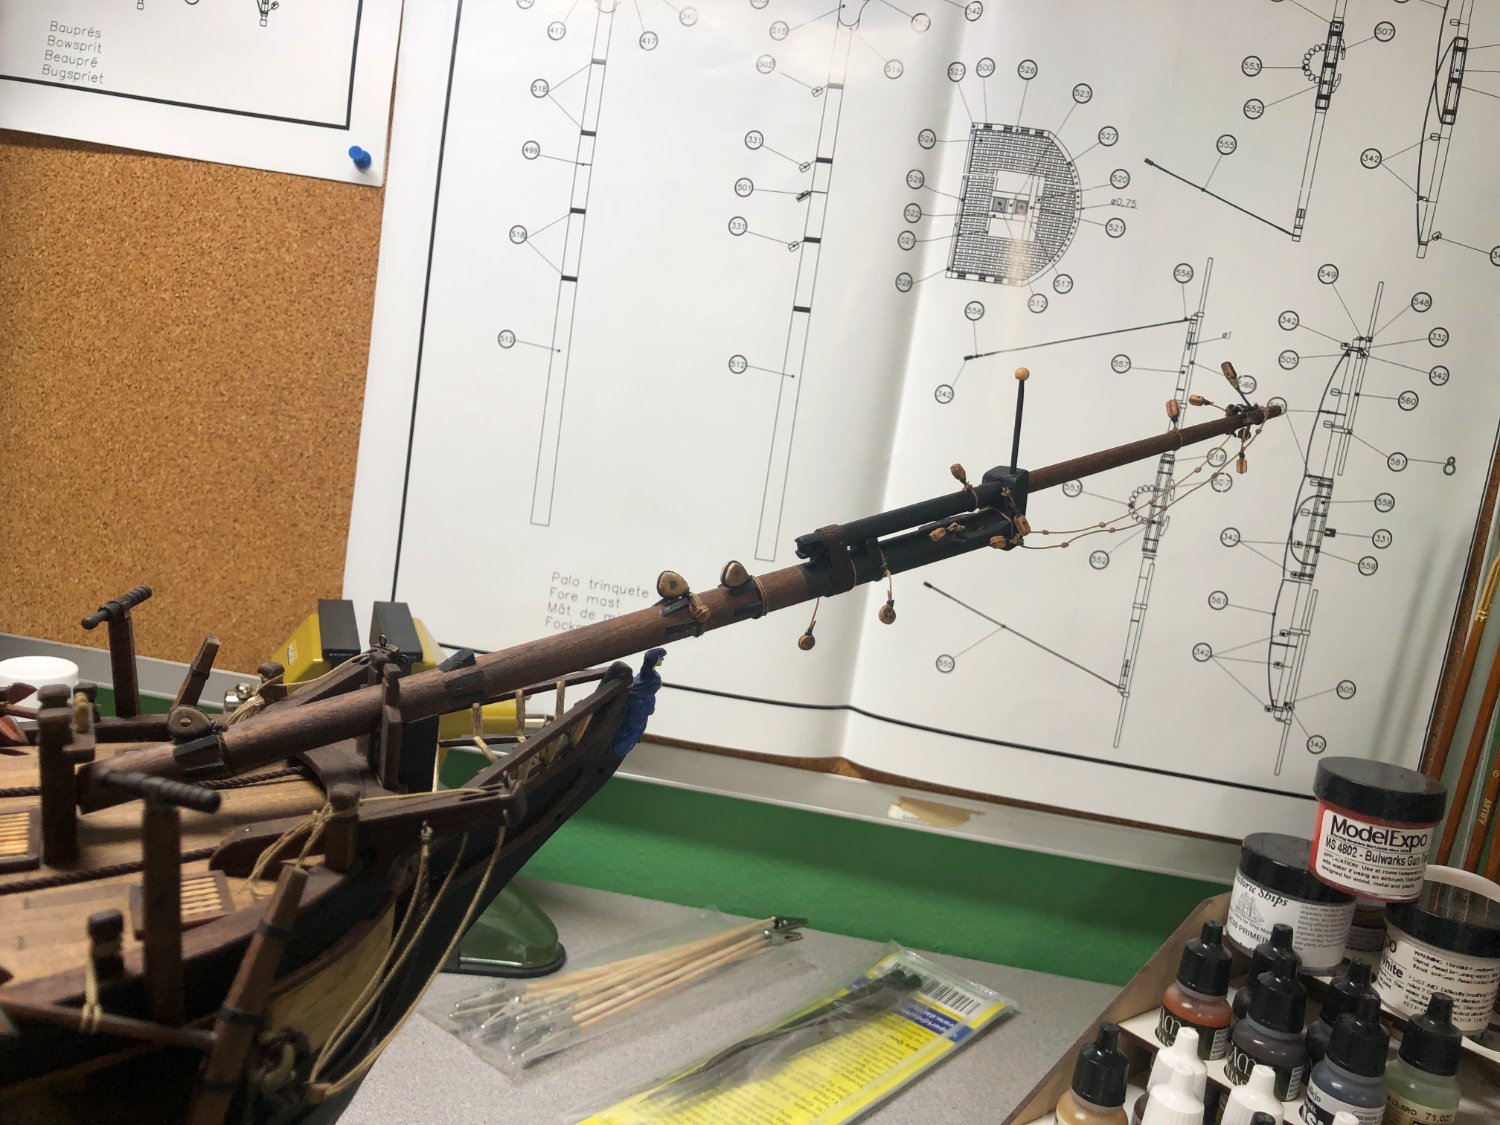
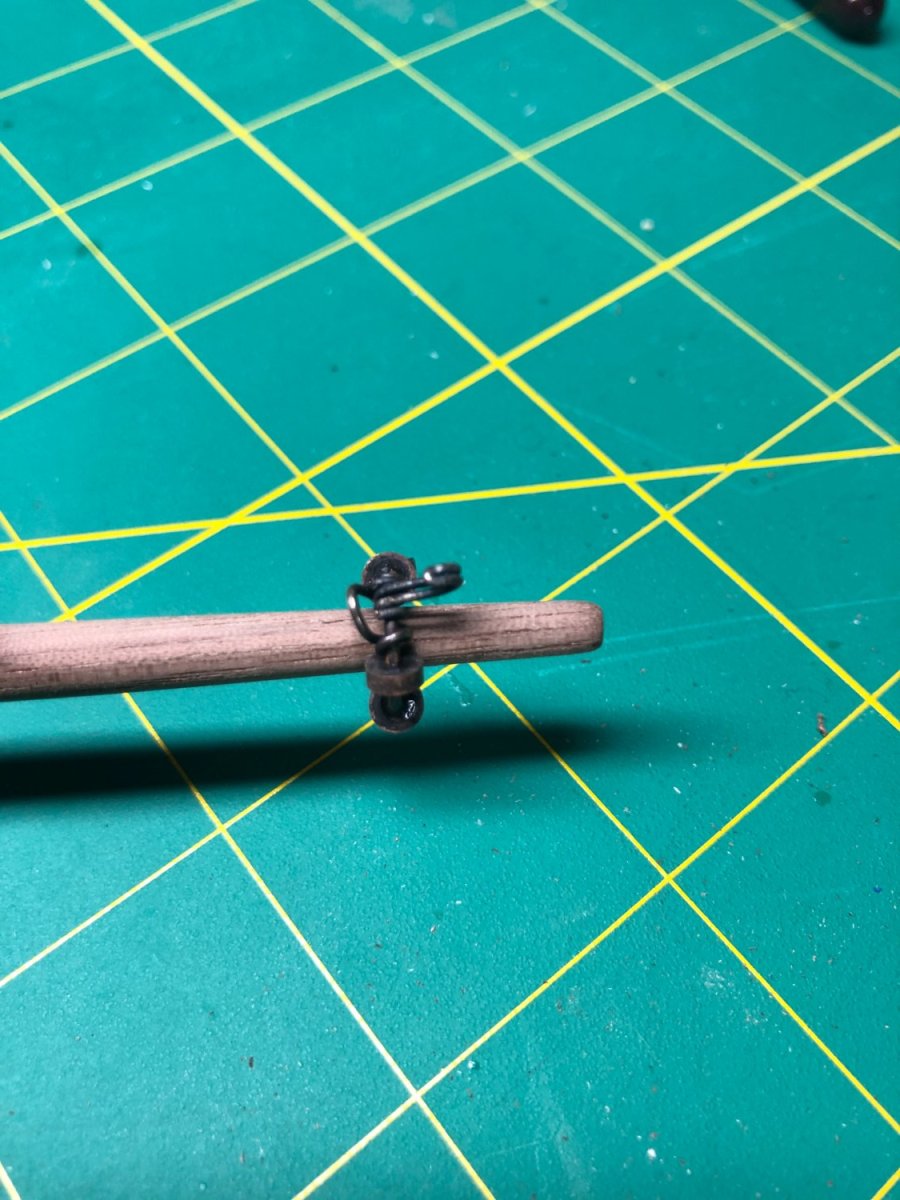
The Traveler was an item that took me a ton of time to figure out! Again, based on several sources, here is my rendition:
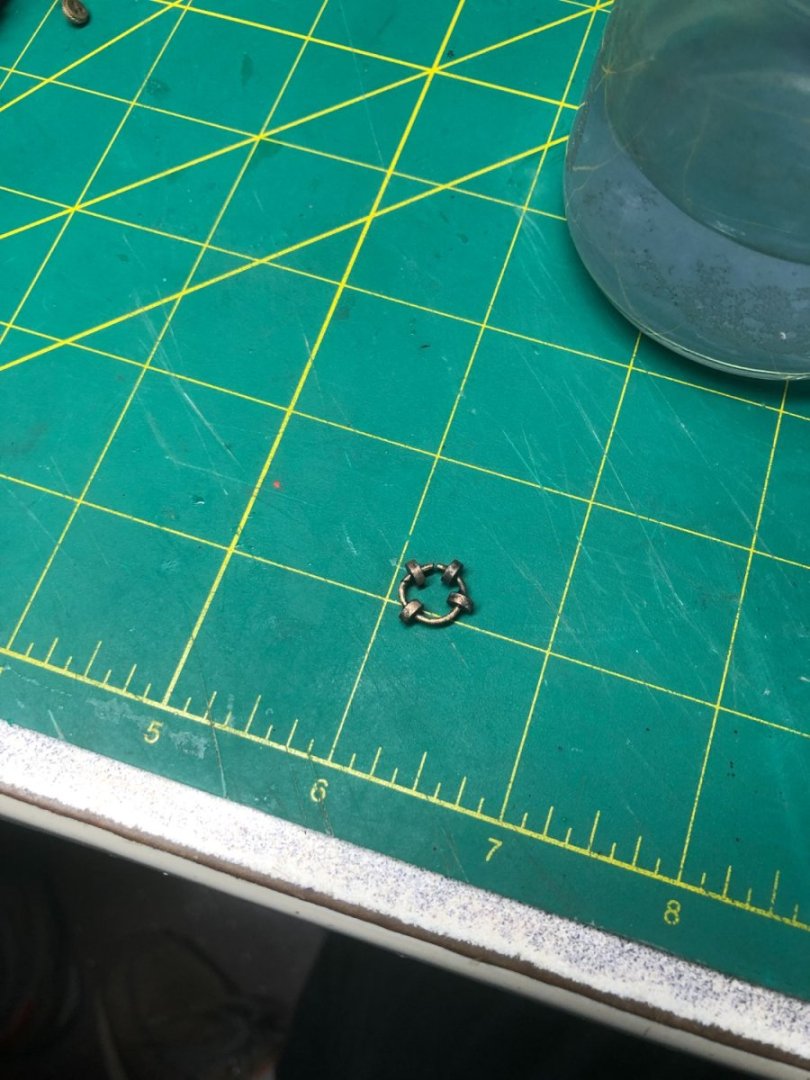
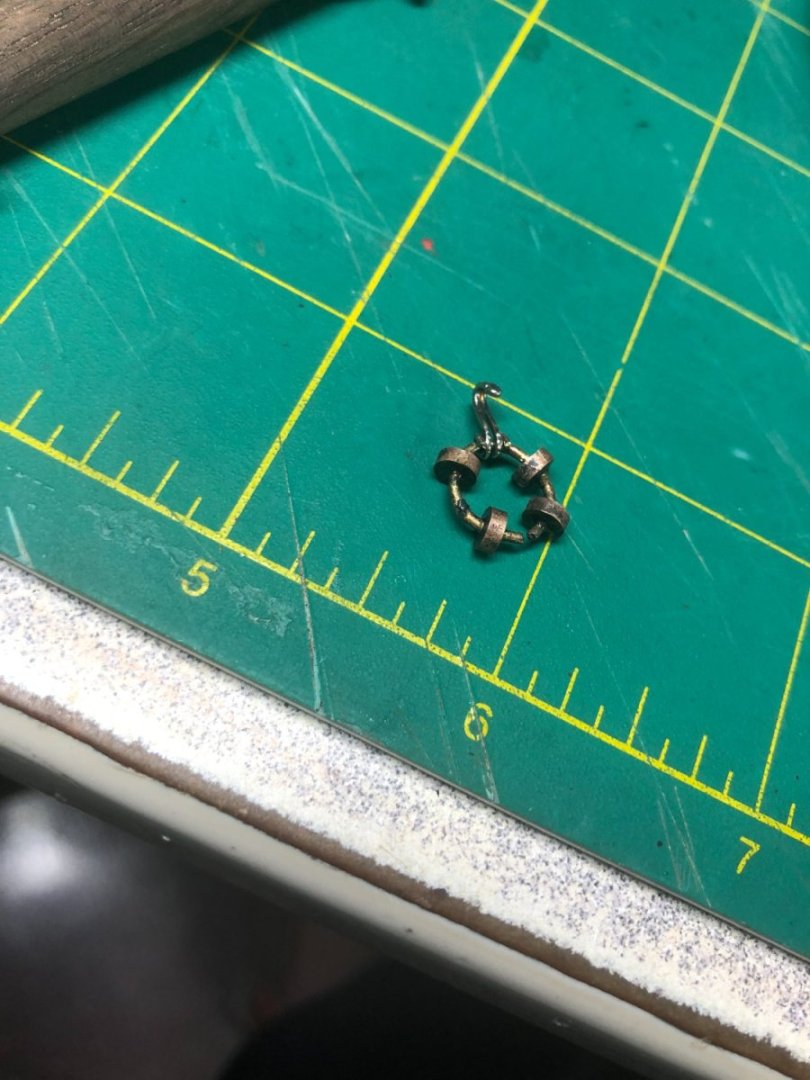

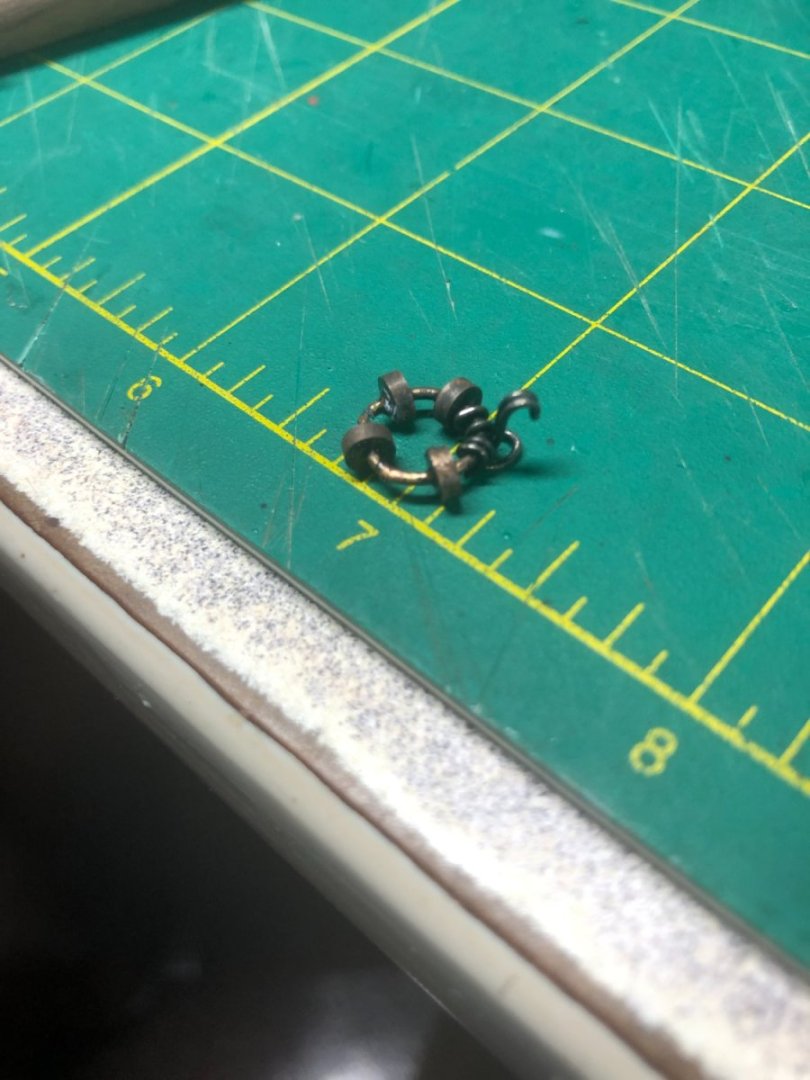

A tad out of round! But trust me, that was my best one! That was really tough to make and harder to find a decent picture of one!
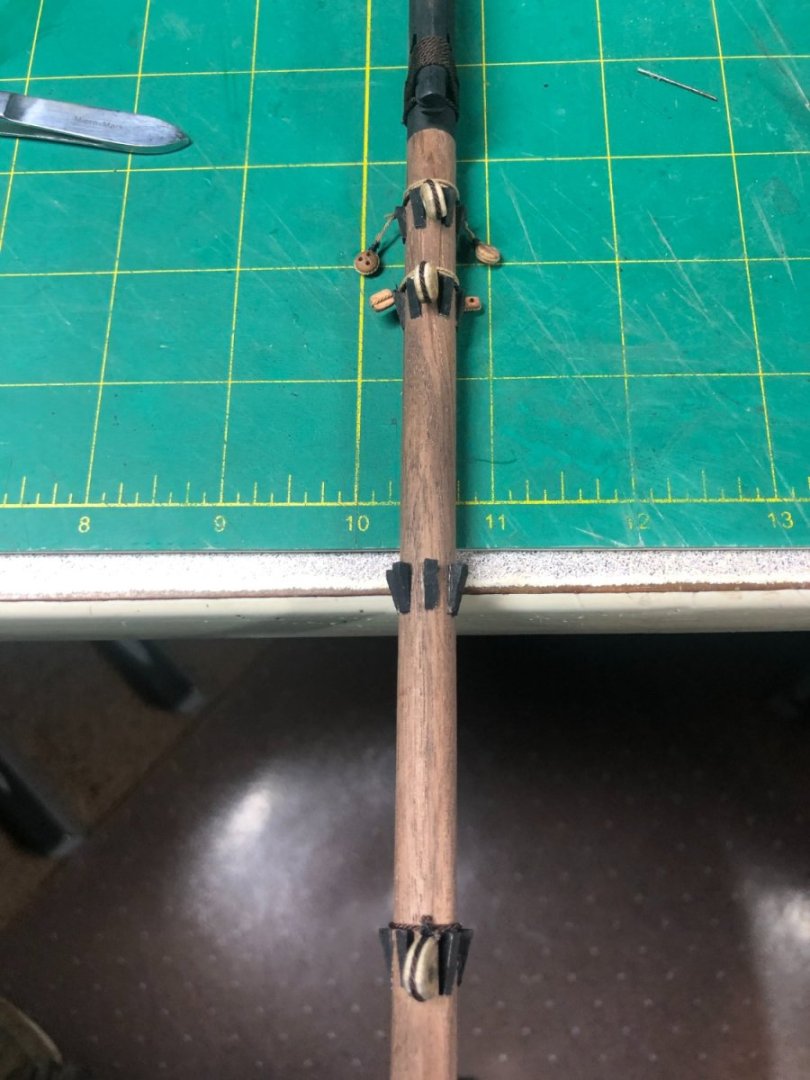
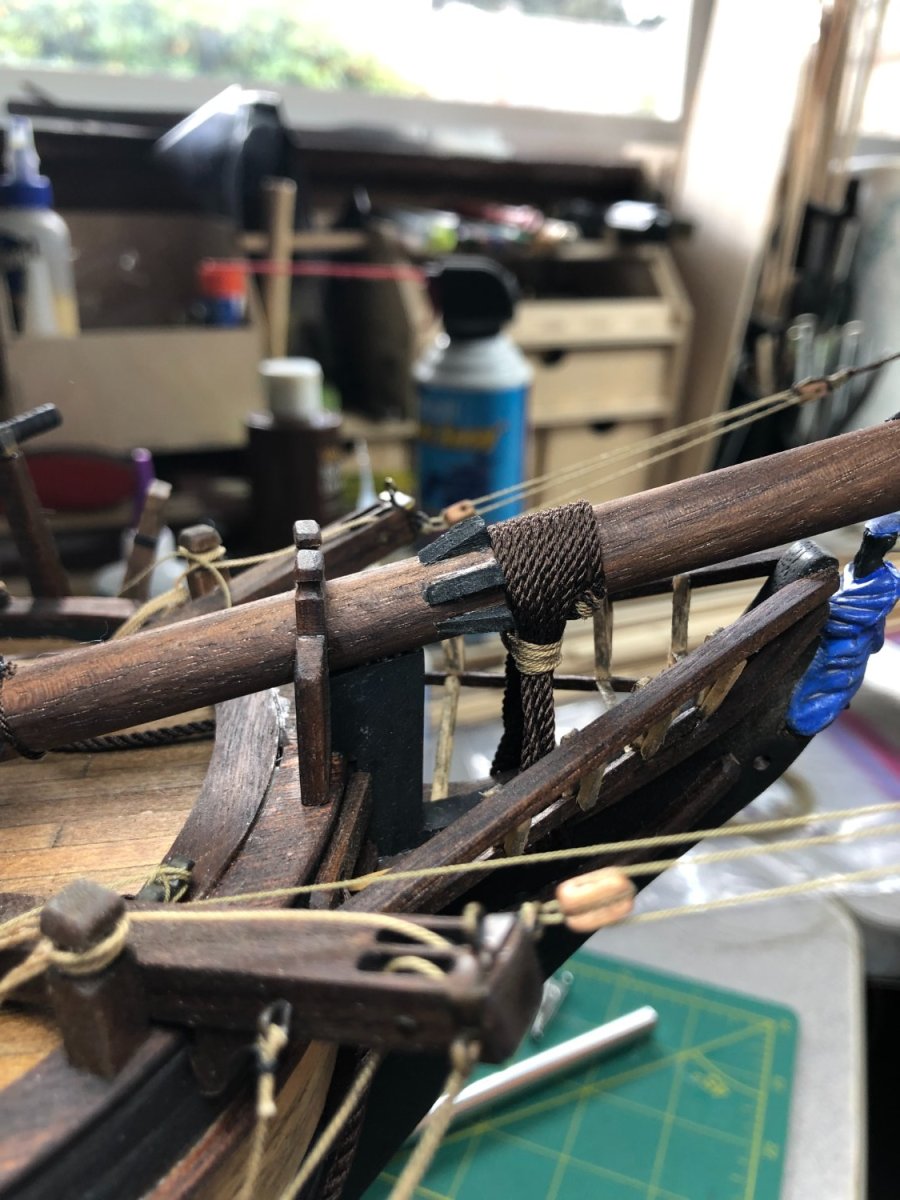
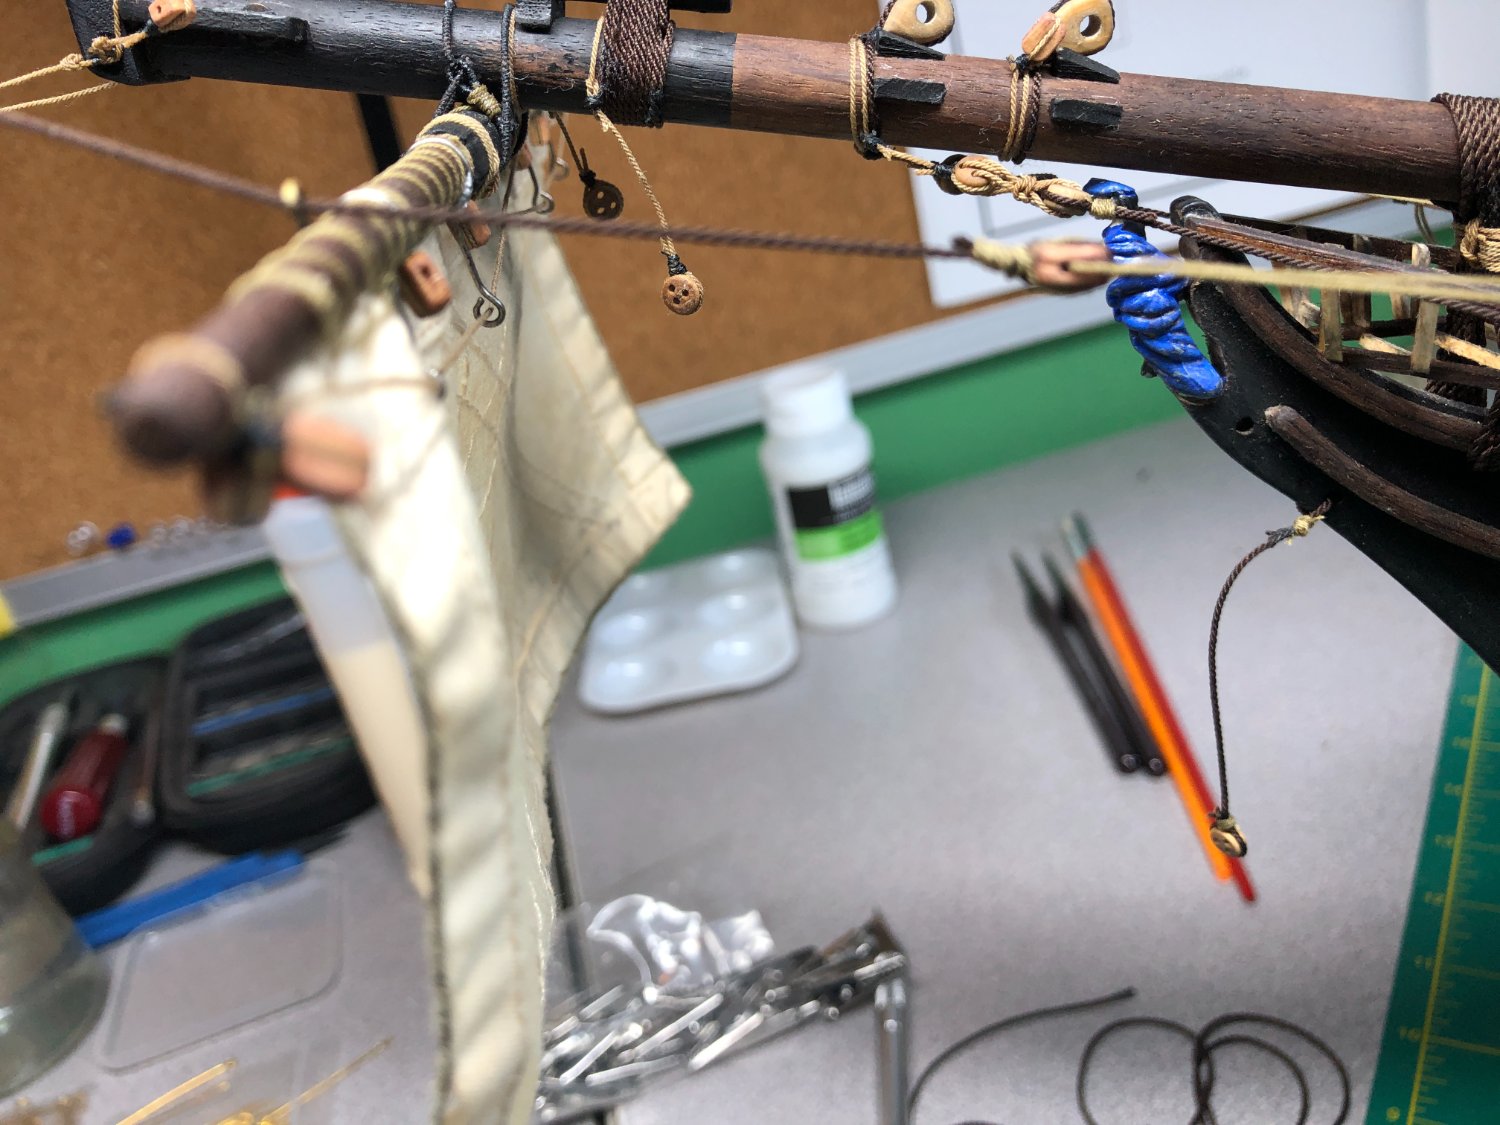
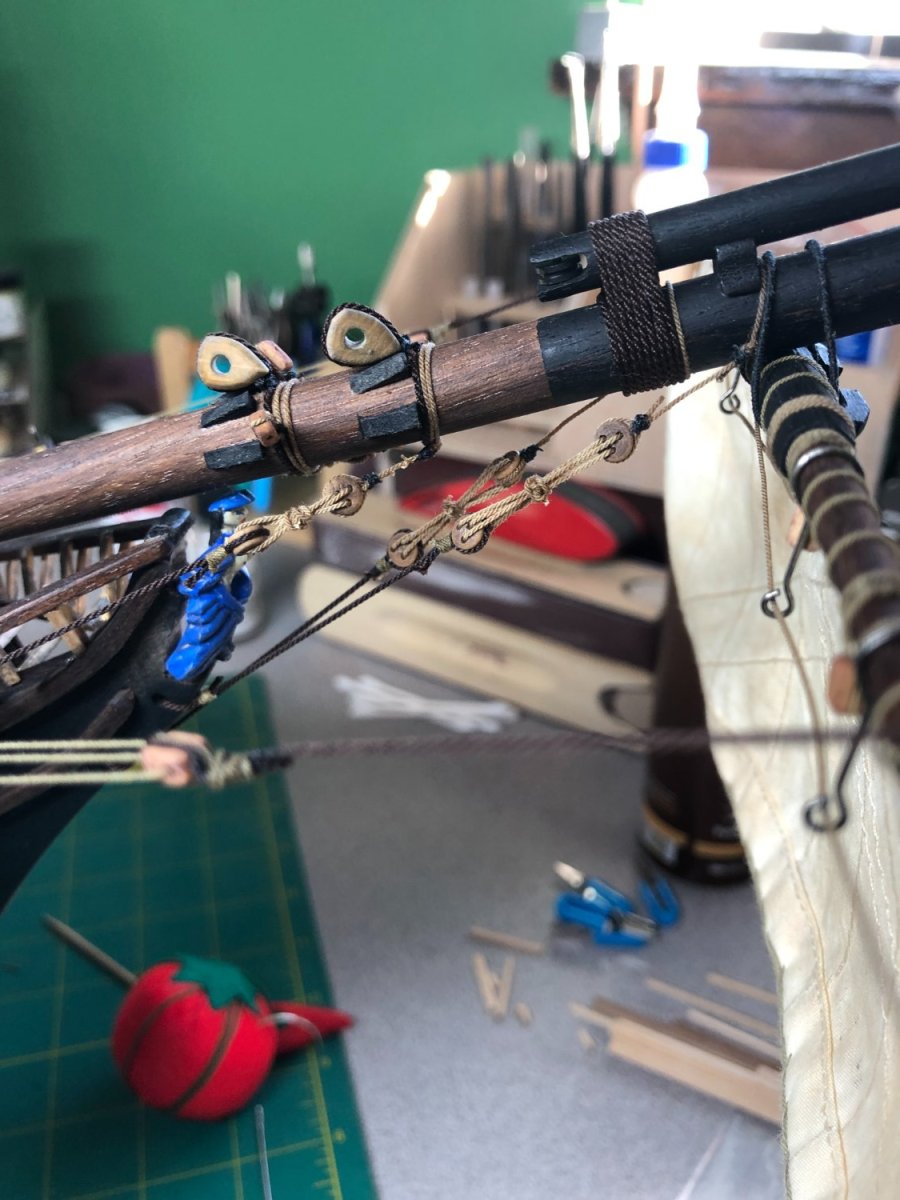
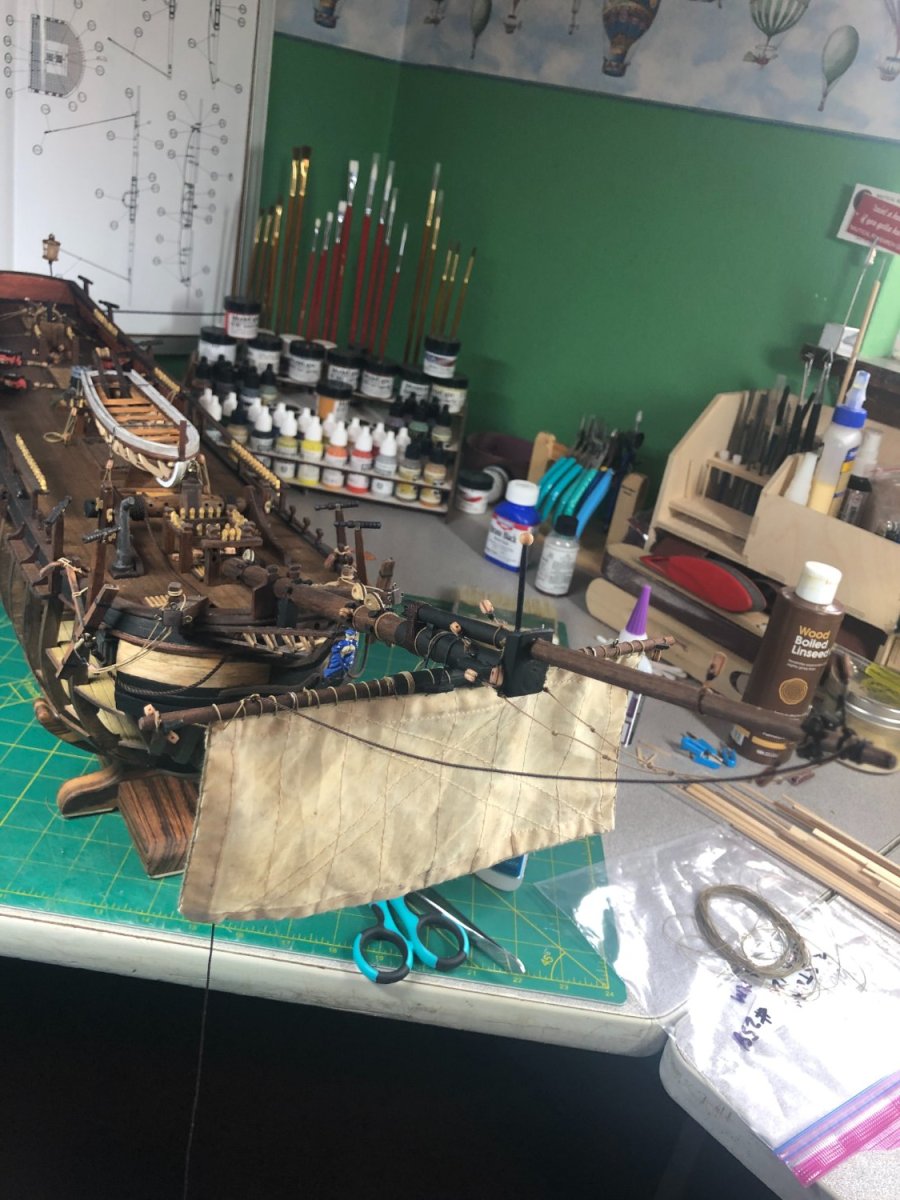
And finally, the completed bowsprit from several angles and close-ups:
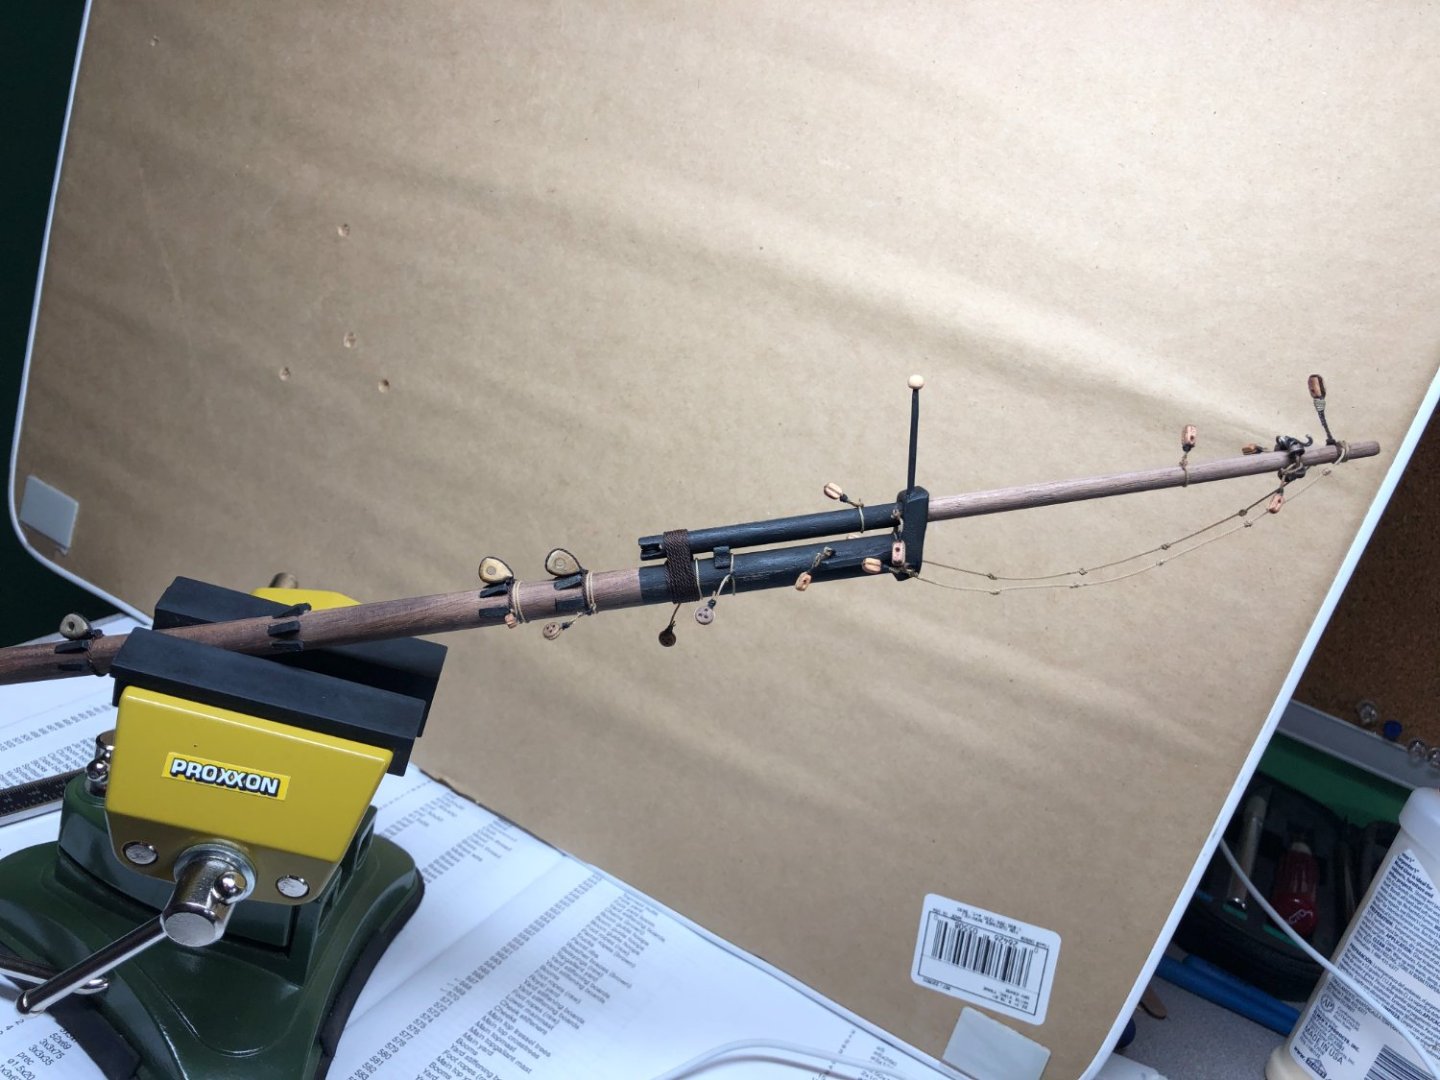
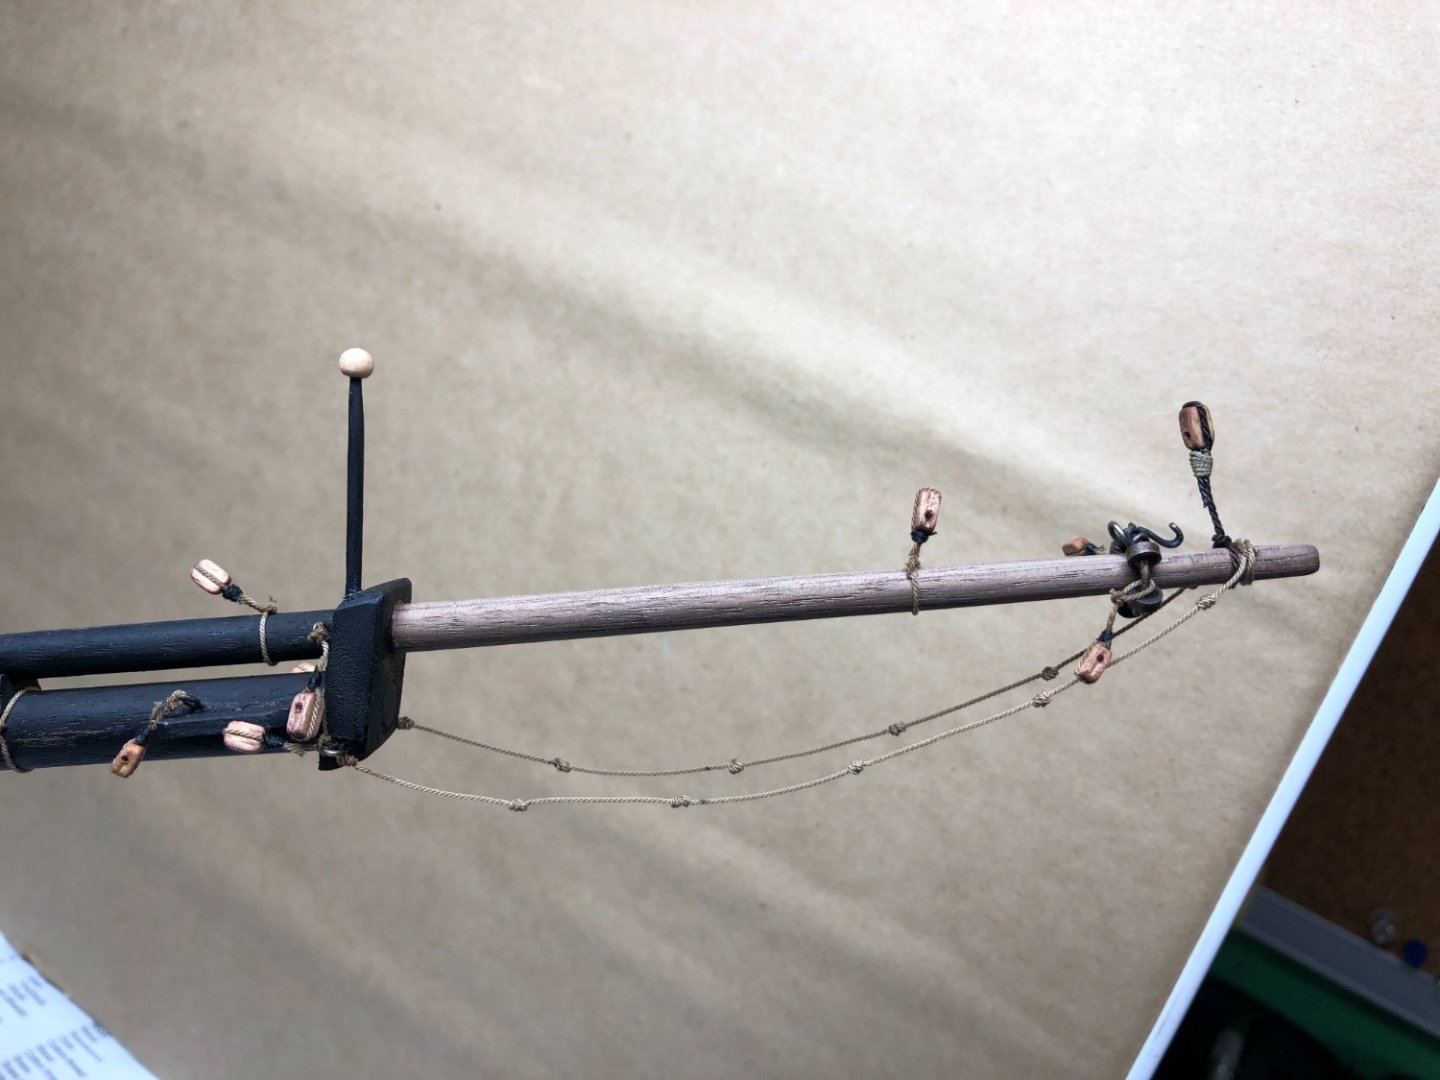


On to the spritsail yard.
- mort stoll, allanyed, AJohnson and 4 others
-
7
-
4 hours ago, Trond said:
Found a Proxxon drill on sale and bought that, online. So nowjust wait.
You are gonna love it! I assume you mean the mini mill?
I use mine for a lot of things and I haven't even begun to use it for its full value!
-
-
-
29 minutes ago, Trond said:
Nice work LyleK1.
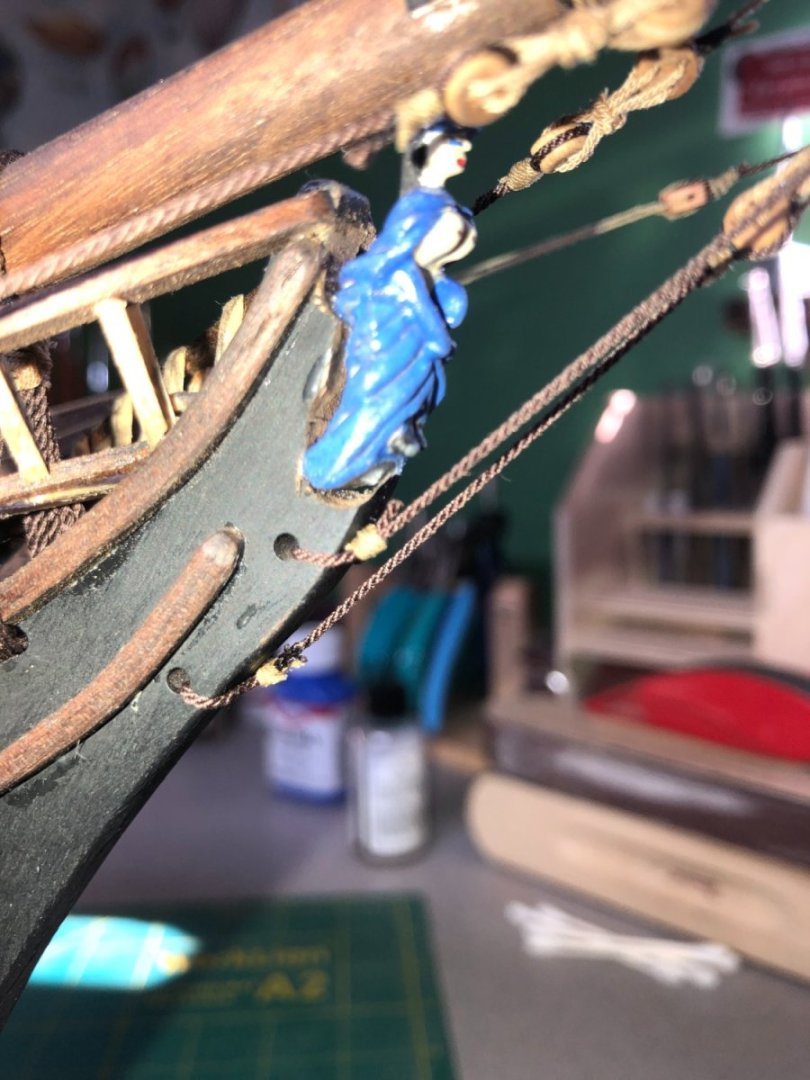
In the Armed transport Bount book there is detailed rigging and the figure is descibed as a women in riding clothes.
I'm following the book as good as I can, but must admit I'm not sure how accuret the book is since from my understanding there is not to much detail from the real ship building.
Thanks Trond. The book is only accurate to a point. The author points out that little is known about the figurehead. I used a little artistic freedom based on historical accounts of many vessels from that time period.
The rigging in the book is difficult (at best) to follow from end to end on many of the lines... but still is a point of reference too.


HMS Bounty by LyleK1 - Artesania Latina - 1:48 scale
in - Kit build logs for subjects built from 1751 - 1800
Posted
I've been asked to add some updated pictures of my progress. So, I added a separate post with a couple of pictures.
If anyone is interested in a particular area, let me know and I can focus a couple shots on that area!