capnharv2
-
Posts
727 -
Joined
-
Last visited
Content Type
Profiles
Forums
Gallery
Events
Everything posted by capnharv2
-

Gaff halyard rigging: one line or two
capnharv2 replied to isali's topic in Masting, rigging and sails
Andy, I have to respectfully disagree. Our 25' Friendship Sloop, 16' Herresshoff 12 1/2s and 12' Beetle cats all have separate peak and throat halyards. We had a 17' Concordia Sloop Boat that was gaff rigged and had one combined halyard for peak and throat. I agree that the larger sail probably has separate halyards. I believe most of the current Maine coasting schooners have a gaff and peak halyard-and they take 8-10 people per halyard to raise sail (no winches). I believe part of the answer (on a smaller boat) lies in how much adjustment you want to do with the sail. With a single halyard, I see it hard to scandalize the main or adjust the fullness of the sail-both of which can be done when you have separate halyards. But then, this is only my opinion. That and a quarter might still get you a cup of coffee. Thanks, Harvey -
Wow Ray! That's some inspiring research and craftsmanship. Harvey
- 536 replies
-
- 1
-

-
- diana
- caldercraft
- (and 1 more)
-
Wes, that's beautiful. It brings back memories when I was at that stage (only mine didn't look nearly as good). I think what Rich is referring to is that some manufacturers have you plank the hull to the false keel, then shape a flat on the planking to attach the exposed keel. The MS Connie has you attach the exposed keel to the false keel then cut the rabbet to accept the planking. Either way works (in my book). Hope that helps. Thanks, Harvey
-
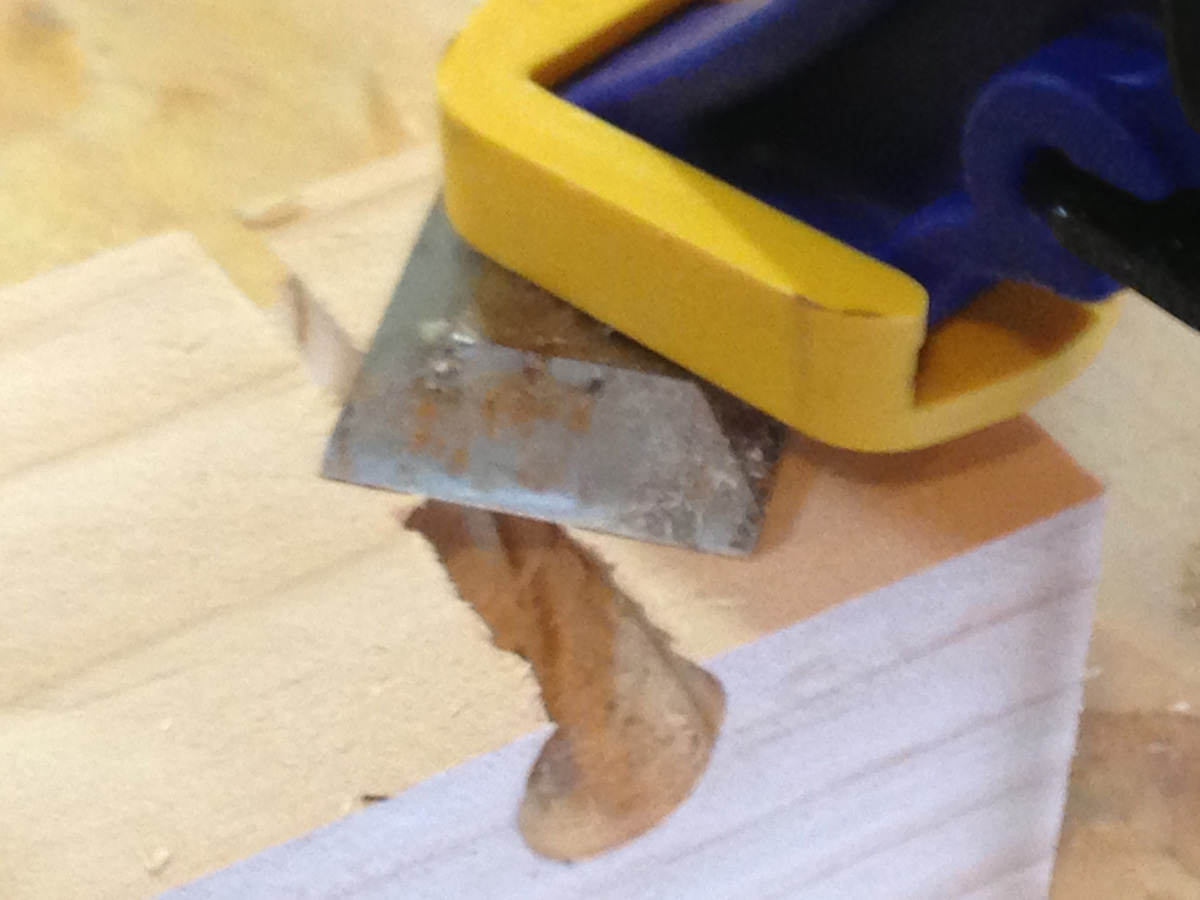
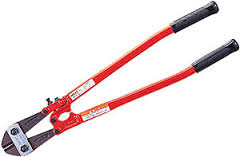
Rich, May I suggest this to replace your plank cutter??? Harvey
- 1,756 replies
-
- 4
-
-
- constitution
- constructo
- (and 1 more)
-
Like Augie and cookster, I use the medium. I have both the thick and thin, but never use them. The thin is so hard to control and the thick-nothing wrong with it, but I never use it. And yes, the fumes can get to you. I've been lucky-so far. Hang in there. You're getting there! Harvey
-
Pete, Looks good! I'm glad you're having a good time on it. I'm tempted to build another one myself. Harvey
-
Excellent job DeeDee!!!
-
Hi Rich, I know the feeling. Rubber bands and guide pins are good ways to secure the plank till the glue dries. Micro-Mark and Model Expo sell Planking Screws, which screw into the bulkhead and hold the plank in place. Similar holding devices can be made with spring loaded clothes pins or binder clips. When you put the pin thru the plank, did you drill a pilot hole for it? That can help keep the plank from splitting. Also, you commented that your plank bending gave a near net shape. Are they close enough that just a little pressure (like from a rubber band) would work? What type of glue are you using? One of our club members swears by a combination of CA glue and woodworking glue. He applies wood glue to the areas he wants, and then touches a few critical areas with a spot of CA. The moisture in the wood glue kicks the CA to help give you a quick "stick", and the wood glue will cure to provide a permanent bond. As Augie said, there are several good planing tutorials on the site. Take a look-they can help generate ideas on how to tackle this. Keep us posted, and above all-have fun! That's what it's all about. Thanks, Harvey
- 1,756 replies
-
- 1
-
-
- constitution
- constructo
- (and 1 more)
-
Randy, Jud, Thanks for your comments. When I ripped the piece in half and glued it back to back, I thought I was reversing the grain on one piece. (like the 2 center layers you show). That's why I don't understand why it's warped. It's possible that, when I used the recently sawn sides as the outsides of the piece, that they were not flat enough, and I clamped the warp in when I glued it. The sawn sides looked flat, although I could see some saw marks on the faces (the blade is brand new, and I didn't see any burn marks). I didn't surface the outside faces-maybe I should have. . . Harvey
-
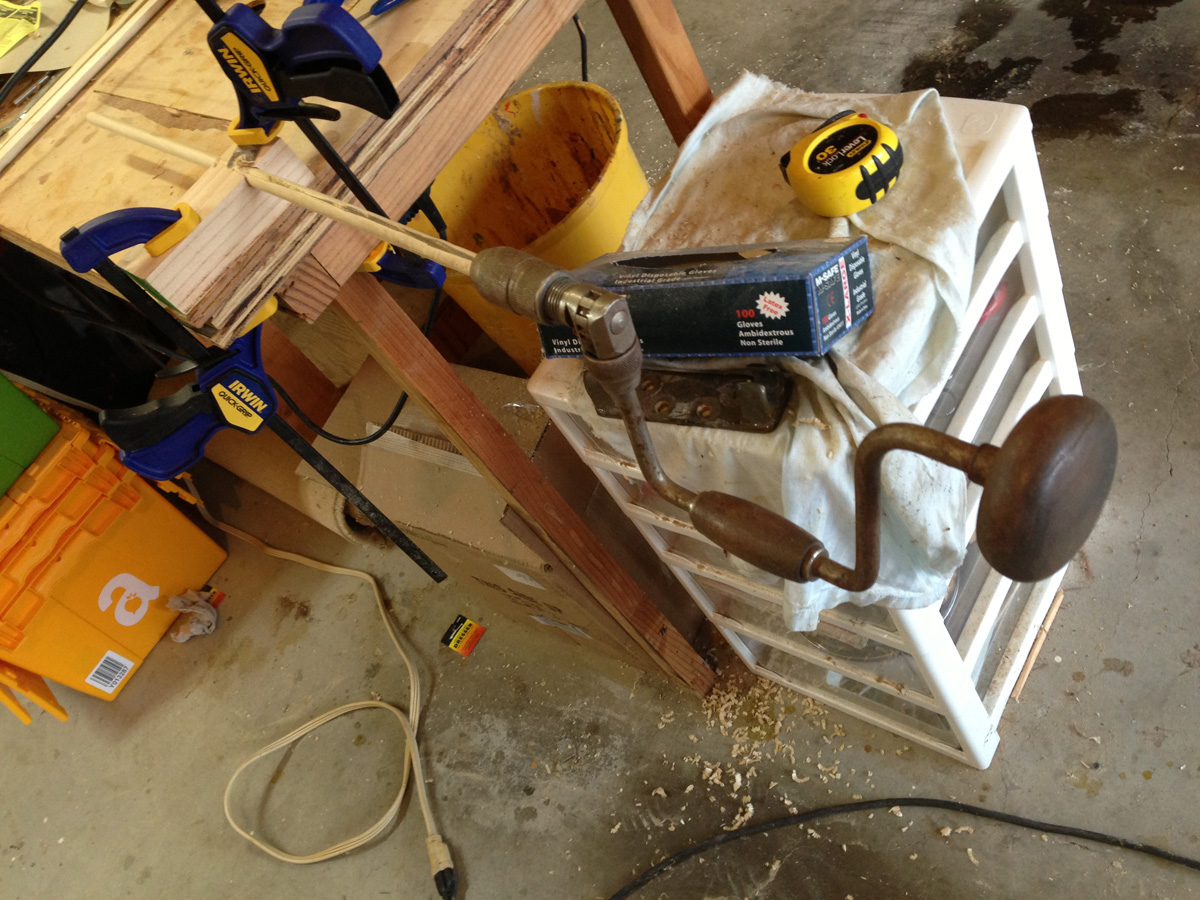
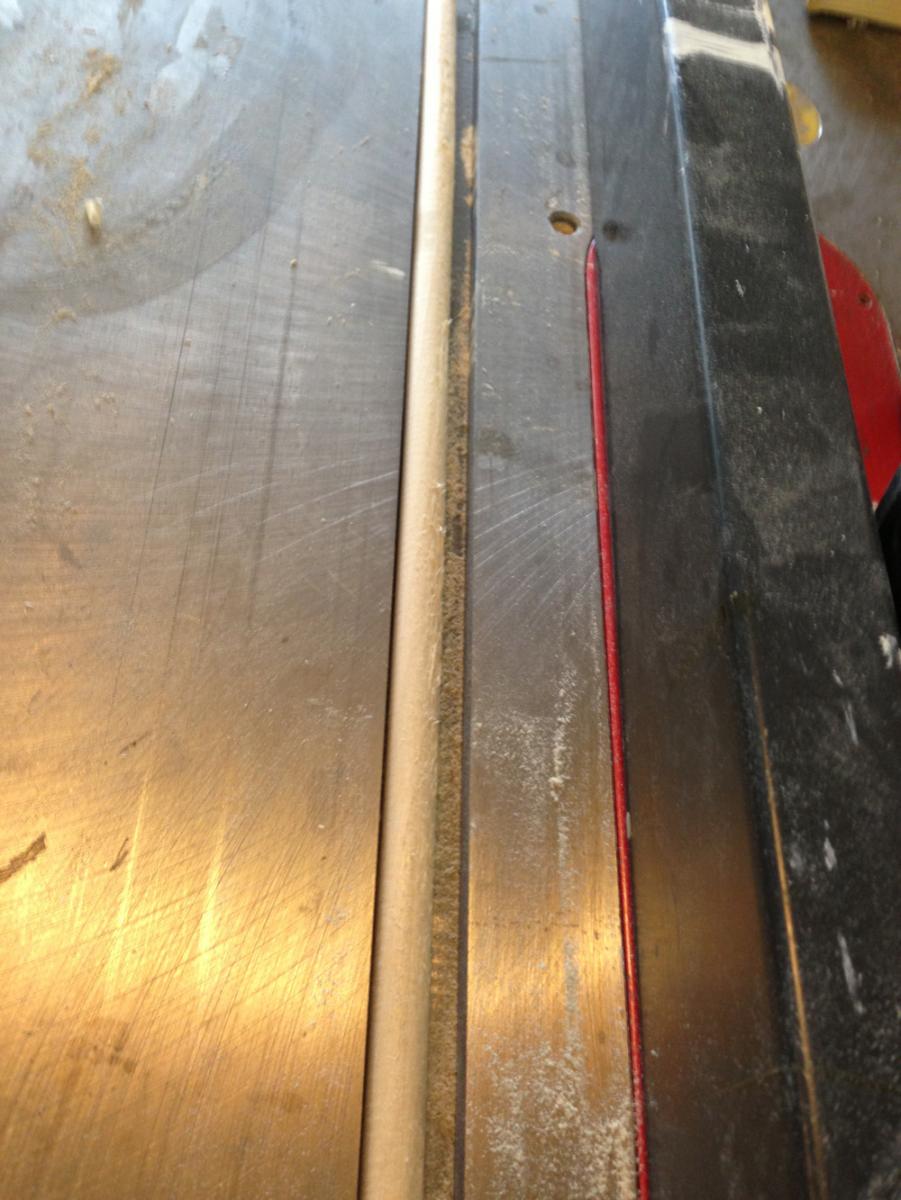
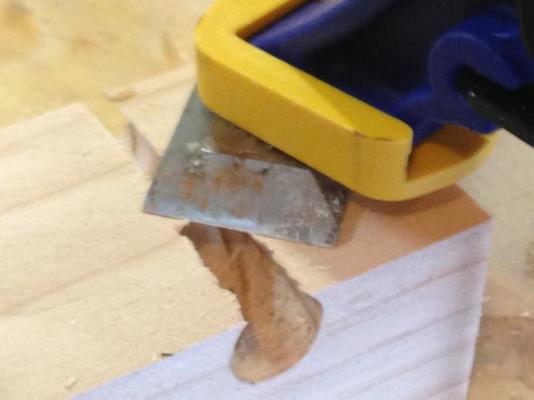
Okay, story time. . . I took my old piece of 1"x2" finished poplar and ripped it down the middle on my saw. Before I did that, I checked to see if the original had any warp in it-it did not. It's also straight grained and clear of knots (a nice looking piece of wood). I glued and clamped the finished edge together using Titebond type 2 glue and let it sit overnight. The piece was still straight. This morning I ripped it down to 1/2"x 1/2", and turned the corners off with the router. I then made up a tool per the Matthias Wandel video that was posted elsewhere here. My finished dowel size is 7/16", so my power drills did not work (they only go to 3/8"). So I ended up using a brace bit to turn the dowel (it worked much better than I thought). The finished dowel looked really nice-until I took a picture of it on the table saw (to contrast the color to see it better. Sure enough, it's warped. It's about 1/16" over 18" length. It's warped right in the middle, so I can't cut it out. I checked the glue line for signs of separation-I had a hard time finding the glue line, but it's solid the entire length of the dowel. By the way, the glue line is down the center of the dowel. I think it's better than the one I have now, and I can line the warp up fore and aft so it's less noticeable. Still, what did I do wrong? Or am I being too anal? On the plus side, the Matthias Wandel dowel turning setup is pretty neat and leaves a nice finish. And the thickness is constant (my wife wanted me to turn in on a lathe, but I doubt I would have gotten as good an end result) Okay, whining done-pass the cheese, please. Thanks, Harvey


-
Thanks for your help guys. I'm going to glue a couple of pieces of poplar together and mill the mast out of that. The wood looks pretty straight, and it's been around for 10-15 years, so I suspect it's stable. I'll post some pictures of how it turns out. Thanks again, Harvey
-
I've done some work on my Connie's mainmast, and I've decided to start over on it. It's warped. The dowel was cut too short, and I scarphed a section on to get it the correct length, but there's still about 1/8" warp in the 12" section. When I put the masts in, I can see the misalignment (the other 2 masts are straight). So I think I will start on a new one. Crackers put up a great video on how to turn dowels from straight stock, so I will want to try that. I have 3-4-5 pieces (about 36-48" long) of 1"x 2" poplar that I was given about 10-15 years ago, and I'd like to turn the mast/dowel out of this. Are there some hints on how to select a piece of wood that won't warp after I cut and turn it? Thanks, Harvey
-
Floyd, That's the plan. The bowsprit is done, but needs blocks, bullseyes, and provisions for the jib boom. I want to get the trestletrees on the lower masts (with the tops located correctly, but not installed), then I can put the lower masts in and start my stays and shrouds for them. Tonight I was correcting mast rake. The foremast is pretty good, the main and mizzen still need a little work. I'm a little stymied with line. I can't find Coats and Clark 50 wt. I've been to Michaels and Jo-Ann fabrics, and they both say "if it's not there we don't carry it"-and it's not there. I have plenty of the 30 wt and have made some 3 strand and 9 strand with it, but I need to find the 50 wt for rigging some of the bullseyes. Will I do a seminar on using the ropewalk? Sure, I can share what I know and what I've learned (and will learn). I don't have near the experience of some folks here, but I'm happy to share what I have learned. But I first need to get the cannon made for Mike Graff's model. I now have the tools, but I have to wait a bit for my back to heal up after surgery (stitches come out next Thursday, and I should wait another week or 2 before I start up the Unimat). Thanks though. Glad you're having a good time at the AC . Harvey
-
True-but right now building the spars and running the ropewalk is a break from turning cannon (or trying to). But the end mills got here yesterday, so I'll need to switch gears (no pun intended) soon. Harvey
-
Keith, Thanks for stopping by. There are 4 boats that come with the kit. A 36' pinnace and 3 28' whaleboats. The pinnace sits on the grating between the fore and main mast, and the whaleboats are on the aft quarter davits and the transom davits. The pinnace (which is the only one I haven't started yet) is the one that needs to go on before the standing rigging, as it will be harder to mount with rigging in the way. Or, I may display the pinnace alongside the hull, like she's loading or unloading cargo. I might also display one of the whaleboats being lowered from the quarter davits. Or I may display all 4 boats in their stored positions (on deck and in davits). I haven't decided yet. One of many fun ideas when the model gets this far along (similar to what you've done with your Swift). I agree, the rigging really fills in the ship and displays the complexity of handling these large vessels. I've noticed a leap in complexity when the masts and standing rigging go on, and another leap in complexity when the spars and running rigging go on. It makes the entire build process and product very satisfying. Harvey
-
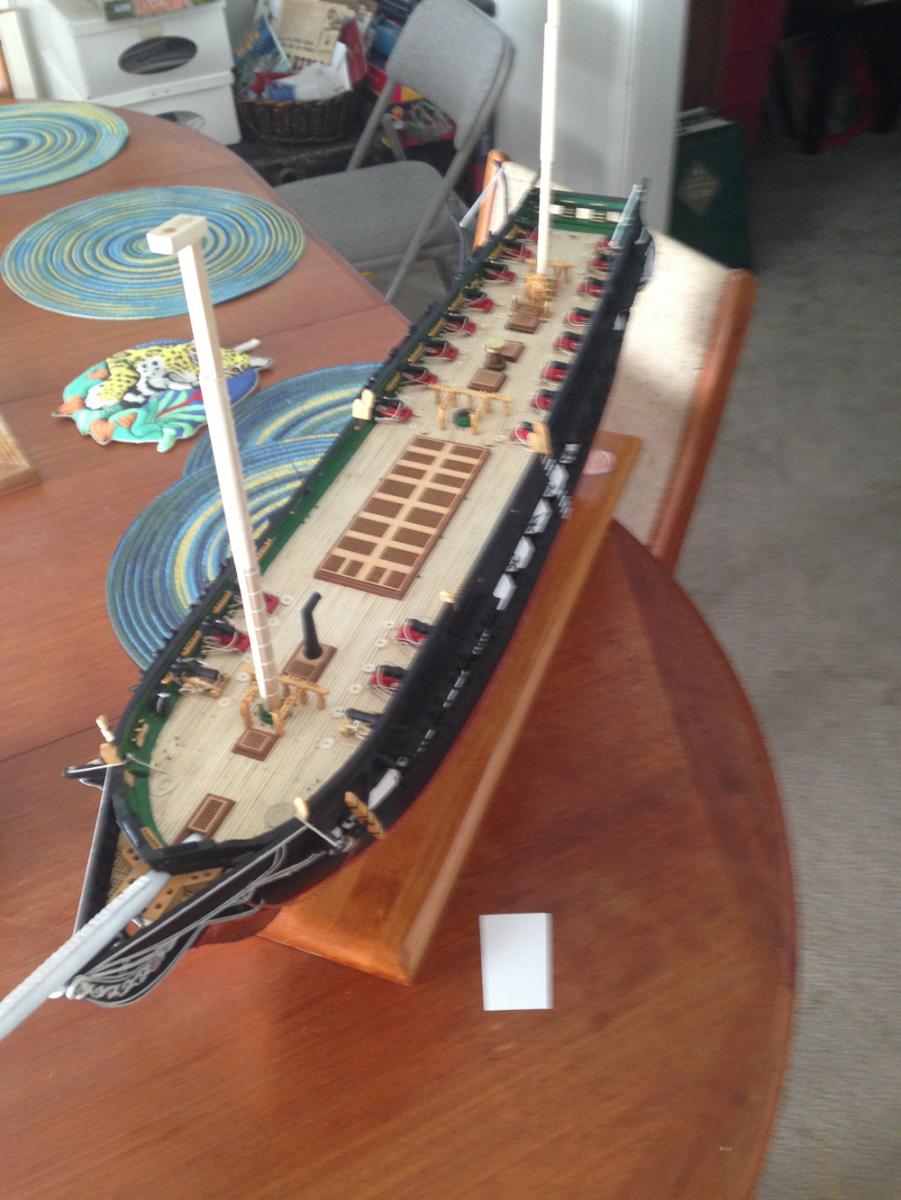
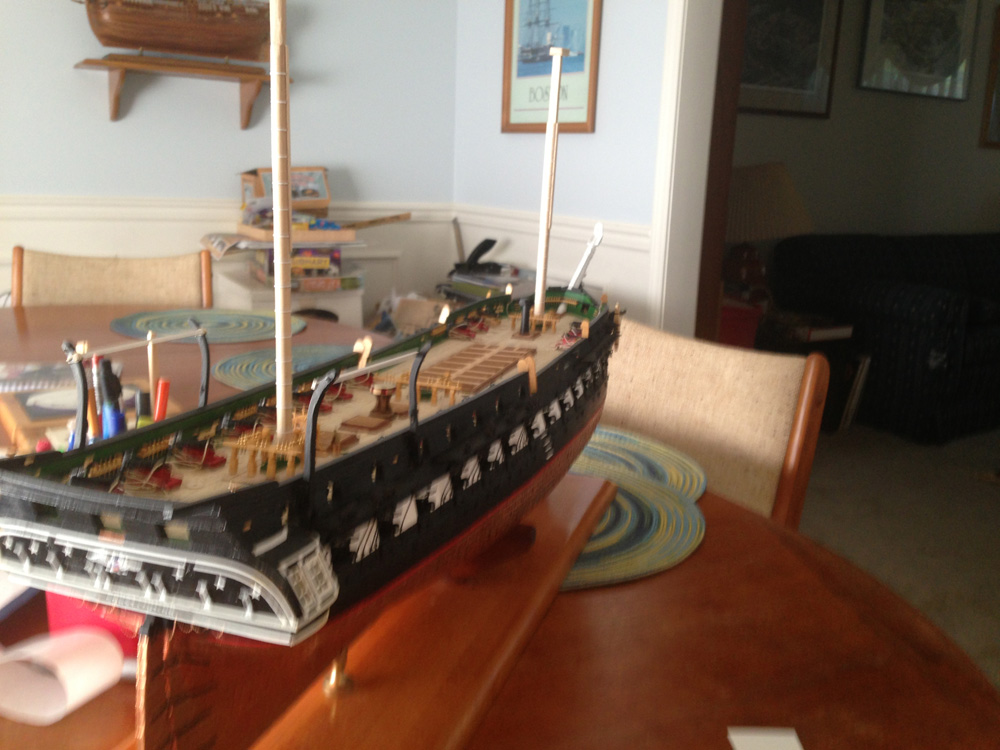
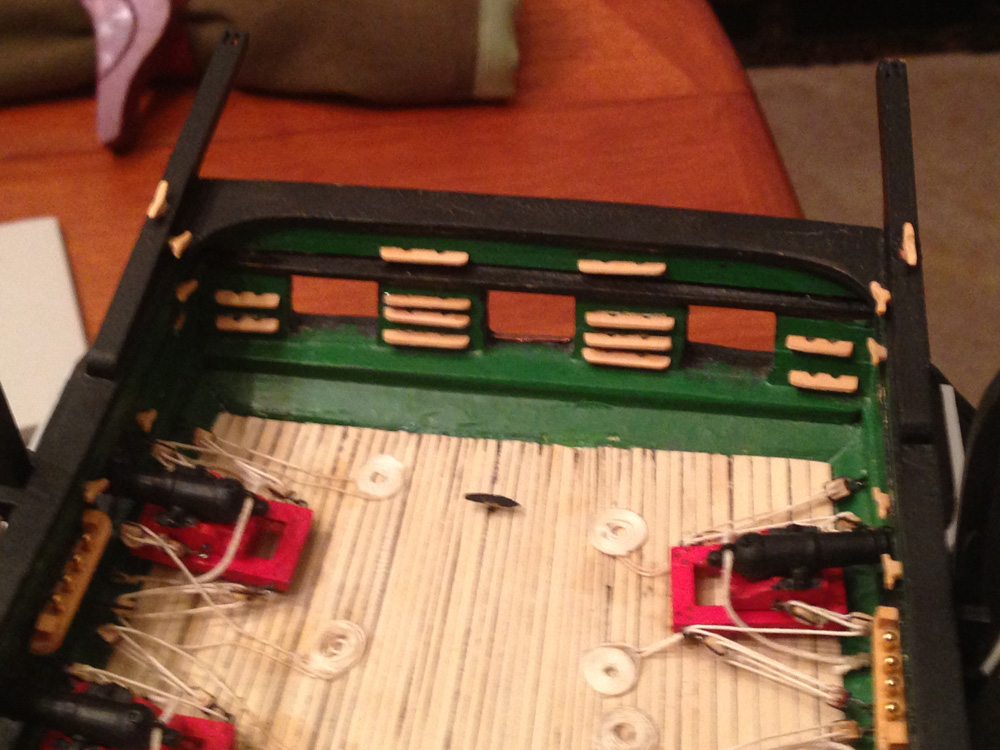
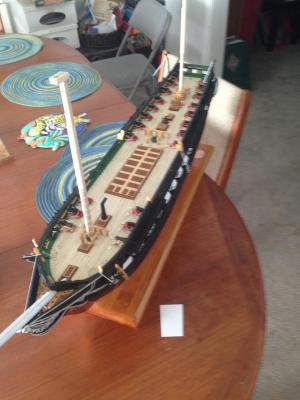
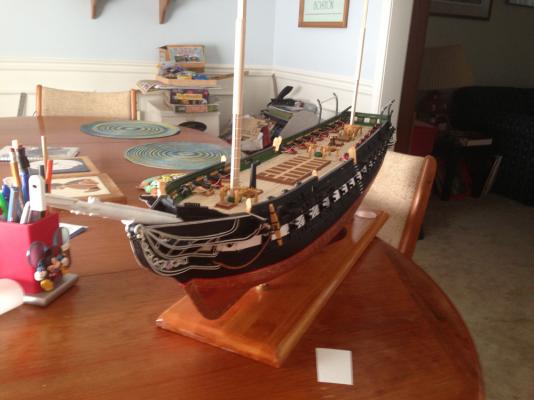
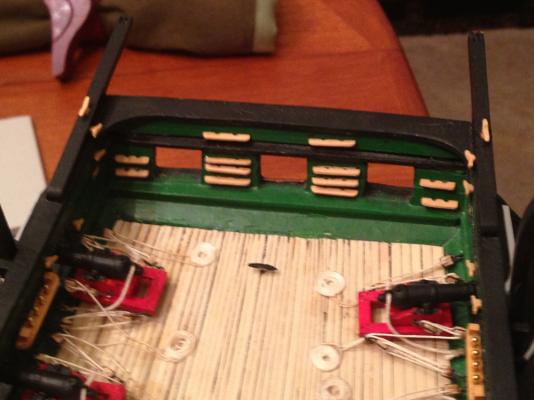
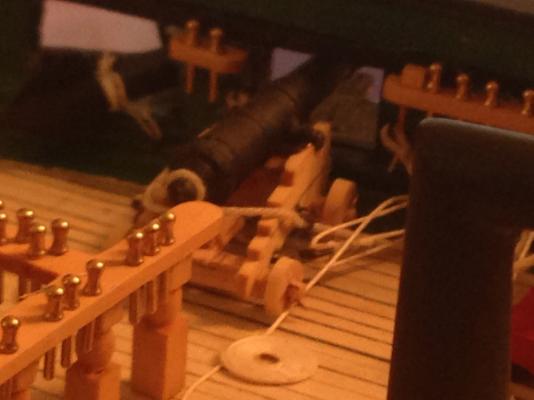
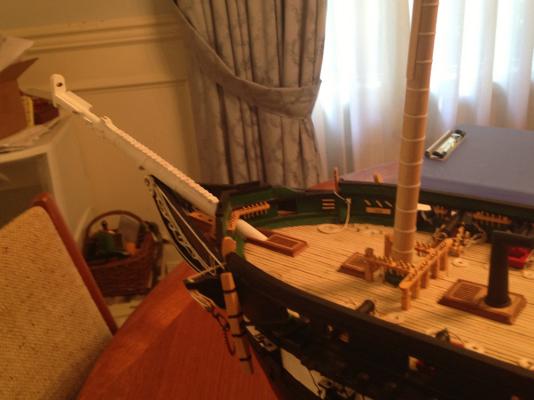
Oh boy. I didn't realize it's been 4 months since I updated this build log. I guess everybody thought I had given up and was only posting snide comments and bad puns since then Well, as far as Bob Hunt's practicum goes, I've done about as much on the first practicum as I plan for a while. The only things I haven't completed (per his practicum) are the ship's boats and the hammock cranes and netting. The boats make a fine side project (I do want to finish the big launch on the spar deck before I start rigging shrouds). The hammock cranes and netting-well, they are pretty fragile, so I'll leave them off till I get at least some of the rigging in place. So, here's how she looks today: I added steps to the transom: I also decided to make my own cannon carriages out of boxwood As you've noticed, I started the spars. I'm going to finish the lower masts and bowsprit and start the rigging on them. We'll see how it goes. Thanks, Harvey

-
Thanks Andy. I'll look for that acrylic. I haven't spliced wire rope before, but I've seen the Liverpool splice in Brion Toss' book "The Rigger's Apprentice", and it looks like a lot of work (especially when he says "you've finished it! Now throw it away"). Heck, I still can't do a good eyesplice in 3 strand dacron. I get lost after about the 2nd or 3rd tuck. Harvey
-
It does look a little low and far away from the wheel to be a comfortable seat for steering. . .
-
Rusty, That is one sweet looking cross section. Great job! Harvey
-
Beautiful work Andy. What matte medium are you using to preserve the rigging? Also, do you find that working with line in real life make rigging the model more easily understood (granted, the size line you work with dwarfs the model itself)? I've noticed a difference in my model rigging/comprehension since I learned how to sail and do a lot of the rigging work myself. And don't forget-Life is too short to splice wire rope Harvey
-
Janos, What do you think the "average" humidity is? Both where you build your models and the place that you displayed them? I grew up in southern Illinois, where the "average" summertime humidity is 70-80 % and the wintertime humidity is 10-15 % (anybody from back there, please correct me). I believe I would have a lot more trouble with rigging going slack back there (along with wood shrinking and breaking). Here in the Pacific Northwest, it seems to be a more constant humidity than back home. The temperature extremes are also less. I live about a mile from a big lake (Lake Washington) and have displayed my models nearby another lake and Puget Sound (when we had access to the Coast Guard Museum), and I've never seen a problem with slack rigging. But then, I don't think I've used all cotton before. We'll see. Thanks, Harvey
-
Thanks Michael. I hardened some of my line for a day or 2. I'll hang it with weights again and leave it there longer. Depending on my build speed, I may be able to wait 6 months. I was hoping that using cotton would help is some aspects. It sounds like it will. Harvey
-
Oh Boy Sjors! Now the pressure is on I've had my Aggie waiting in the wings since 1997. But I need to finish my Constitution first. Have fun! I hope to start before you finish! BTW, the NMM has plans for the Ardent Class 64s. They may be worth looking into (if you haven't already). And Deane's book is well worth the read. Thanks, Harvey