.jpg.1f80adf1a9b14a937cfcf2ca6af0f0d4.jpg)
WalrusGuy
-
Posts
1,011 -
Joined
-
Last visited
Content Type
Profiles
Forums
Gallery
Events
Everything posted by WalrusGuy
-
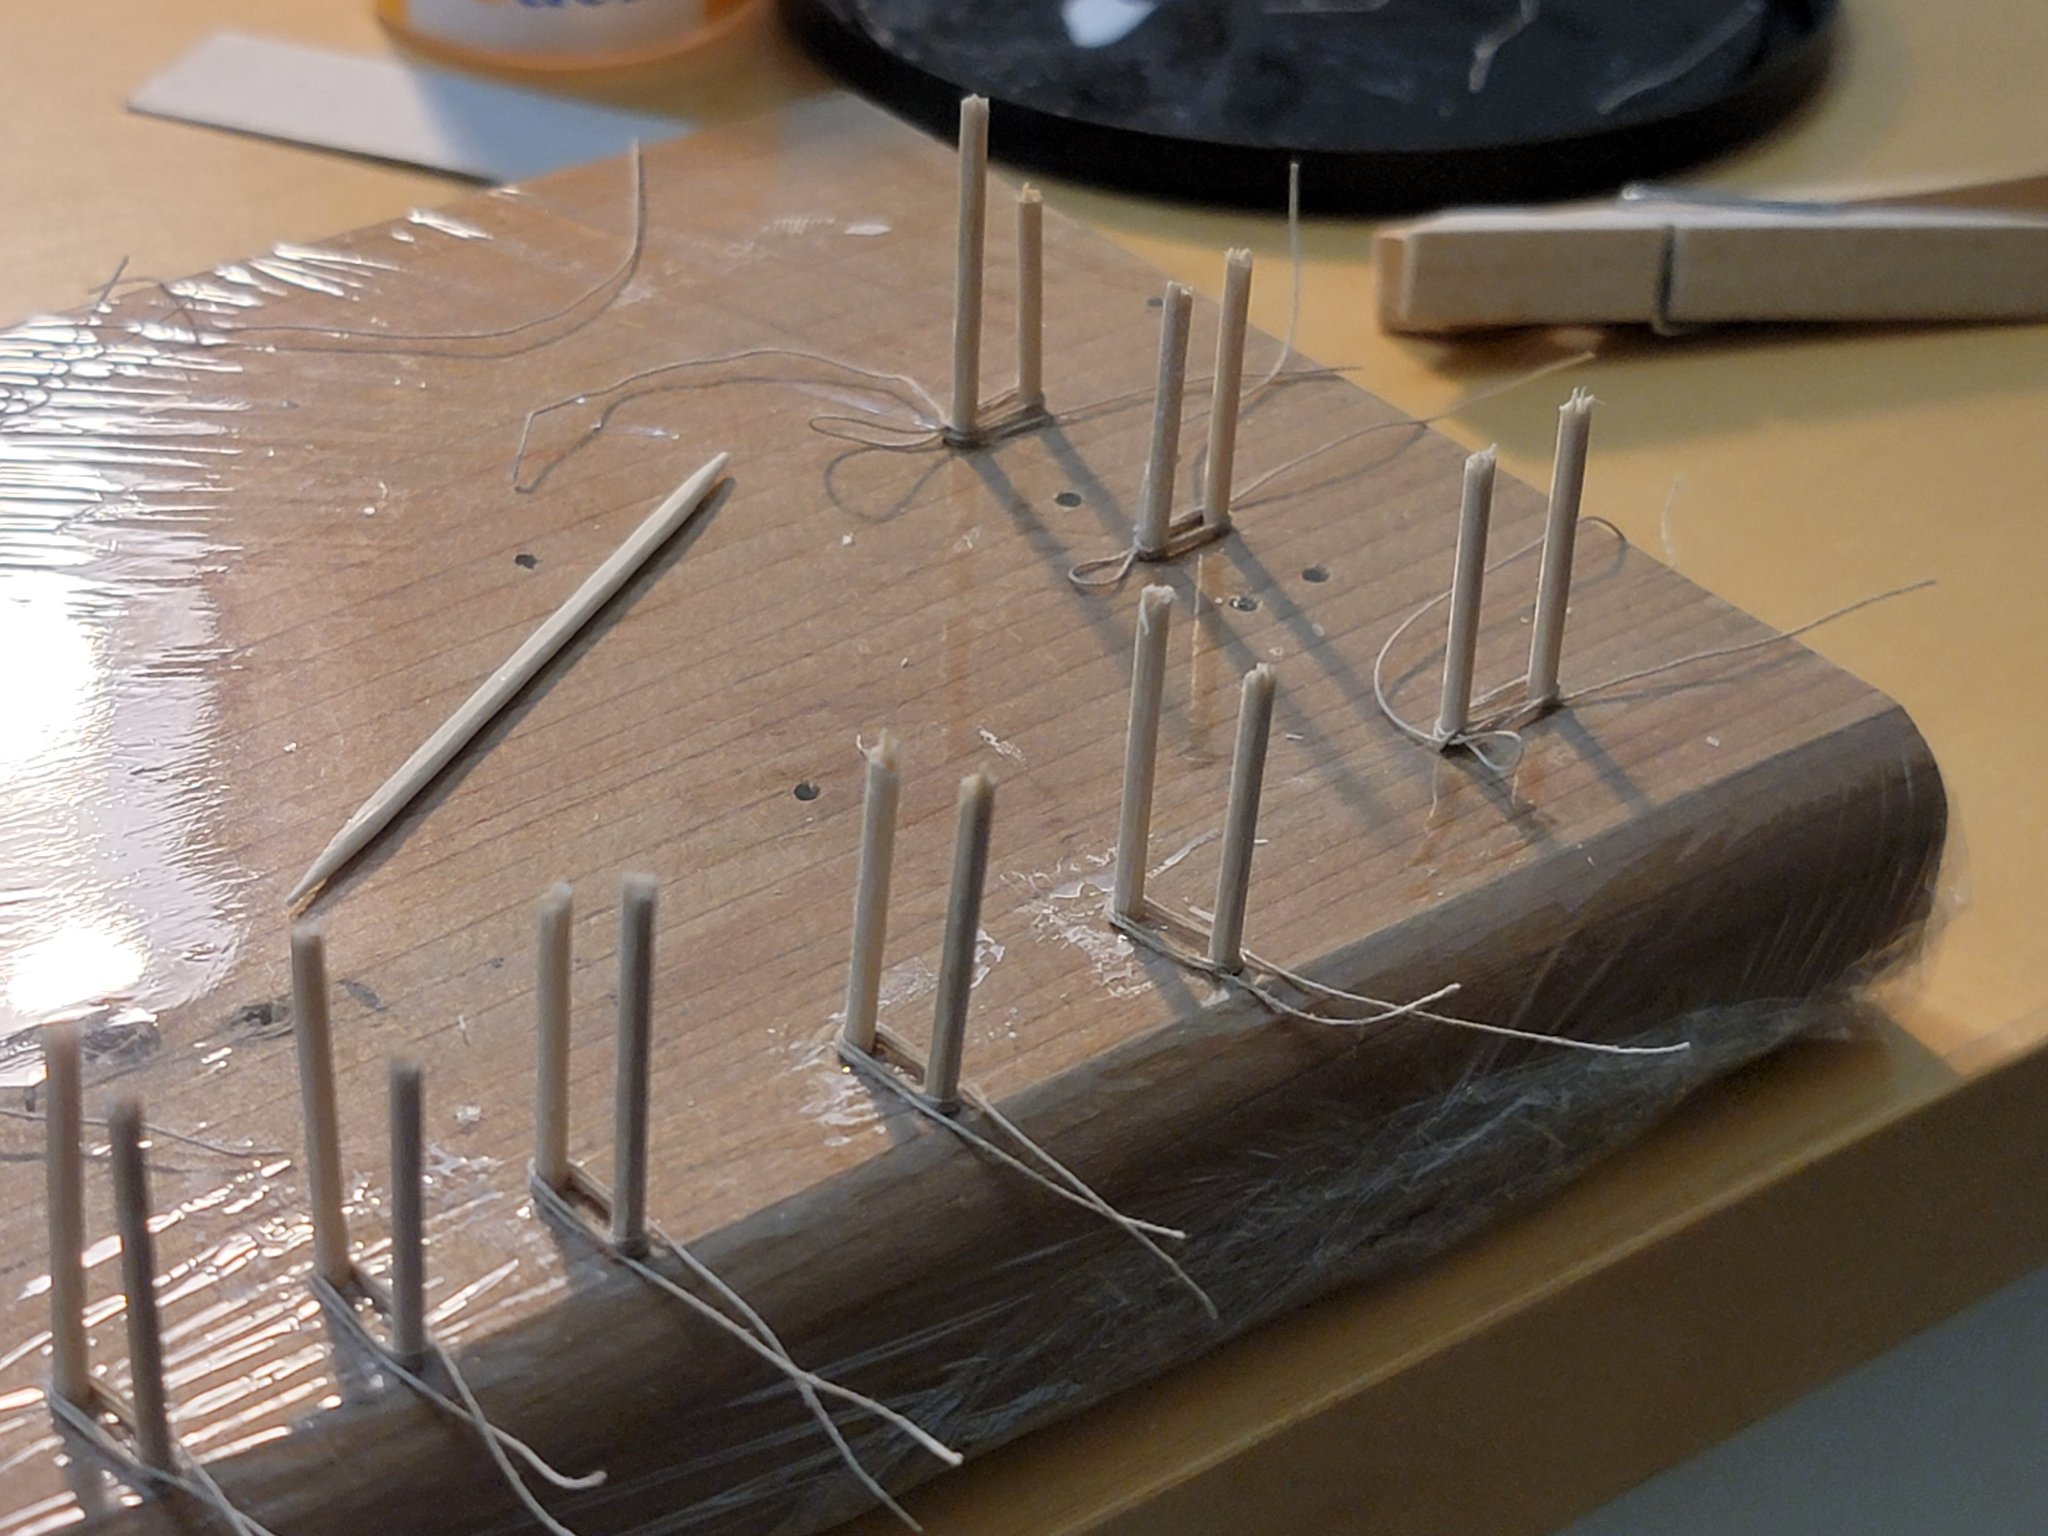
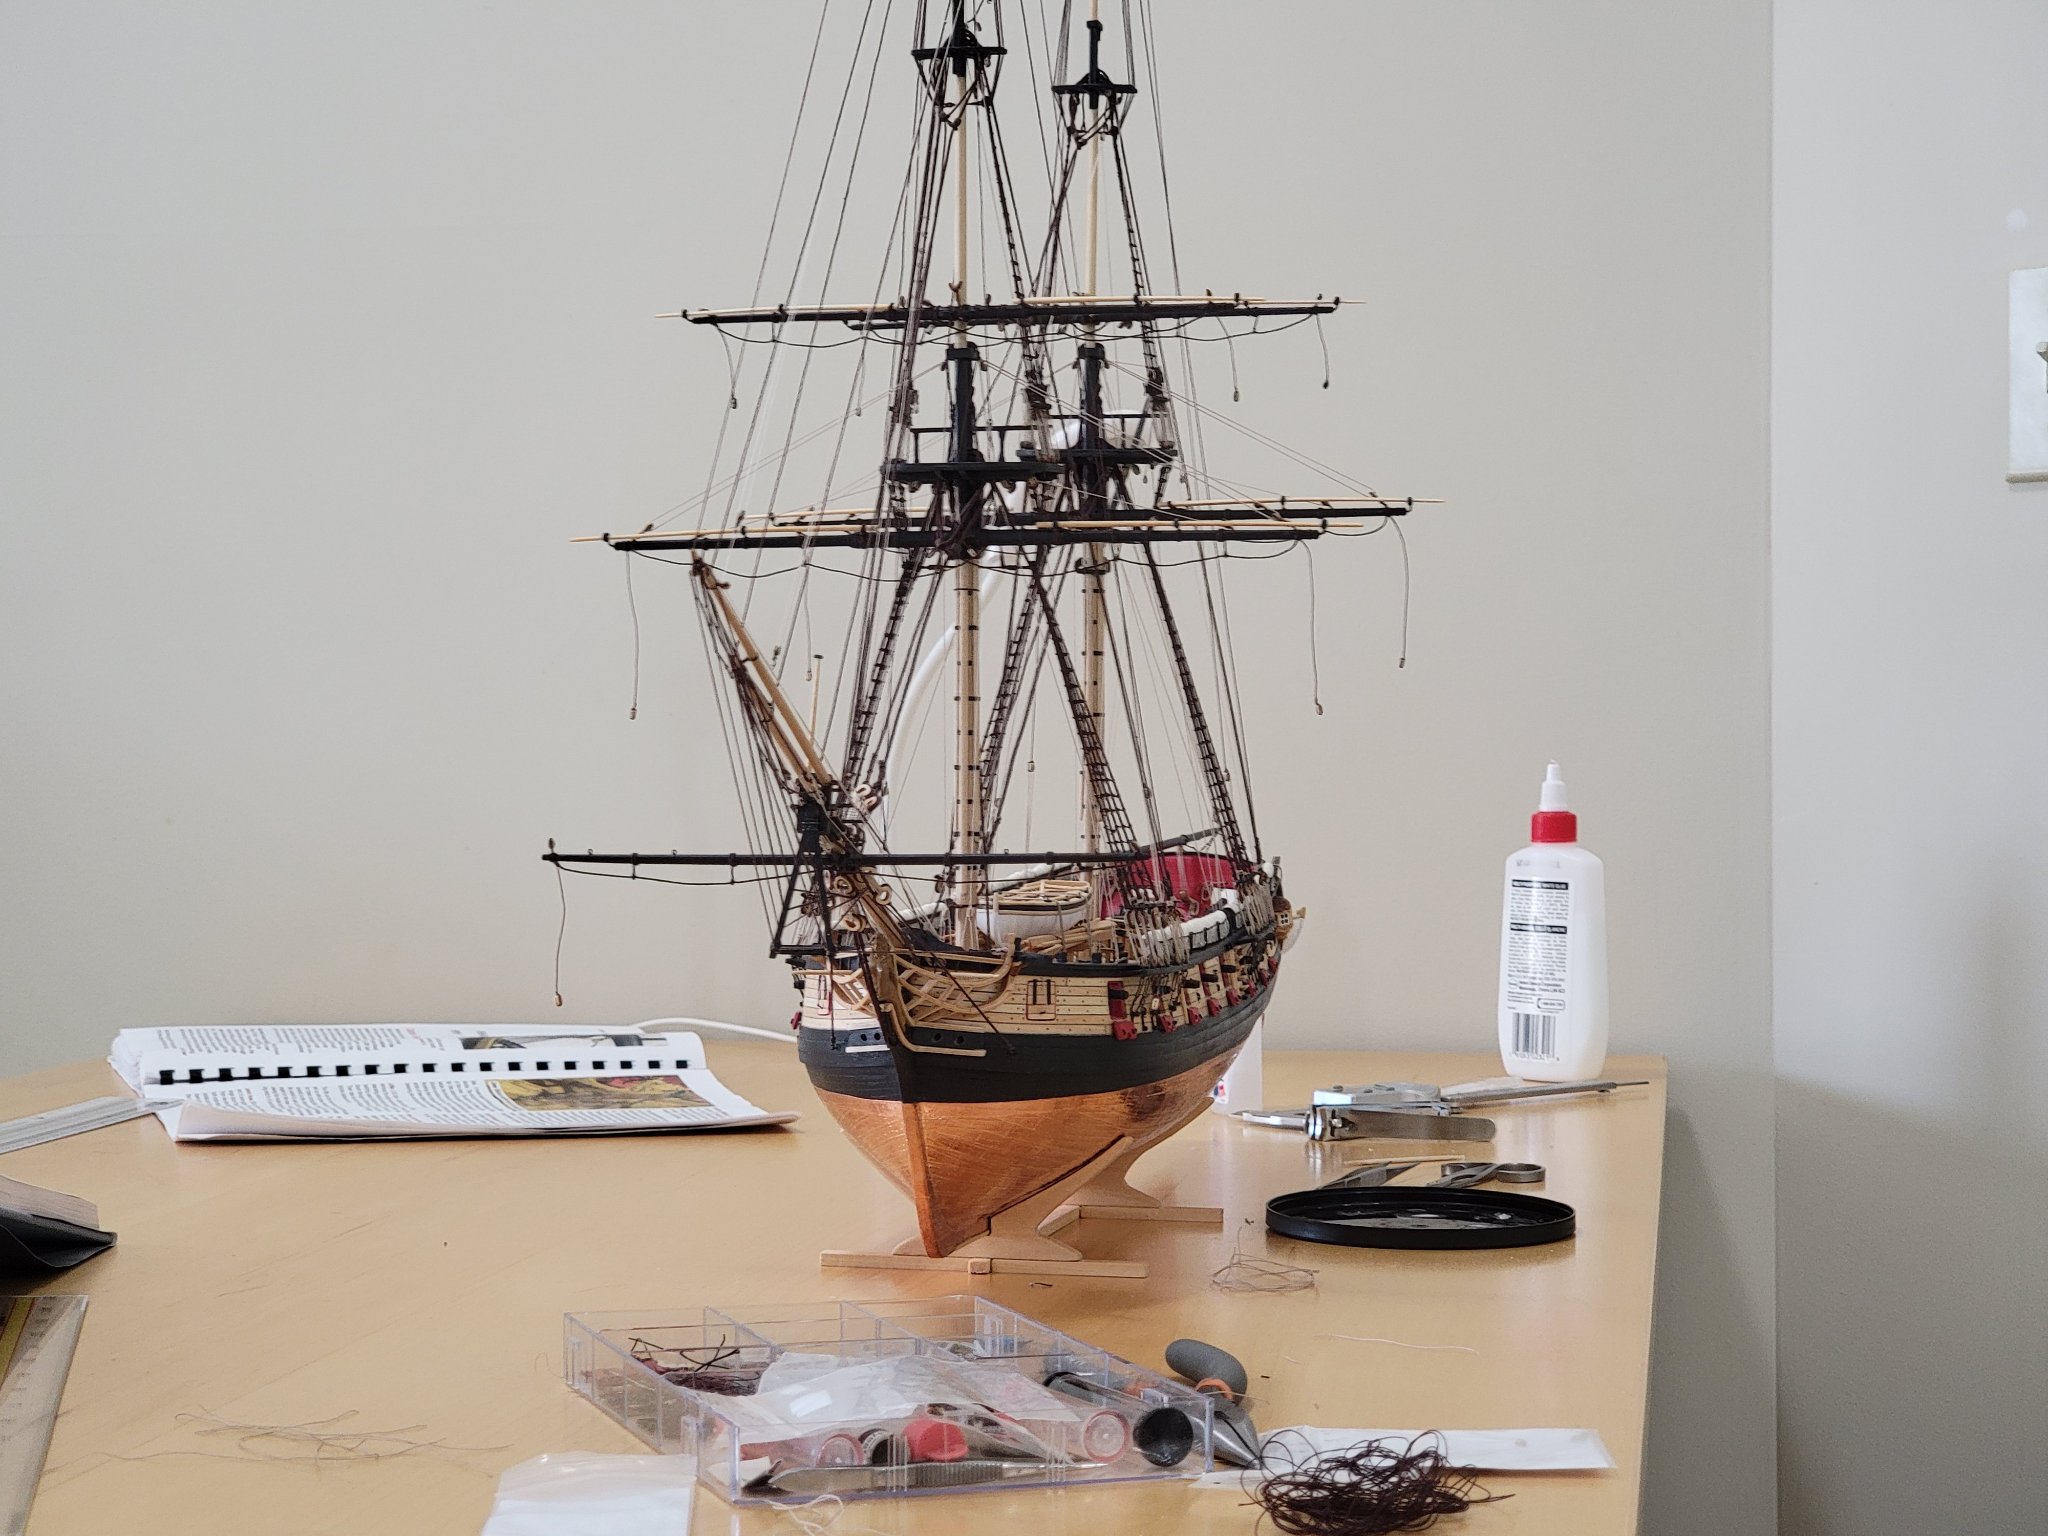
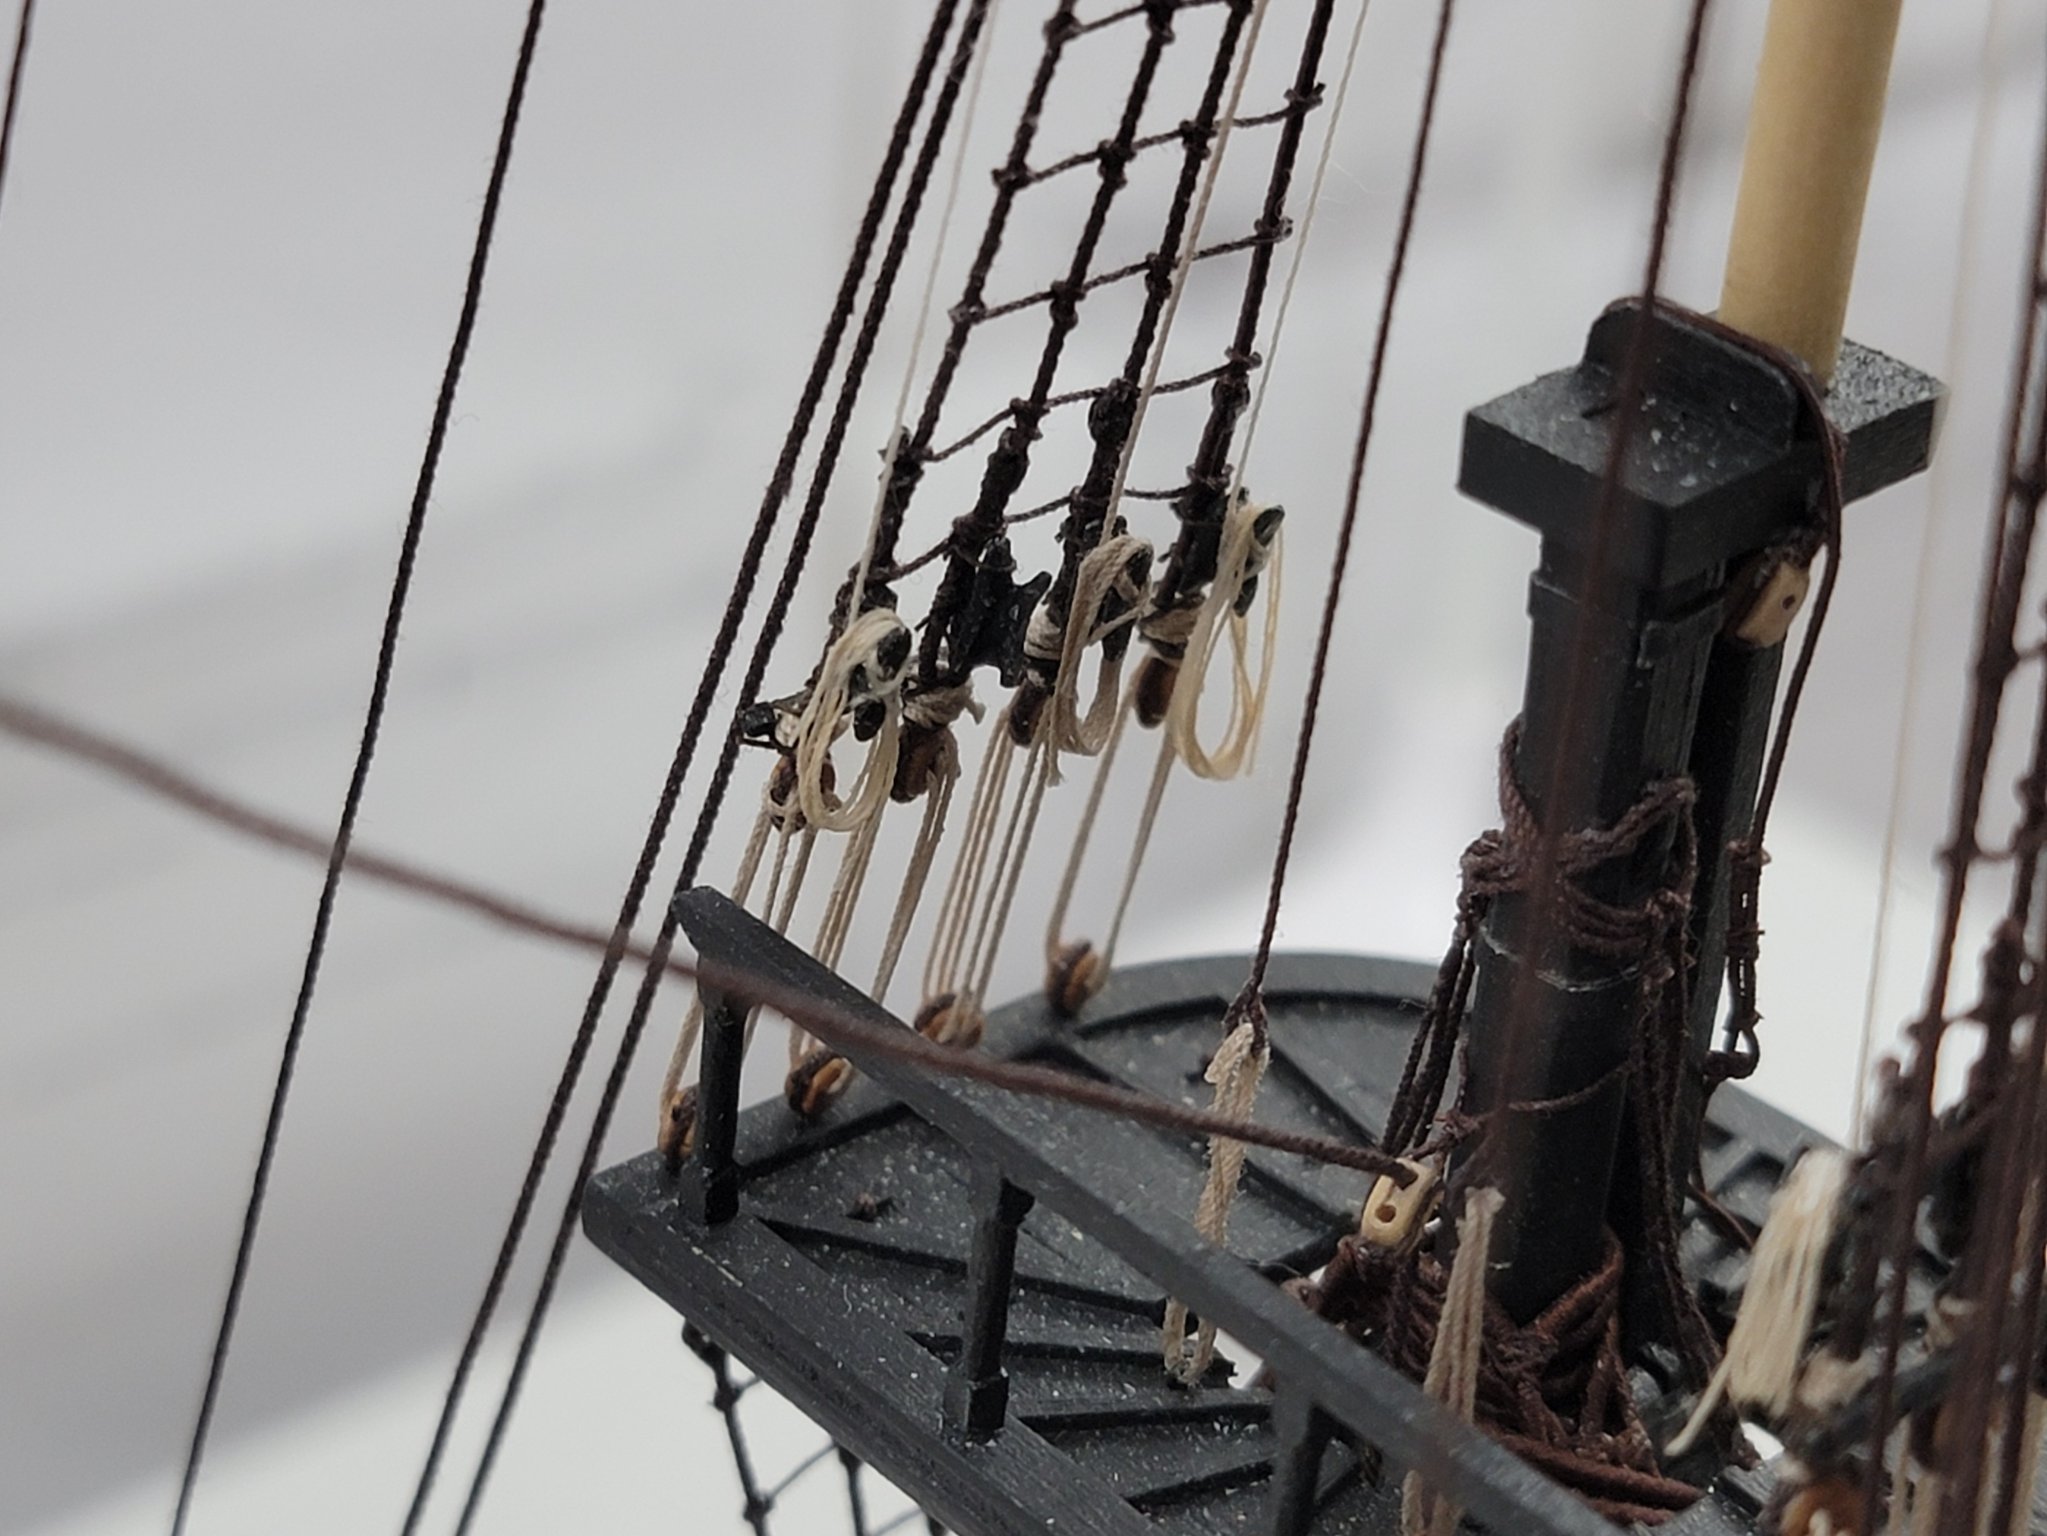
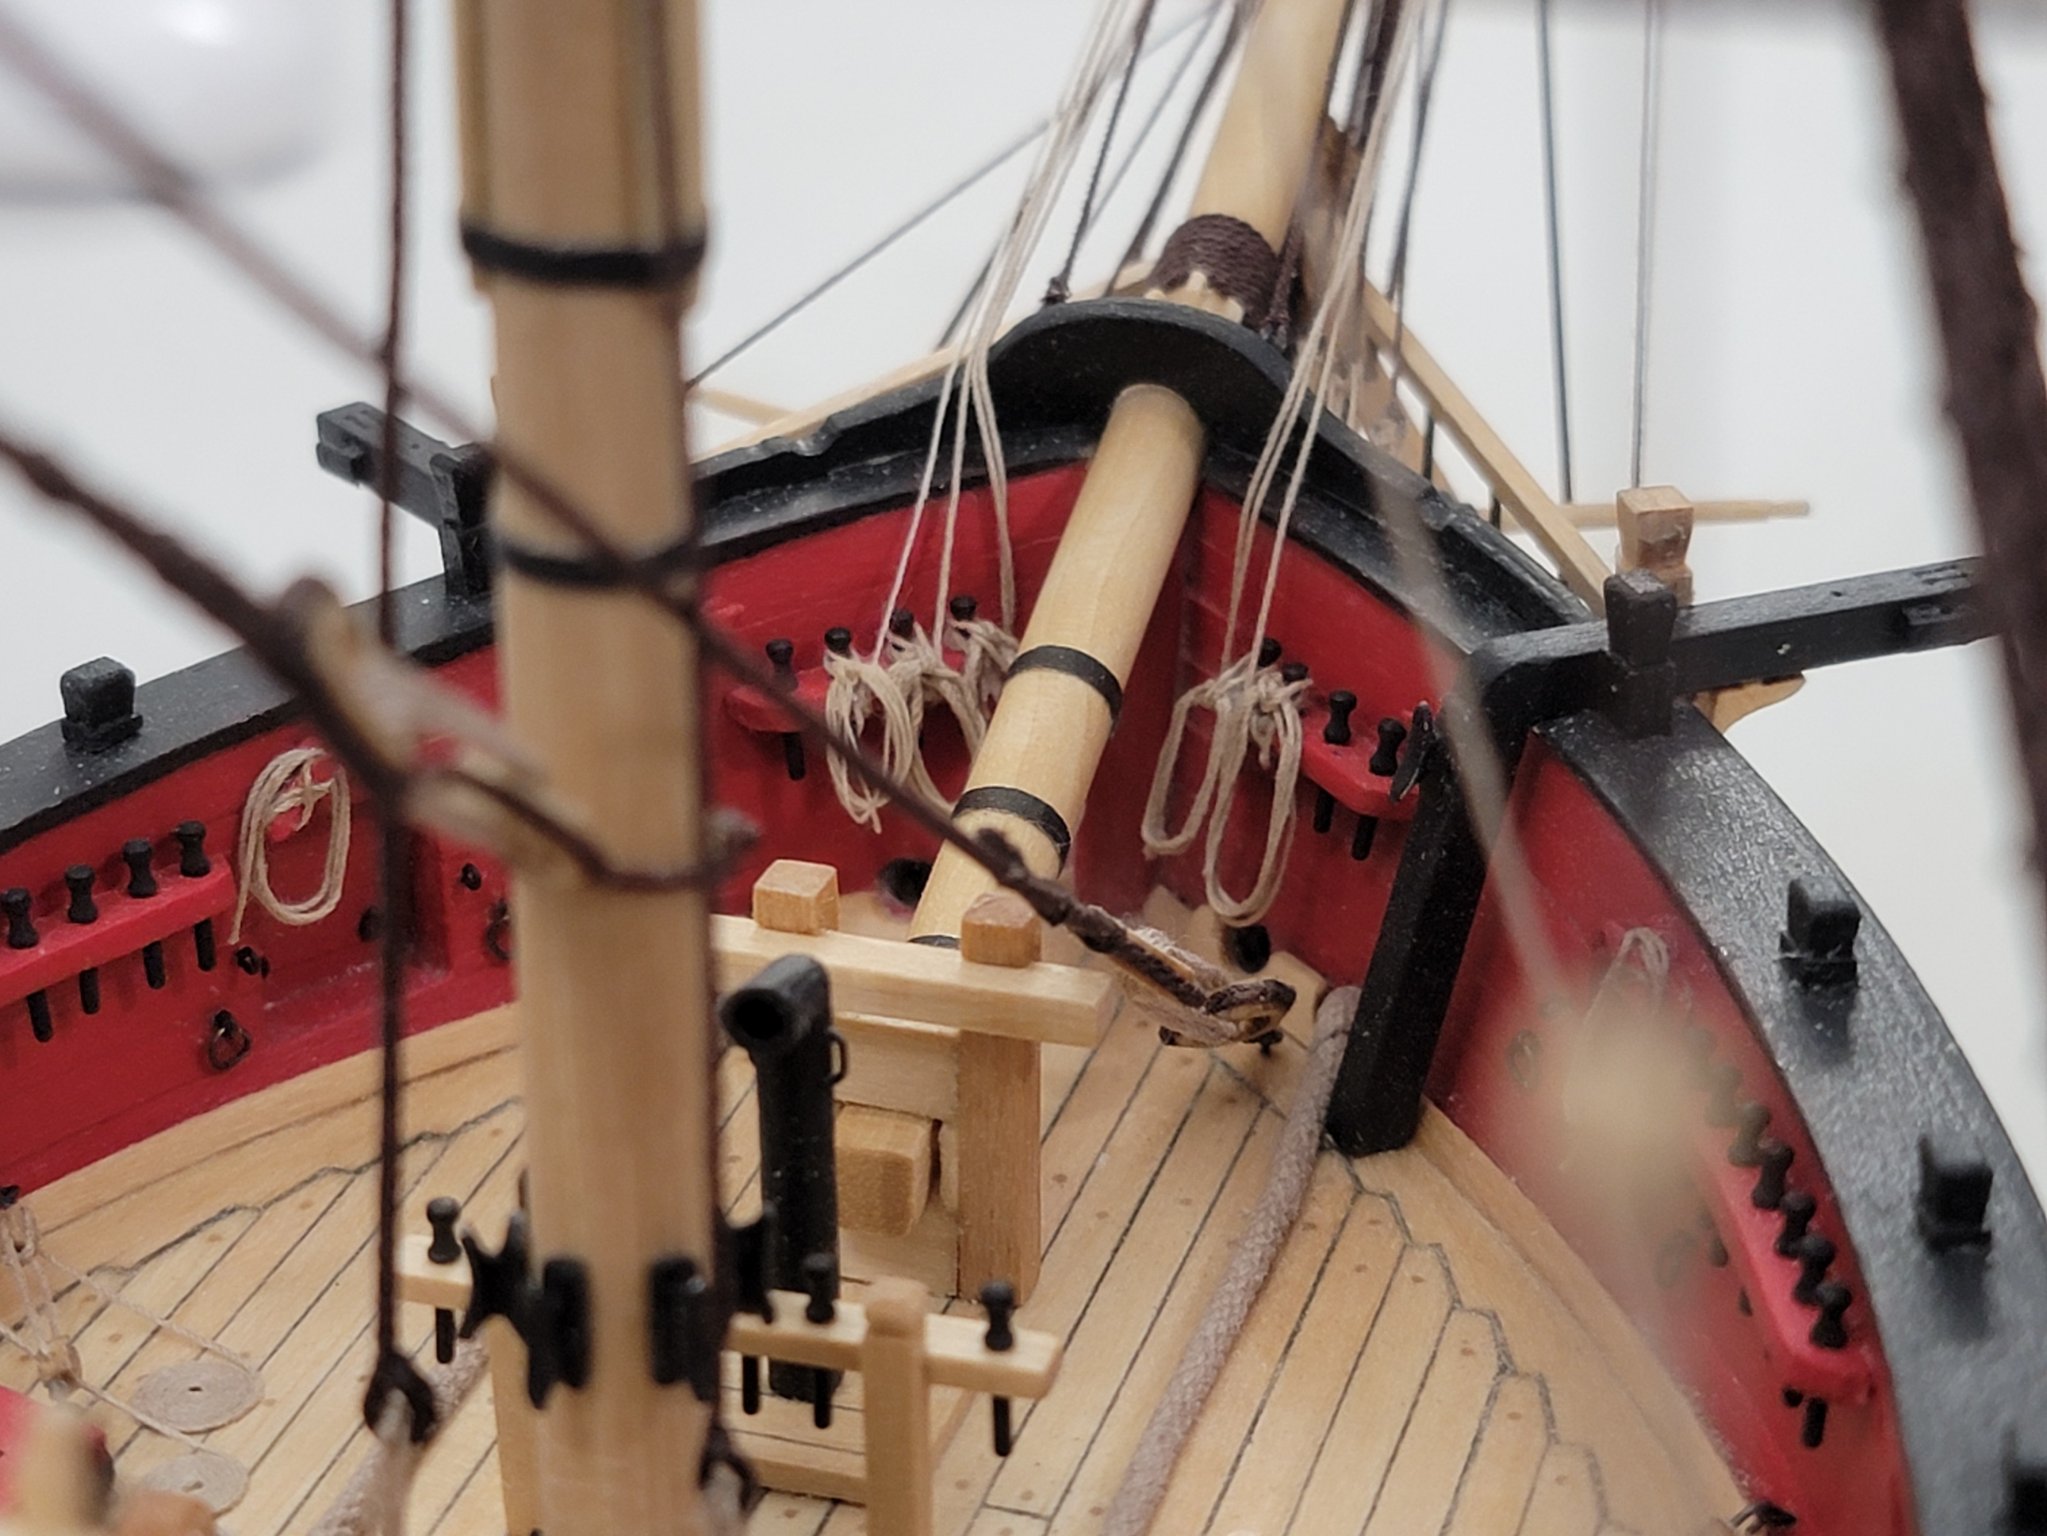
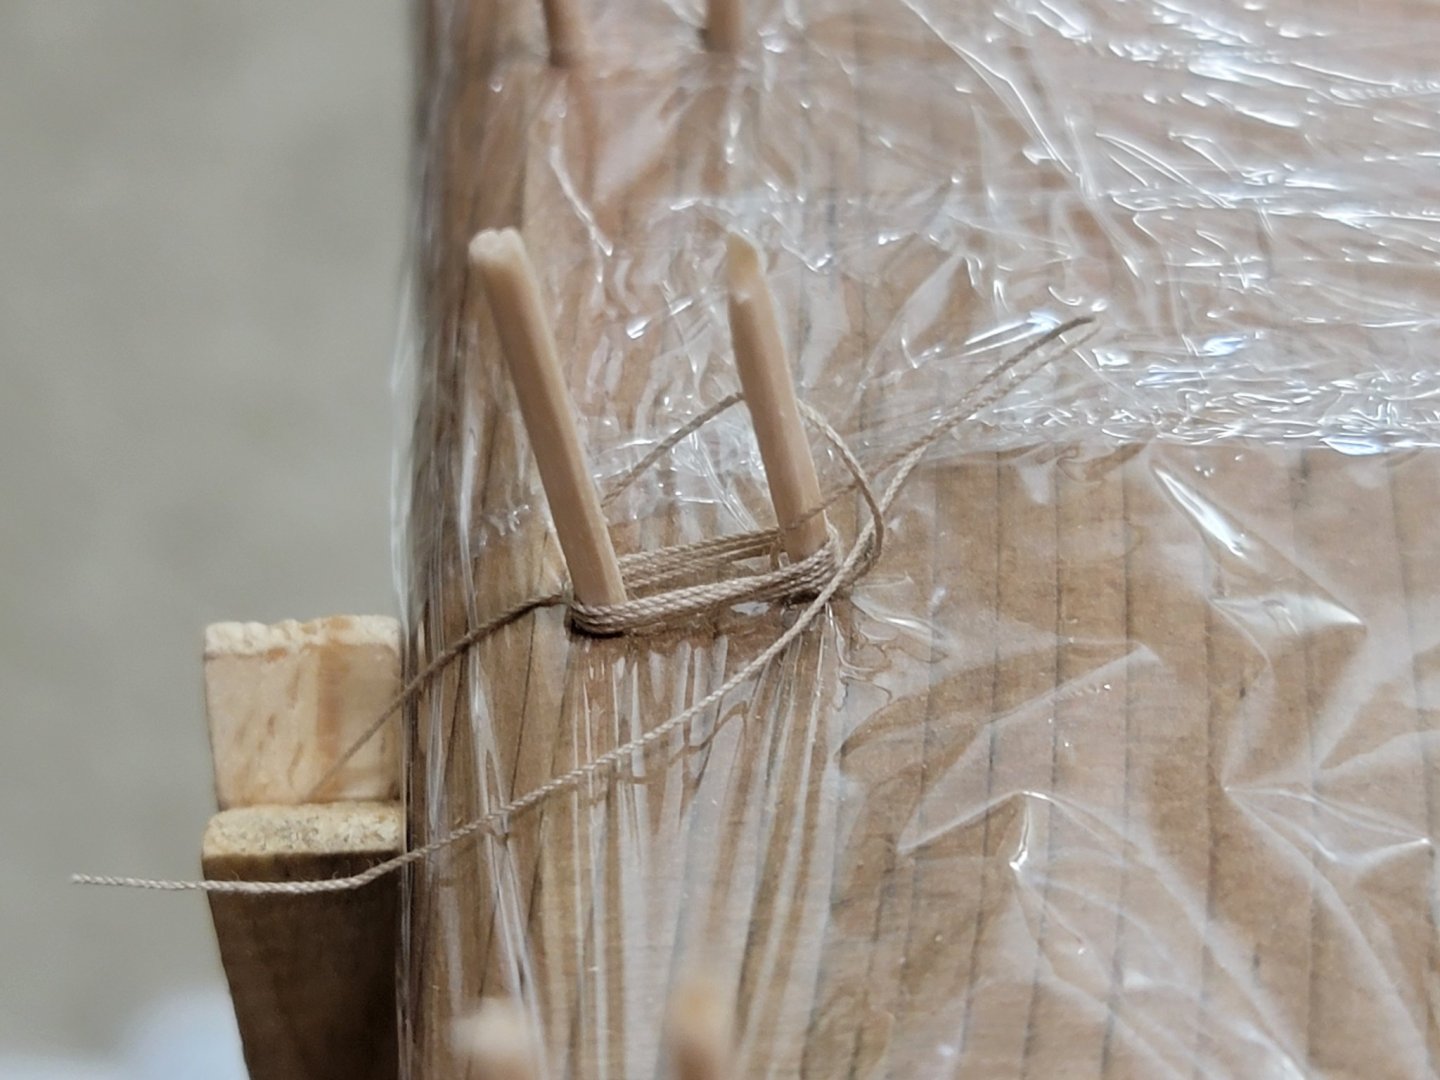
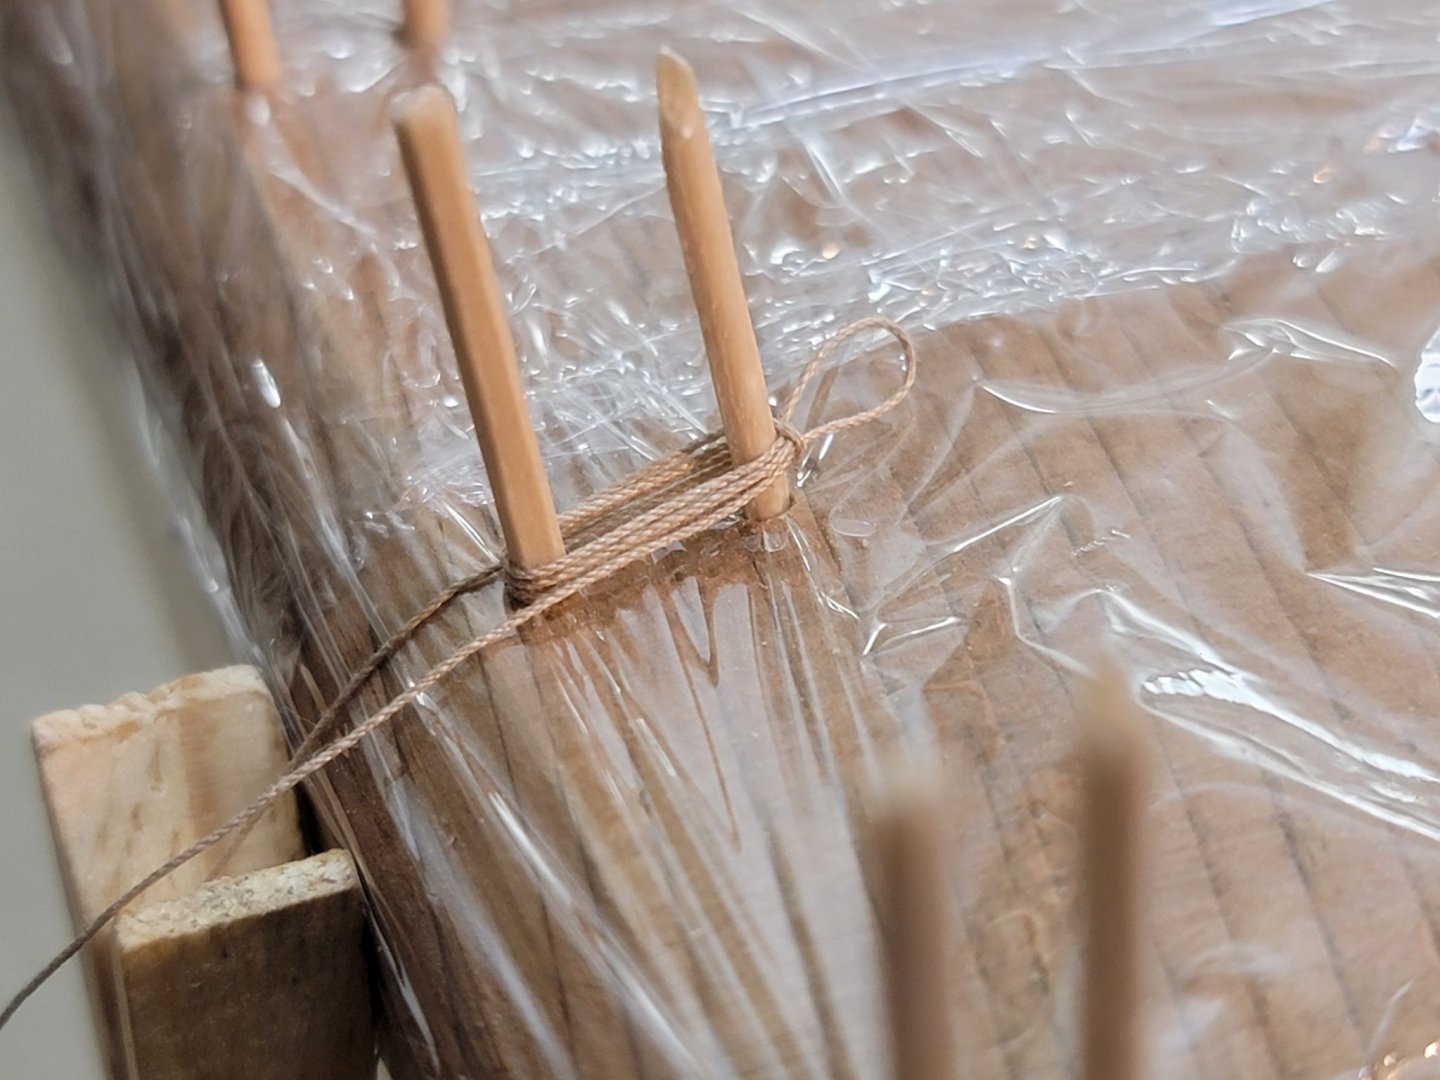
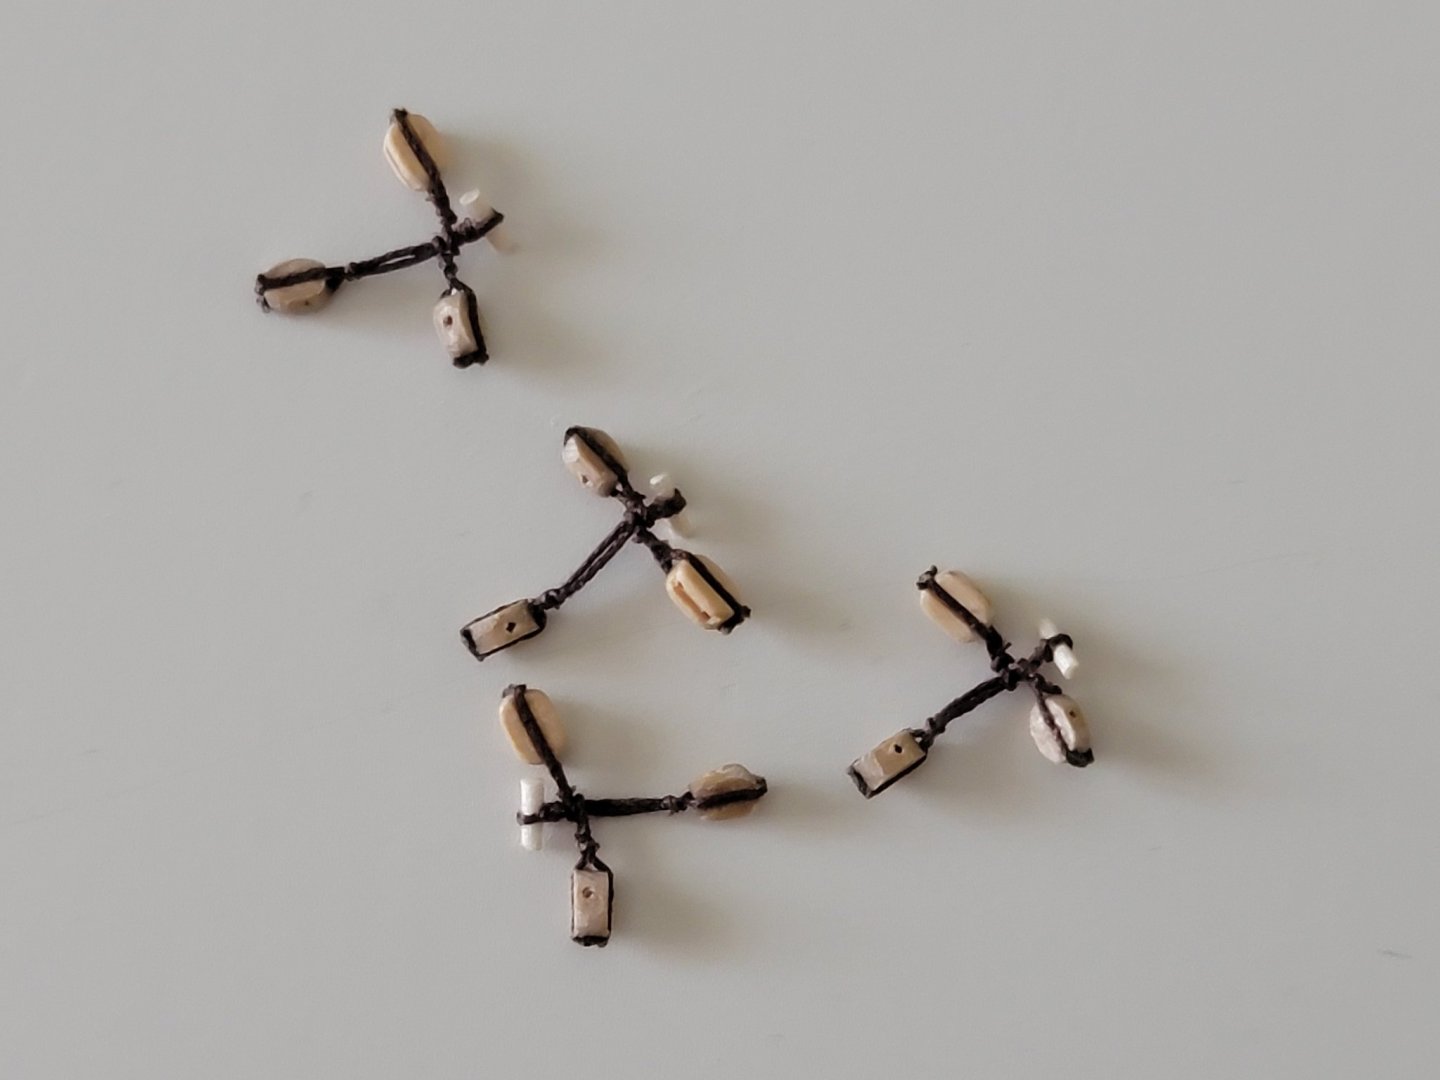
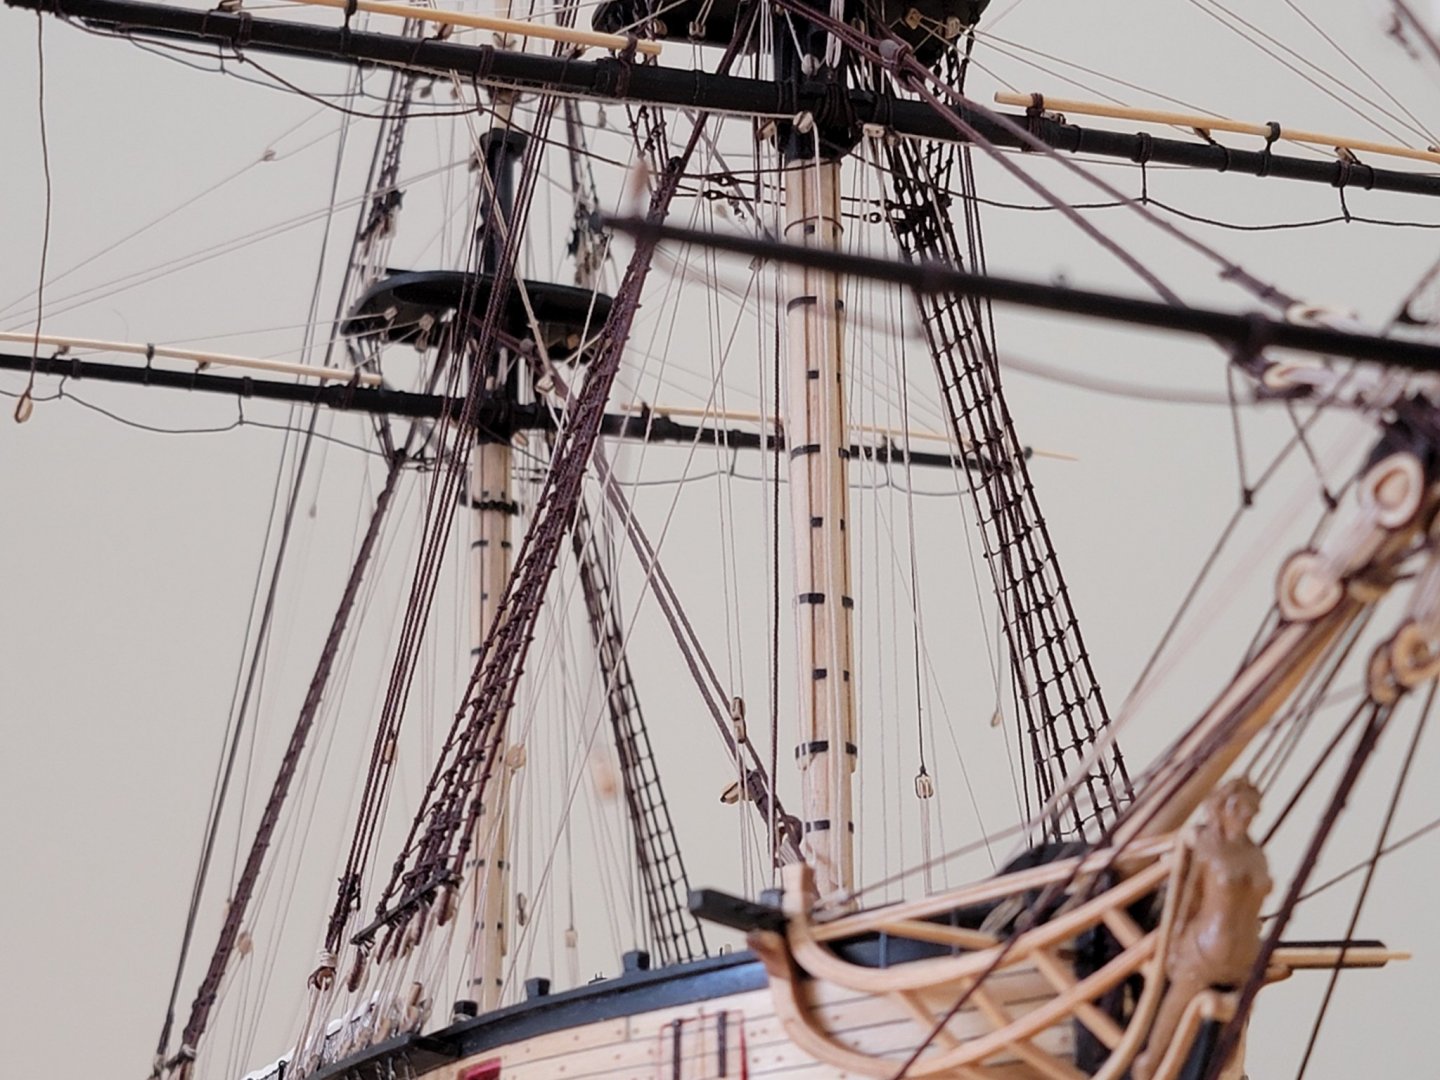
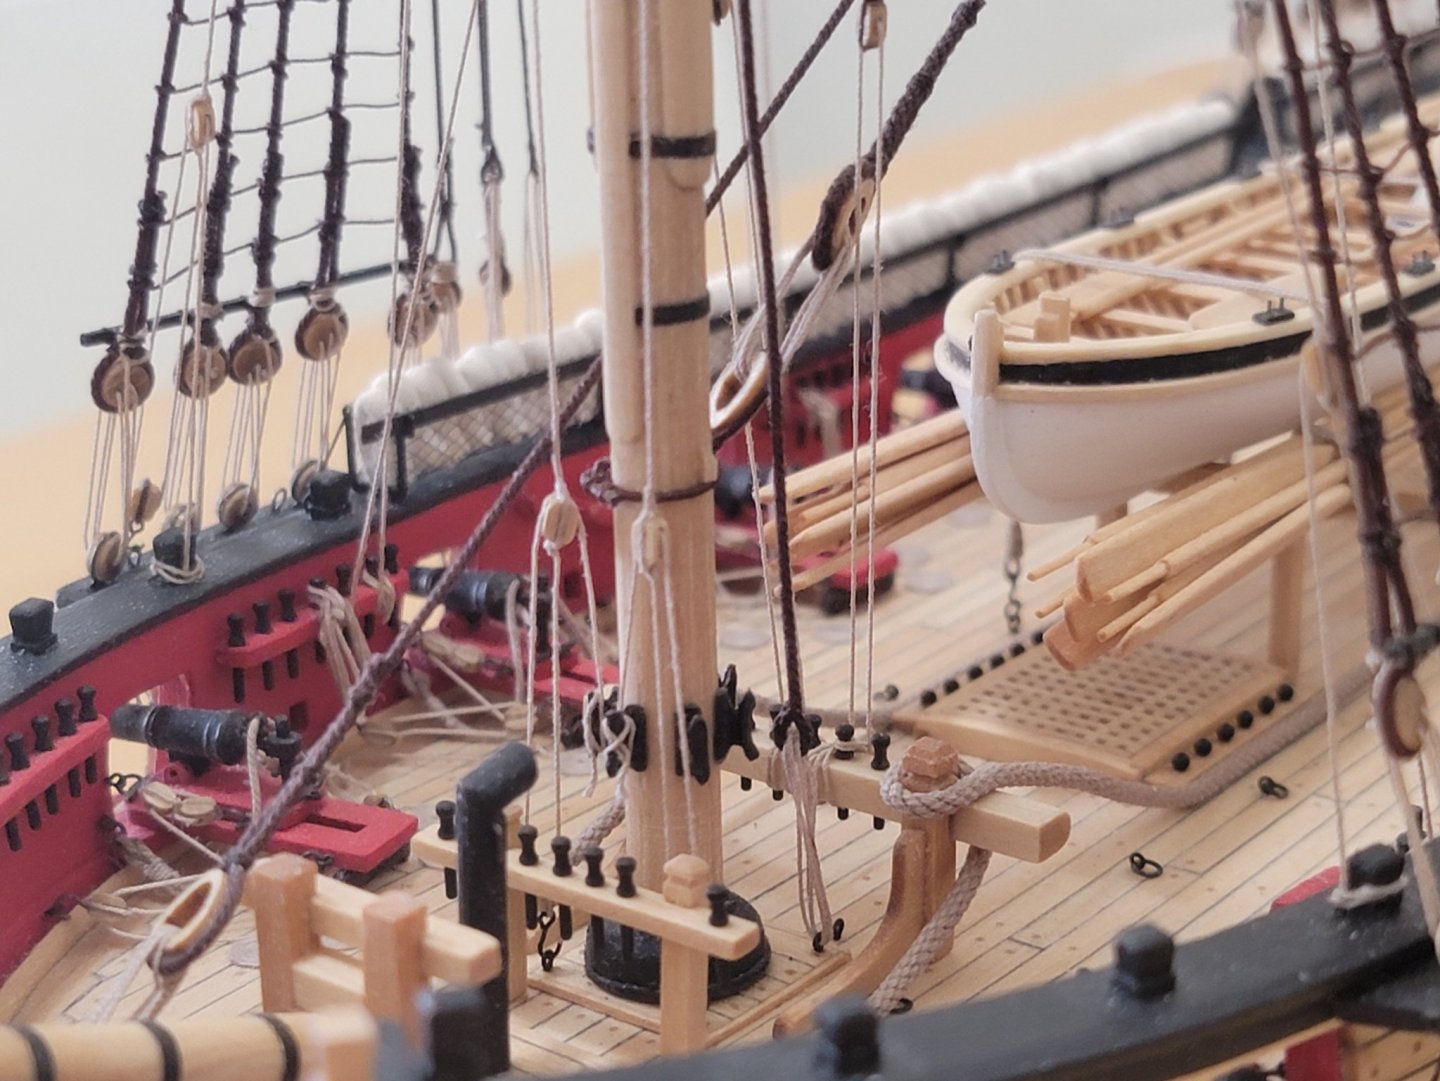
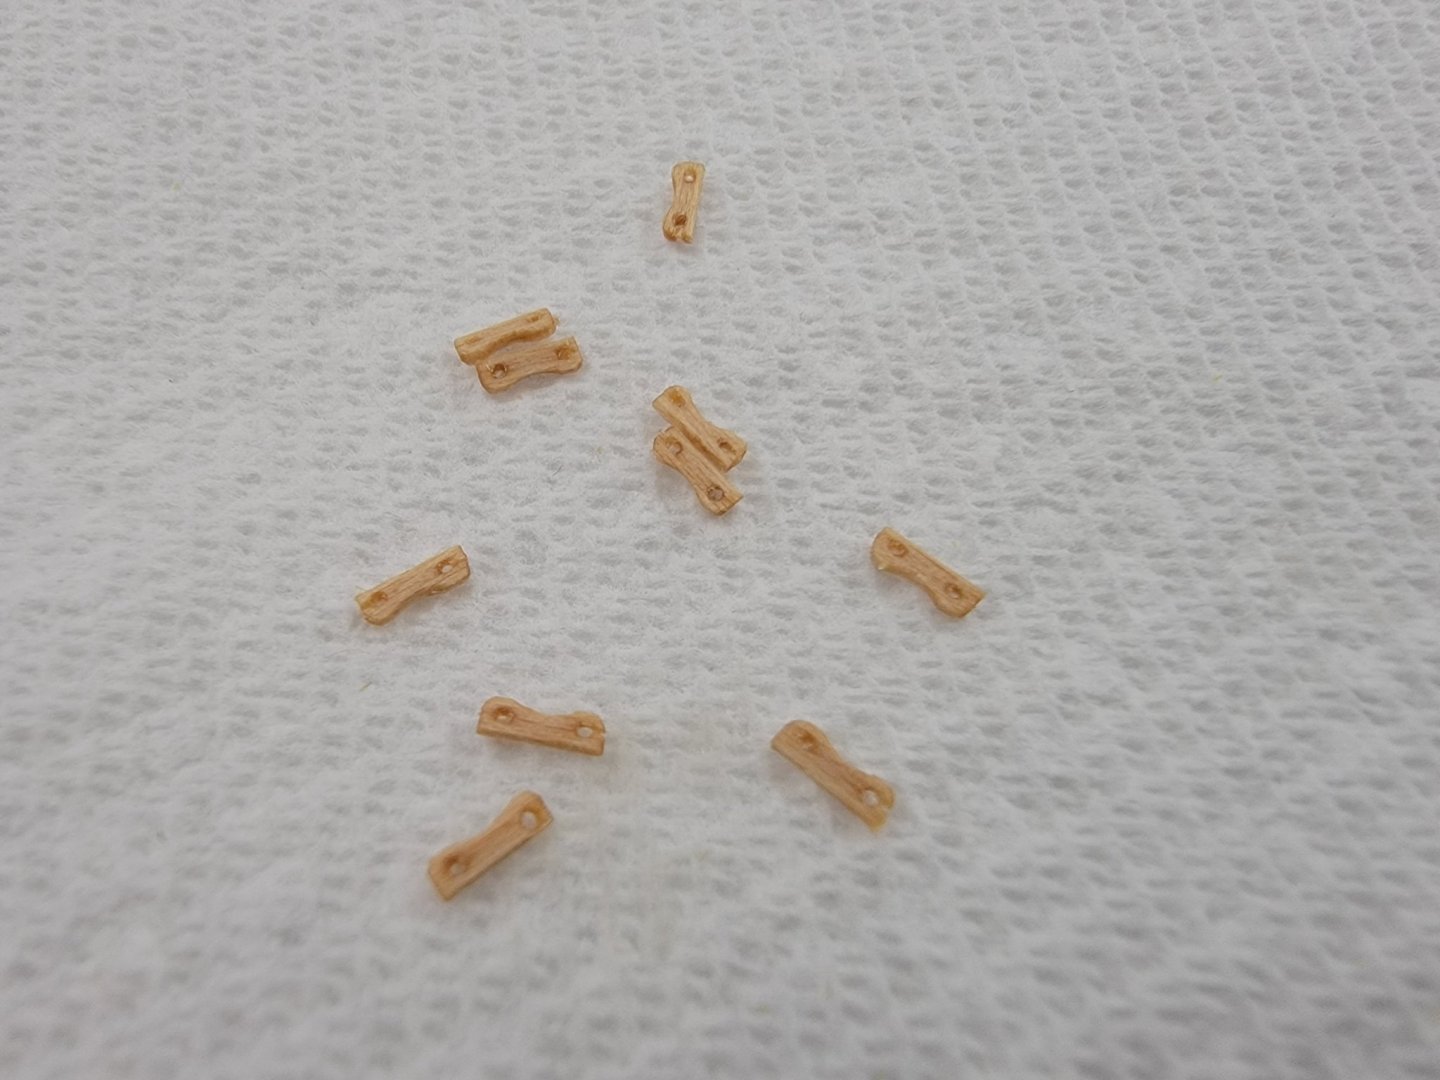
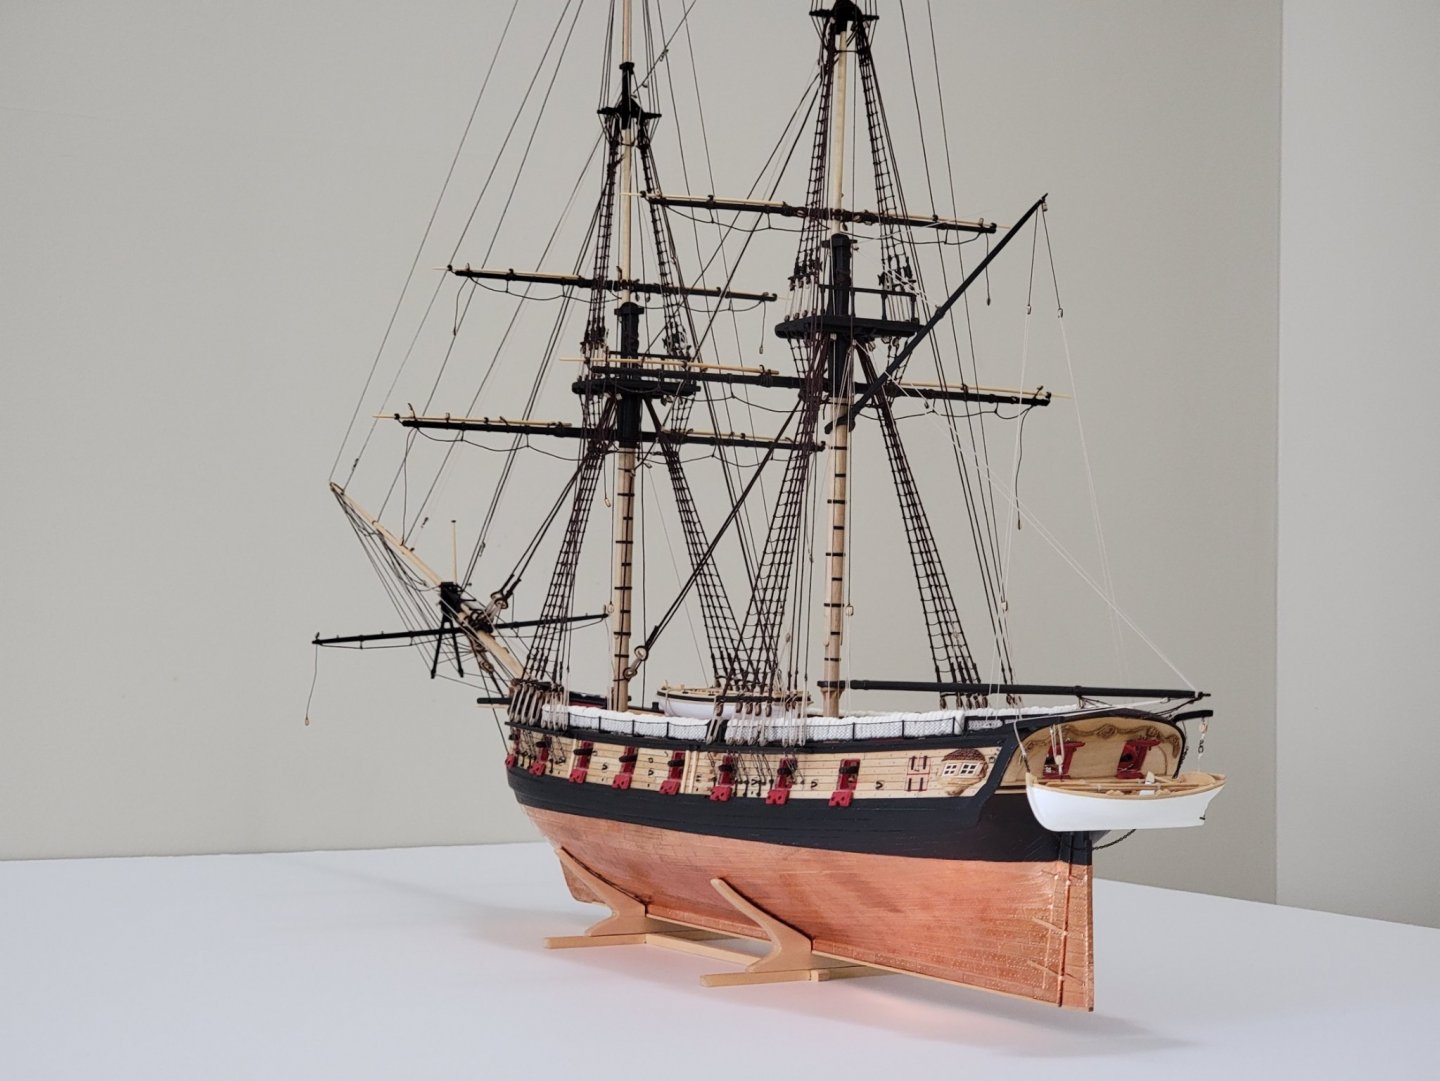
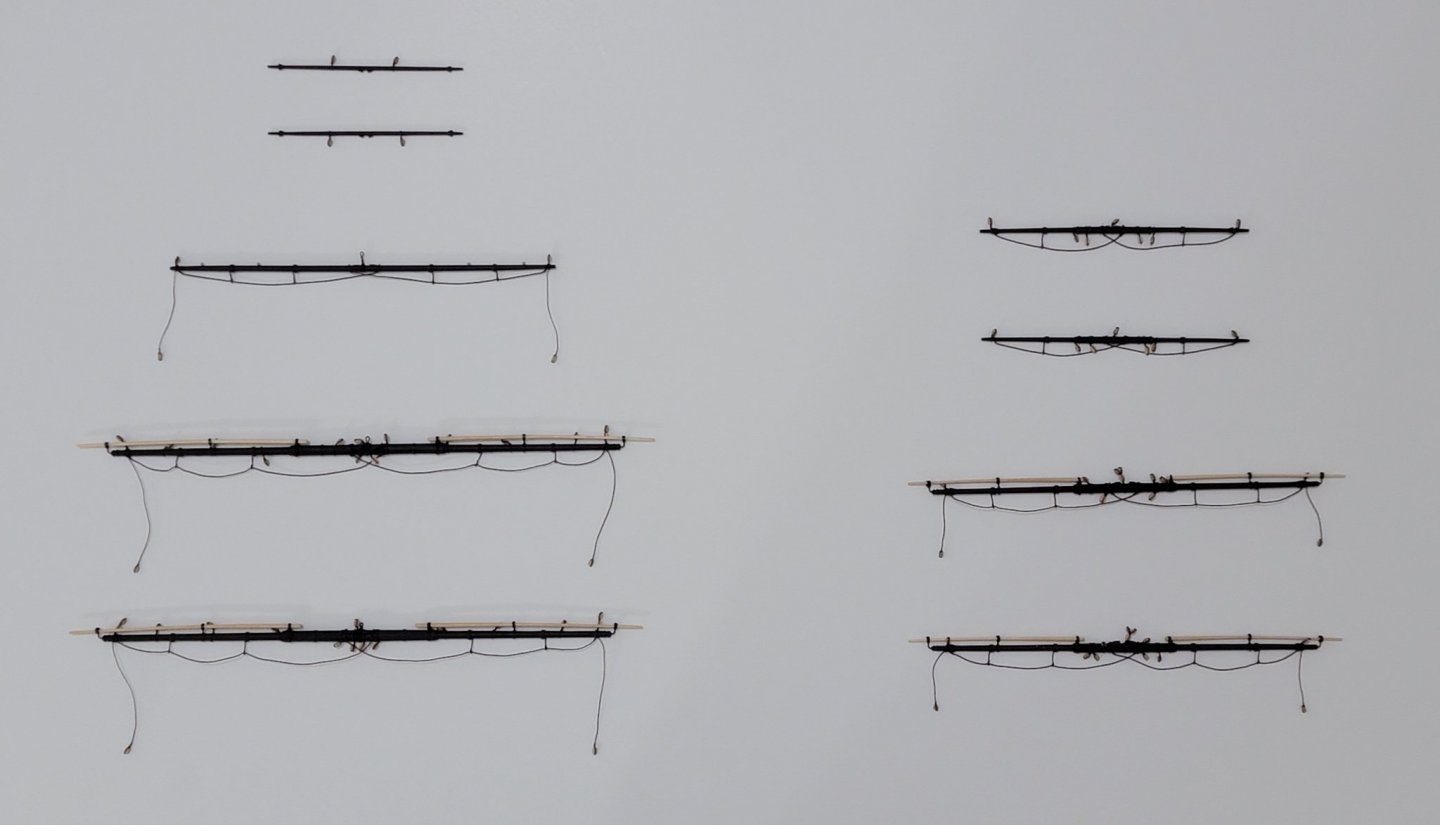
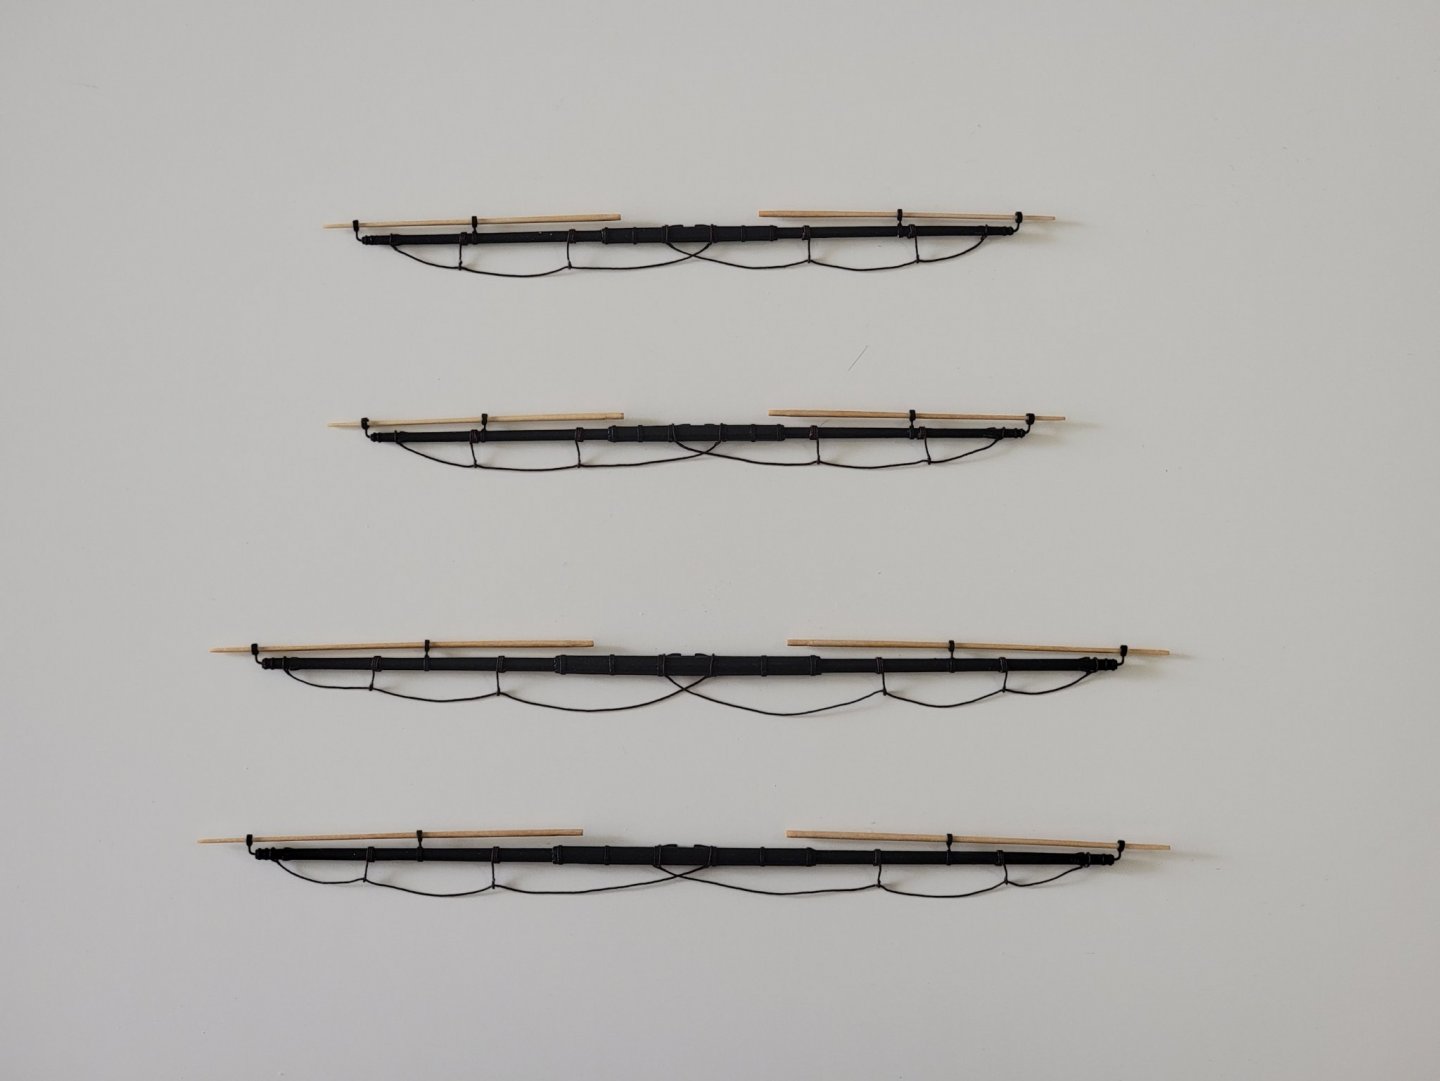
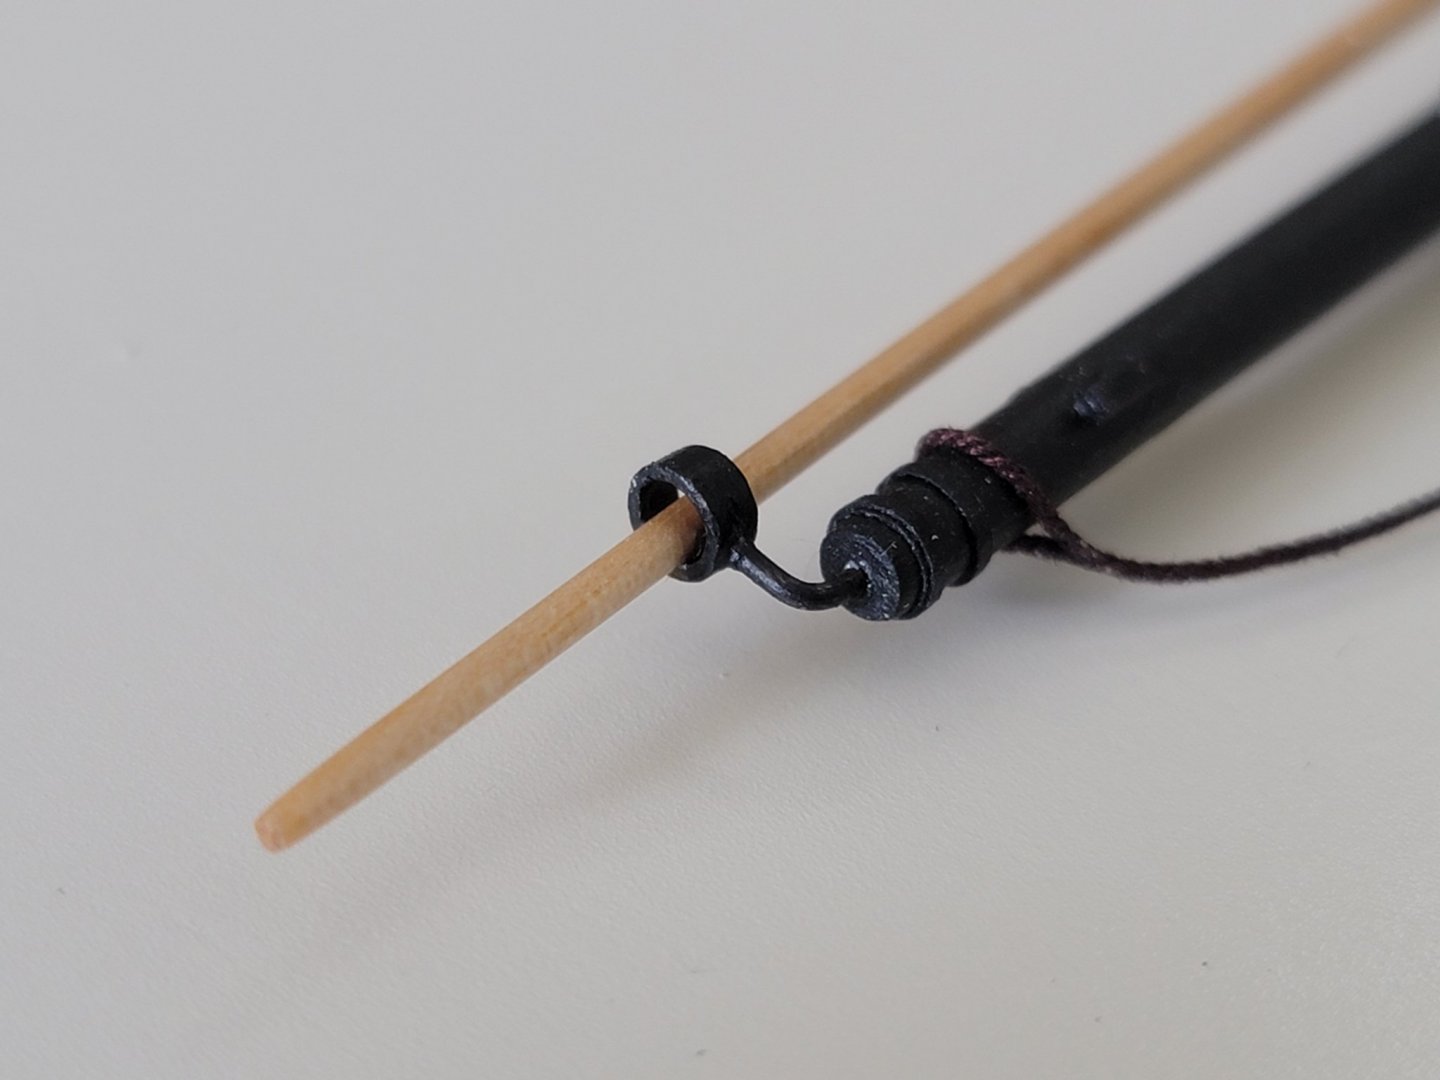
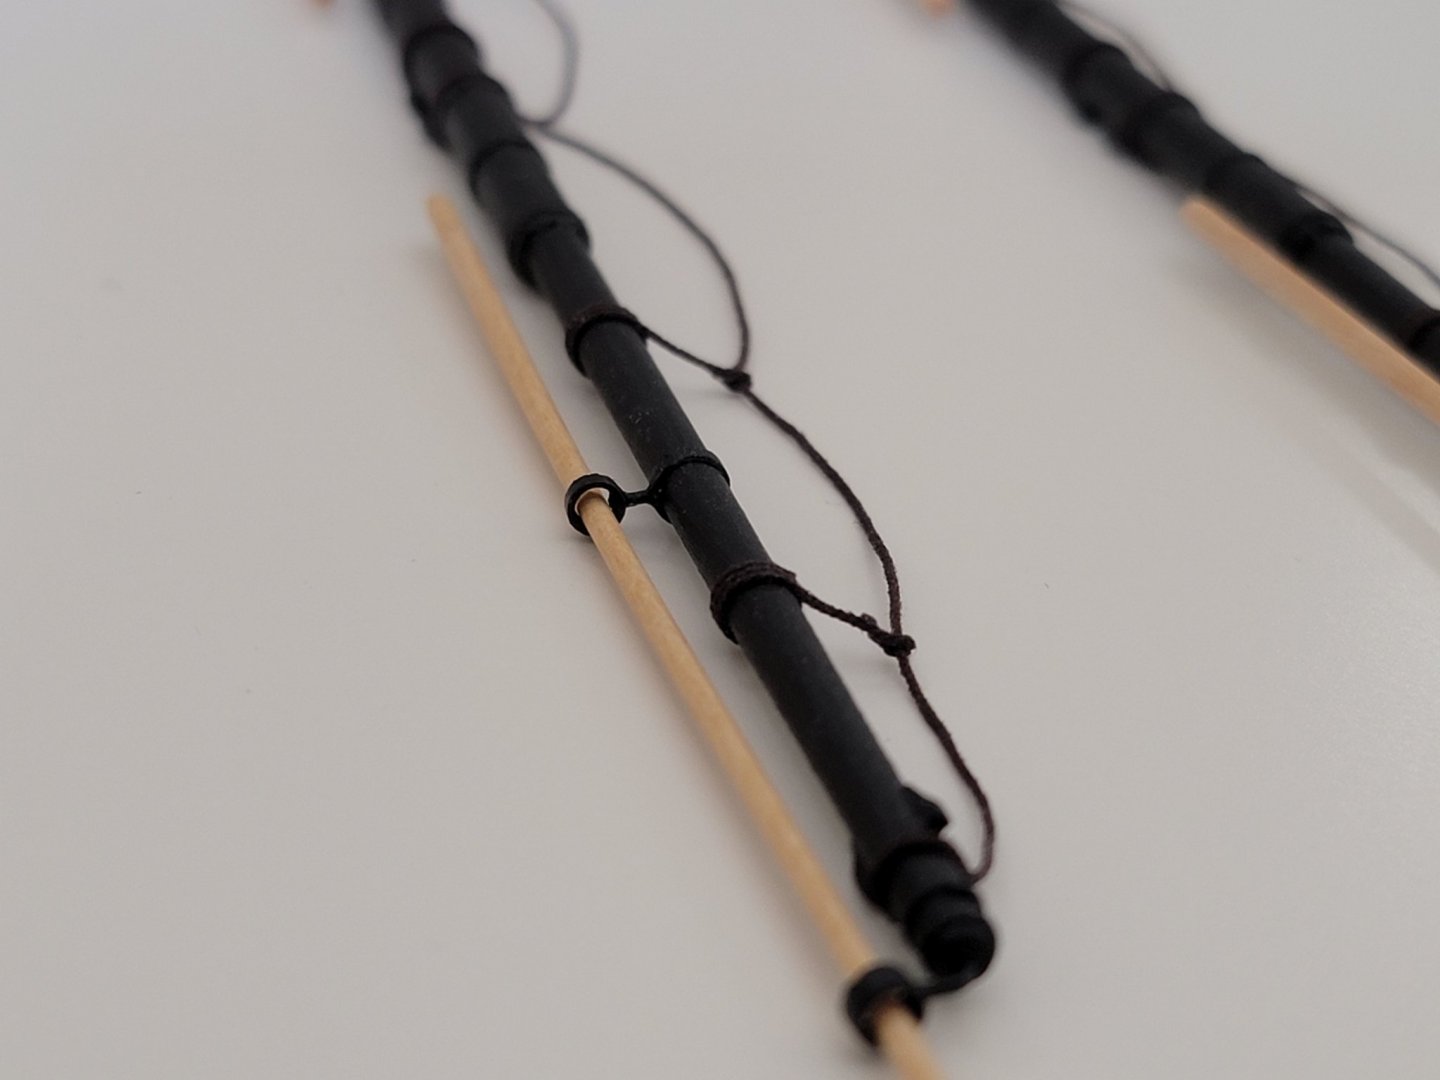
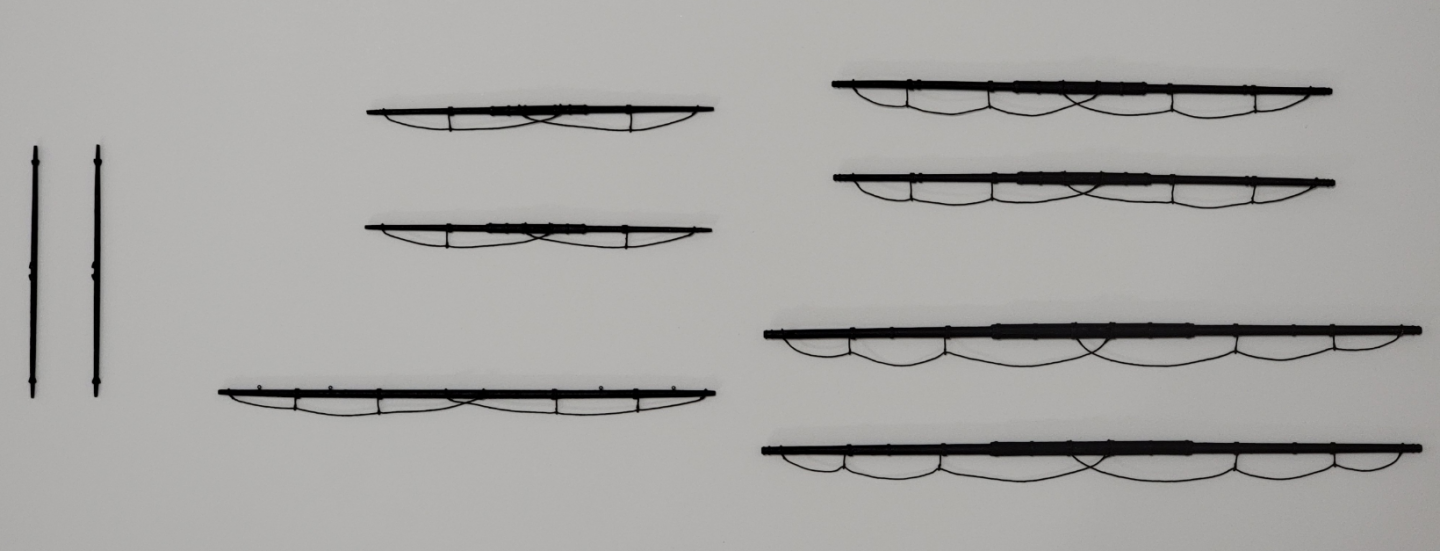
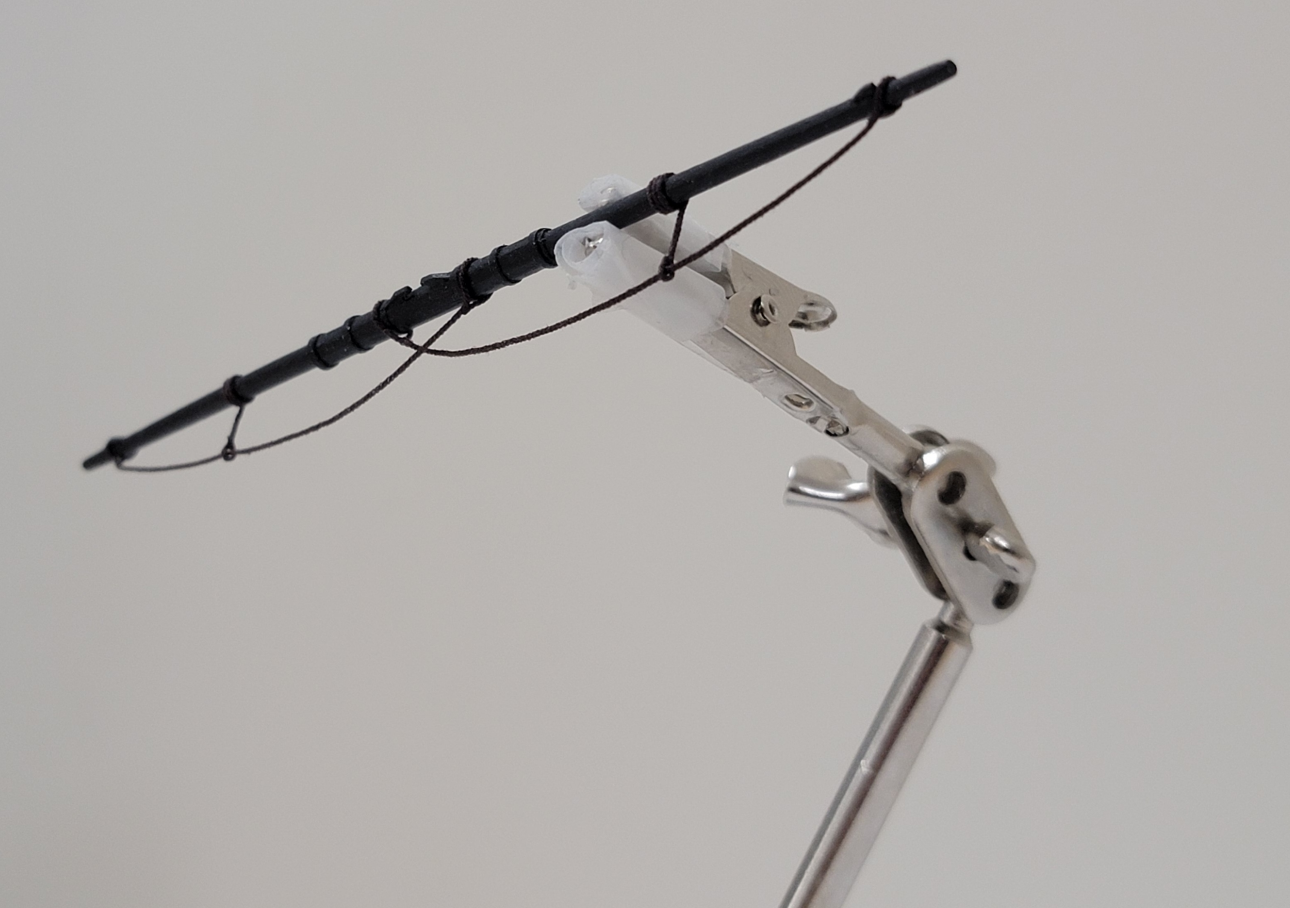
.thumb.jpg.62d1d69fed1f32364417cb1f9cdeb009.jpg) Thanks so much for the kind words Eamonn and Will! I also looked at Laurie's video on YouTube but I was a bit lazy and made a simpler jig. Here are a couple of photos of the jig. I made sure to deviate the spacing between the toothpicks a bit so the coils look different from each other And here's the crazy looking block assembly that I've been eyeing time to time from the start of the build. Still doesn't seem real that I've reached this point! I'll next finish up rigging the lower yards and will post some pics in a few days time.
Thanks so much for the kind words Eamonn and Will! I also looked at Laurie's video on YouTube but I was a bit lazy and made a simpler jig. Here are a couple of photos of the jig. I made sure to deviate the spacing between the toothpicks a bit so the coils look different from each other And here's the crazy looking block assembly that I've been eyeing time to time from the start of the build. Still doesn't seem real that I've reached this point! I'll next finish up rigging the lower yards and will post some pics in a few days time.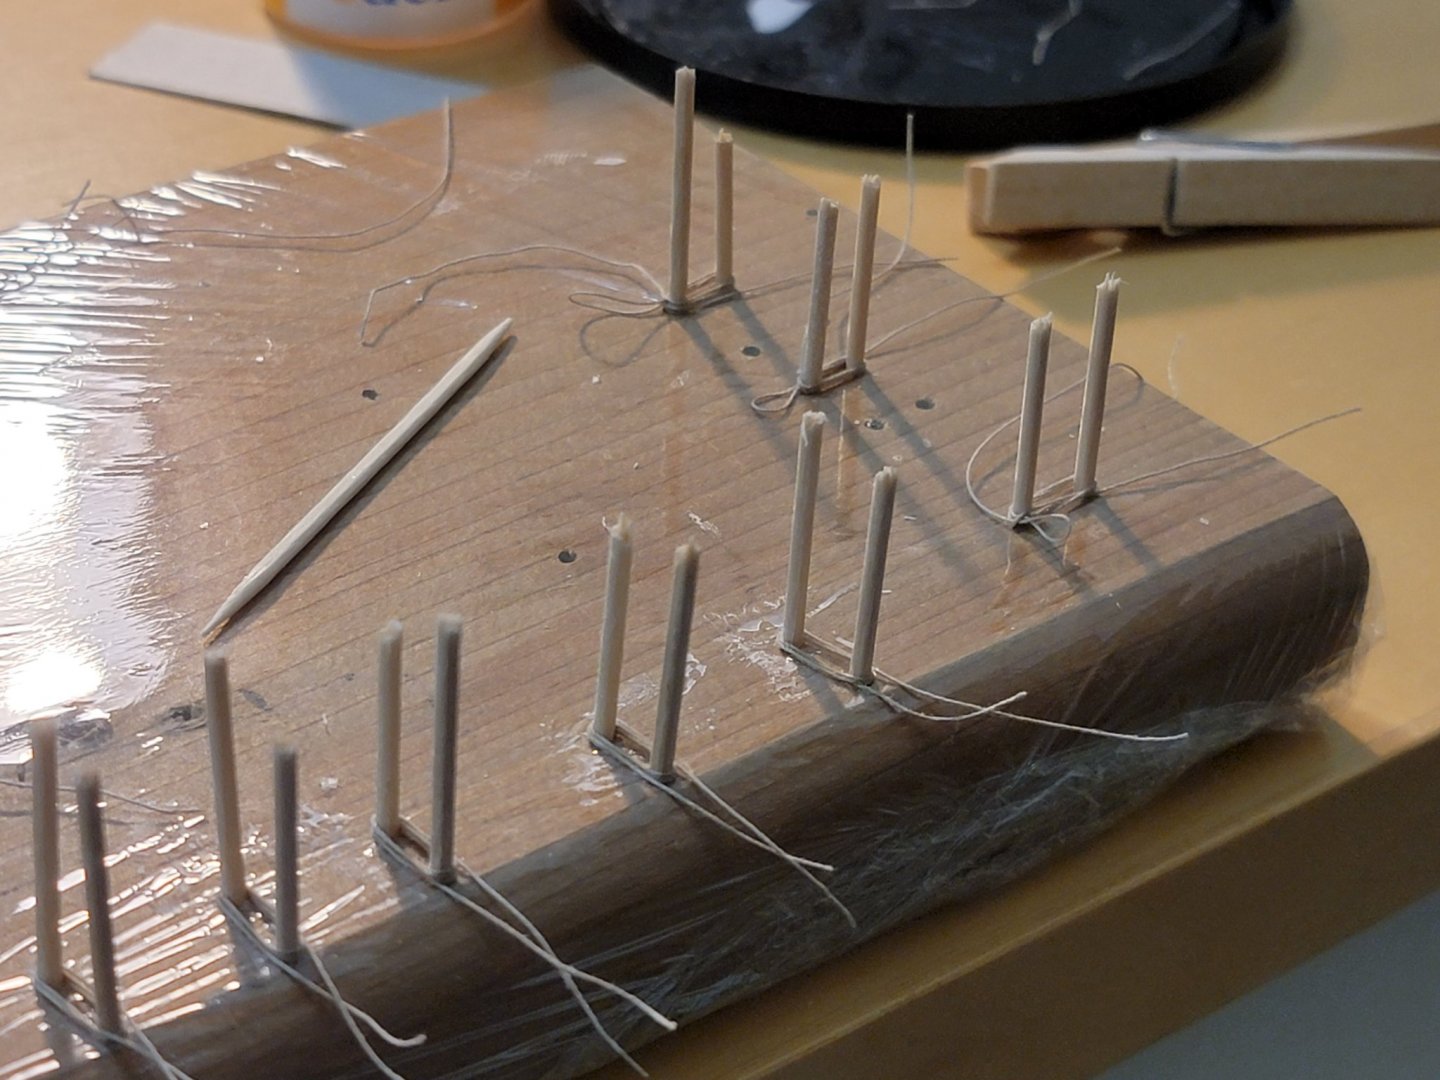
- 950 replies
-
- 12
-

-
- syren
- model shipways
- (and 1 more)
-
Same! The hull shape and lines are so beautiful!
-
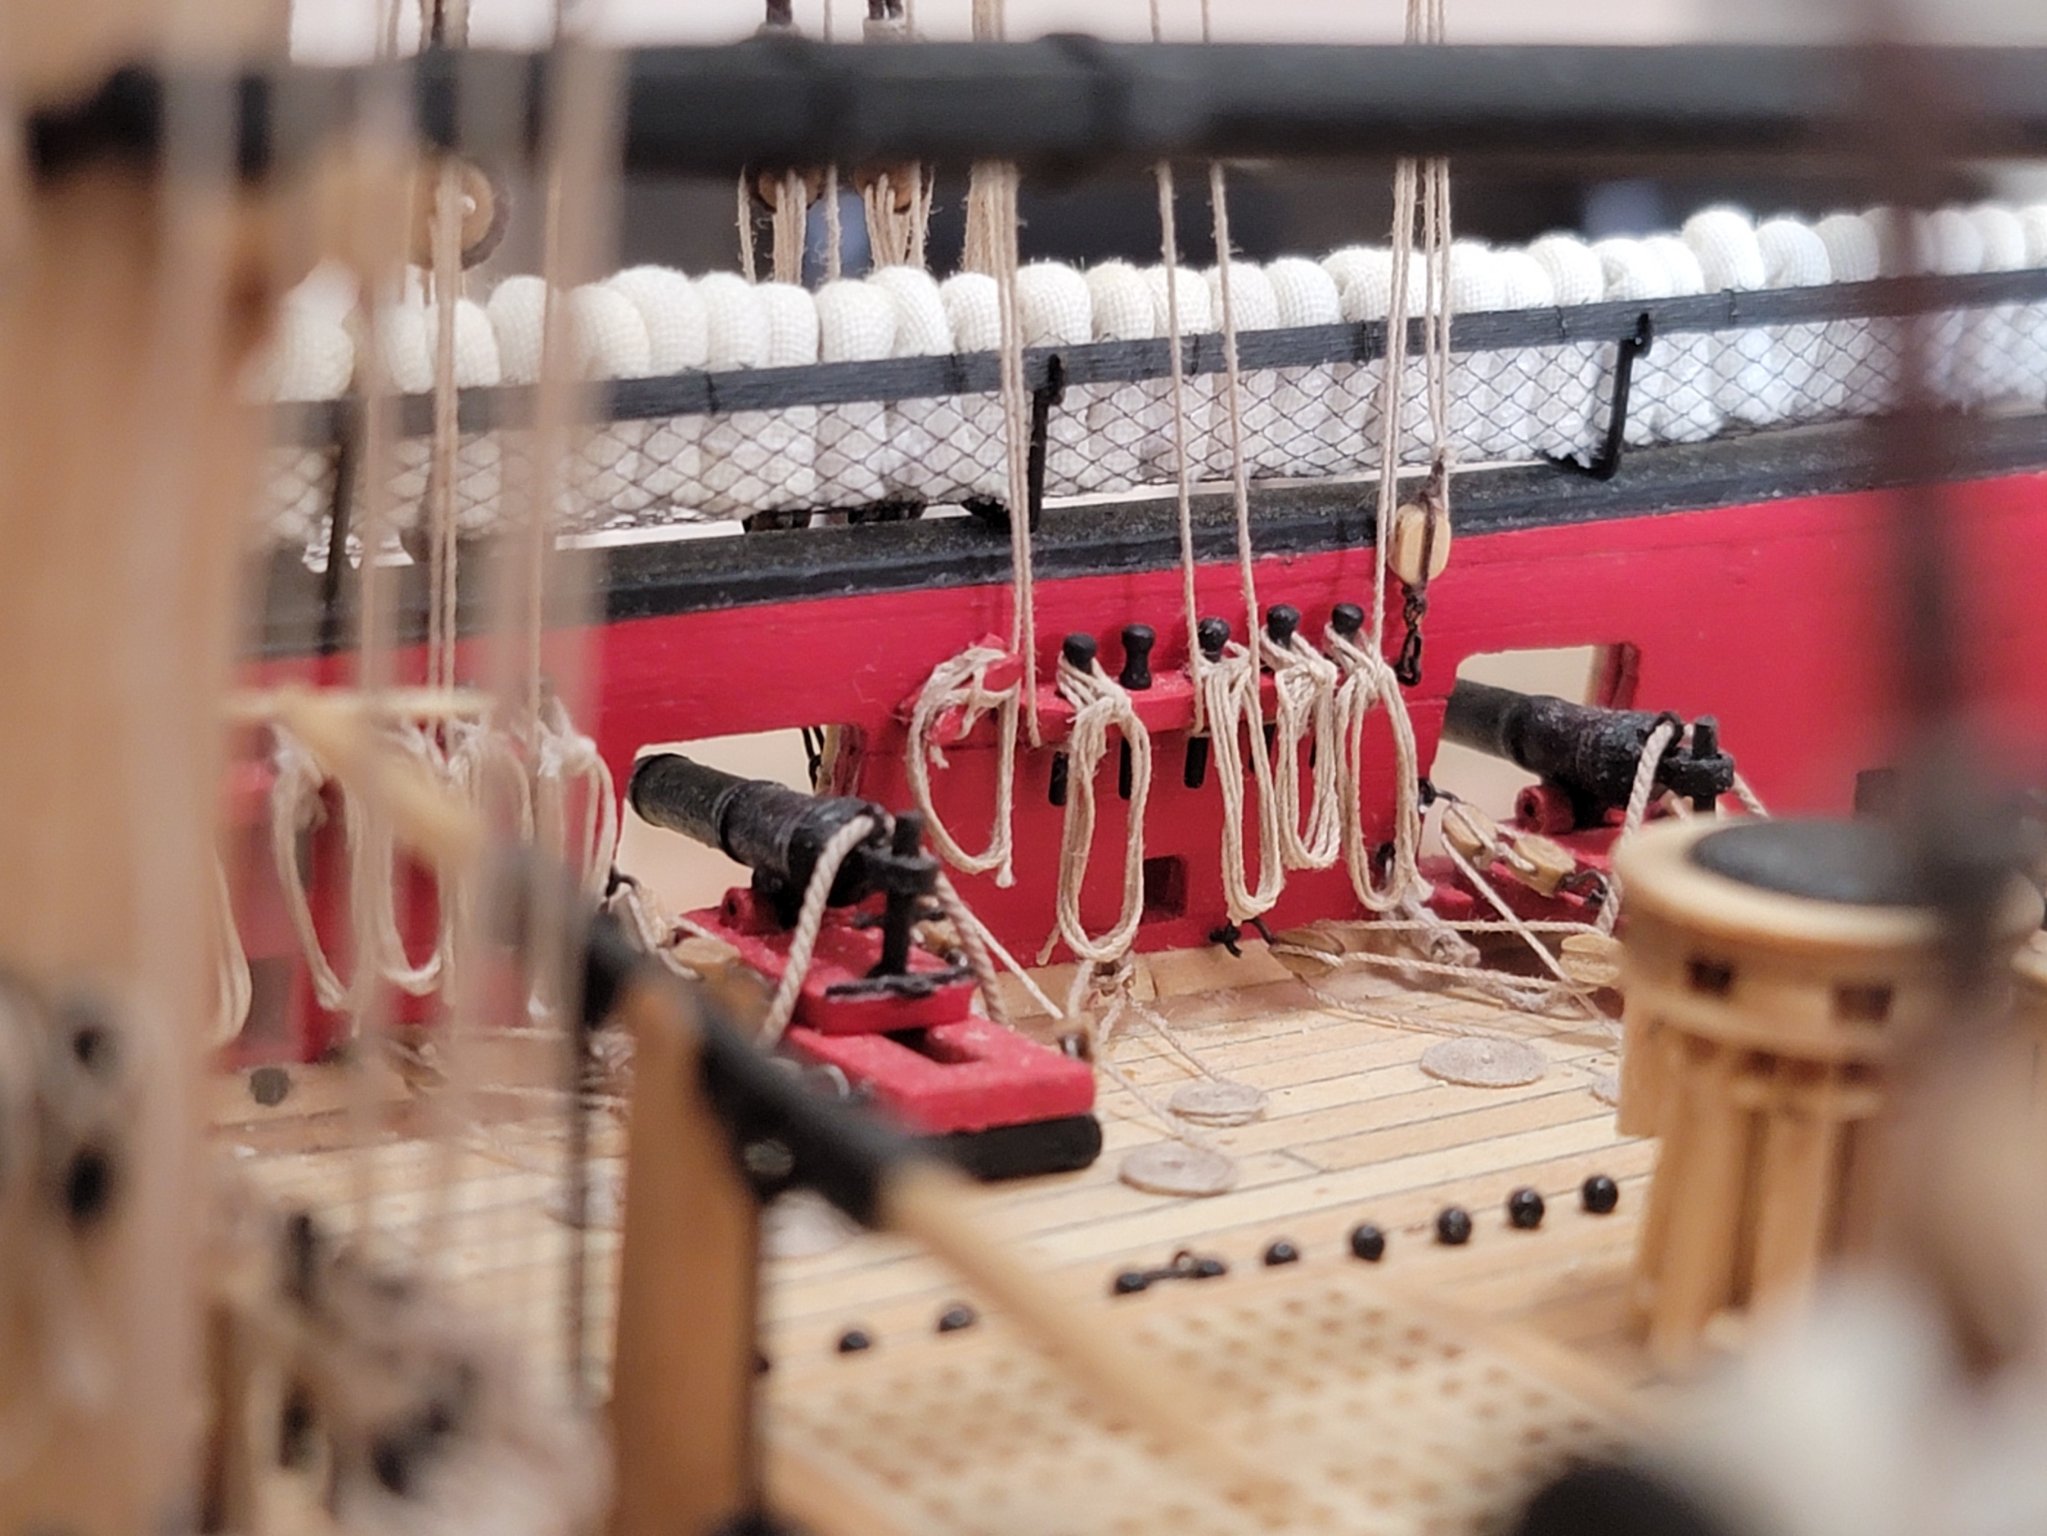
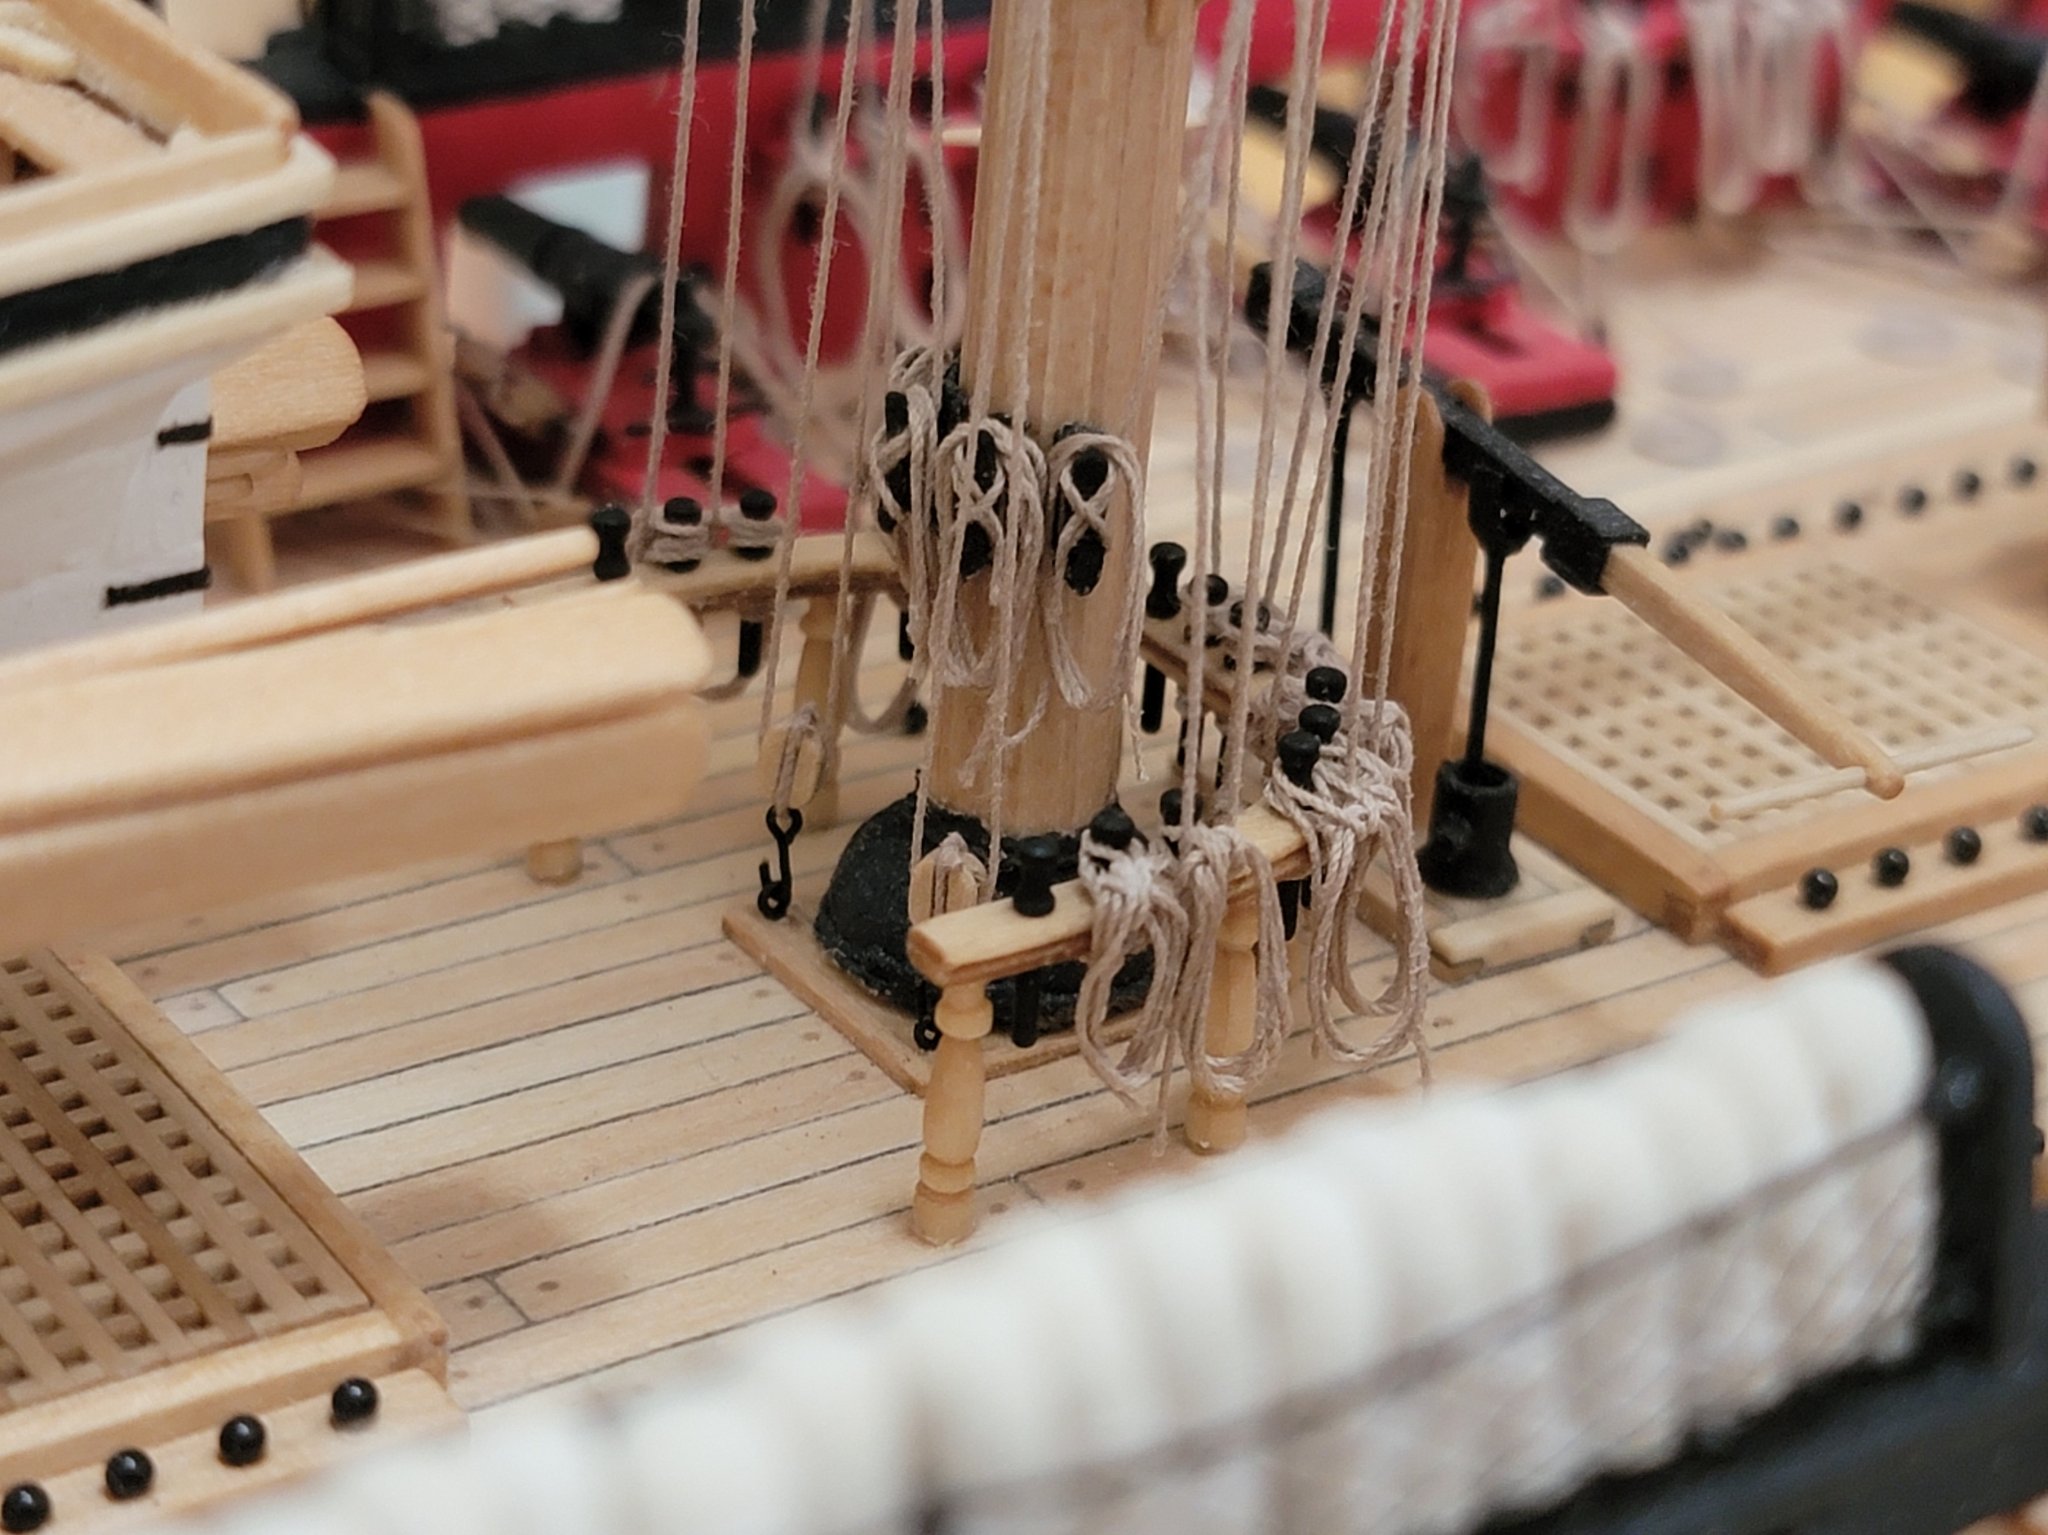
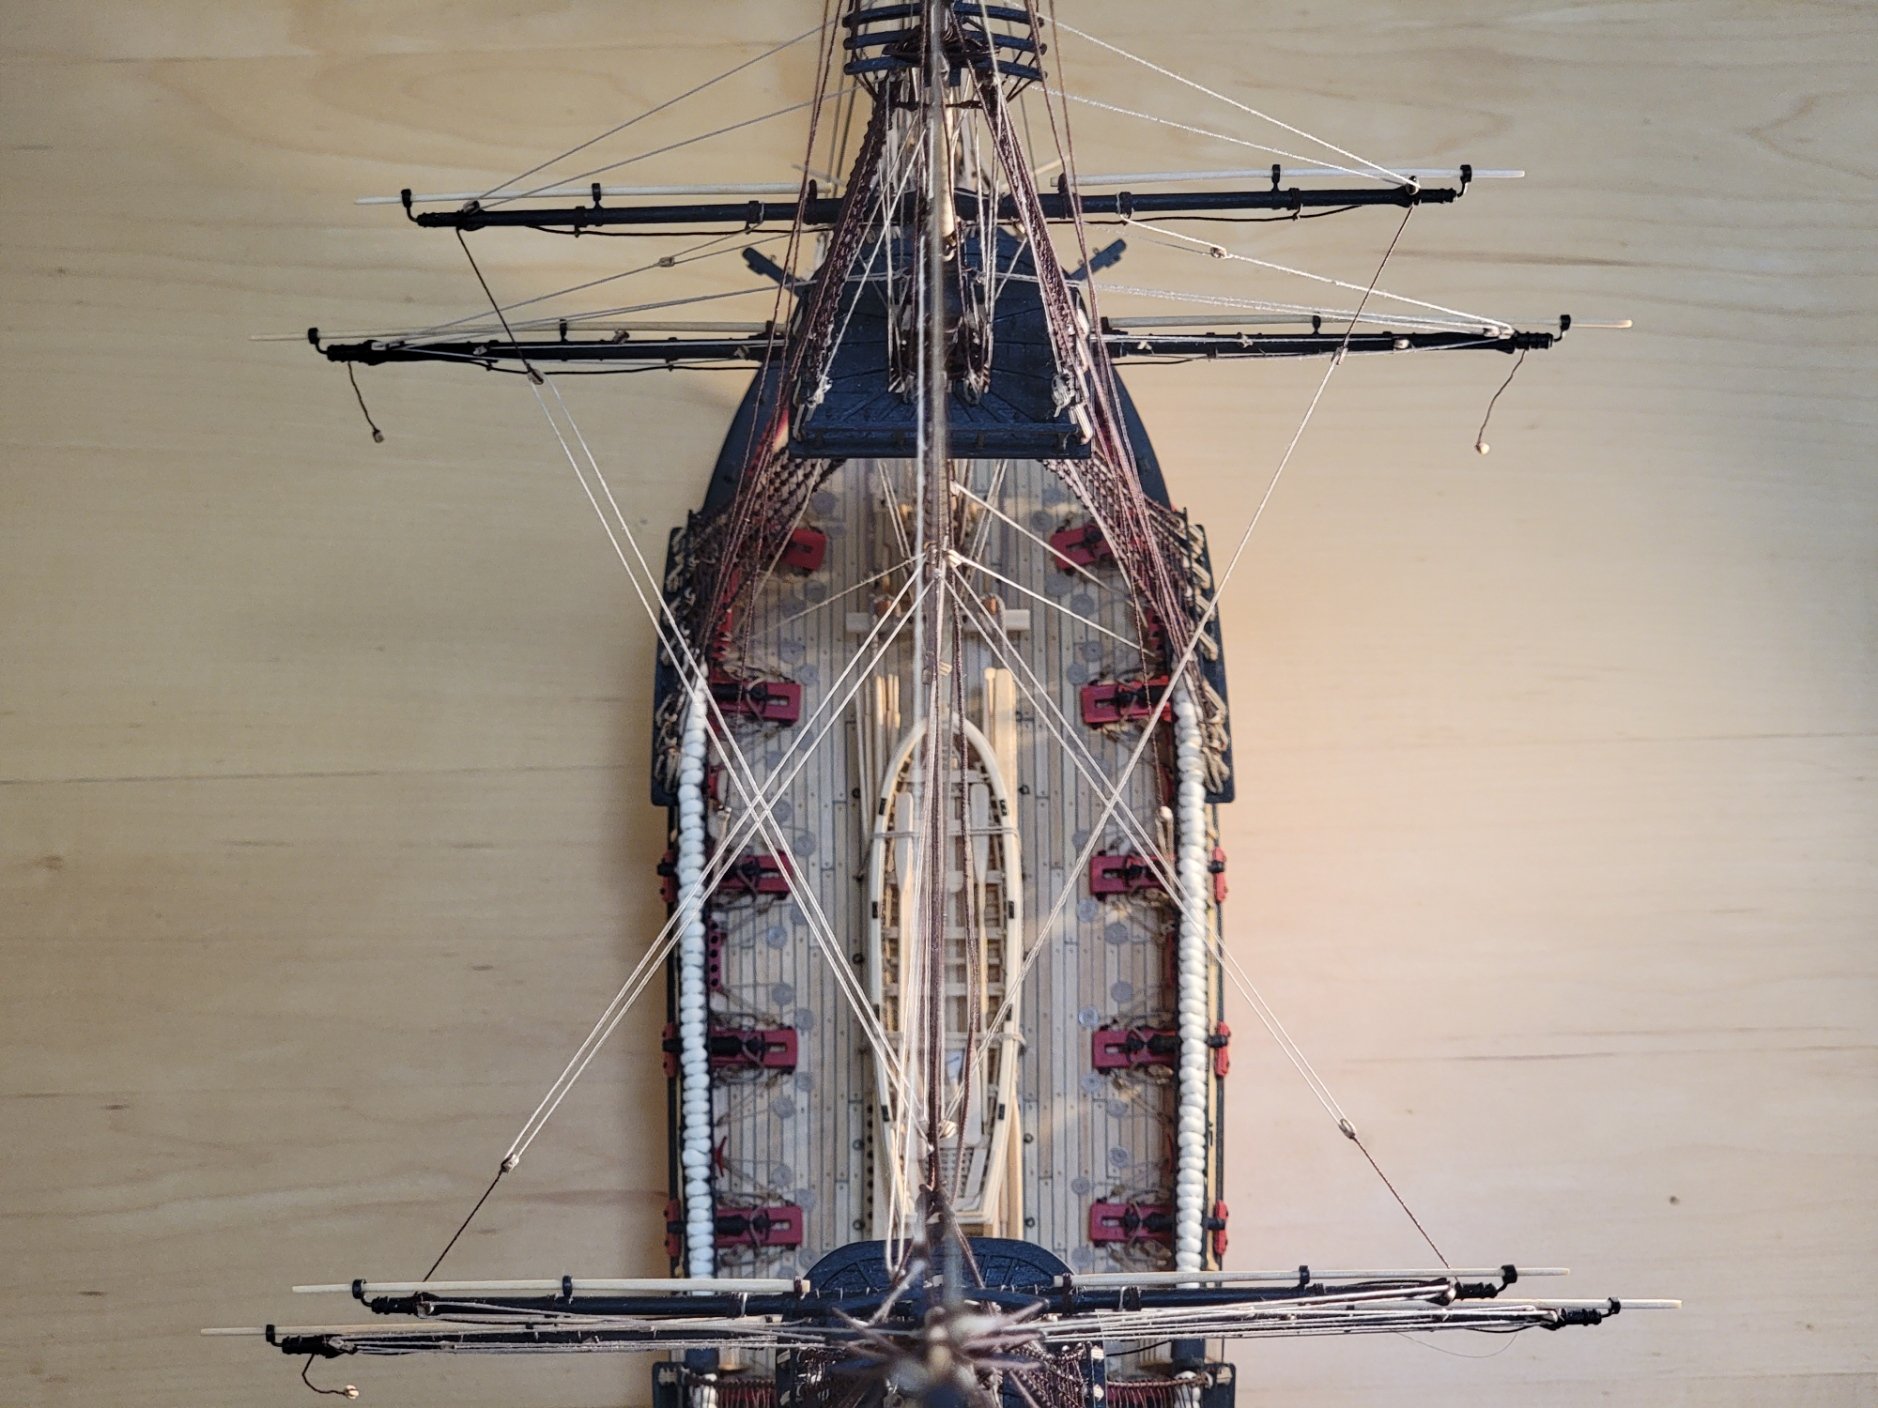
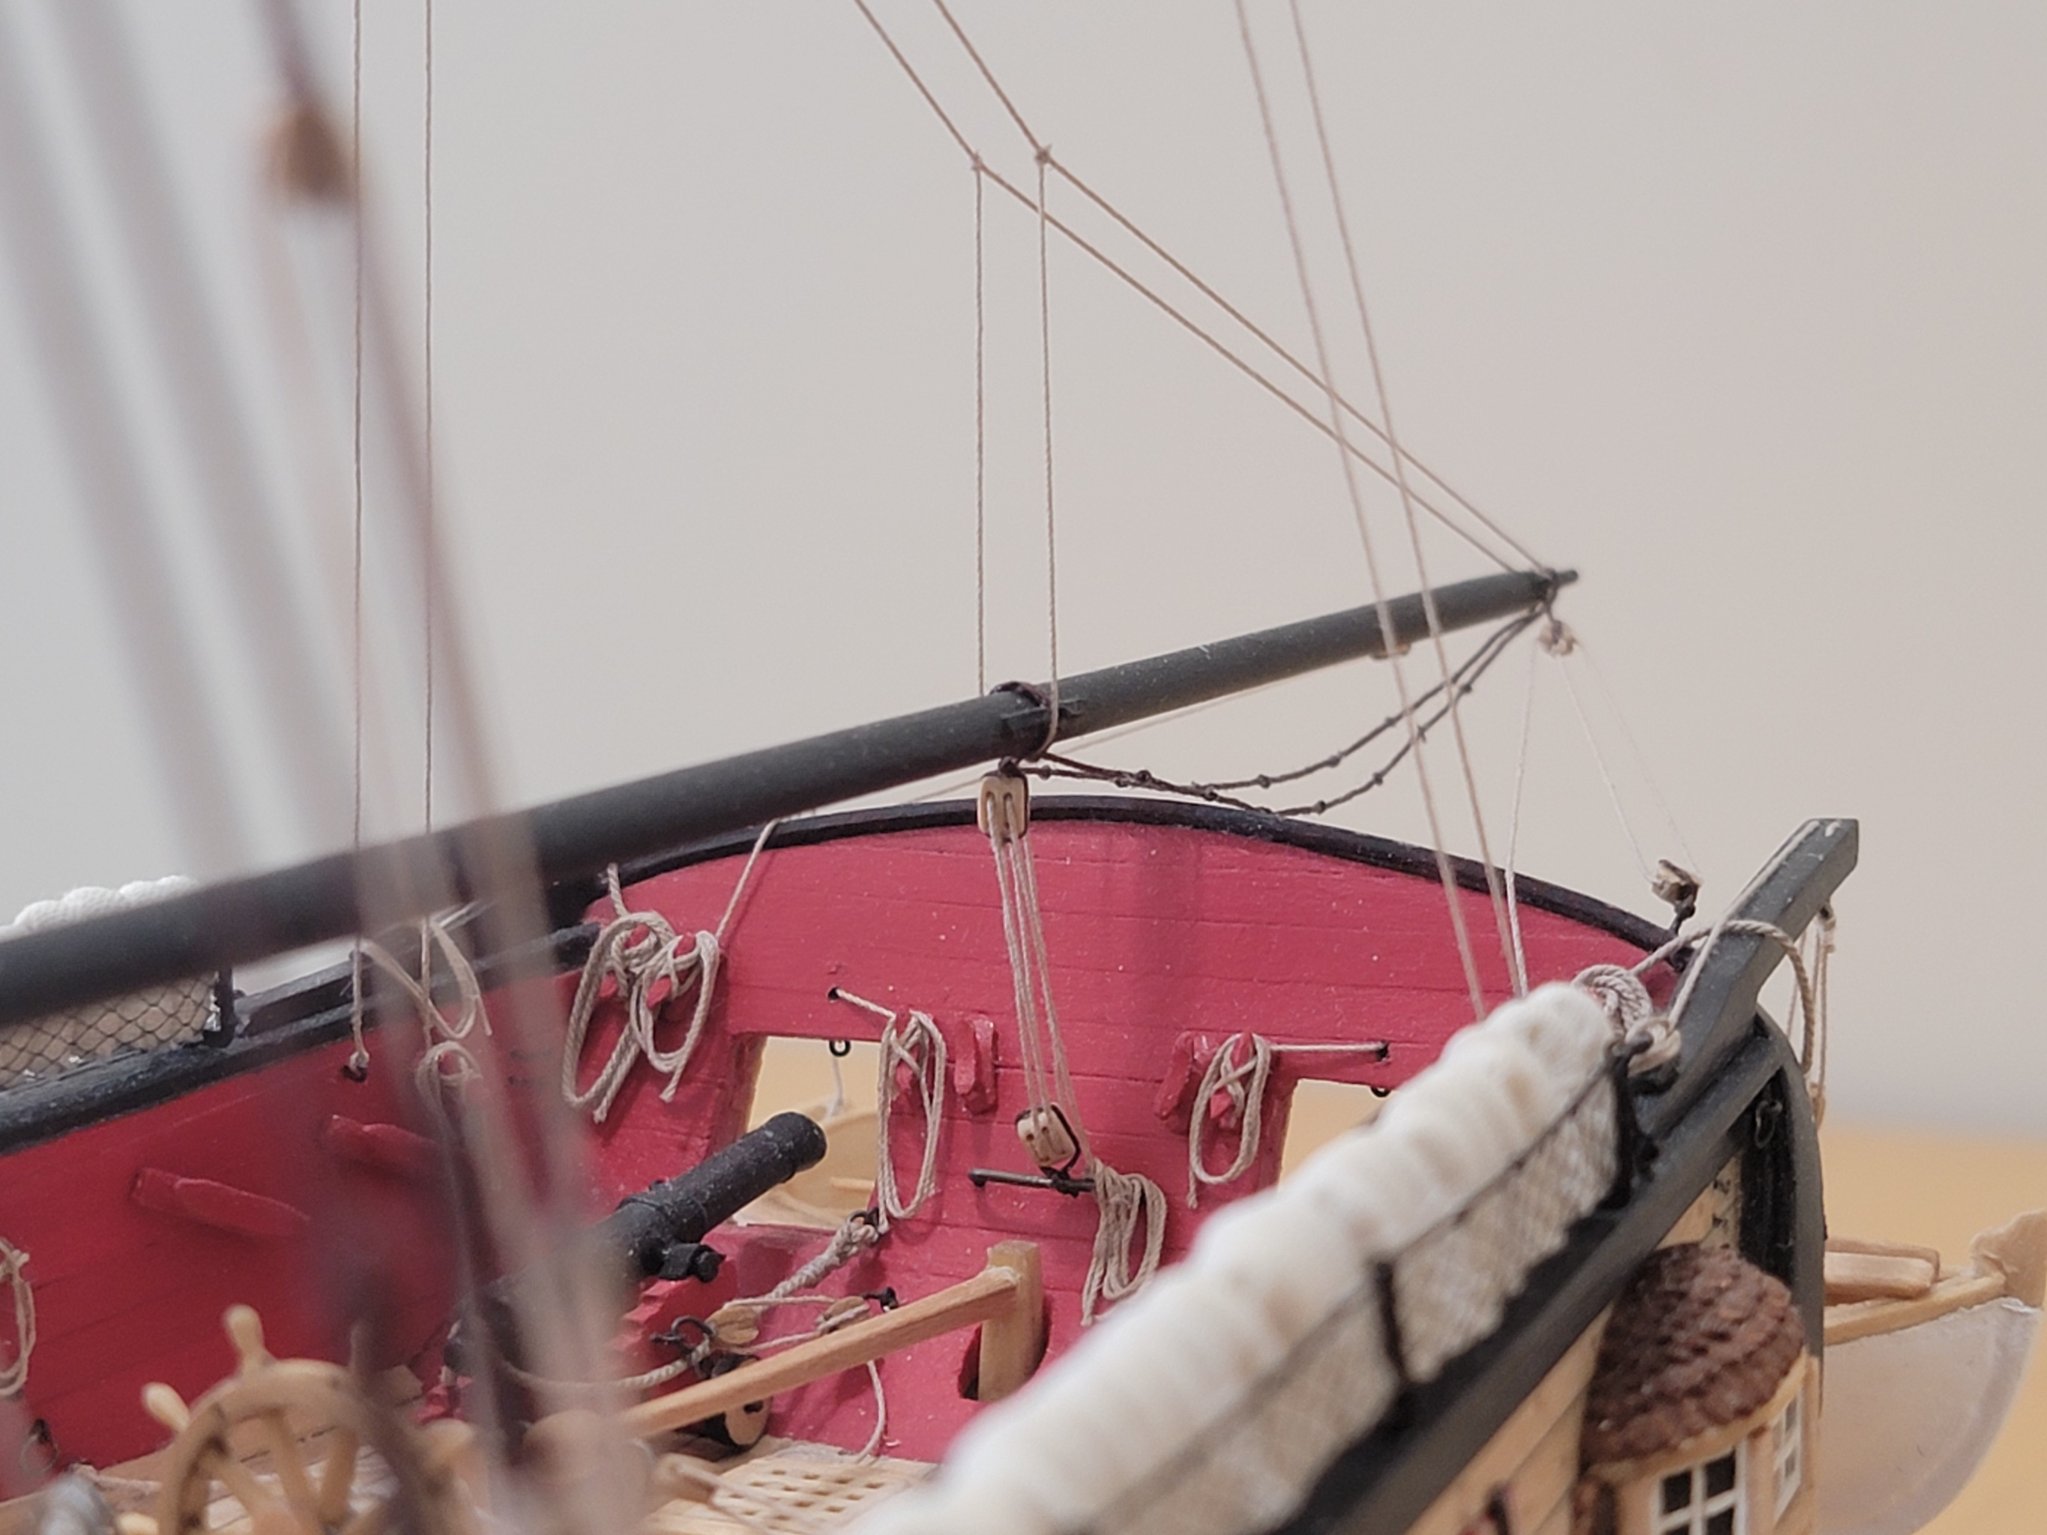
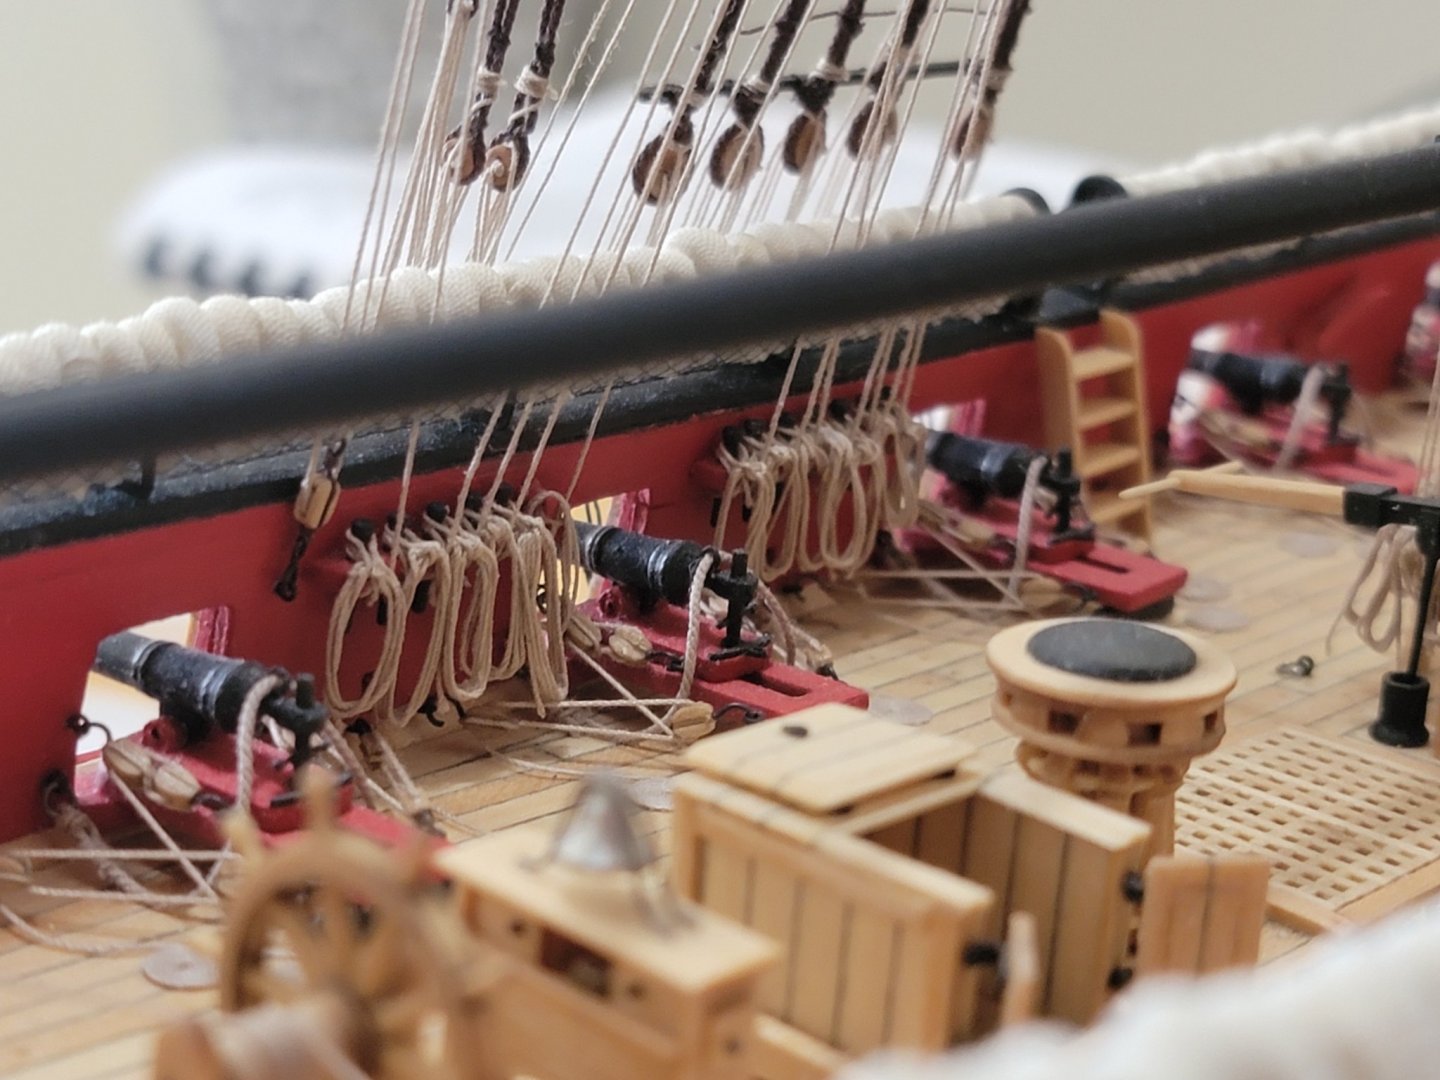
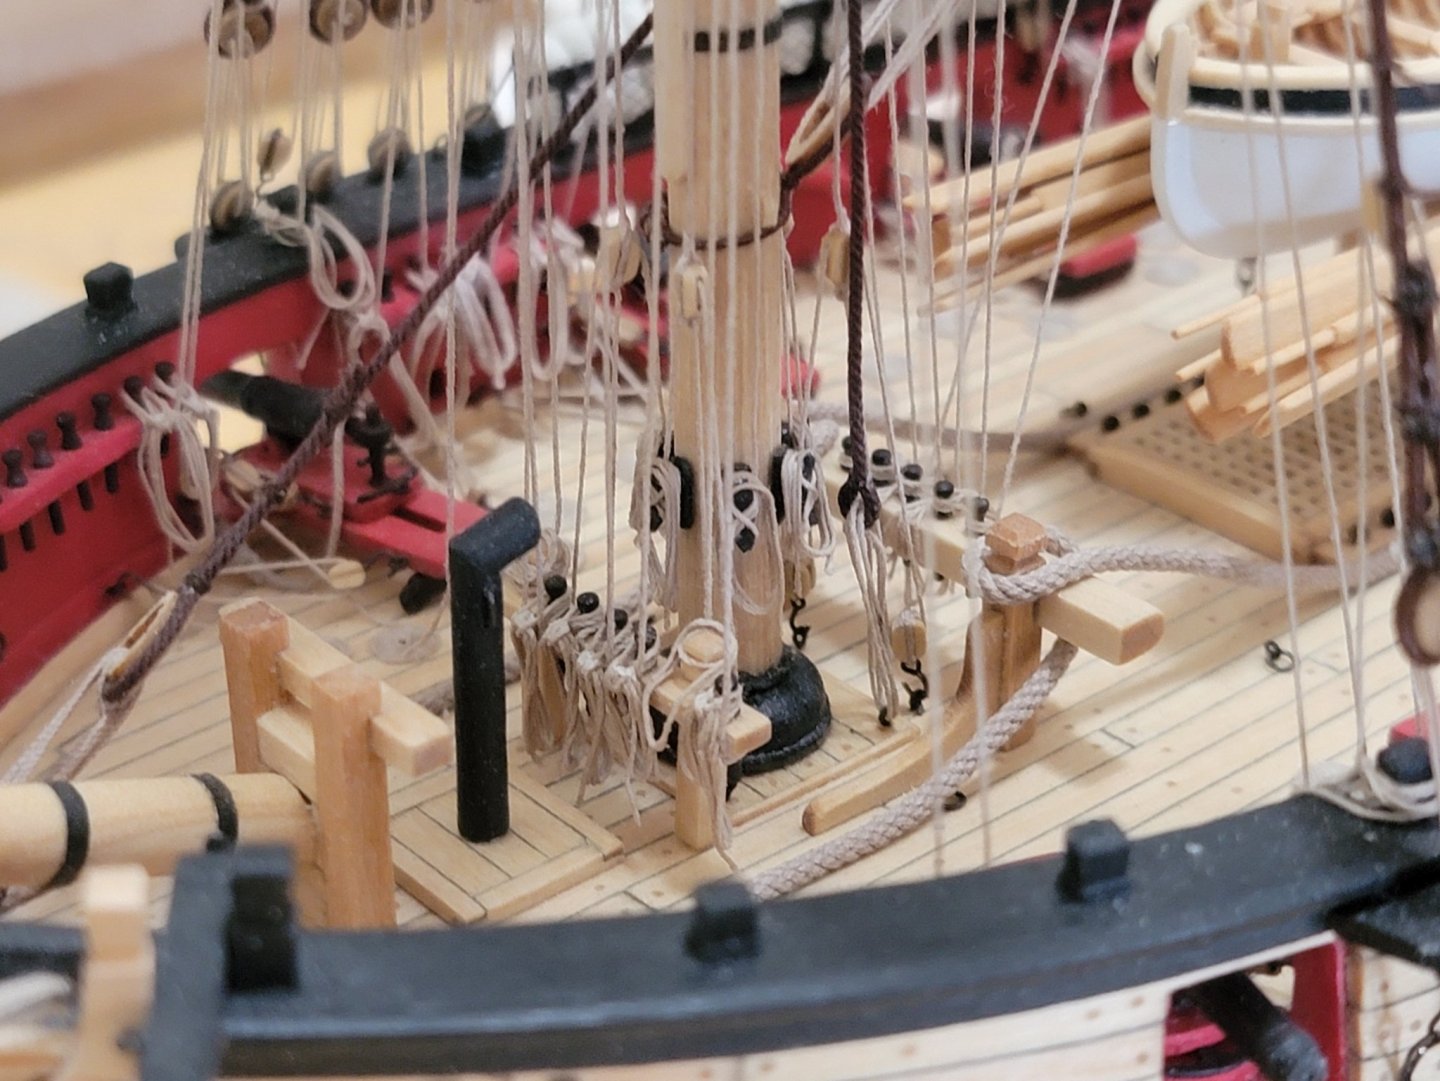
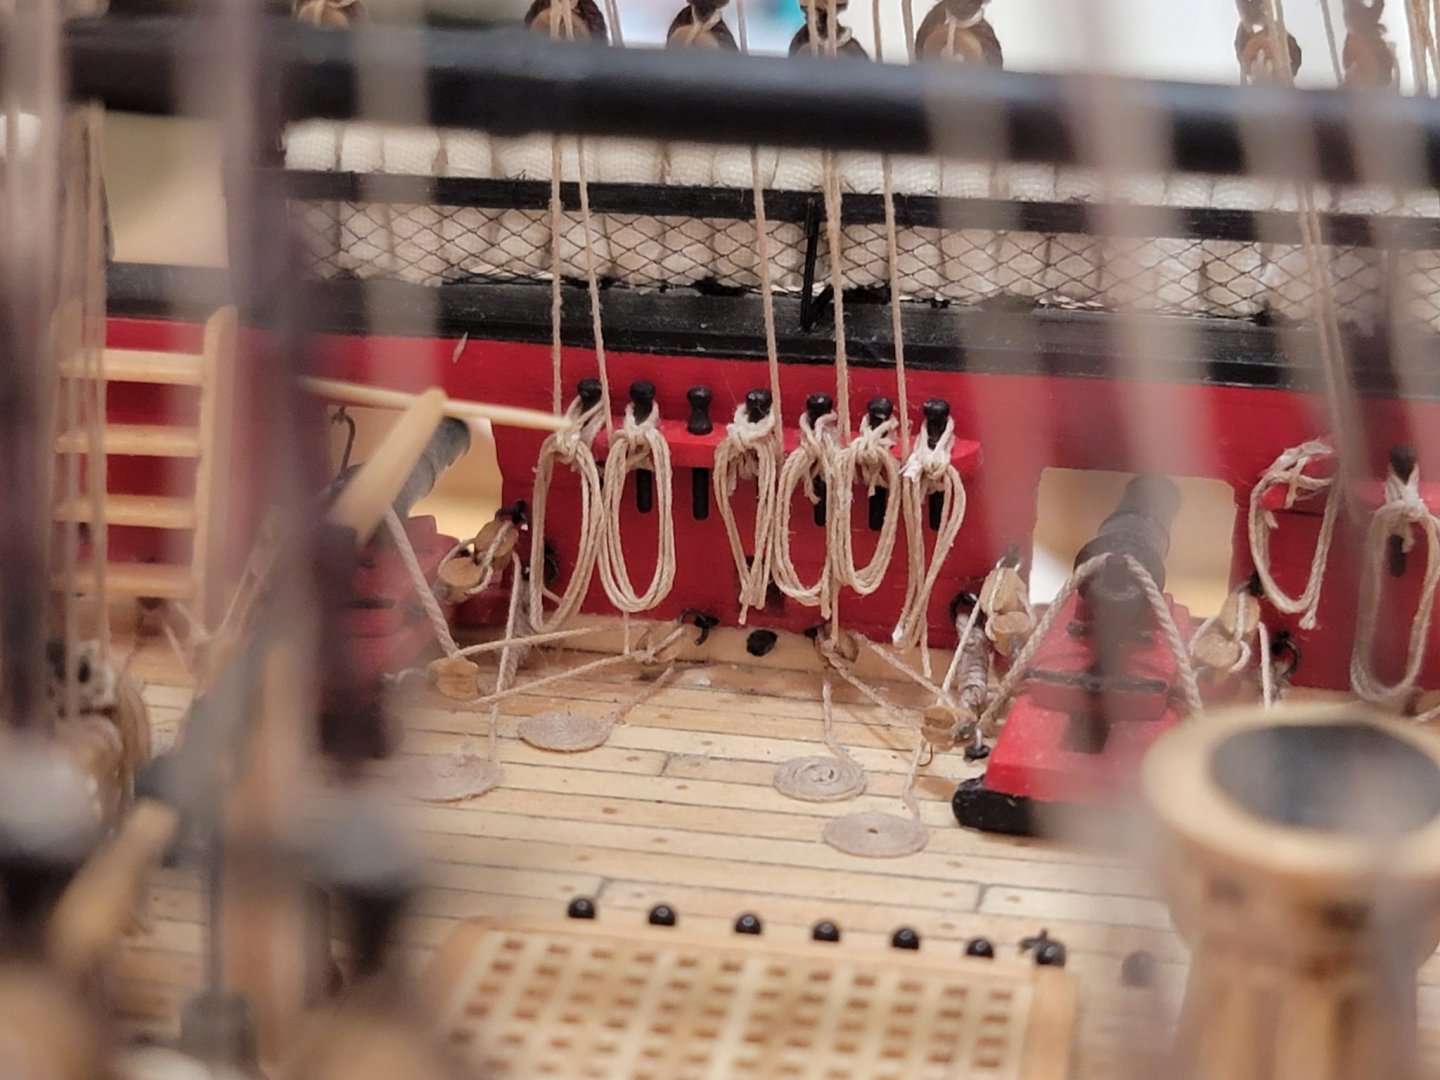
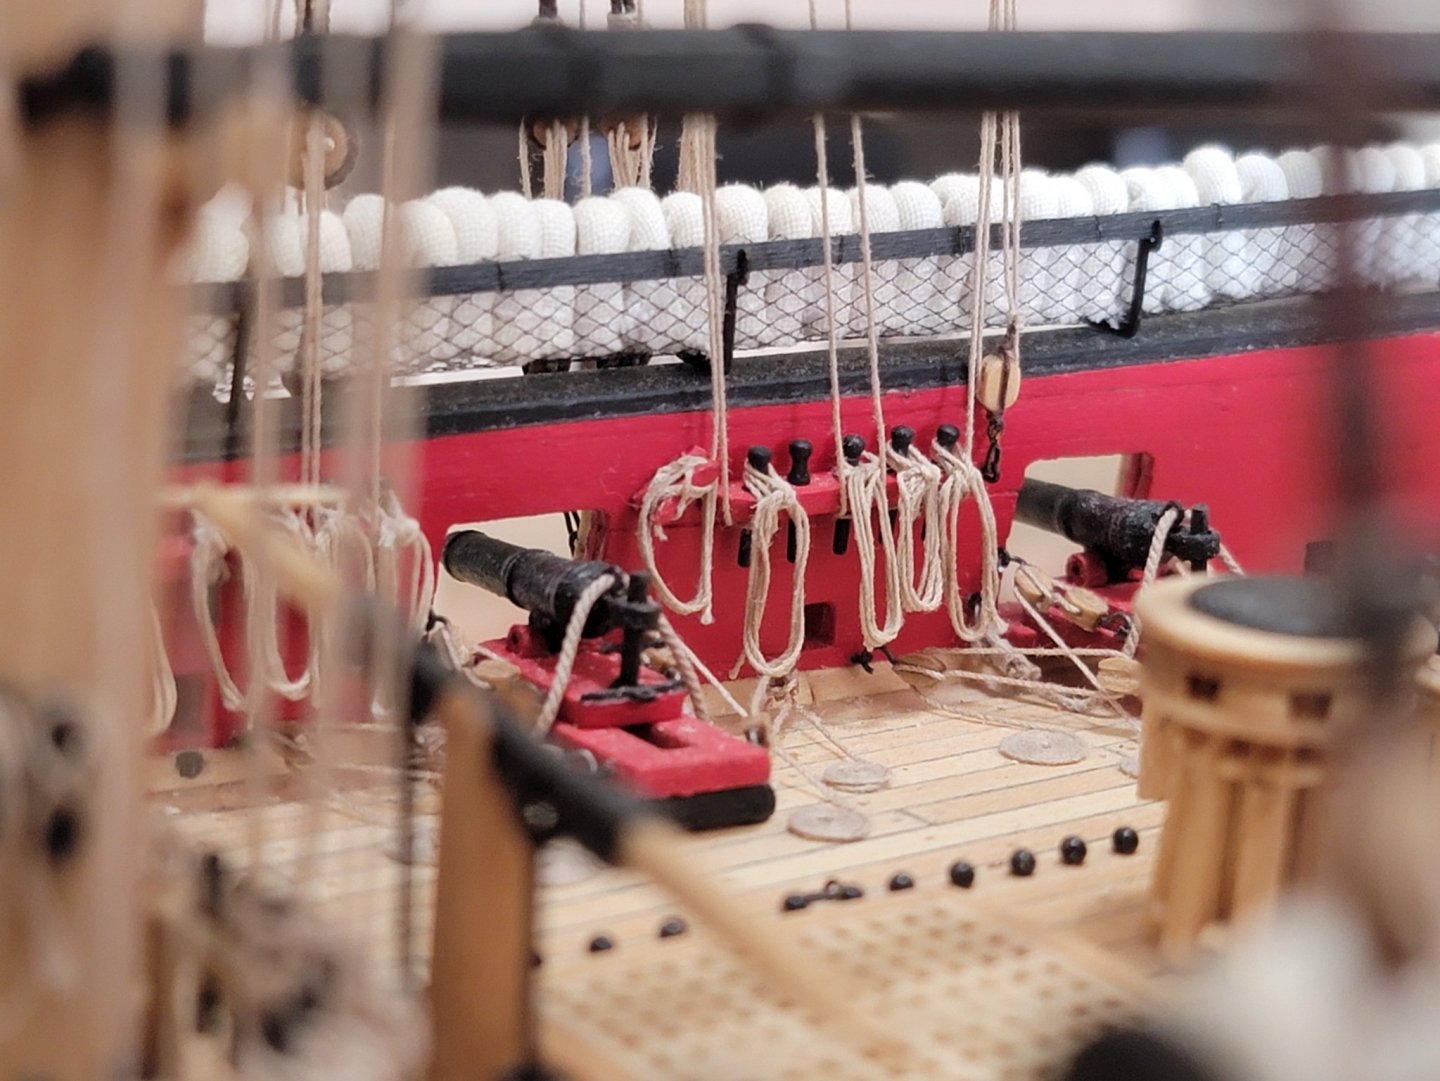
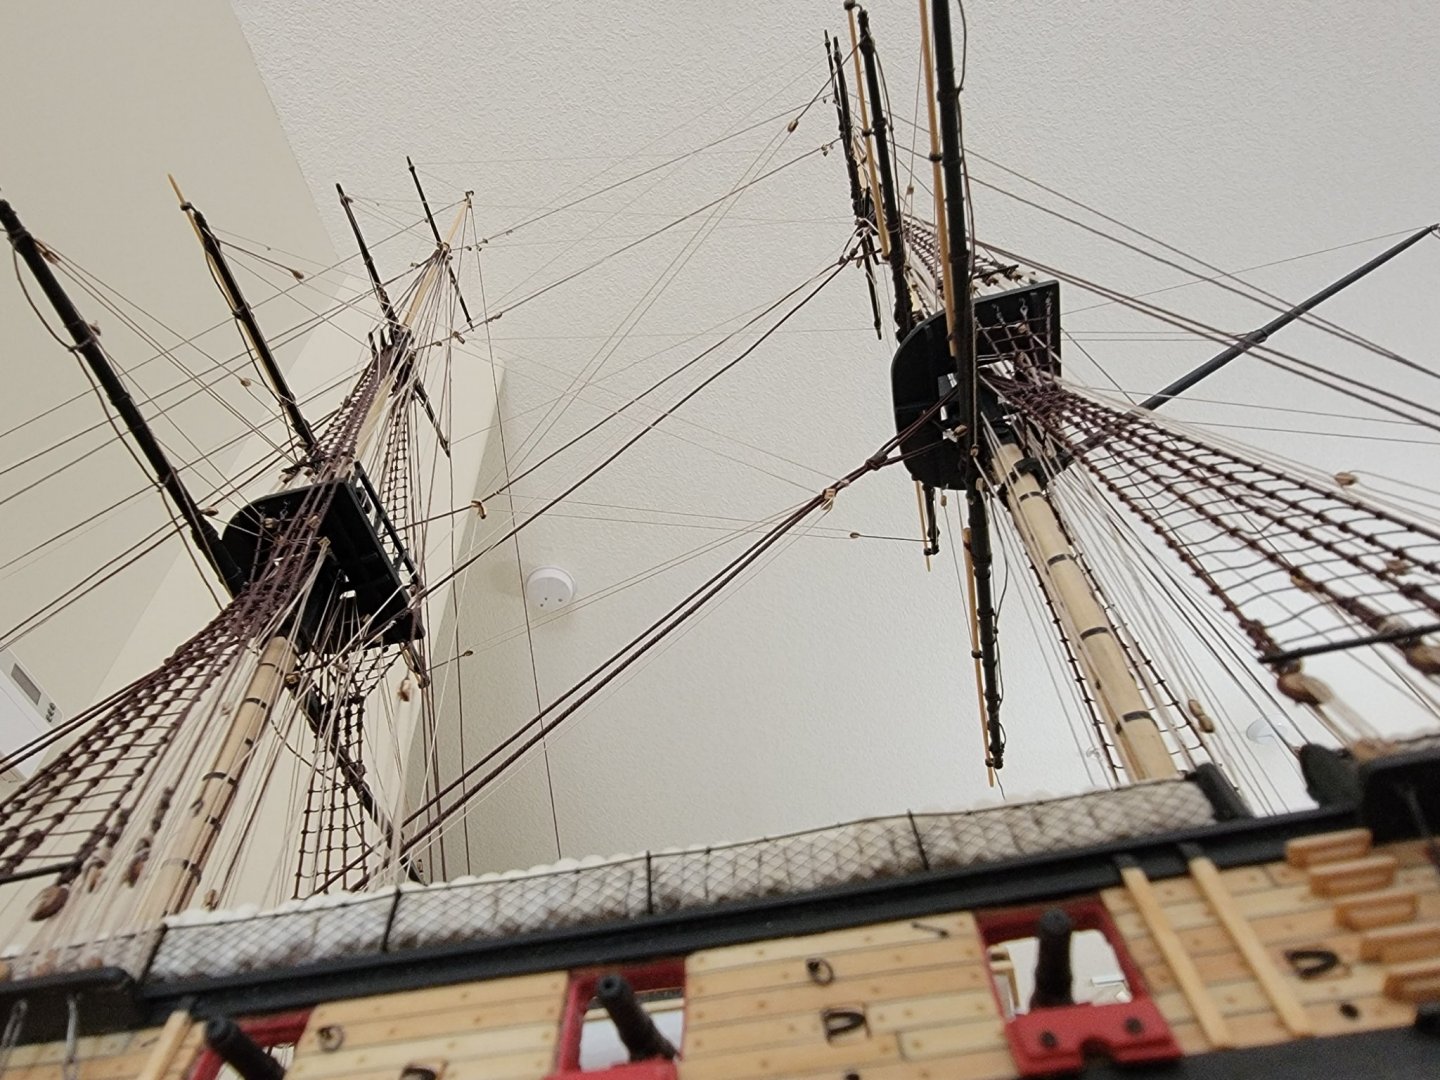
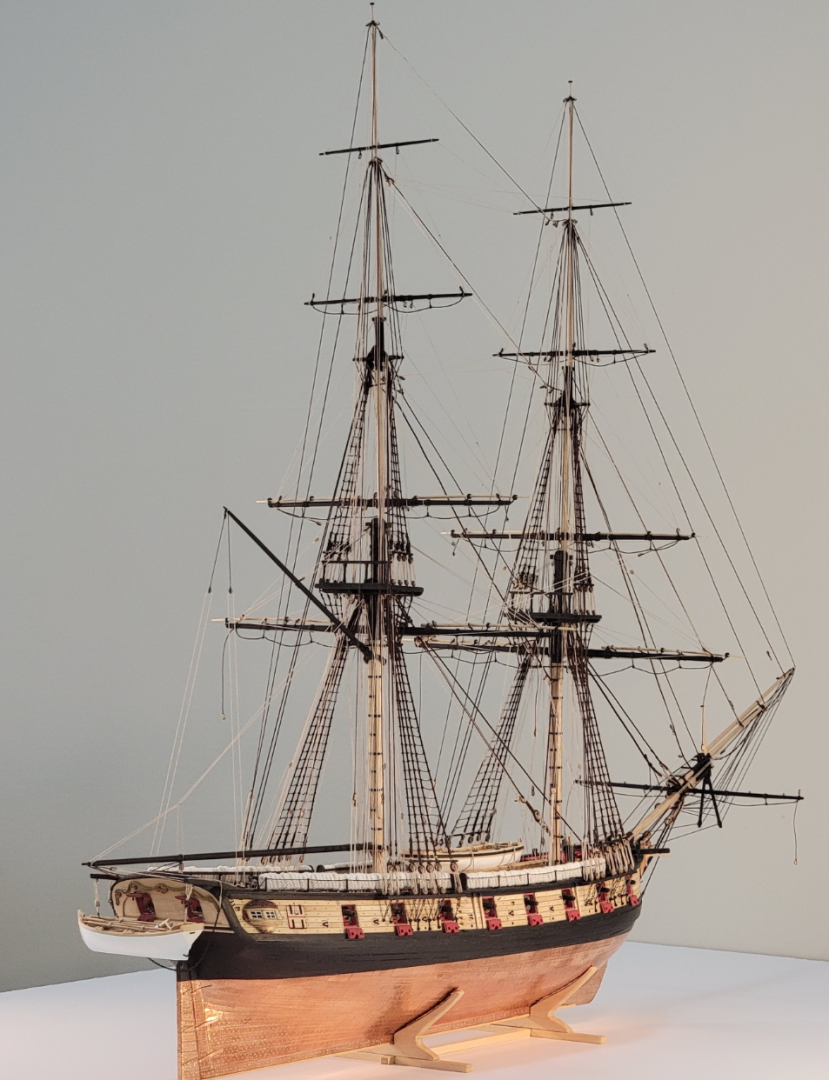
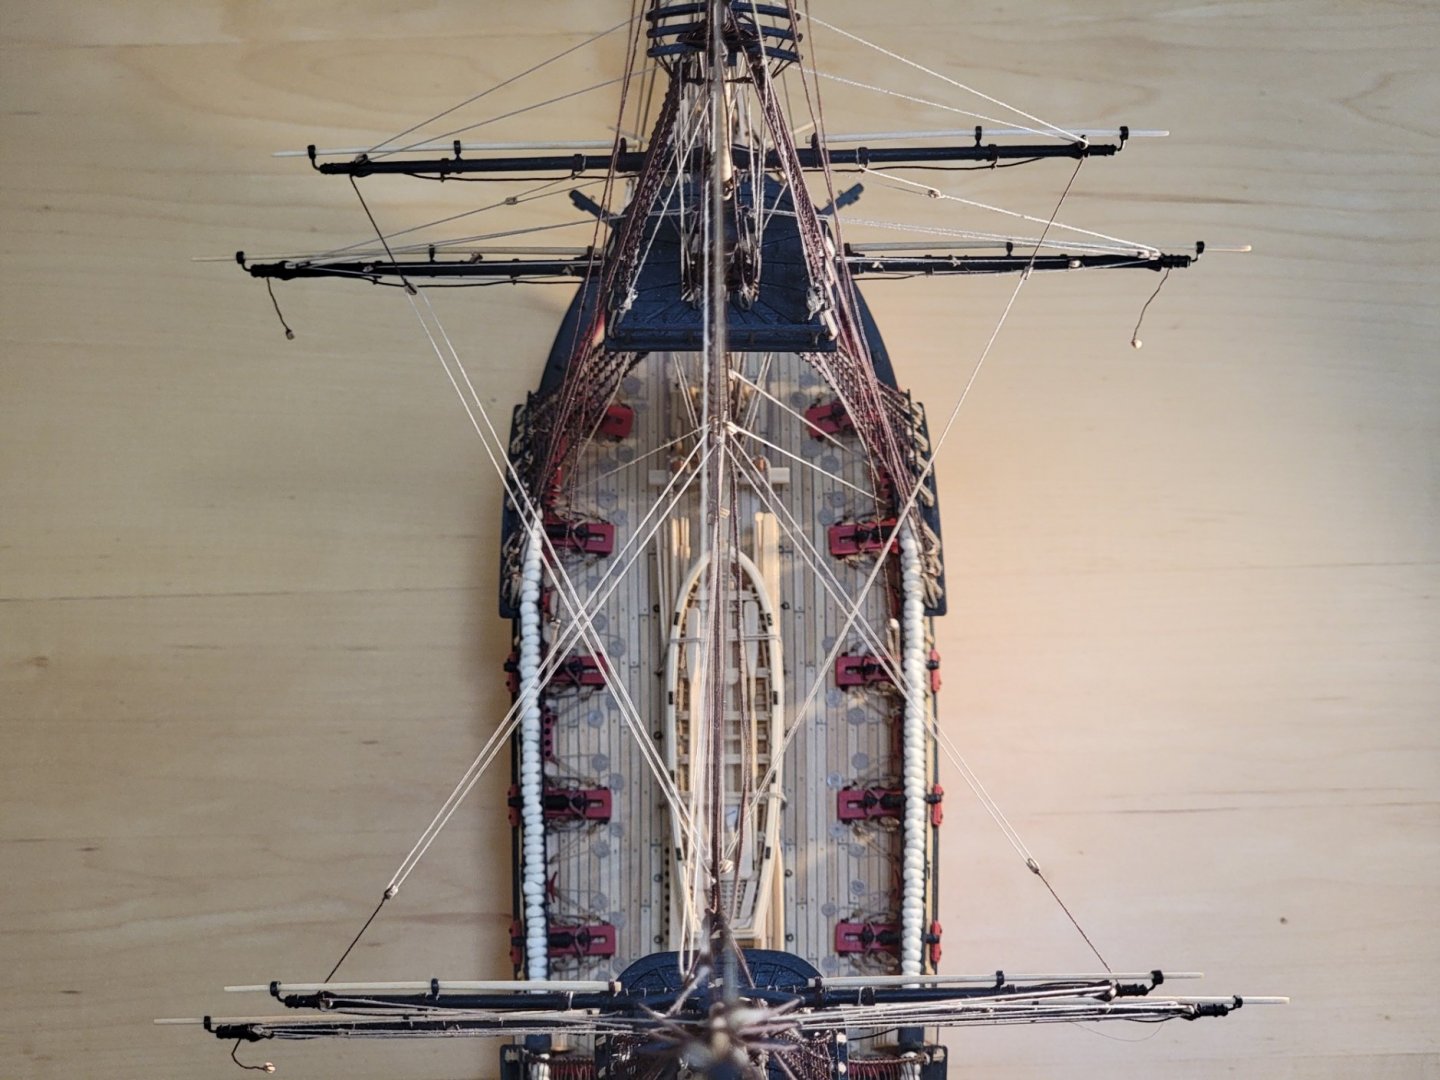
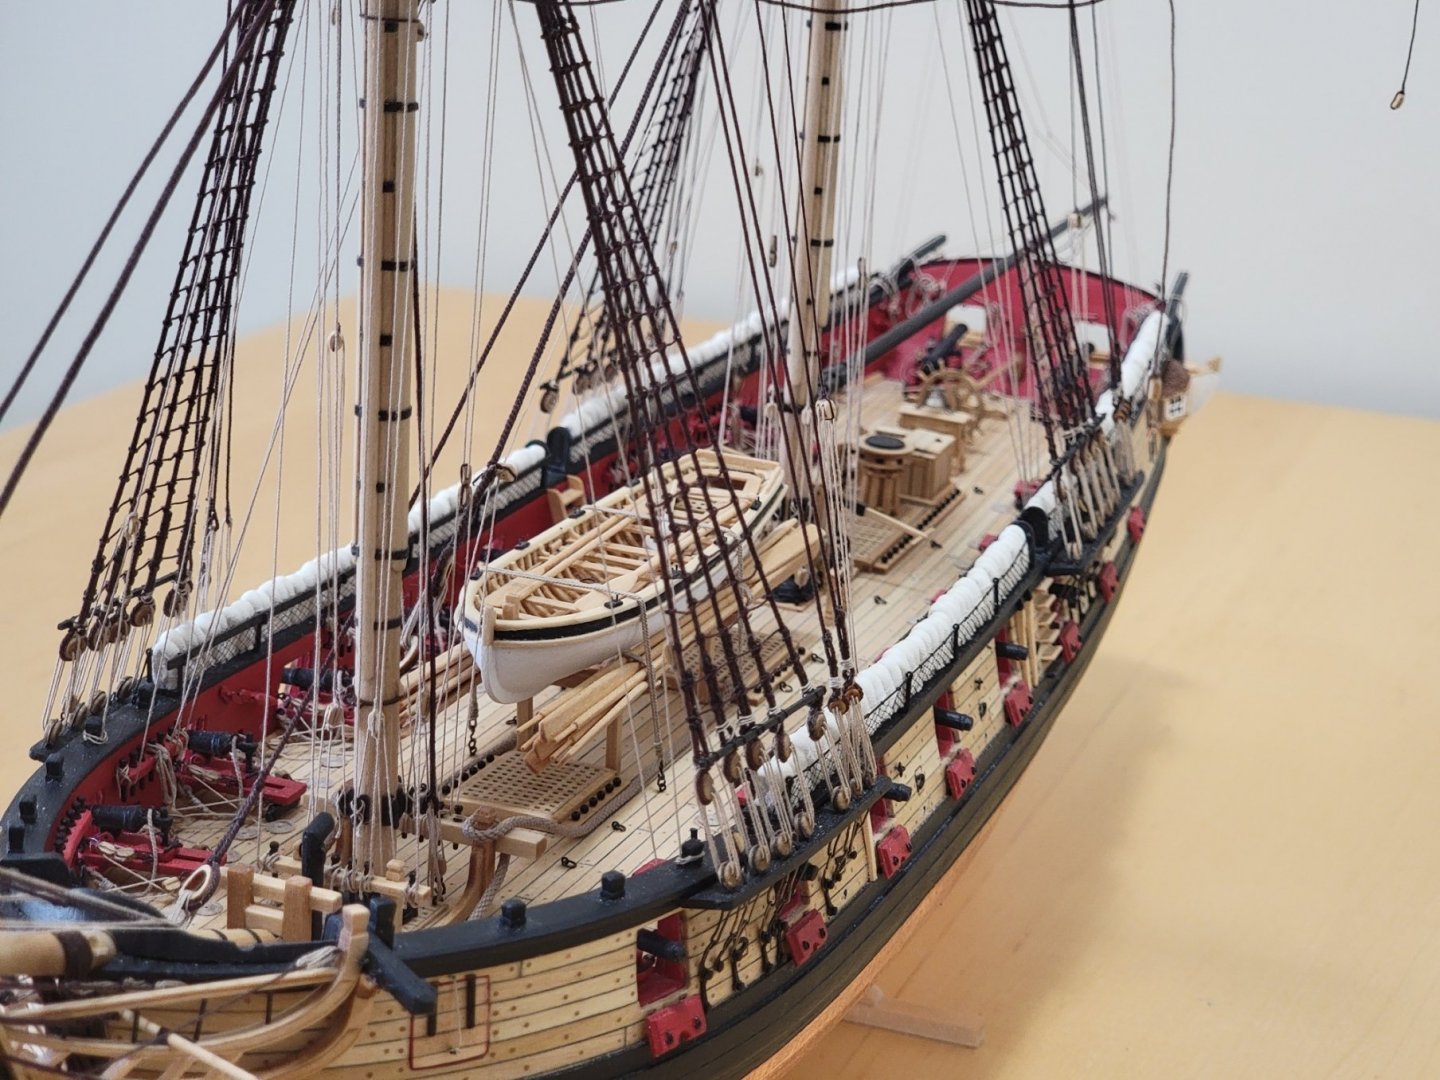
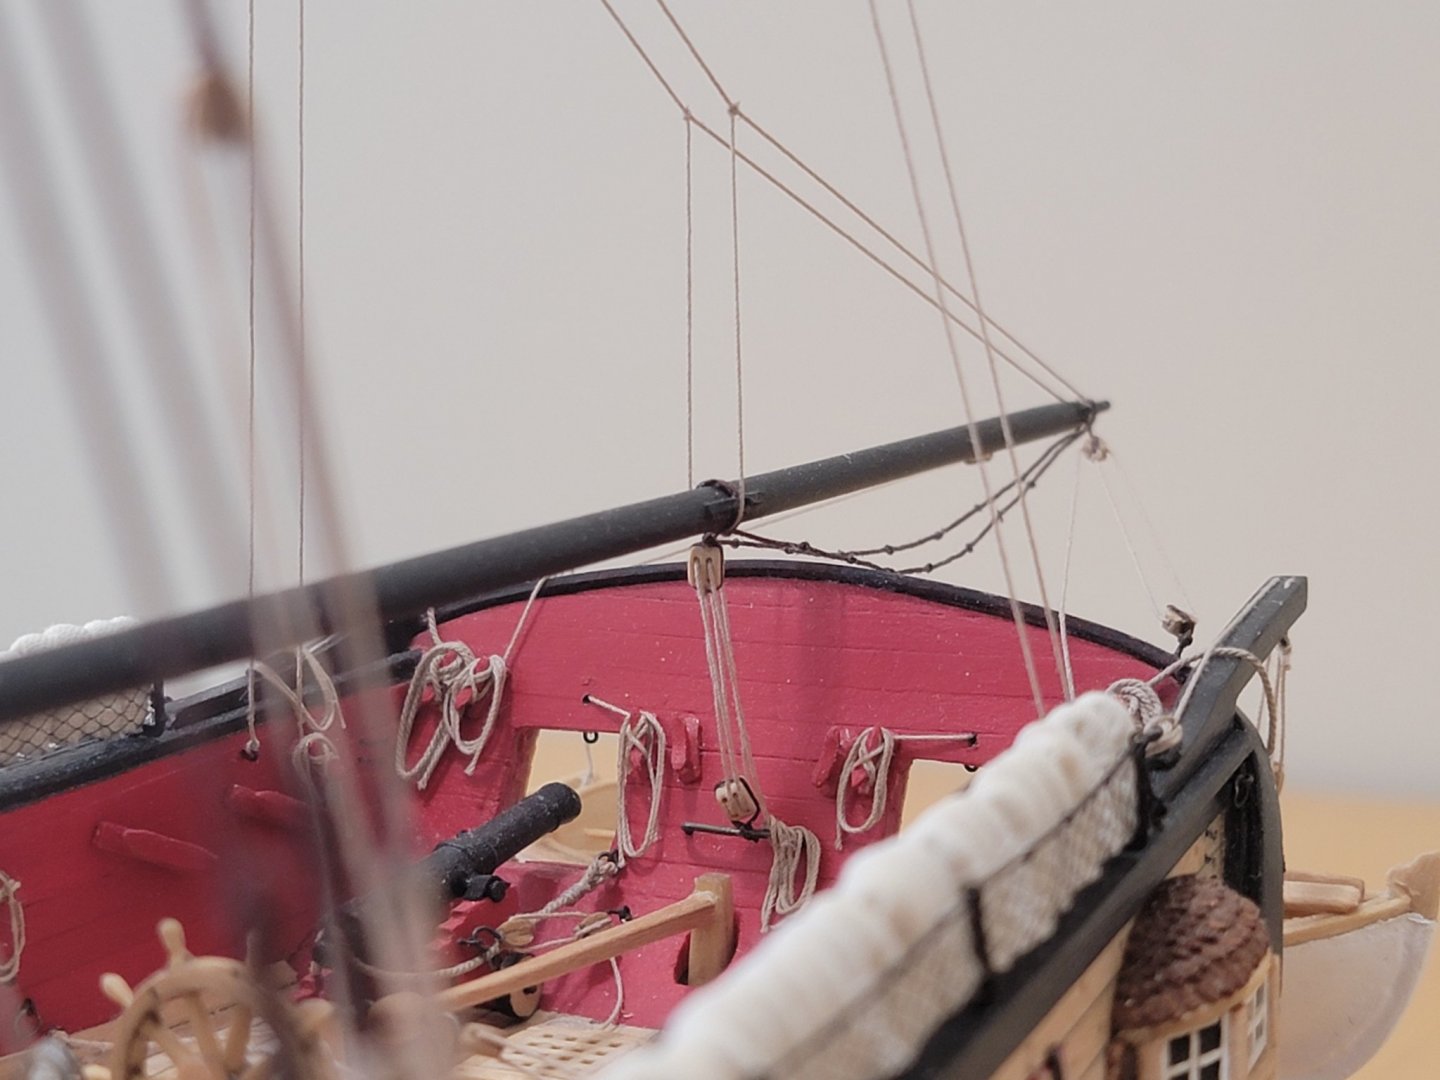
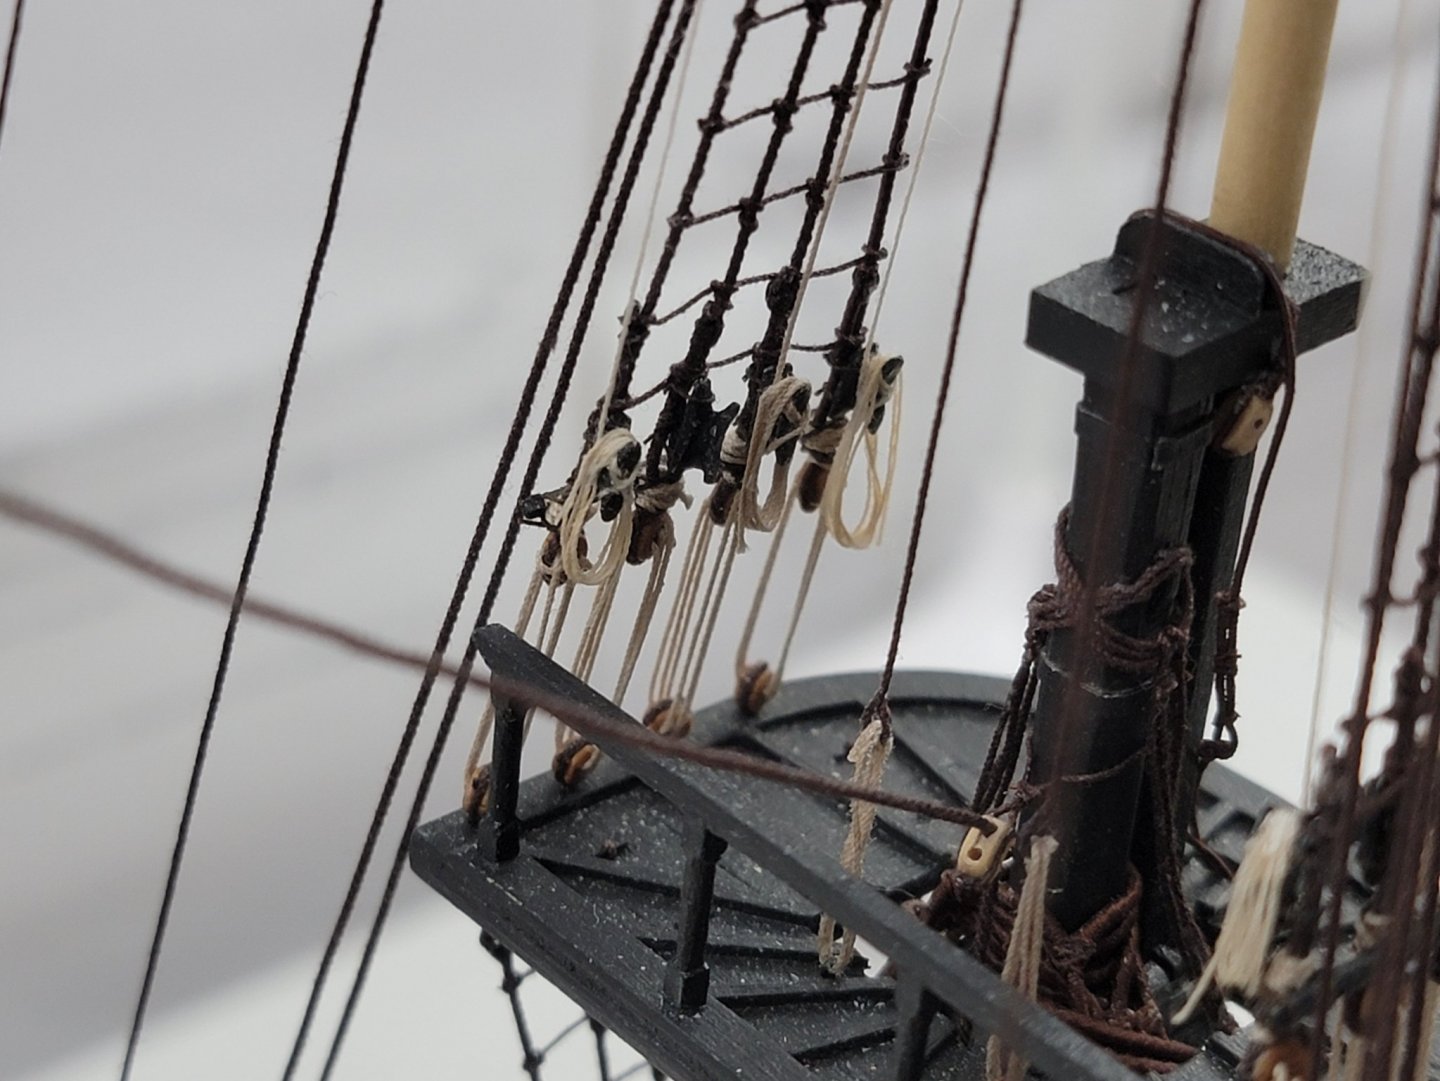
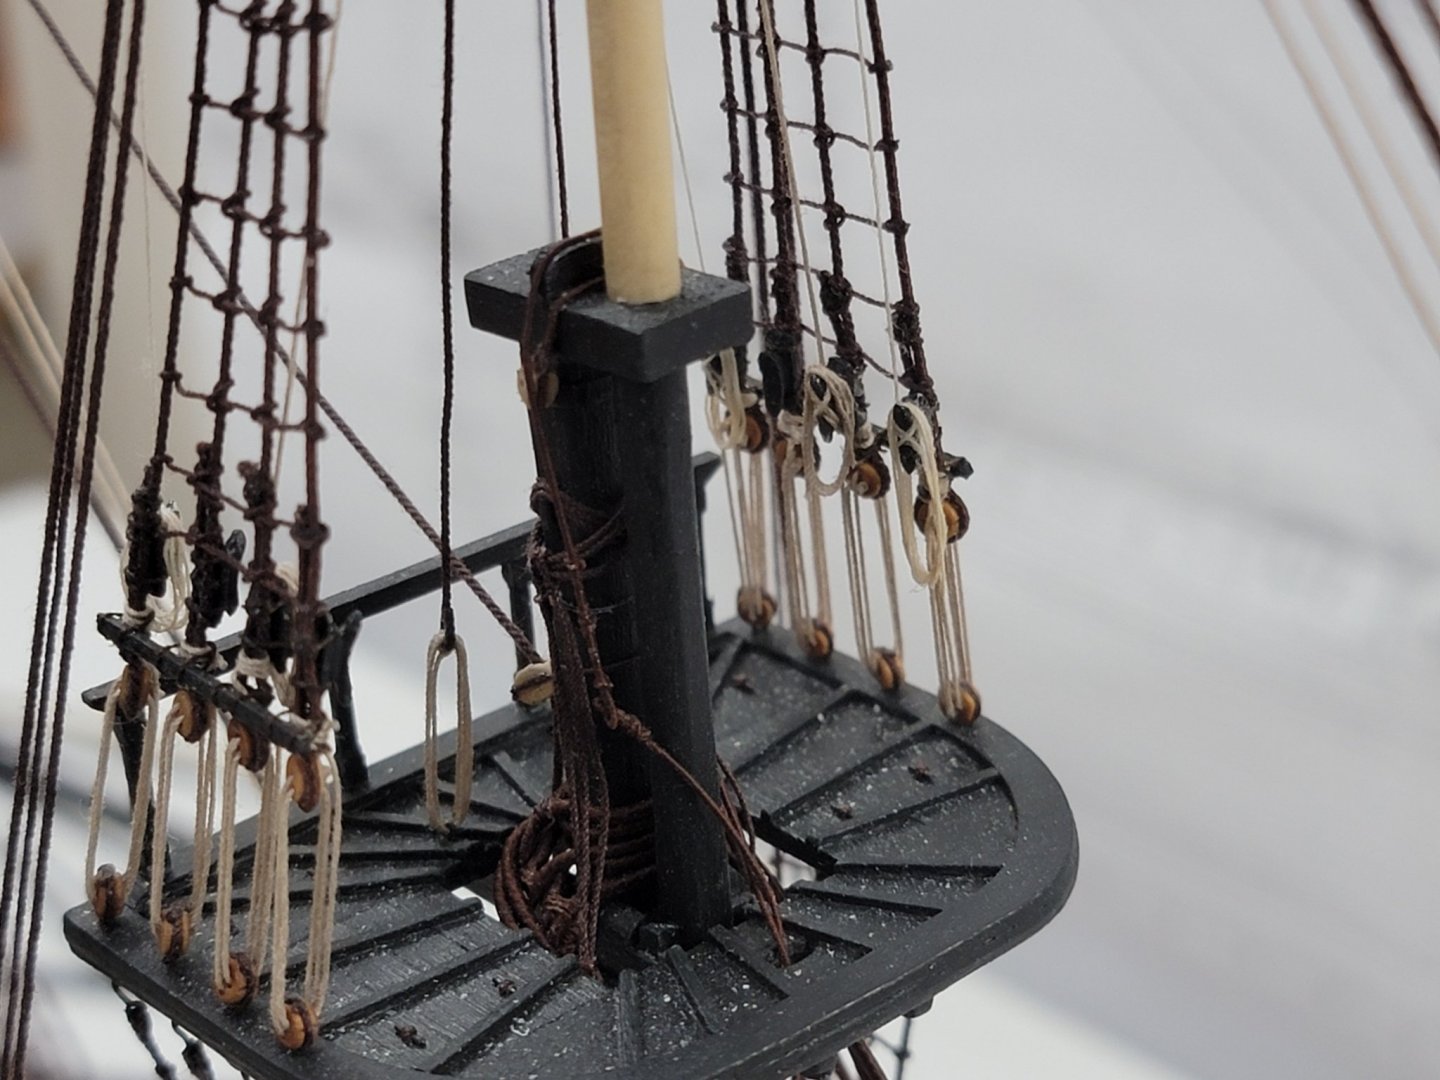
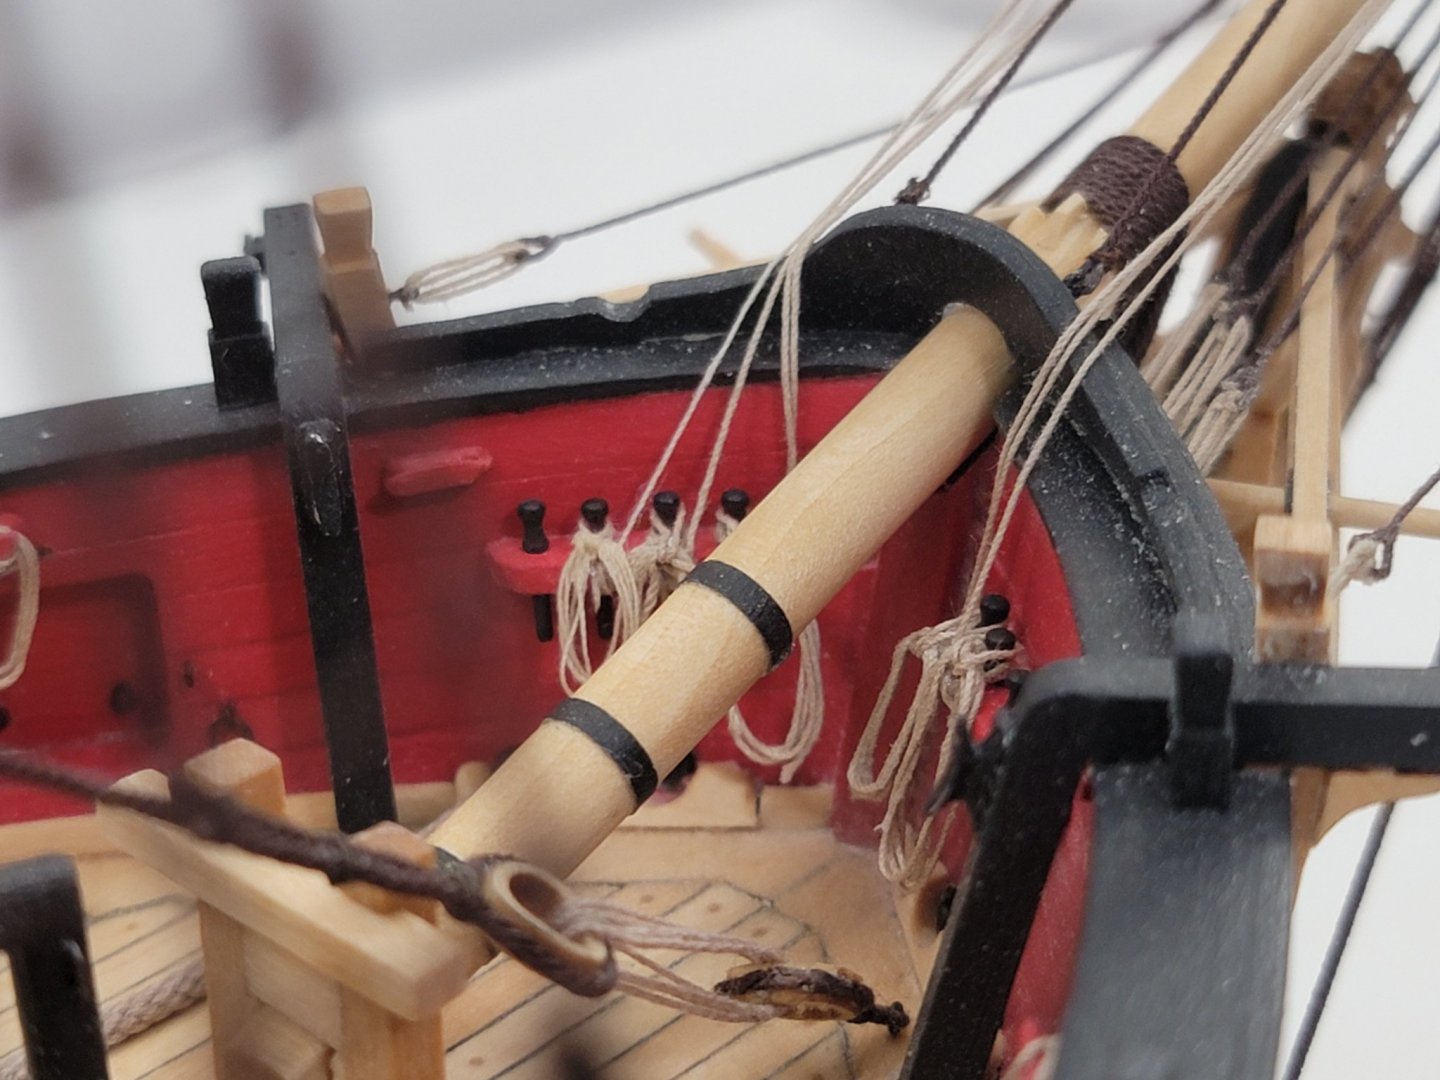
Thanks so much for the comments Will, Justin, and Thomas. Thanks all for the likes as well!! I just finished catching up on the rope coils. I think I made around 60 of them! Here are a few pics: Next up is the final stages of the rigging, and rigging the spritsail yard. Here is a bonus pic of the rigging from a mini-bystander's perspective 😀

- 950 replies
-
- 15
-
-
- syren
- model shipways
- (and 1 more)
-
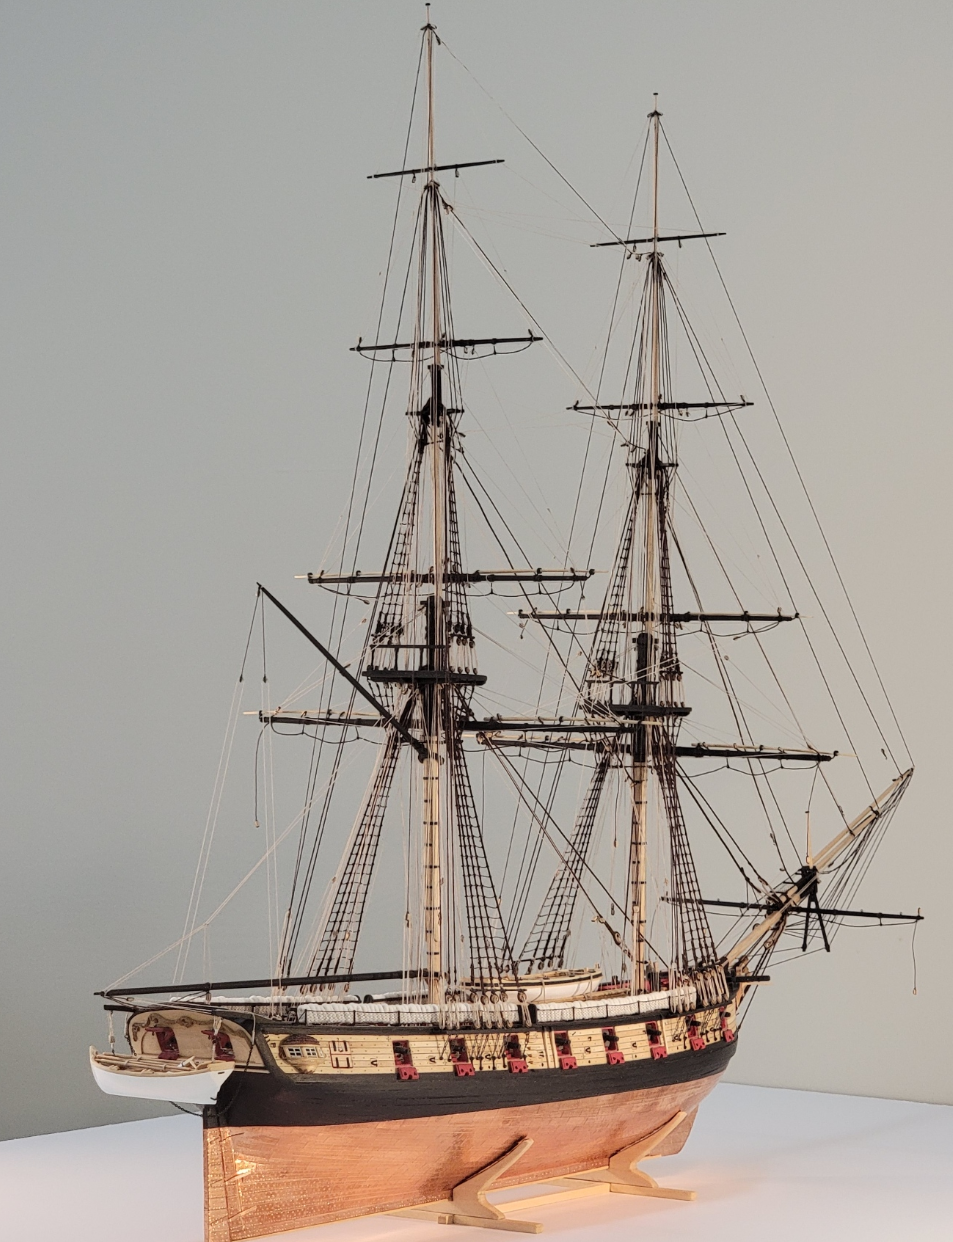
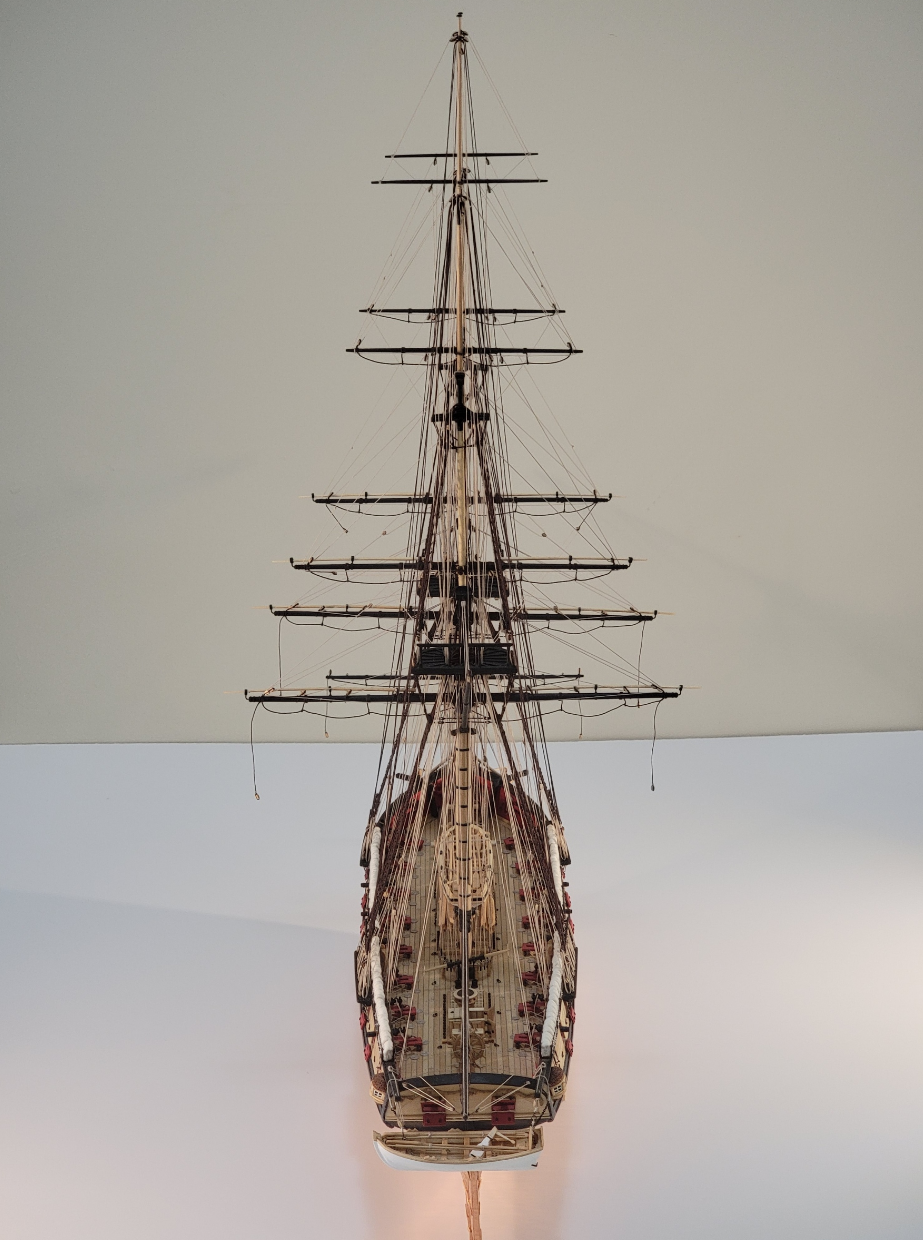
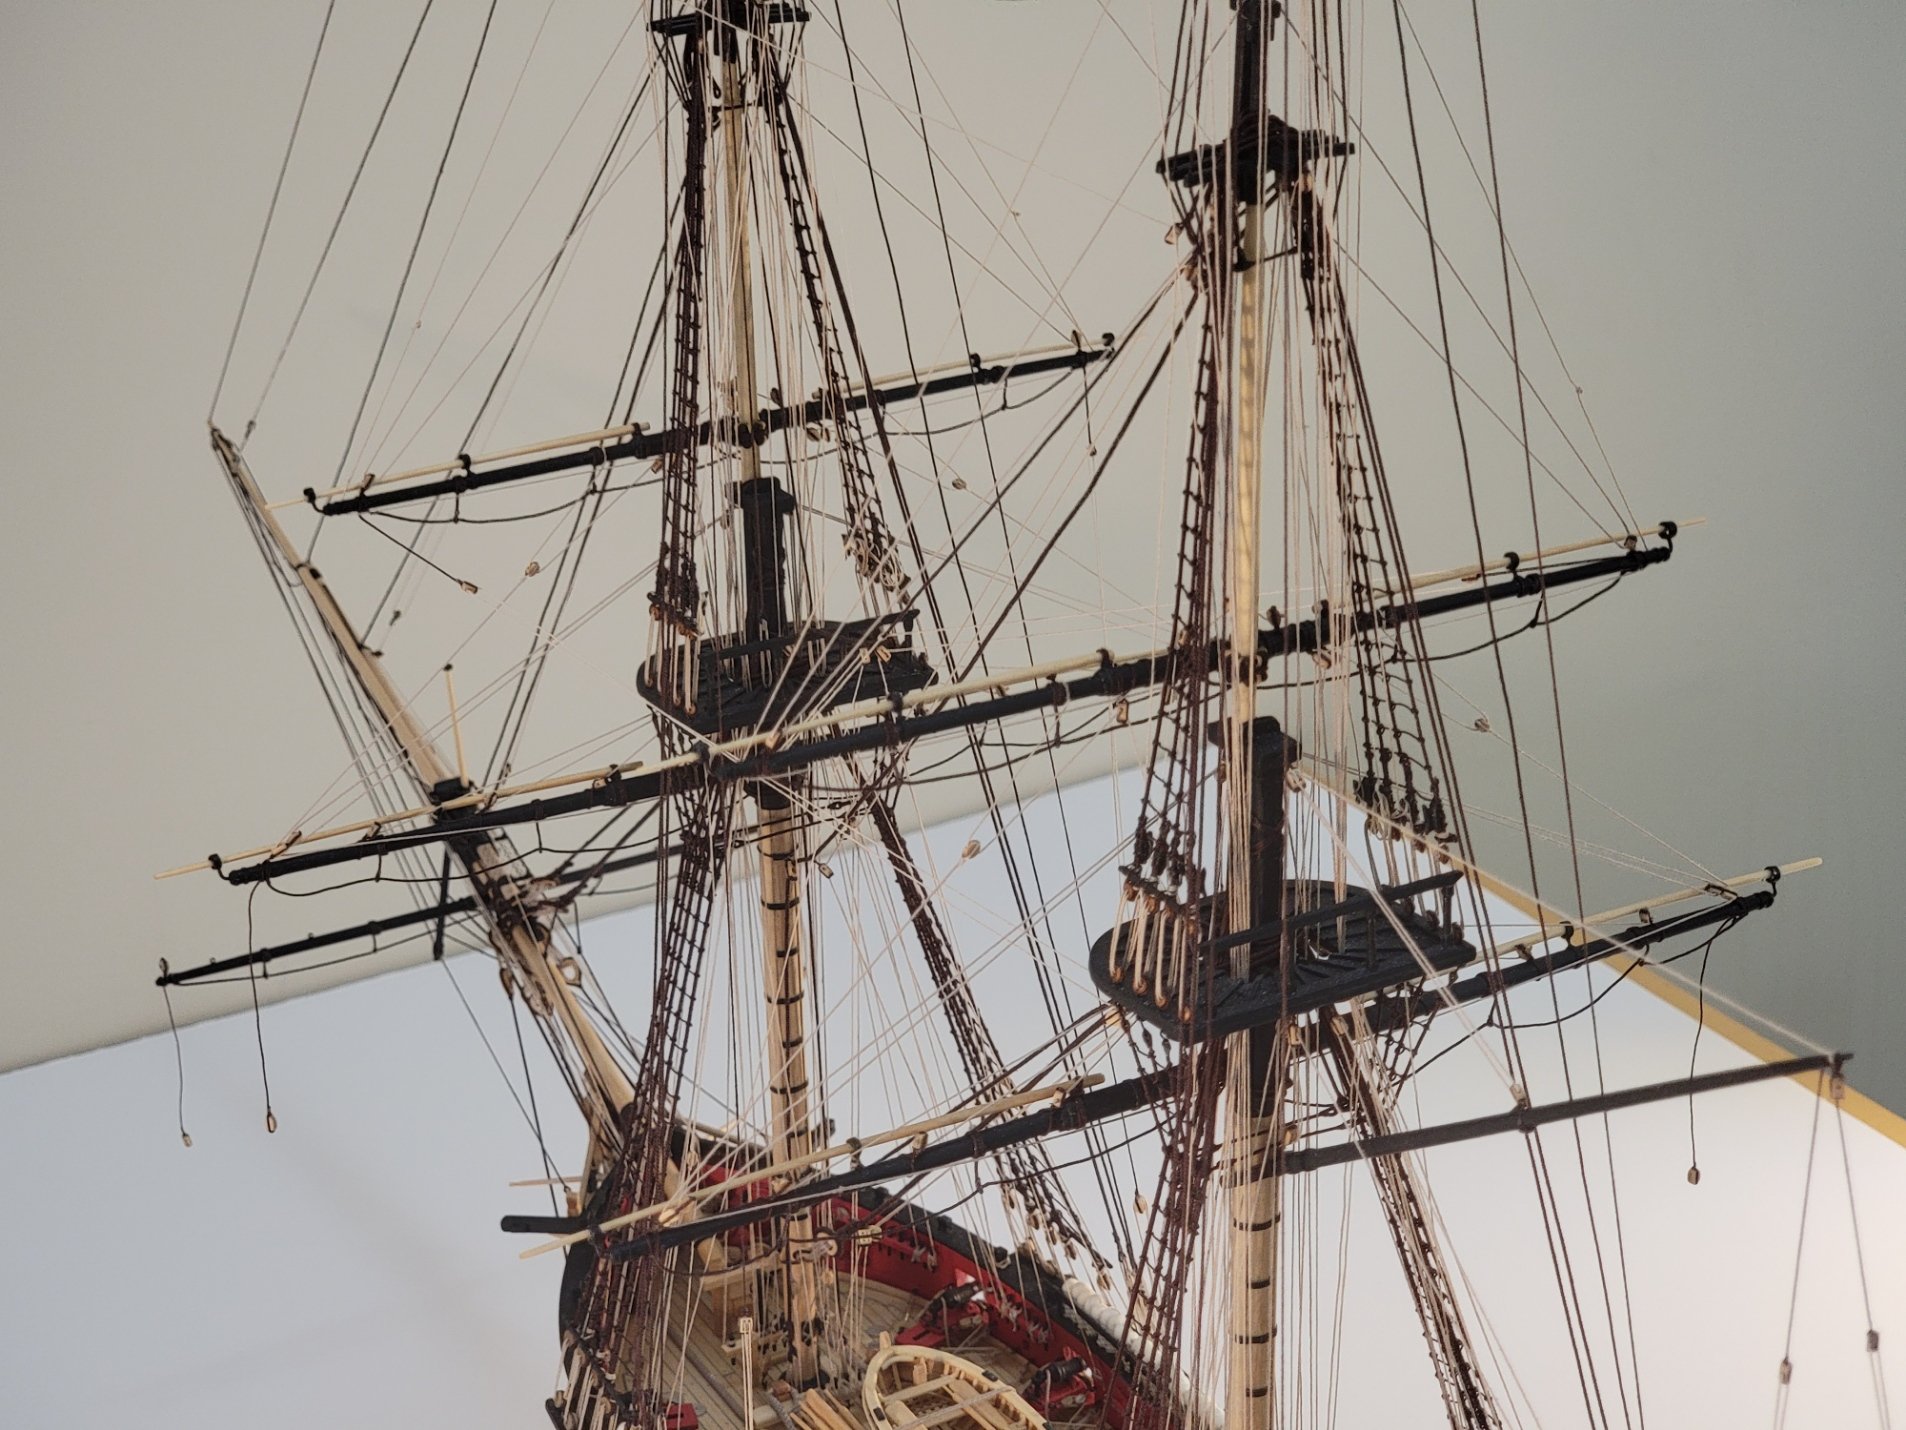
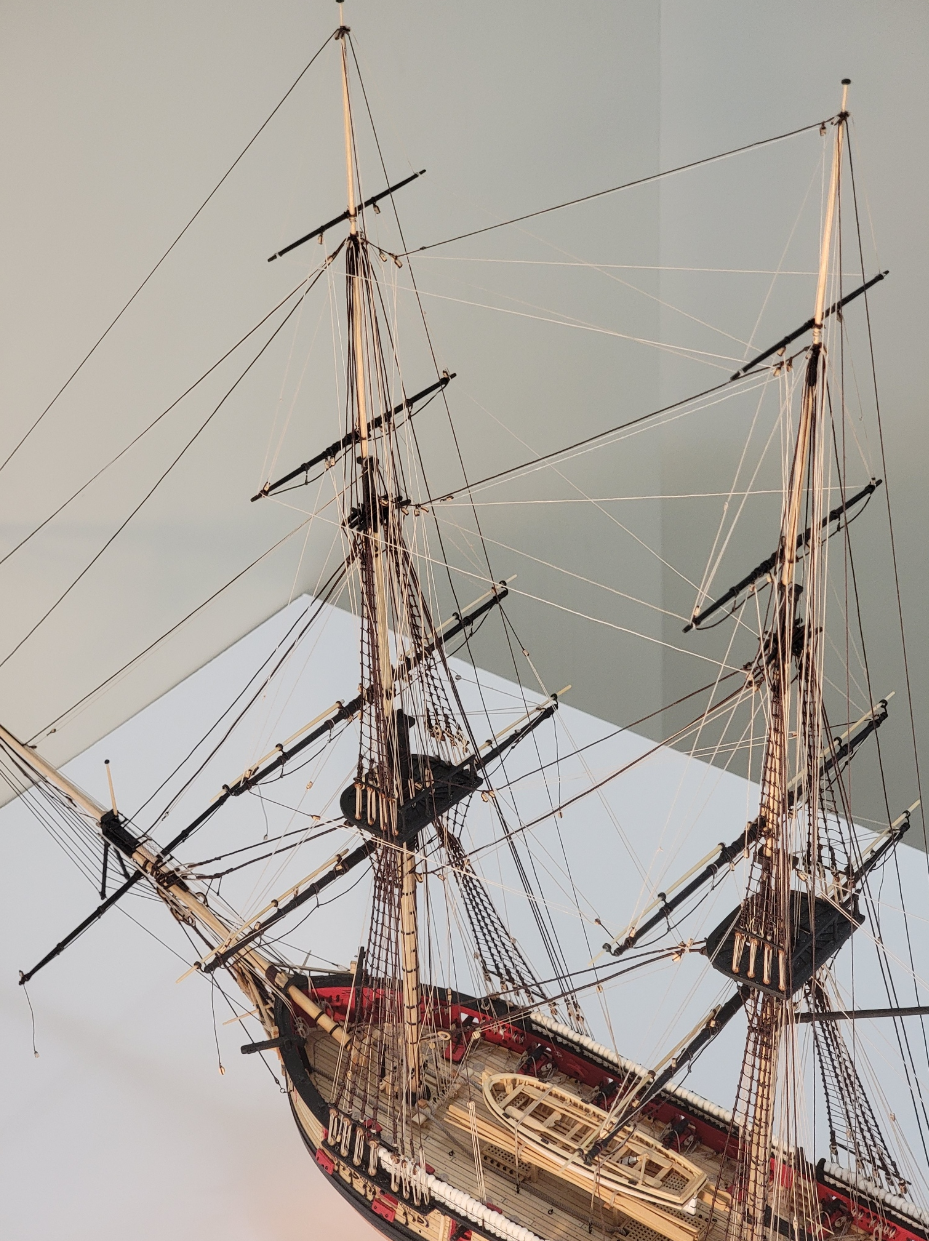
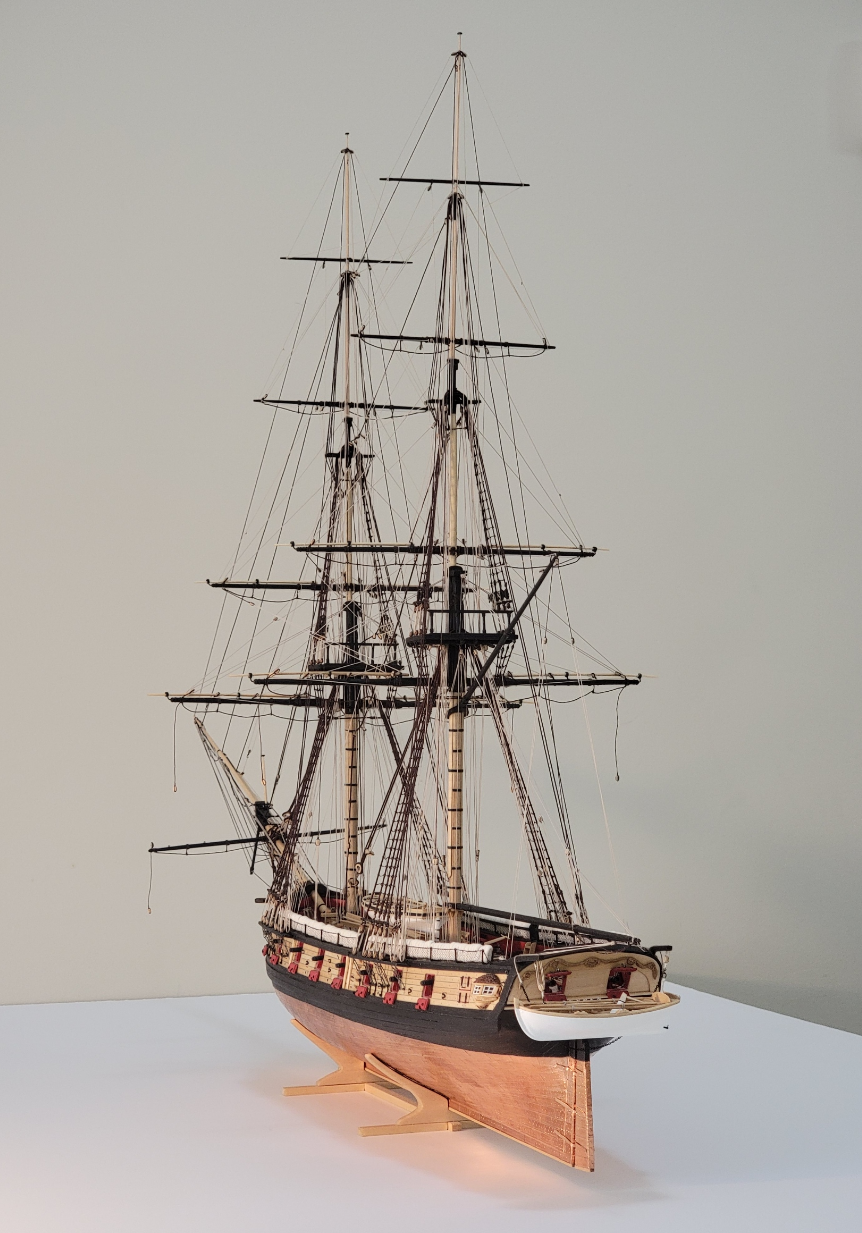
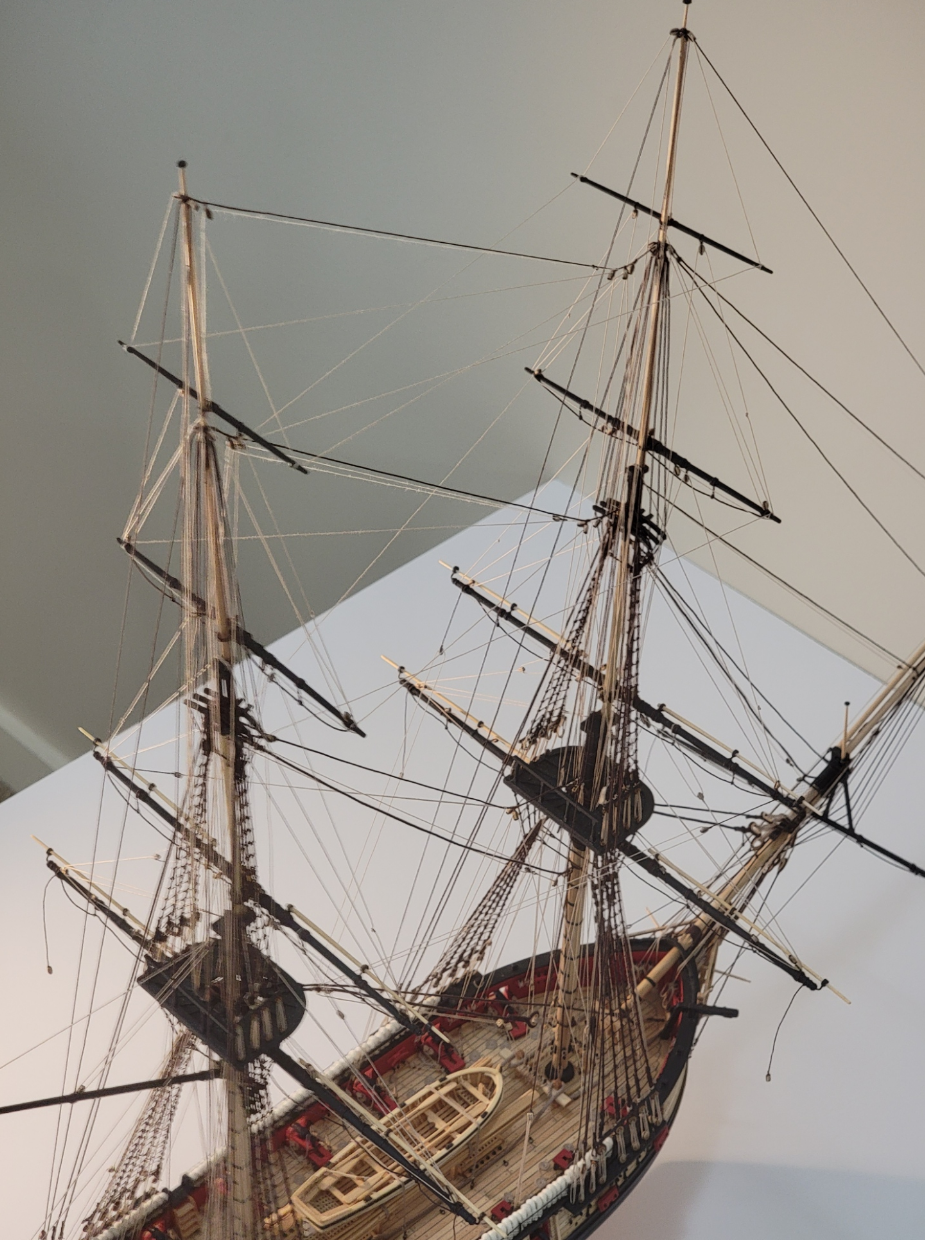
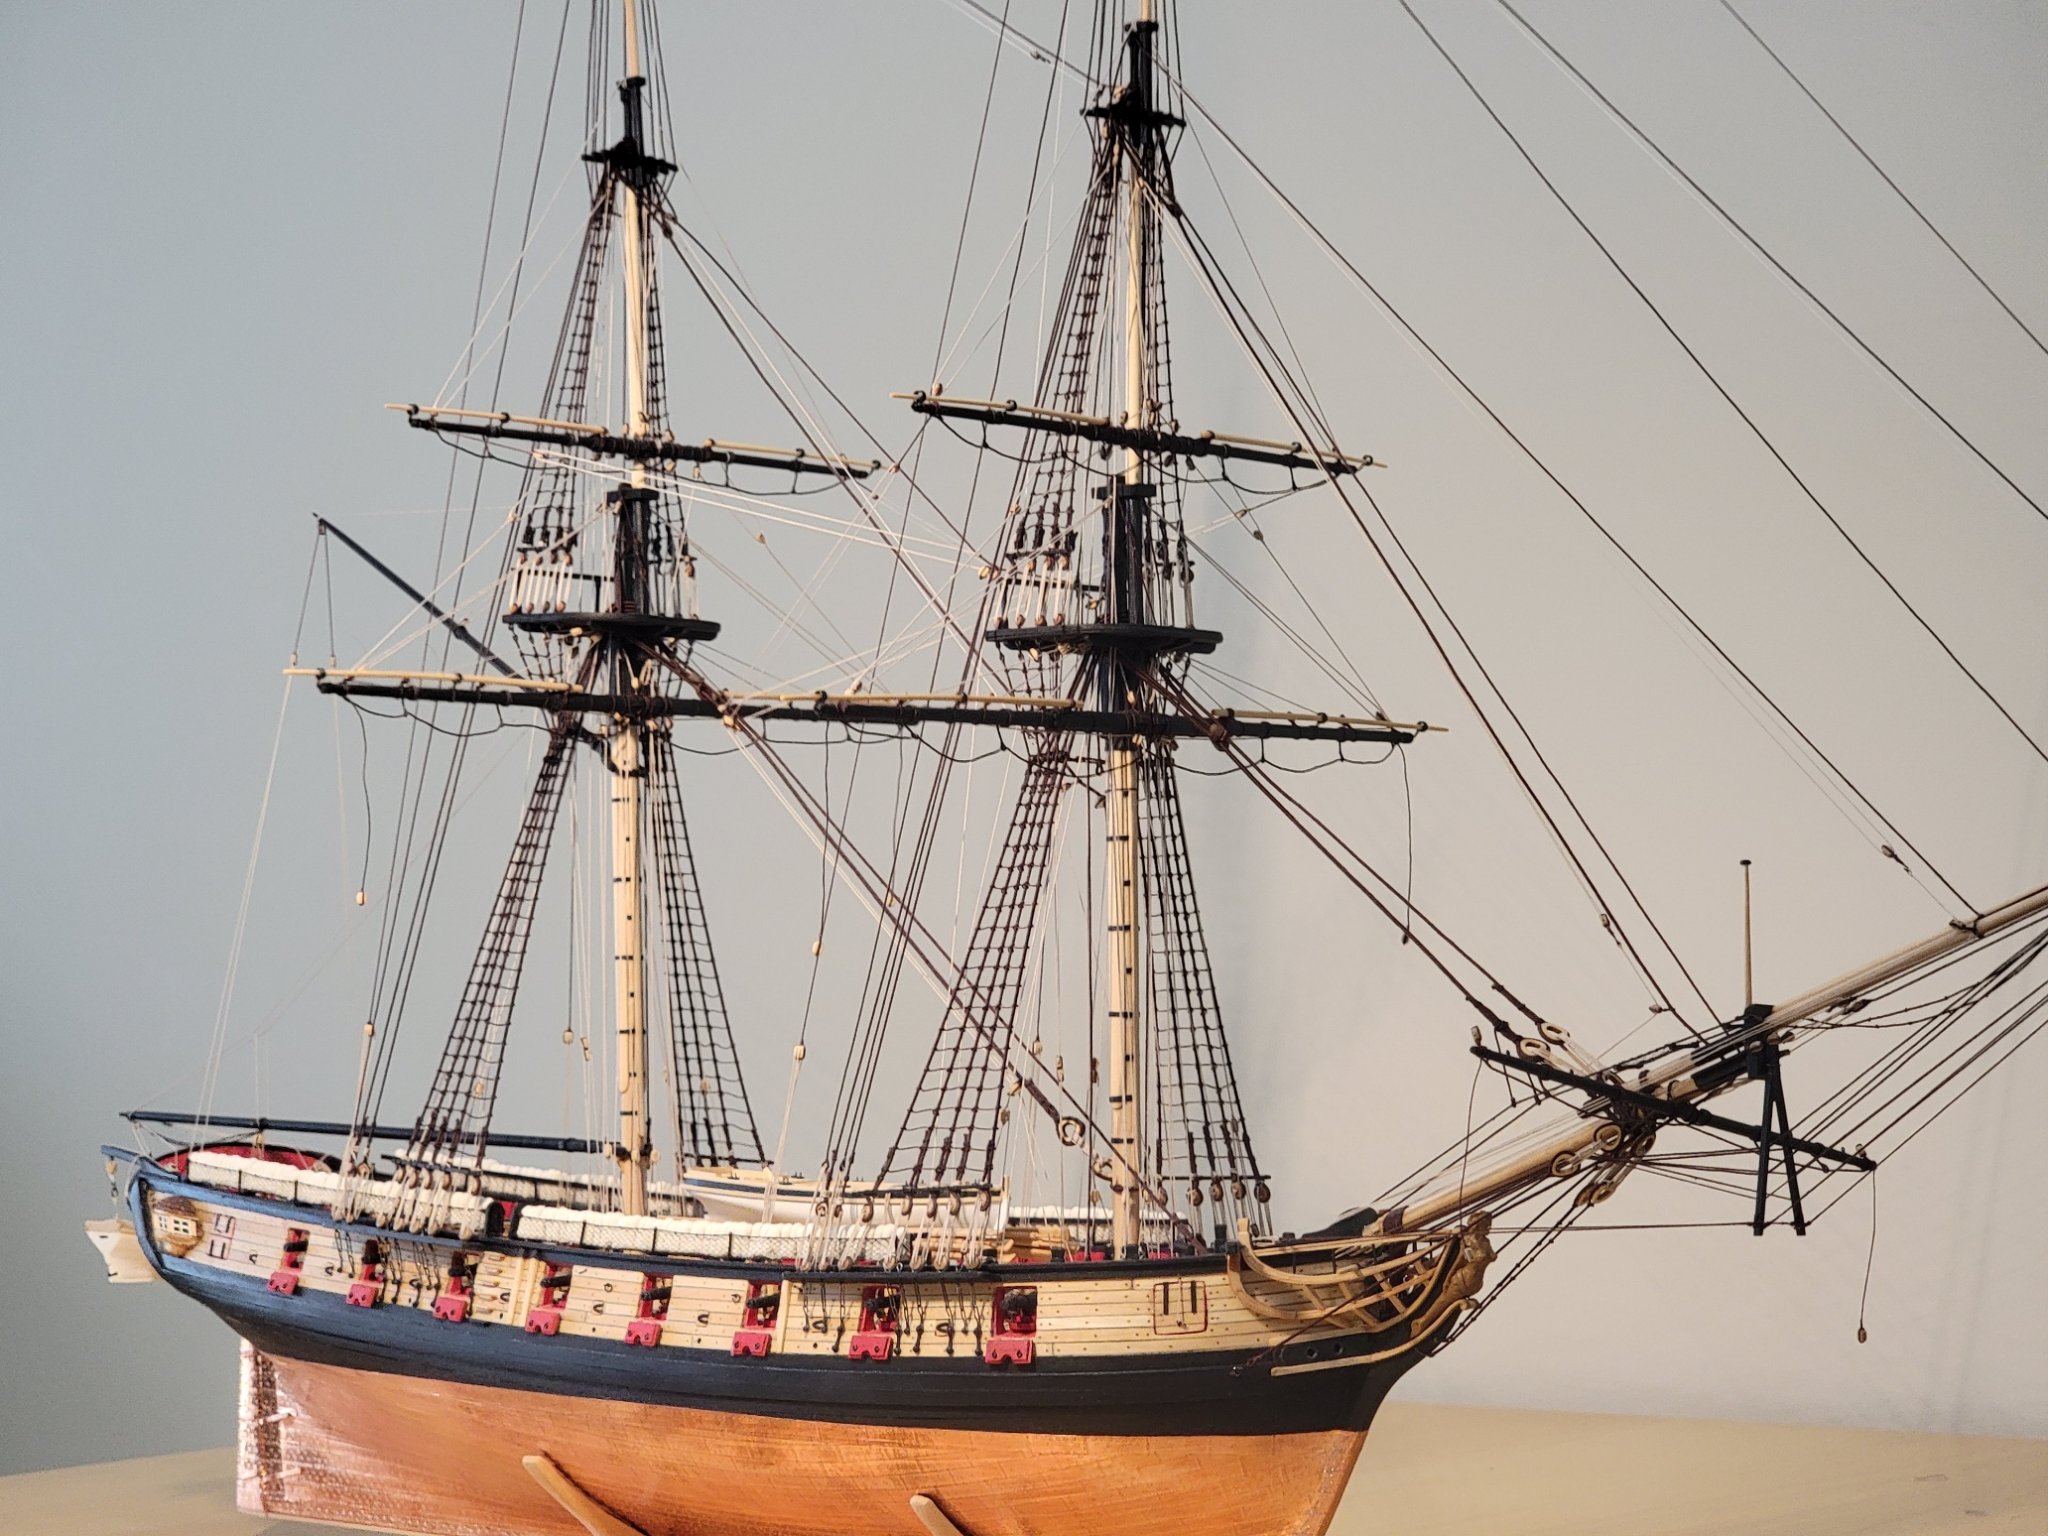
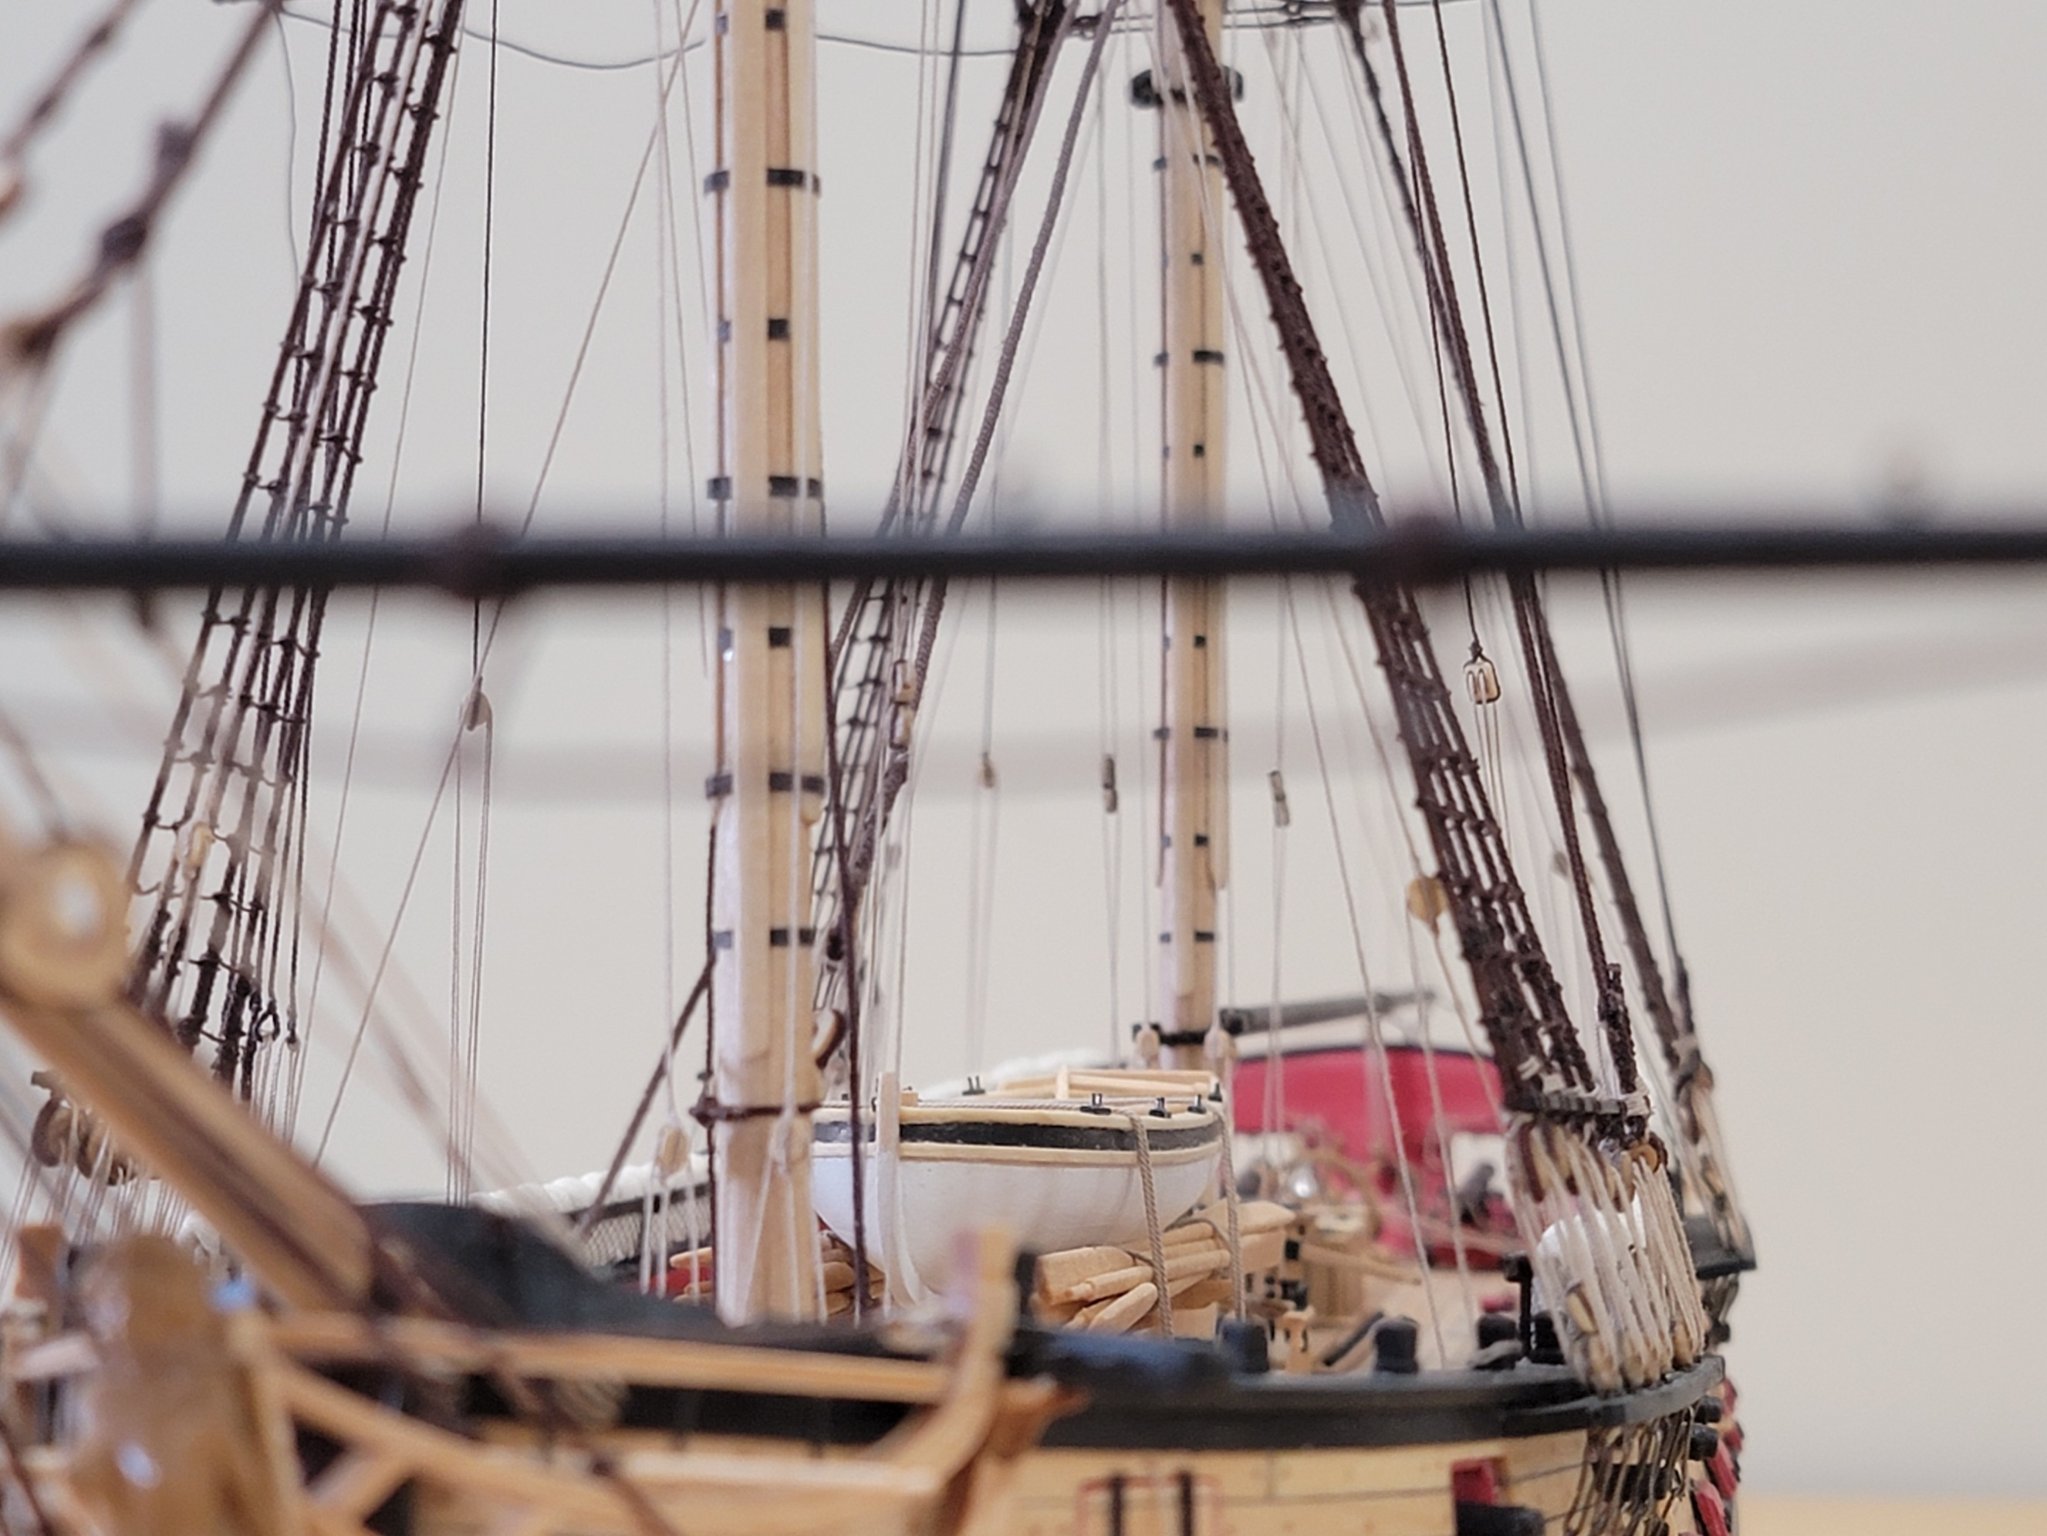
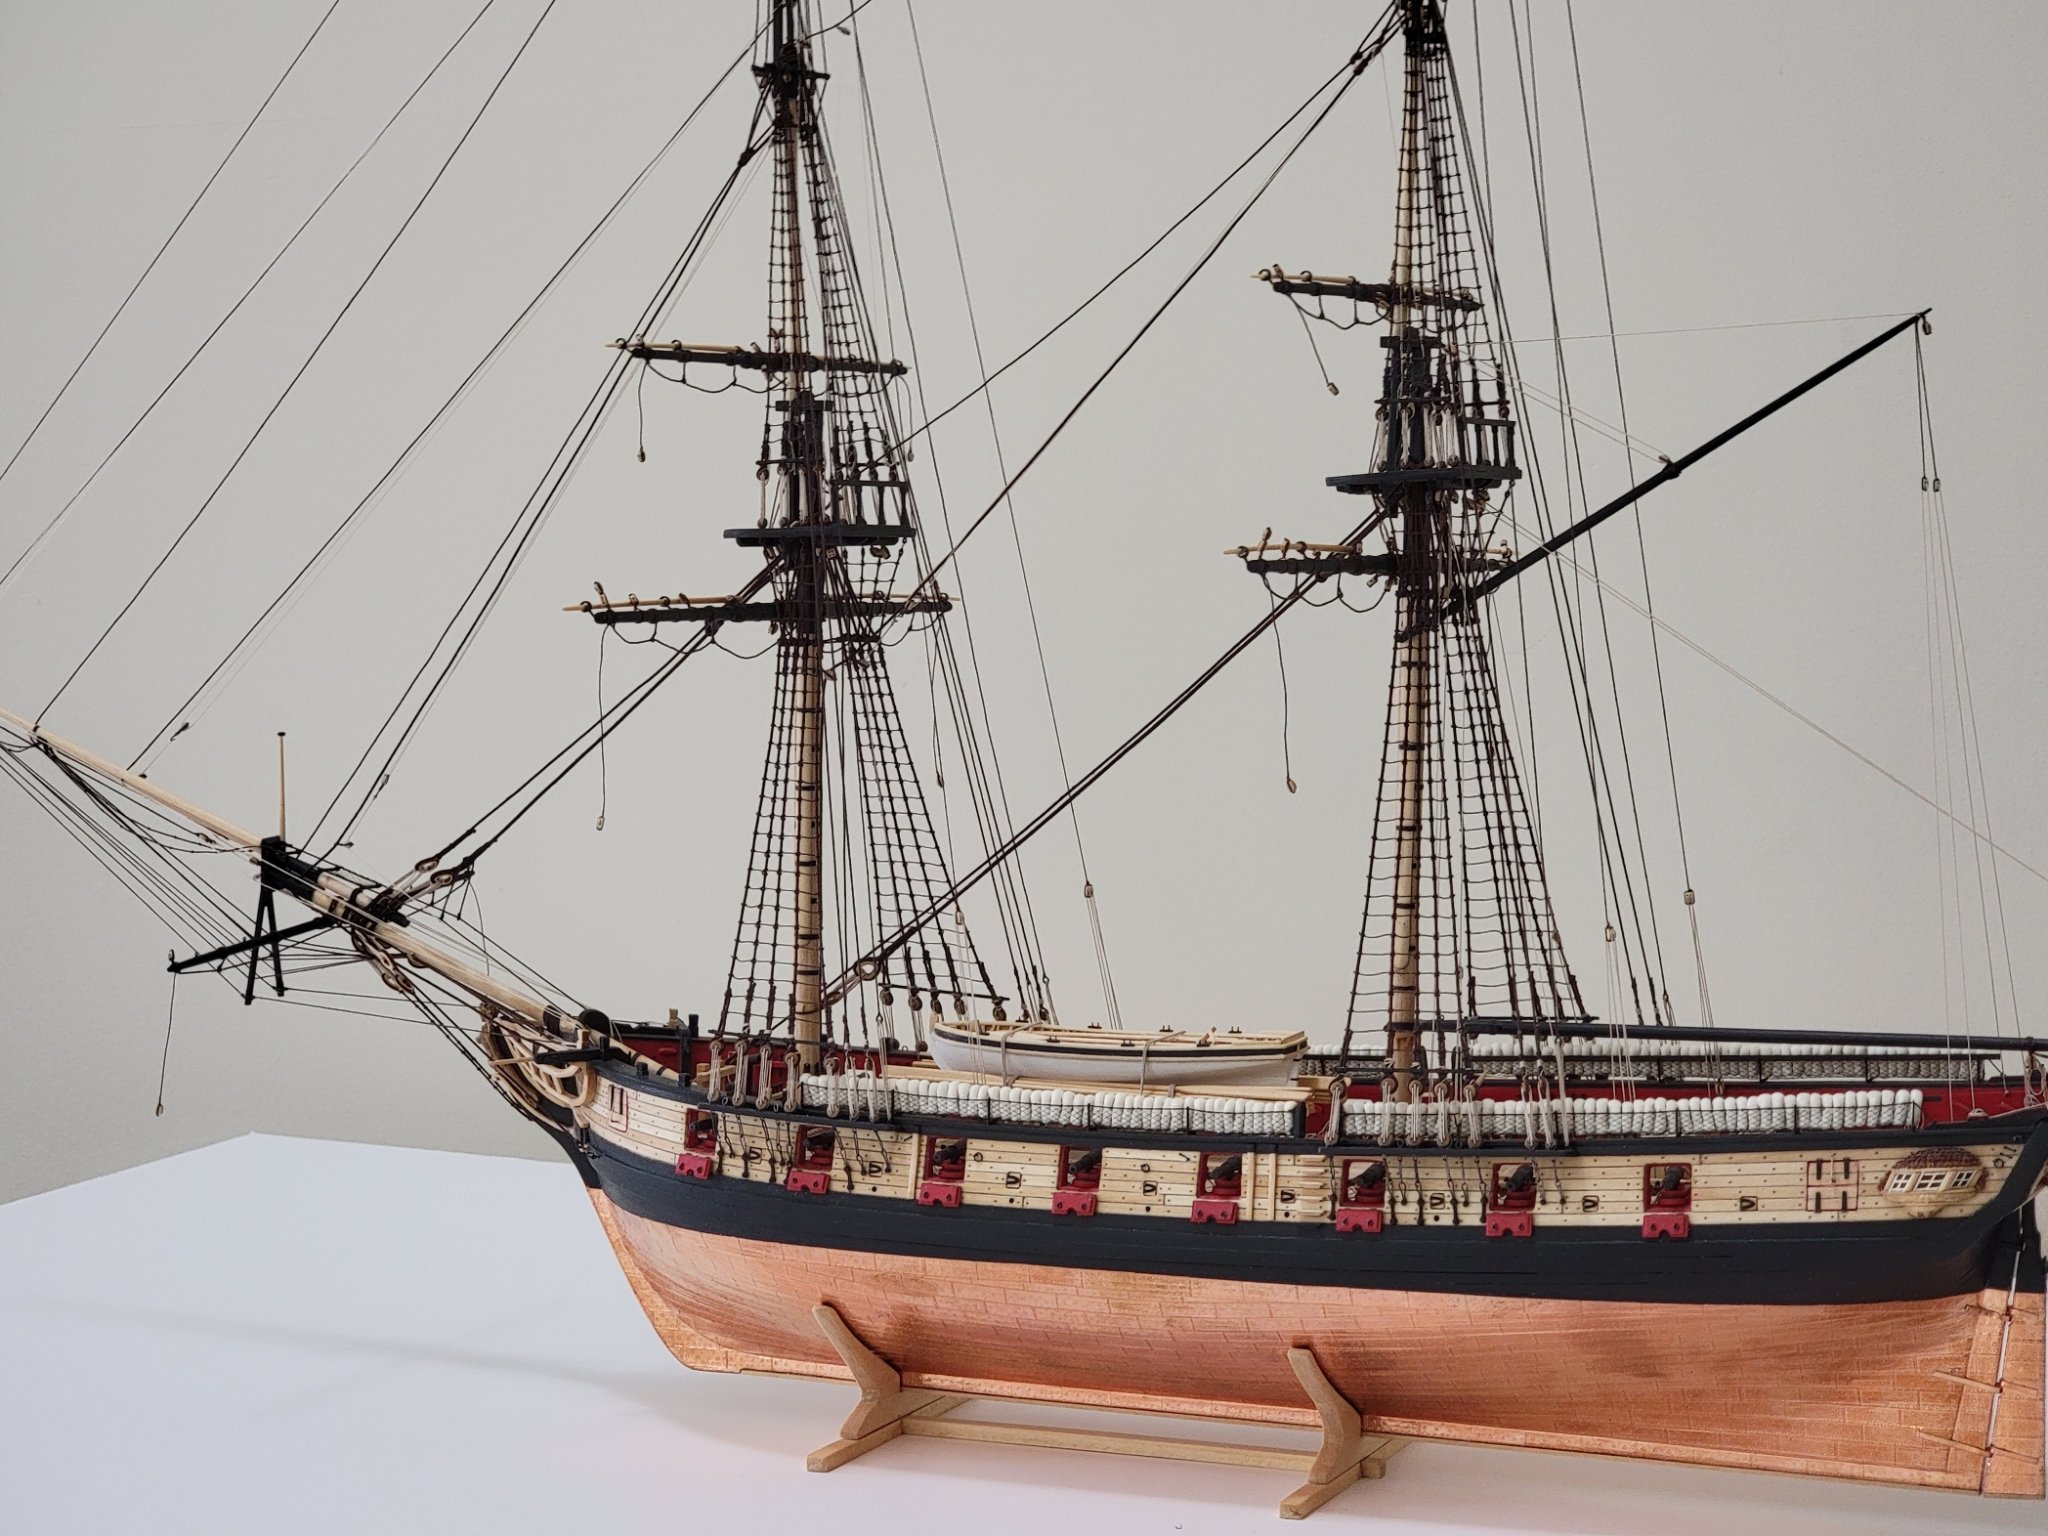
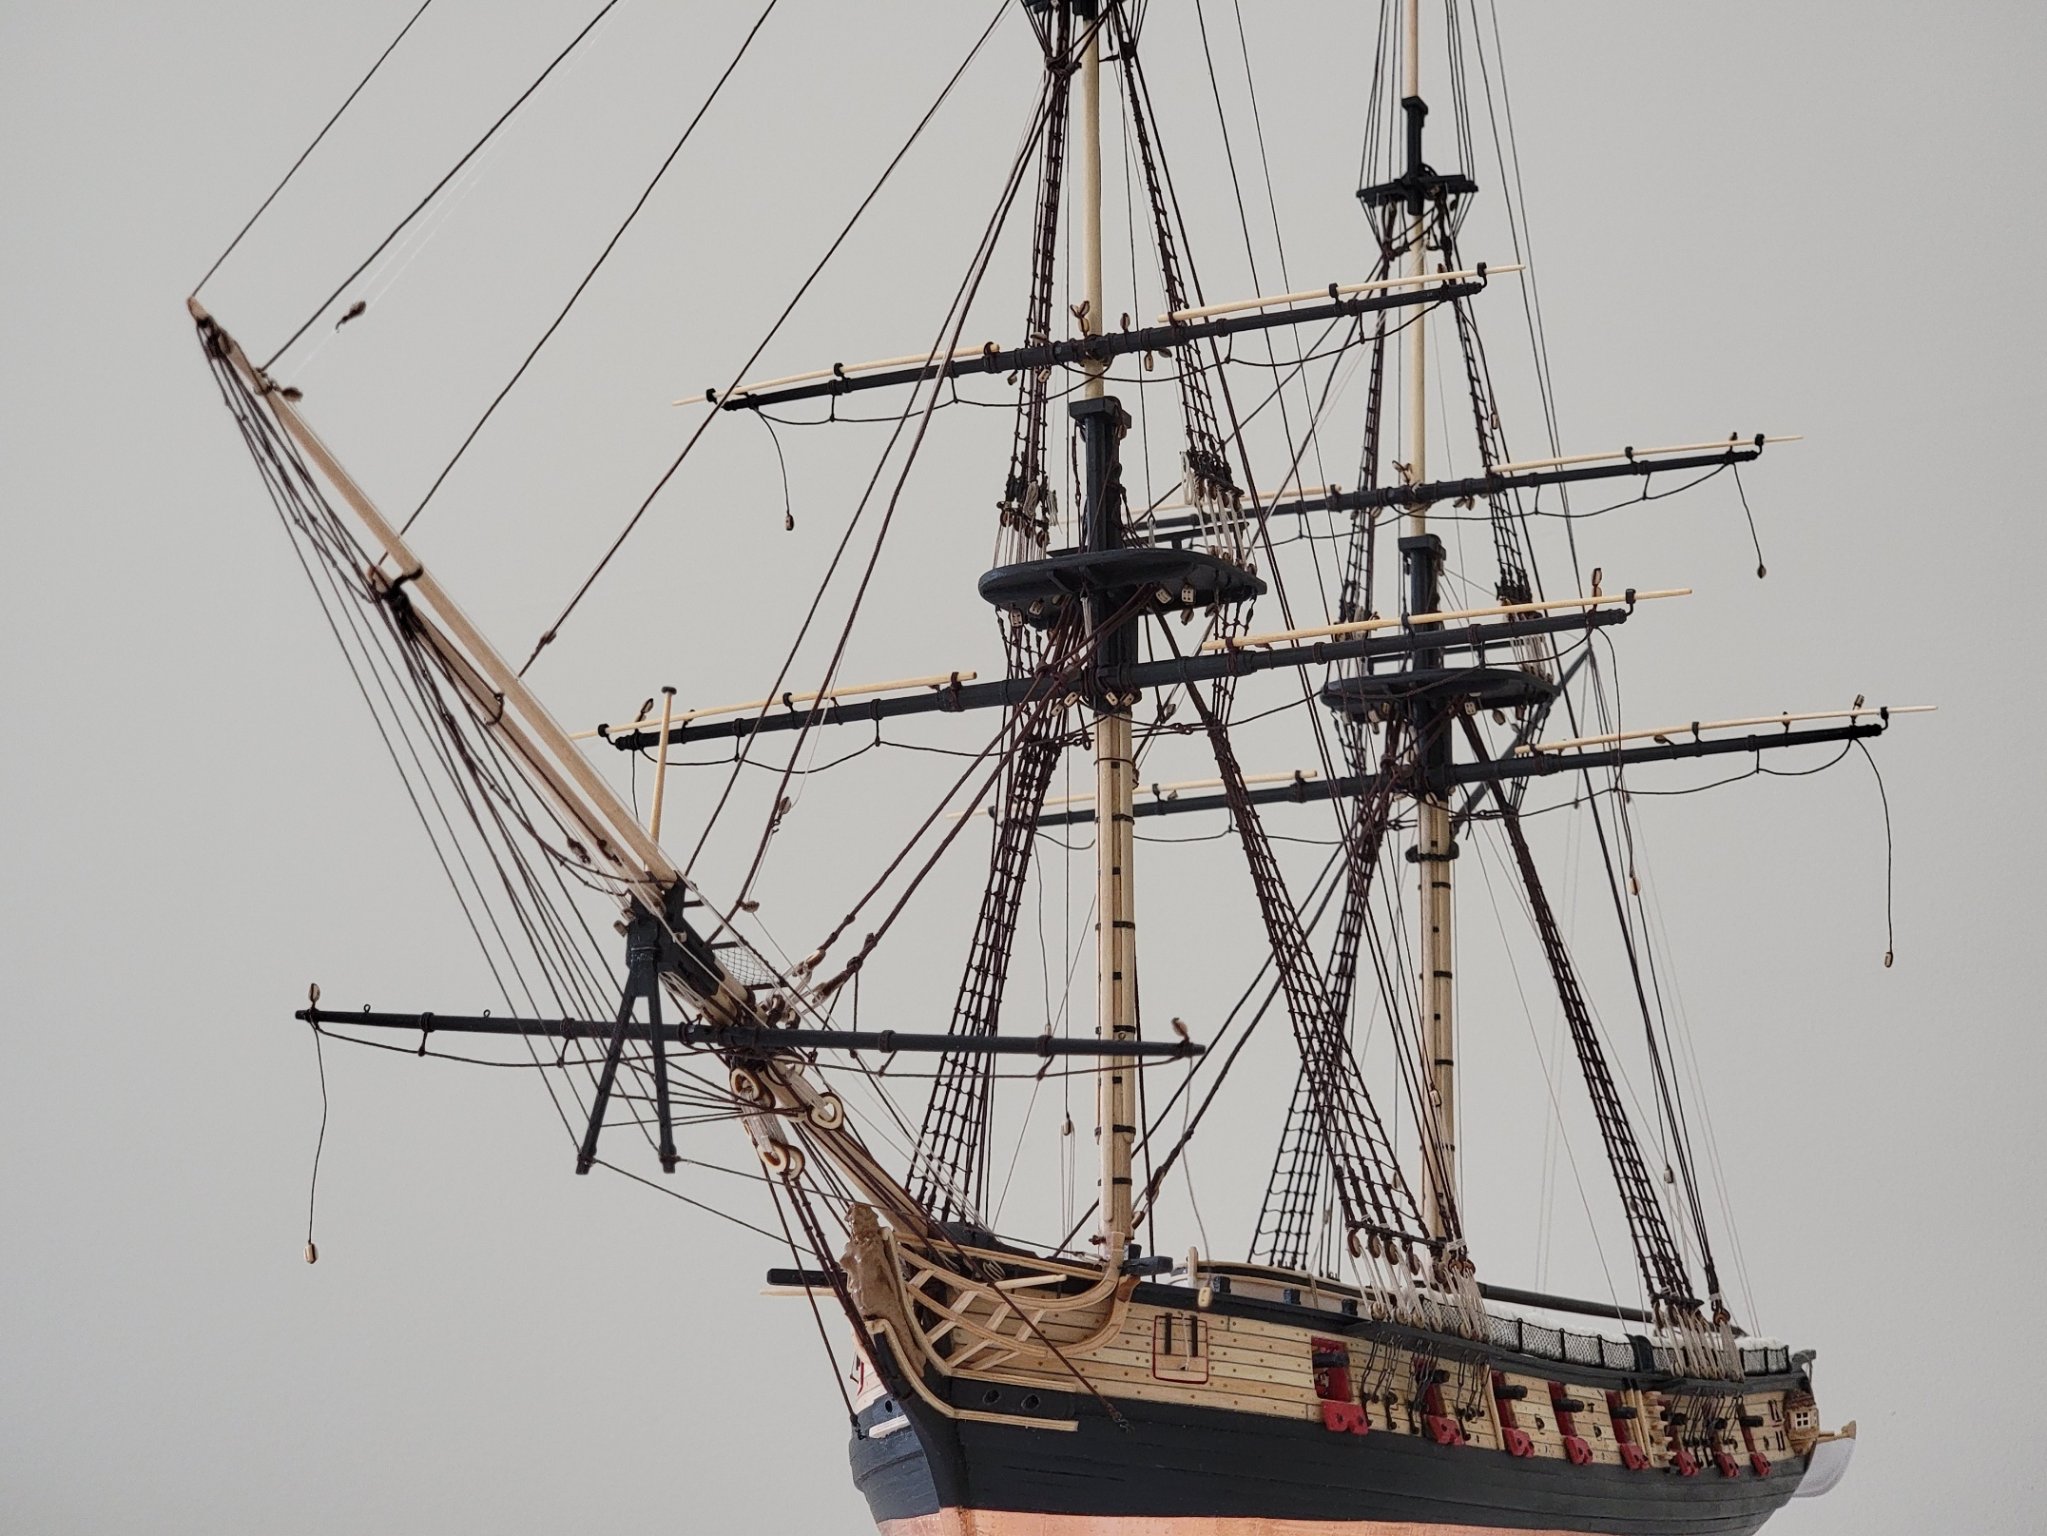
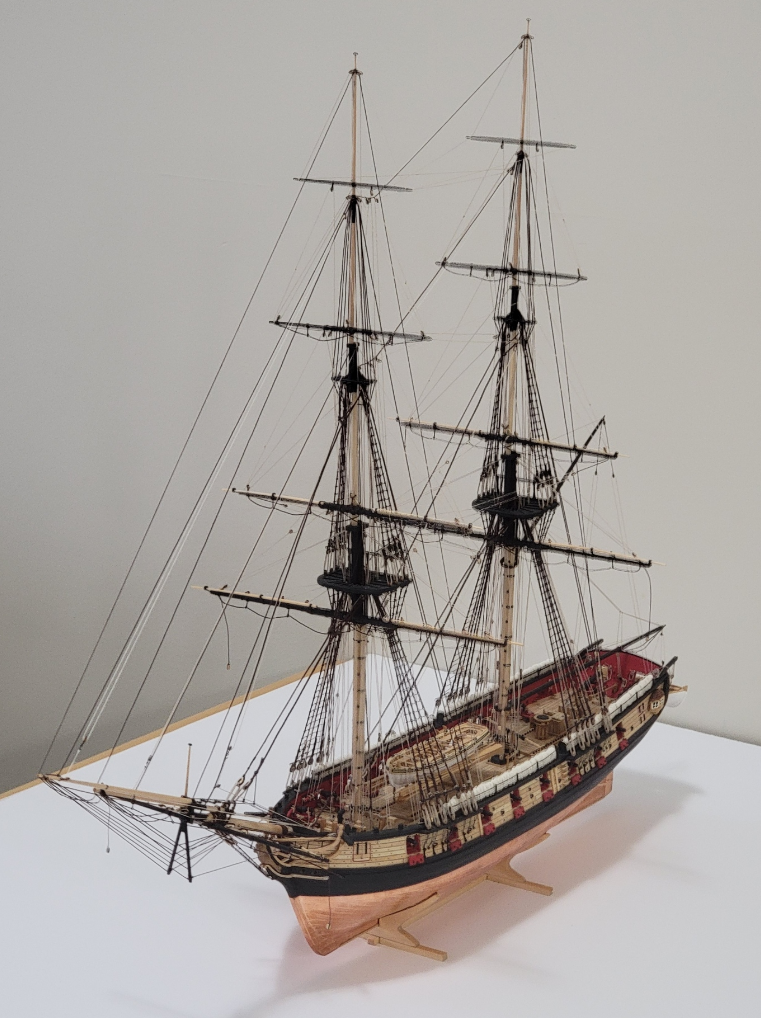
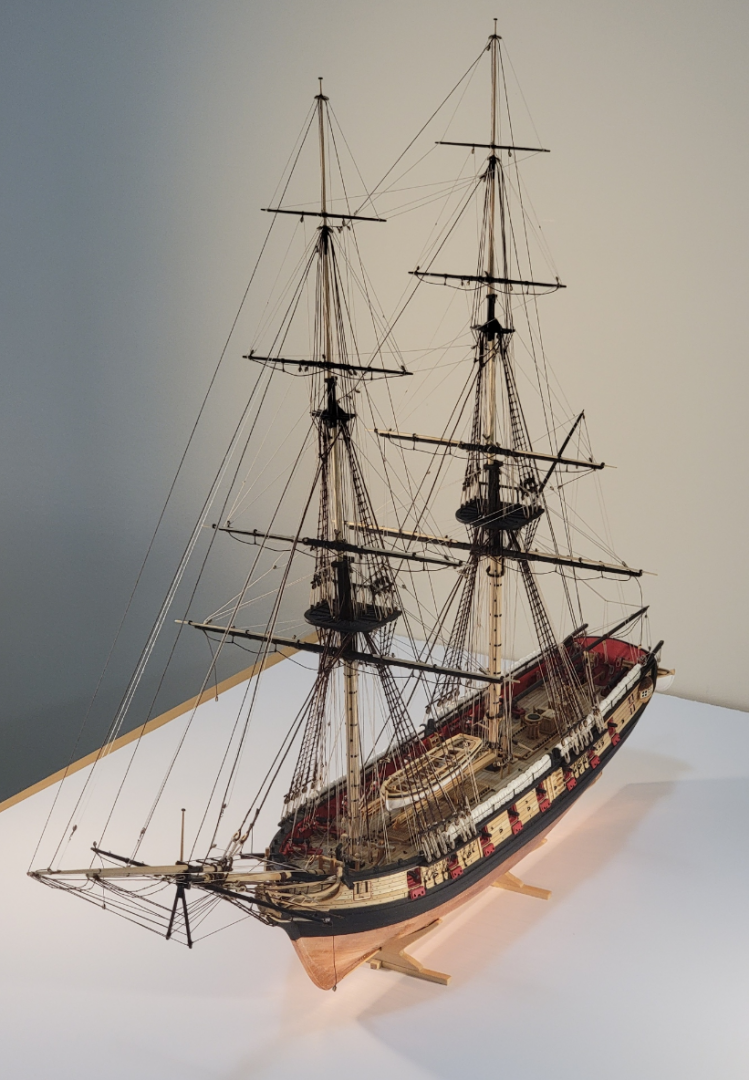
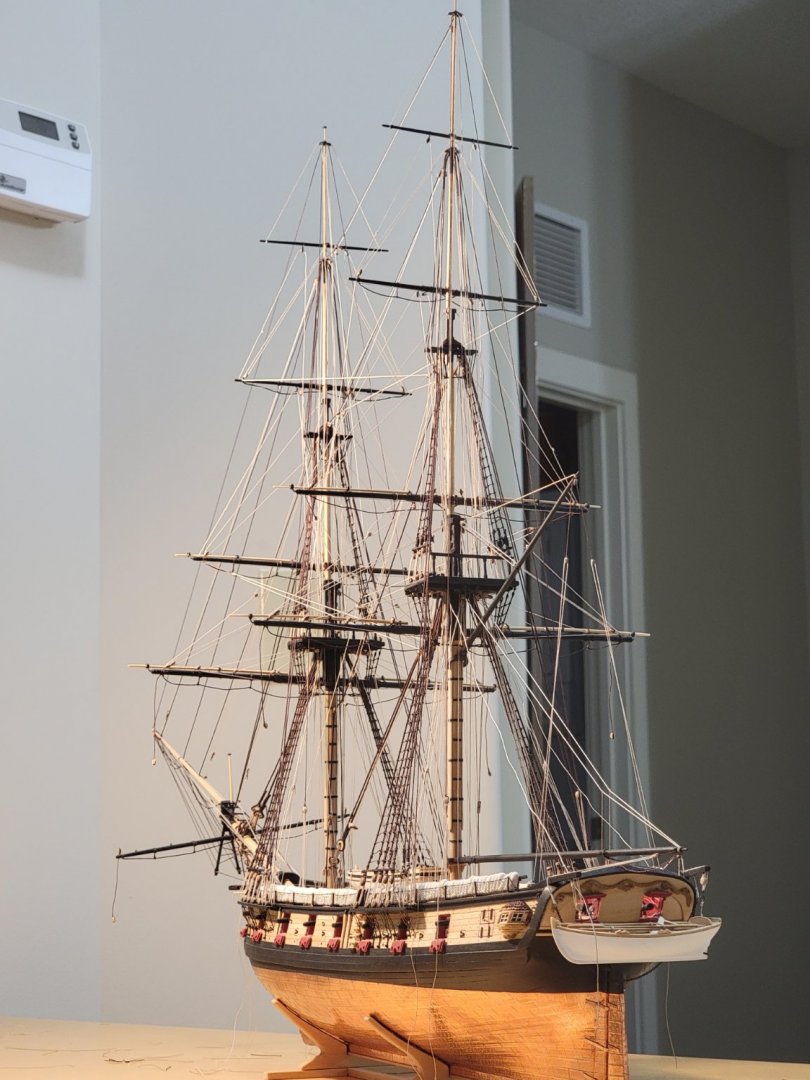
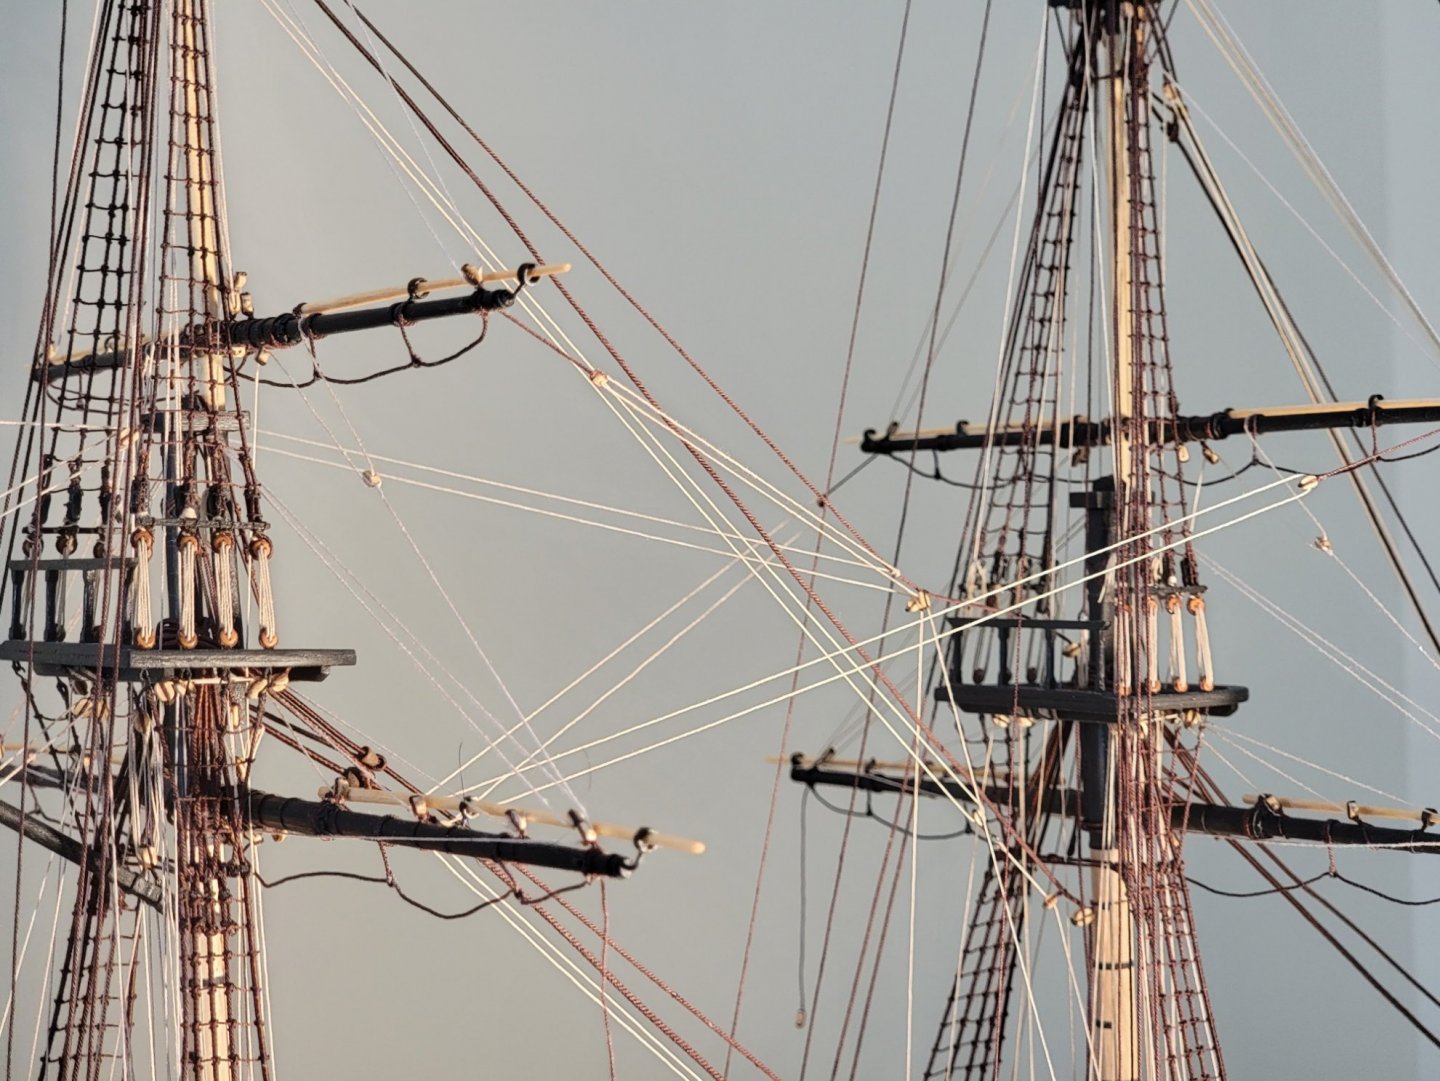
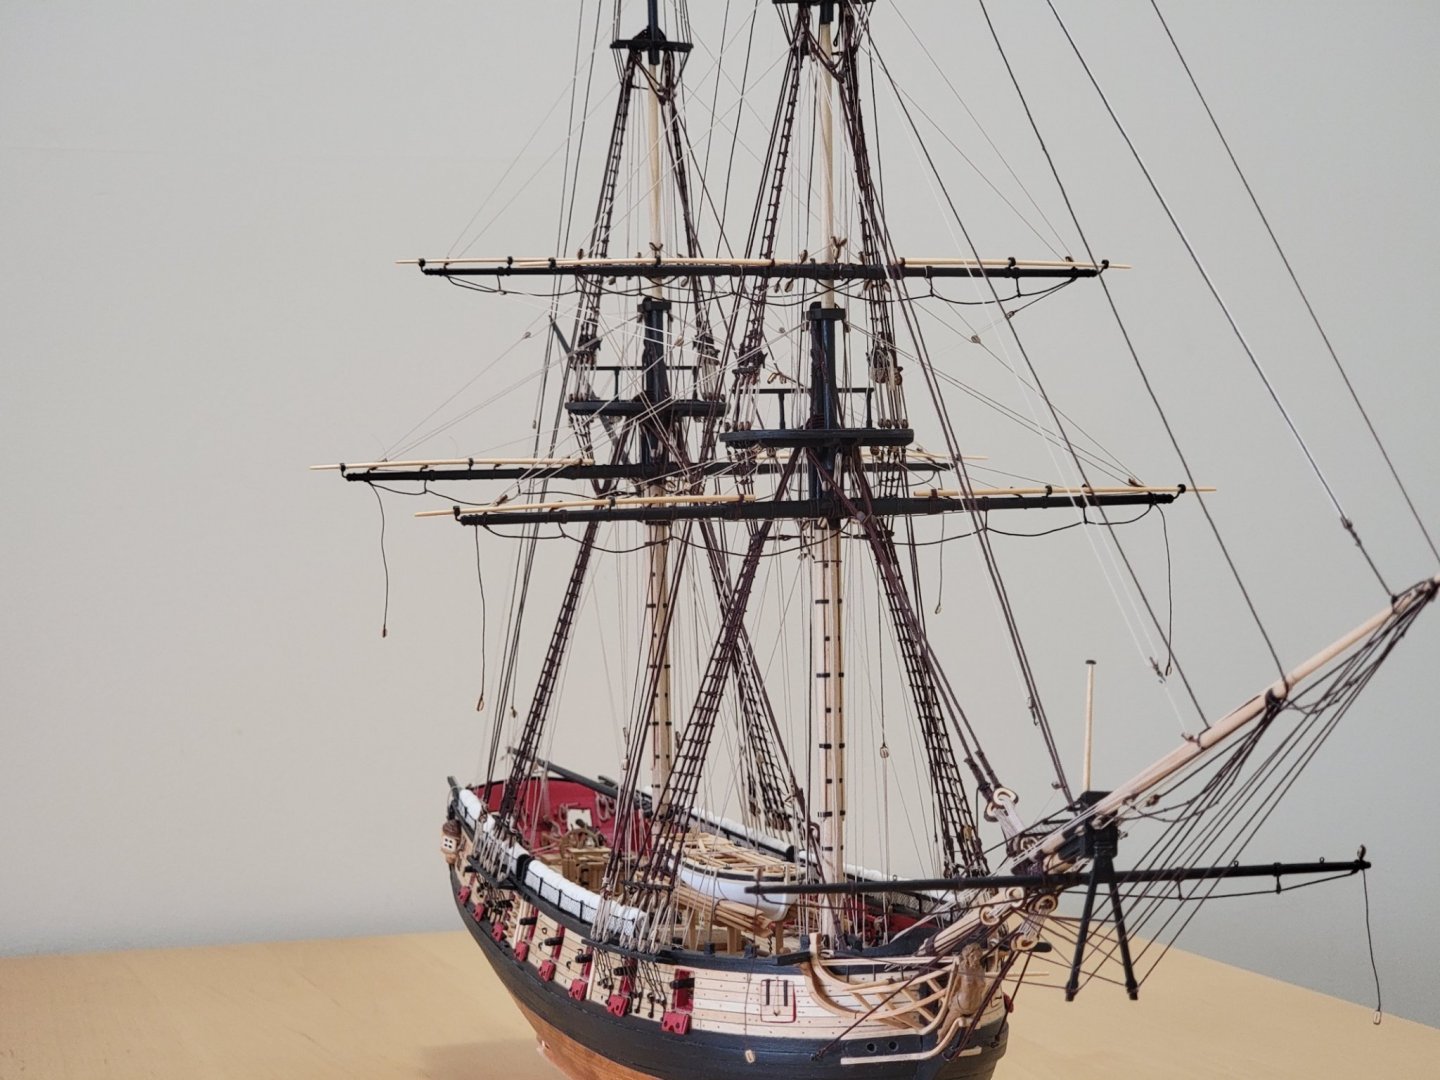
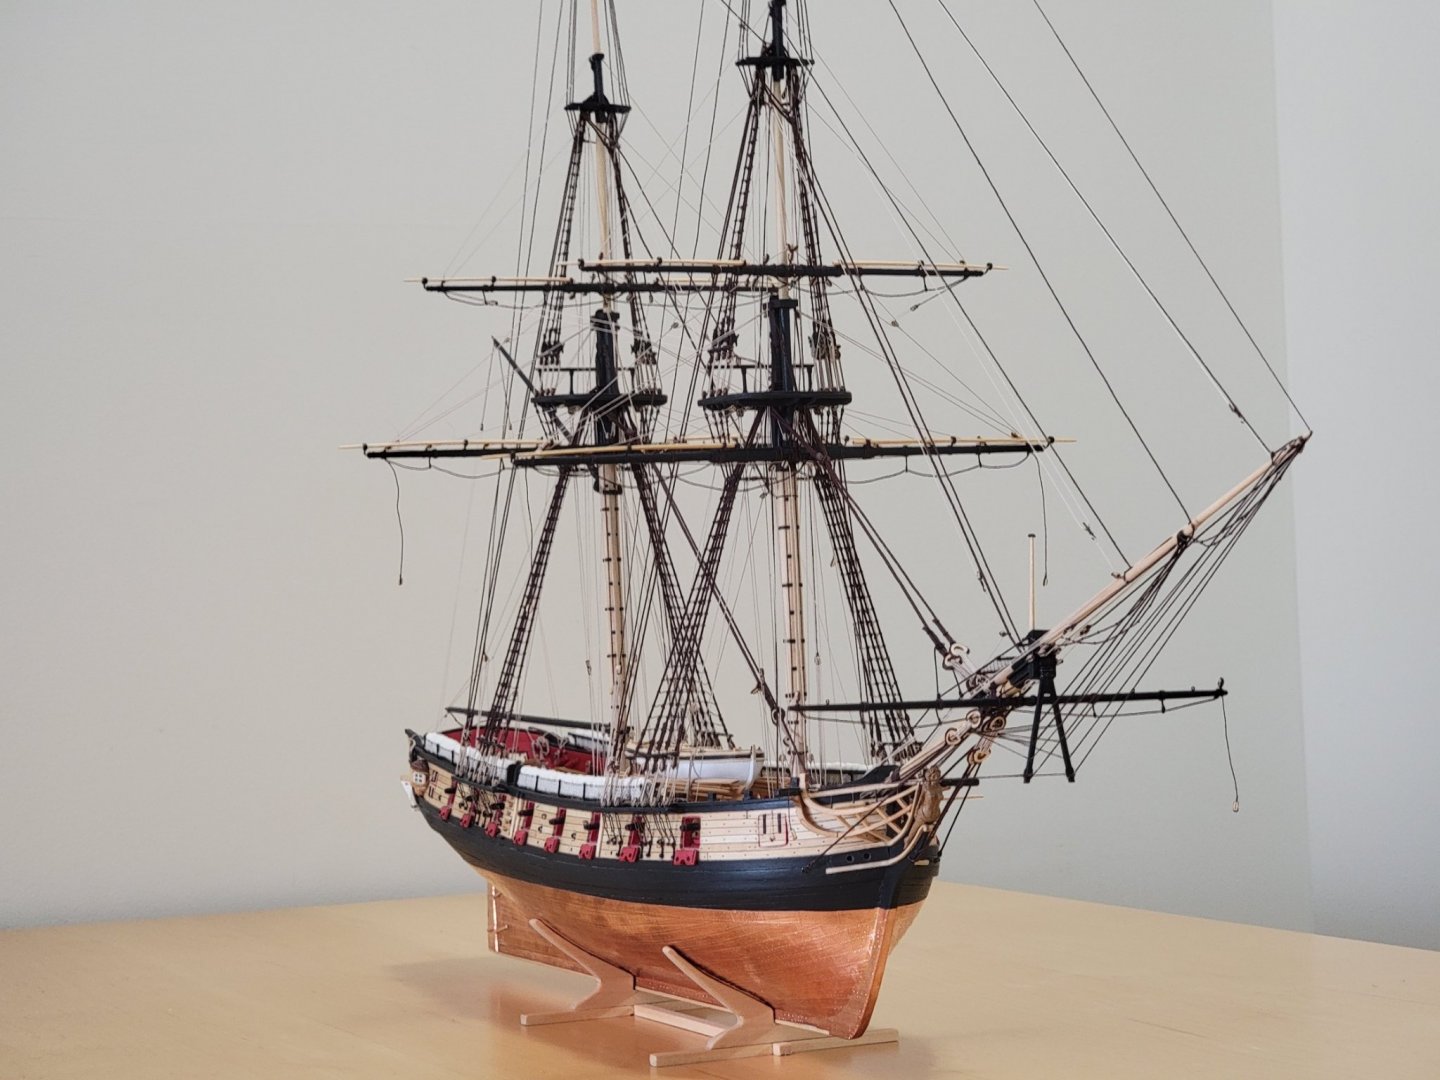
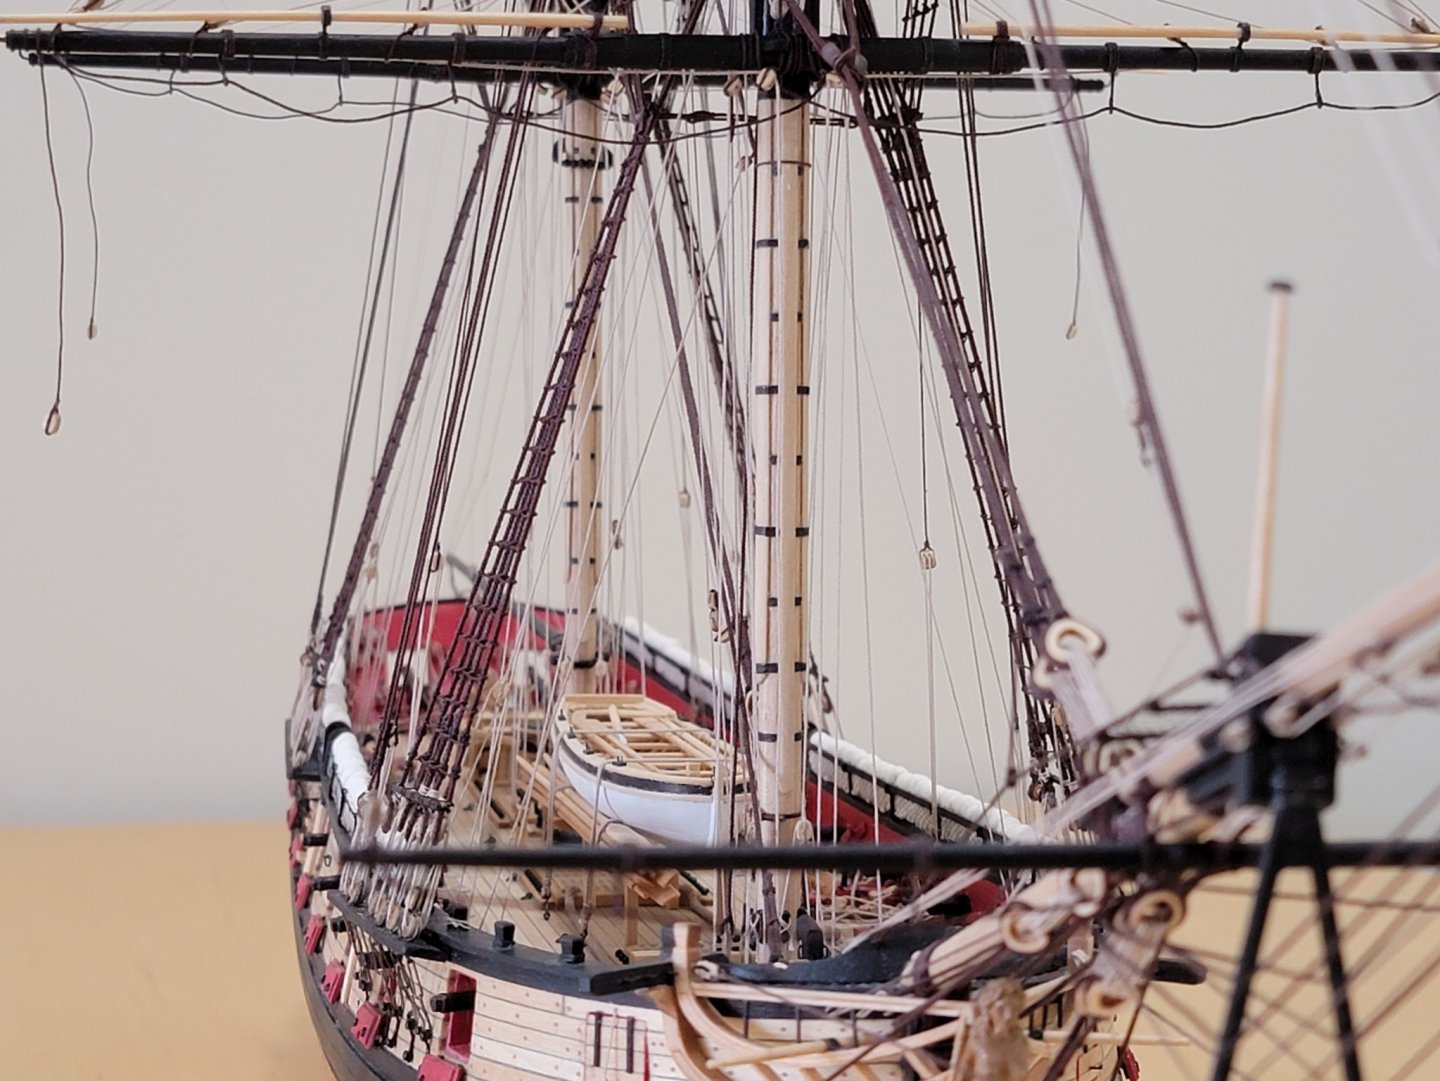
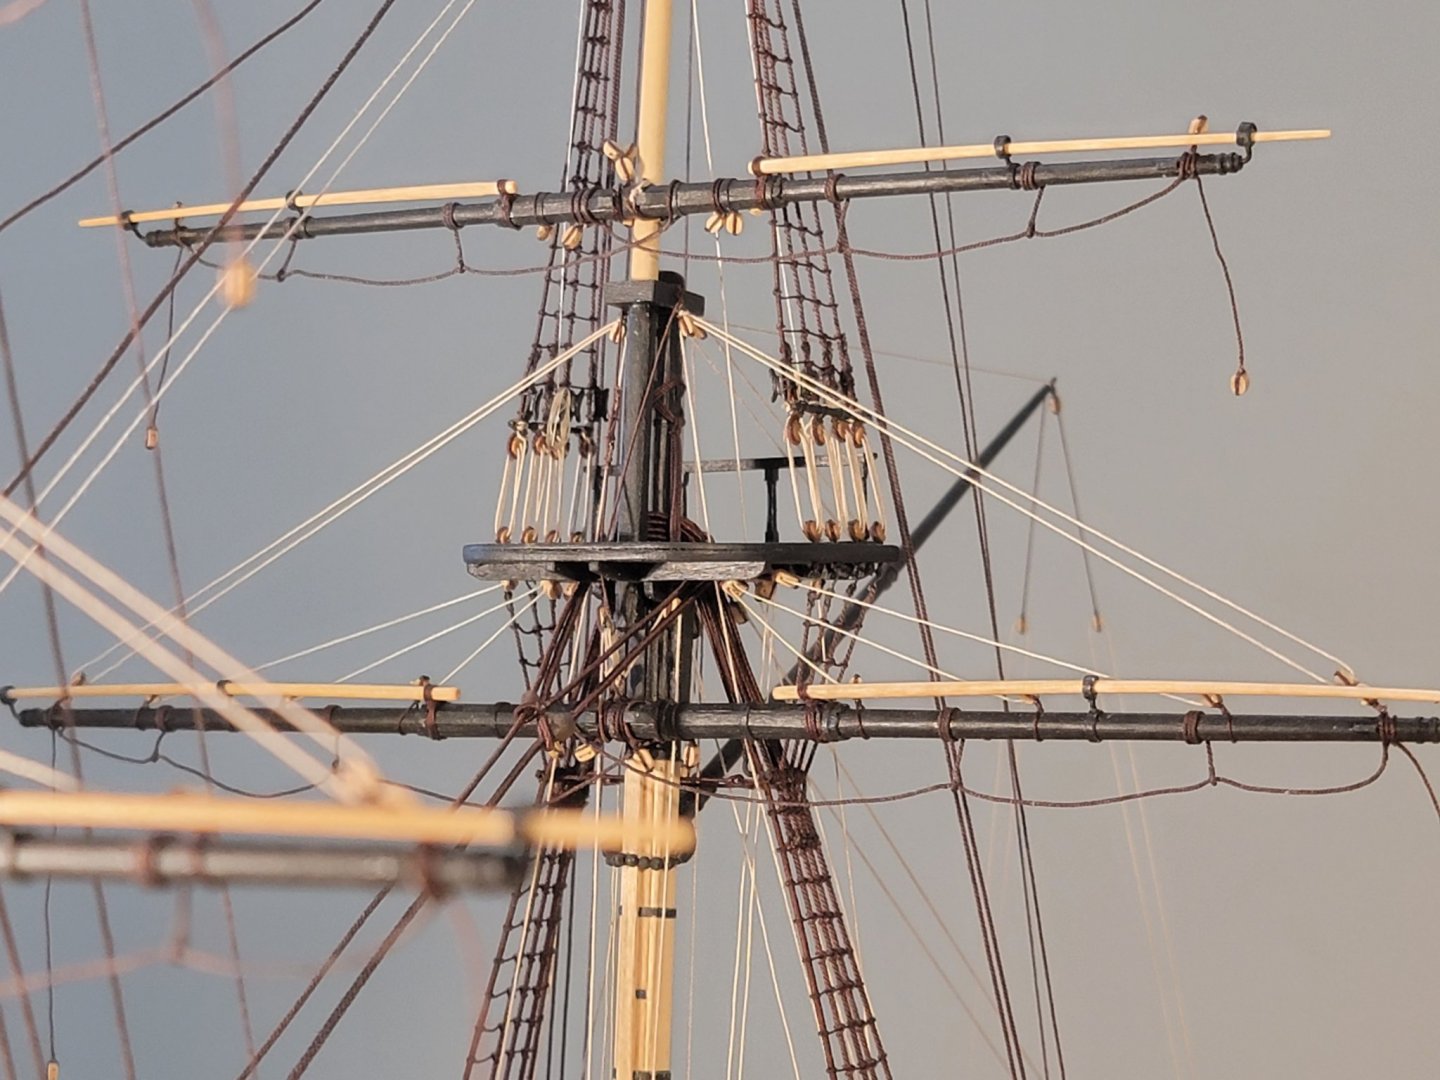
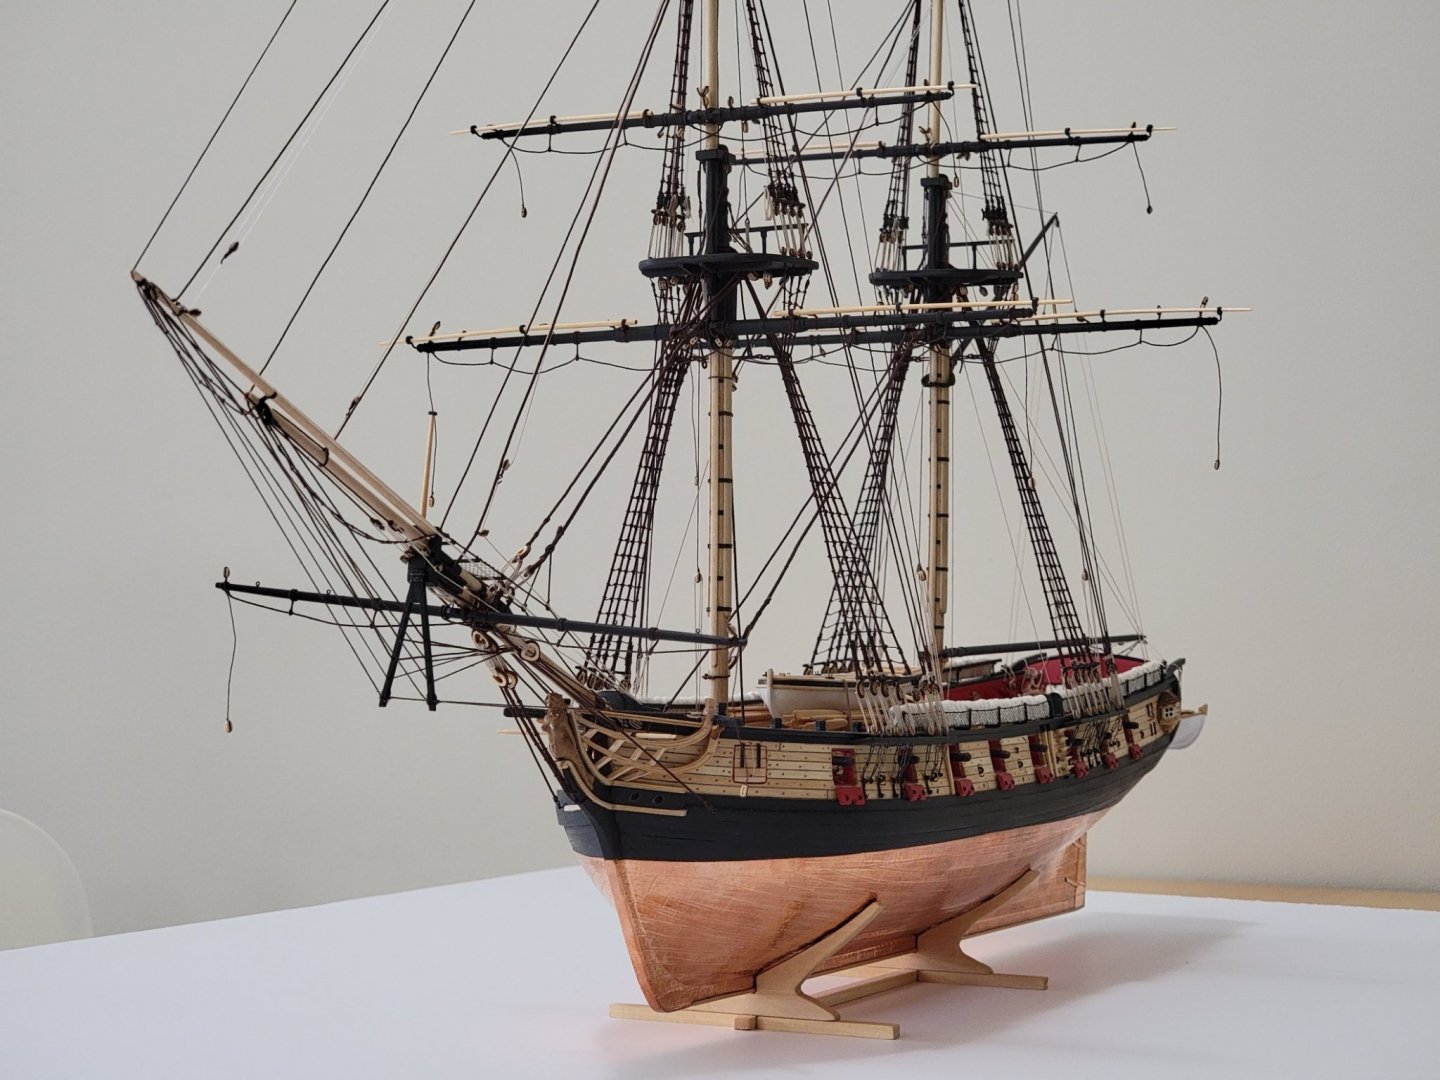
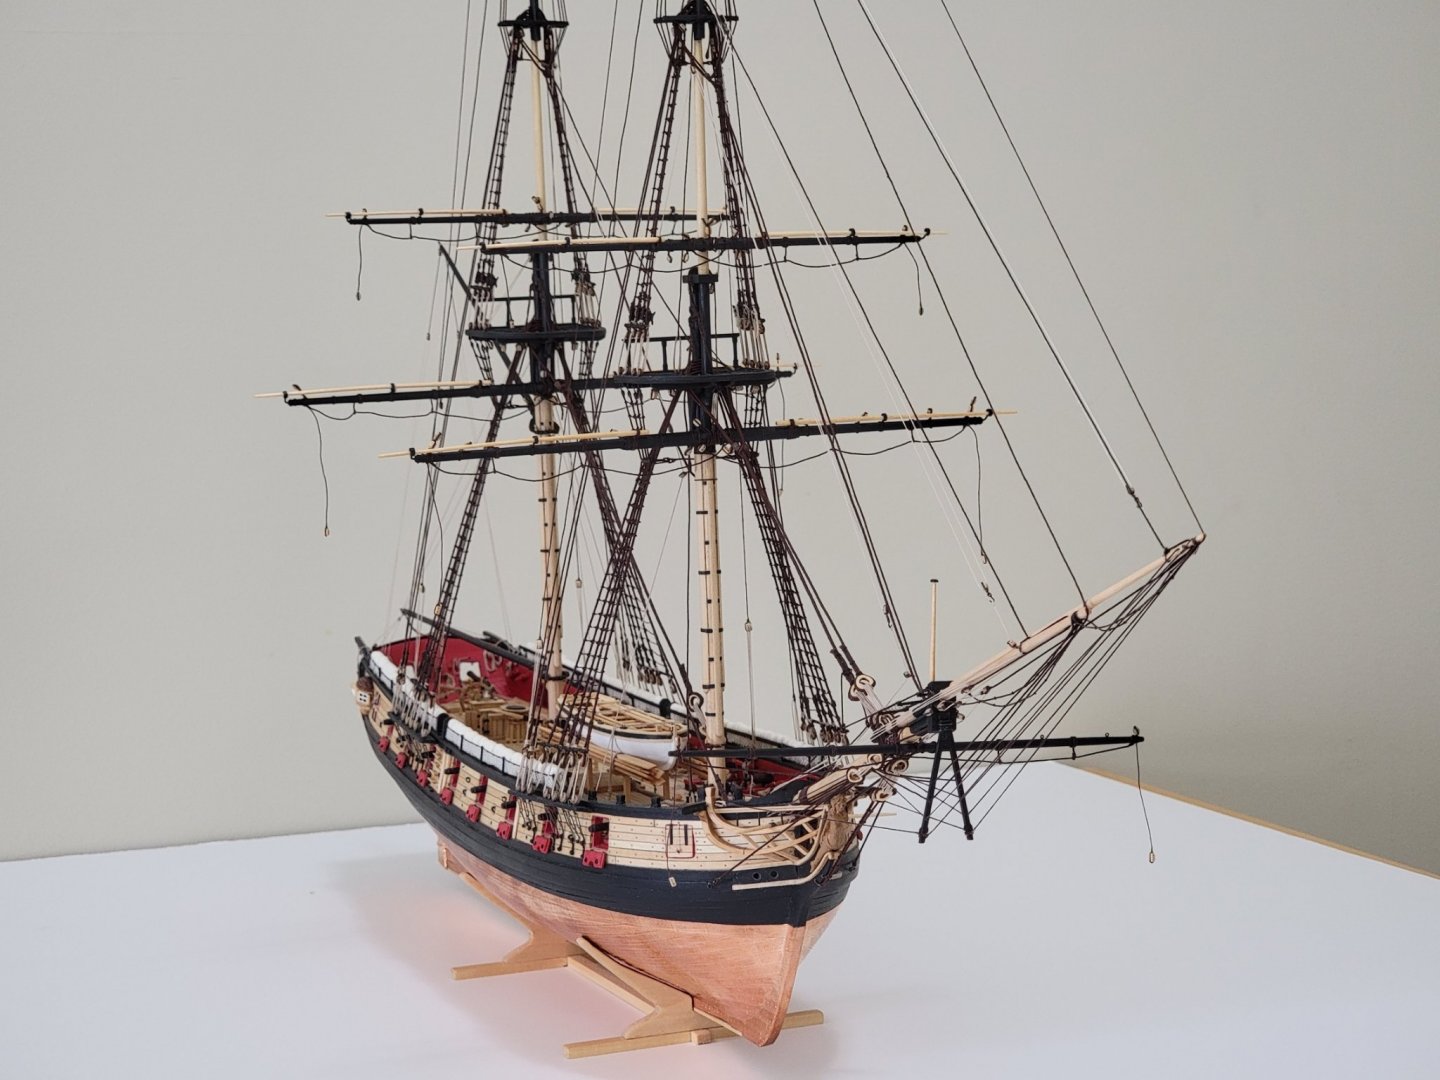
Thanks all for the likes! I finished rigging the royal yards. Here are a few pics of the ship at this stage. The ship is getting really busy now with all the ropes. Hard to keep track of what's where! A pic with more dramatic lighting highlighting the running rigging a bit more I'll next catch up on the 10000 rope coils which will take a while 😅, then will finish up the rigging on the lower yards, then the spritsail yard. I am the point where I can count what's left to finish her up! I still can't believe where I have reached...


- 950 replies
-
- 16
-
-
- syren
- model shipways
- (and 1 more)
-
Just wanted to post a quick update. I decided to continue rigging and will work on the rope coils after. I'm currently almost done rigging the royal yards. I also received the additional rope so I can work on the rigging without worrying of it running out!
- 950 replies
-
- 13
-
-
- syren
- model shipways
- (and 1 more)
-
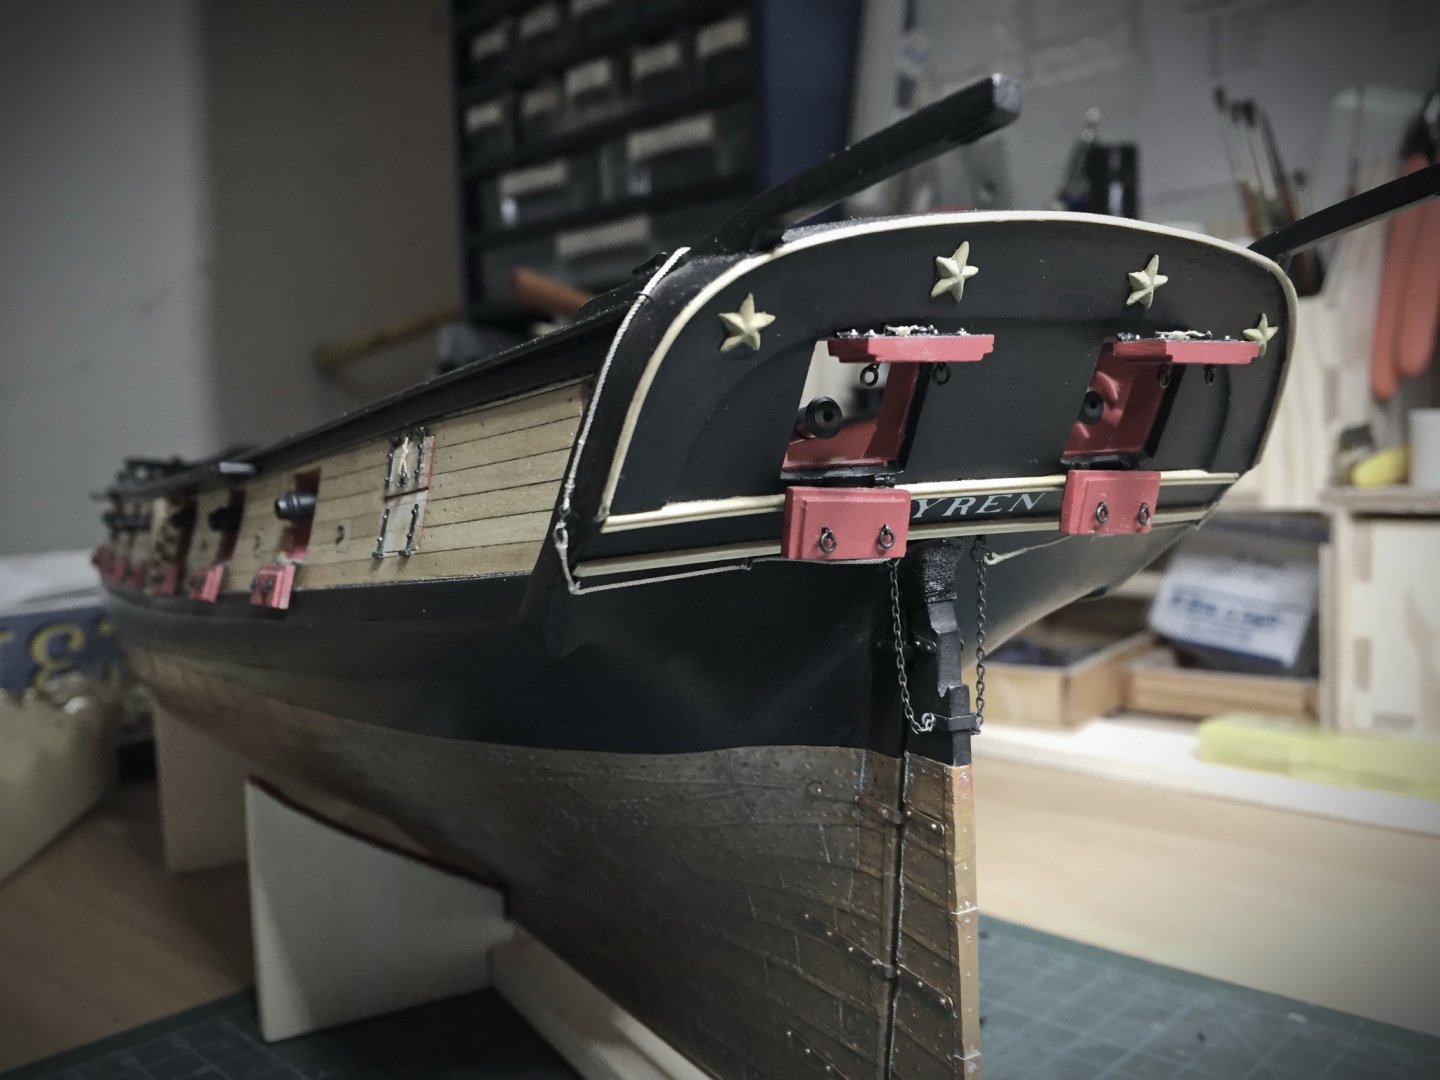
The painted quarter badges look really good! I really like how the windows and frames are highlighted. I'd go for #2 with a template over the black region with a very thin sheet but with the above and below sections also covered up to look uniform. But maybe others also have some better advice they can give. Could leaving it black also be an option? I haven't seen many Syren models with the transform painted black (it'll make your model even more unique). Here is one from Dubz:

- 436 replies
-
- 1
-
-
- Syren
- Model Shipways
- (and 1 more)
-
Many thanks David! The ship is really getting busy with so many ropes, so I decided to take a couple days break from it. I don't want to rush these critical steps towards the end of its completion (I am finding I keep pulling ropes with my tweezers if I am not too careful). I am still deciding where I will display her, and am on the lookout for a nice display table. I saw your display case, it's giving me ideas and inspiration on what I'll do for mine. You can send a private message by clicking the message icon on the top right corner of the screen, then click on 'Compose New' I am taking Mechanical Engineering! I just finished all the course work, so now just need to complete my thesis and call it a day 😄


- 950 replies
-
- 1
-
-
- syren
- model shipways
- (and 1 more)
-
Thank you @VTHokiEE!! I've run out of some black rope that's needed to secure the remaining yards in place, so while I wait for some more to come in I'm thinking of catching up on the rope coils. I'll avoid gluing the ones close to the neighboring empty pins since they'll come in the way when belaying lines. Anyways, here is another pic of the remaining yards hung via the ties:
- 950 replies
-
- 14
-
-
- syren
- model shipways
- (and 1 more)
-
Thank you Justin, Thomas, and Steven! As always, the comments are much appreciated! 🙂
-
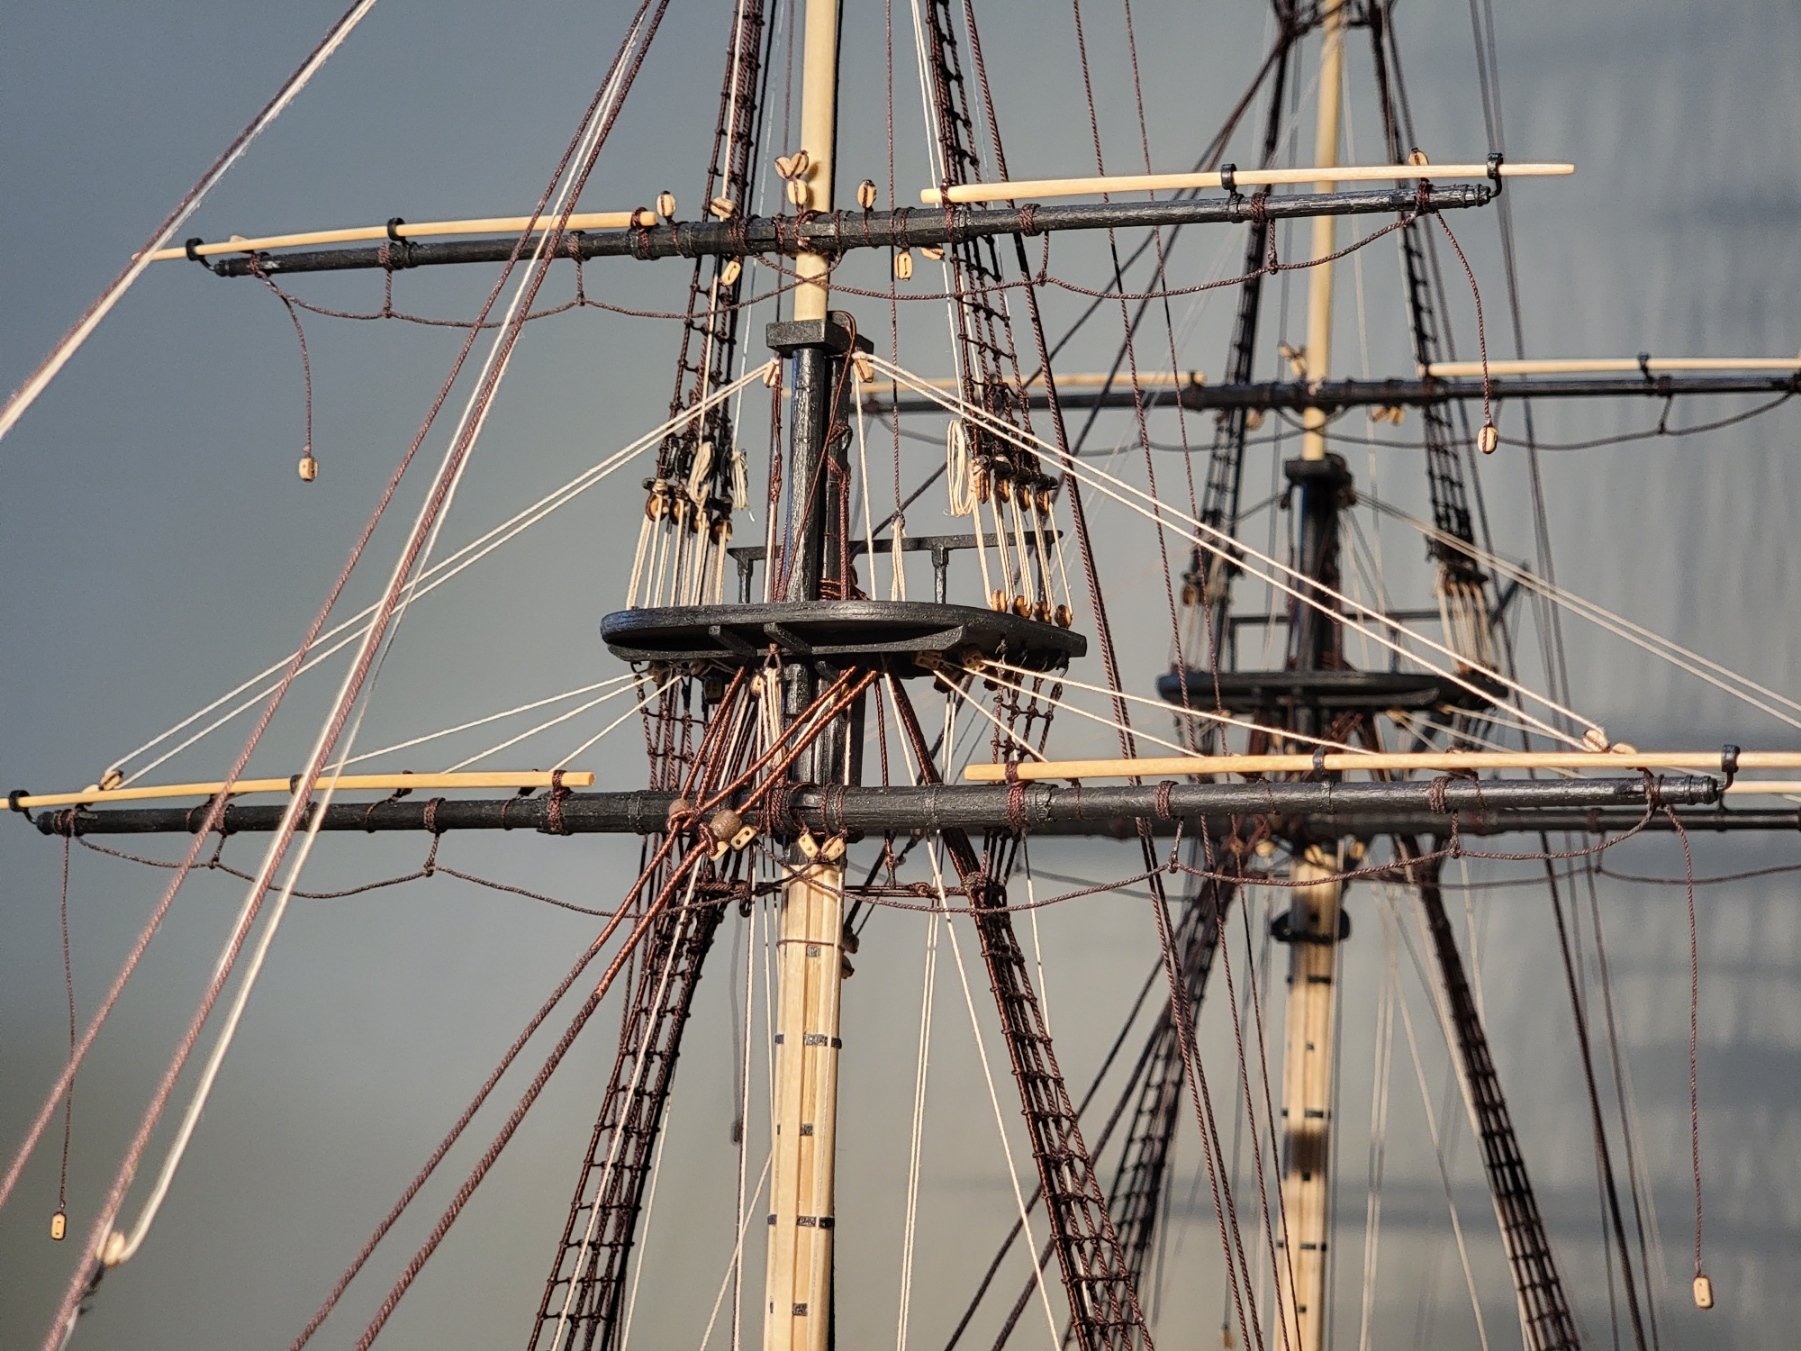
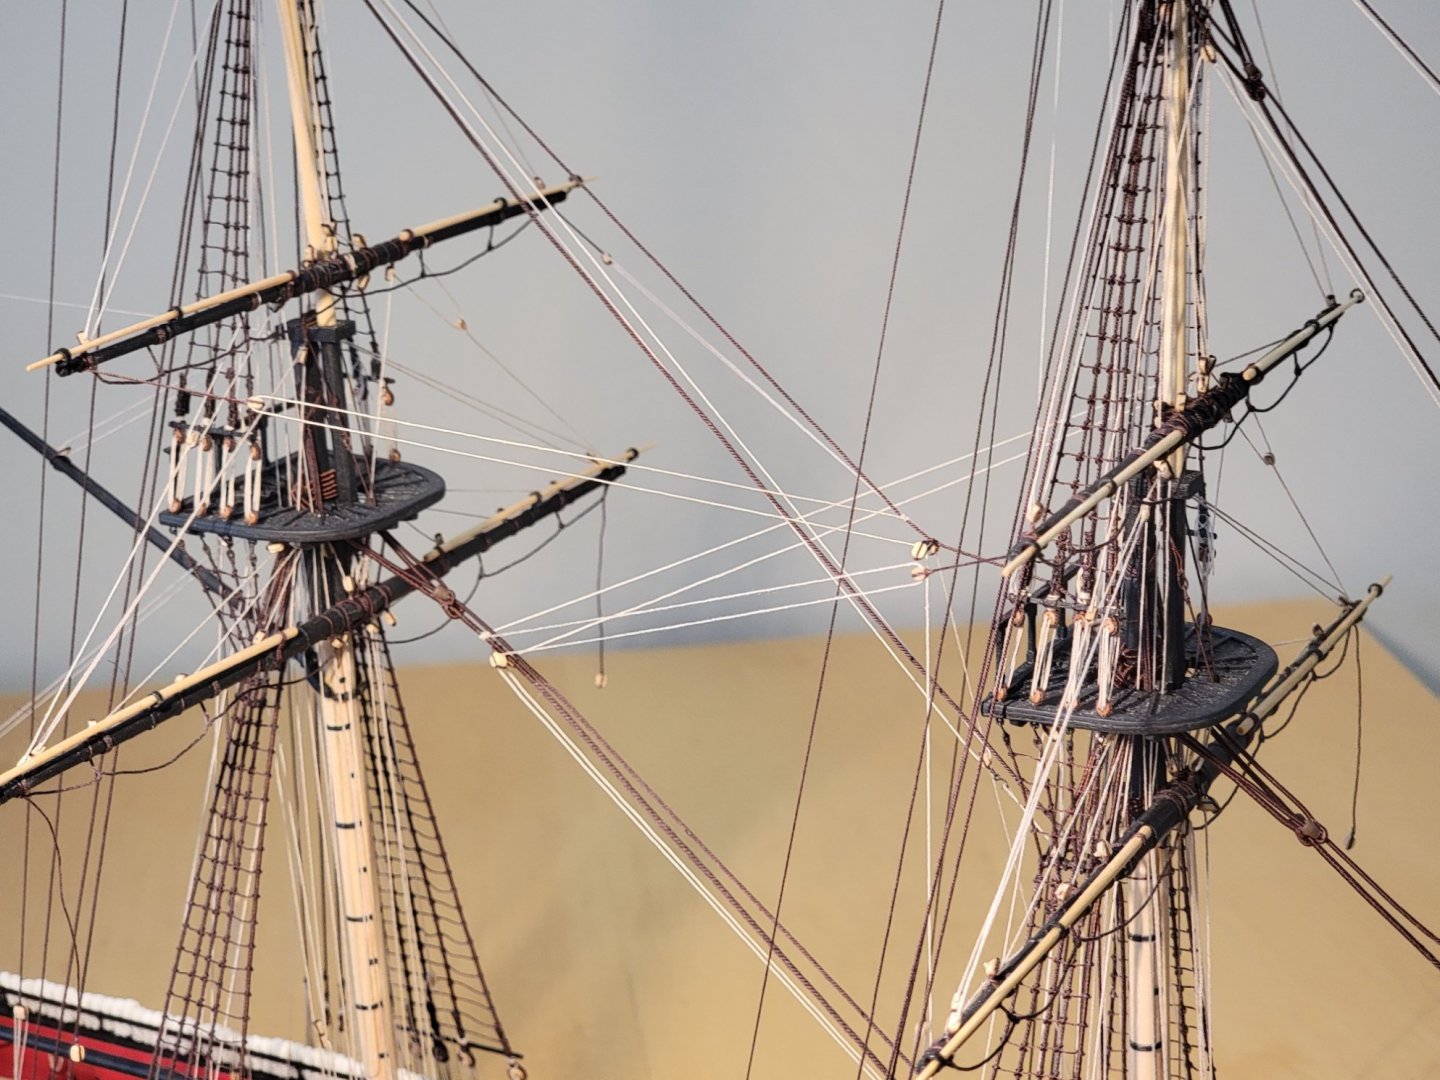
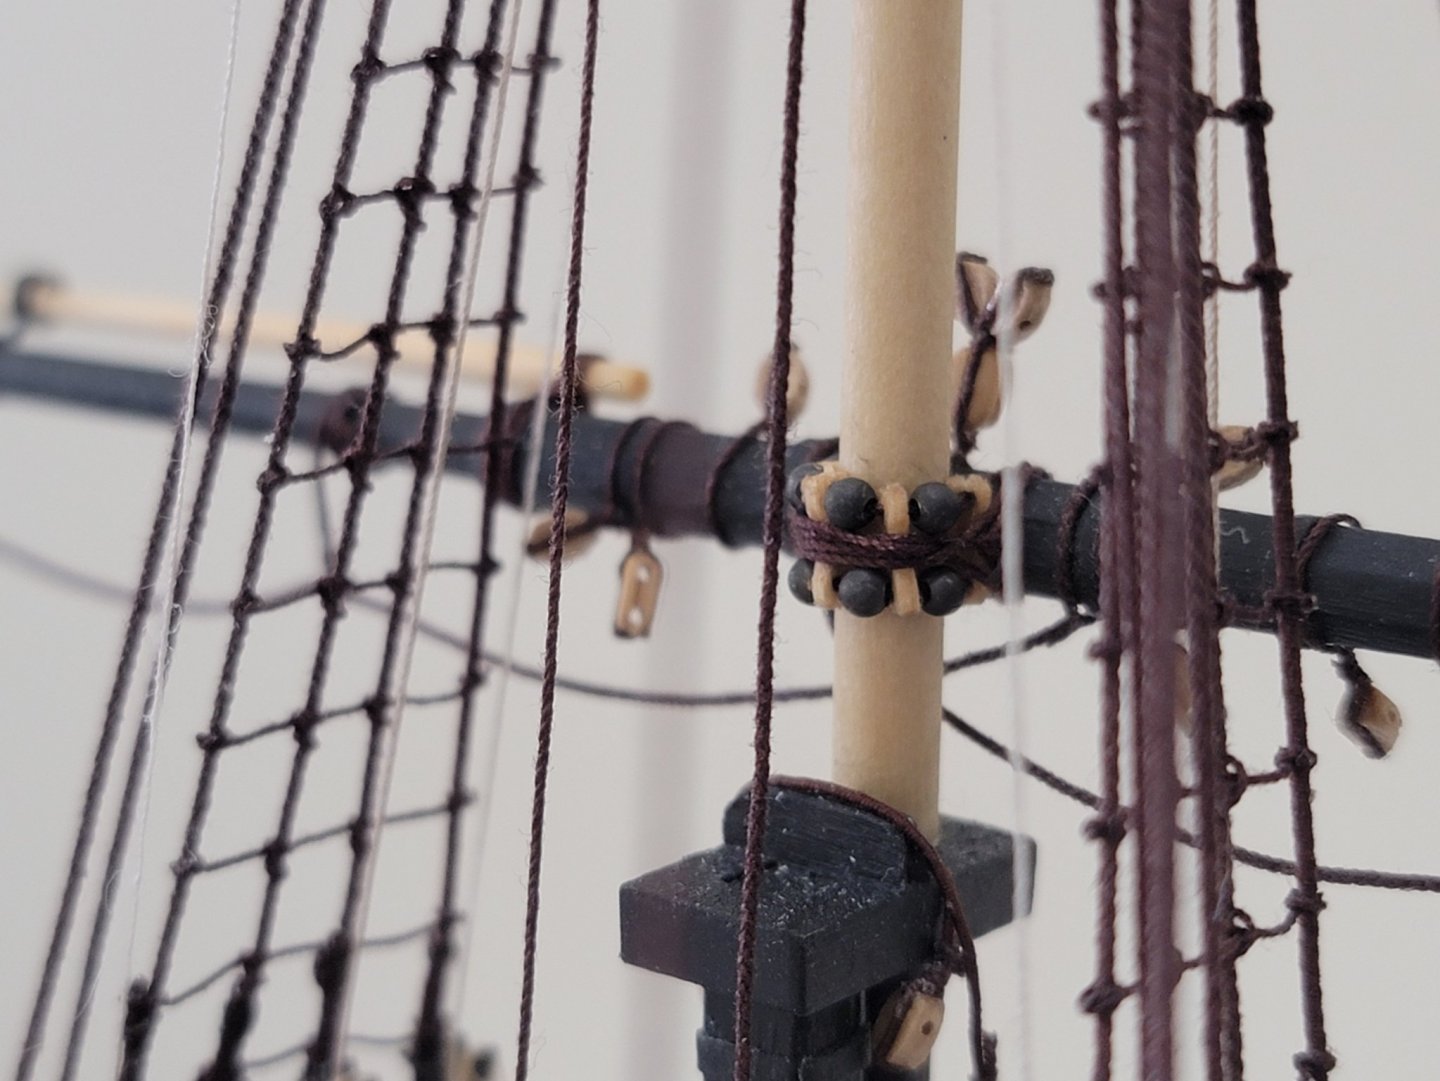
Thanks so much Bill and Steve!! 😀 I finished rigging the top sail yards. I have not put any rope coils yet since I found they came in the way when belaying the lines. I might make some after the topgallant yards have been rigged. I was again playing with the lighting to show the lines better:


- 950 replies
-
- 15
-
-
- syren
- model shipways
- (and 1 more)
-
Have you tried soaking the plank in some water? I did that in my build and that made the strip much more malleable to bend in those tricky sections. Then you can use clamps to hold them in position to dry. Also look at Chuck's technique (dry bending)
-
Thanks so much! I took a week off after finishing the semester so got a bit of extra time to work on the model. So next week I'll take it slow and enjoy the process even more. Thanks again for checking in!! 😁
- 950 replies
-
- 1
-
-
- syren
- model shipways
- (and 1 more)
-
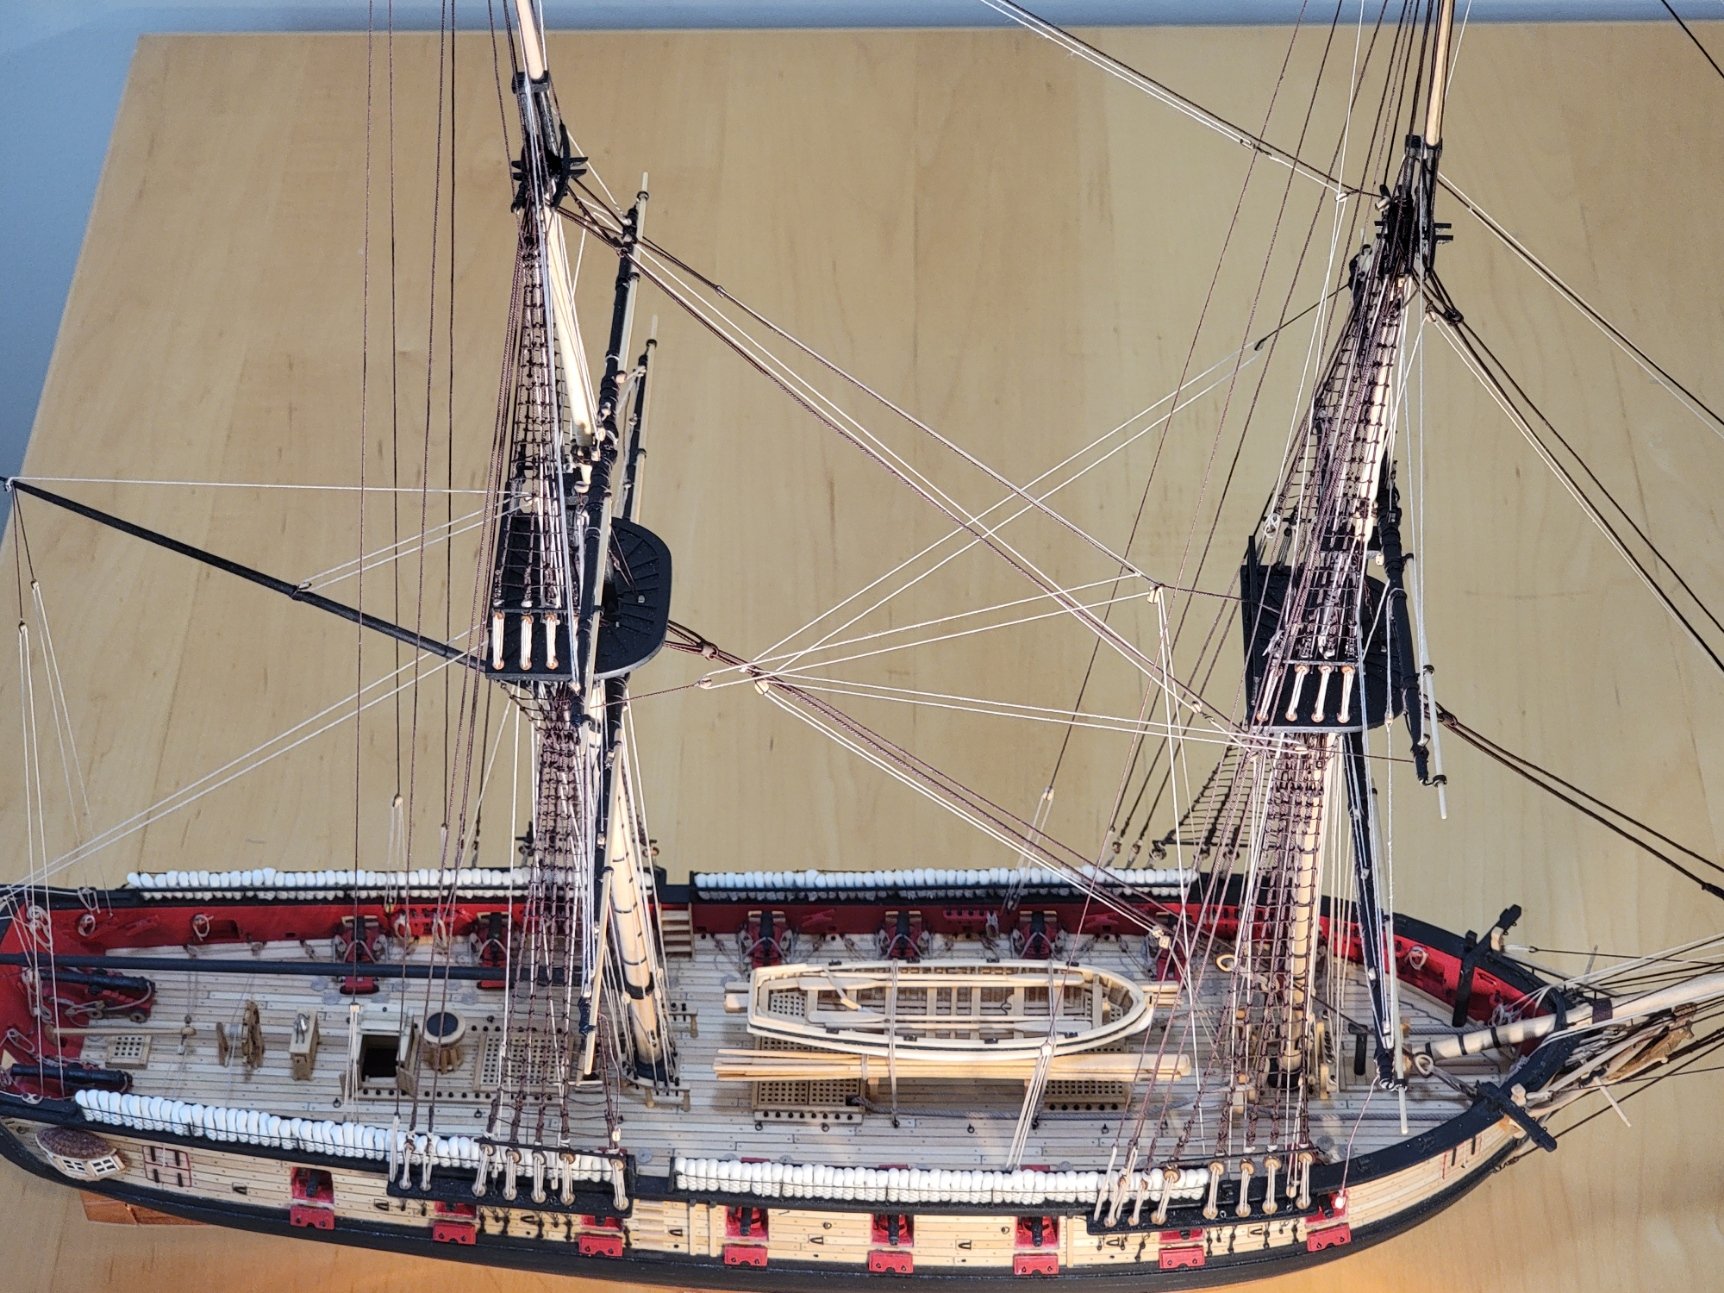
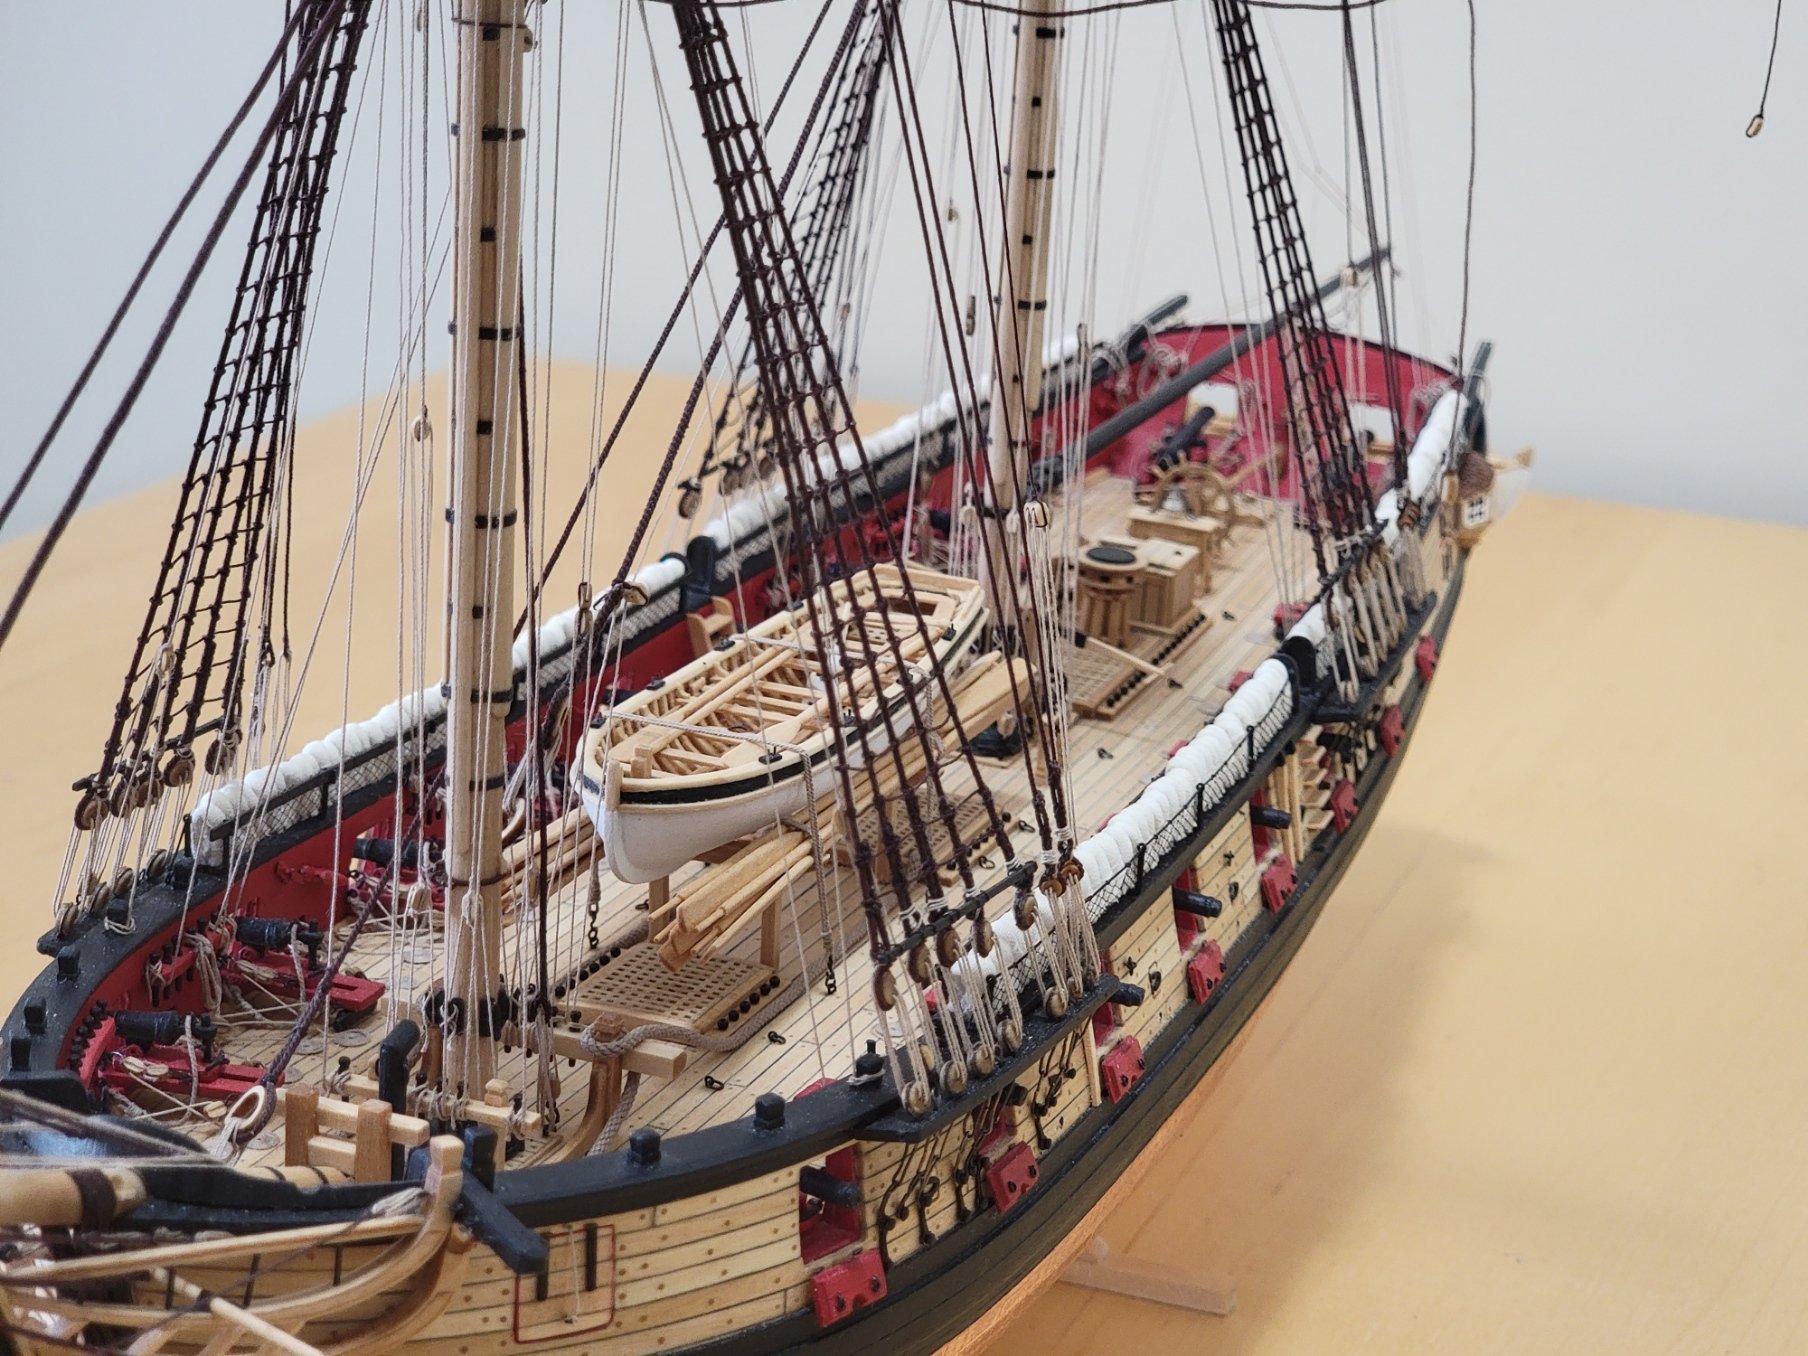
I finished rigging the lower yards (except for the braces etc which might come in the way). Threading the ropes through the blocks was a bit tricky, but its very satisfying seeing how it all comes together I also tied these ropes on the topping lifts as I saw Chuck did this too later on in the build. I think its to tighten the boom sheet as mine was a bit slack before.


- 950 replies
-
- 12
-
-
- syren
- model shipways
- (and 1 more)
-
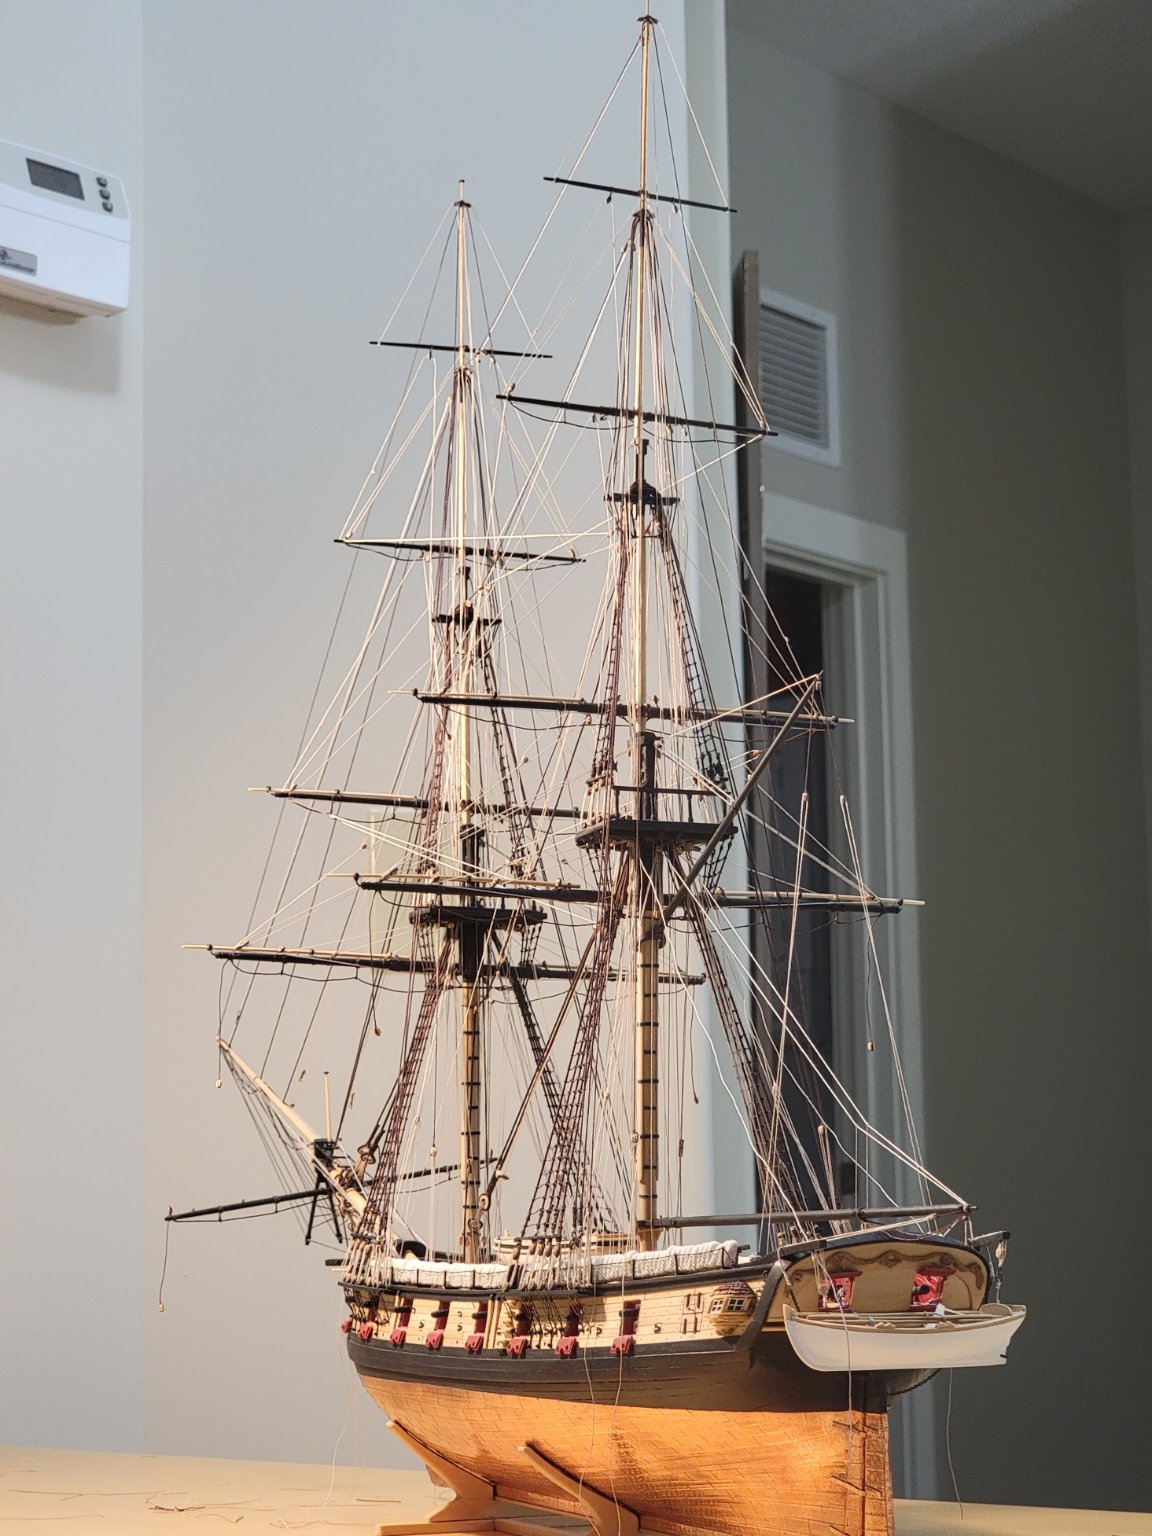
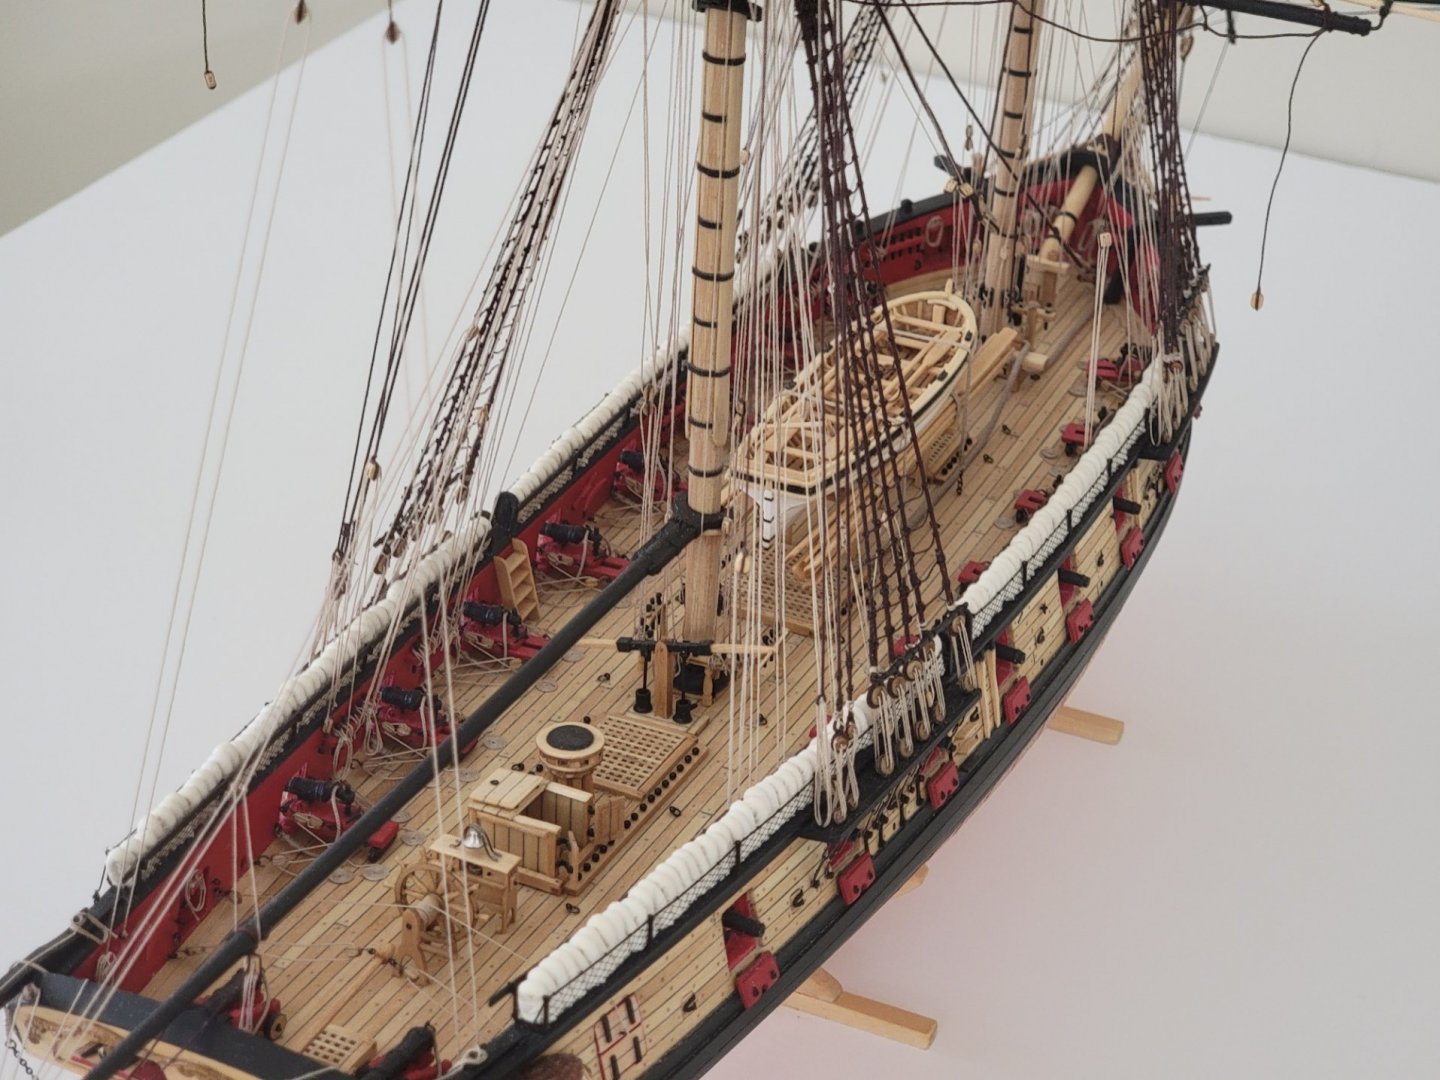
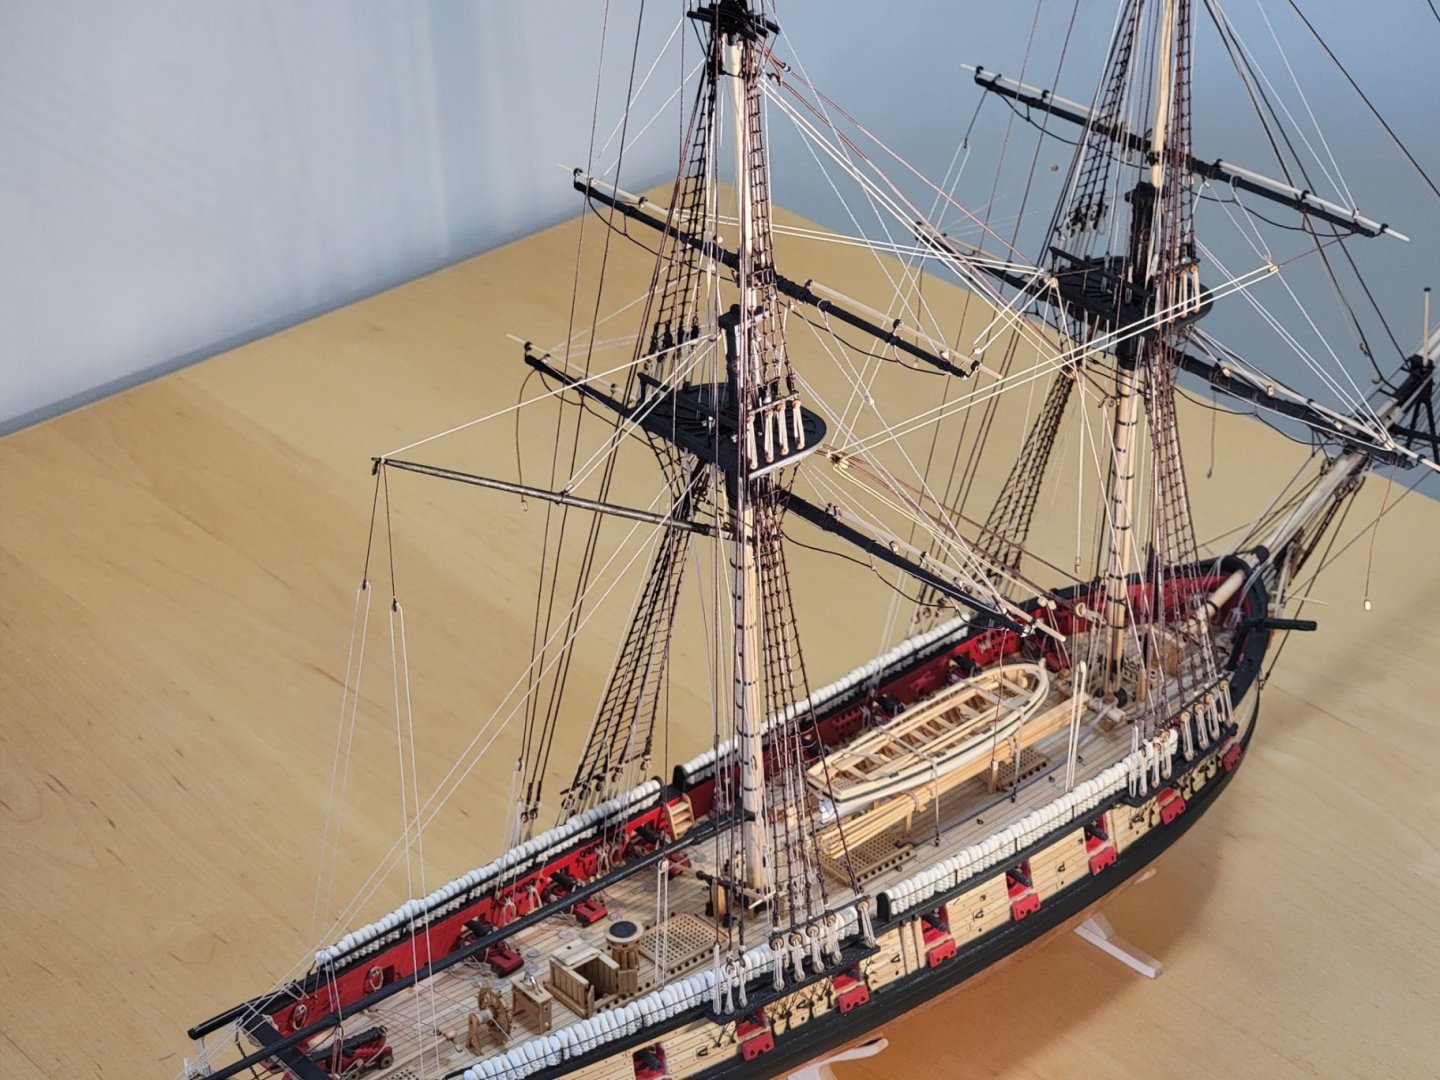
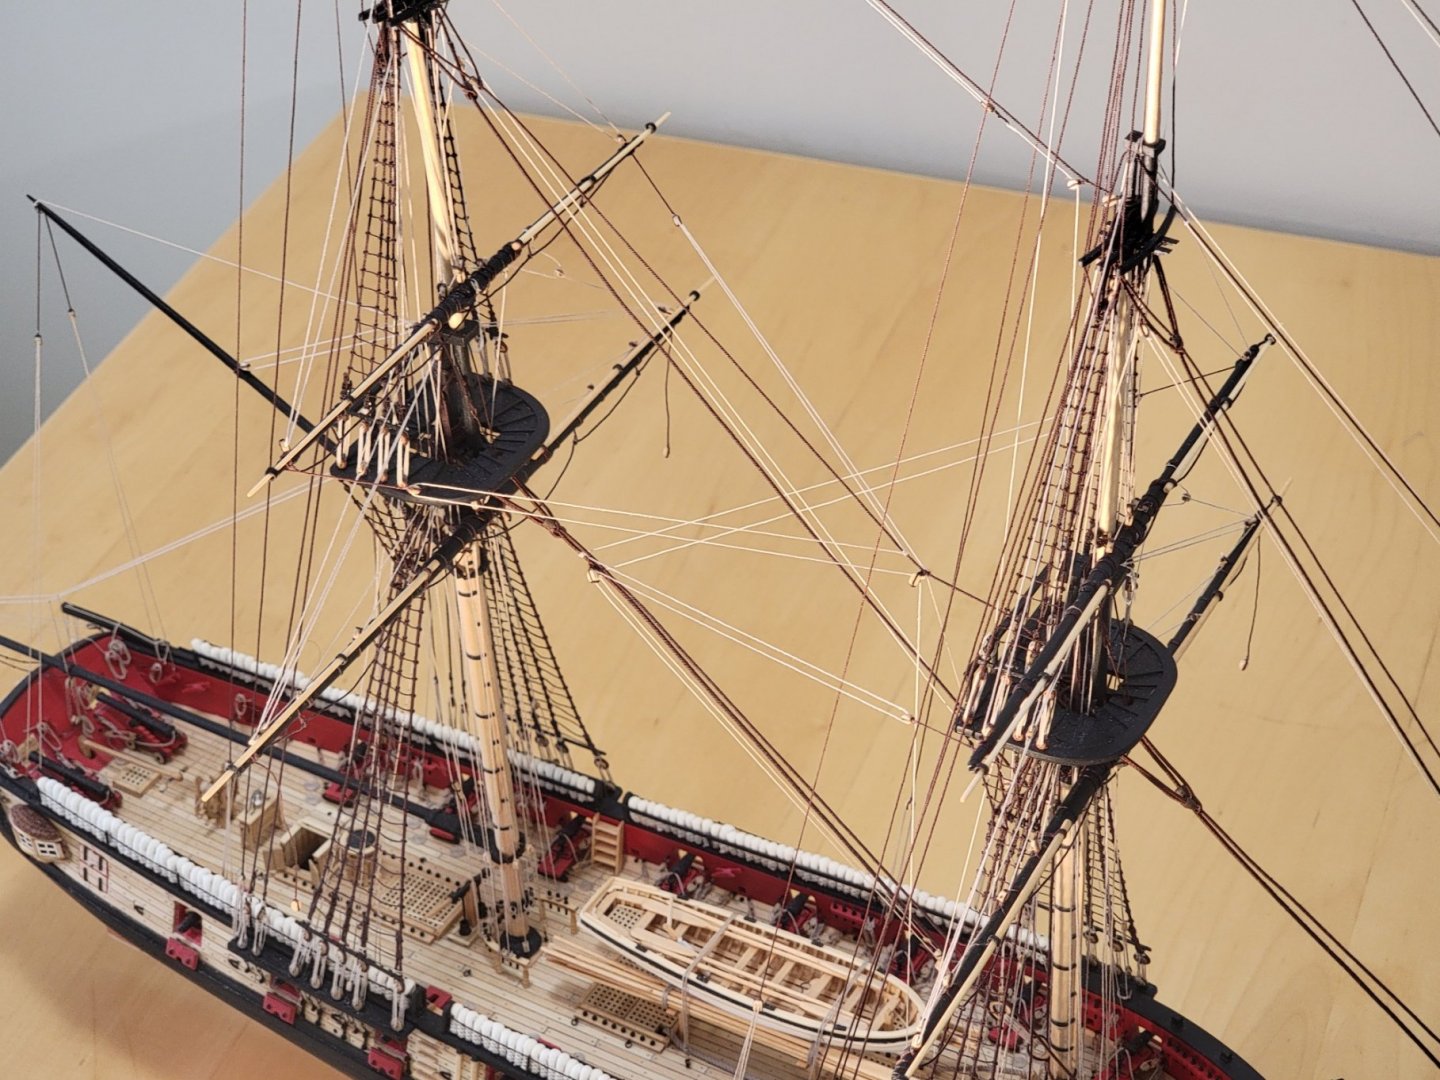
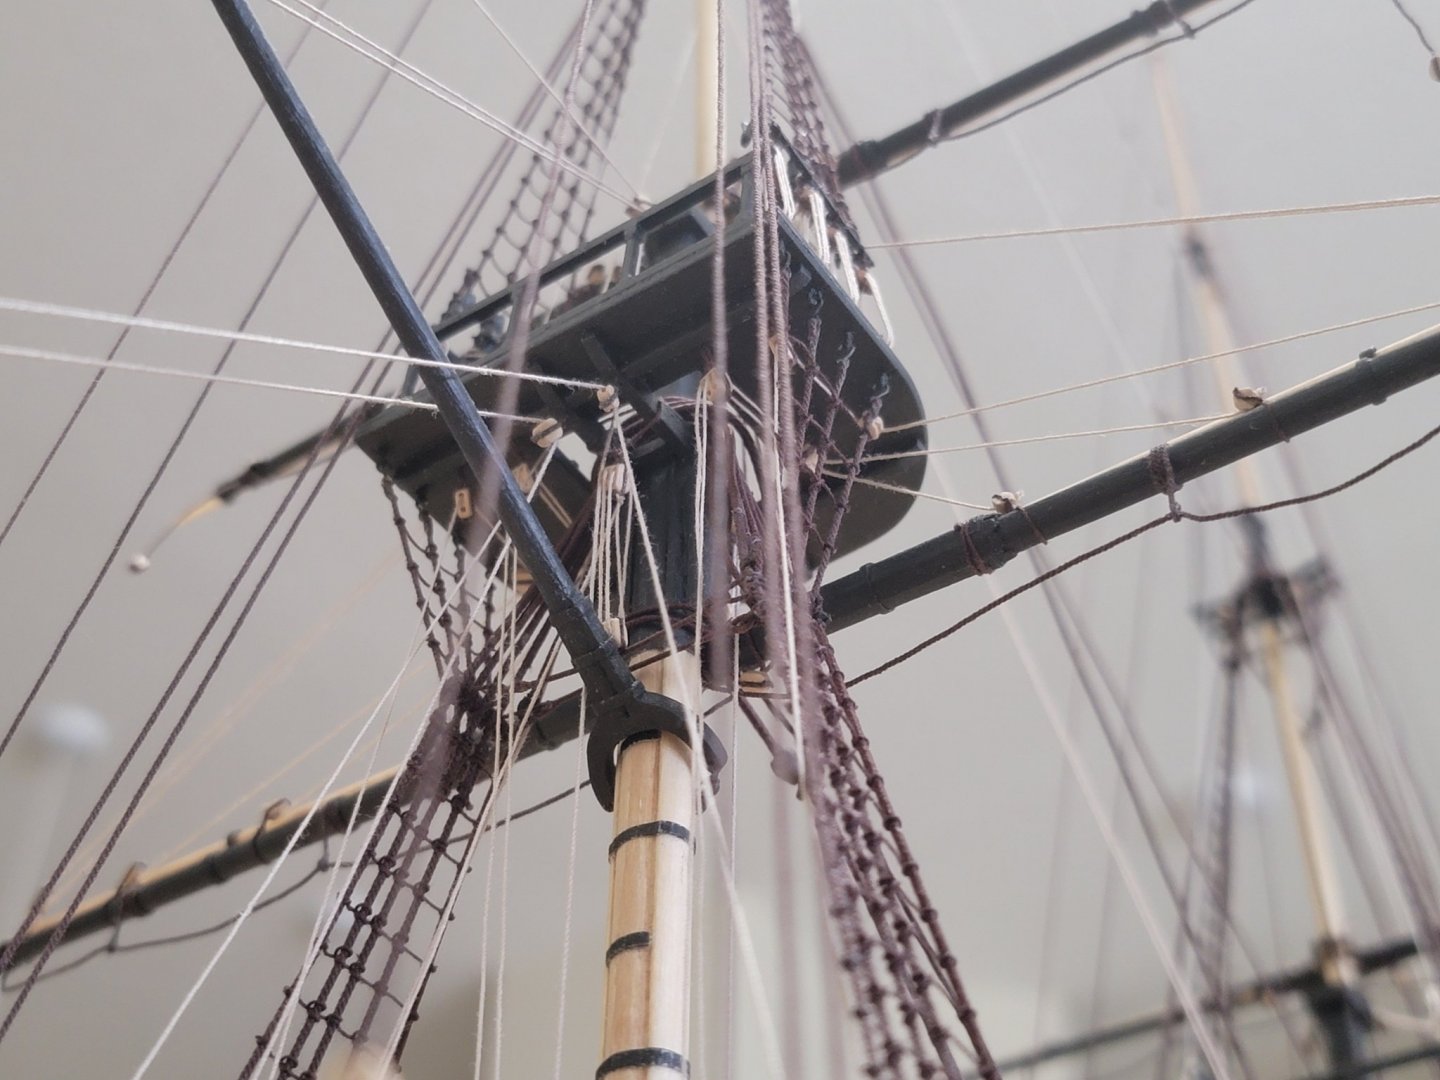
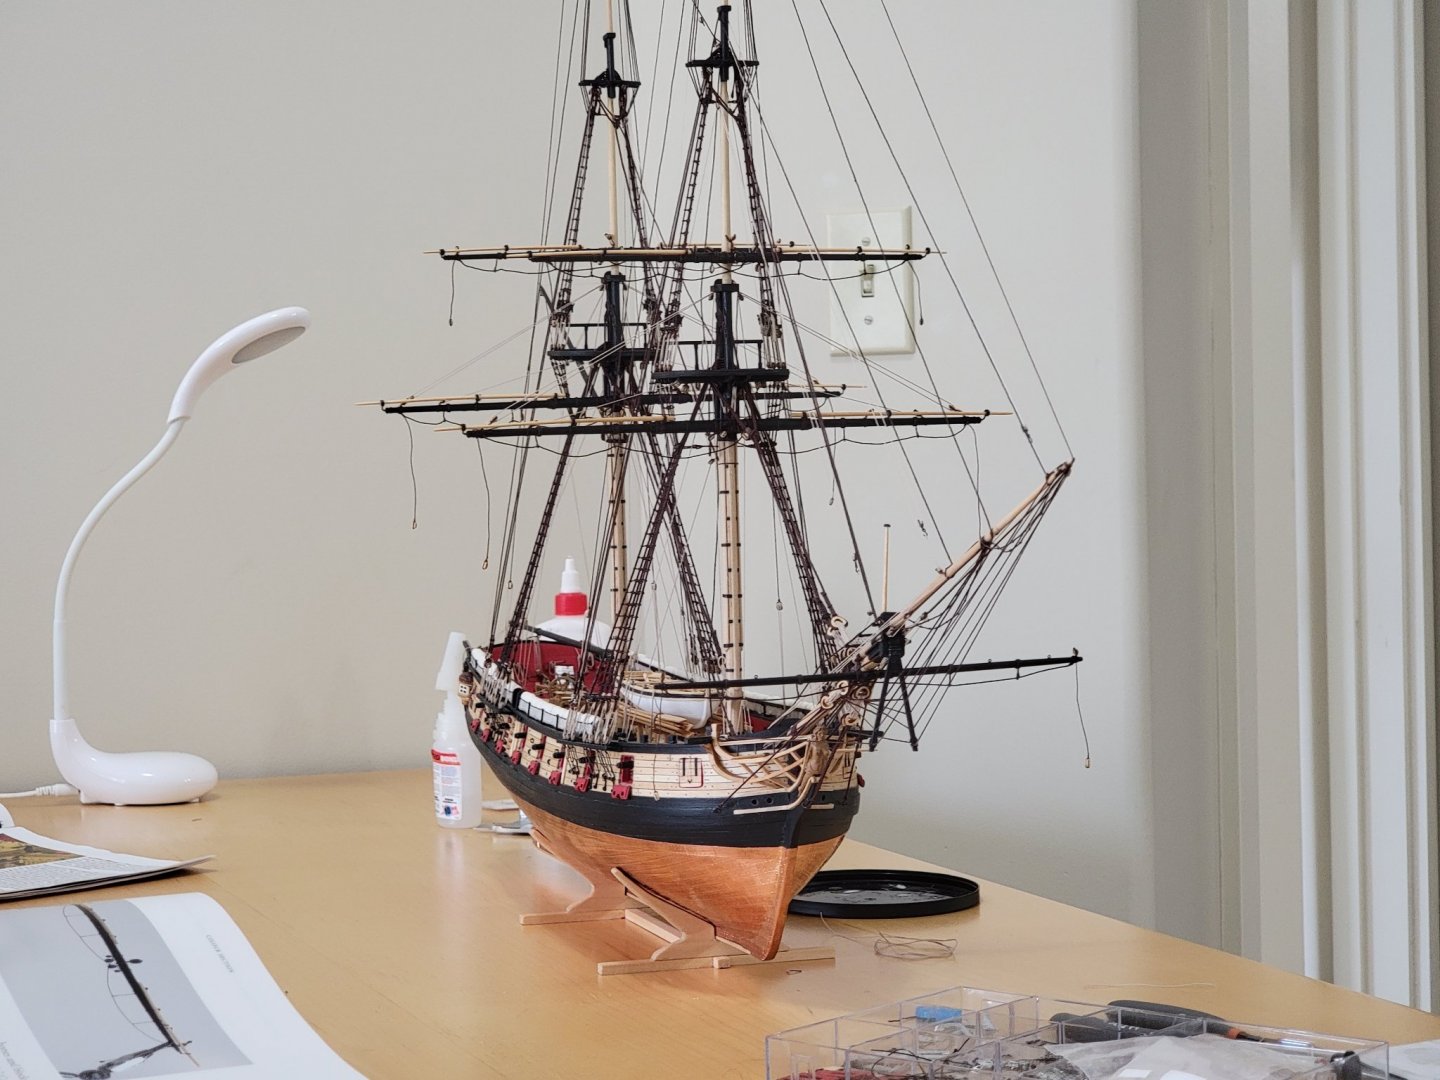
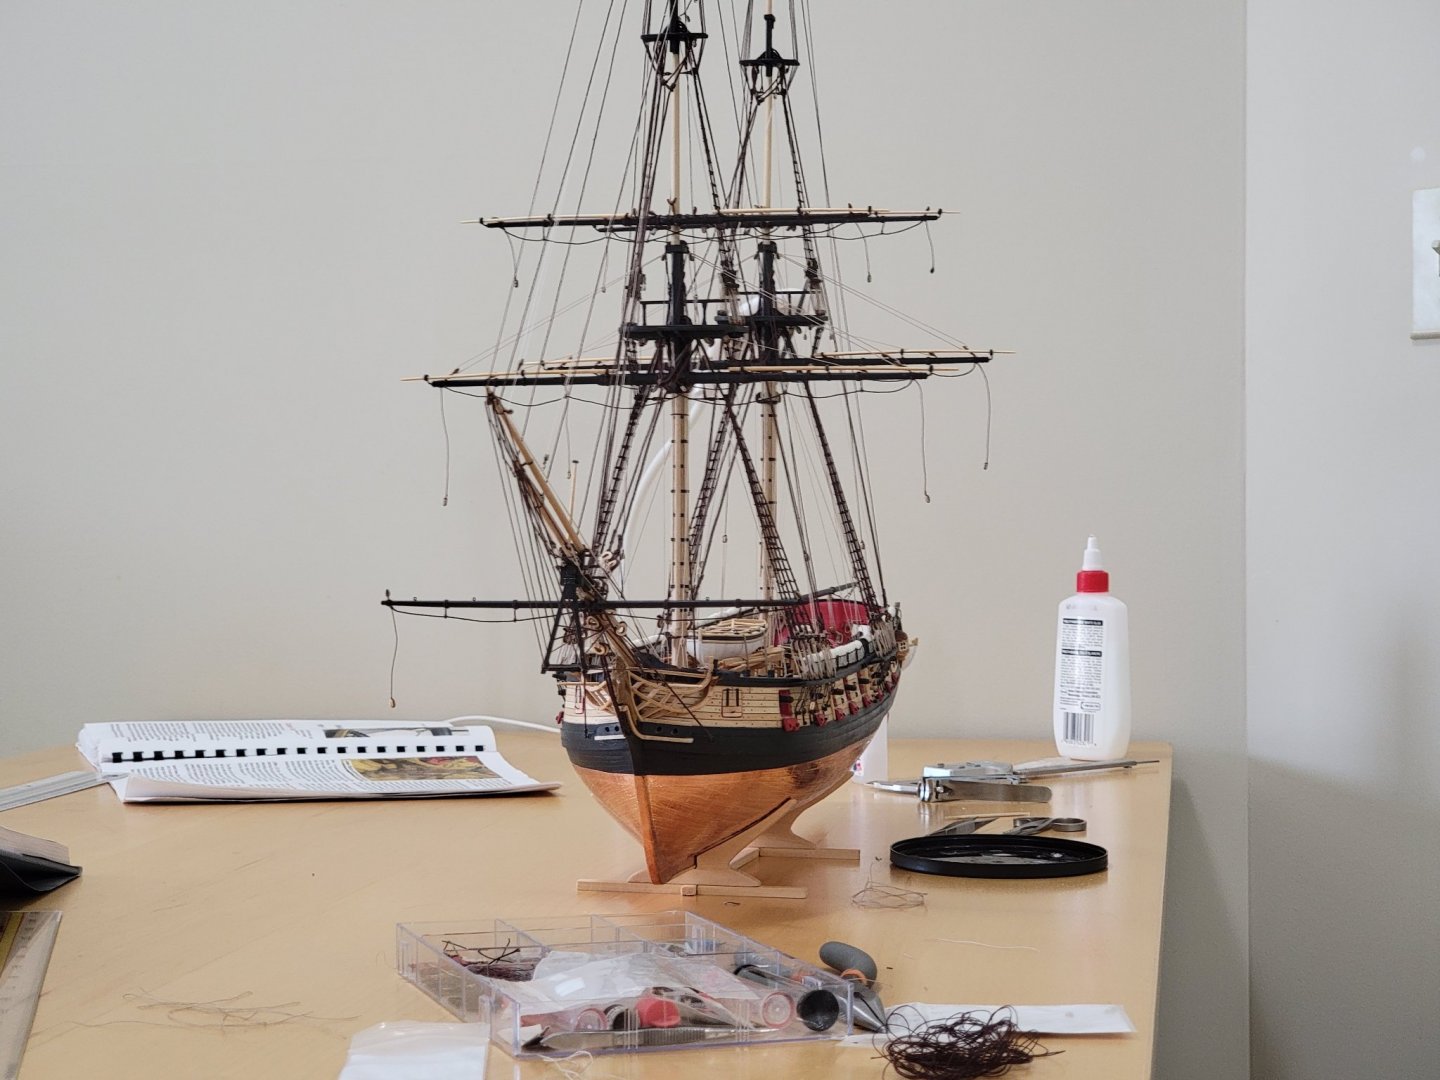
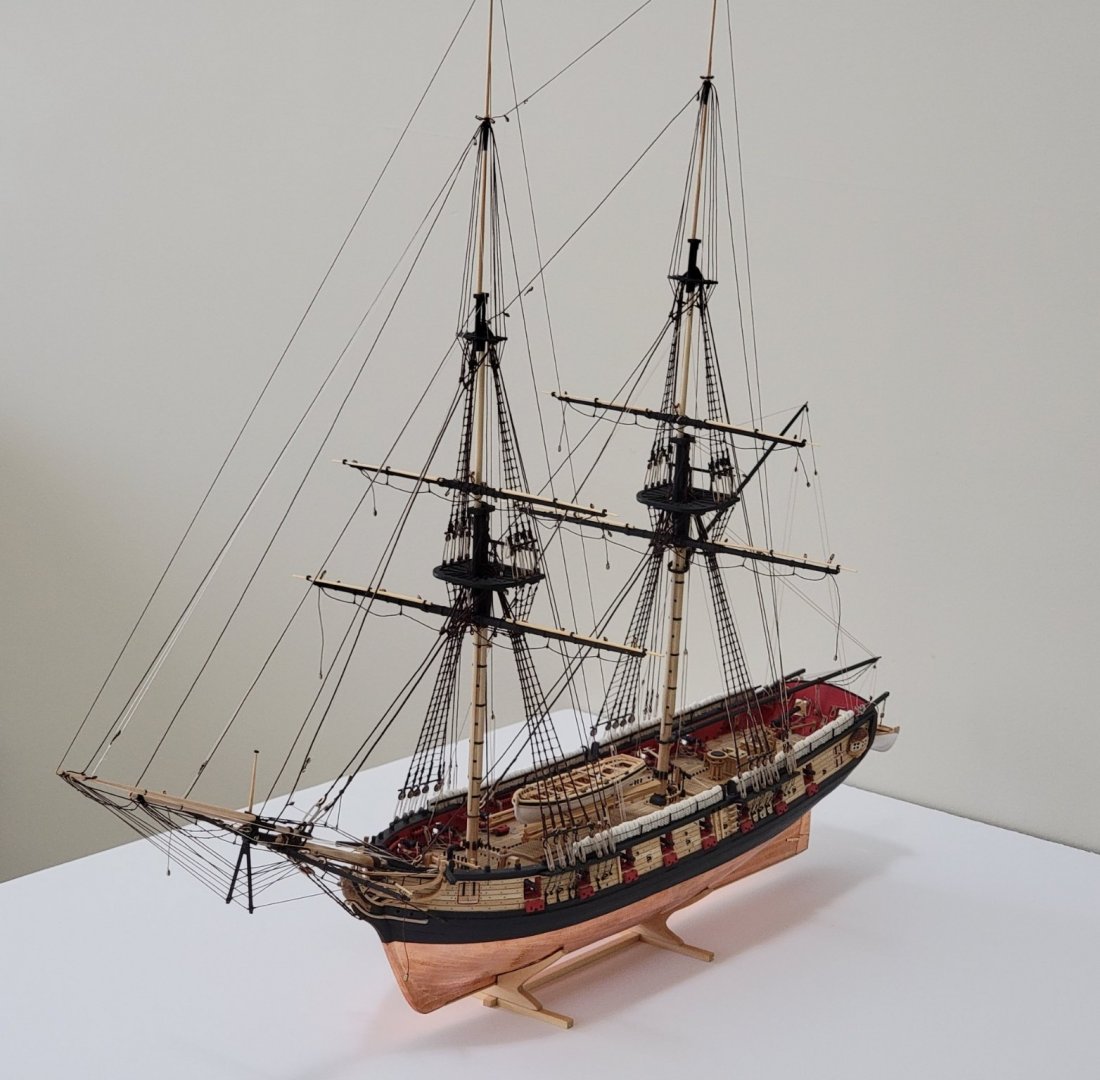
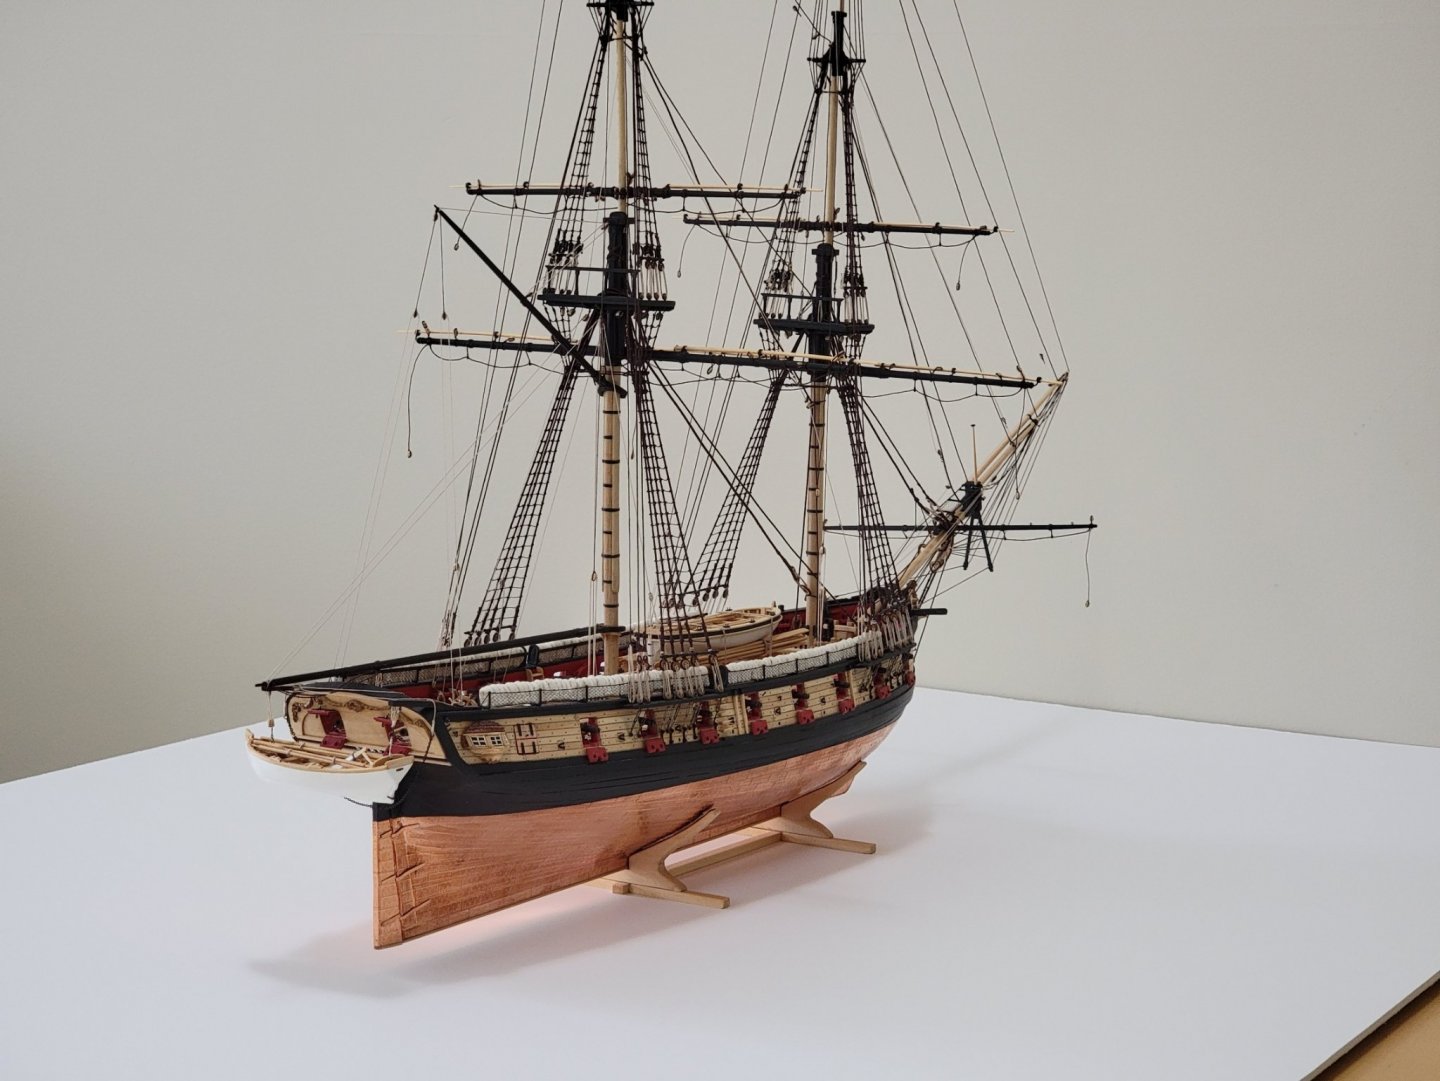
Thanks so much Will, Thomas, and Justin! The comments are very motivating!! 😄 Here is another couple of pics of the ship in the messy "workshop". As you can tell from the amount of photos I've been posting, I'm really loving the look of this ship. Everytime I see it I can't believe I've reached this far. I guess as I continue with the running rigging progress will slow down. It's already starting to get difficult with the limited amount of working space for my hands.
- 950 replies
-
- 9
-
-
- syren
- model shipways
- (and 1 more)
-
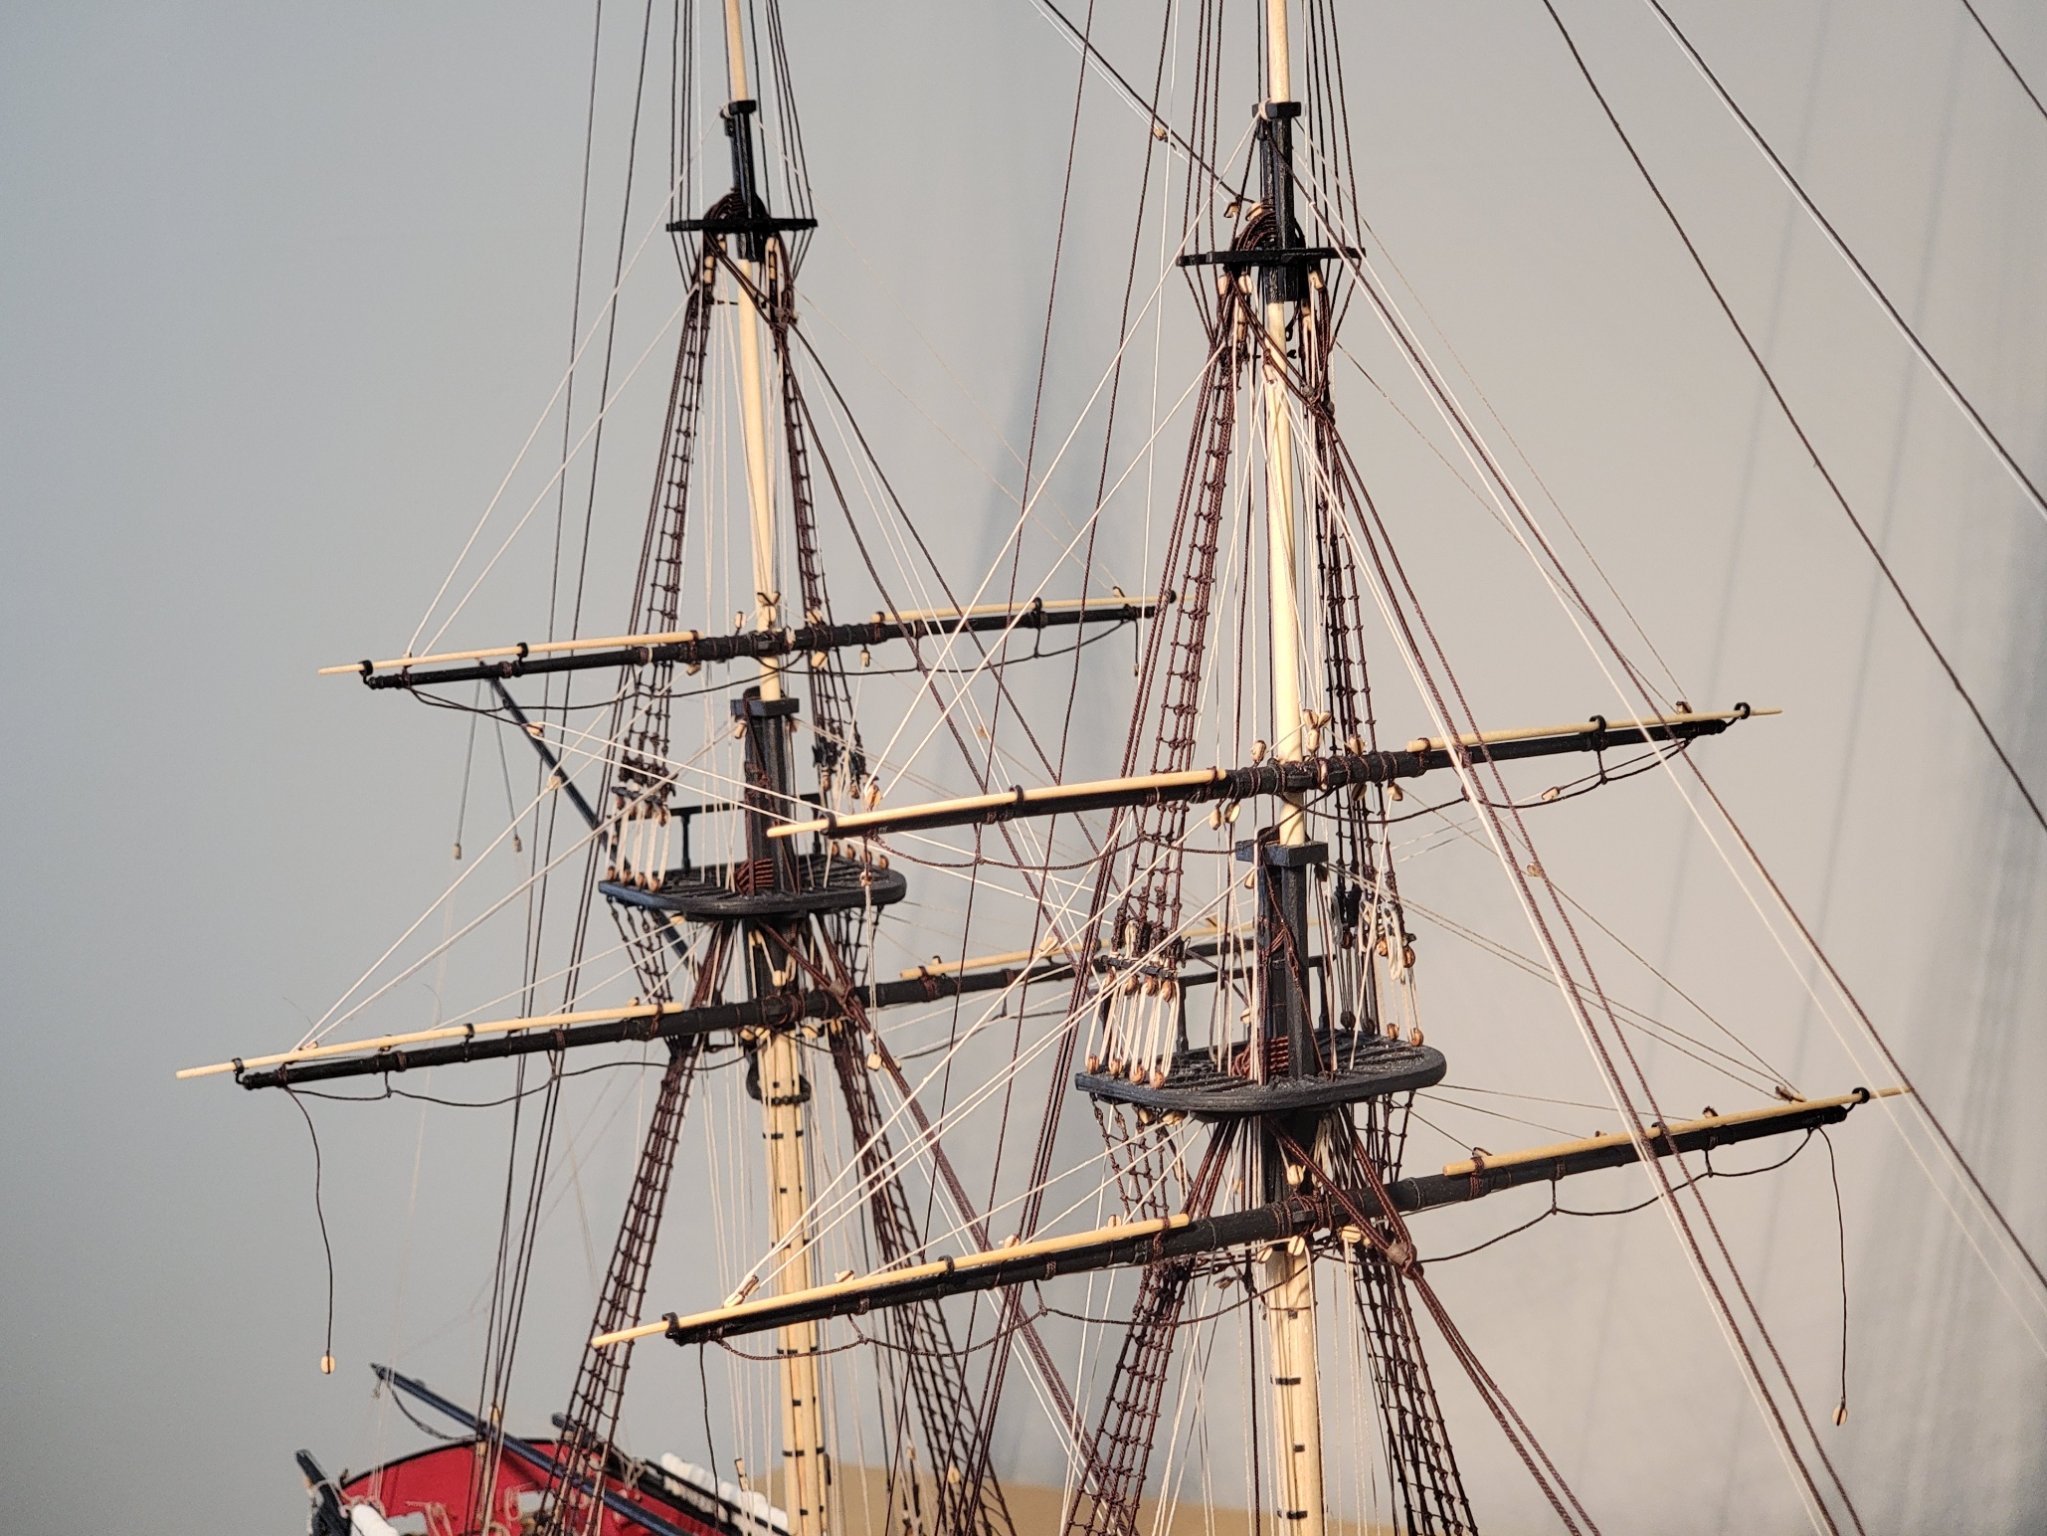
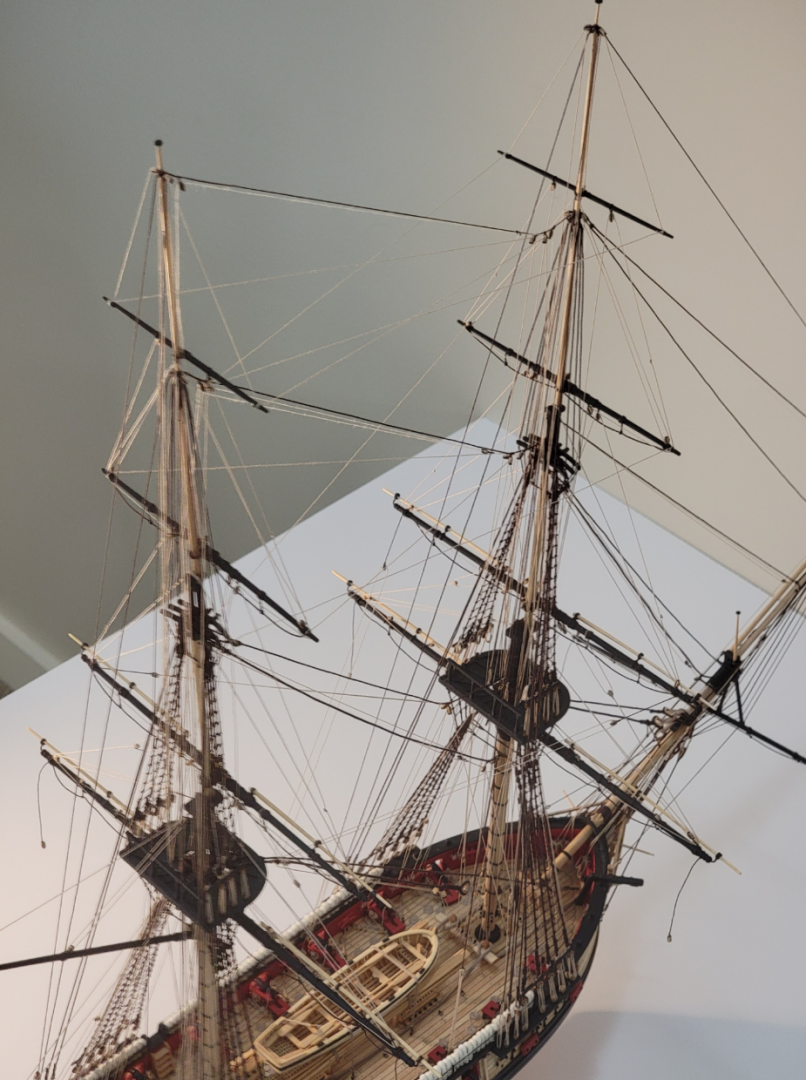
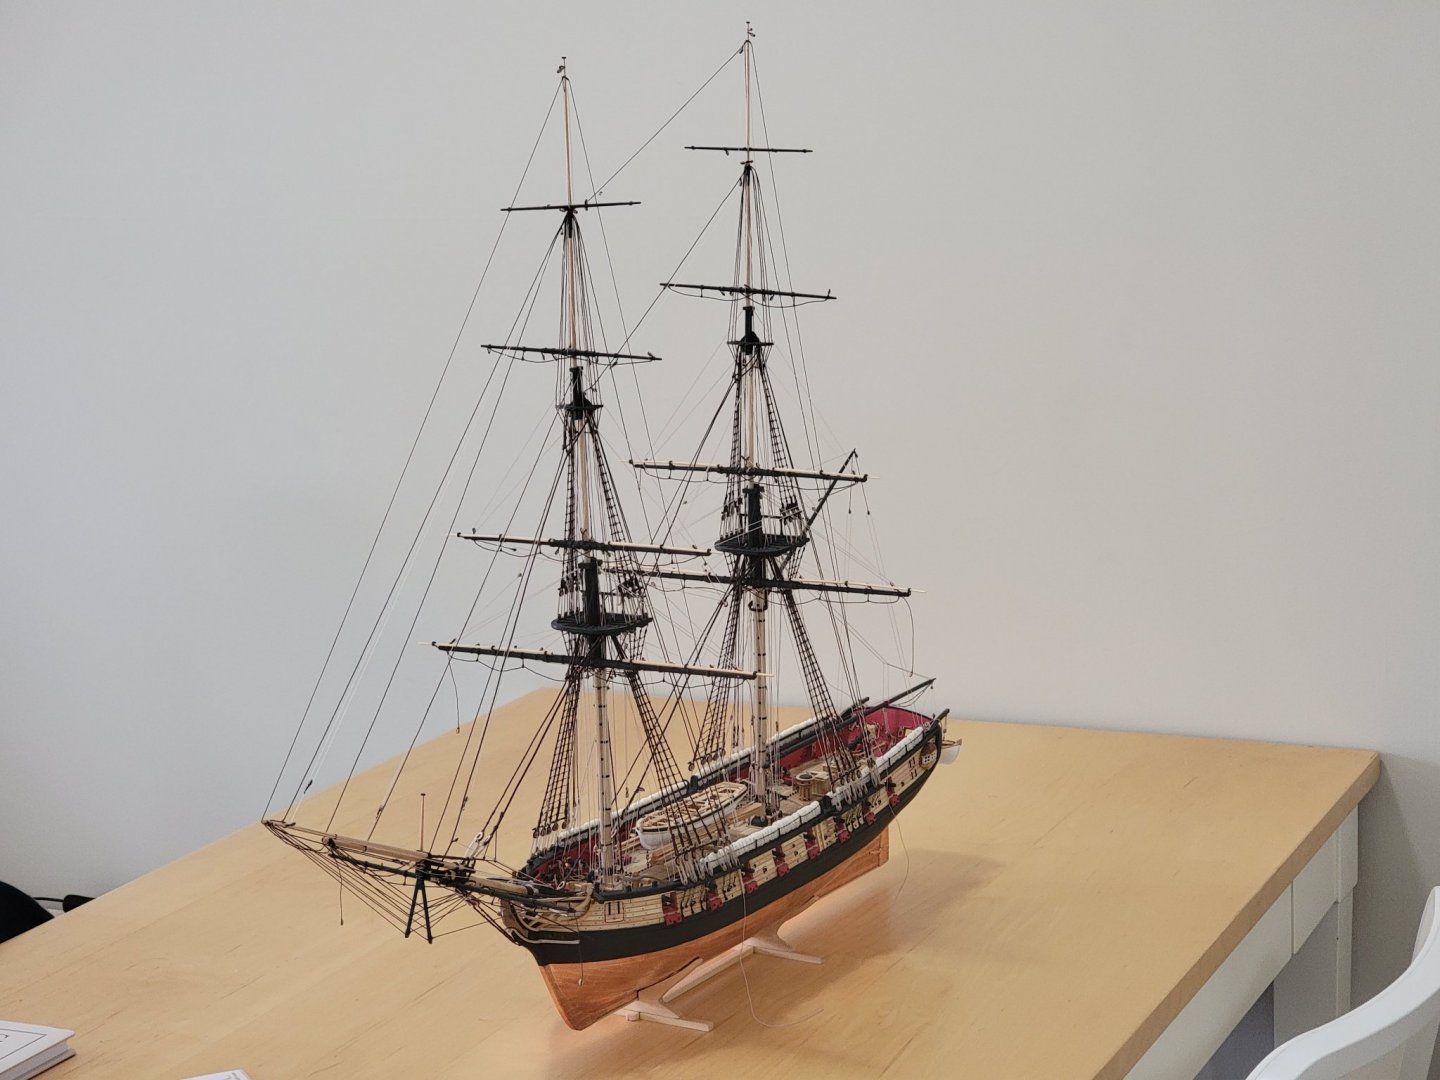
Thanks Will! Thanks for the likes as well!! So now it's really starting to look like a ship with some of the yards in place. Here are a couple of pics with them pinned and lashed in position. I'll next start rigging them 😀


- 950 replies
-
- 15
-
-
- syren
- model shipways
- (and 1 more)
-
I finally finished up attaching all the blocks and items to the yards. I thought it would never end! Here is a quick photo before I start pinning them to the ship:
- 950 replies
-
- 7
-
-
- syren
- model shipways
- (and 1 more)
-
Wow! That's some beautiful carving! What tools did you use for the small detail work? I also keep looking at the copper plates. It has developed a very nice patina!
-
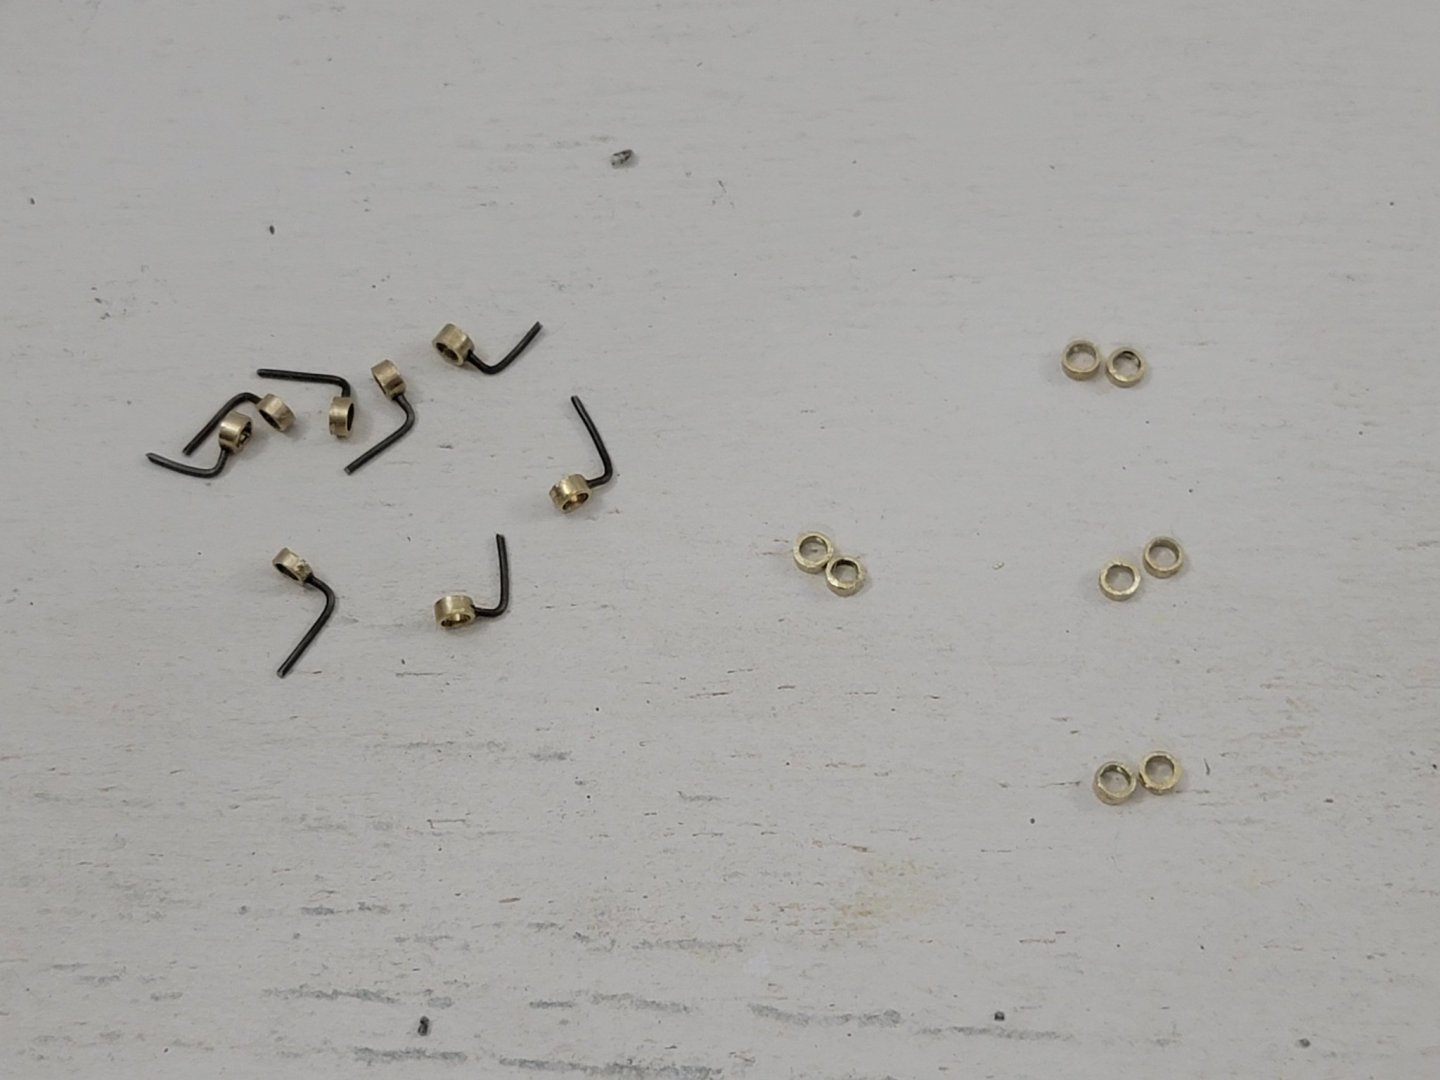
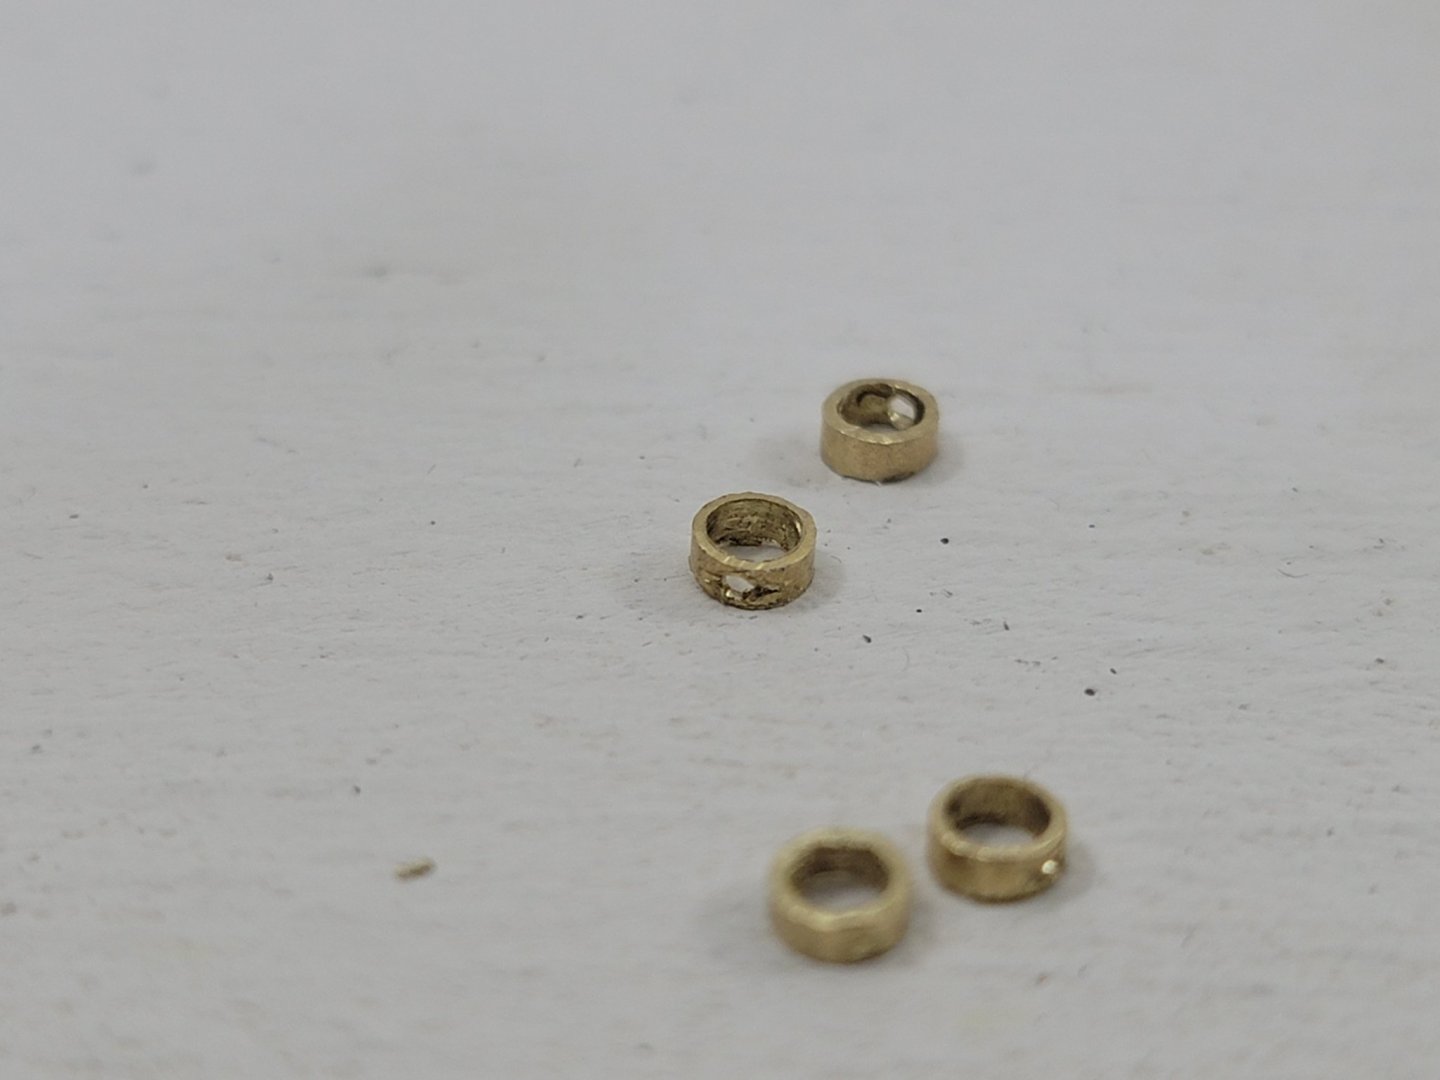
Many thanks Steven! I first scored the tube as suggested by the manual, then used the pin from the compass to indent the center. I then used the pin vise to drill the hole (starting with a smaller drill bit then the larger one to fit the wire in). I don't watch much hockey 😬, but I used to watch Aussie football back in Australia. I'm a bit of a fan of West Coast Eagles! 😀
- 950 replies
-
- 1
-
-
- syren
- model shipways
- (and 1 more)
-
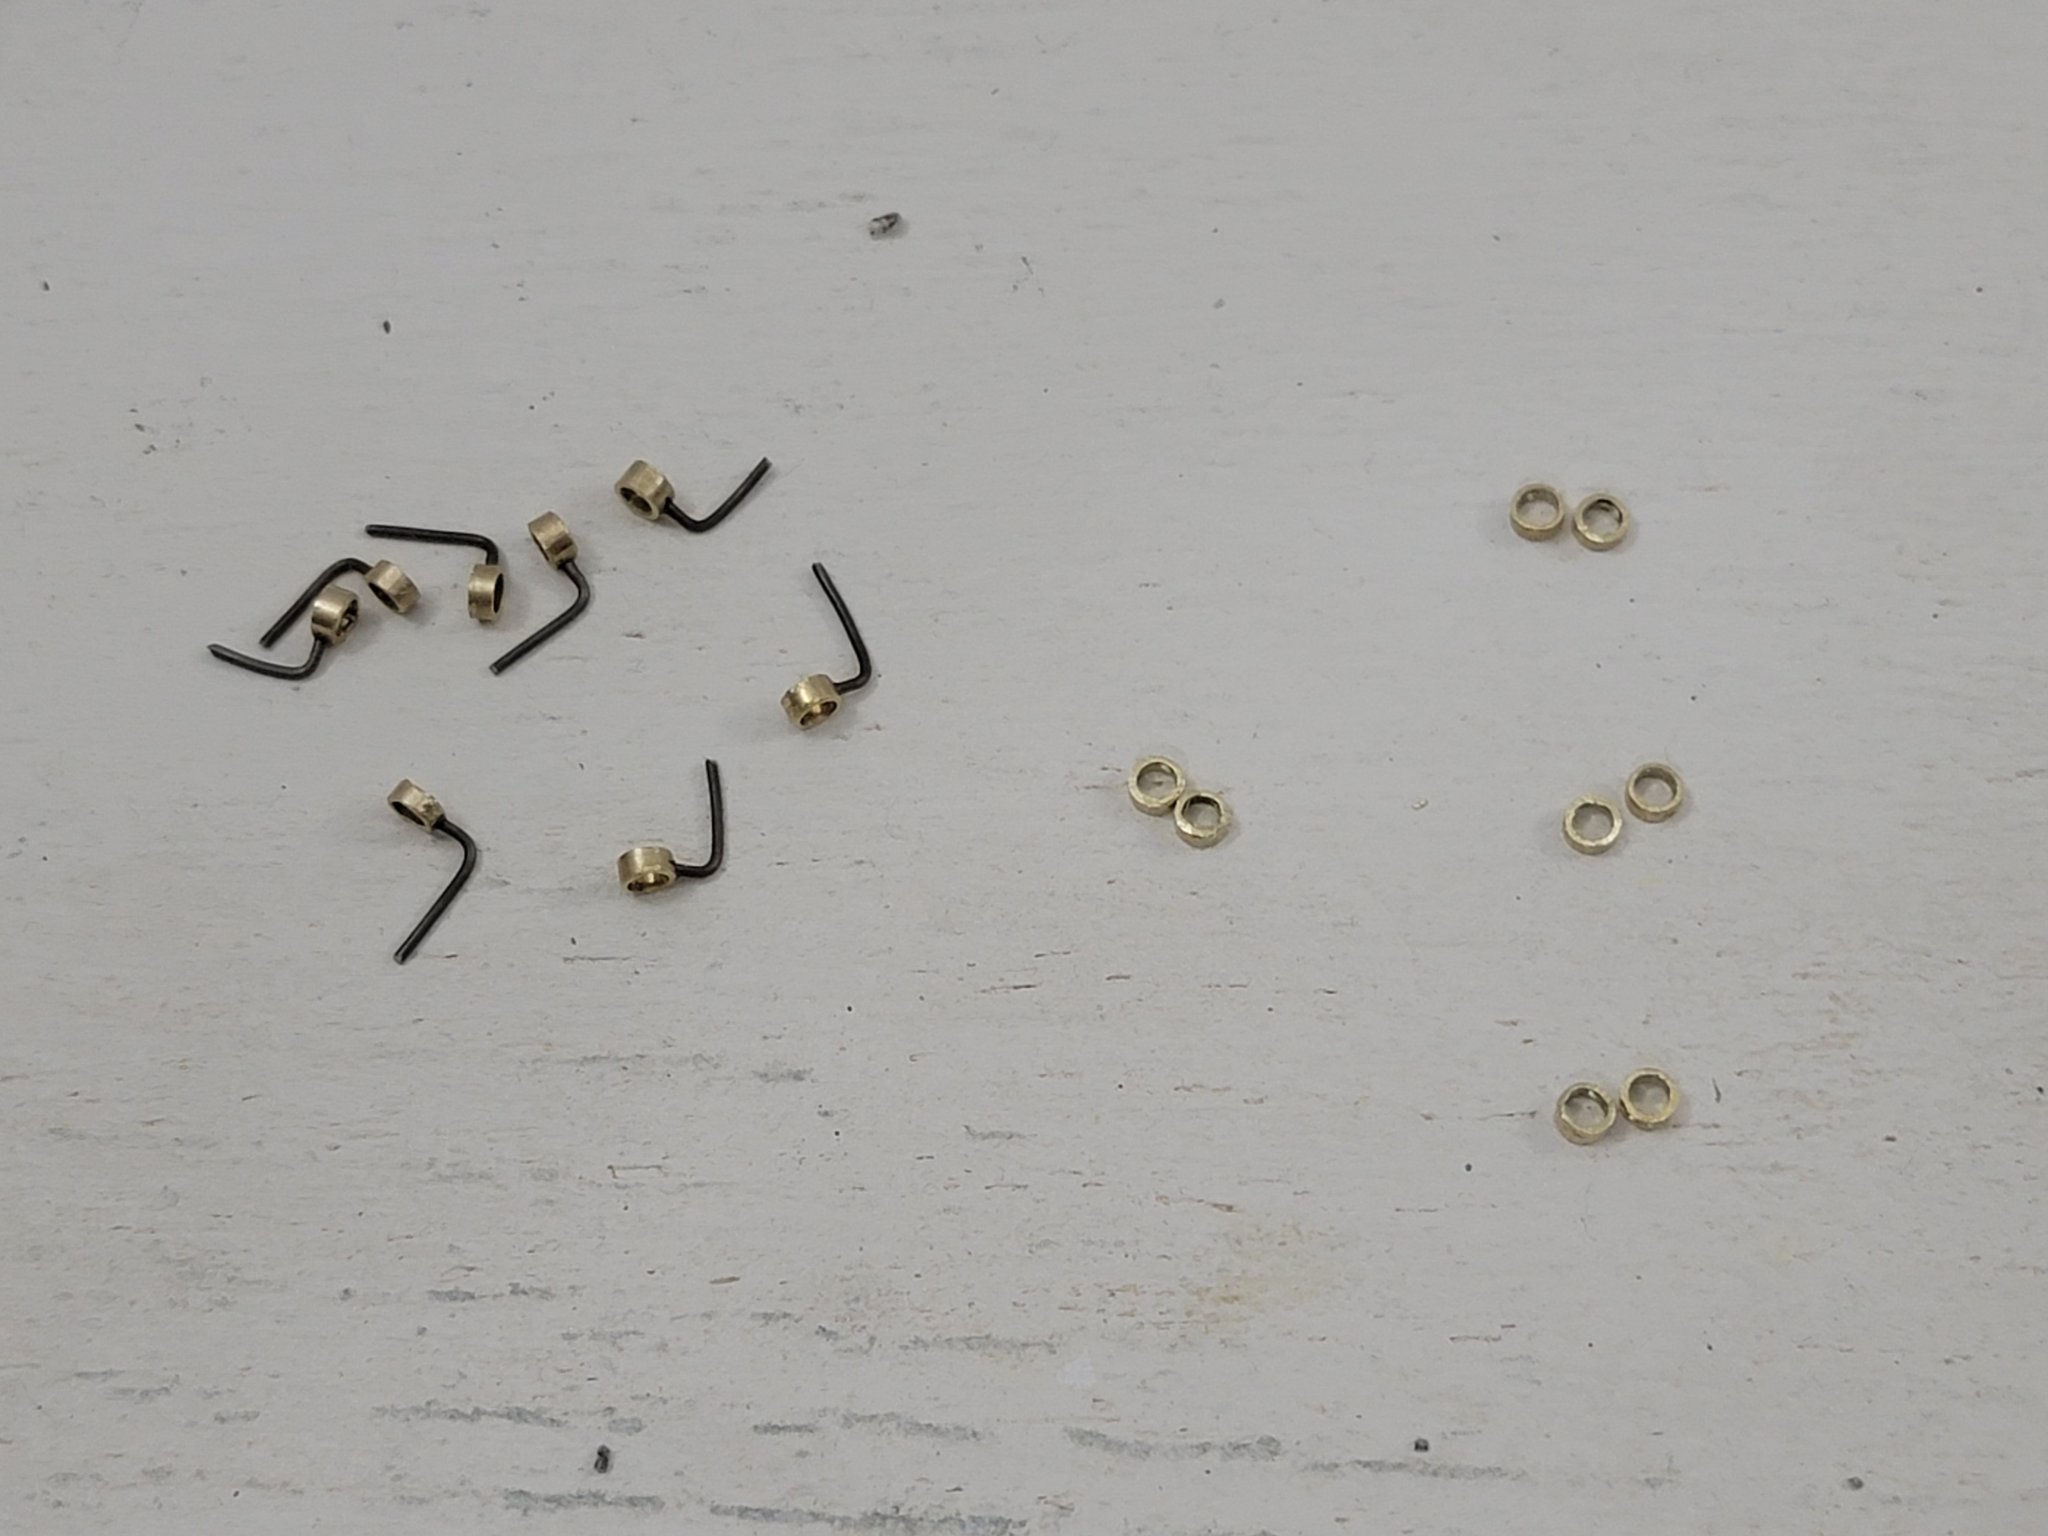
Thanks so much David! Yes I used brass tubing for the irons. They were a bit difficult to cut. And some of them were cut a bit larger comparing to others, but it's hard to spot once they were all installed. I'm really eager to see your model in the case!! Thank you Bob! That's a compass to draw circles. I used the pin end to indent the brass tubing so the drill bit doesn't slip. I drilled the holes before I cut the irons out since I could hold the whole tube more easily. Also, I didn't notice how many blocks there were on the yards until I started installing them... 😅 It will probably be a couple of days work of attaching the blocks and finalizing the yards. I'll post some pics when they are all done. I'm very much looking forward to finishing this tedious stage. They just don't seem to end!
- 950 replies
-
- 4
-
-
- syren
- model shipways
- (and 1 more)
-
She's looking really good, Justin! So crisp and tidy 🙂
-
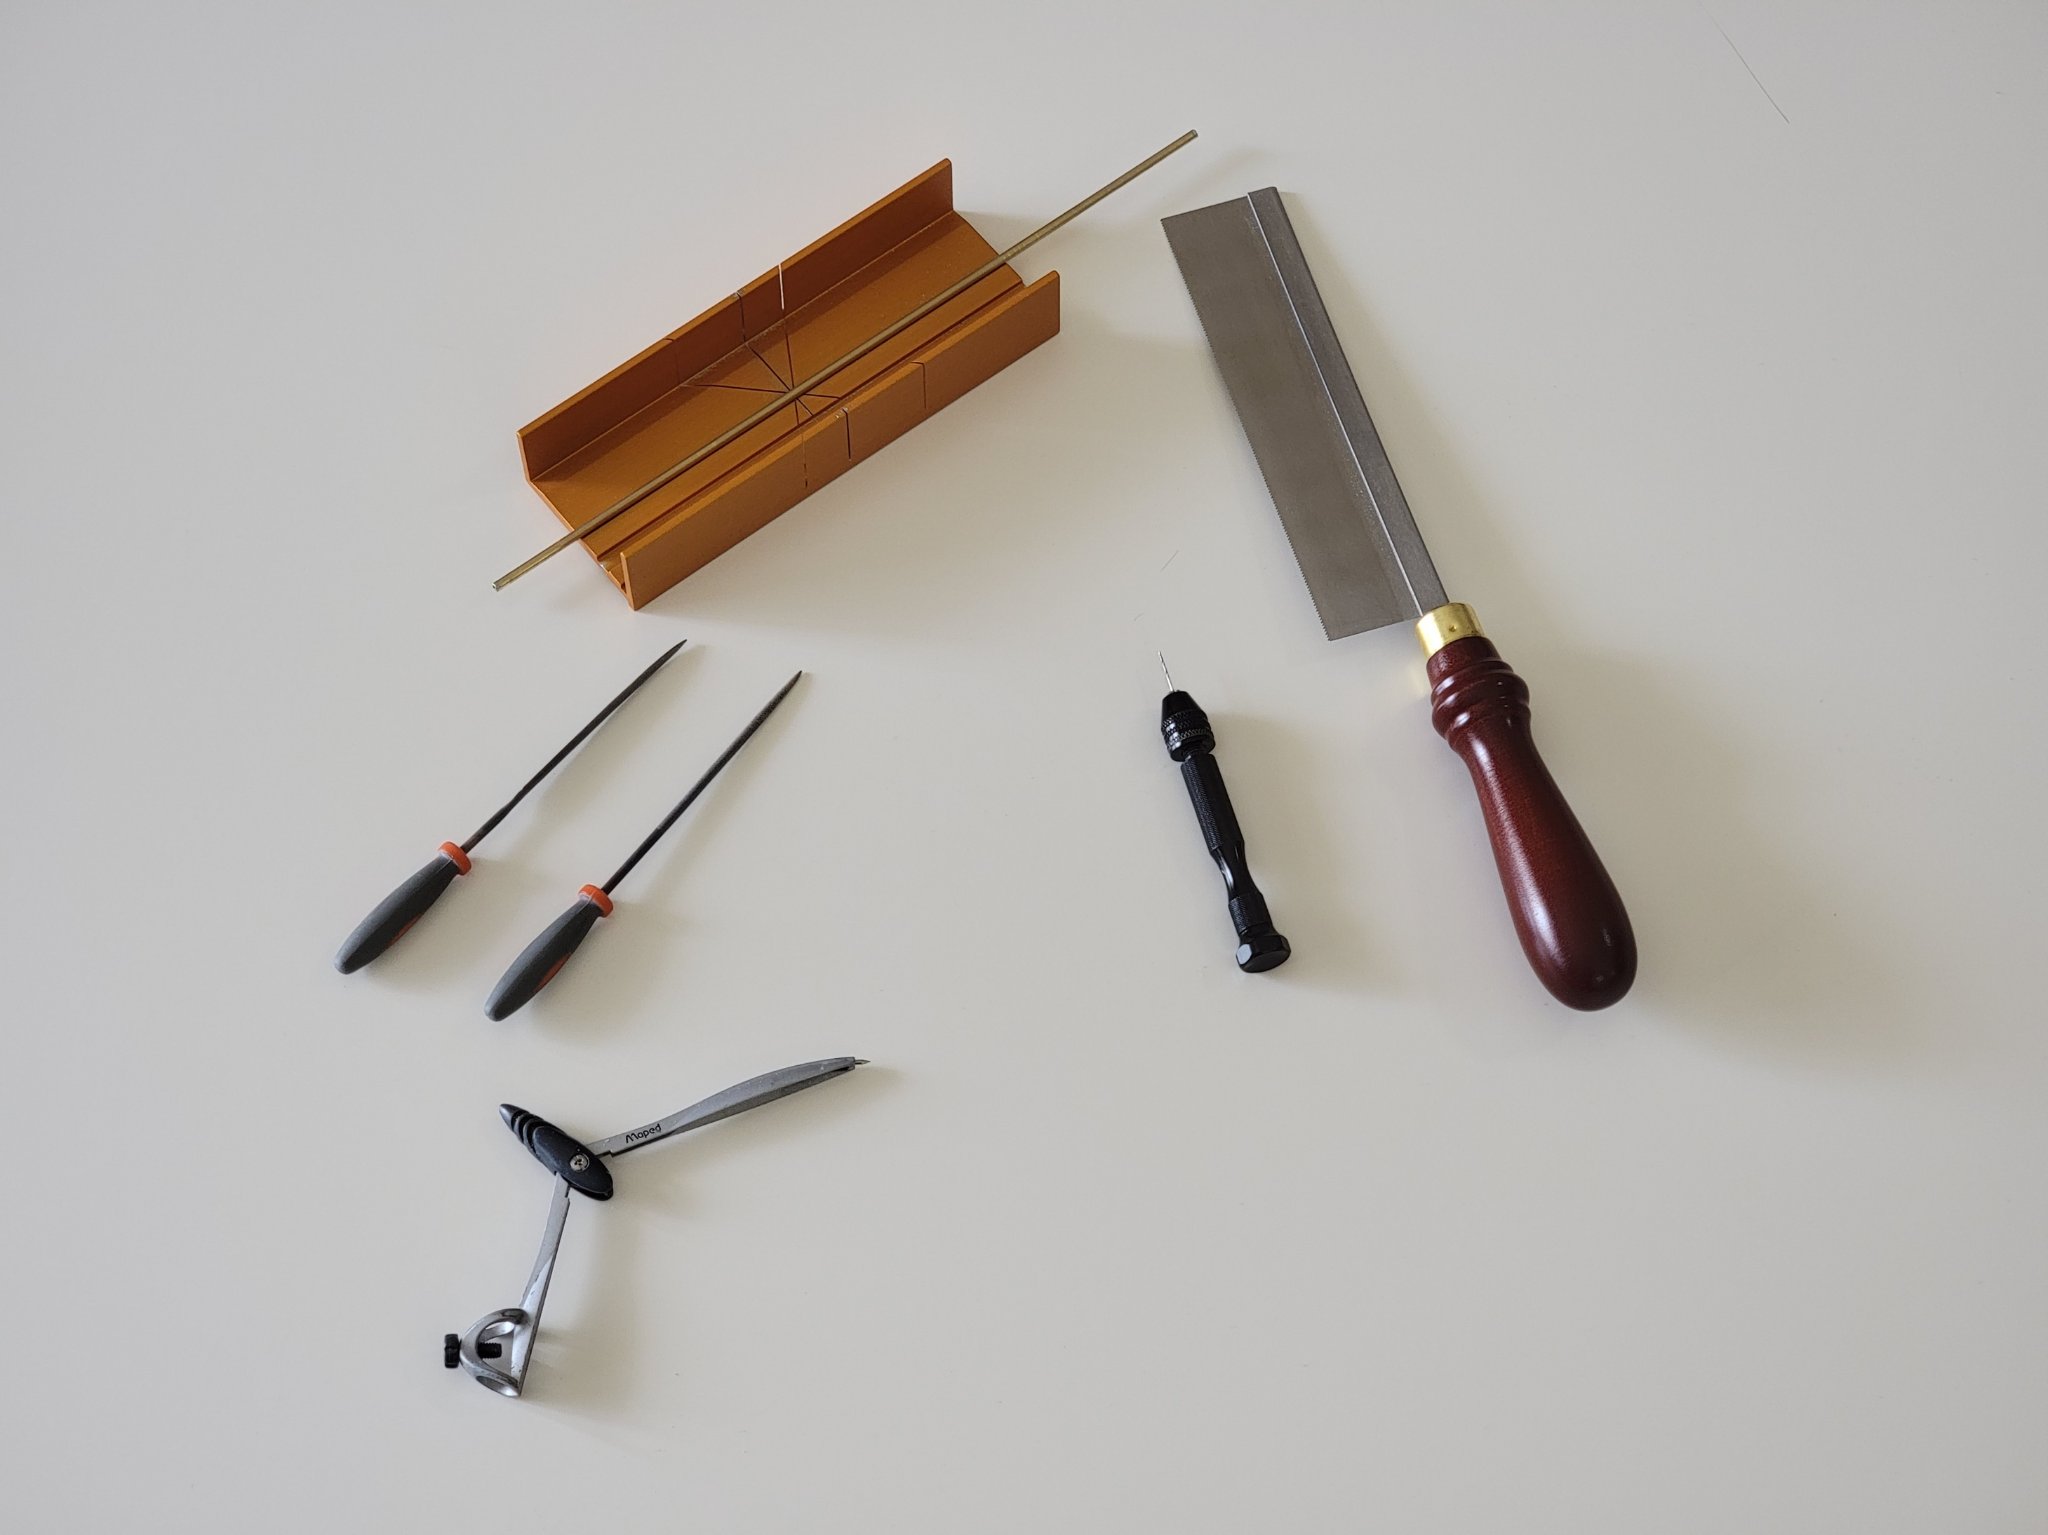
It was another hectic couple of days wrapping up the semester. Got a few more hours of free time so I got to complete the boom irons I just followed the instructions to make these. Here are all the tools I used: Back then I was a bit nervous on how I would complete this step without power tools since it was dealing with metal. But somehow I managed it with the above. Here are a couple of pics of the irons freshly cut and holes drilled: And some photos of them installed on the spars and painted: I also did not simulate the hinges on the iron. I thought they looked a bit over scale, so I opted not to include them. Next up I'll be attaching all the blocks to the spars, then will finally get to rig them!!

- 950 replies
-
- 14
-
-
- syren
- model shipways
- (and 1 more)
-
Thank you Bob, Will, and Justin! And thanks all for the likes and interest as well 😀
-
Many thanks for the nice words Will and David!!! Thanks all for the likes as well! Progress unfortunately slowed down this week. It's the end of the semester so was busy with exams and reports. Most of the work is done so I got some time and got back to finish the foot ropes on all the yards. Here is a picture of where they are at And here is the solution I used to make them. I just used a drop mixed with two drops of water then applied on the ropes Next up I'll work on the boom irons that attach on the spars, then the blocks

- 950 replies
-
- 10
-
-
- syren
- model shipways
- (and 1 more)
-
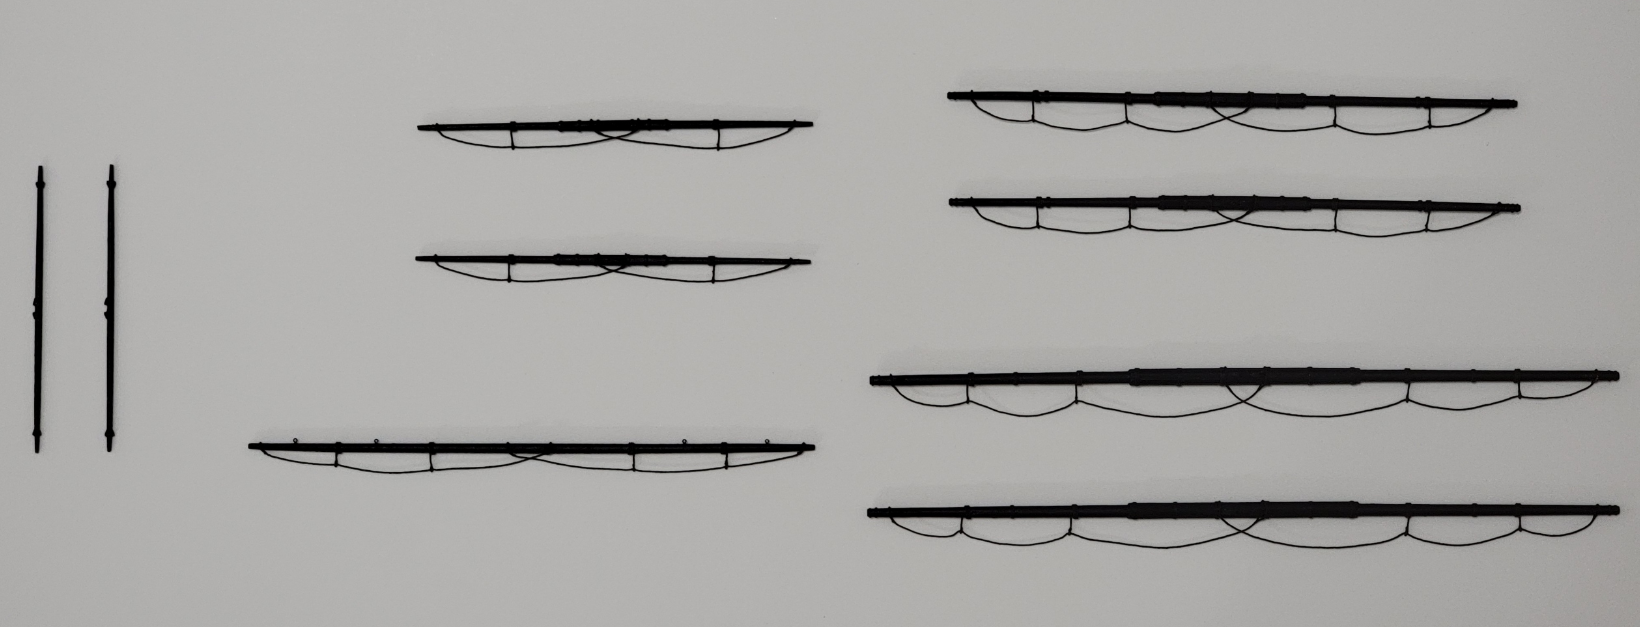
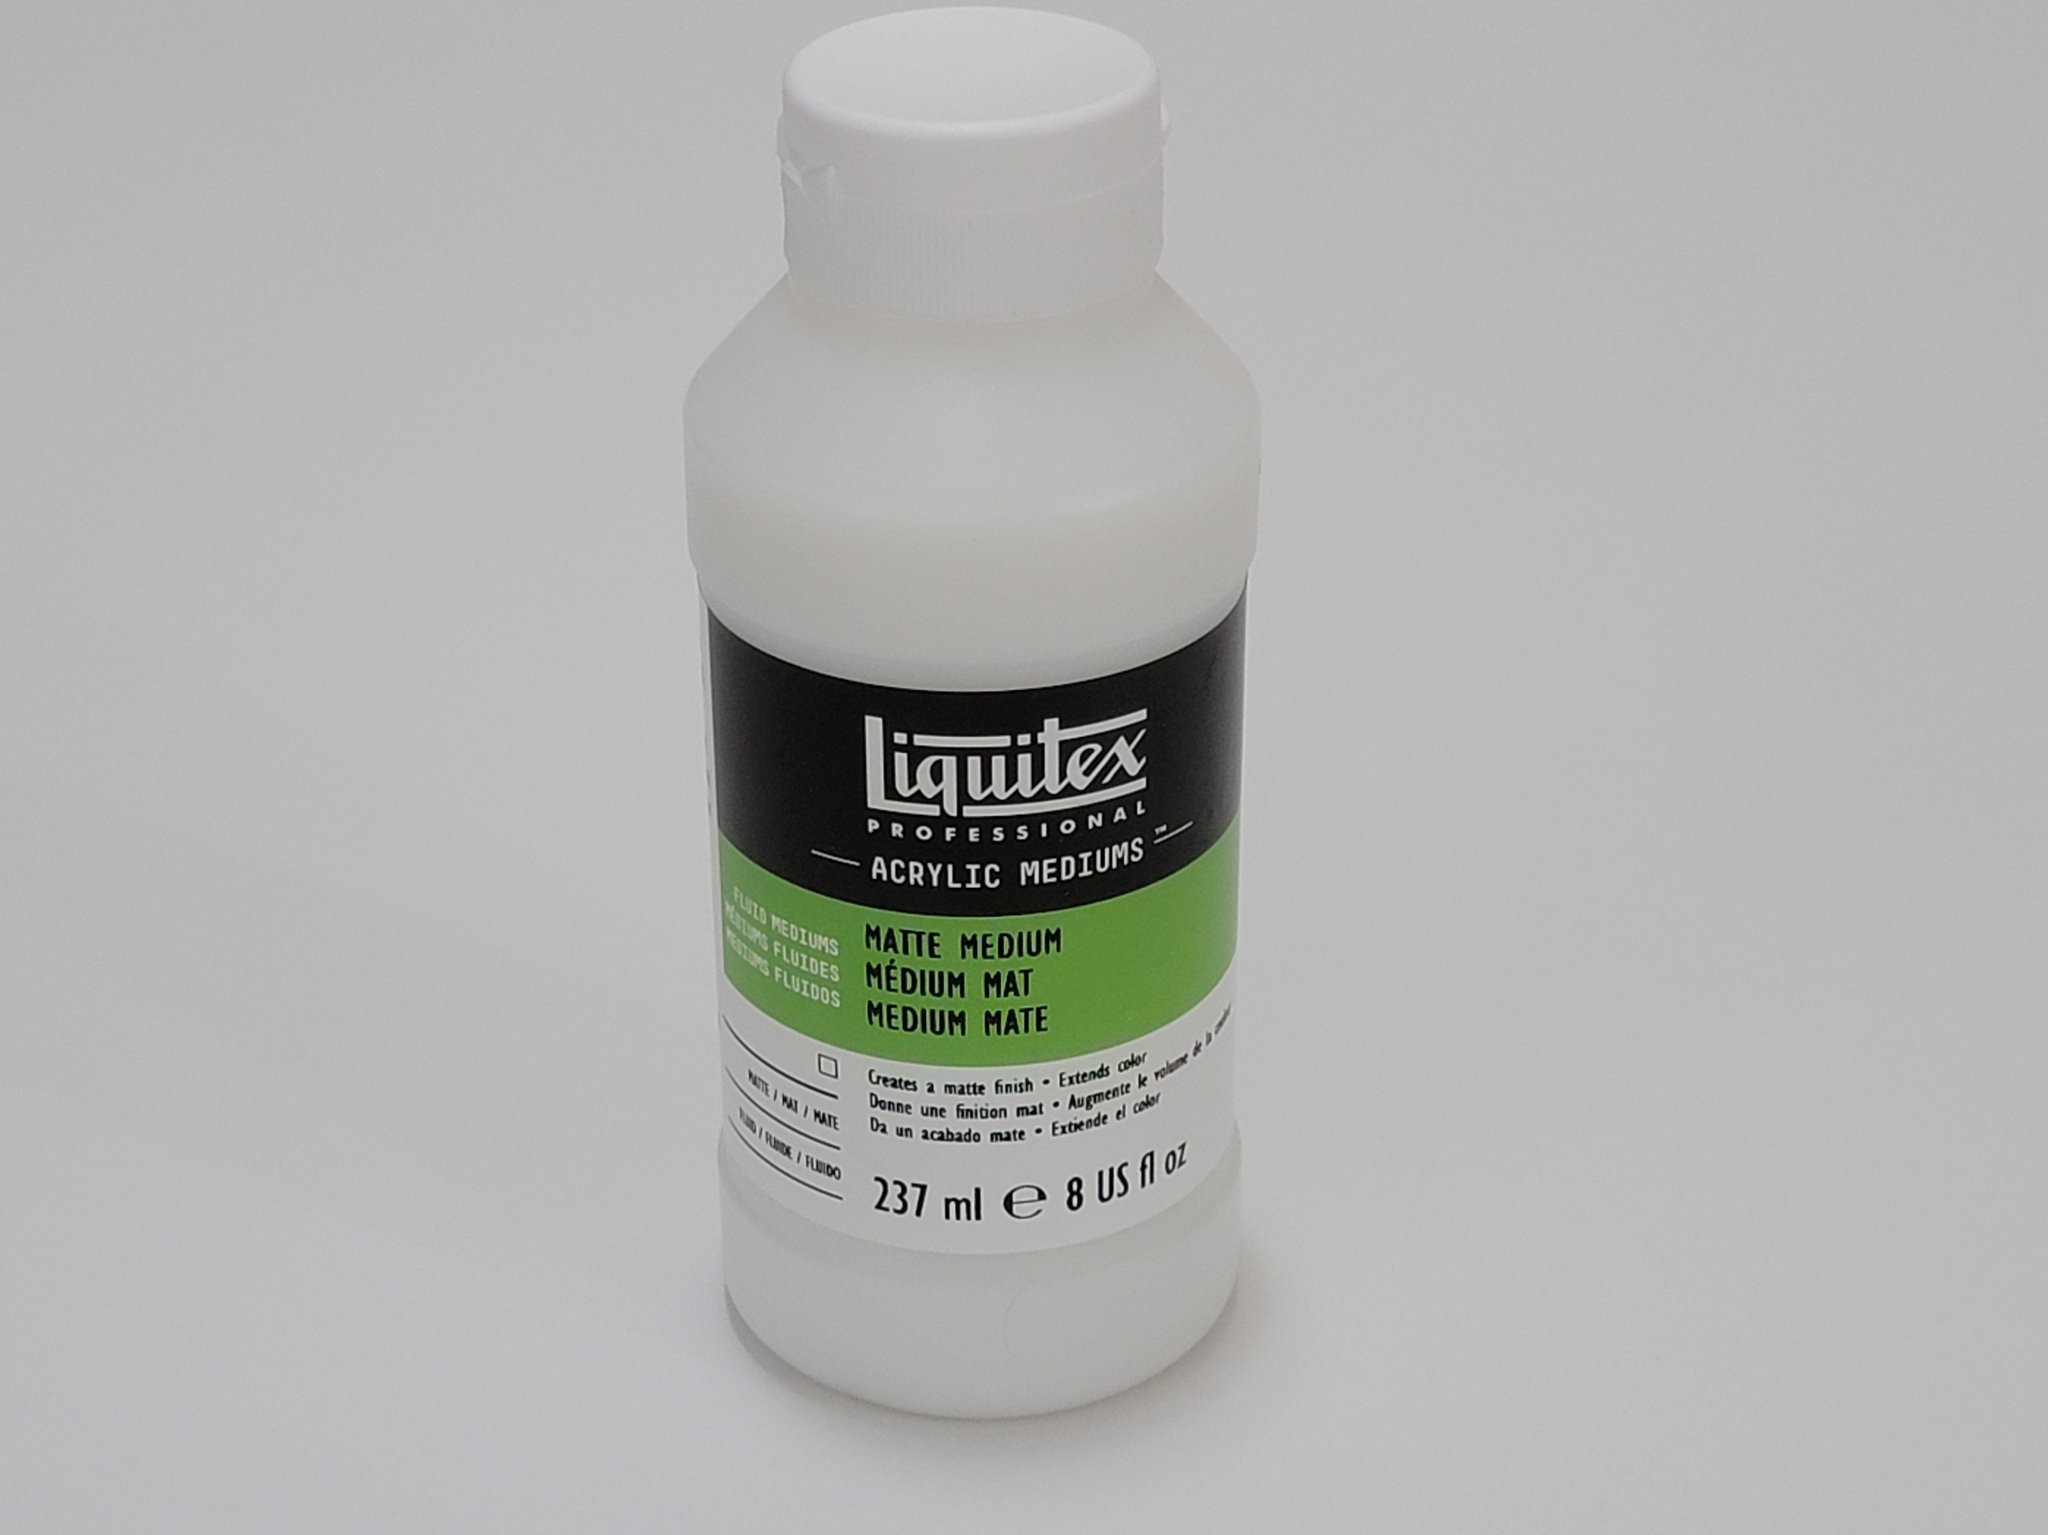
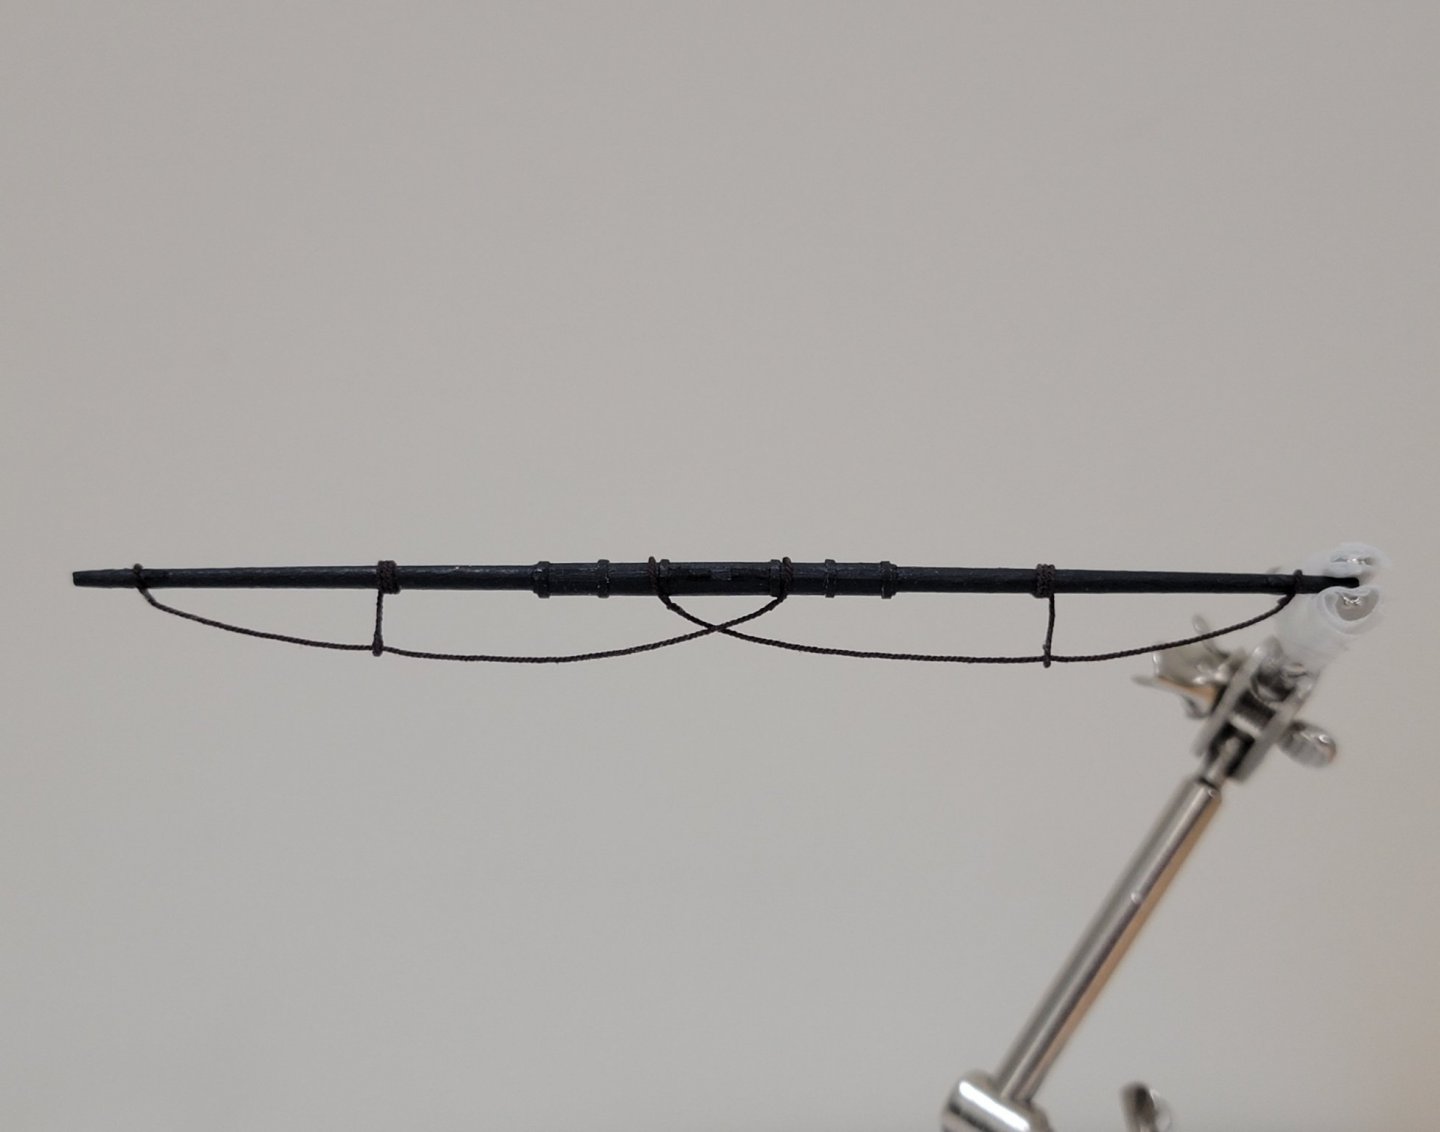
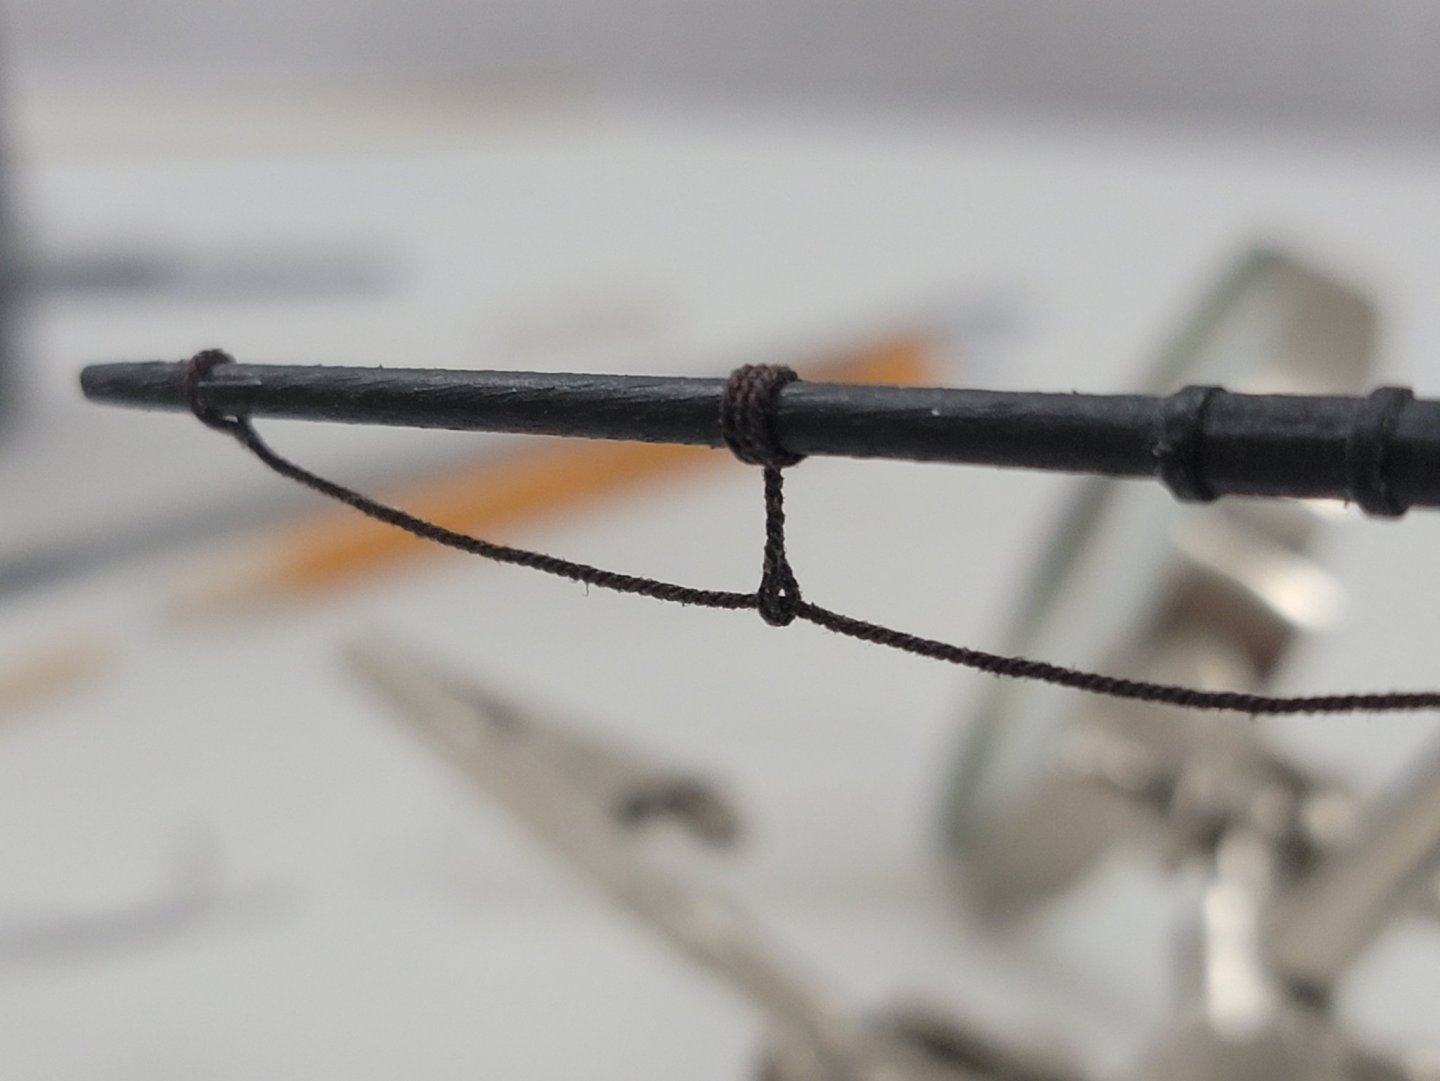
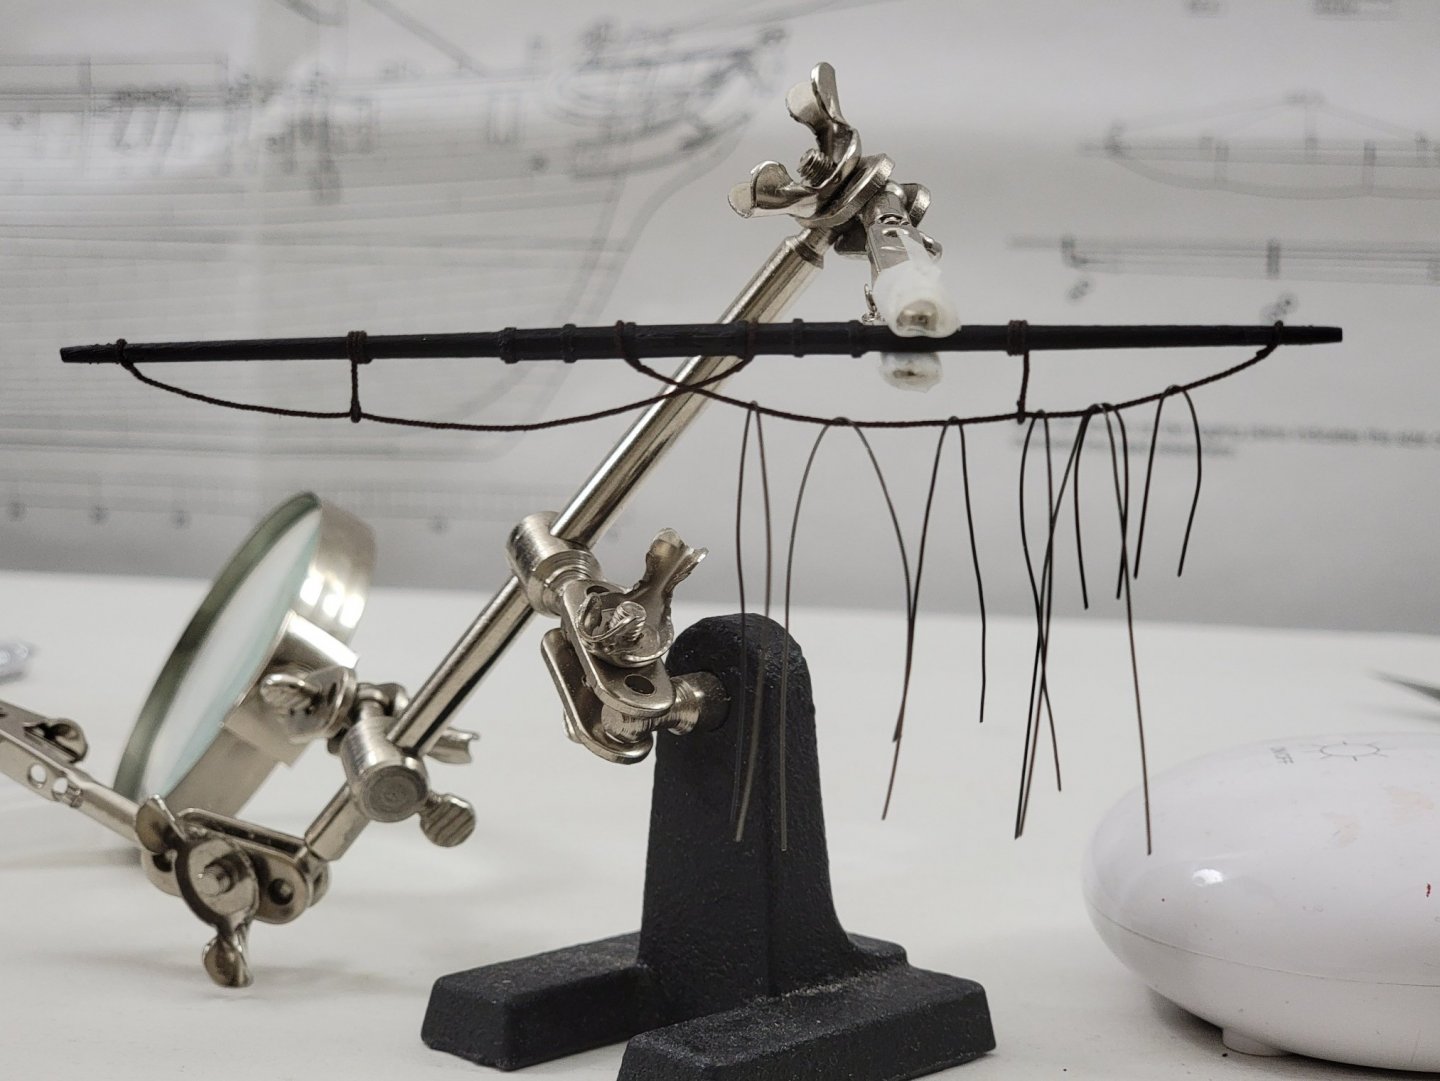
I finished rigging one of the yards with the stirrups and footropes. For this I ended up using the rope, and the rope held its shape with diluted acrylic matt medium. Here are some pics: Used wire to shape them while the matt medium dried: As usual, any comments or suggestions are more than welcome! 🙂
- 950 replies
-
- 13
-
-
- syren
- model shipways
- (and 1 more)
-
Thanks so much Thomas!! 😃 I dyed the sewing thread rope coils with some tea. I think that did the job. I just applied the tea with a toothpick, and allowed the strings to dry a bit. It's still a bit light, but matches the other ropes a bit better. Here are some pics: And of the other rope coils Really enjoying making rope coils as an intermediate step. I don't think I'd feel the same if I did them all at once at the end 😬 Will now continue working on the yards, very curious on how they turn out (especially the footropes!)


- 950 replies
-
- 9
-
-
- syren
- model shipways
- (and 1 more)