.jpg.1f80adf1a9b14a937cfcf2ca6af0f0d4.jpg)
WalrusGuy
-
Posts
1,011 -
Joined
-
Last visited
Content Type
Profiles
Forums
Gallery
Events
Everything posted by WalrusGuy
-
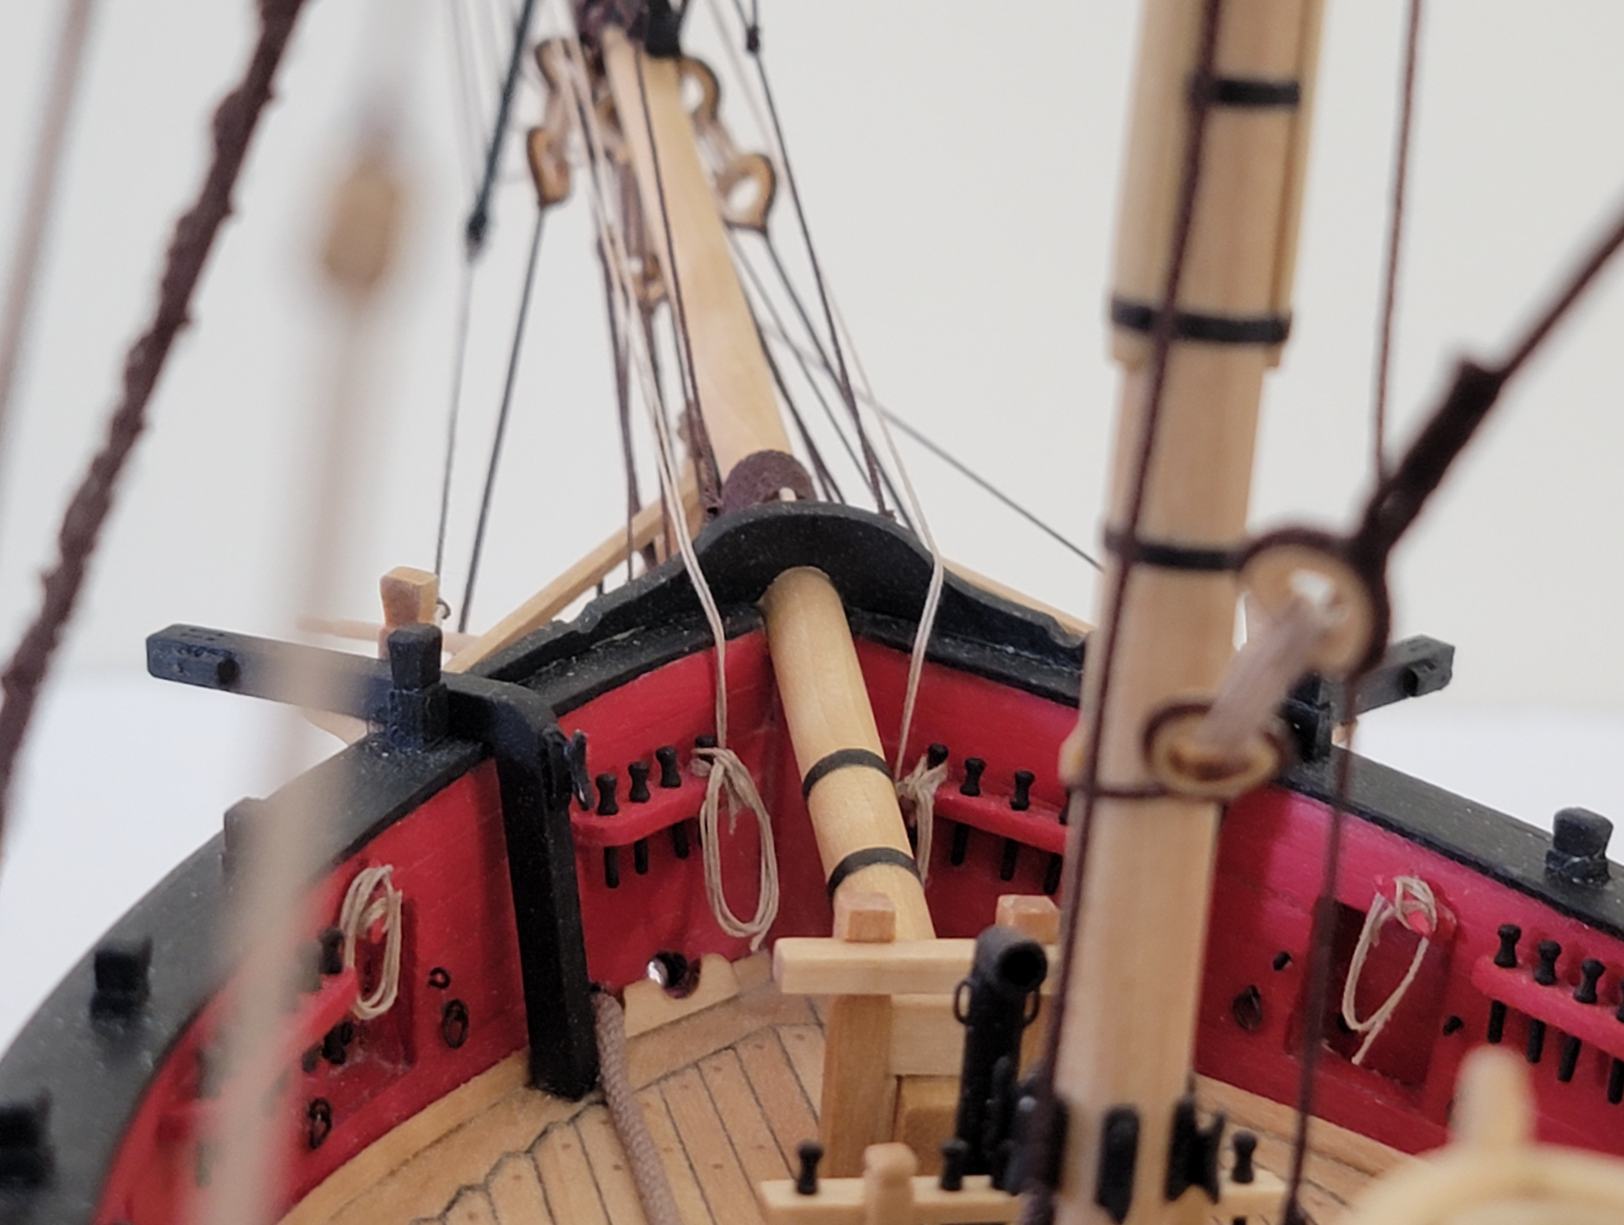
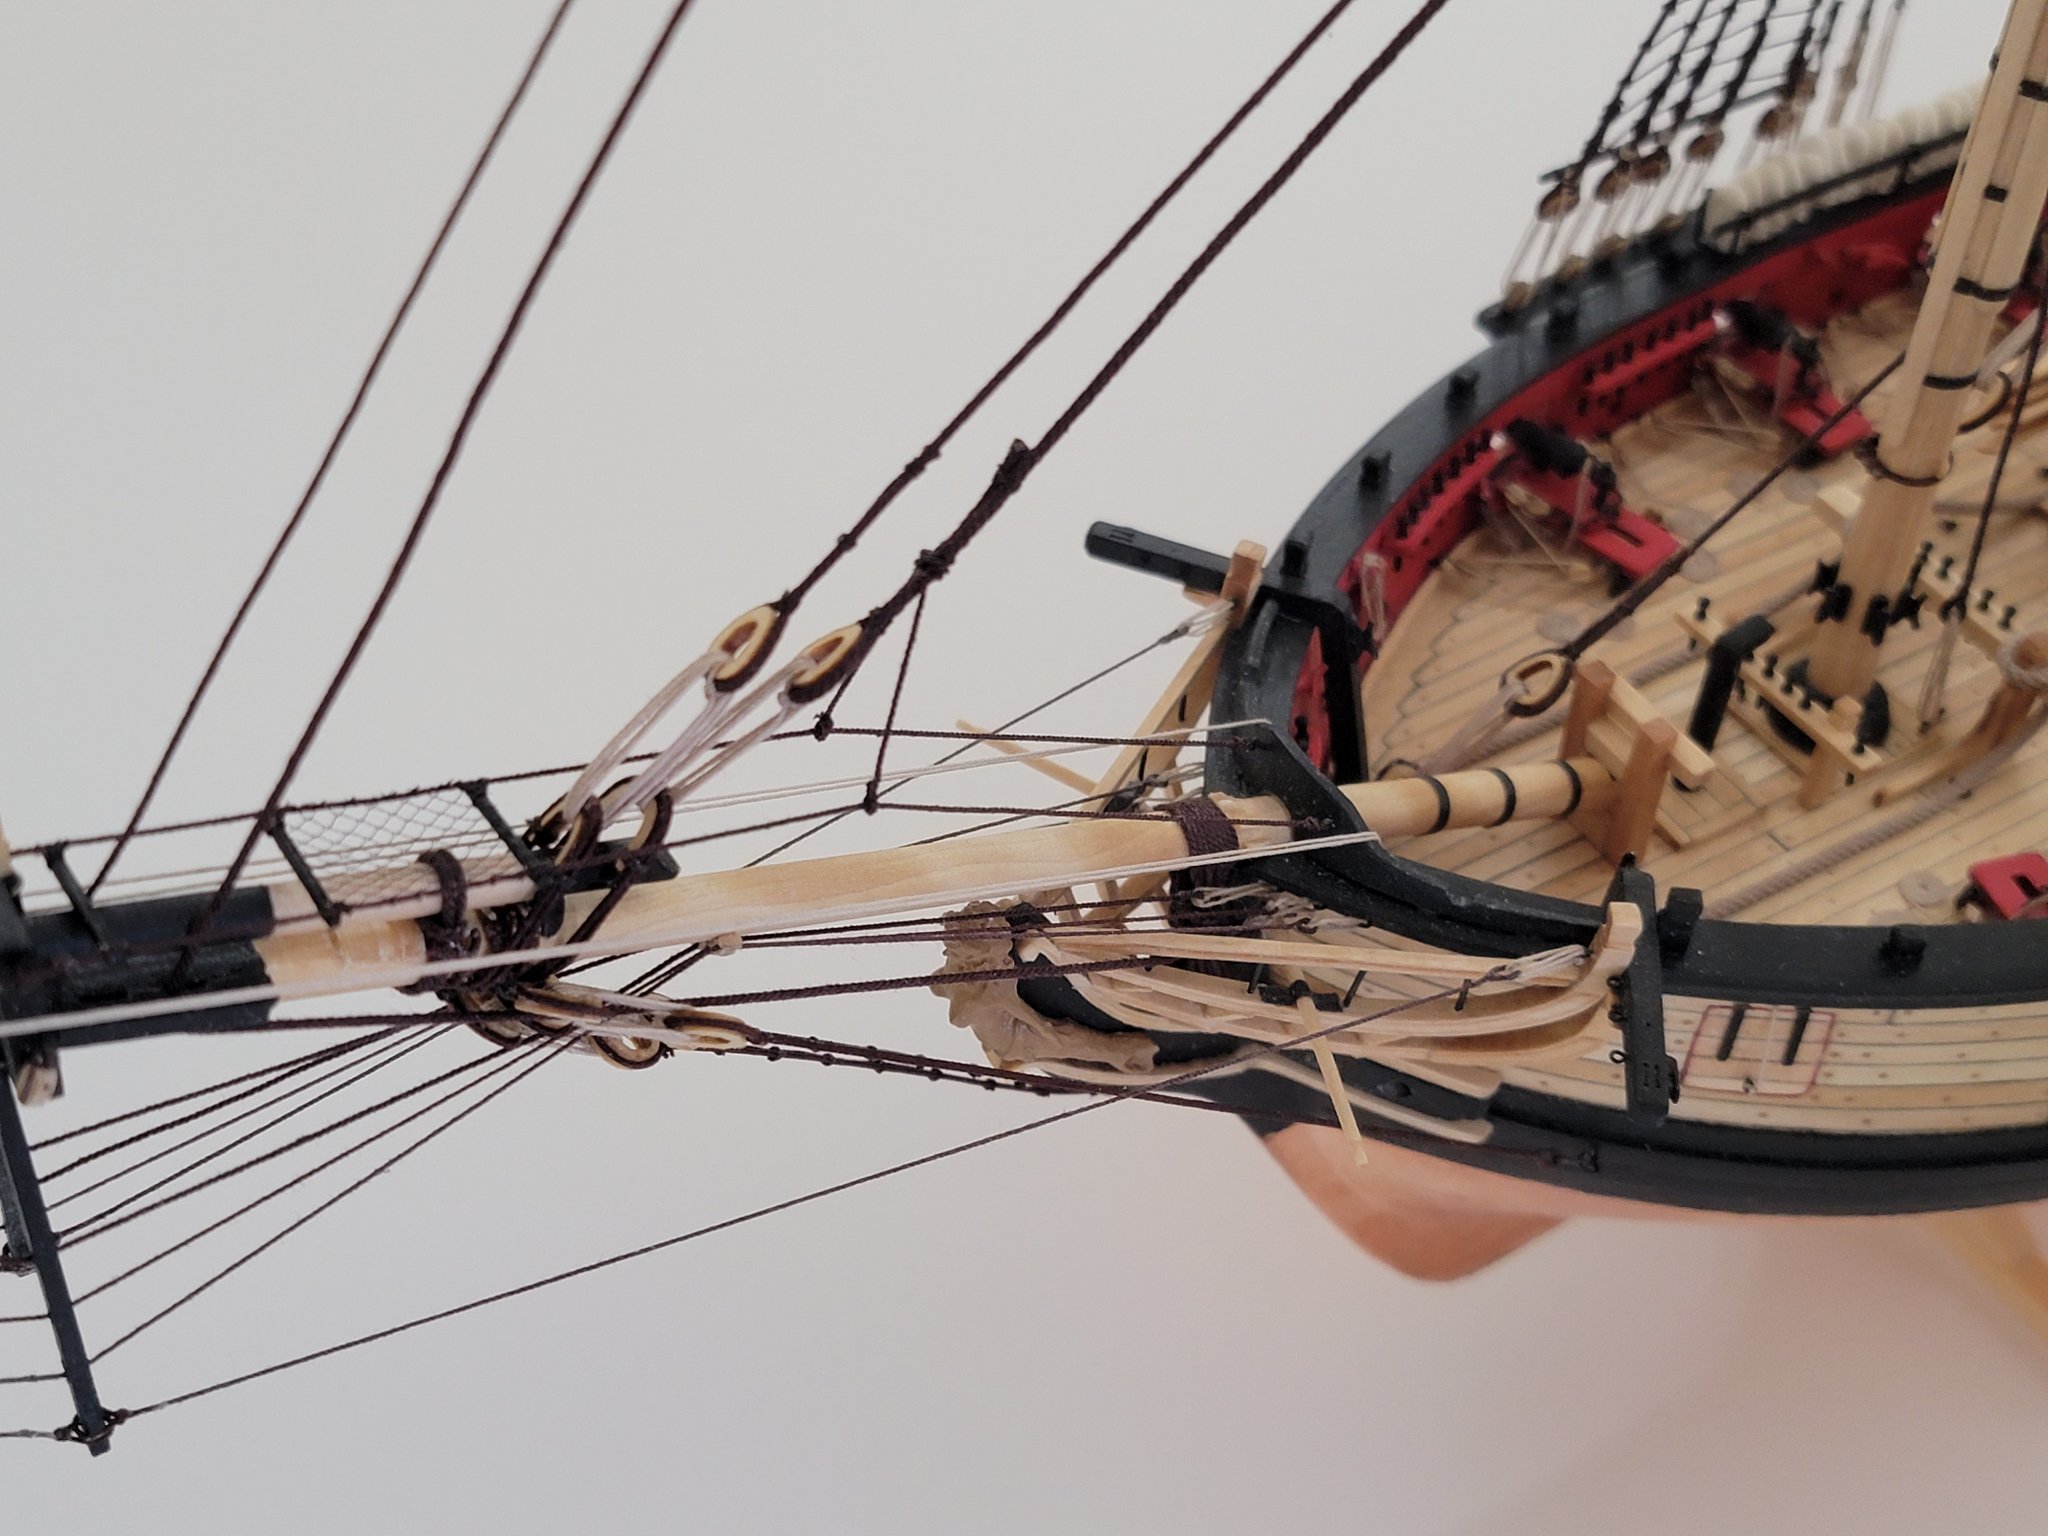
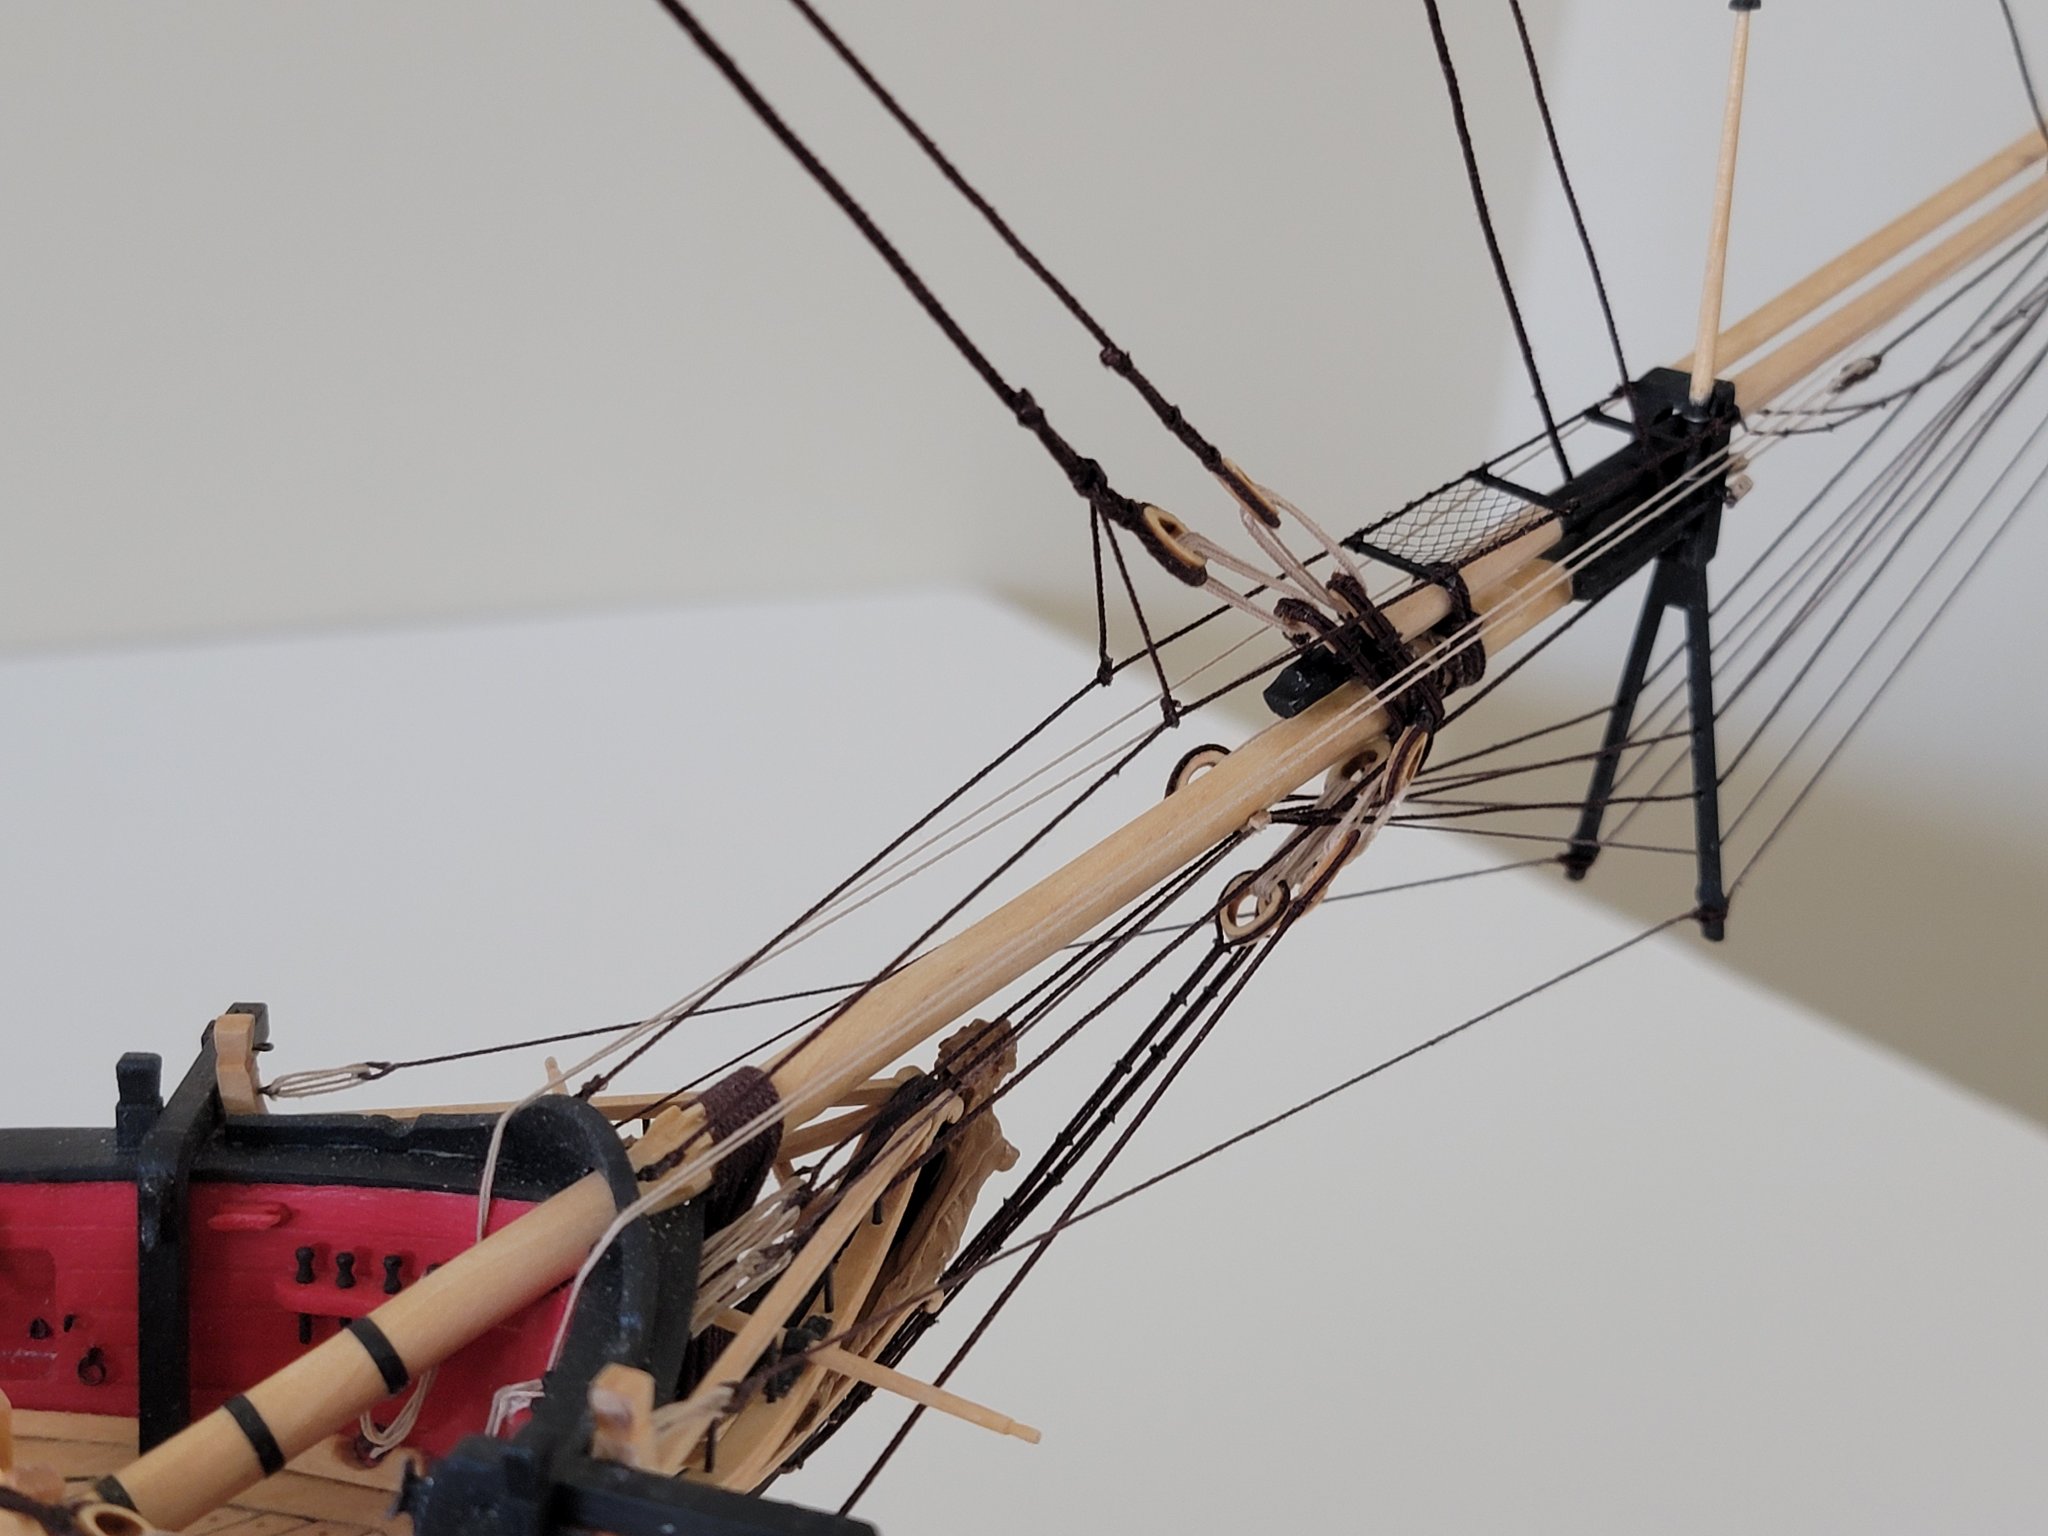
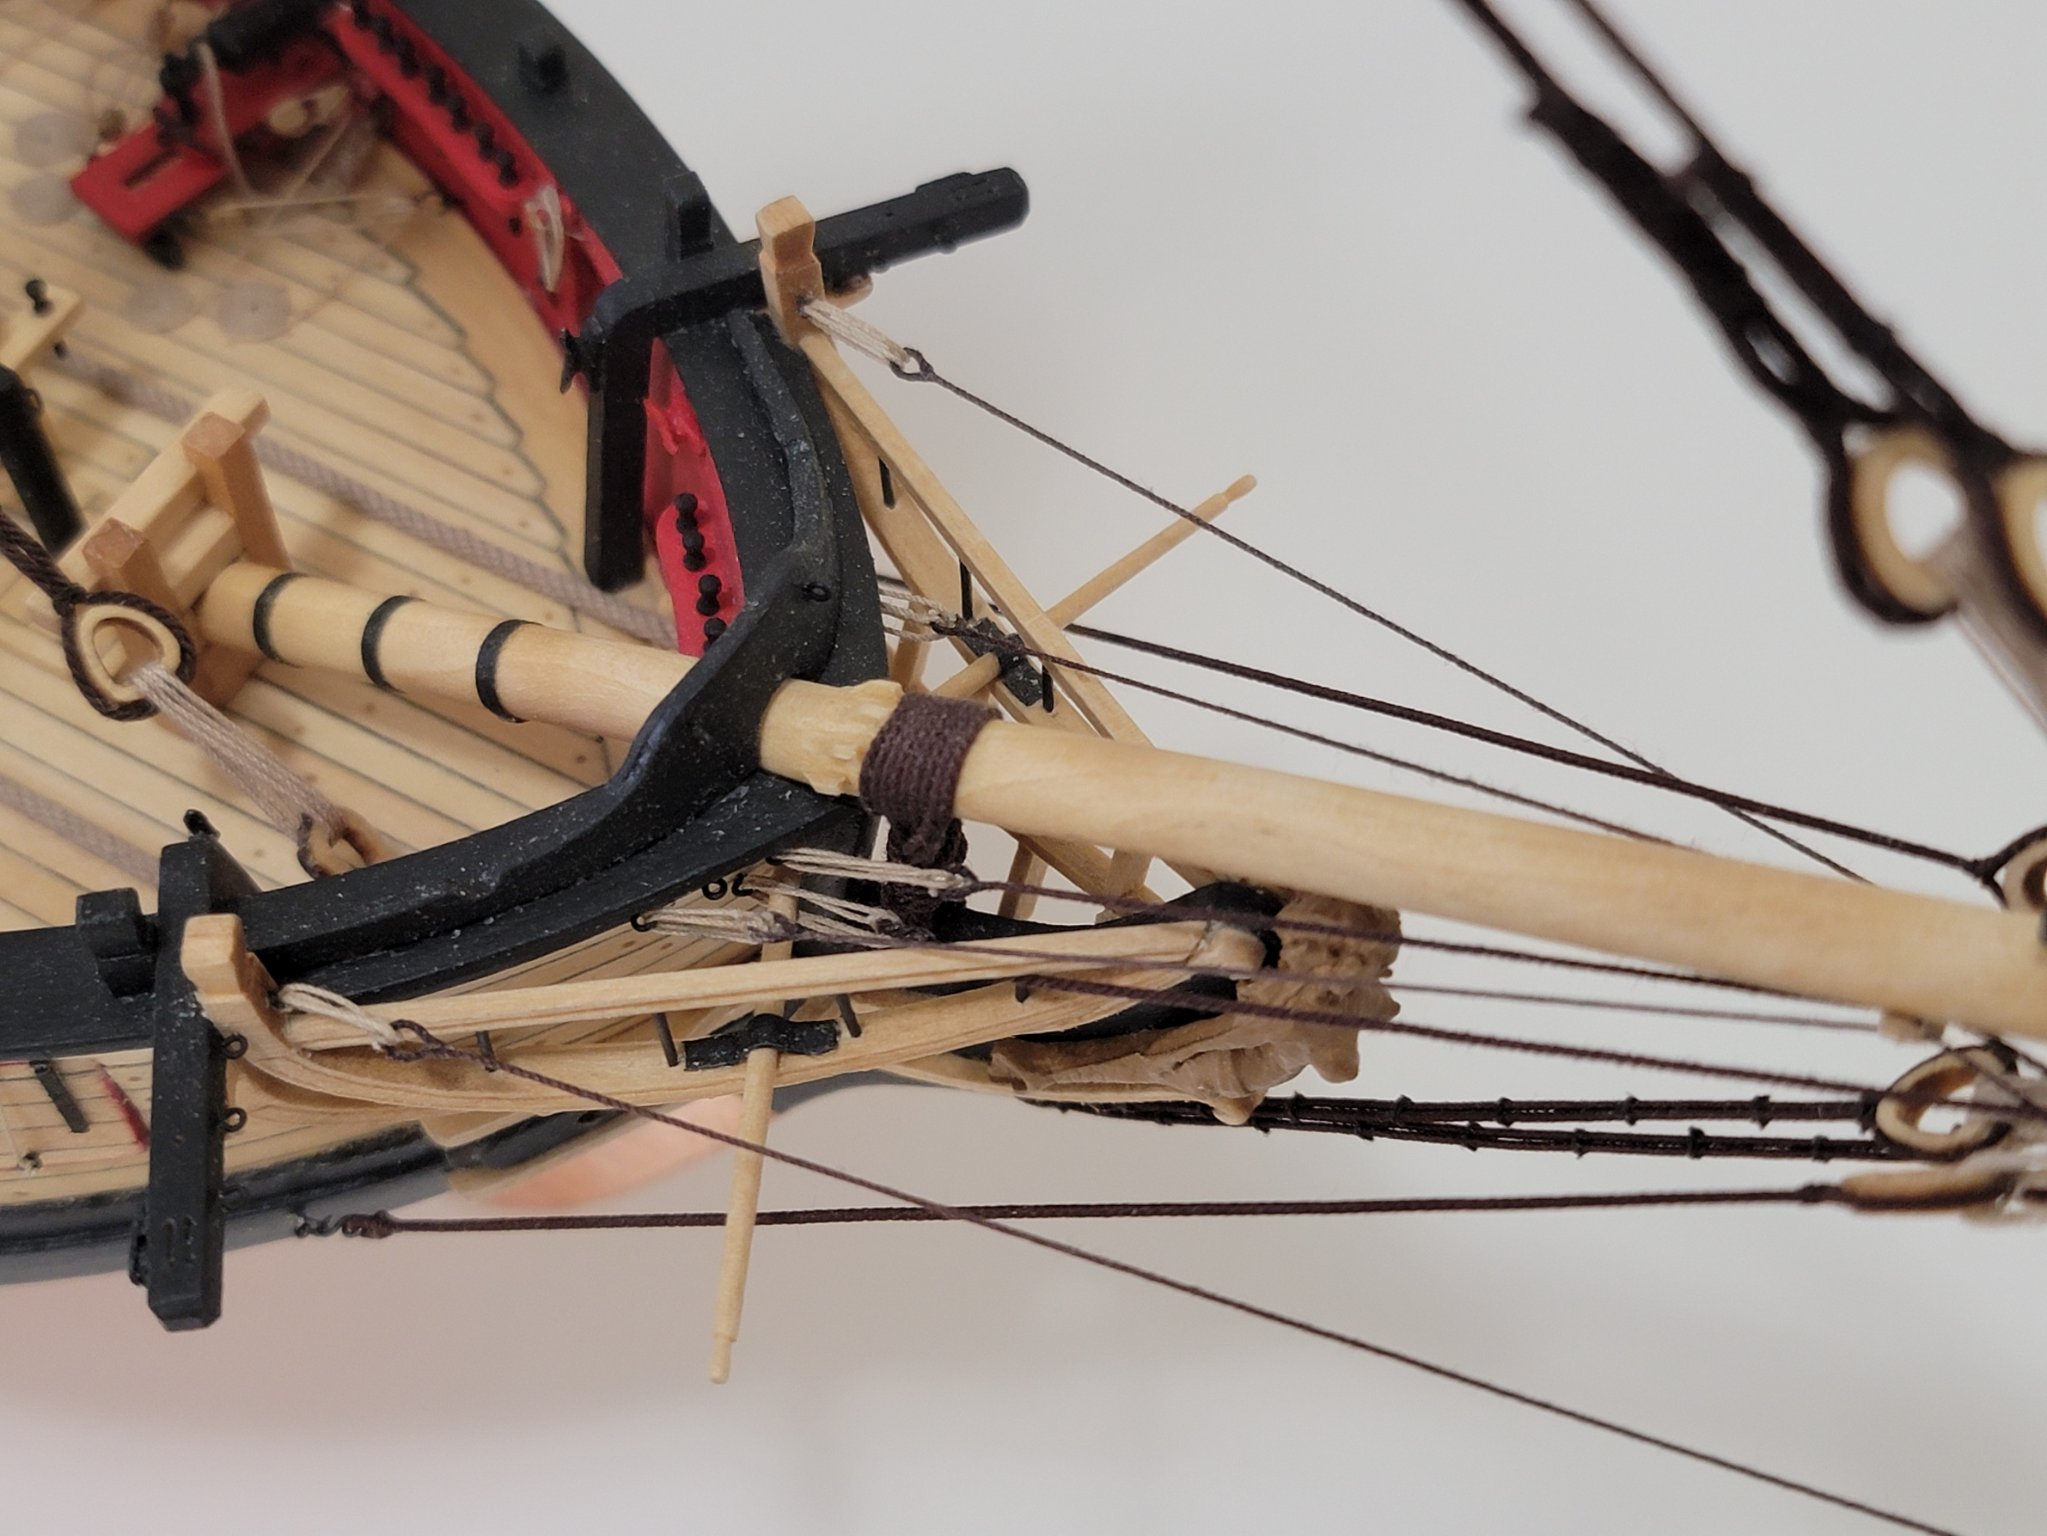
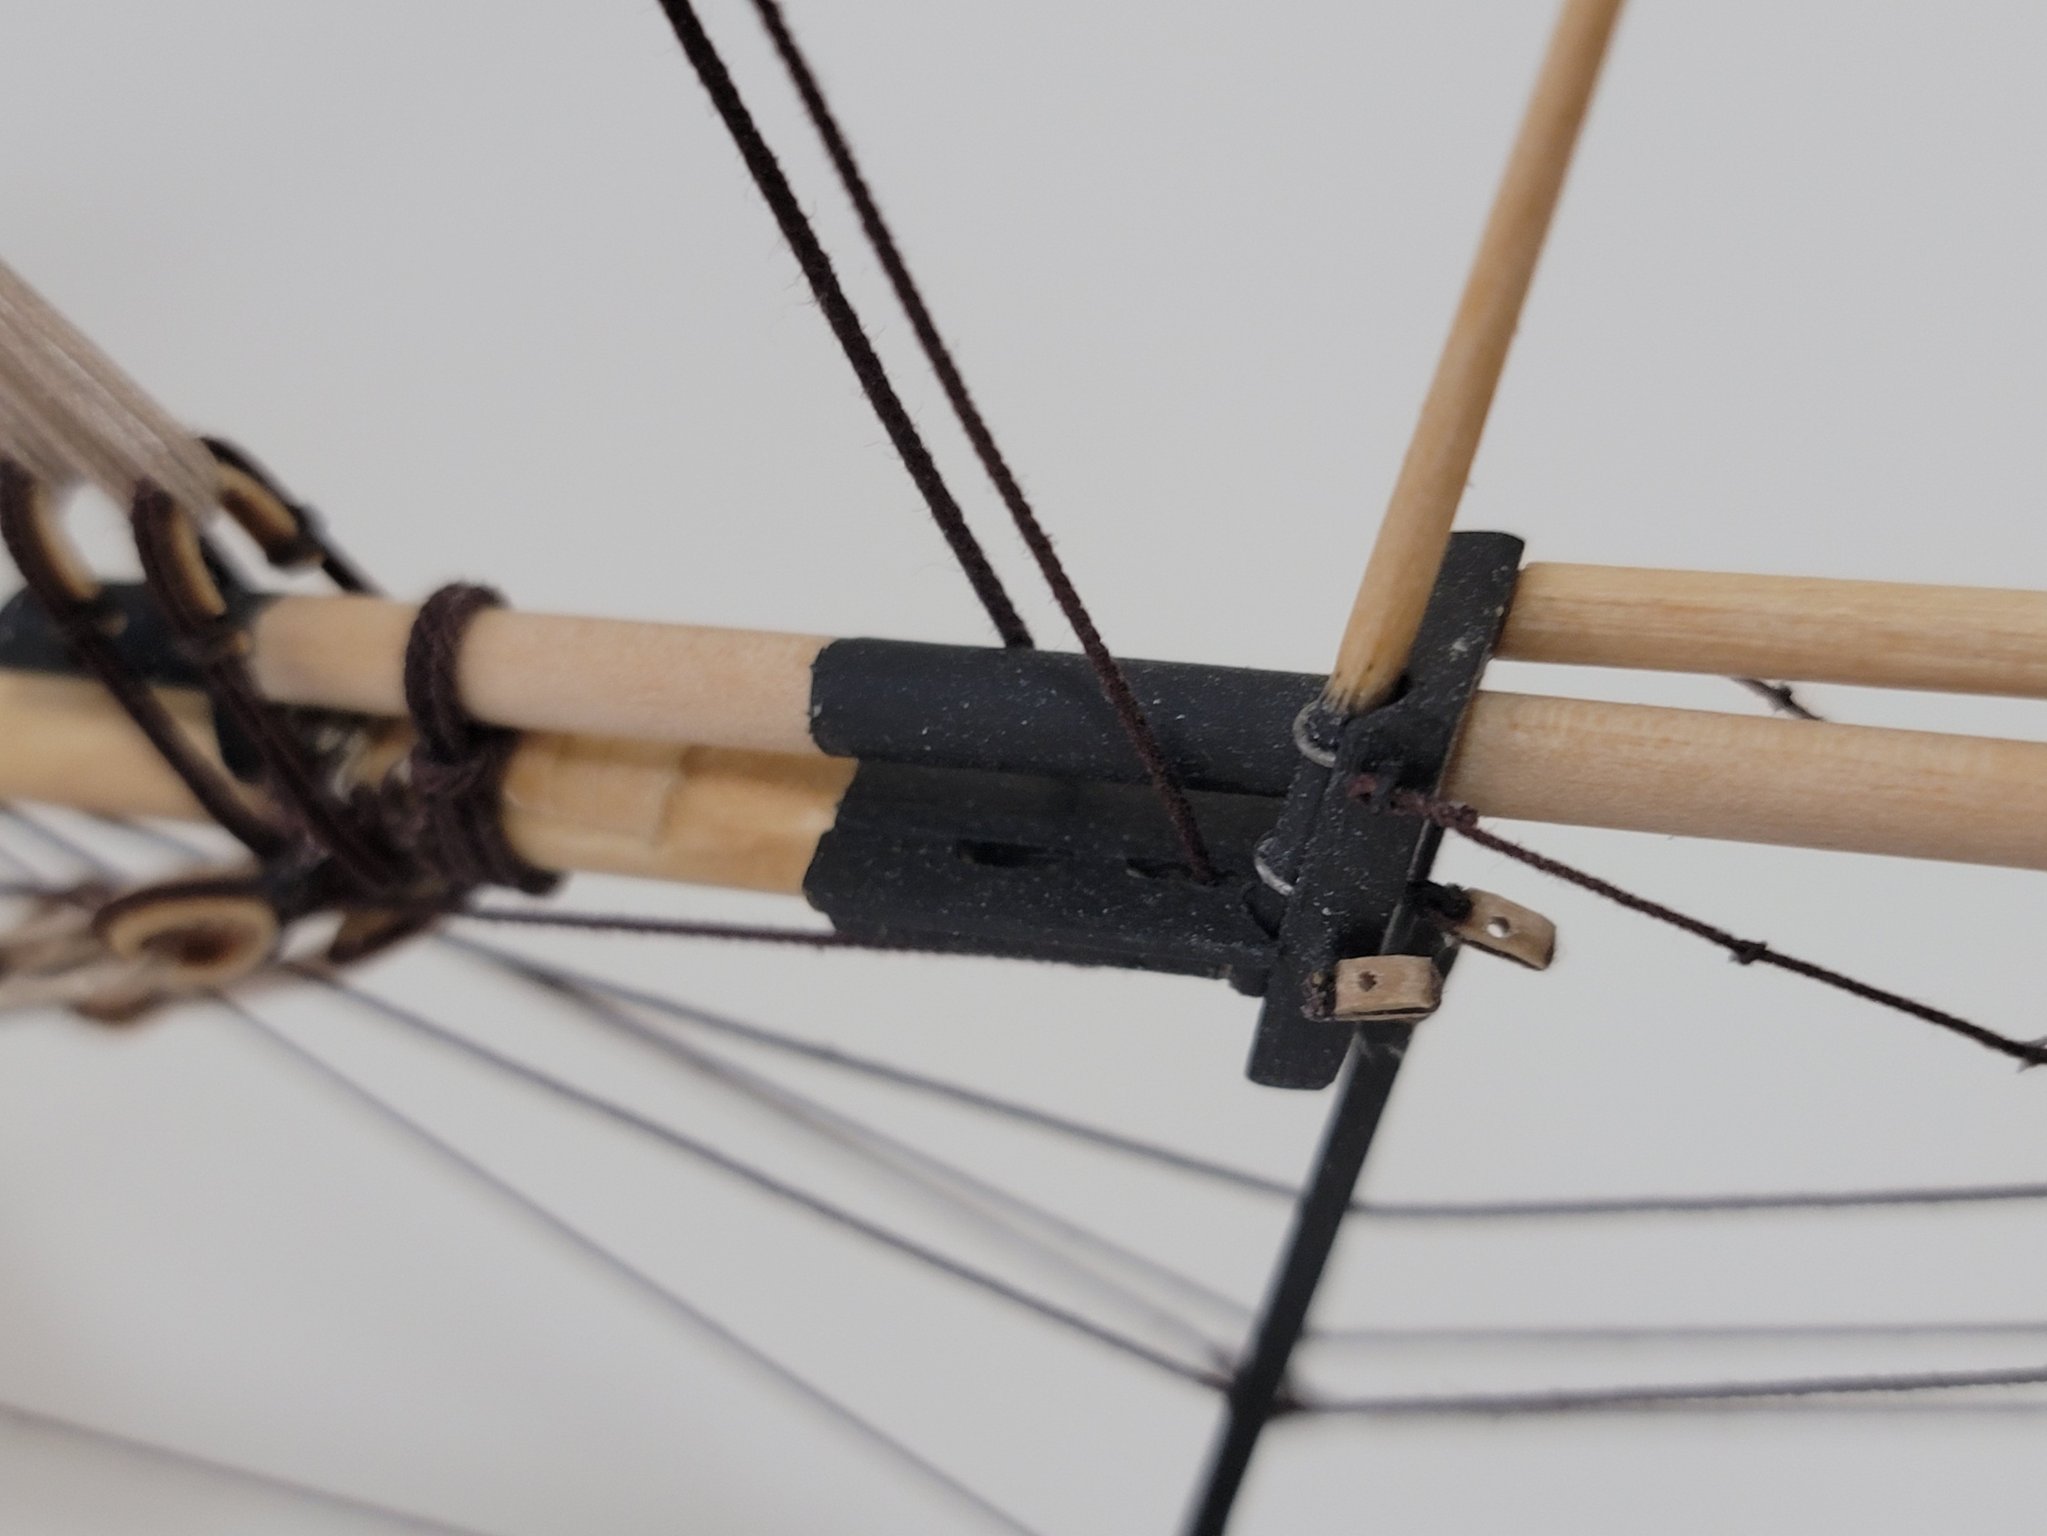
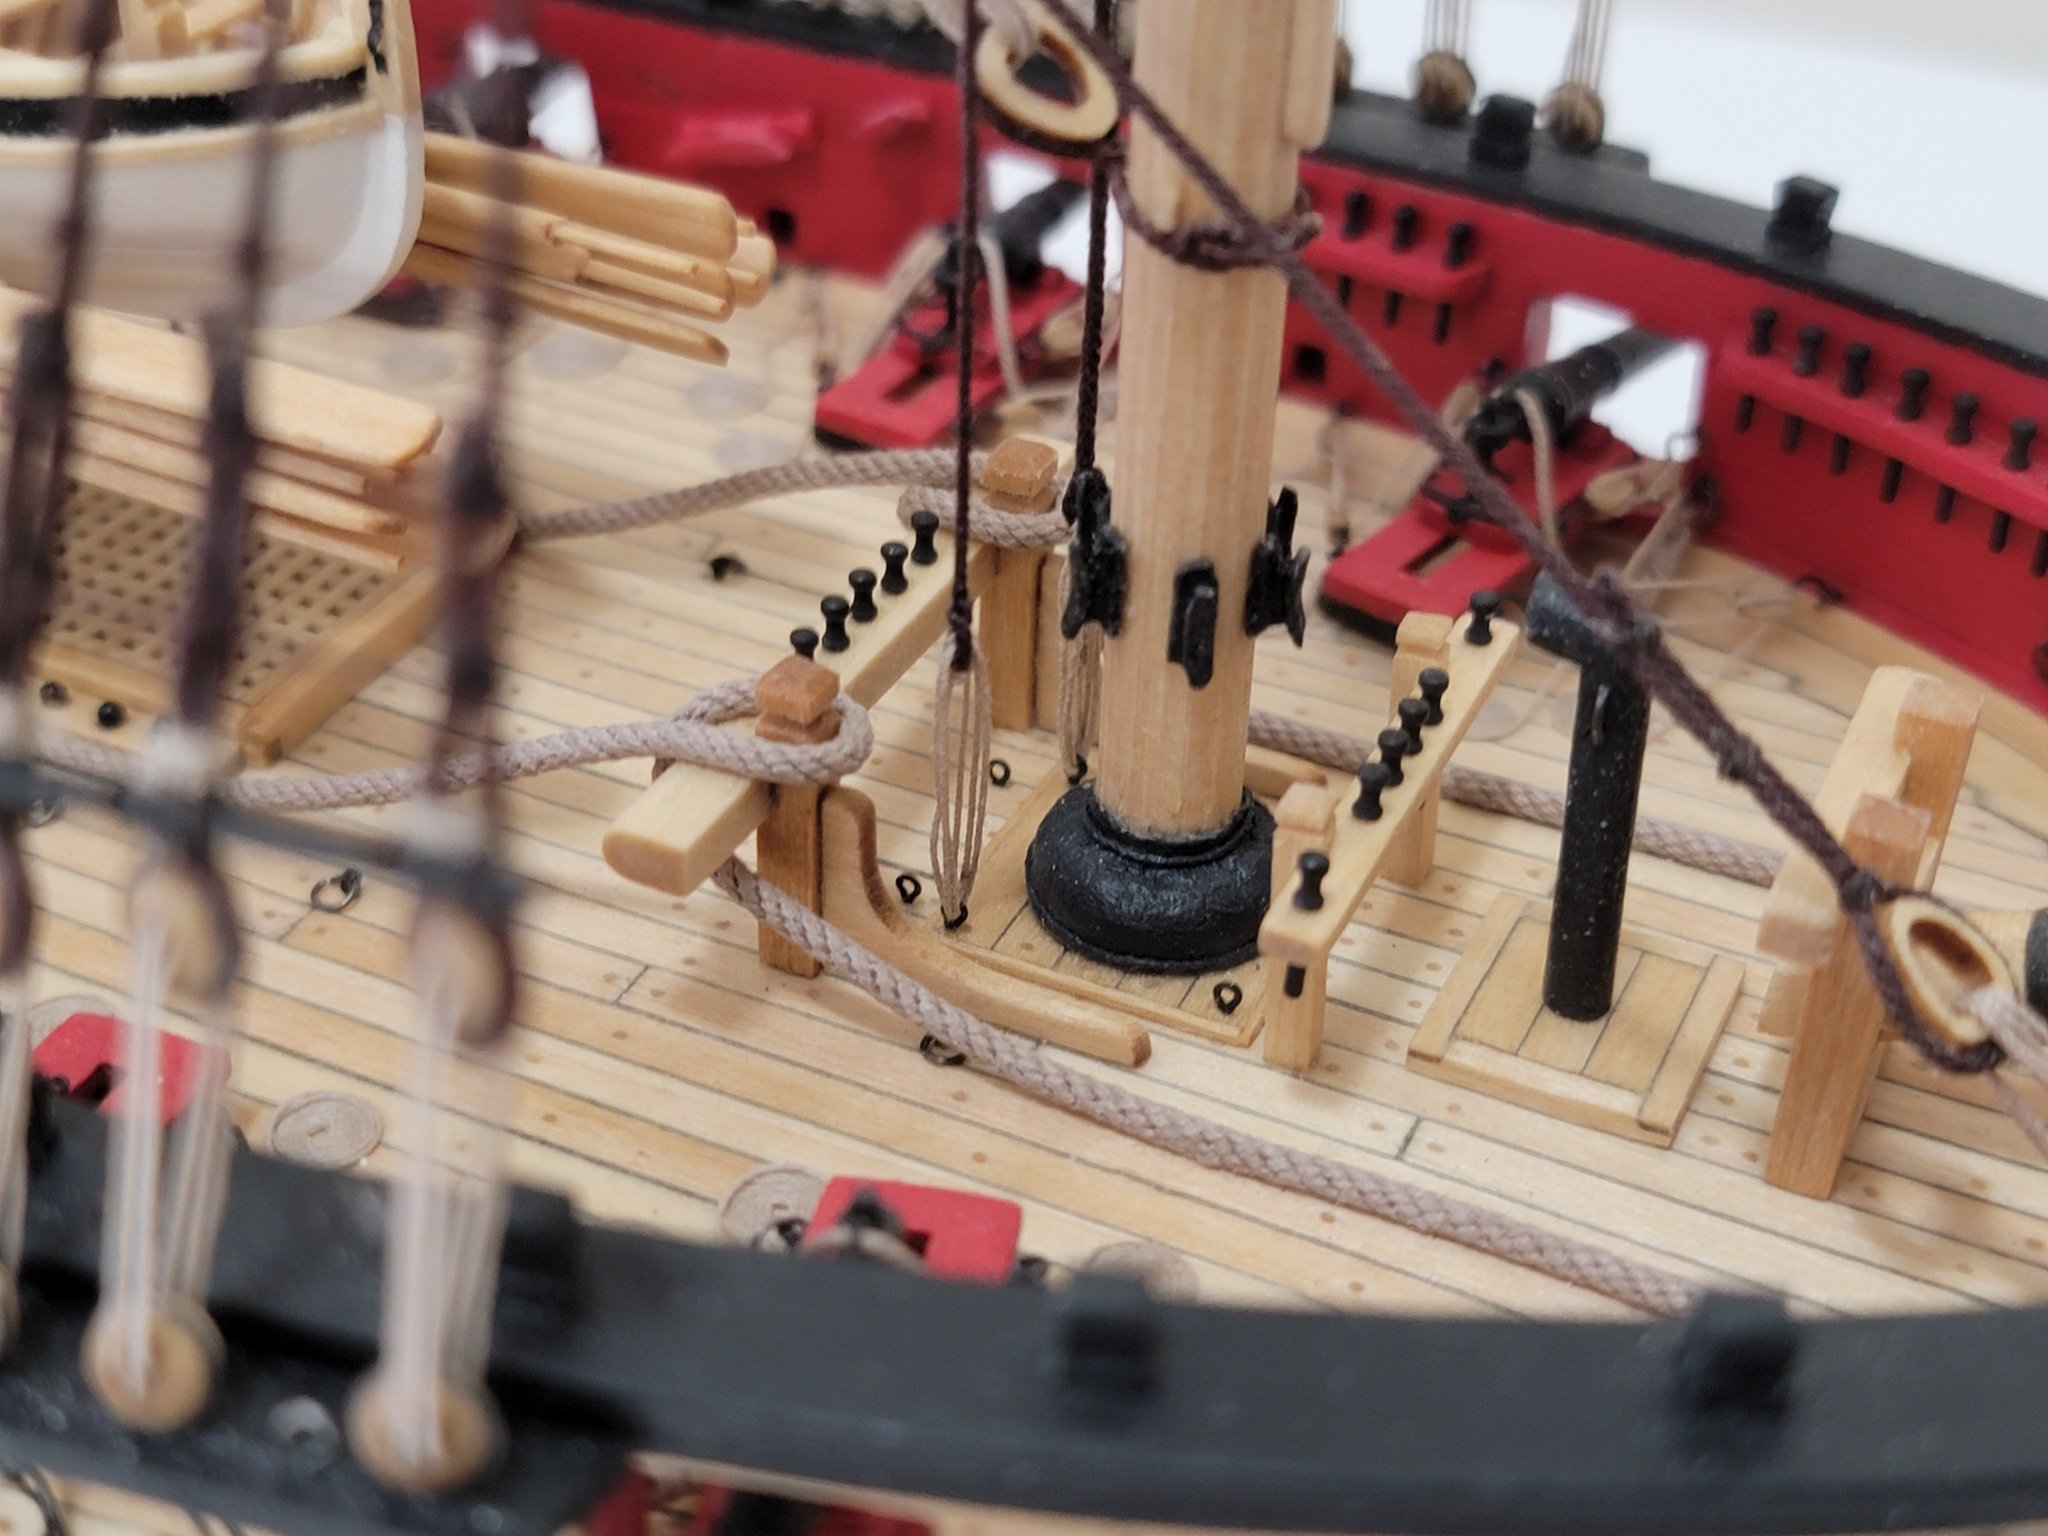
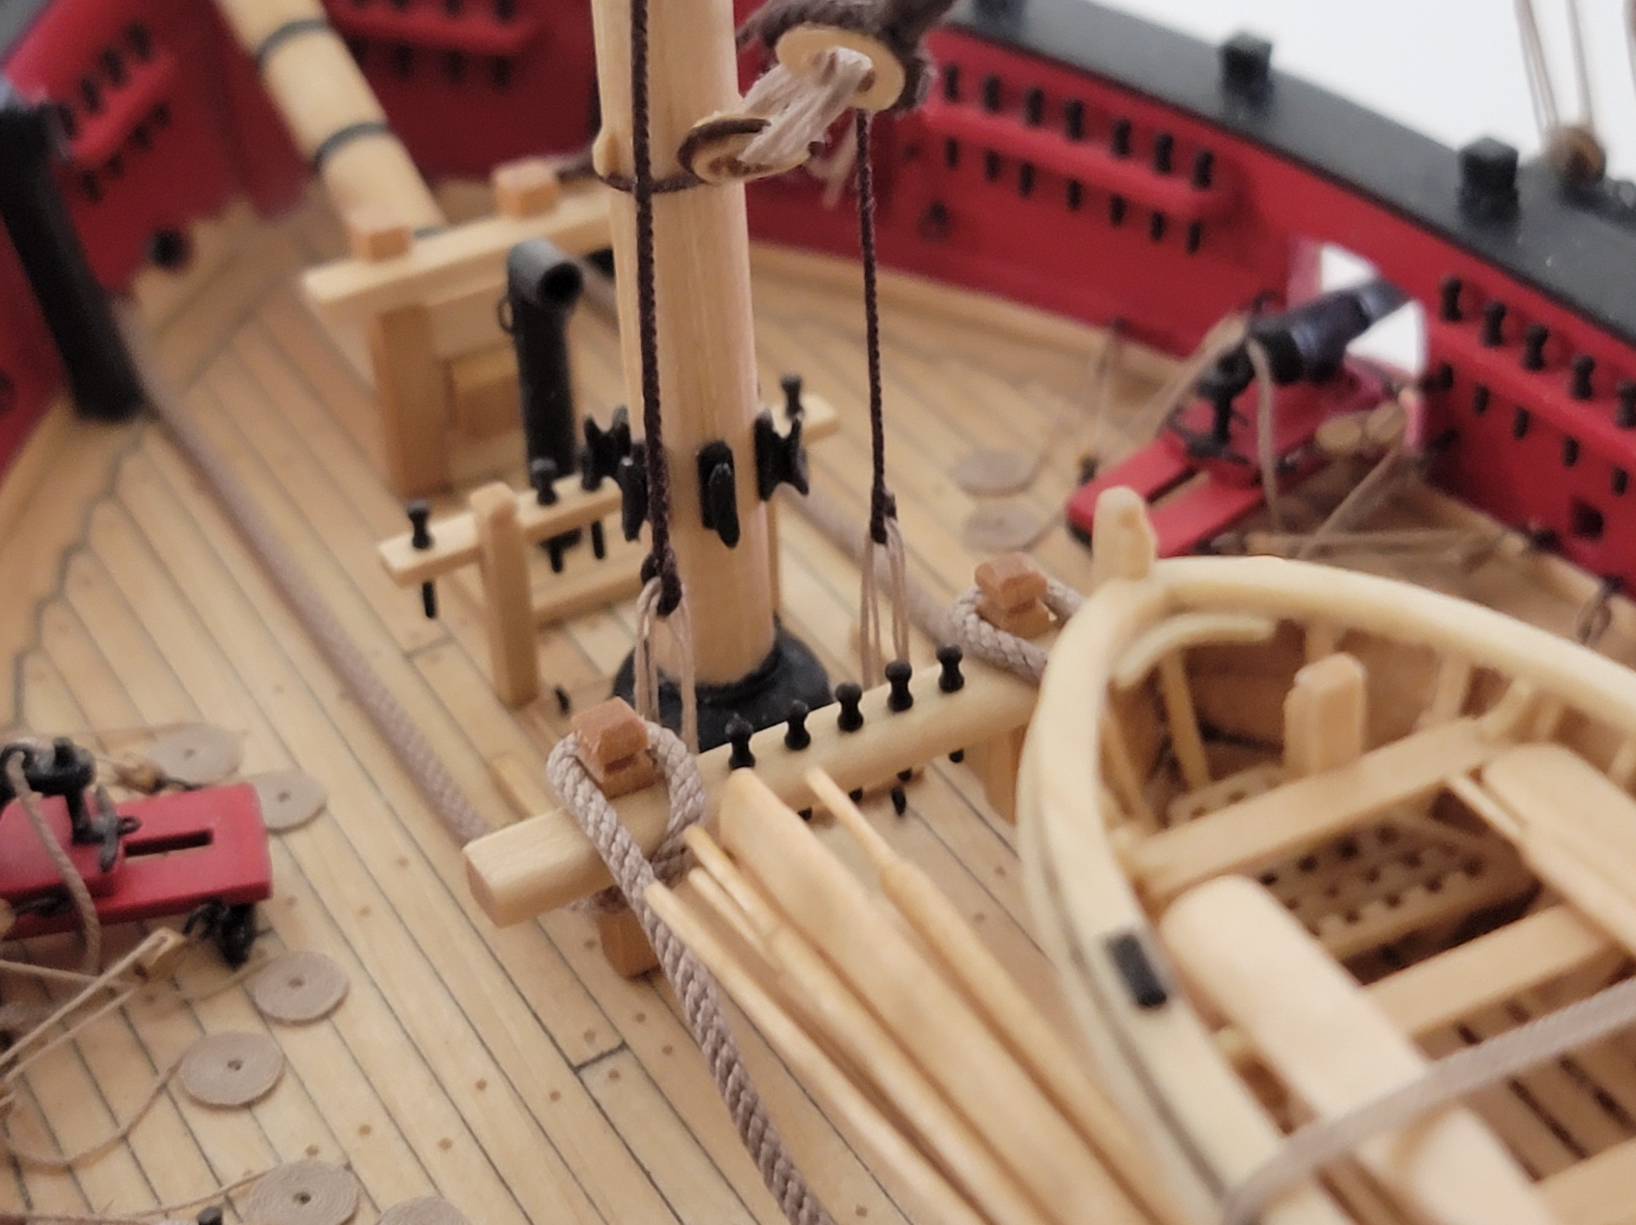
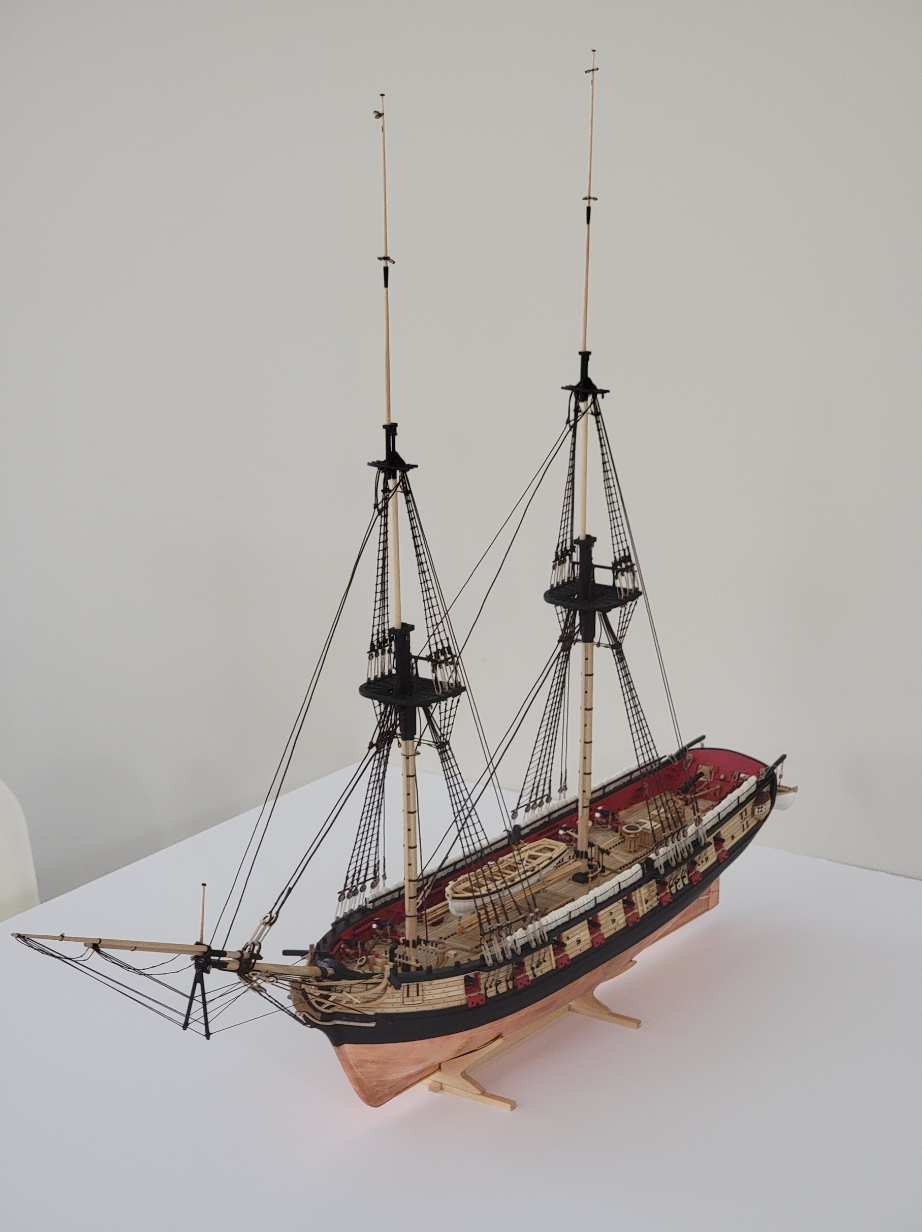
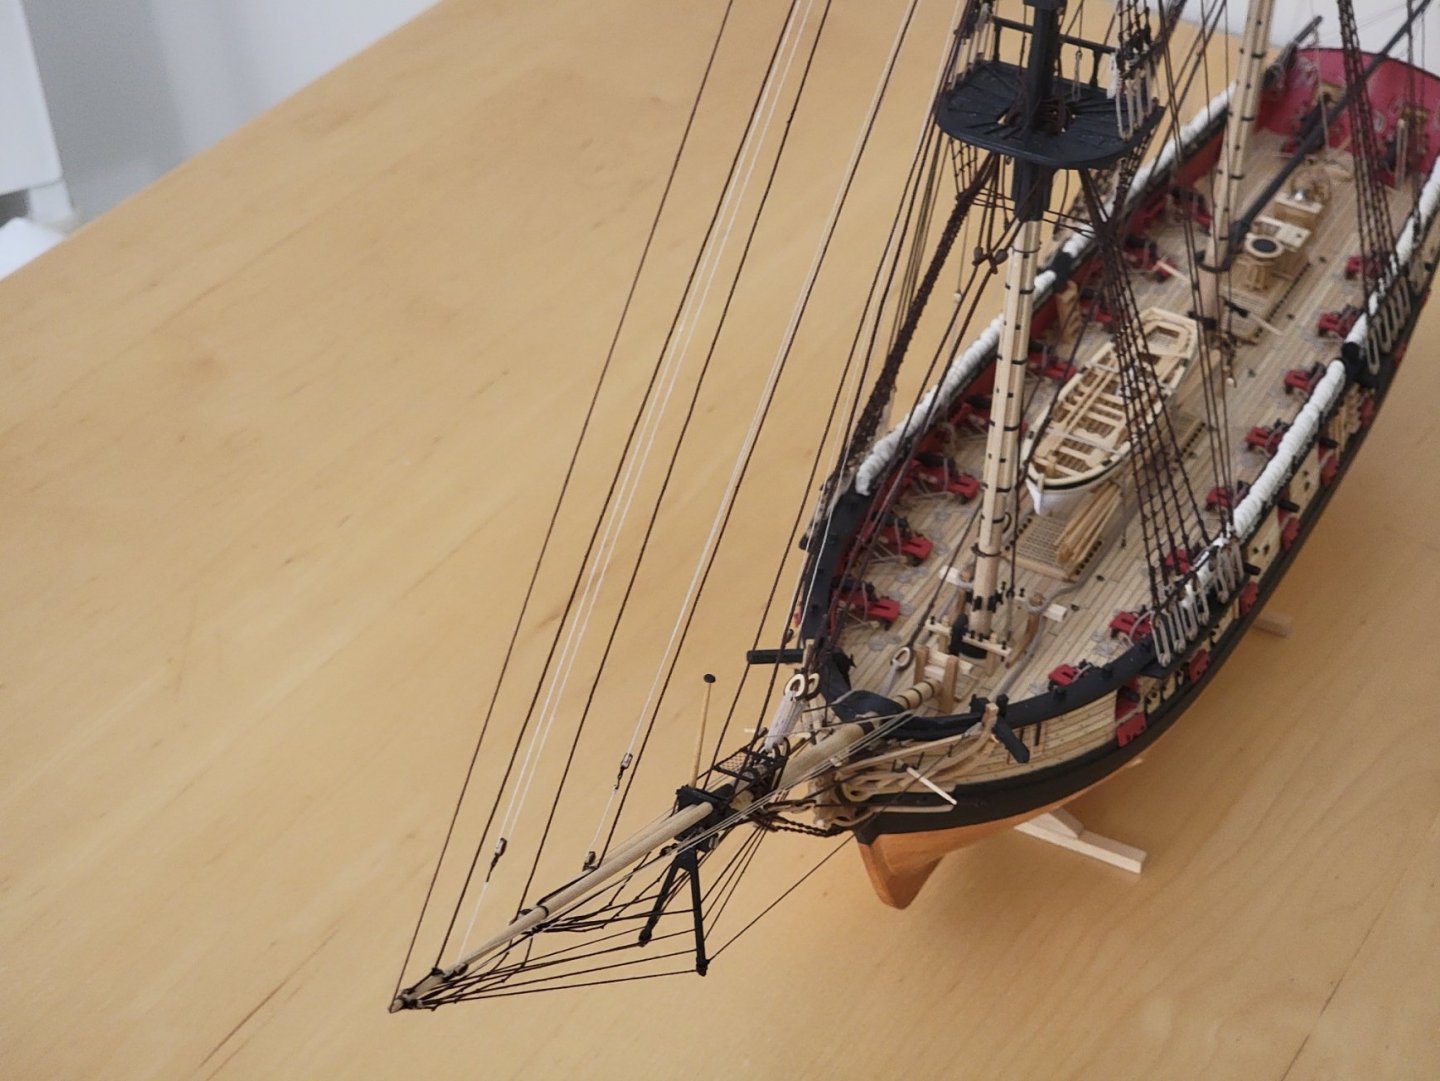
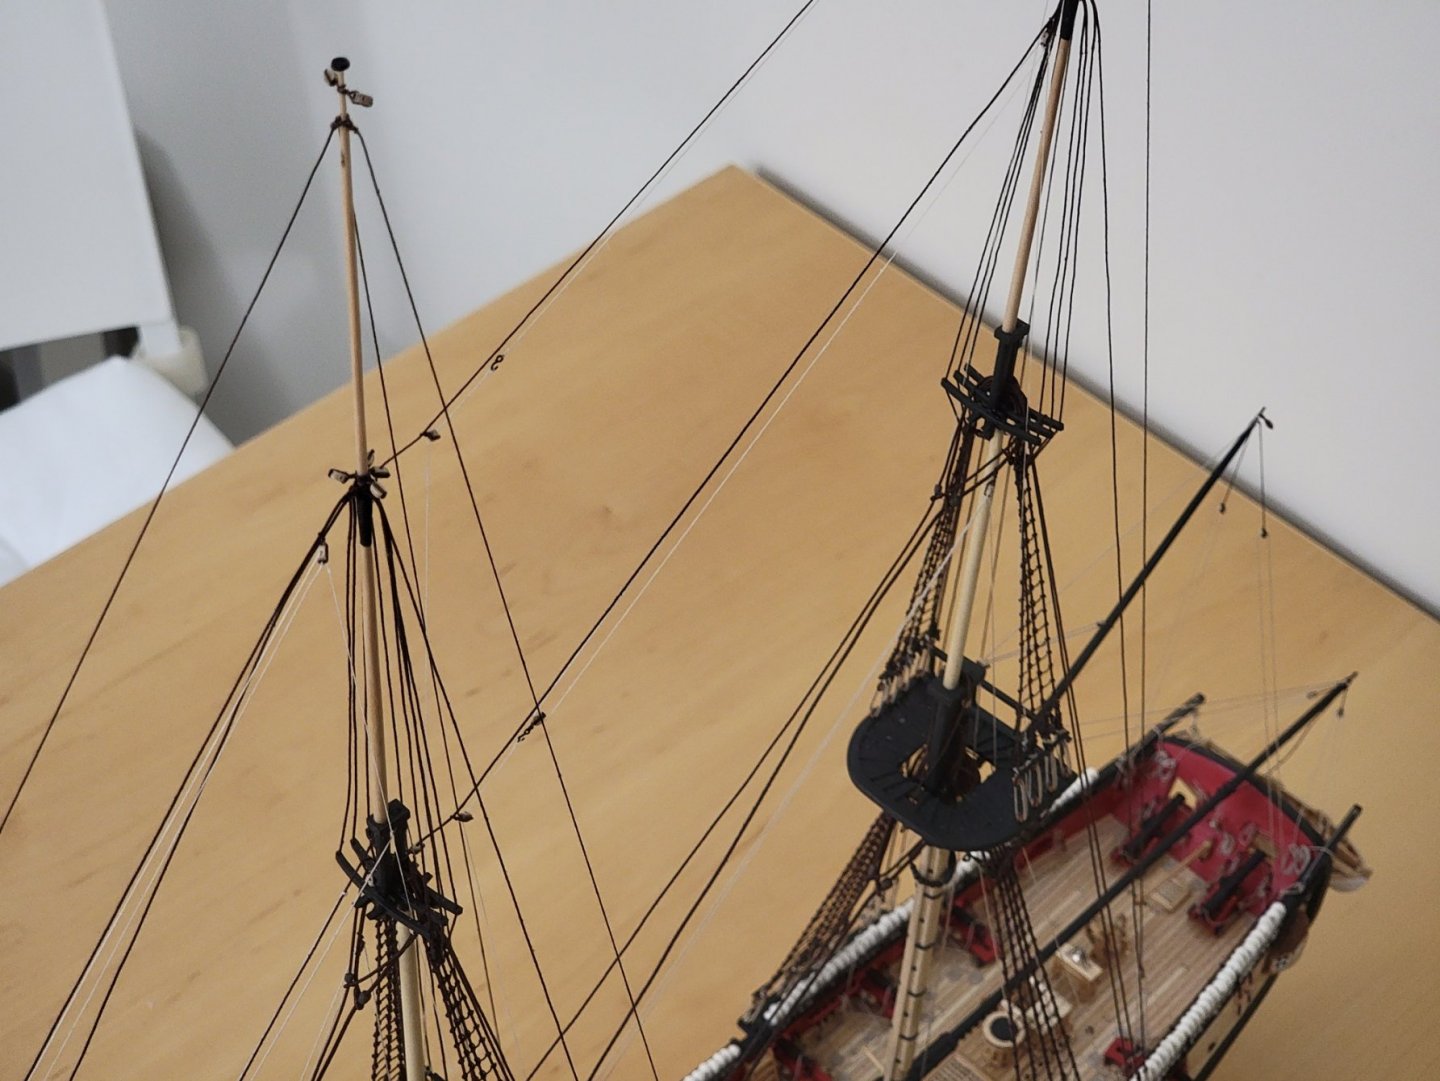
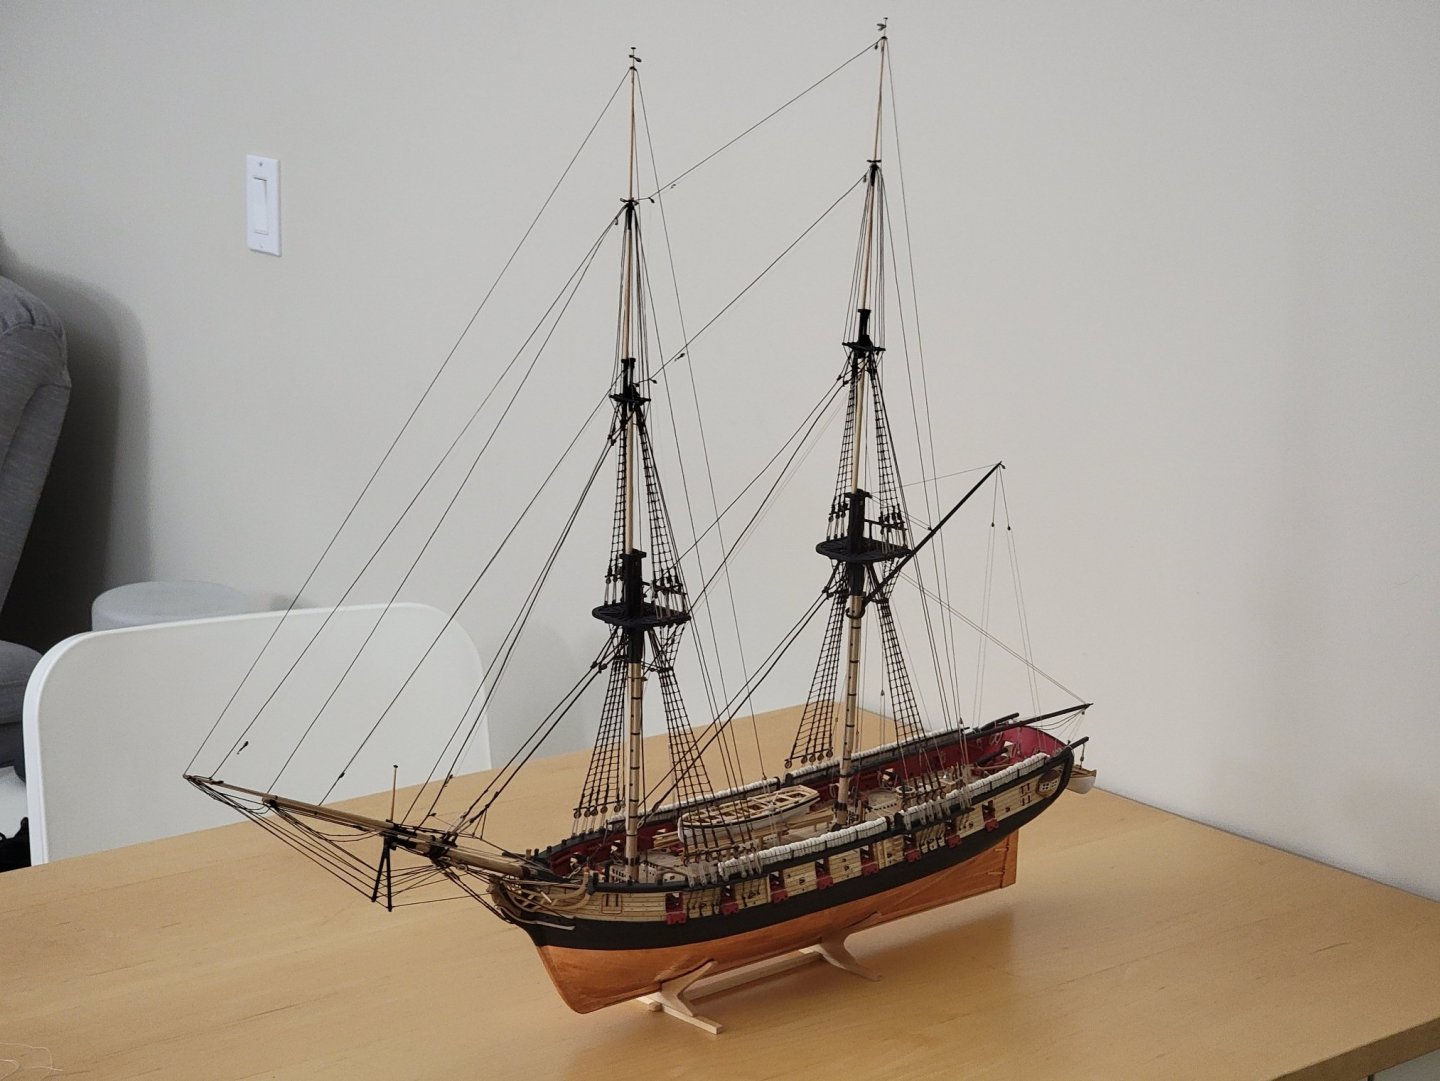
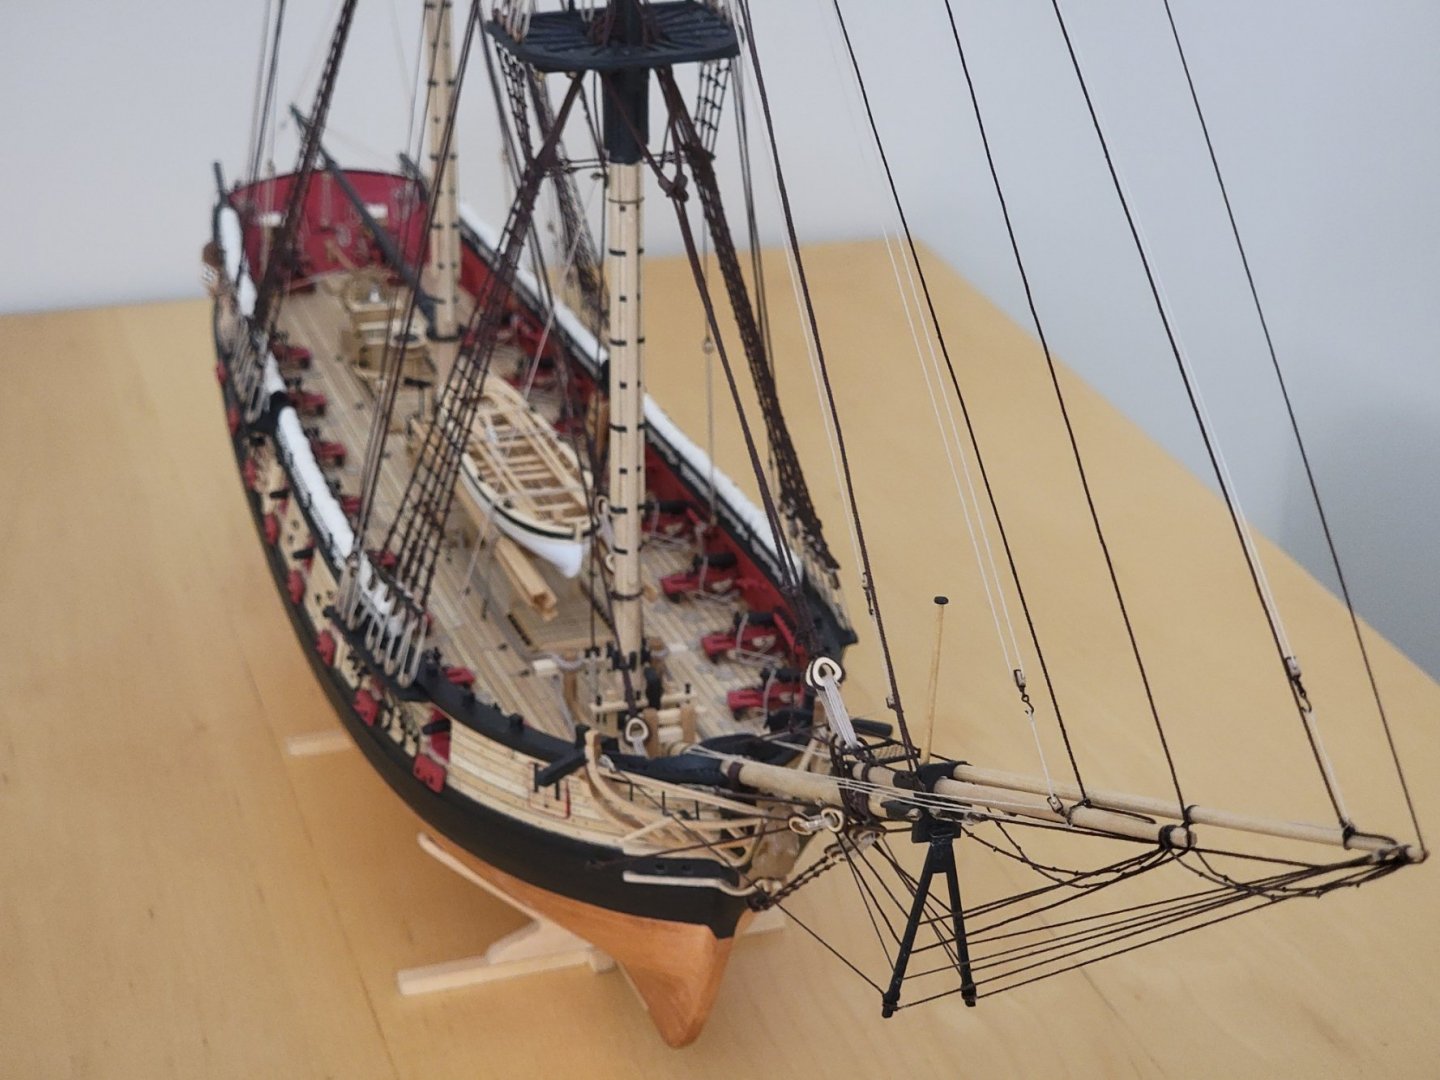
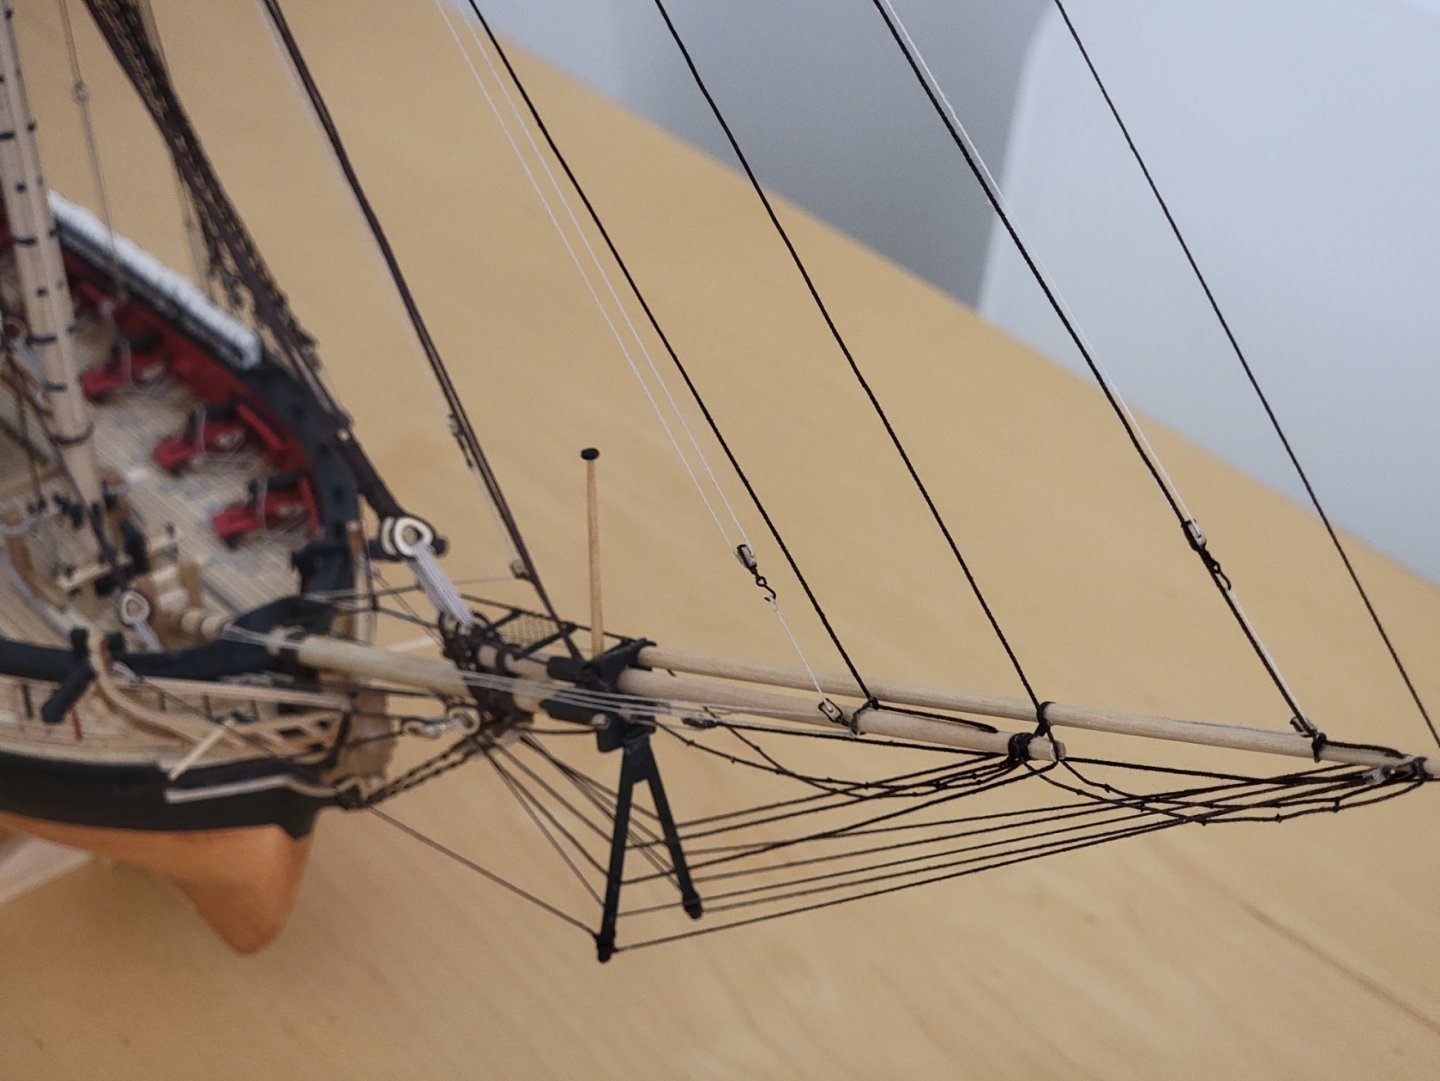
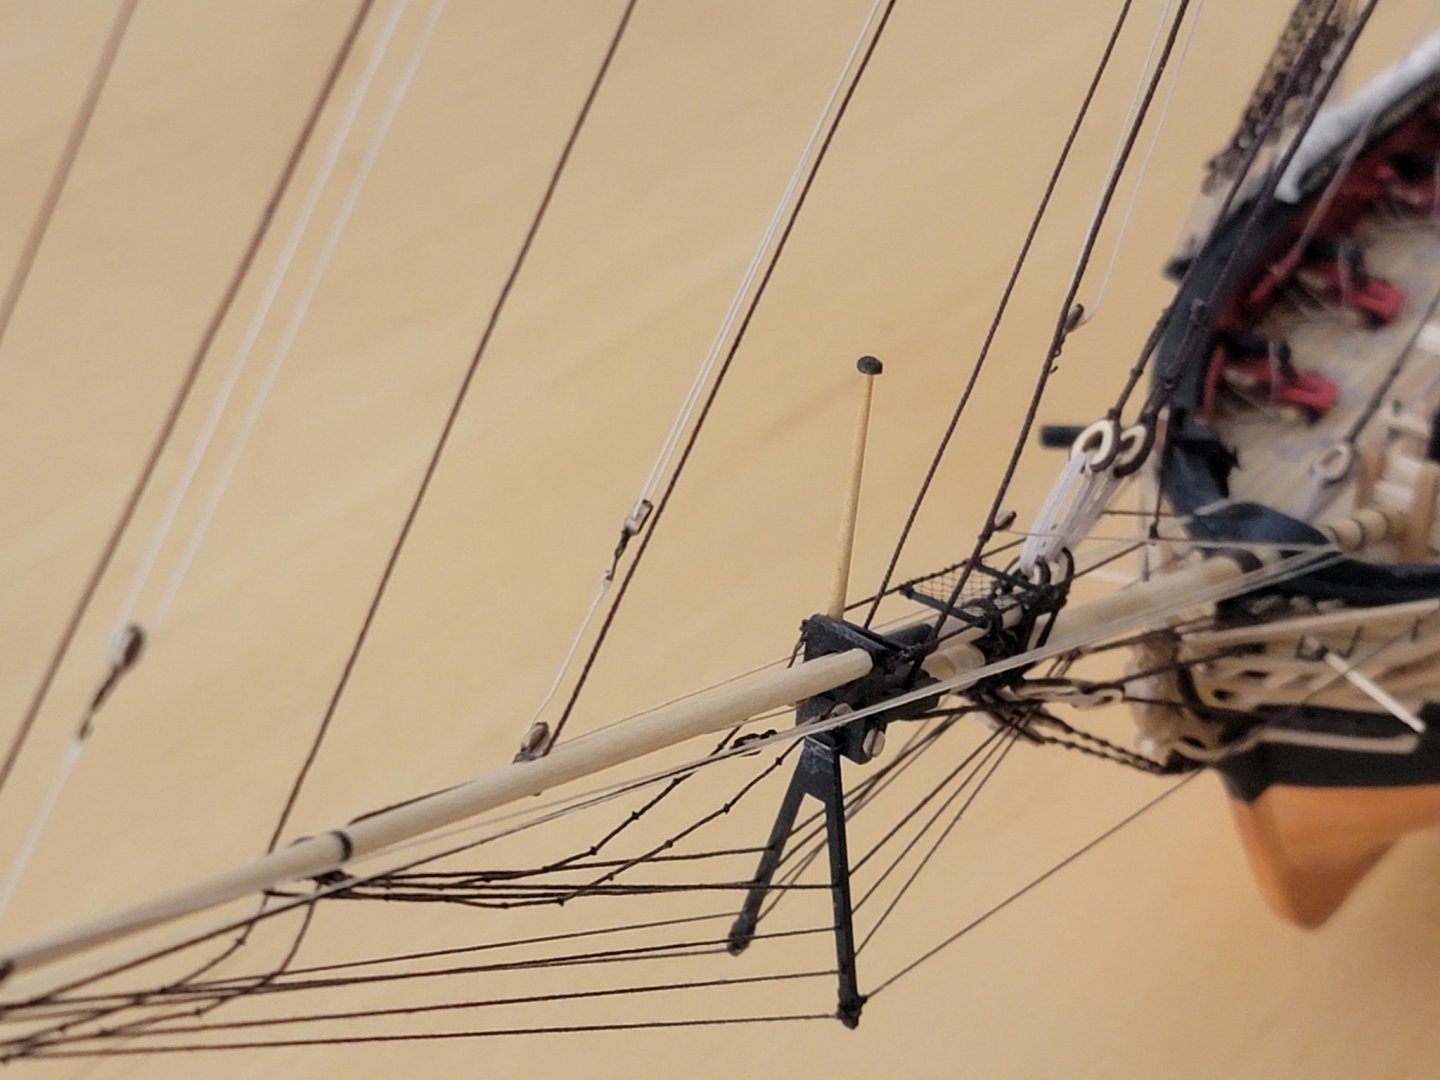
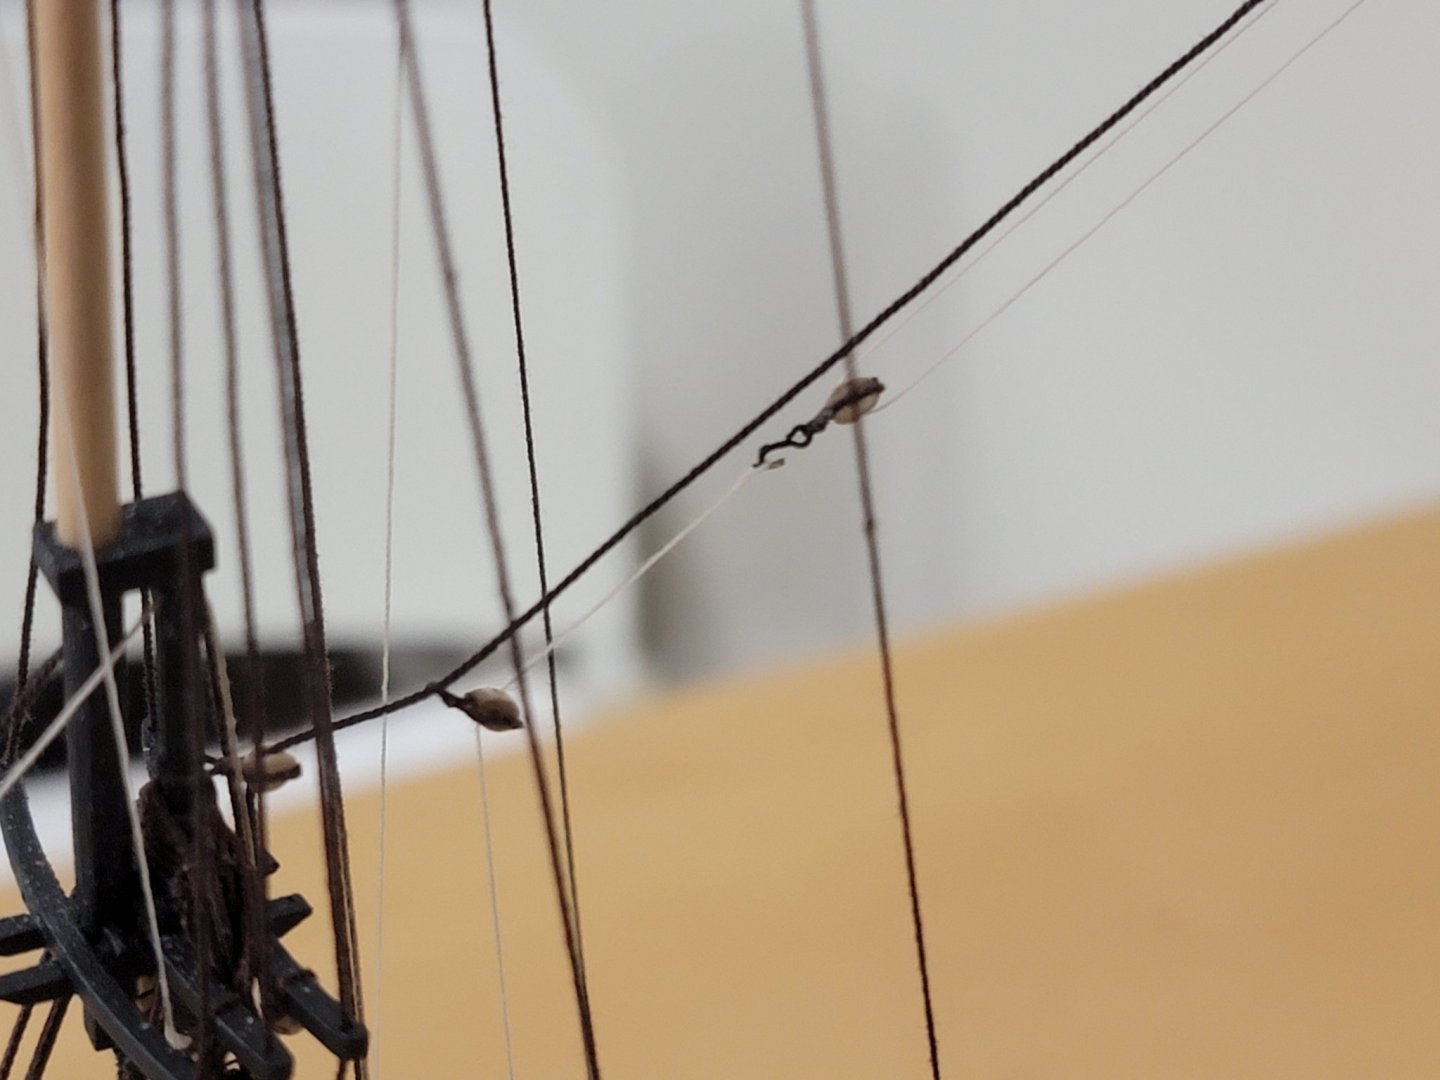
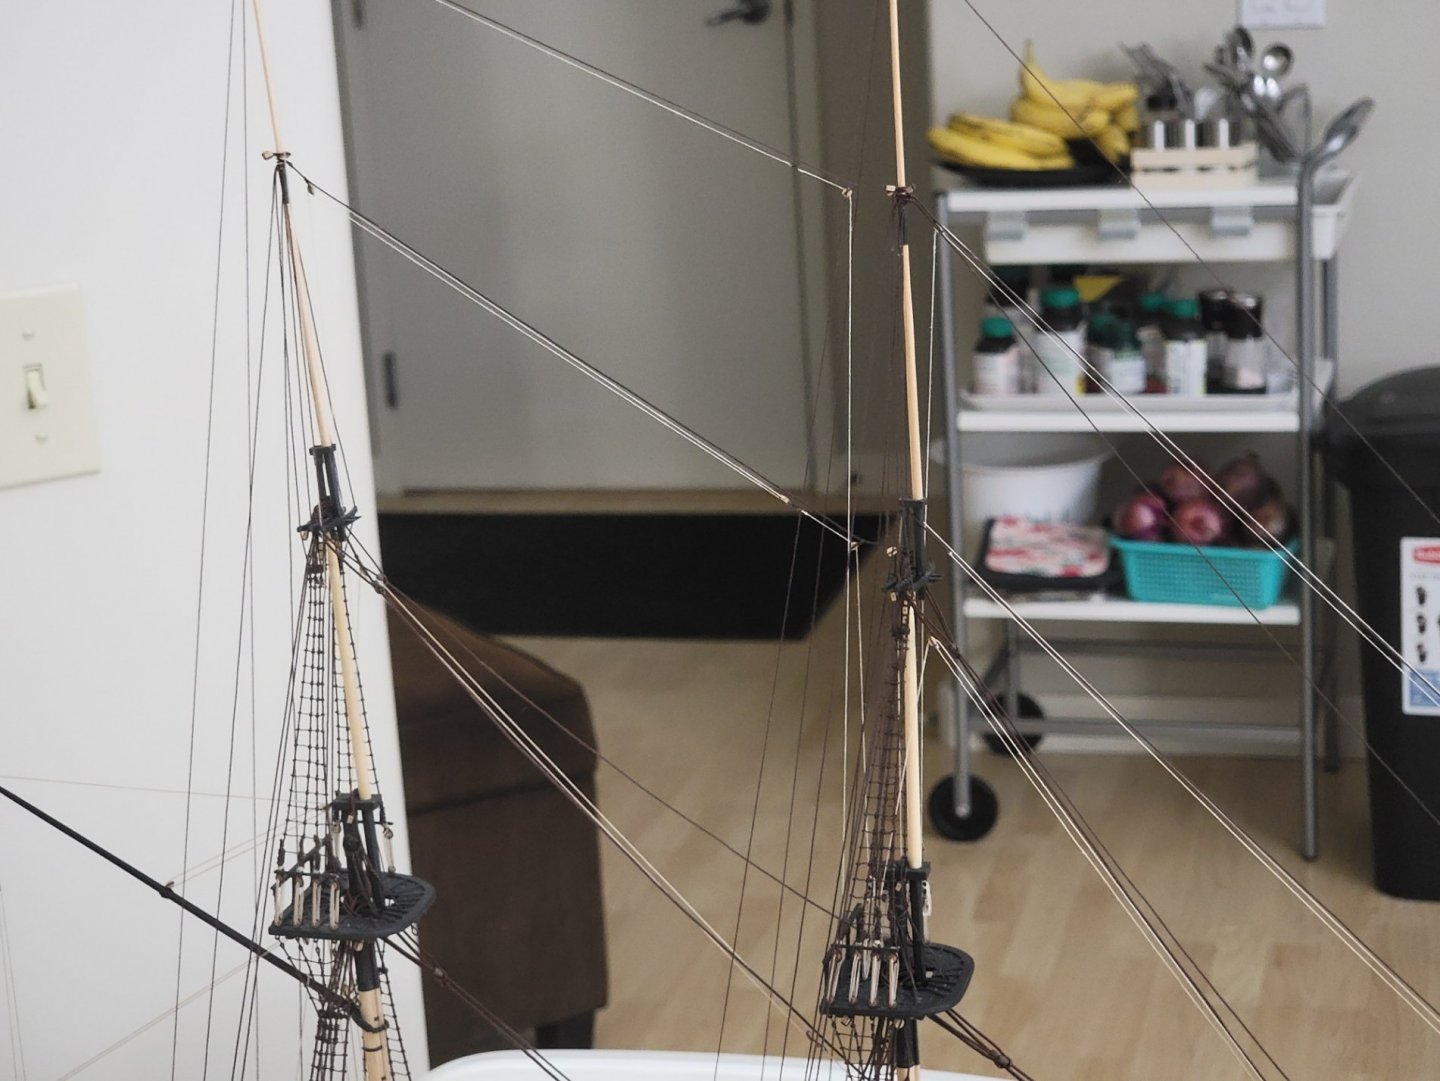
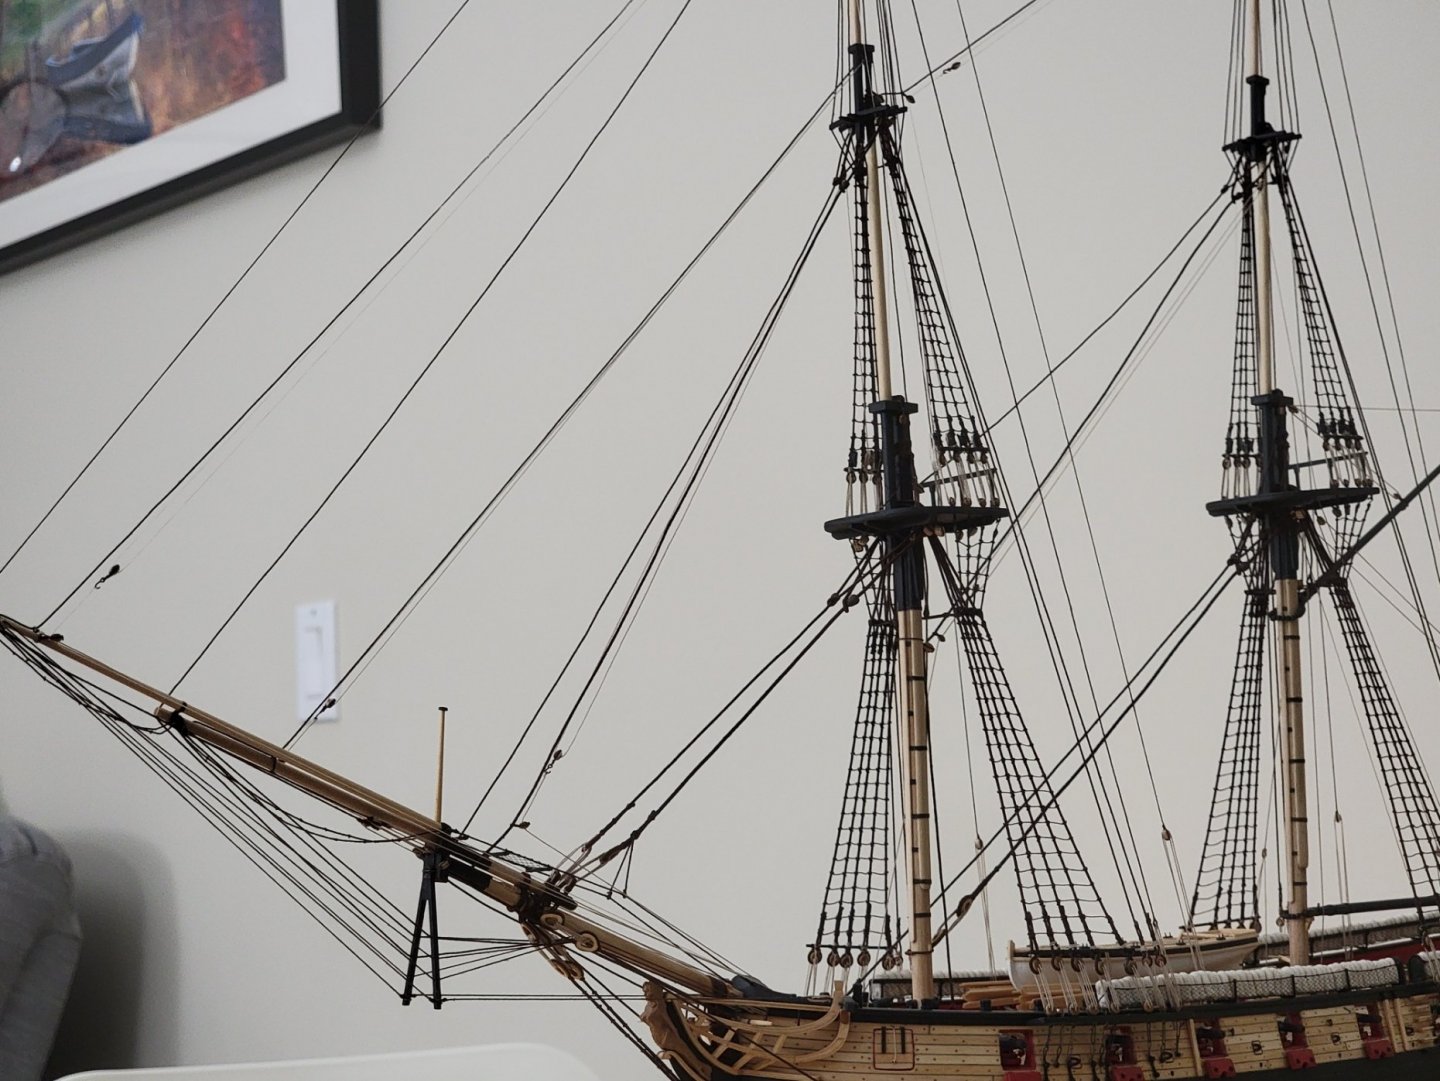
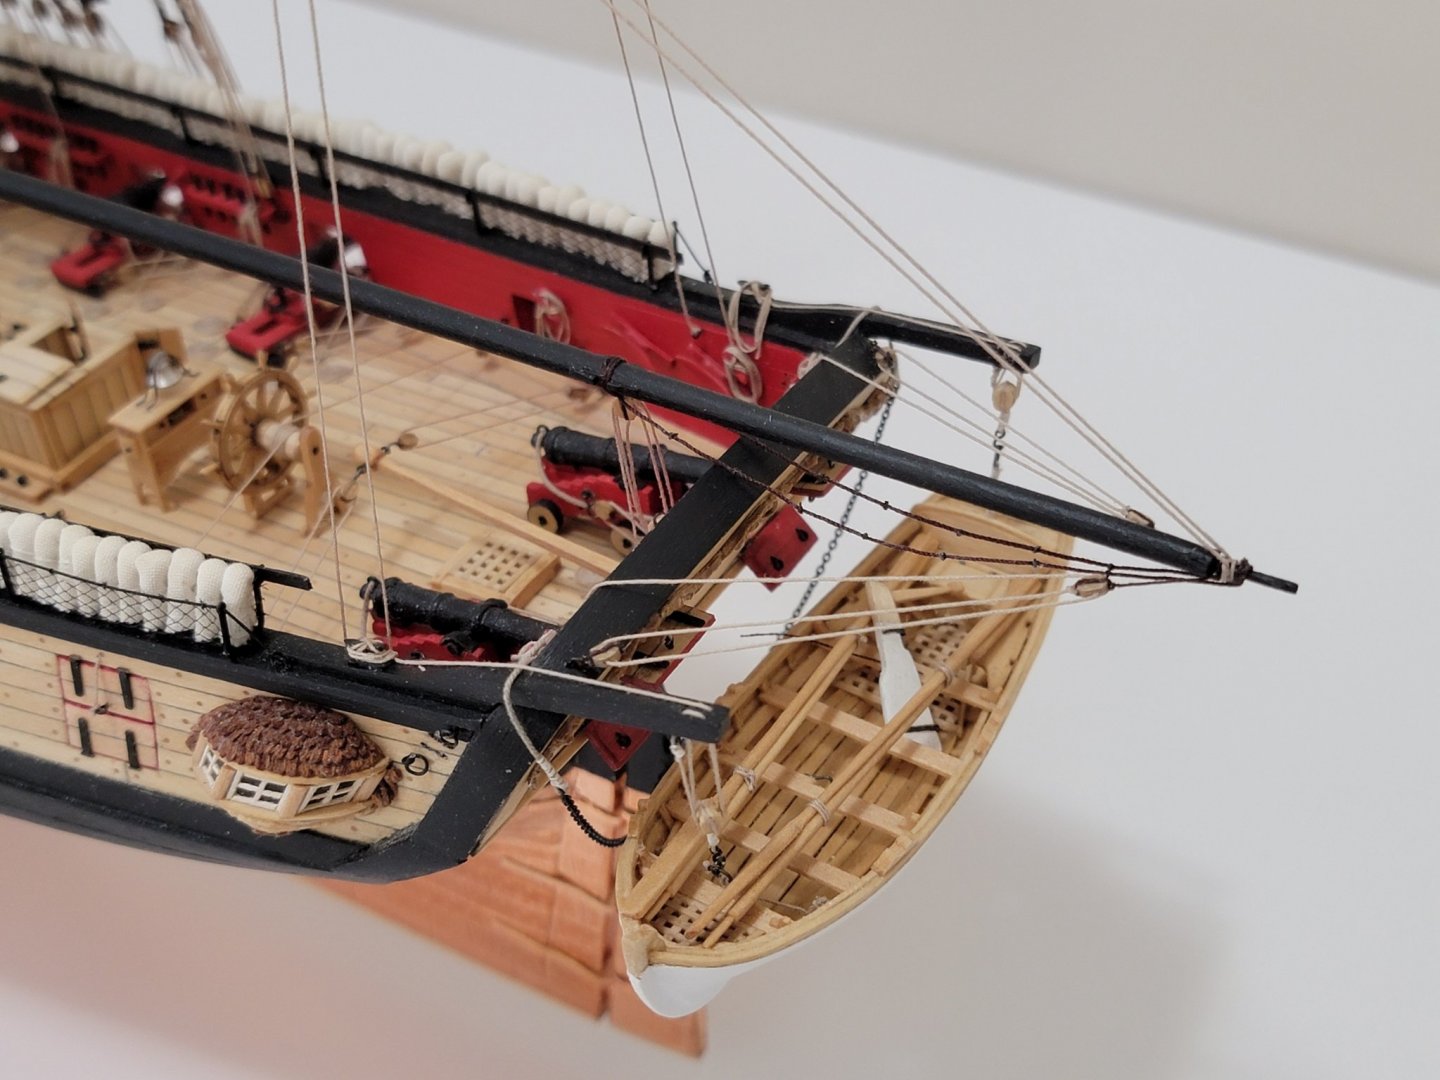
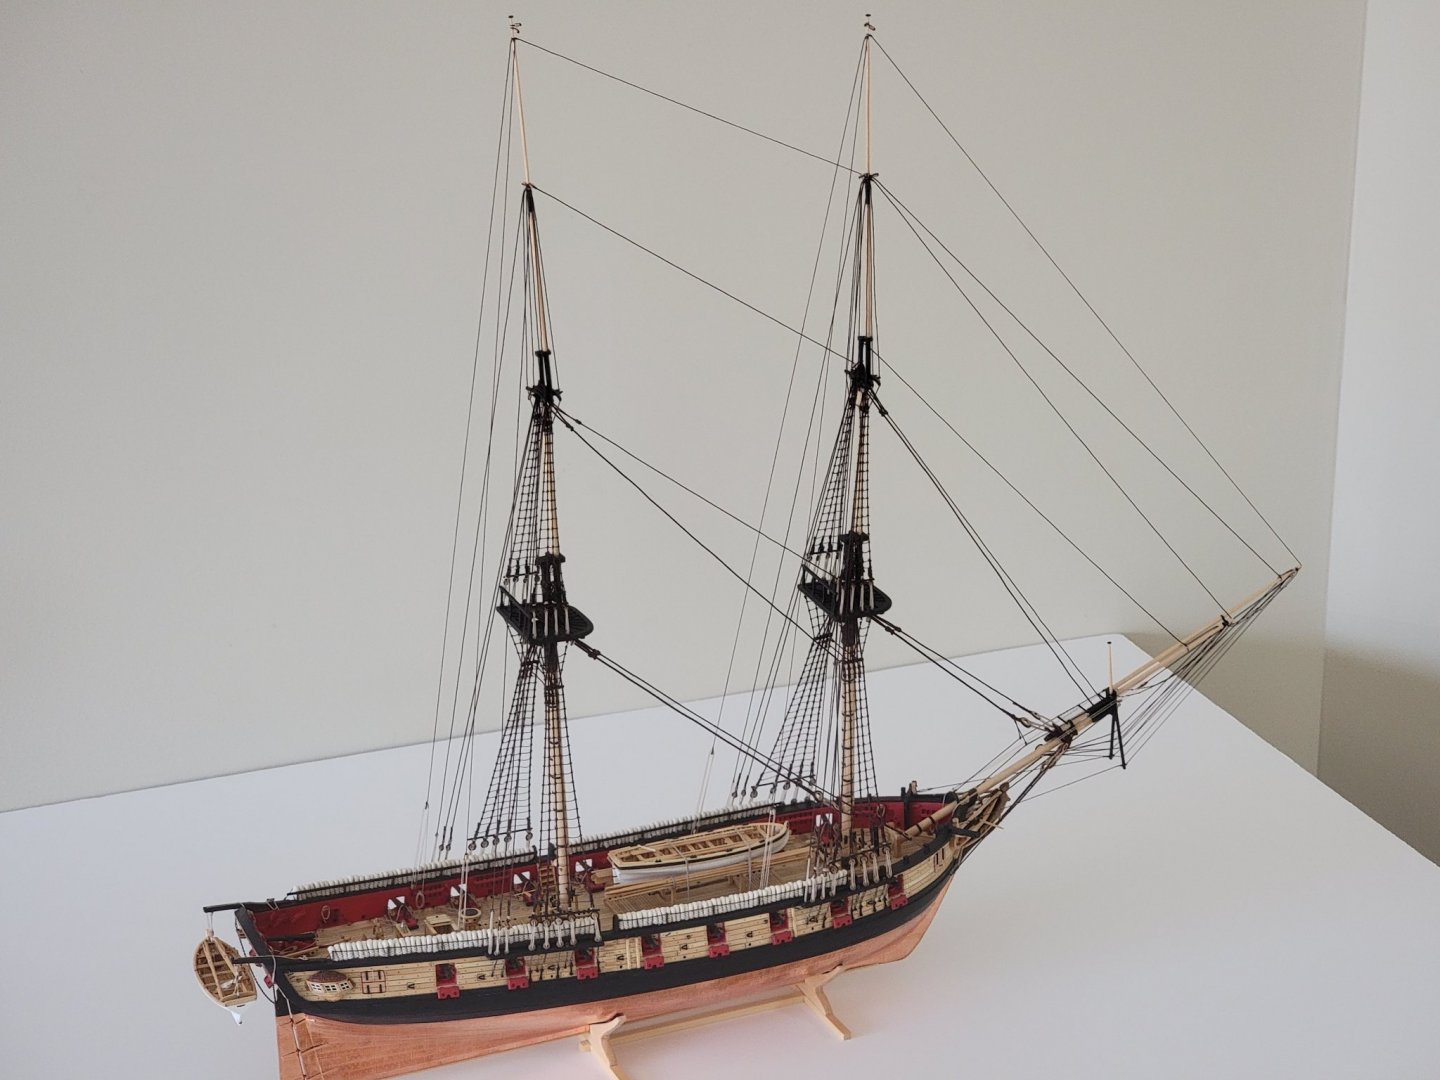
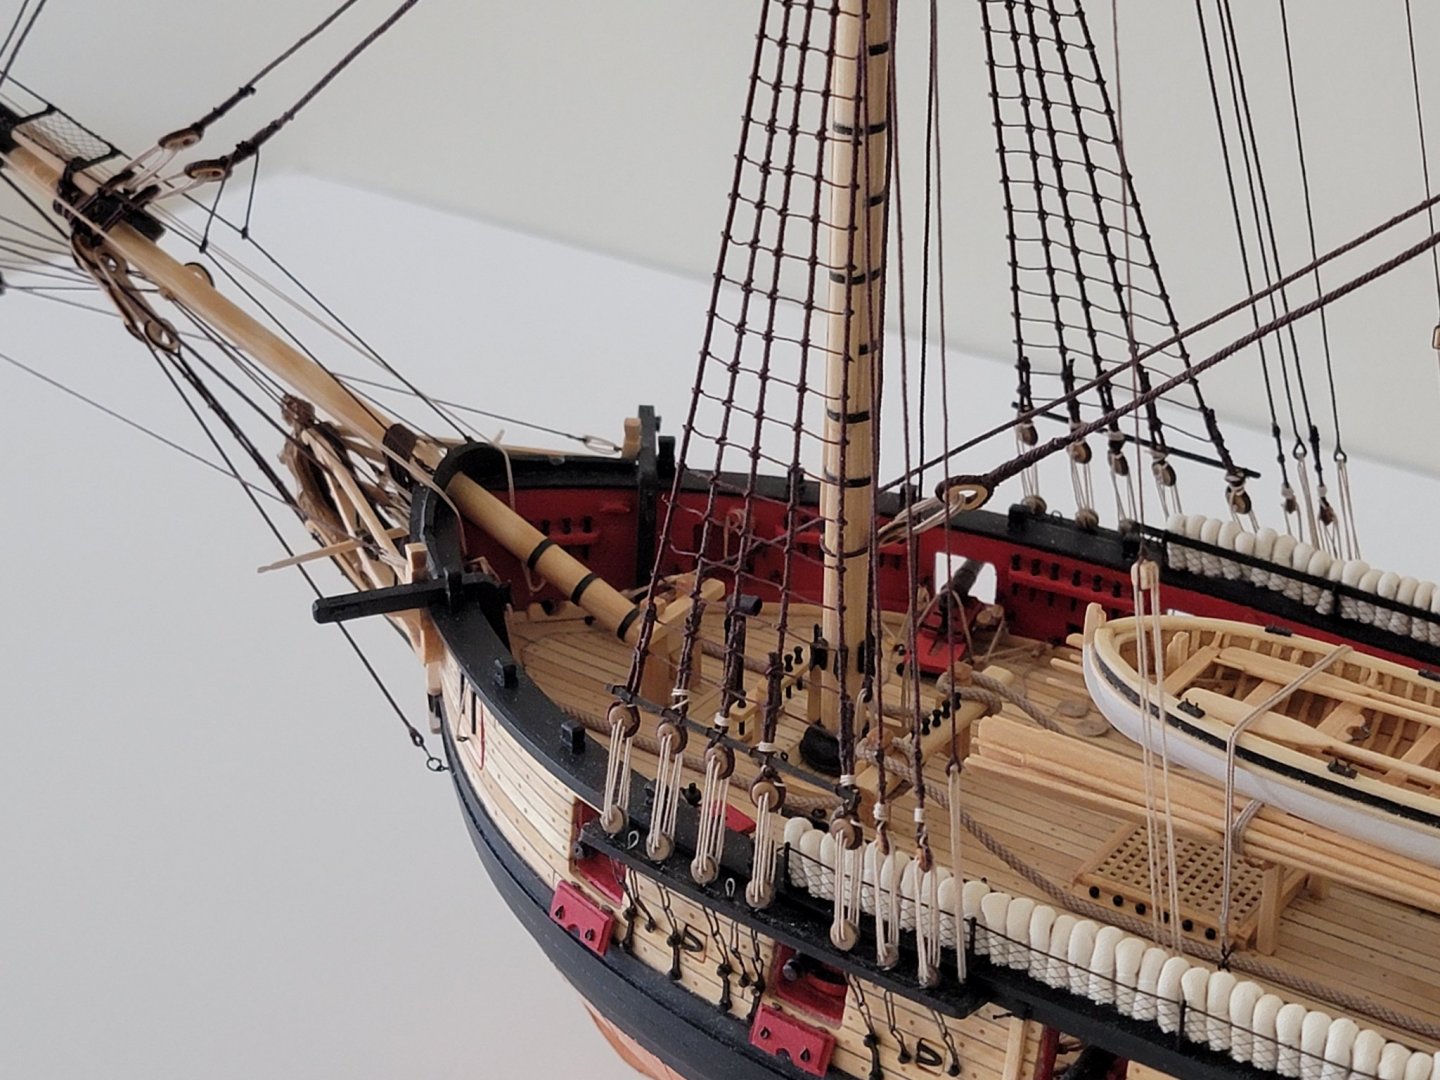
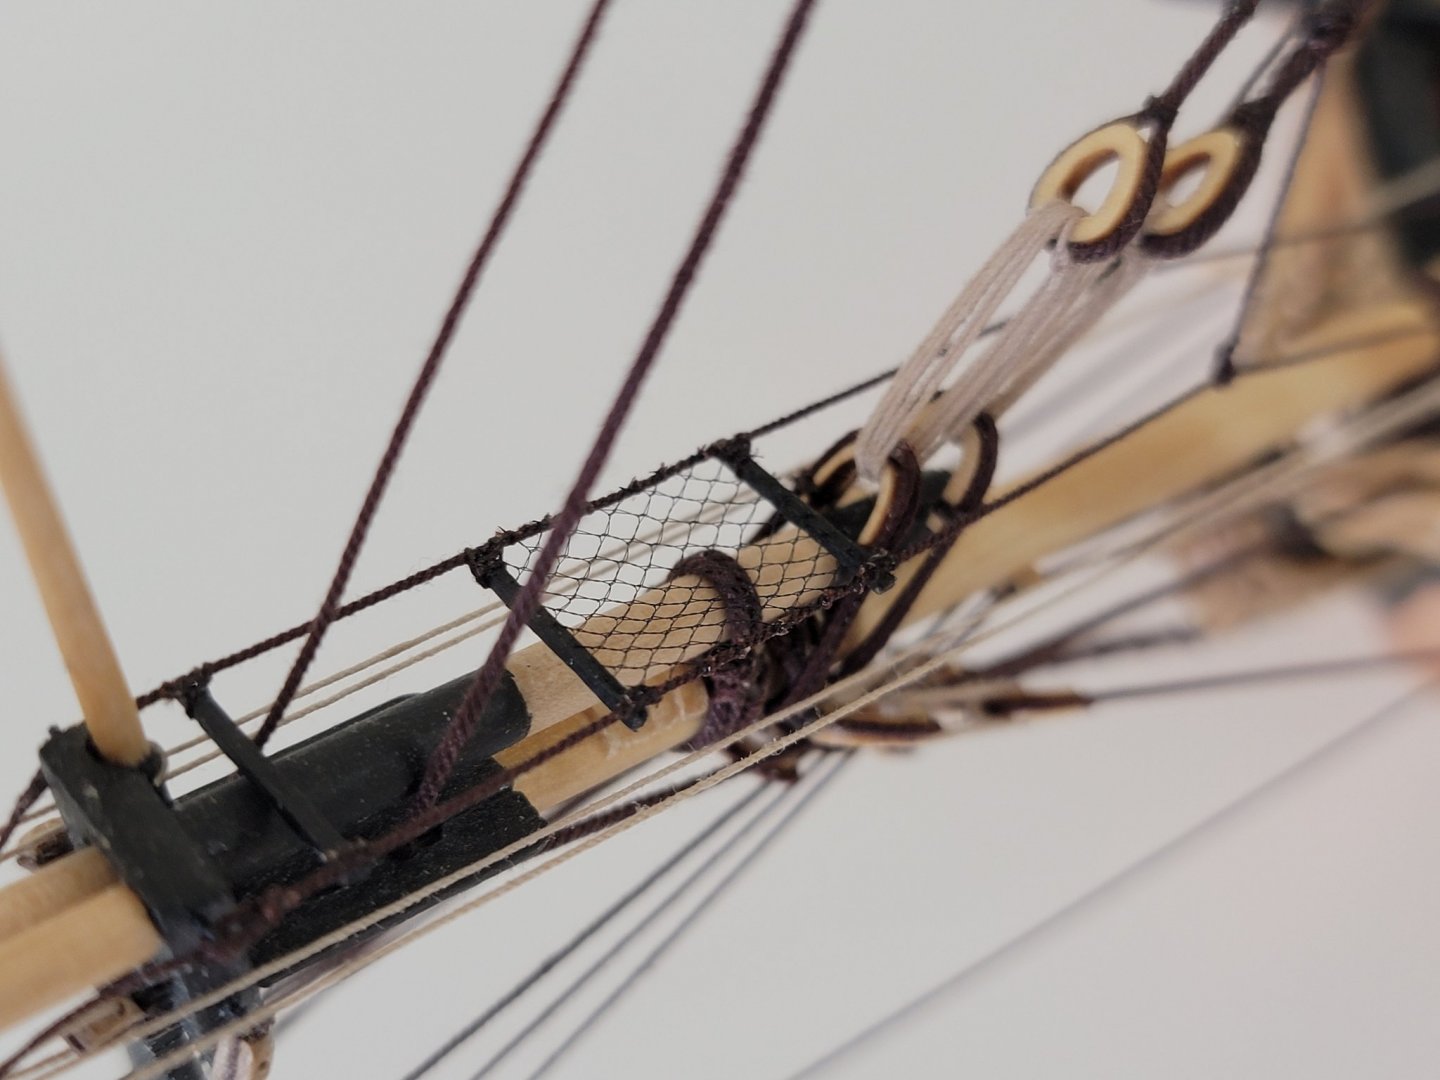
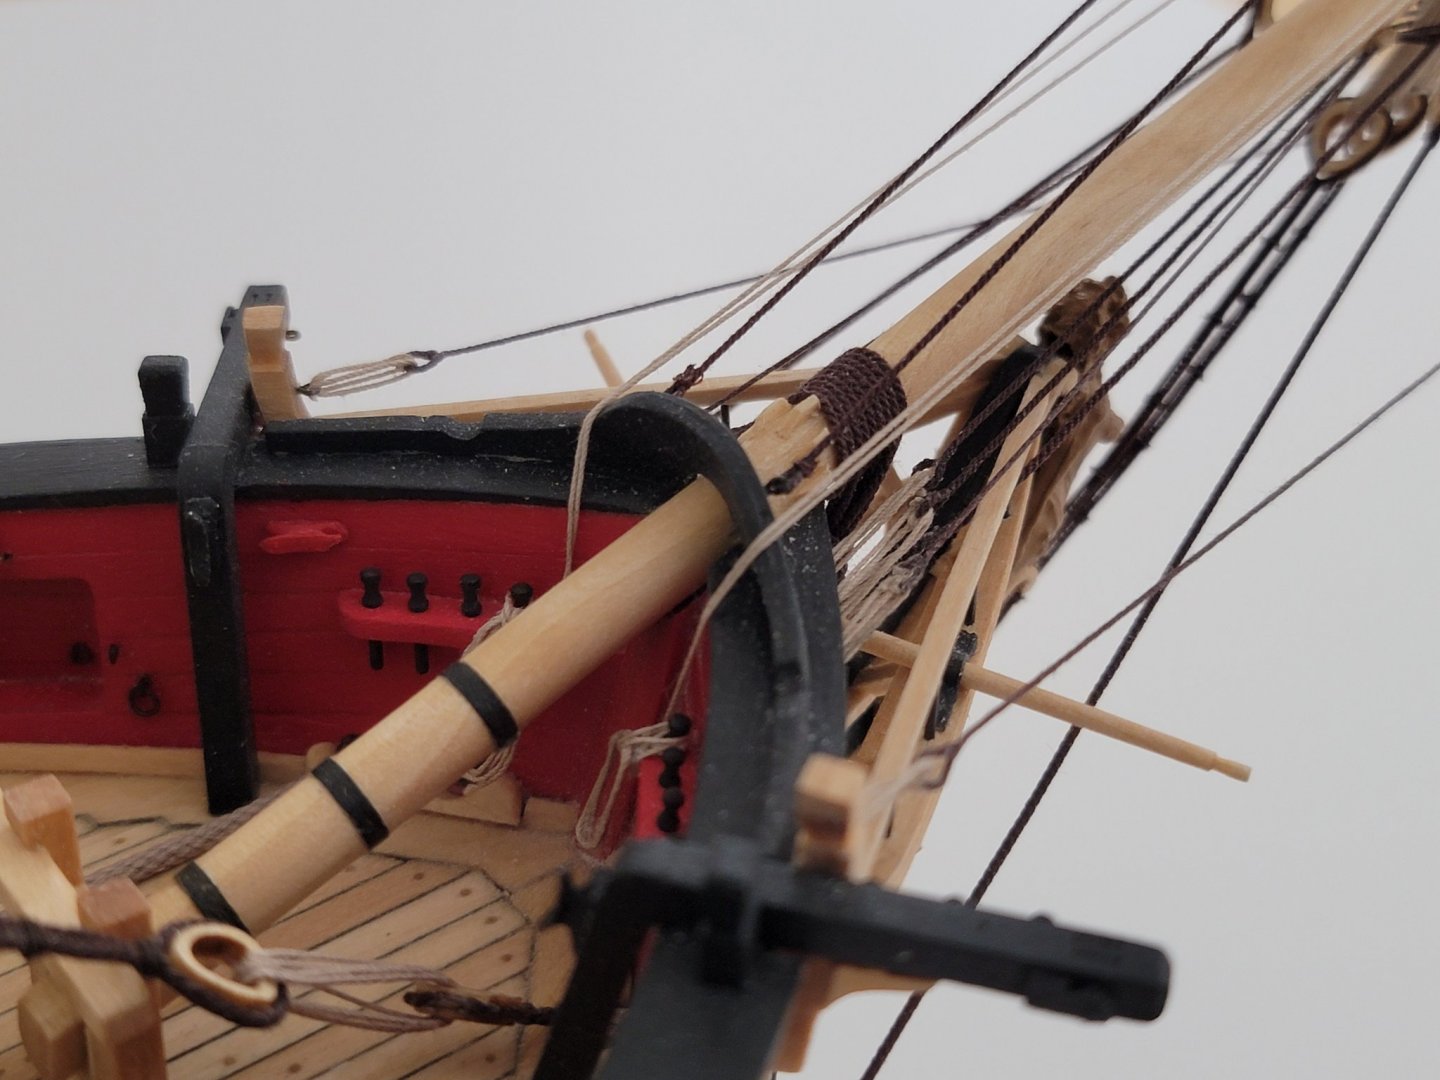
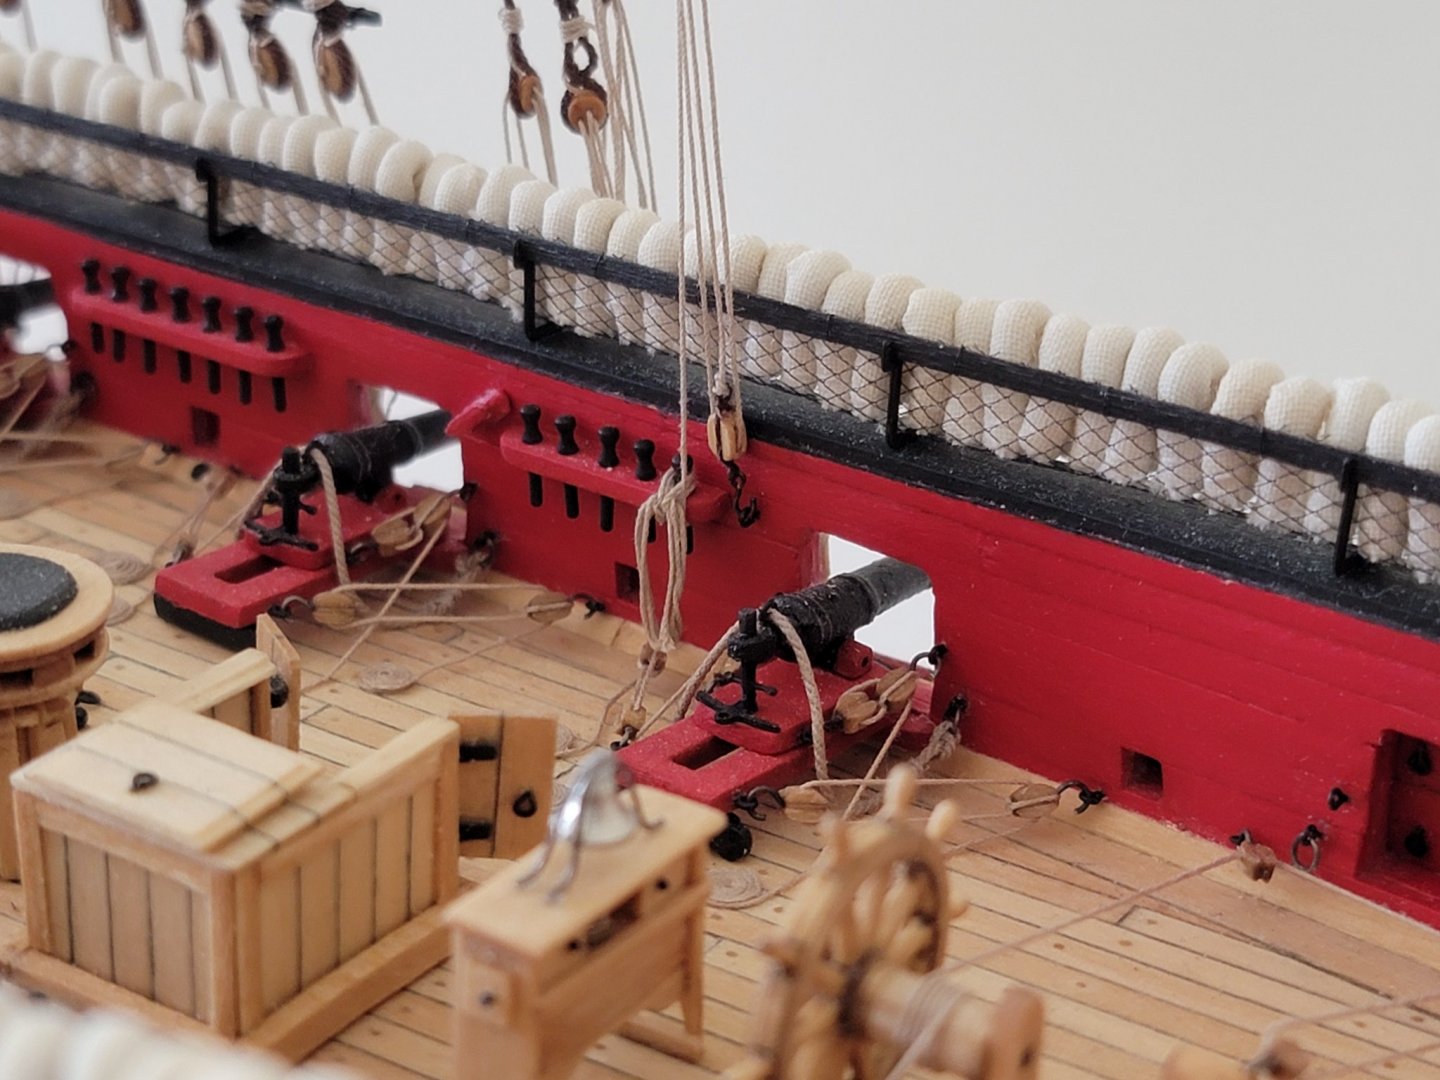
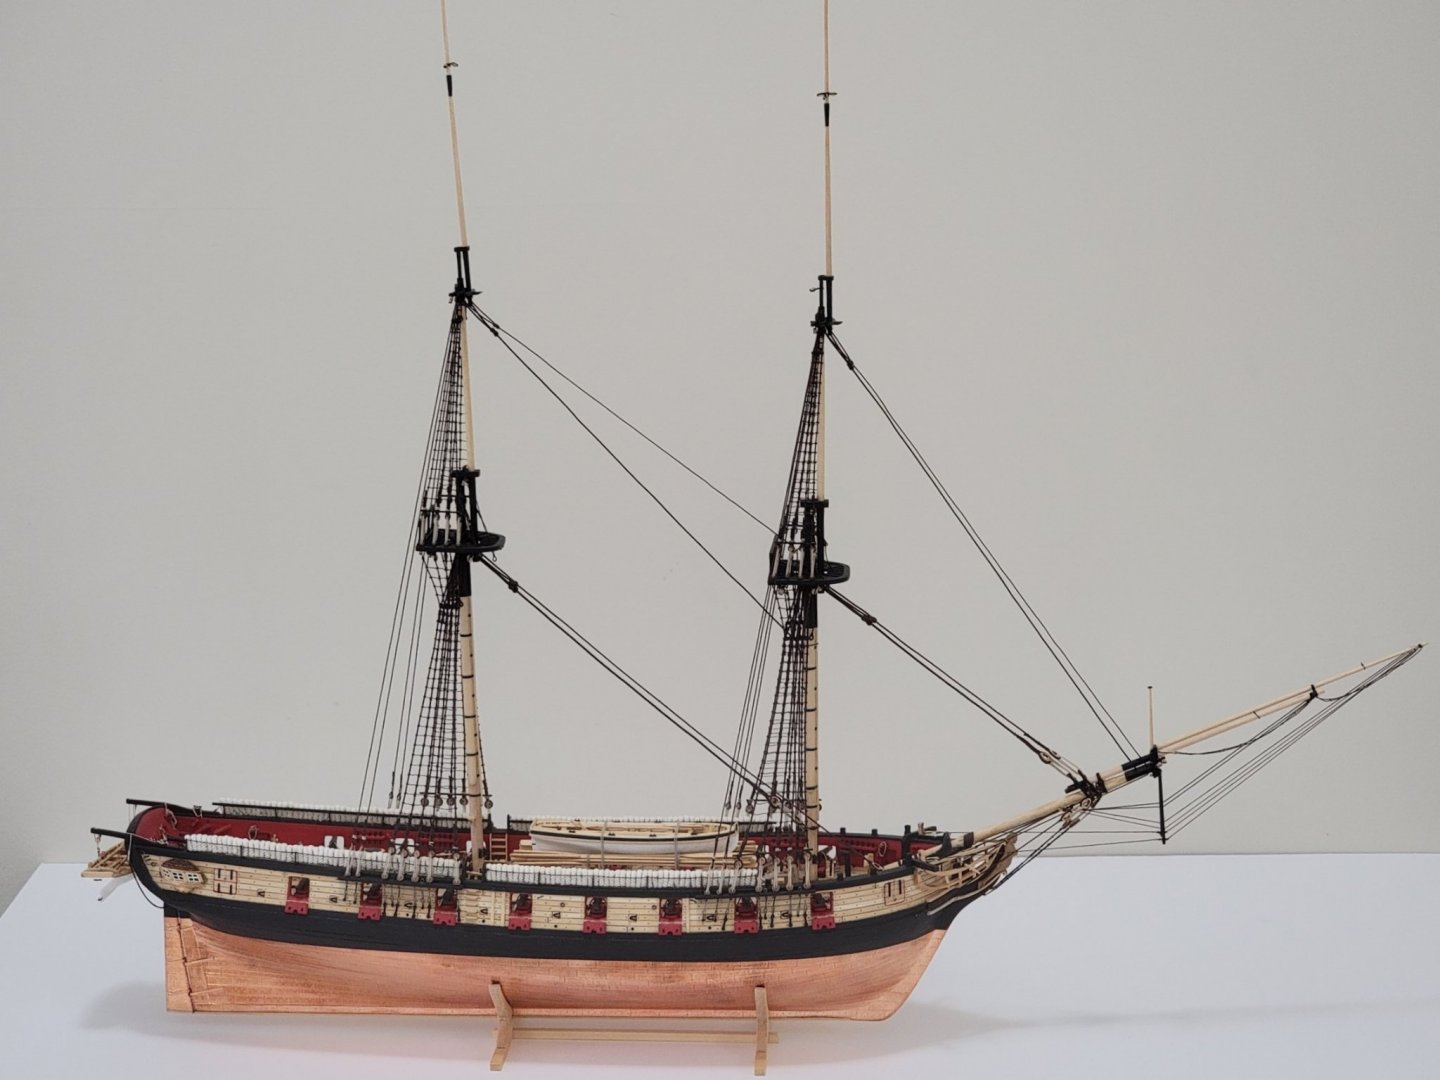
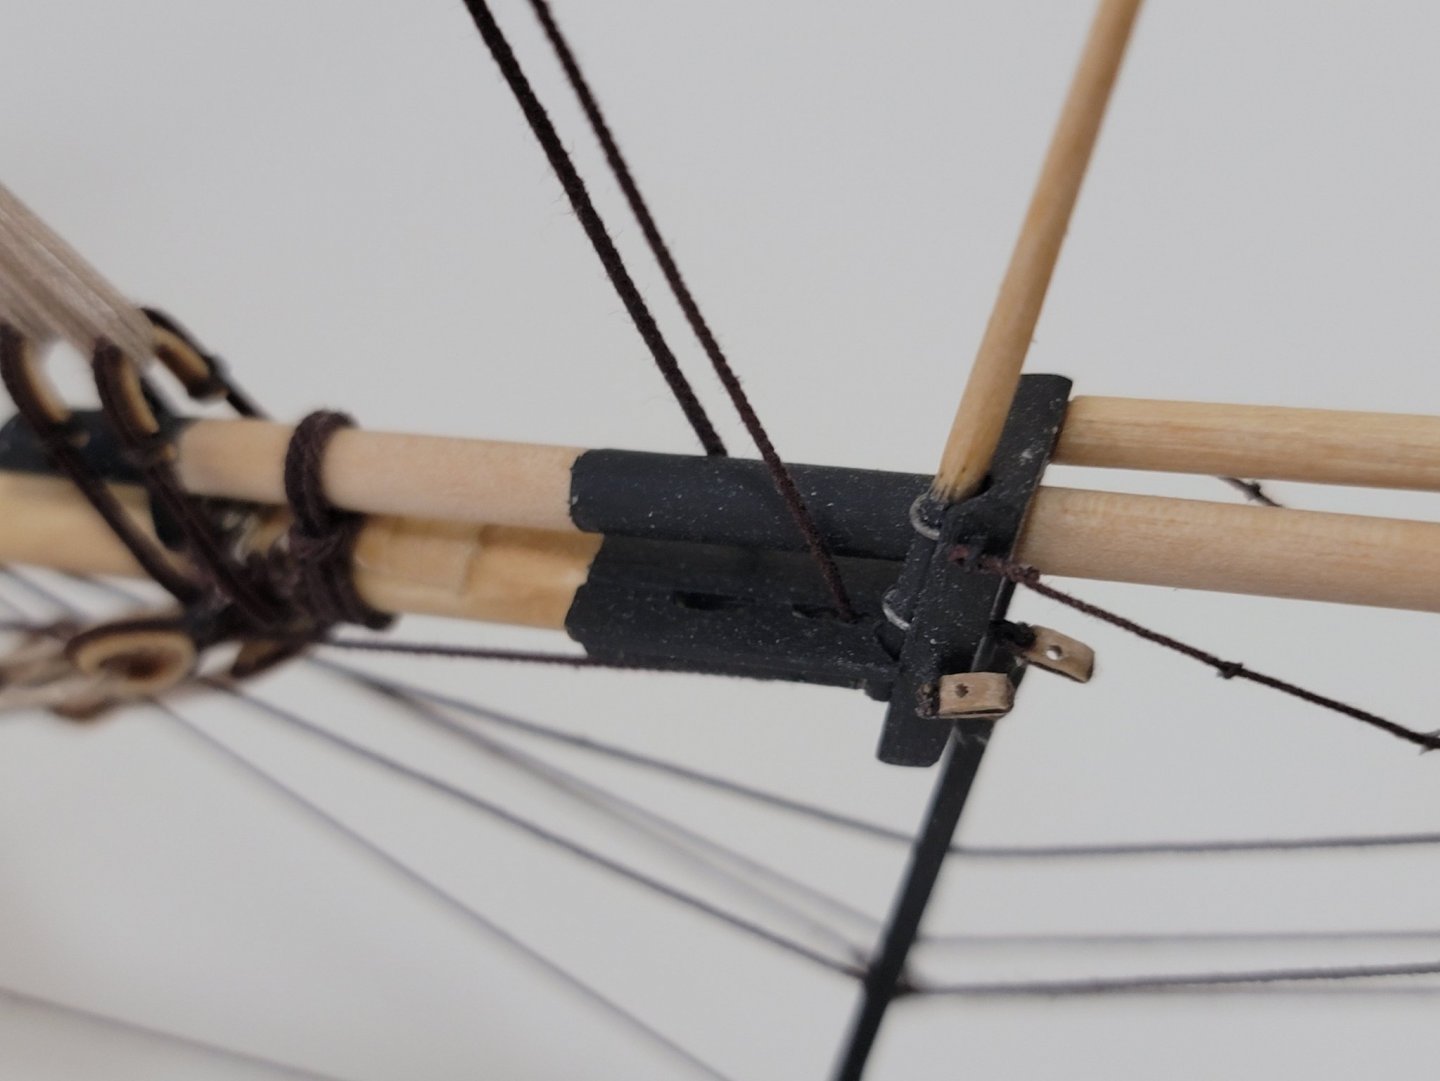
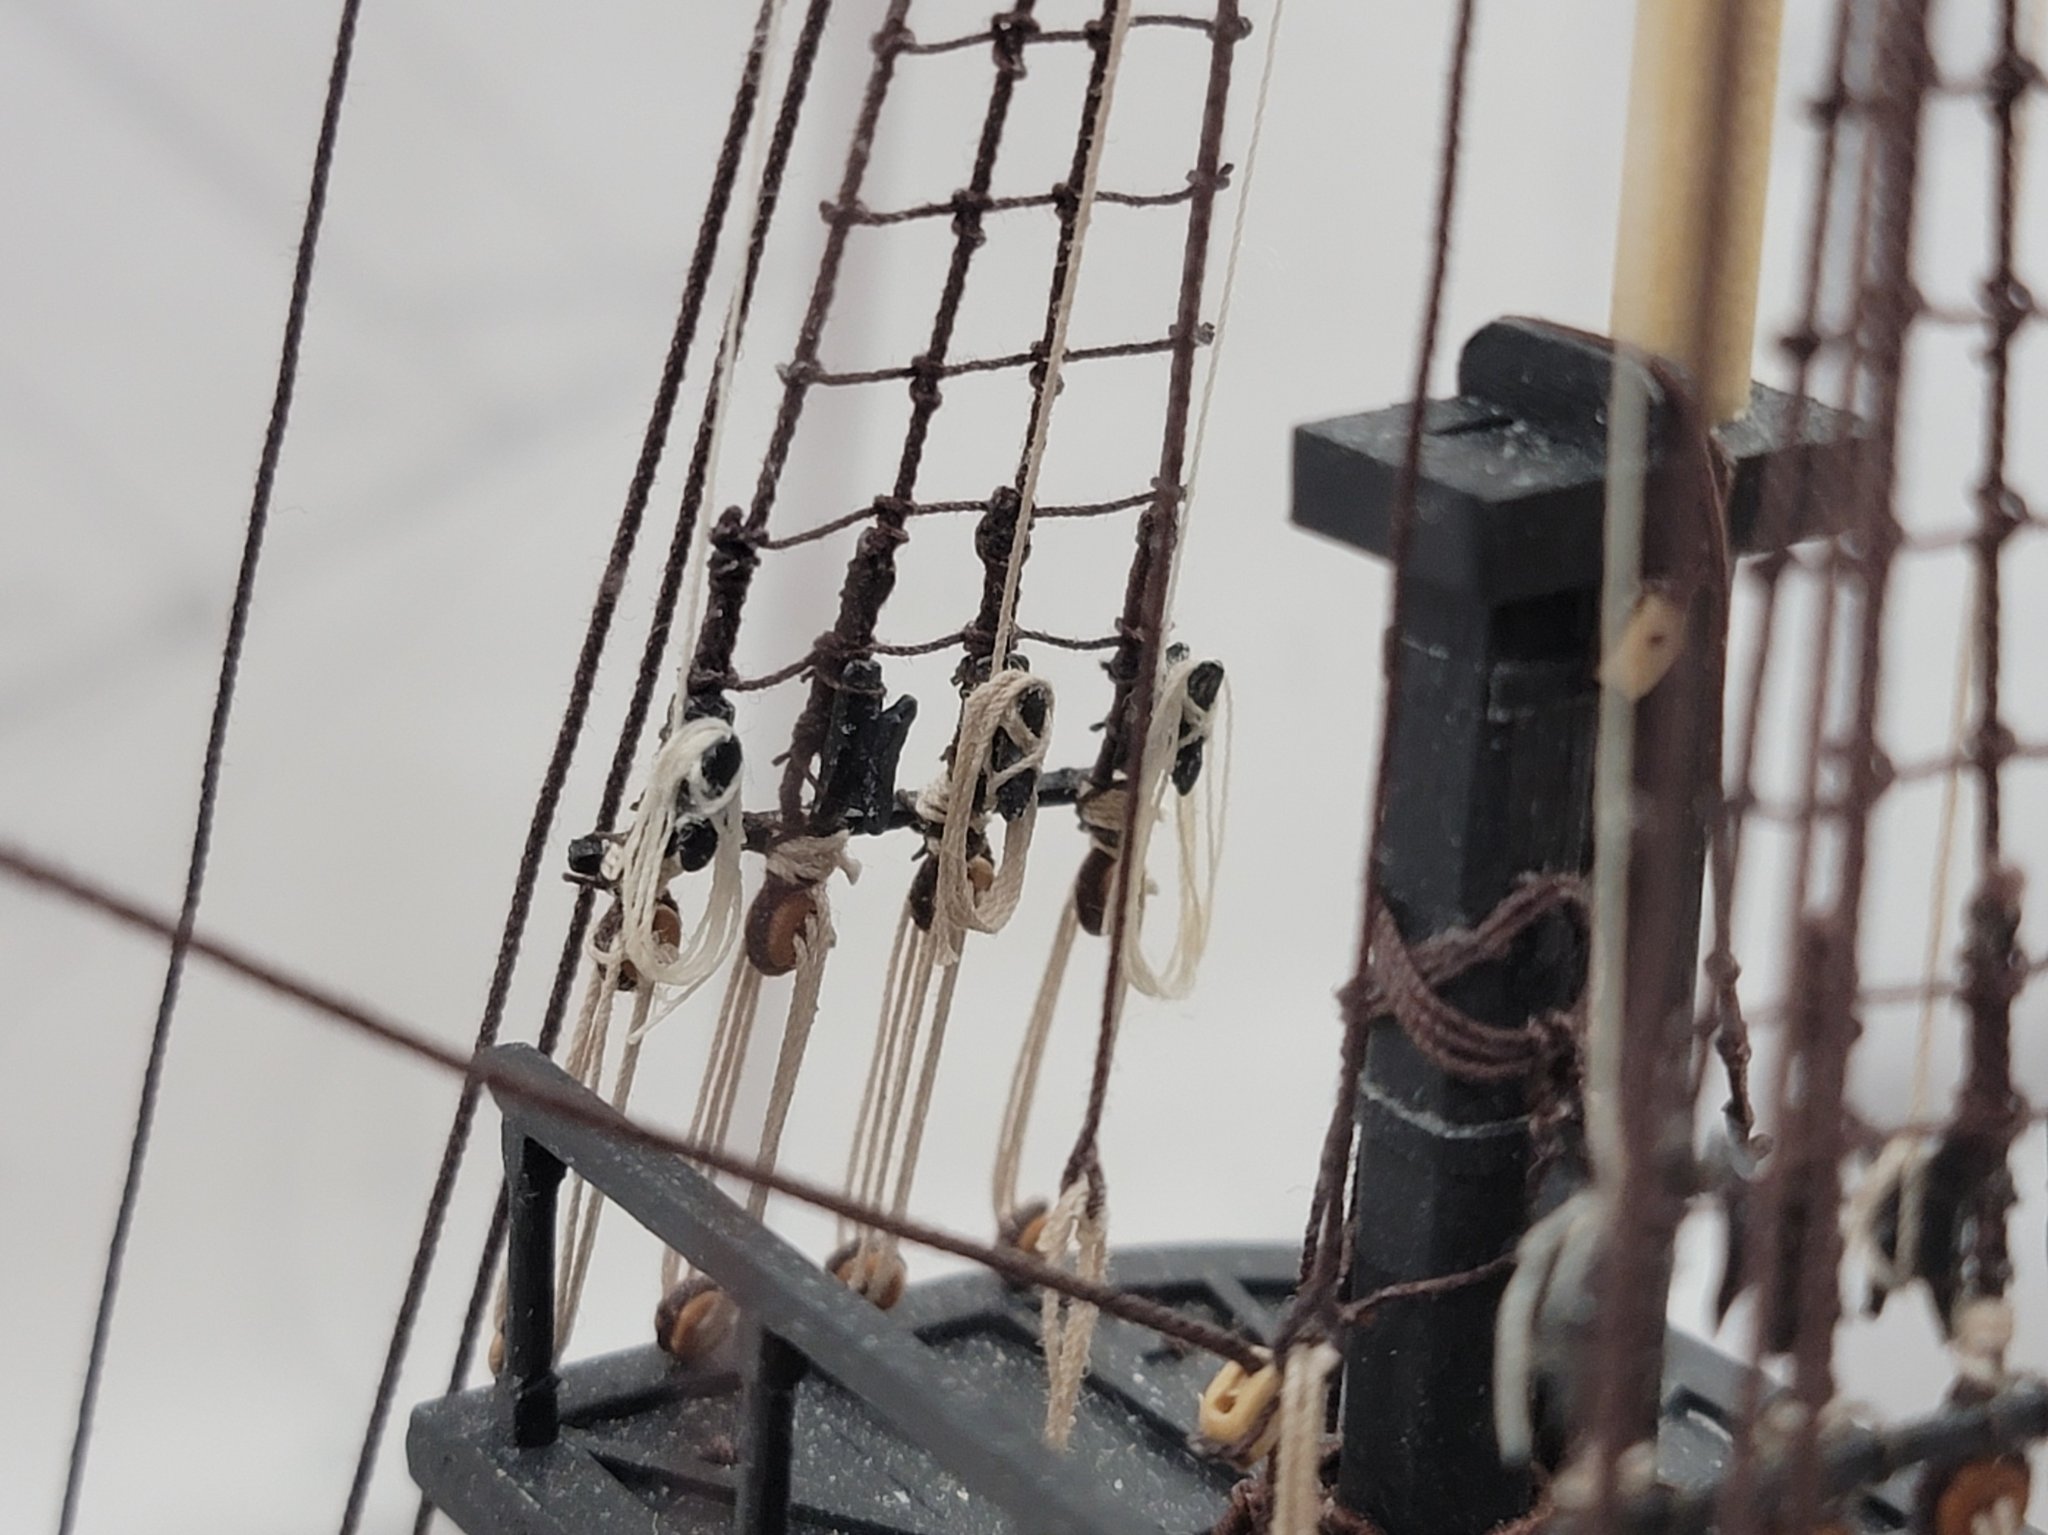
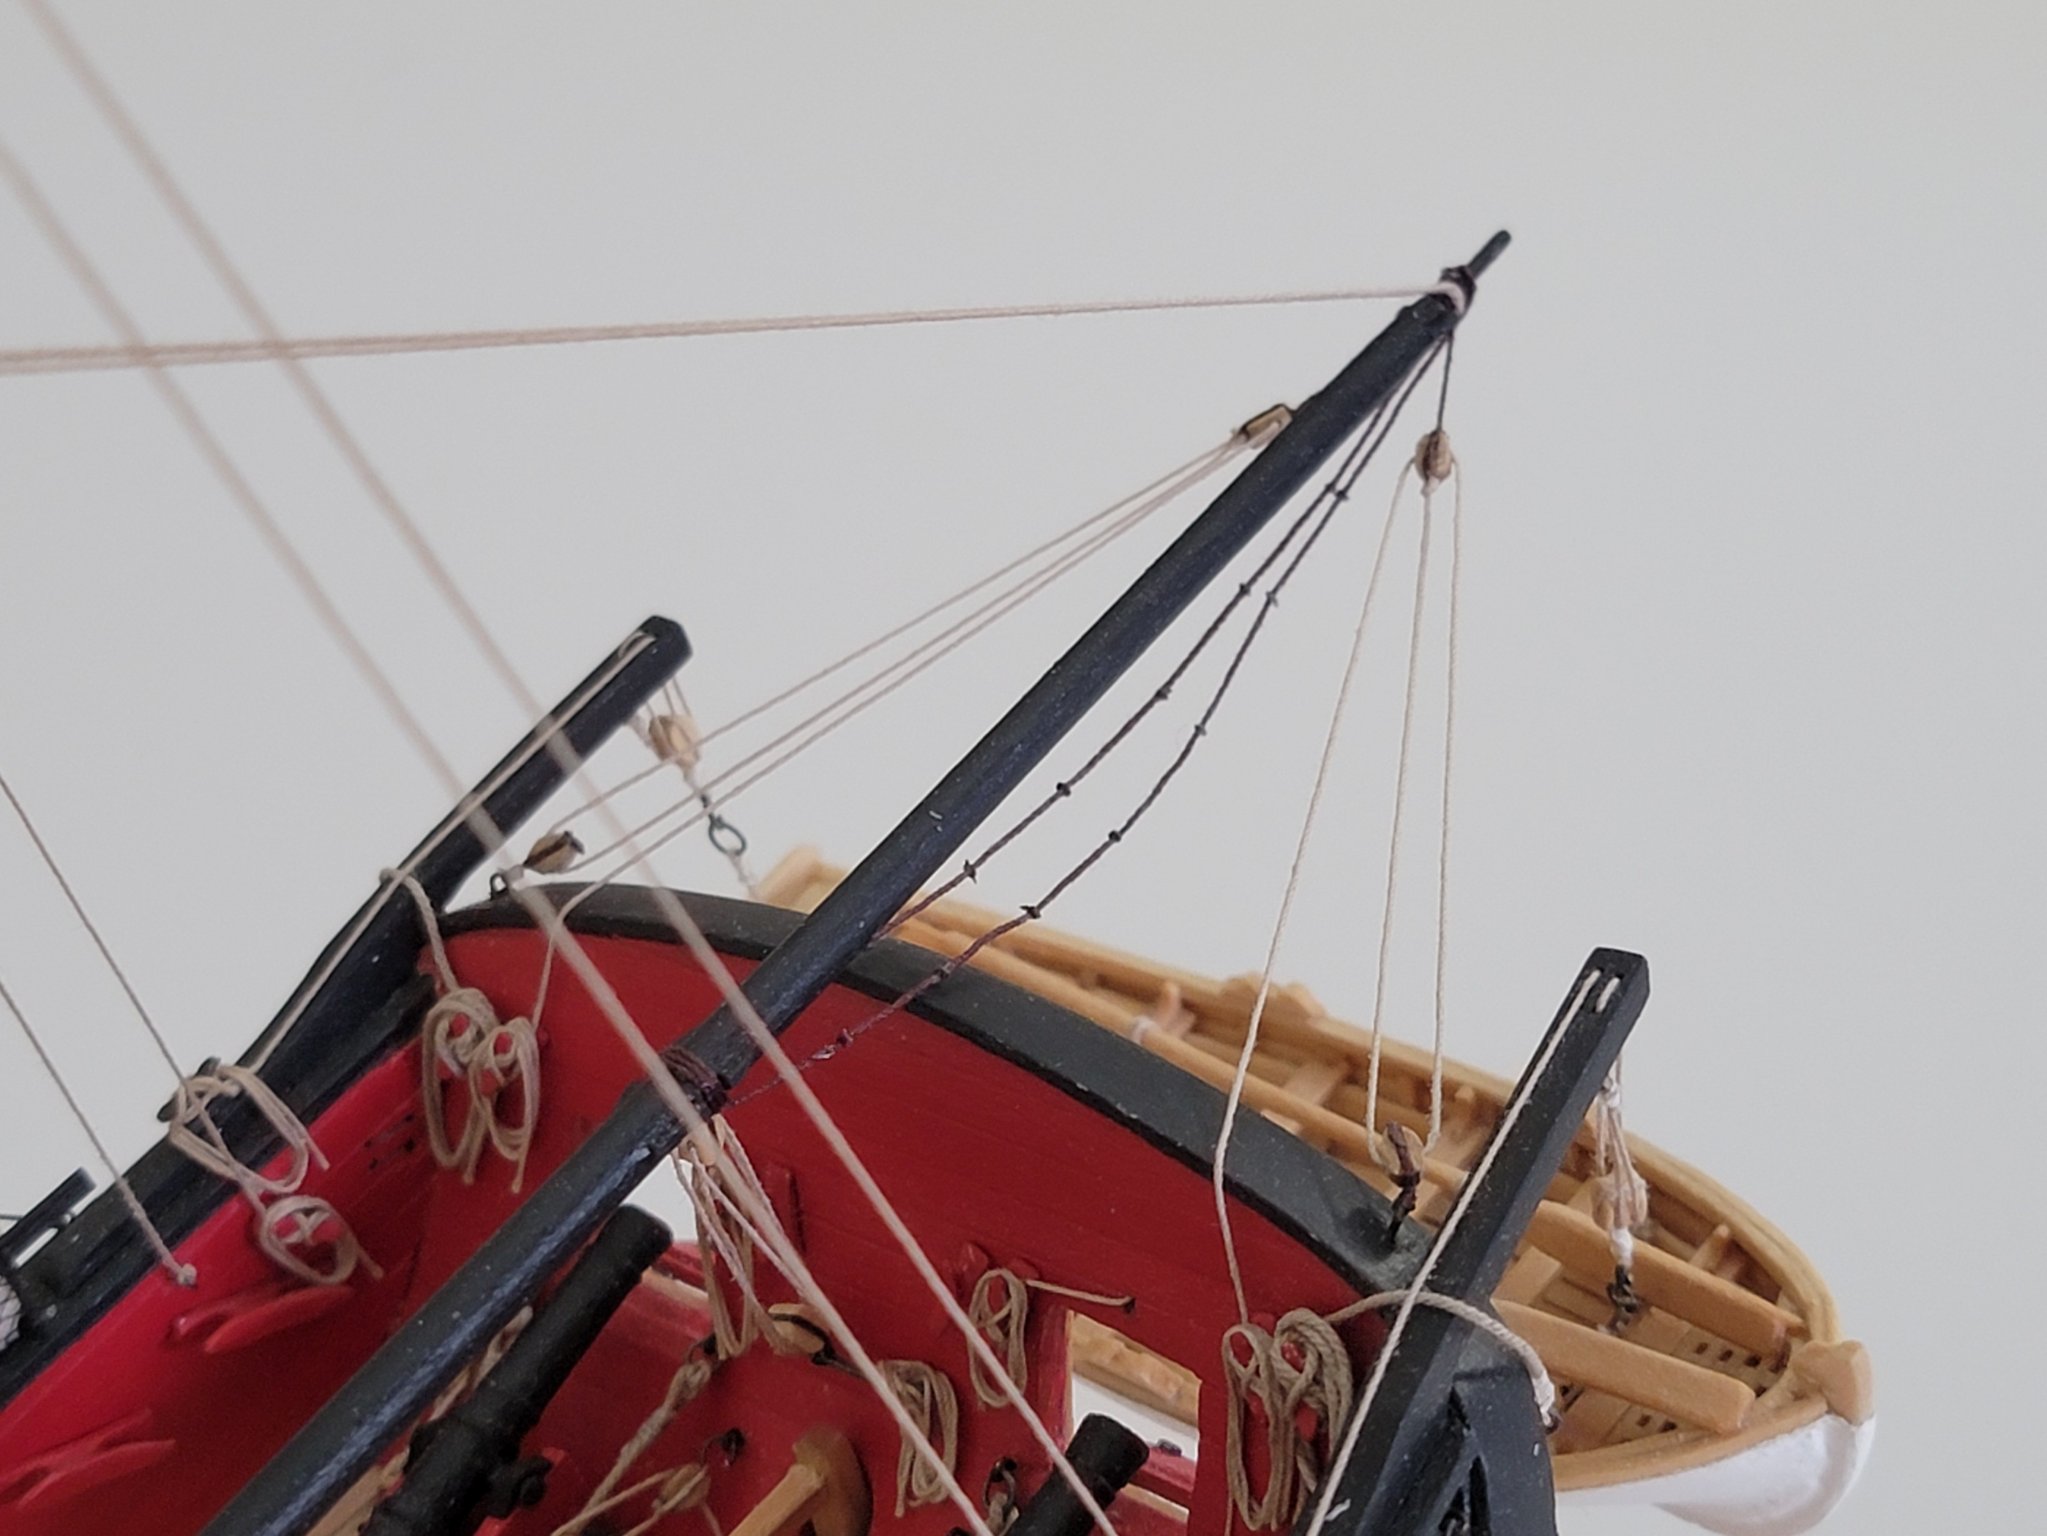
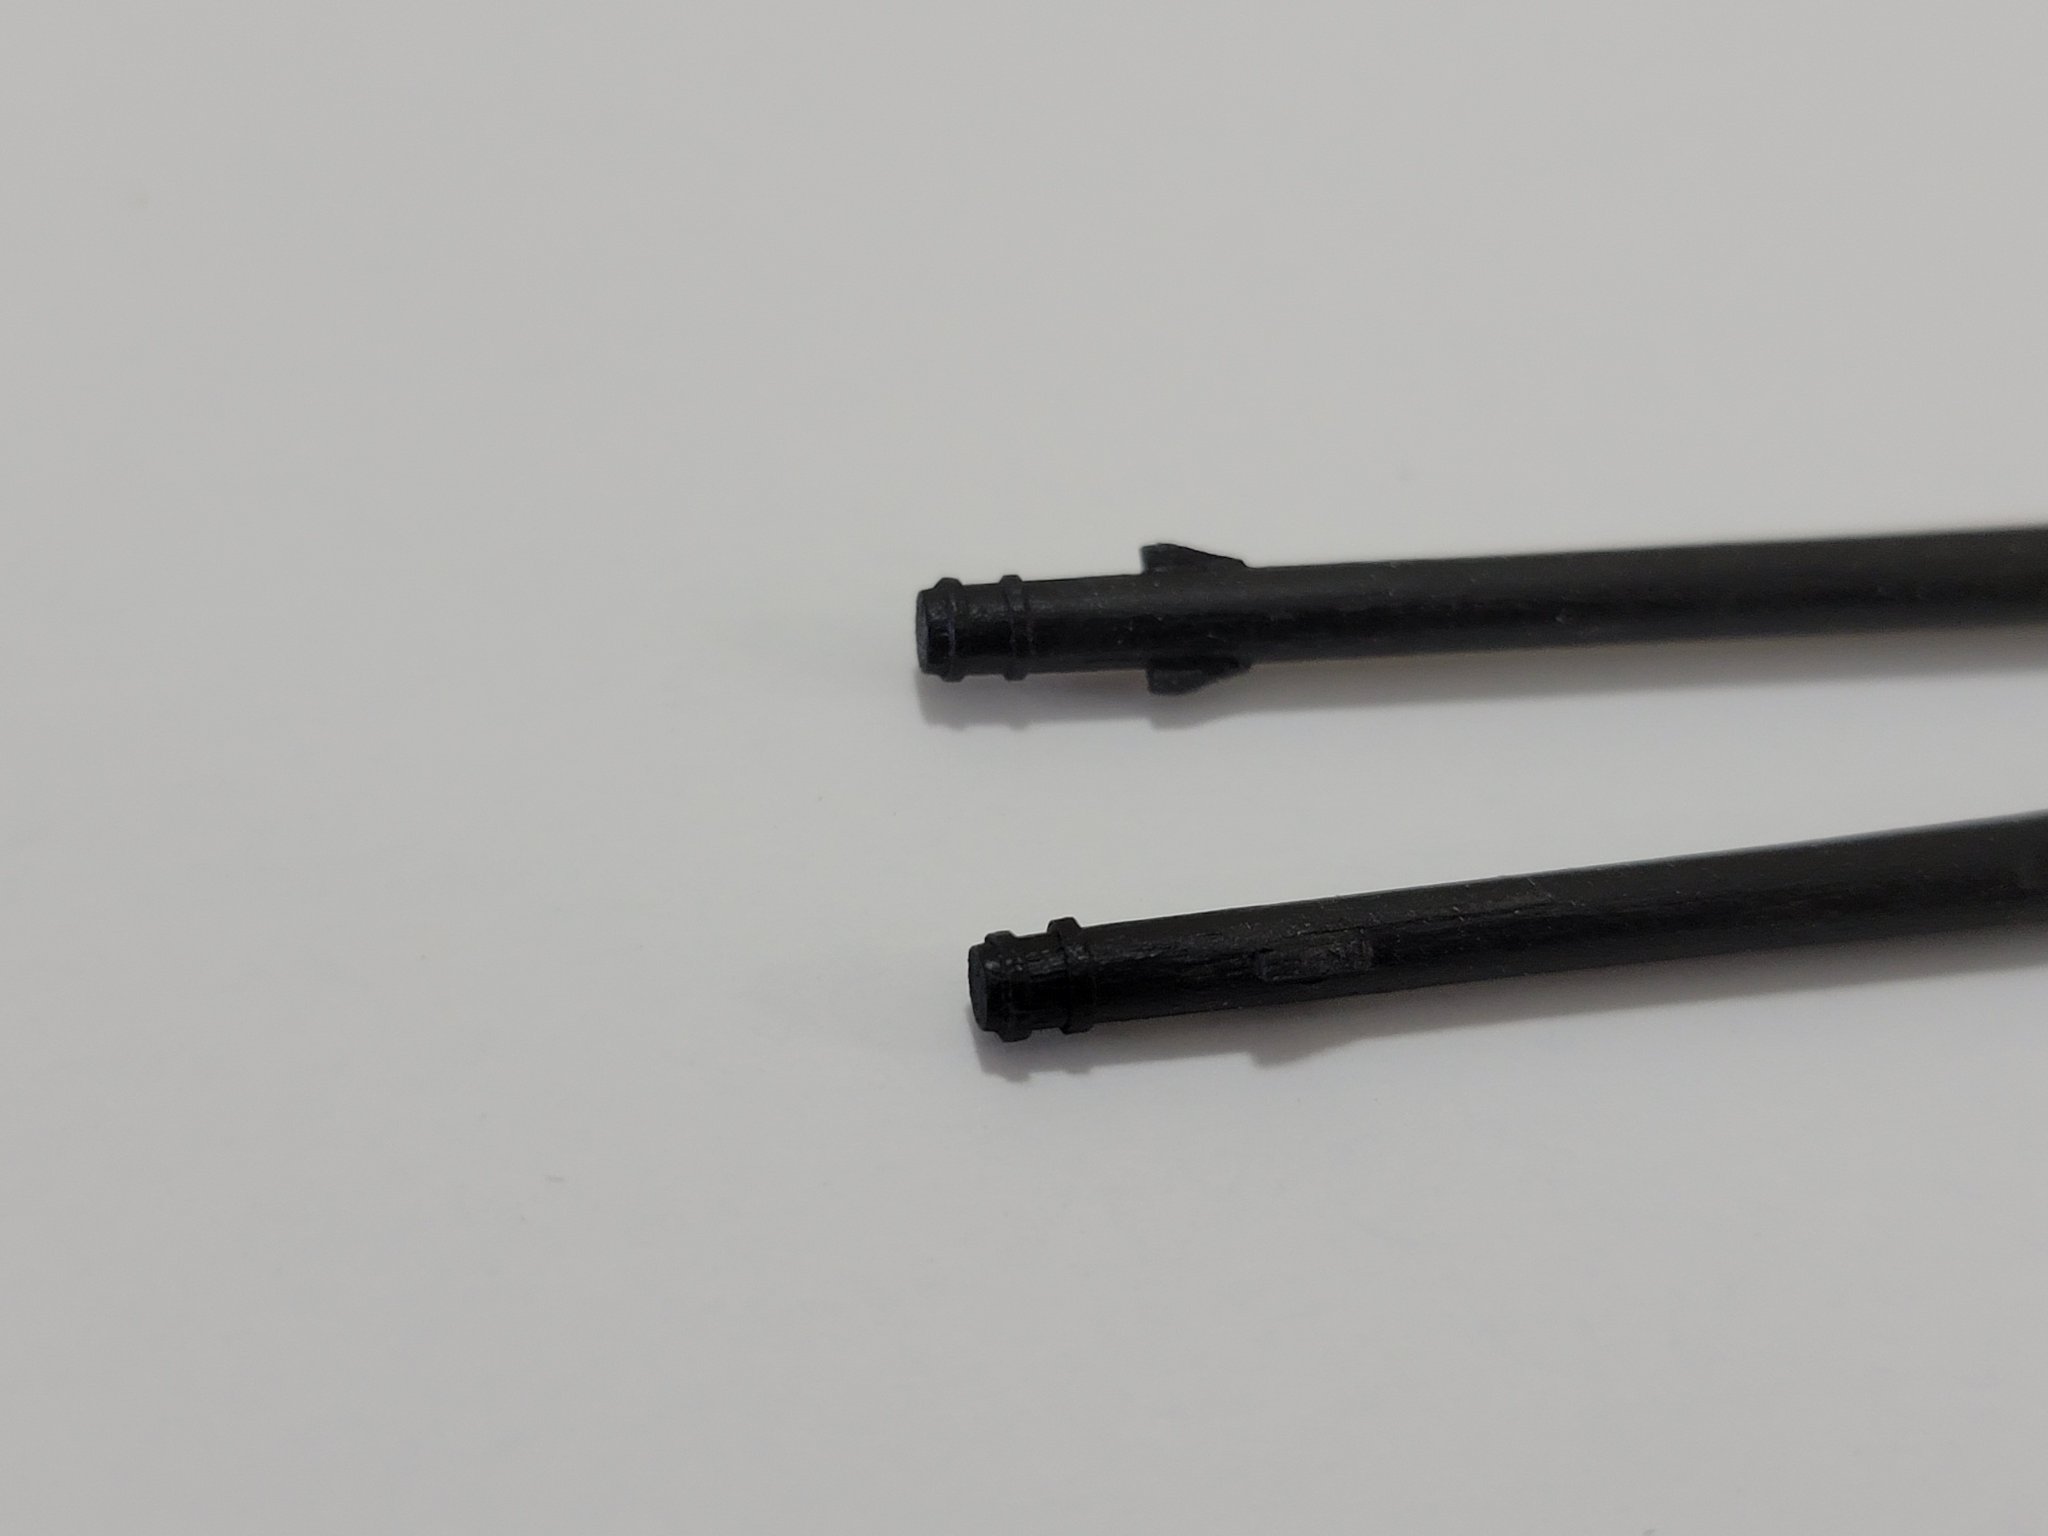
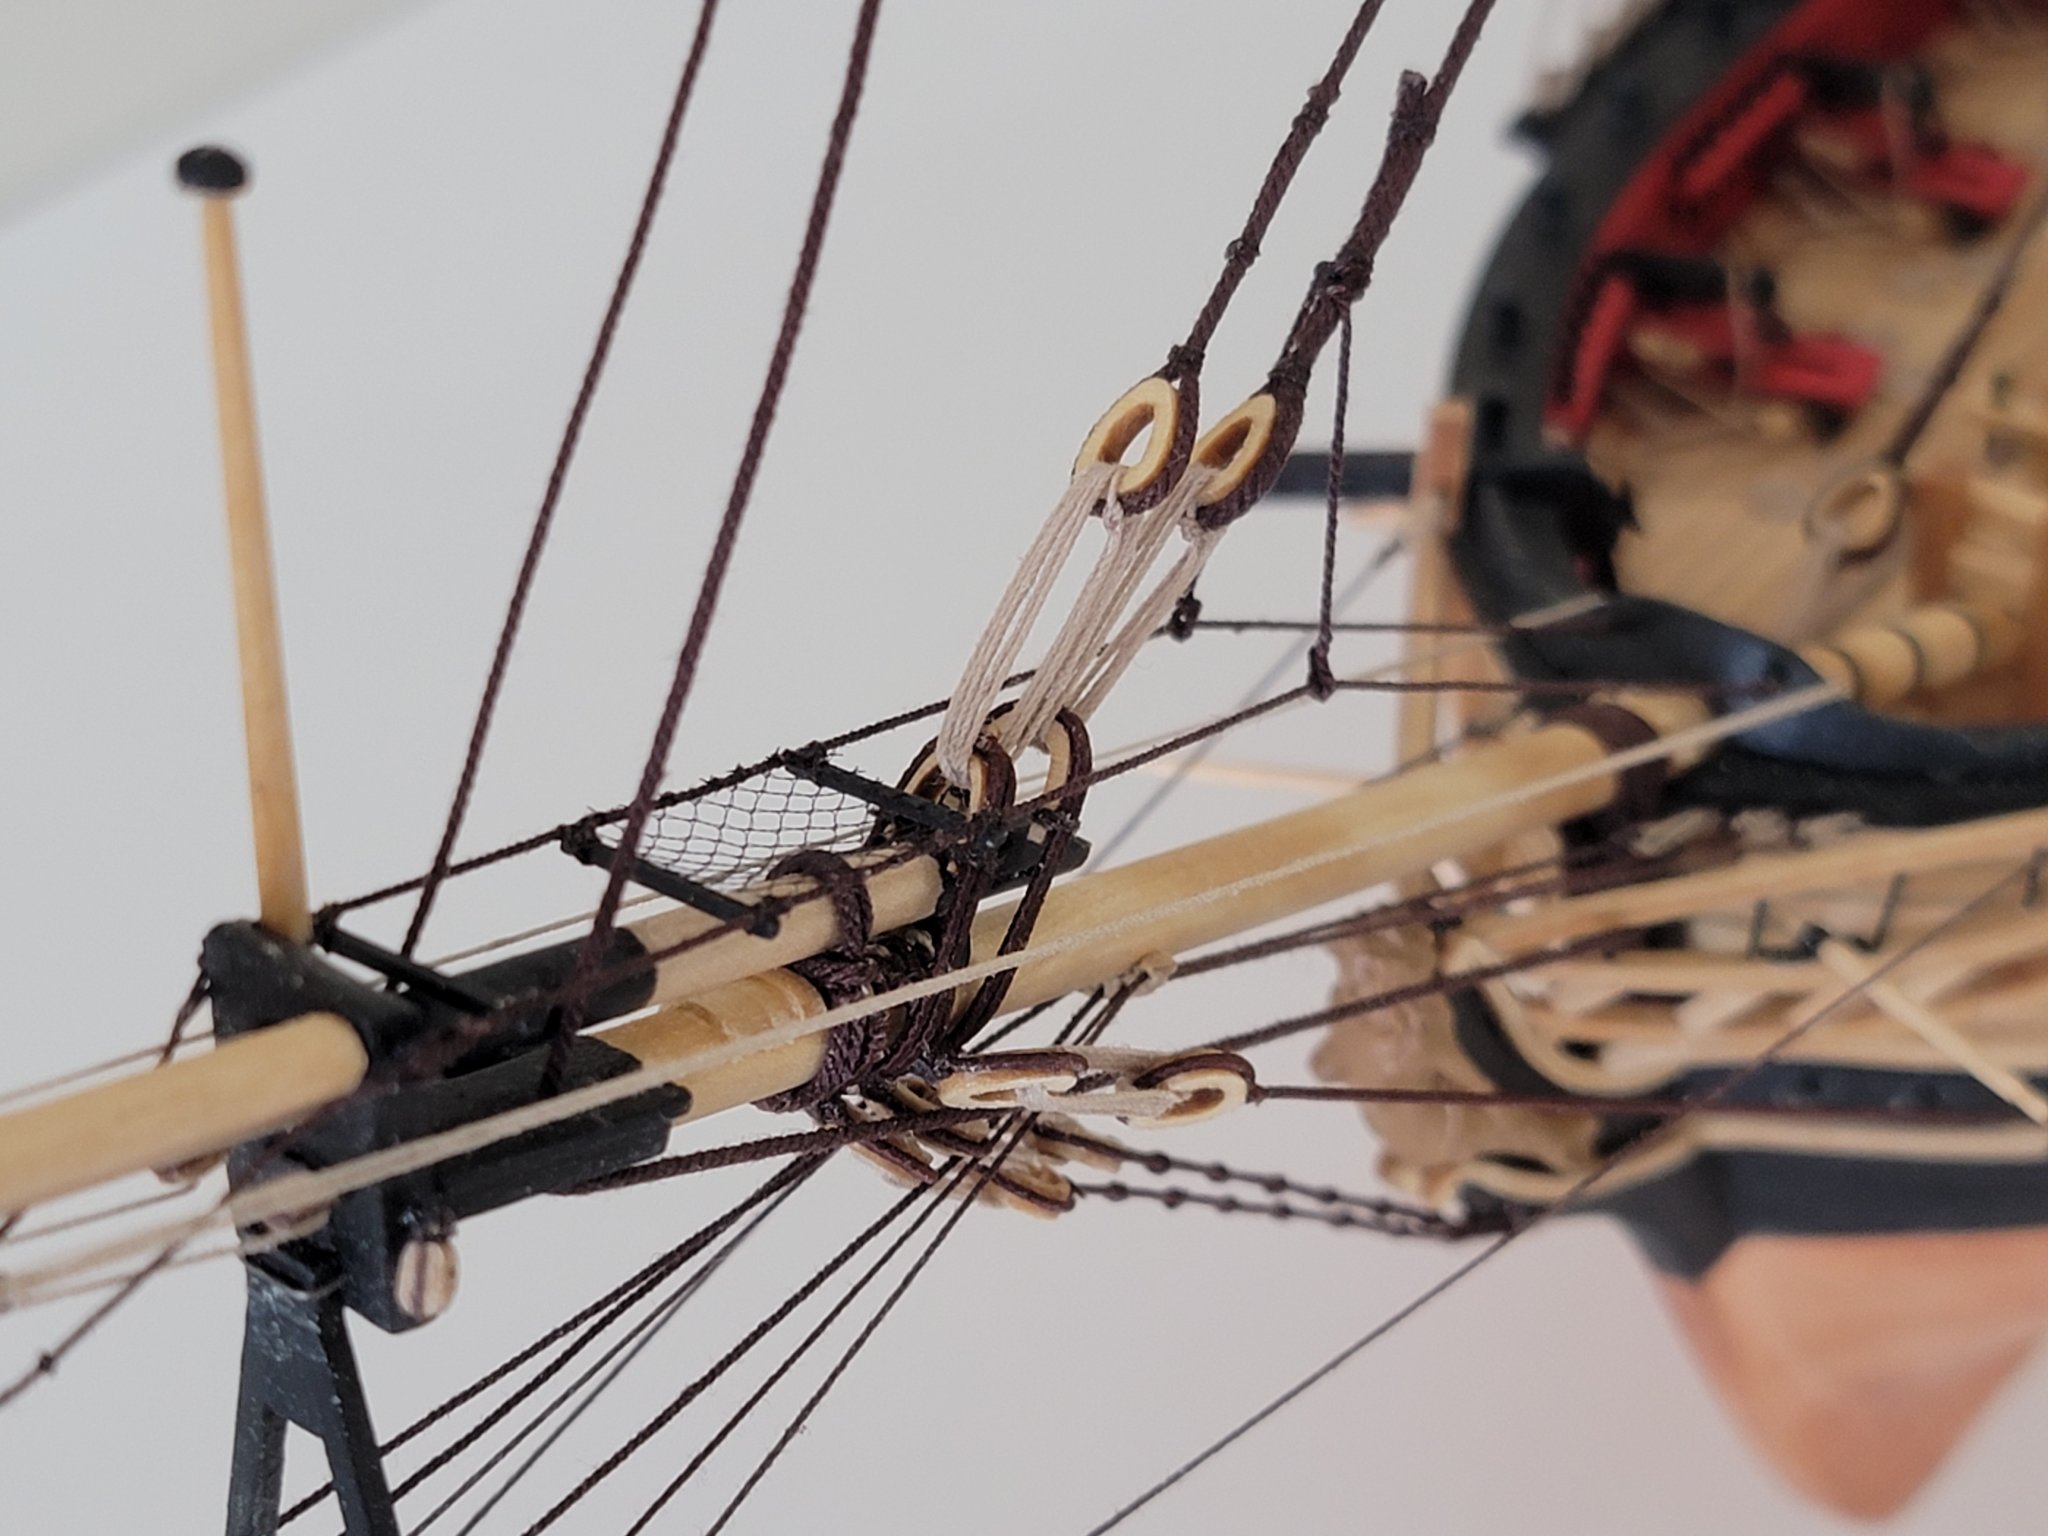
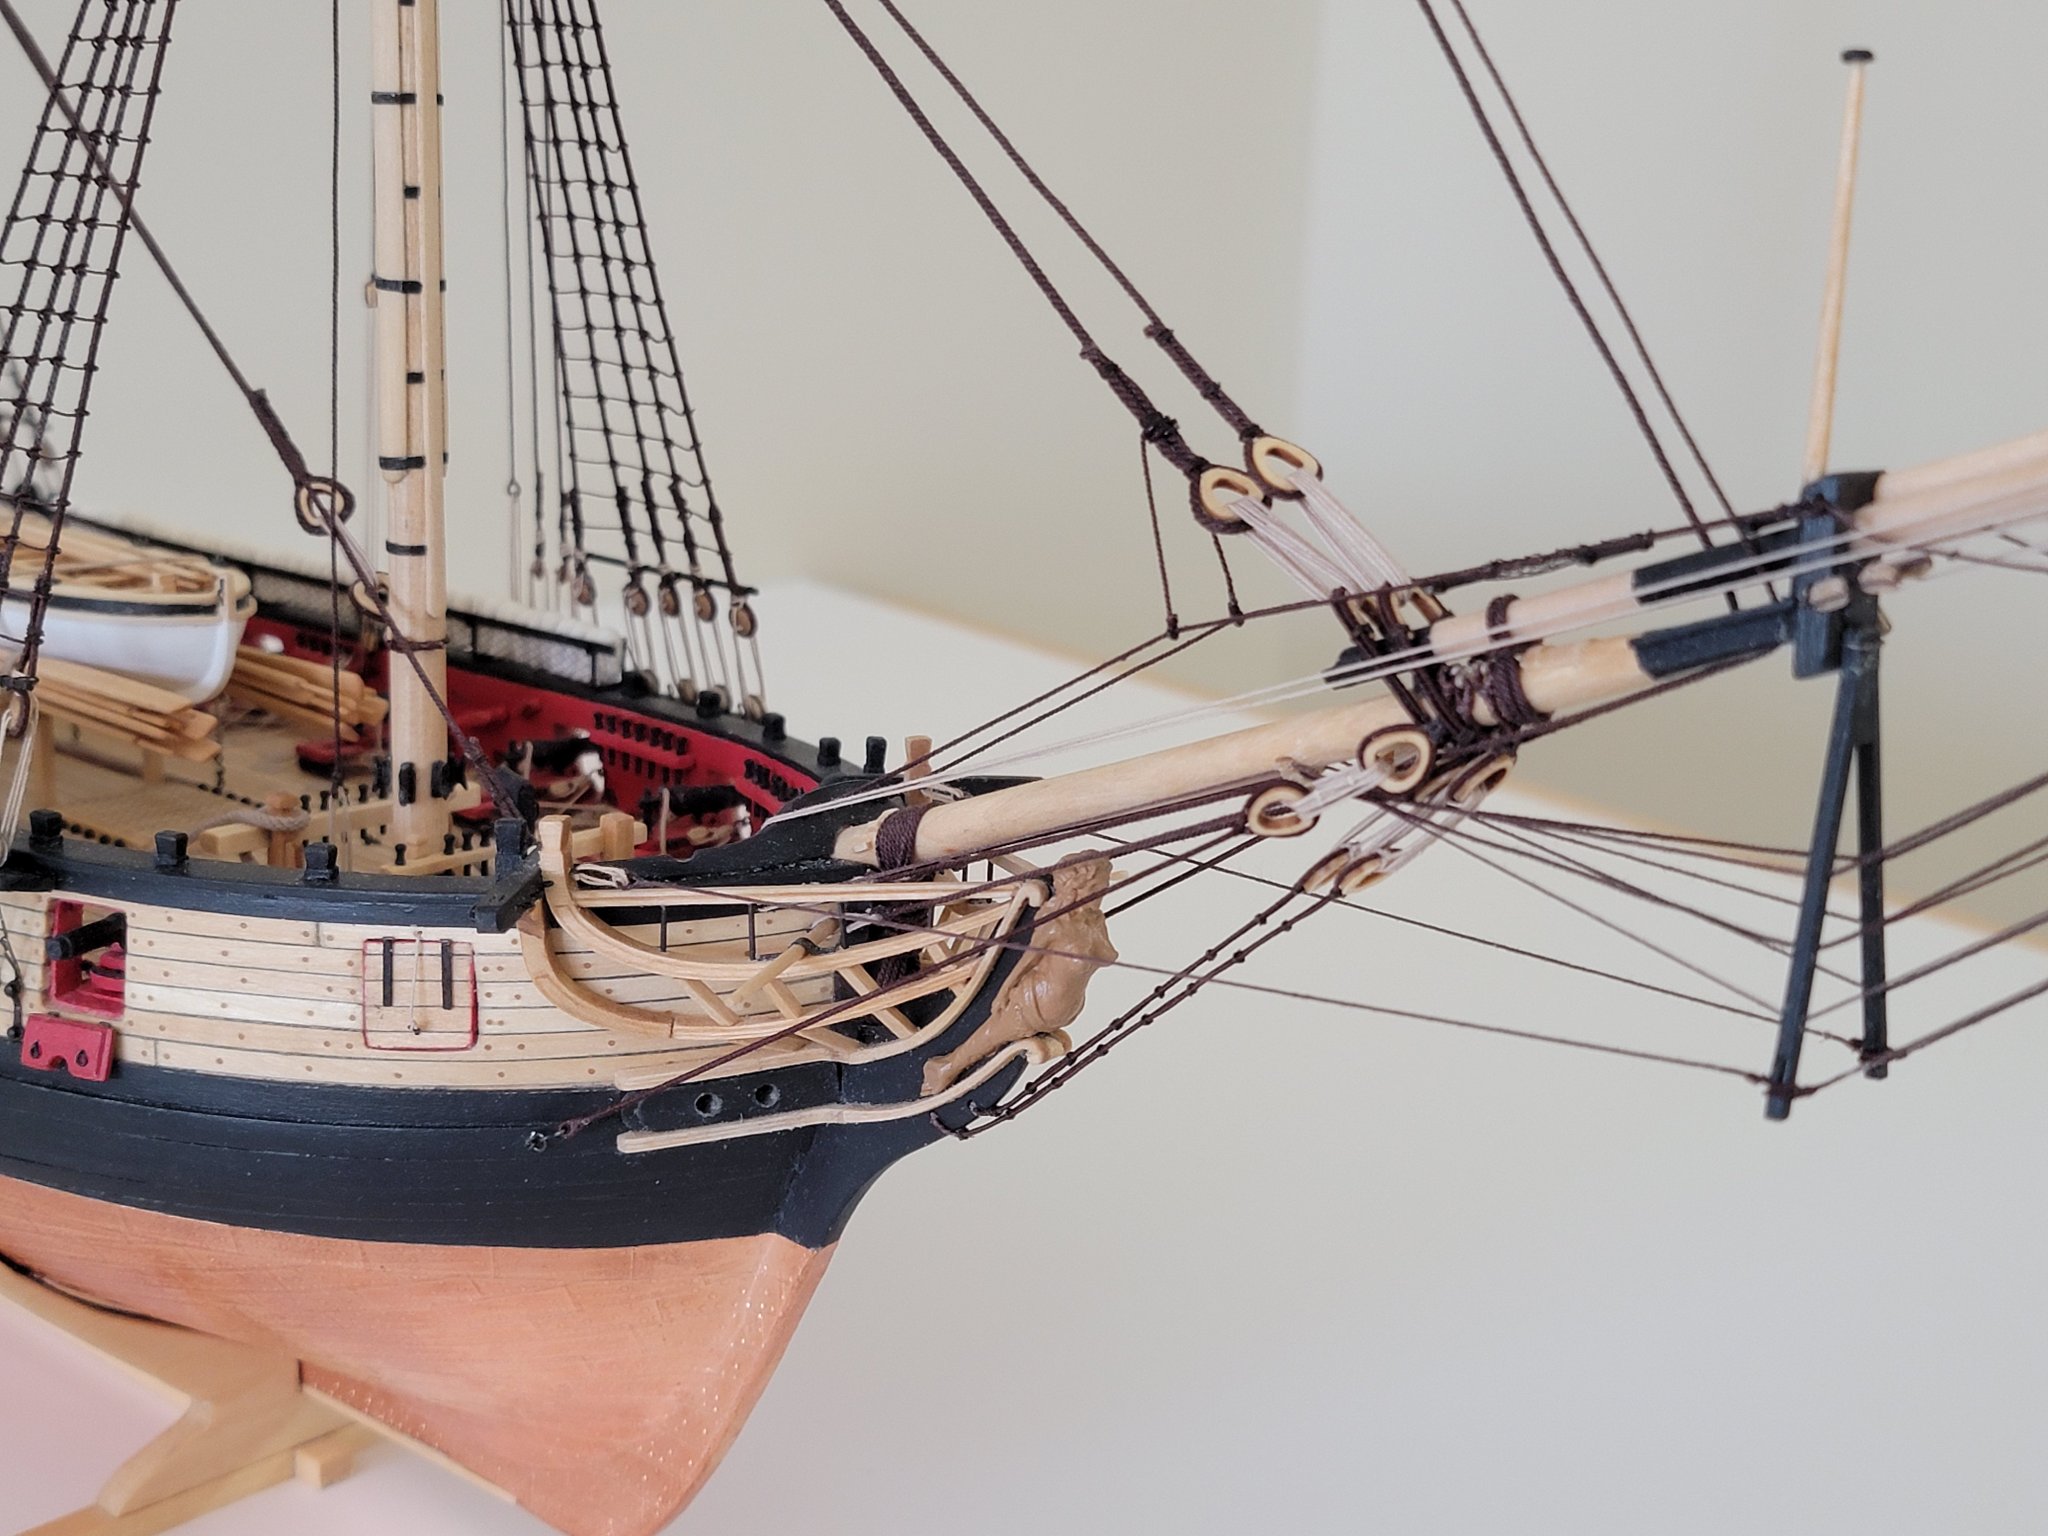
.thumb.jpg.62d1d69fed1f32364417cb1f9cdeb009.jpg) I decided to go ahead and finish up the staysail rigging rather than work on the yards. For some reason the stirrups and footropes felt a bit daunting to attempt at this time. I will be trying to use thread with matt medium acrylic applied to stiffen them. I have never used this product, so very interesting to see how it all works. For the staysail rigging I used waxed sewing thread (with beeswax) wherever ST was written on the plans. After installing the ropes, I started to make the coils, then I realized the thread I used is a tint lighter than Syren's ropes..... So I am planning to just dye the coils up a bit with very dilute tea water. Hoping this does the trick to match the colors. Here is a pic of the photo of the lighter colors contrasting with the thicker Syren rope. And here are some pics of the staysail rigging. It was very hard to show the ropes with the white and cream background, so I tried to play around with the lighting to see if they show. I will be on the lookout for a greyish board/fabric I can use to contrast against the rope colors 😁 I'll next try to sort out the color issue with the rope coils, then will continue on with the yards.
I decided to go ahead and finish up the staysail rigging rather than work on the yards. For some reason the stirrups and footropes felt a bit daunting to attempt at this time. I will be trying to use thread with matt medium acrylic applied to stiffen them. I have never used this product, so very interesting to see how it all works. For the staysail rigging I used waxed sewing thread (with beeswax) wherever ST was written on the plans. After installing the ropes, I started to make the coils, then I realized the thread I used is a tint lighter than Syren's ropes..... So I am planning to just dye the coils up a bit with very dilute tea water. Hoping this does the trick to match the colors. Here is a pic of the photo of the lighter colors contrasting with the thicker Syren rope. And here are some pics of the staysail rigging. It was very hard to show the ropes with the white and cream background, so I tried to play around with the lighting to see if they show. I will be on the lookout for a greyish board/fabric I can use to contrast against the rope colors 😁 I'll next try to sort out the color issue with the rope coils, then will continue on with the yards.


- 950 replies
-
- 9
-

-
- syren
- model shipways
- (and 1 more)
-
Can sanding sealer serve the same purpose? I guess this is just to make the curve as smooth as possible without any seams?
- 433 replies
-
- 2
-
-
- open boat
- small boat
- (and 1 more)
-
Many thanks for checking in and leaving the nice comments, Edward and Robin. And glad to see you back Robin! Looking forward to seeing progress in your beautiful Syren build 🙂
- 950 replies
-
- 1
-
-
- syren
- model shipways
- (and 1 more)
-
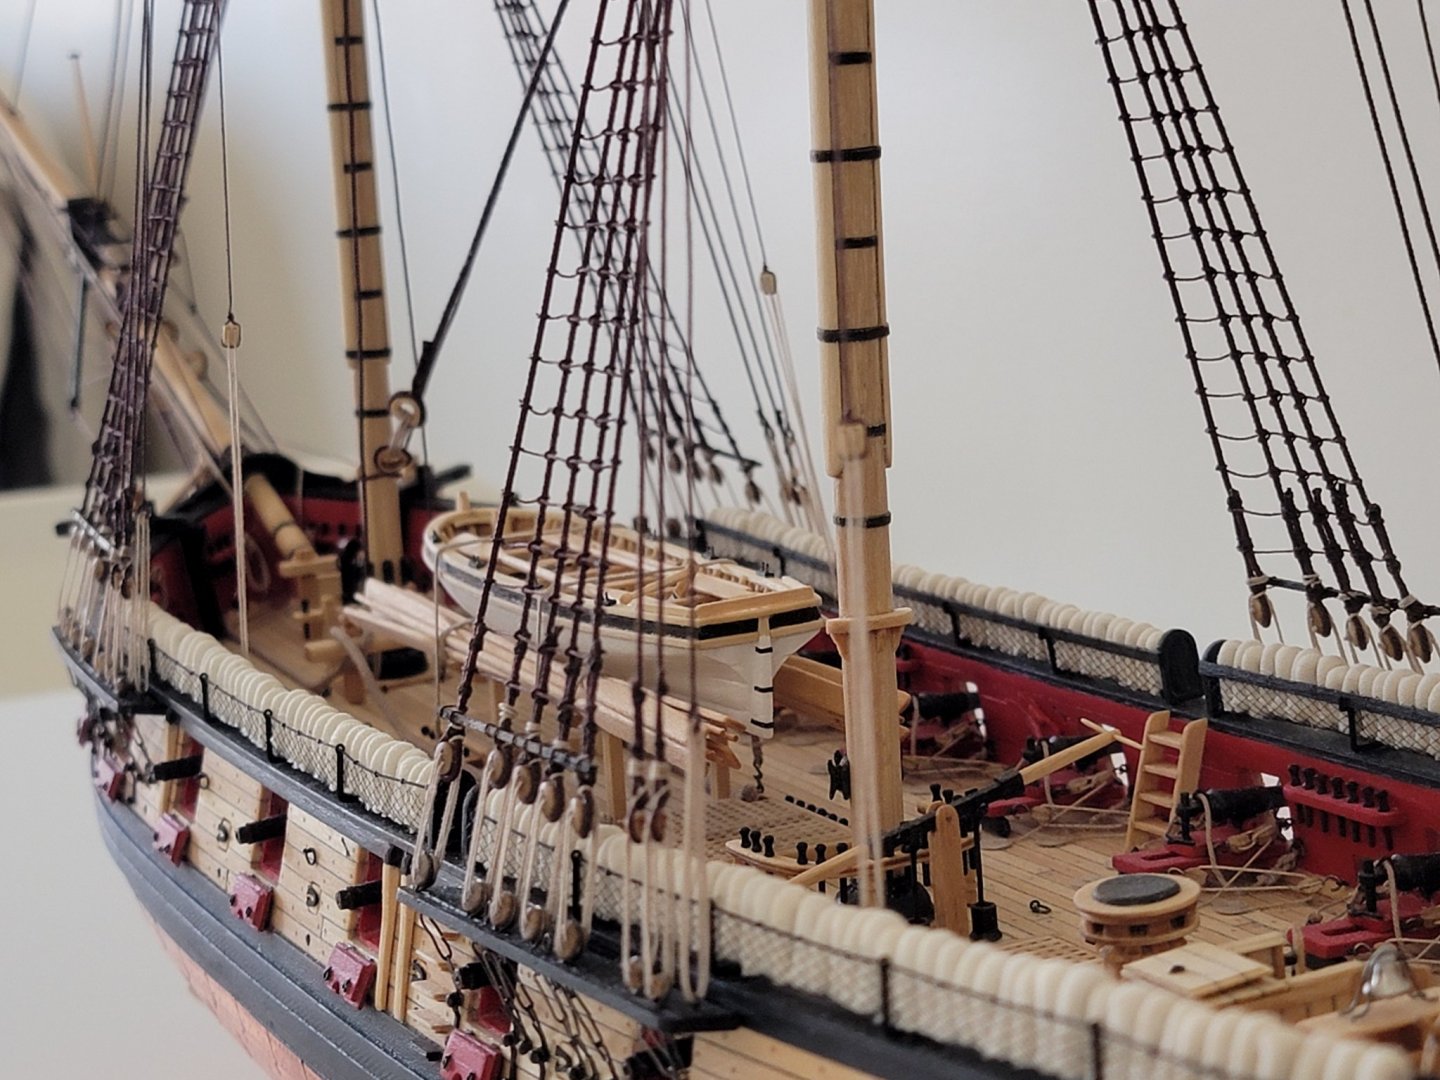
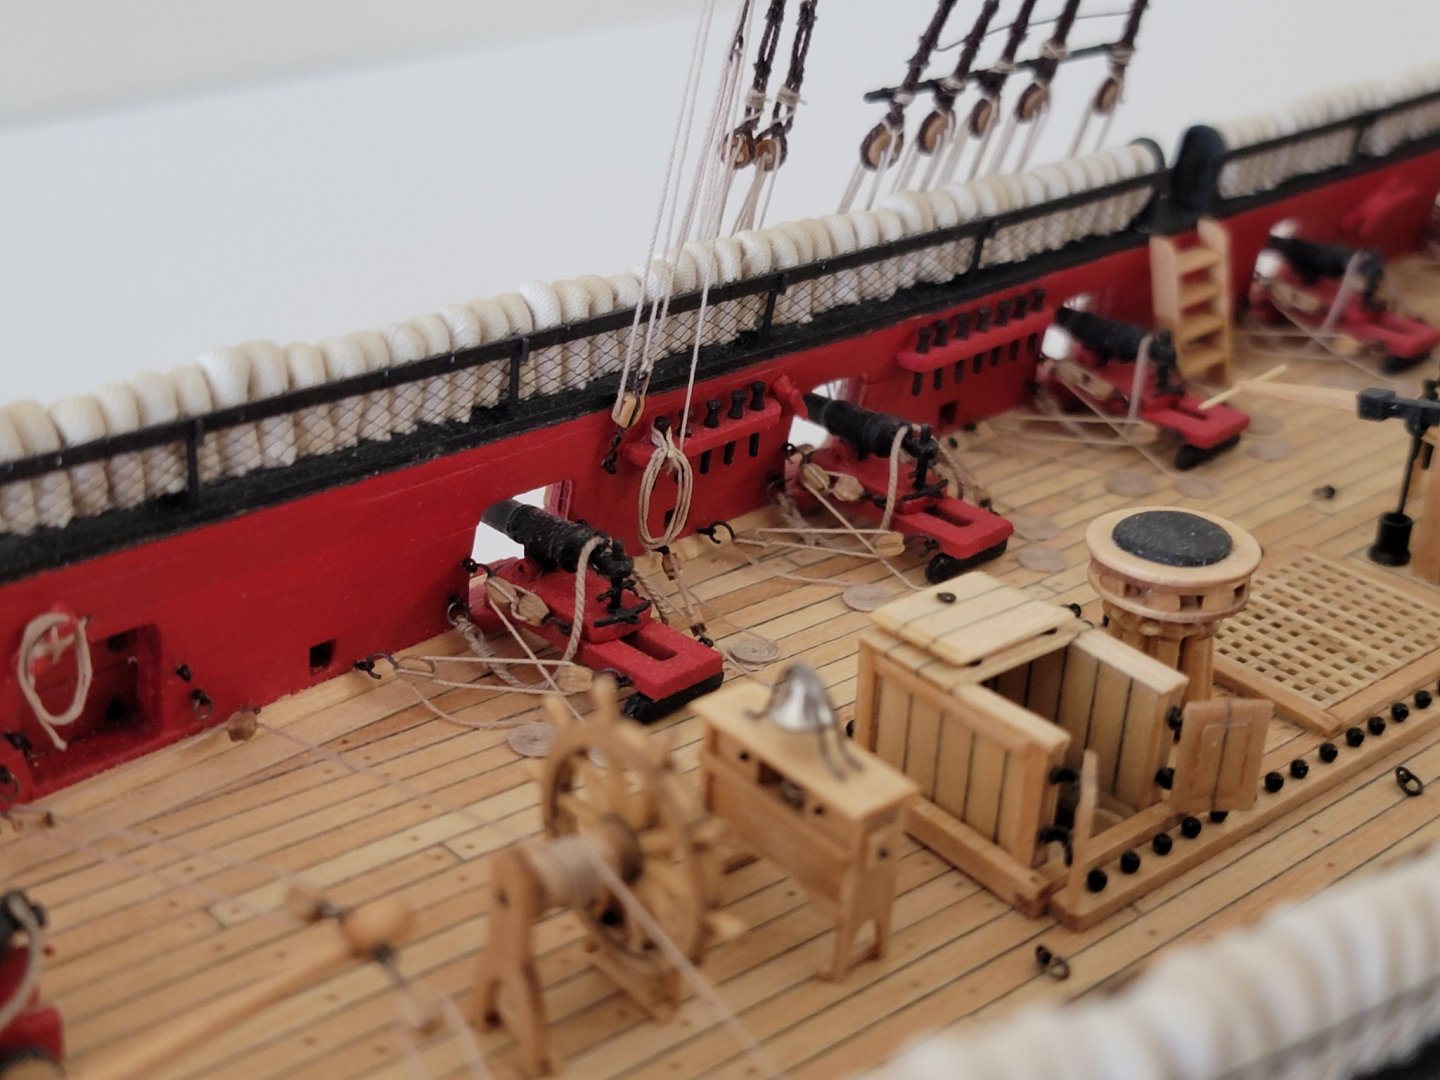
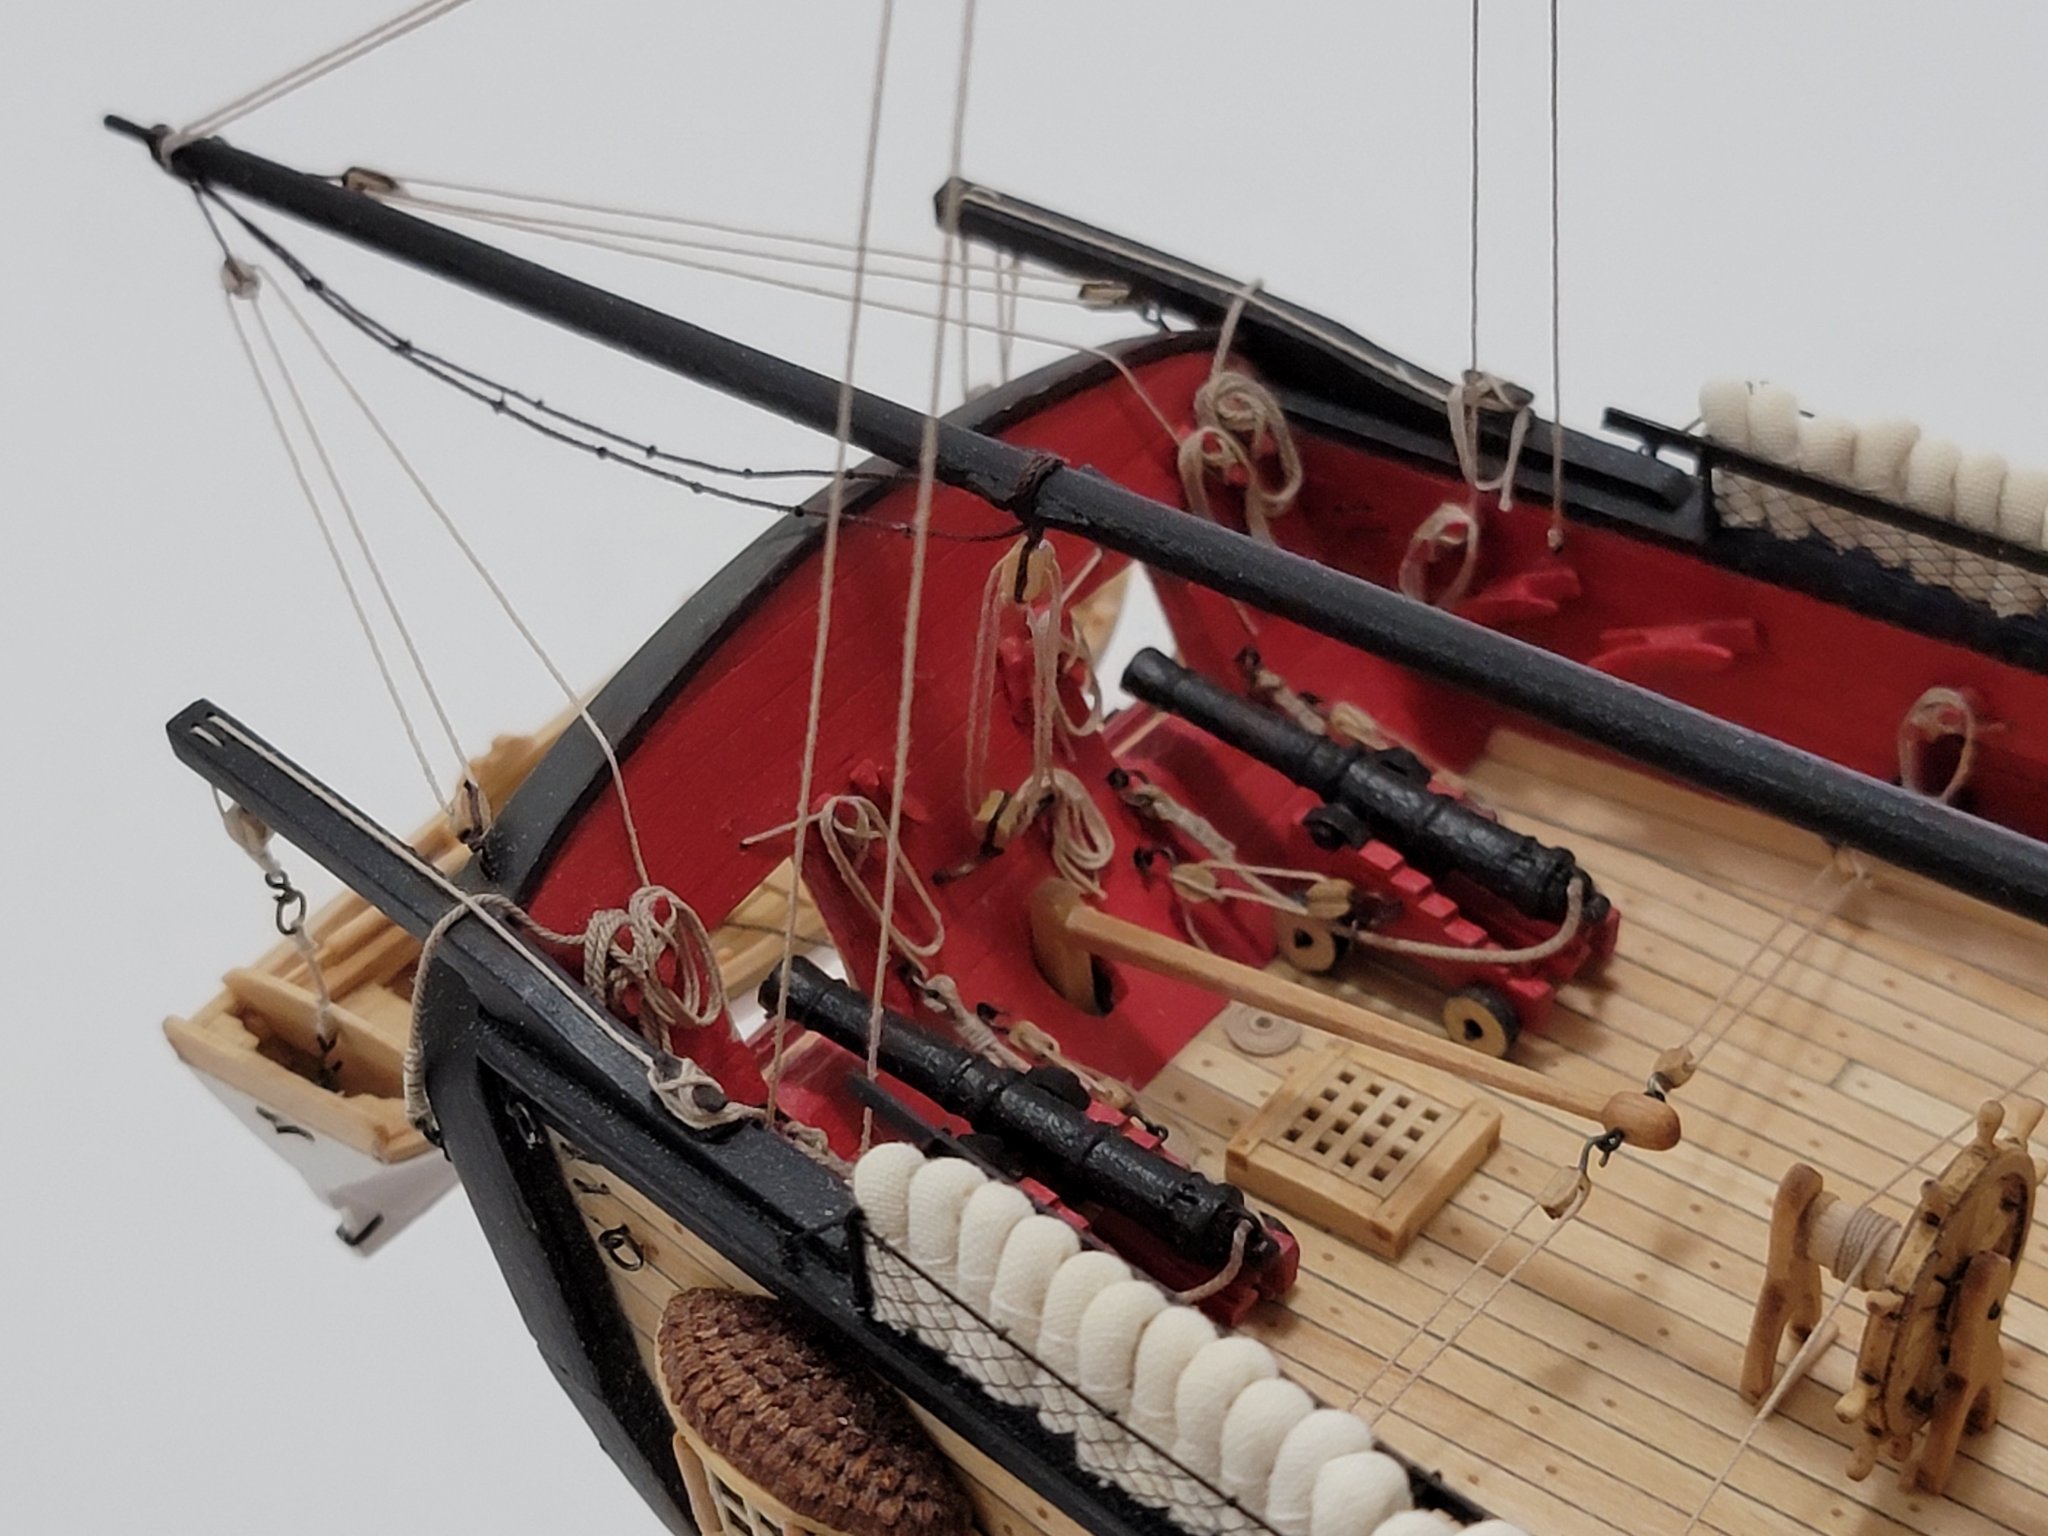
The assembled gratings and cannon ball rails look great! I remember this chapter was a lot of fun. All the tasks are very varied and not monotonous like other parts of the build.
-
Finished up rigging the boom and gaff, and added the rope coils. I am thinking I'll add rope coils after each section of the rigging. Otherwise there will be too many to handle all at once! And pics of the rope coils: I'll next continue working on the spars. I might also do some work on the stay sail rigging as a break from the spars.


- 950 replies
-
- 9
-
-
- syren
- model shipways
- (and 1 more)
-
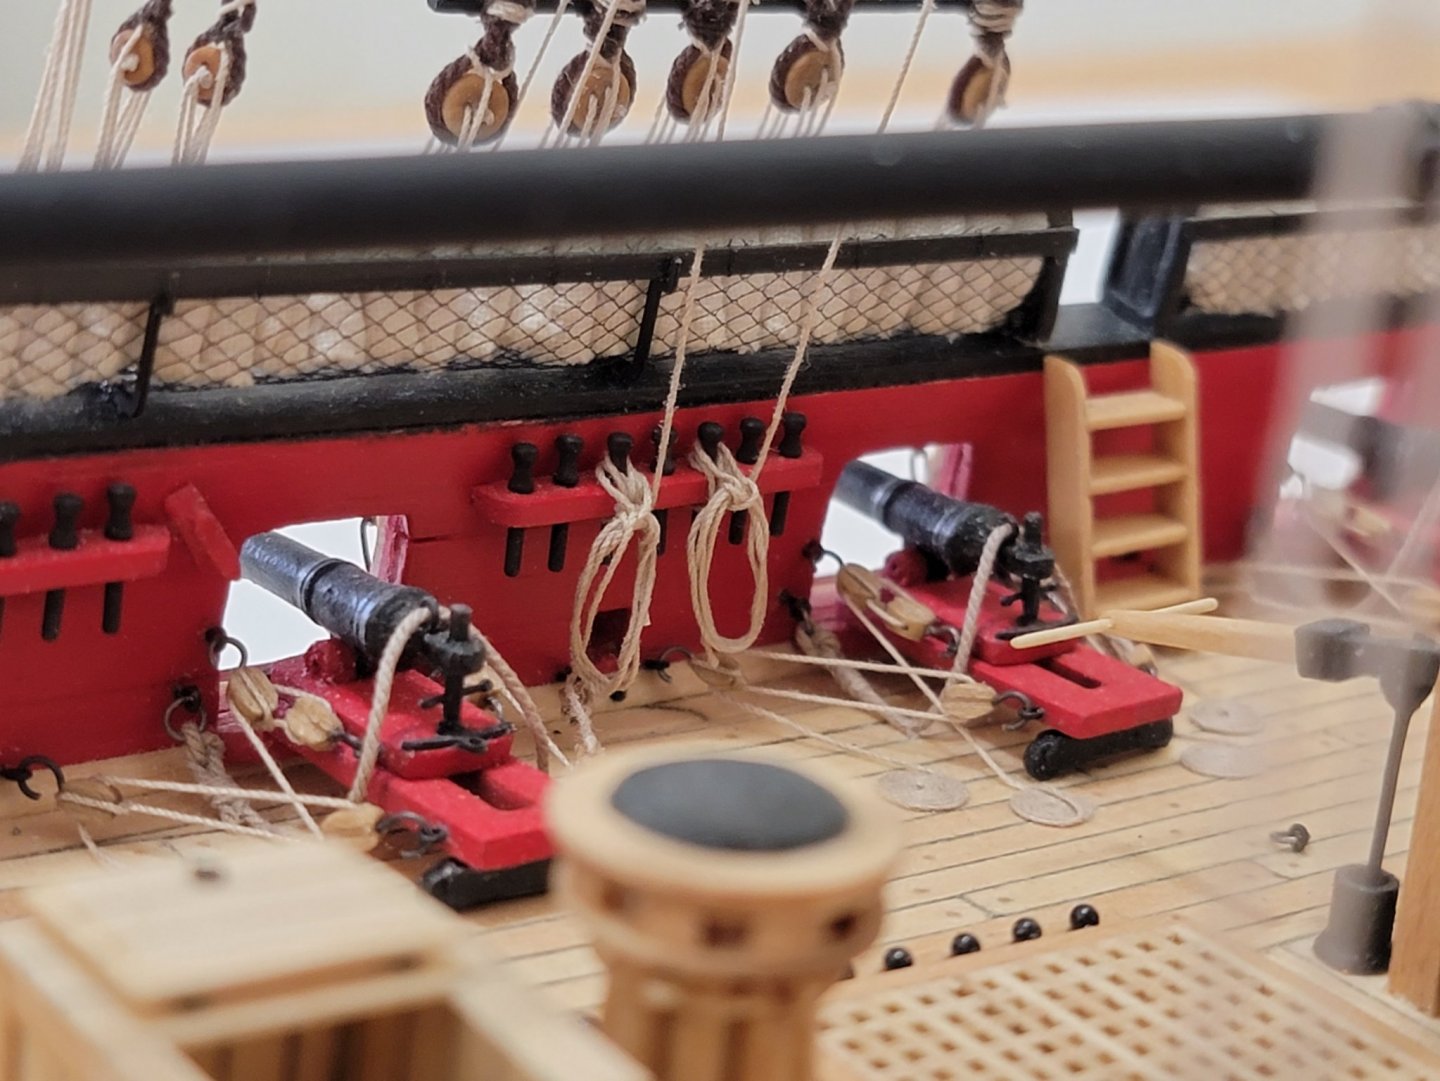
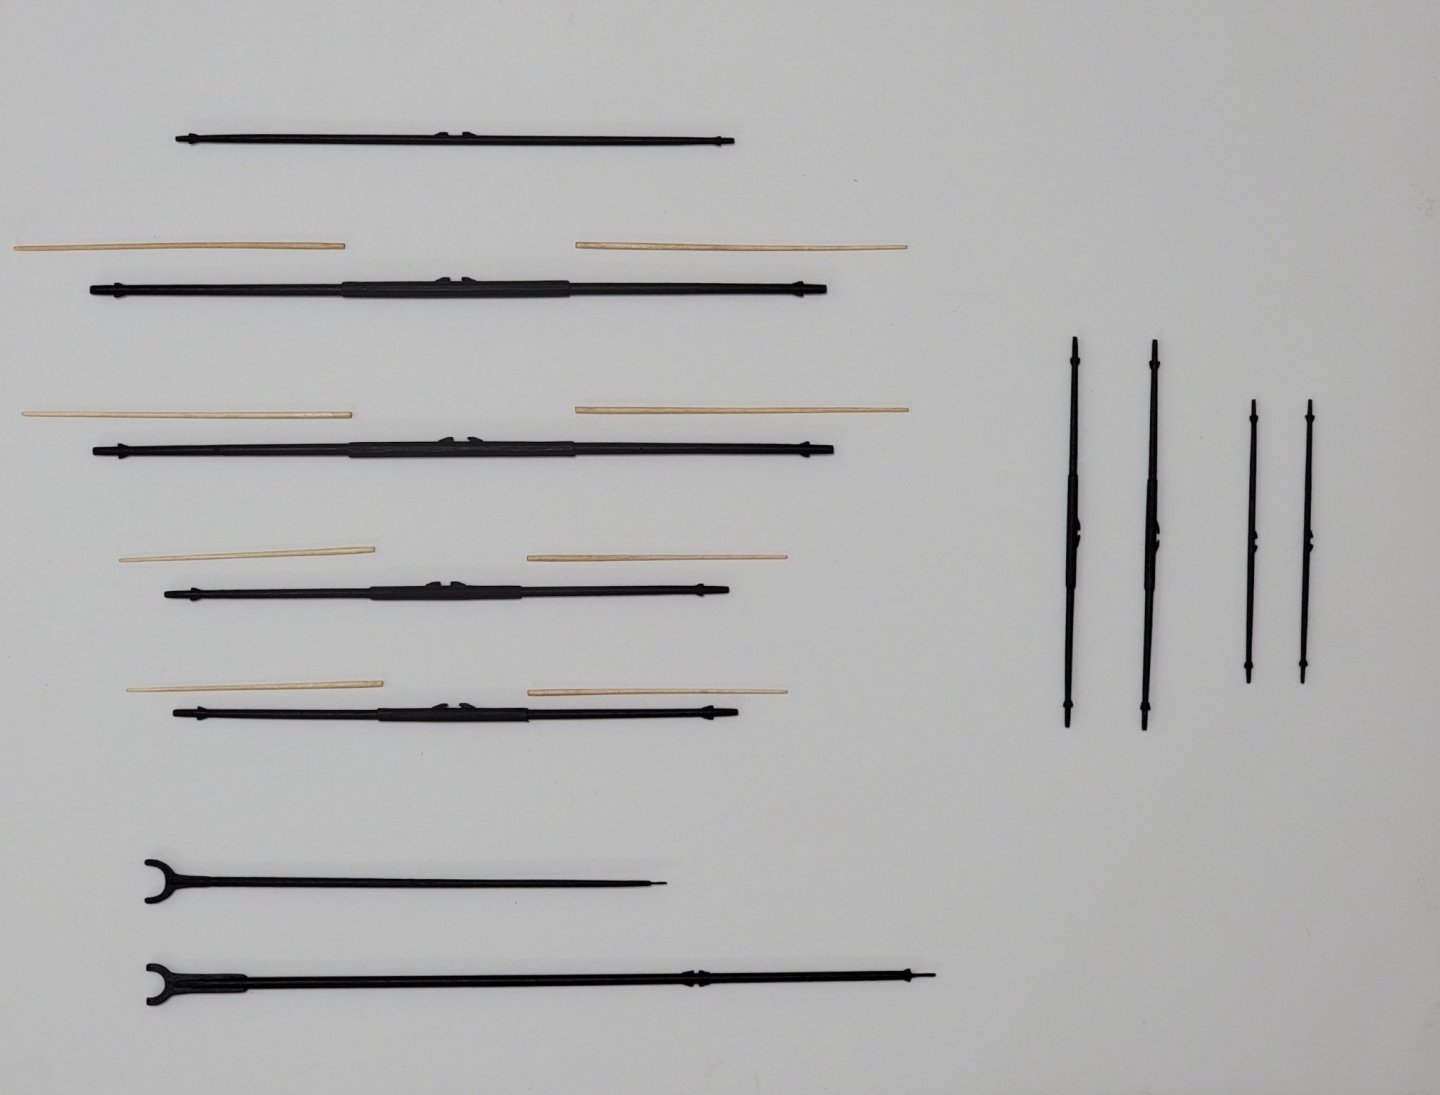
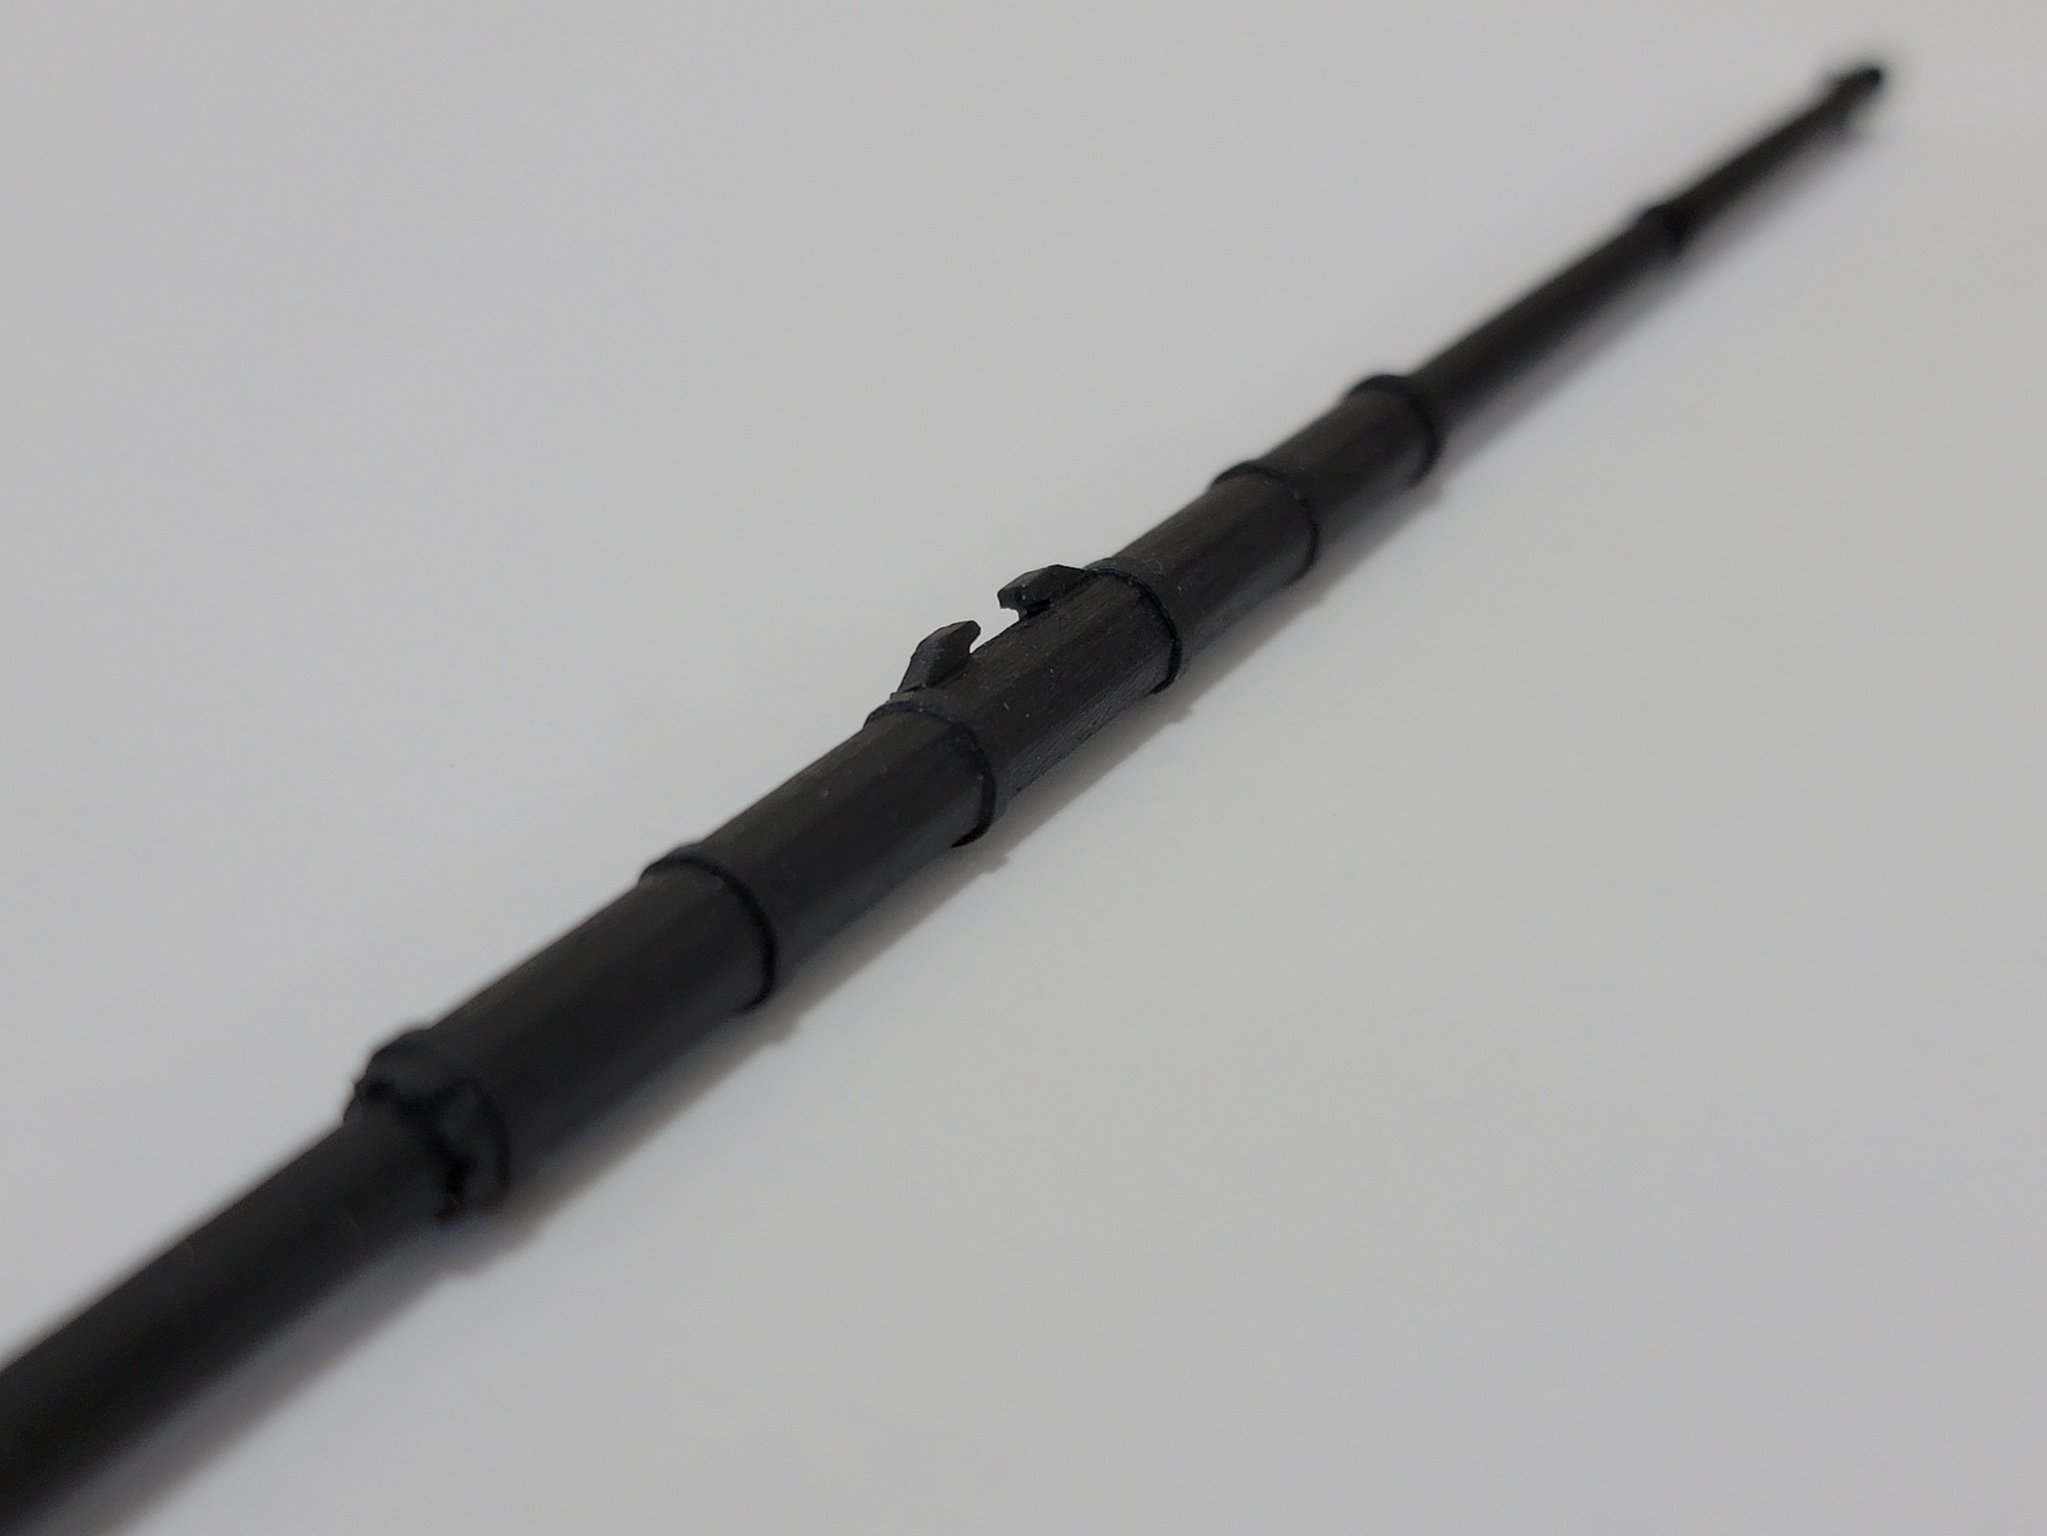
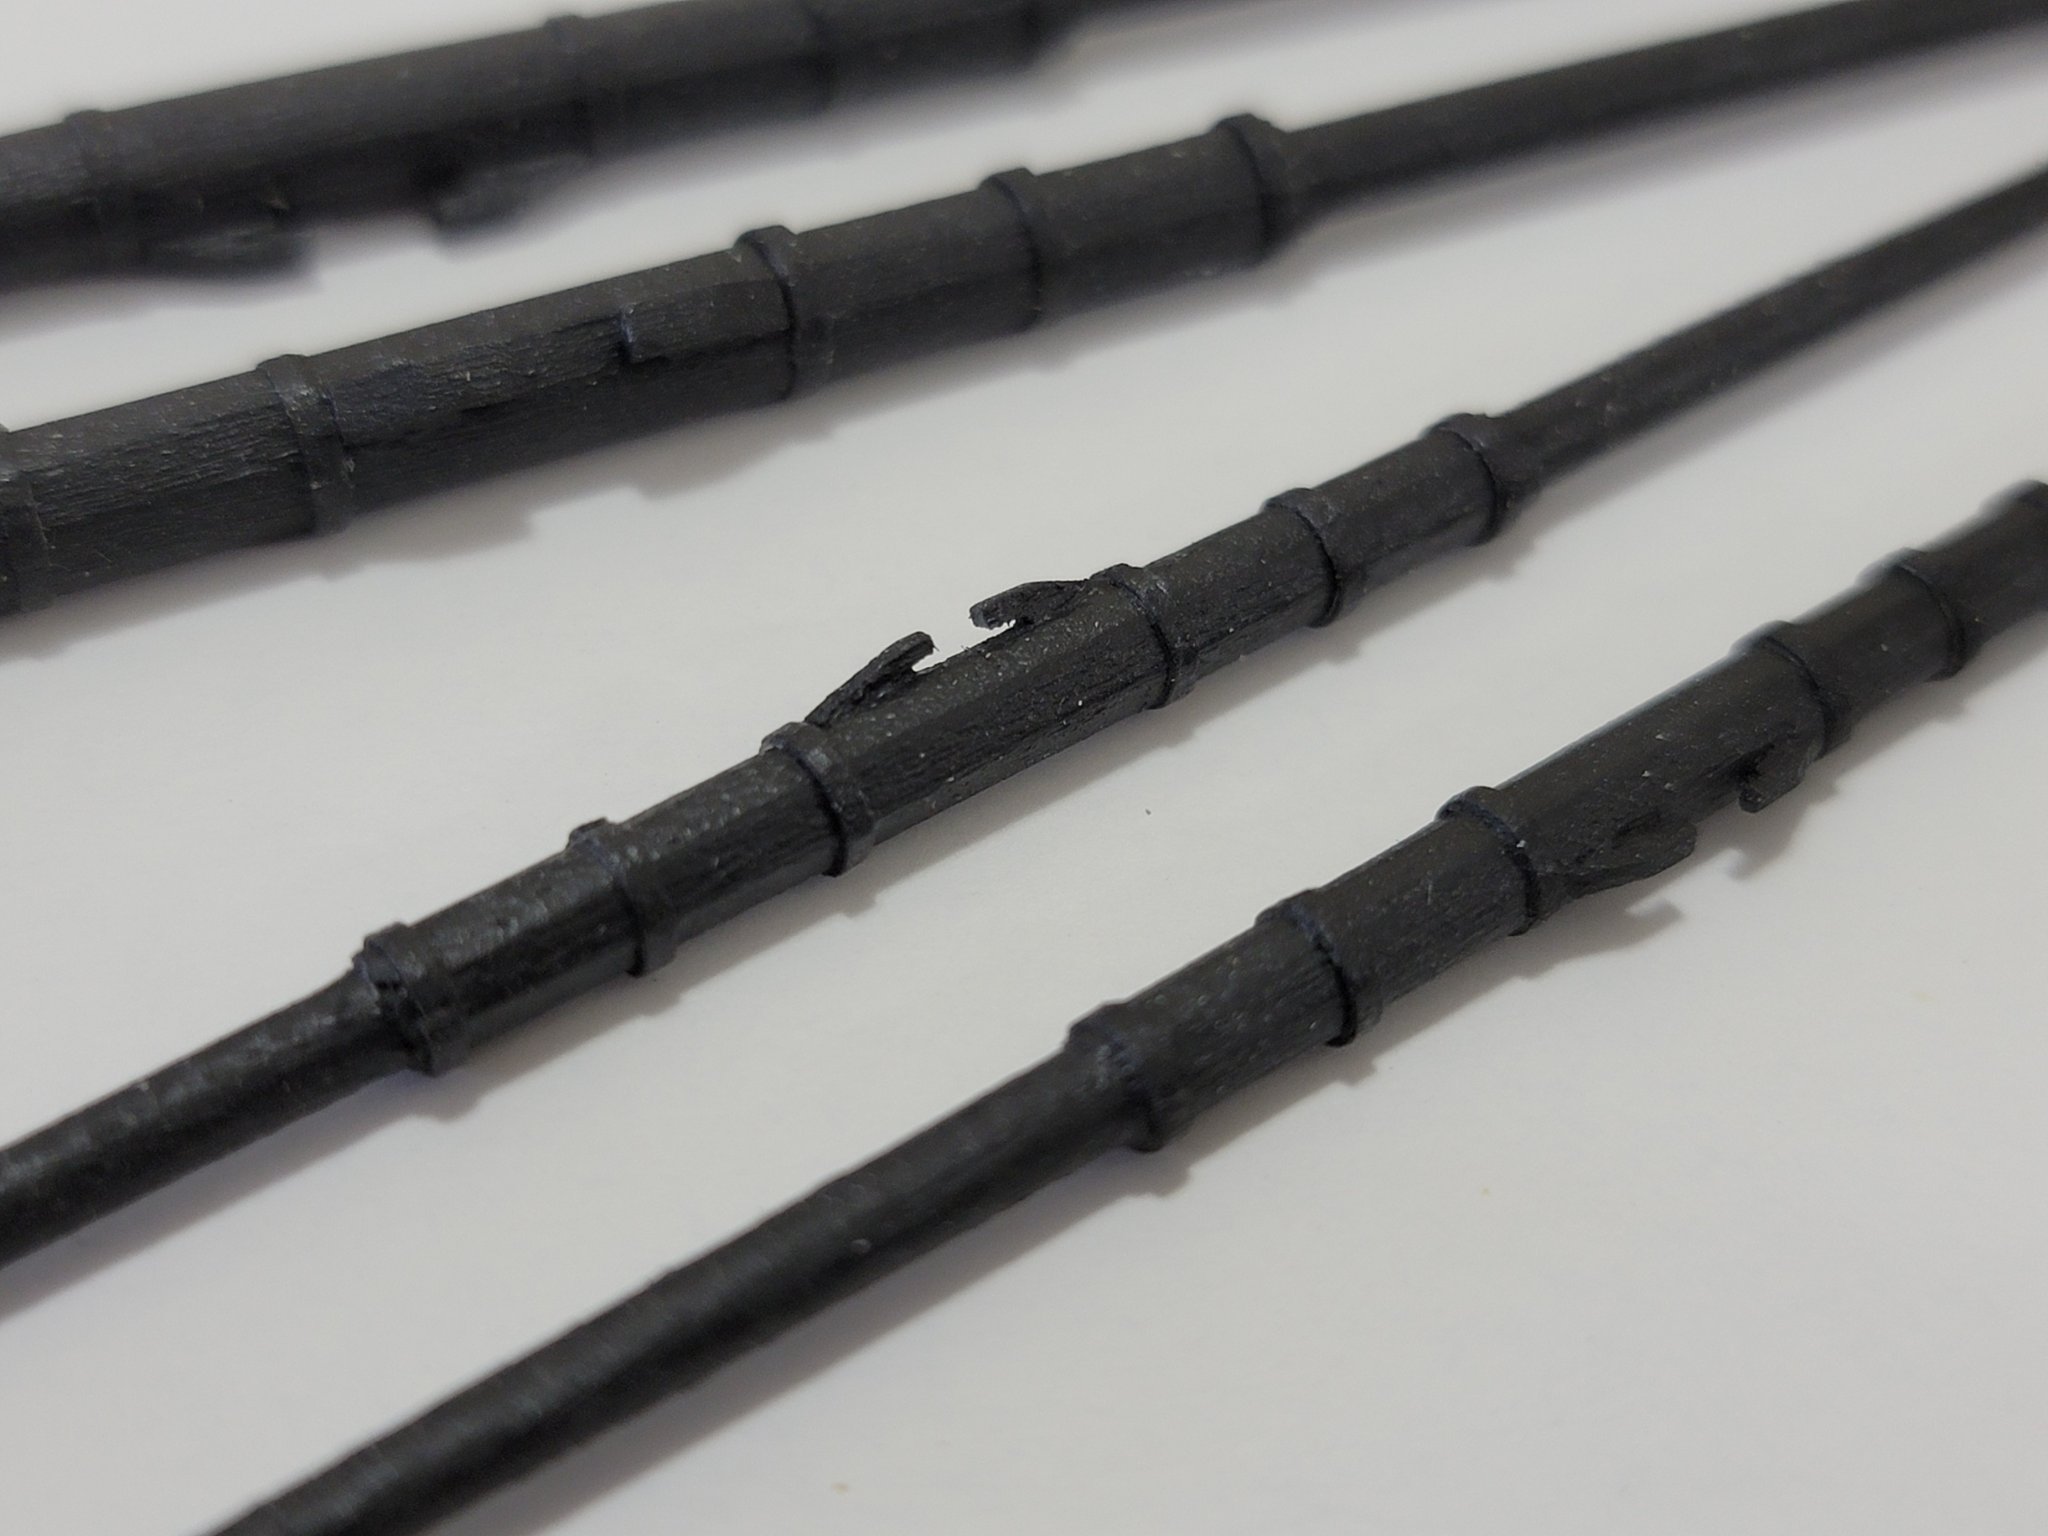
Thanks so much for the motivating comments! 🙂 I was also surprised on how the spars looked with the bands. The end seems near, yet so far away. I am really excited to see how she'll look with all the spars. I took a bit of a break from the spars and started to work on rigging the boom and gaff. I will post photos in the next couple of days once I finish. The running rigging is even more fun than the standing rigging 😄! I am just having a bit of trouble with is belaying the lines in the cramped spots with all the ropes on the way. After doing a couple I think I am getting used to it. Will, I used a black tape for the bands. I first stuck it on a flat piece of wood, then used a ruler as a guide to cut the small strips. Since the tape's adhesive is very weak, I put superglue on the ends to prevent it from peeling off. Here is the photo of the tape. Unfortunately there is no branding on it, so I am not sure what is actually called. Also, since the edges are a bit whitish, I painted it over again with black paint. David, I also had a bit of trouble with the net. I ended up using a bit of an oversized piece of net, then seized the corners. After I seized all the links in the middle. Then I trimmed off the excess pieces with a small pair of scissors. I just took a look at your display case. The wood after staining is gorgeous! Can't wait to see it all come together.
- 950 replies
-
- 1
-
-
- syren
- model shipways
- (and 1 more)
-
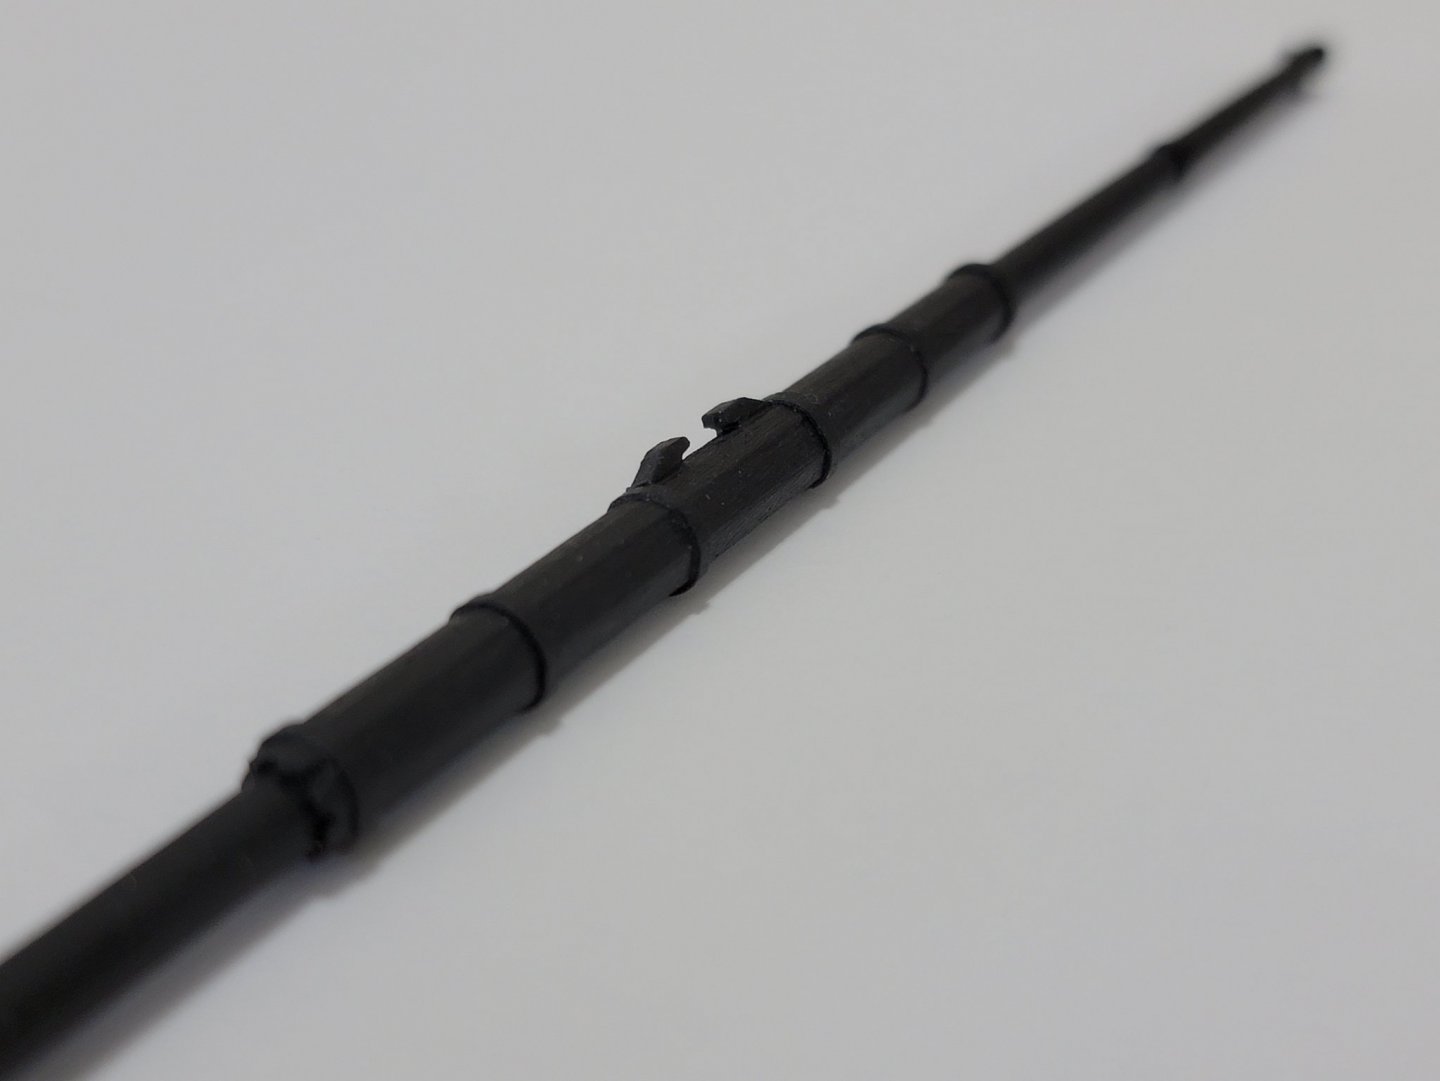
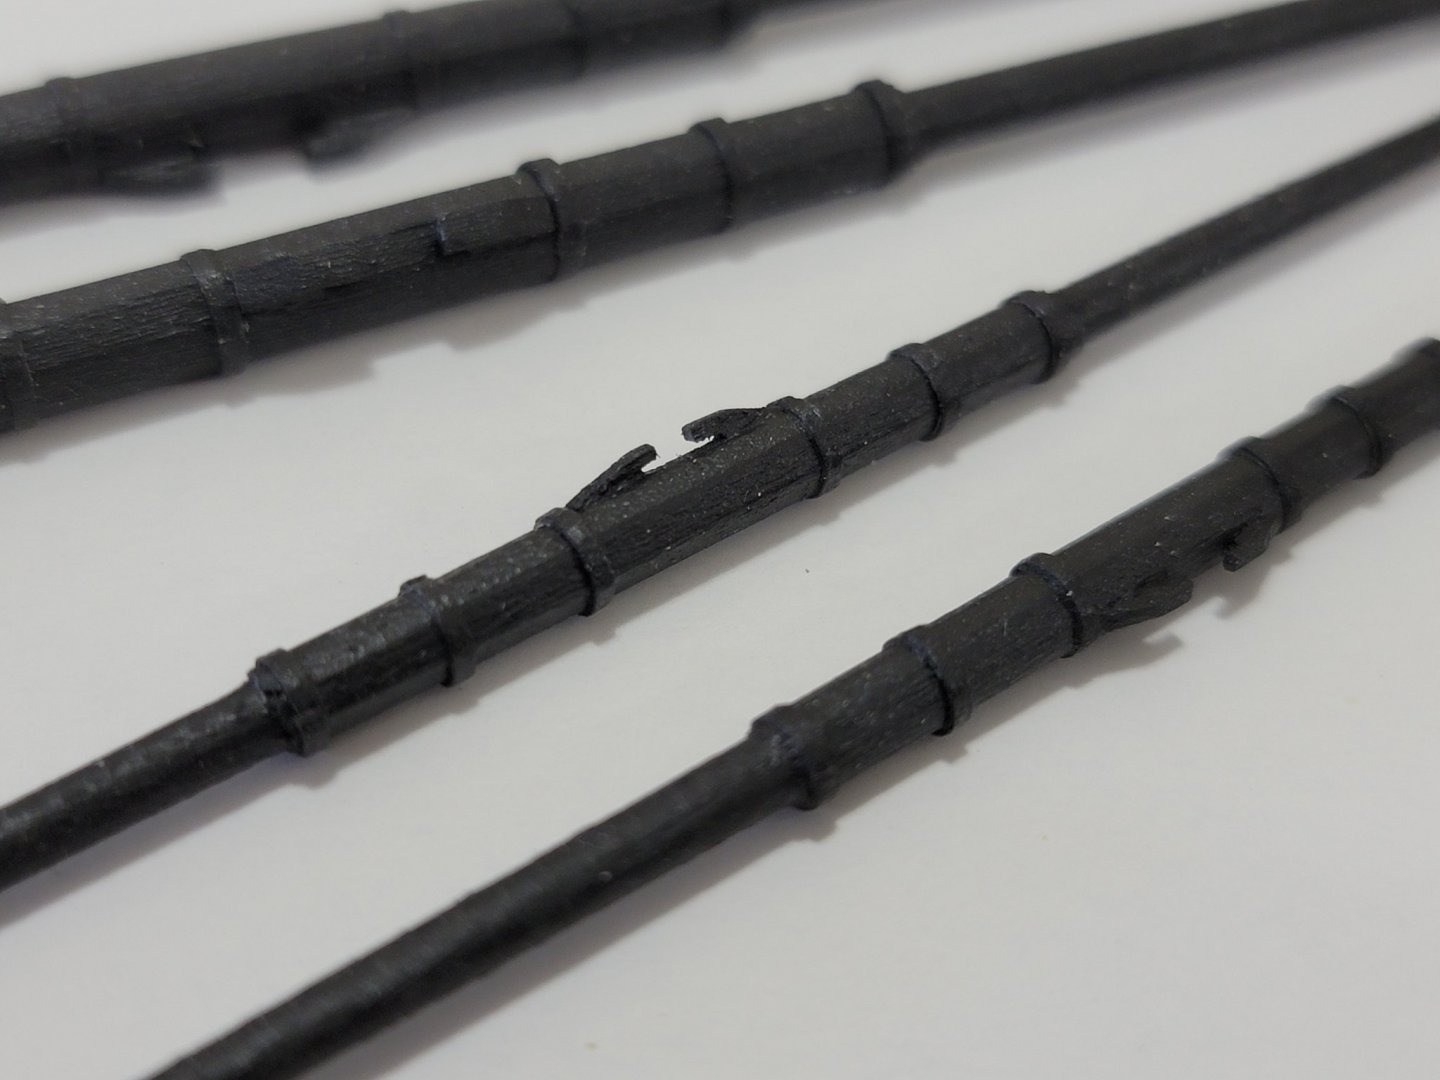
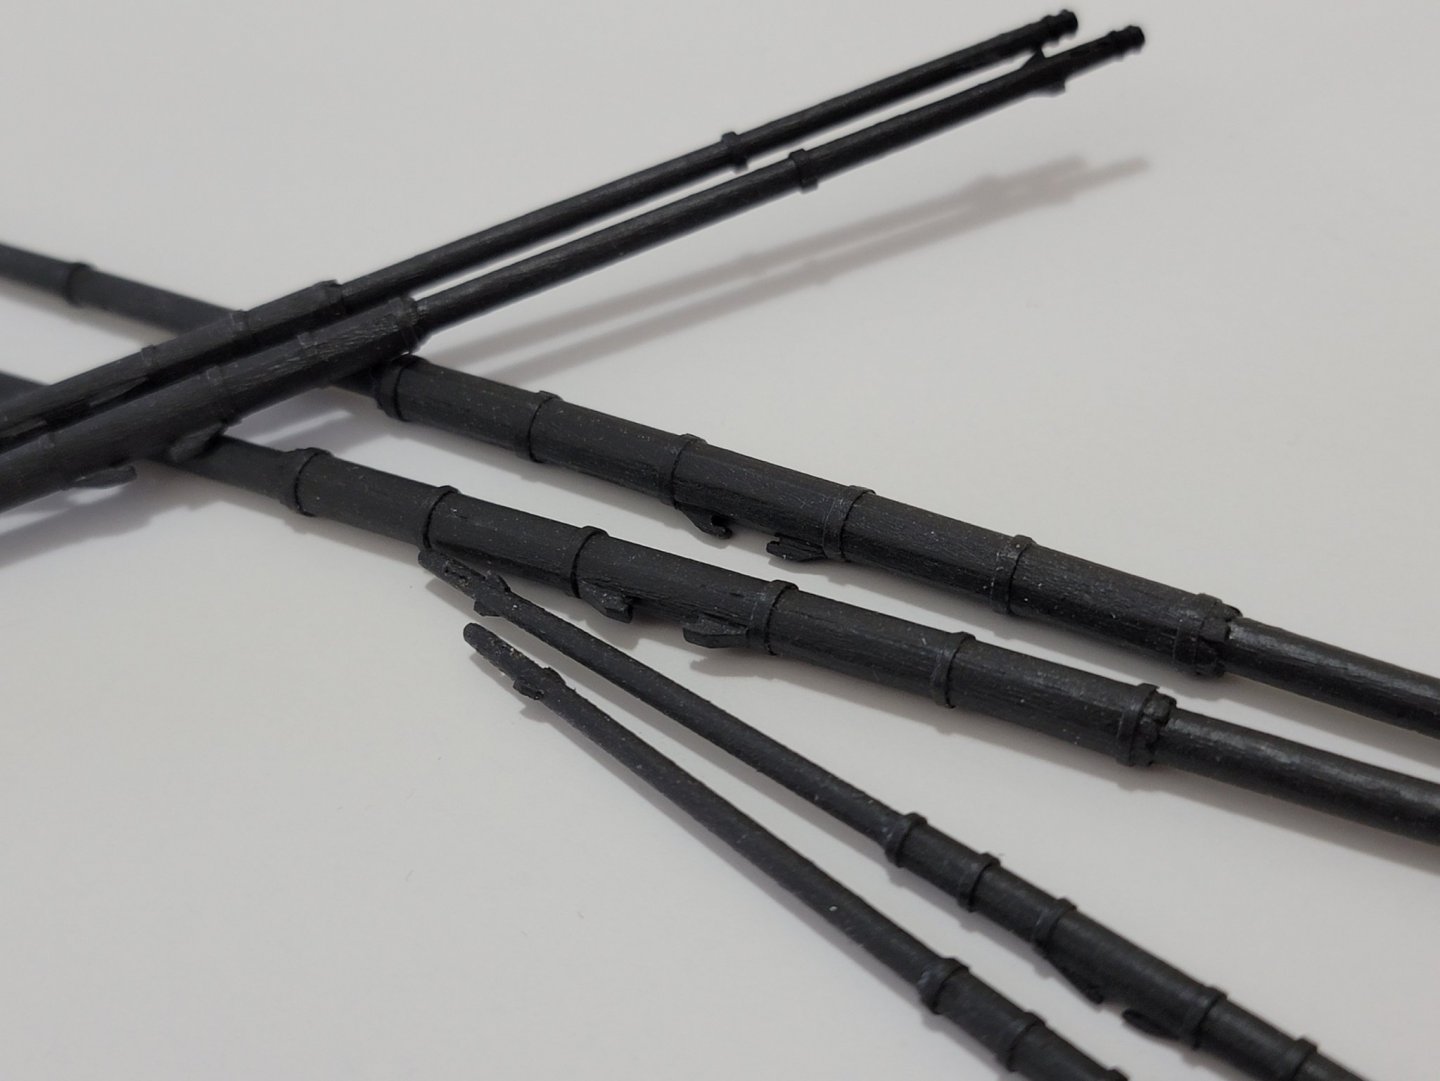
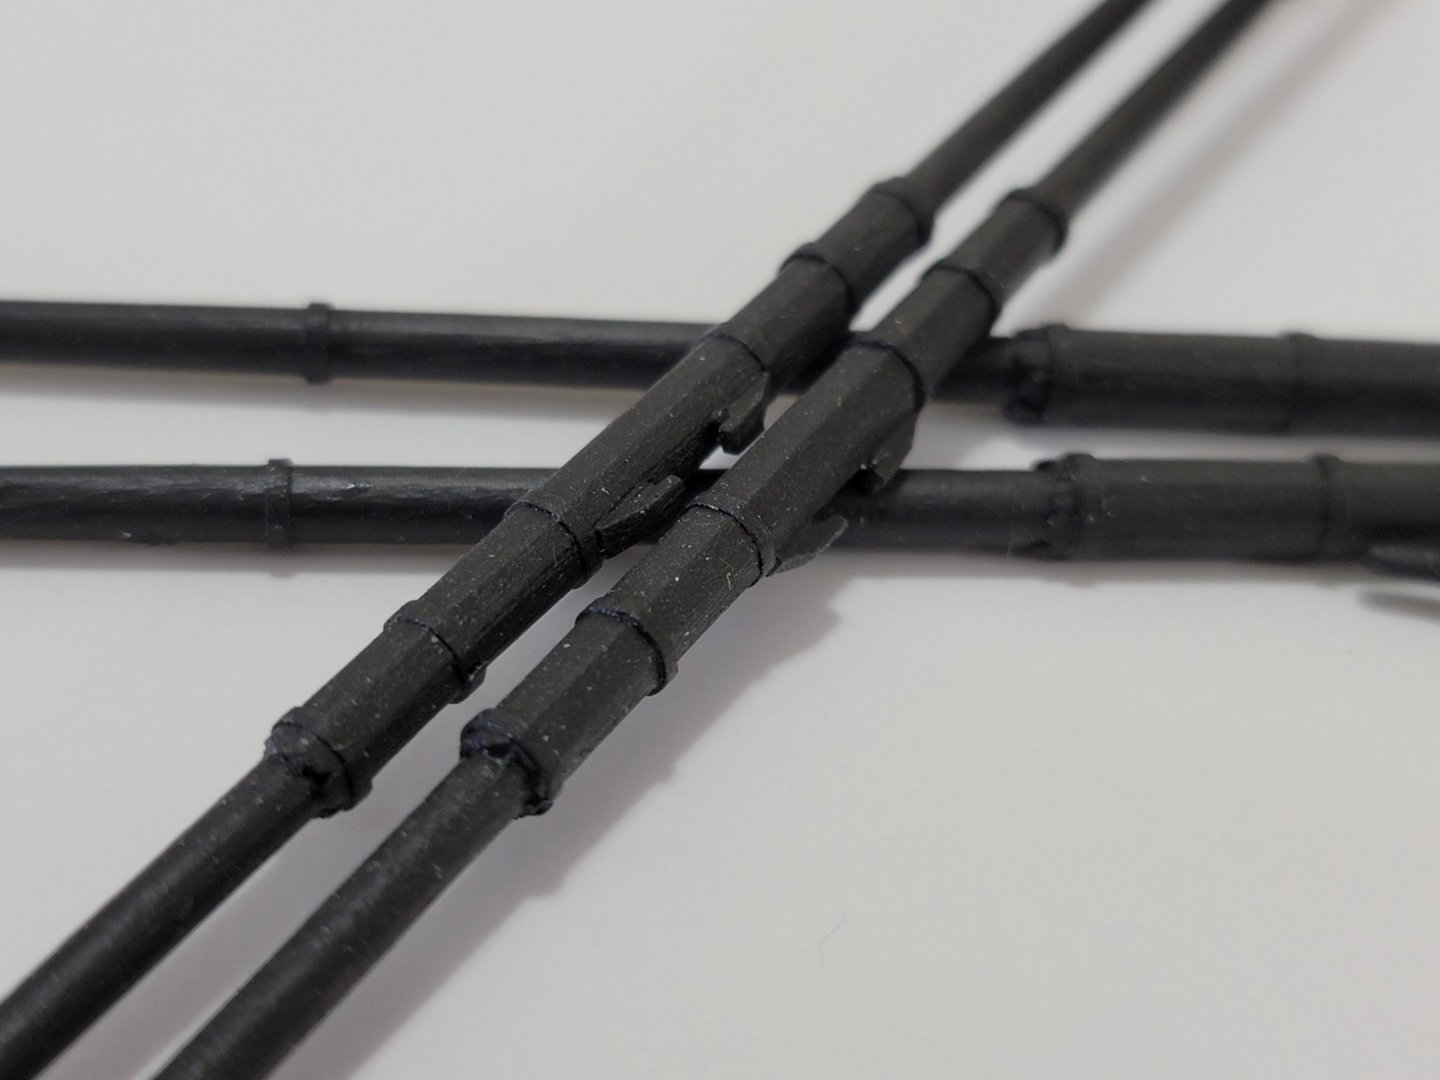
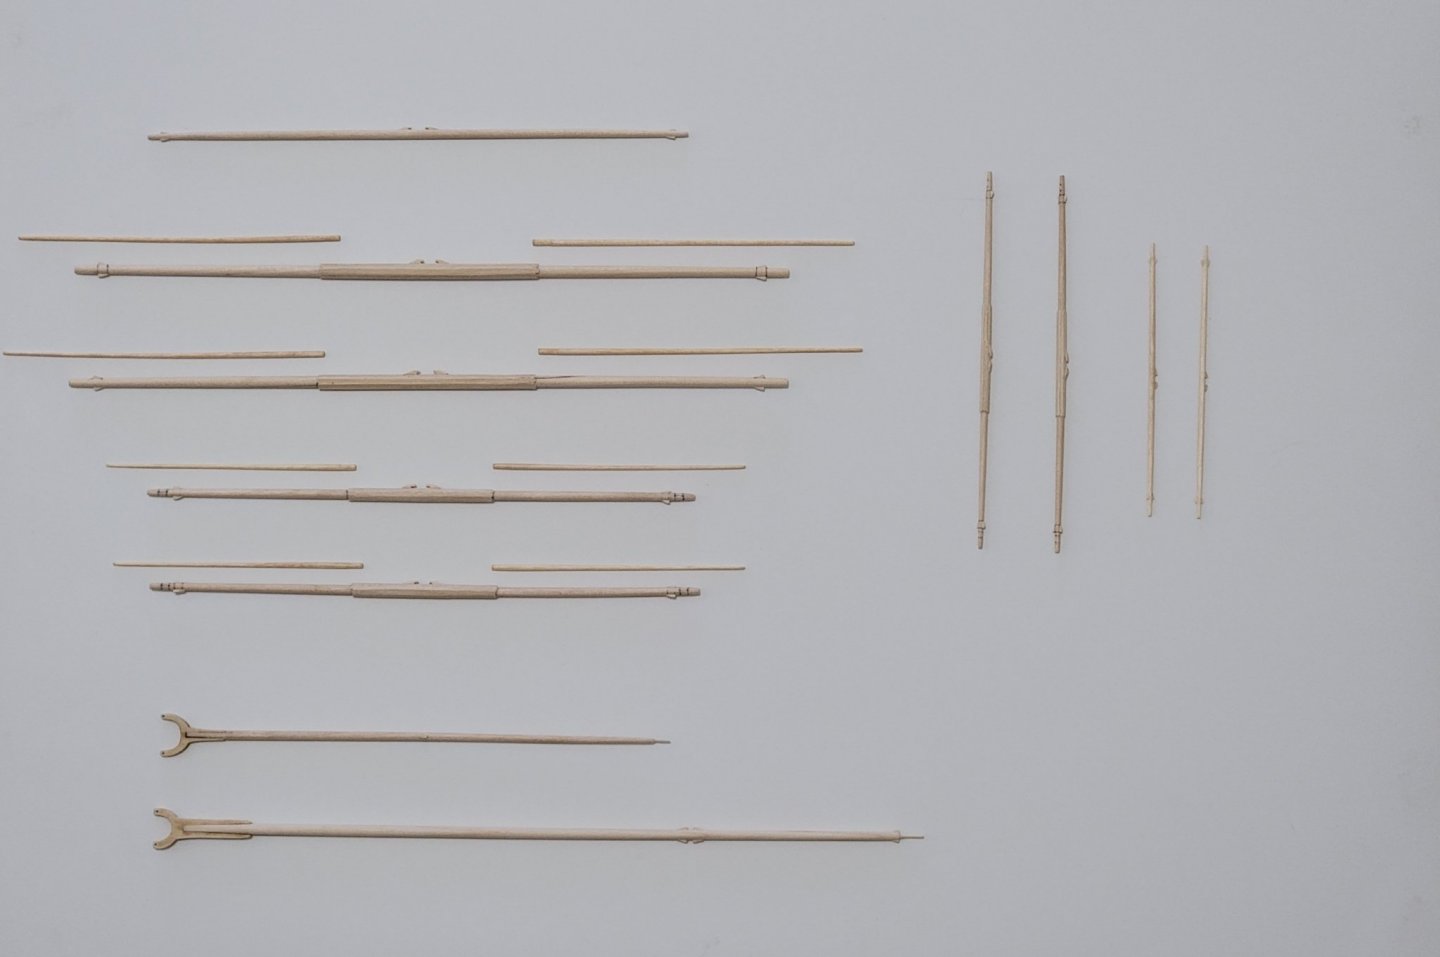
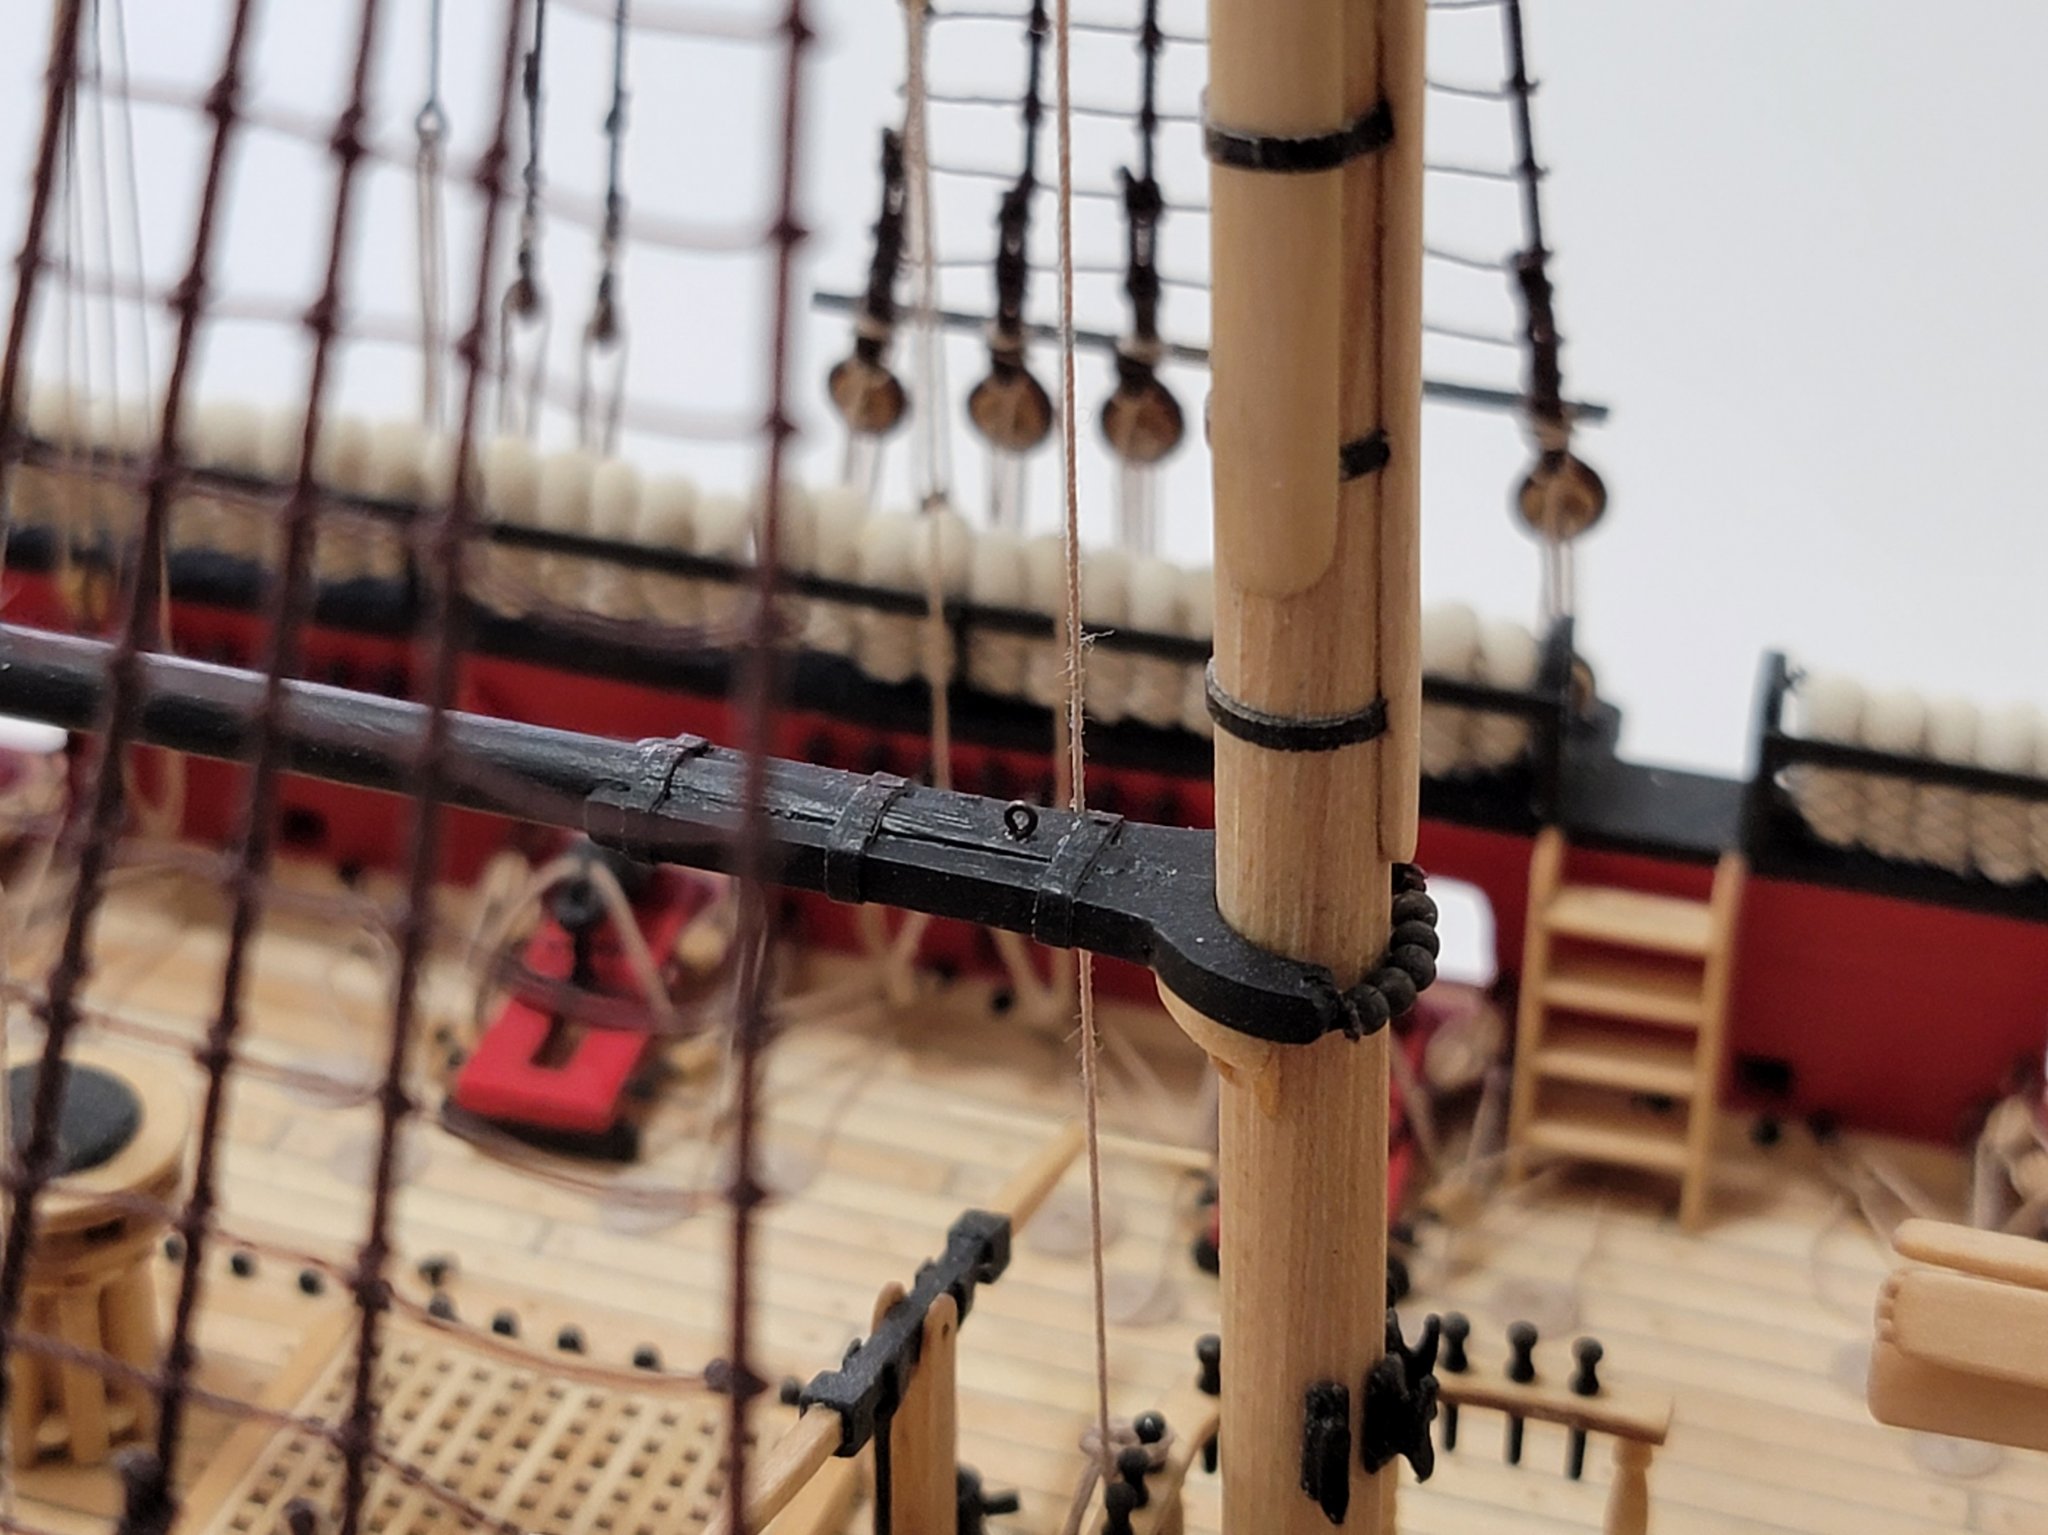
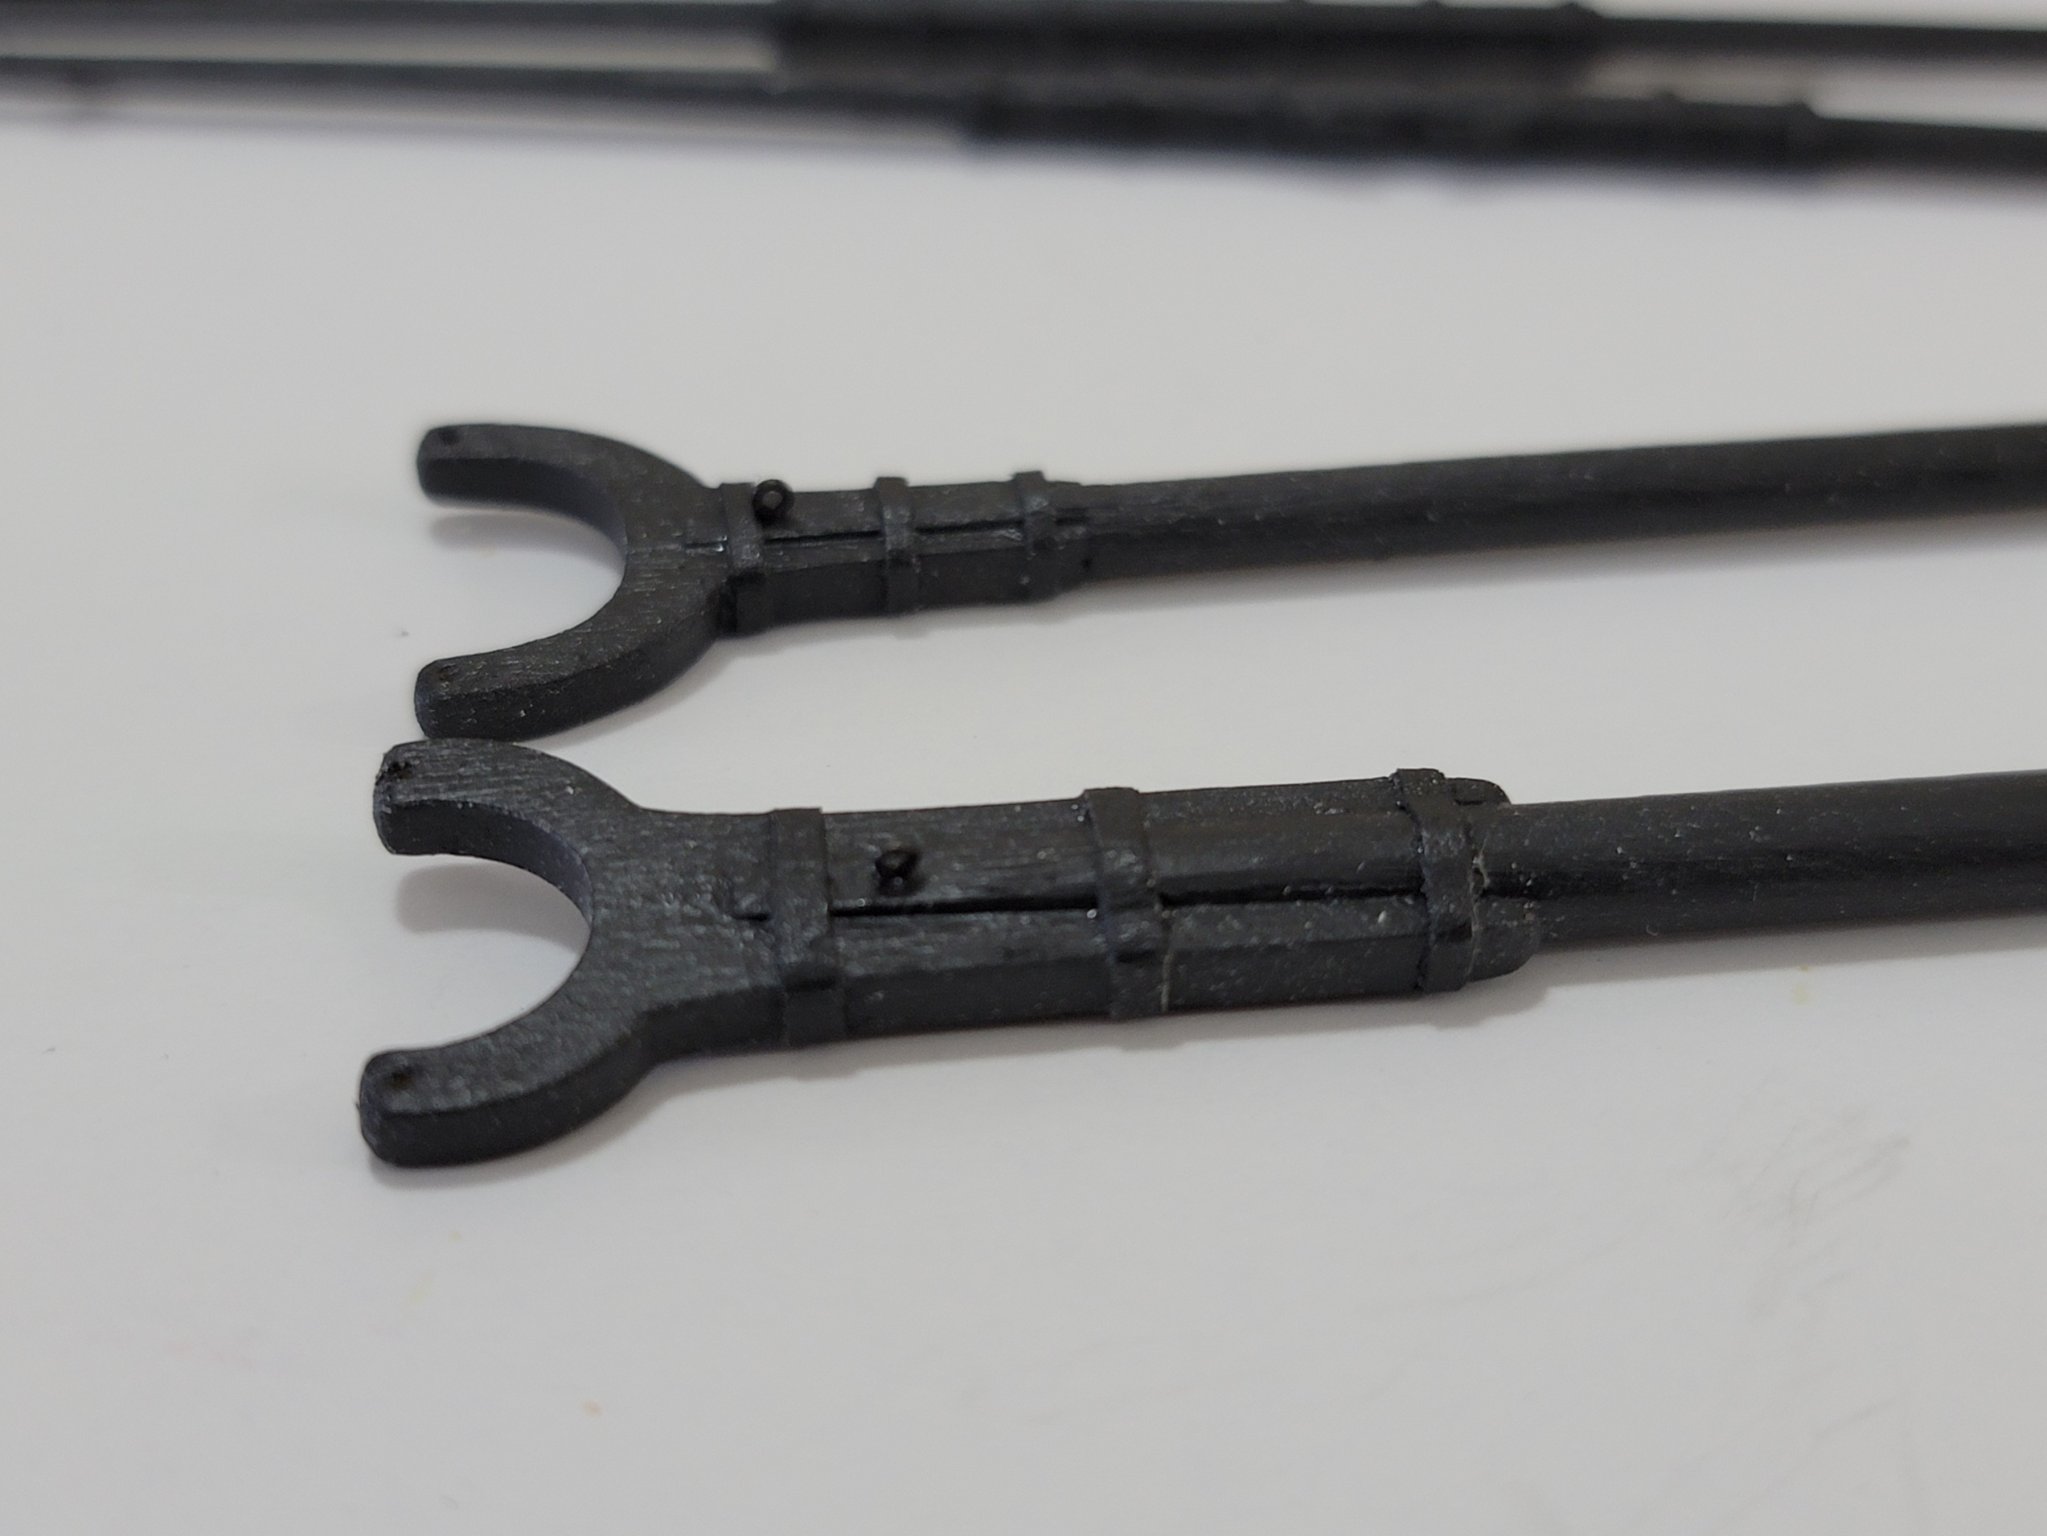
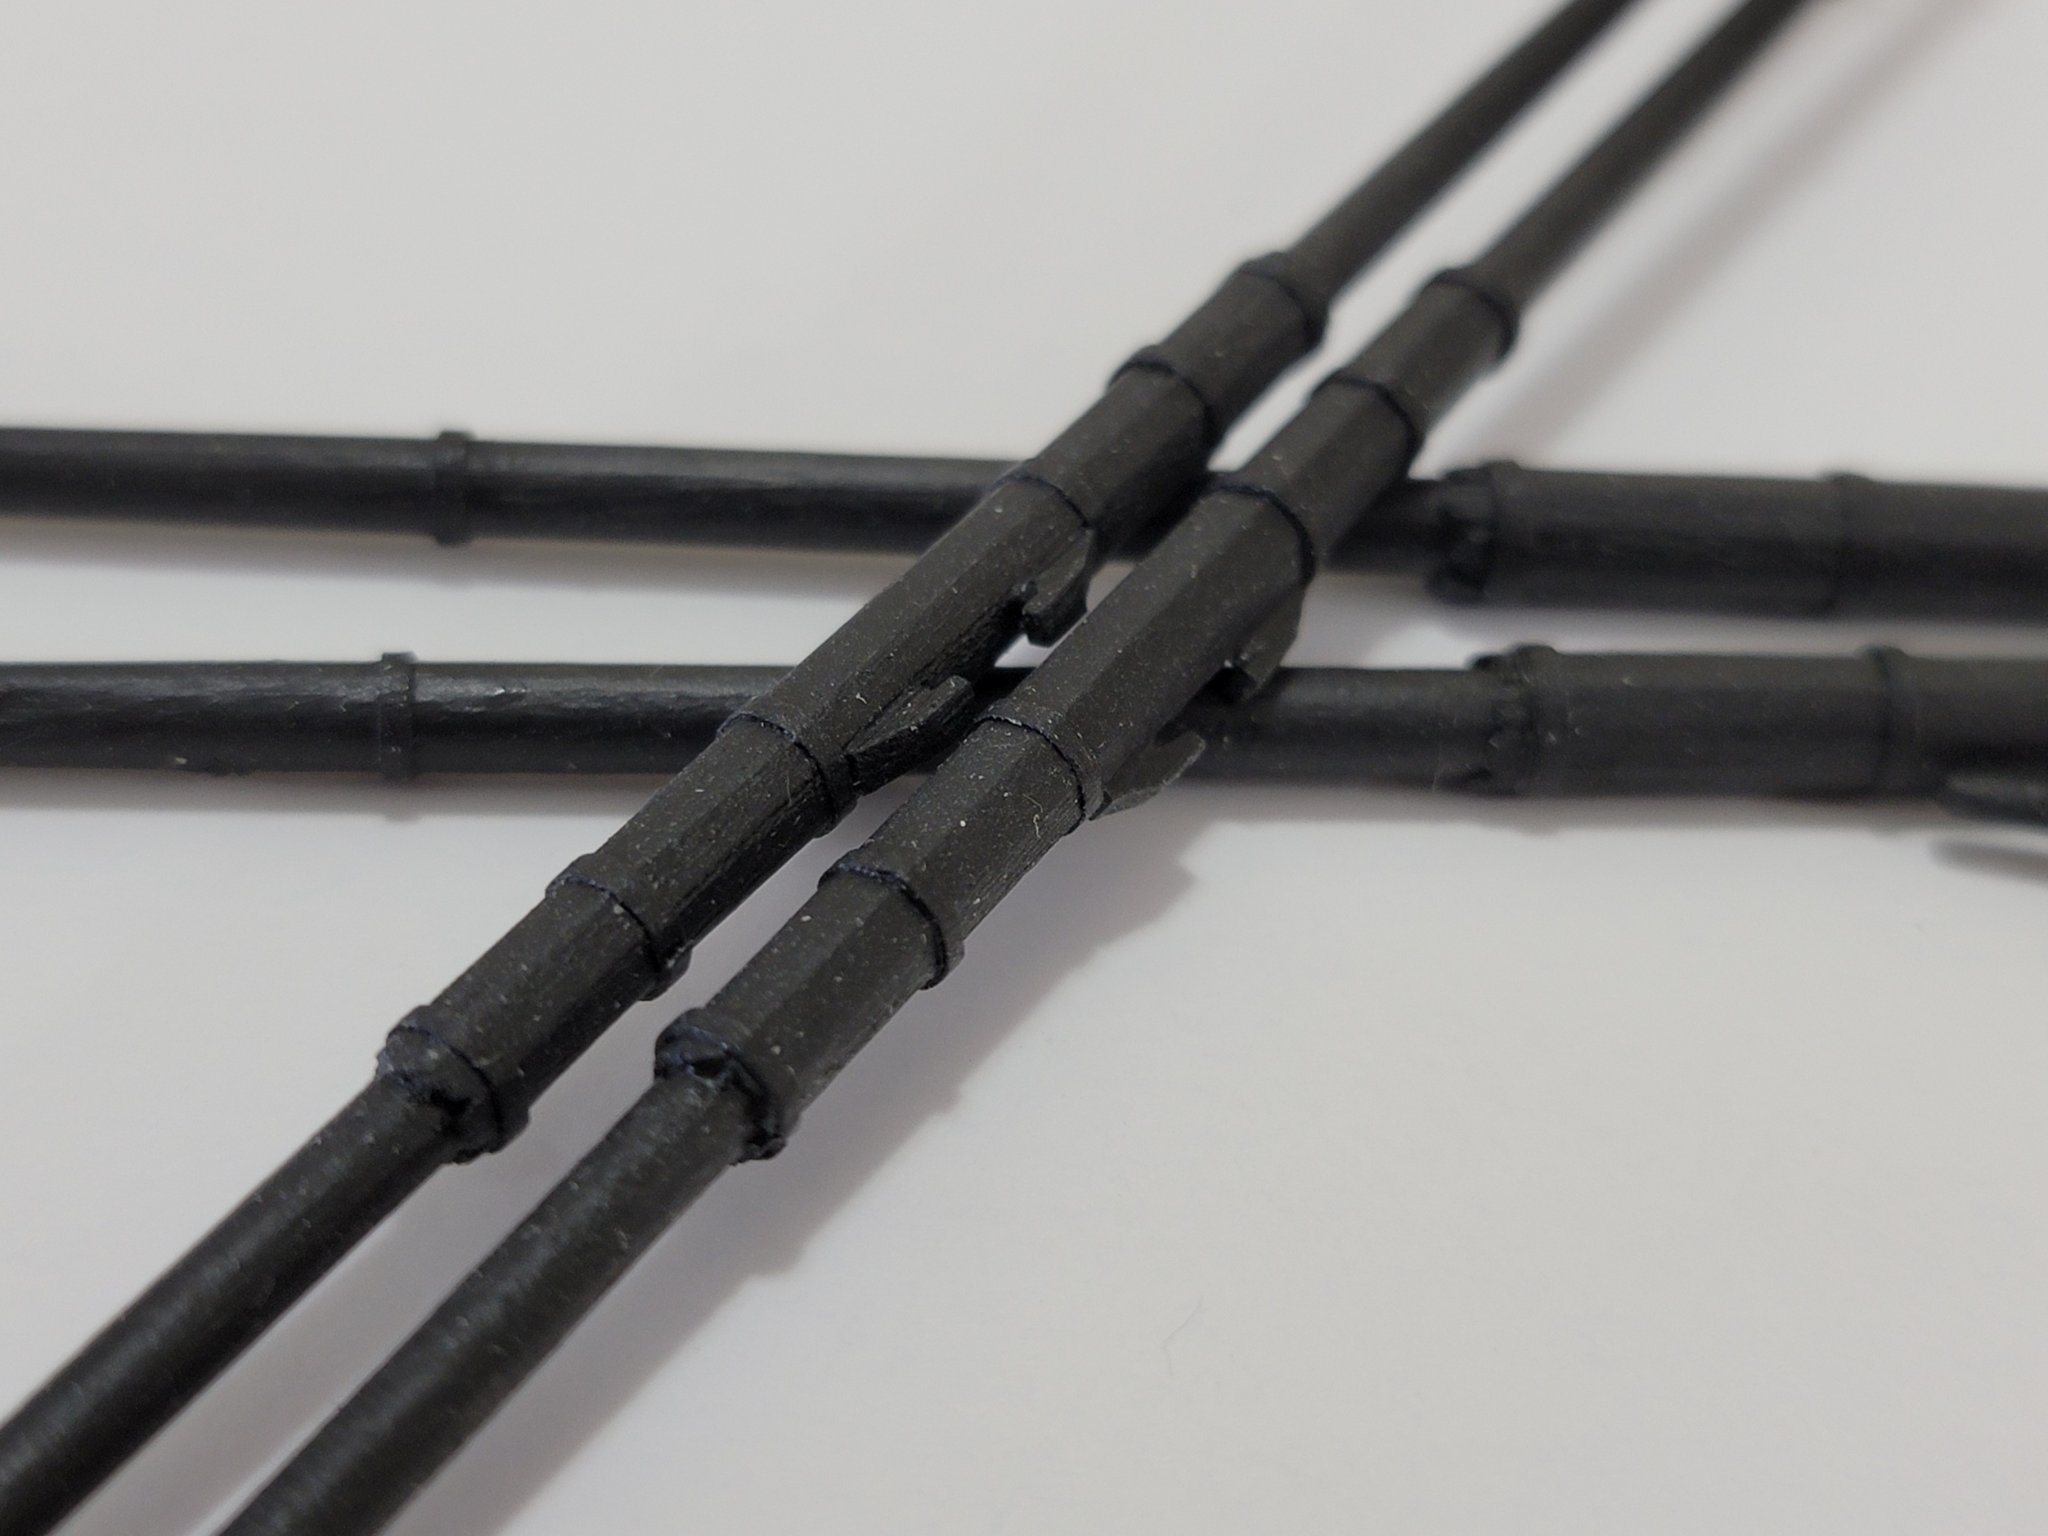
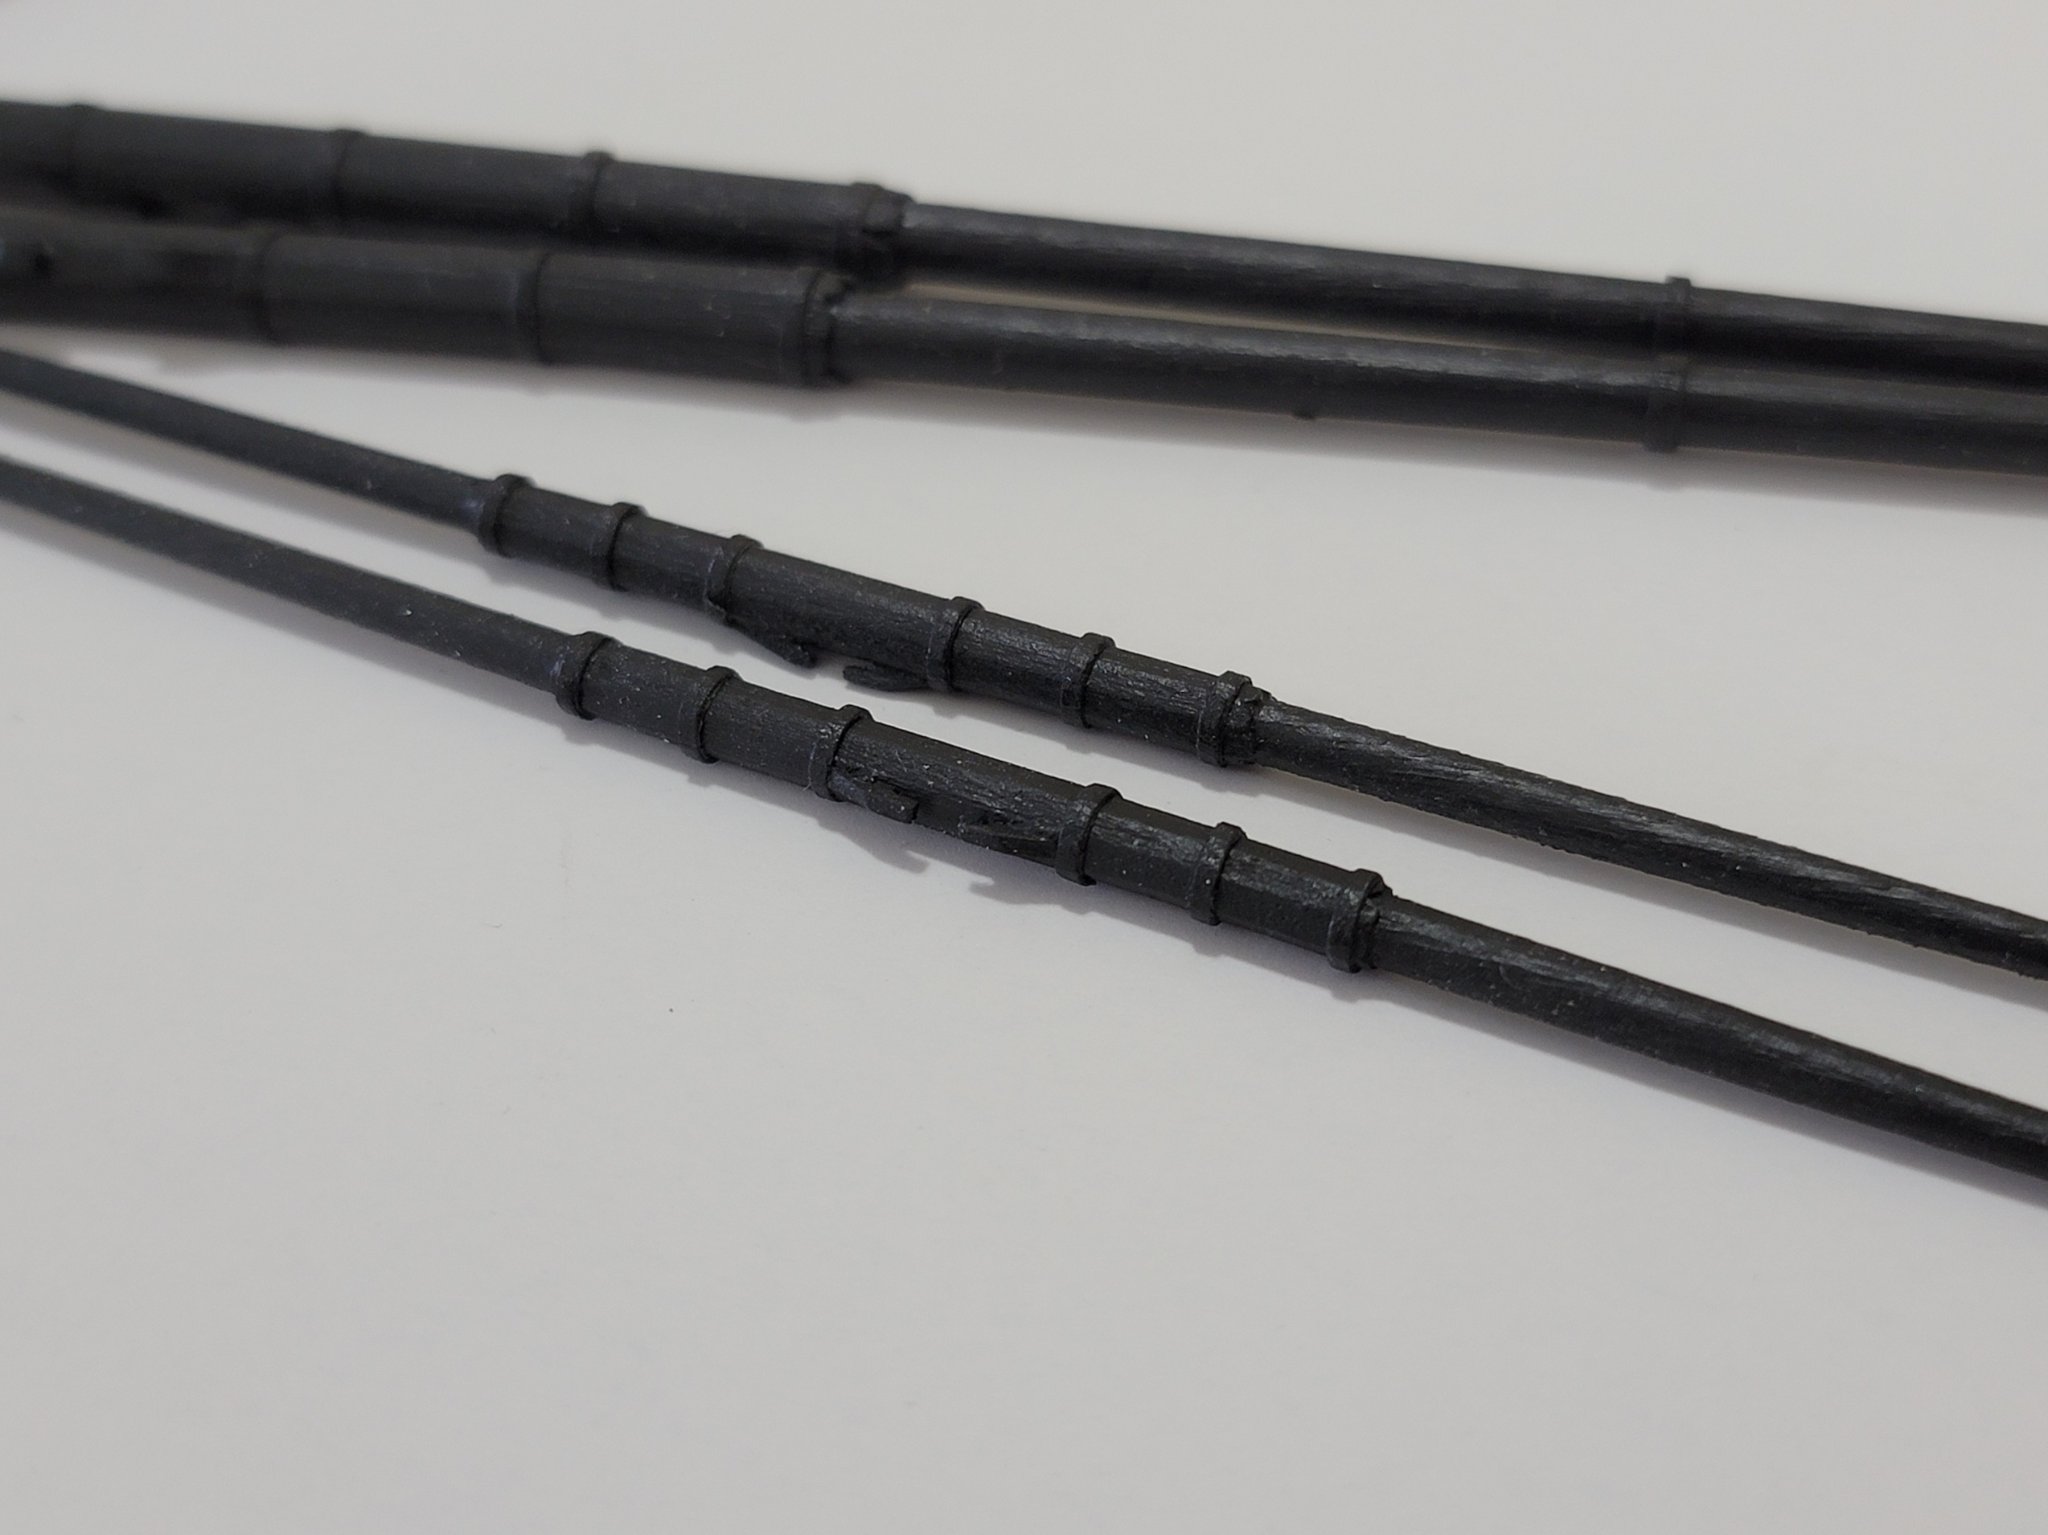
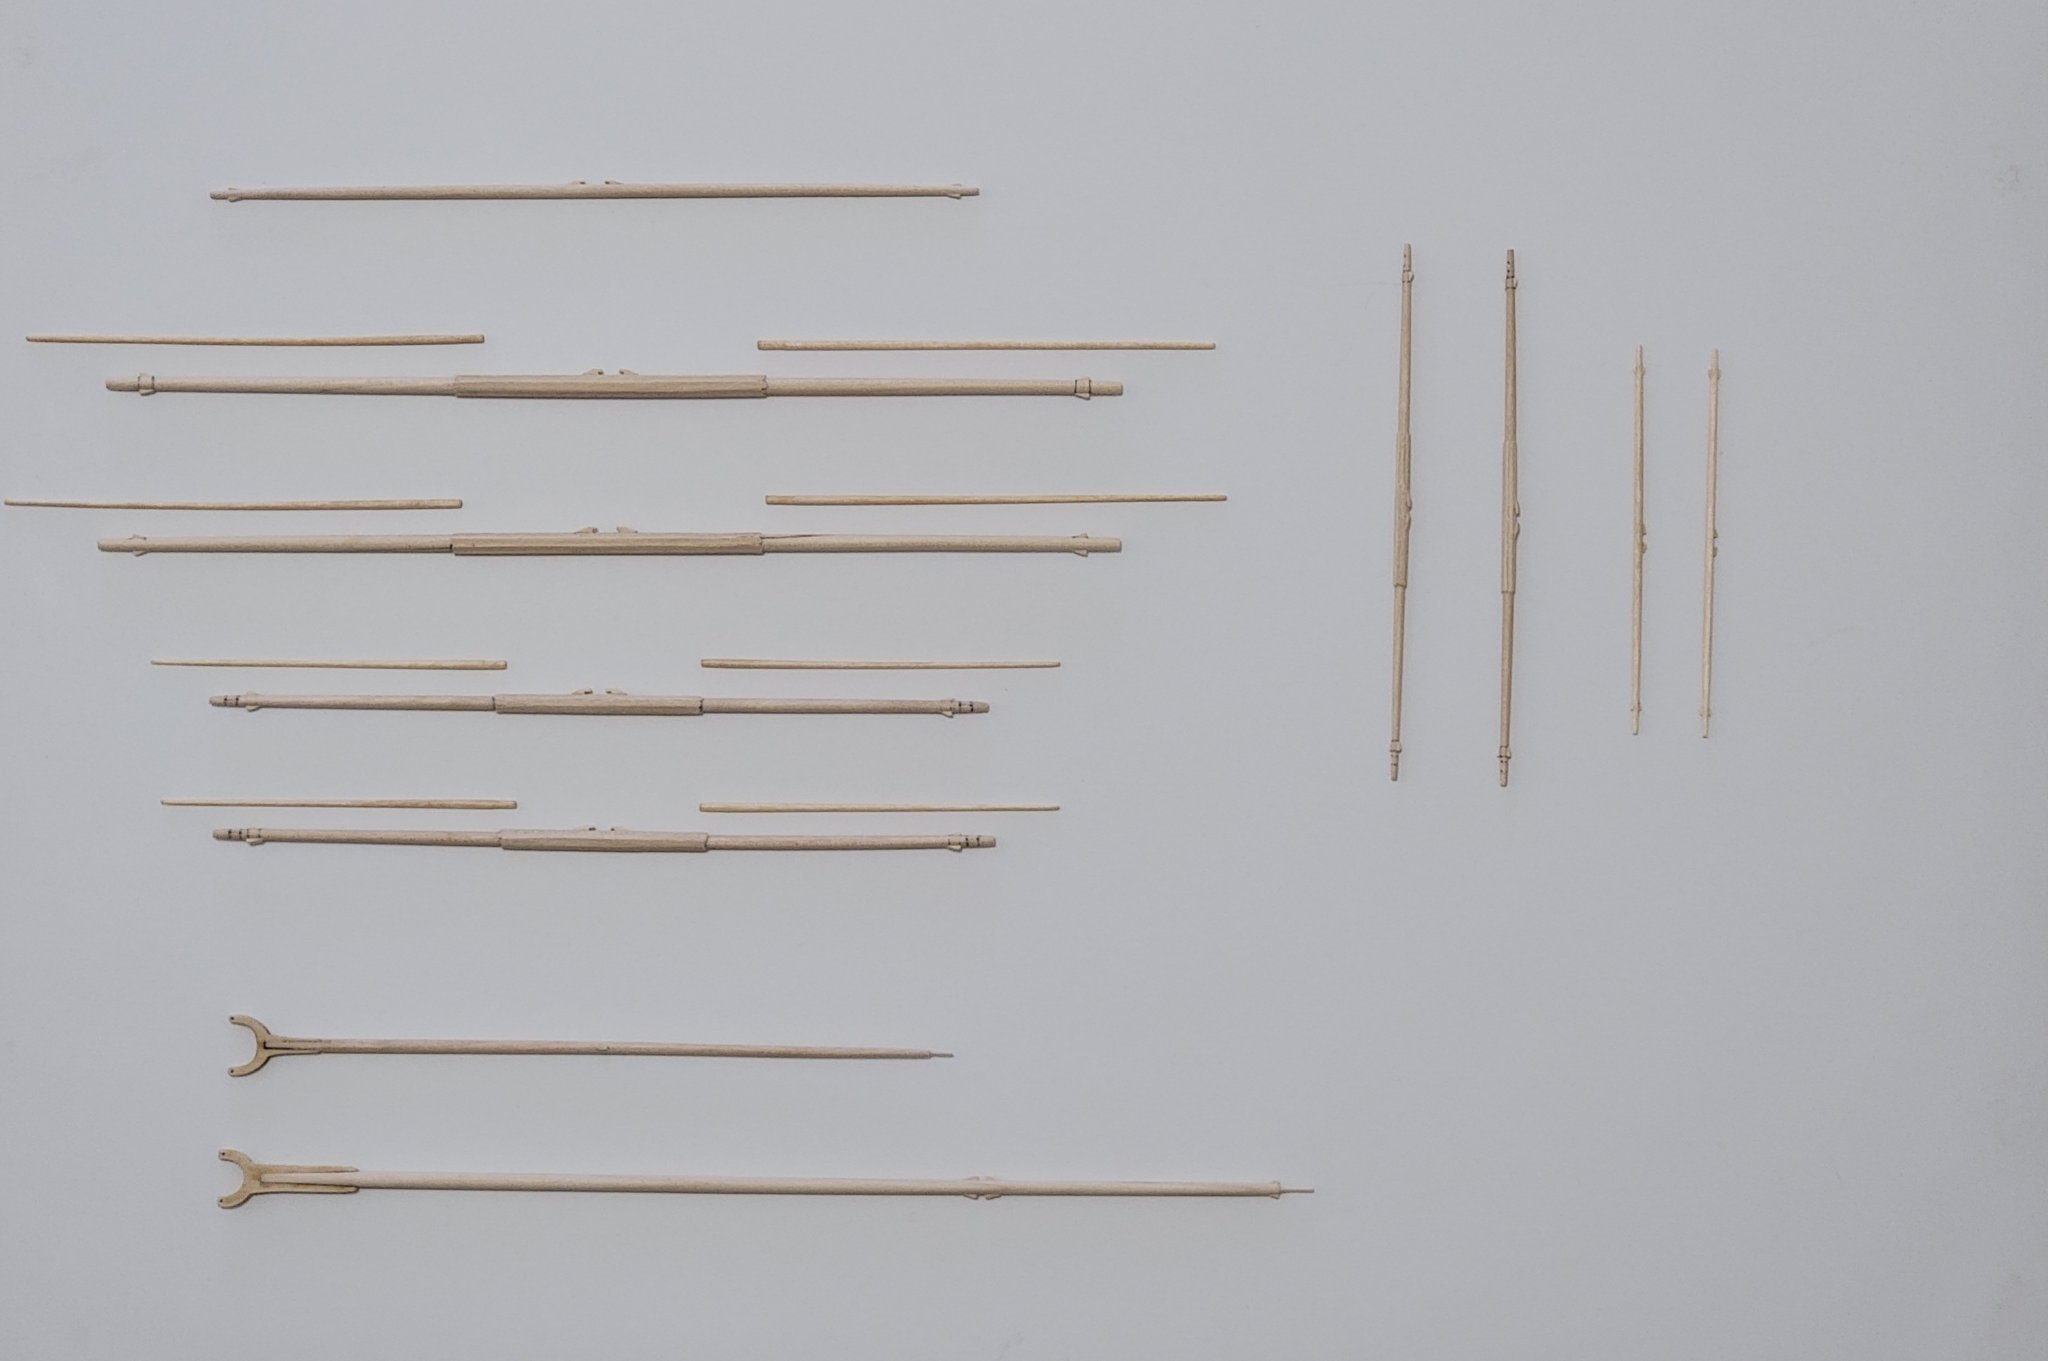
I finished installing all the iron bands on them. From Lee's book, I read that if a spar had battens, iron bands were also used to hold them in place. So I deviated a bit from the instructions to include this small detail. Here are some pics of where they are at Still lots of work needed on the spars (installing blocks, footropes, stuns'l boom irons etc etc)

- 950 replies
-
- 12
-
-
- syren
- model shipways
- (and 1 more)
-
Thanks so much Kurt! 🙂
-
Ships vs Boats
WalrusGuy replied to Mike from Aus's topic in Using the MSW forum - **NO MODELING CONTENT IN THIS SUB-FORUM**
I read somewhere that the distinction between the two is how they behave during sharp turns. When turning, boats lean inwards and ships lean outwards. -
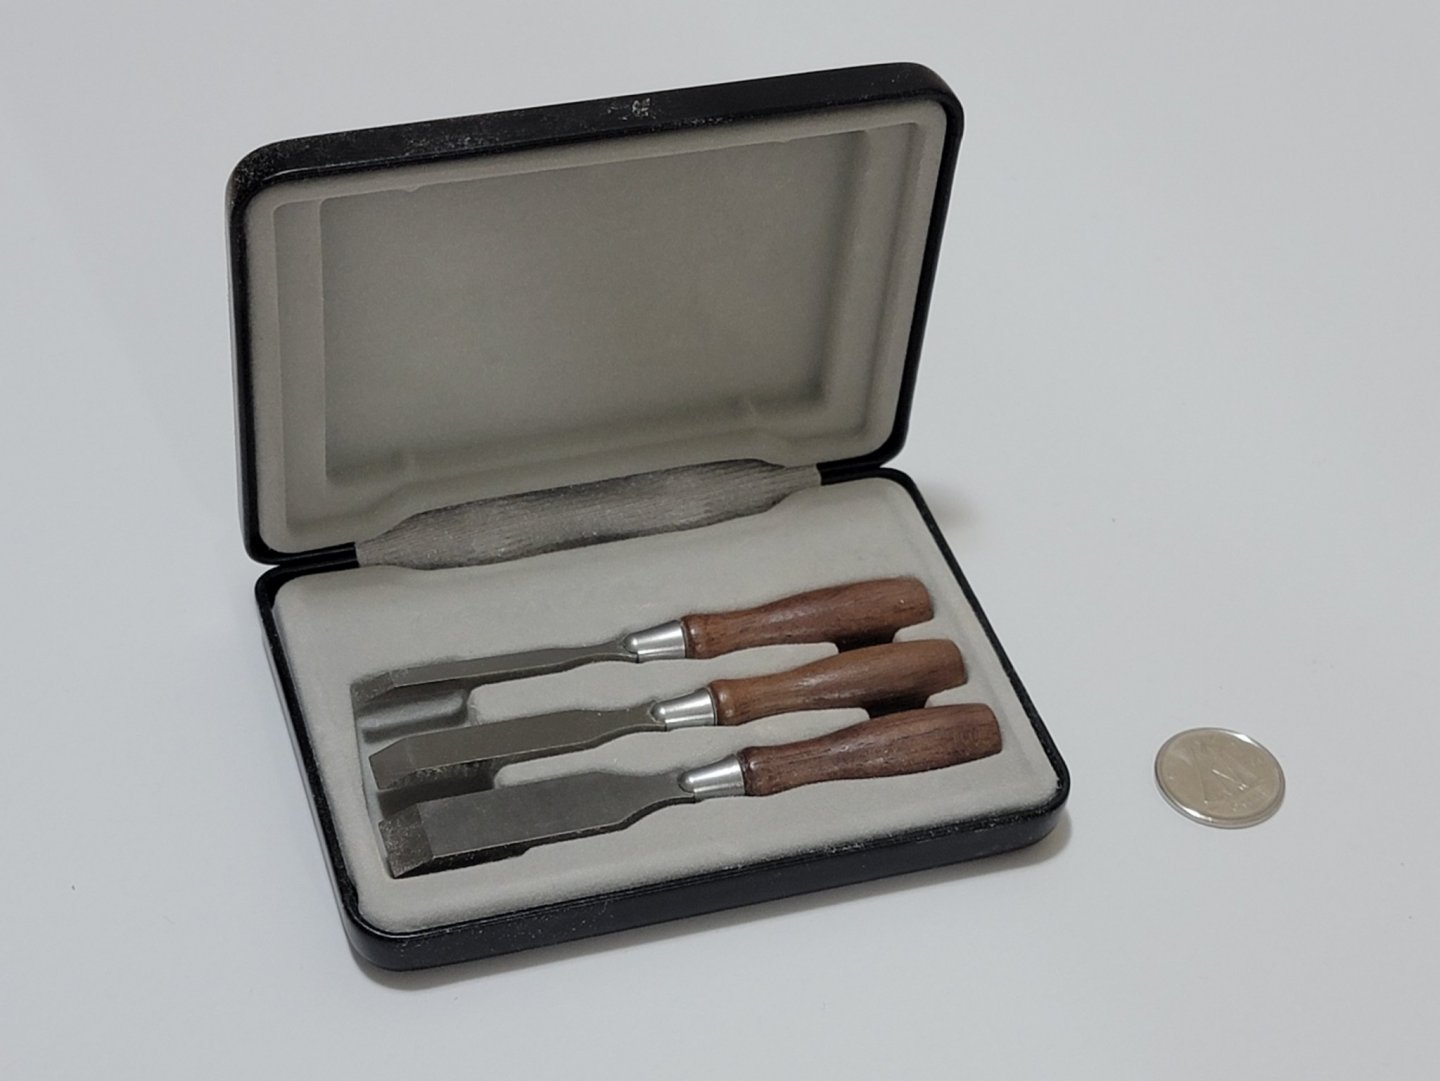
For sure! I had to control myself 😄. I just got some of their miniature tools (chisel, spokeshave, and honing guide). Next on the list is their block plane. Too many options!! Here are the chisels I got They are really a pleasure to work with. I haven't tried sharpening them yet. I bought some small diamond credit card sized whetstones of different grits for that (hoping those will be good). Have never sharpened tools before, so once they get a bit blunt I'll try it out.
- 950 replies
-
- 2
-
-
- syren
- model shipways
- (and 1 more)
-
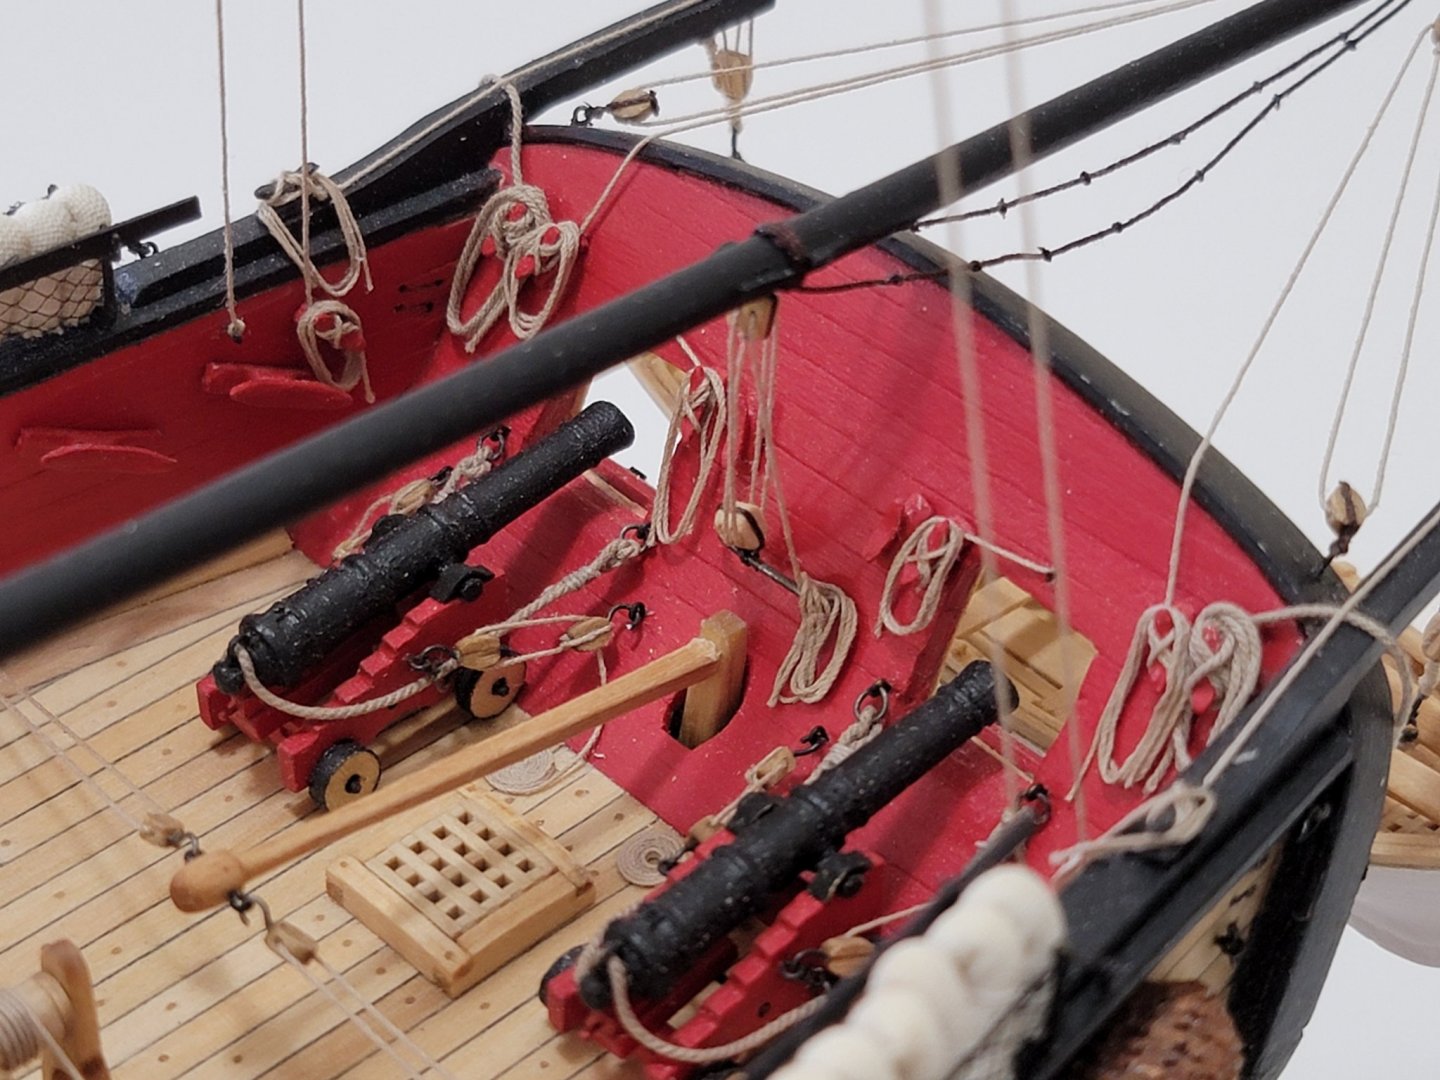
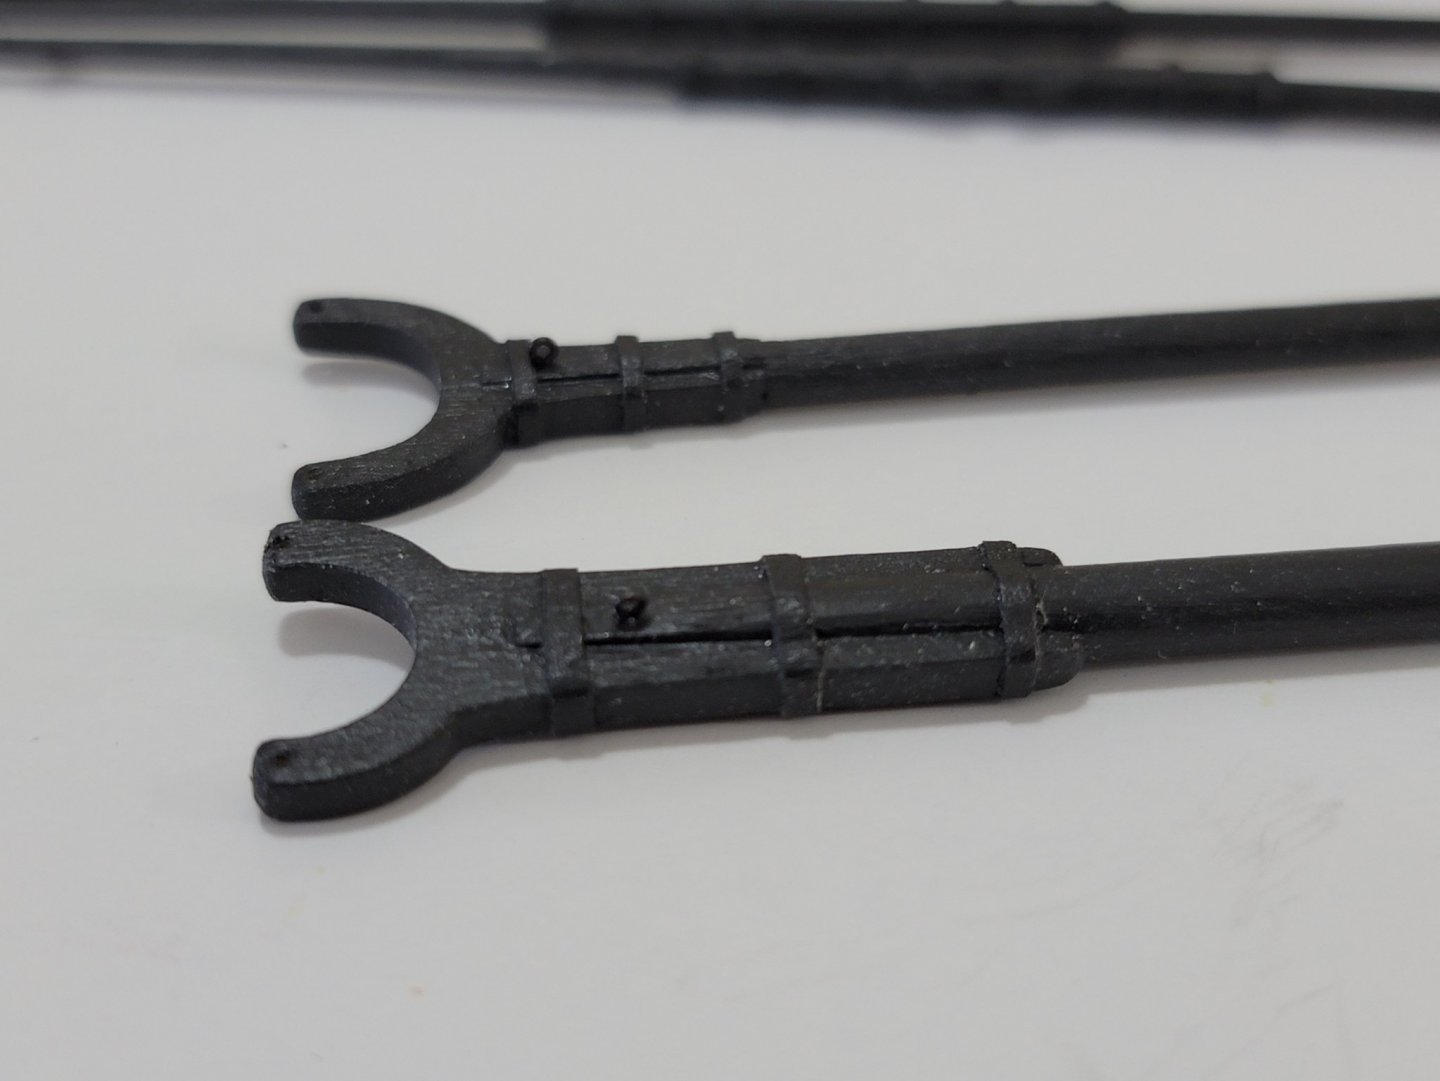
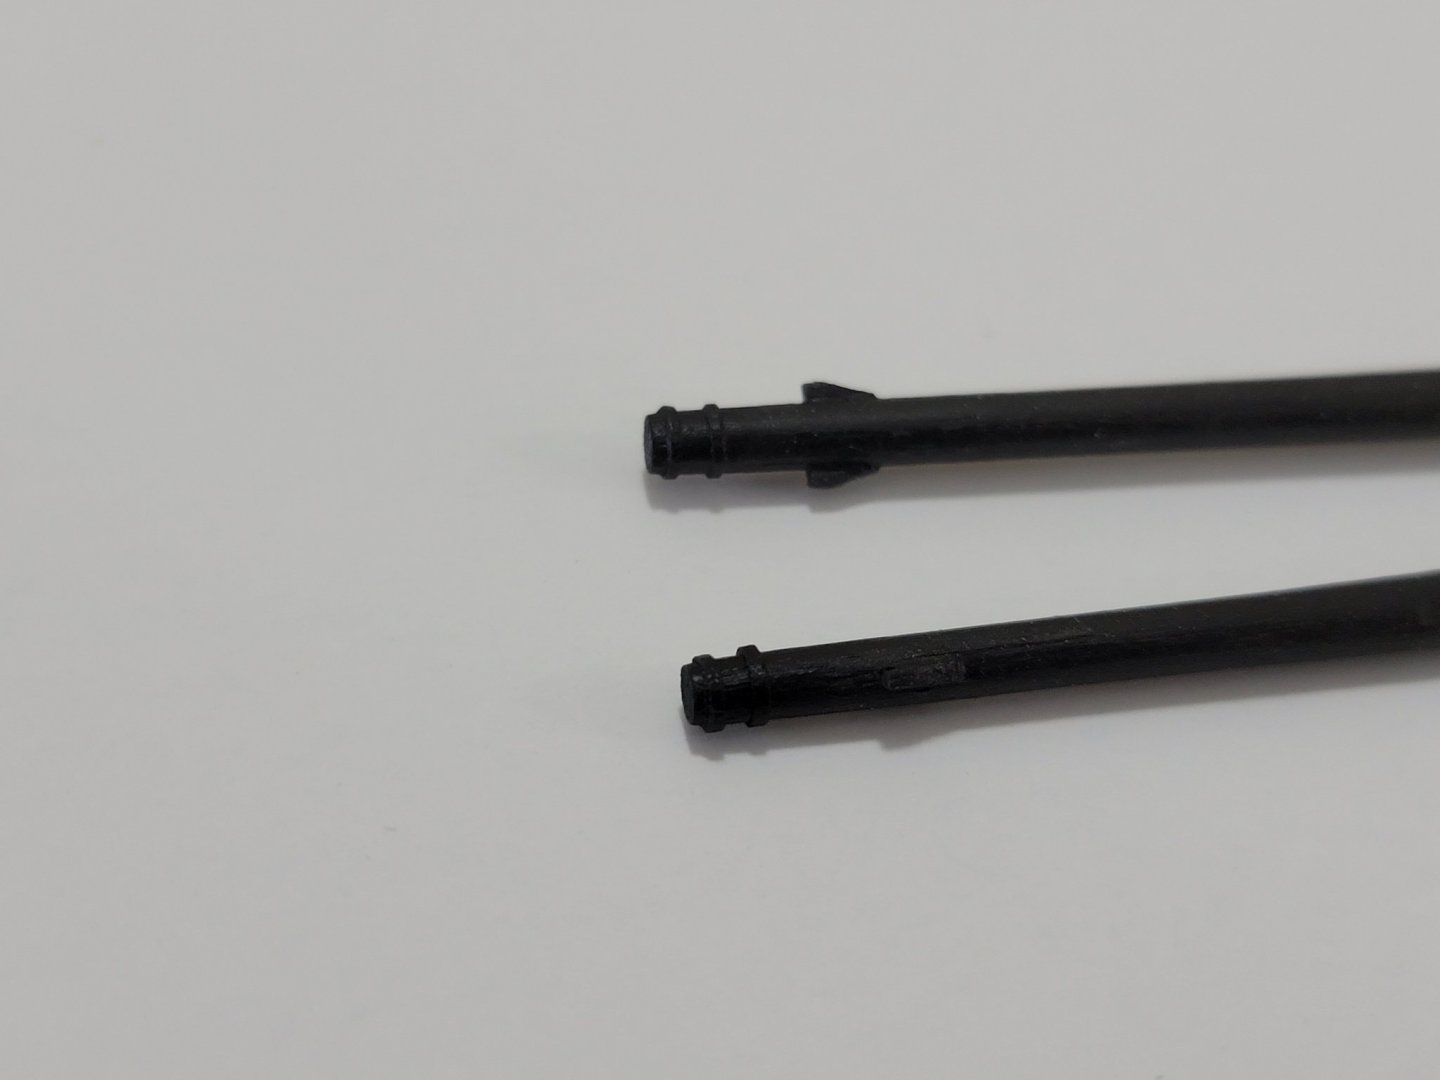
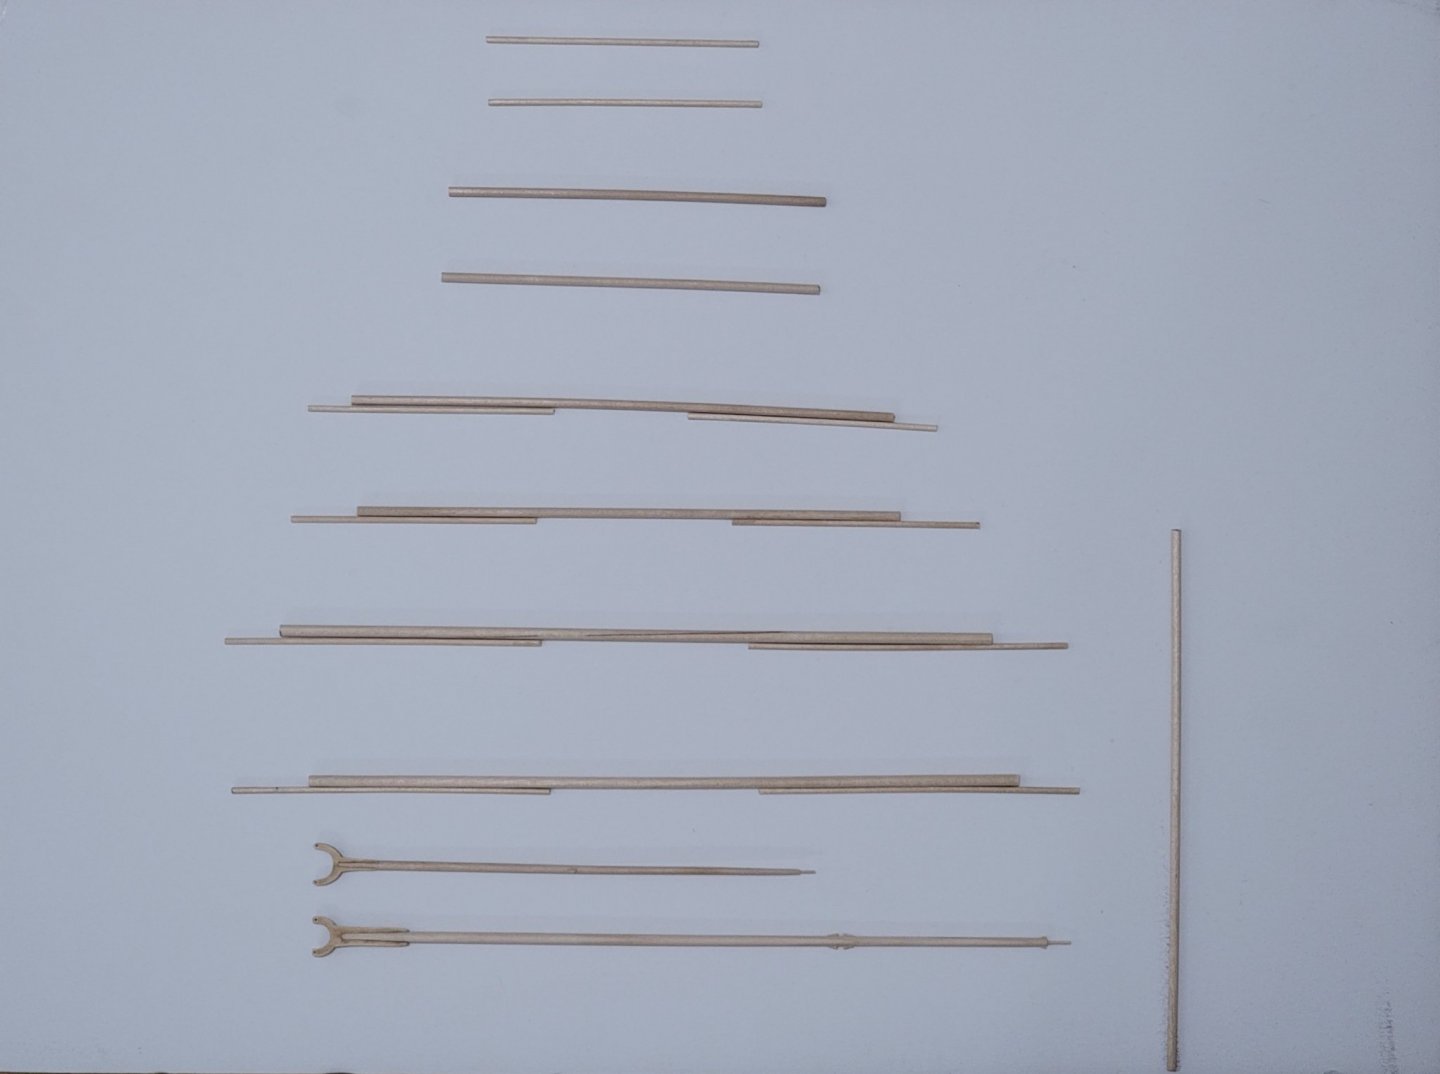
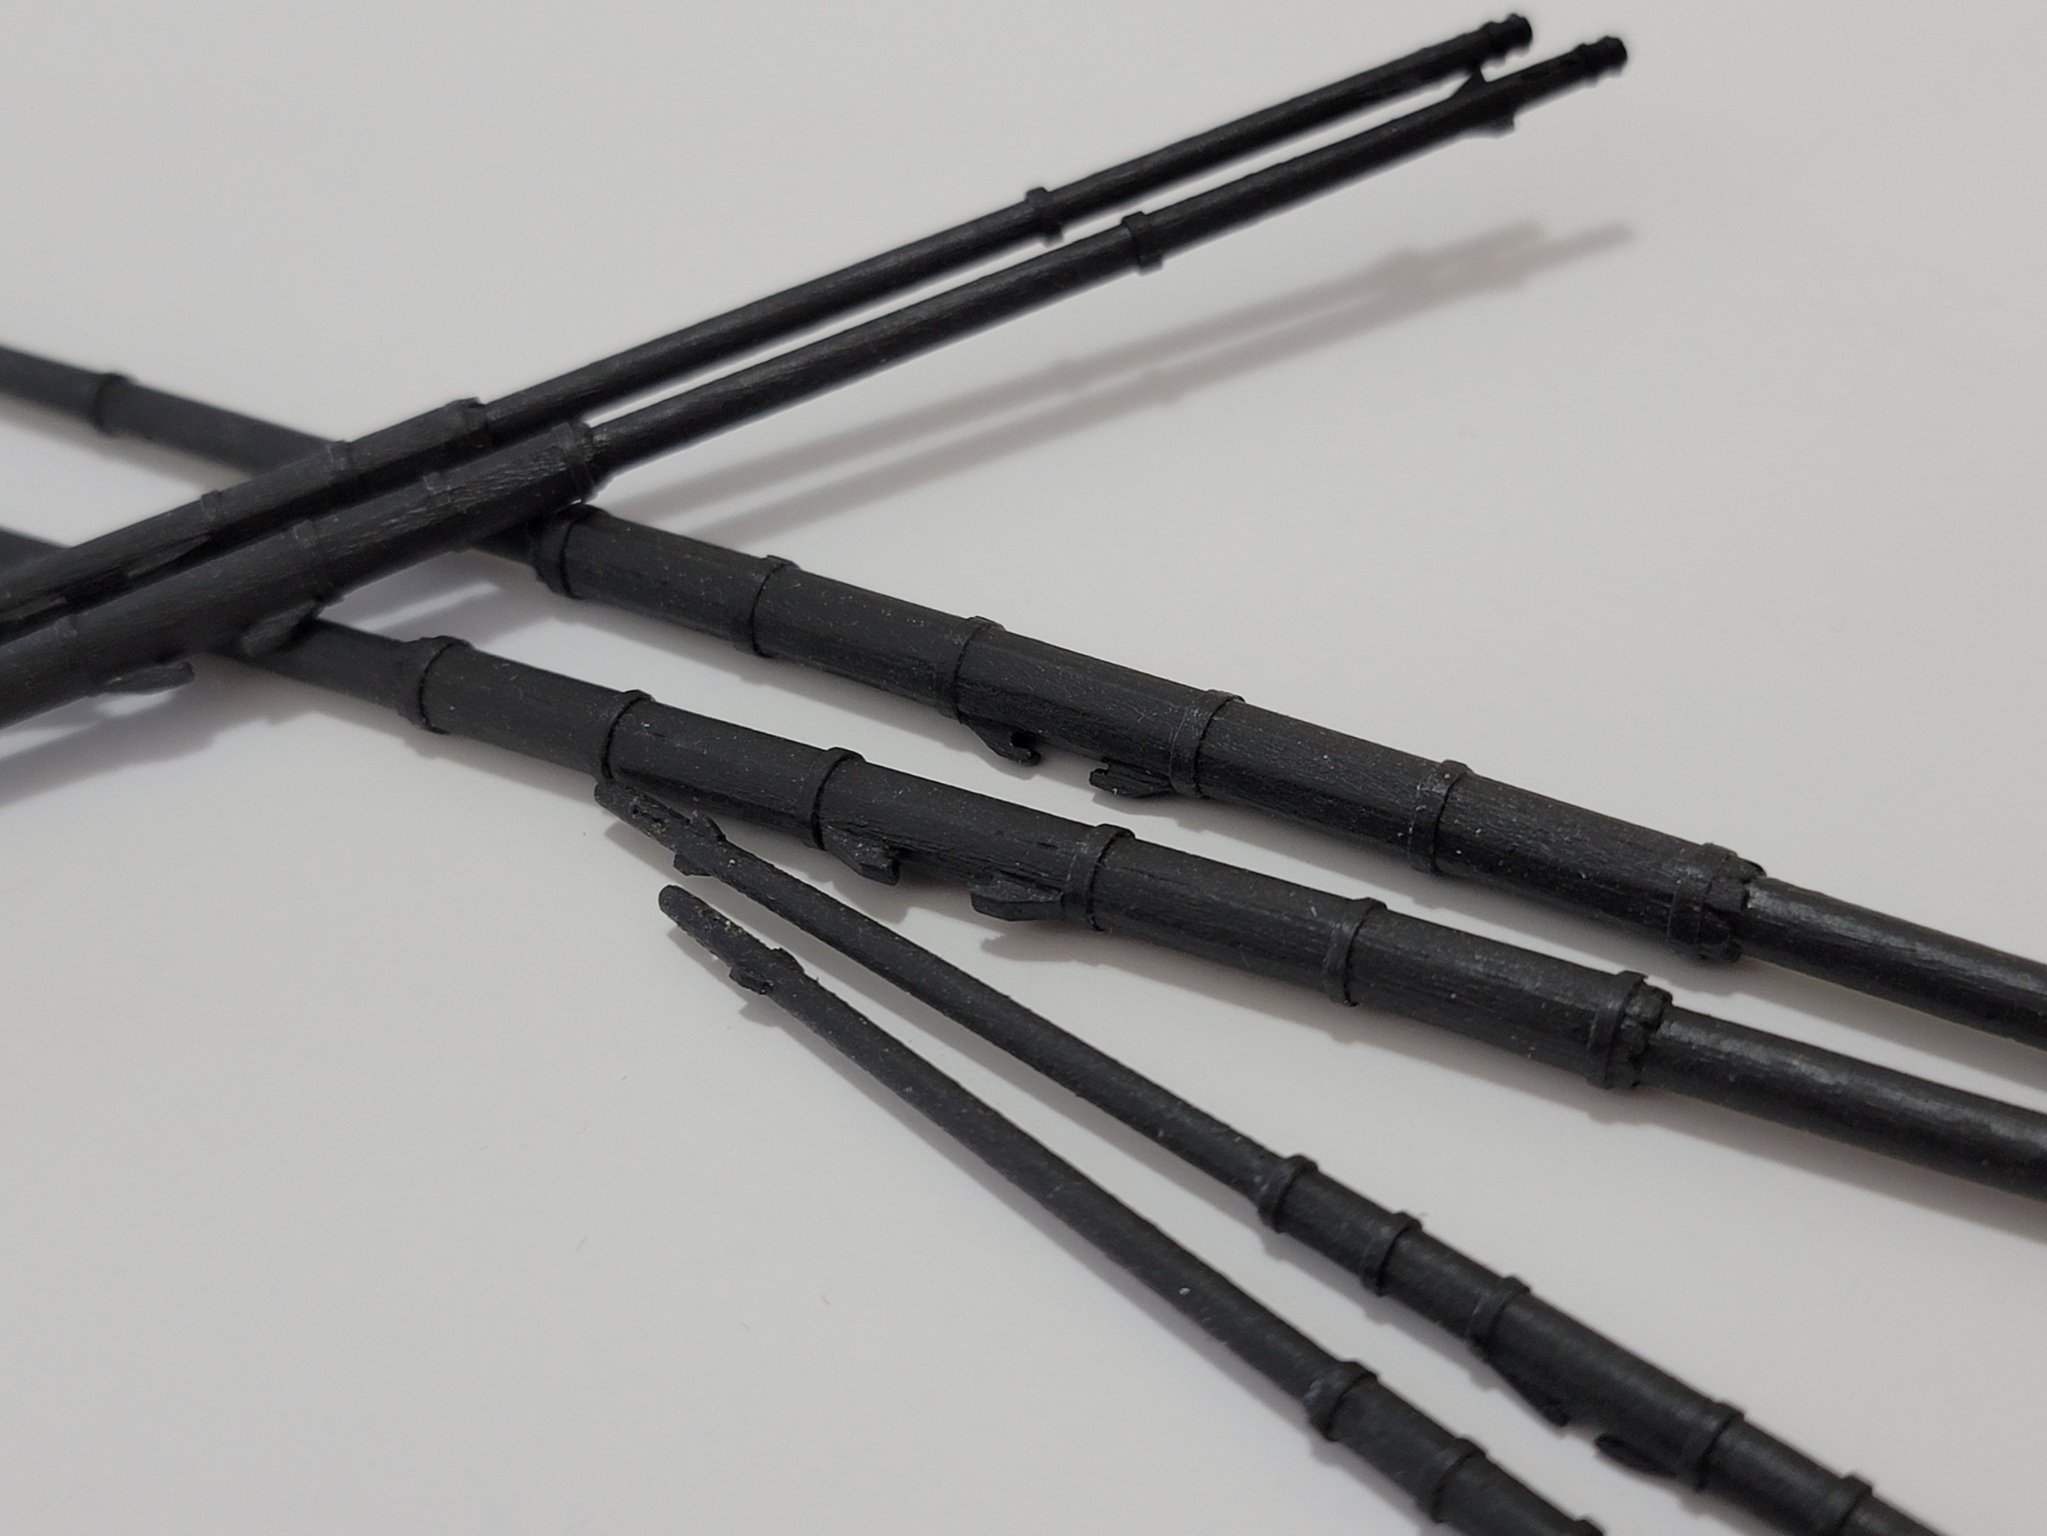
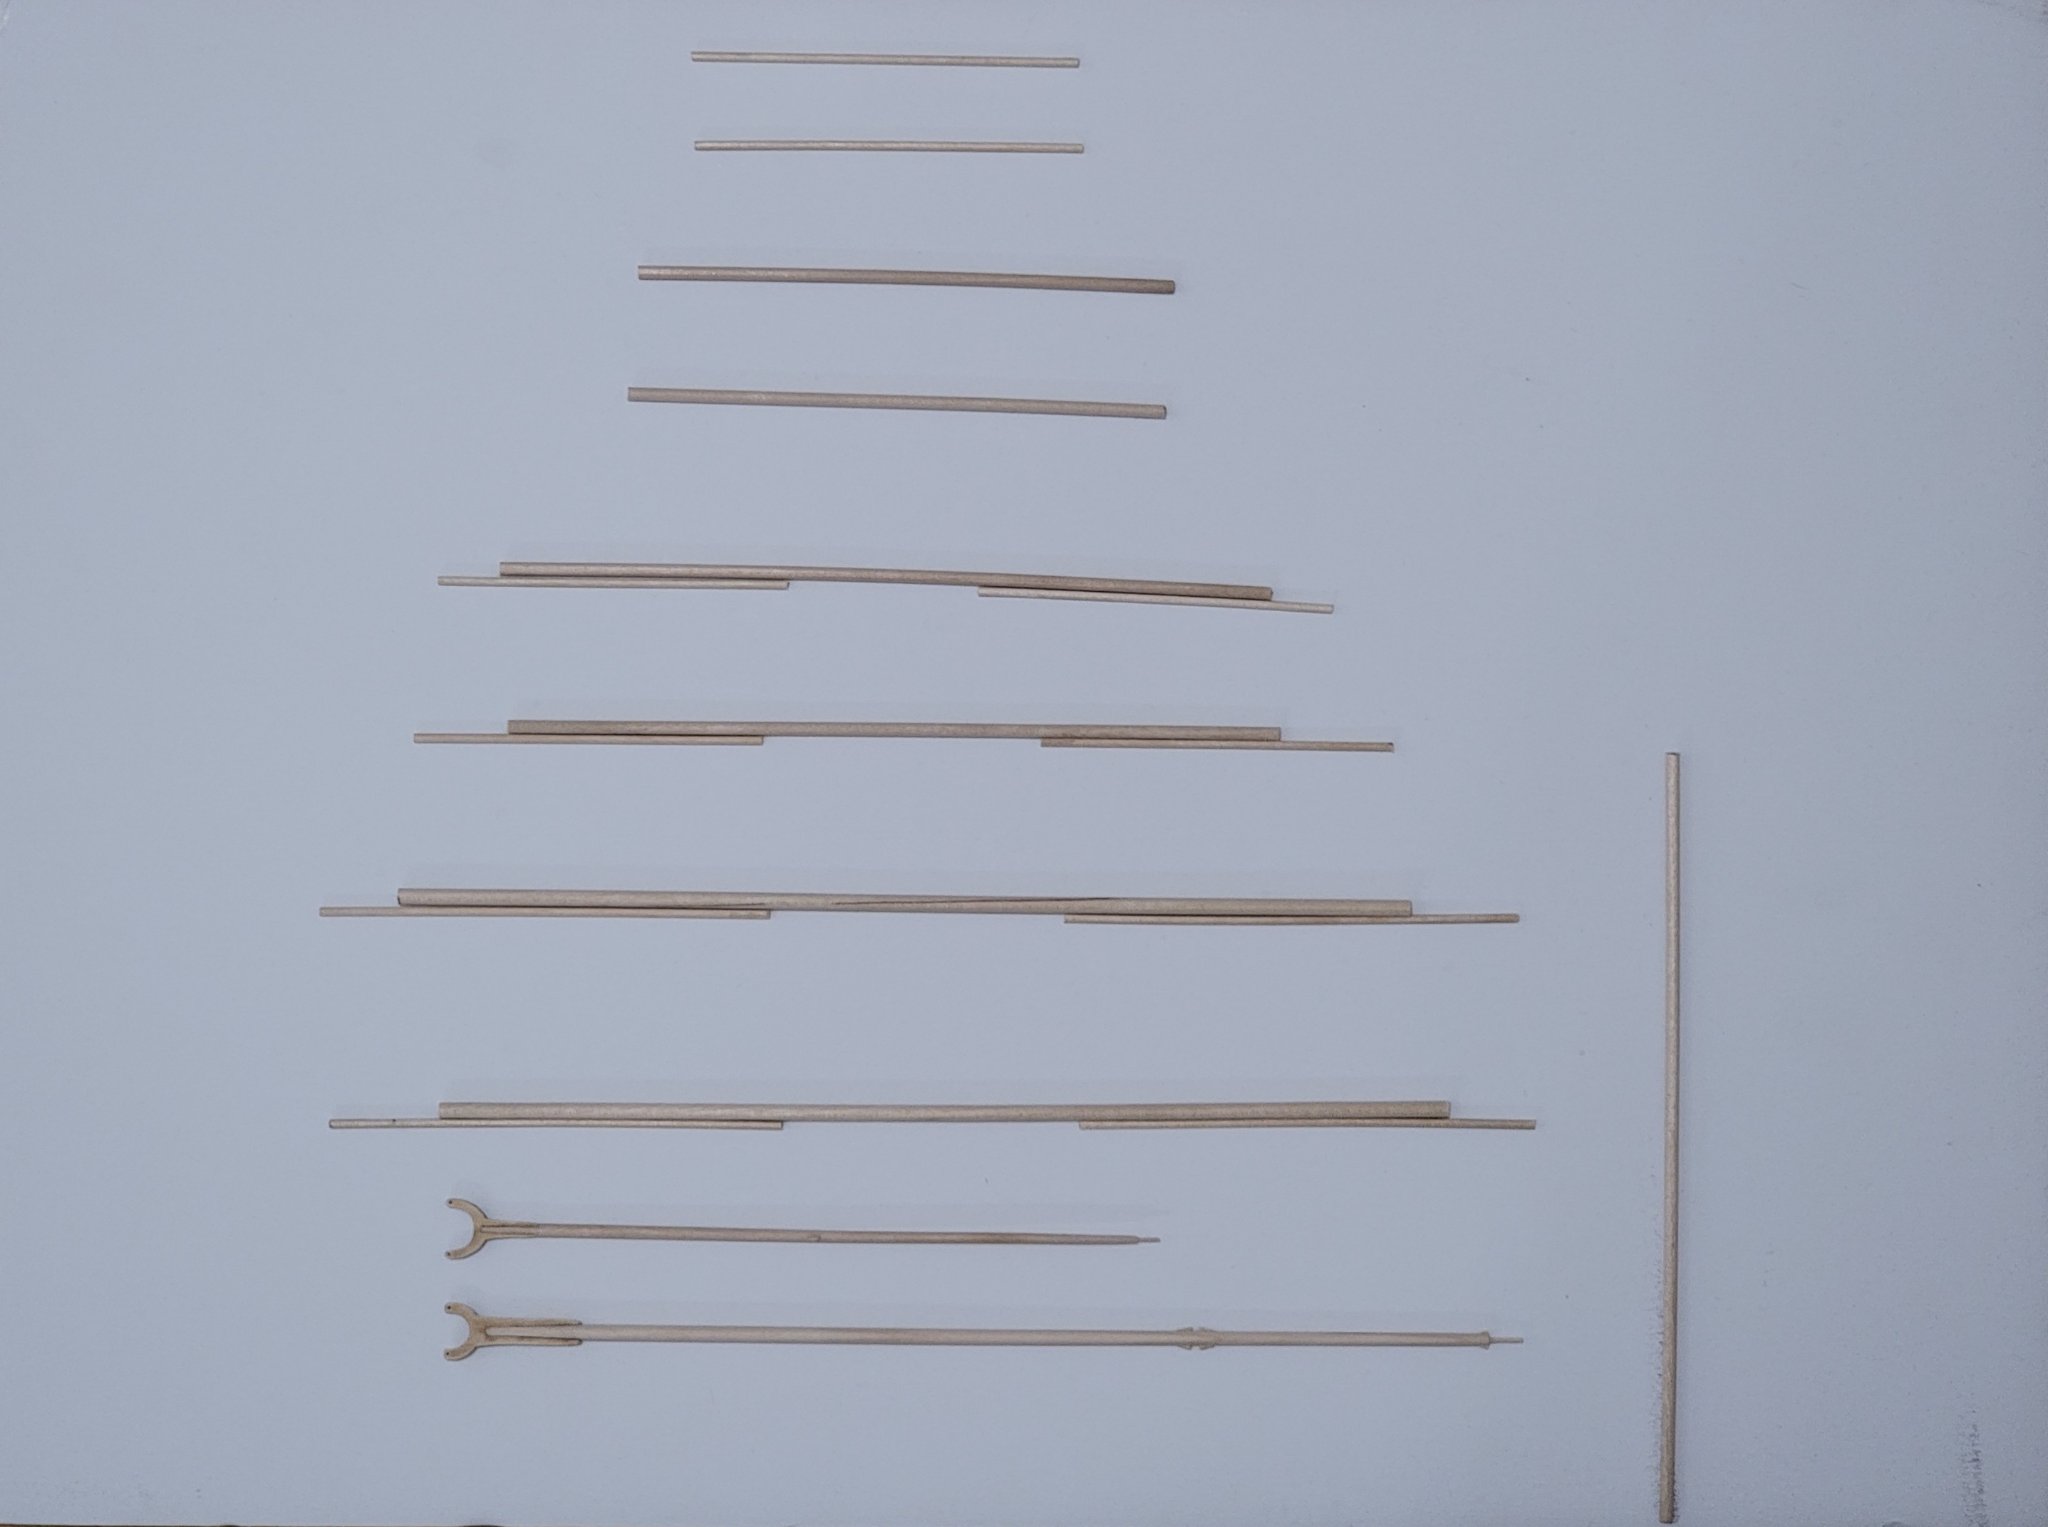
Just a quick update, I finished up shaping up and painting the yards, boom, and gaff. I used tung oil for the stunsl' booms. I bought the mini chisels from Lee Valley, and they helped to speed up the tapering process! It was also a lot of fun using them 😃 Here are some pics: Still deciding what to do next. Might go ahead and finish up detailing all the yards, gaff, and boom before I start rigging them.
- 950 replies
-
- 6
-
-
- syren
- model shipways
- (and 1 more)
-
Thank you so much for the nice comments, Eamonn, Jean-Paul, and Will. It's very much appreciated!!
- 950 replies
-
- 1
-
-
- syren
- model shipways
- (and 1 more)
-
I really enjoyed the photos! Very beautiful and clean work. Really looking forward to seeing the rigging!!
-
Stitching sails with sewing machine
WalrusGuy replied to Jorge Hedges's topic in Masting, rigging and sails
Thank you Druxey! -
Stitching sails with sewing machine
WalrusGuy replied to Jorge Hedges's topic in Masting, rigging and sails
I did not want to create another topic, so will ask here. What is acrylic matt medium diluted with? Is it just water? -
Been doing some reading on rigging ships, and just wondering if crowsfeet were only used in British ships? Were there any cases of these being used in American ships?
-
- 1
-
-
Thanks Tim! I'm using the net provided by the kit. Maybe check with Model Expo to see if they sell these separately. The part number for netting is WP2828.
-
Thanks for checking in Richard, and glad to have you back! Looking forward to seeing your beautiful Bluenose build take shape will all the detail work 🙂 (got to admit, I find myself browsing through your log every now and then admiring the craftsmanship and metal work)
-
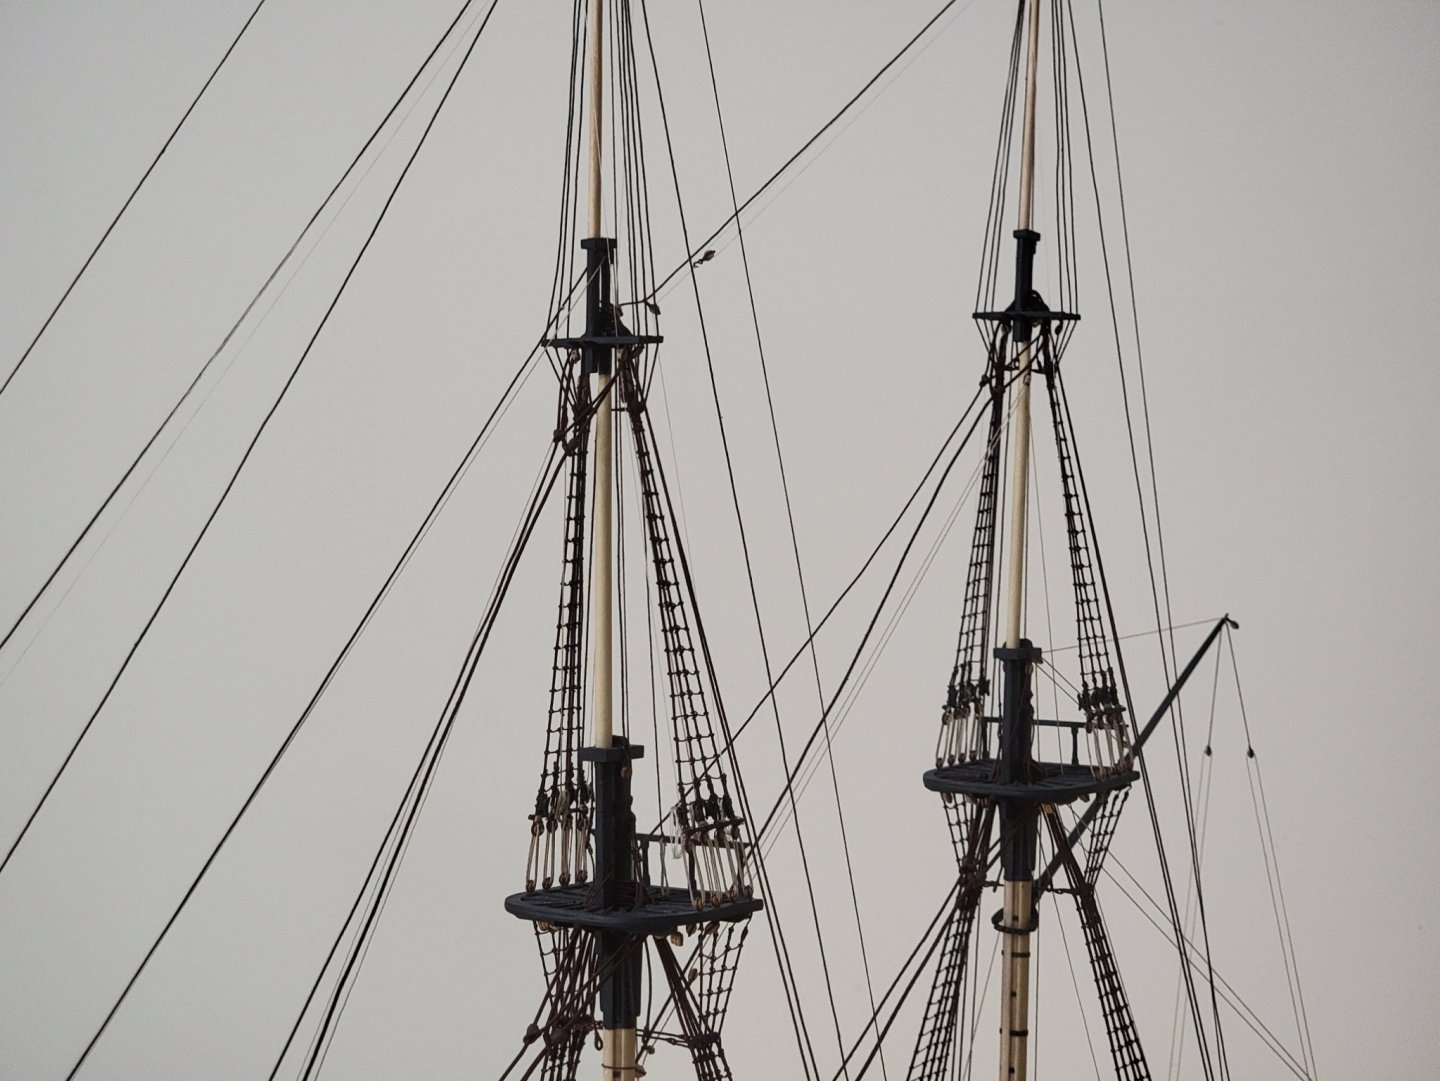
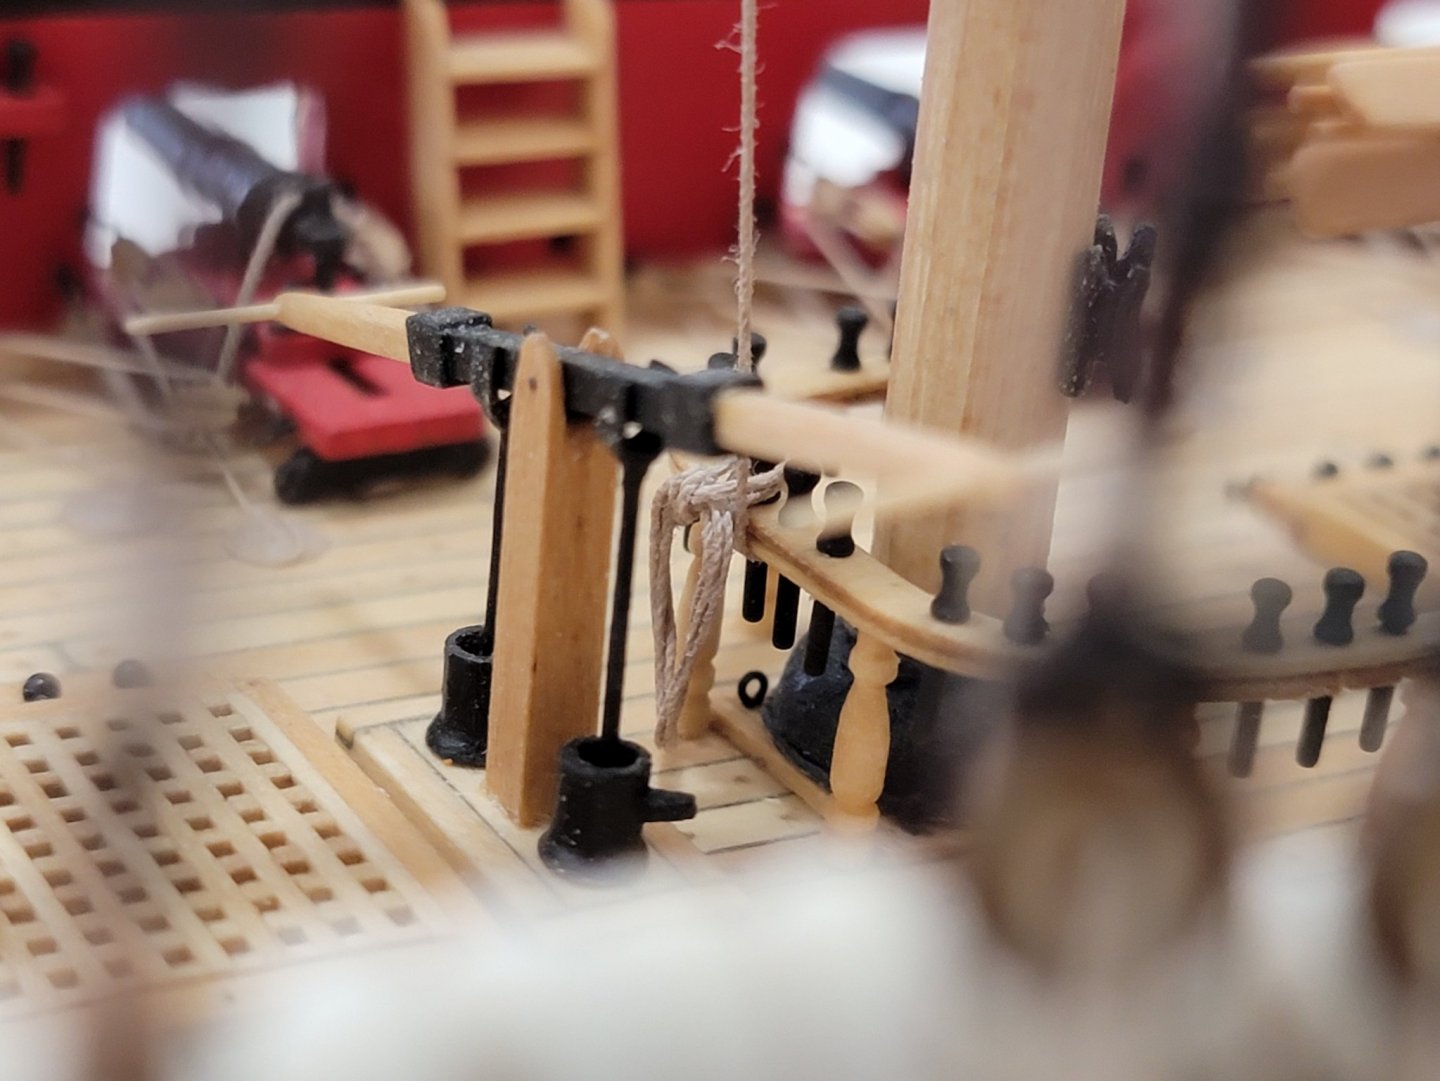
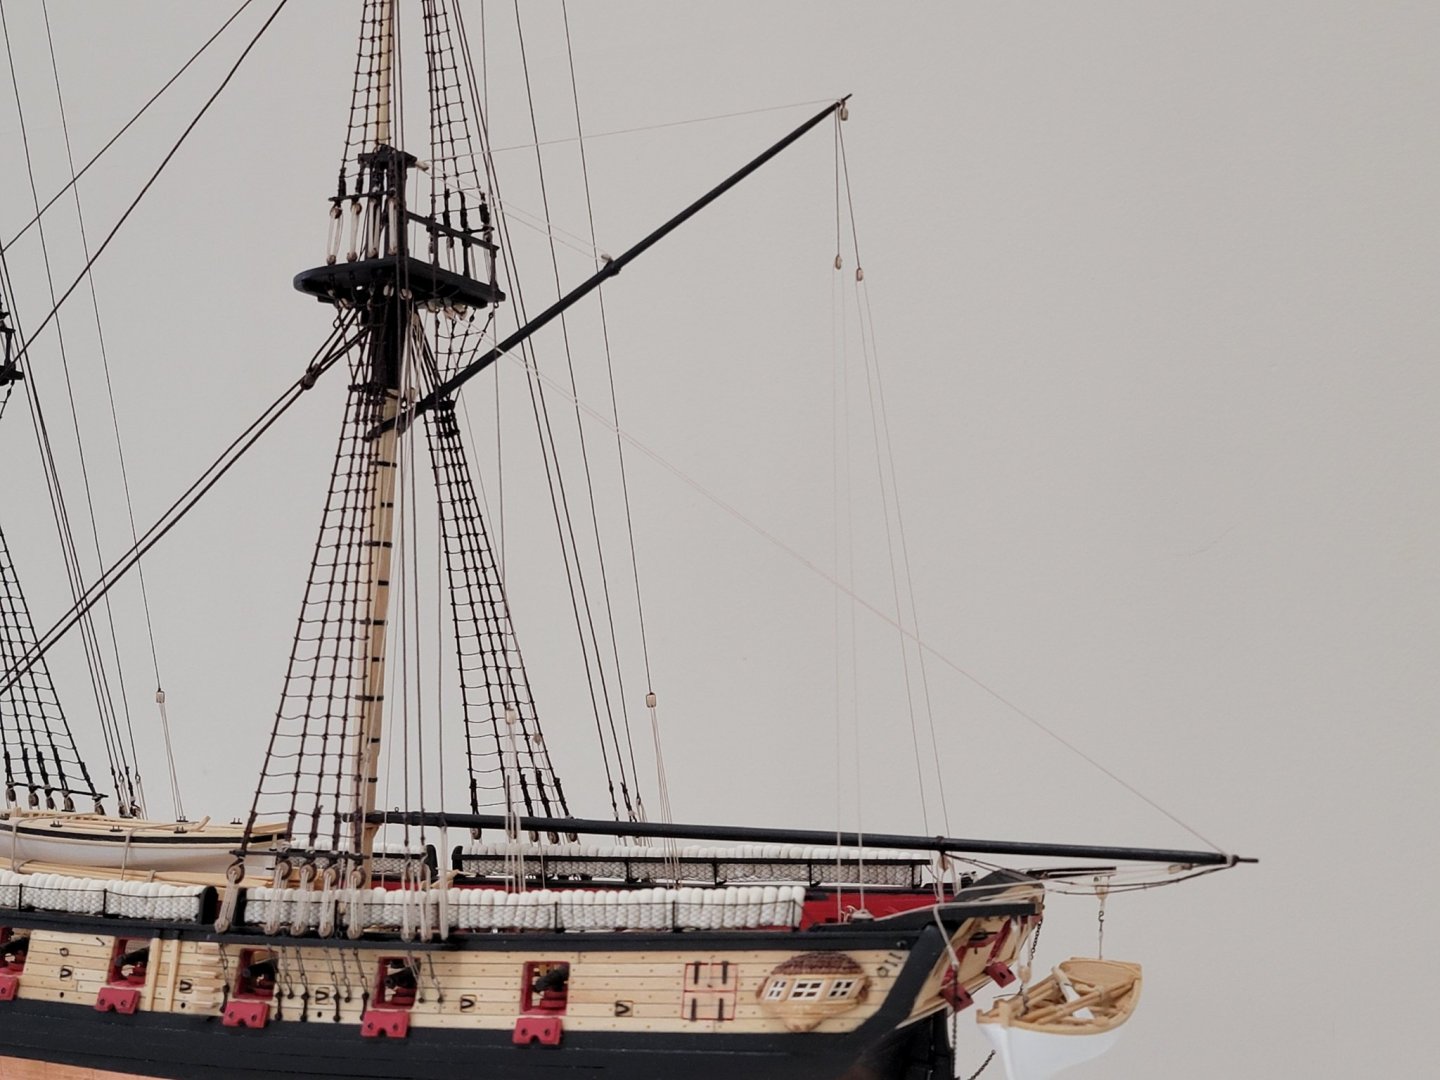
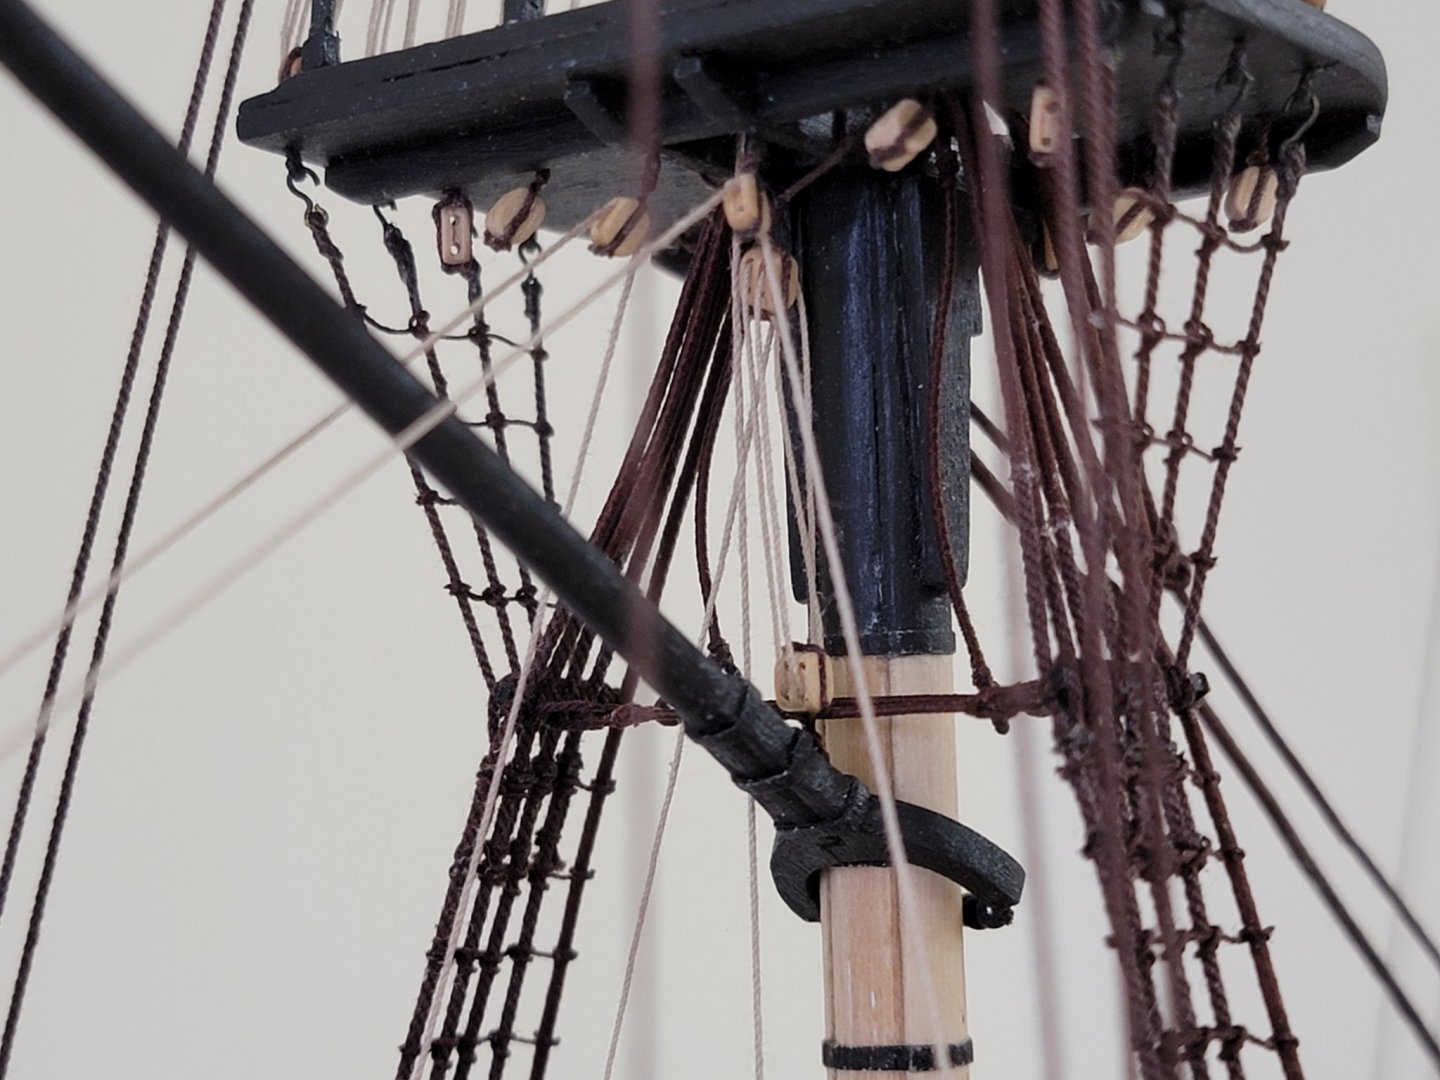
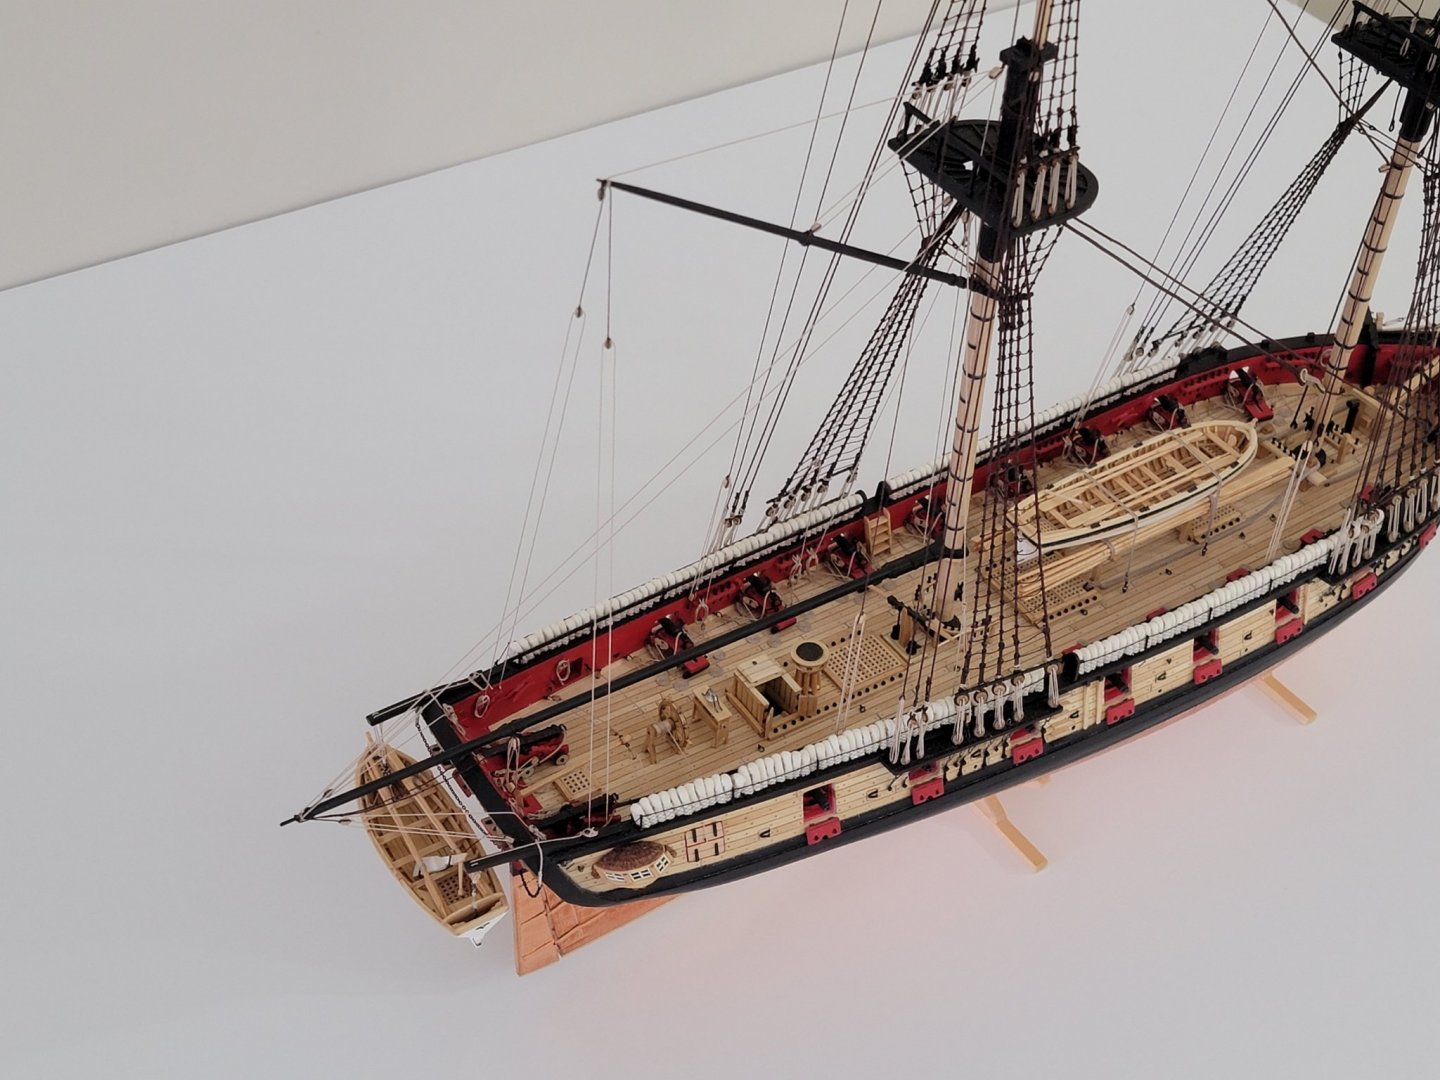
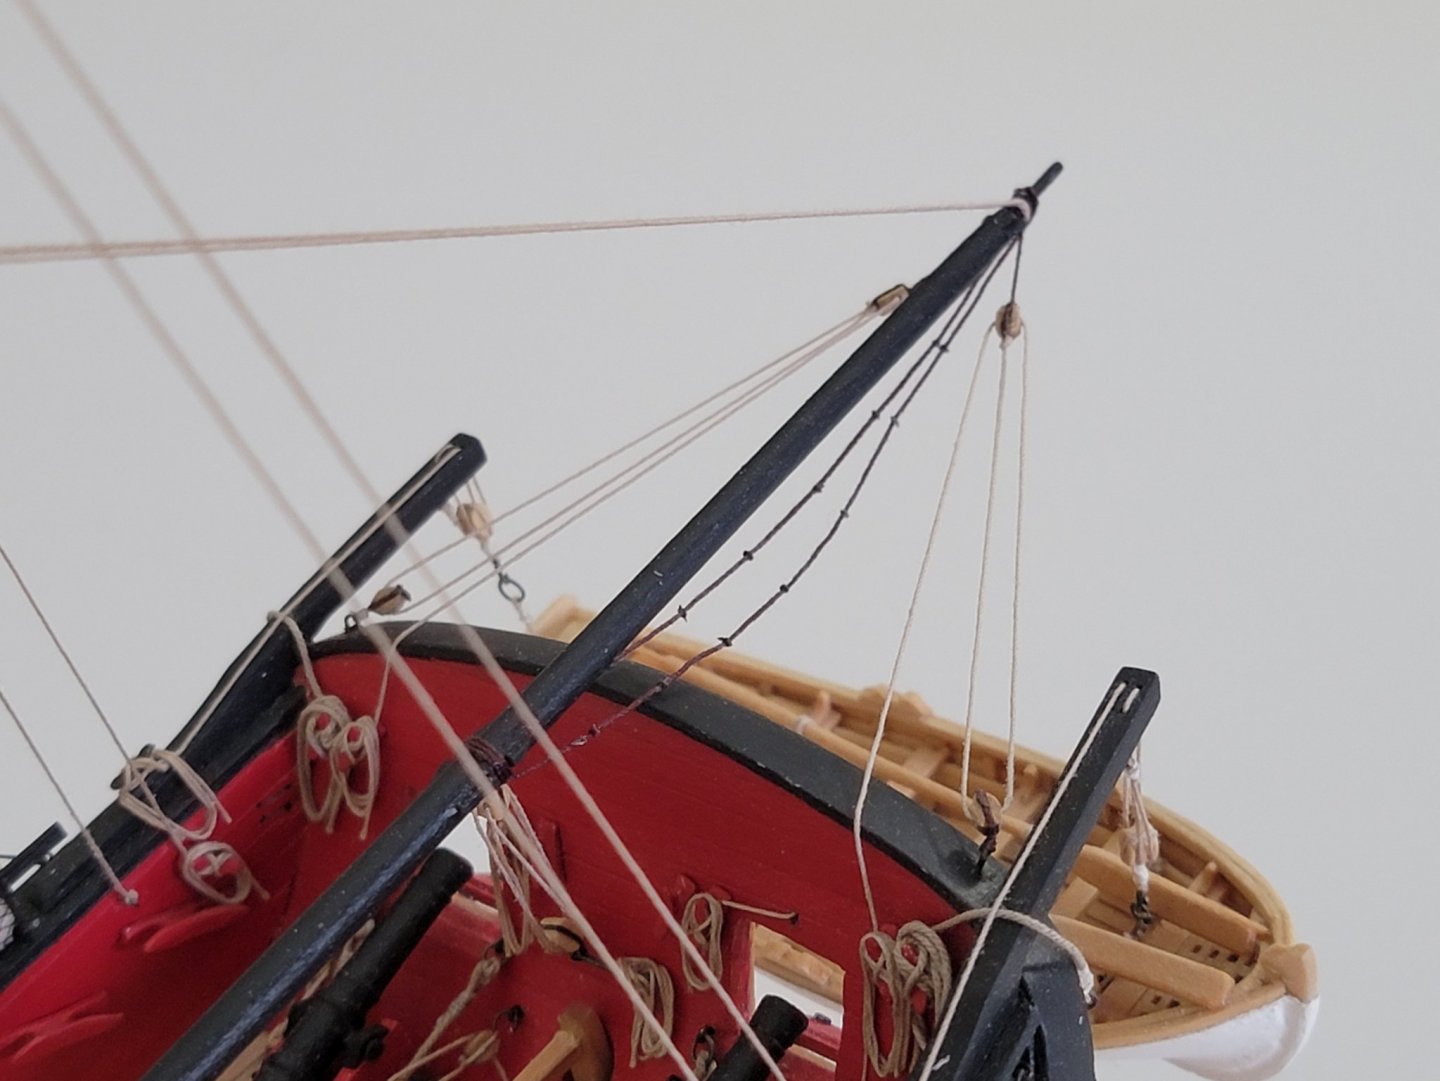
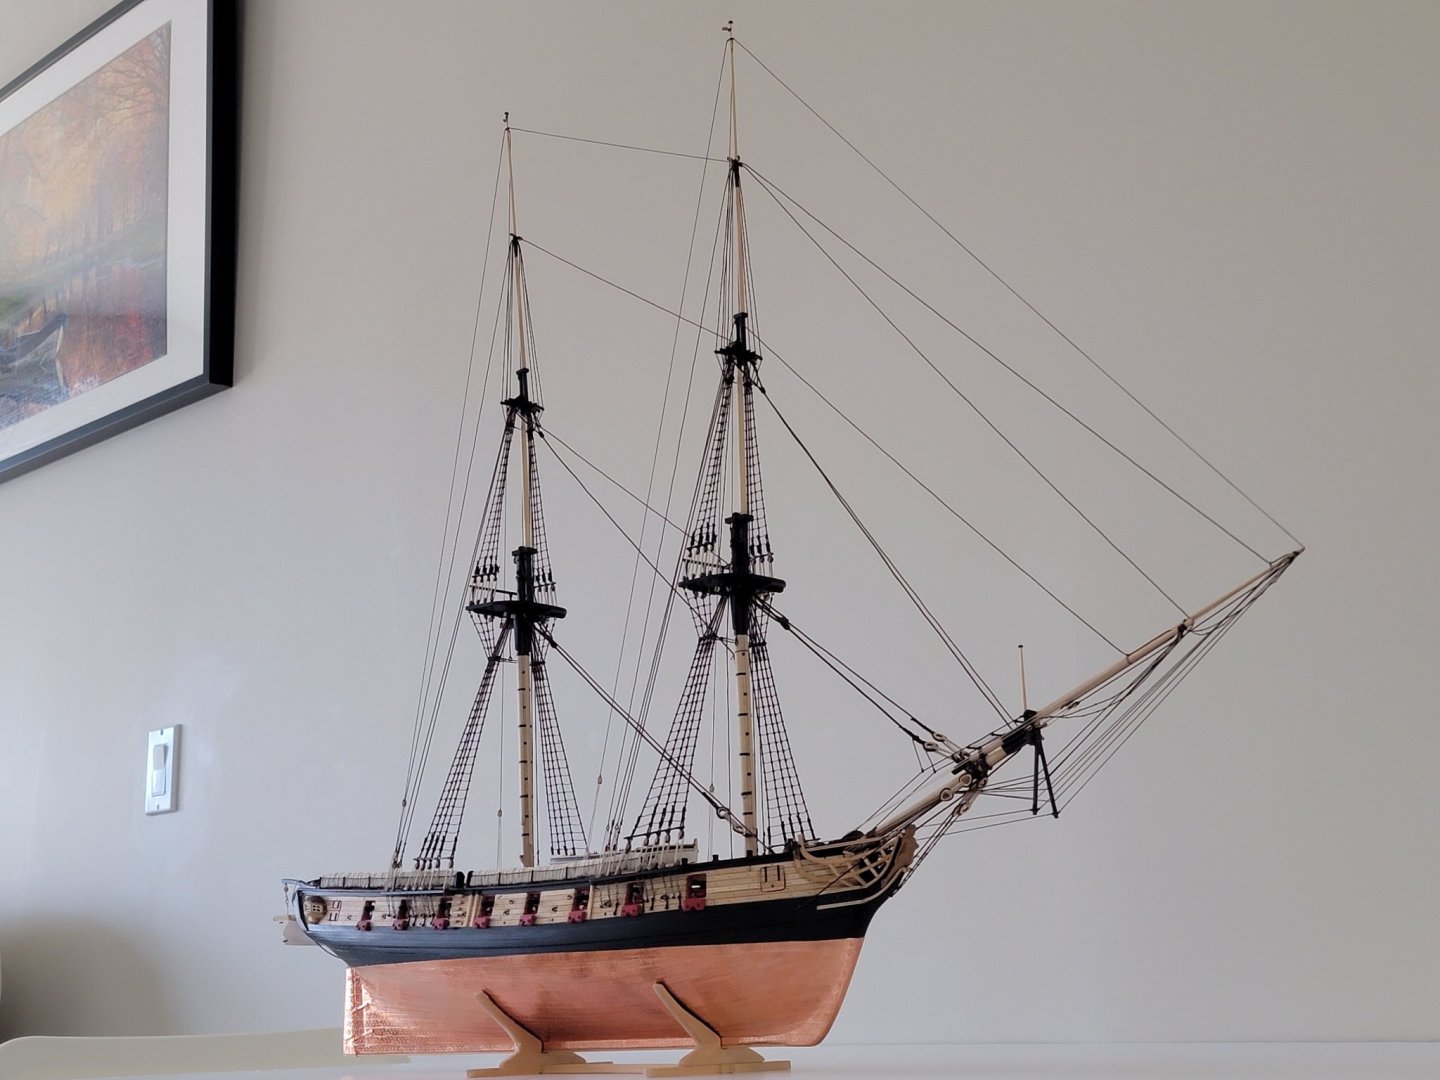
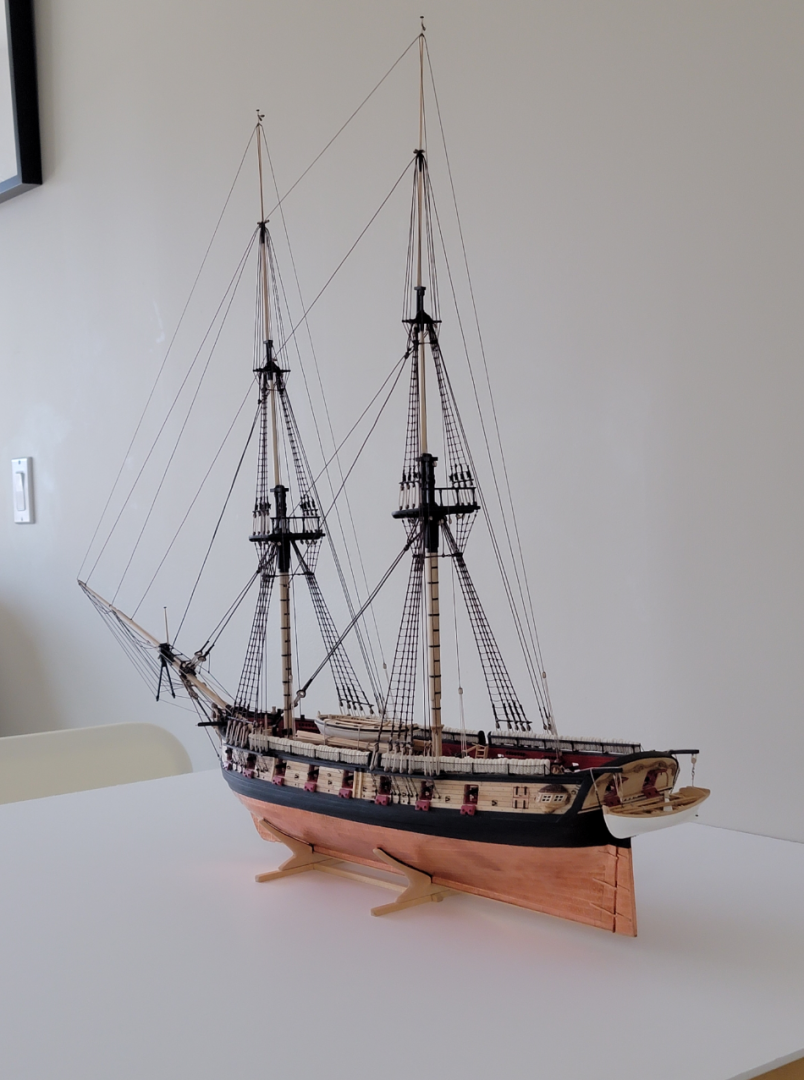
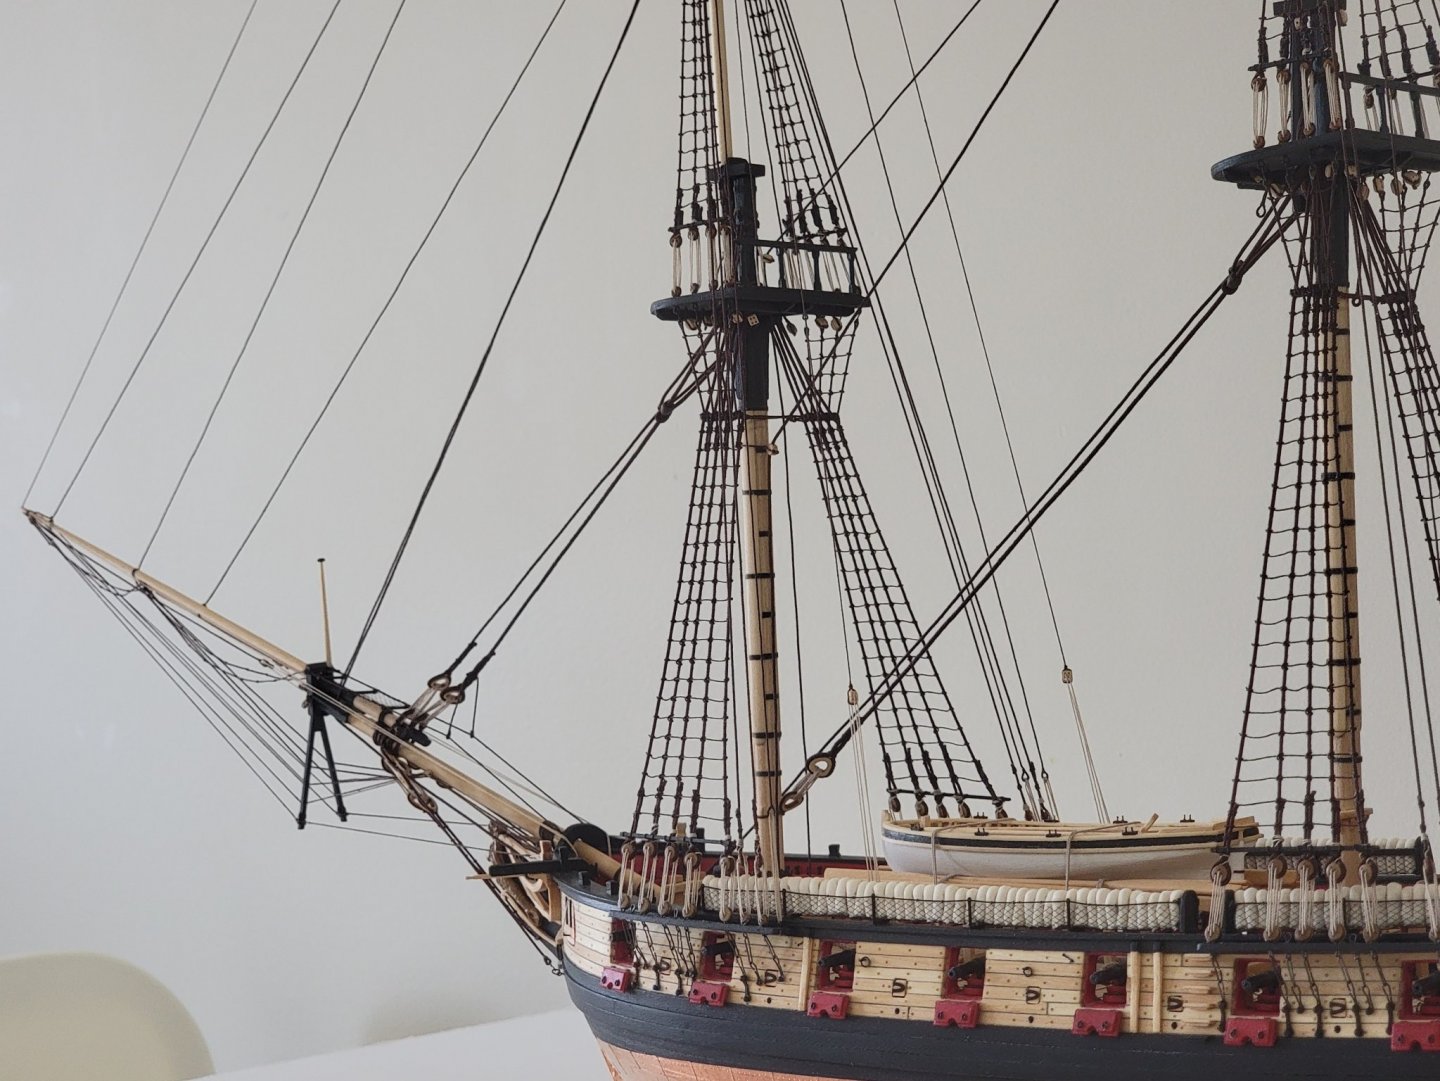
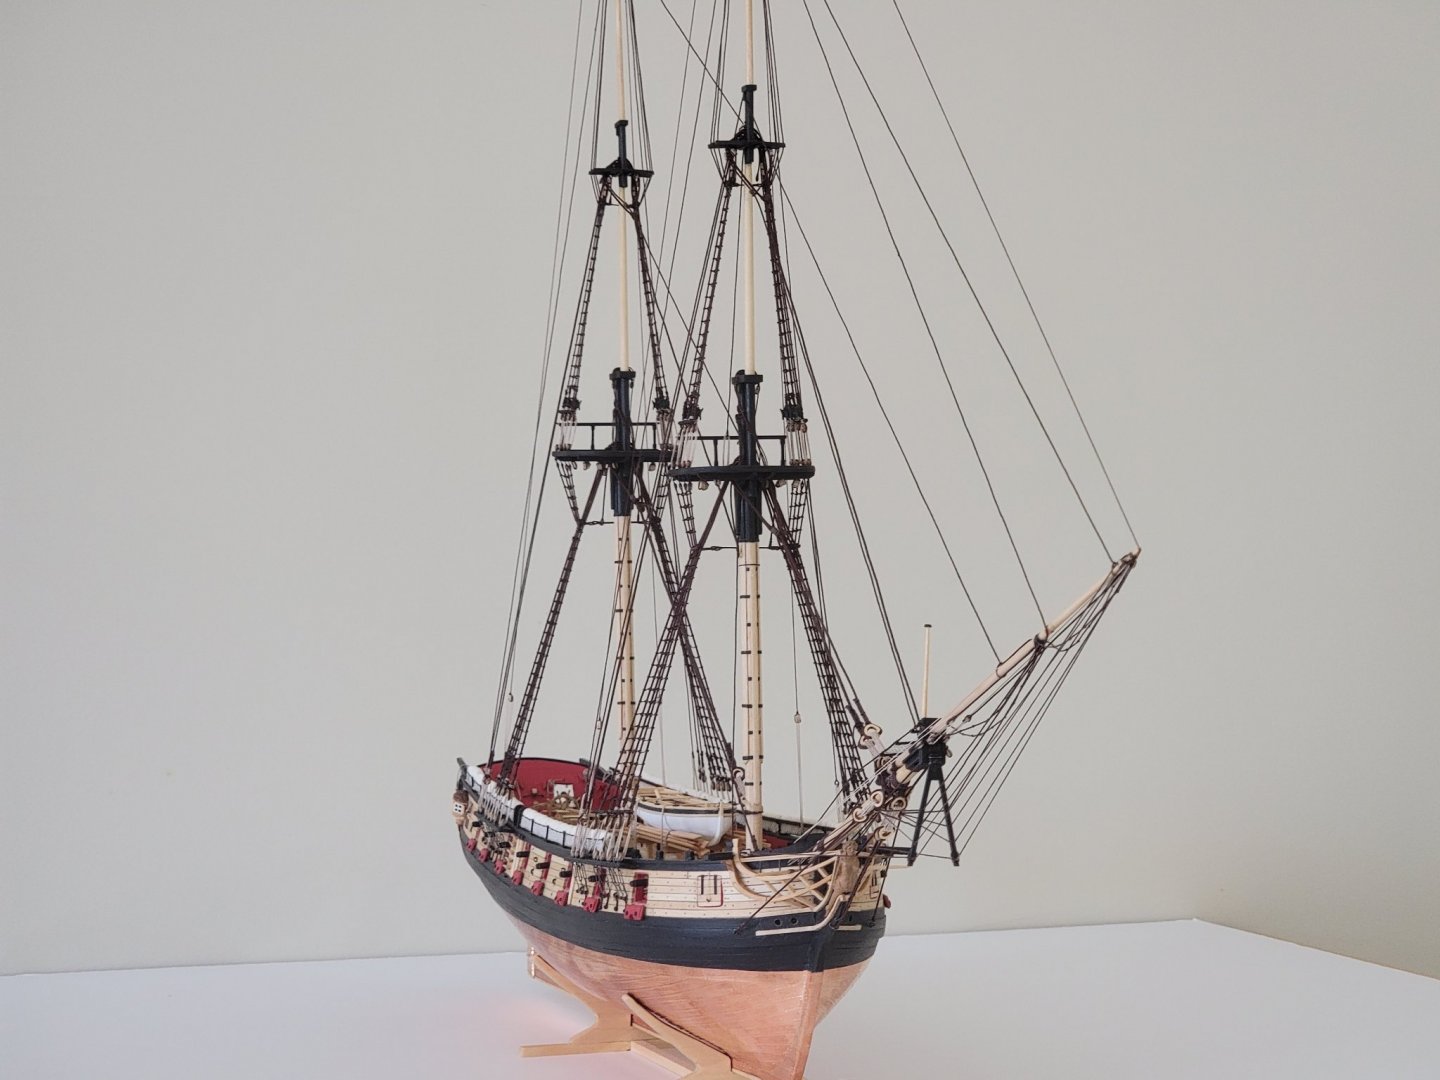
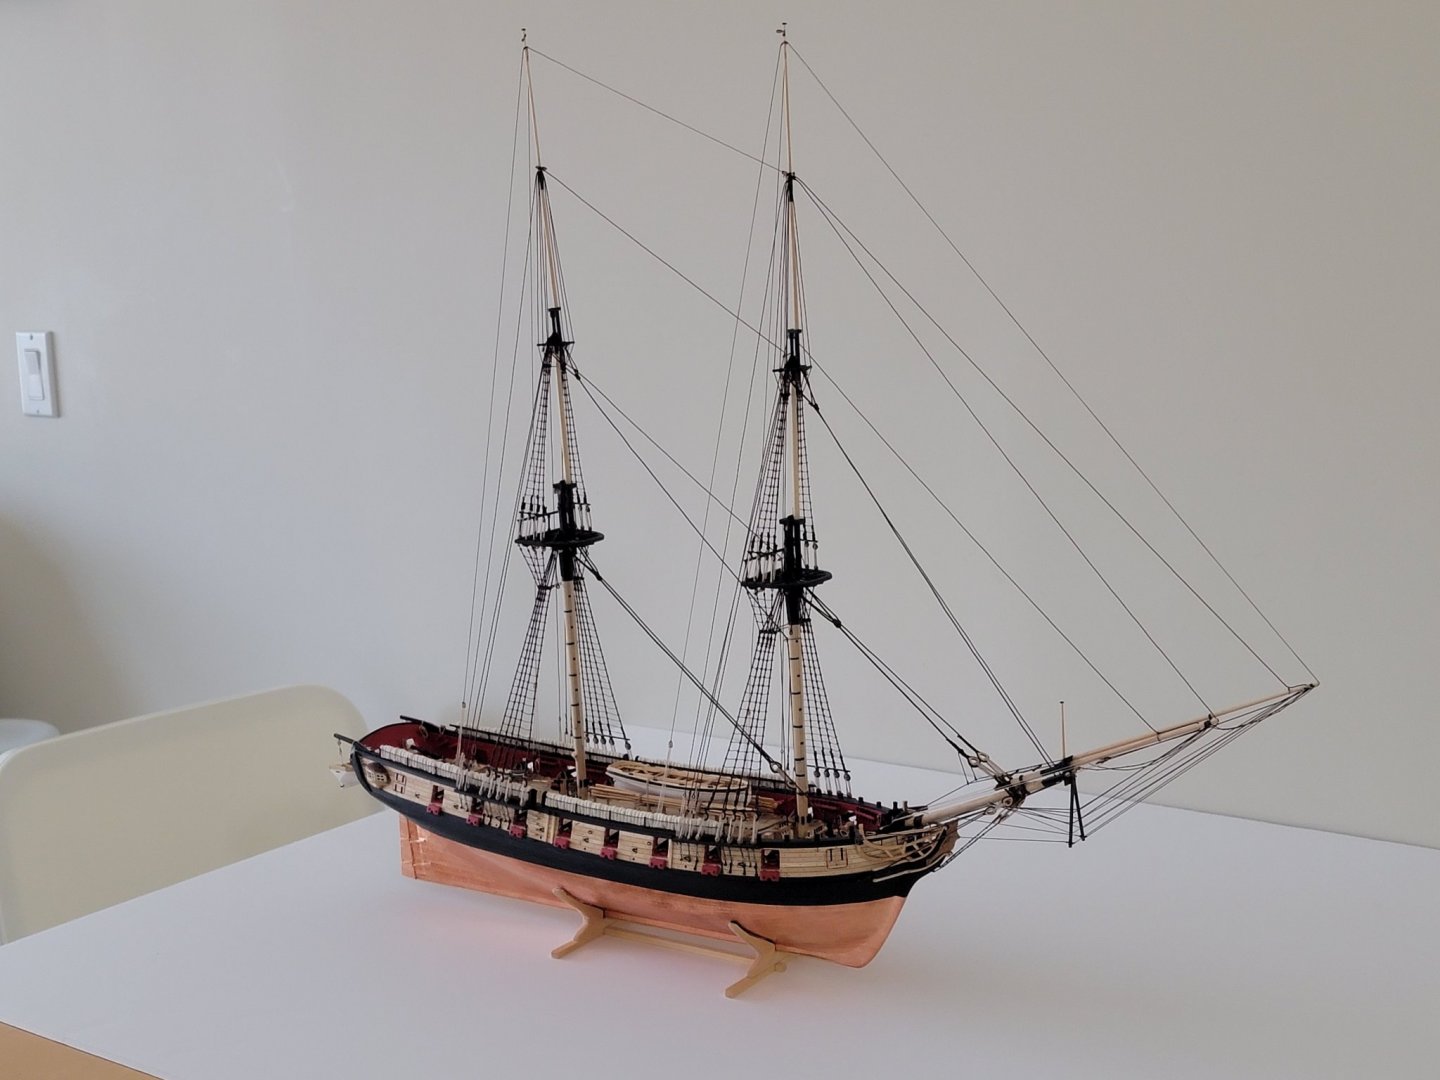
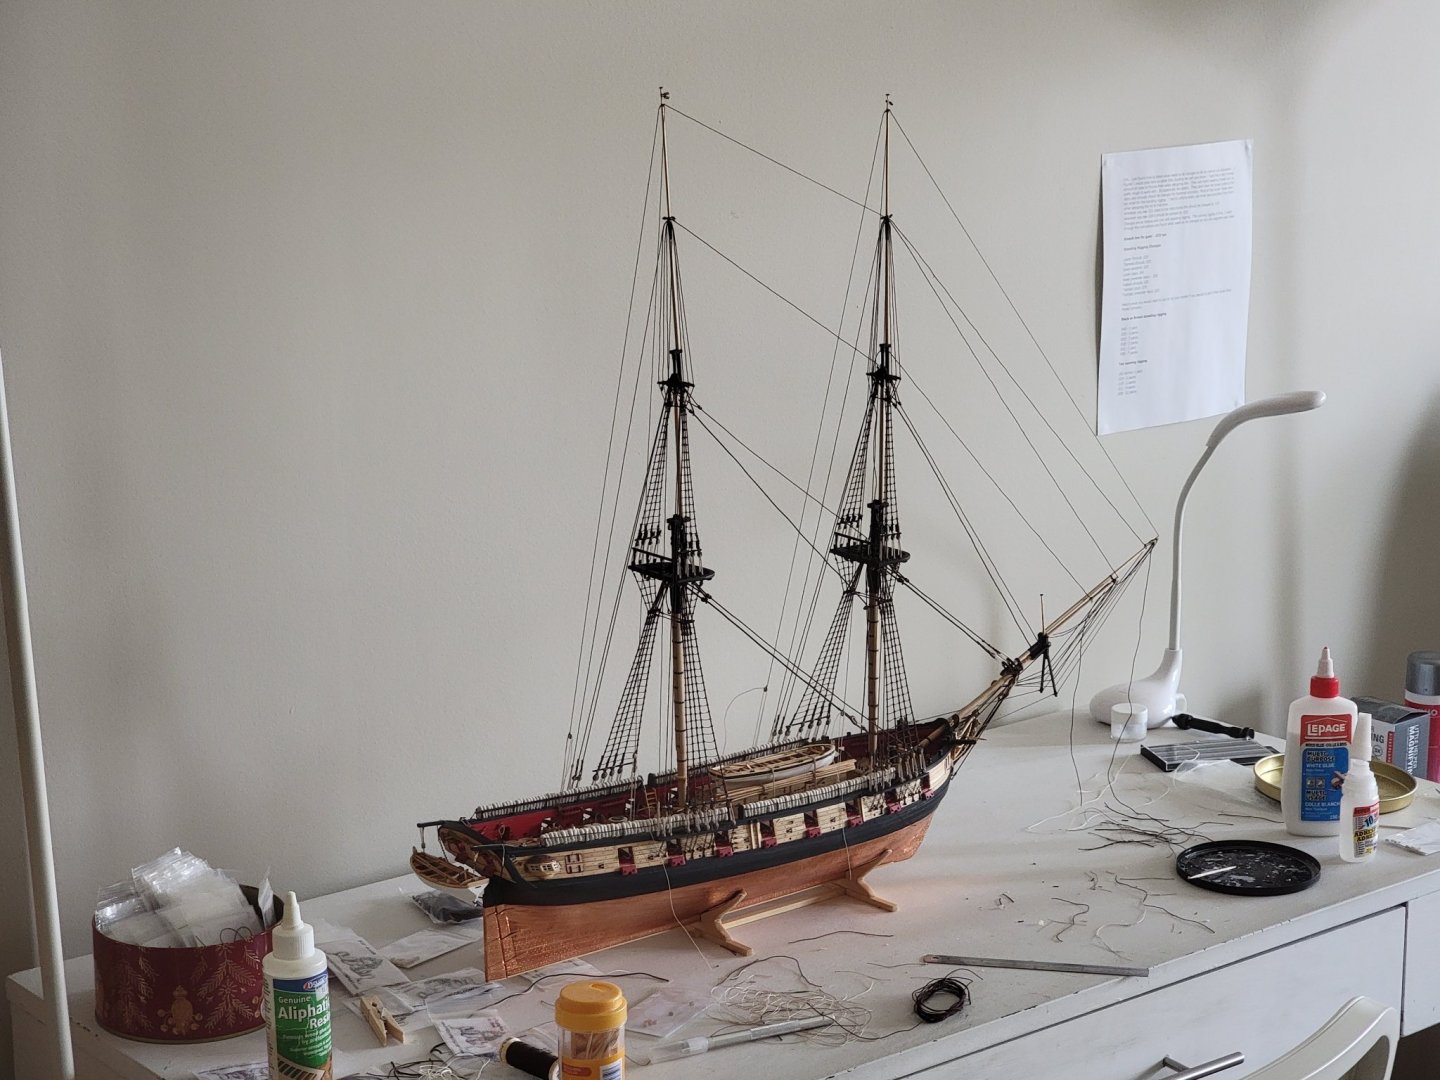
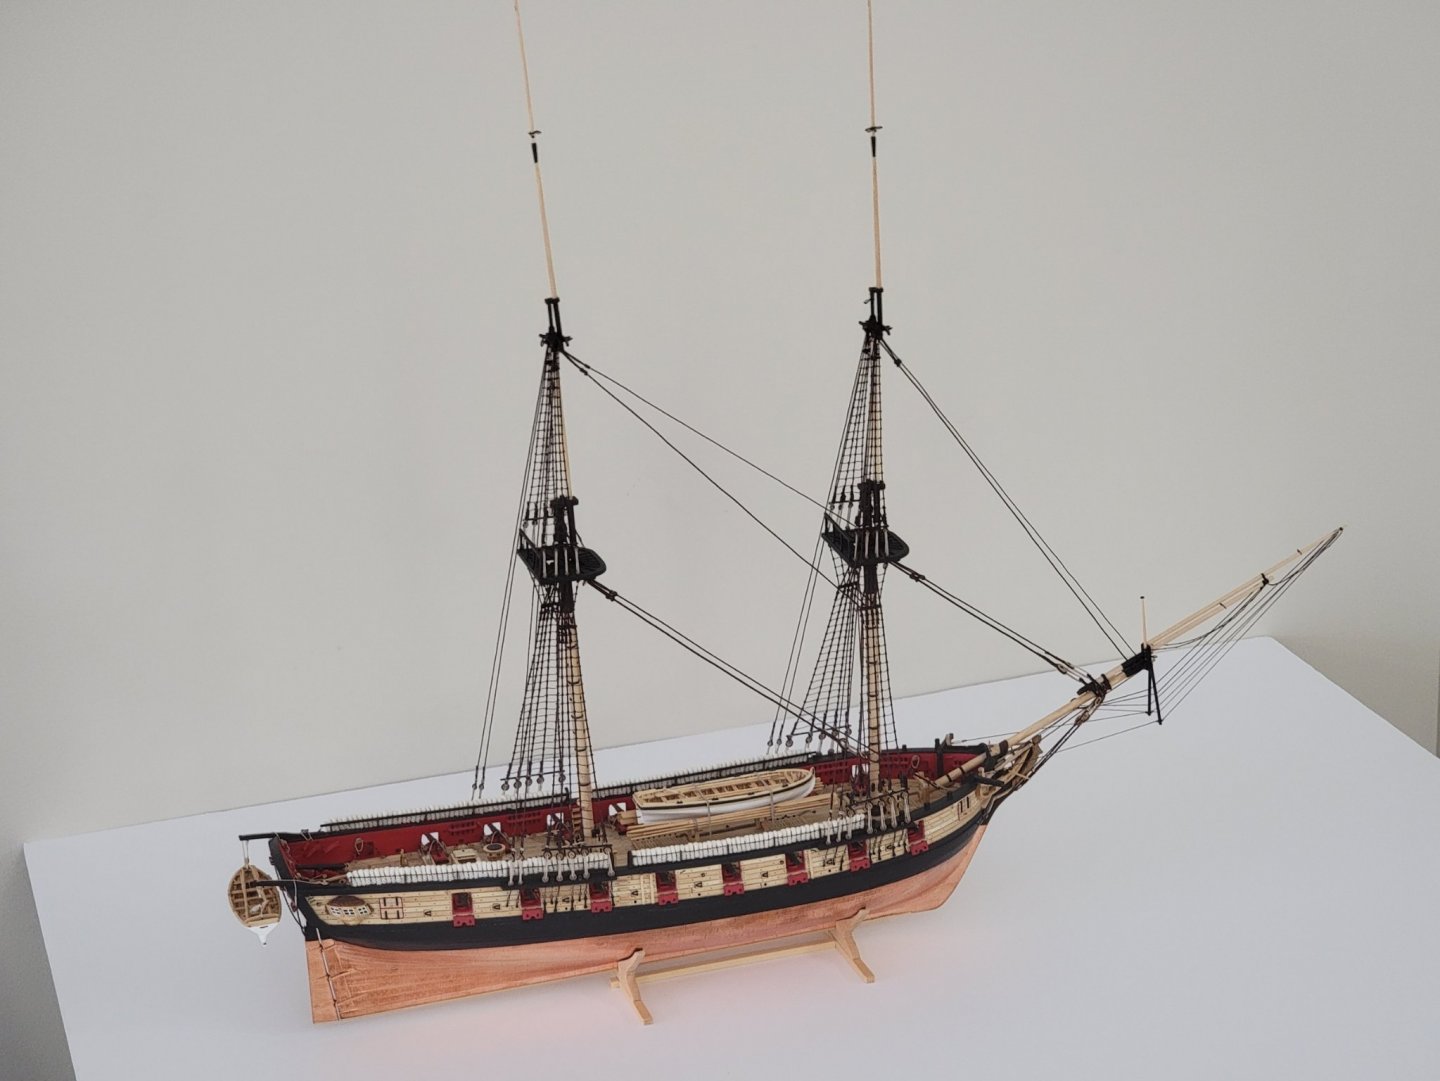
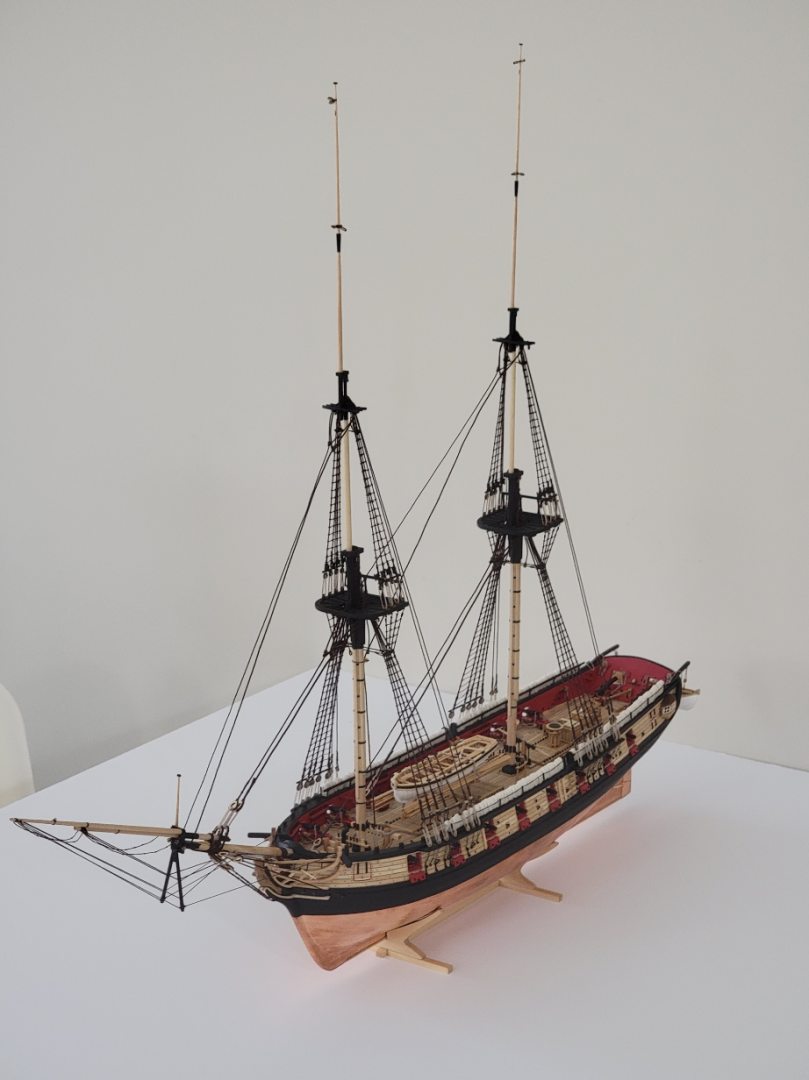
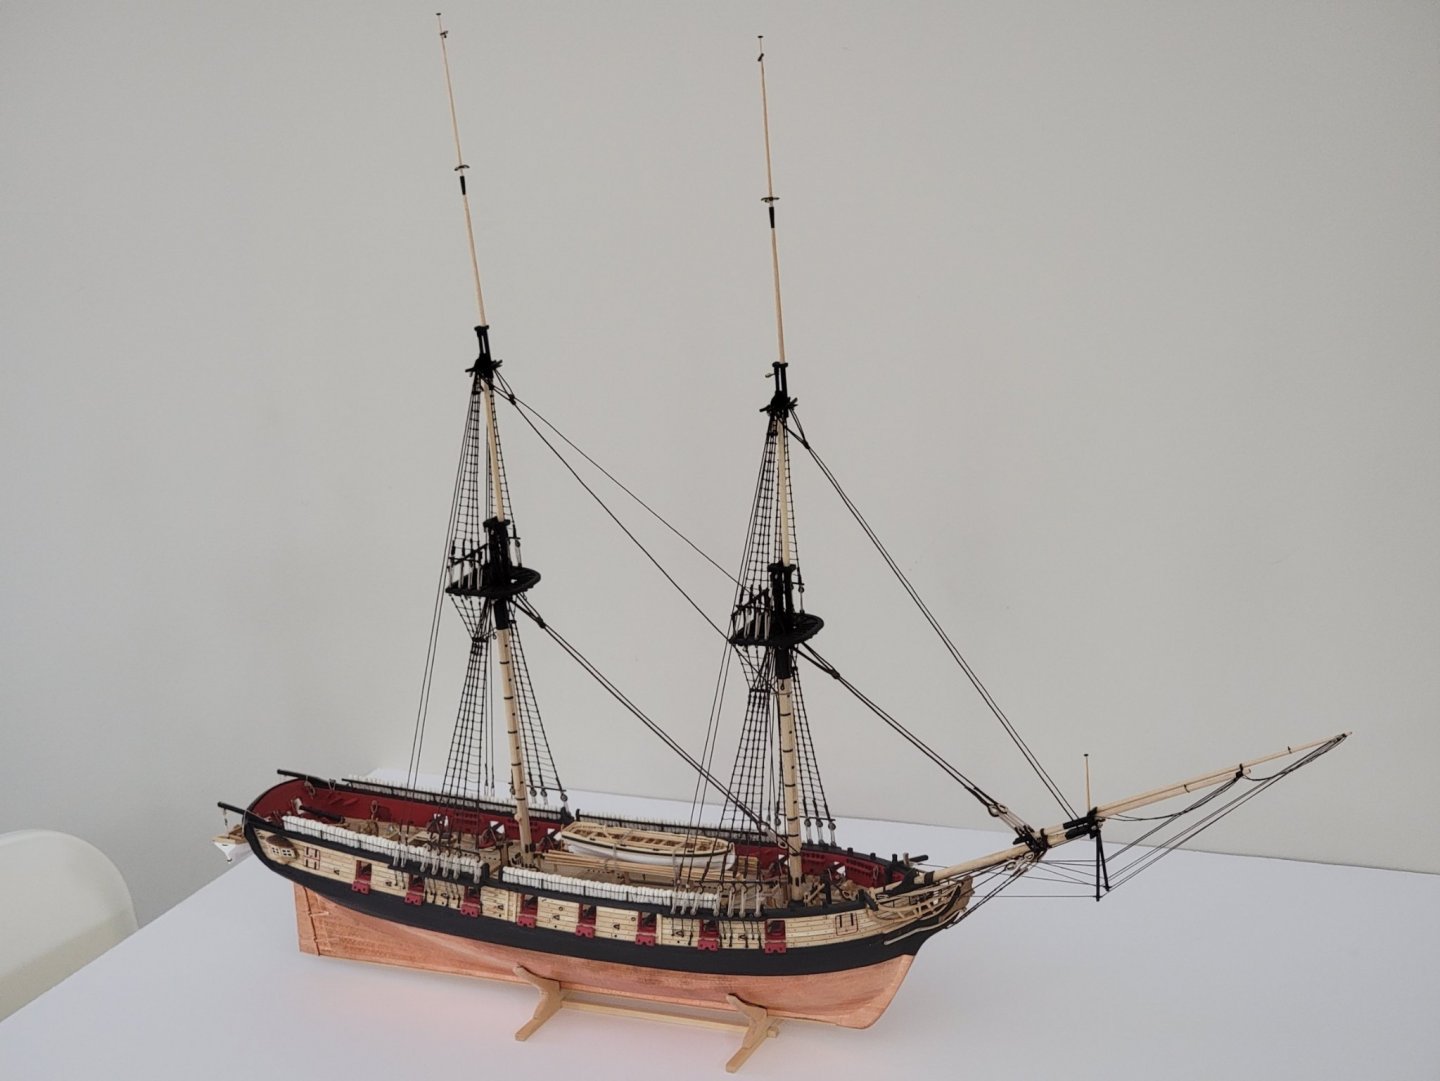
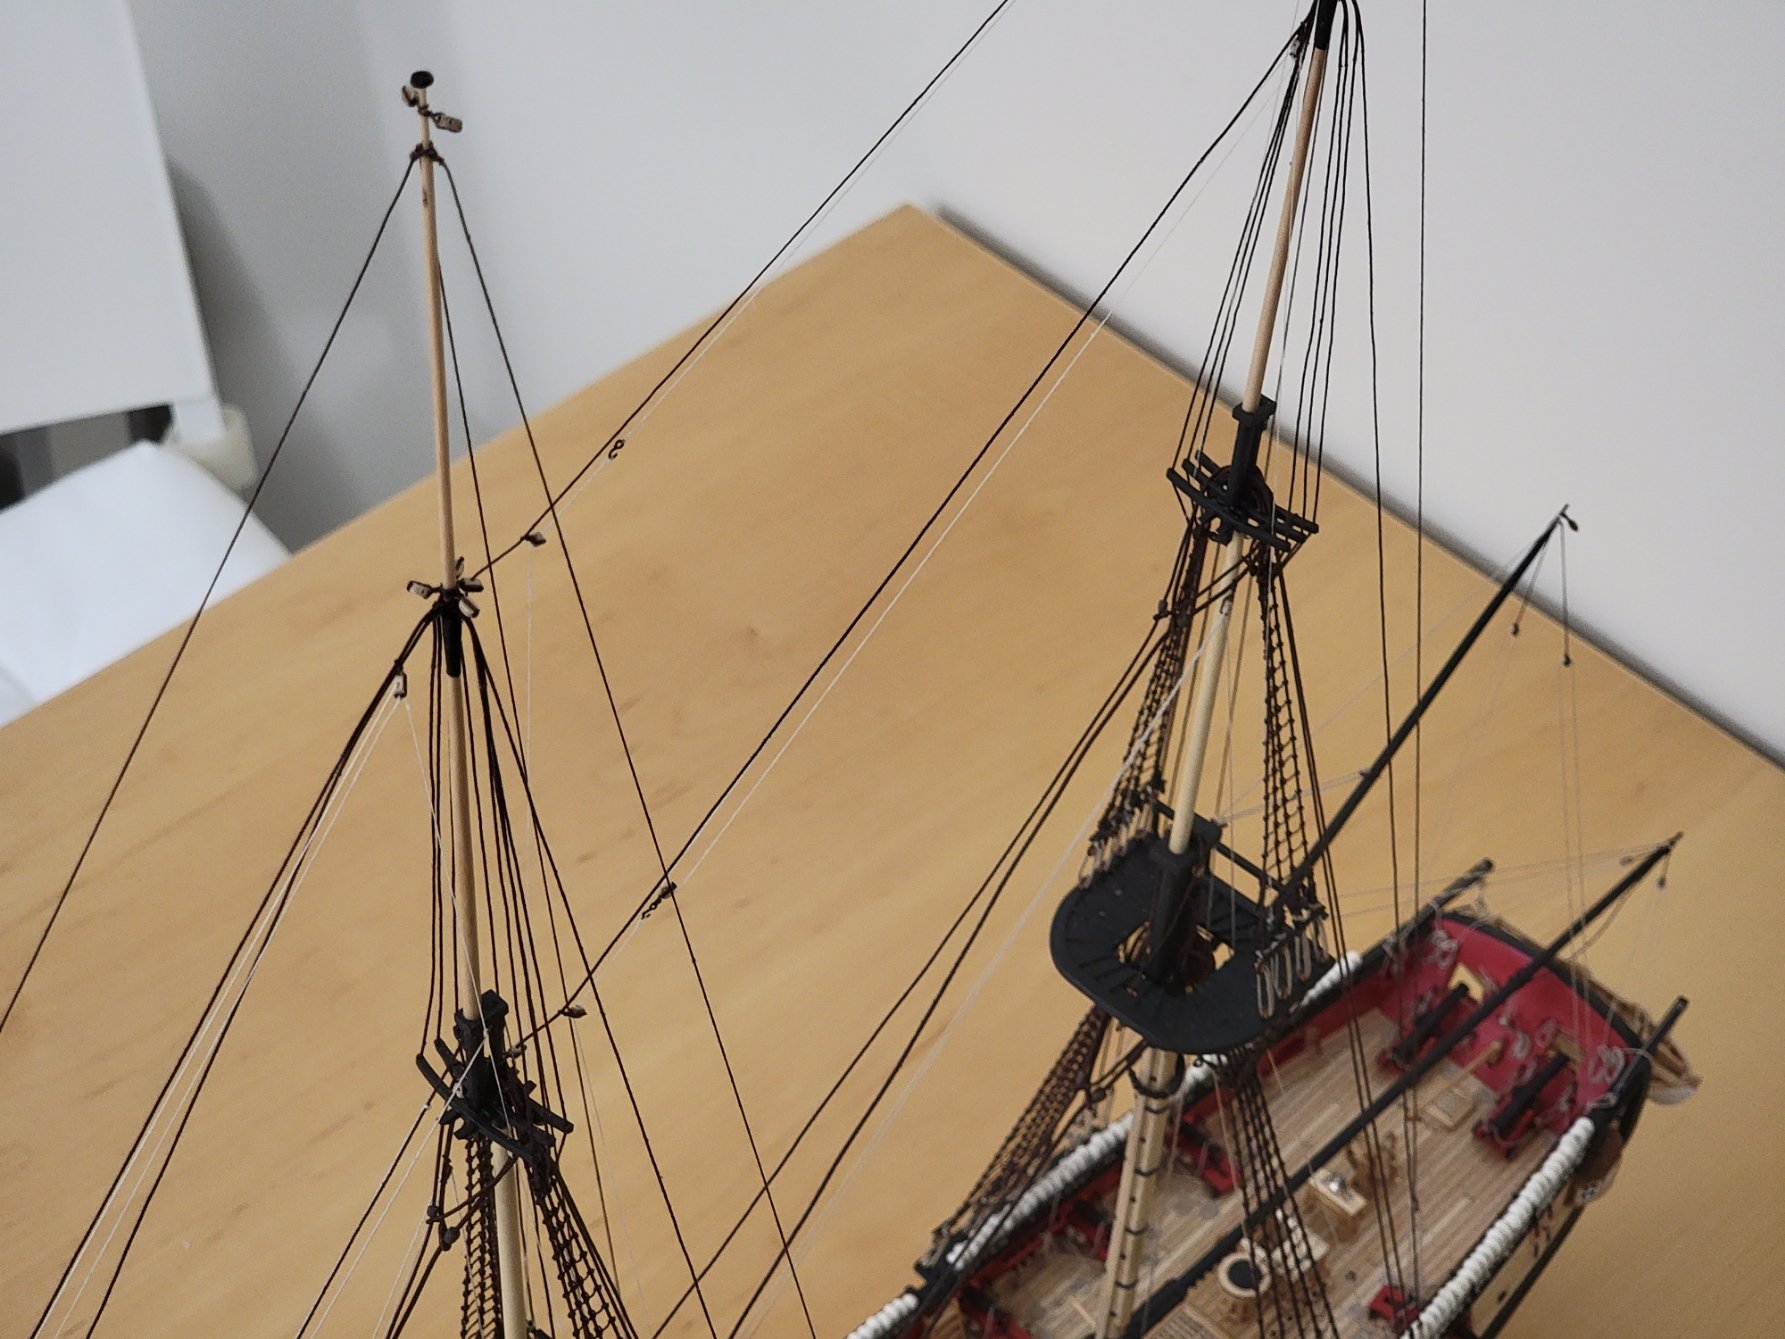
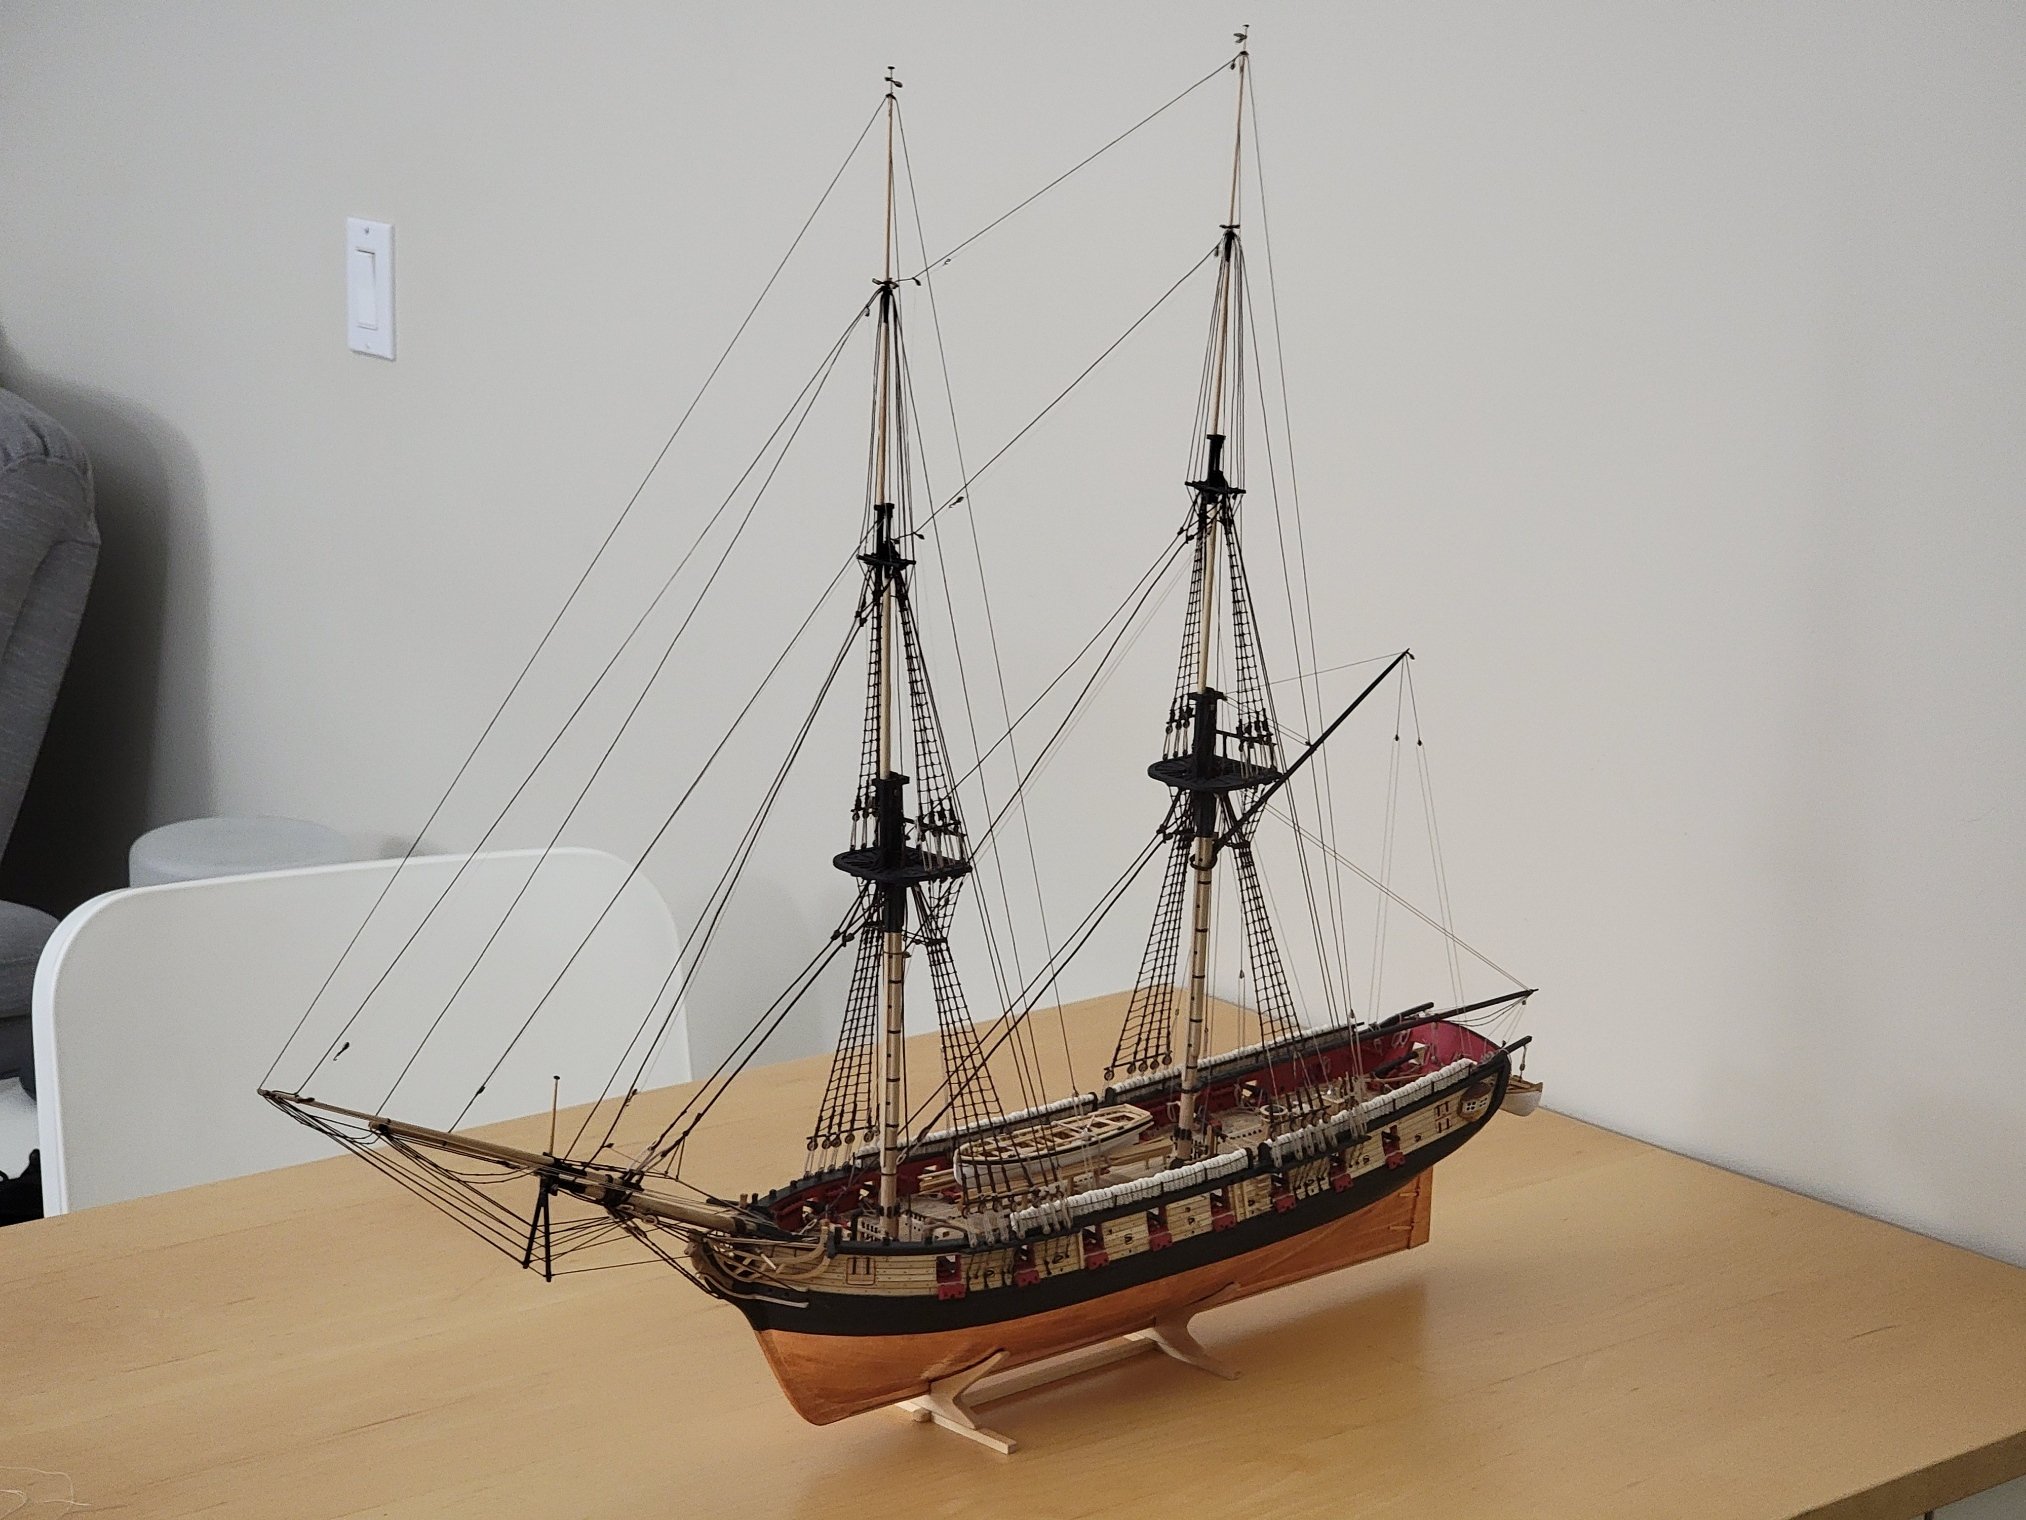
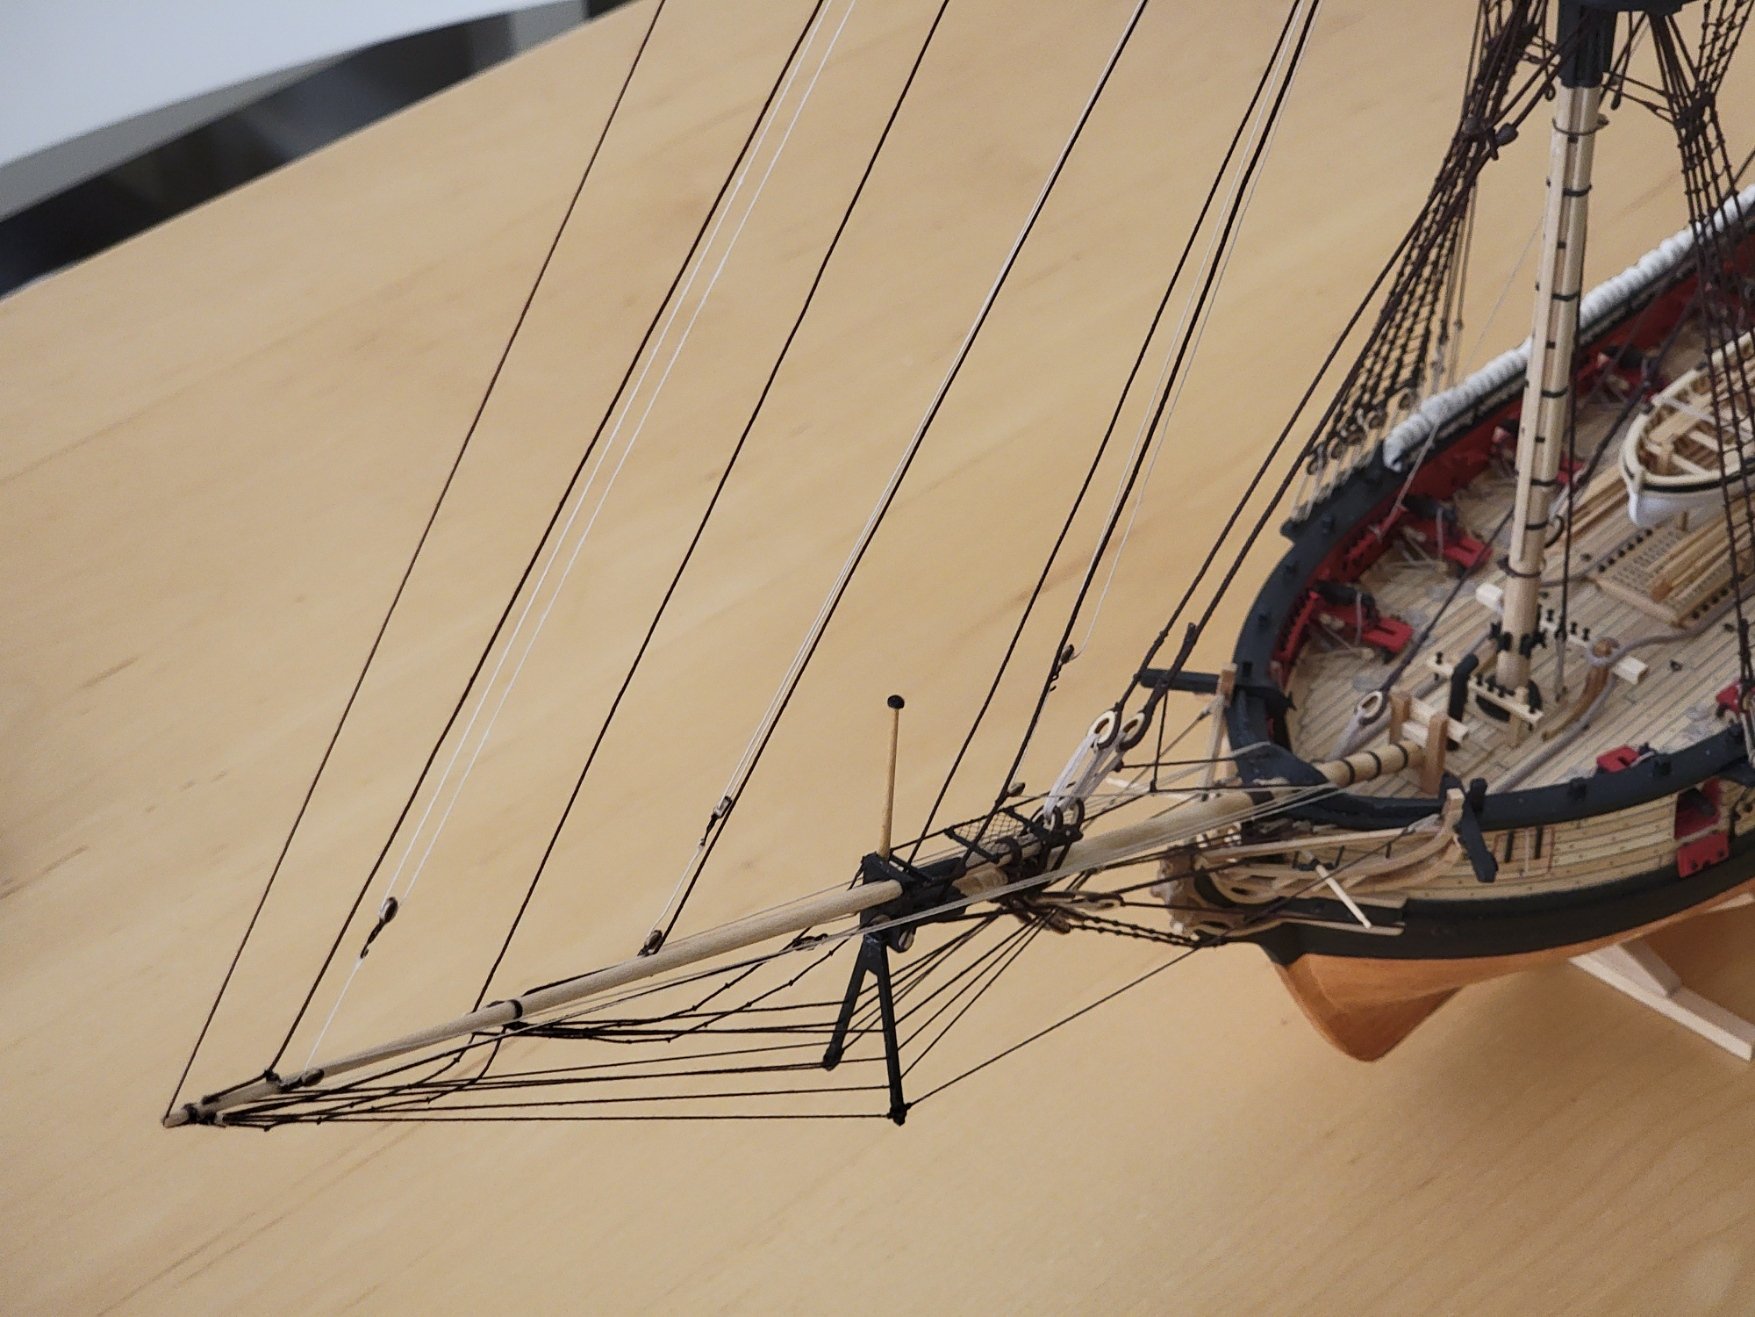
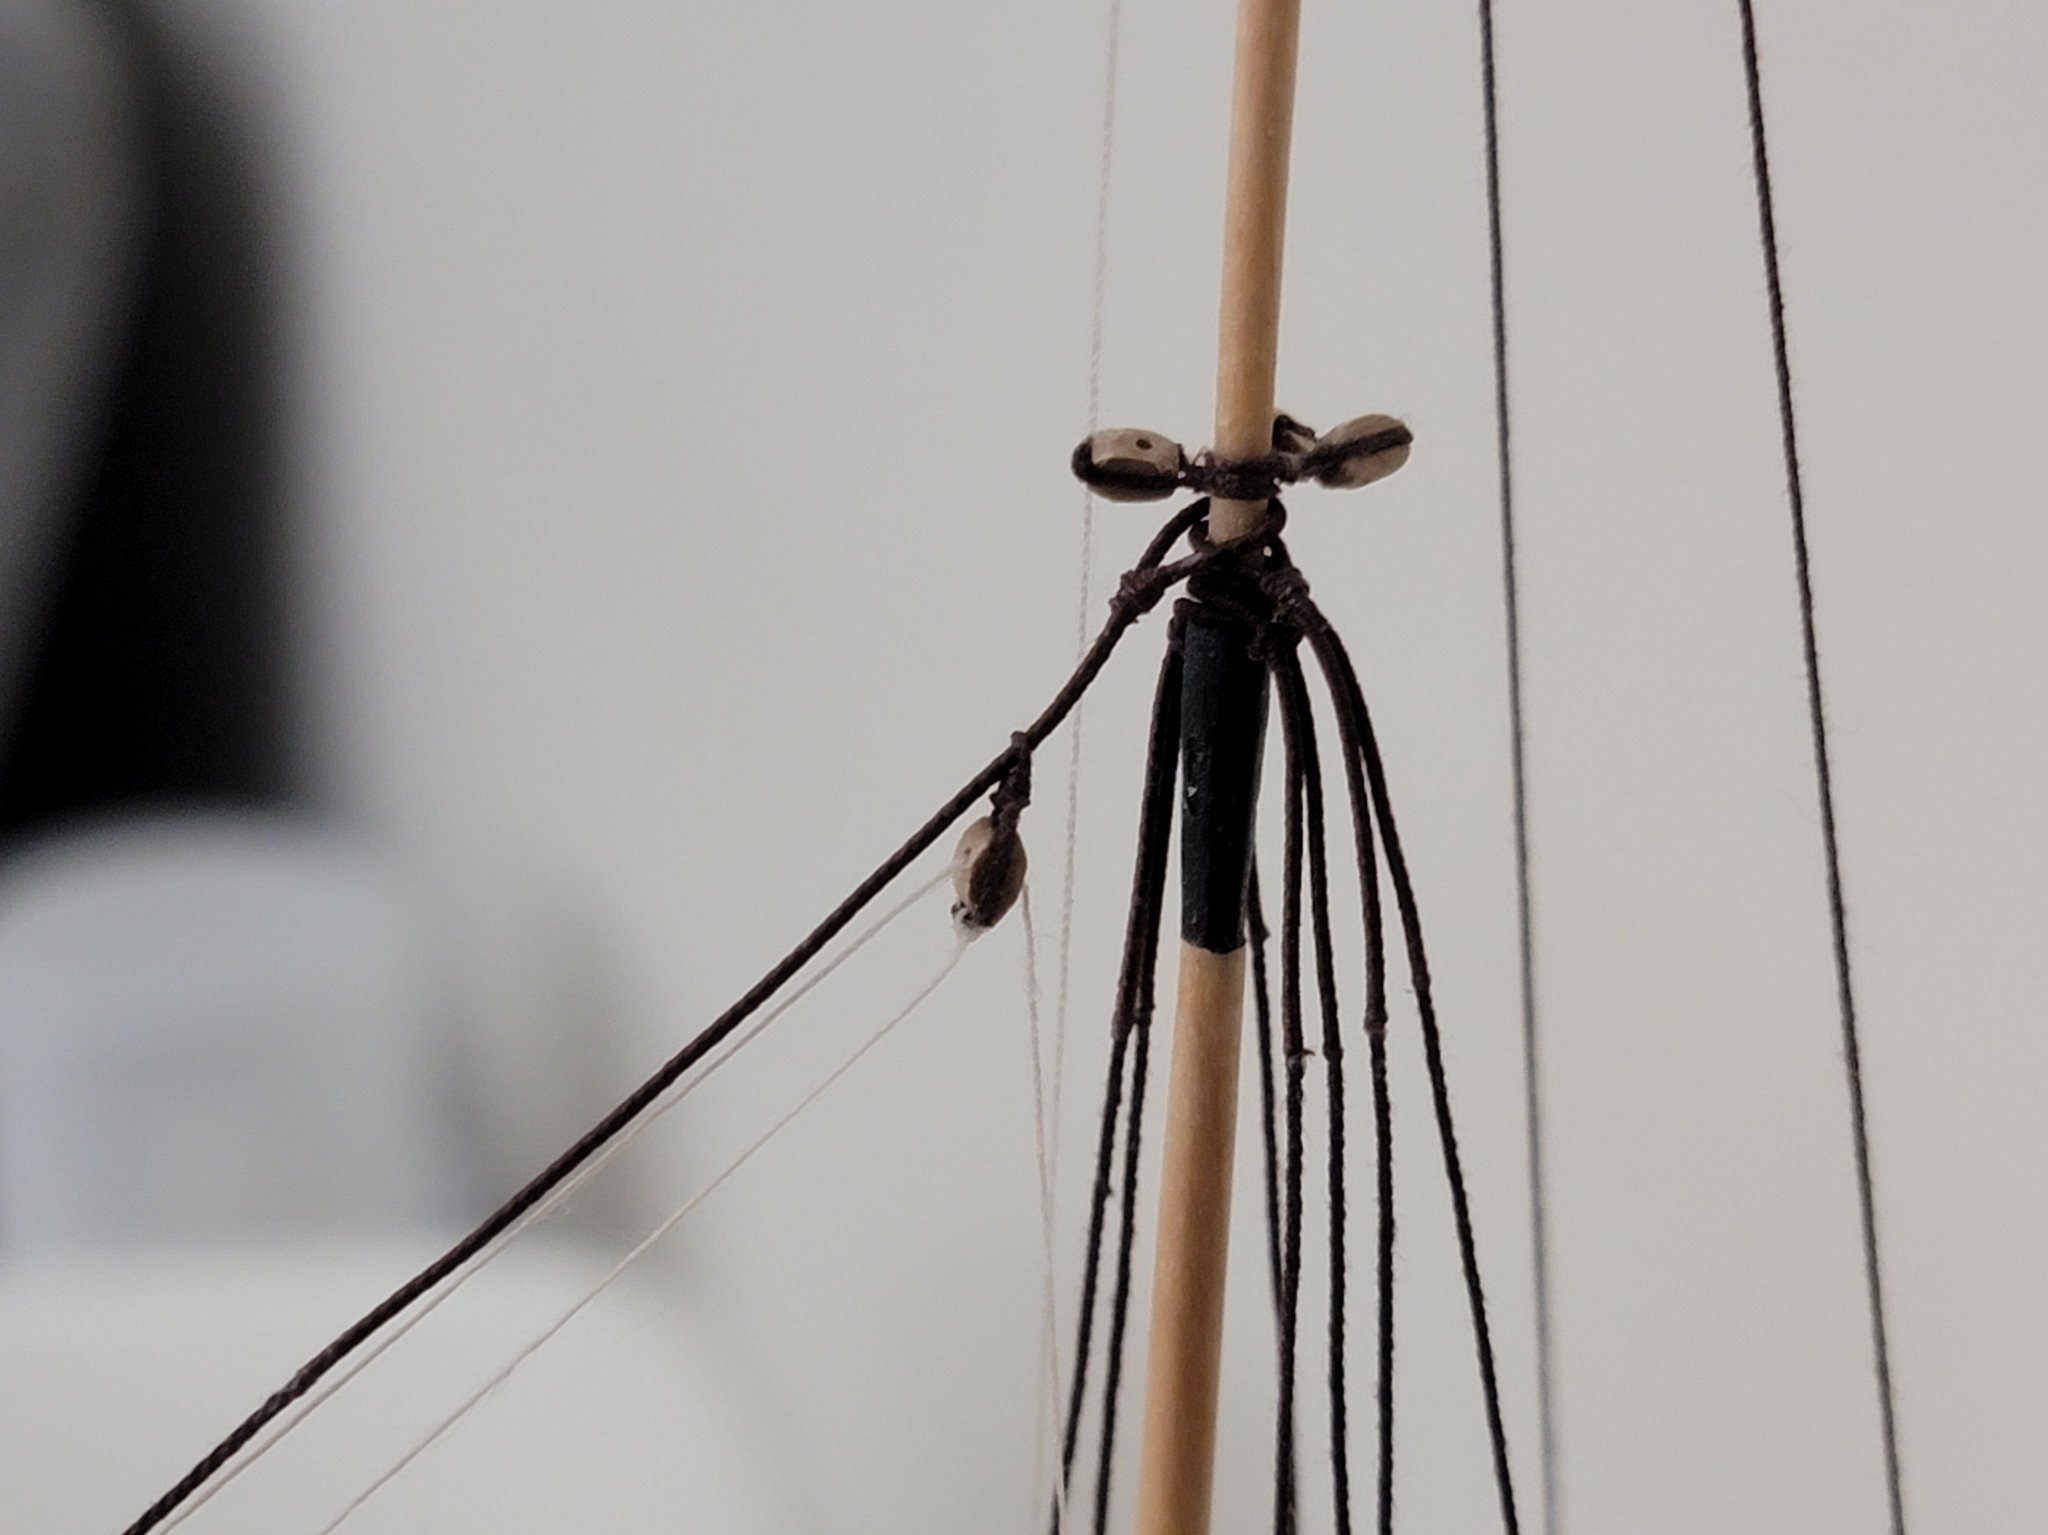
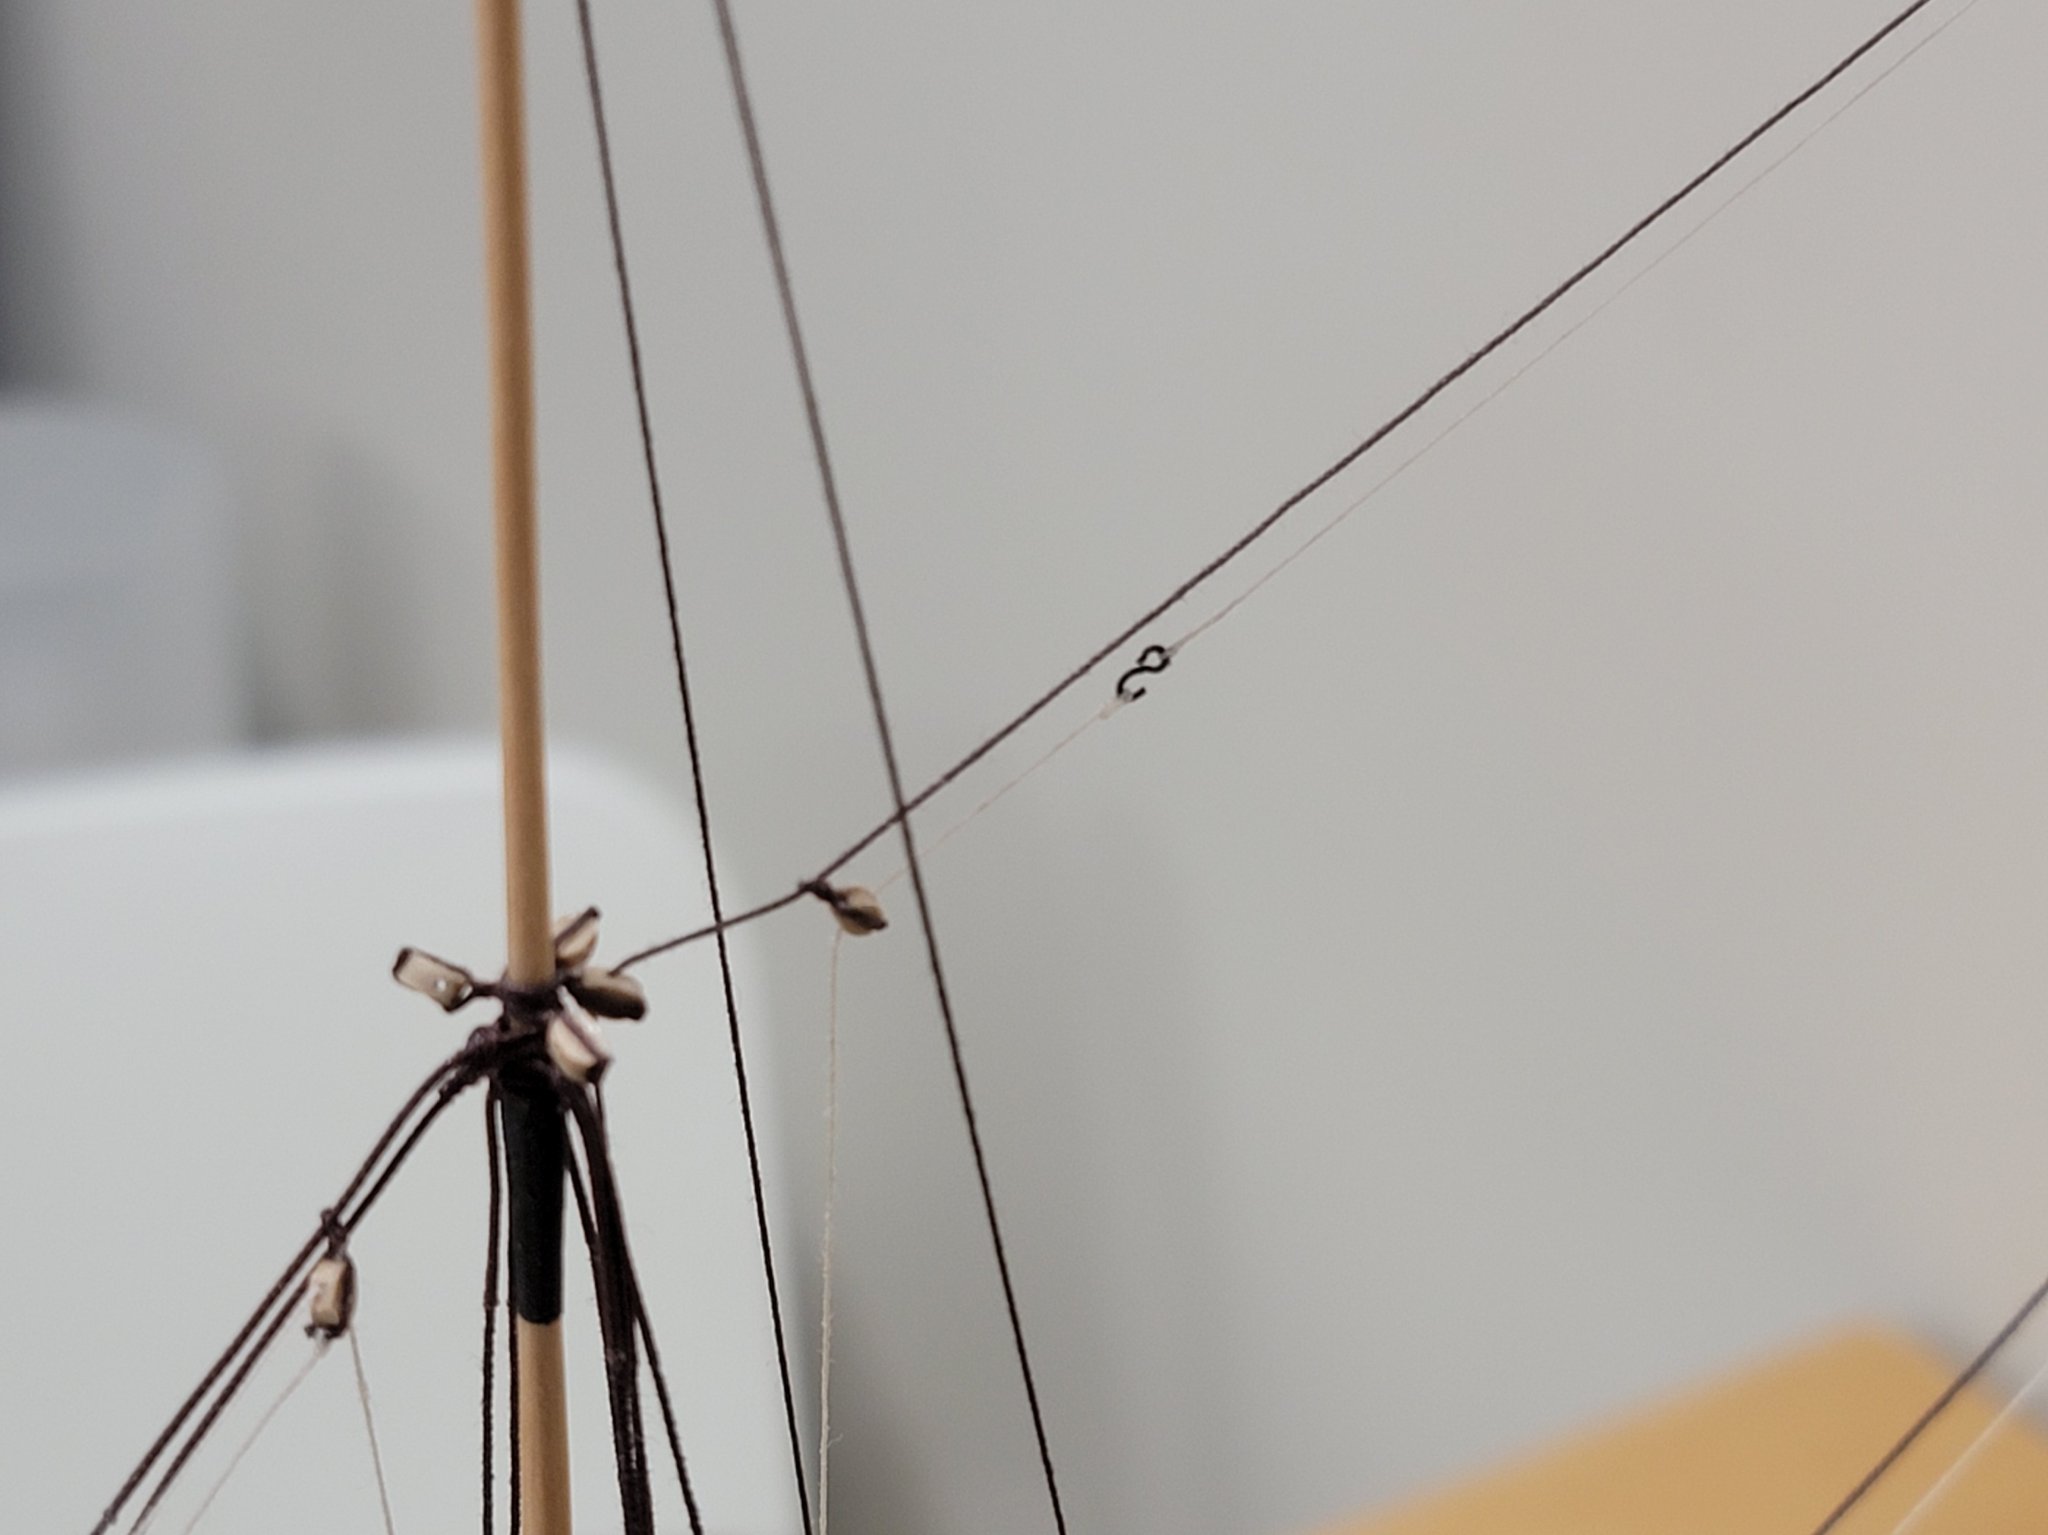
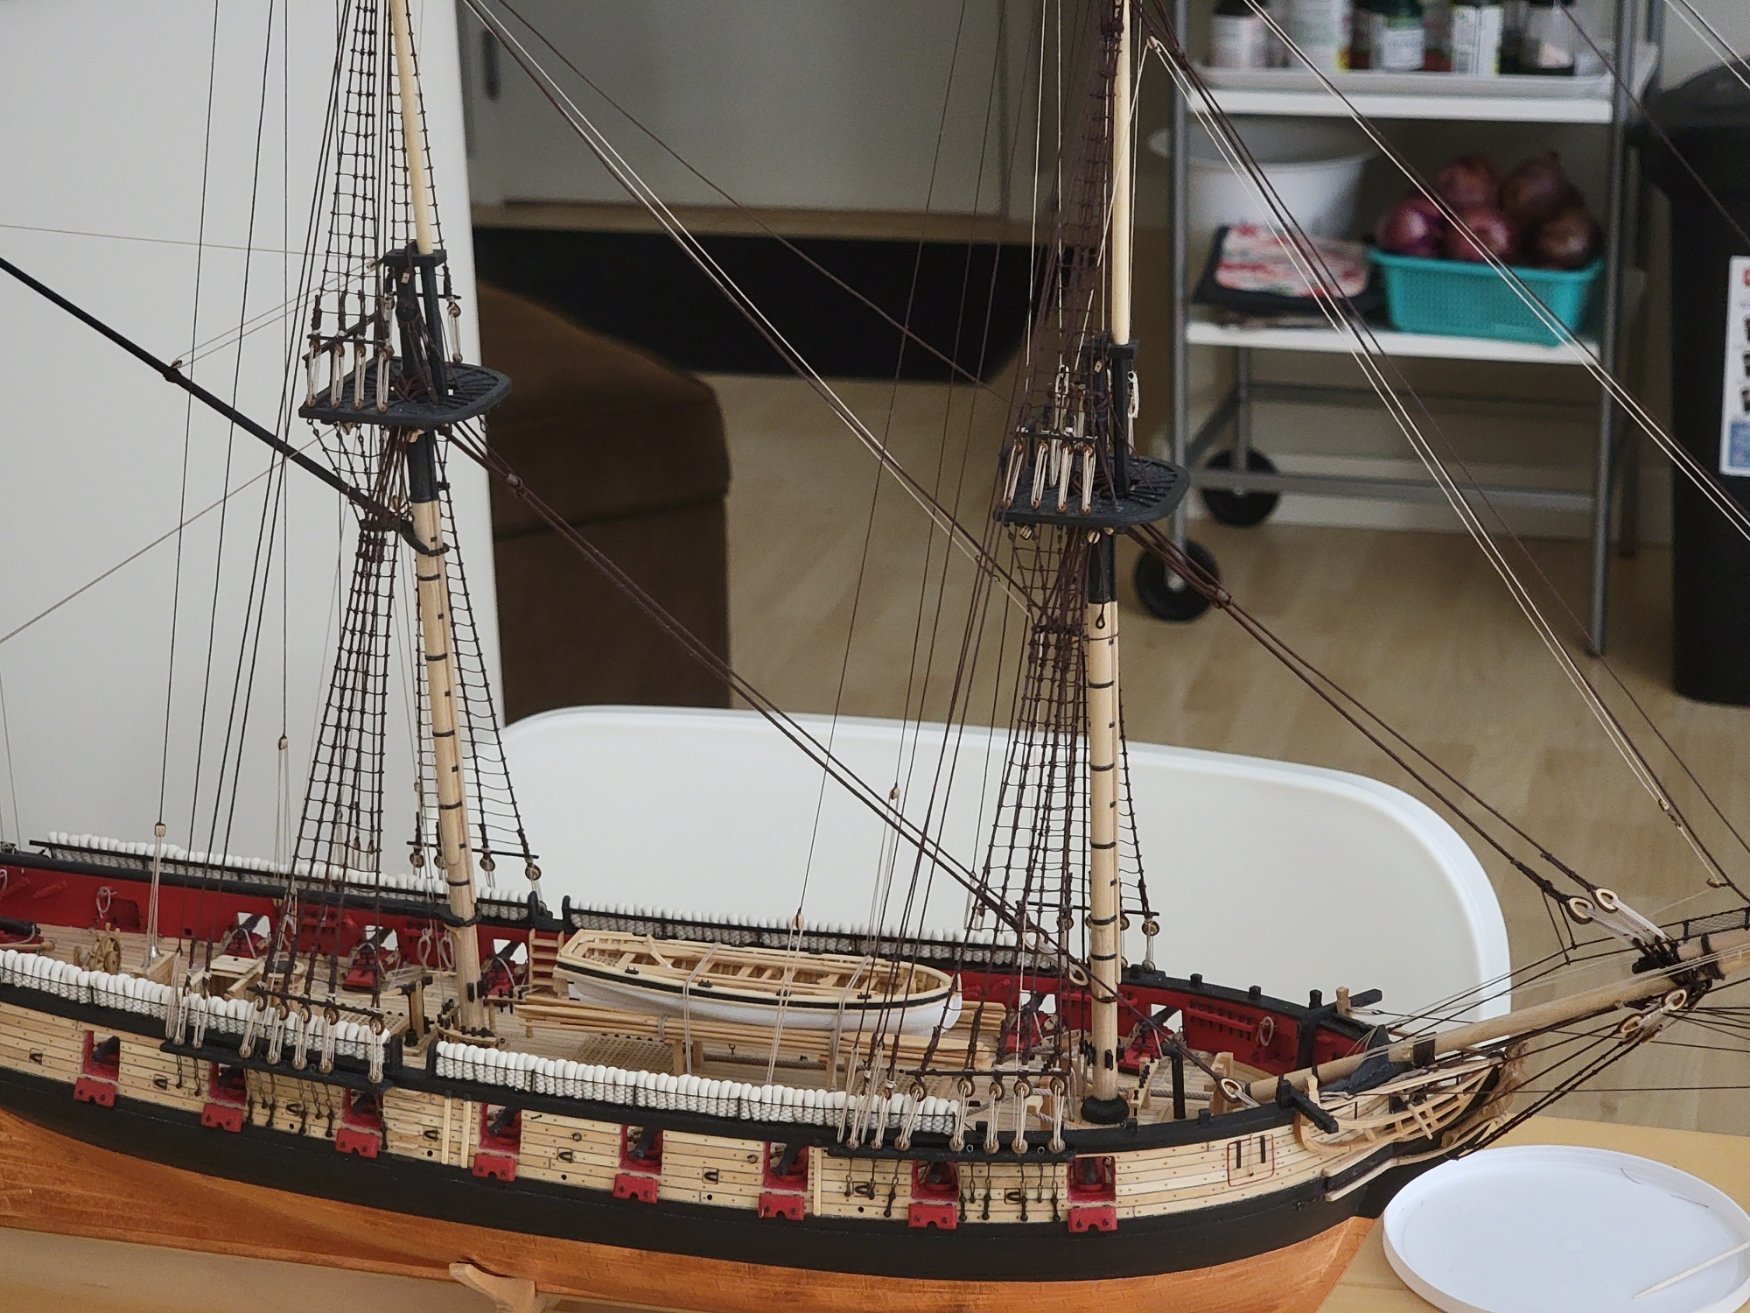
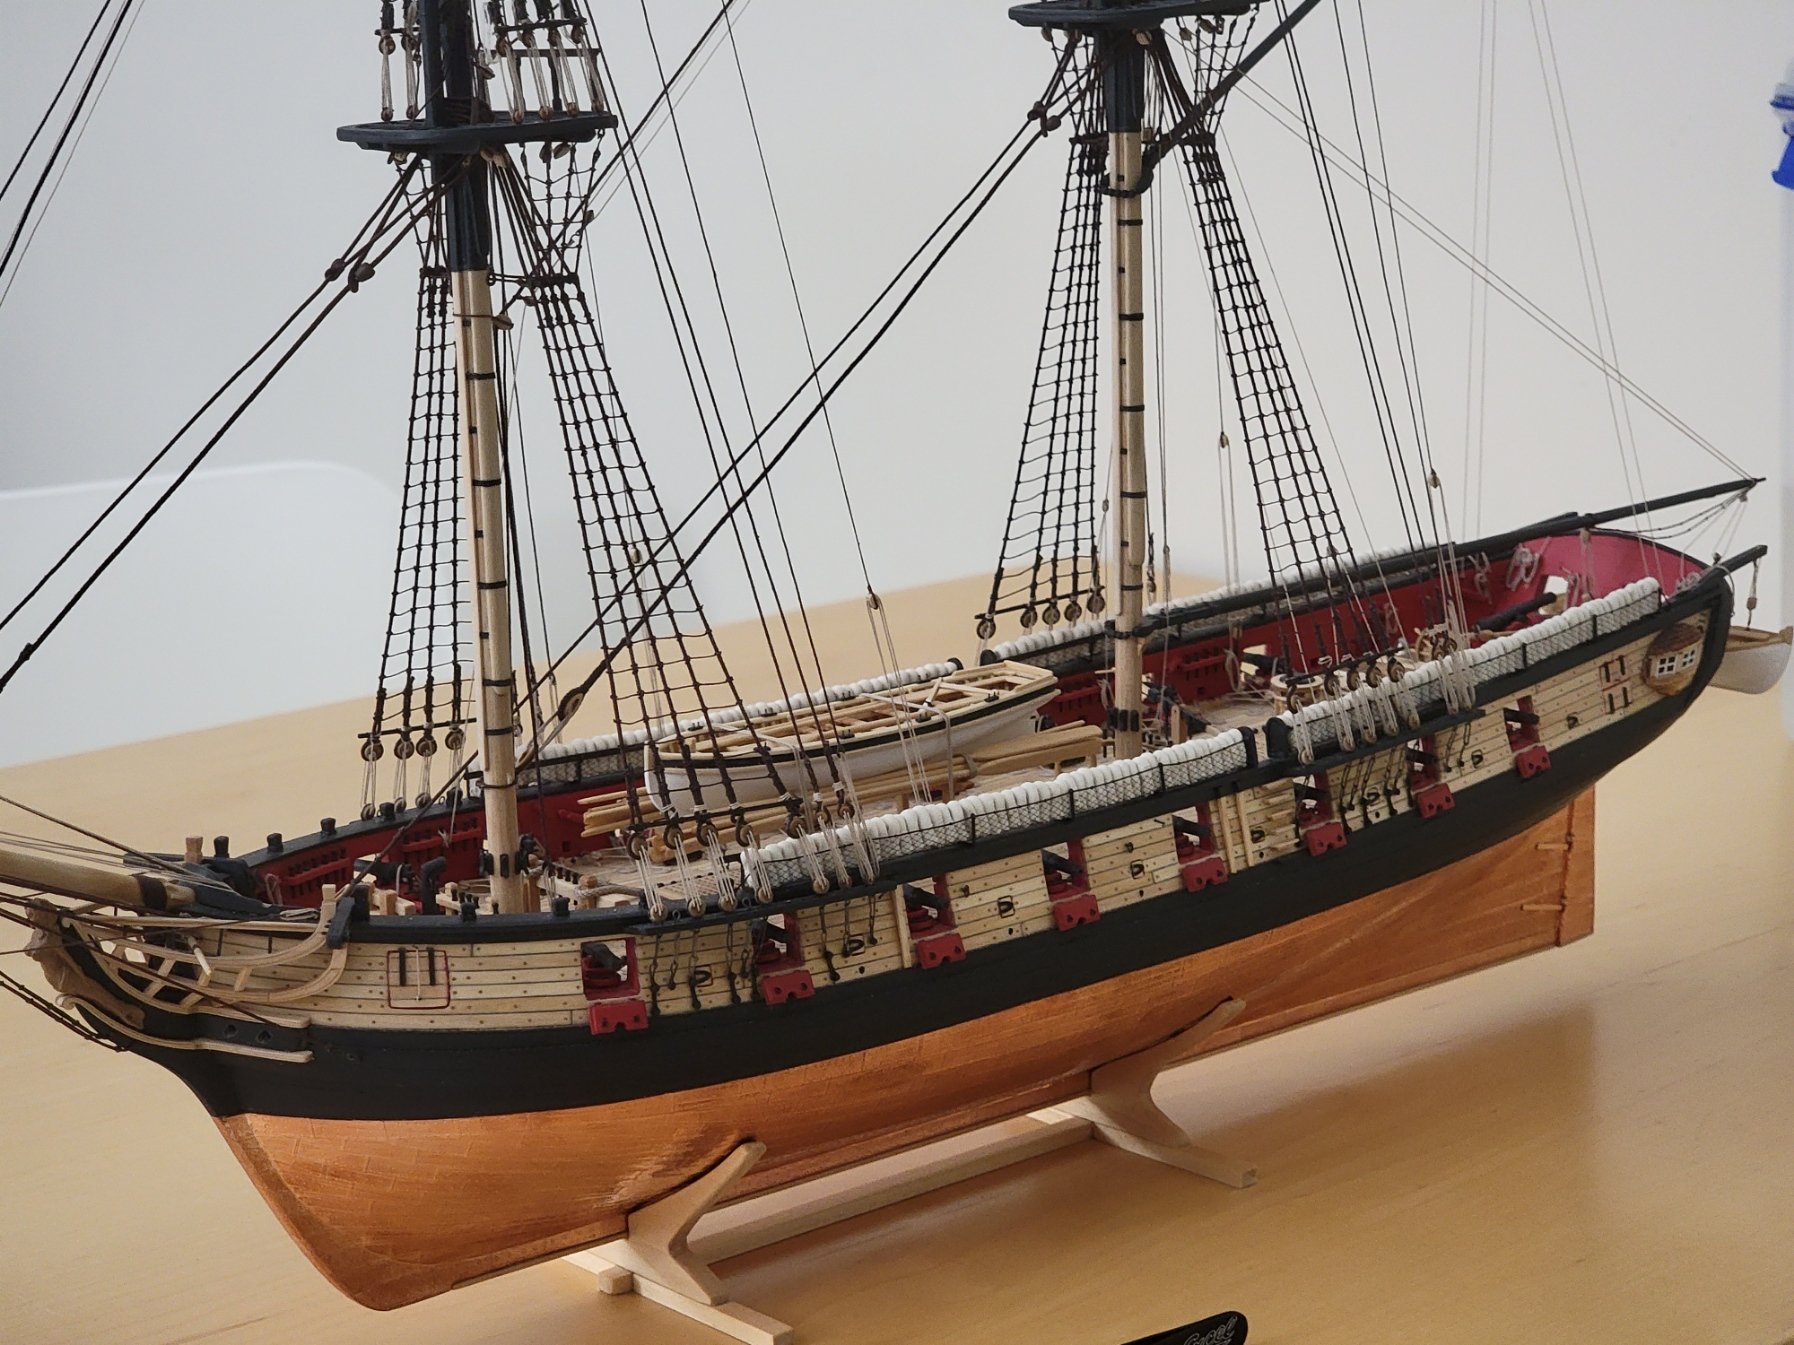
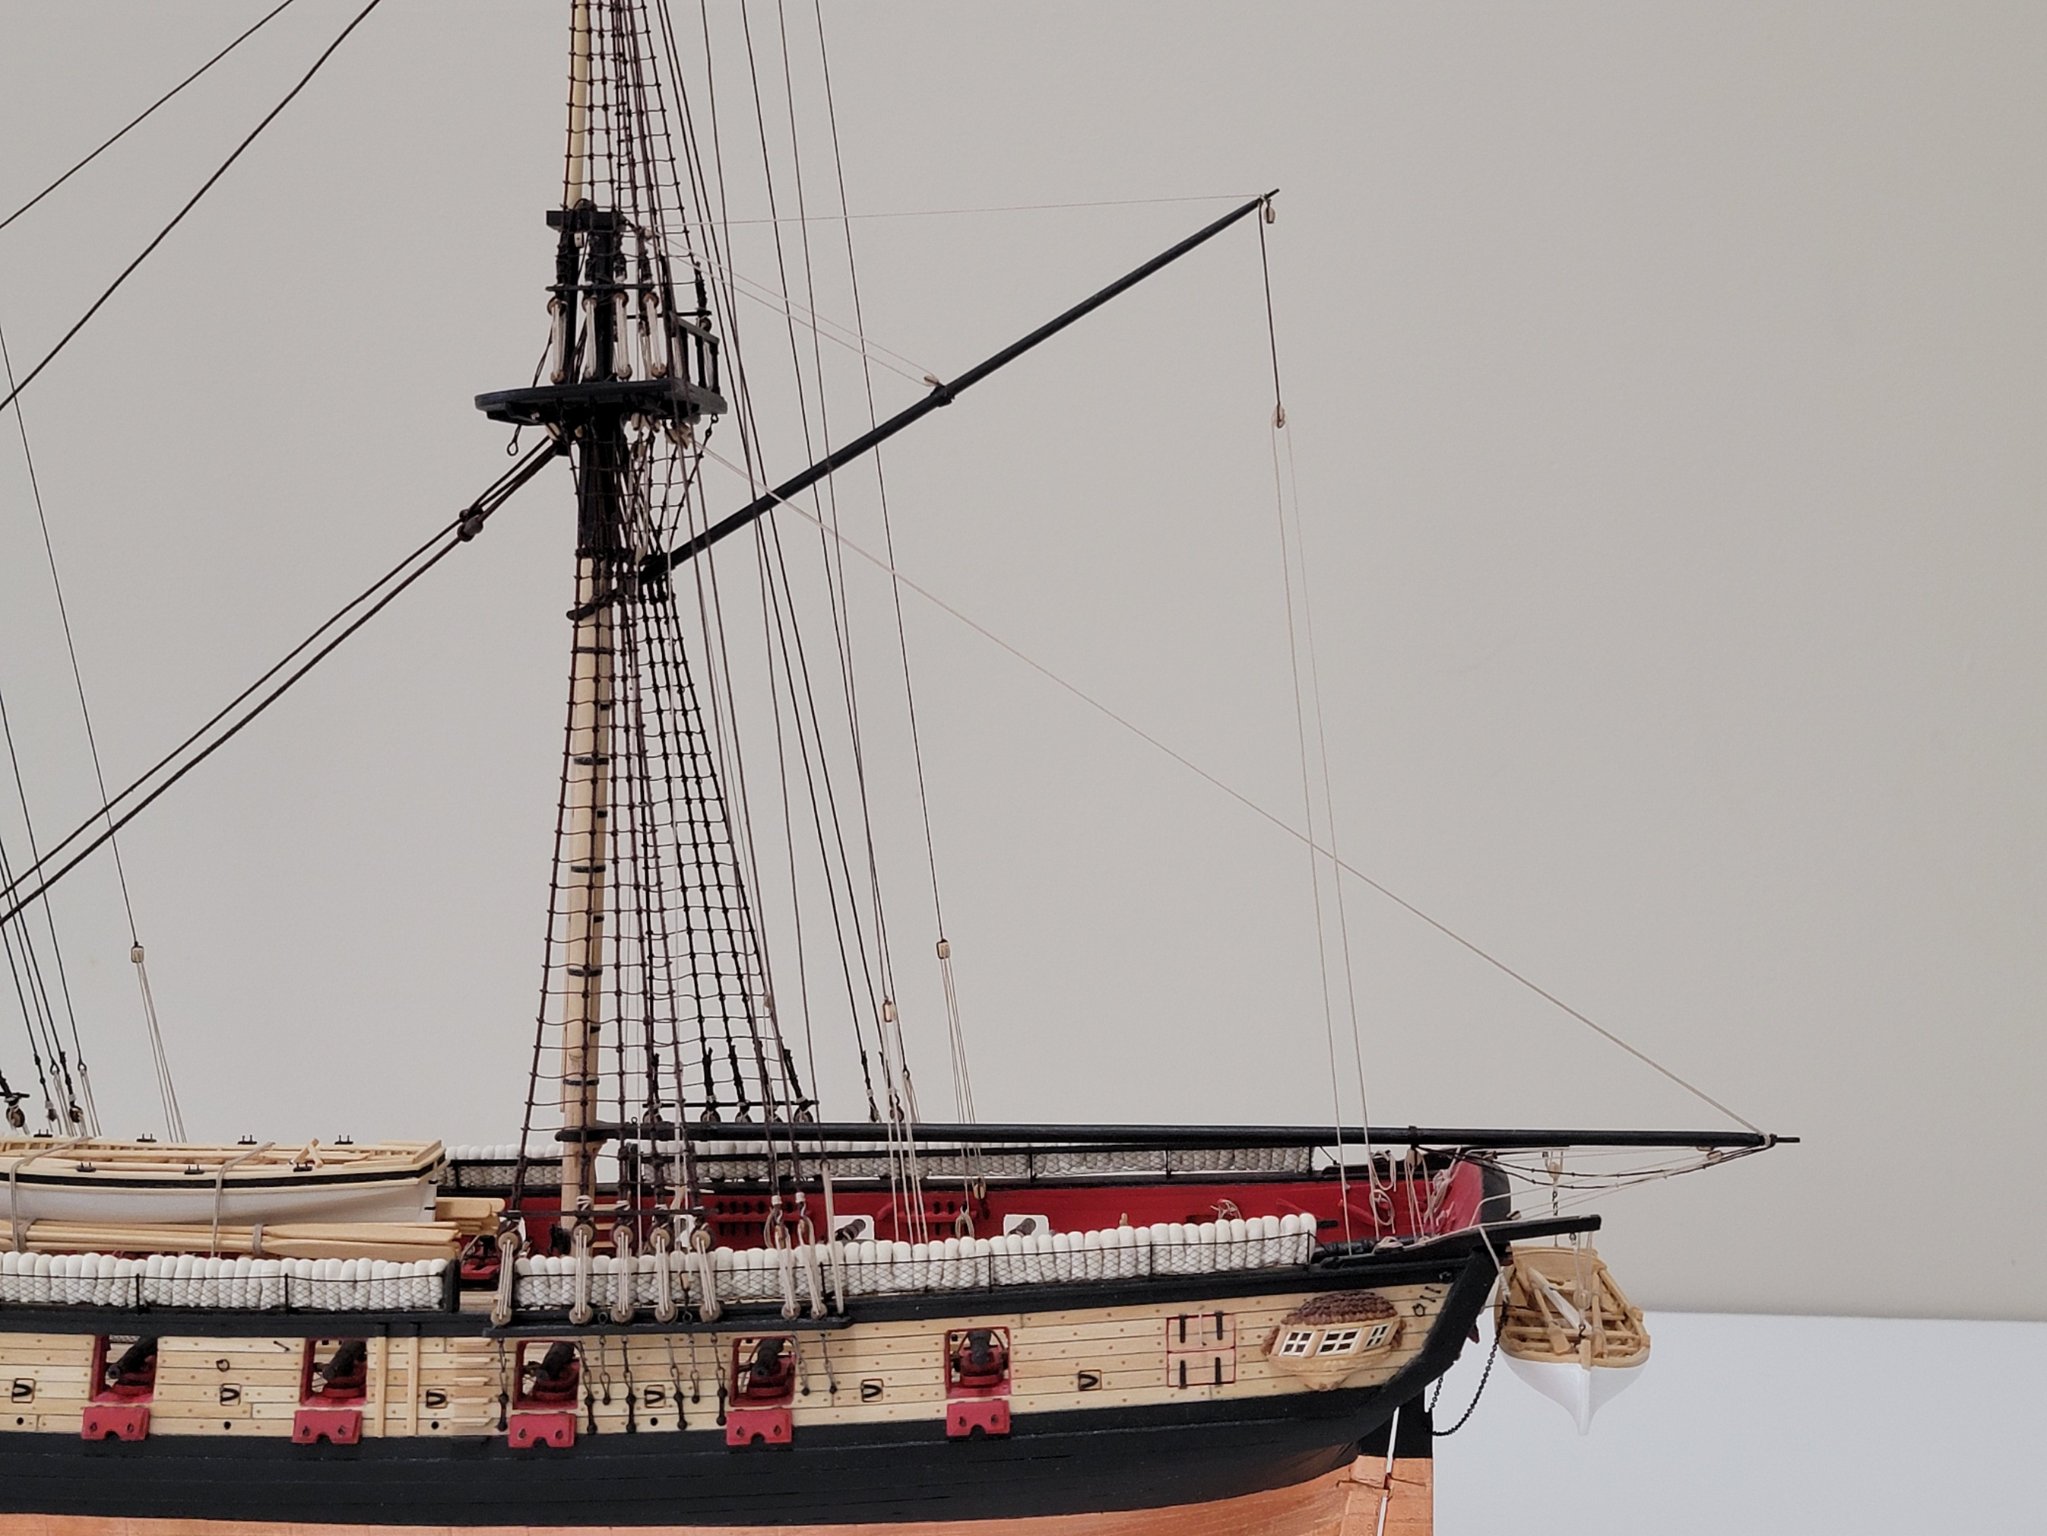
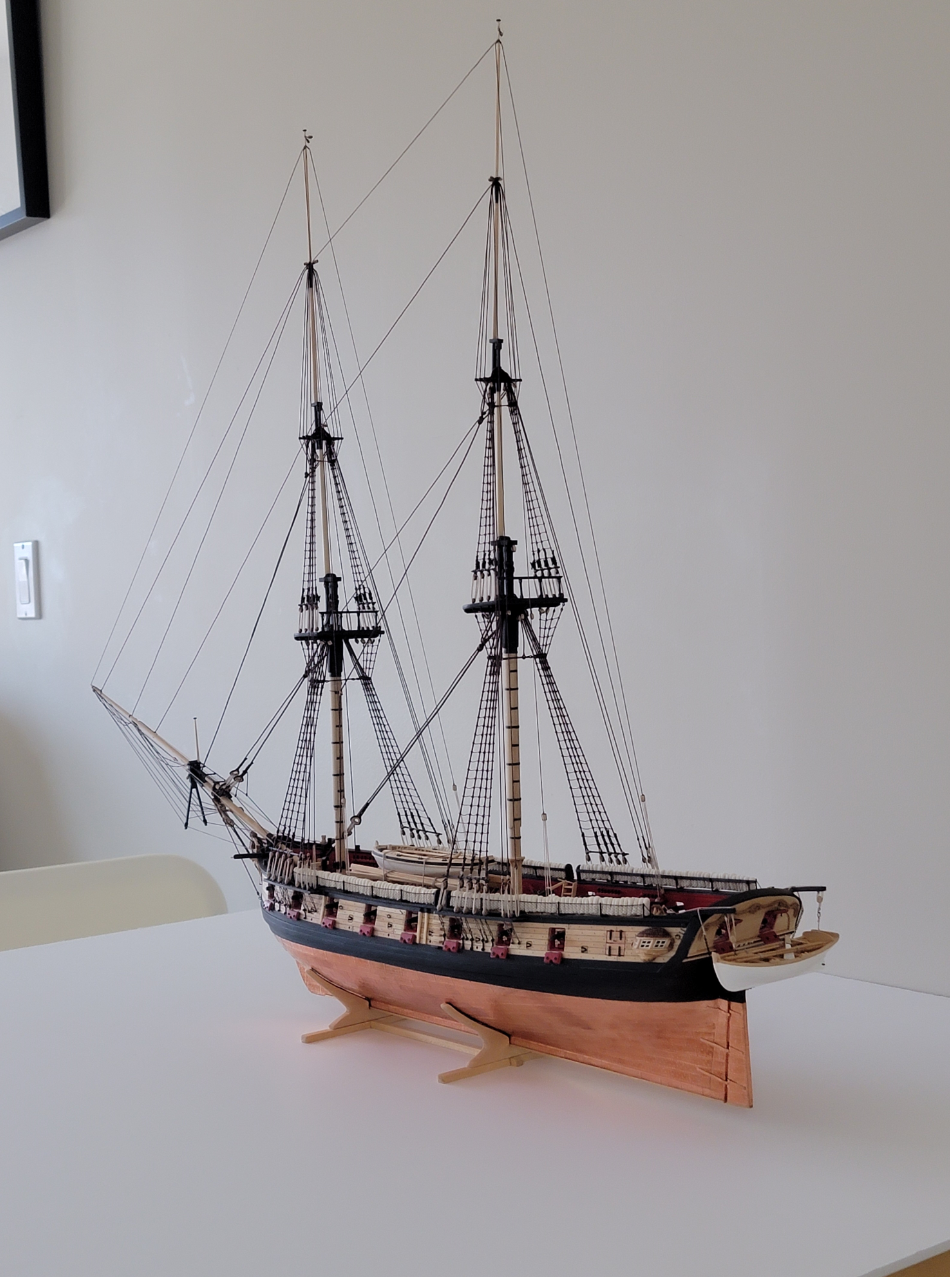
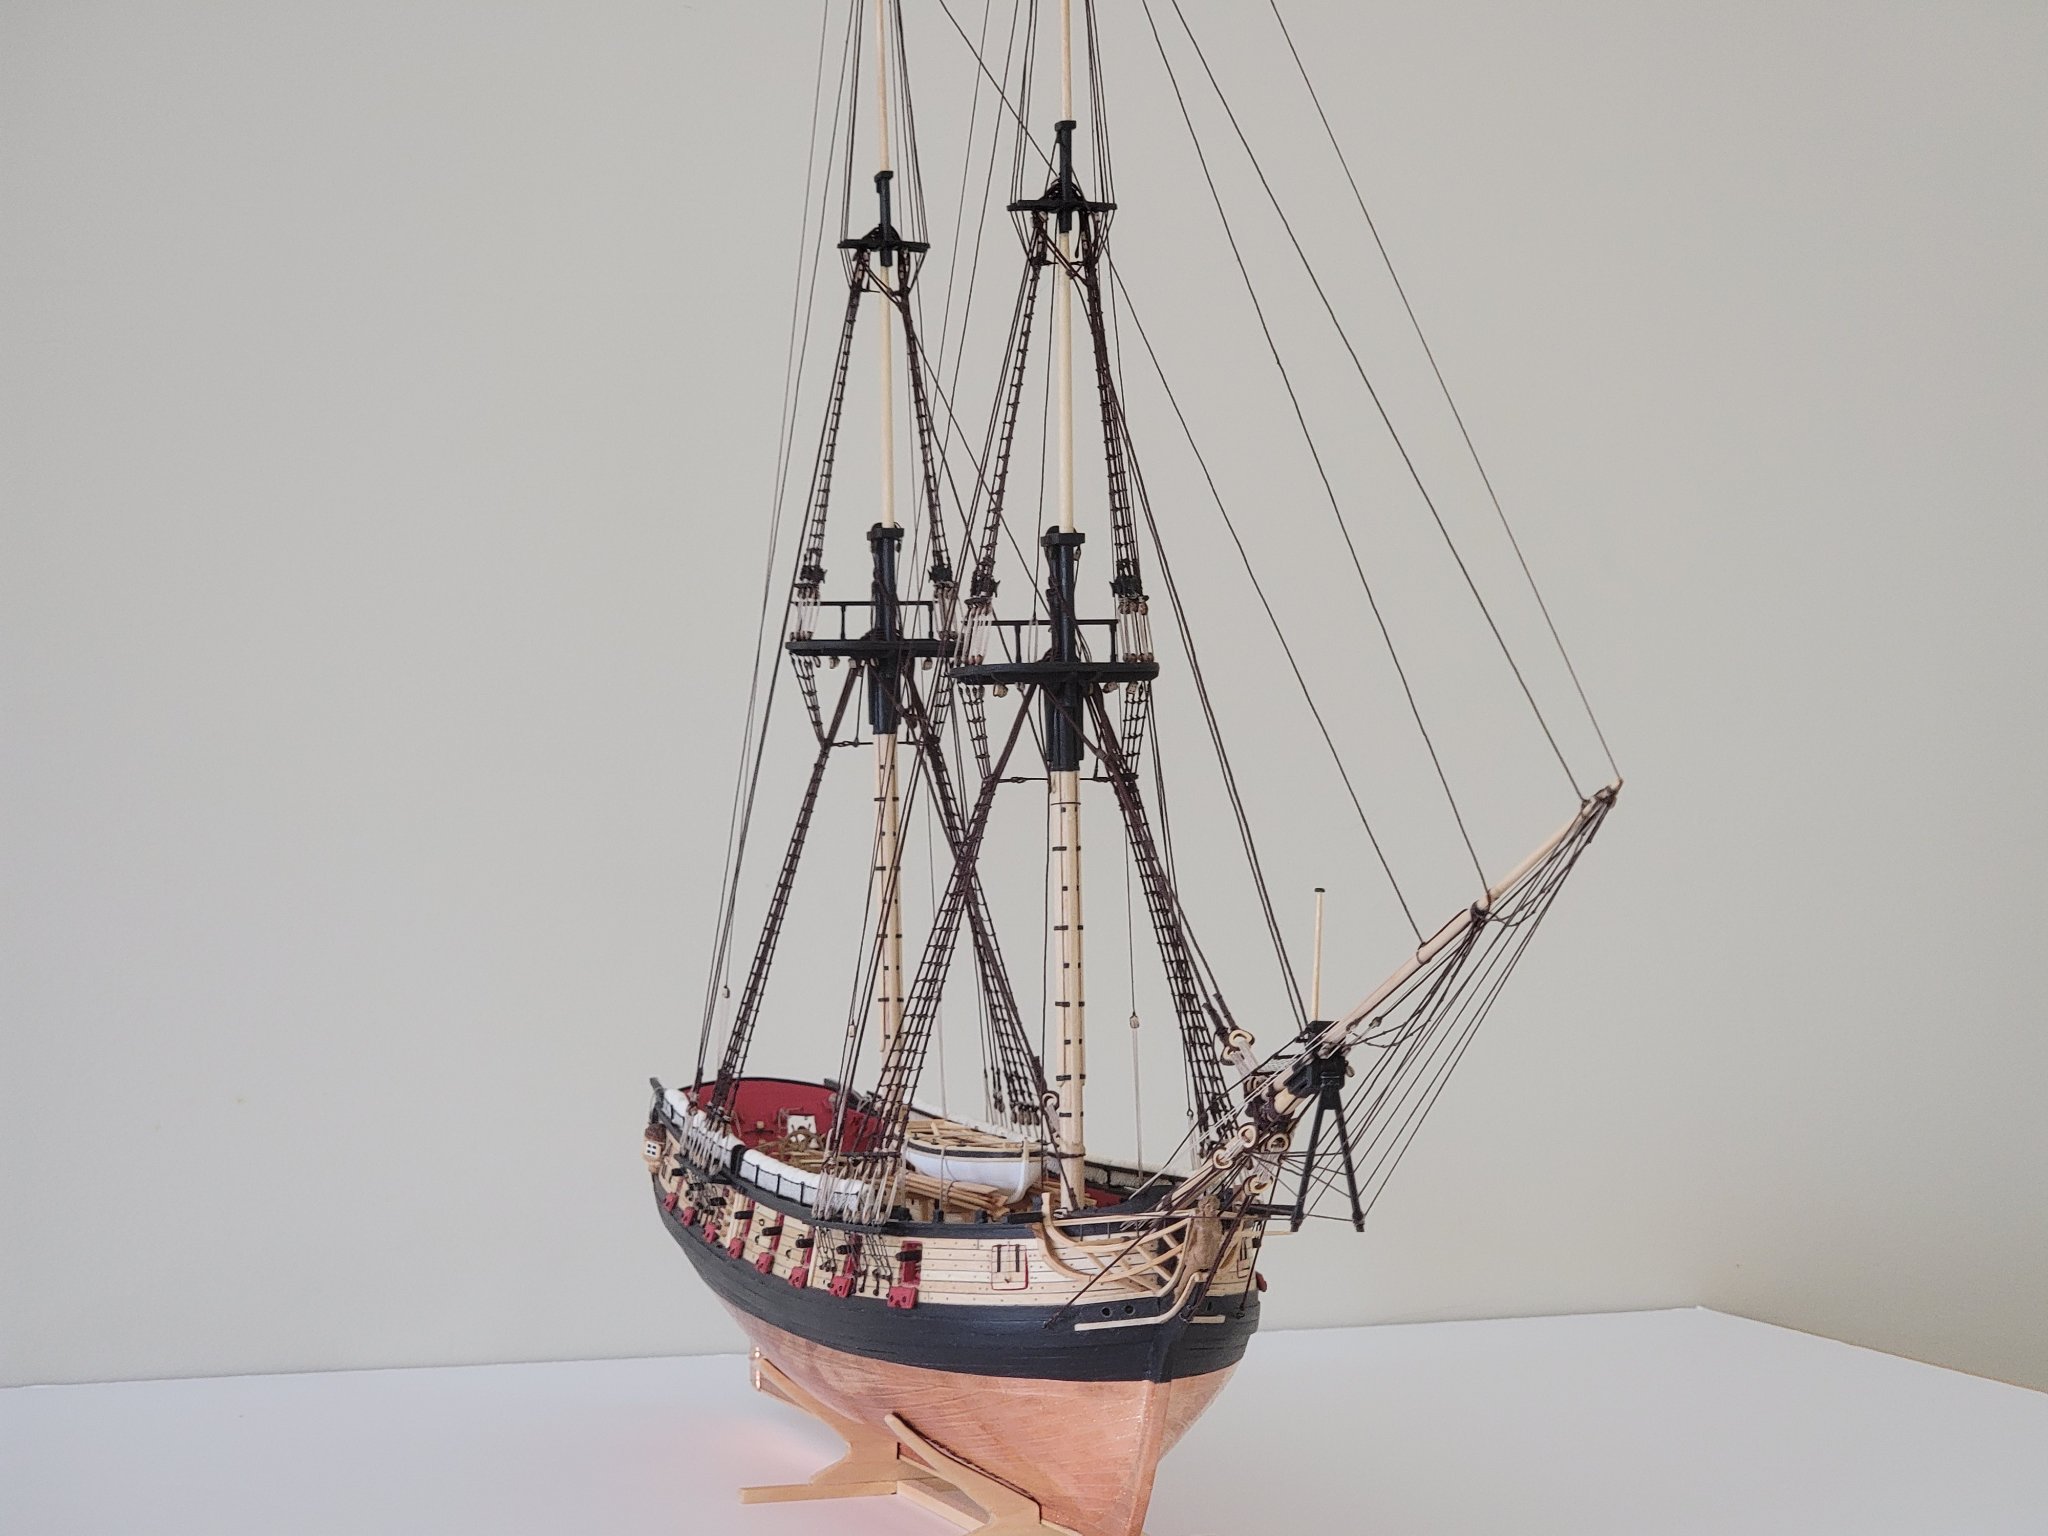
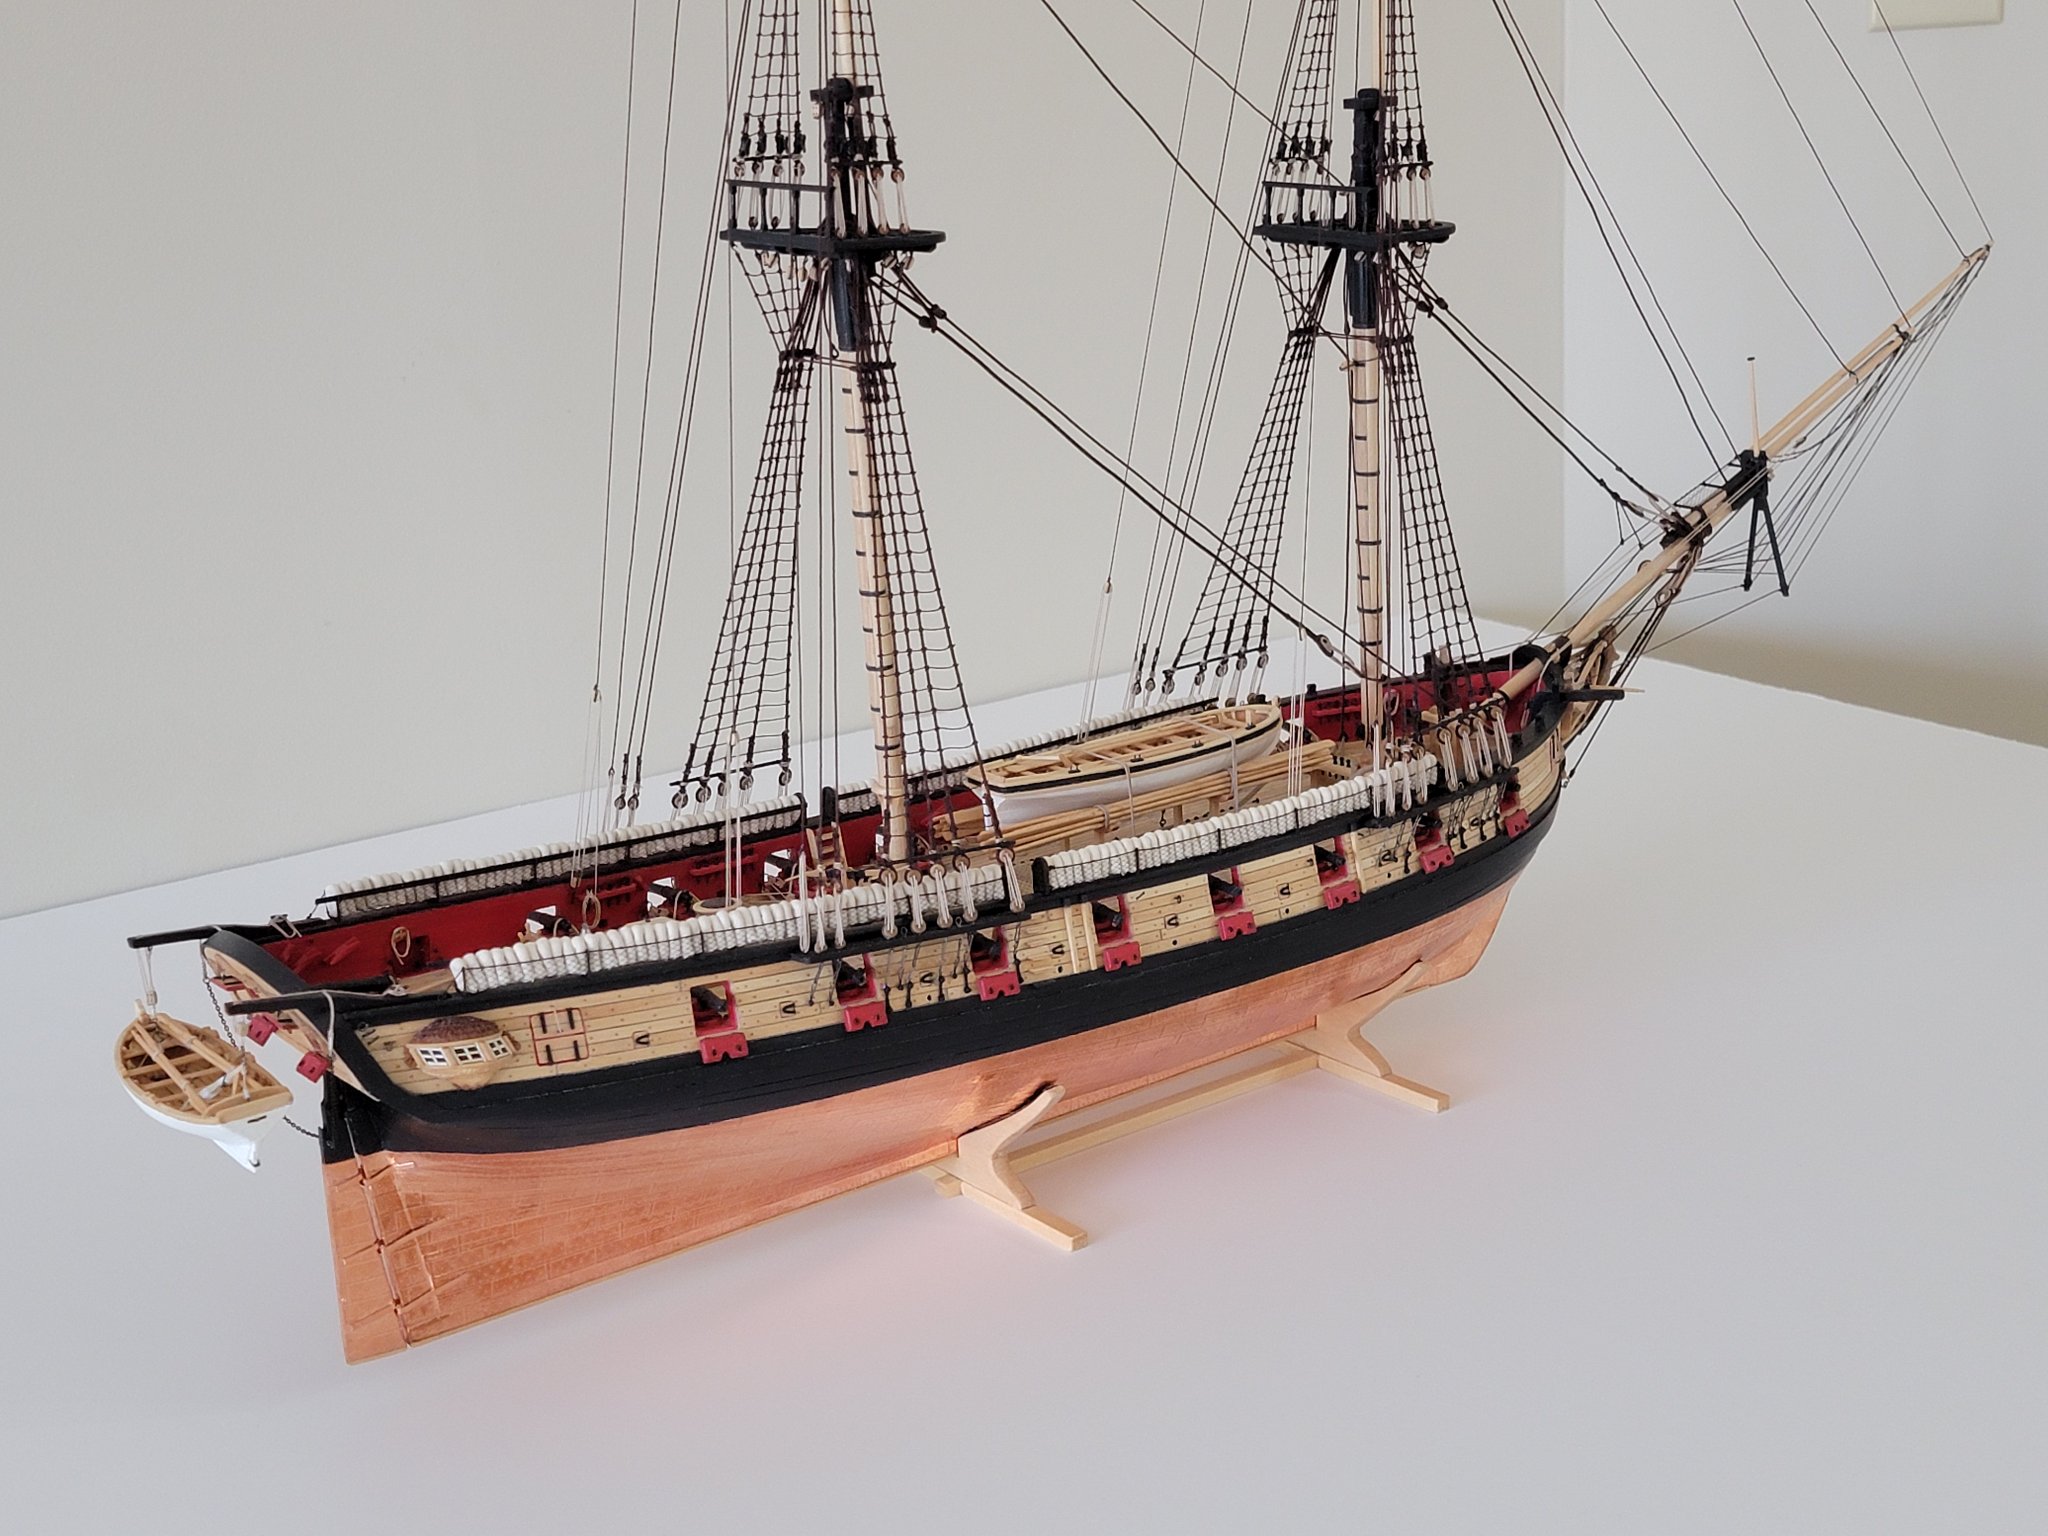
Thanks so much Thomas and Will!! I agree, I can't believe how much of a difference the standing rigging makes to the looks of the ship. I can't wait to see how the ship will look once the yards are all made and rigged! Standing rigging is finally finished! Here are some pics to mark the completion of this chapter: And some pics of the rope coils (these were harder/trickier to make than the ones on cleats, at least for me...). I again followed Ed Tosti's method to make these from his Young America build.


.thumb.jpg.5119f2622b722277fe1bee9292dd728a.jpg)


- 950 replies
-
- 20
-
-
- syren
- model shipways
- (and 1 more)
-
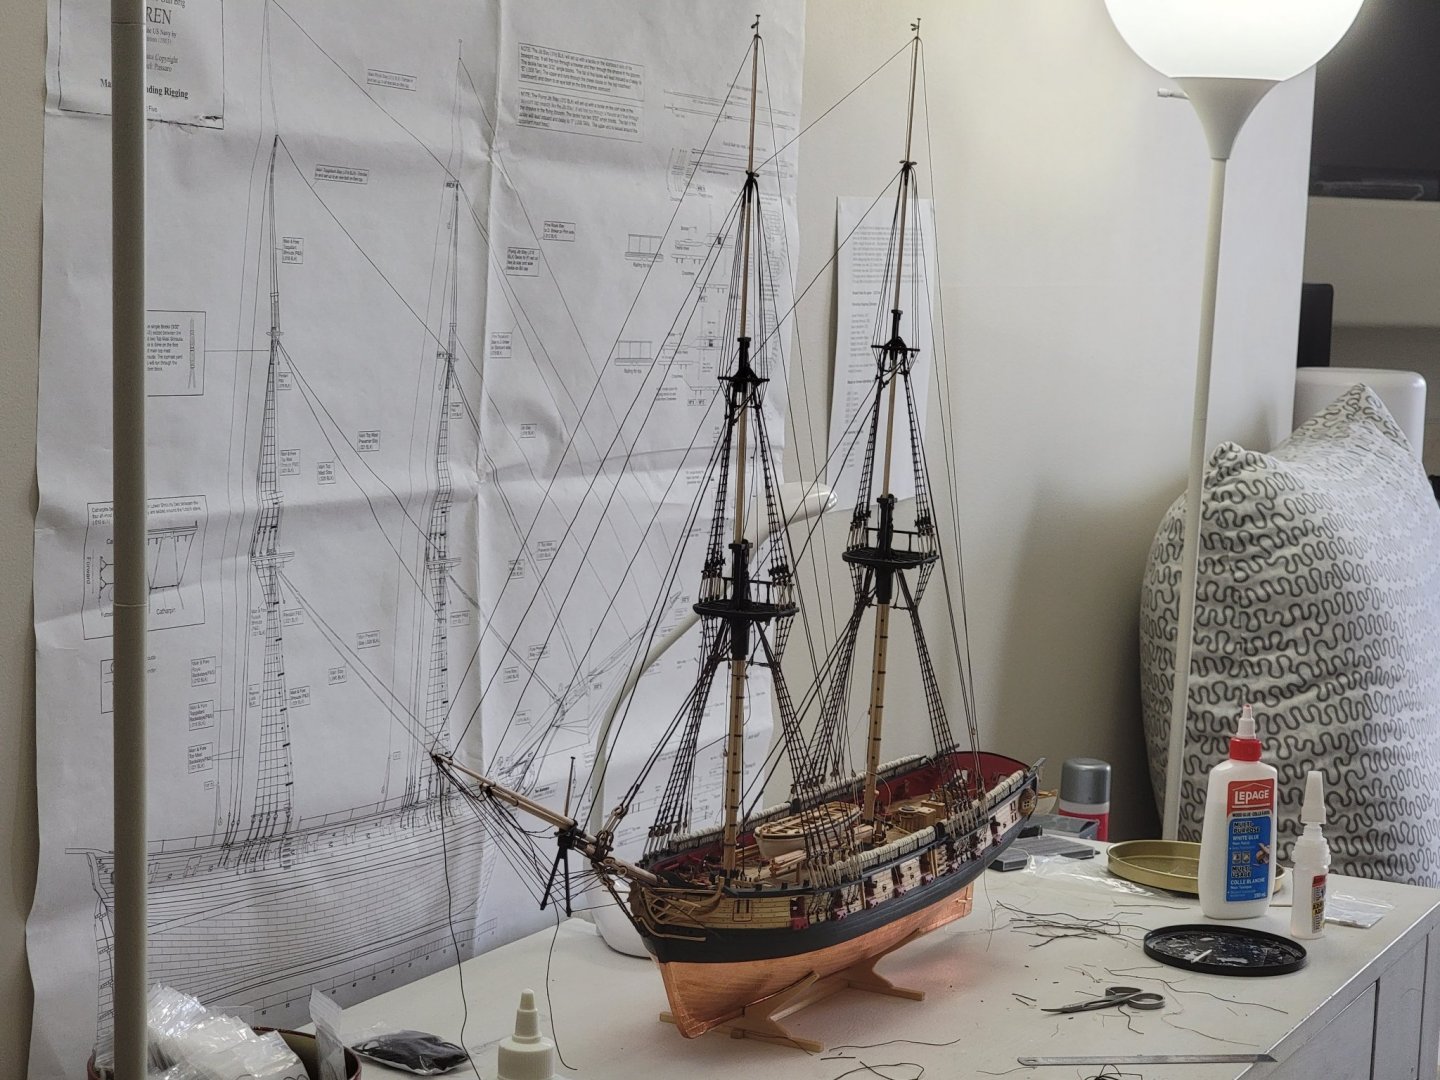
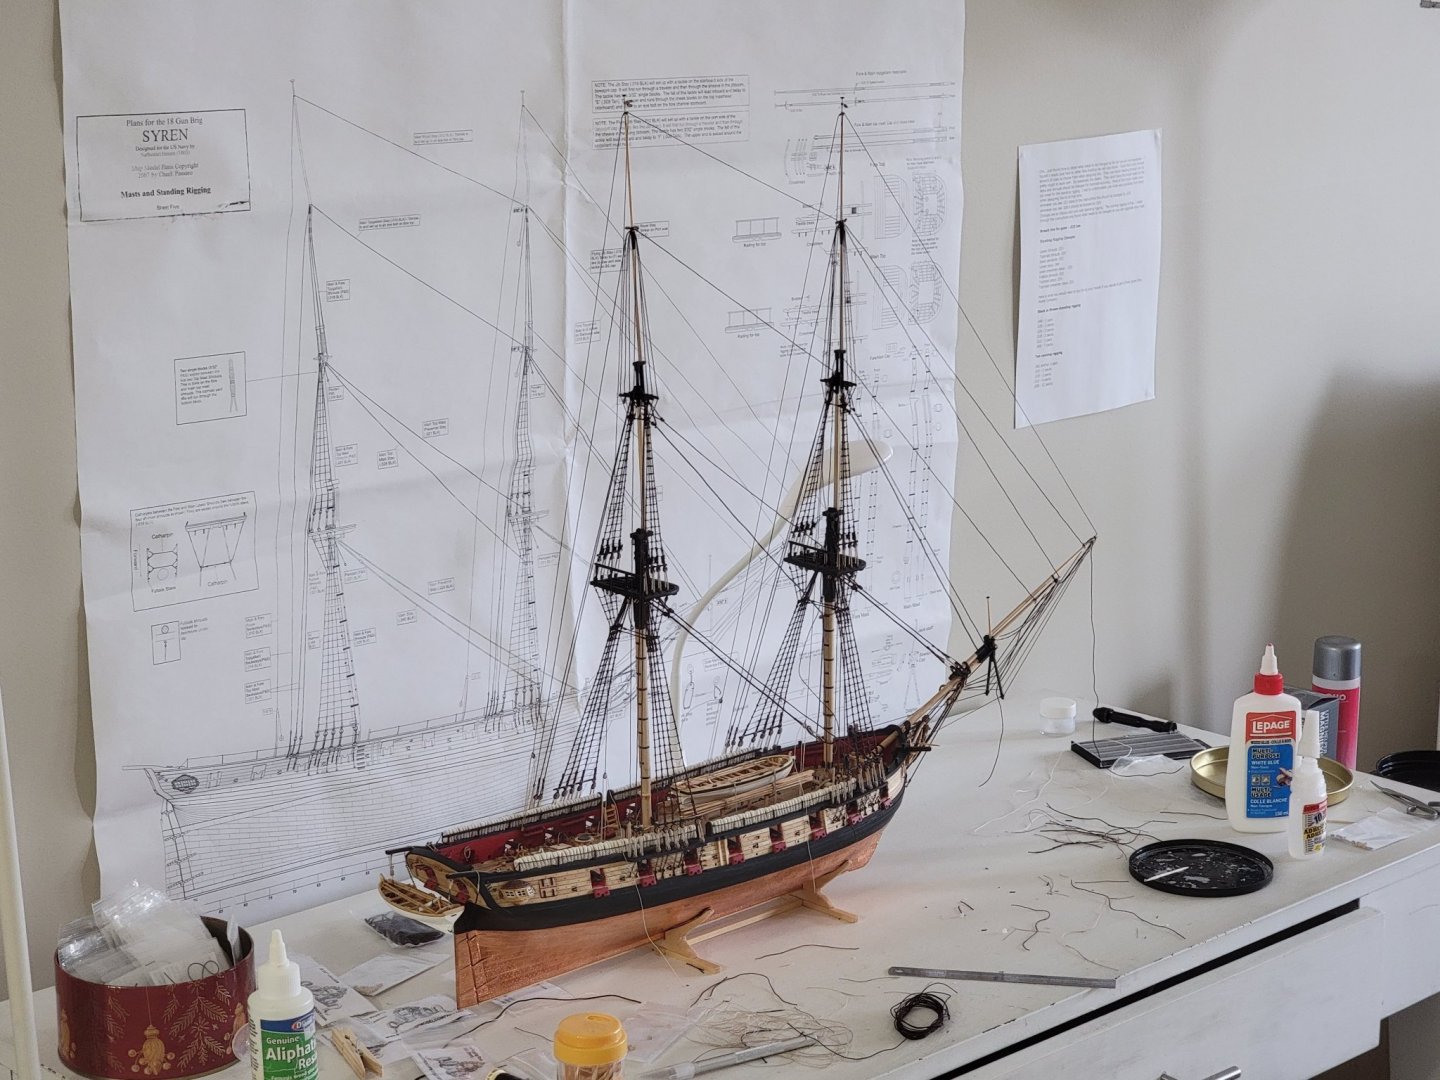
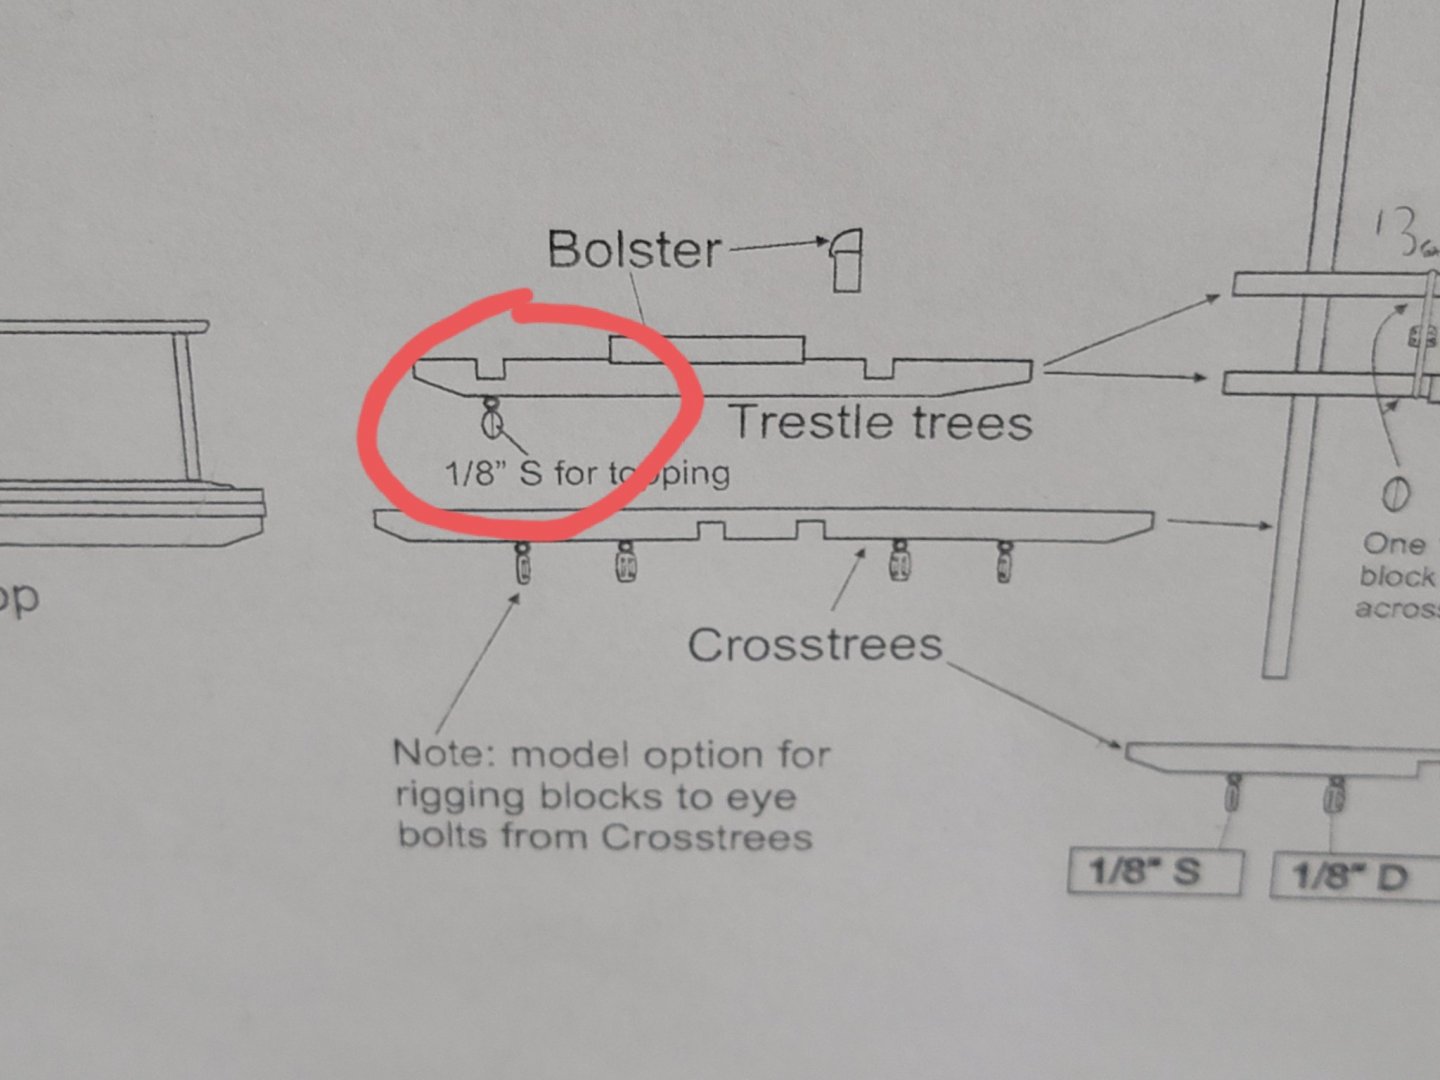
Thanks so much for the motivating comments, Bradley, Steven, Michael, and David. They are very much appreciated! Thanks all for the likes as well and for looking in 🙂 Pictures of the display case will definitely be interesting to me, David. As I slowly approach the finish line, I'm wondering how and where I'll display her. Anyways, I'm very close to finishing up the standing rigging. Thought I'd share a few pics of the messy 'workshop' before completion of this chapter. And took down the plan in preparation of running rigging 😀 I just need to belay the royal backstays, secure the jib stay and flying jib stay with the tackles and their respective inhauls for the travelers, and install the horses. I'll also finish up with the rope coils before moving on. Also, I didnt realize there were two extra blocks needed for the gaff on the main top.... I read this on Peter's log a while back, but completely forgot about it. These are the blocks I'm talking about: So once all these tasks are done, I'll post a series photos to mark this milestone of the build 😁. Again, this part of the build has been a blast! Seeing everything come together is very addicting 😄
- 950 replies
-
- 10
-
-
- syren
- model shipways
- (and 1 more)
-
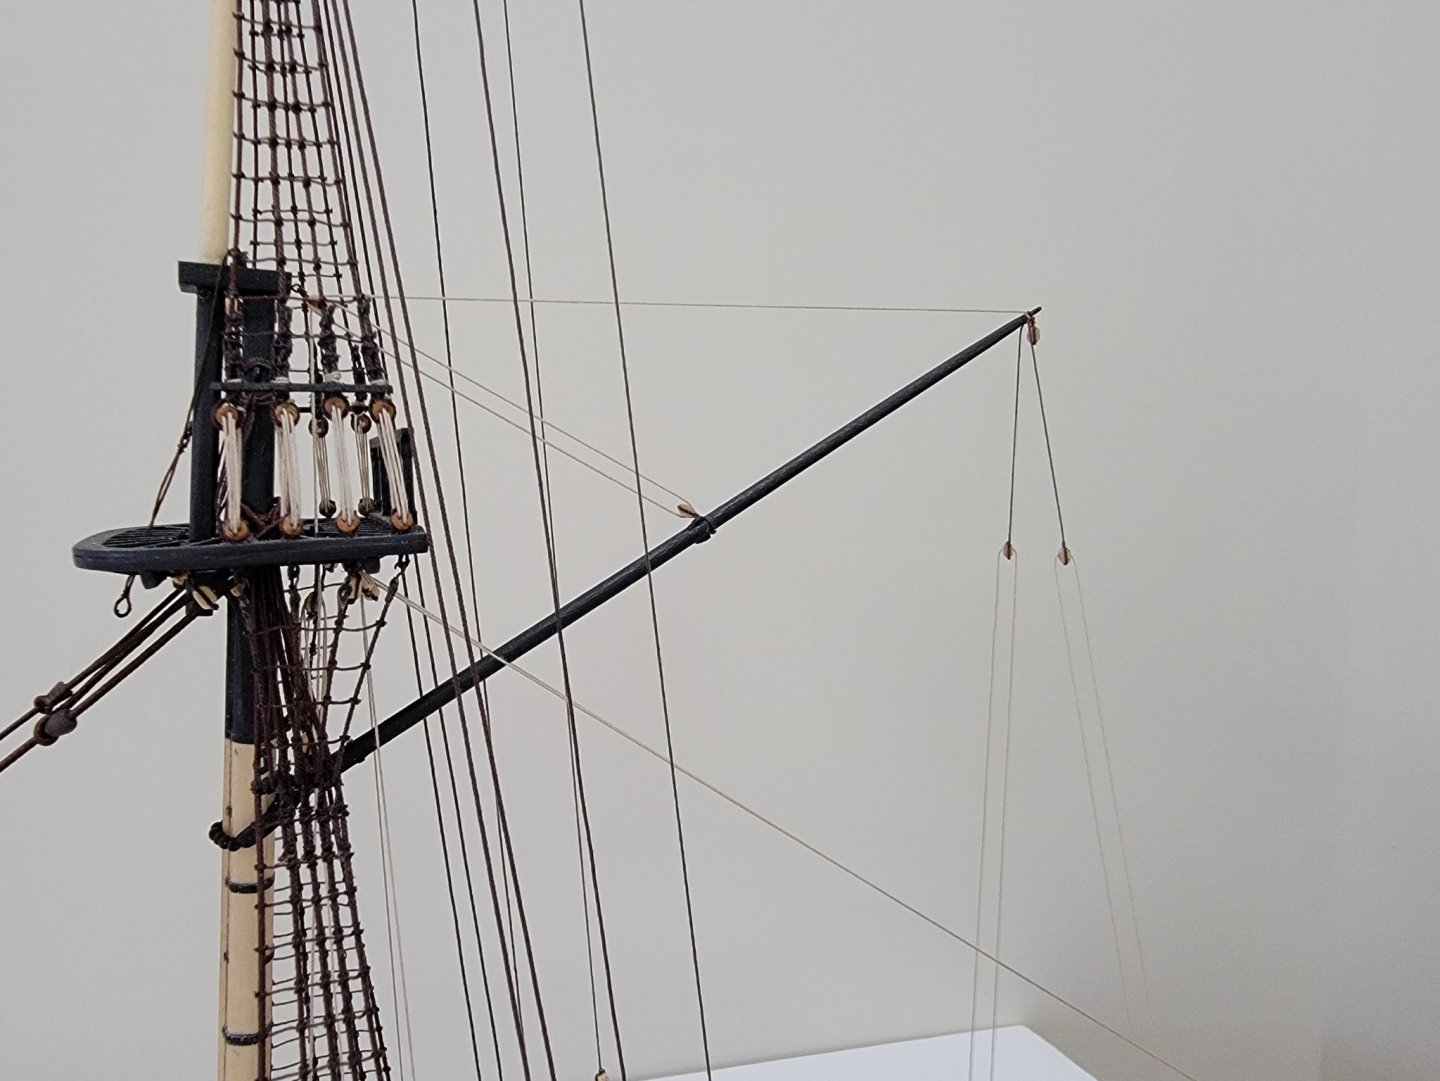
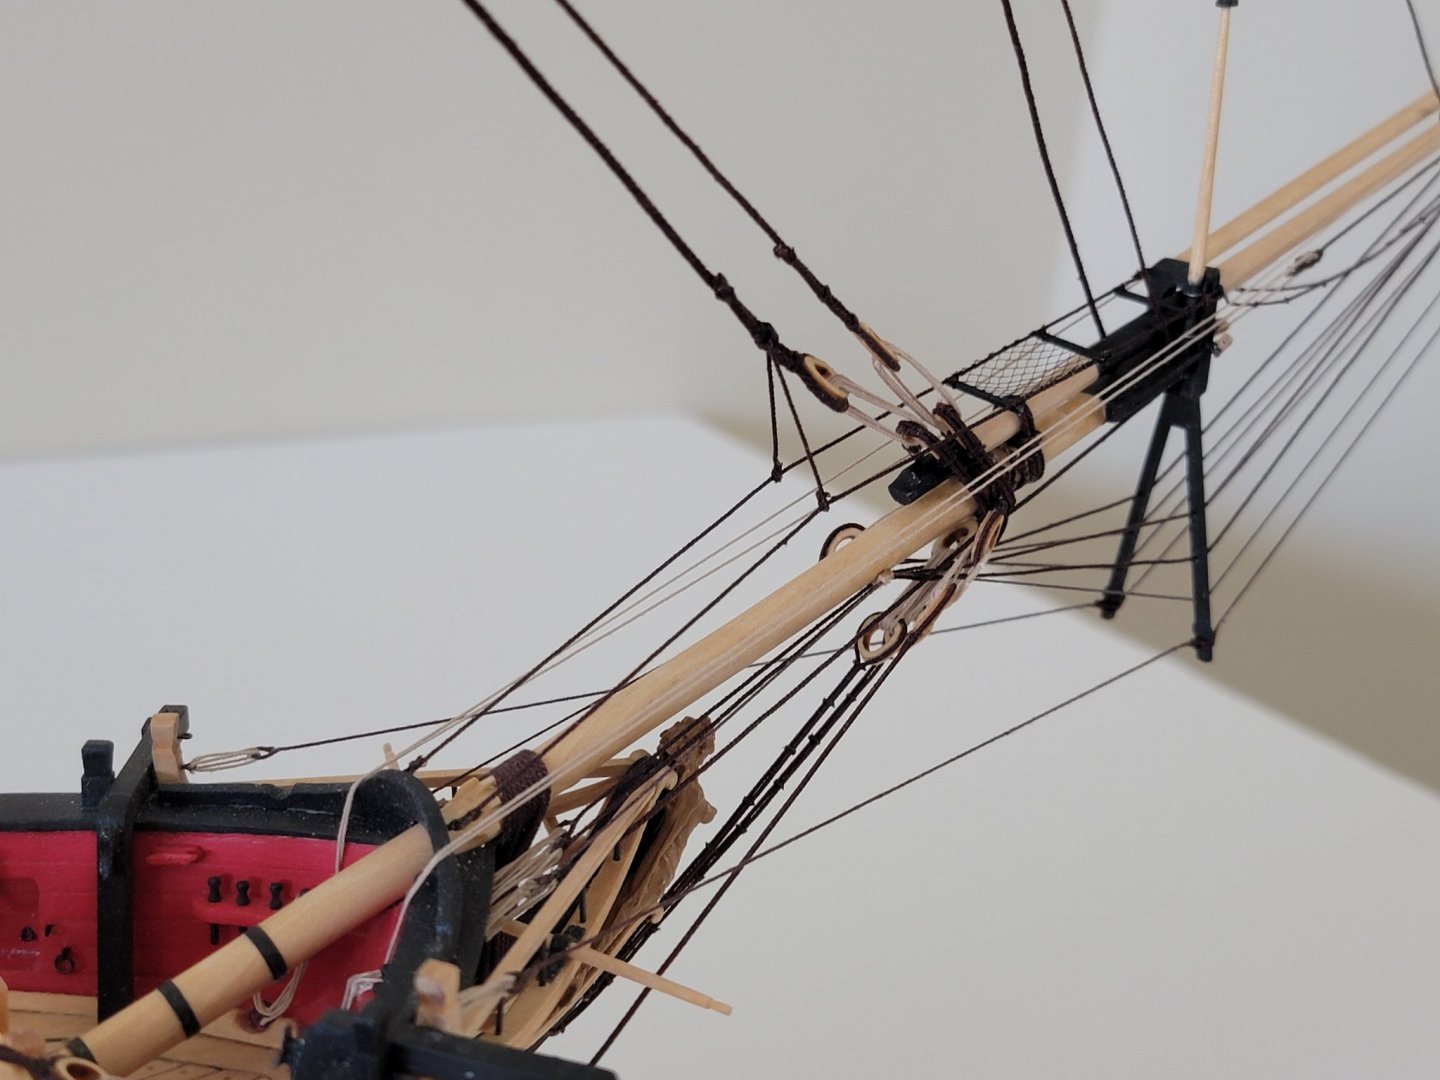
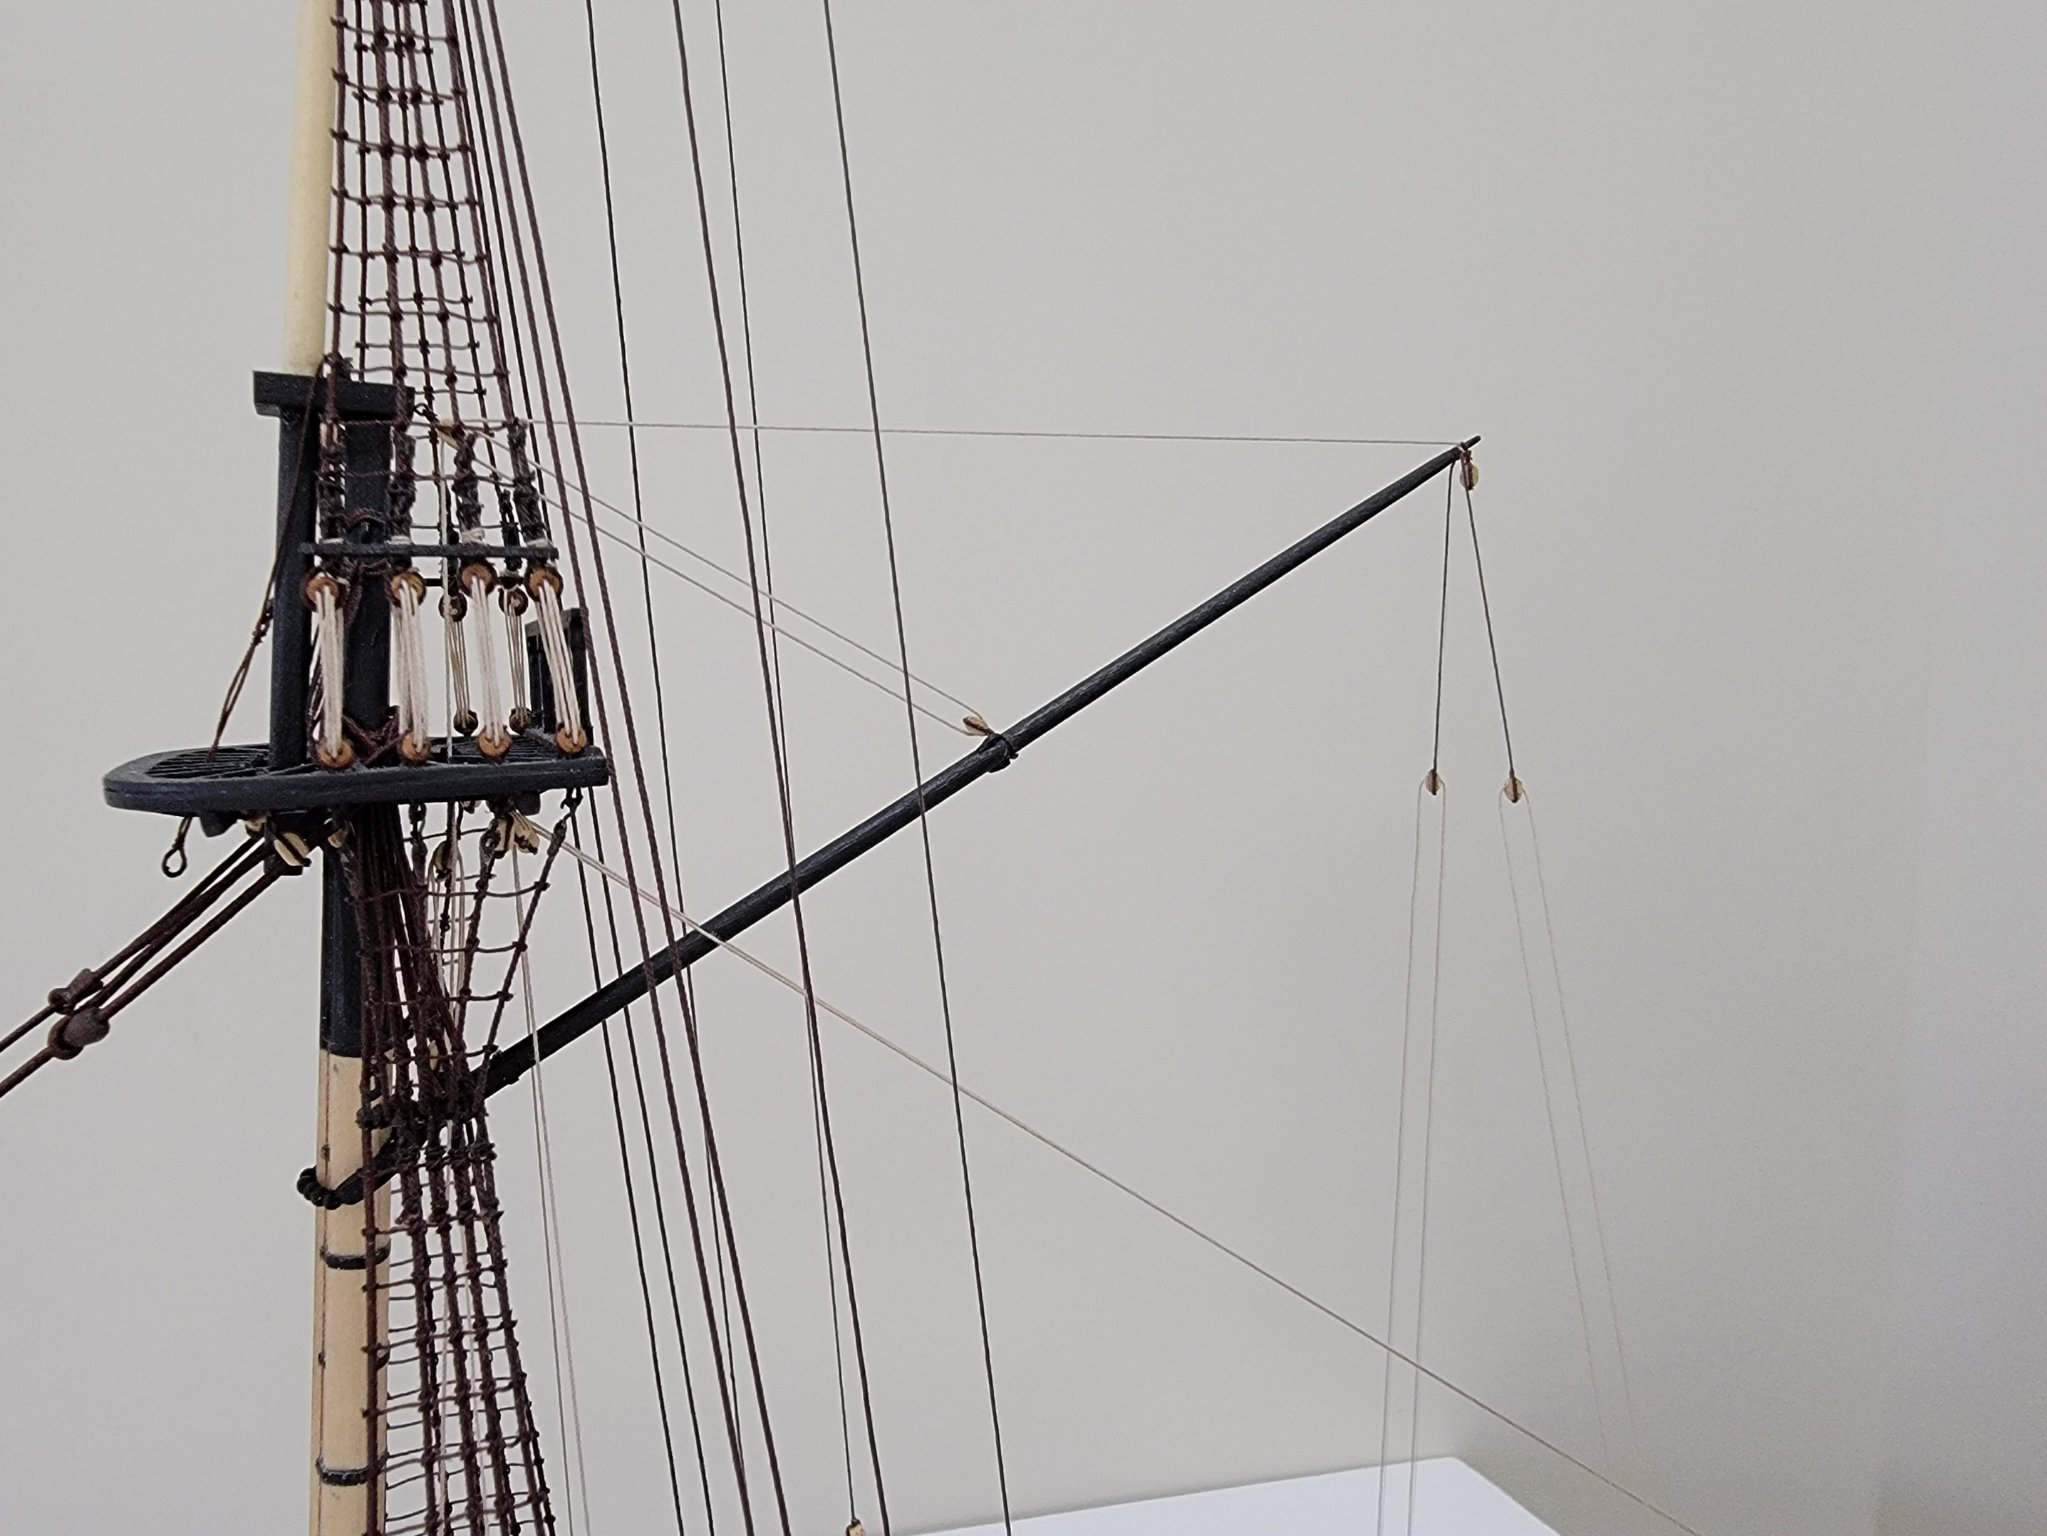
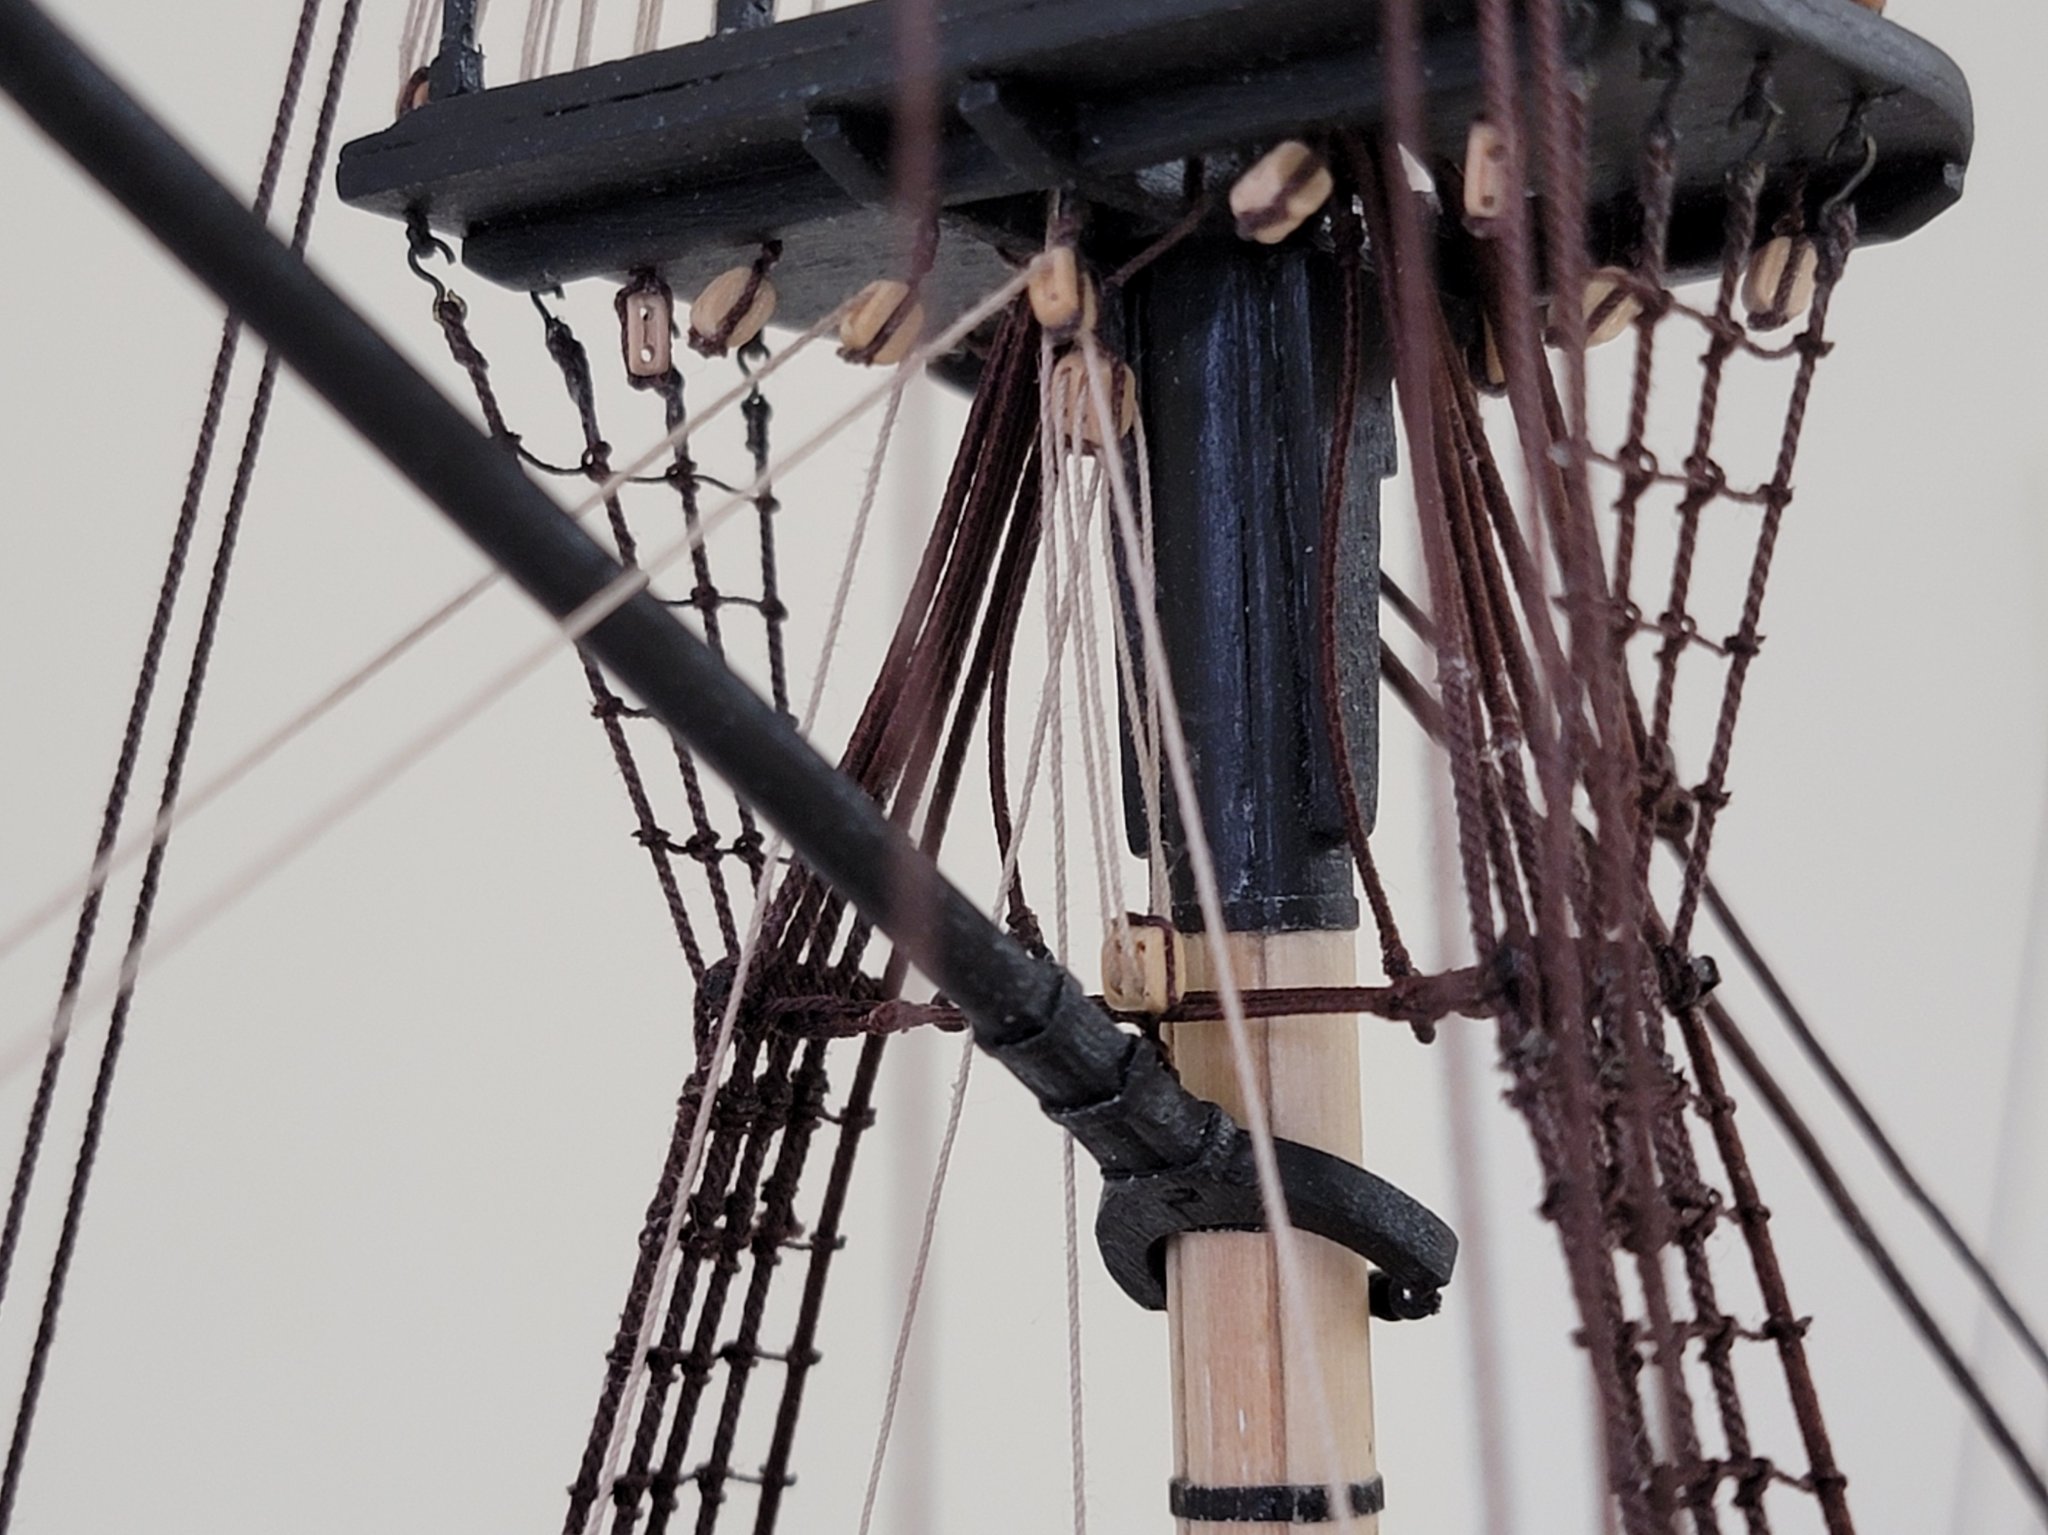
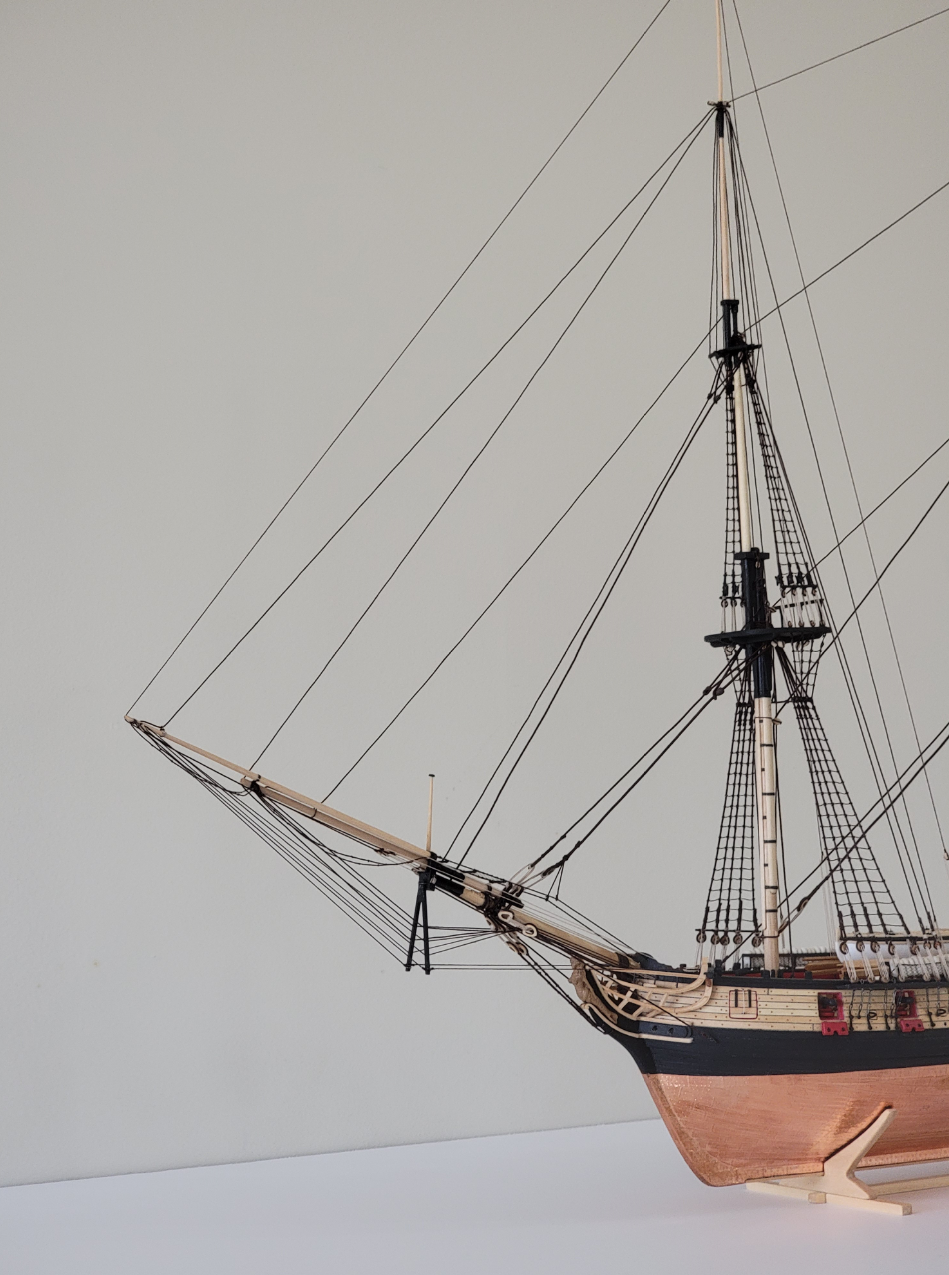
I finished installing the backstays and stays for the topmast. Here are some pics:


- 950 replies
-
- 12
-
-
- syren
- model shipways
- (and 1 more)
-
Thanks Will. Chuck has provided the thread sizes needed to make the rope, so no need to record test results 🙂. Here is the PDF Chuck Passaro Rope Recipe .pdf
- 950 replies
-
- 2
-
-
- syren
- model shipways
- (and 1 more)
-
Gorgeous! So many nice details 🙂 I'm especially drawn towards the bowsprit holder. Very clean!


.jpg.fa74ae1a41719bd0c175611dfc600ef4.jpg)