.jpg.1f80adf1a9b14a937cfcf2ca6af0f0d4.jpg)
WalrusGuy
-
Posts
1,011 -
Joined
-
Last visited
Content Type
Profiles
Forums
Gallery
Events
Everything posted by WalrusGuy
-
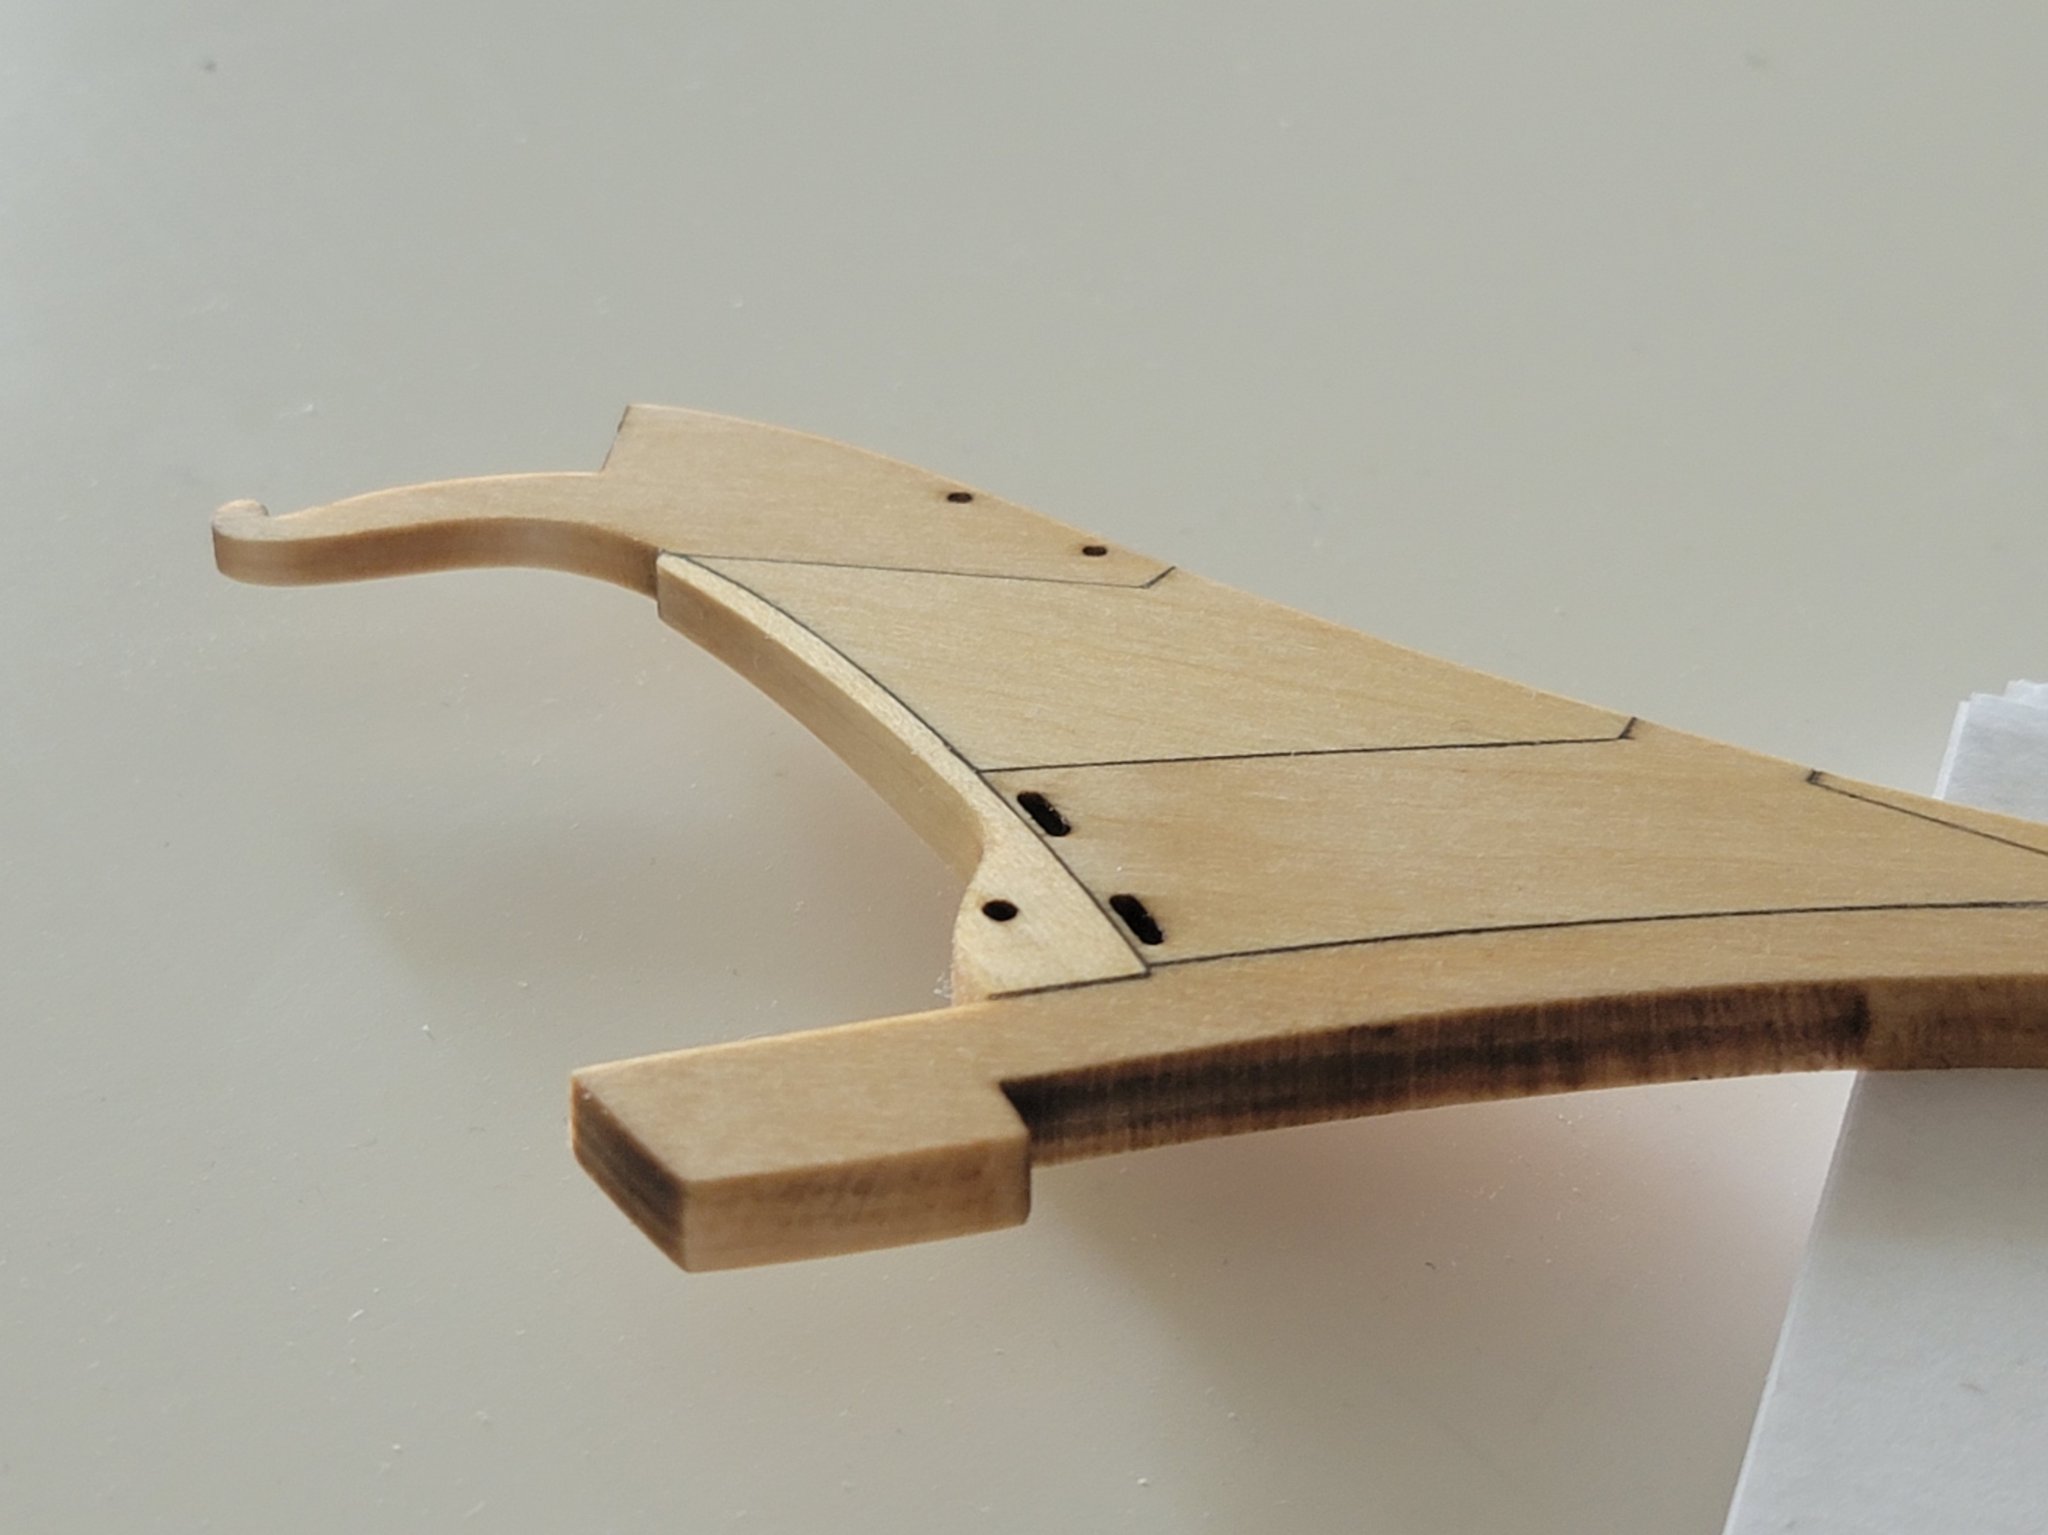
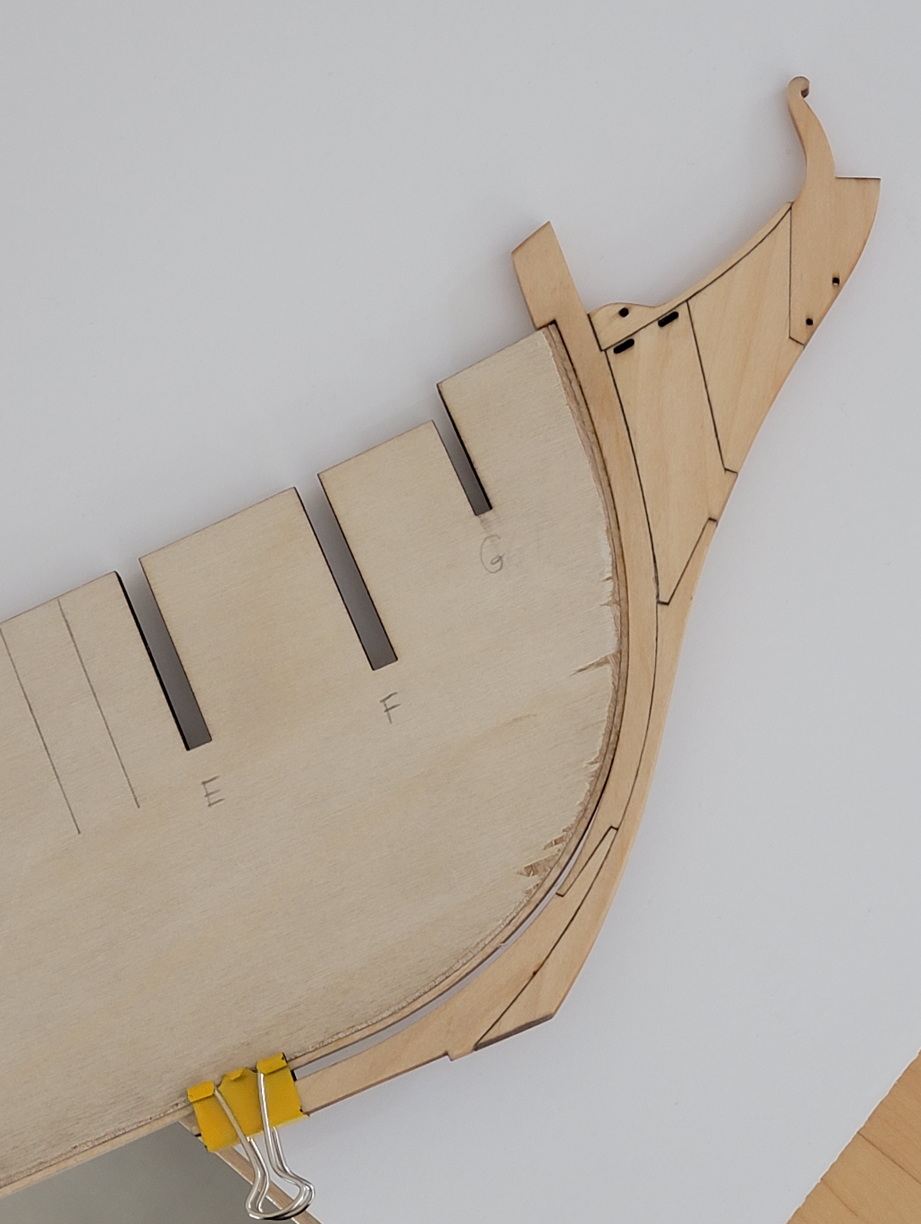
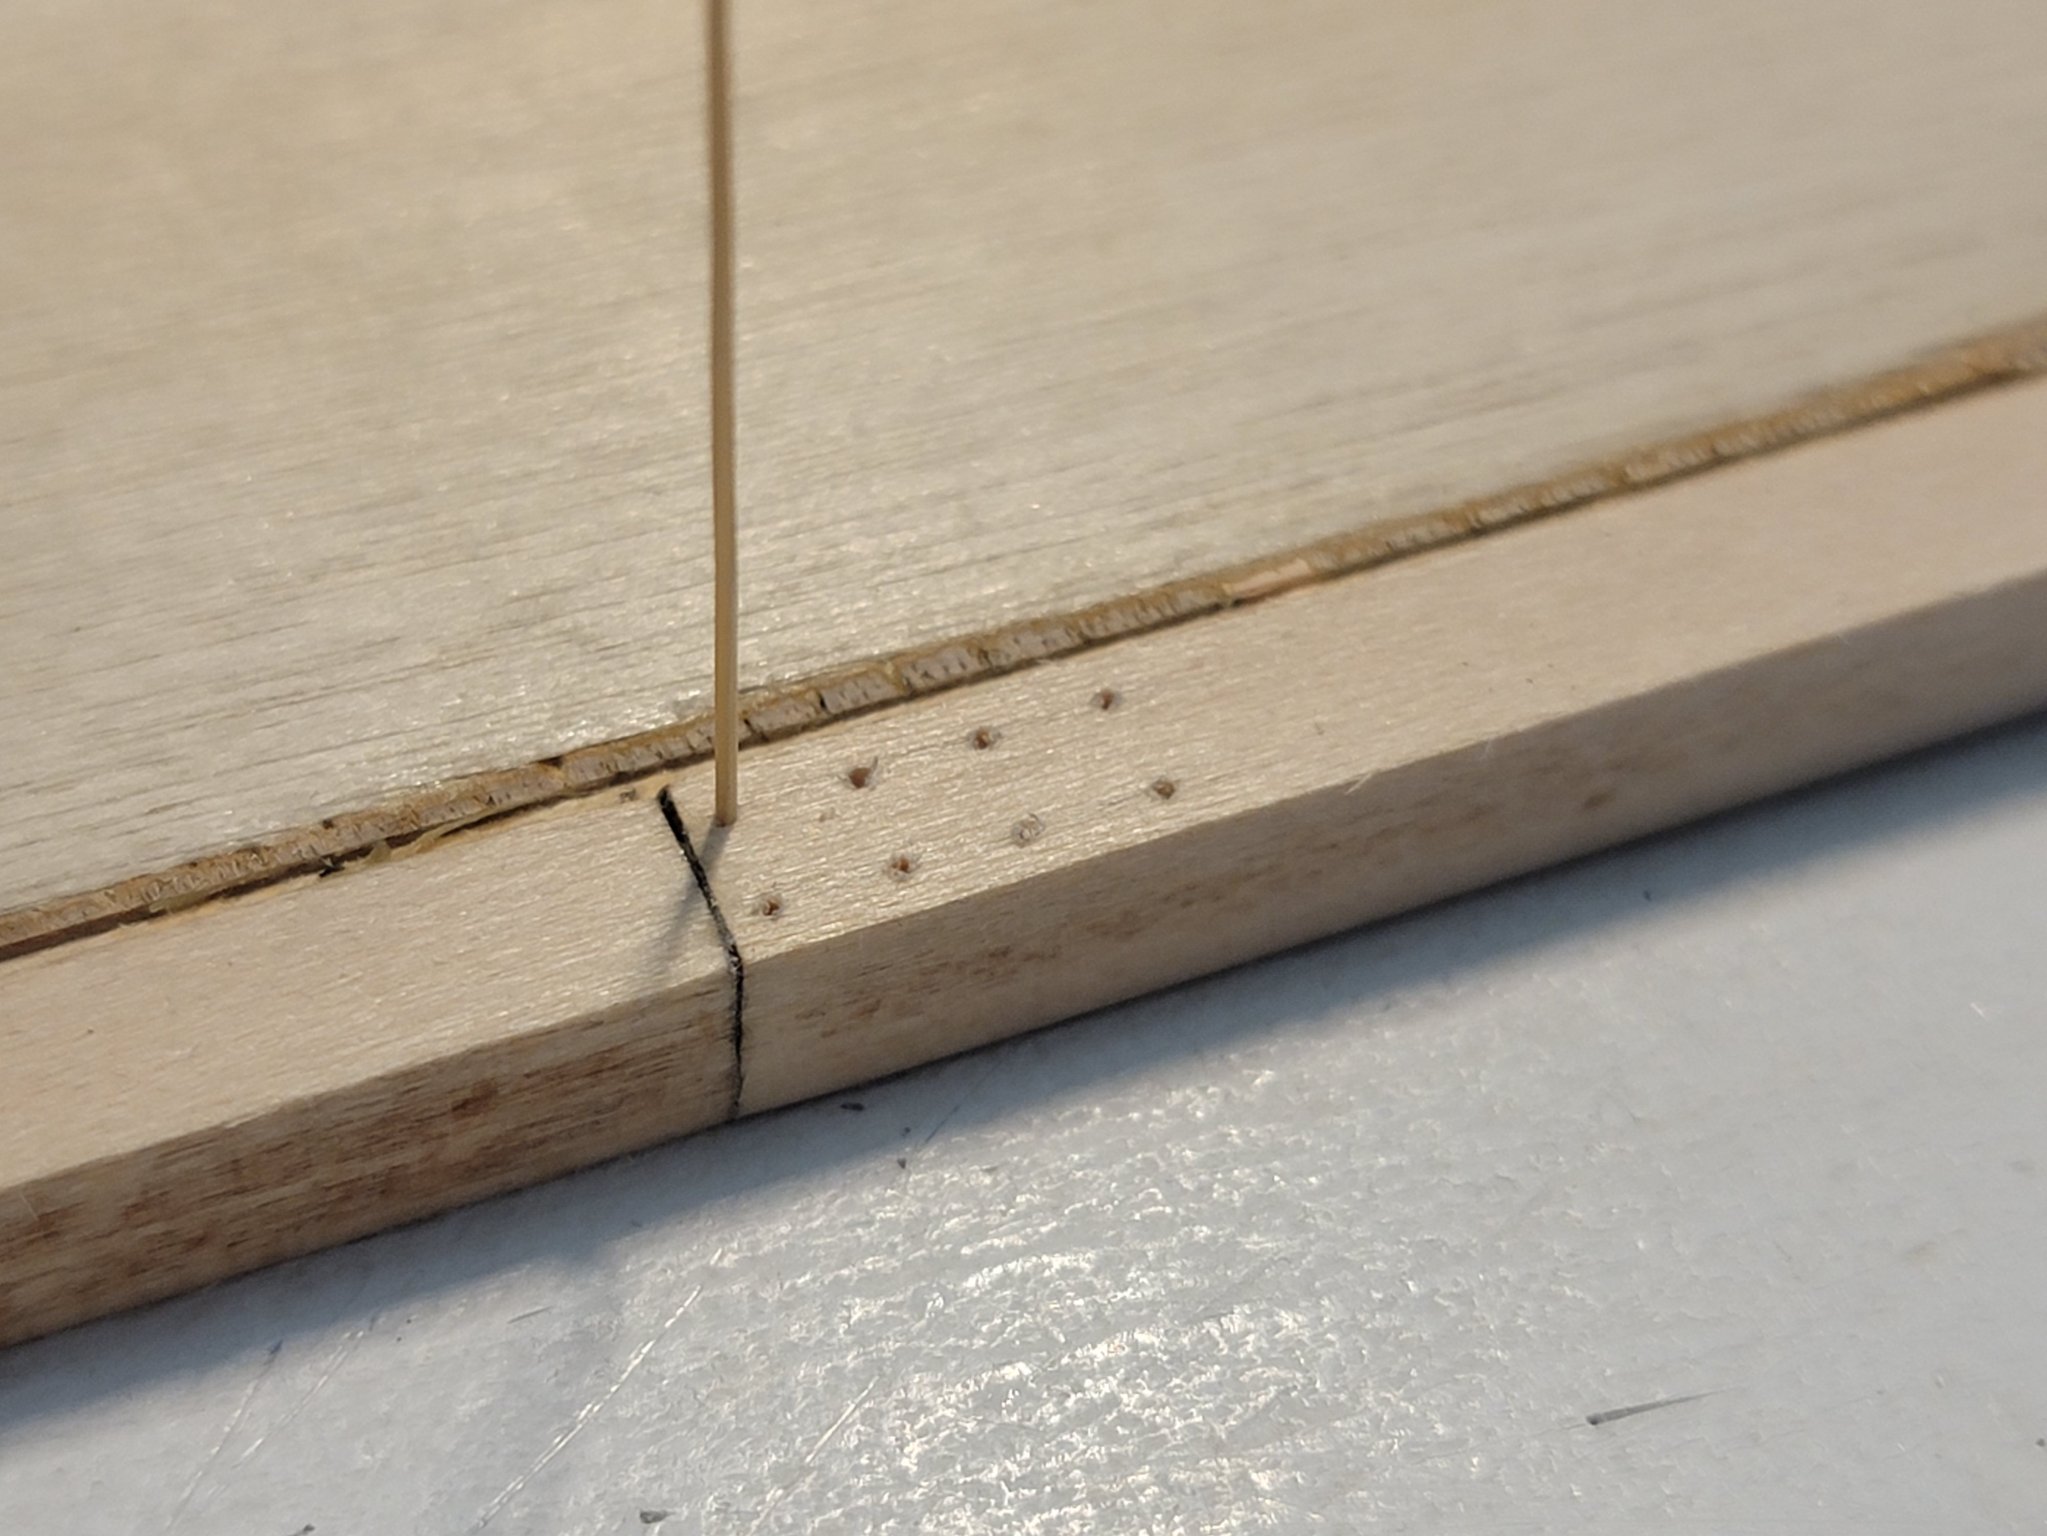
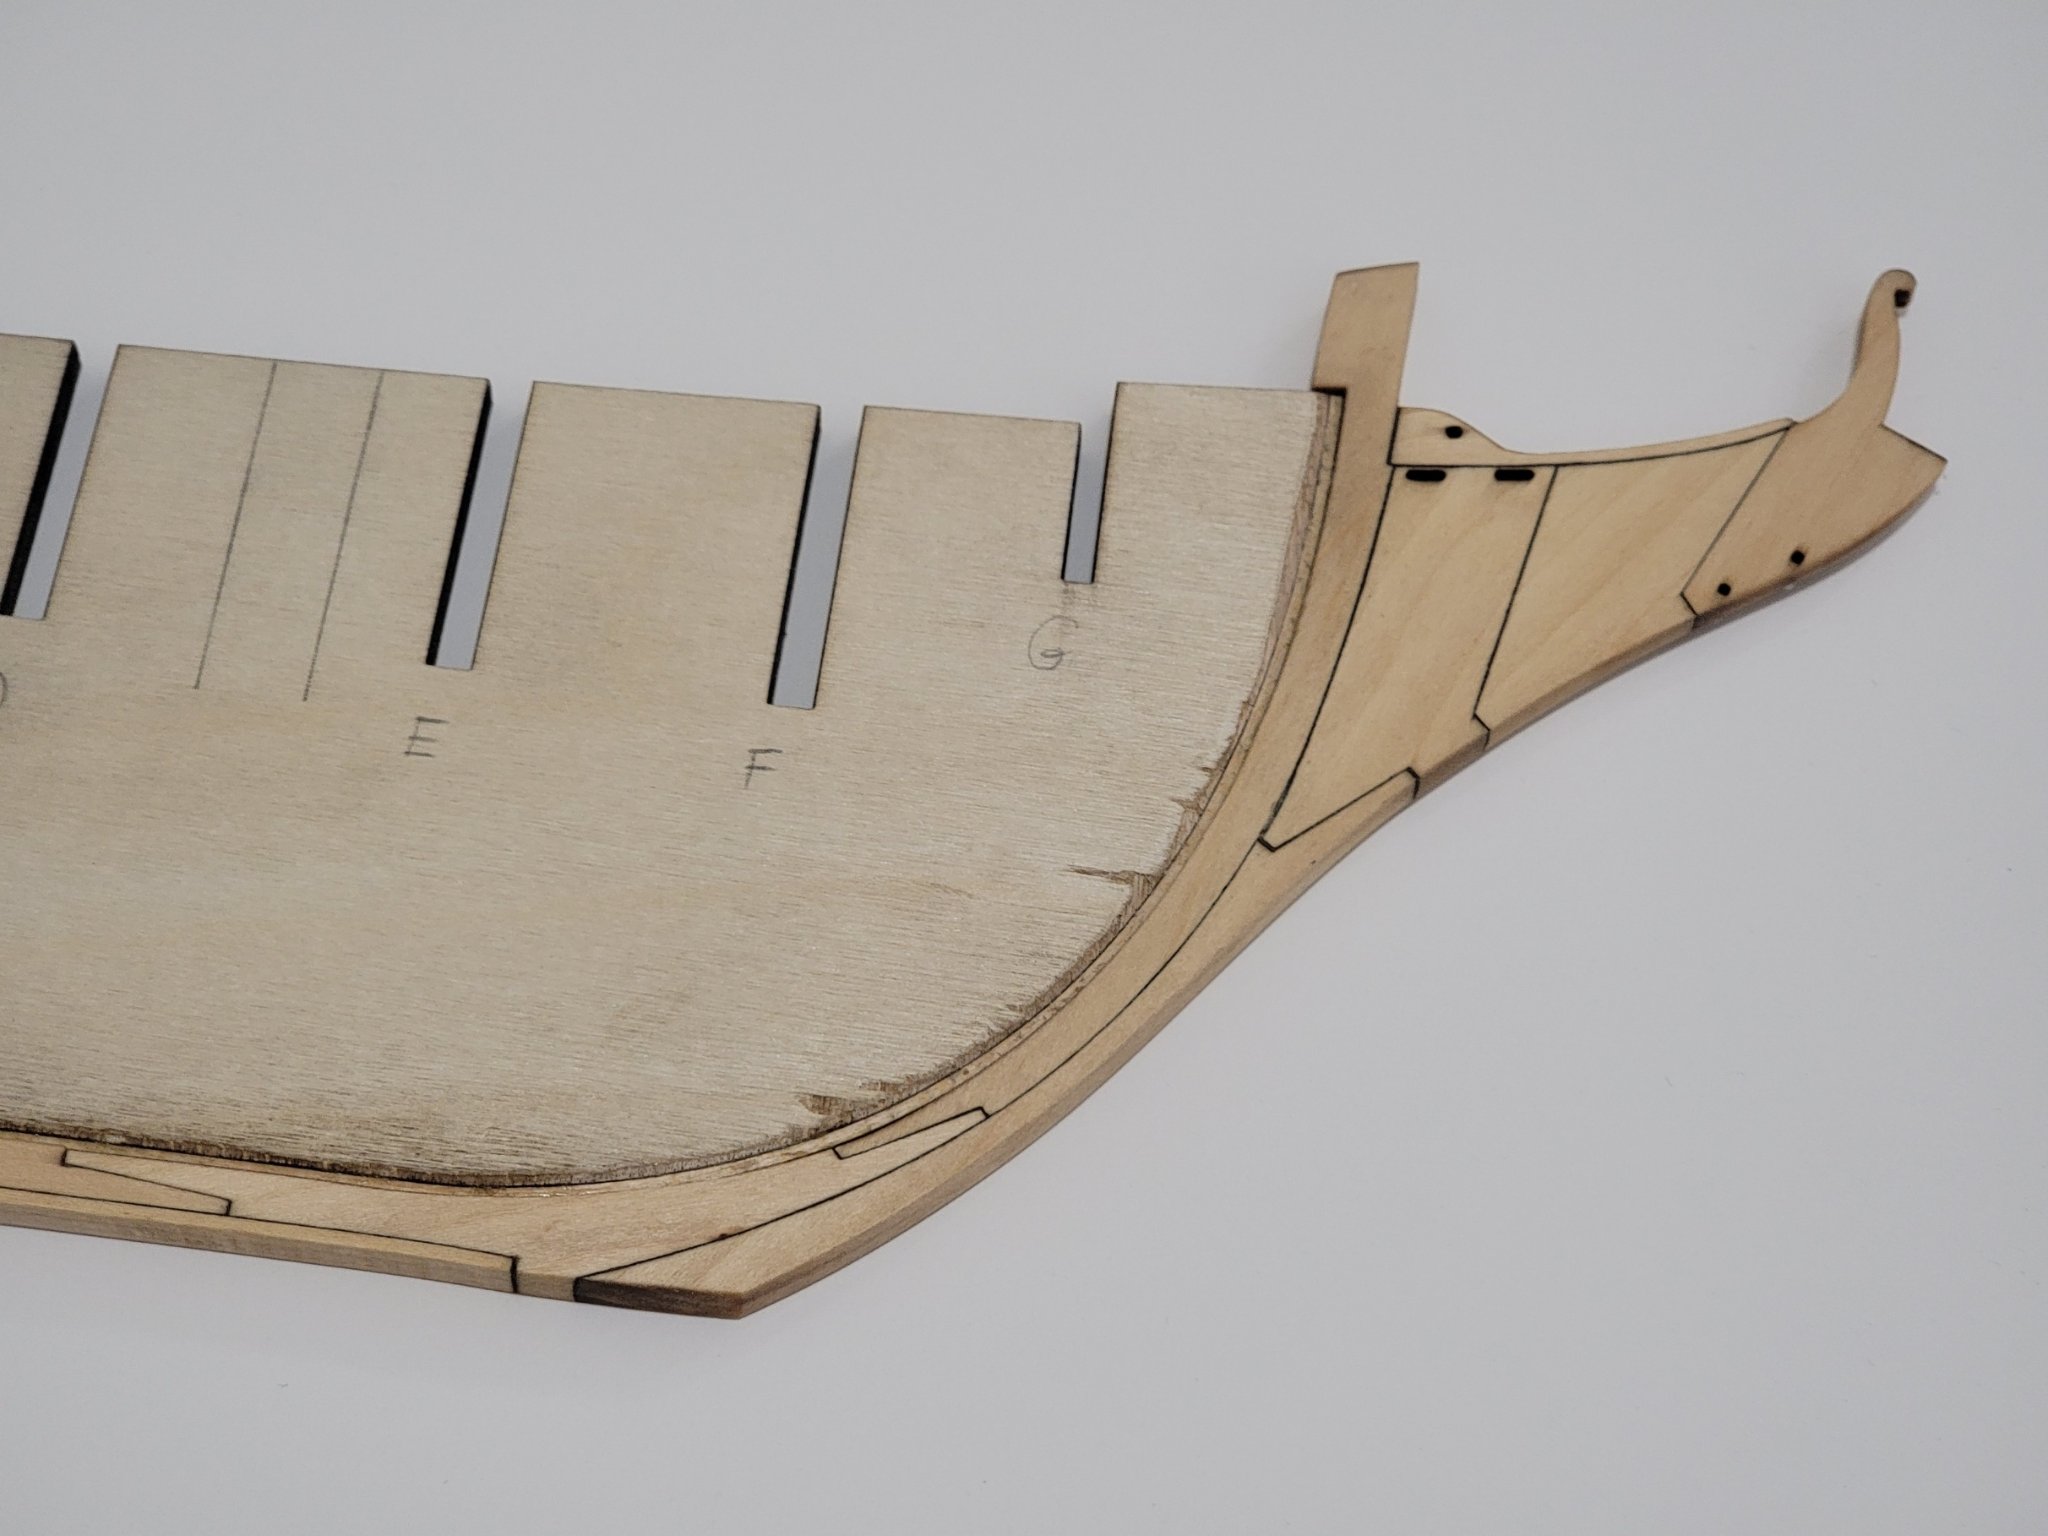
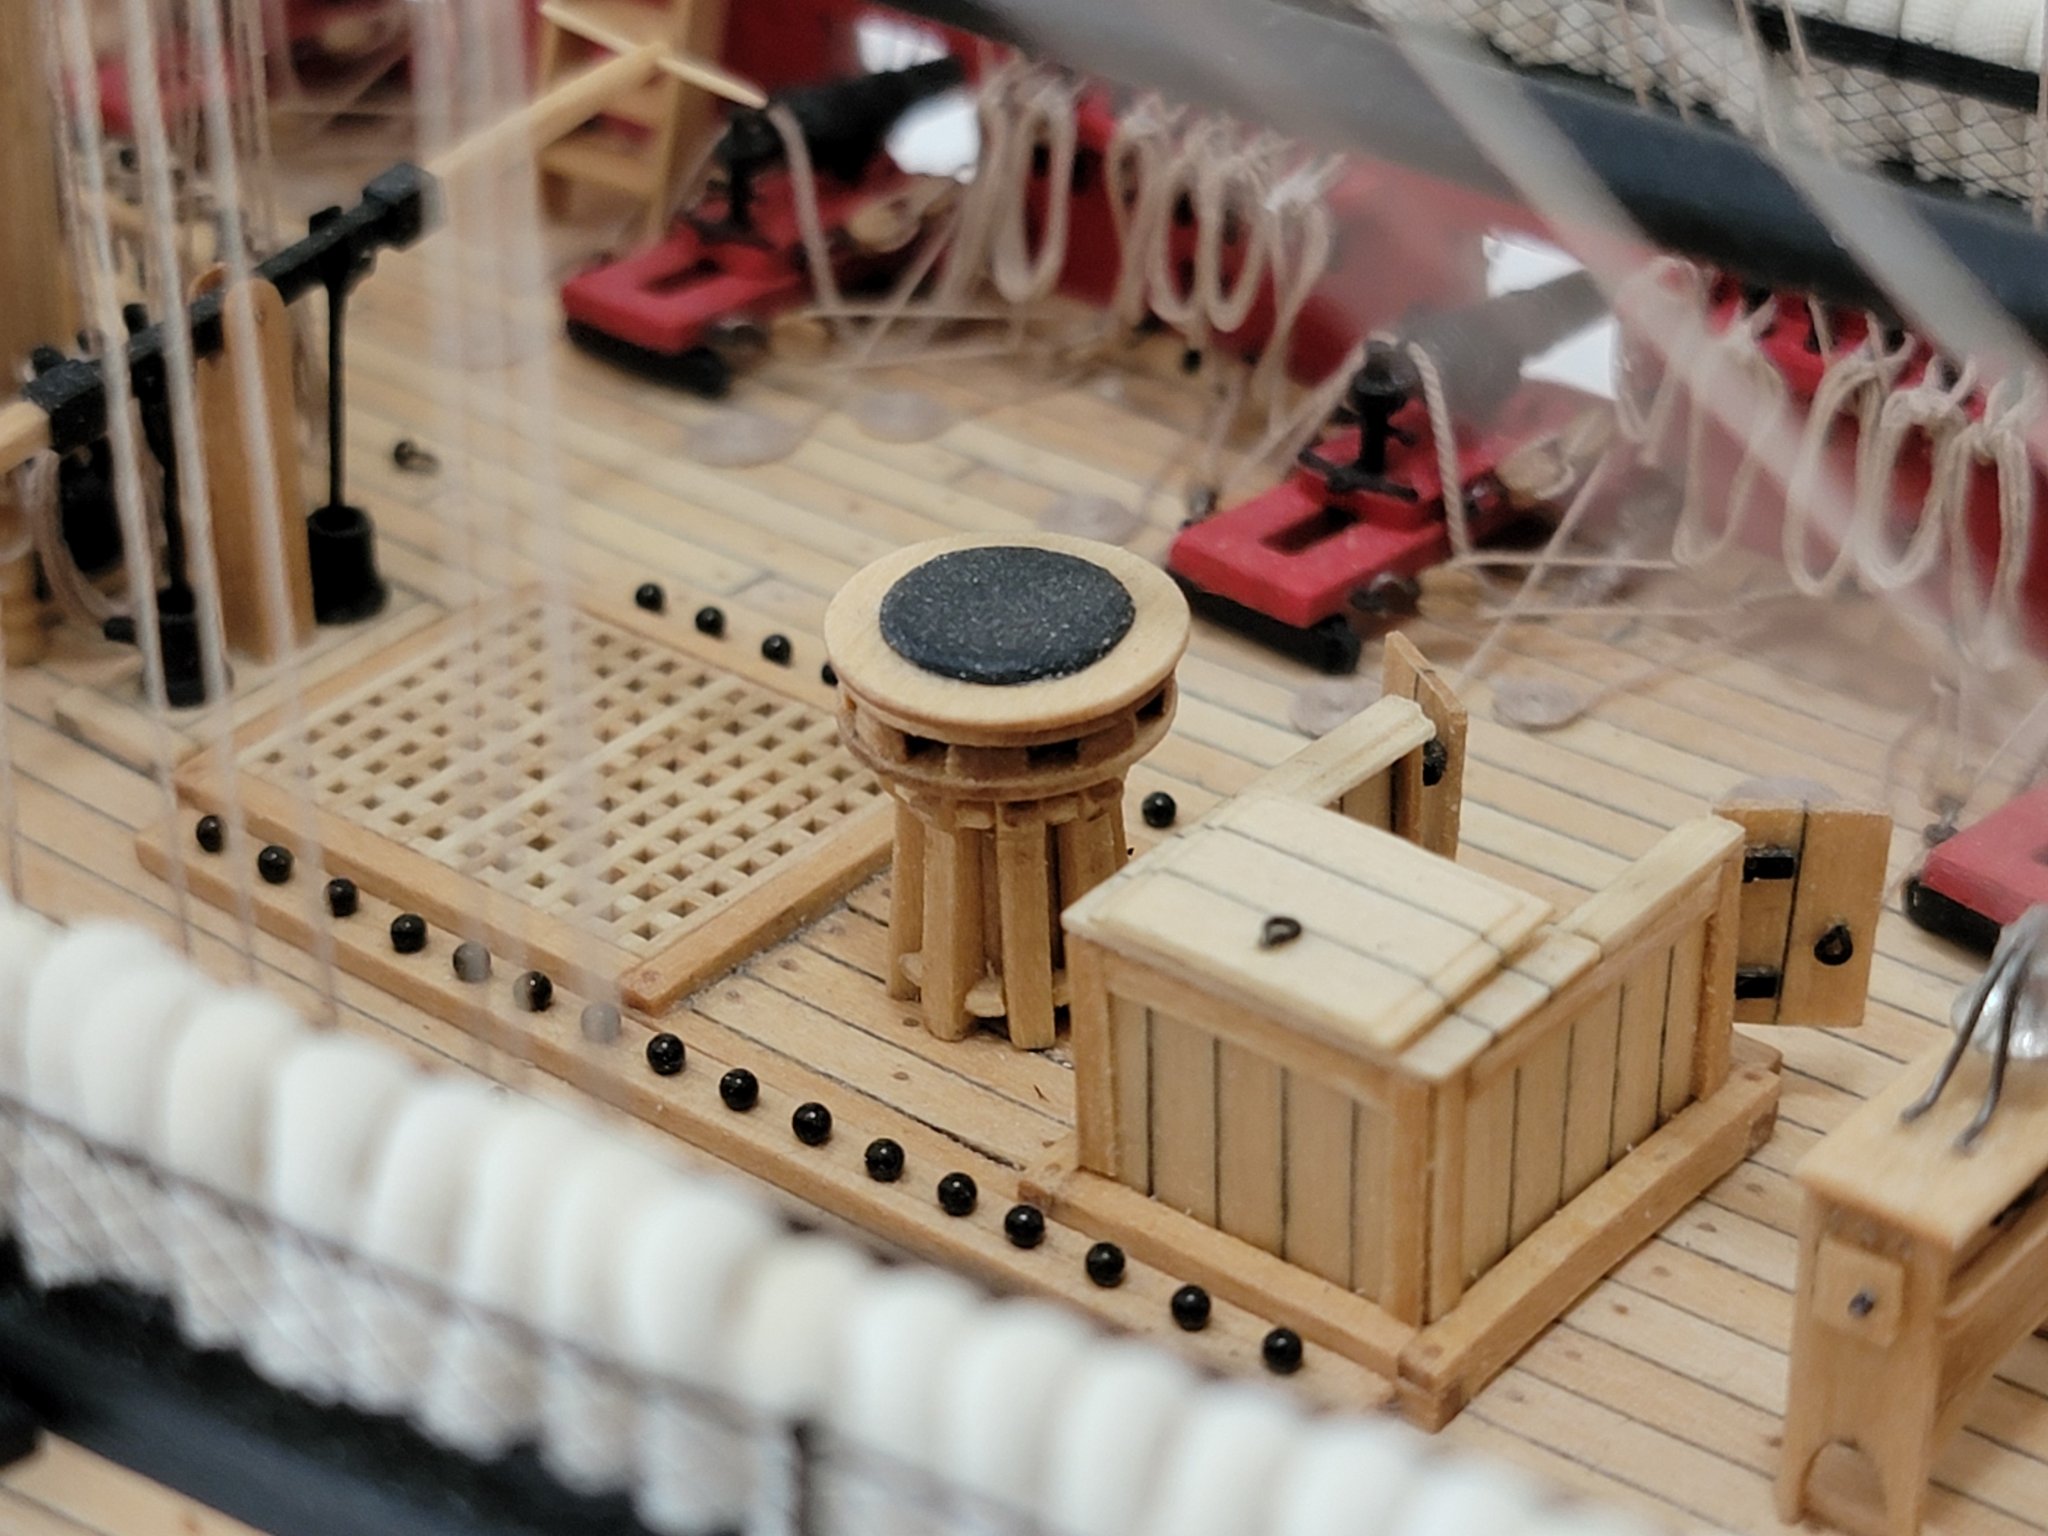
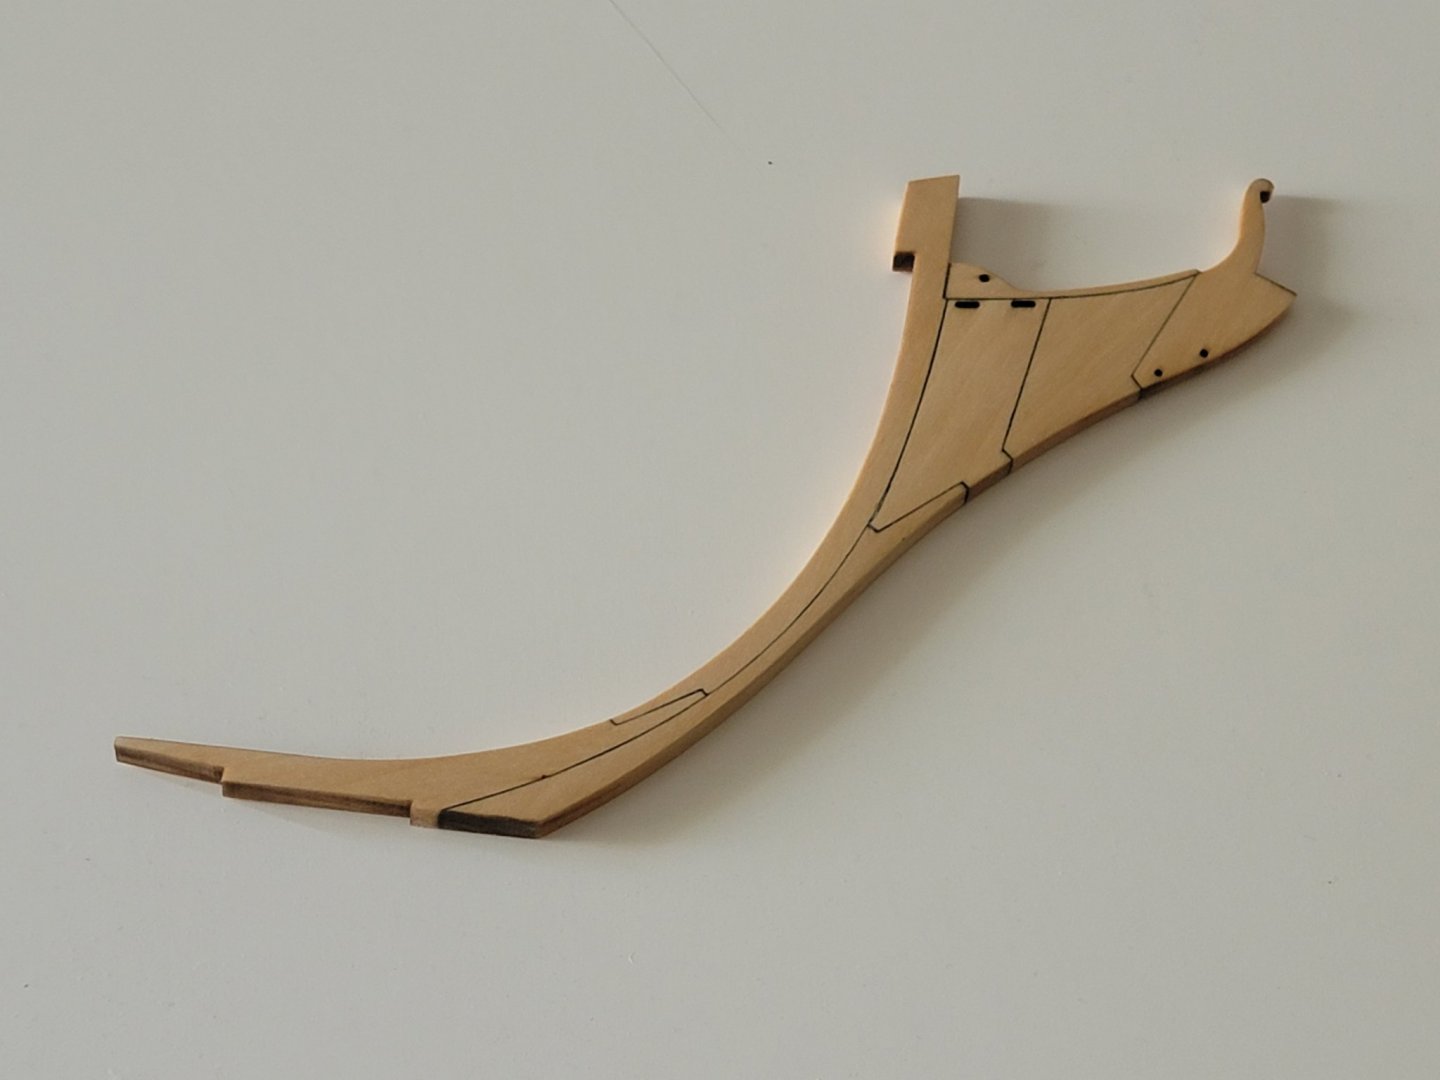
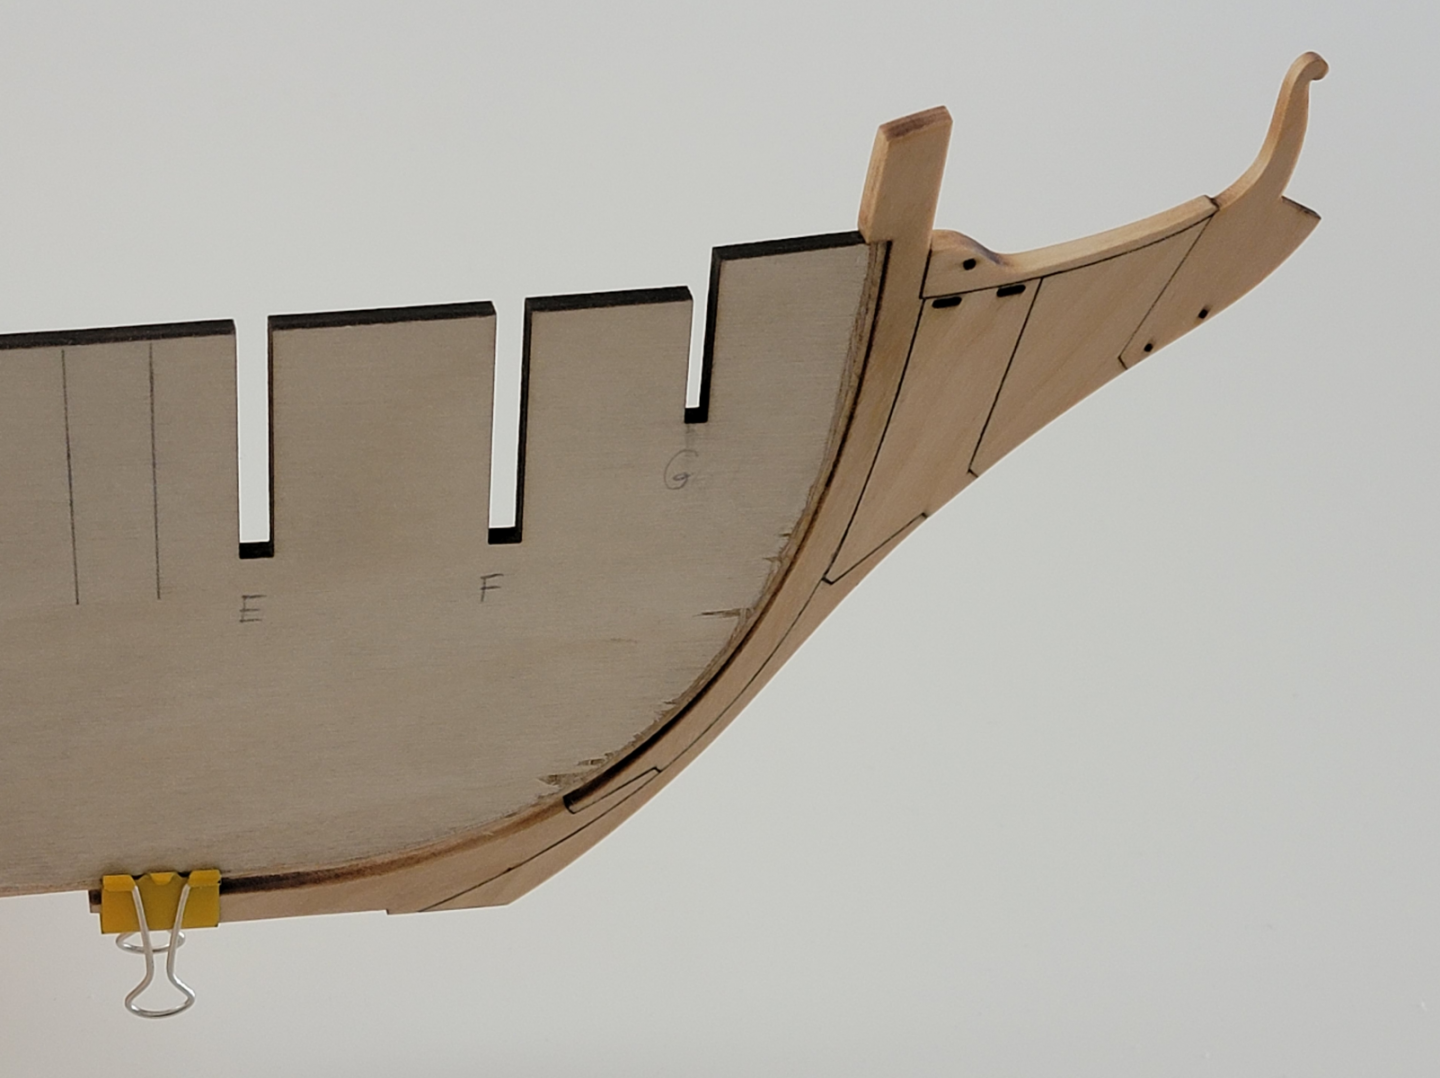
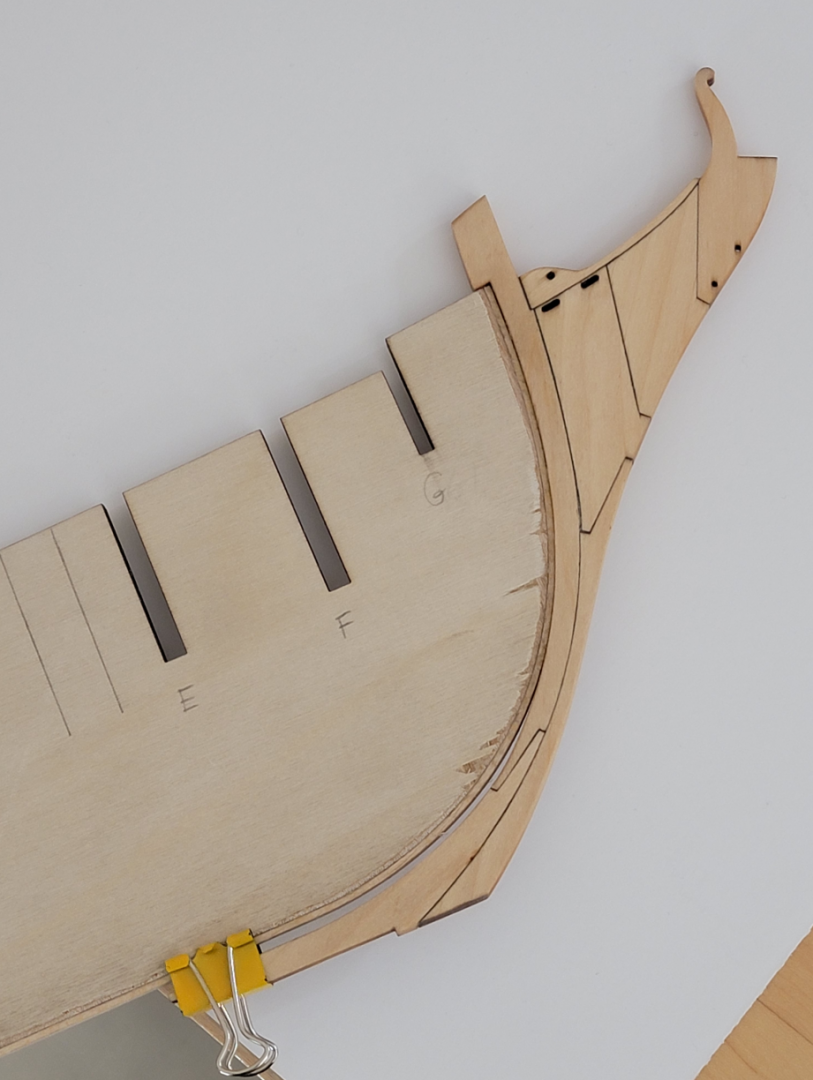
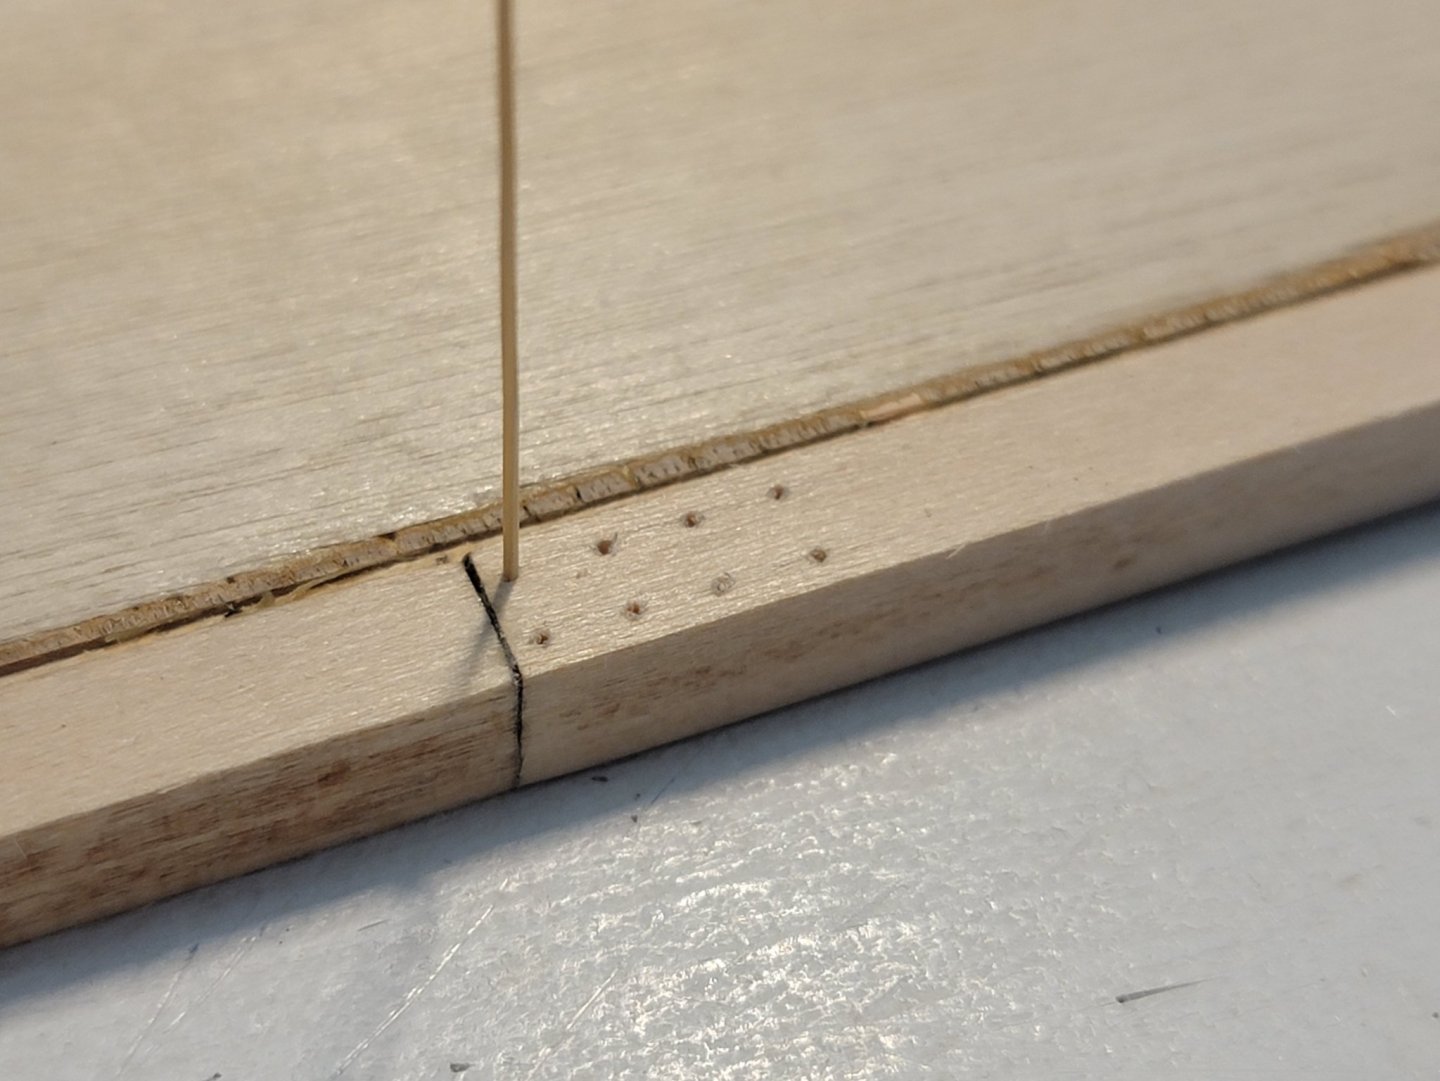
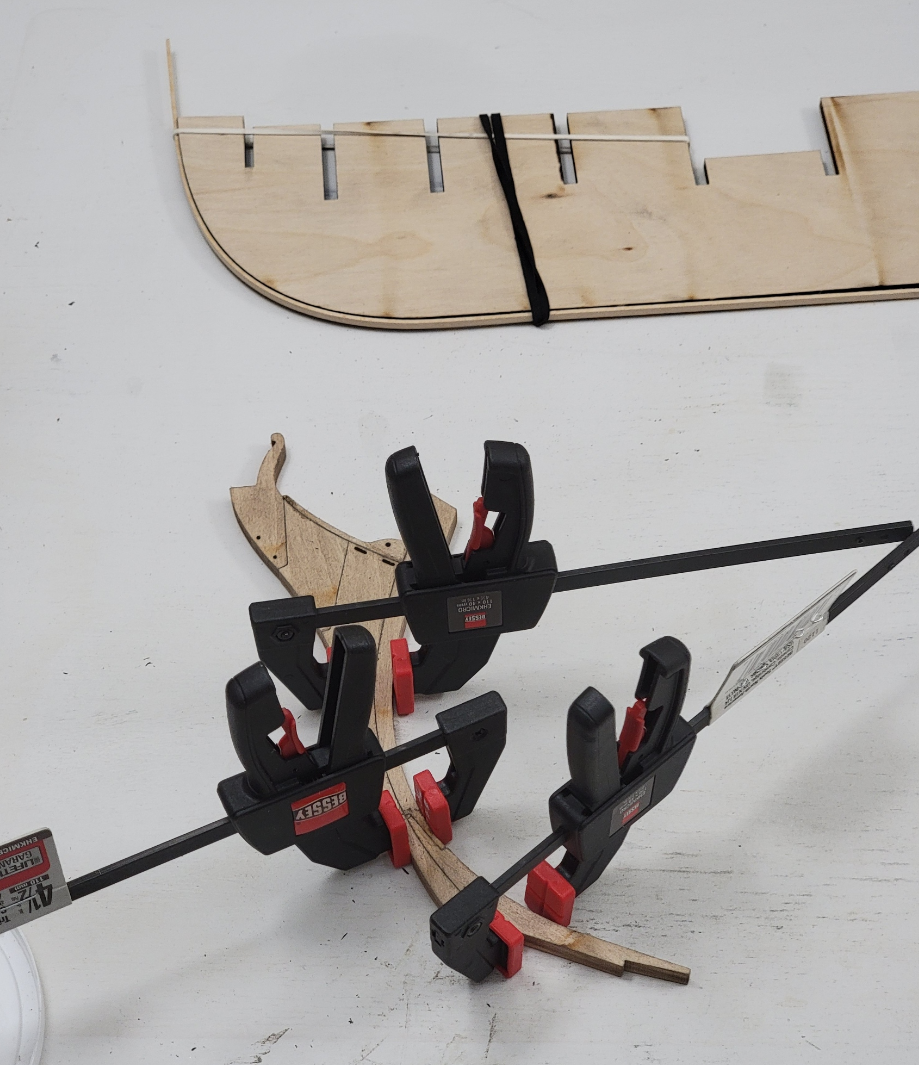
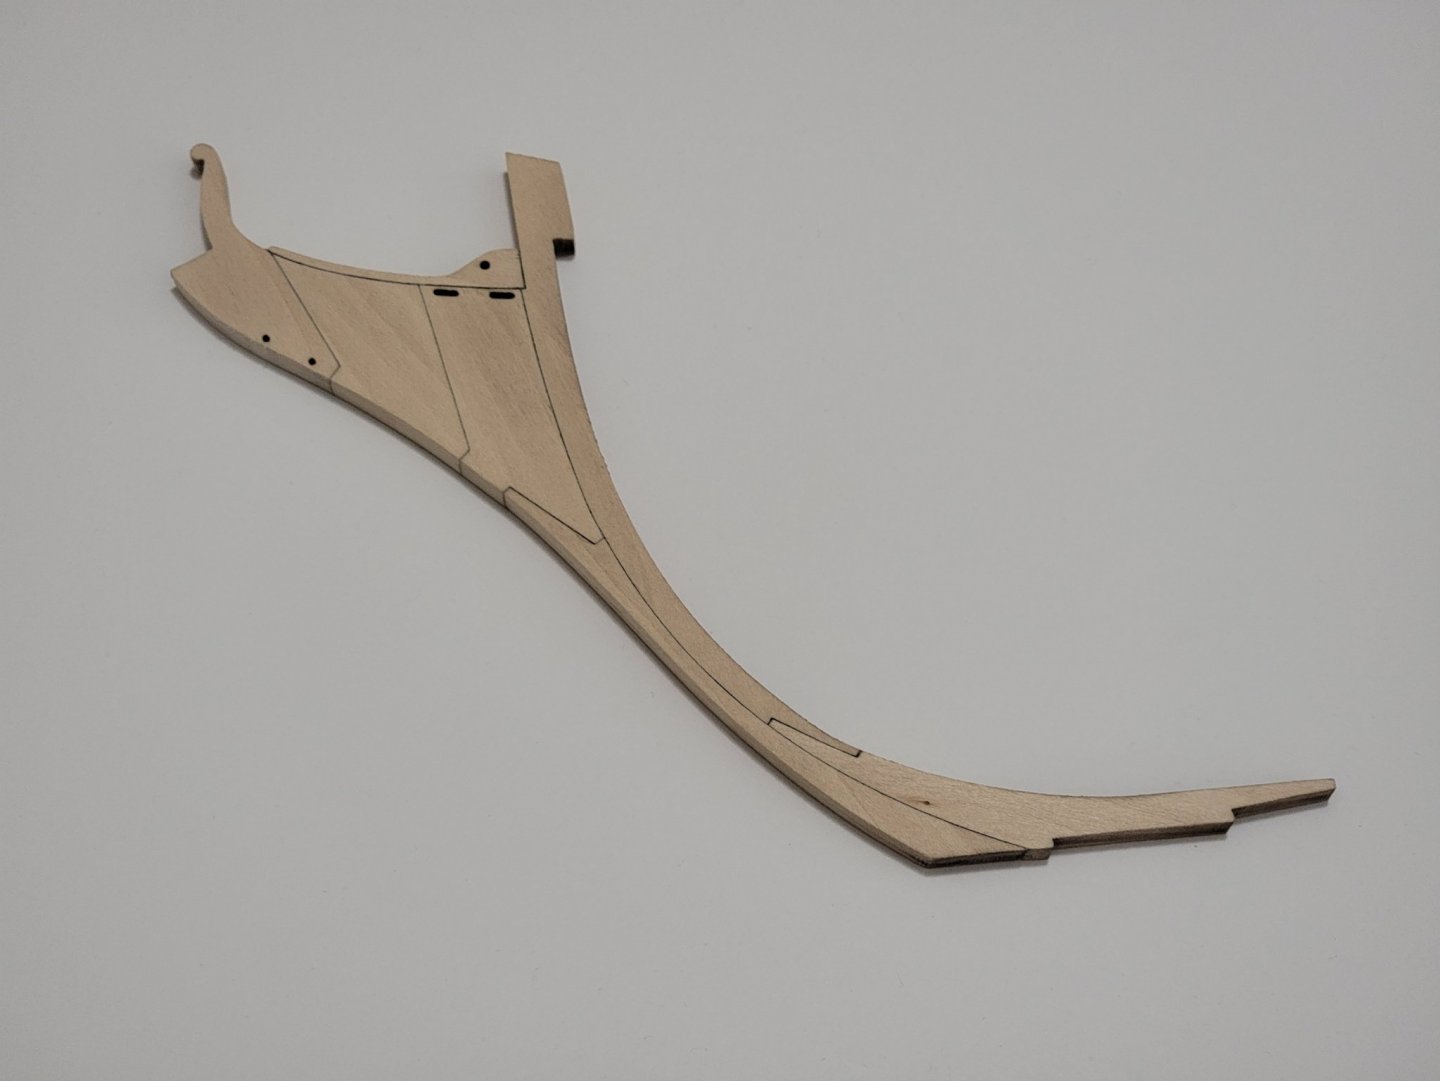
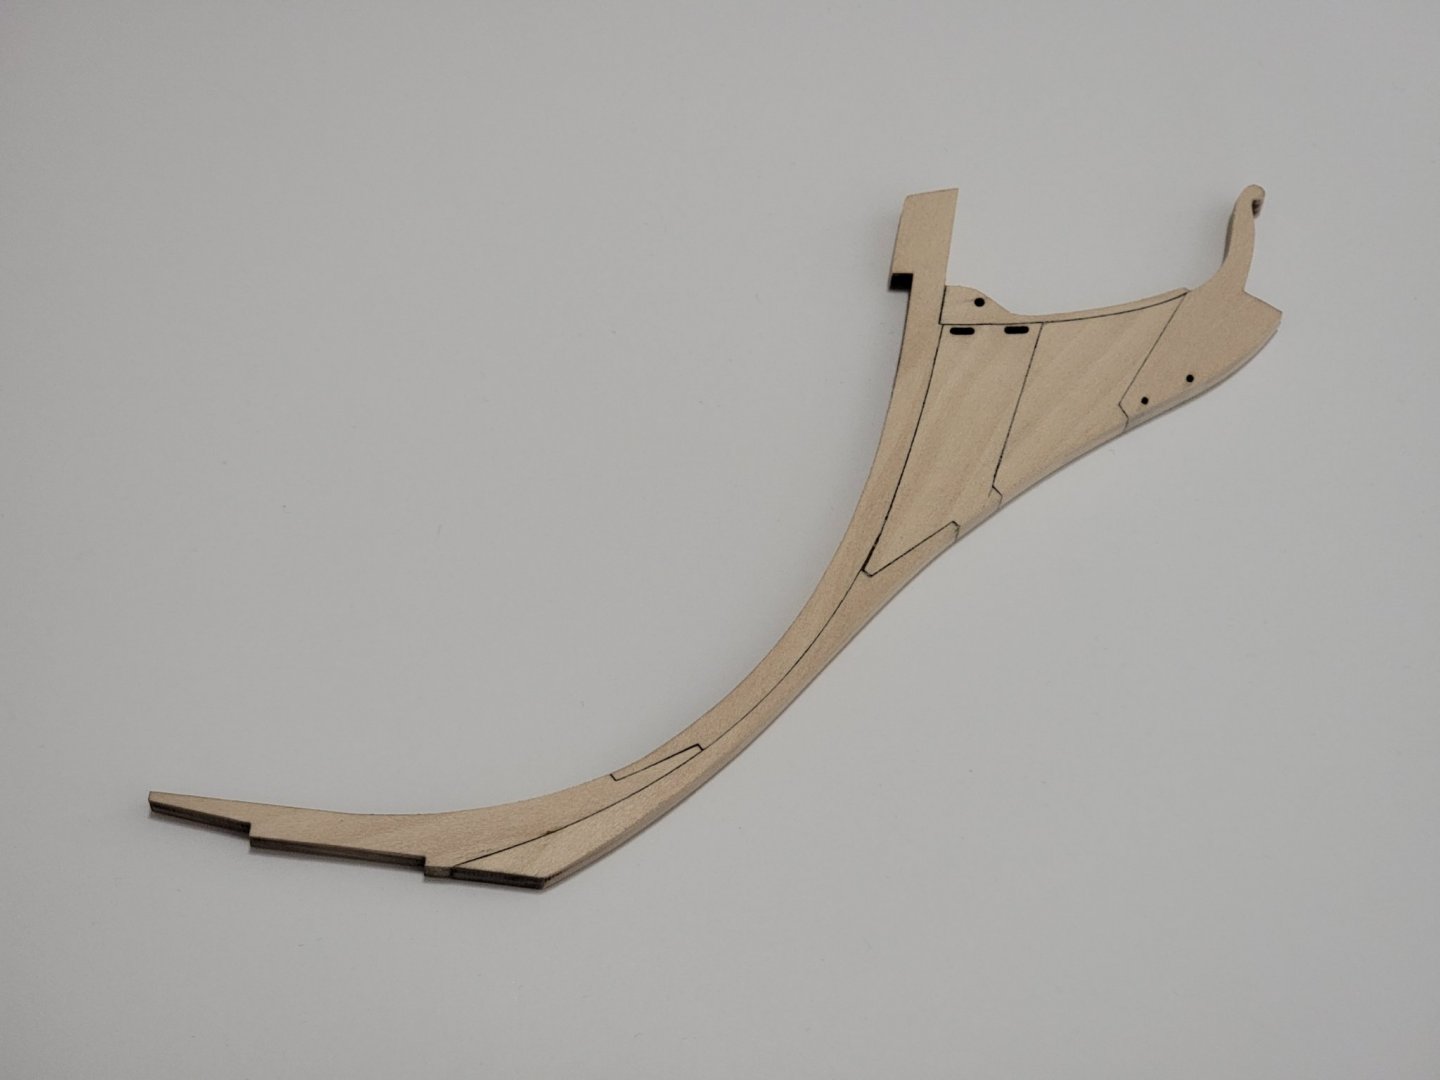
.thumb.jpg.62d1d69fed1f32364417cb1f9cdeb009.jpg) I finished Chapter 1 of the instructions! I used a sanding block to taper the stem. I sanded about 20-30 strokes before I switching to the other side, then repeated and repeated until I got the desired thickness for the figurehead to fit. The stem did not fit perfectly on the bulkhead former, so I first glued the top part of the stem to the BF, then after the glue set, I glued and clamped the bottom side. I also glued the first part of the keel to provide some extra strength: Then continued on gluing the other parts of the keel: Next, to simulate the treenails, I tried using bamboo skewers (my first time trying this technique). I first roughly thinned down the skewer so that it fits the largest hole in the Byrnes drawplate. The drawplate was clamped on a table, then I used pliers to pull the skewer to thin it. I reduced the diameter all the way to 0.020" (#31 on the drawplate). I then dipped the skewer into dilute white glue, and inserted it into a predrilled 0.022" hole: The final part of the chapter was to add the false keel. I followed the guidelines from TFFM Vol 1 to angle the joints (purpose of this is if the false keel were to break, it is supposed to slip away and not affect the neighboring false keel section). I also used pencil here to simulate the tarred flannel between the keel and false keel. Once they were all glued in, I applied tung oil: I just need to apply one more coat of the oil, then will start installing all the bulkheads.
I finished Chapter 1 of the instructions! I used a sanding block to taper the stem. I sanded about 20-30 strokes before I switching to the other side, then repeated and repeated until I got the desired thickness for the figurehead to fit. The stem did not fit perfectly on the bulkhead former, so I first glued the top part of the stem to the BF, then after the glue set, I glued and clamped the bottom side. I also glued the first part of the keel to provide some extra strength: Then continued on gluing the other parts of the keel: Next, to simulate the treenails, I tried using bamboo skewers (my first time trying this technique). I first roughly thinned down the skewer so that it fits the largest hole in the Byrnes drawplate. The drawplate was clamped on a table, then I used pliers to pull the skewer to thin it. I reduced the diameter all the way to 0.020" (#31 on the drawplate). I then dipped the skewer into dilute white glue, and inserted it into a predrilled 0.022" hole: The final part of the chapter was to add the false keel. I followed the guidelines from TFFM Vol 1 to angle the joints (purpose of this is if the false keel were to break, it is supposed to slip away and not affect the neighboring false keel section). I also used pencil here to simulate the tarred flannel between the keel and false keel. Once they were all glued in, I applied tung oil: I just need to apply one more coat of the oil, then will start installing all the bulkheads.


-
Welcome aboard Steven and David! I was very eager to start this build ever since I got the kit some time last year... so I jumped right in! 😁
-
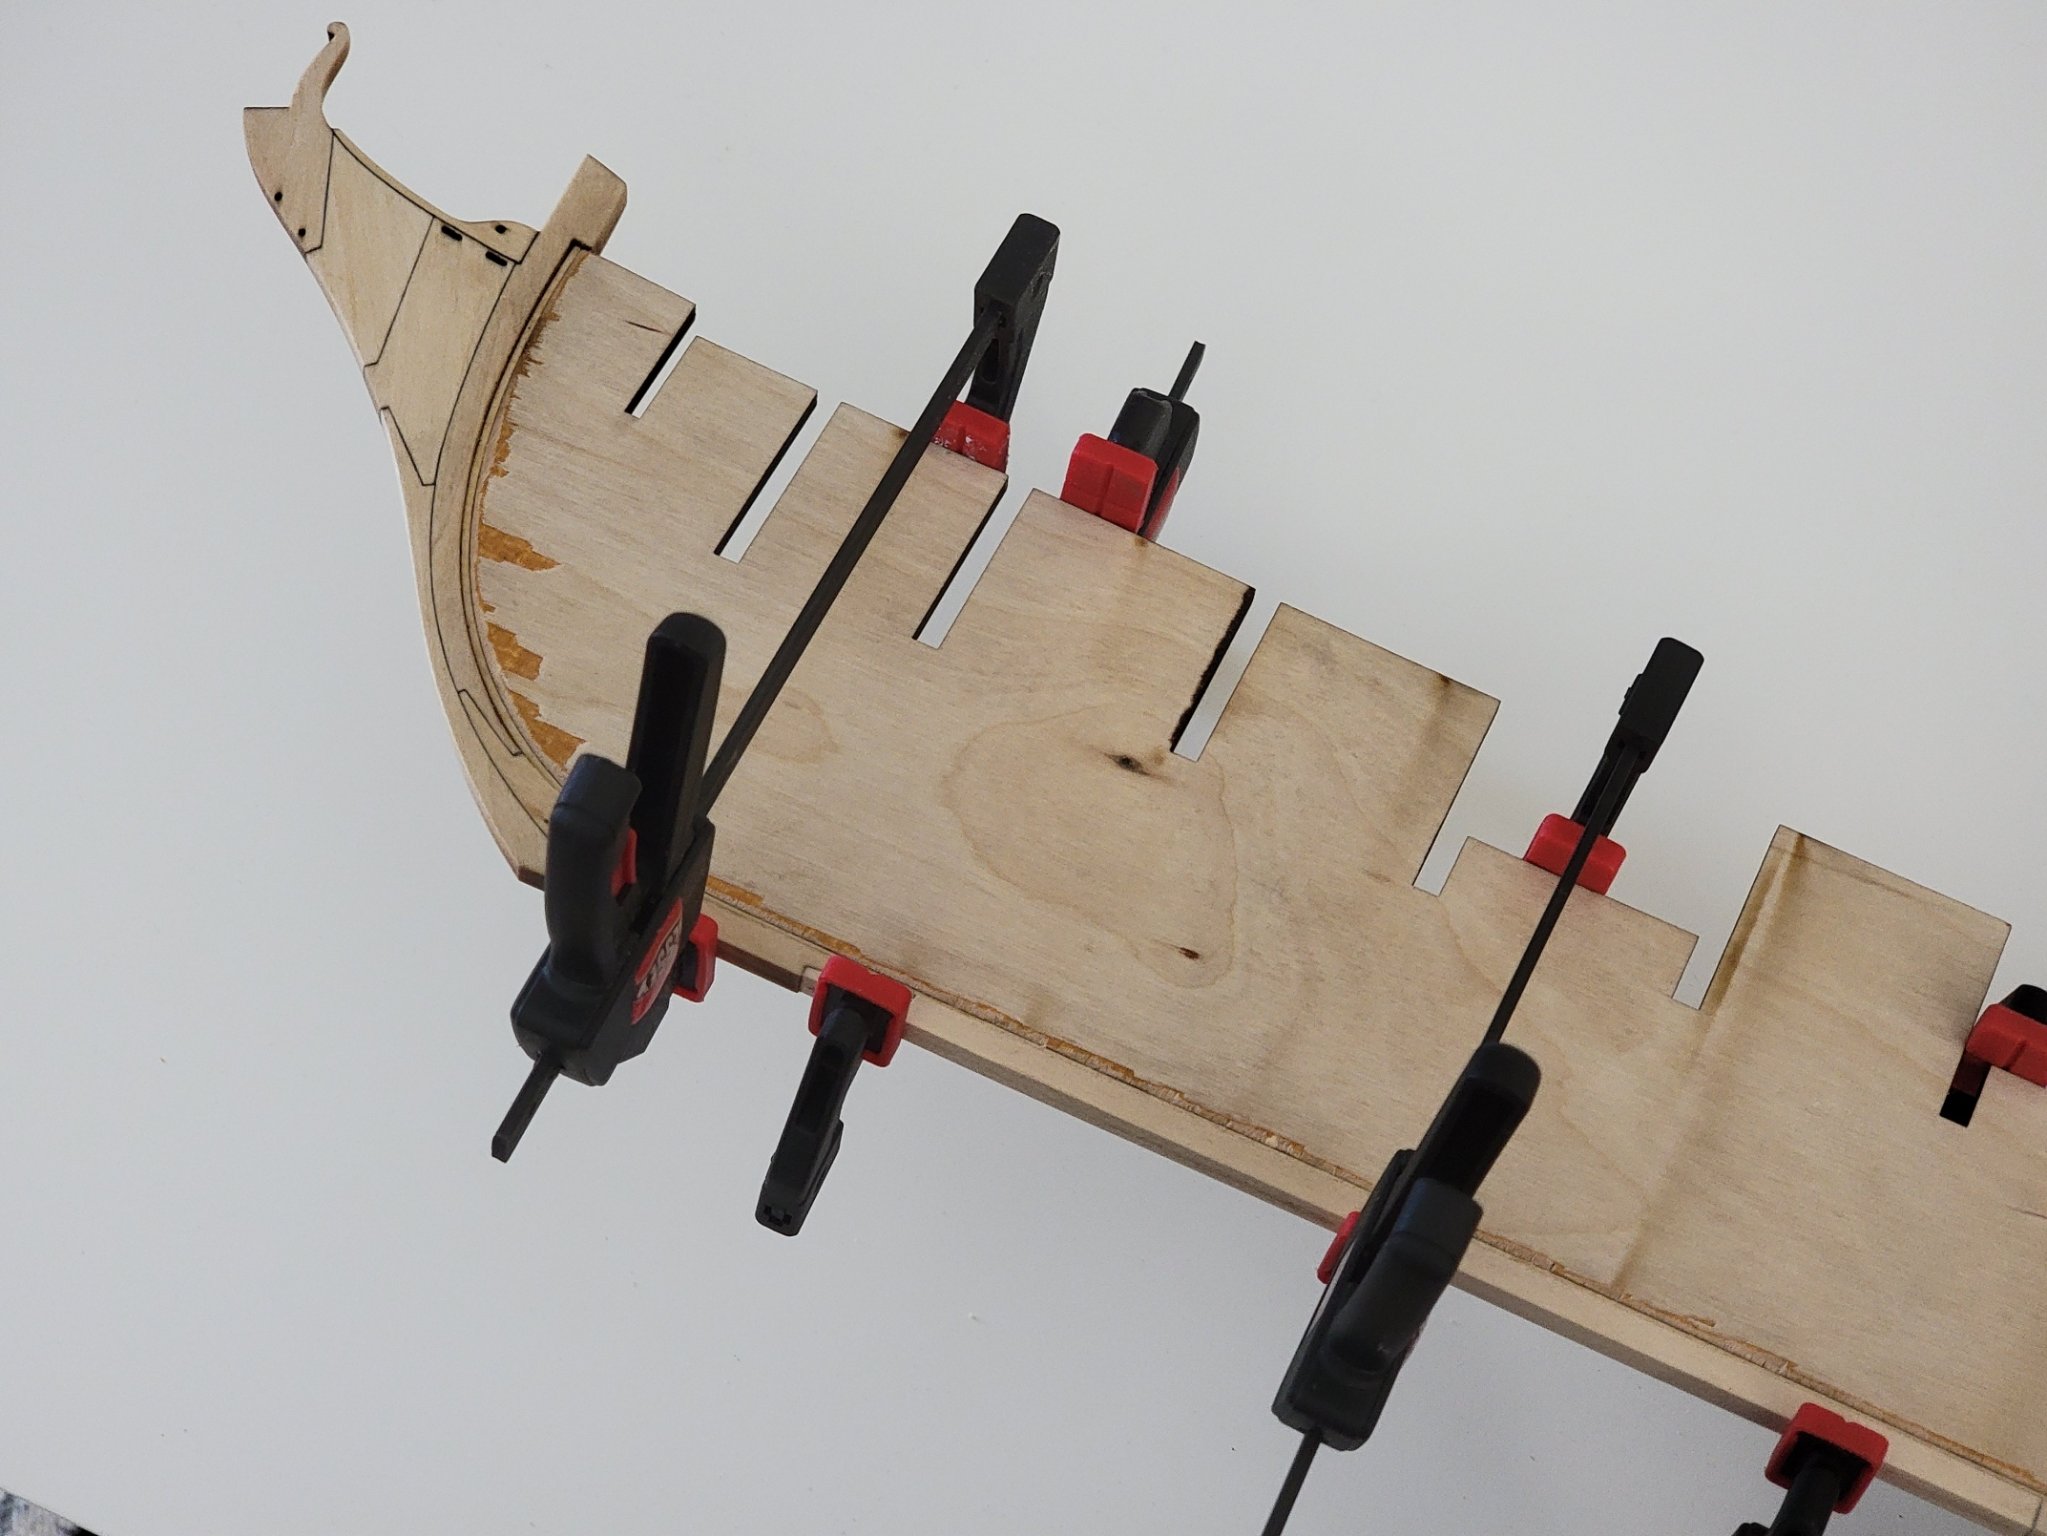
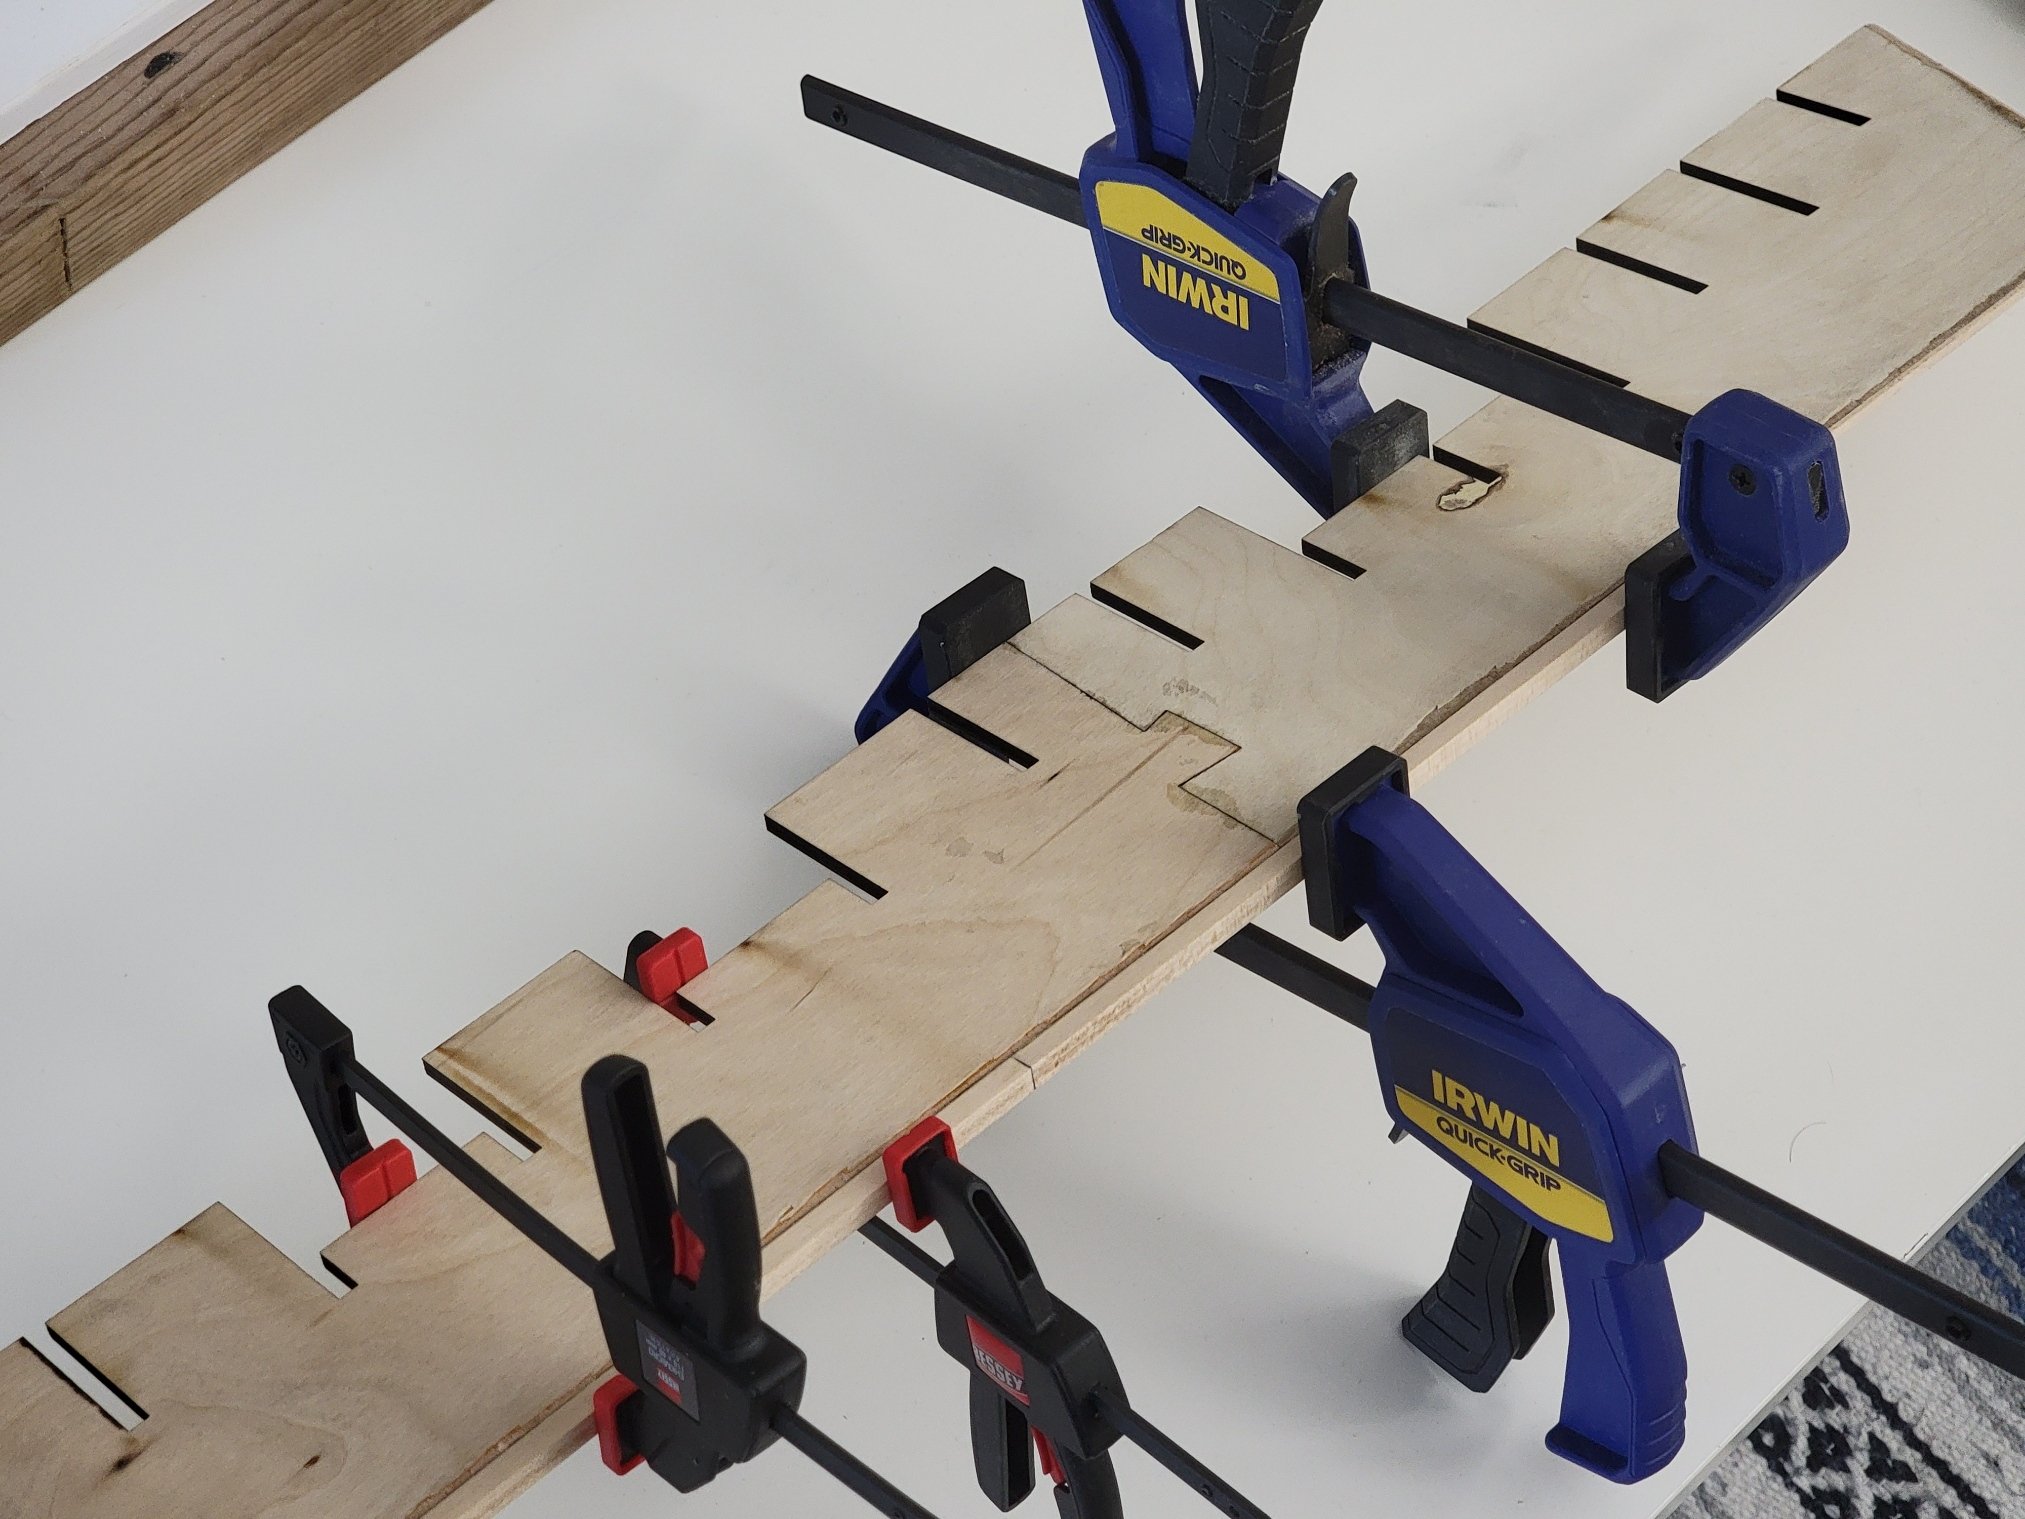
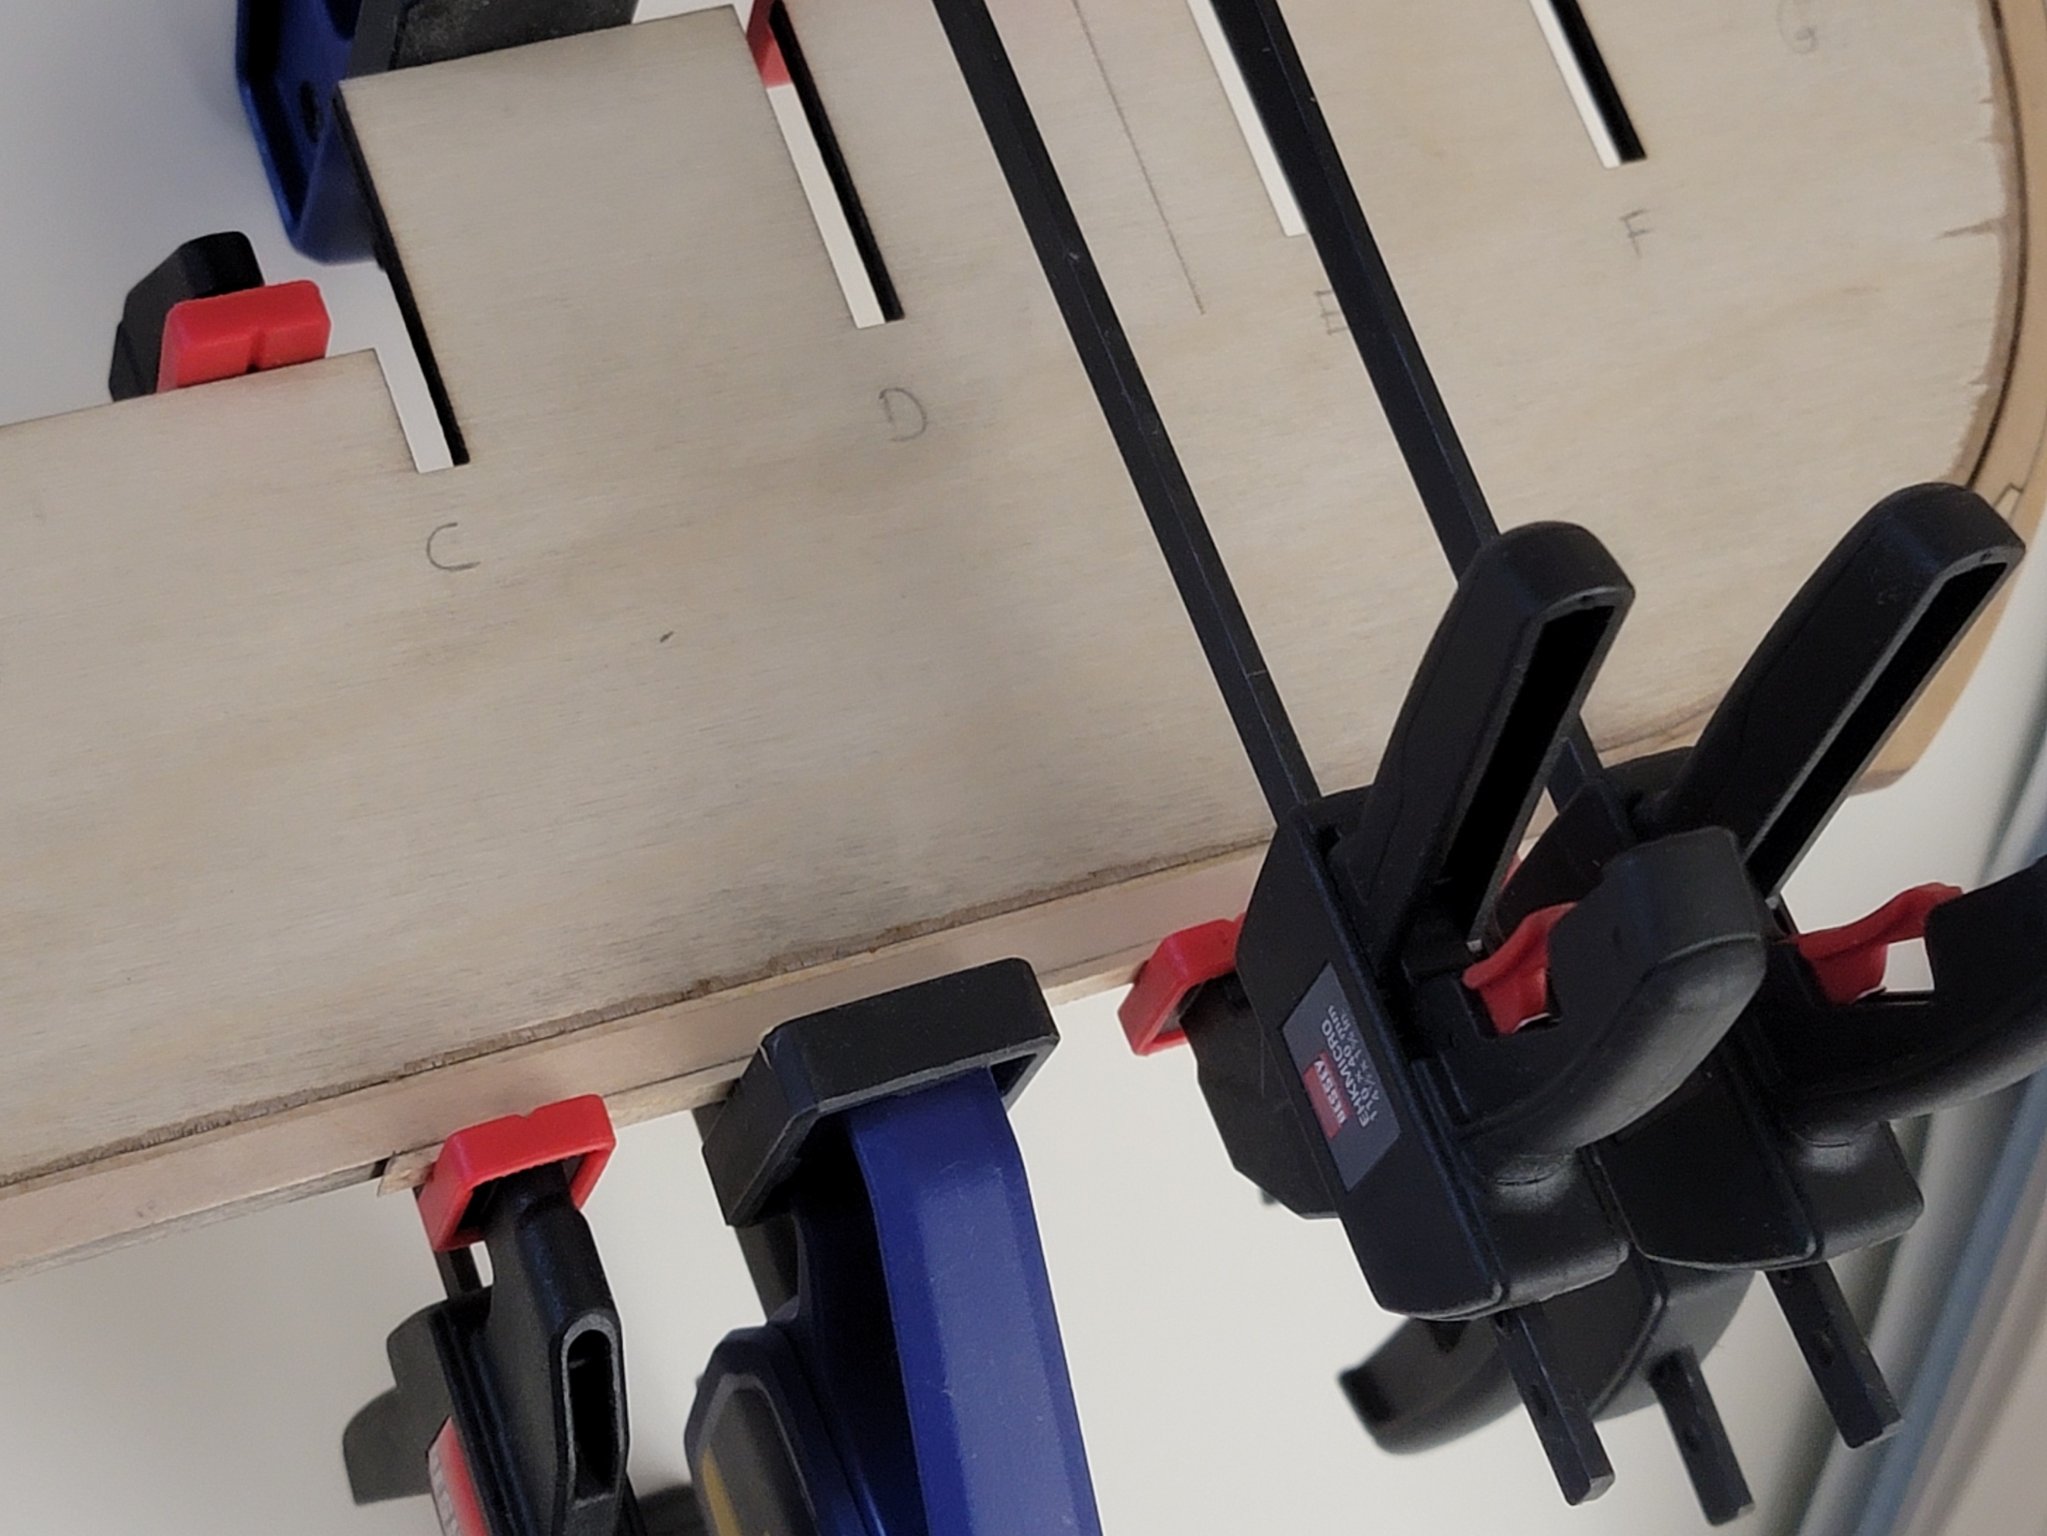
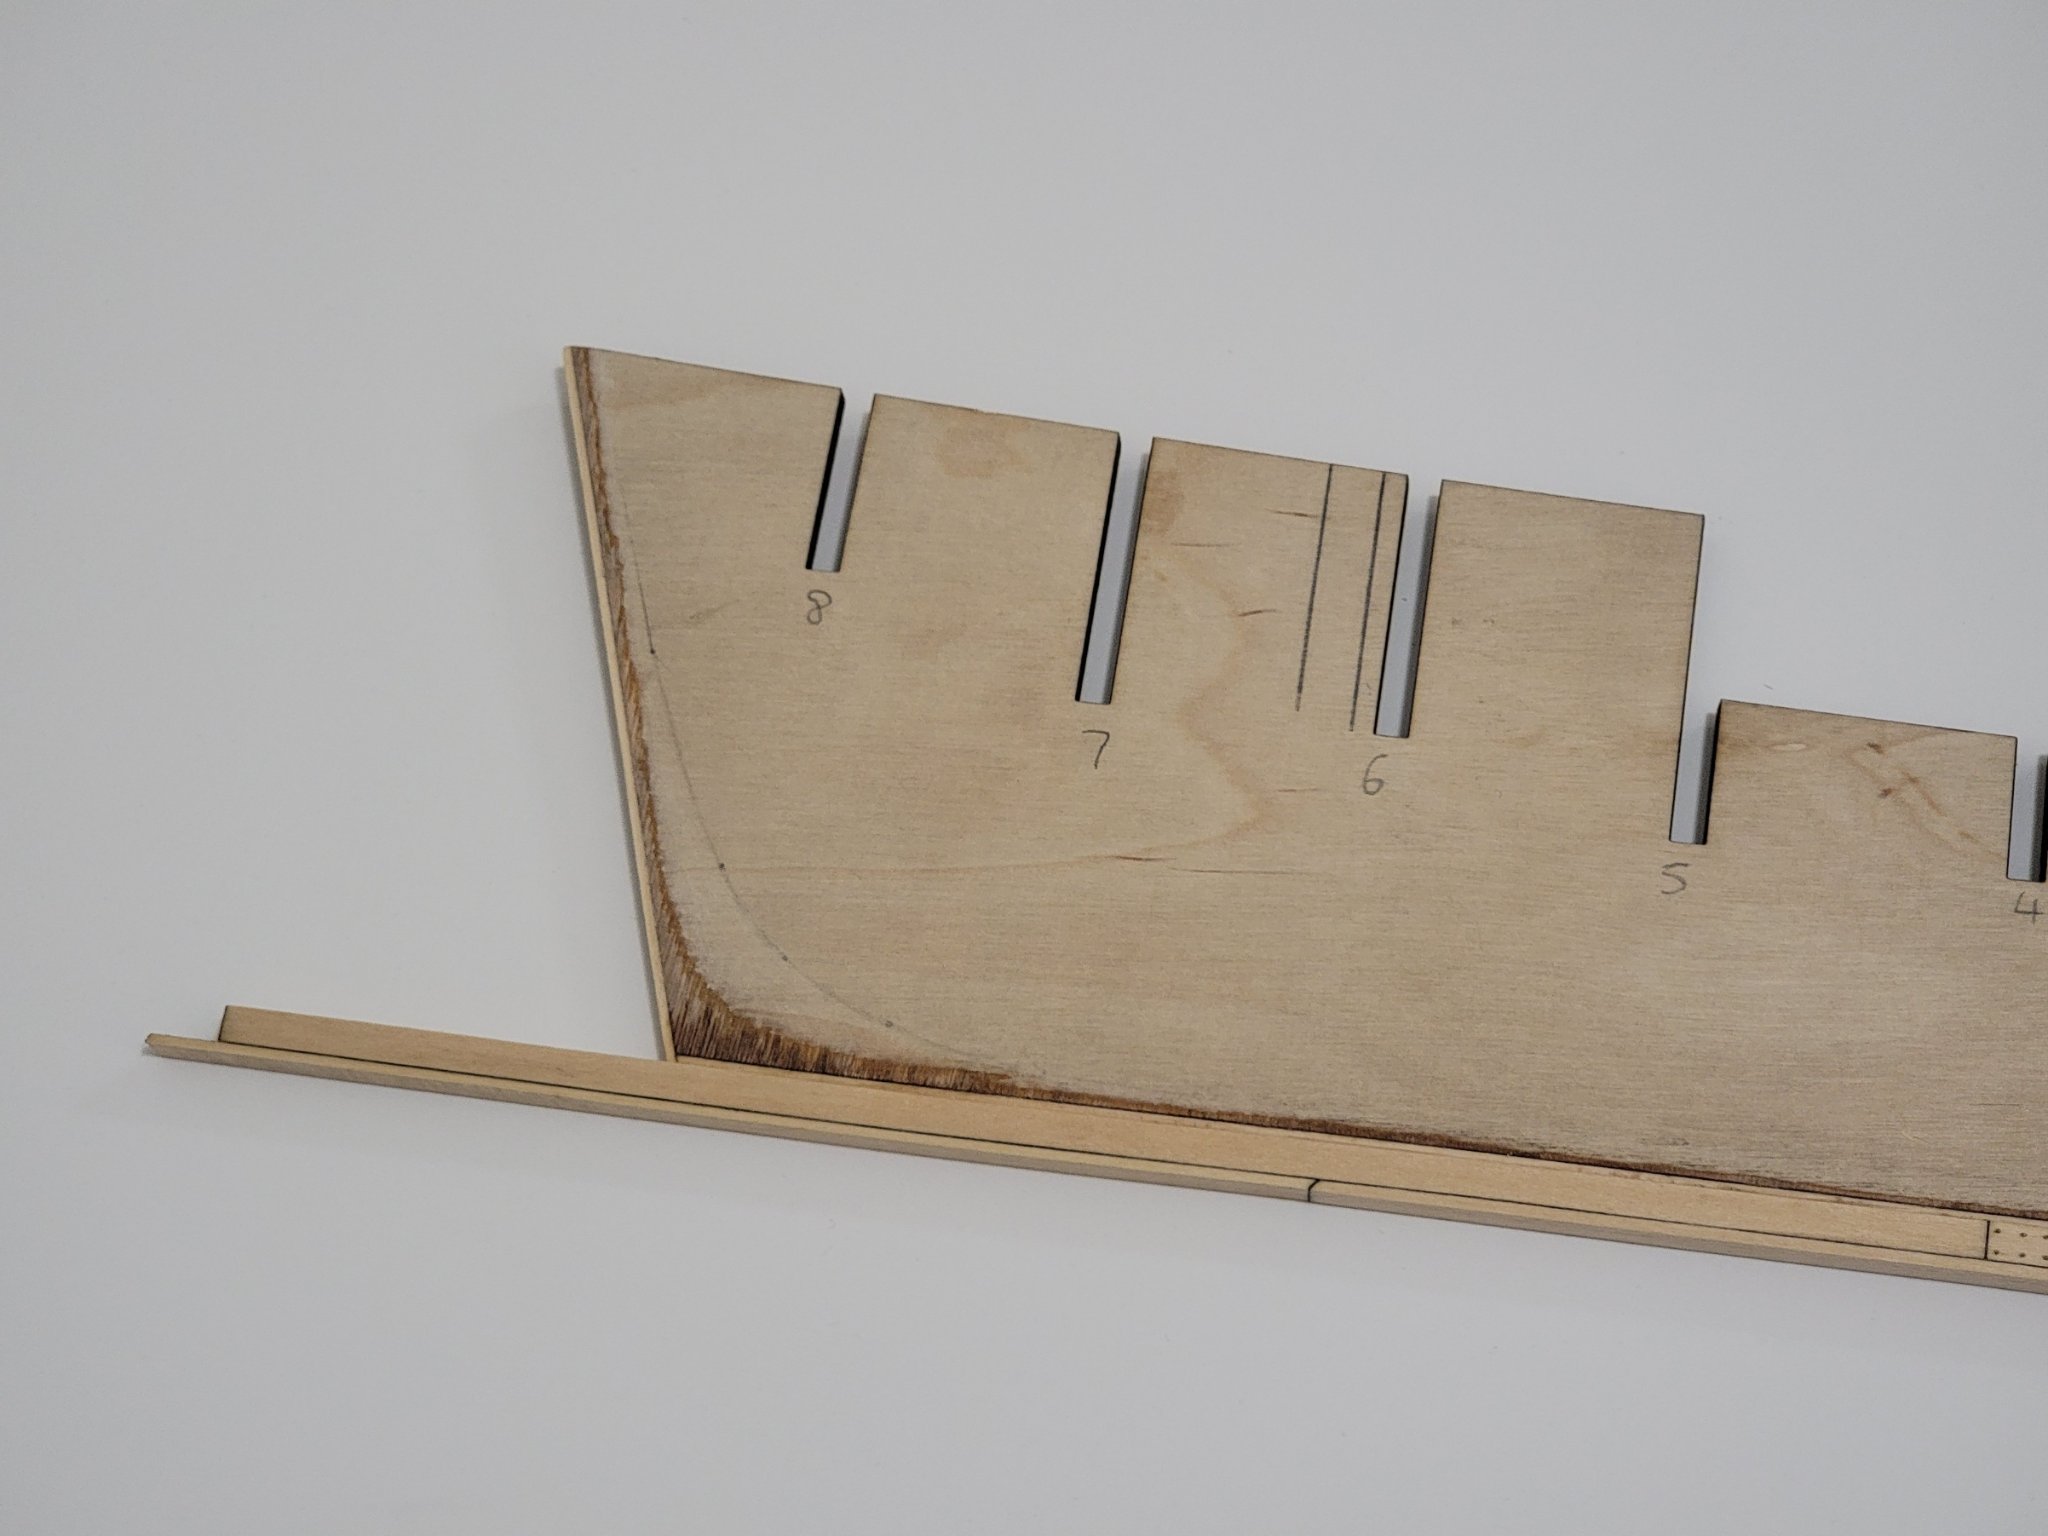
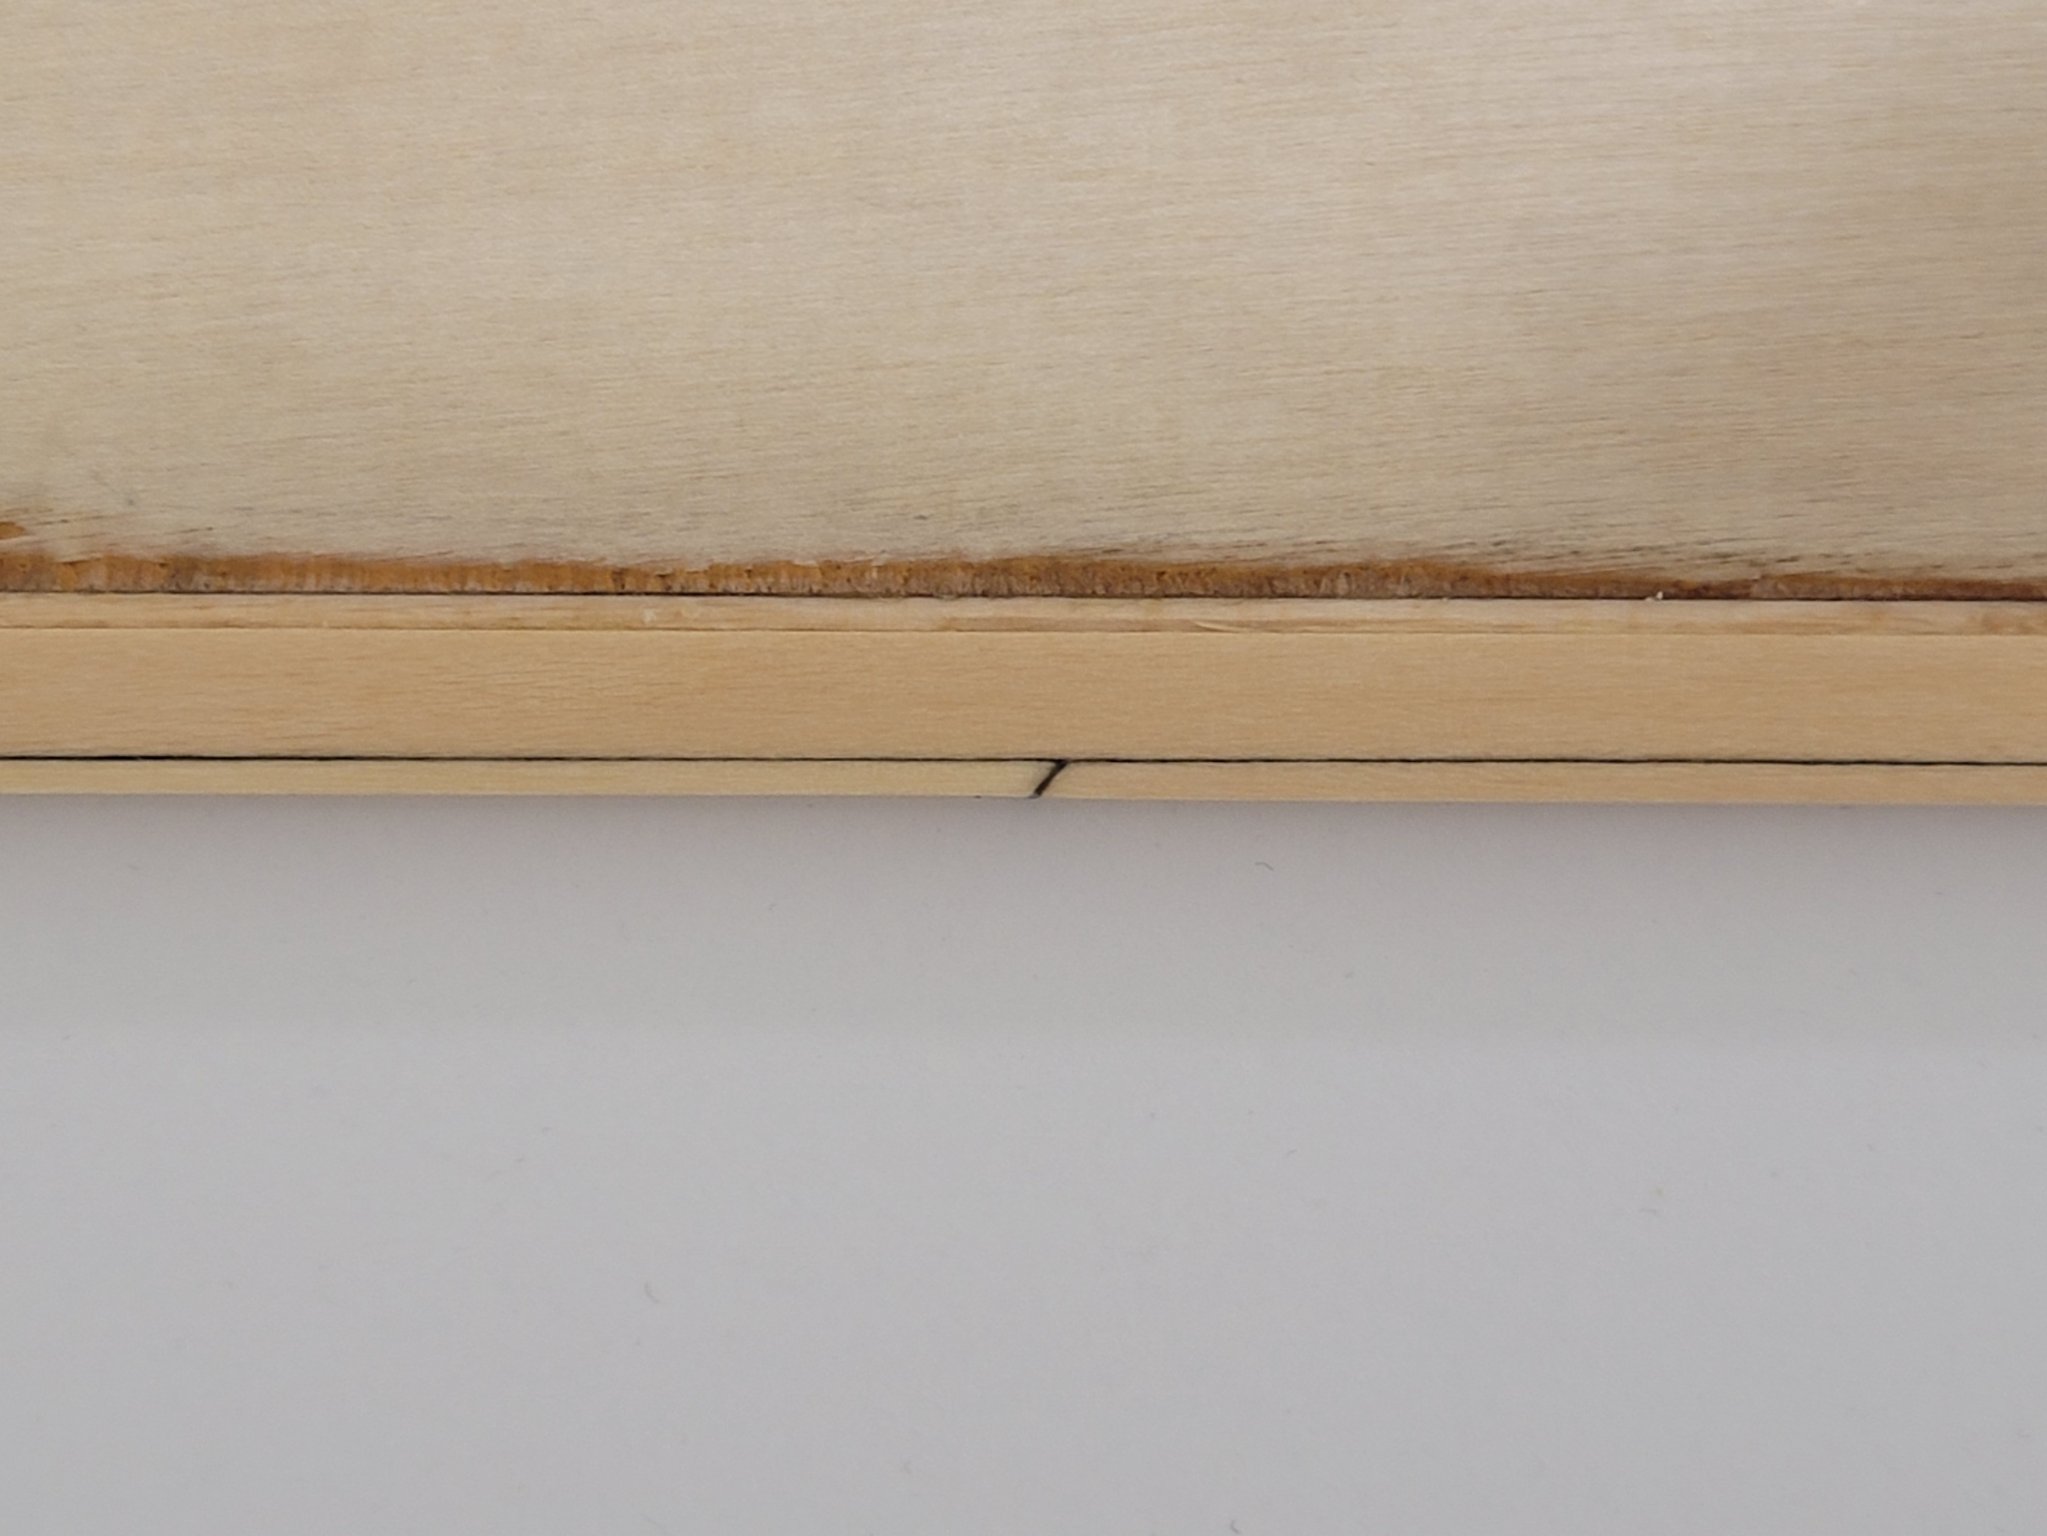
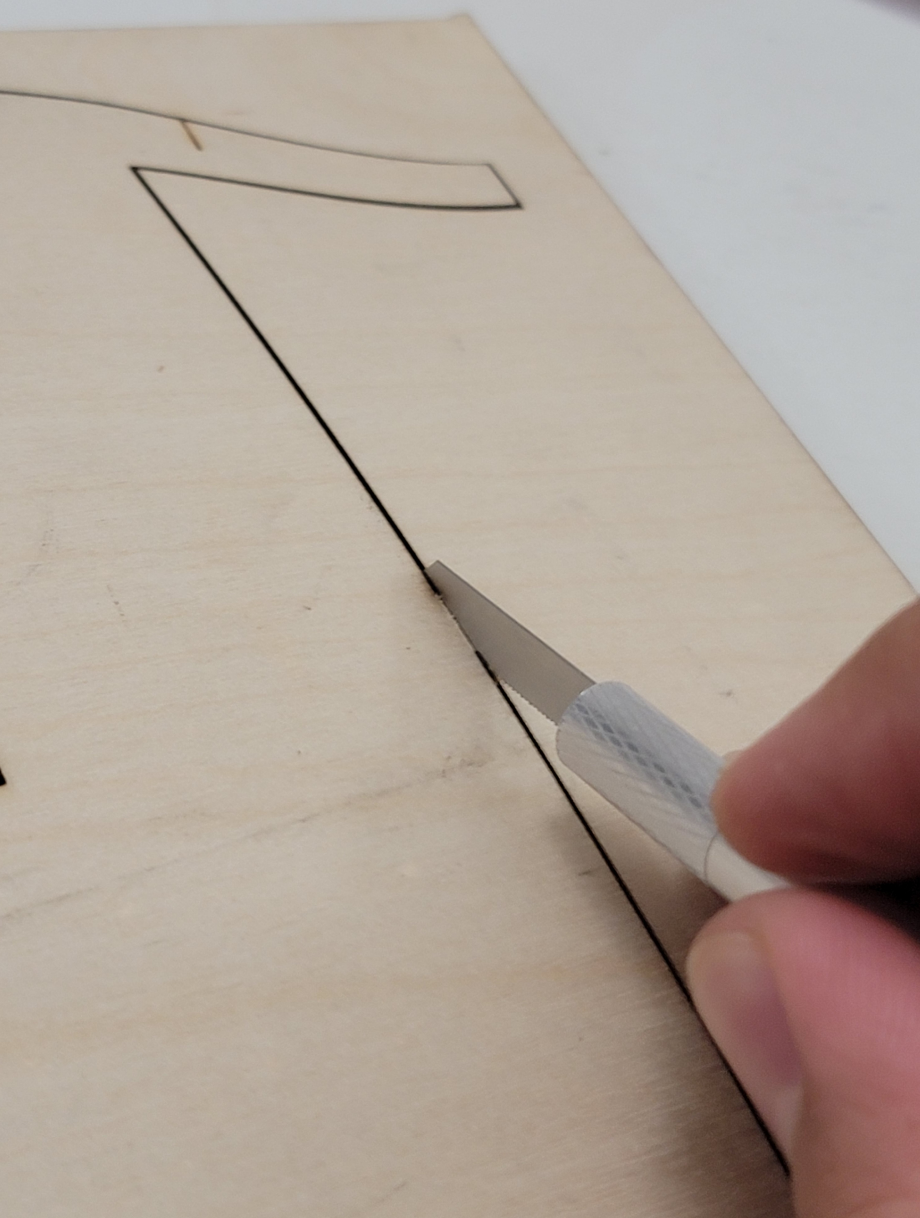
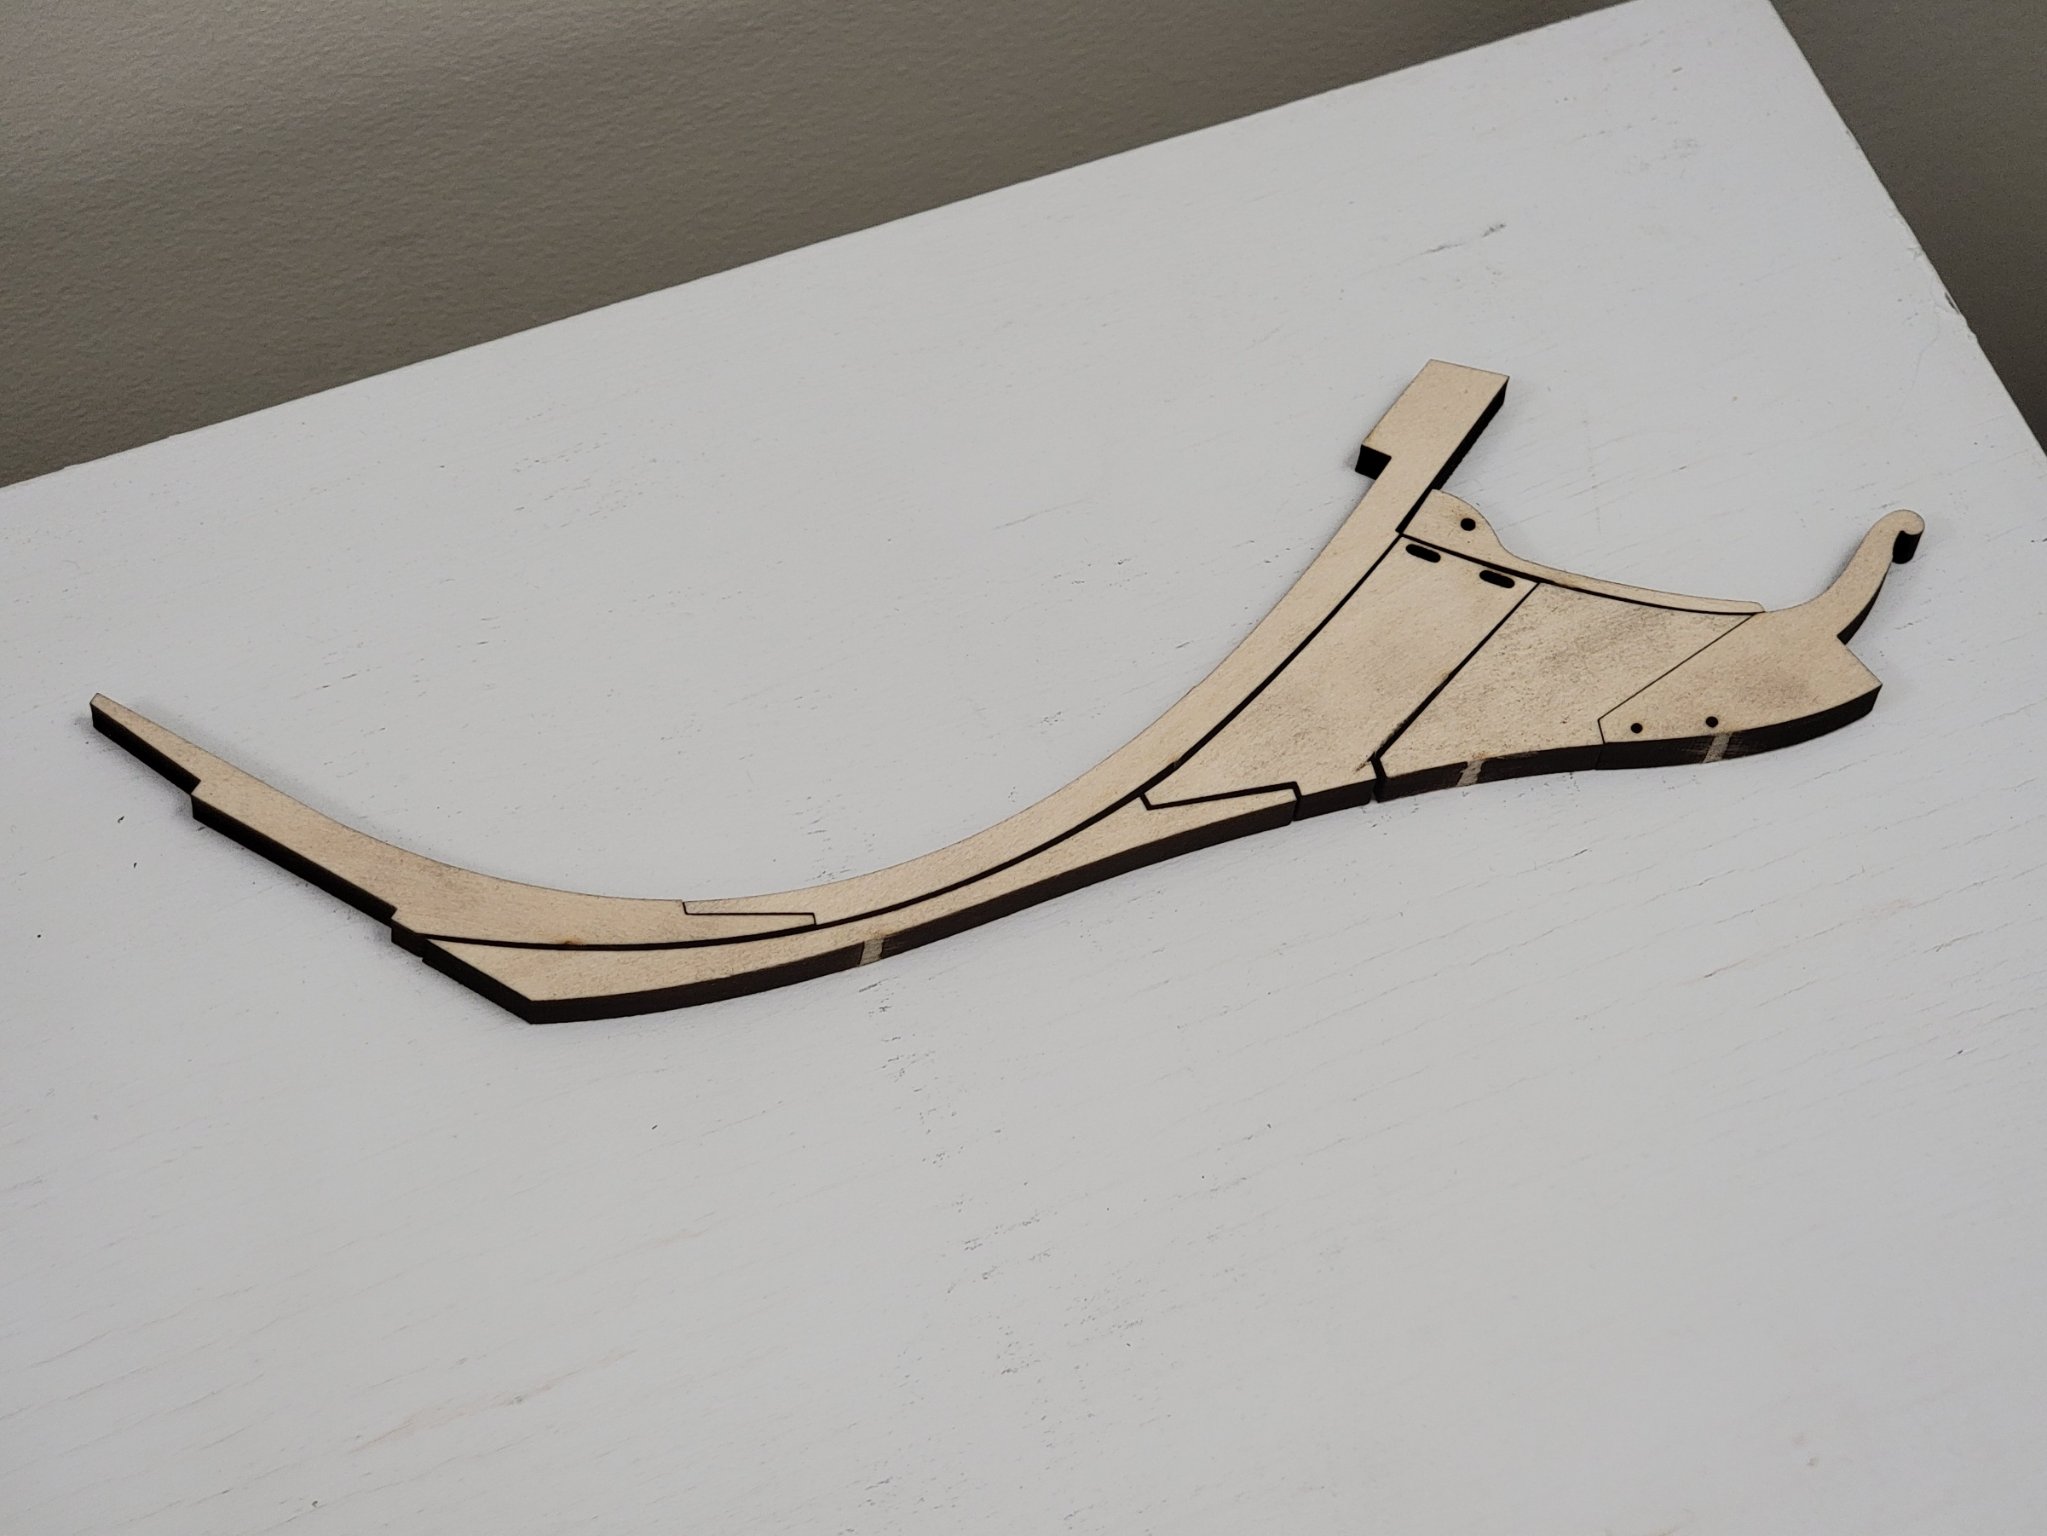
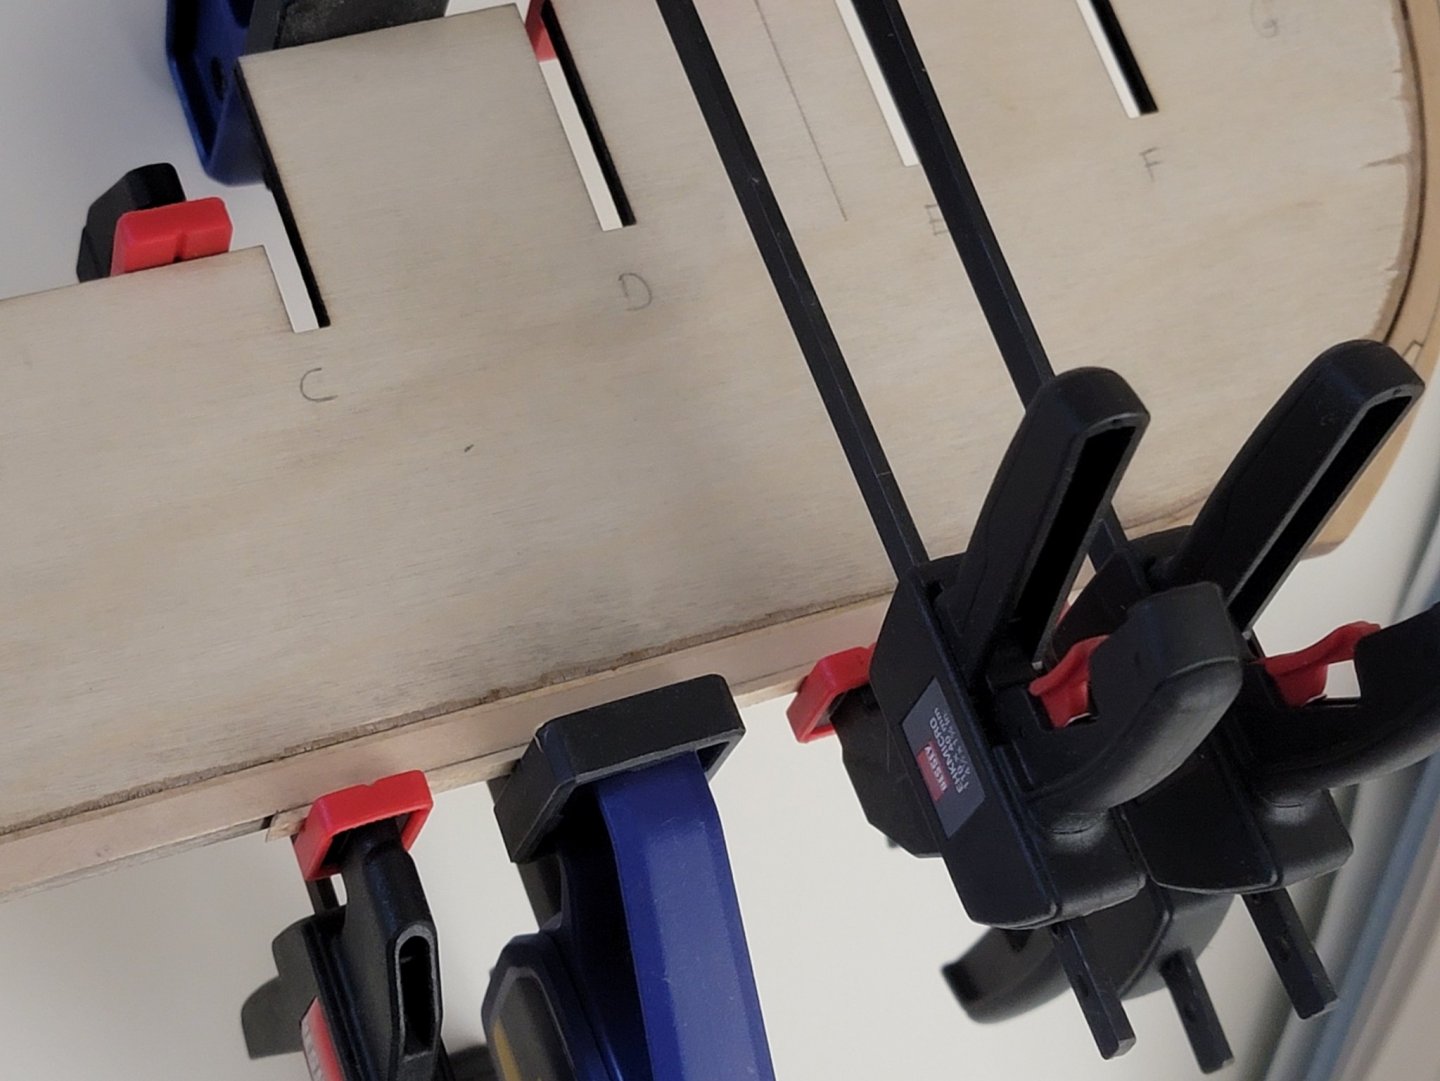
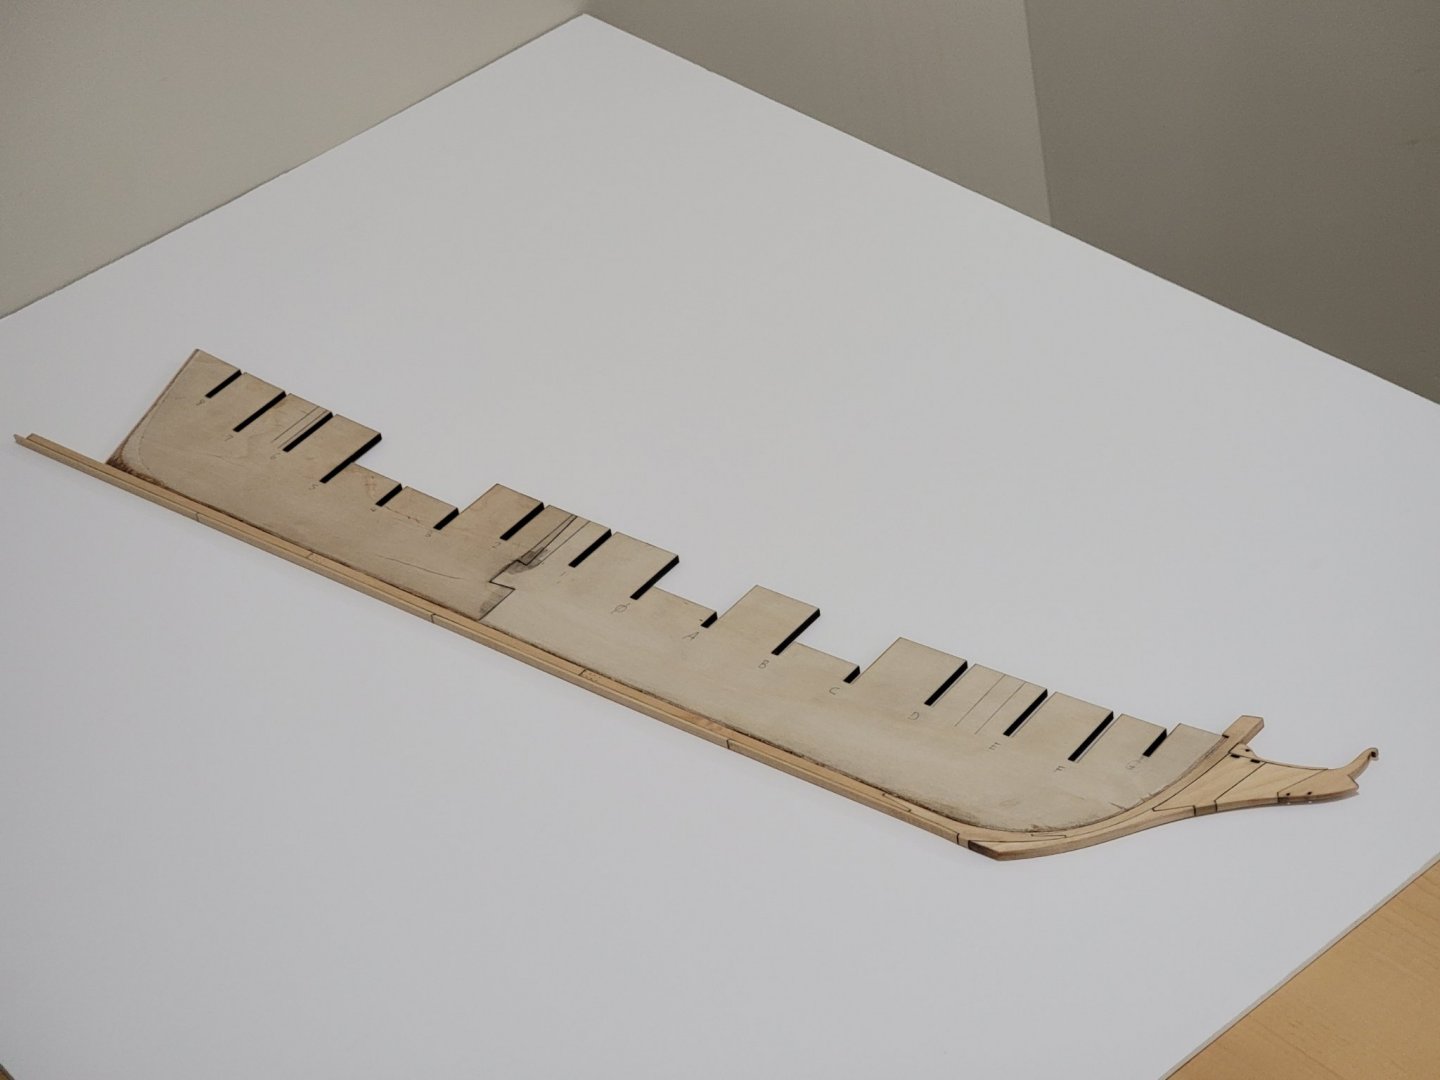
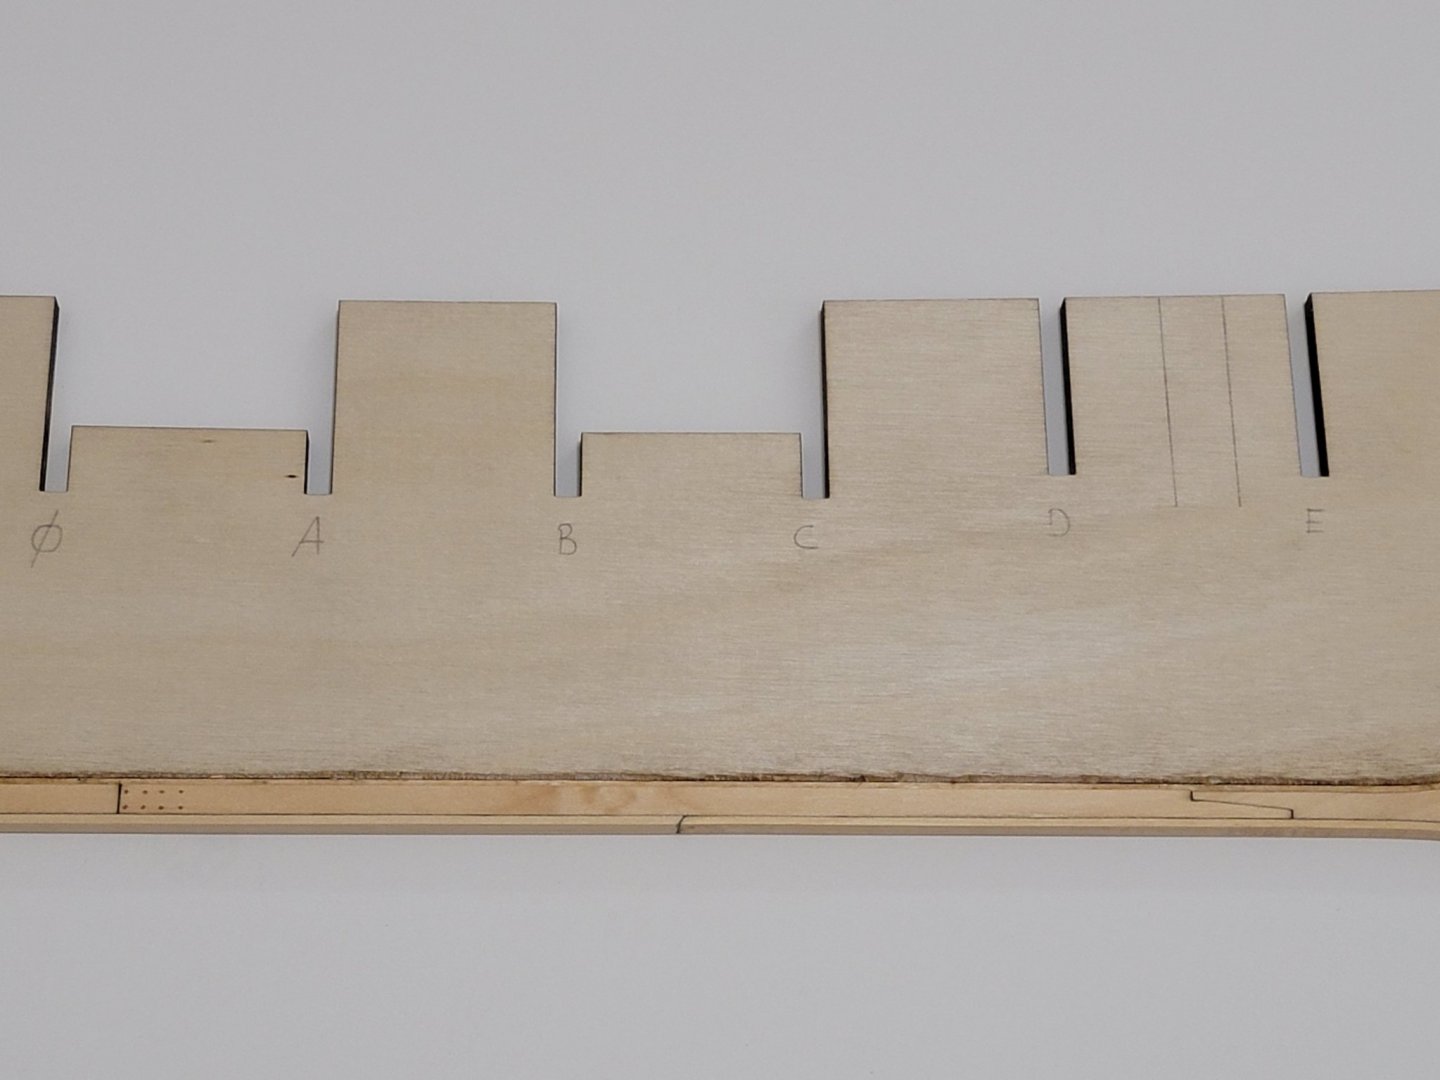
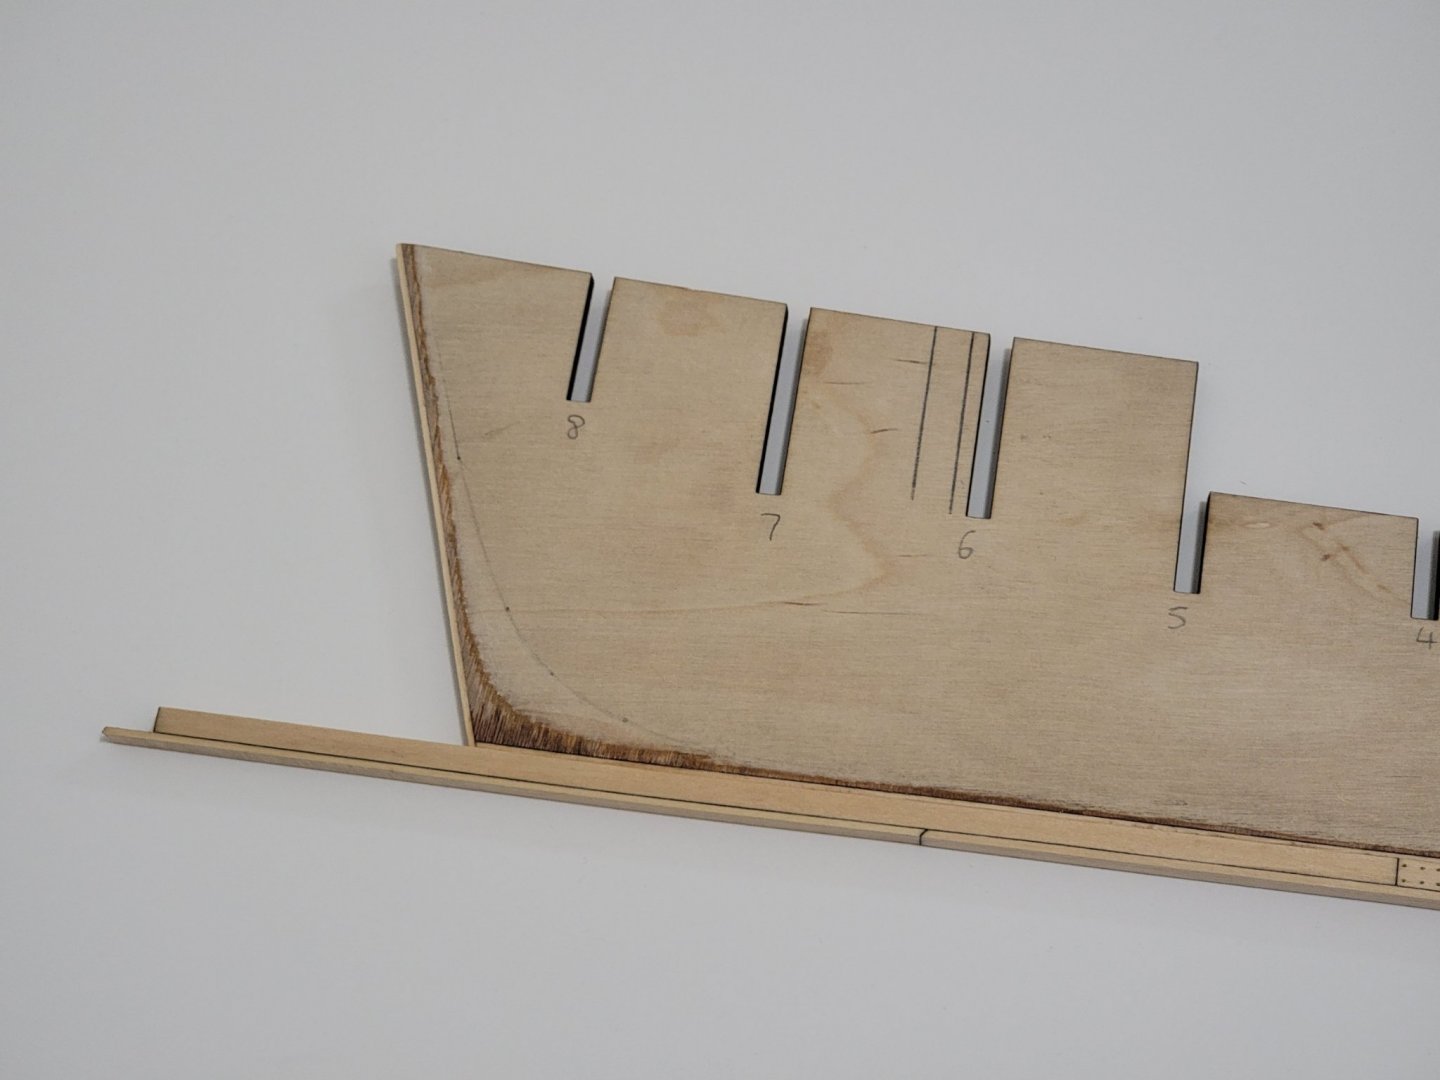
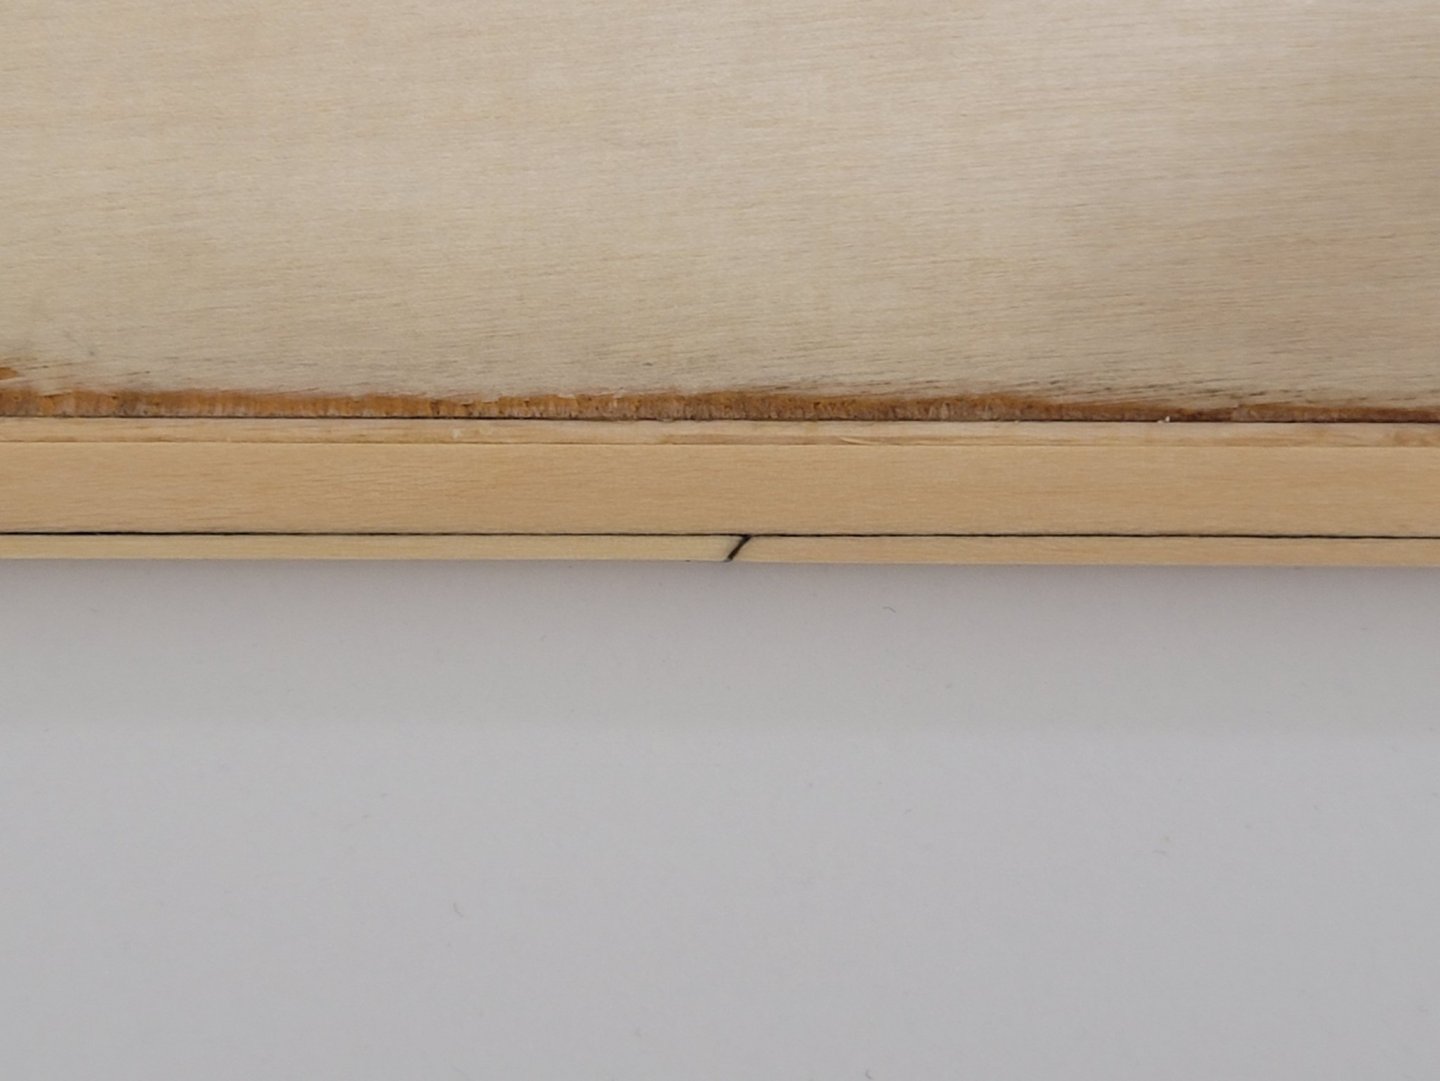
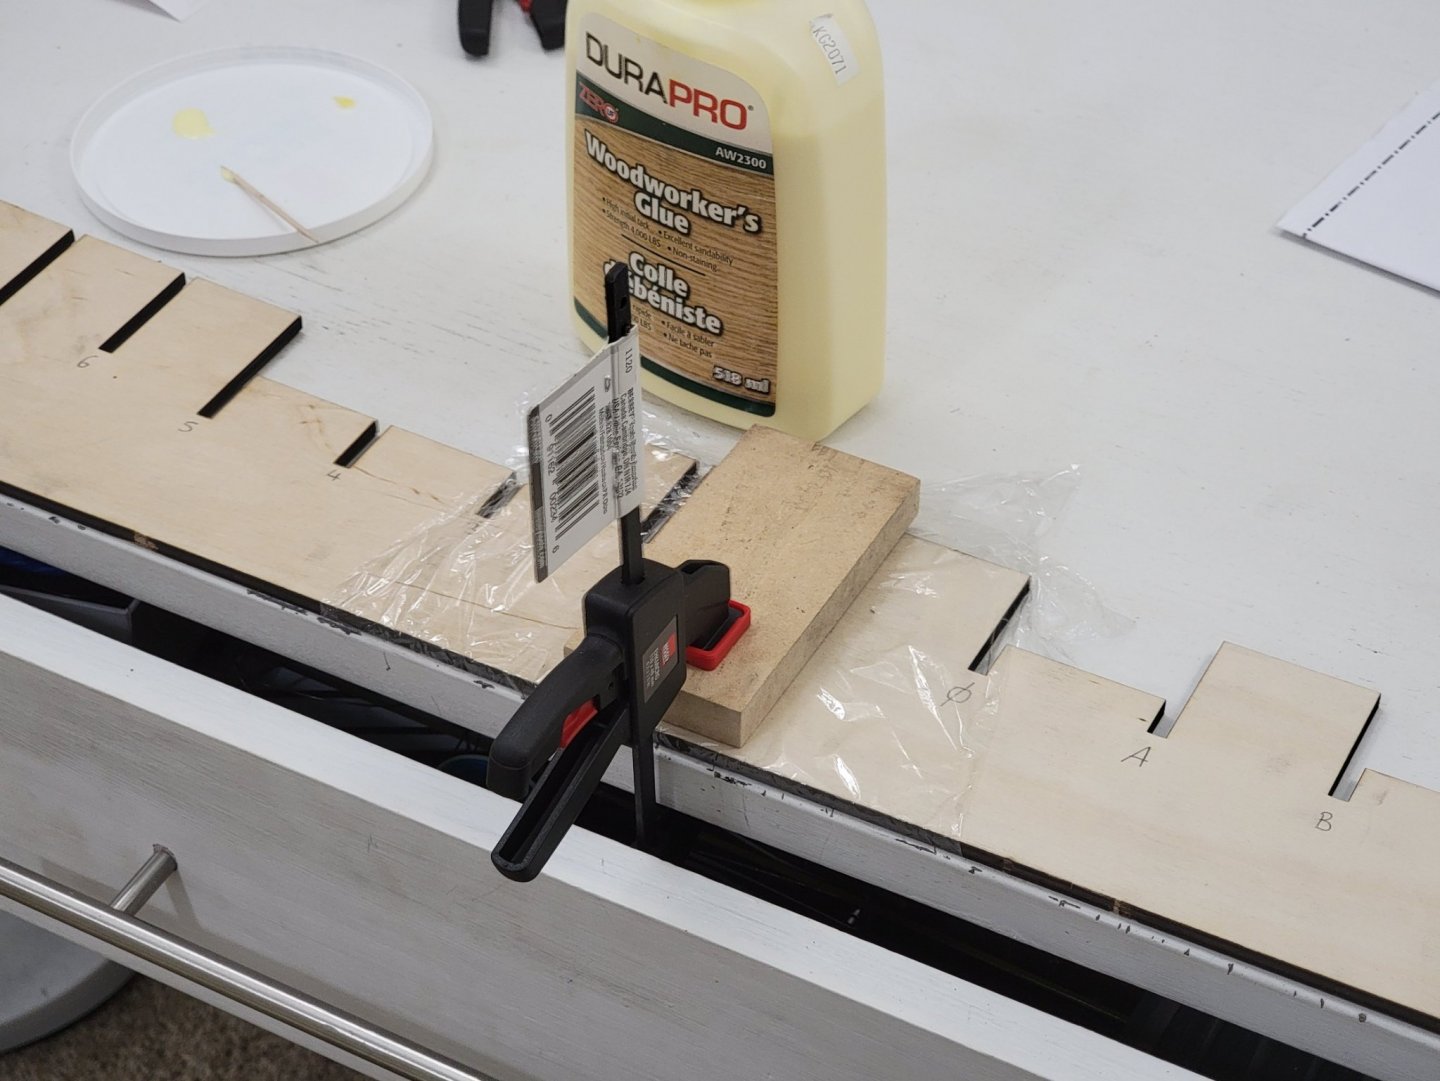
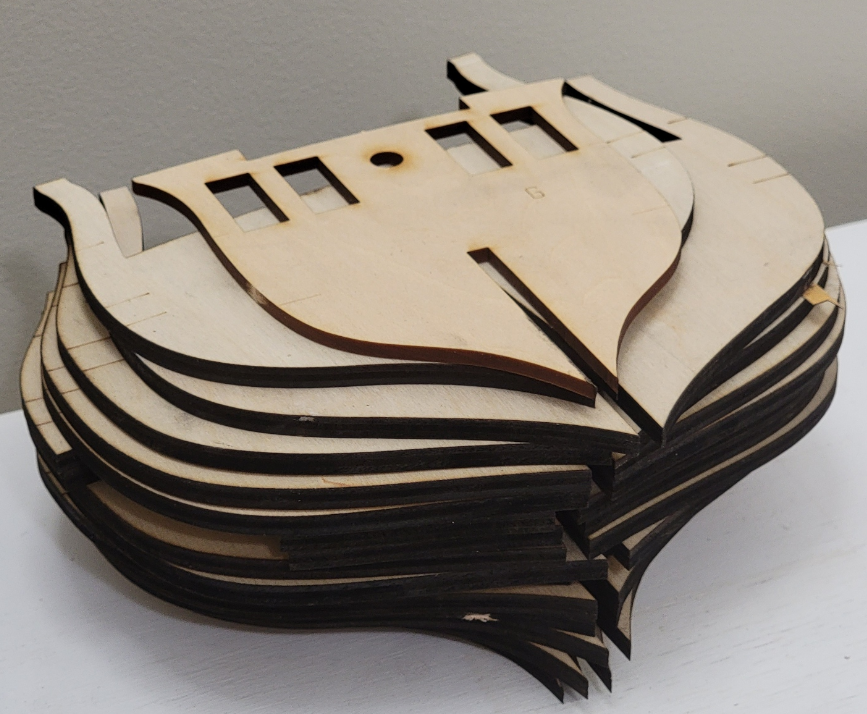
I finally made a start in the build! I first glued the the two halves of the bulkhead former. I clamped it as shown to ensure it would be completely flat. I used a saw blade to cut out the pieces from the sheets. I found it to be much quicker than using a #11 blade. I did the same for the stem pieces: Next I shaped the rabbet strip. Before gluing the pieces of the stem, I sanded off the laser cut char marks on the edges, and darkened the seams with an HB pencil. I gave it a quick sand to clean it up a bit: I still need to taper the stem, finish up with tung oil, and glue in the rabbet strip on the bulkhead former.


-
Thank you Chris and Edward for the great comments! 😀
- 950 replies
-
- 1
-

-
- syren
- model shipways
- (and 1 more)
-
What a beauty!! The base brings out the workmanship of the model. Looking forward to your Royal Yatch build 🙂
-
Thanks all for the comments and for joining in early! As always, I'm open to any comments, guidance, and tips. I'll also try to answer any questions to the best of my limited knowledge as I progress along. I did a quick inventory check and everything seems to be good. I can now start working on the model!
-
Thank you, Thomas!! 🙂
-
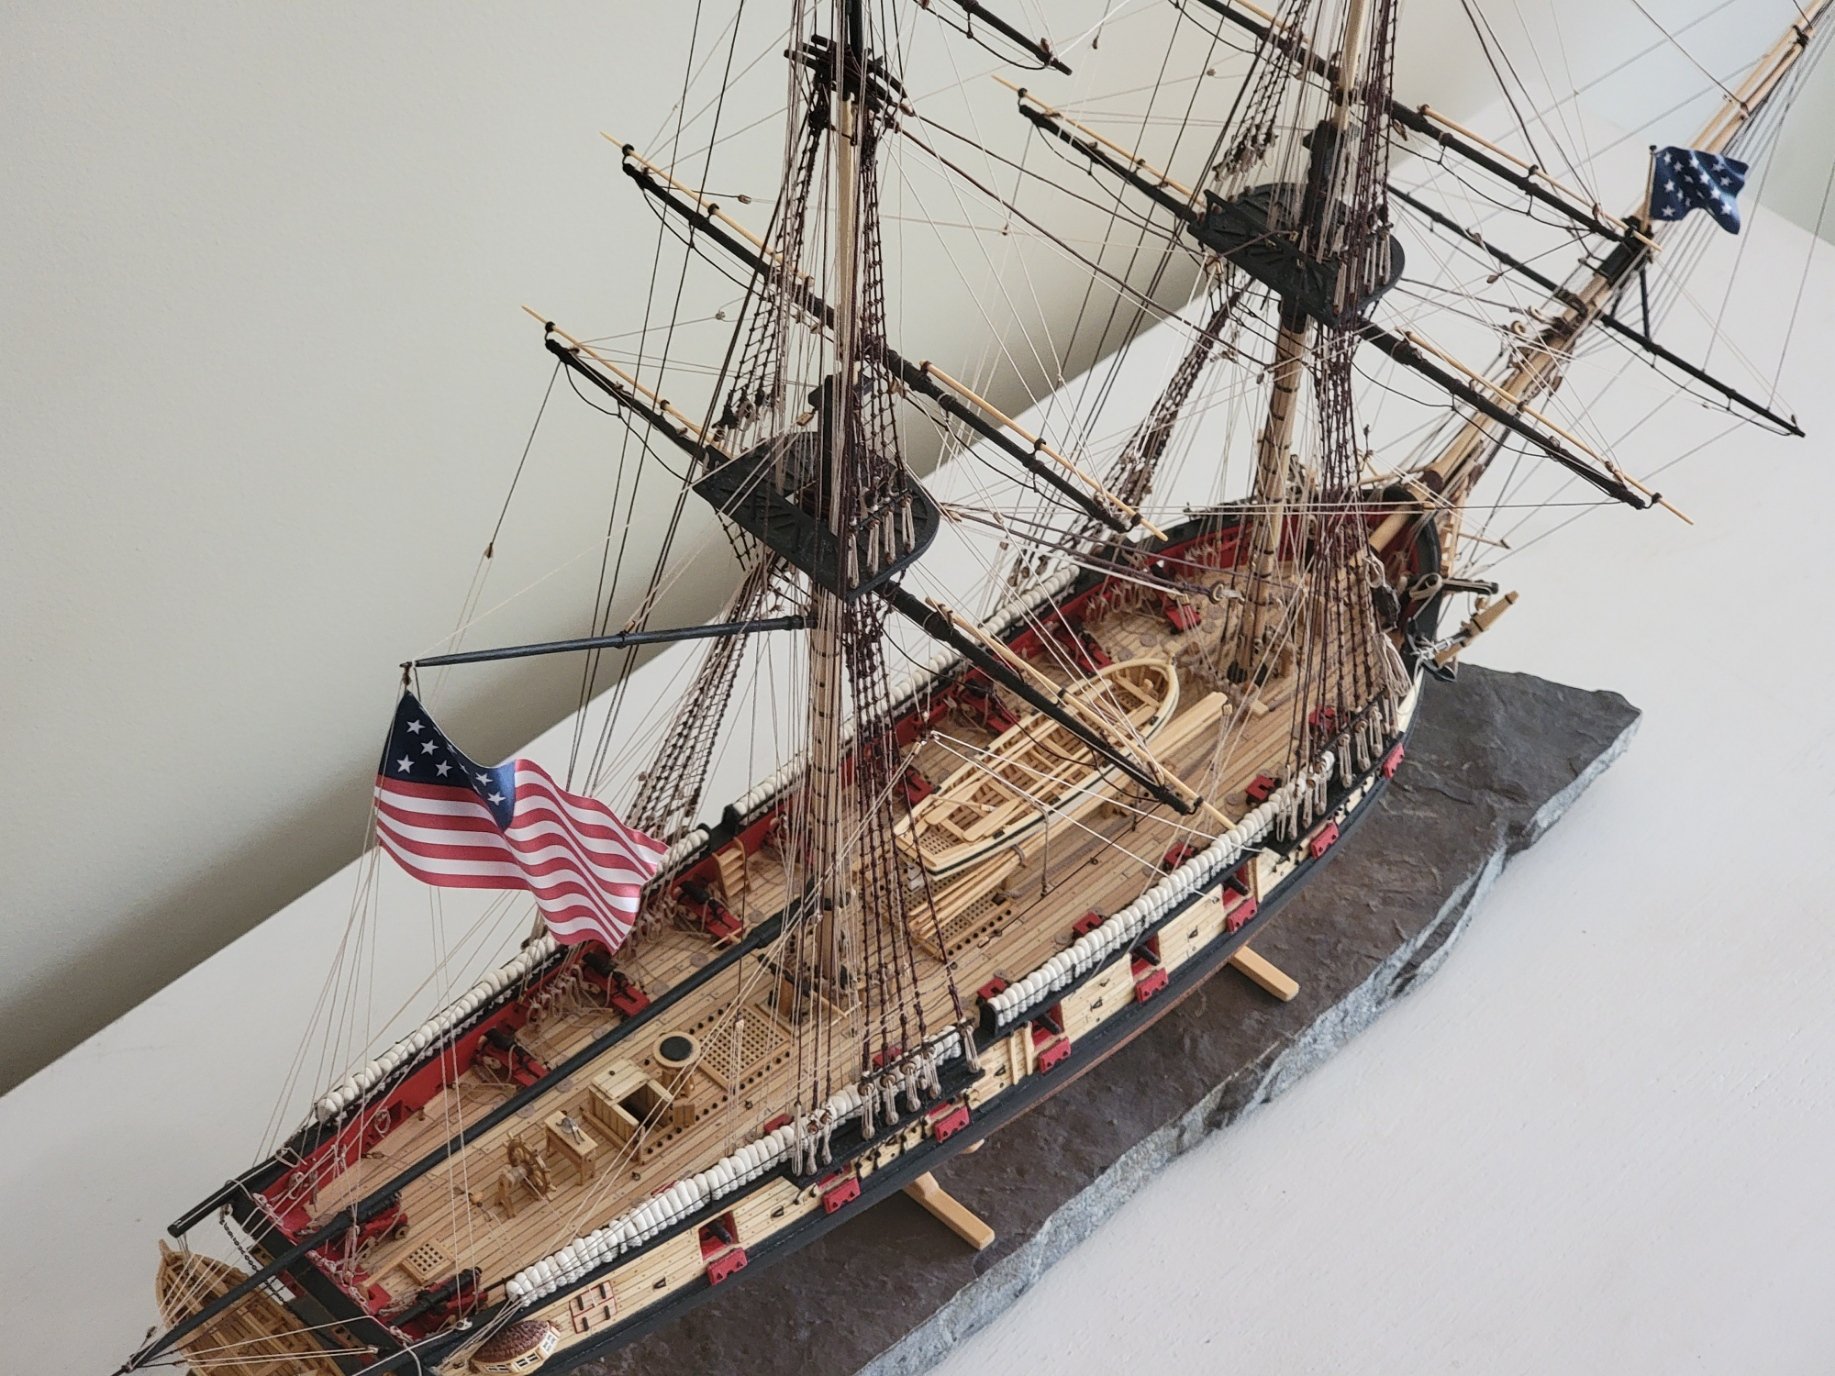
I placed the model on the slate I found some time back. She is currently resting on the workbench. Now I just need to figure out a more permanent spot for her to be displayed. I will also build a display case to protect her from the dust. I'll post the final-final pics once these are done


- 950 replies
-
- 12
-
-
- syren
- model shipways
- (and 1 more)
-
Thanks so much Eric and Justin. I will sign up for the contest! Thank you for letting me know about it 🙂
- 950 replies
-
- 1
-
-
- syren
- model shipways
- (and 1 more)
-
That's looking so good!!! Those beams add a whole other dimension to the already pristine frame construction!
-
Thank you everyone for the likes and for leaving the very generous and nice comments! 😁 I'm going to start working on the Confederacy in a few days time! I might also space the build with the smaller ones as a break 🙂
- 950 replies
-
- 2
-
-
- syren
- model shipways
- (and 1 more)
-
Thanks so much guys!! 😃 Where can I find more info about the contest? I may give it a shot 🙂
- 950 replies
-
- 1
-
-
- syren
- model shipways
- (and 1 more)
-
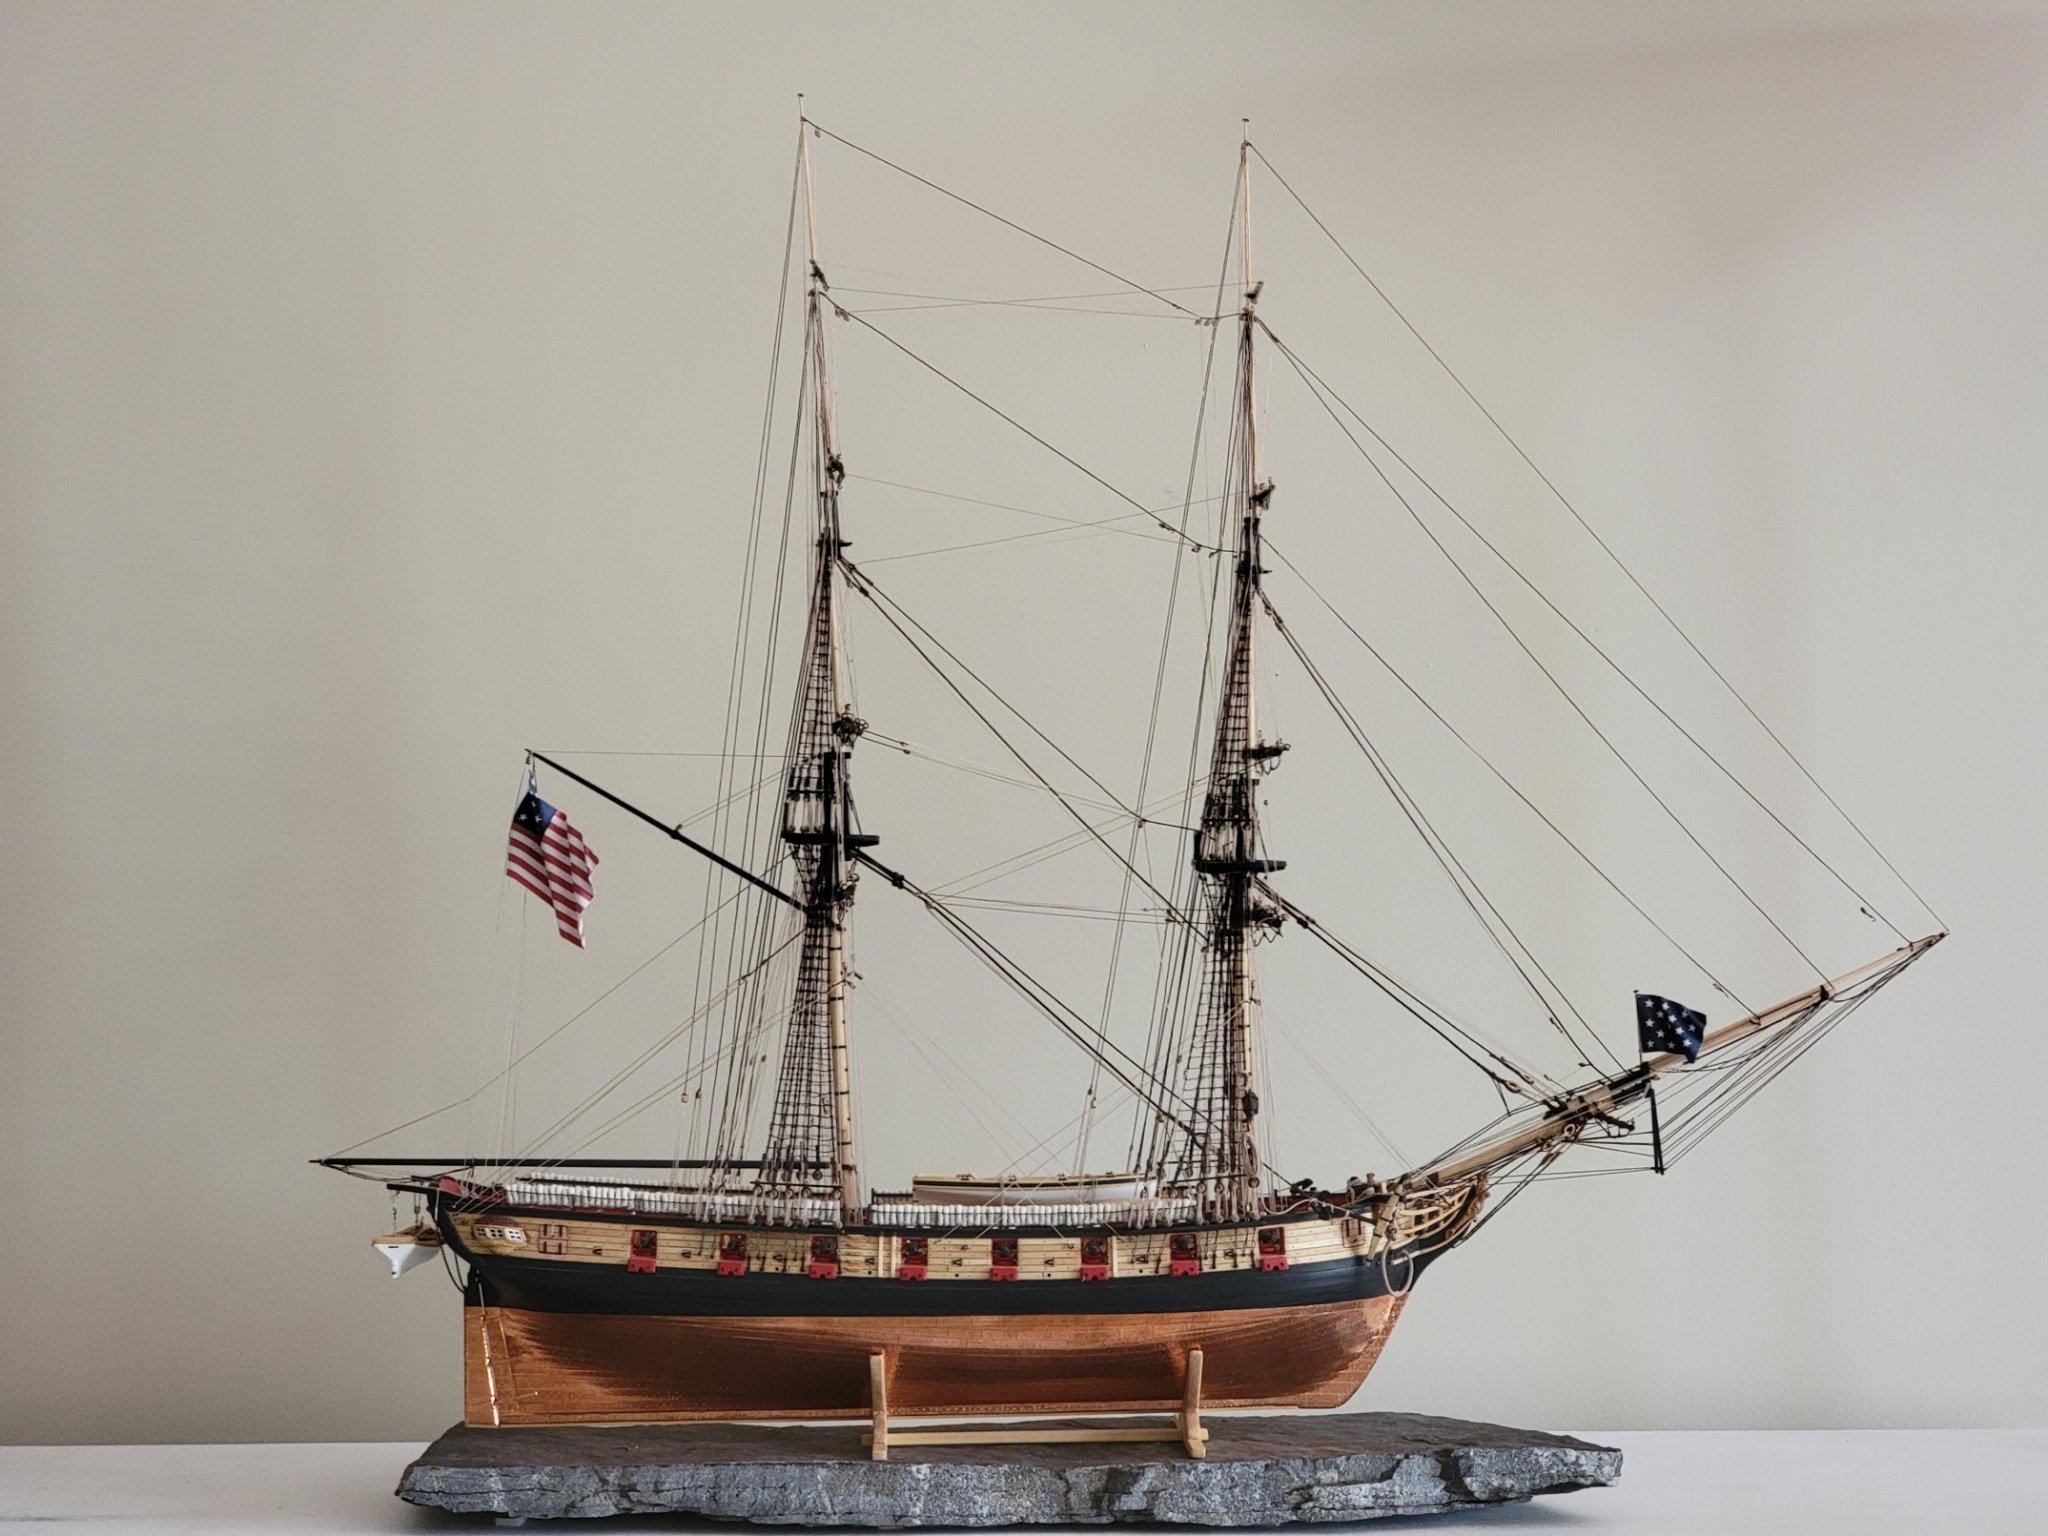
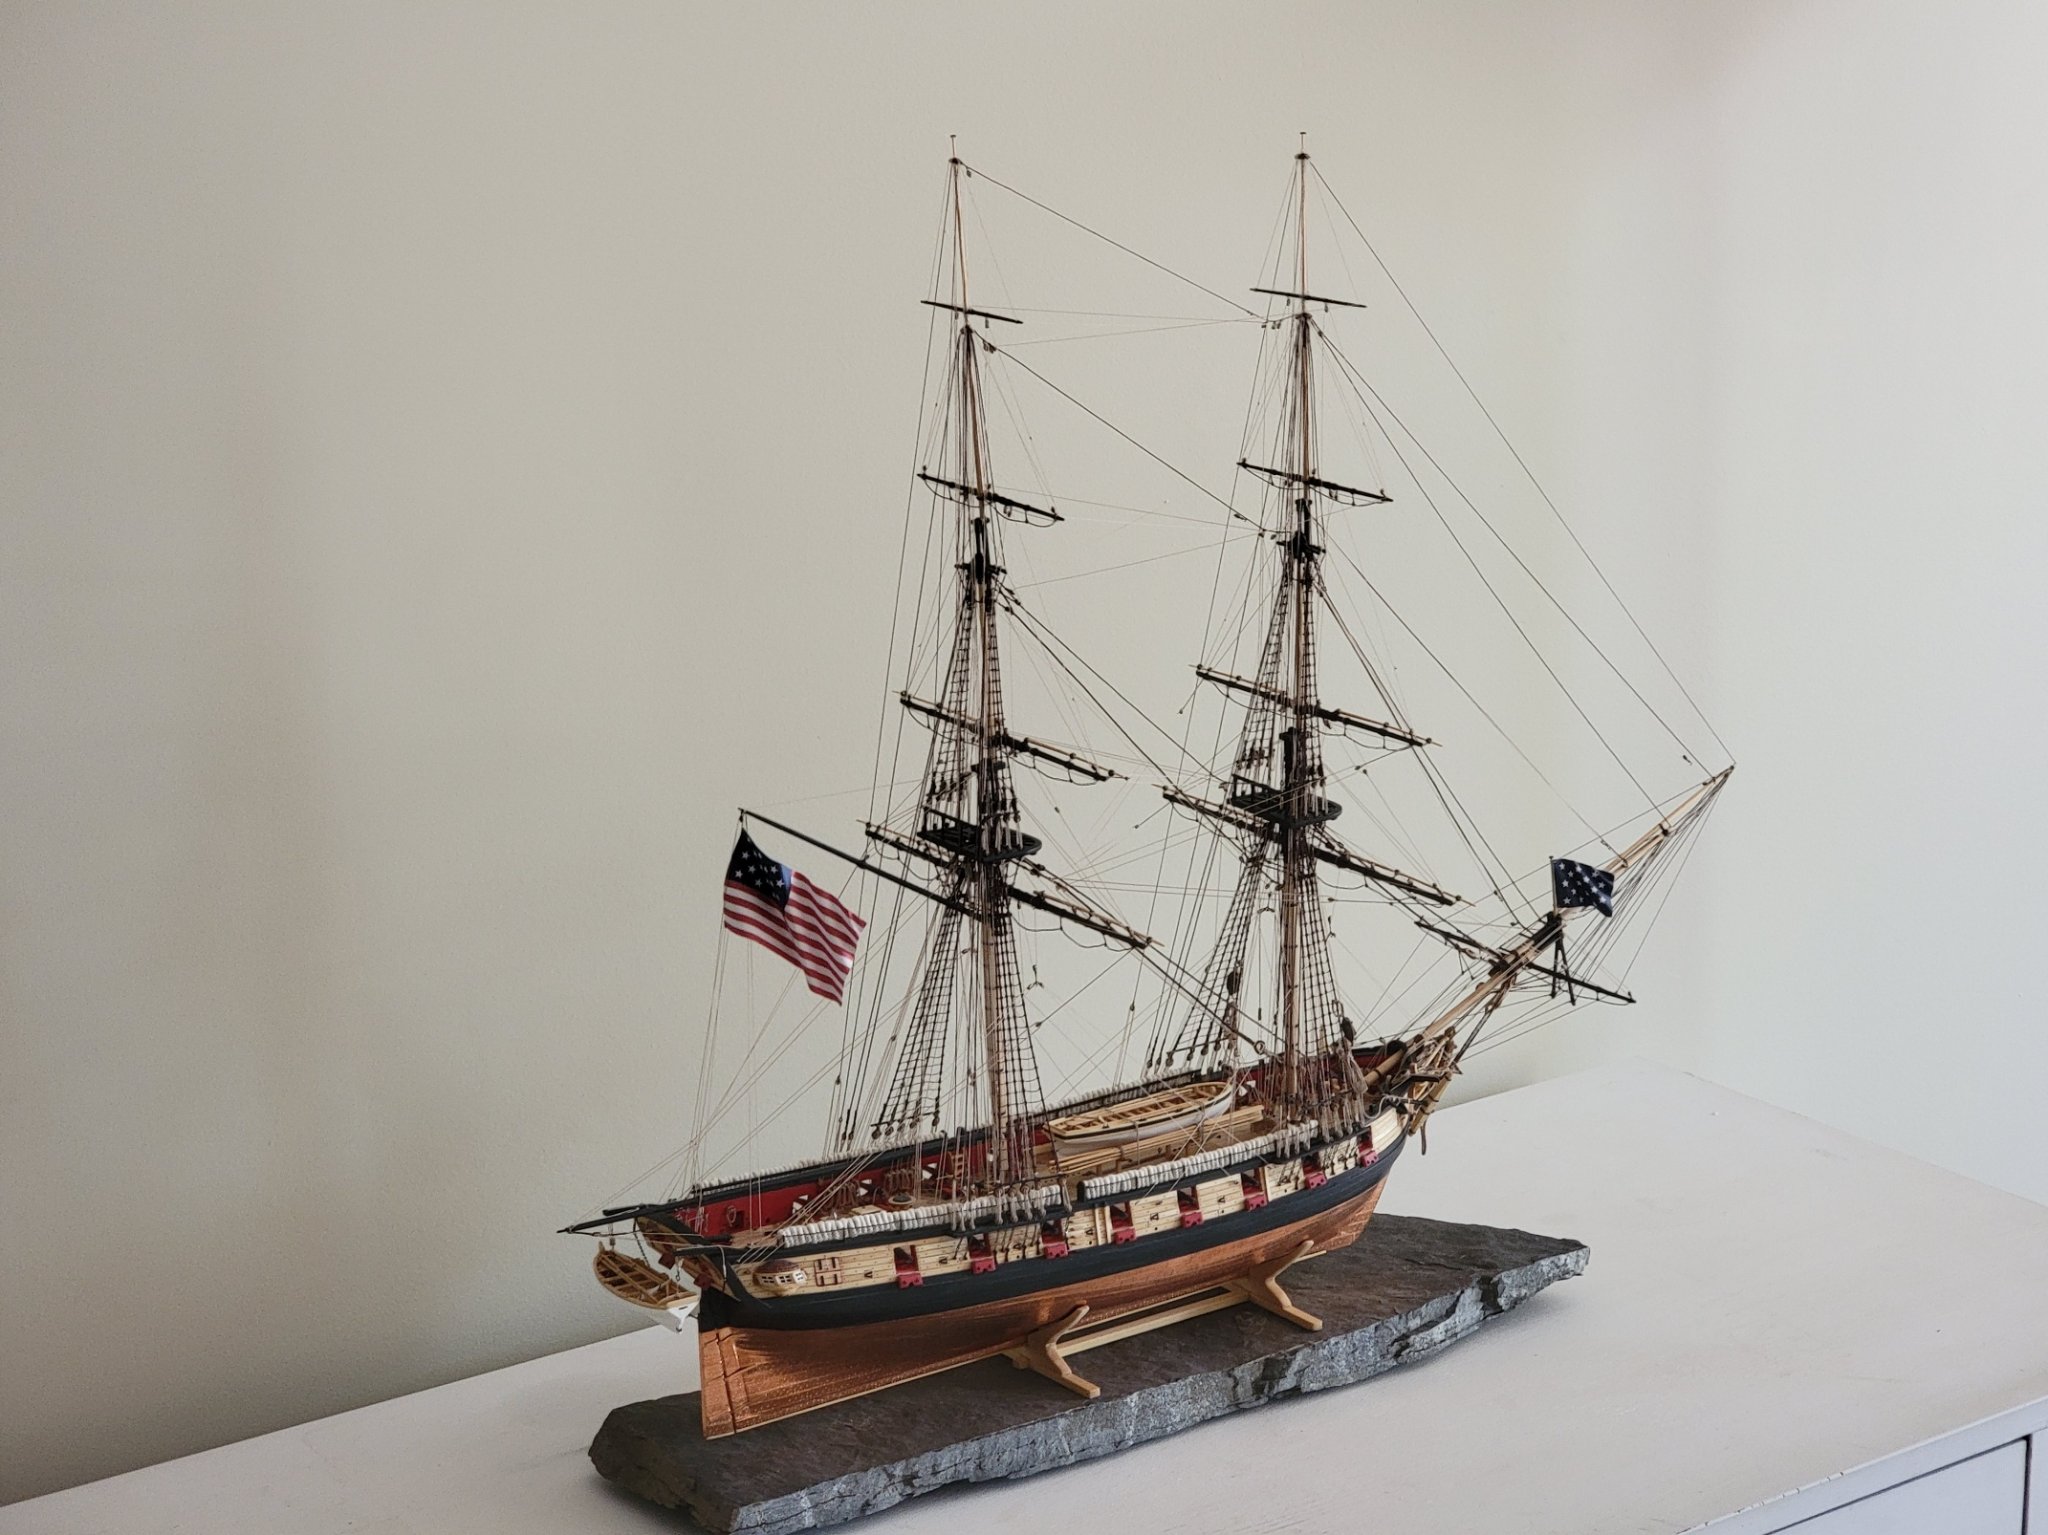
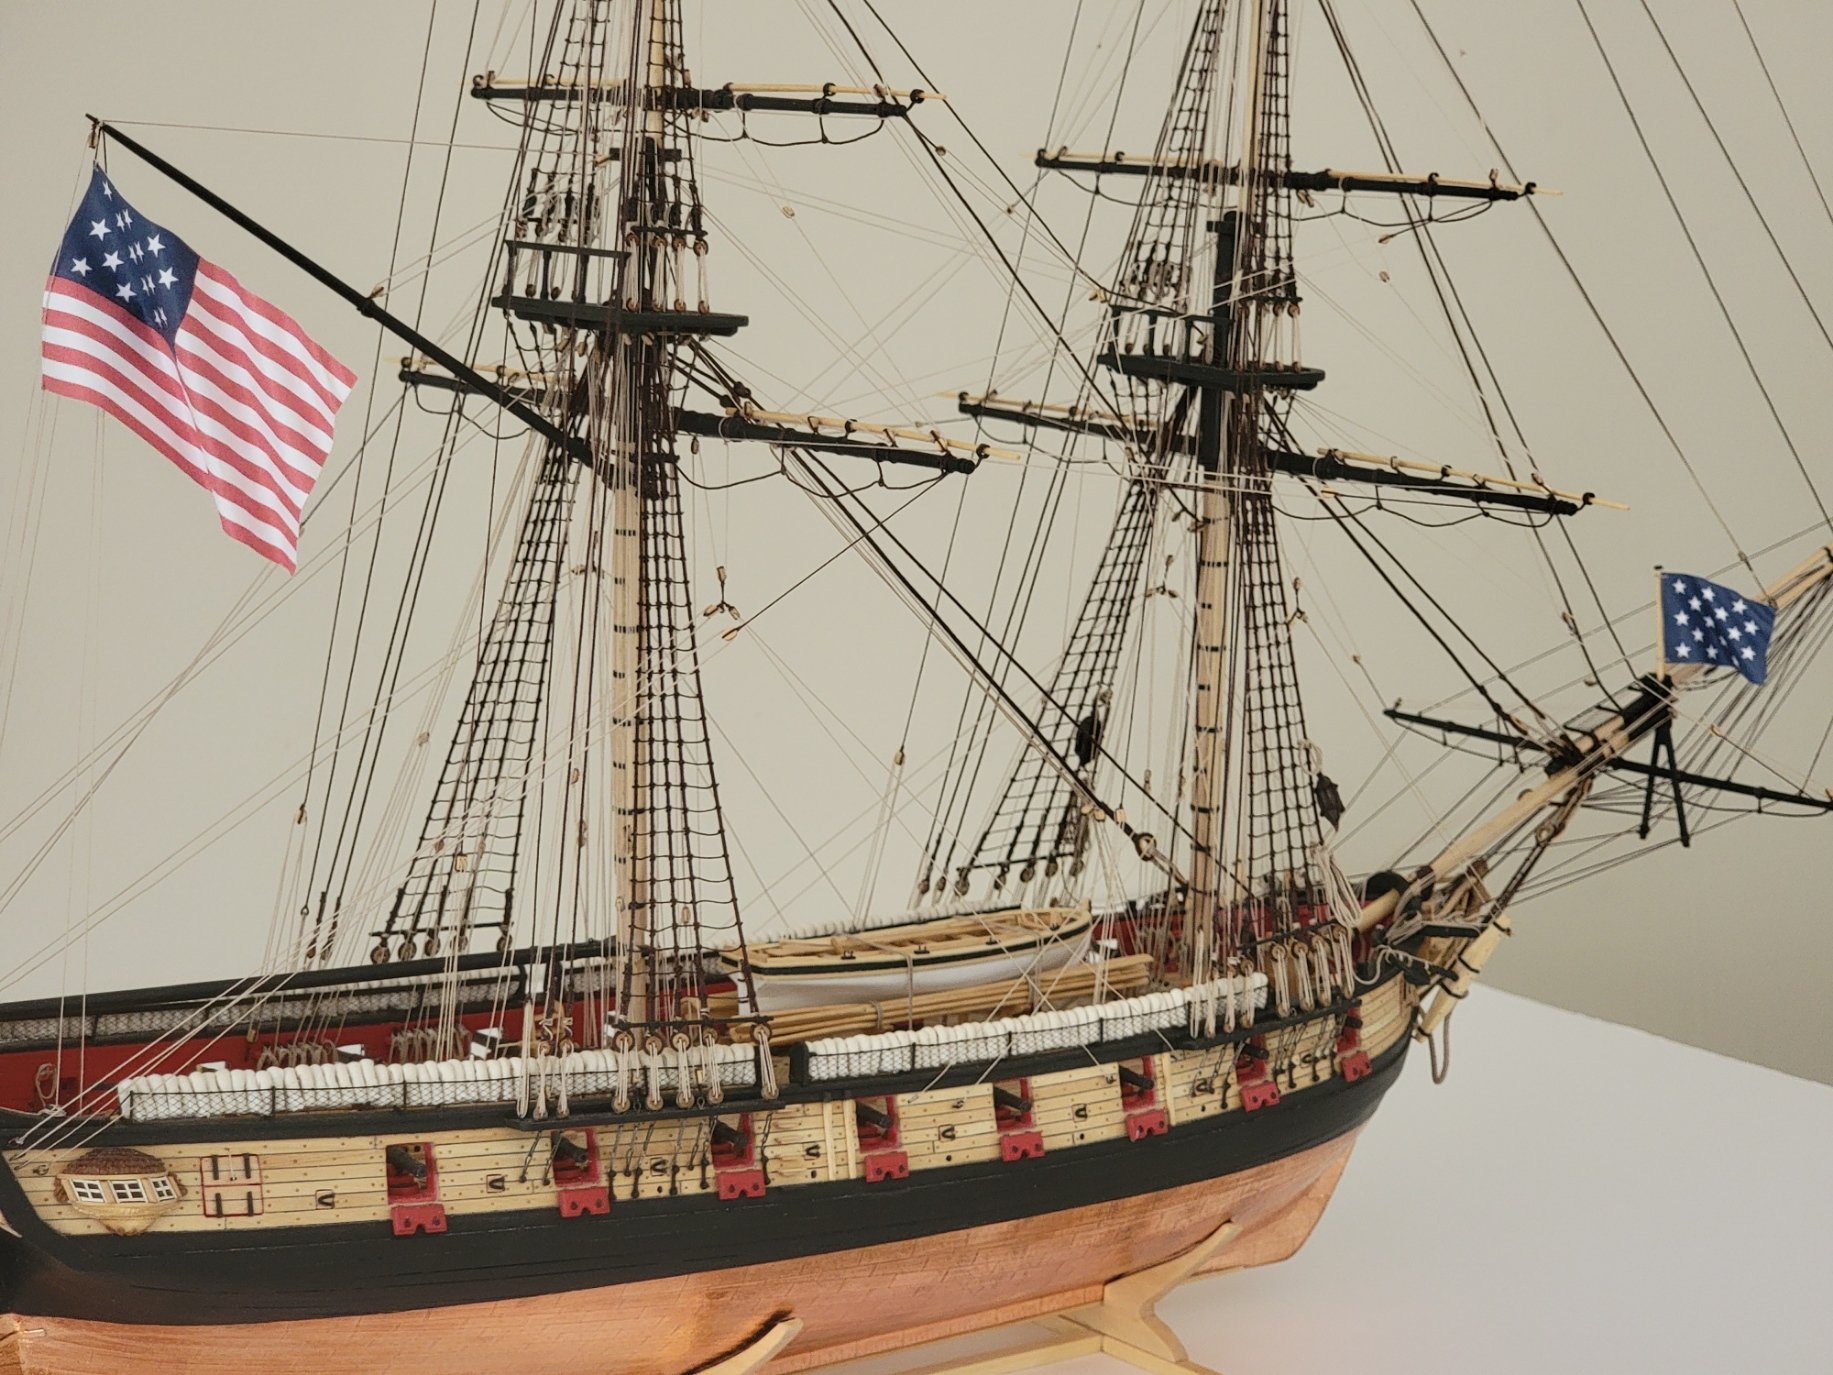
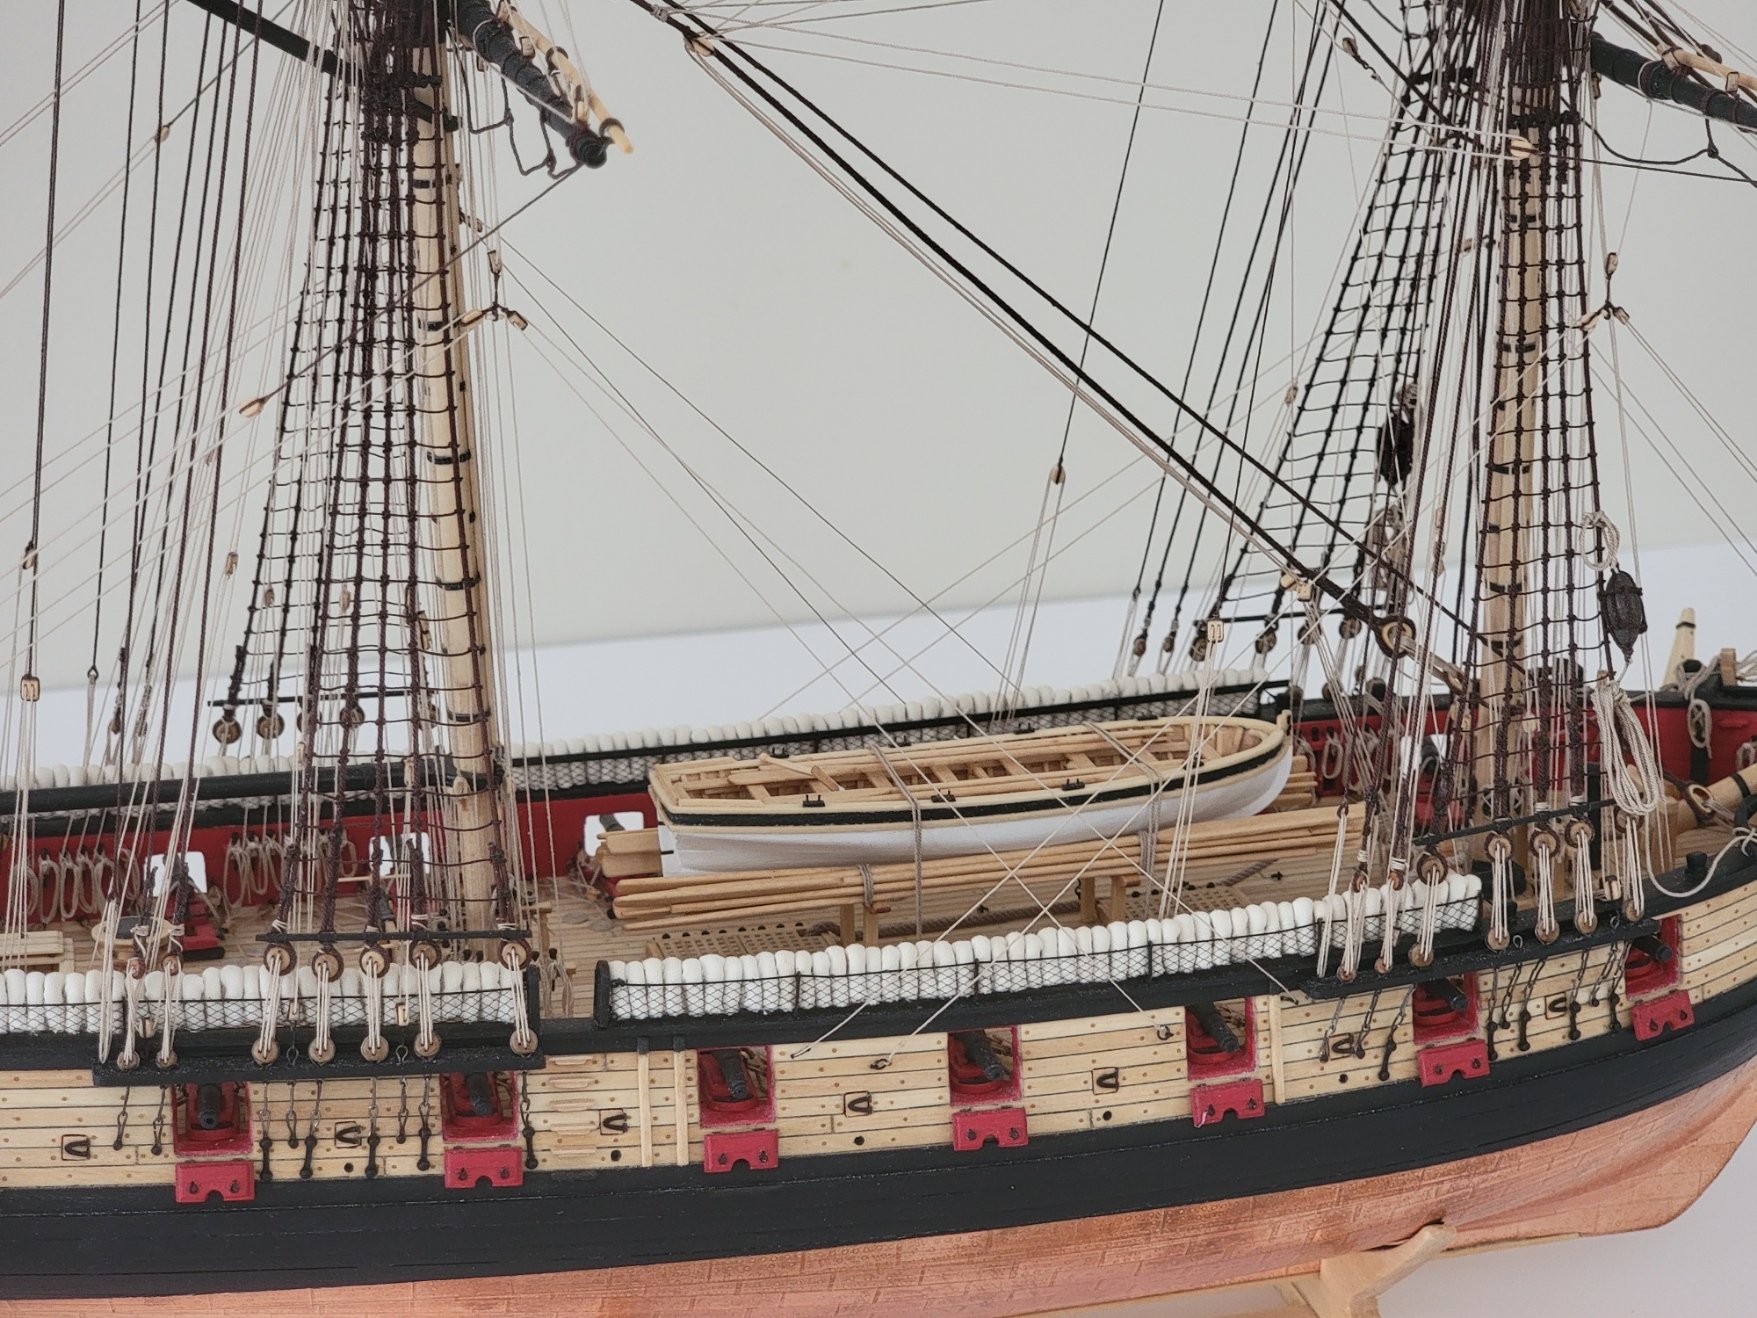
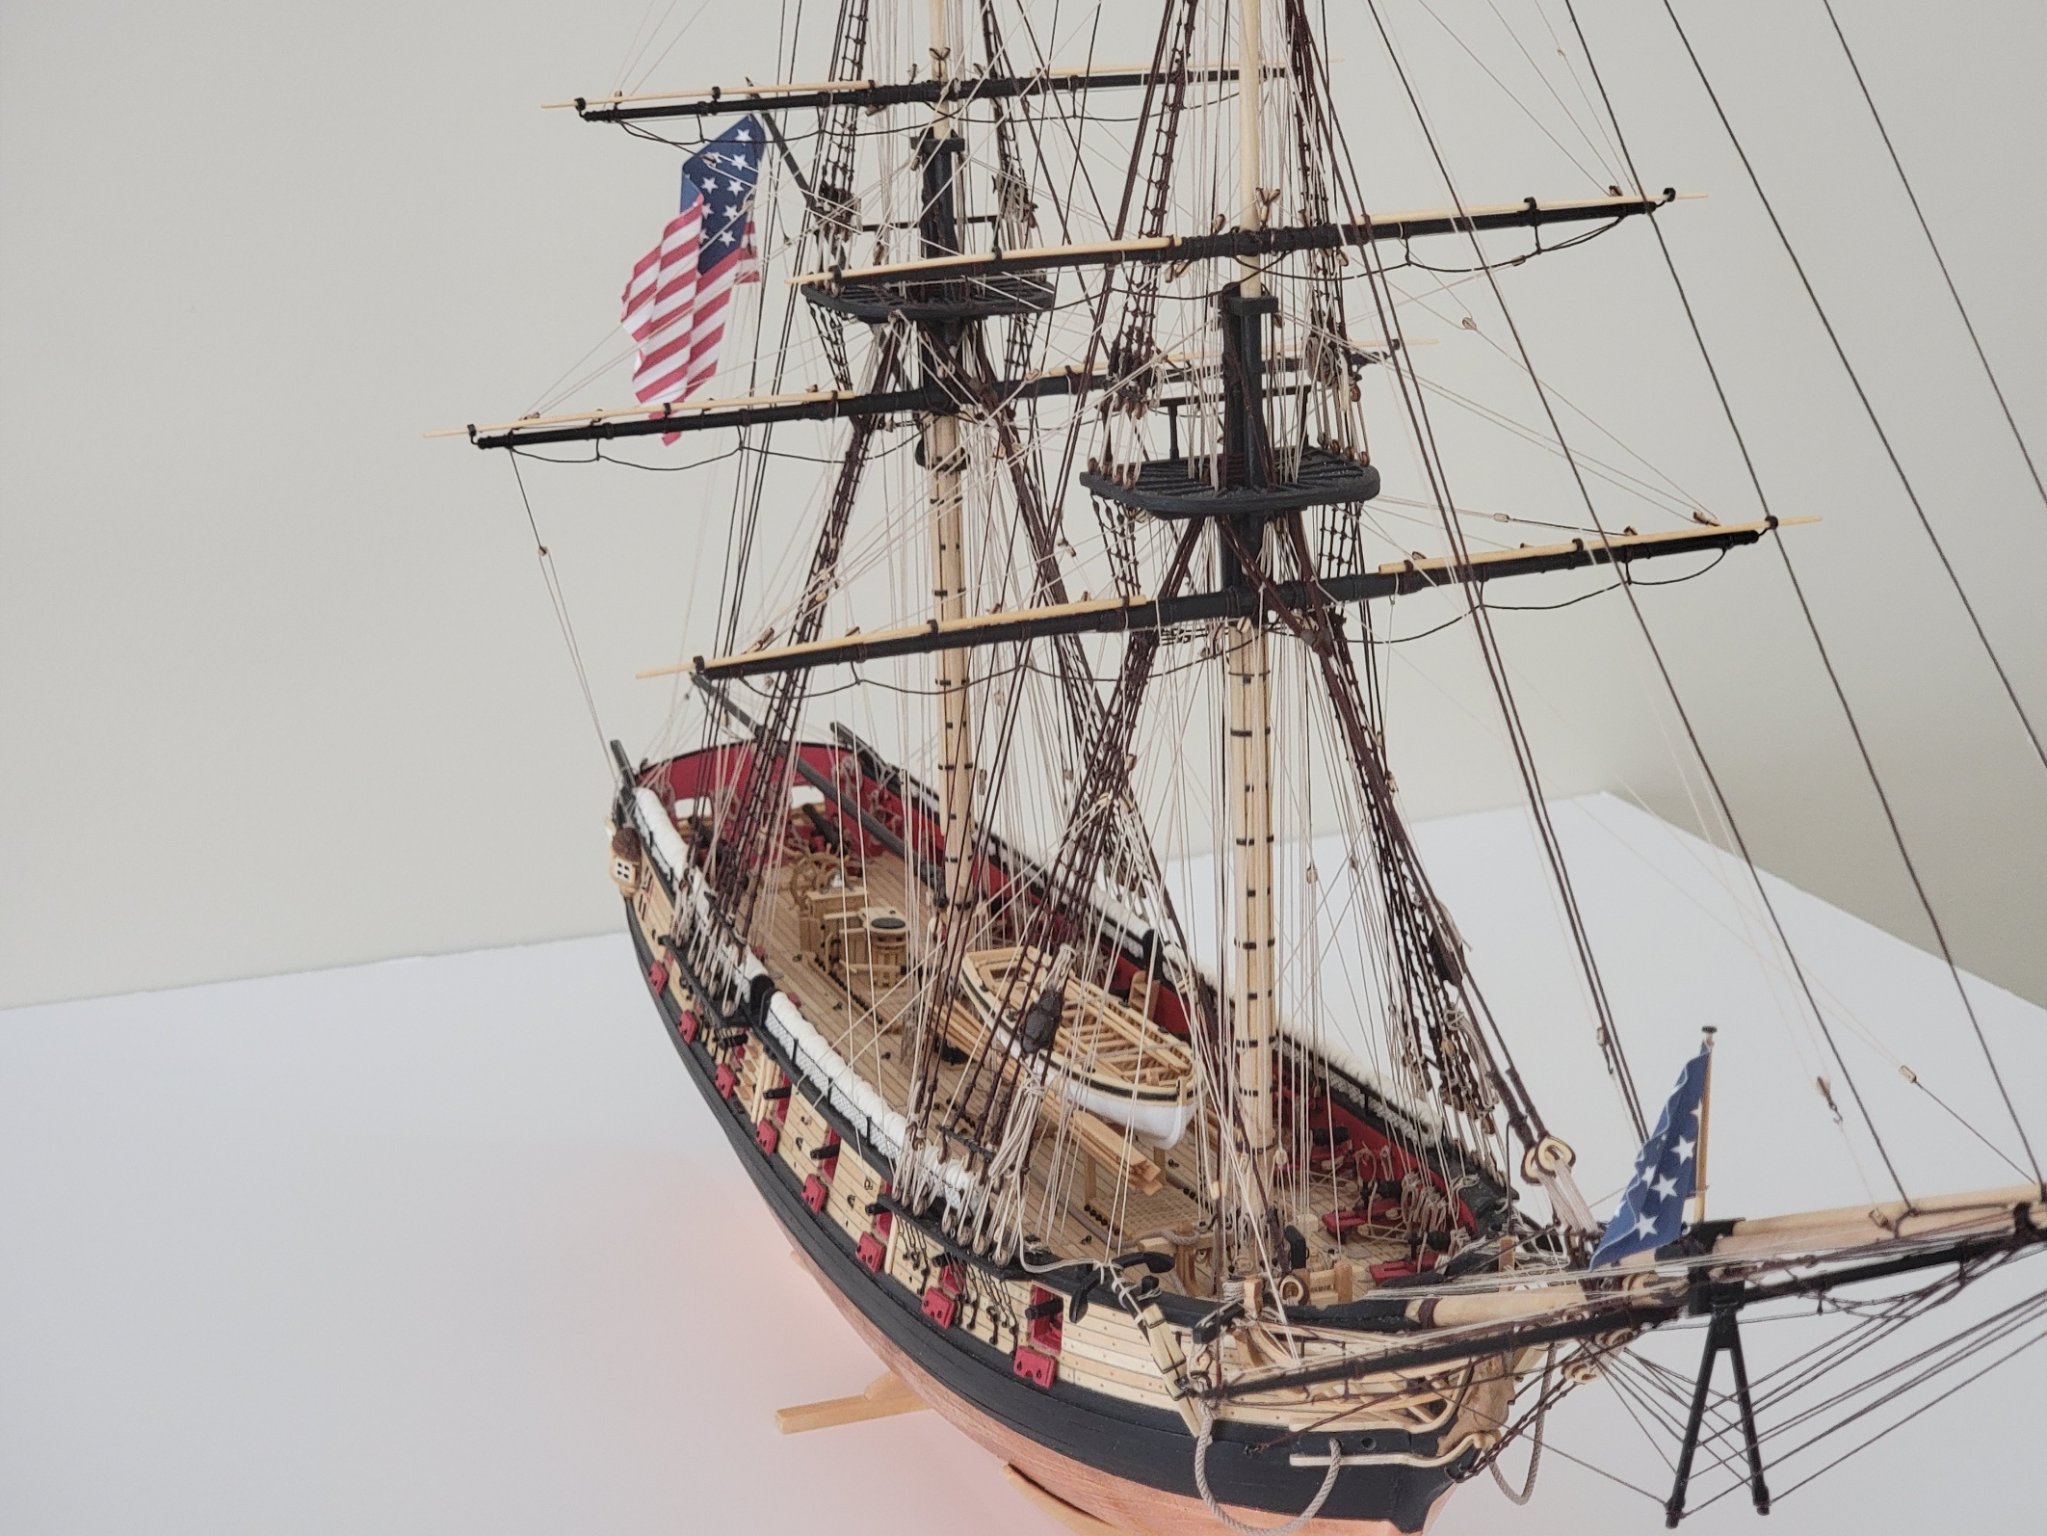
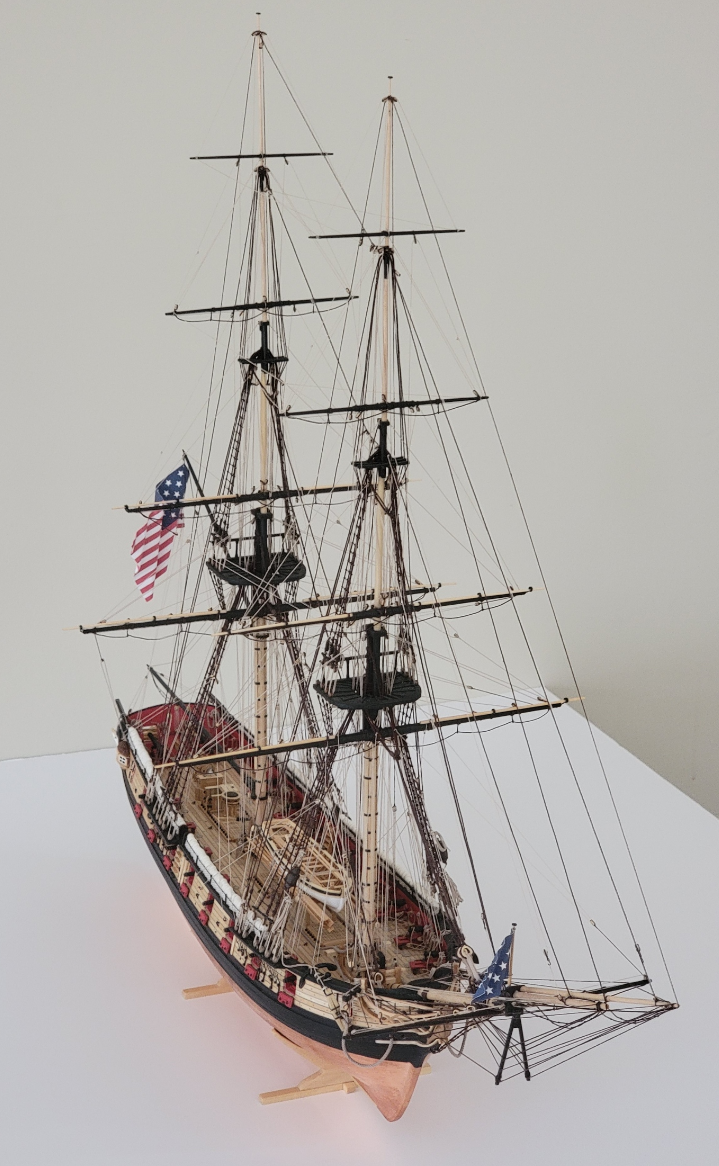
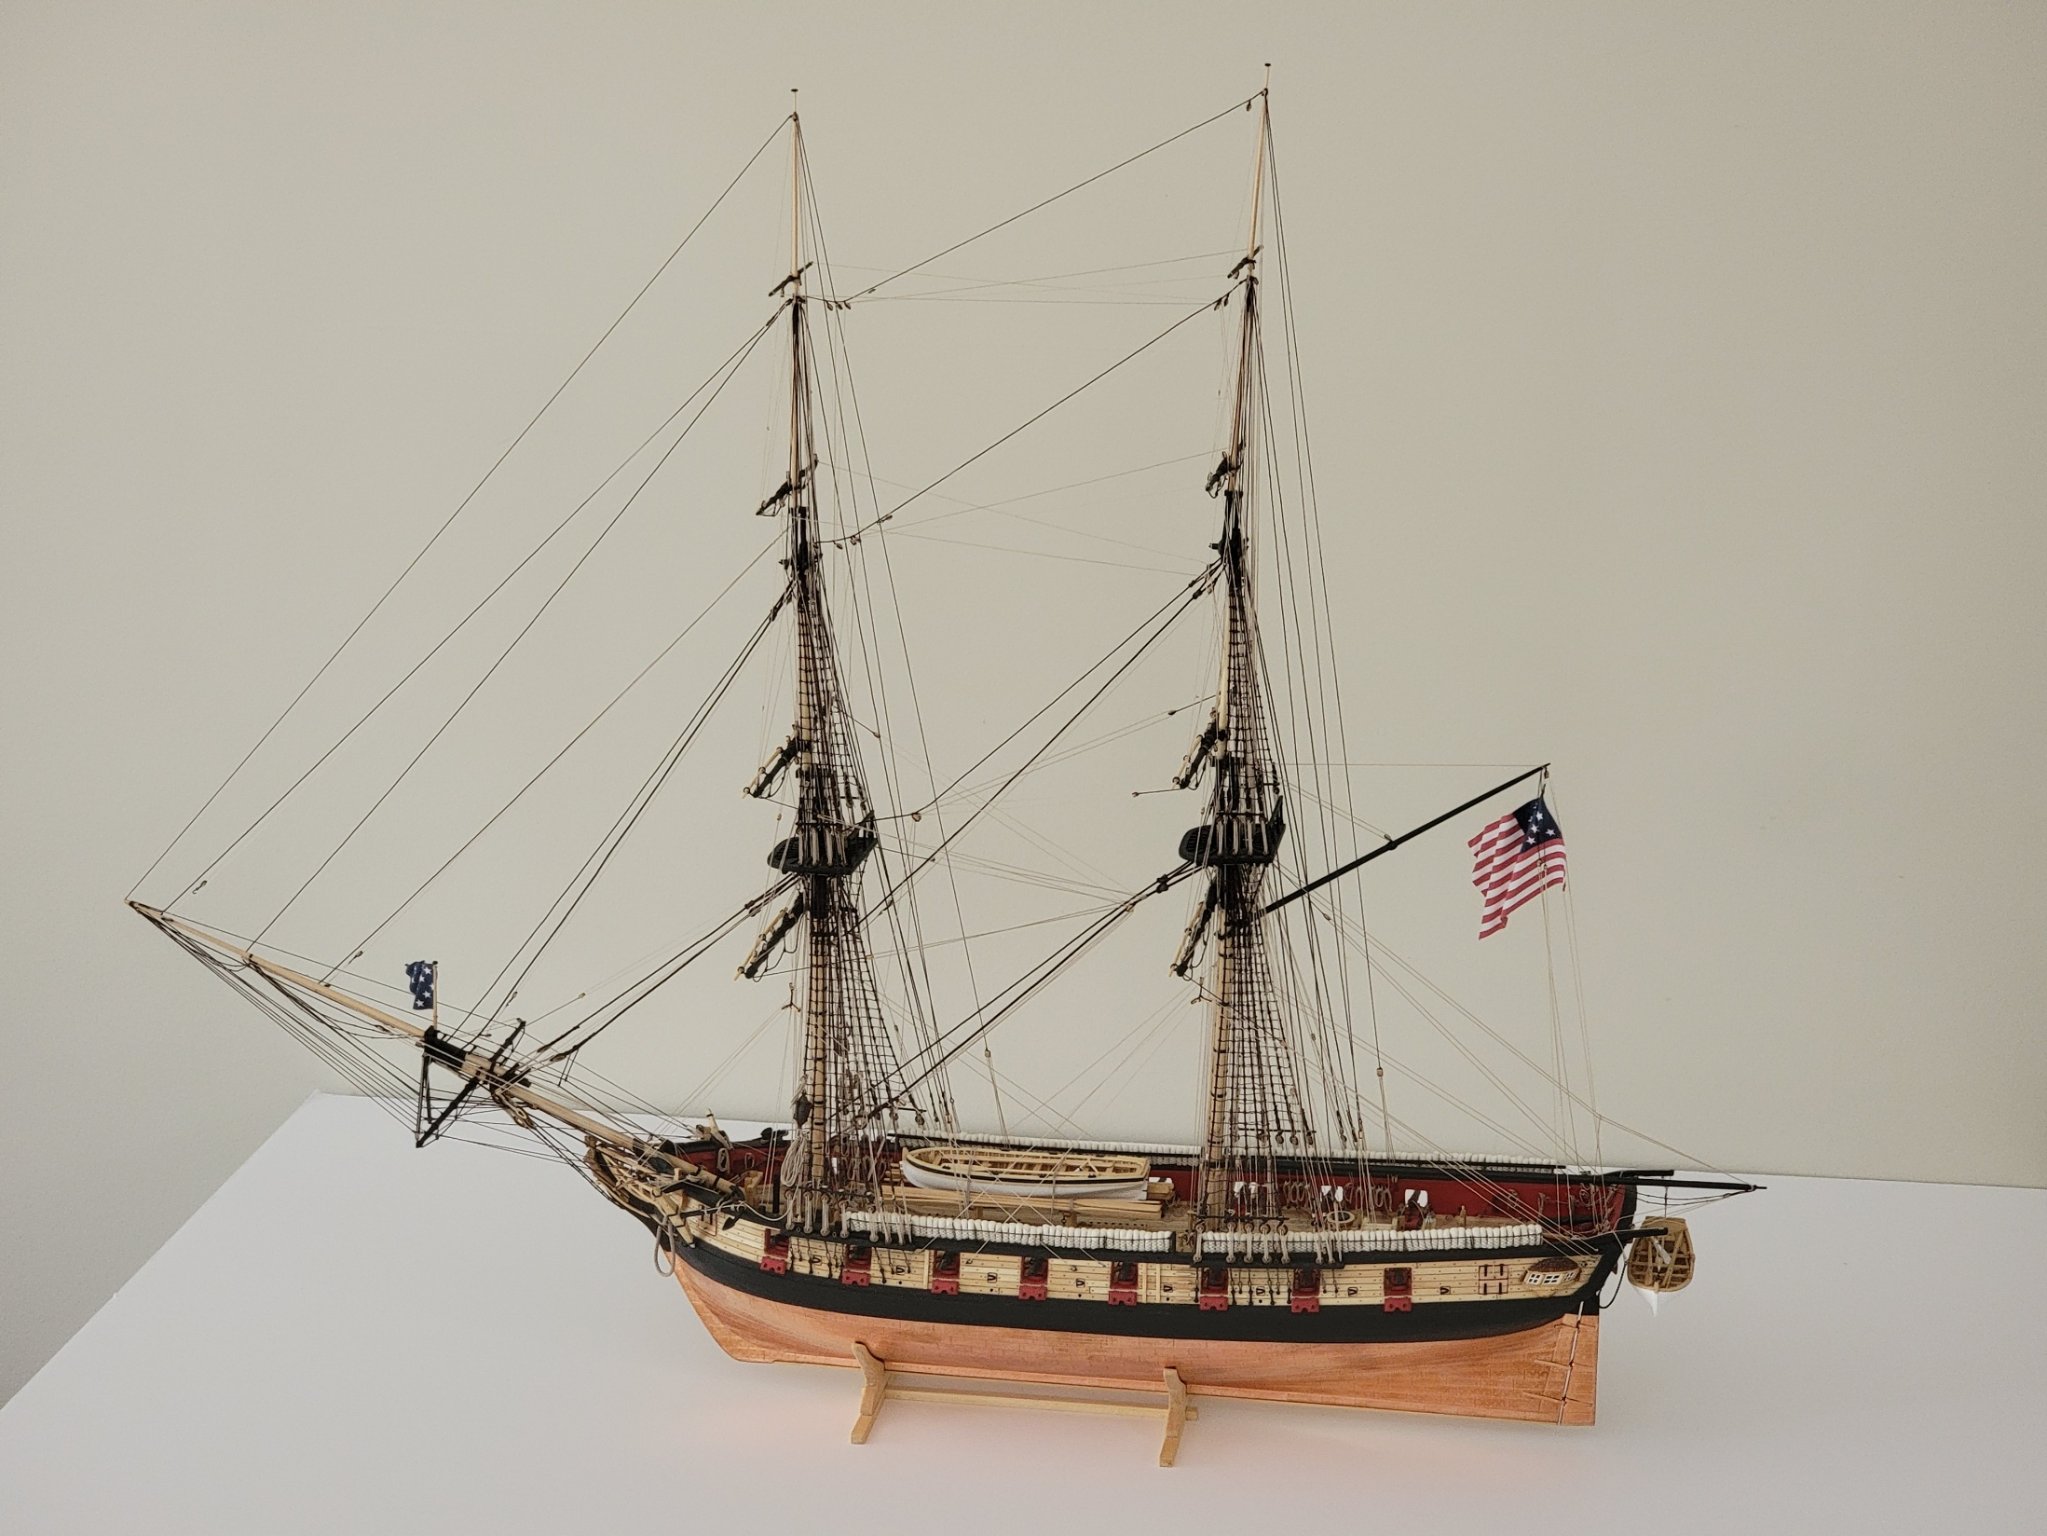
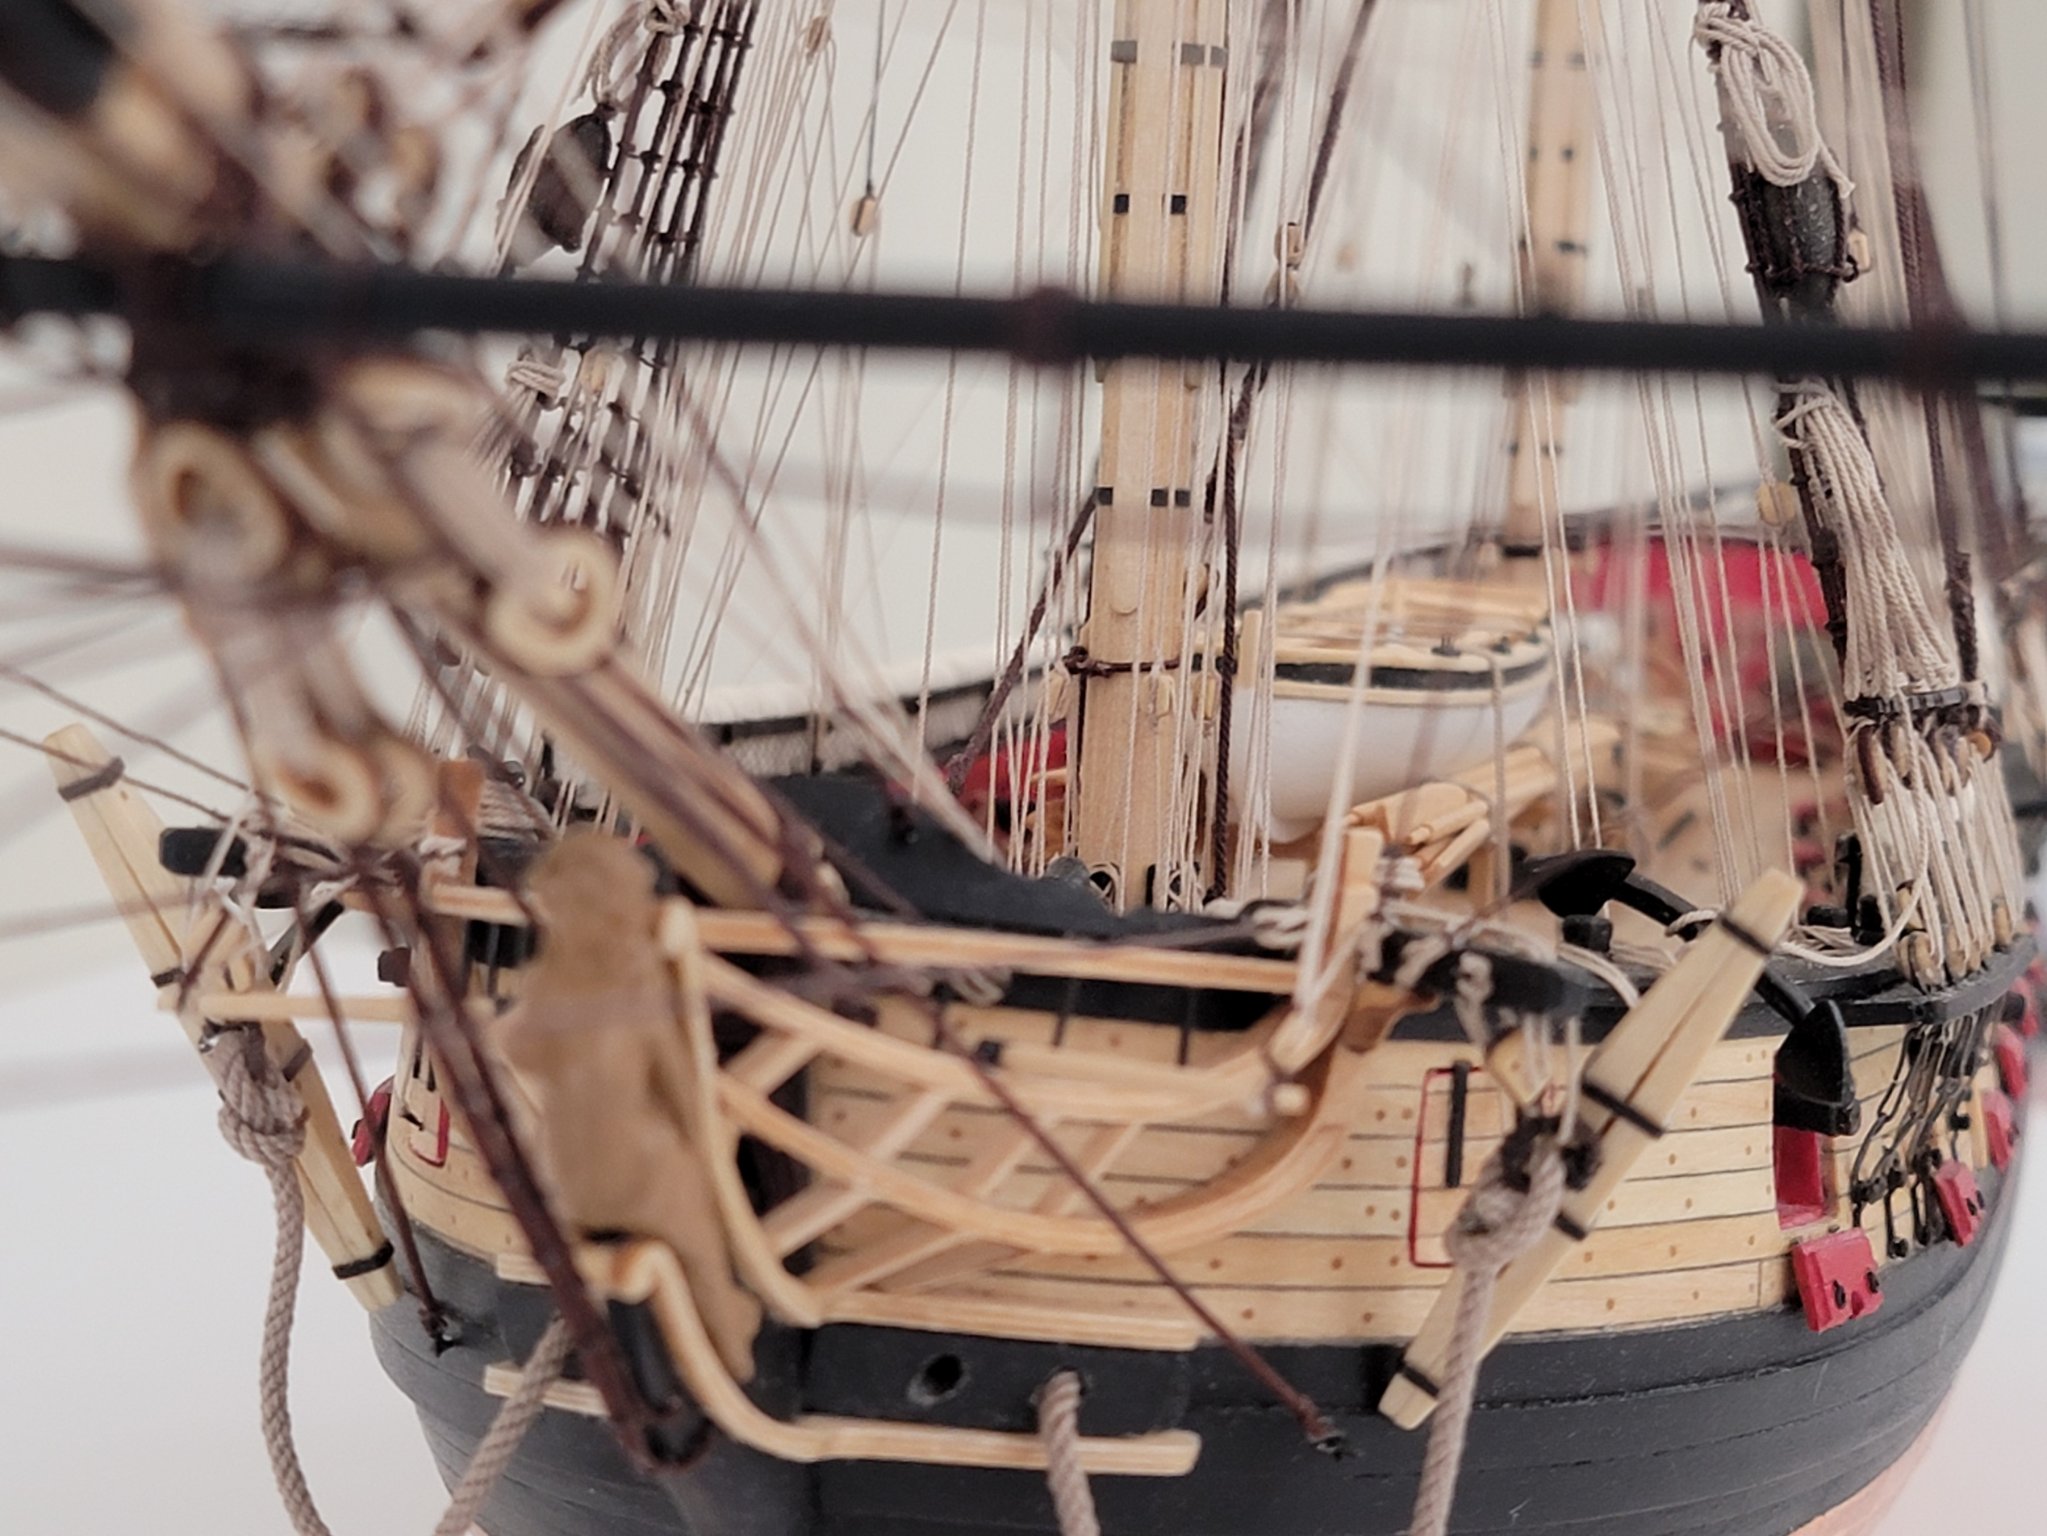
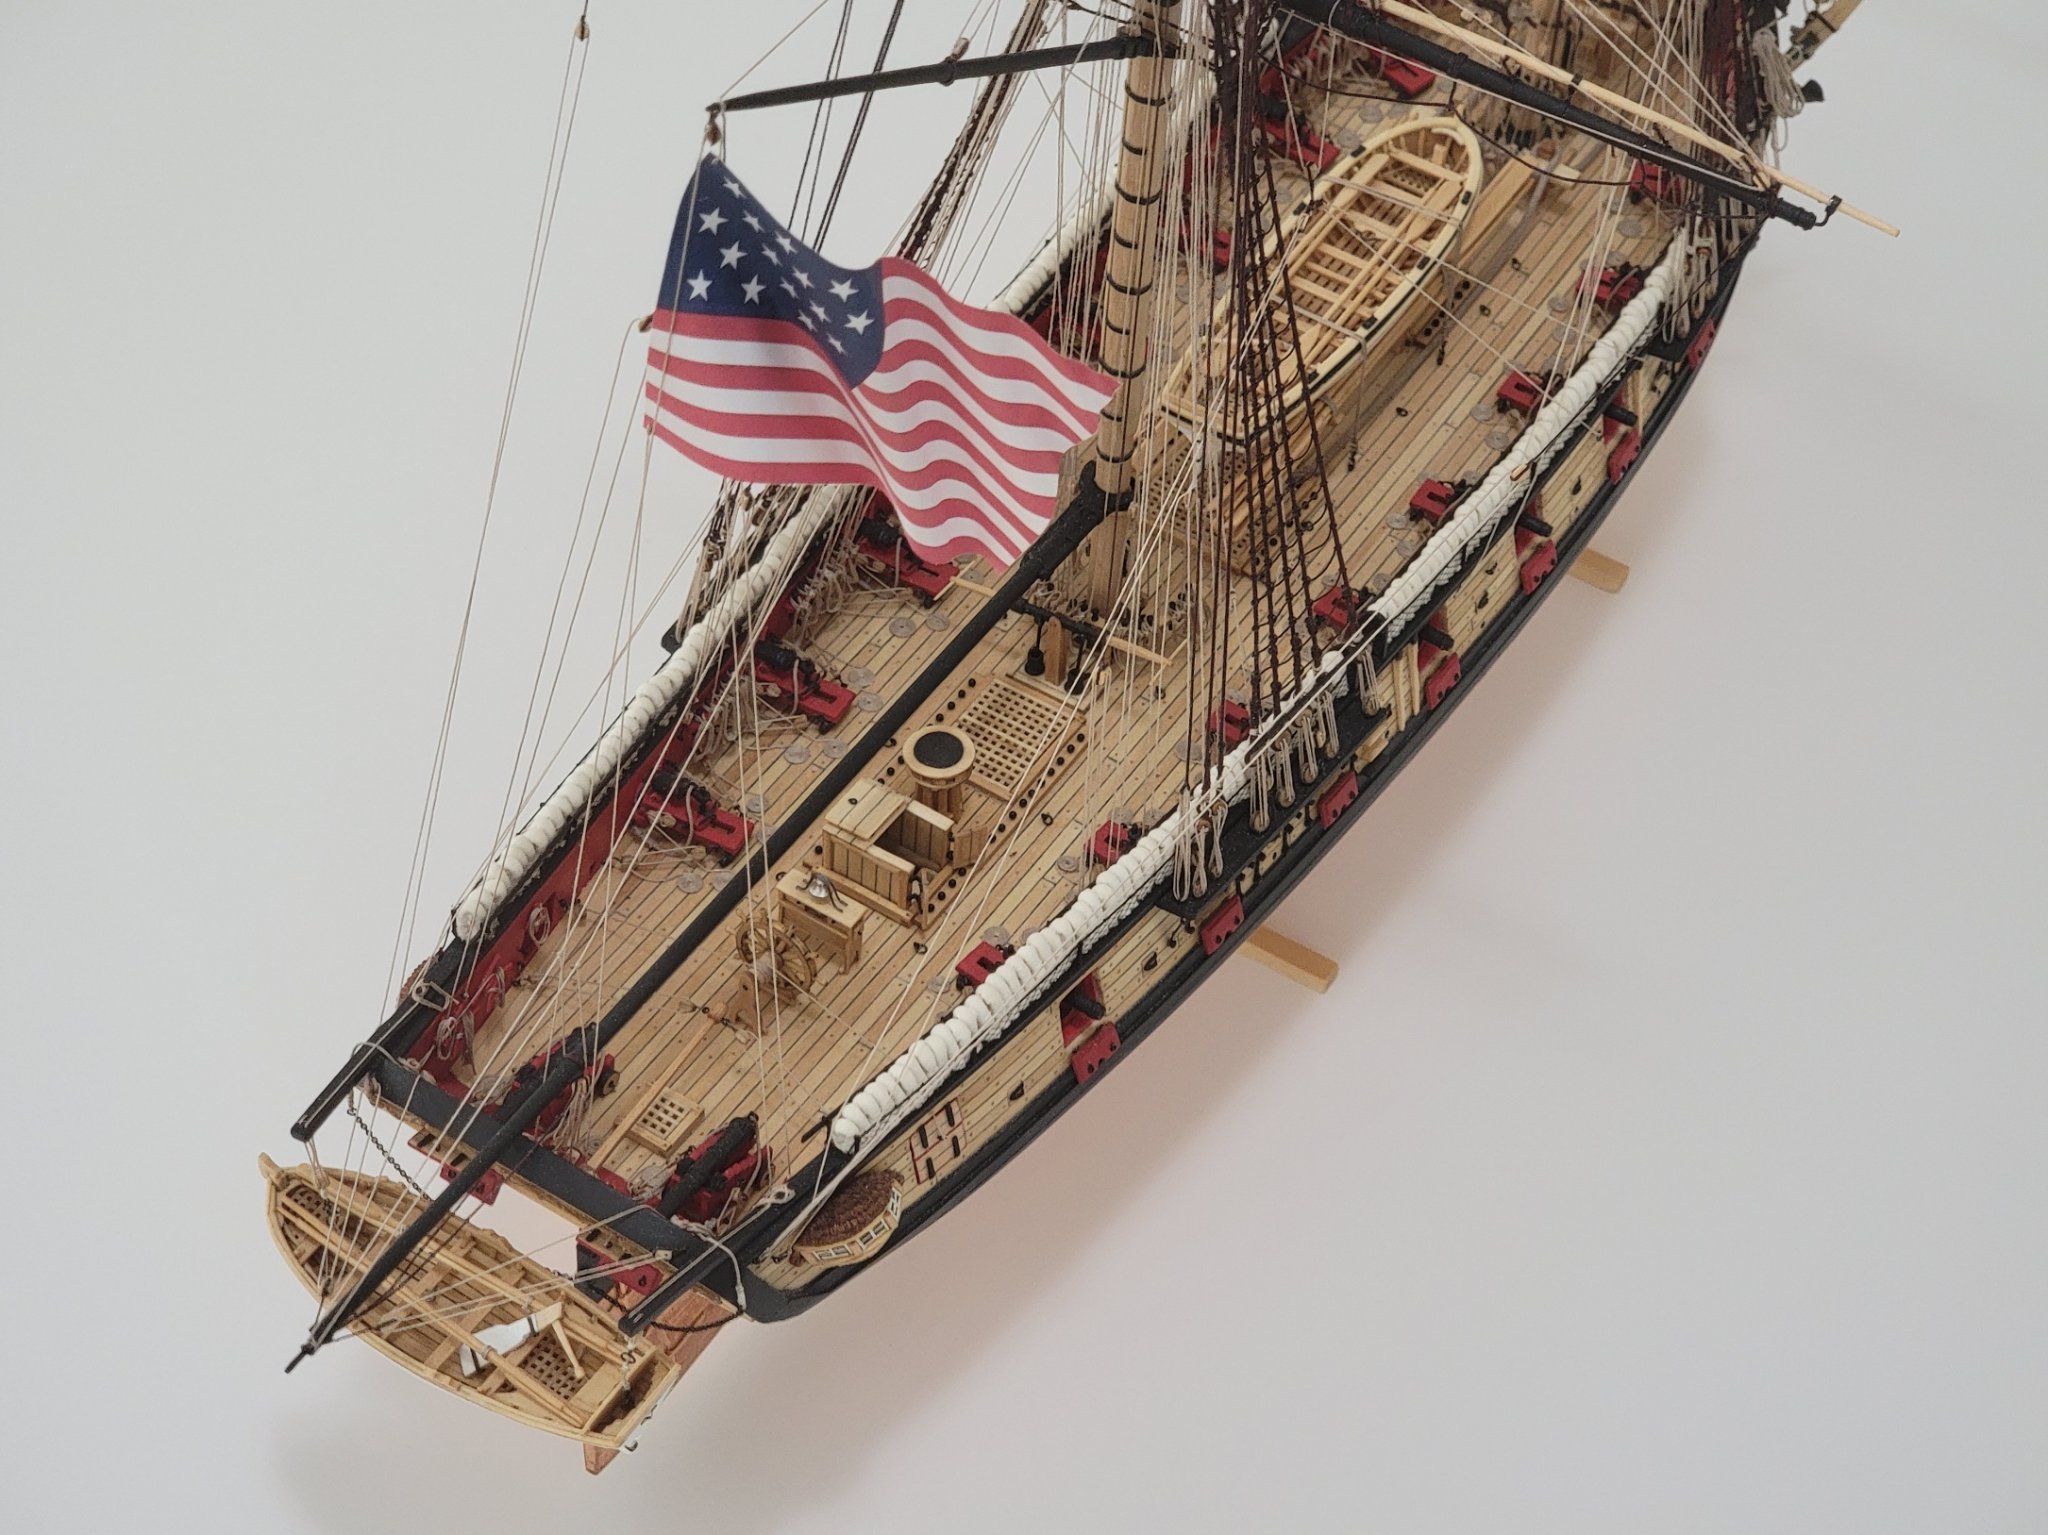
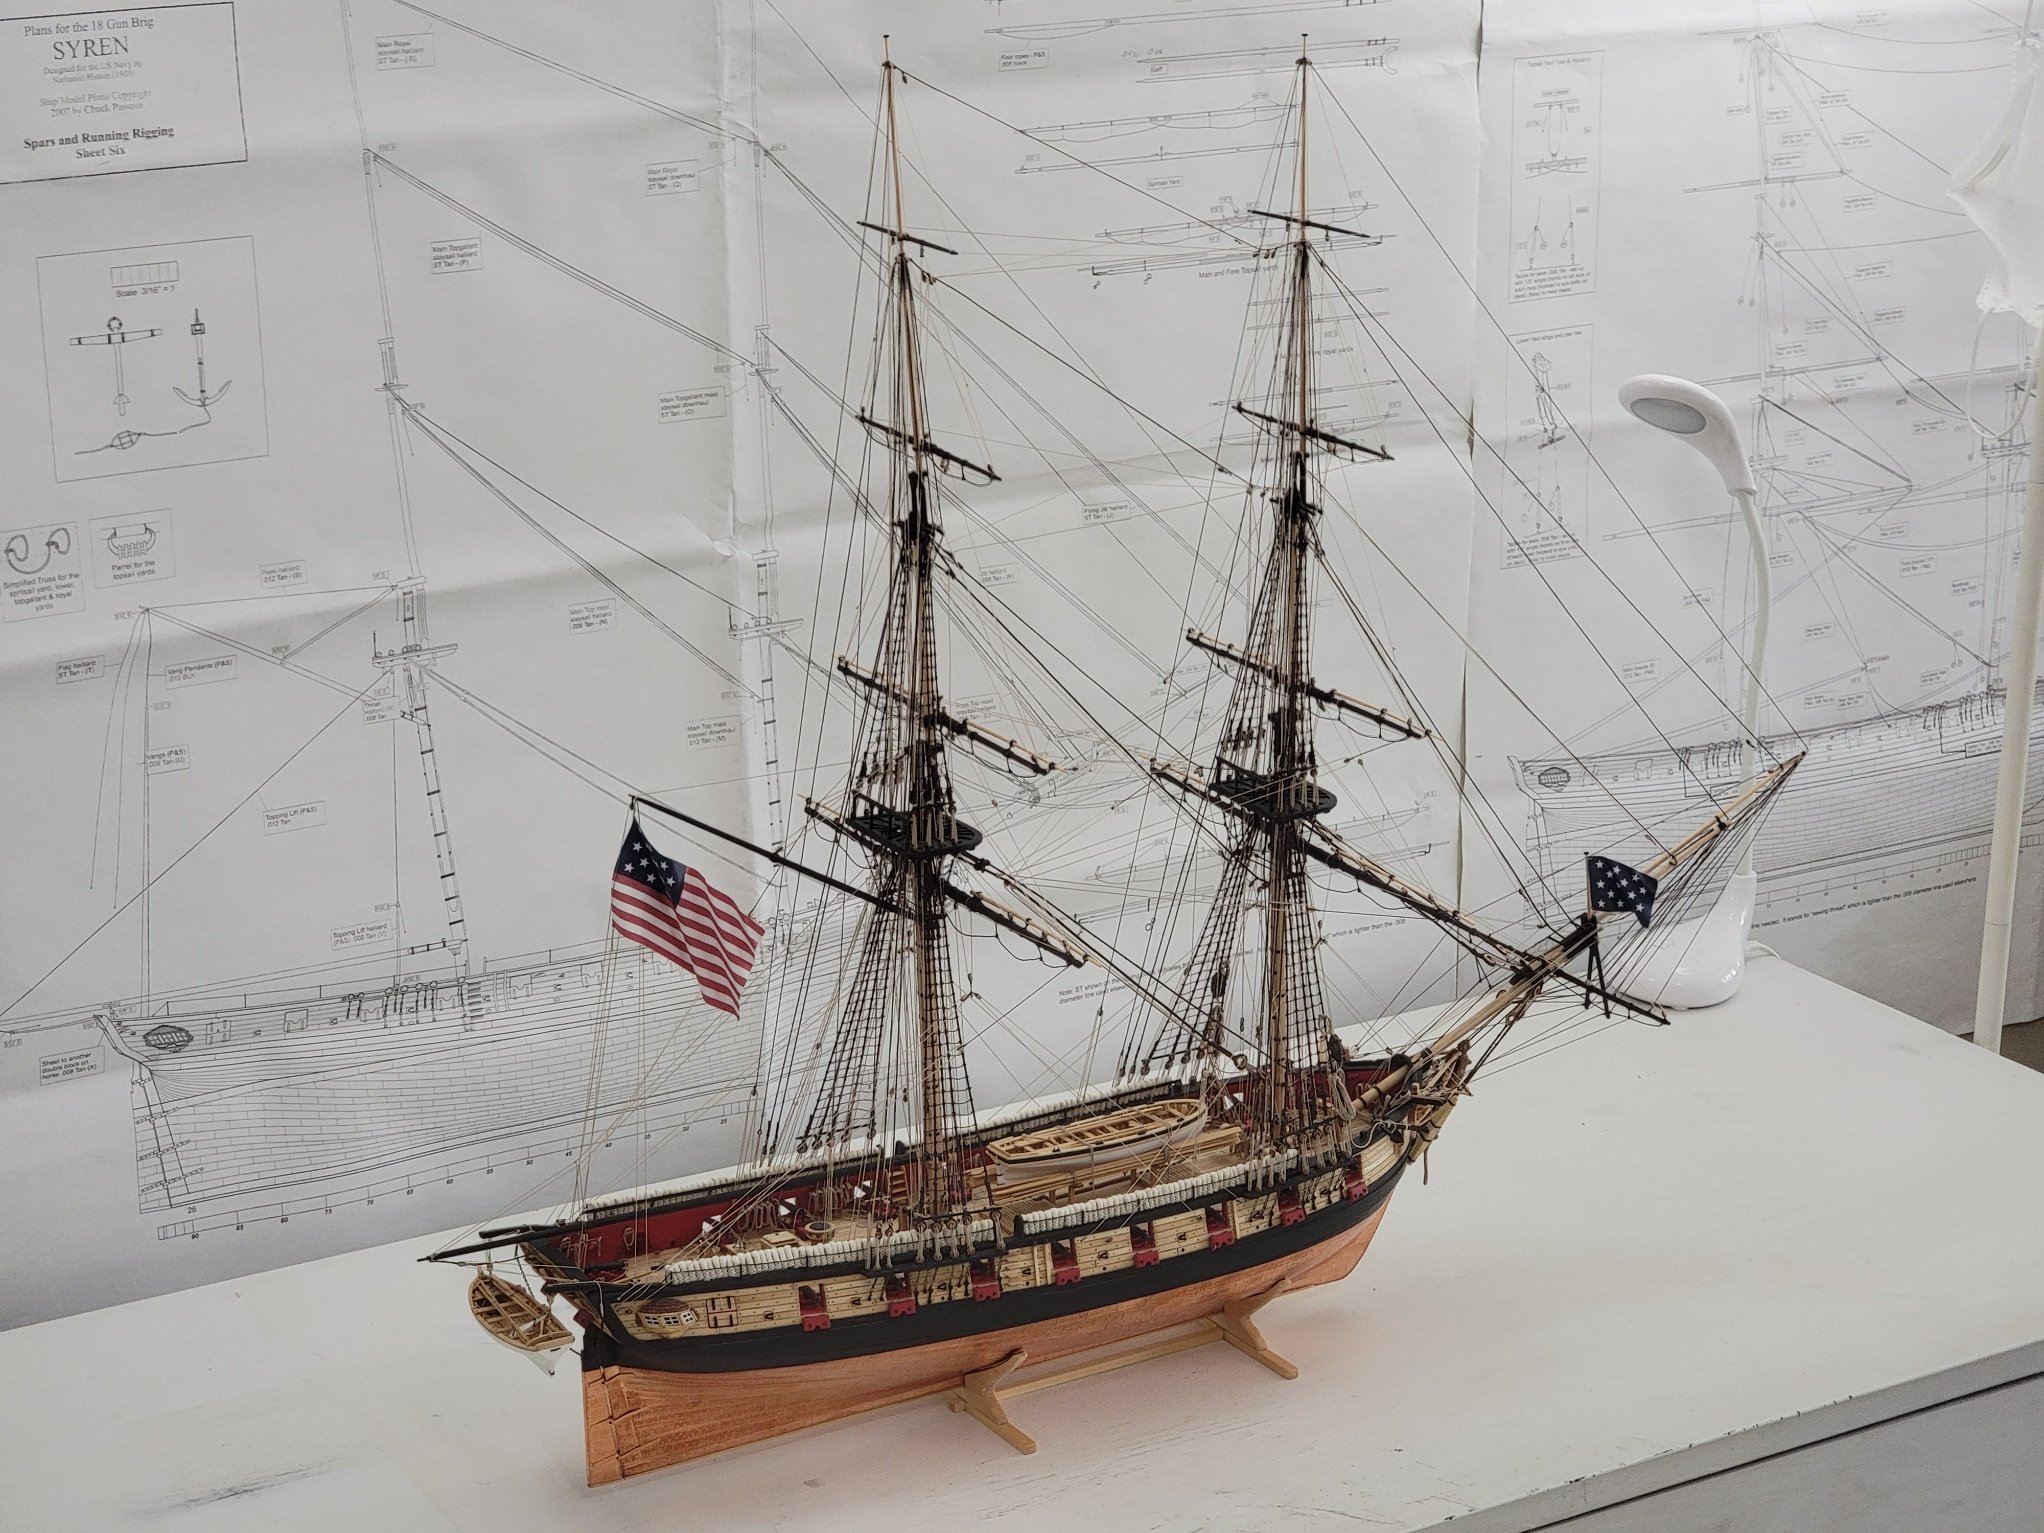
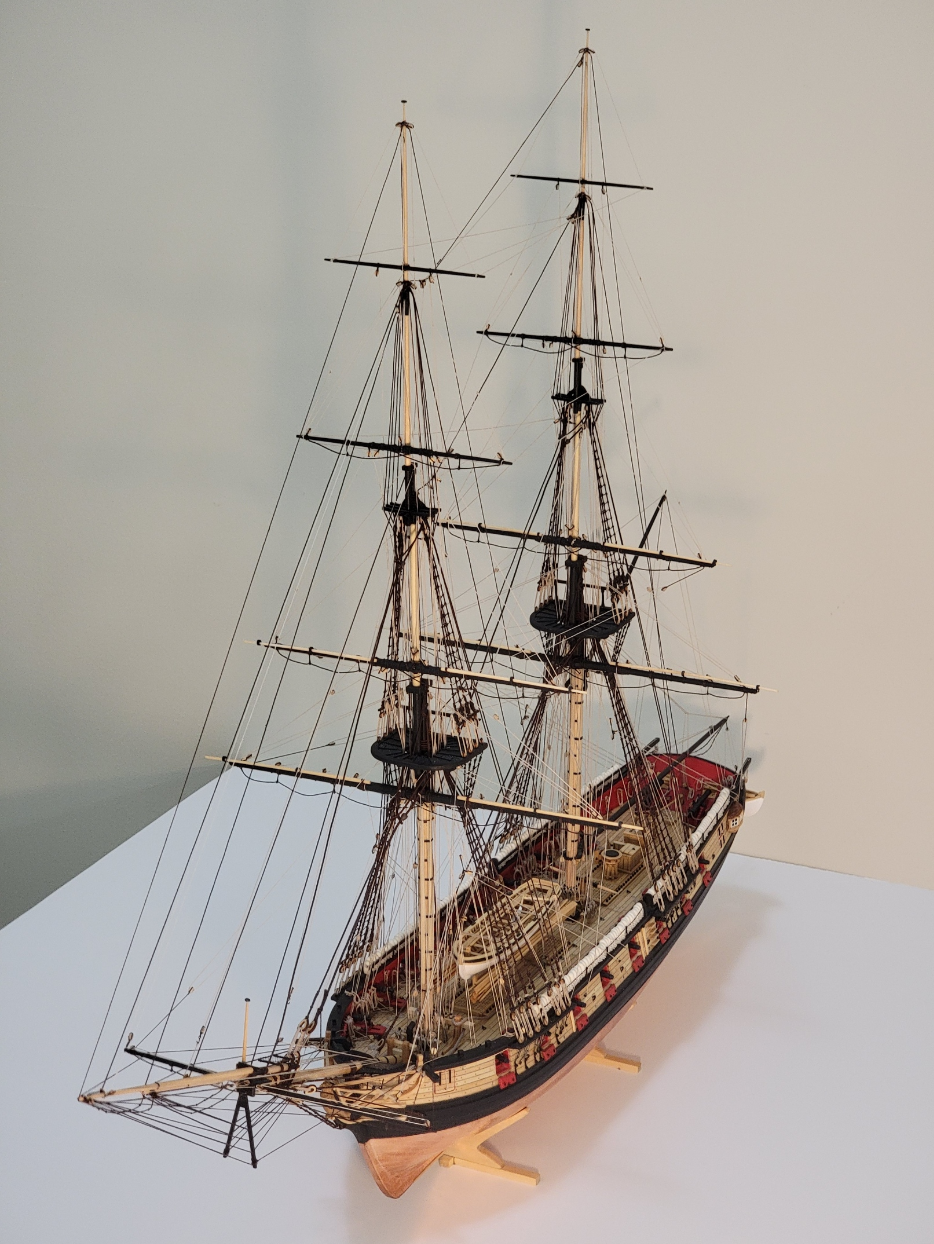
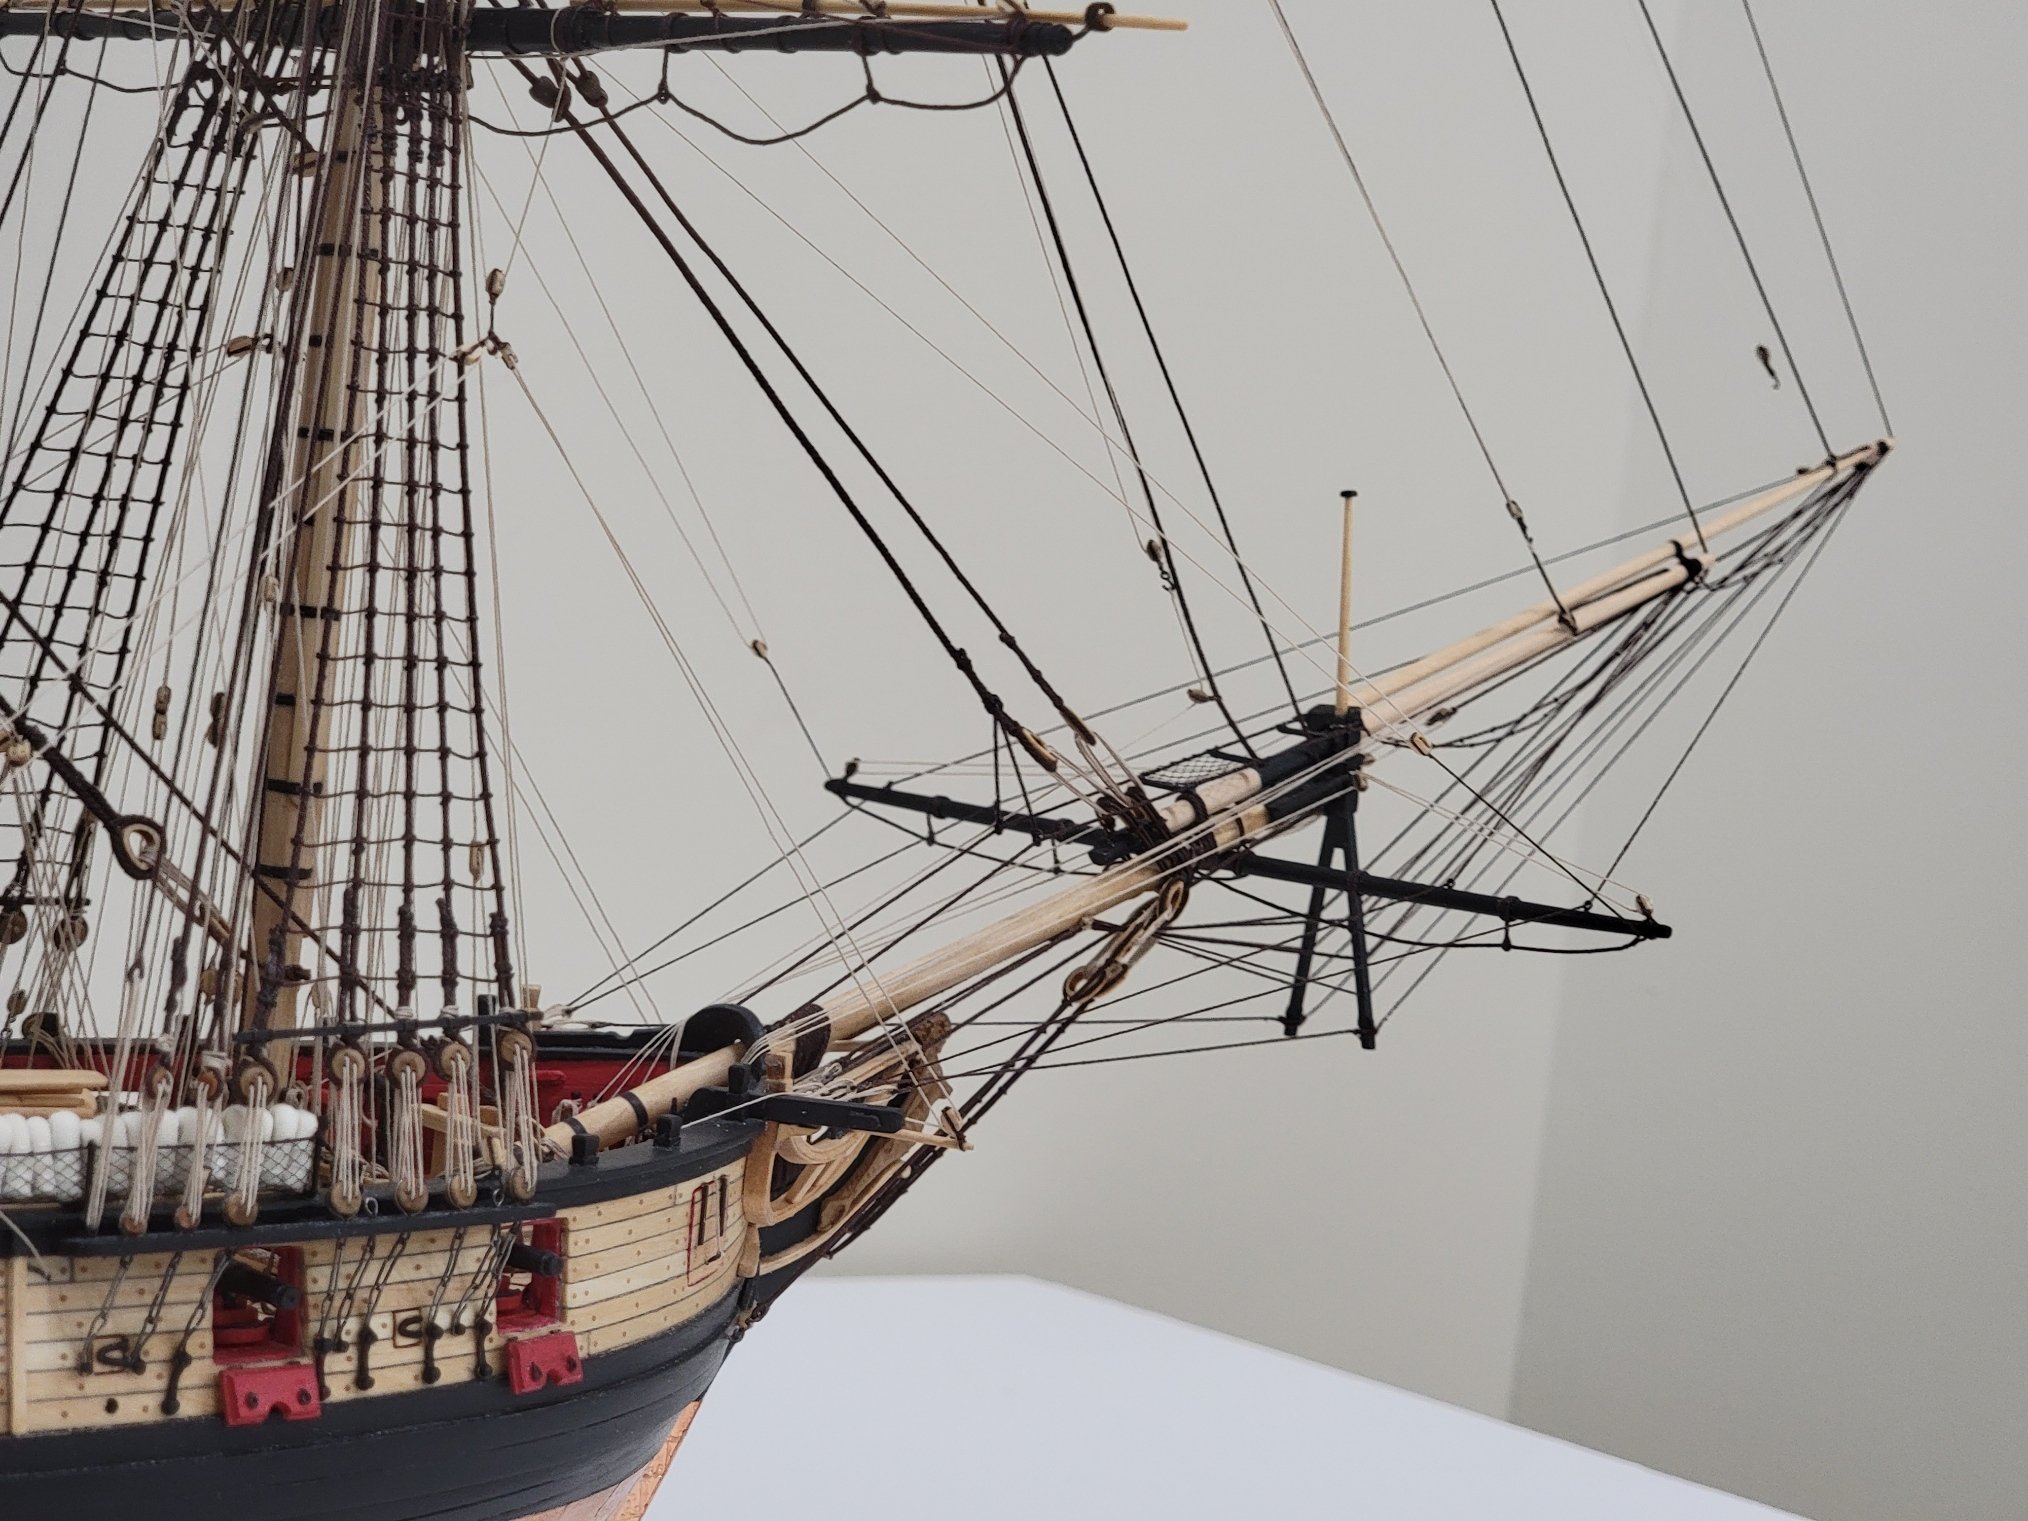
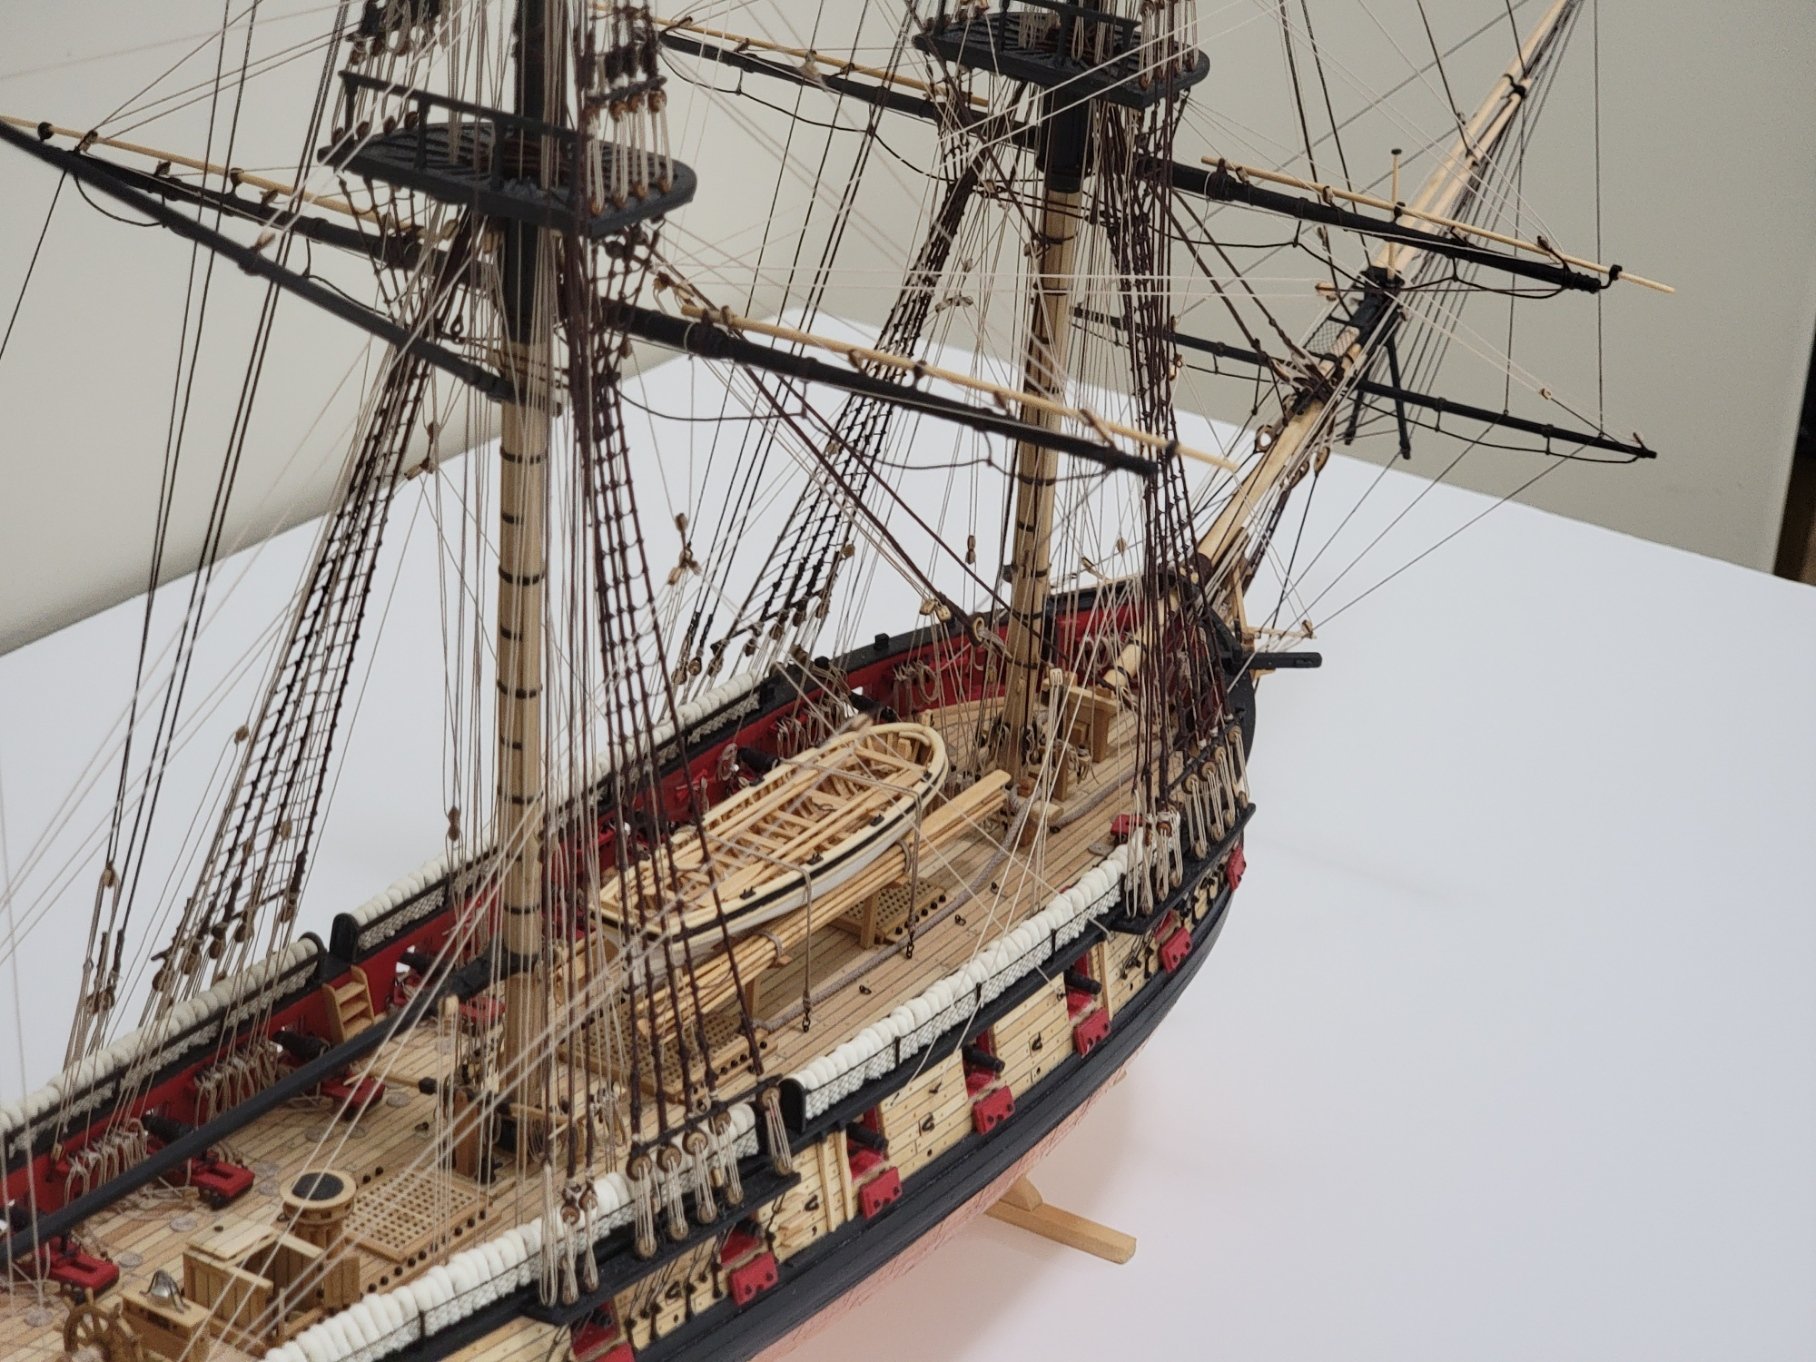
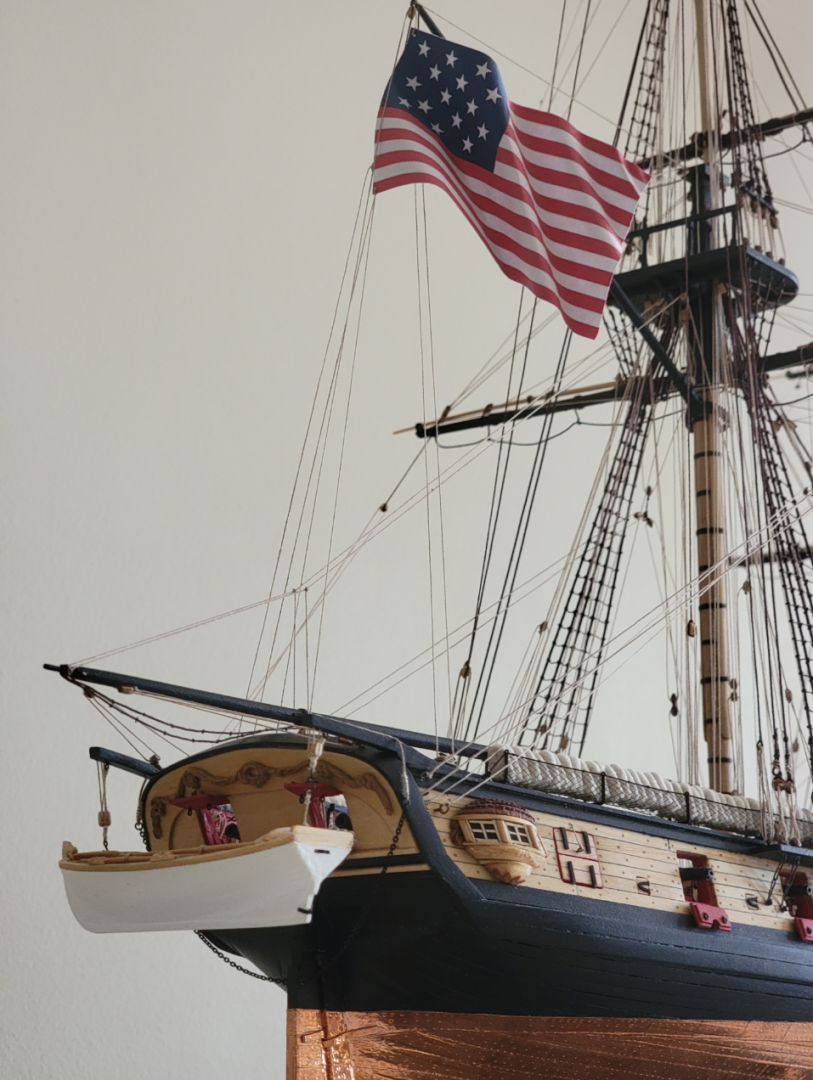
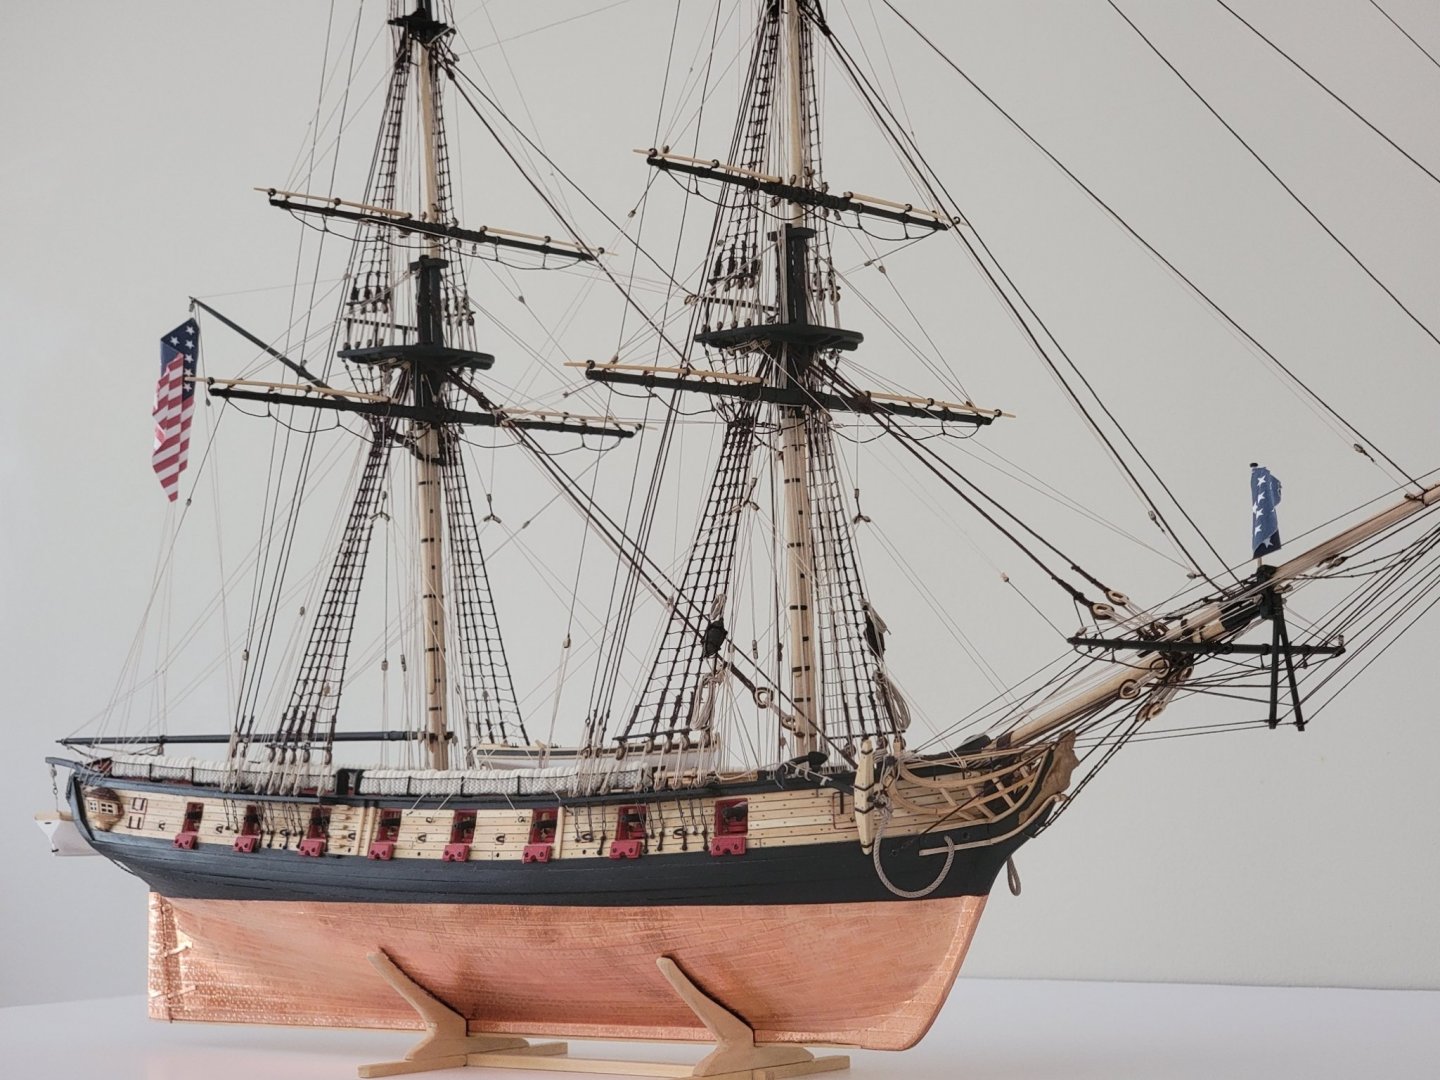
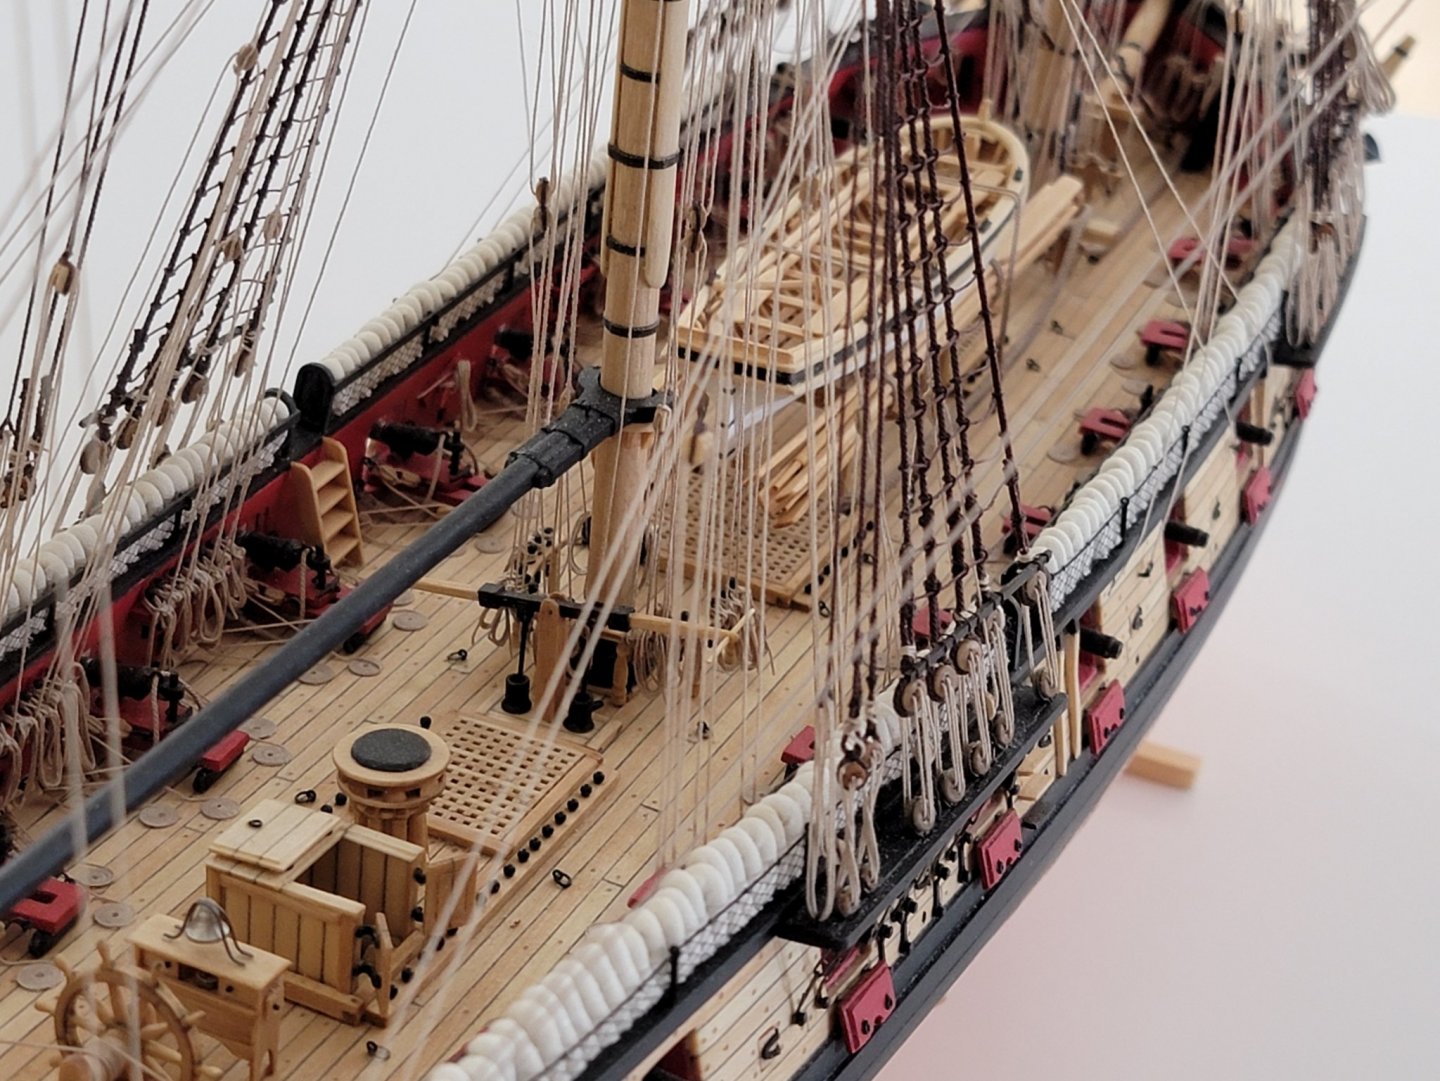
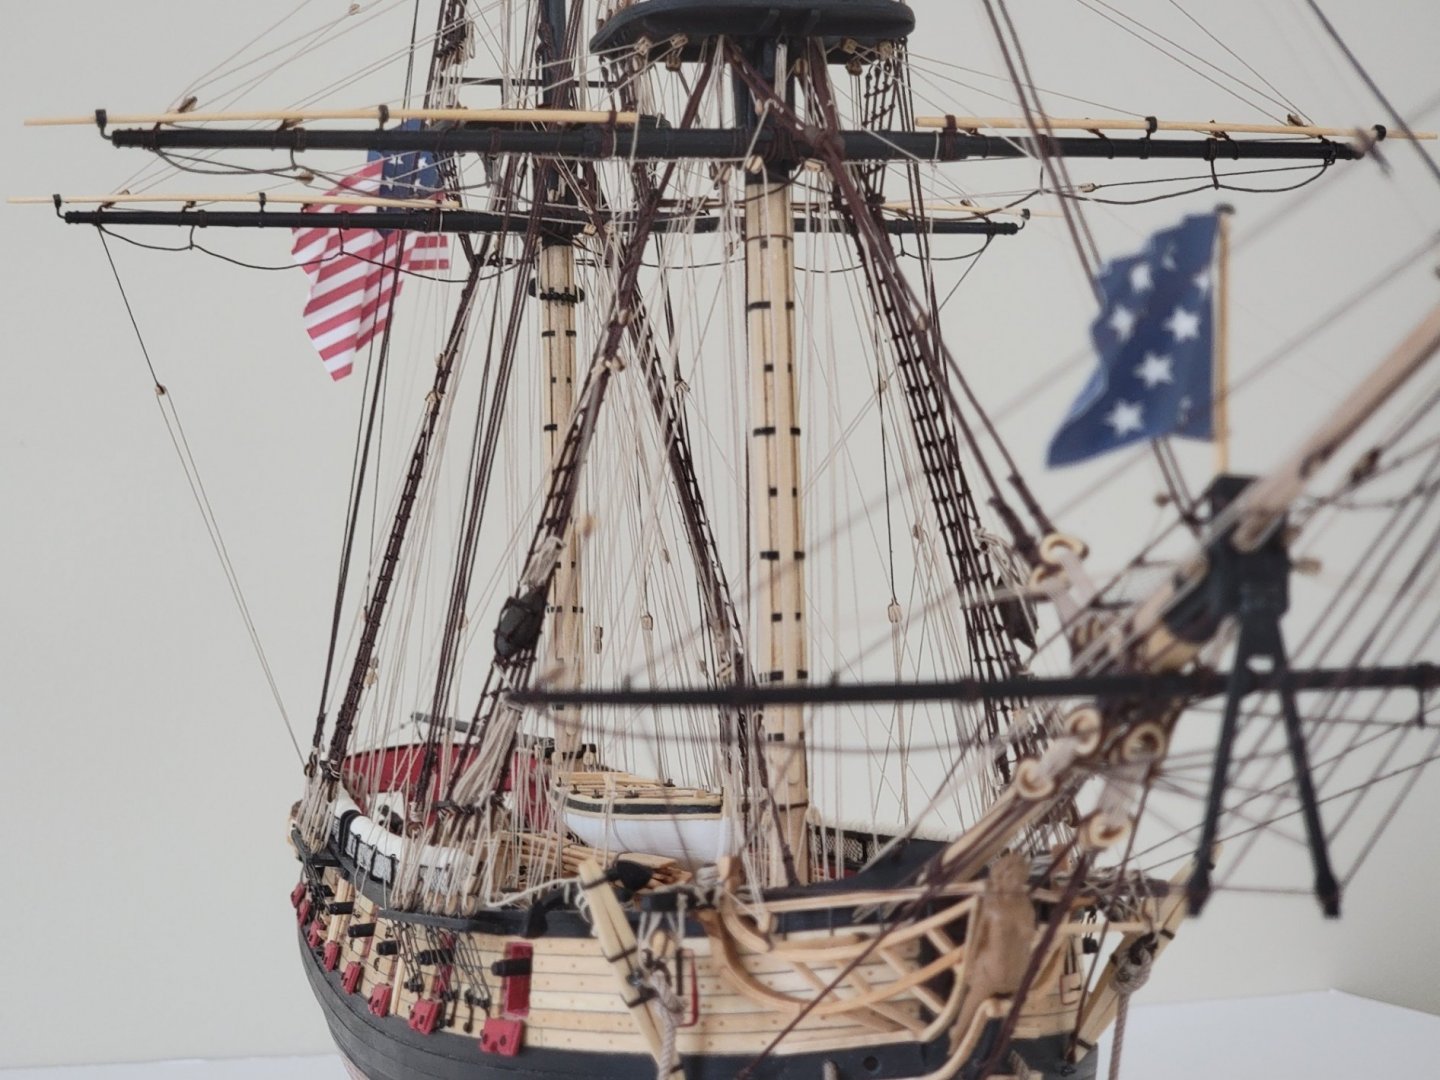
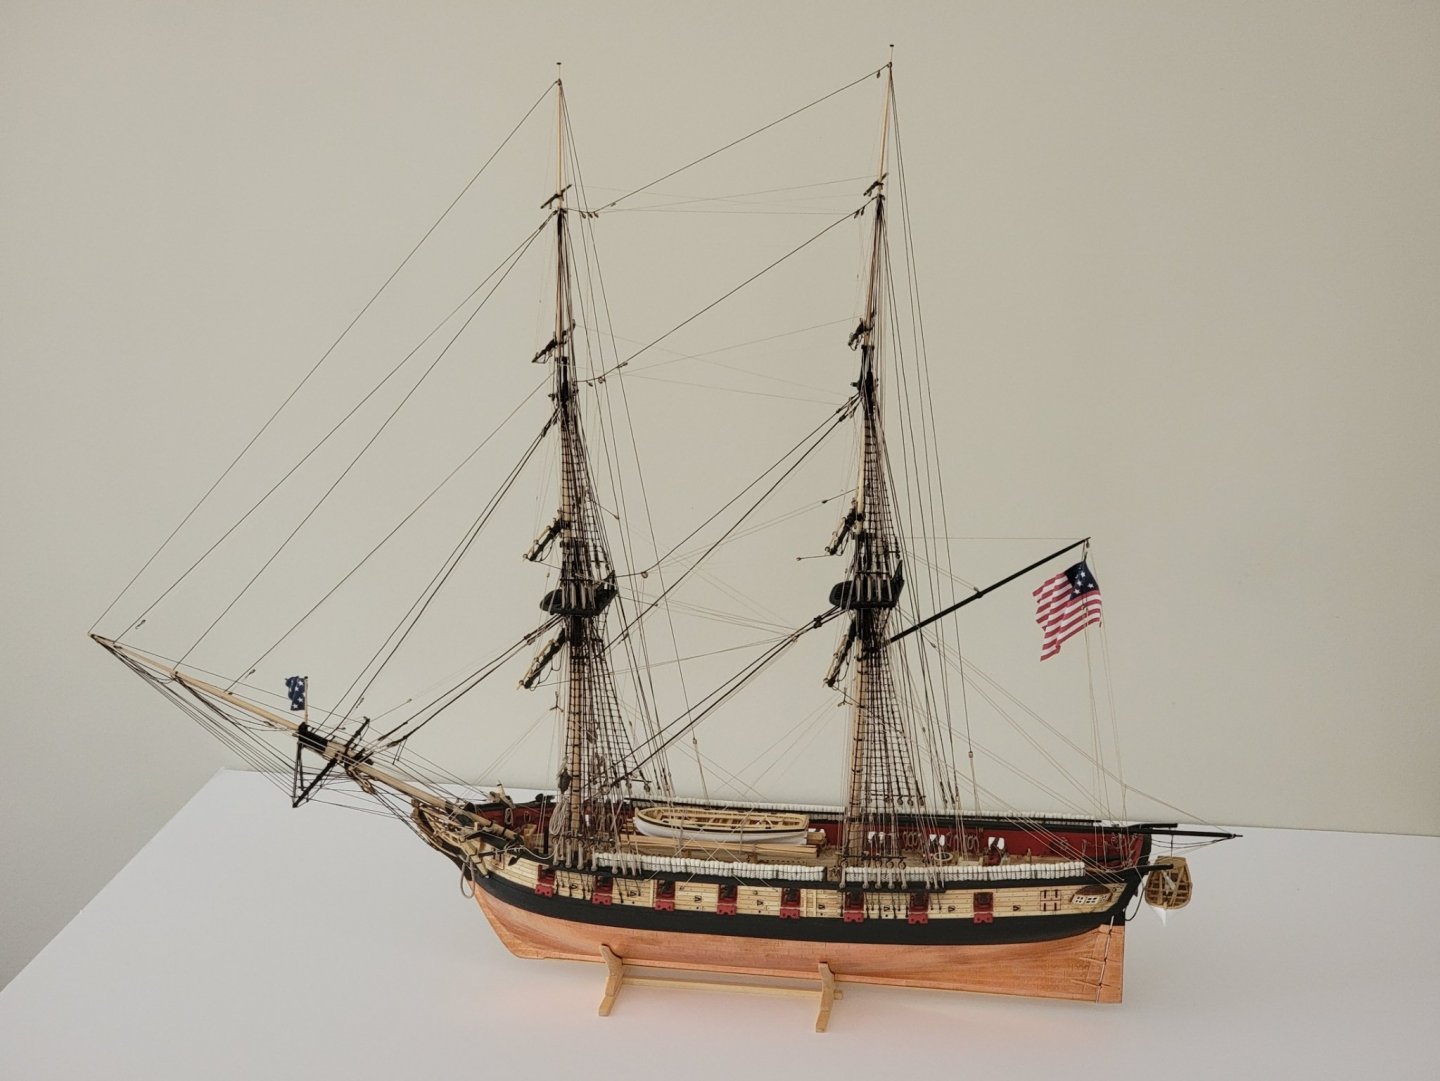
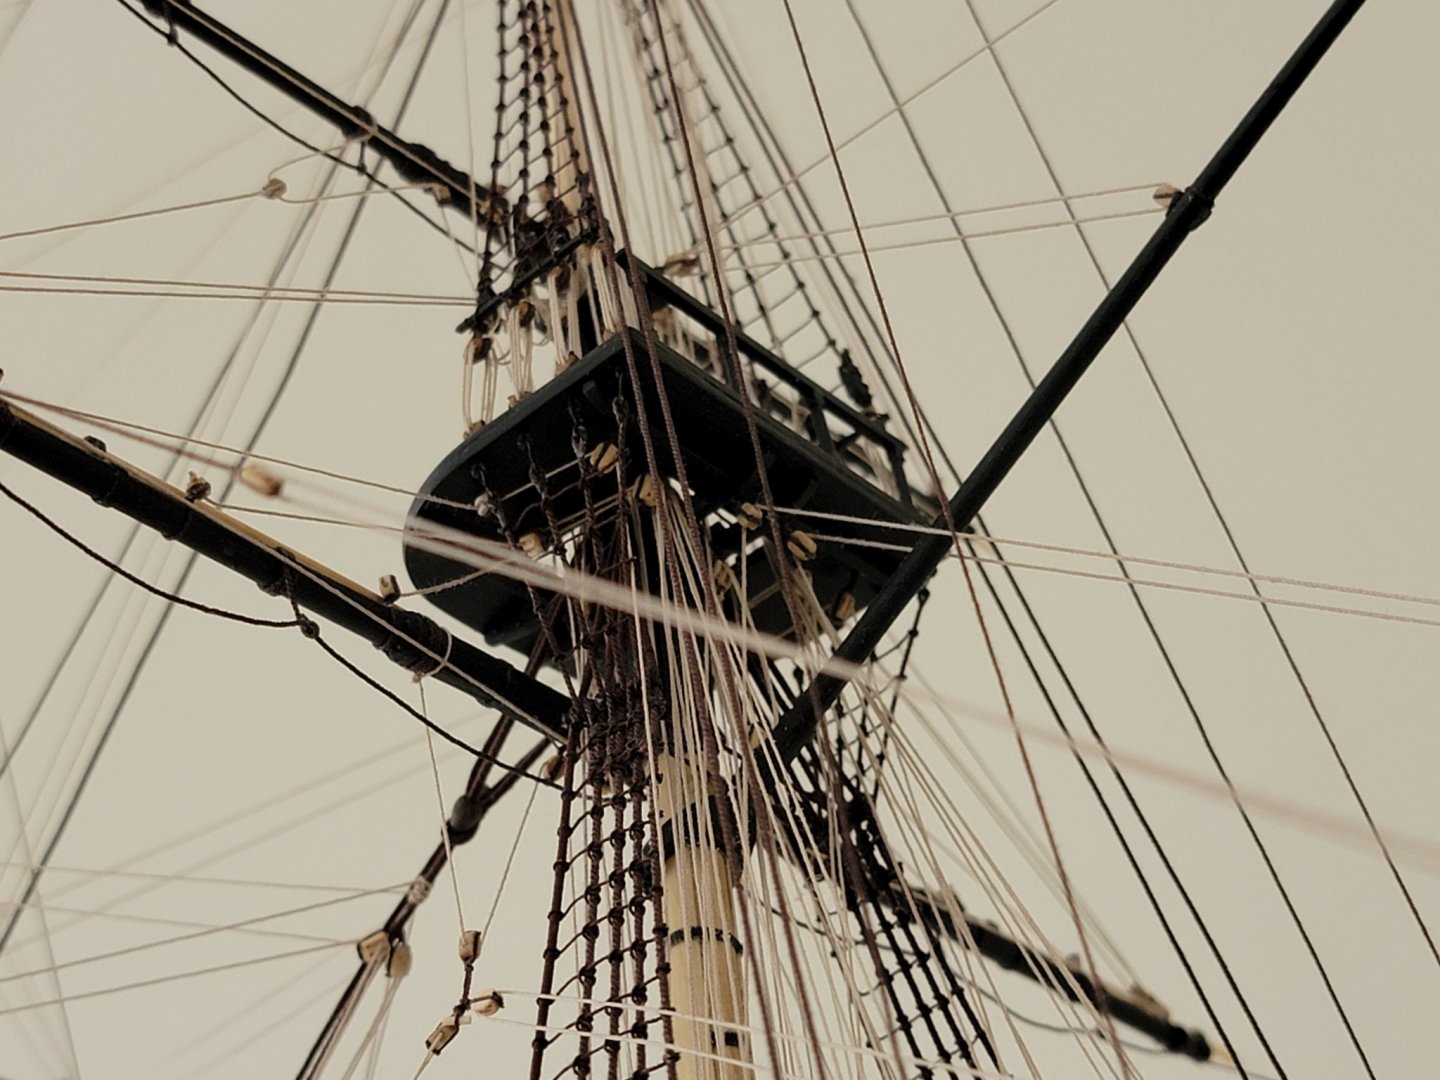
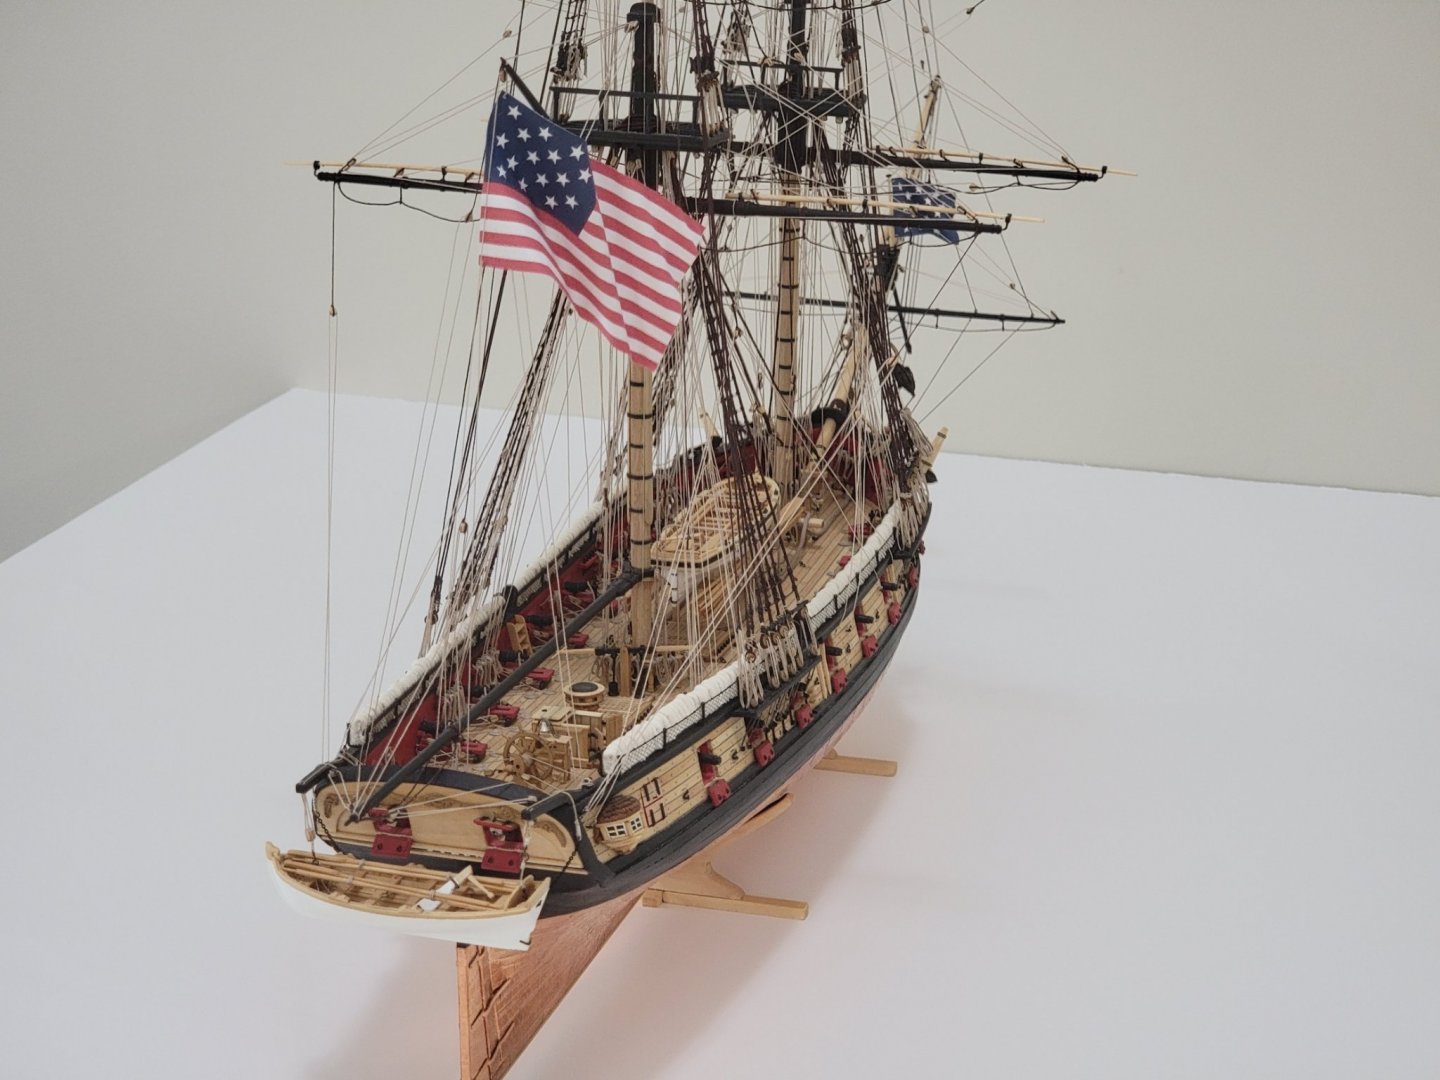
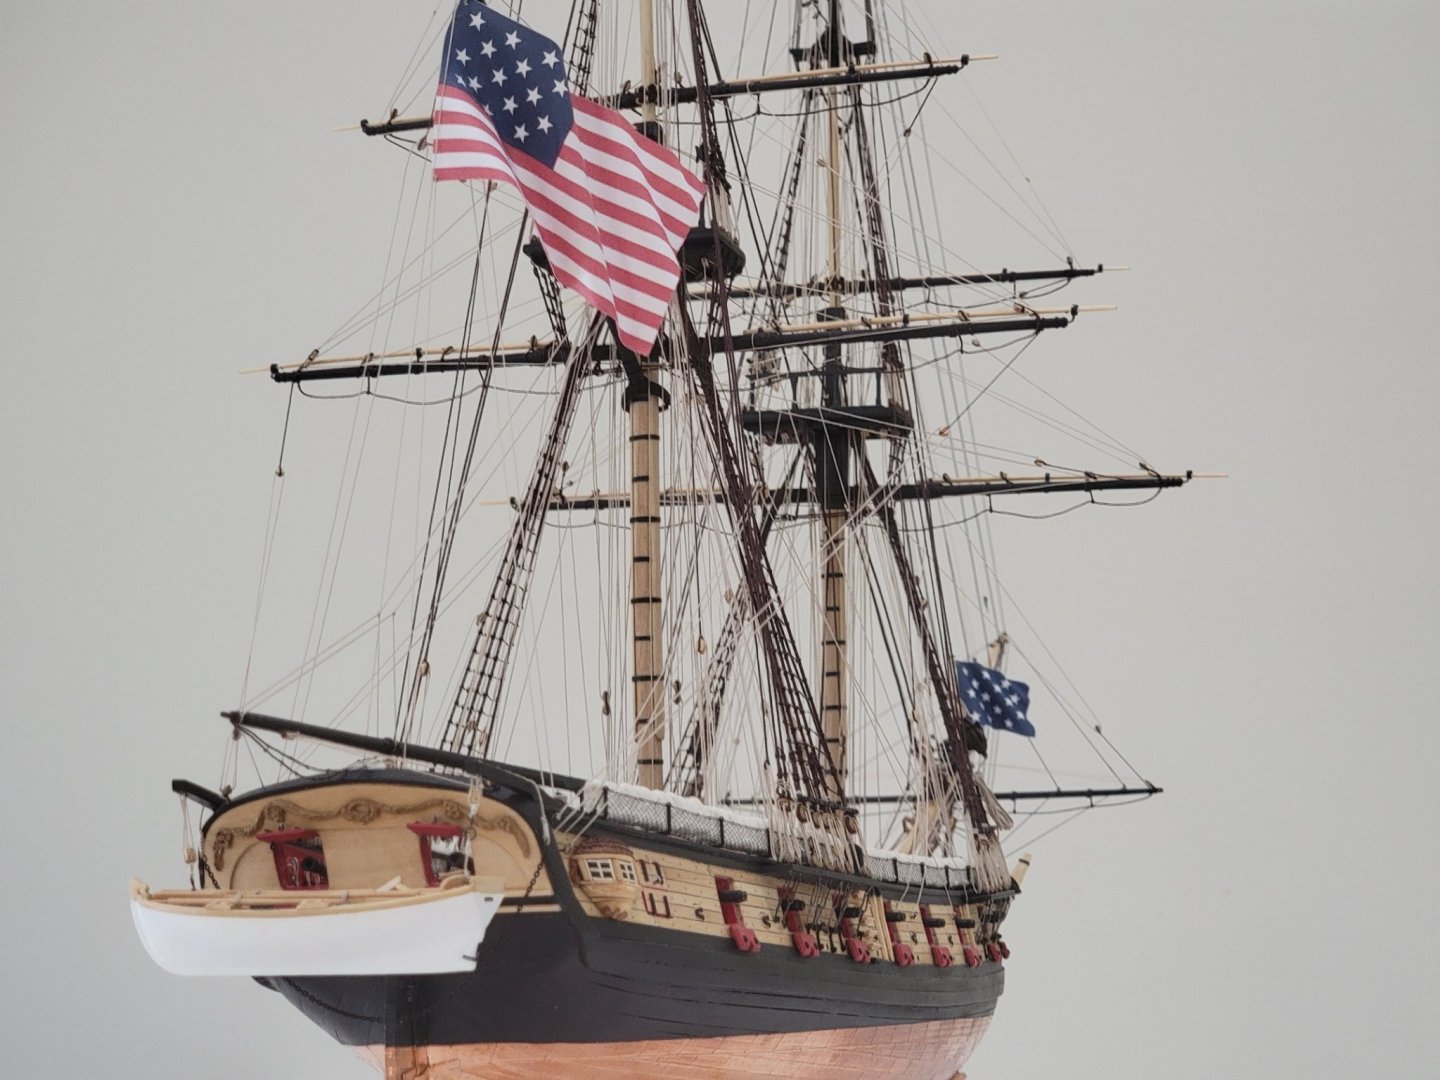
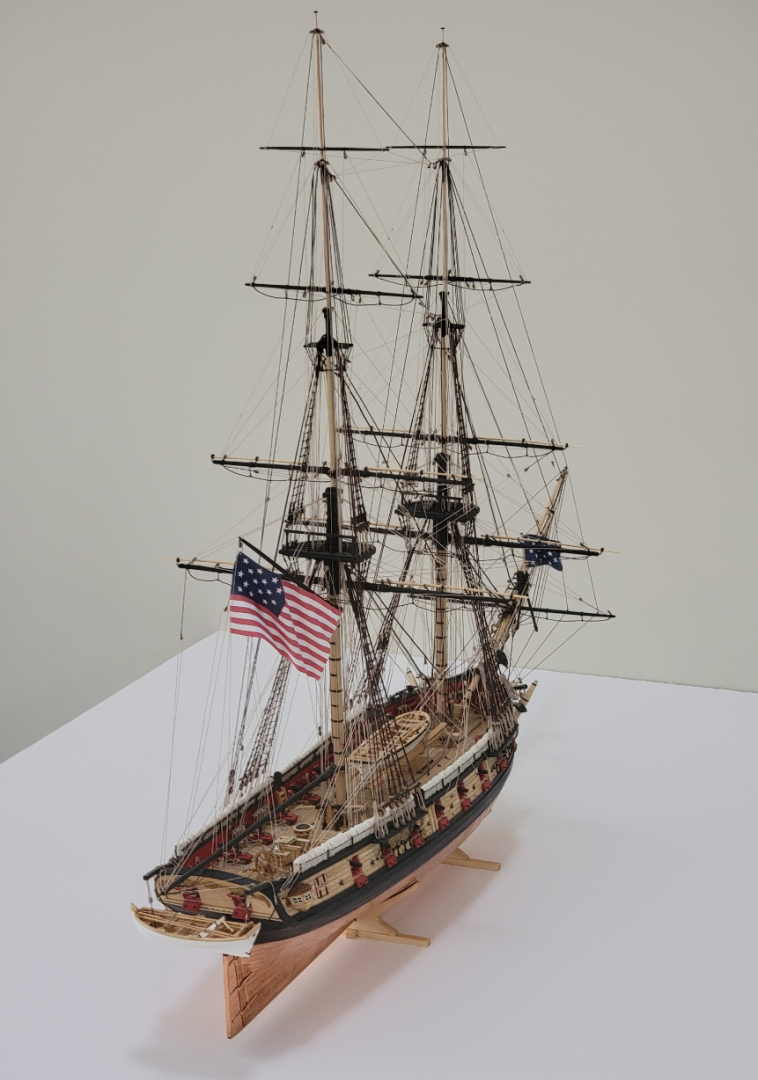
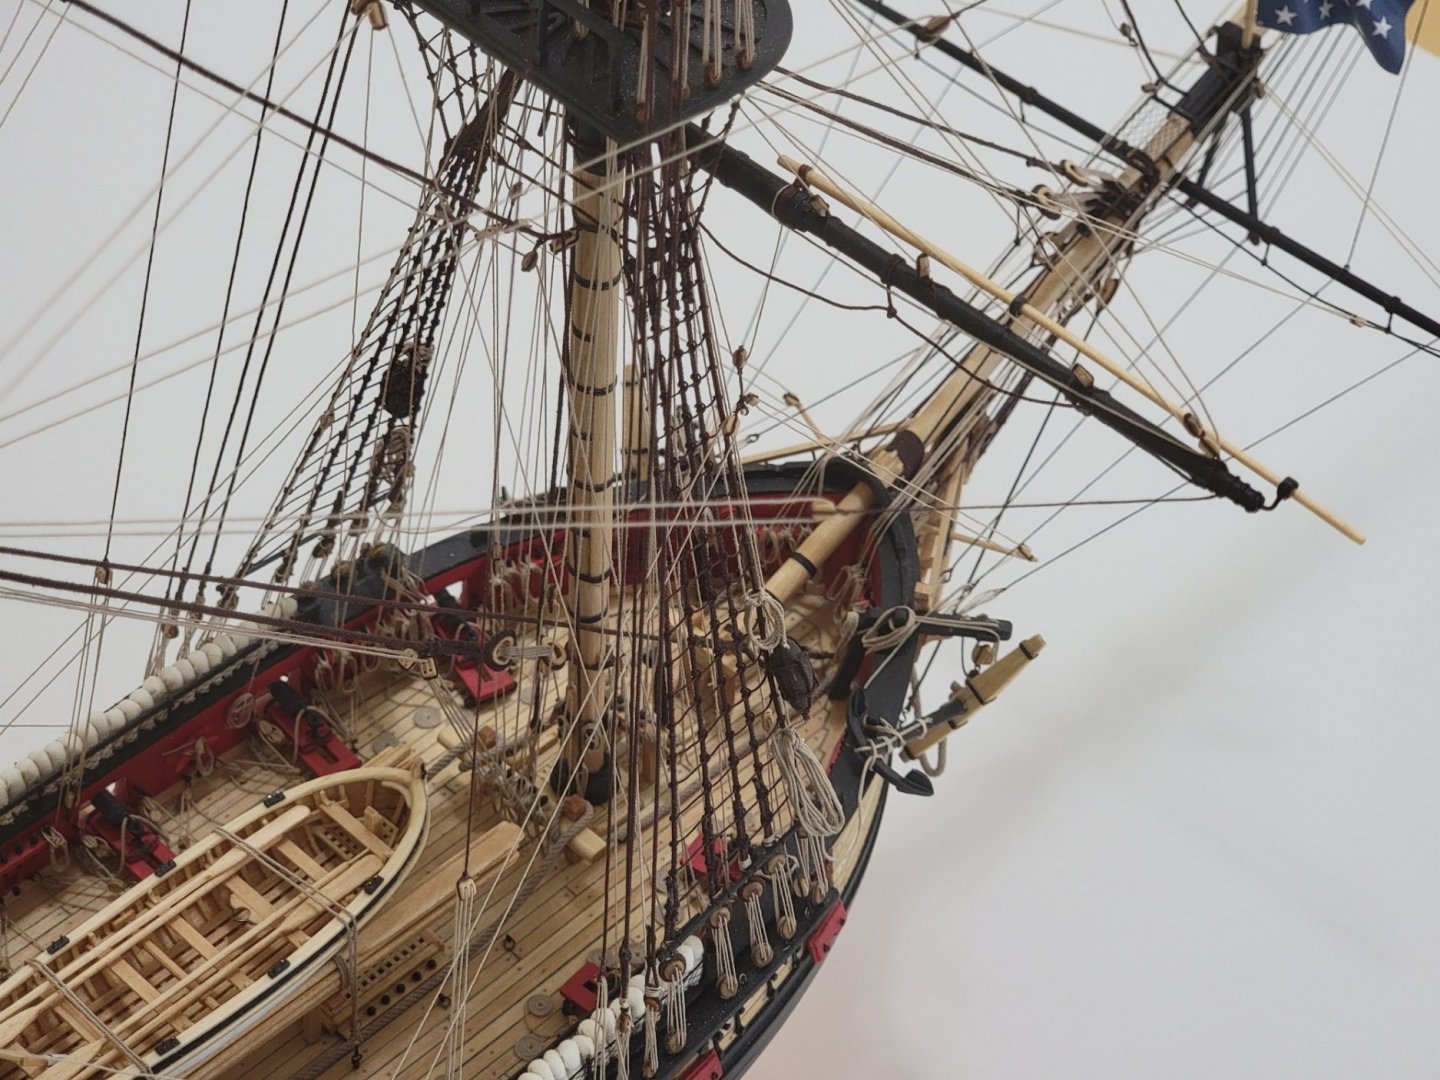
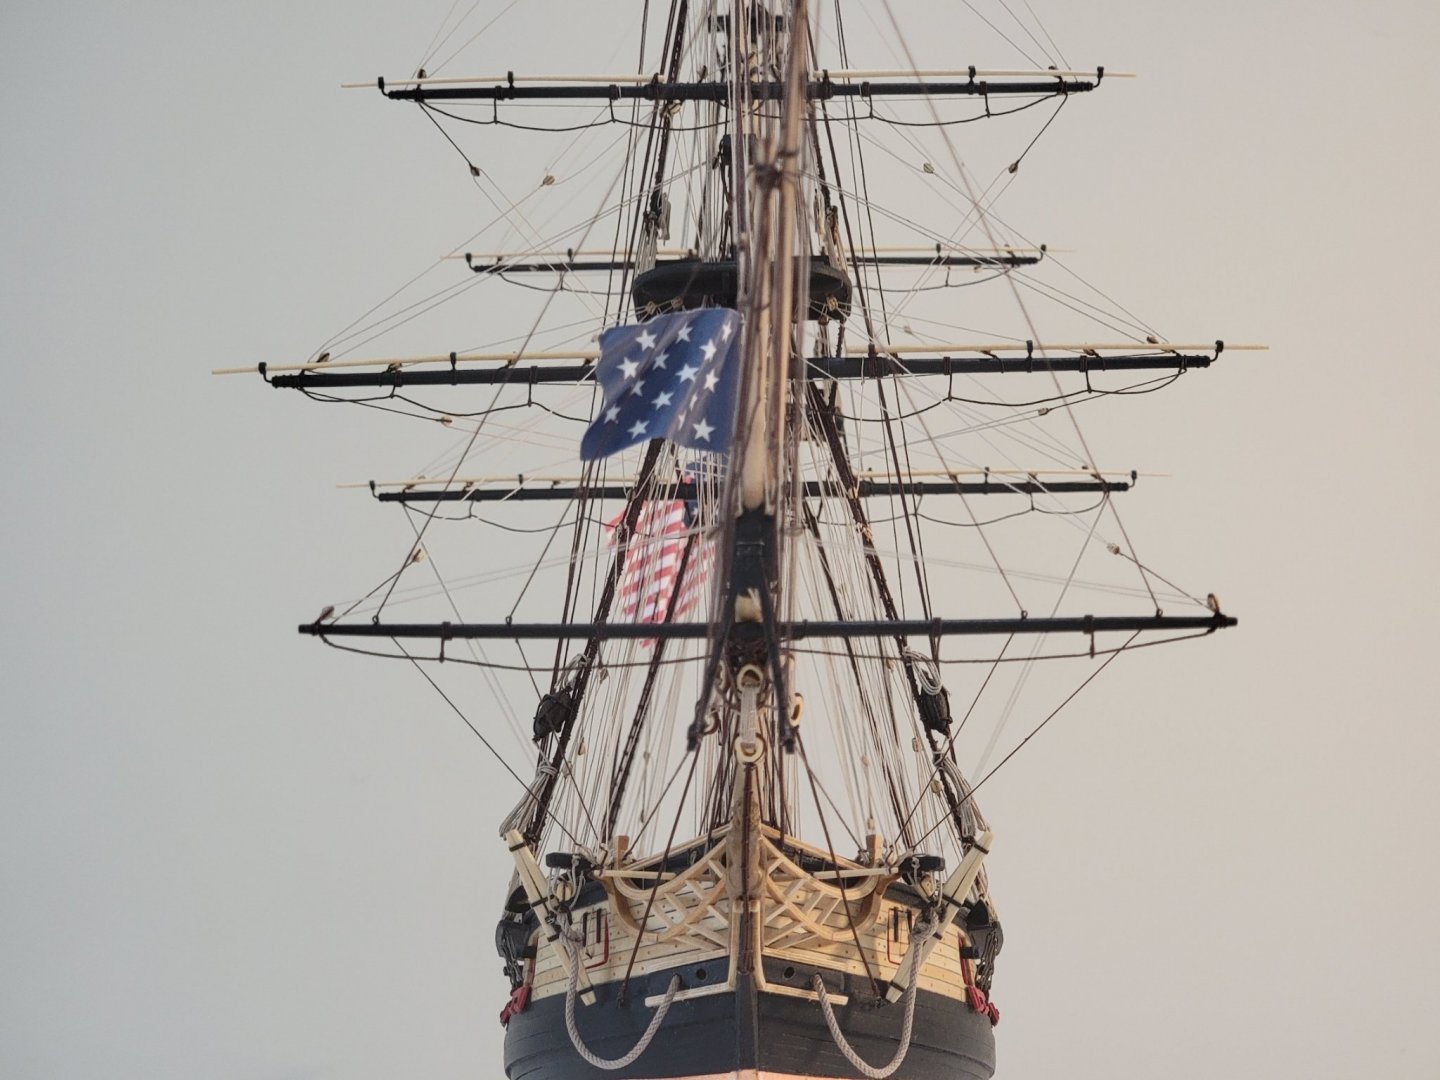
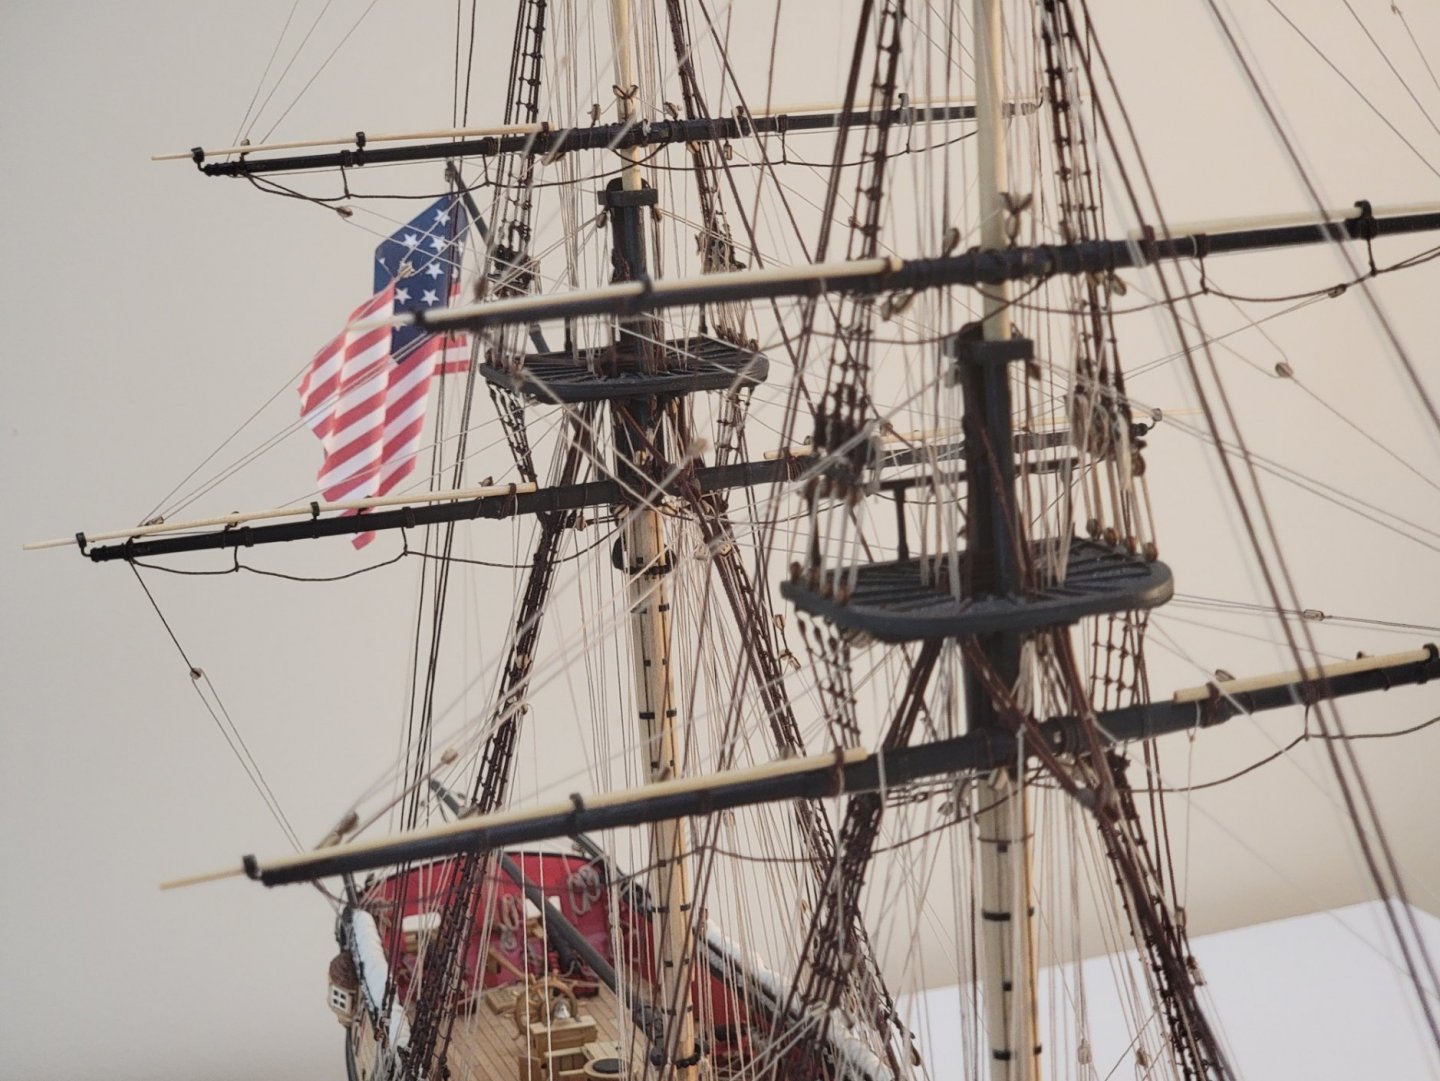
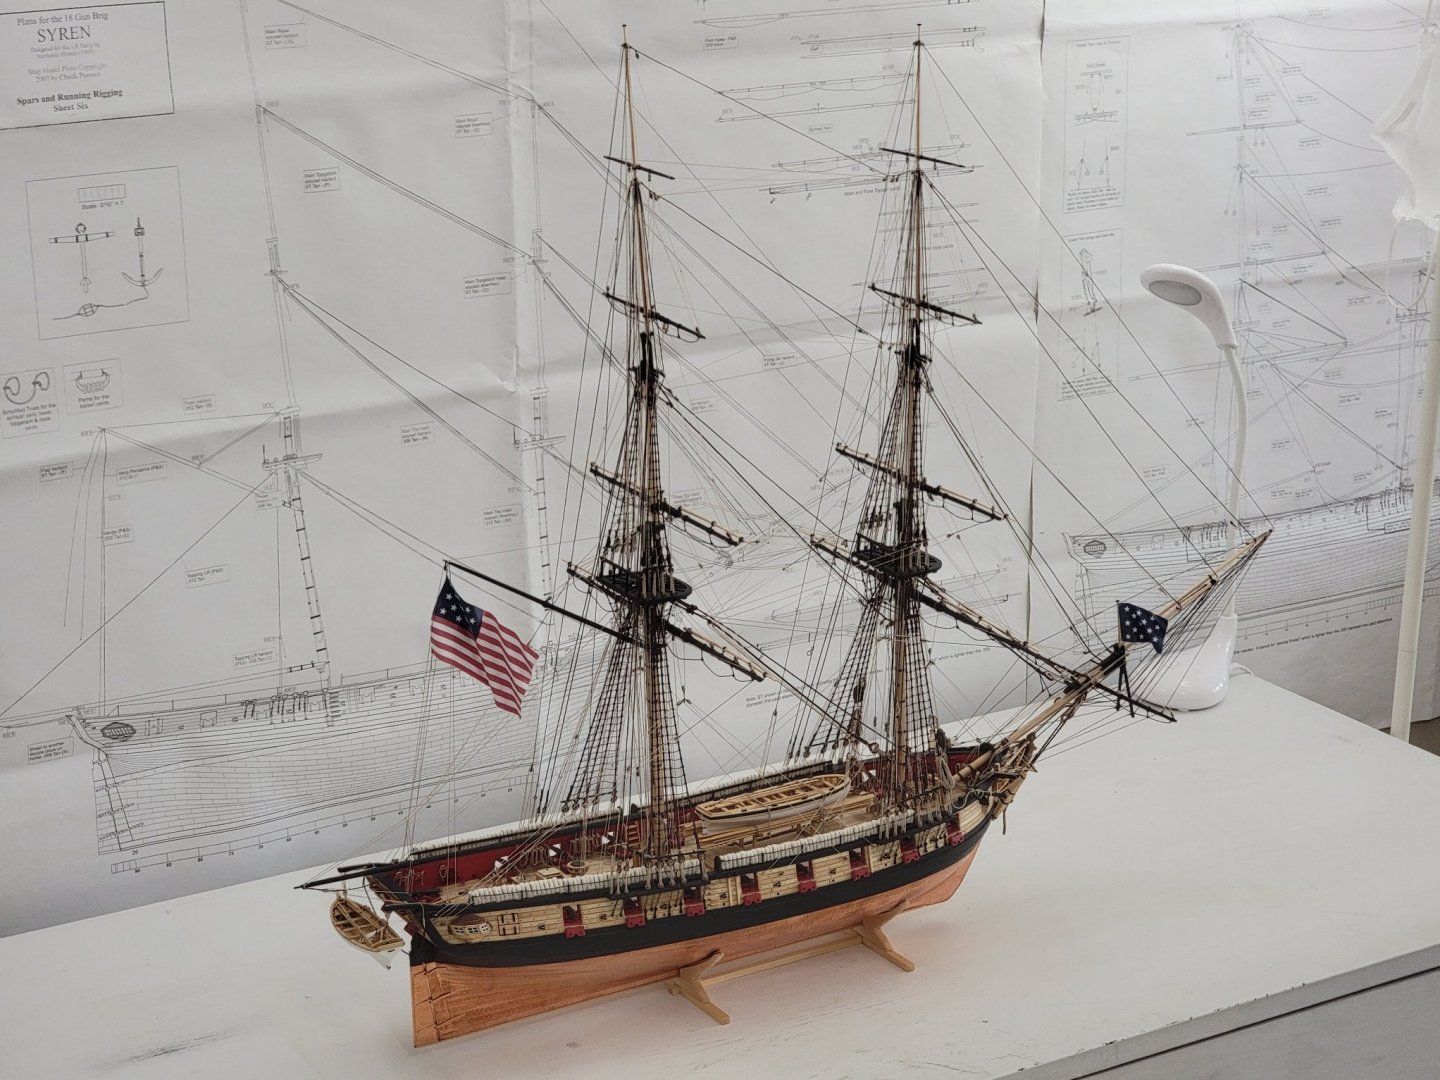
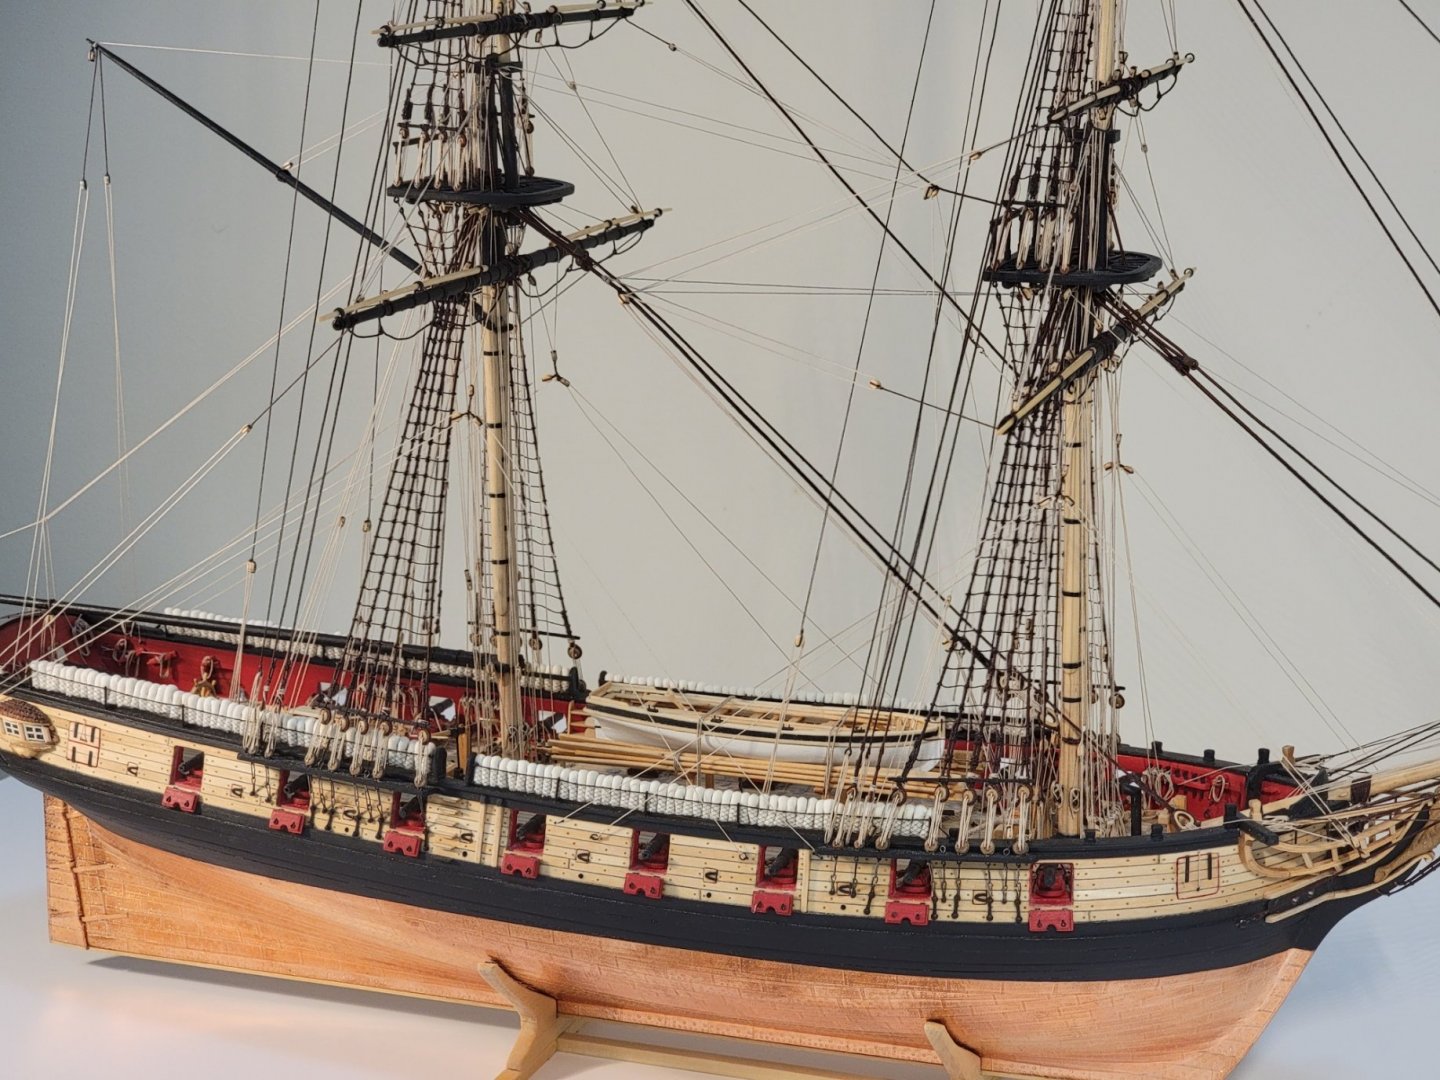
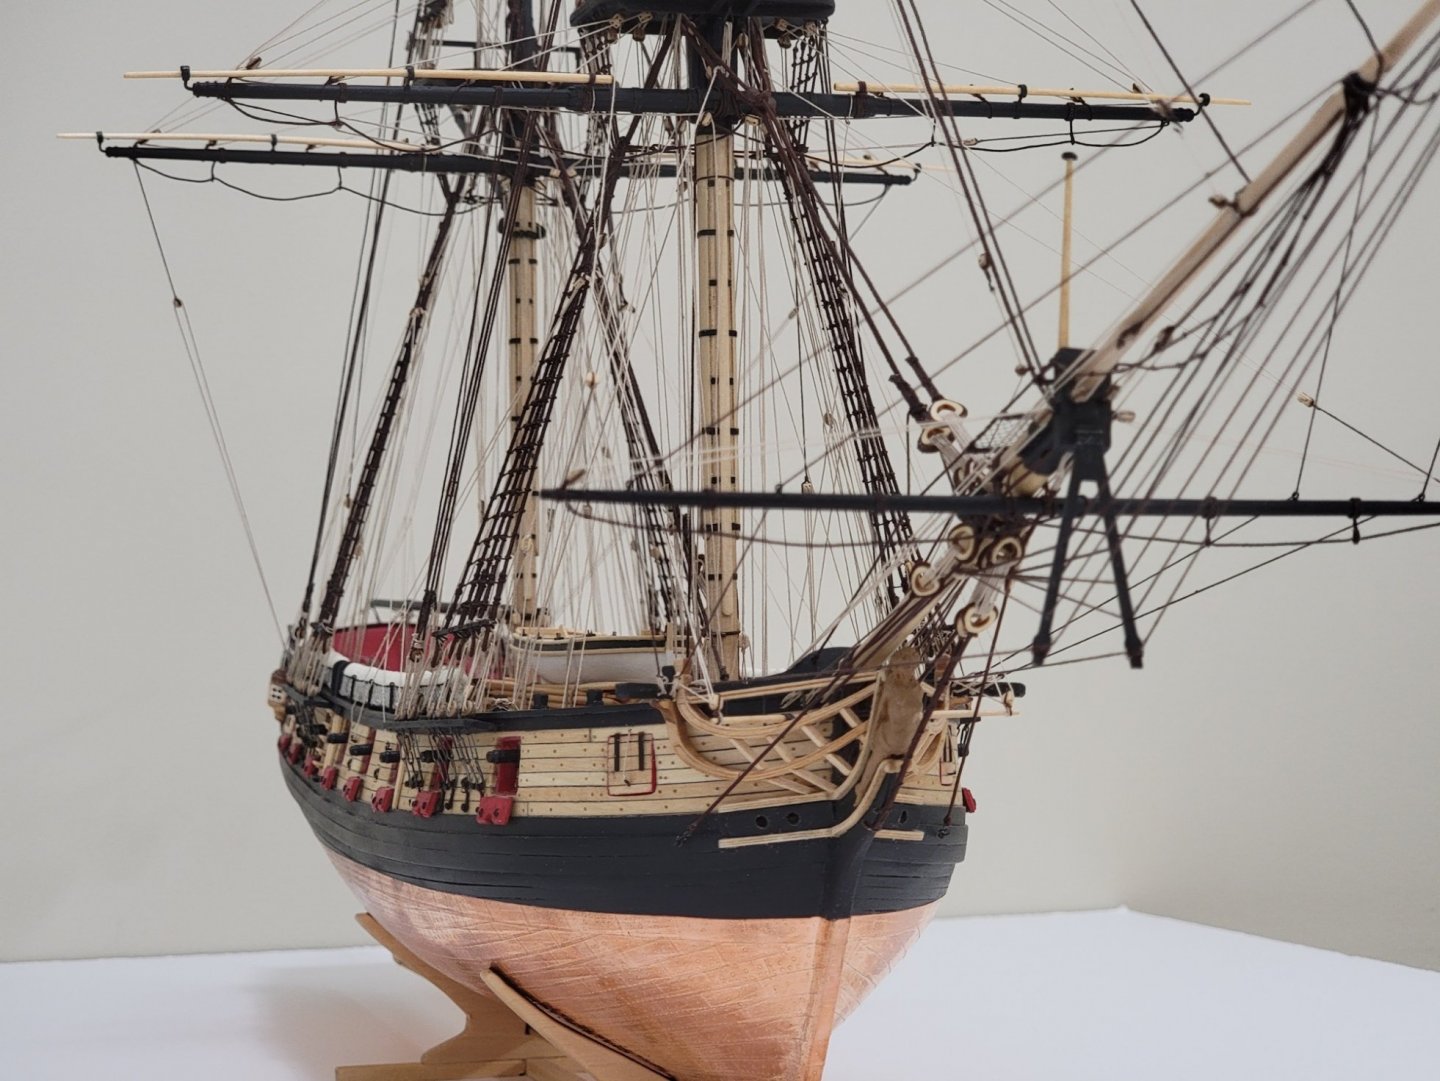
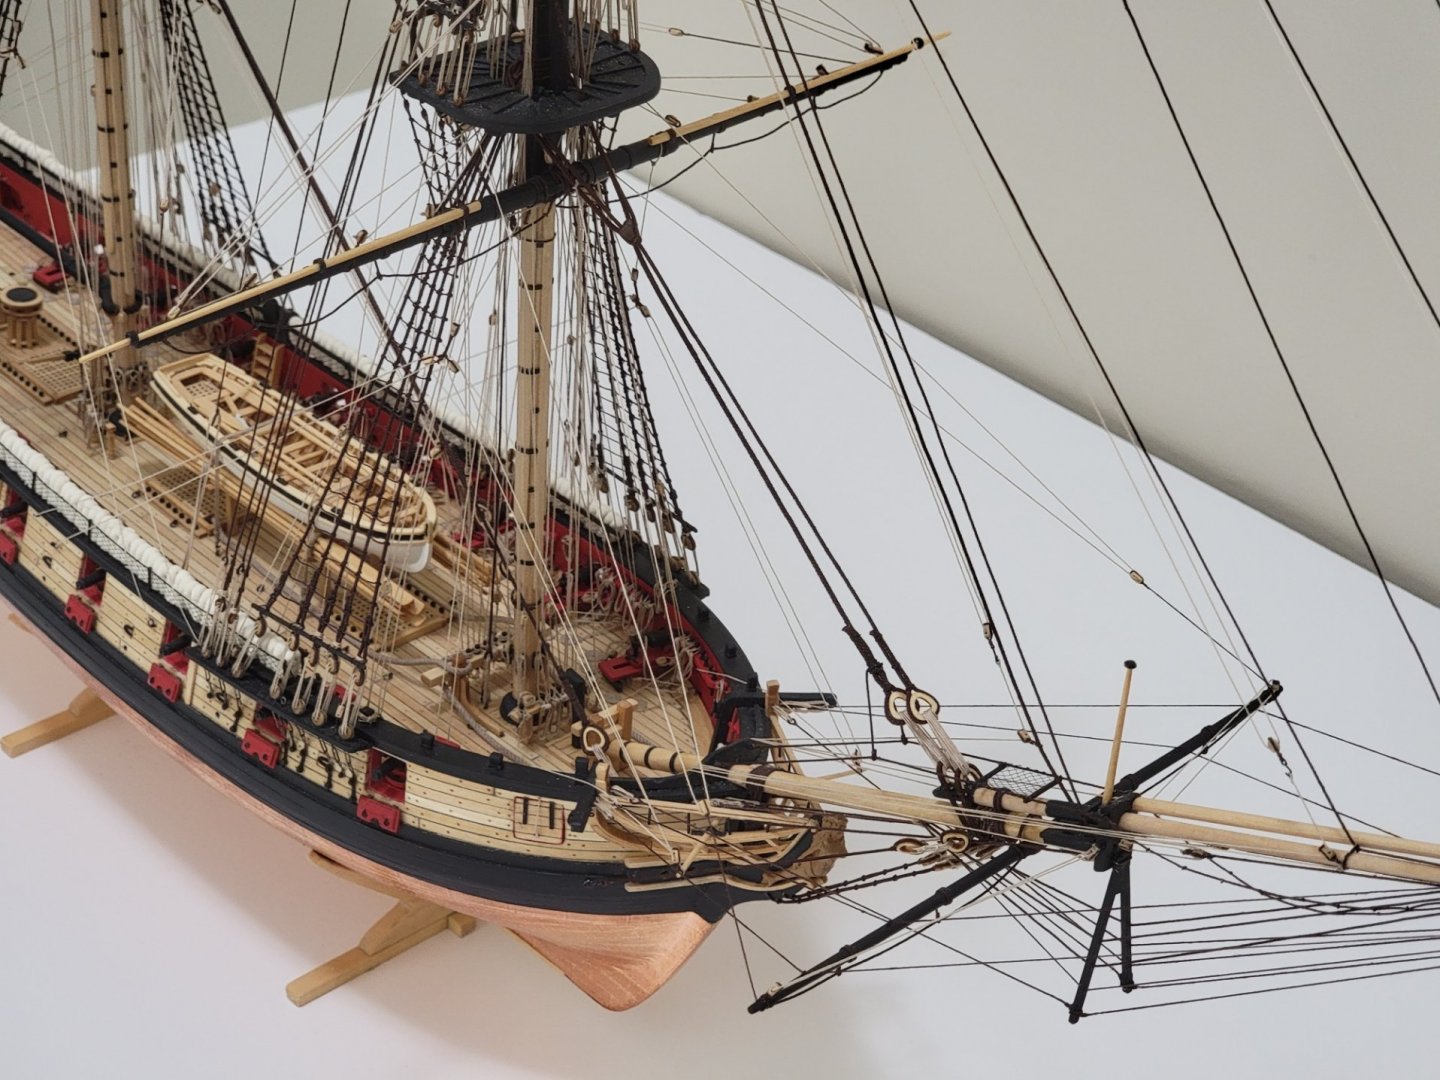
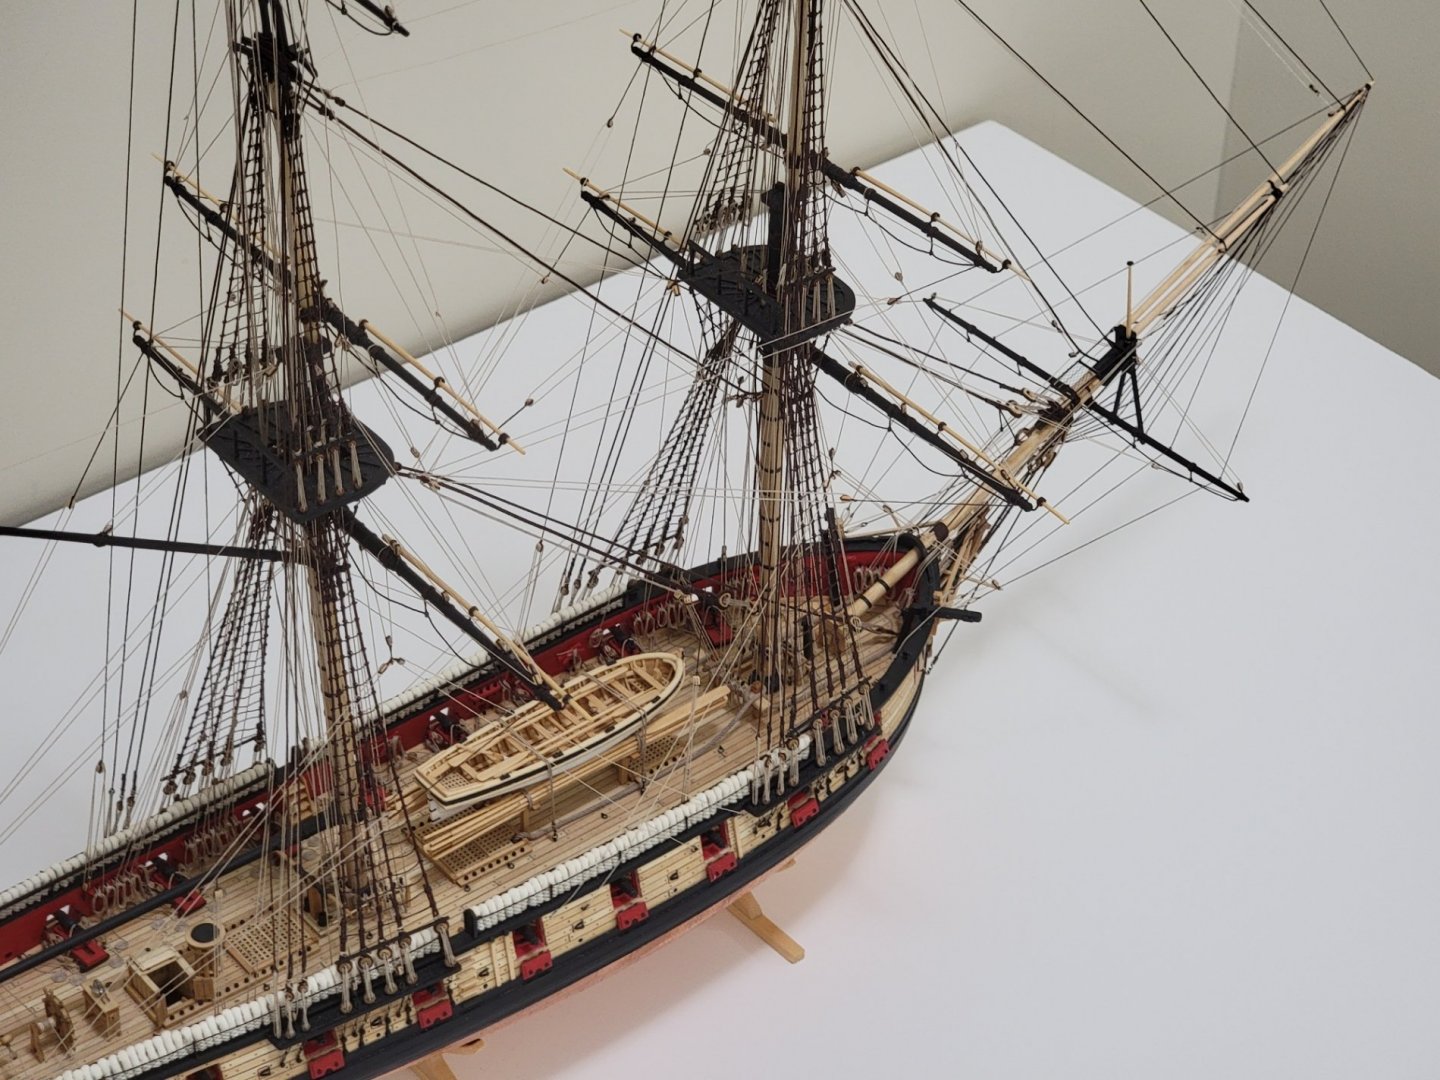
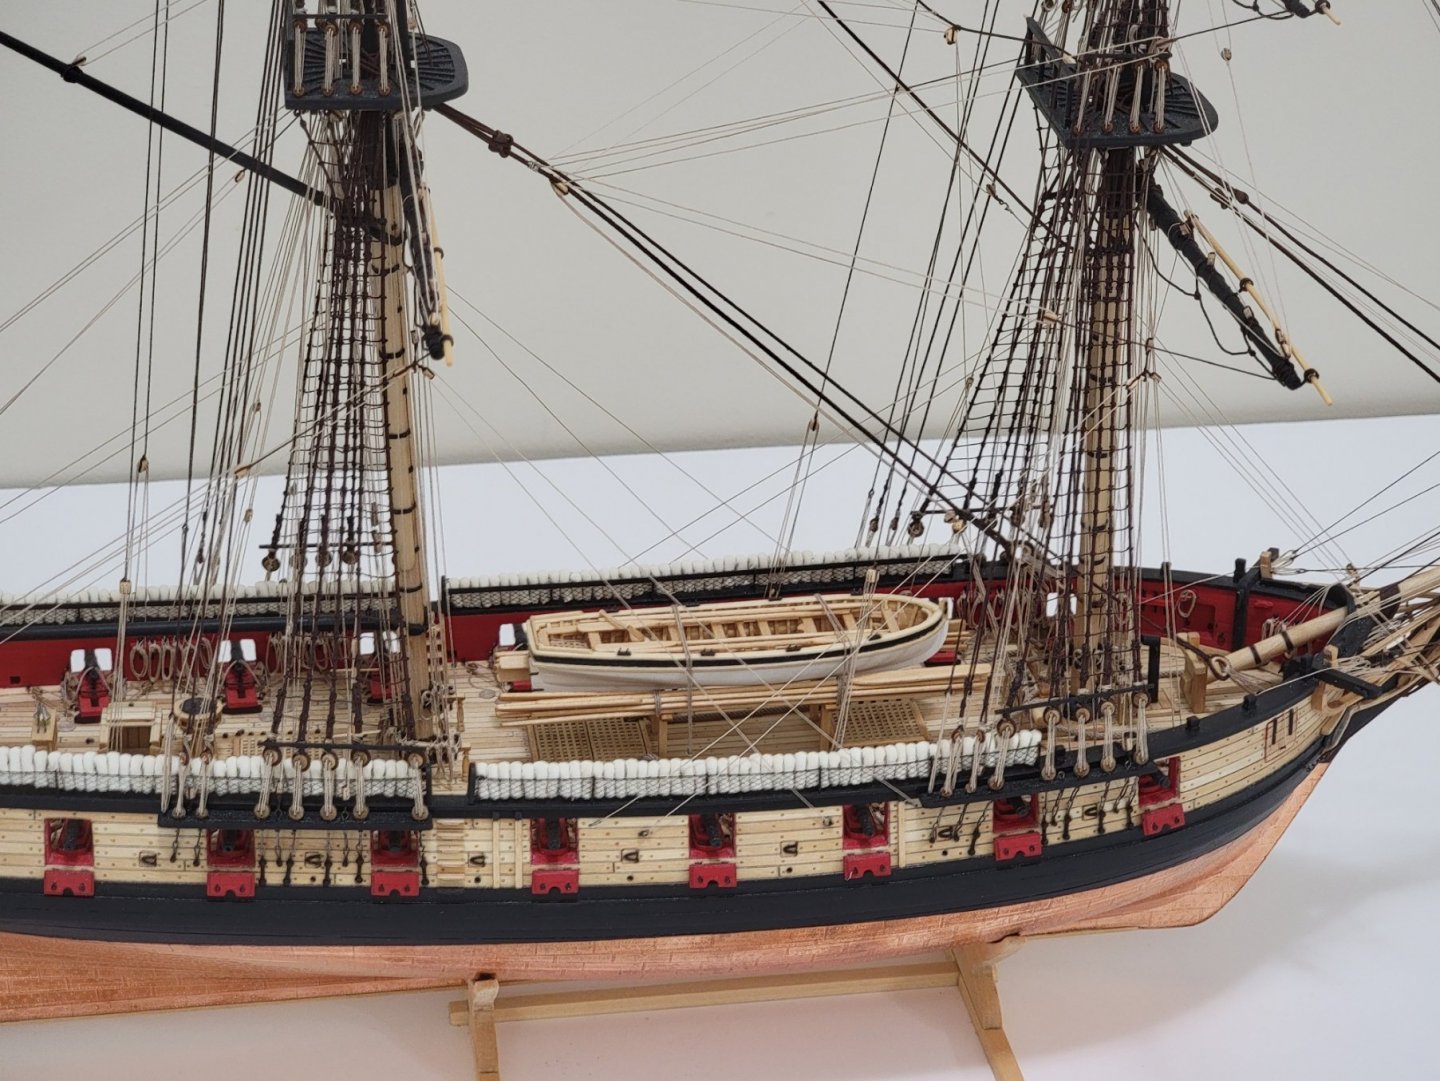
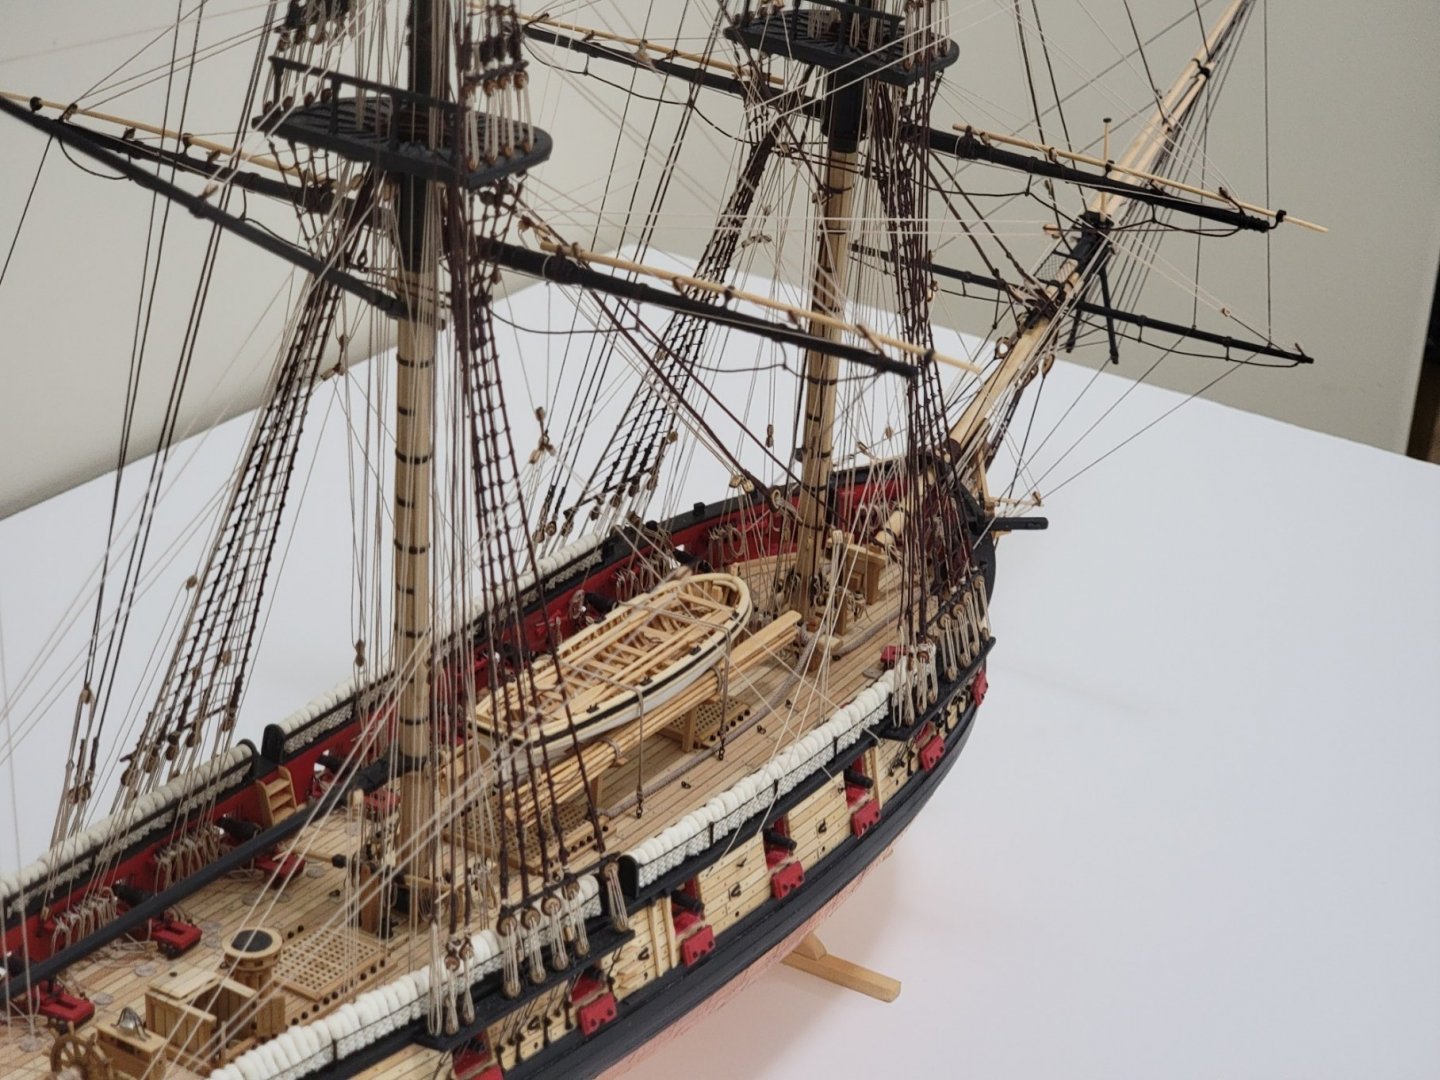
Thank you Peter, Eamonn, and Bradley!! The nice comments mean a lot! @Peter Bloemendaal, Your log has been tremendously helpful. I found myself constantly referring back to it whenever I got stuck (which is almost a daily basis! 😅). Anyways.... as promised, here are a few photos of the completed model. Building this ship has been a blast!! And I couldn't have done it without the help of this forum. Everyone has been very helpful in providing tips, technique, and guidance. So I would like to extend my gratitude and appreciation to the countless number of members who have helped me out with this build. I would also like to thank @Chuck again for designing such a good kit that beginners like me can easily follow, and also for taking the time to answer the numerous questions I had. Nevertheless... the photos! I actually took three times as many photos, but I think these will do! 😄 My next build will be the USF Confederacy. I may fully rig it, but I may change my mind as I progress through the build. For those interested, I have a build log set up which can be found through my signature below. Again, thank you all for following this build and leaving the nice and helpful comments throughout this journey.


- 950 replies
-
- 17
-
-
- syren
- model shipways
- (and 1 more)
-
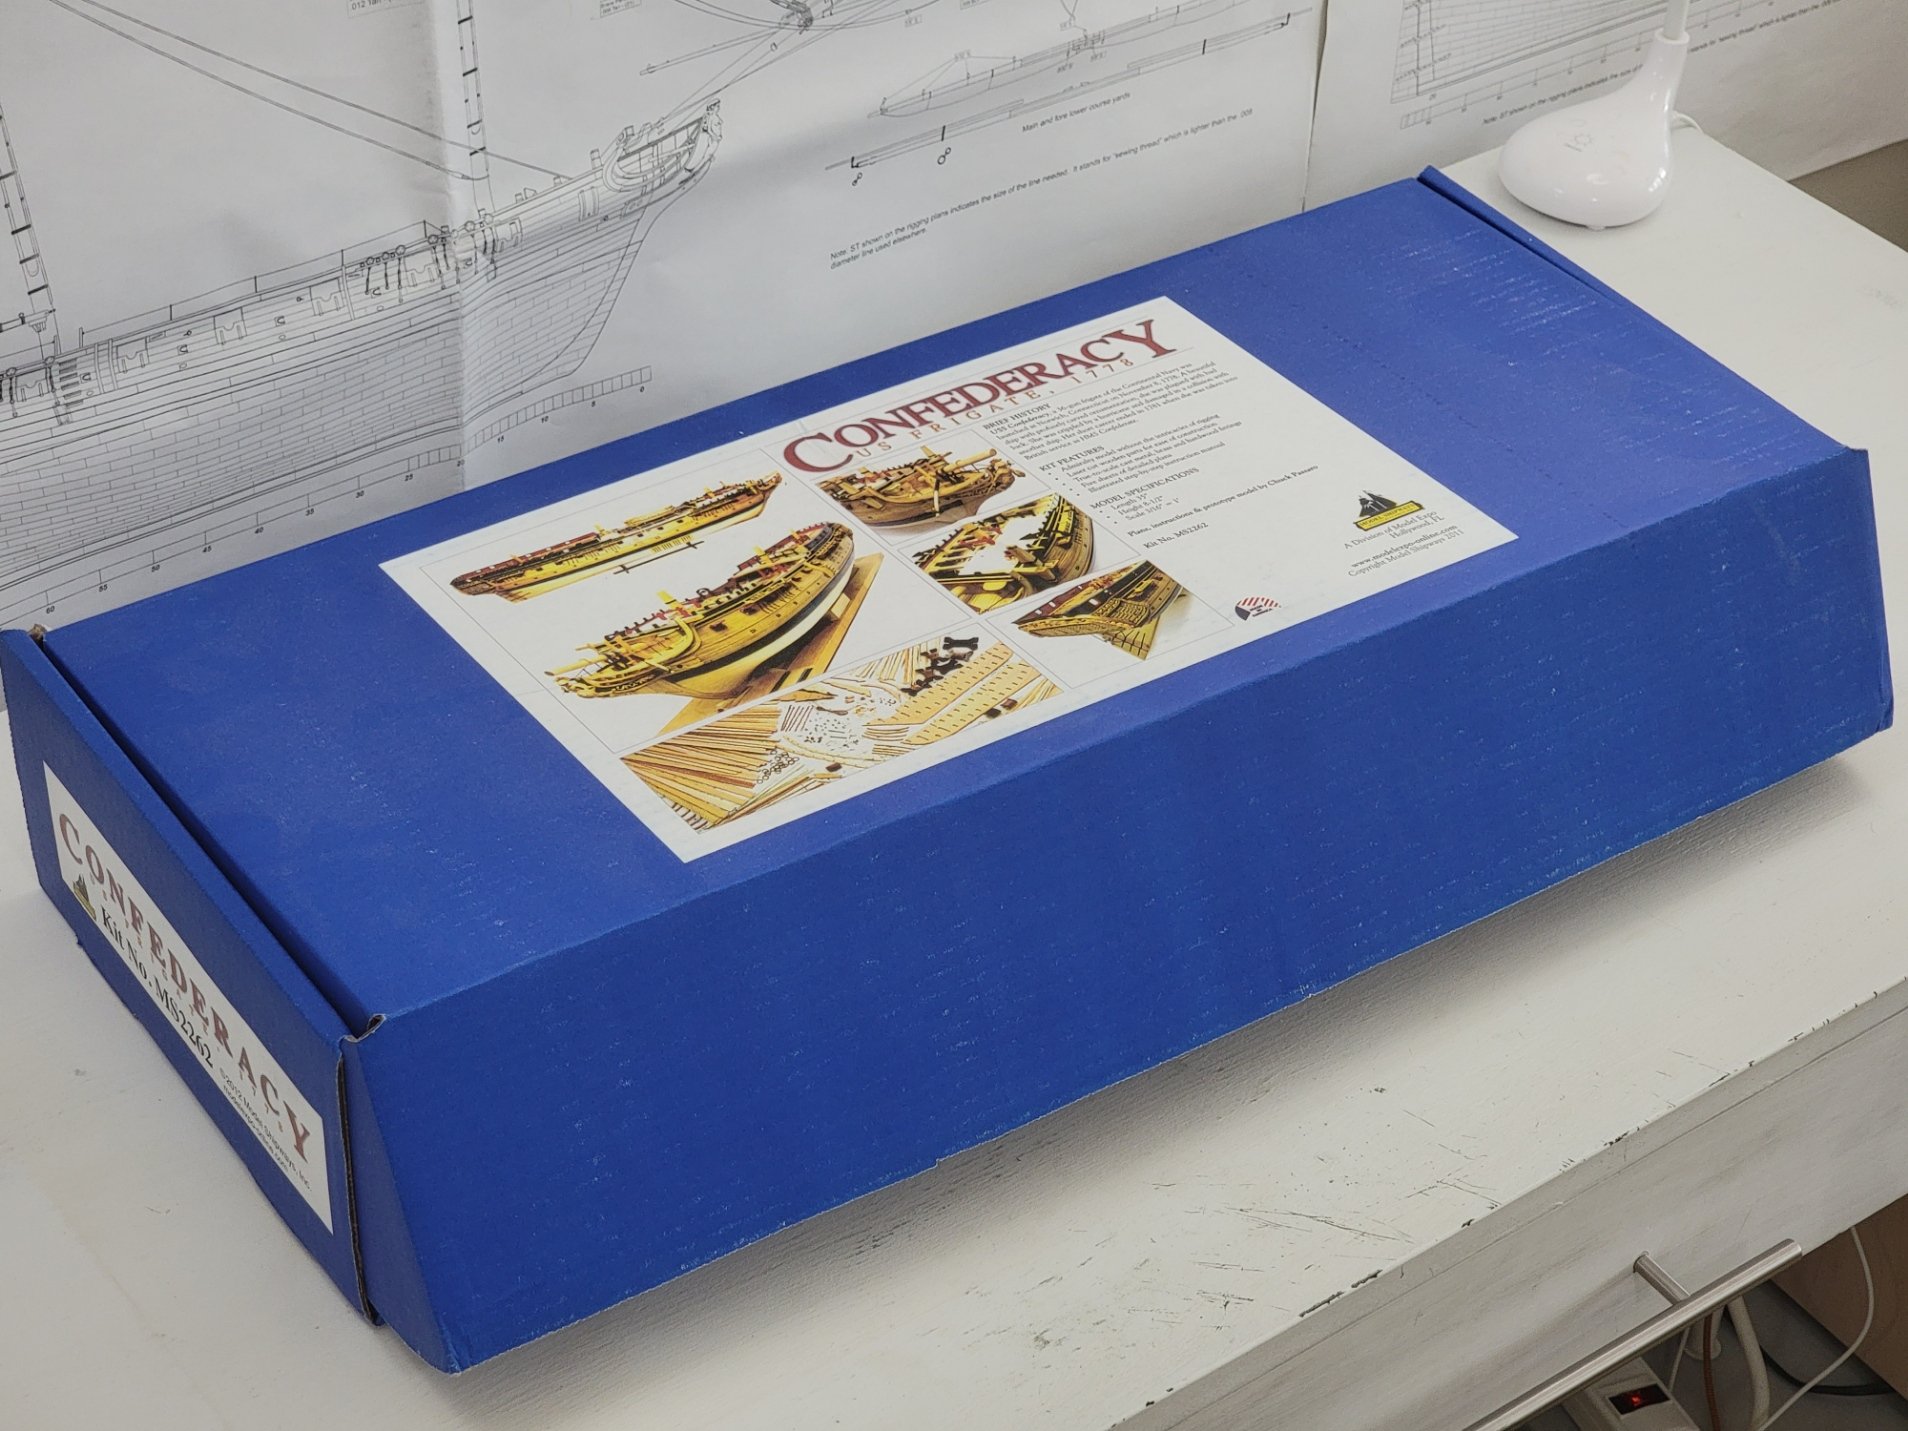
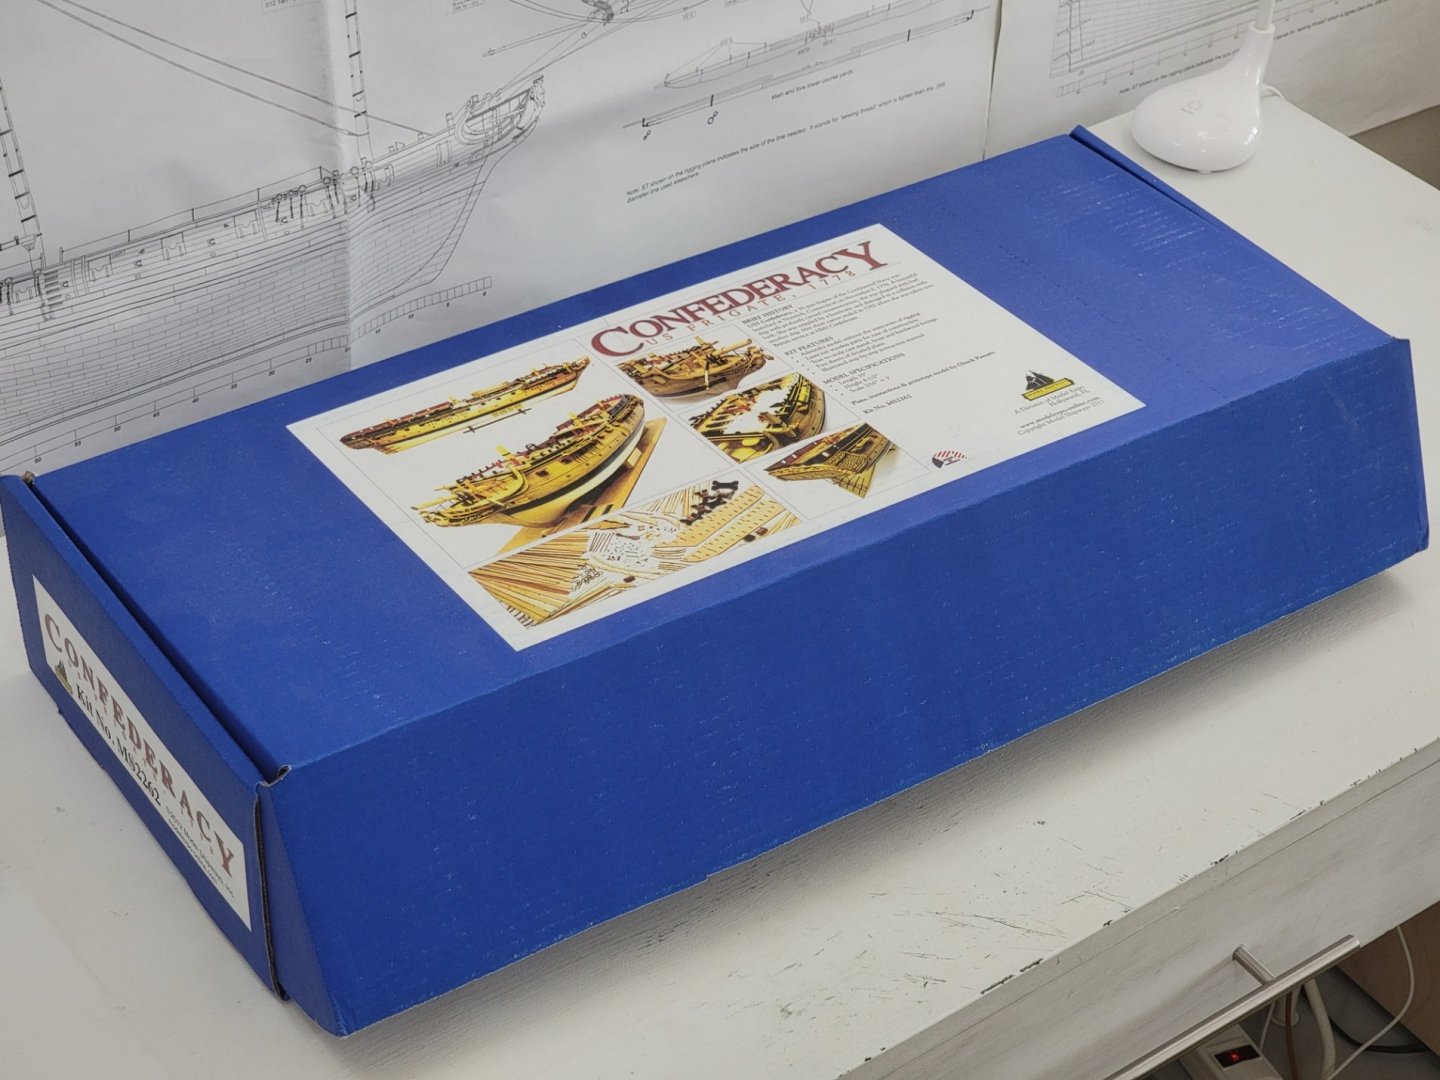
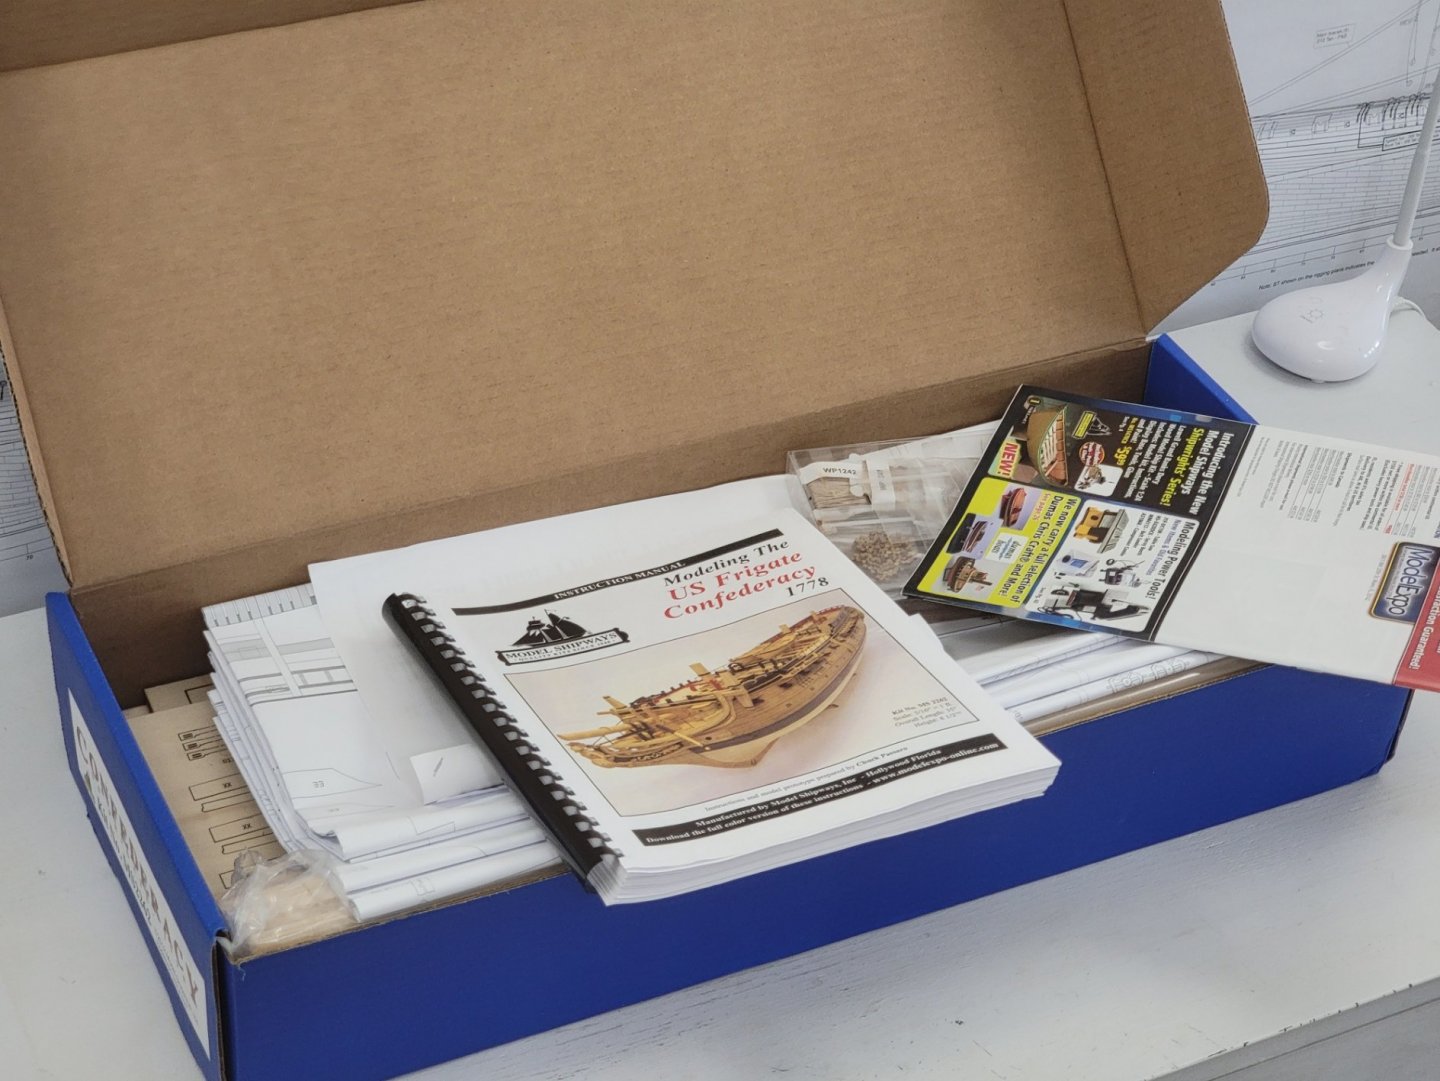
I just completed my Syren build, so thought I'd set up a build log for the Confederacy. From what I have seen, this is an exceptional kit and there are amazing builds on this forum, so I hope to do this ship justice. This will be my third ship build. I plan to use the basswood supplied with the kit, but may upgrade the cannons and the blocks from Chuck. I am also thinking of fully rigging it, but I may change my mind as I progress with the build. I'll be making my own rope for this ship (I have not done this before), so let's see how it goes. This will be a really long project, and will only have time to work on it for a couple hours a day, so it will be a few years until completion. Anyways, I was inspired by @Justin P. to take an opening box shot of the kit 😄, so here are the pics: I will be starting this project in a few days. First I need to check the inventory and see if there are any parts missing.
-
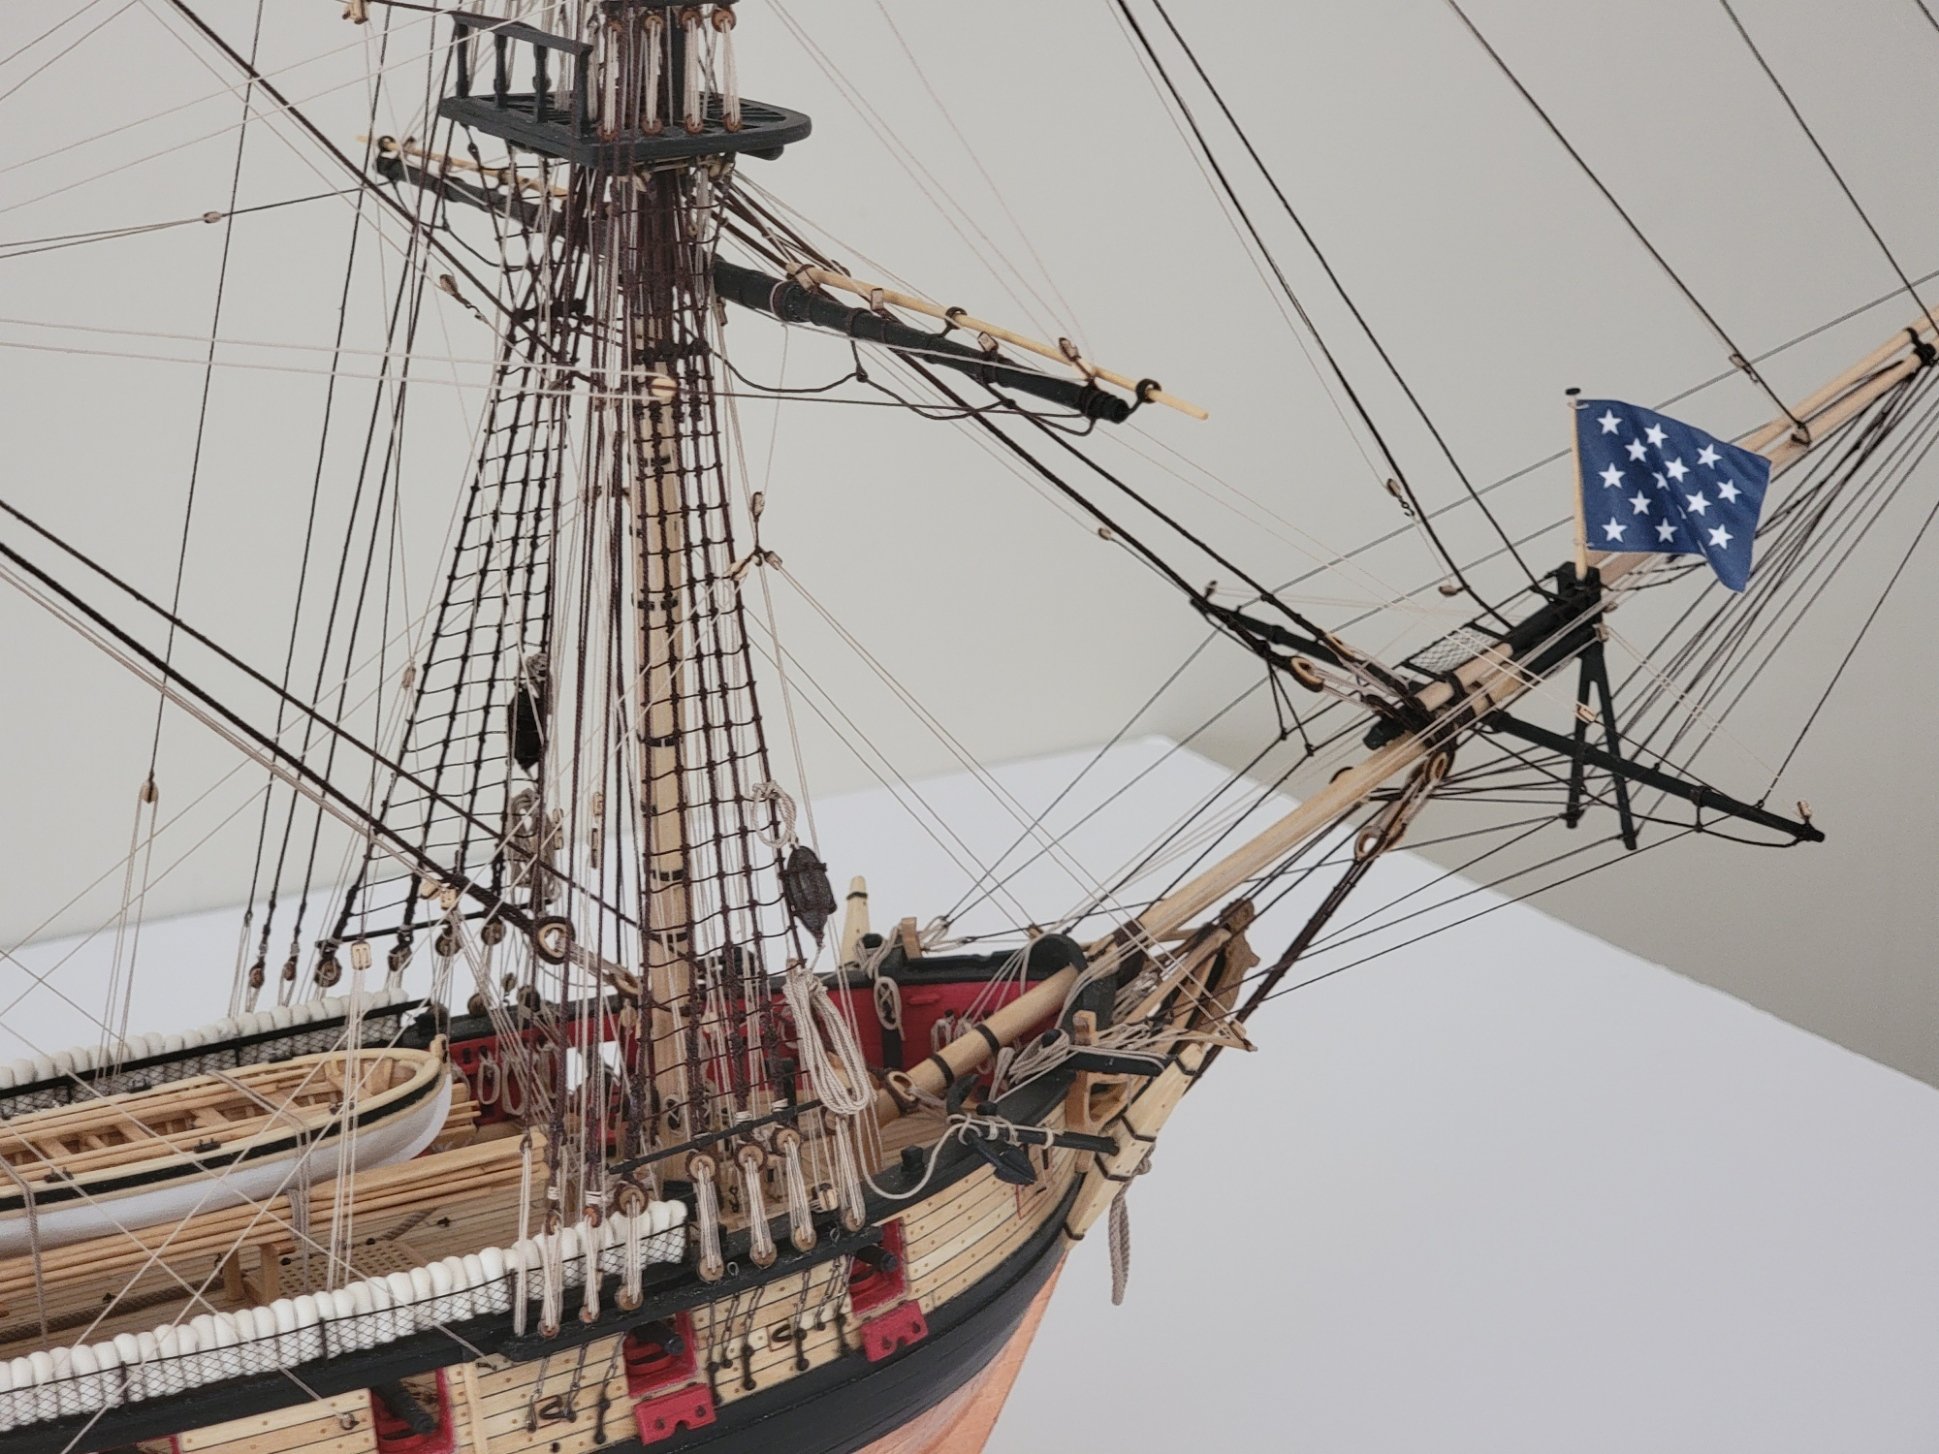
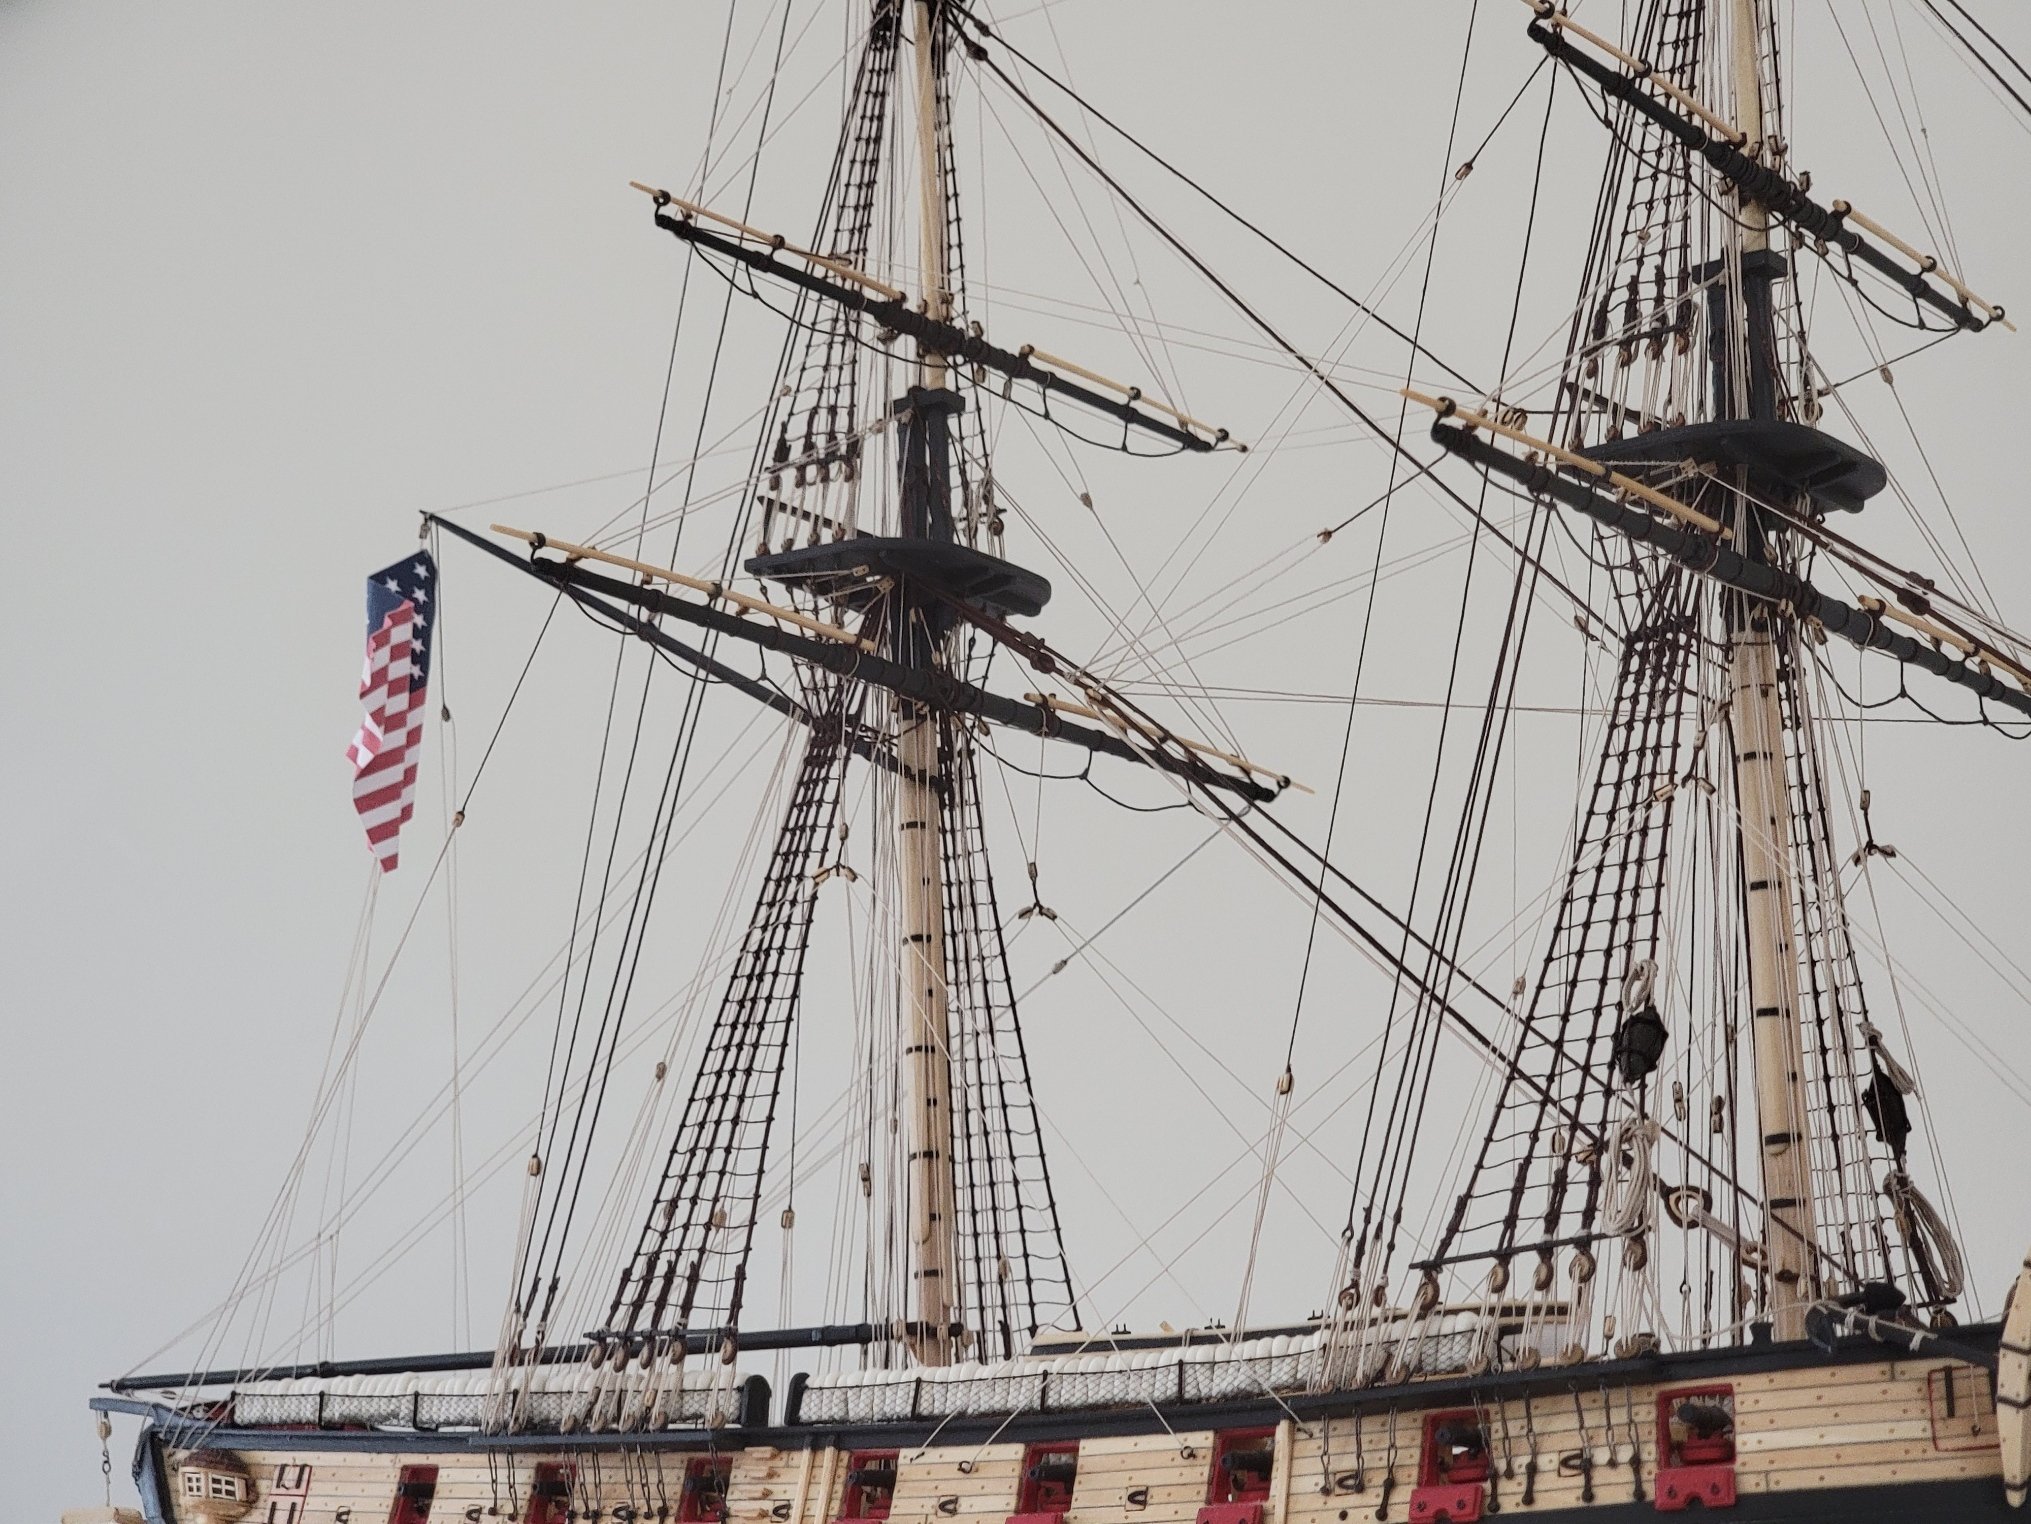
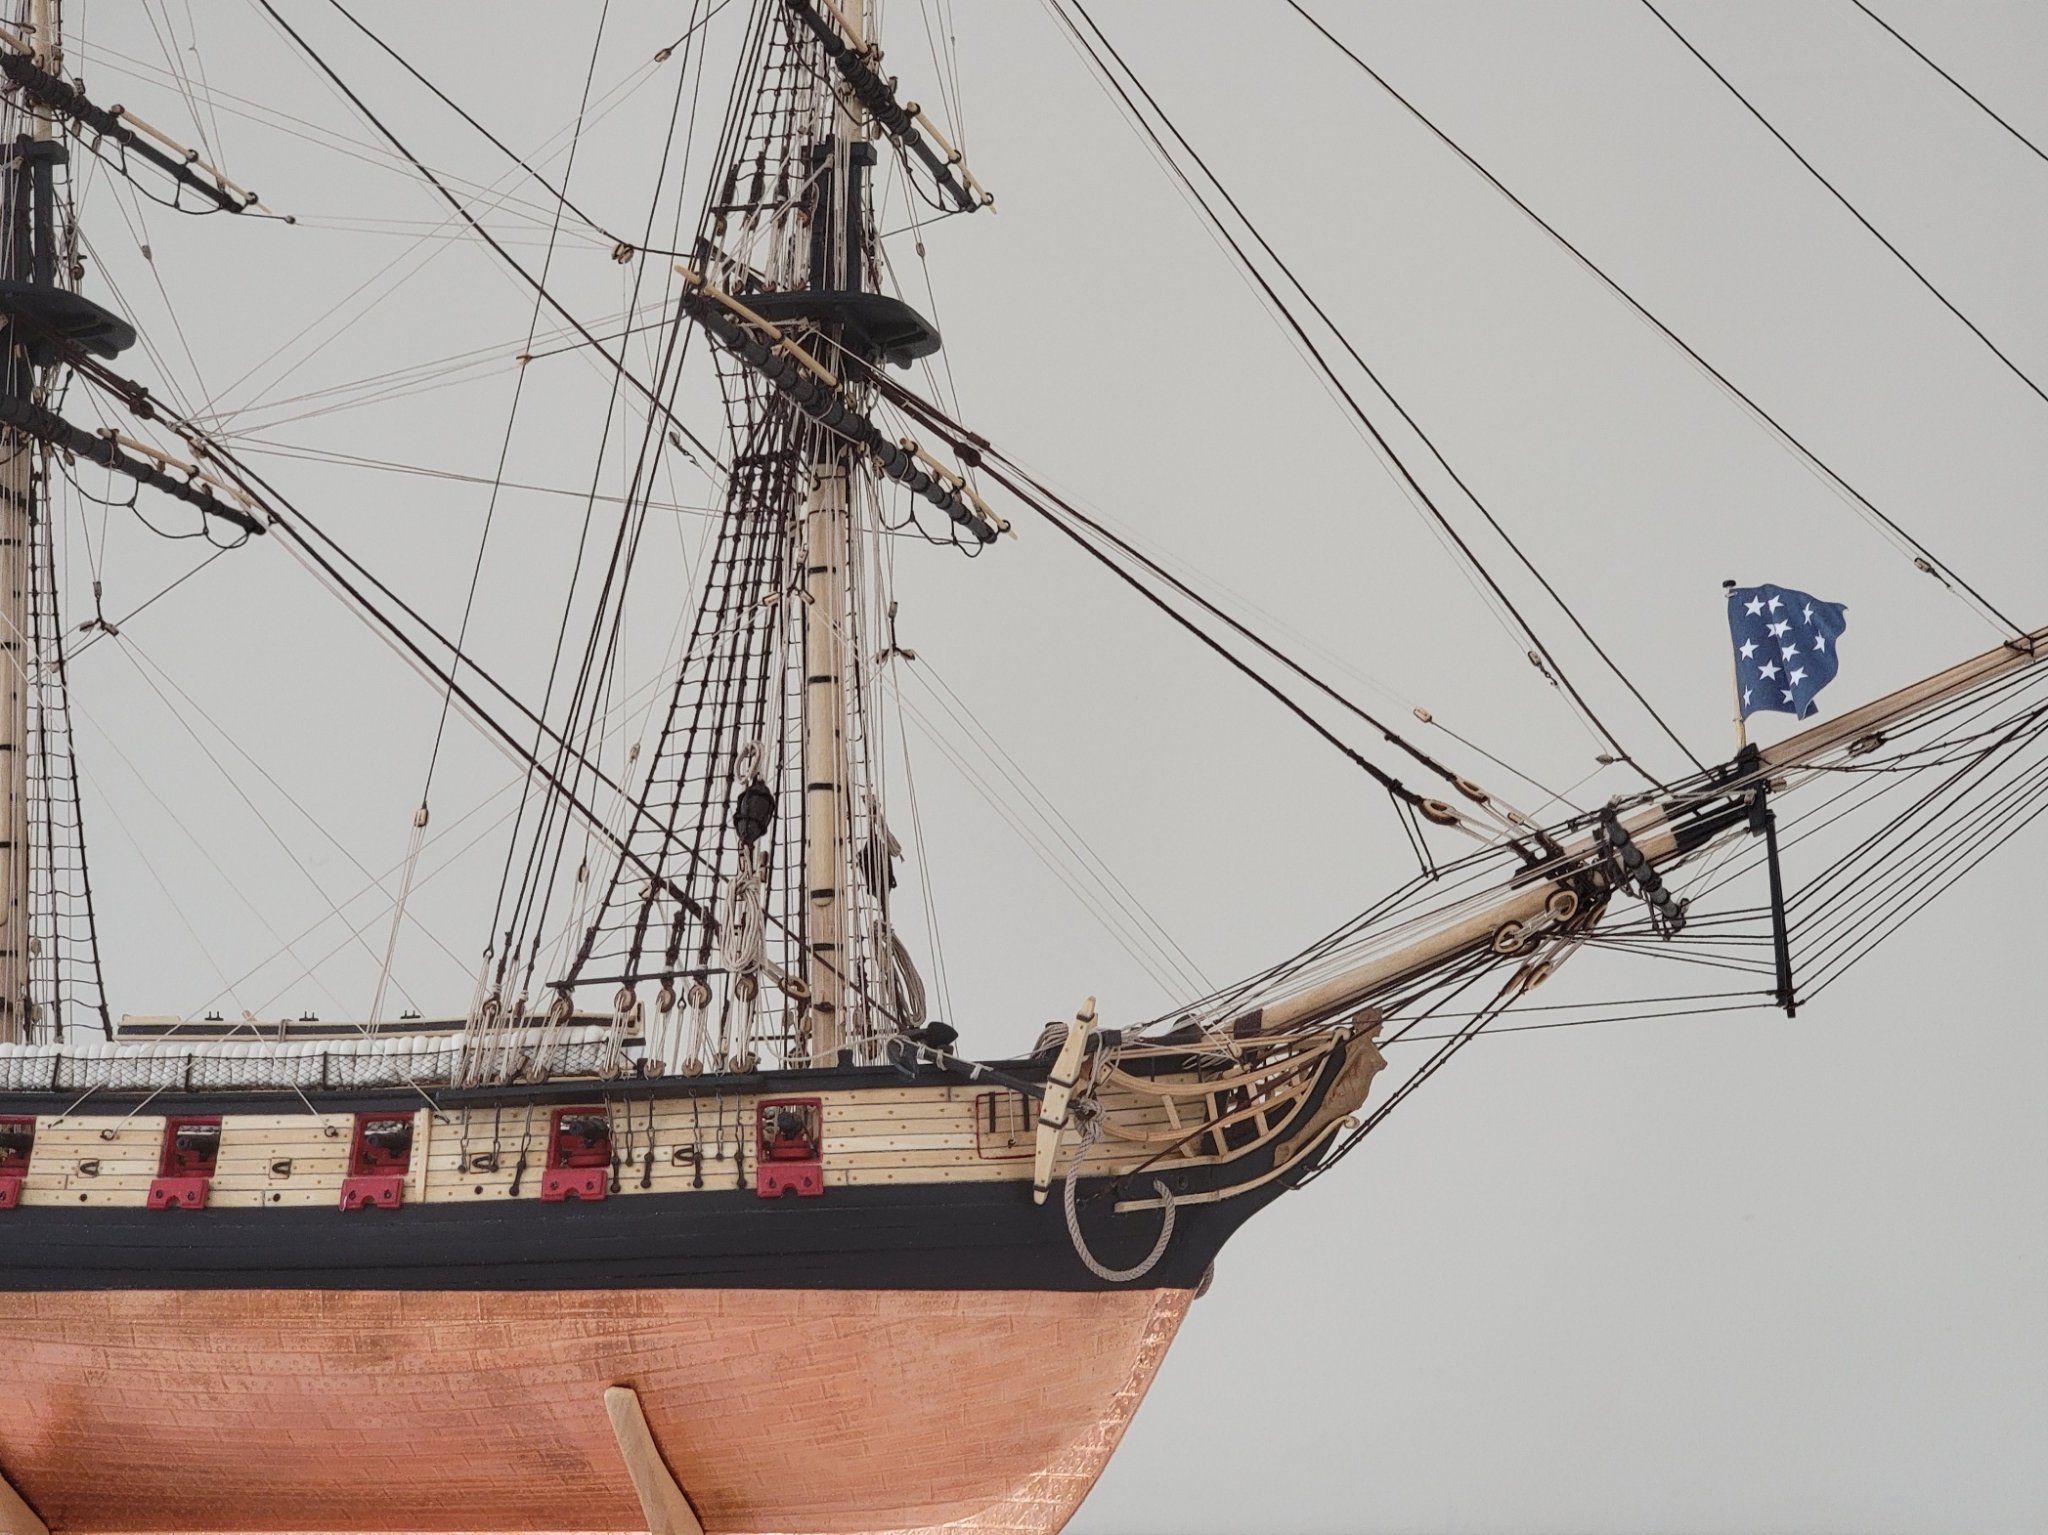
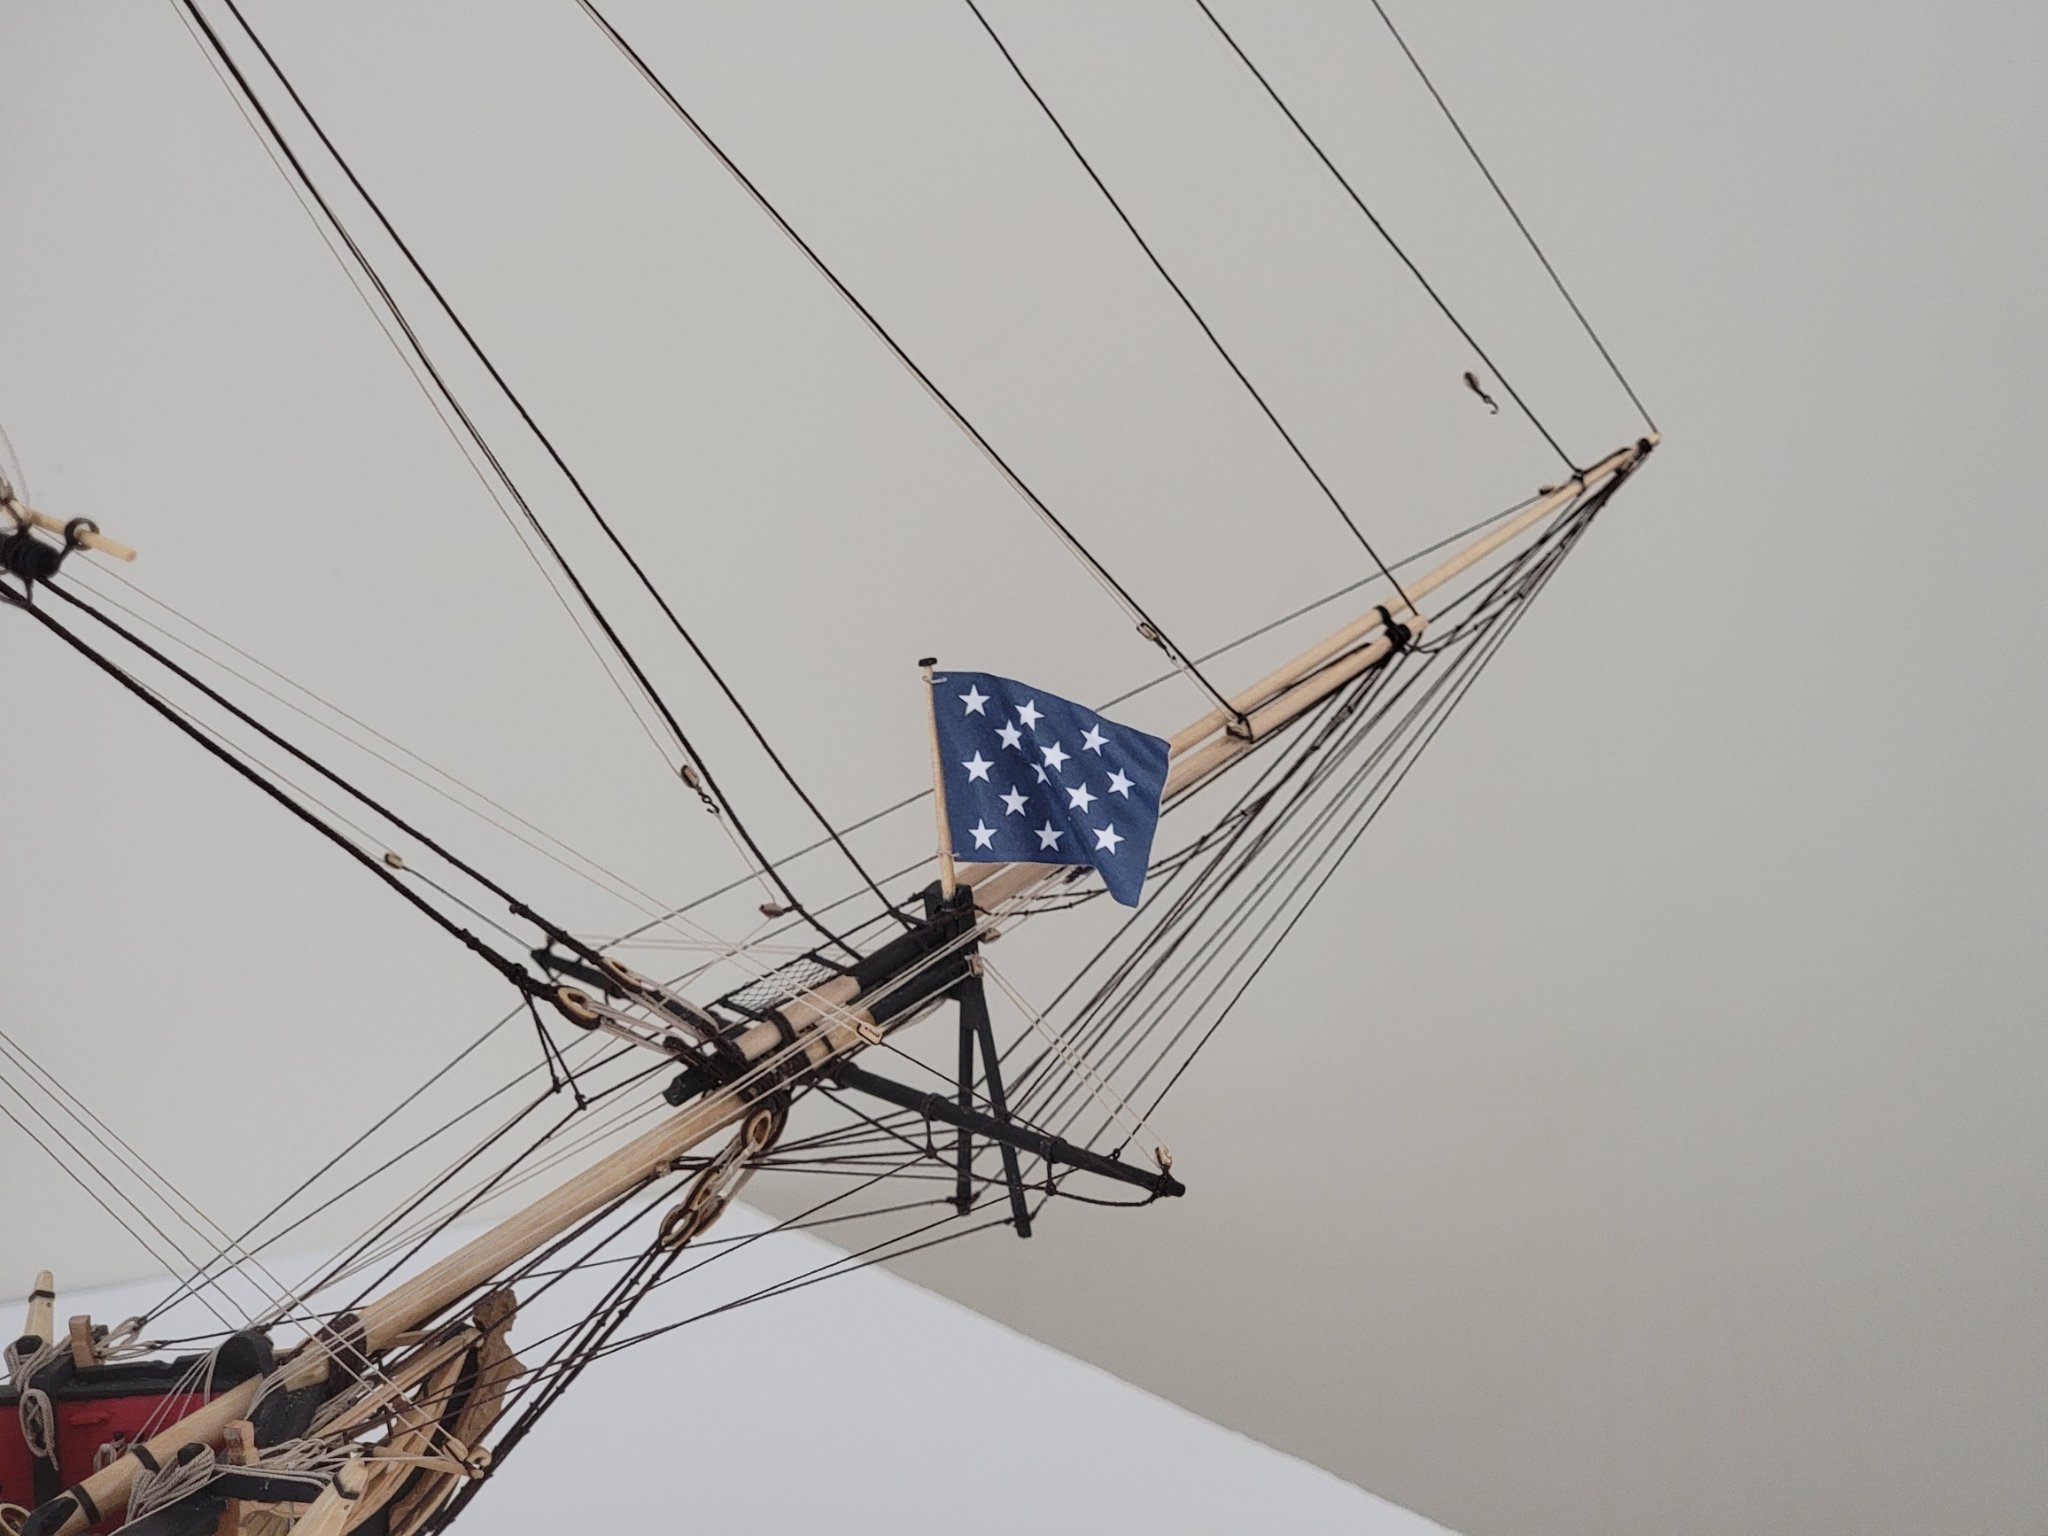
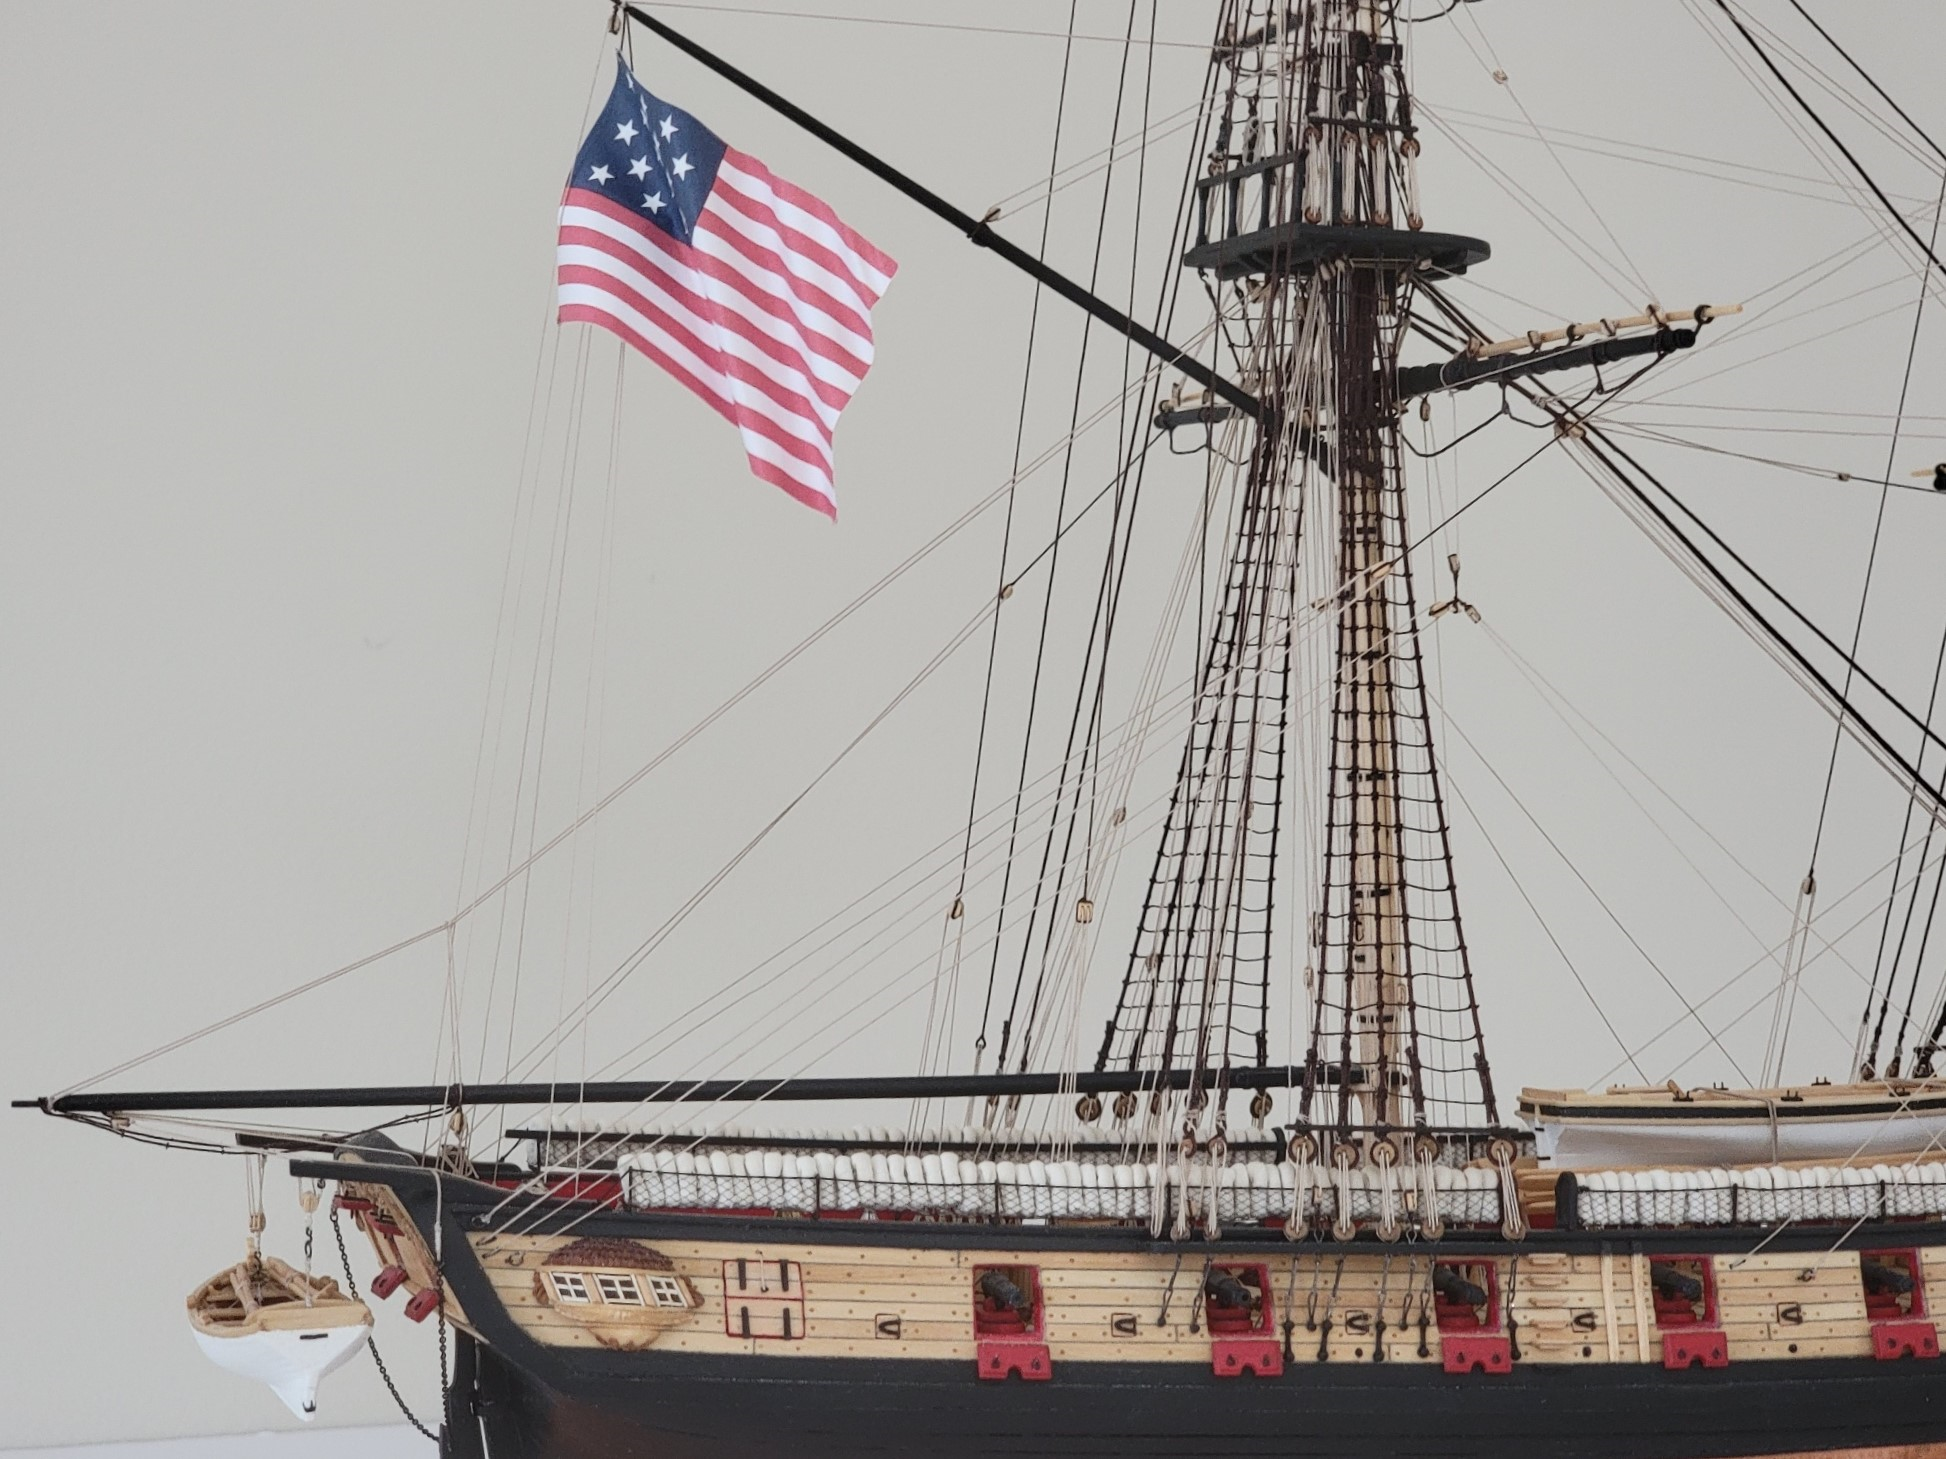
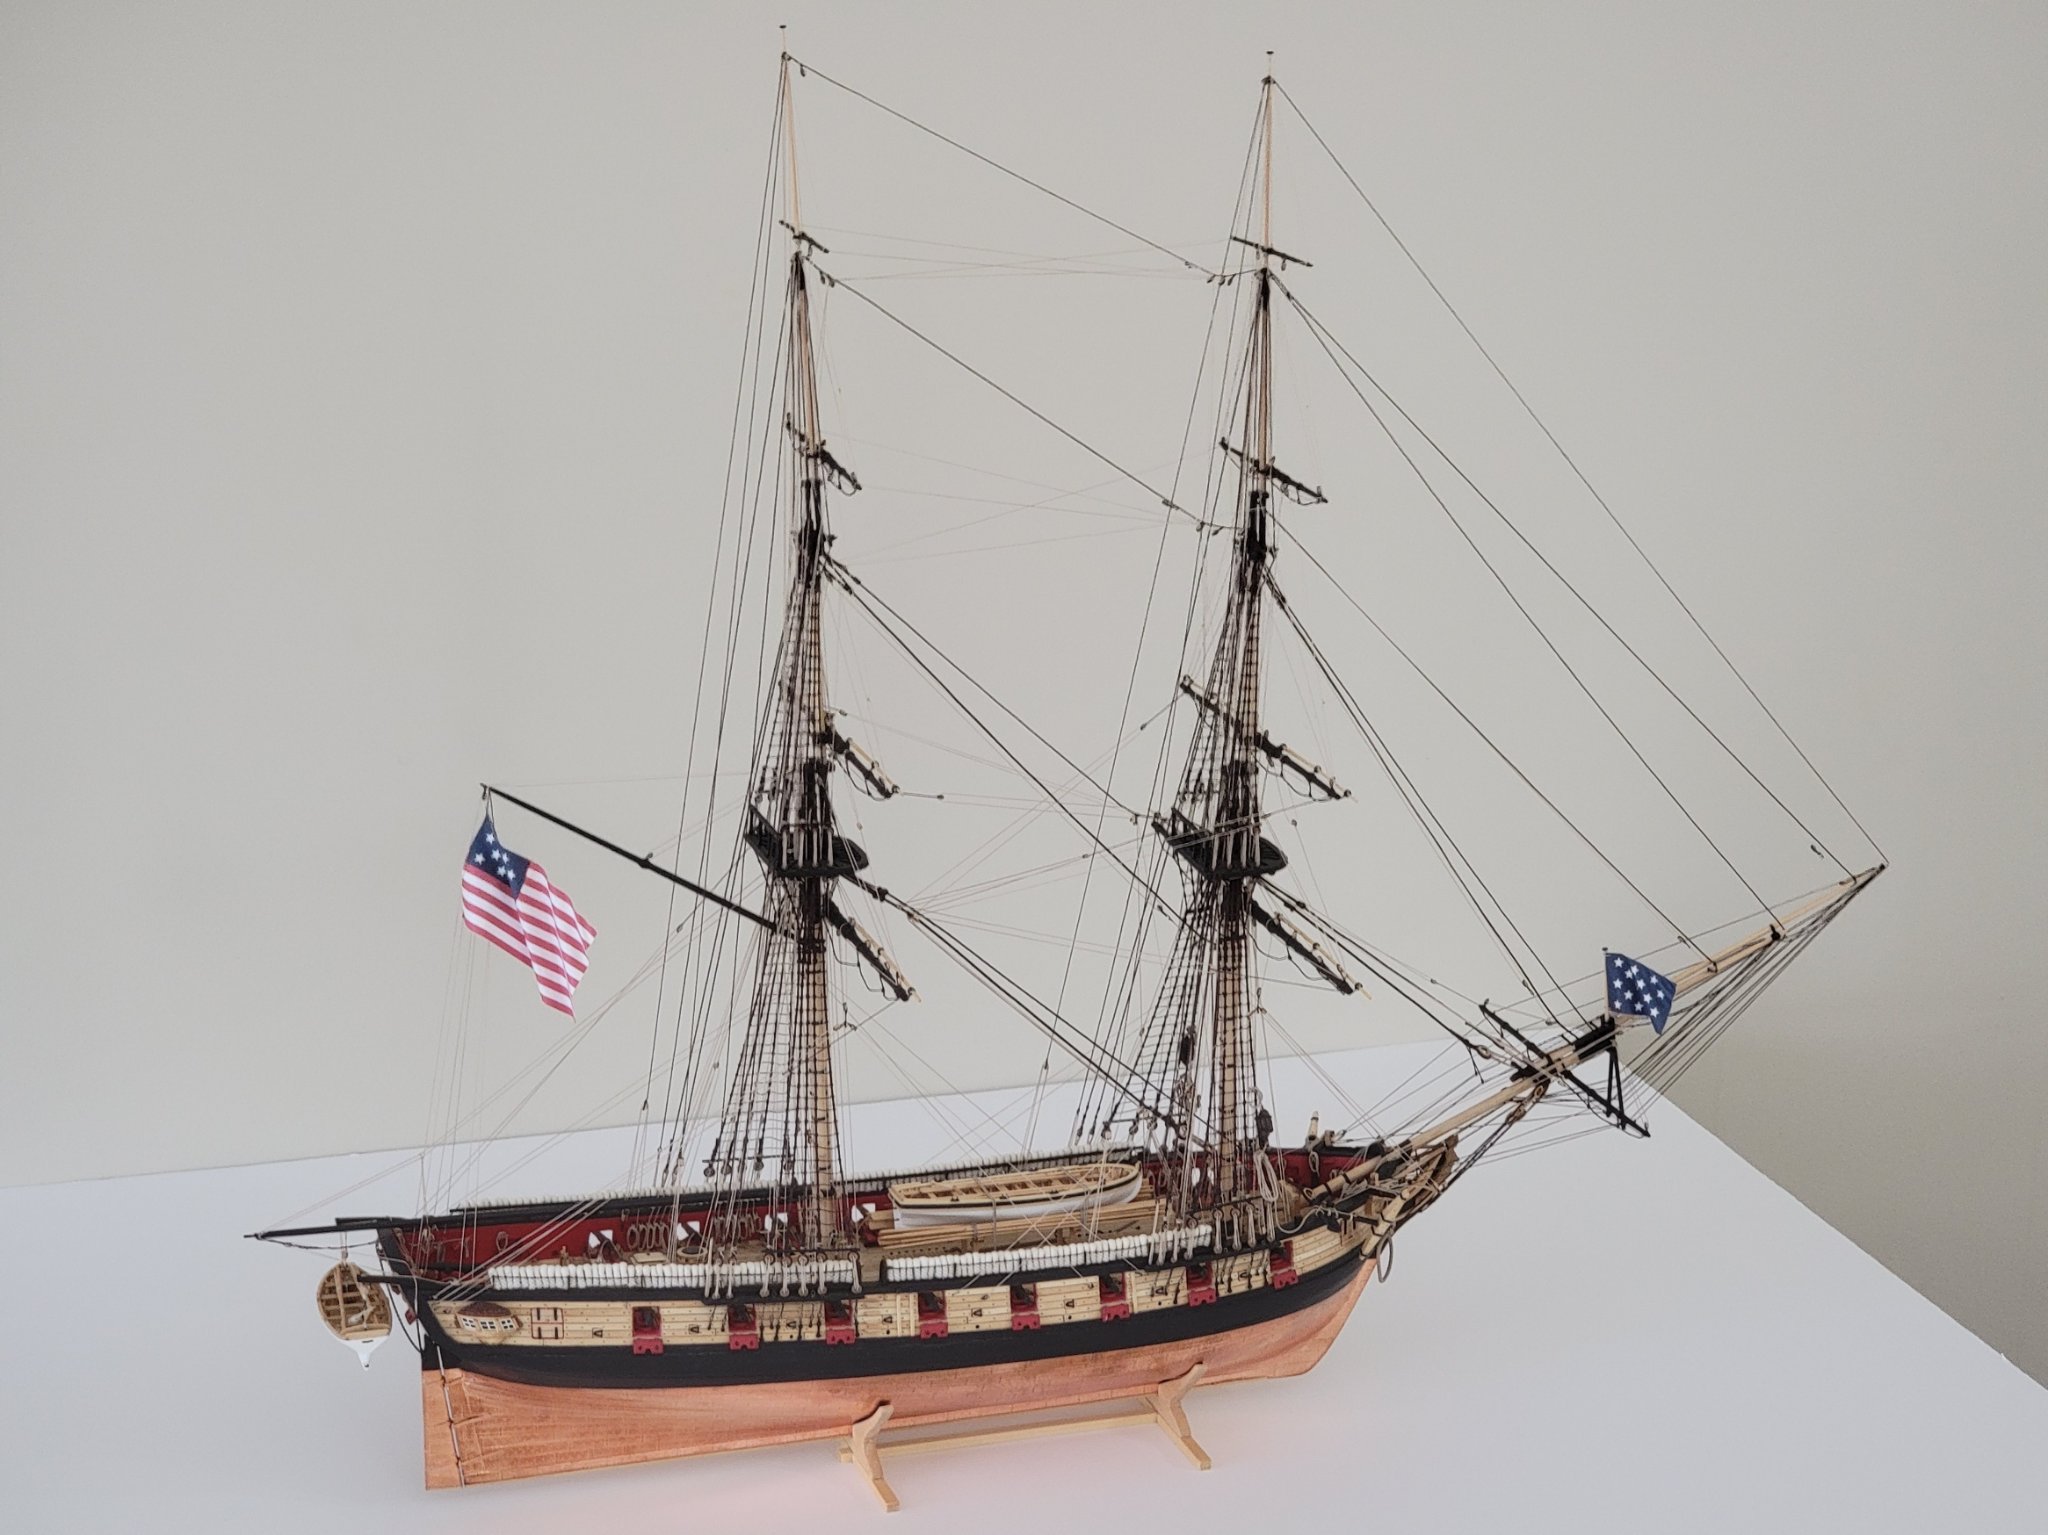
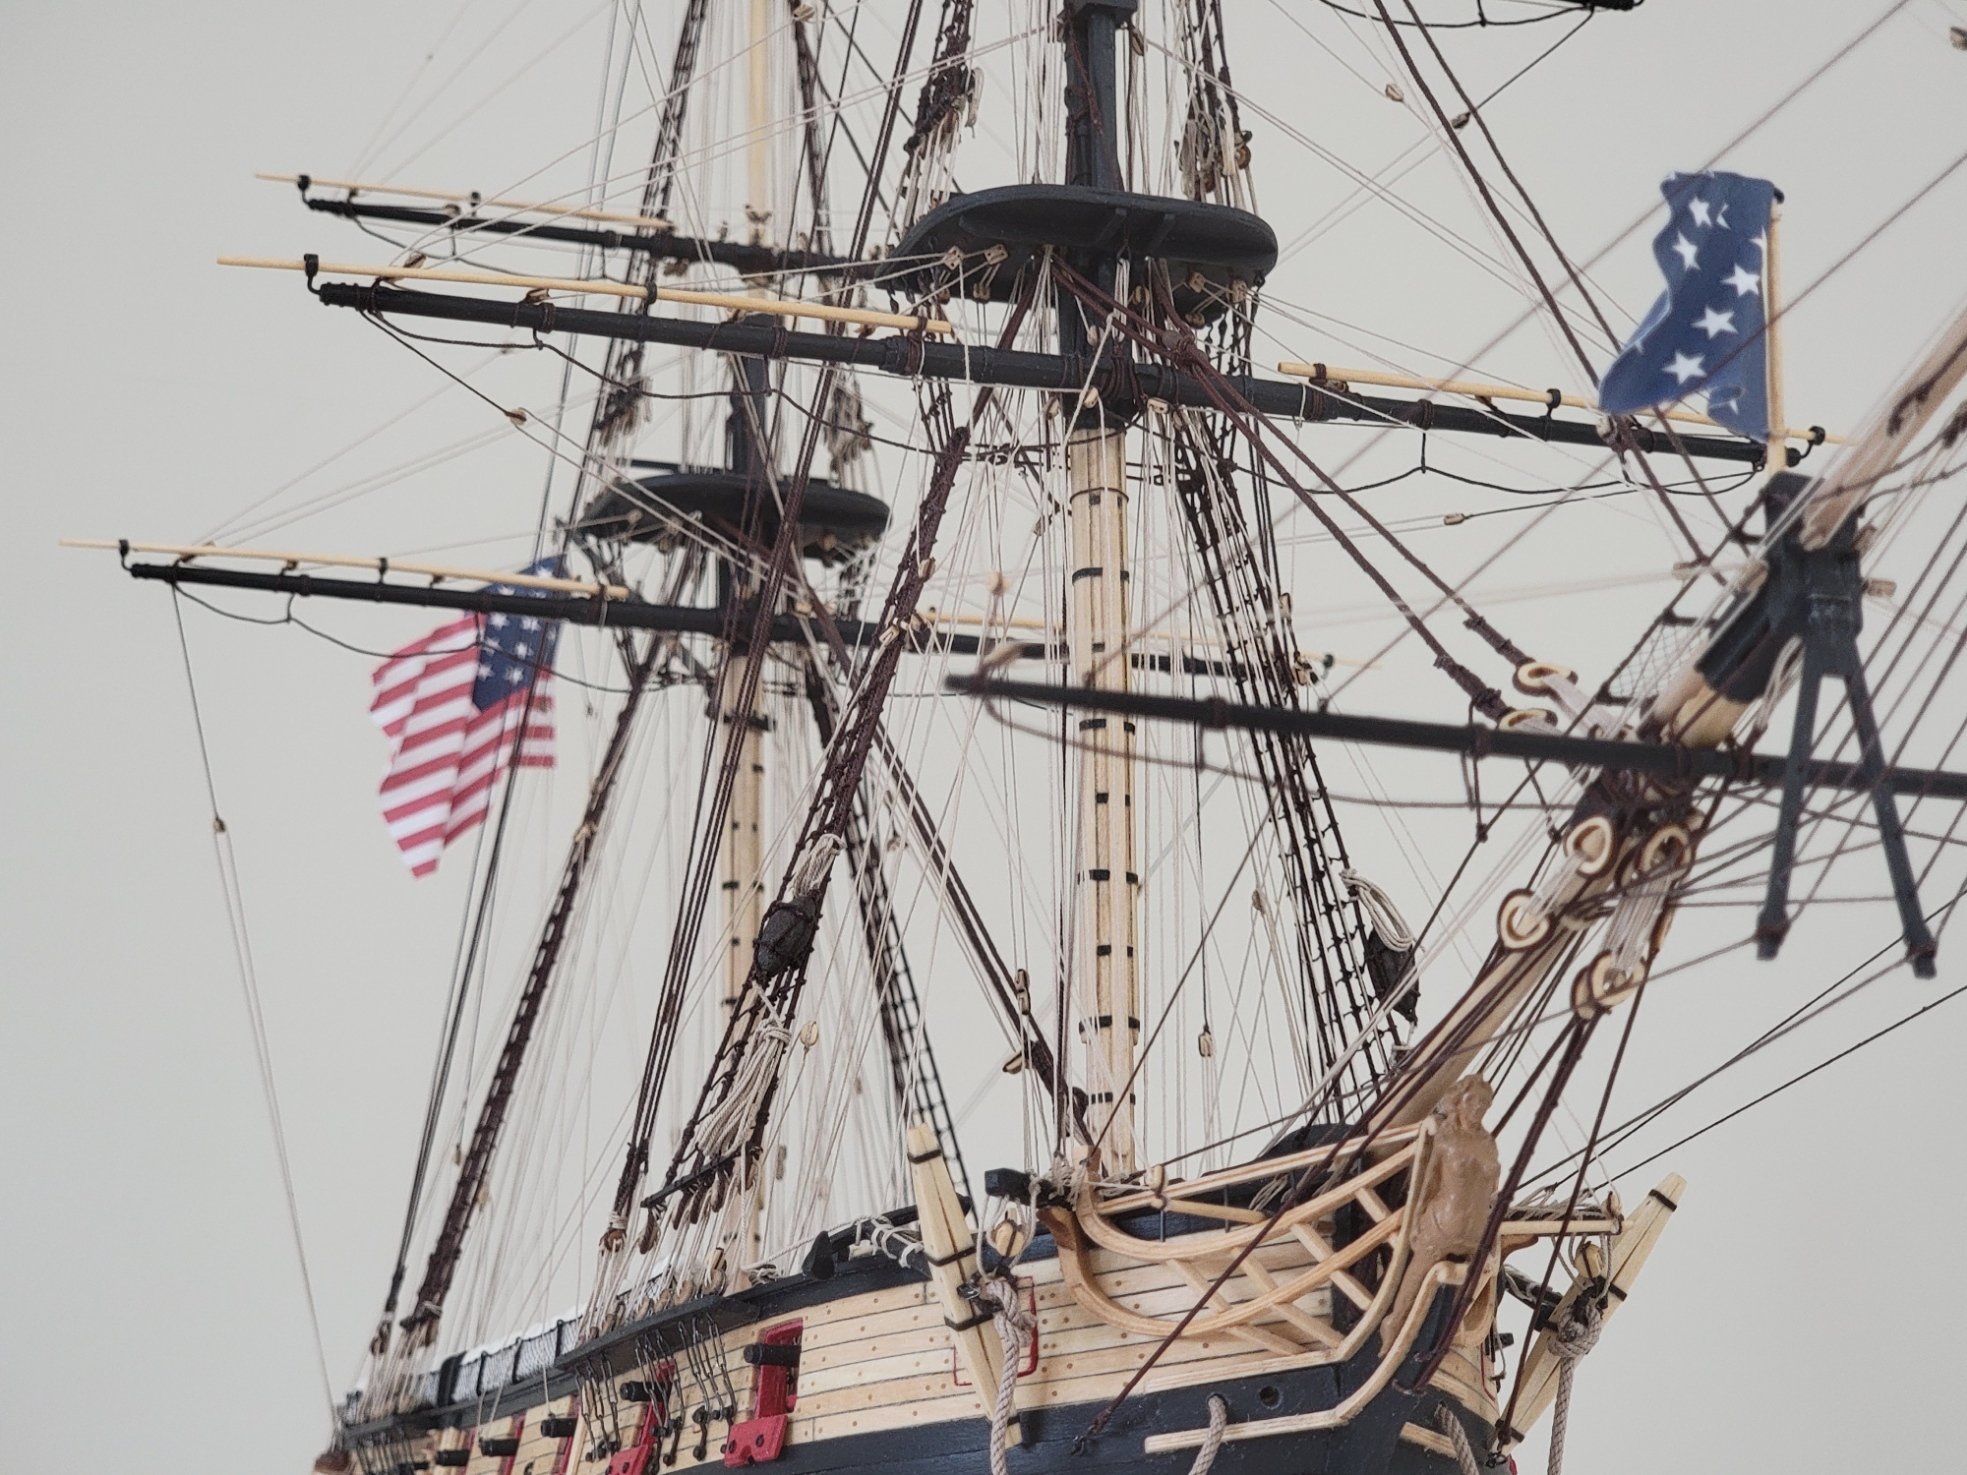
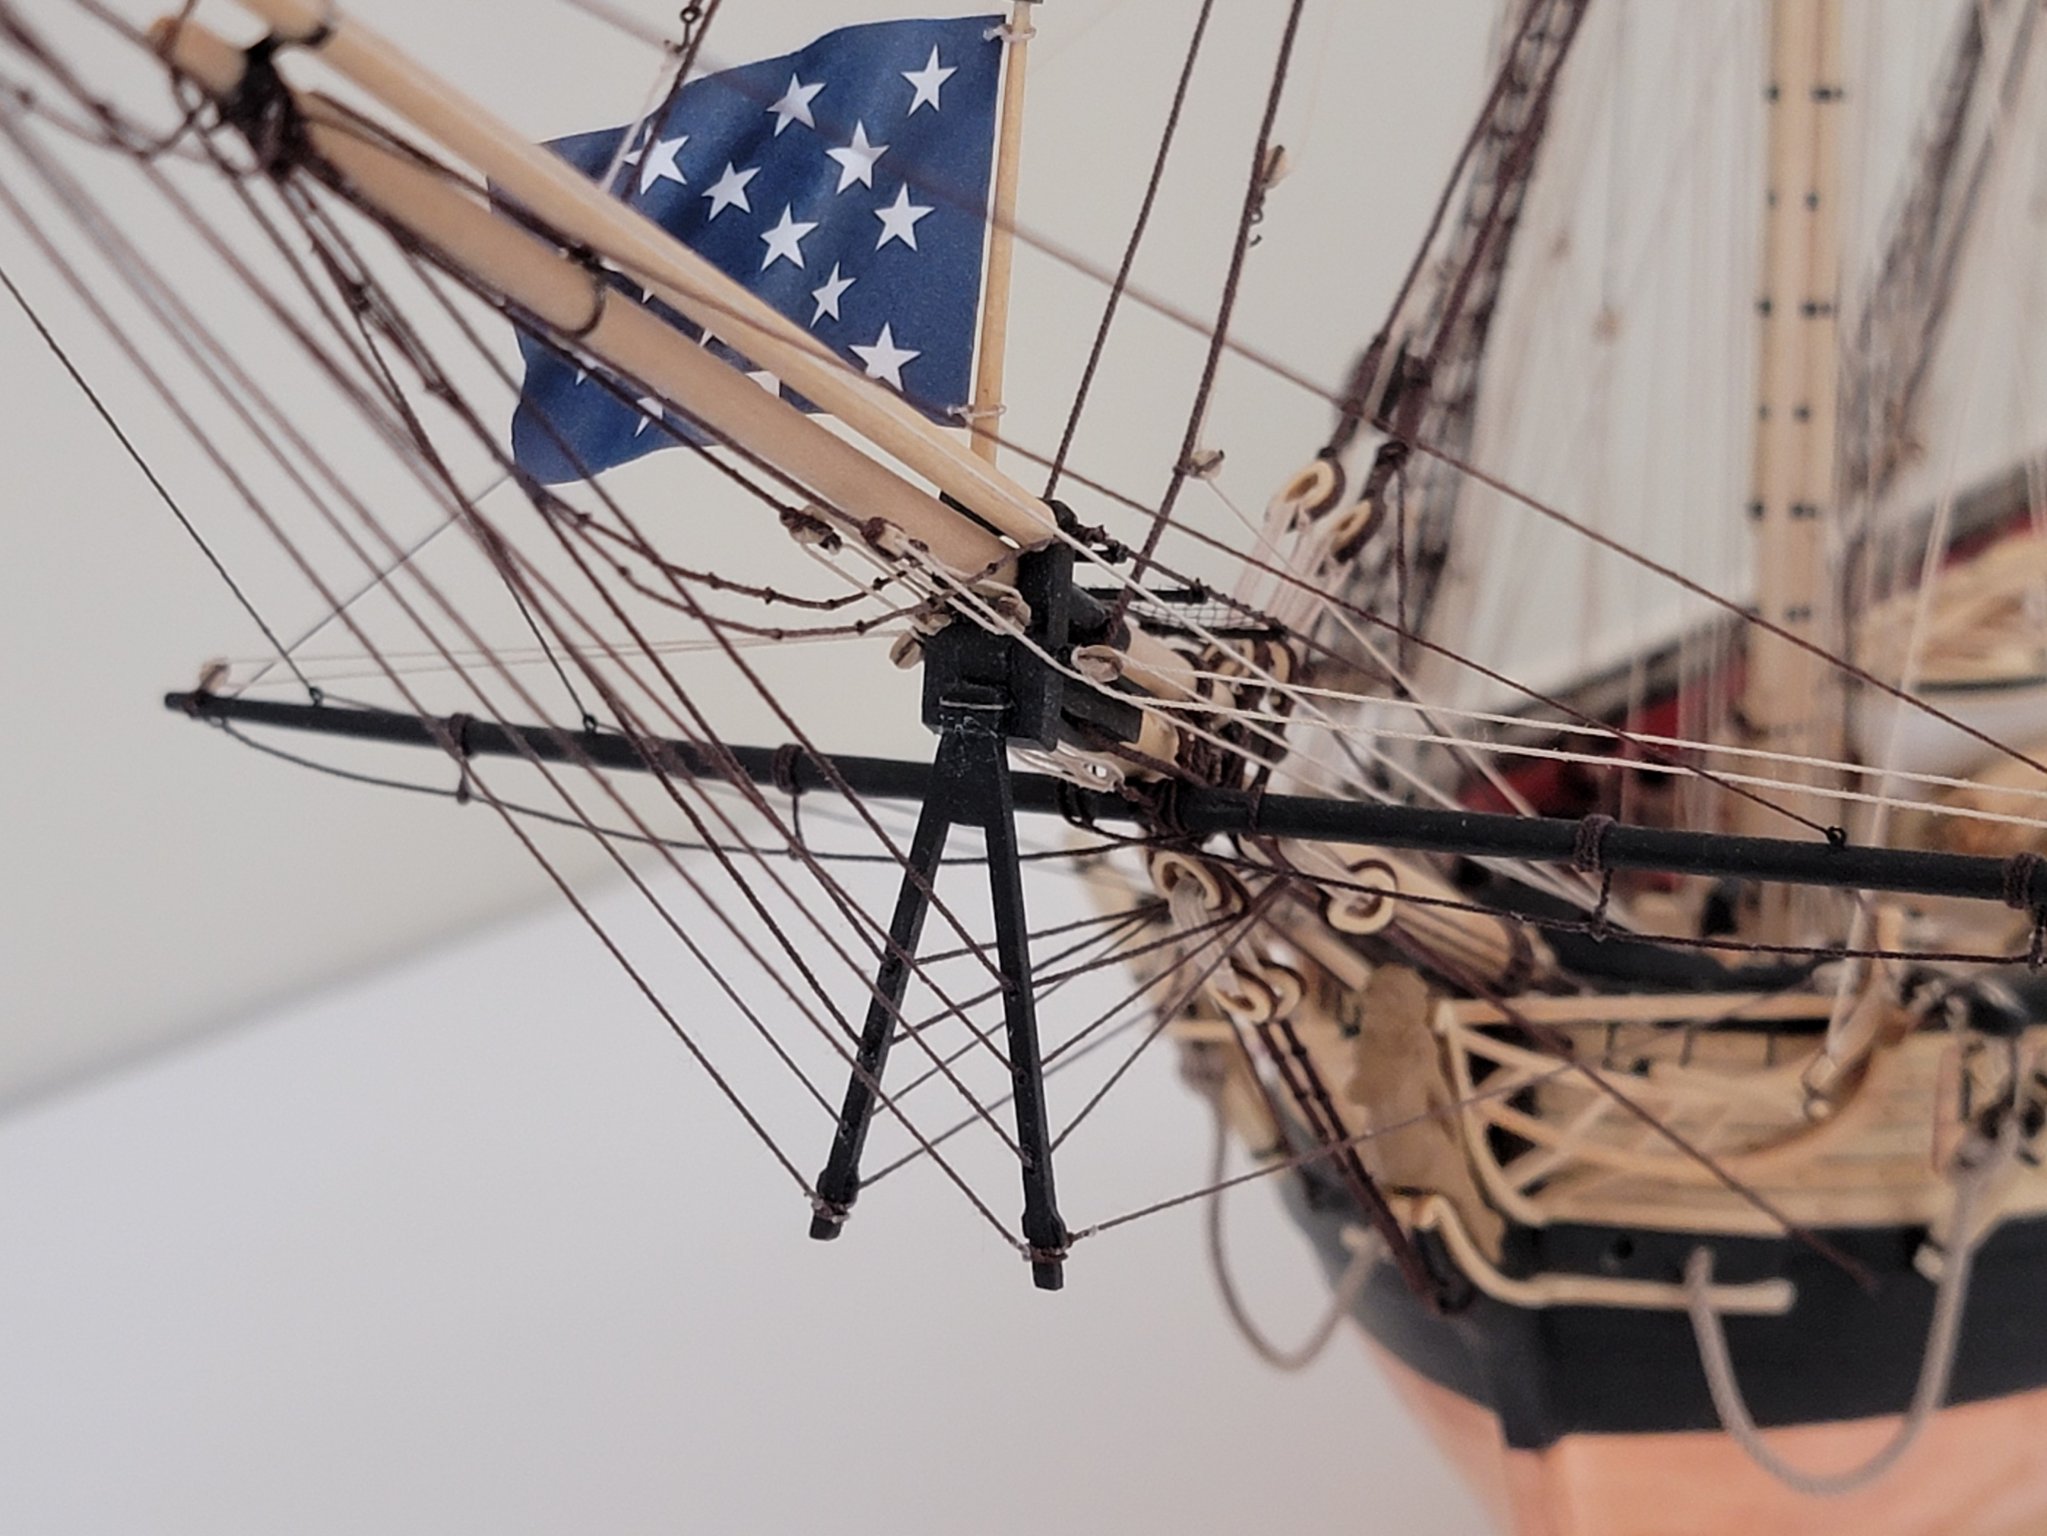
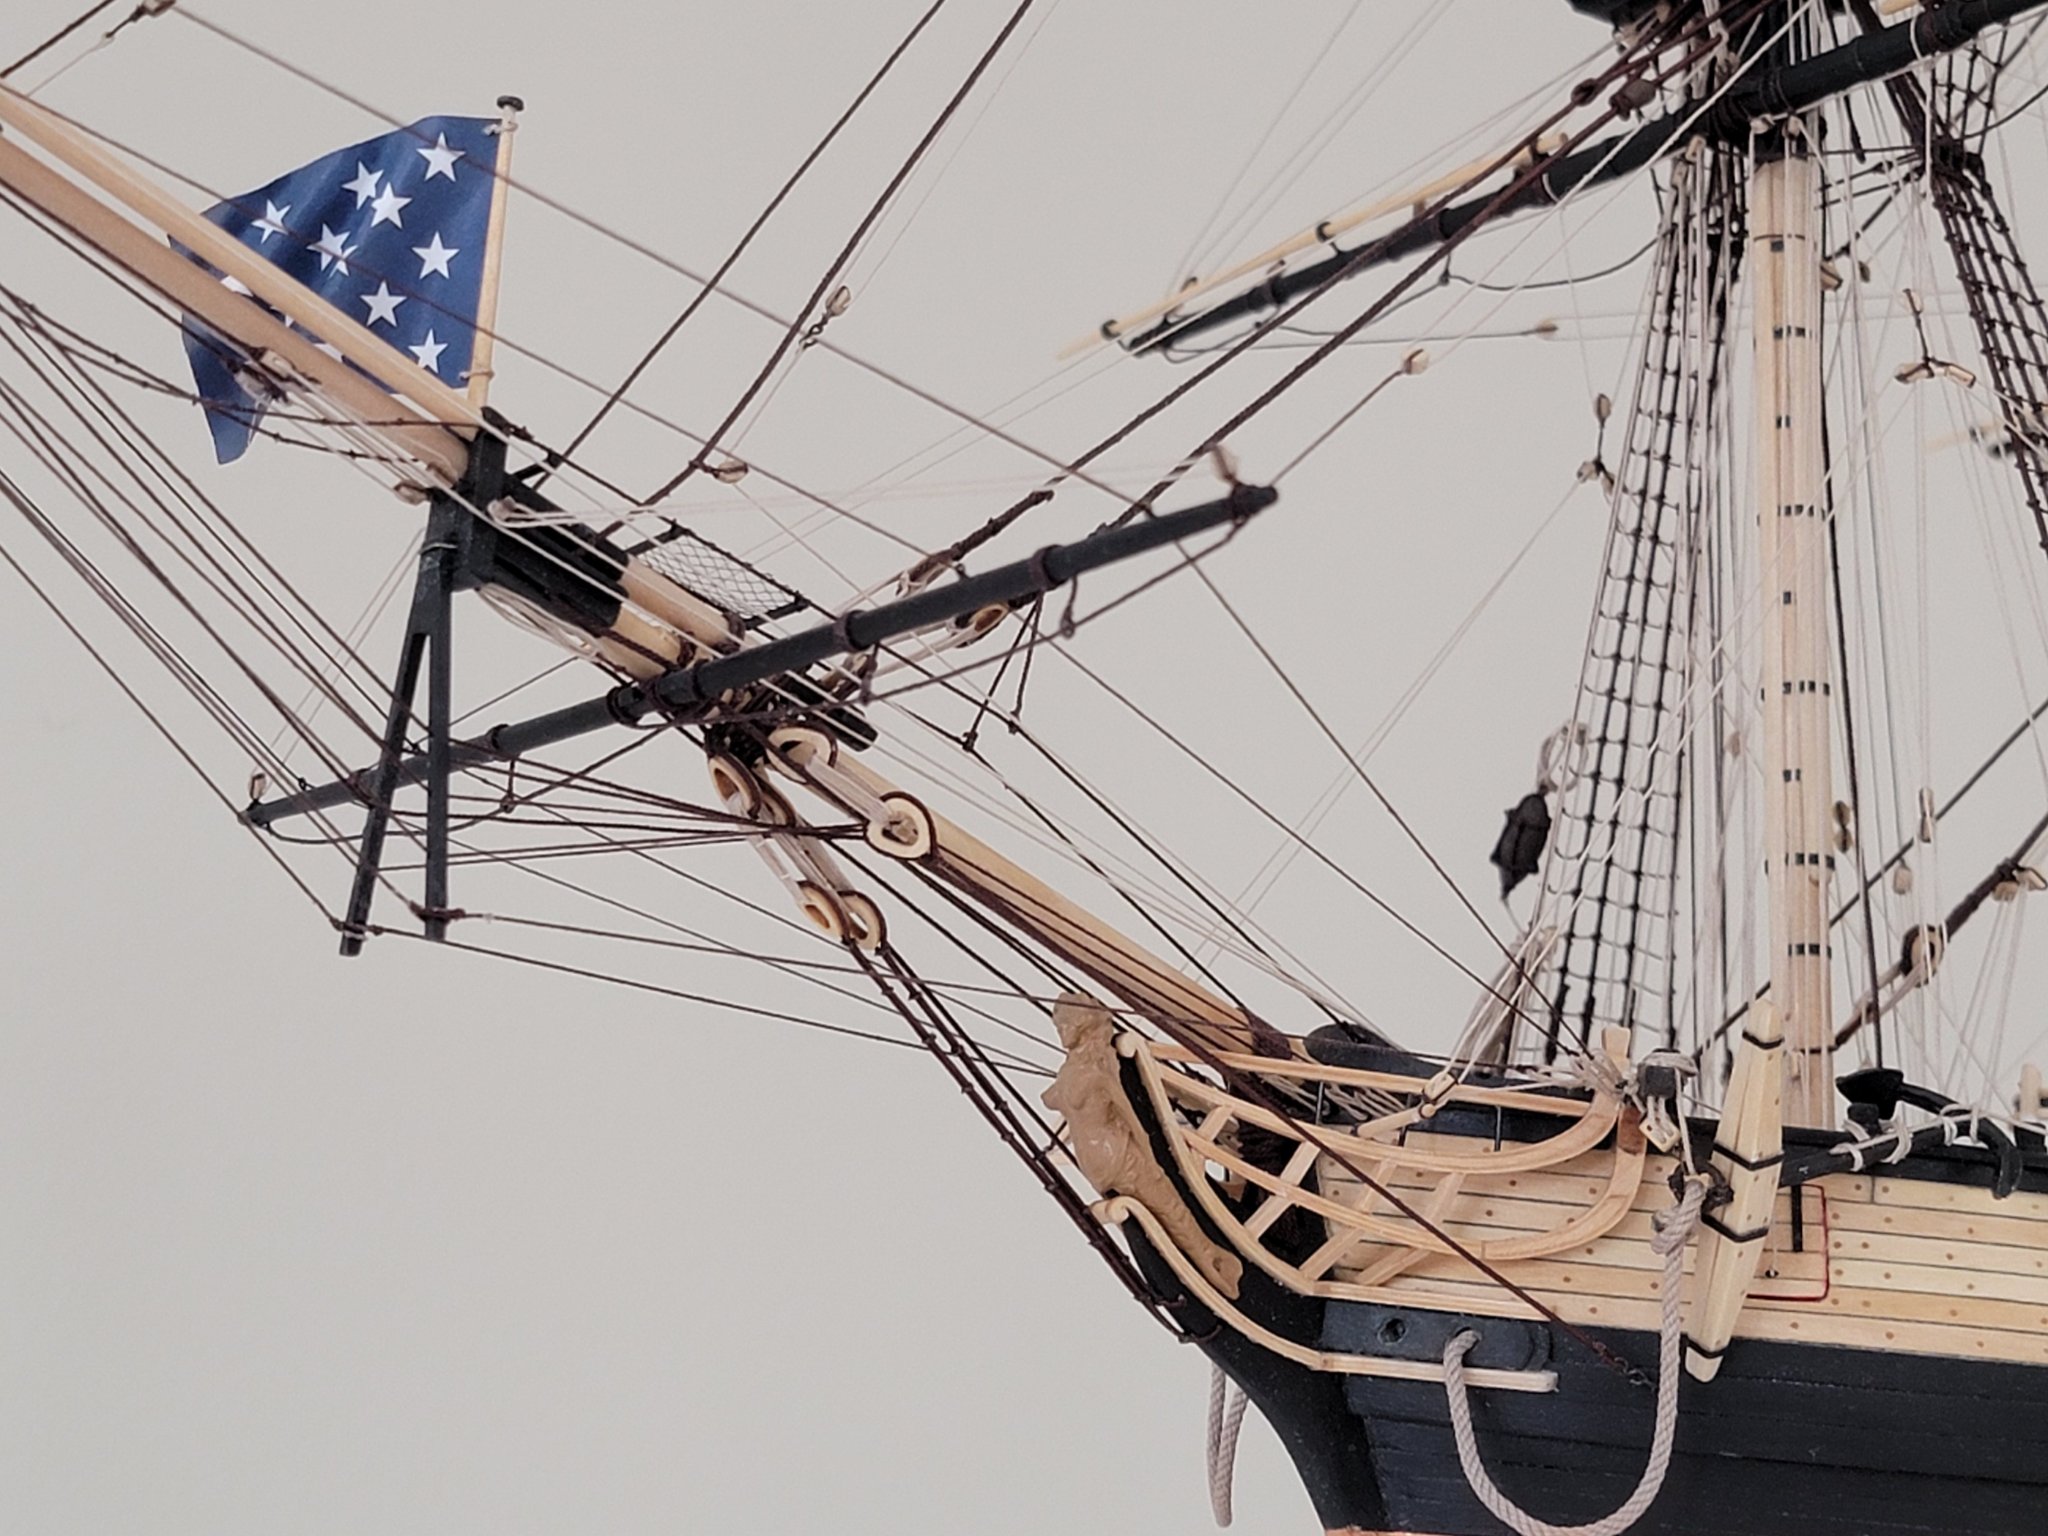
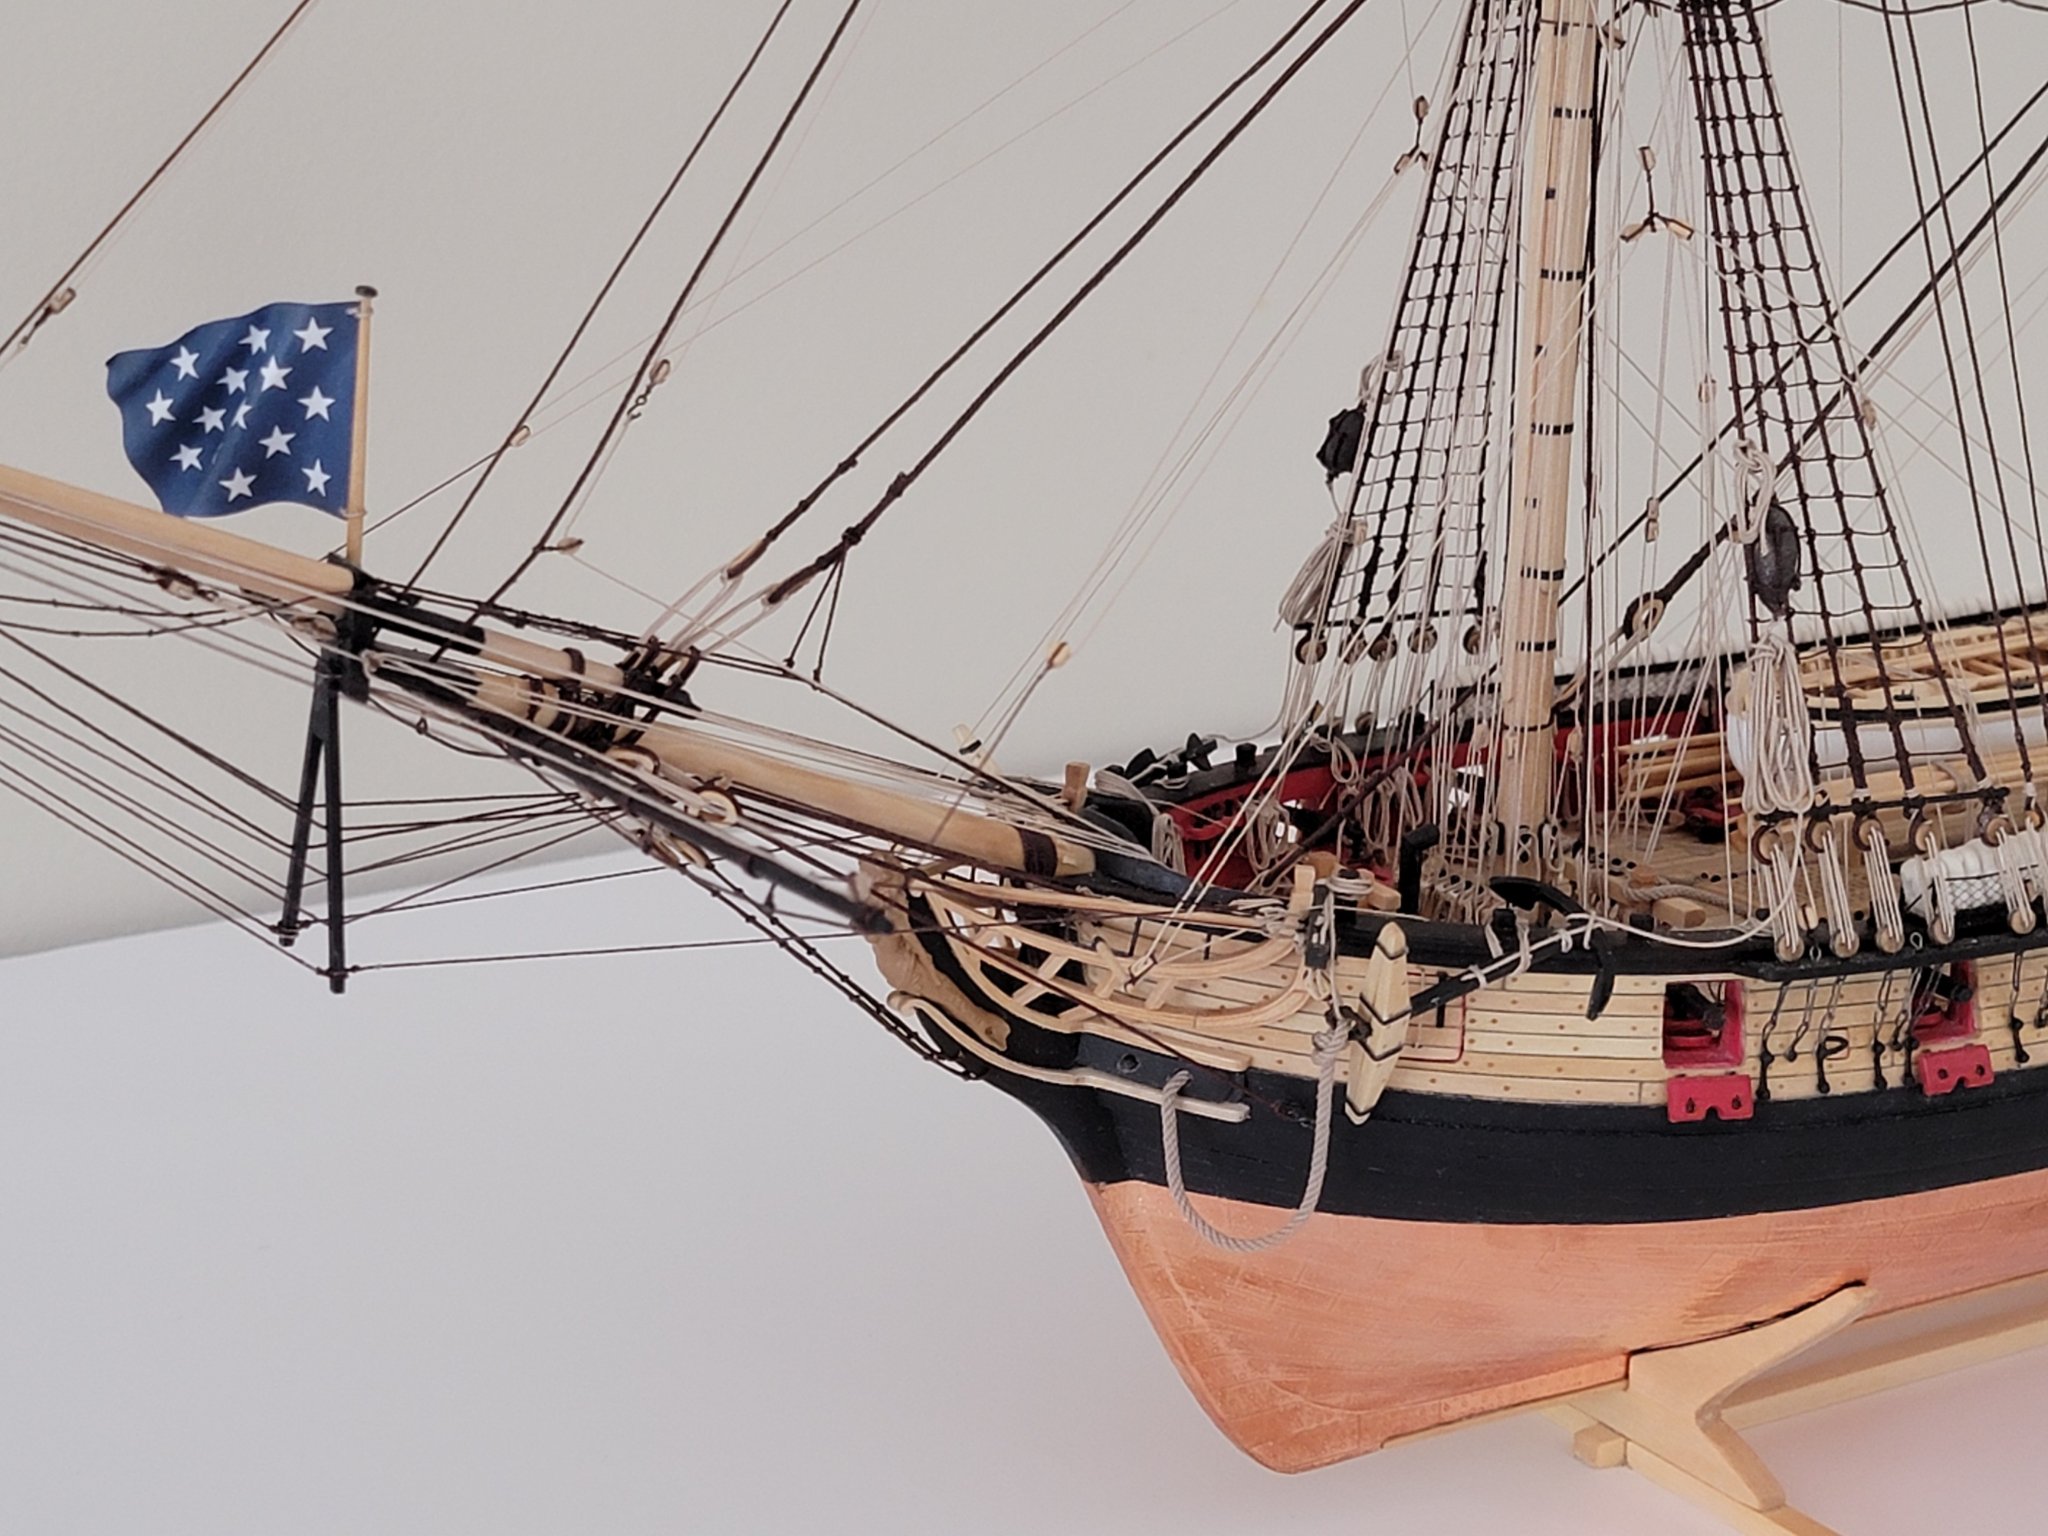
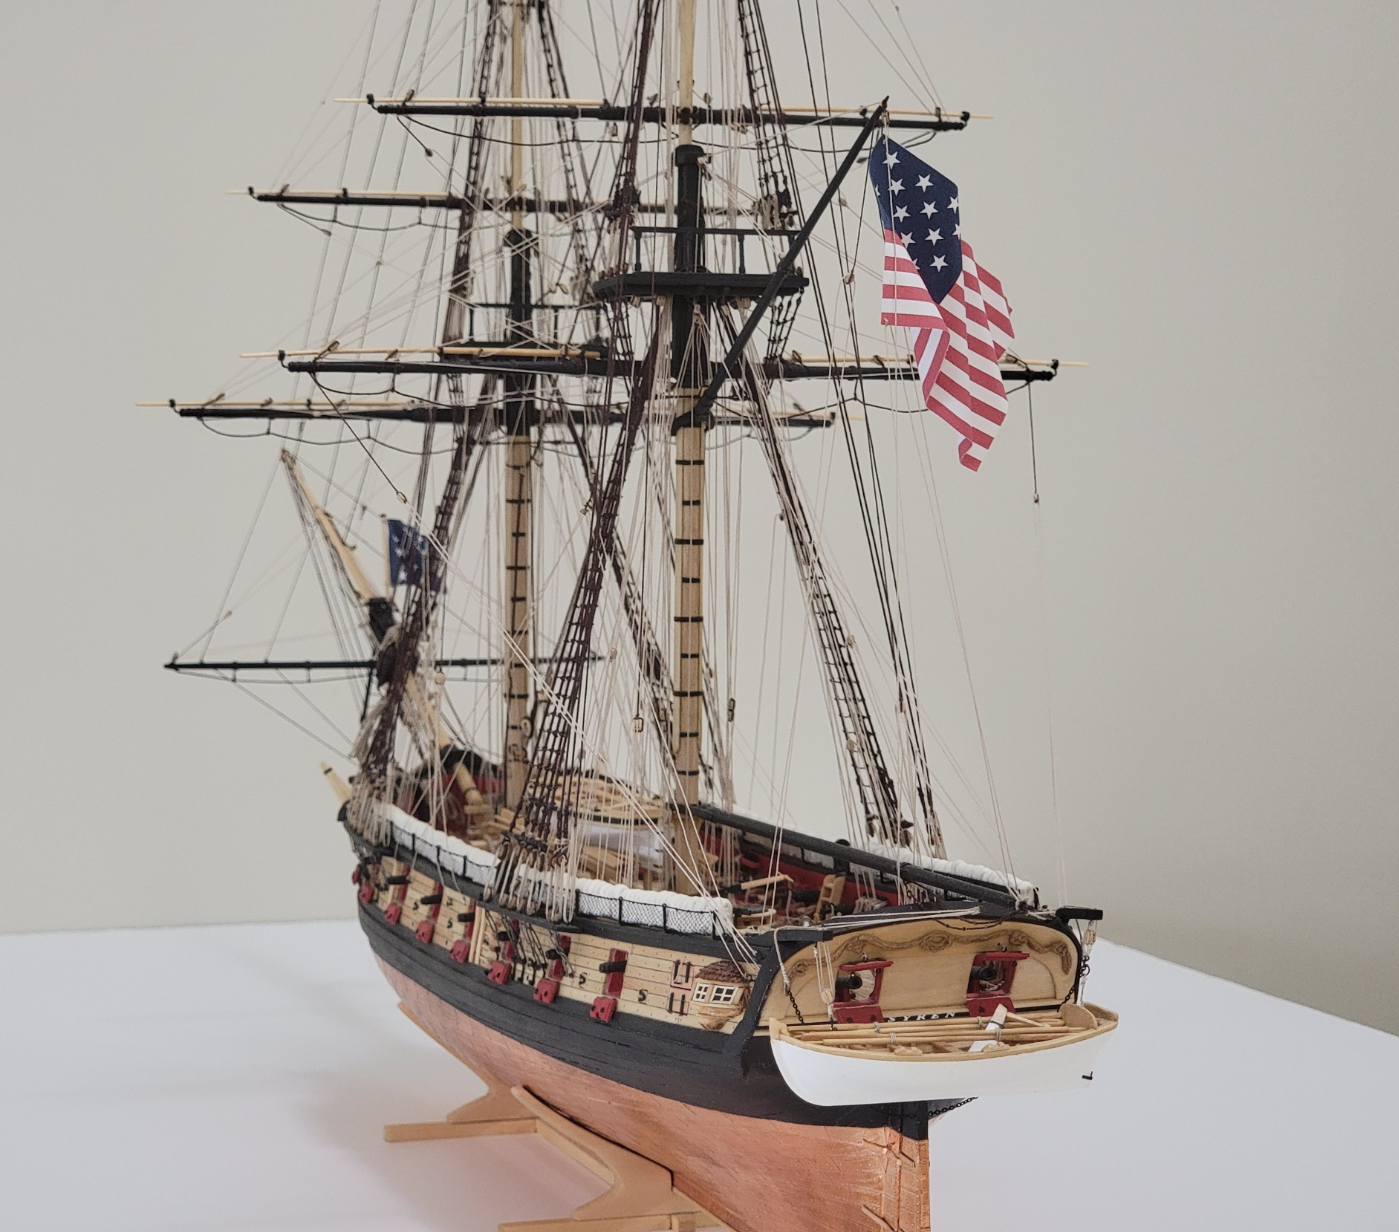
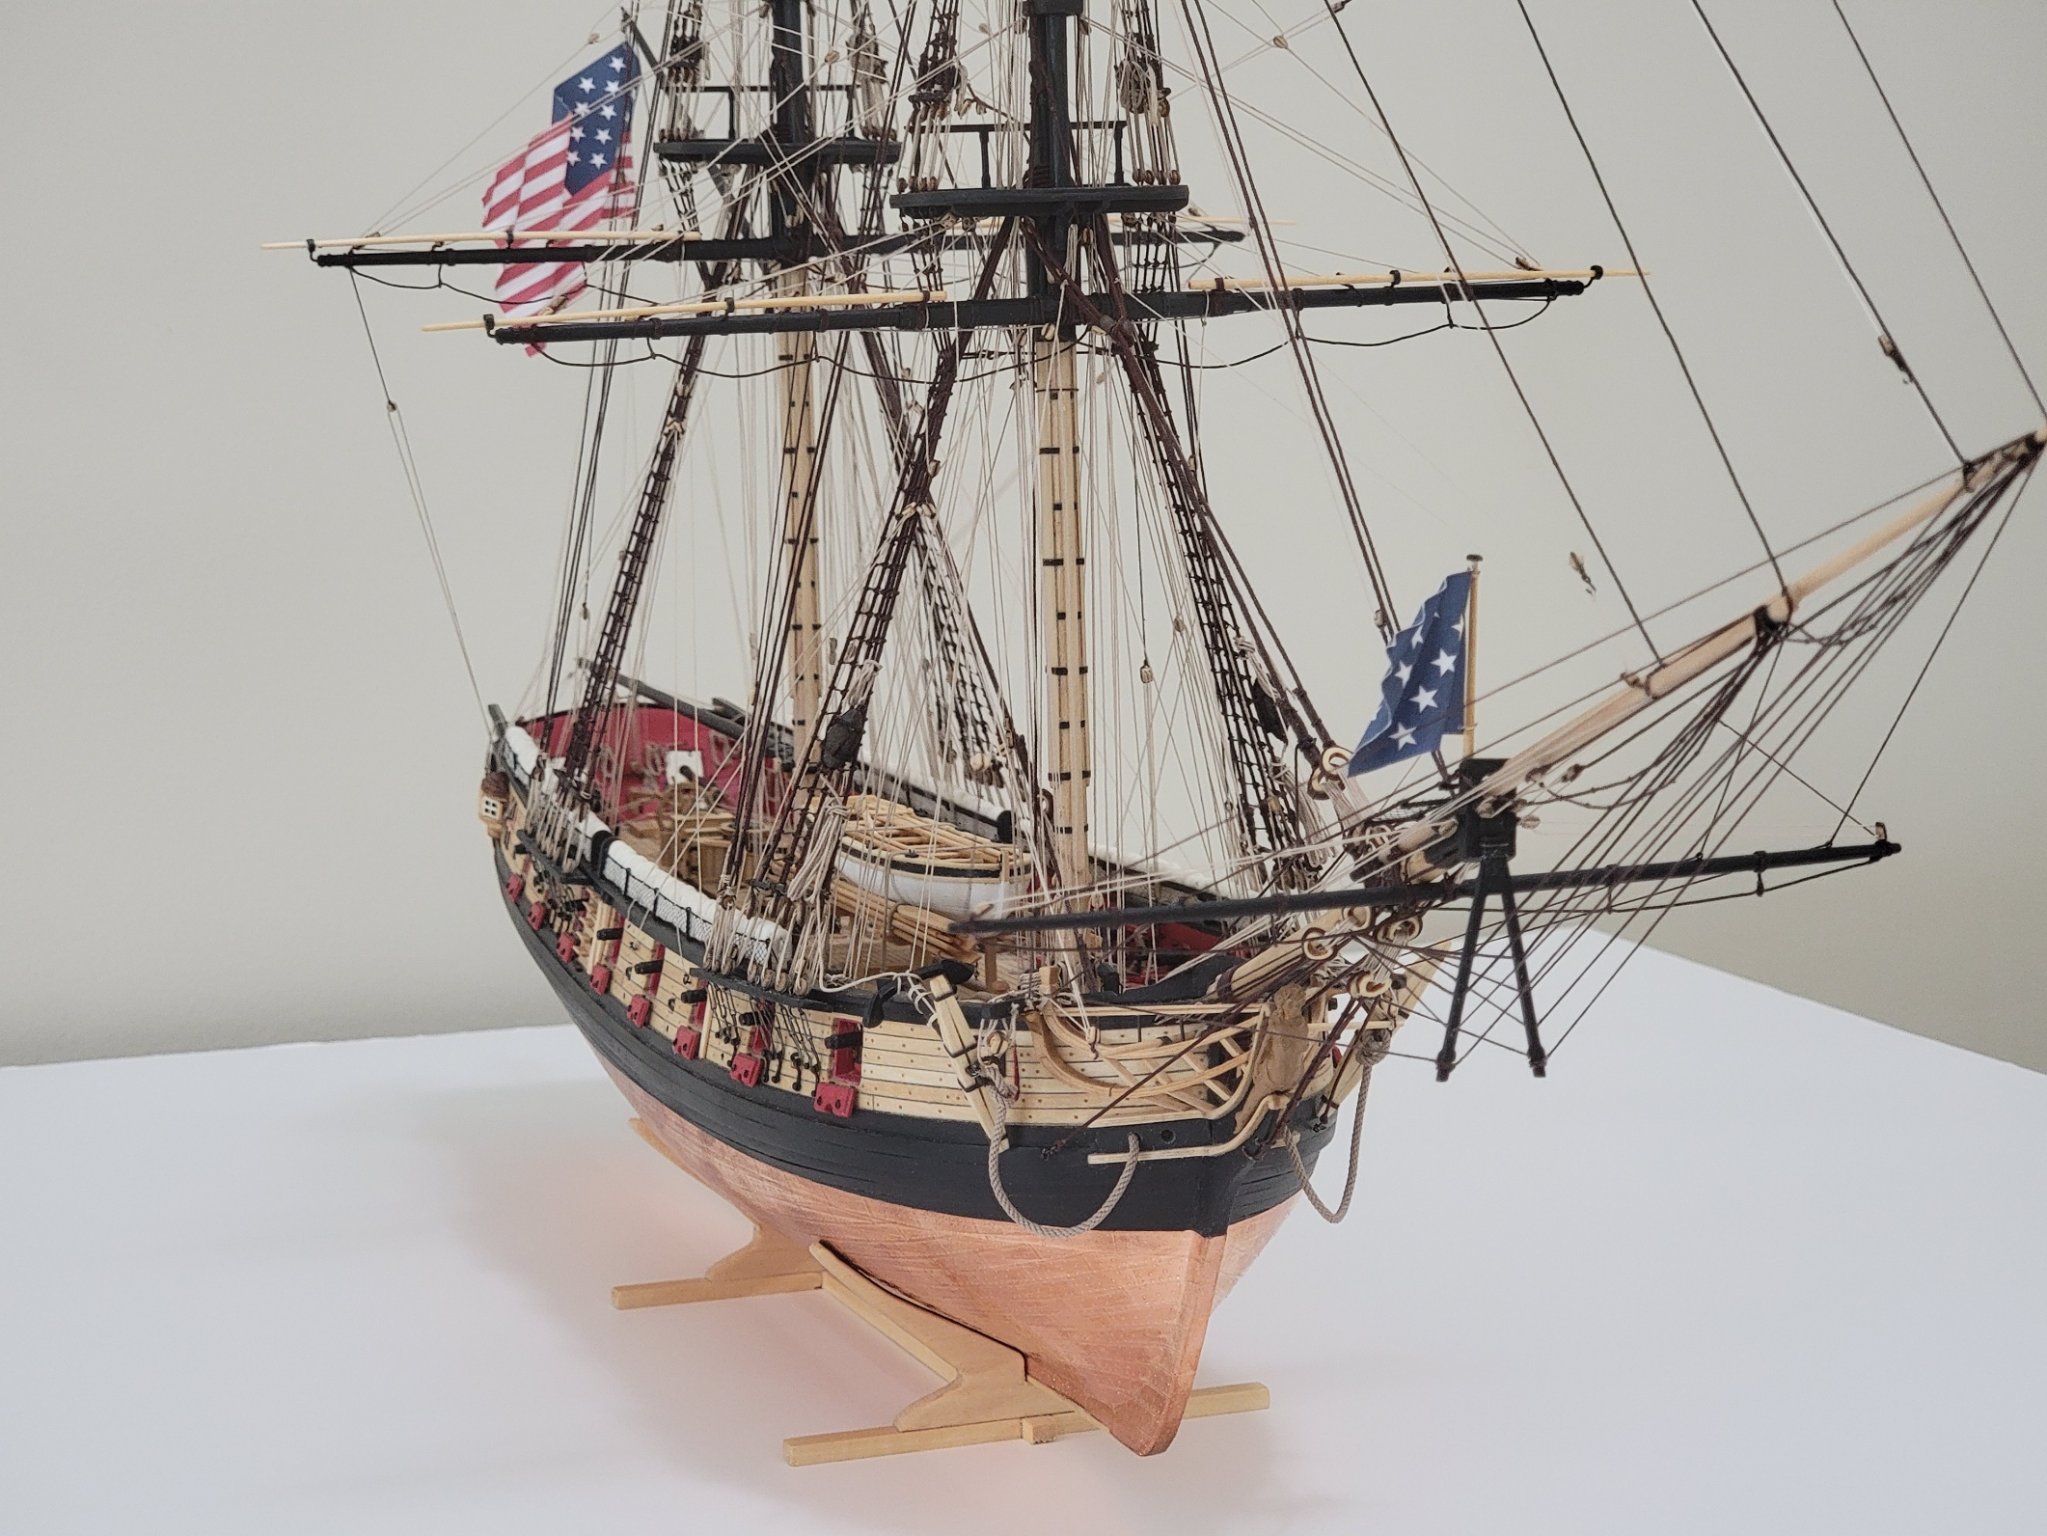
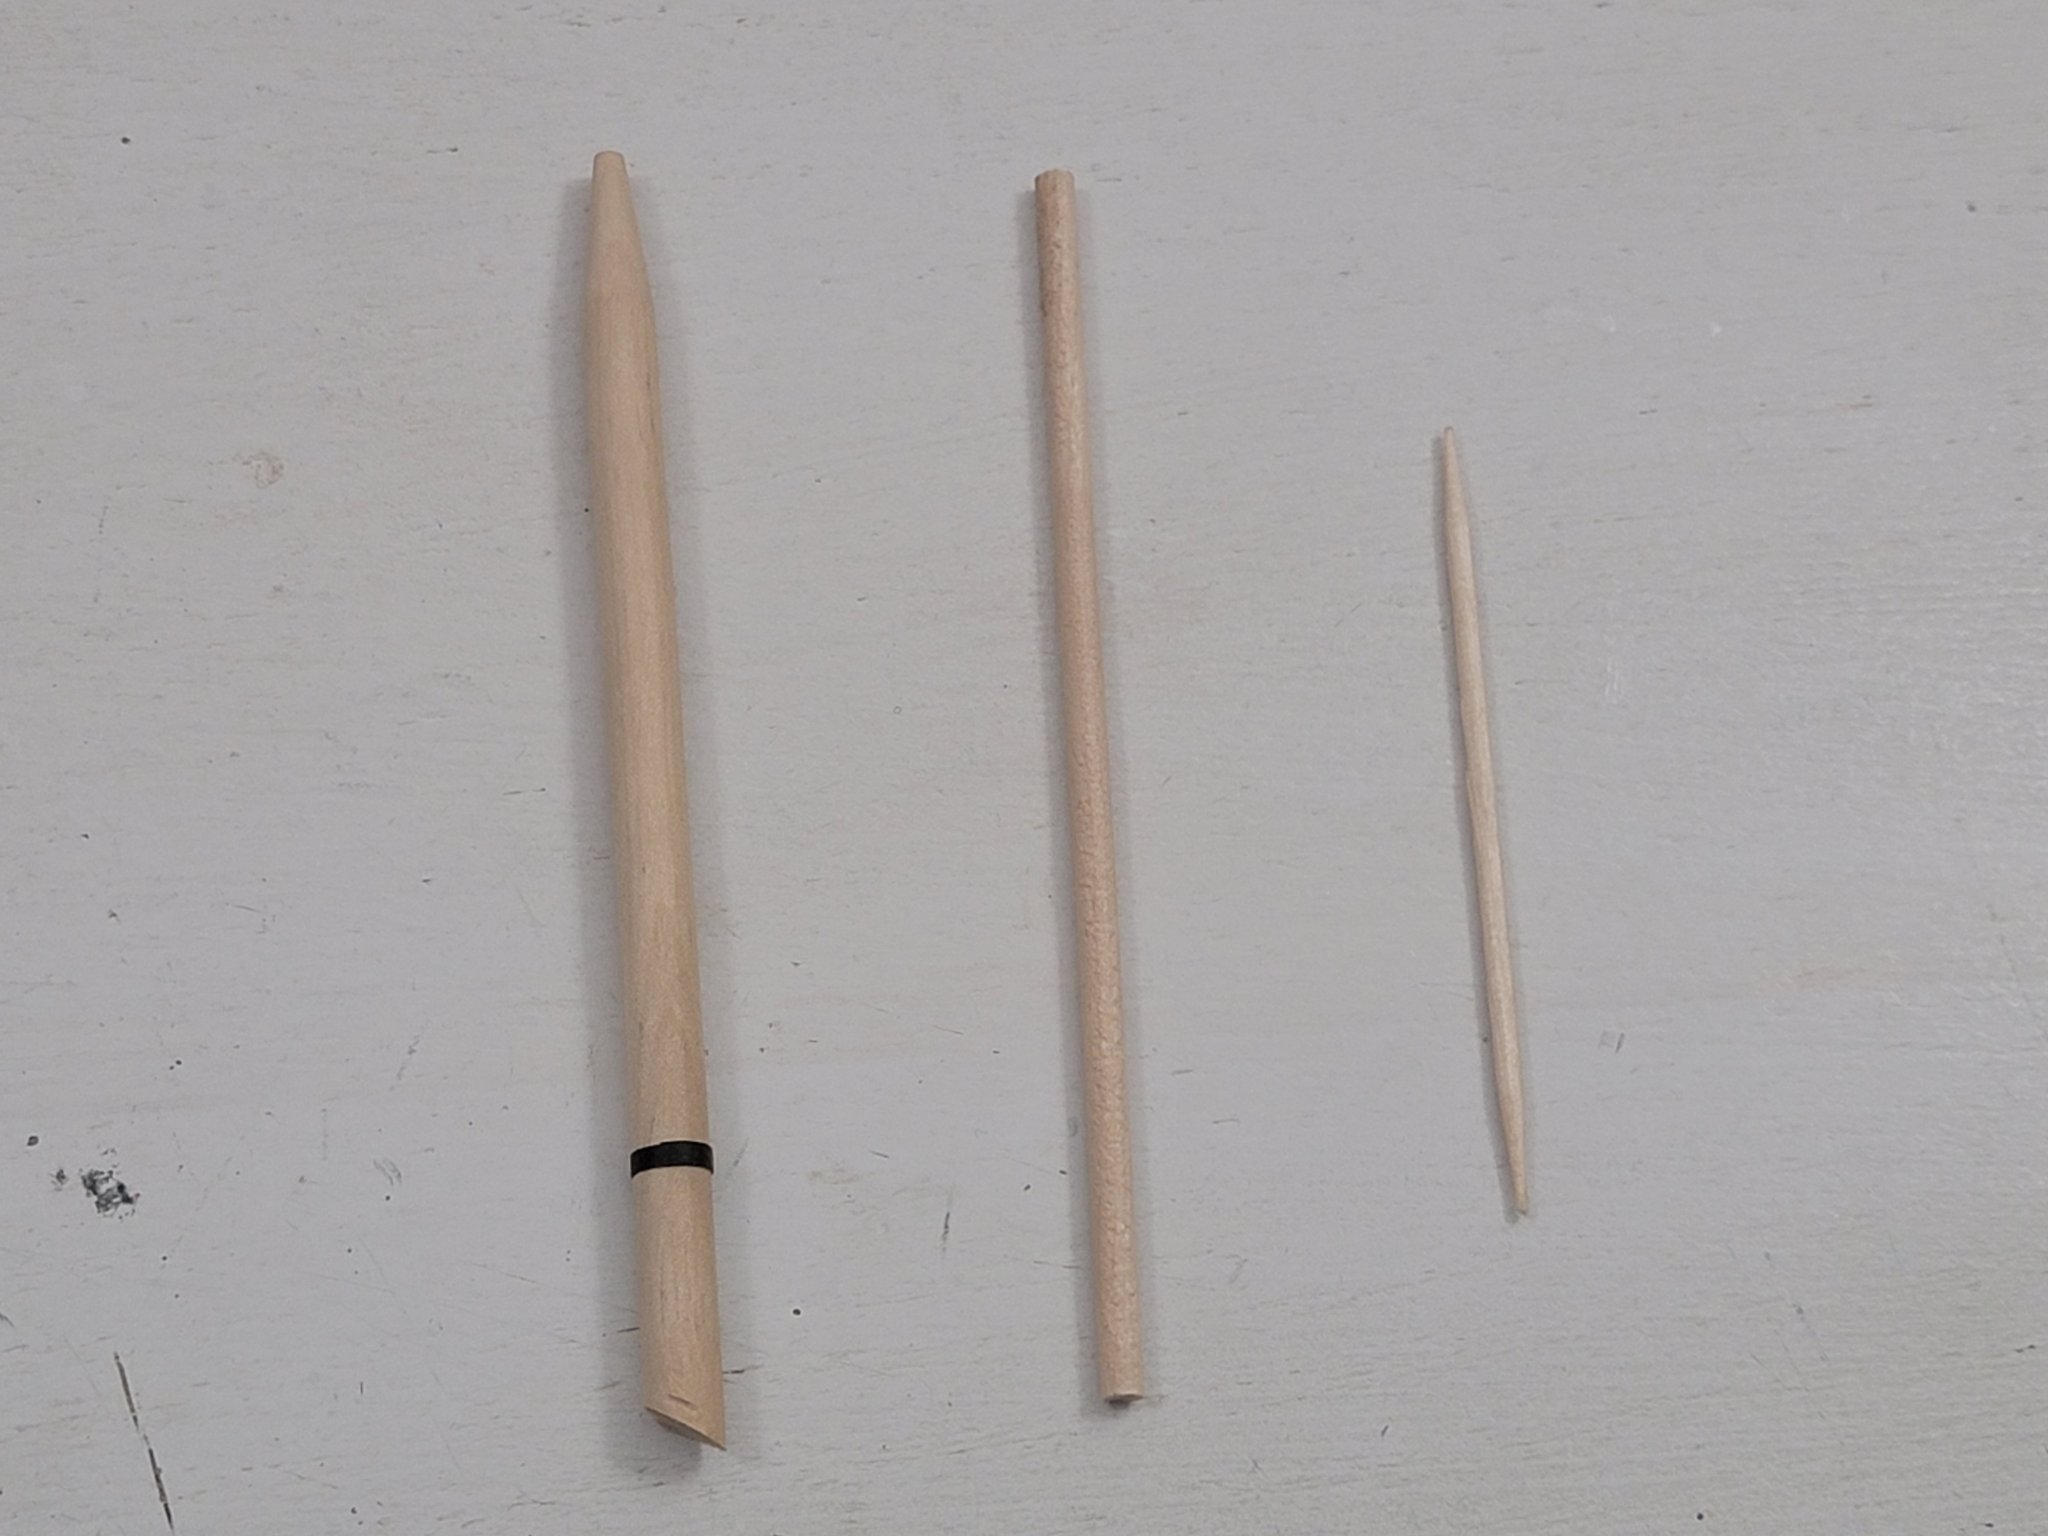
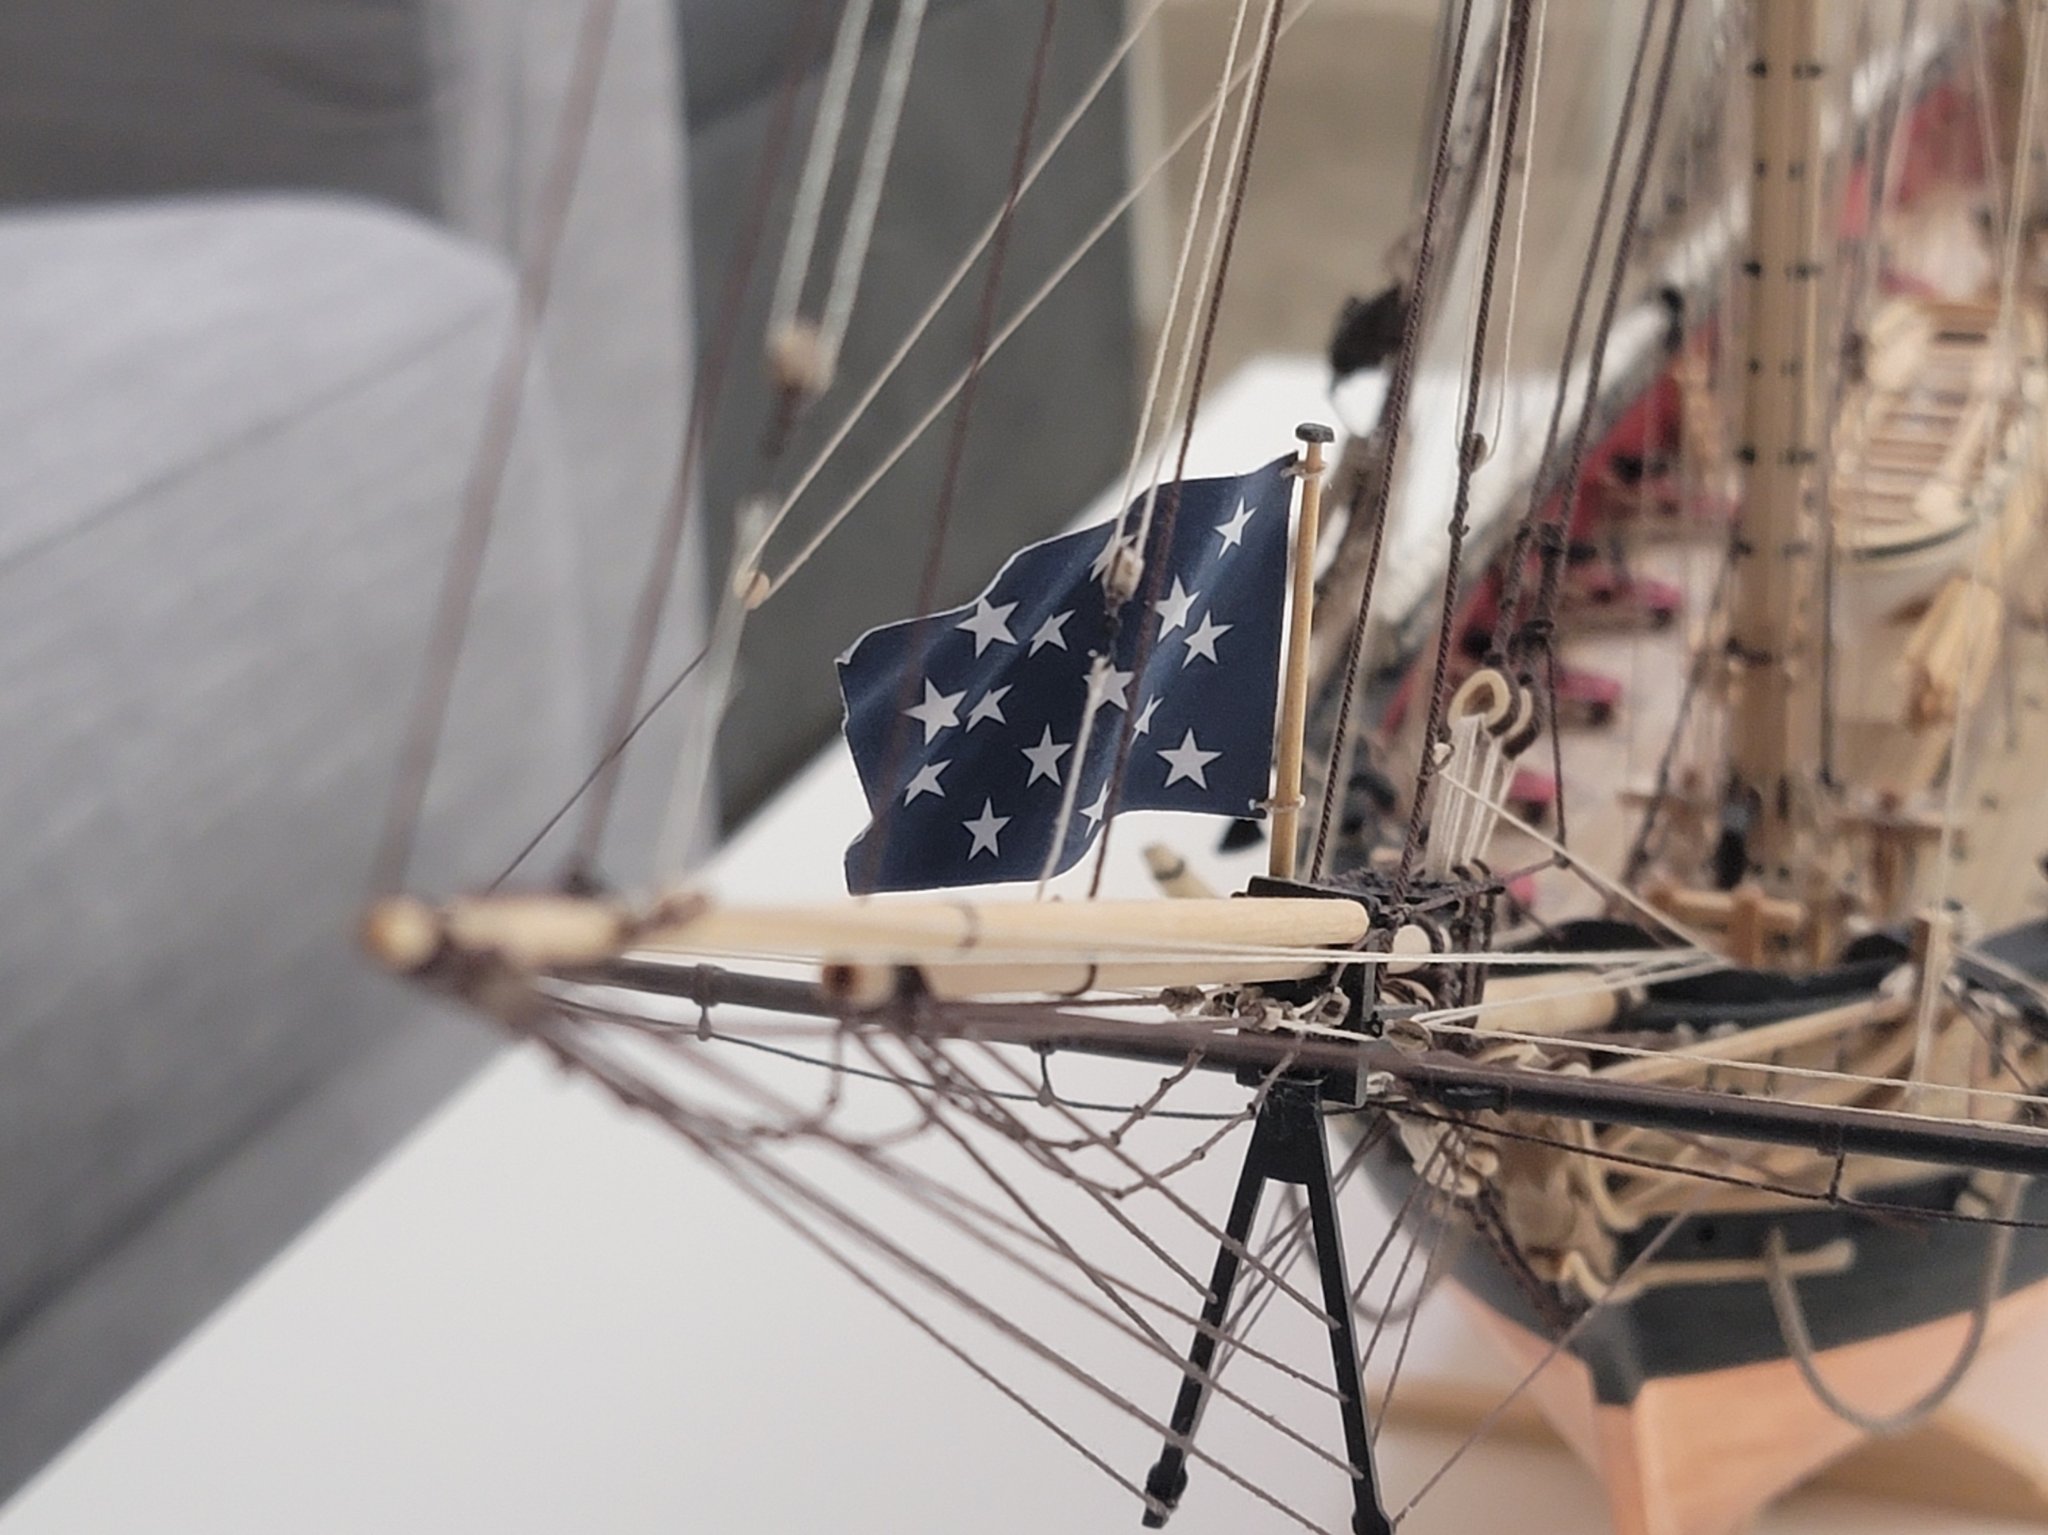
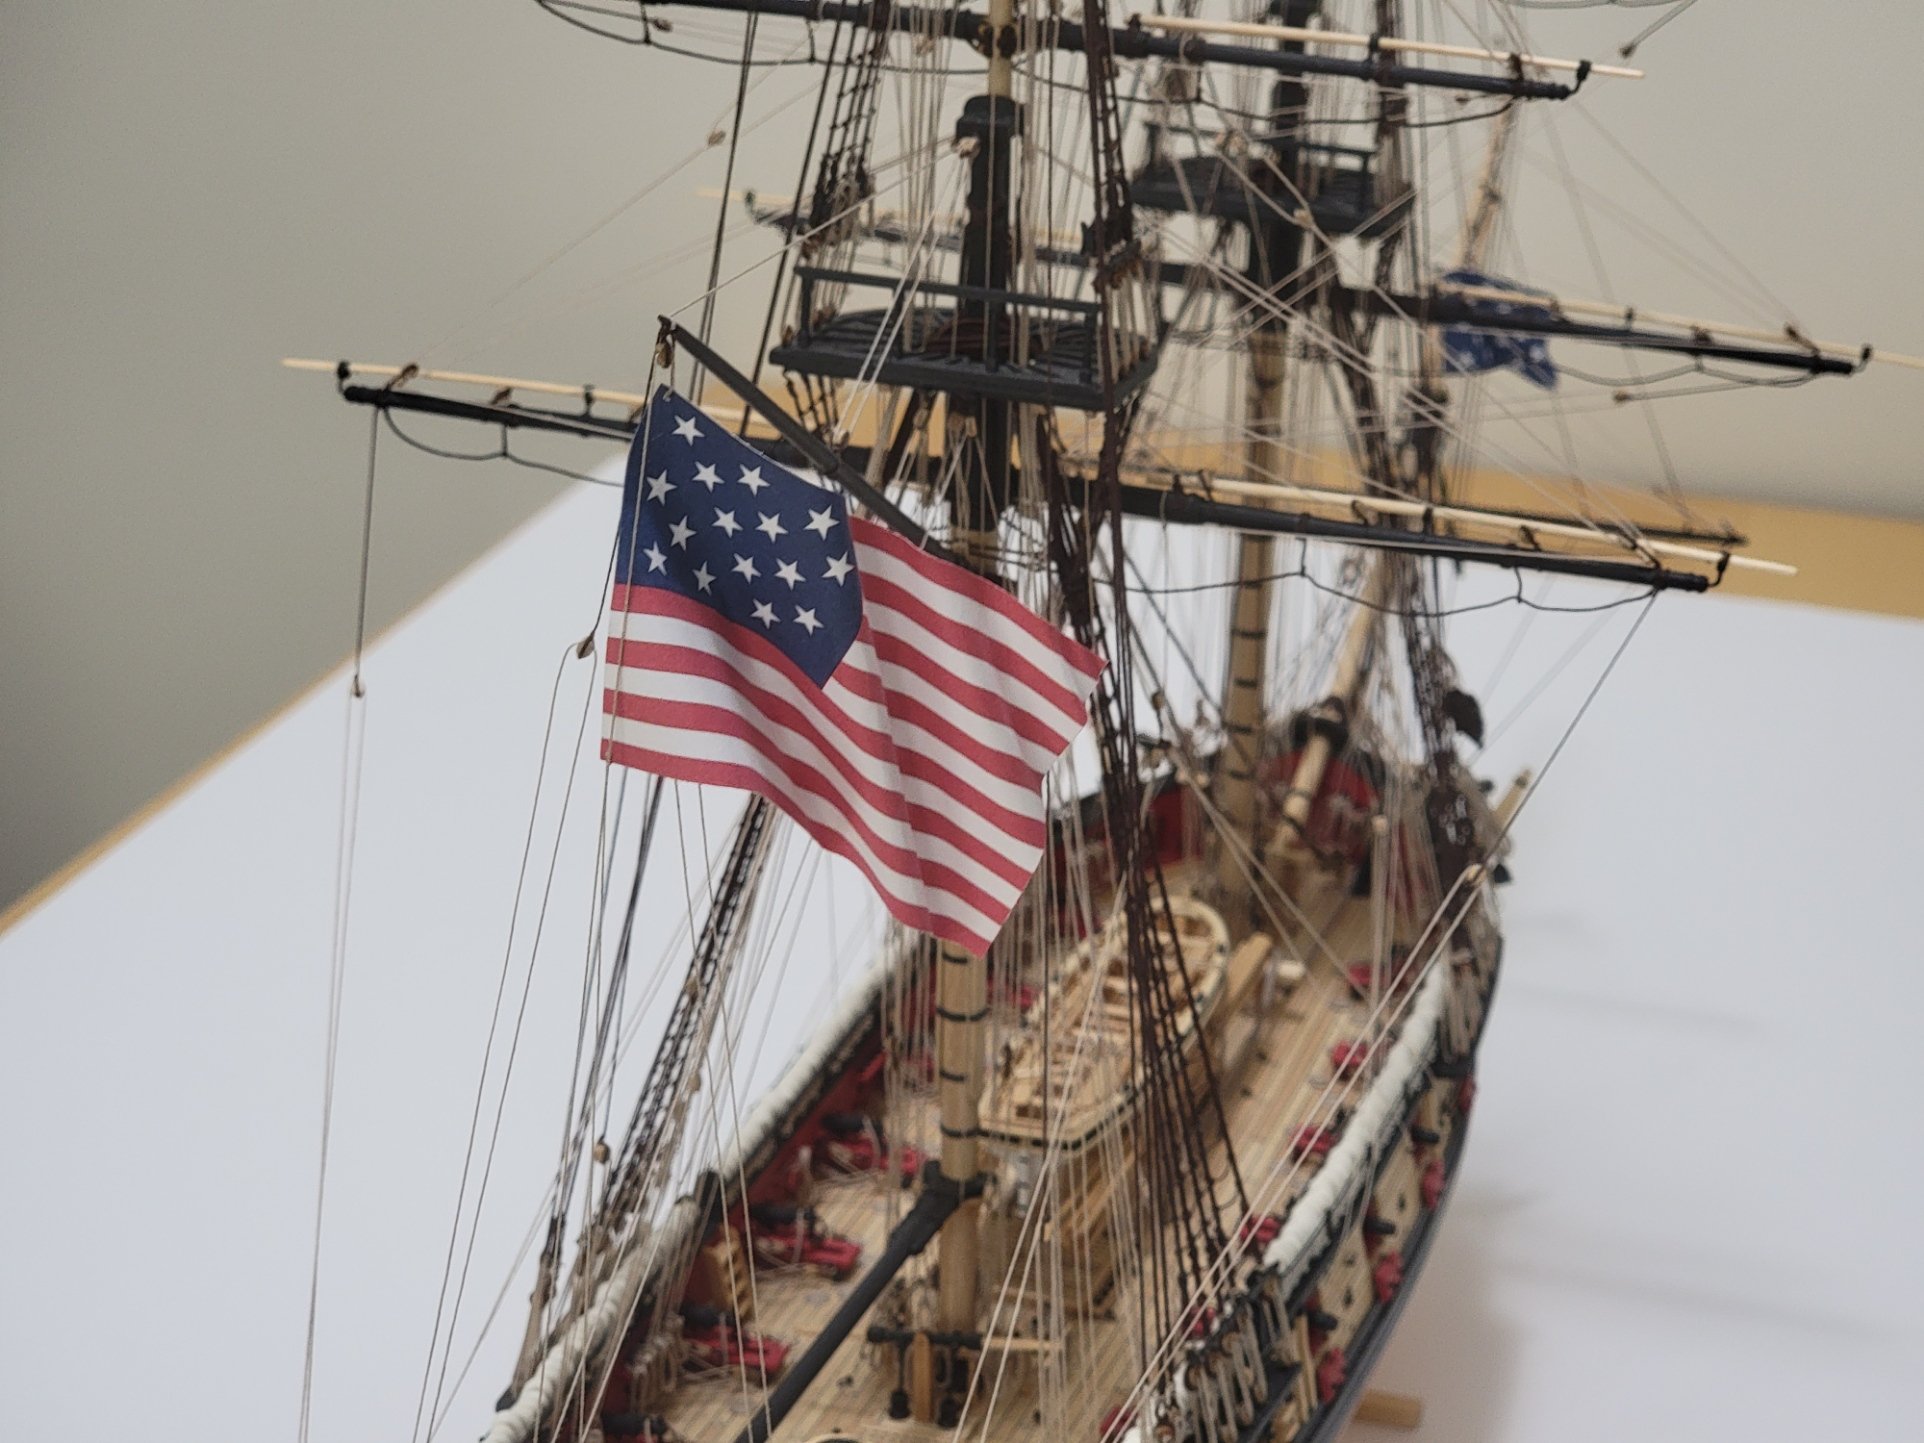
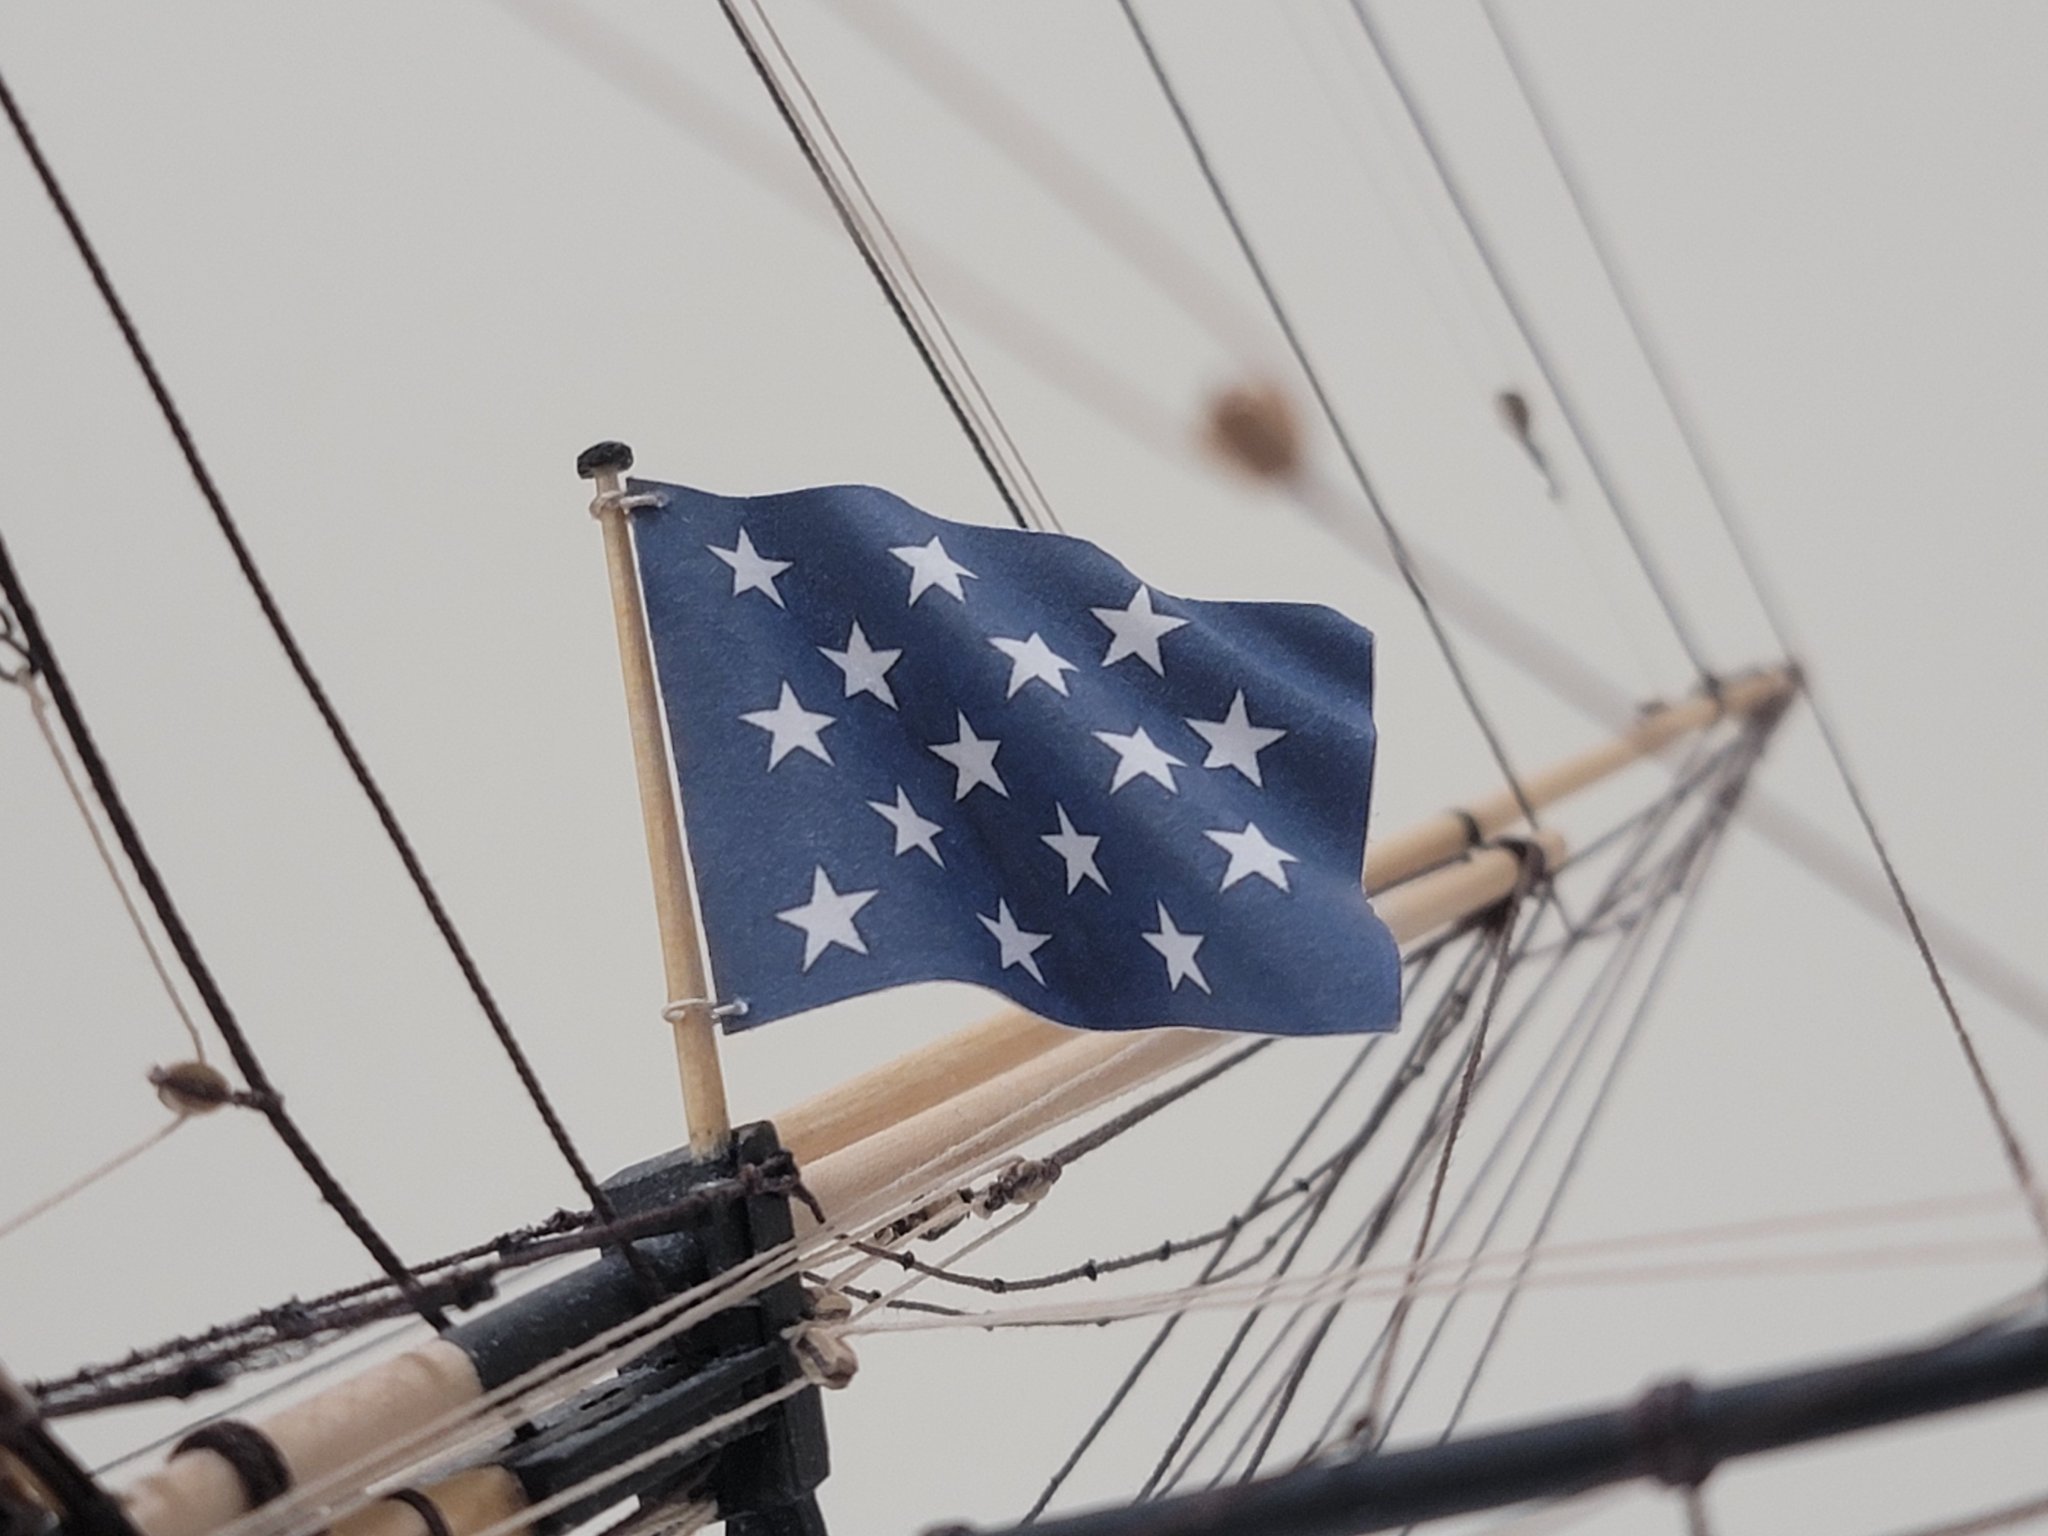
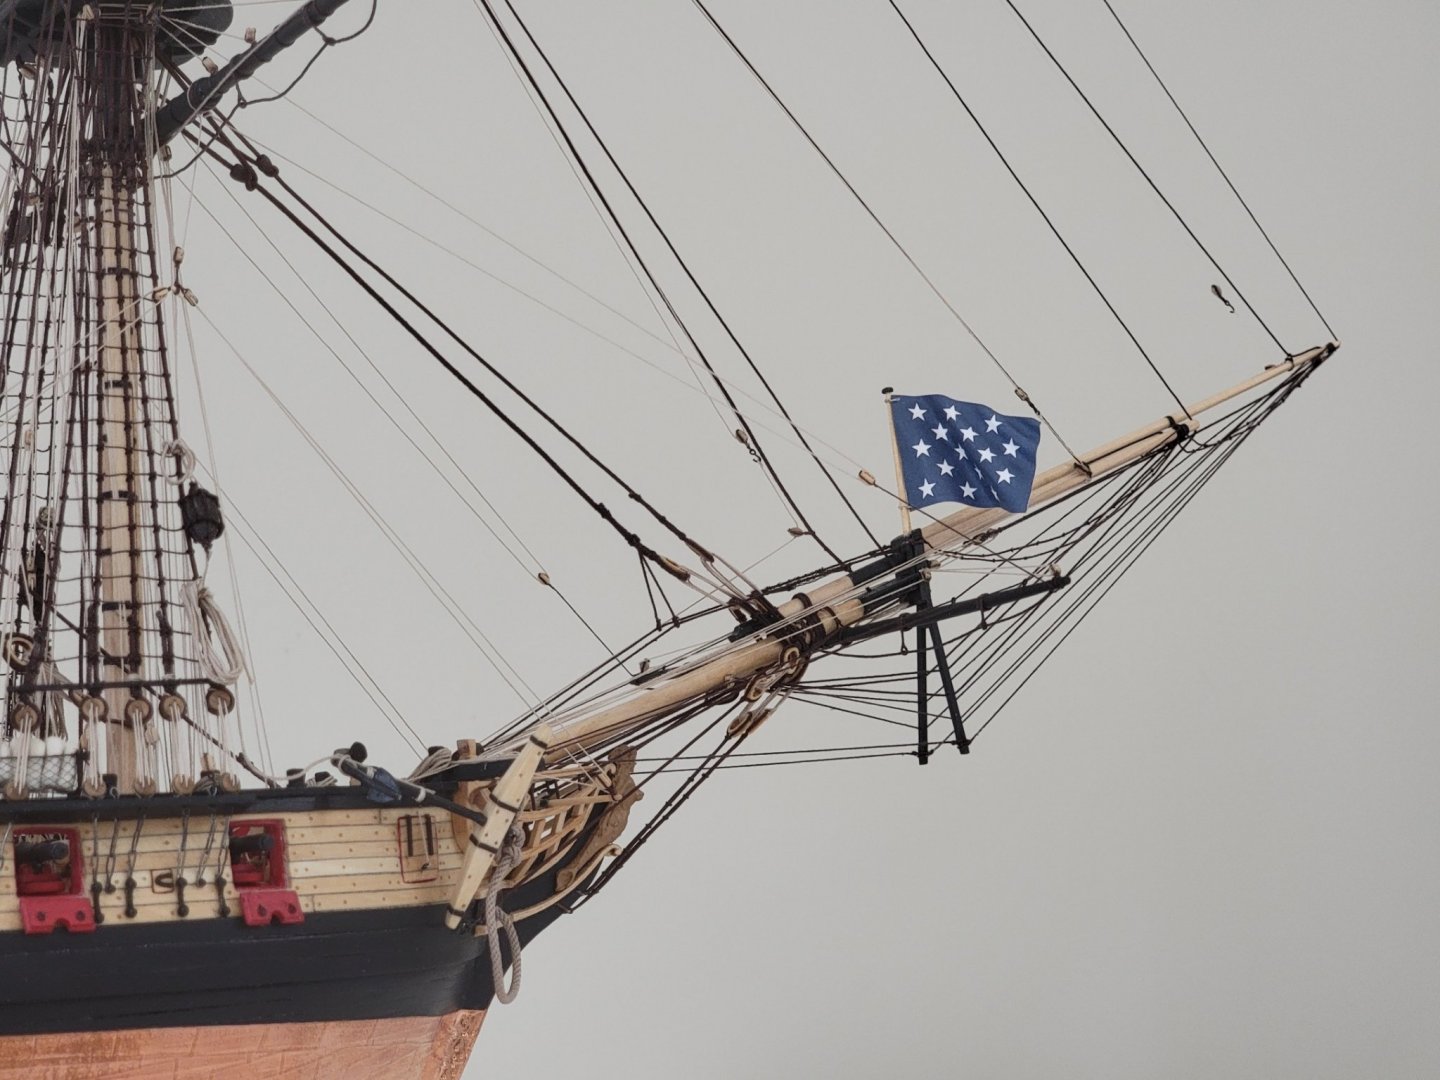
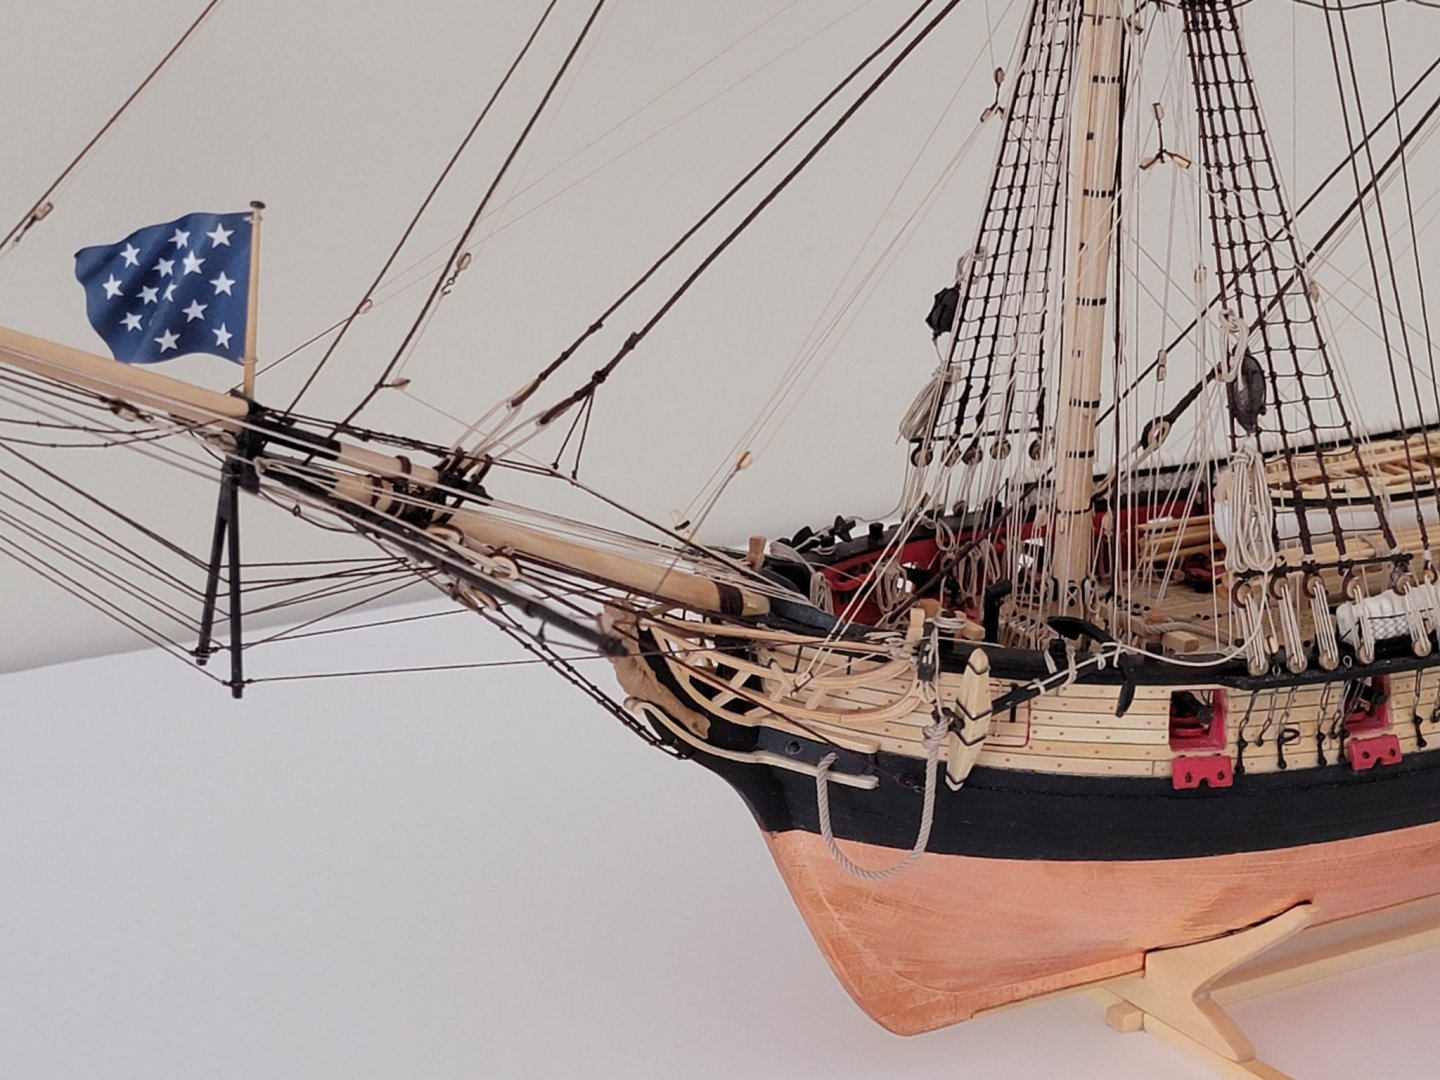
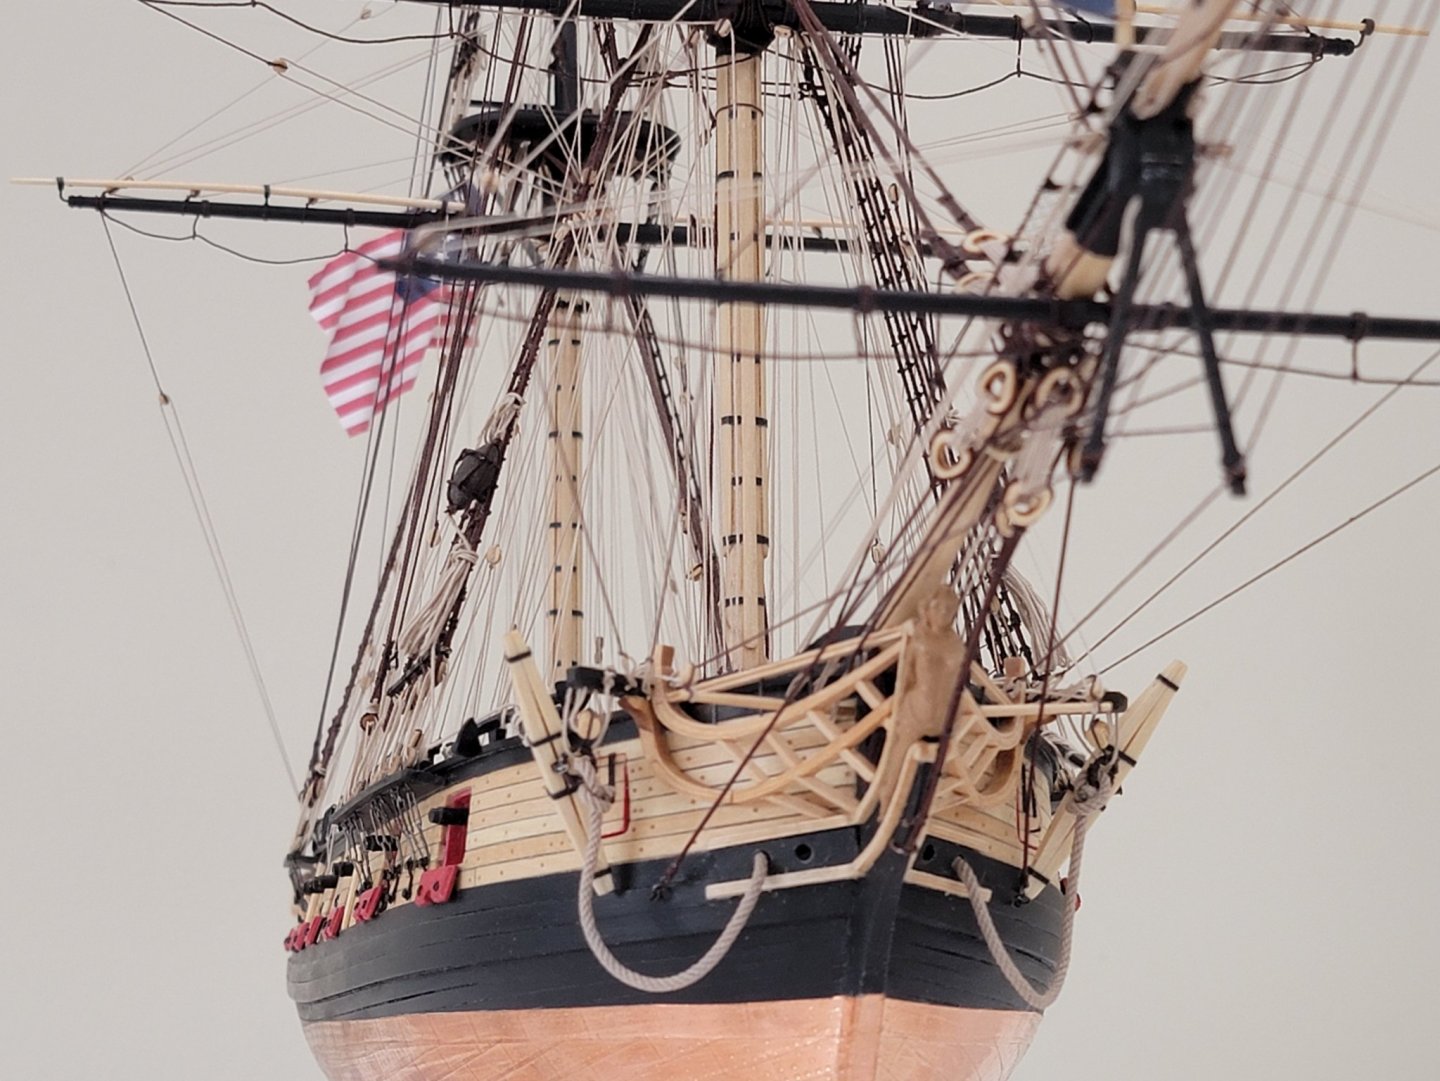
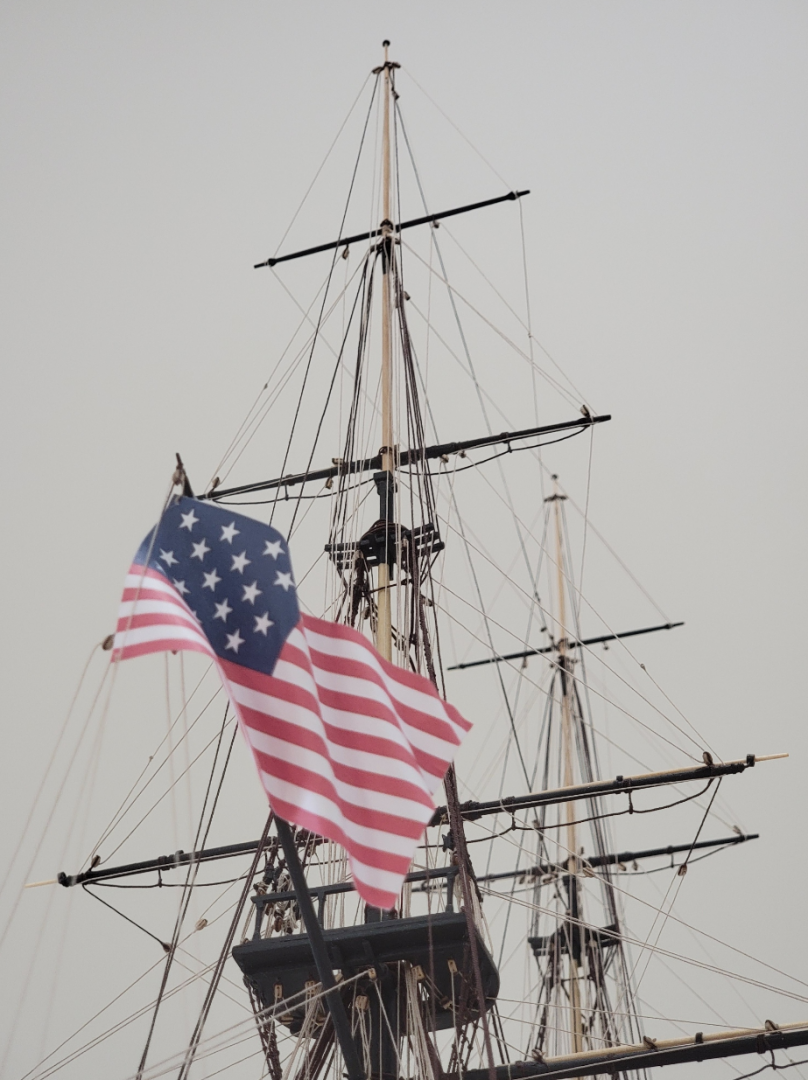
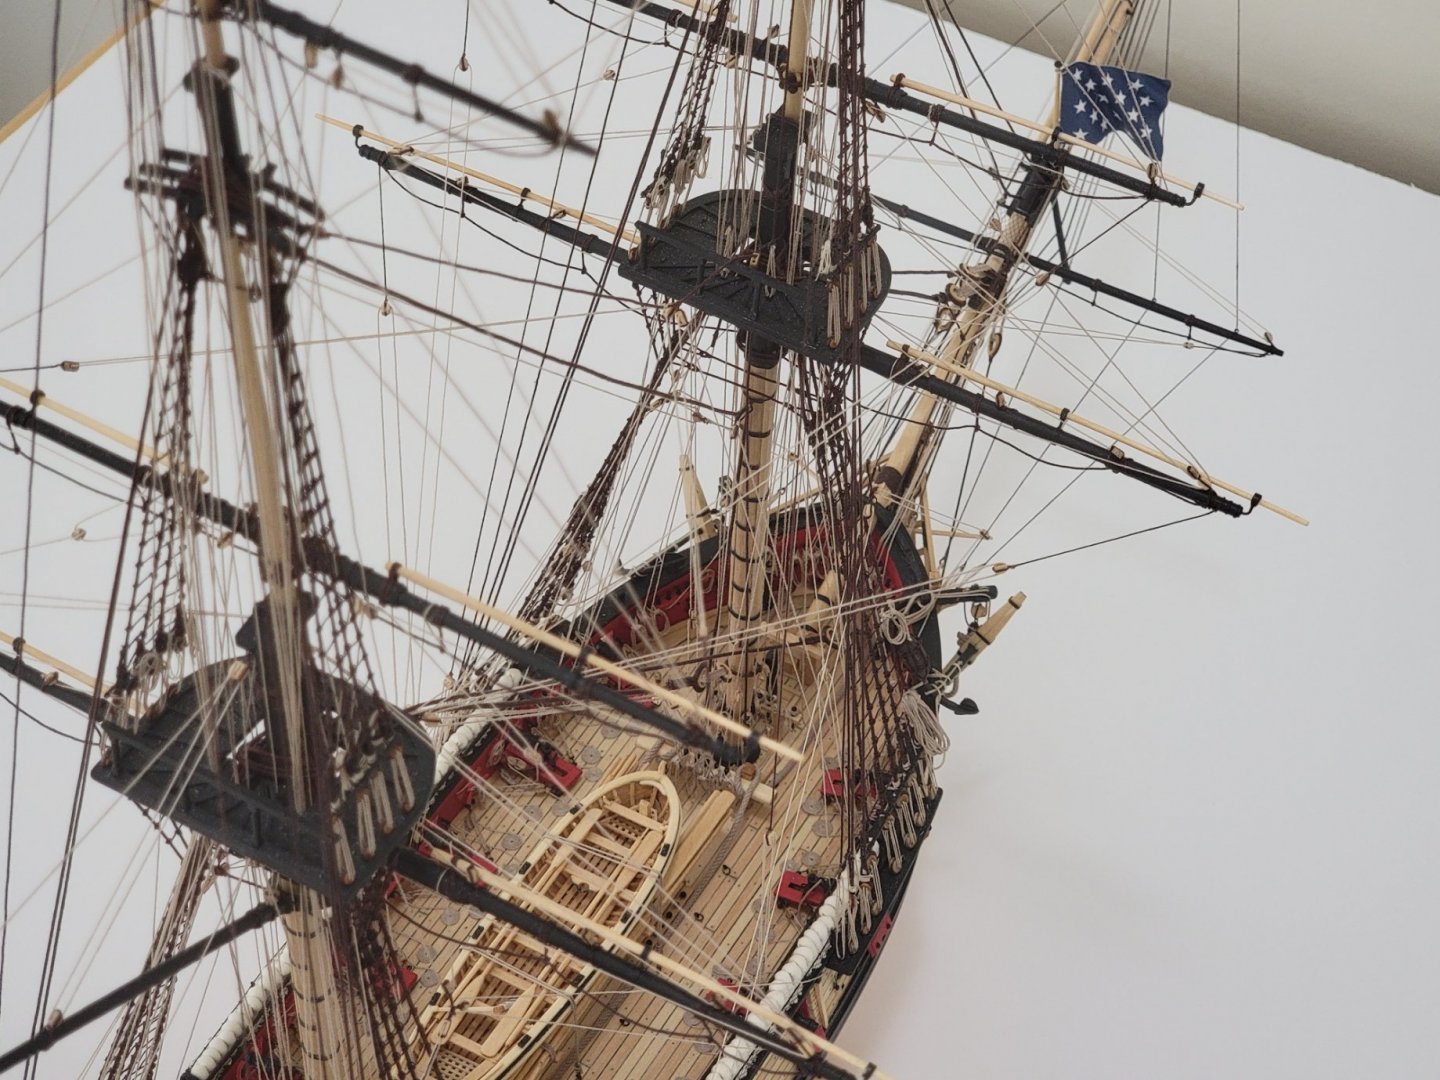
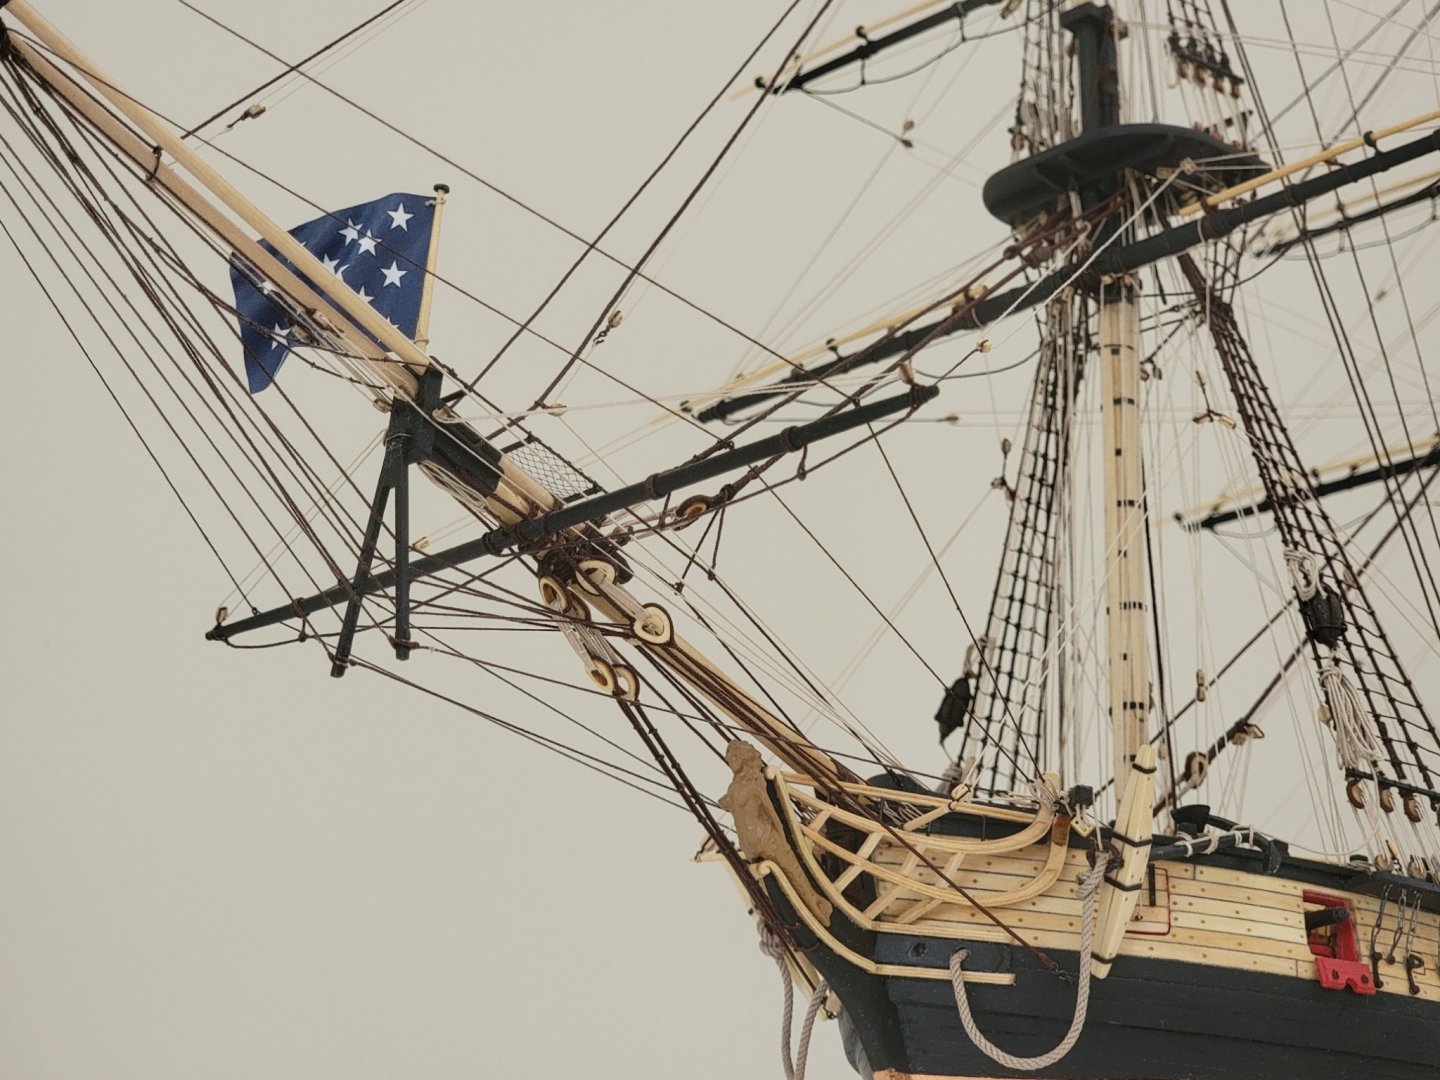
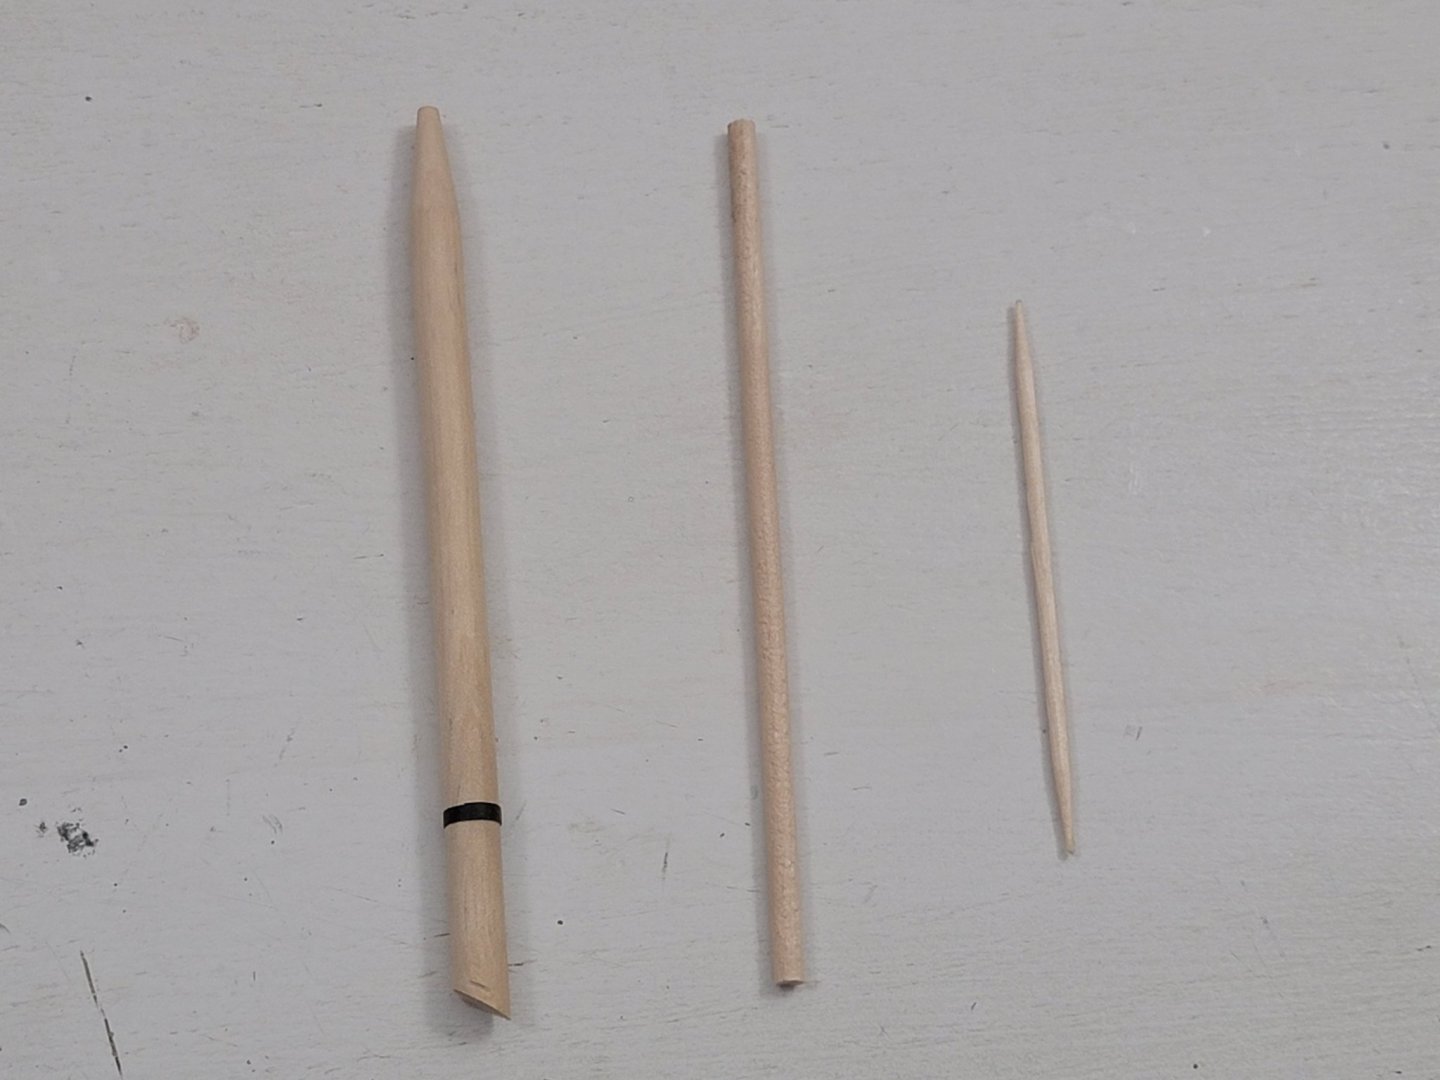
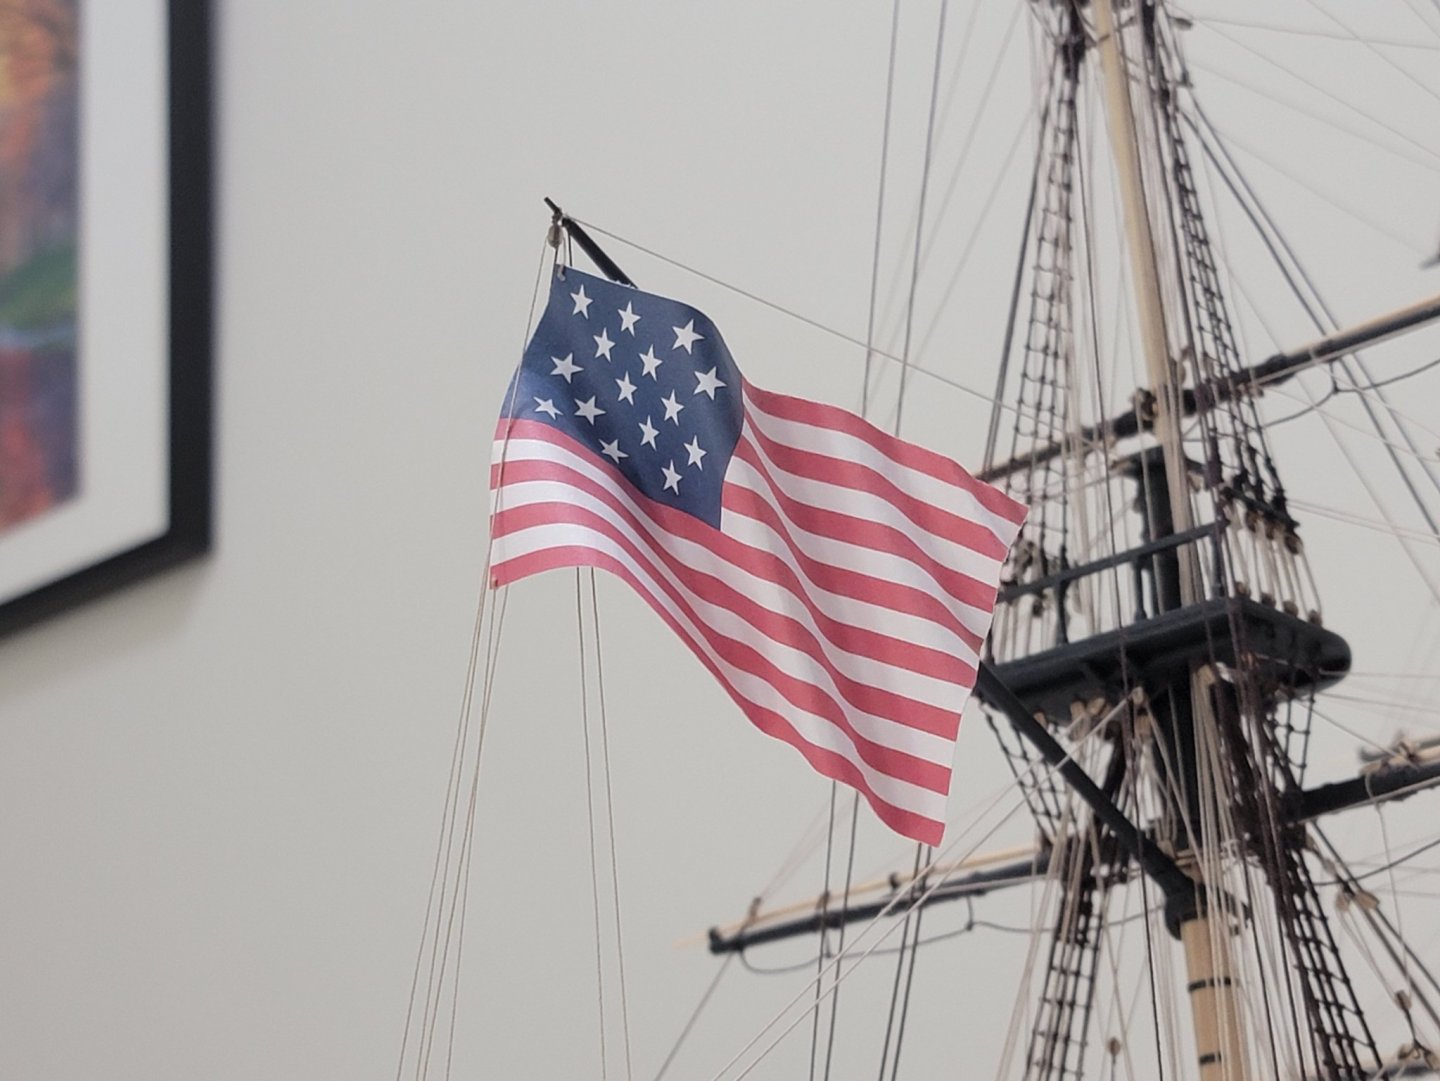
Here is a last log entry before the final photo shoot... The flags are up!! I printed some flags with the 'Best' quality setting on the printer. I just used regular paper. The file I used to print them is attached below: flag.docx After careful cutting, I folded the two halves and glued them with regular glue stick. Then to make the flag to look like it flows with the wind, I used dowels of three sizes pictured below and folded them (biggest at the front and smallest dowel at the end of the flag) Then I drilled small holes on the flags and rigged them to the ship. All that's left is to wait for some natural day light then take a bunch of photos!!


- 950 replies
-
- 20
-
-
- syren
- model shipways
- (and 1 more)
-
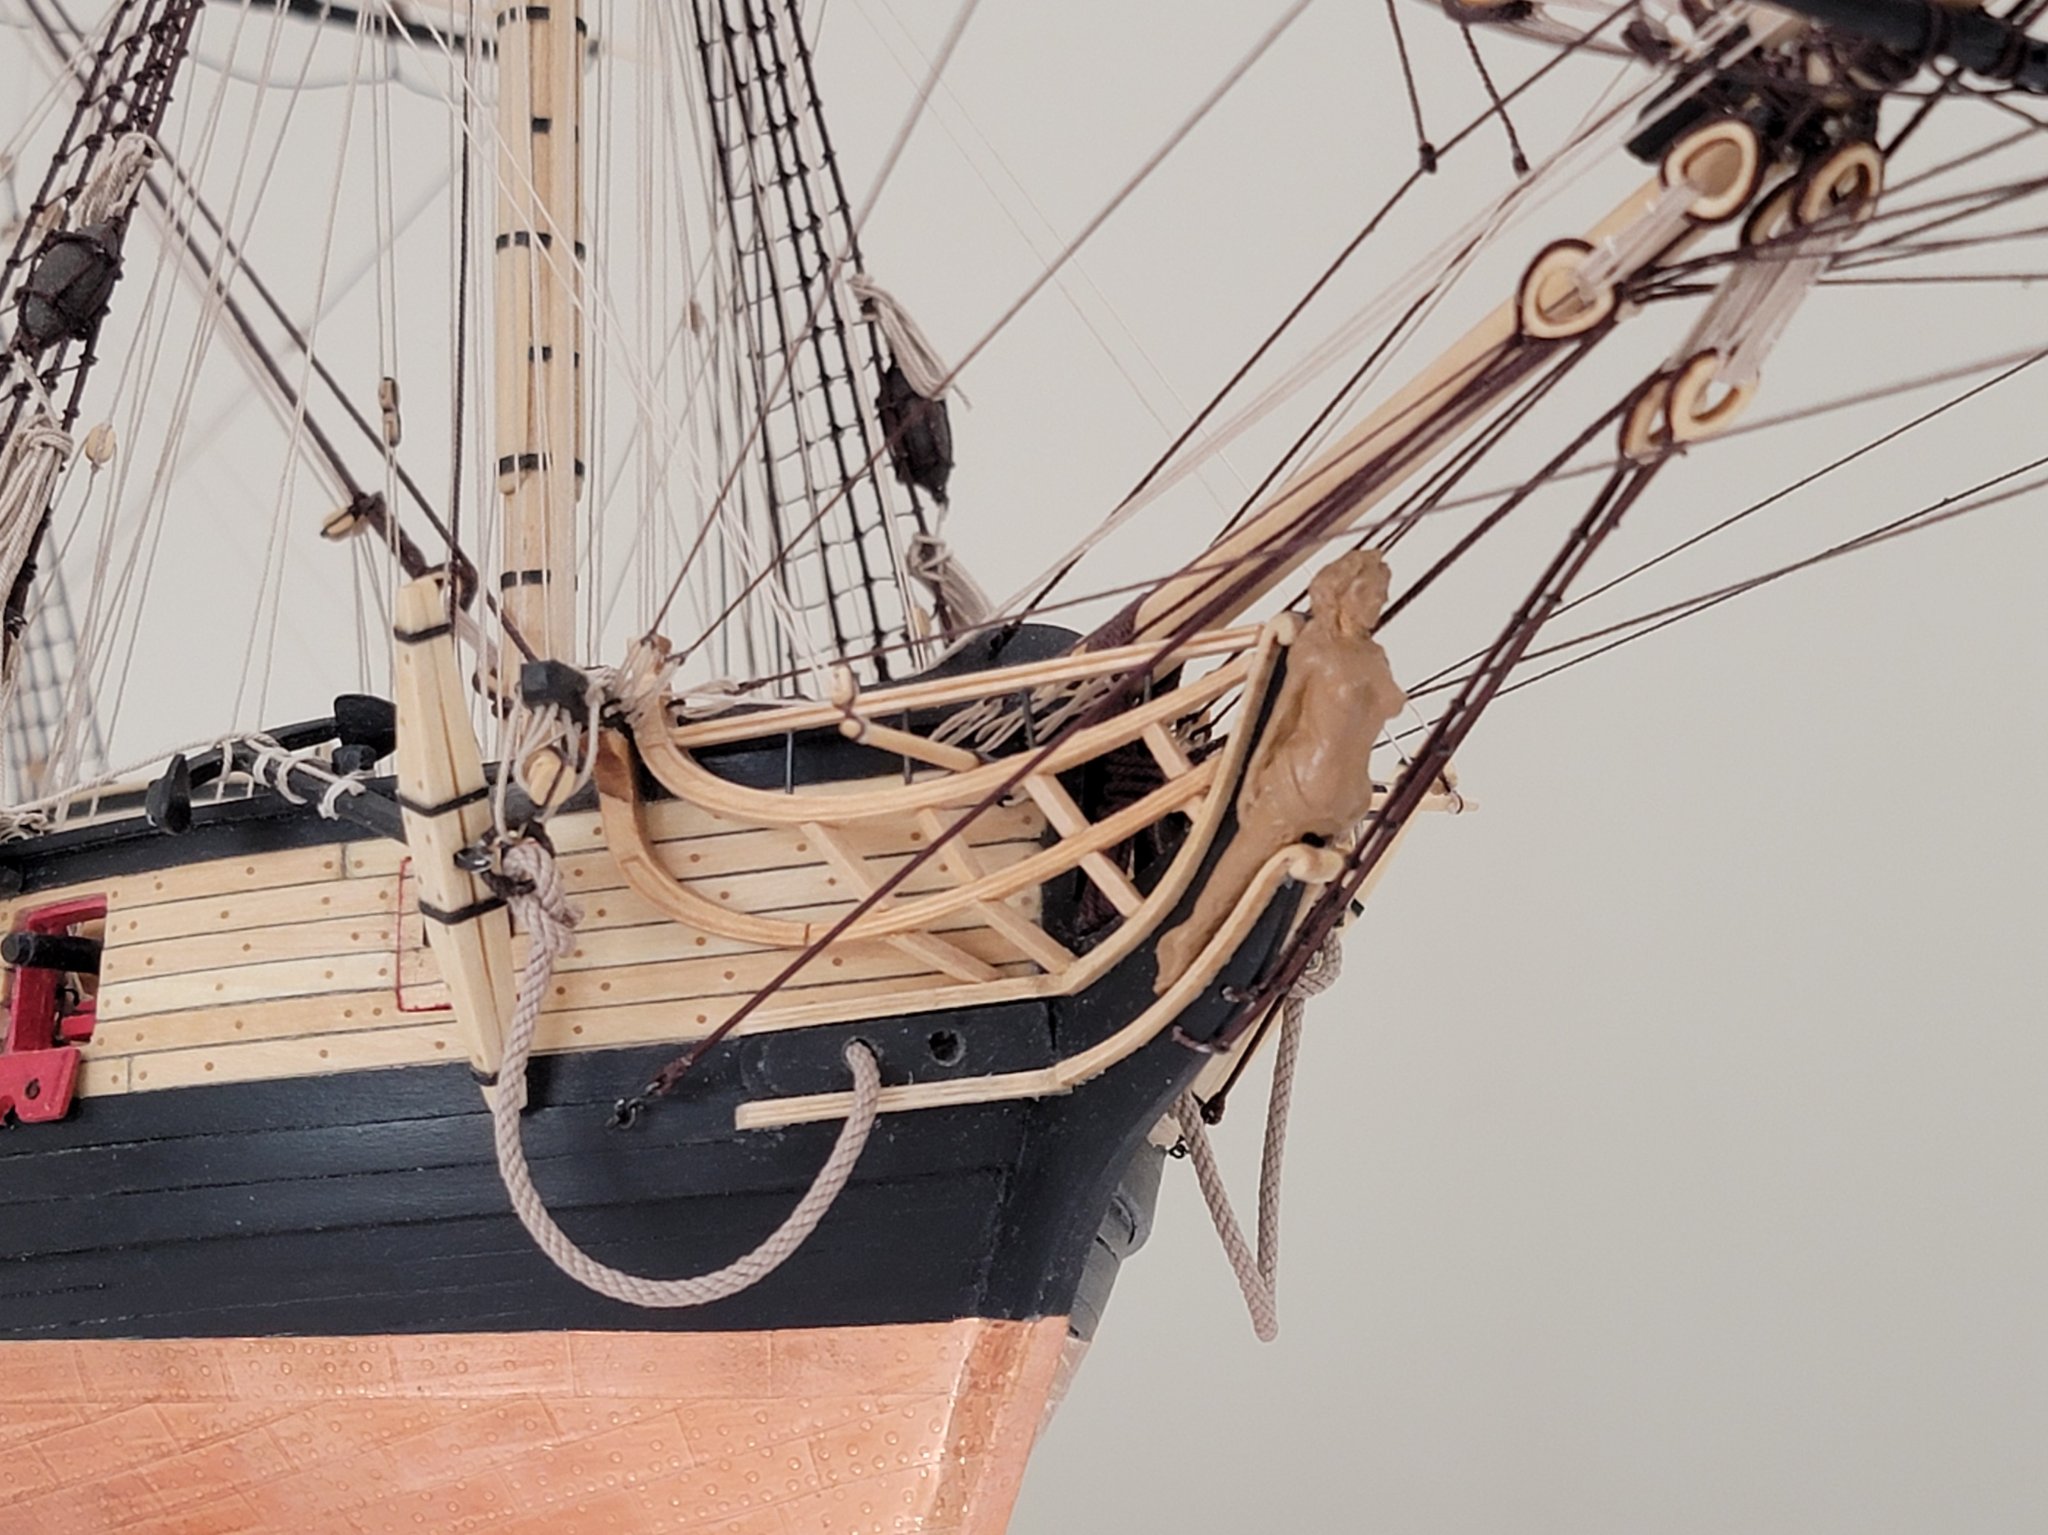
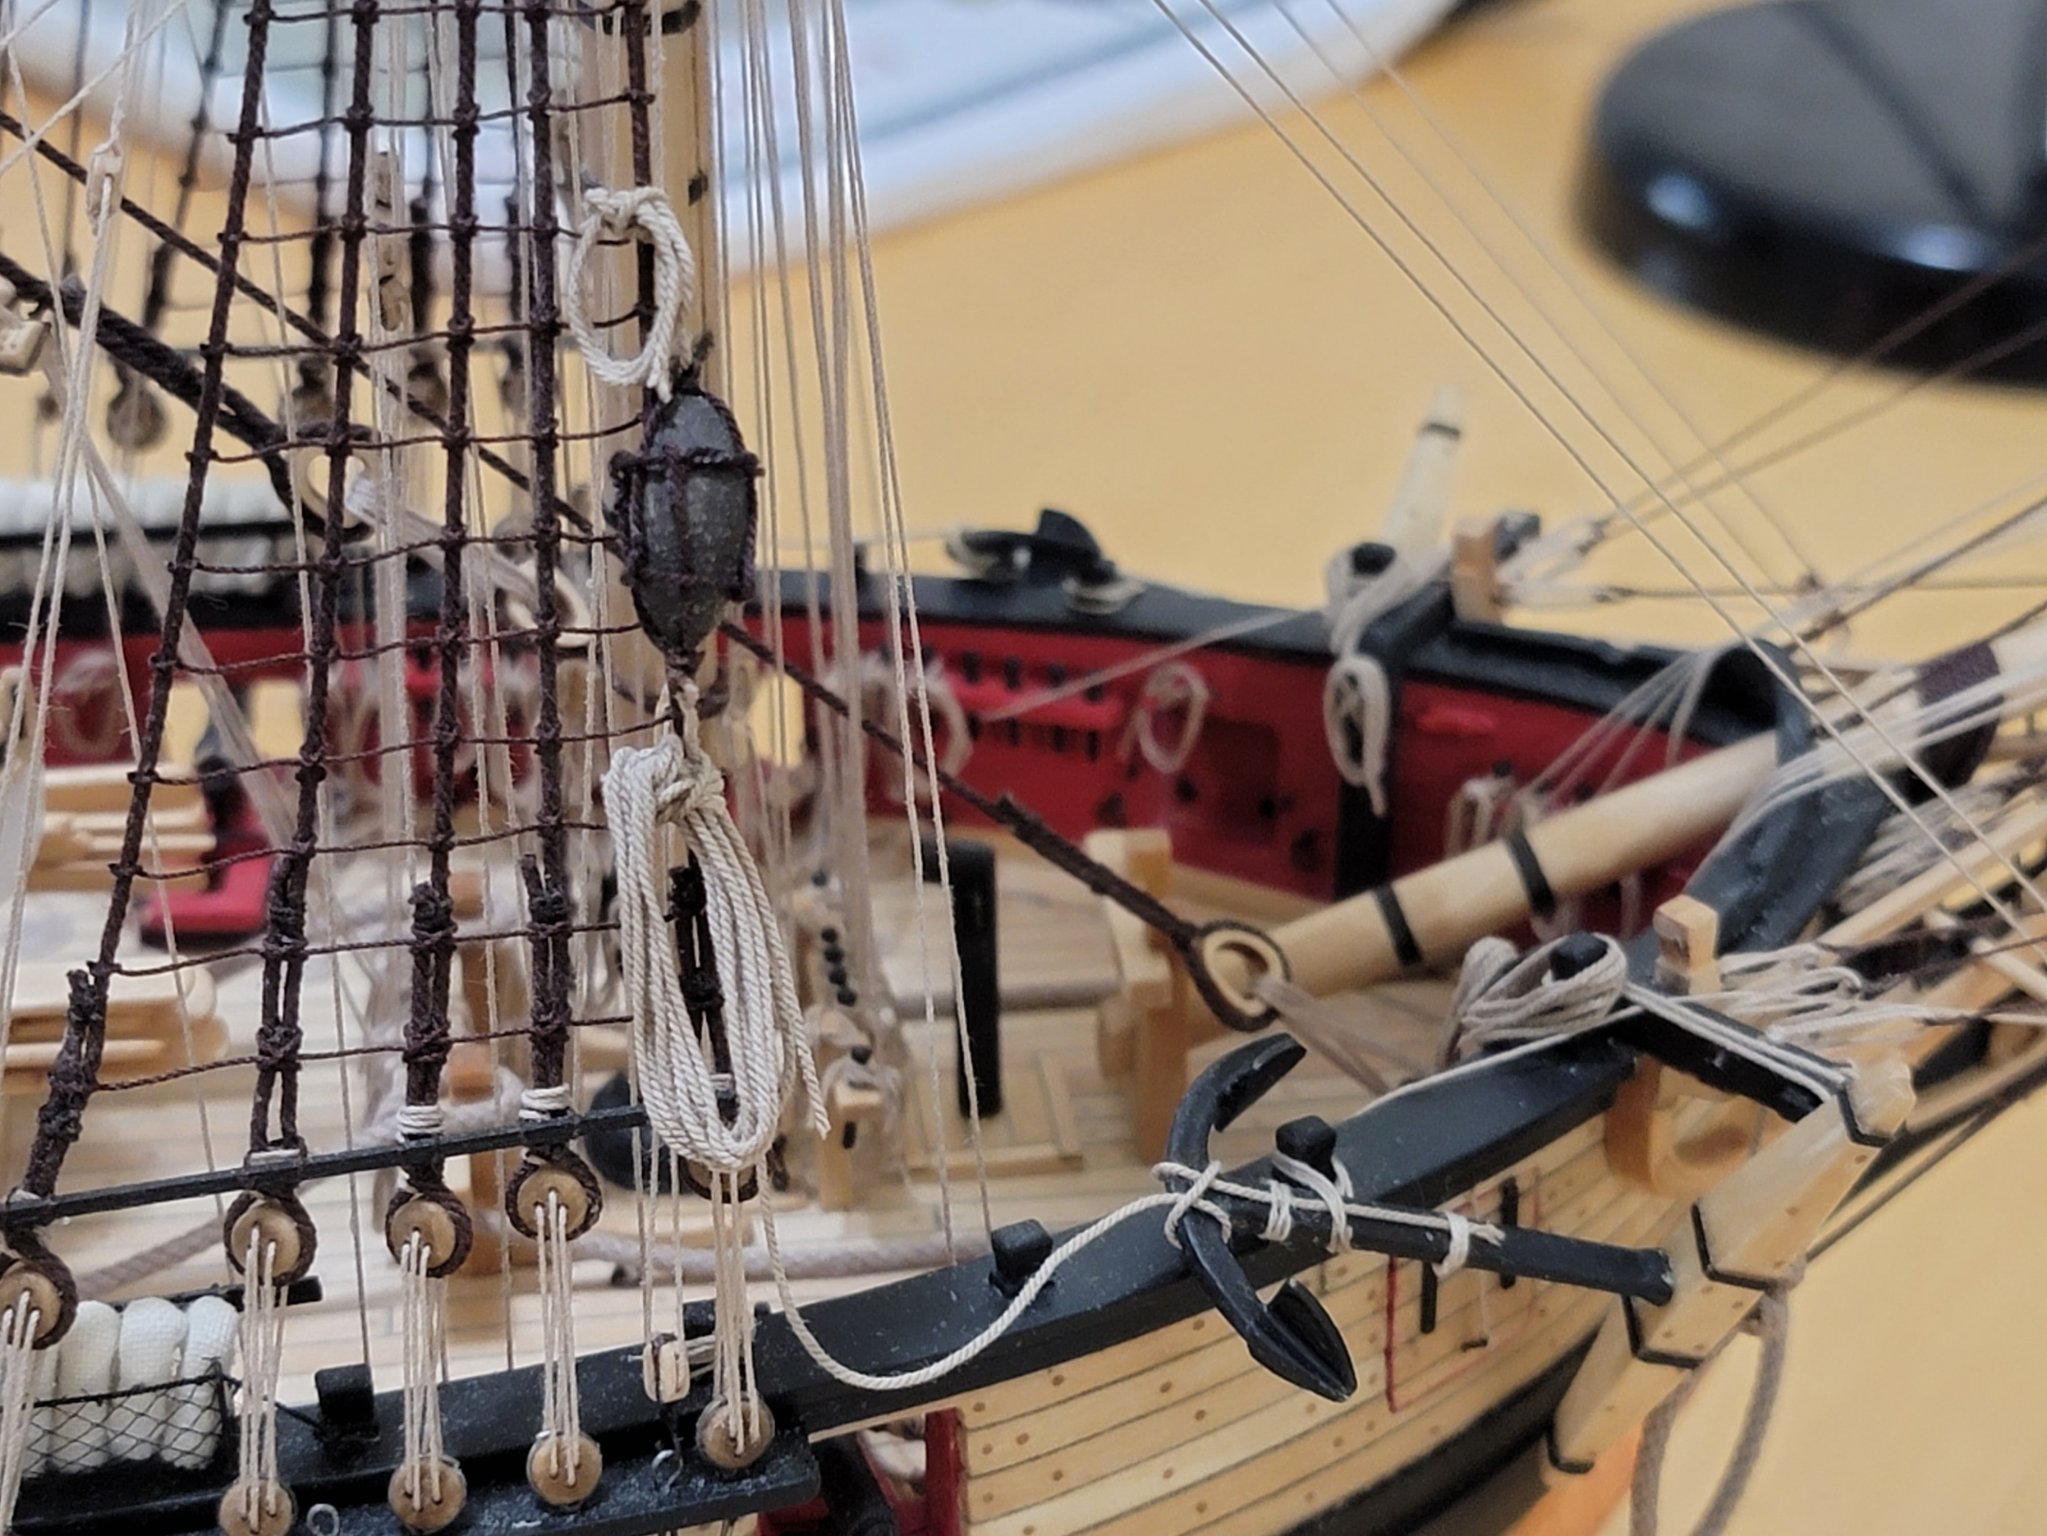
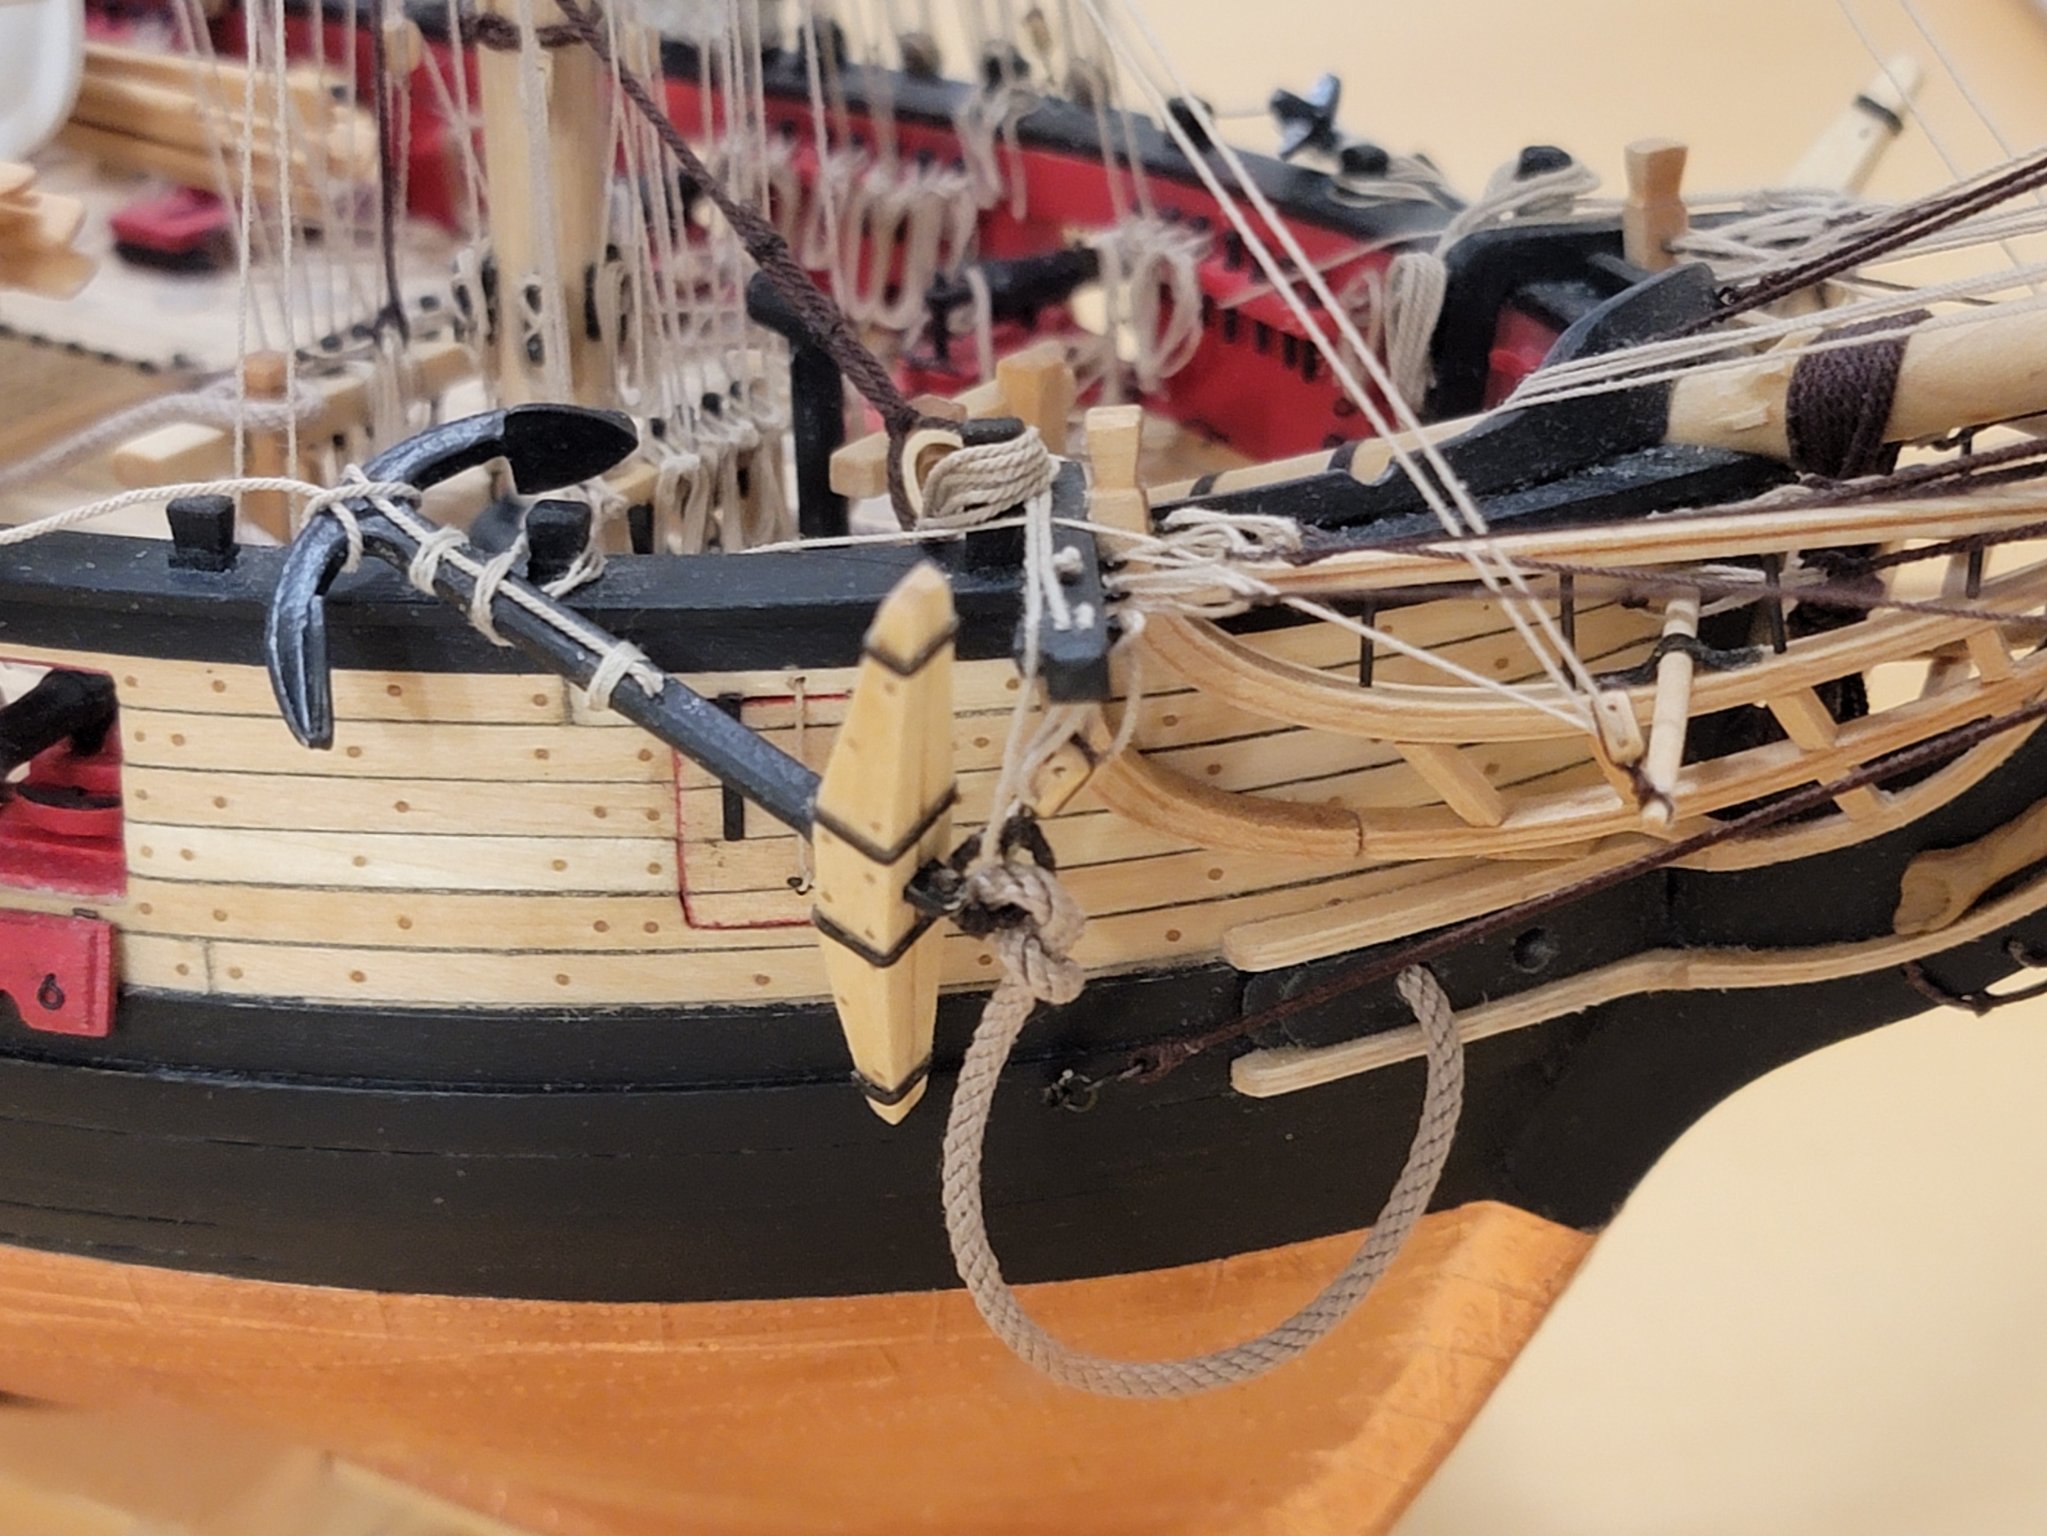
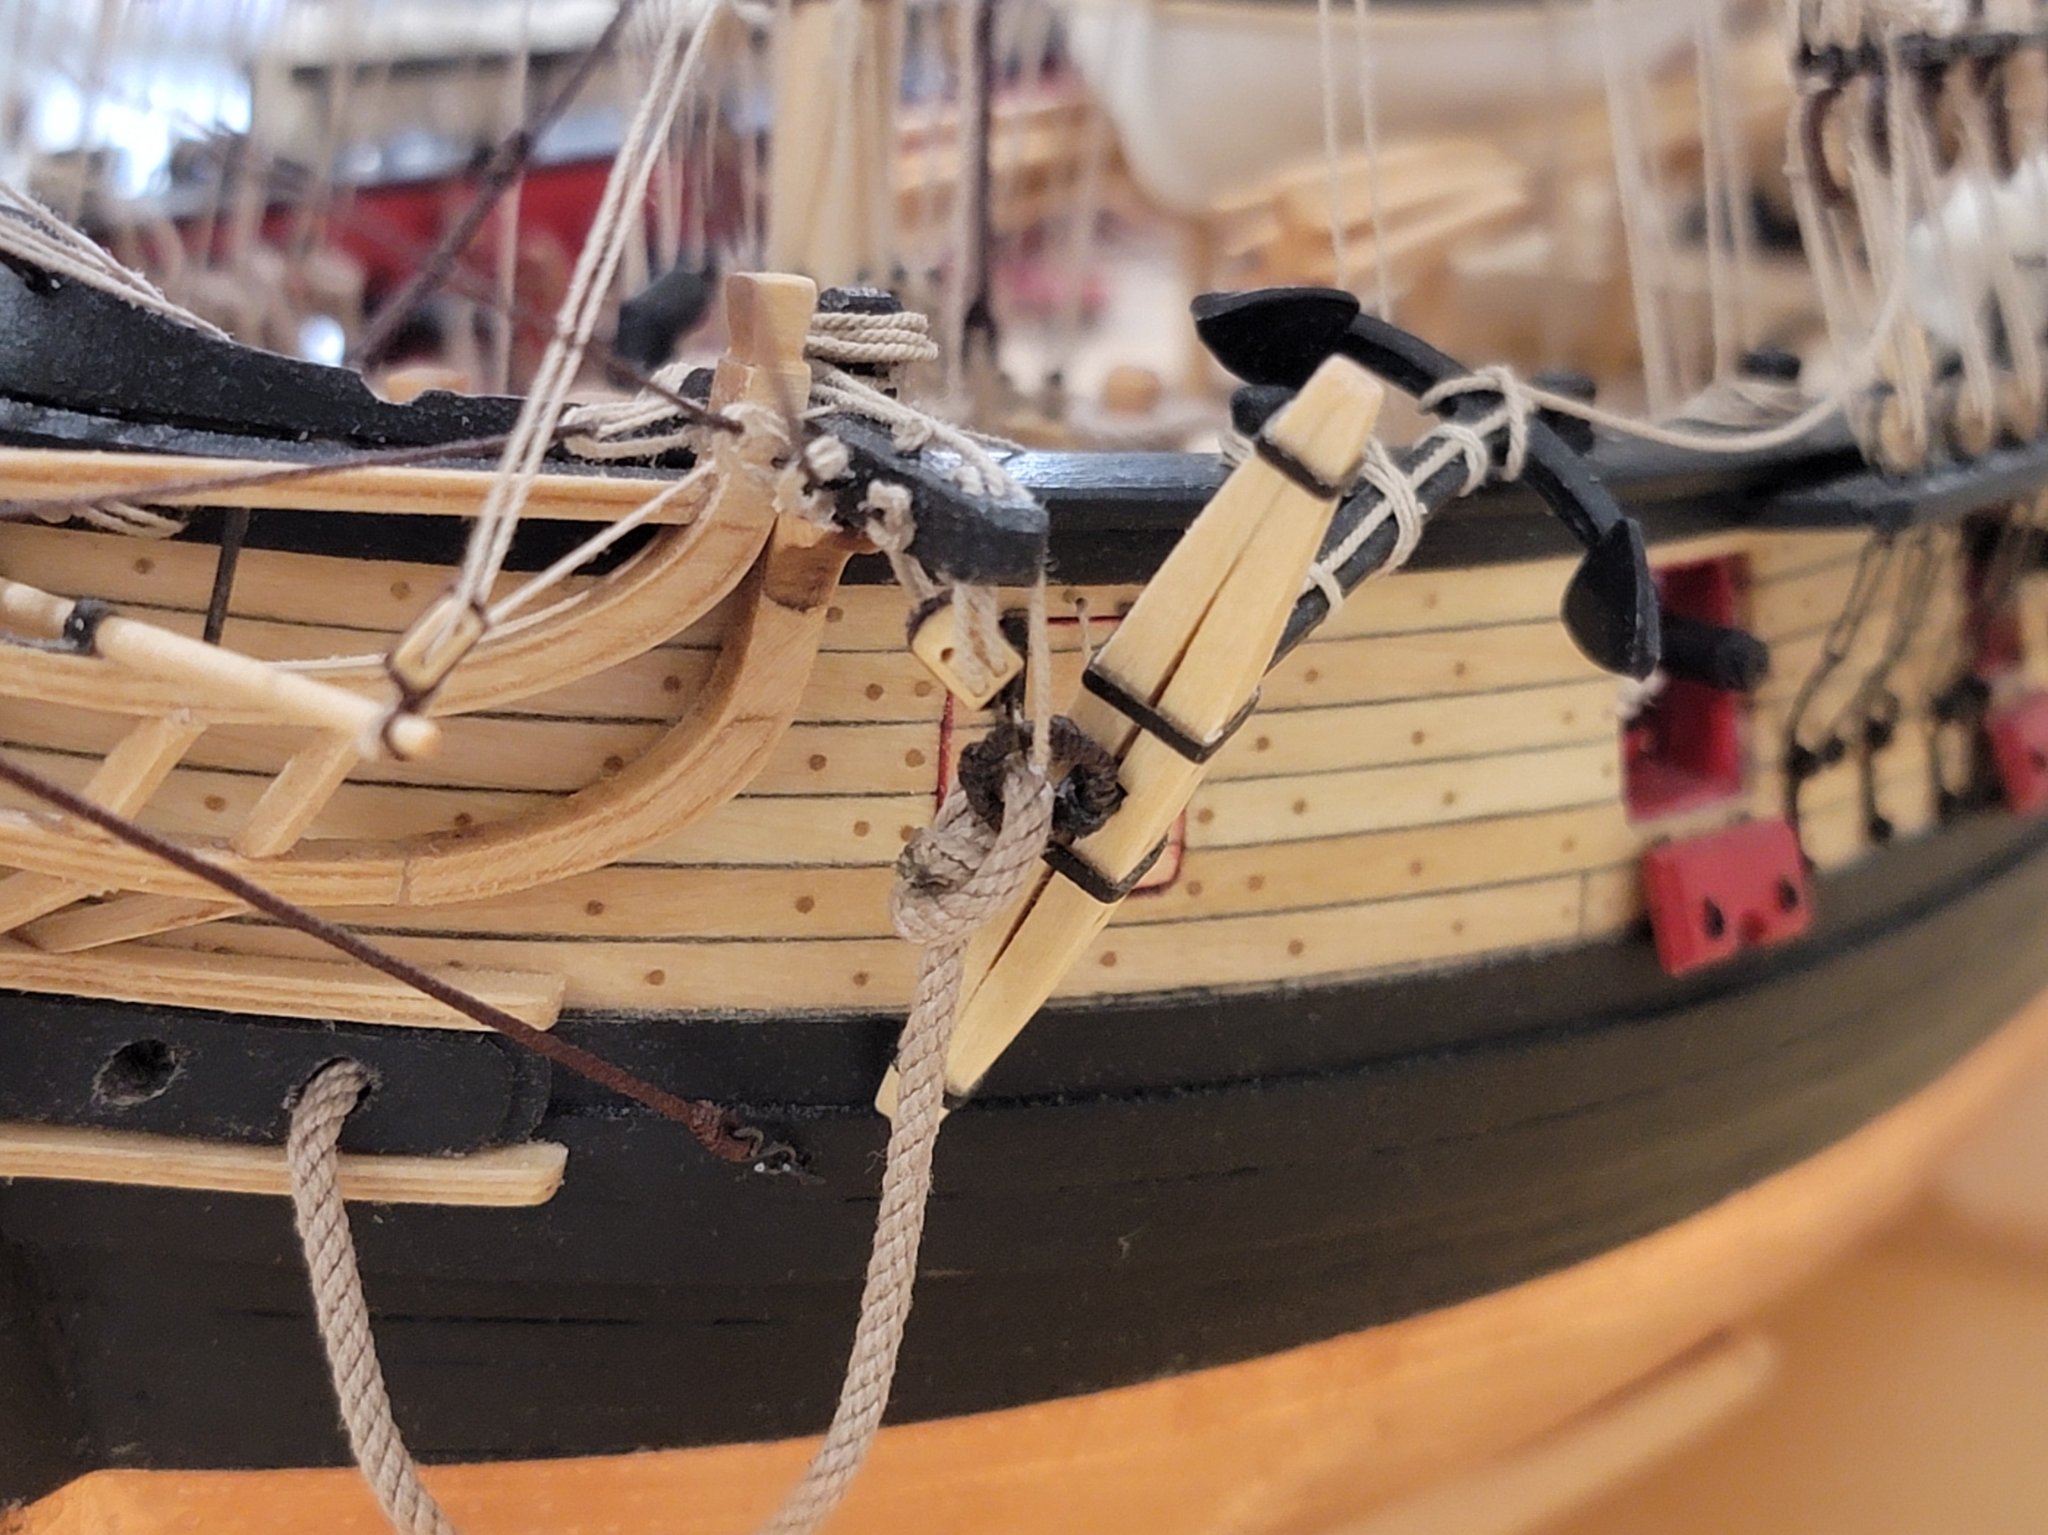
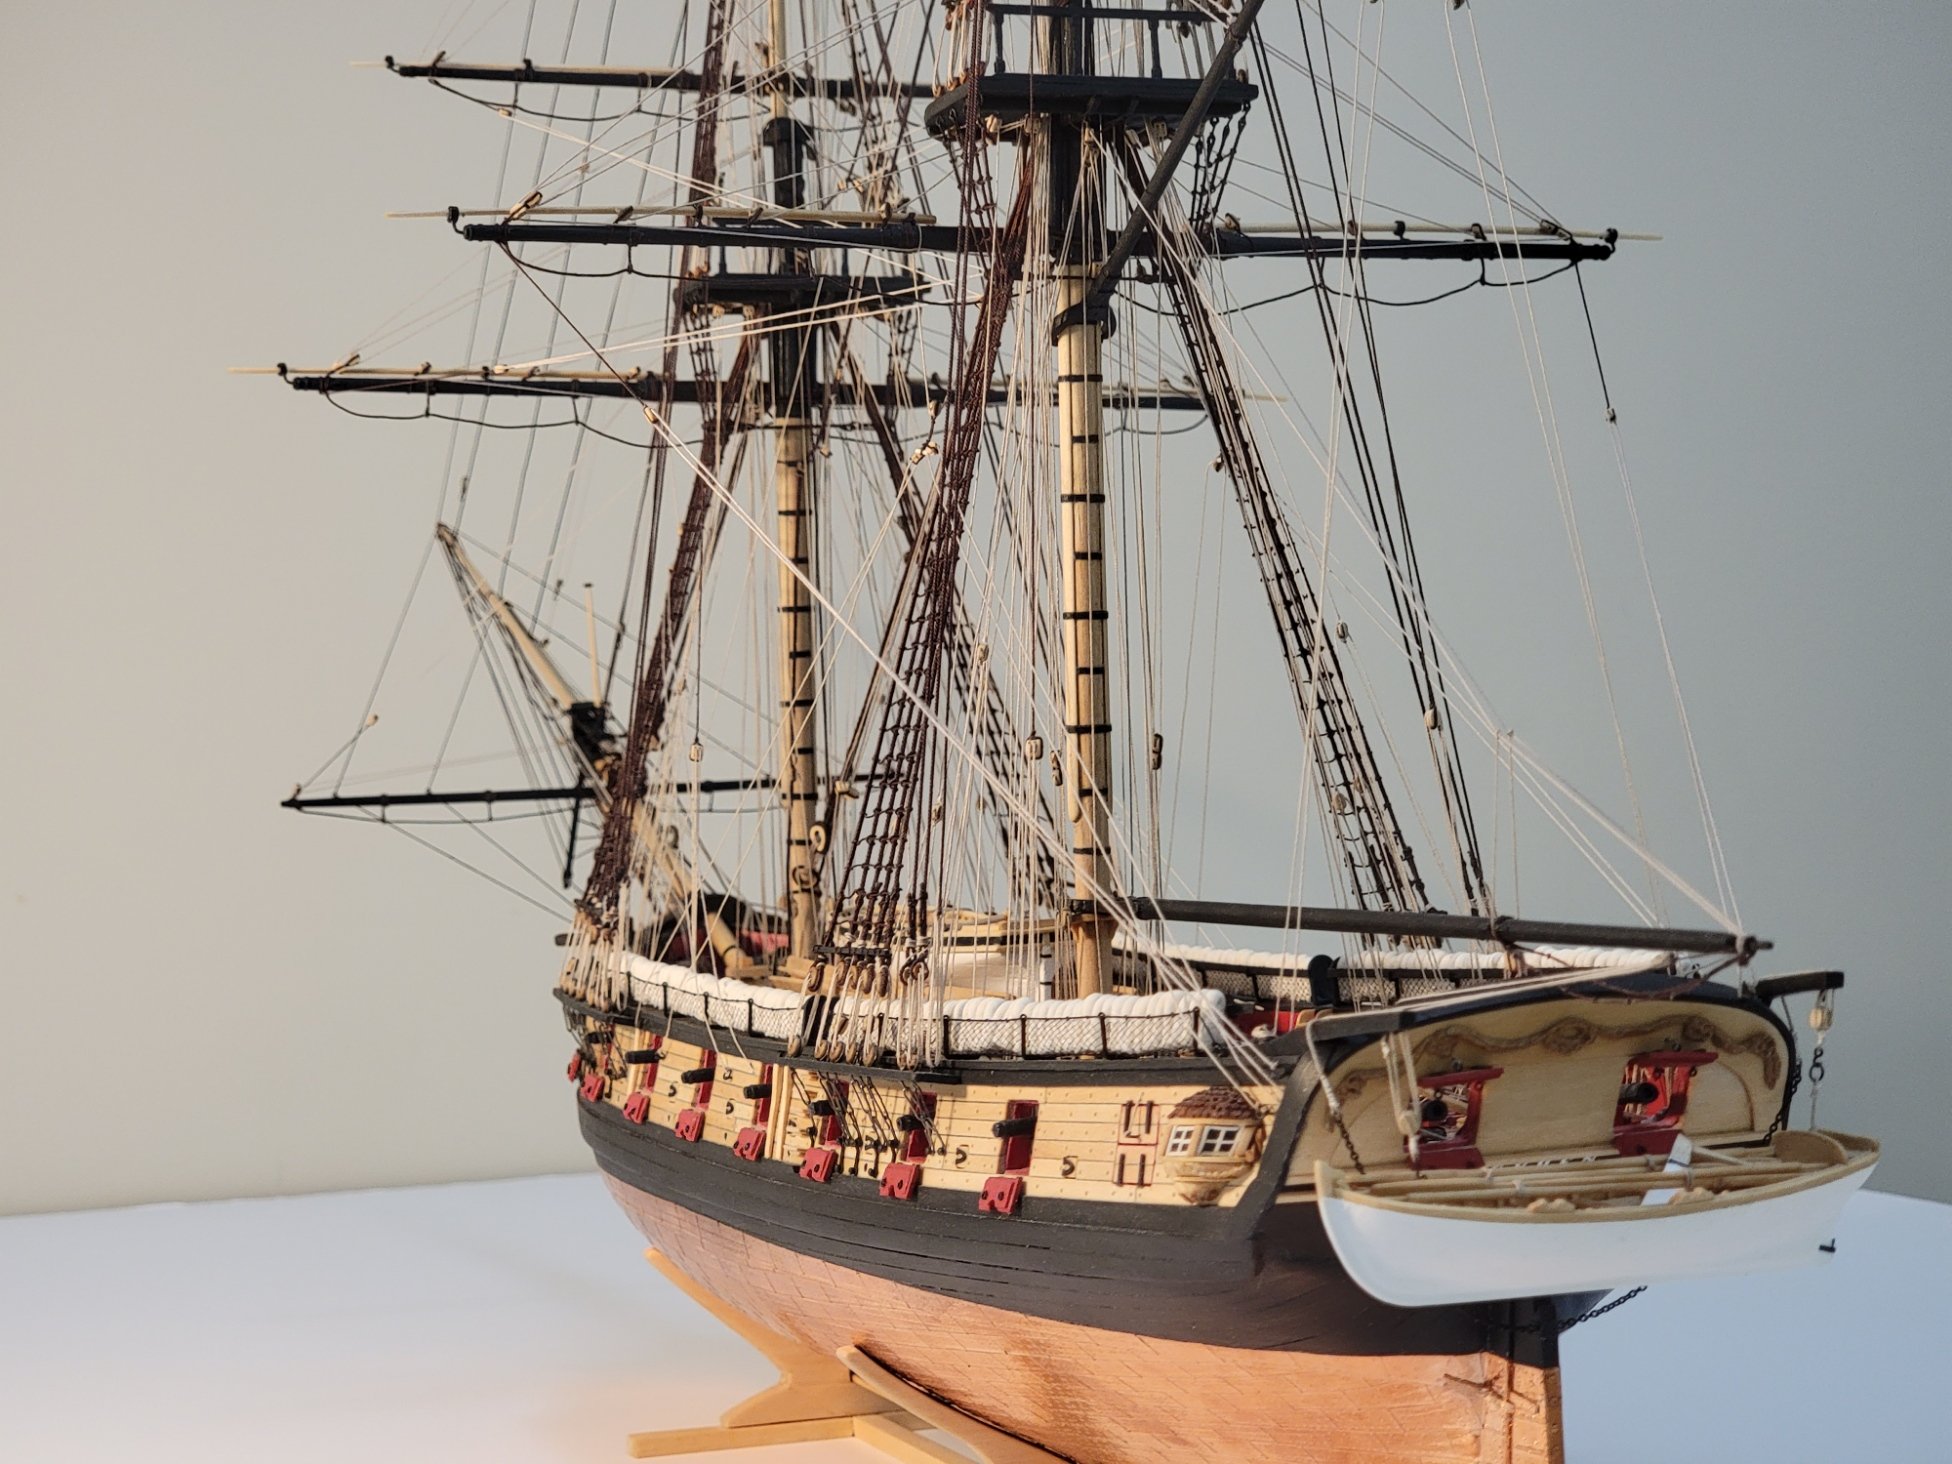
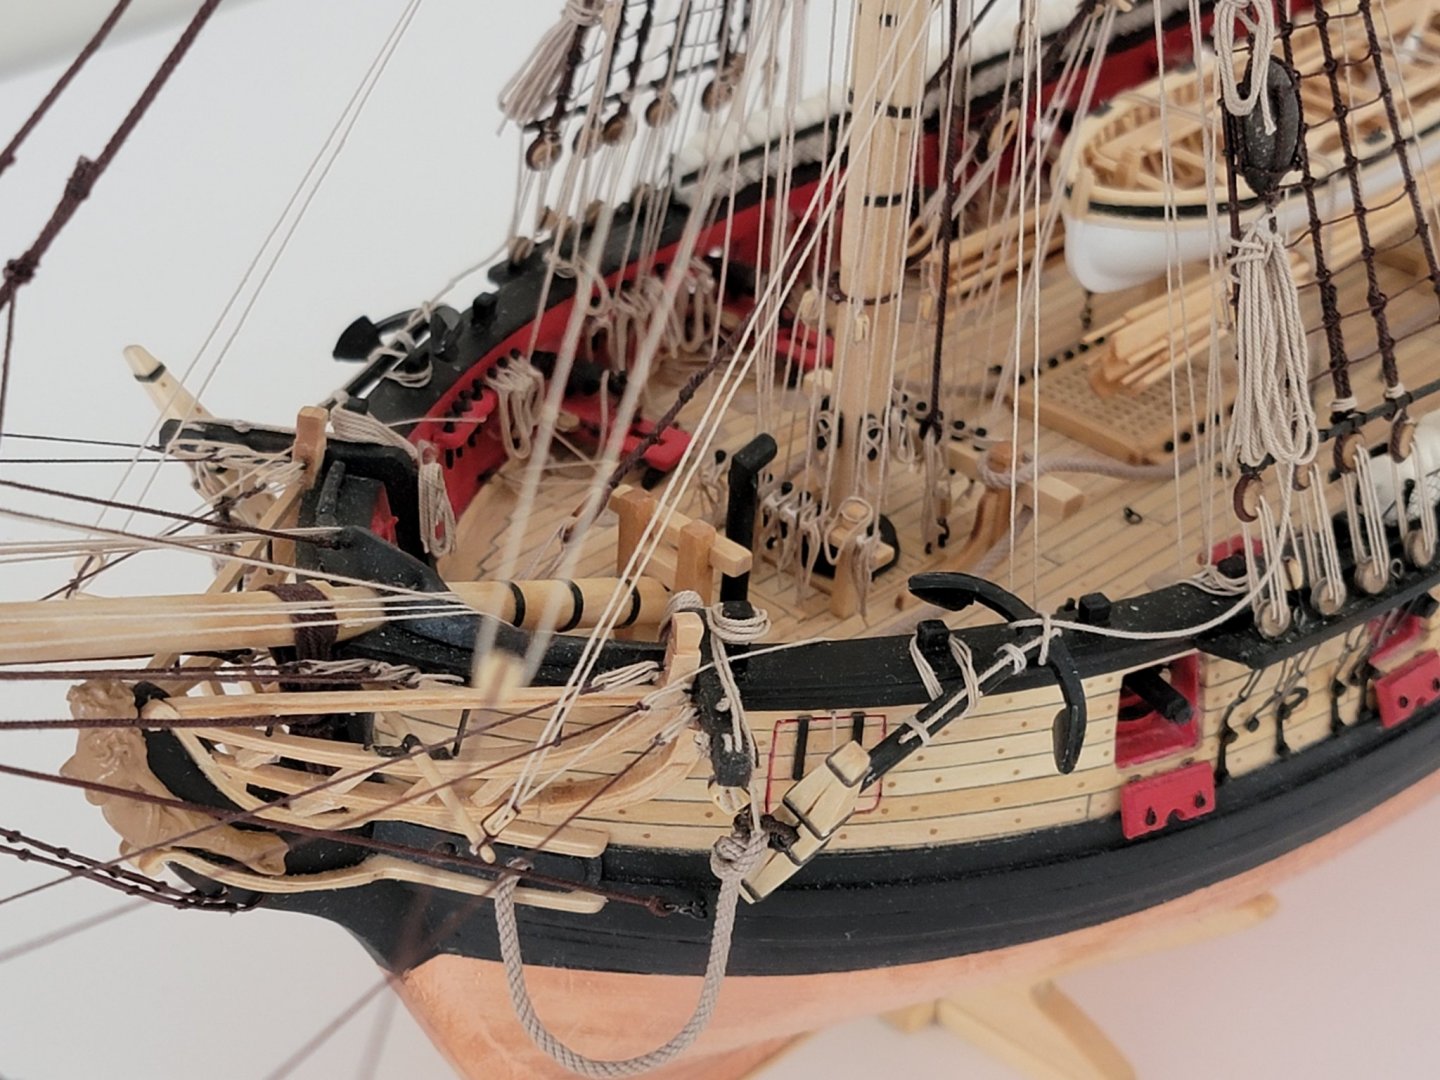
Thanks so much for the motivating comments, Will, Eamonn, and Michael!! I finished rigging the anchor assembly onto the ship. I actually used a small length of line attaching from the anchor to the buoys, and then added the rope coil on top after. It gives the impression of a very long rope 😄. Here are some pics: The only items left are the flags!!! I'll try to make realistic looking ones that flow with the wind. No idea on how my attempts will turn out. I am thinking of using printed flags which should be relatively easy to bend and shape. Once that's done I'll post many pics of the completed model 🙂


- 950 replies
-
- 13
-
-
- syren
- model shipways
- (and 1 more)
-
The model looks great, Eamonn!! I love the looks of this schooner. Everything is just perfect from the woodwork and small detail work to the tidy and crisp rigging. The display stand is awesome too!! 😃 Is it just the flags that are left?
- 1,039 replies
-
- 2
-

-
-
- ballahoo
- caldercraft
- (and 2 more)
-
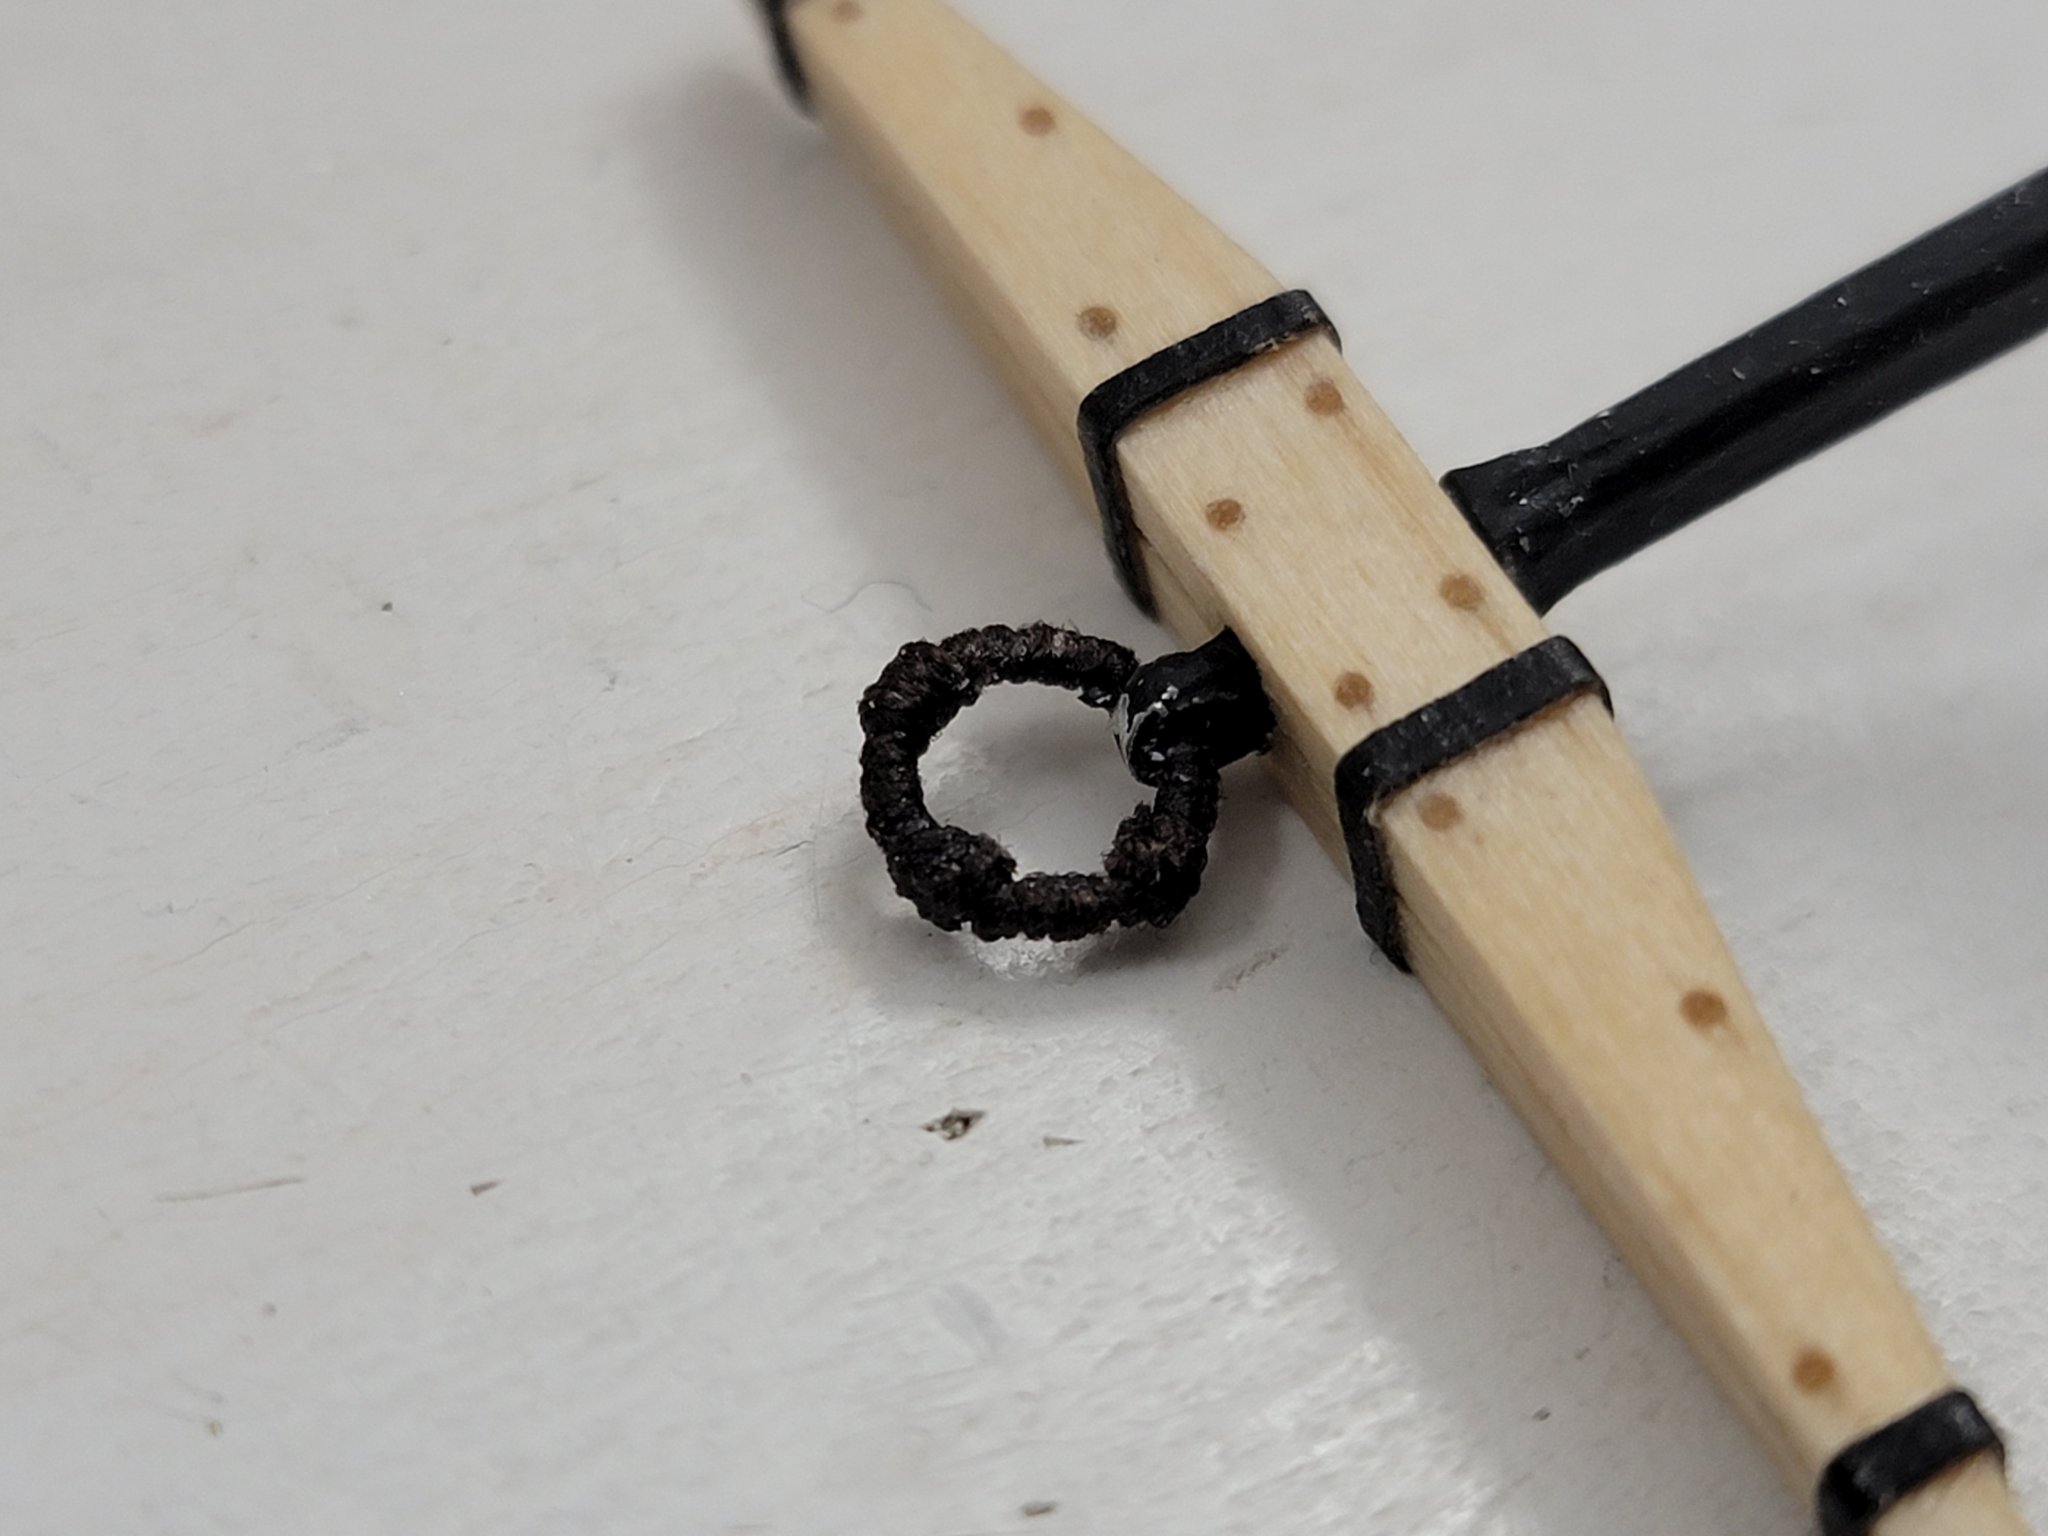
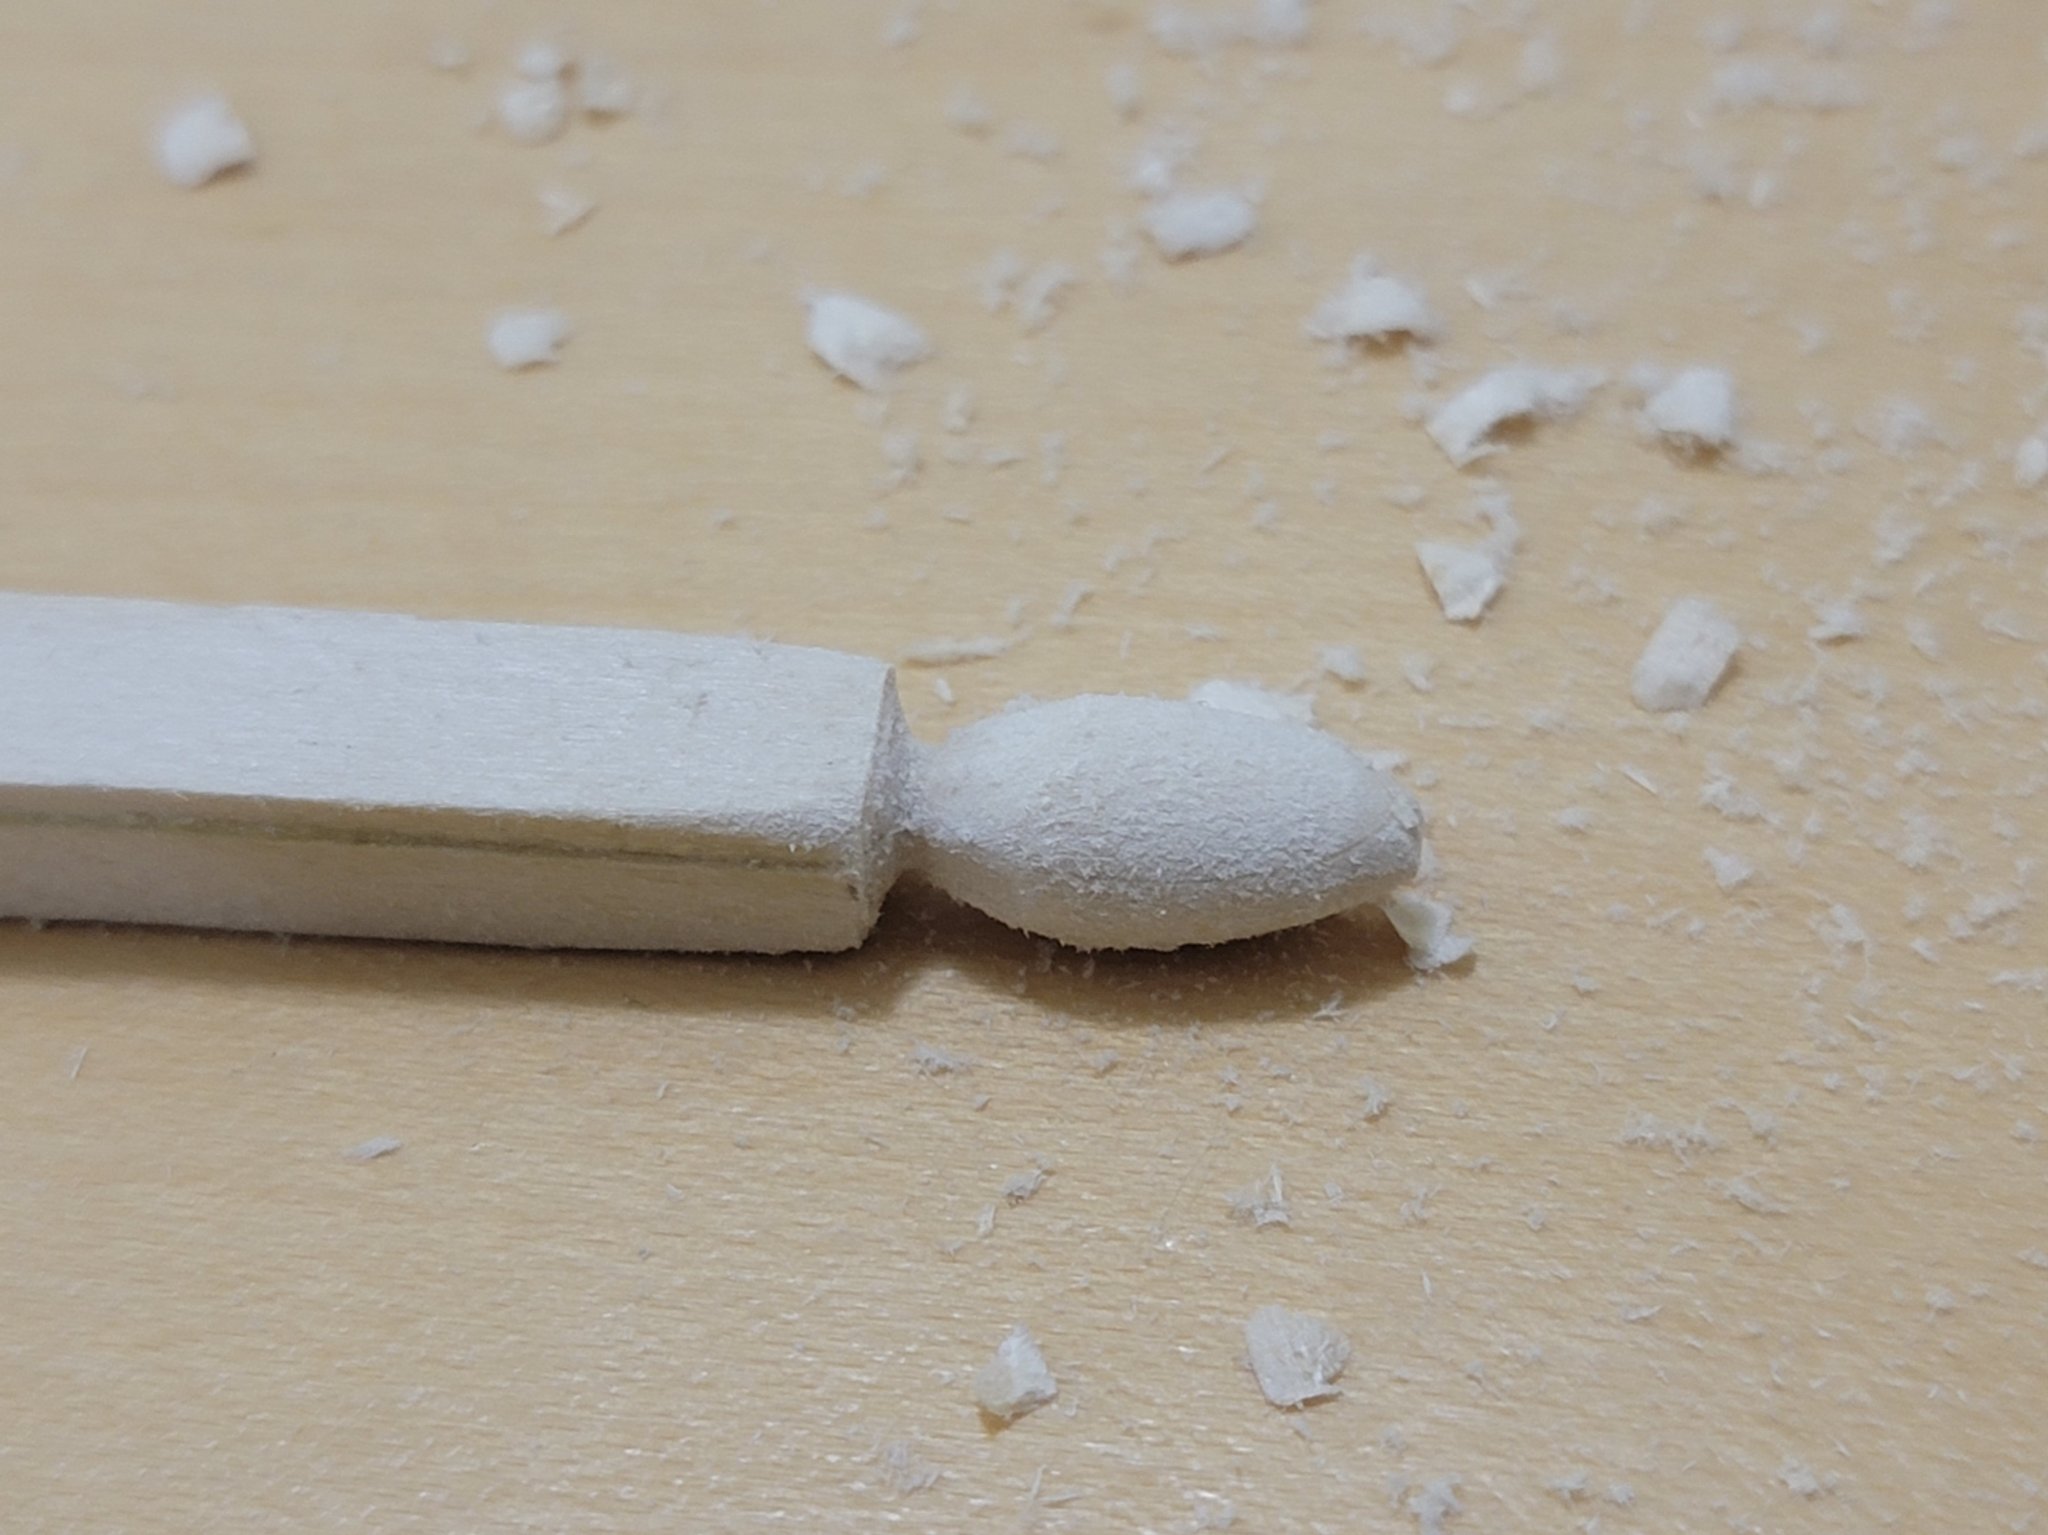
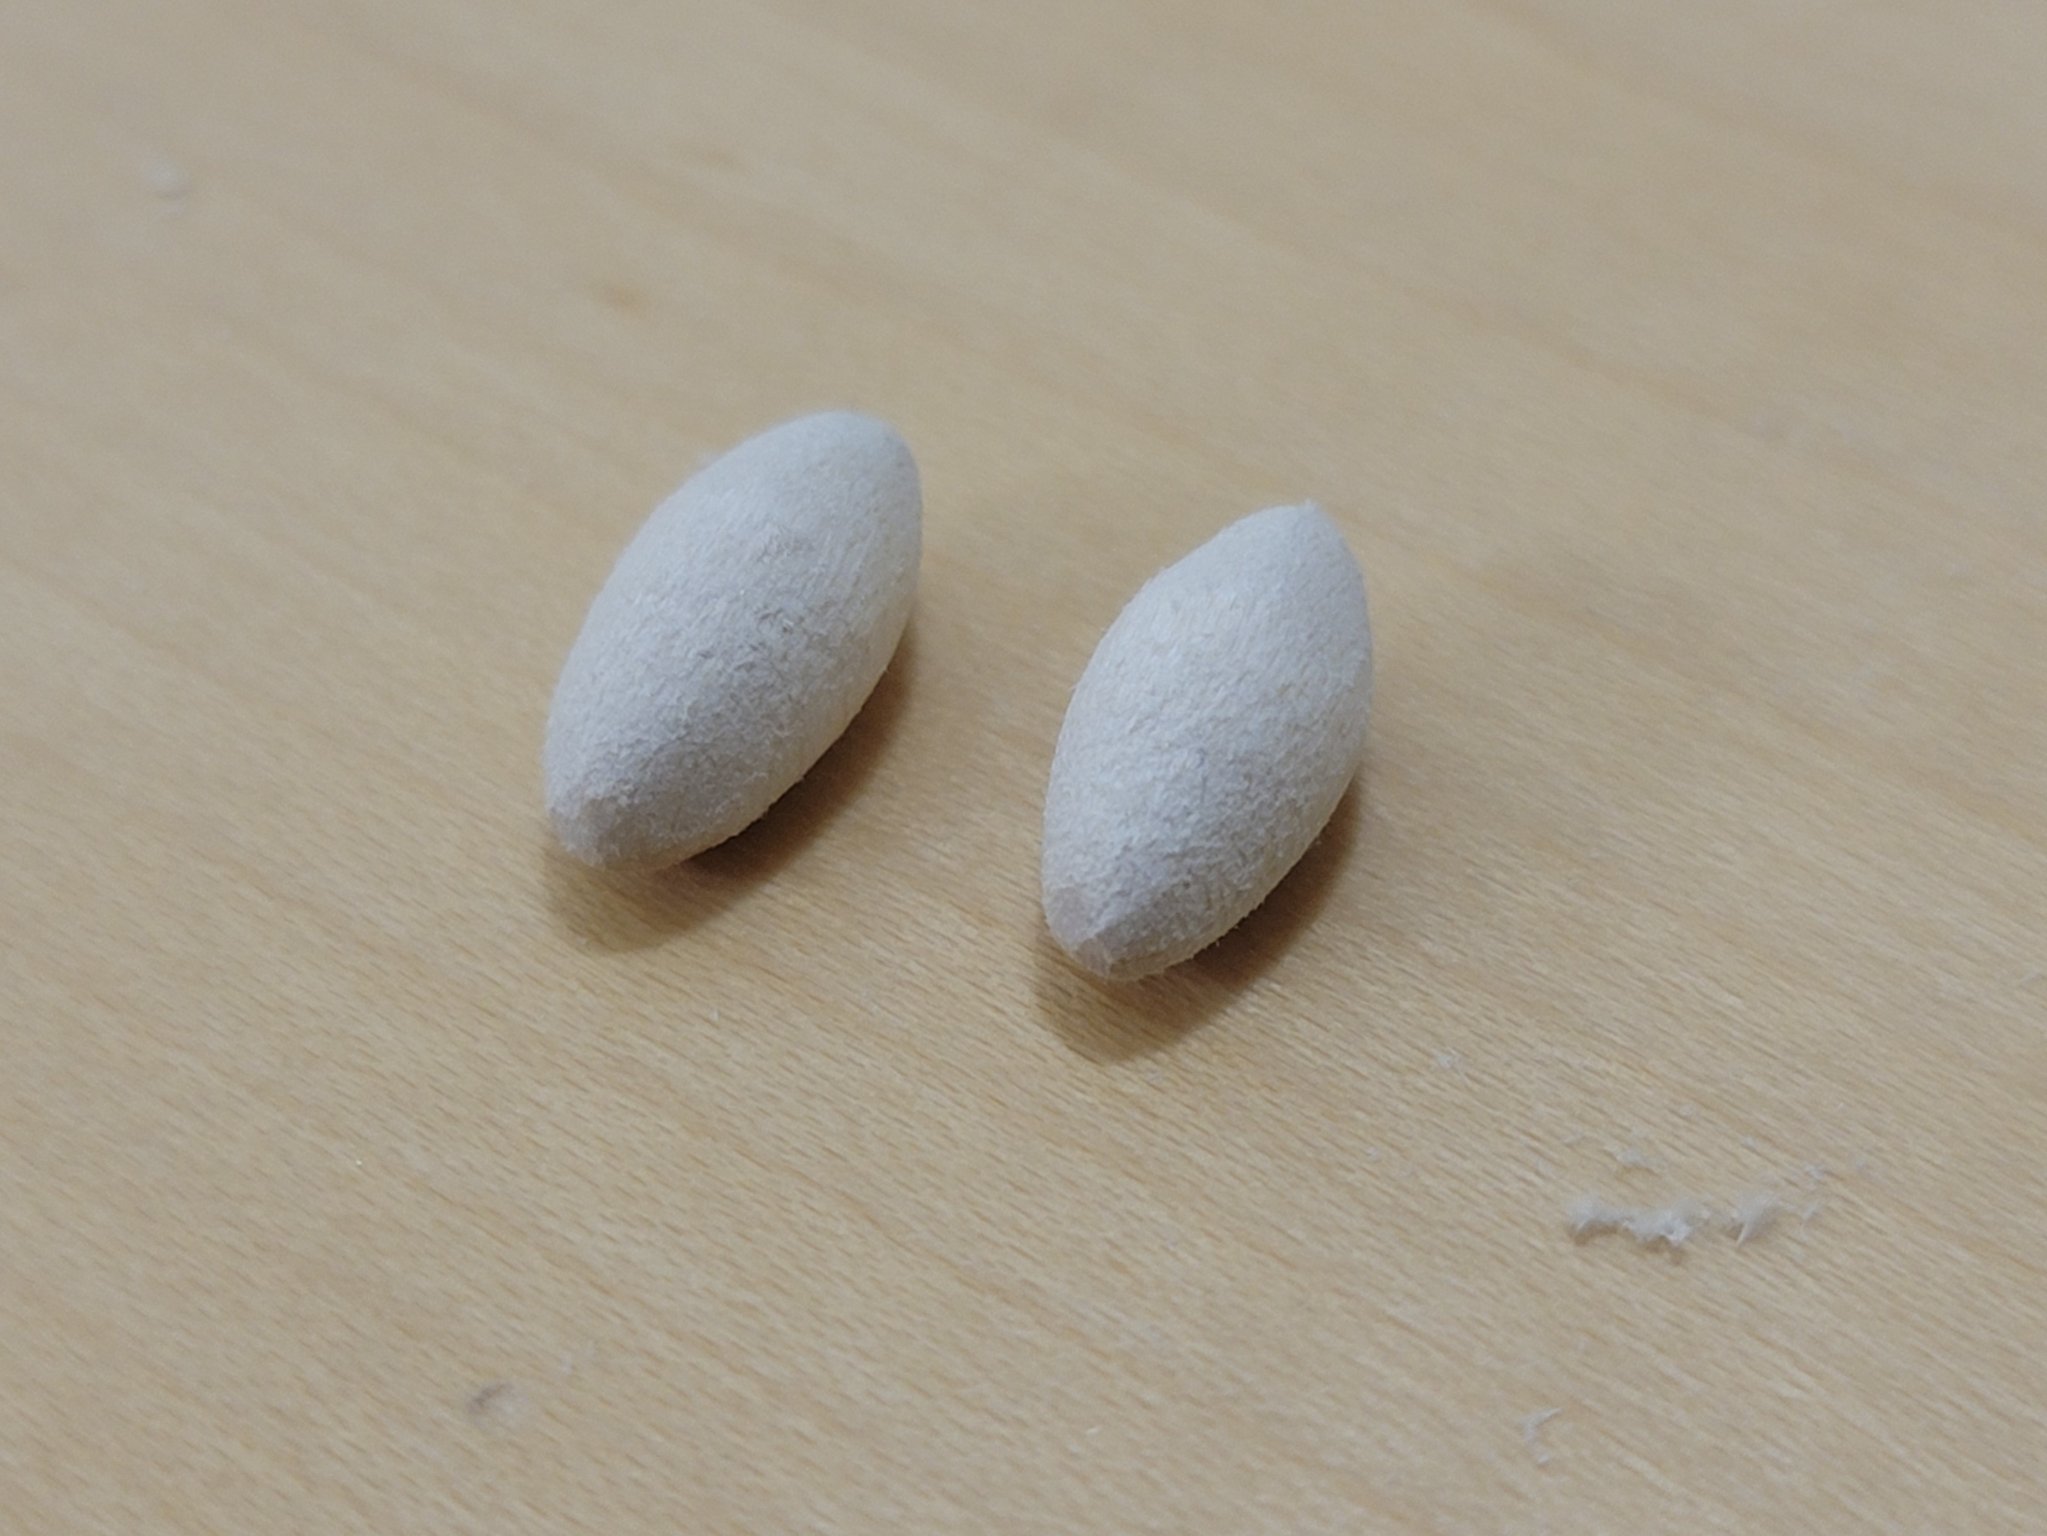
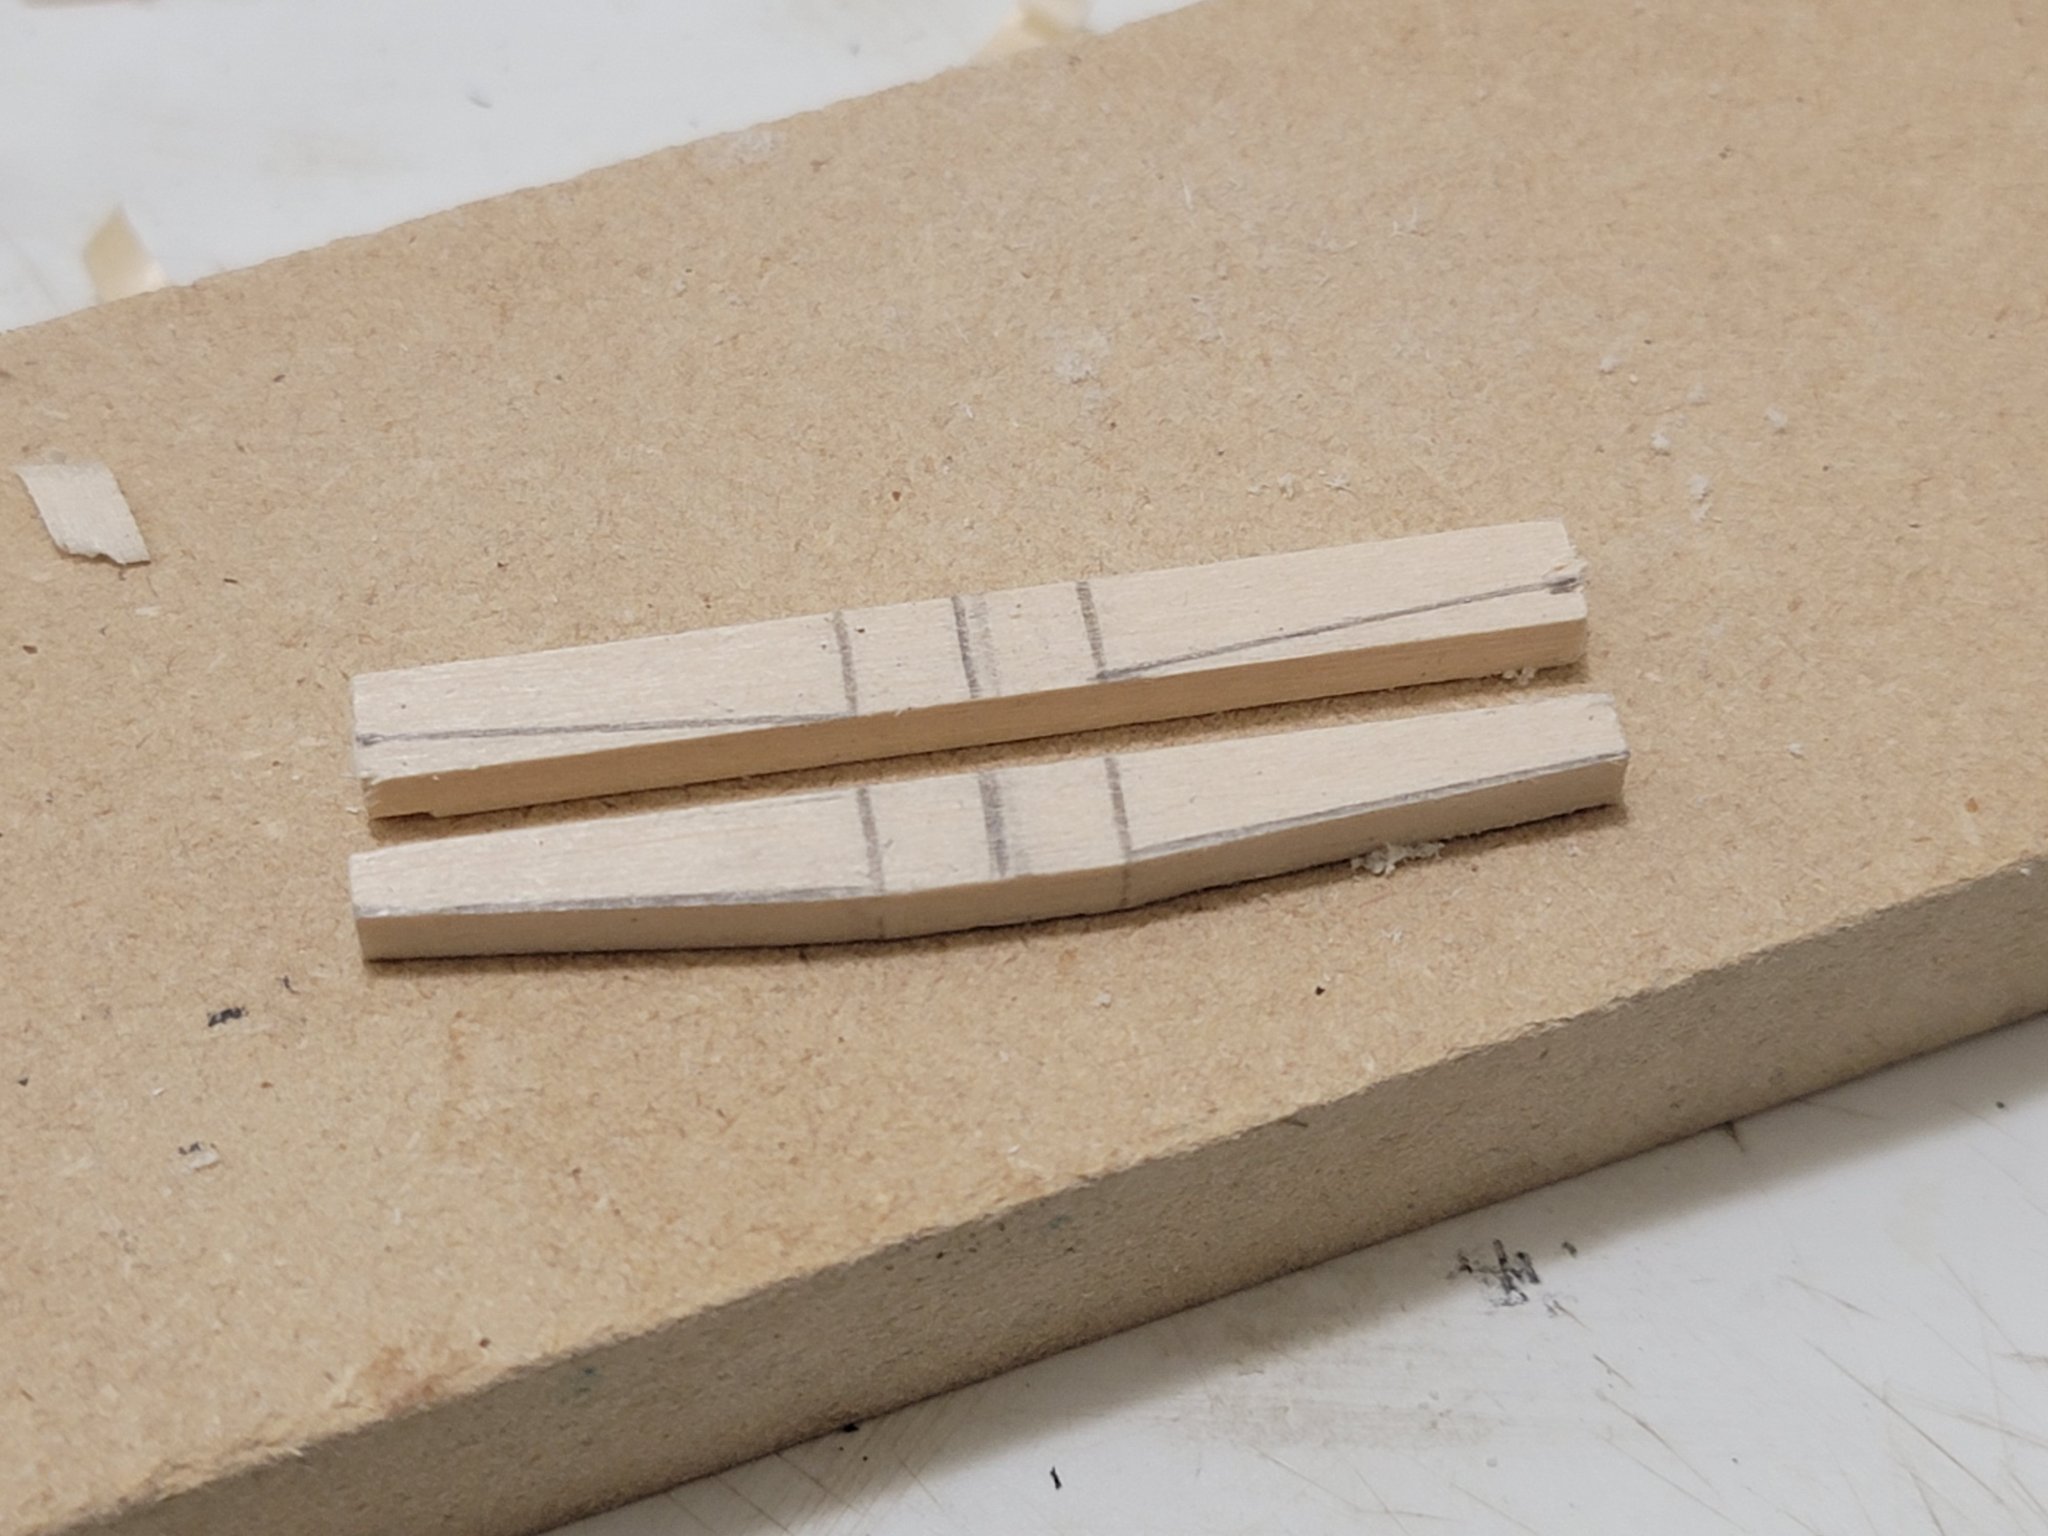
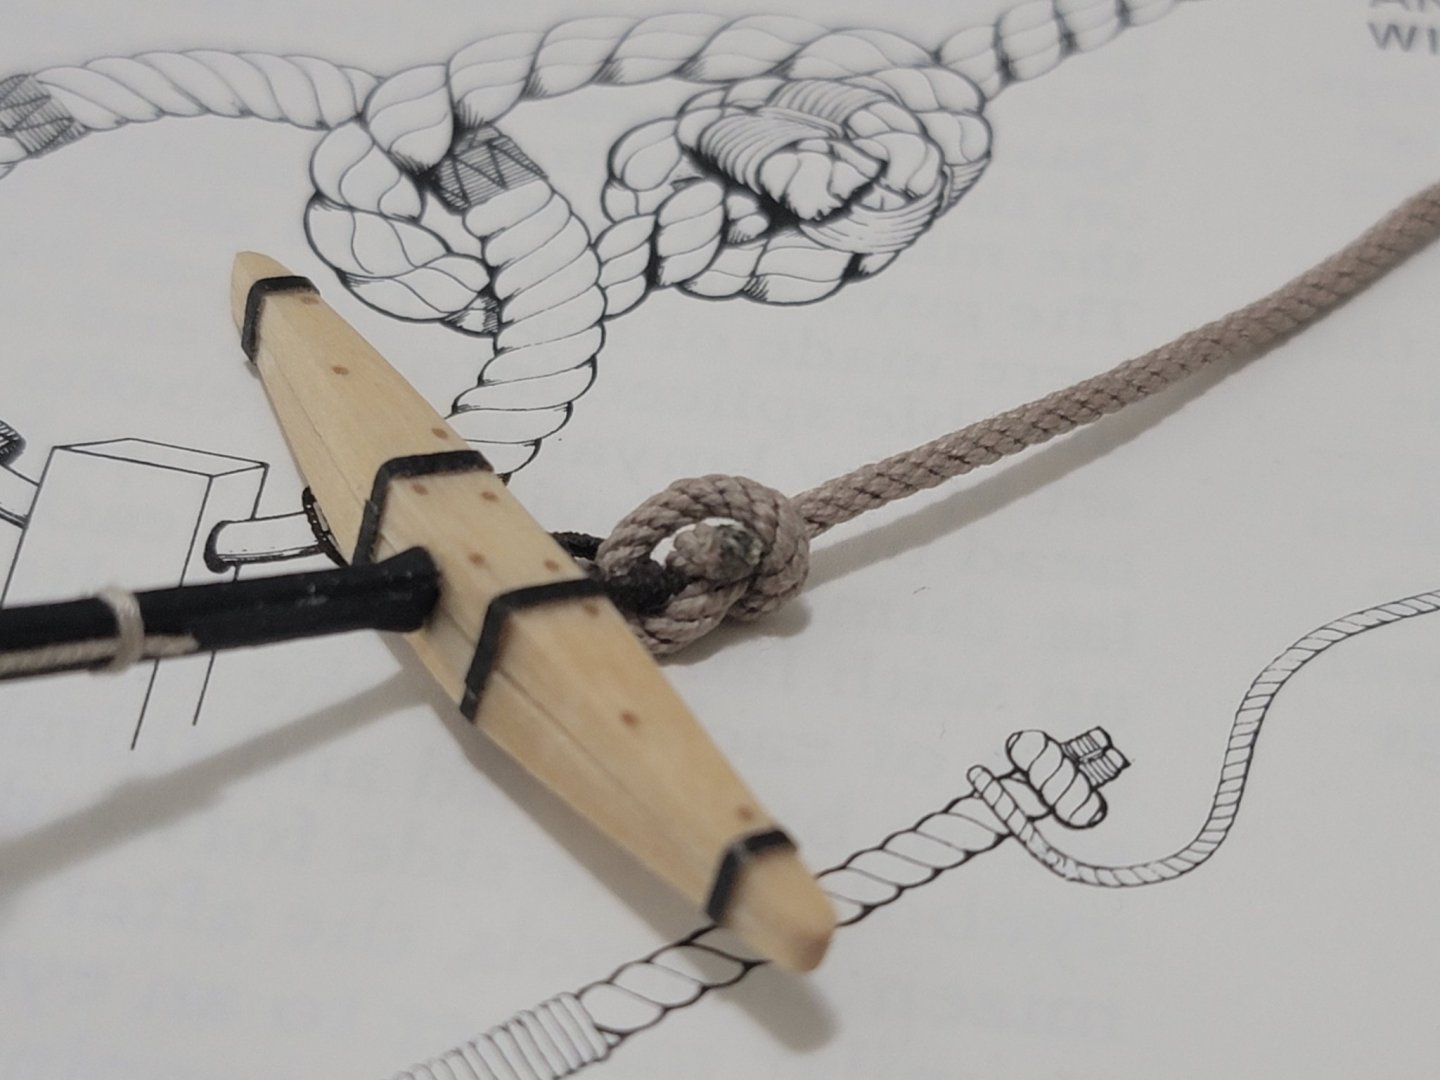
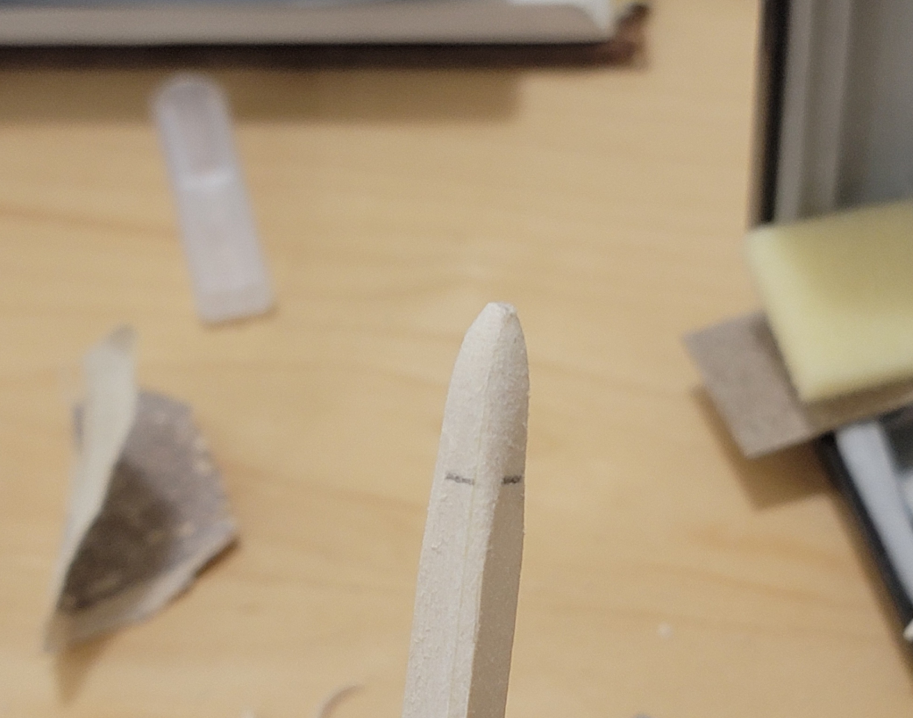
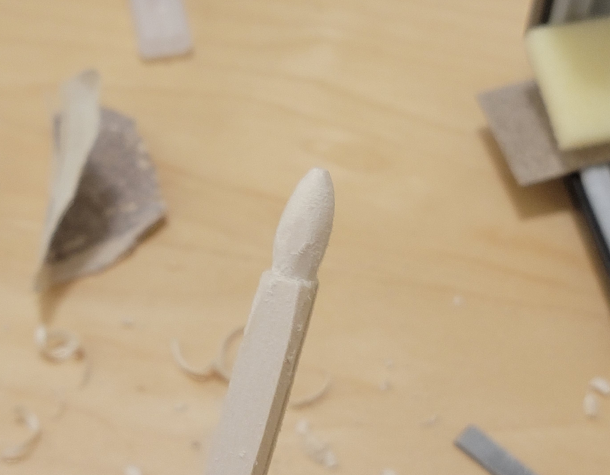
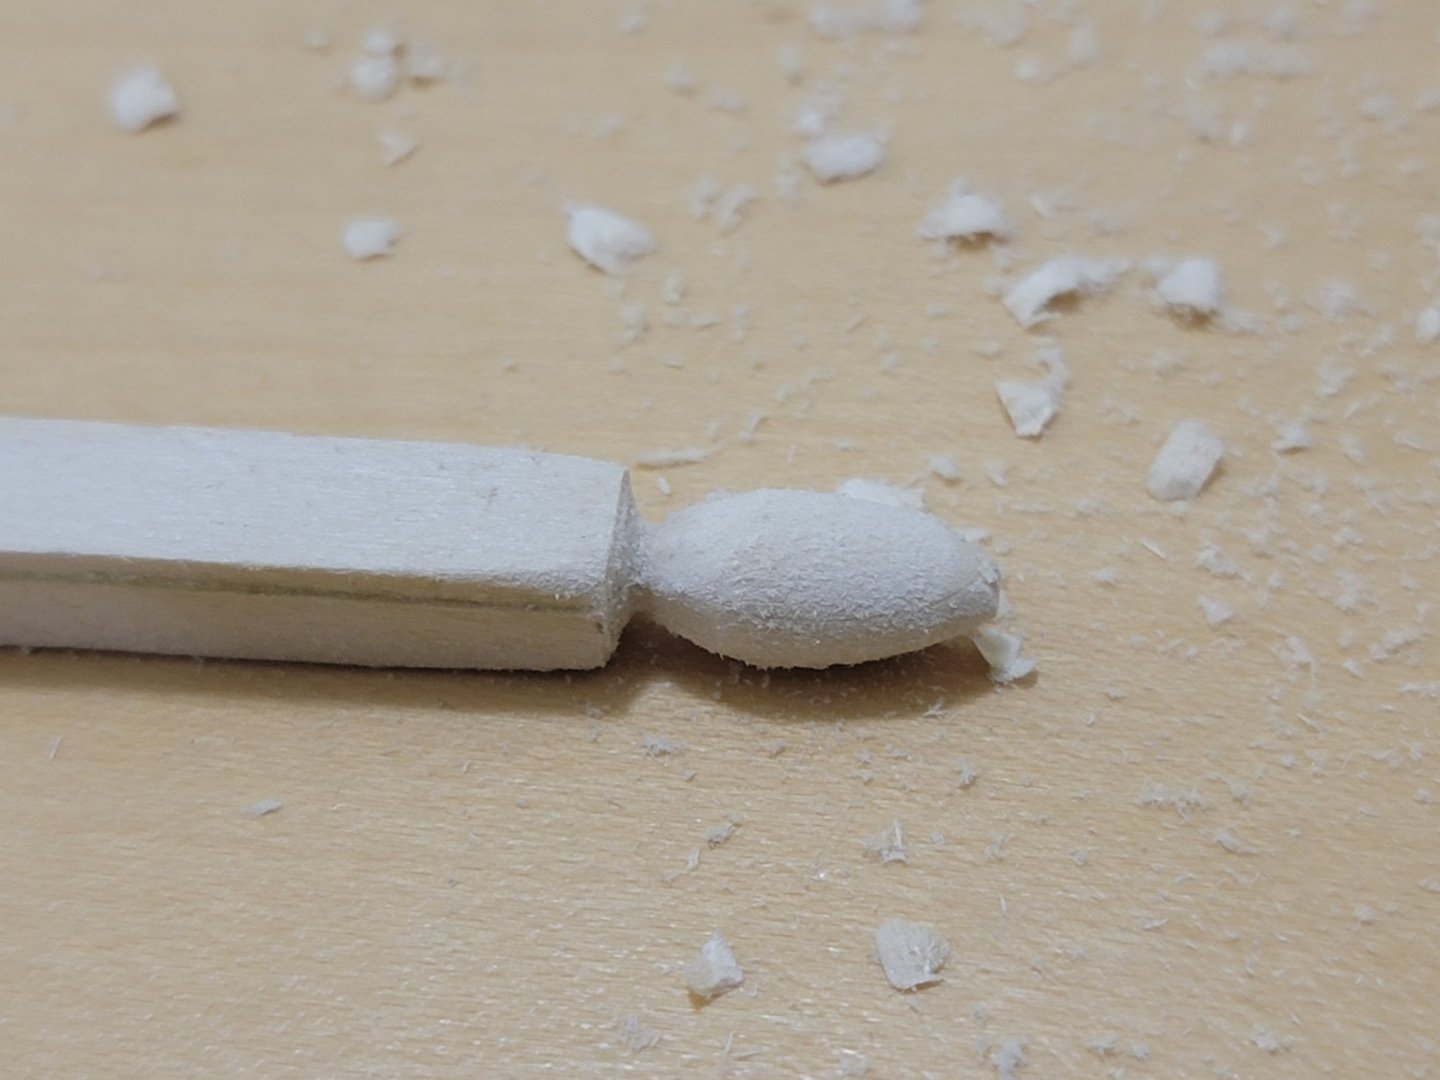
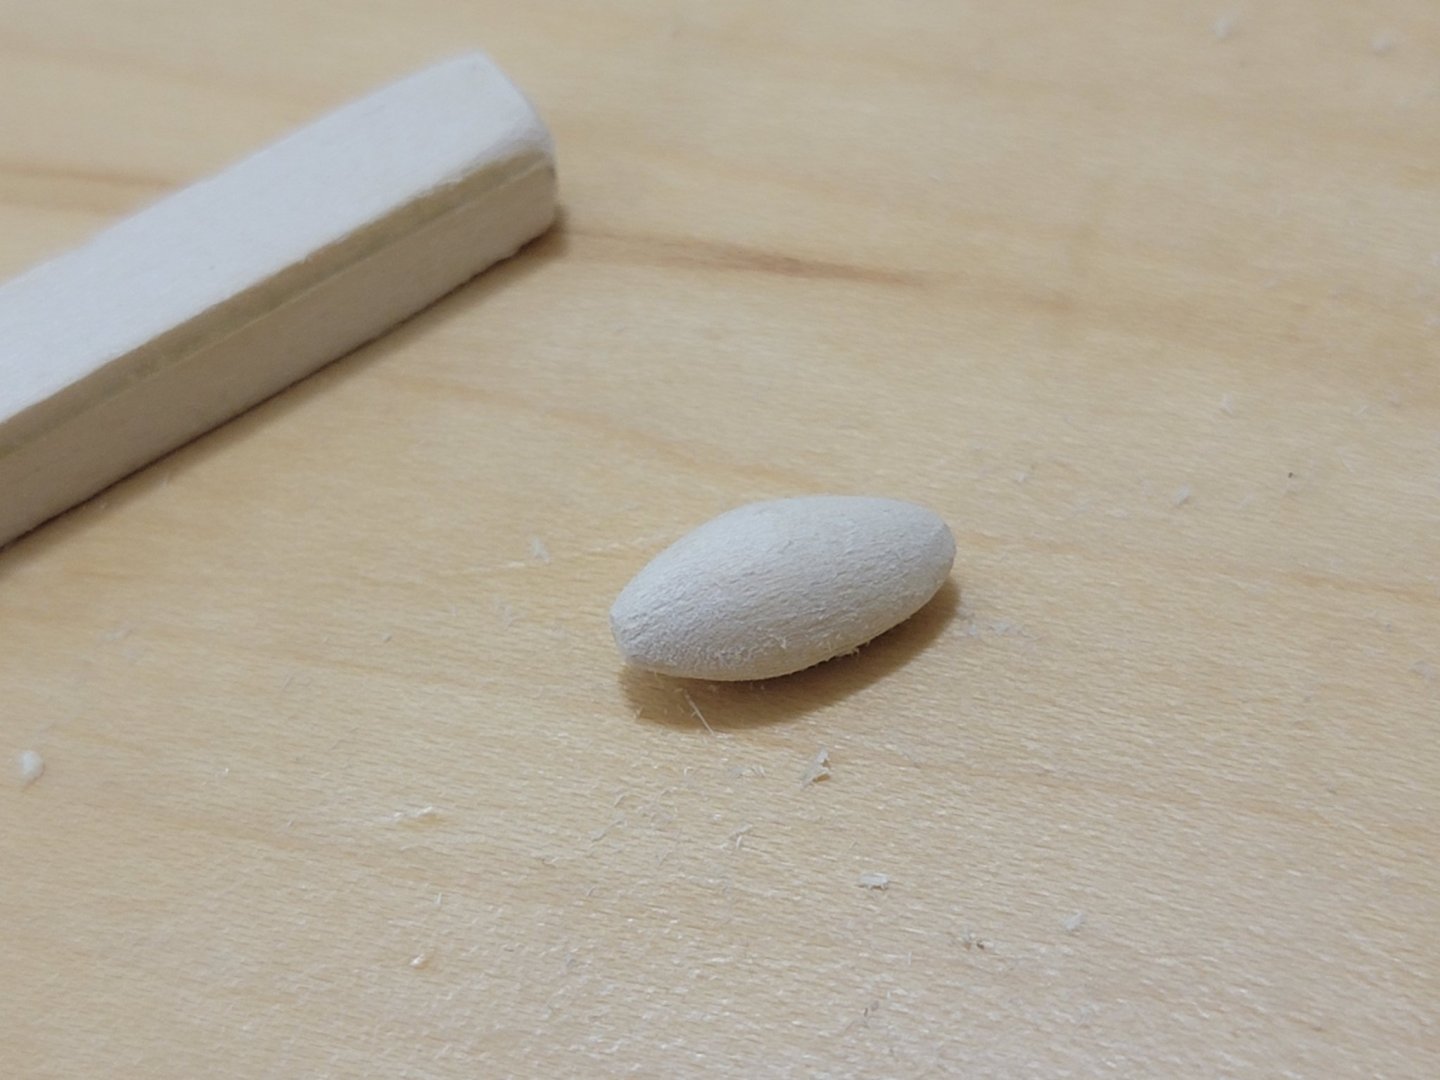
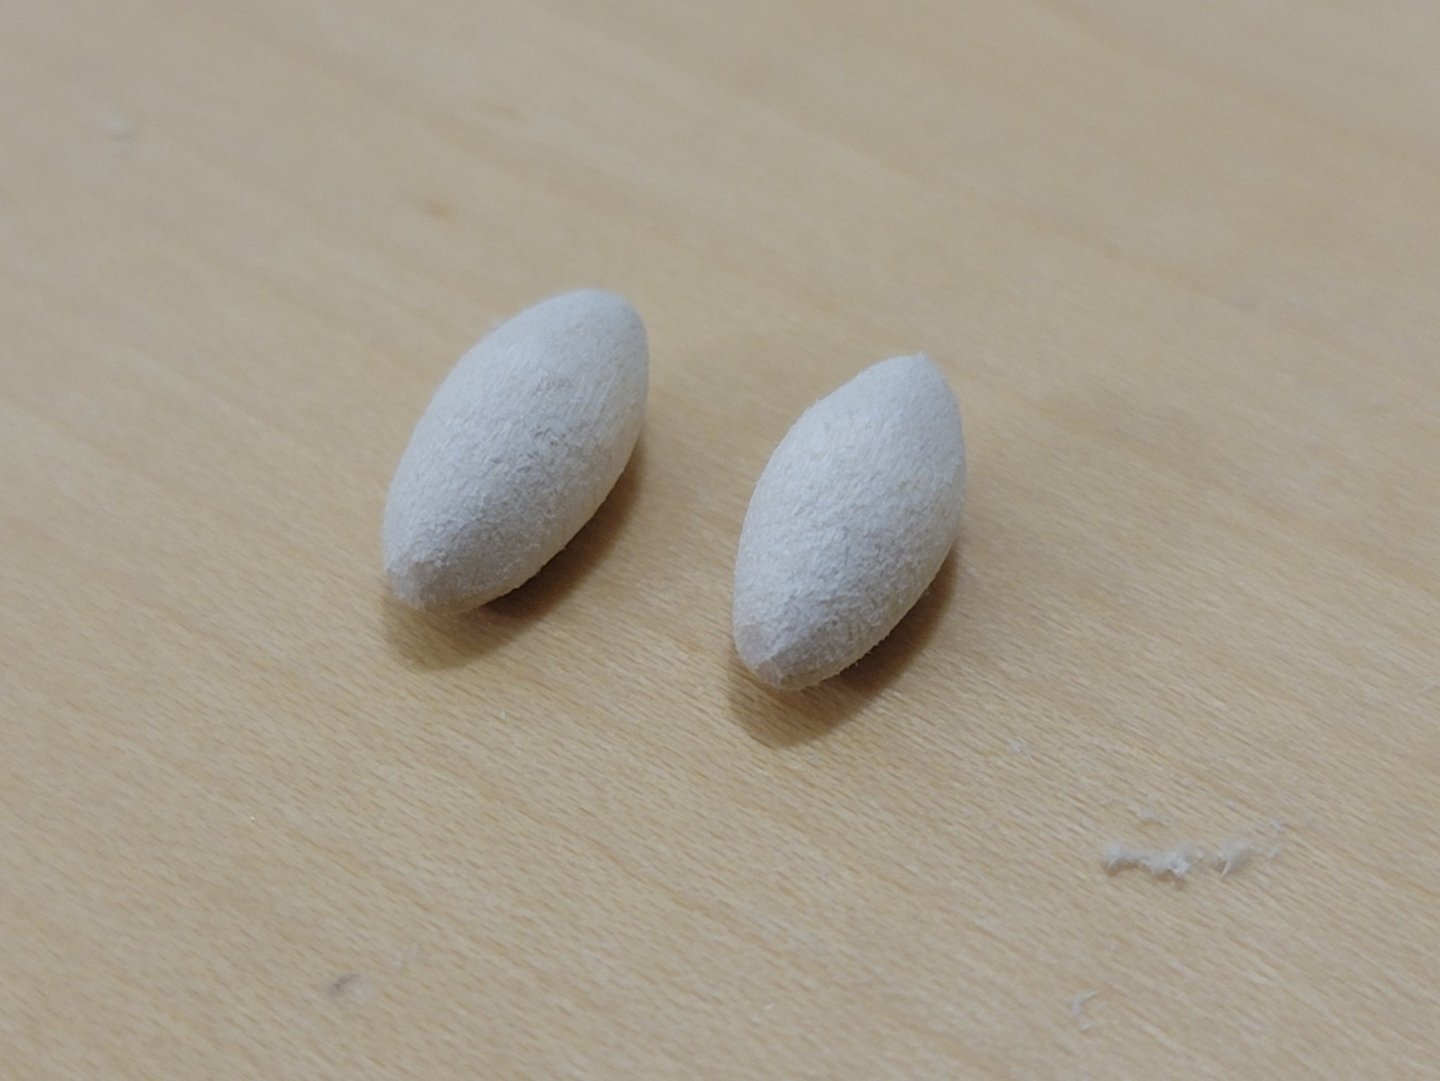
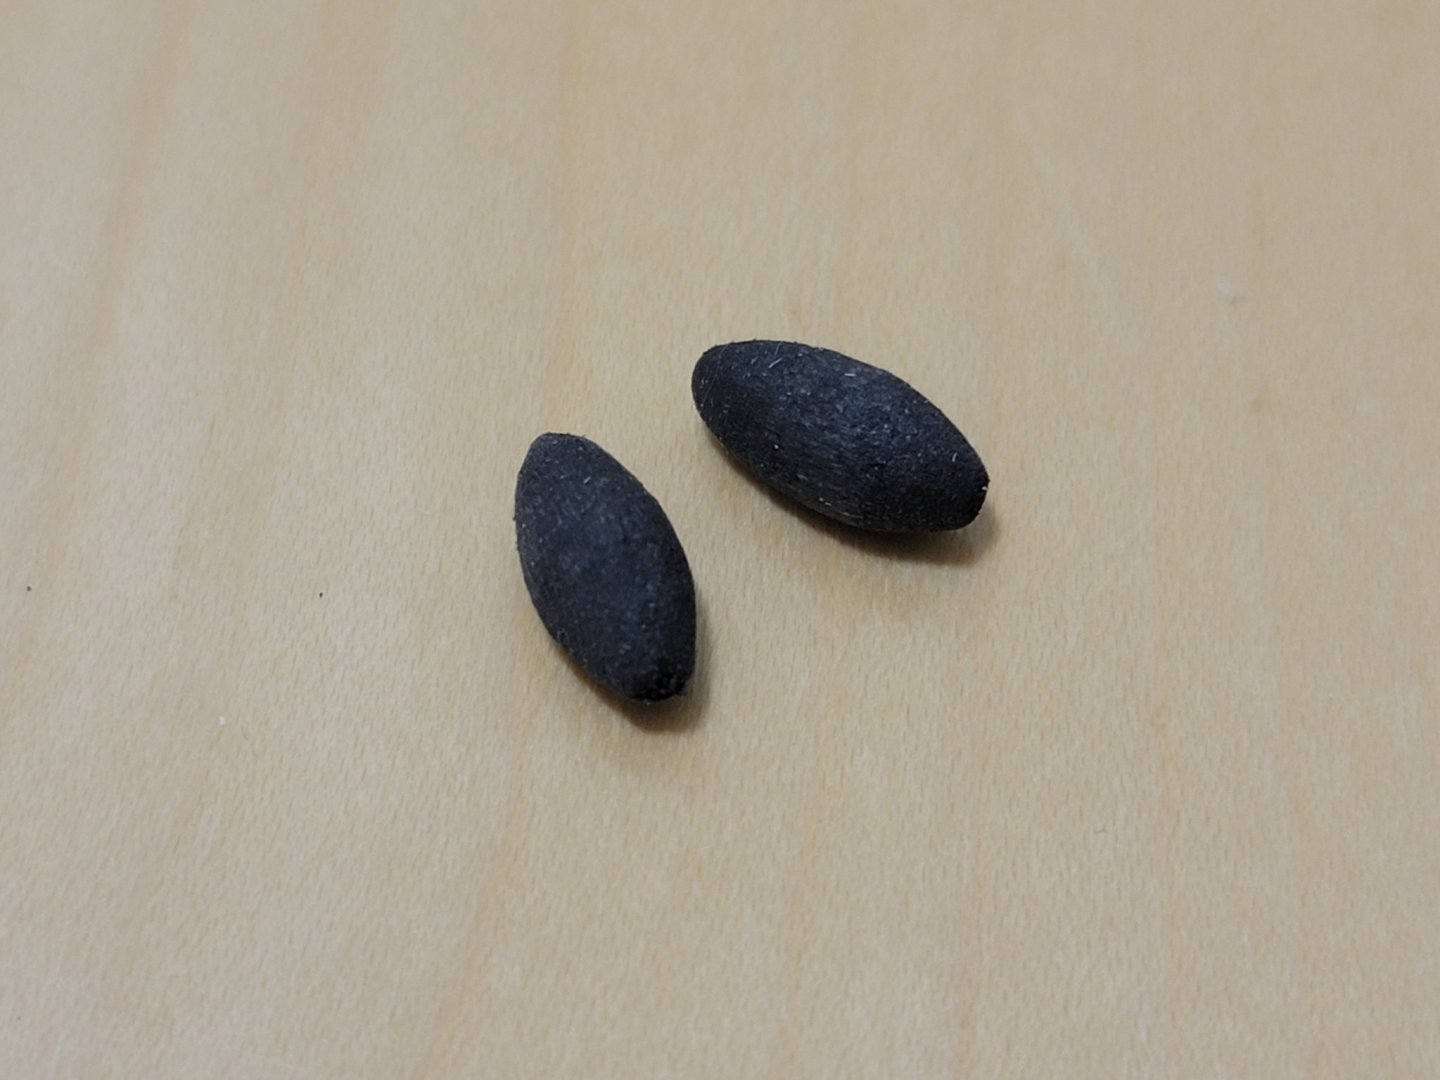
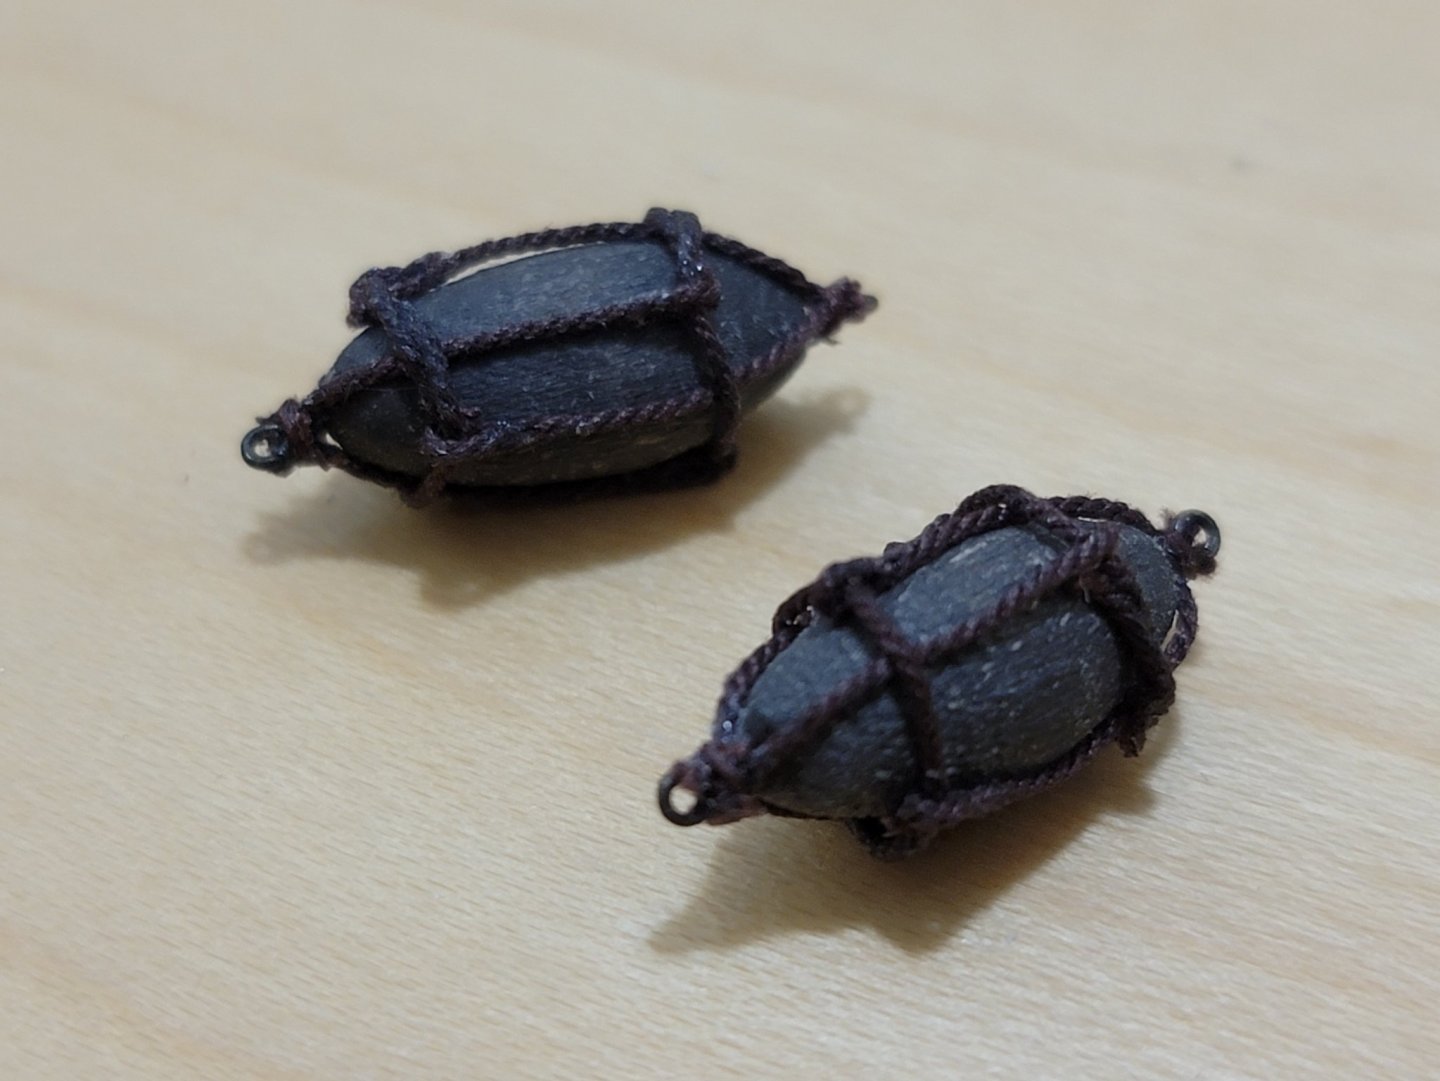
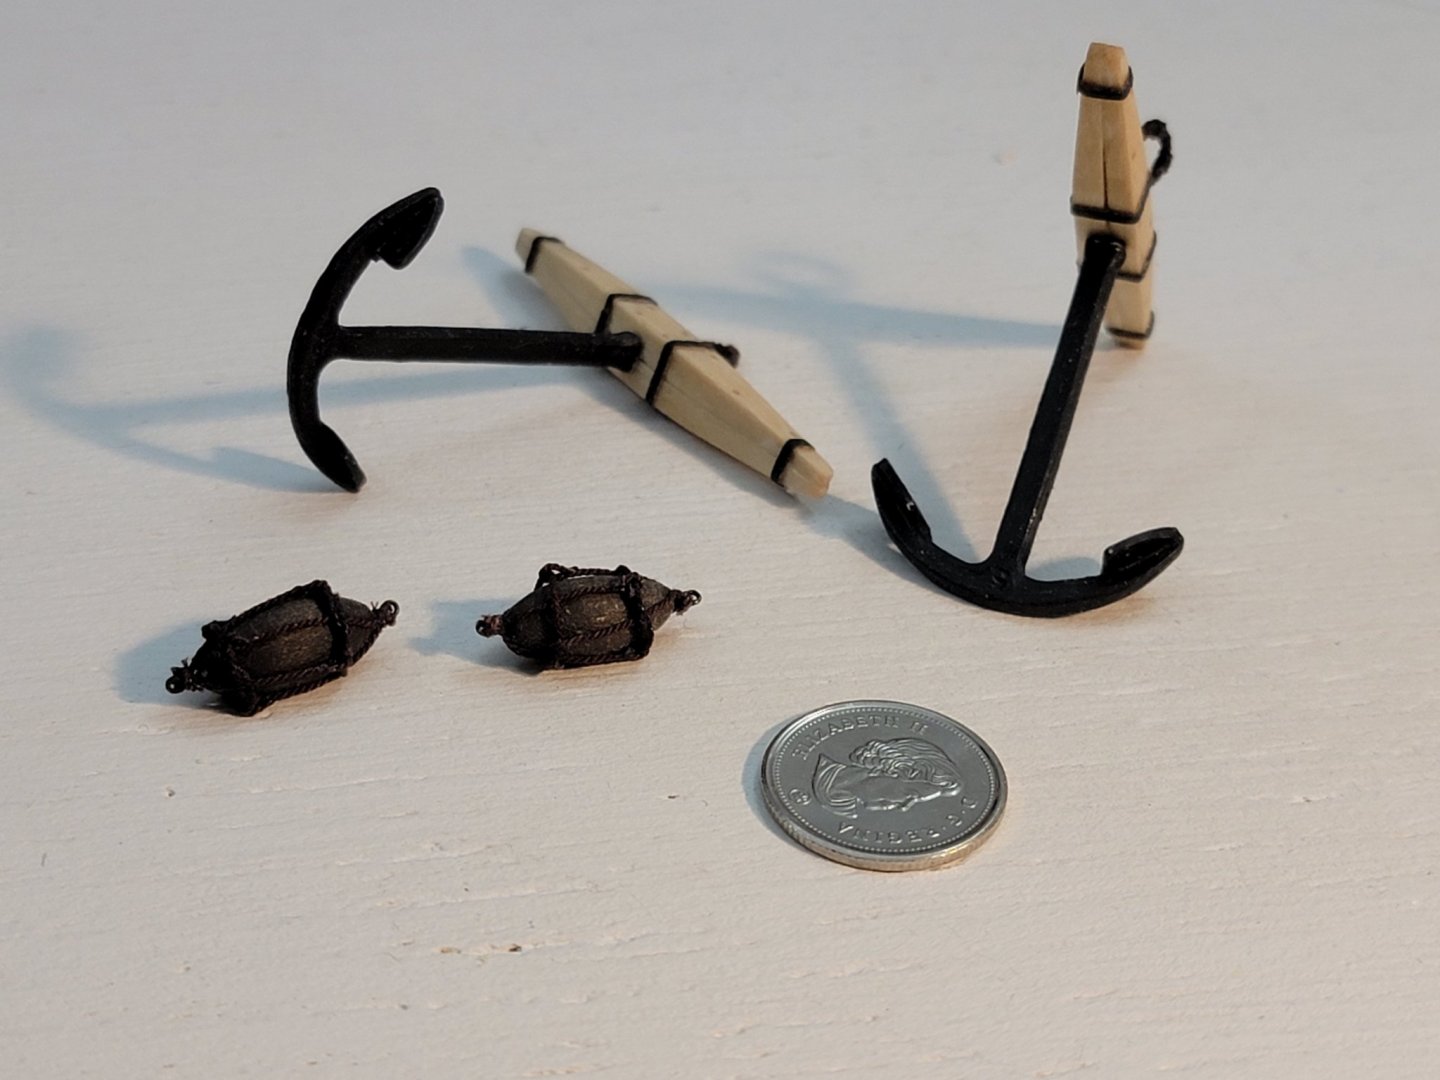
Thanks so much Allan!!! I finished making the rings and the buoys. These were very tricky to make due to their small size. I served the rings with some sewing thread. Here are some pictures And here is the process I used to make the buoy. It was a bit difficult to get the right shape as it was all shaped by hand (first by using a chisel to get the overall shape, then needle files to smoothen things out). The pictures below will hopefully explain the process better: I only painted them with one coat of brown+black paint mixture to give the rustic look: Then, I just followed the instructions to make the harness. This was again a bit tricky because of its very small size: Next I'll be rigging them onto the ship and then finish up with the flags!! Been very busy the past few days so progress has slowed down a bit. But I am aiming to finish the model by the end of the week!


- 950 replies
-
- 11
-
-
- syren
- model shipways
- (and 1 more)
-
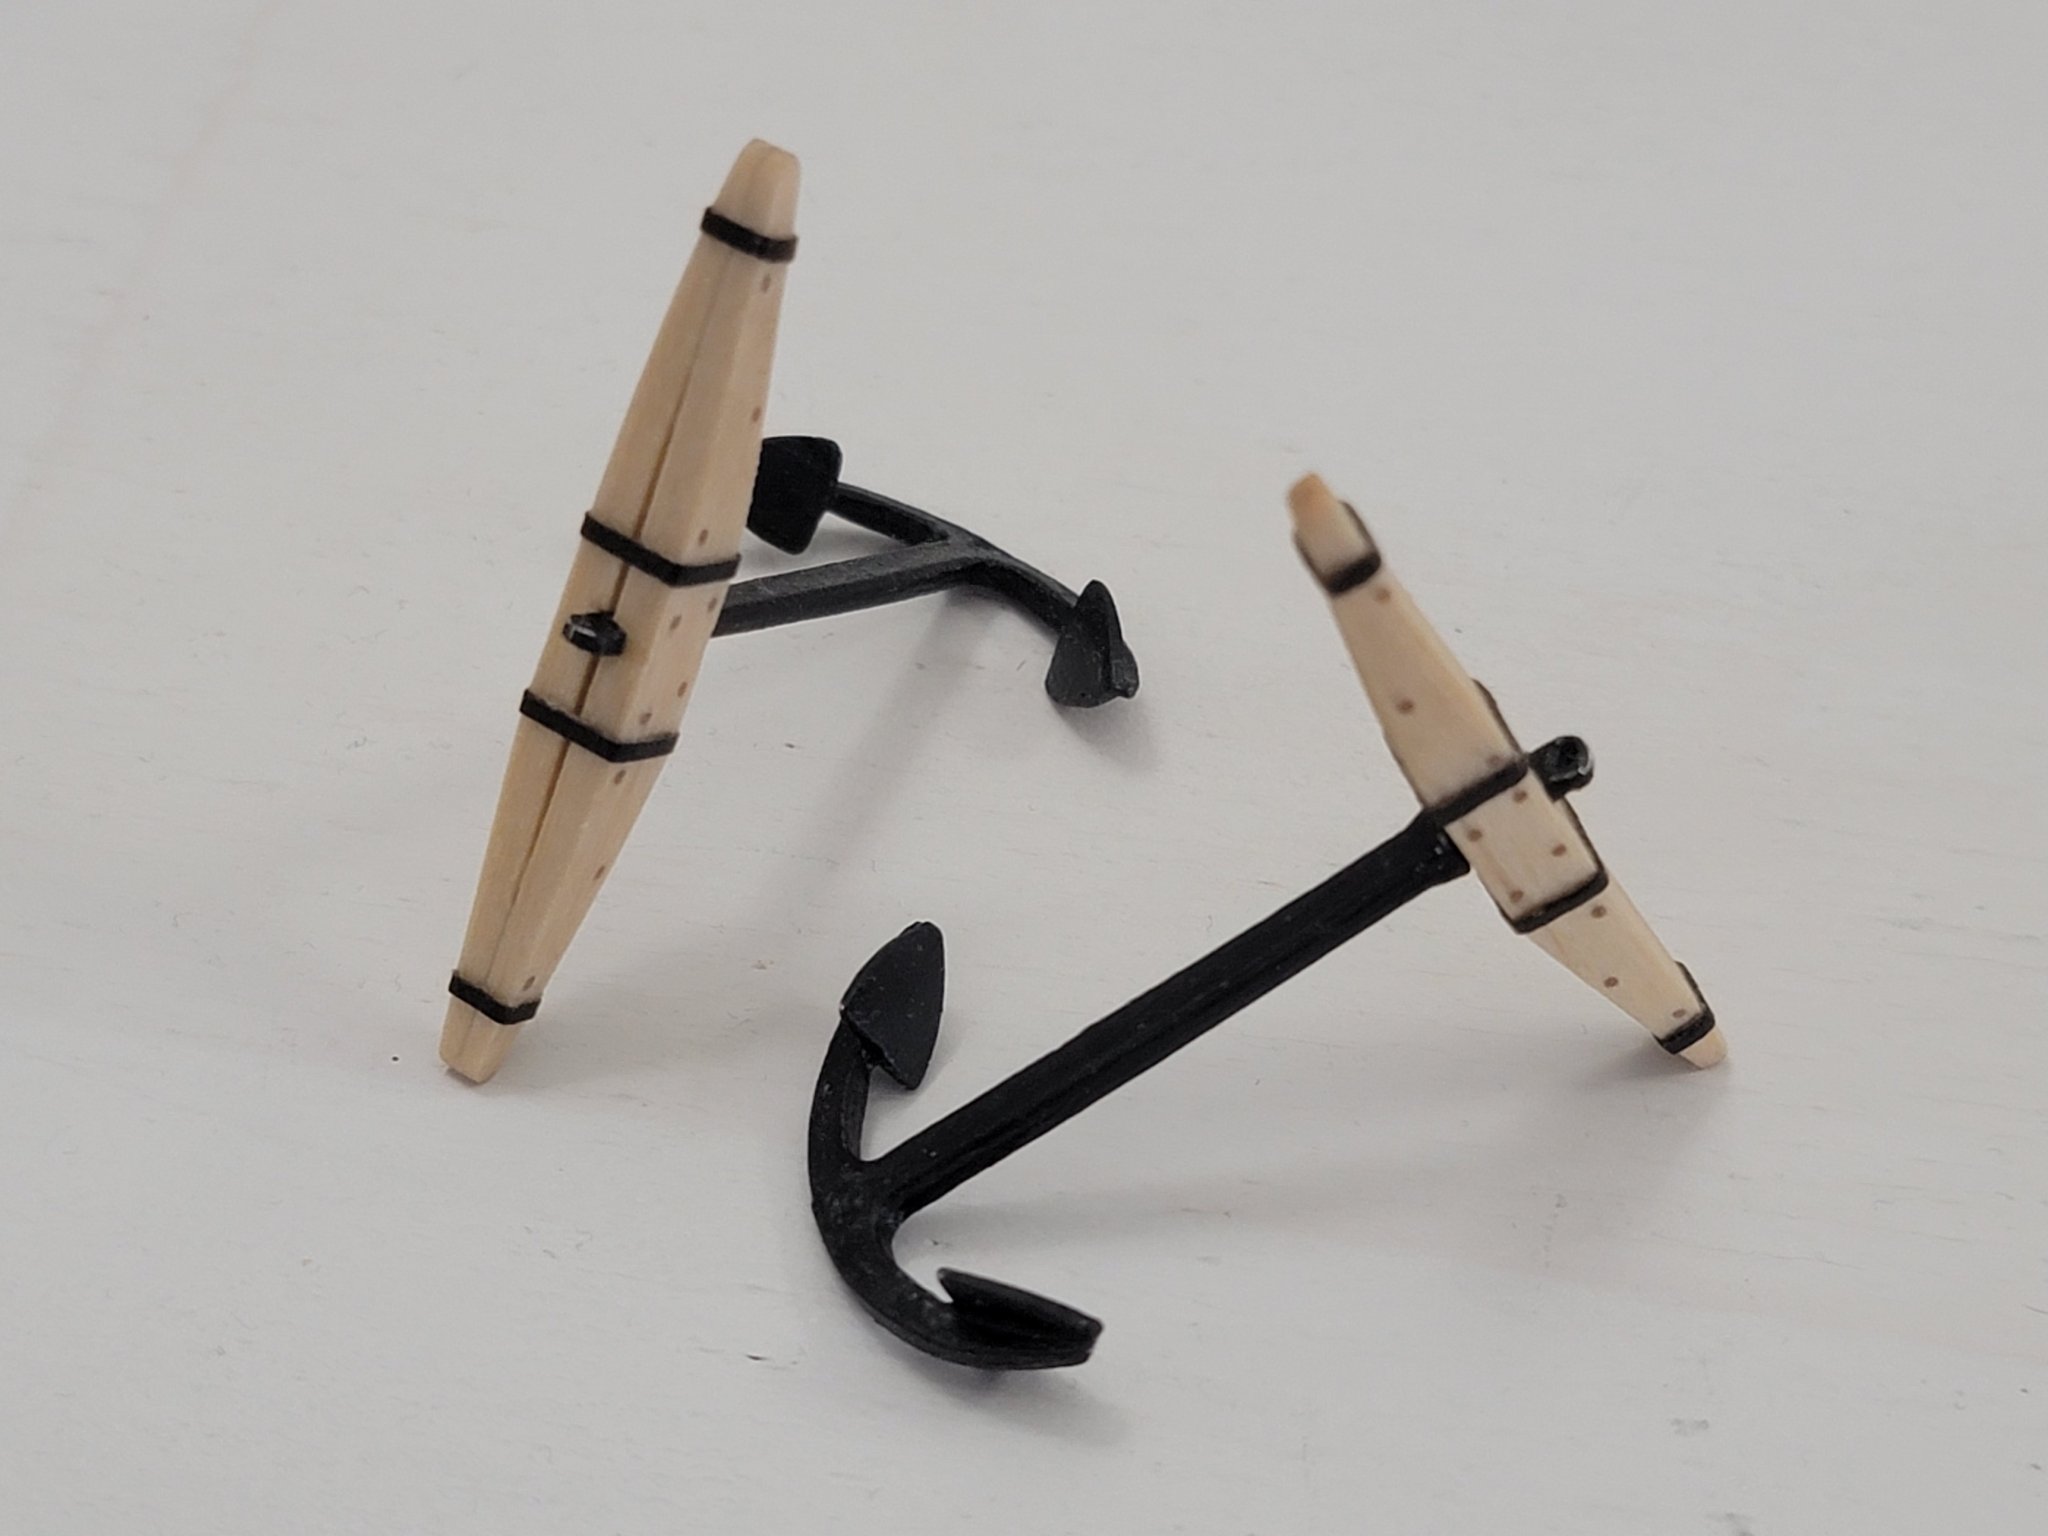
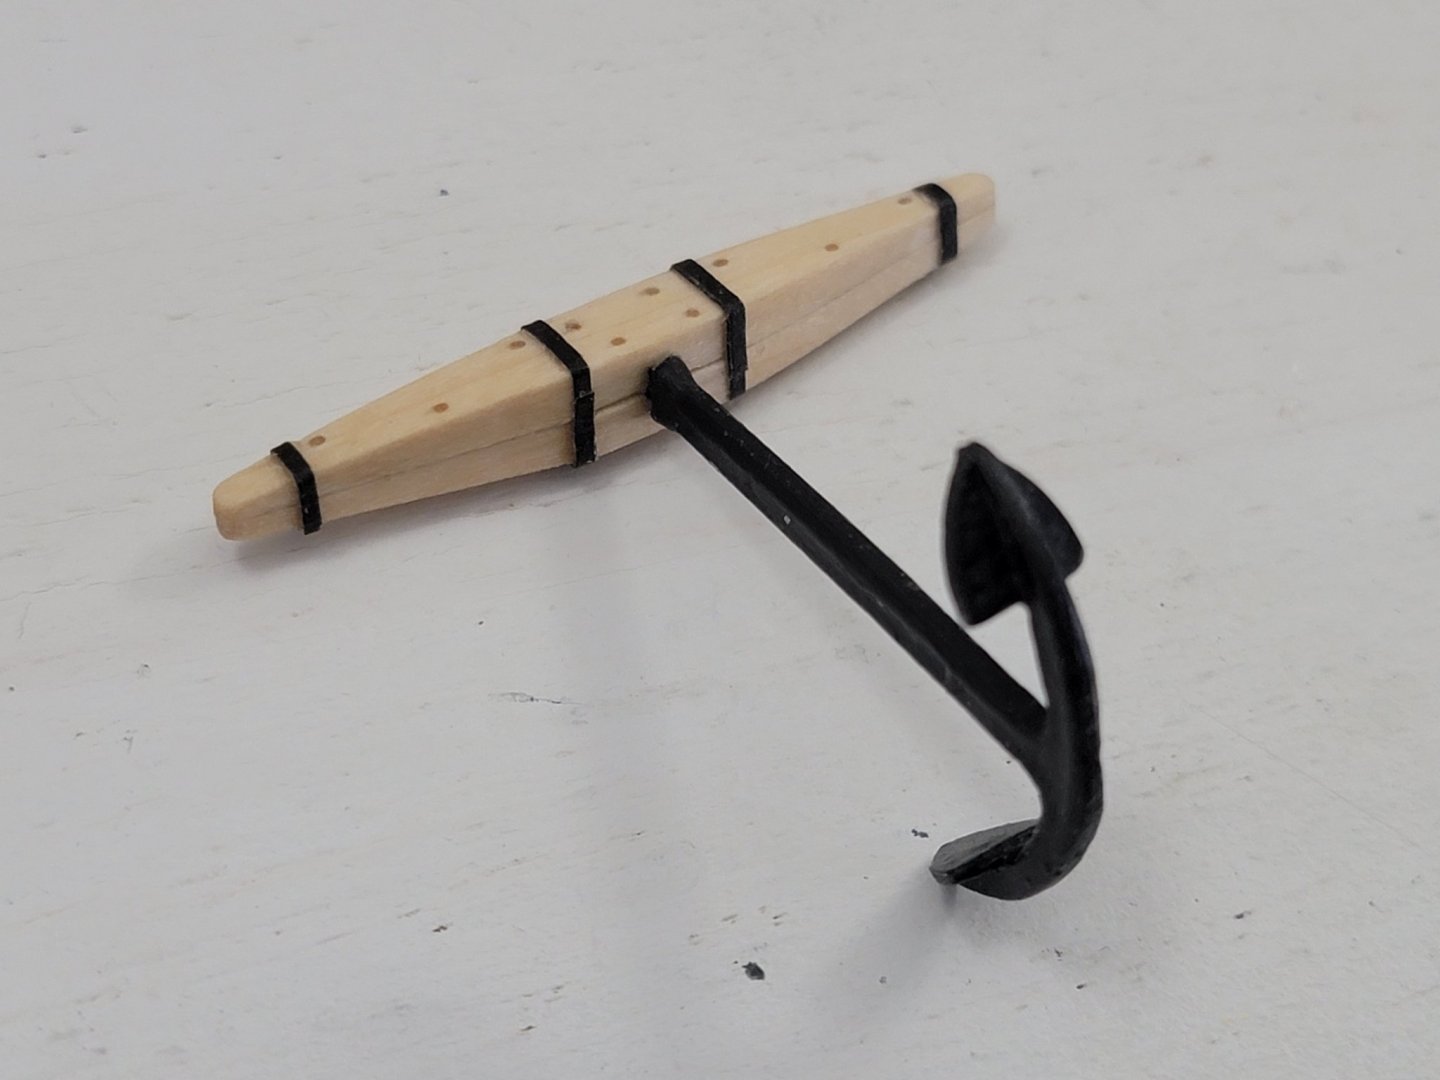
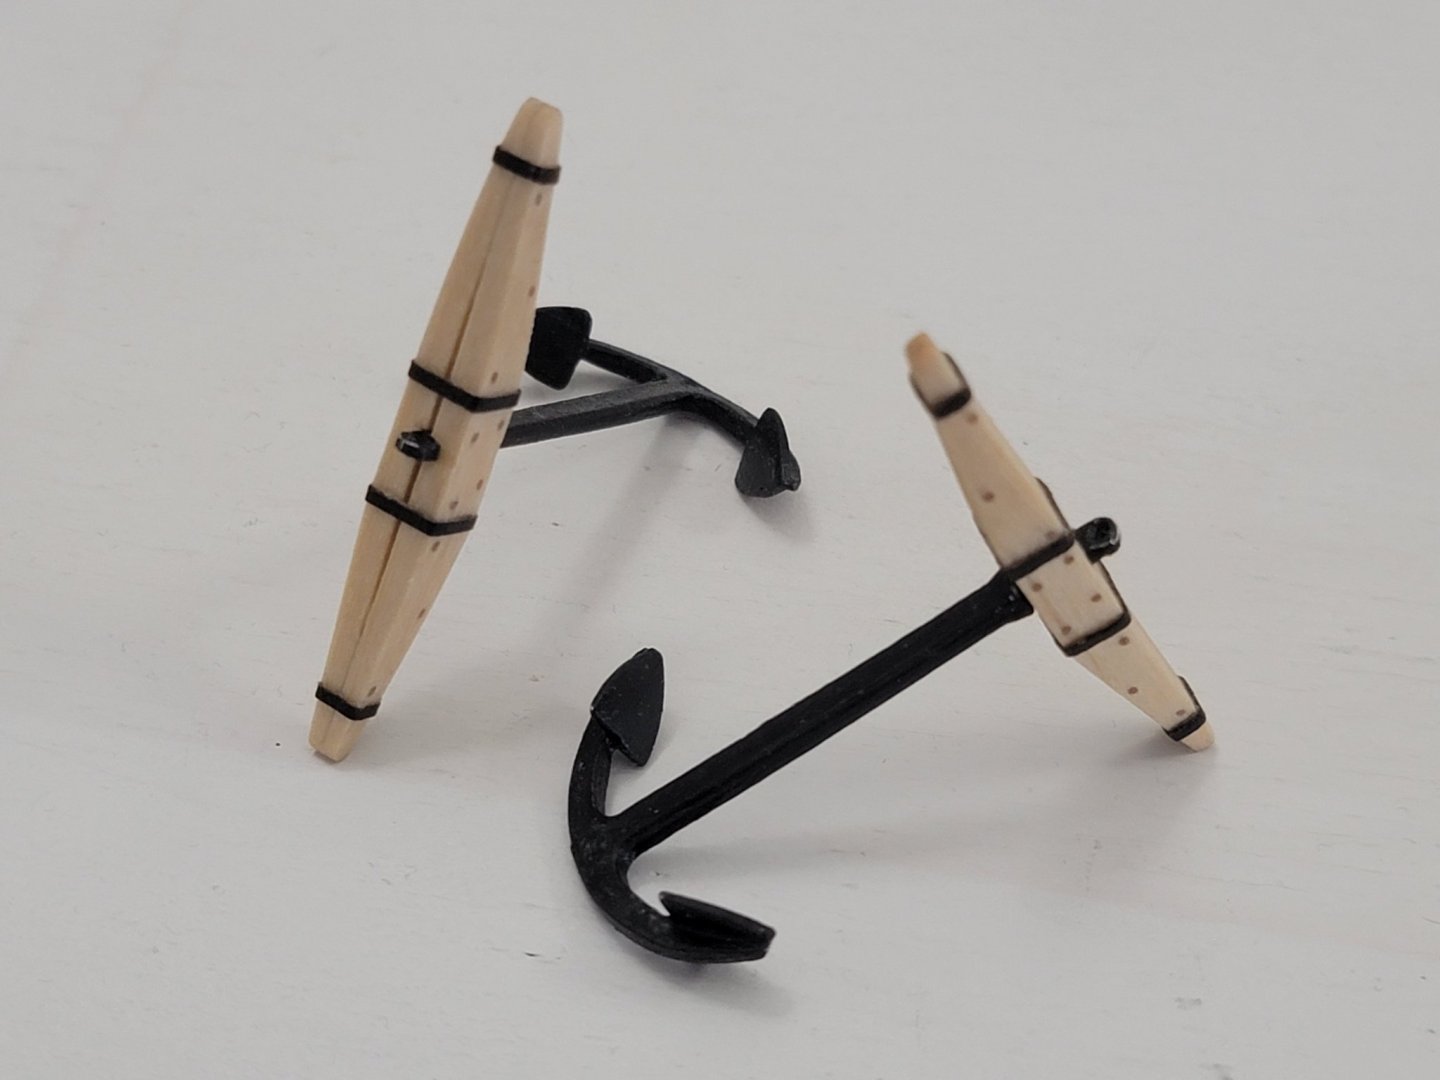
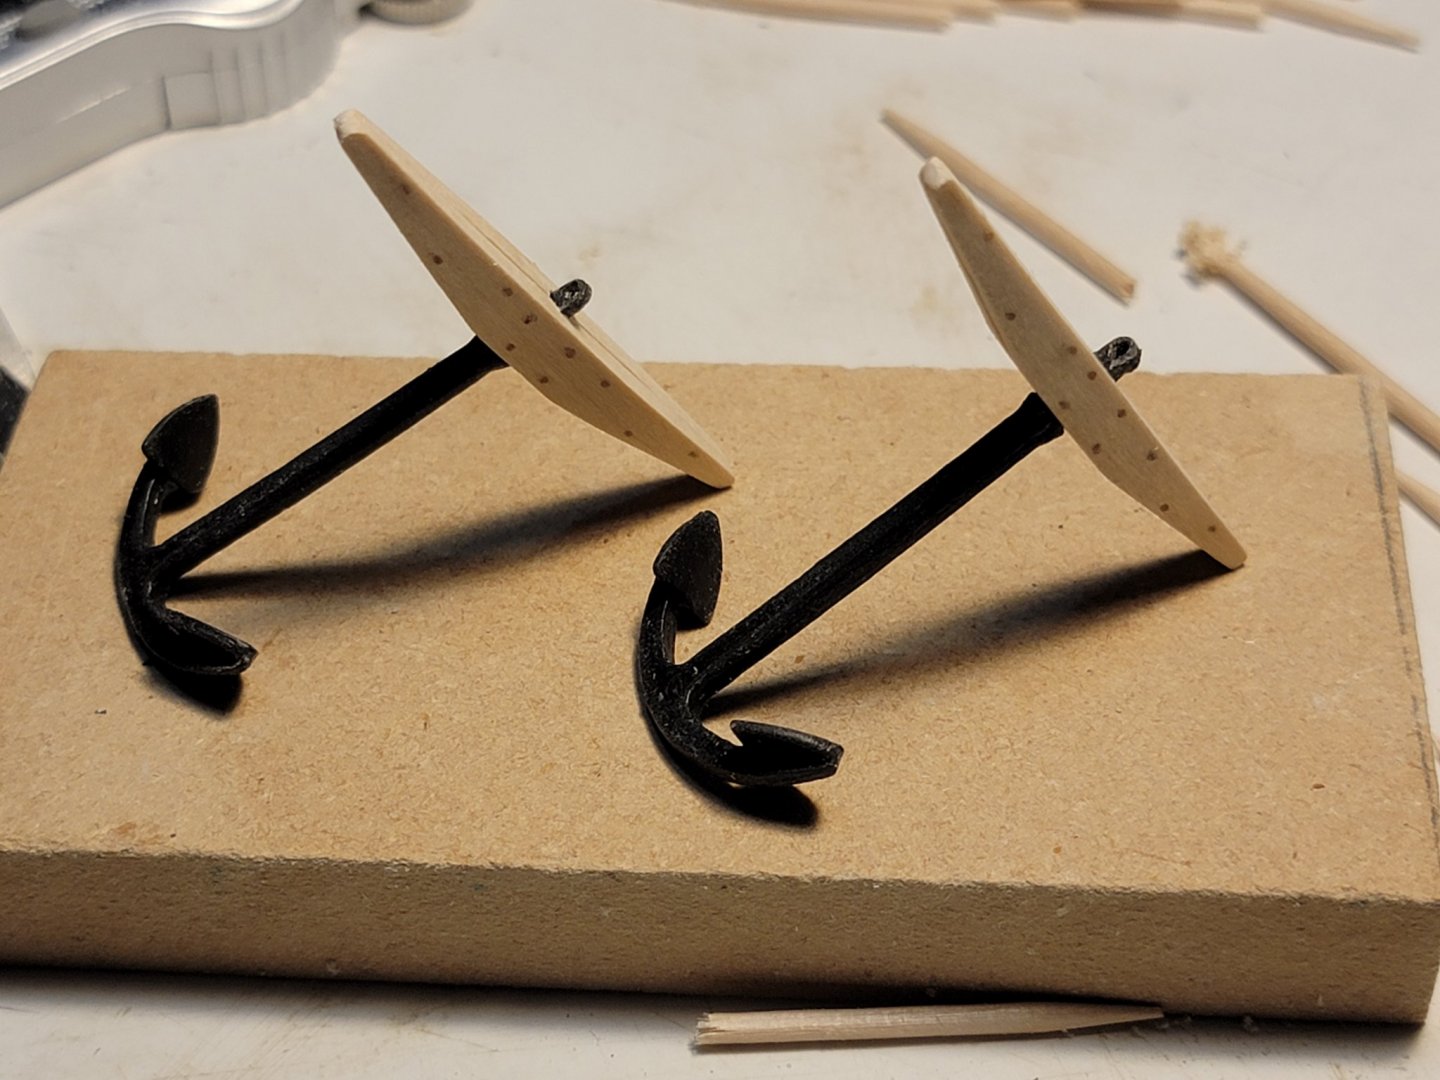
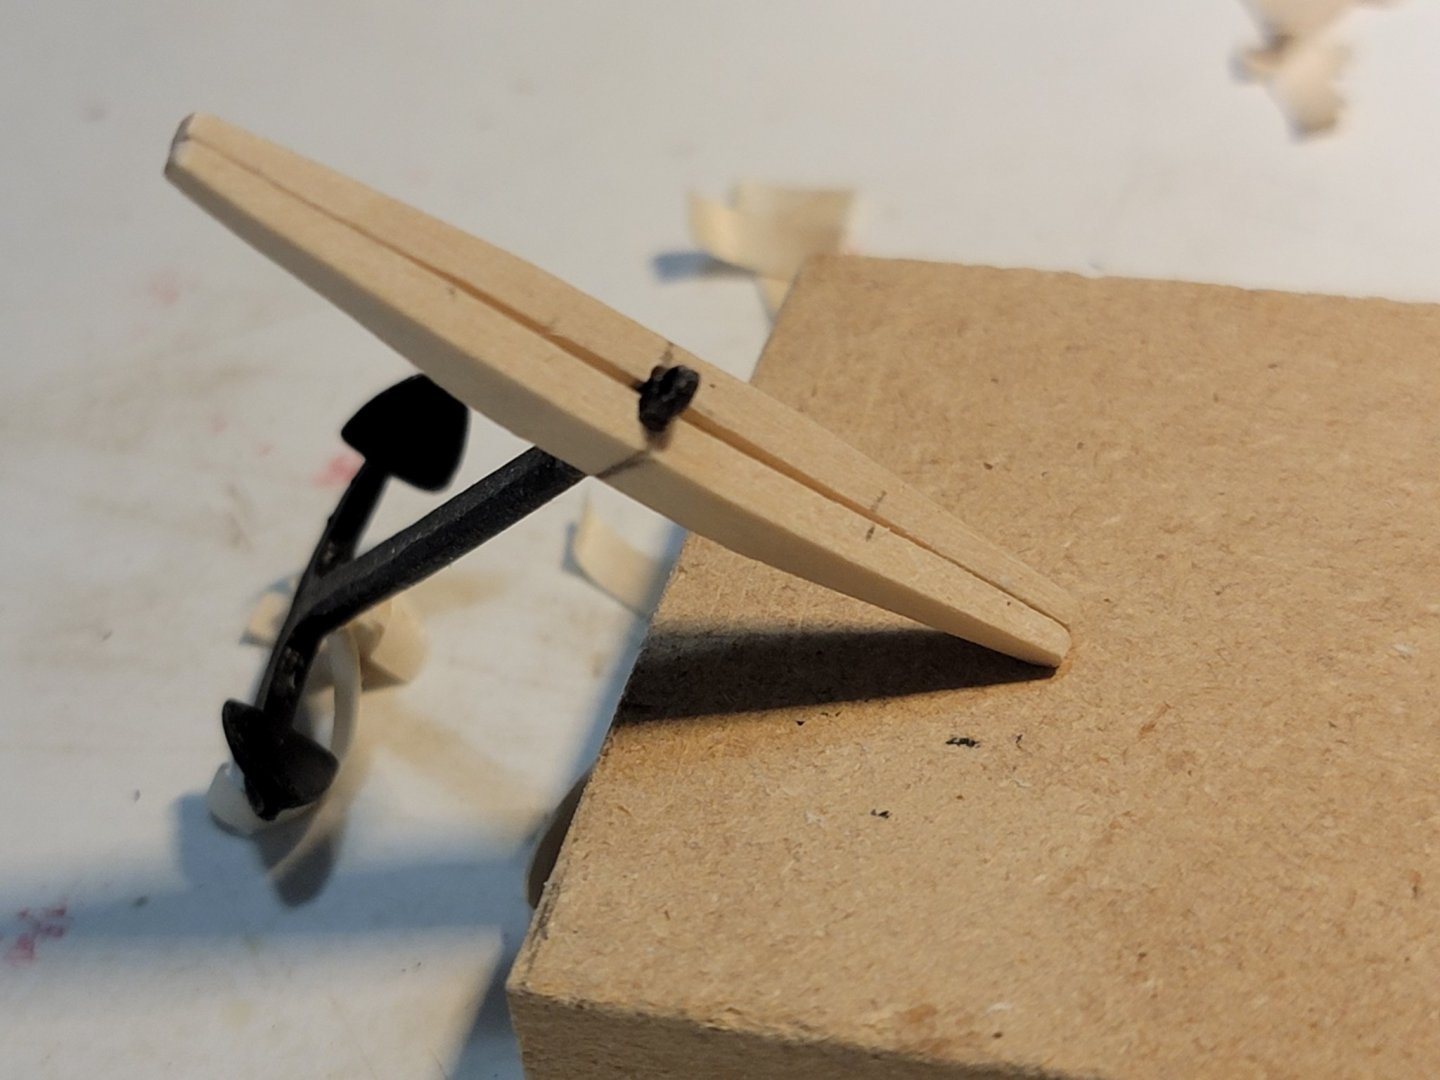
The anchors require much more work than I previously thought. Here is where I've reached with them: Next is the iron rings, then the buoys (which also seems very involved!)


- 950 replies
-
- 12
-
-
- syren
- model shipways
- (and 1 more)
-
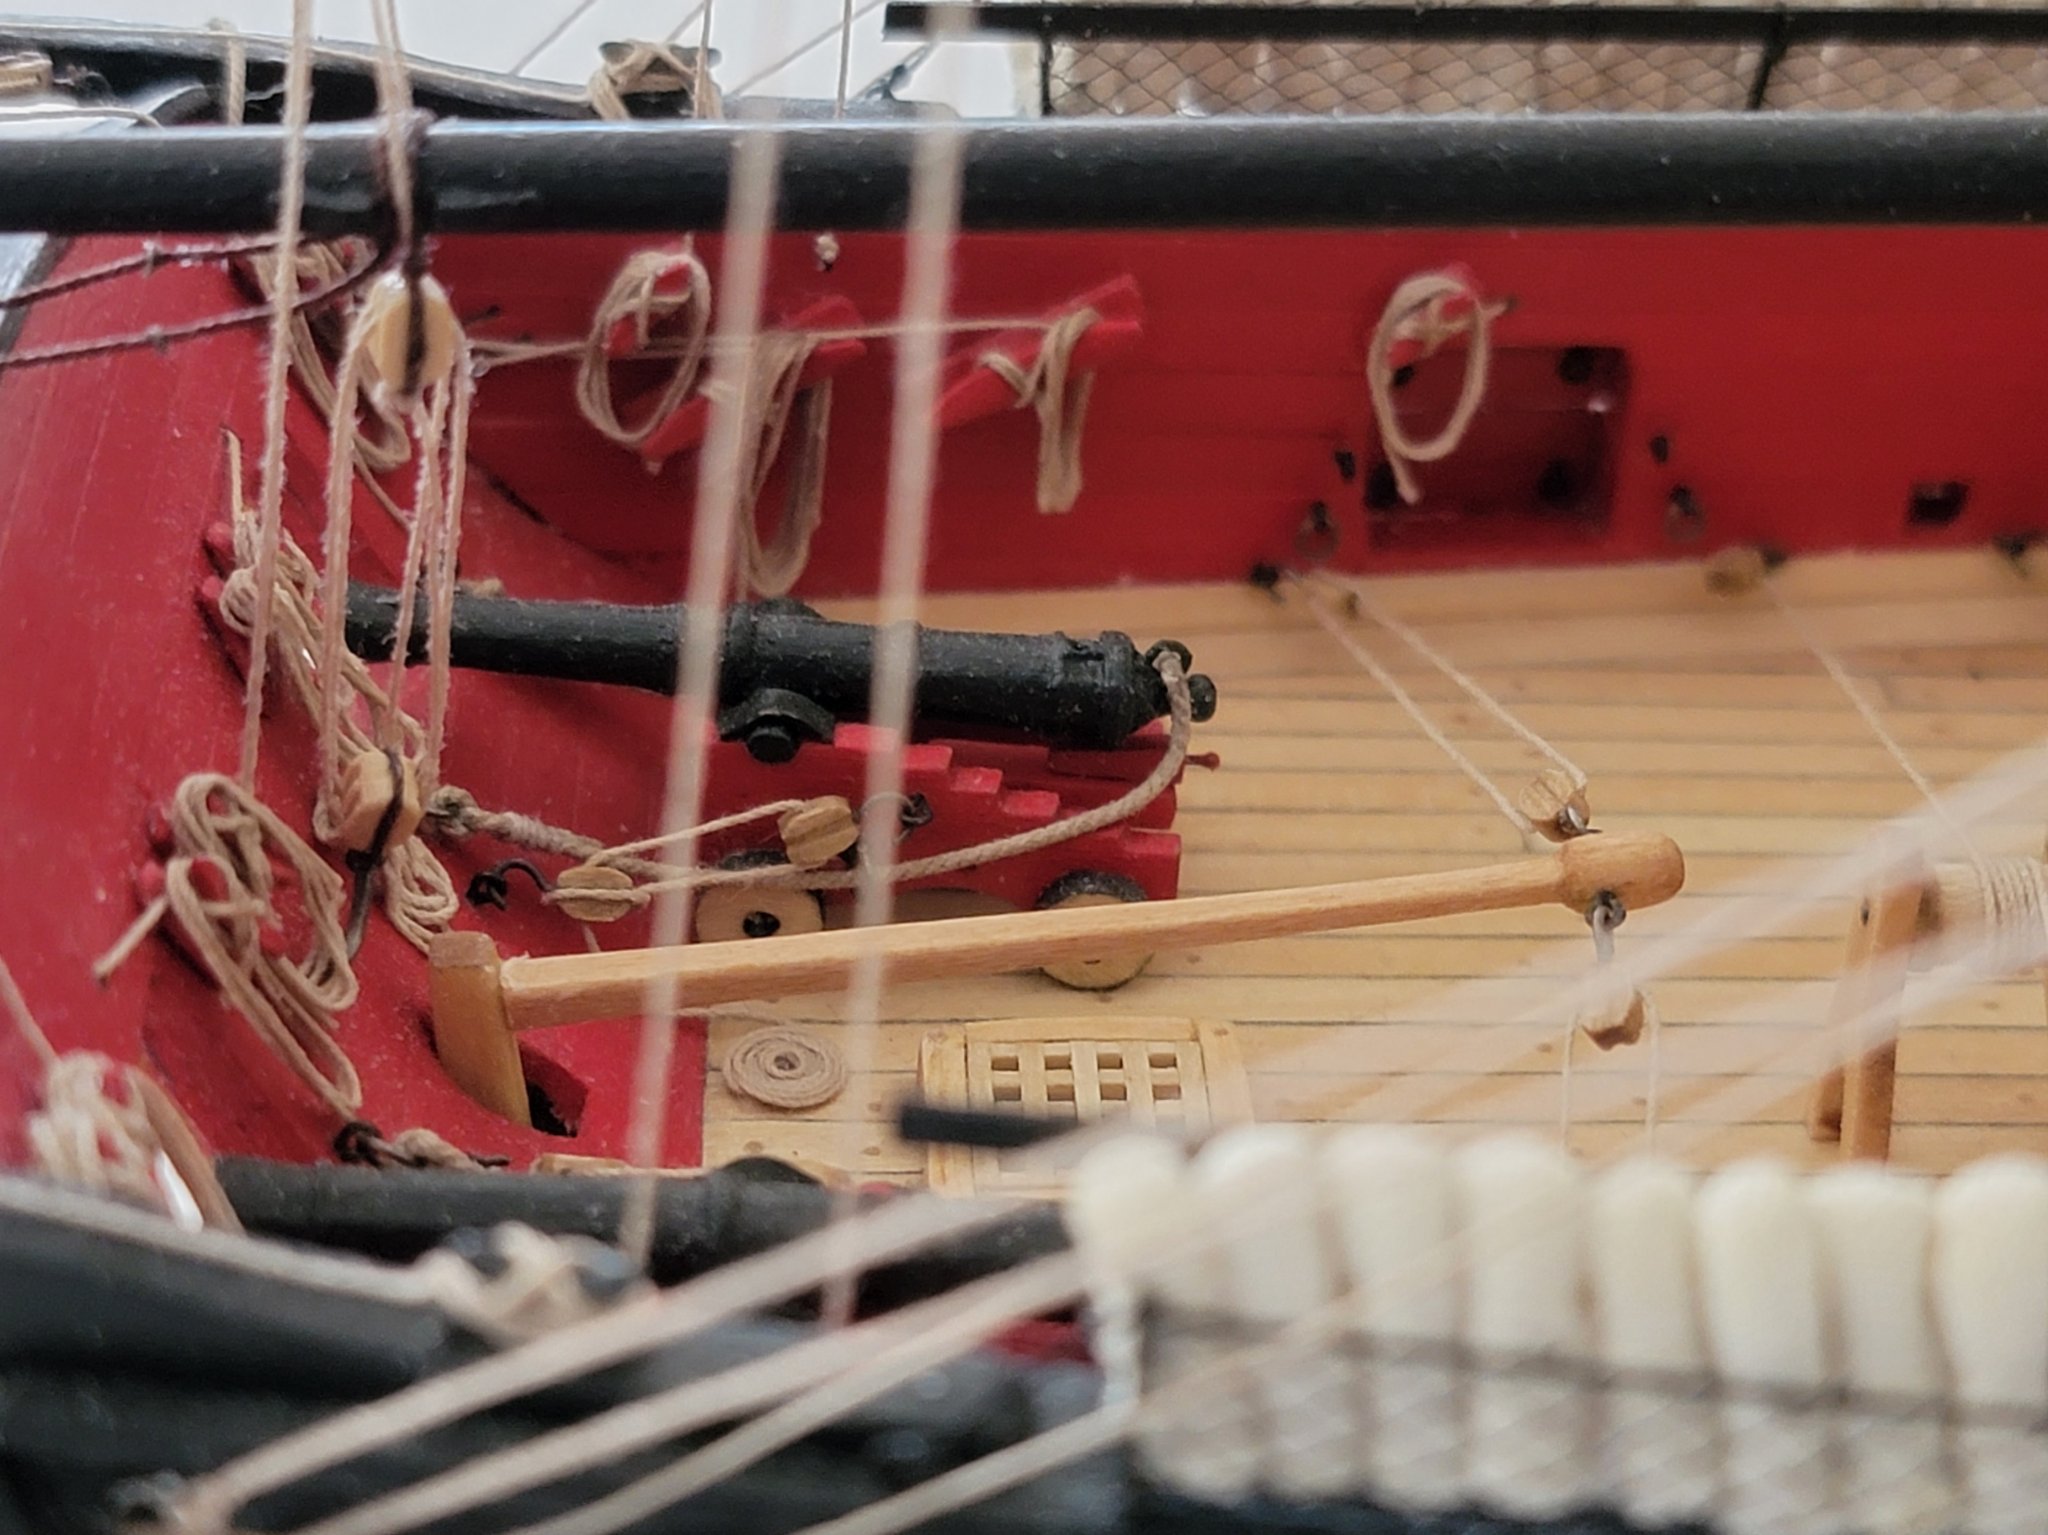
Everything looks so tidy and neat! Loving the rope coils too!! 😁
-
Thanks so much for the generous comments and likes!! 😀 I took a bit of a break after finishing up the running rigging. I'll start working on the anchors this weekend. I guess it's only a couple days worth of work before the entire model is completed!
- 950 replies
-
- 4
-
-
- syren
- model shipways
- (and 1 more)
-
Congrats!!! I've been following your progress from very early on. It's very inspirational. Any thoughts for the next build? Amazing collection of models btw! 🙂
-
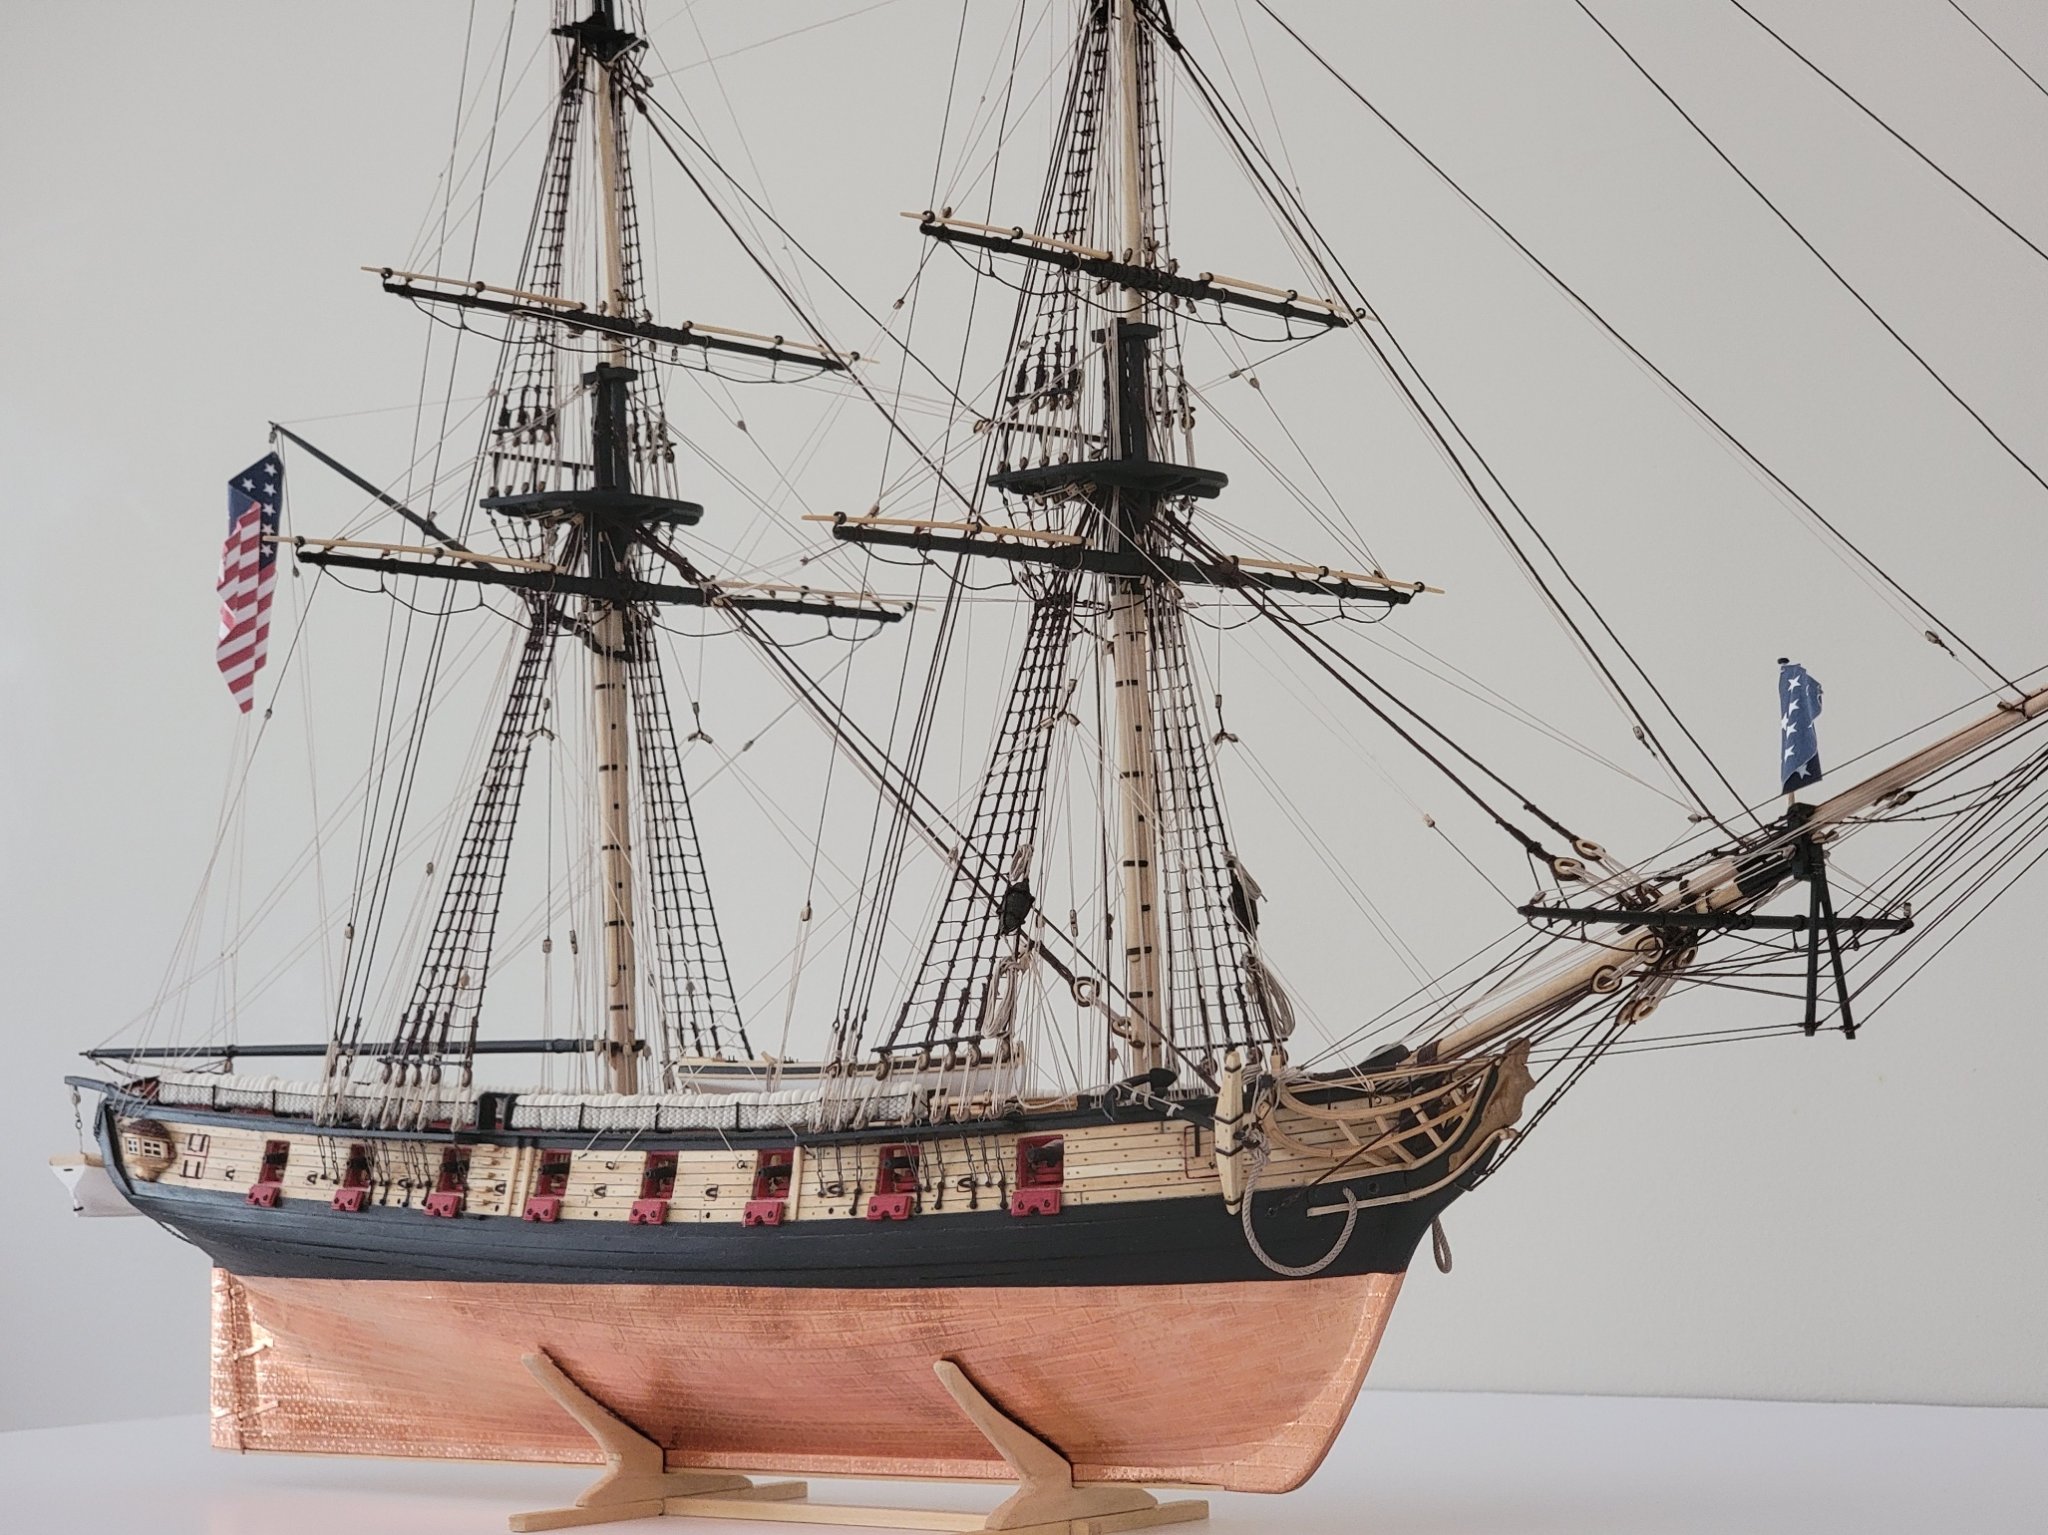
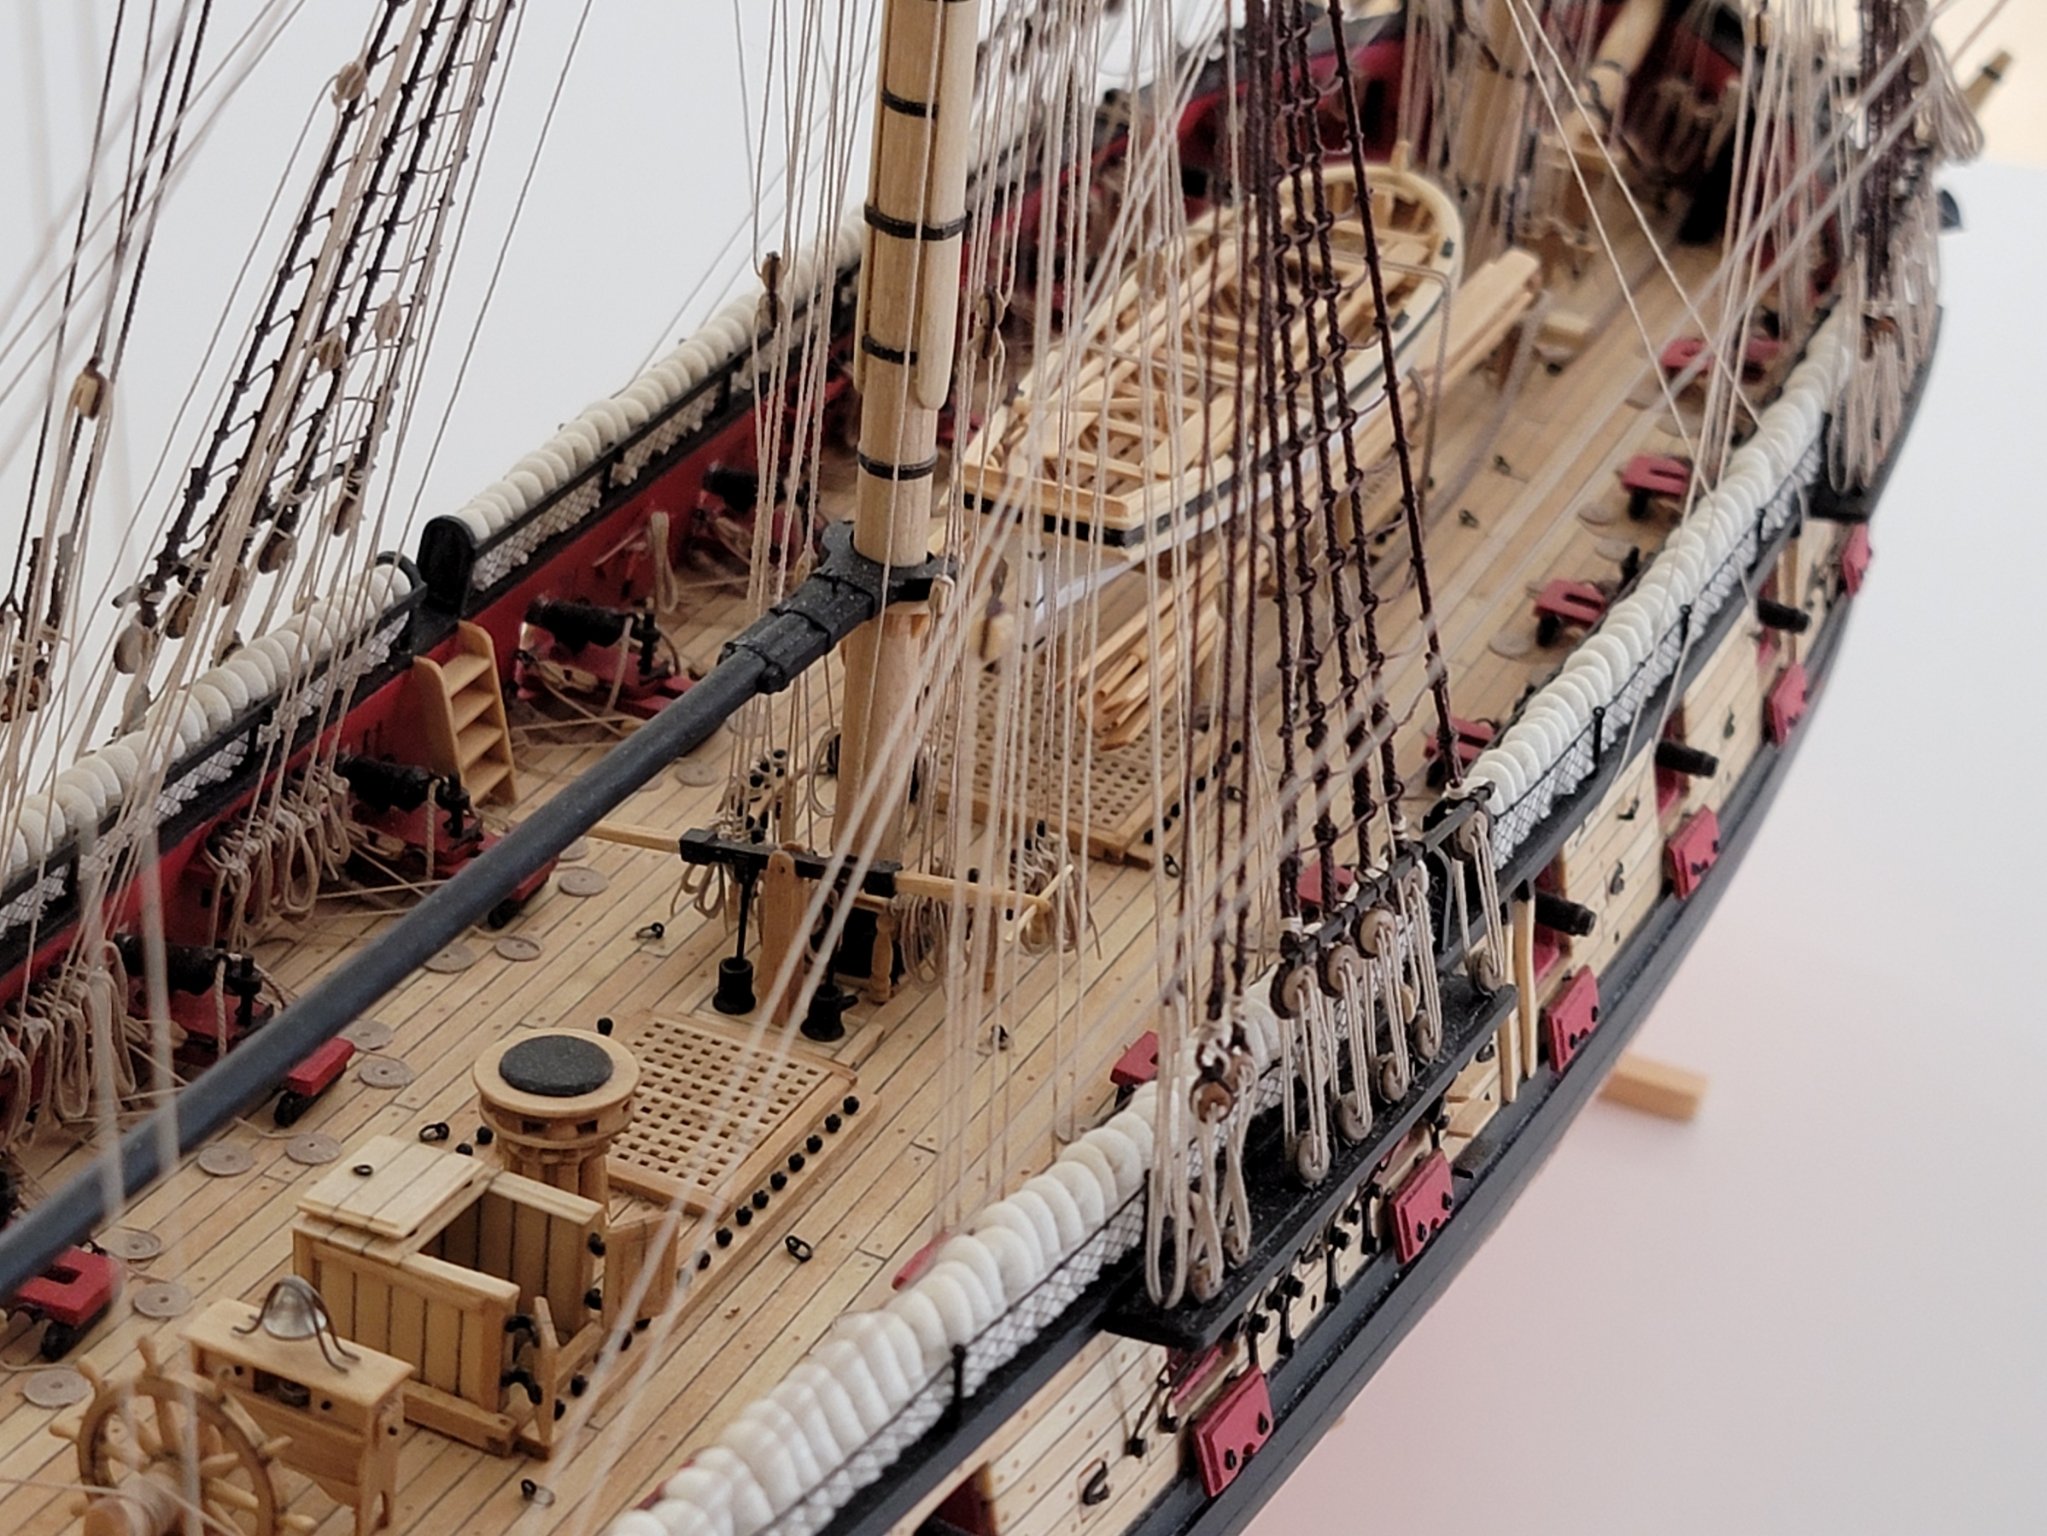
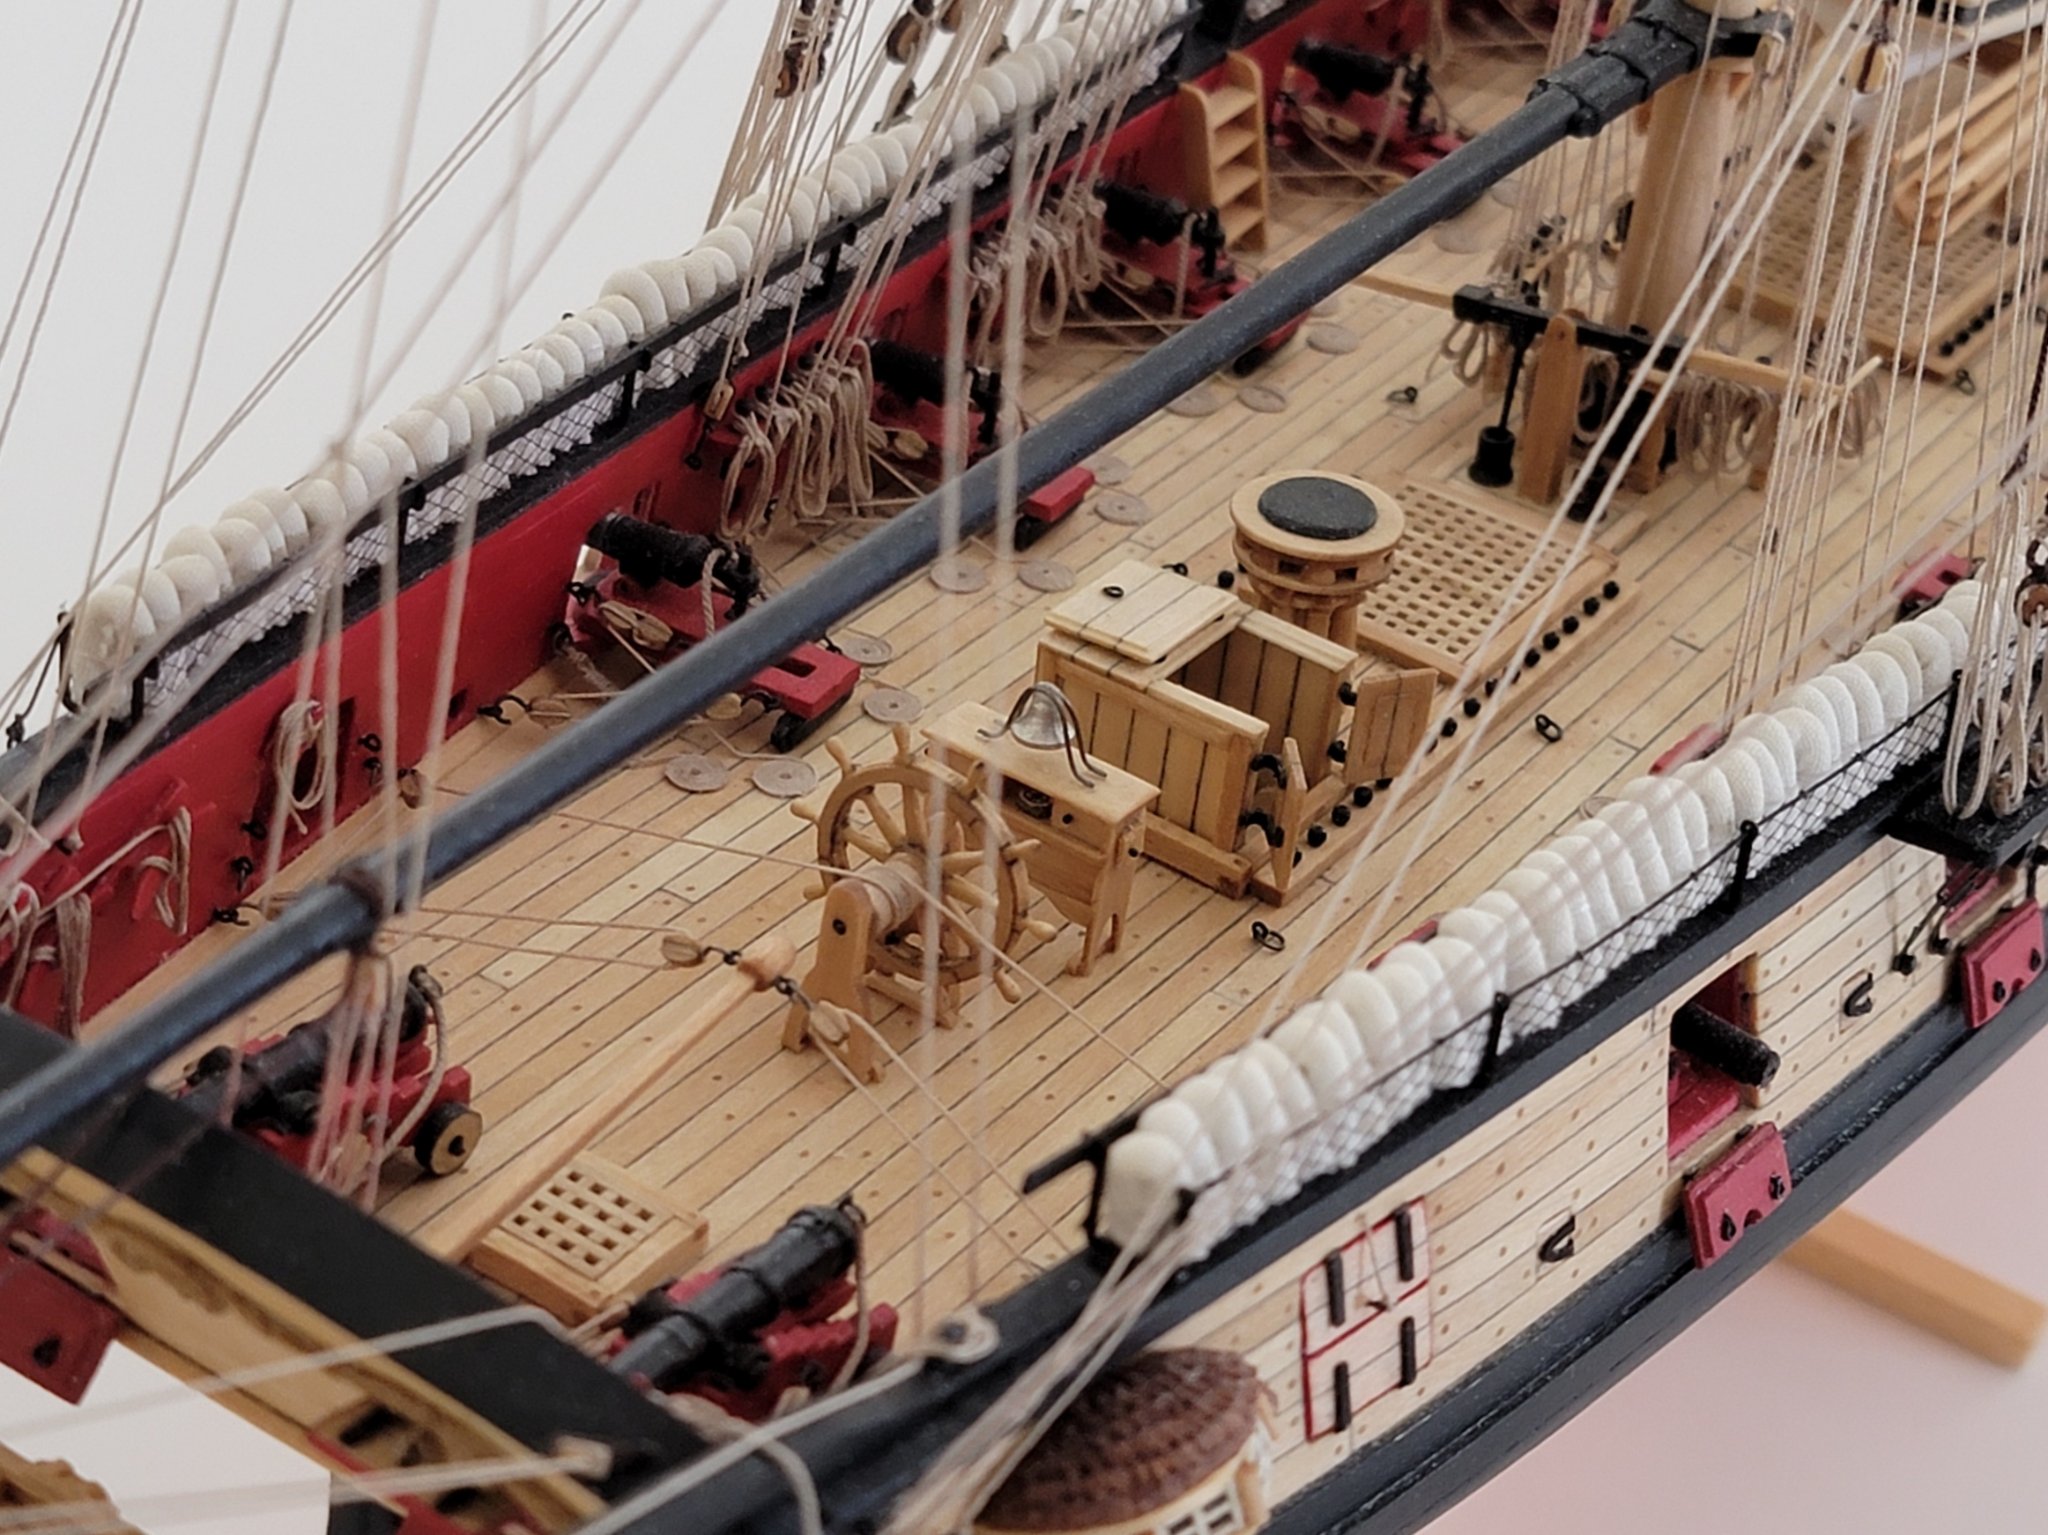
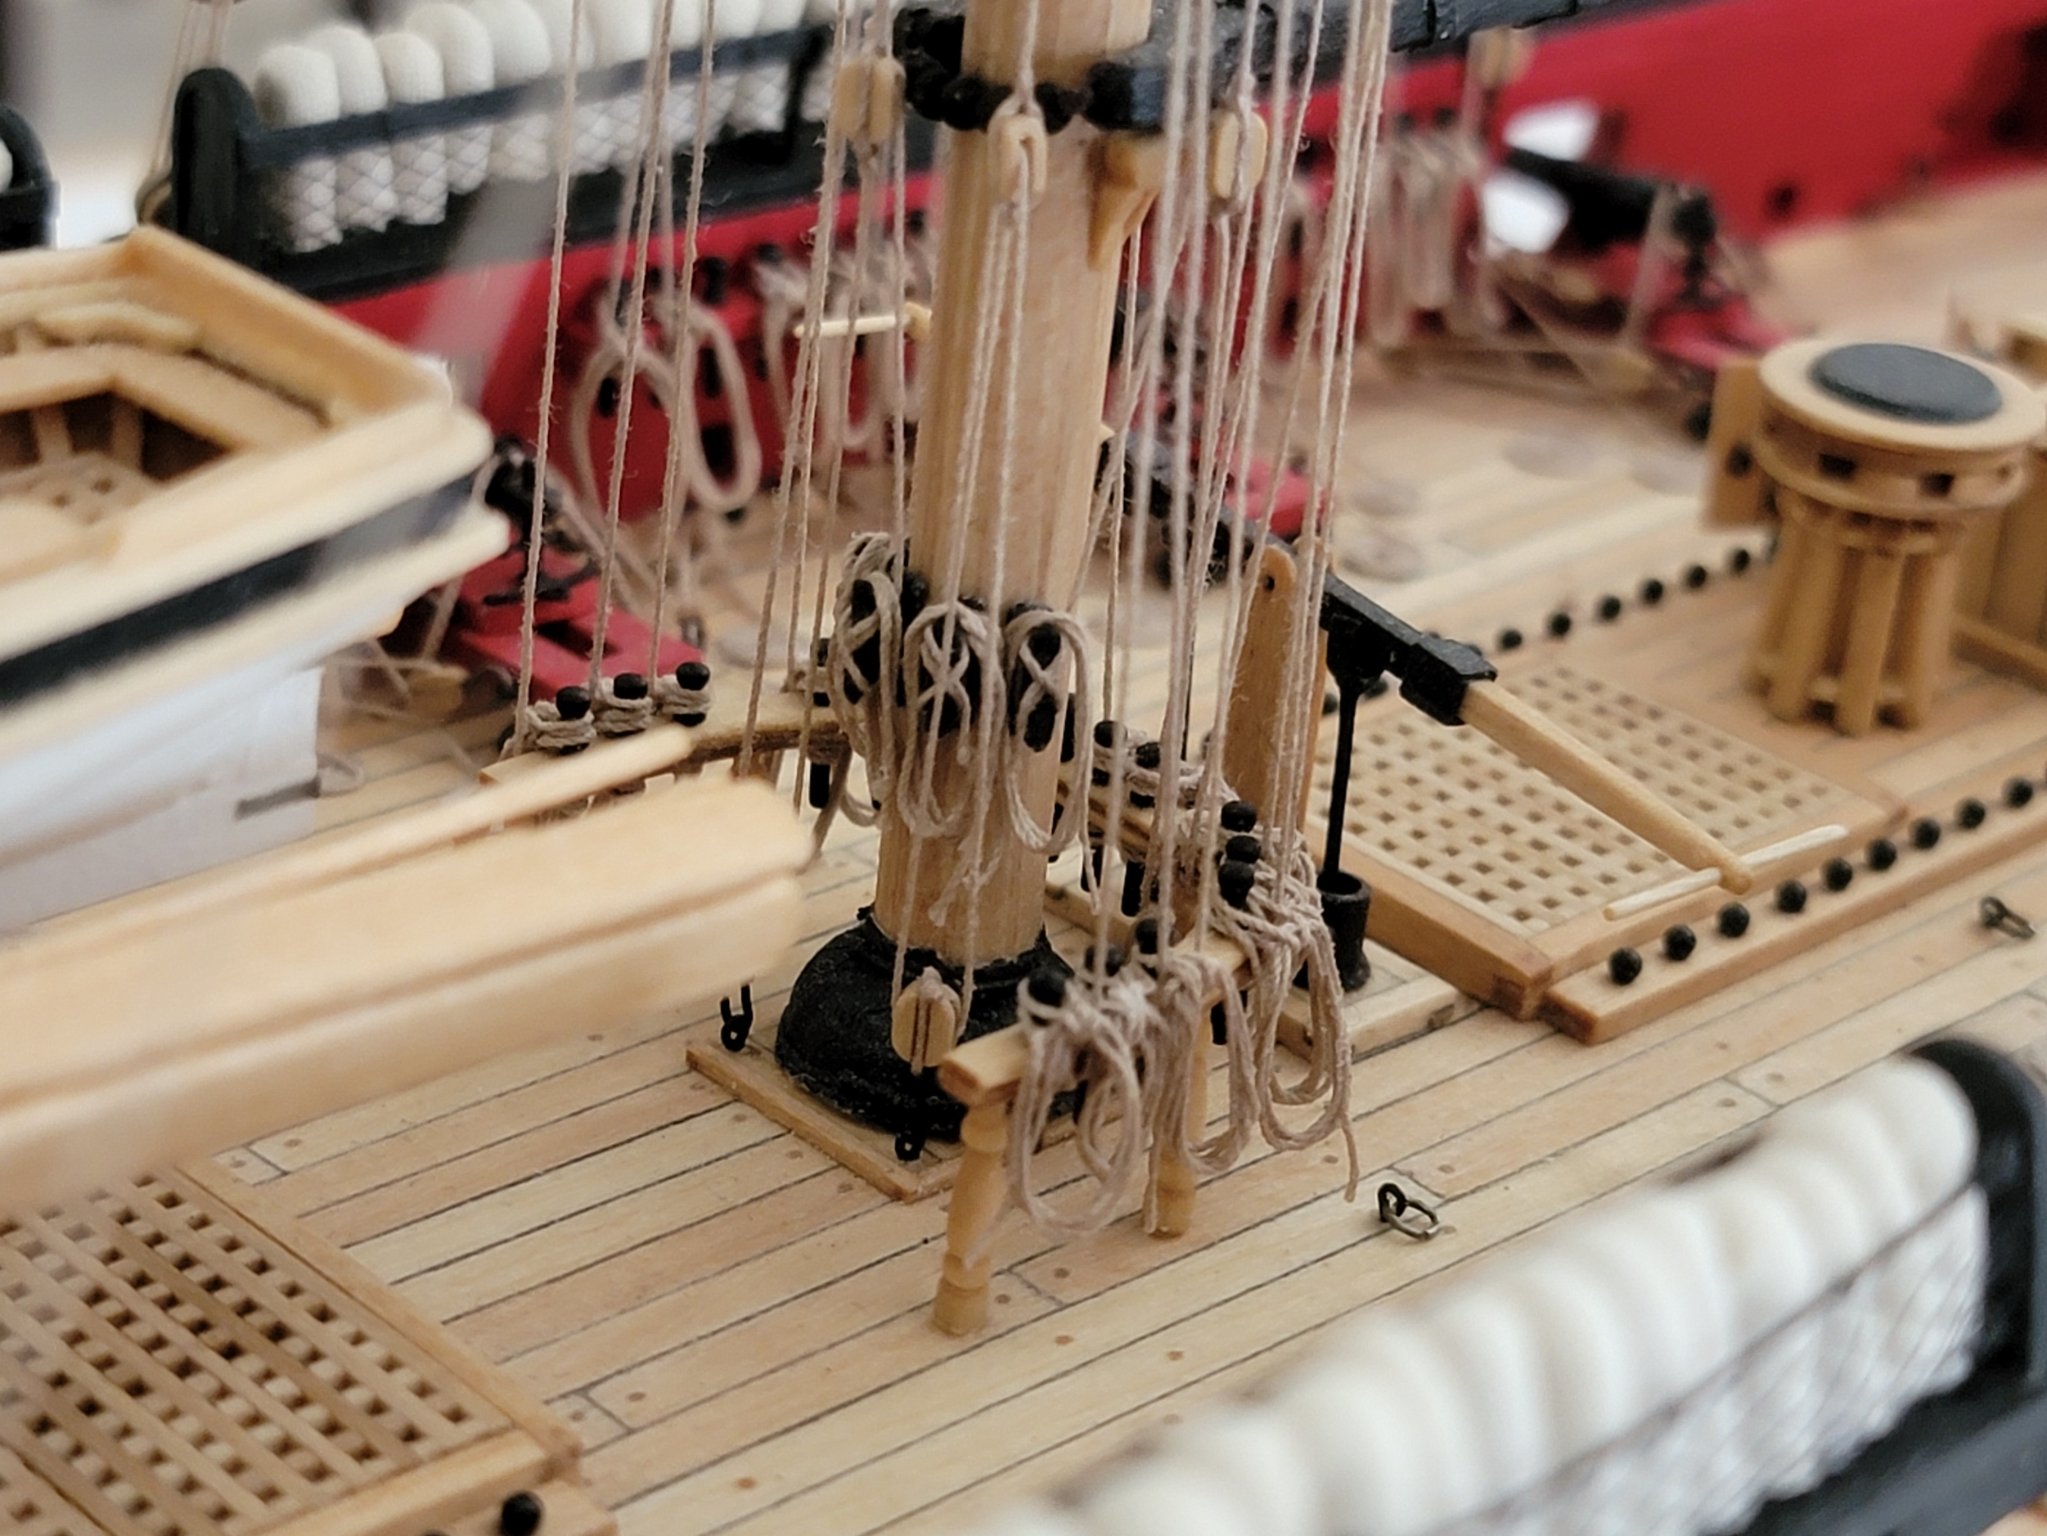
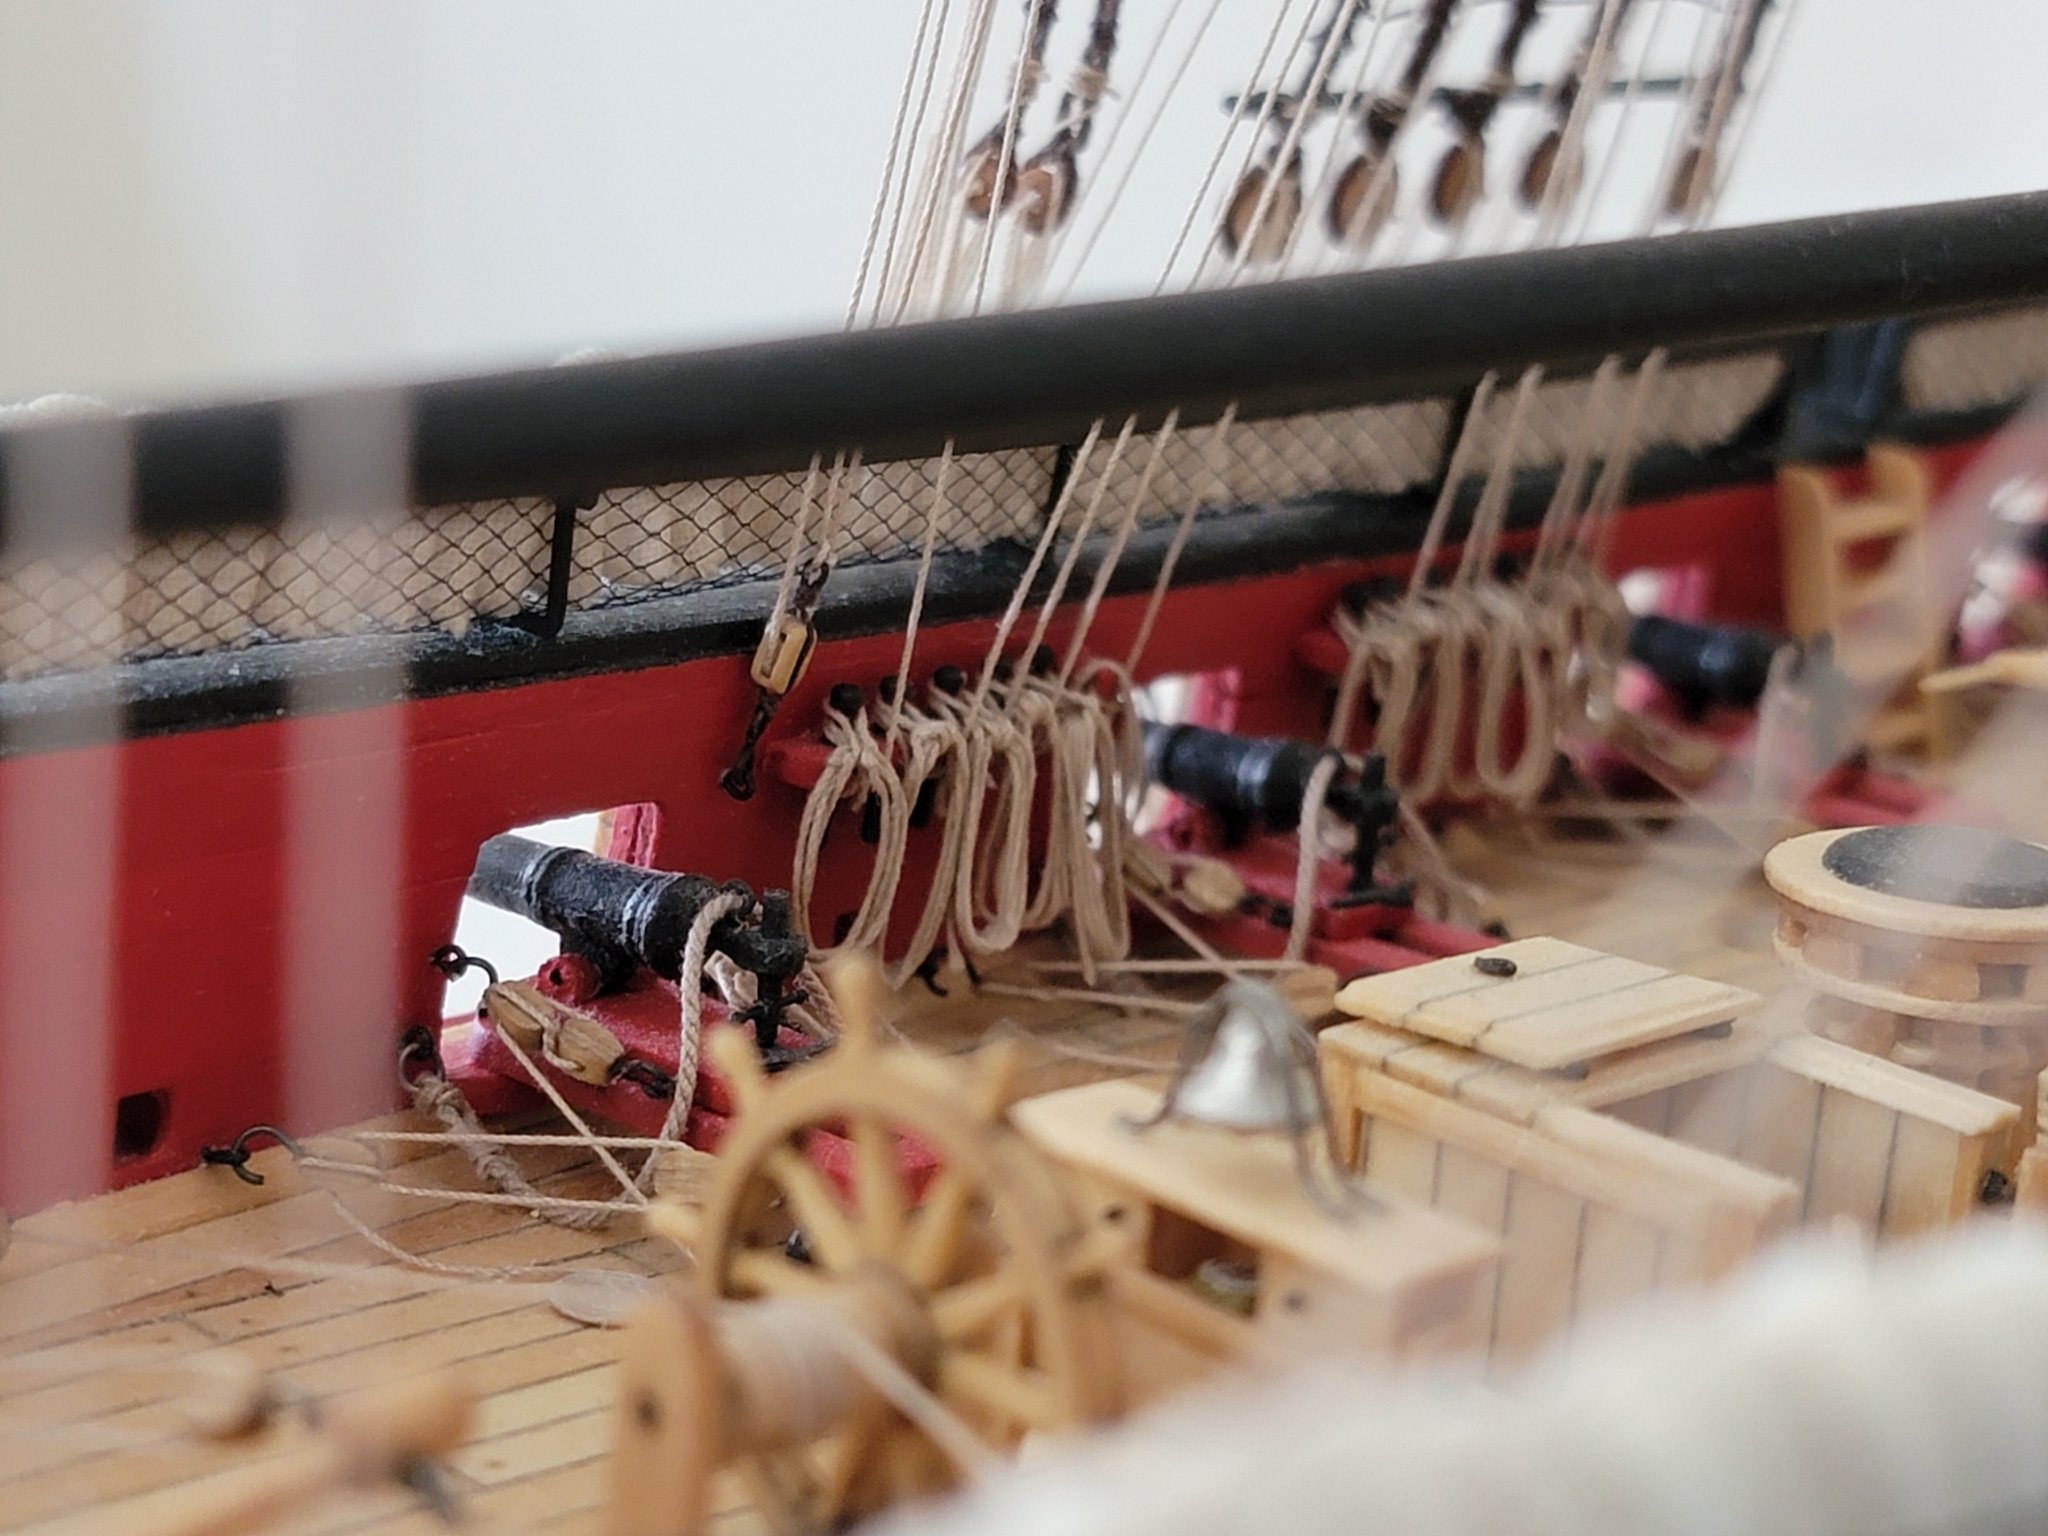
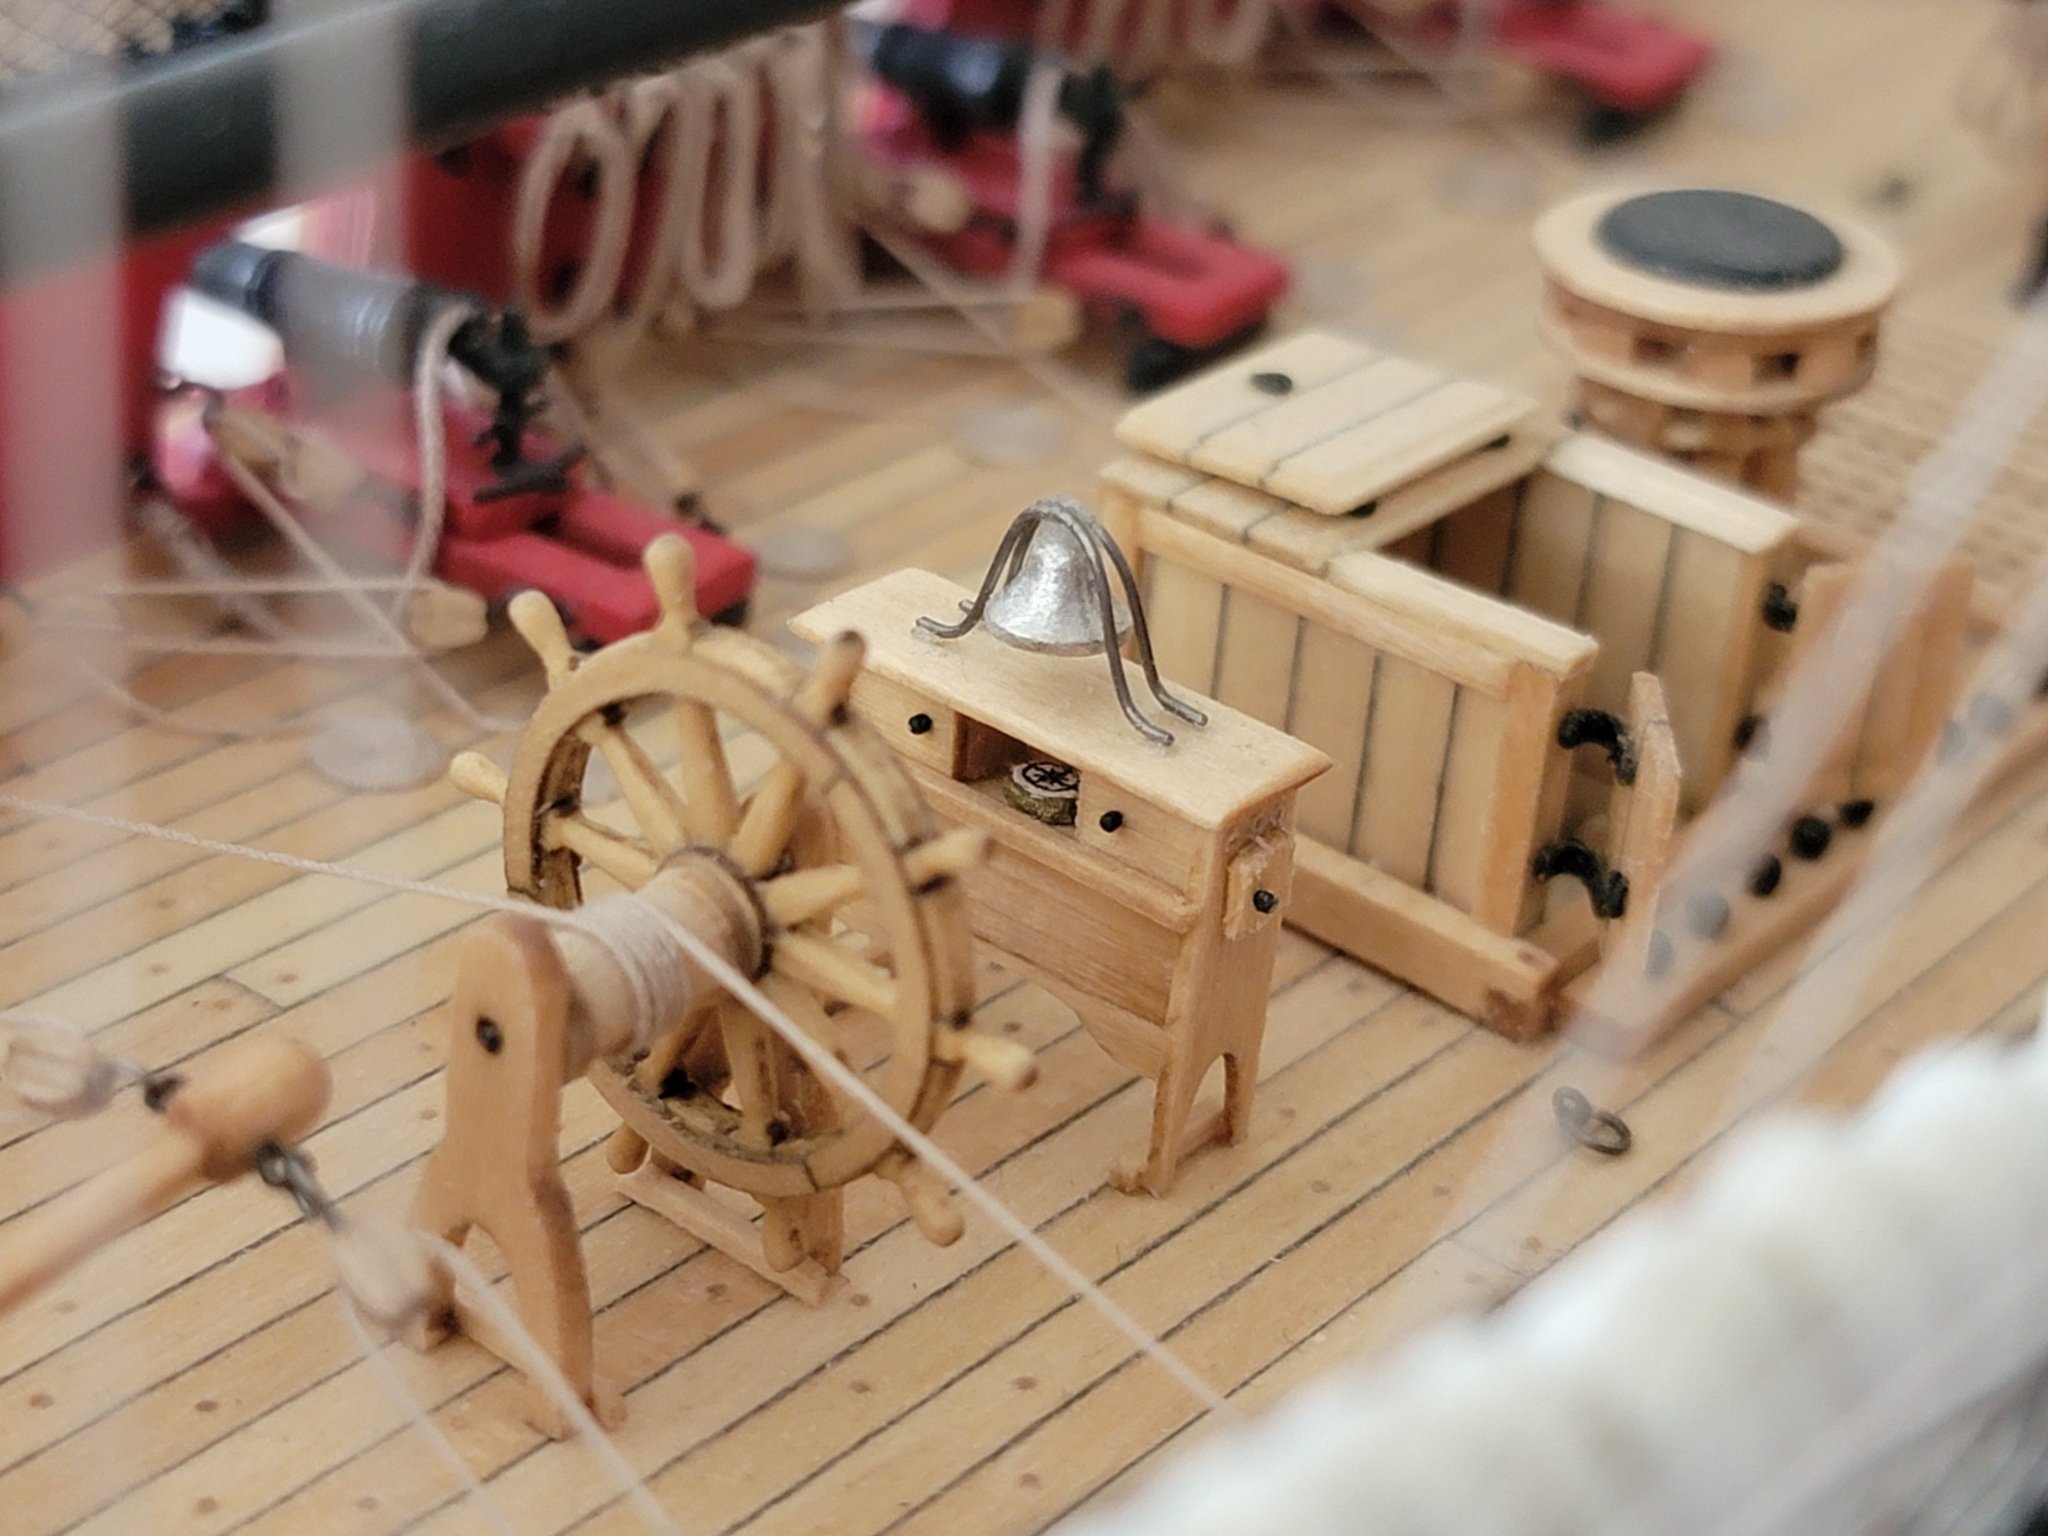
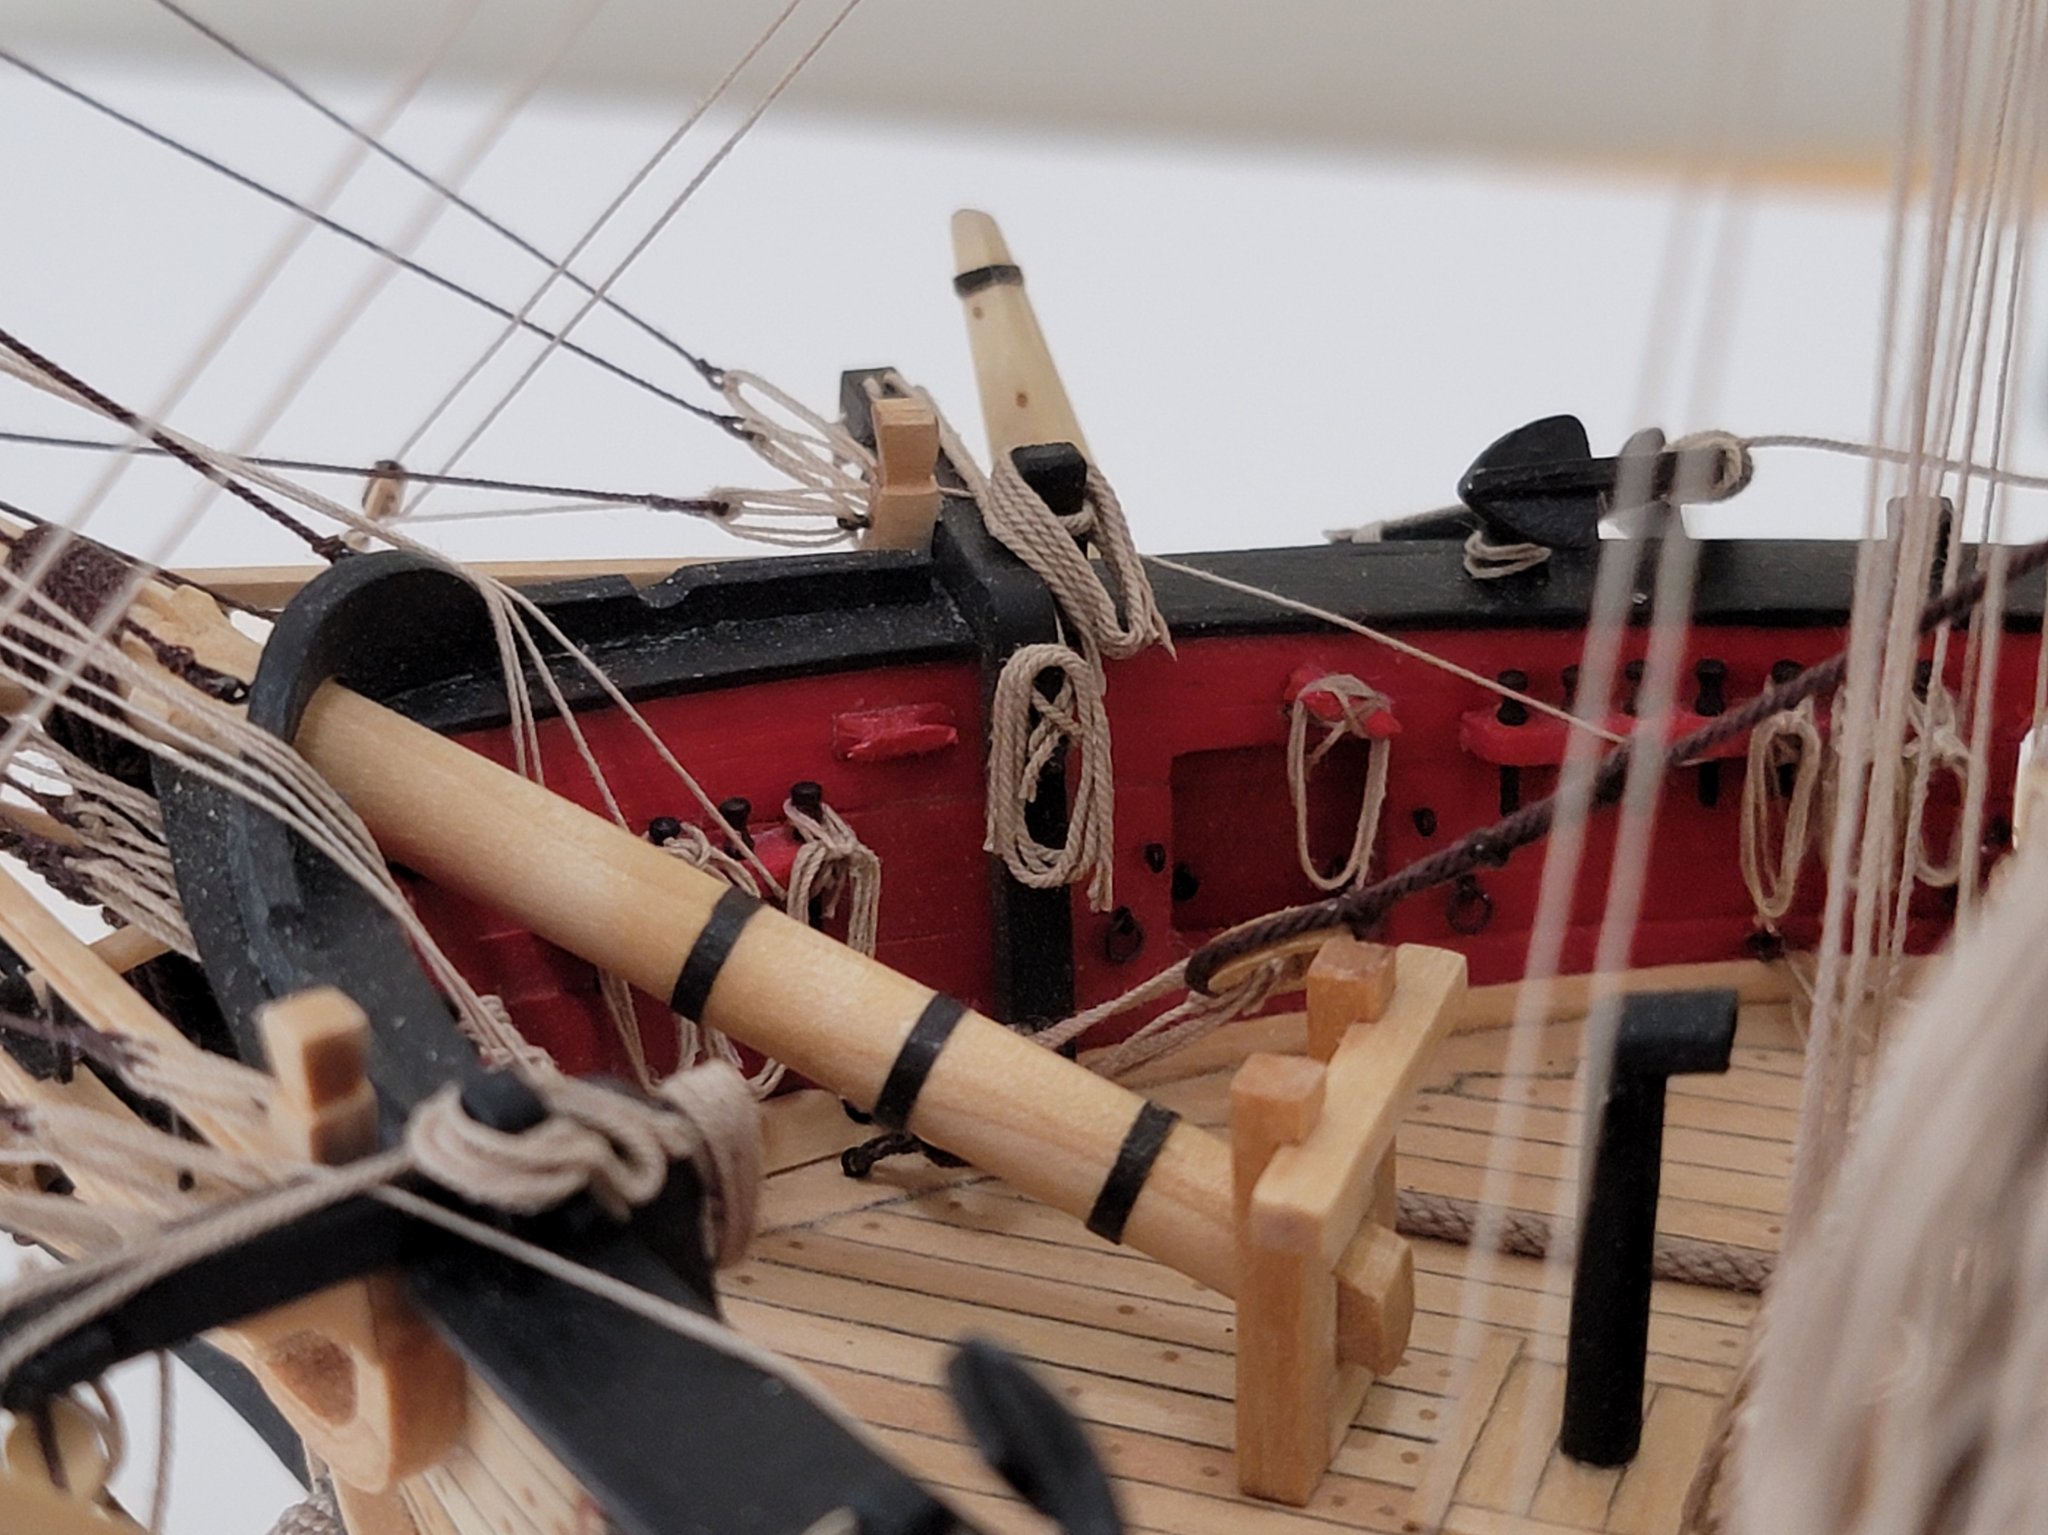
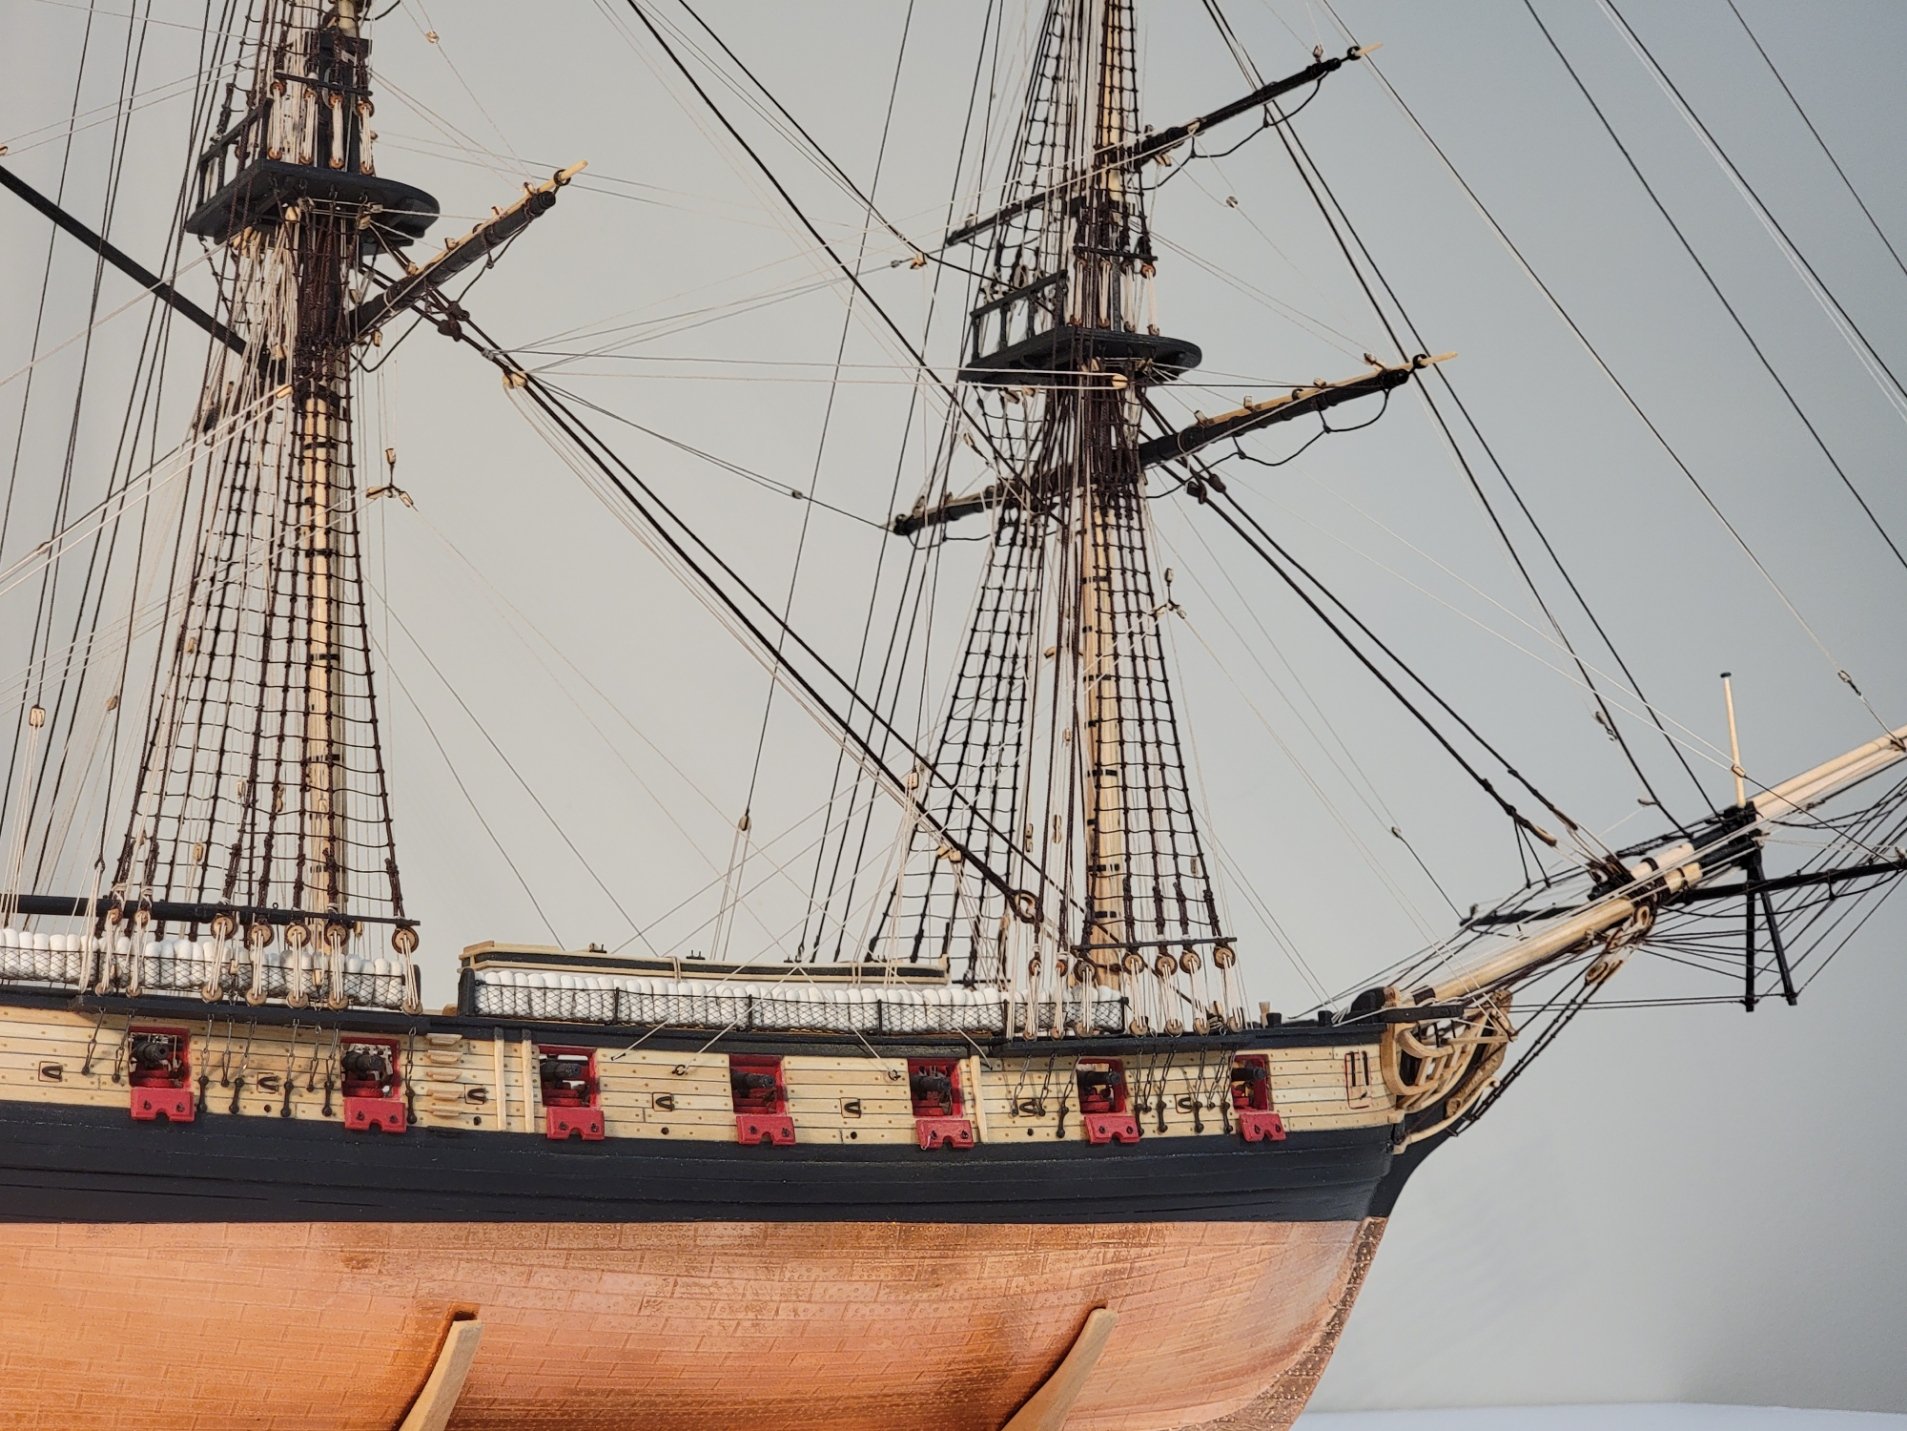
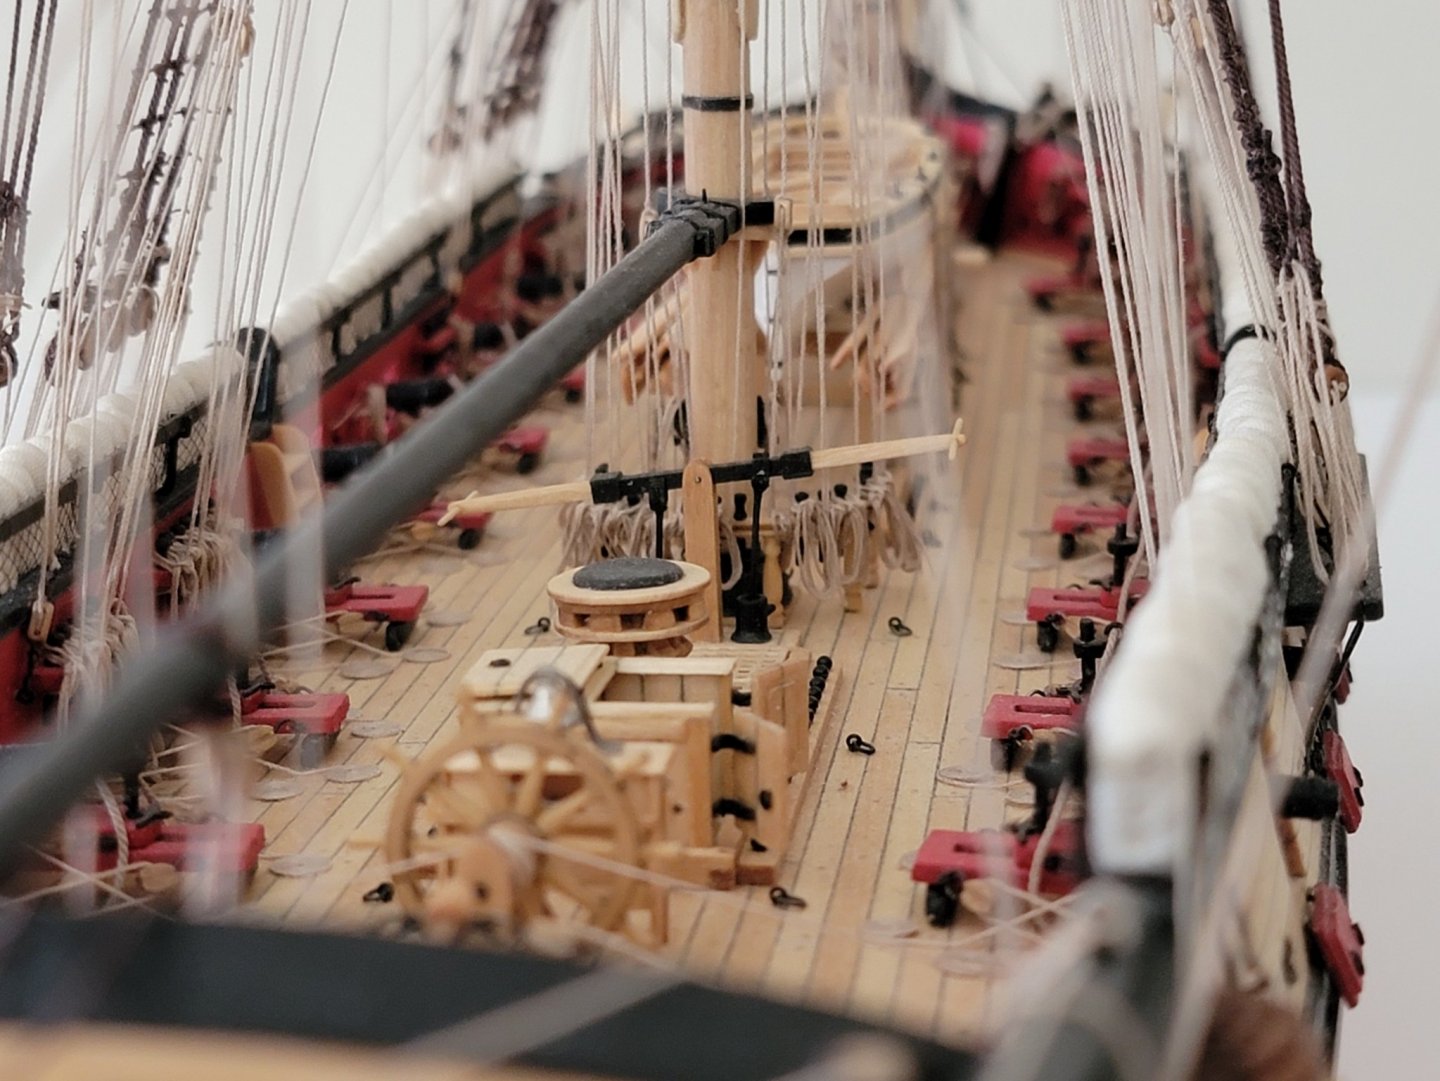
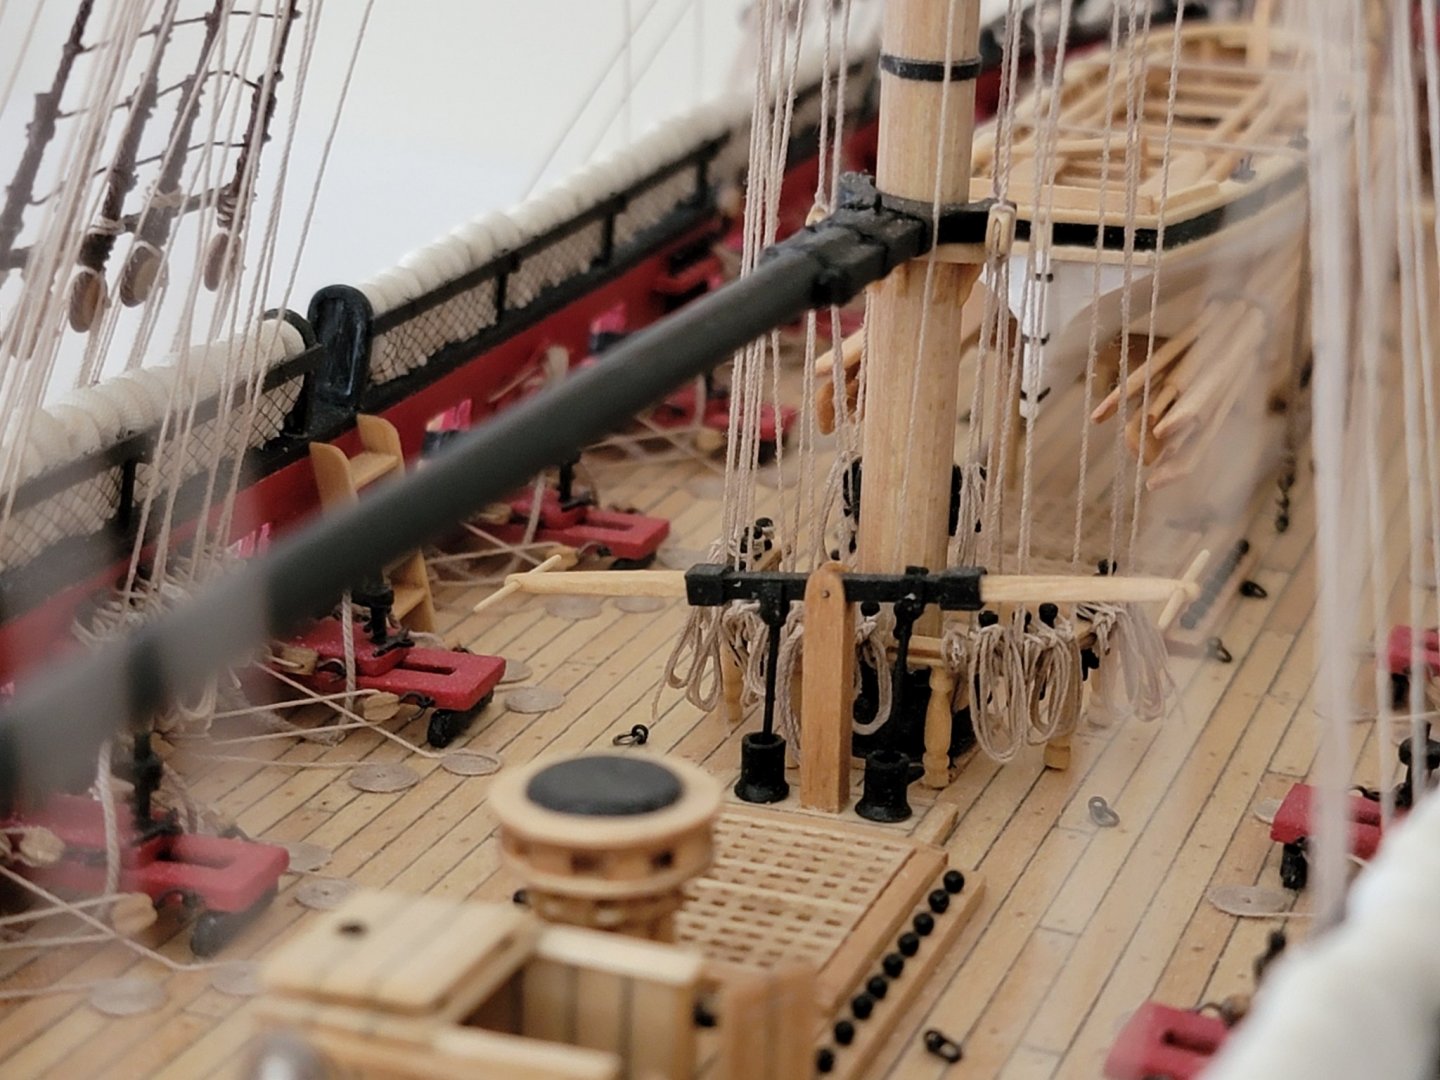
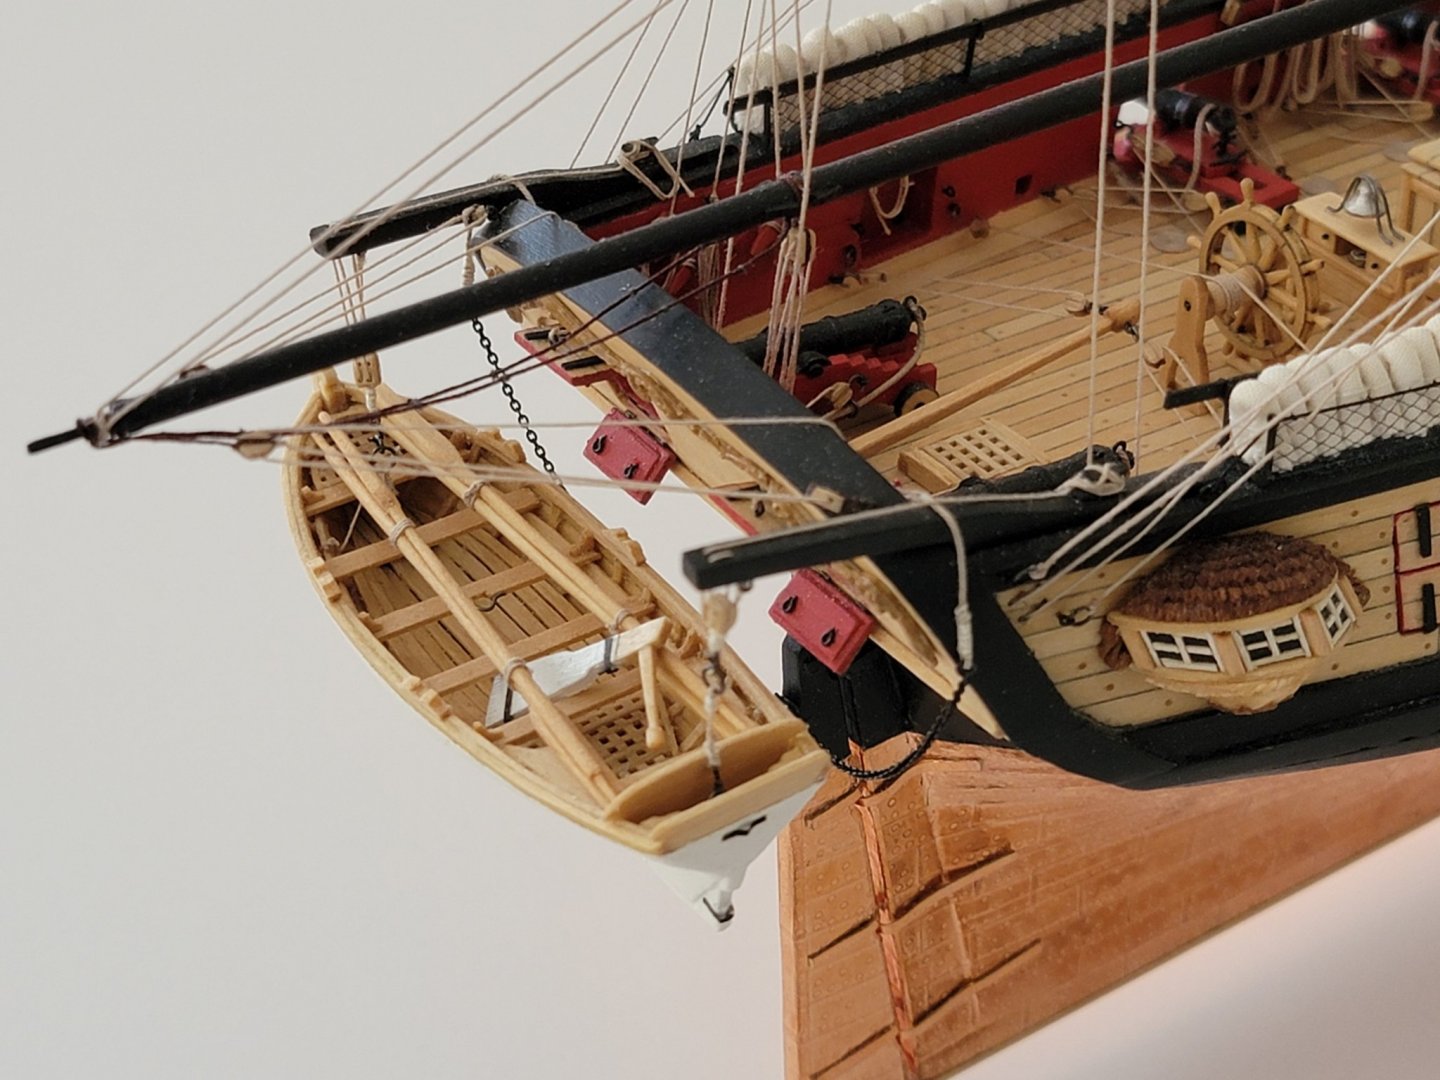
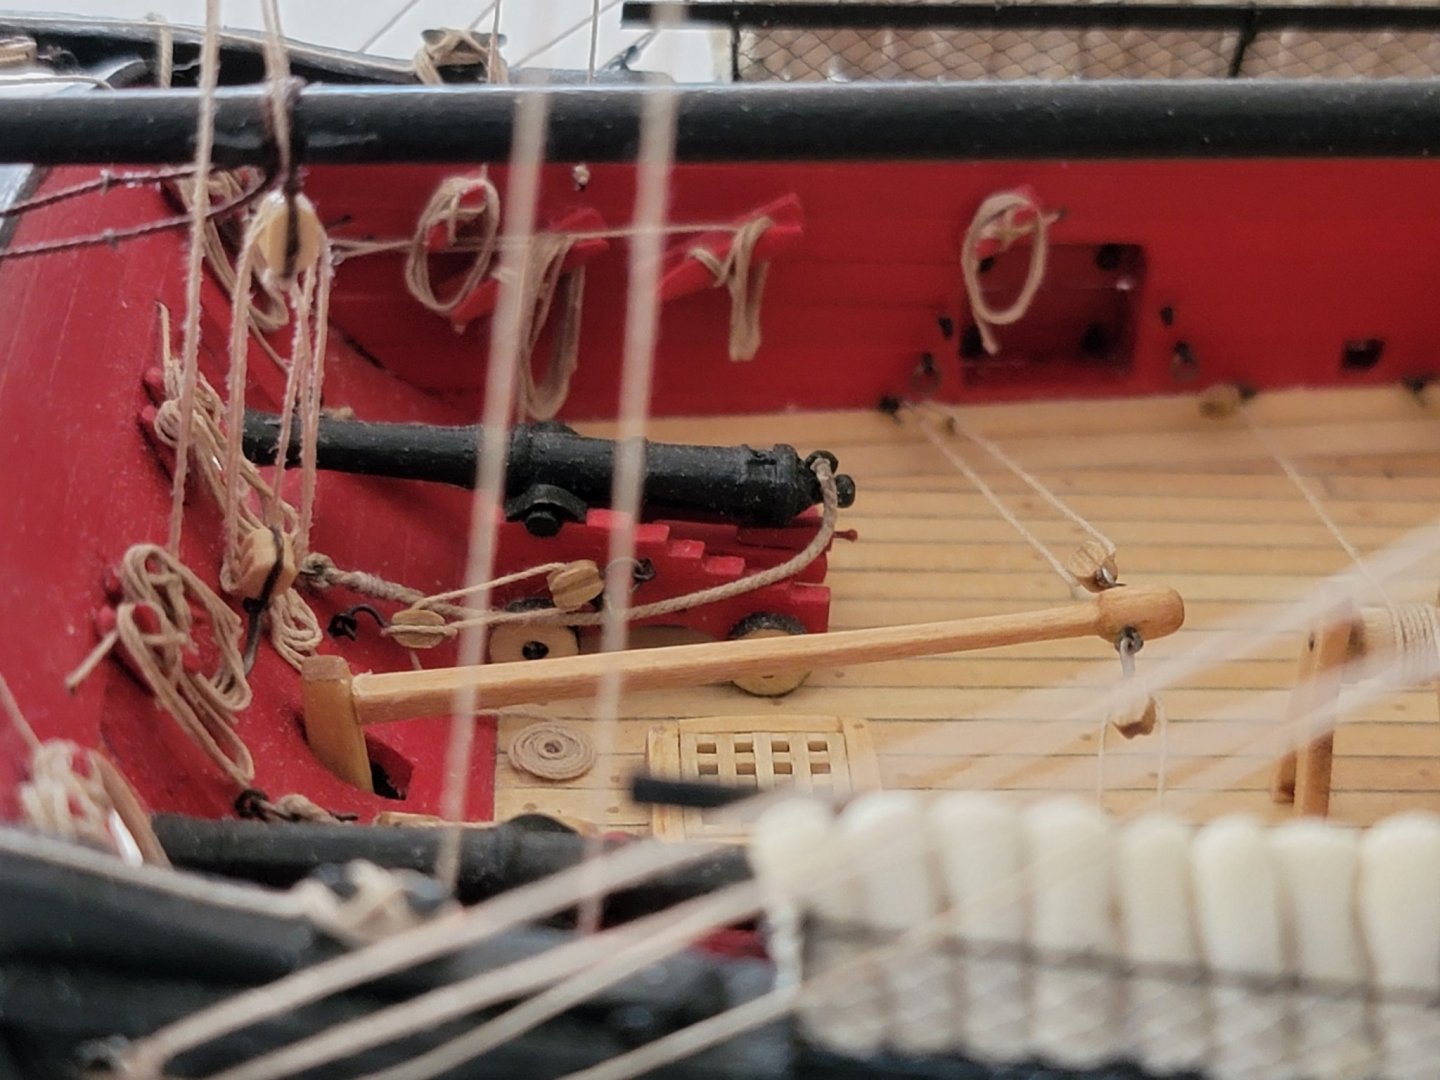
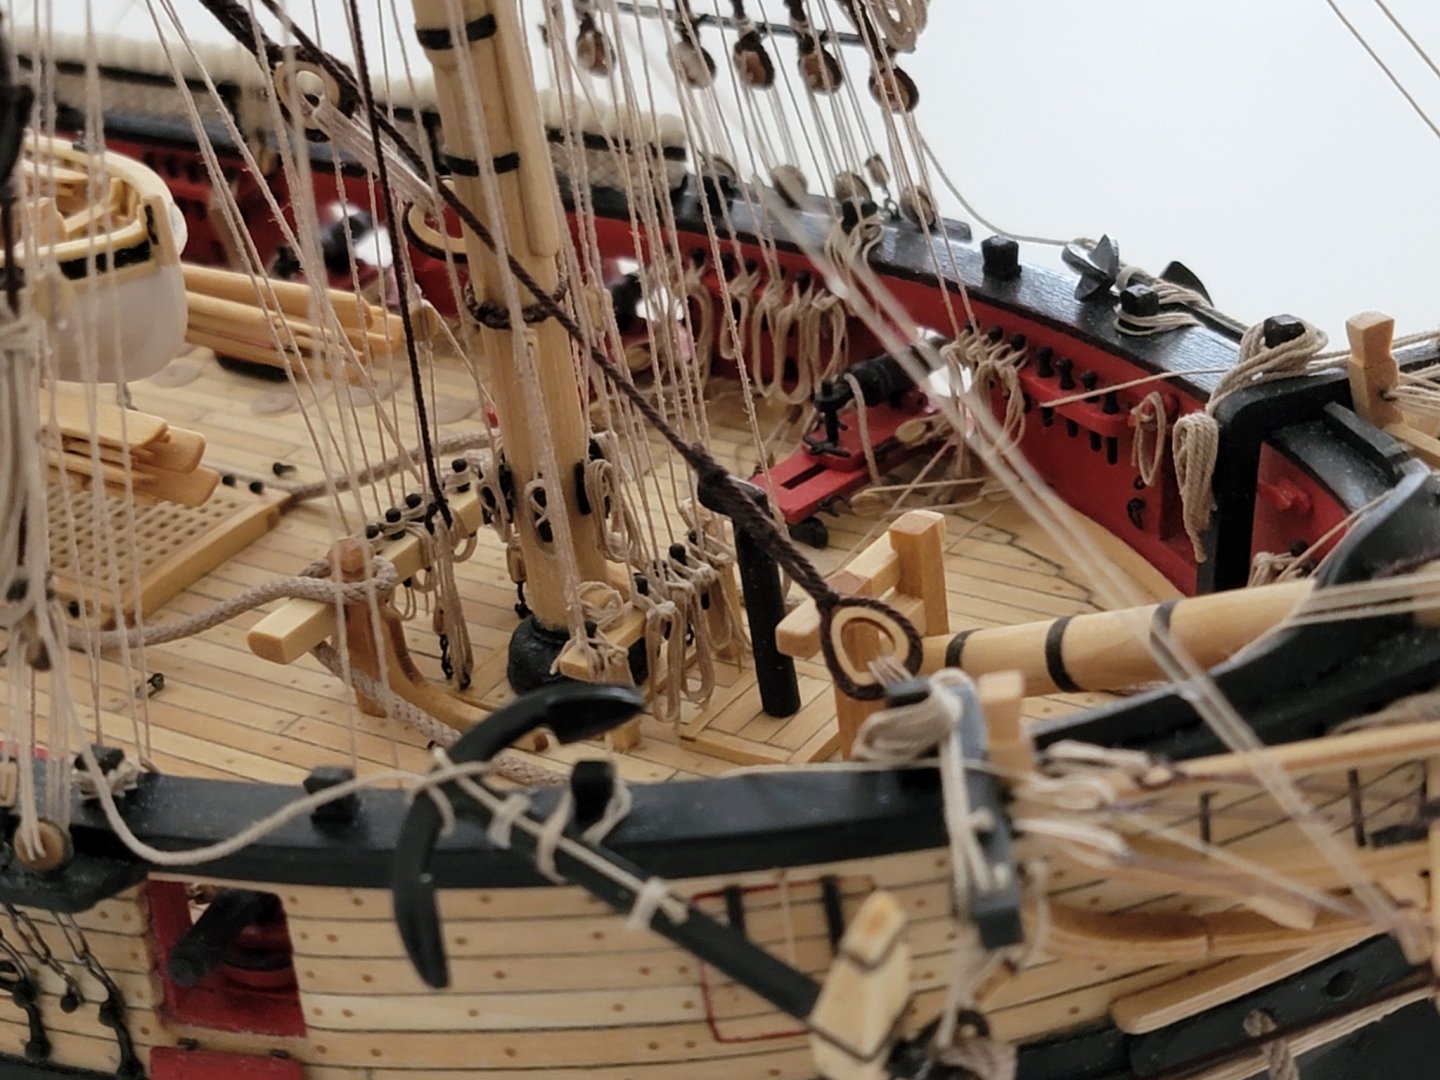
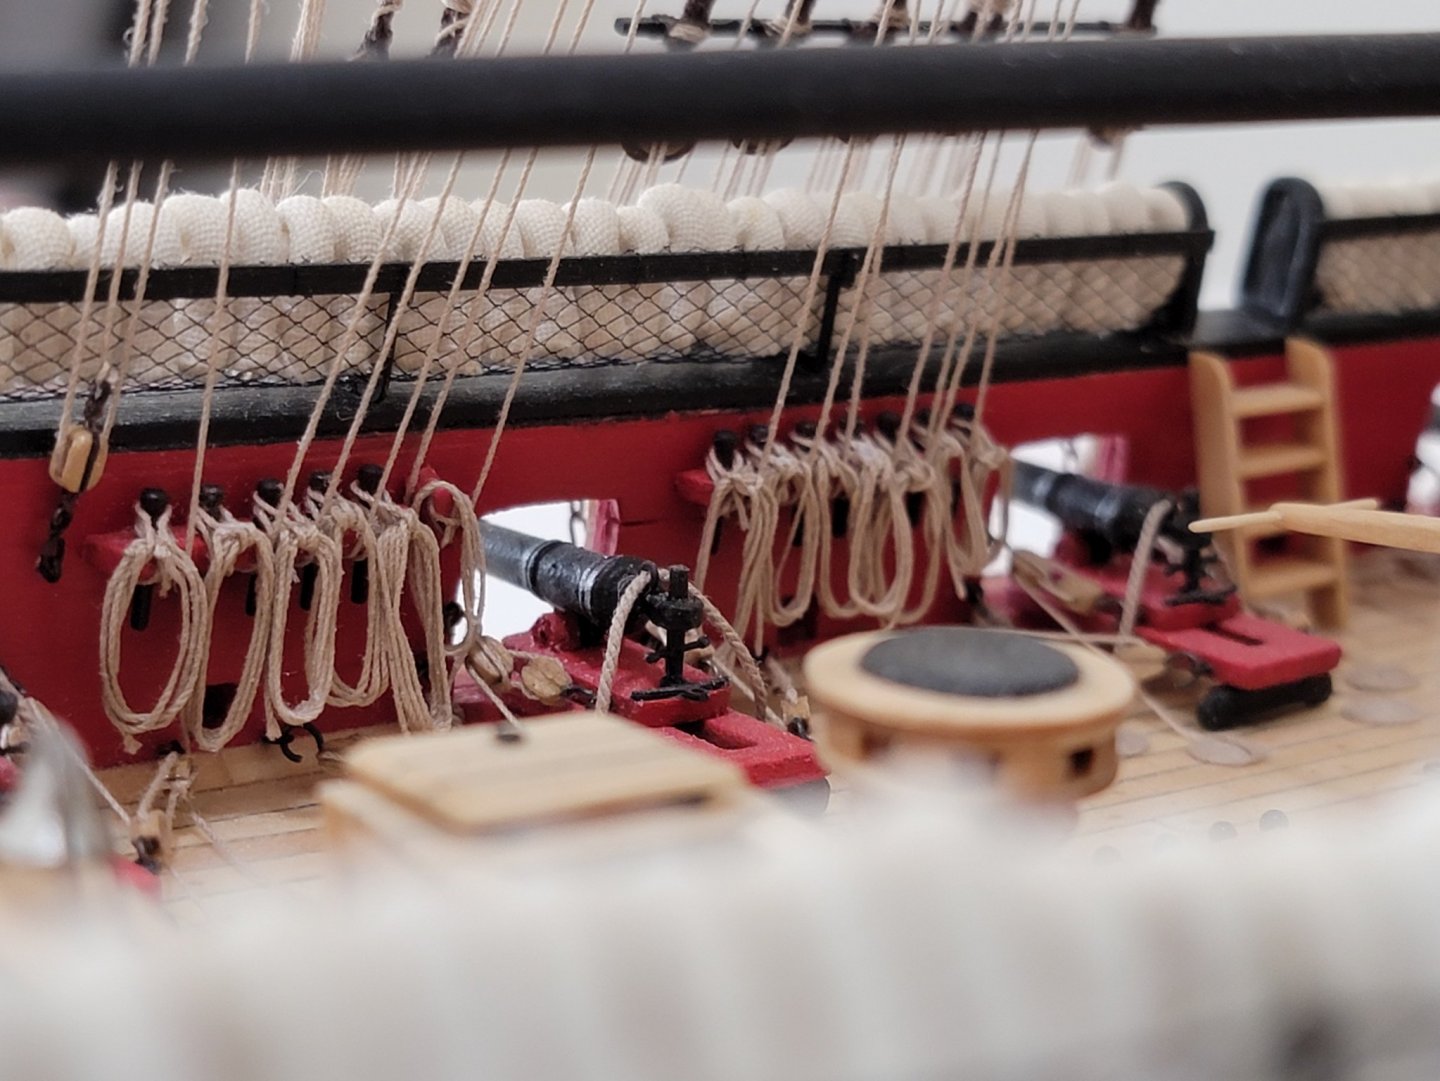
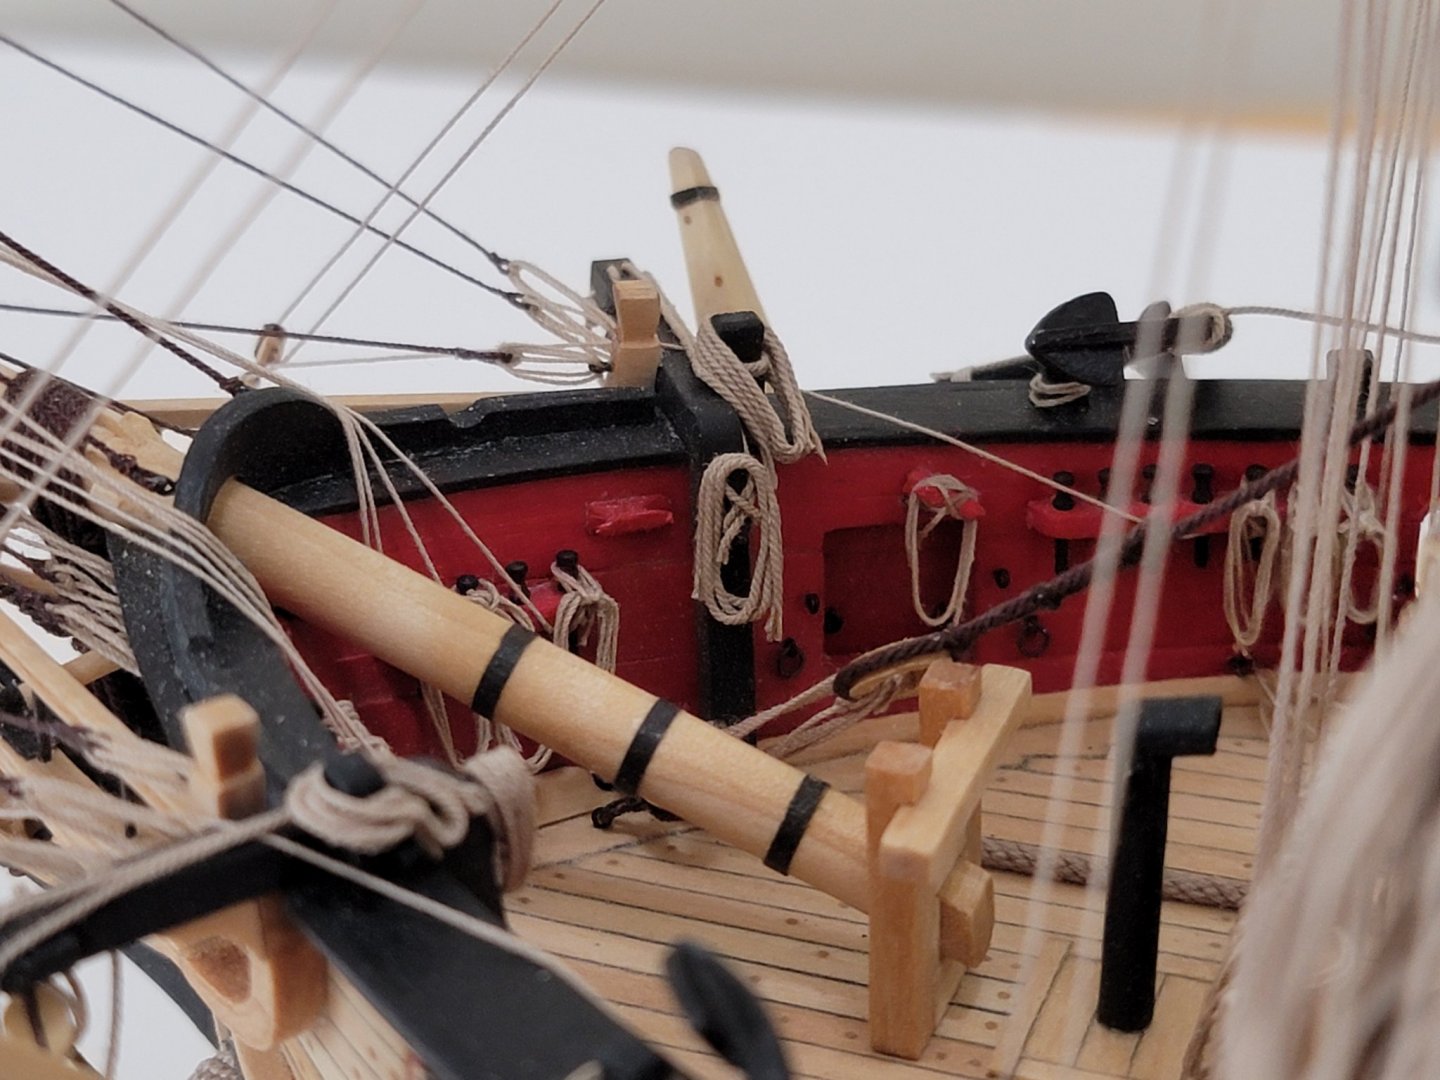
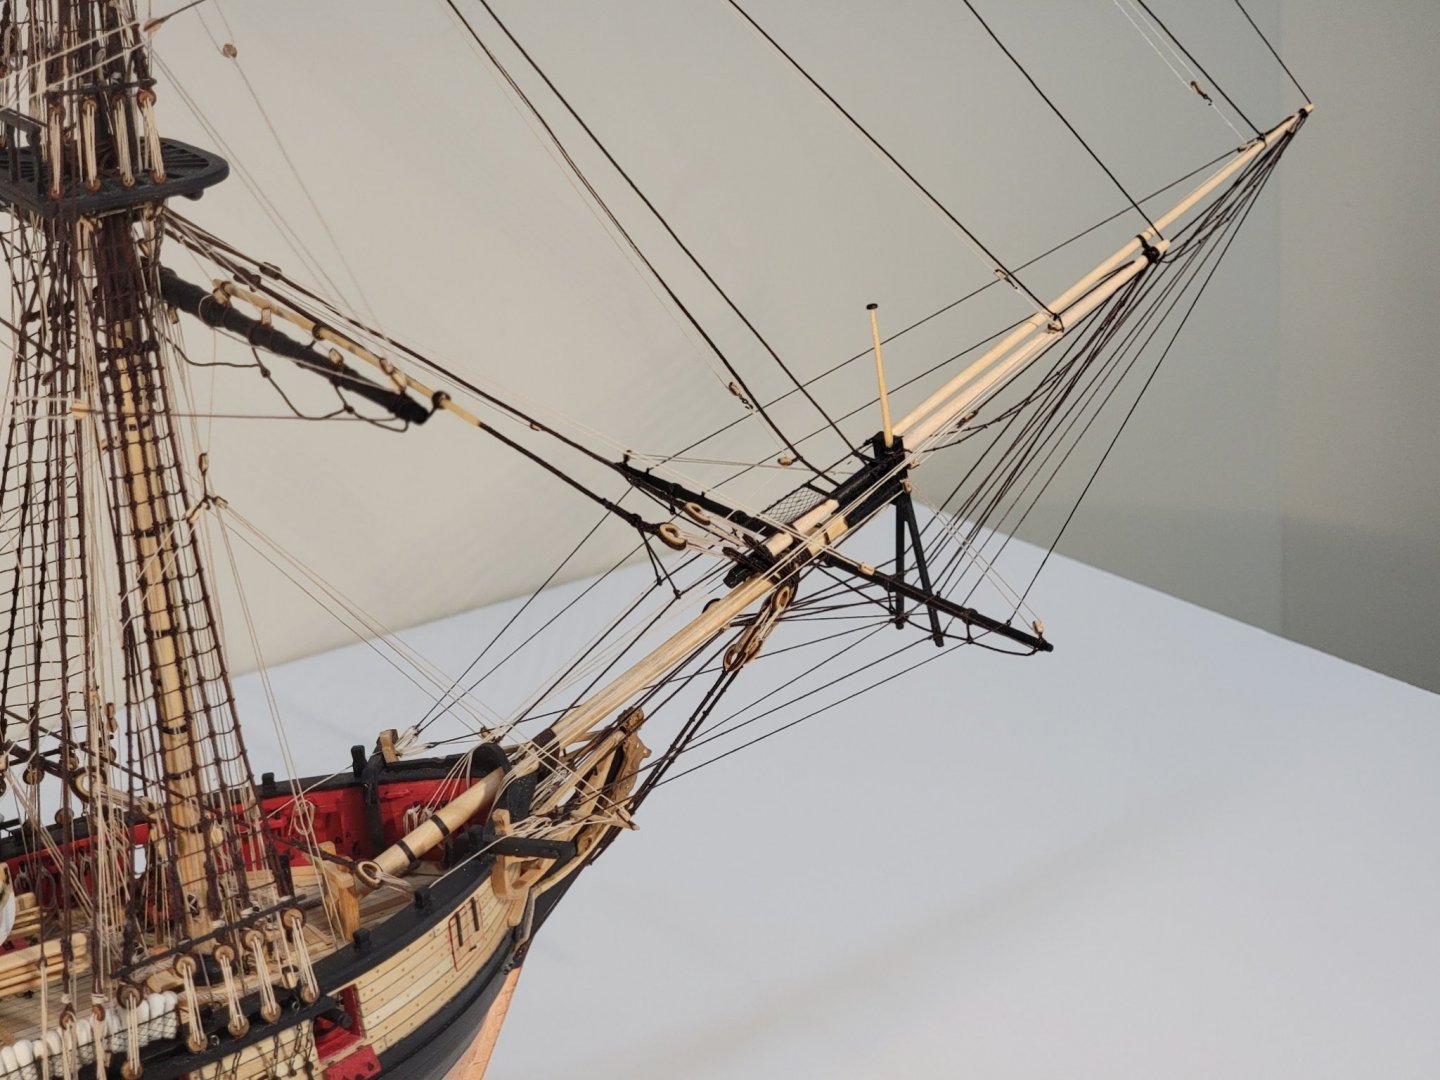
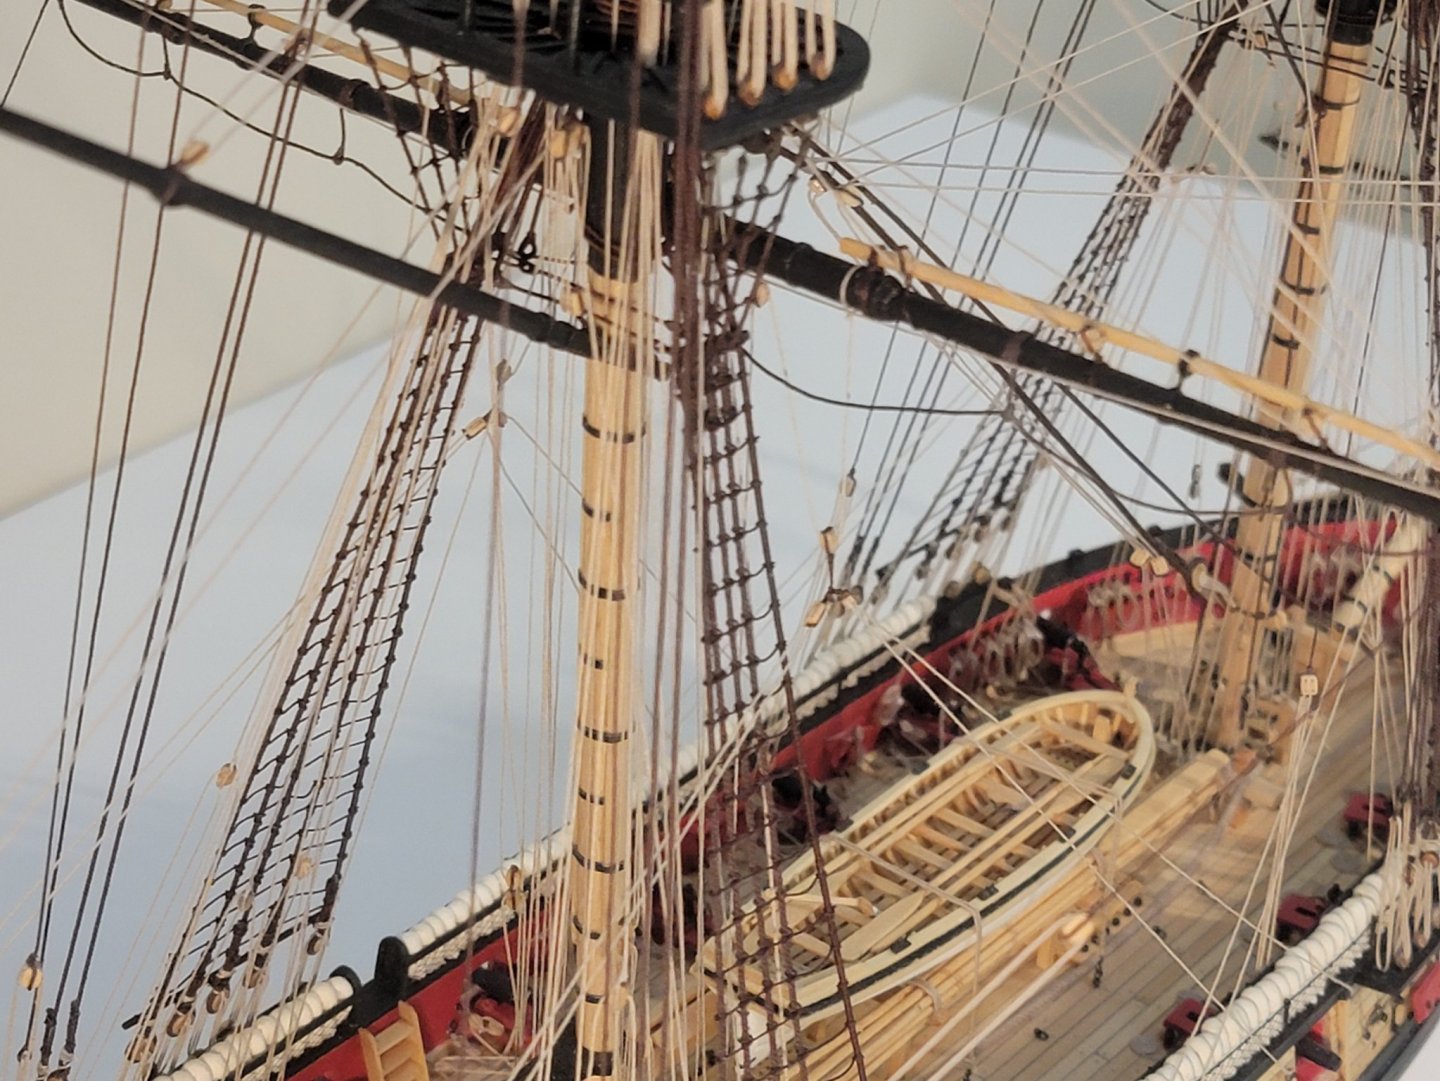
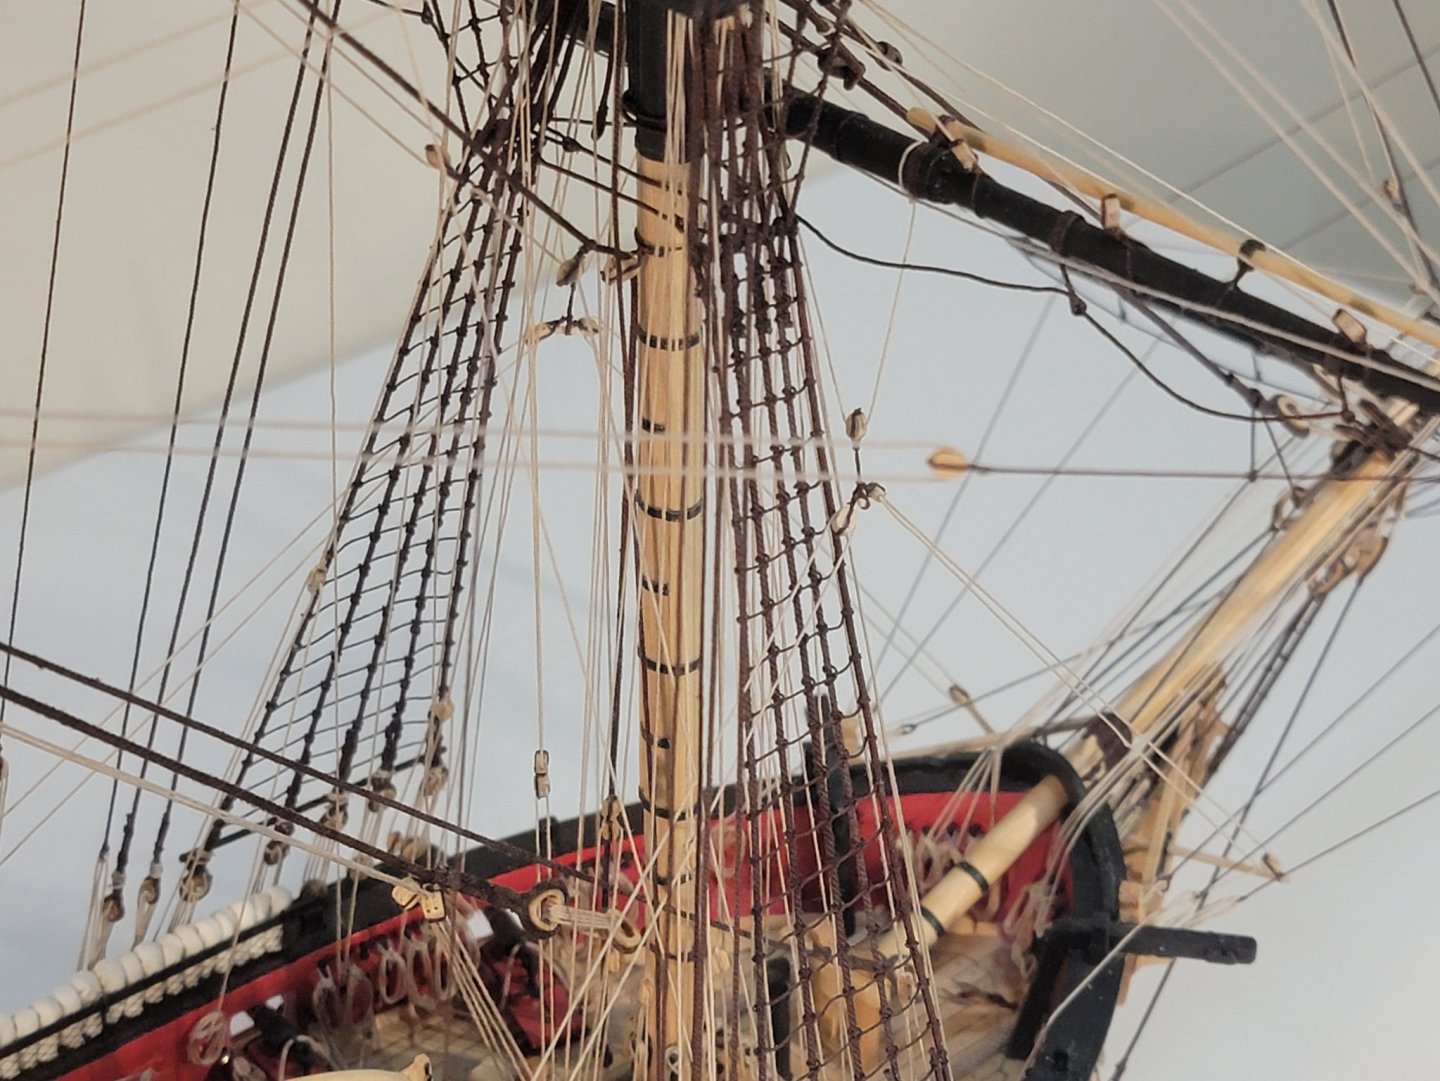
I finished all the running rigging including rigging the spritsail yard. Here are some pics to mark the end of the chapter 😄: Now just the anchors and flags are left!


- 950 replies
-
- 20
-
-
- syren
- model shipways
- (and 1 more)
-
Thanks Chuck! After building the Syren, I would always want to add this much detail for my models. It makes it extra special. Thank you Steven!! 😃