HOLIDAY DONATION DRIVE - SUPPORT MSW - DO YOUR PART TO KEEP THIS GREAT FORUM GOING! (Only 13 donations so far - C'mon guys!)
×

.jpg.1f80adf1a9b14a937cfcf2ca6af0f0d4.jpg)
WalrusGuy
-
Posts
1,007 -
Joined
-
Last visited
Content Type
Profiles
Forums
Gallery
Events
Everything posted by WalrusGuy
-
.thumb.jpg.62d1d69fed1f32364417cb1f9cdeb009.jpg) Forgive me if you've already answered, but what do you plan to build next? I'll be sure to be in the front row seat ready with popcorn!
Forgive me if you've already answered, but what do you plan to build next? I'll be sure to be in the front row seat ready with popcorn!- 436 replies
-
- 1
-

-
- vanguard models
- alert
- (and 1 more)
-
The last pic captures the curves of the hull perfectly! I can't wait to see her all planked up 😄
-
She's beautiful @VTHokiEE! The flag also looks very realistic
- 436 replies
-
- 2
-
-
- vanguard models
- alert
- (and 1 more)
-
Thanks so much guys!! I'm really looking forward to start working on the standing rigging once I finish attaching the blocks and deadeyes! Also want to finish the yards too, I read through the practicum and it looks like a very involved process 😄
- 950 replies
-
- 2
-
-
- syren
- model shipways
- (and 1 more)
-
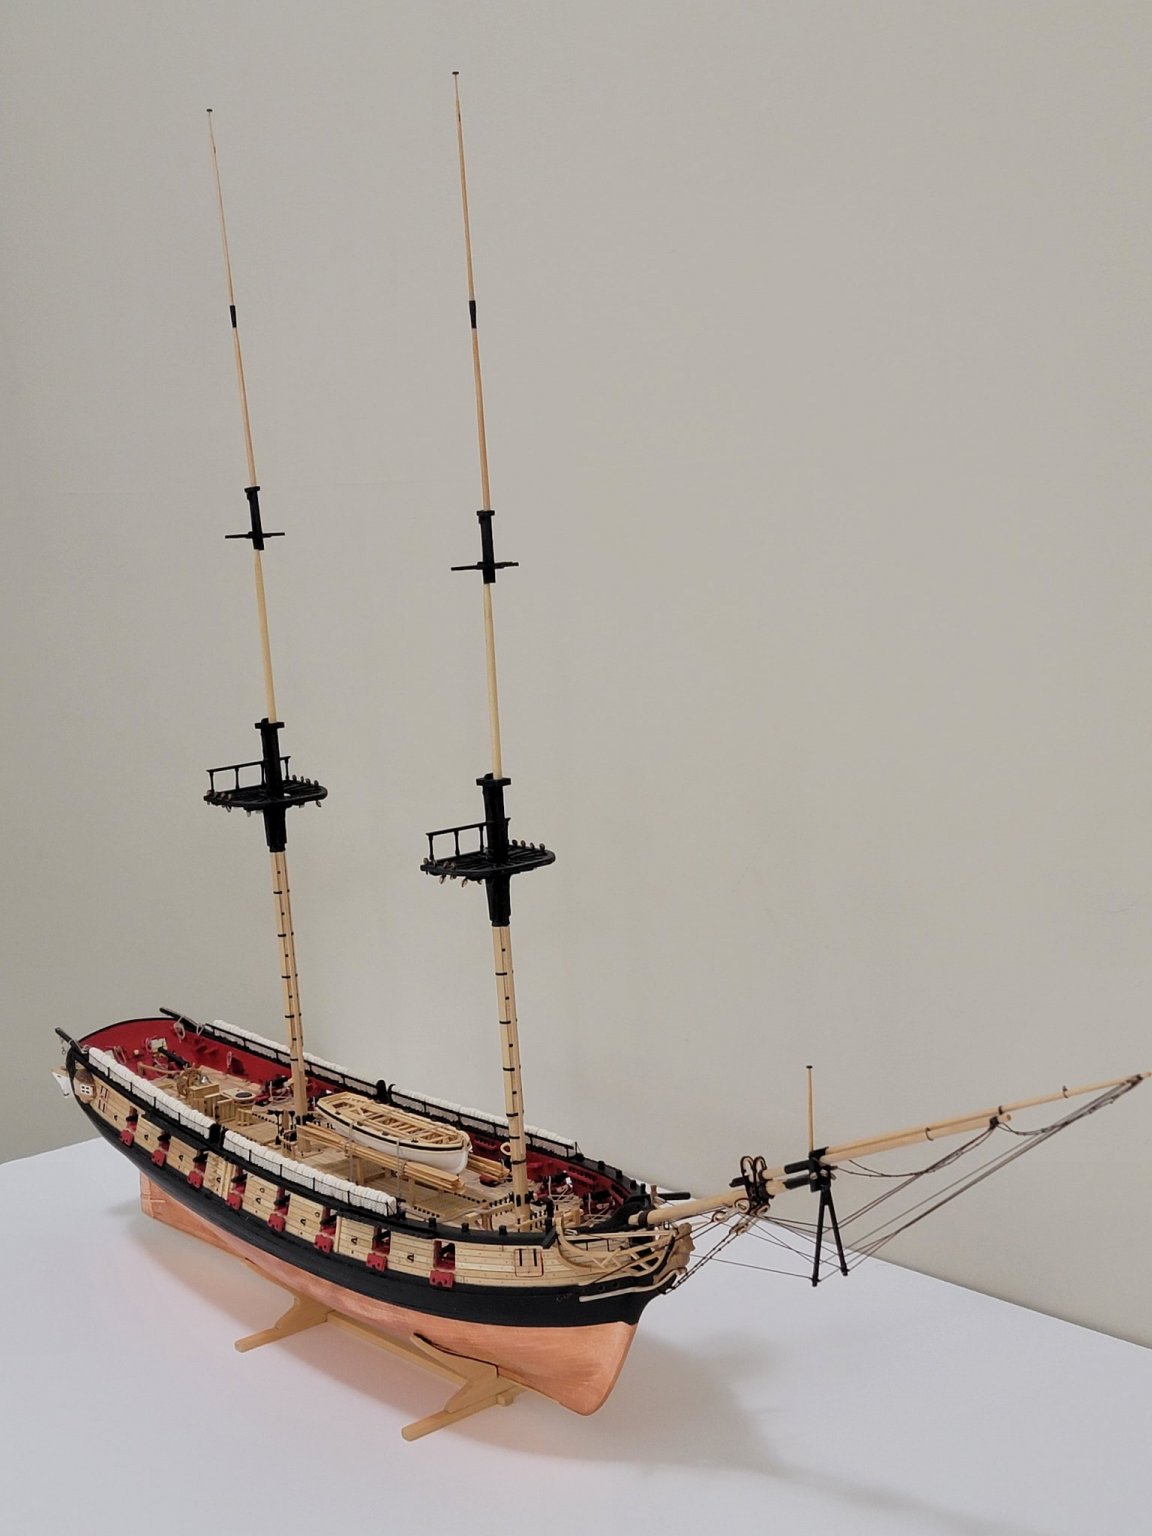
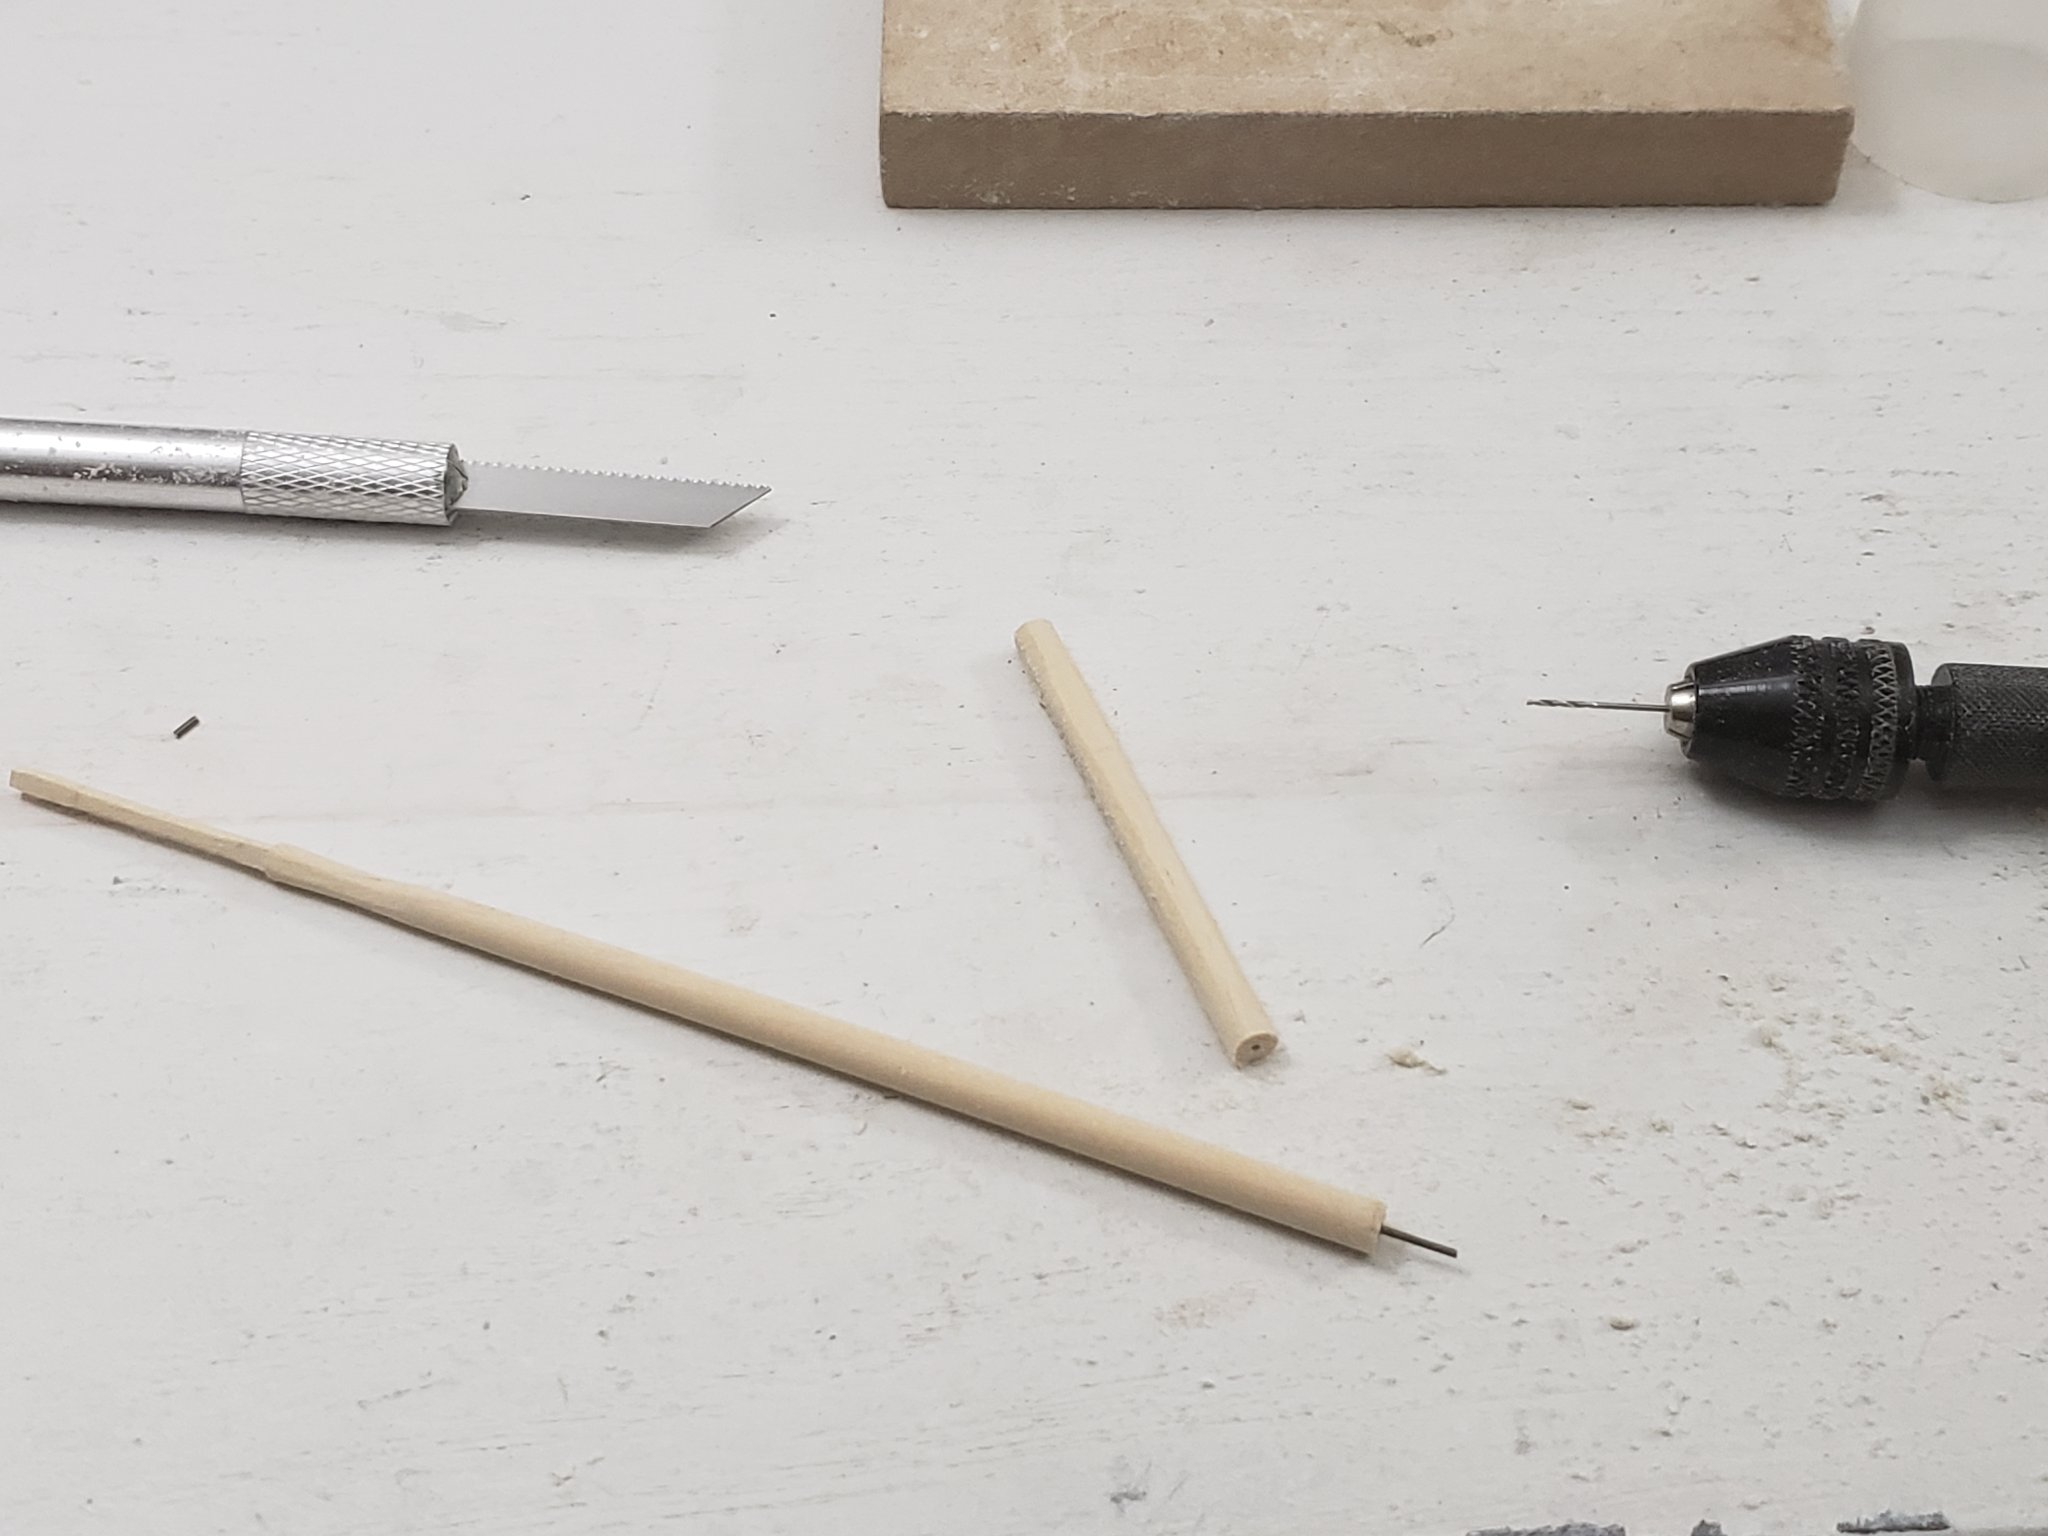
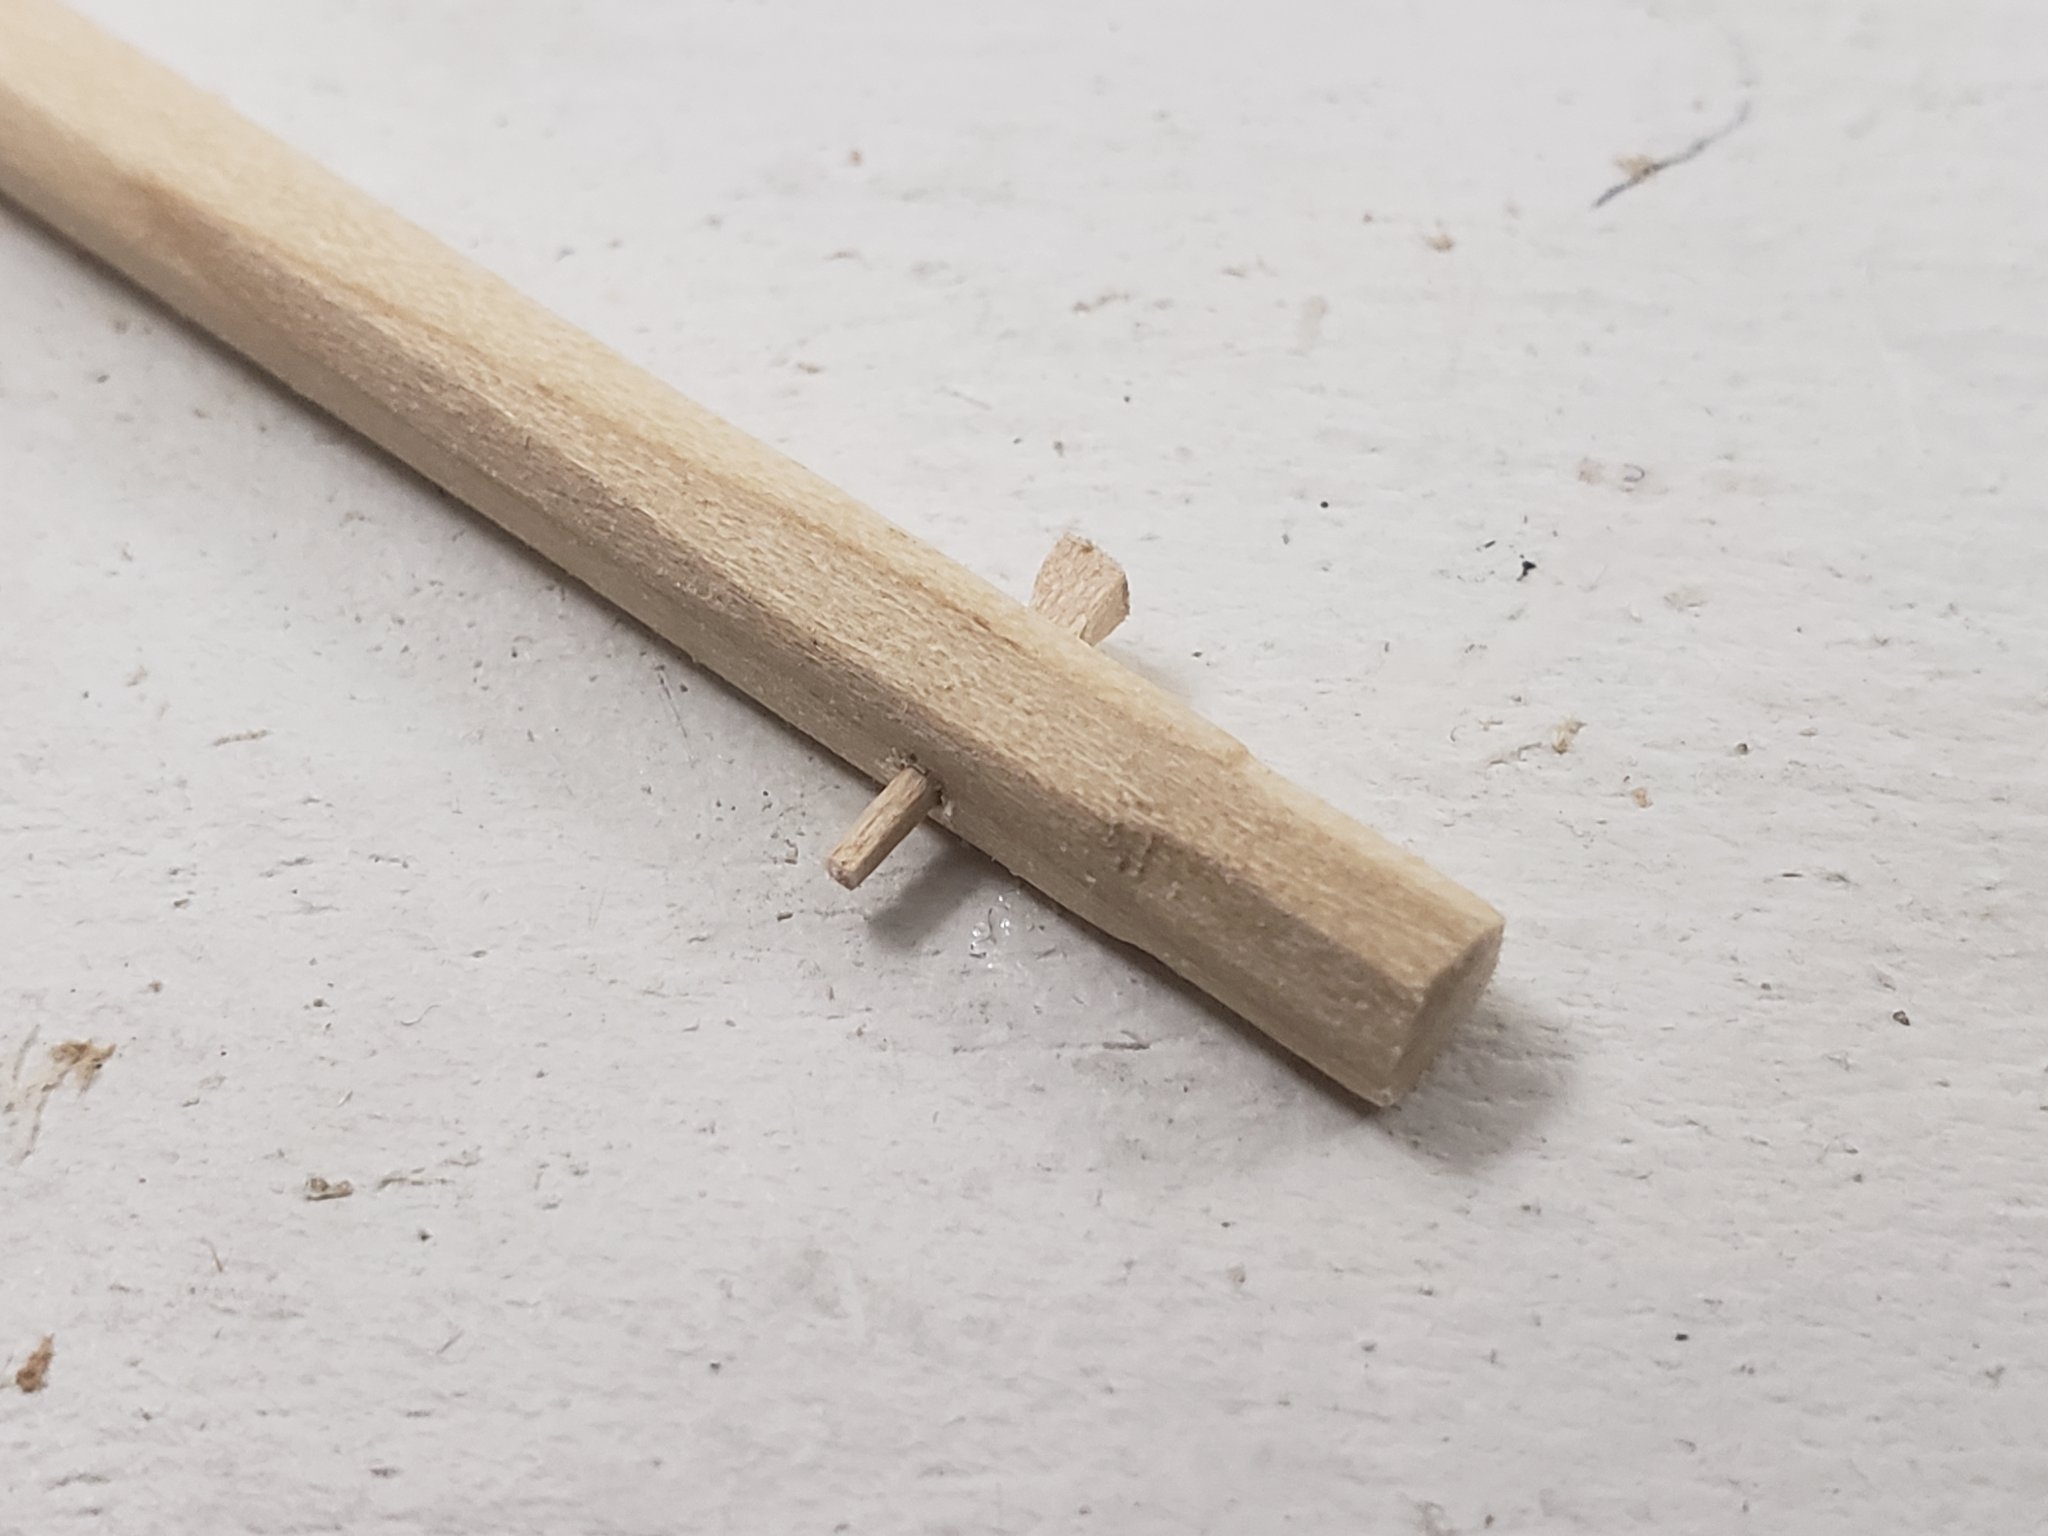
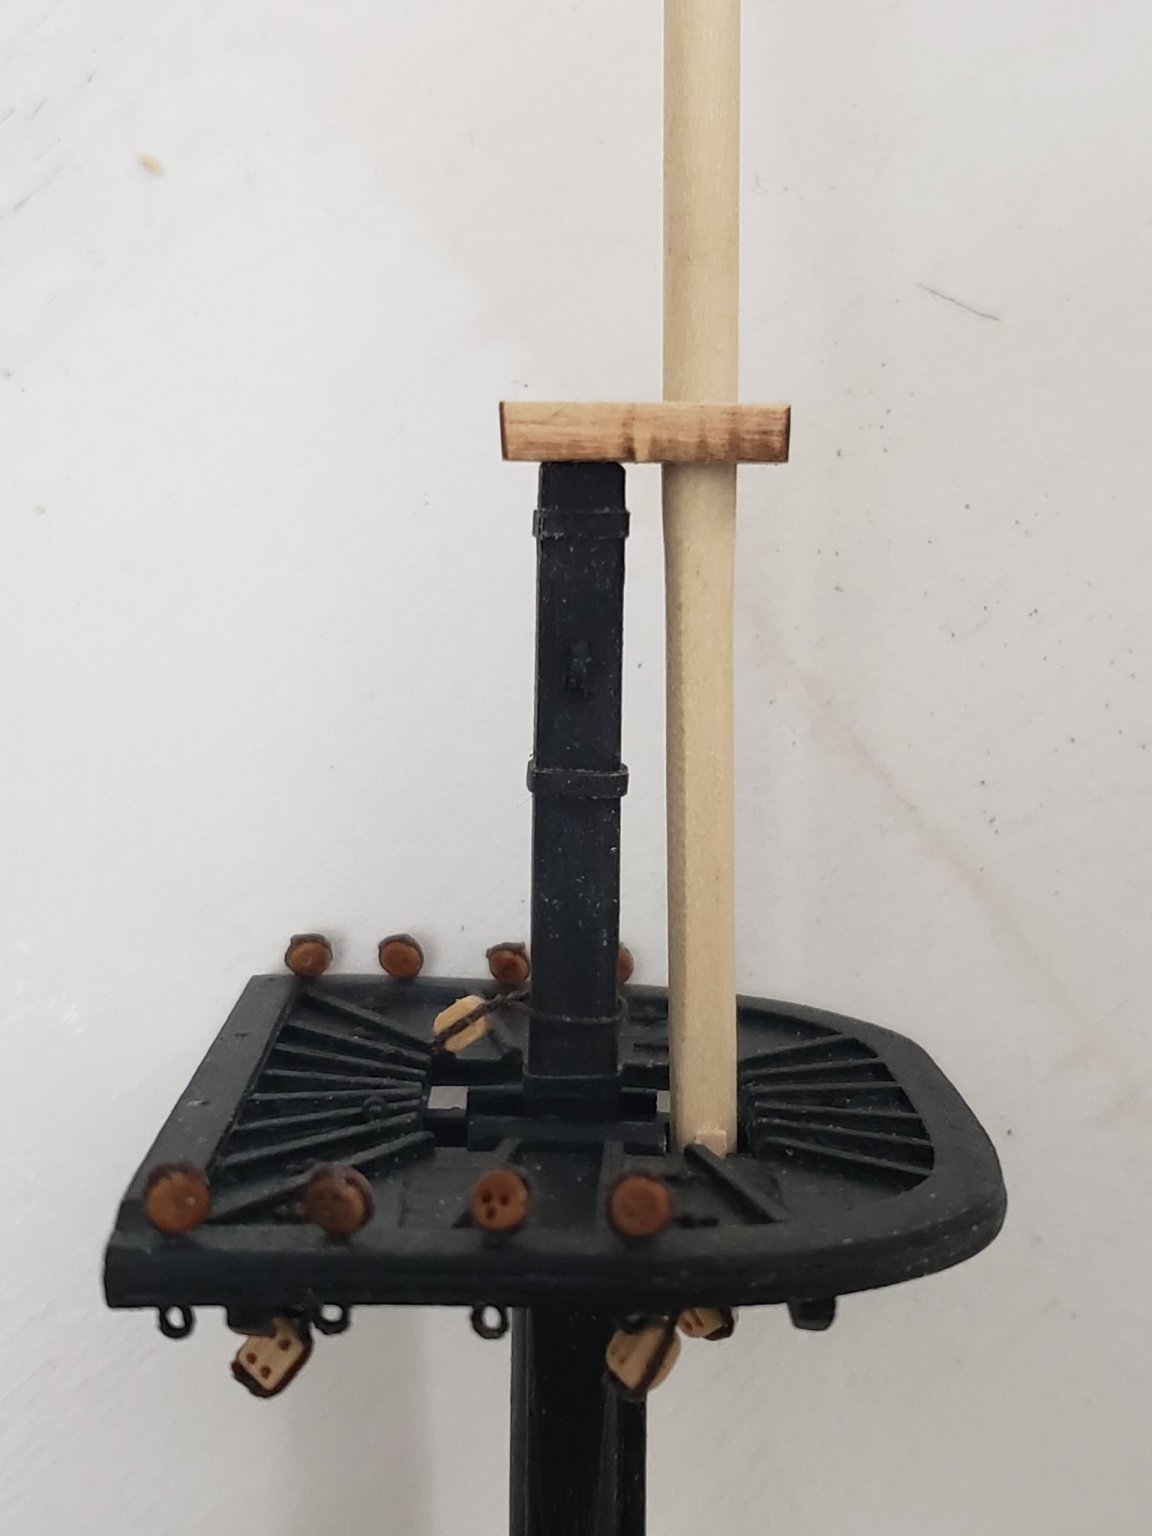
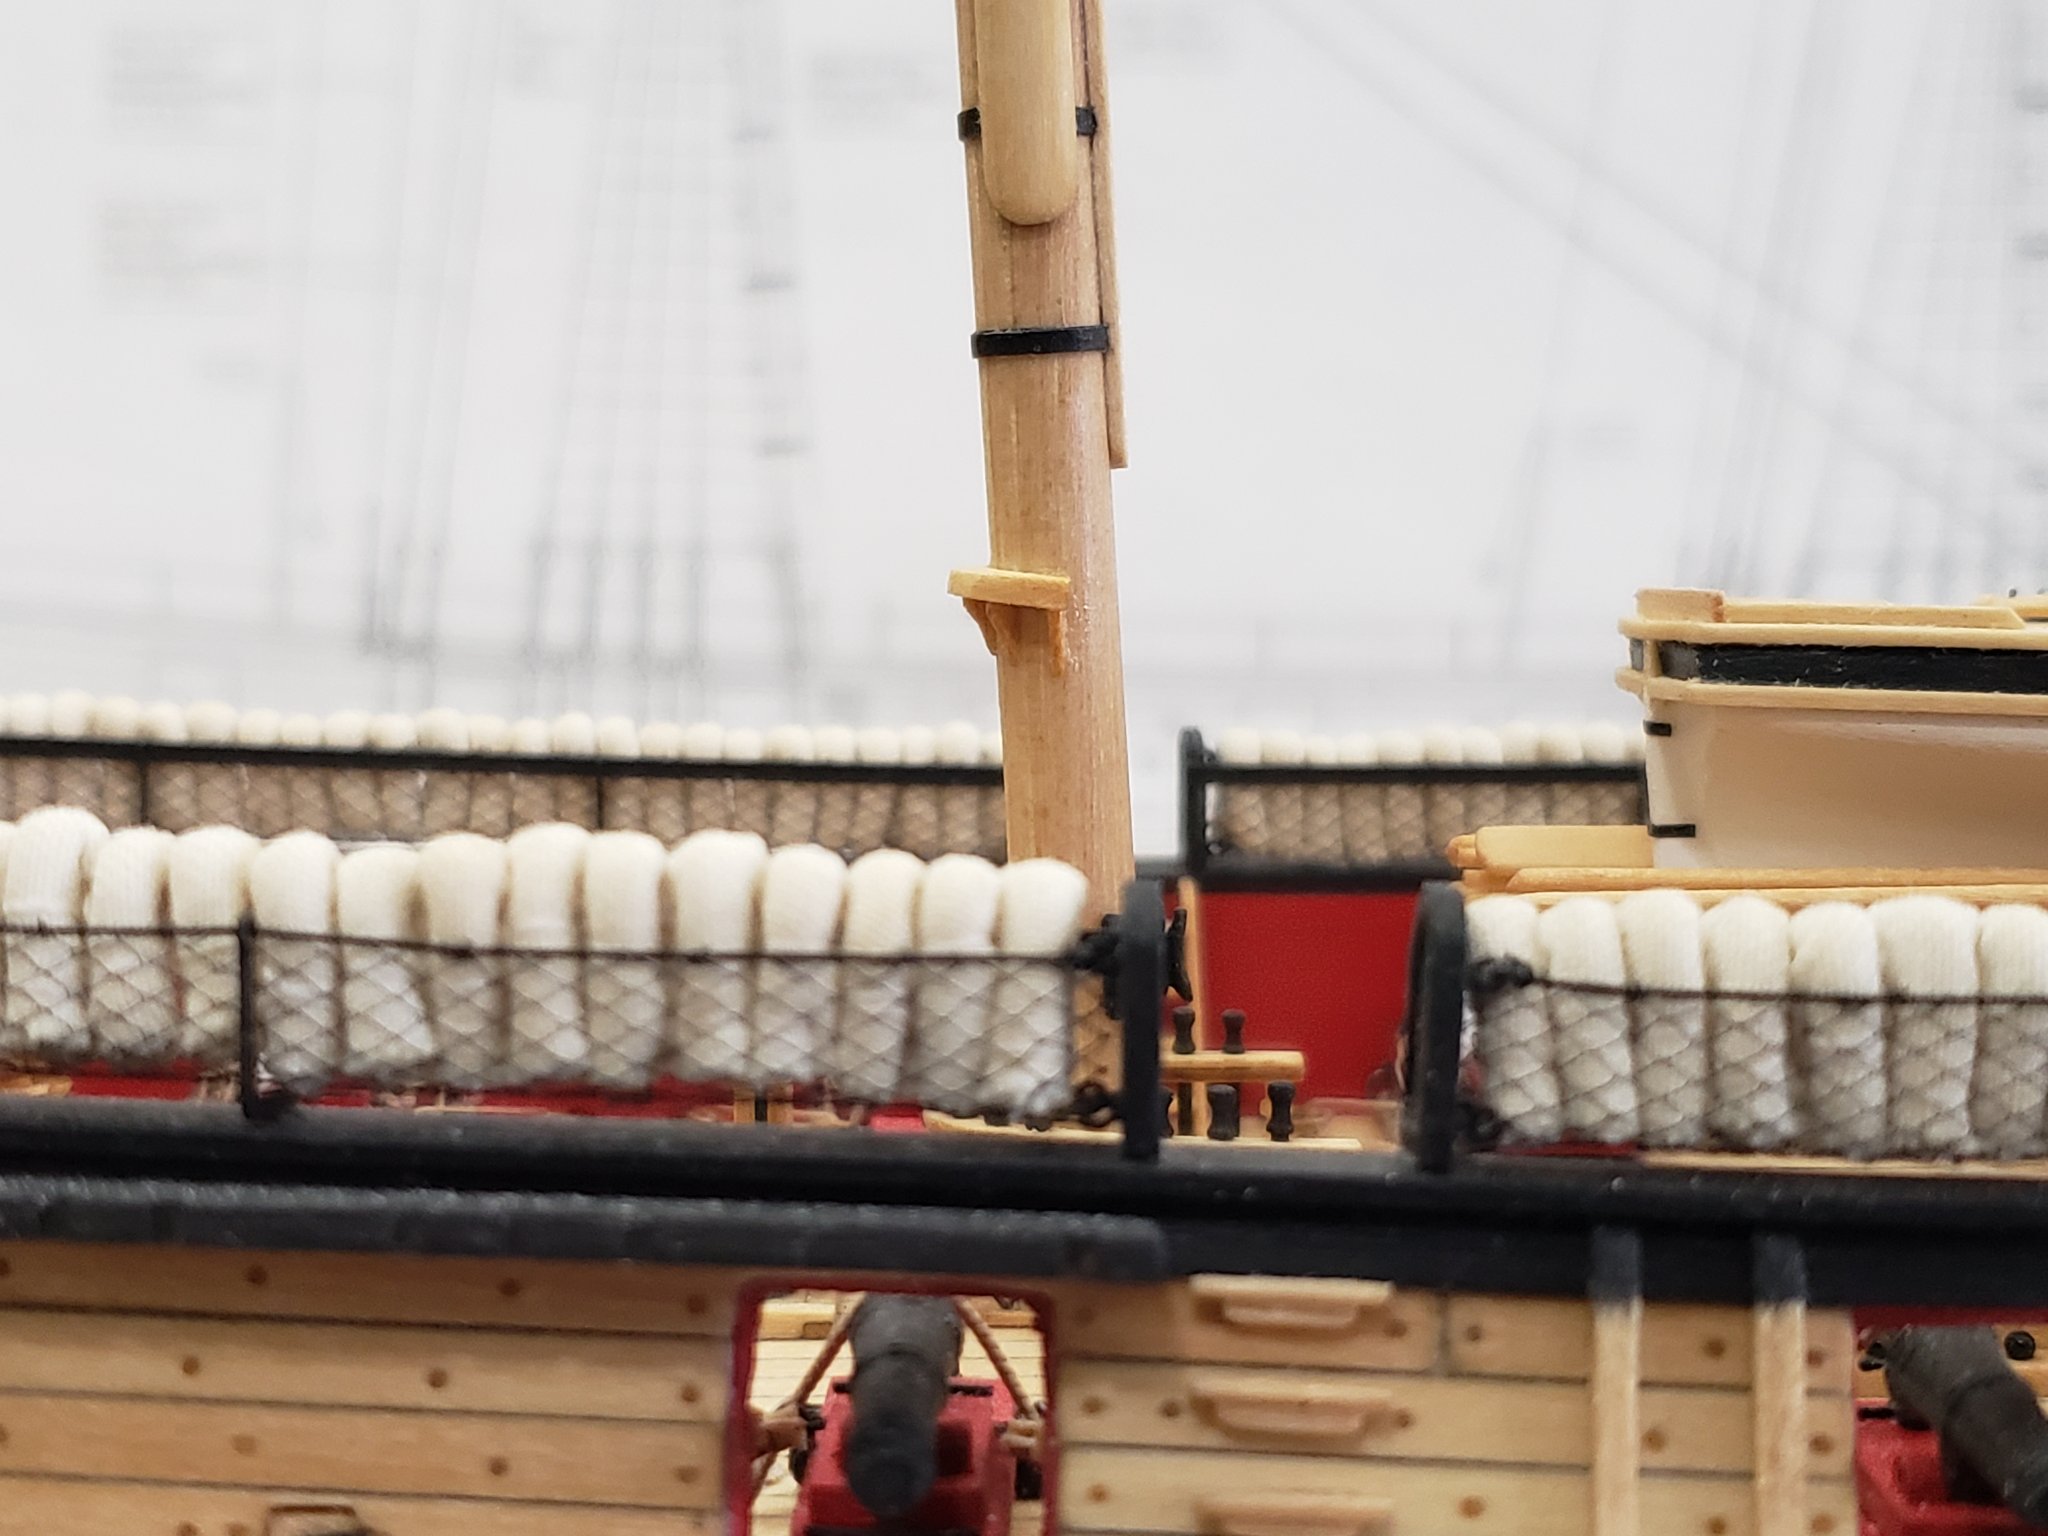
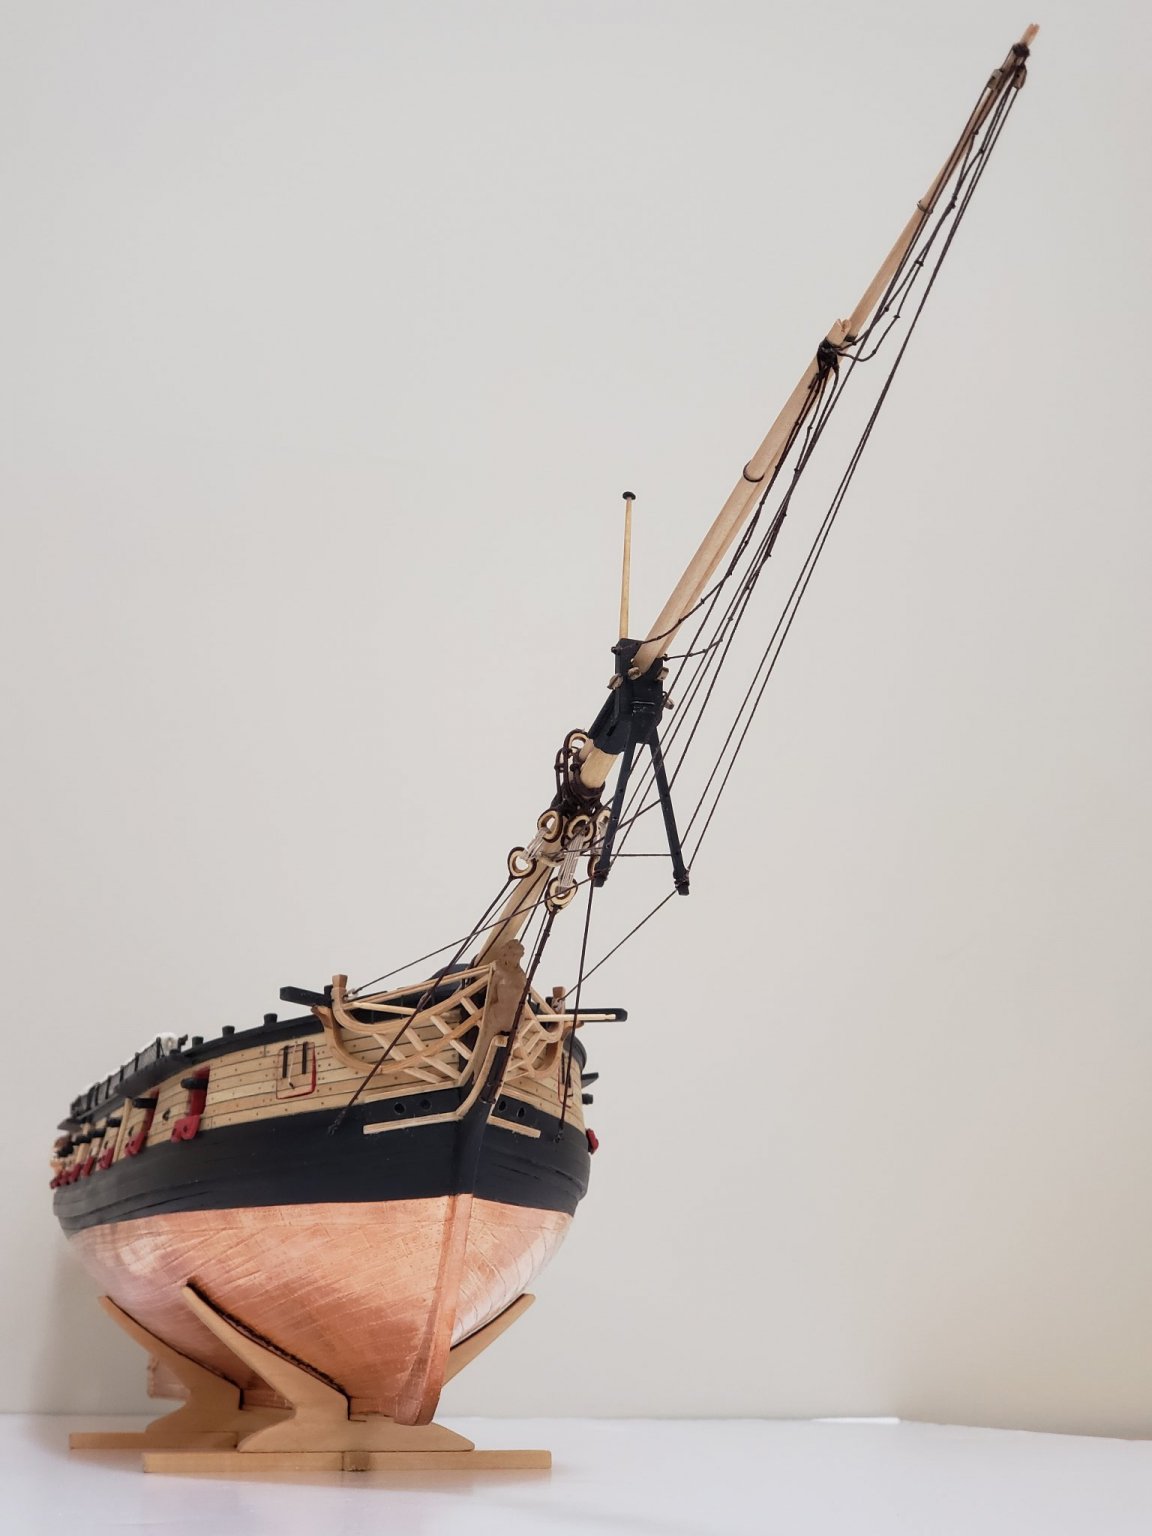
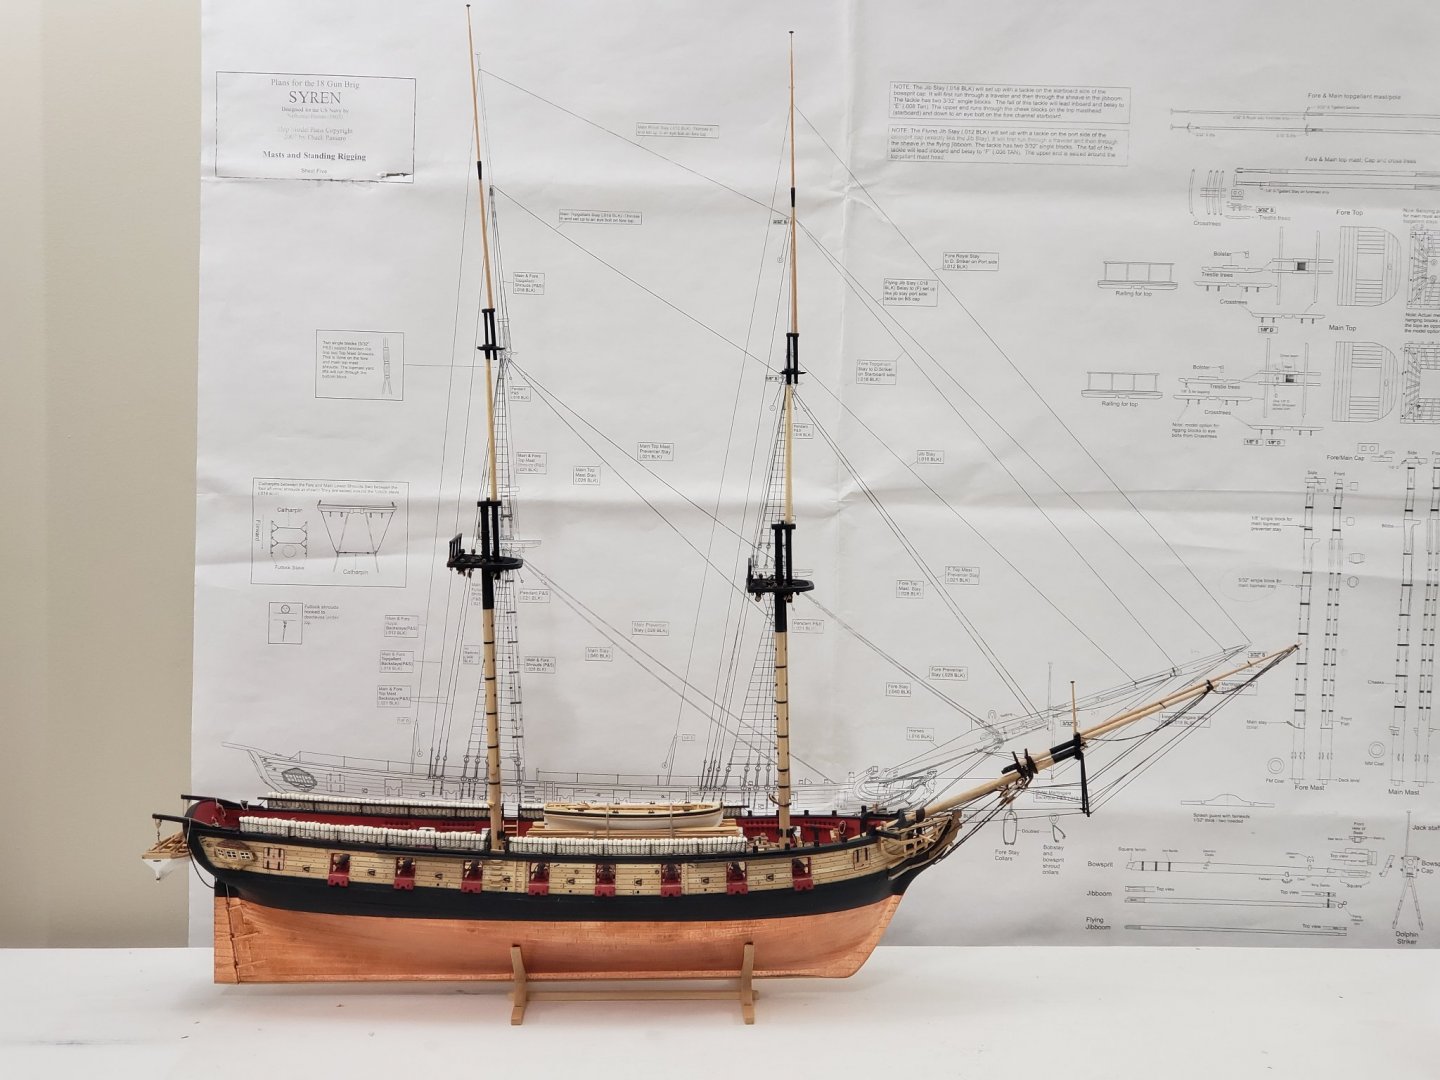
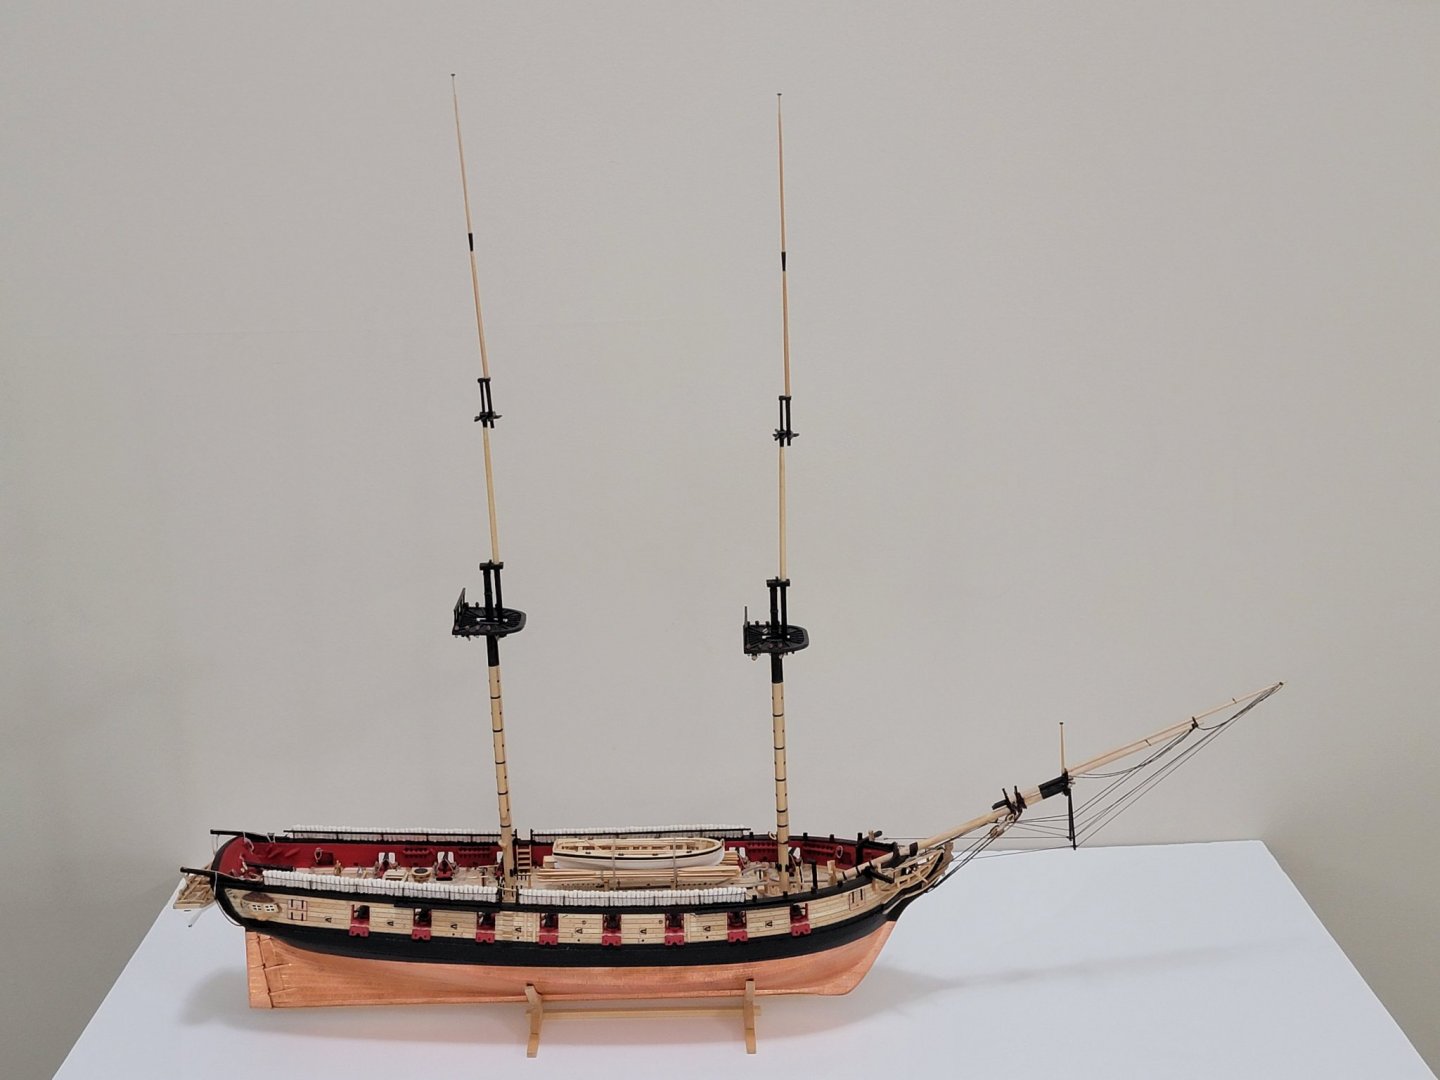
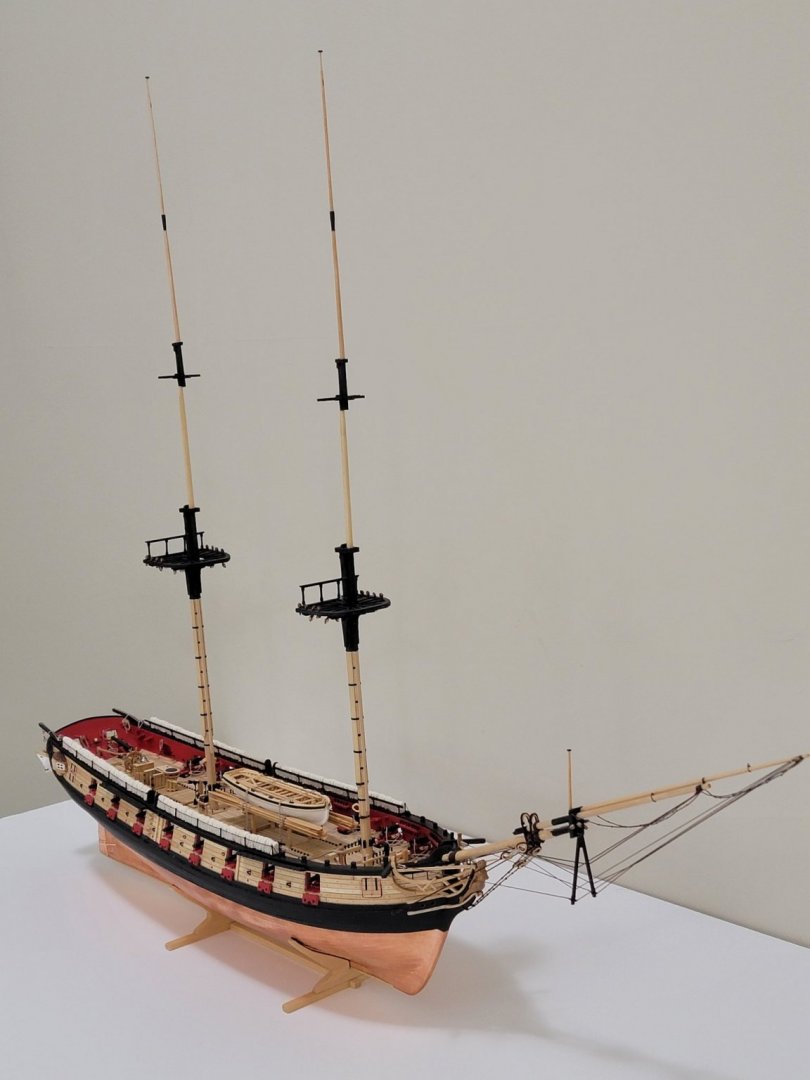
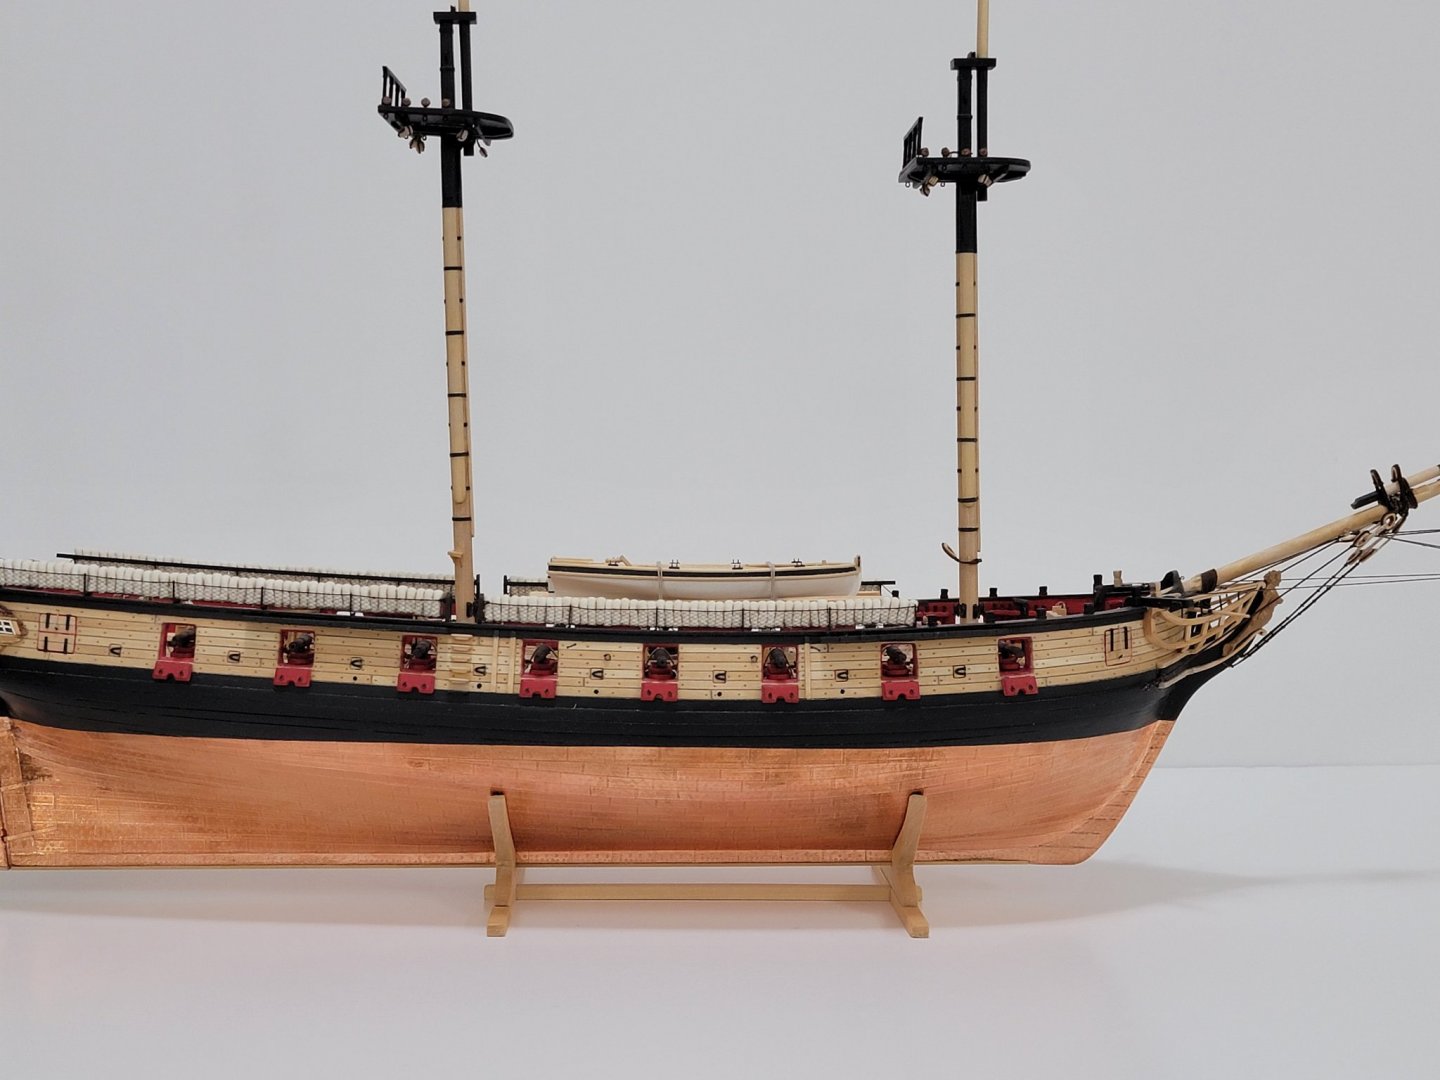
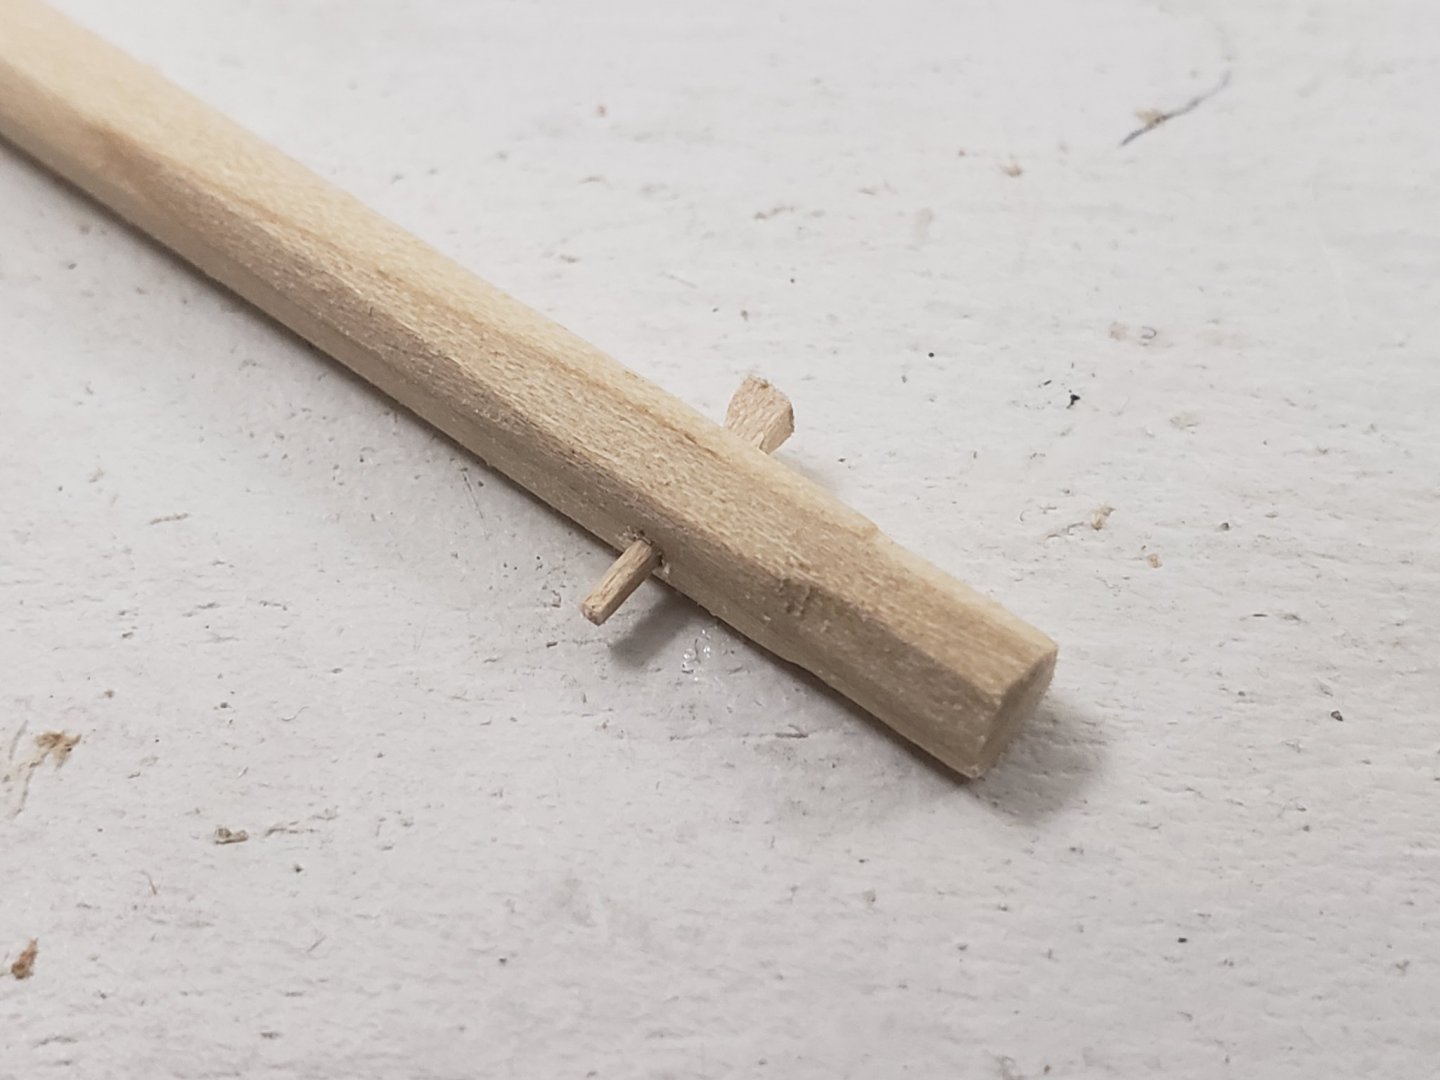
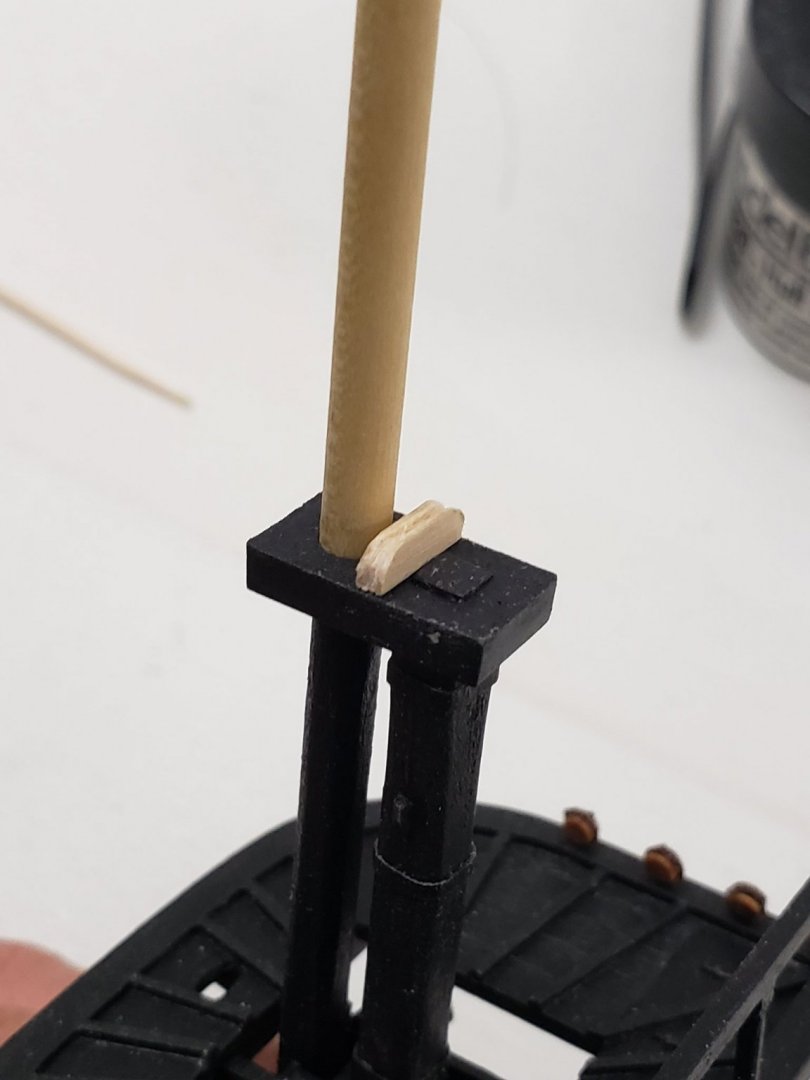
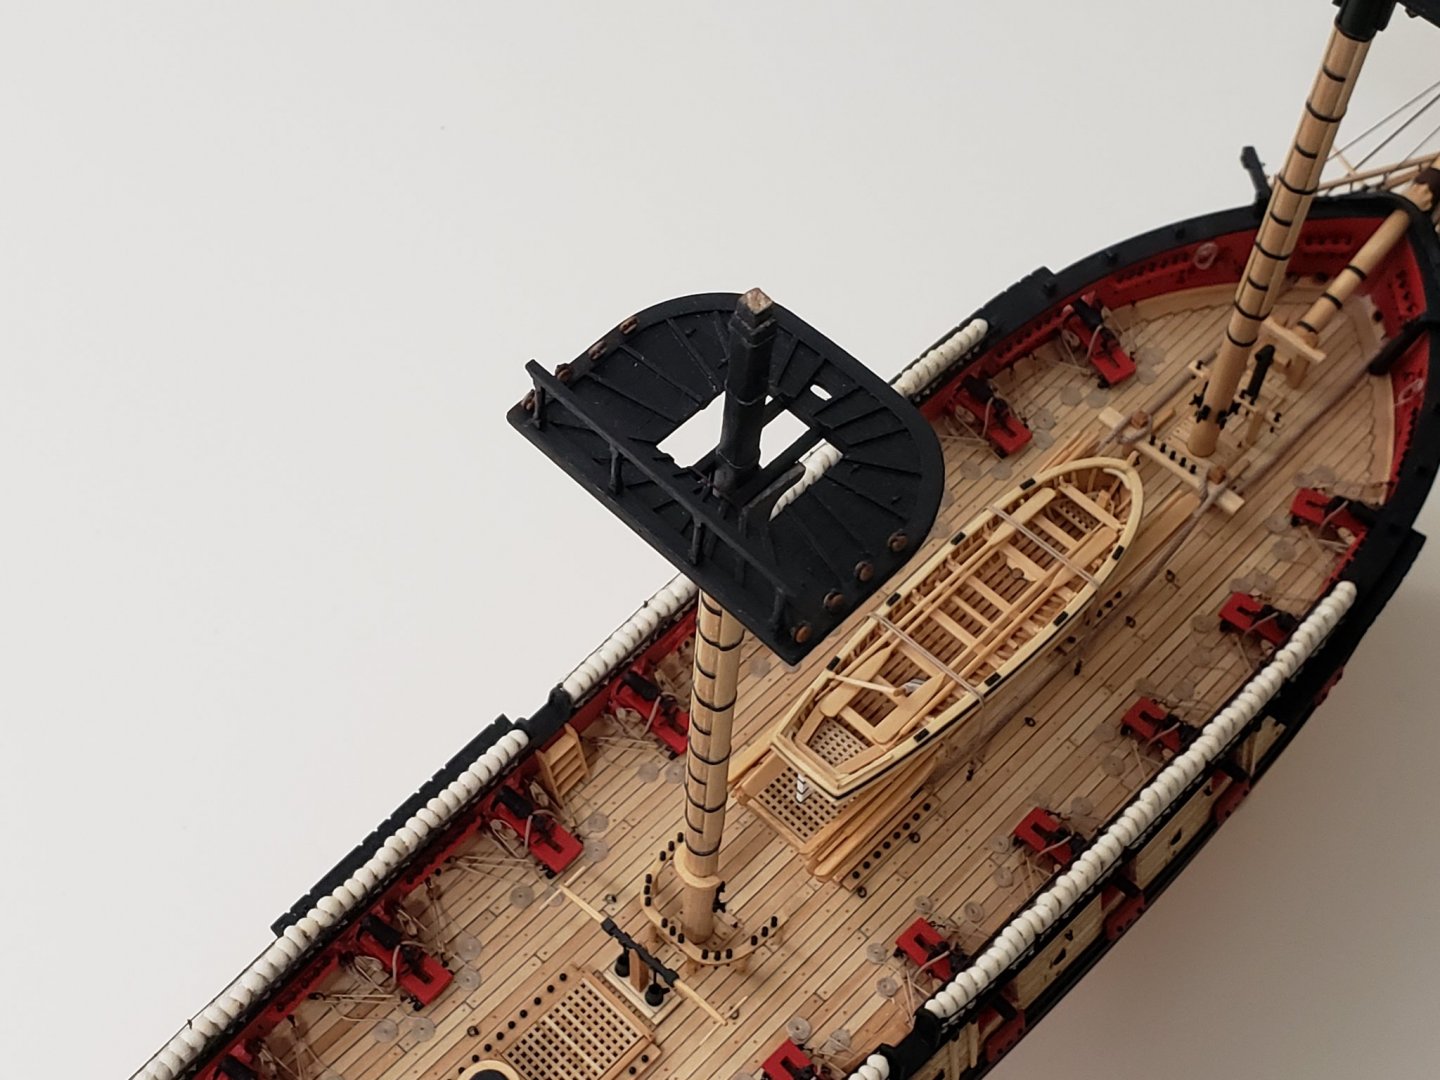
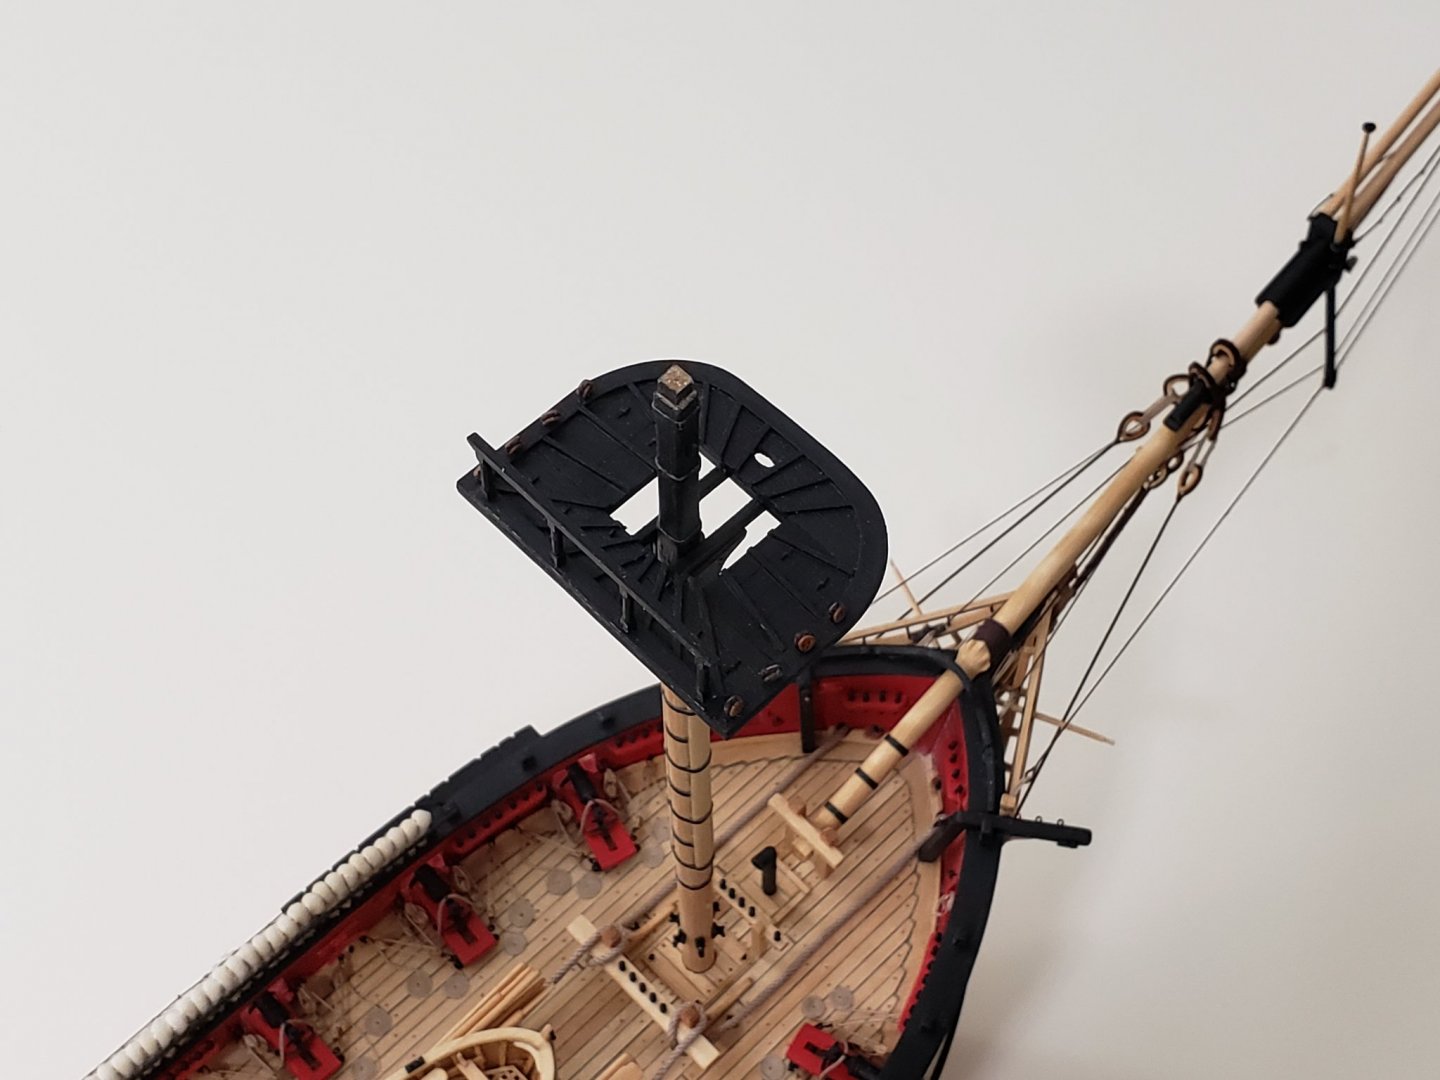
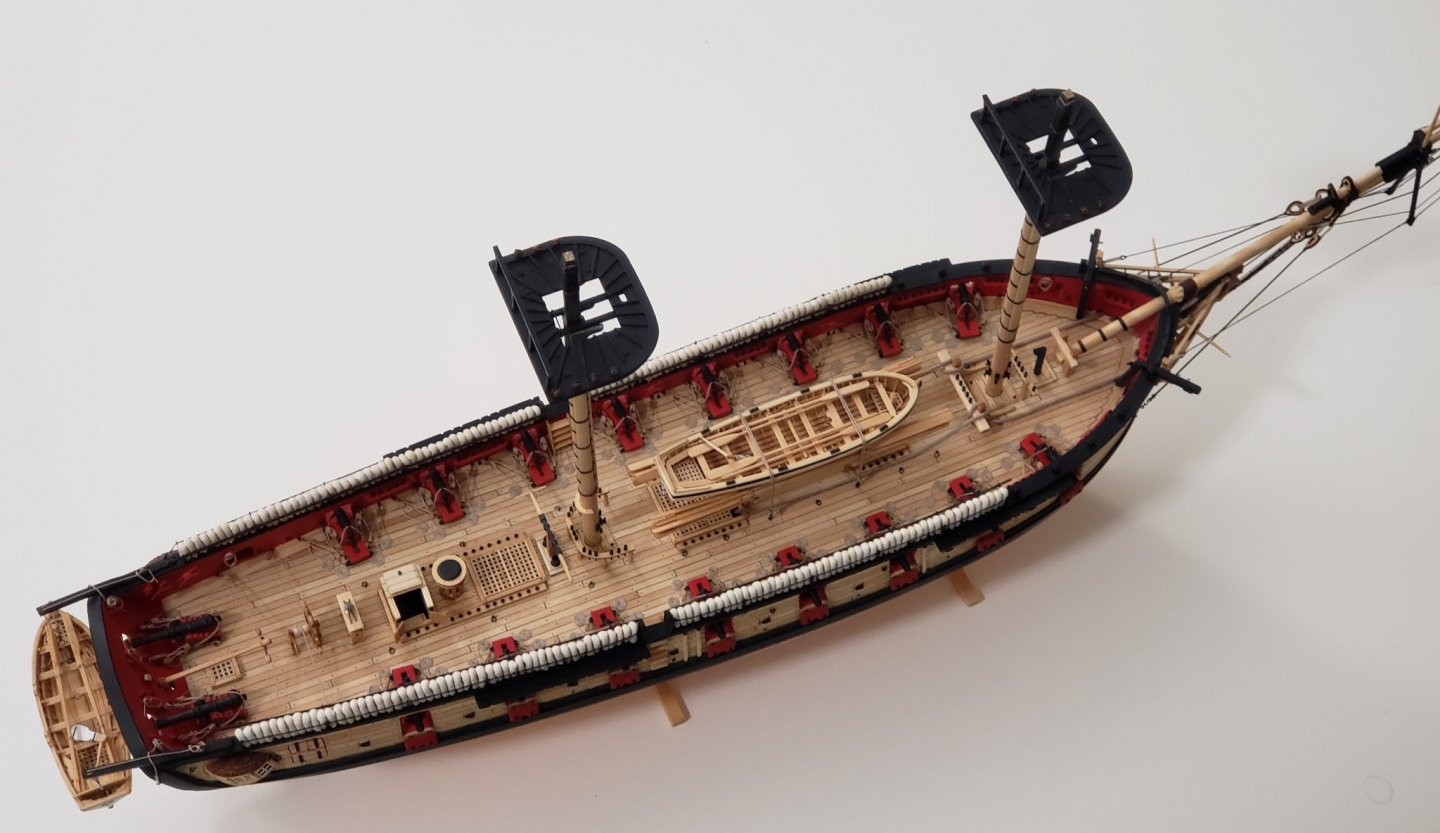
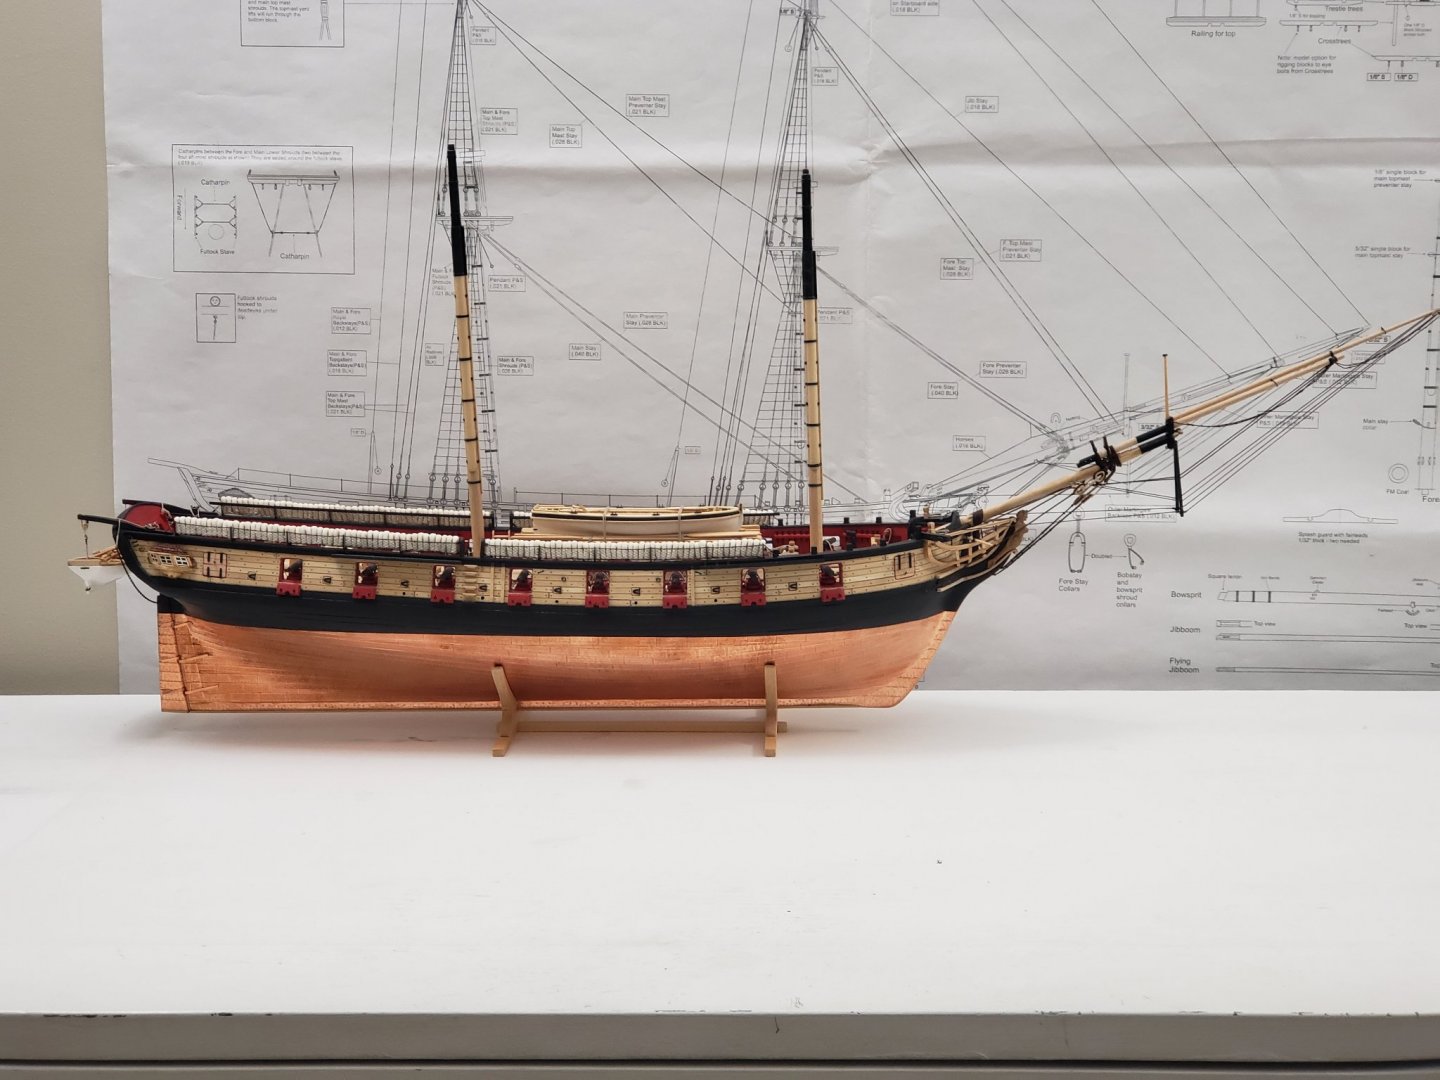
The model has now reached it's maximum height! I added small slivers of wood in the bottom of the mast to keep it snug in the corresponding holes, so I will not have to glue them in. After gluing and sanding each sliver, I checked the position on the hull to make sure it is not angled SB or PS from center. All left to do is rig the respective blocks onto the mast, and they will be fully finished. The ship looks really tall, even taller in person. Seeing it live as opposed to just the dimensions shown on the ModelExpo site are really two different things. Makes me wonder how I will display her in the small apartment. I'm sure I will figure her resting place as I carry on with the build, but this stage of the build really made me think! Here are some pics:

- 950 replies
-
- 18
-
-
- syren
- model shipways
- (and 1 more)
-
No problem! I showed how I tackled the cradle here: I used the laser cut template as a guide for the shape at the relevant bulkheads
- 950 replies
-
- 1
-
-
- syren
- model shipways
- (and 1 more)
-
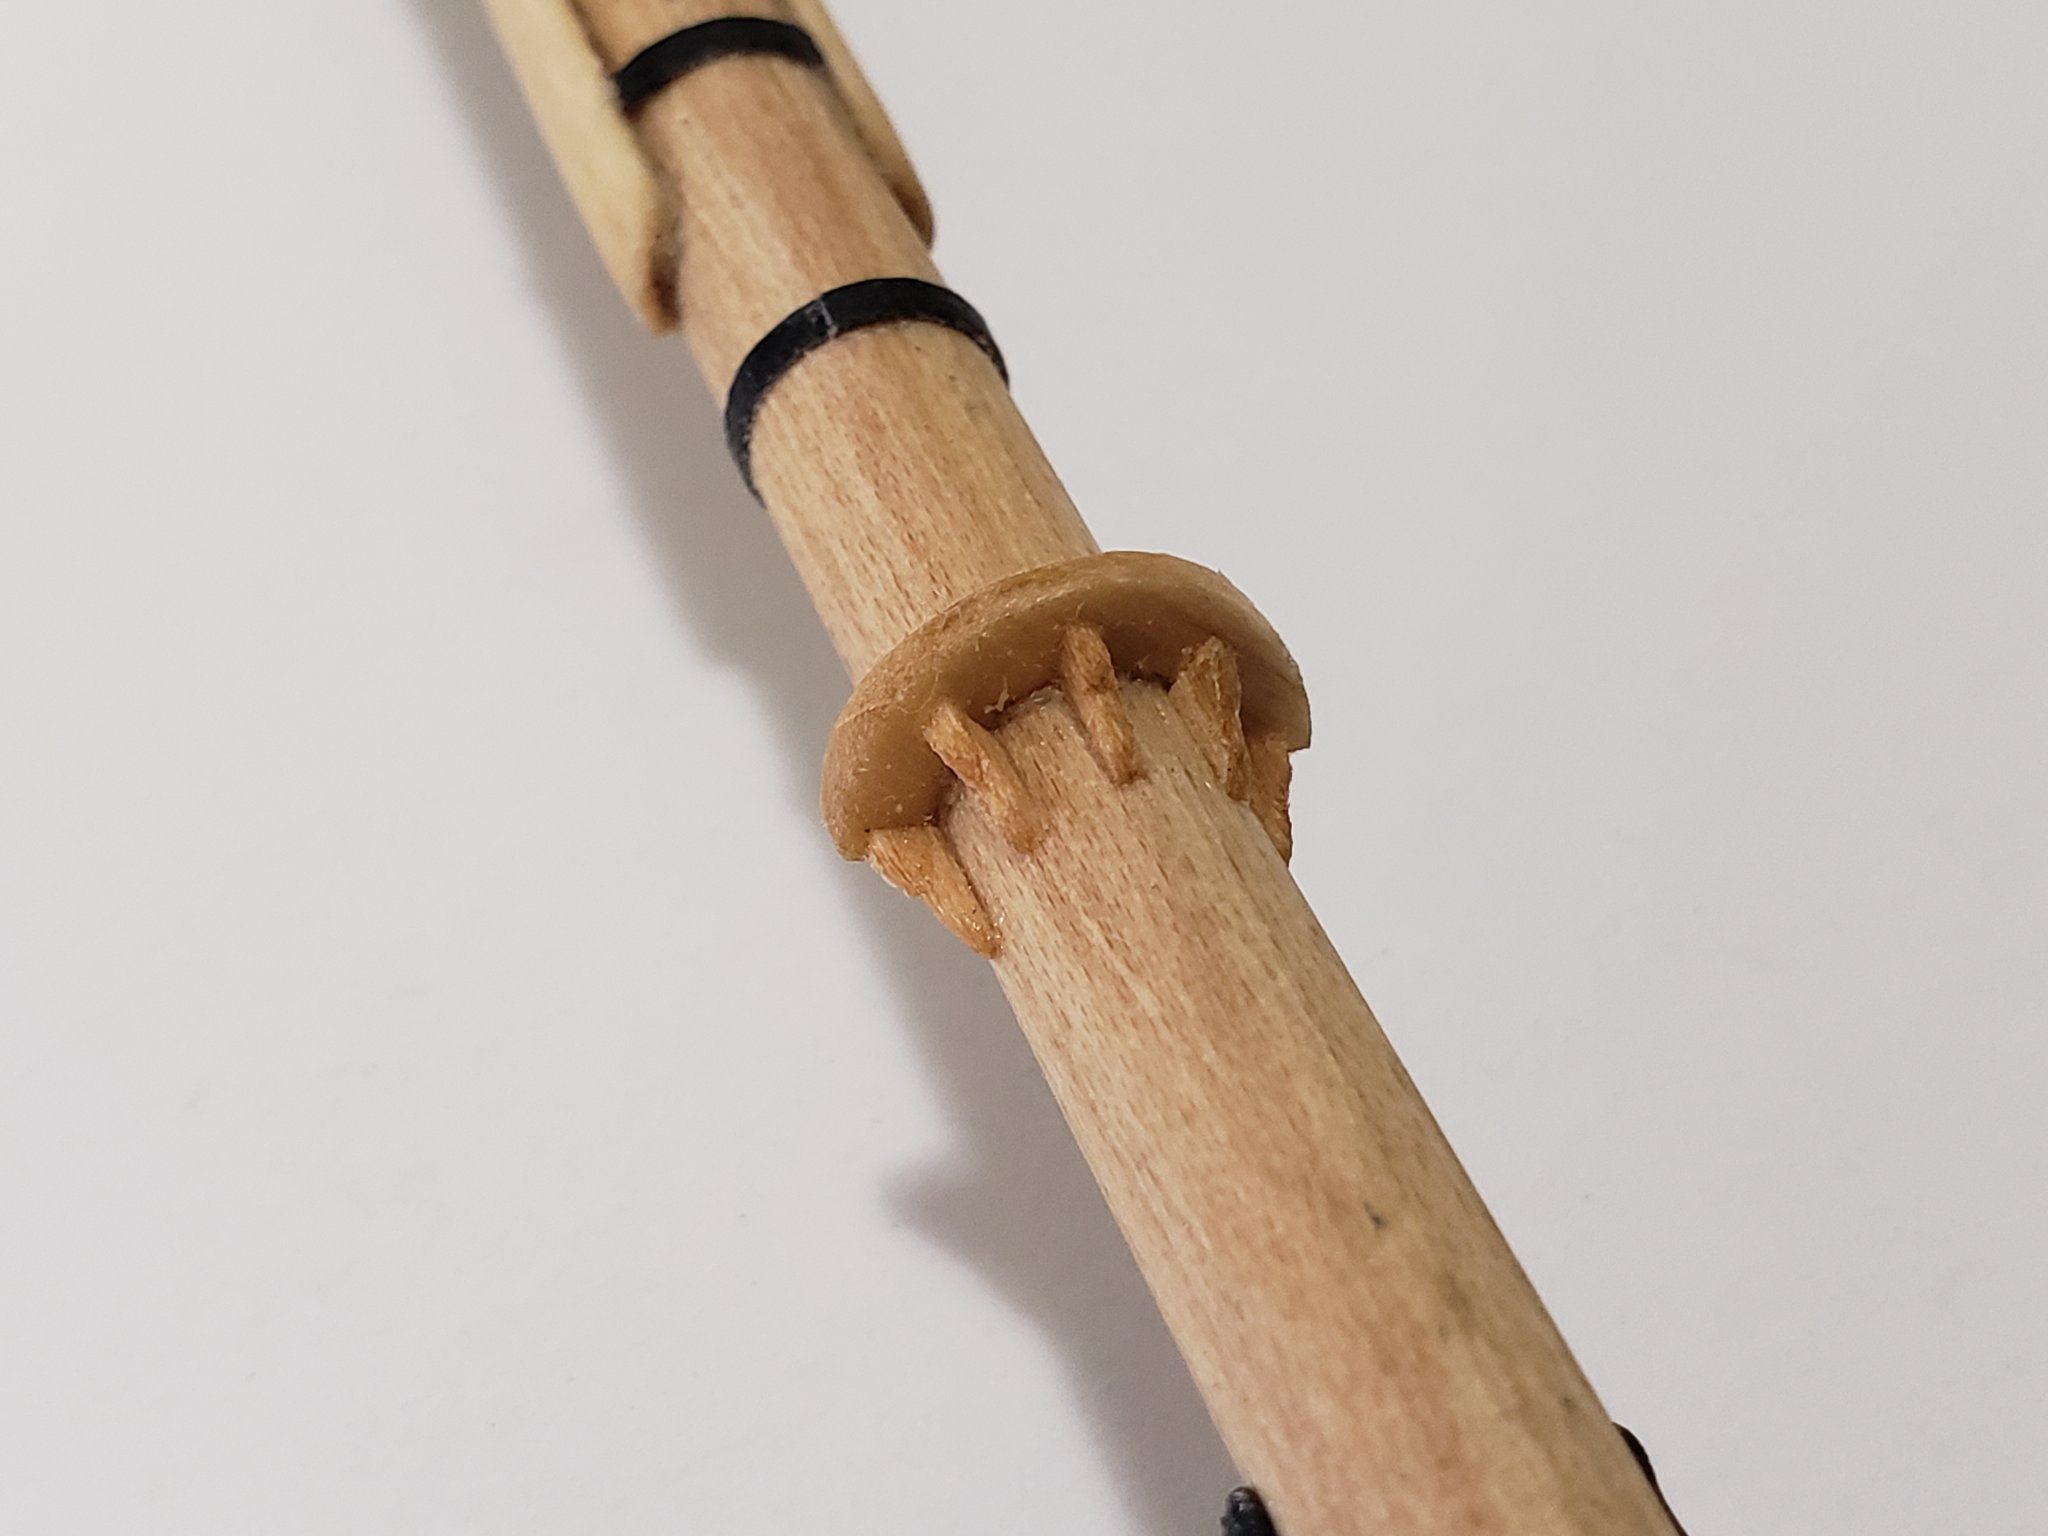
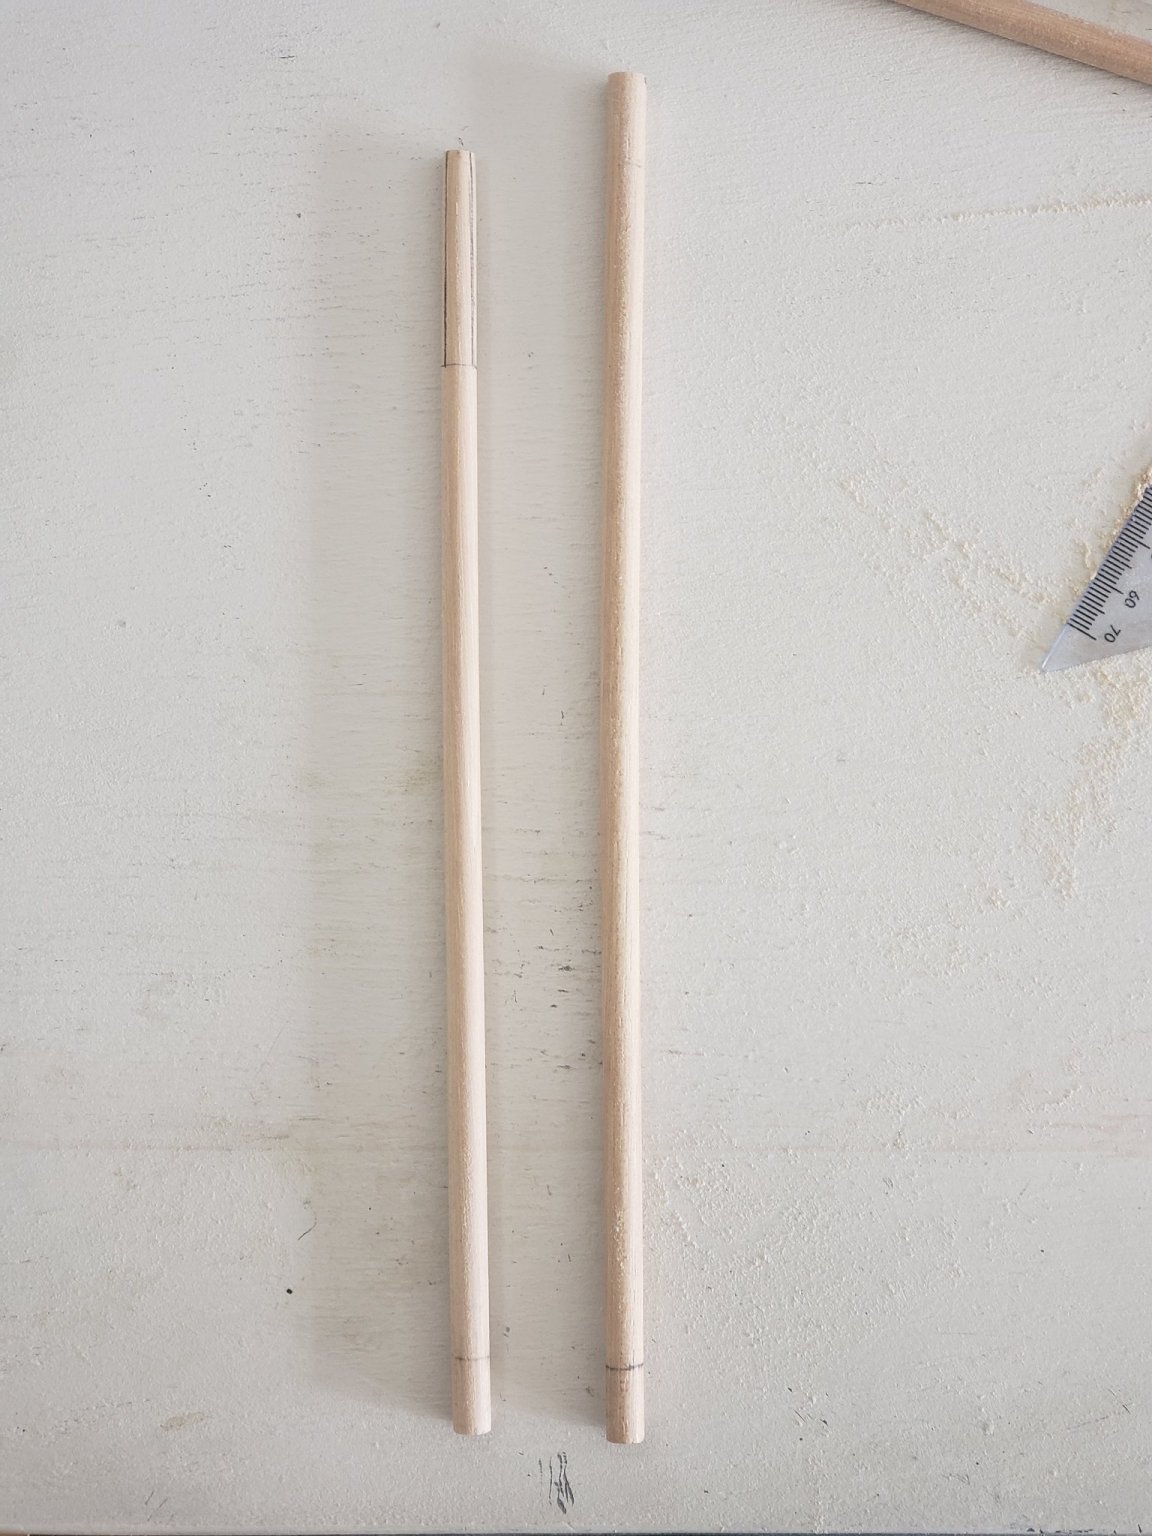
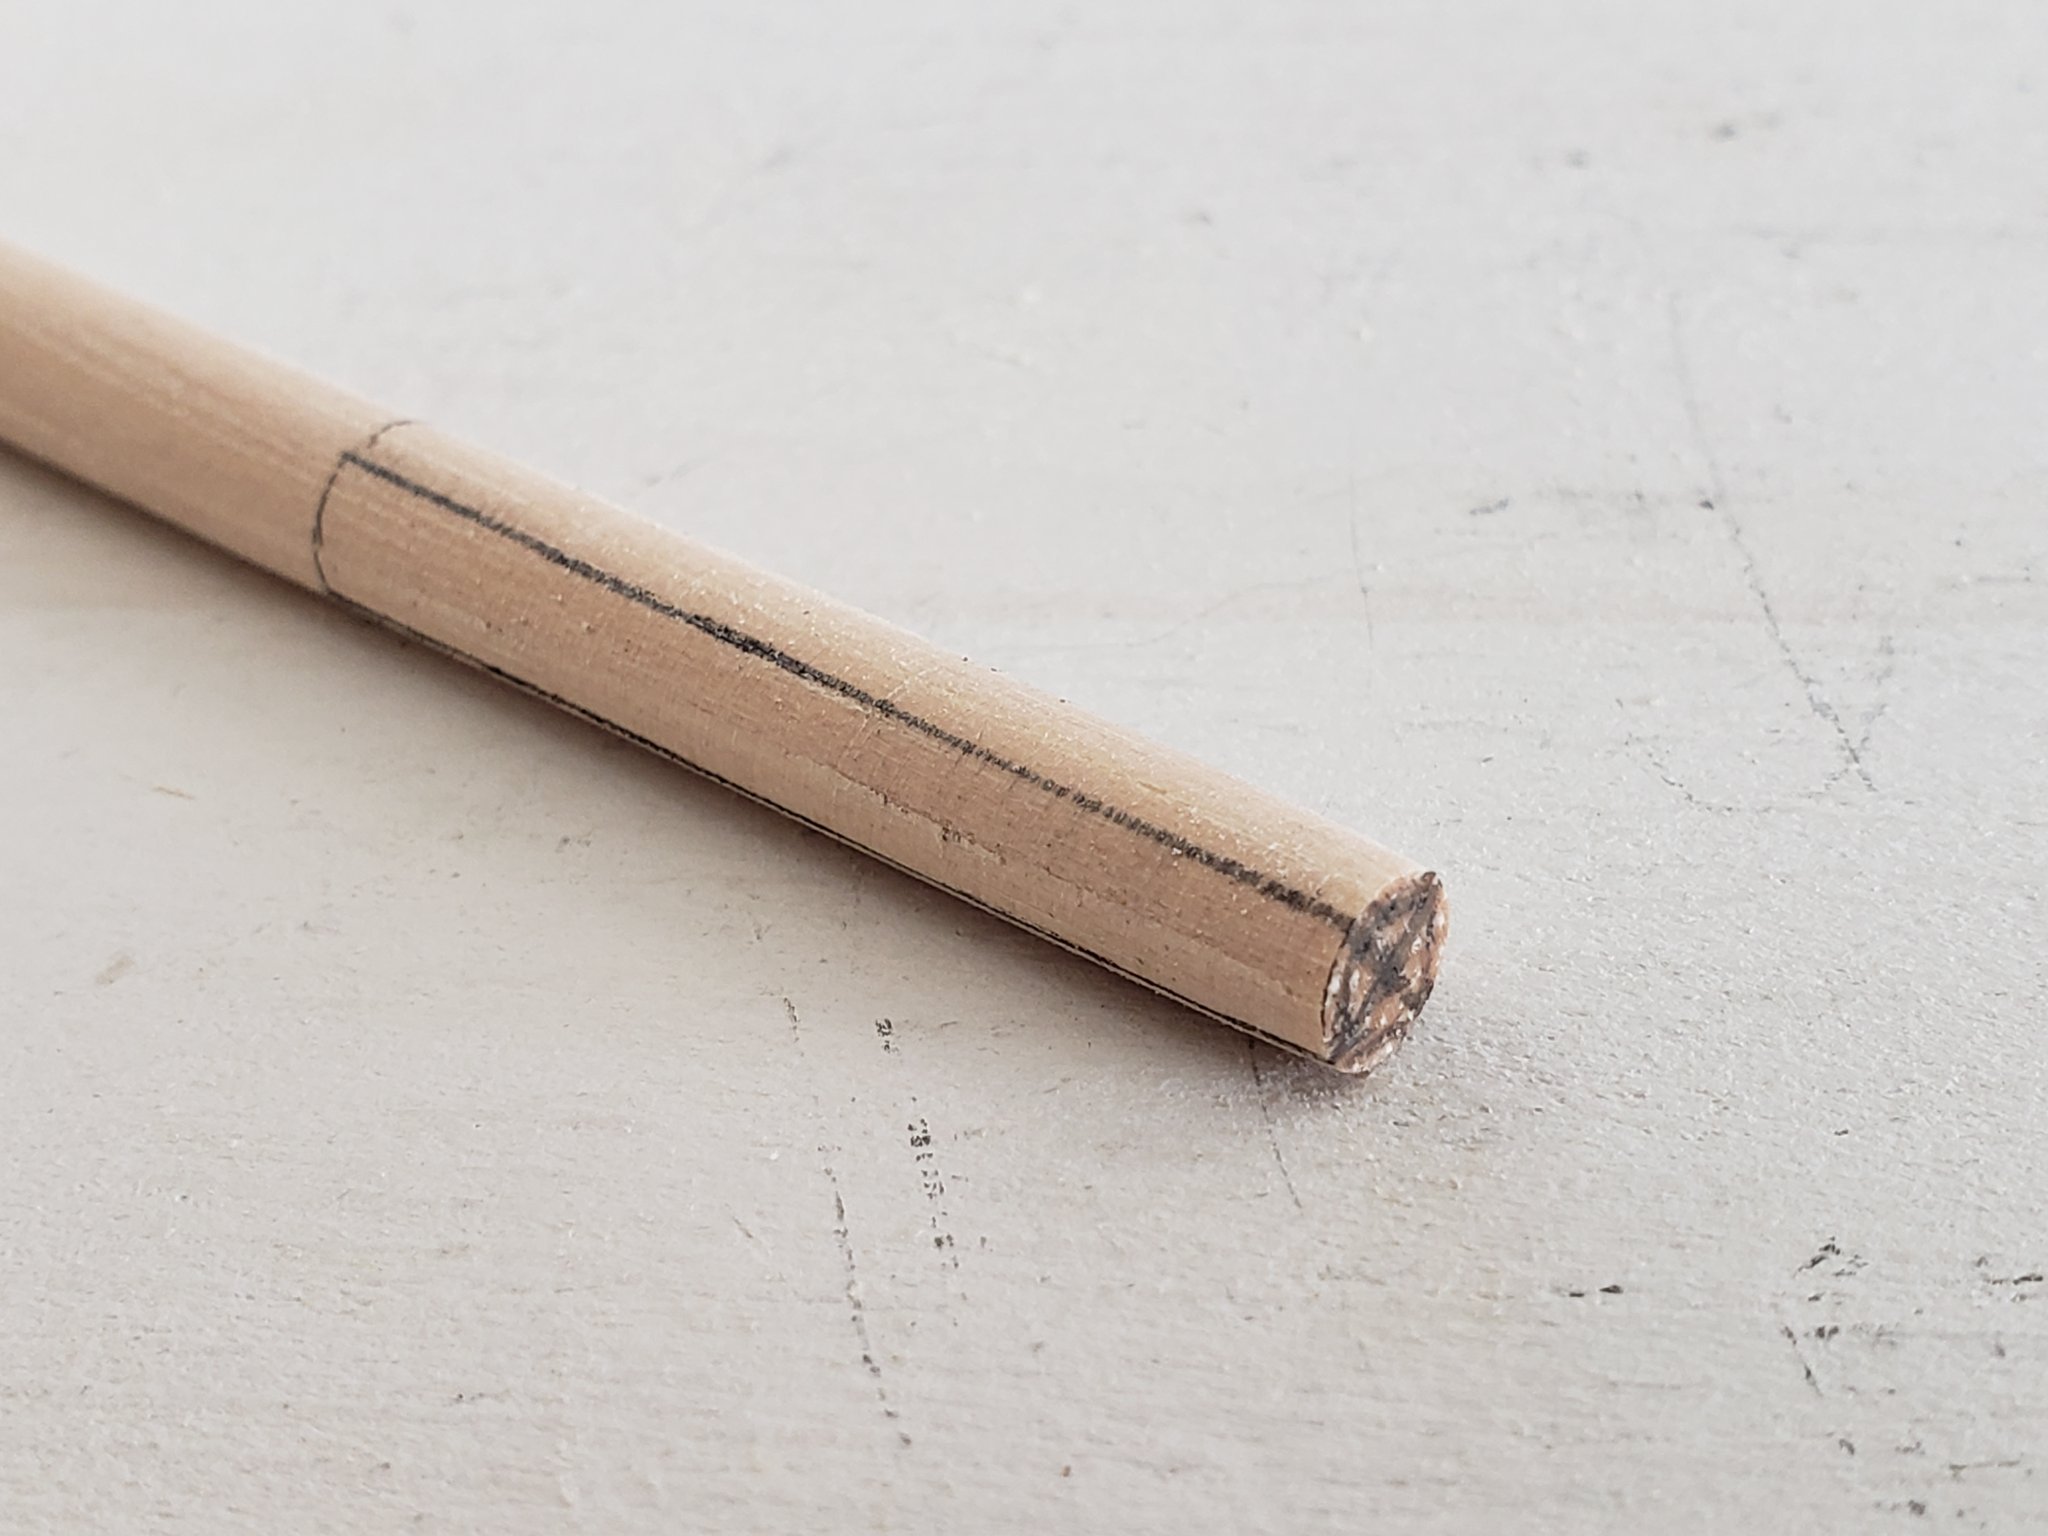
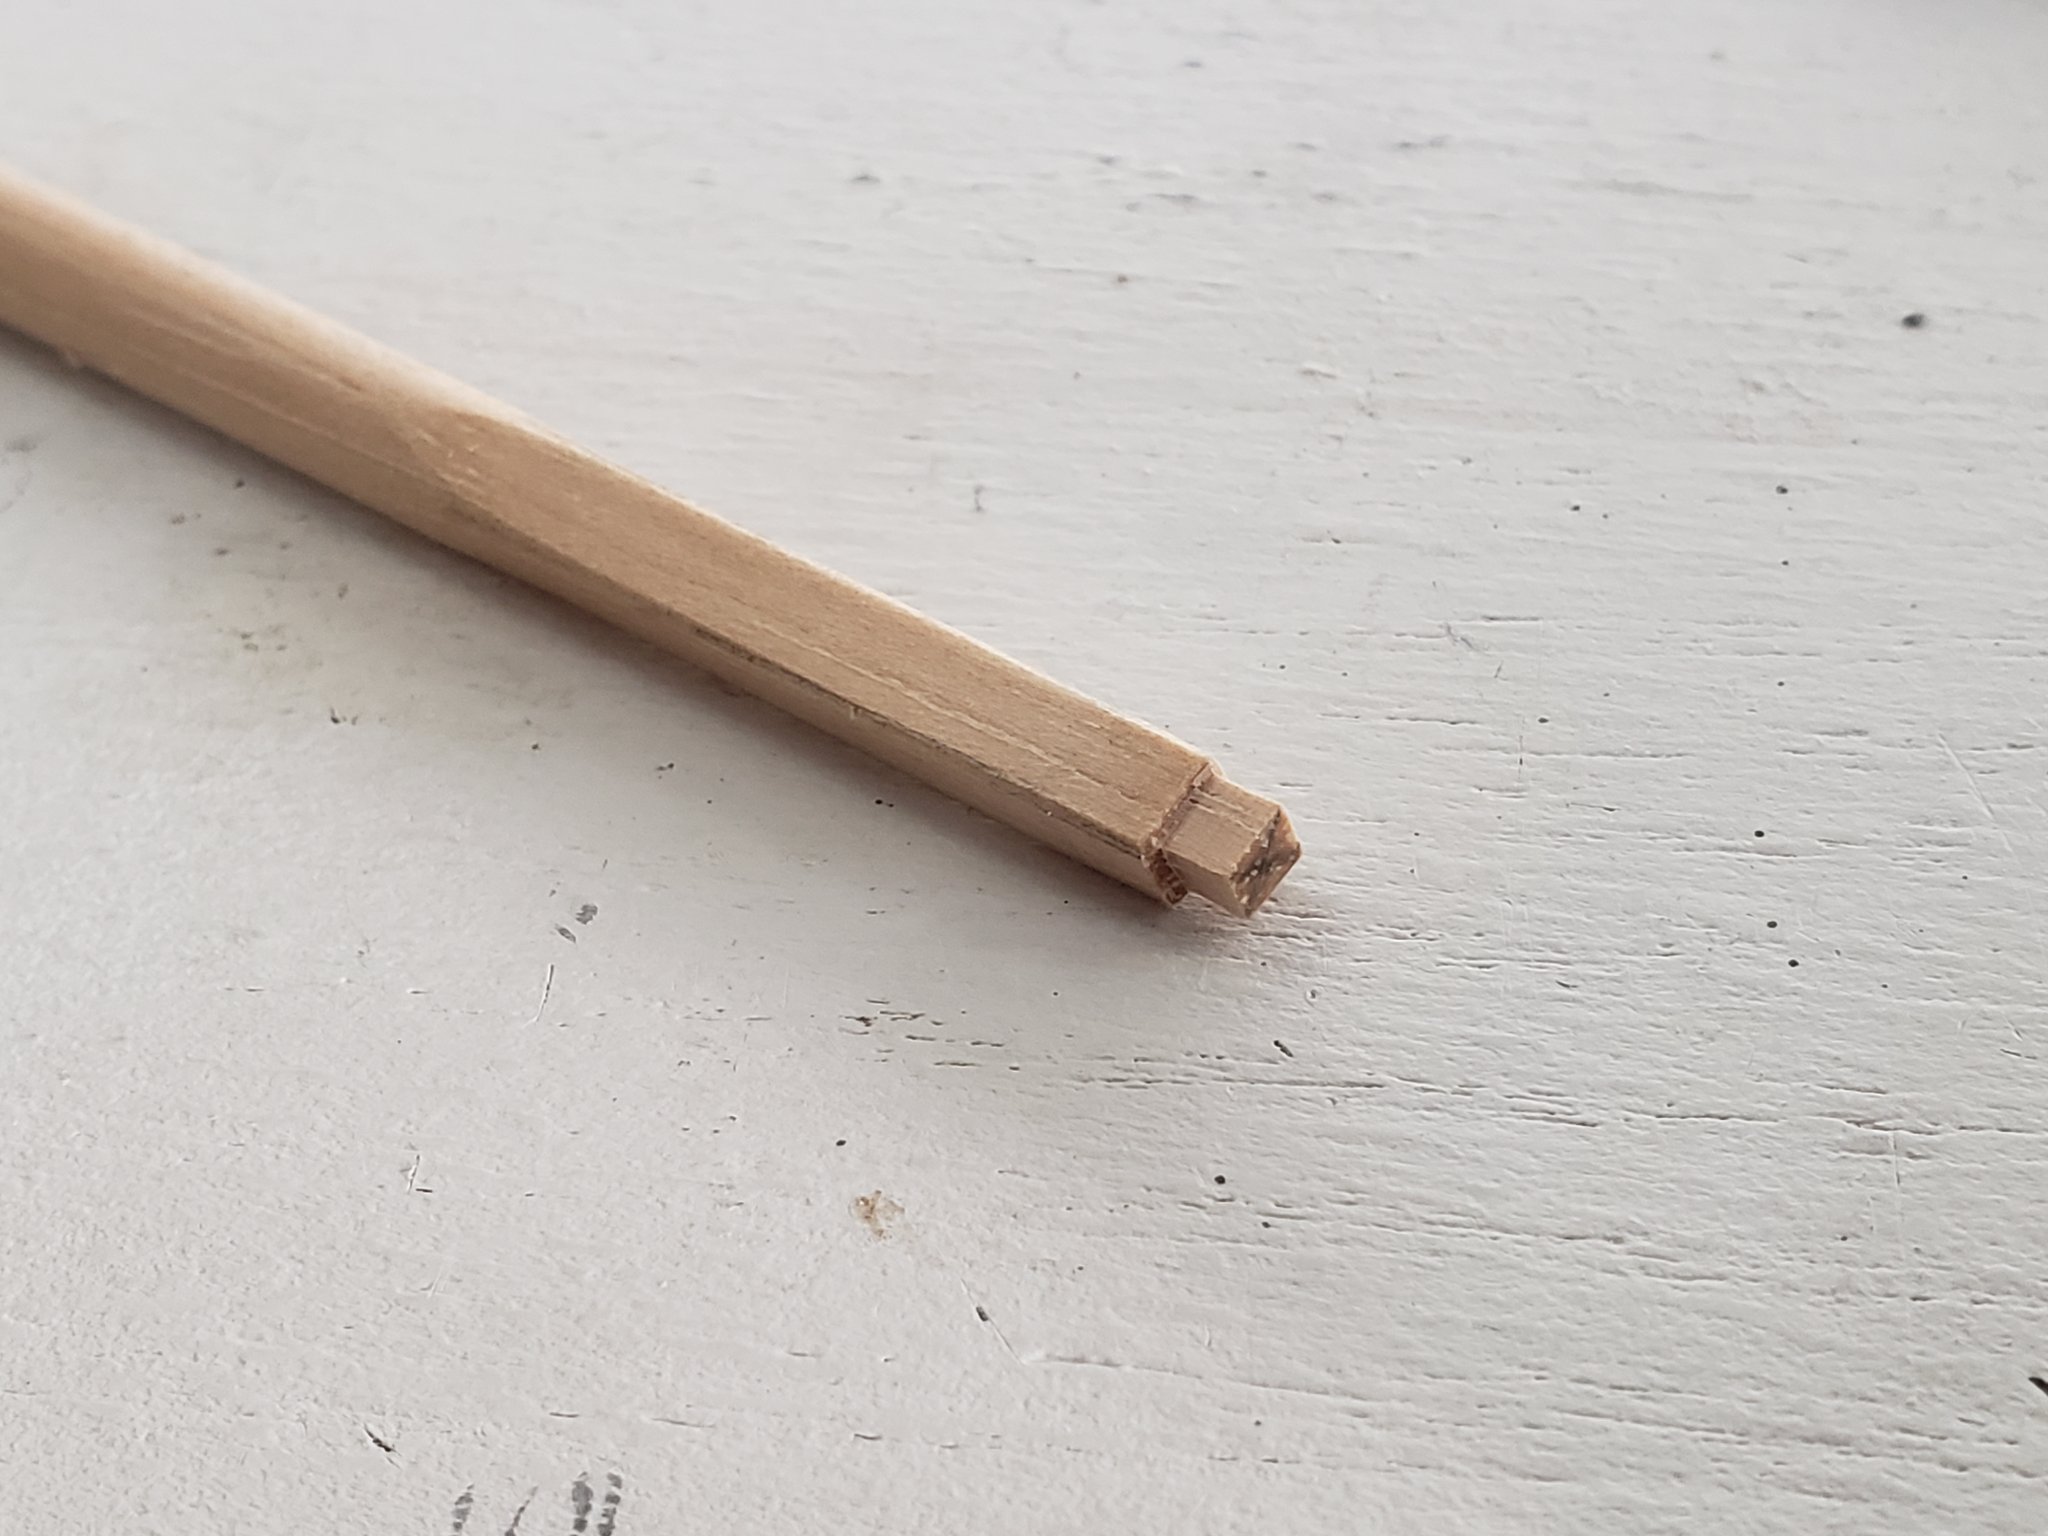
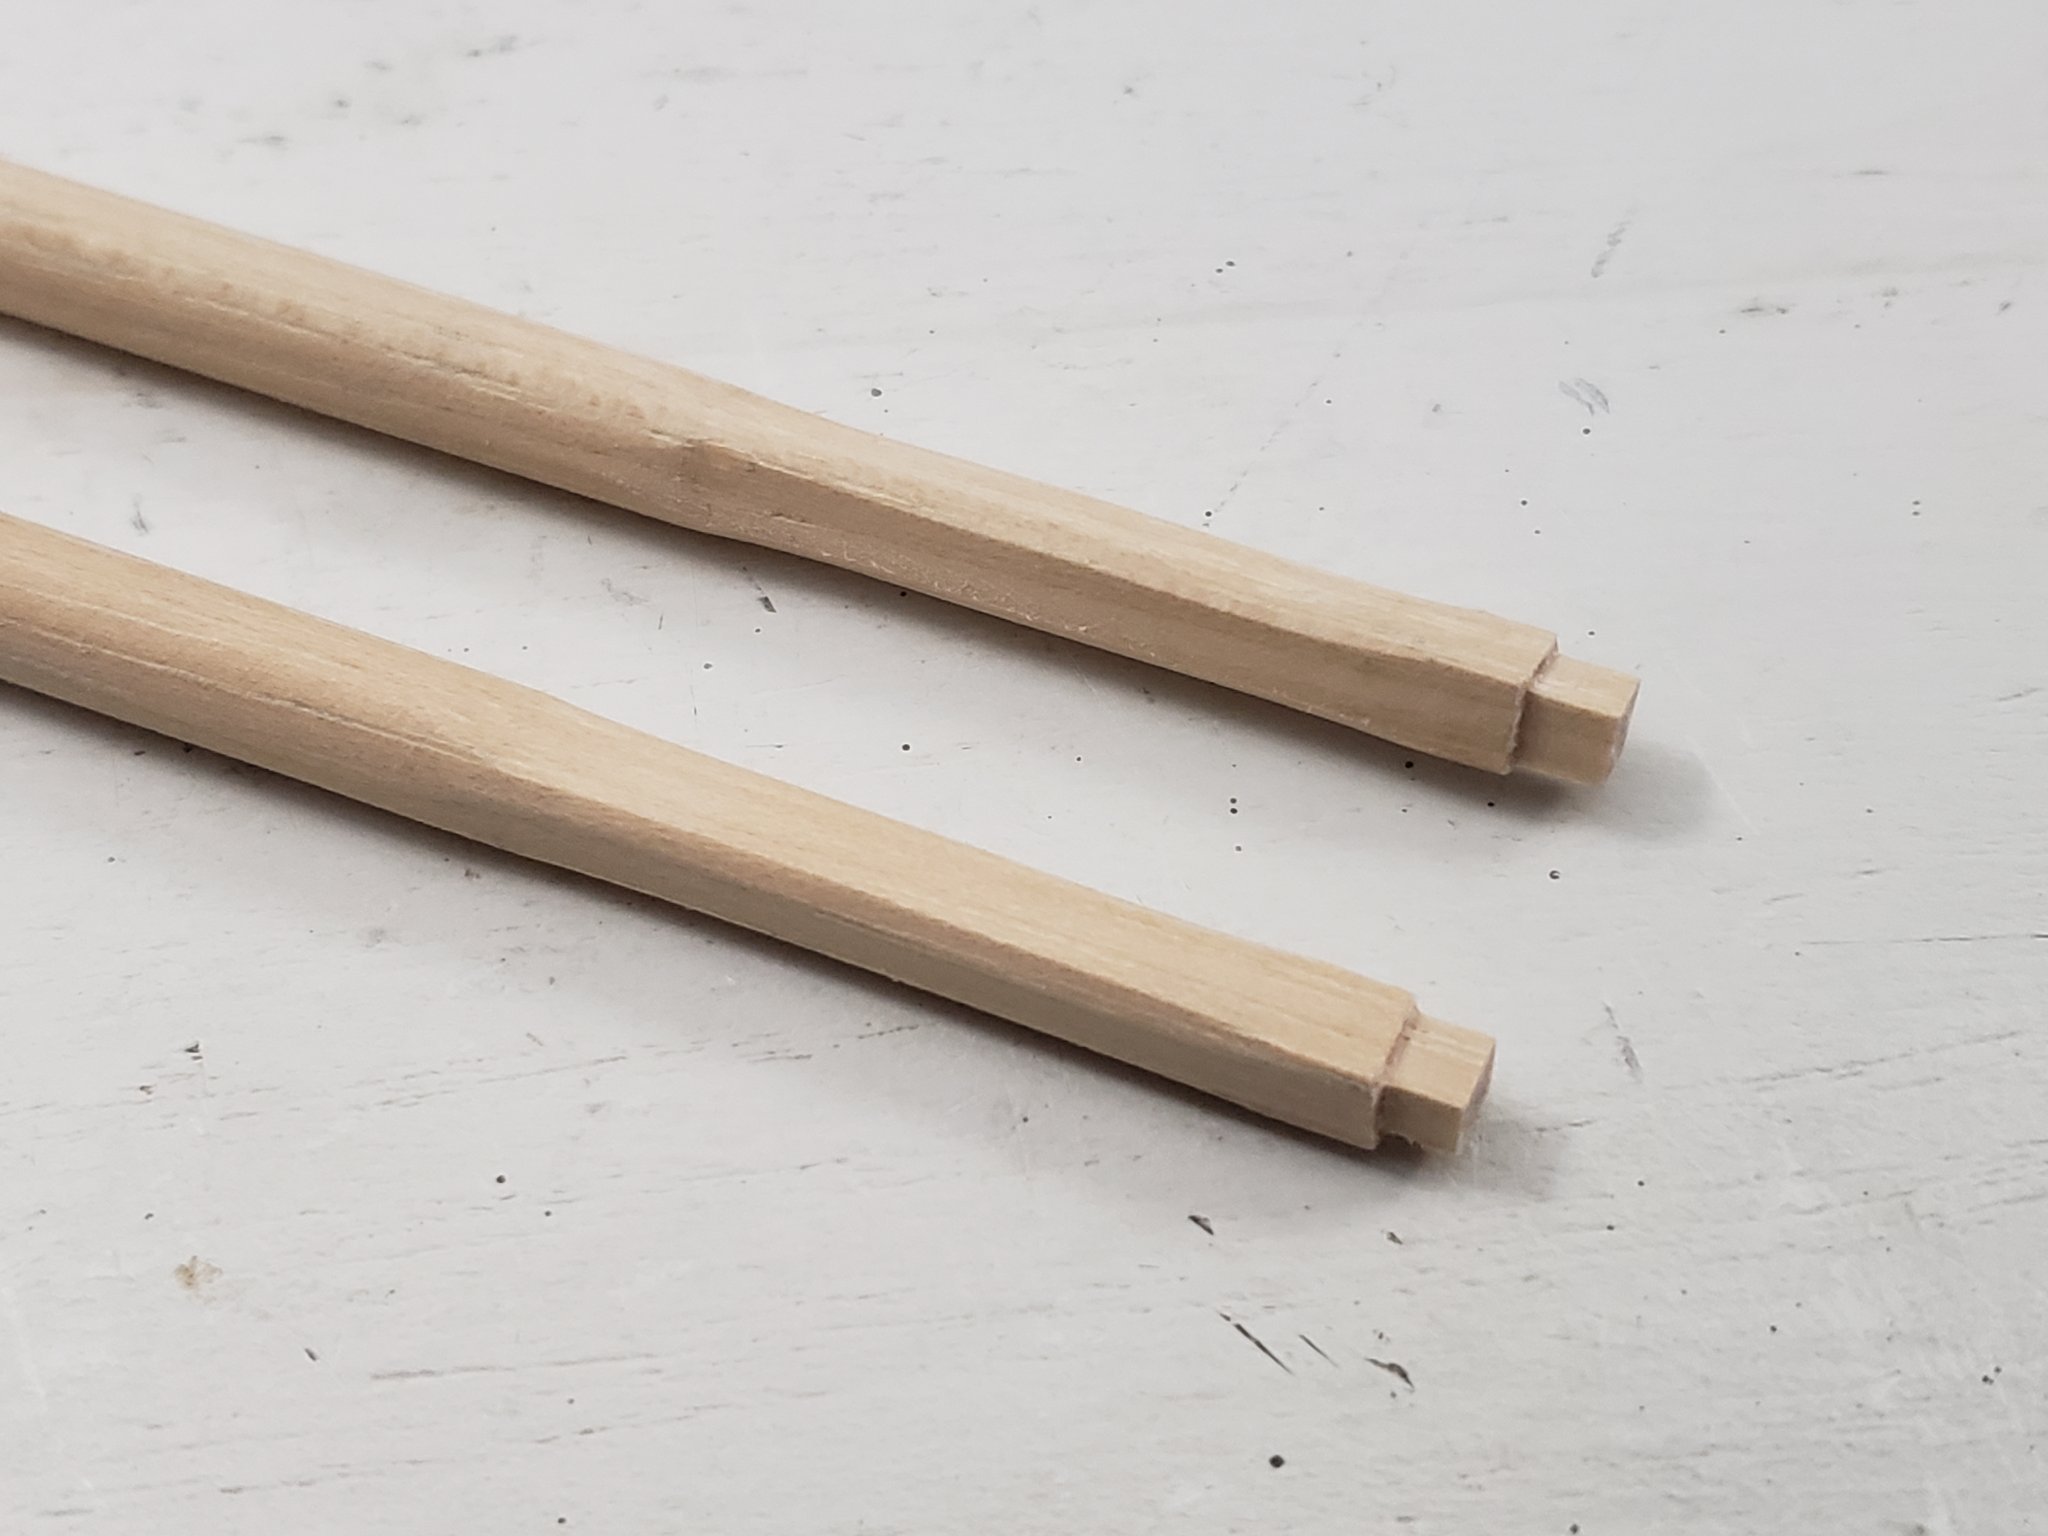
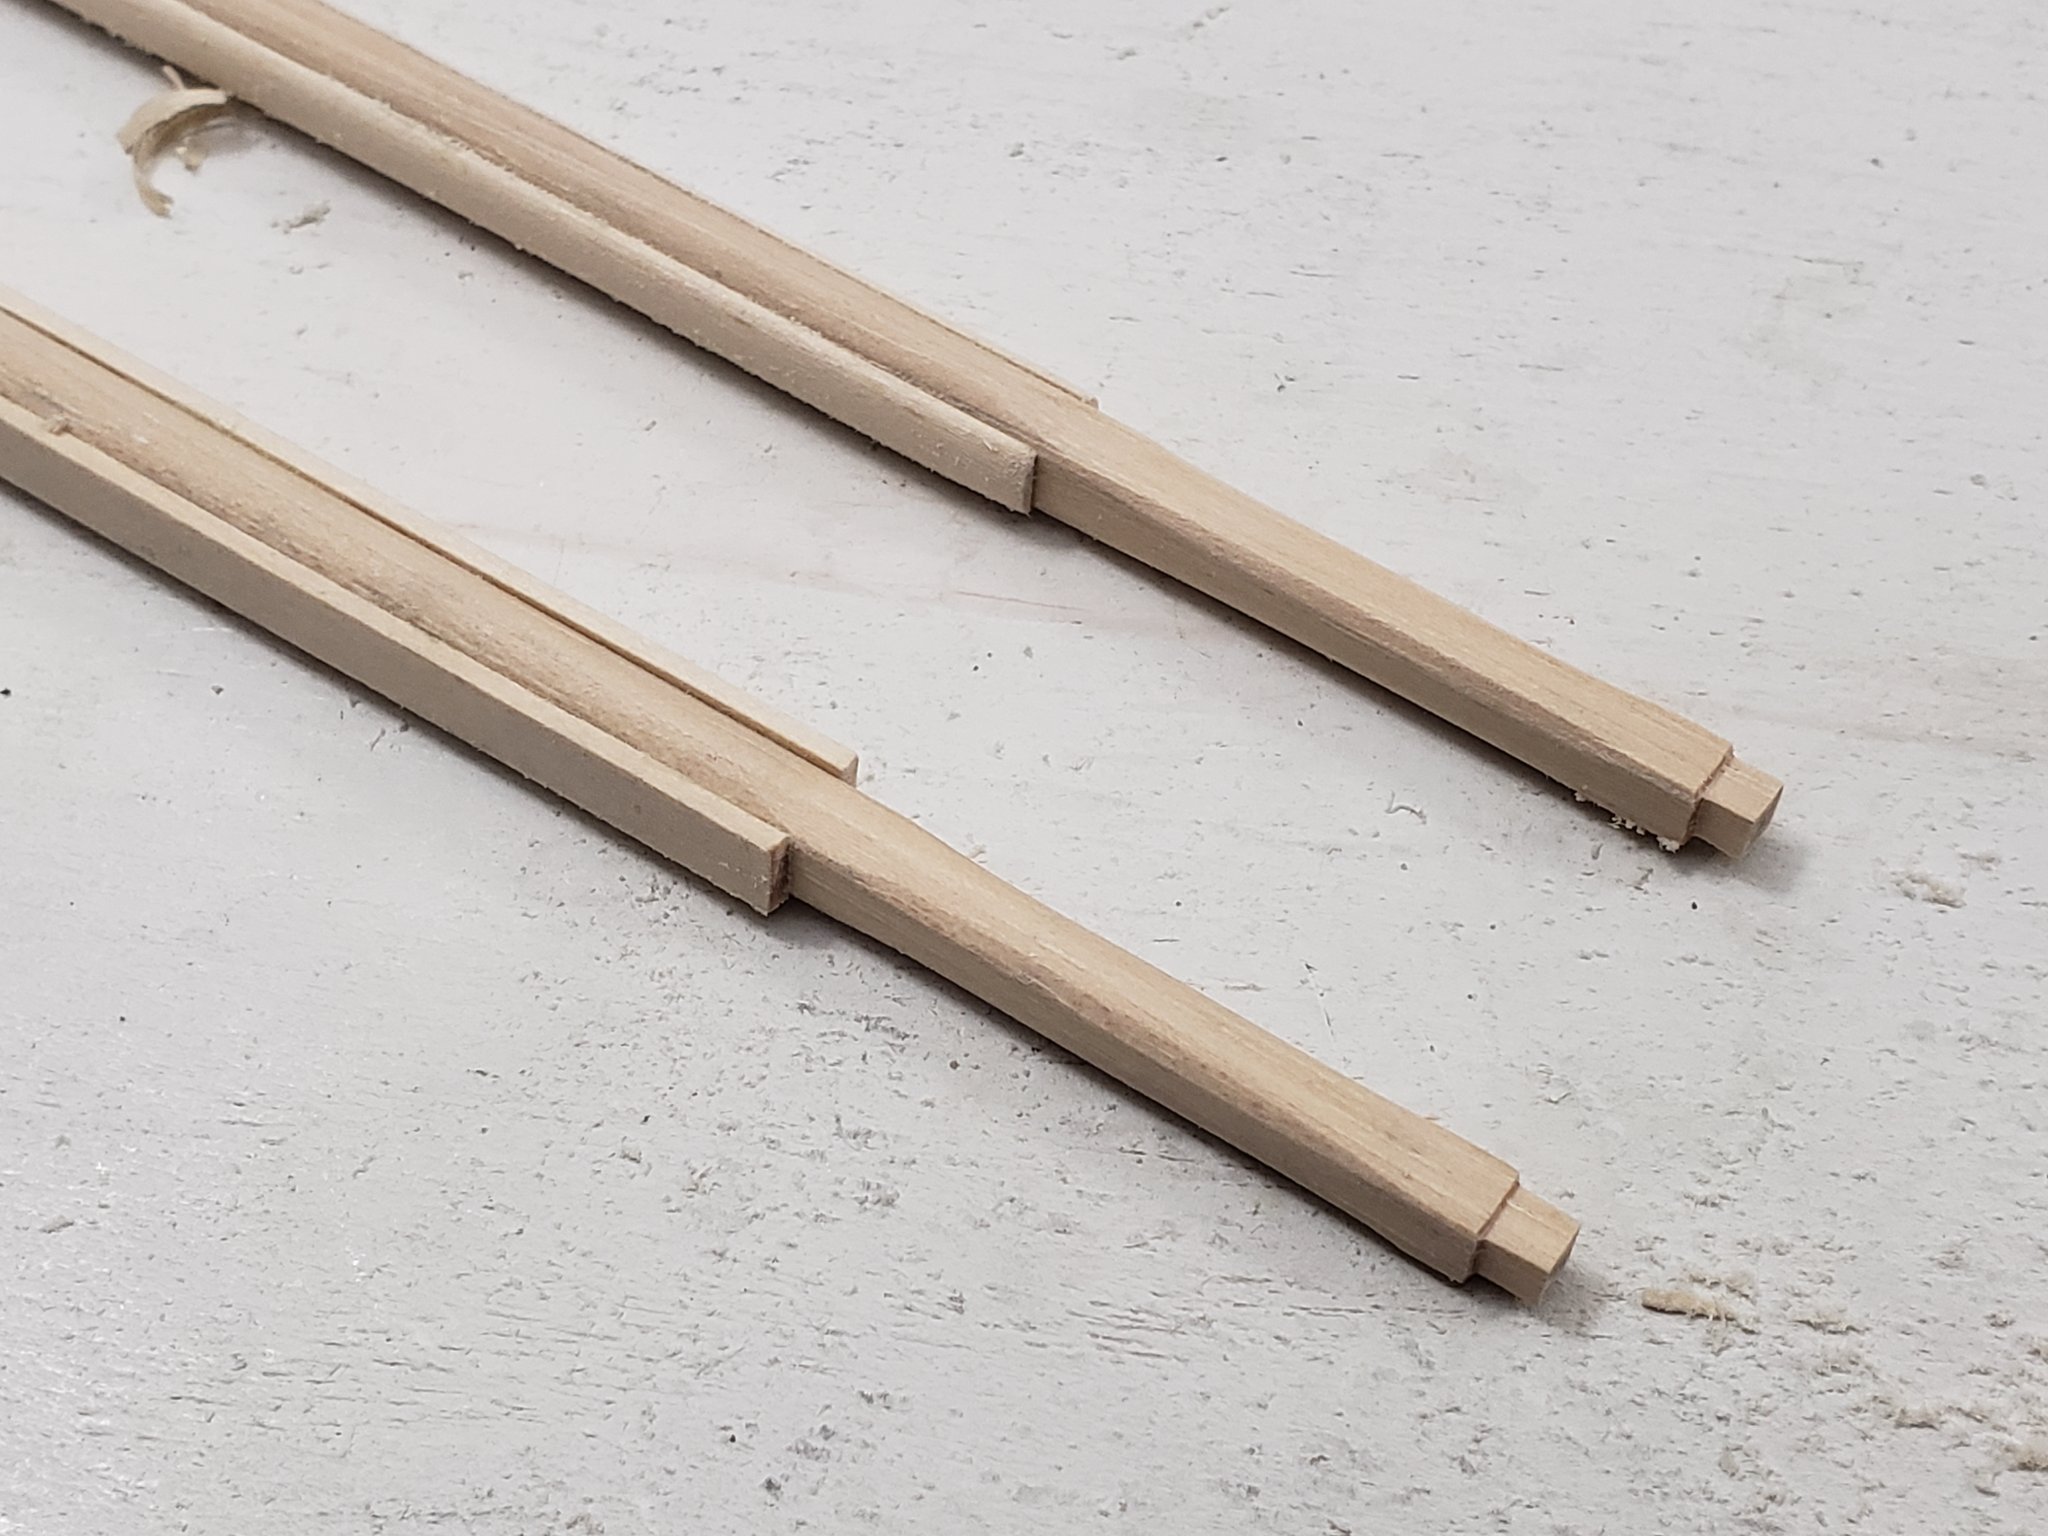
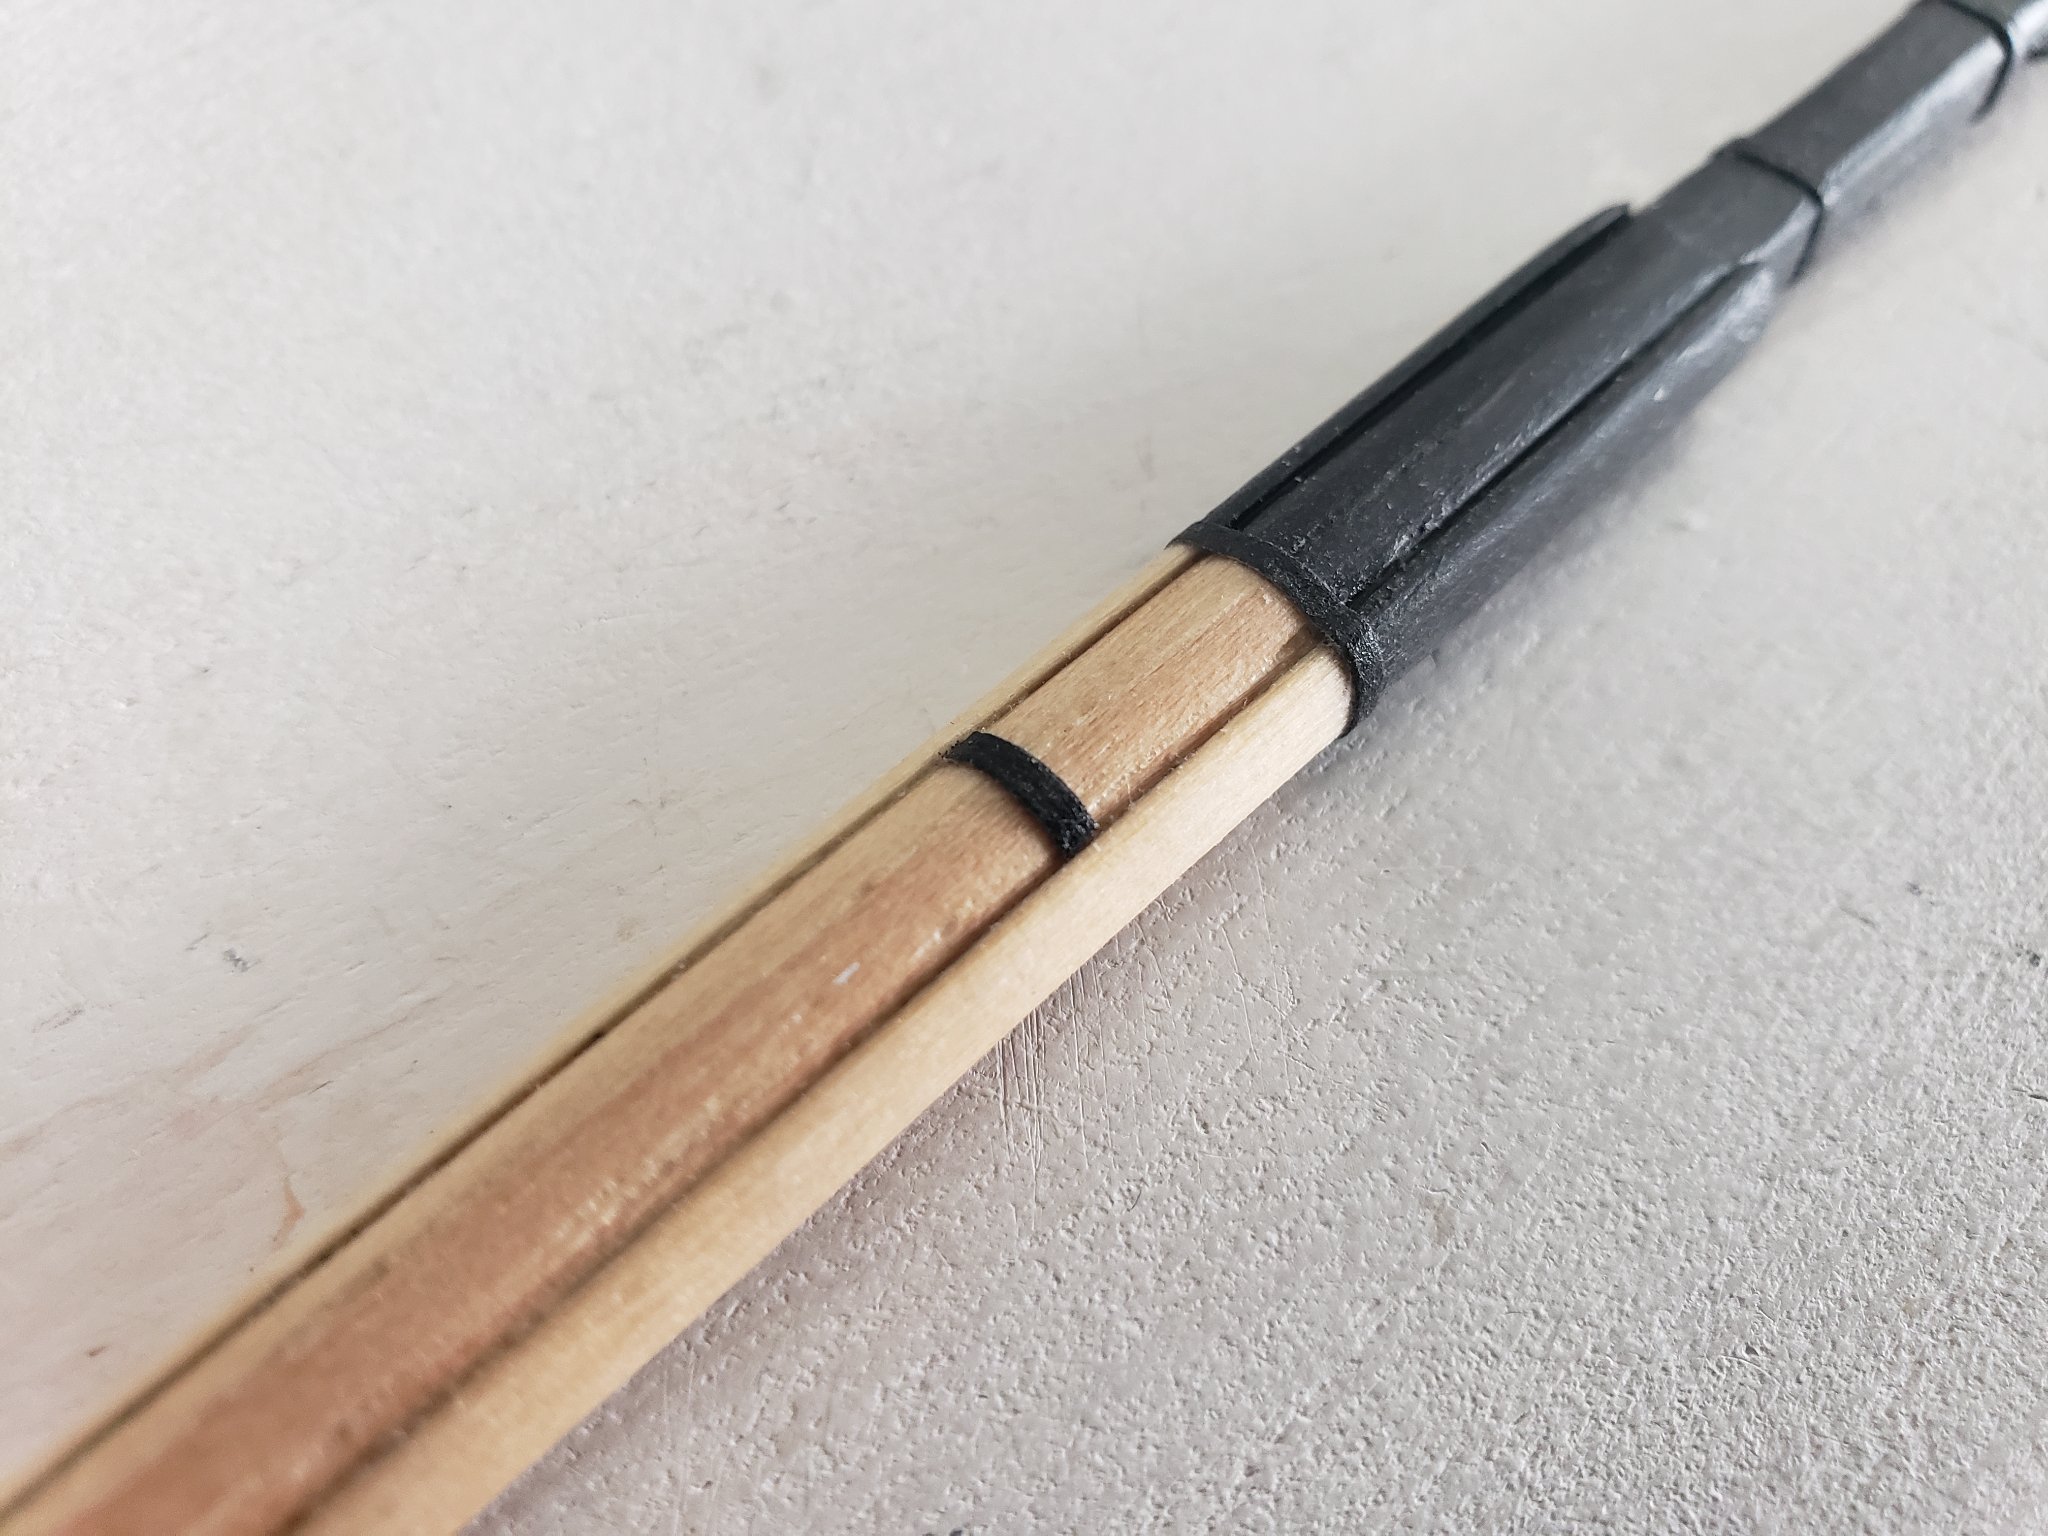
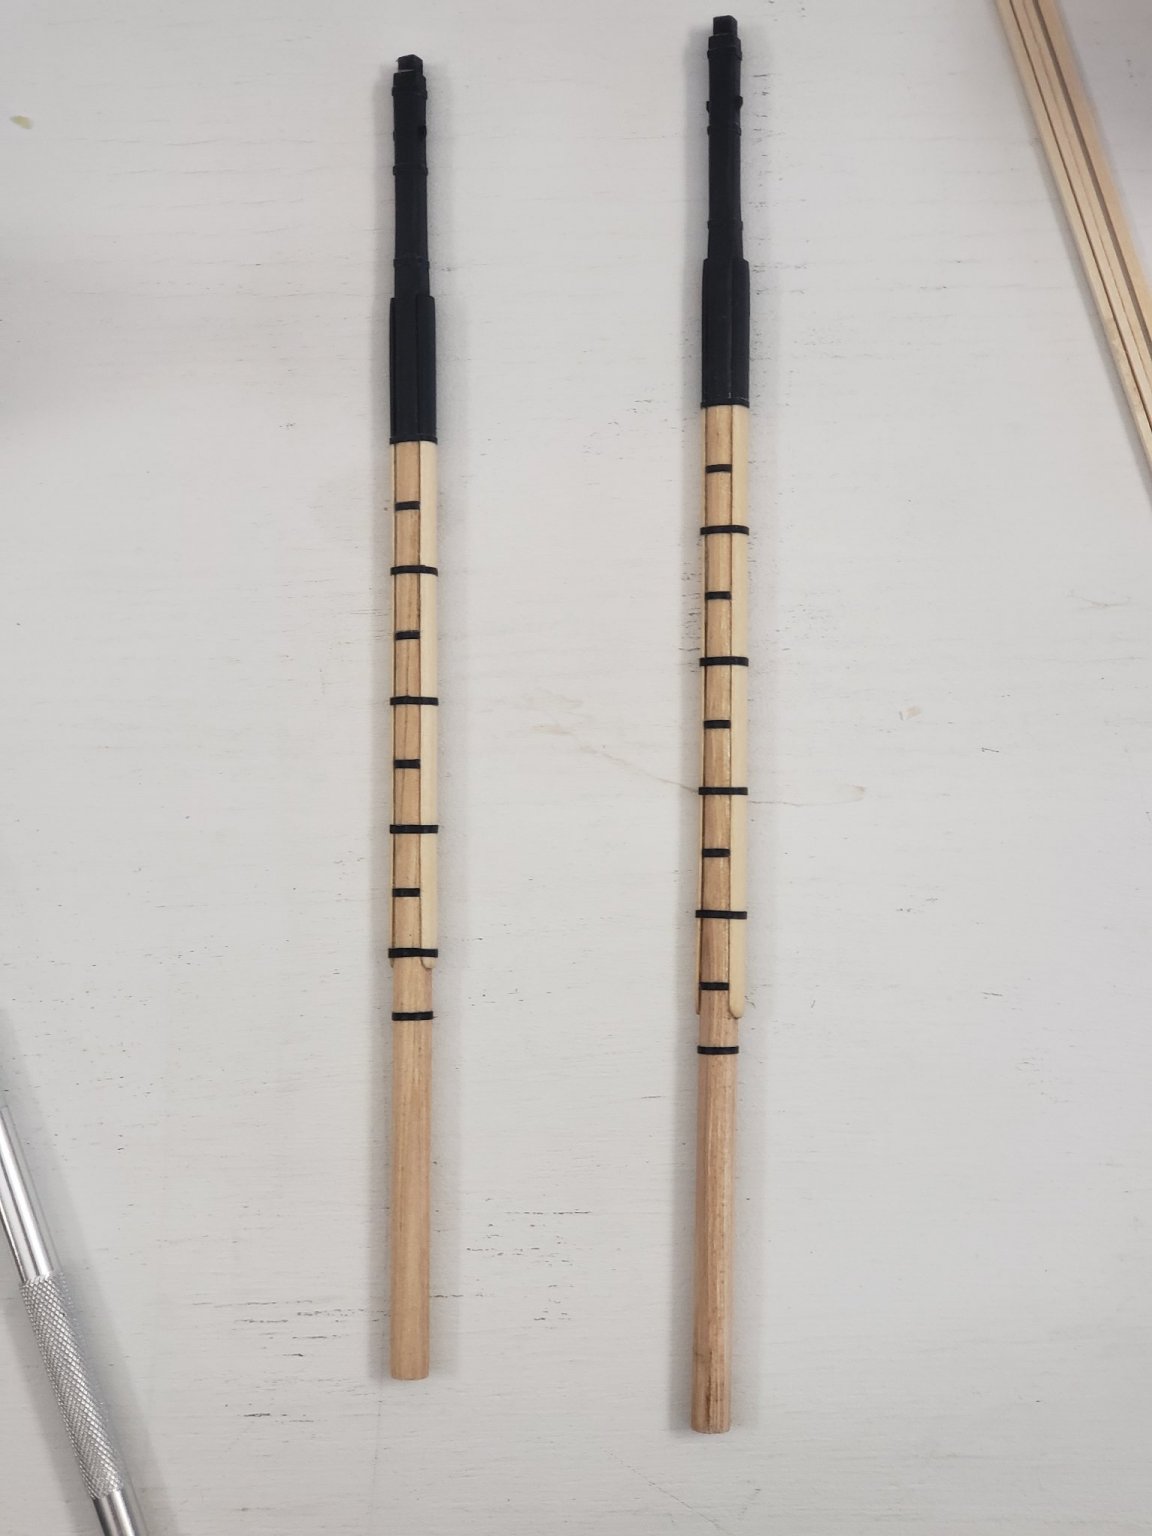
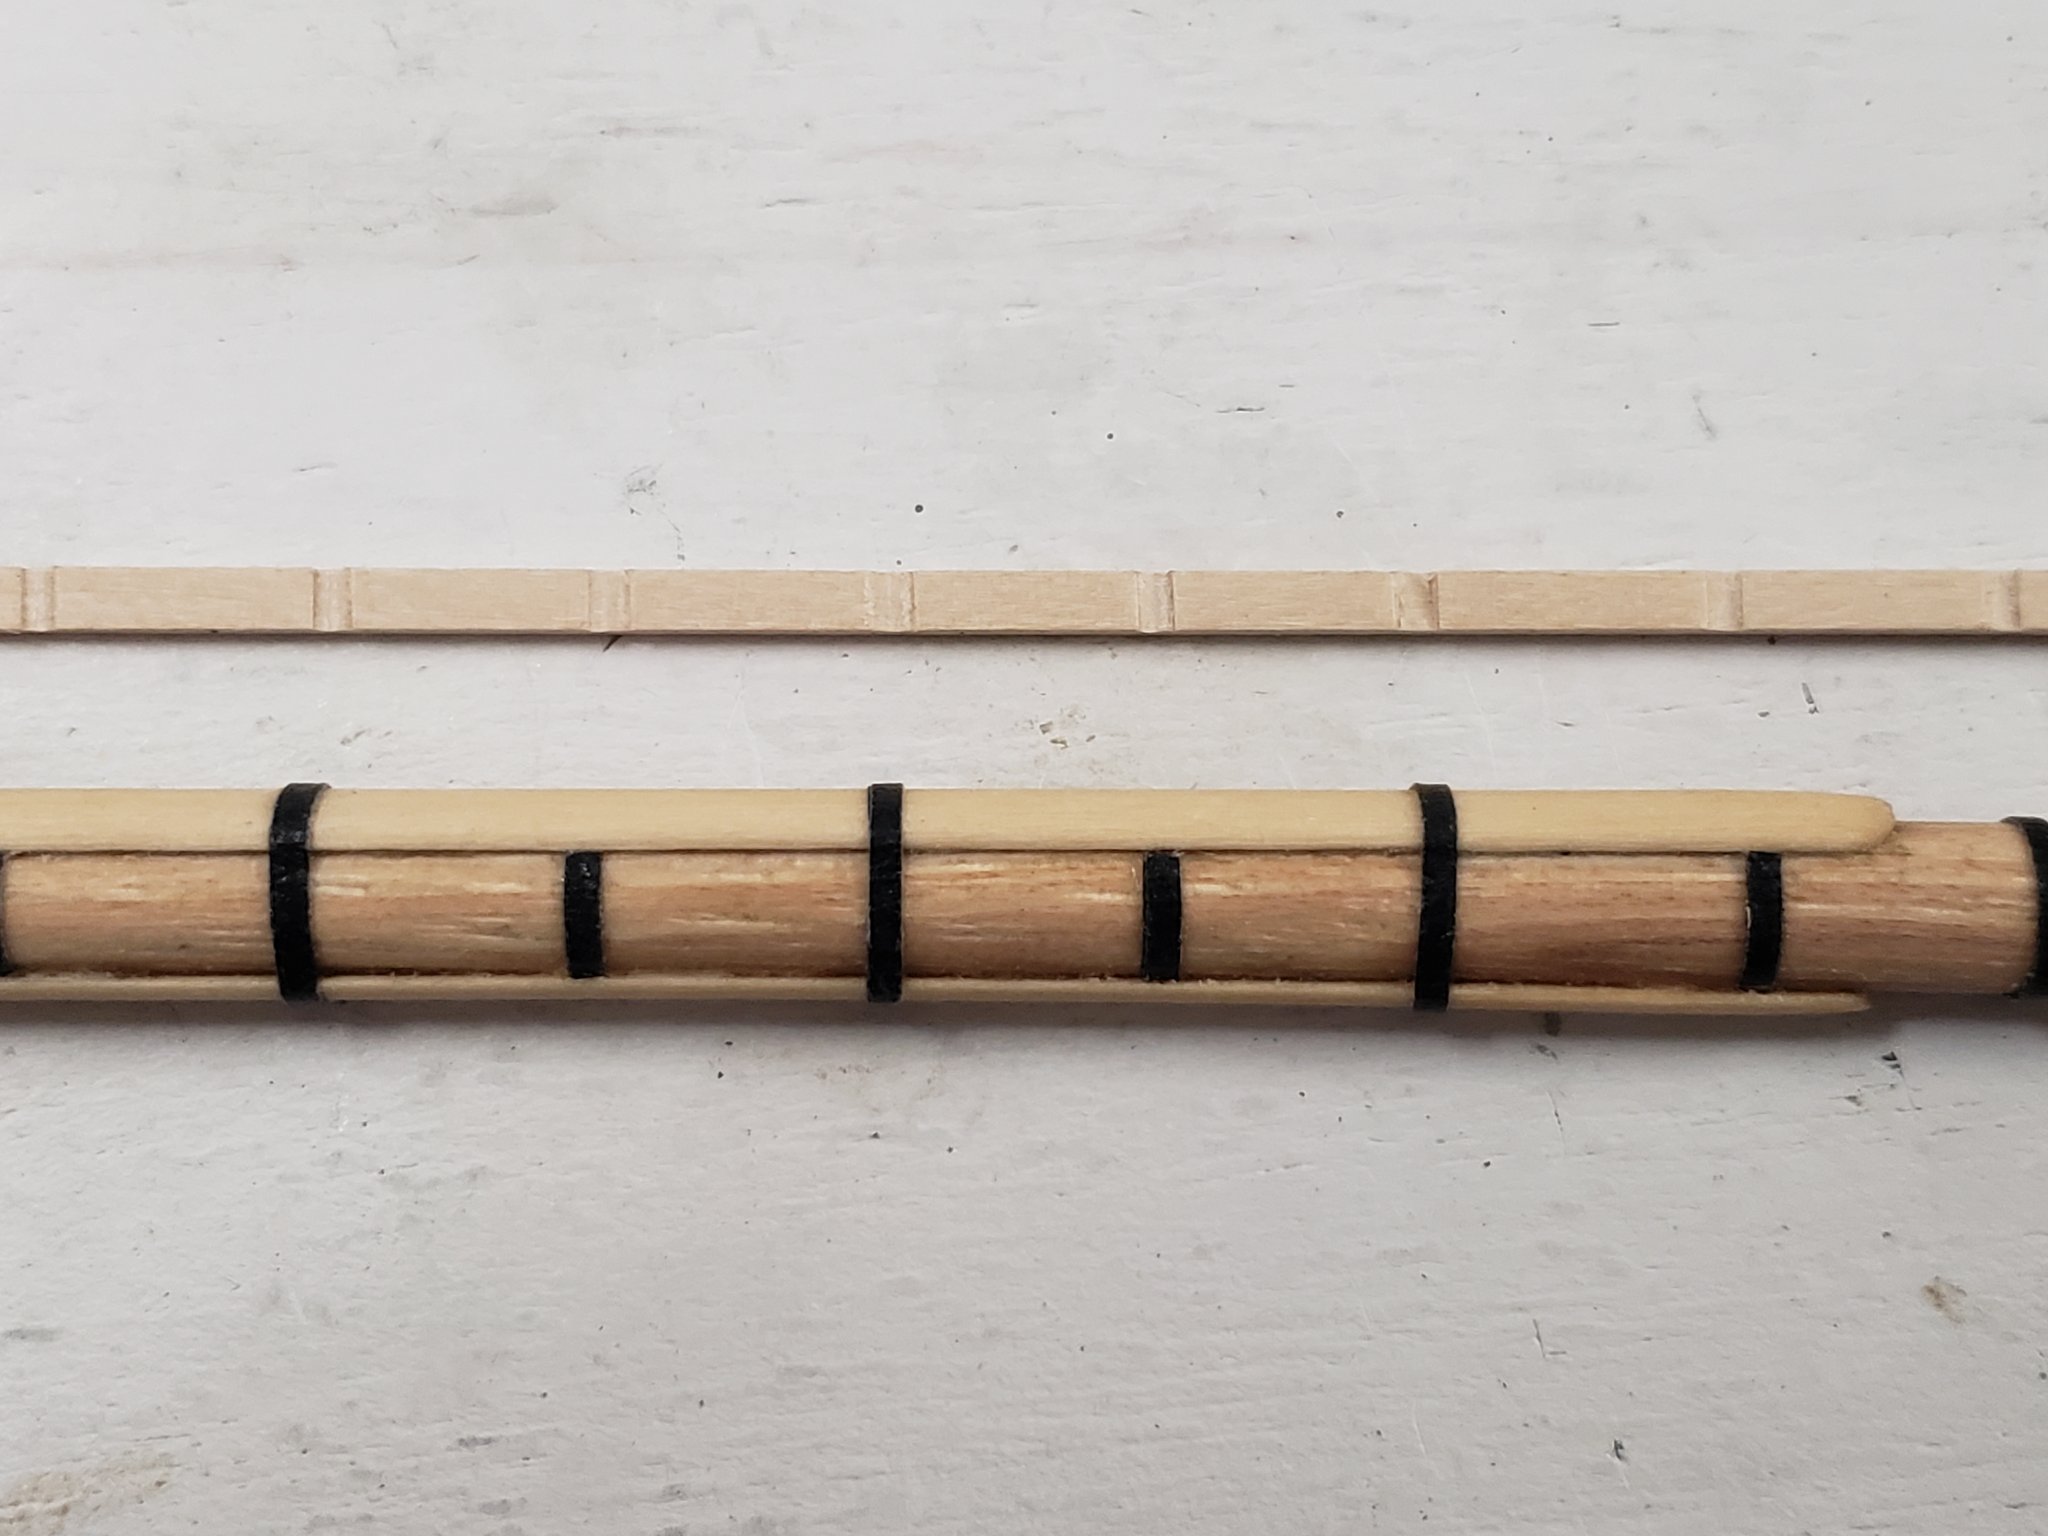
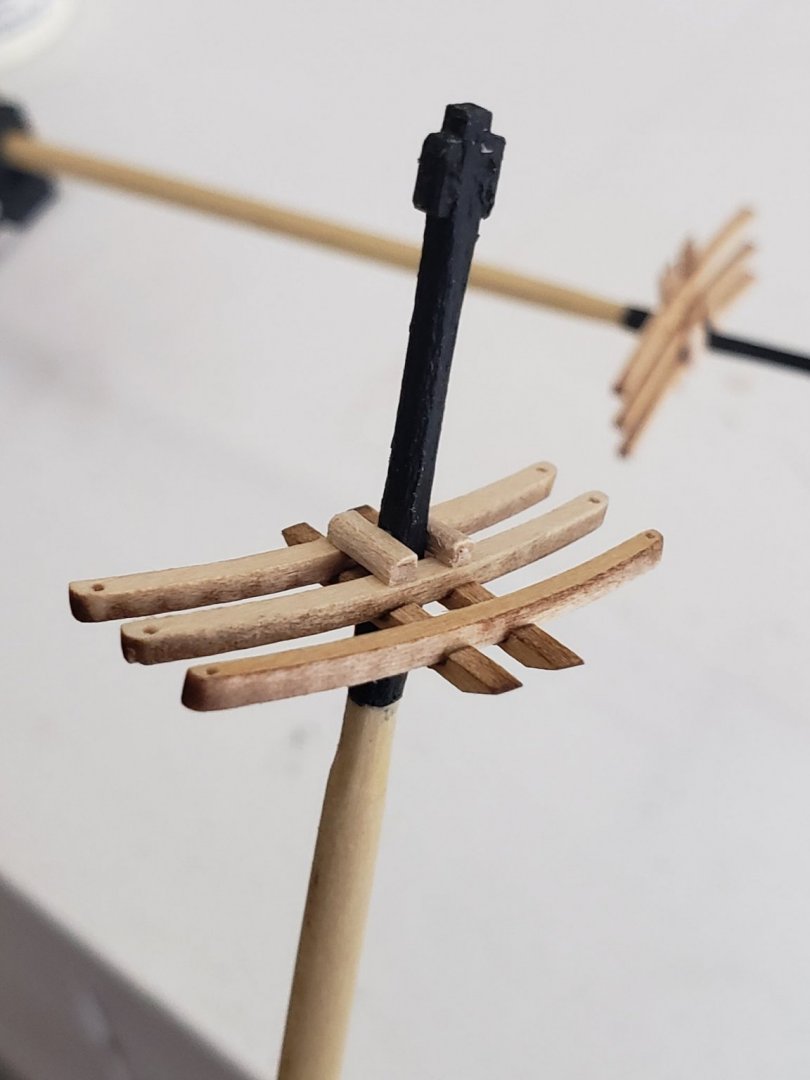
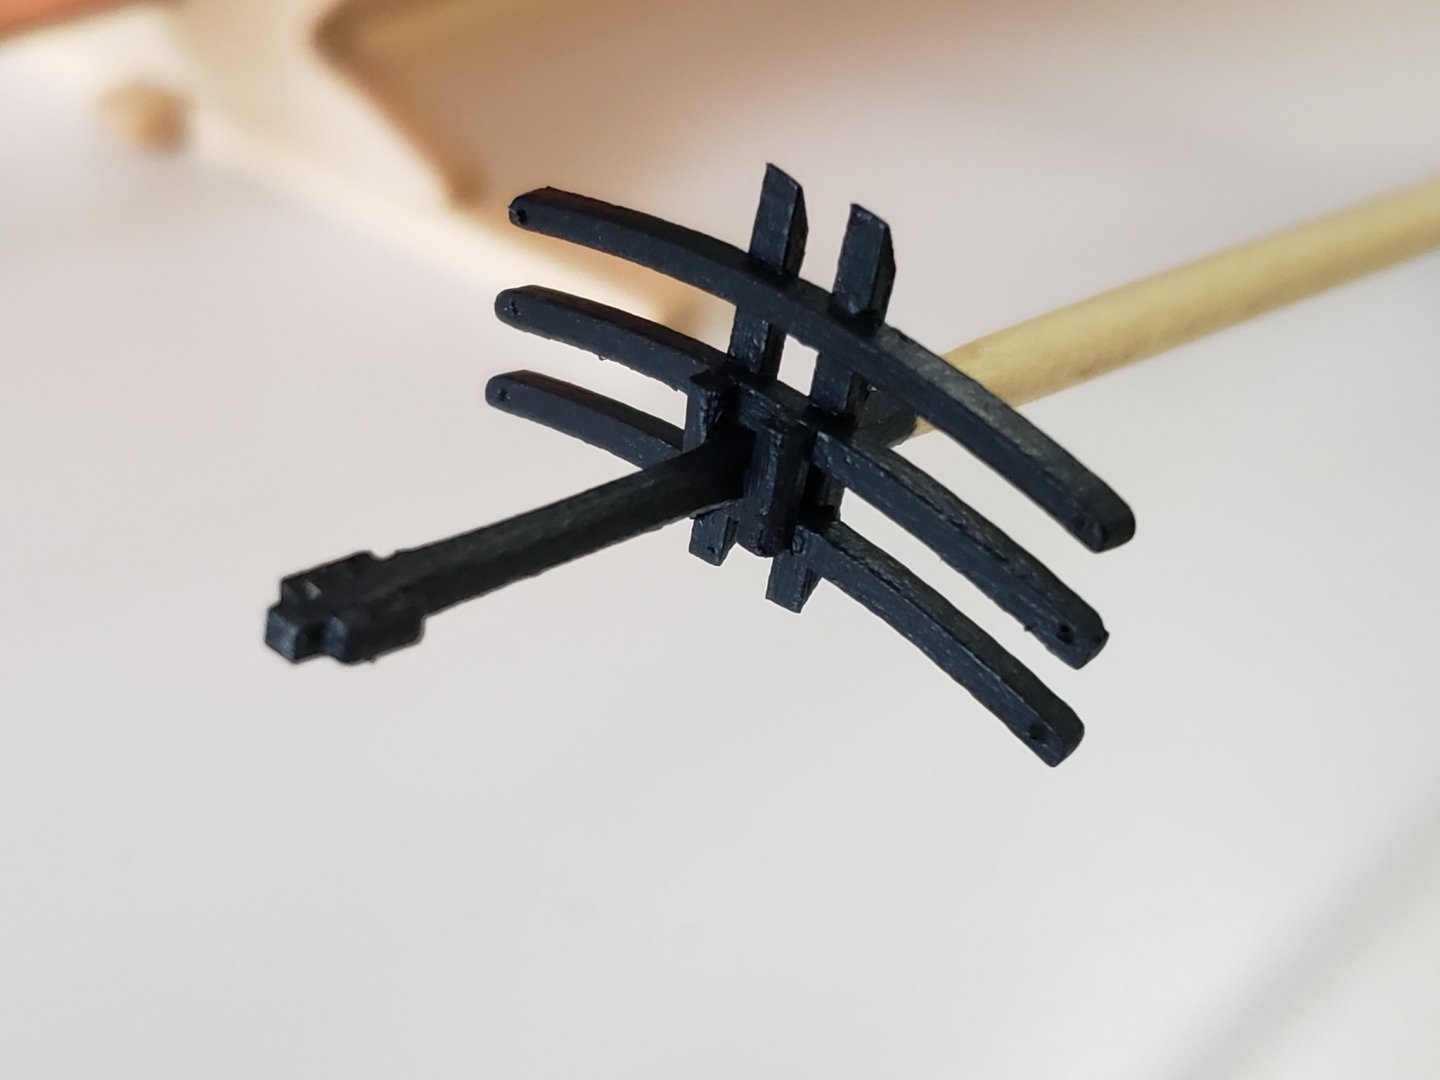
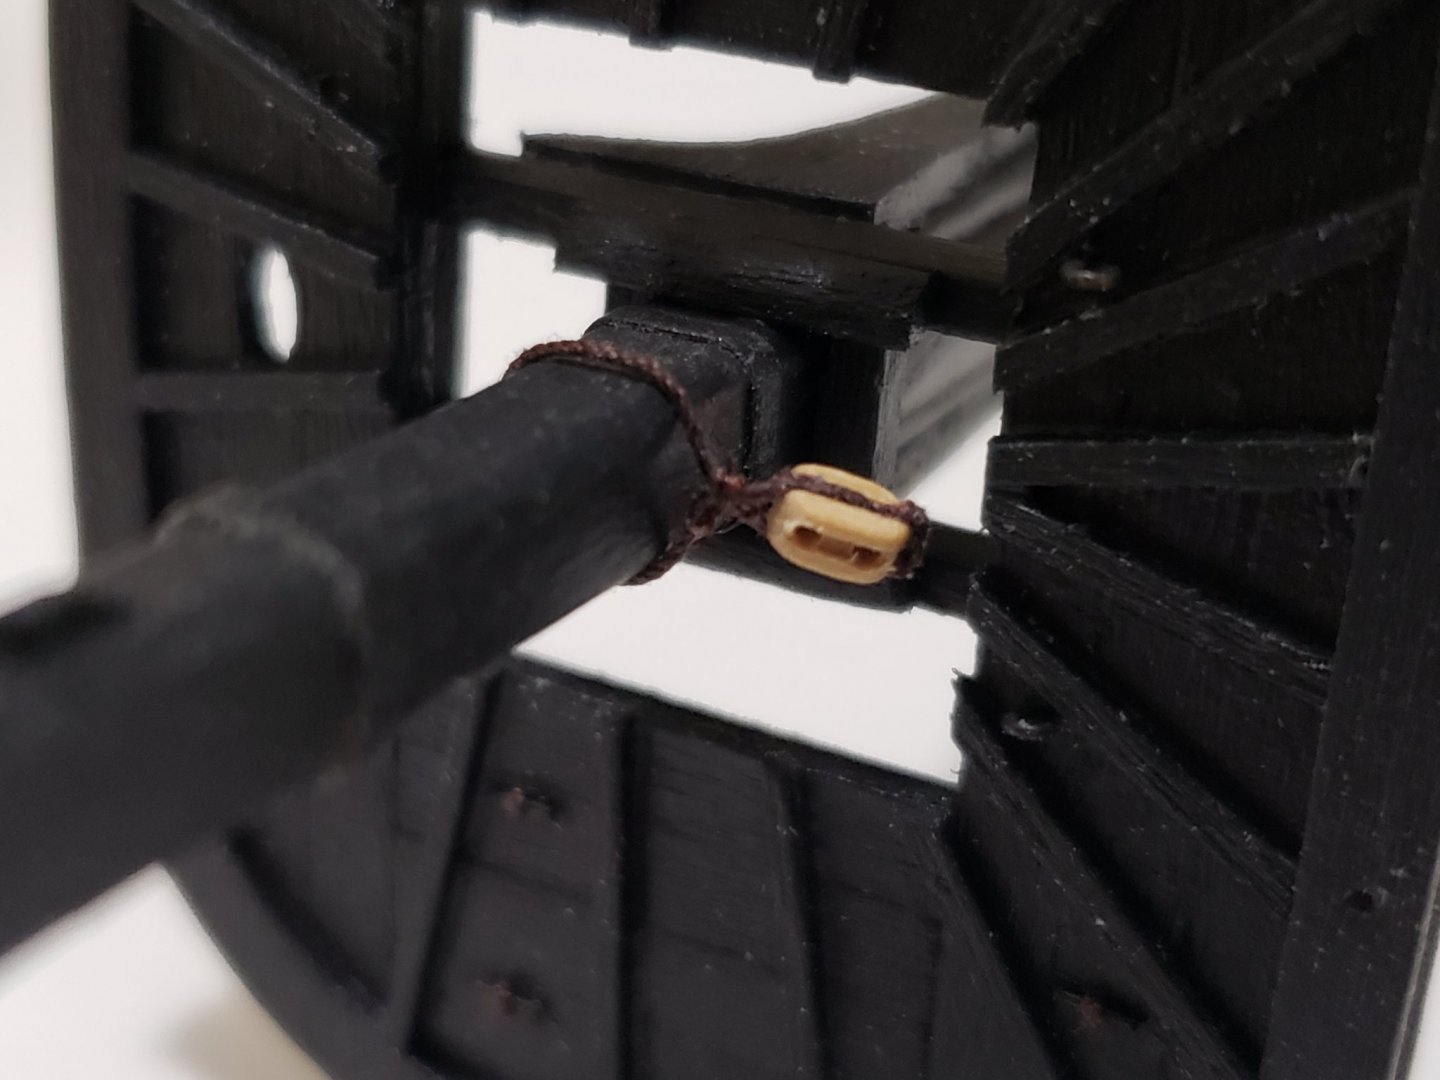
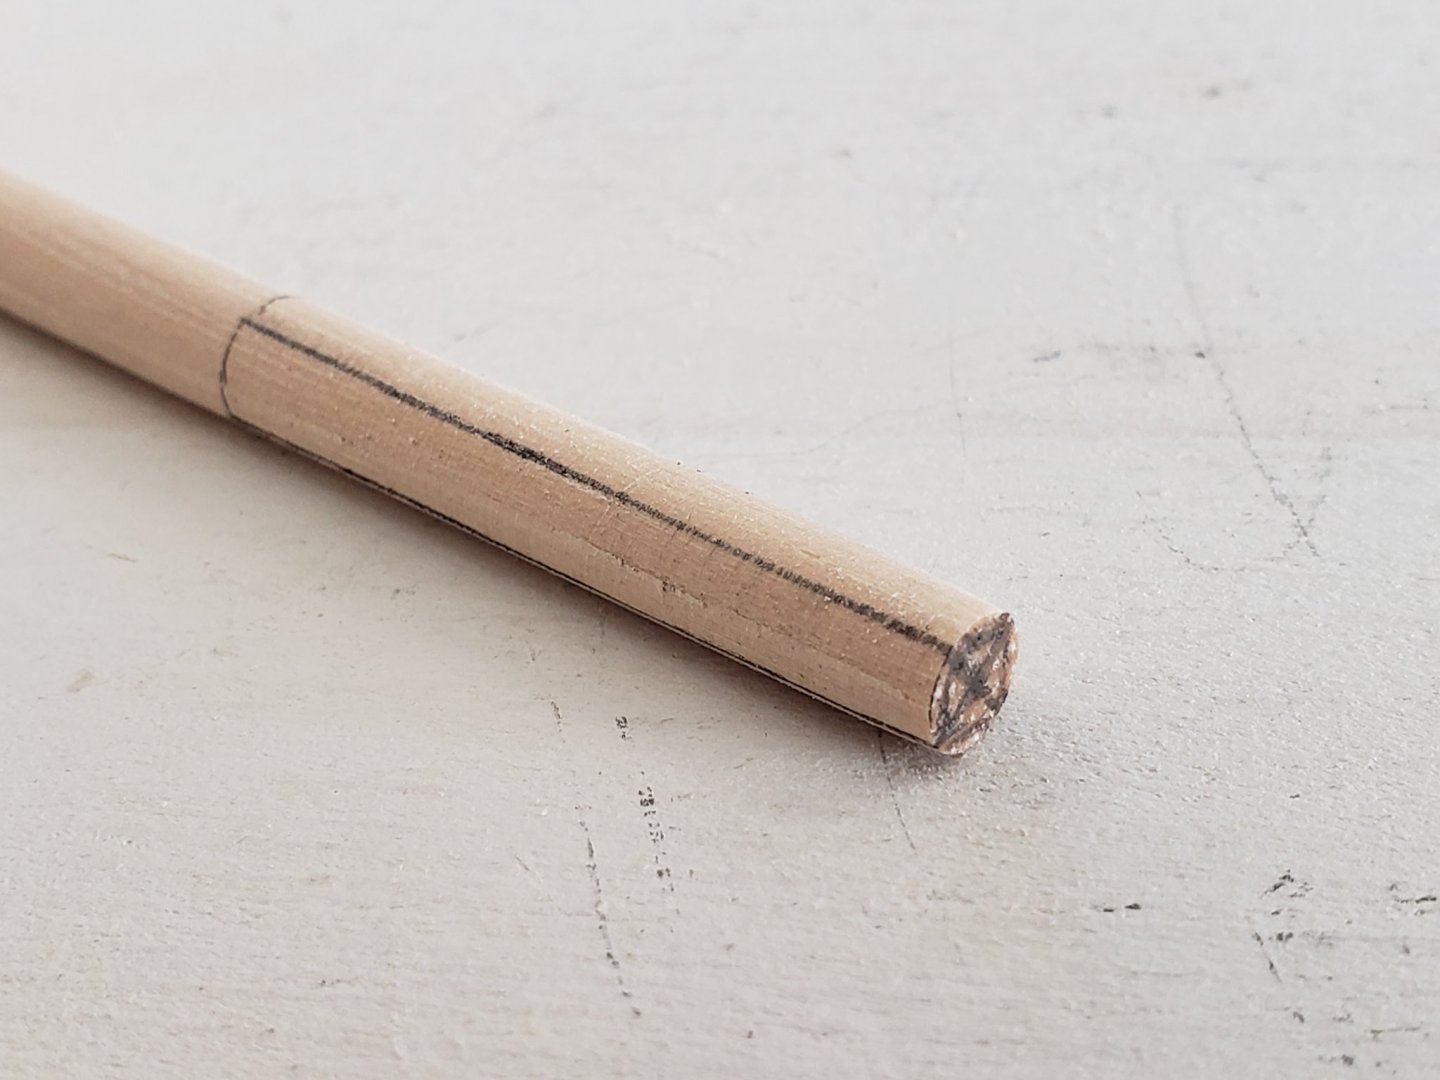
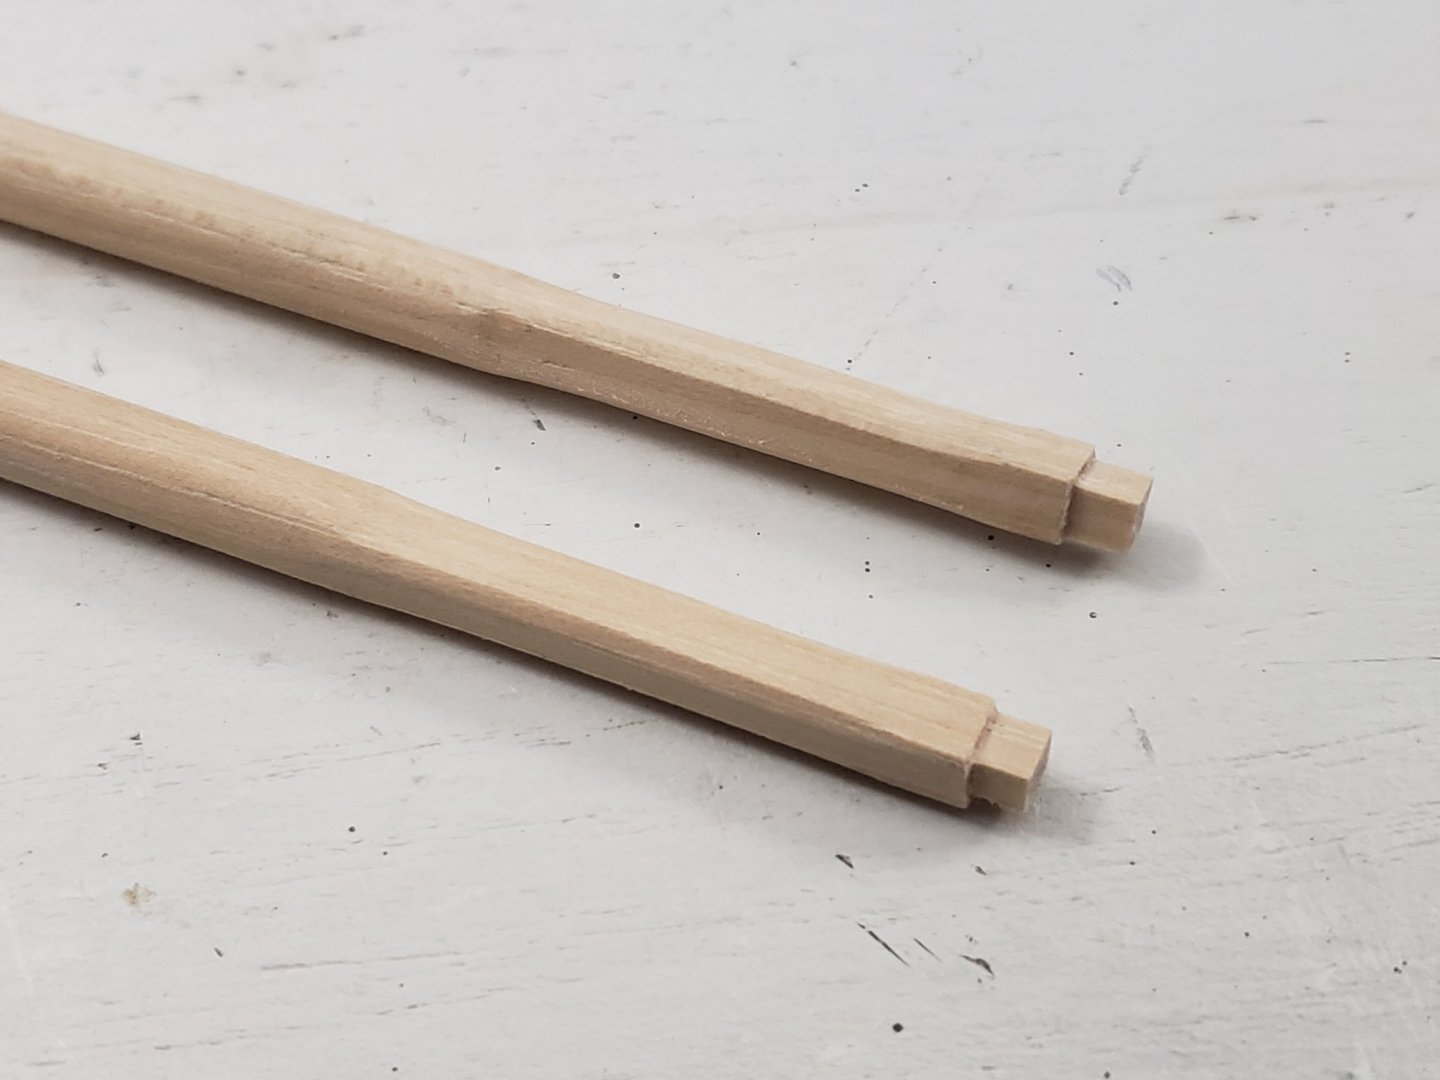
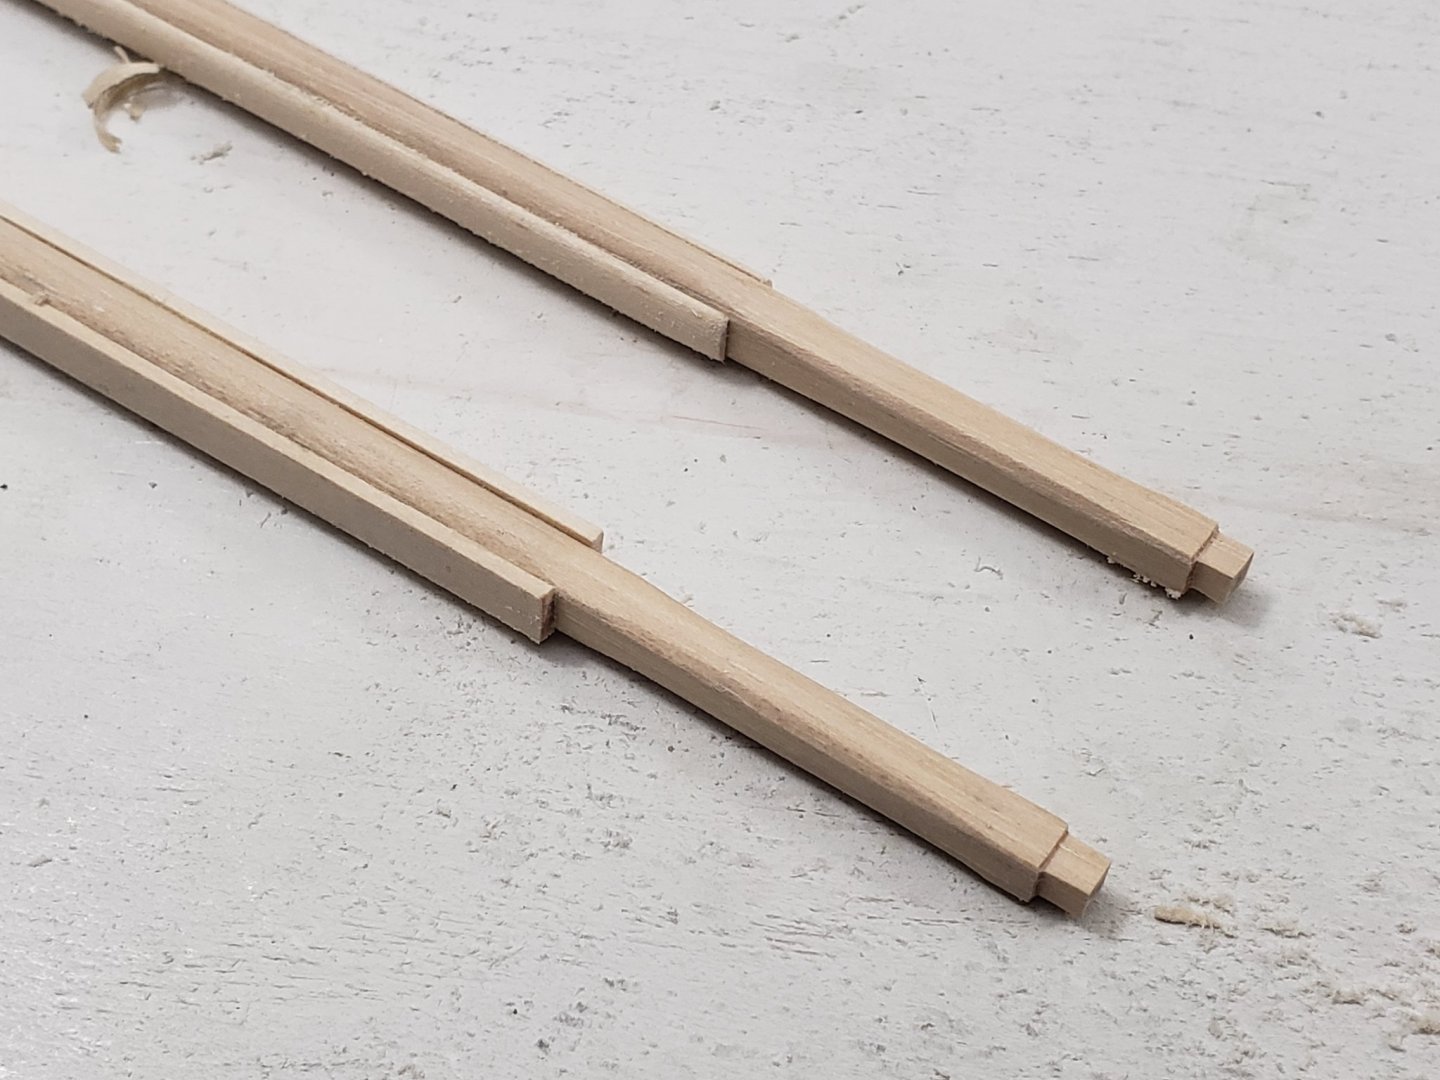
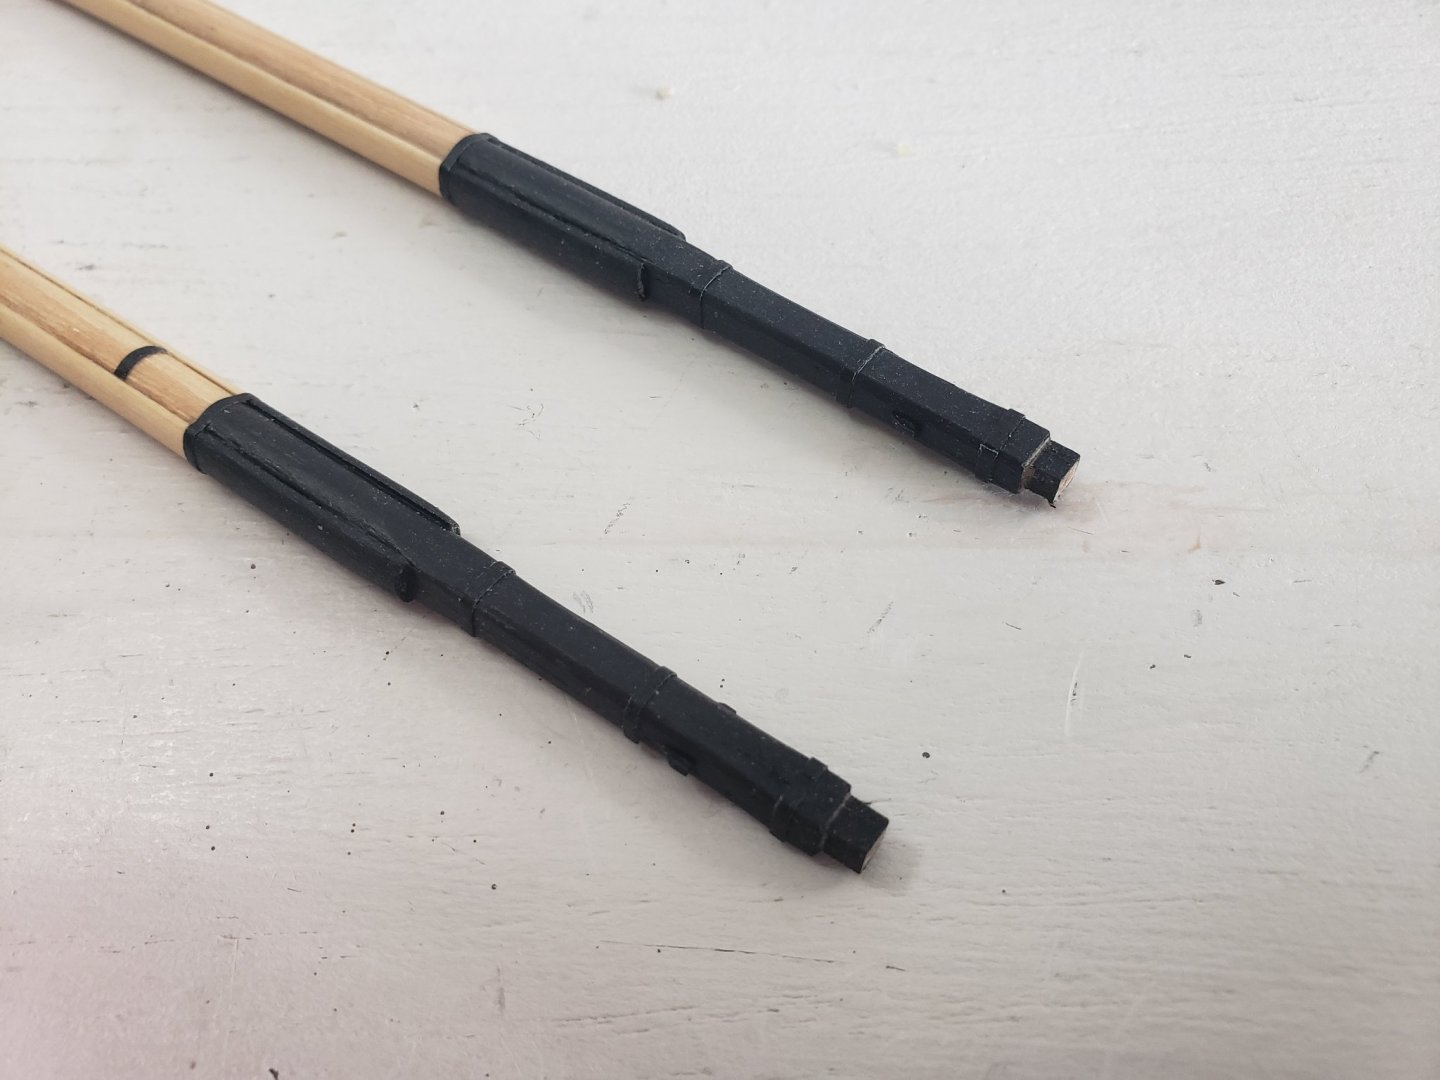
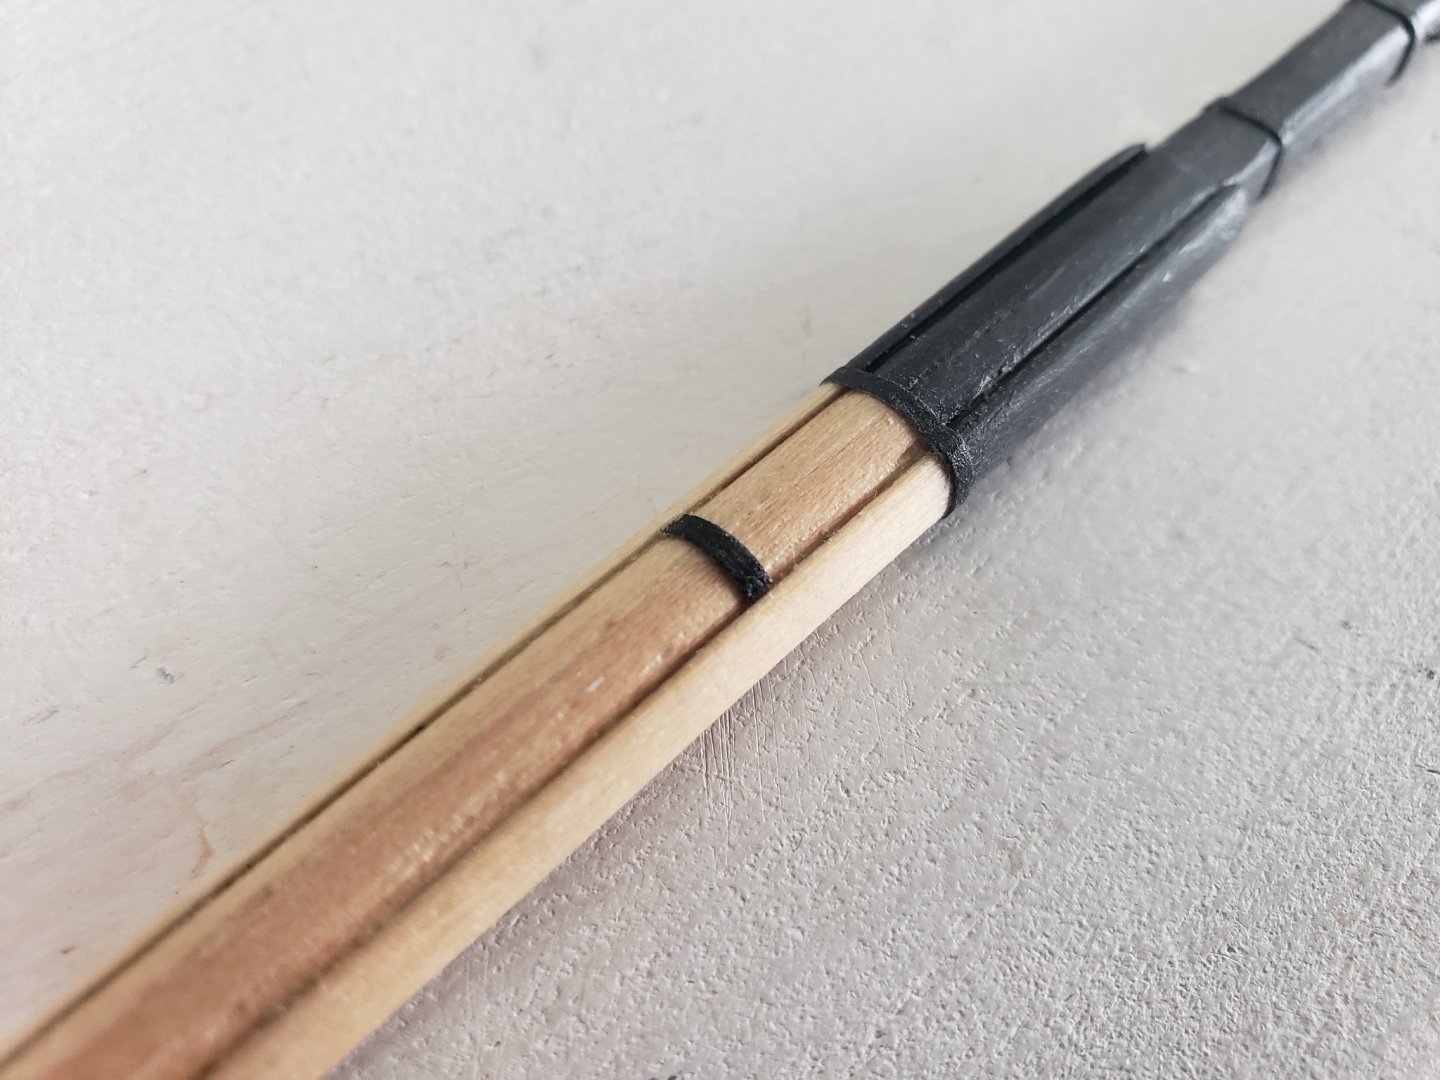
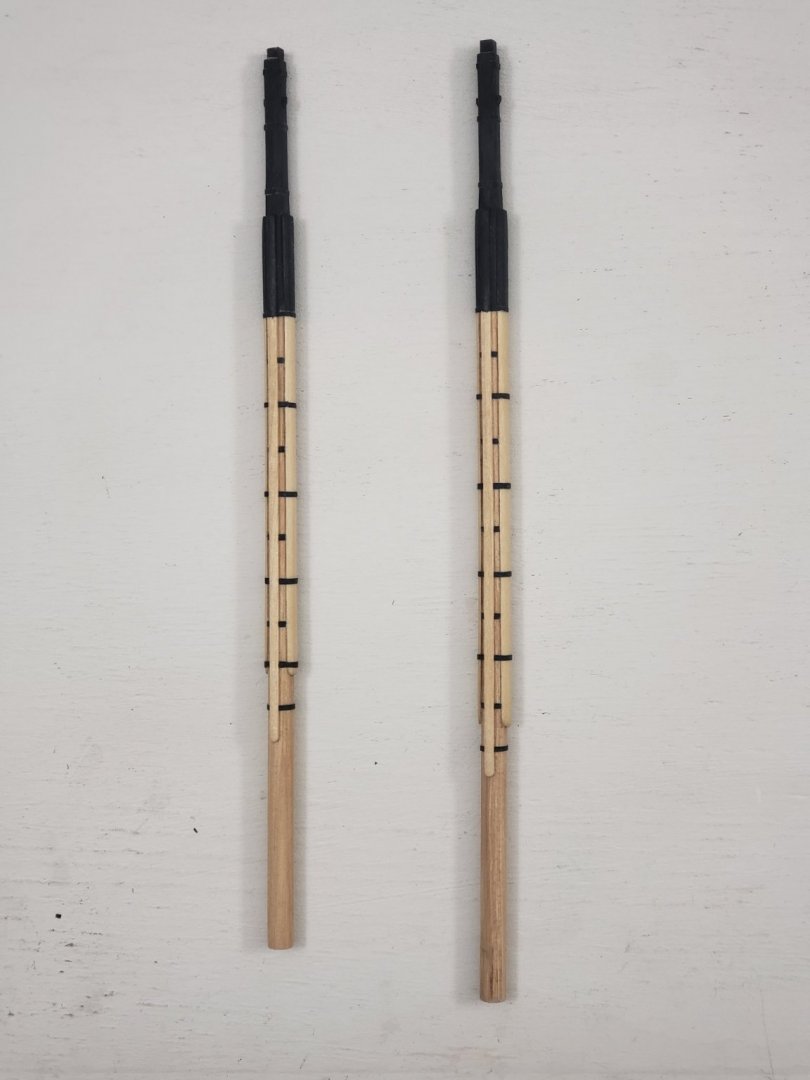
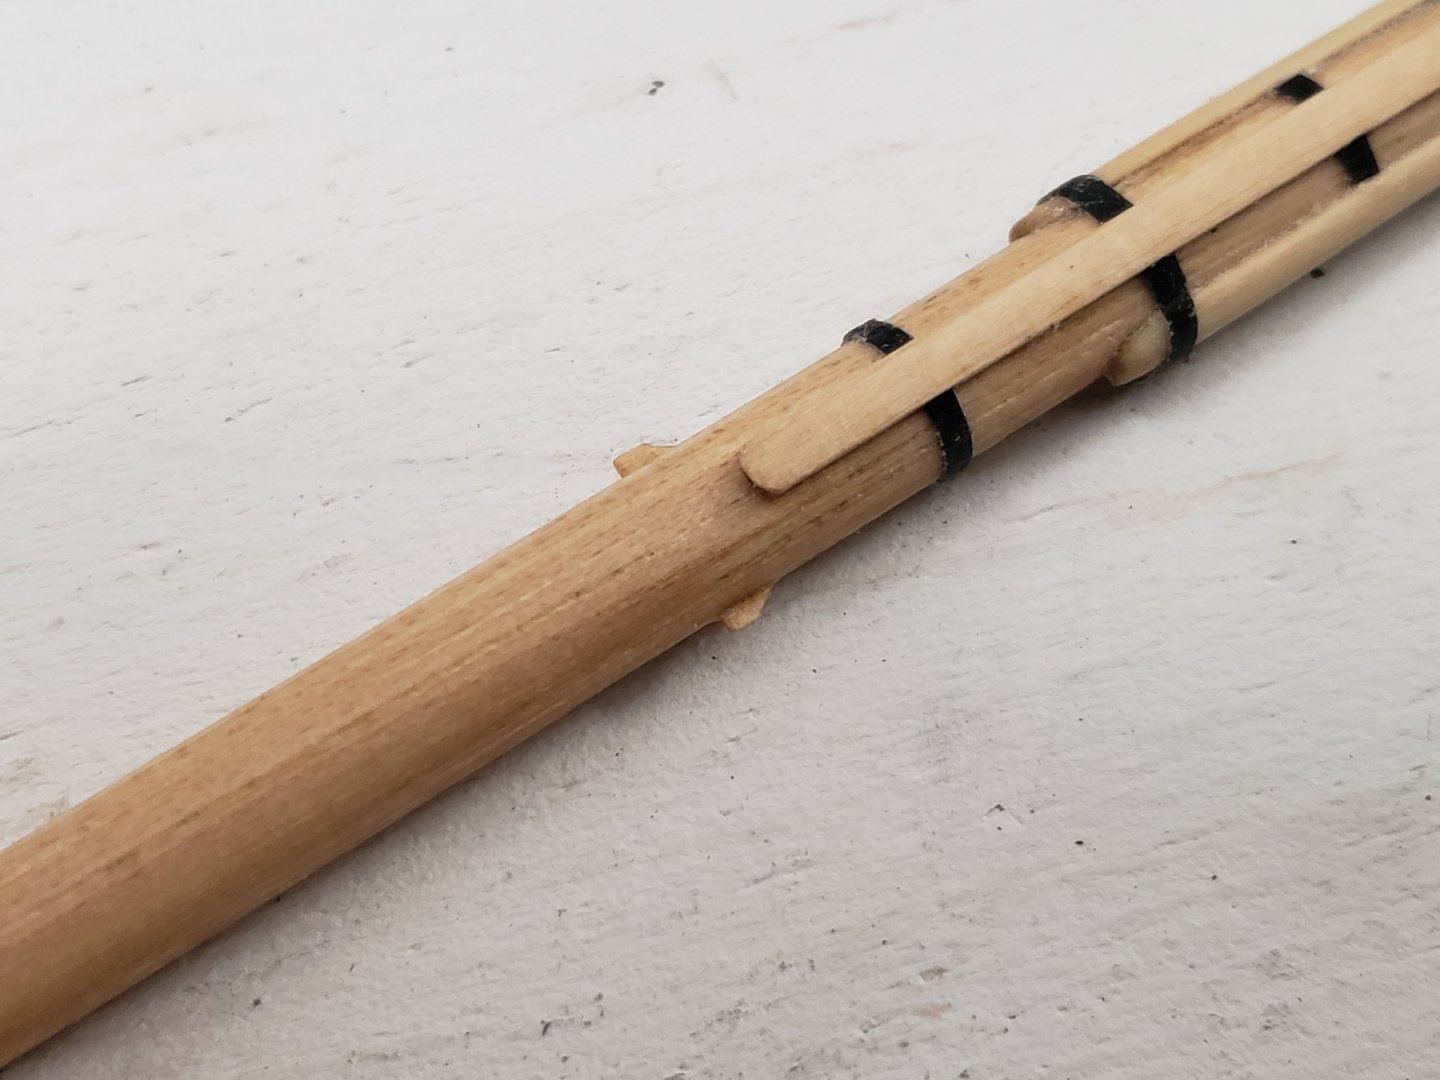
Finished working on the top masts and its cross trees When shaping the first top mast, I forgot to make sure that the square bit at the bottom should align with that at the top. So after screwing that part up, I decided to cut it where the mast cap would cover it up and glued it back to align it properly. Hoping this coupled with the wire insert would strengthen the joint Here the joint is hidden and hopefully strengthened by the cap: Inserted the fid into position: Here is the sling. For this part I made shallow cuts with the hobby knife and cut out a V. Then the V was smoothened out to a U using the tip of a round needle file. For the top mast cross trees, I drilled the holes very carefully, from the smallest drill bit up to the largest I could before getting cold feet: Here's the whole assembly. Next up are the topgallant masts After finishing this chapter, I'm considering building all the yards as well. I enjoy the rigging process more than shaping dowels, so I want to get all this similar stuff done first, and will save the fun for later 😉


- 950 replies
-
- 13
-
-
- syren
- model shipways
- (and 1 more)
-
Some small bits of progress, I installed the cross beams and bolsters Also rigged the 1/8 single block and collar. I realized the parts list does not have the 5/32 inch blocks, but were mentioned in the plans. So I ordered some from Syren Ship Model Company.. I think there's only a couple of places I need this block size.

- 950 replies
-
- 14
-
-
- syren
- model shipways
- (and 1 more)
-
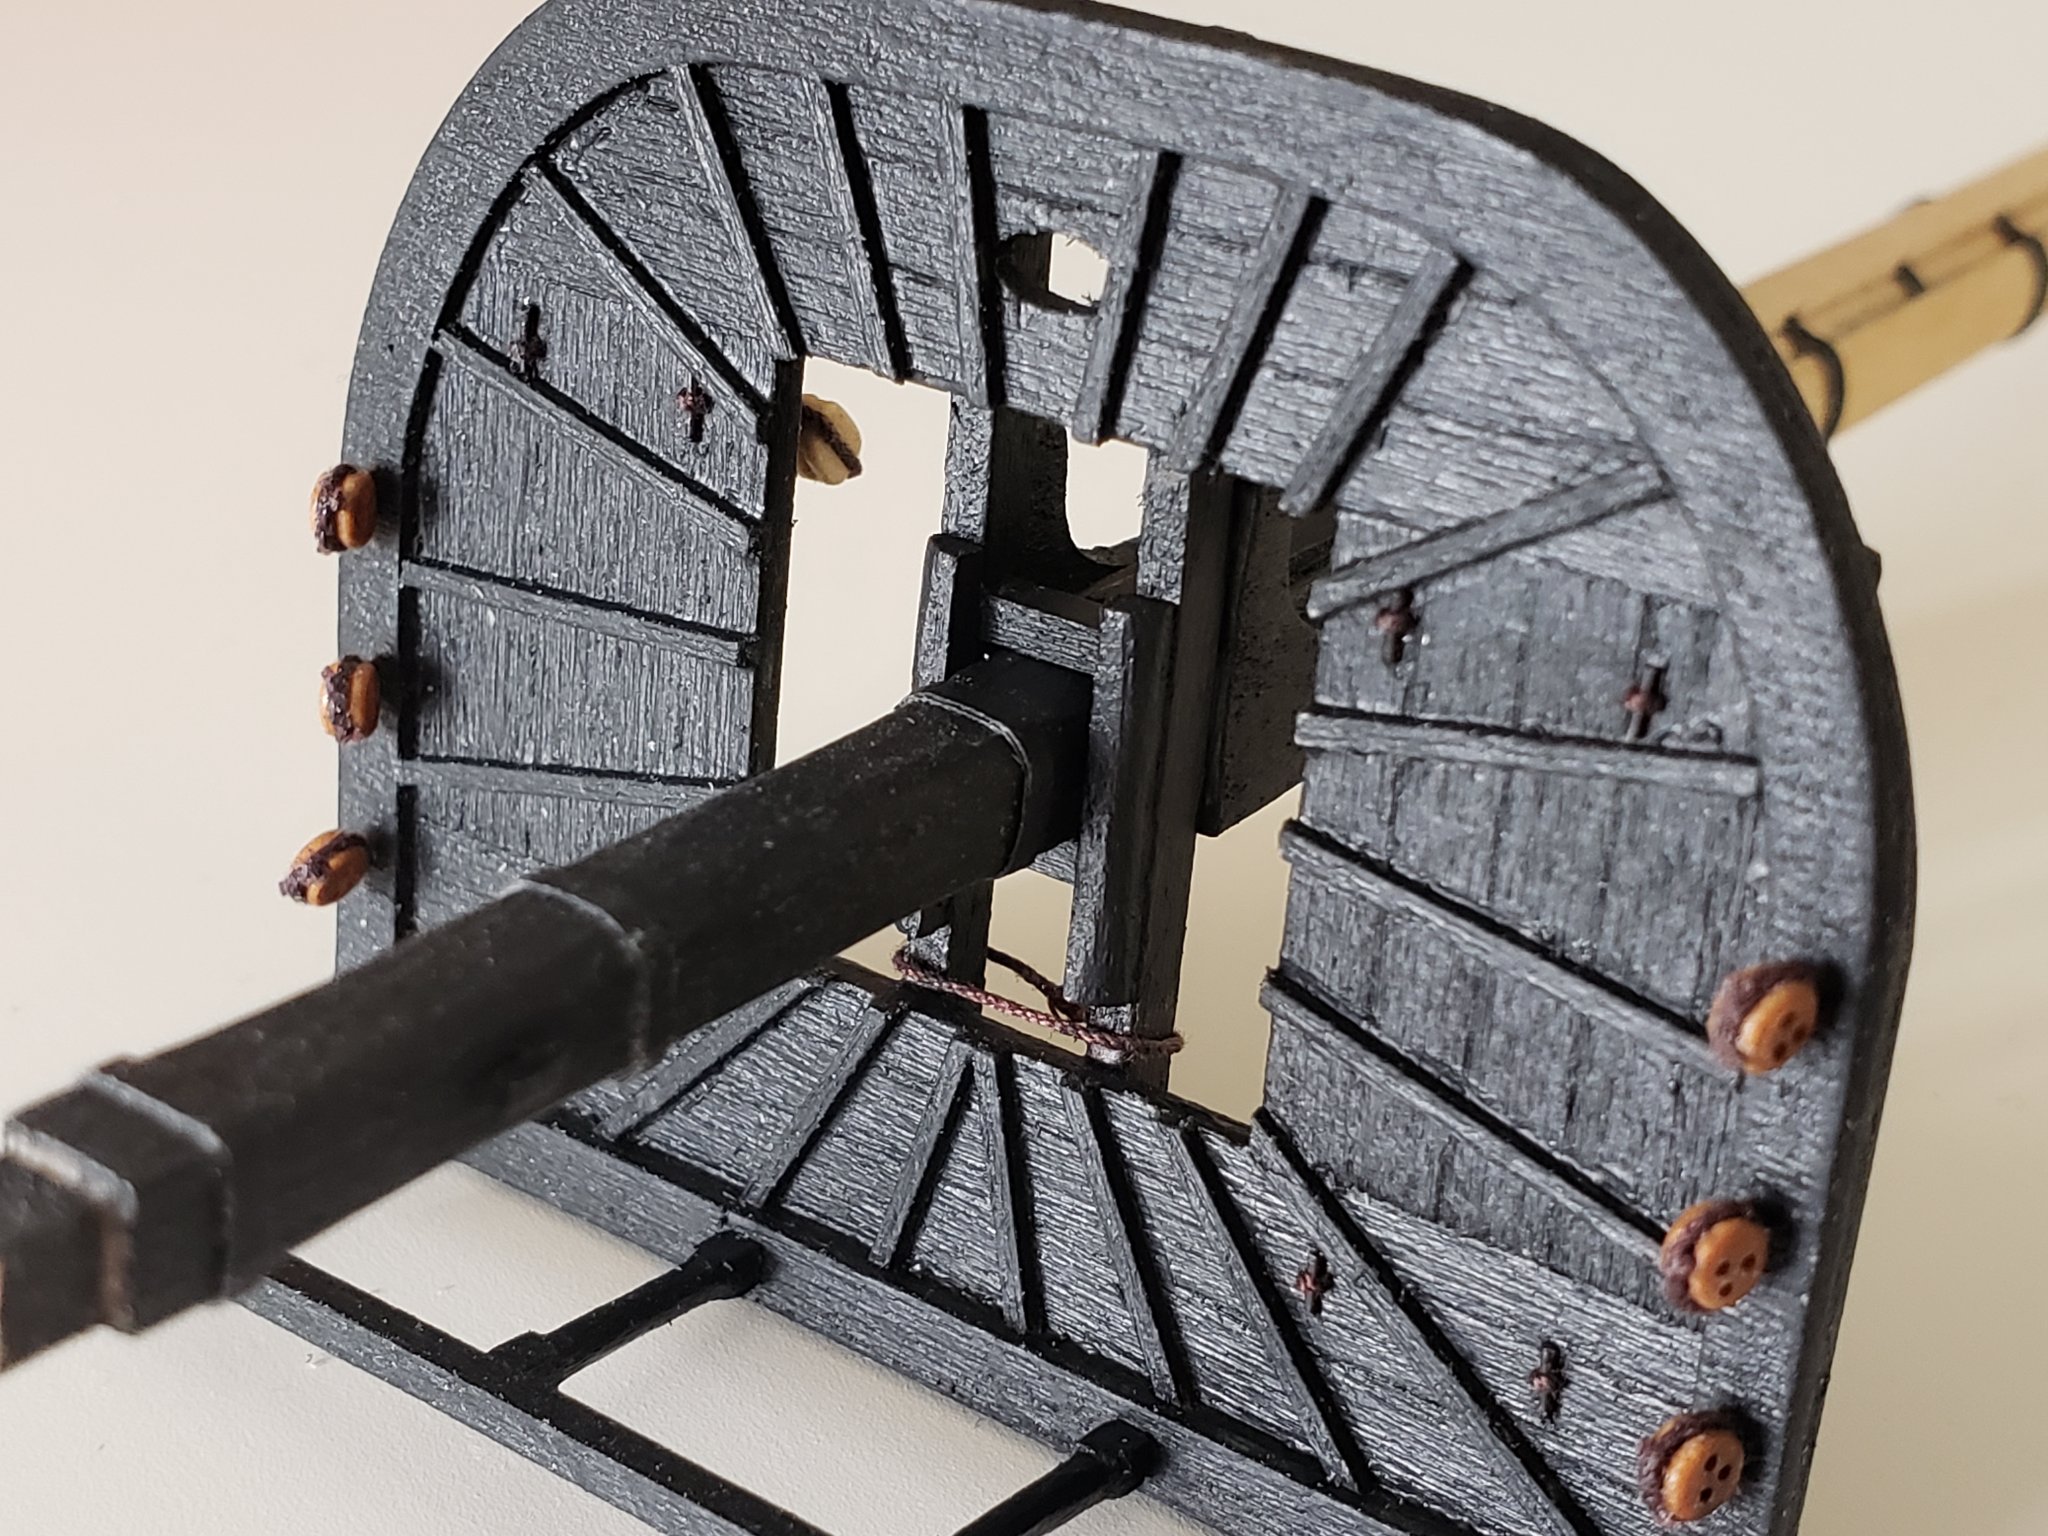
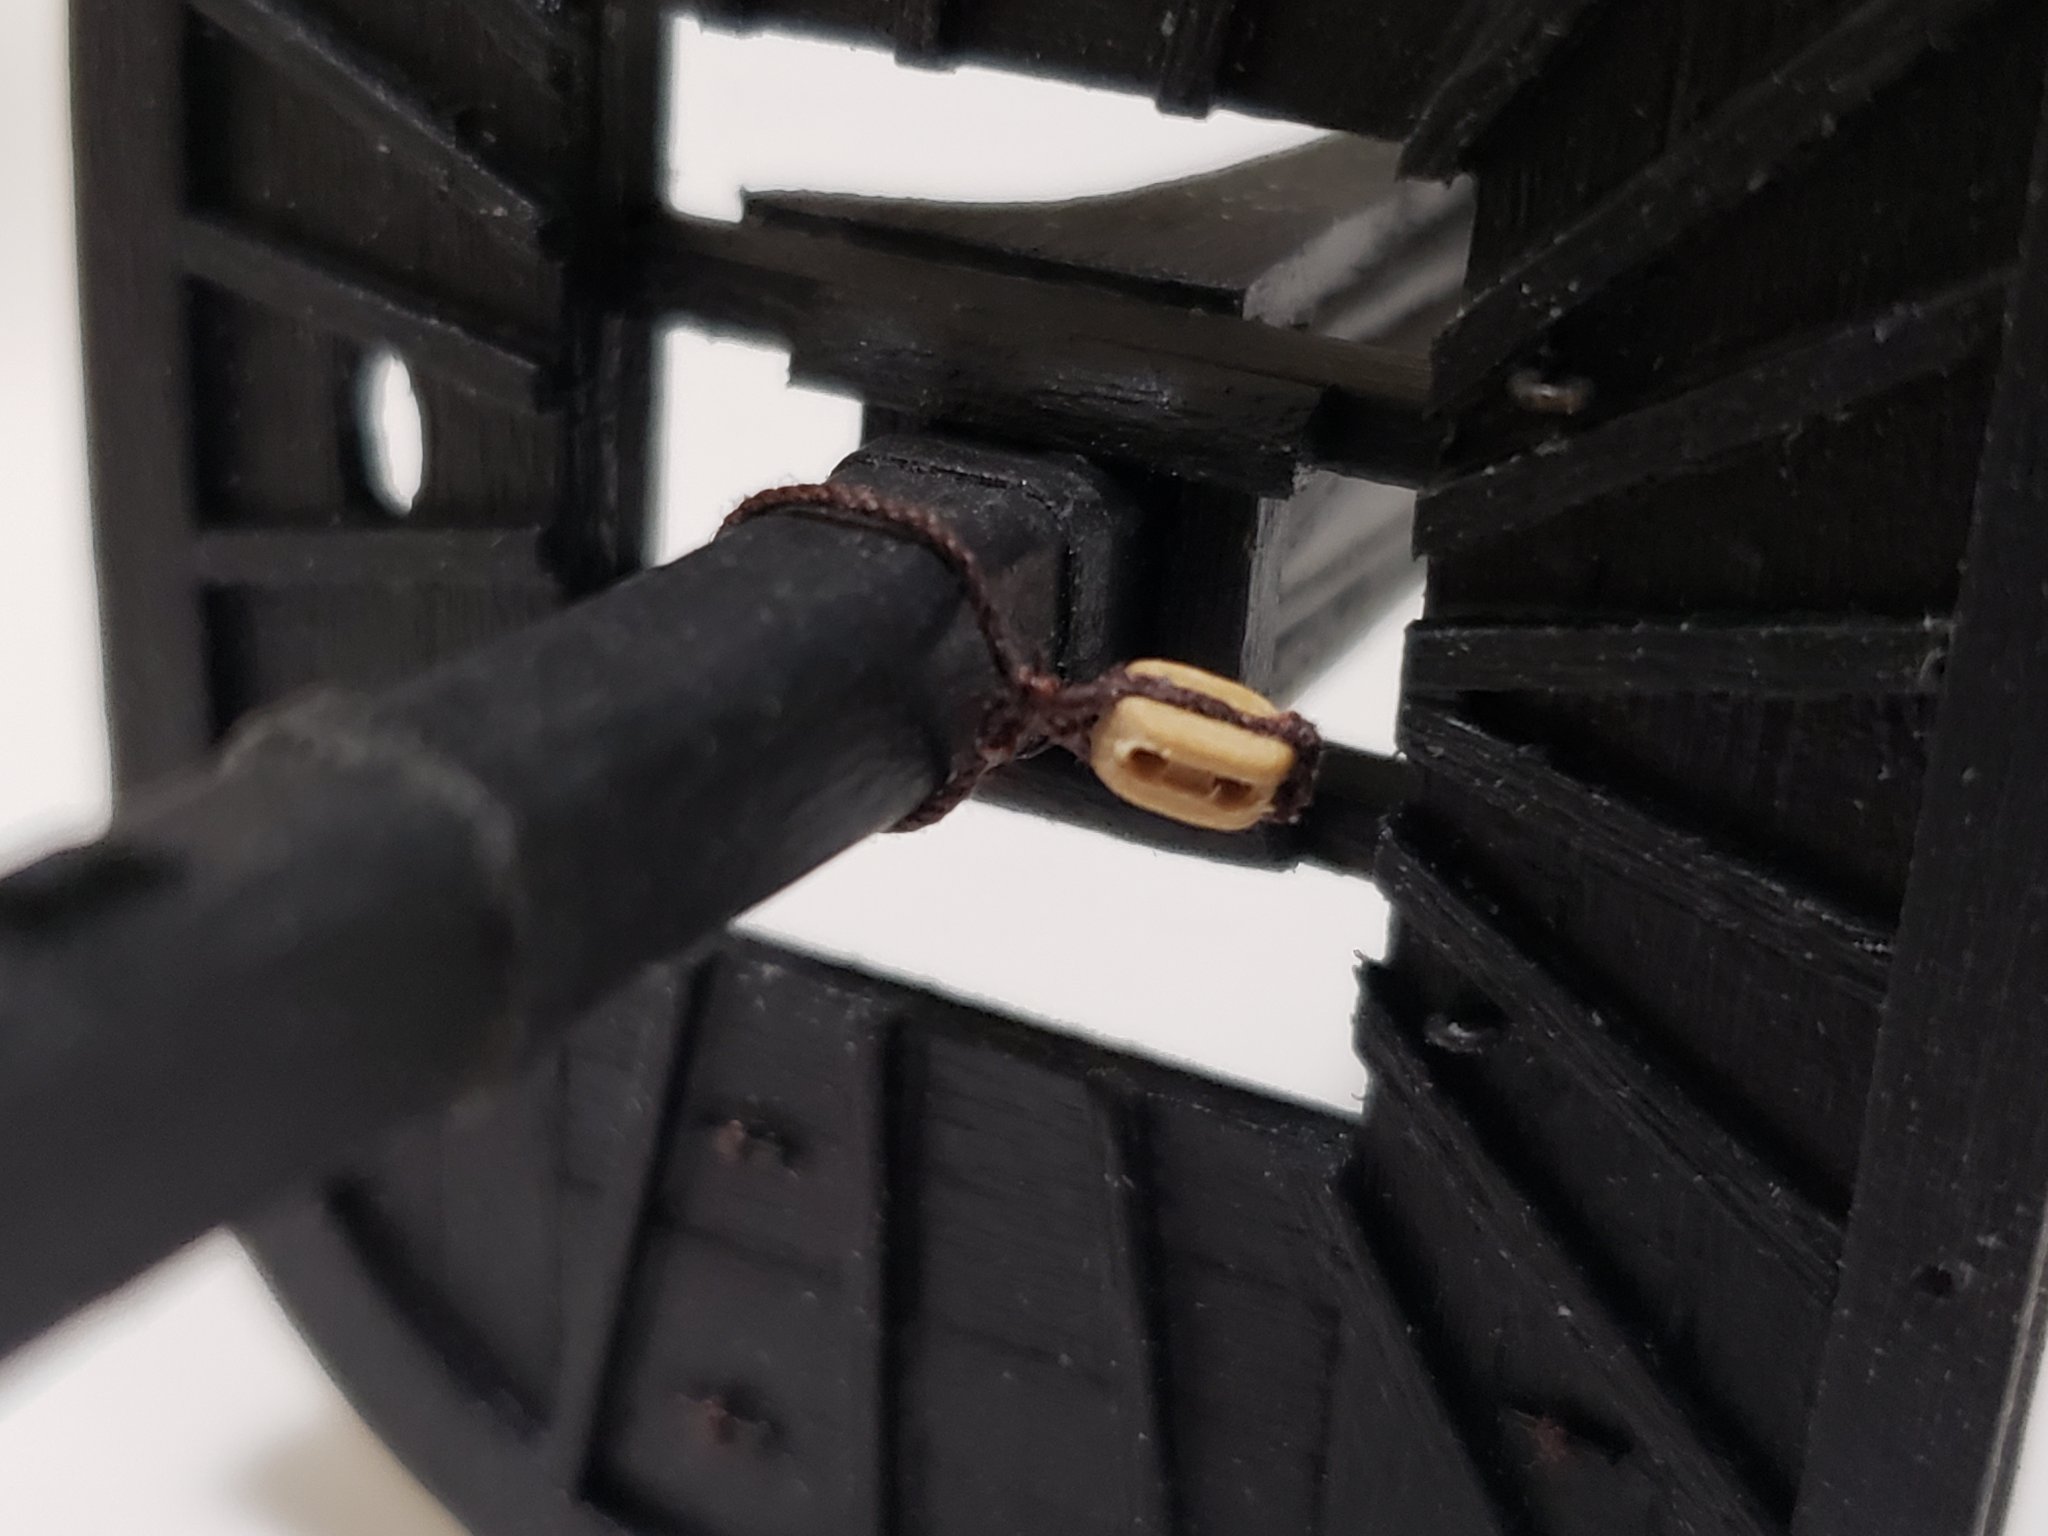
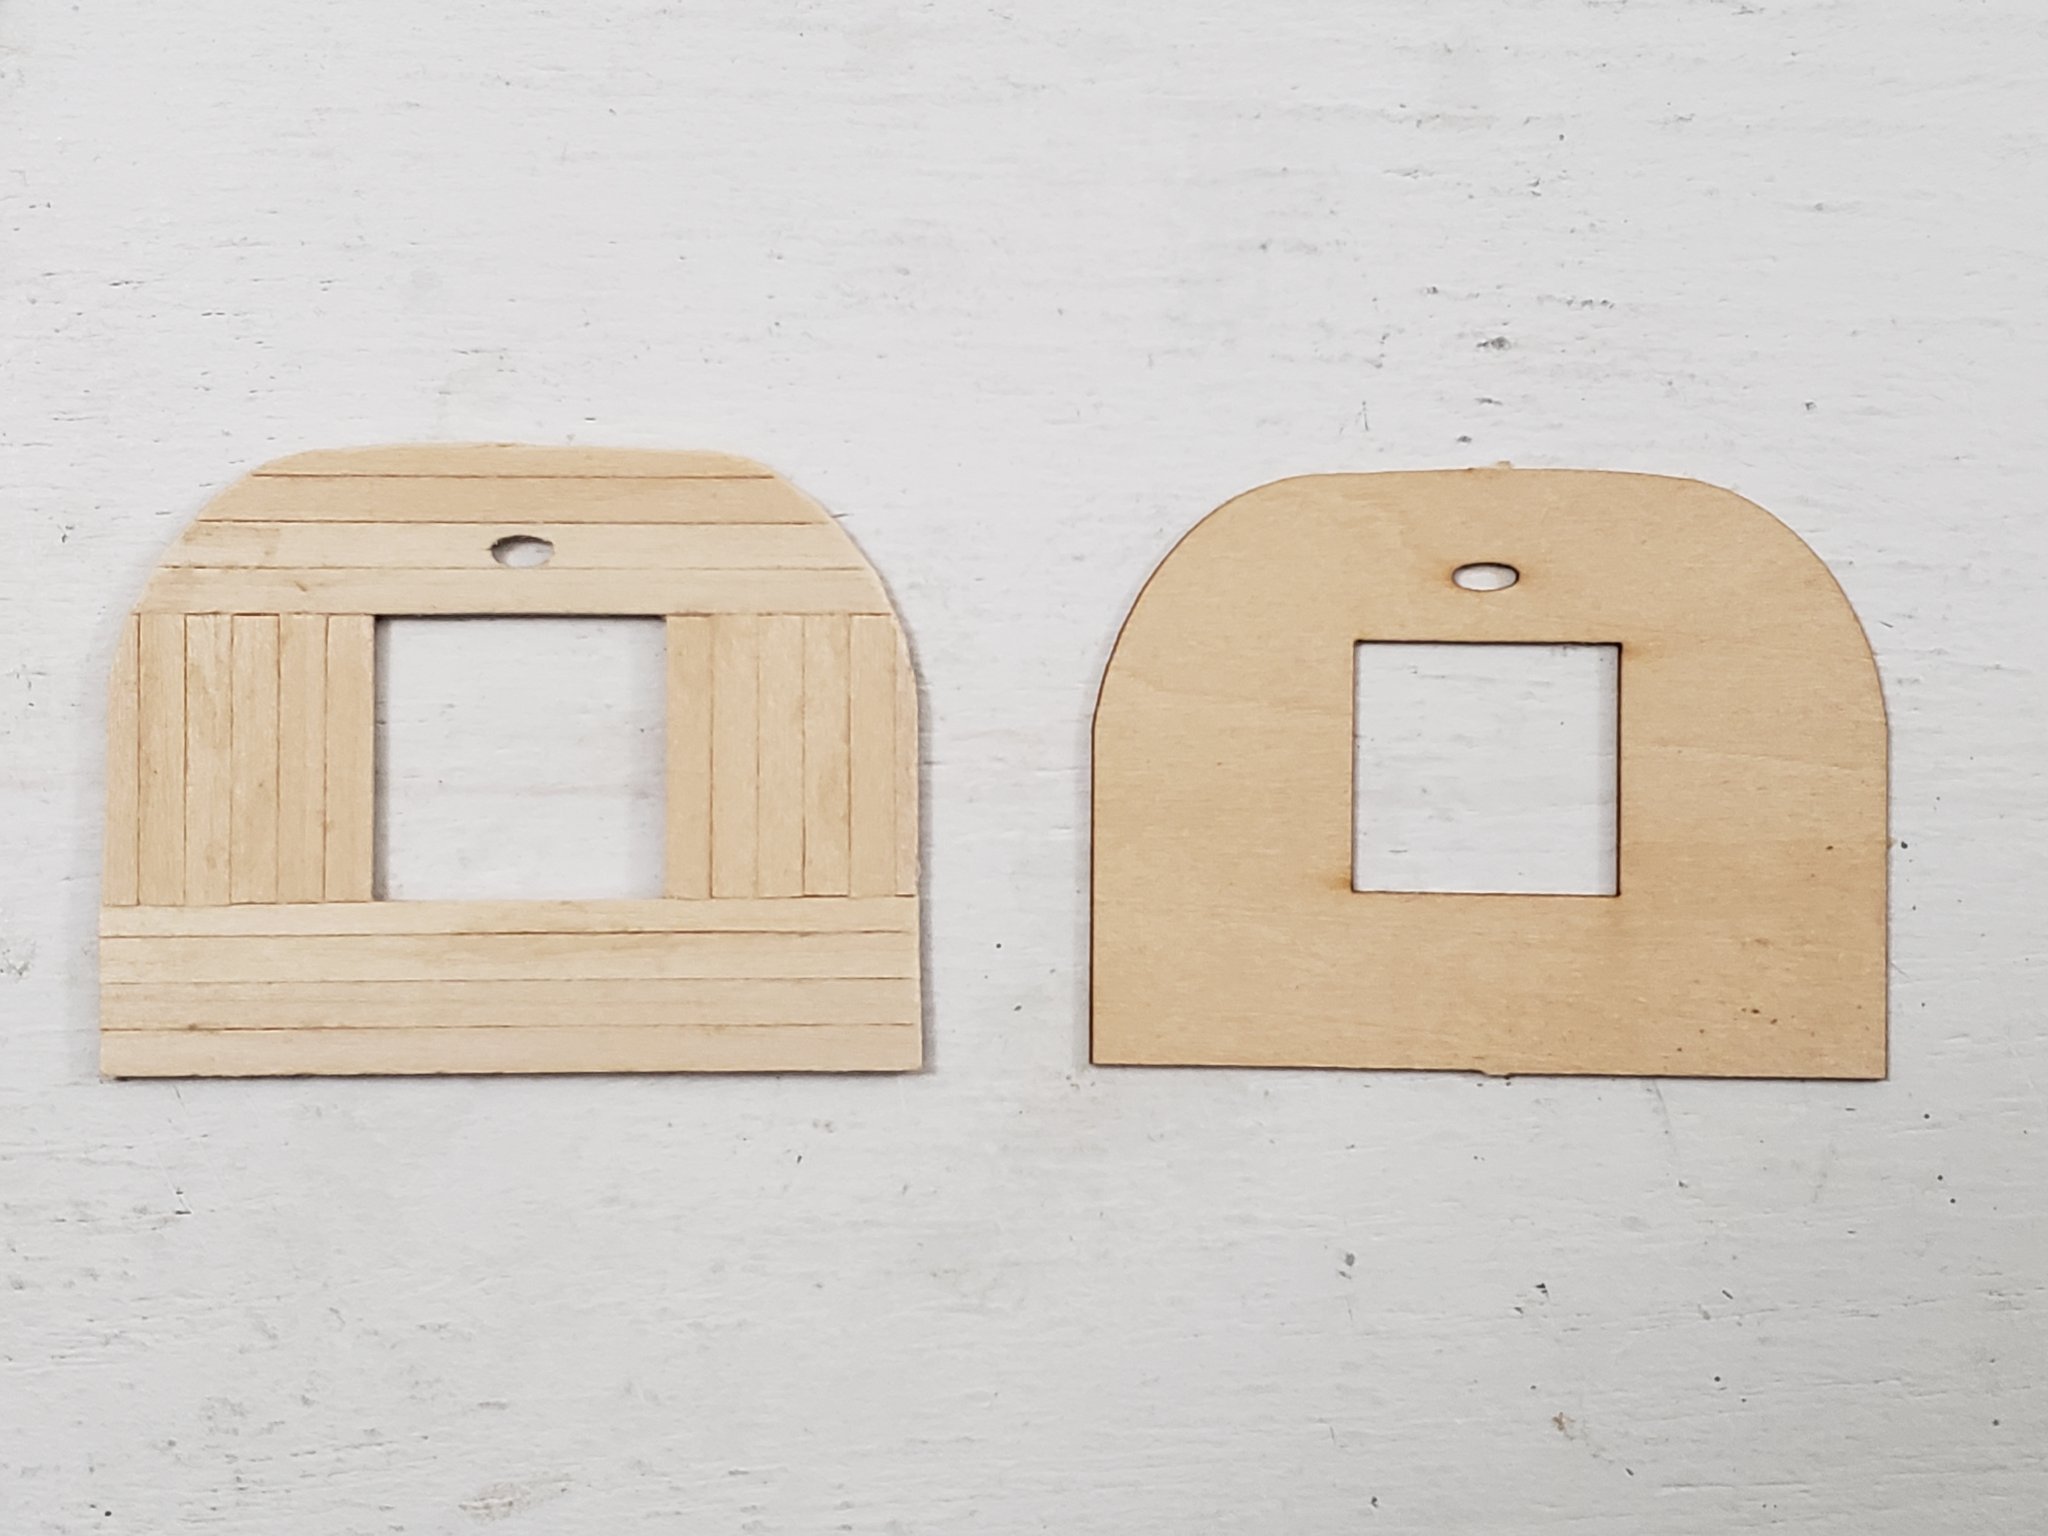
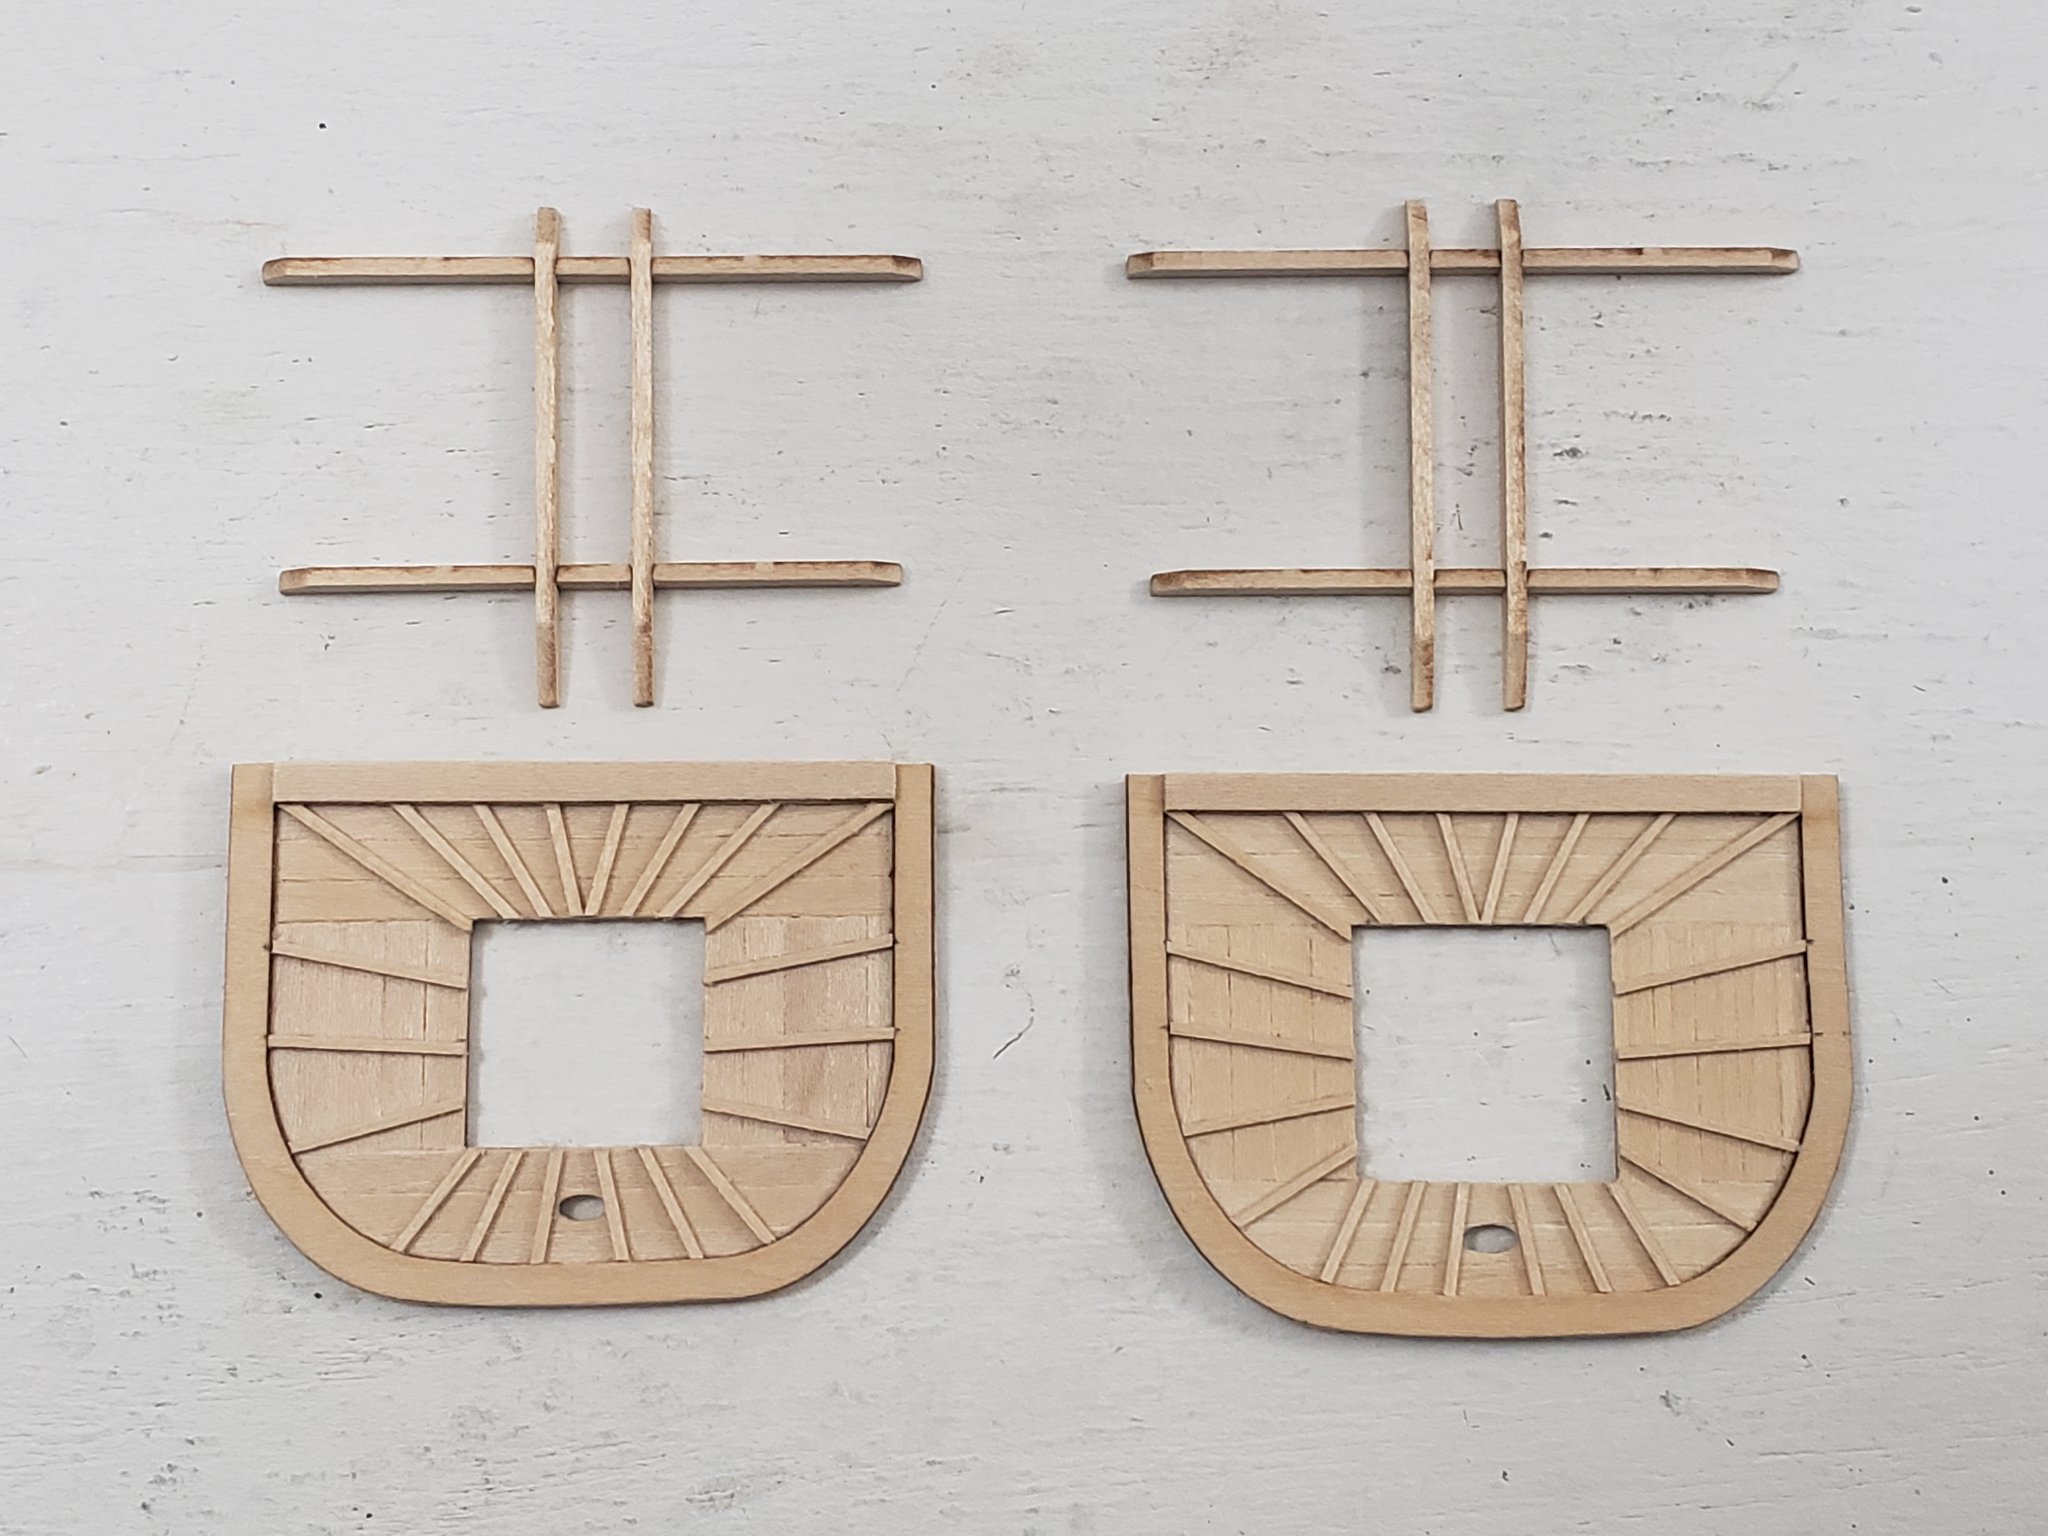
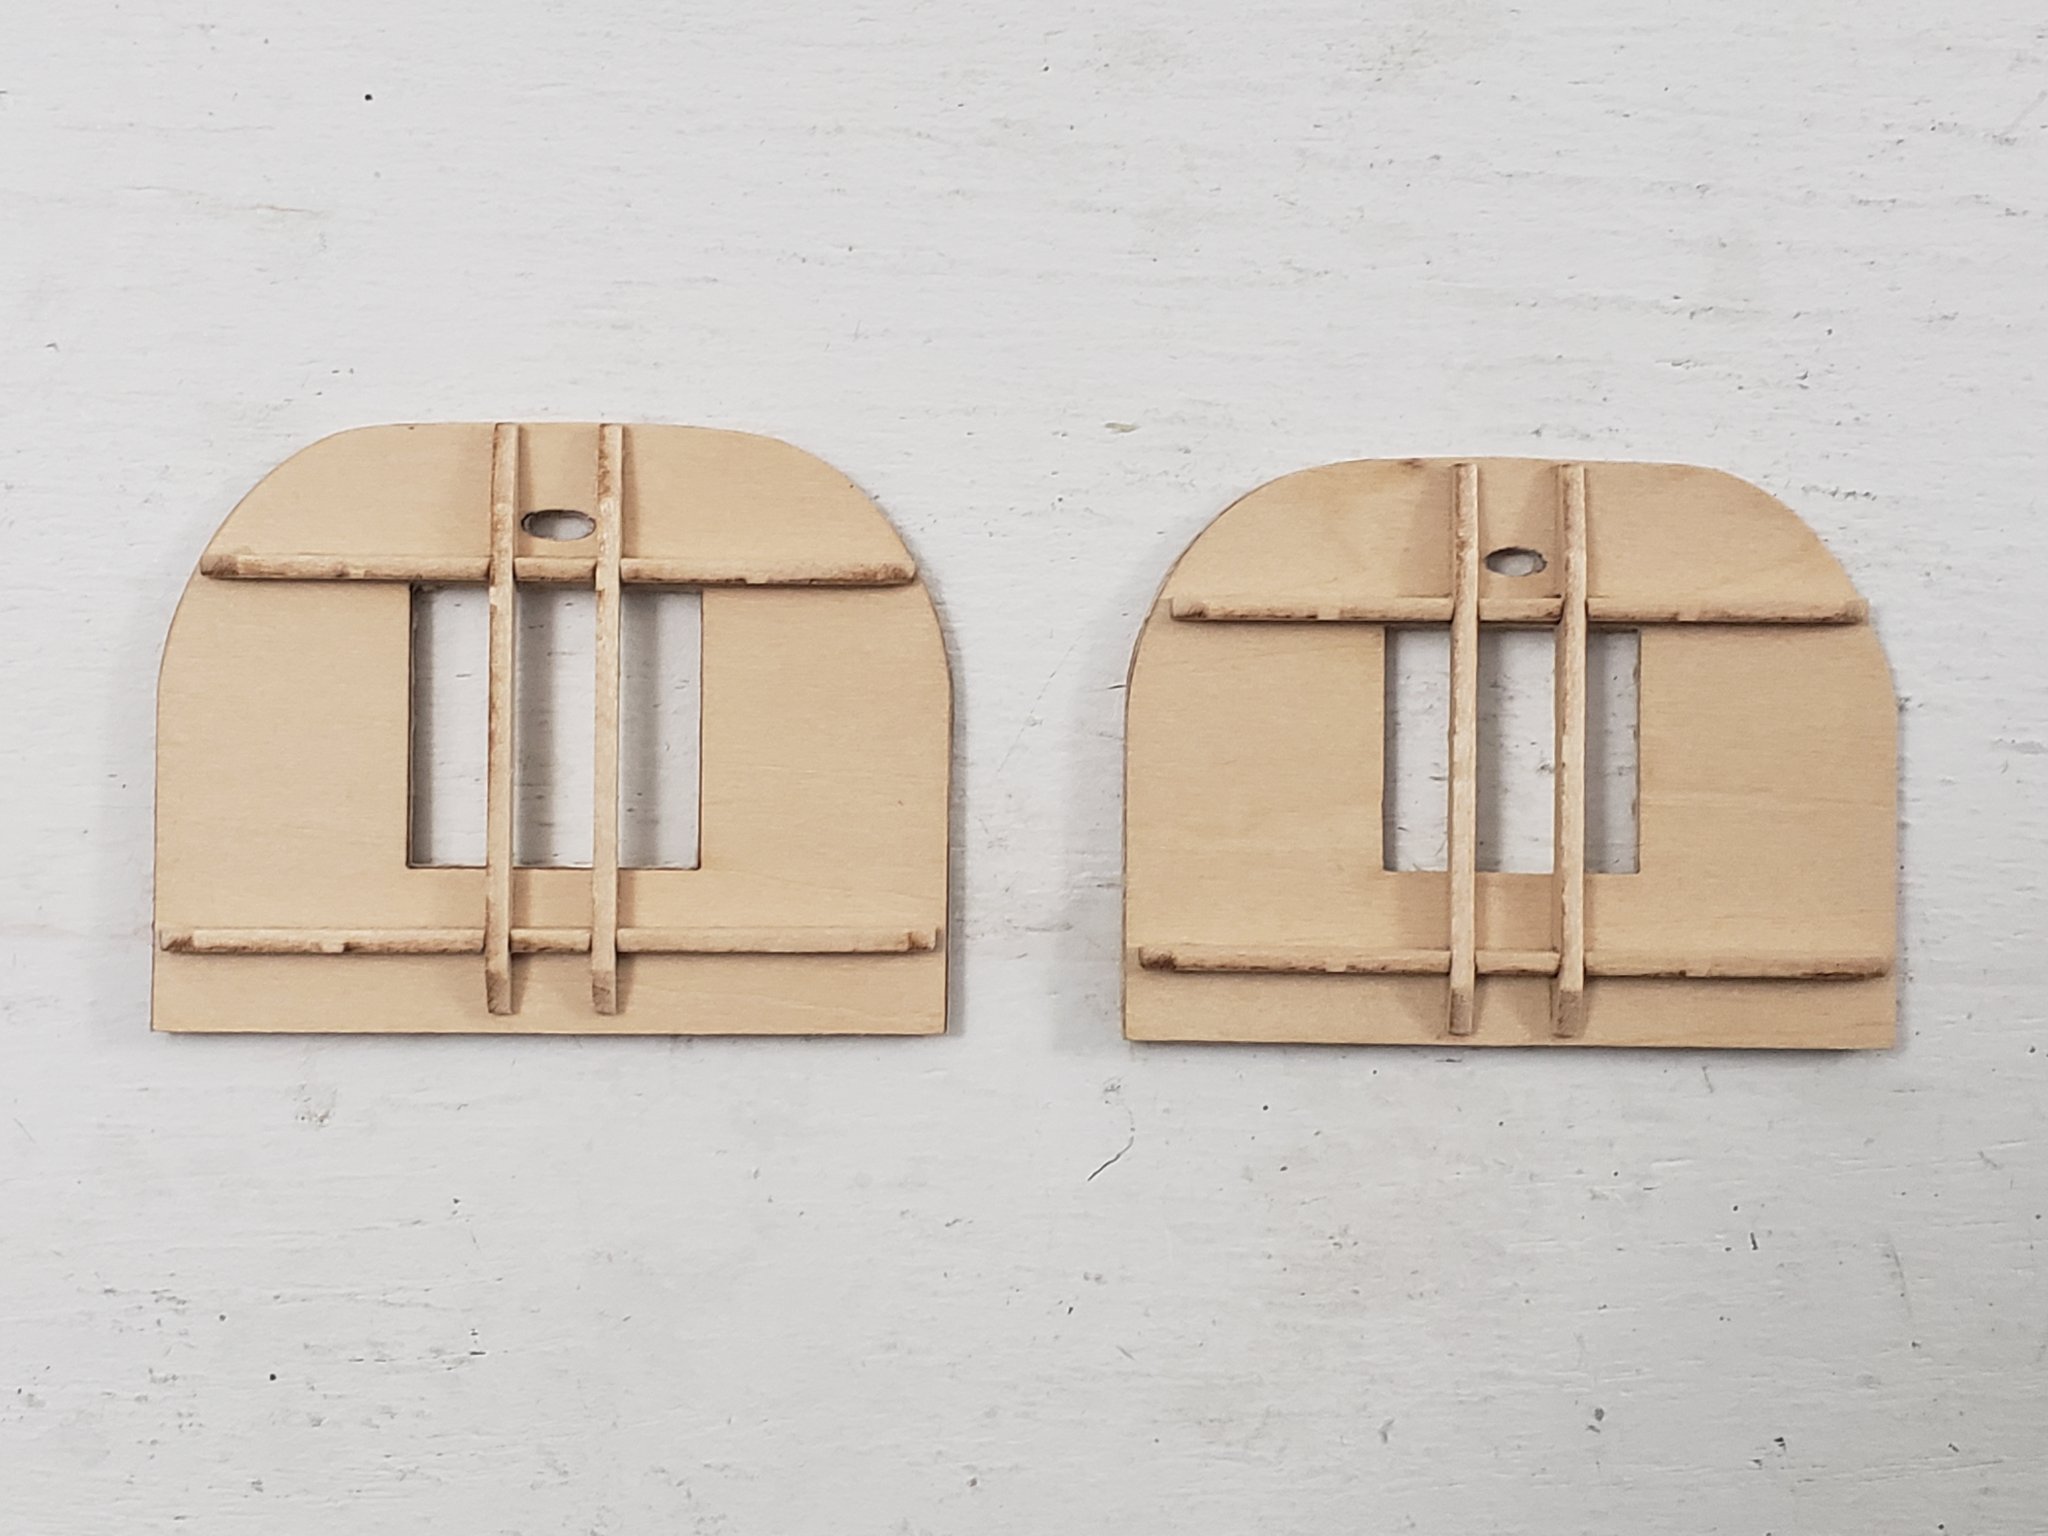
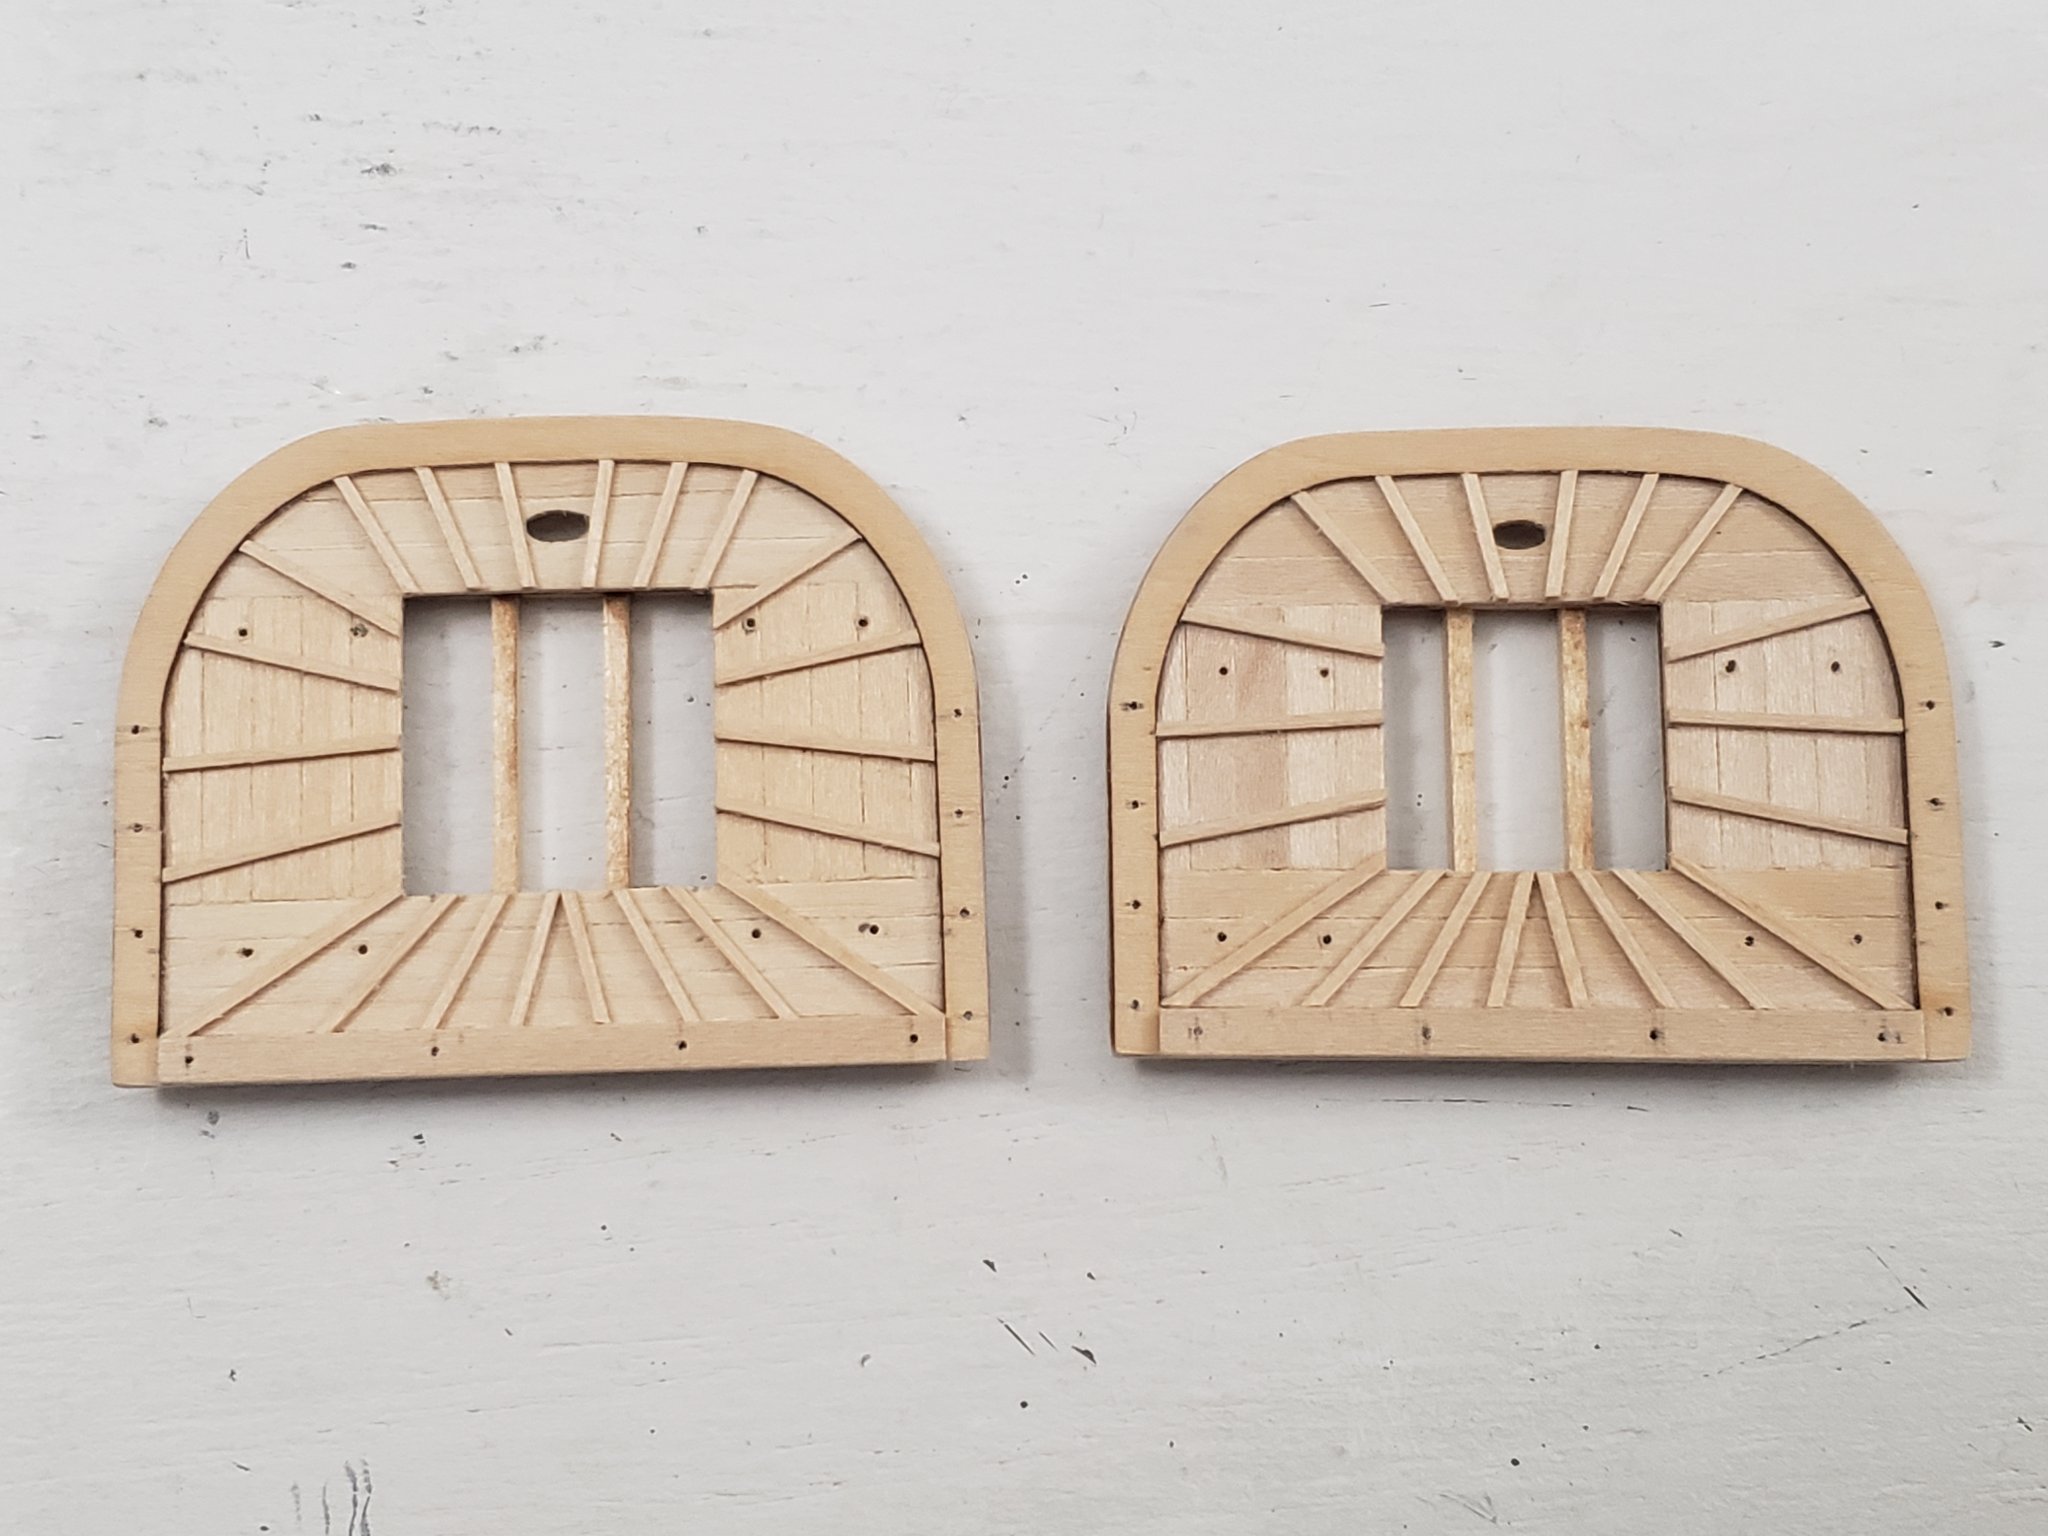
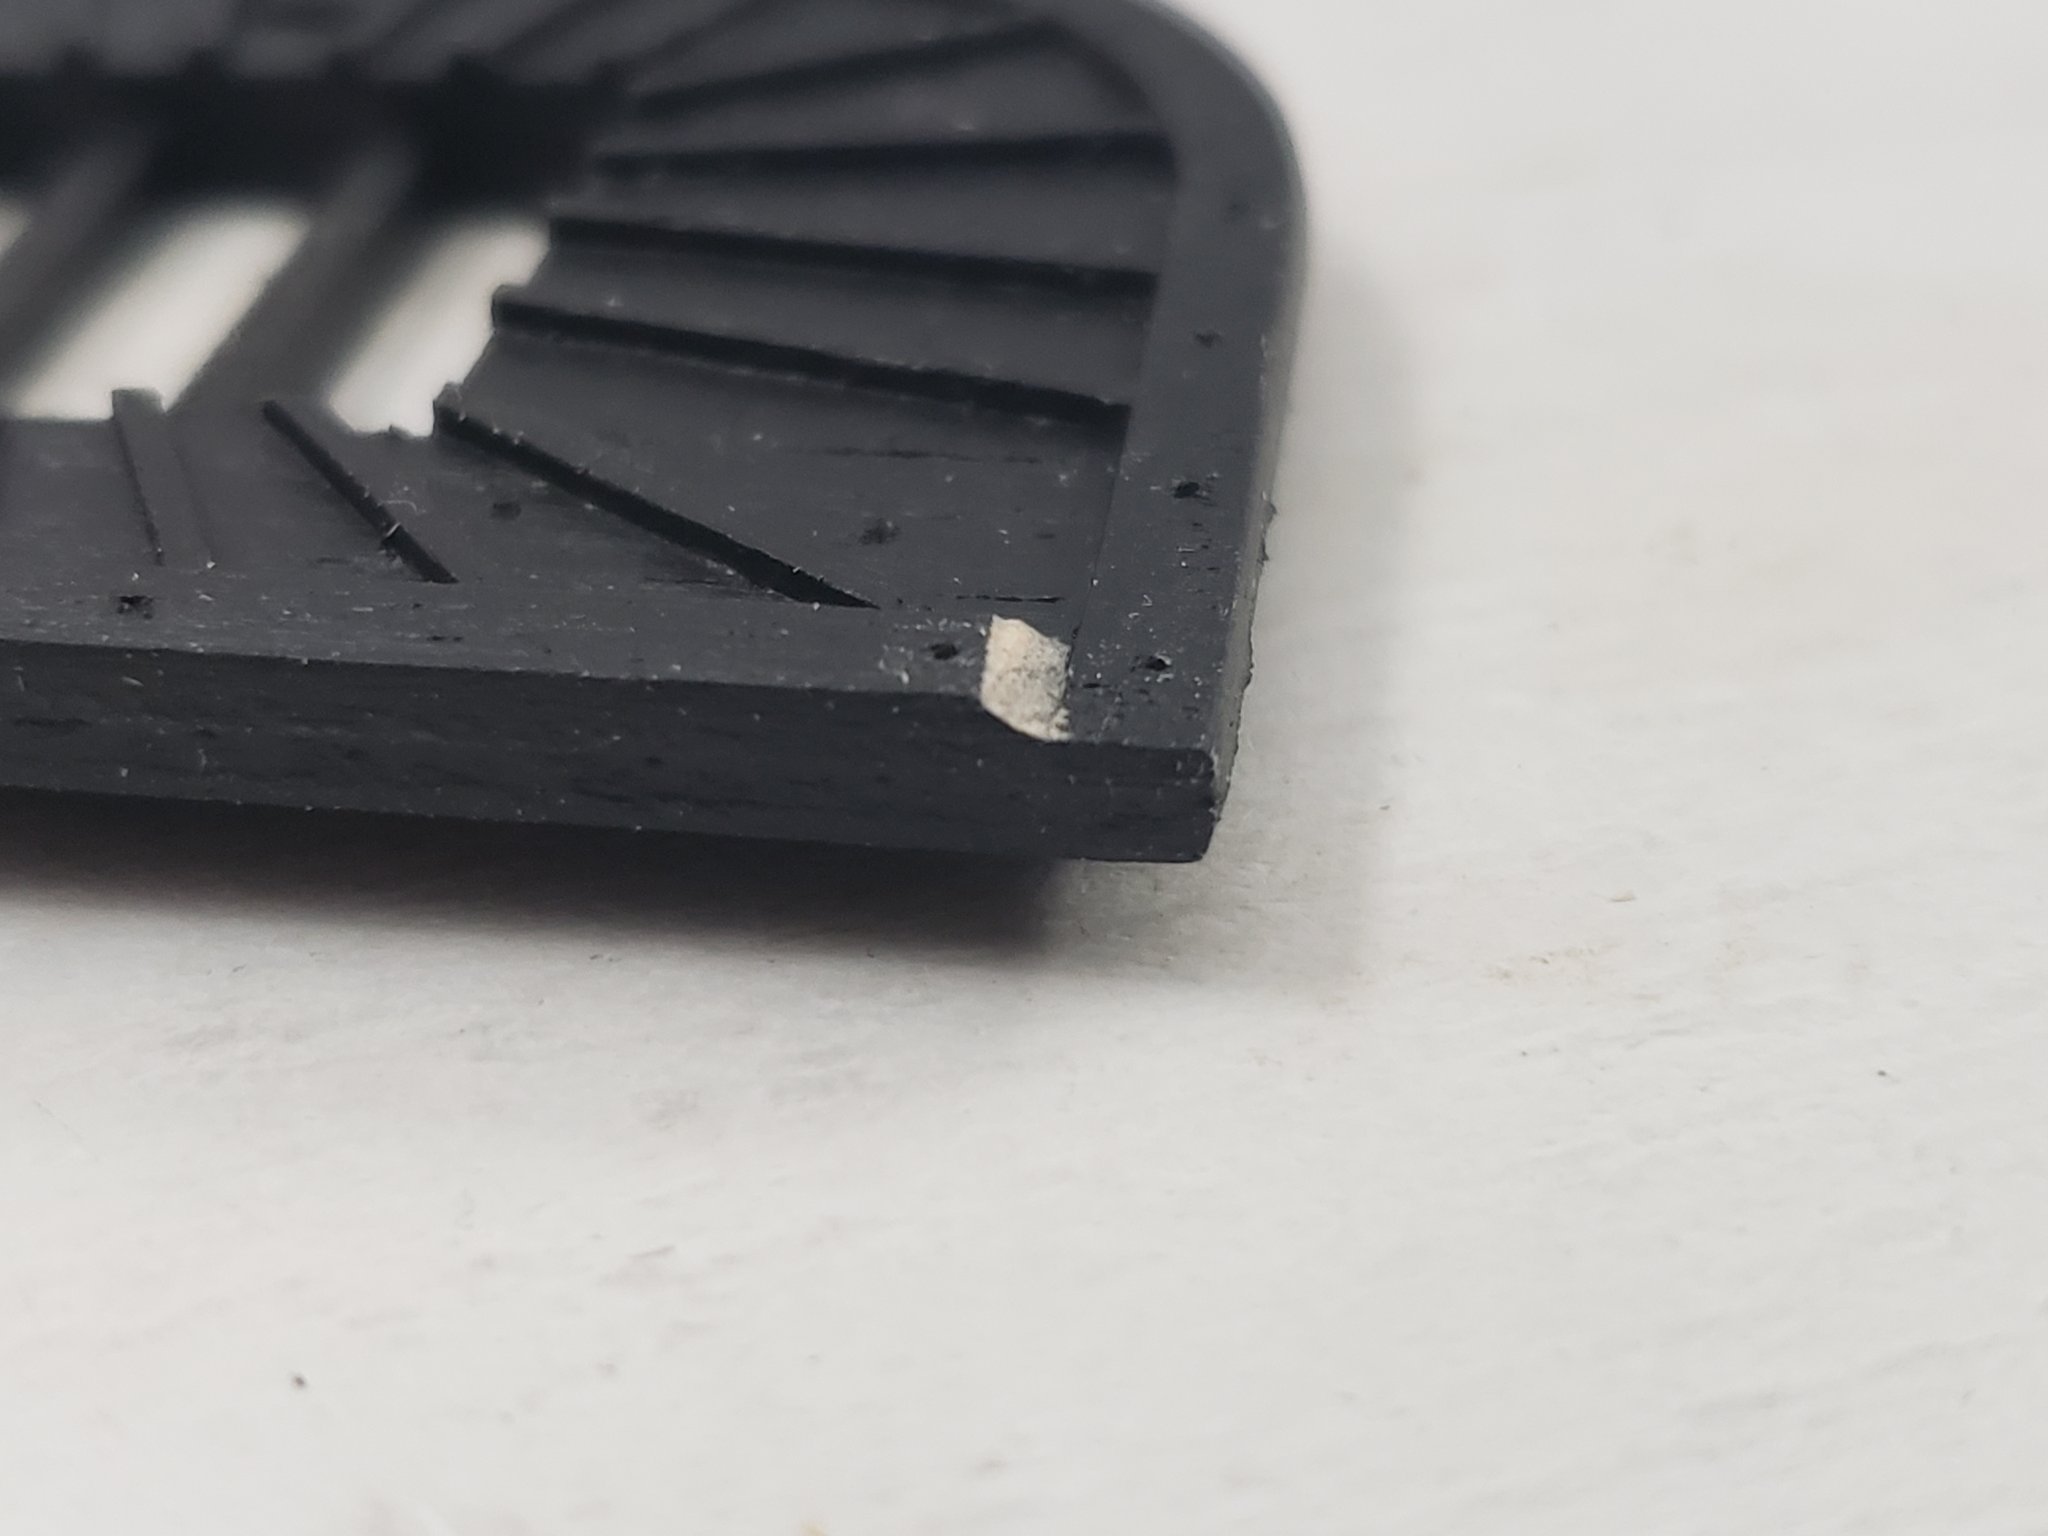
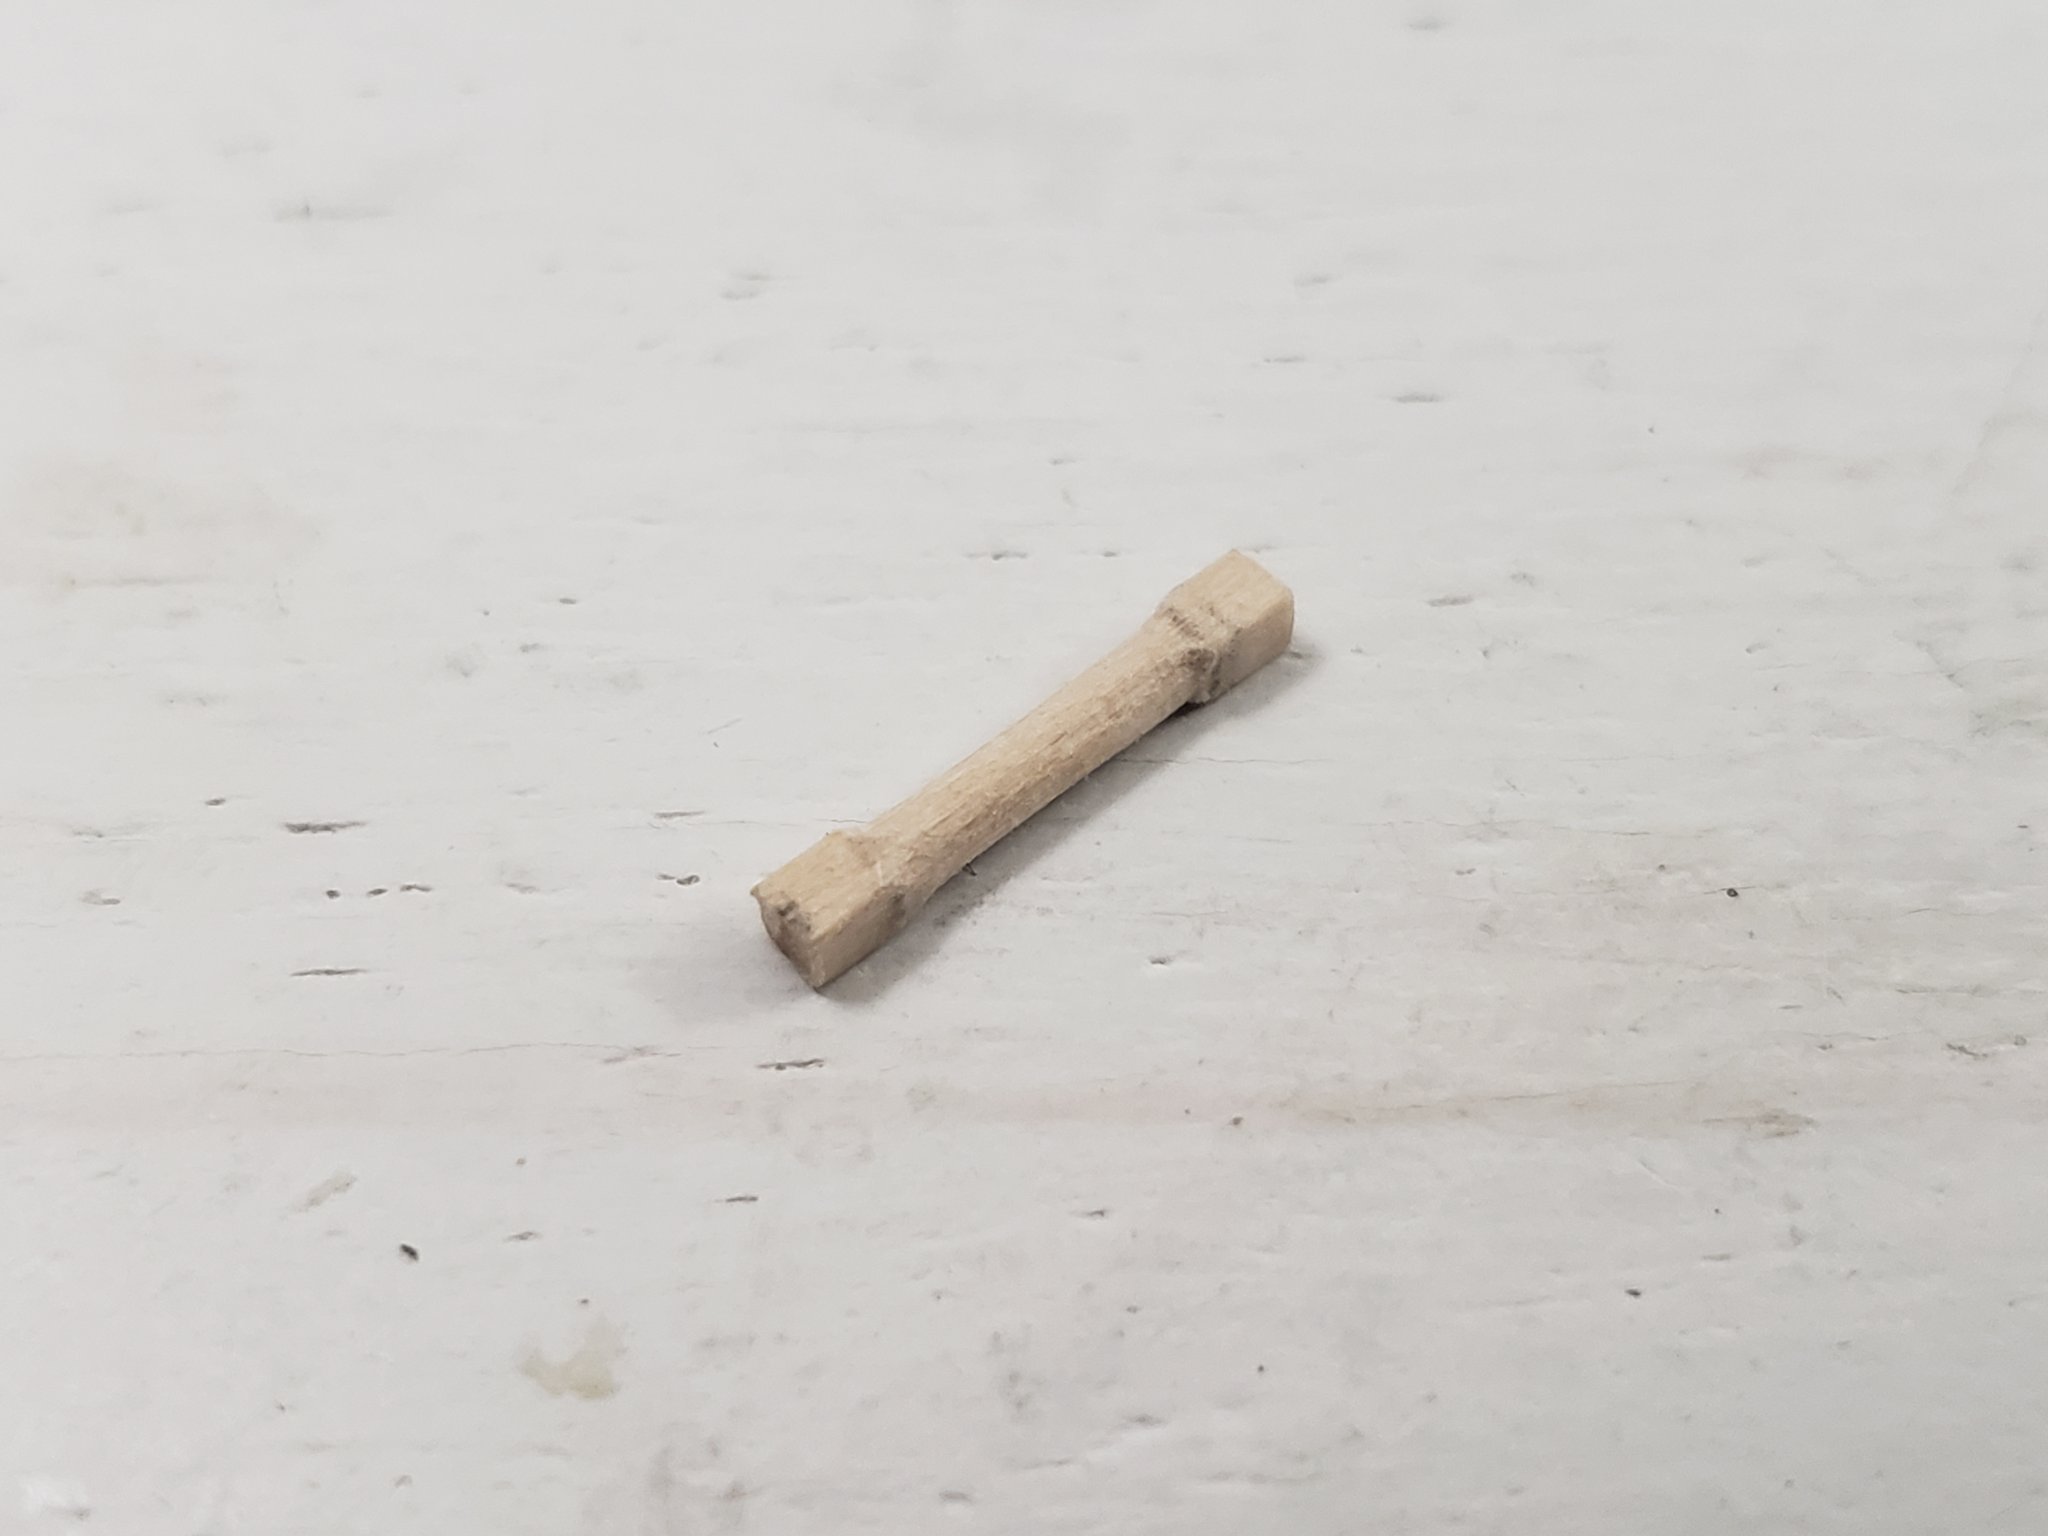
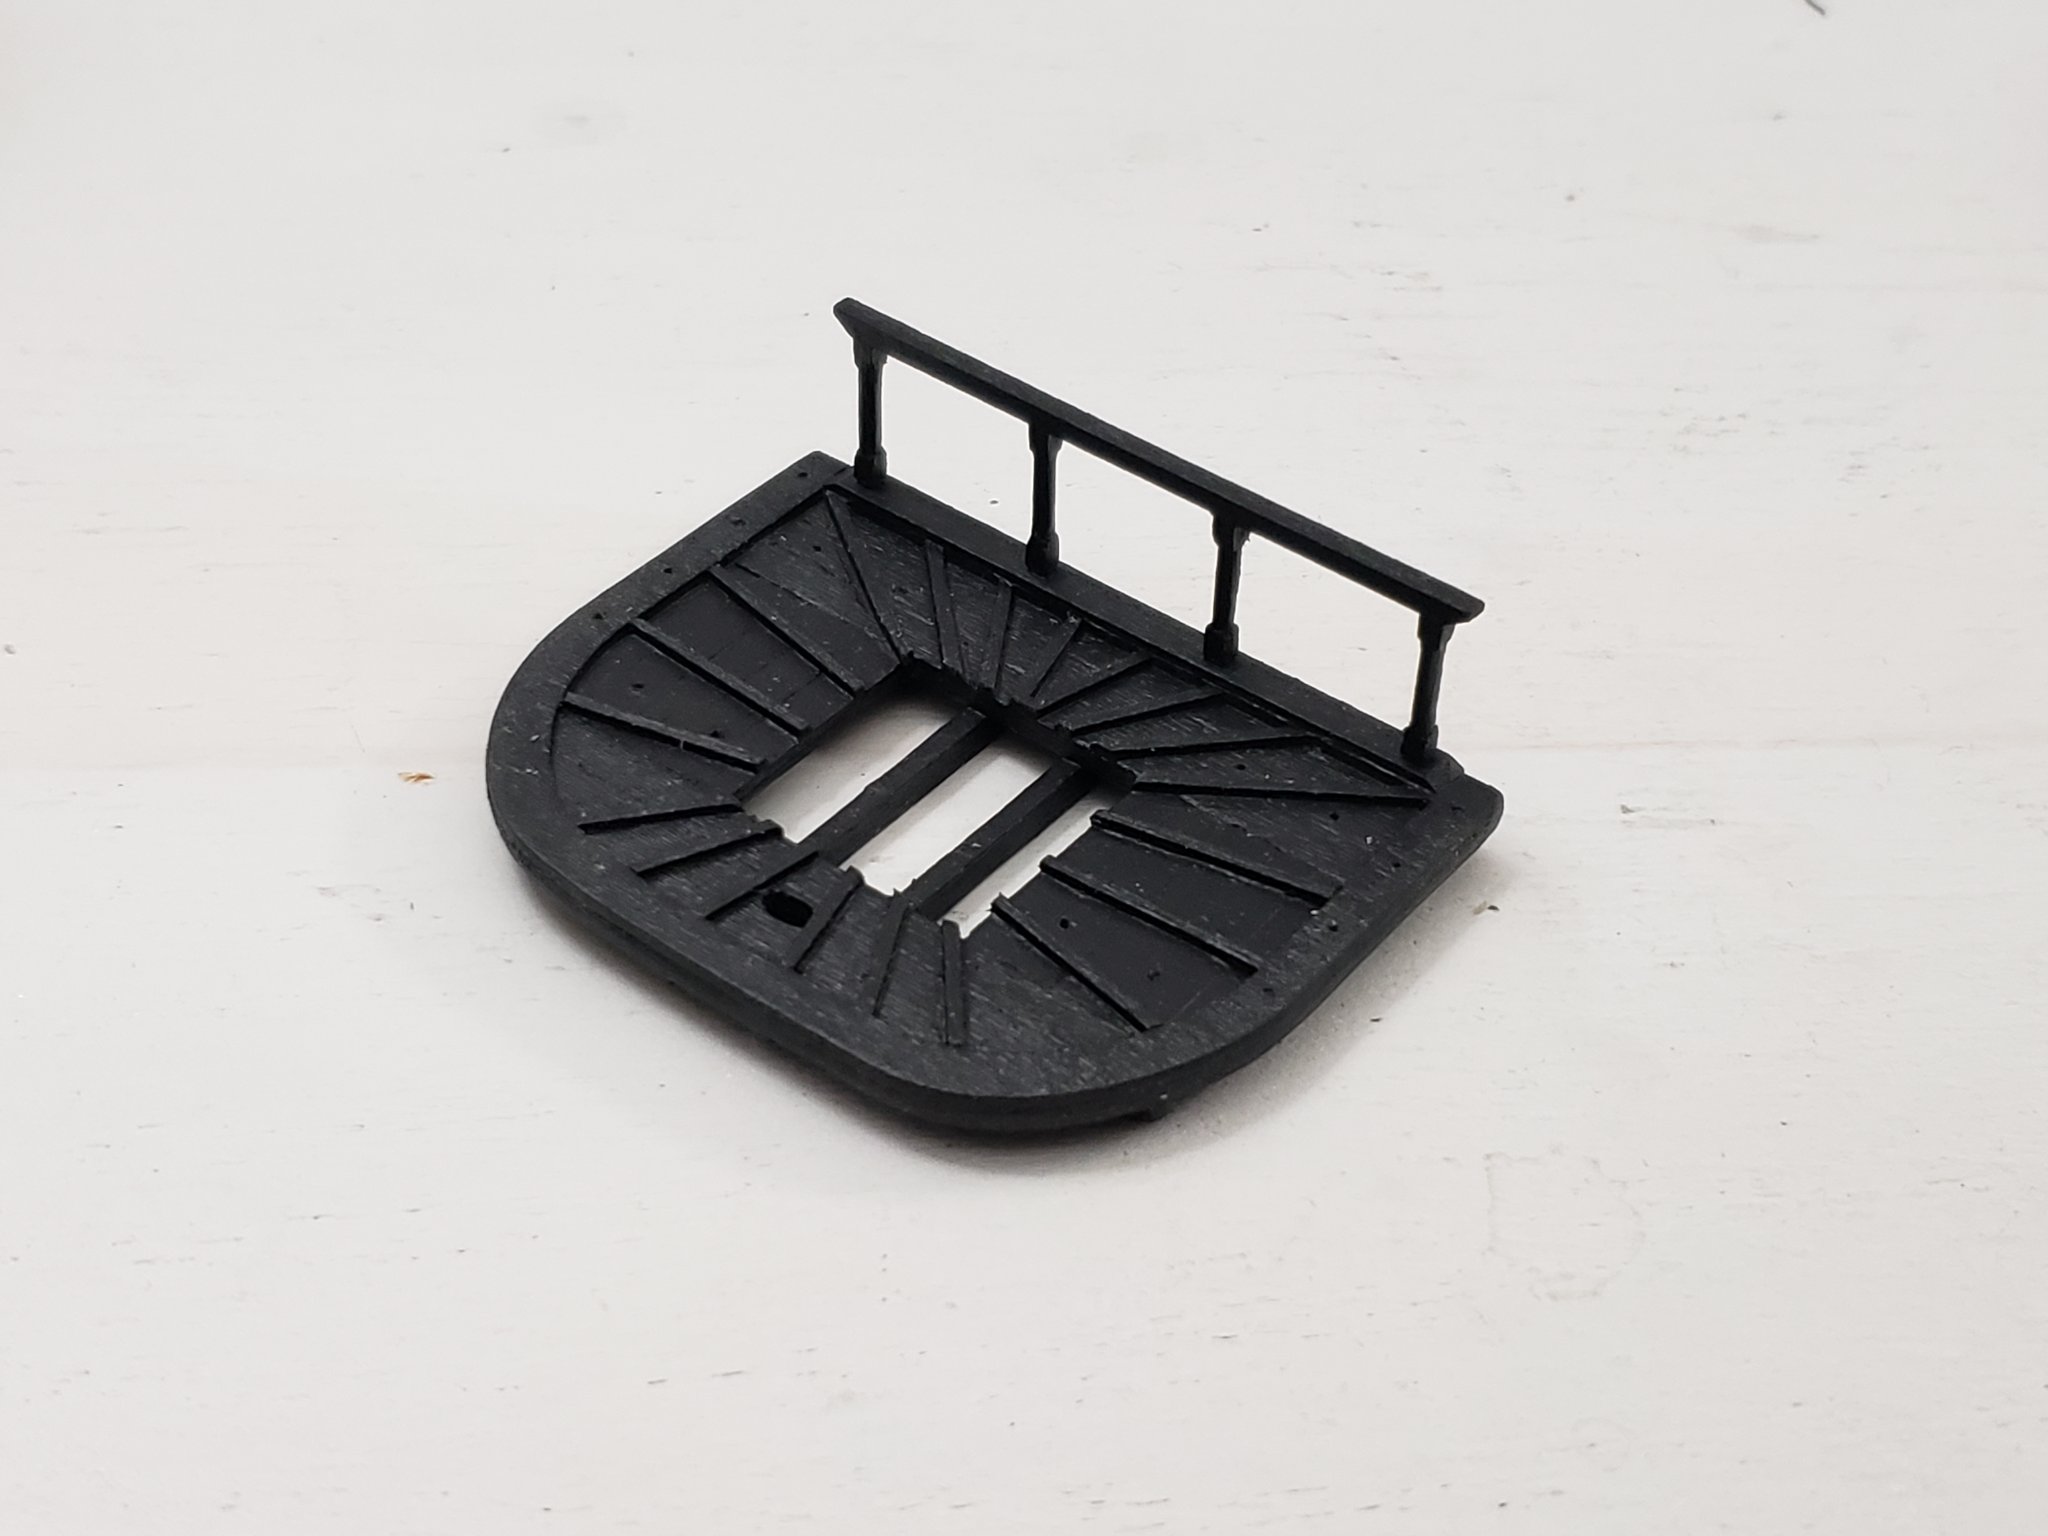
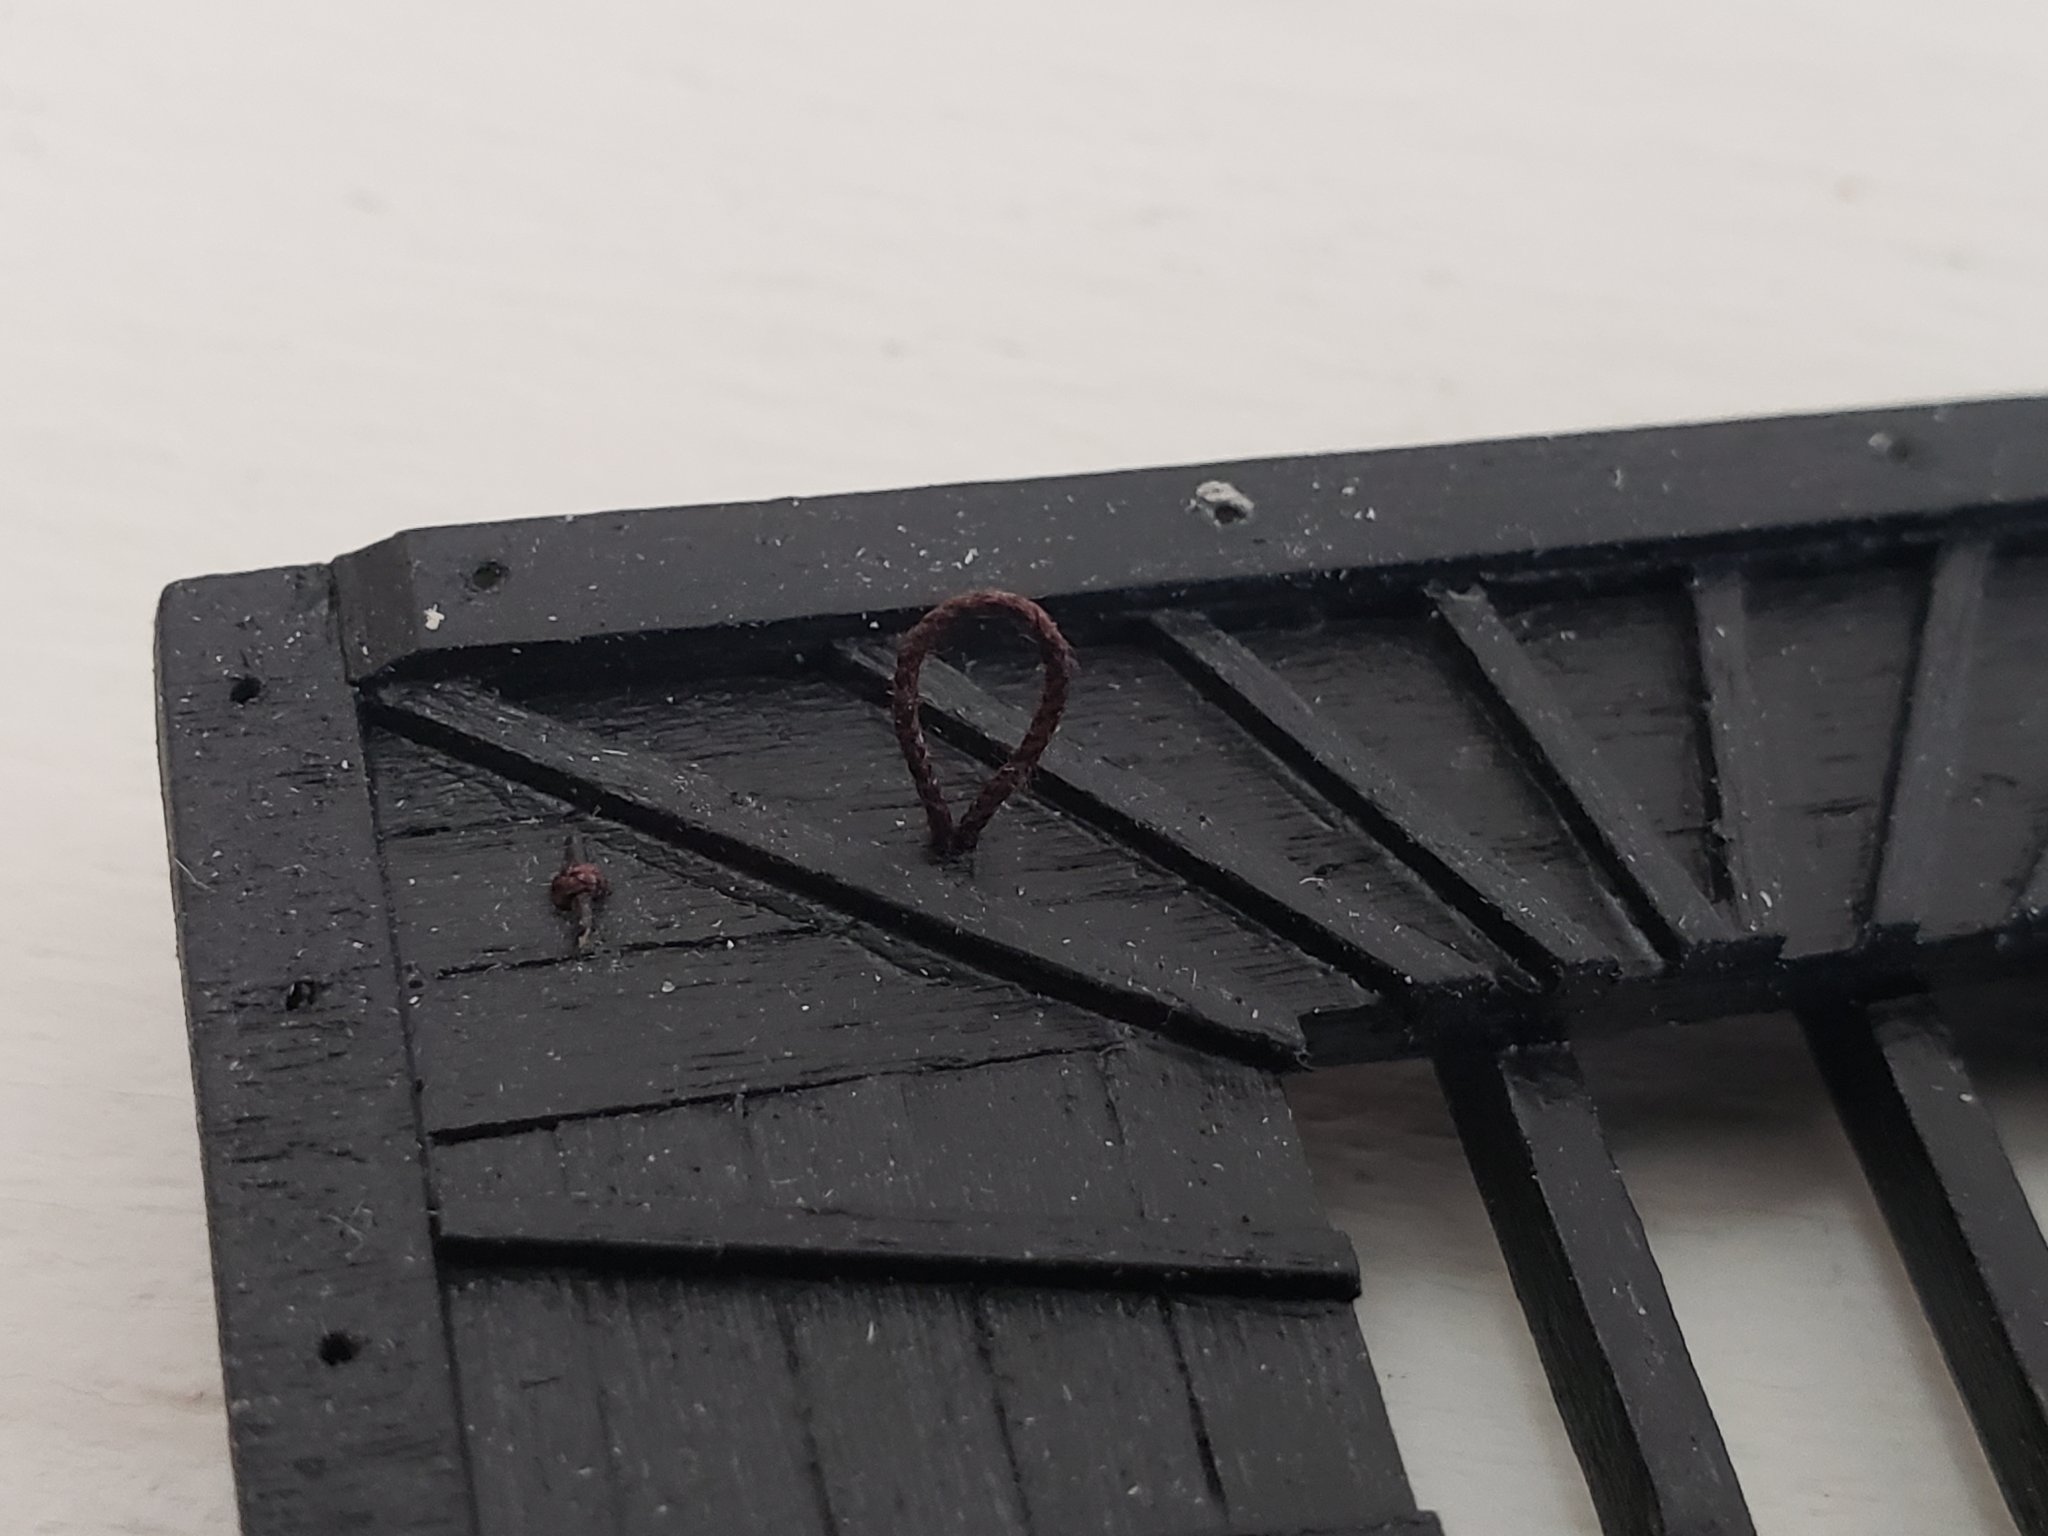
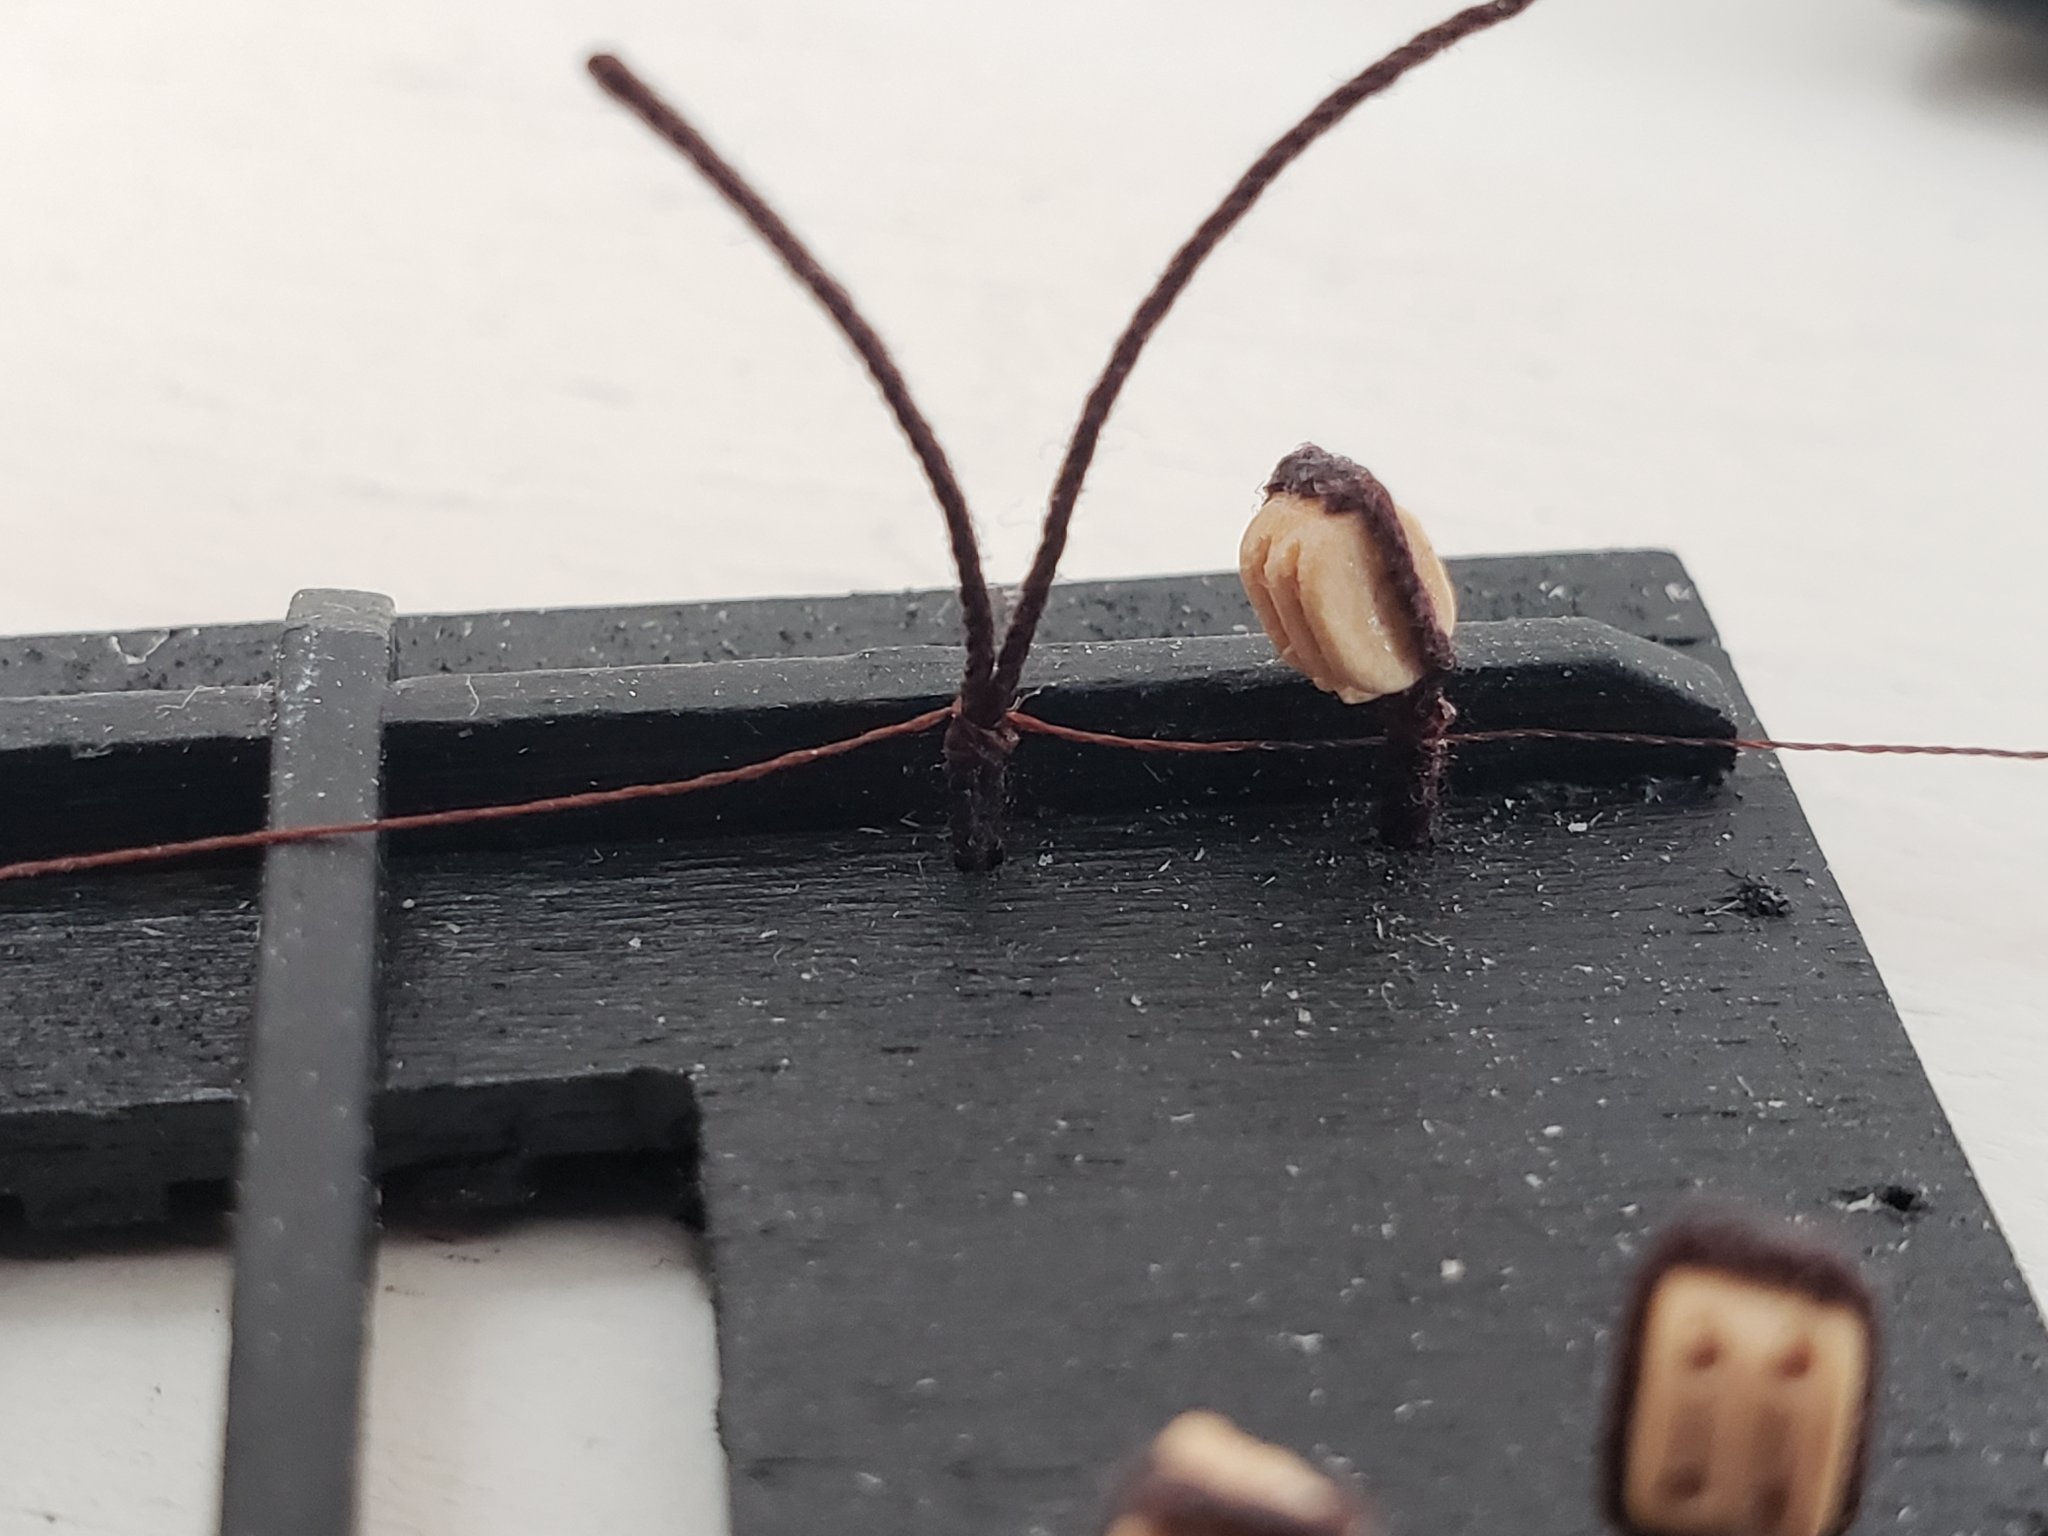
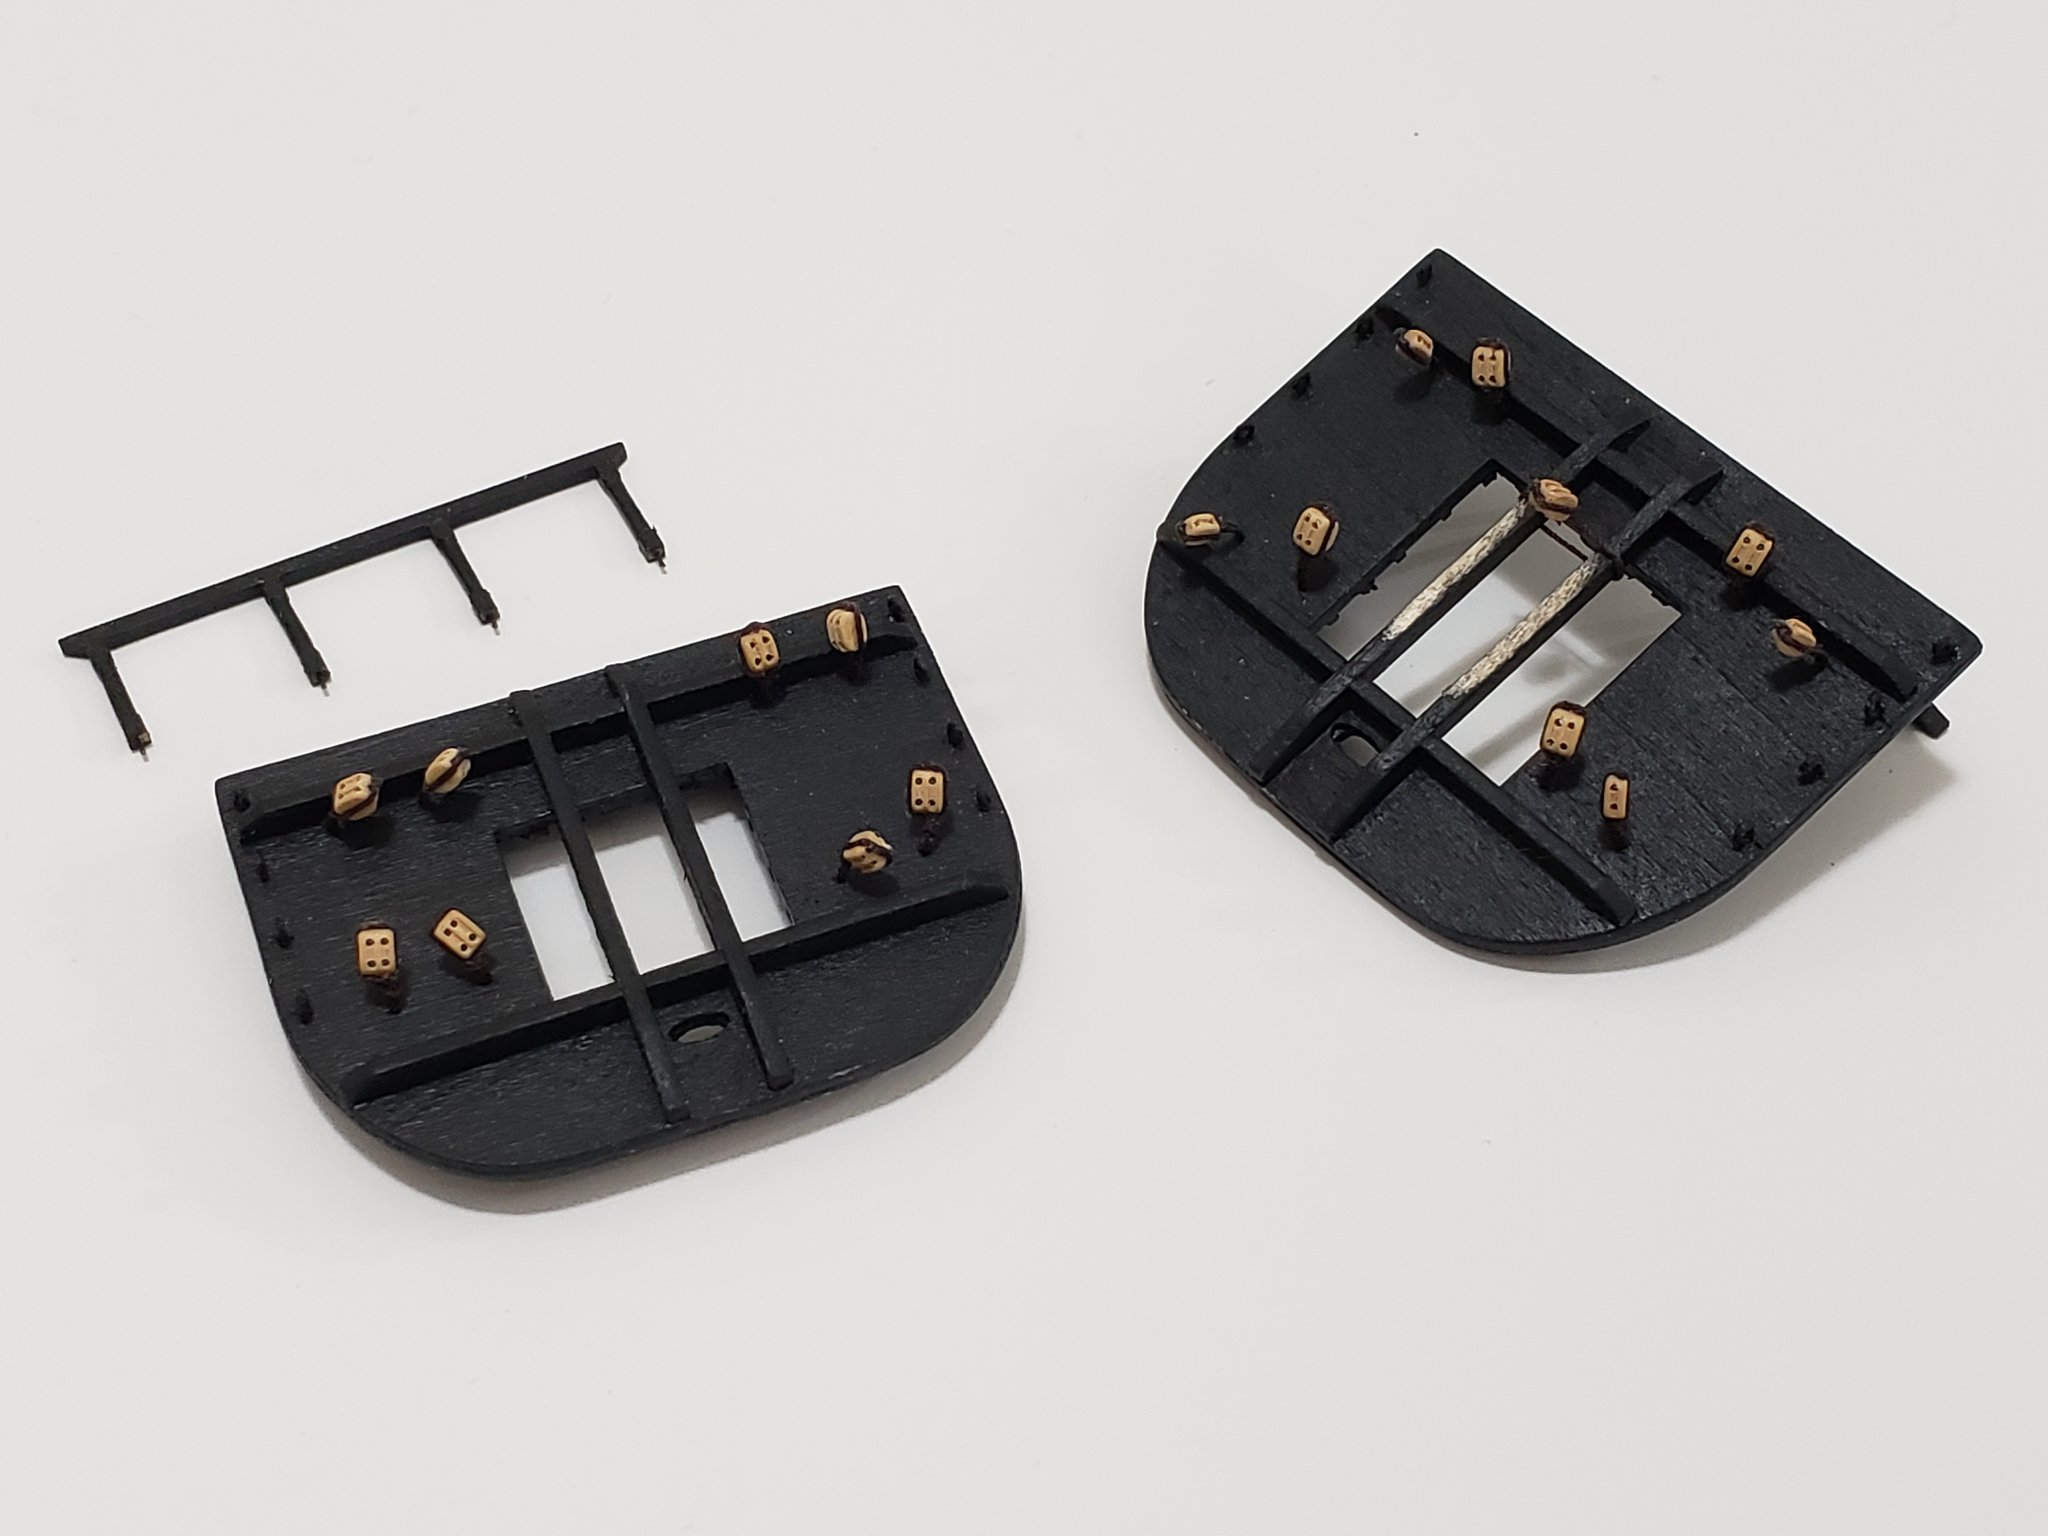
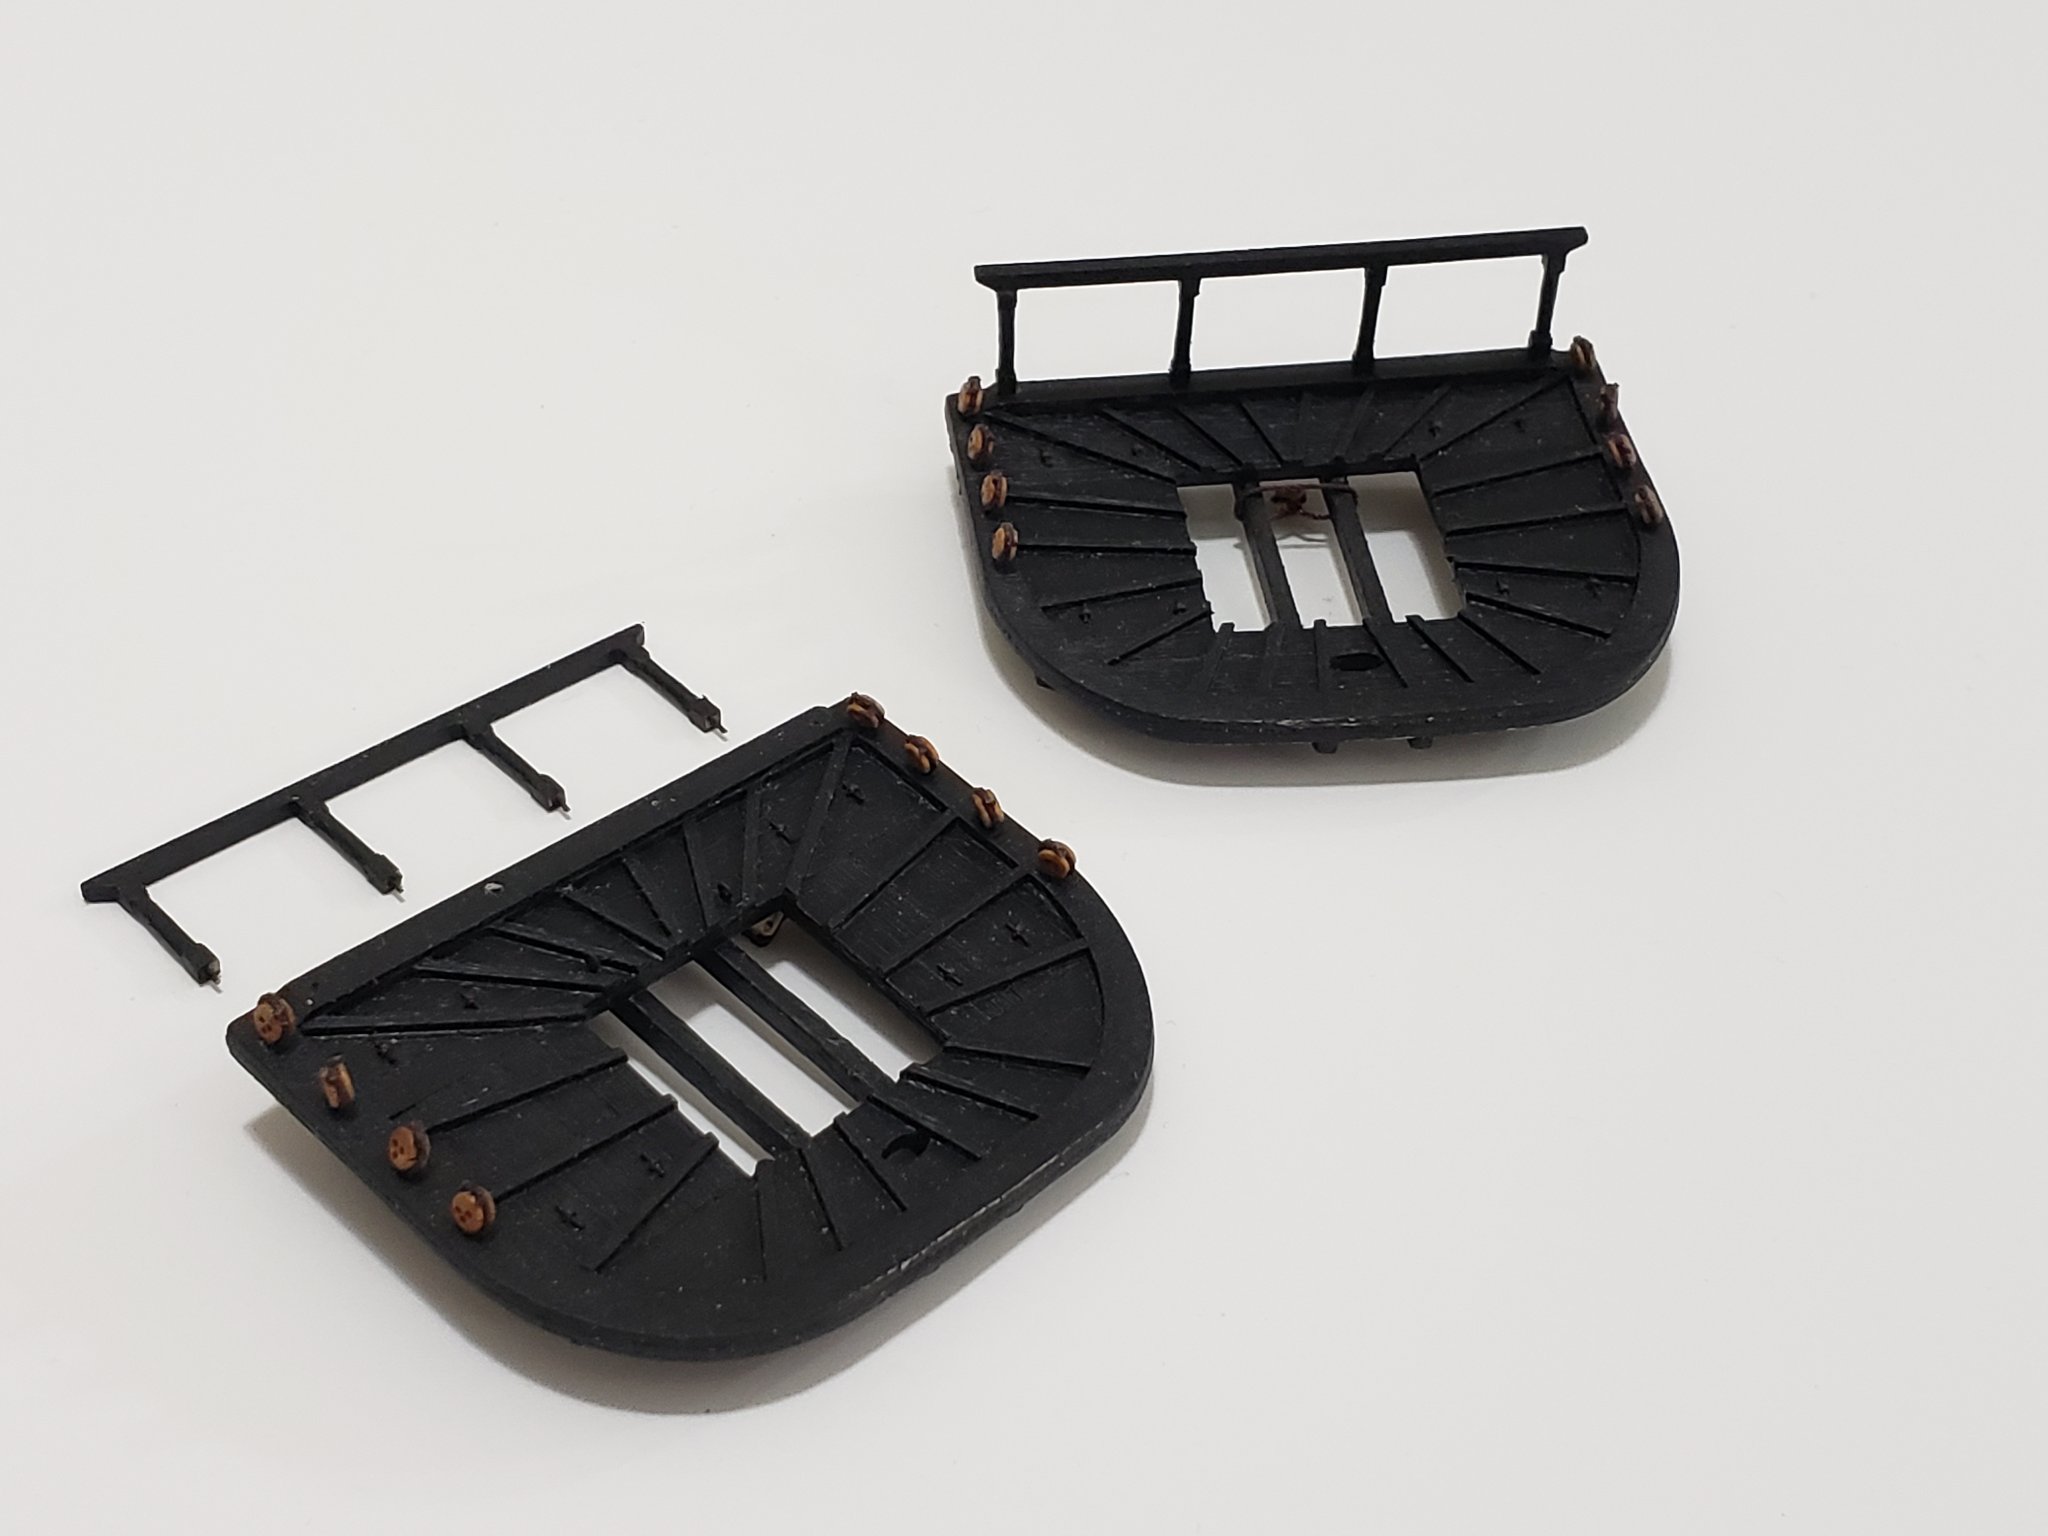
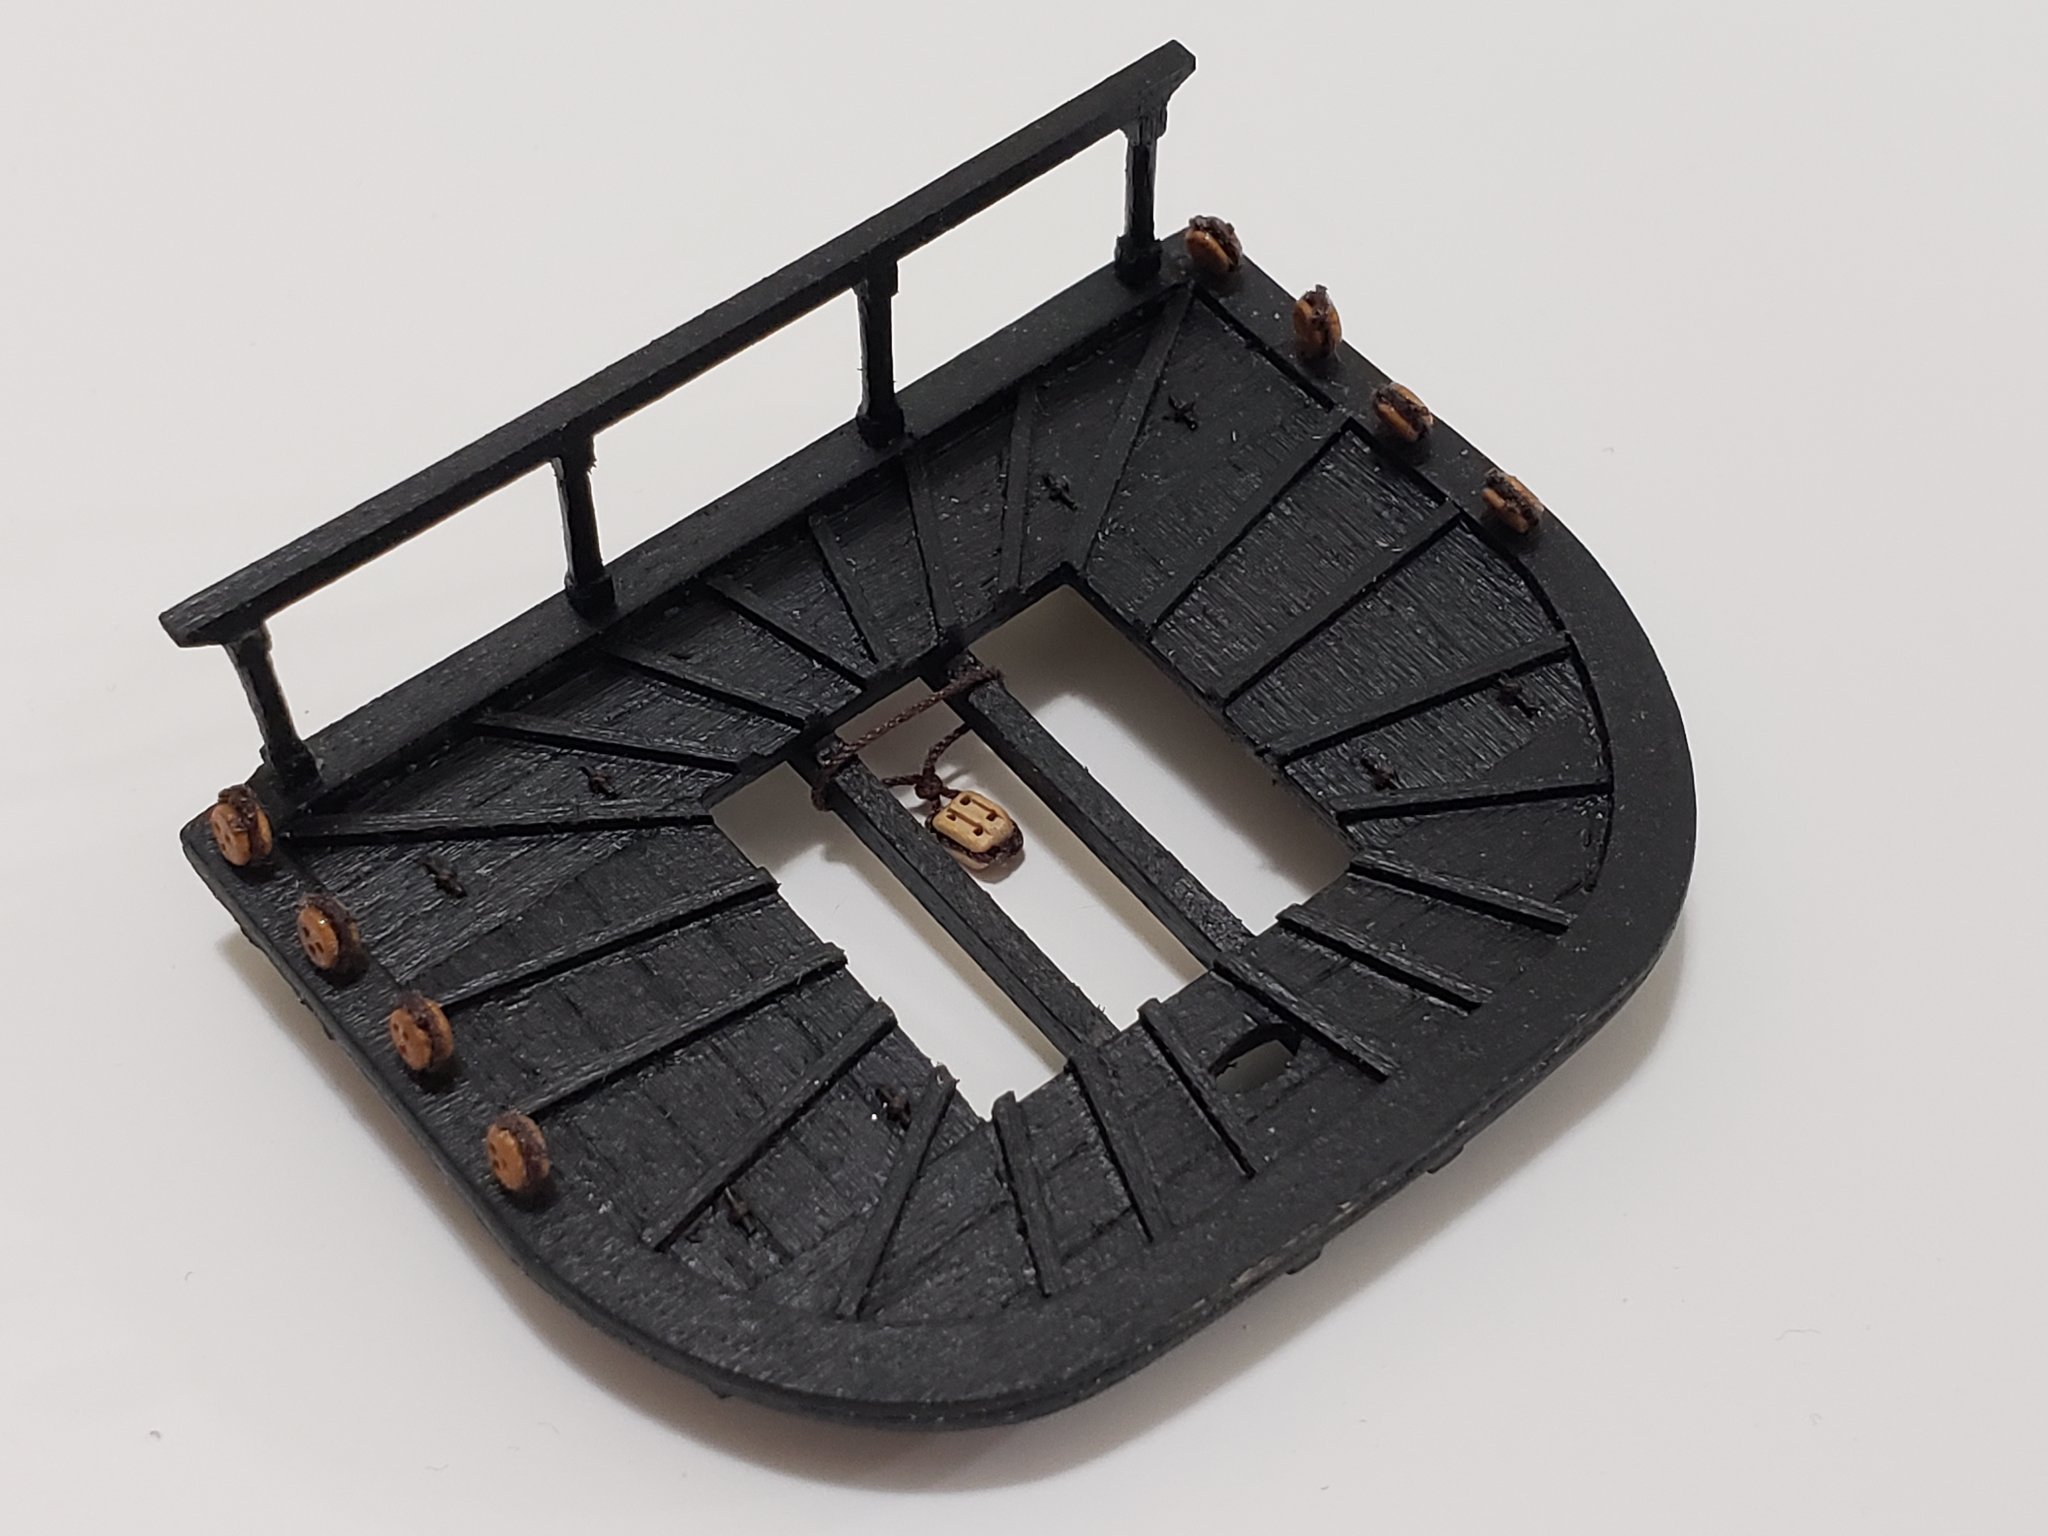
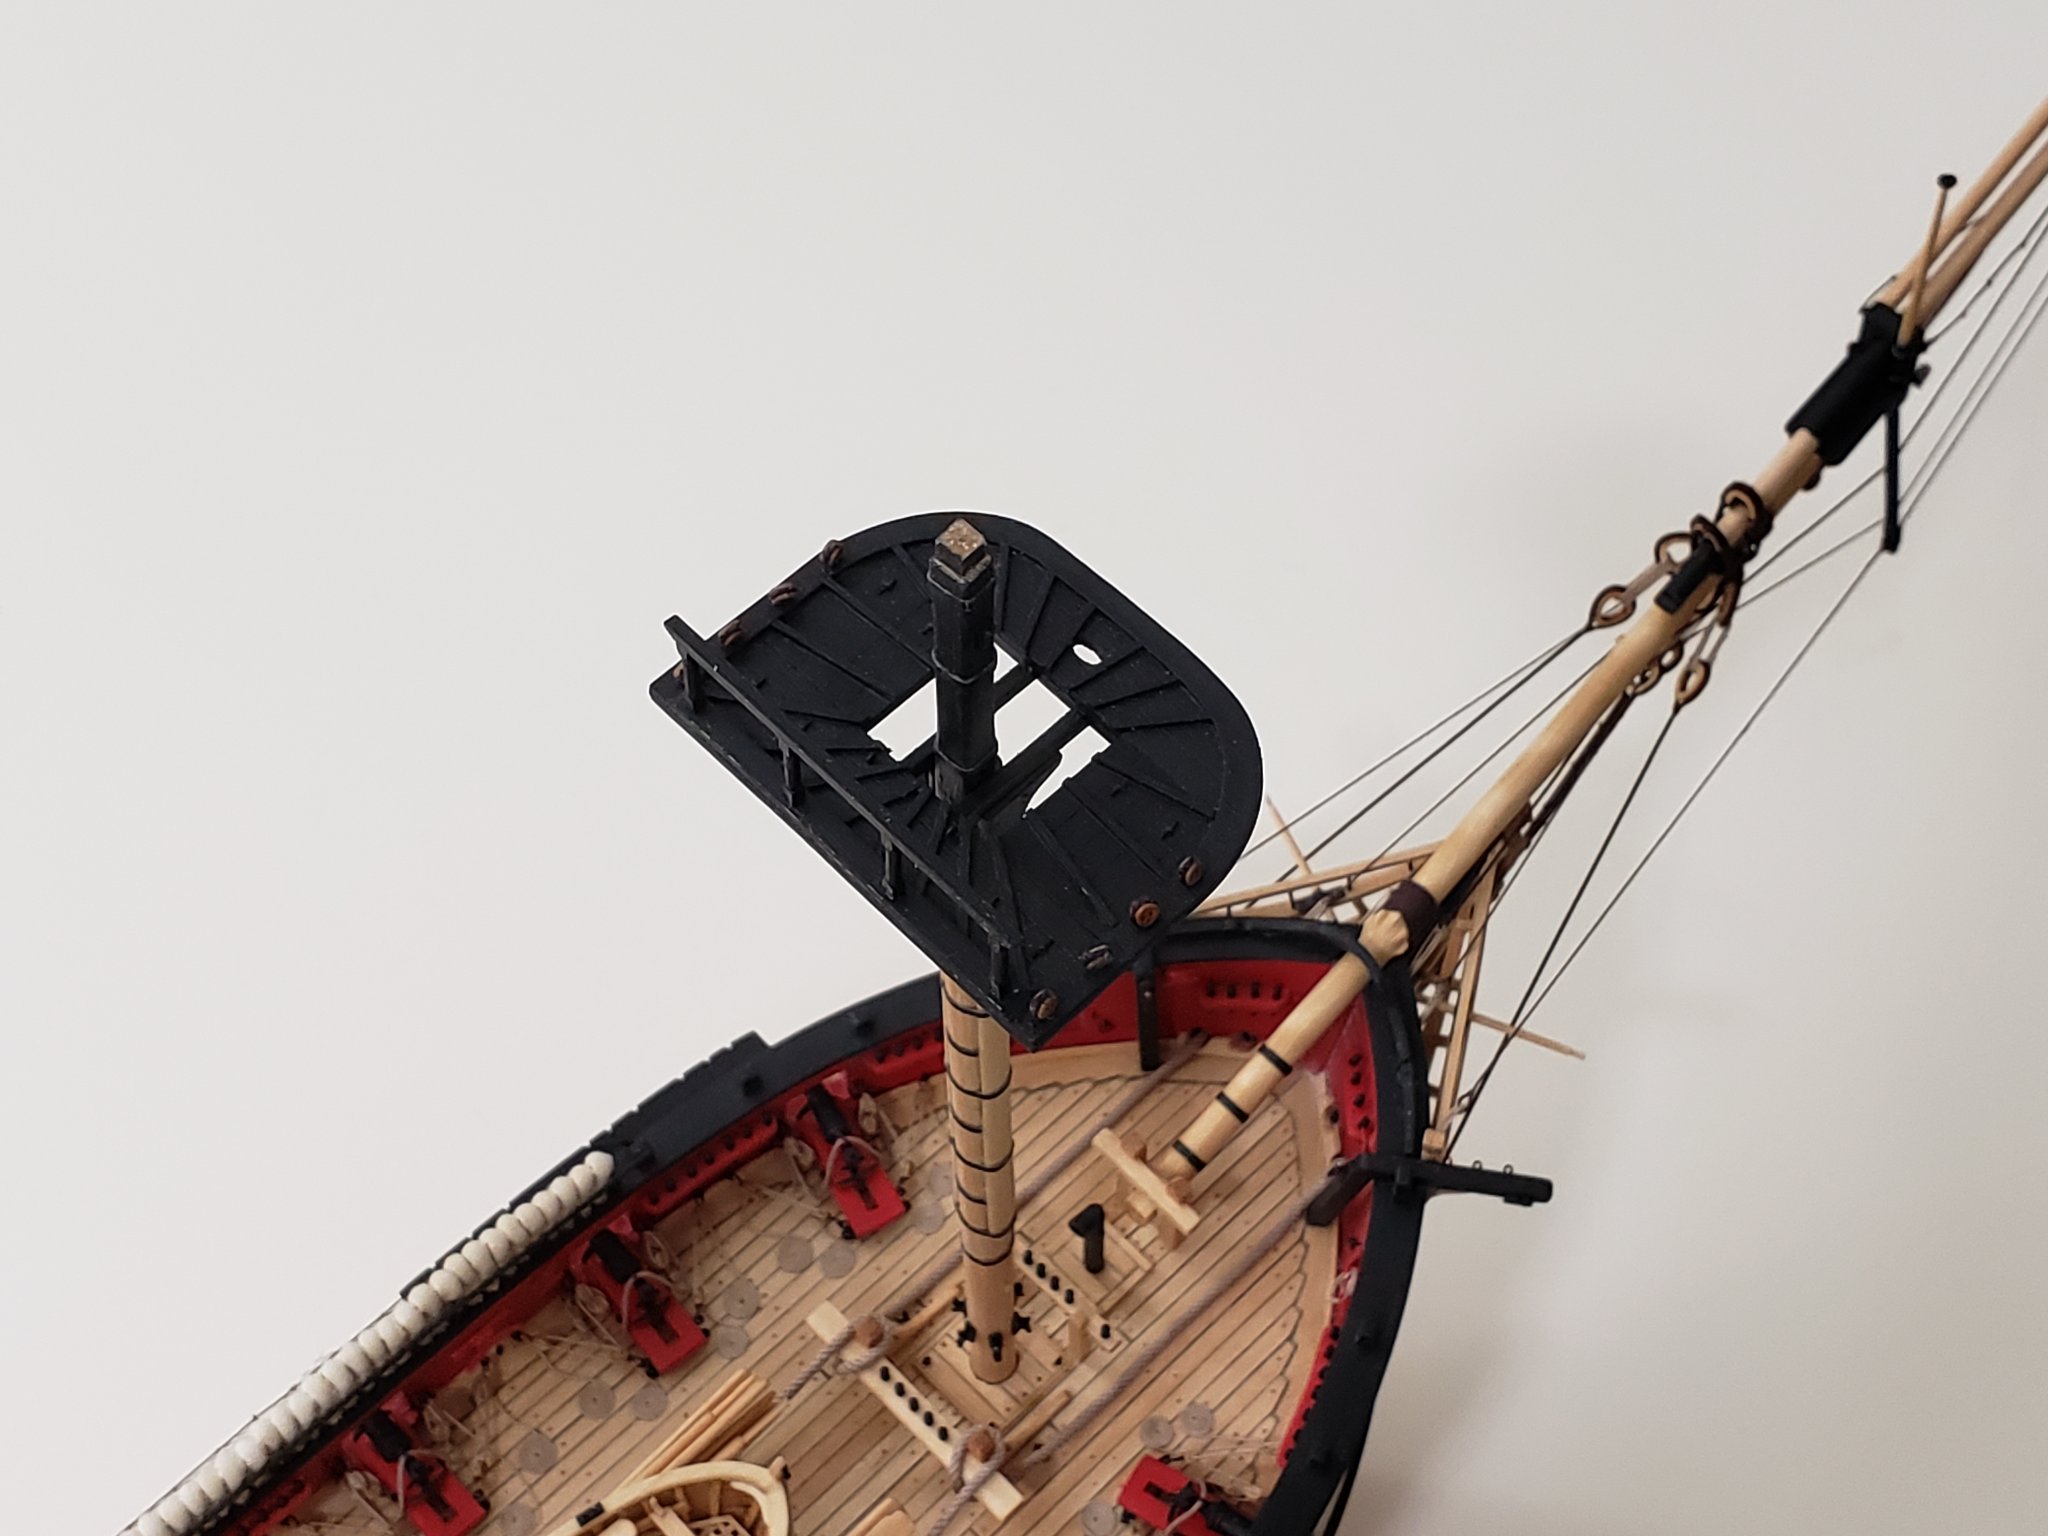
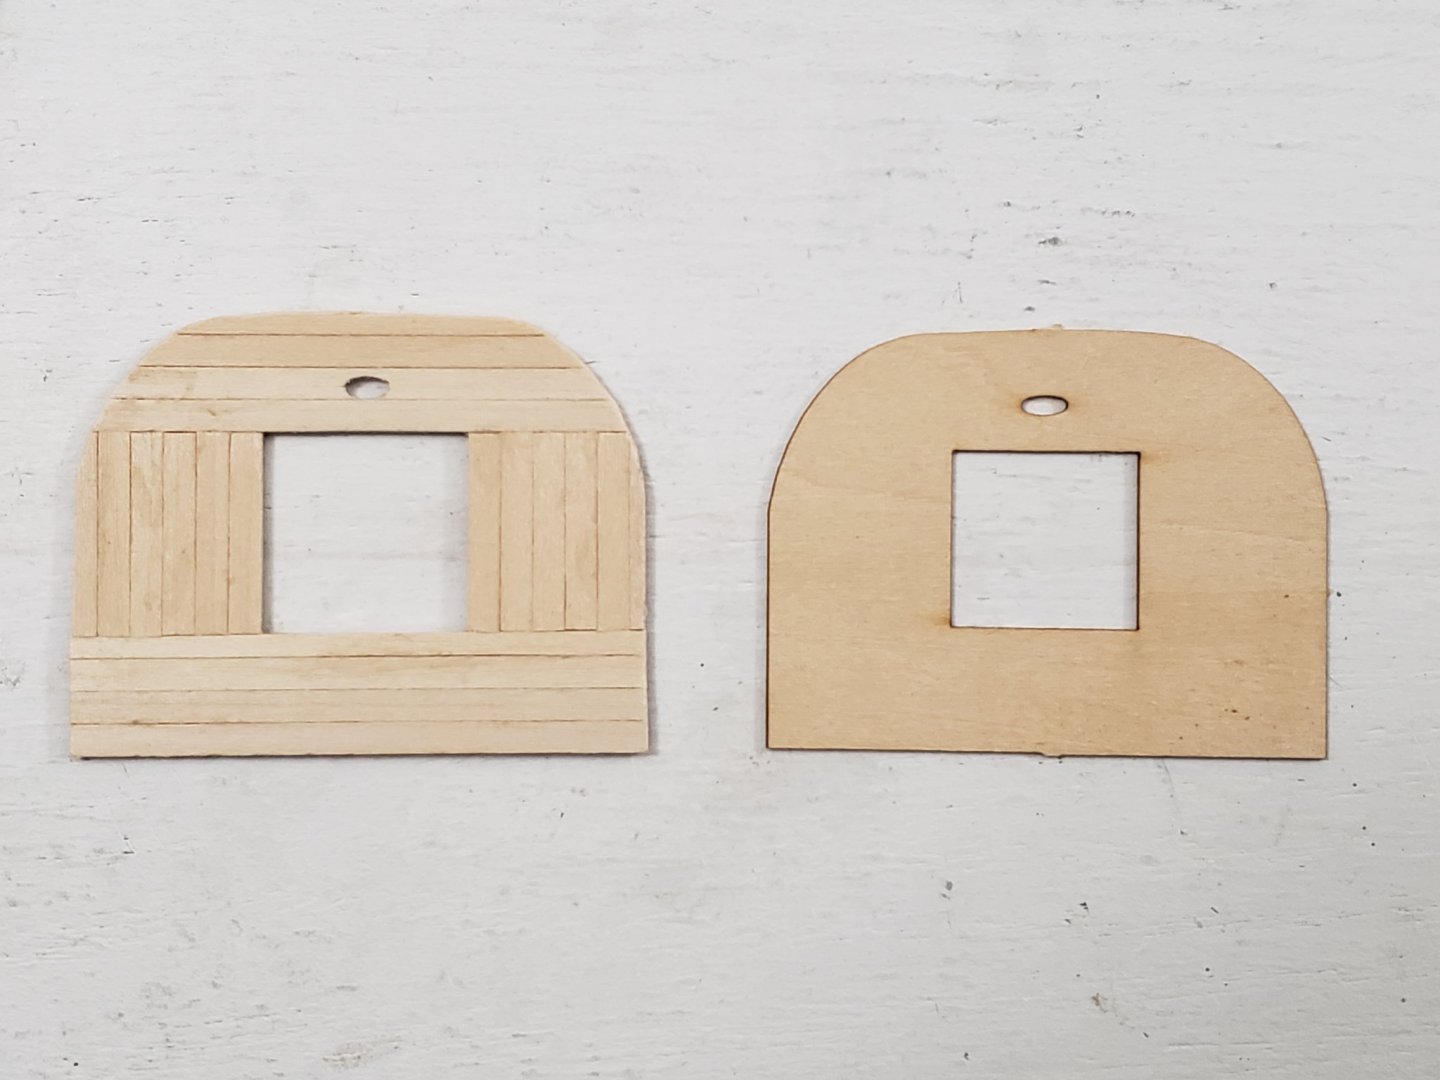
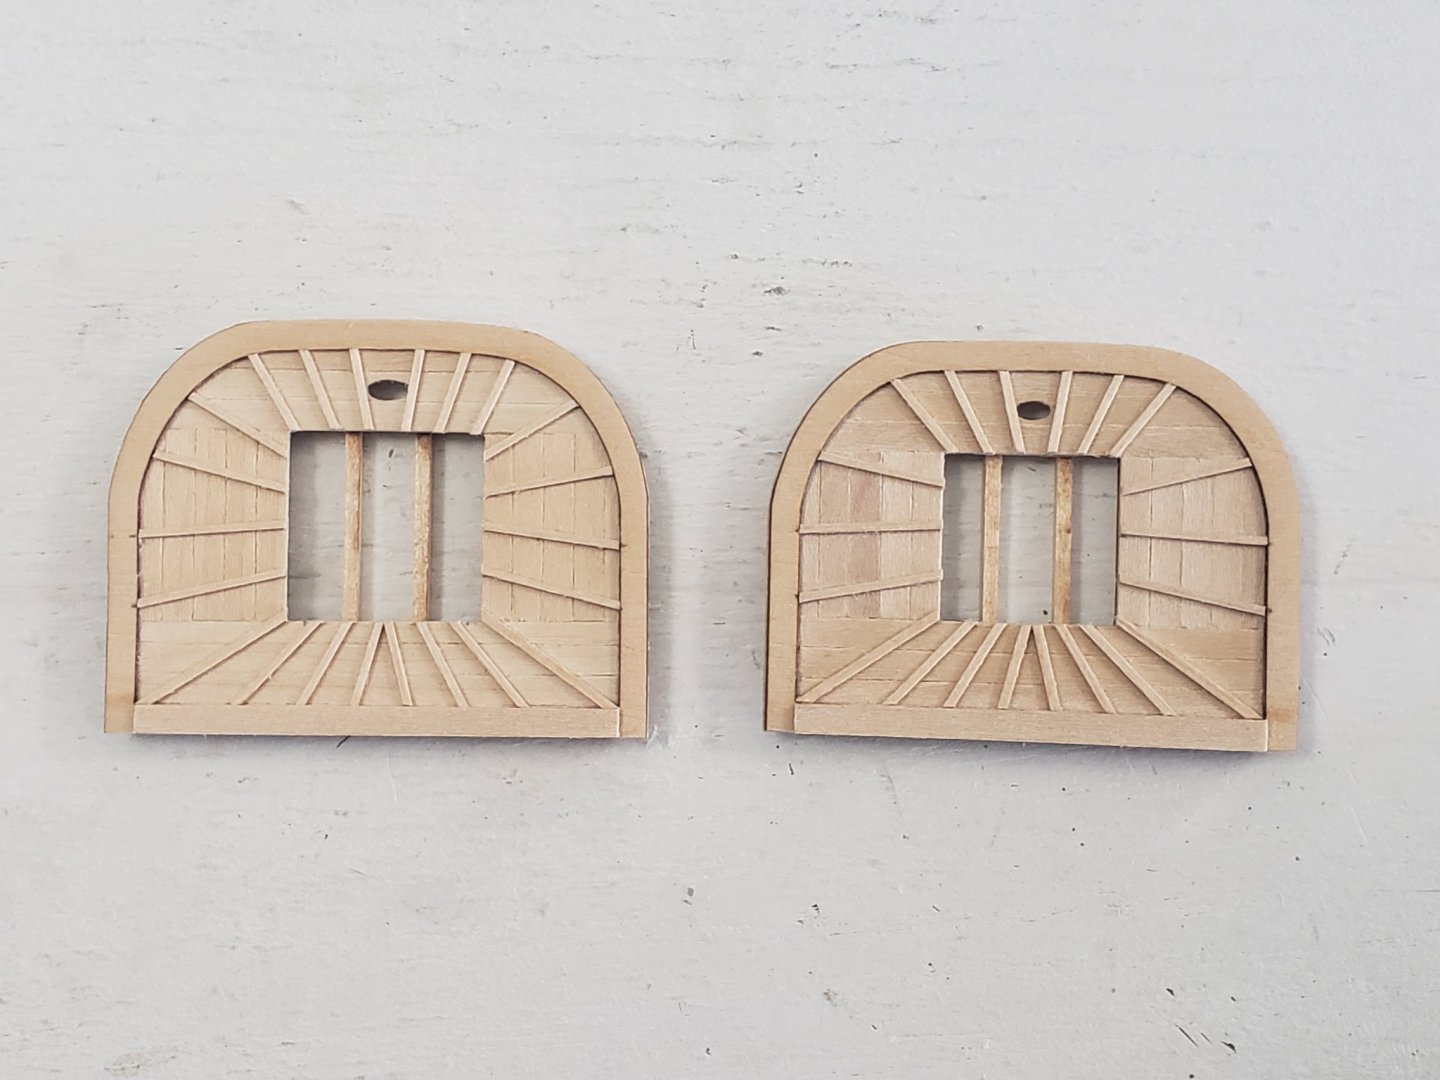
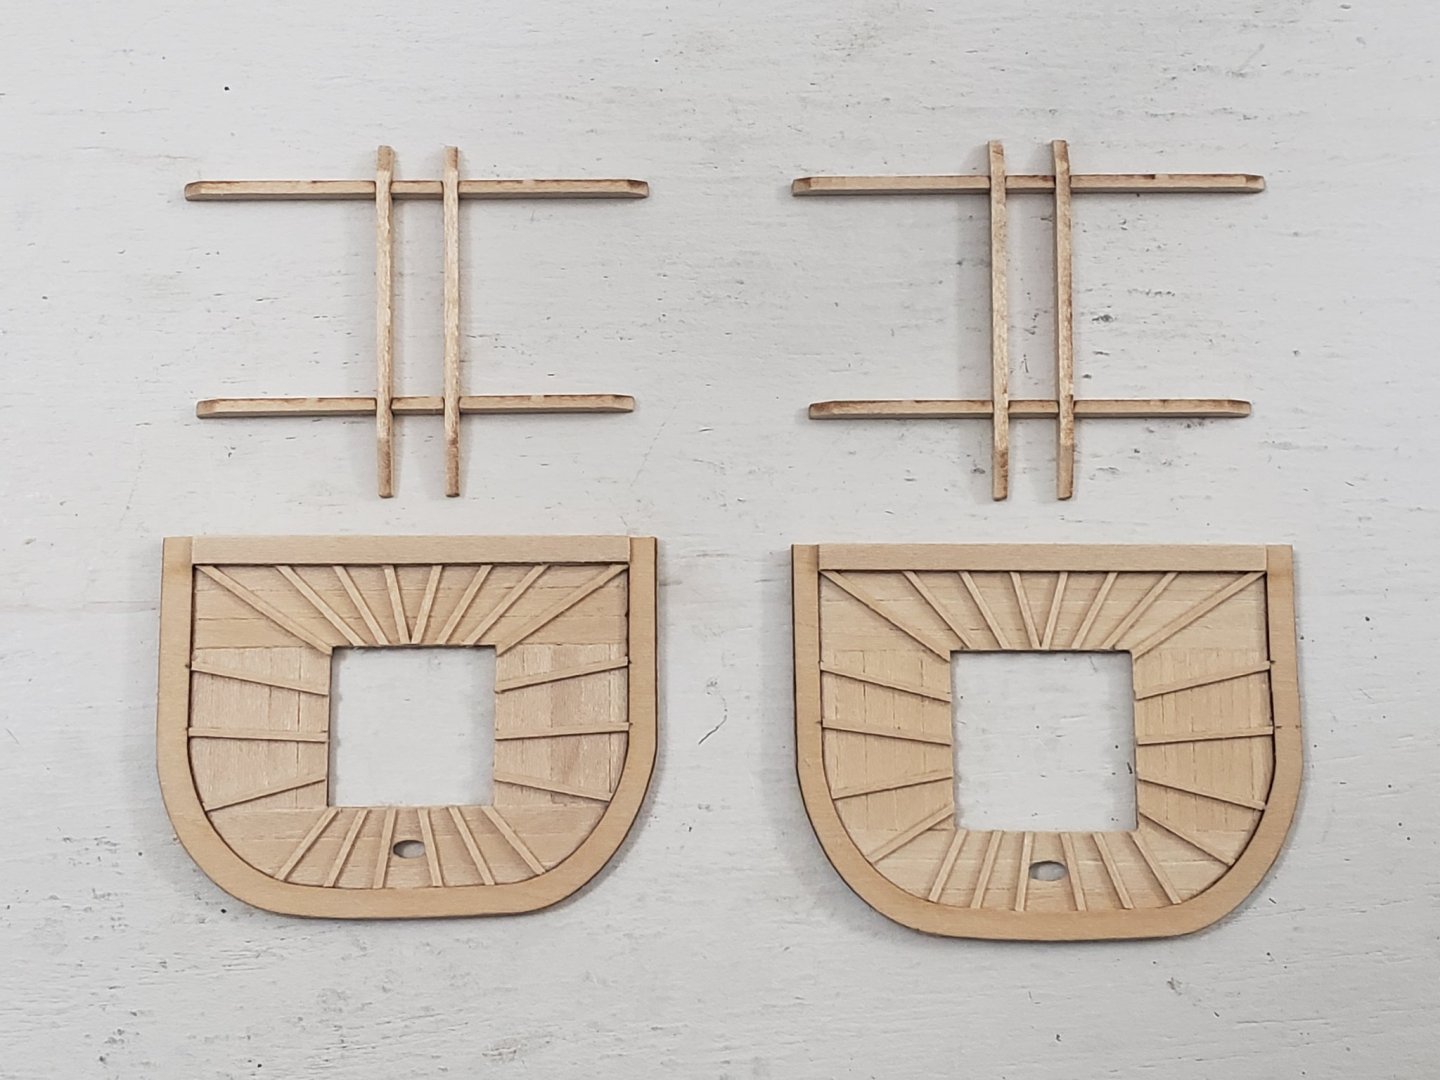
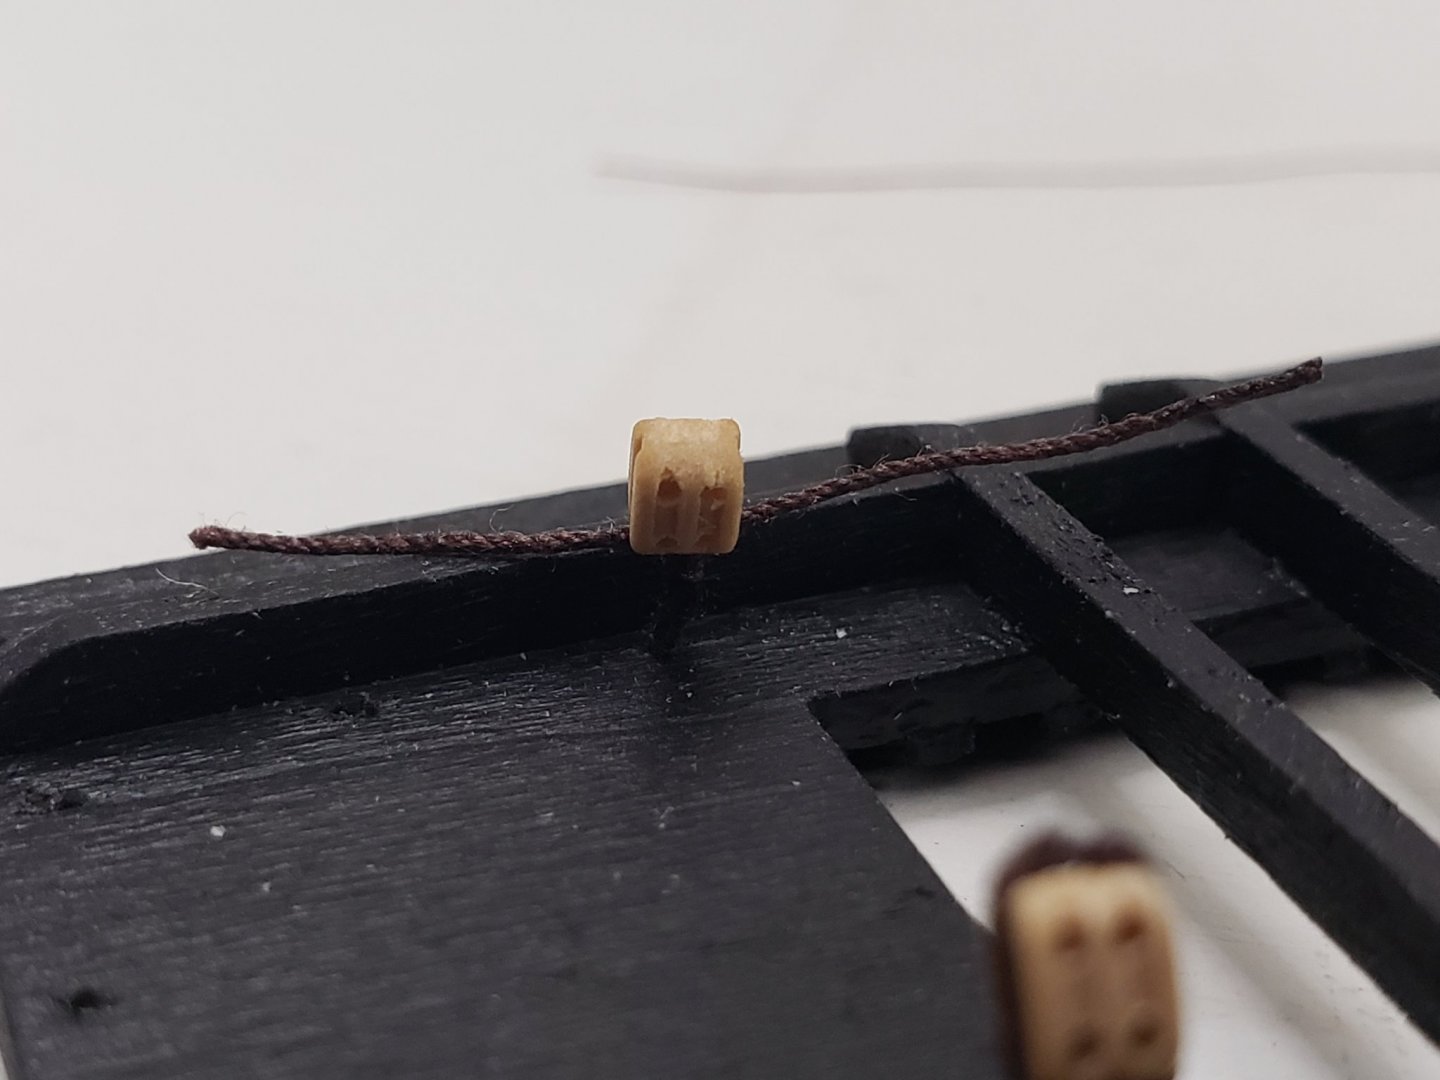
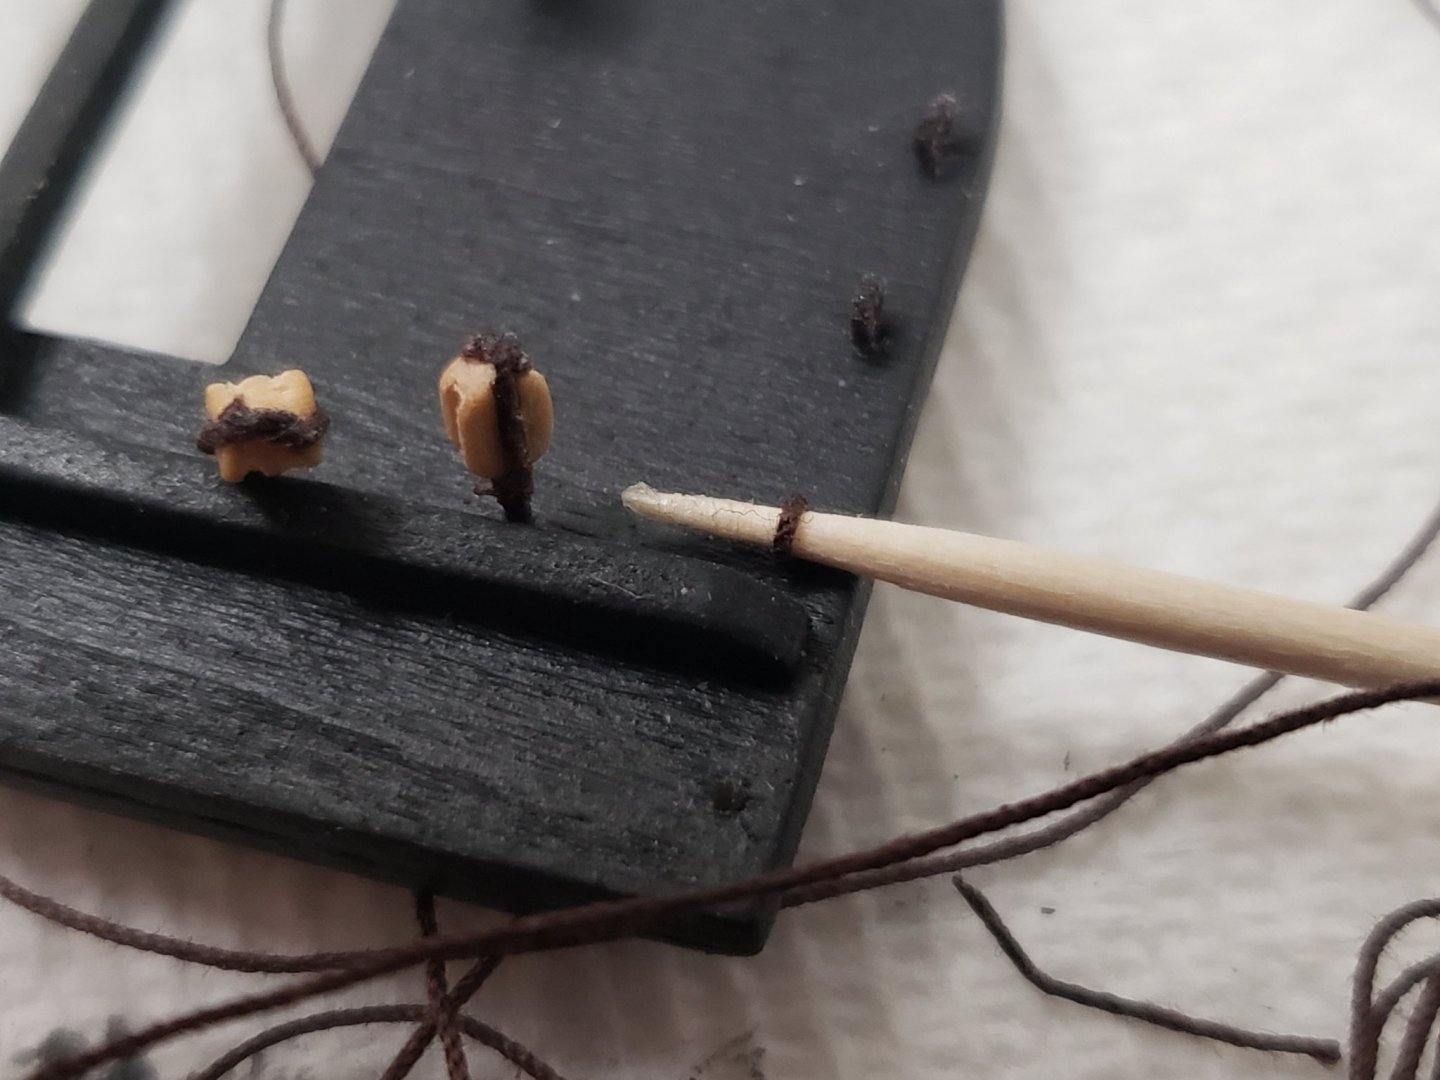
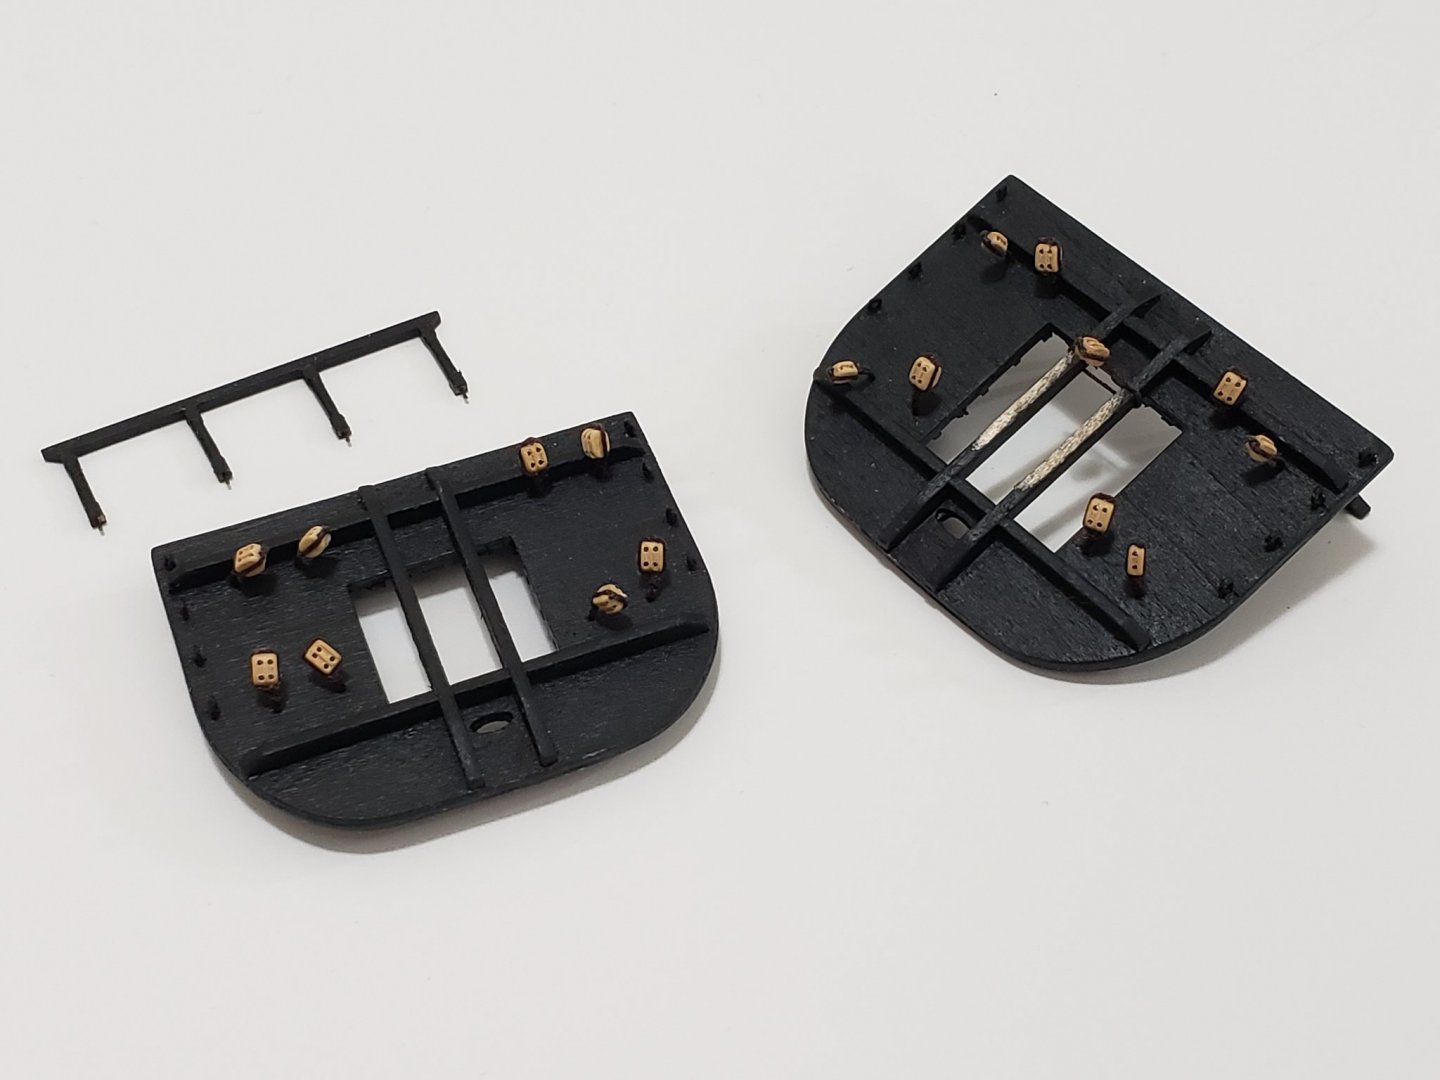
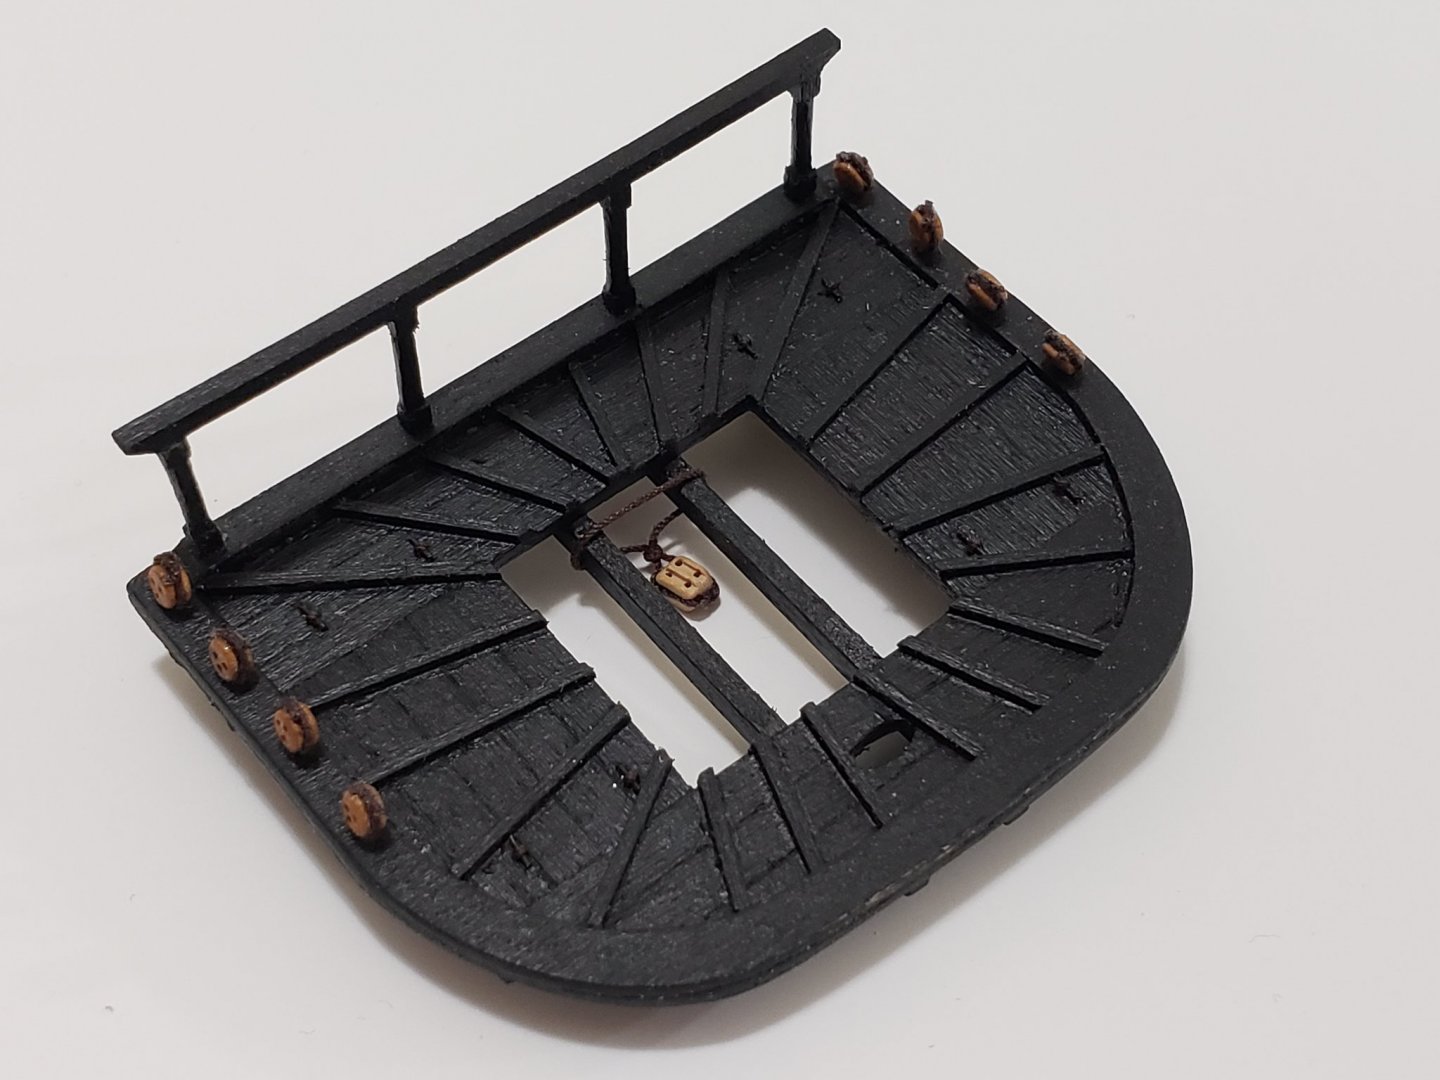
I finished building the main and fore tops. These things took of a lot more time than I expected!! I first planked the laser cut part, and then took a pin to indent the edges of the planks. I did this so that once painted the planks show up more: Next, I glued in the rim, battens, and assembled the trestle and cross trees. The battens were a very time consuming process (had to carefully measure where they start and end, then cut the appropriate angle on each batten, then glue it in position). I started with the corners on the aft end, the center pieces, and then where I saw easy positioning (like where inner corners matched up with the rim corners). Then began gluing the pieces that needed to be measured from a datum. The trees were then glued: Next holes were drilled using the Dremel workstation: I then painted the assembly black. I realized the base strip needed to taper towards its end from the plans: Next, I started working on the rails. I deviated from the instructions and shaped the stanchions a bit. I did not glue the rails in yet. Then started to install the blocks. These also took a lot of time and patience. Then an overhand knot was tied to the block and applied a bit of superglue. Deadeye plates were shaped using a toothpick, then applied glue while rotating the same toothpick: I then painted the deadeye plates black. Here are some pics of the finished tops(the rail for the main top has been glued in position): And here they are dry fitted to the masts:


- 950 replies
-
- 17
-
-
- syren
- model shipways
- (and 1 more)
-
Thanks so much for your kind words and such a great comment!! It means a lot! 😄. This kit has been so much fun so far. The instructions that come with it are basically a tutorial to model ship building. Without the detailed instructions, amazing build logs, and all the guidance I received from other modelers on this forum, I'd be completely lost.. I'll be sure to follow your build when you start it. And thanks everyone for the likes as well 🙂
- 950 replies
-
- 4
-
-
- syren
- model shipways
- (and 1 more)
-
Thank you, Bob and Druxey!
-
I've been reading the TFFM Vol 1 and read that the tarred flannel in joints can be simulated using a thin black paper/tissue paper. Are there any advantages with simulating it this way vs shading with a 2B pencil?
-
I'm using my phone (Samsung Galaxy S9+) with the x2 zoom lens. Just got to make sure there's enough light for the photos to look good! I'm thinking of getting the s21 ultra since it has the capability to take macro shots with the ultrawide.
- 950 replies
-
- 1
-
-
- syren
- model shipways
- (and 1 more)
-
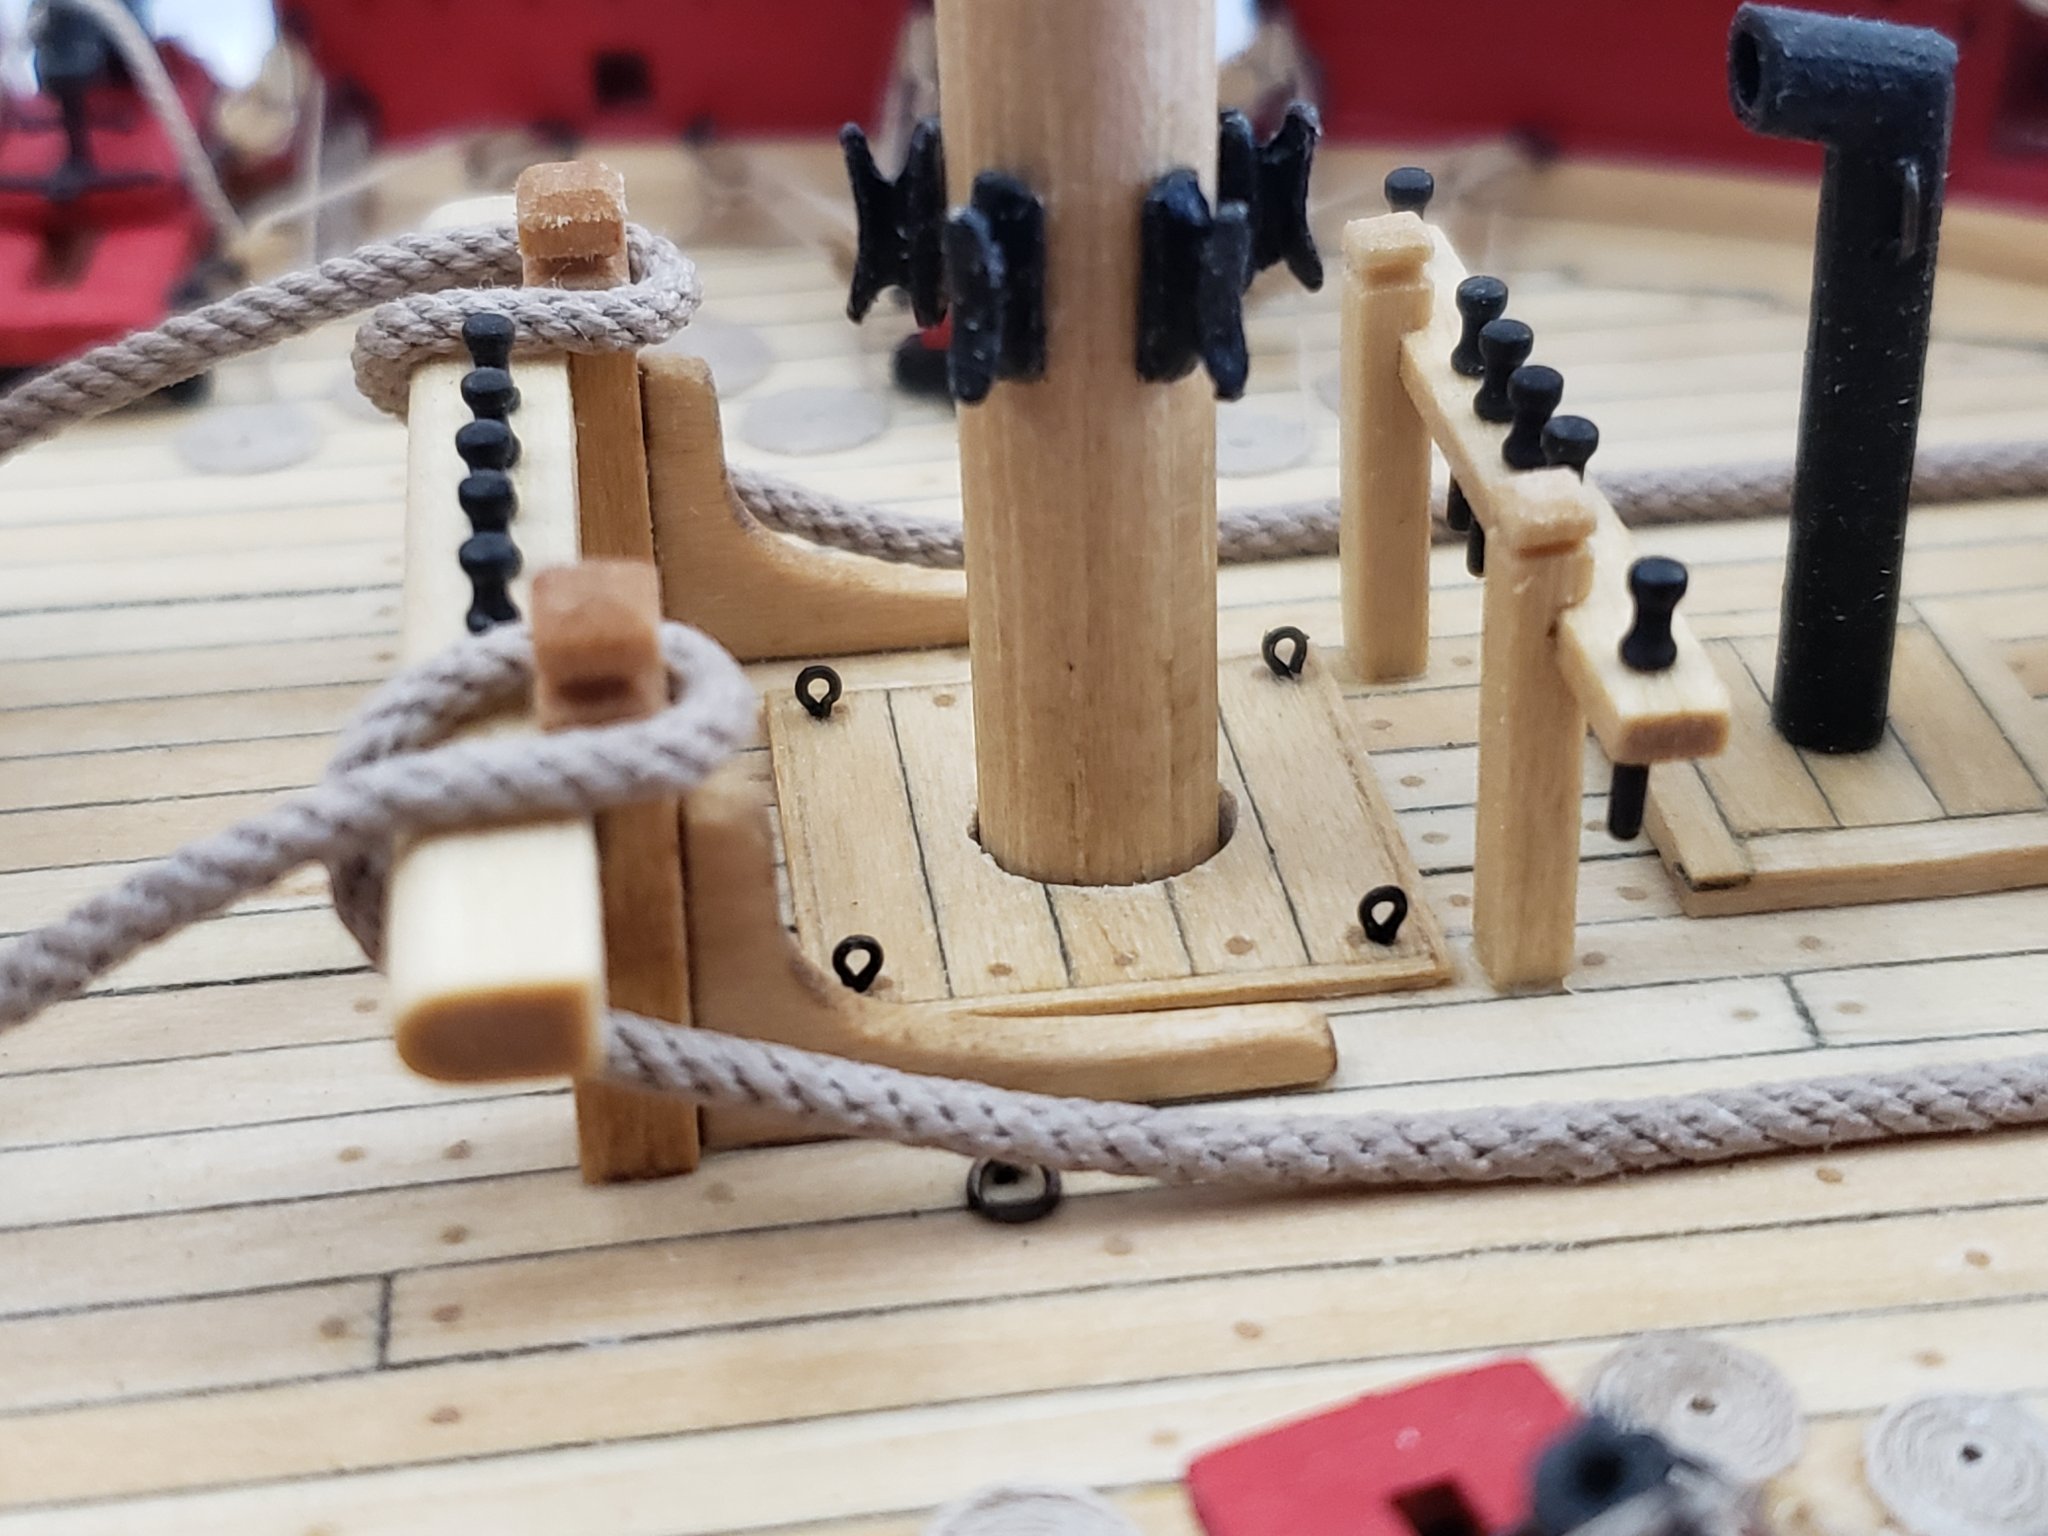
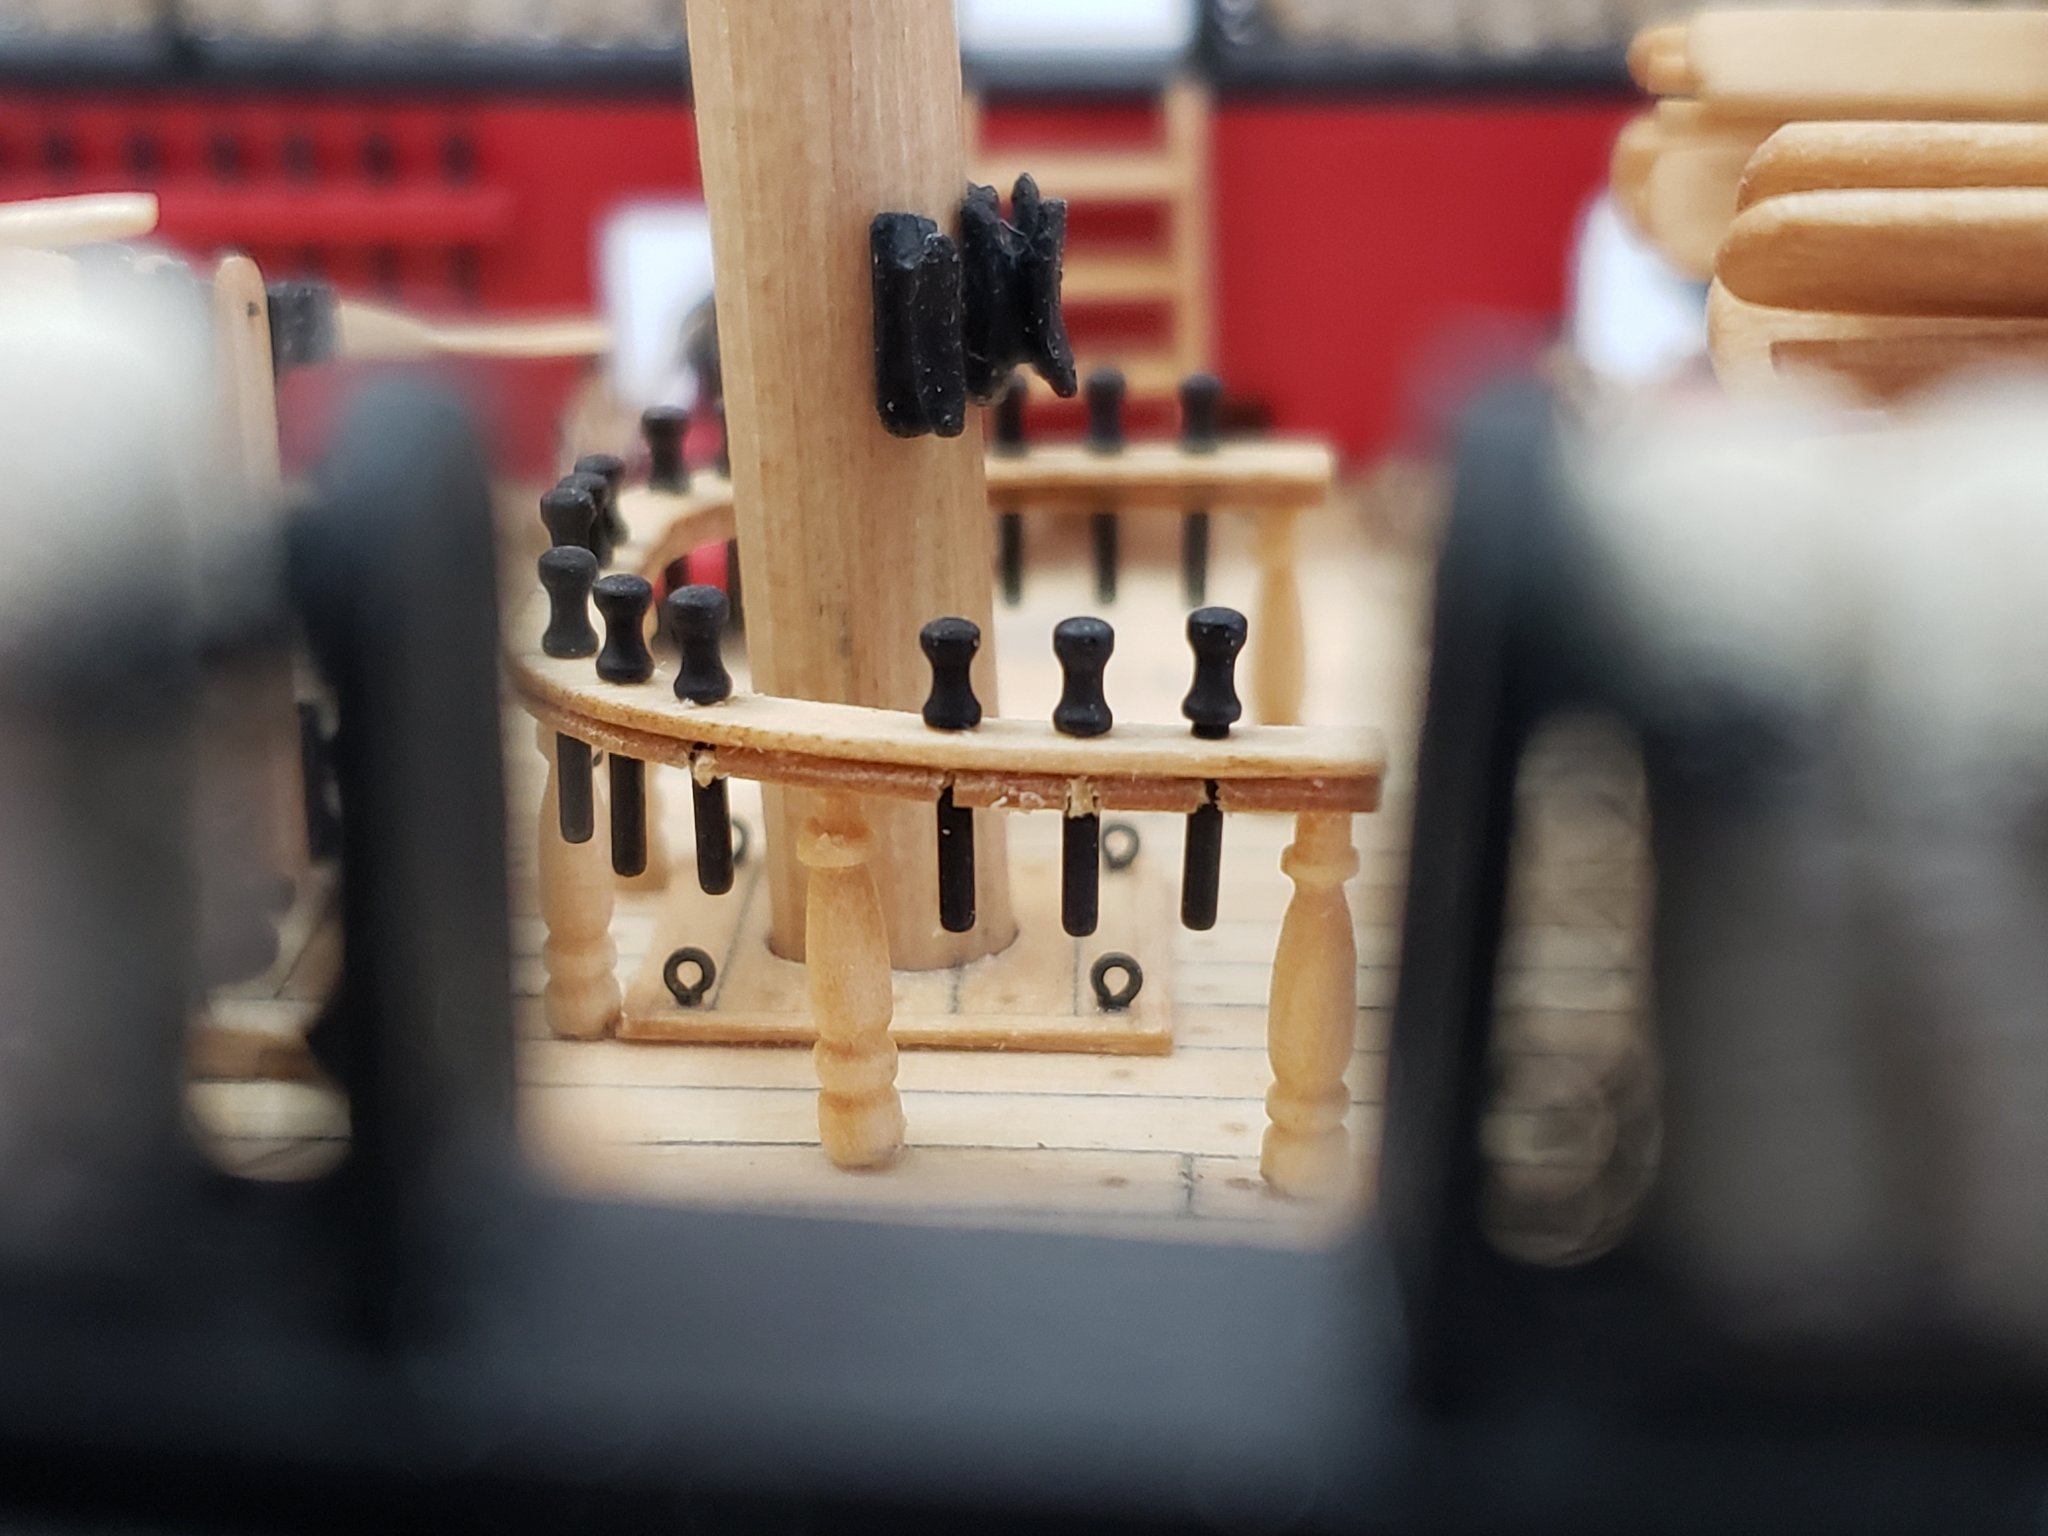
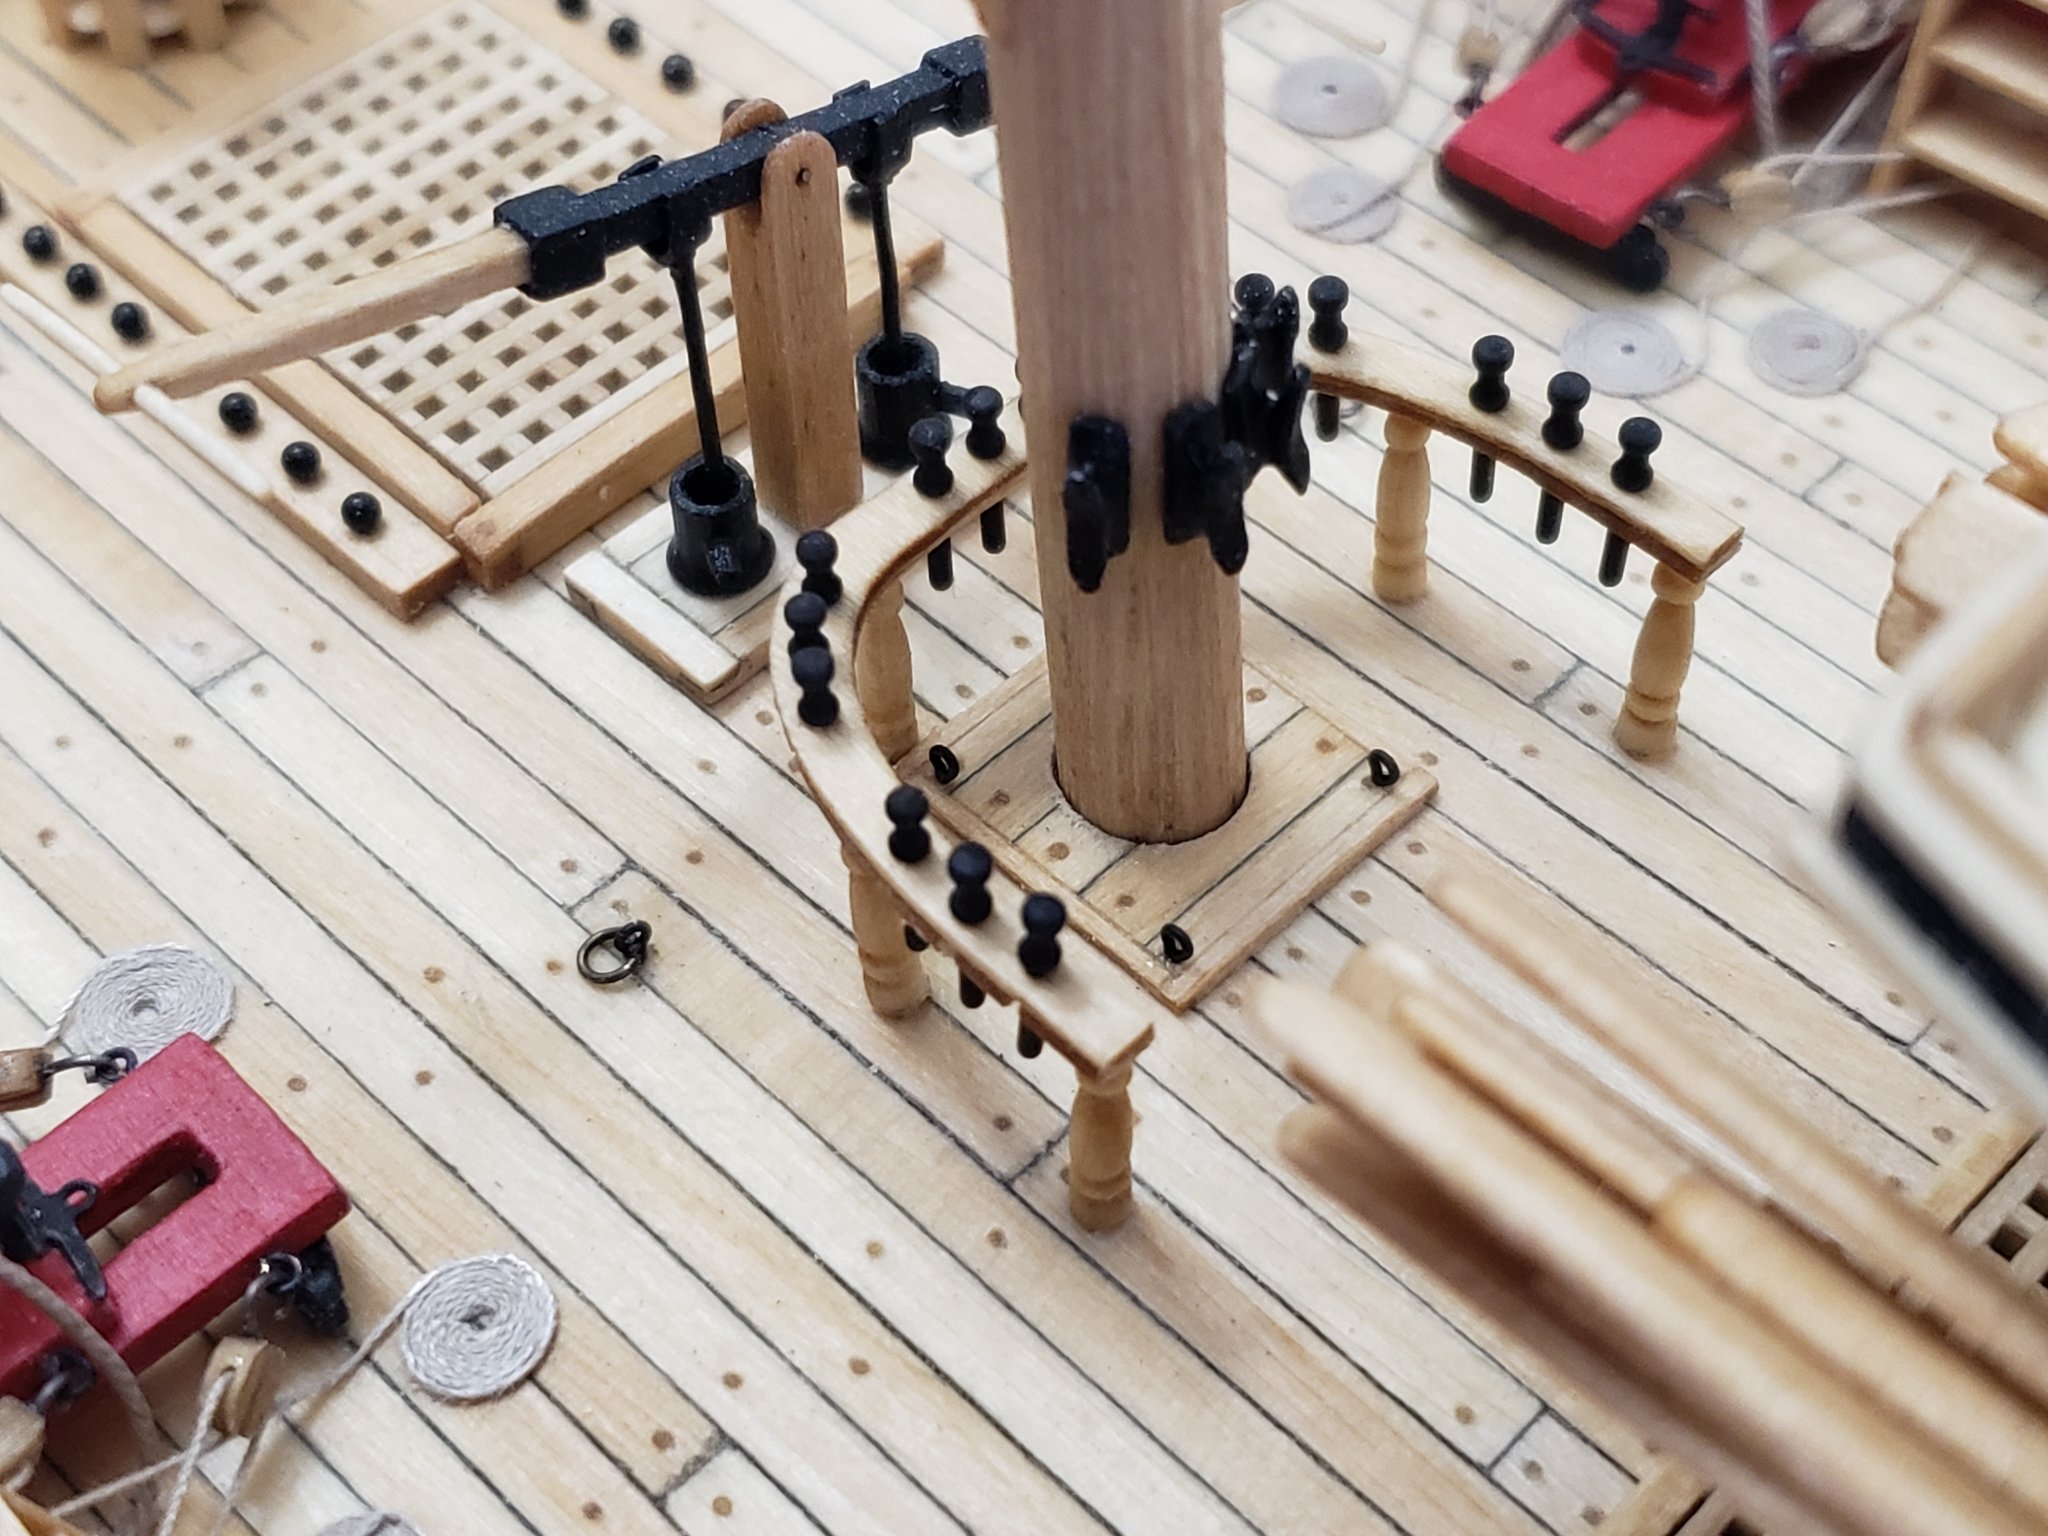
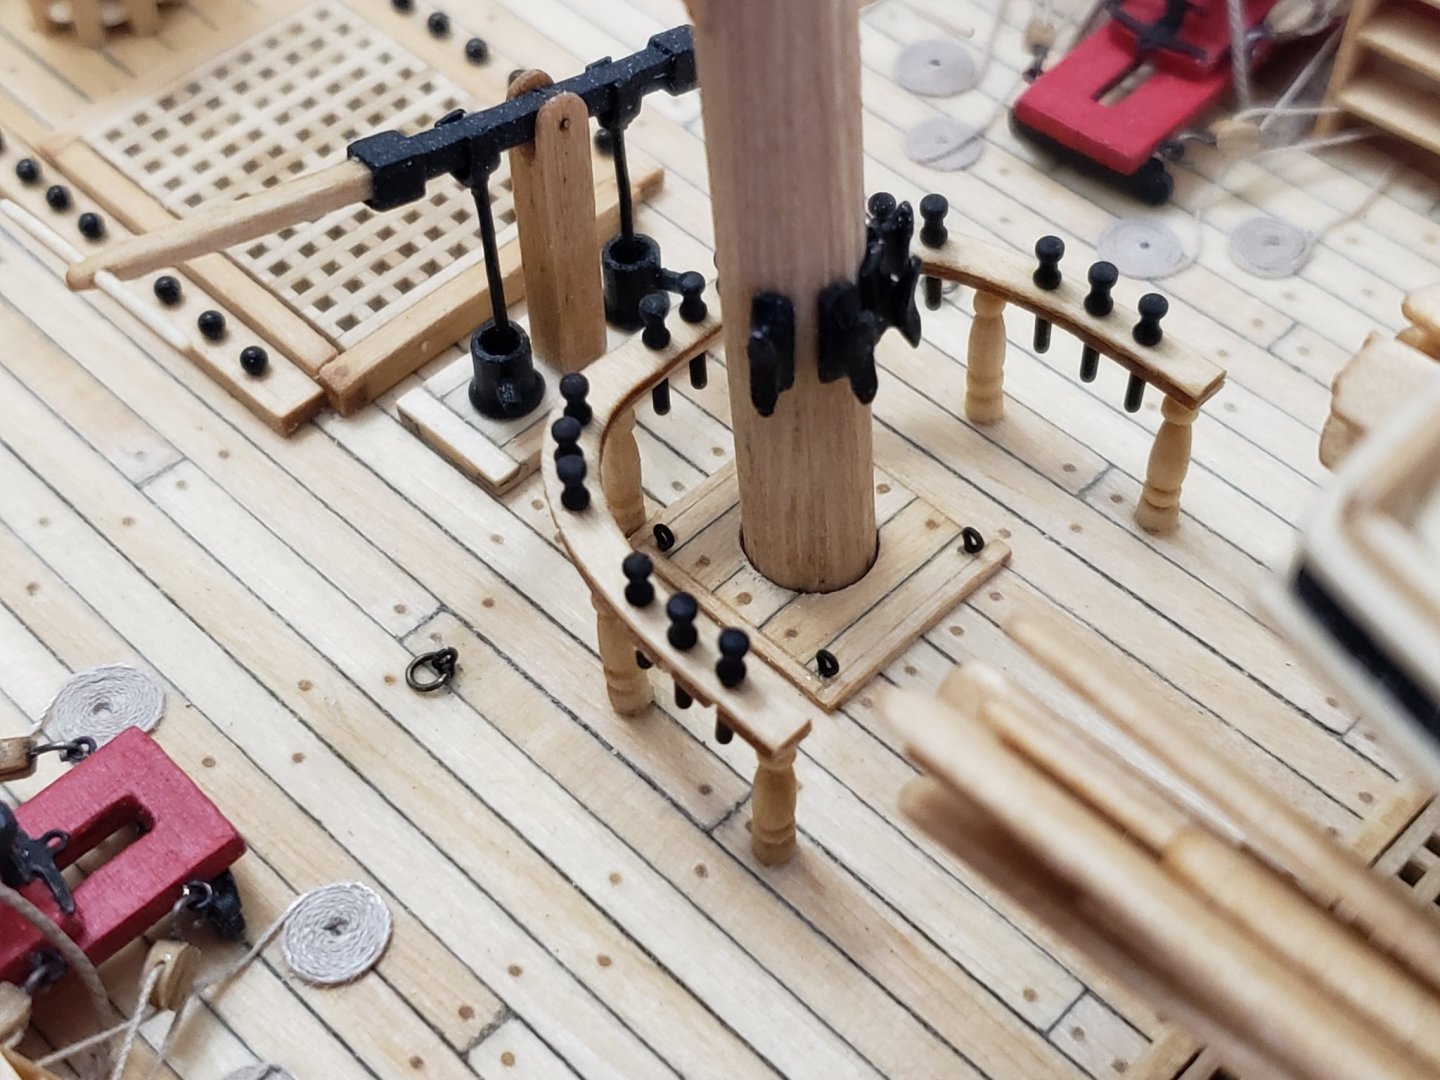
Lower masts are completely finished. I pegged the cleats with some pins (similar to how it was done for the hull), then painted them black and glued into drilled holes on the masts. I used scrap pieces of wood to make the boom rest. I also went ahead and installed the eyebolts on the deck base of each mast. Next are the tops..


- 950 replies
-
- 17
-
-
- syren
- model shipways
- (and 1 more)
-
The wood stock looks much more to scale now, great fix!
-
The longboat is beautiful!!
-
She just keeps getting better, Peter! 😊 Nice photography too!!
-
Congrats!!! It's a beautiful model. 😄 Do you plan on building a display case for her?
- 358 replies
-
- 1
-
-
- occre
- santisima trinidad
- (and 1 more)
-
Thanks for the compliments!! For servings I use a small drop of wood glue at the start and end to hold the lines together. For the eyes, I use superglue since with wood glue I could not find a good way to hold the splice together for a long time. After the eye is made, I used wood glue to serve the eye. I find this way strengthens the splice a lot.
- 950 replies
-
- 2
-
-
- syren
- model shipways
- (and 1 more)
-
Thanks Justin! I have been using TFFM vol 4 and Rigging Period Ship Models by Lennarth Petersson as reference materials. TFFM is really good, explains every single step in detail, including how to create eye splices. I have tried to show the processes used as well in my previous posts. I also want to get Rigging English Ships of War 1625-1860 by James Lee, read a lot of good reviews for that book. Edit: also using TFFM to see which lines would be served, and to what length..
- 950 replies
-
- 1
-
-
- syren
- model shipways
- (and 1 more)
-
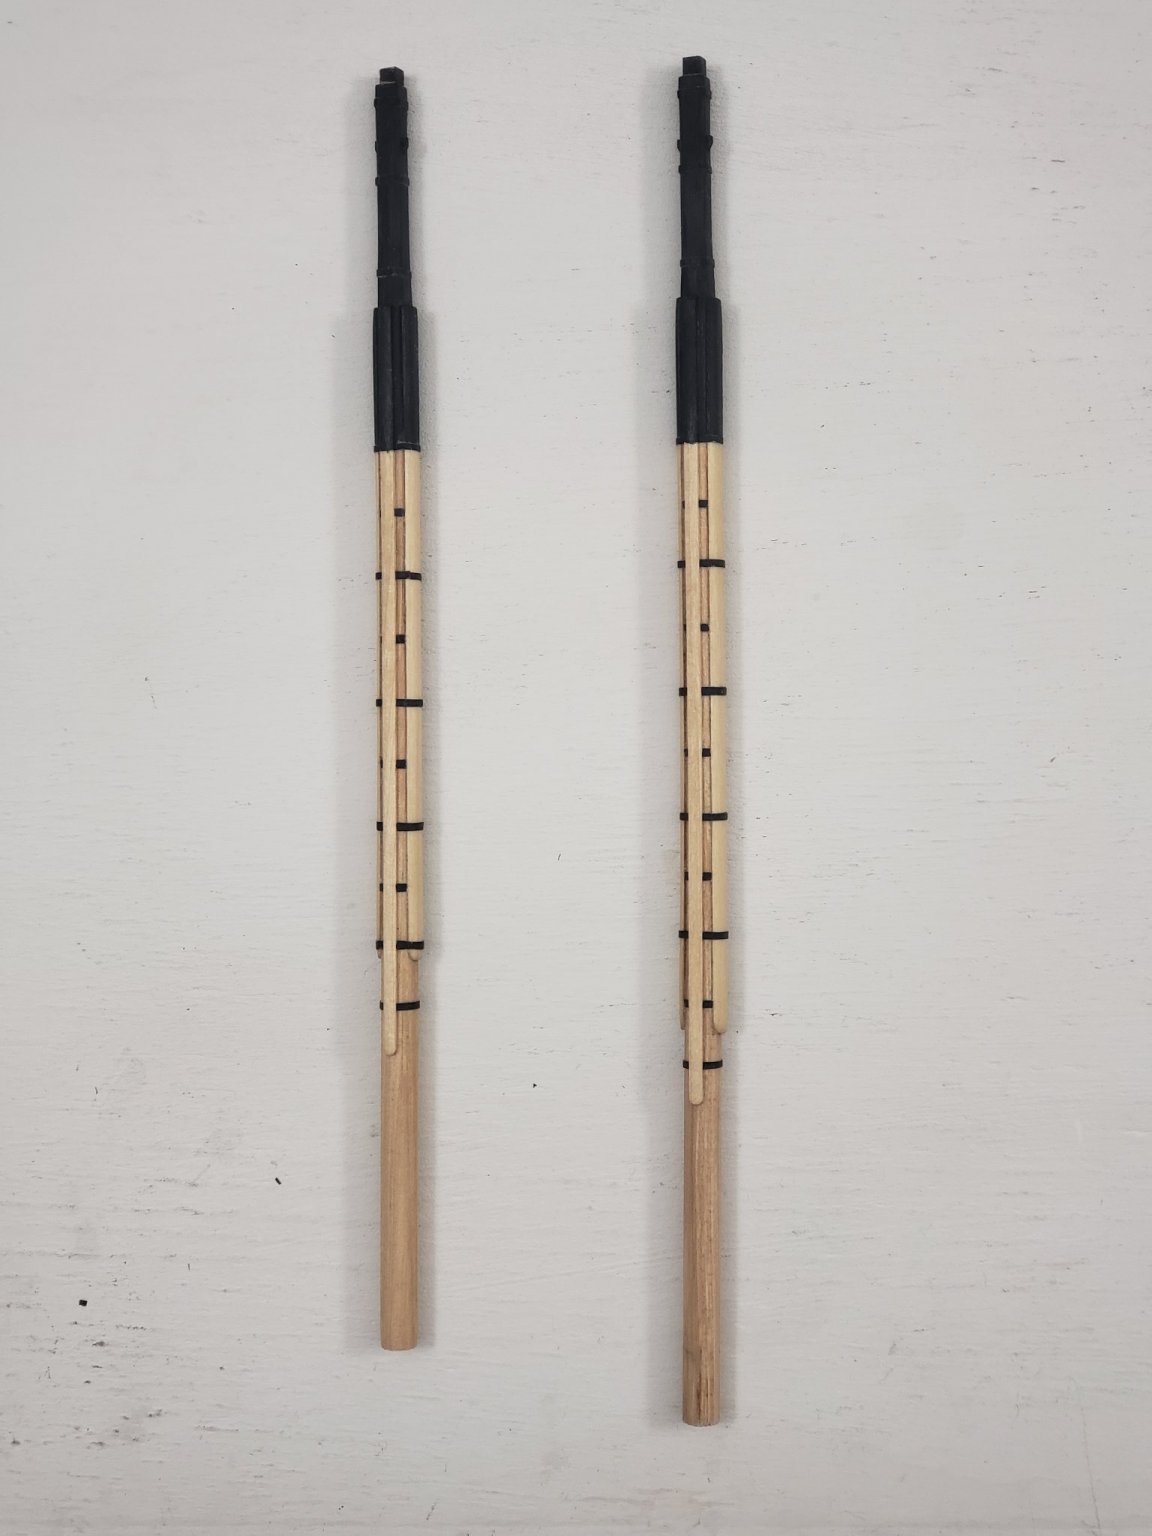
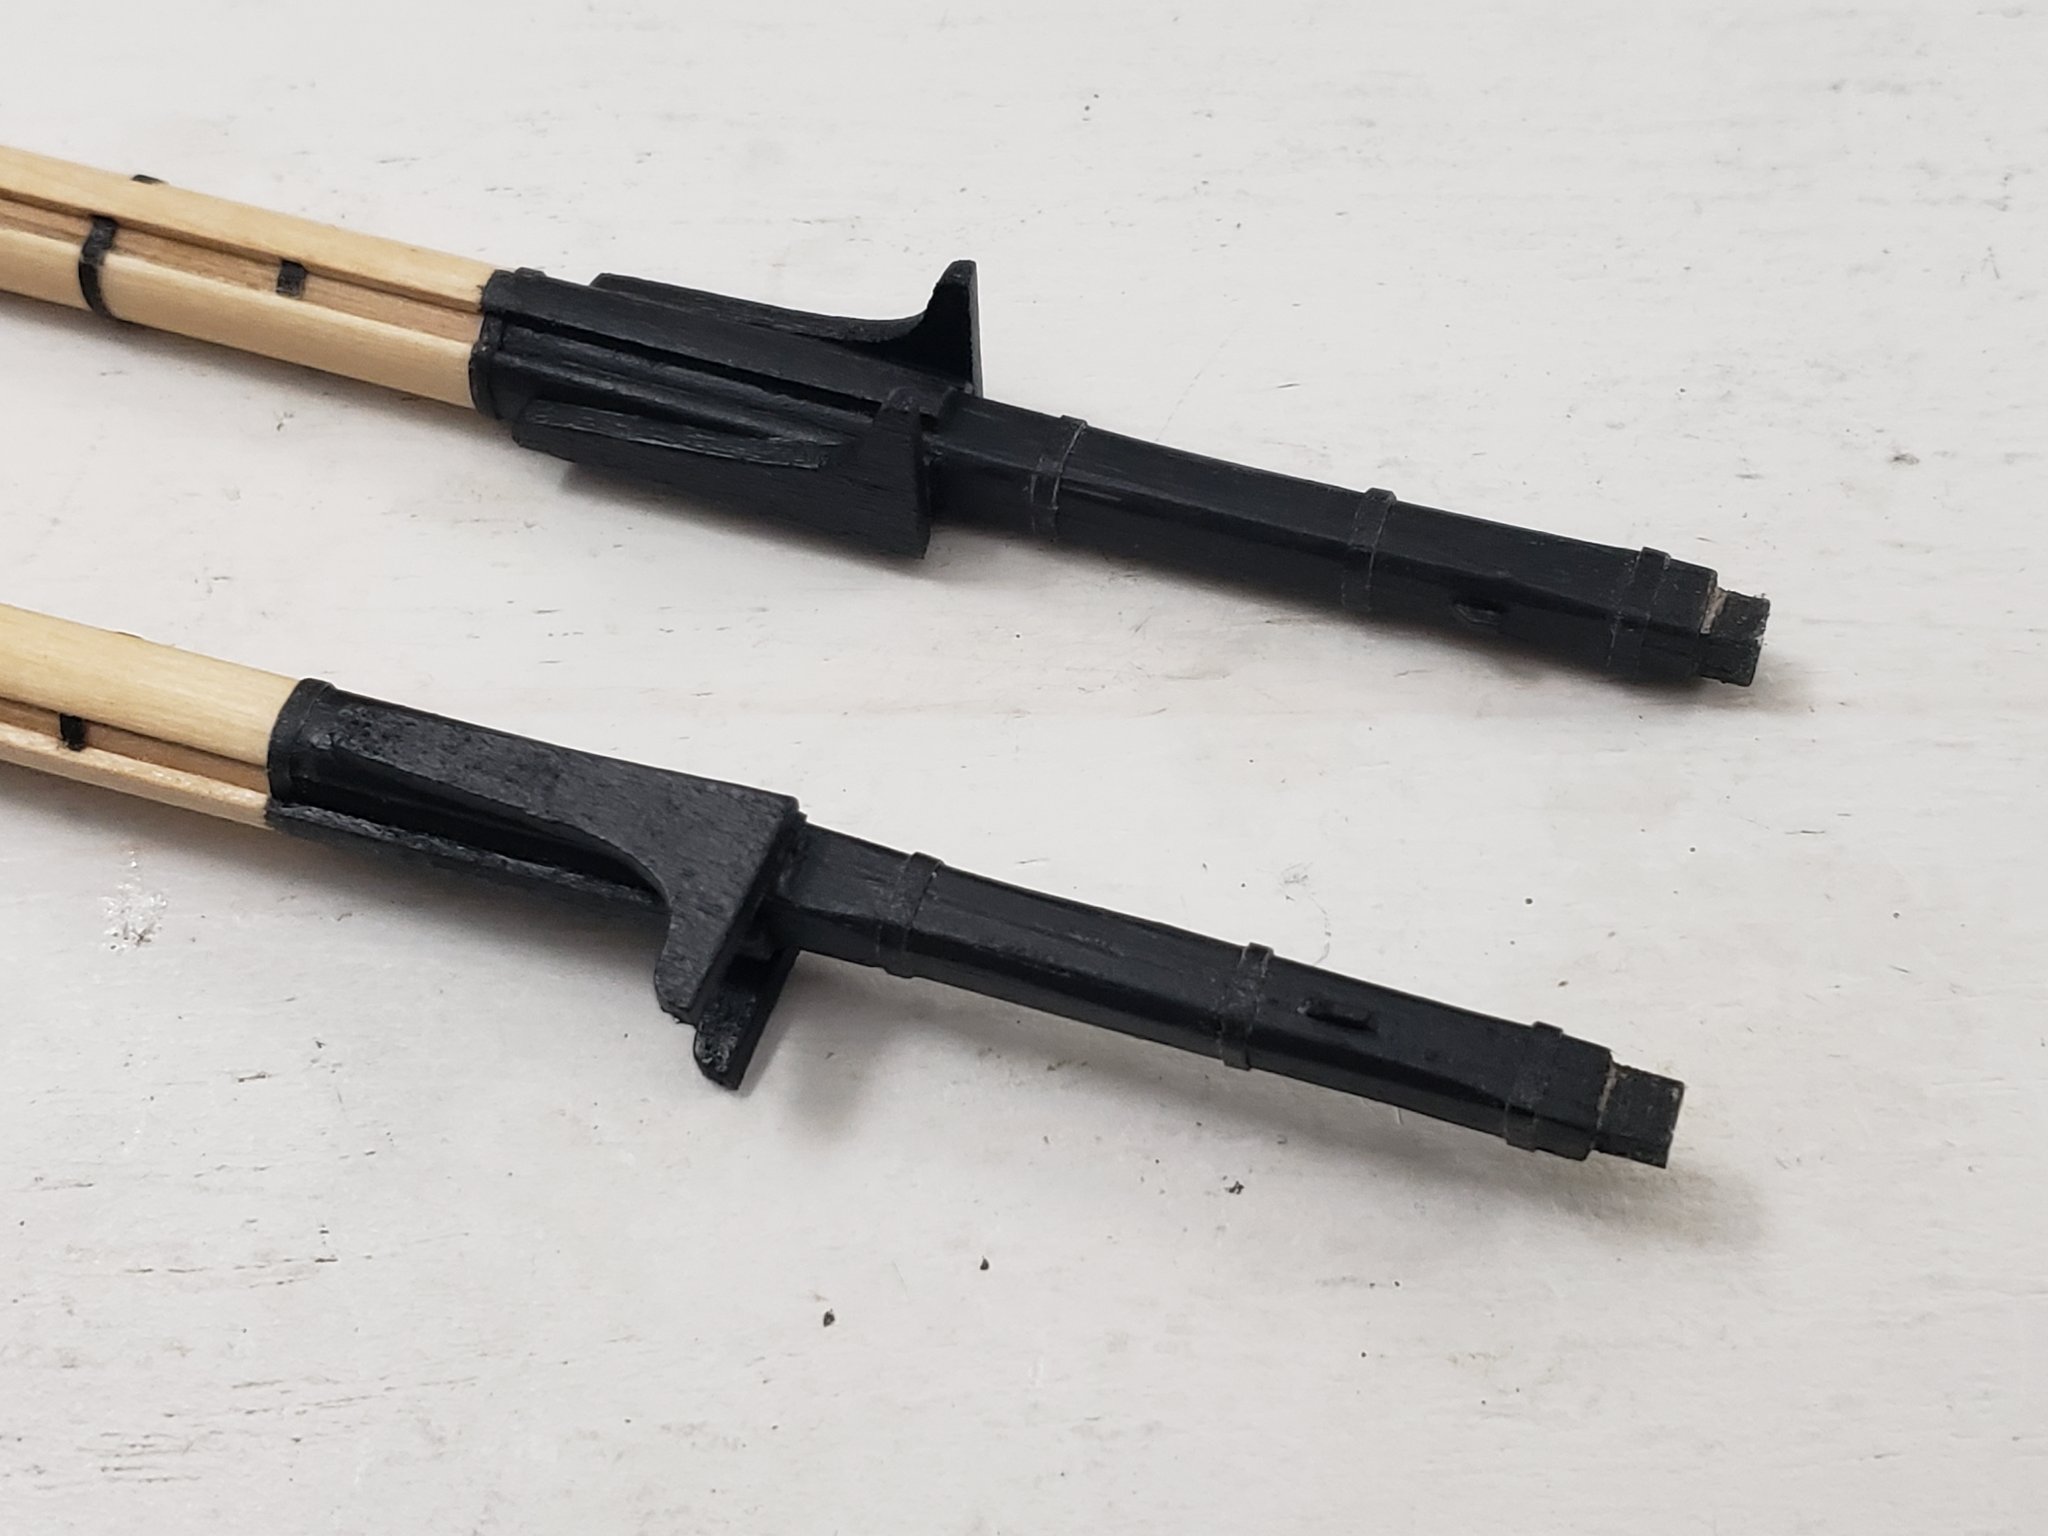
Thank you Steven! 😊 Made some progress with the masts.. I'll let the photos explain the process: I still need to detail the bottom of the masts with cleats and the boom rest, then will start working on the tops.


- 950 replies
-
- 13
-
-
- syren
- model shipways
- (and 1 more)
-
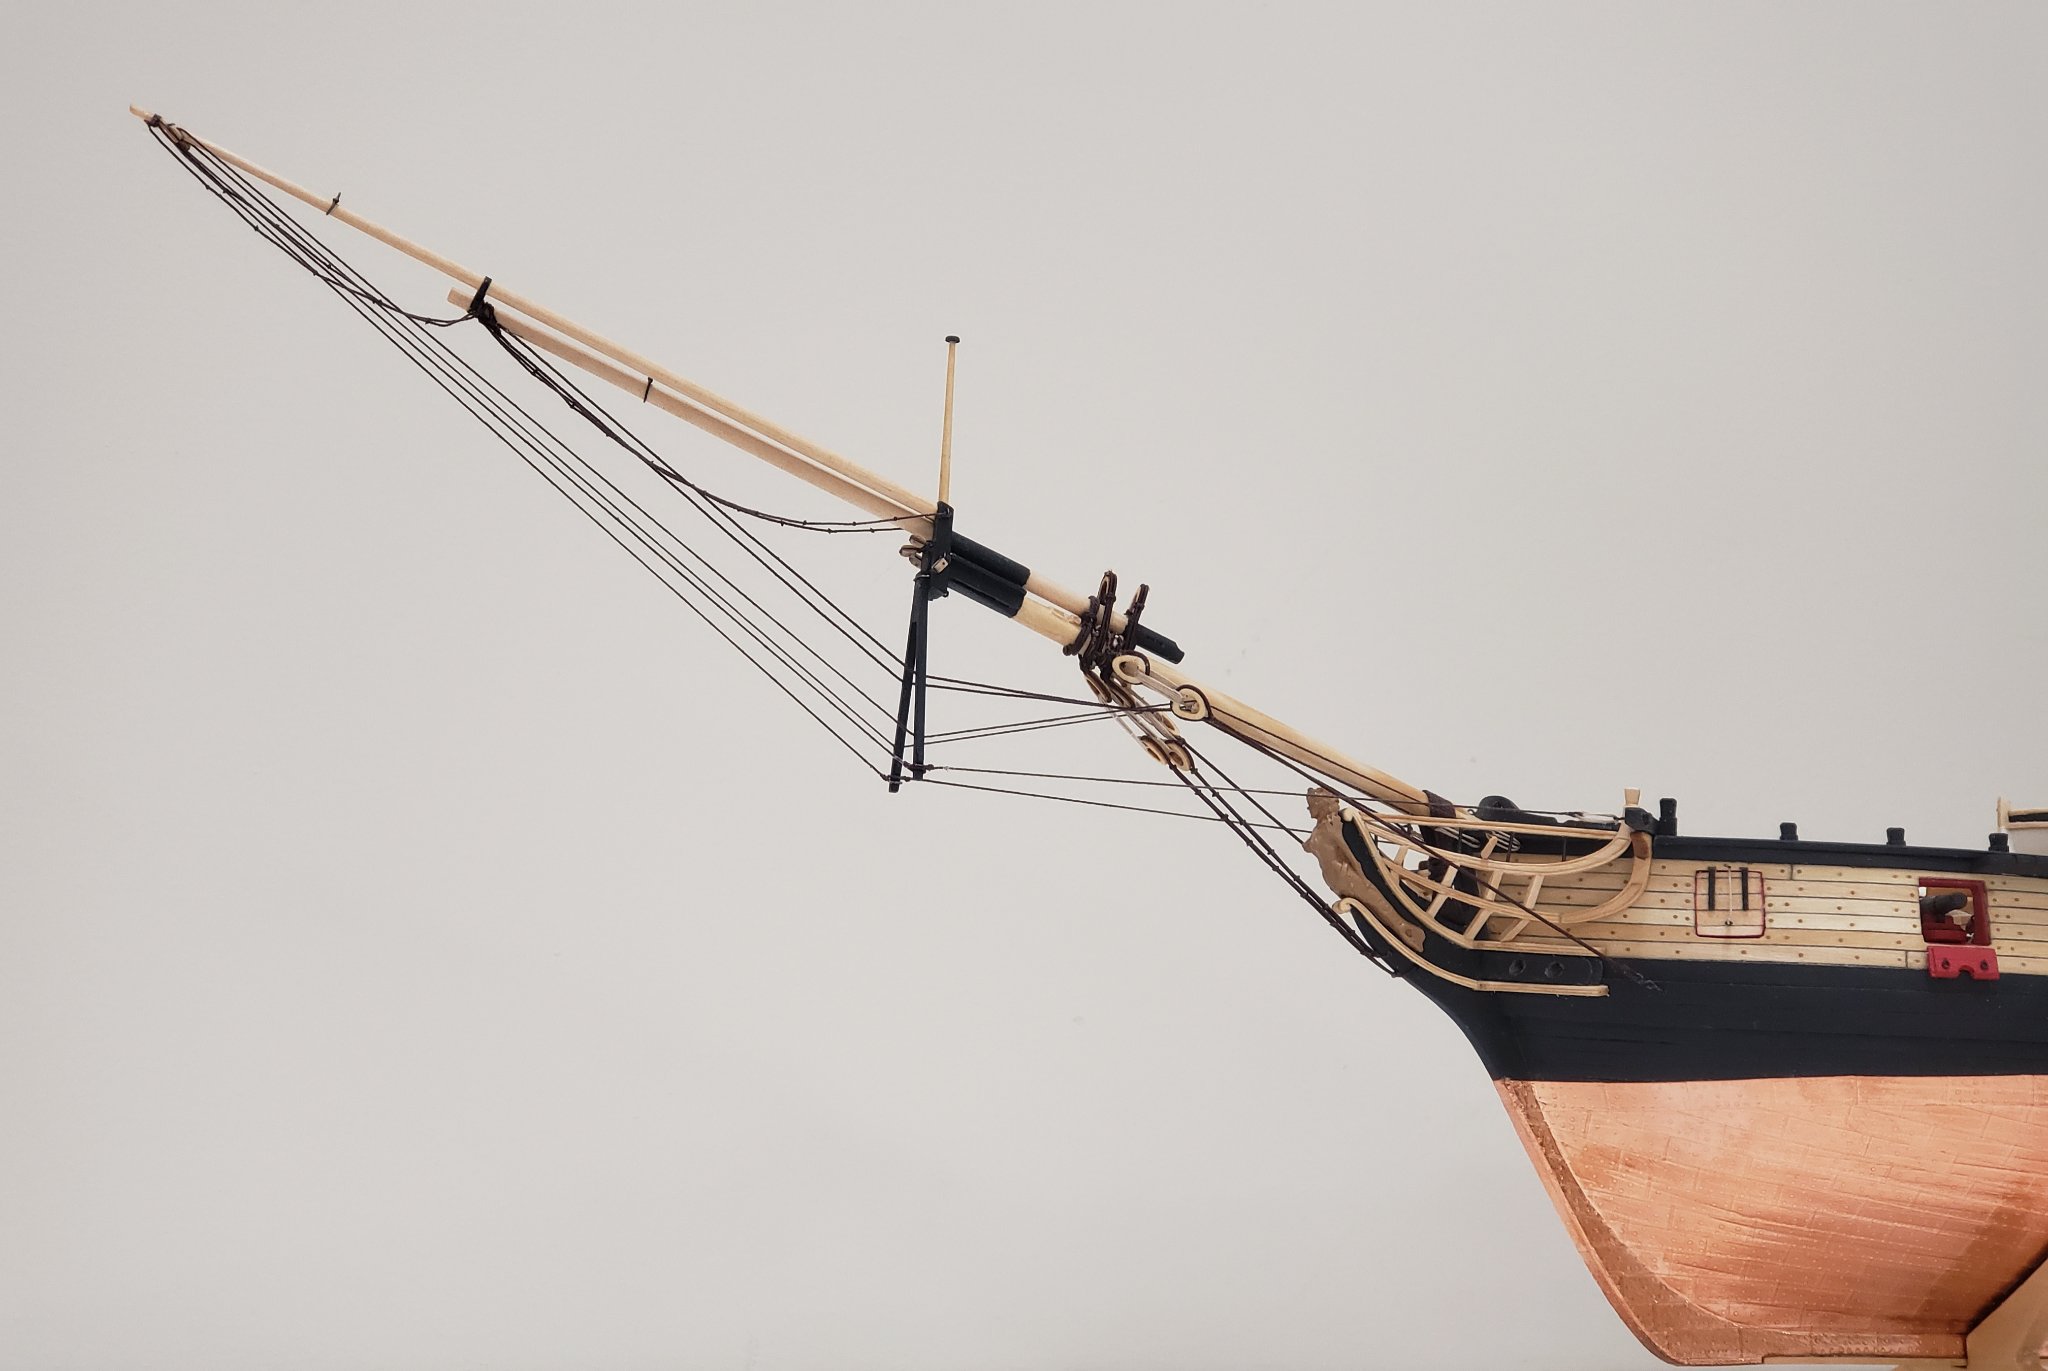
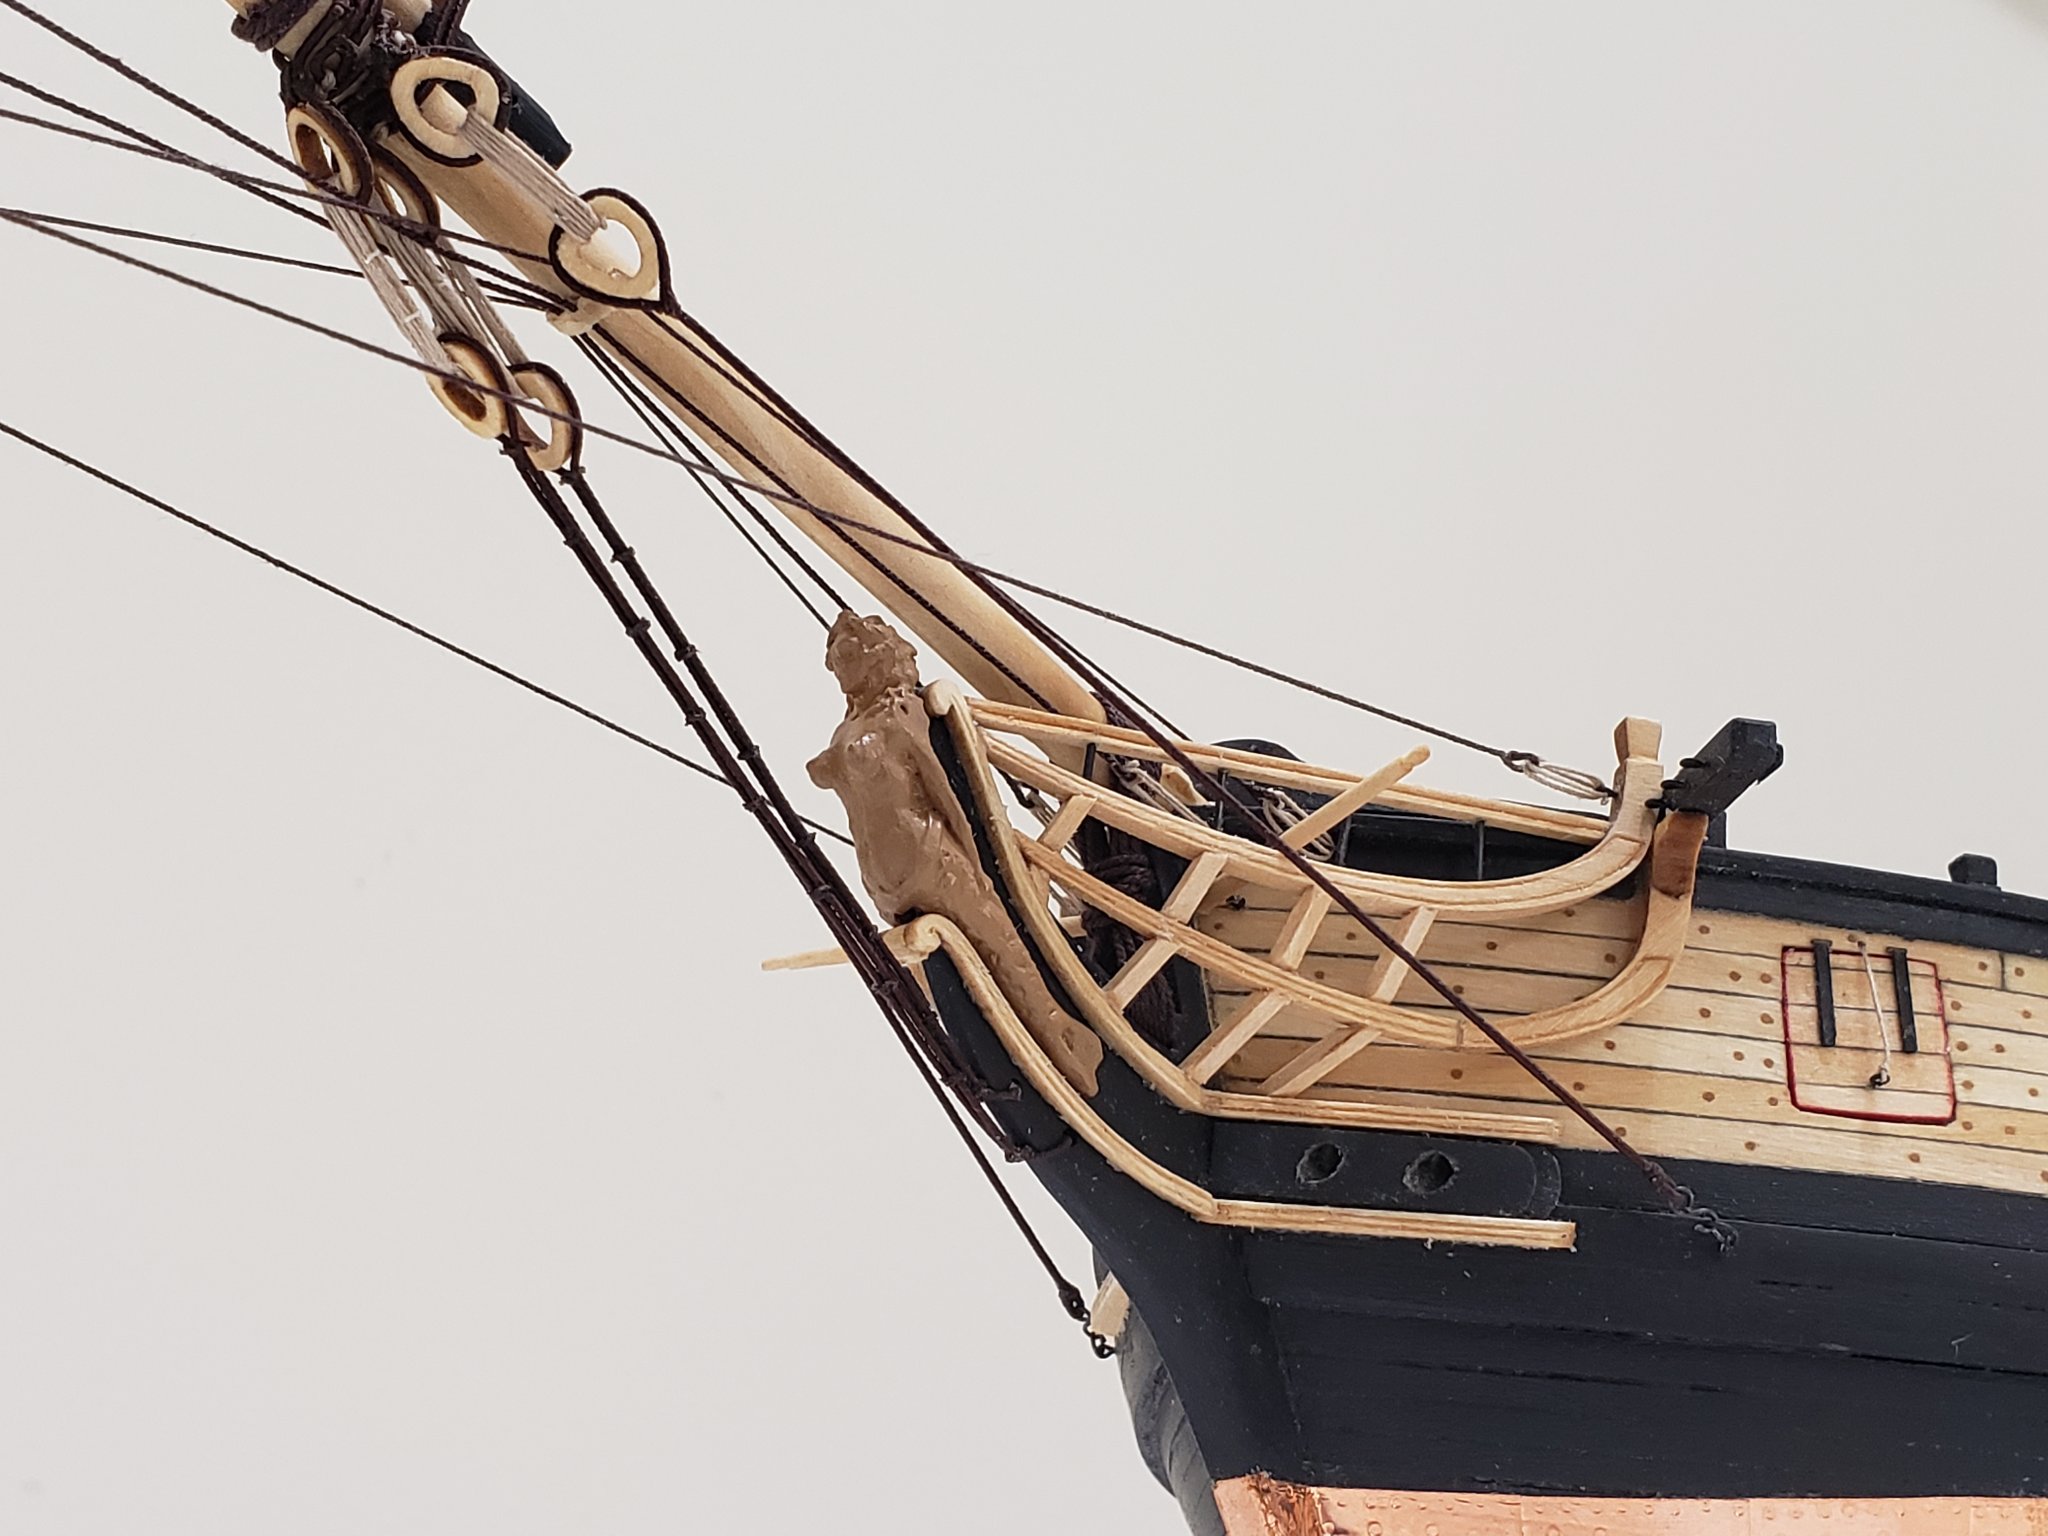
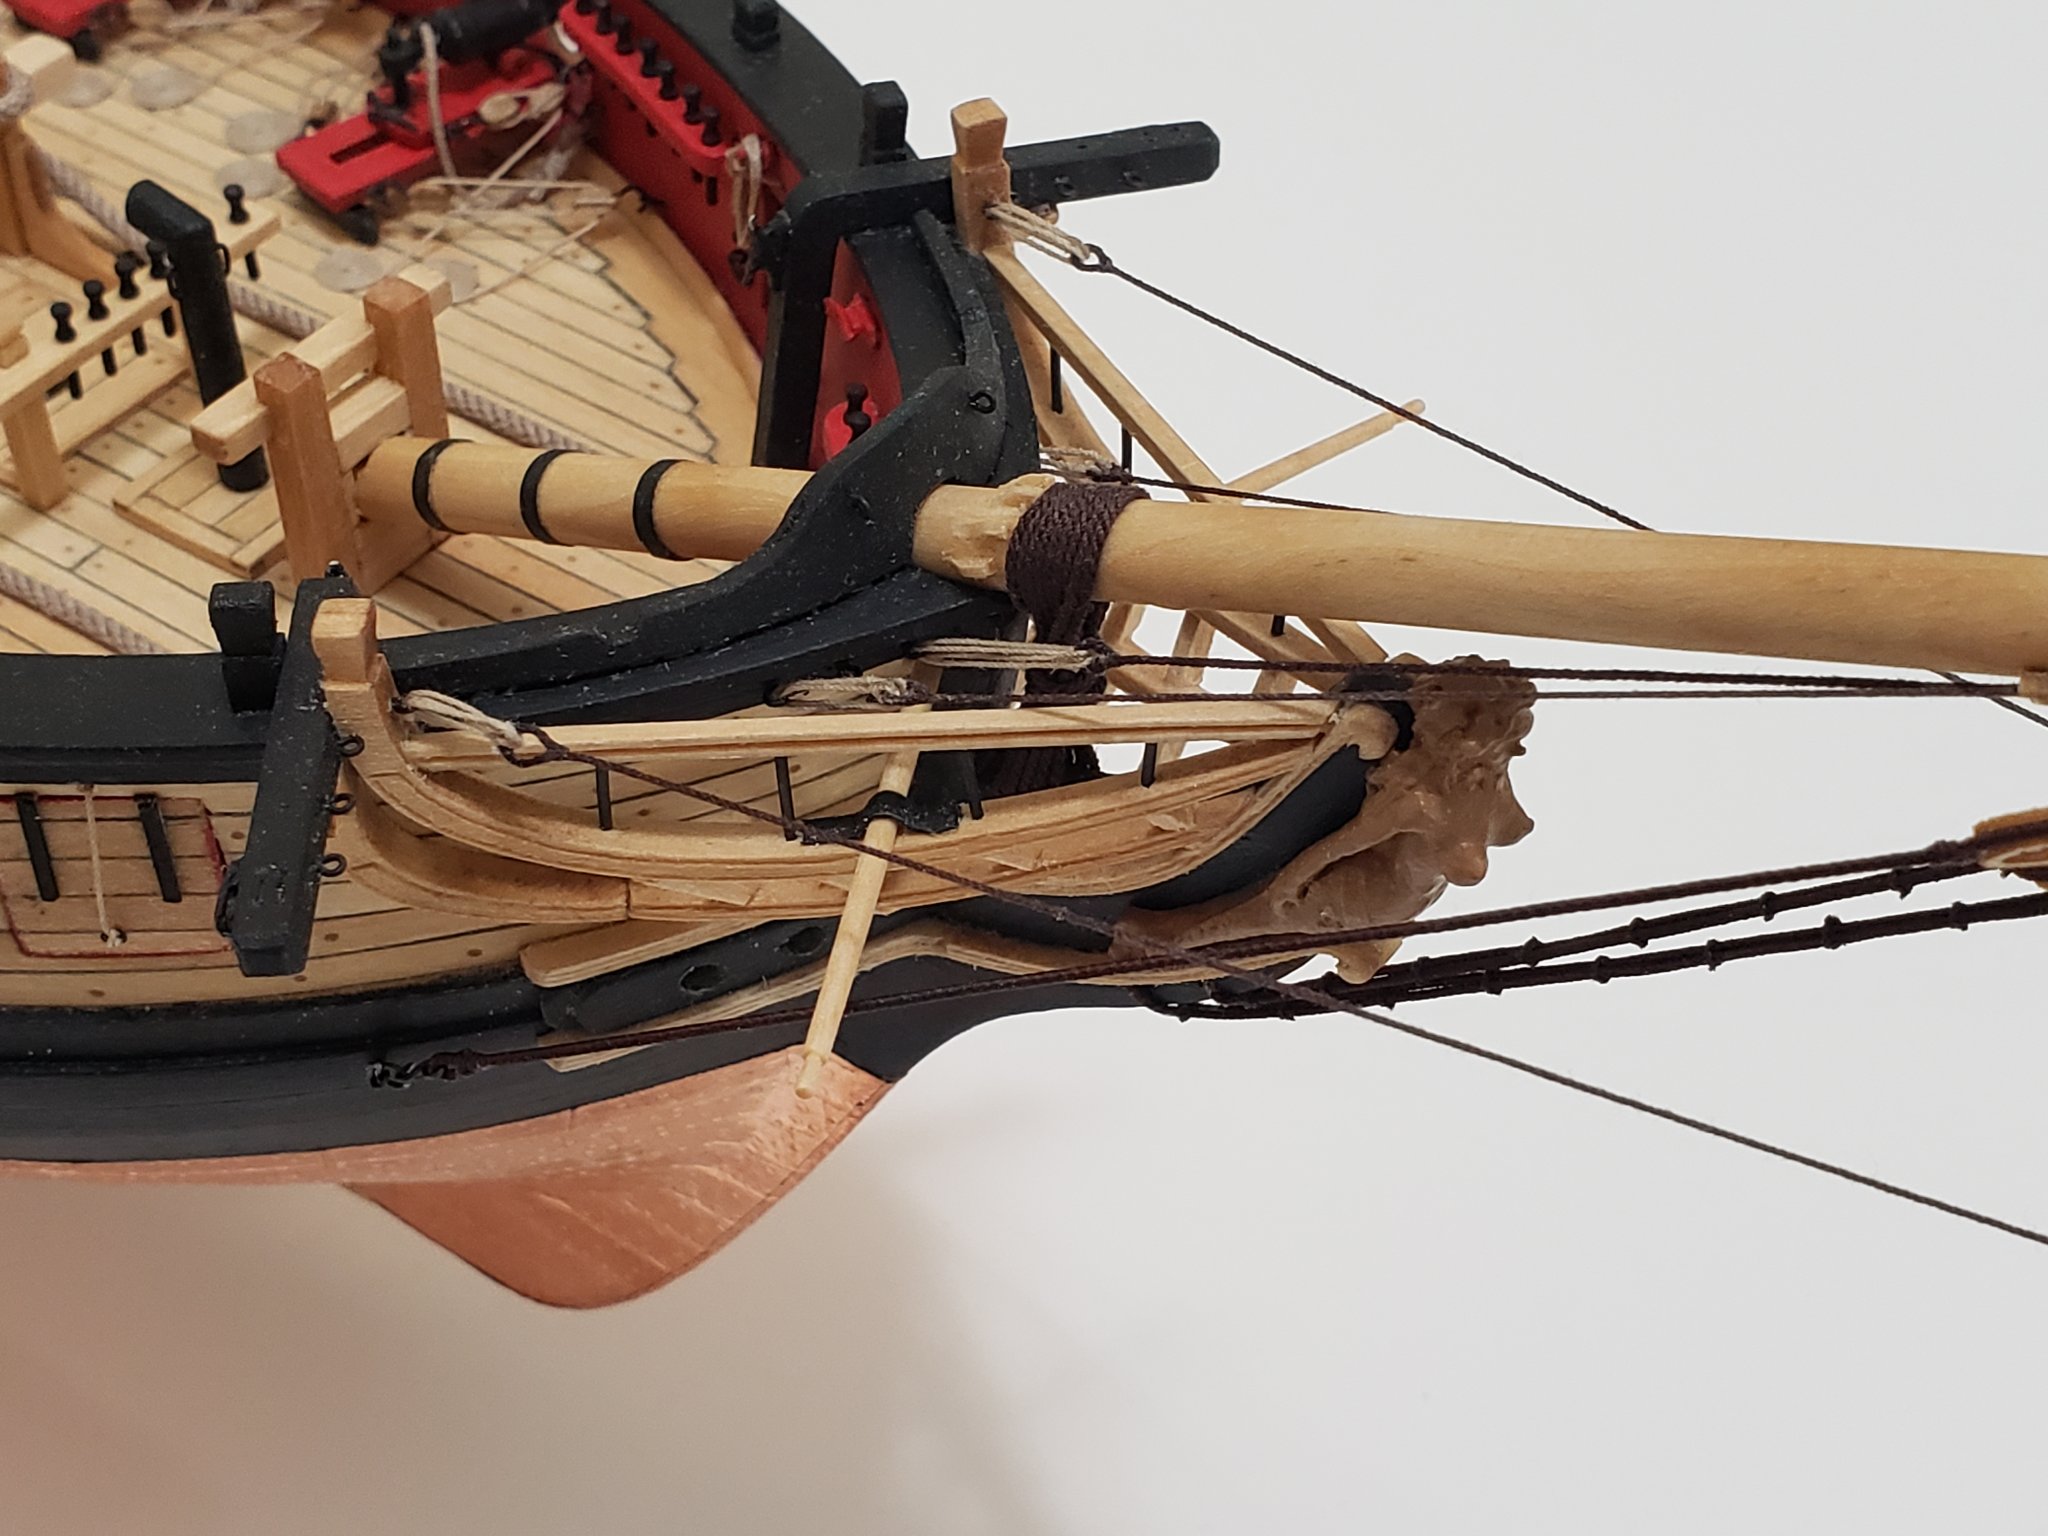
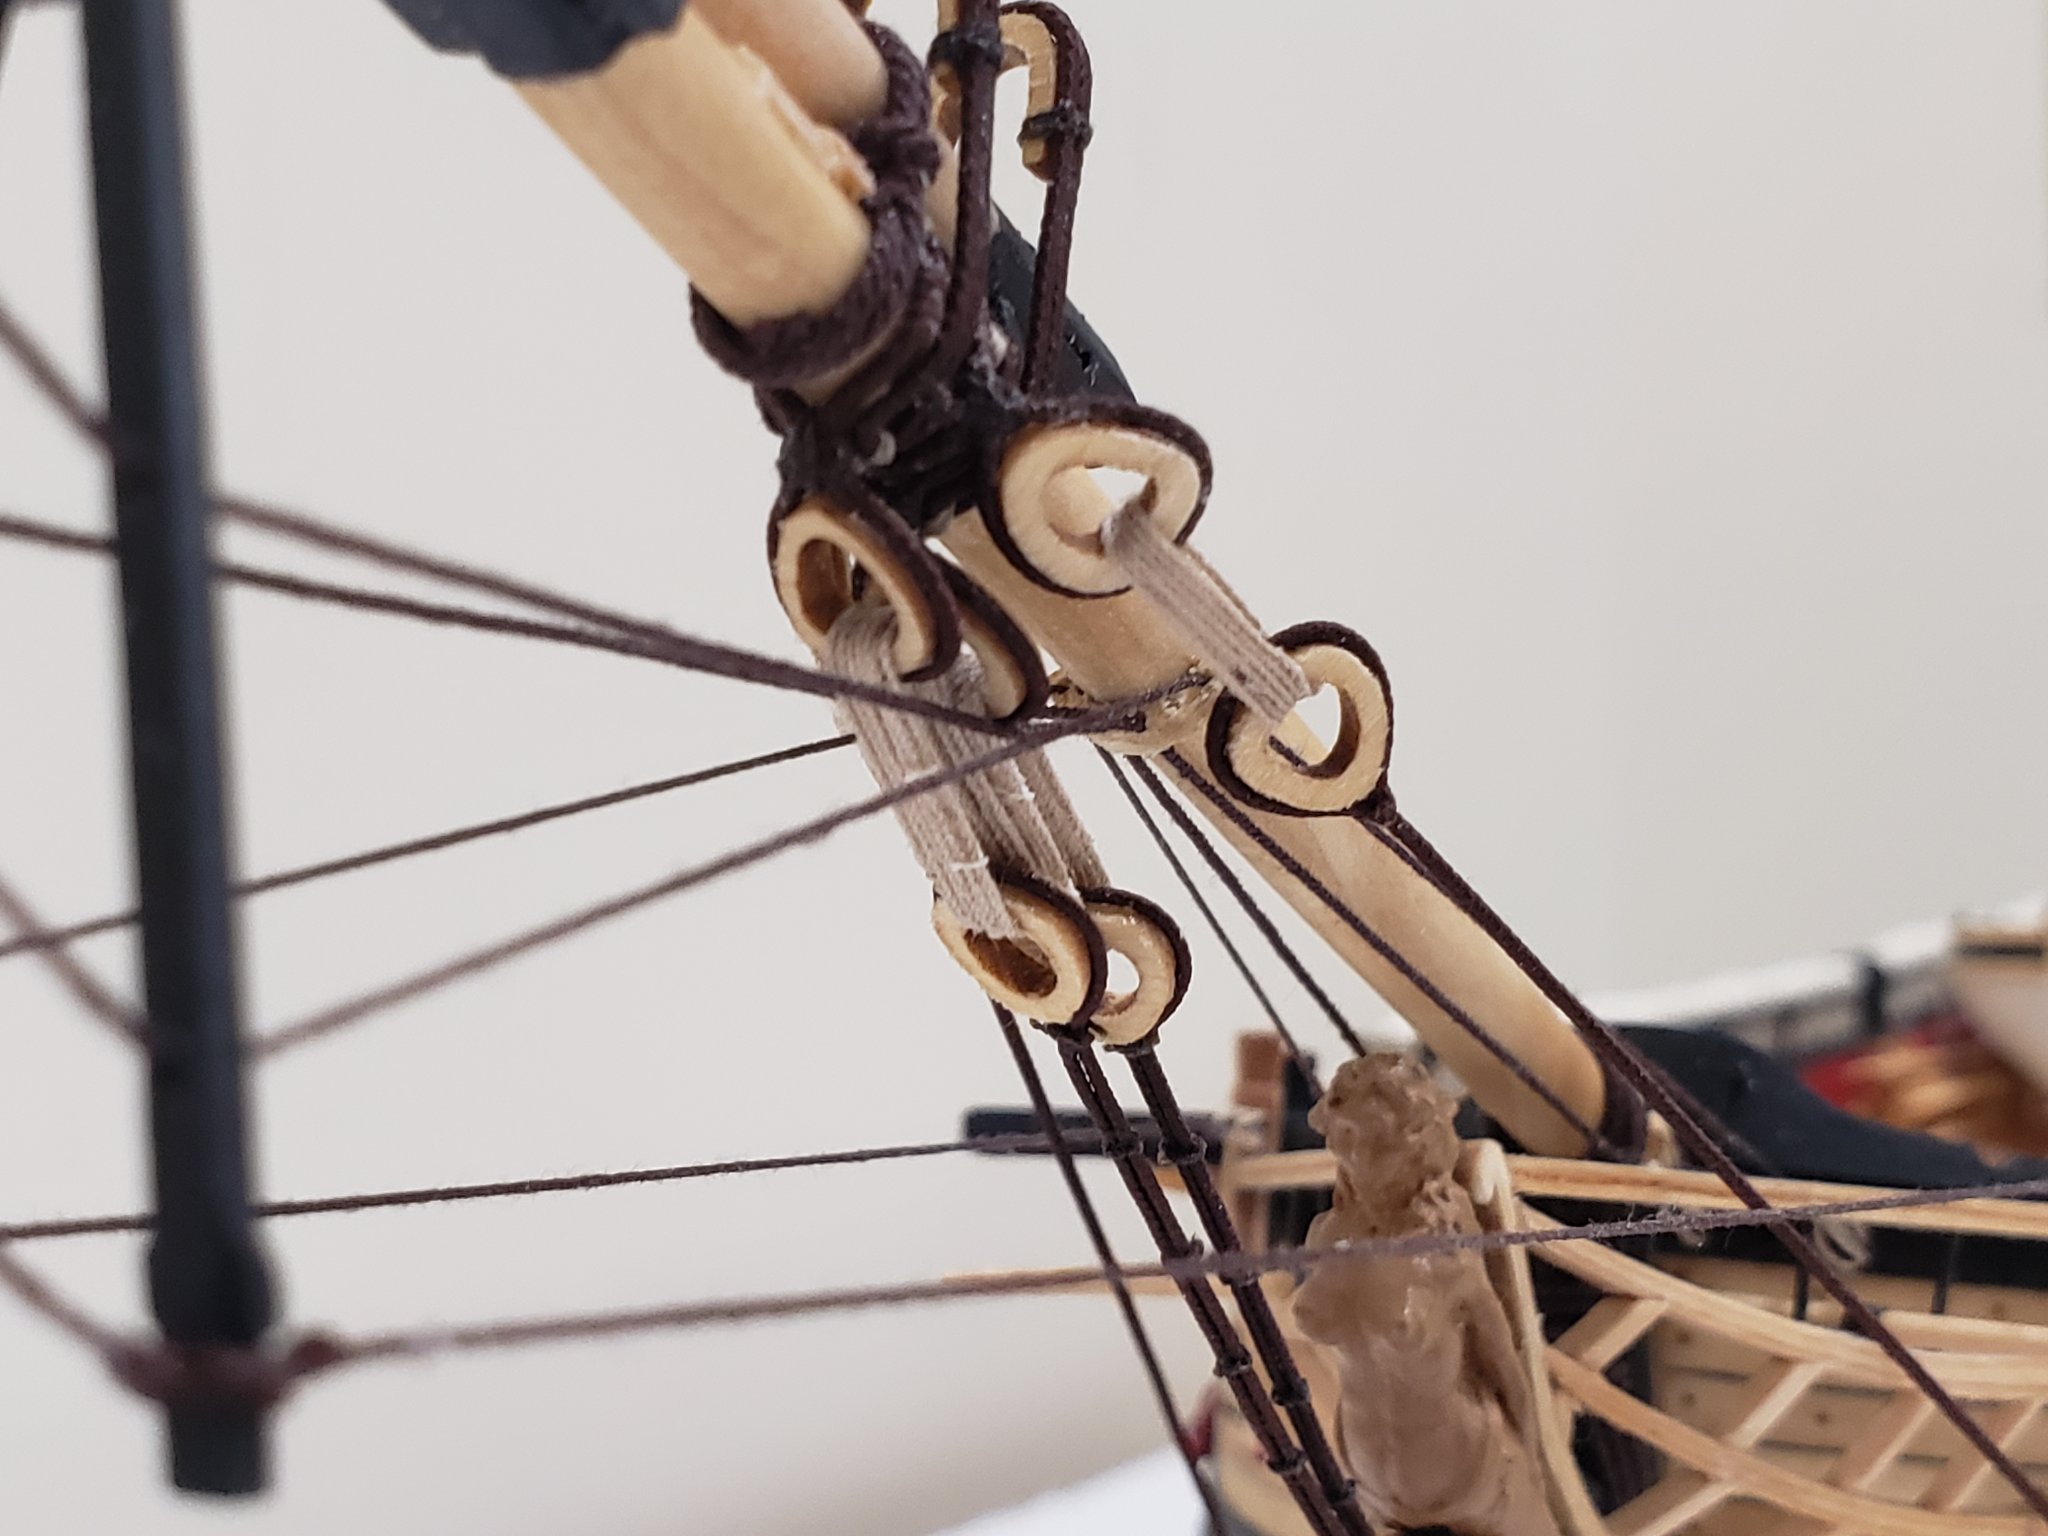
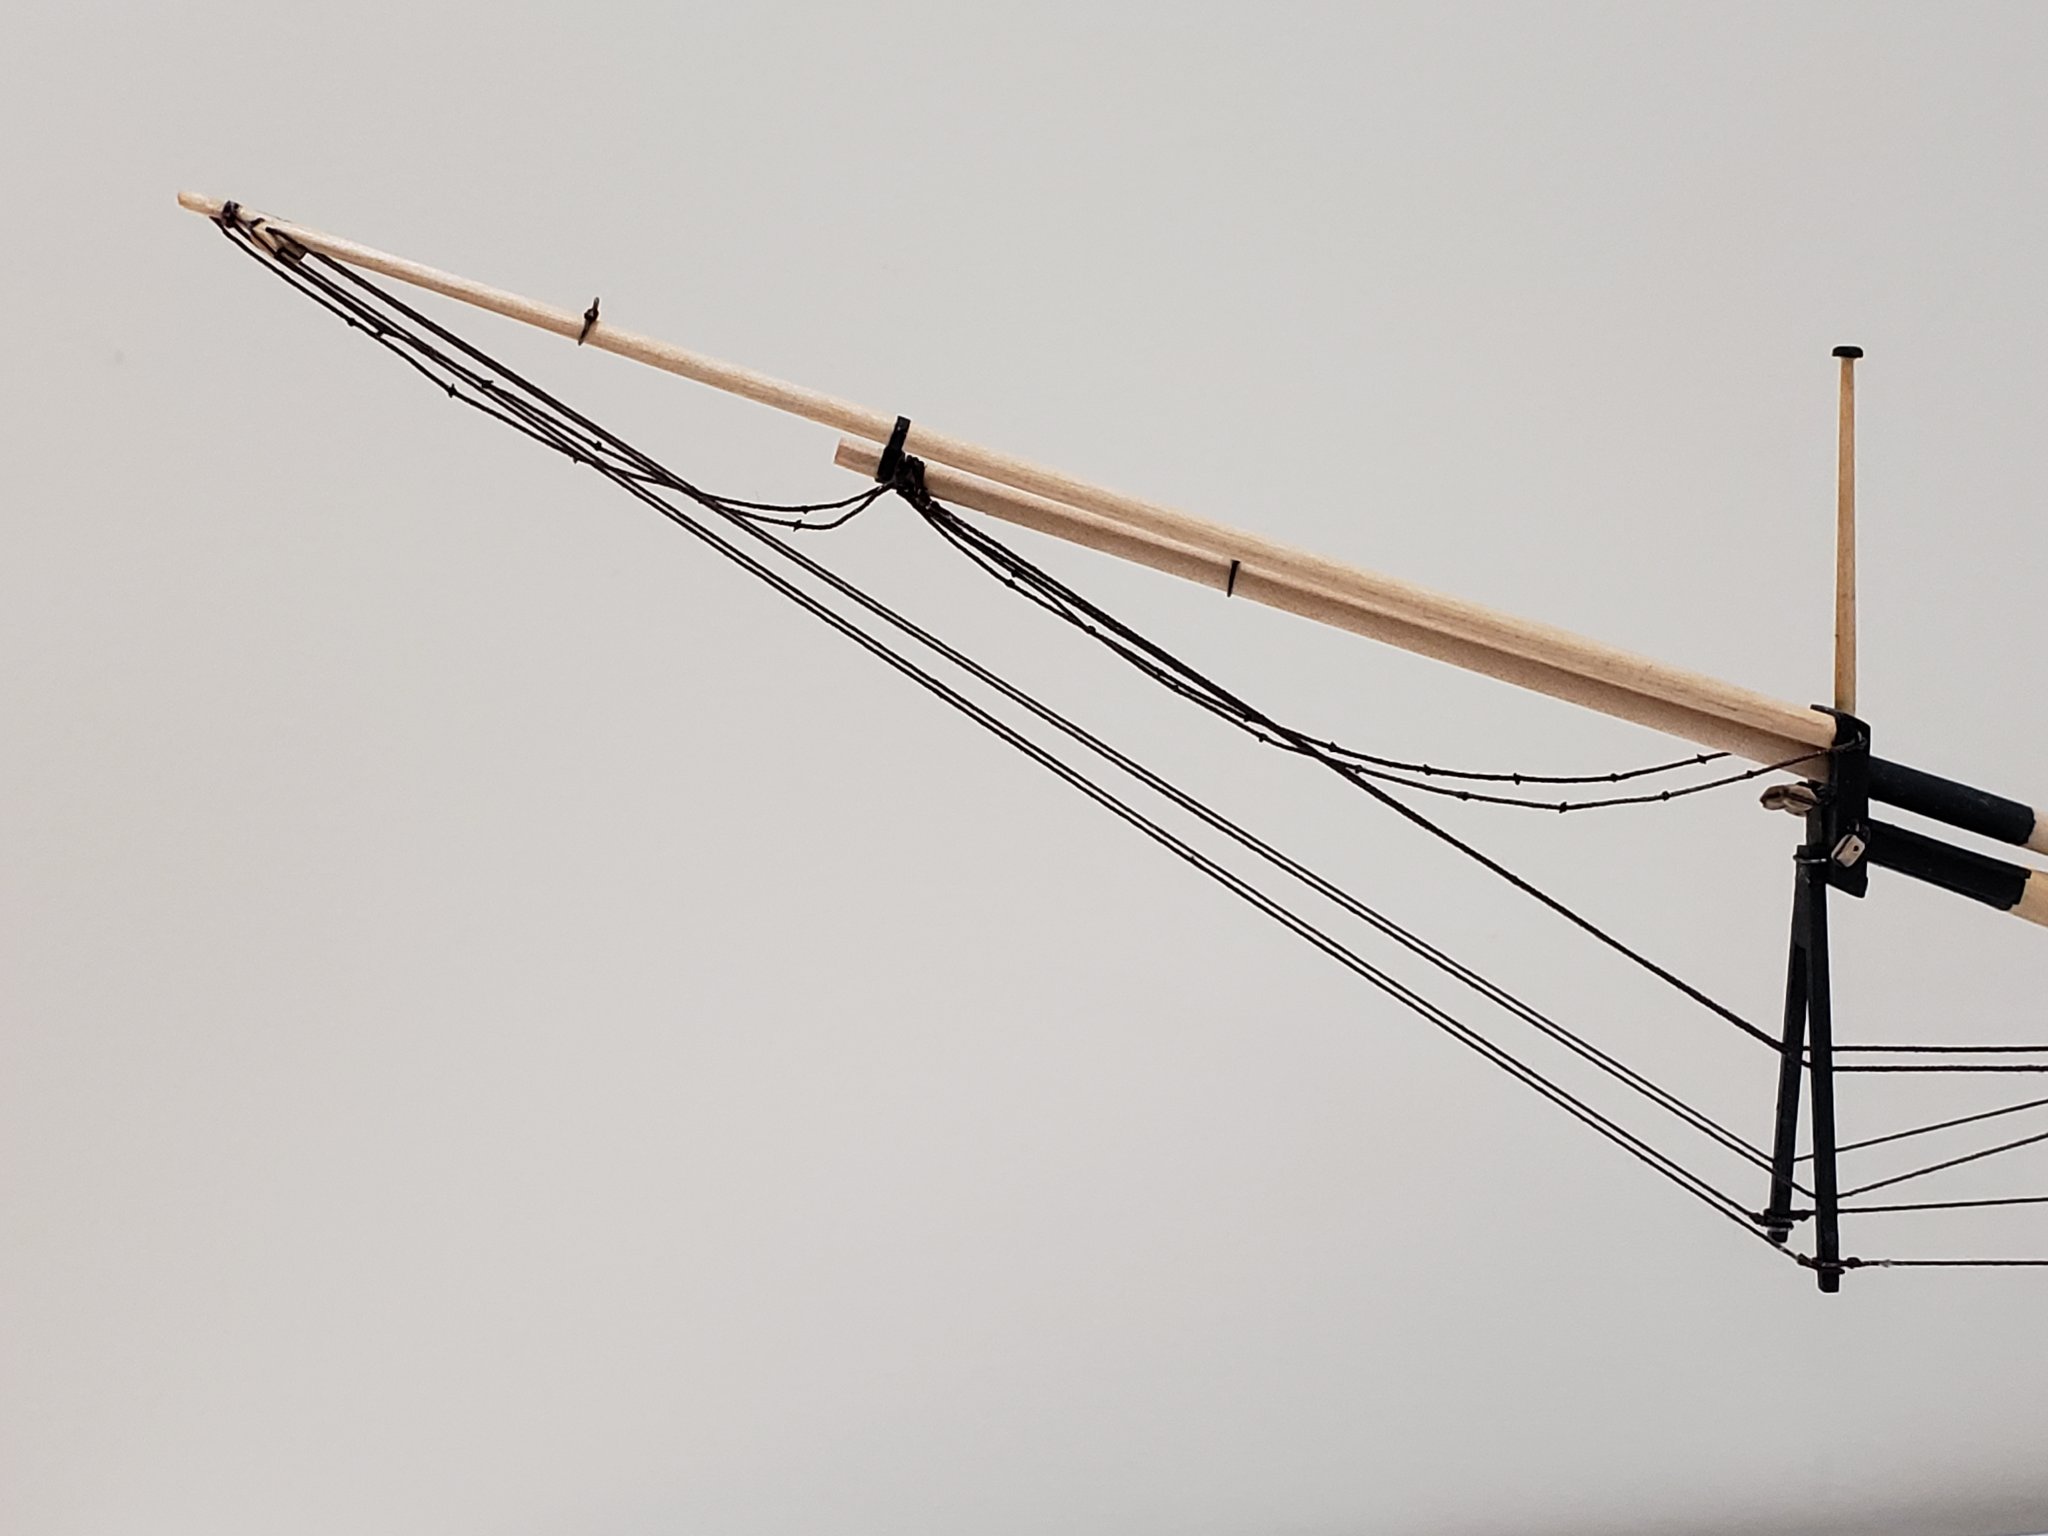
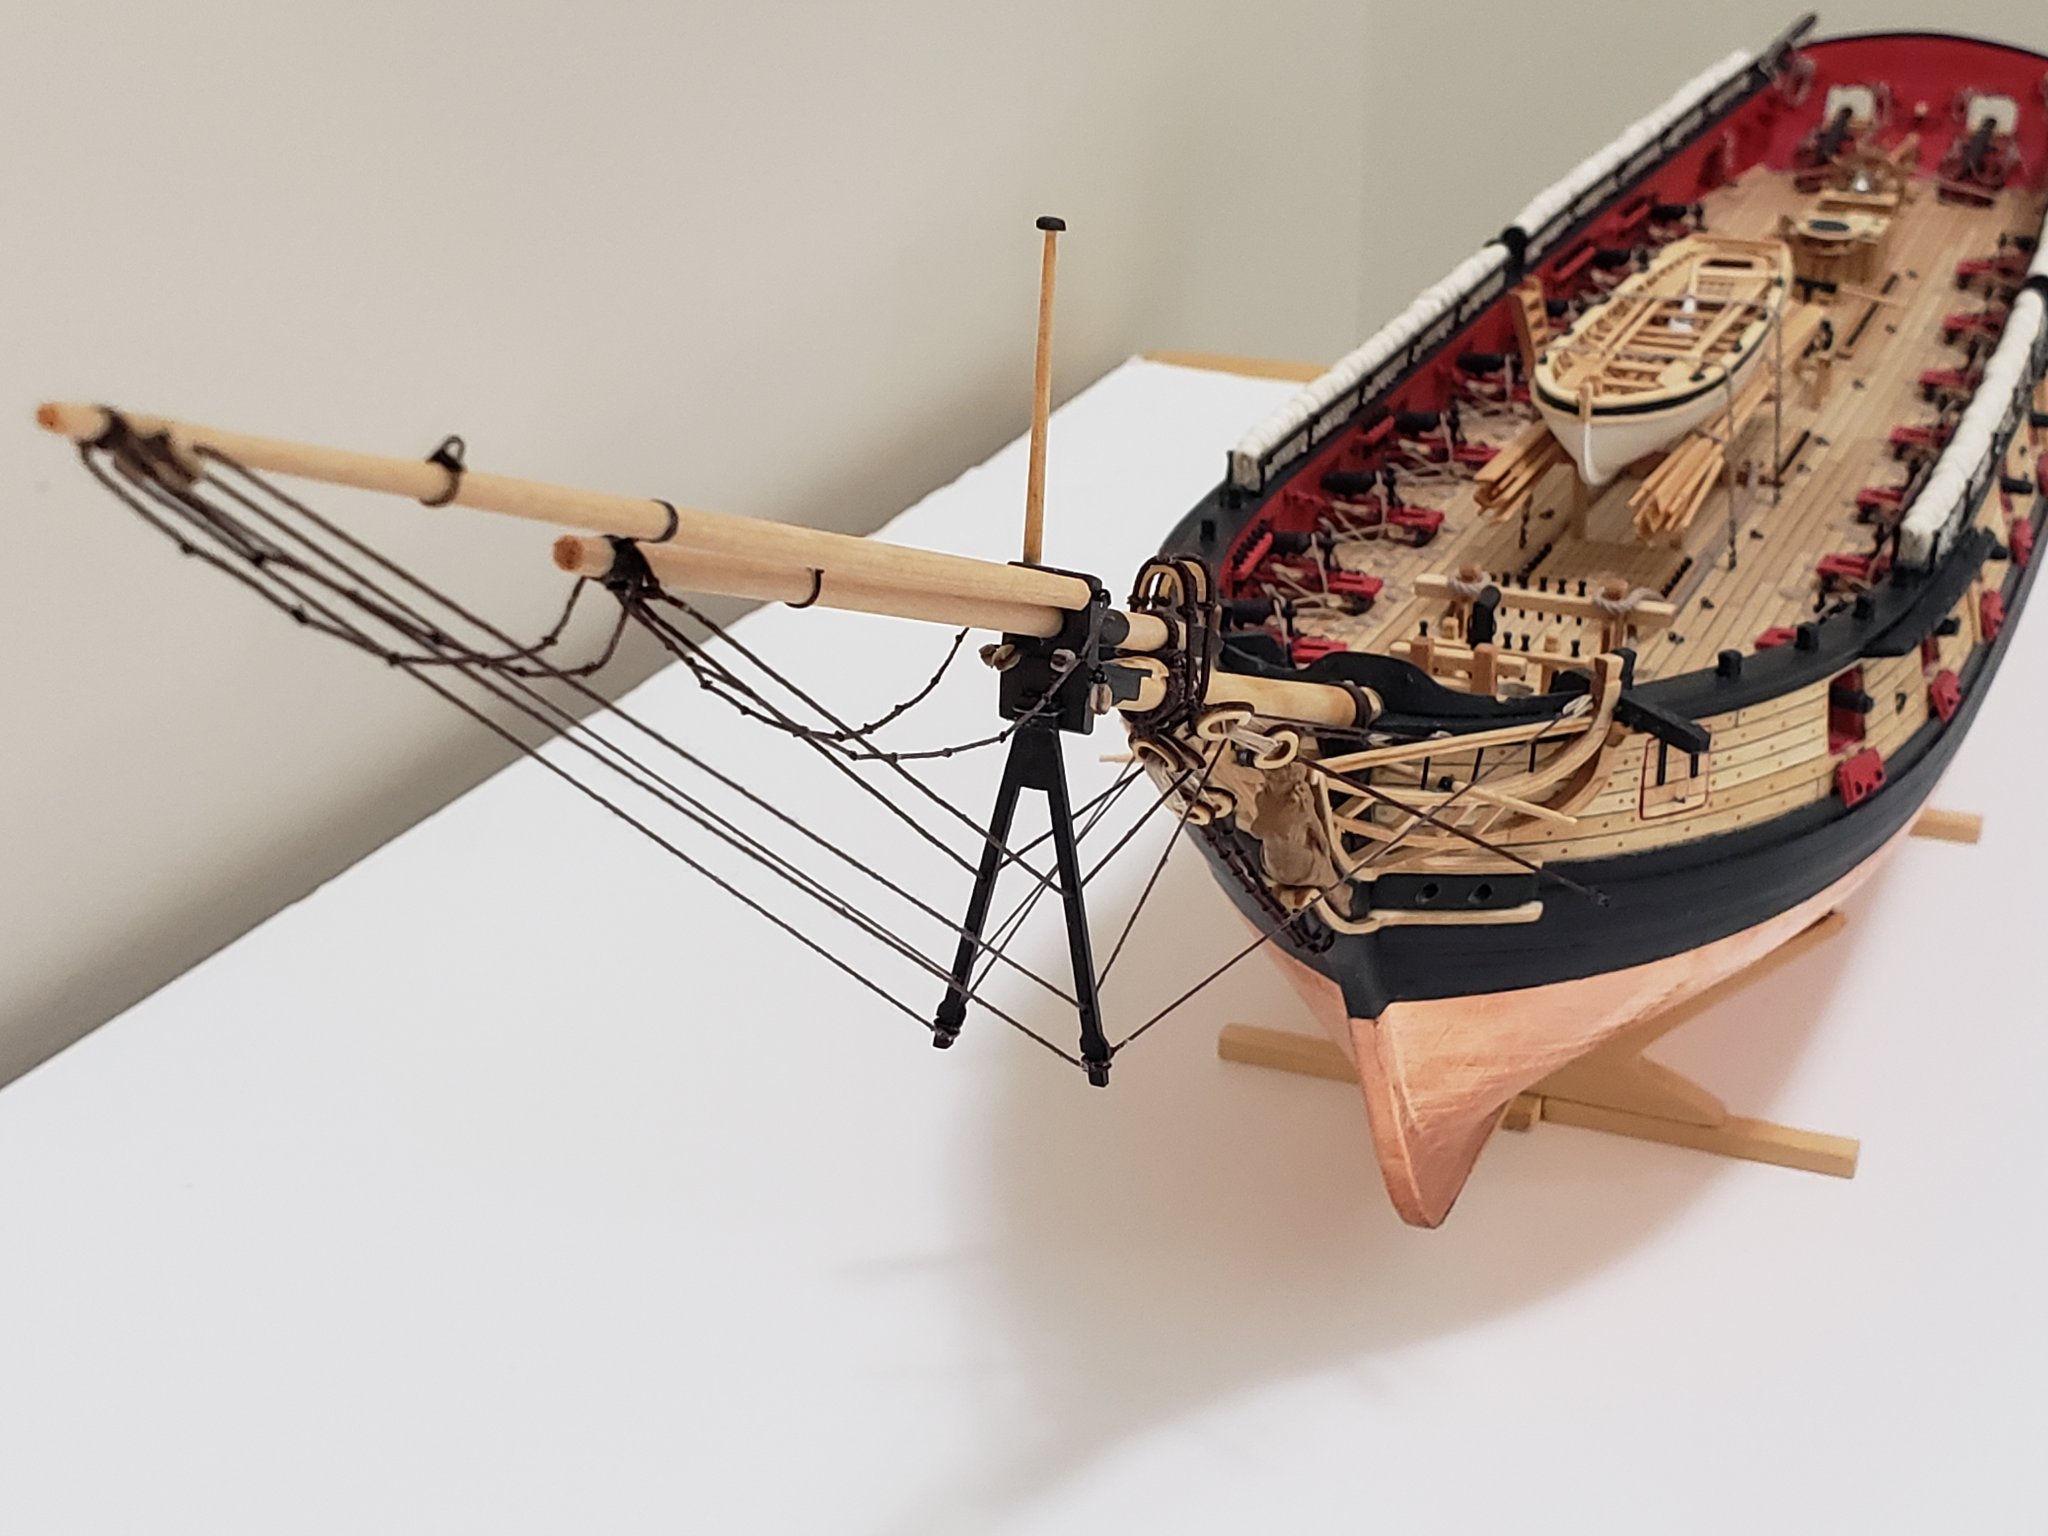
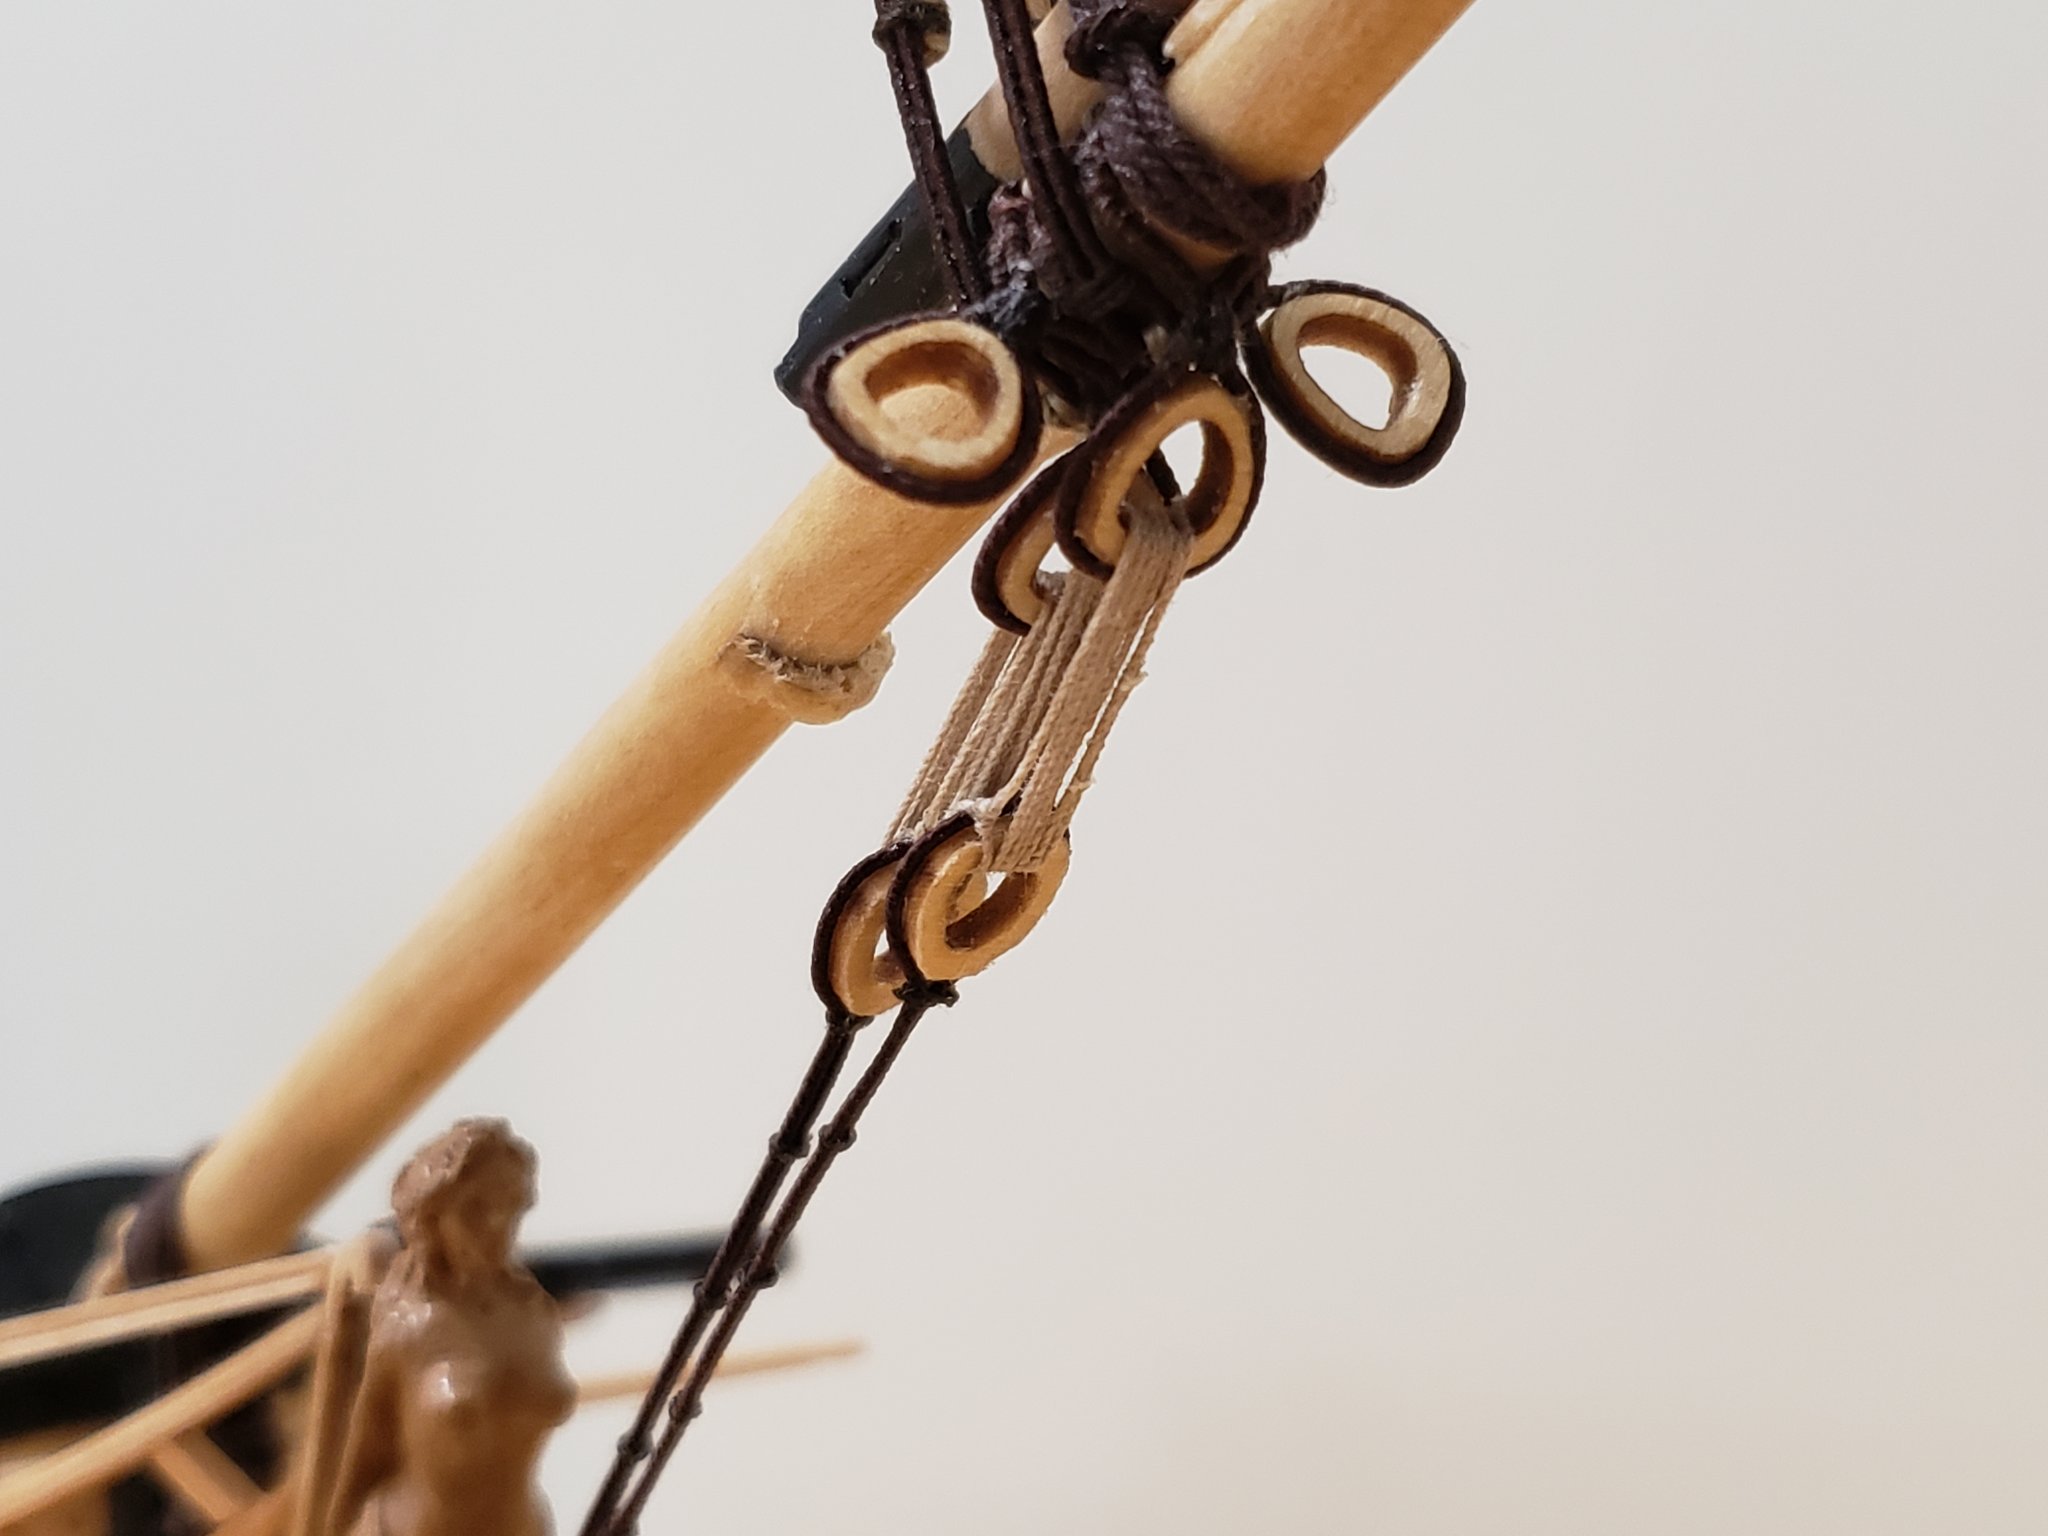
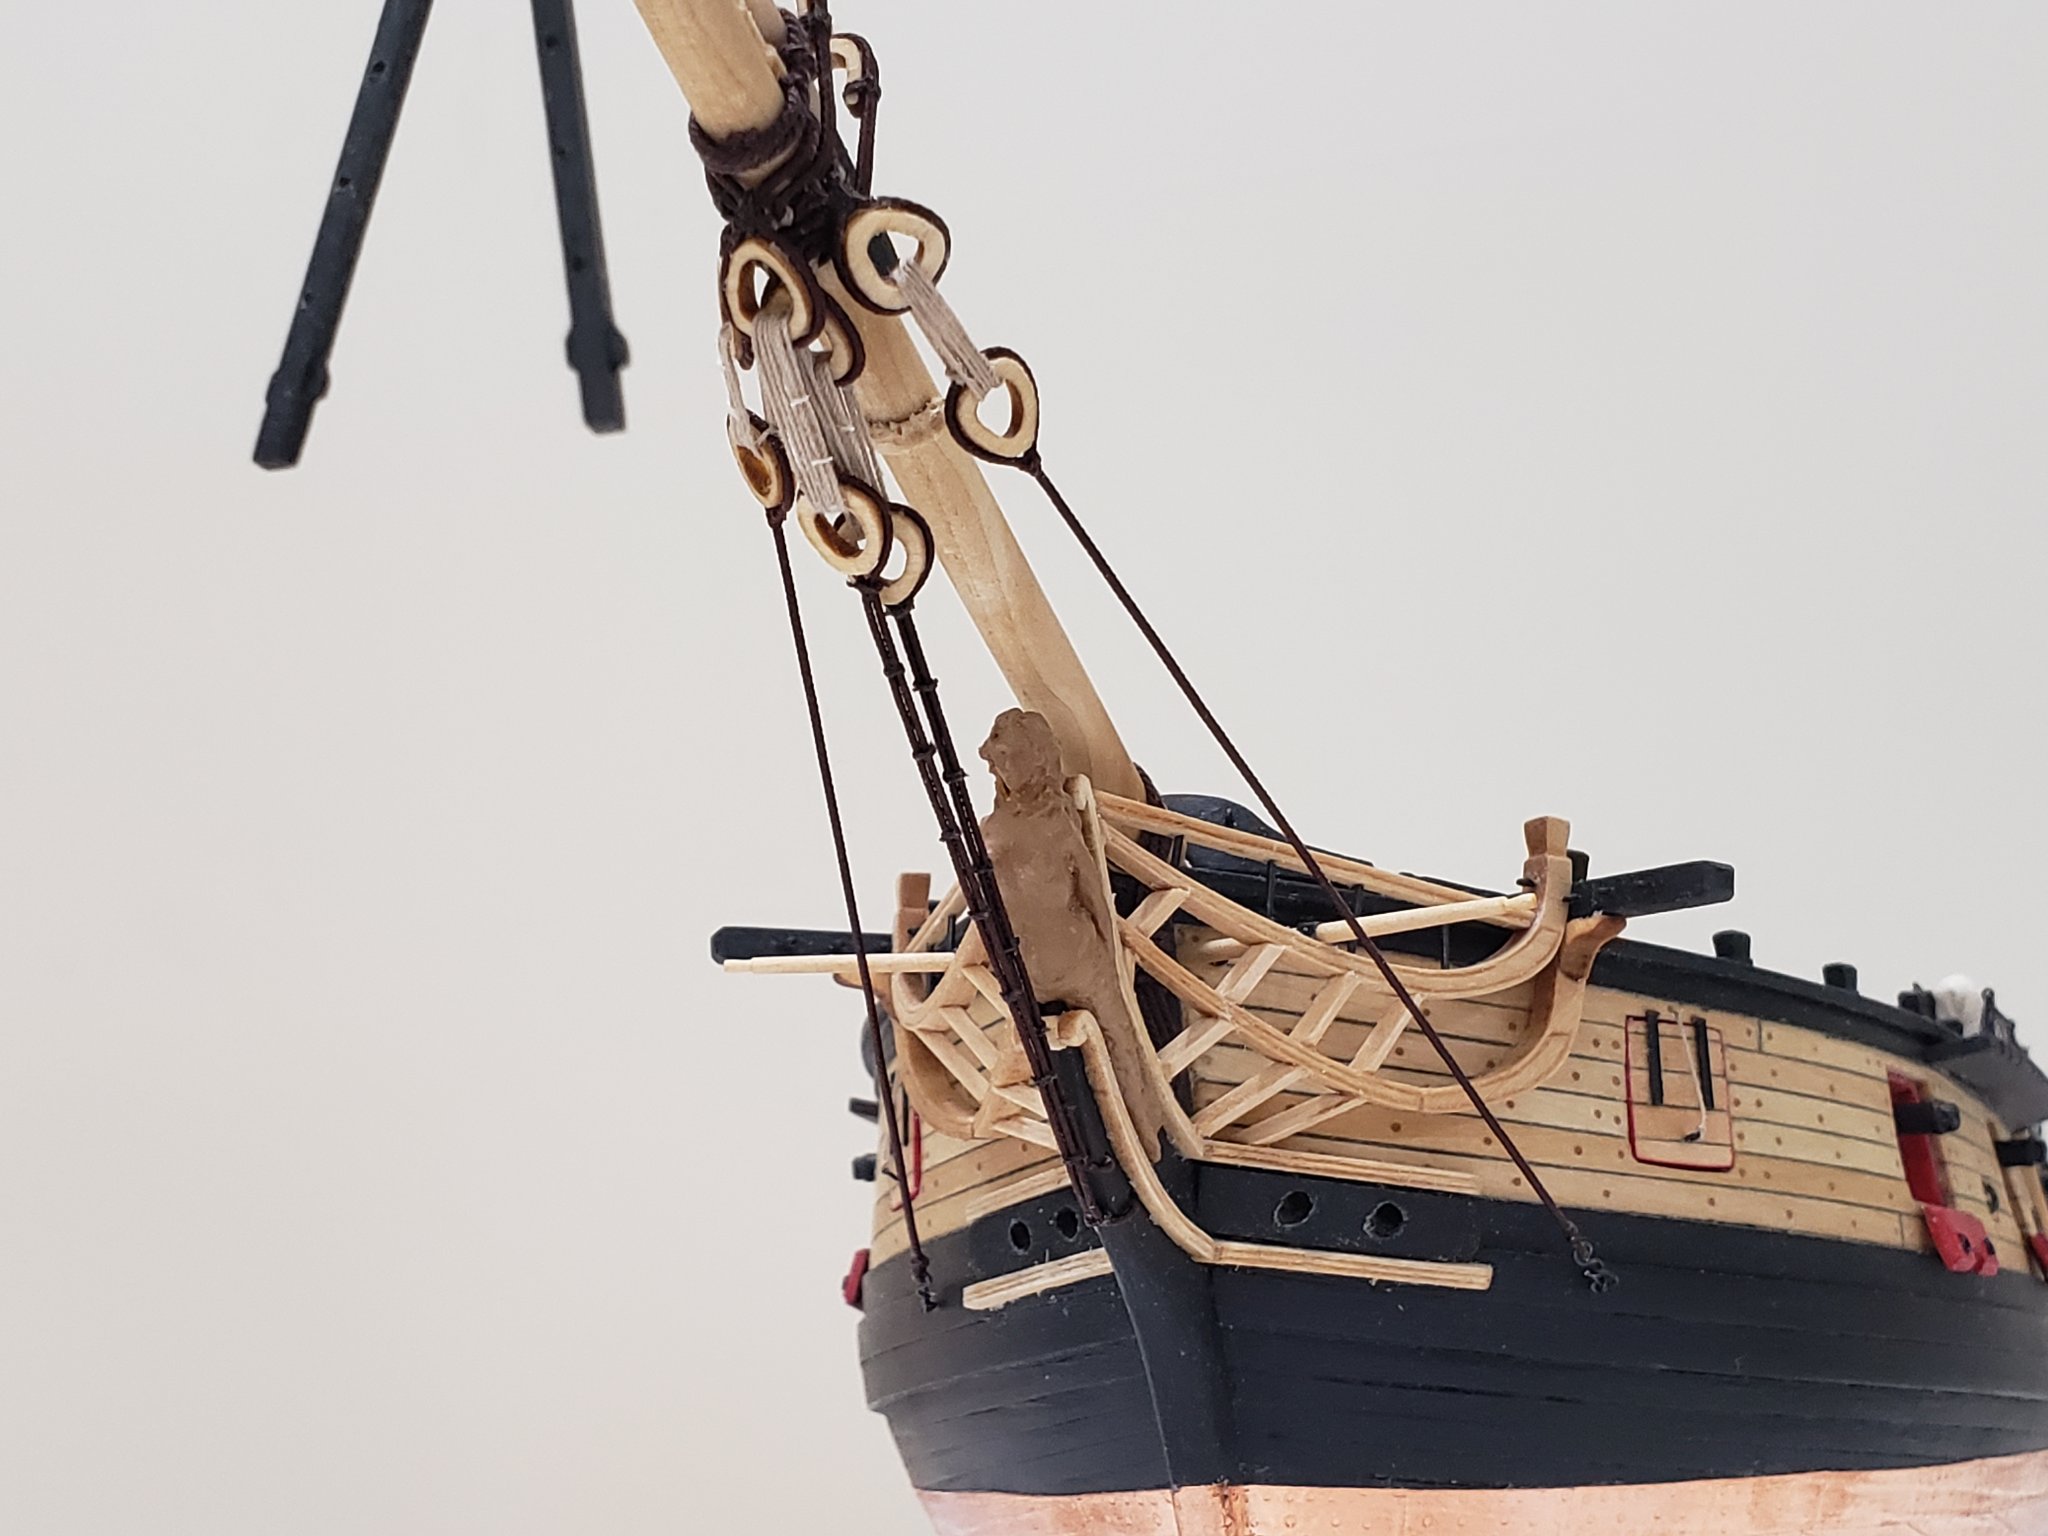
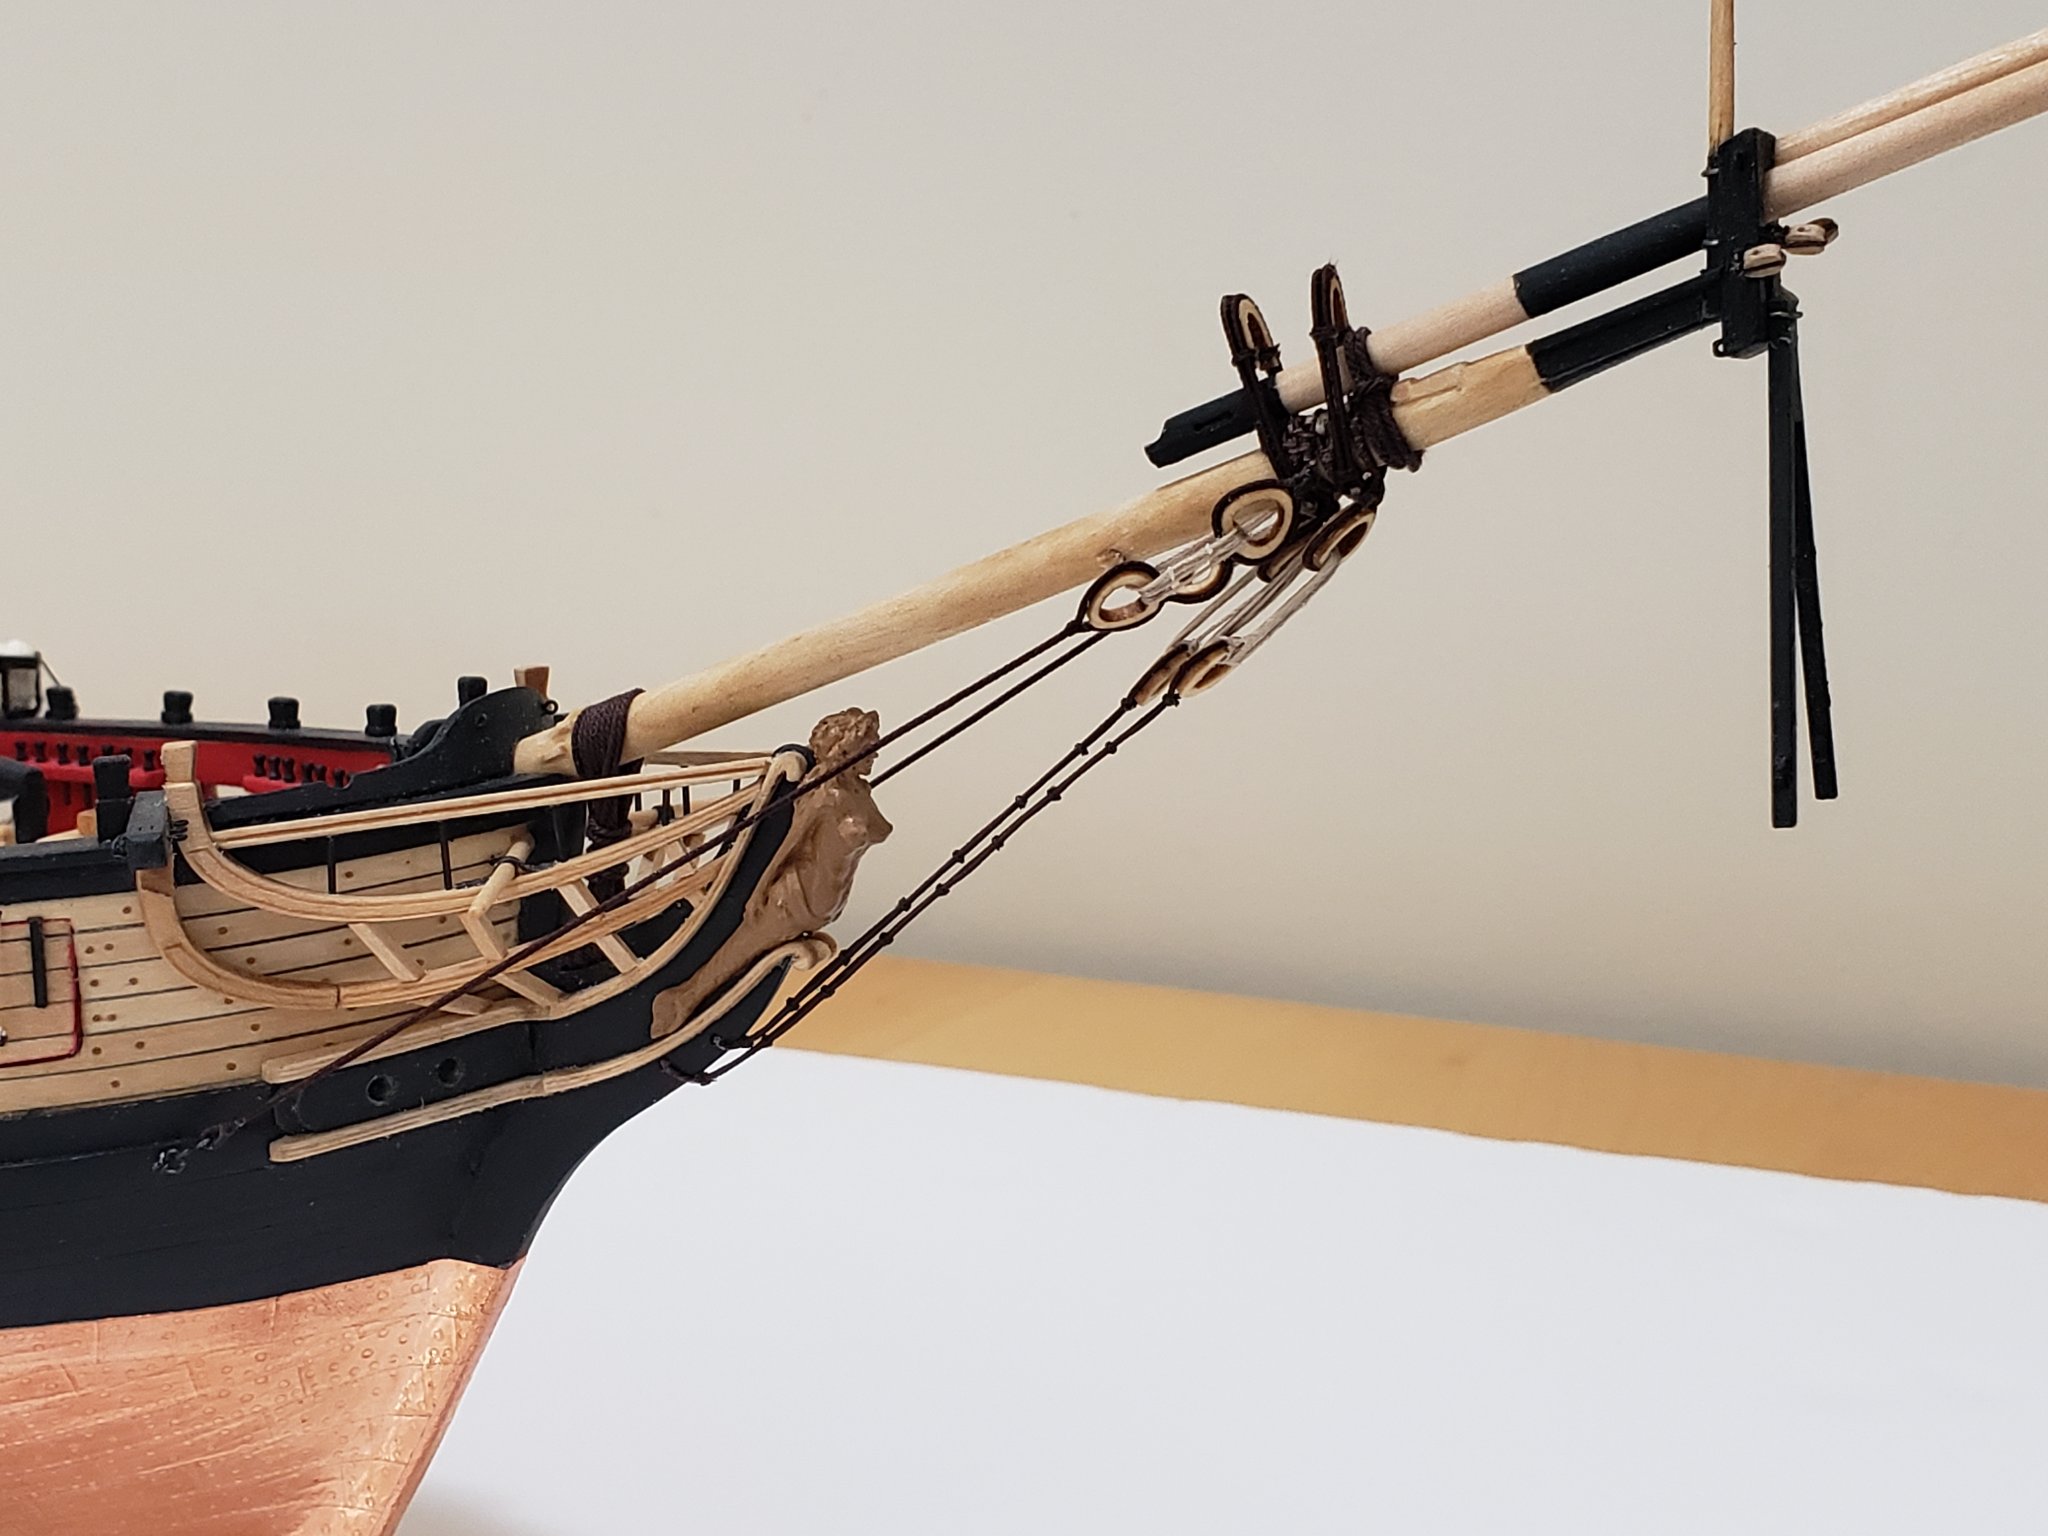
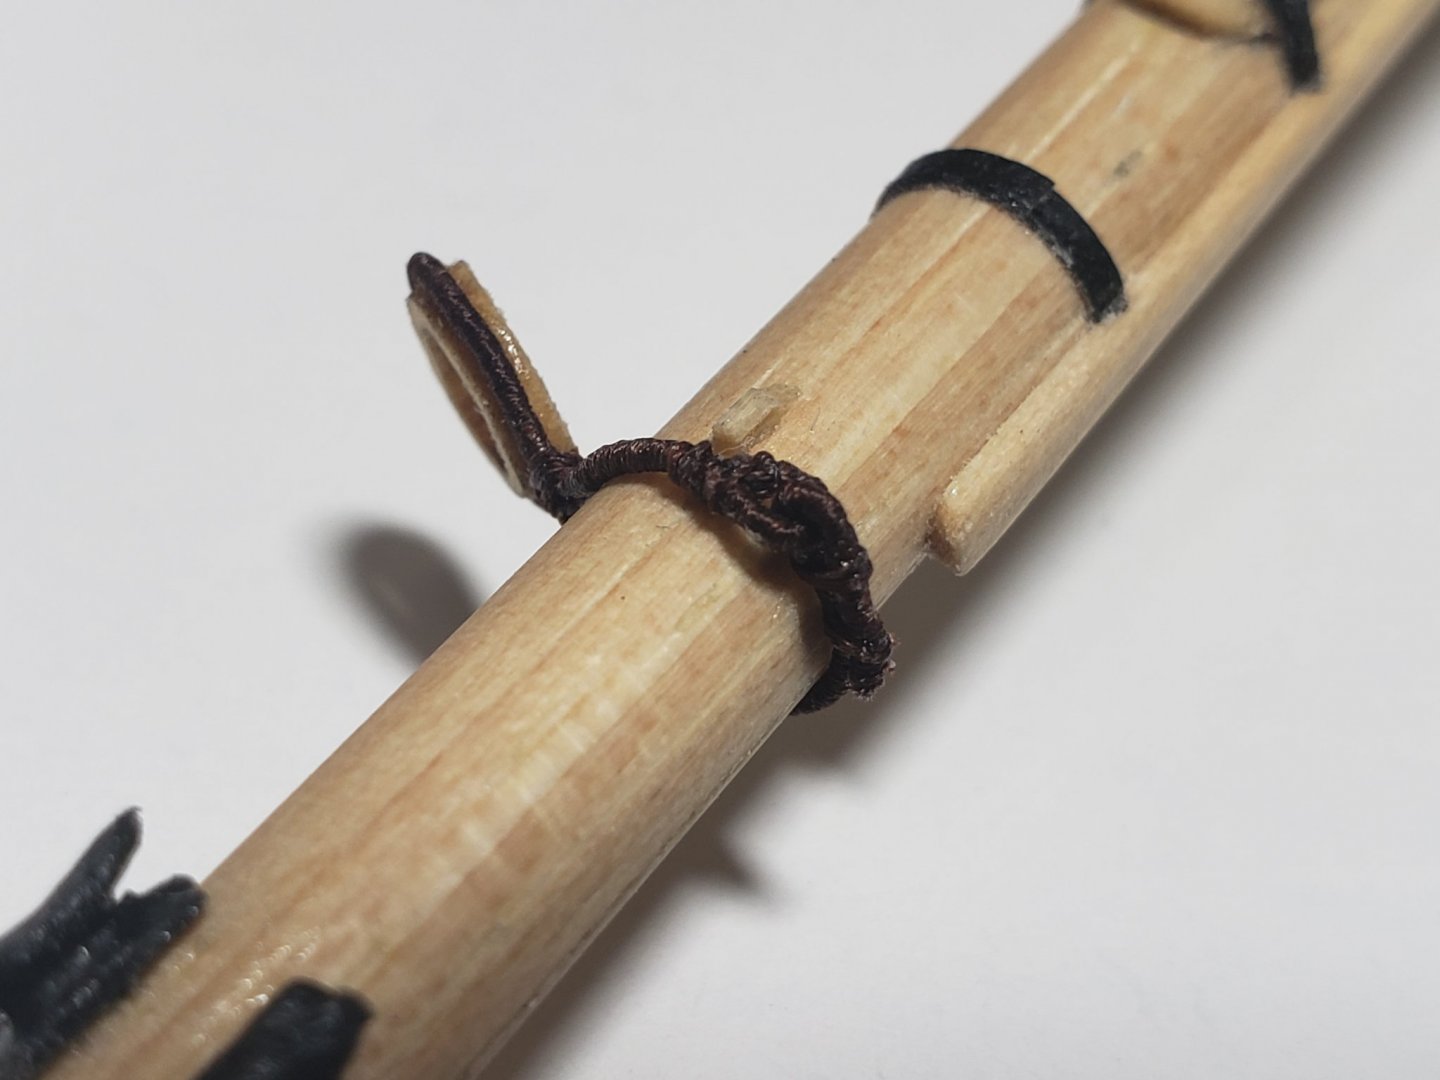
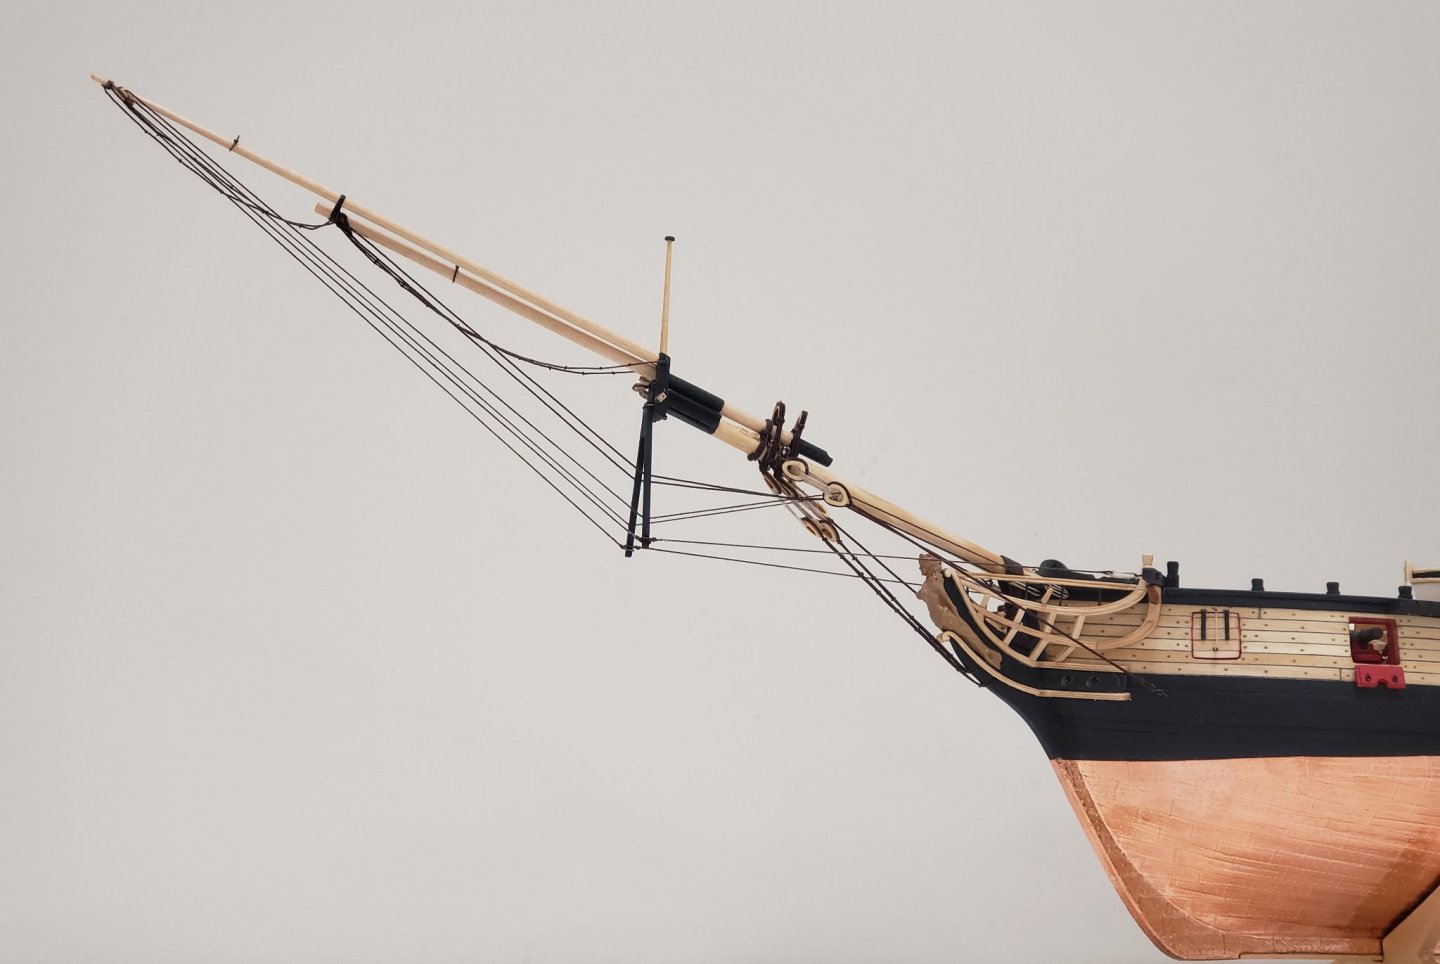
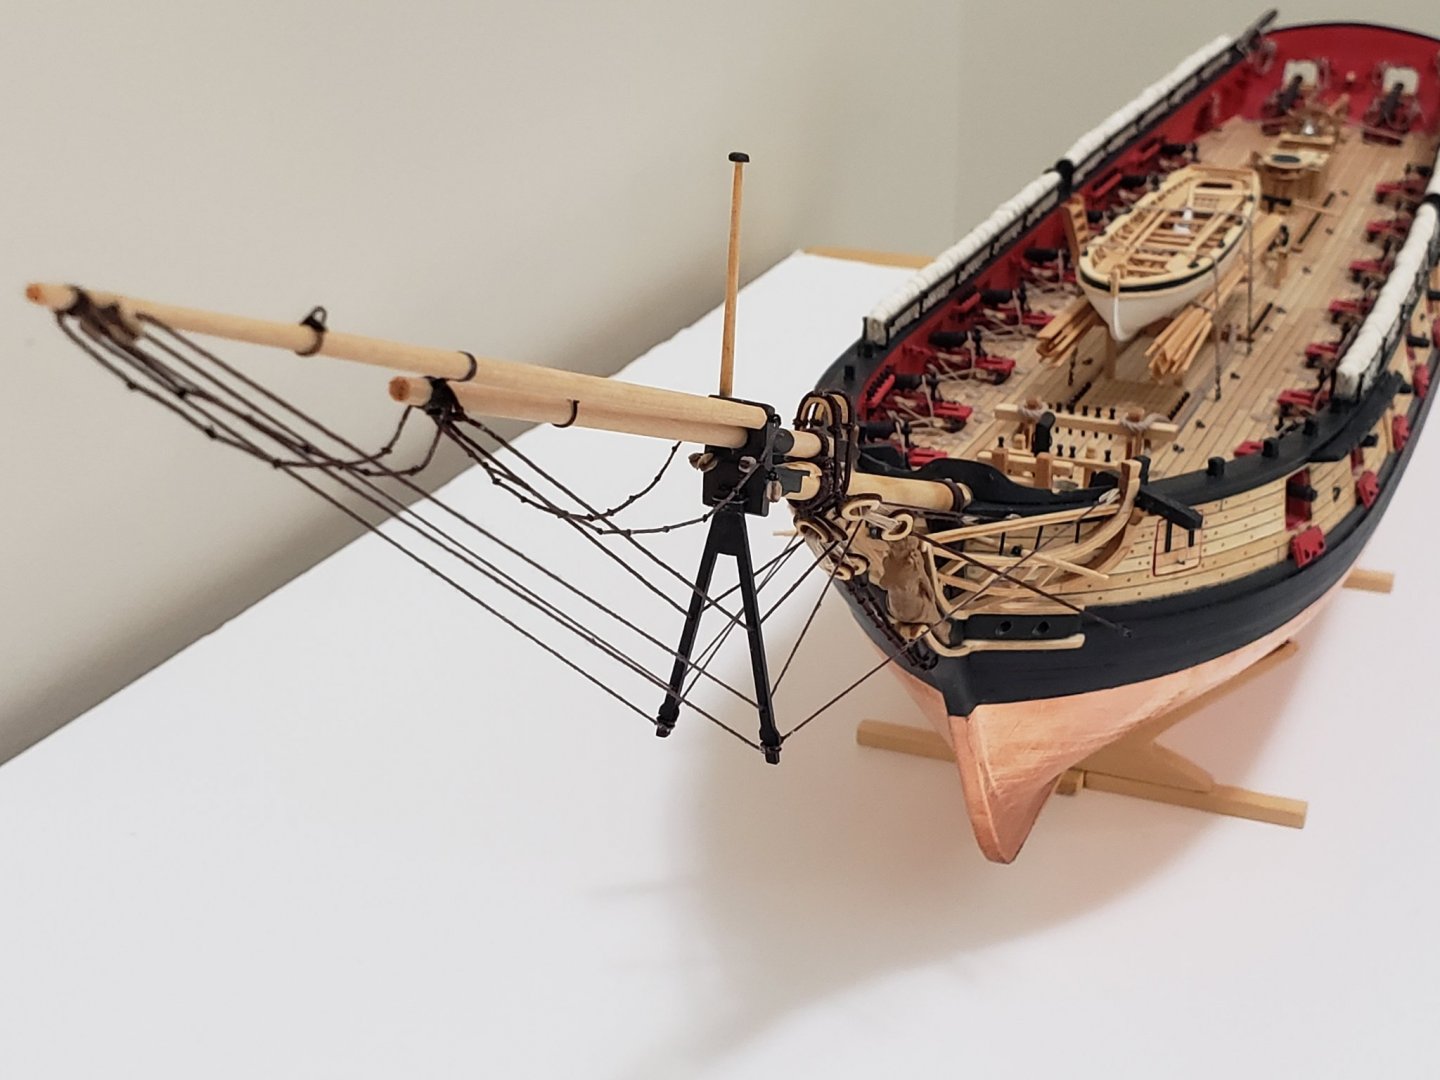
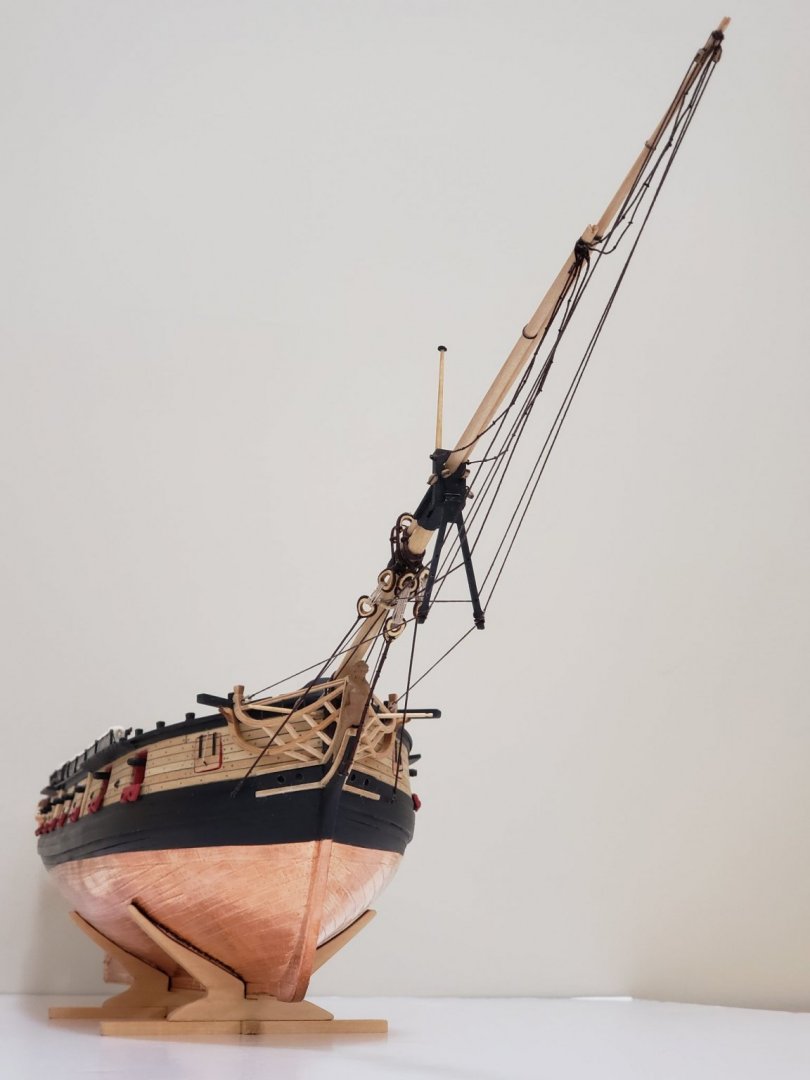
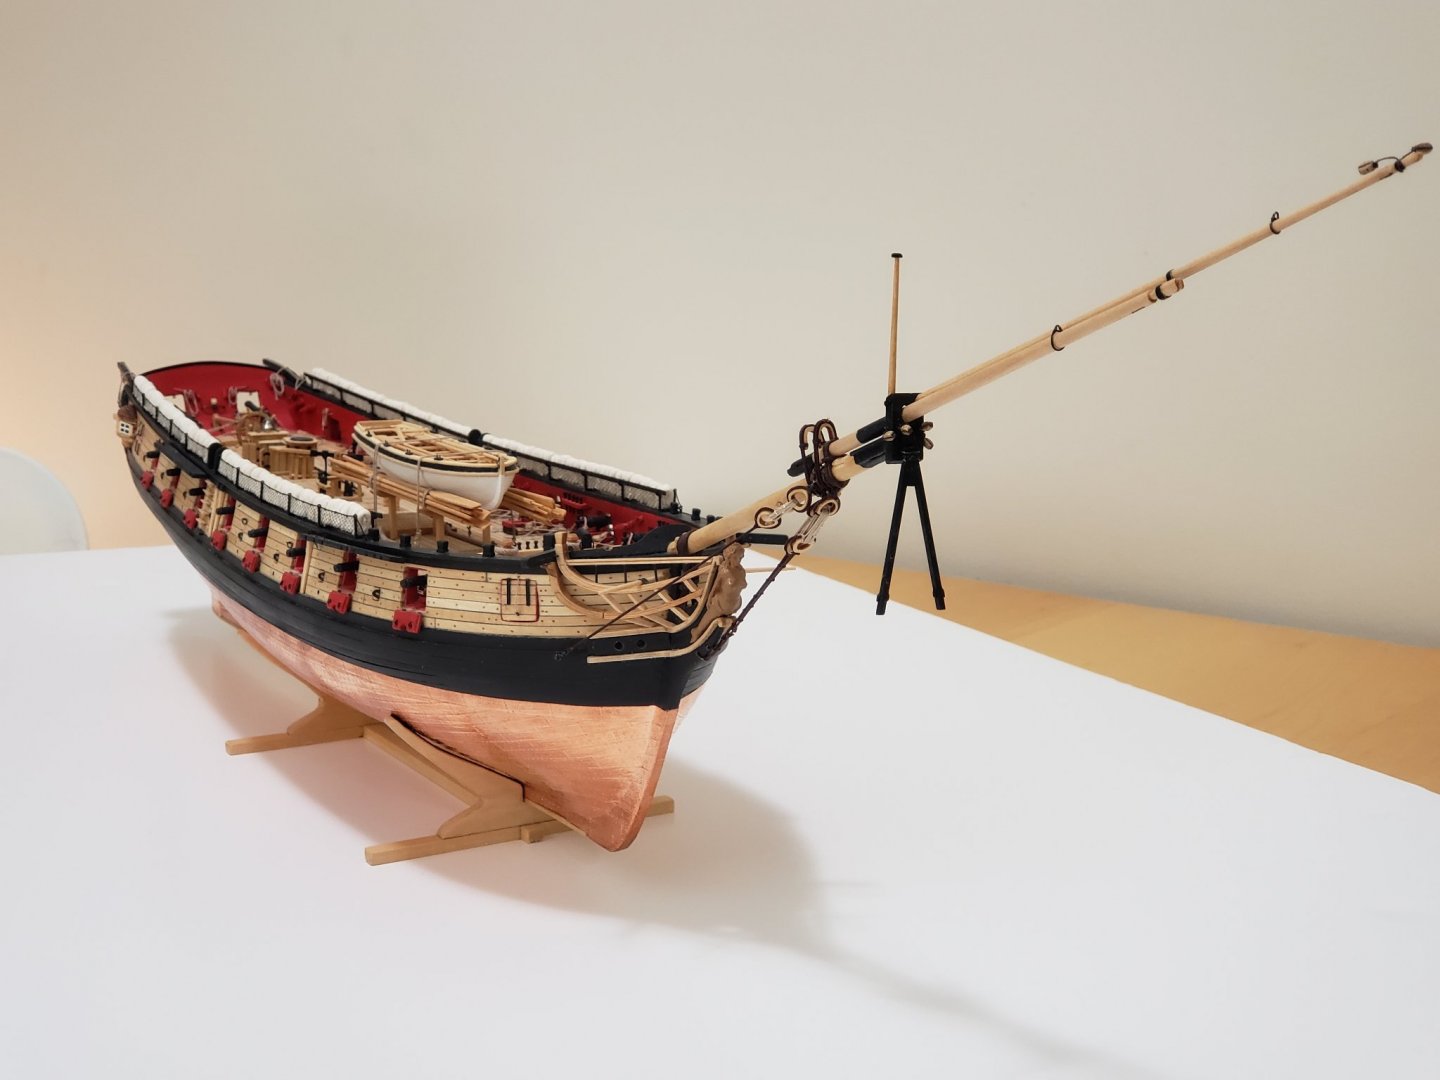
Thanks all for the likes! Finished rigging the bowsprit assembly. Rigging is one of favorite parts so far! It's very satisfying seeing how everything connects and works together. Especially when tightening the lines 😁 Lashing the stays to the eyebolts was not that difficult, but it definitely required some patience. Also, somehow I found the foot ropes the hardest part of this chapter. I think it's because I wasn't 100% sure how to seize them and had a lot of trouble putting it on the jibboom. I settled by cheating with some CA glue instead. The place where it connects seems hidden to my eye, so am a bit happy with it! Also, the martingale stays were served where they touch at the bottom of the dolphinstriker: Anyways, here are some pics:


- 950 replies
-
- 14
-
-
- syren
- model shipways
- (and 1 more)
-
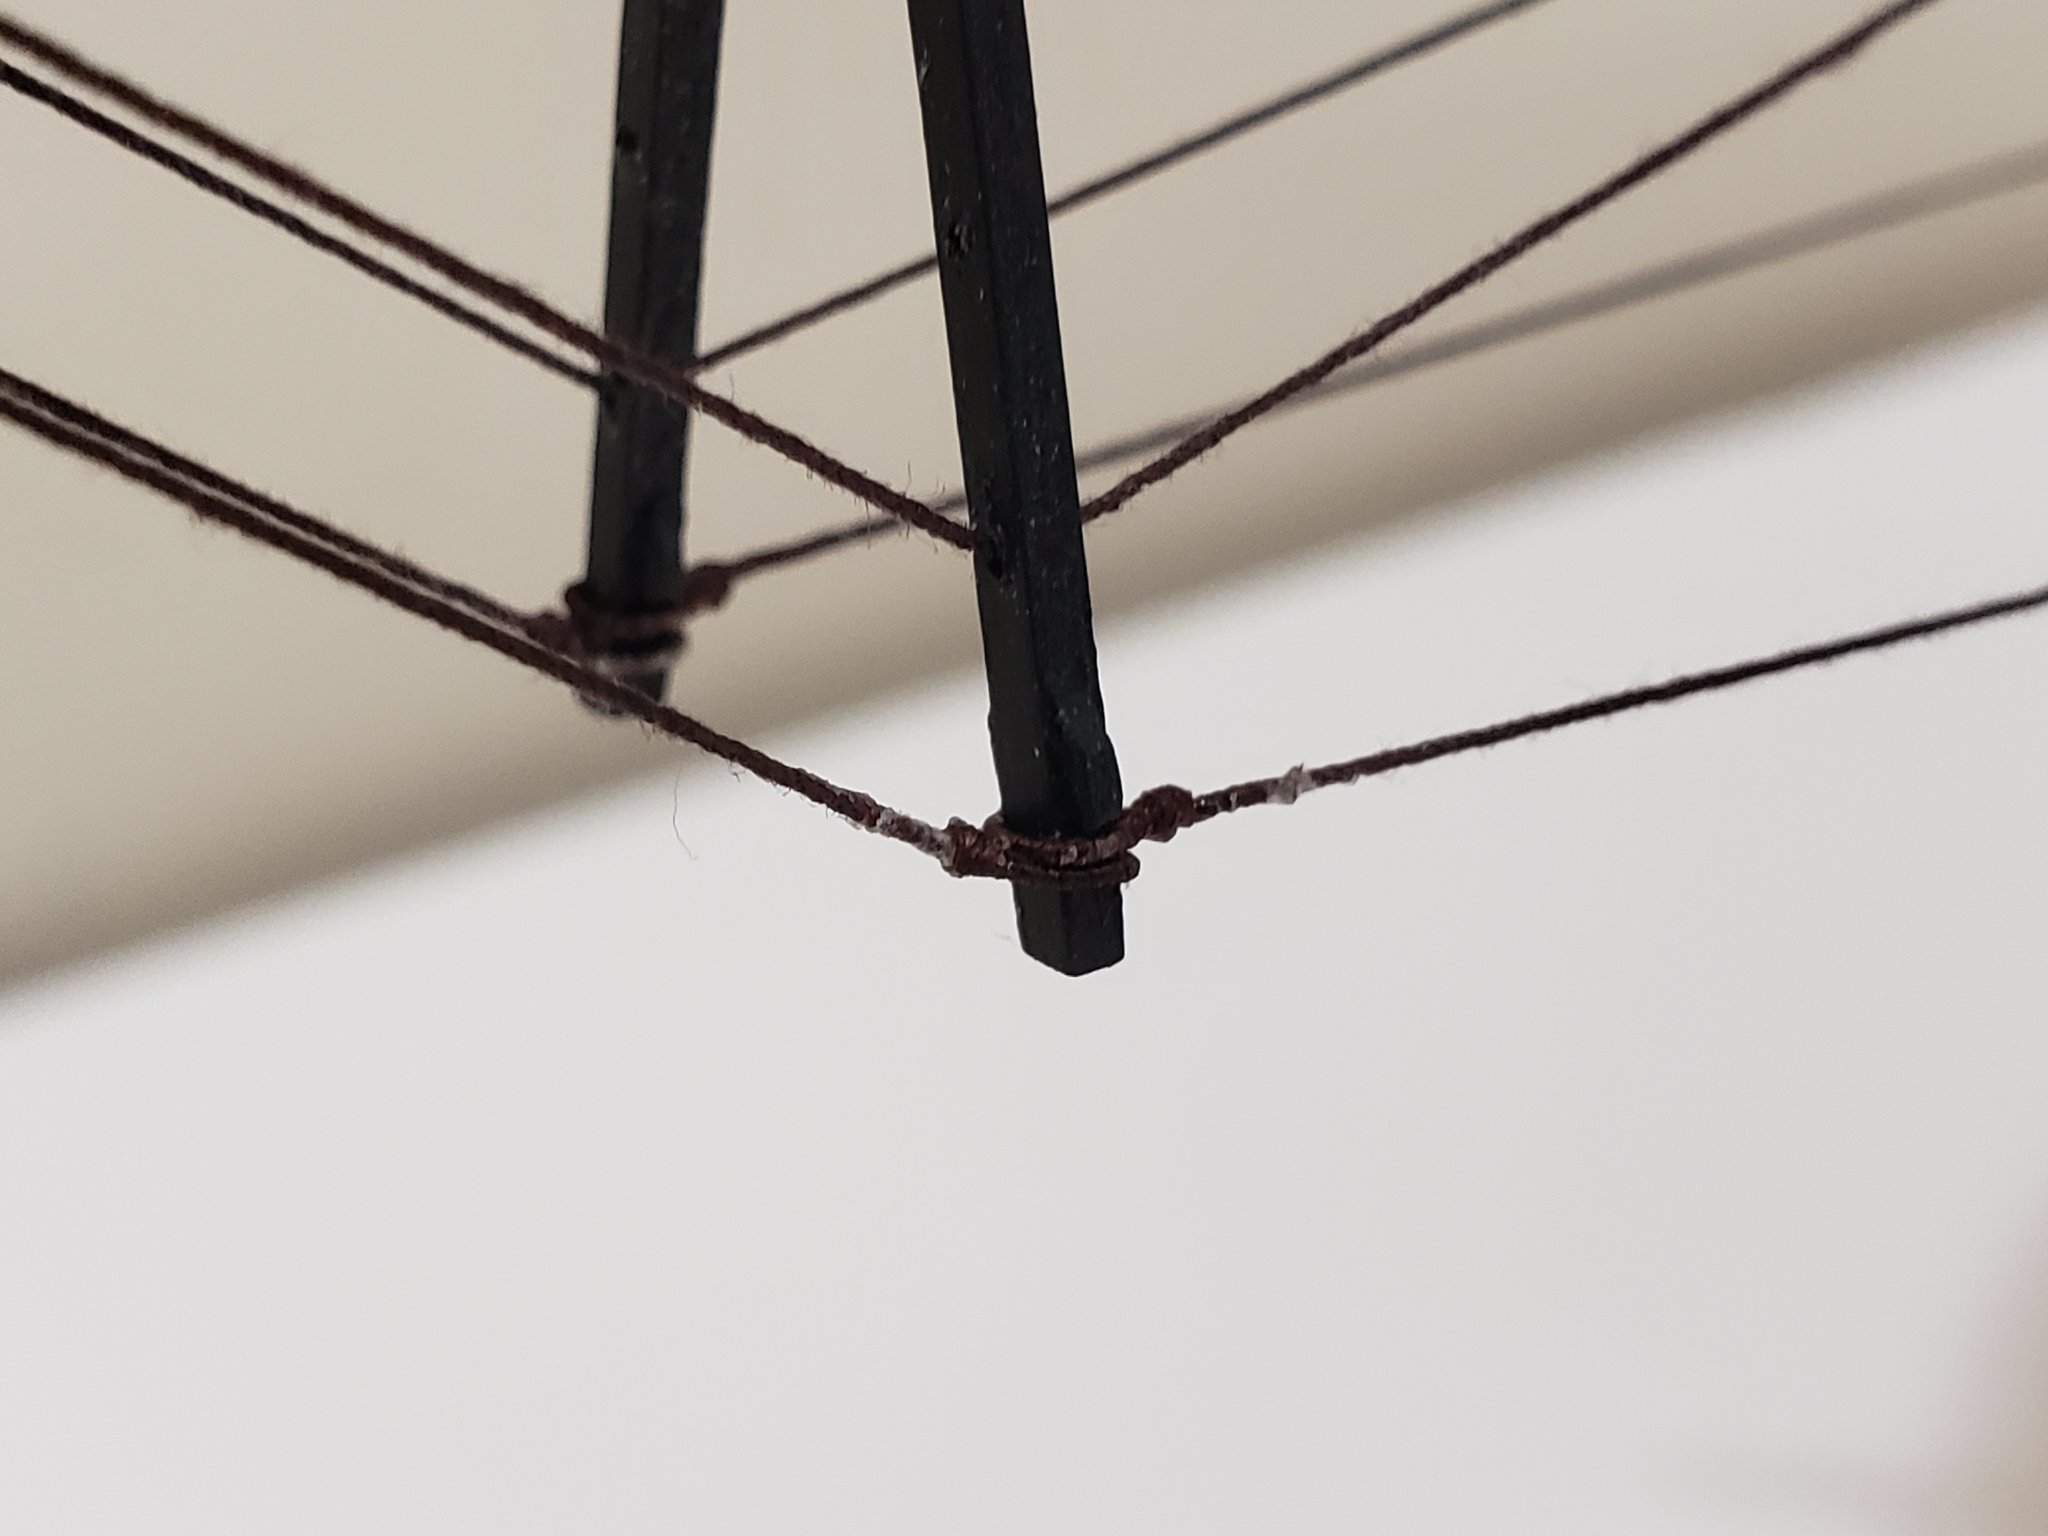
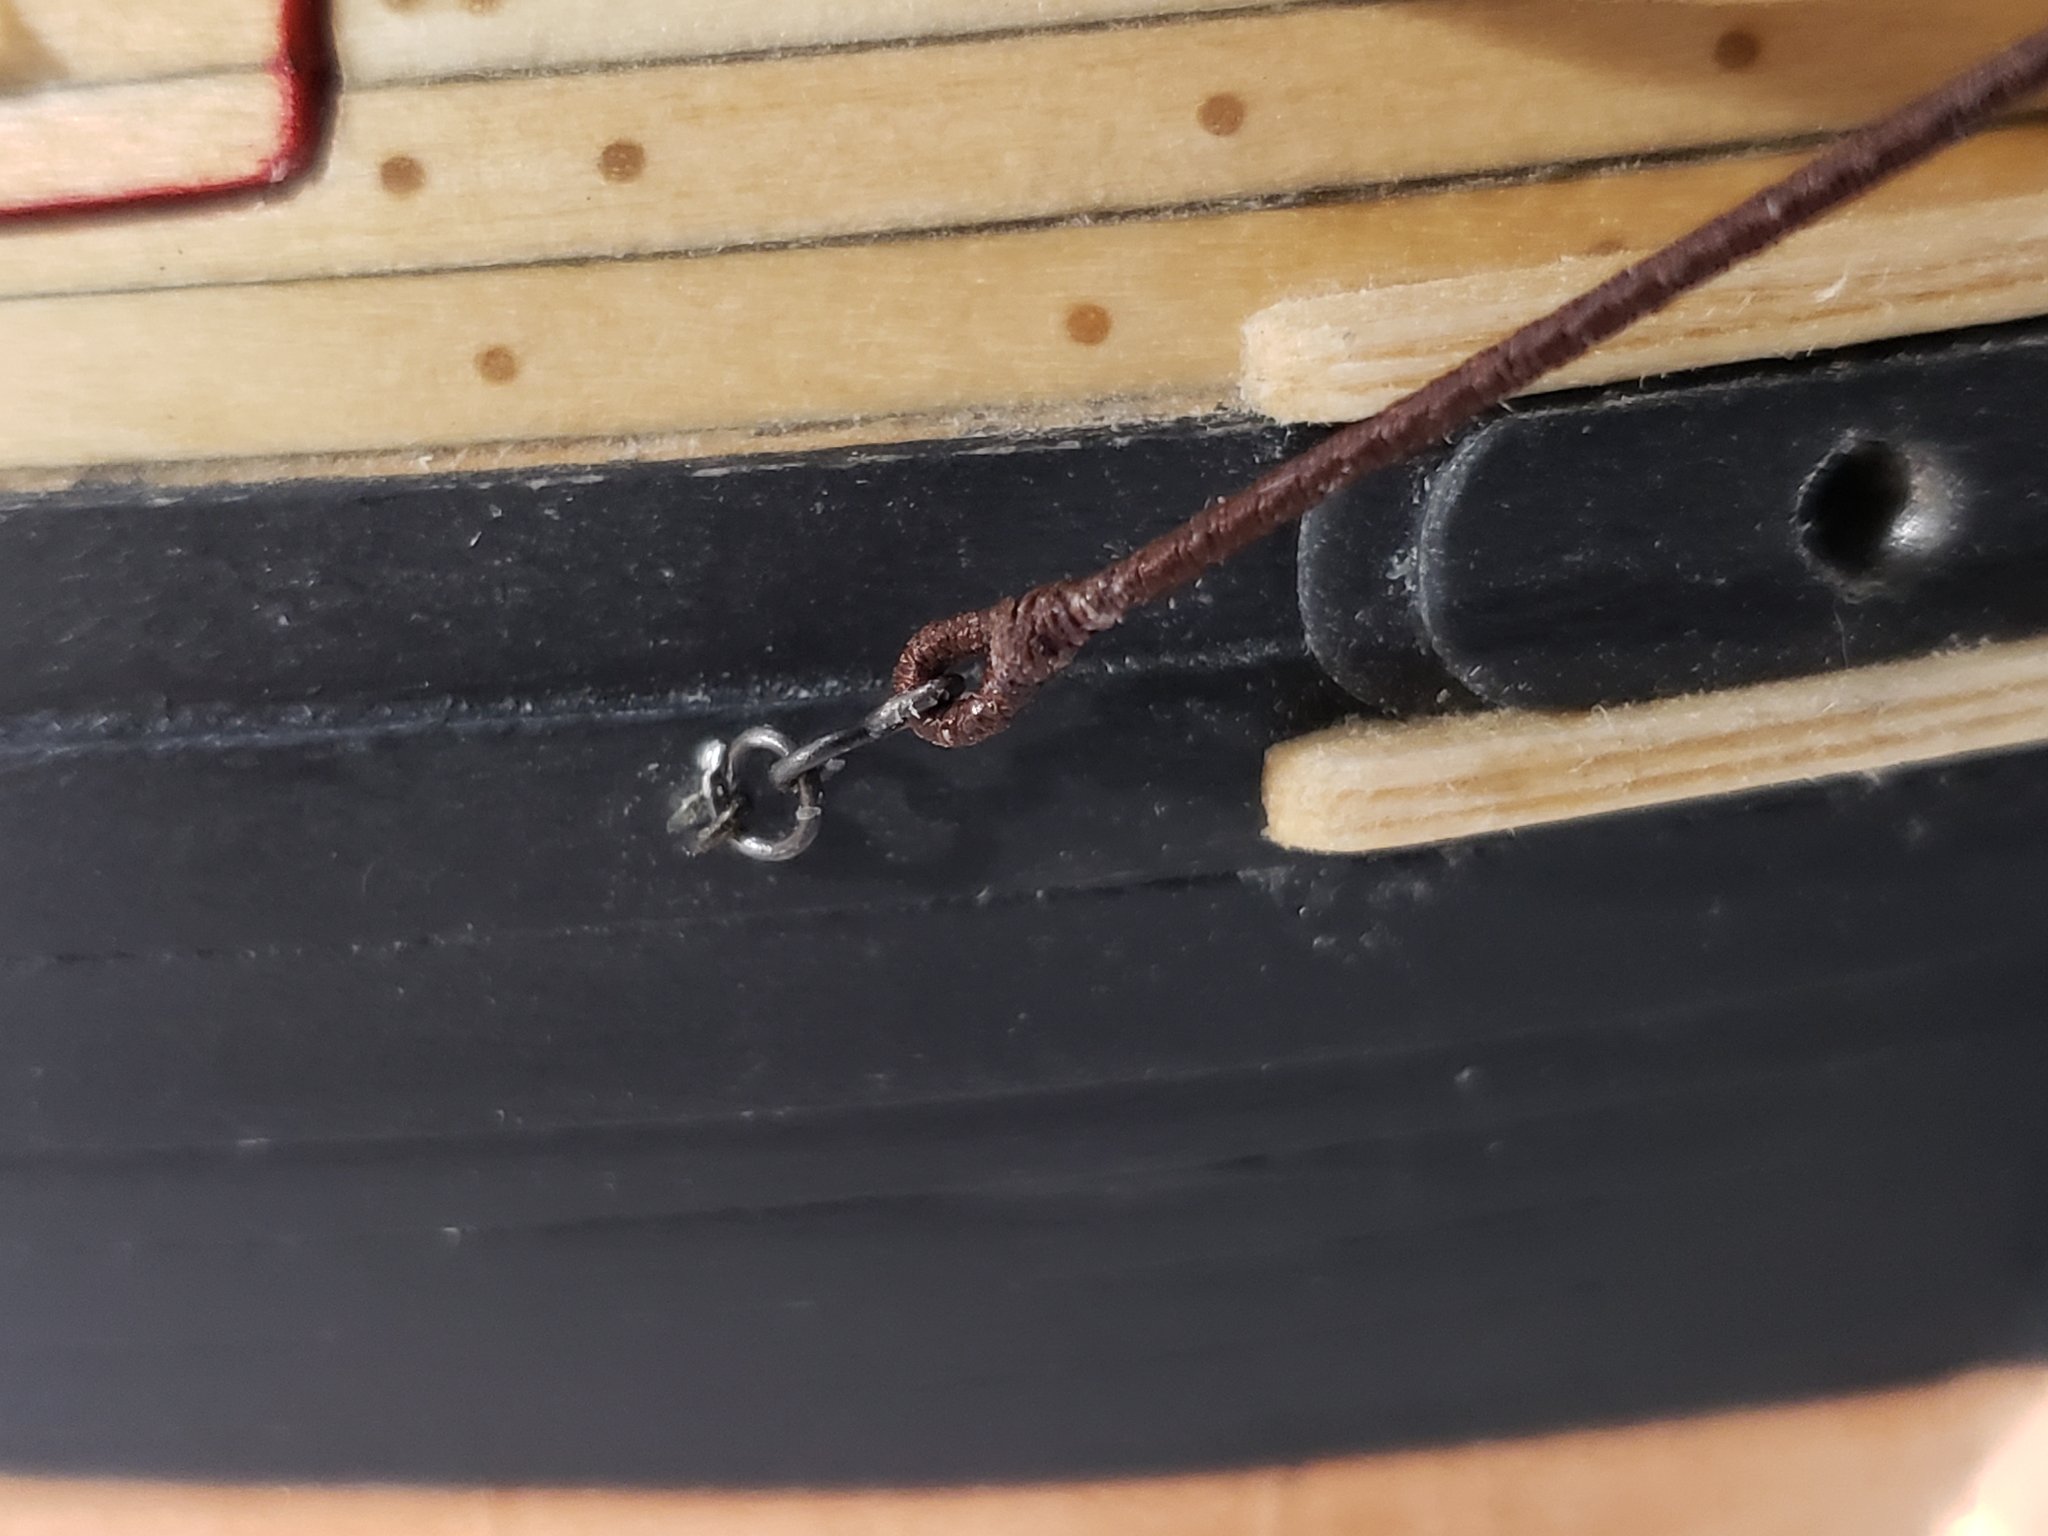
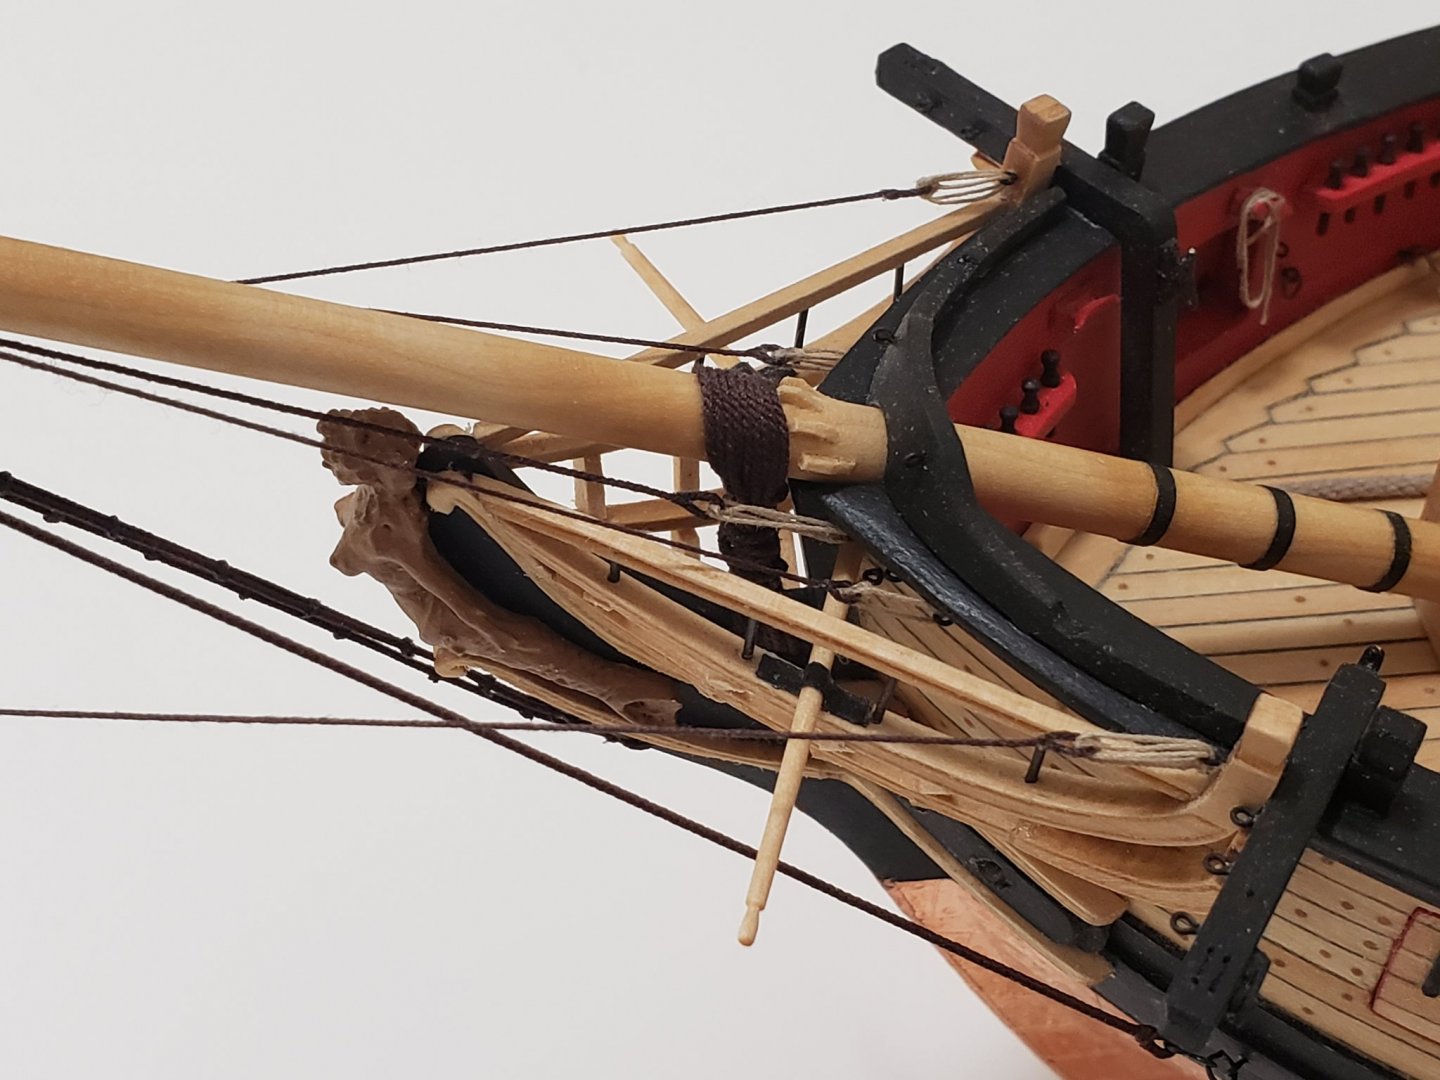
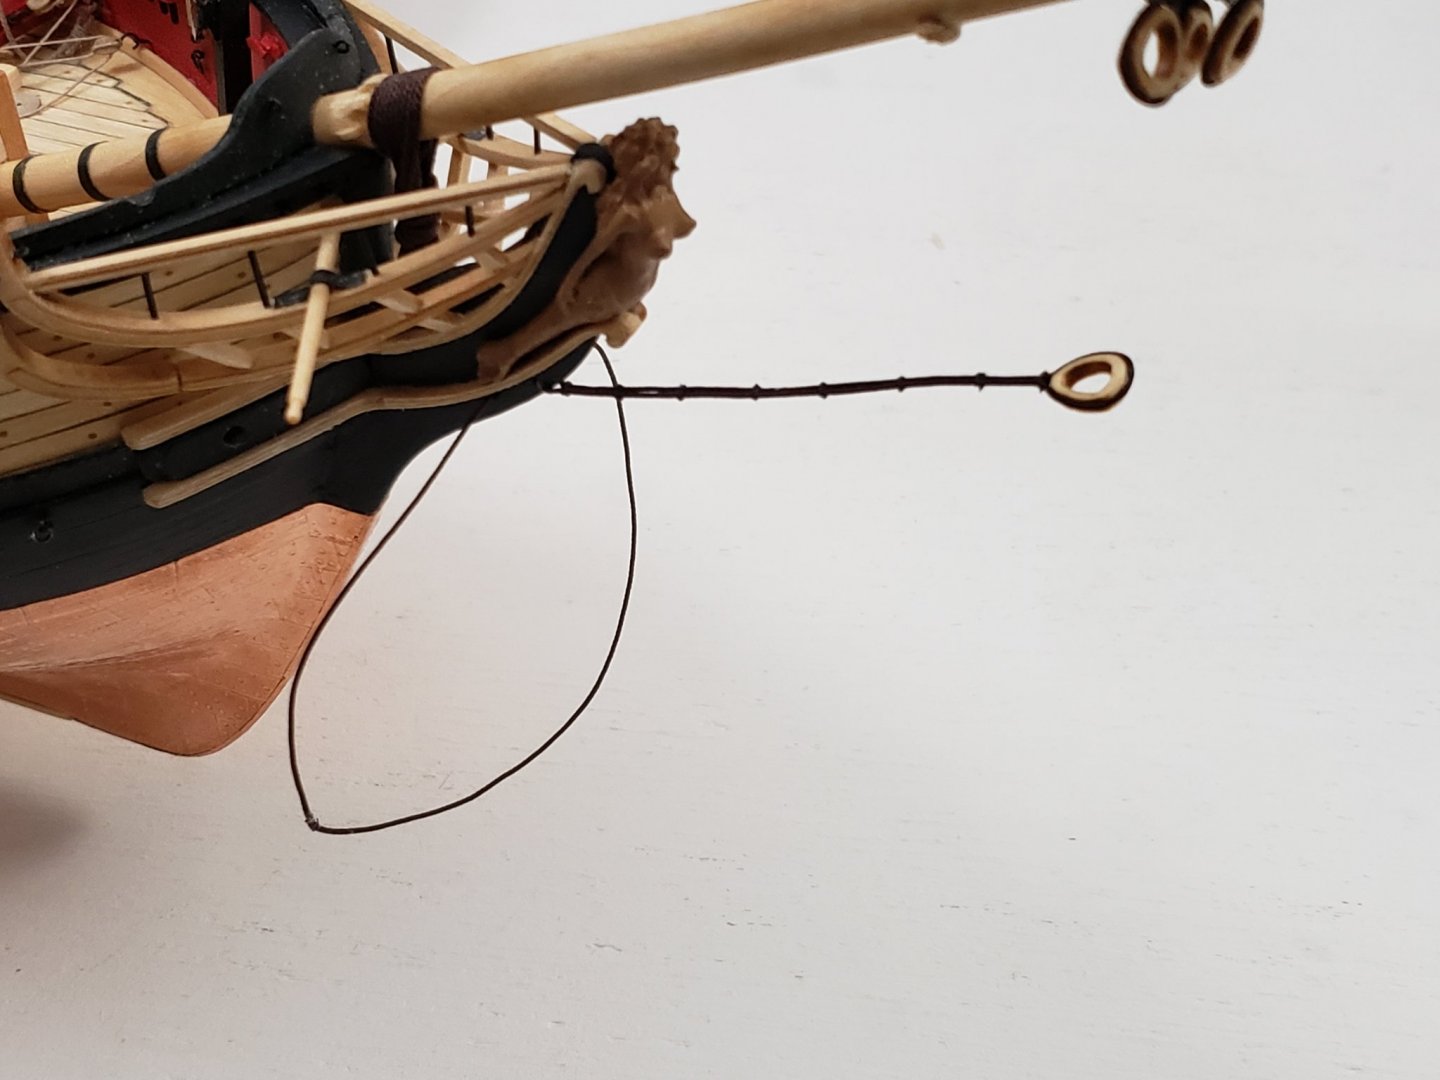
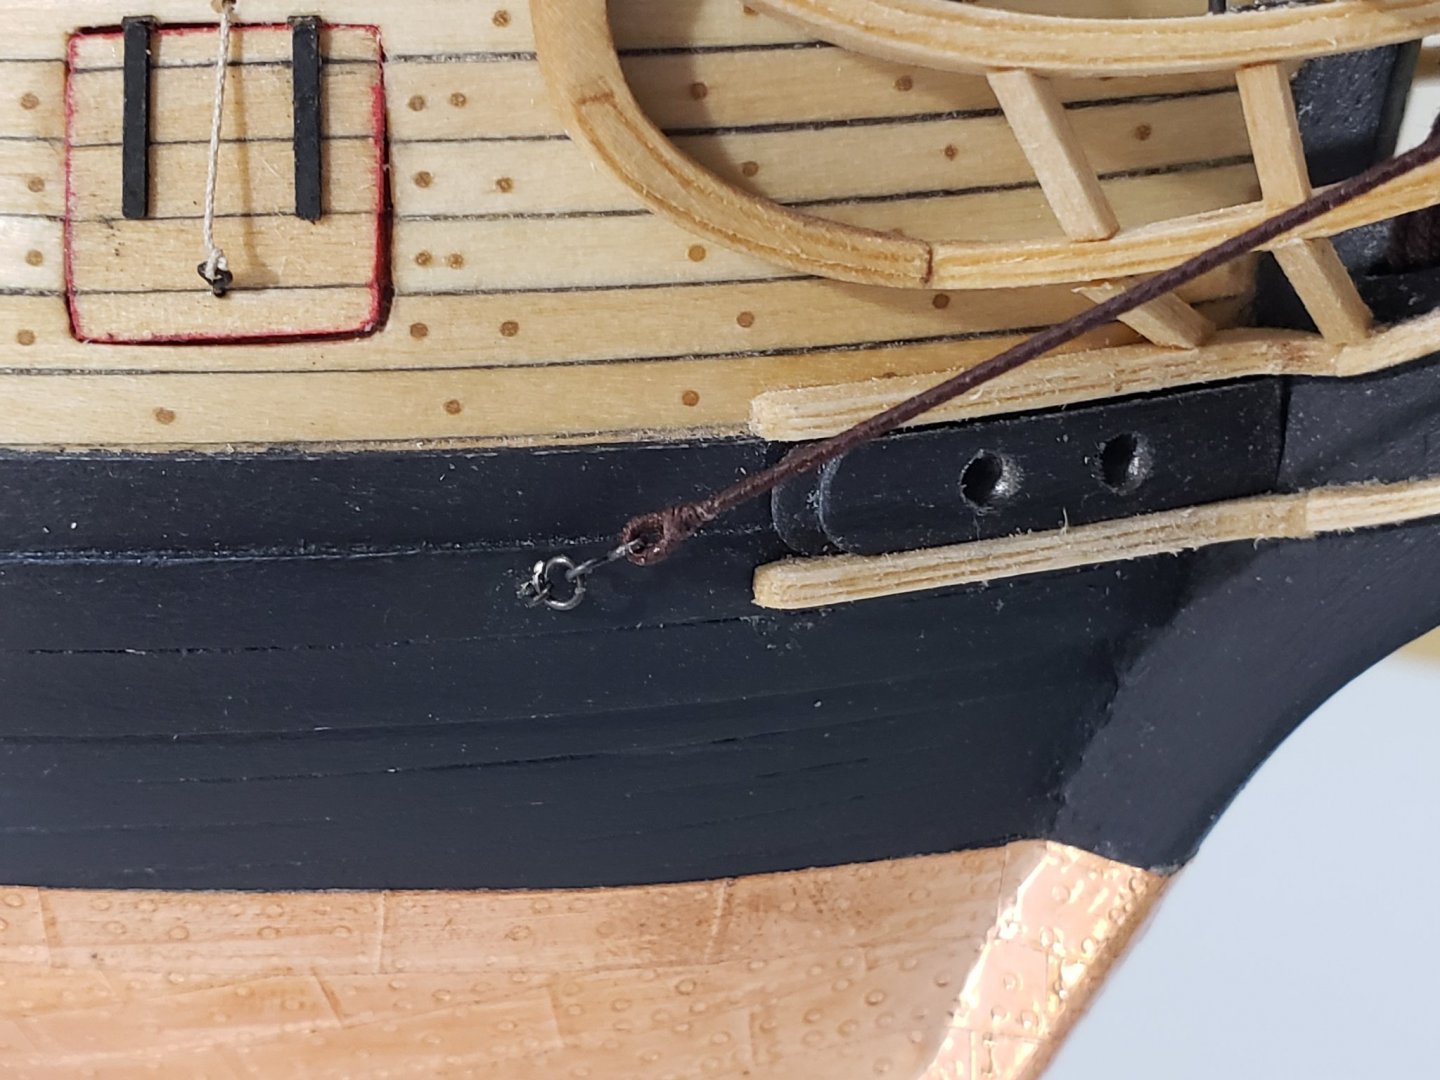
Many thanks Thomas!! And thanks all for the likes as well 😄 I finished installing the bobstays and bowsprit shrouds. From what I gather, these two were server for their entire length. For the bobstays, the line was looped through the hole in the stem, and the splice was located between the stem. I used 50 wt dark brown thread to make the knots (2 granny knots in each location). I was not 100% sure on how to lash the hearts, so first I tied the loose end to the one next to it with very fine silk thread. After making a couple of these I found it looks better without it, so from now I'll just glue the loose end to the heart instead. It'll give a nice clean finish. Anyways, enough ramble, some pics! Next are the martingale stays. No idea how I'll lash these to the eyebolts deep inside the railing web, but let's see how it goes! Also a bit nervous of threading it in the fairlead... Another note: The dolphin striker is the most annoying piece yet, I keep knocking it out with my clumsy hands as I work on the rigging. I can't wait to get that thing rigged....... I must have glued it back like 10 times now!! (I think it's like 5 times, but feels like 10.....)


- 950 replies
-
- 11
-
-
- syren
- model shipways
- (and 1 more)