.jpg.1f80adf1a9b14a937cfcf2ca6af0f0d4.jpg)
WalrusGuy
-
Posts
1,011 -
Joined
-
Last visited
Content Type
Profiles
Forums
Gallery
Events
Everything posted by WalrusGuy
-
.thumb.jpg.62d1d69fed1f32364417cb1f9cdeb009.jpg) Thank you Mark, and welcome! I have been following your Rochefort build for a few months now, and am amazed at how perfect your work is. It's great to have you on board! Ahhh thanks Vahur! I feel relieved now that it should not matter if they are not completely symmetric. I found using a sharp X-acto blade helps in cutting out the notches neatly. Just wished the tolerances were nicer for the wood. Some of the strips are completely different in terms of sizing and color. I did not think about planking around glued hatches, but was wondering maybe it is better to glue them in after (since we can align the planks nicely to the neighboring planks)? I will make the sweep port hatches once I finish planking till the top. And thanks again for the compliments!
Thank you Mark, and welcome! I have been following your Rochefort build for a few months now, and am amazed at how perfect your work is. It's great to have you on board! Ahhh thanks Vahur! I feel relieved now that it should not matter if they are not completely symmetric. I found using a sharp X-acto blade helps in cutting out the notches neatly. Just wished the tolerances were nicer for the wood. Some of the strips are completely different in terms of sizing and color. I did not think about planking around glued hatches, but was wondering maybe it is better to glue them in after (since we can align the planks nicely to the neighboring planks)? I will make the sweep port hatches once I finish planking till the top. And thanks again for the compliments! -
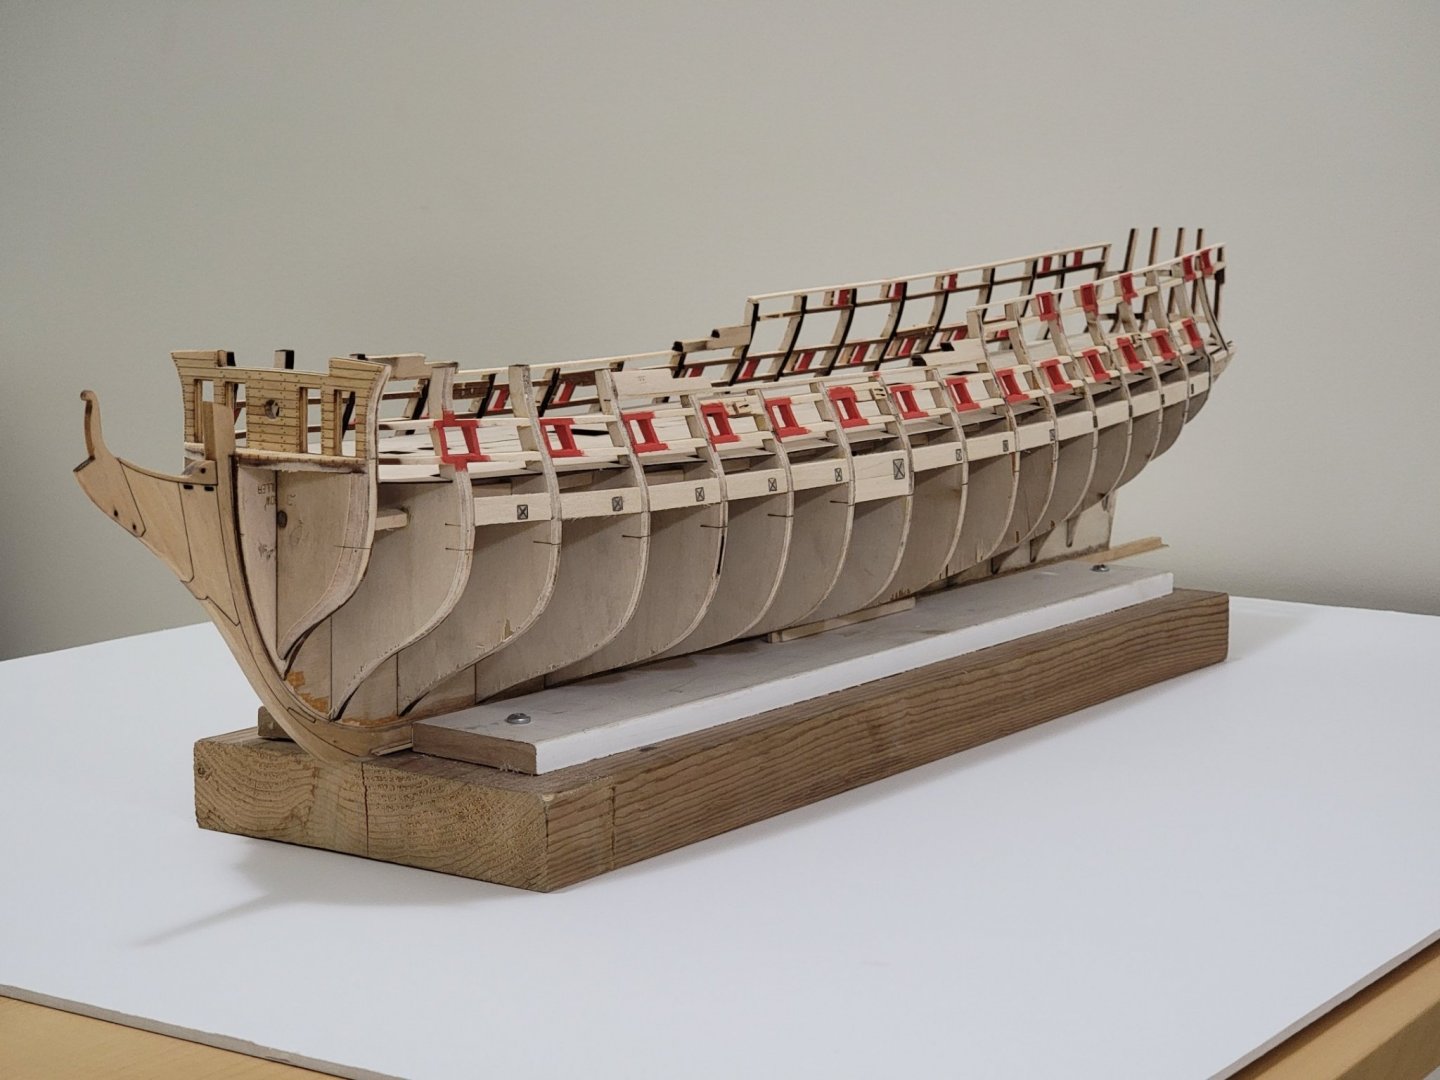
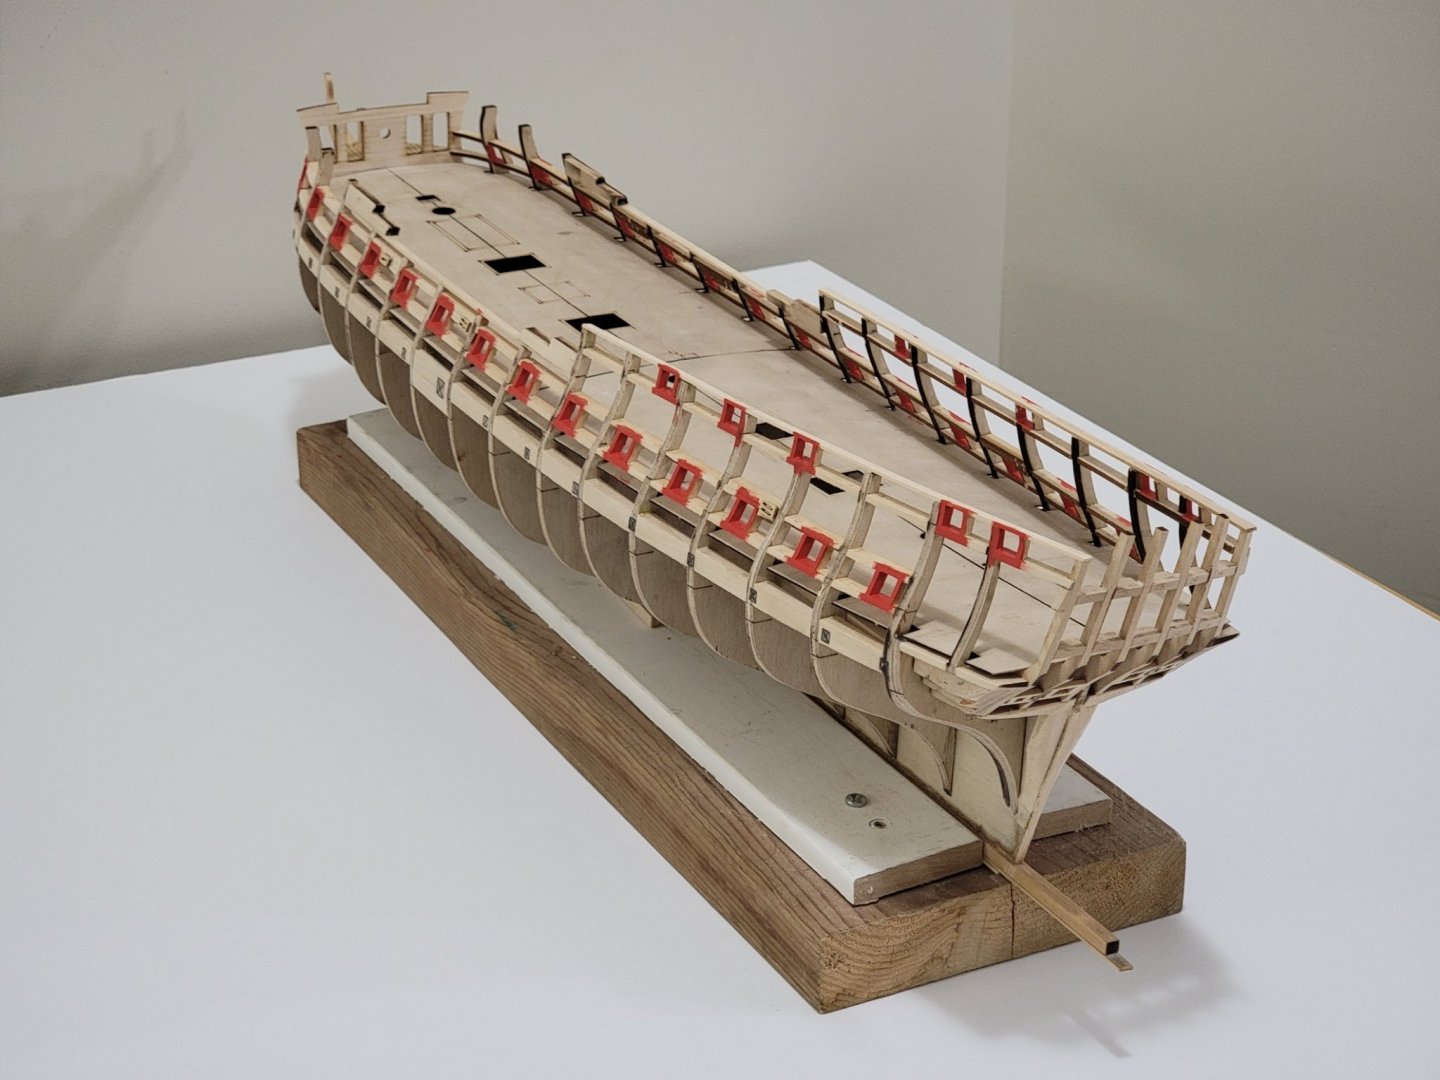
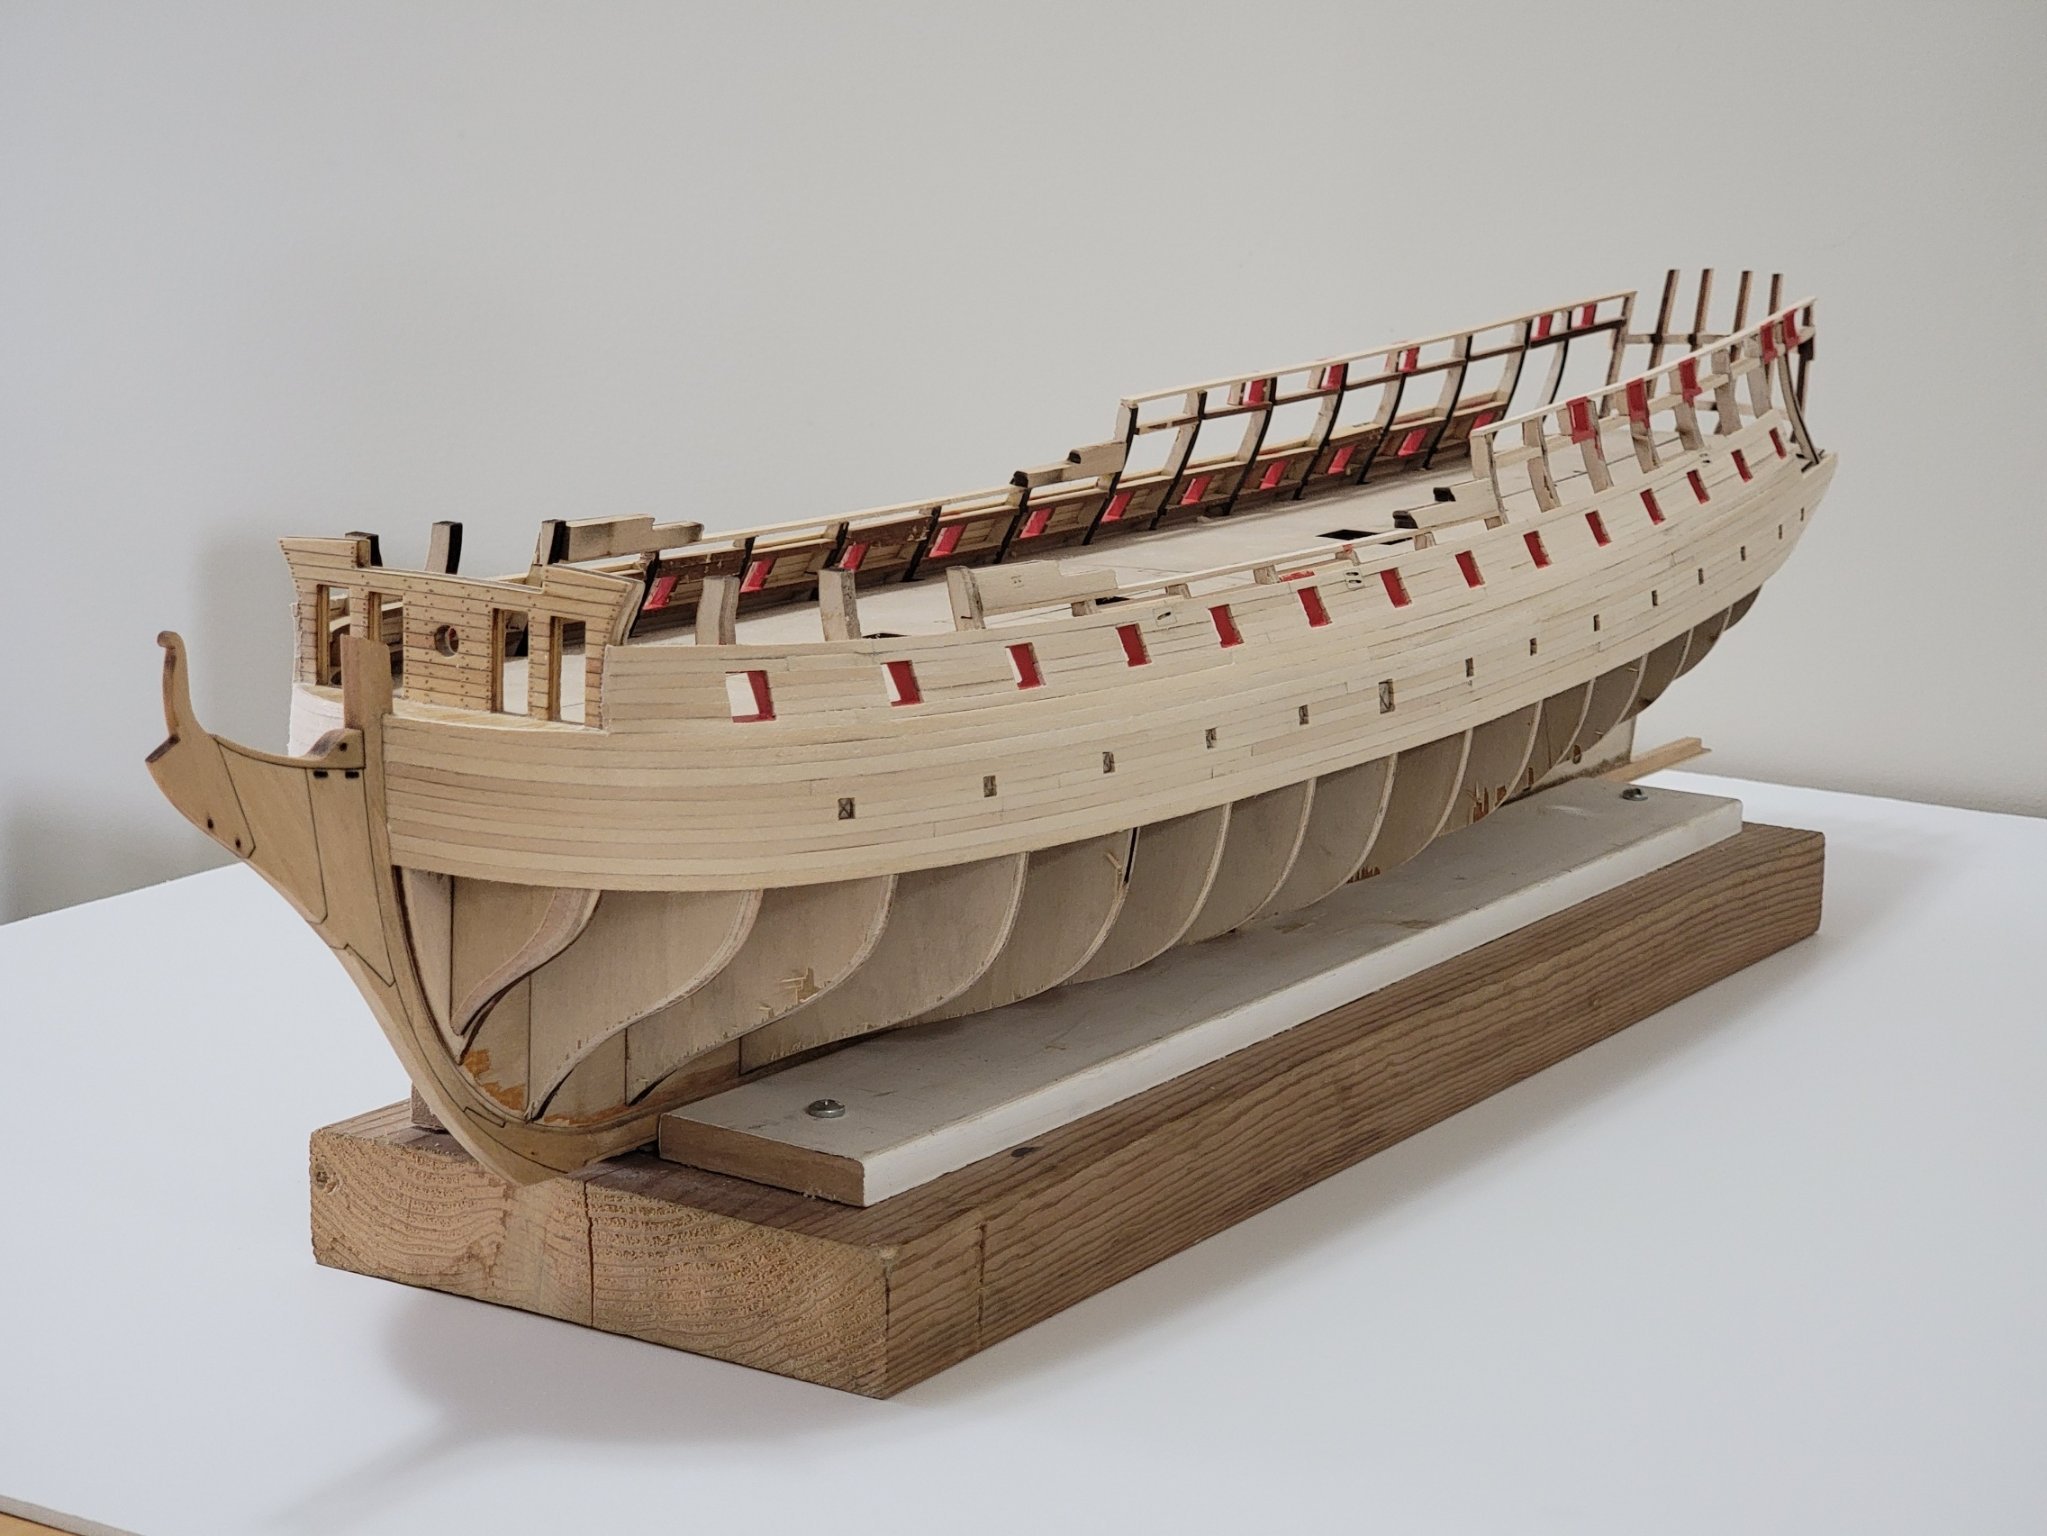
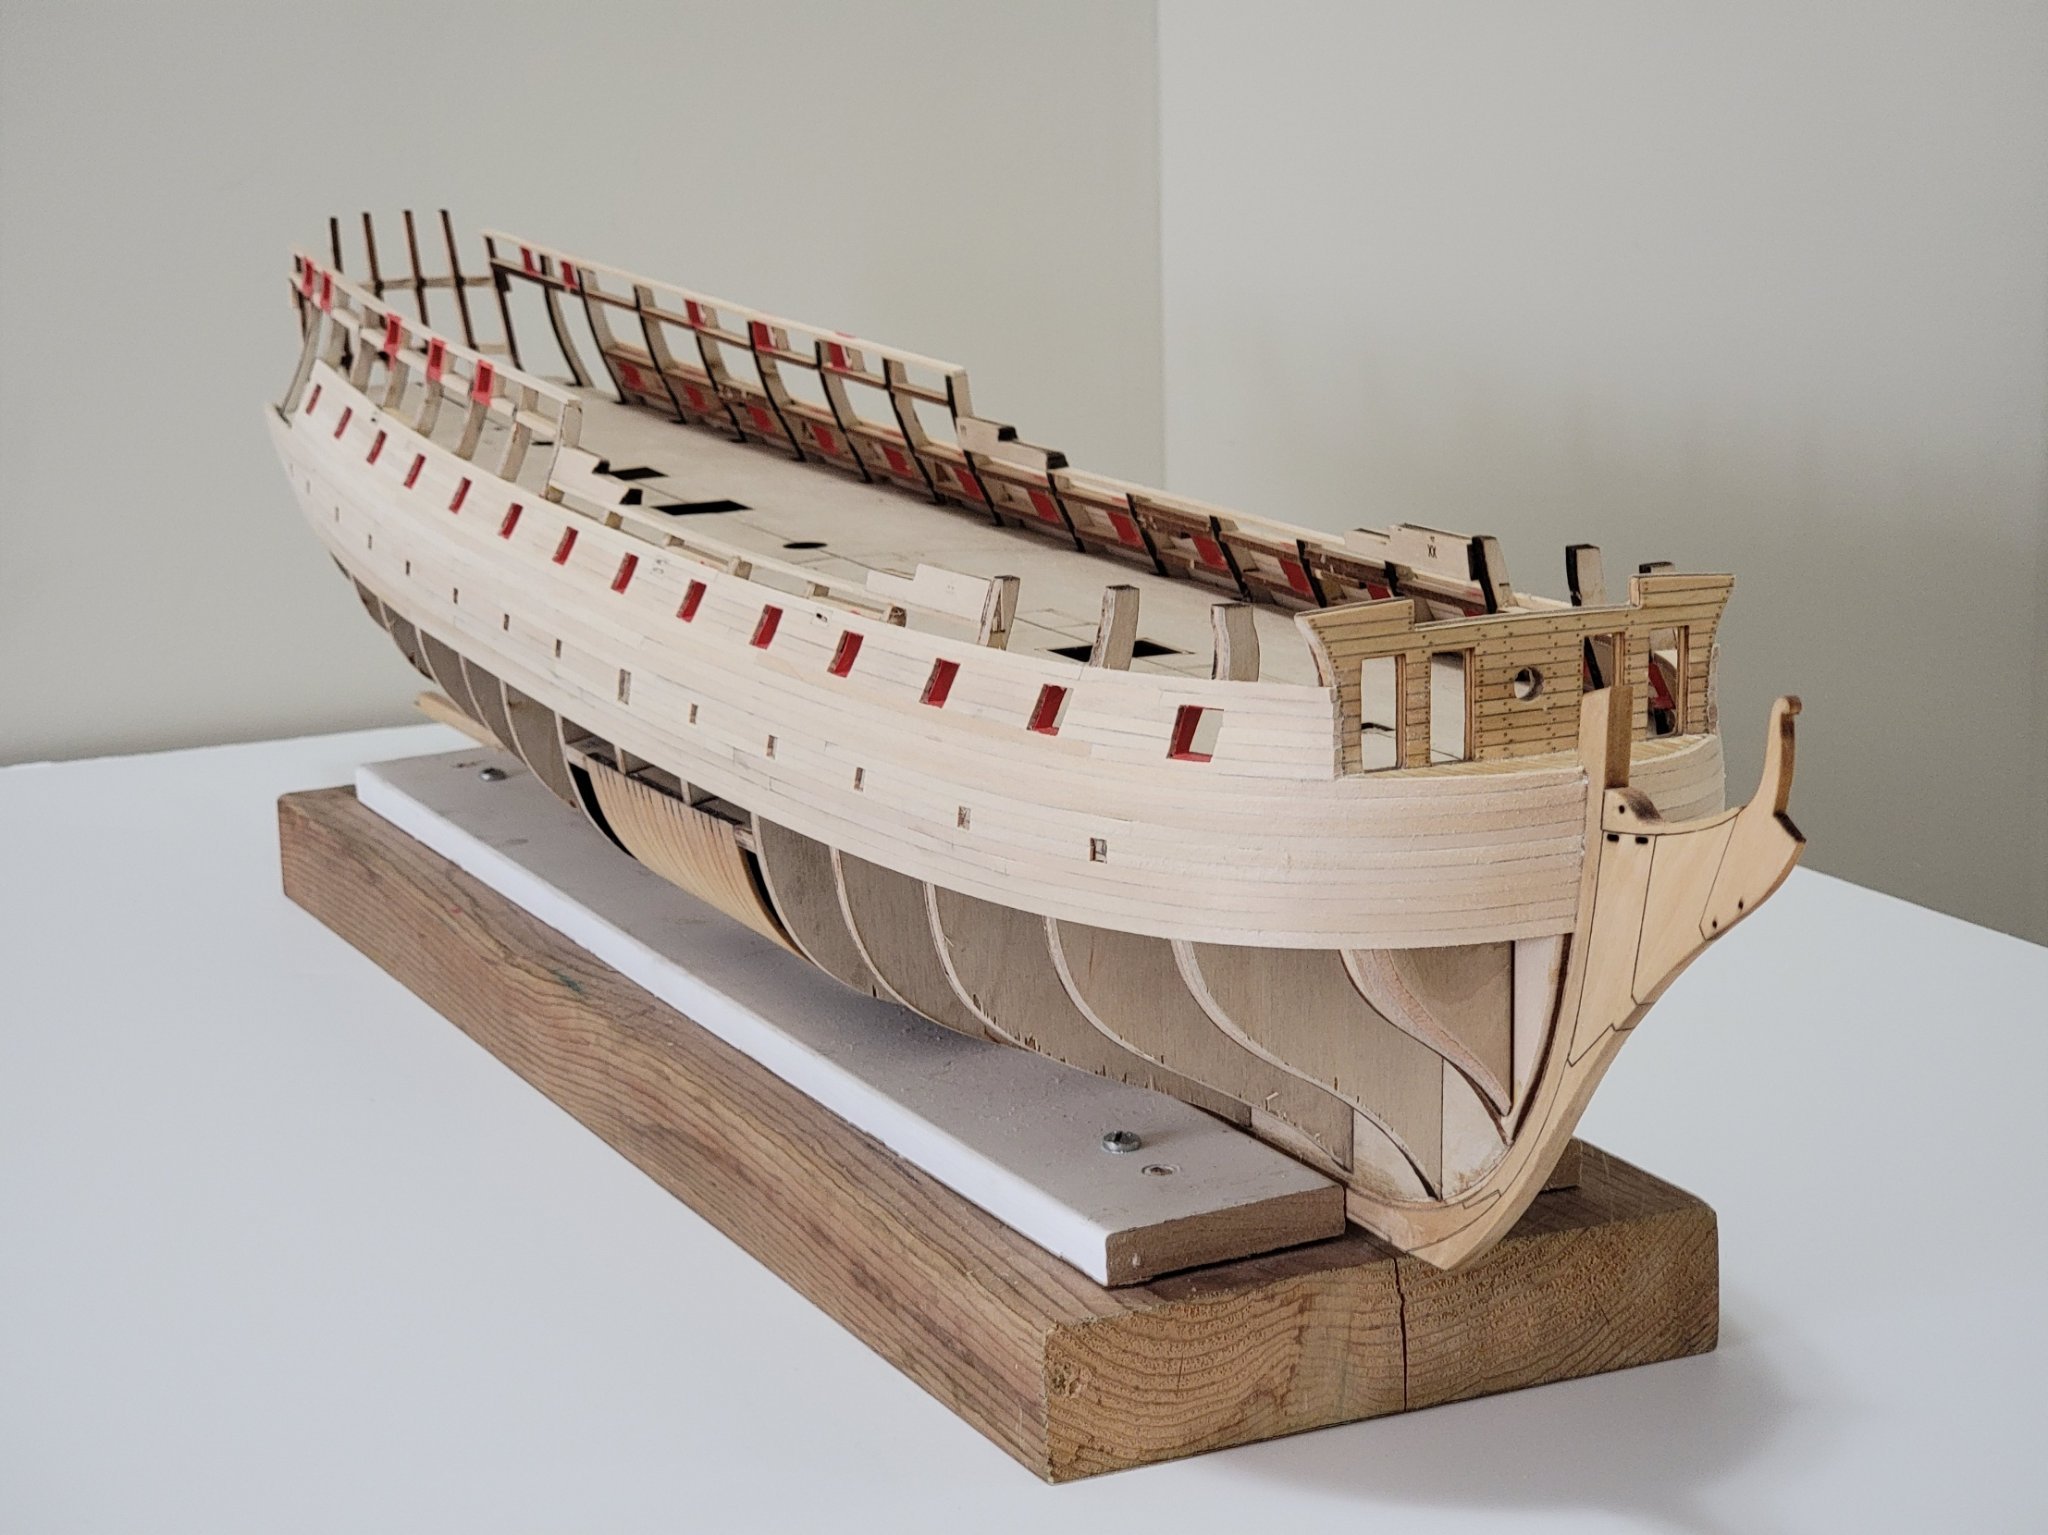
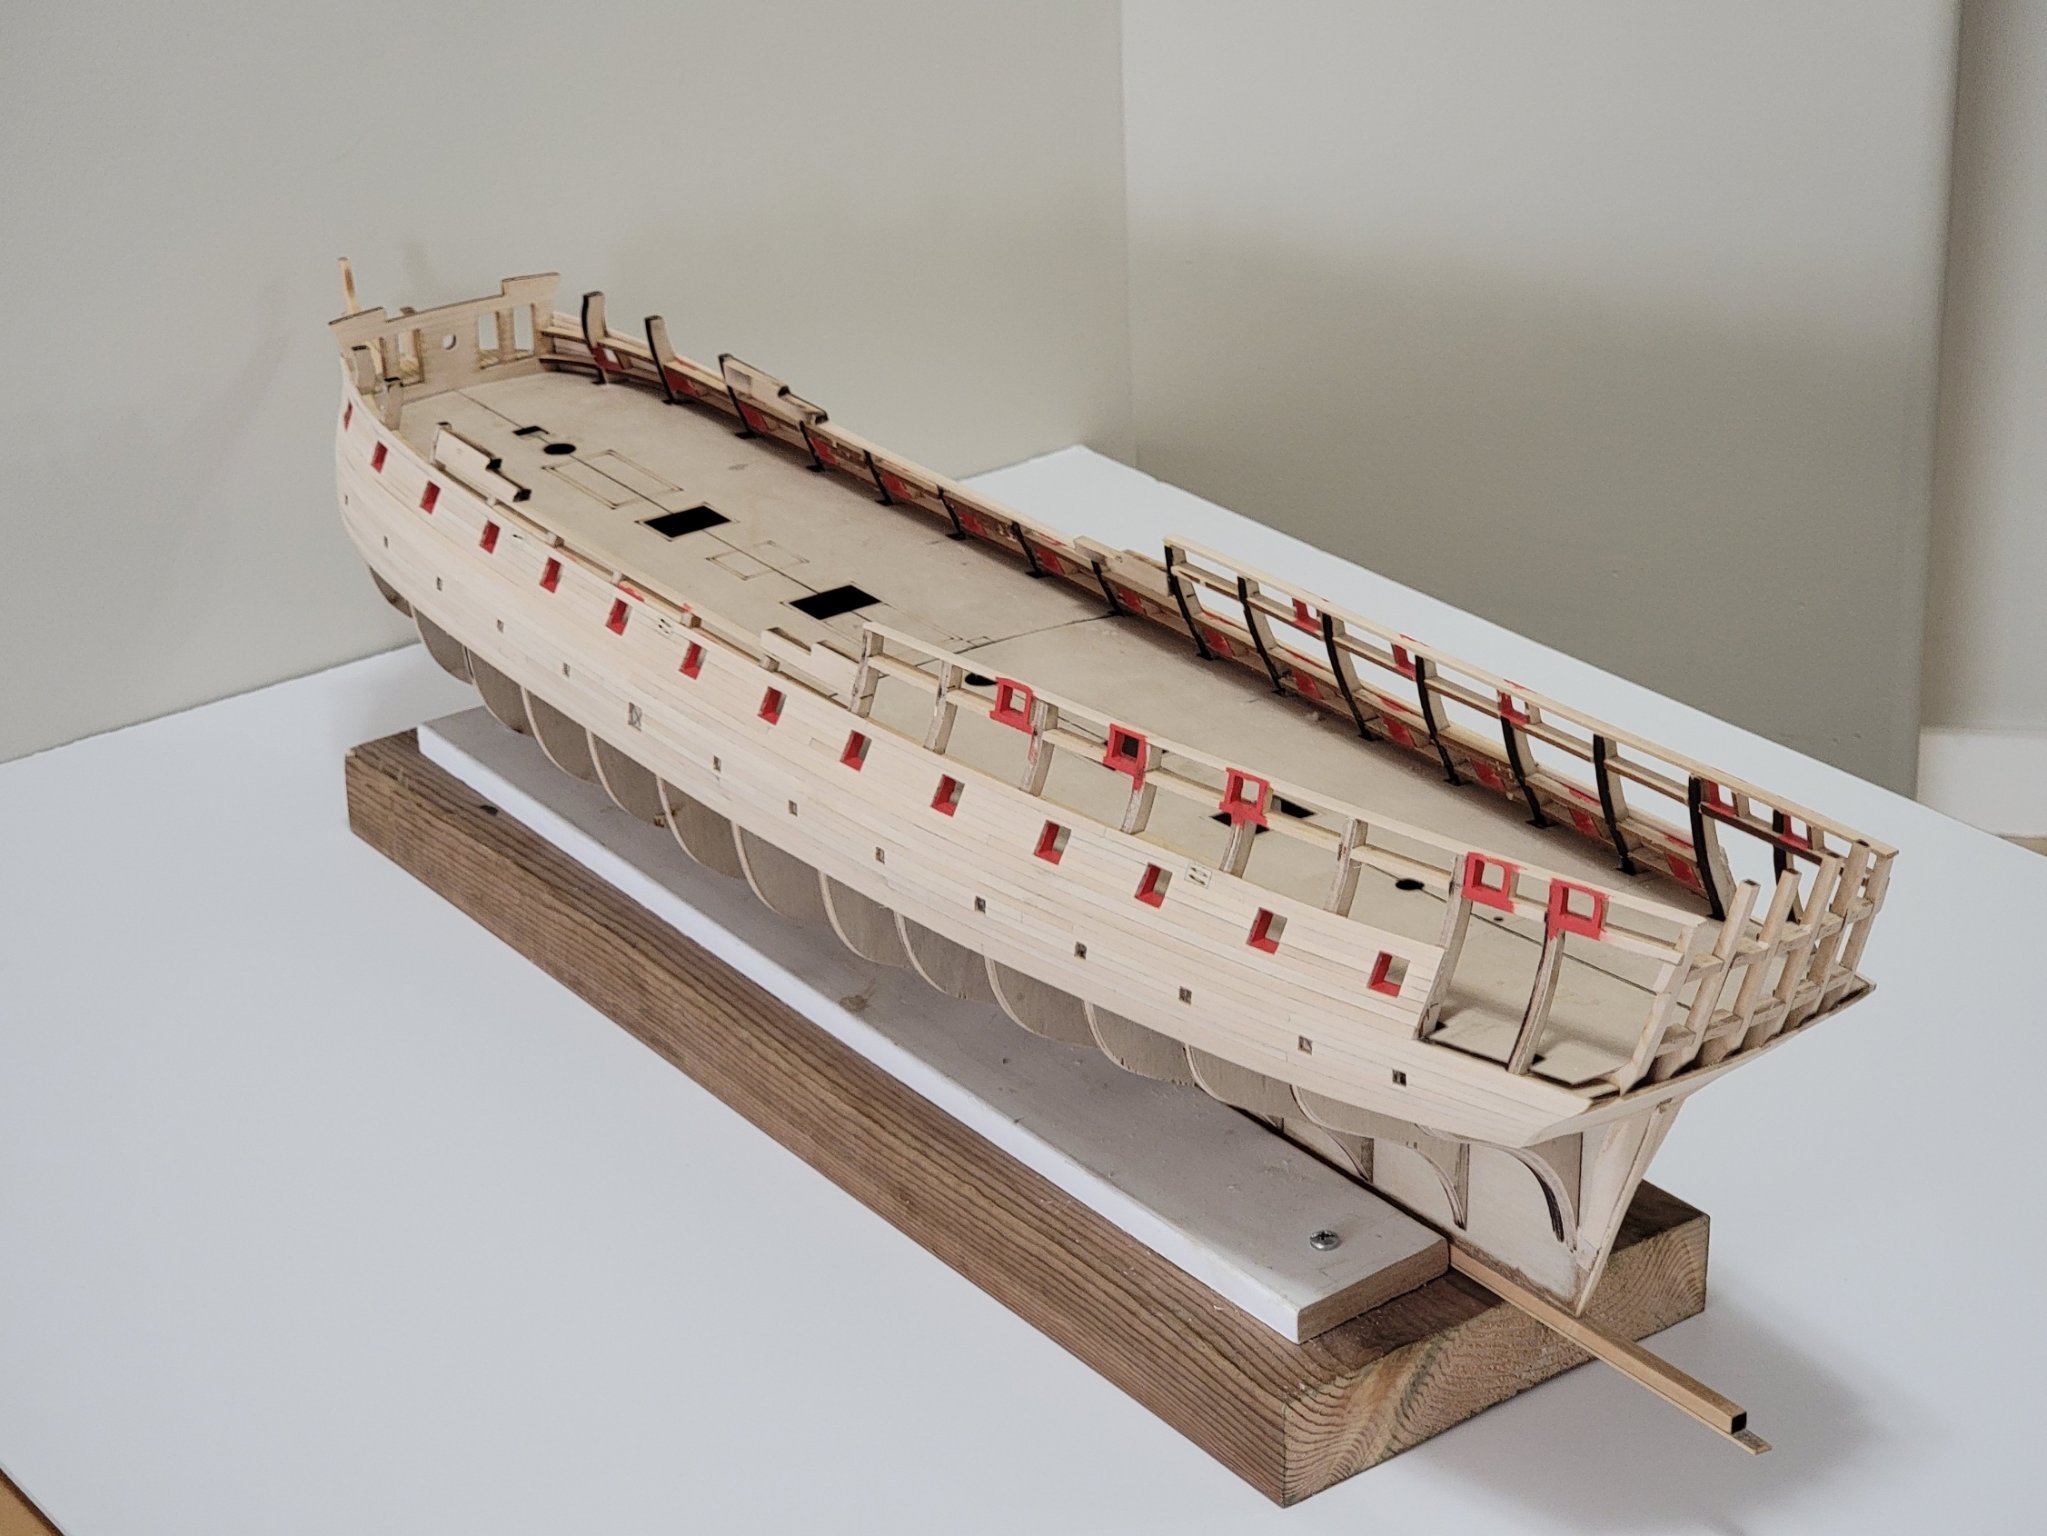
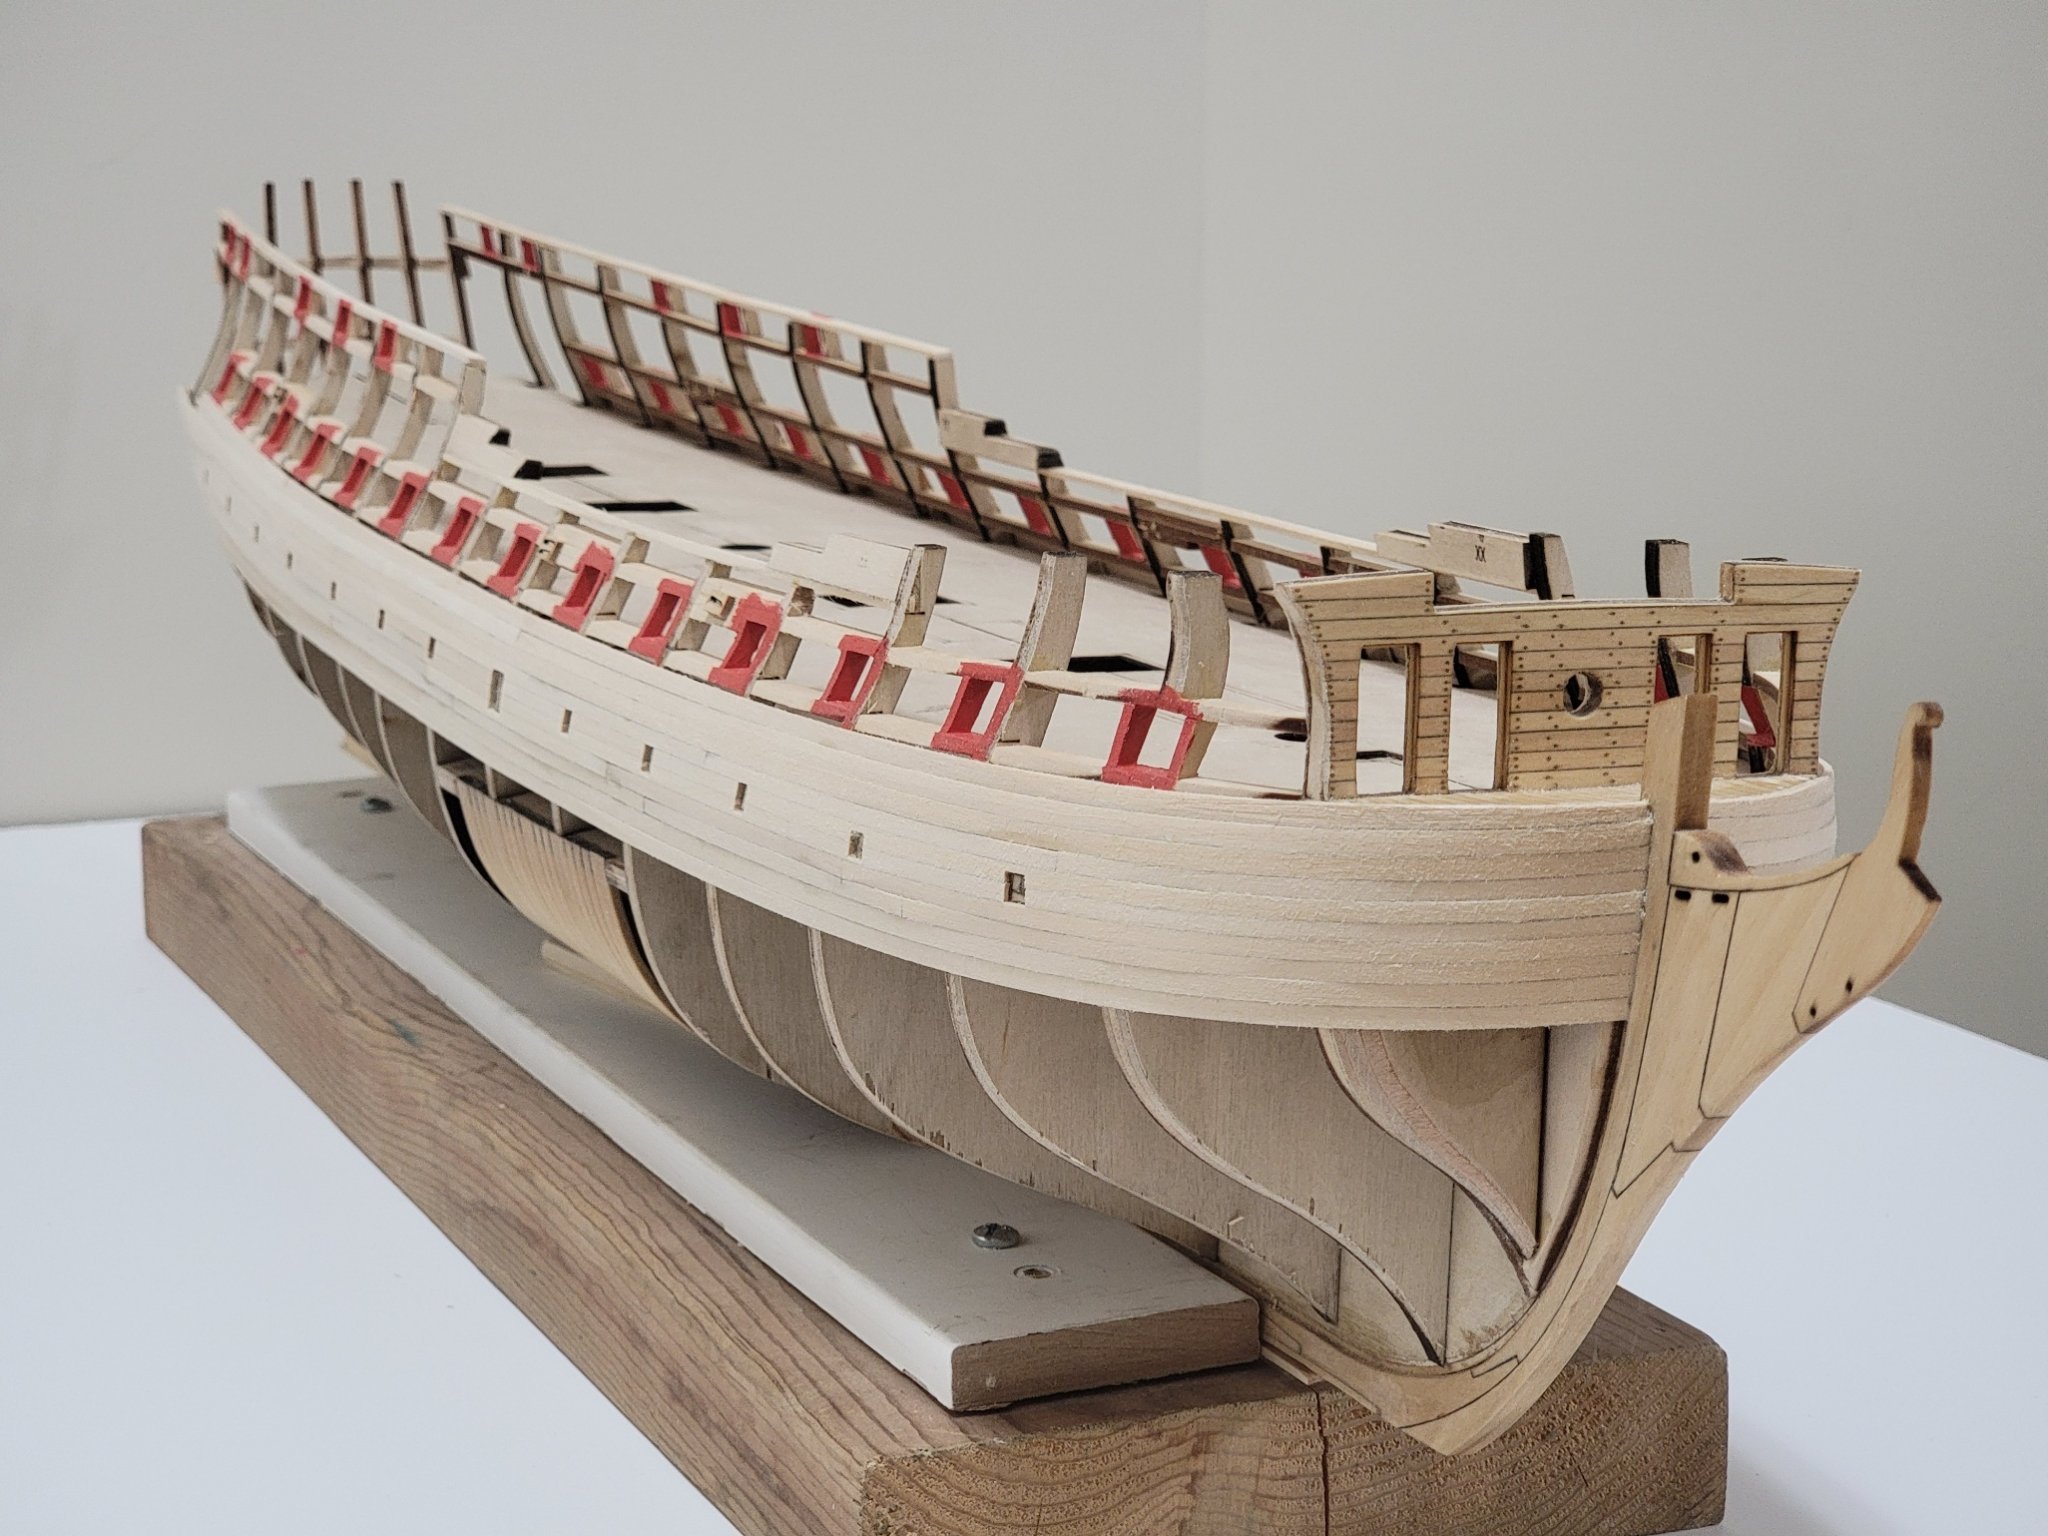
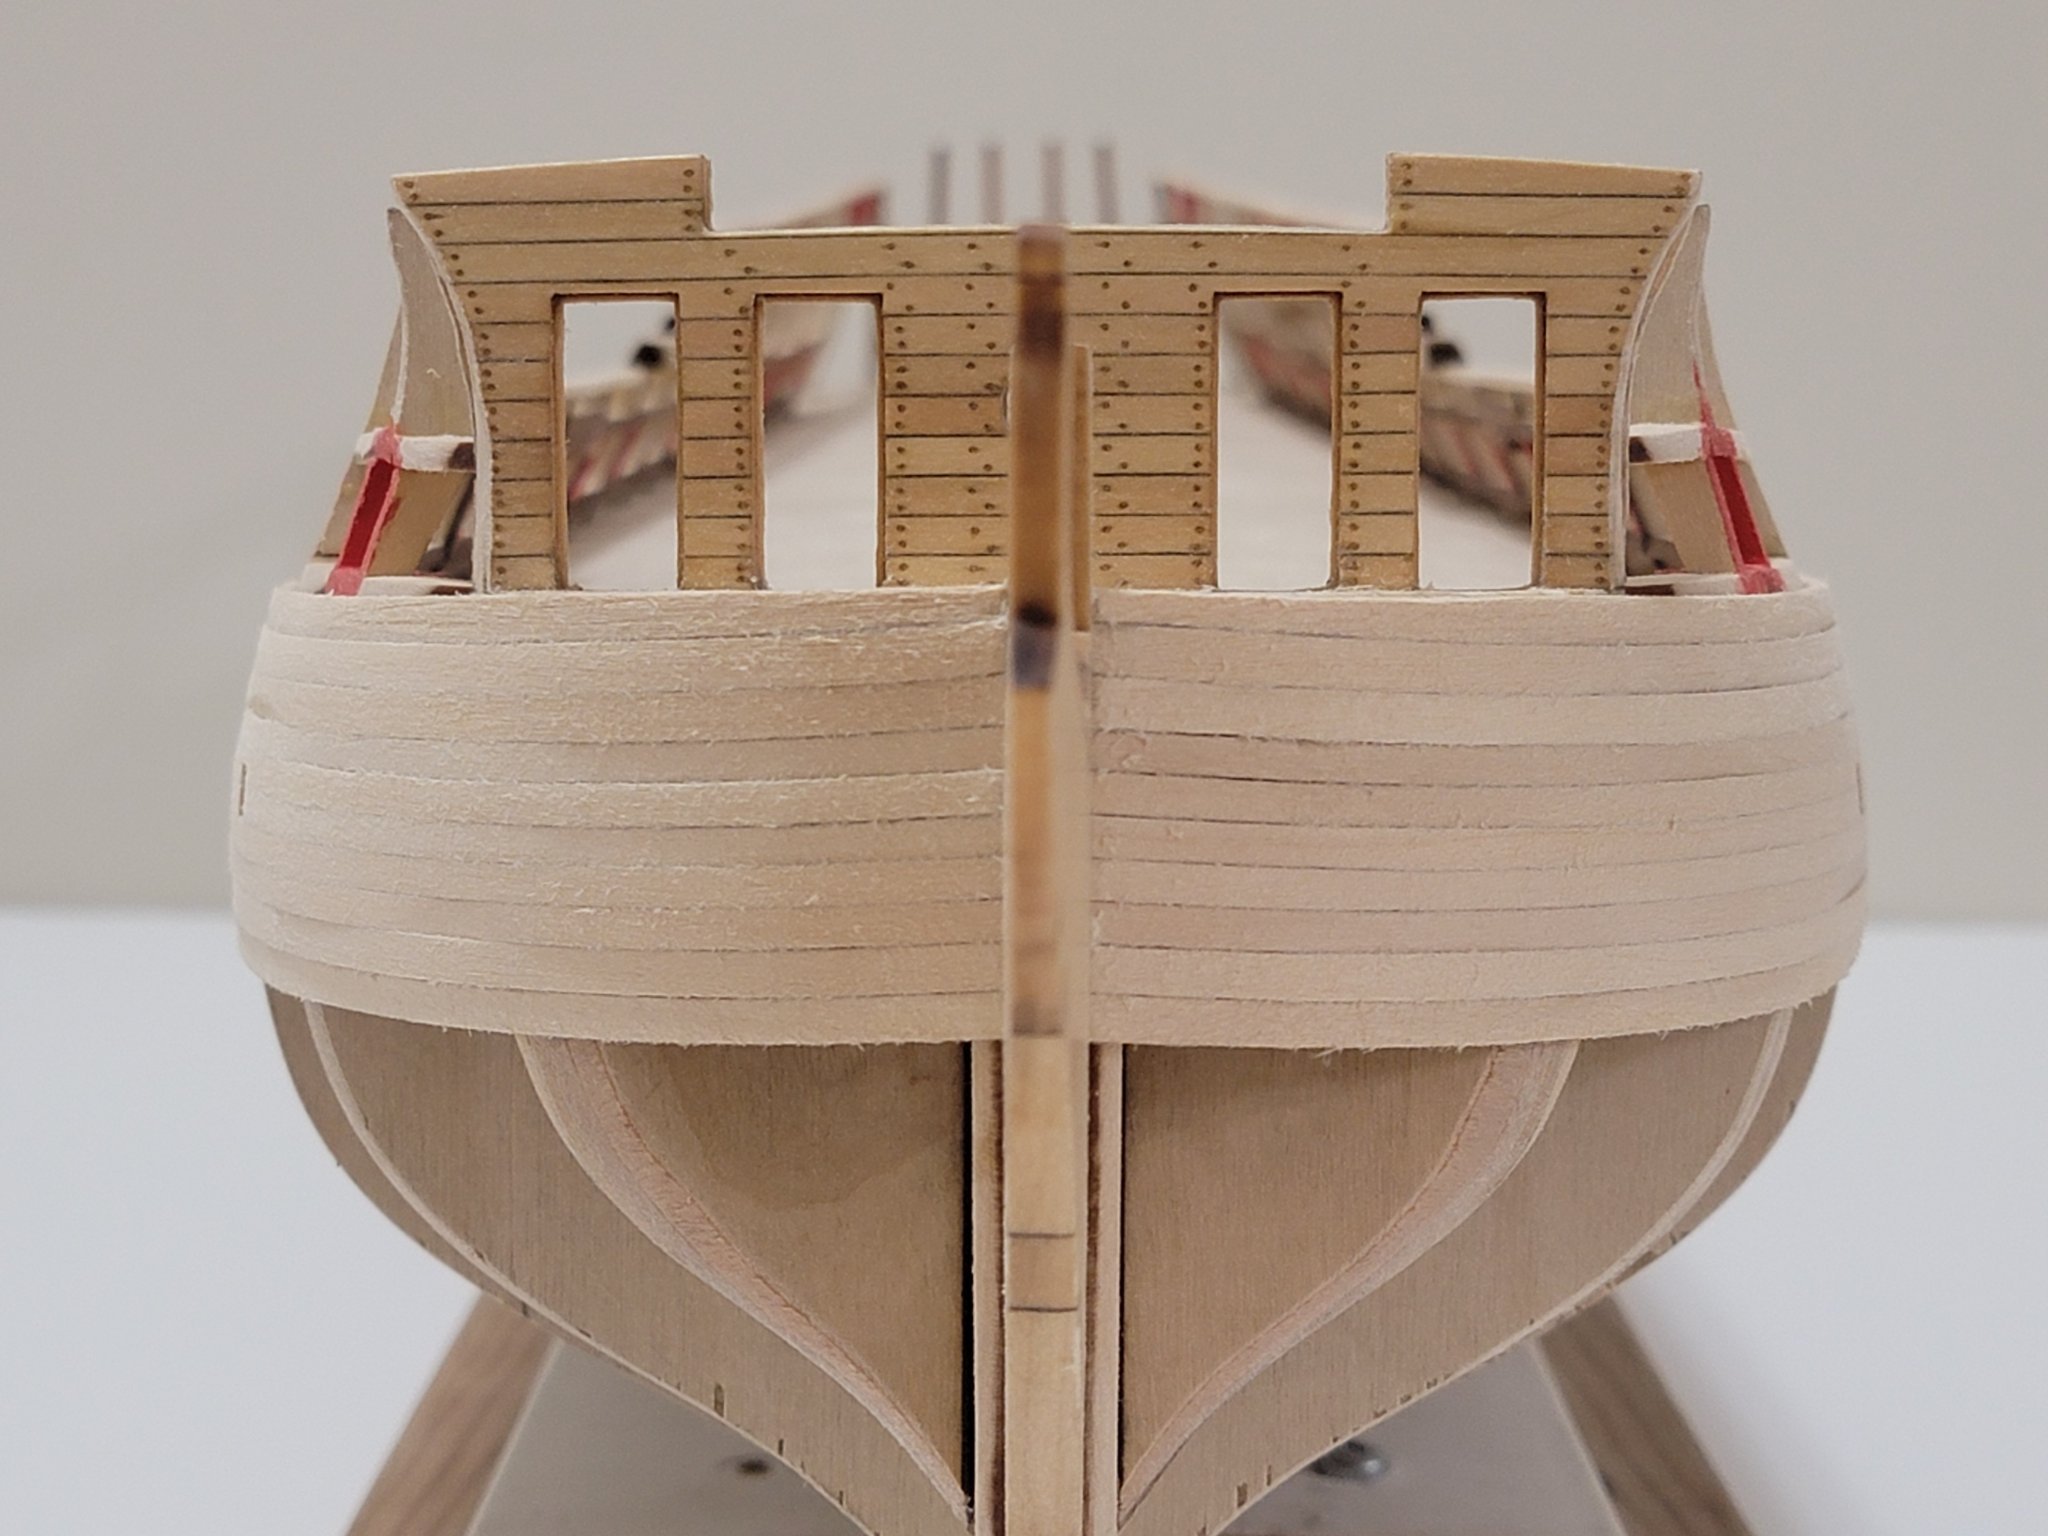
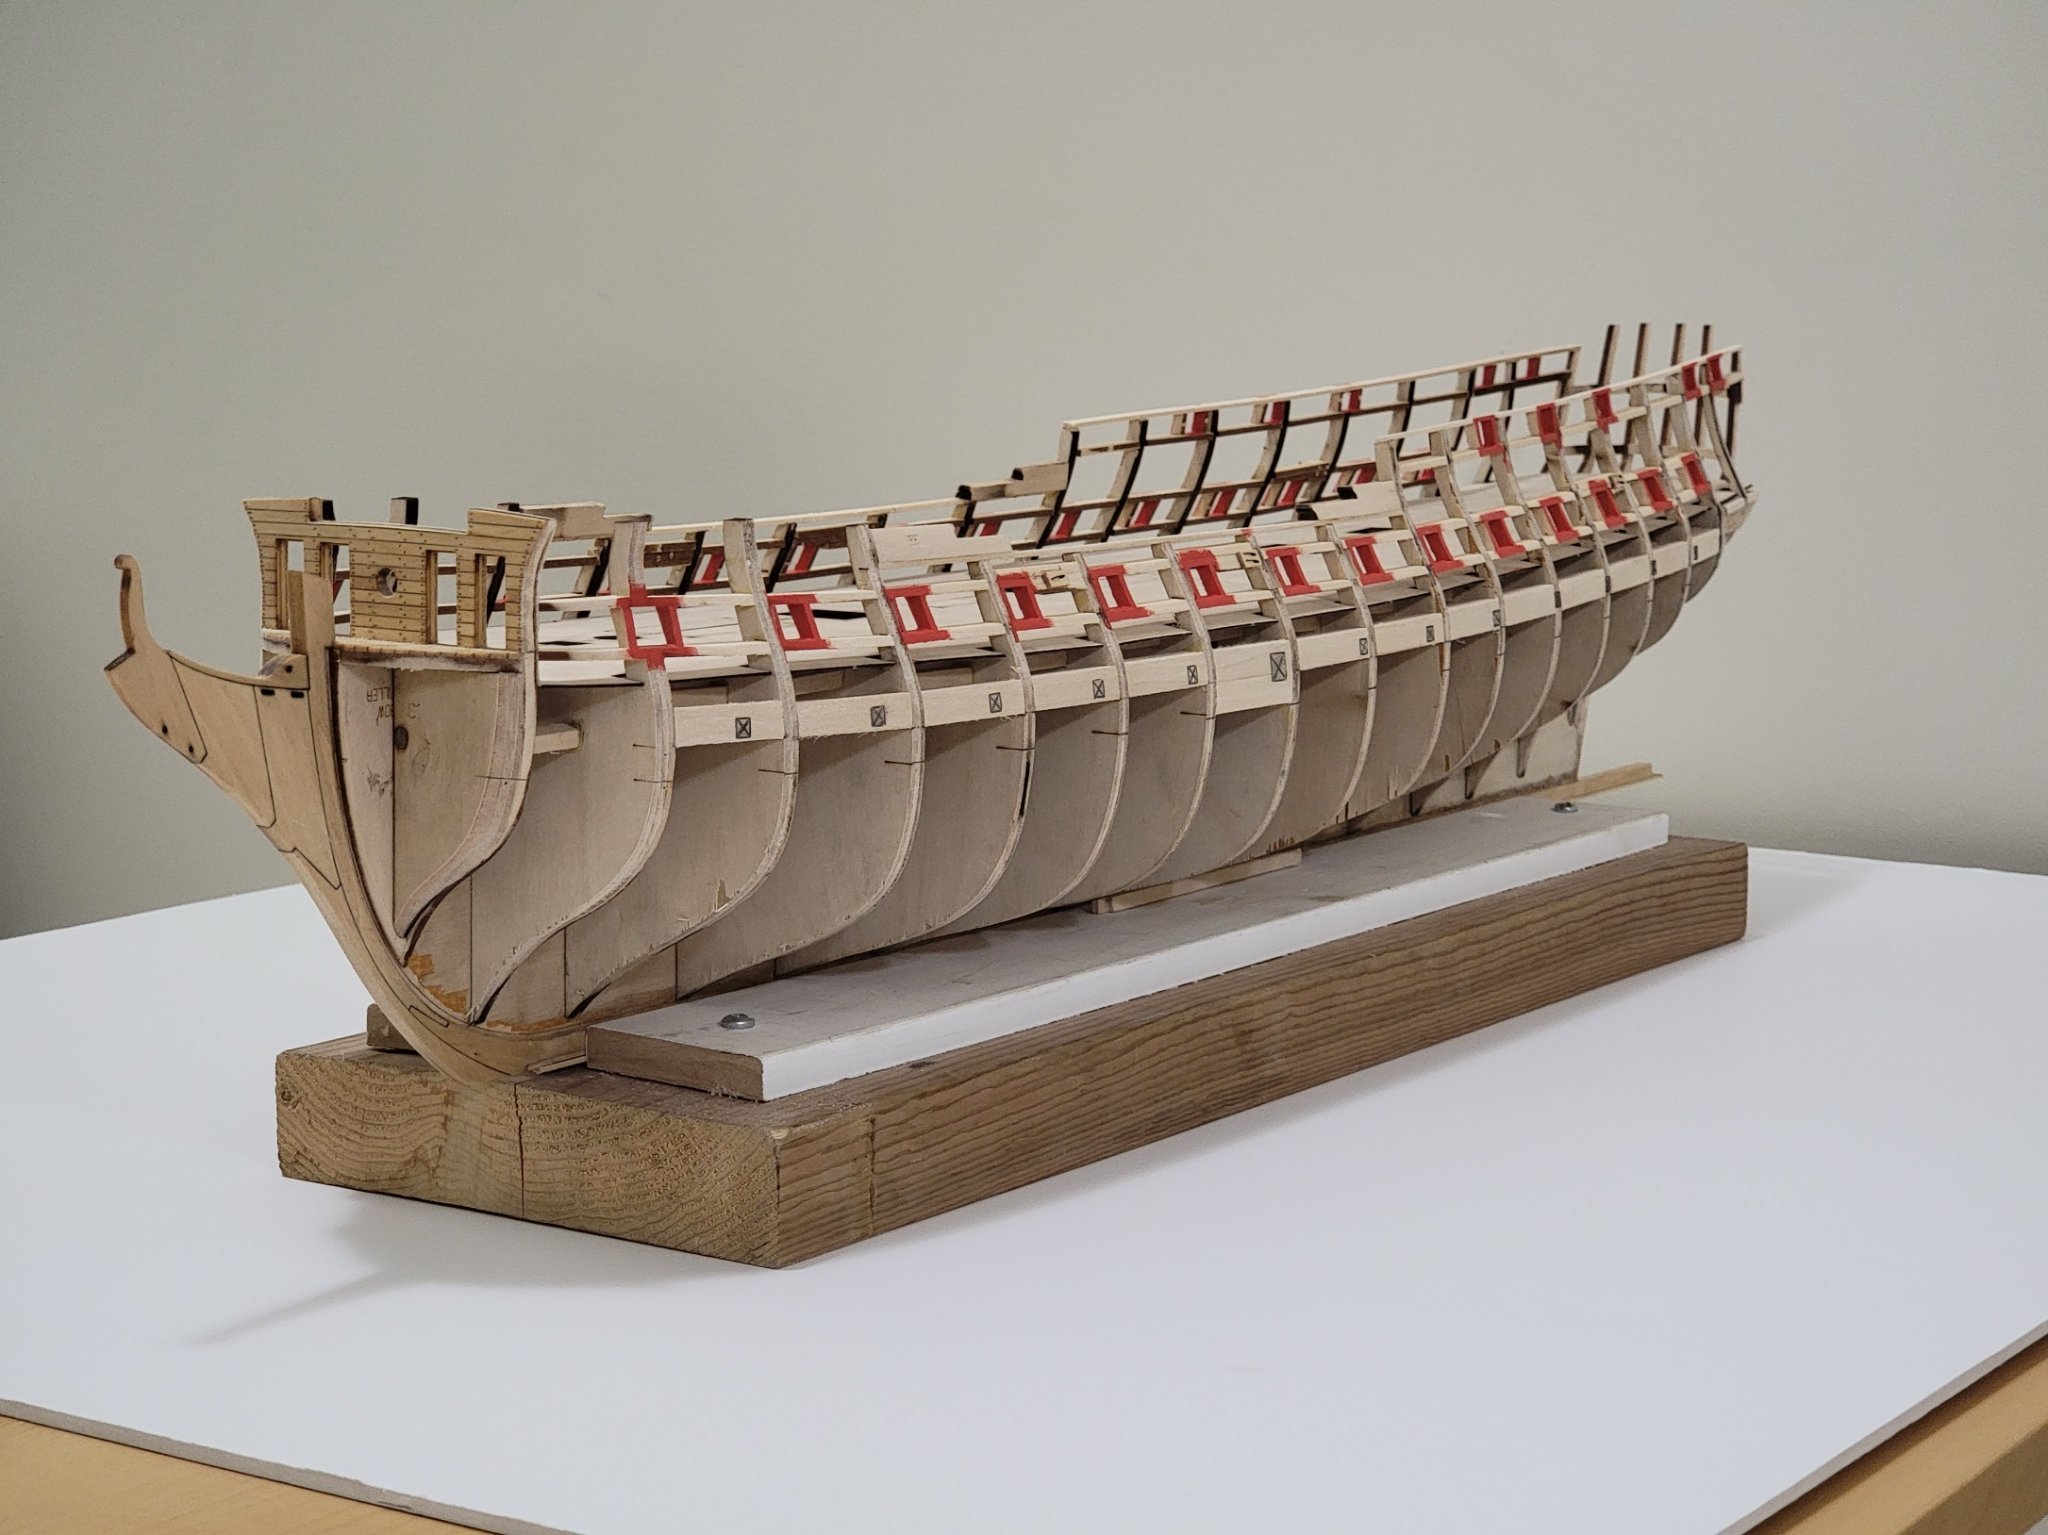
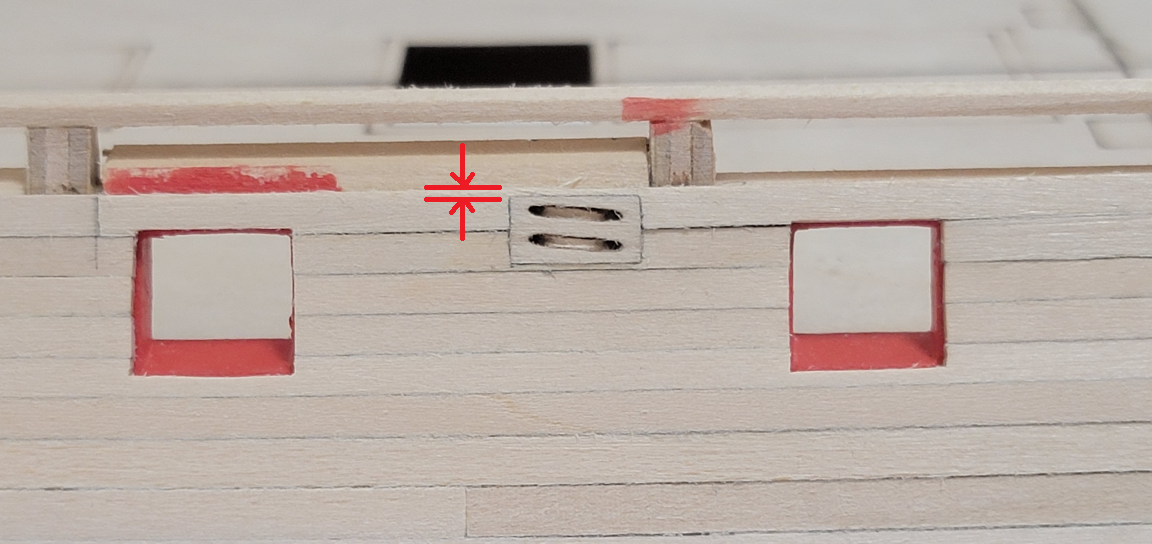
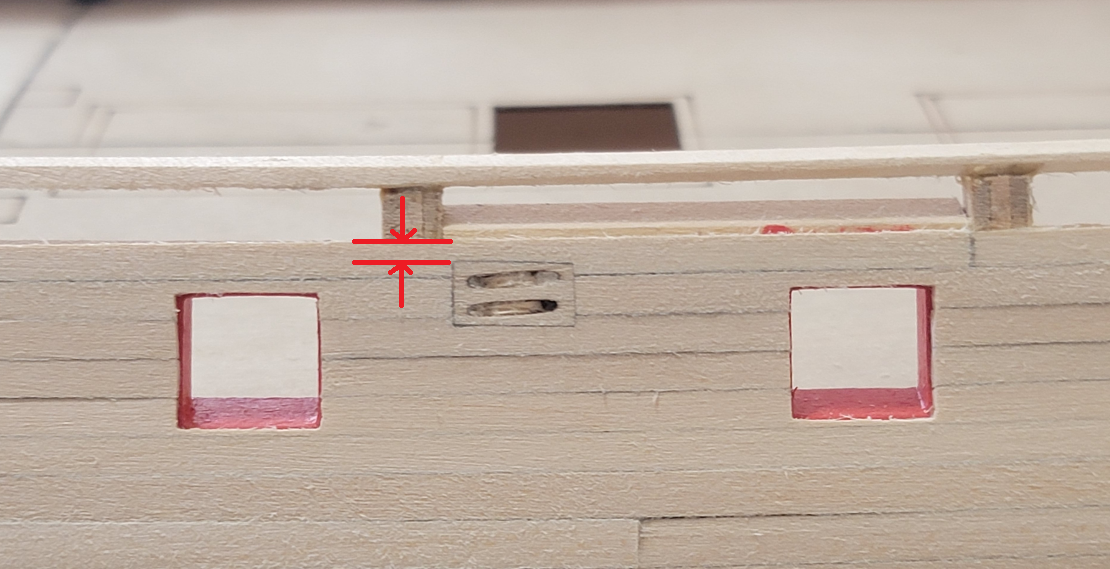
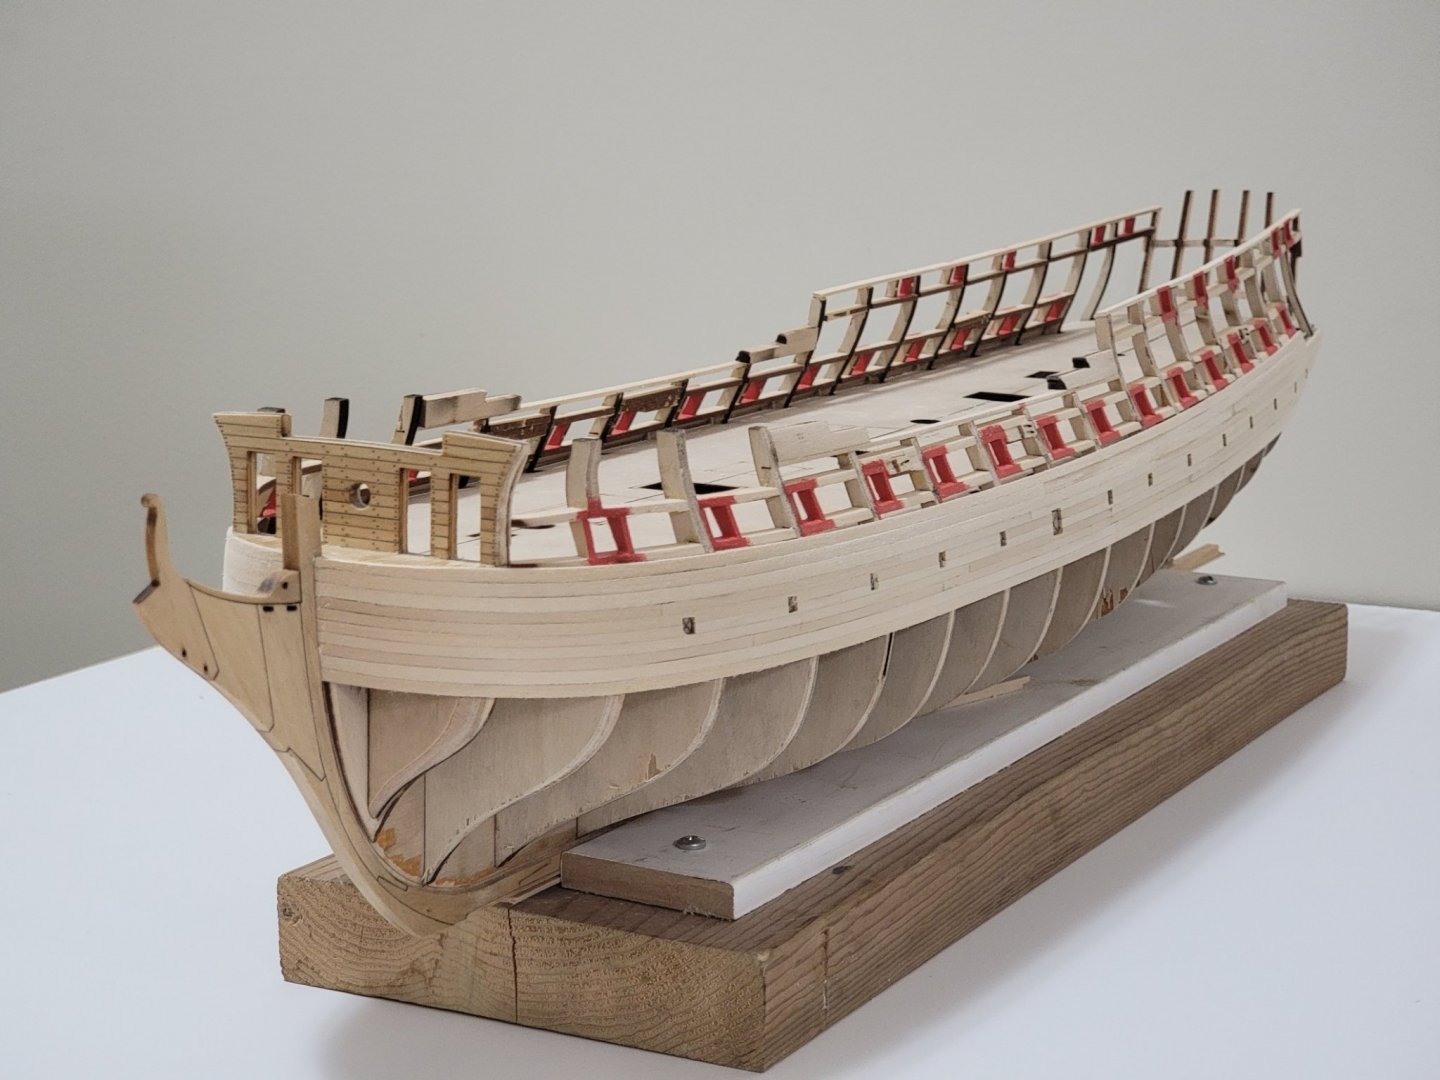
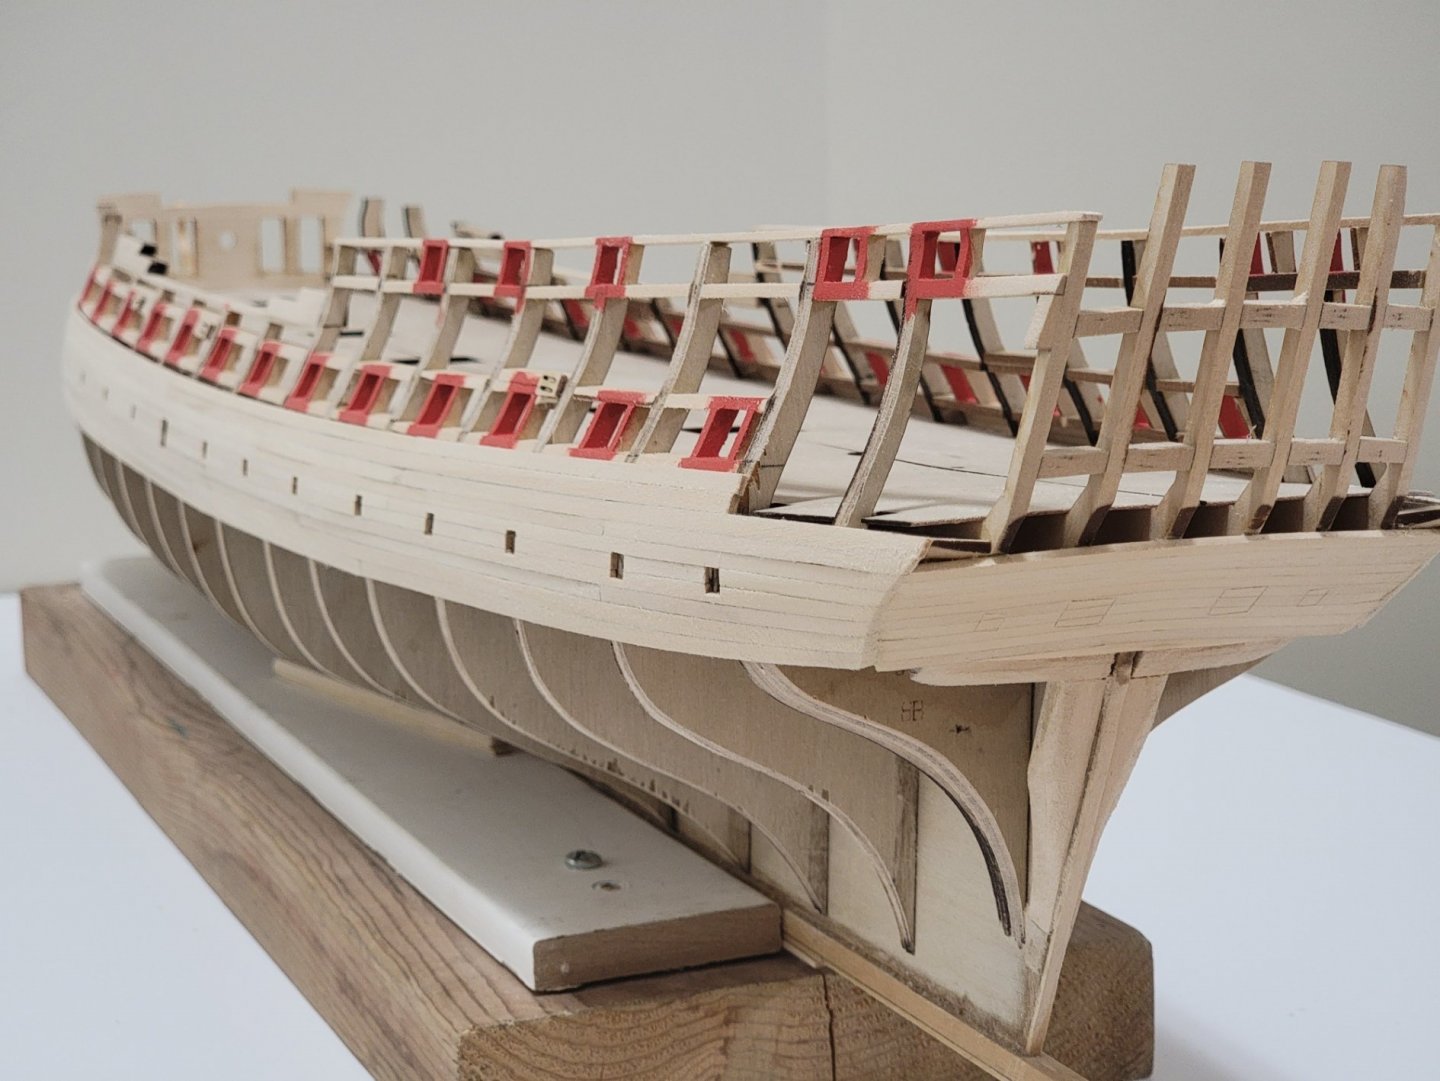
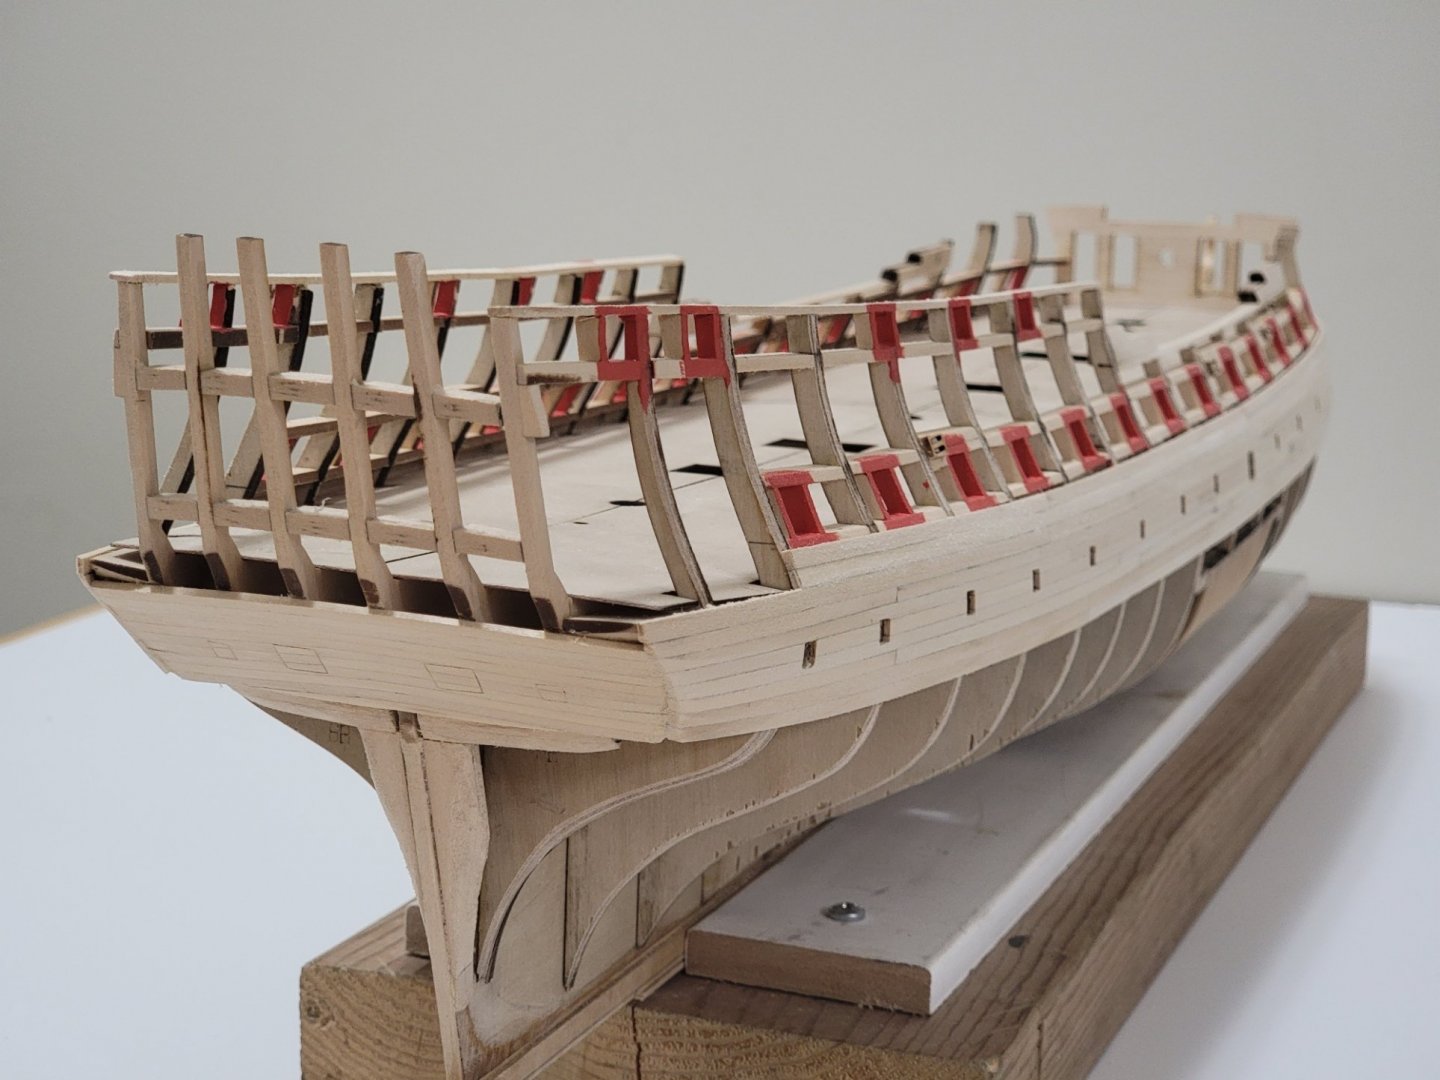
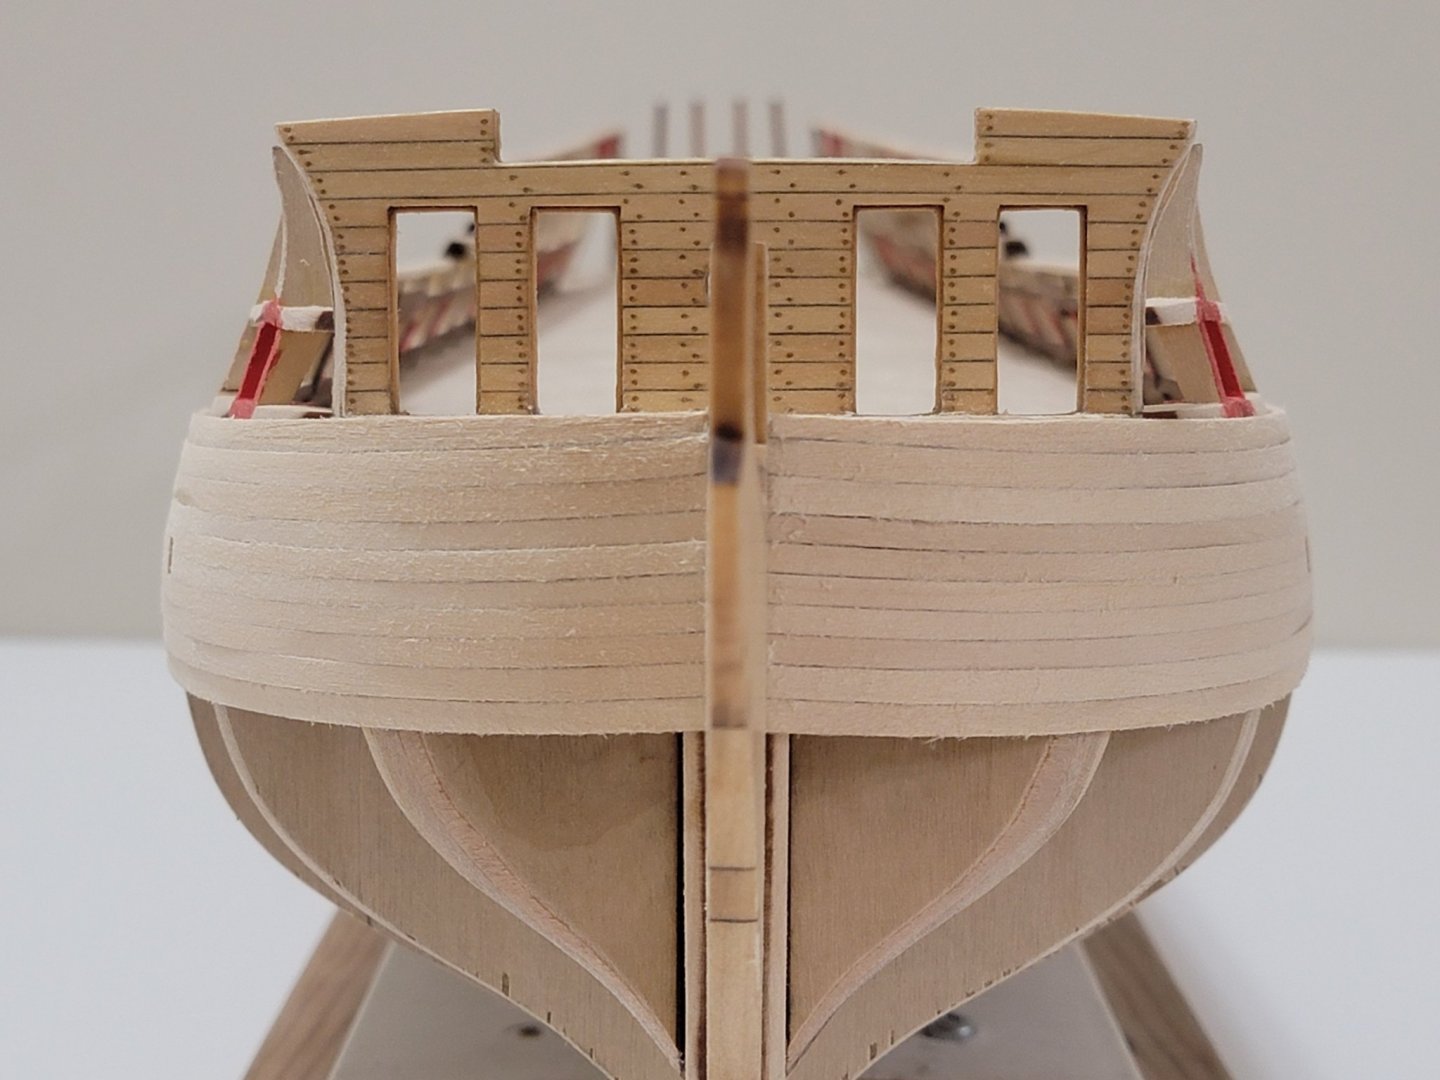
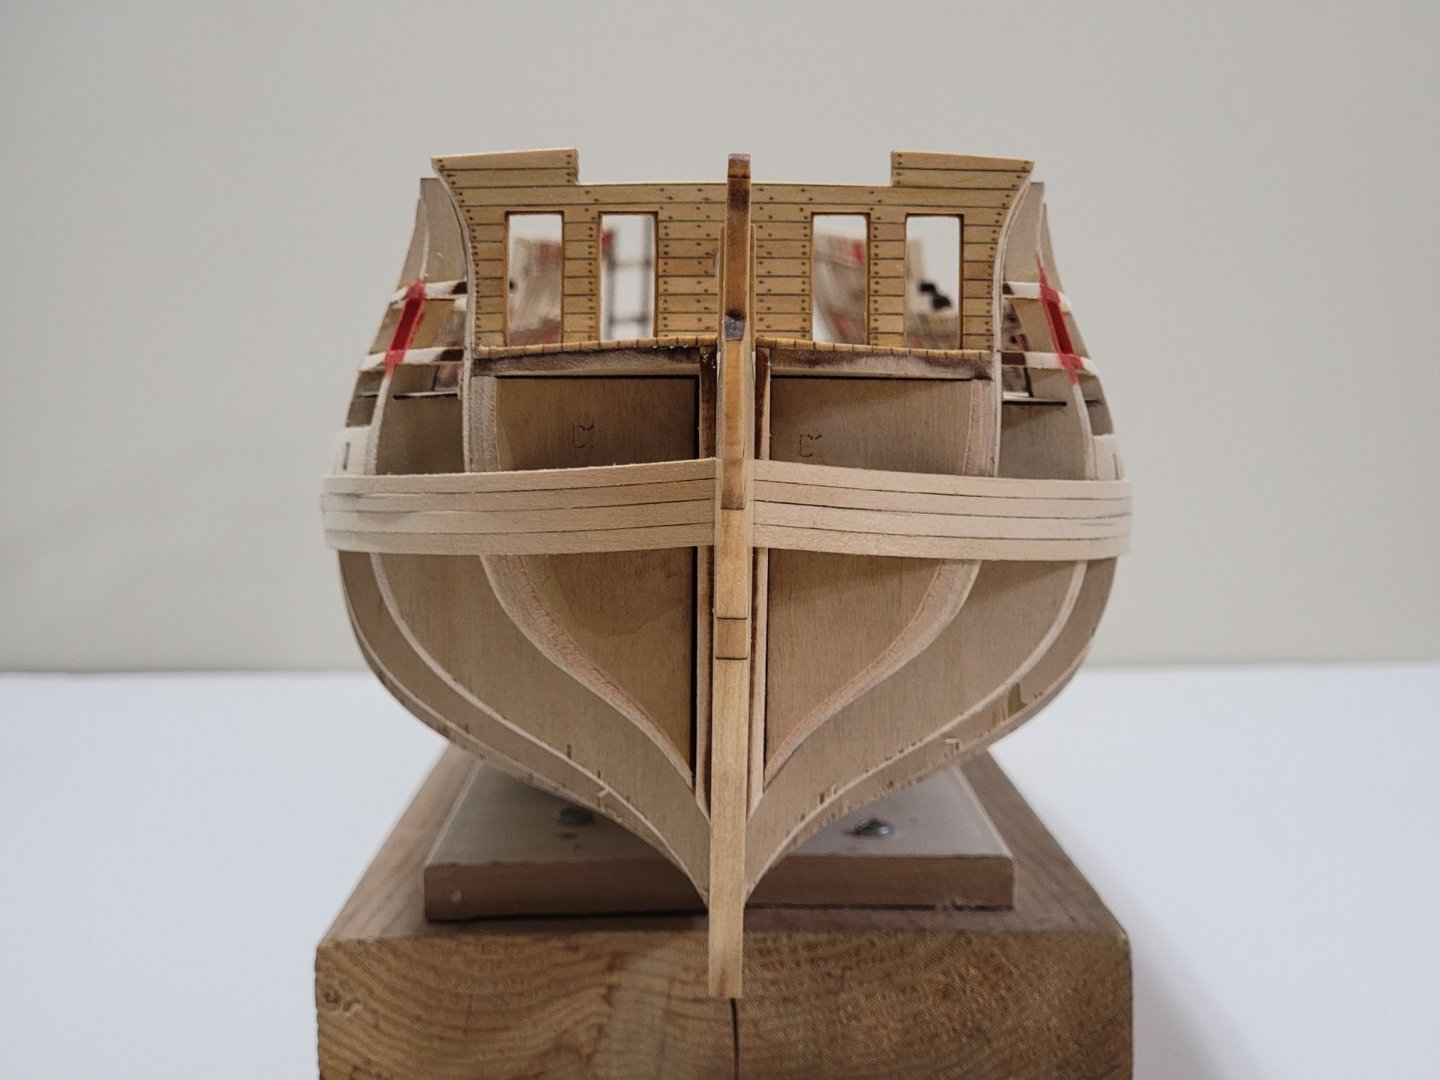
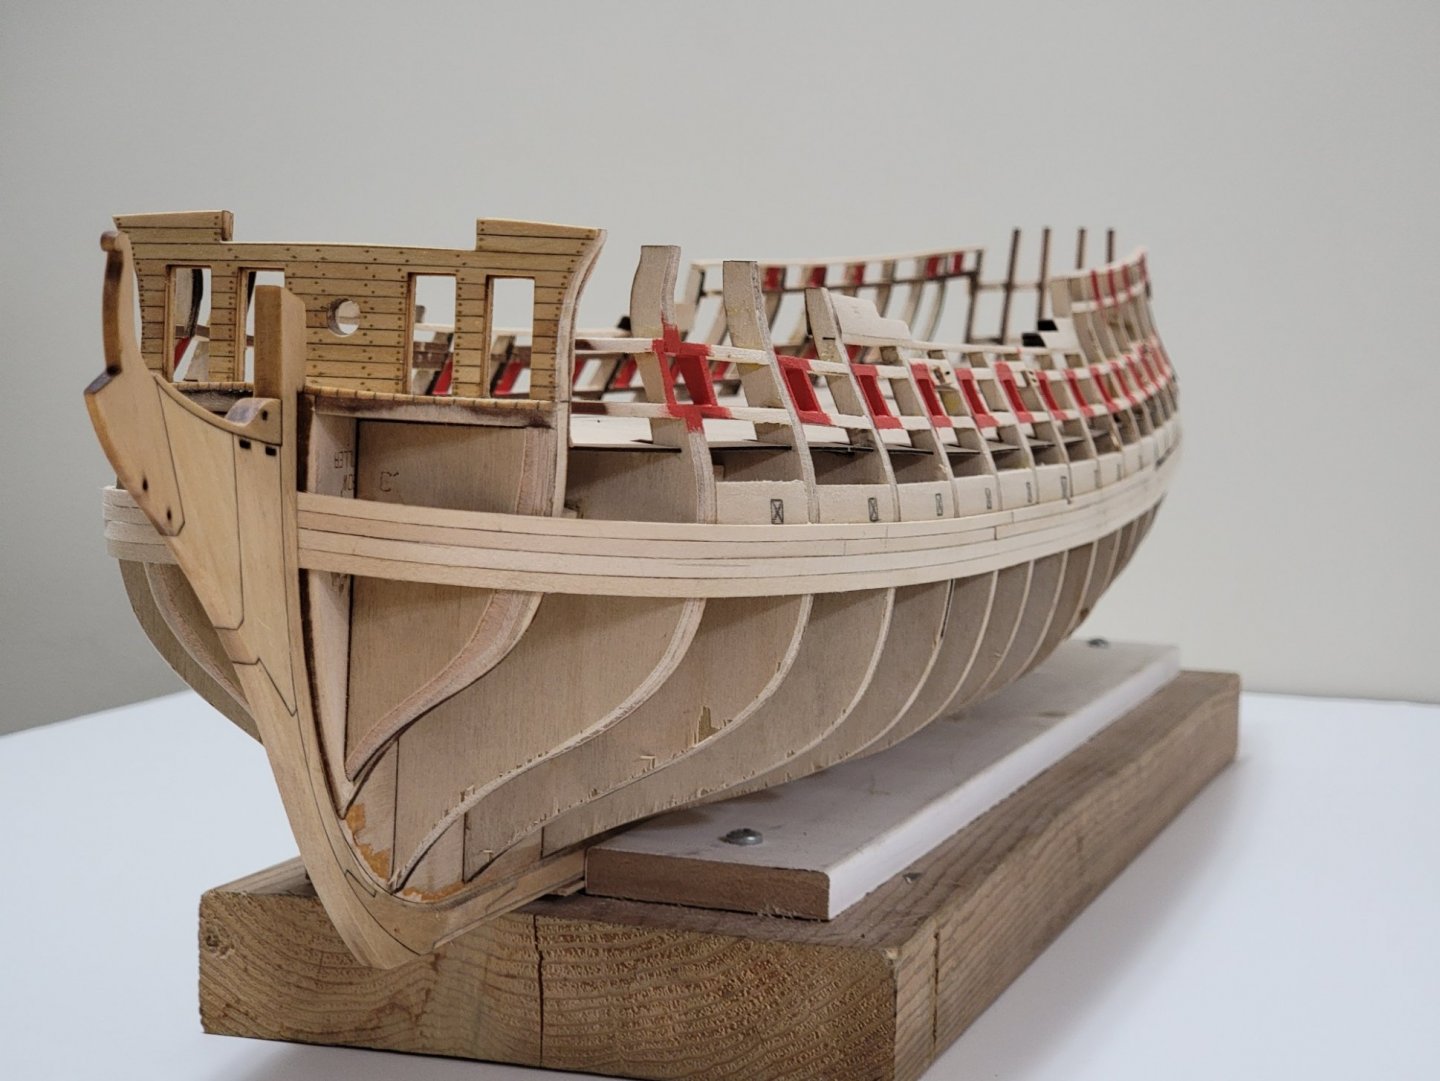
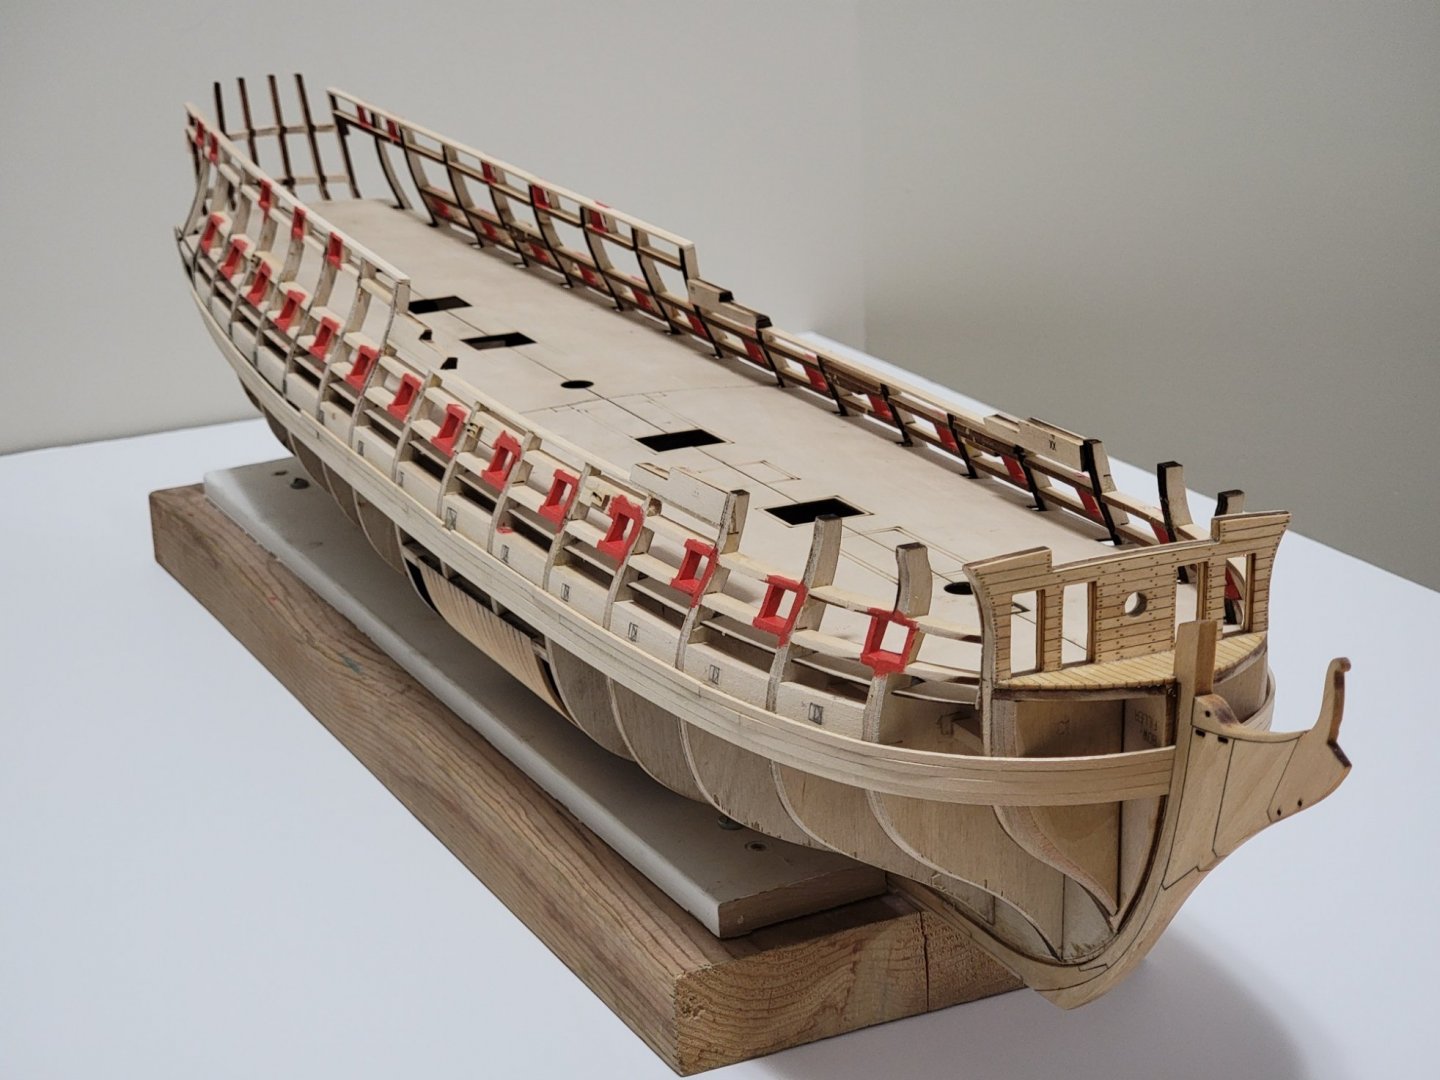
Hi Wahka, the planking is still going slow and steady 😁. I was actually going to wait till planking above the wales is finished to post an update. But this may be a perfect time to update the log since I just finished planking till the top of the first row of gun ports. Here are some pics after roughly sanding: I also encountered a bit of a problem, not sure how bad it would affect the build later on.. I noticed the planking midship is not very symmetric. The sheaves in this location are very symmetric (I measured from the top of the rail and both sides have the same distances). So planking midship starboard side appear to be higher than the portside. Here is a pic showing what I mean: Portside: Starboard: You can also kind of see this in the planks just below the gun ports. The spacing in the starboard side is smaller than the portside I have no idea how this happened since the initial plank run was symmetric (or perhaps I measured wrong!). Maybe this is not too big of a deal and I am overthinking it, so let's see what happens! Any input would also be appreciated 🙂


-
Just perfect! I love the tiny details you added as well. If you don't mind me asking, do you have extra photos of the tank in the background? Was it scratch built?
-
Good luck Michael!
-
Amazing build, it's museum quality! Thank you for sharing your build log with us.
- 263 replies
-
- 1
-

-
- Medway Longboat
- Syren Ship Model Company
- (and 1 more)
-
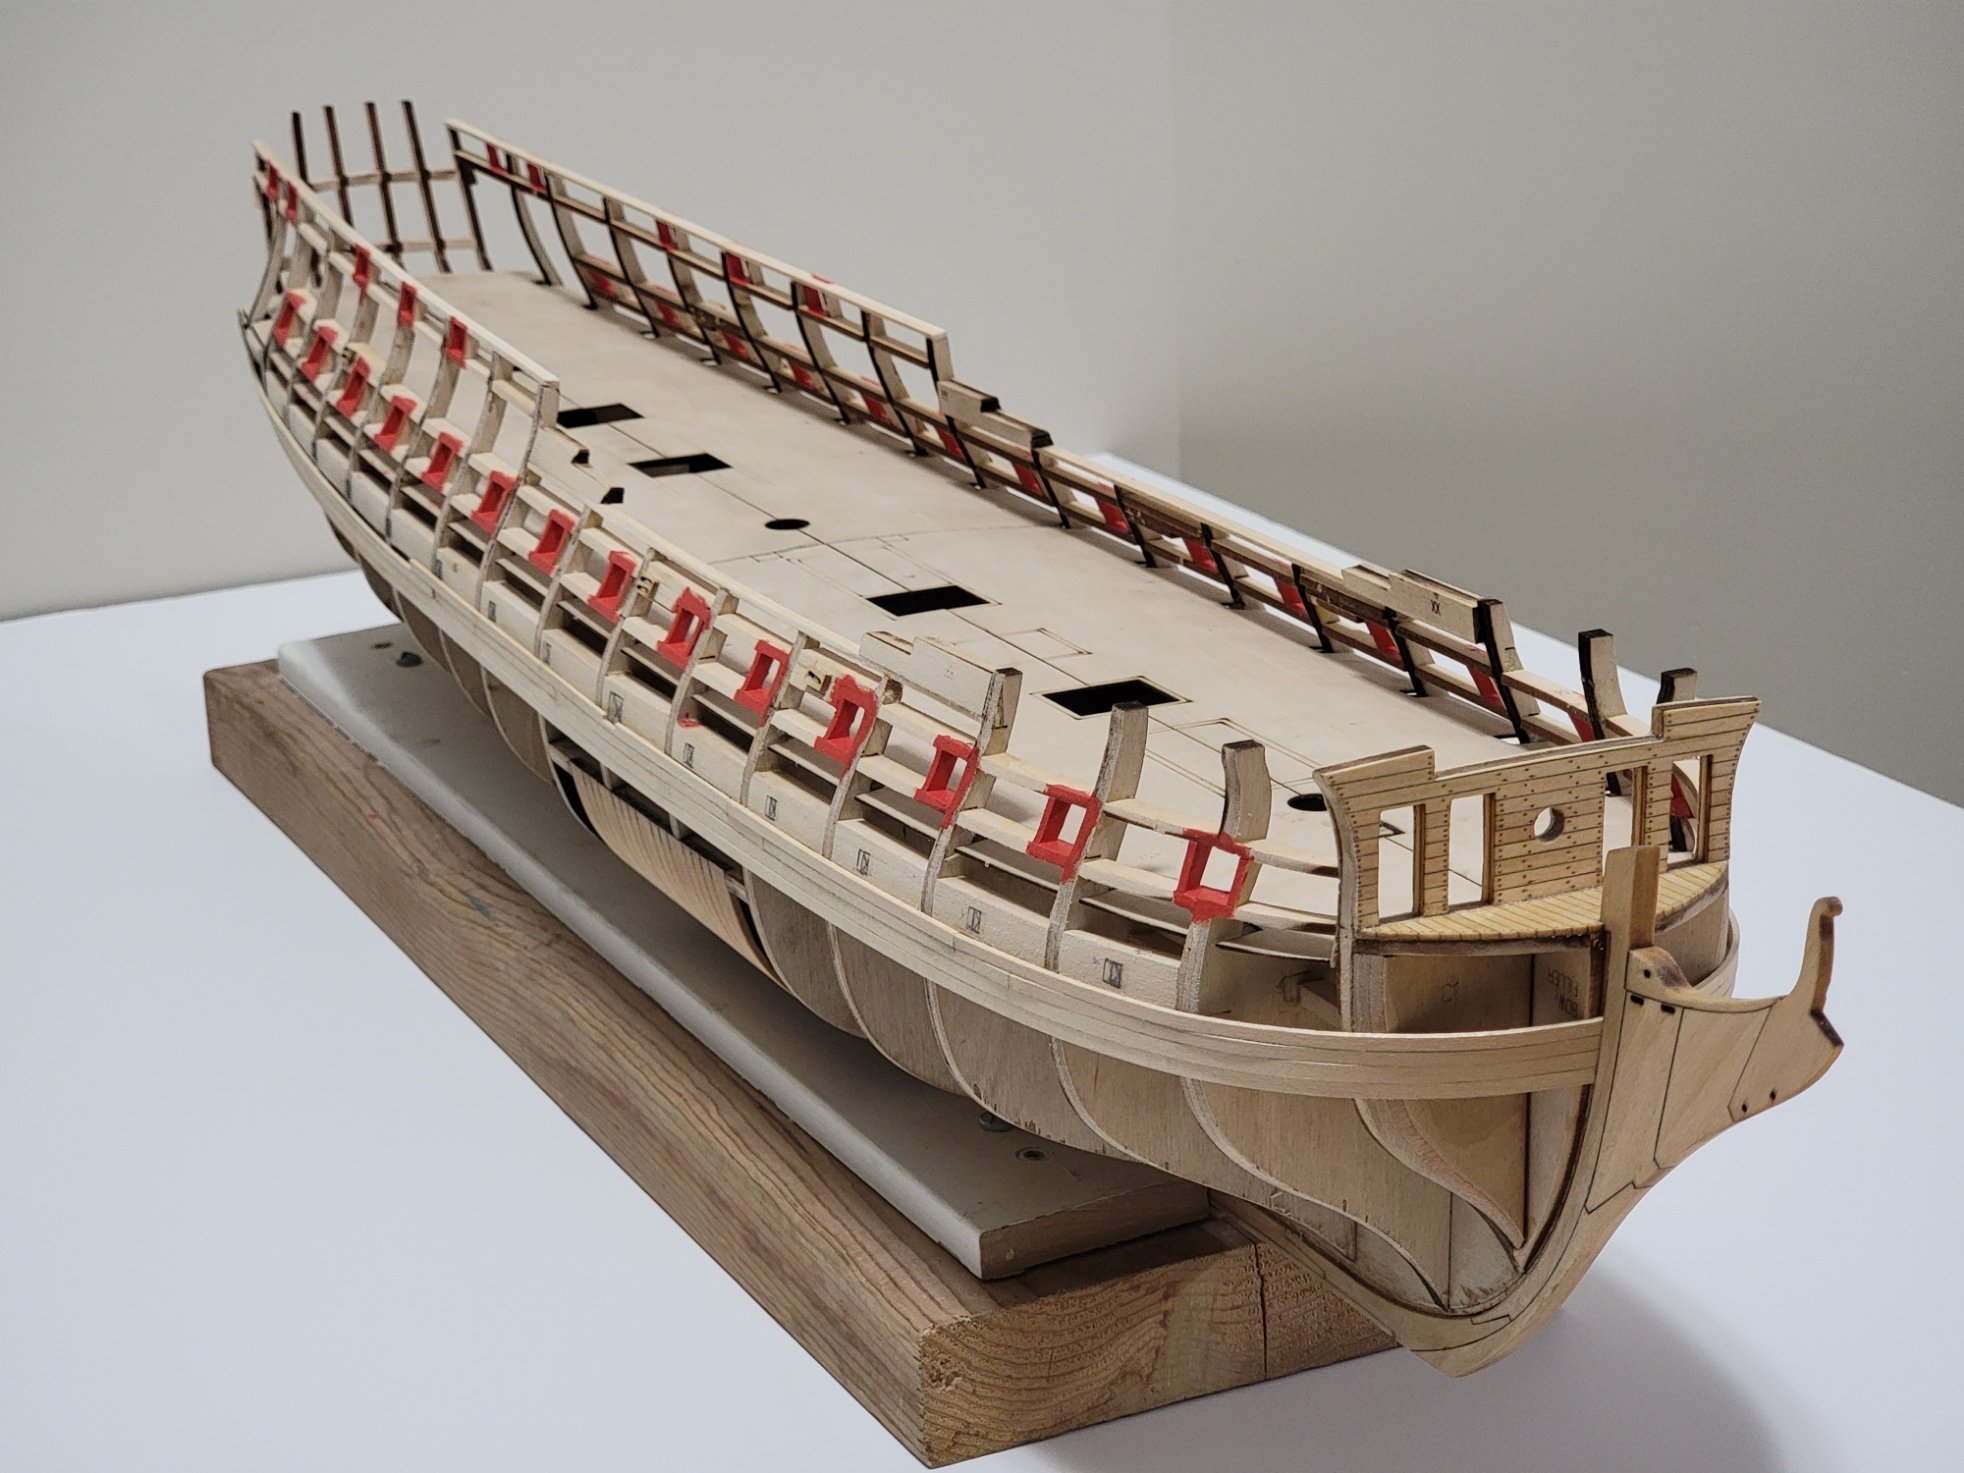
Thank you David. She is massive!! It's hard to tell from the photos because there's nothing to compare it to, but the length of the hull is about 35". Thanks so much for the nice words, Ben! I just switch on all the lights around the house when taking the photos. And the white board beneath the ship also helps reflect the light.
-
Thanks Steve! 🙂
-
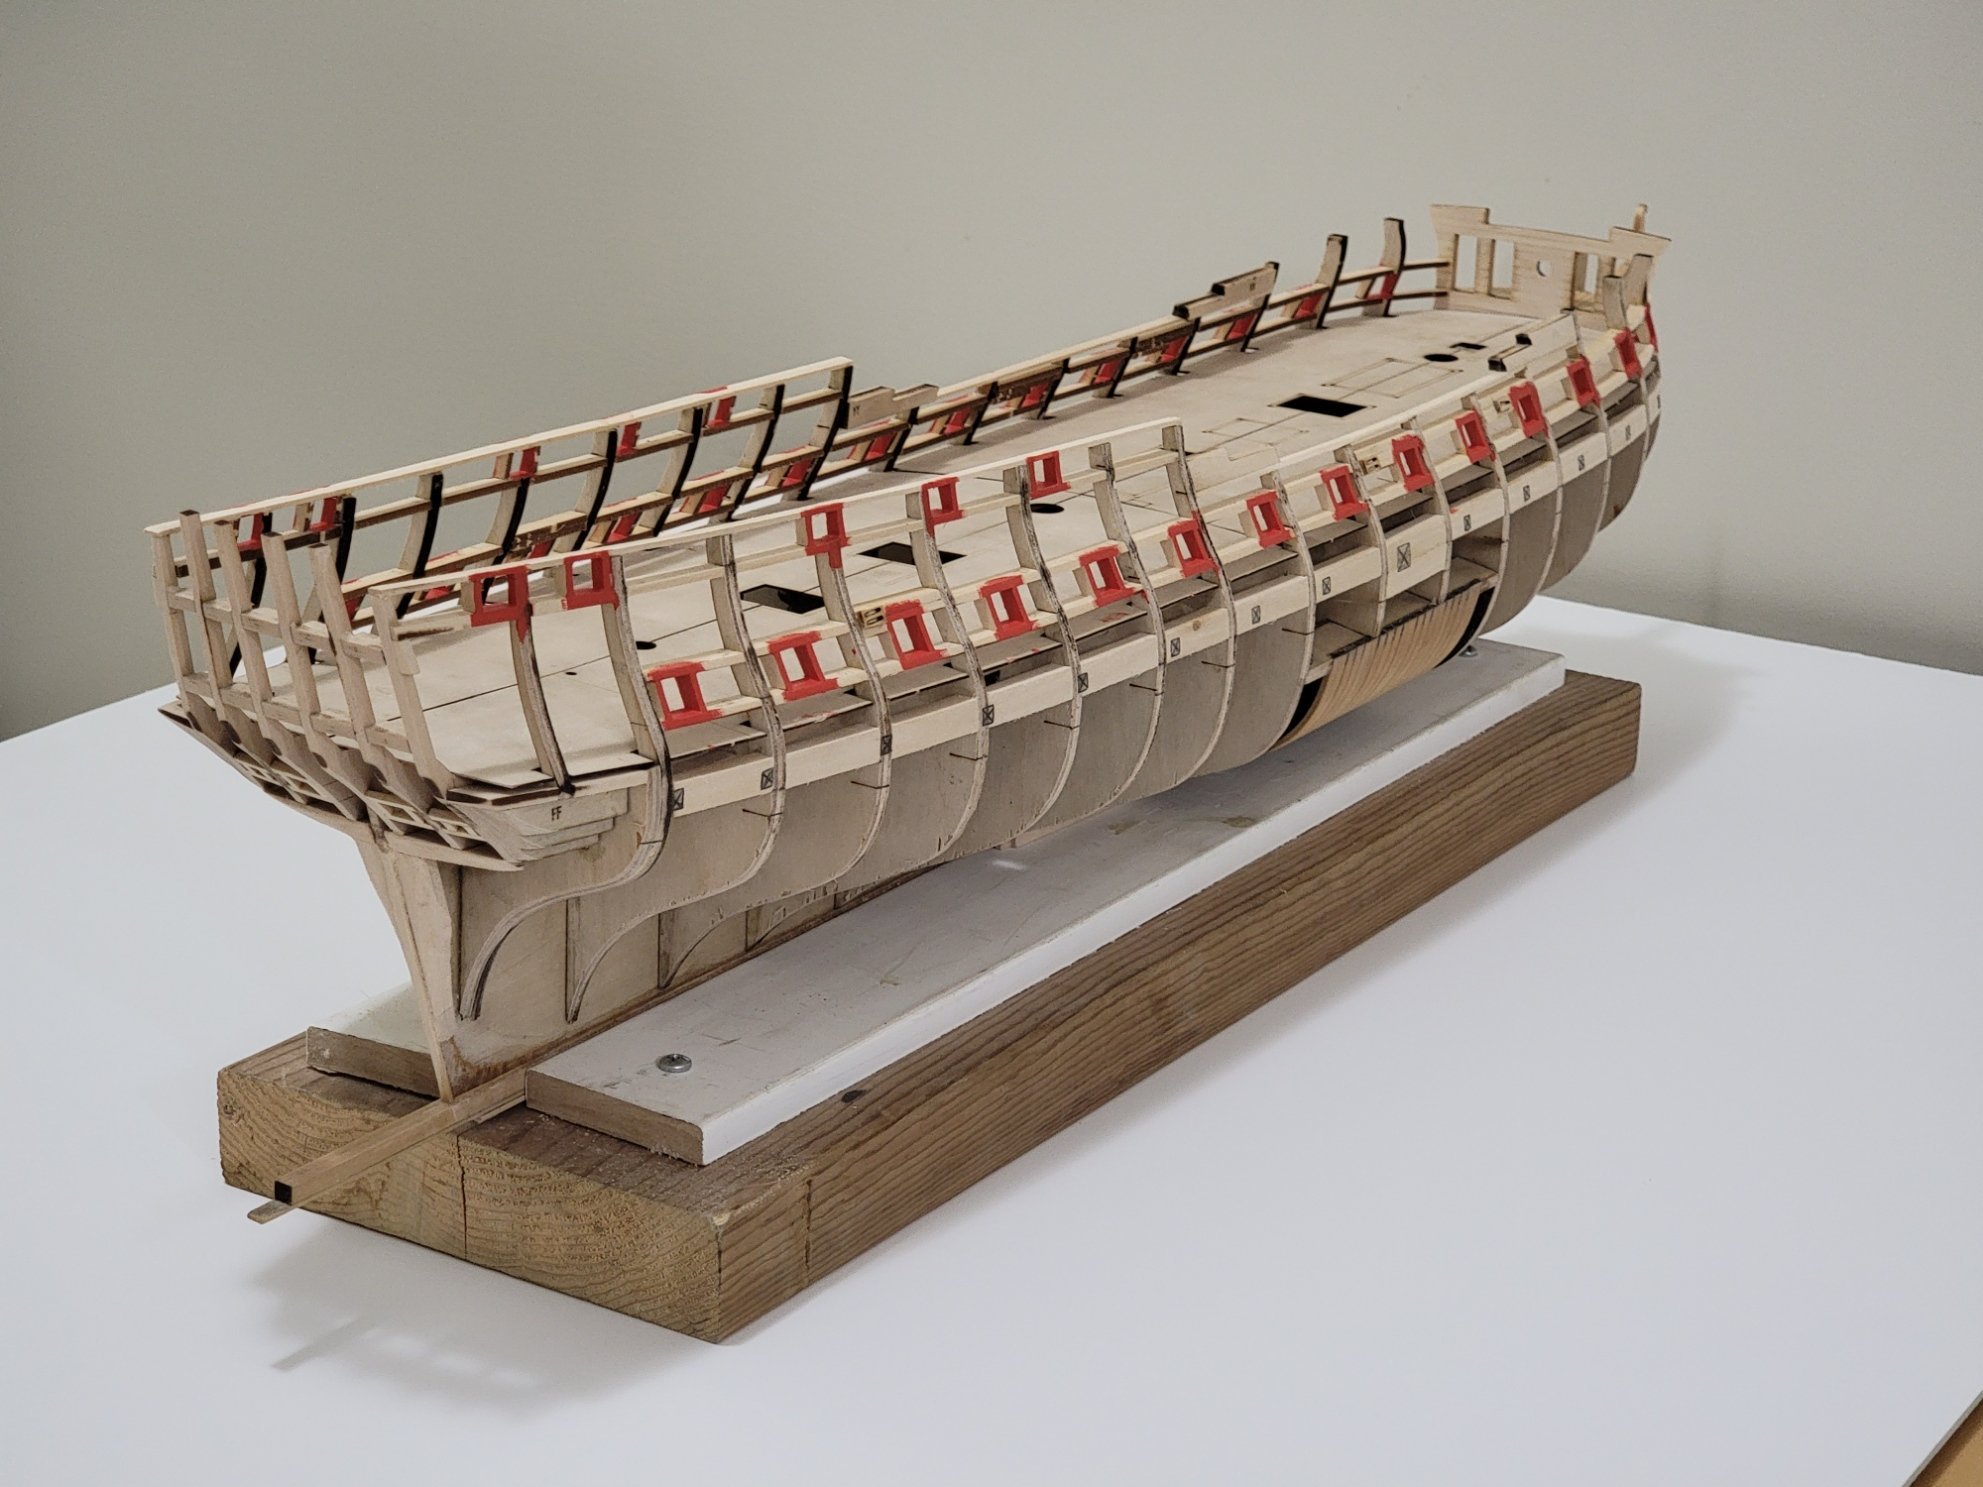
I finished planking up to the channel wales. After planking, I roughly sanded it. Here are a couple of pics: Some of the sweep ports are not identical in size as the others, so I will fix that next before moving on to the planks above the channel wales.


-
Thank you! I think I will also follow what you did. I am very nervous for planking below the wales!! The curves seem very complex and there is no hiding mistakes in the planking unless I plan to paint it white. Thank you for checking in, Michael! Going slow has helped me identify potential problem areas and gives me a chance to rectify before moving on. Welcome Bob! I also love the way the Confederacy looks! The hull is so beautiful. And thank you for the nice words! Also, thanks all for the likes and for checking in! 🙂
-
So beautiful!!!
-
Looks amazing! Are you planning to sell these?
-
Just a quick note, I realized the two 1/8" planks at the stern are too long. The plans didn't show where the butt joint would be, but I noticed the photos that there should be two separate planks here. Also, one of the mid section plank joints is not in the correct location. So will do some minor deconstruction before continuing on...
-
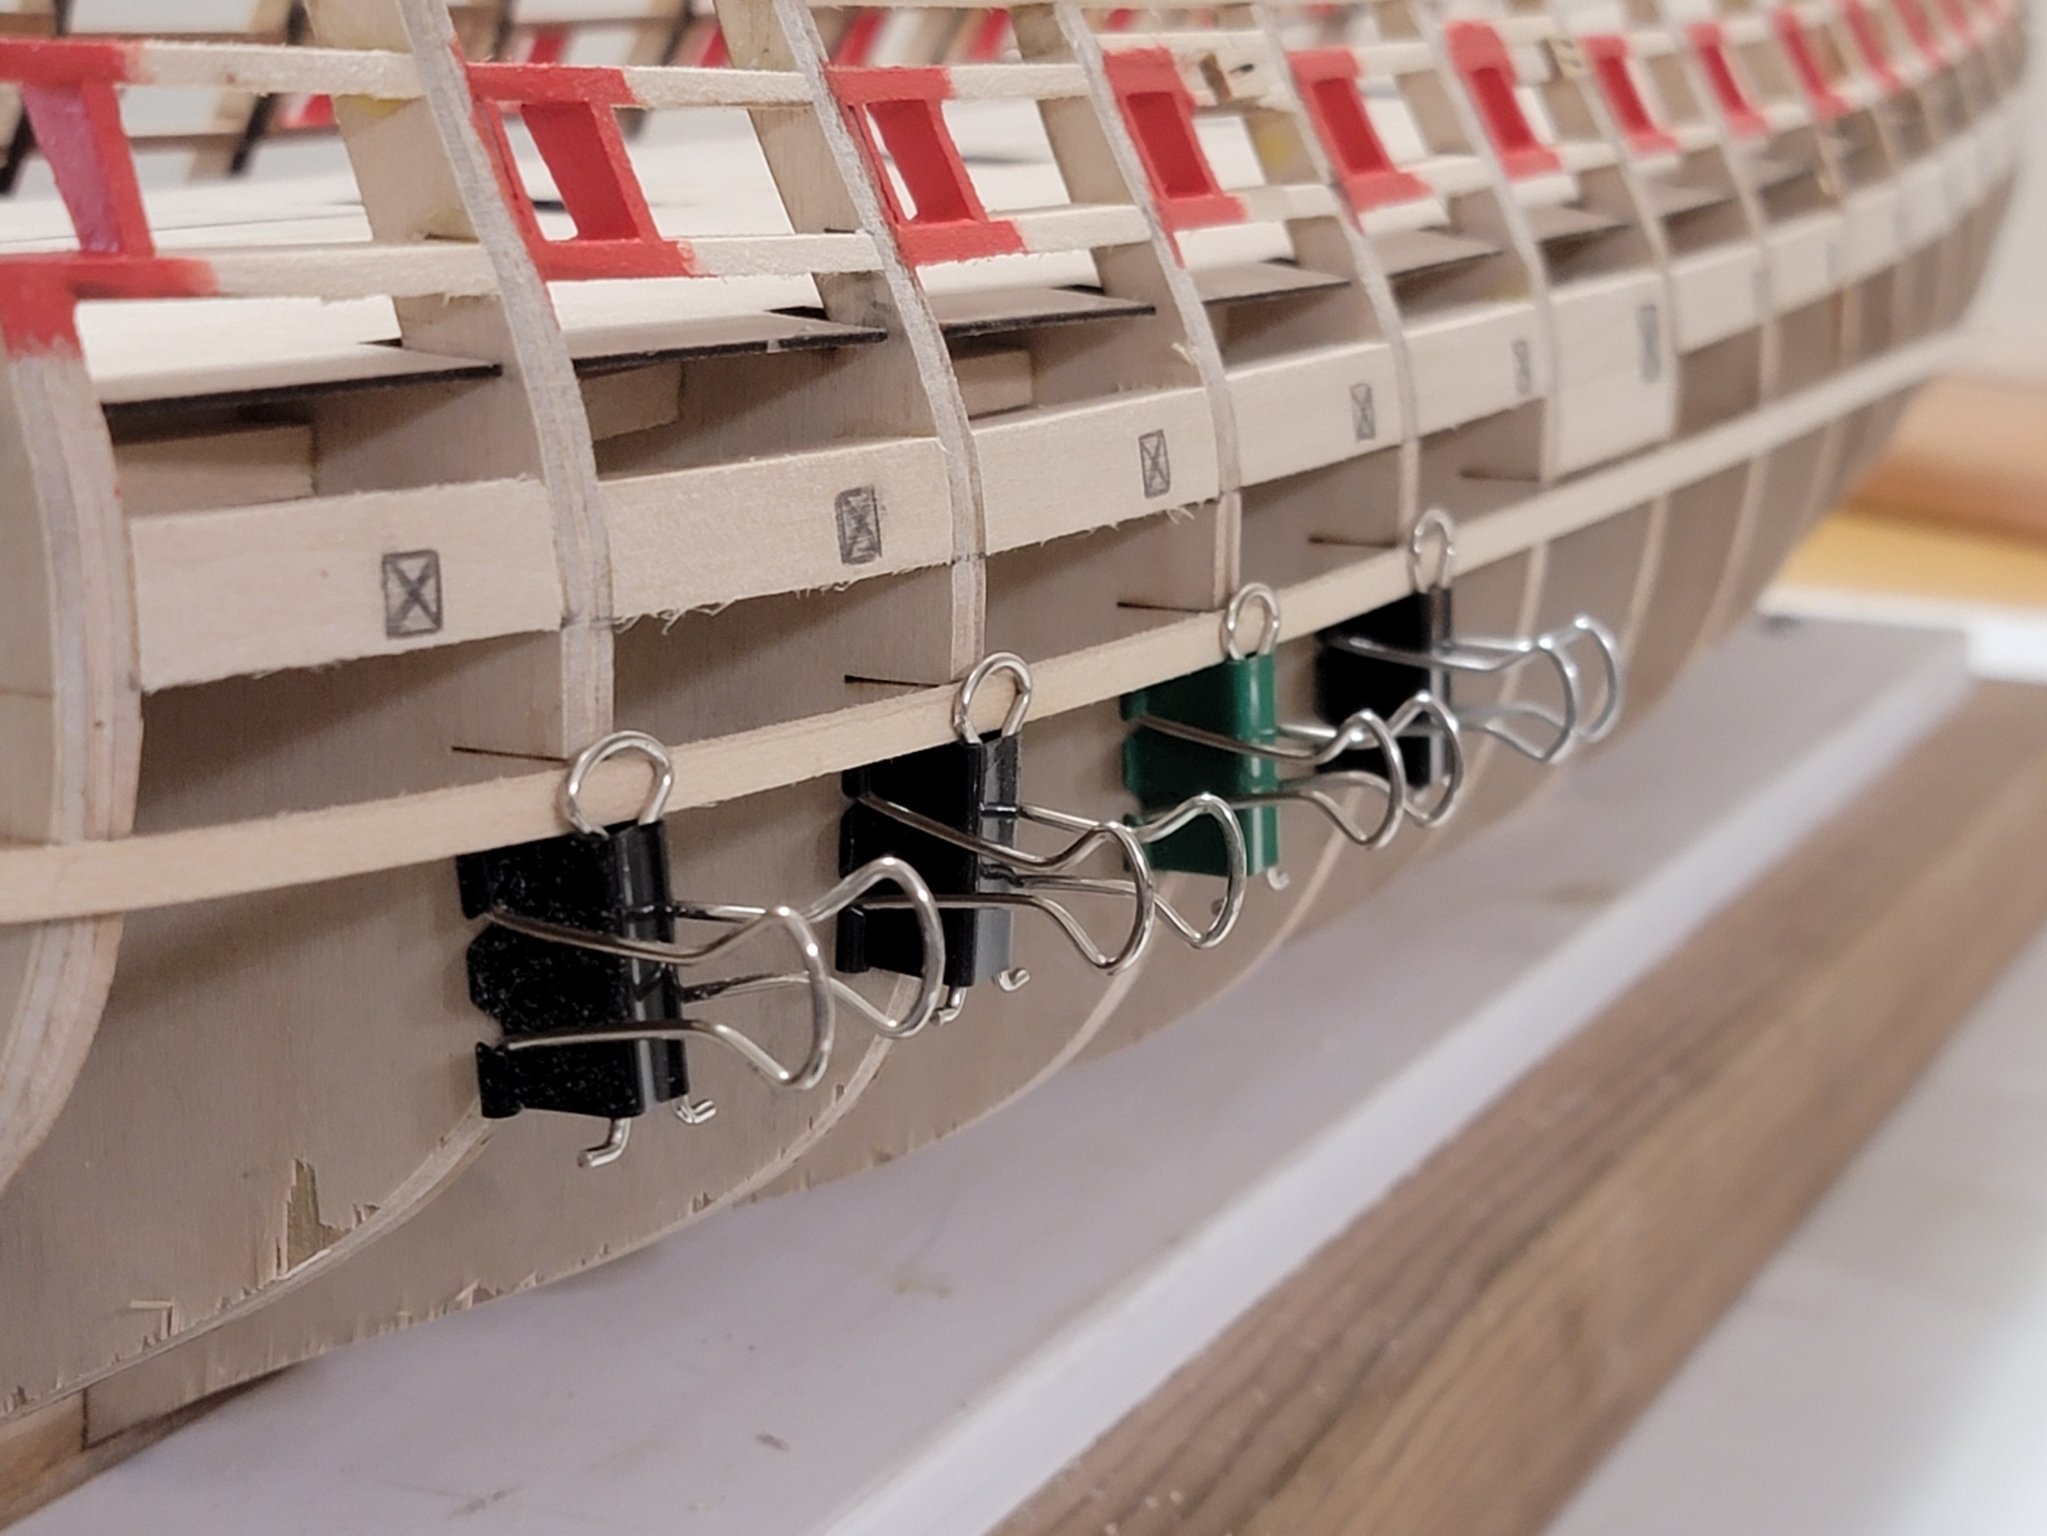
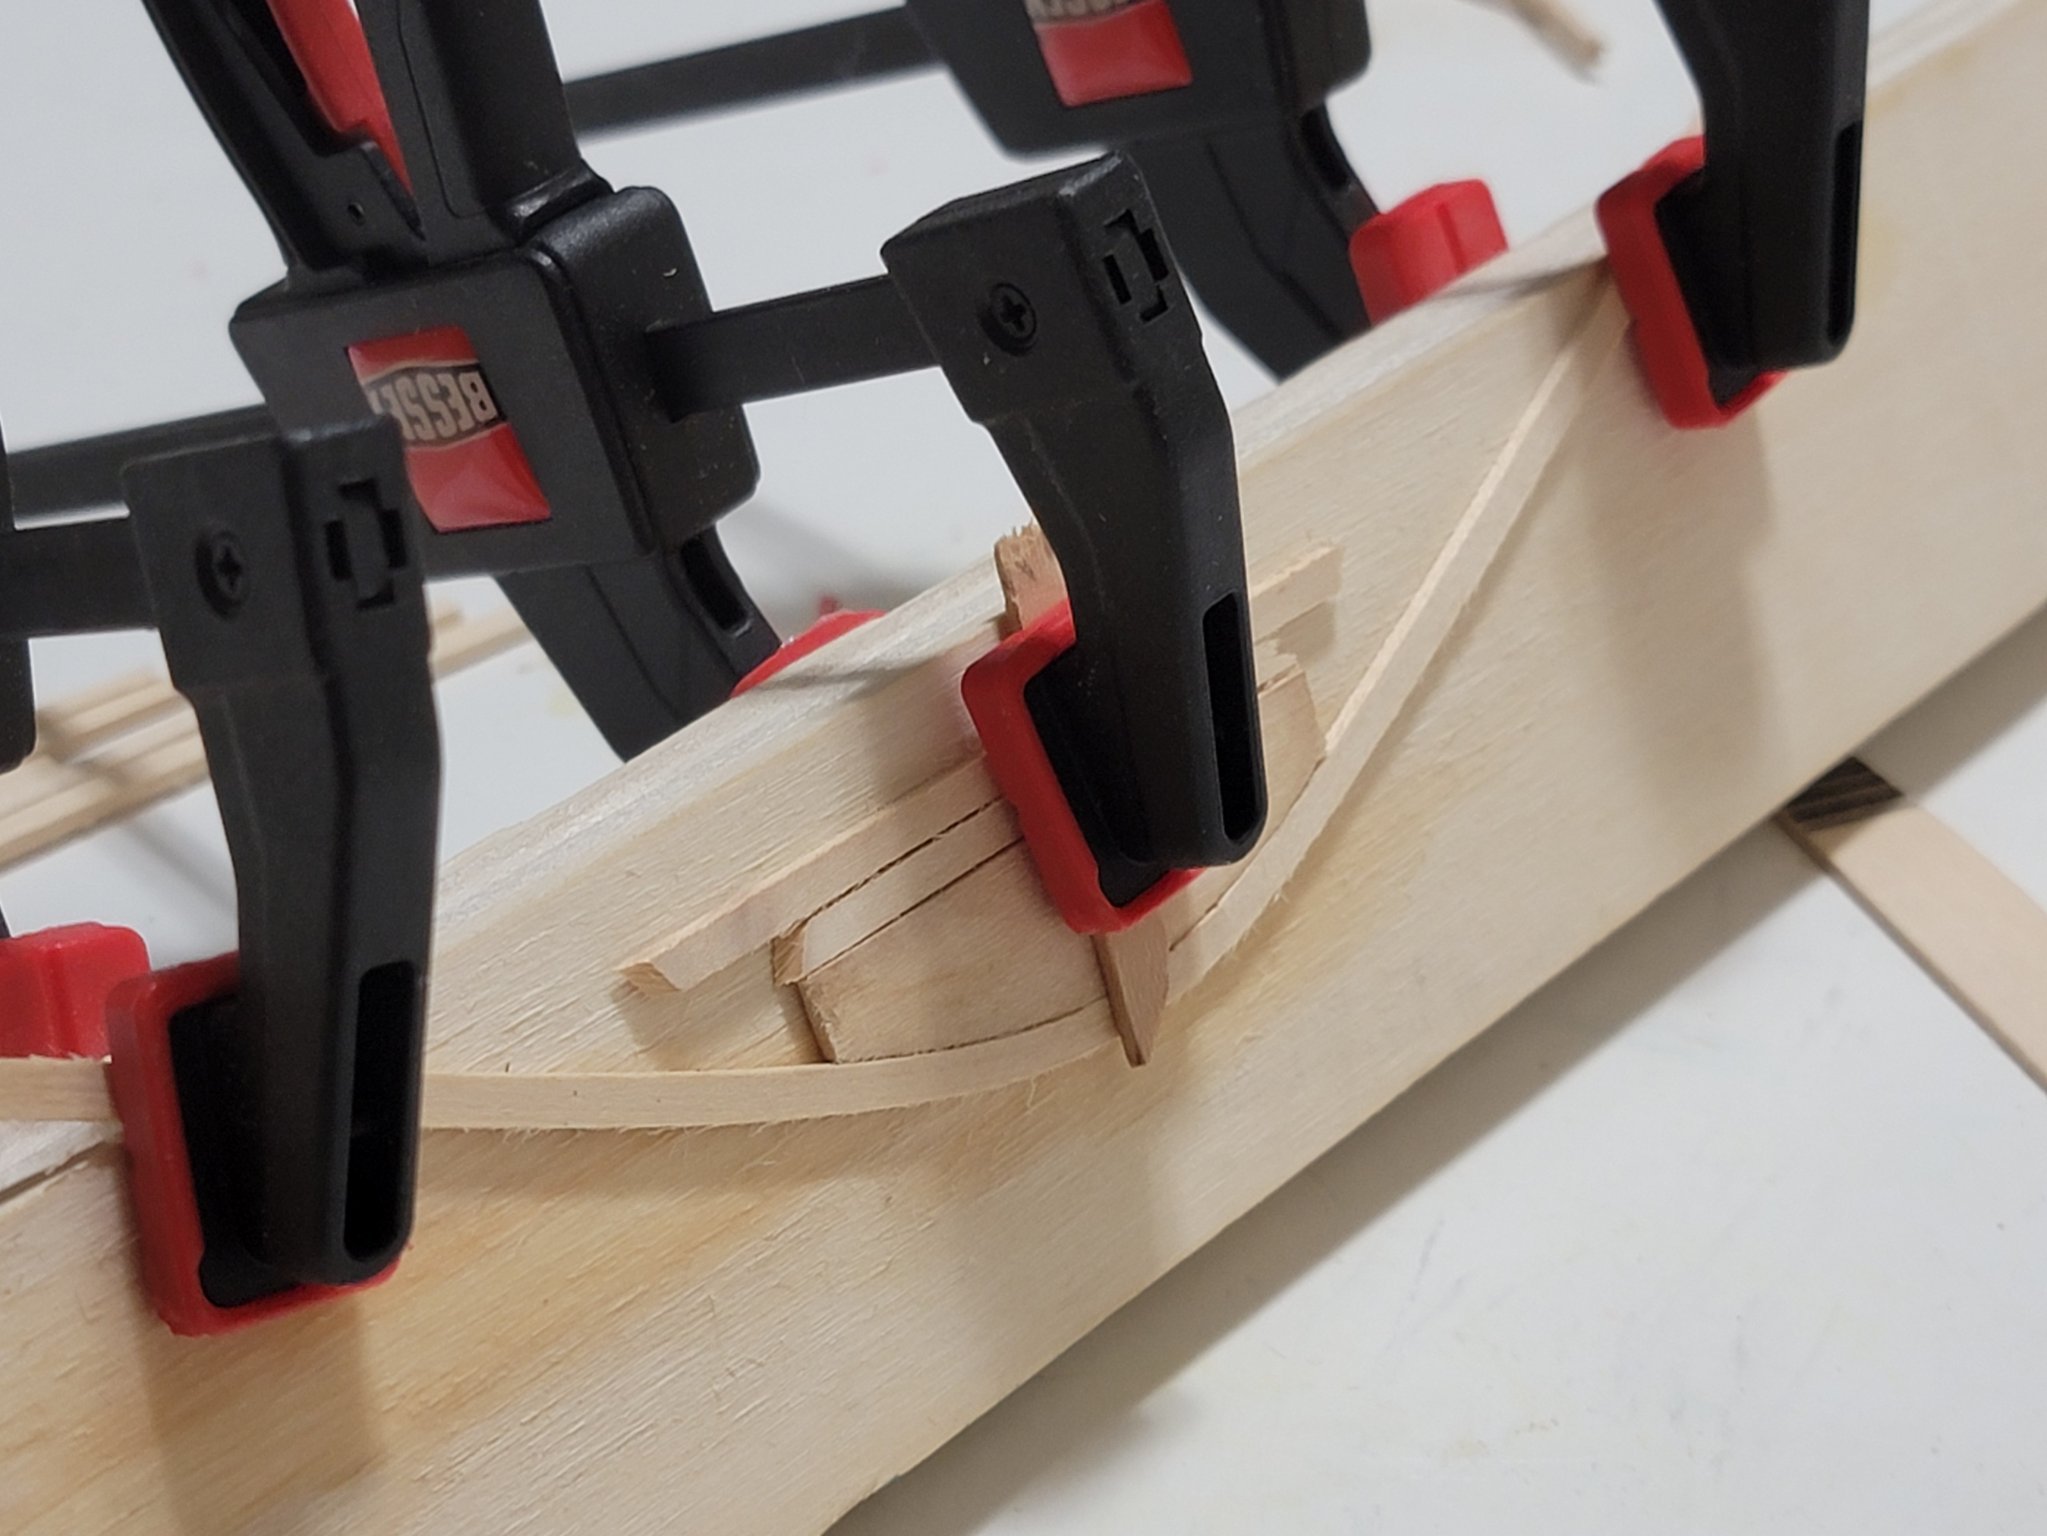
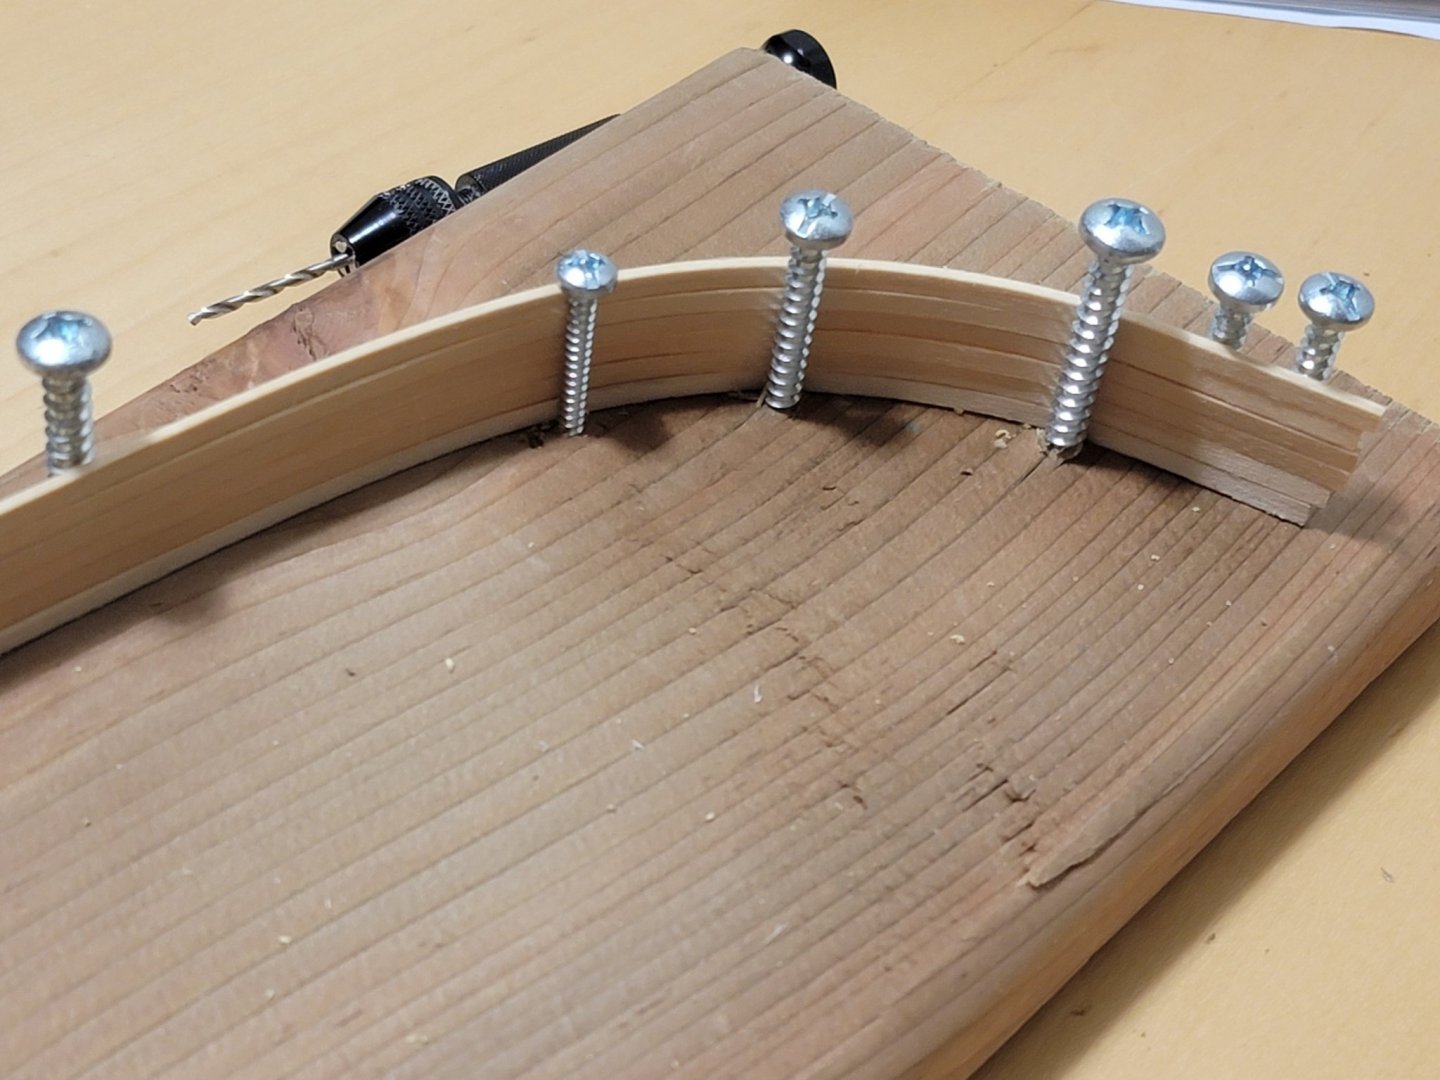
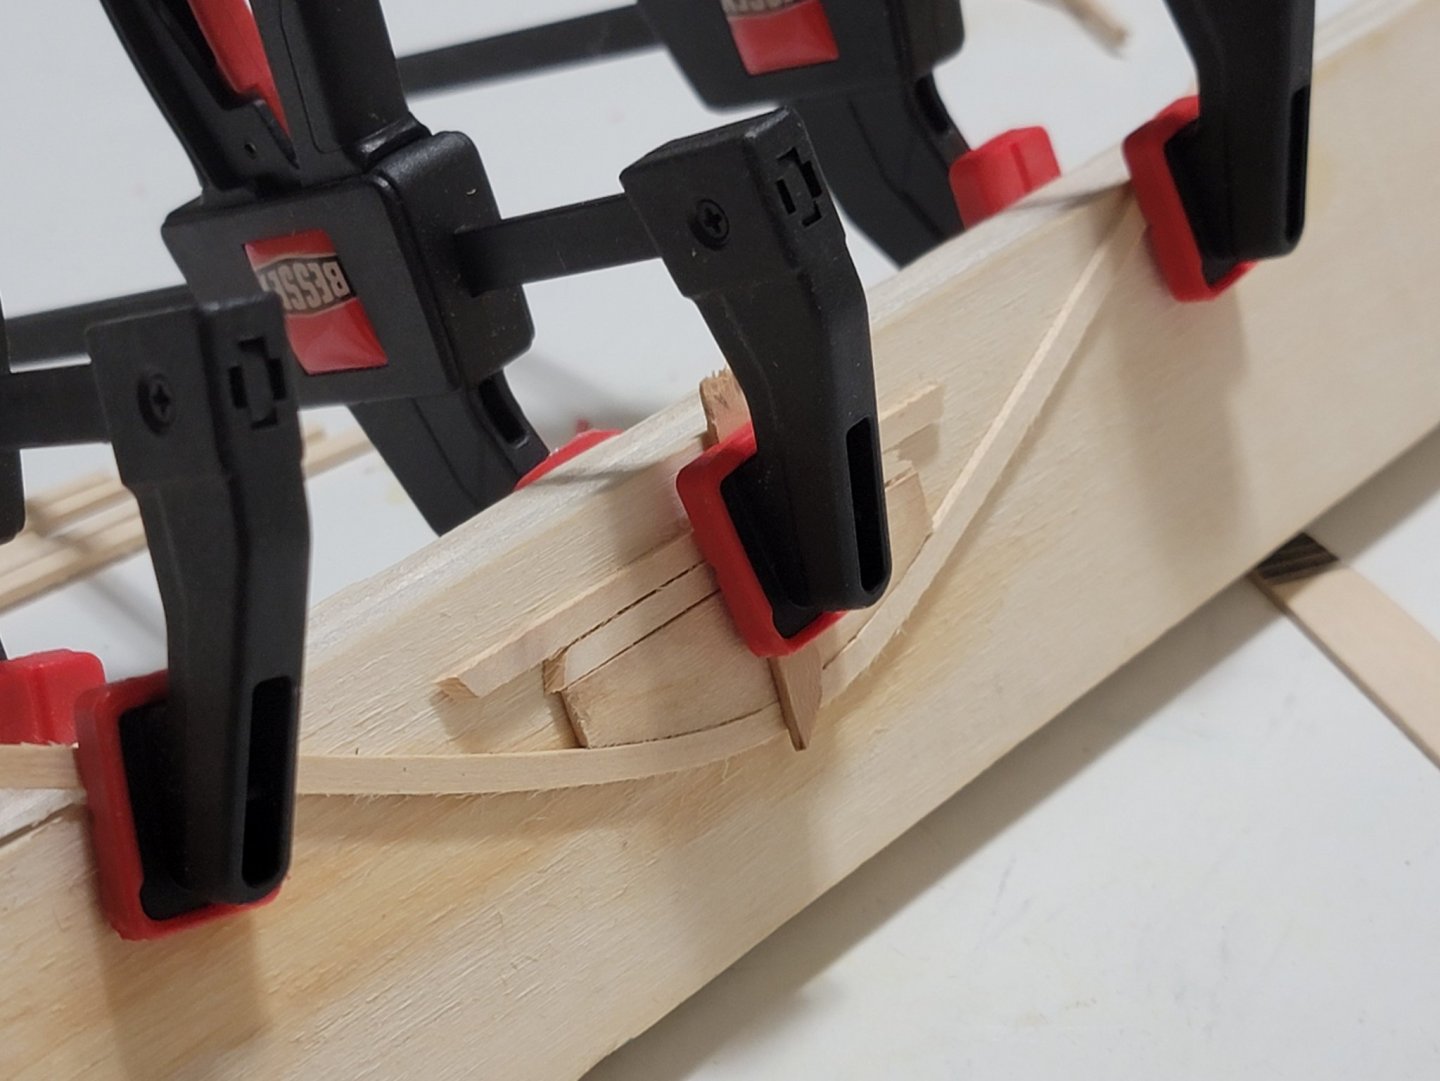
I started planking the ship. I can already tell, I'll be doing this for quite a while!!! 😅 I am enjoying the process though, and taking my time gluing each plank. Here is the jig I used to bend the planks: Then I started planking. The first two strips were held using these clips: When reaching the stern, there were some tight corners which I had to manually hold for the glue to set. I put on a Netflix series and watched for 30 mins to help speed the process mentally 😁 While planking I noticed the starboard sweep ports were not positioned correctly, so I took out the template again and noticed a 0.5 cm difference! Good thing I was planking each side systematically to notice this. Also, the first two starboard sweep ports are positioned 2 mm above where they should be located. This will be an easy fix which I will resolve as I plank the 5th layer.. And here is where the ship is at currently; on the fourth layer of planks:


-
Thank you Andreas! Yes I am using the supplied basswood for this ship. Reason being, I have not tried using the nicer woods yet, and I want to practice using them on a smaller build first (so I don't make an expensive mistake!).
-
Very nice!! 😁
-
I went through the instructions quickly, and I also think the dimensions of the strip were not mentioned. I am not too sure what it would be. Maybe @Chuck remembers? I guess it just a 1/8" x 1/16" like the other ones? Thank you David! Yeaup it is a step up from the Syren. I am glad I didn't jump into this without some experience before!! I think the planks were also aligned in the real ship. Here is a photo of the HMS Surprise stern. The planks in the lids all look aligned: Thanks Steven! I cut the notched the planks out before gluing the strip. This way I could have a bit of a rabbet around the gun port. It was a bit tricky though since all the notches had to be aligned nicely without any being messed up. I had some extra bent planks from which I used the pieces for the lids. But in these small sections even a straightened out piece can do fine!

-
She looks great!! 😁
-
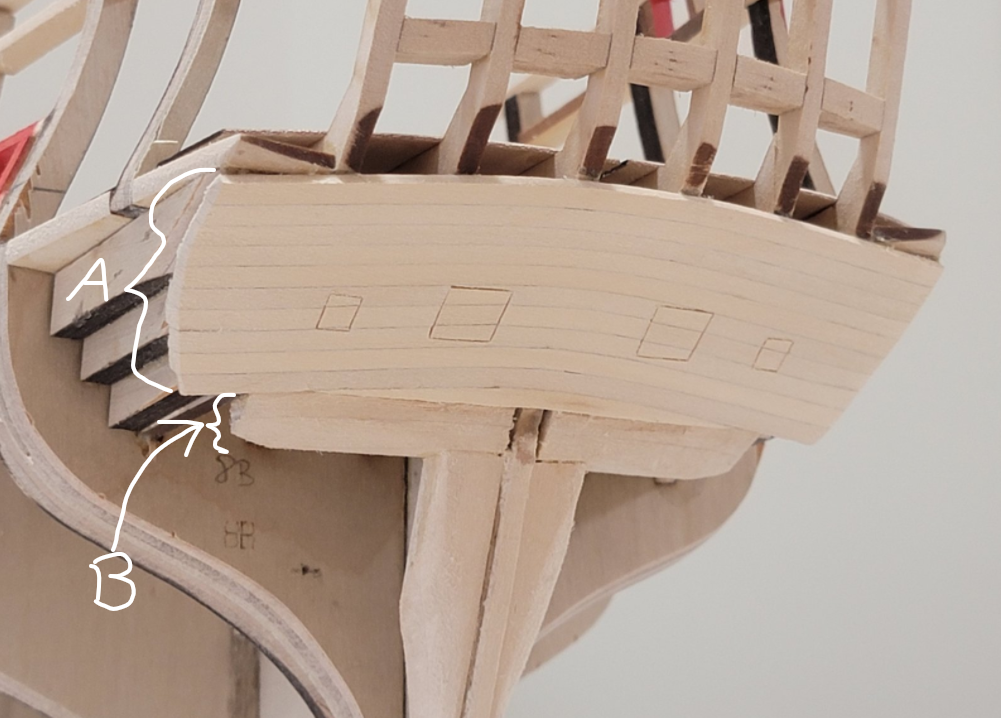
Thank you Wahka! Working on the build for only a few hours a week helps avoiding mistakes as I force myself not to rush steps (well, so far at least!) I am not too sure on which strip you are referring to. All the ones in the A section are 1/8" x 1/16" strips The one in B is just a filler strip so that the hull planking has some surface to attach to, so the size doesn't really matter for this one (will be hidden once planked). I hope this answers your question! 🙂
-
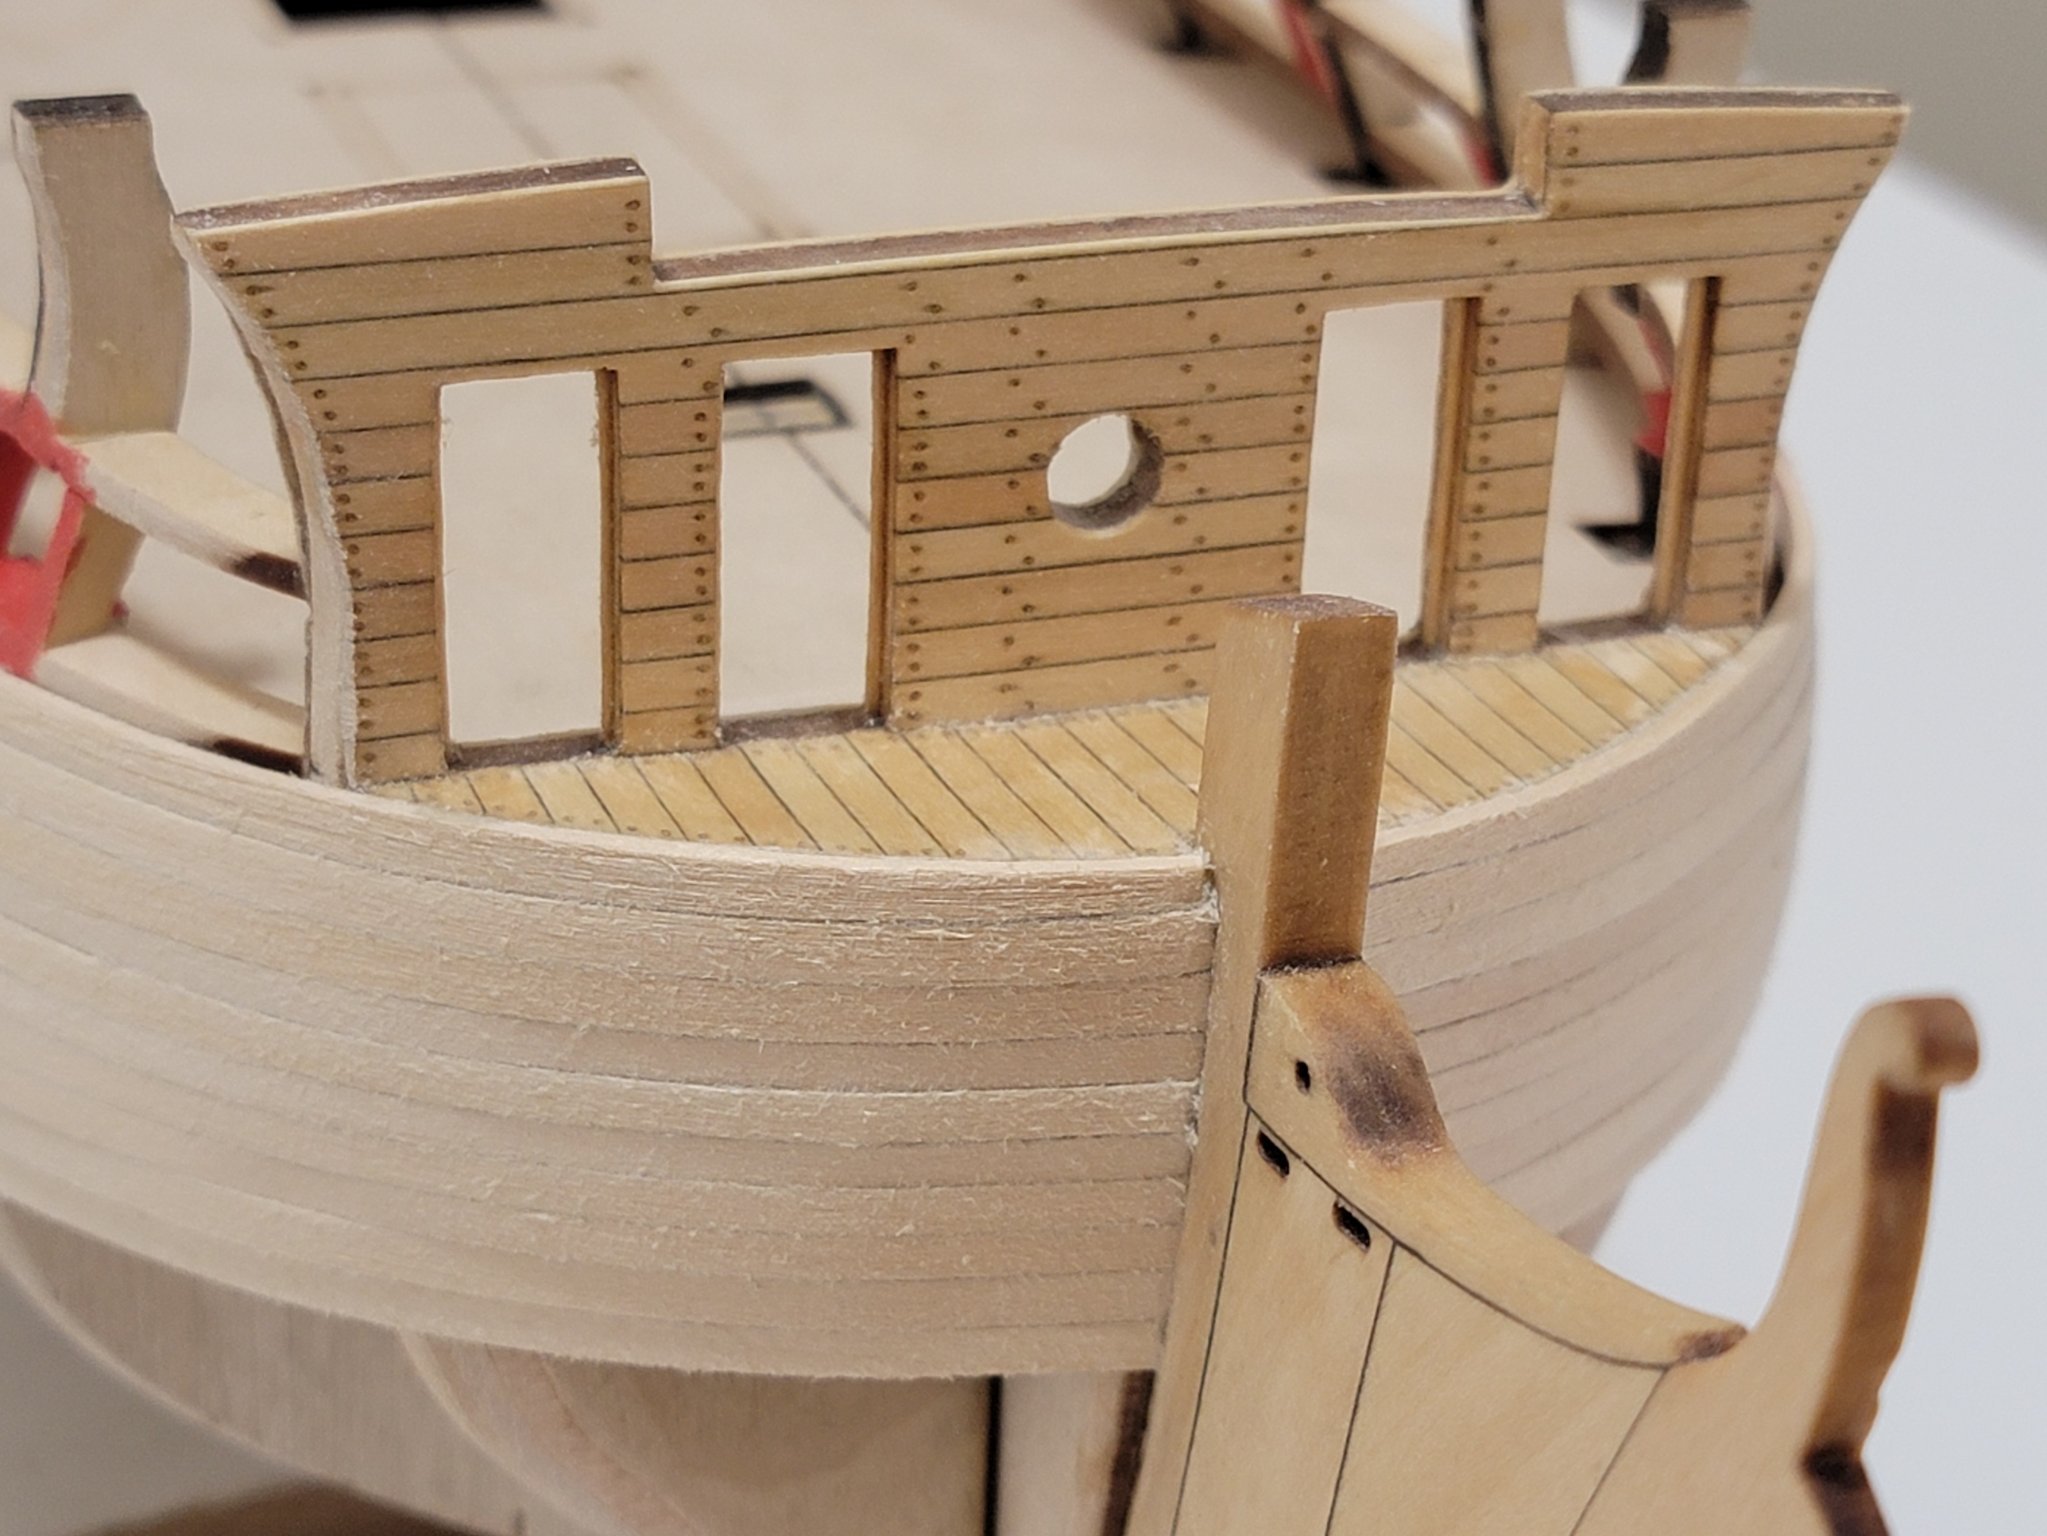
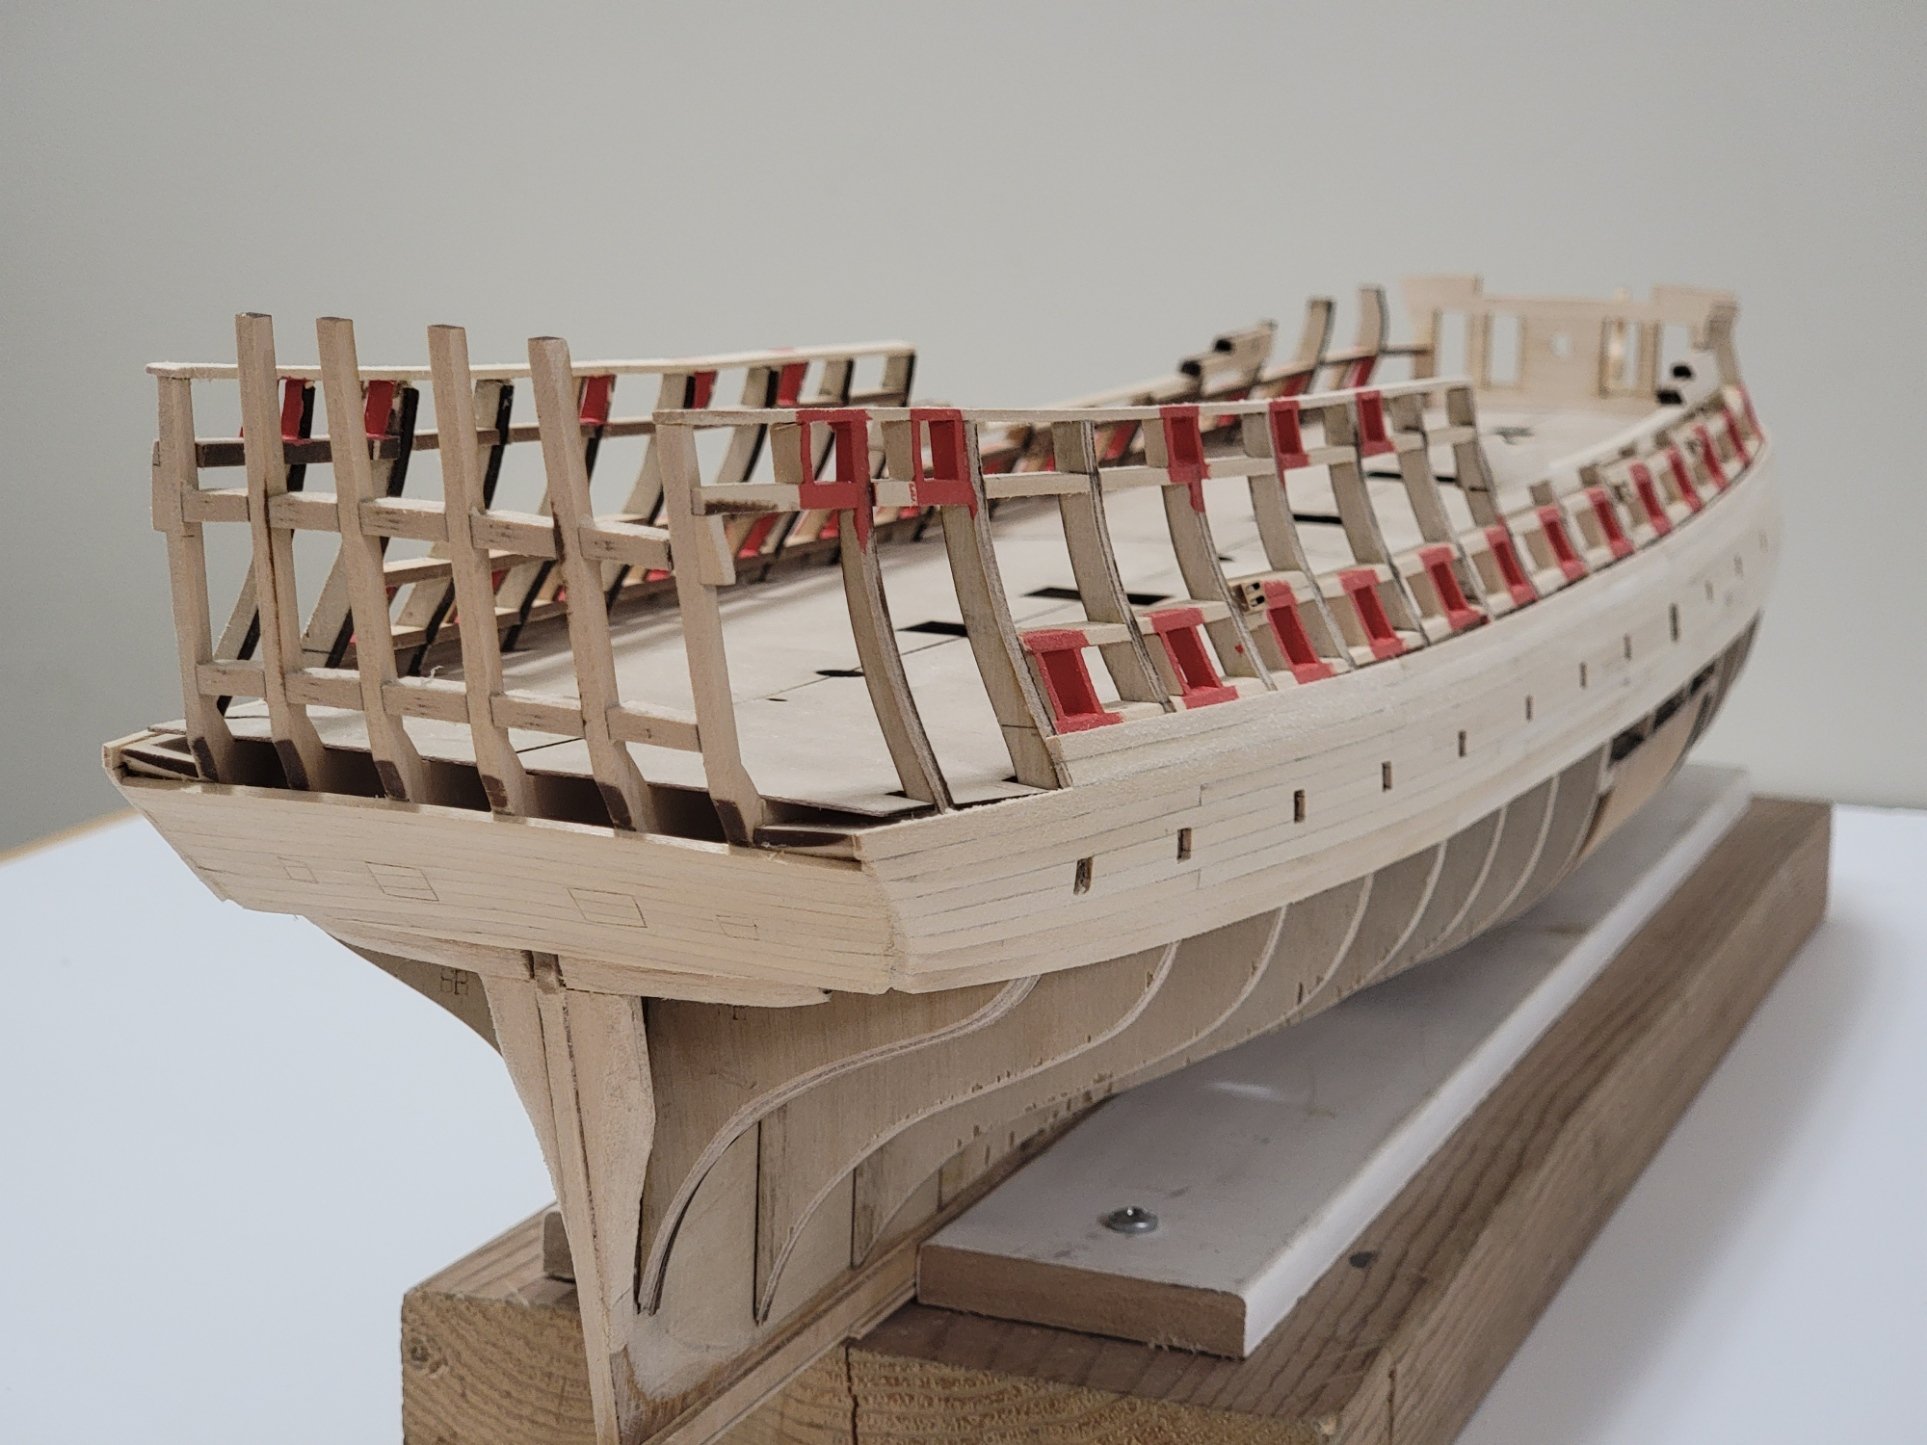
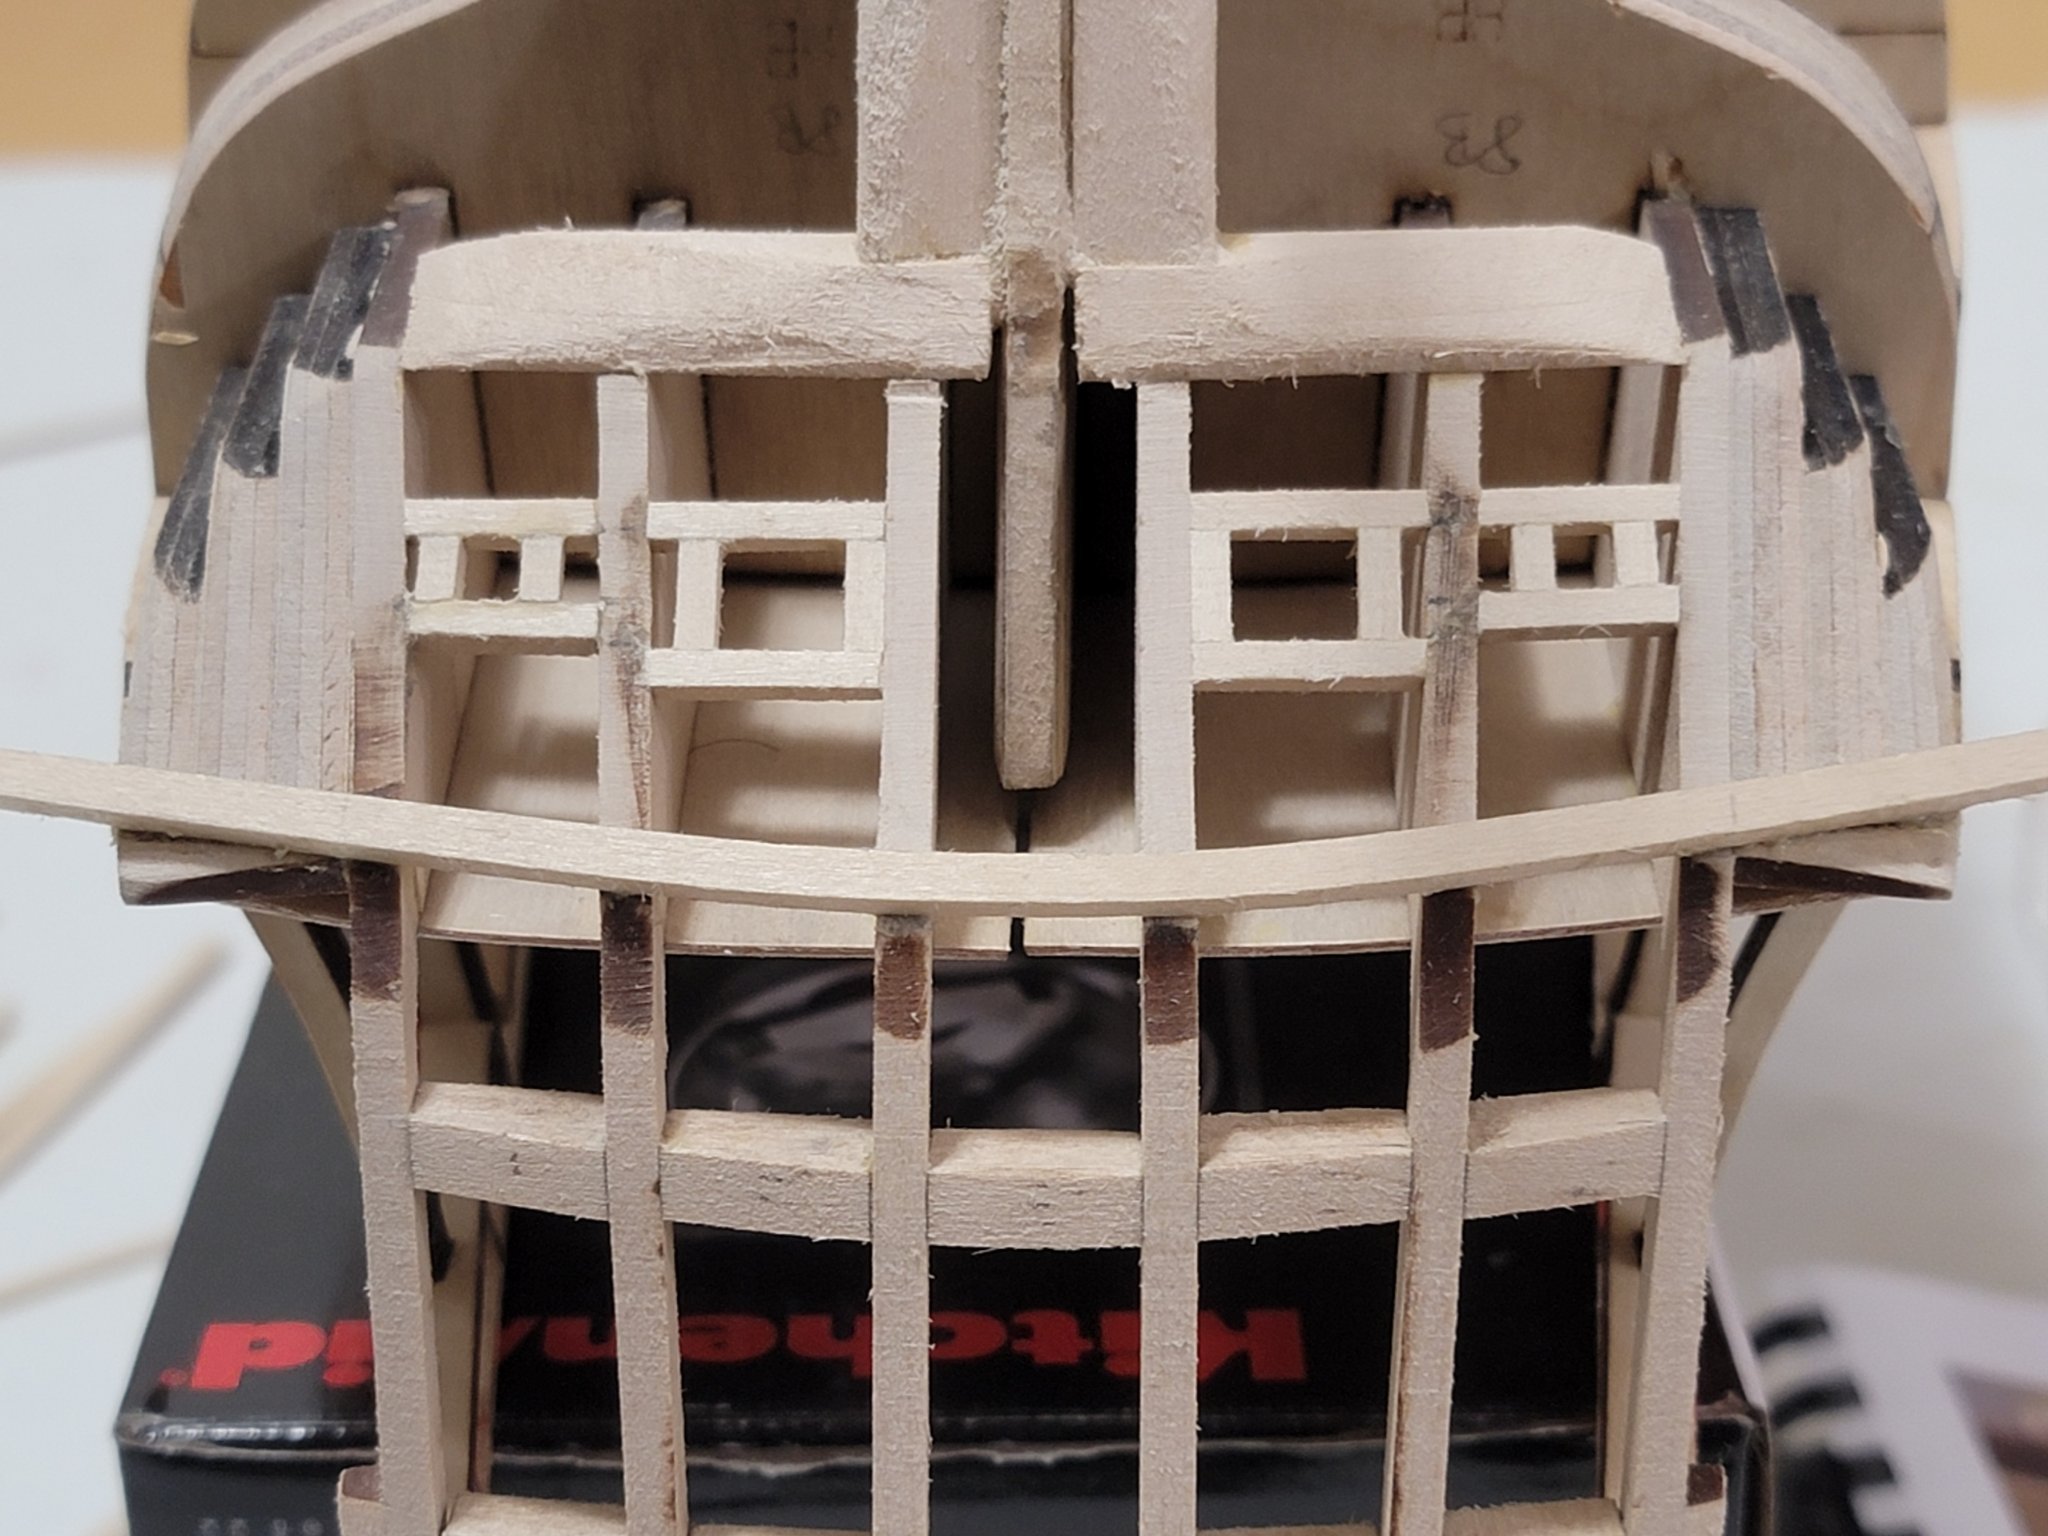
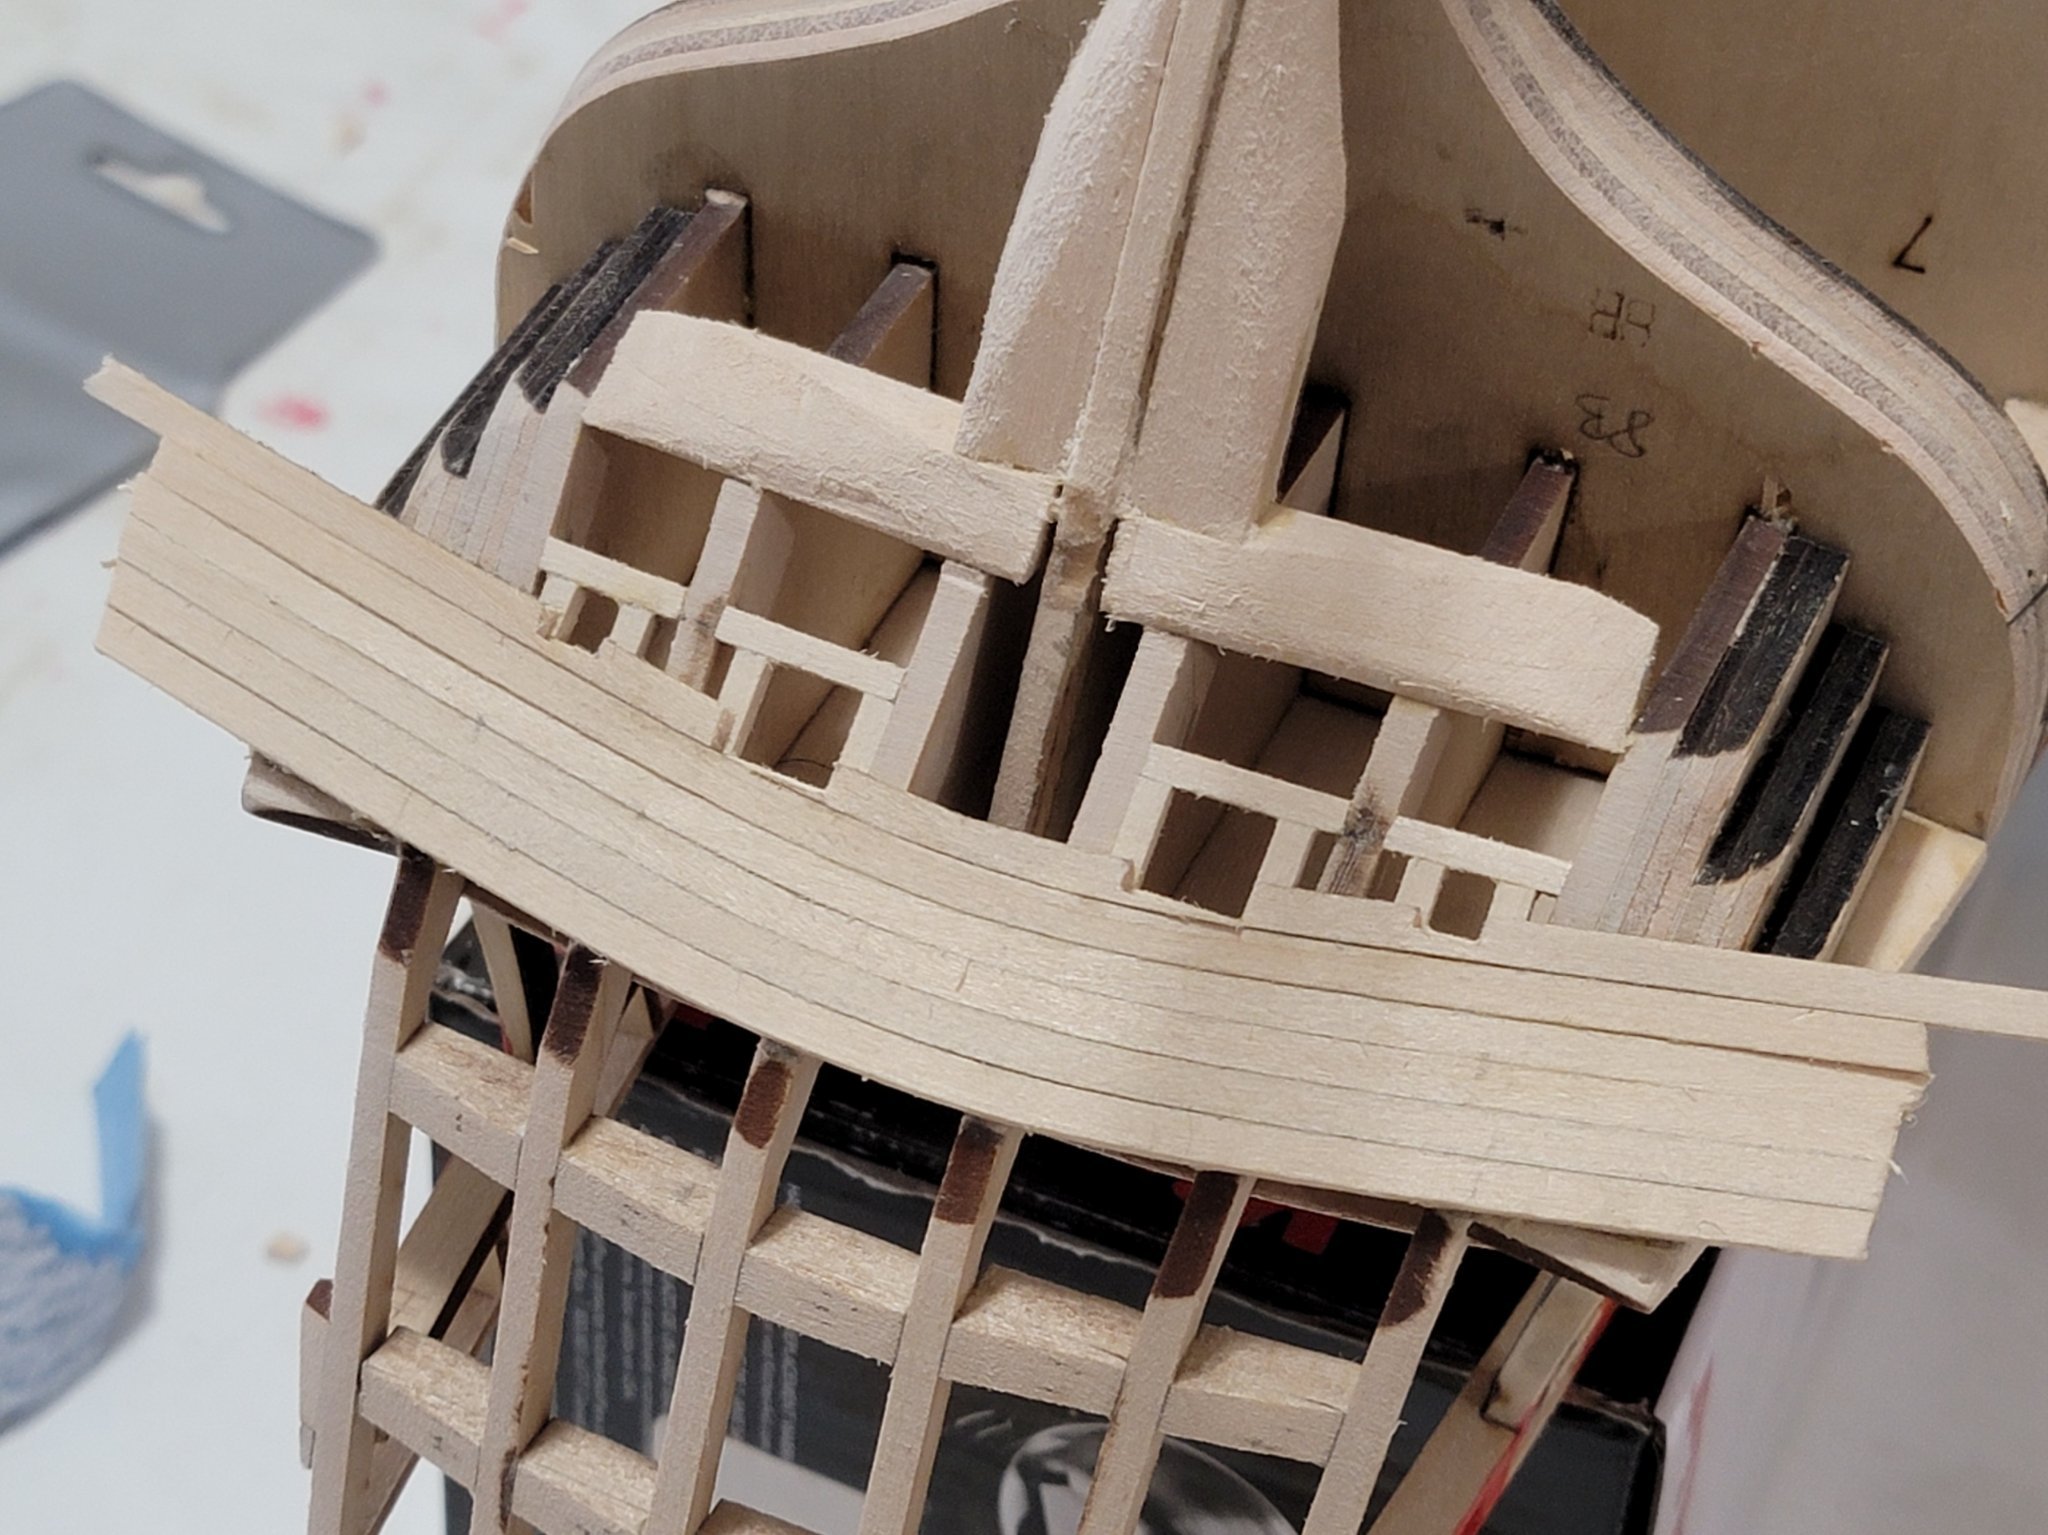
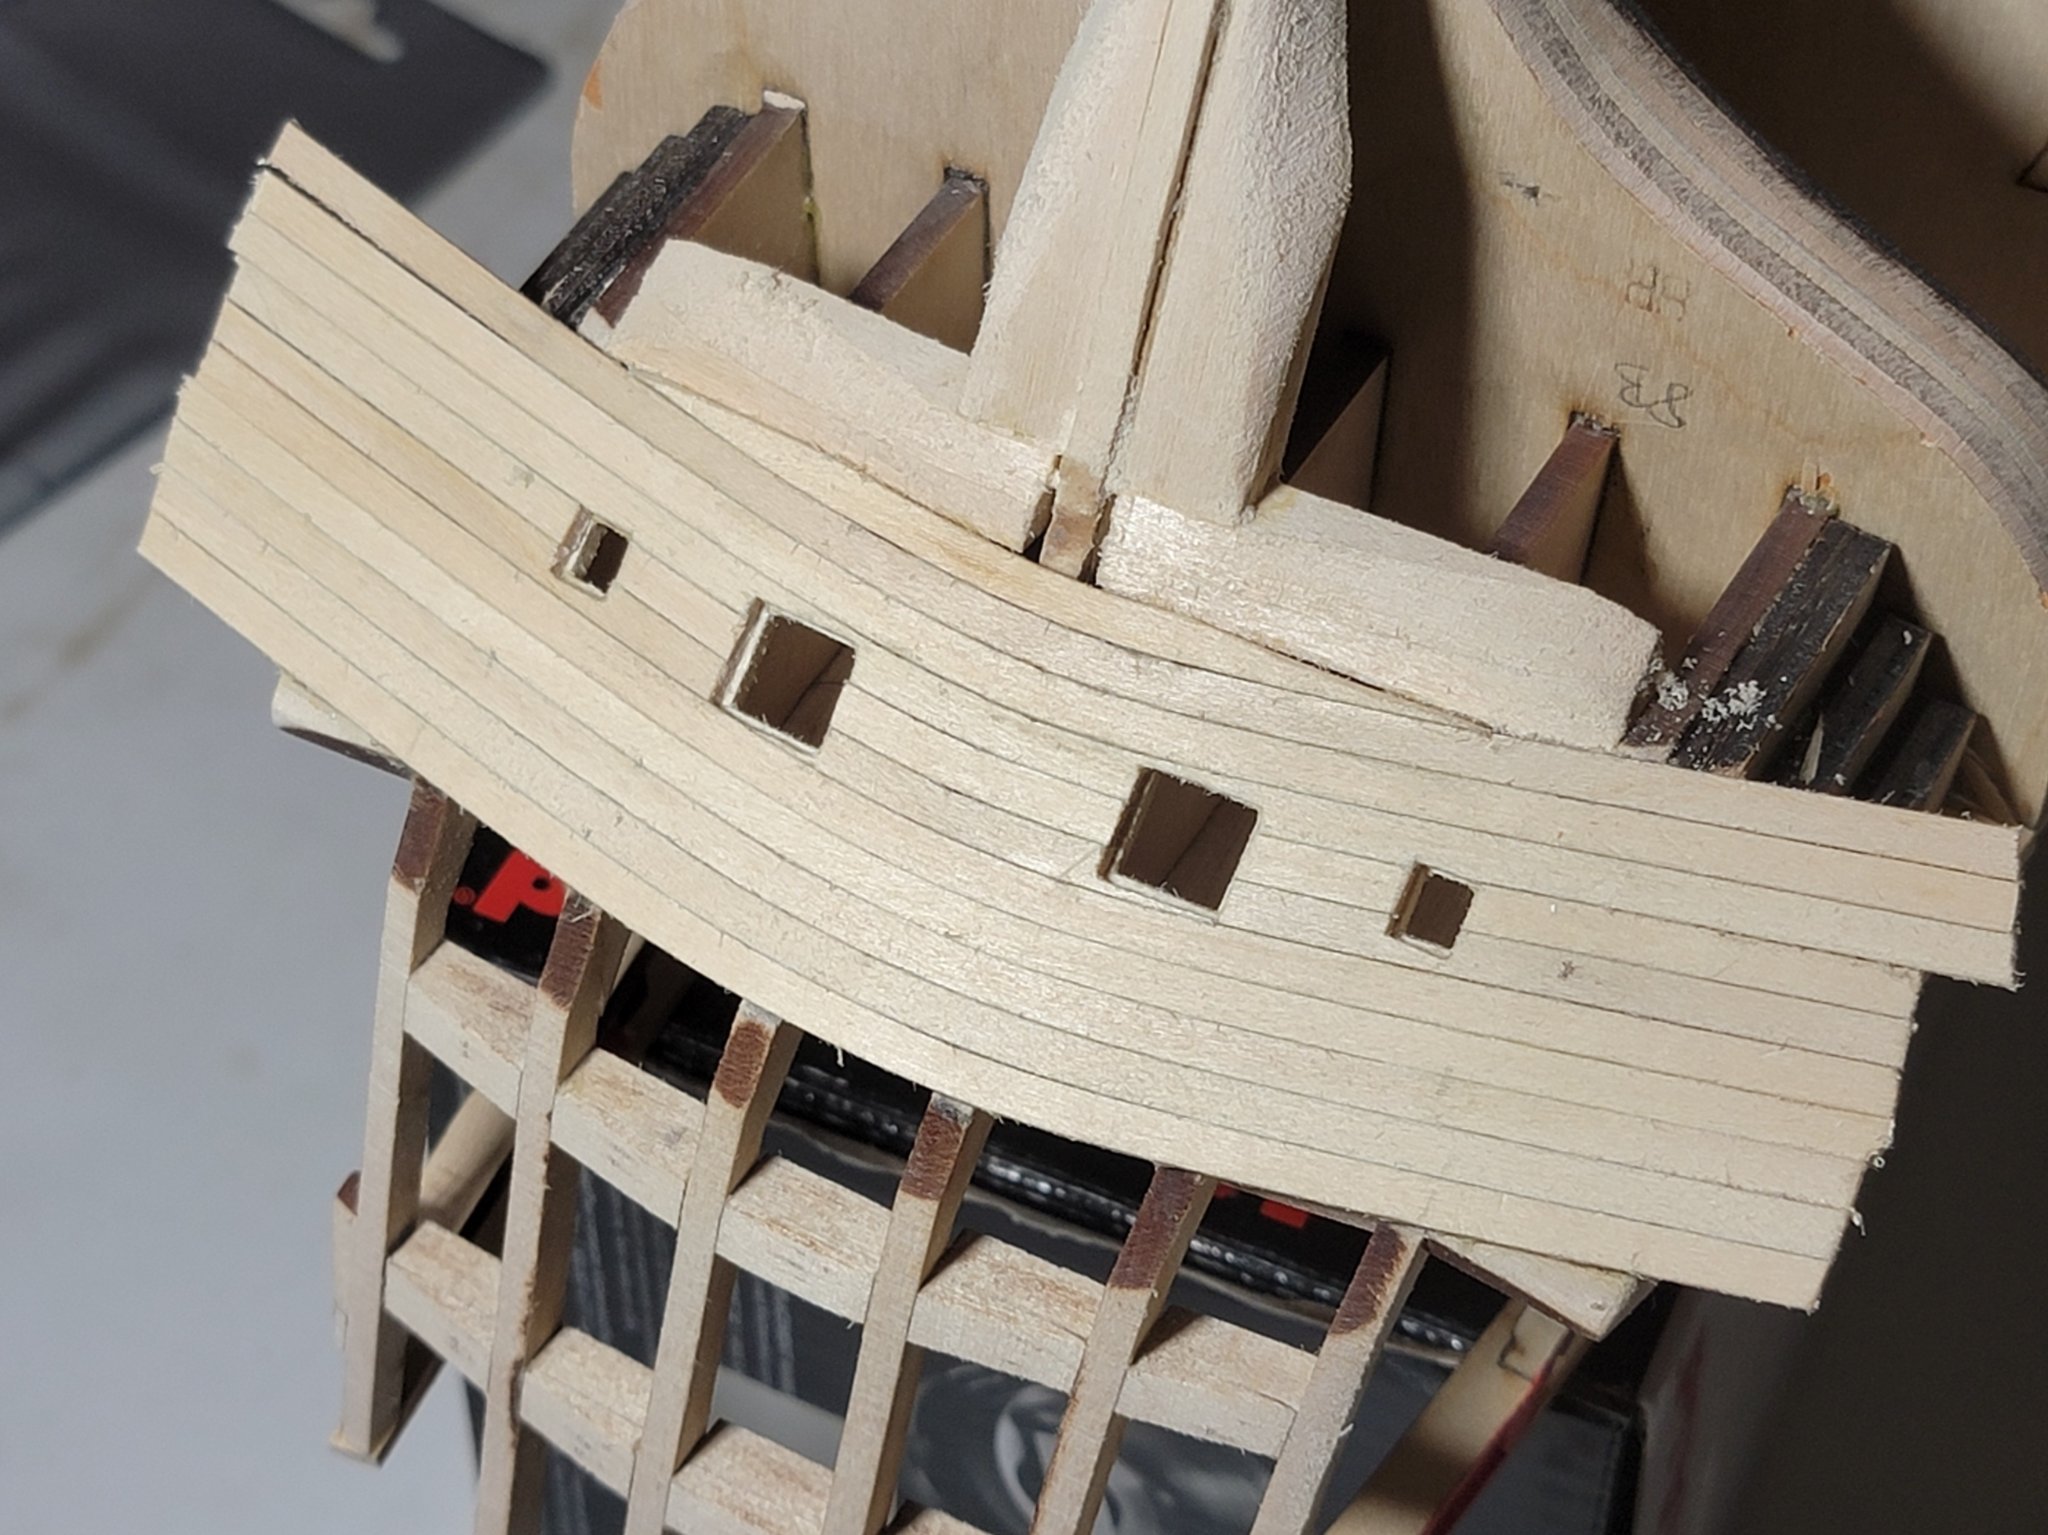
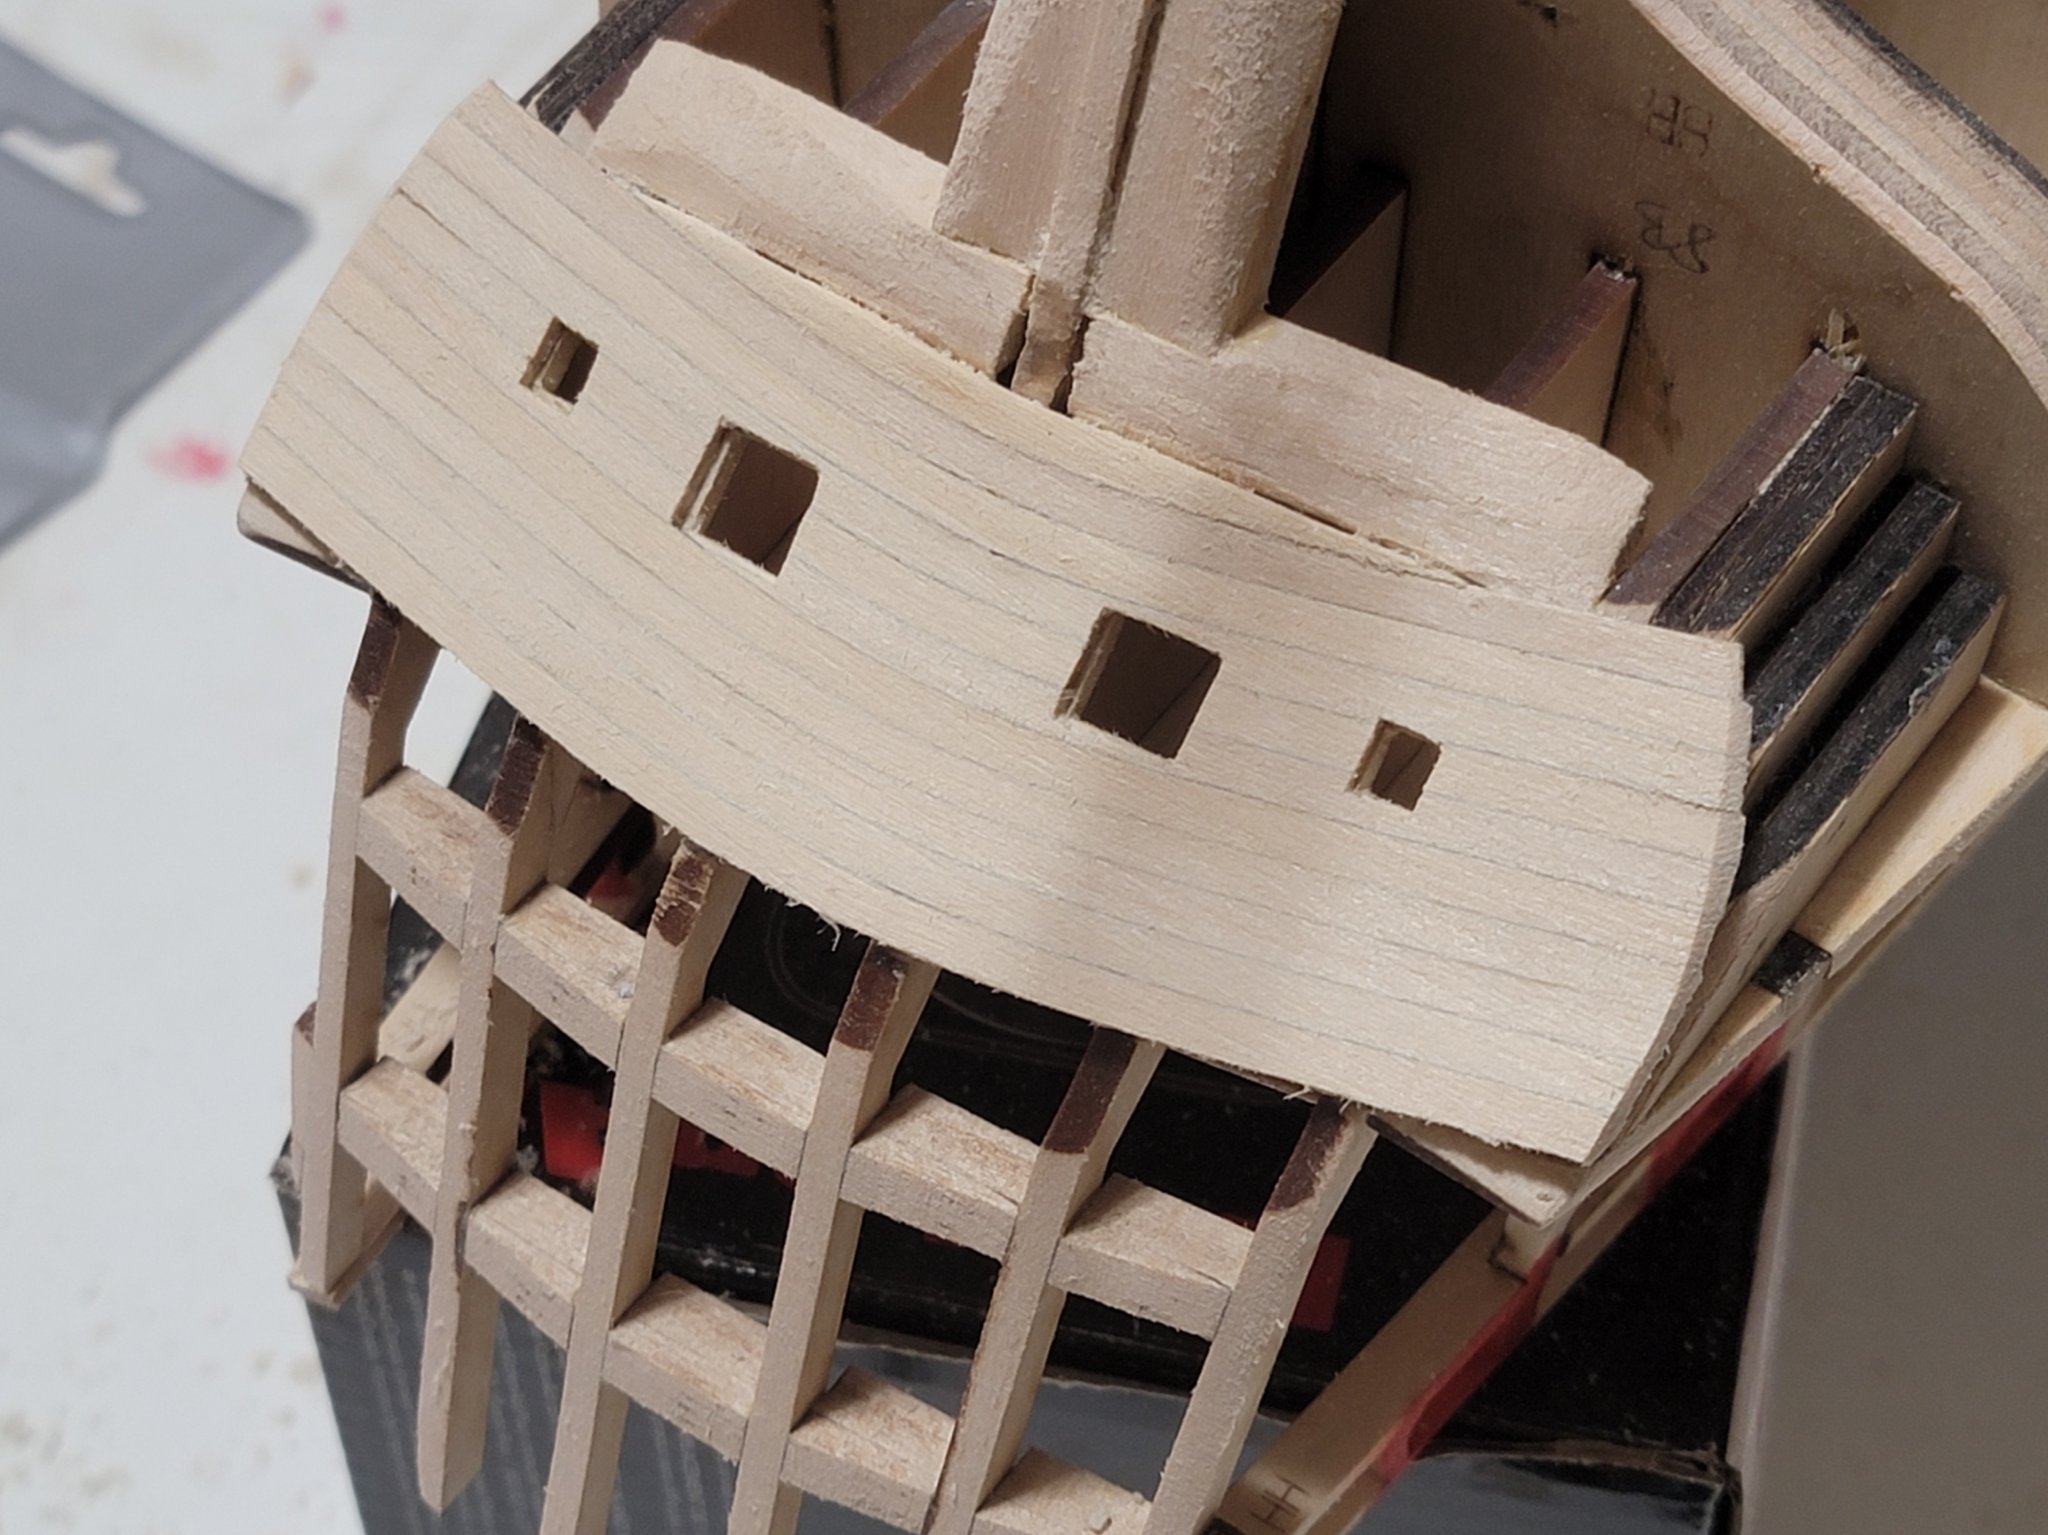
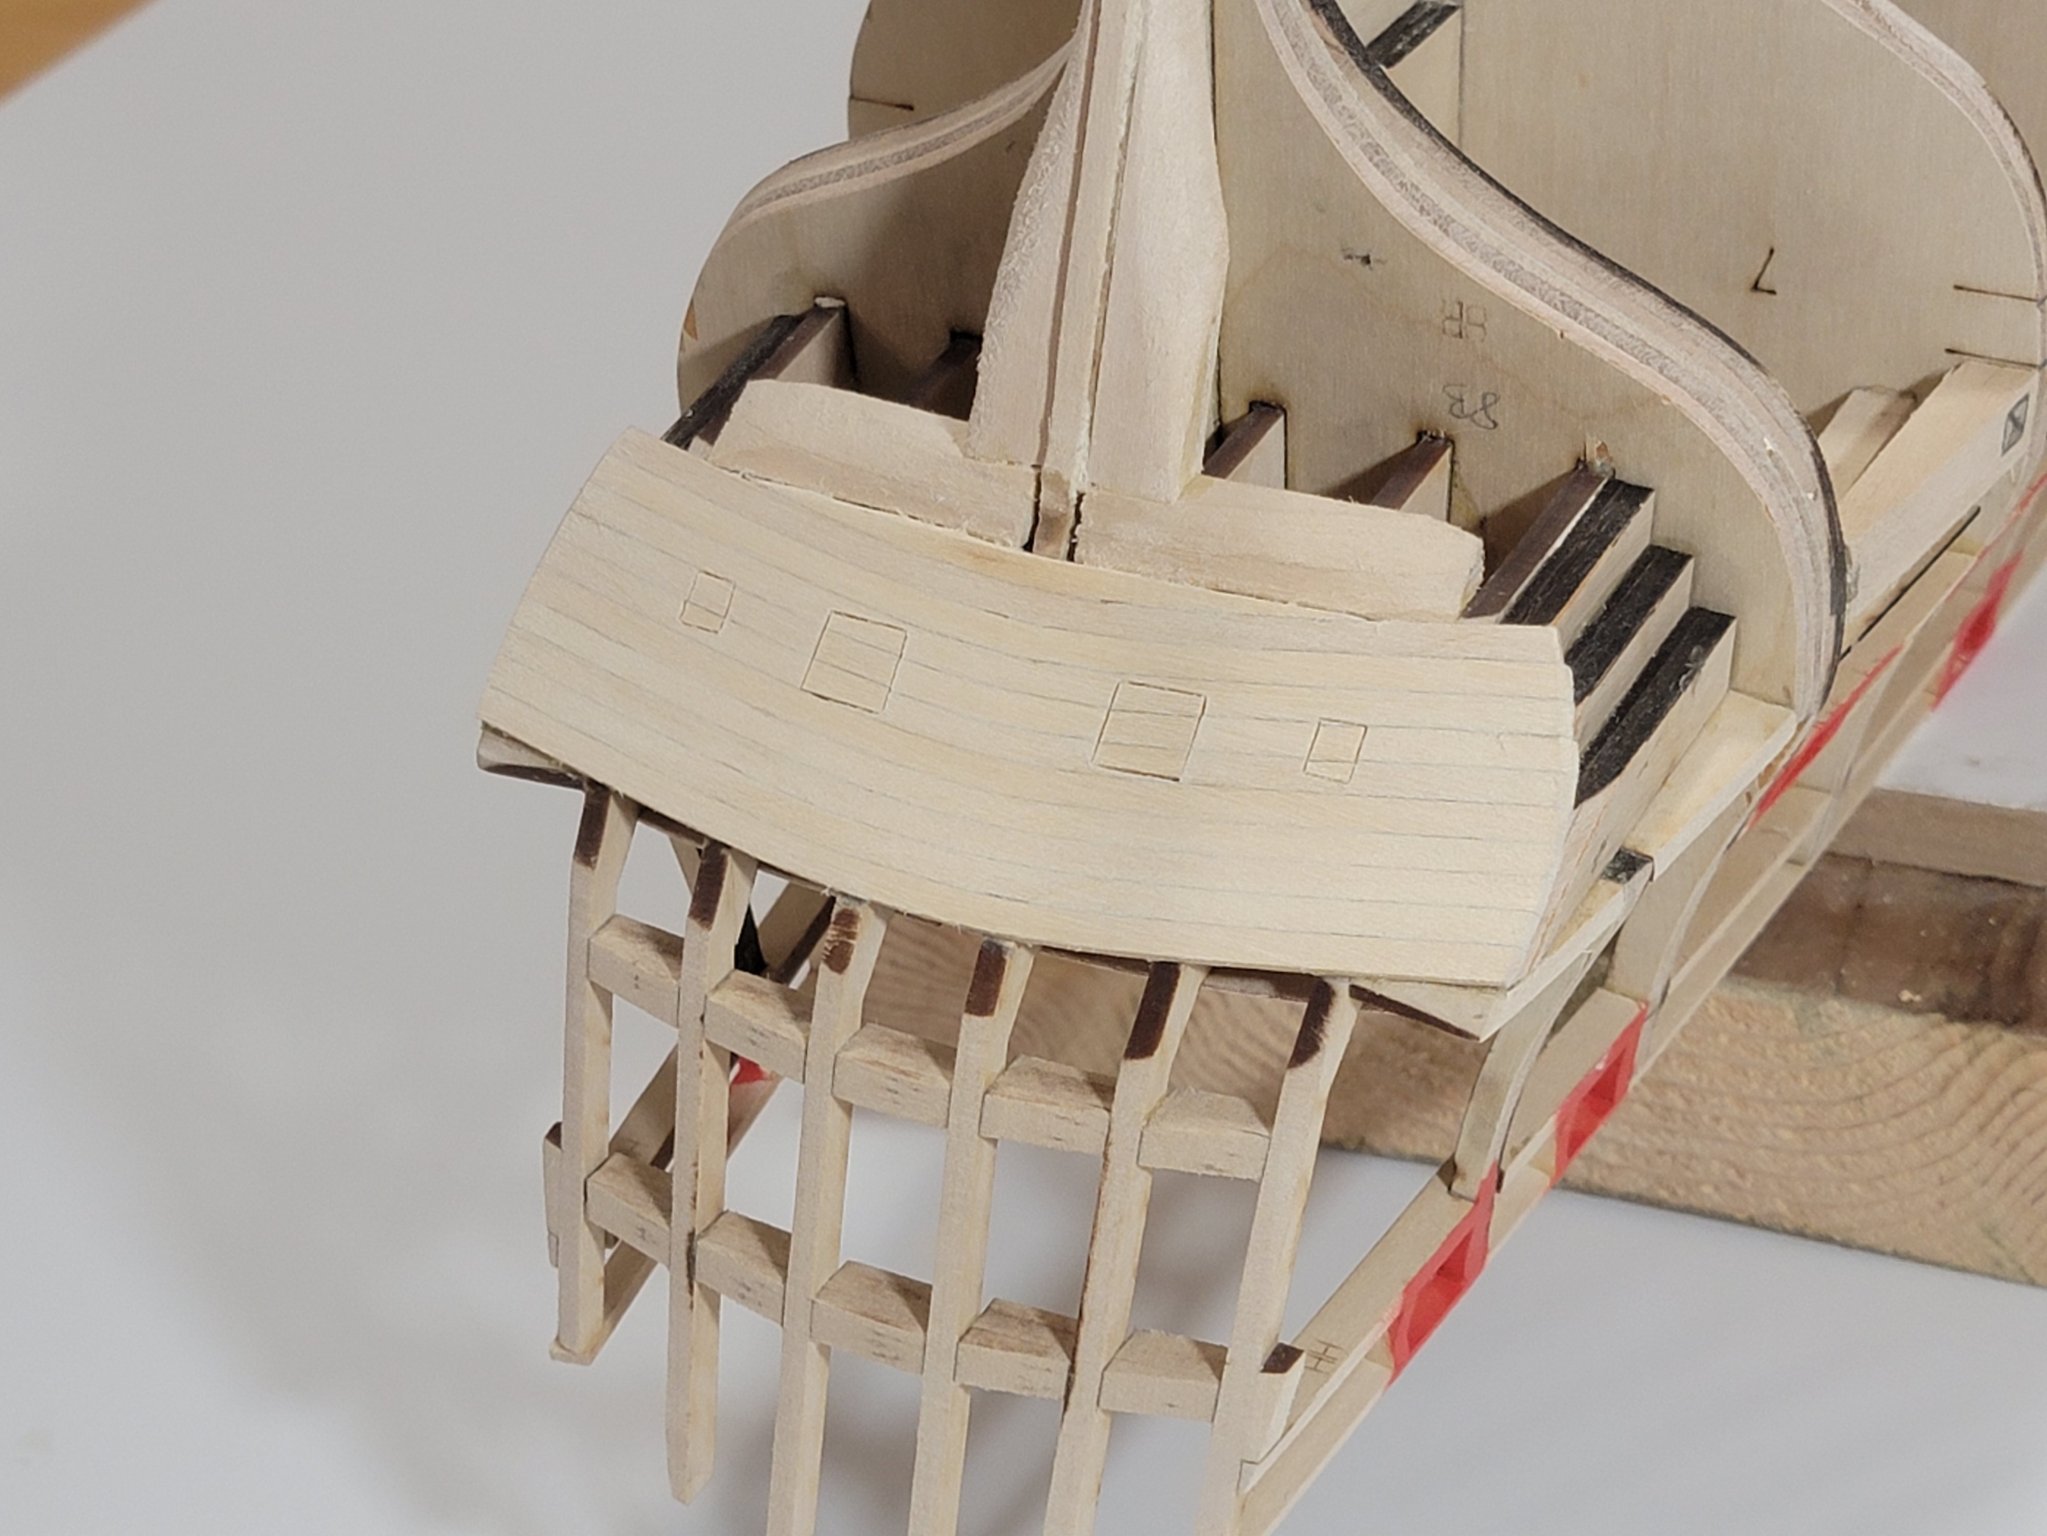
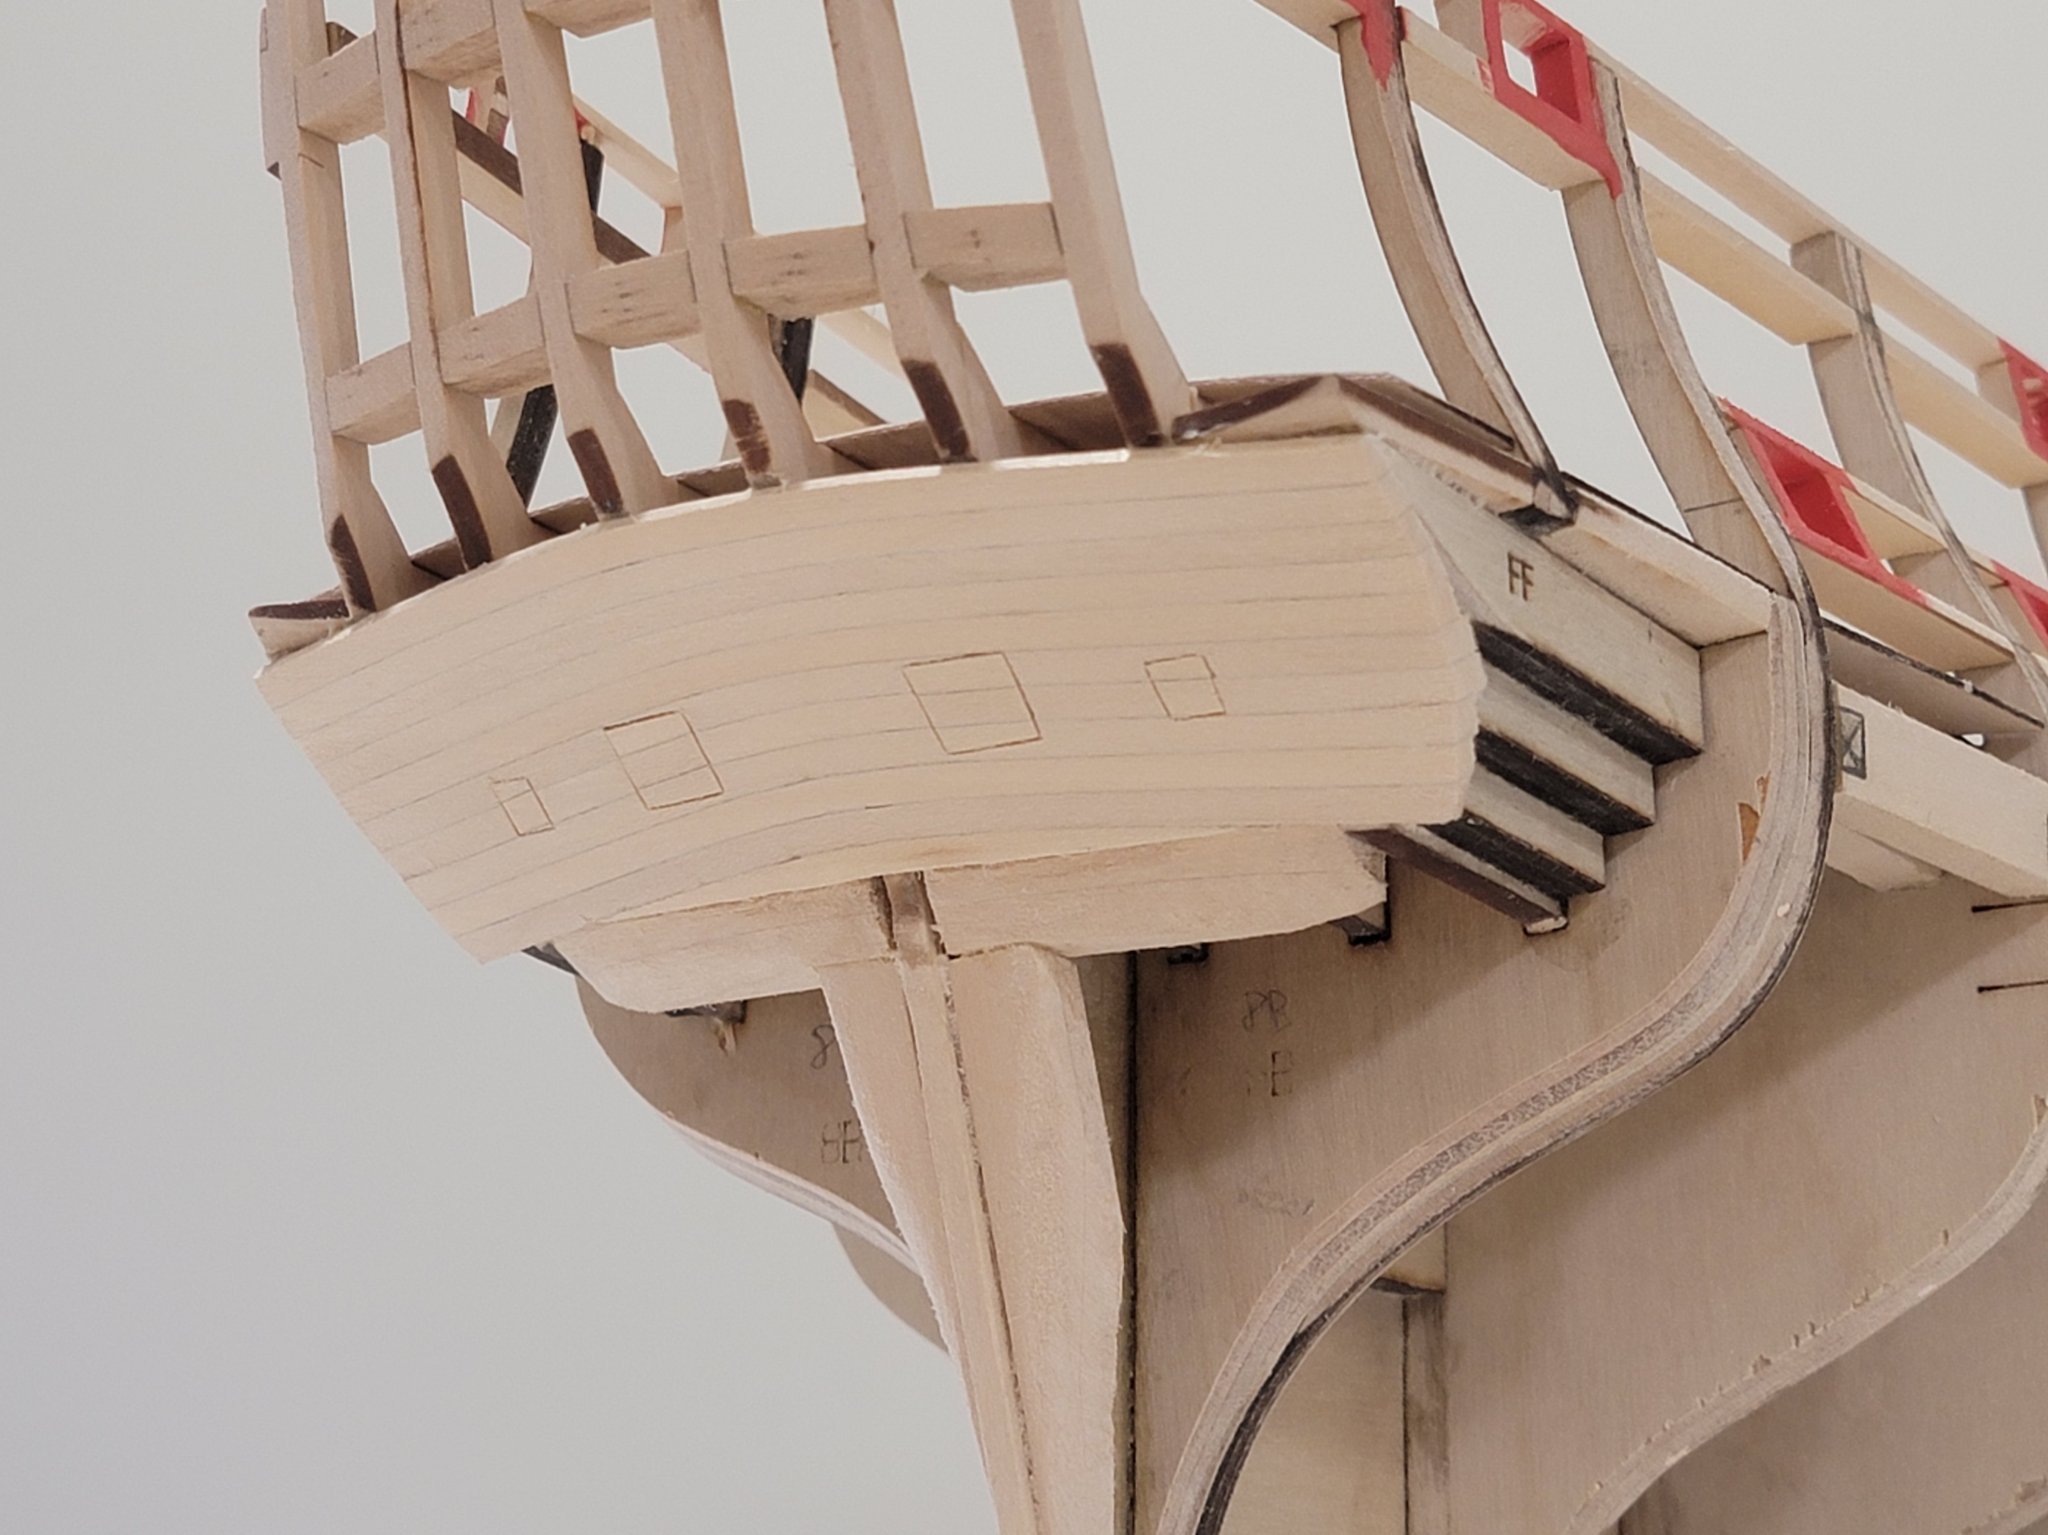
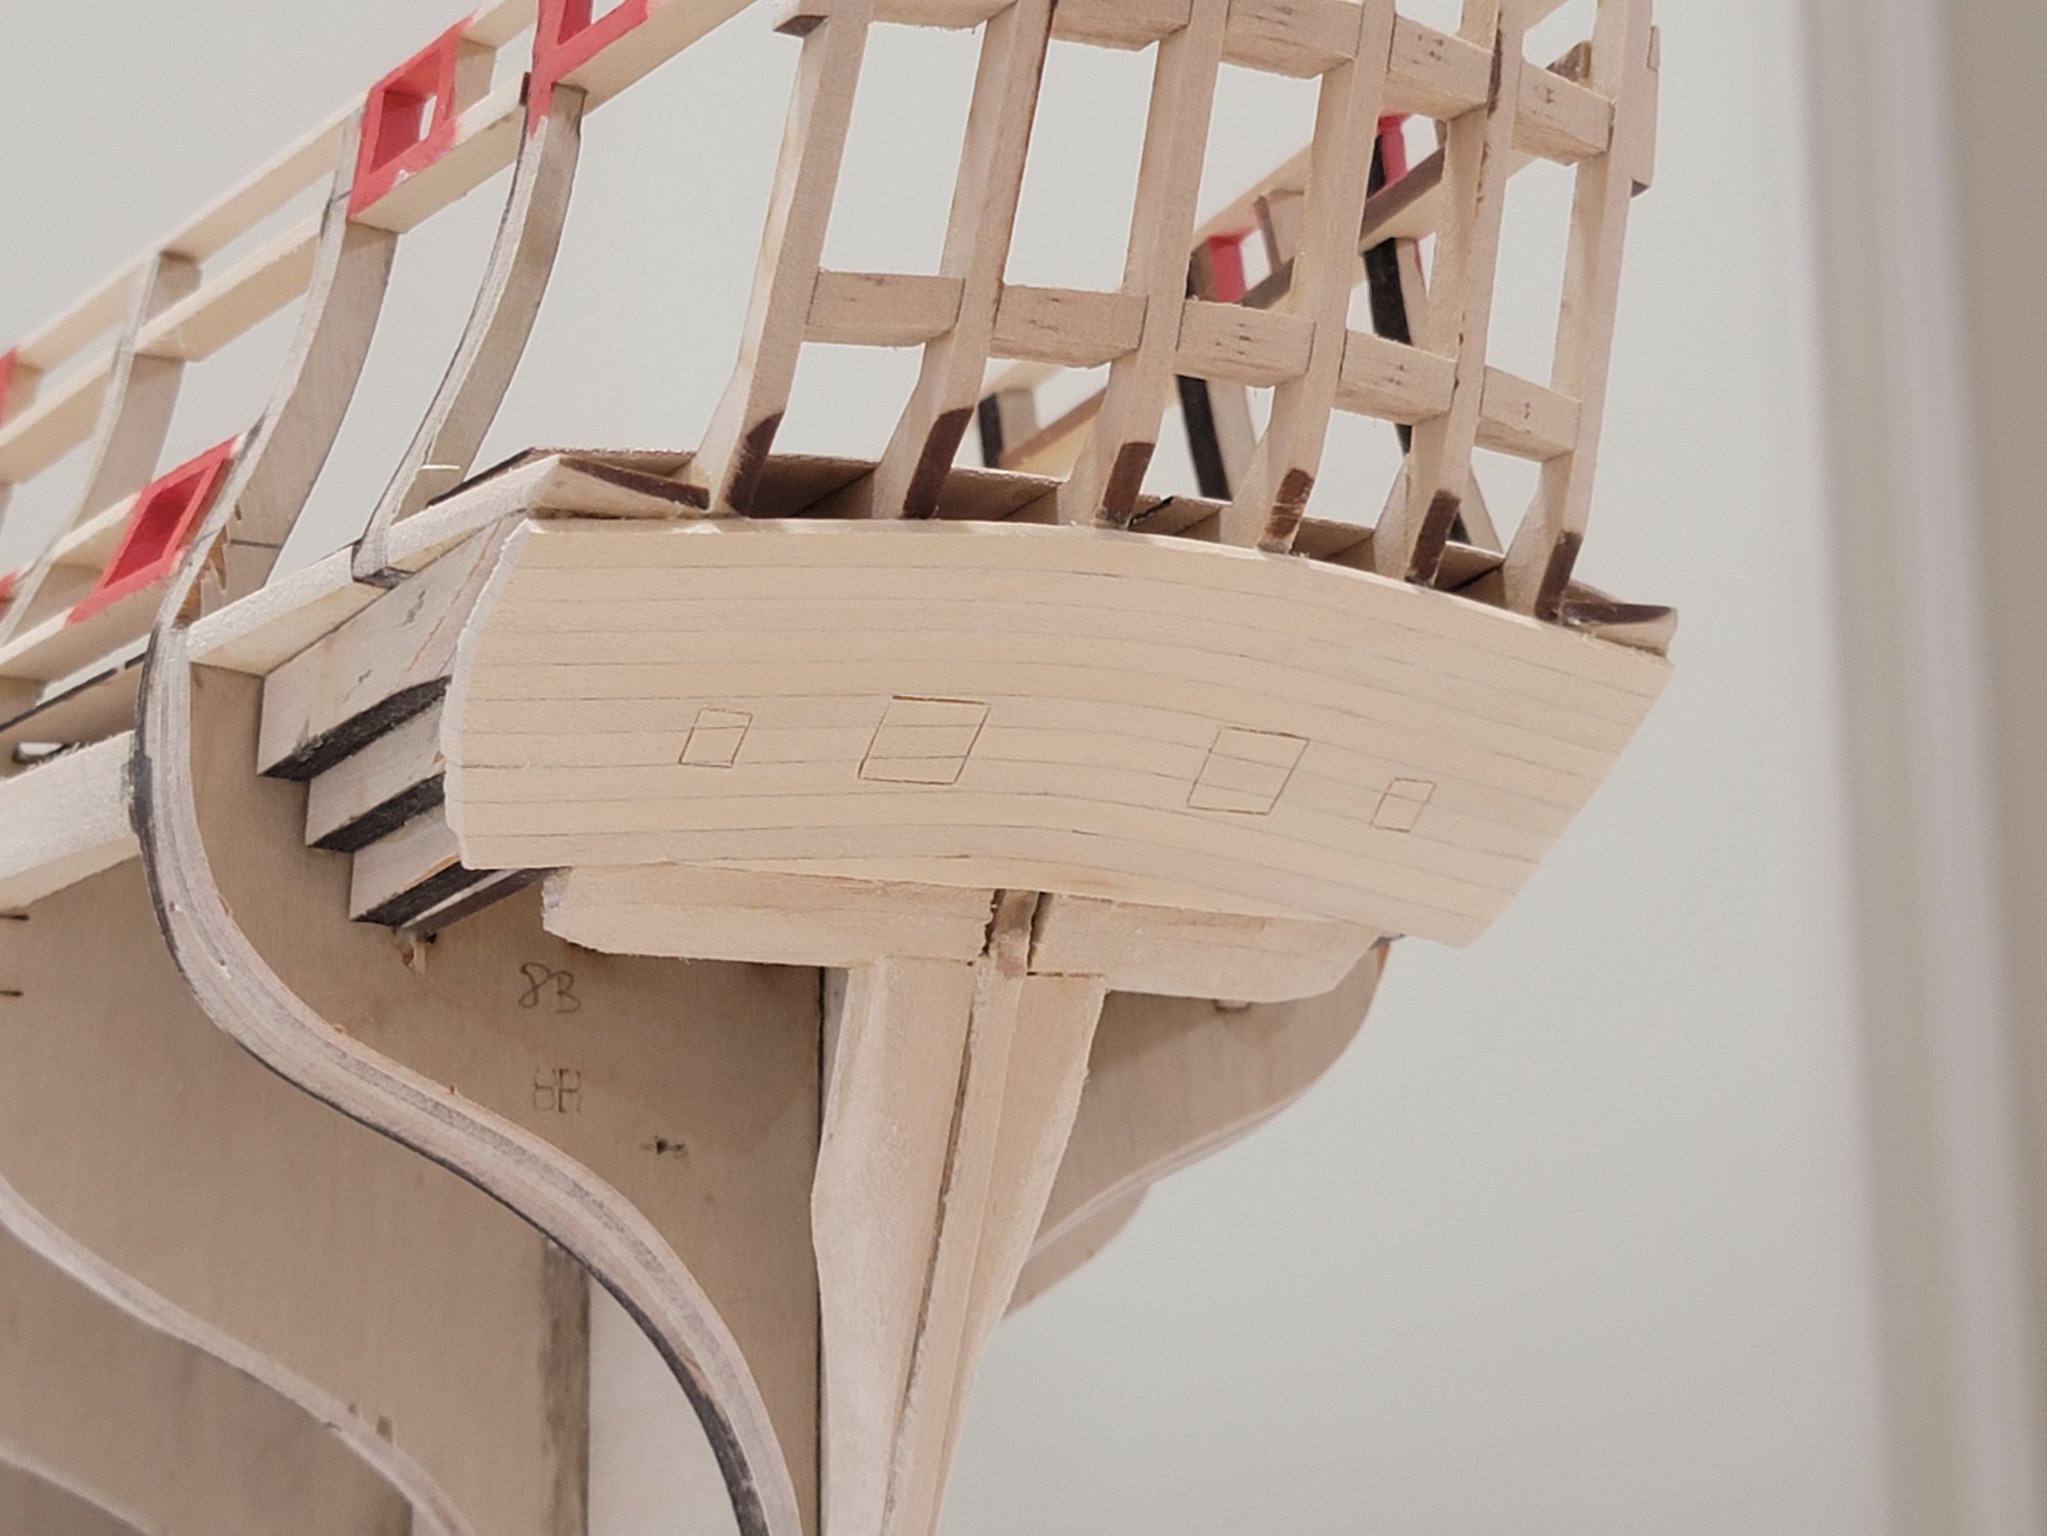
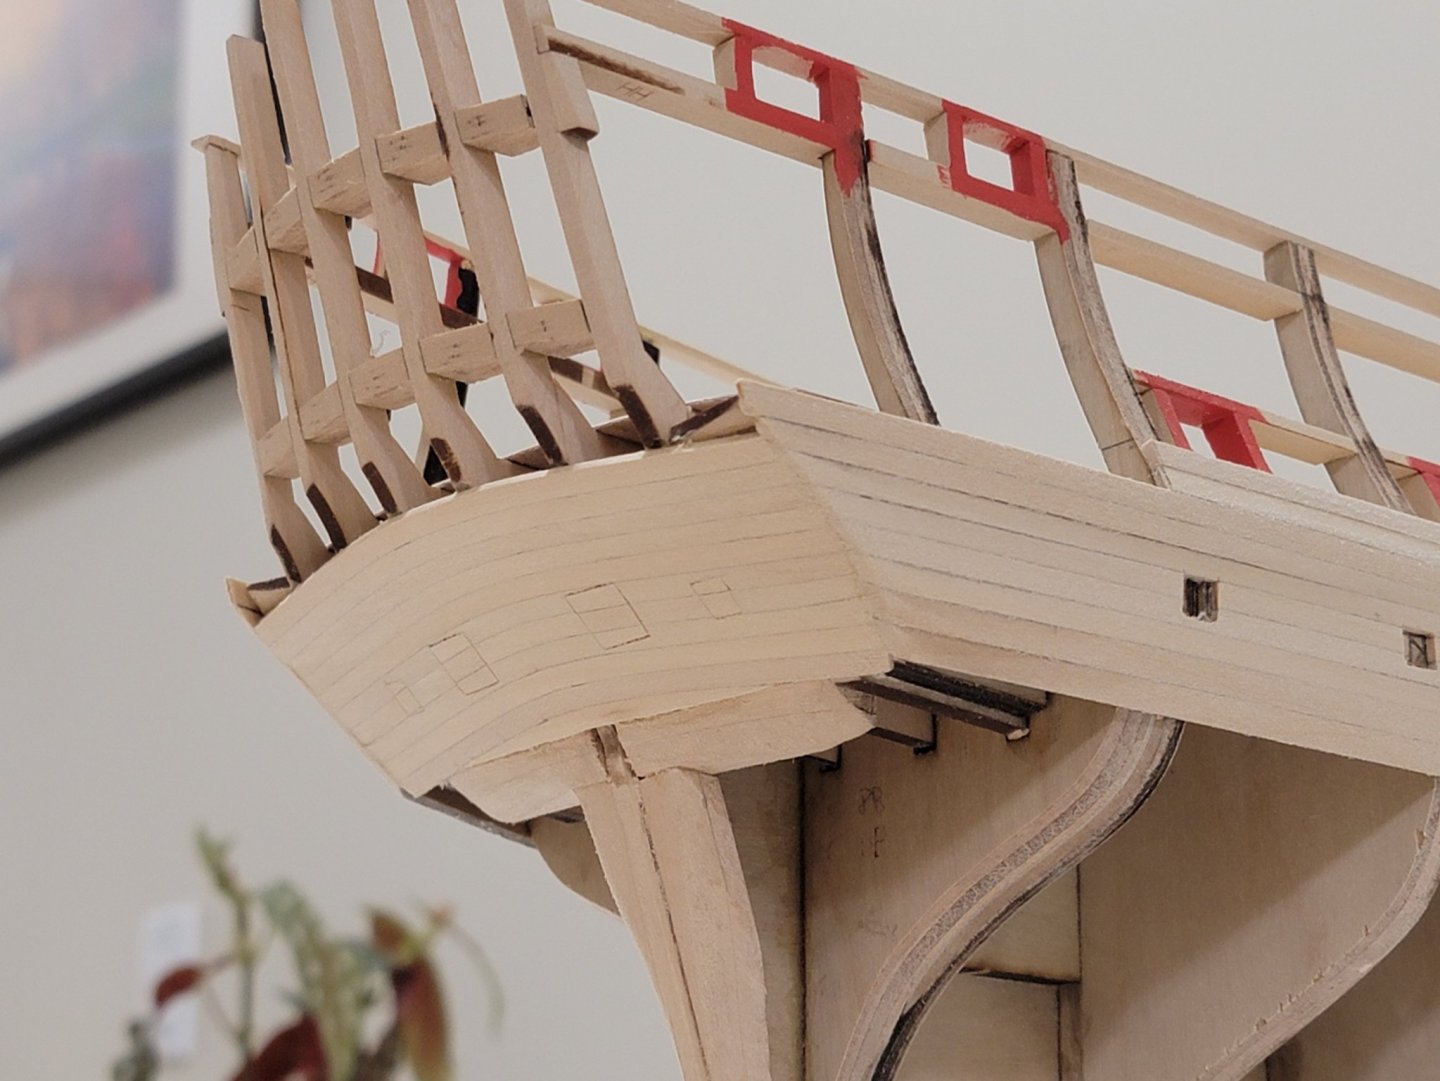
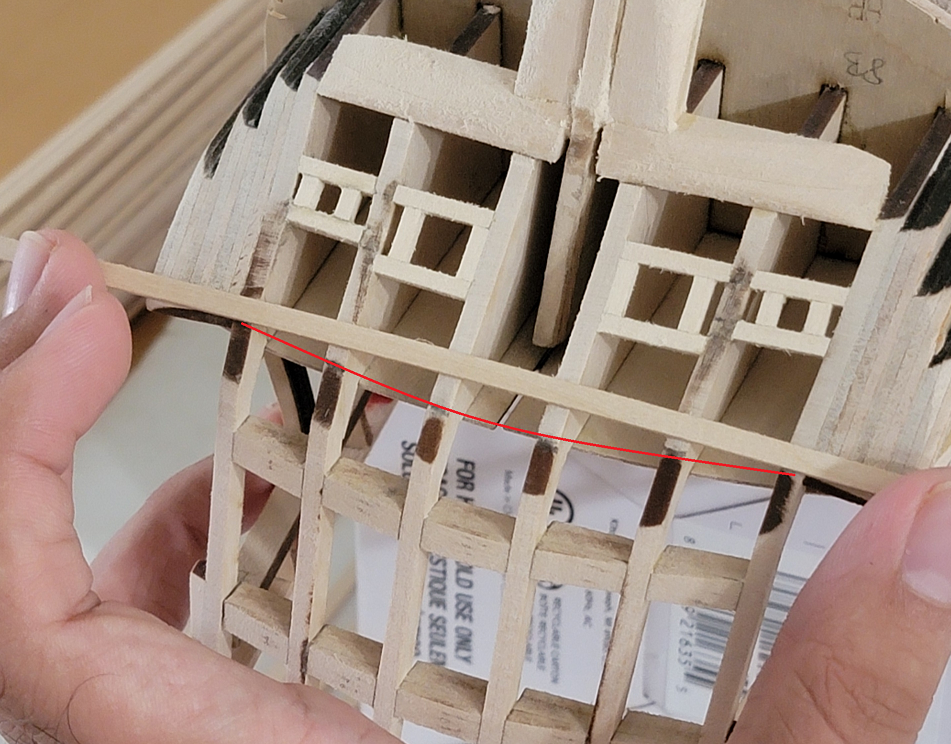
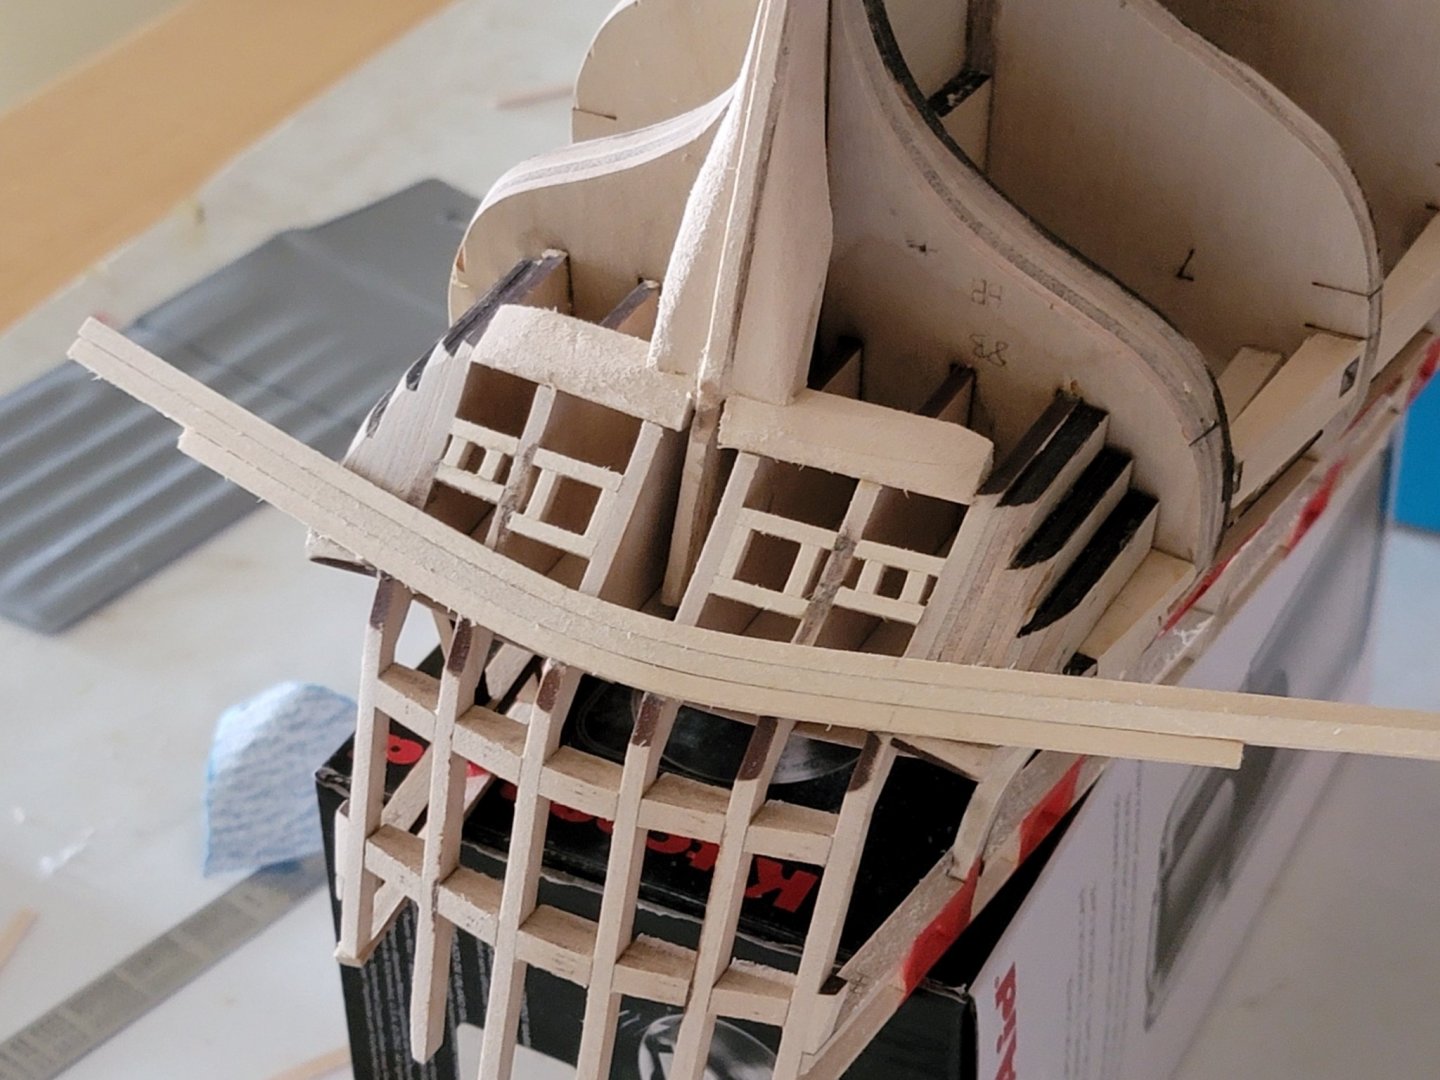
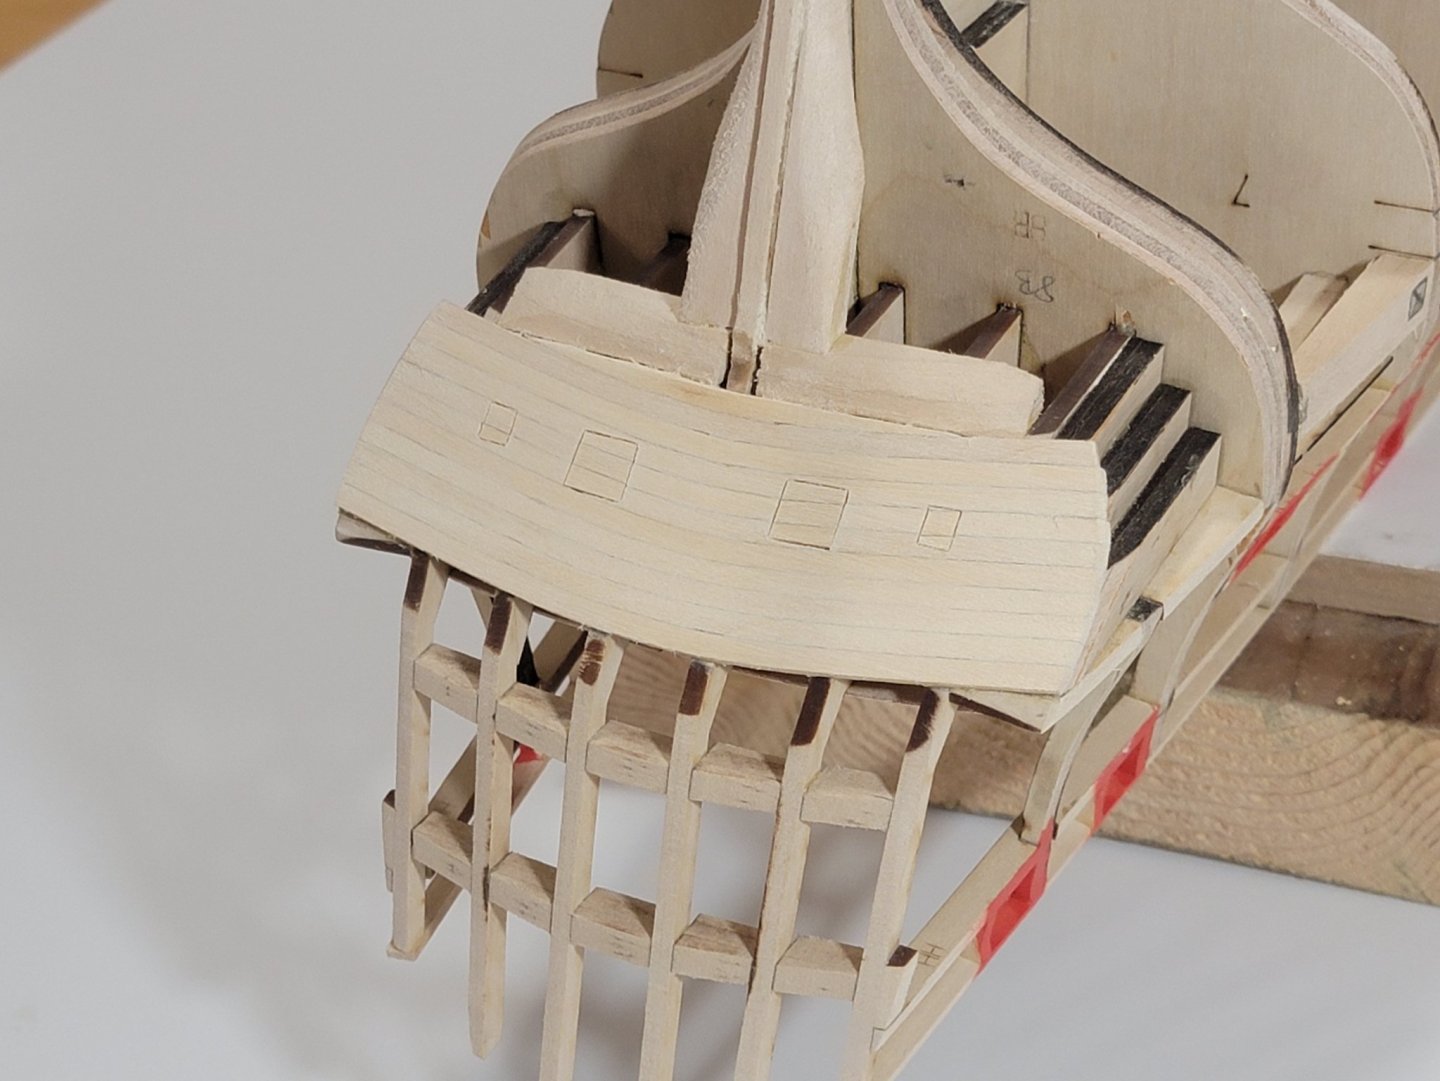
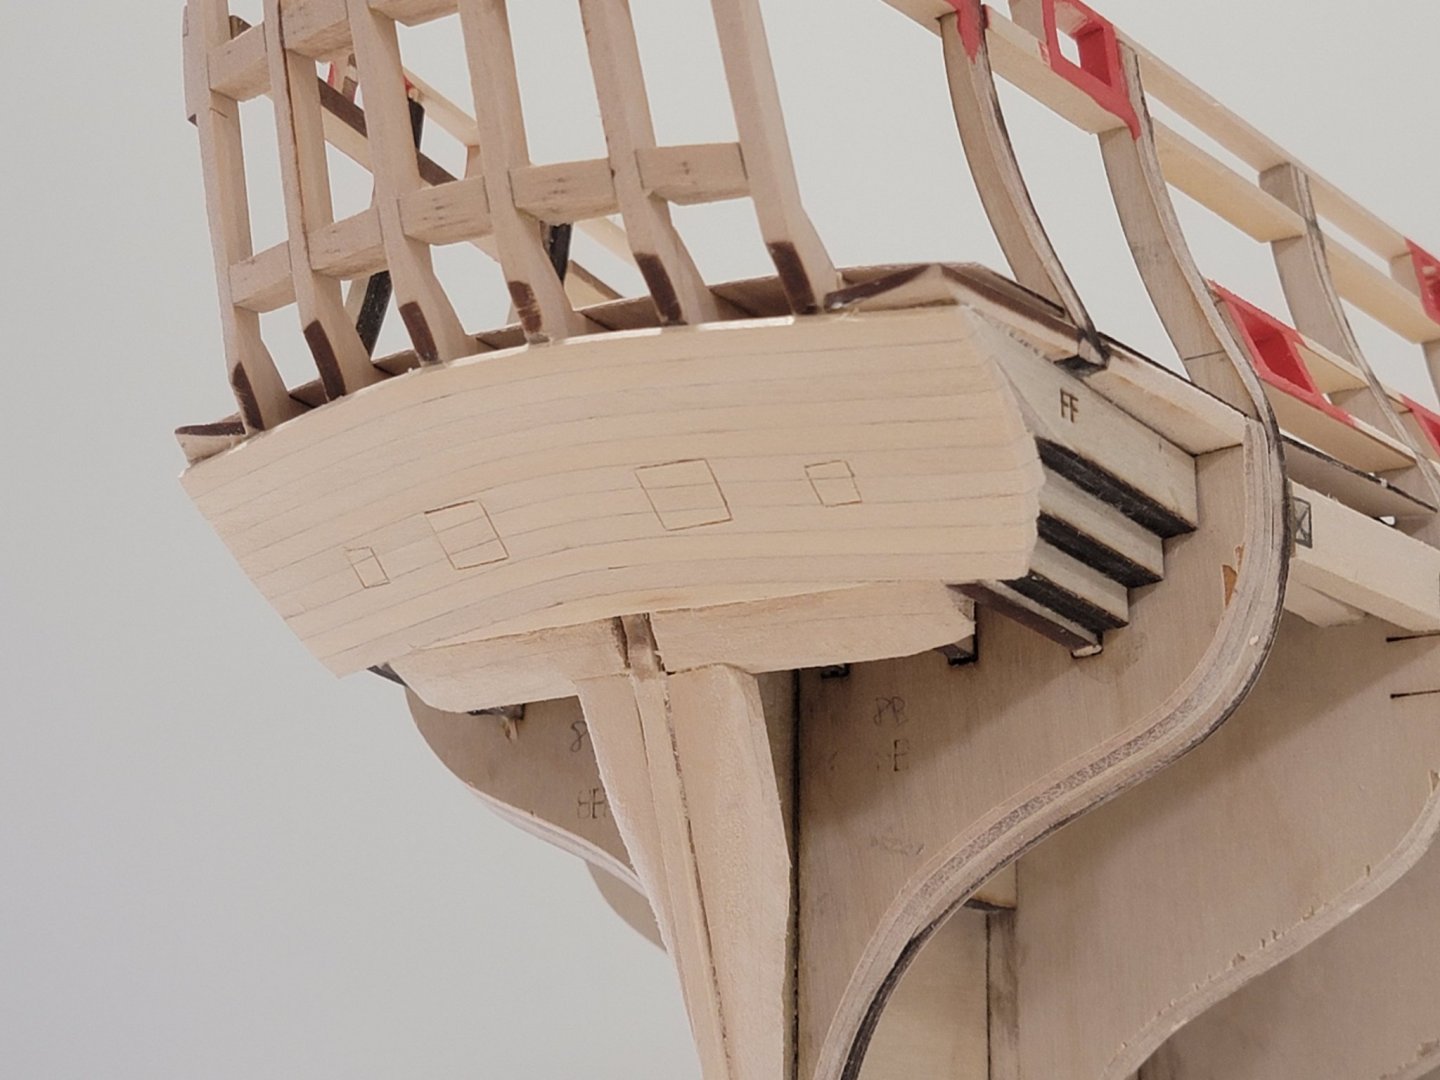
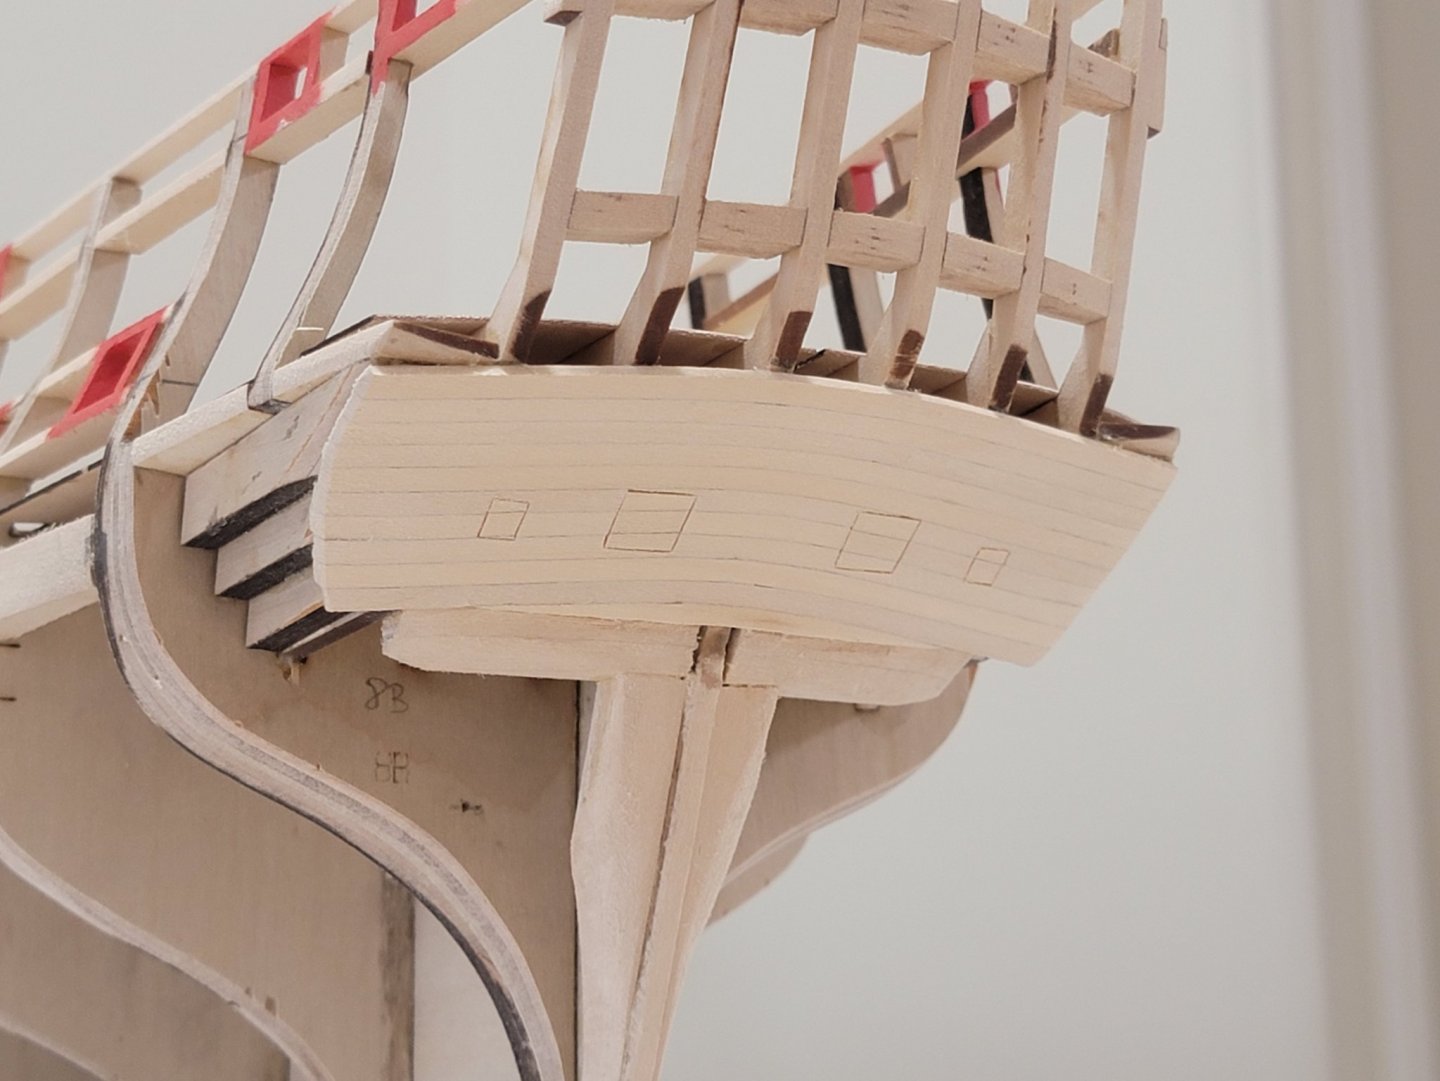
The lower counter of the stern is now planked! This was my first time trying edge-bending on planks (I had to bend to match the curves of the top of the frames). Here are some photos of the progress of this section: Here, the red line shows where the edge of the plank should rest. The one I am holding here has no edge-bend. I used the ironing technique as shown by Chuck in his video. Here, I glued in some of the first planks: Cutting the notches out was a bit tricky, but manageable: The excess planks on either side of the hull were trimmed and faired: Then lastly, the gun ports were built. I had to align the planks to that of the lower counter. Another tricky procedure... After gluing them in place, the counter was sanded one more time. Here is how she stands currently: Btw, I am finding this build to be more difficult than I thought (more difficult than the Syren I'd say). Small mistakes can stack on one another and lots of new techniques are needed. But all these translate to new skills, and overcoming the challenges is quite enjoyable! 🙂


-
The shape is looking really good!! I remember the upper and lower sections to be a bit trickier because of the rounded curves.
-
Hi Patrick, here is how I did my quarter galleries: I made a sandwich structure and detailed each layer before gluing it all together. Your window frames look really good! If you don't mind me giving a suggestion, try making them a bit thinner to match that of the plans. I like the idea of the sculpy, I will keep a mental note in case I ever need to do something similar! Wishing you a quick recovery!
-
Really nice planking!! She's coming up great! 😀
-
That's some gorgeous decking!!
-
Hi Nirvana, many thanks for the nice comment! My true first name is Harshil 🙂 Yeaup the box is heavy, I was also surprised by that! But I guess most of the weight comes from the many laser cut sheets.
-
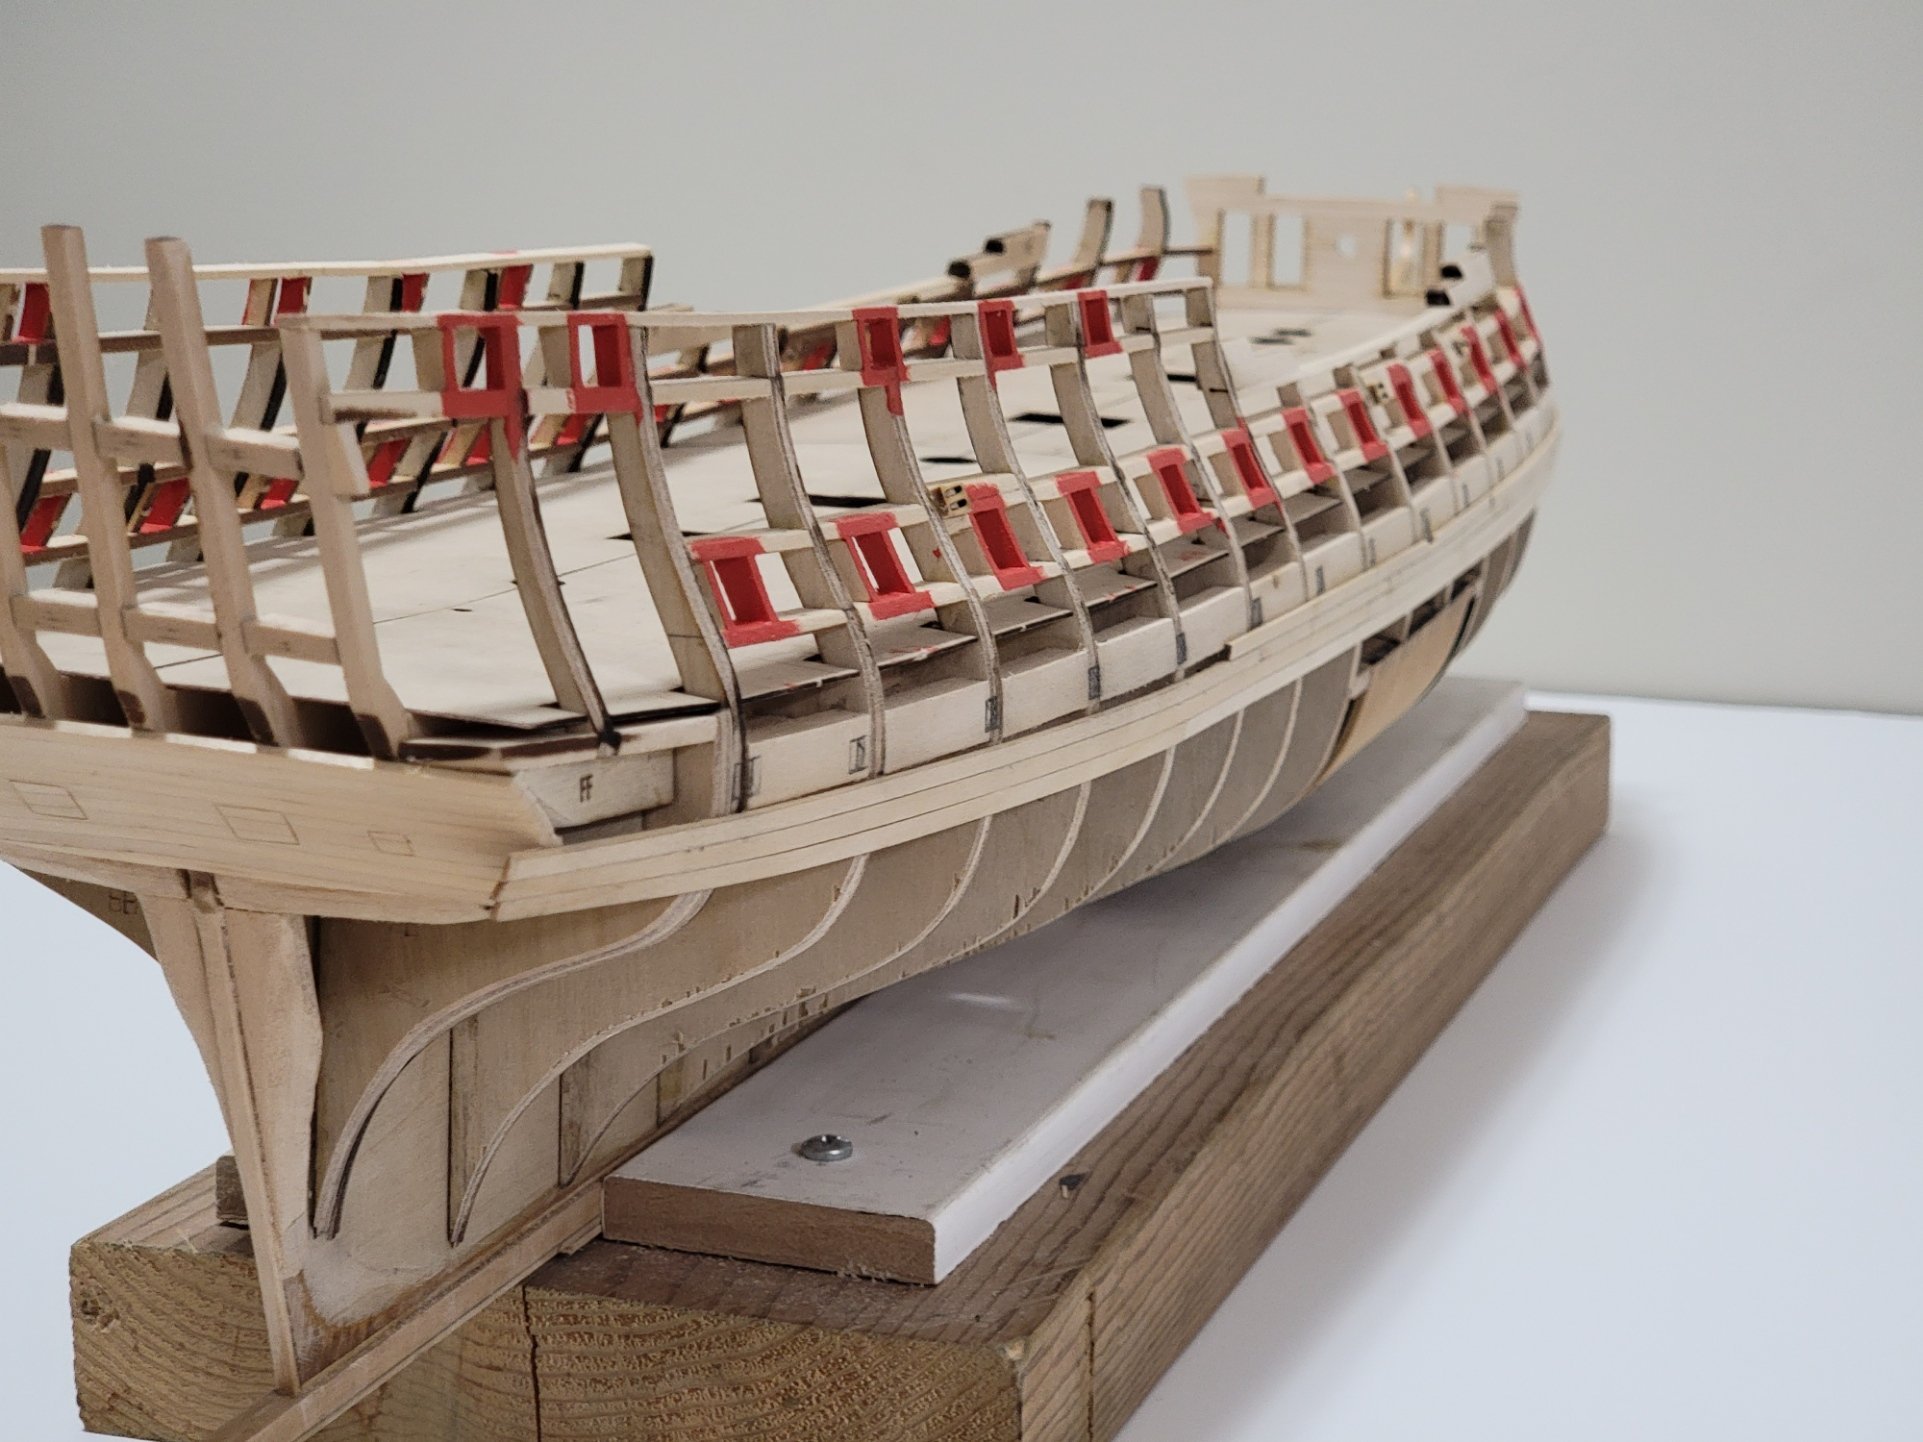
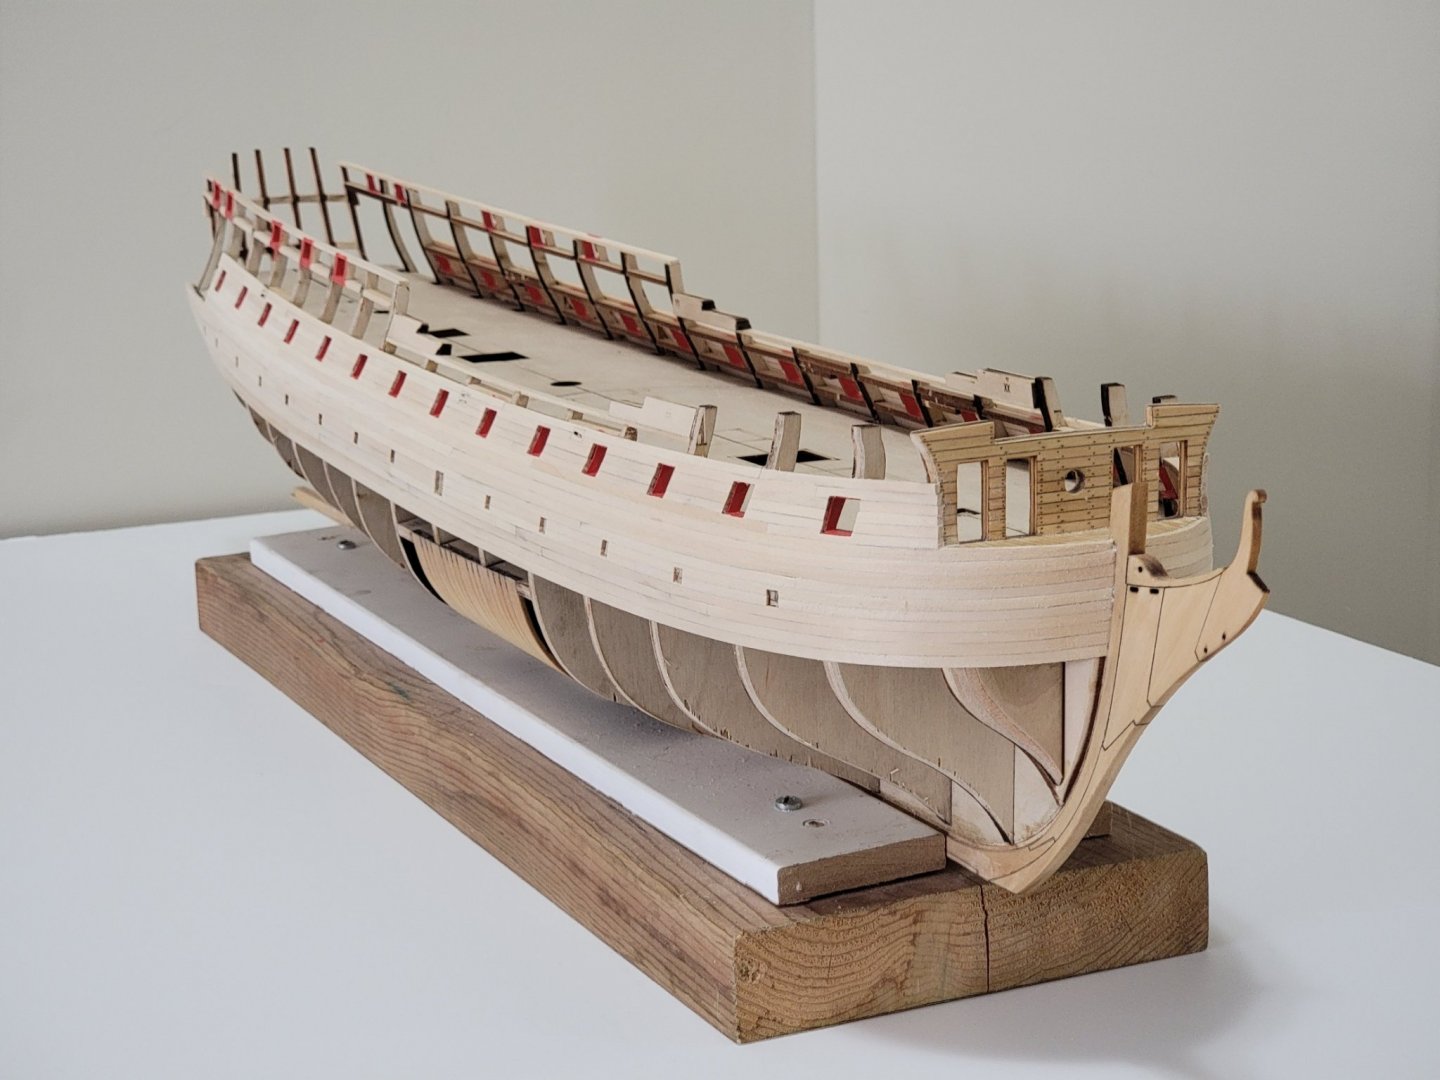
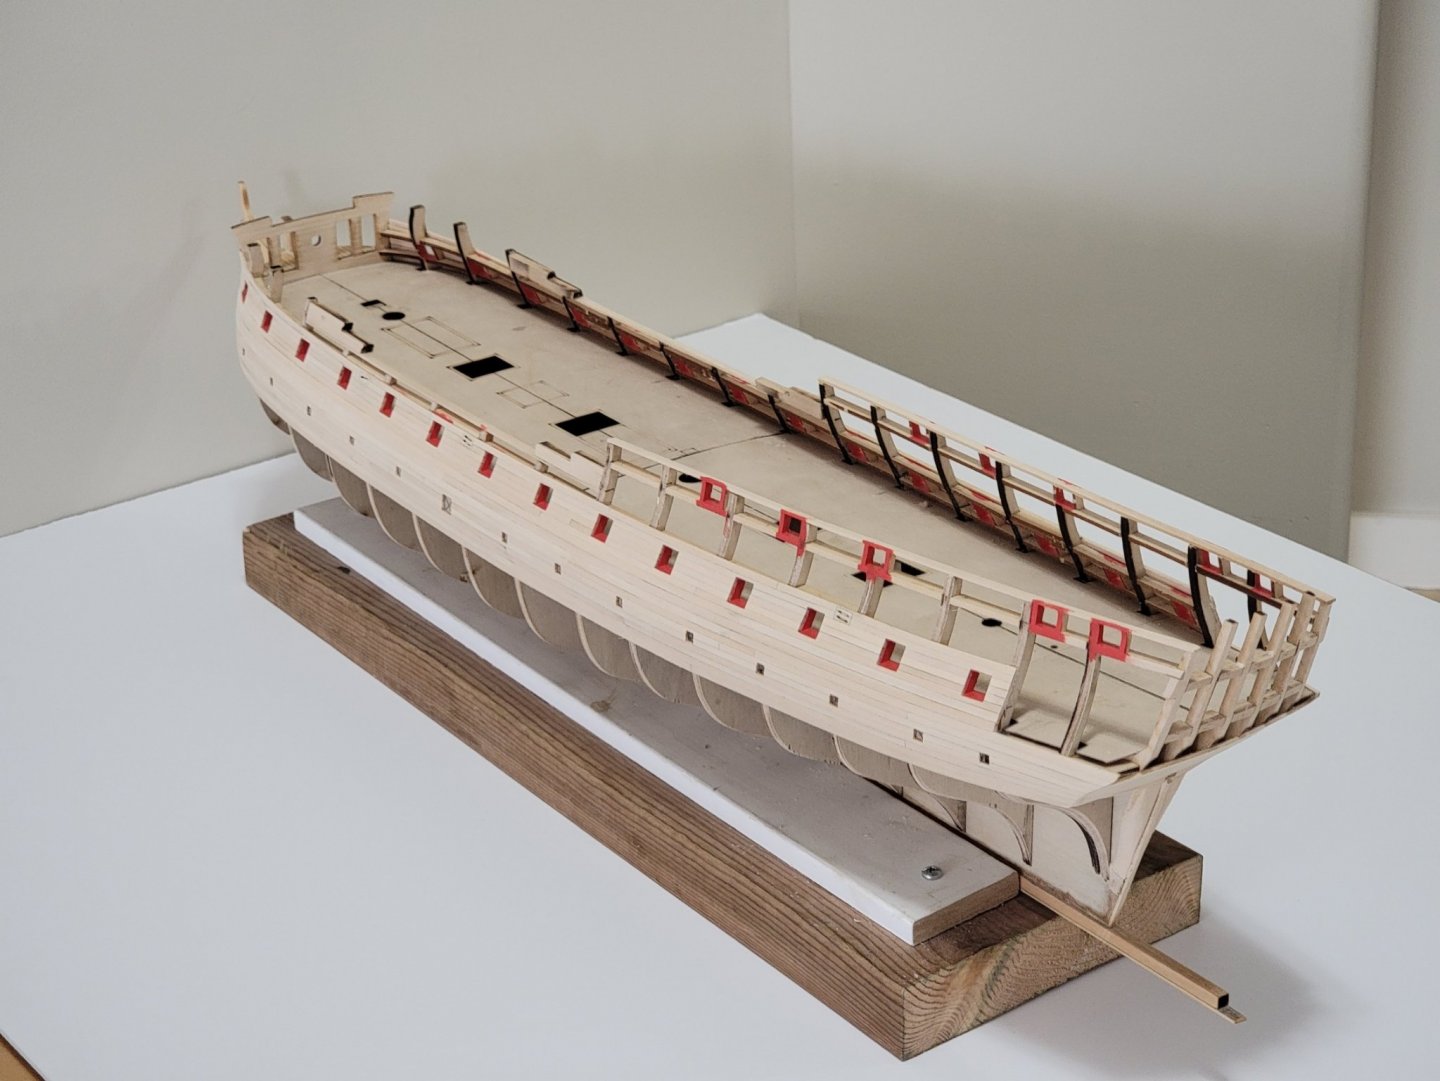
Just a quick update before the planking begins. I painted the gun ports and marked the locations for the top of the wales. The red provided by the kit is brighter than that of the Syren, and imo looks much nicer!