.jpg.1f80adf1a9b14a937cfcf2ca6af0f0d4.jpg)
WalrusGuy
-
Posts
1,009 -
Joined
-
Last visited
Content Type
Profiles
Forums
Gallery
Events
Everything posted by WalrusGuy
-
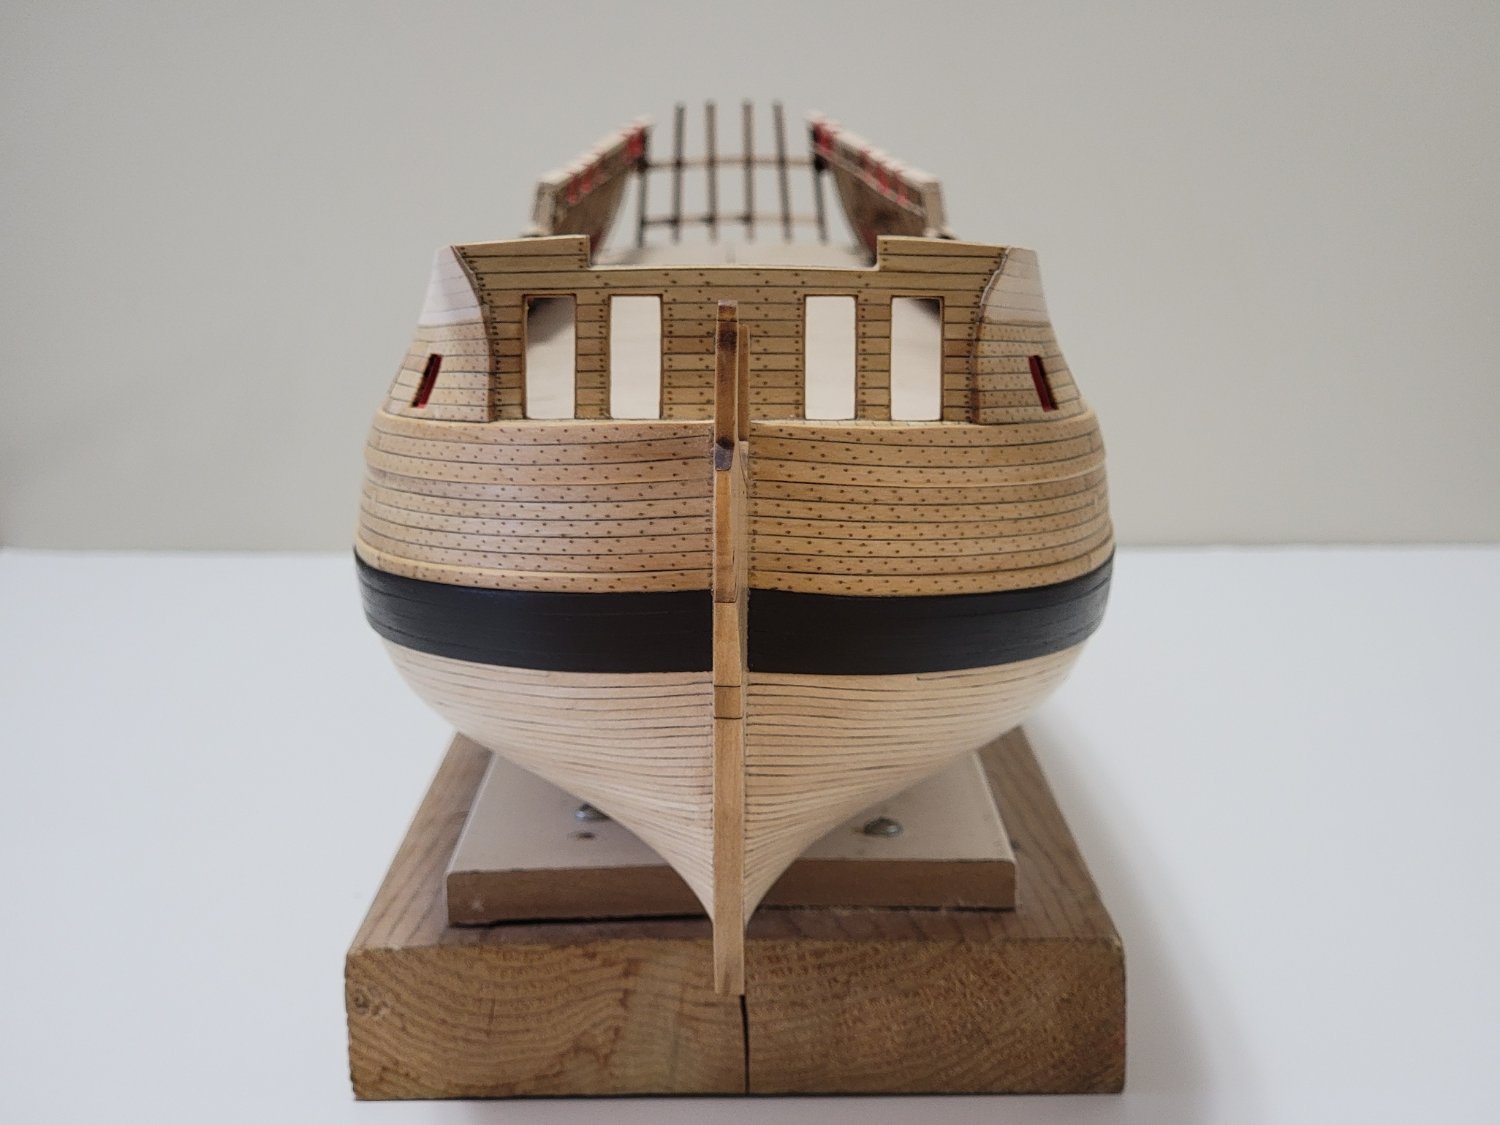
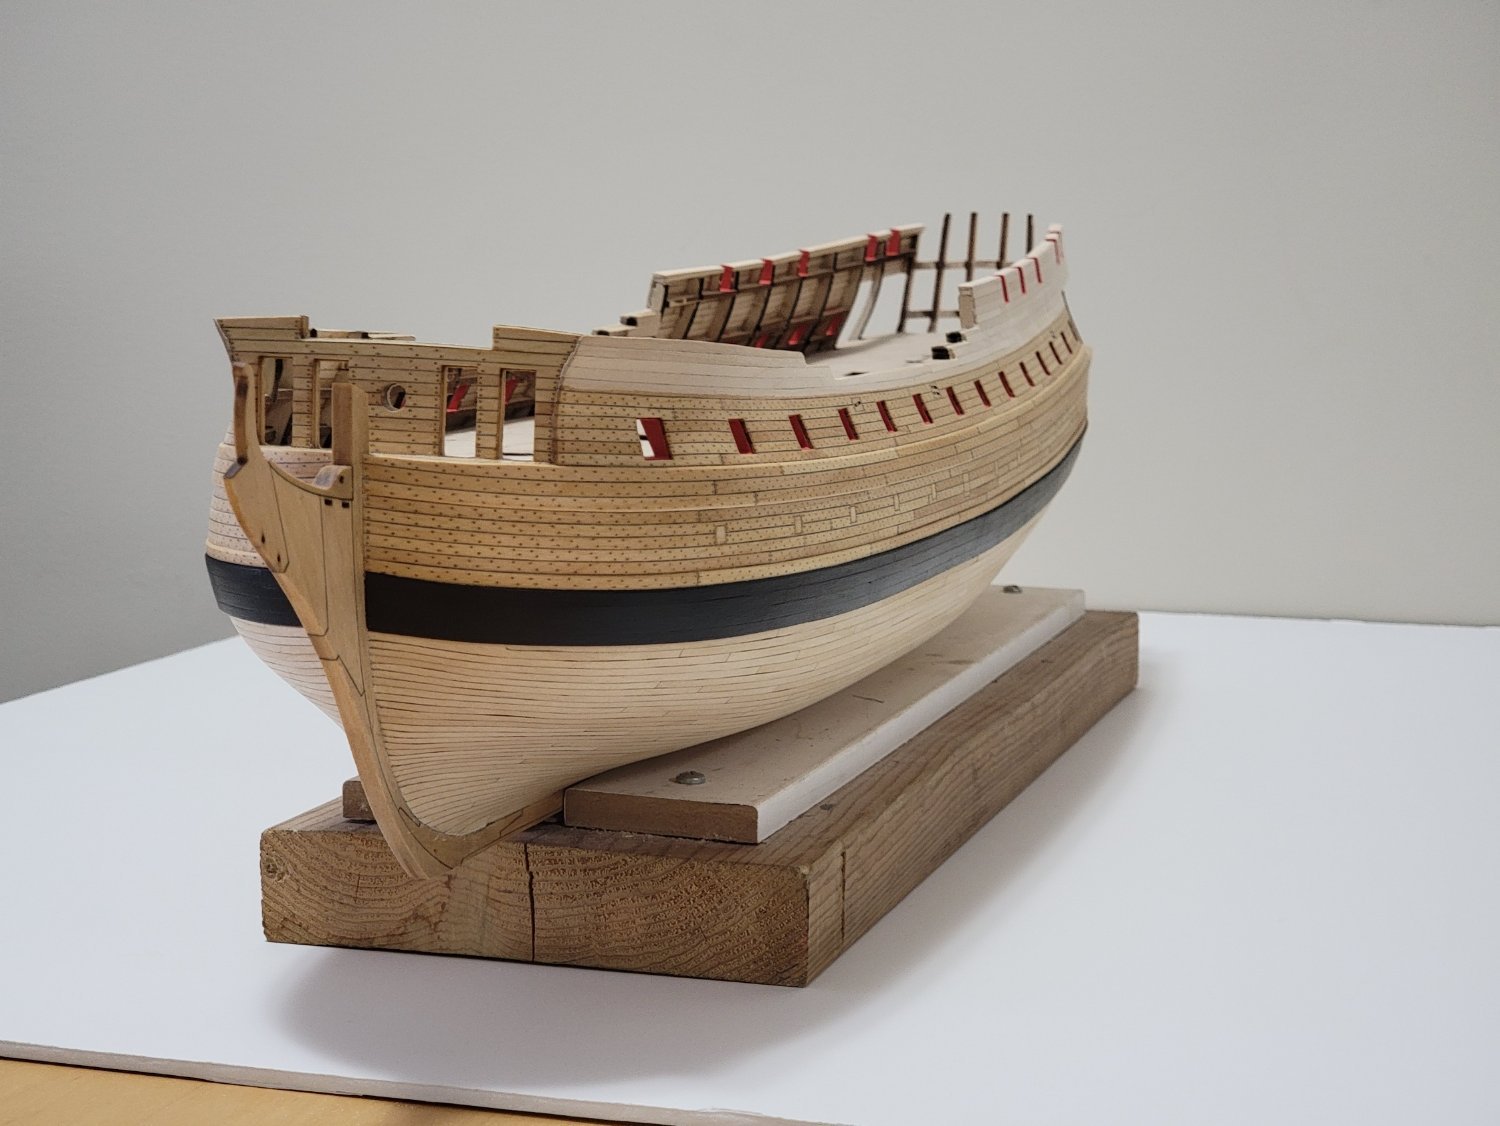
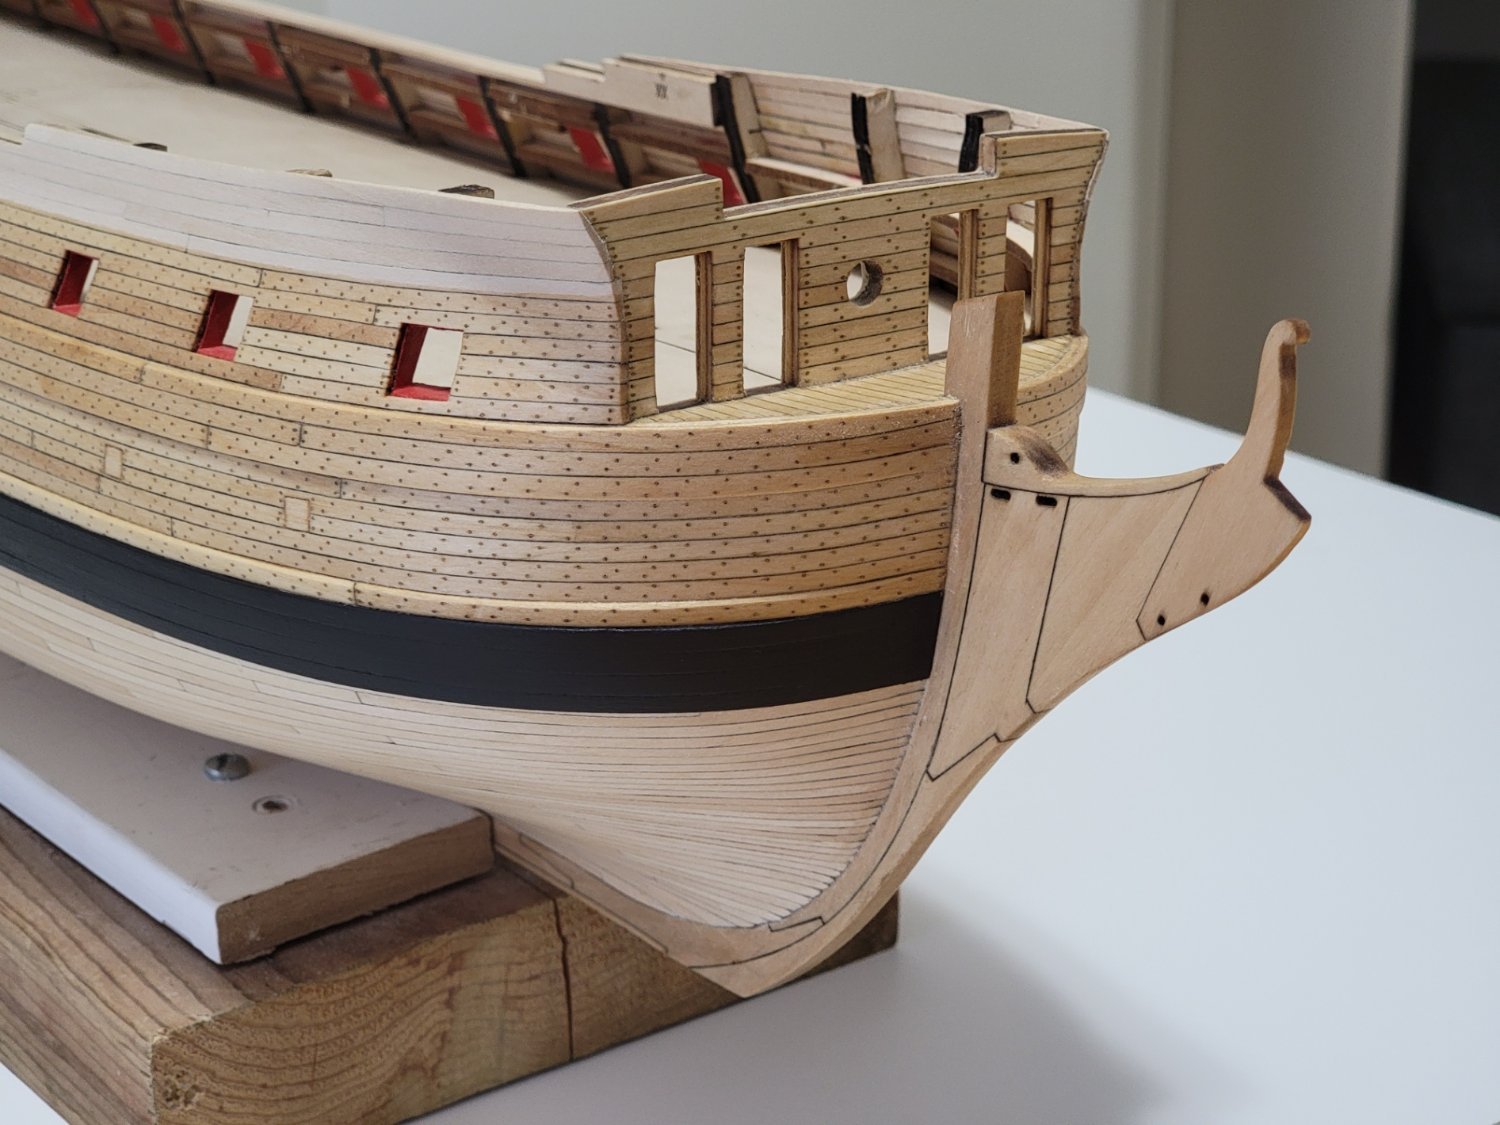
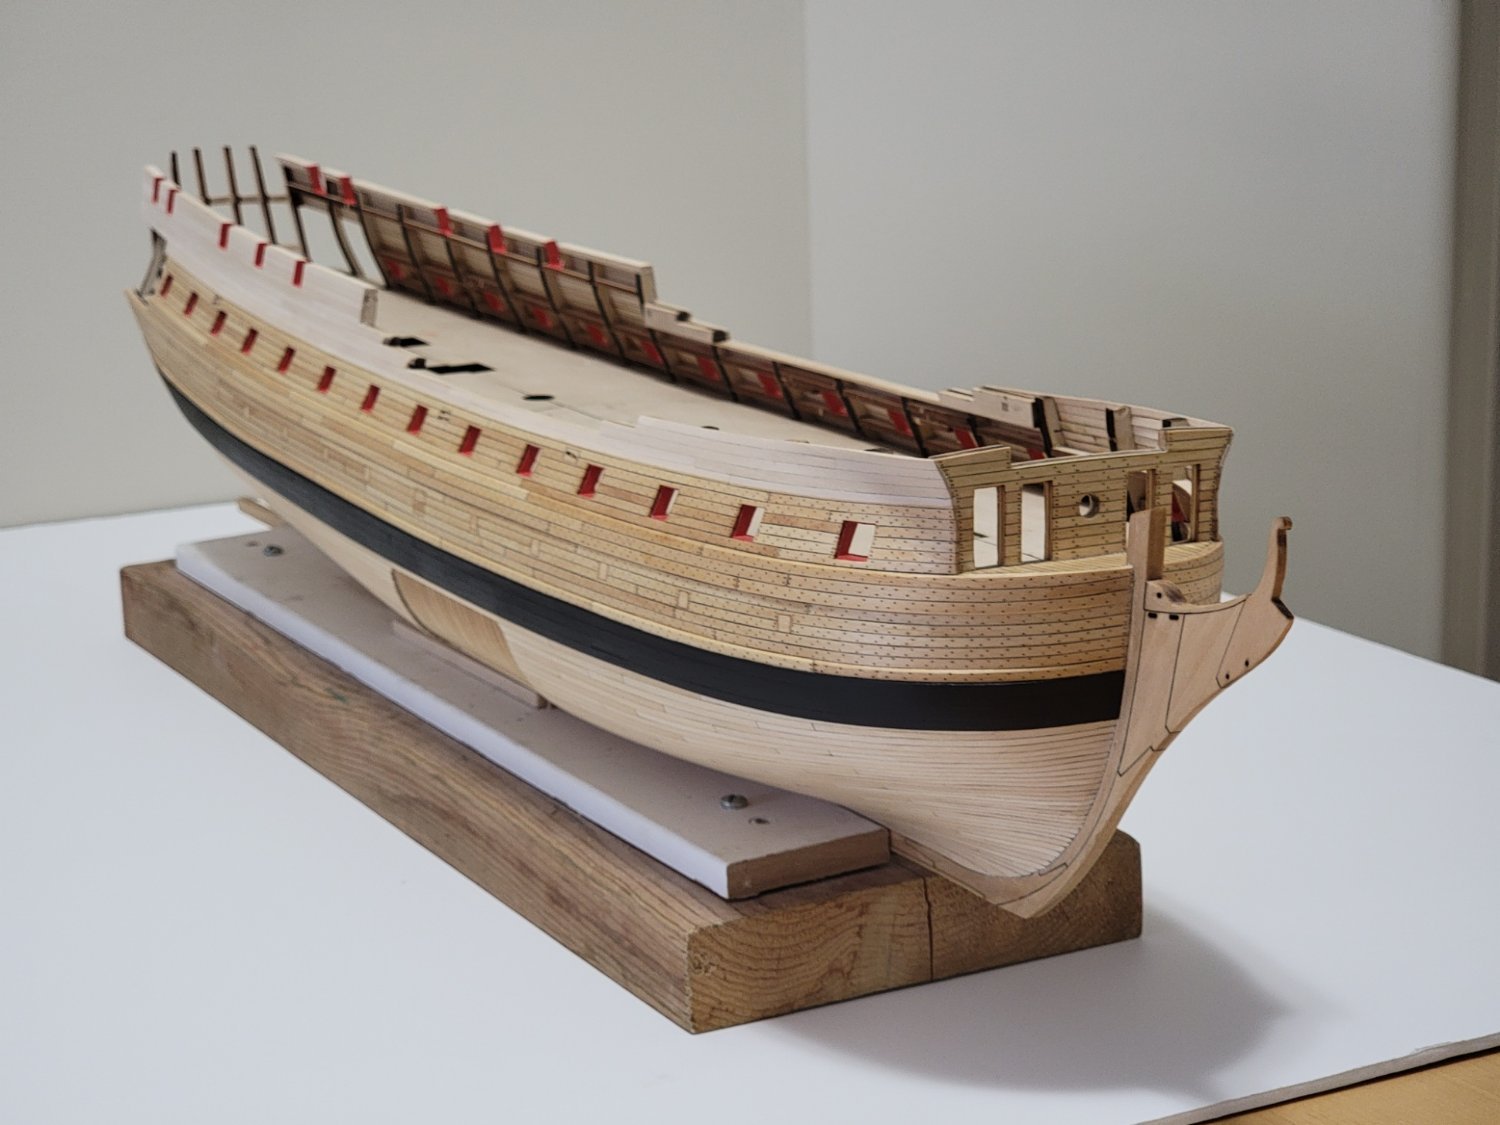
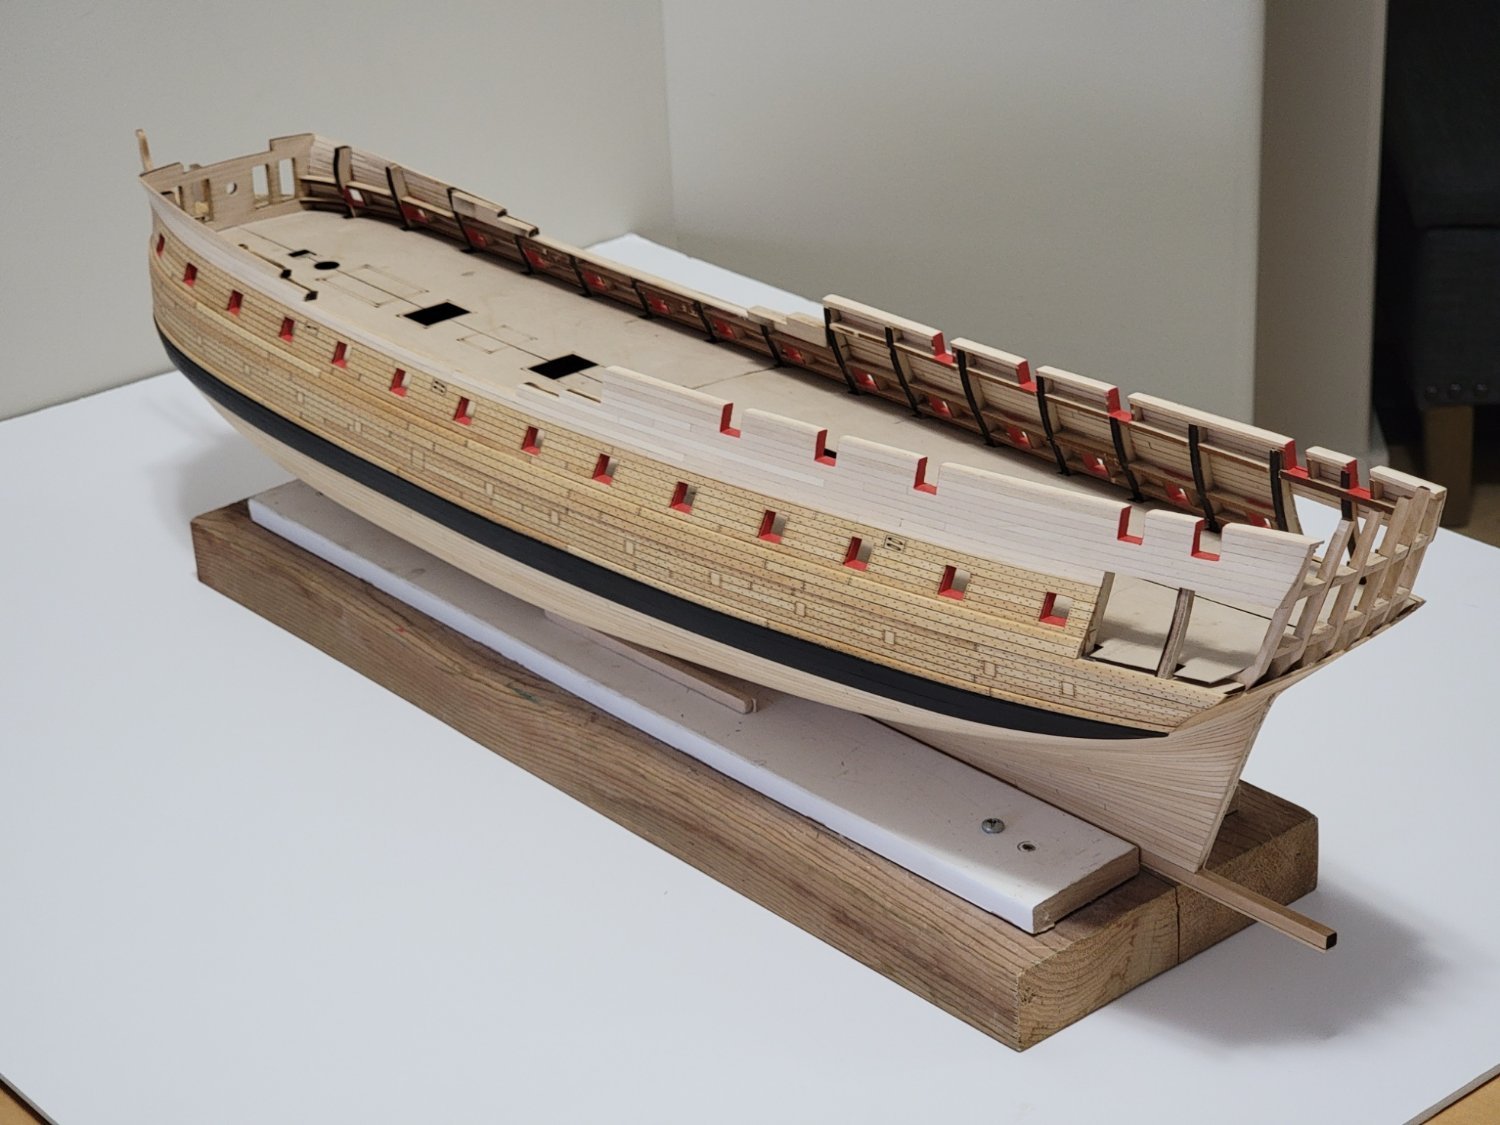
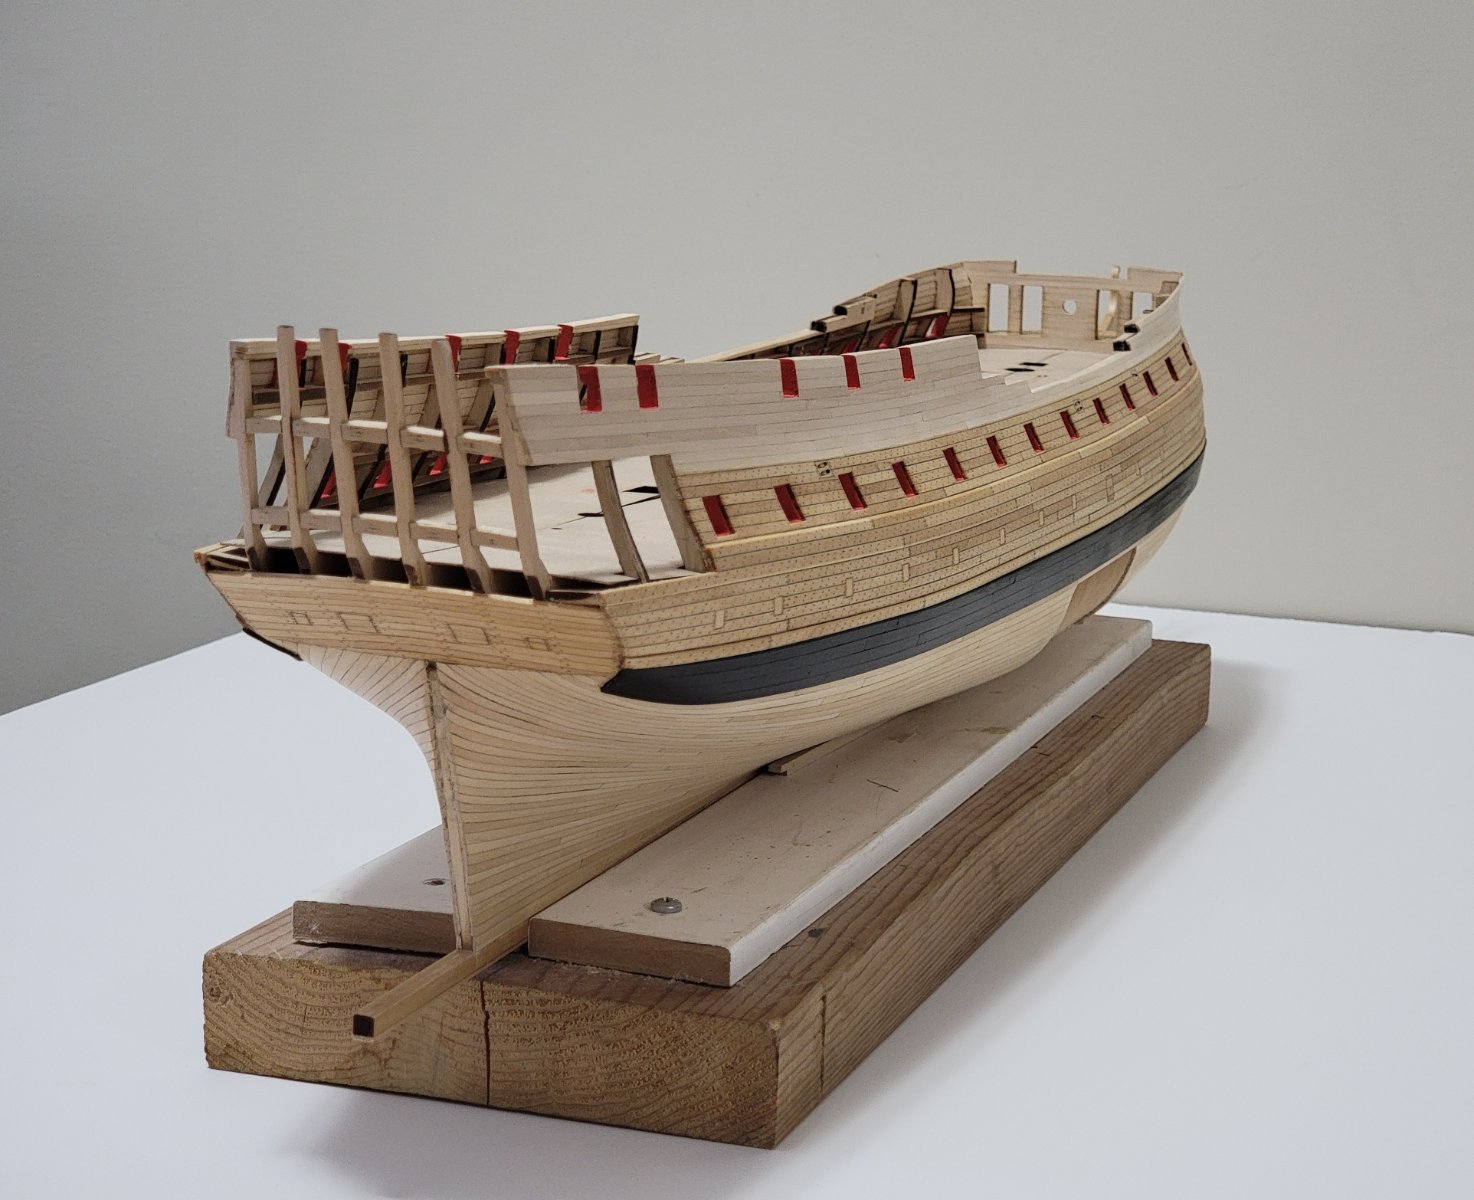
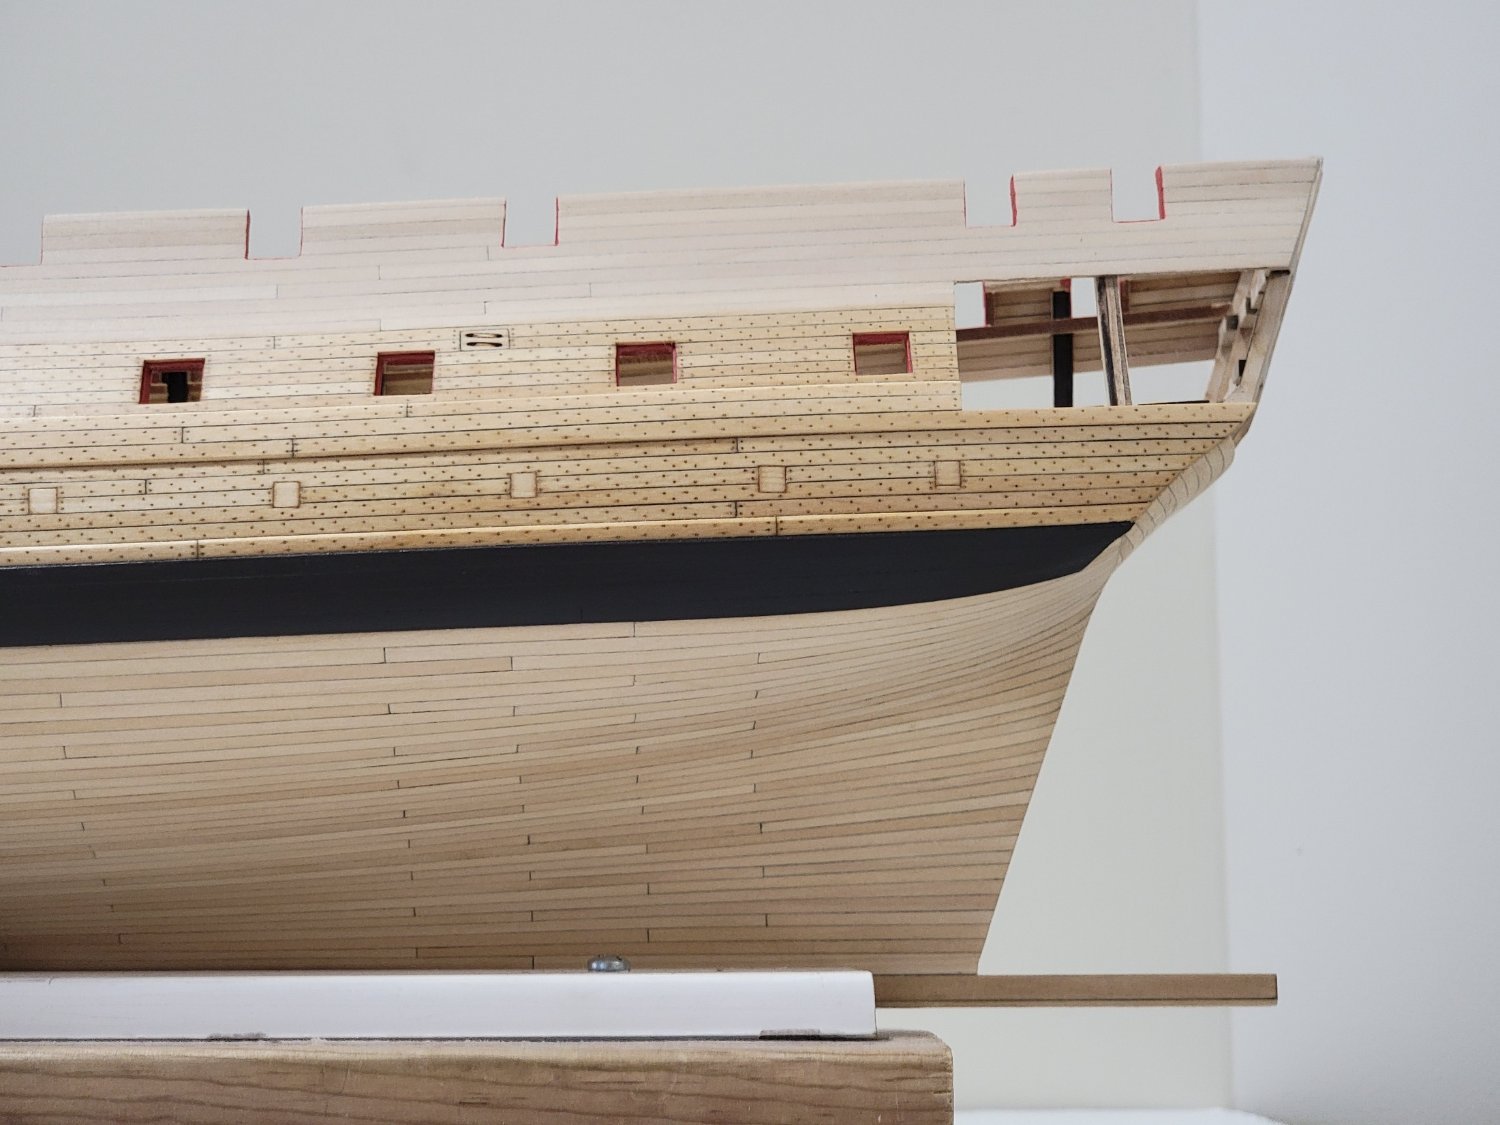
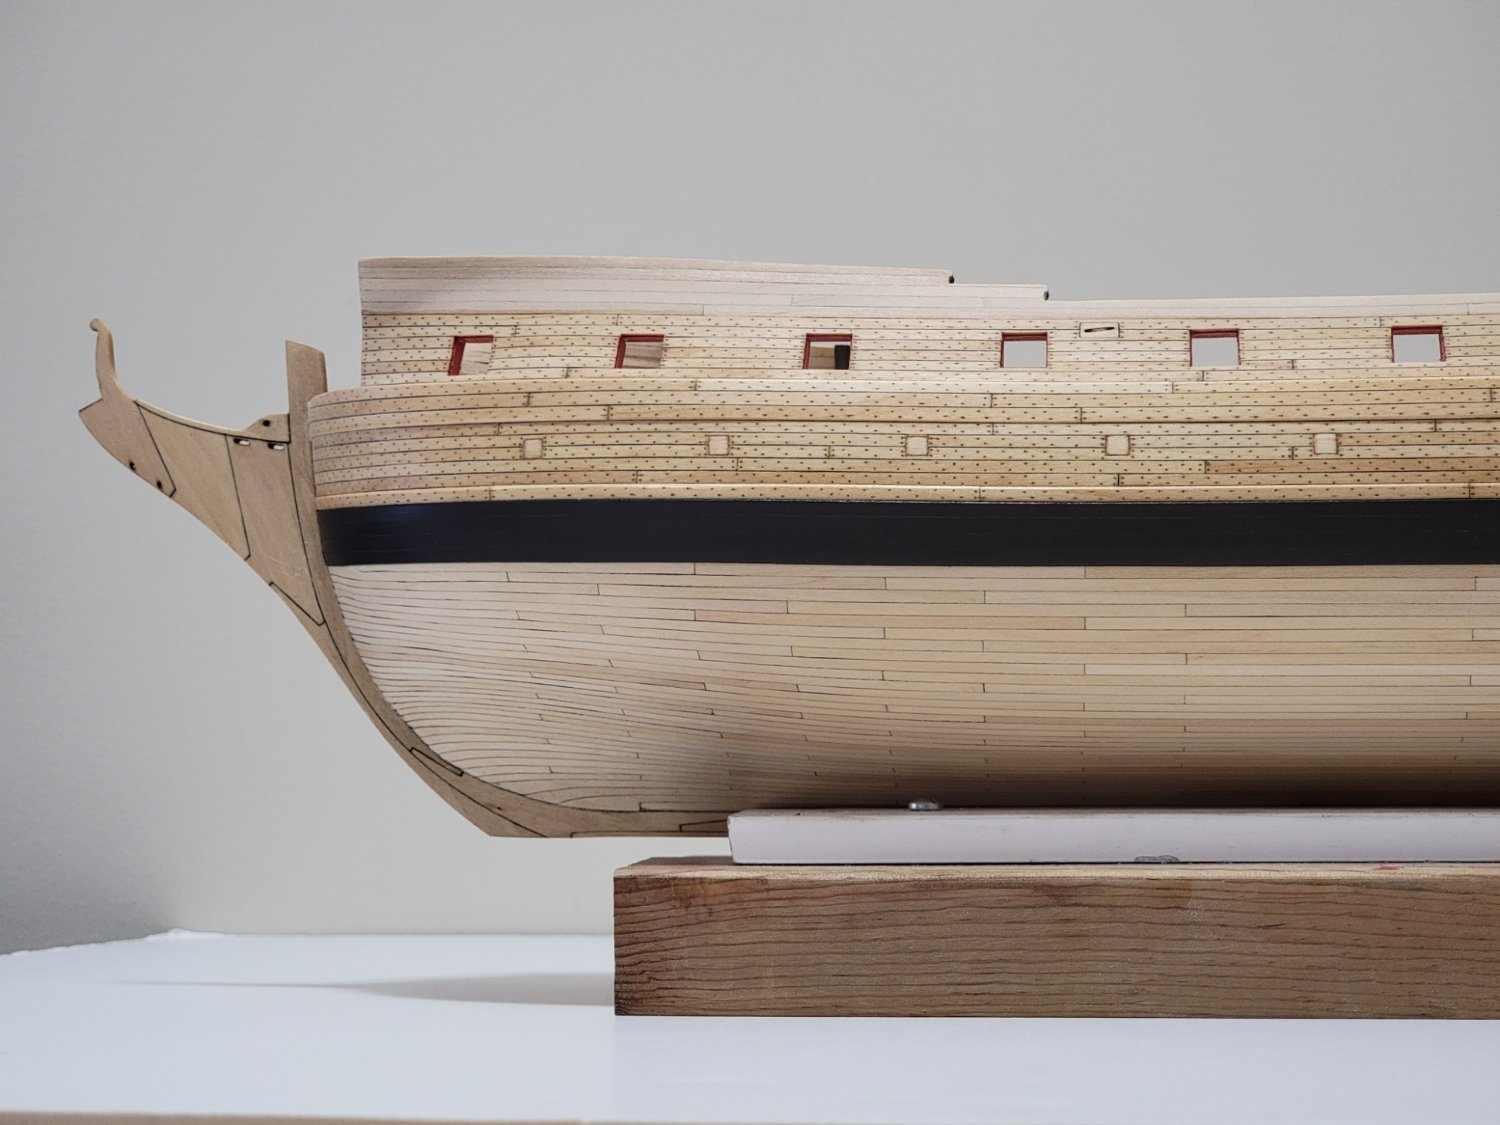
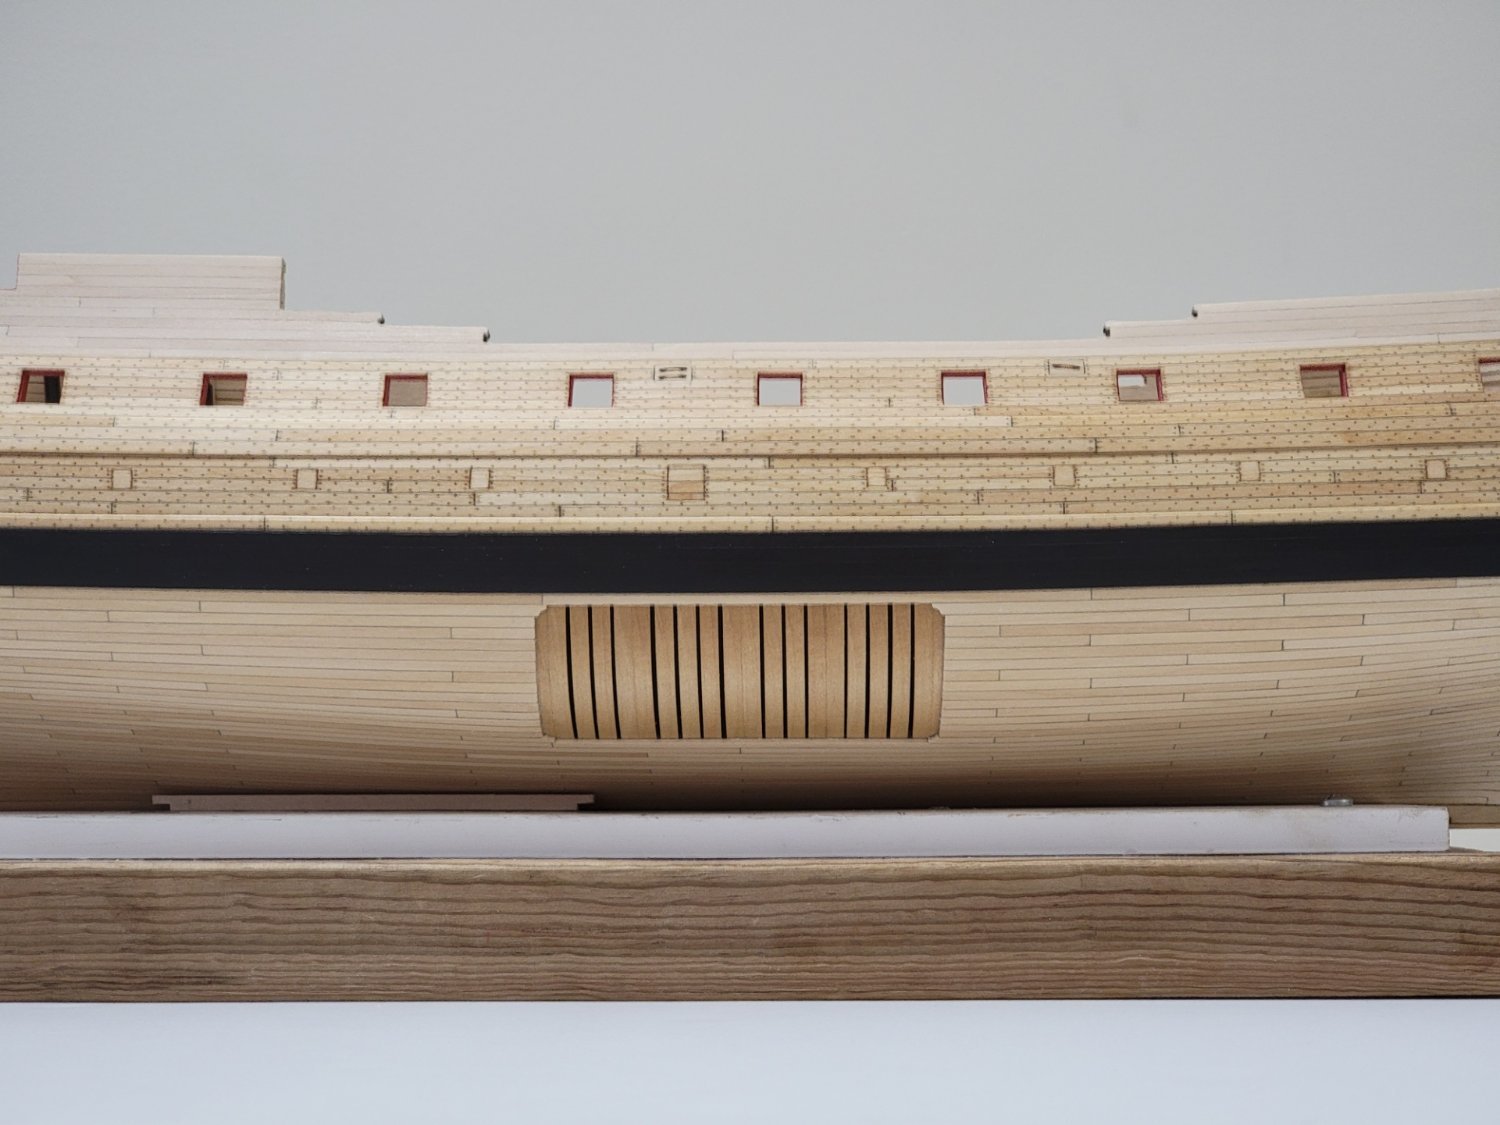
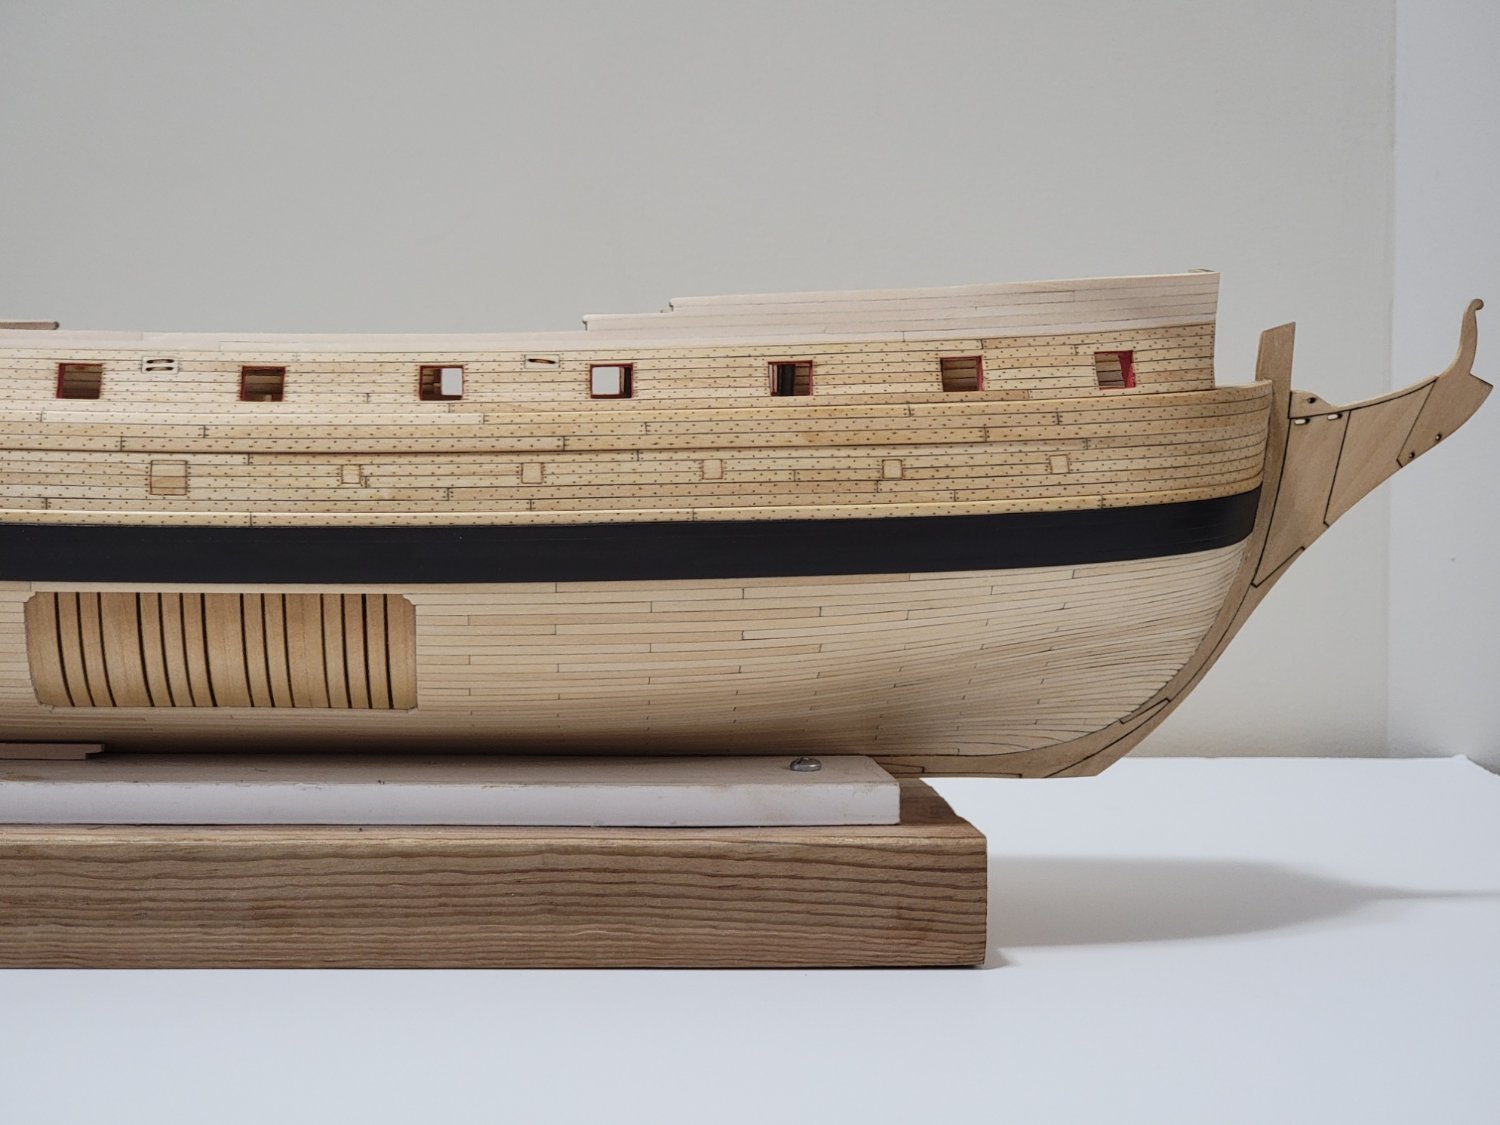
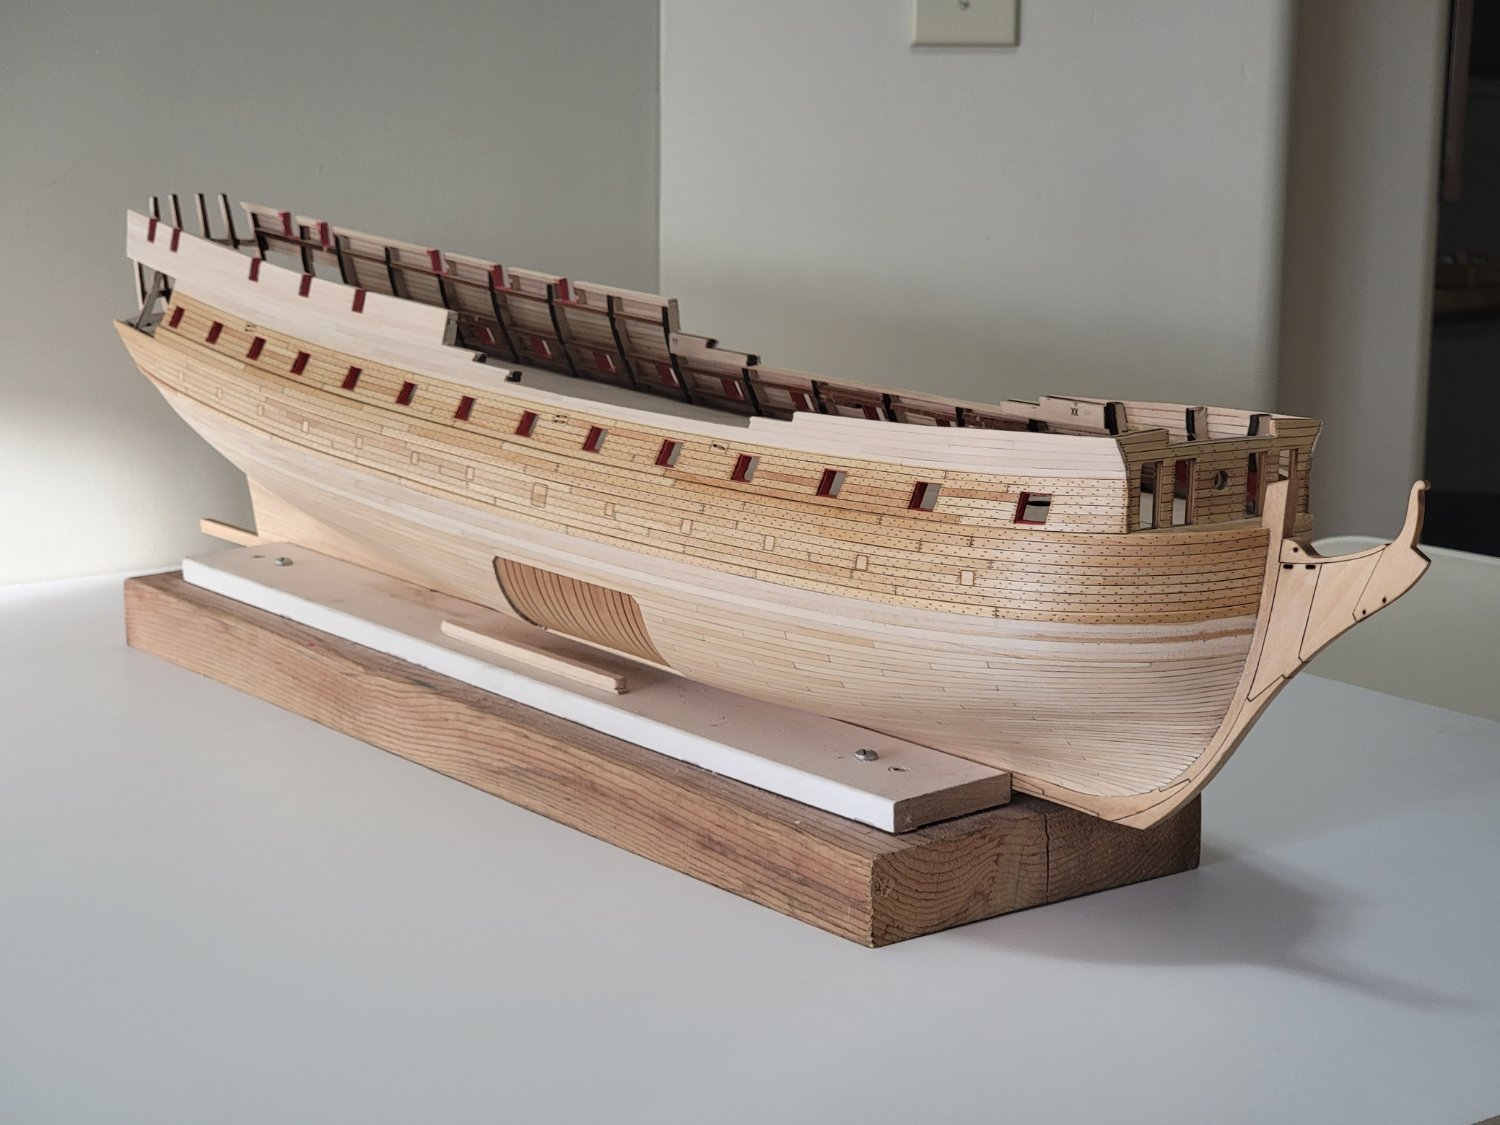
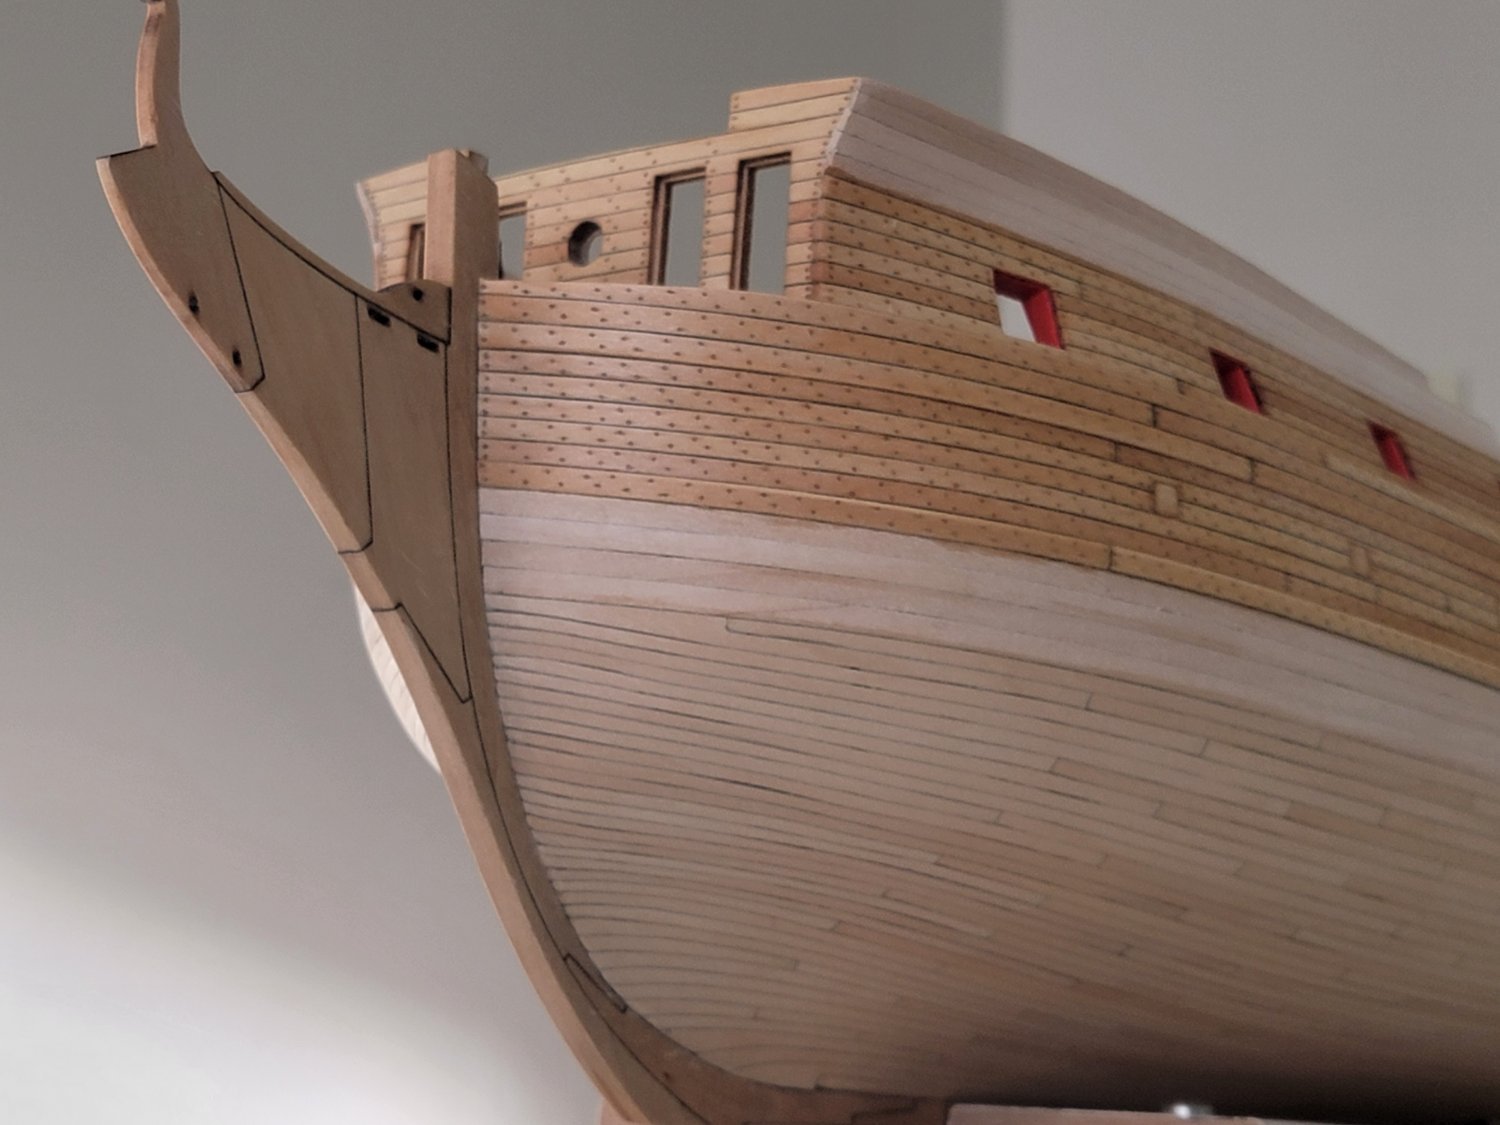
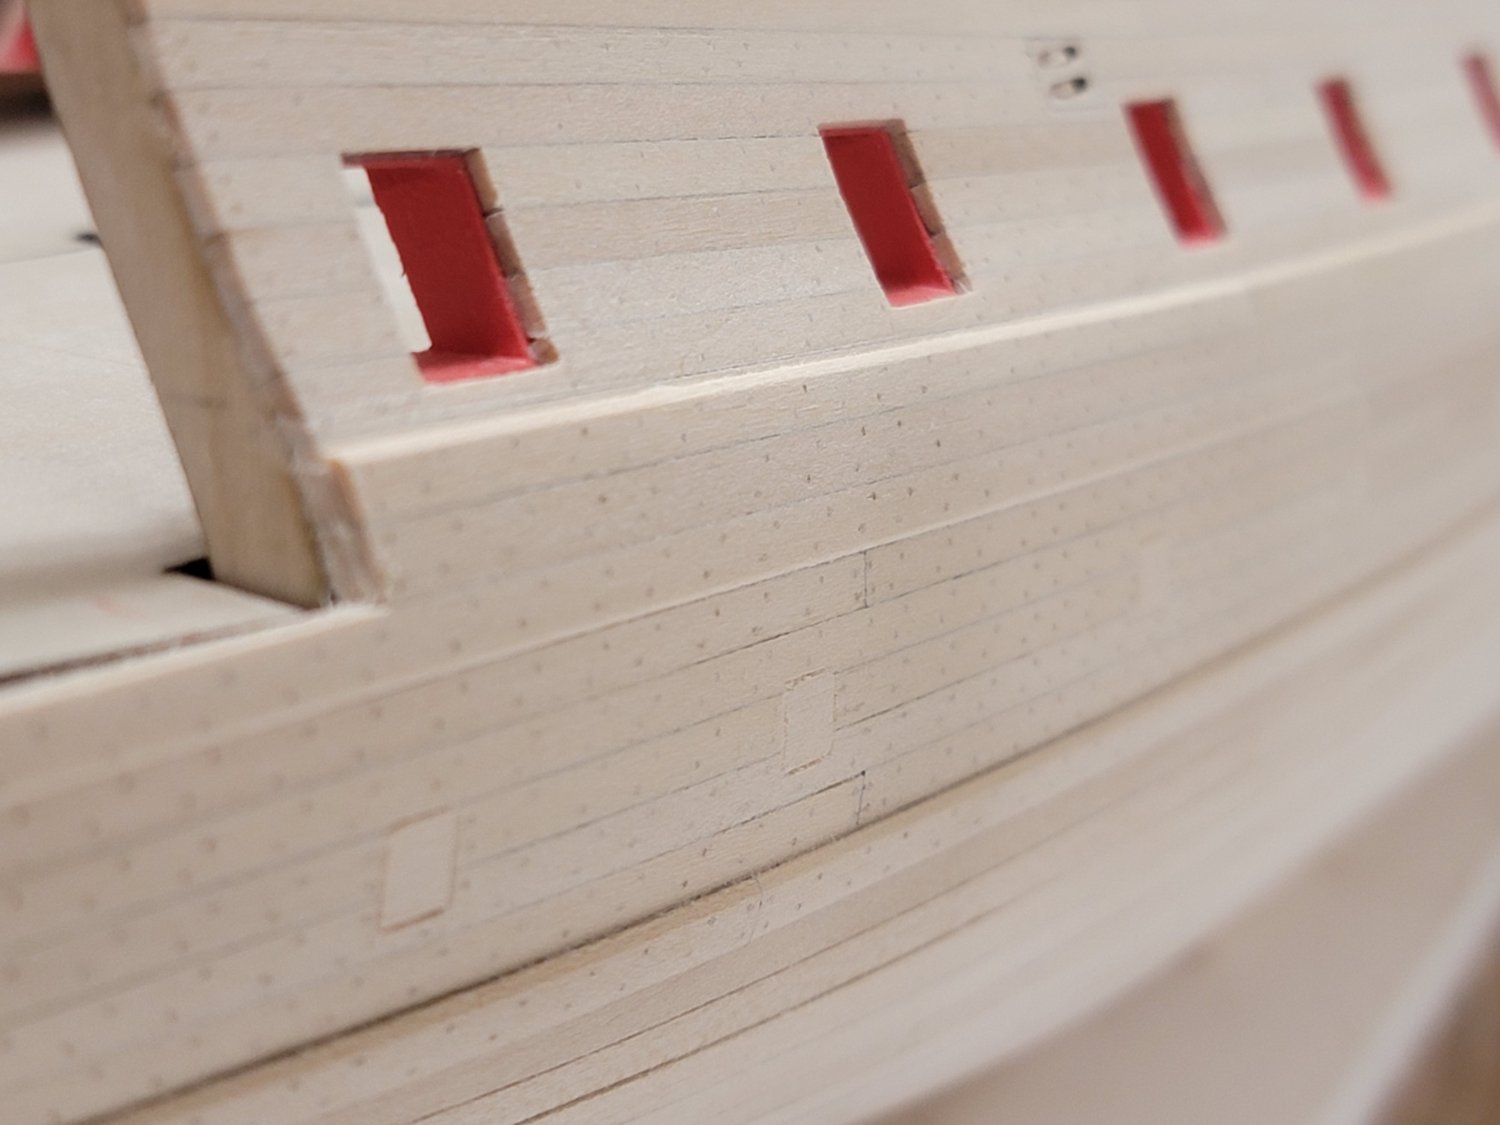
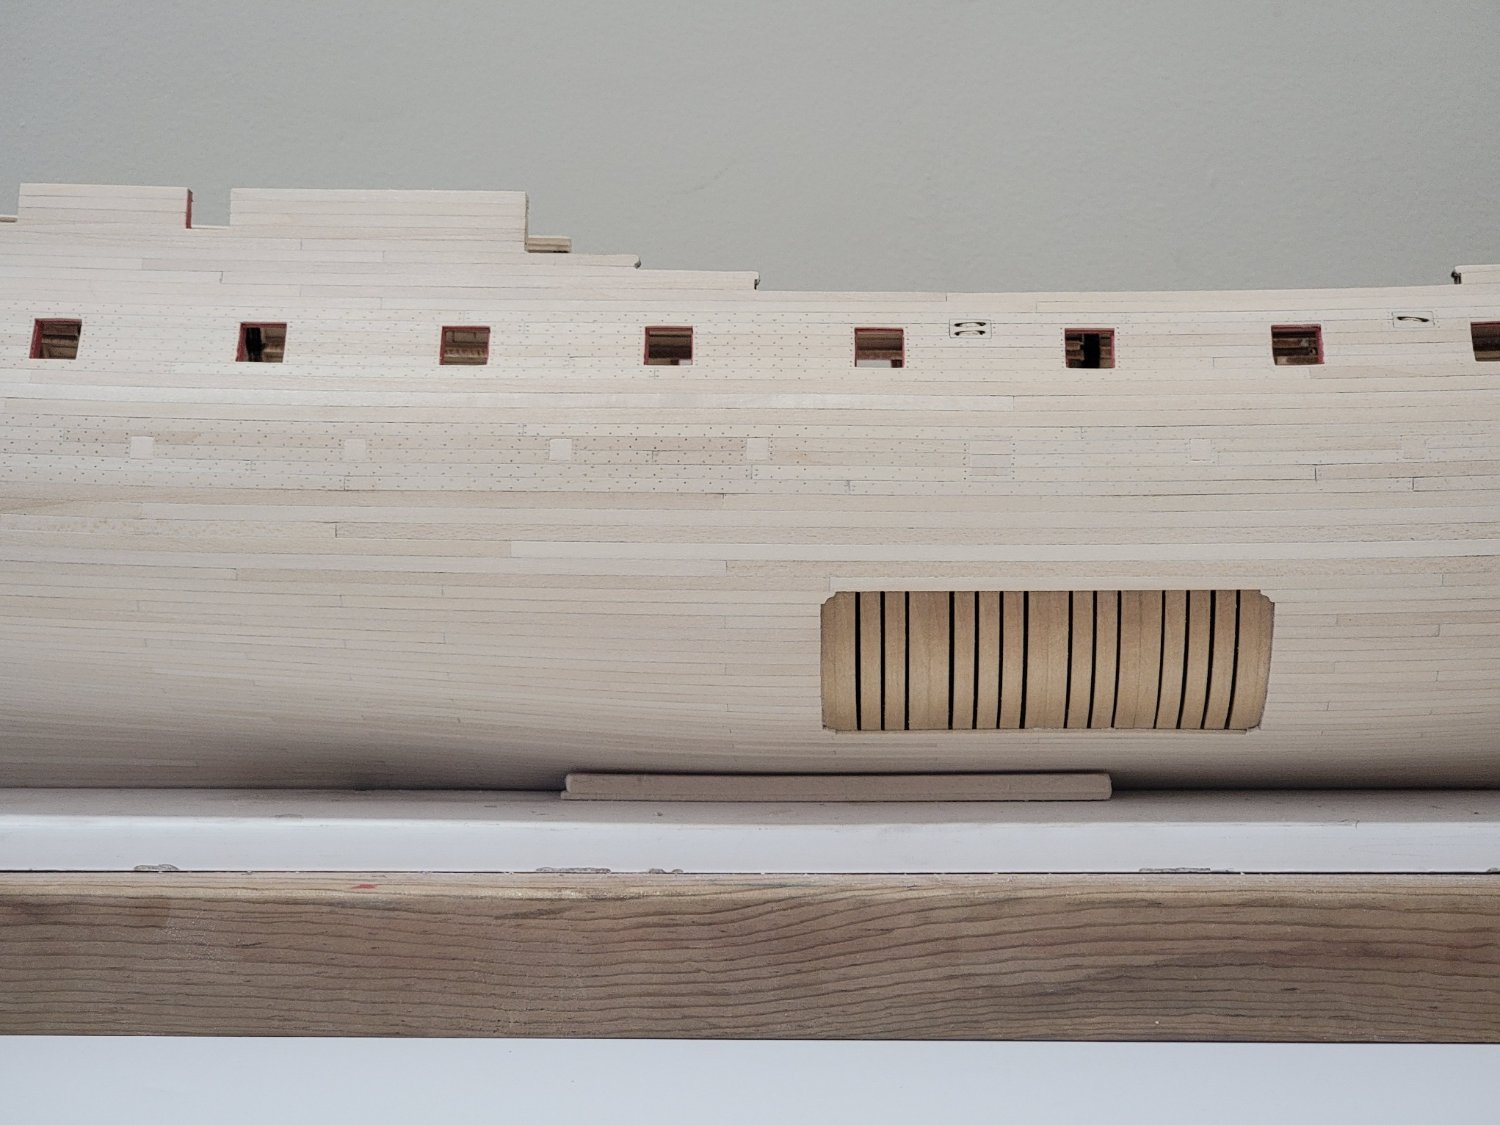
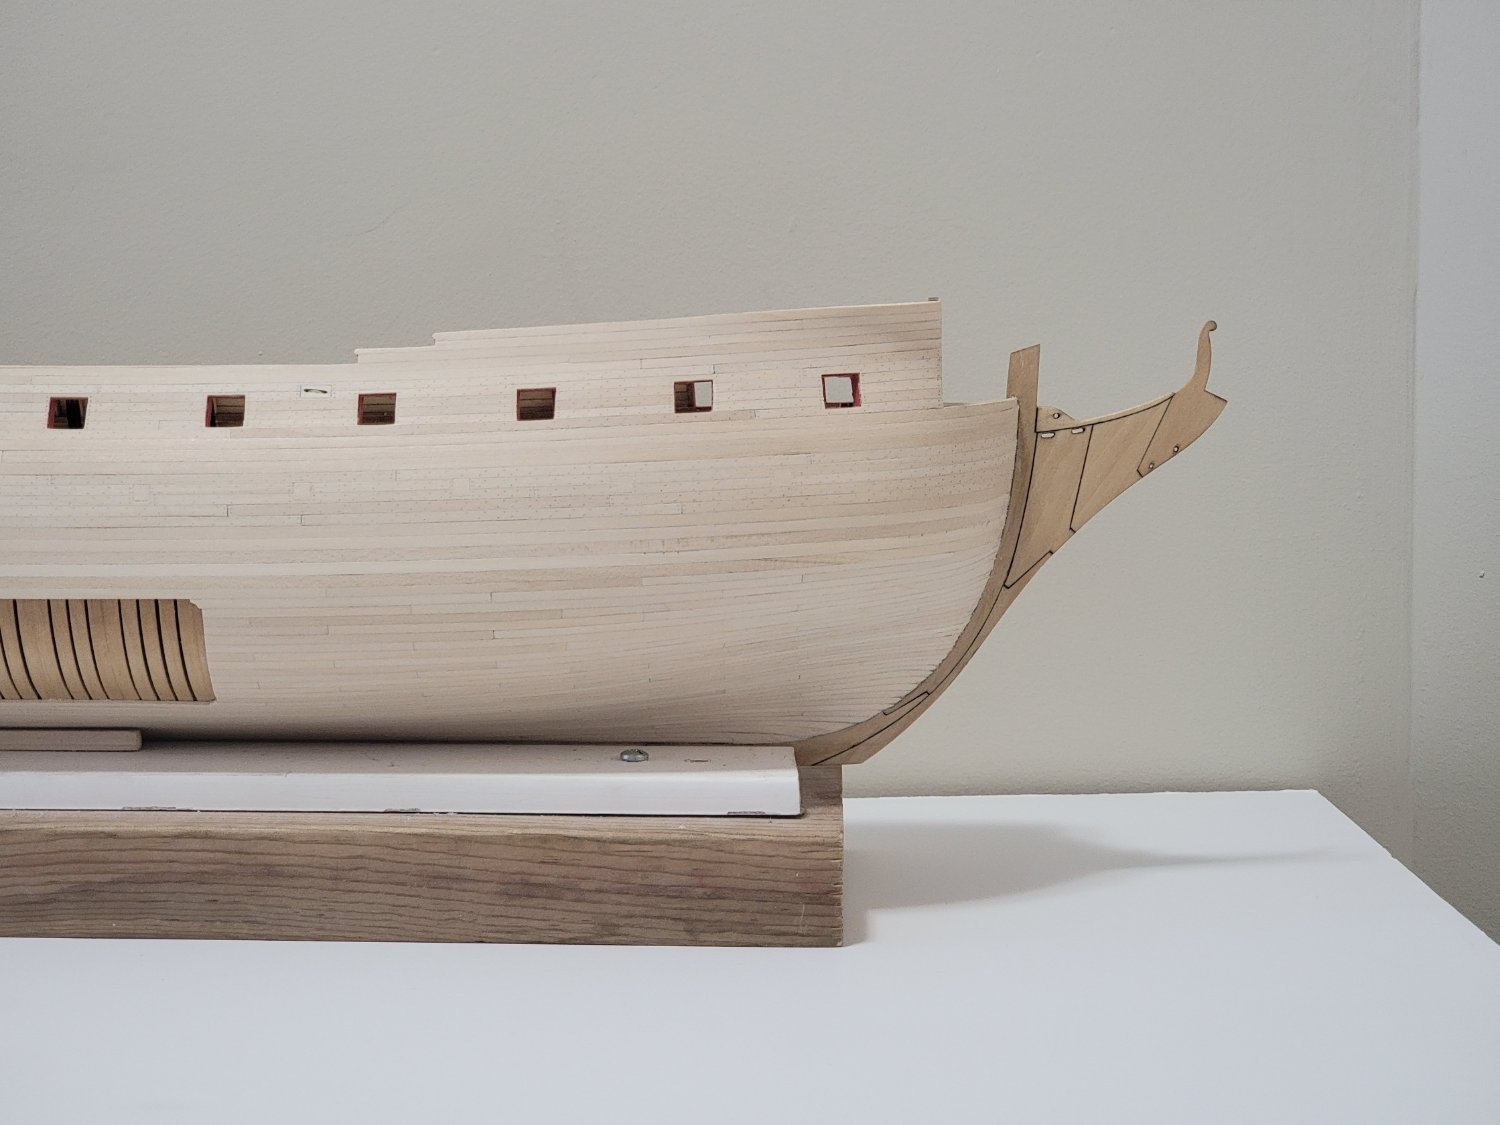
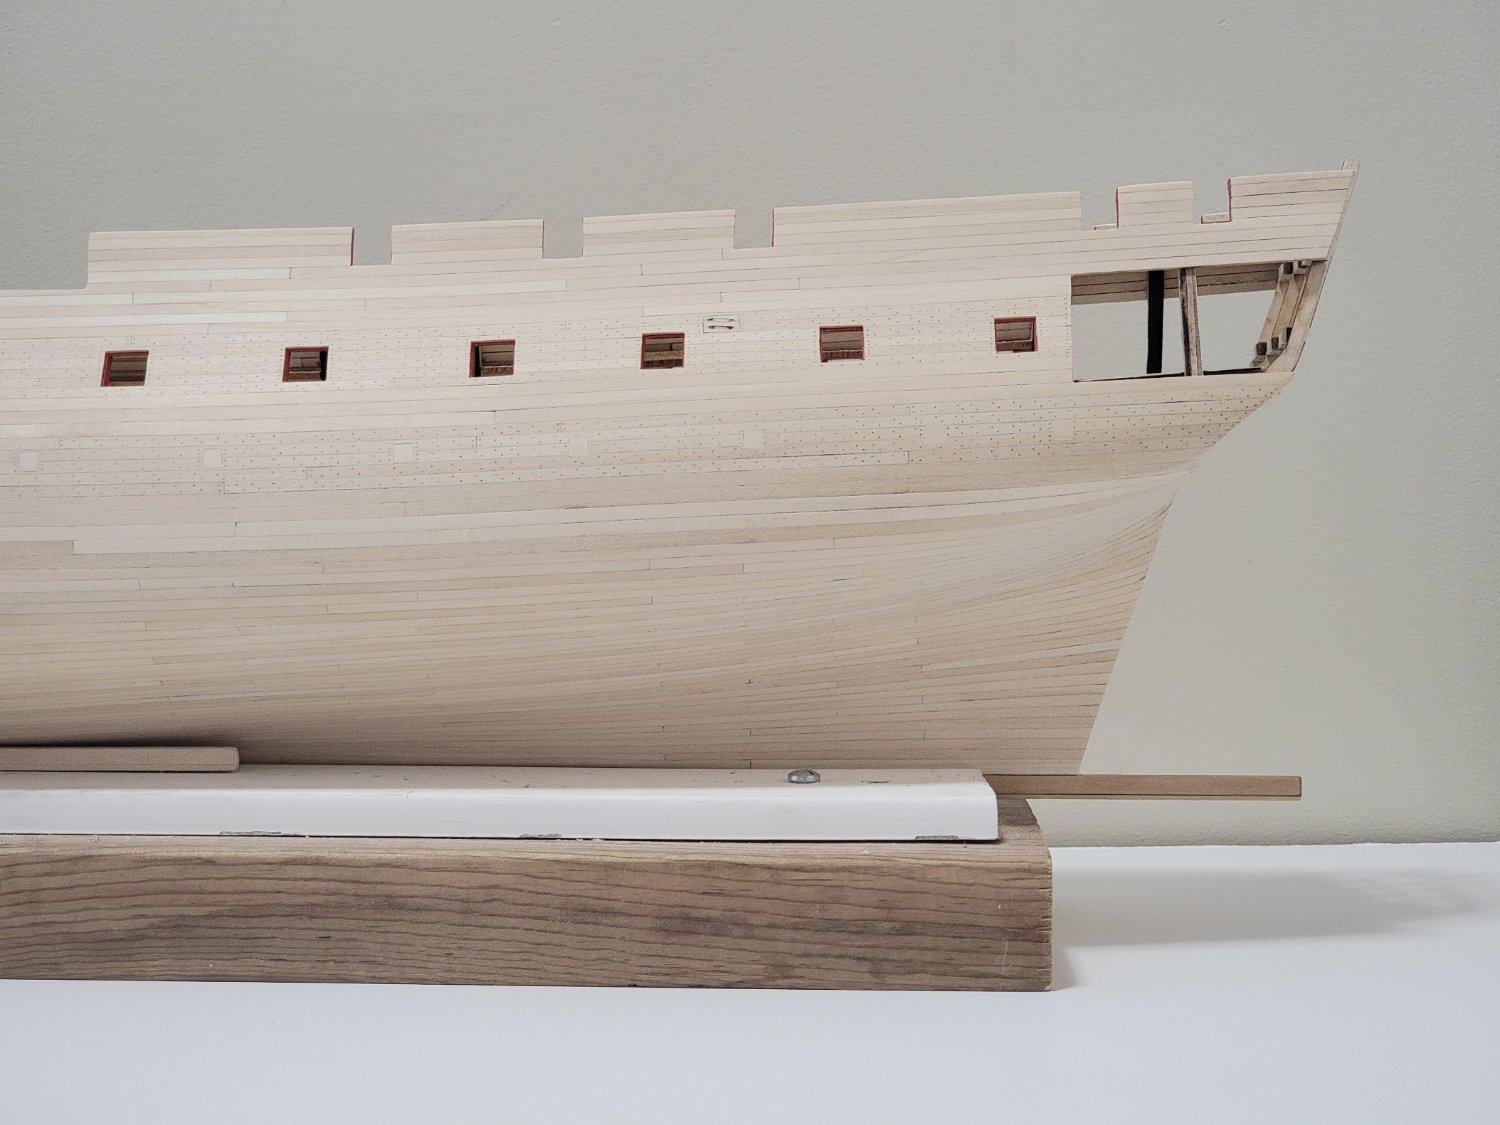
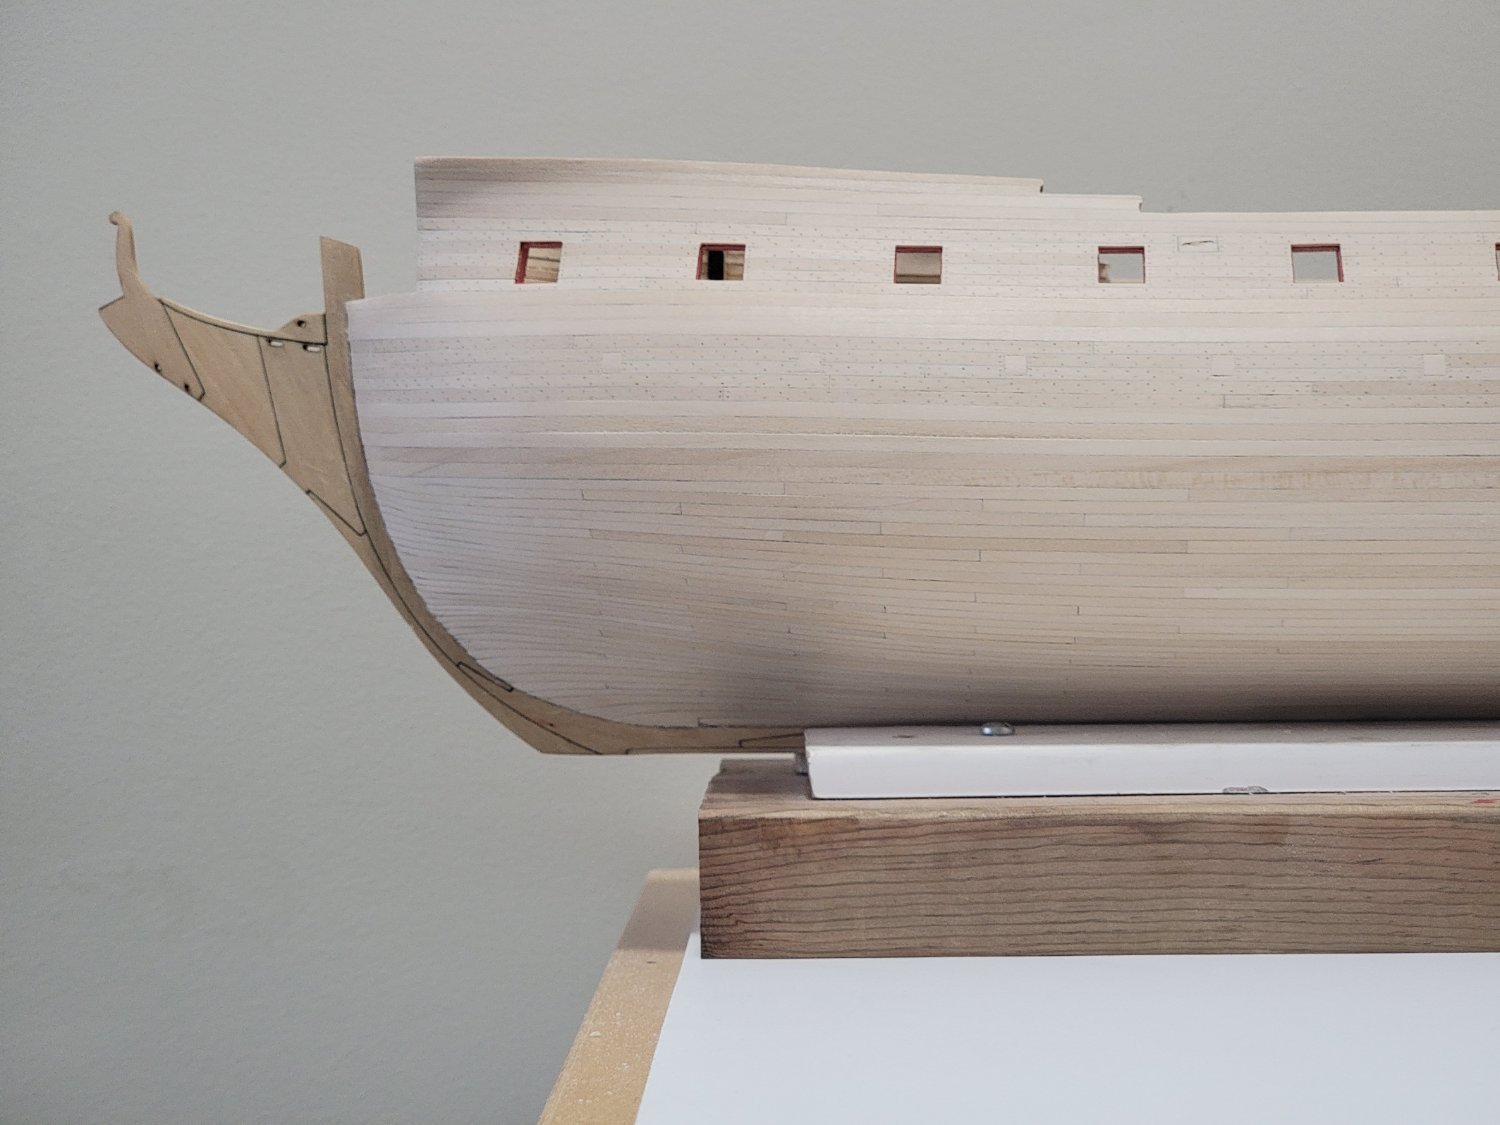
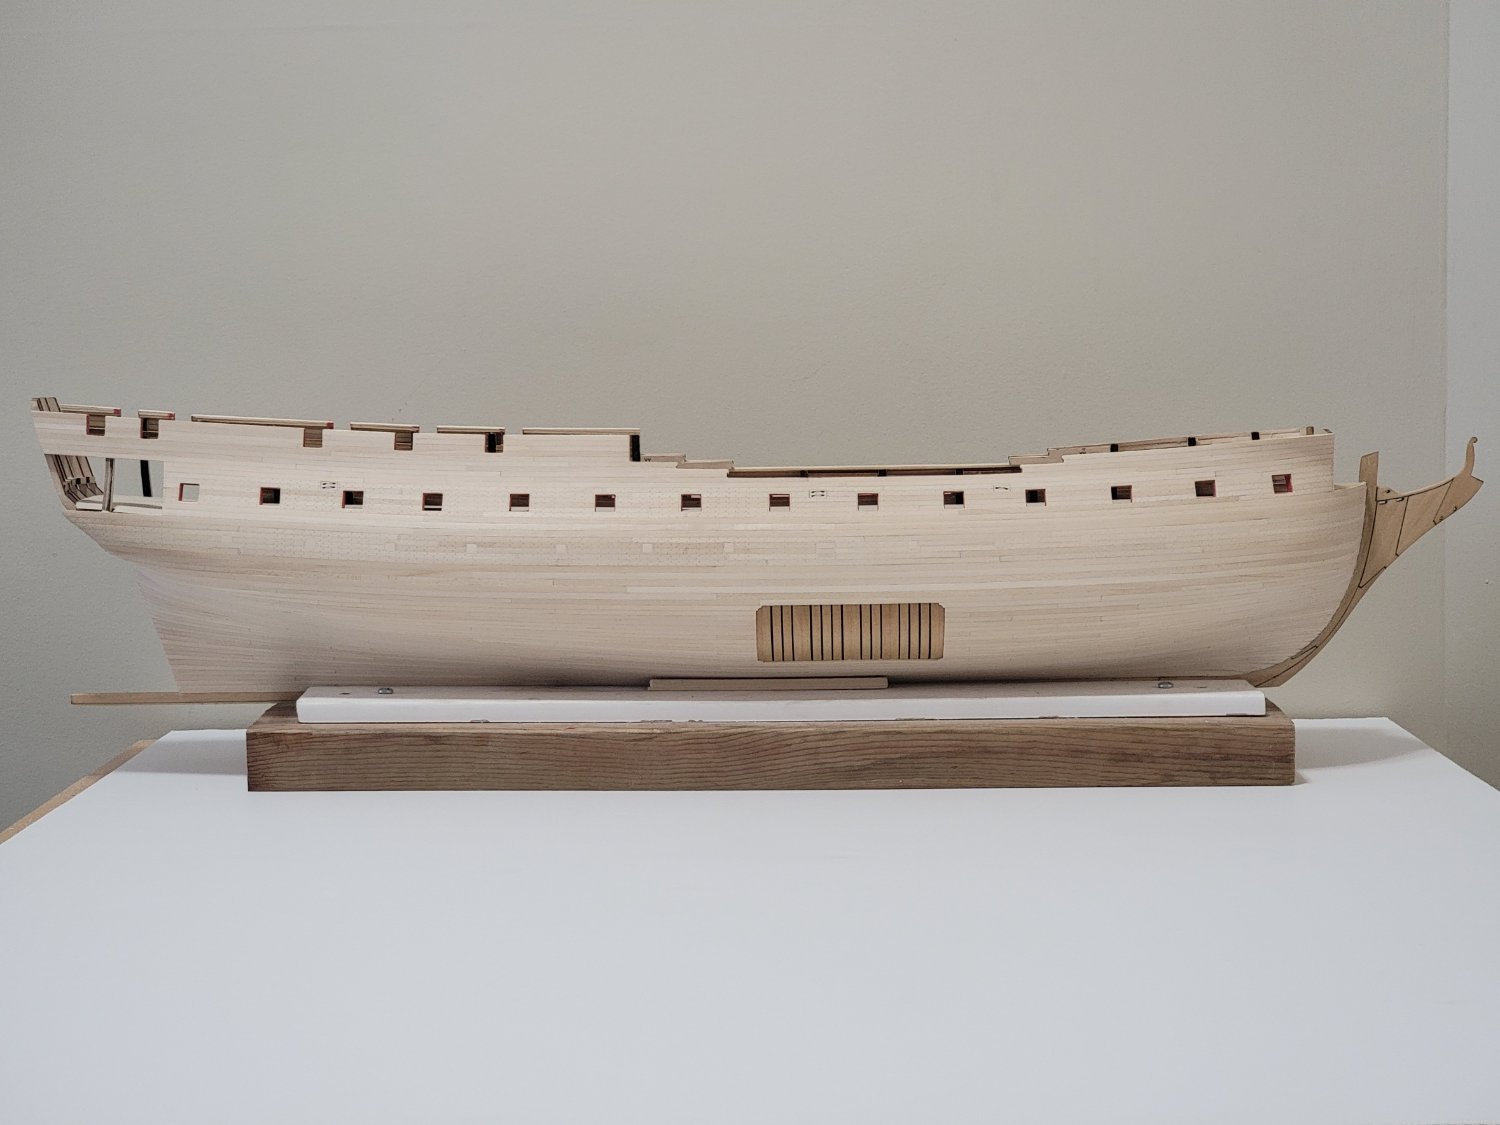
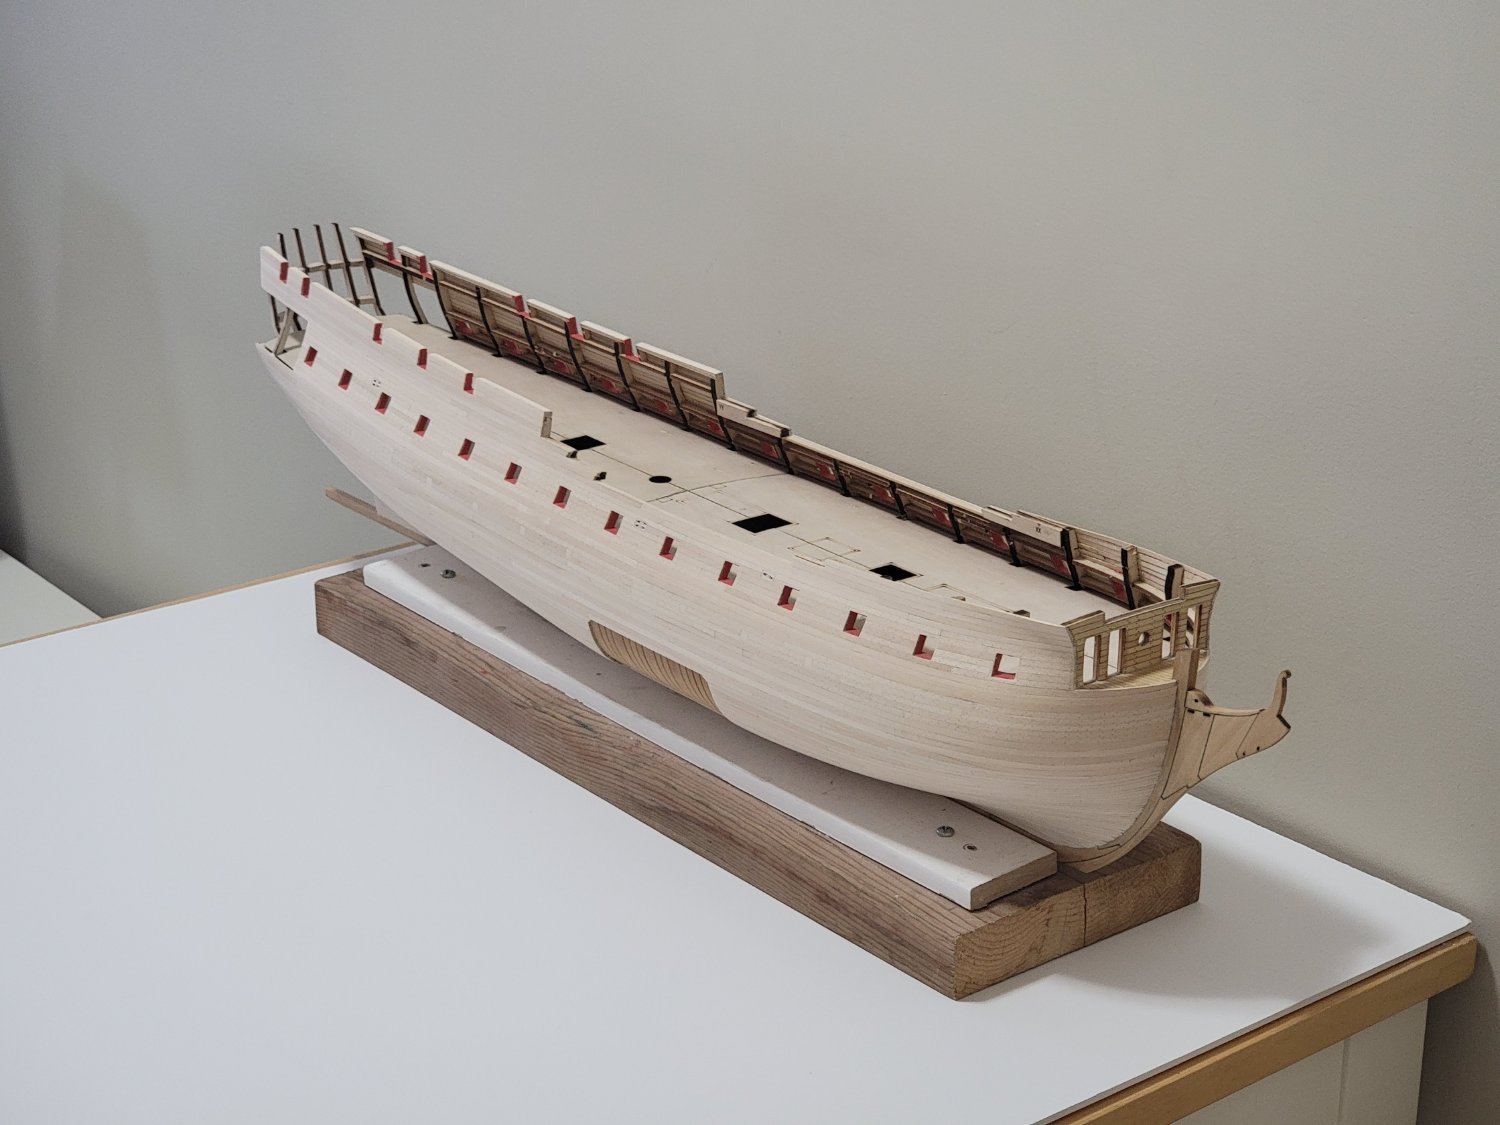
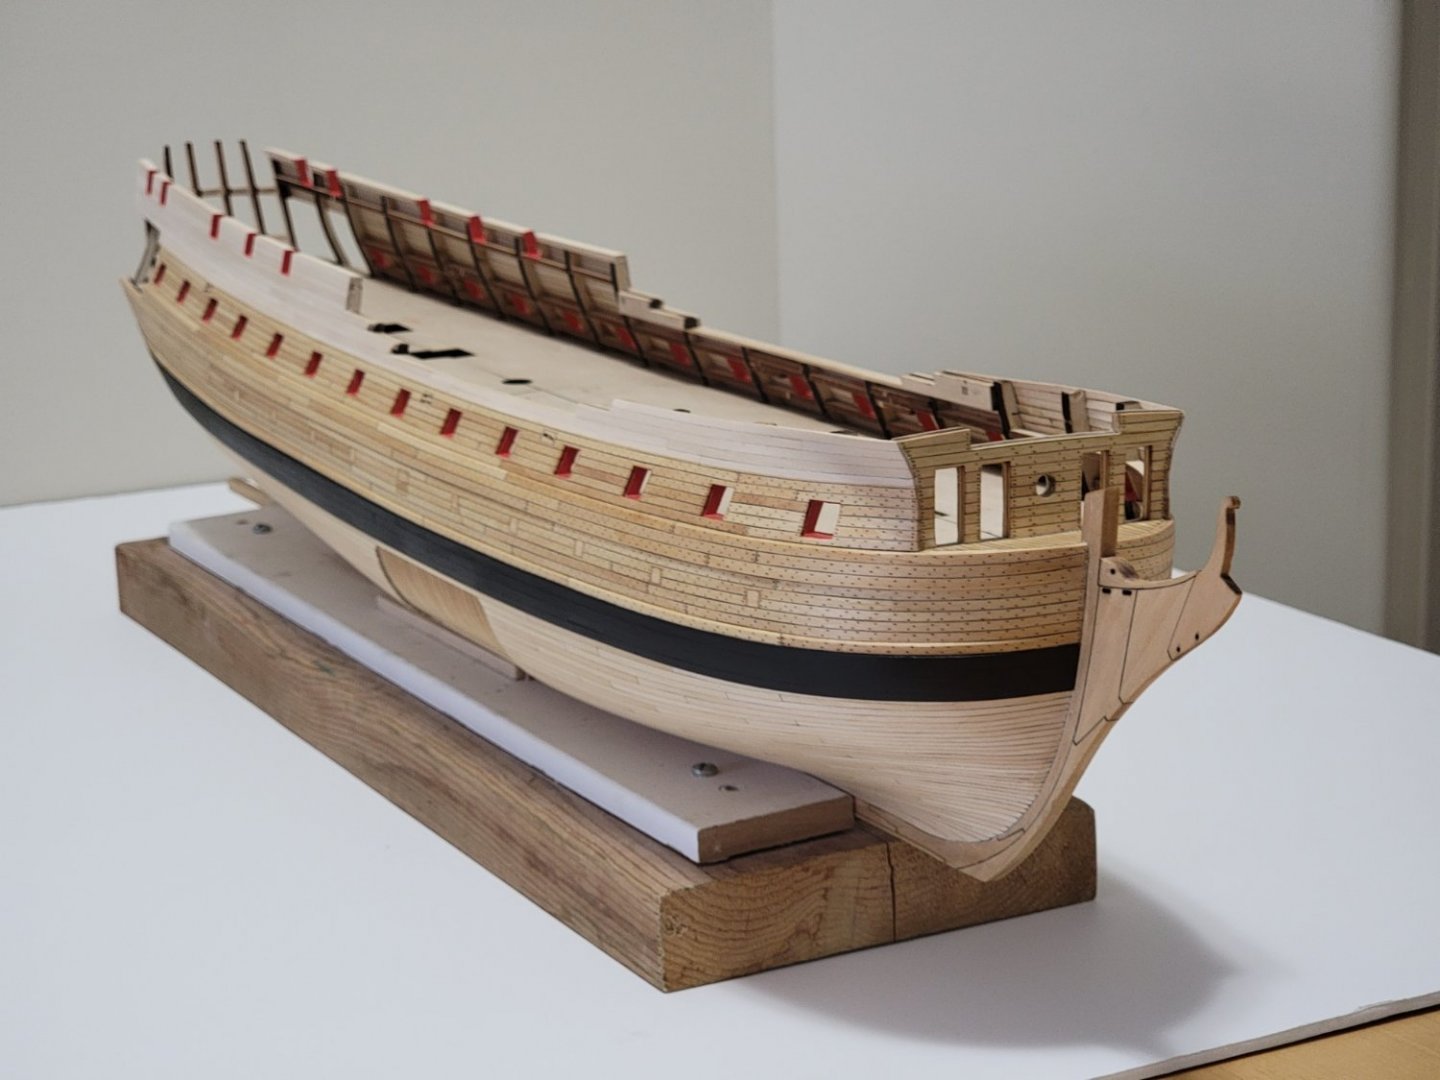
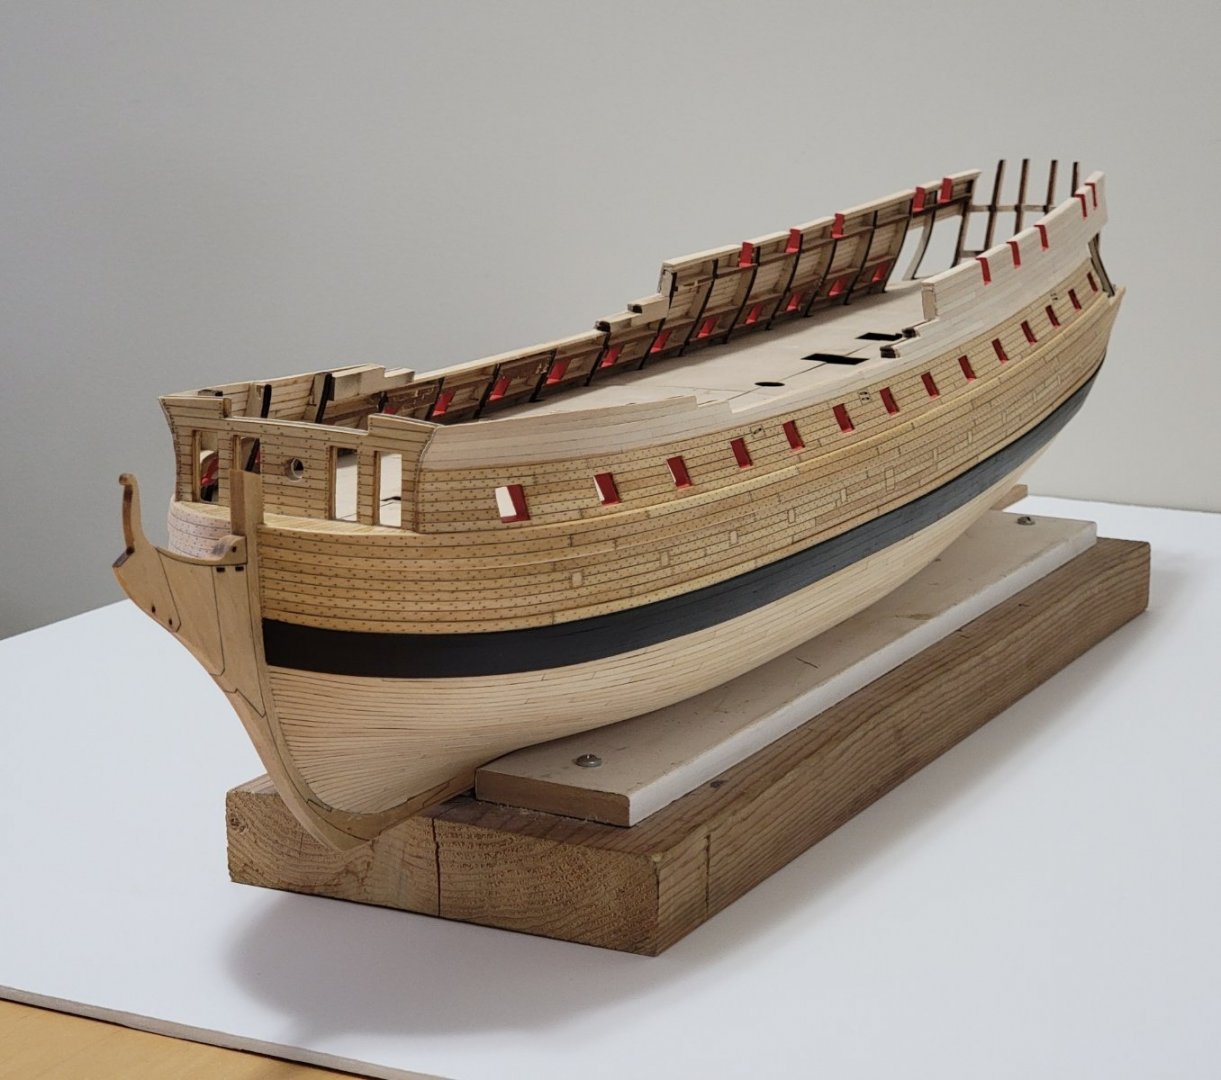
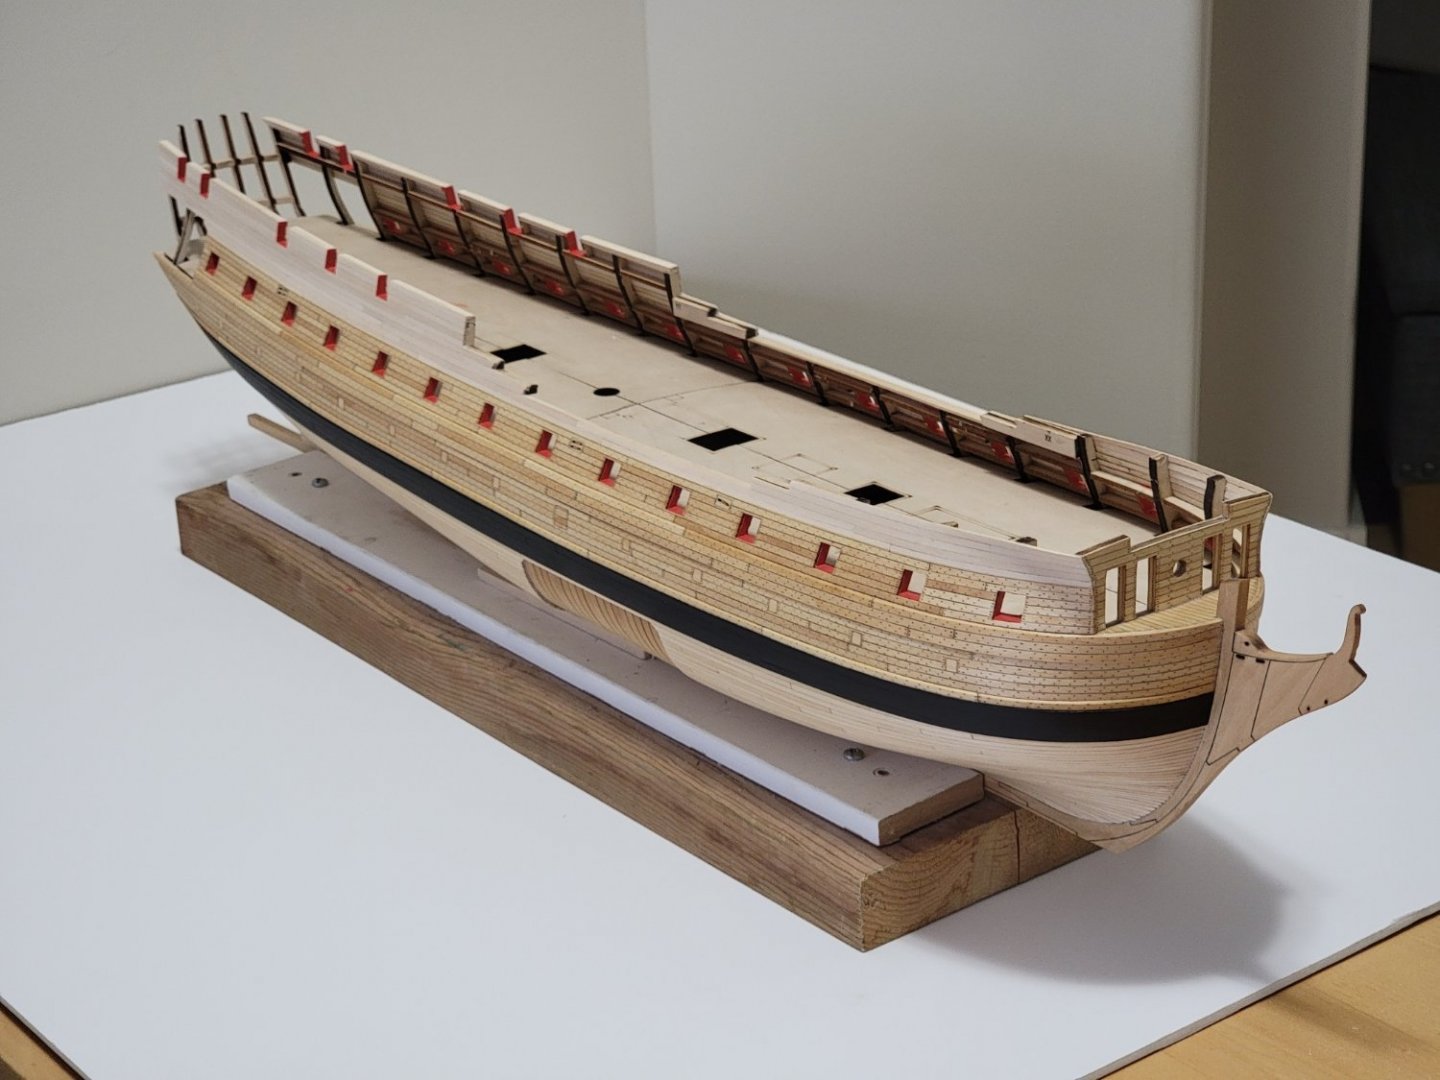
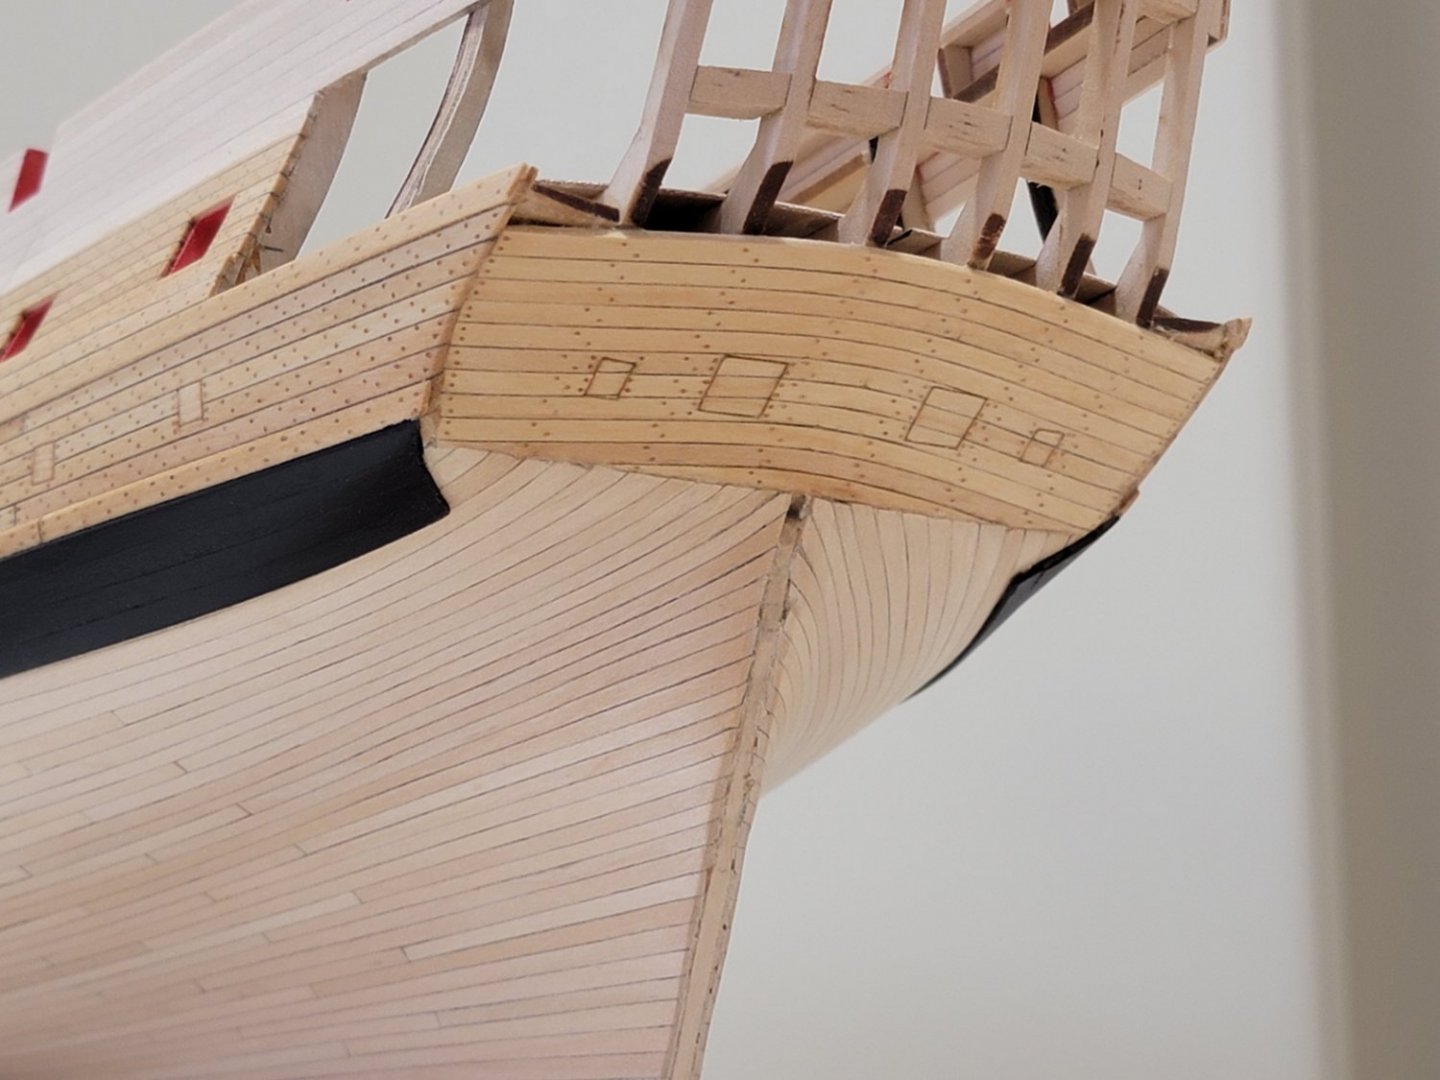
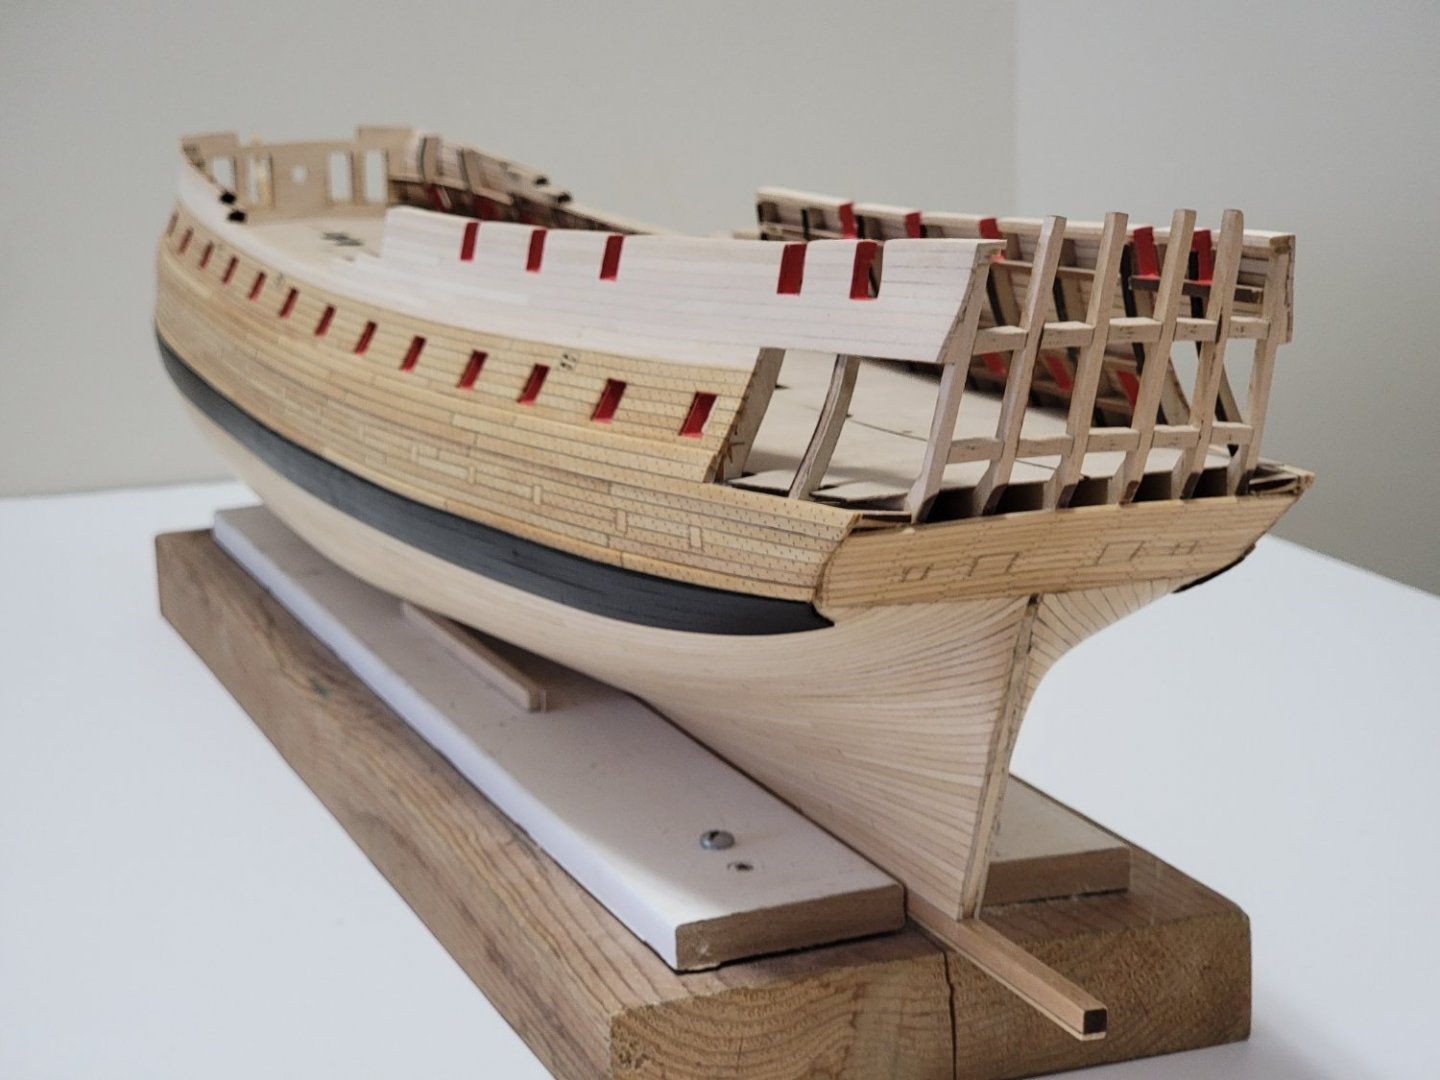
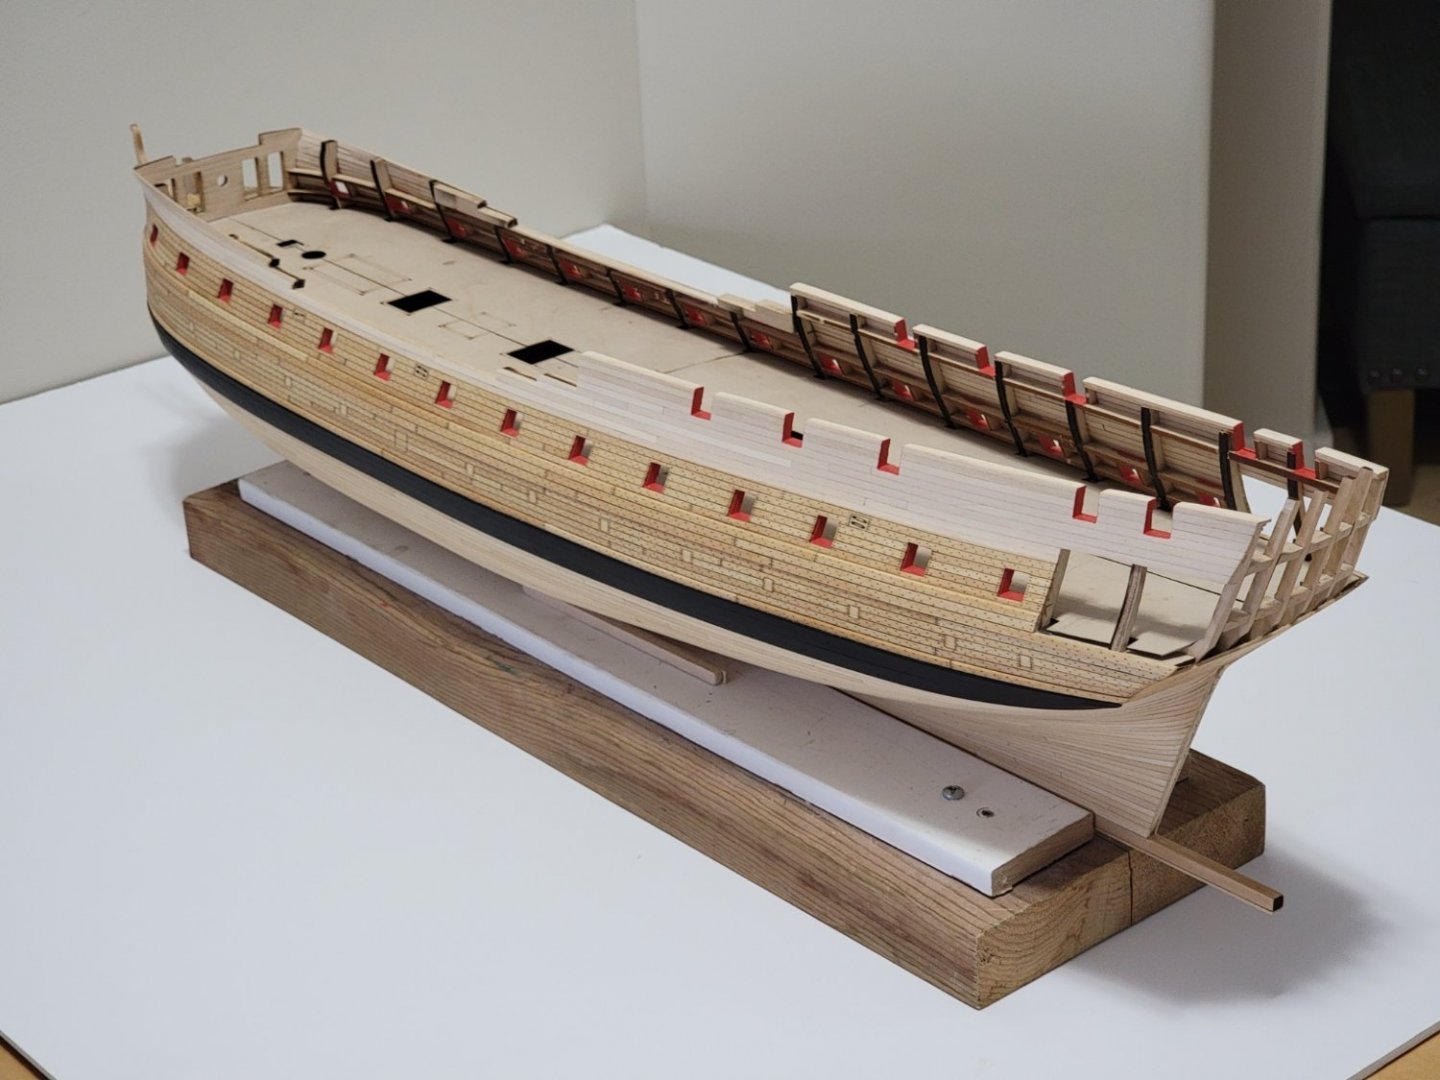
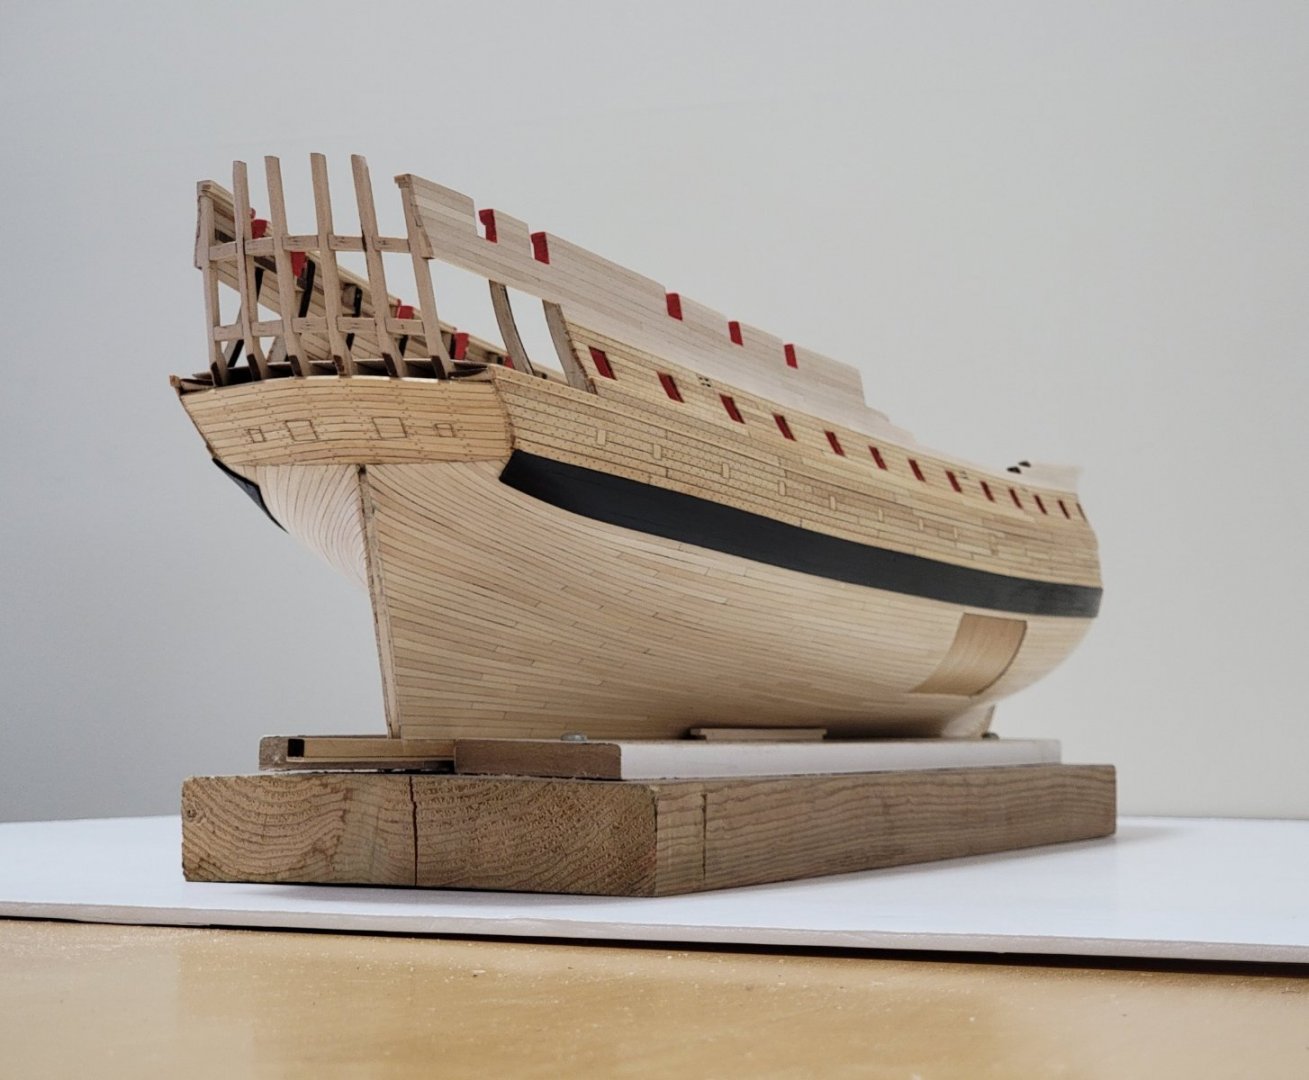
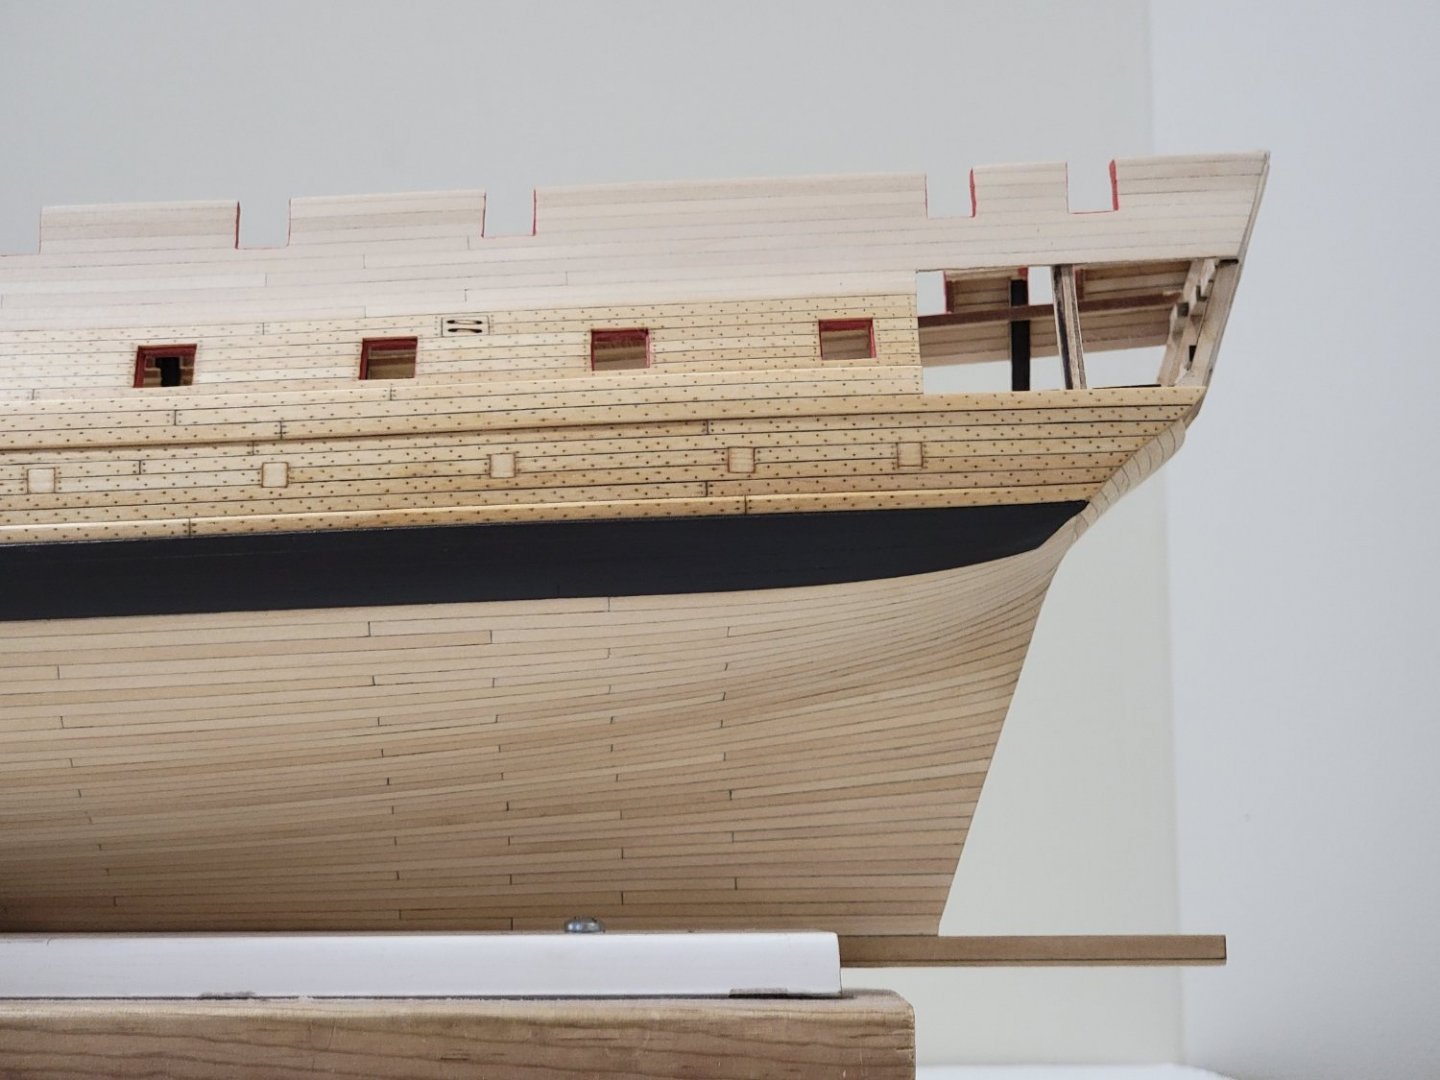
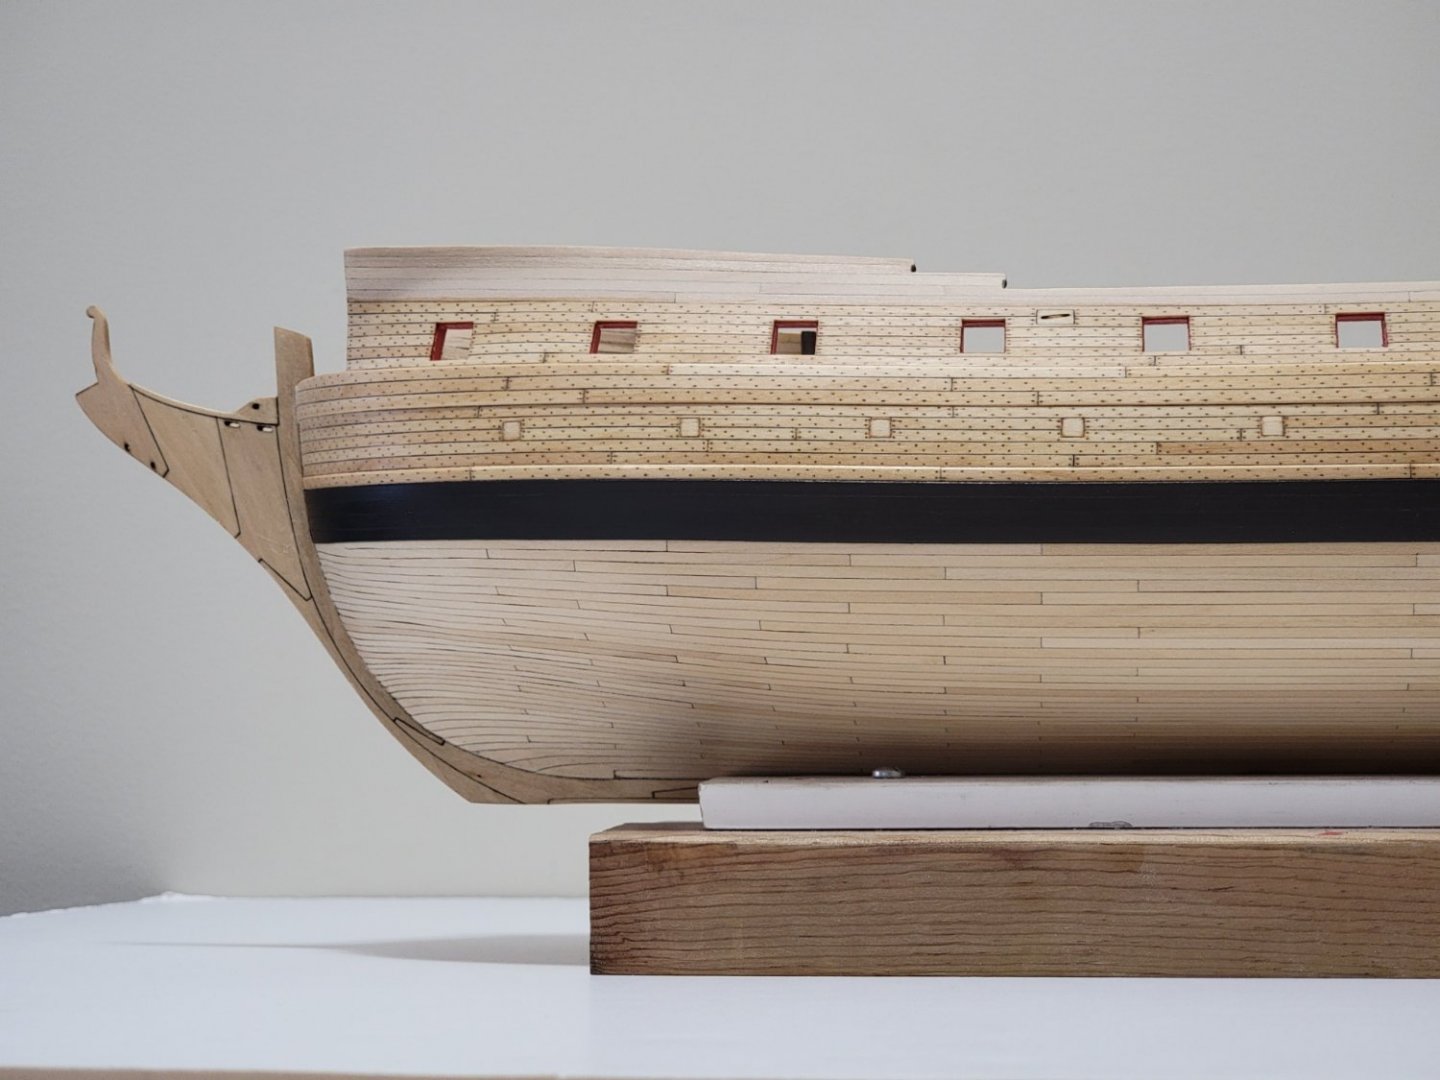
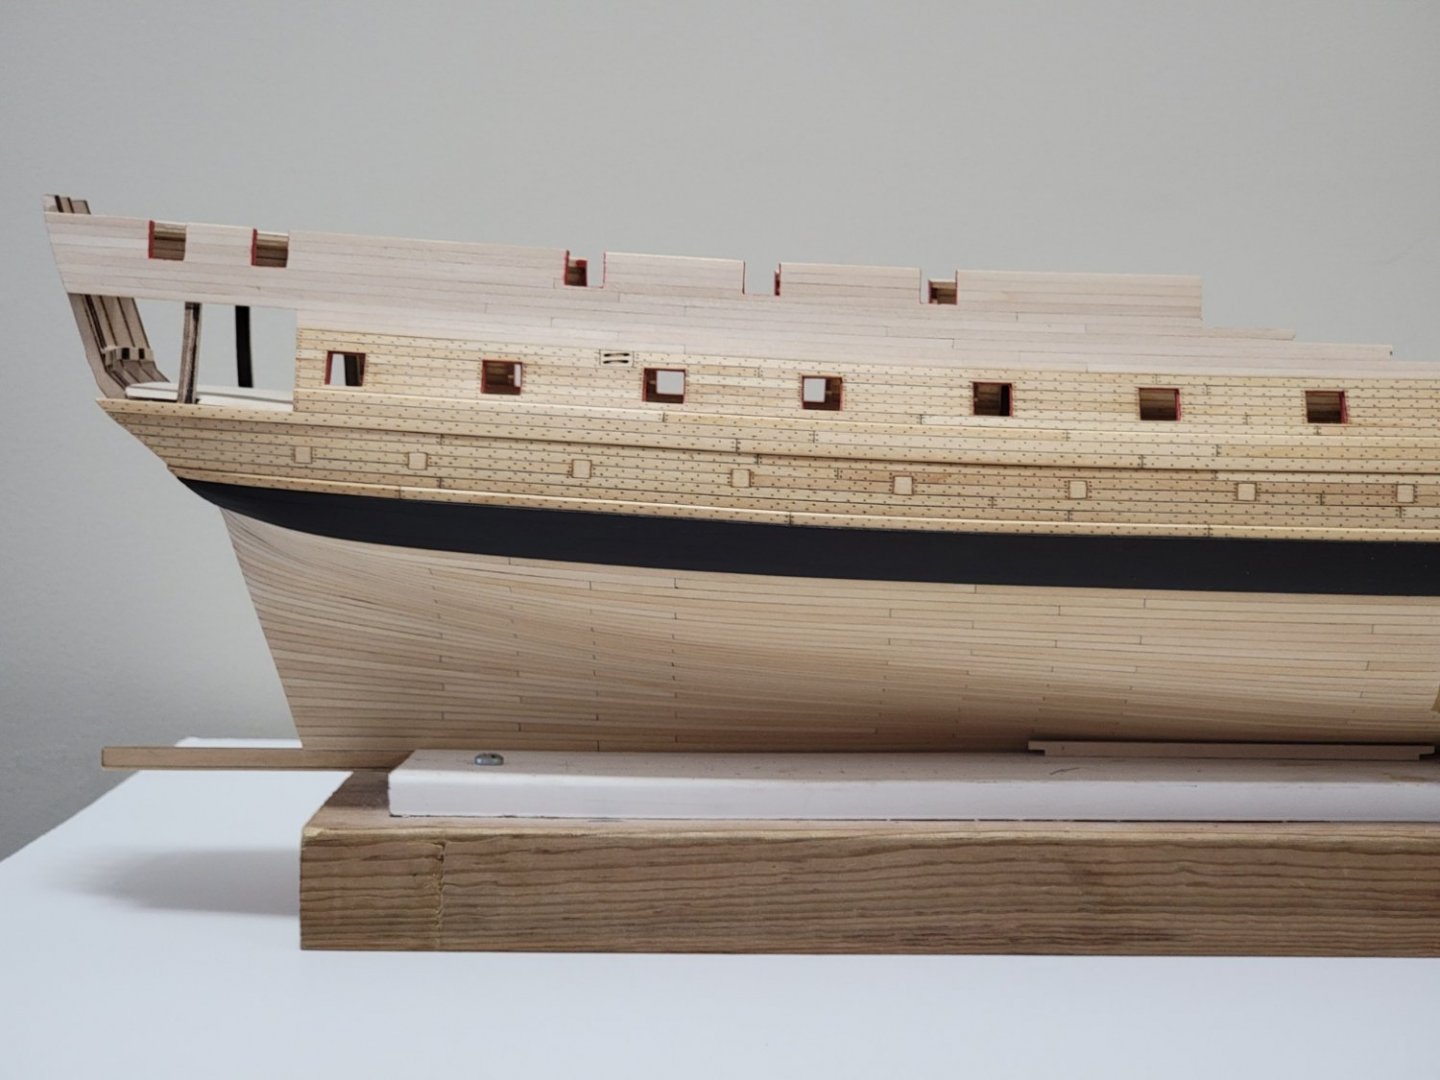
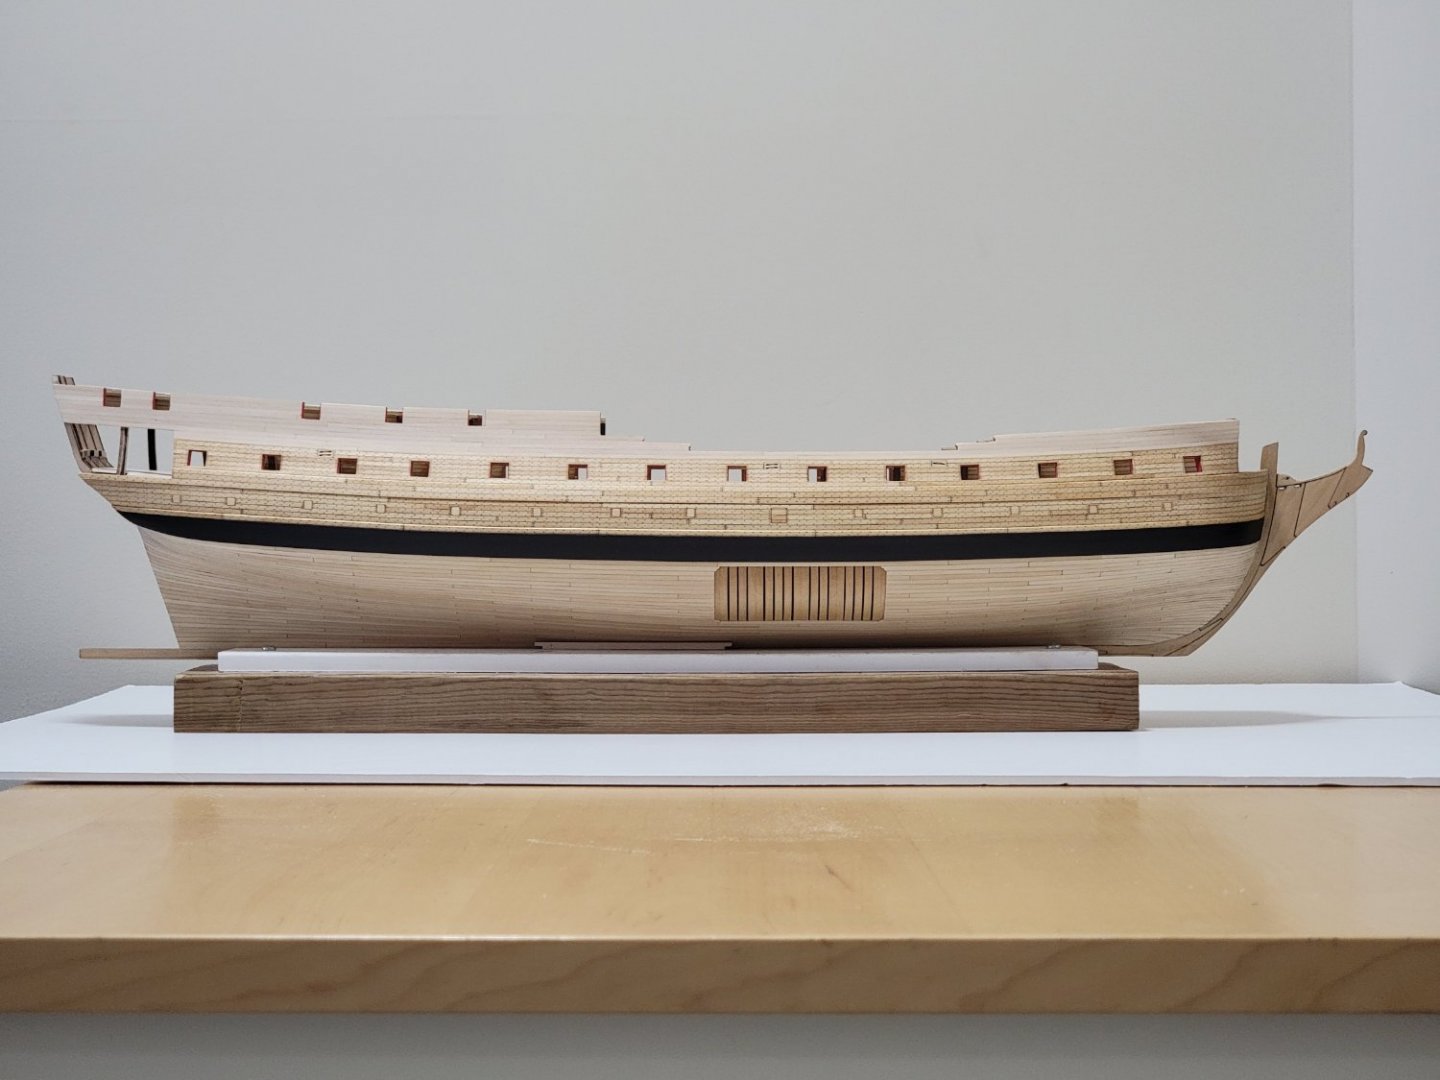
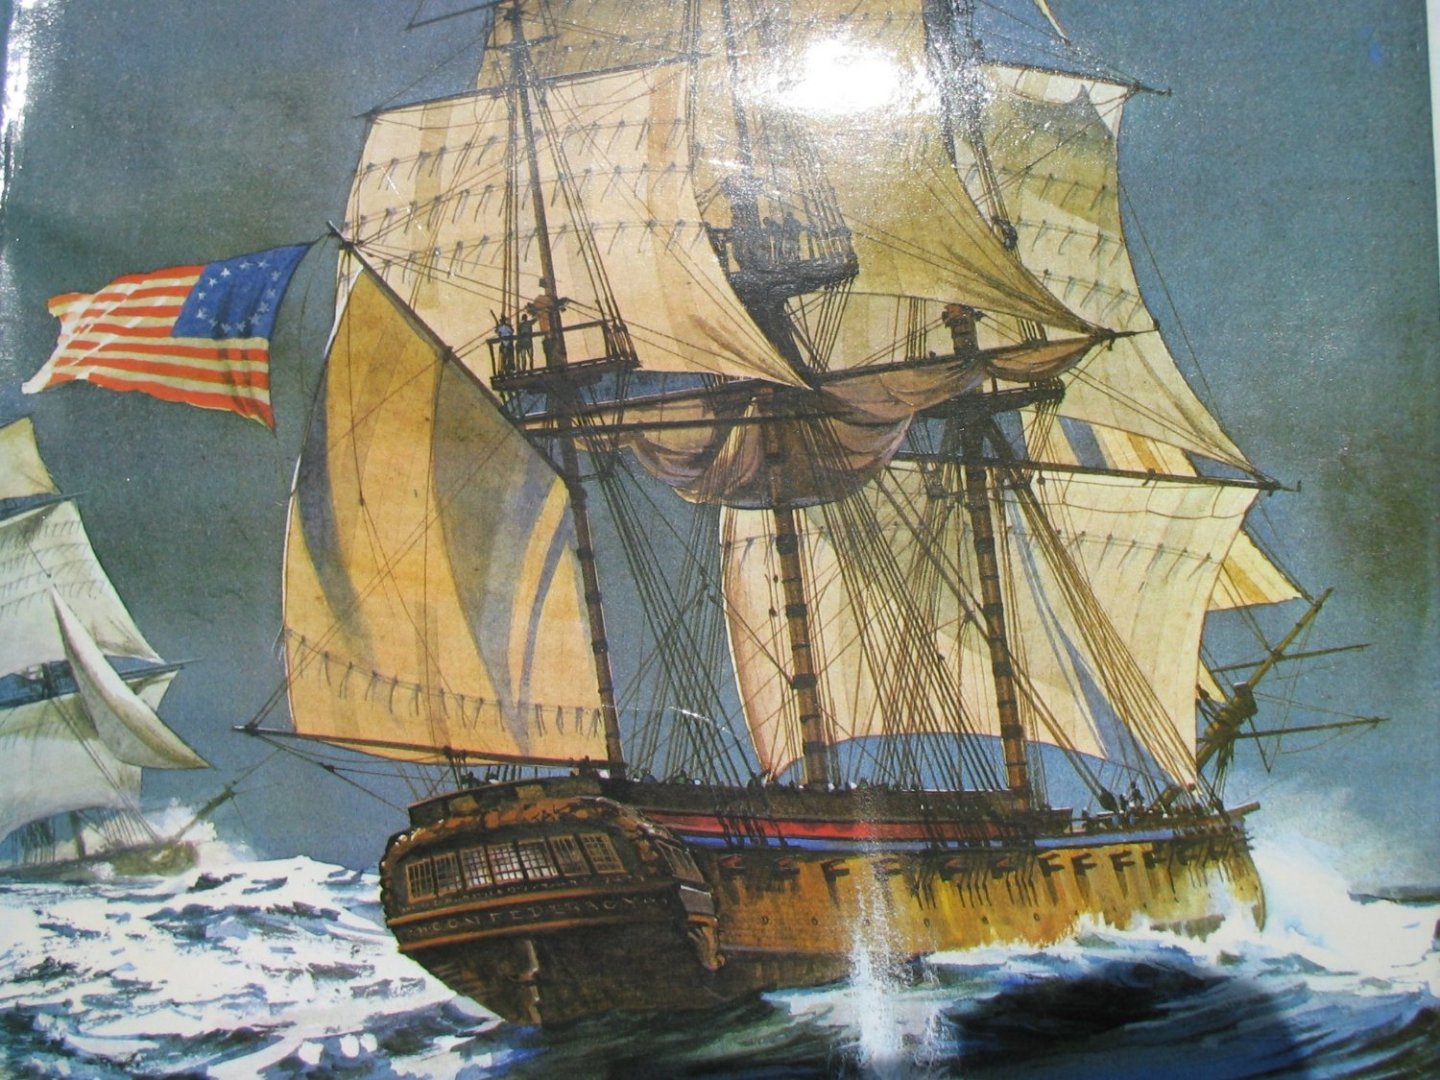
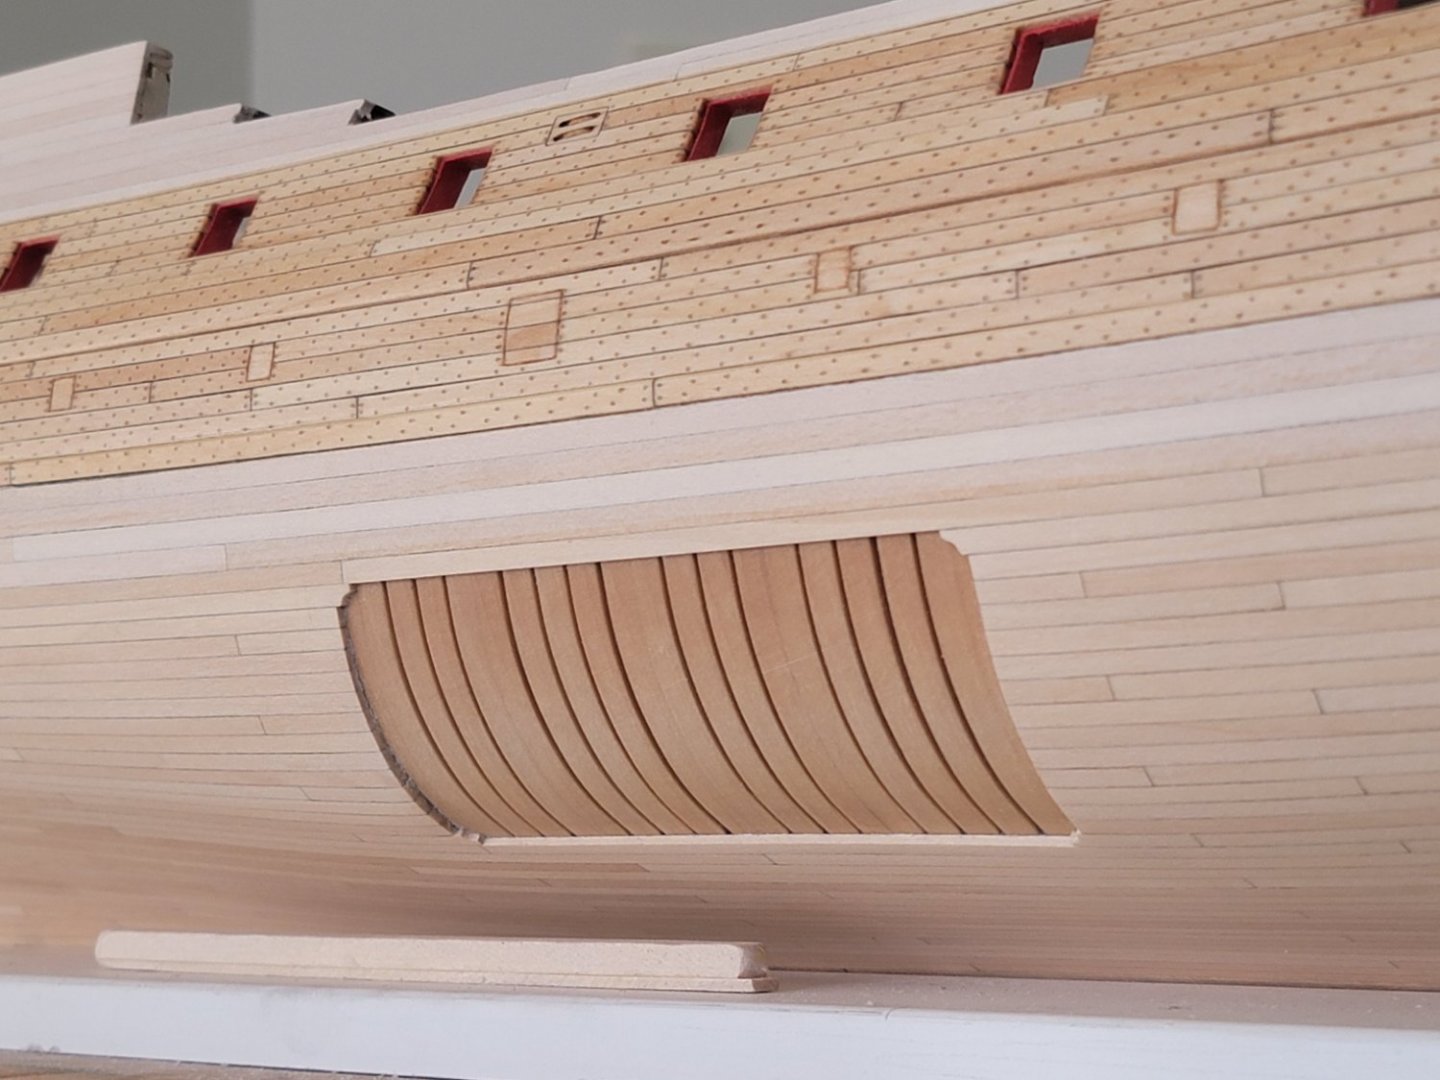
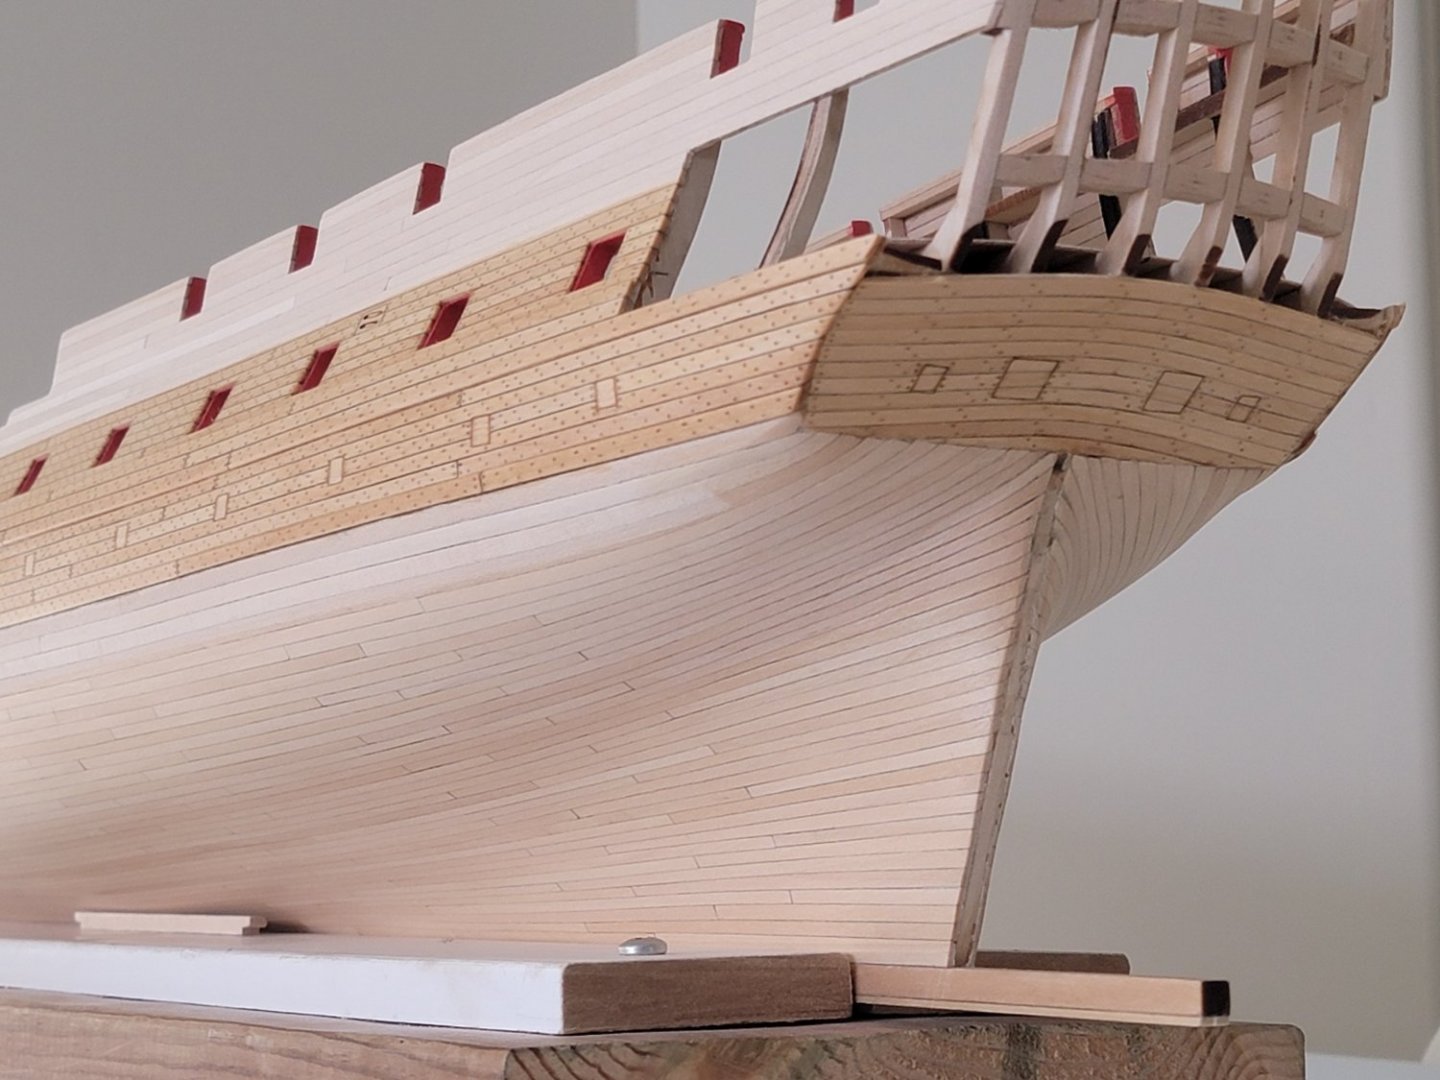
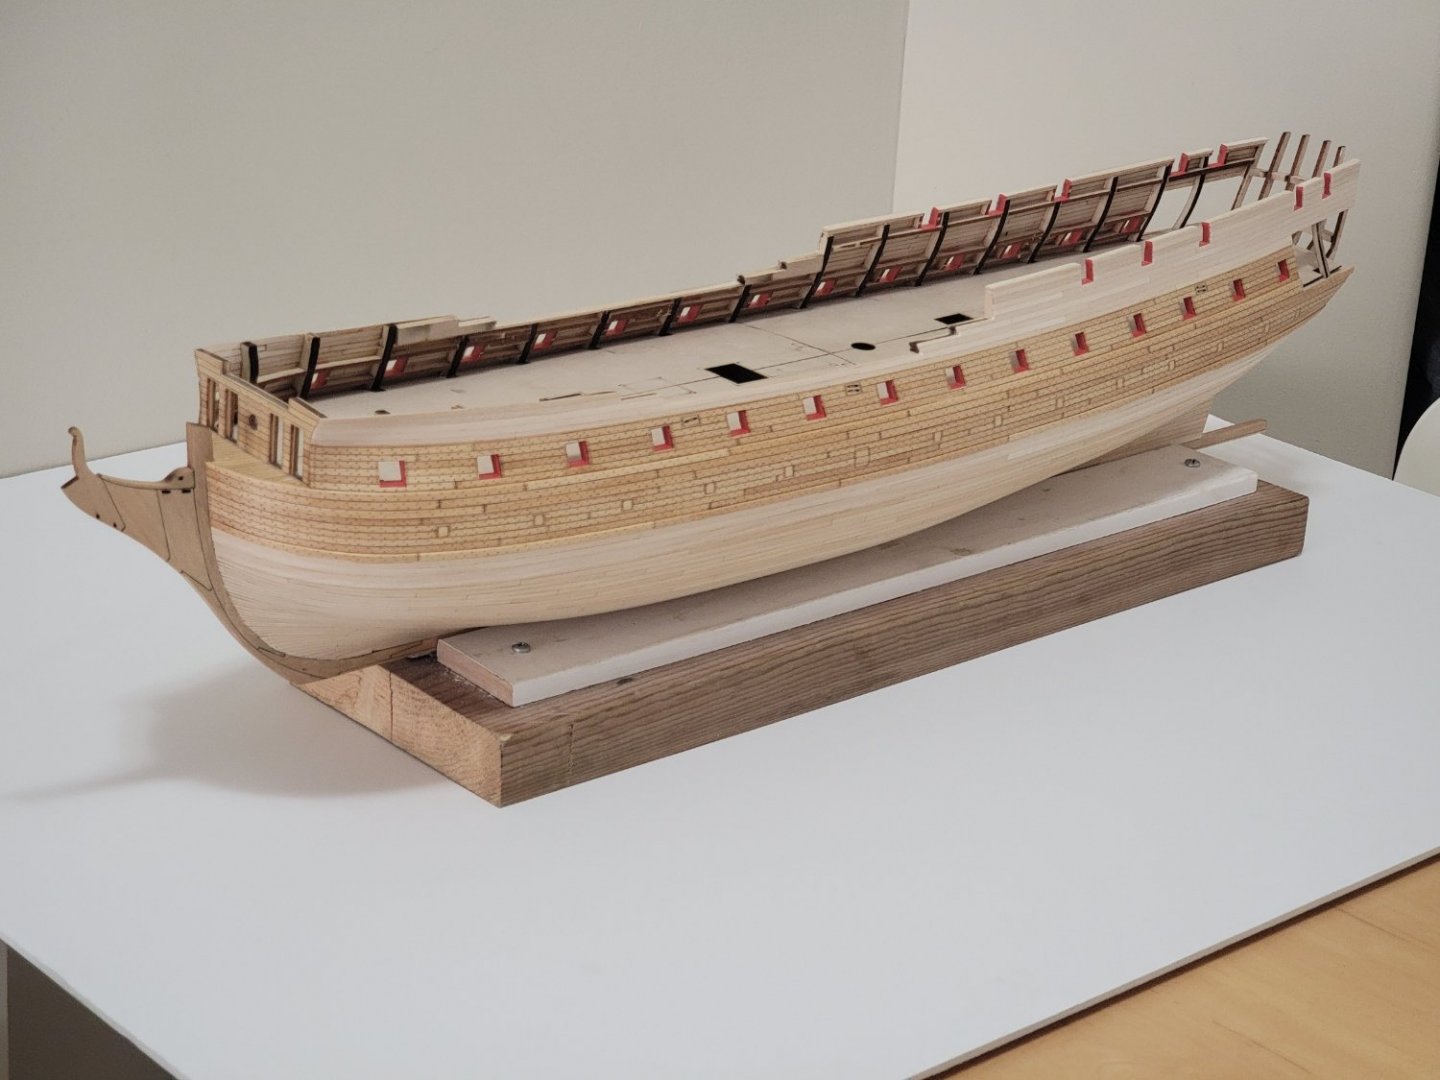
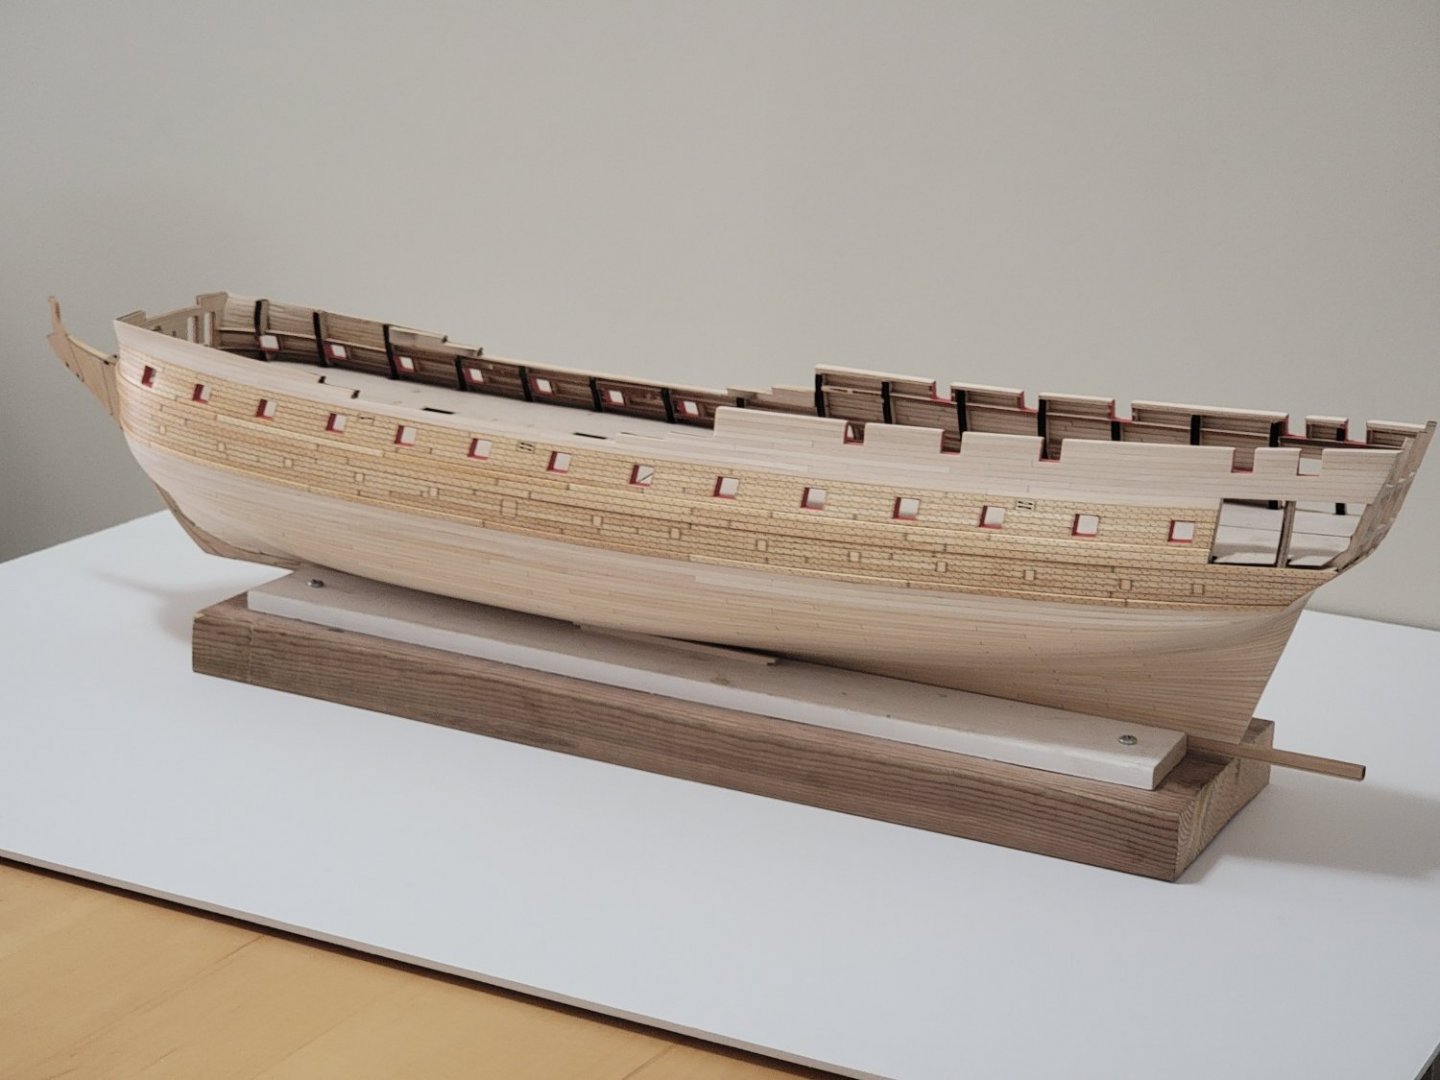
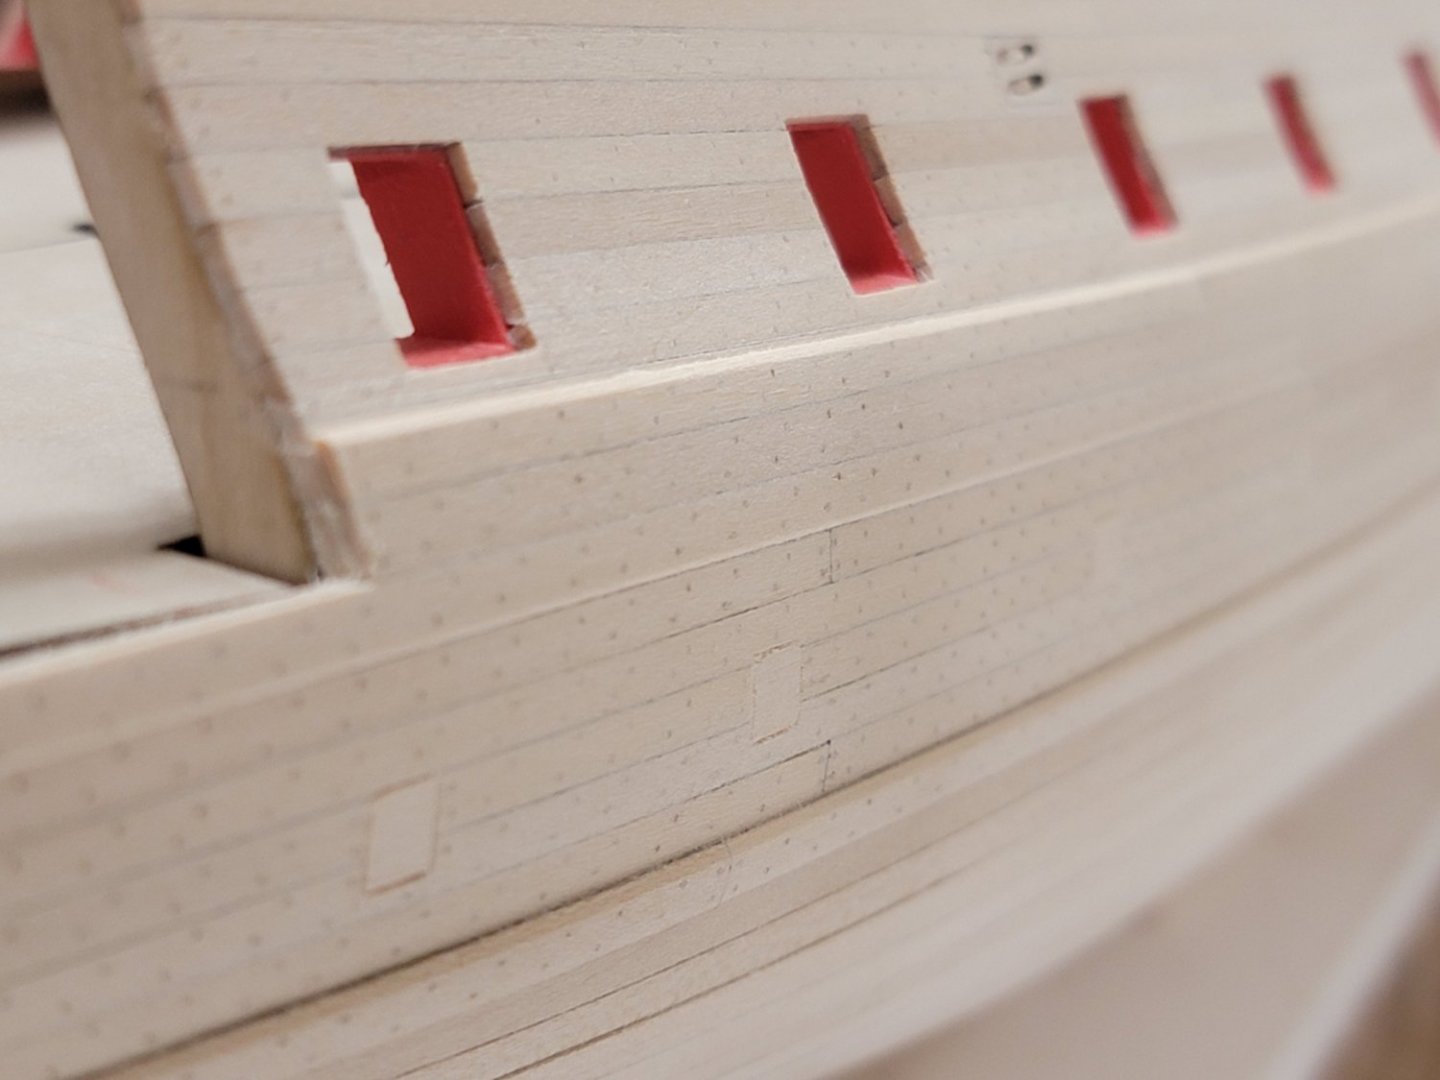
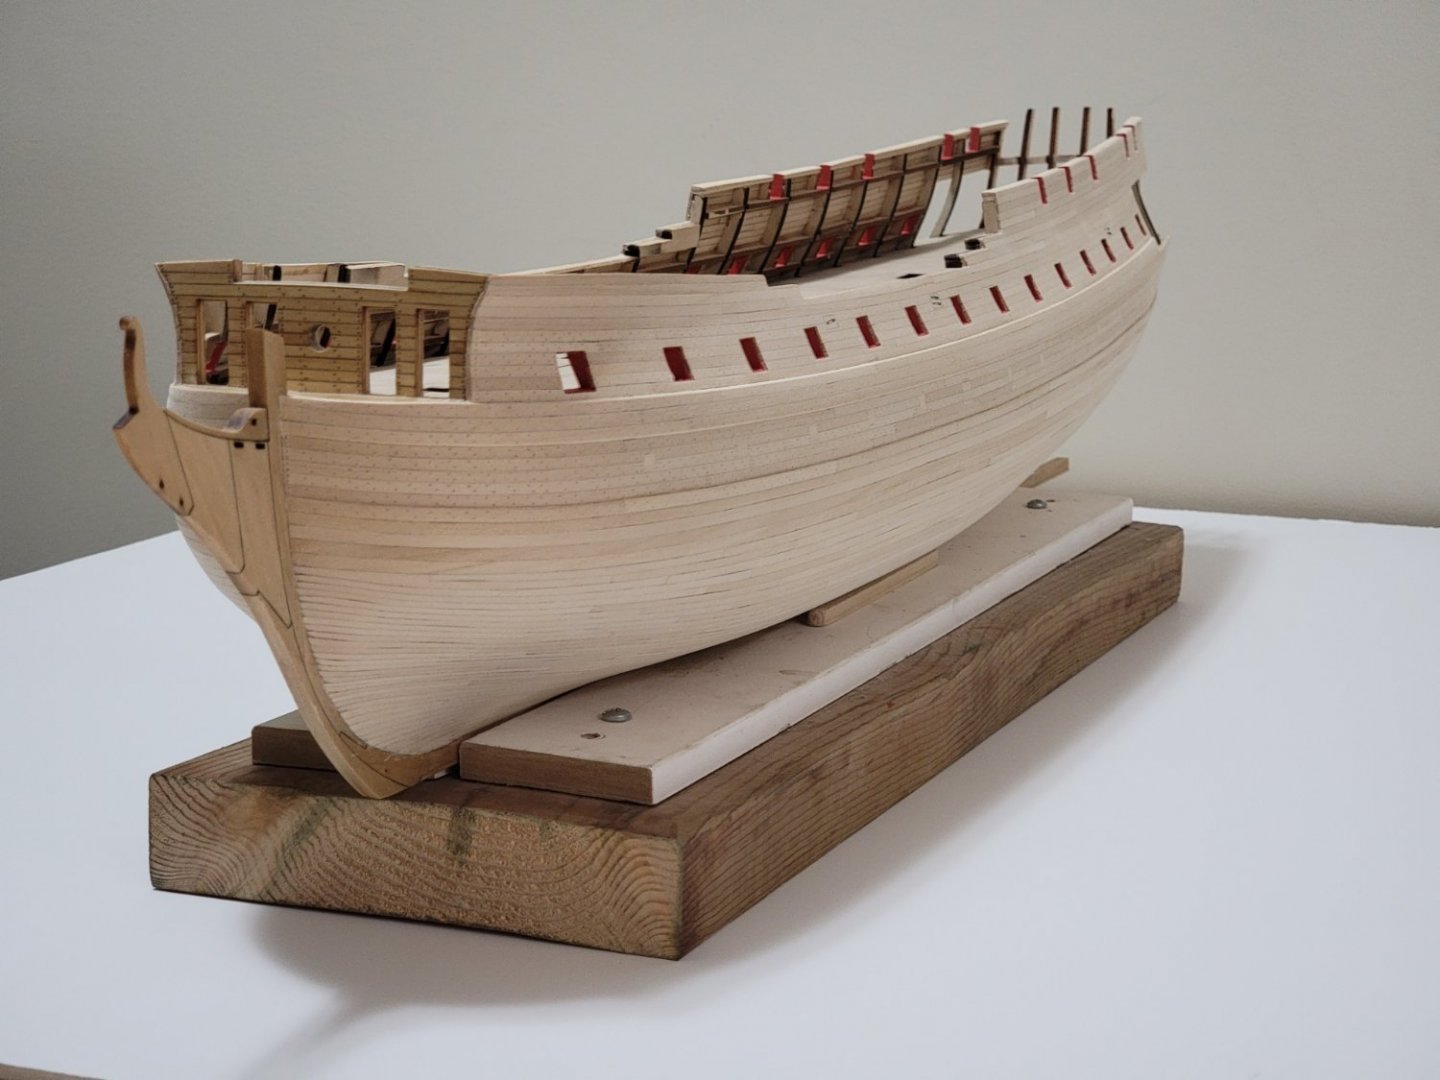
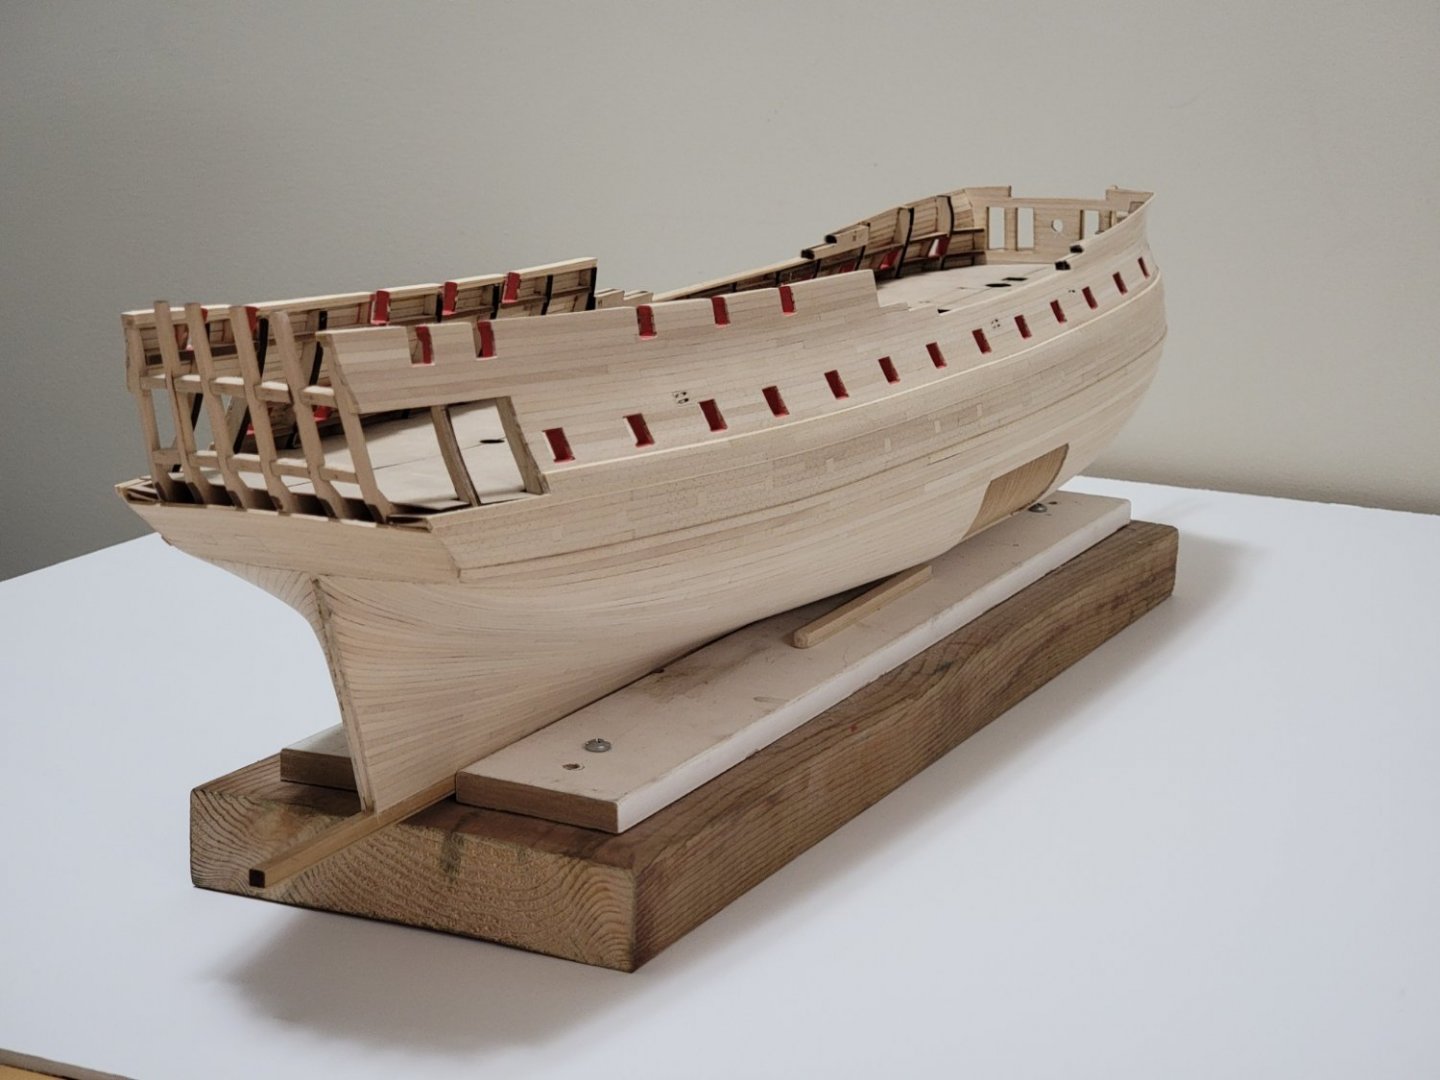
.thumb.jpg.62d1d69fed1f32364417cb1f9cdeb009.jpg) Thank you for the kind comments, Matt, Steven, Tom, and Mustafa! The main wales have now been glued, sanded flush, then I chamfered the edges. Once that was completed, I painted the wales black and used Tamiya yellow masking tape on neighboring planks. The tape was amazing, very minimal seepage of paint onto the wood. I will be using this tape for all painting from now 👍 The black paint (which was bought with the kit) was diluted with some water before painting. I sanded with 600 grit sandpaper between each coat. For the last two coats, I buffed out the painted area with a lint free cloth 15-30 mins after I applied the paint. I thinned down the thickness of the wale at the stern, and also at the stem so that it is flush with surrounding planks. Here are some pictures of where I am at: Next, I will be painting at the area above the treenails. I am very confused on the colors for these sections. The options I am thinking is to (1) paint it all black as it is the safest choice, and (2) have a thin red strip between the lowest two moldings, and (3) paint with the following black, red, and blue color scheme (I found this image somewhere on MSW, but I can't remember where it was): I am currently leaning towards the last option as this is something I have seen on lots of contemporary models (as shown below), and it will be a bit different to other Confederacy builds. Another thing to note is that red is always above blue, just something I found interesting. https://www.rmg.co.uk/collections/objects/rmgc-object-66278 Any comments/suggestions are more than welcome!
Thank you for the kind comments, Matt, Steven, Tom, and Mustafa! The main wales have now been glued, sanded flush, then I chamfered the edges. Once that was completed, I painted the wales black and used Tamiya yellow masking tape on neighboring planks. The tape was amazing, very minimal seepage of paint onto the wood. I will be using this tape for all painting from now 👍 The black paint (which was bought with the kit) was diluted with some water before painting. I sanded with 600 grit sandpaper between each coat. For the last two coats, I buffed out the painted area with a lint free cloth 15-30 mins after I applied the paint. I thinned down the thickness of the wale at the stern, and also at the stem so that it is flush with surrounding planks. Here are some pictures of where I am at: Next, I will be painting at the area above the treenails. I am very confused on the colors for these sections. The options I am thinking is to (1) paint it all black as it is the safest choice, and (2) have a thin red strip between the lowest two moldings, and (3) paint with the following black, red, and blue color scheme (I found this image somewhere on MSW, but I can't remember where it was): I am currently leaning towards the last option as this is something I have seen on lots of contemporary models (as shown below), and it will be a bit different to other Confederacy builds. Another thing to note is that red is always above blue, just something I found interesting. https://www.rmg.co.uk/collections/objects/rmgc-object-66278 Any comments/suggestions are more than welcome!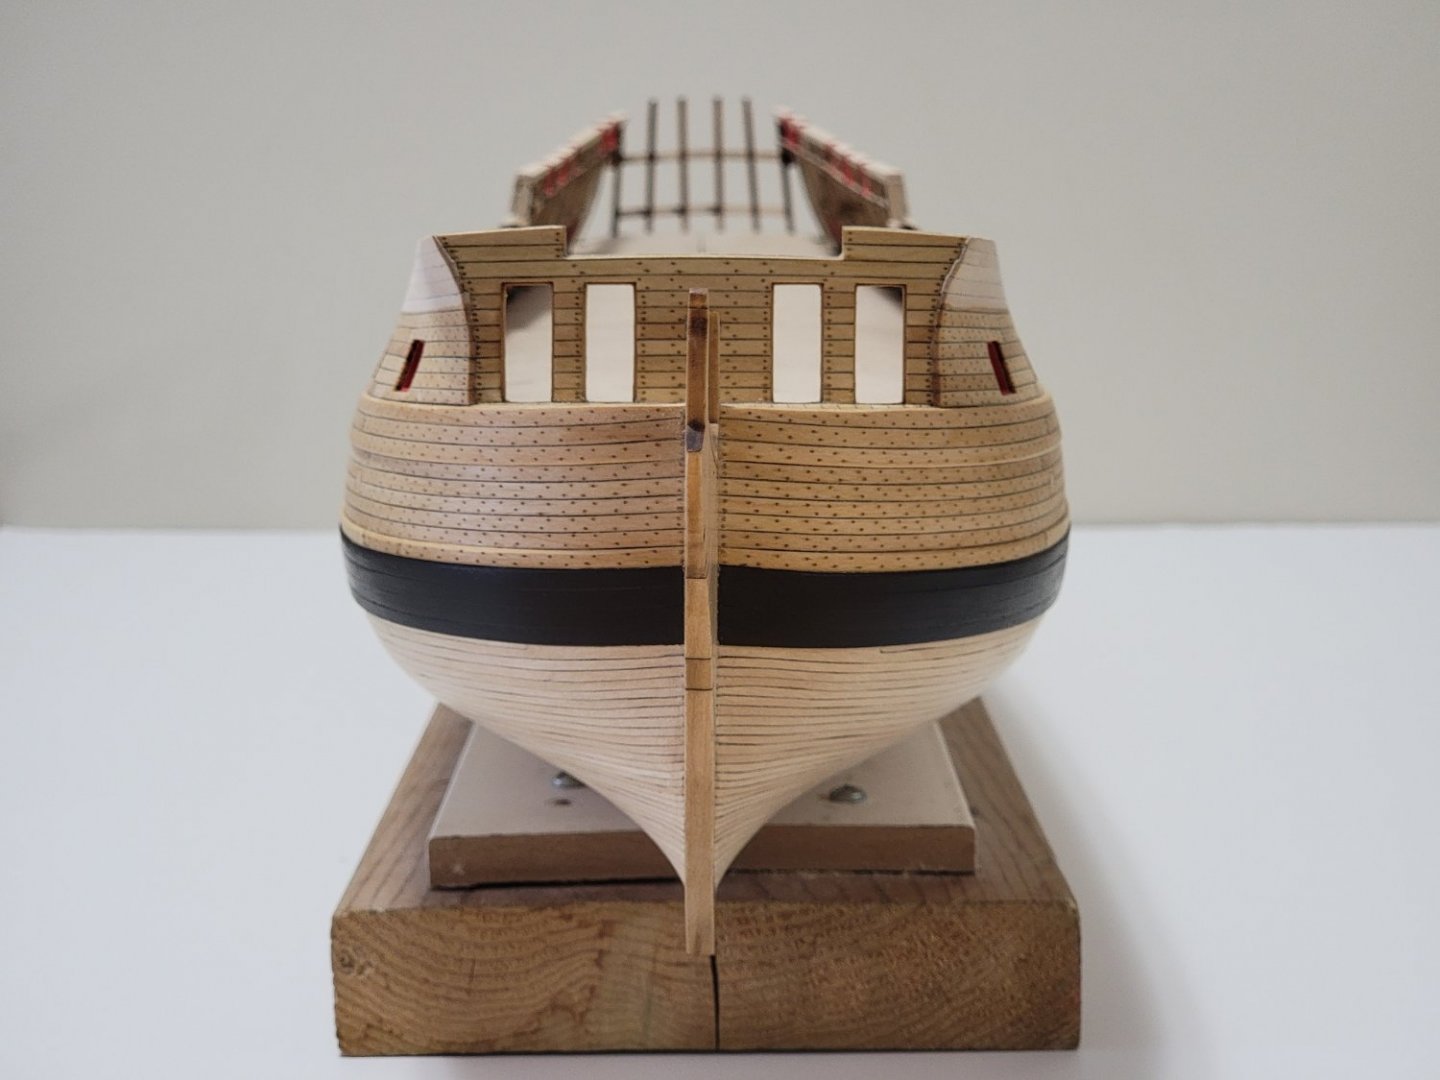


-
Vey crisp and neat work! Your work is very inspiring, Mark. Wishing you a quick recovery!
-
Beautiful planking, Andy!
-
I applyied two coats of tung oil above the wales, and two coats of WOP below the wales. I only sanded with 600 grit sandpaper between the coats for the WOP. Here are some pics: IMO, the tung oil darkened the treenails a bit more than I would have liked. There was no way of telling how it would look in a small test section I did beforehand. But lesson learnt! I think next time I'll be using WOP for the entire surface instead of tung oil.


-
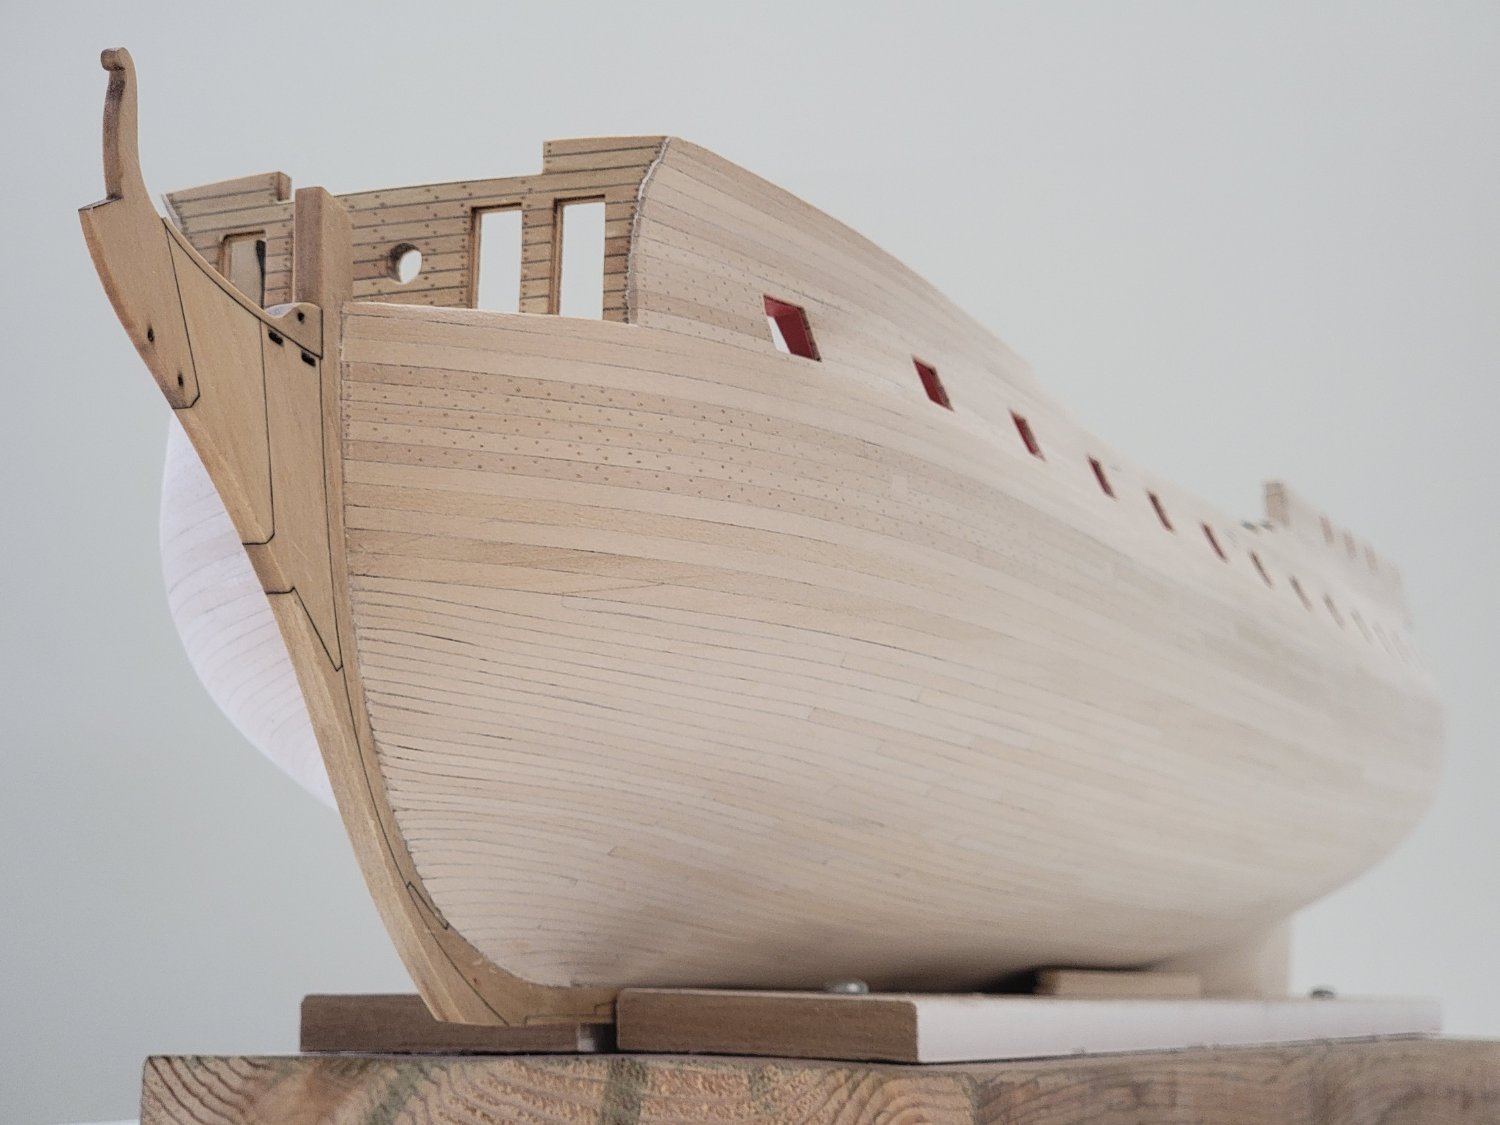
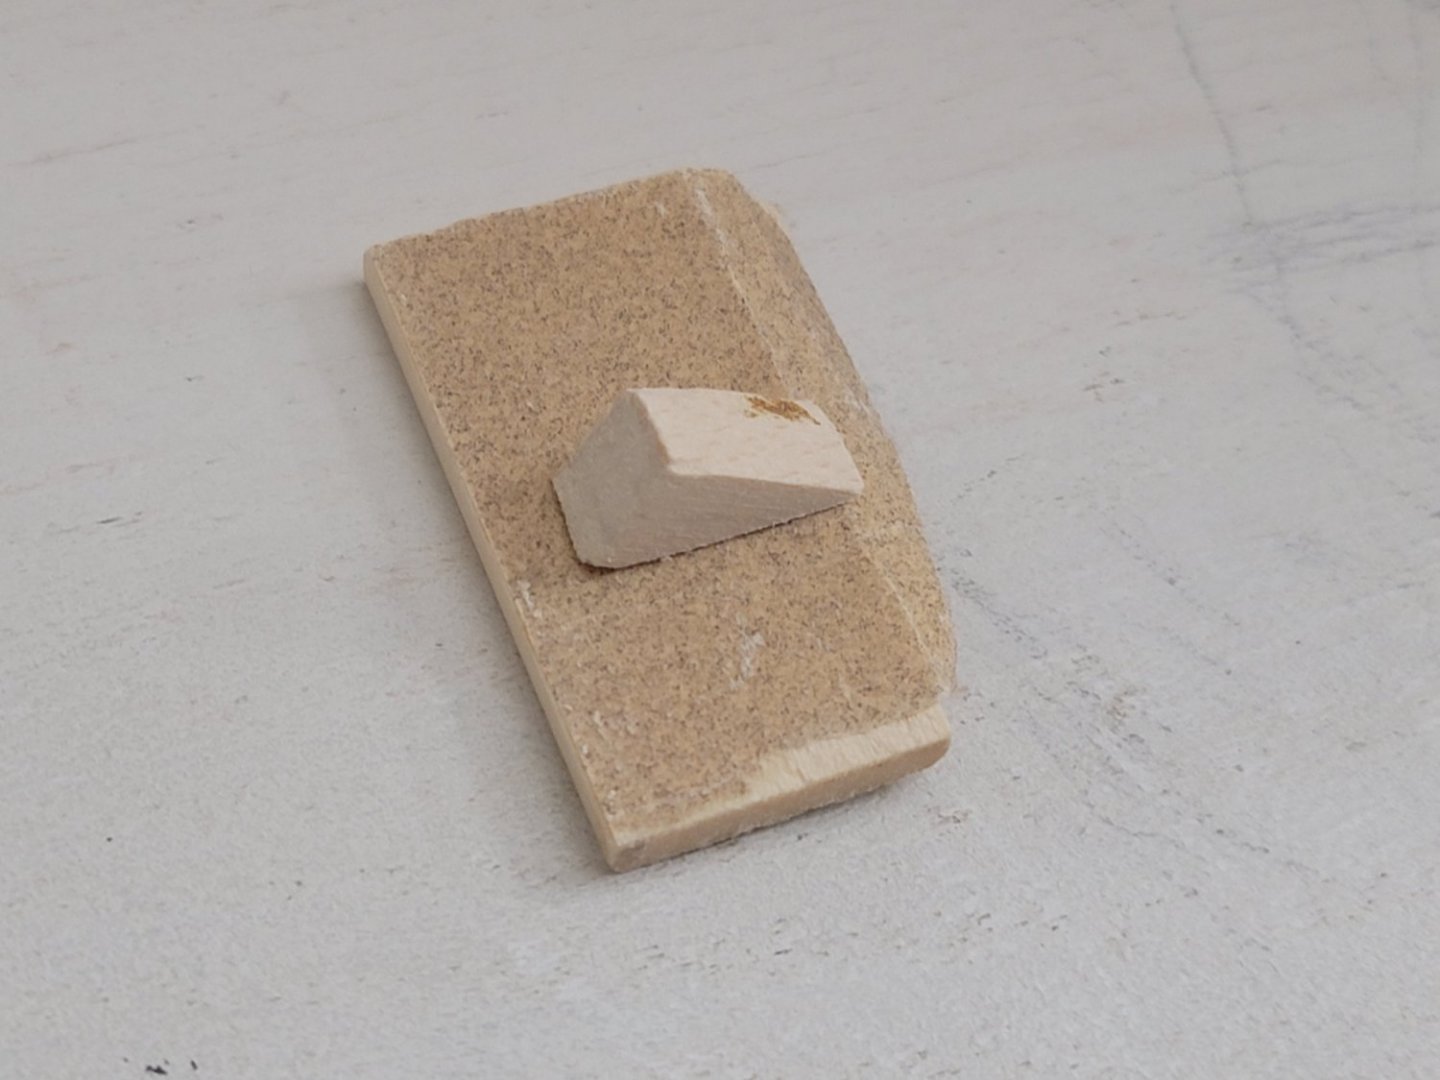
Thank you all again for all the likes and the nice comments! I have glued in the channel wales and black strake, and finished treenailing them. I then chamfered the edges with a sanding stick (220 grit sandpaper stuck on one side of a 1/2in scrap wood). I used a wedge to assist in keeping a constant angle on the sanding stick as I sanded the edges: I tapered the planks to become thinner from about 2cm from the stem. This is because the wales insert into the stem rabbet in the real ship. And here are some more photos: Lastly, I applied wipe-on-poly on the hull. I damped the WOP on a piece of an old t-shirt, applied generously, then used a dry part of the cloth to immediately remove any excess. I only put one coat for now. Here is a sneak peek: For my next update I will apply tung oil on the planks above the wales, and finish with one or more coats of WOP on the hull below the wales.


-
Thank you, Michael! 😁
-
Very neat and precise! Awesome job copper plating 😁
-
Hi Michael Can't believe I just found out about this update. I'll be following this thread with a lot of interest. I'm out of words to see the level of detail work going into this build... The video of the brakes working and seeing all the moving parts is very cool! The watercolor painting is gorgeous. Perfectly captures the Edmonton winter. Wishing you and Judy a happy new year! Harshil
-
The planking looks great, Vahur!
-
Thank you, Thomas and Bruce! Also wanted to take this moment to wish MSW a prosperous new year!!! 🥳
-
Congrats Bruce! She's a beauty 😁 Looking forward to seeing the boats!
-
Thank you so much for the encouraging comments and the likes! 🙂
-
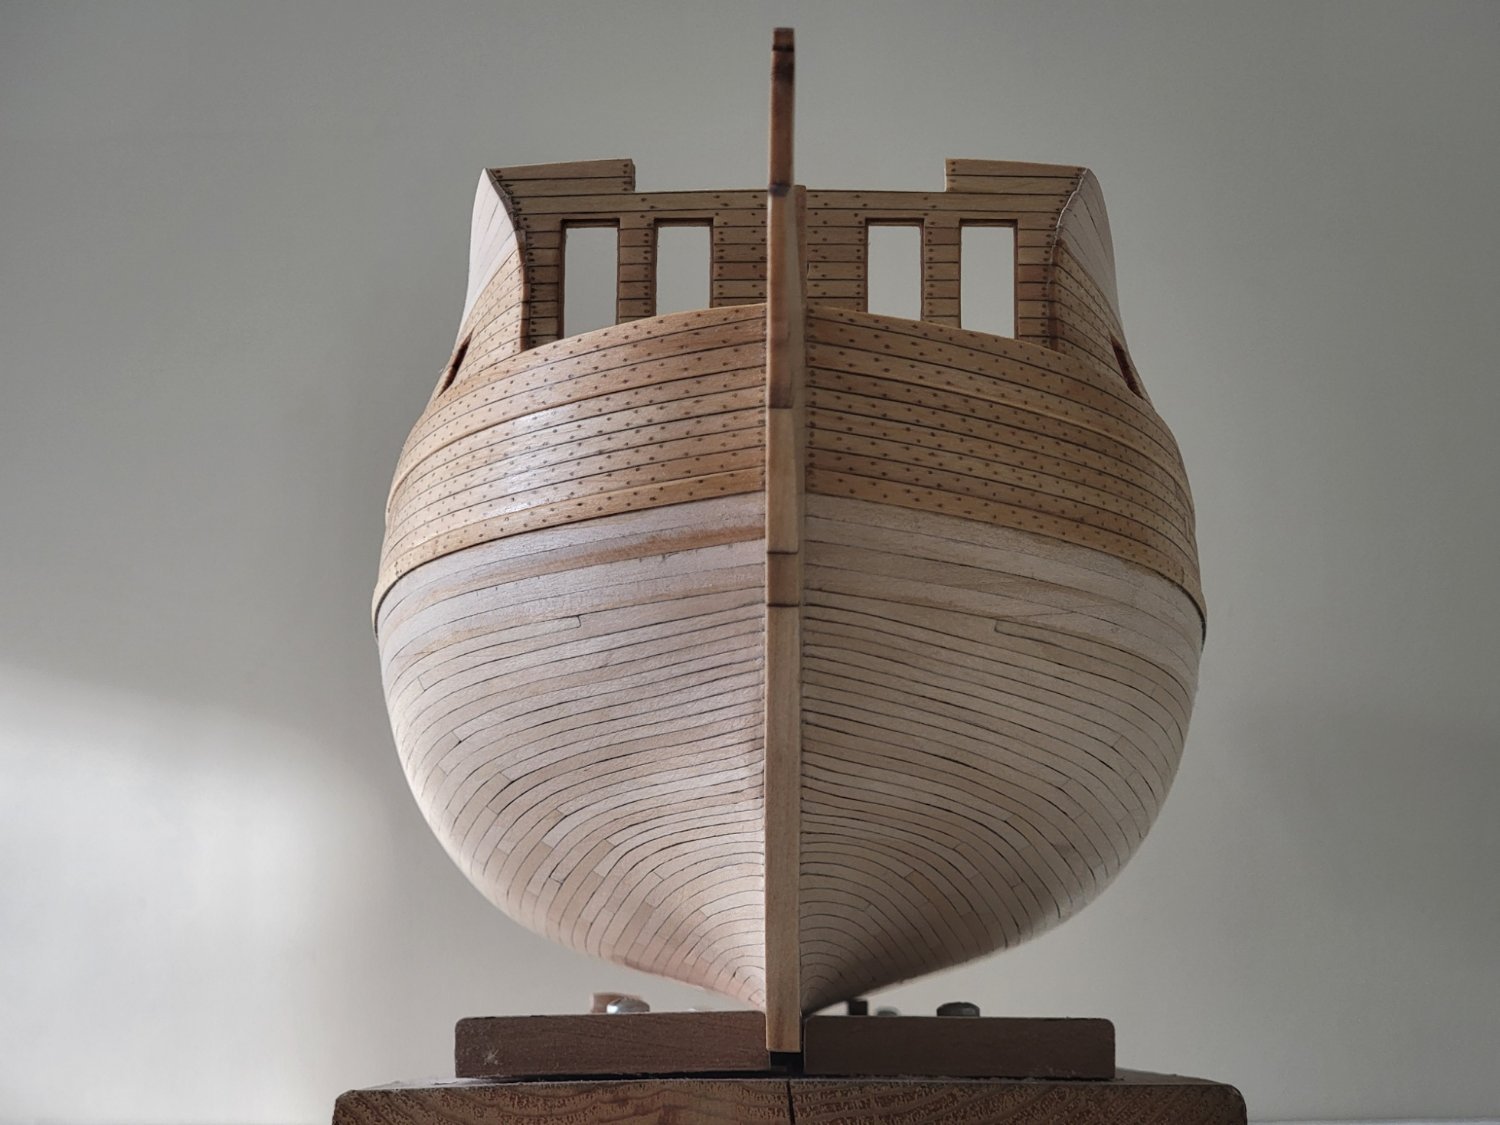
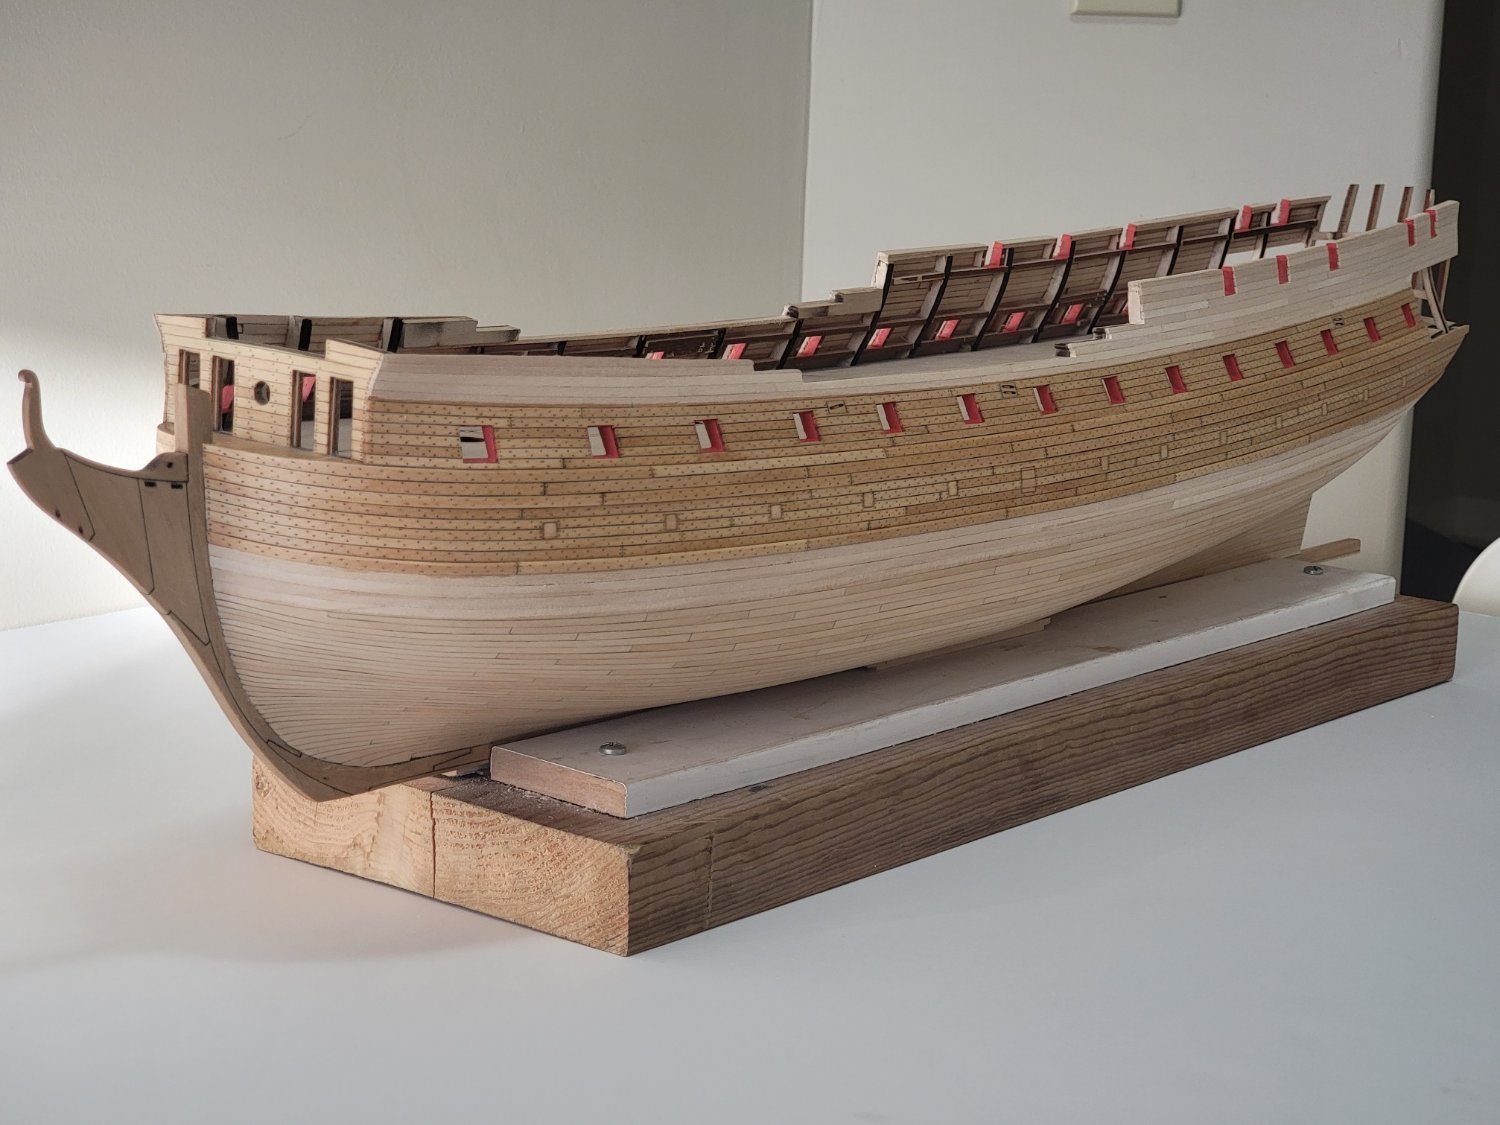
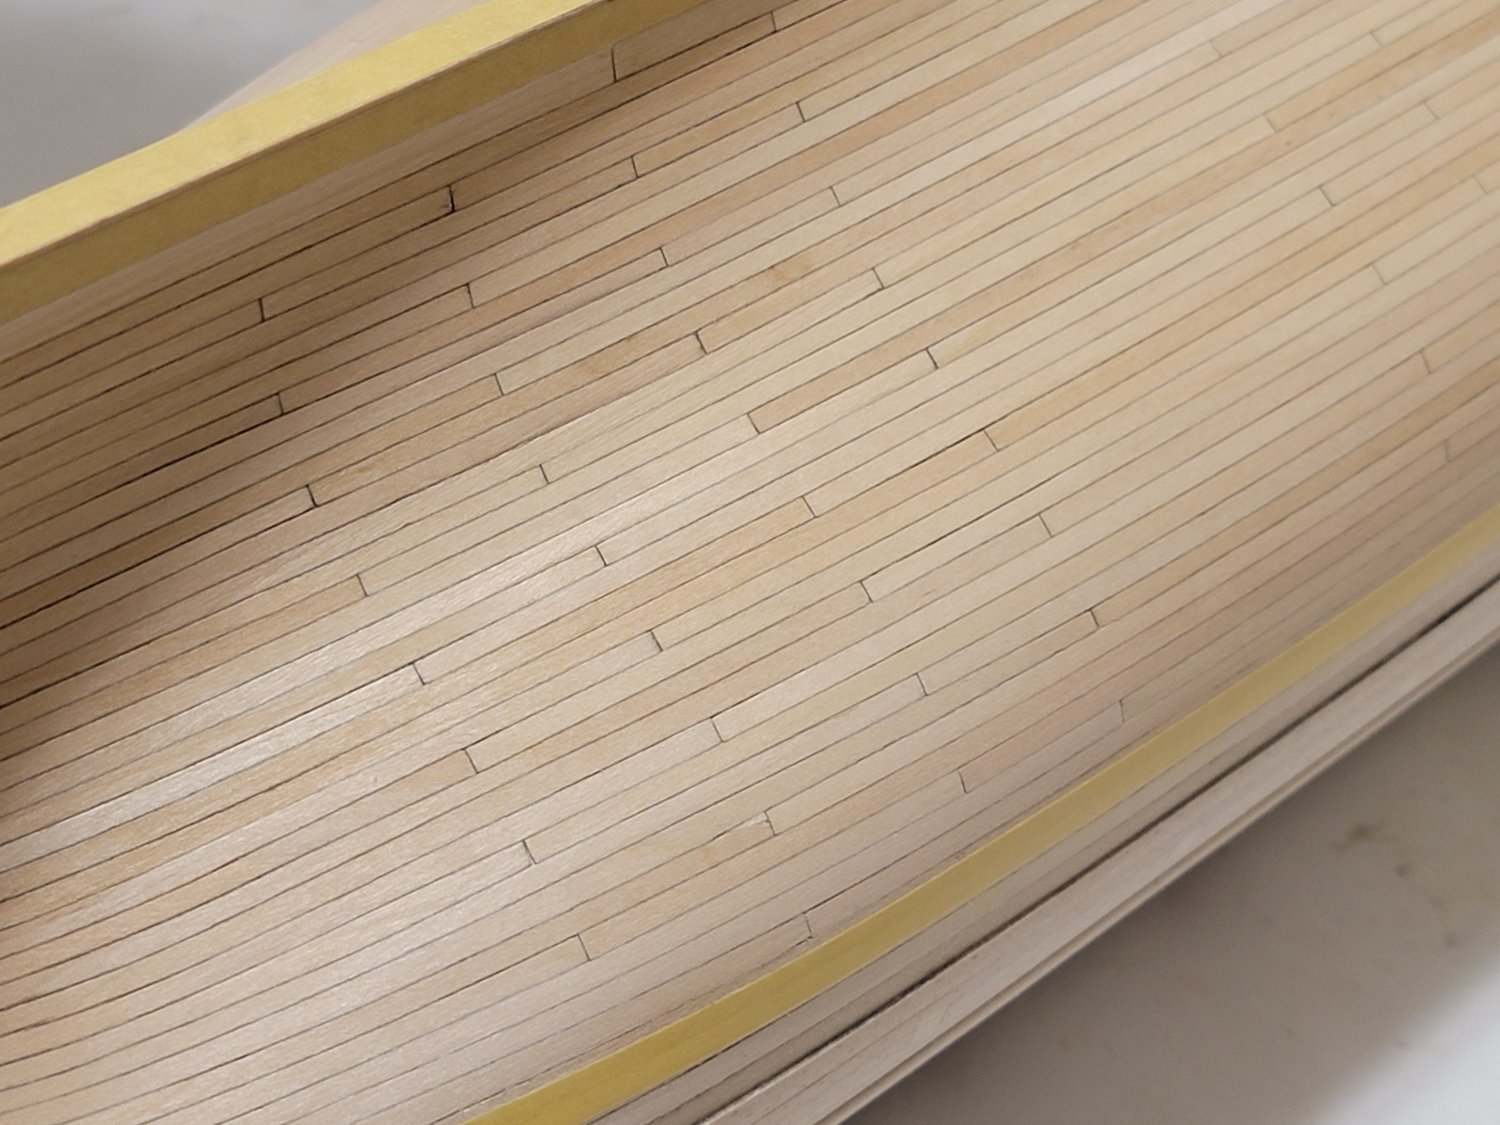
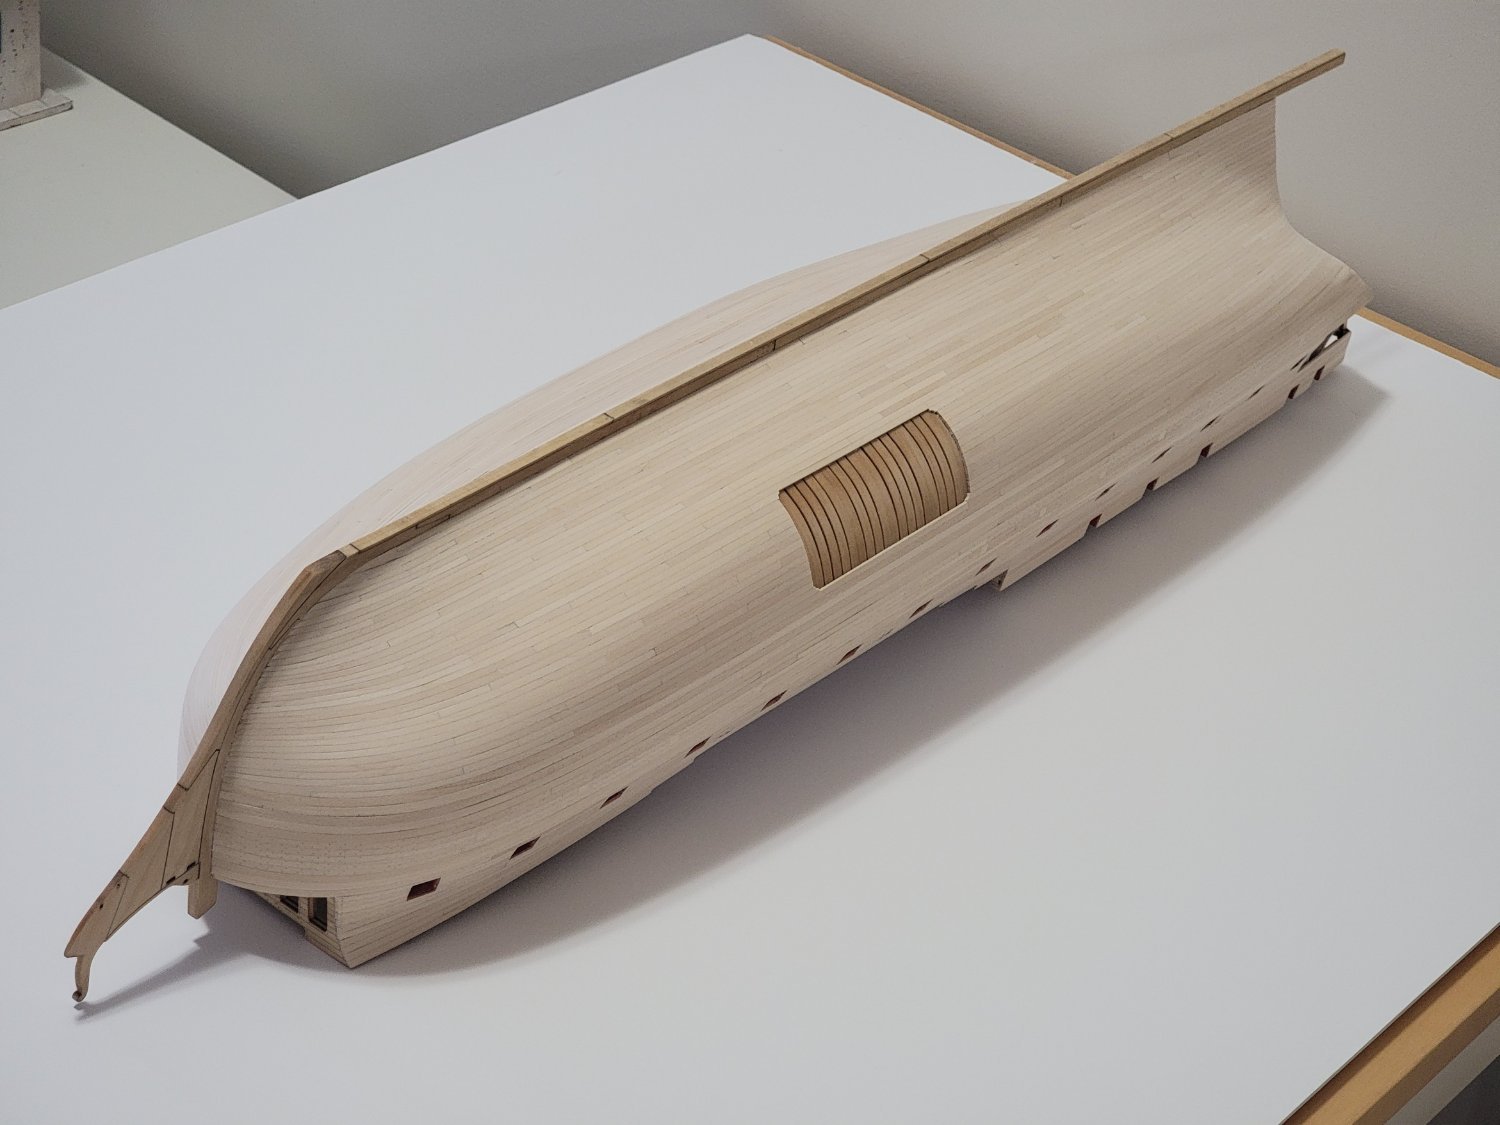
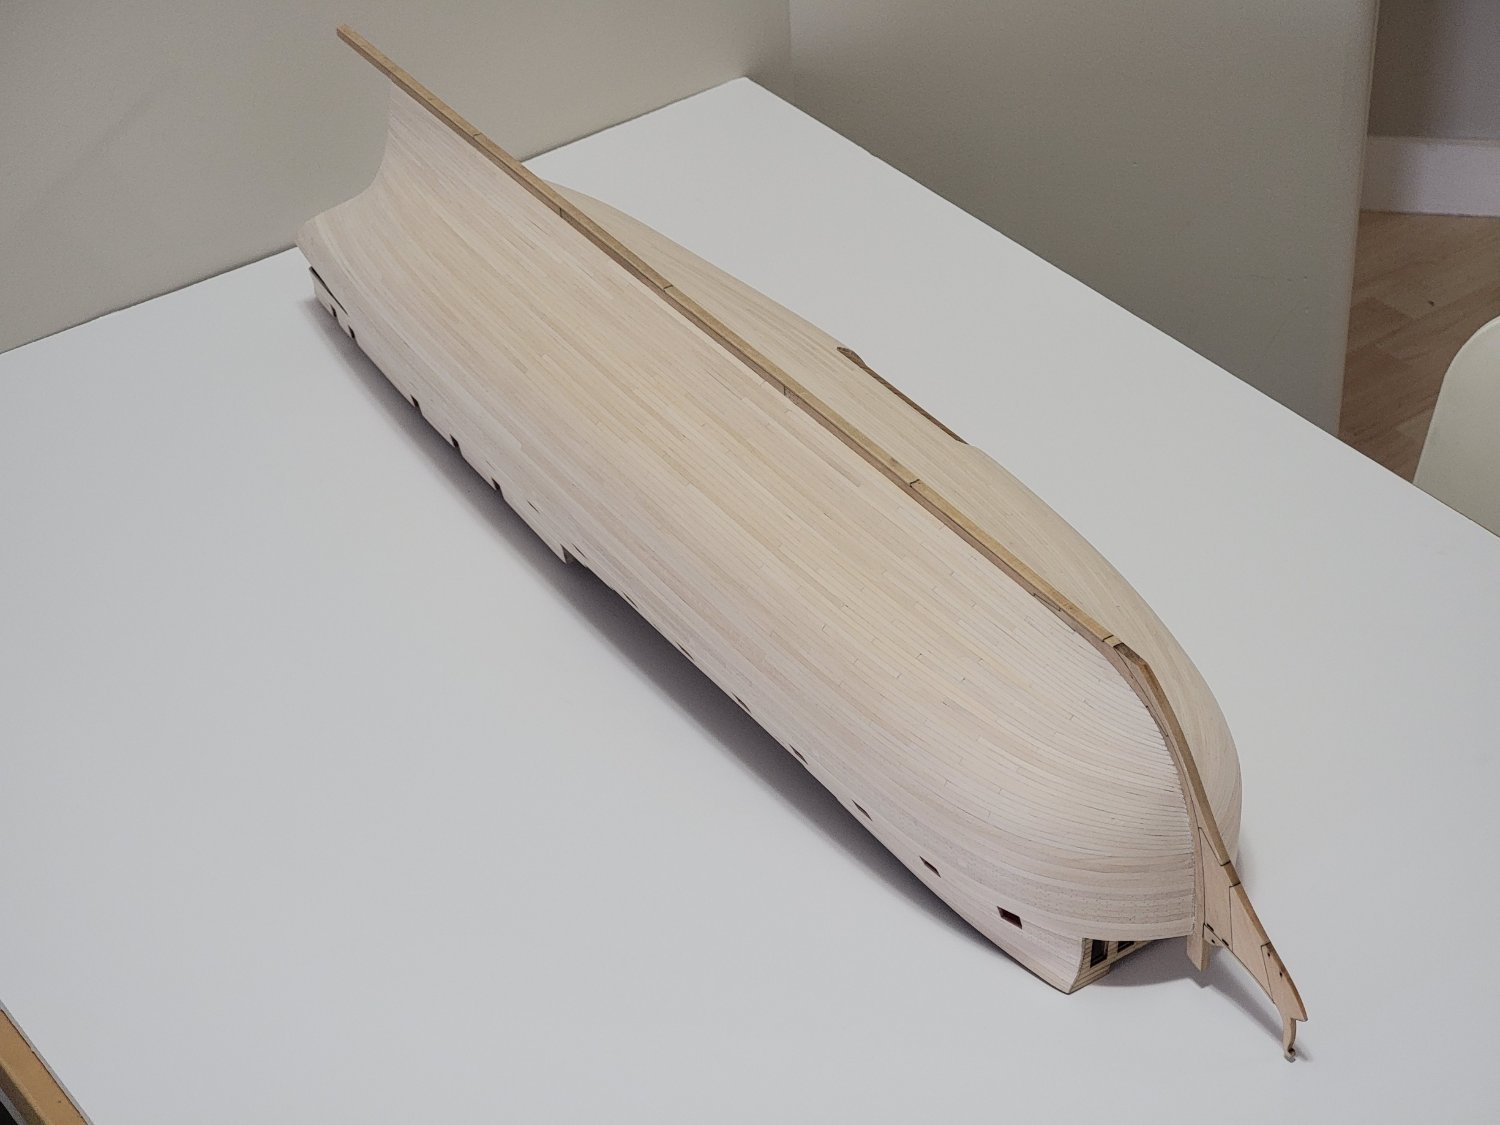
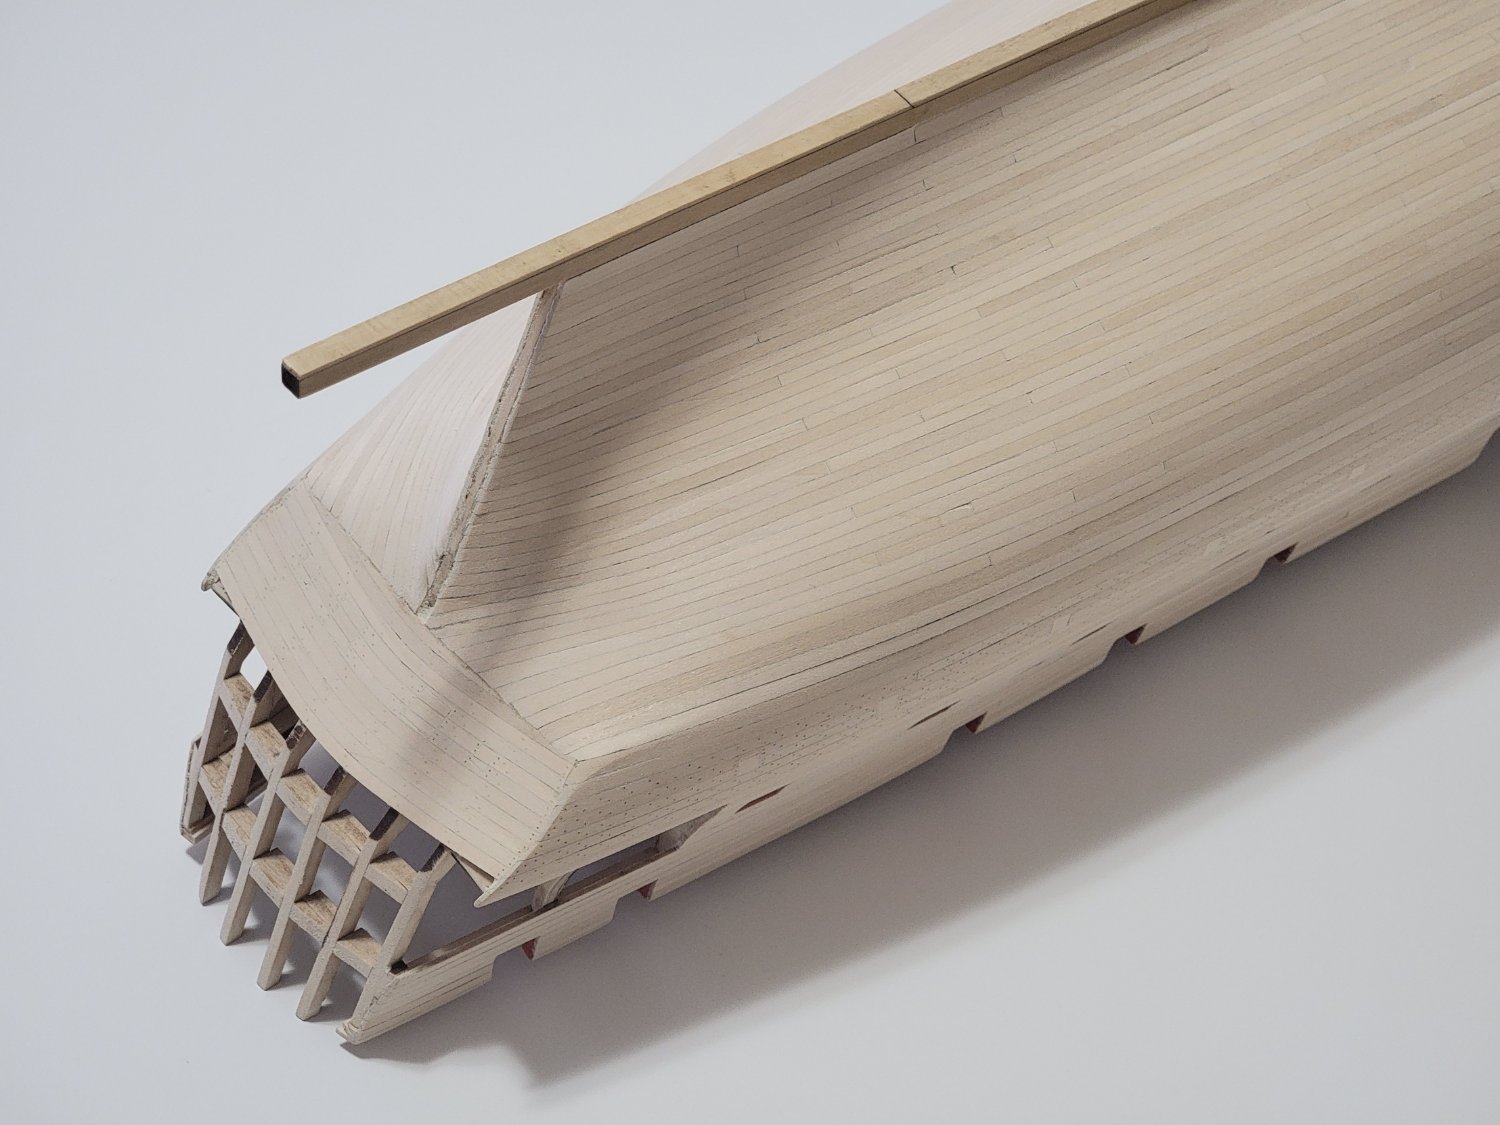
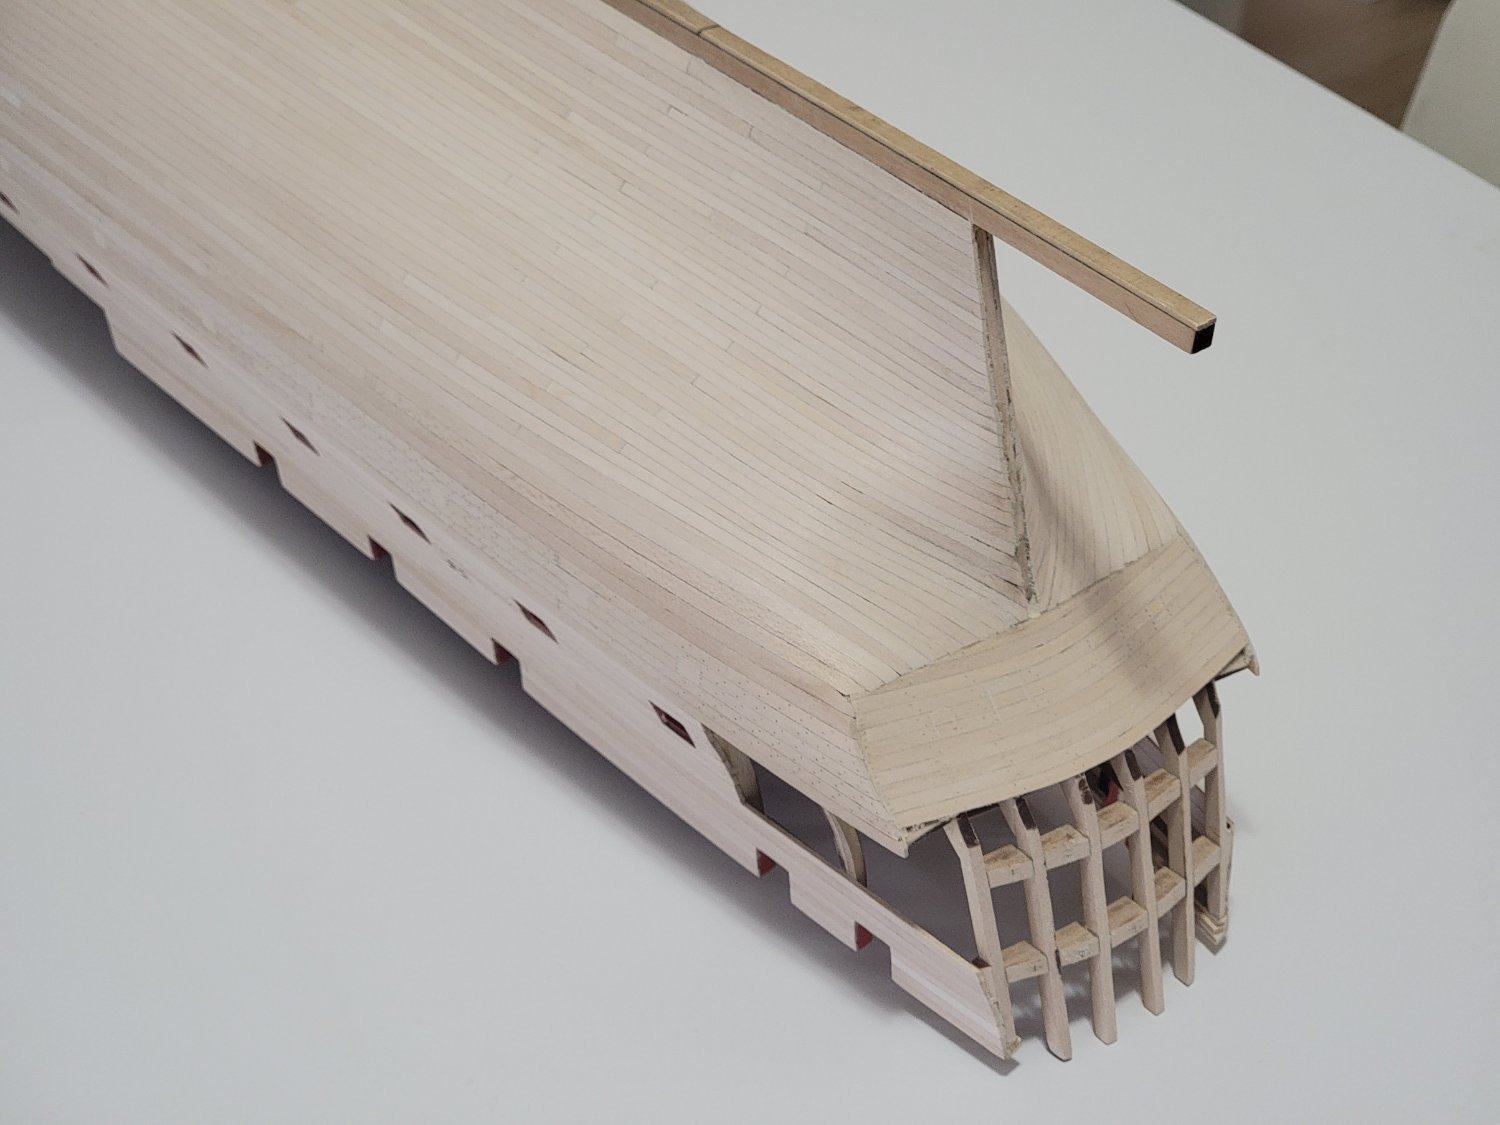
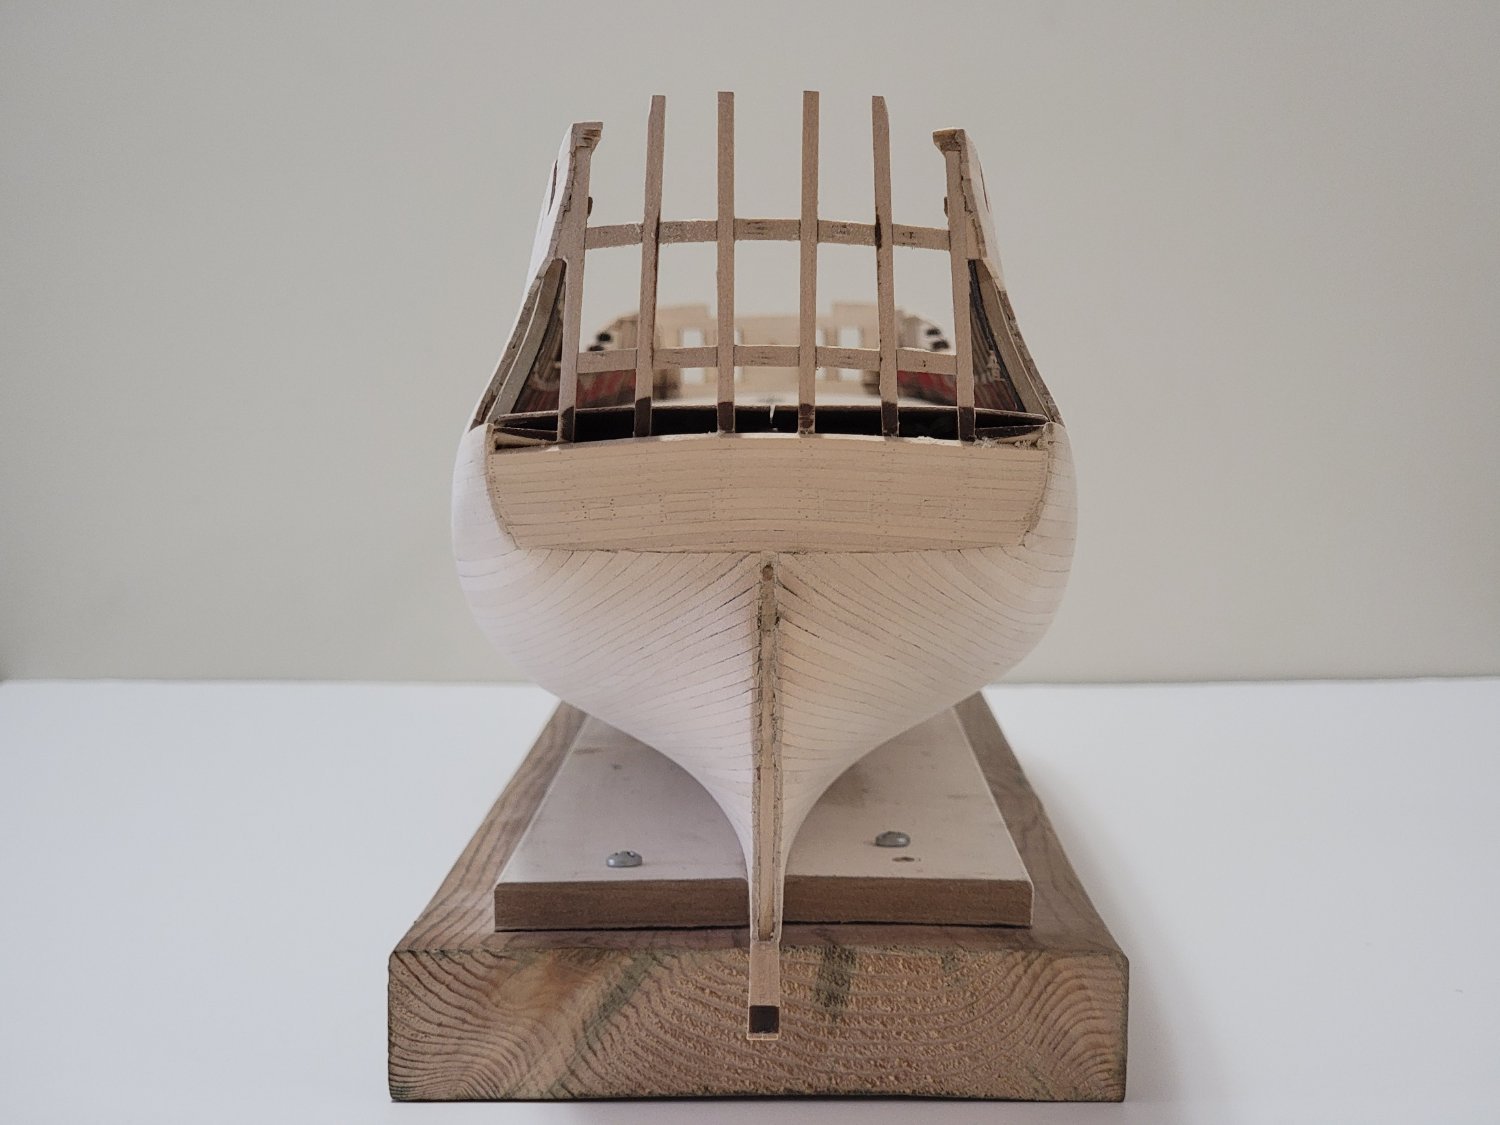
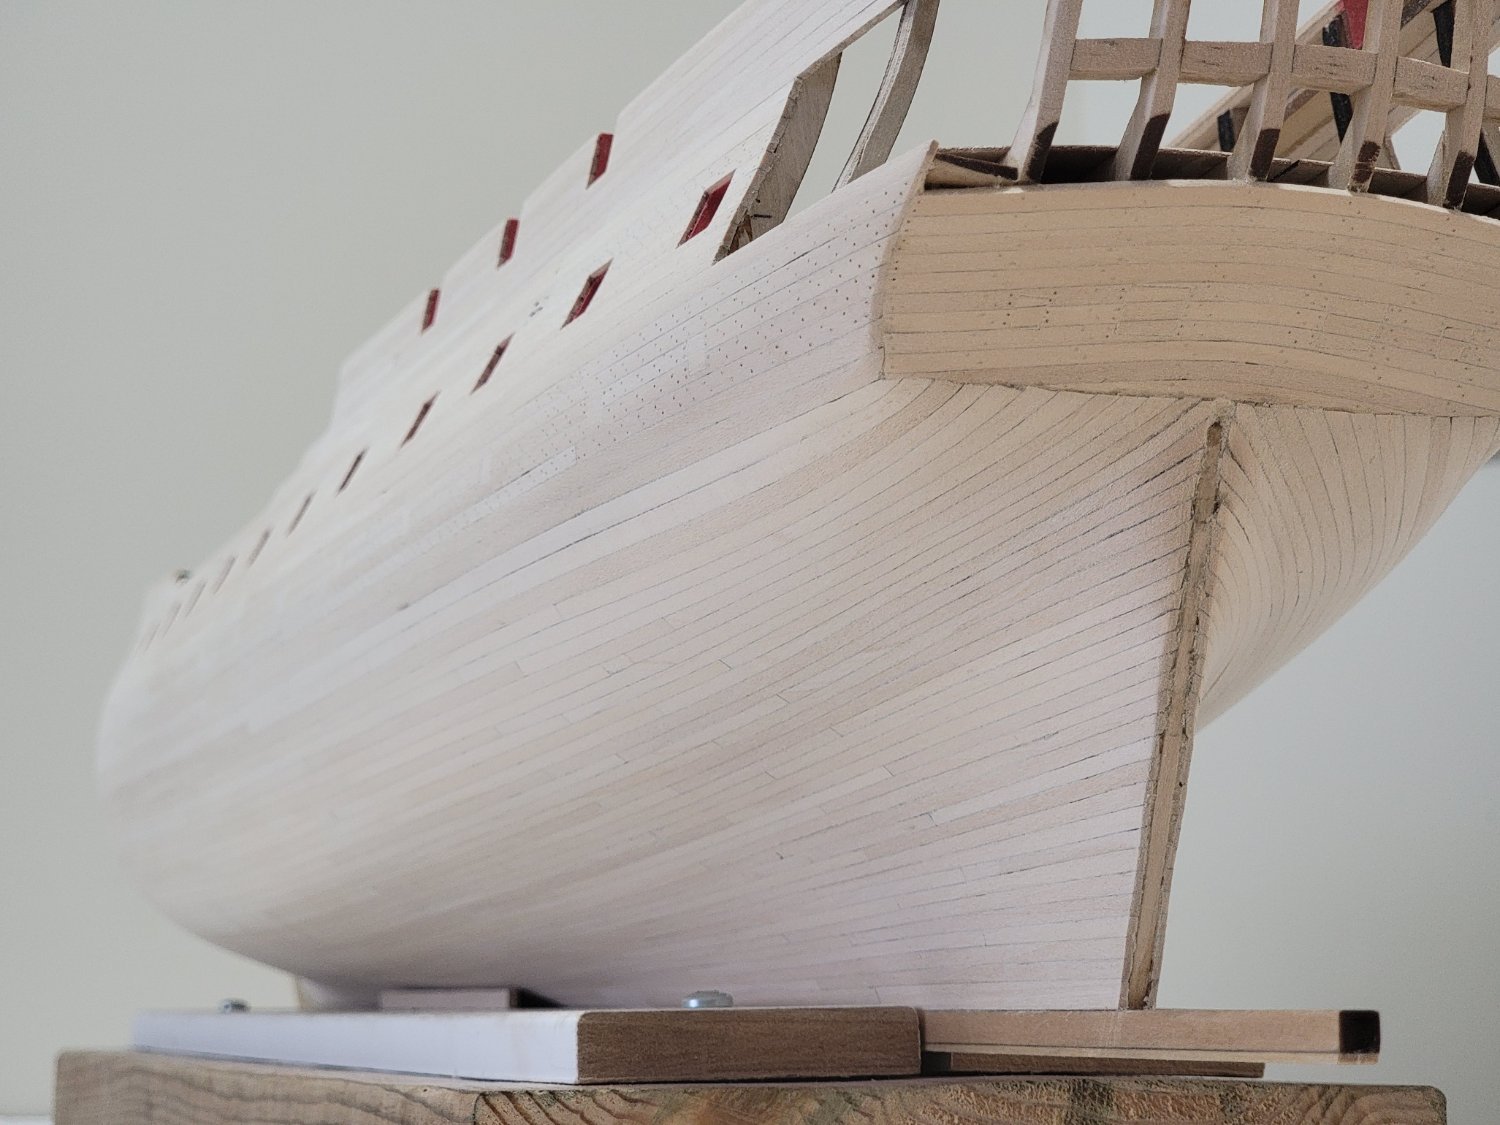
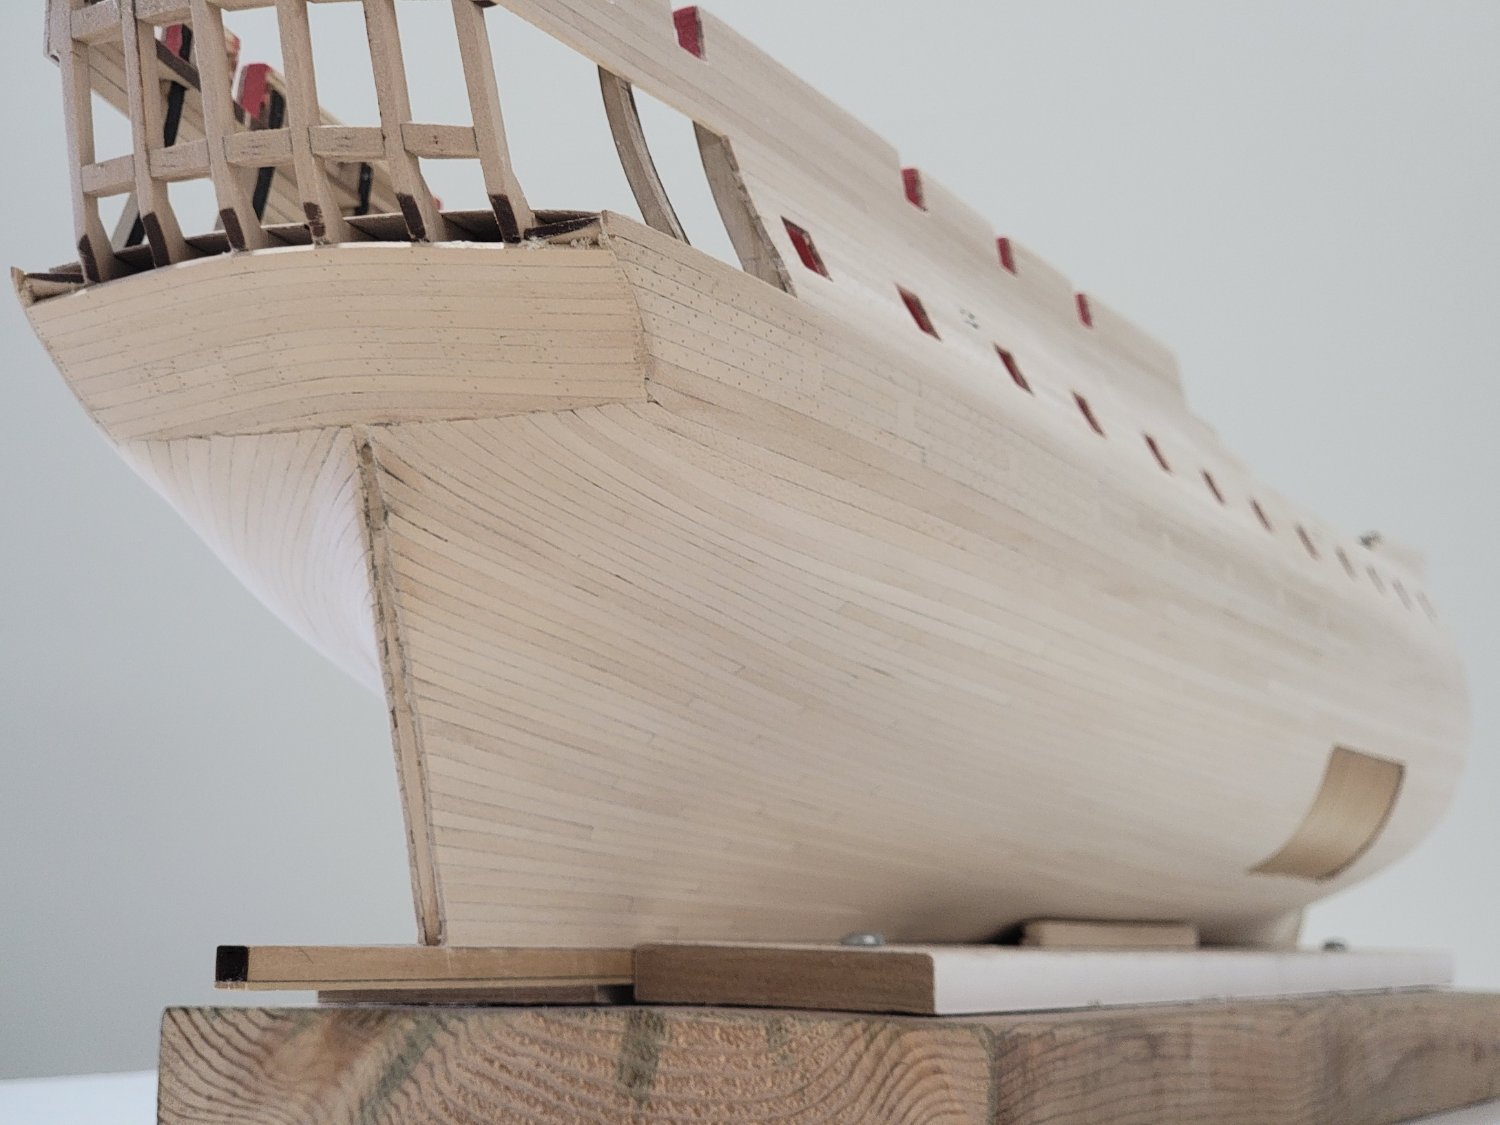
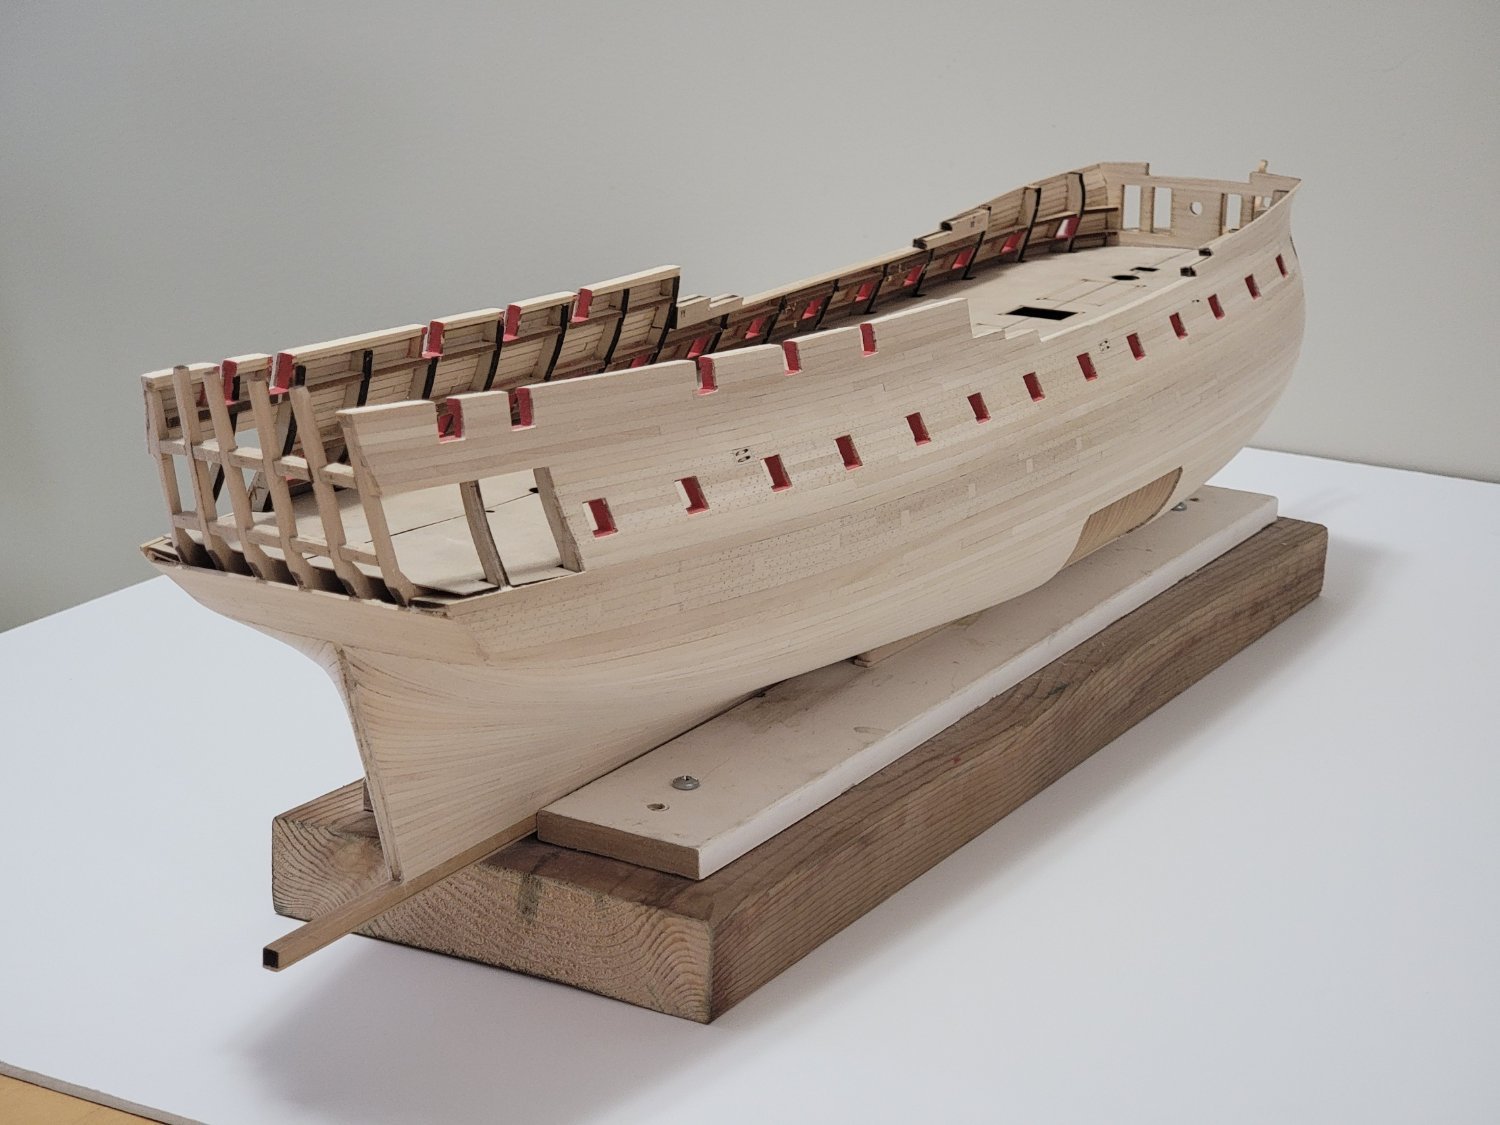
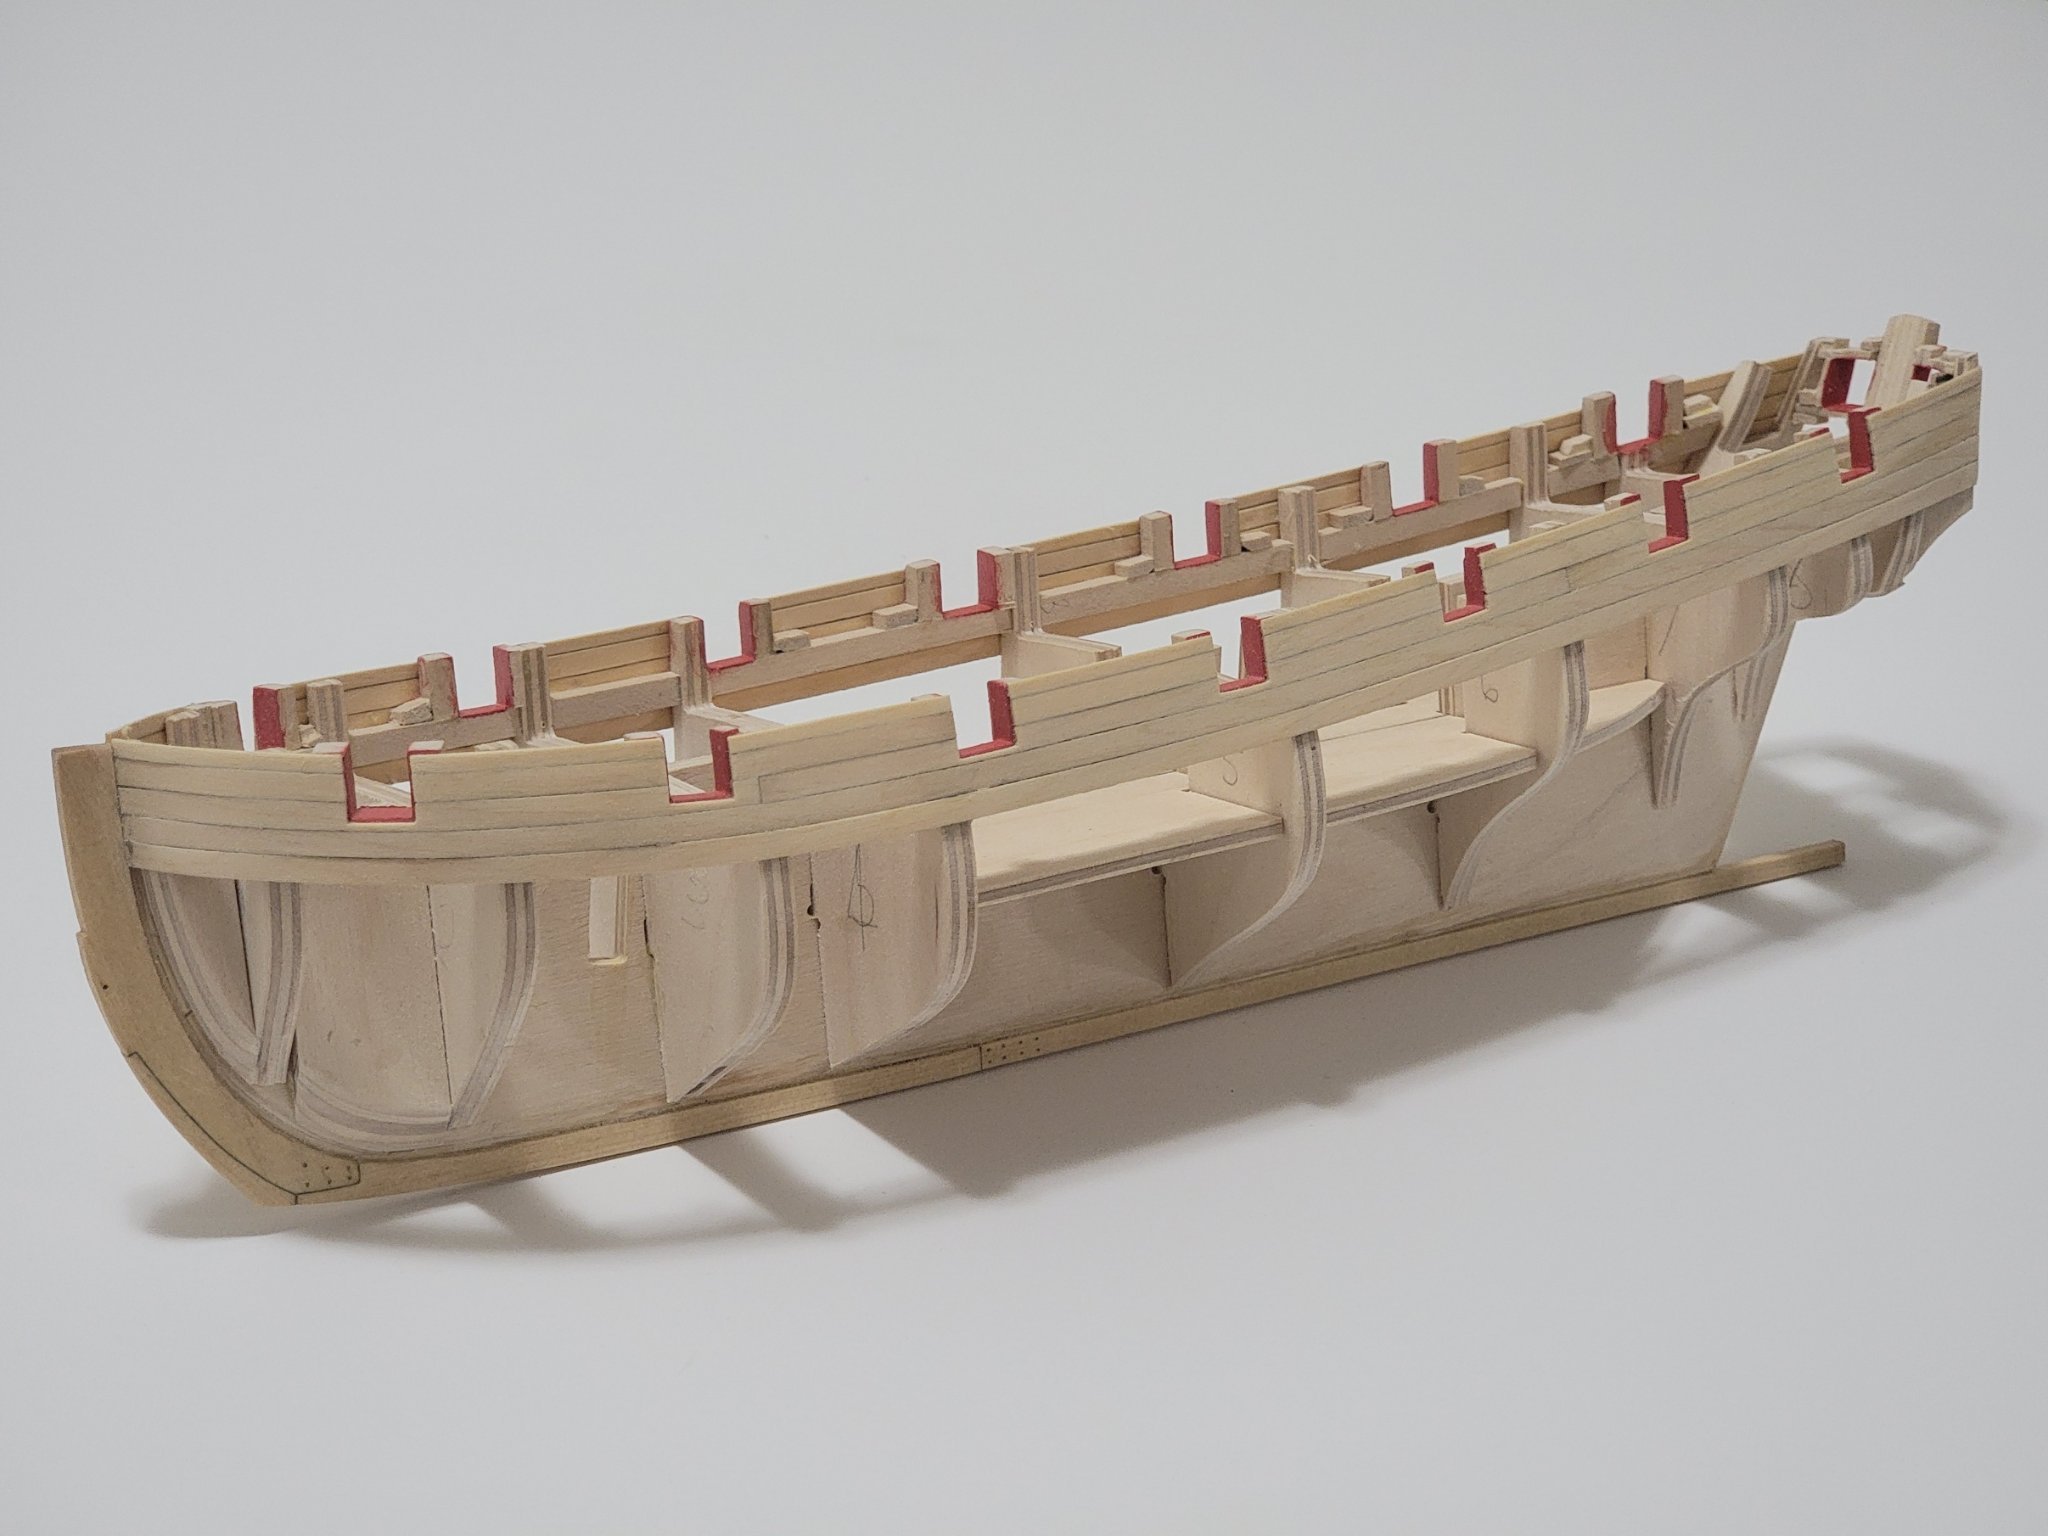
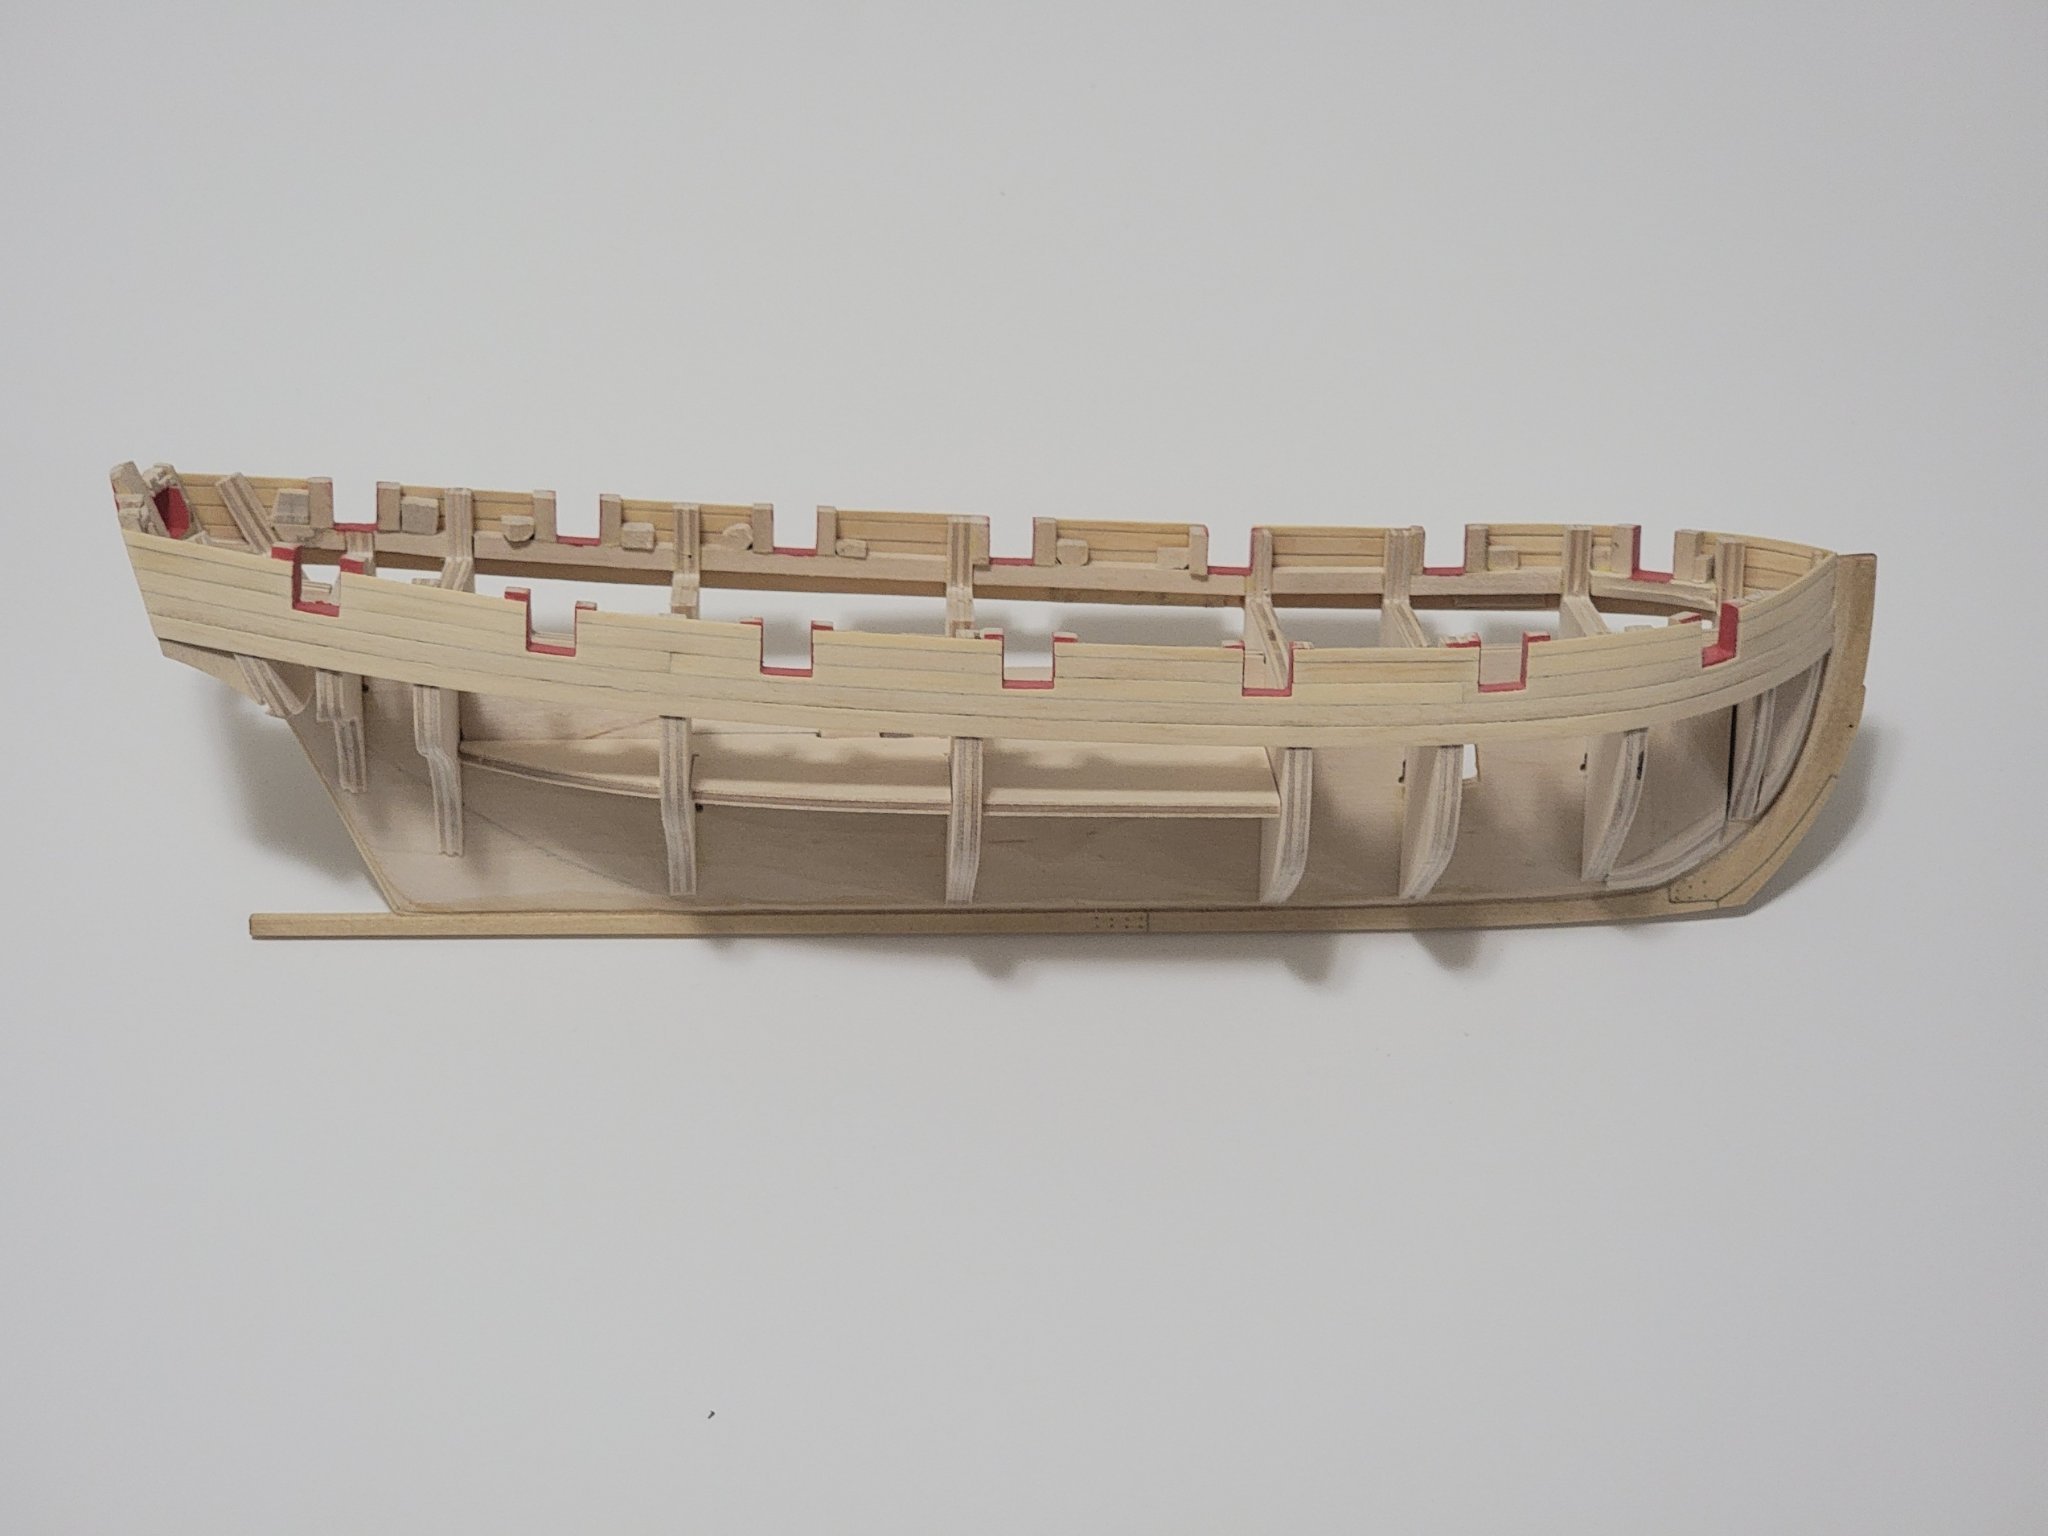
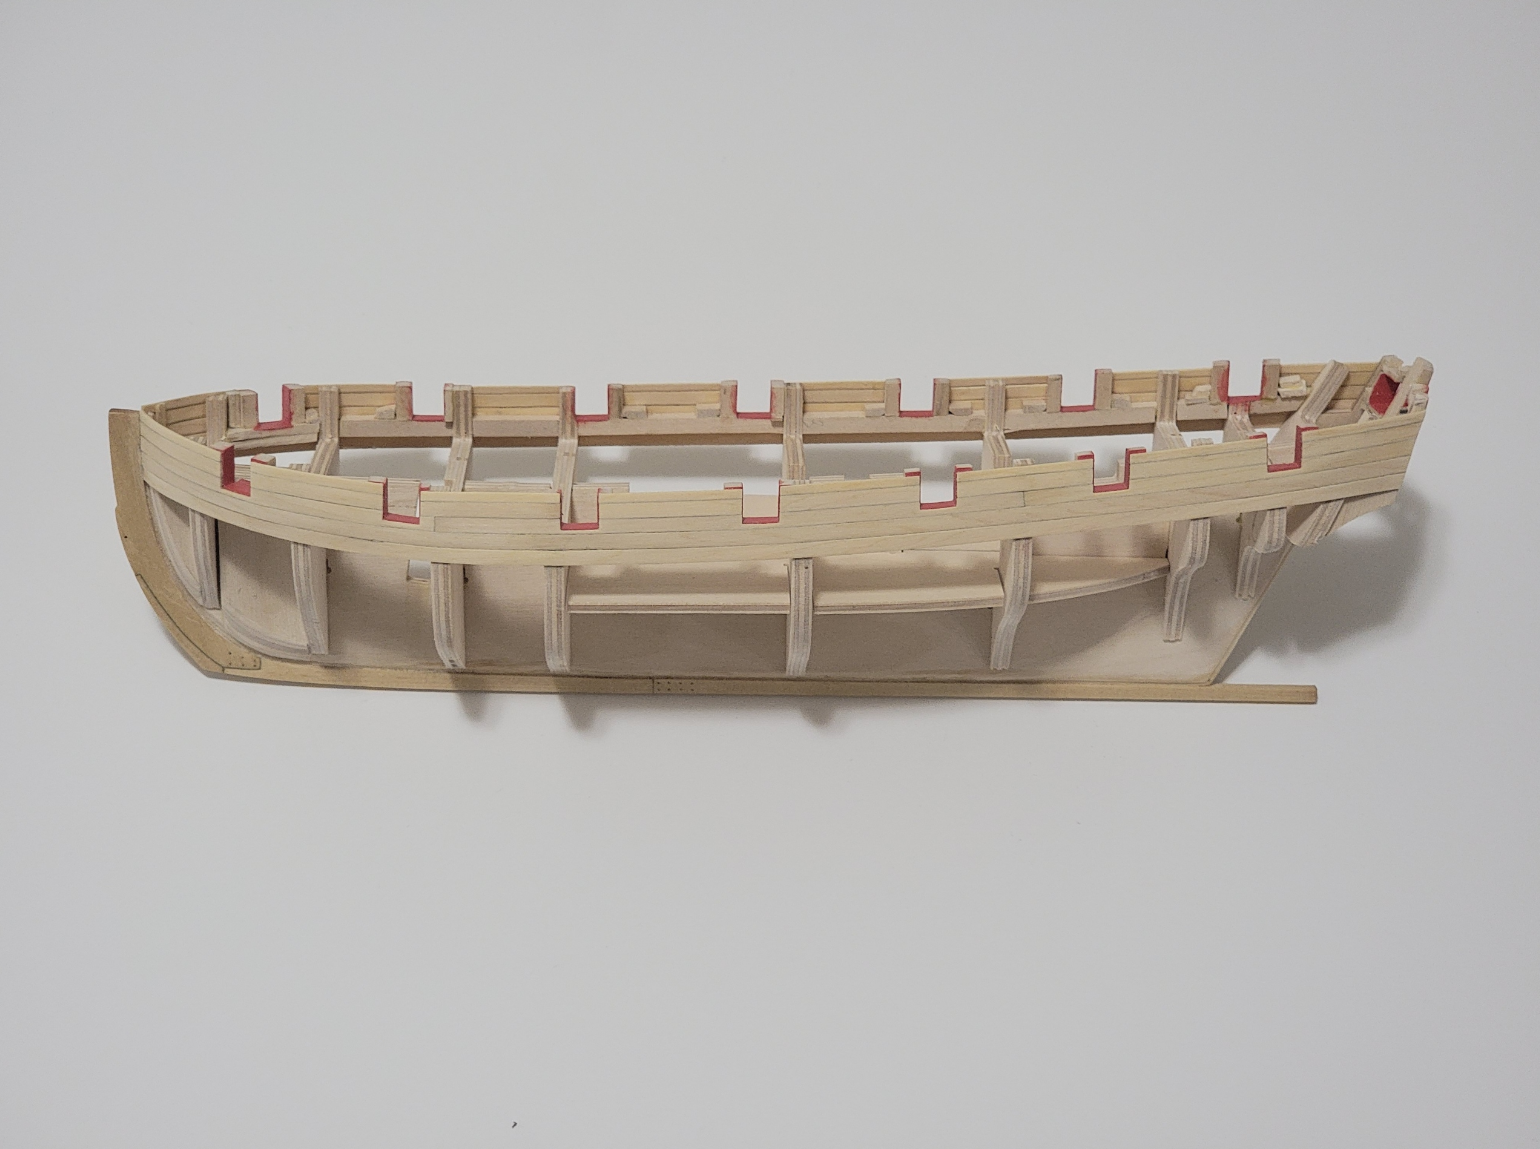
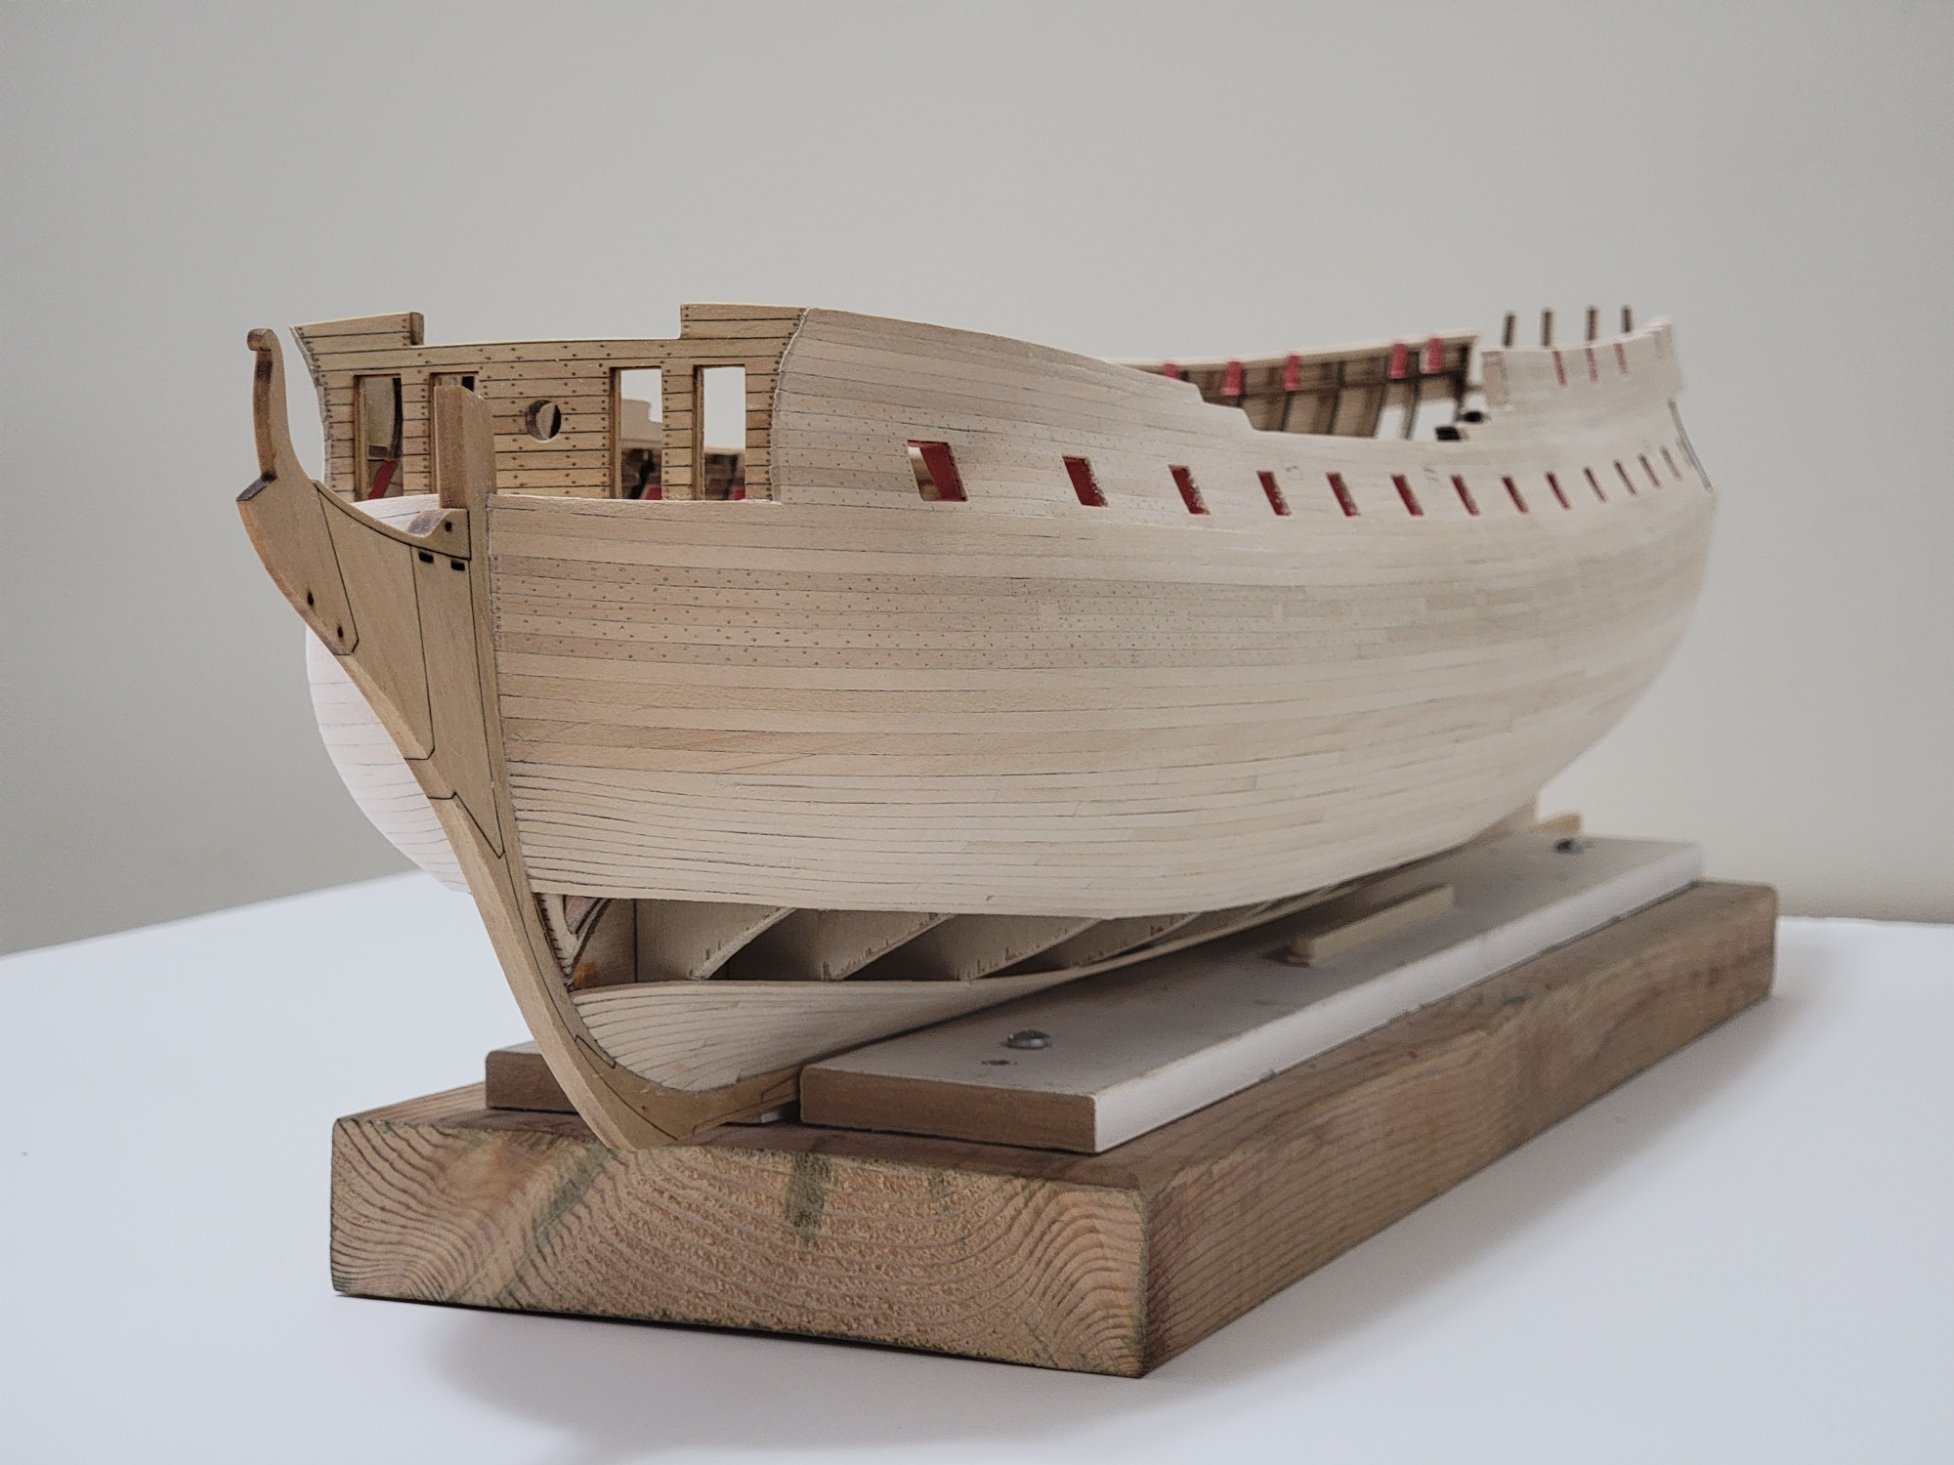
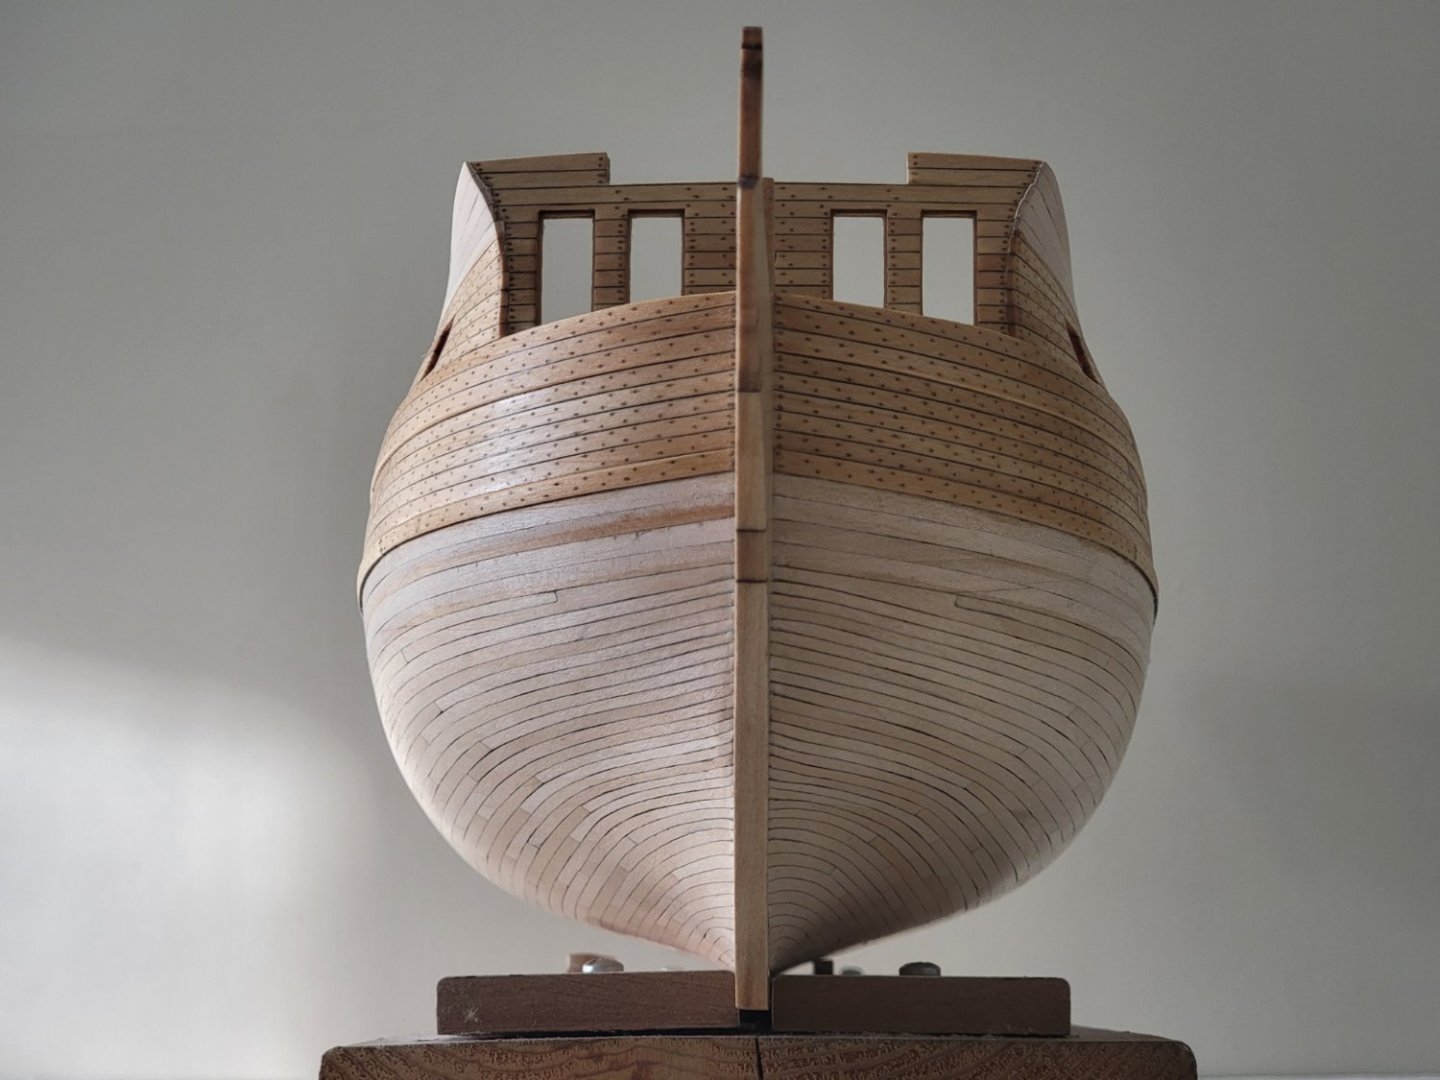
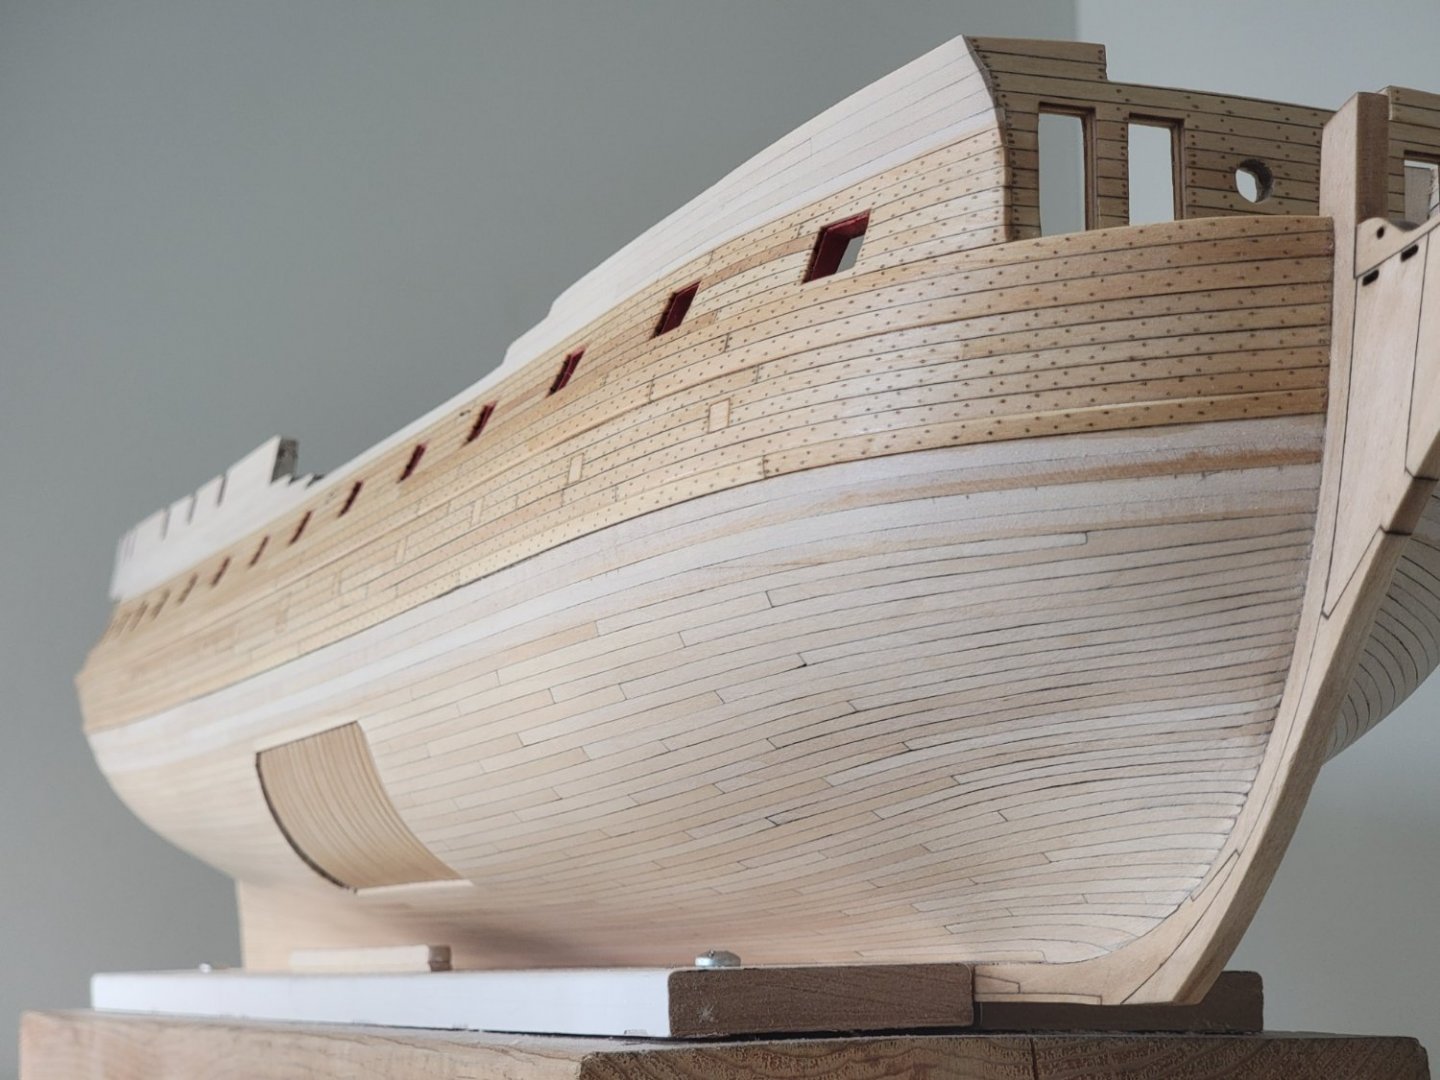
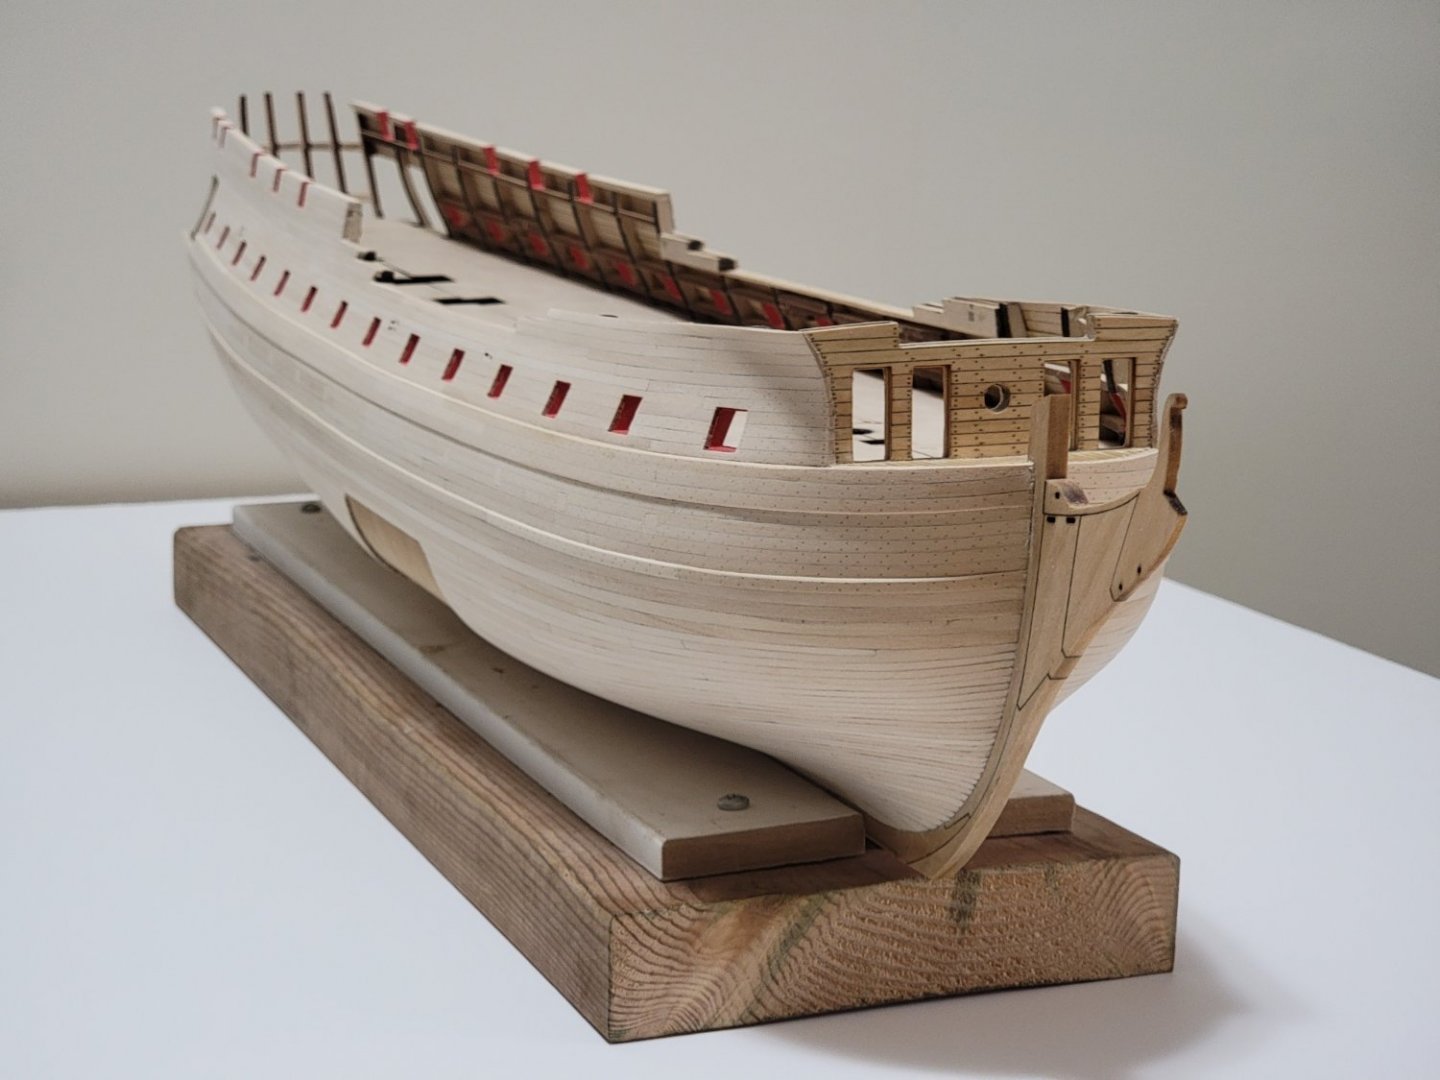
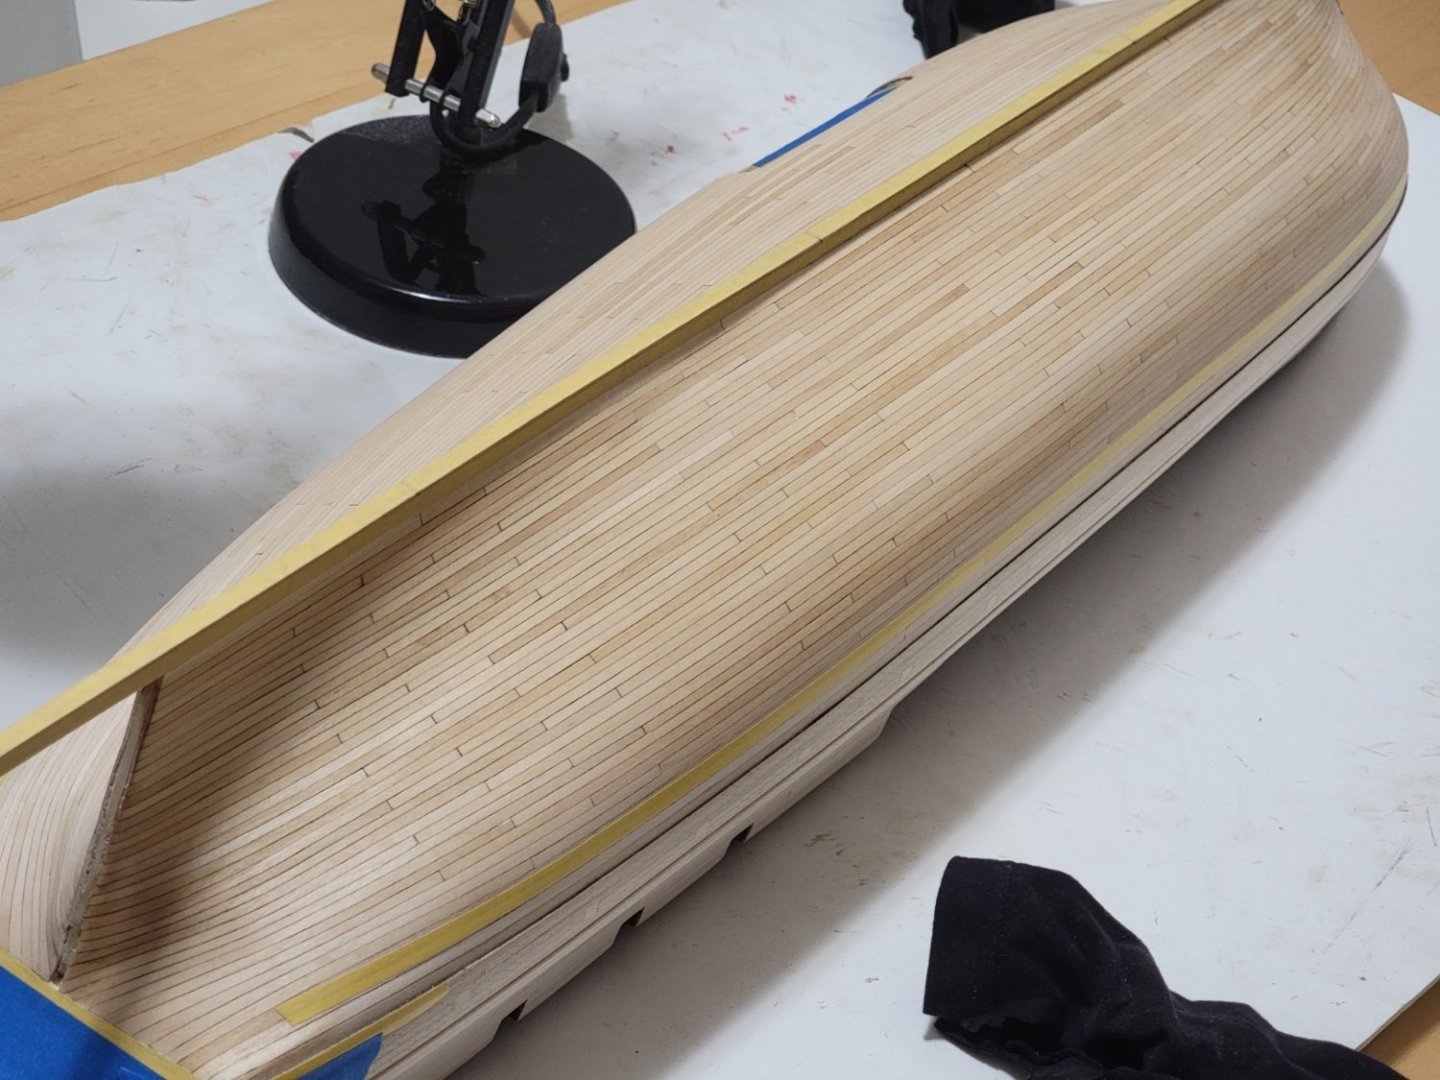
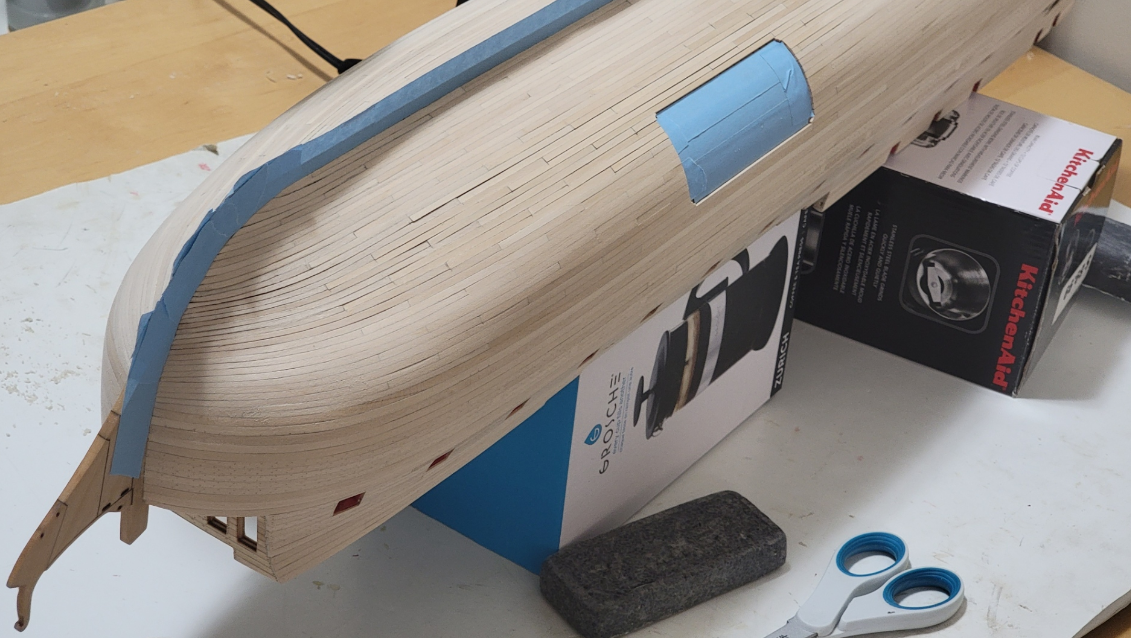
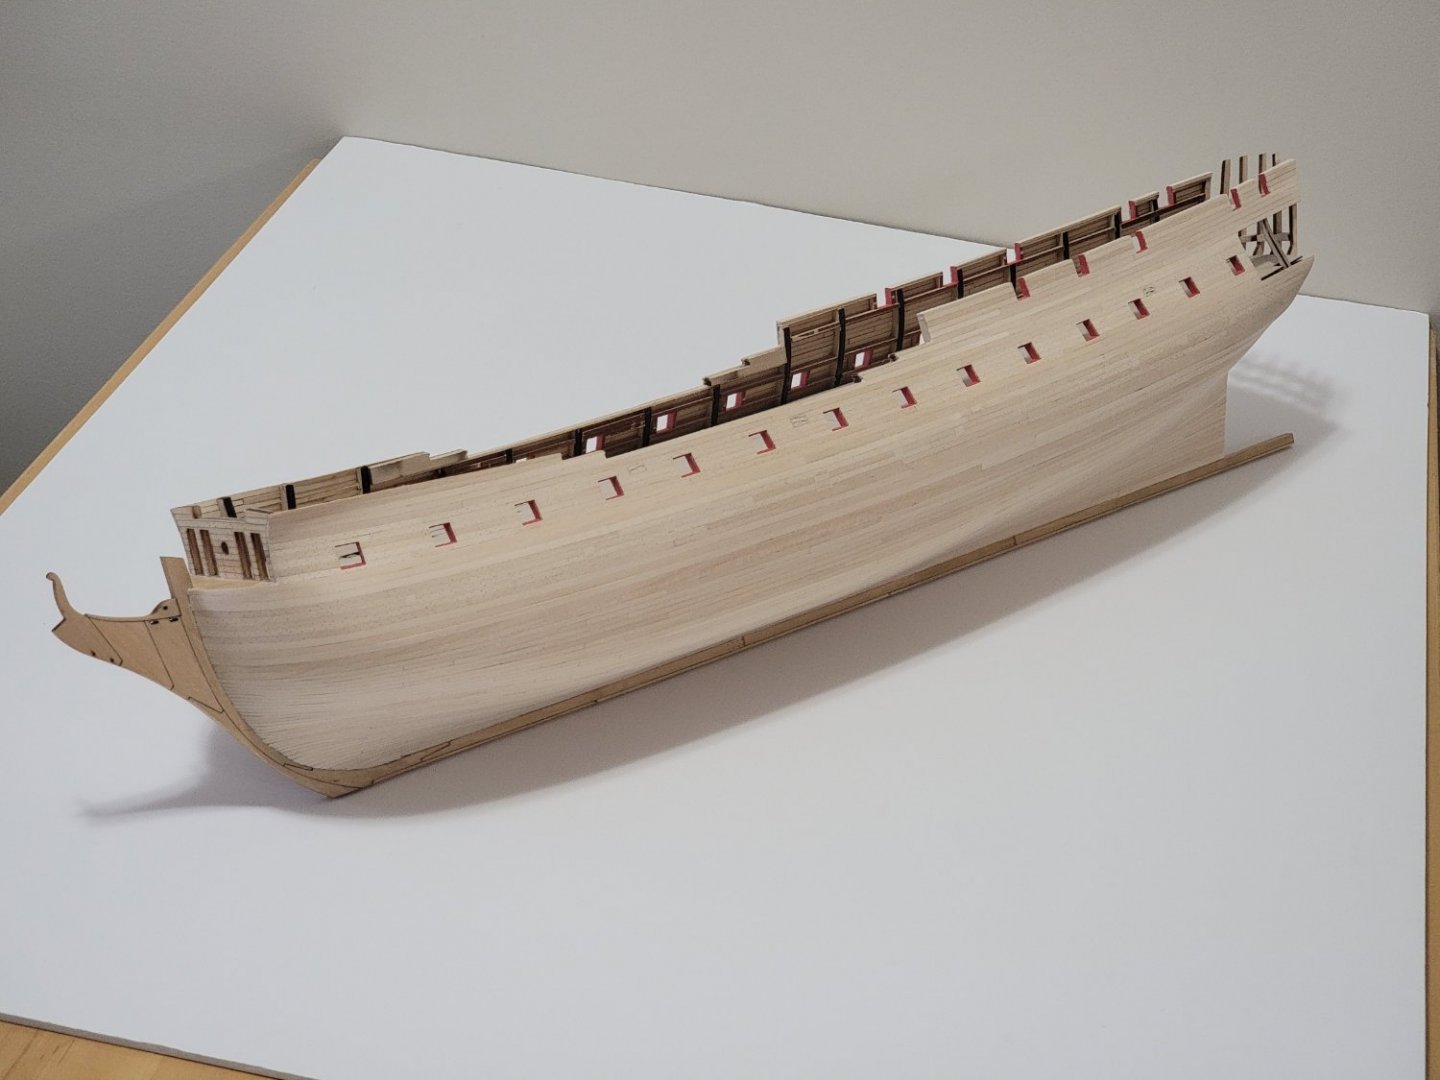
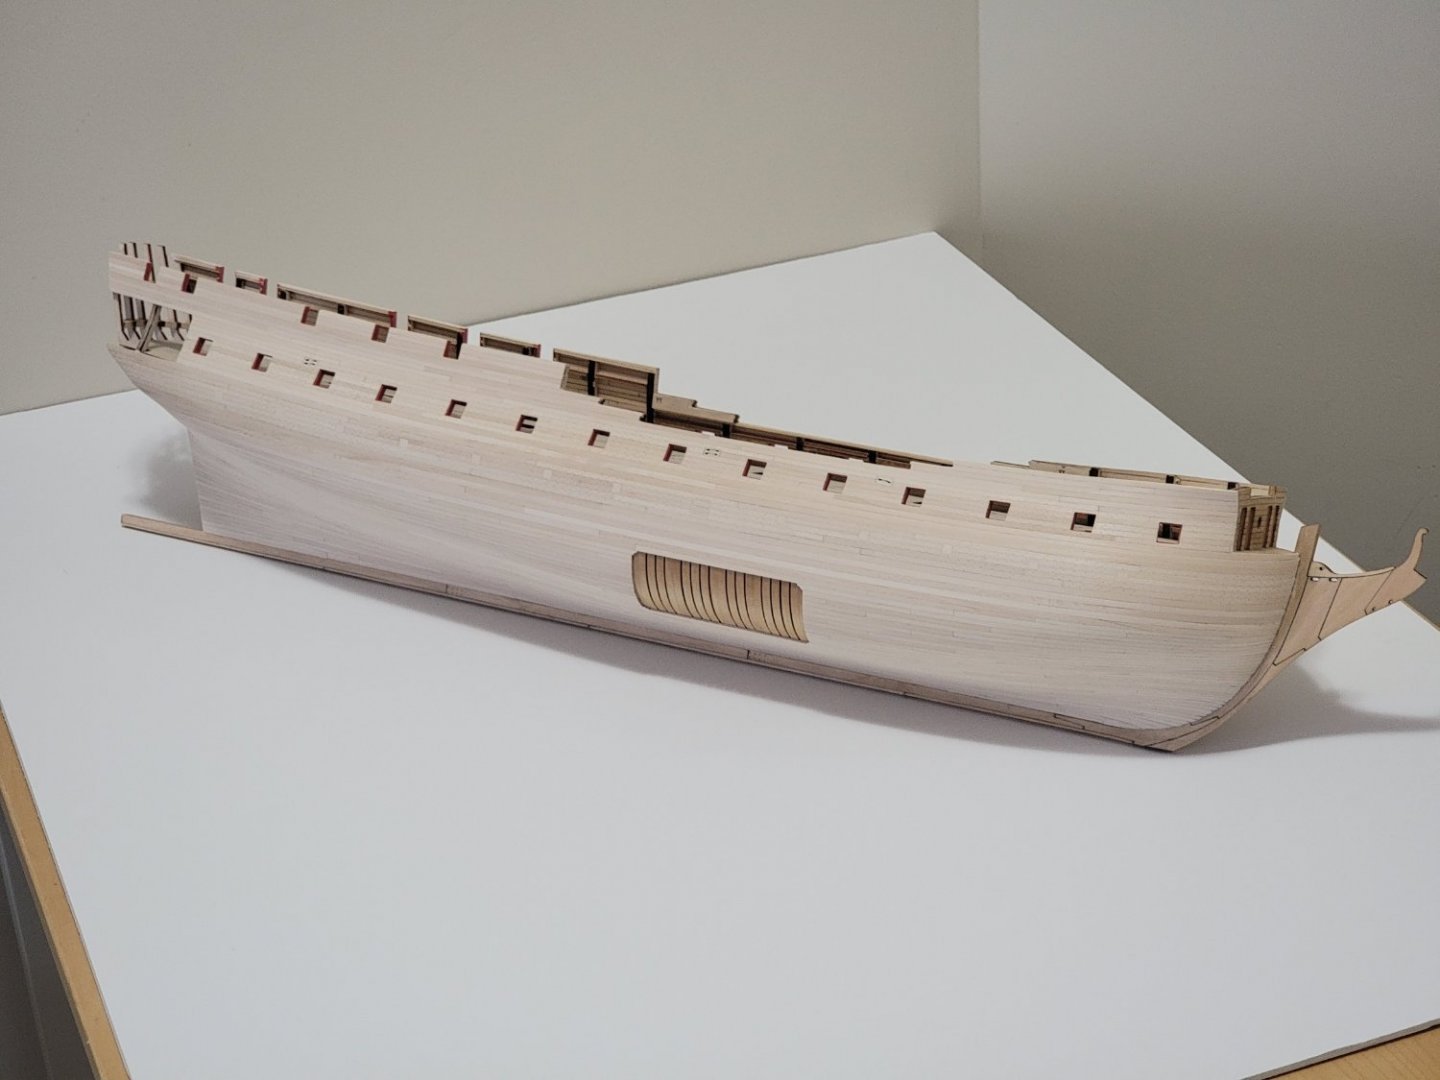
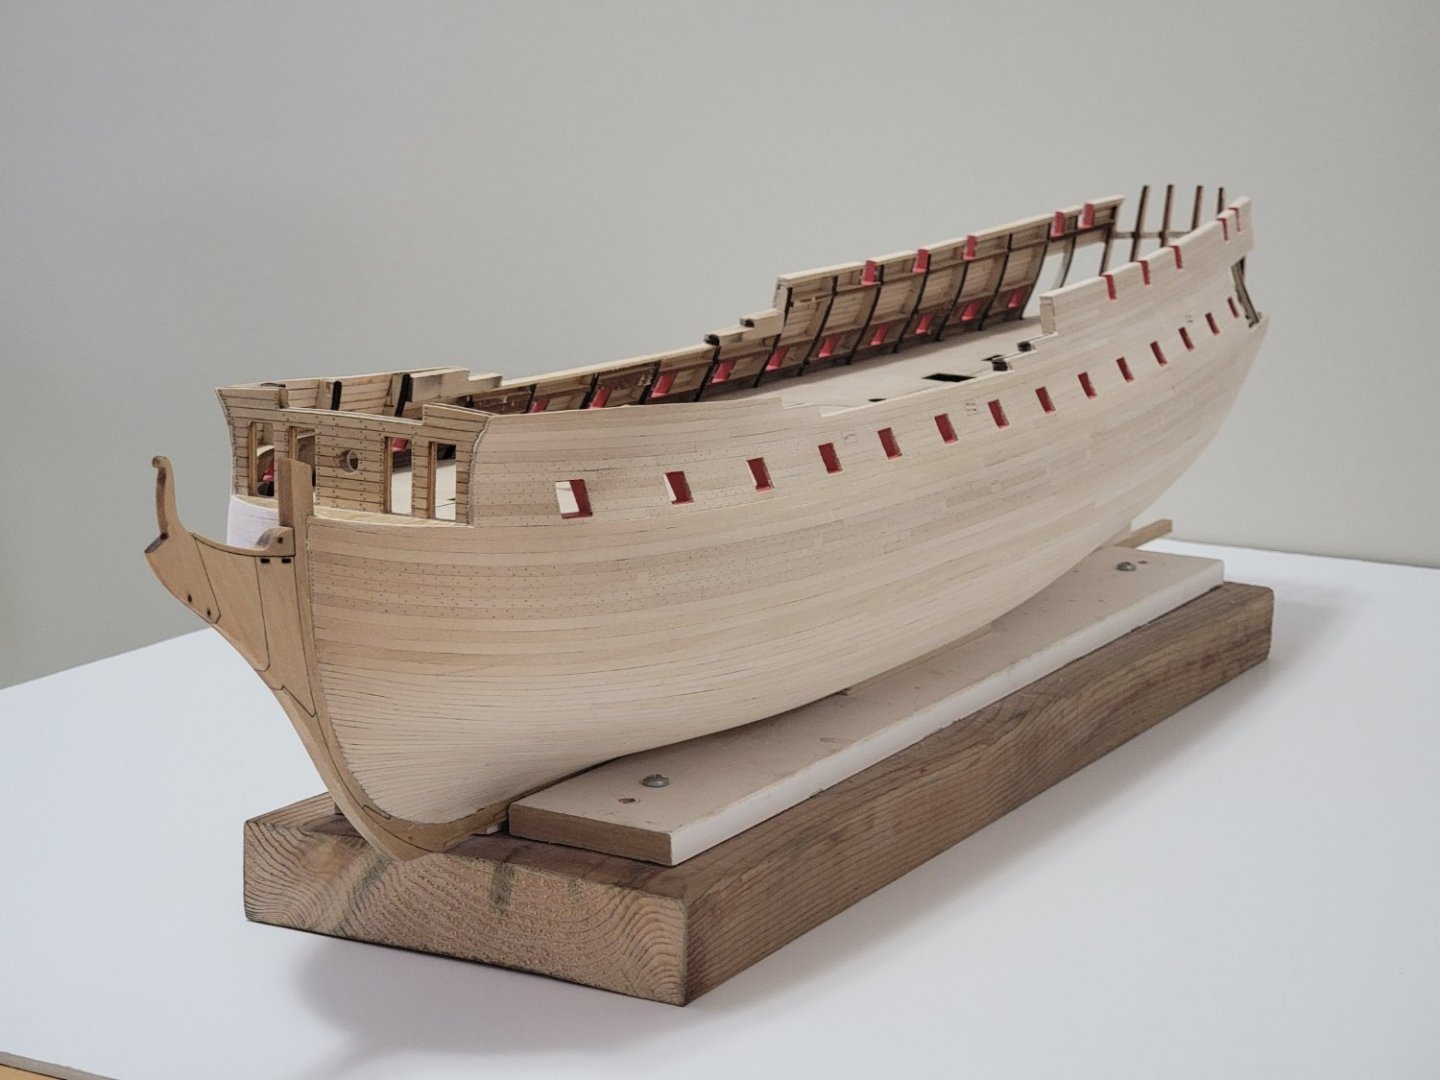
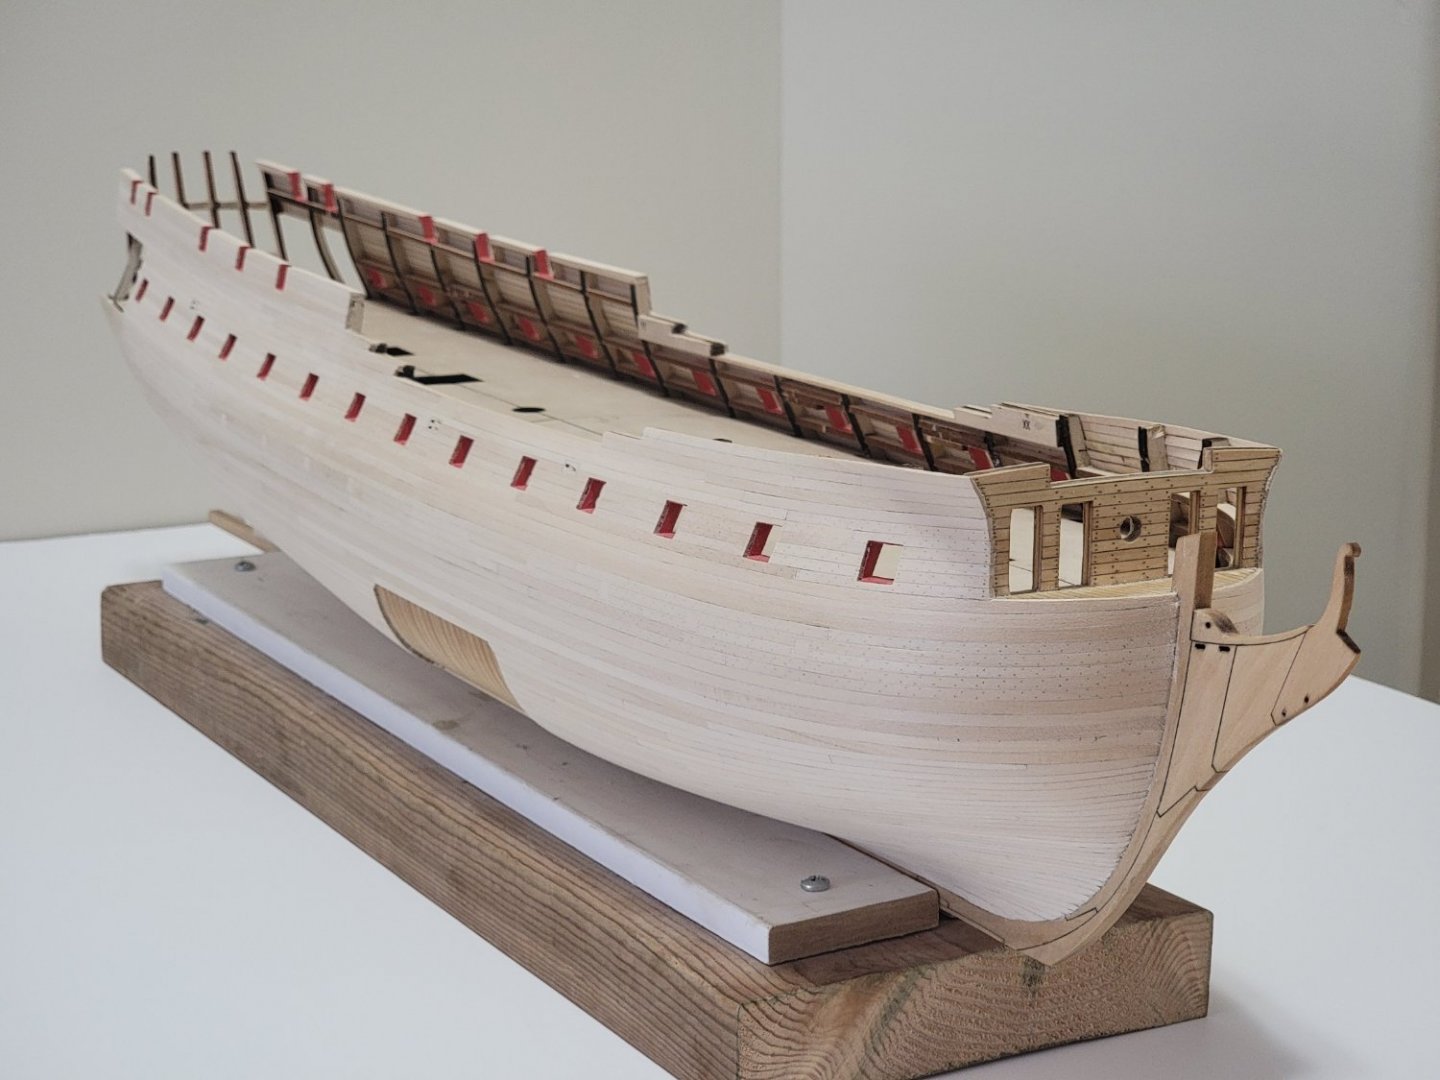
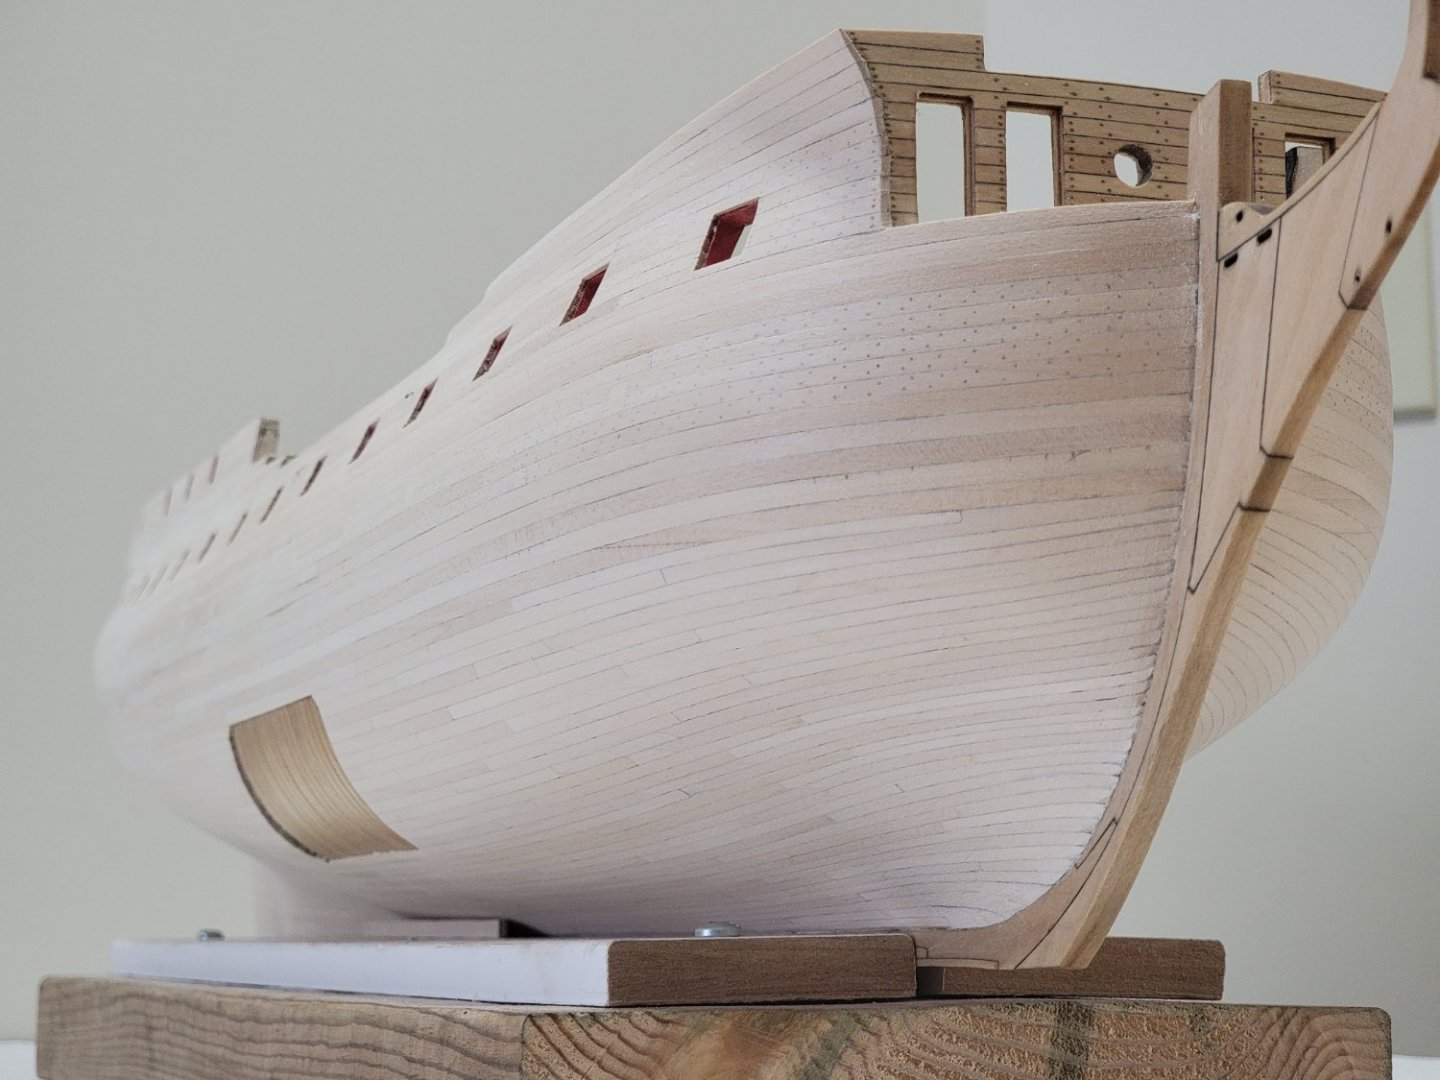
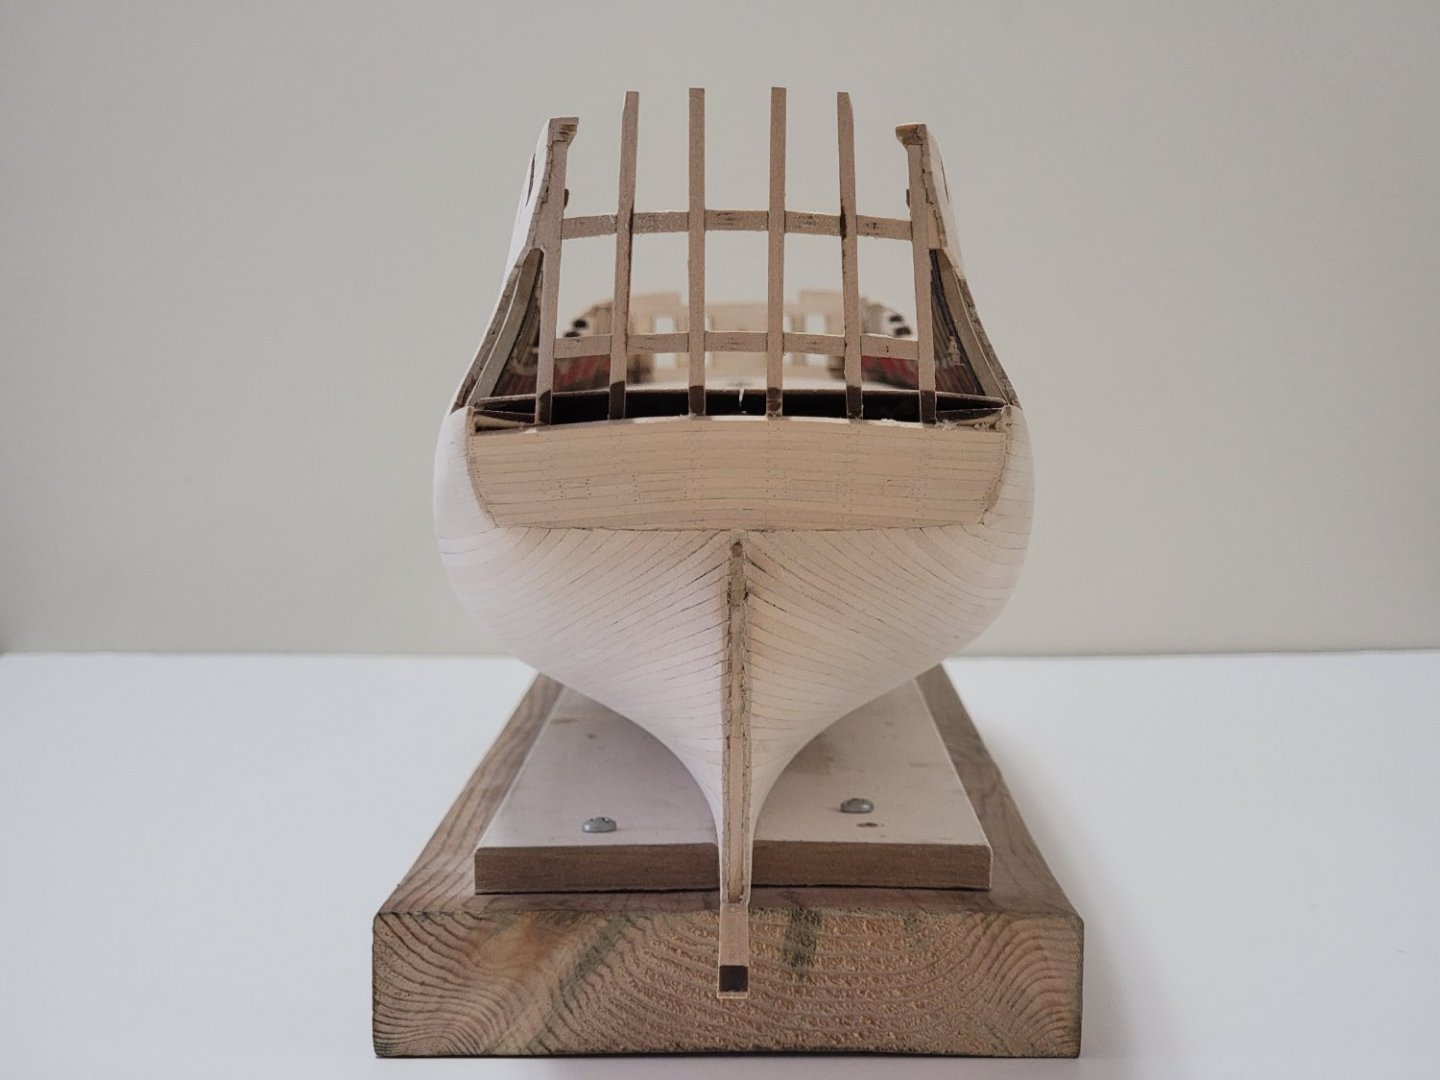
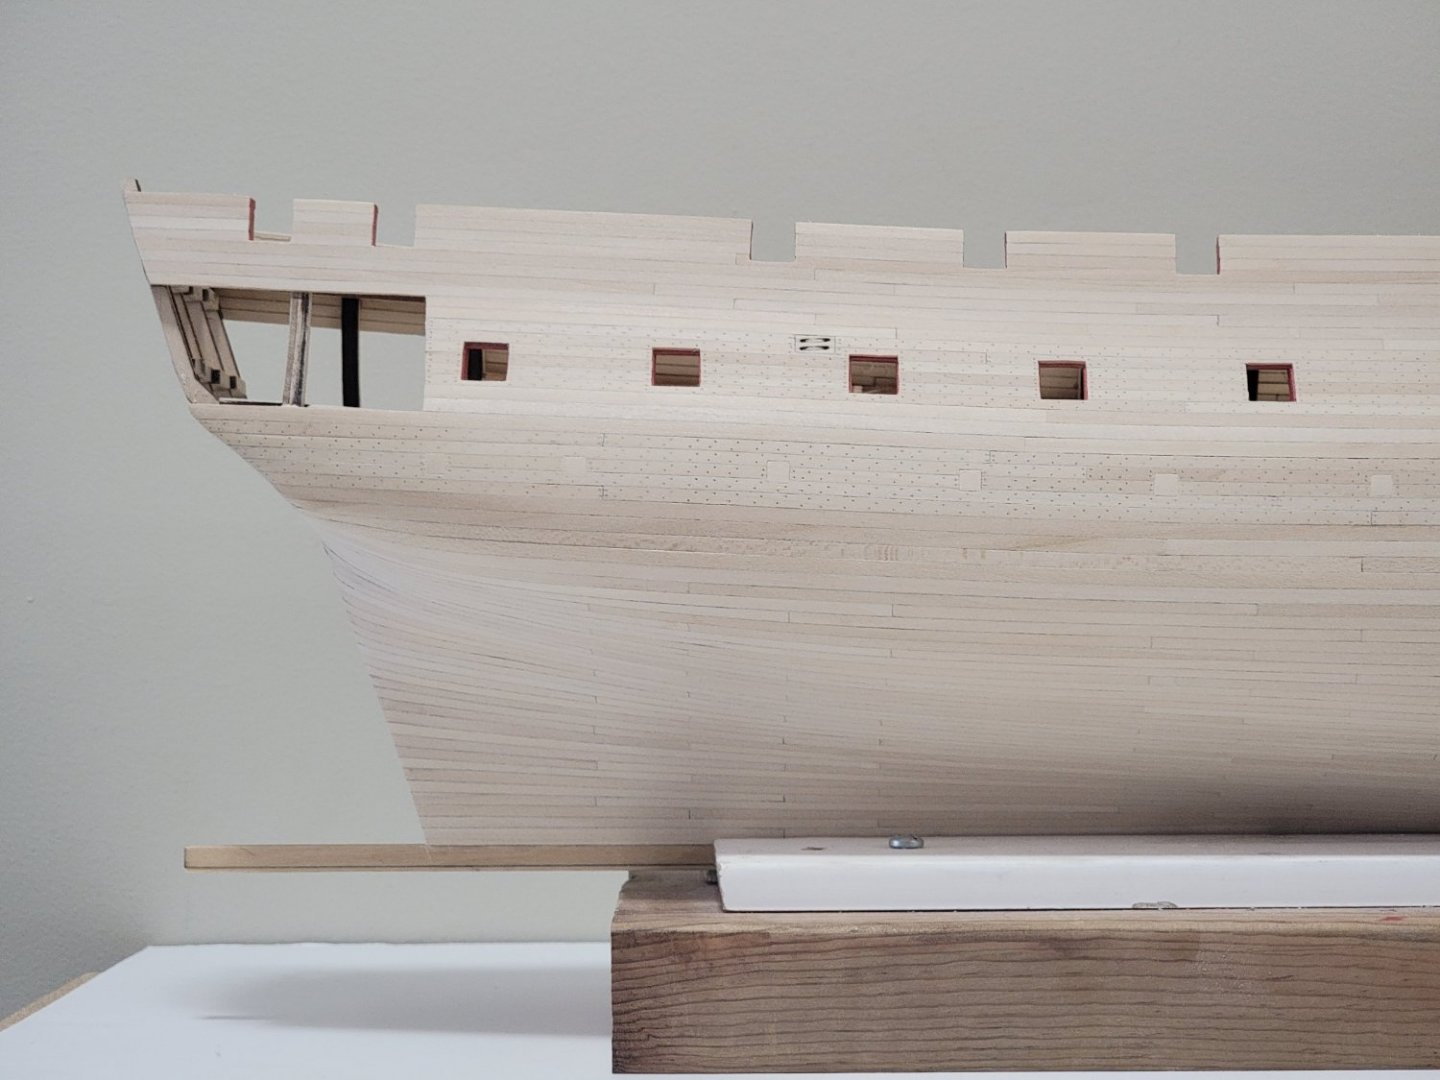
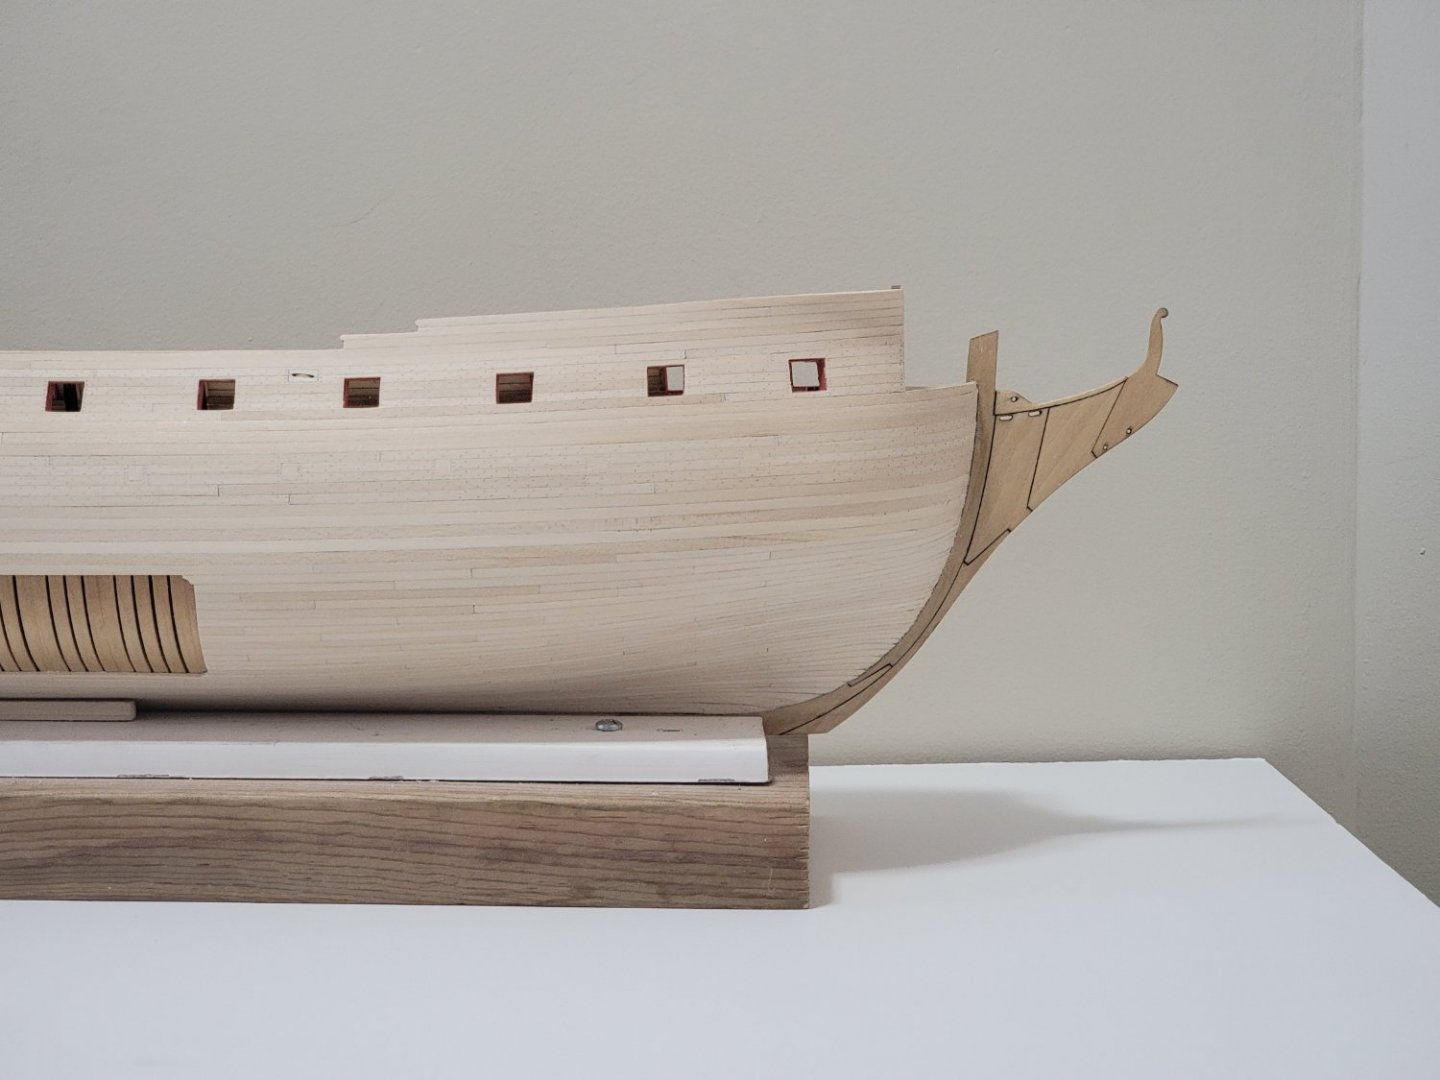
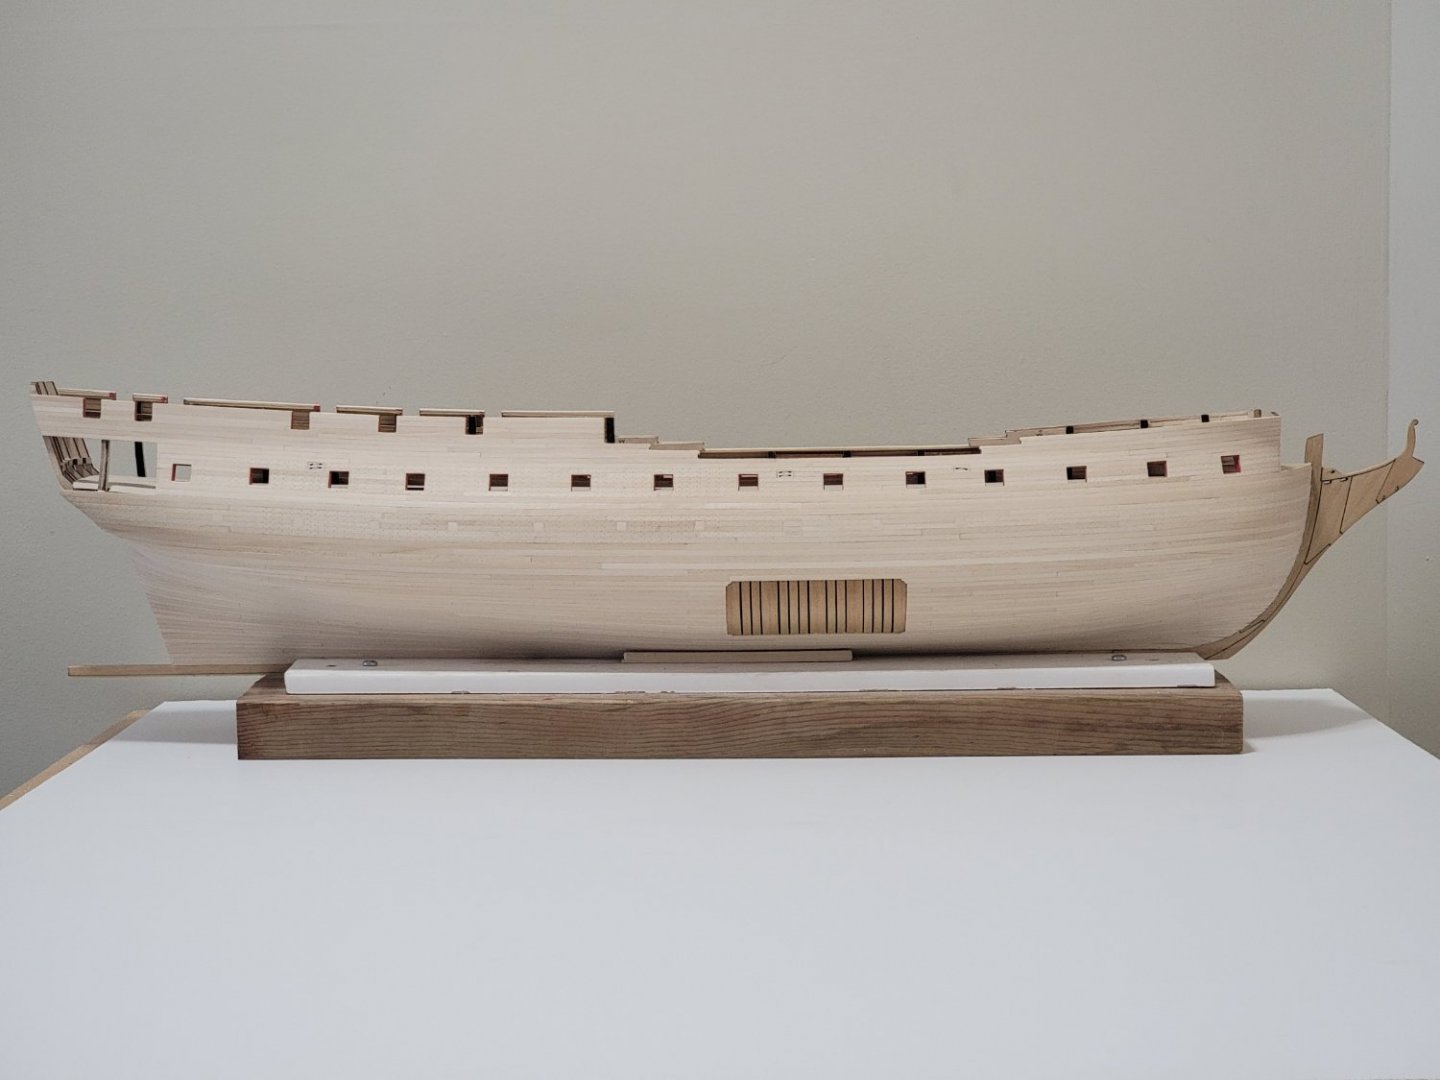
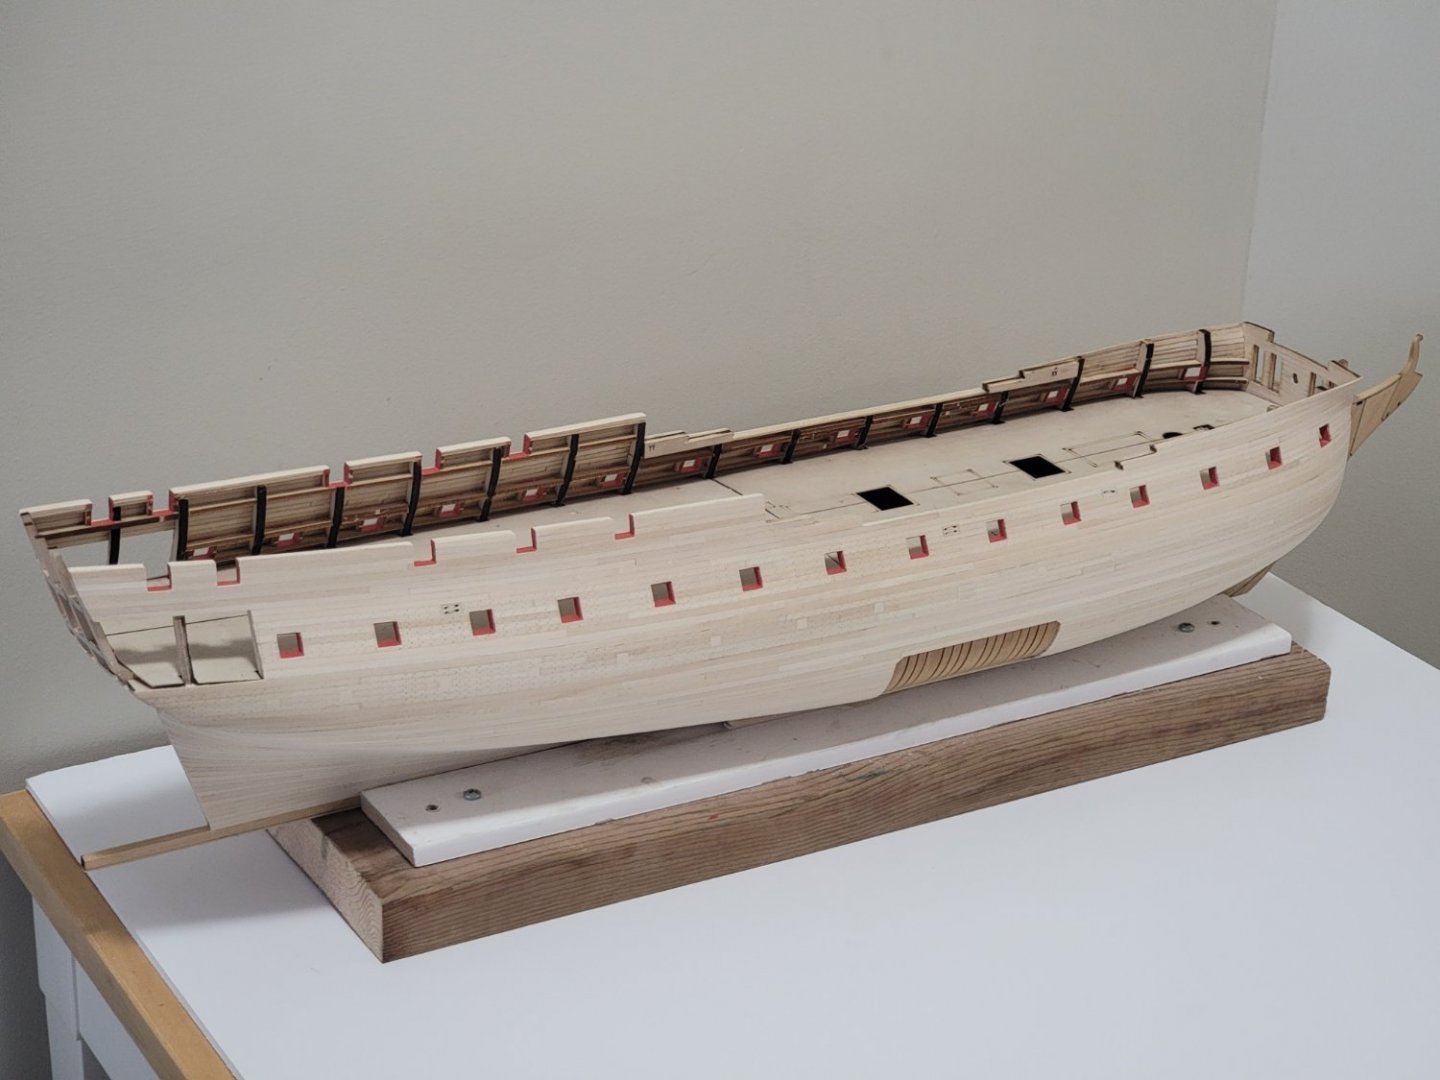
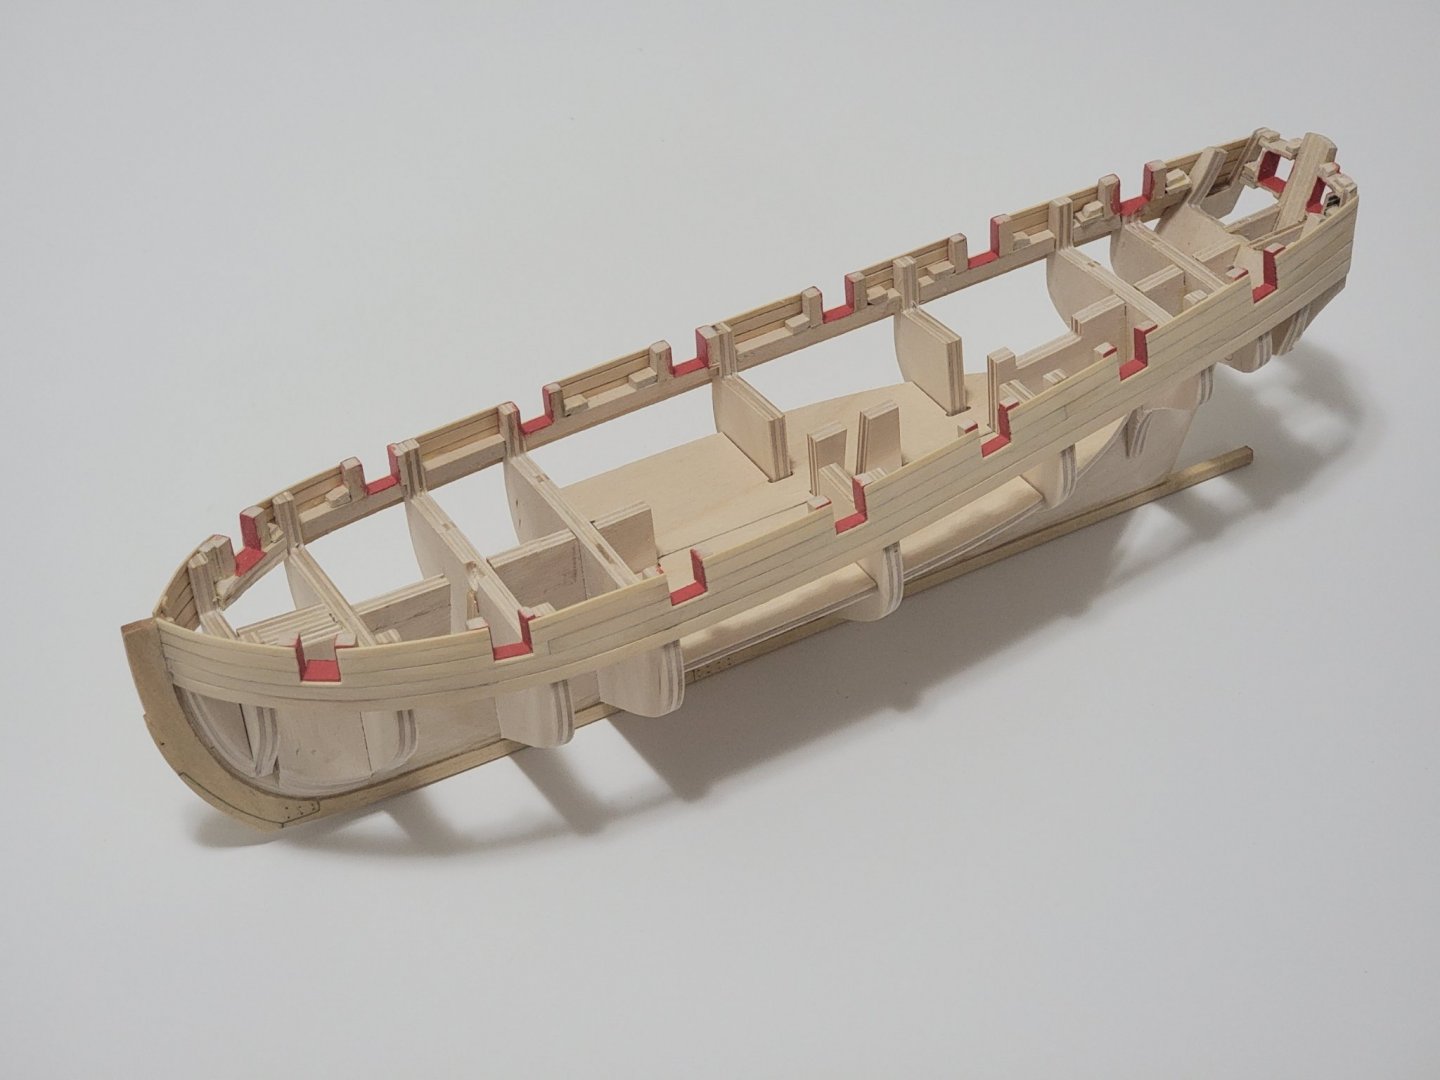
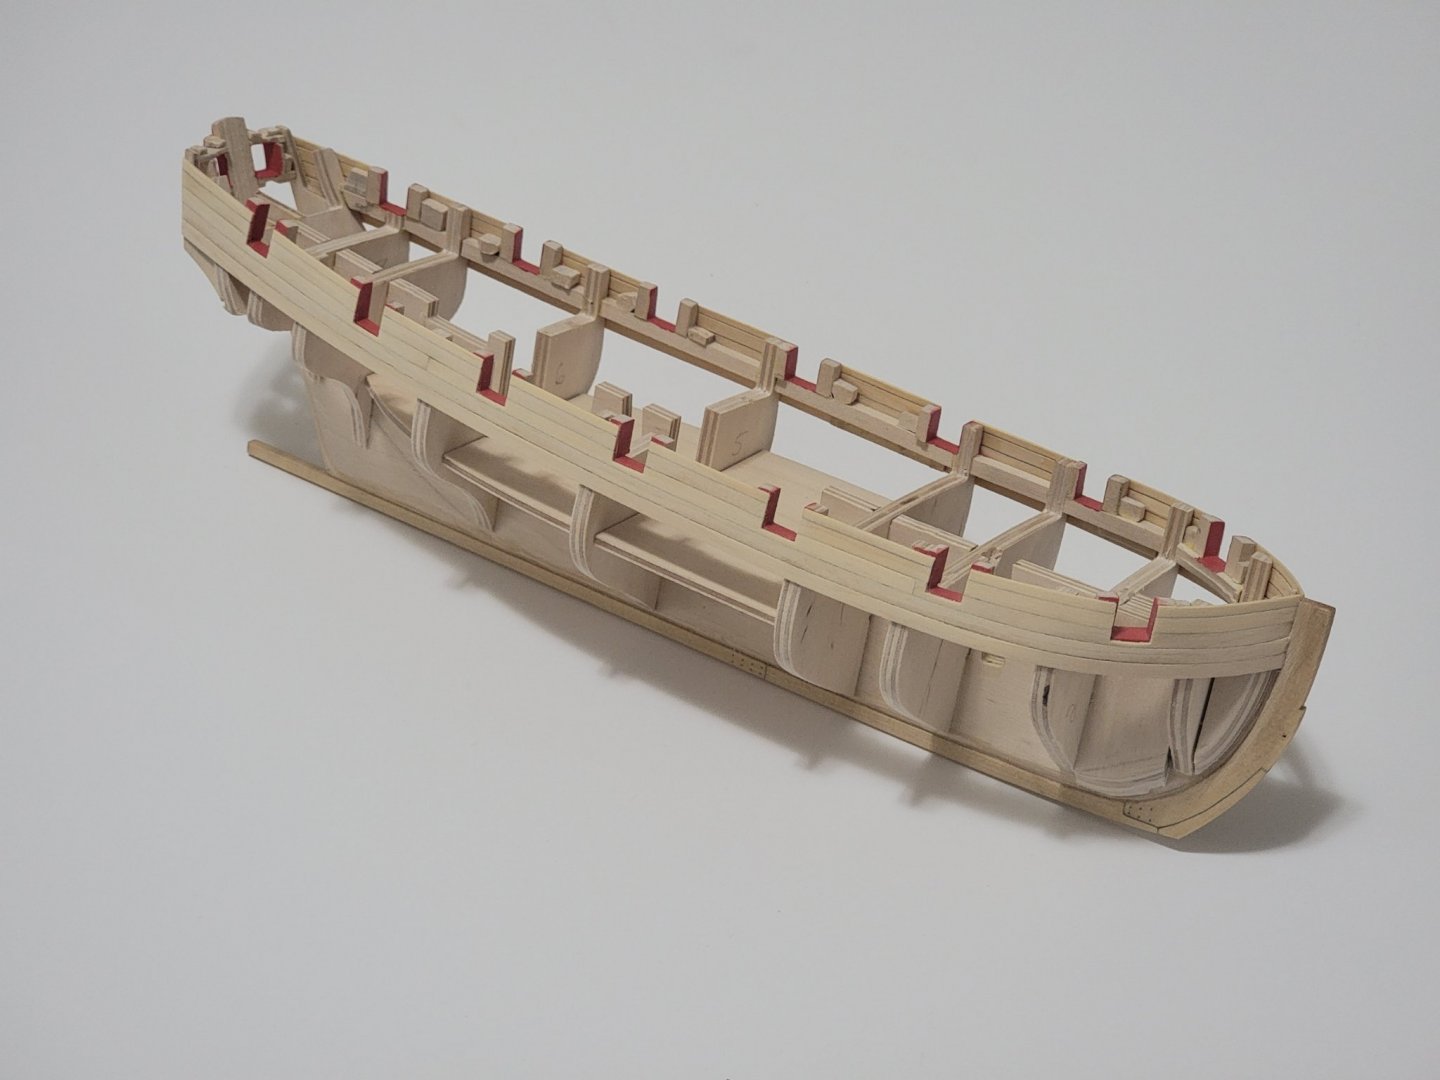
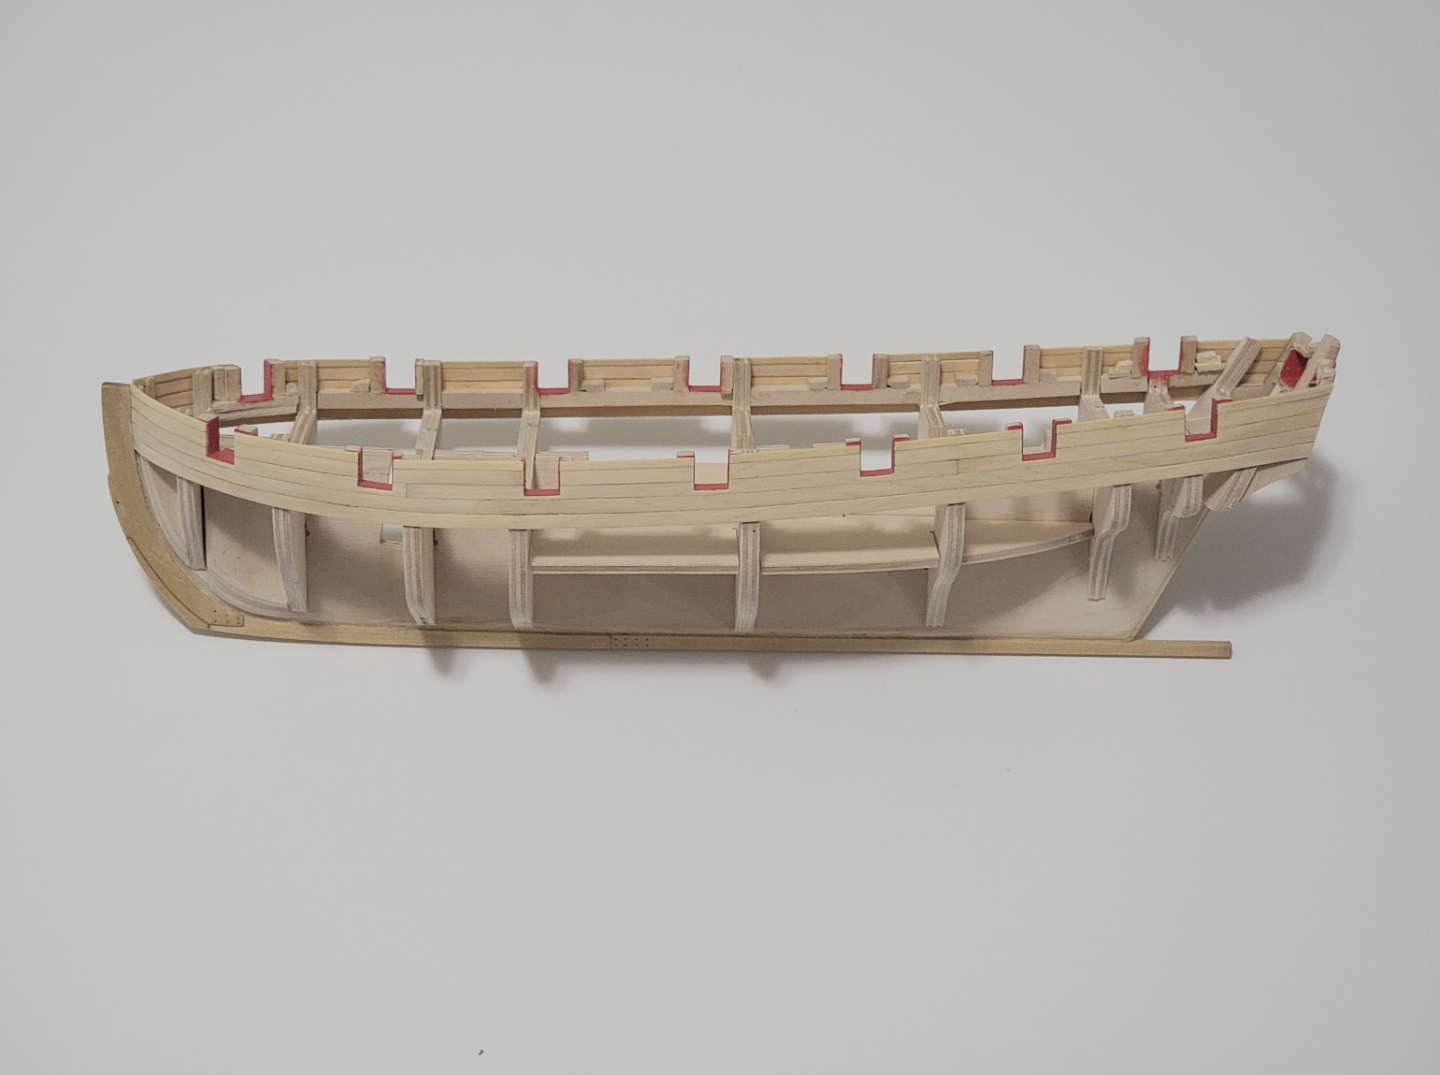
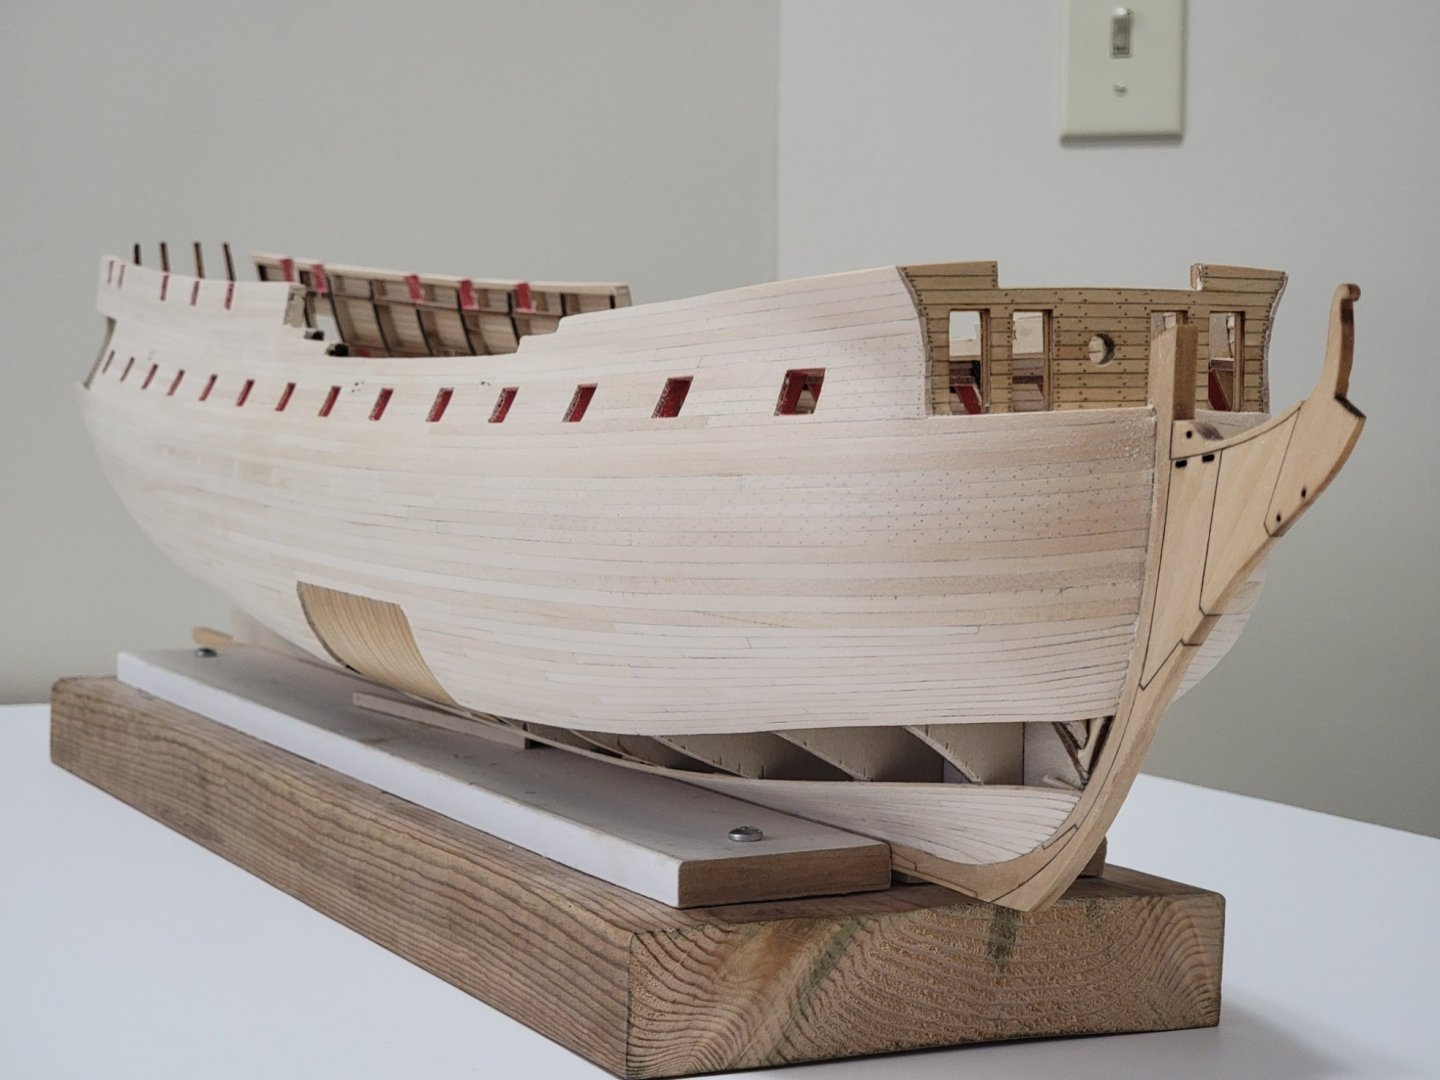
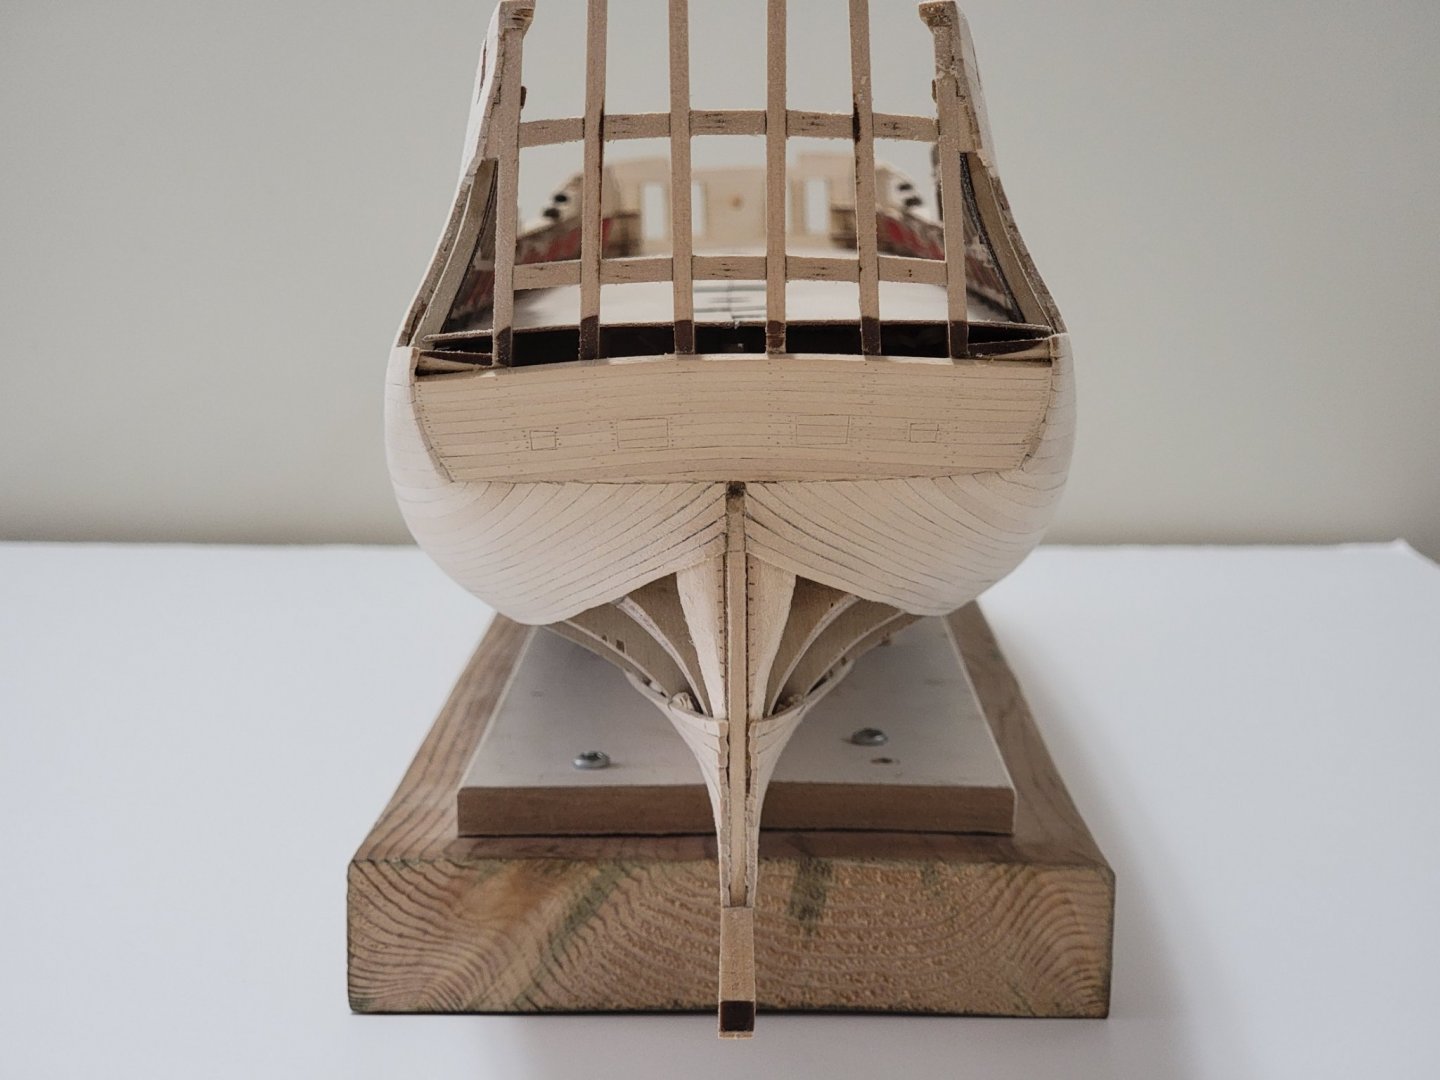
I finally finished planking the hull... and what a ride it was! It was my first time single planking a hull and I am now completely humbled by this task. Other modellers make it look so easy! Cutting each plank got old by the time I was half way 😅. I've learnt planking is not my favorite part of the build, but closing up the hull with the last 2 strakes were so satisfying!! Also, as @allanyed pointed out, clamps were not needed. I just had to hold the planks at the stern and at the bow for a couple of minutes after microwaving the planks so that they retain the curve. Once I finished planking, I taped up the keel and exposed frames to protect them from scratches. I then sanded the hull smooth from 100 grit to 600 grit sandpaper. Here are a bunch of pictures to mark this major milestone of the build: Also, please do not hesitate to critique my planking. It will help me improve for my next models. Now, I am thinking of installing the 2nd layer of wales before I apply the finish to the wood.


-
Very beautiful and detailed model! And wishing you a happy birthday! 😄
-
Thank you , Nirvana and Steven. And thanks all for the likes! The encouragement is much appreciated 😁
-
Beautiful work on the figurehead!
-
I finished planking above the wales. I was not too sure on how to go about the last plank, so I just used a thin piece to fit the bulwarks.


-
Amazing, Thomas! 🙂 What did you use to seize the blocks (in image 5)? Is it wire or served rope?
-
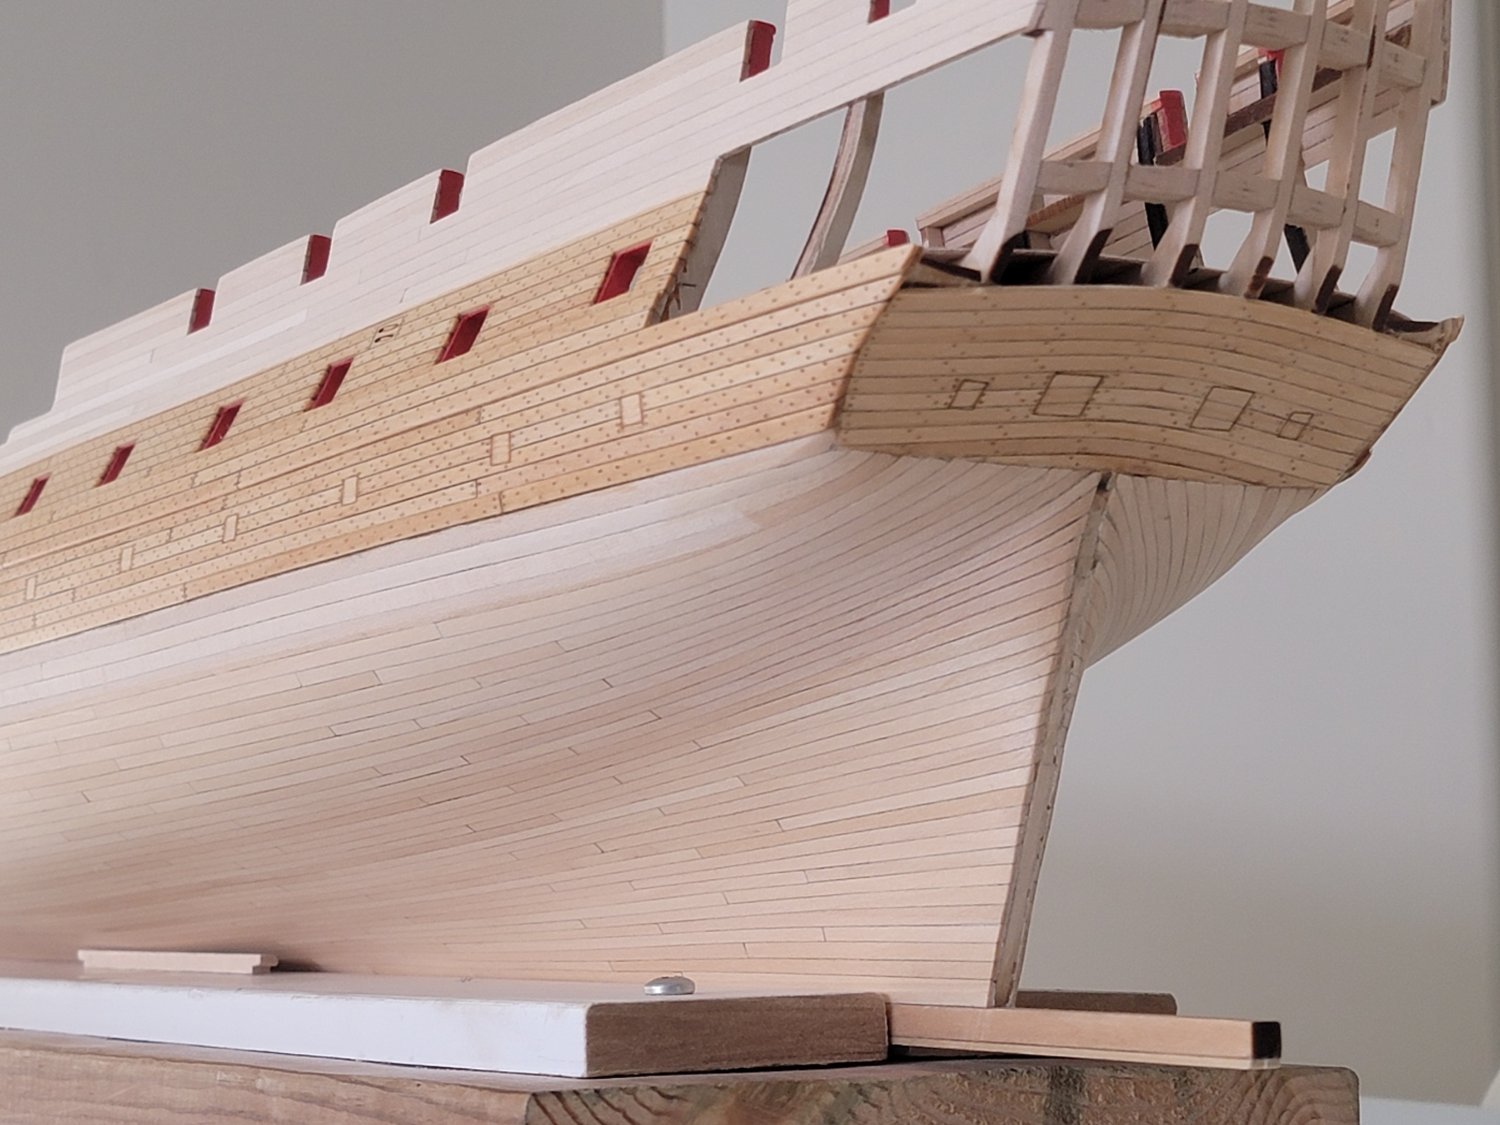
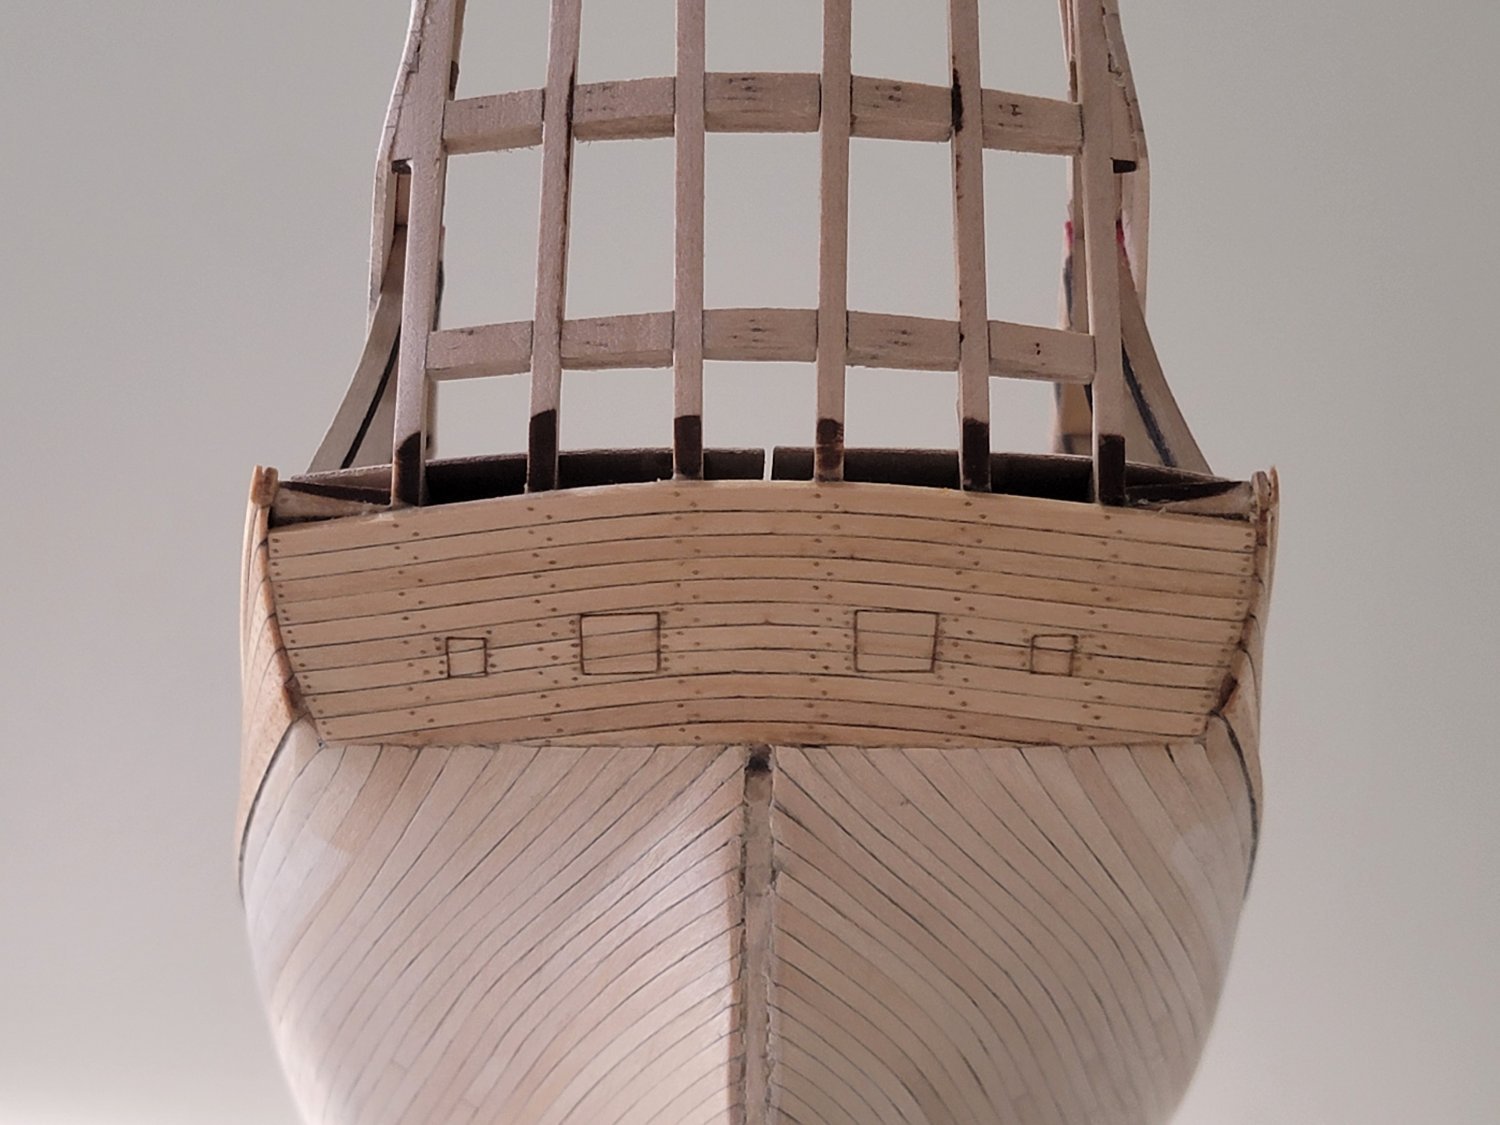
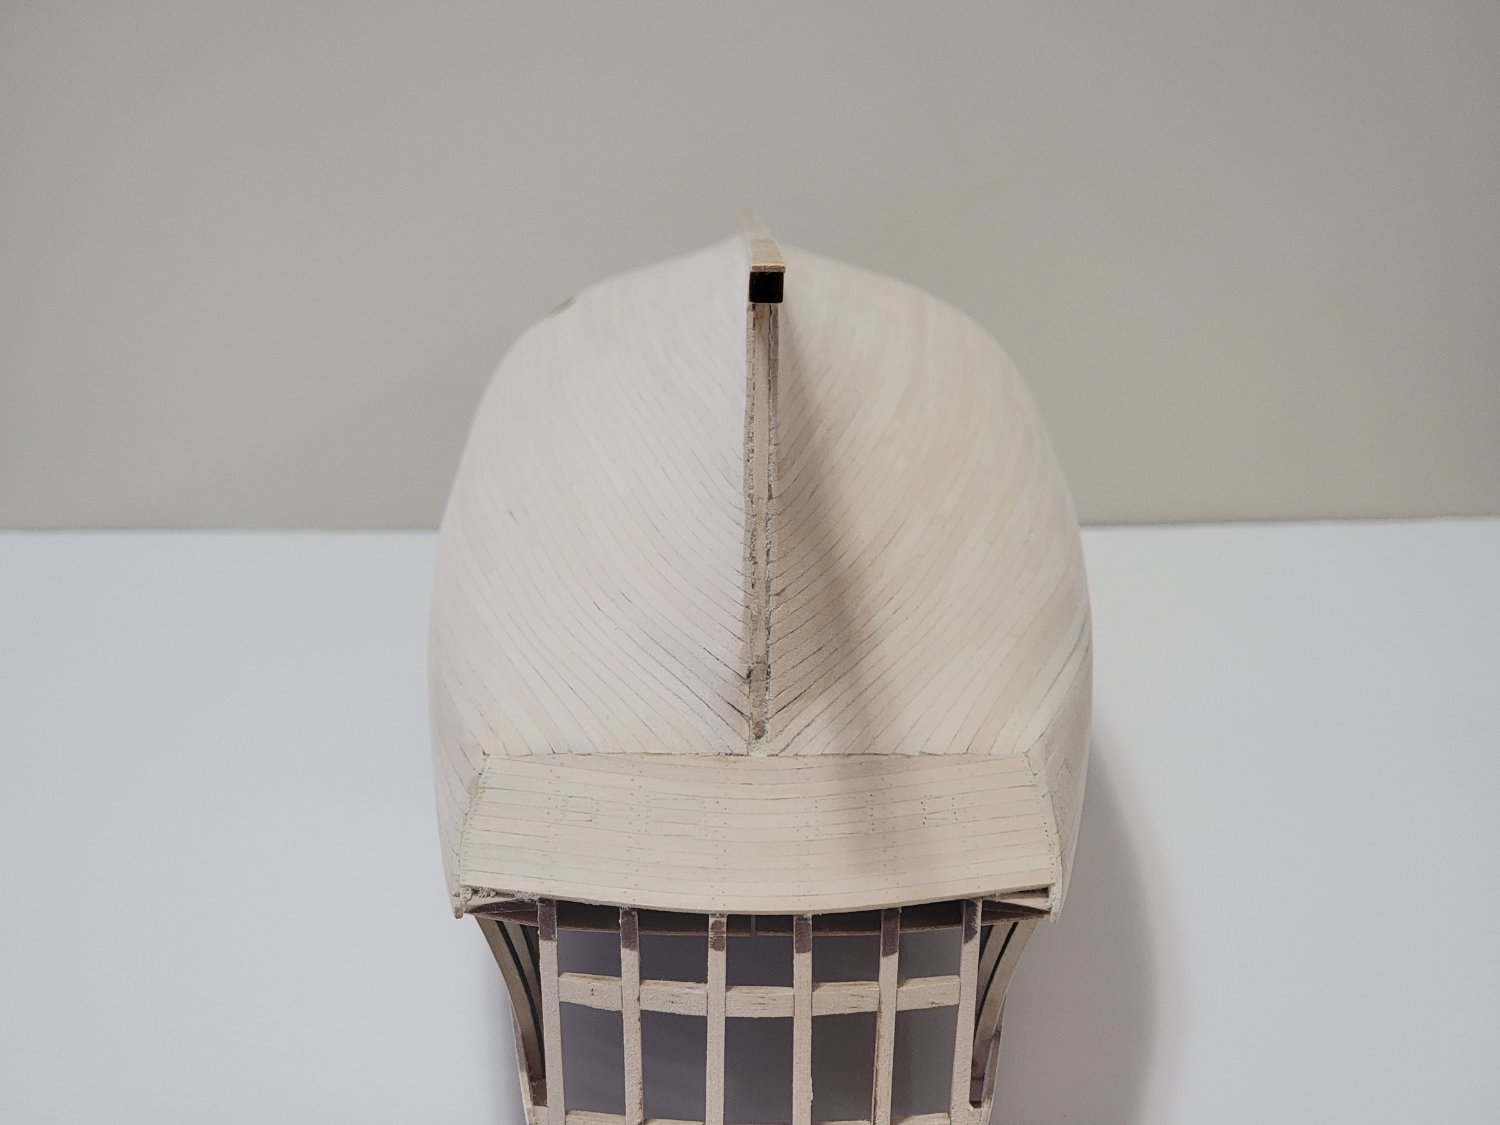
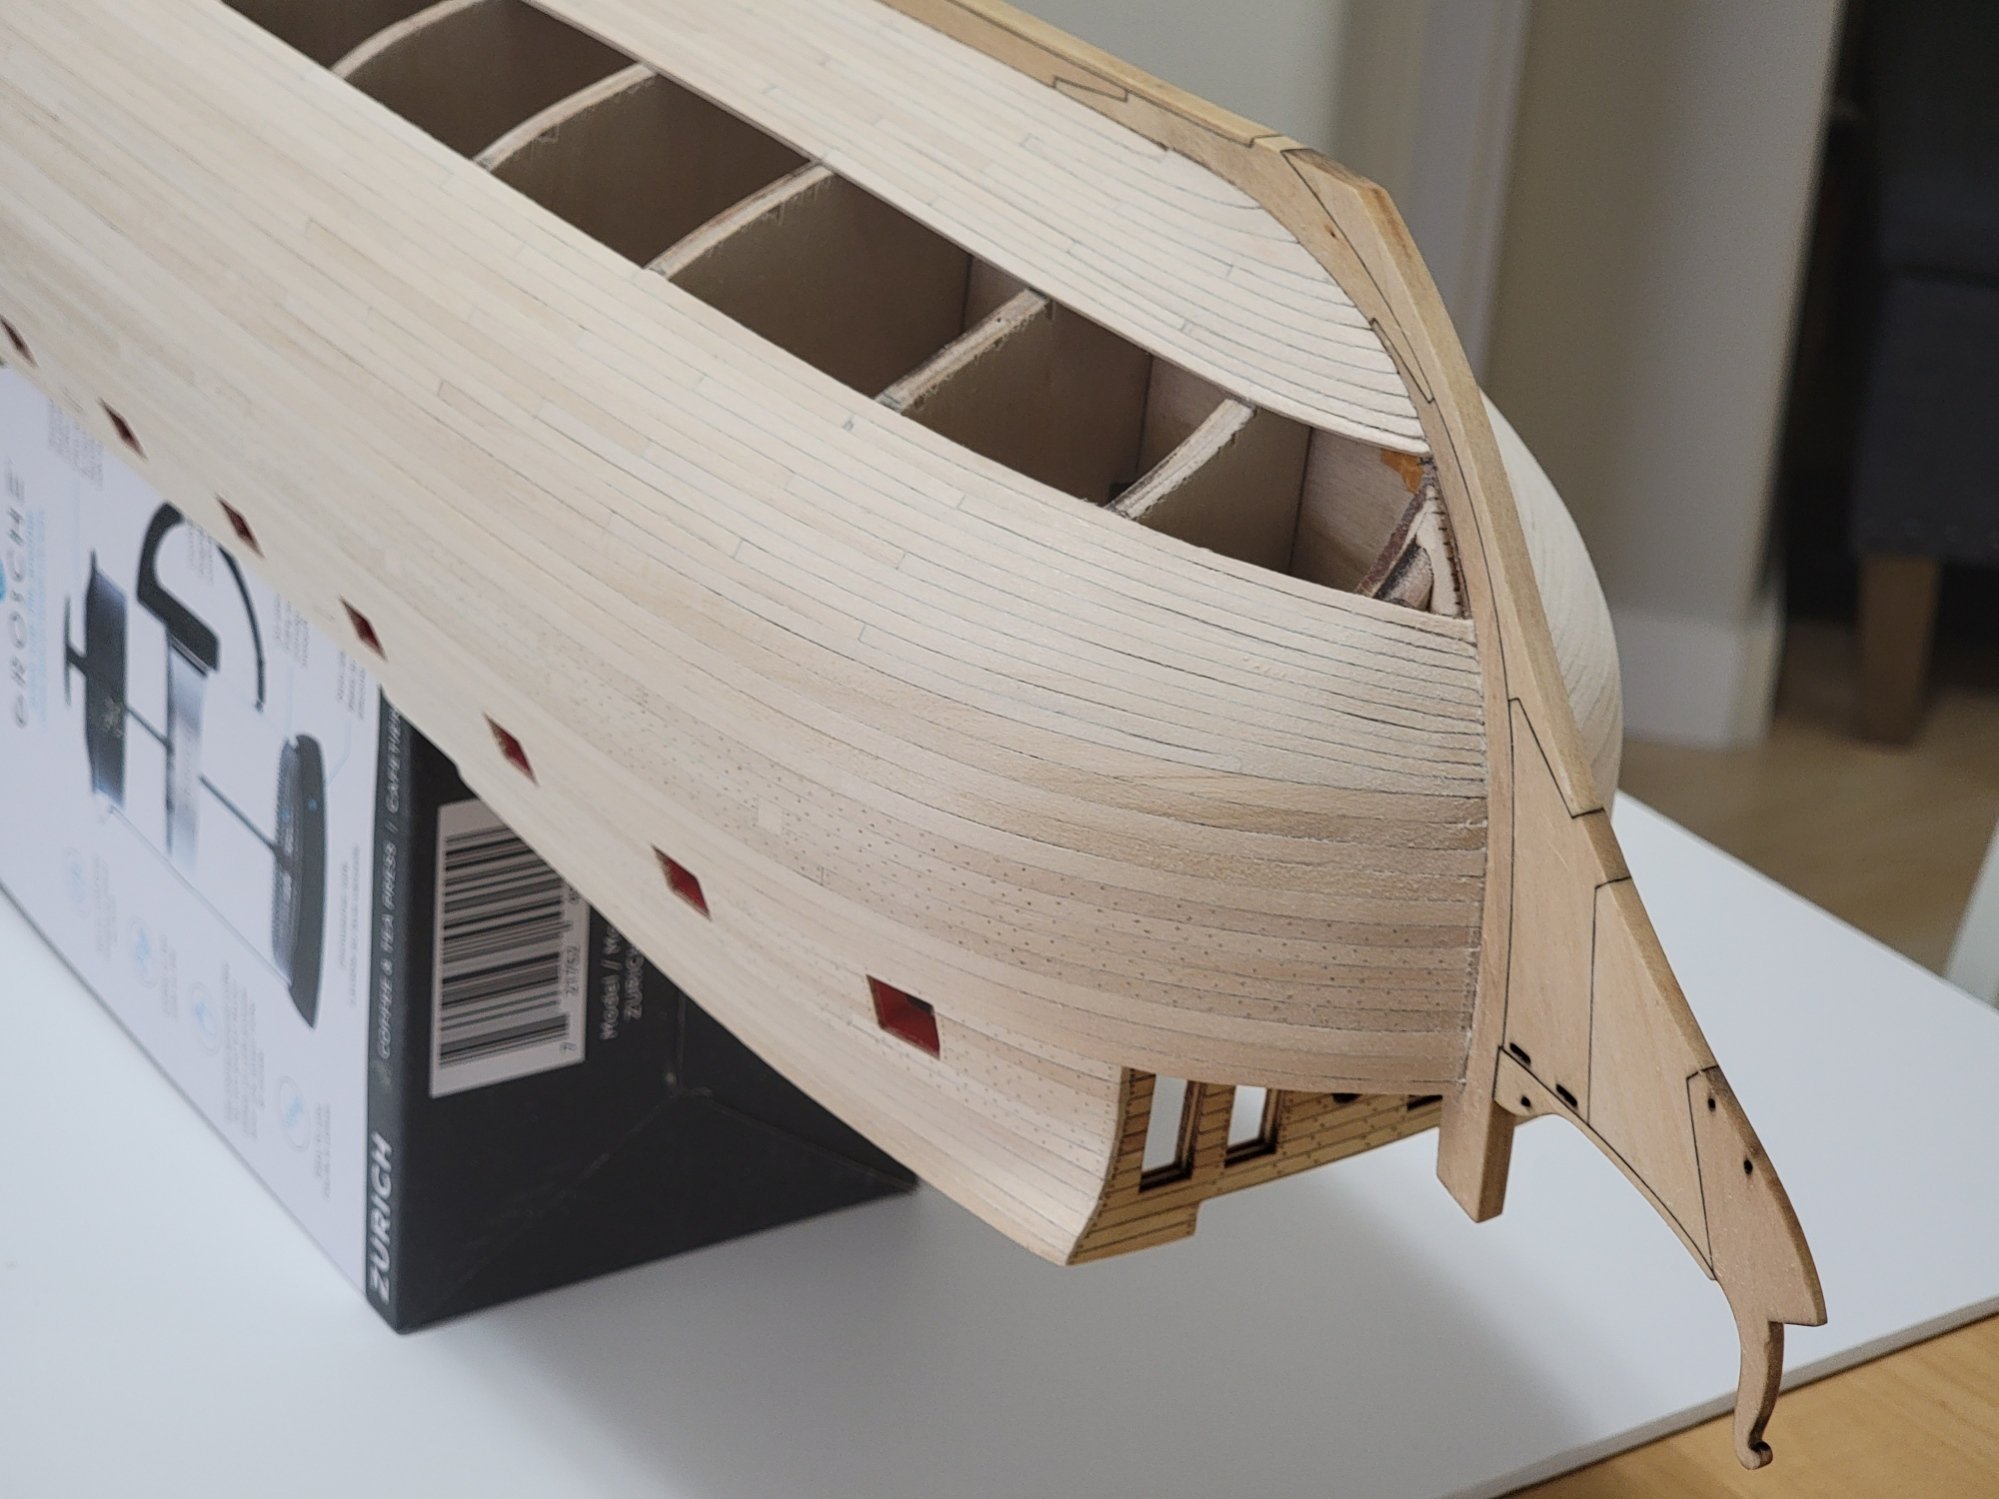
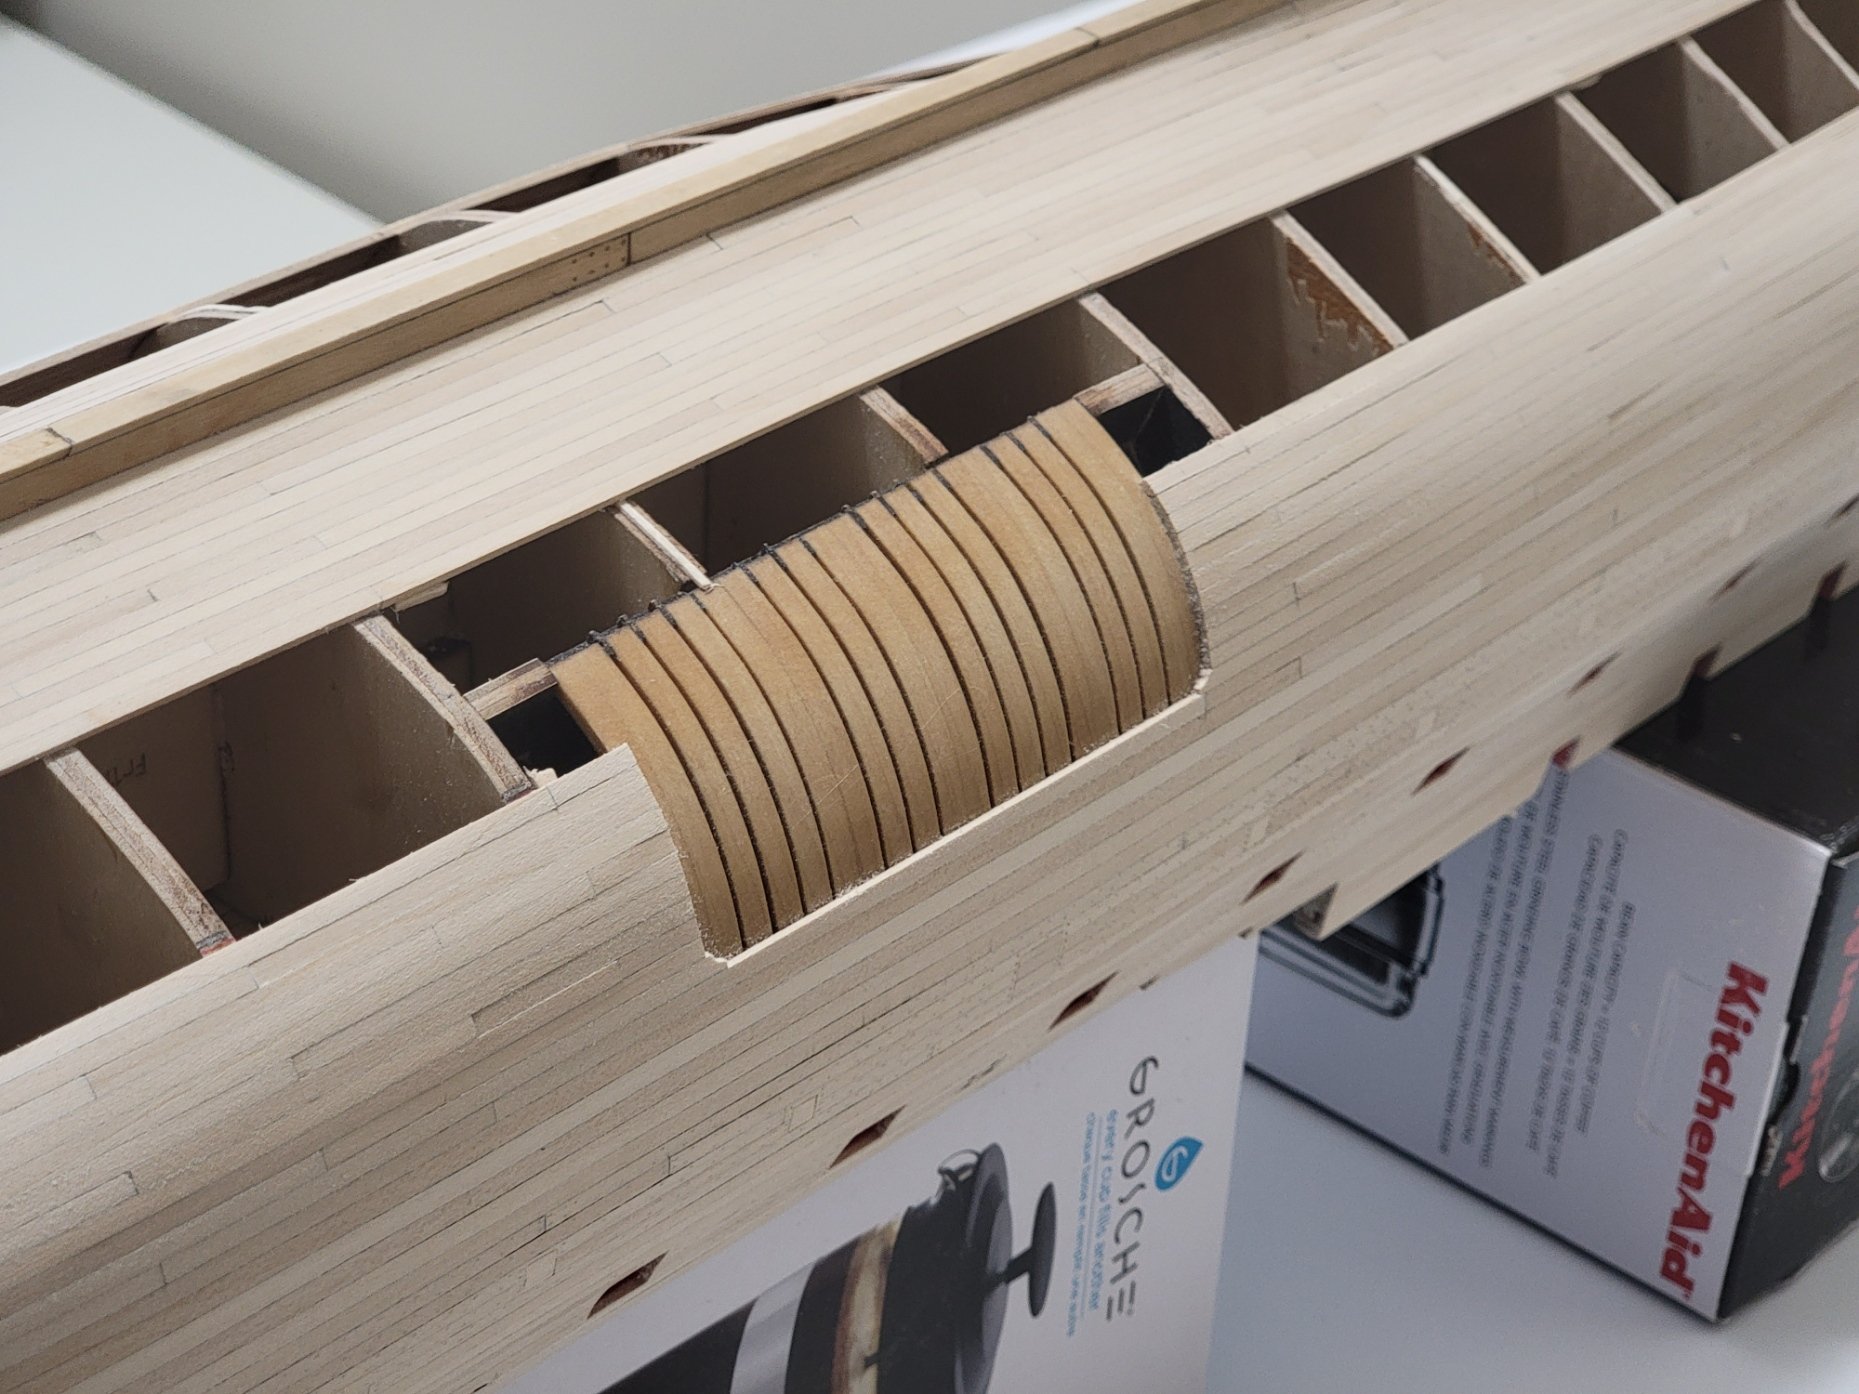
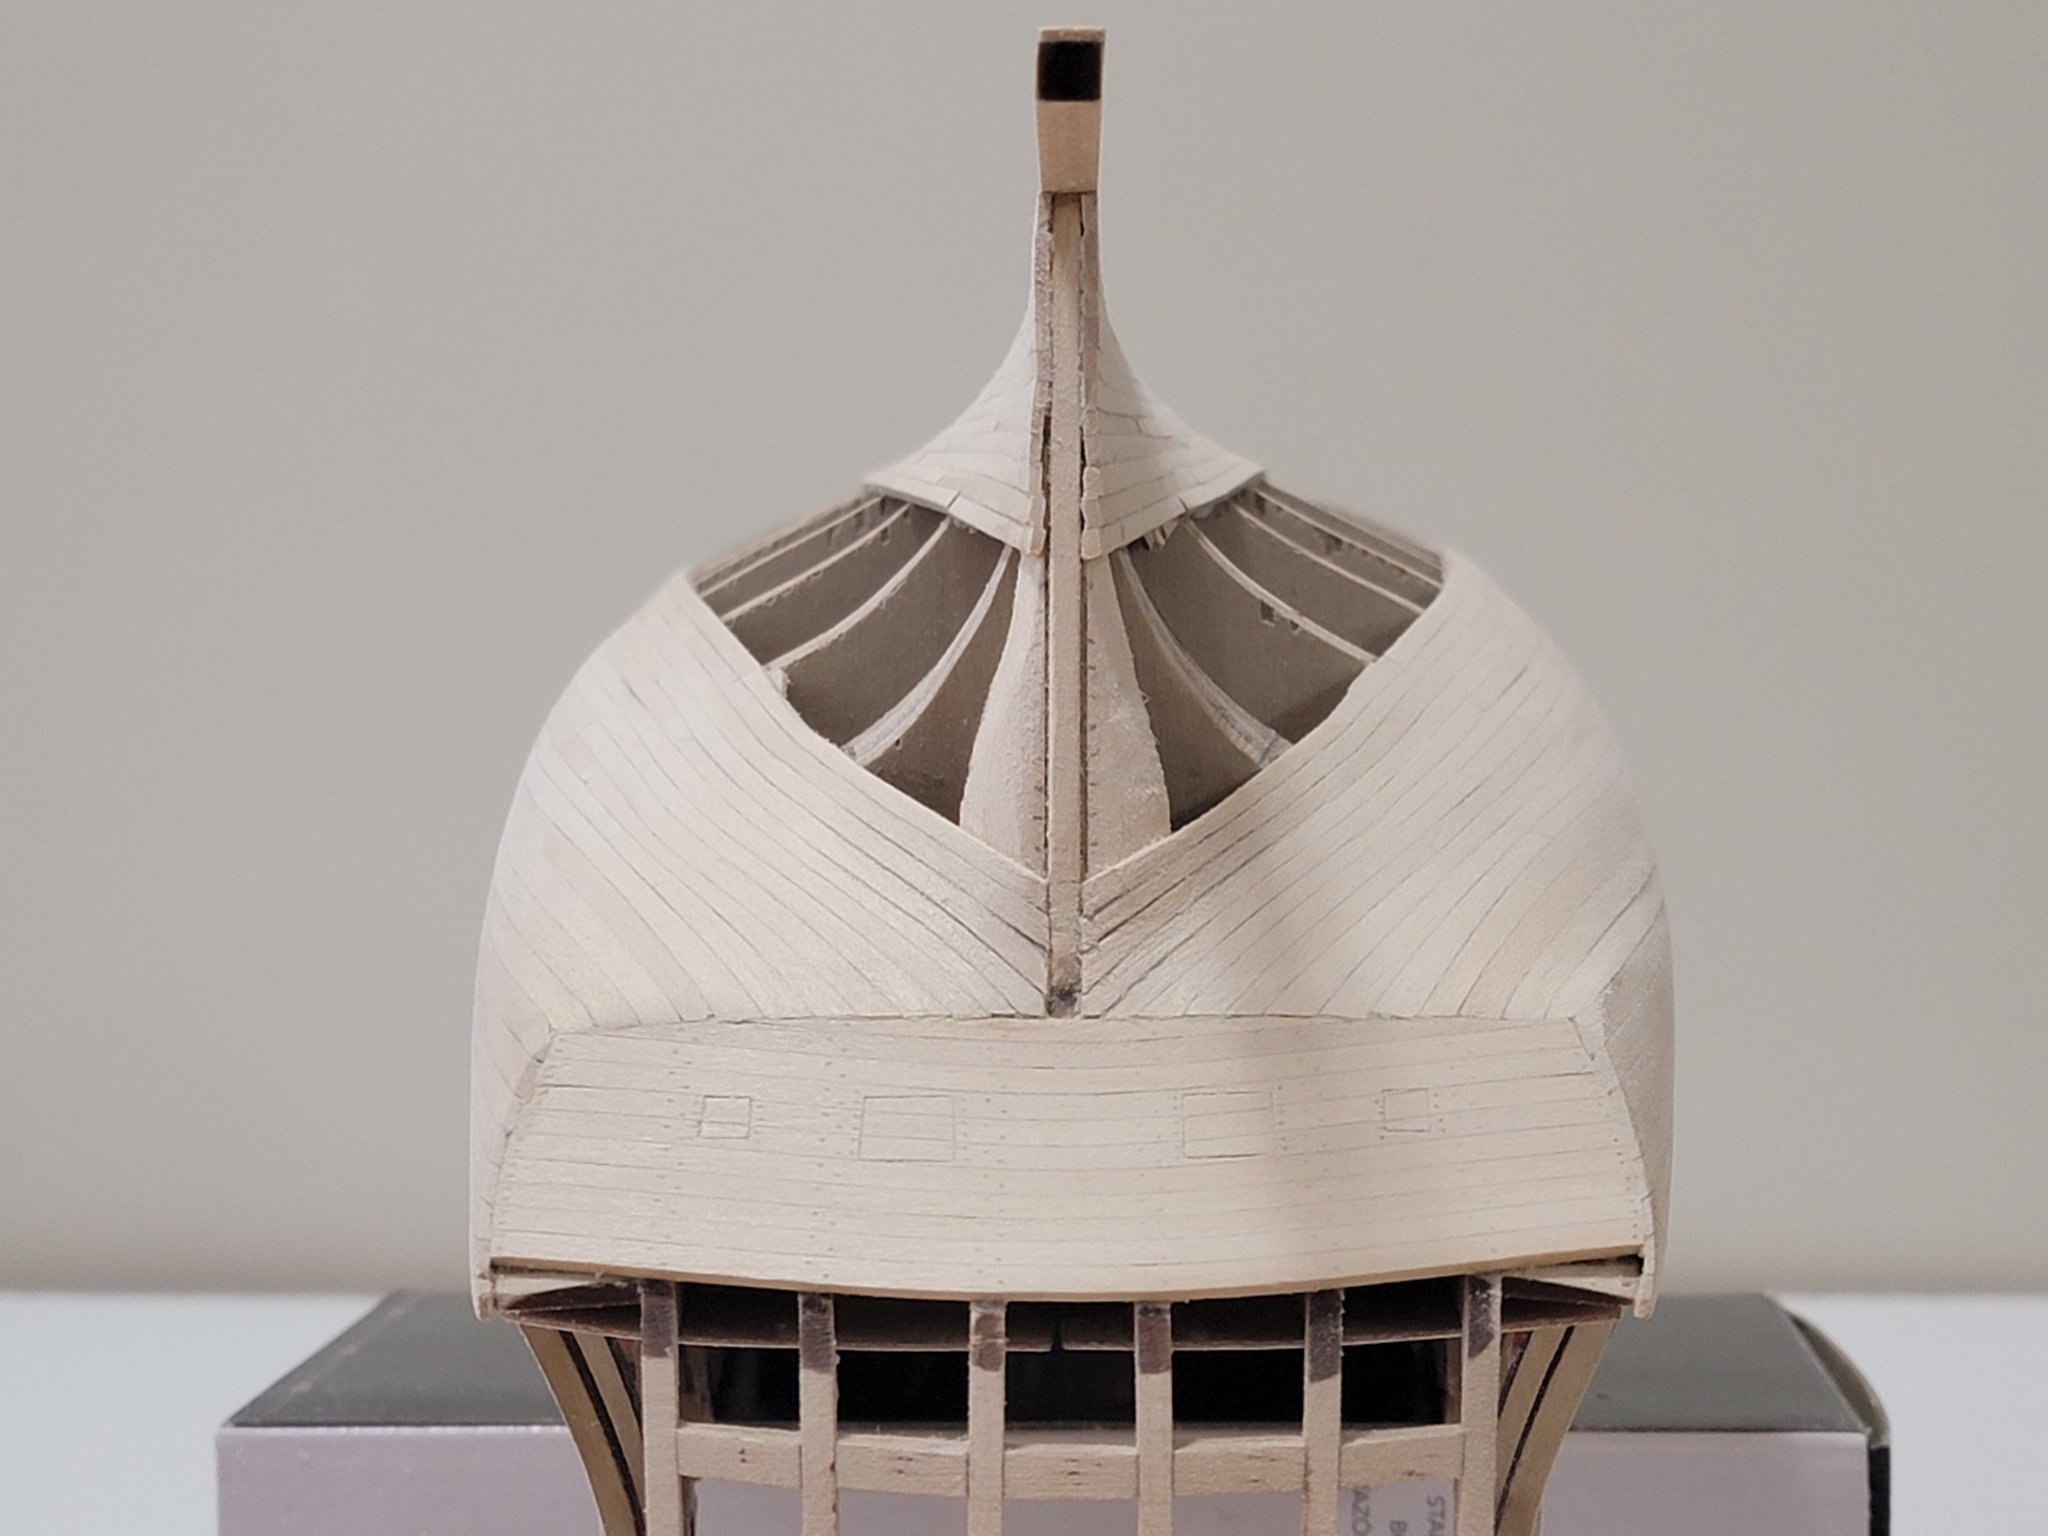
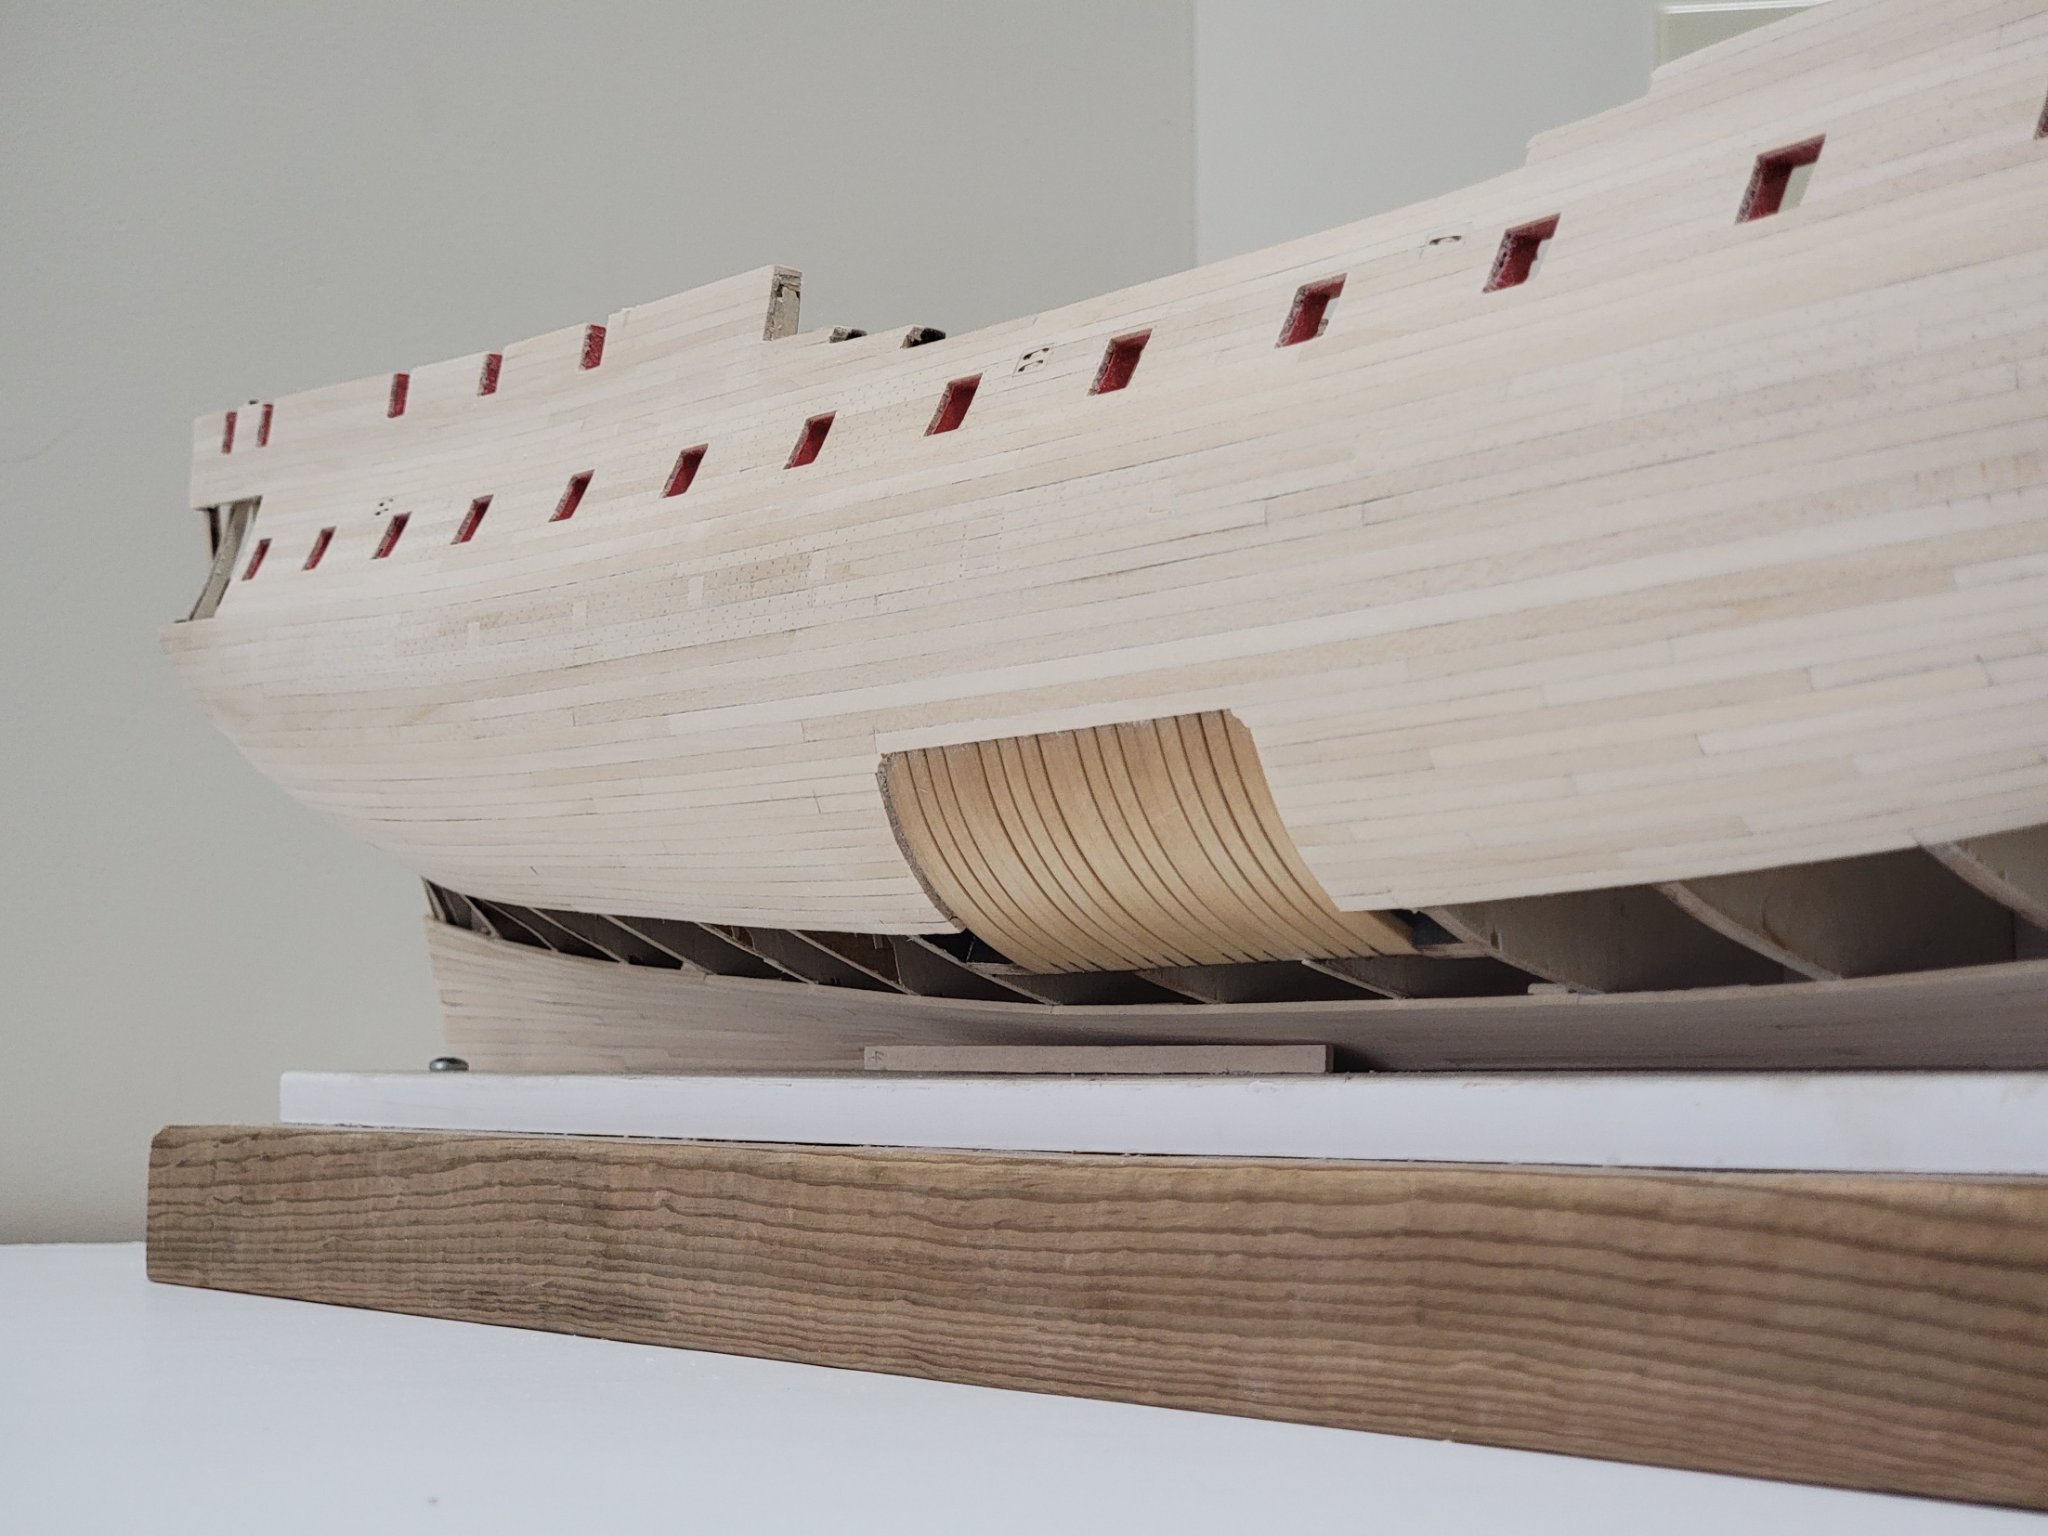
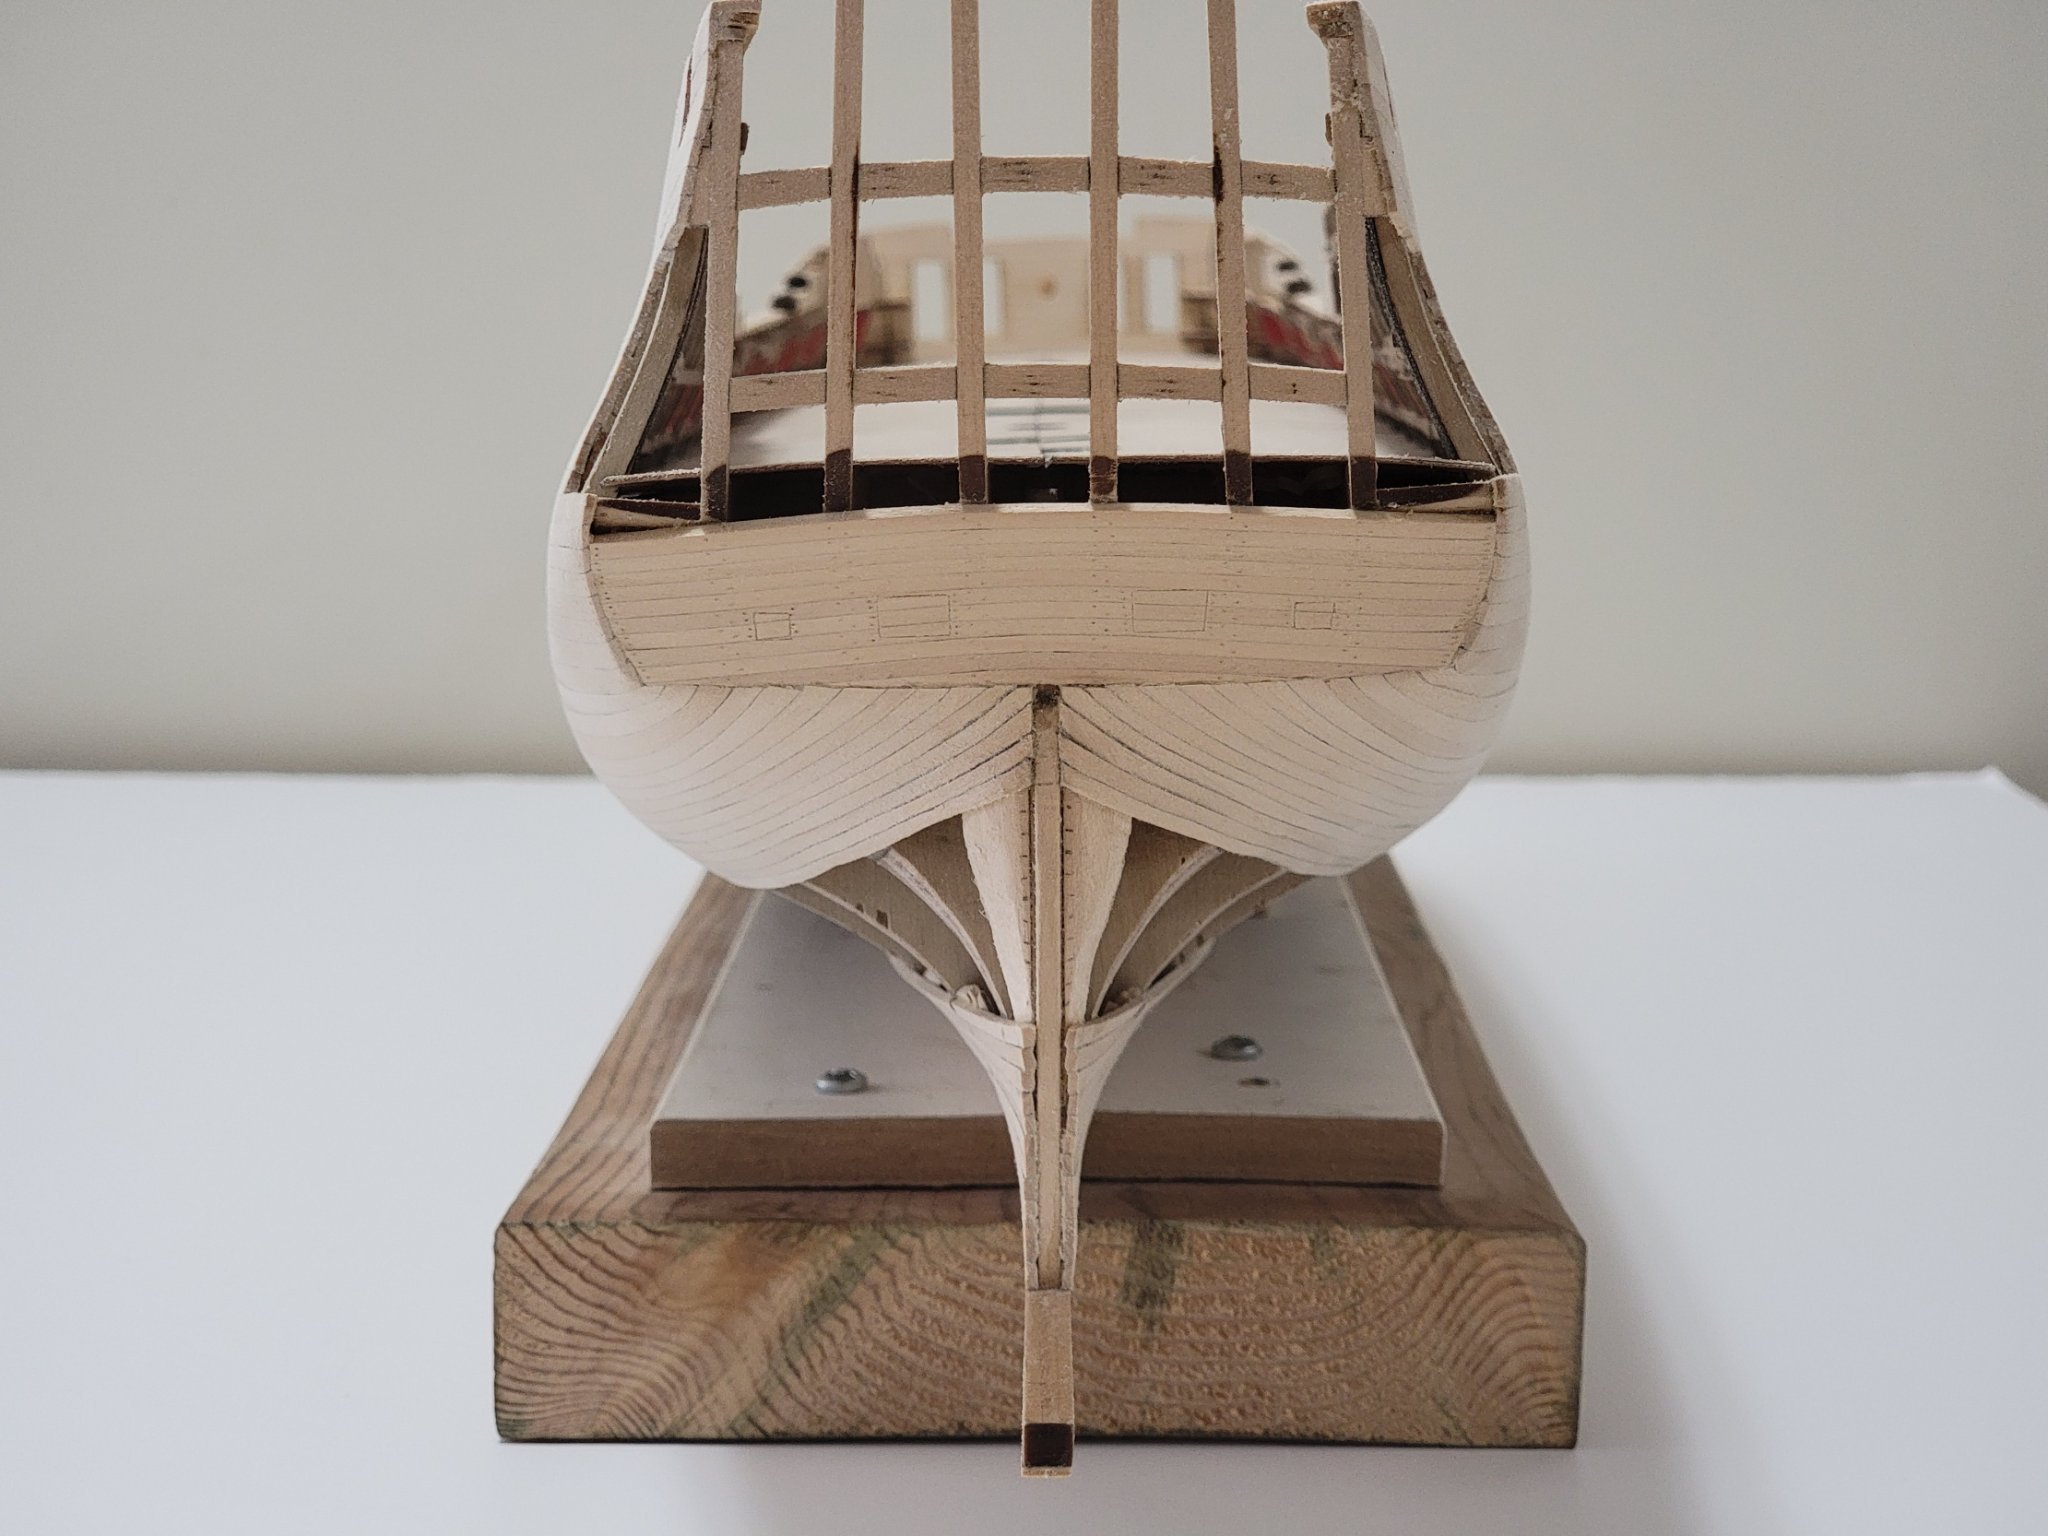
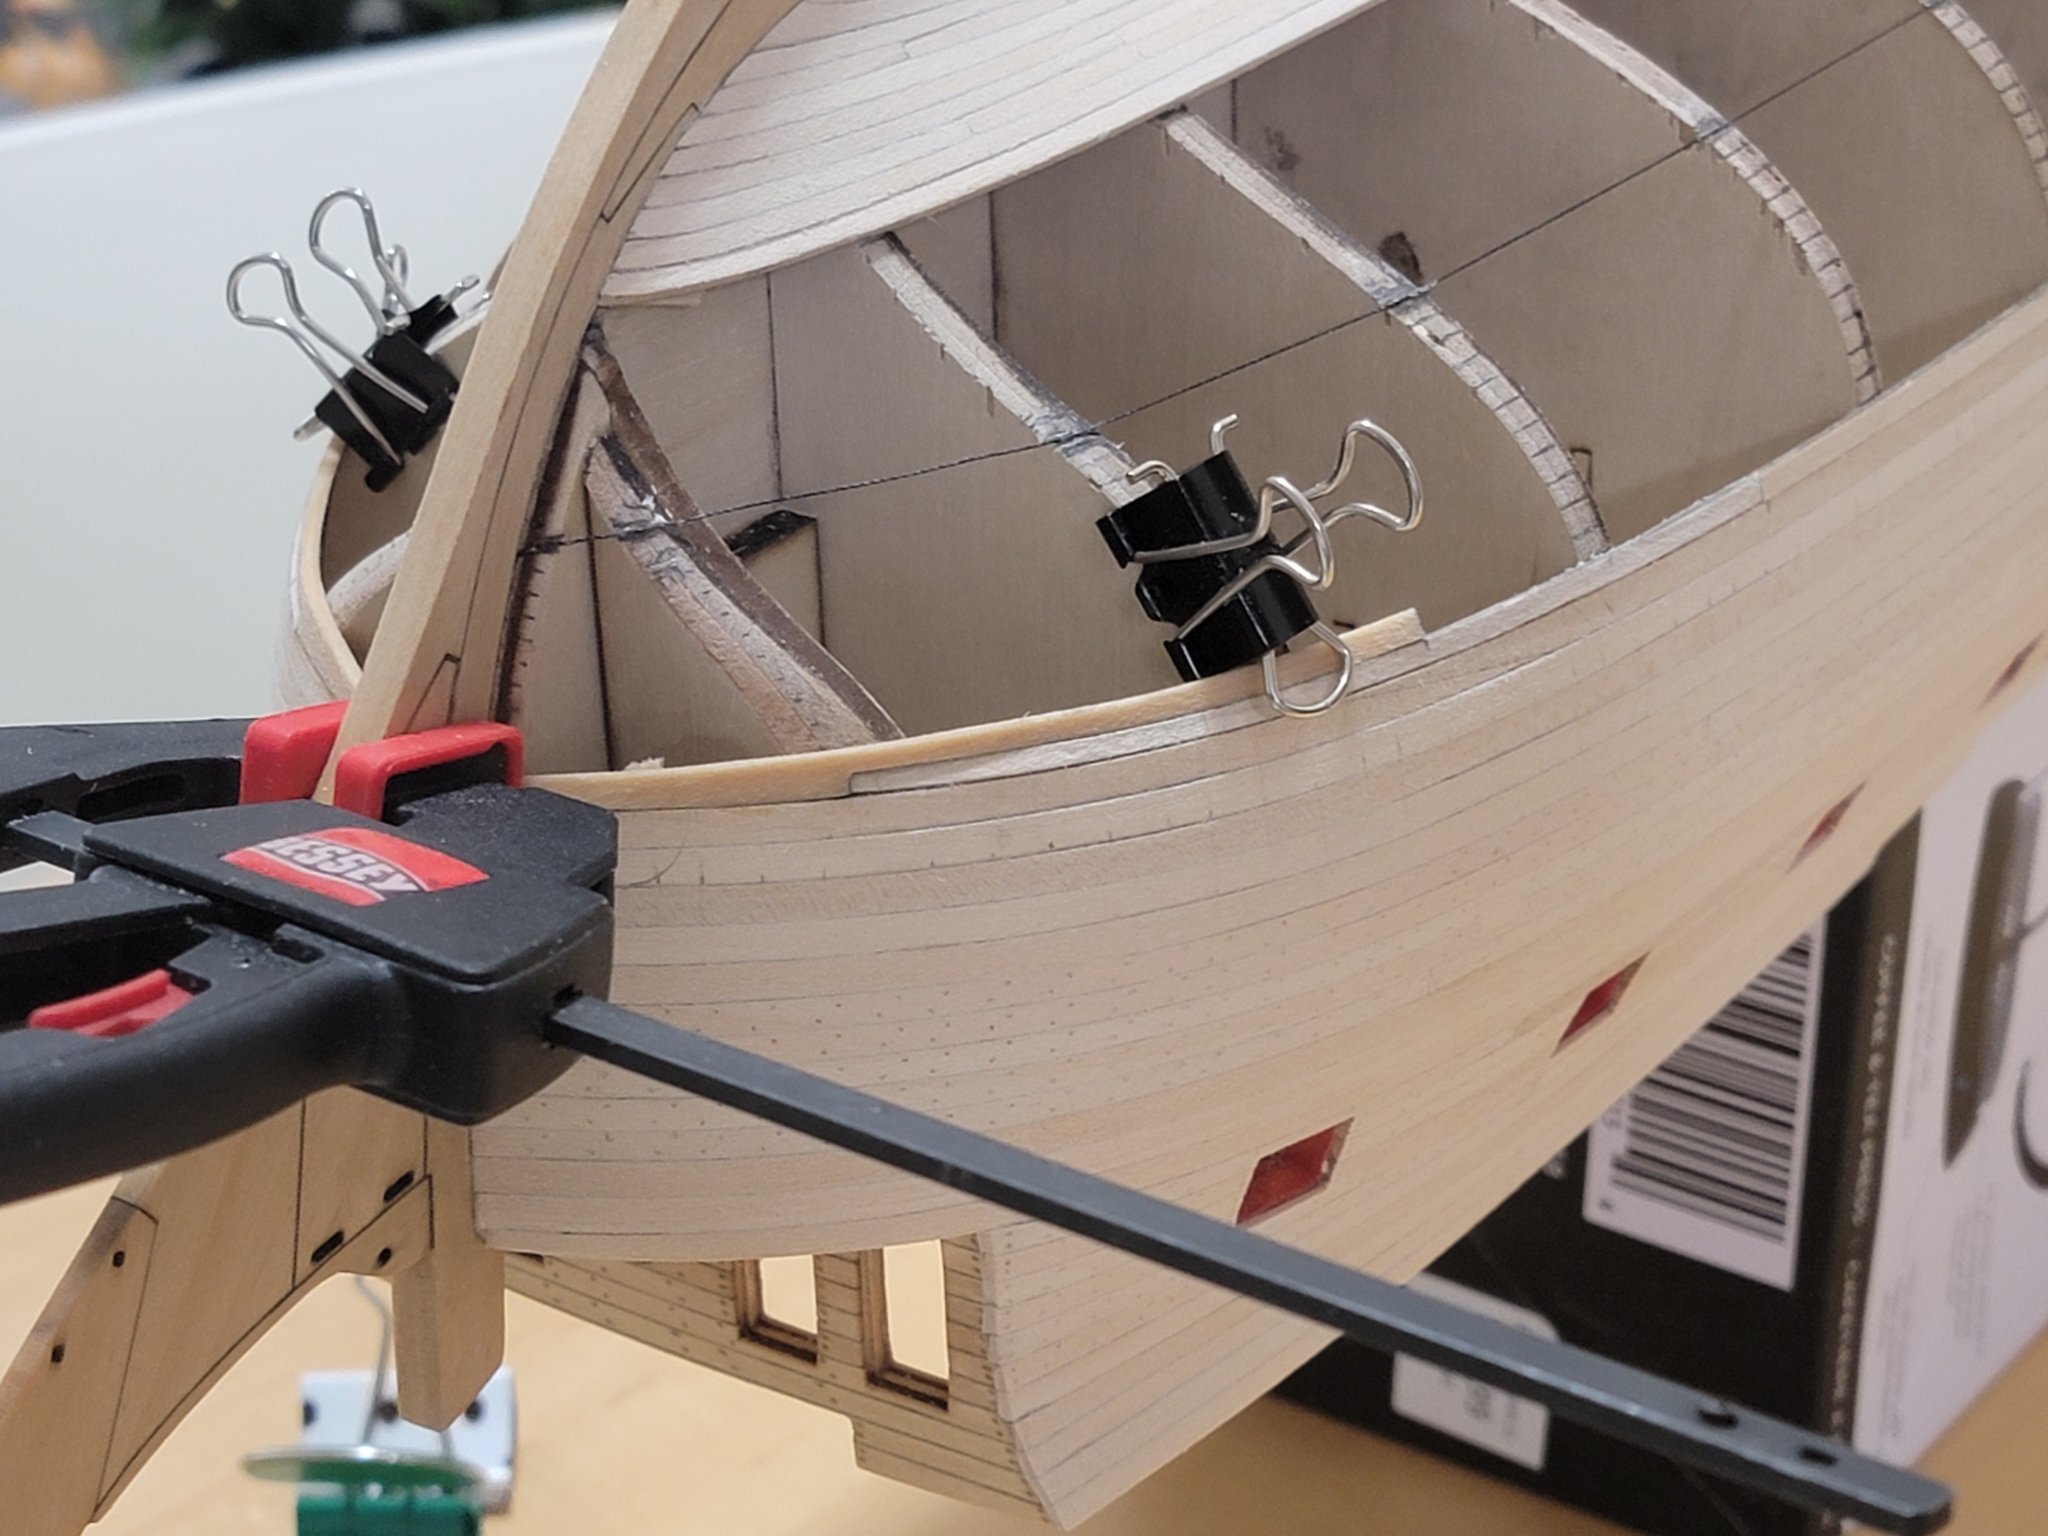
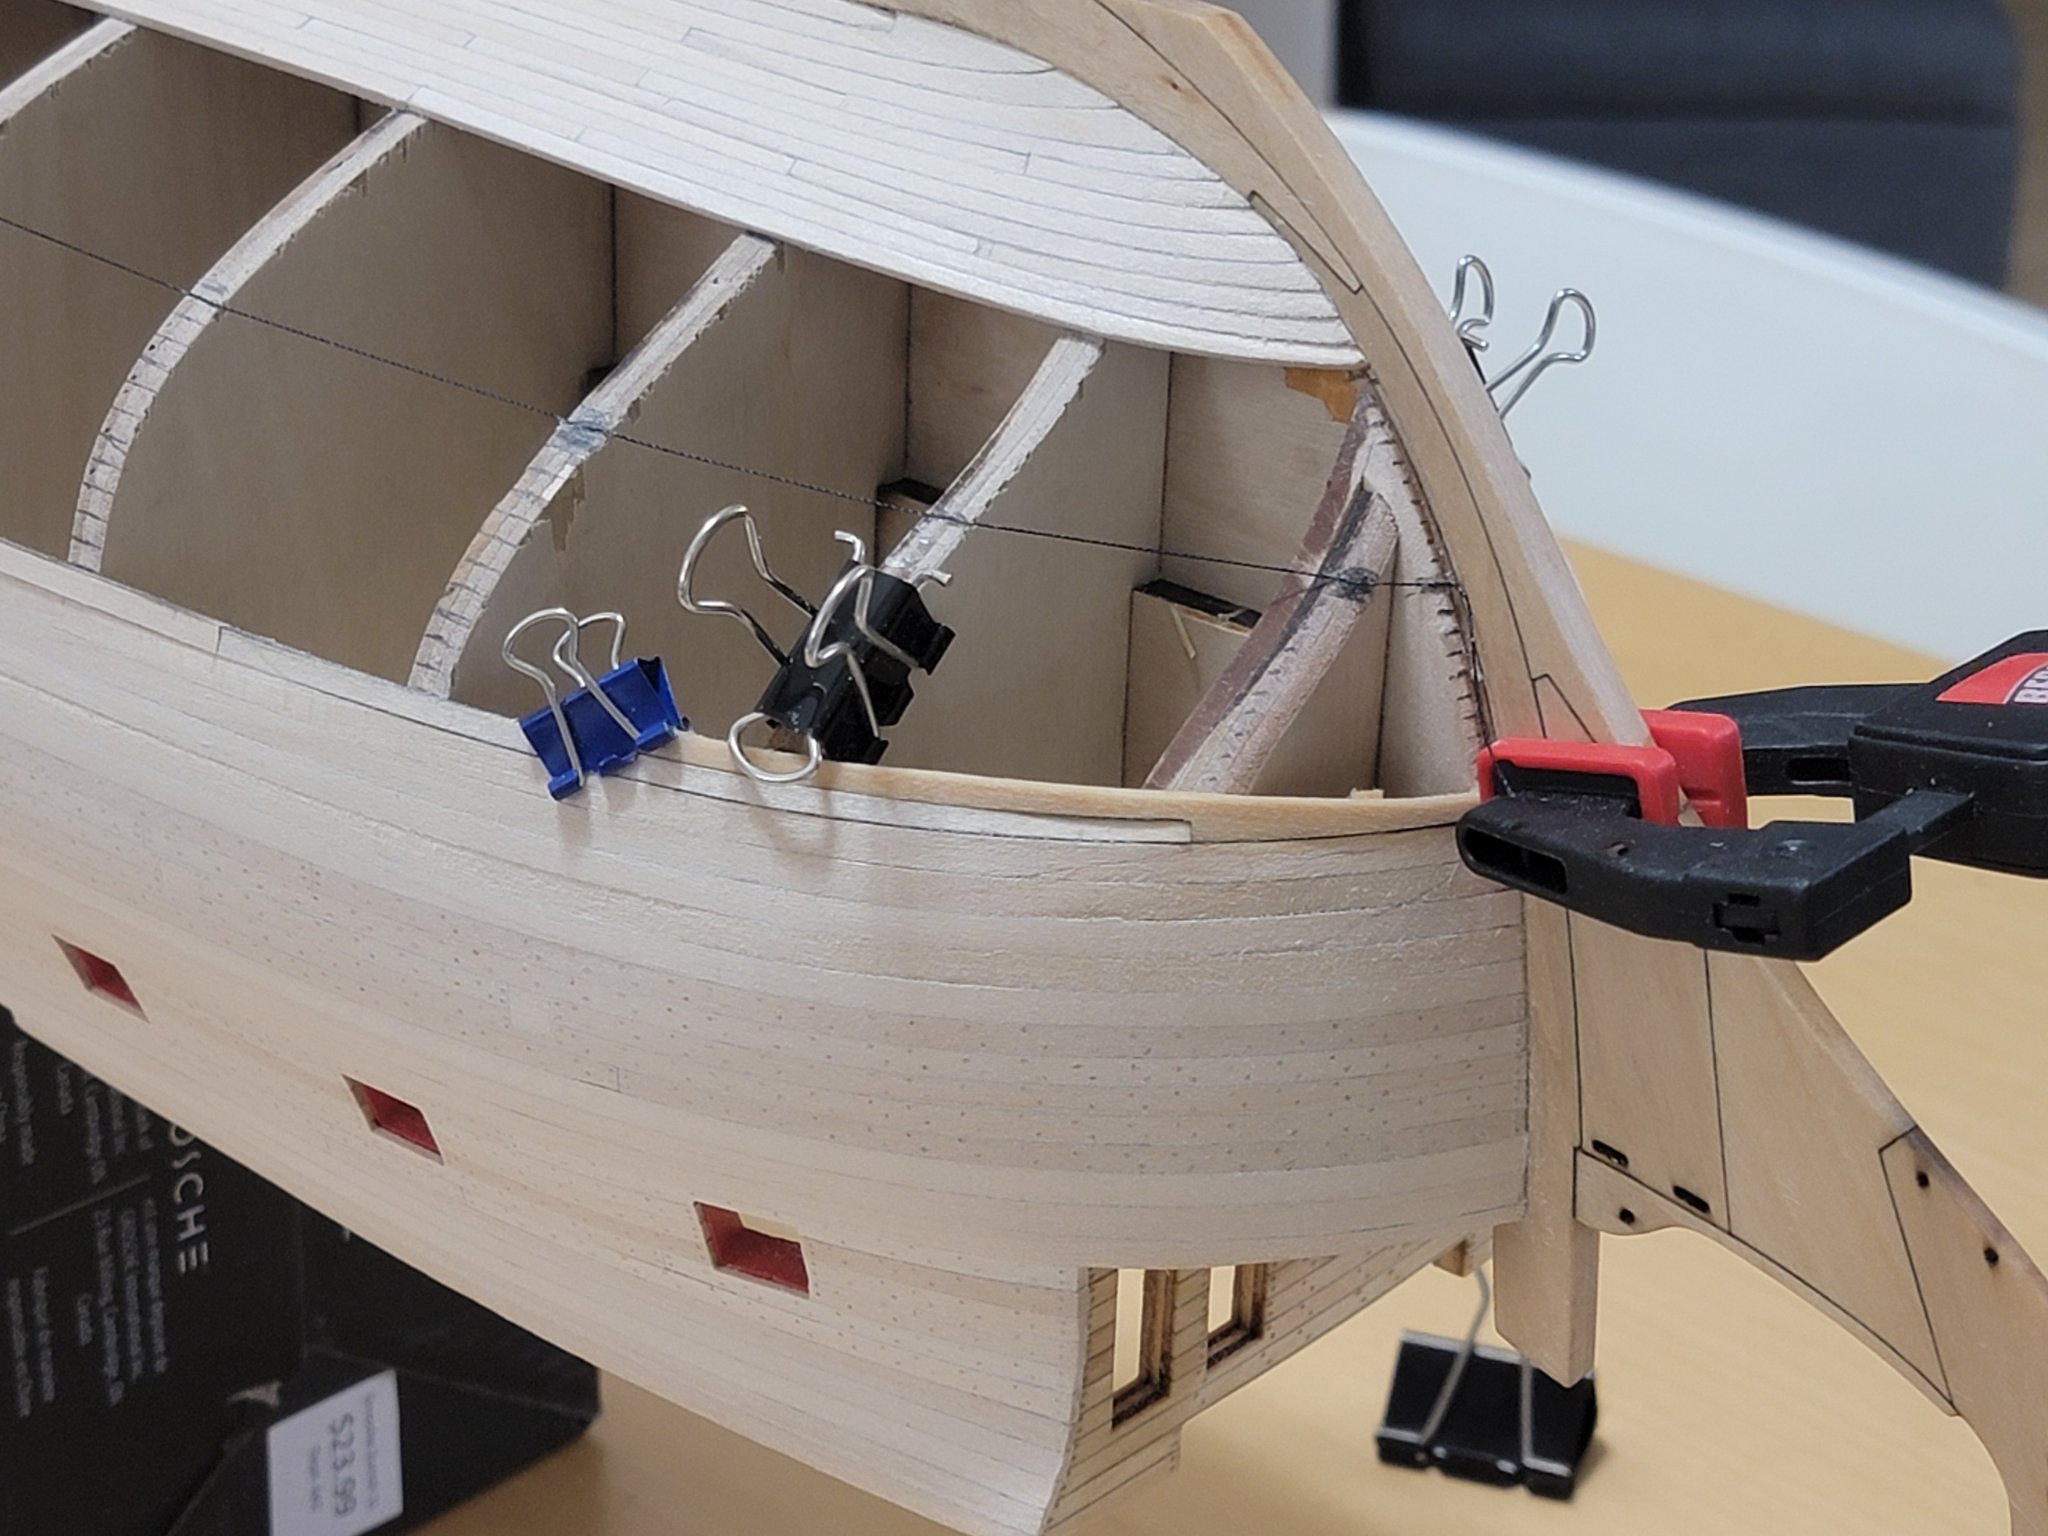
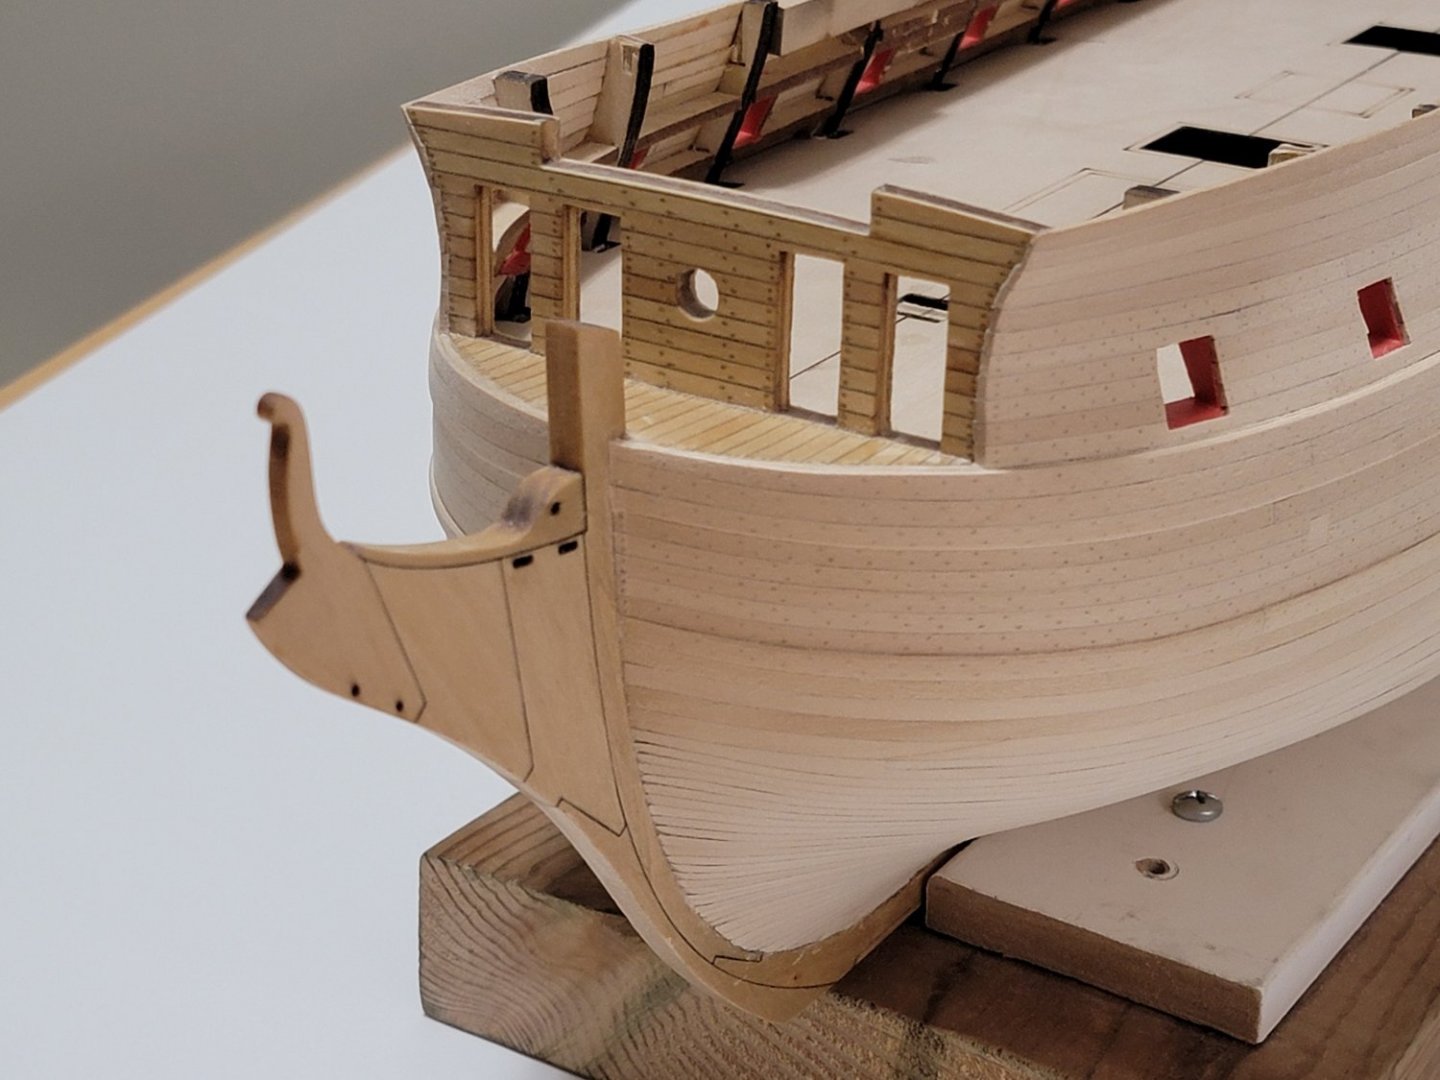
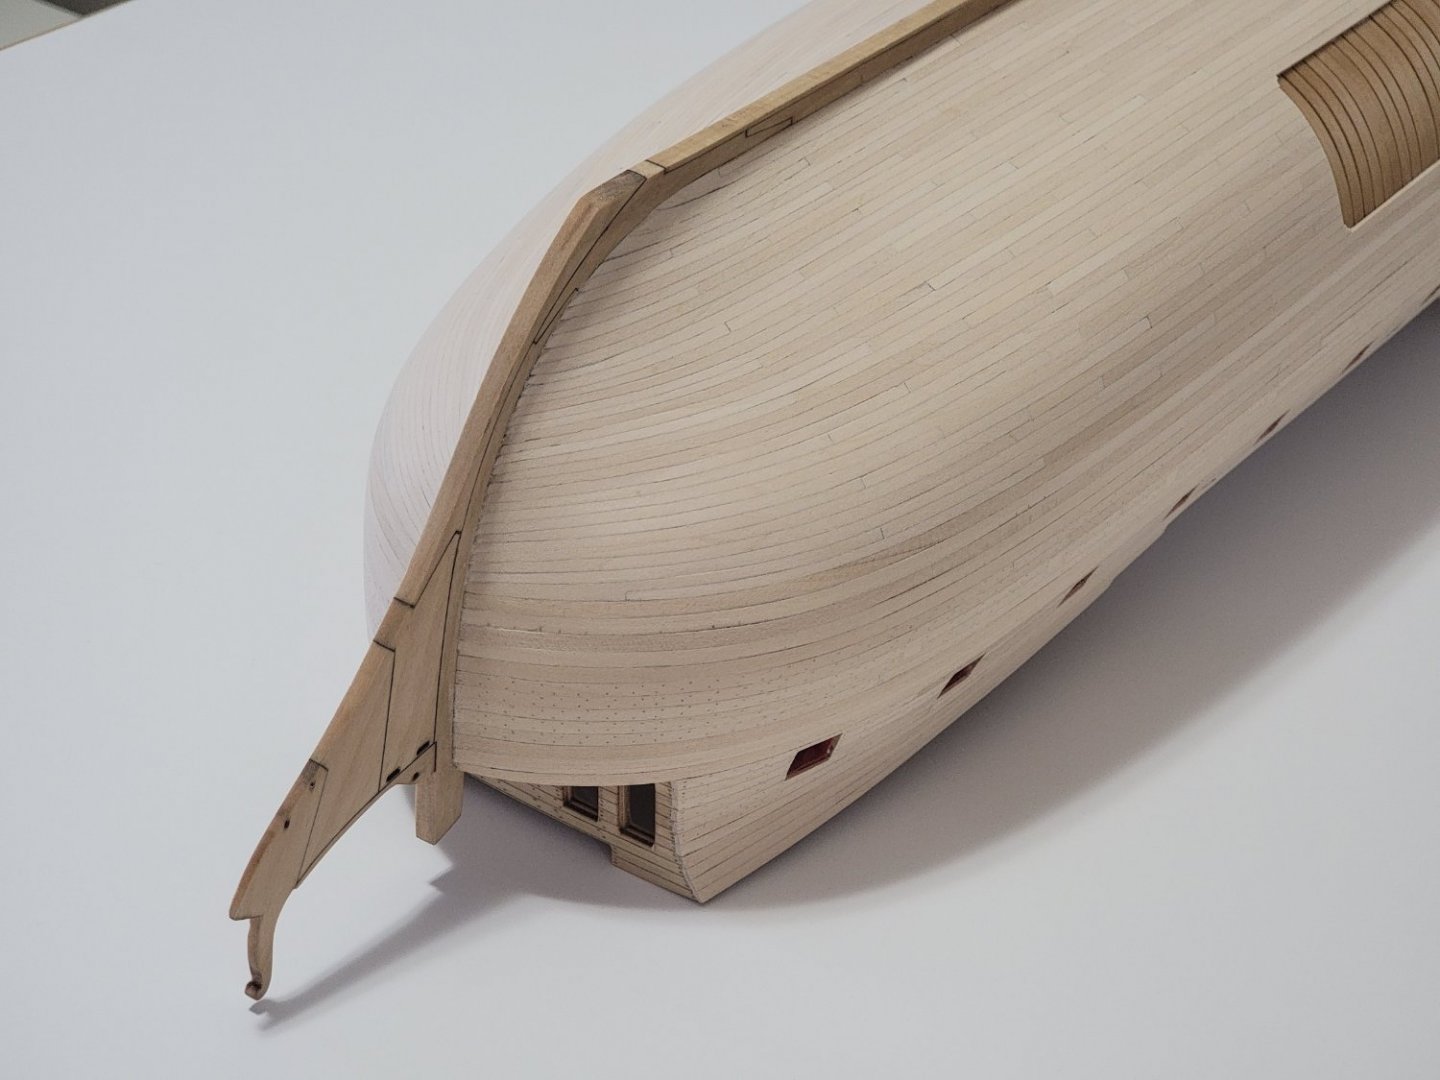
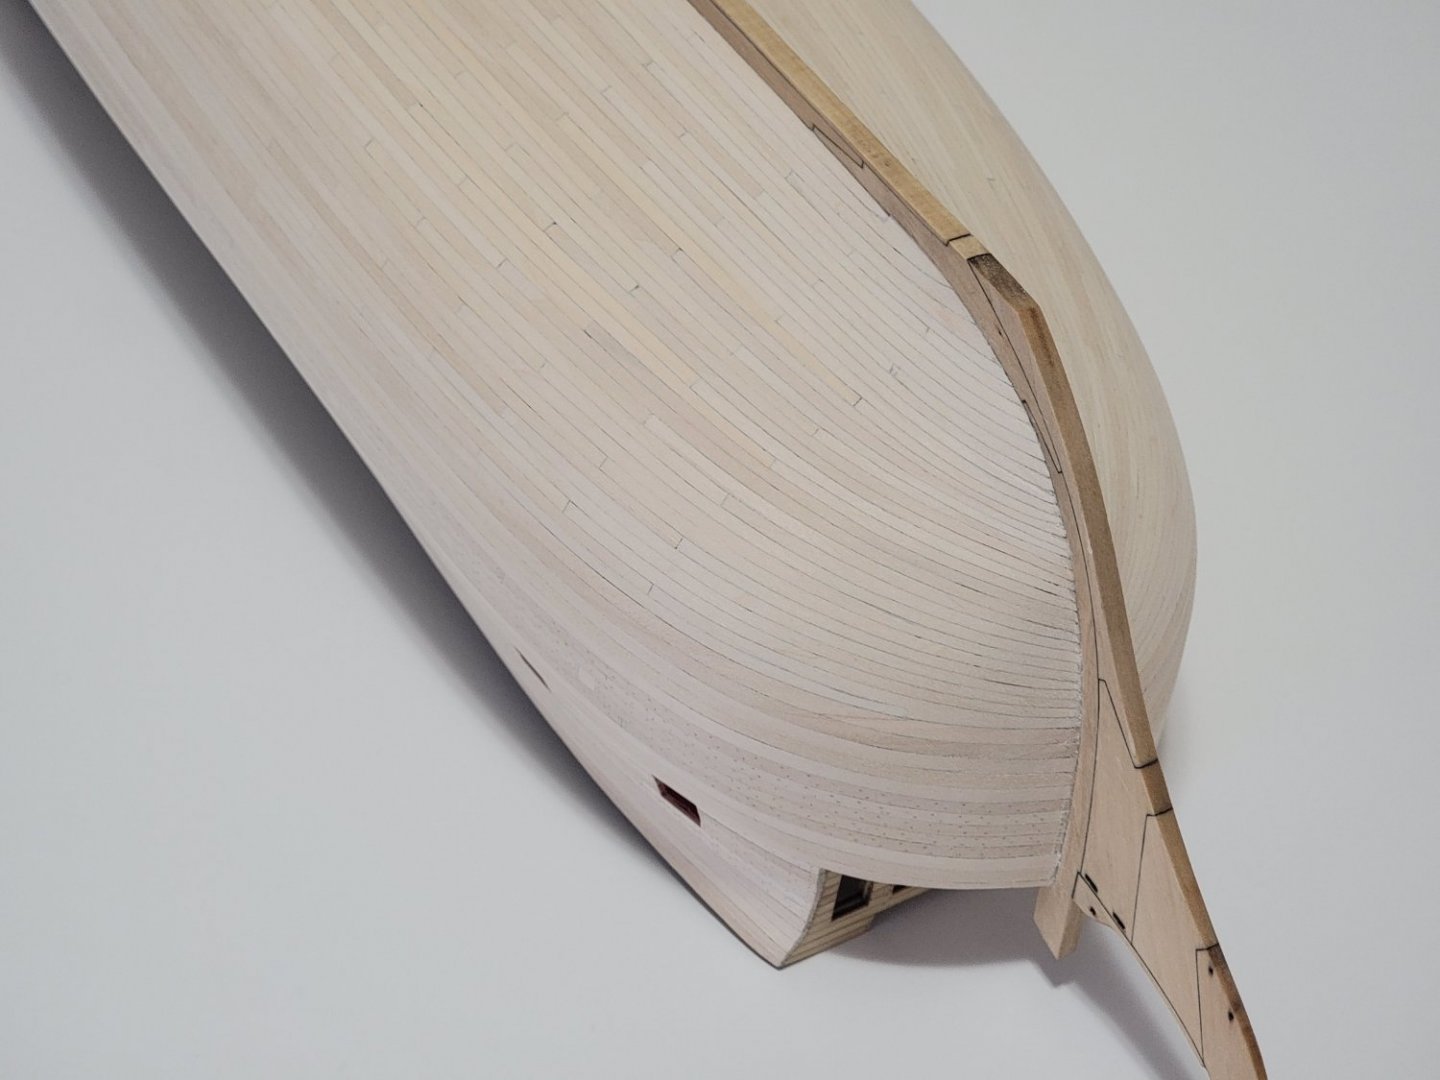
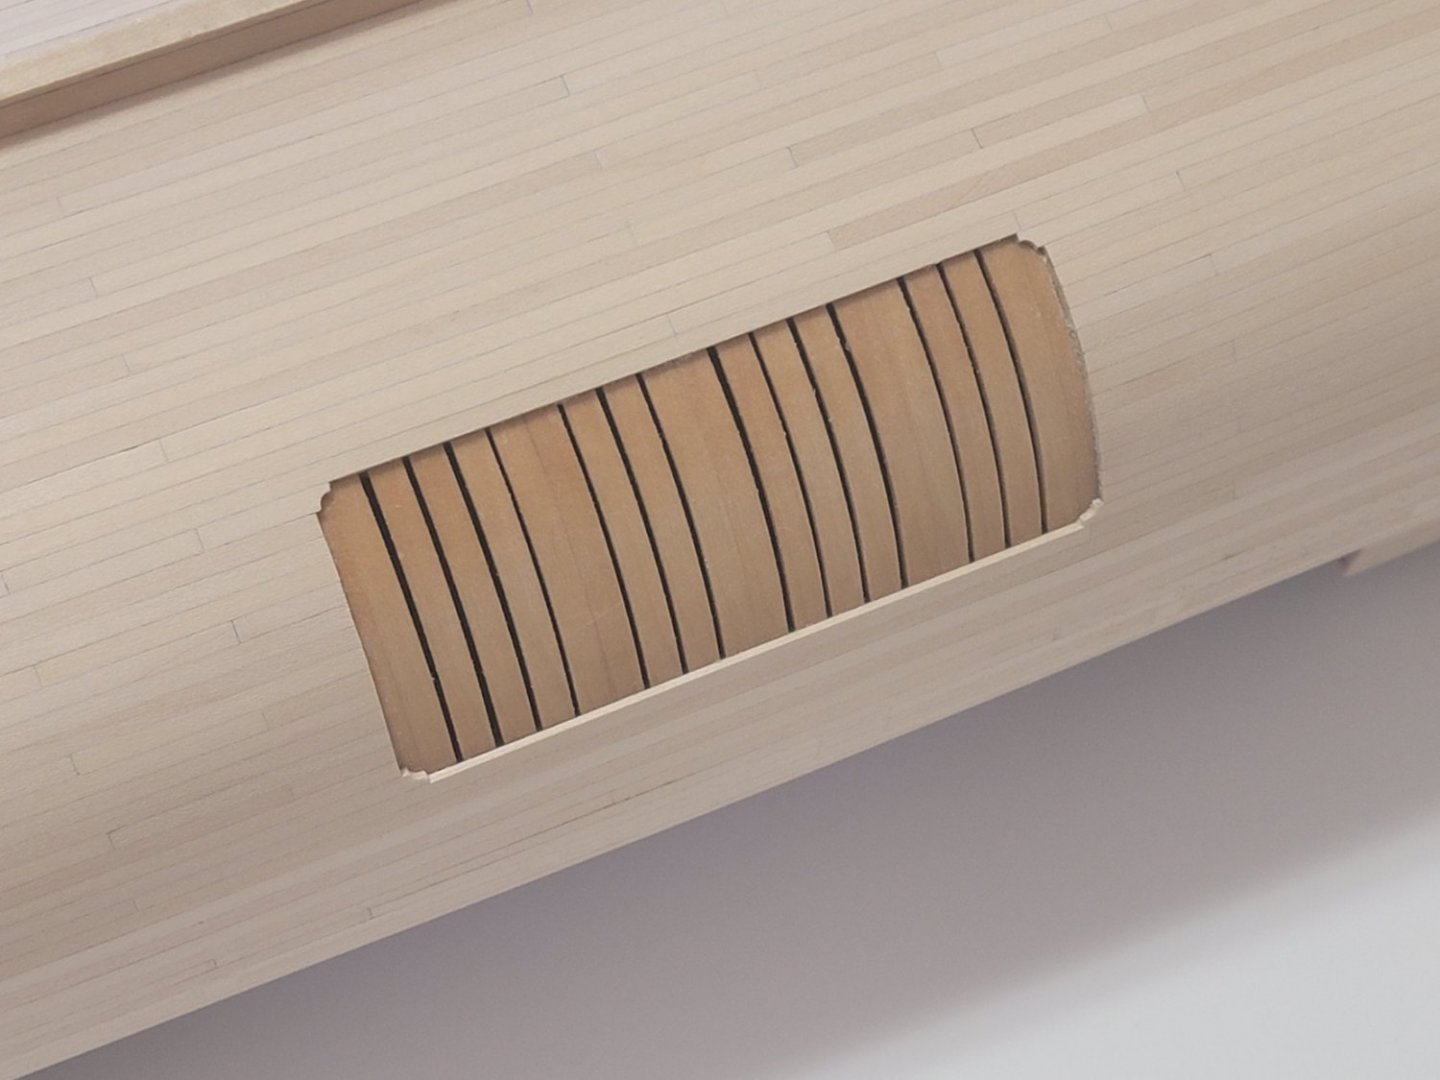
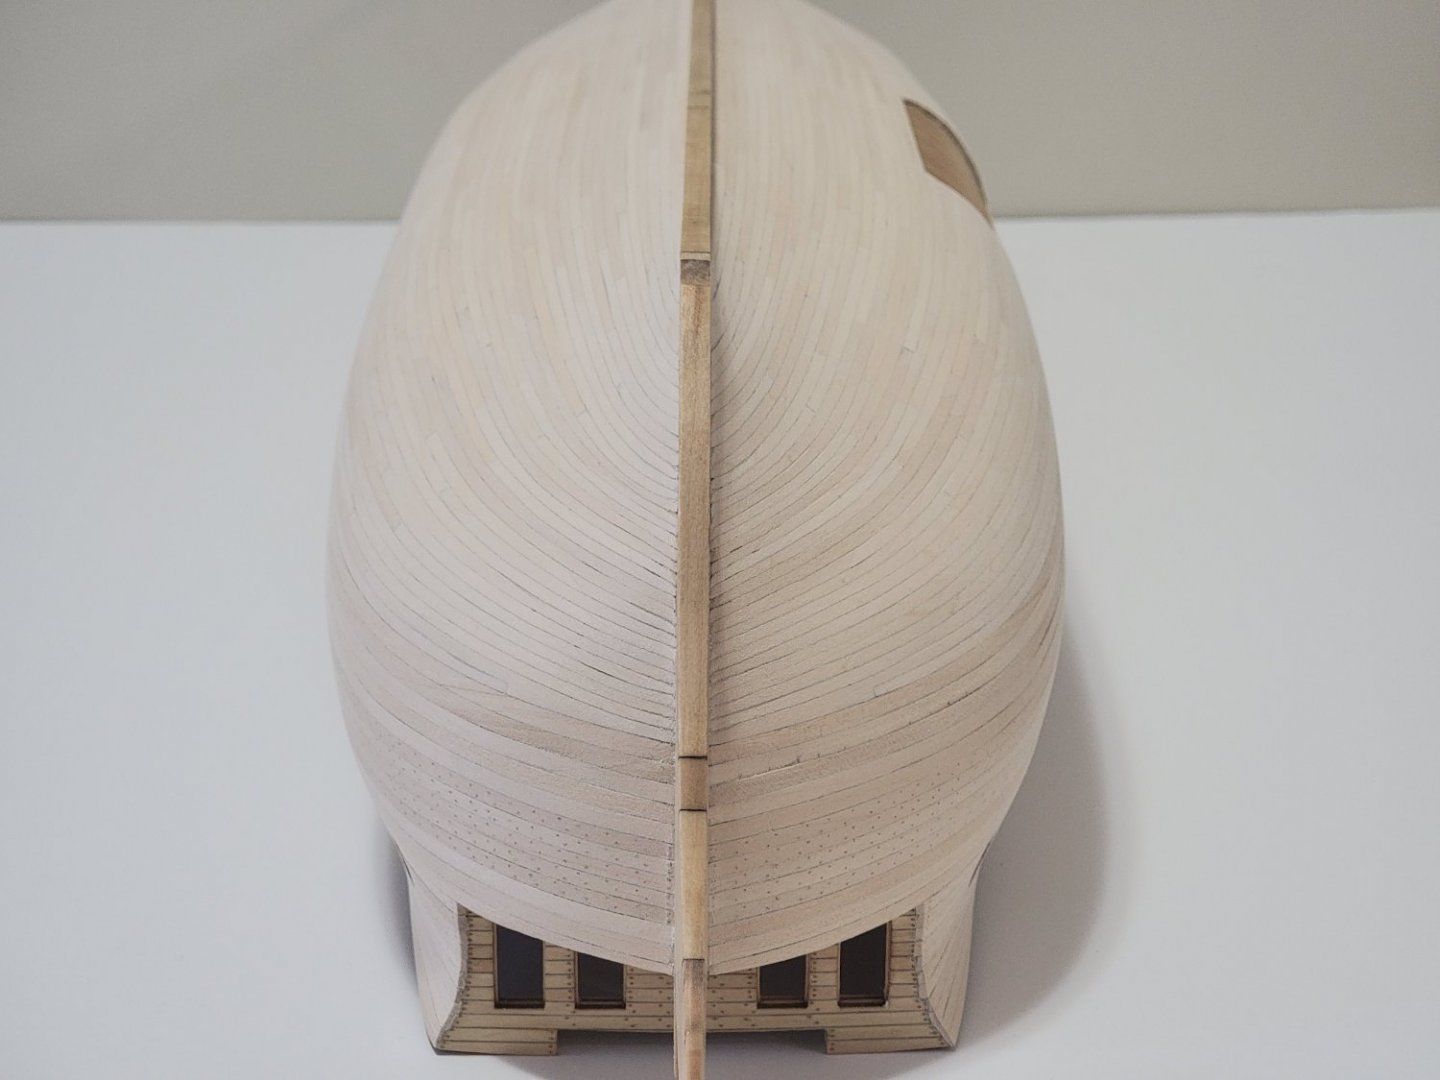
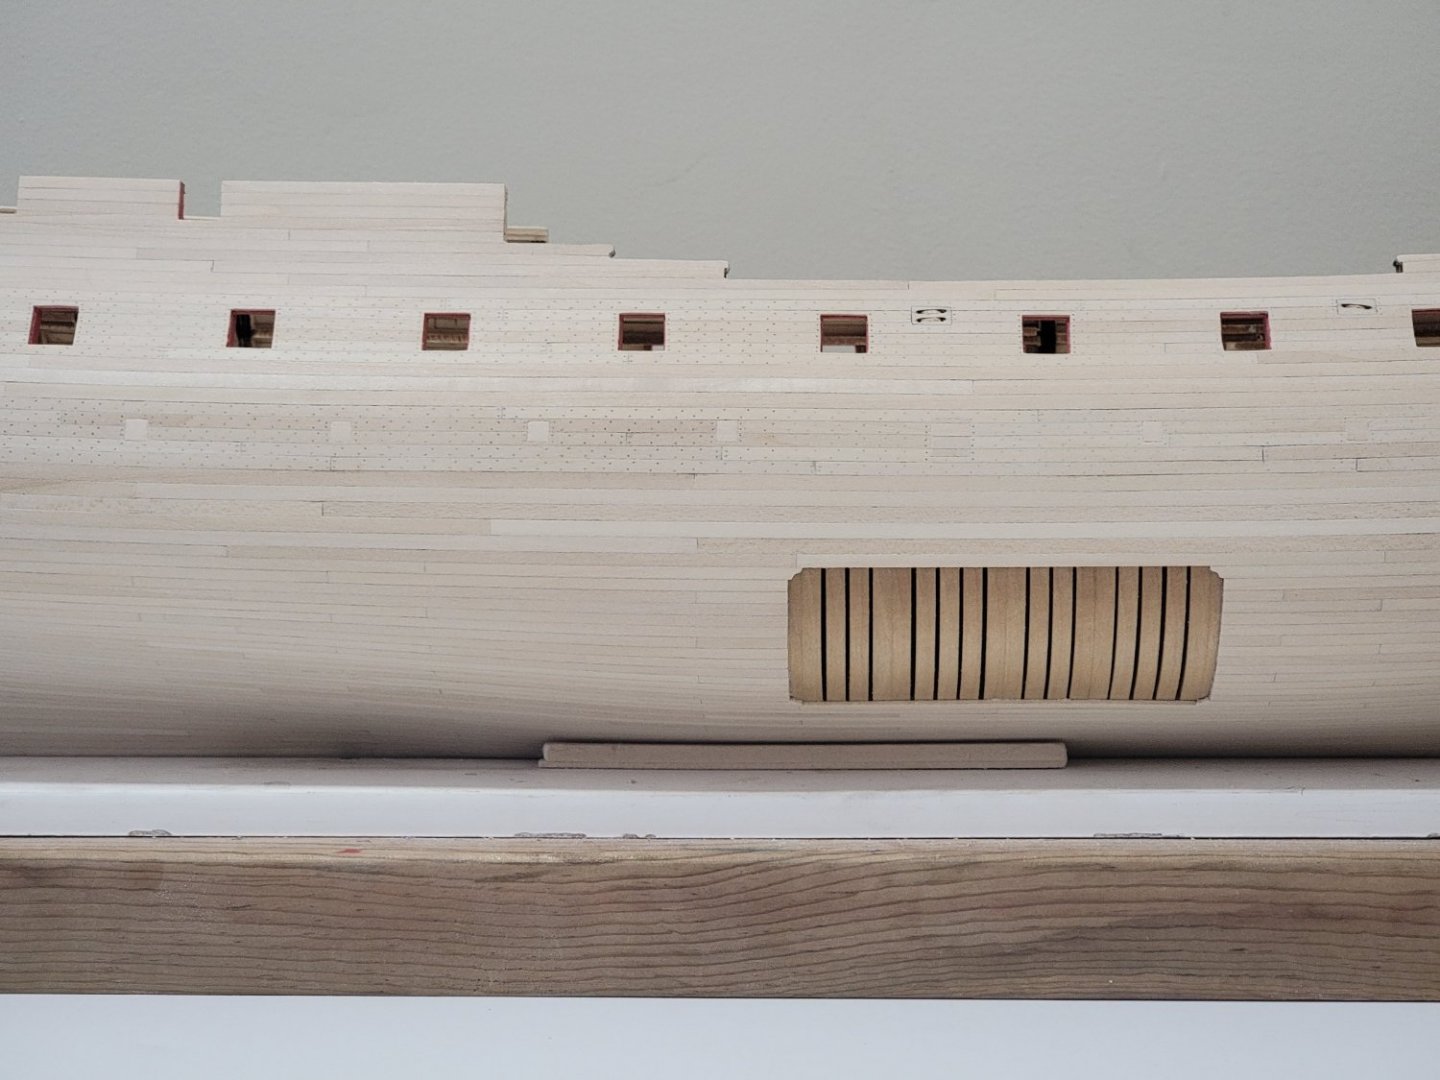
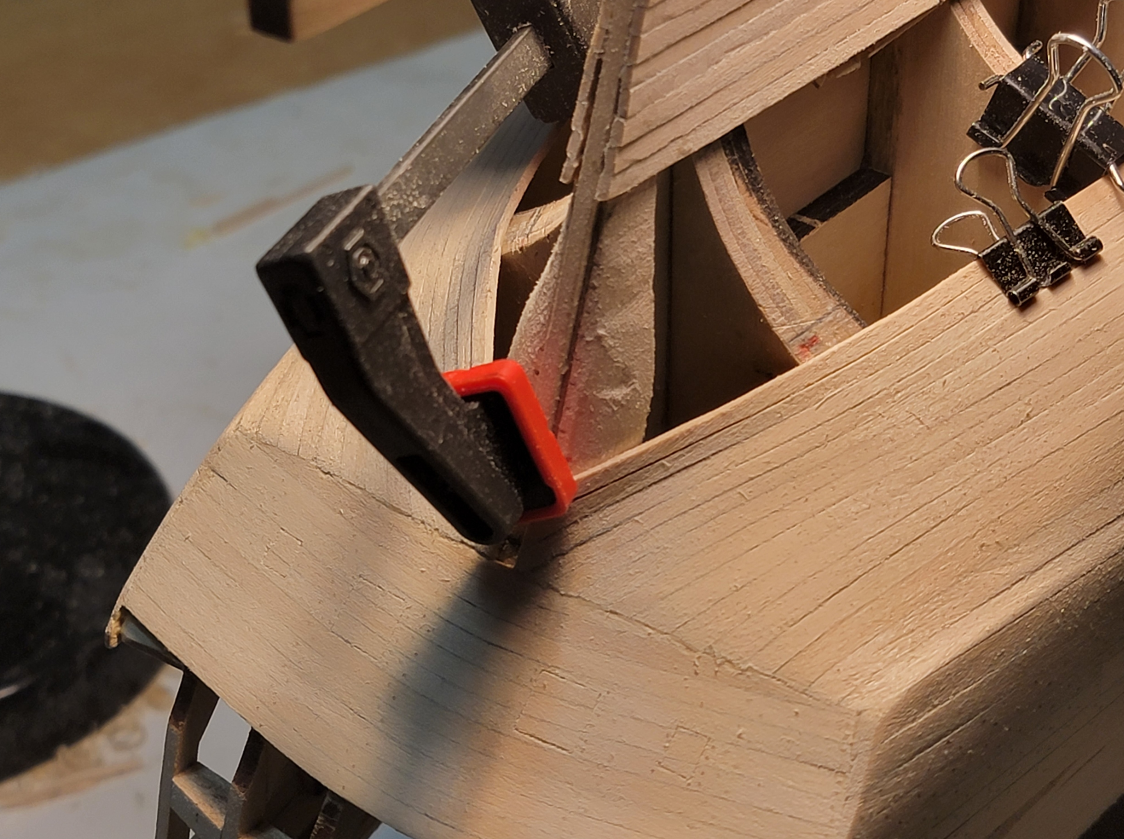
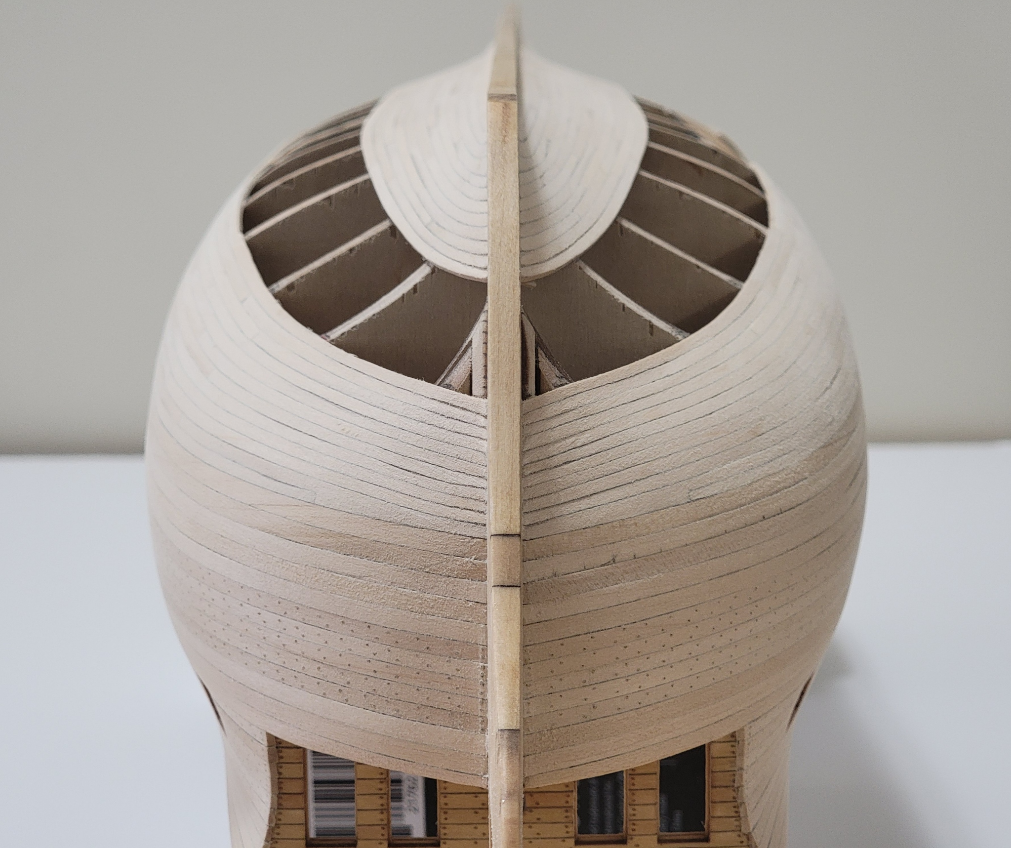
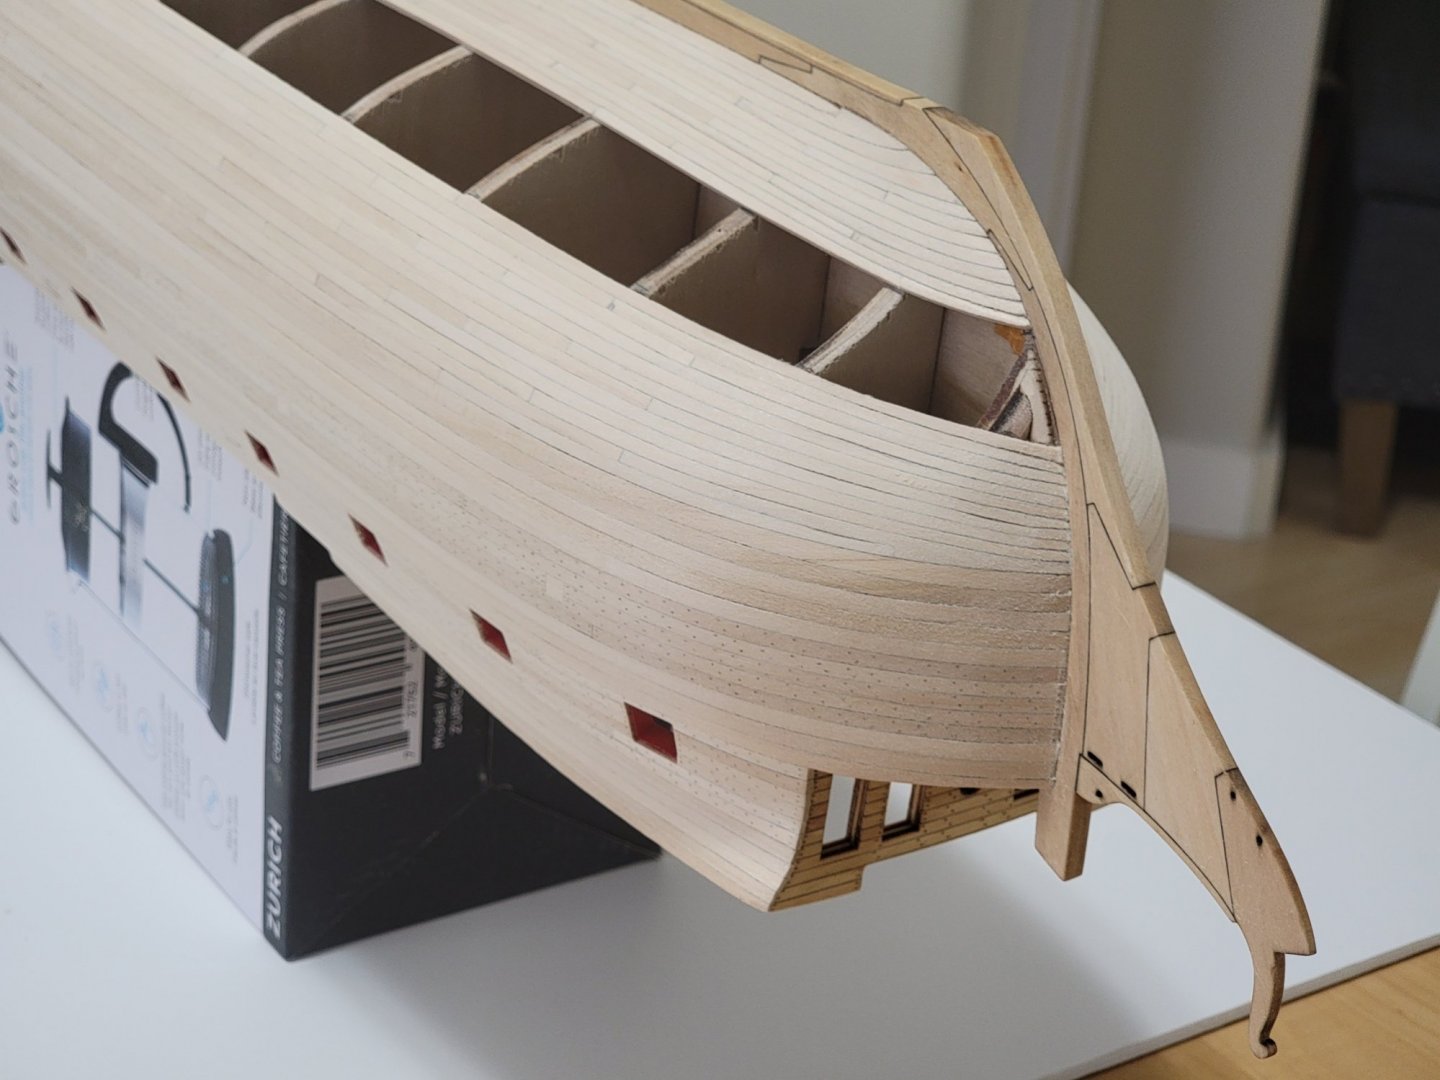
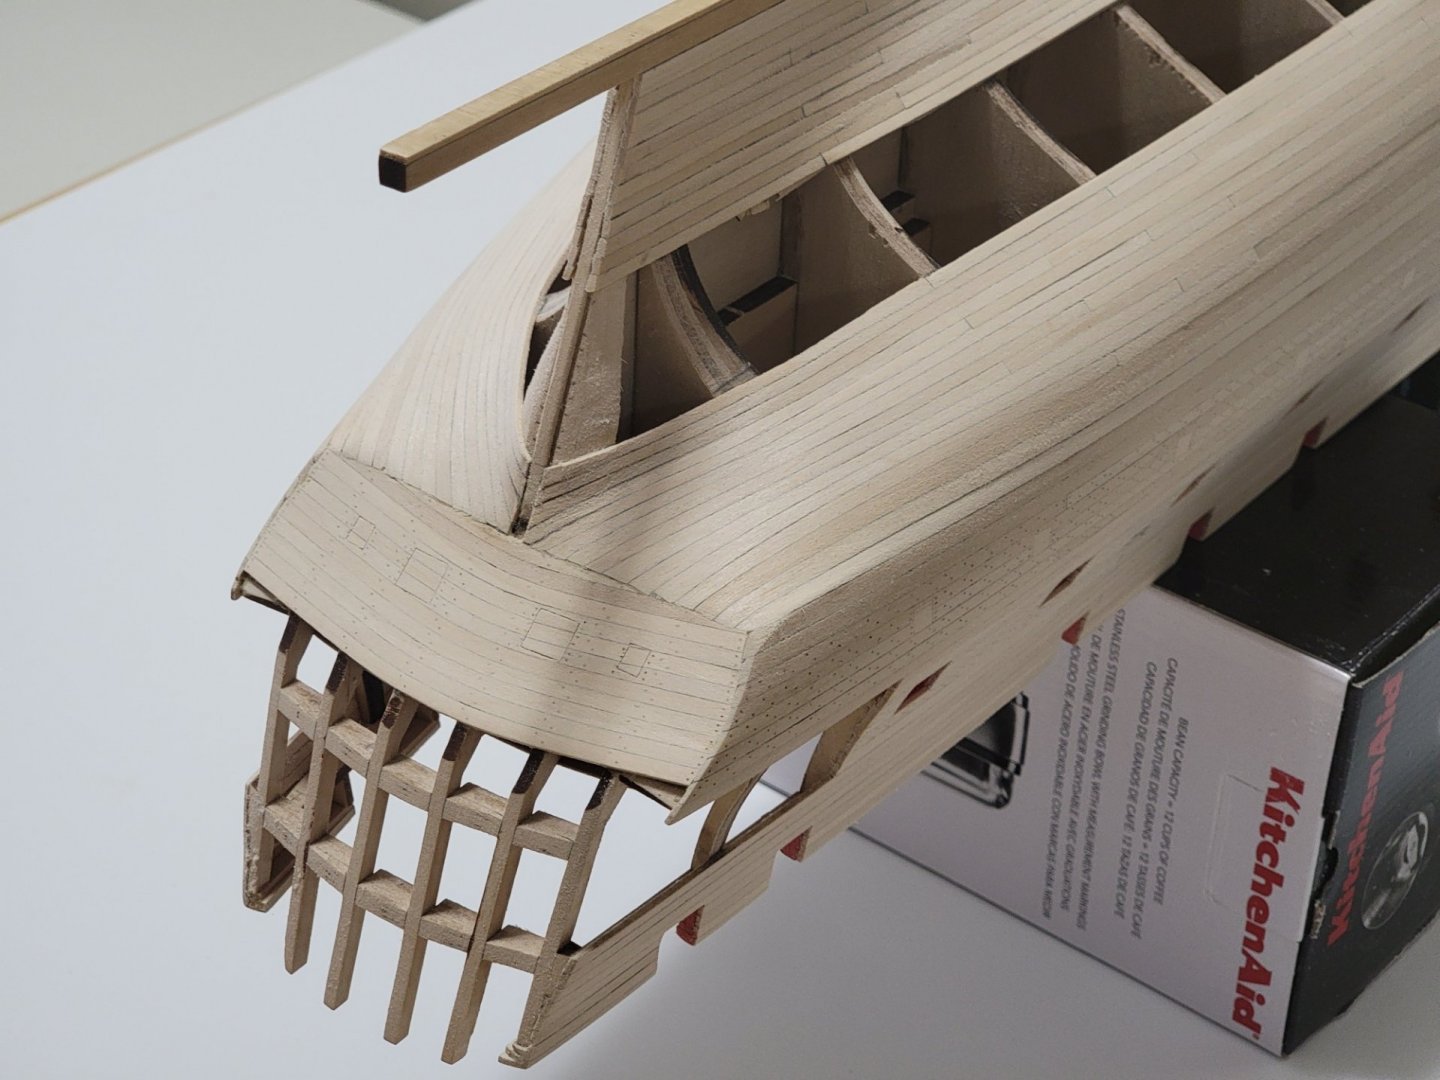
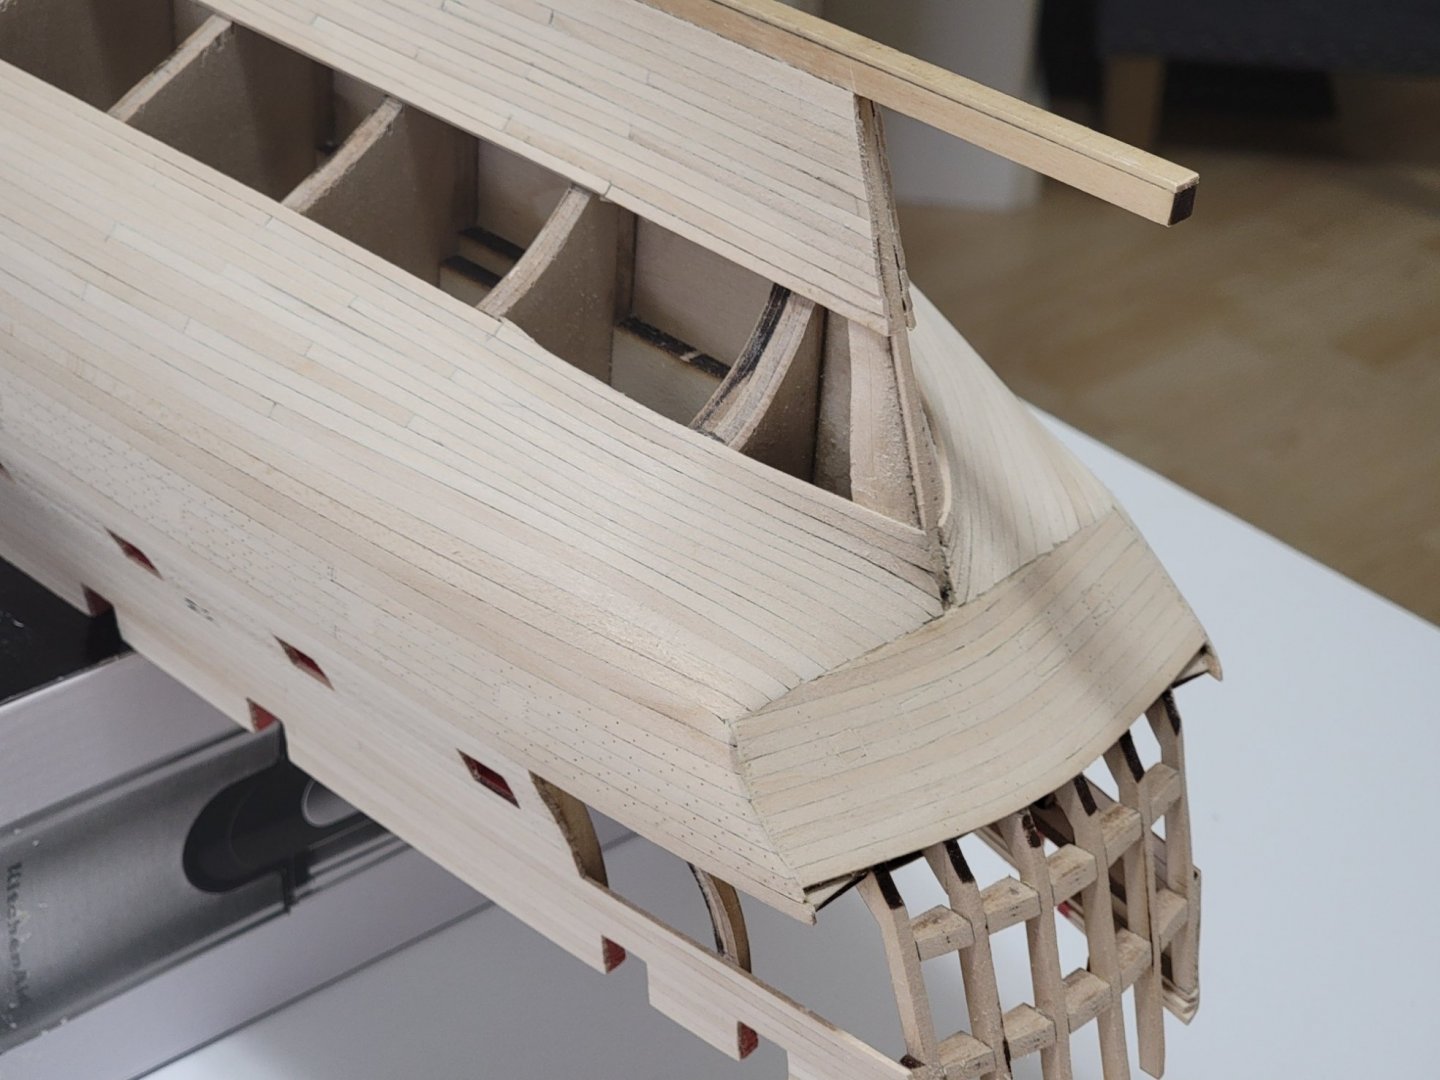
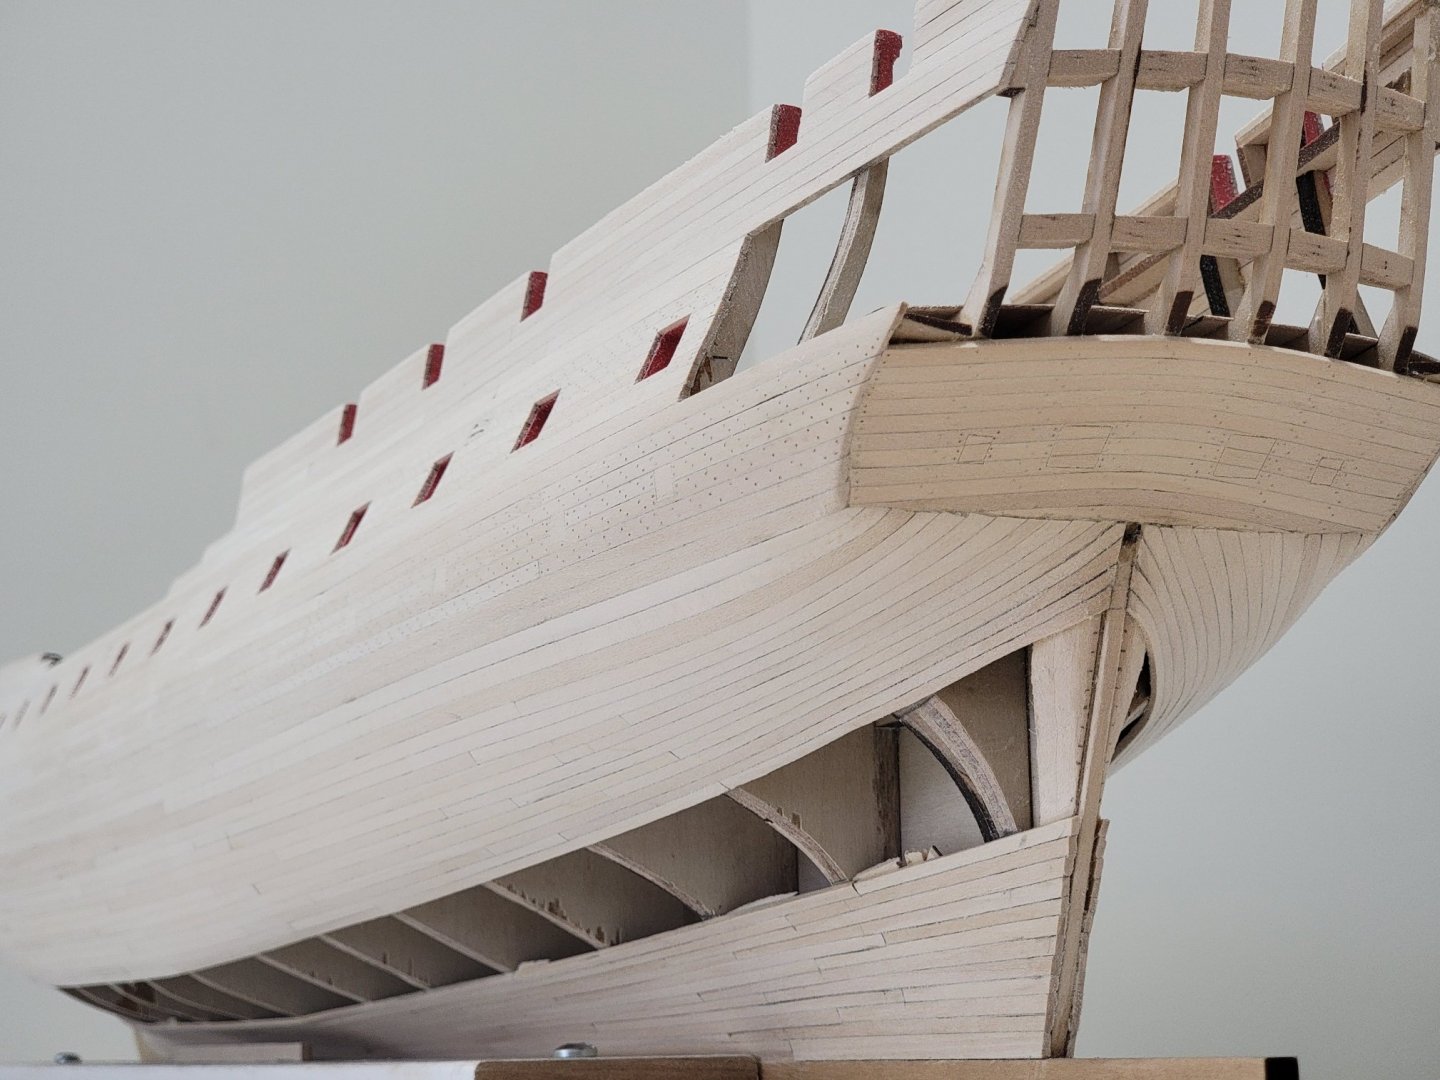
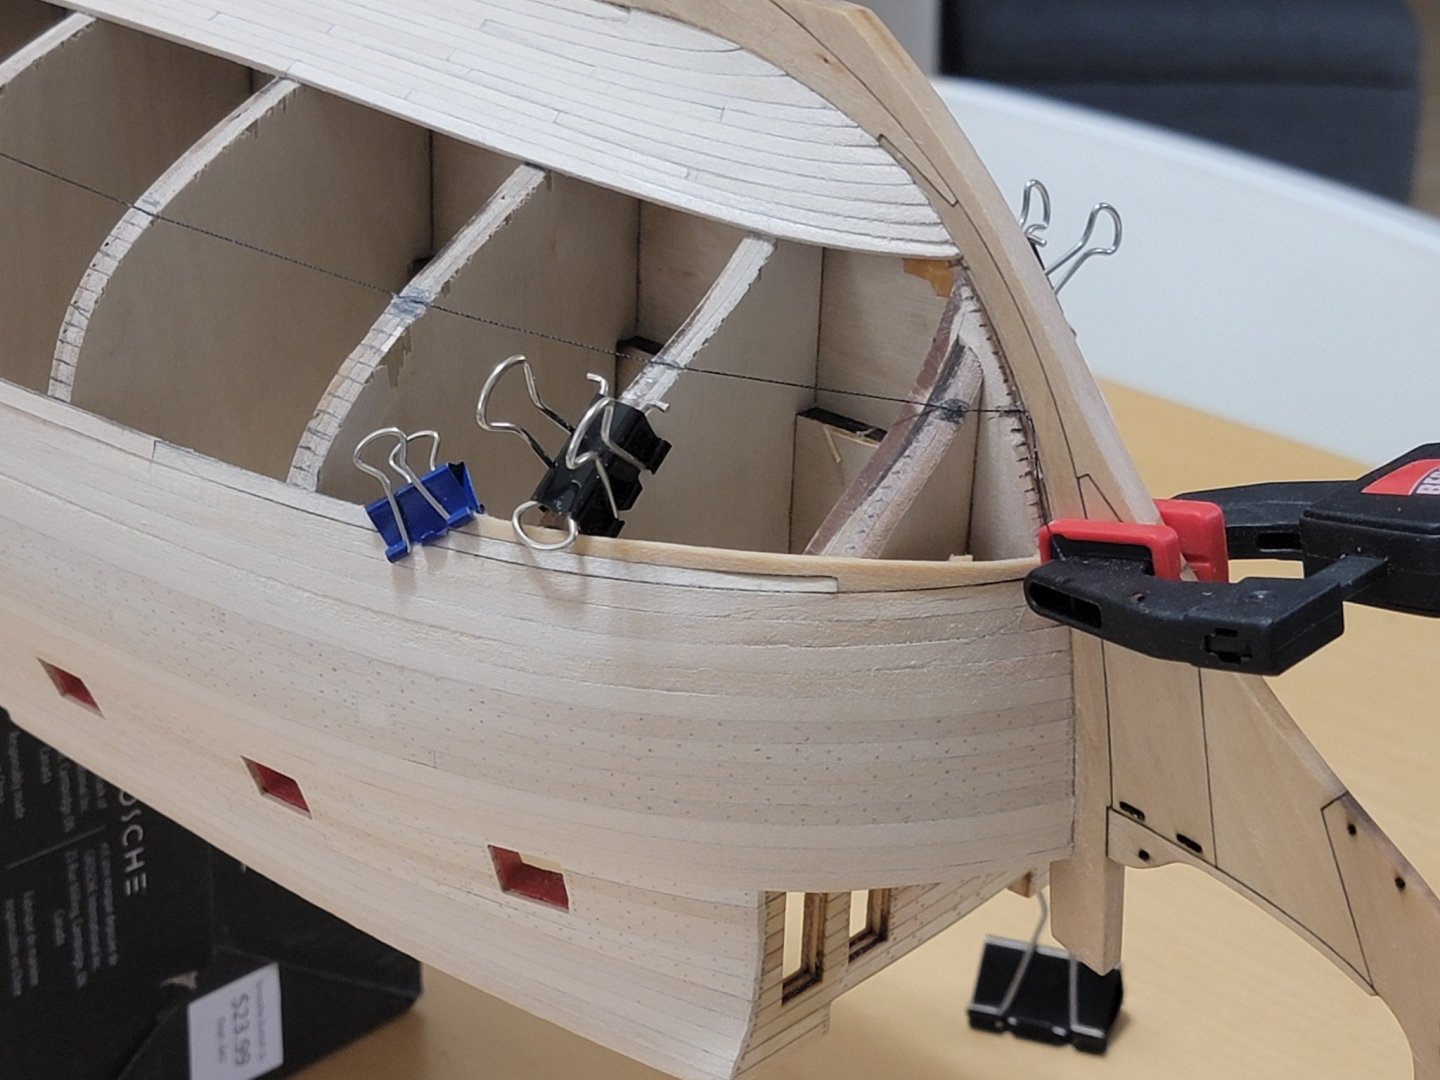
The uppermost band is now planked. I found this part to be much more trickier and challenging than the lower band. I'm not 100% happy with how the planking turned out at the bow where they meet the stem. It's not as smooth or symmetric as I'd like. It looks ok with the ship upside down, but looks a bit weird with it the right way up. No idea why this it is like that 😅. Maybe I just need to sand a bit more (I just roughly sanded it for now). Also, similar to the bow, all the planks at the stern had to be cut out from a sheet since the planks needed to be curved in shape. So each strake took a couple of days to do. Here are some photos: And with the ship the right way up: Clamping the wood at the stern was also tricky. I had to think of different ways to do this: I have a feeling the middle band will be more trickier since I will be slowly running out of space for the clamps.


-
I'm still confused 😅, where exactly are they to be used?
- 399 replies
-
- 1
-

-
- winchelsea
- Syren Ship Model Company
- (and 1 more)
-
I'll be following with a lot of interest! I am also building the Confederacy (currently halfway through the planking below the wales). Your model is looking fantastic! 🙂
-
Beautiful work!
-
Thank you, Thomas 🙂
-
Not much progress since my last update. Took a bit of a break after finishing the lower band. Here is where I am at right now: I followed Chuck's Winchelsea where he added a drop plank right below the wales. This will probably be my only drop plank. For those with a keen eye, you may have realized I replaced the topmost plank. It did not follow the same planking layout as the first lowermost band, so I decided to redo it. That way, I could also work in the drop plank as well. And I had to mark out the 11 planks on the middle bulkhead for the middle band so that I can see where the butt joints will line up. I hope I calculated where the top plank butt joints are accurately! I did it 5 times to make sure I did not make a mistake! 😅 Guess I will know for sure if I counted them right once I finish up the planking...

-
Thank you, Steven.