.jpg.1f80adf1a9b14a937cfcf2ca6af0f0d4.jpg)
WalrusGuy
-
Posts
1,009 -
Joined
-
Last visited
Content Type
Profiles
Forums
Gallery
Events
Everything posted by WalrusGuy
-
.thumb.jpg.62d1d69fed1f32364417cb1f9cdeb009.jpg) Same! I'm very interested in a high quality POF kit 😁
Same! I'm very interested in a high quality POF kit 😁- 1,784 replies
-
- 2
-

-
- winchelsea
- Syren Ship Model Company
- (and 1 more)
-
Beautiful work, Mike. Your photos are also amazing and sharp. What camera do you use?
- 607 replies
-
- 1
-
-
- winchelsea
- Syren Ship Model Company
- (and 1 more)
-
Amazing work!!!
-
Thank you all for the encouraging comments, and also for the likes! The first band is now planked and I lightly sanded it: I still need to smoothen the edge some more before moving on to the next band: And with the ship upright: From this photo I just noticed, I also need to fix up the string on the portside (2nd bulkhead from the stern):


-
Hi Greg, do you have any suggestions of which brands are good for these kinds of files? And do you know where we can purchase these? To be honest, I had no idea these existed until you pointed it out.
-
Thanks, Matt! I find shaping each plank a bit like meditating after doing it a while 😄 Also, I forgot to mention, I've been using a technique taught to me by @michael mott for bending planks. Instead of soaking wood to bend planks, I've been wrapping the planks with a damp napkin and microwaving for about 20-30 sec. This saves a lot of time!
-
I never knew how long each strake of planking would take! Almost all planks are different in shape or need to be tapered a certain way. Even some in the middle right before the stern section need to be tapered slightly. I've been using the mini planer to taper planks easily. I am about halfway through the first band. Thought I'd share this small bit of progress as I carry on: Here is a piece where the inner part has been cut to shape, and the outer curve will be cut out next: I guess each band would take me a couple weeks to do. But I am in no rush to finish up, just going by it slowly and steadily.

-
The roof is looking amazing! Great job 😄
-
Awesome work and great workmanship! Your work inspires me to do better. I'm sure I'll be using your build logs as a primary reference if I ever decide to build the same kits in the future.
-
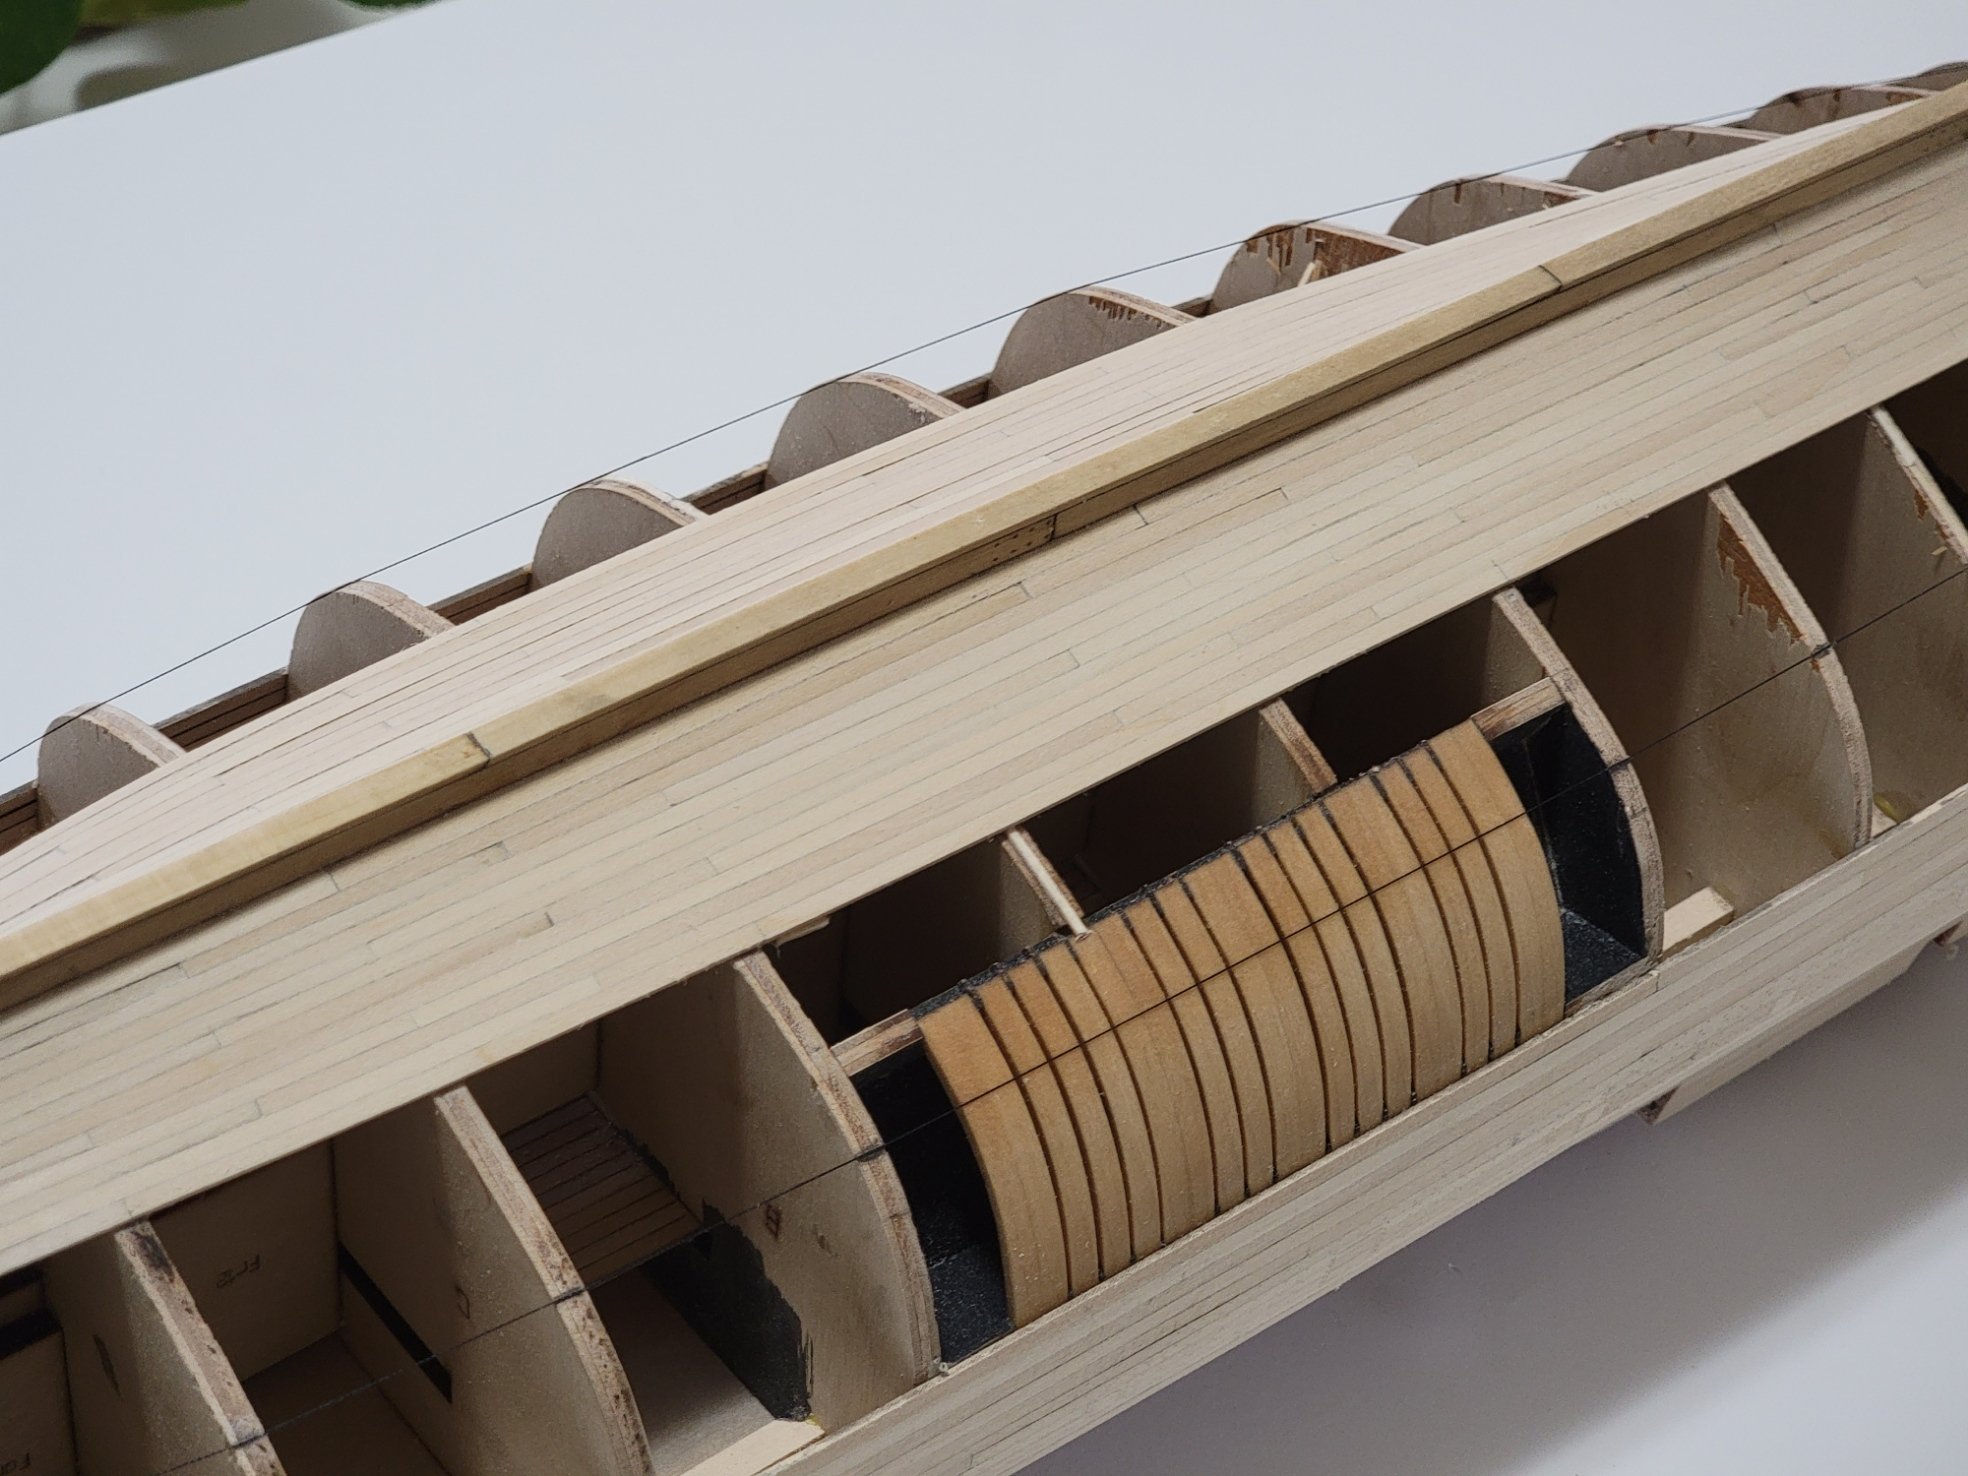
I made a start on the planking, and I am going slow and steady (well, I think and hope I am!). All the planks at the bow (and some at the stern) will be cut from from a basswood sheet. I'll use the supplied planks for the intermediate sections. I am gluing in a scrap wood piece (that overlaps underneath planks from the previous row) when a plank ends between bulkheads as shown here: I'll probably post more pictures when each band is completed. Again, I may space this part of the build with gluing and treenailing the channel wales.

-
Thank you for the words of encouragement, Tim and Bug! I made some more changes to the bow lining as shown here: I felt like the top layer was a bit too cramped up before and now the new layout is a bit more spacier.

-
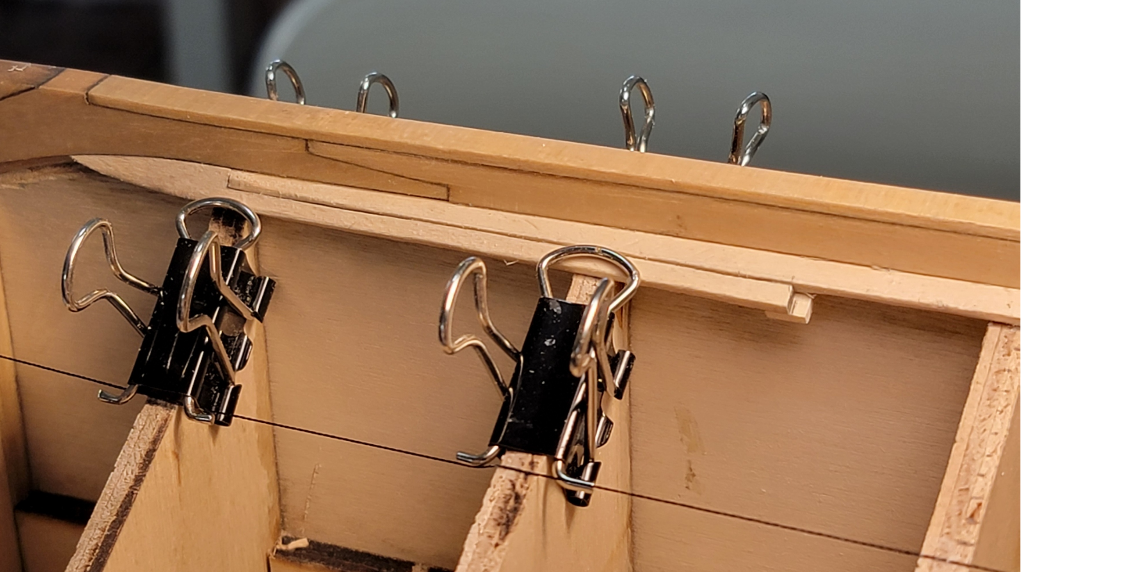
I finished planking the first layer of the wales and black strake. I also had to fix a small discrepancy in the starboard last gunport sill. It was placed 1mm higher than the opposite side, so I filed it down and painted it again. BTW, next time I will remember to put masking tape on the keel and stem, I keep accidentally scratching it with sandpaper!!! Here, I overbent the wood to account for spring-back:


-
Thank you for the compliments, David! Yes I agree about basswood having a tendency of splitting. Because of that, I am forced to work more slowly and deliberately to not damage the wood when working with small pieces. I am thinking to stop using basswood for future projects and use other species instead for an easier time 😉 I also found another difference between Chuck's and Antscherl's method is that Chuck uses tape to divide the bands, whereas Antscherl uses string. I found string to be easy to glue and tweak afterwards with a little bit of water.
-
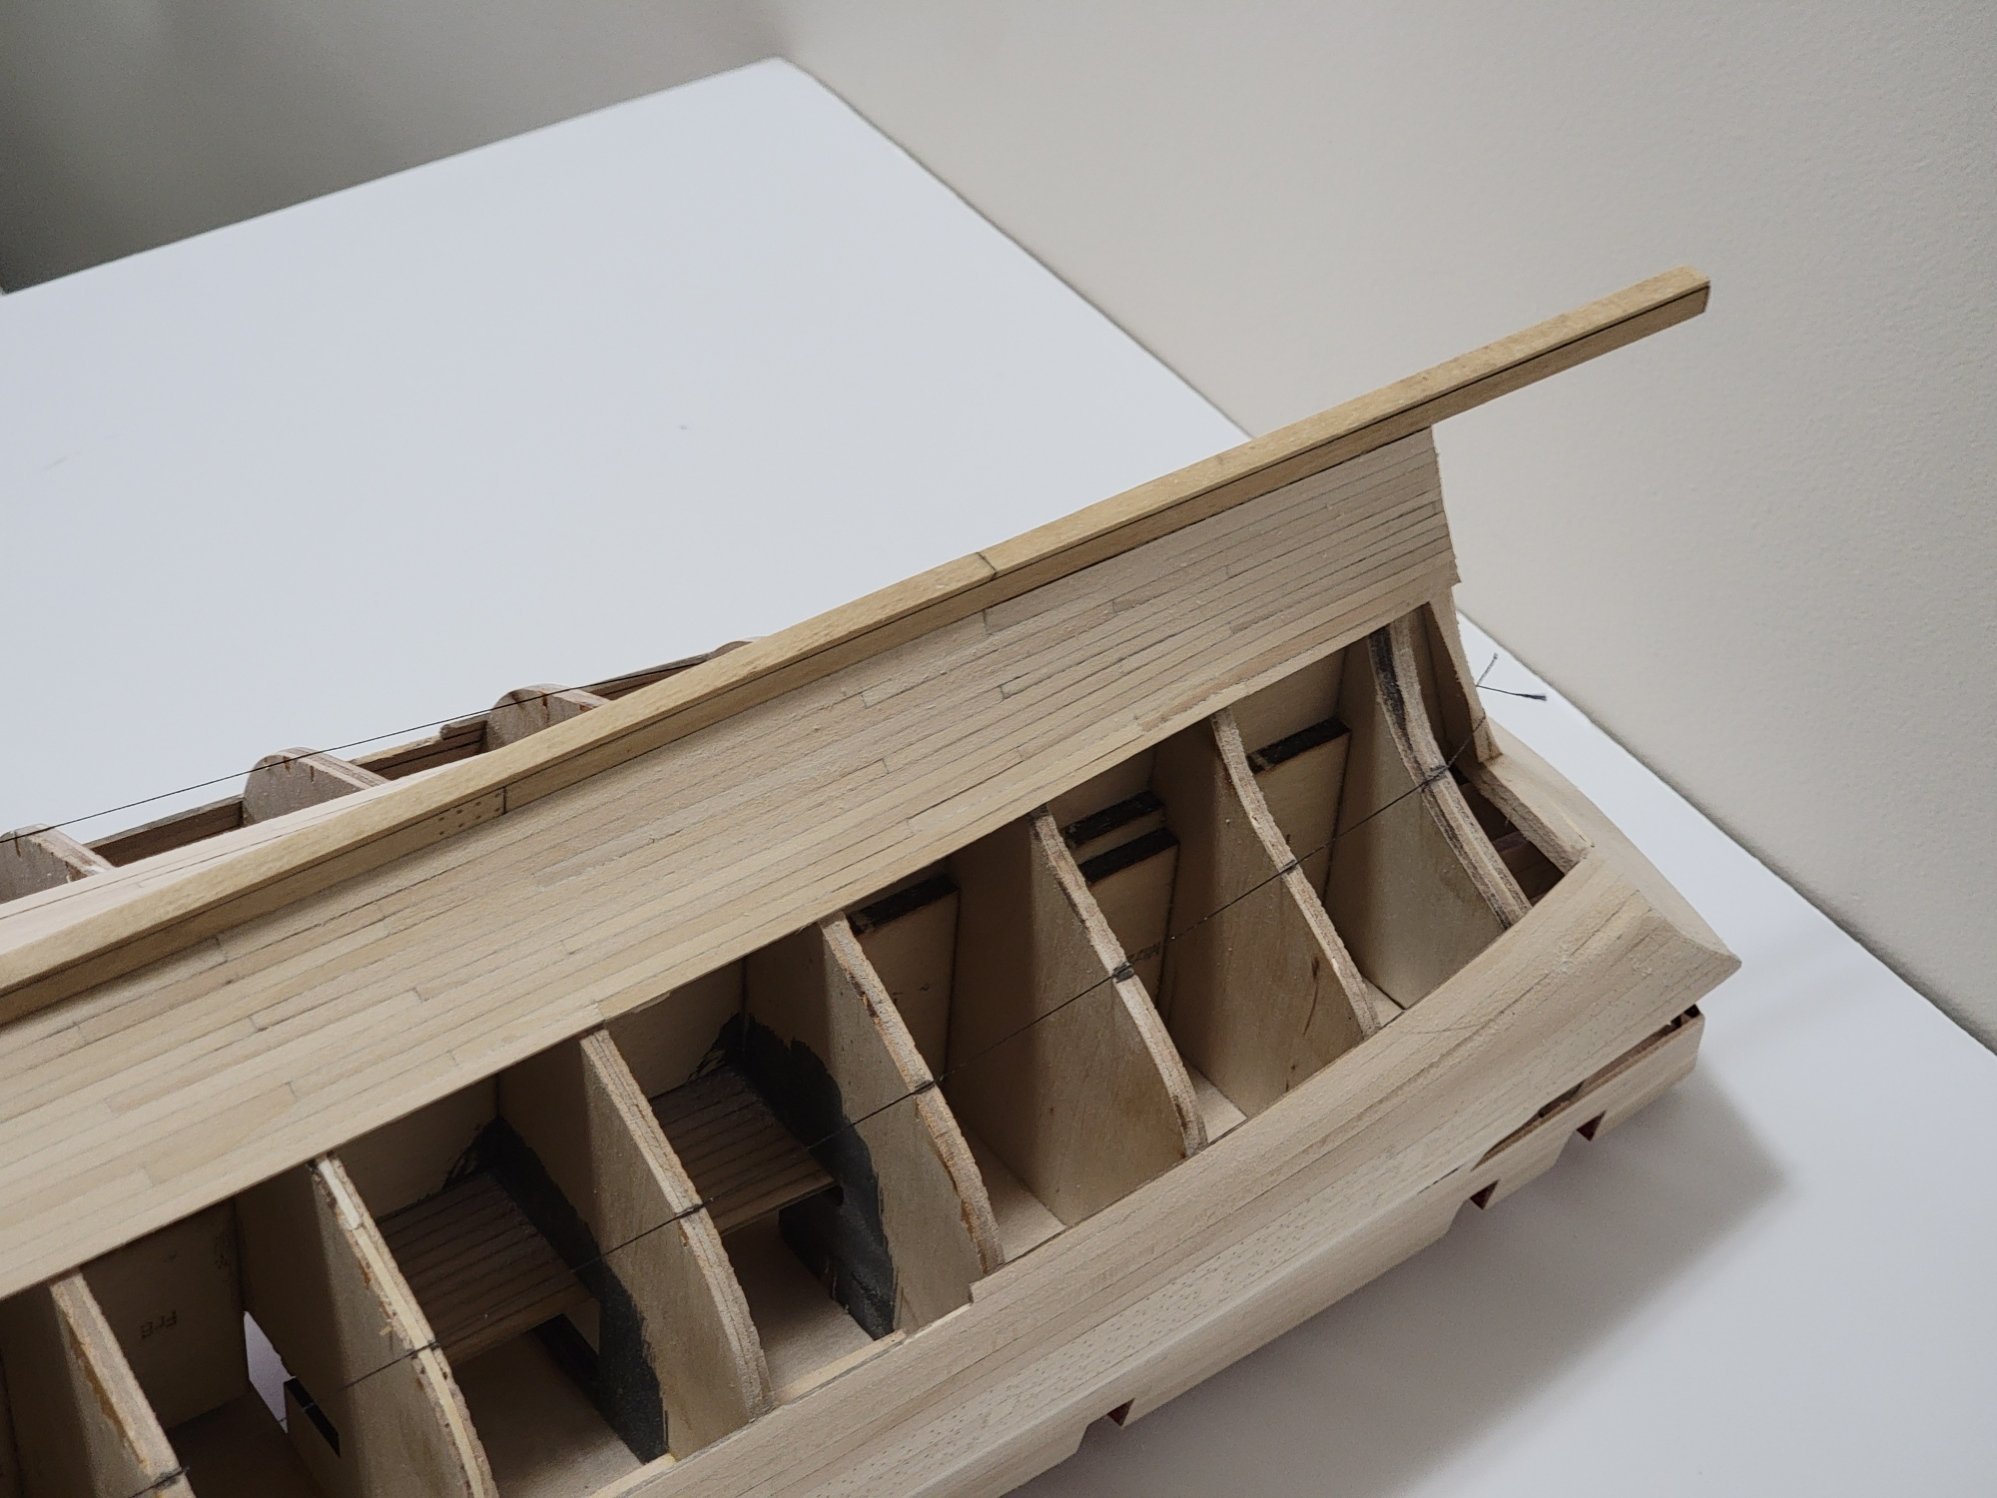
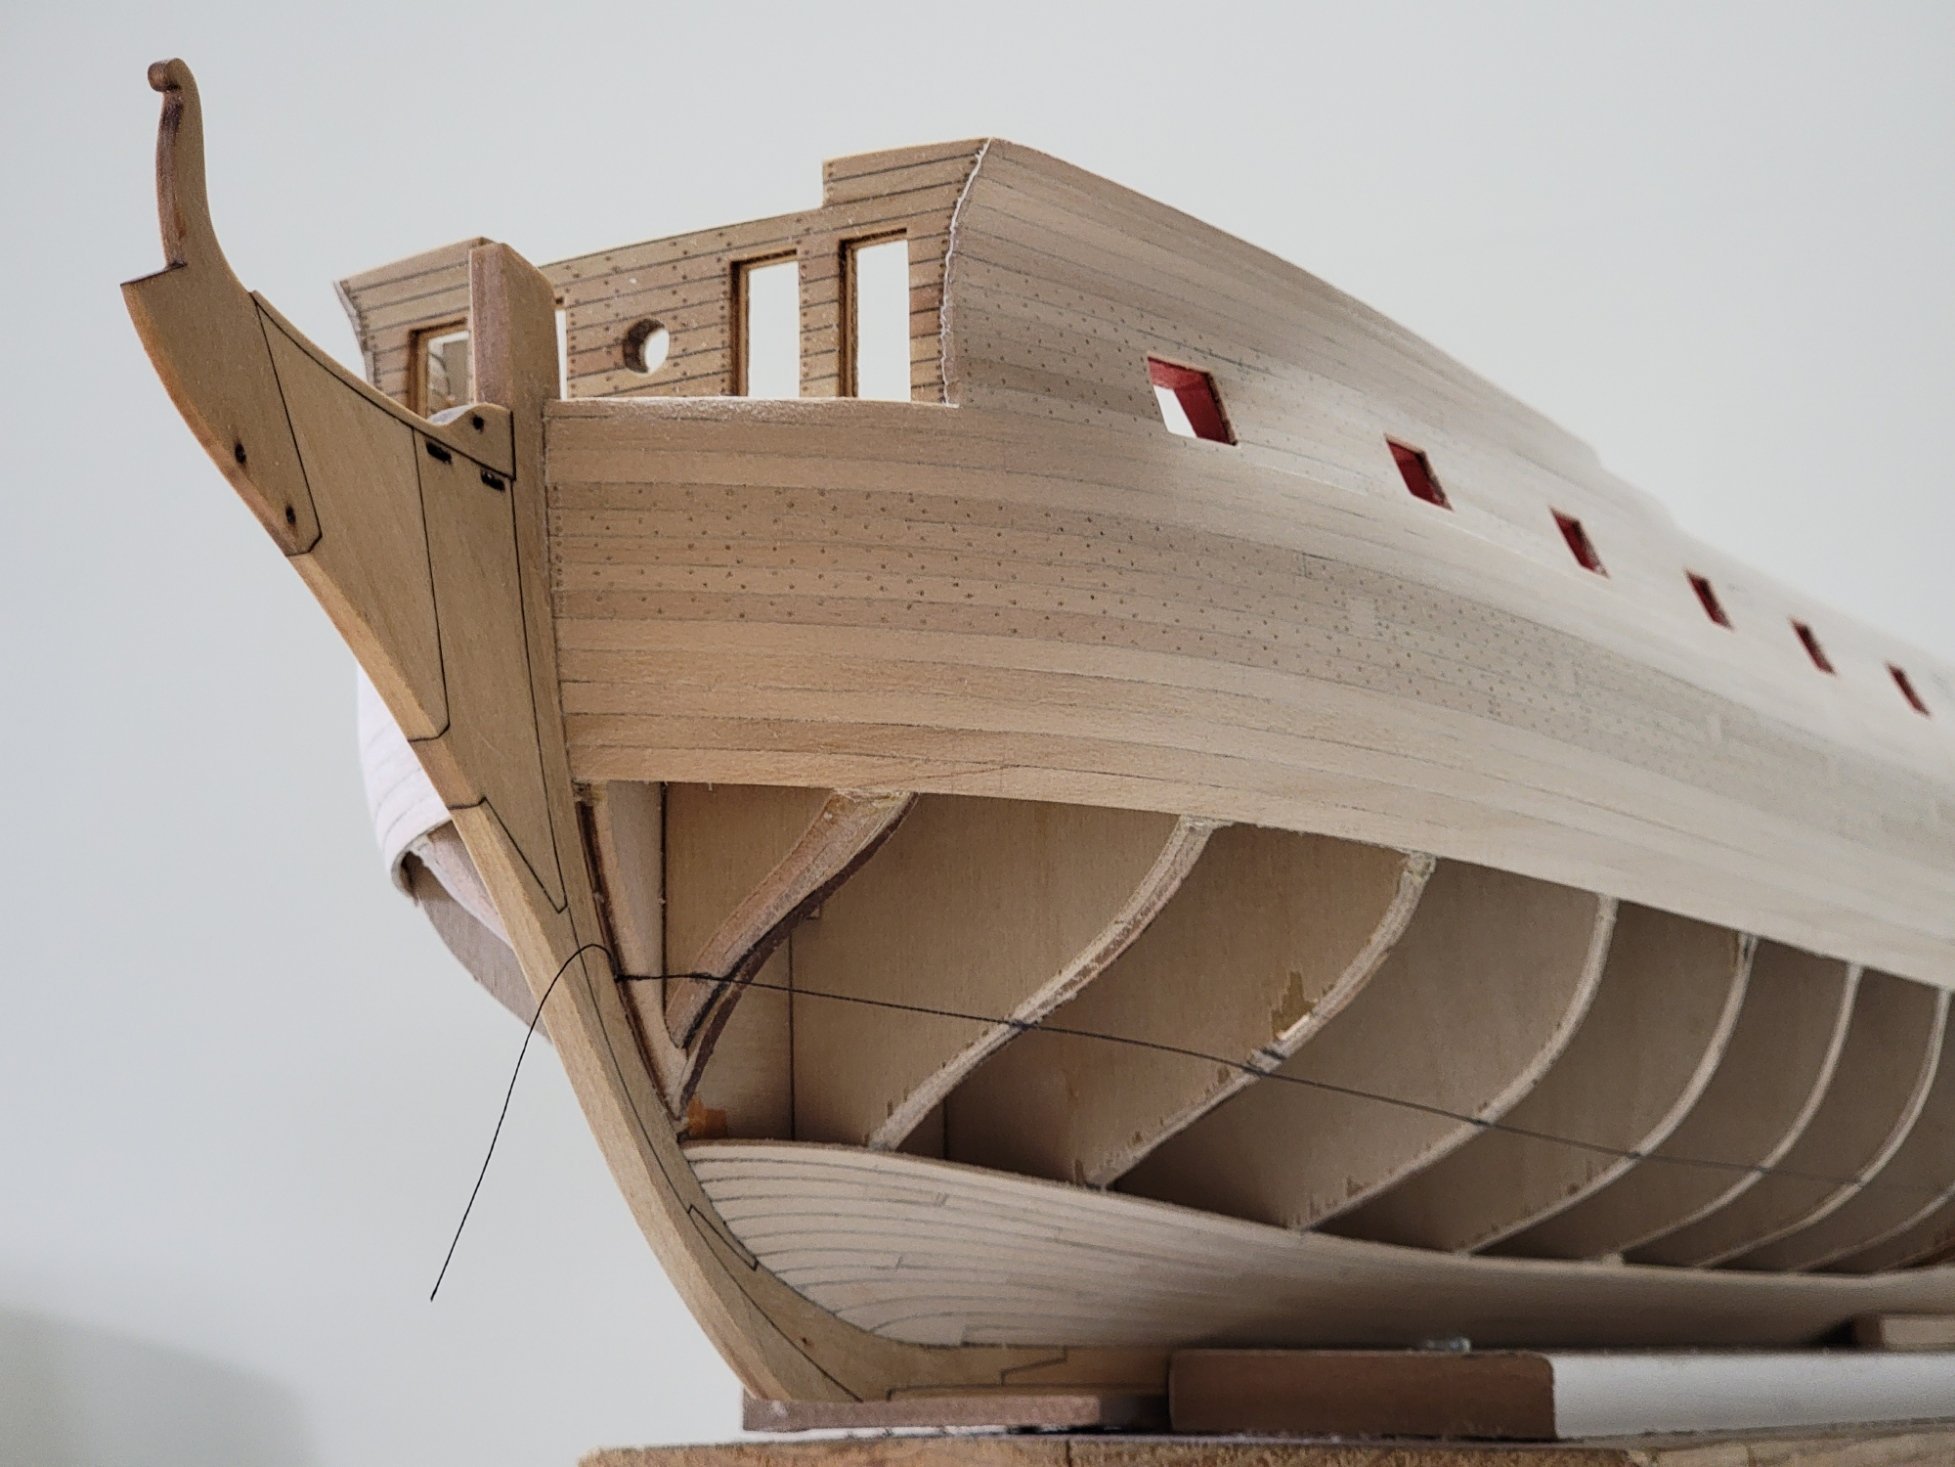
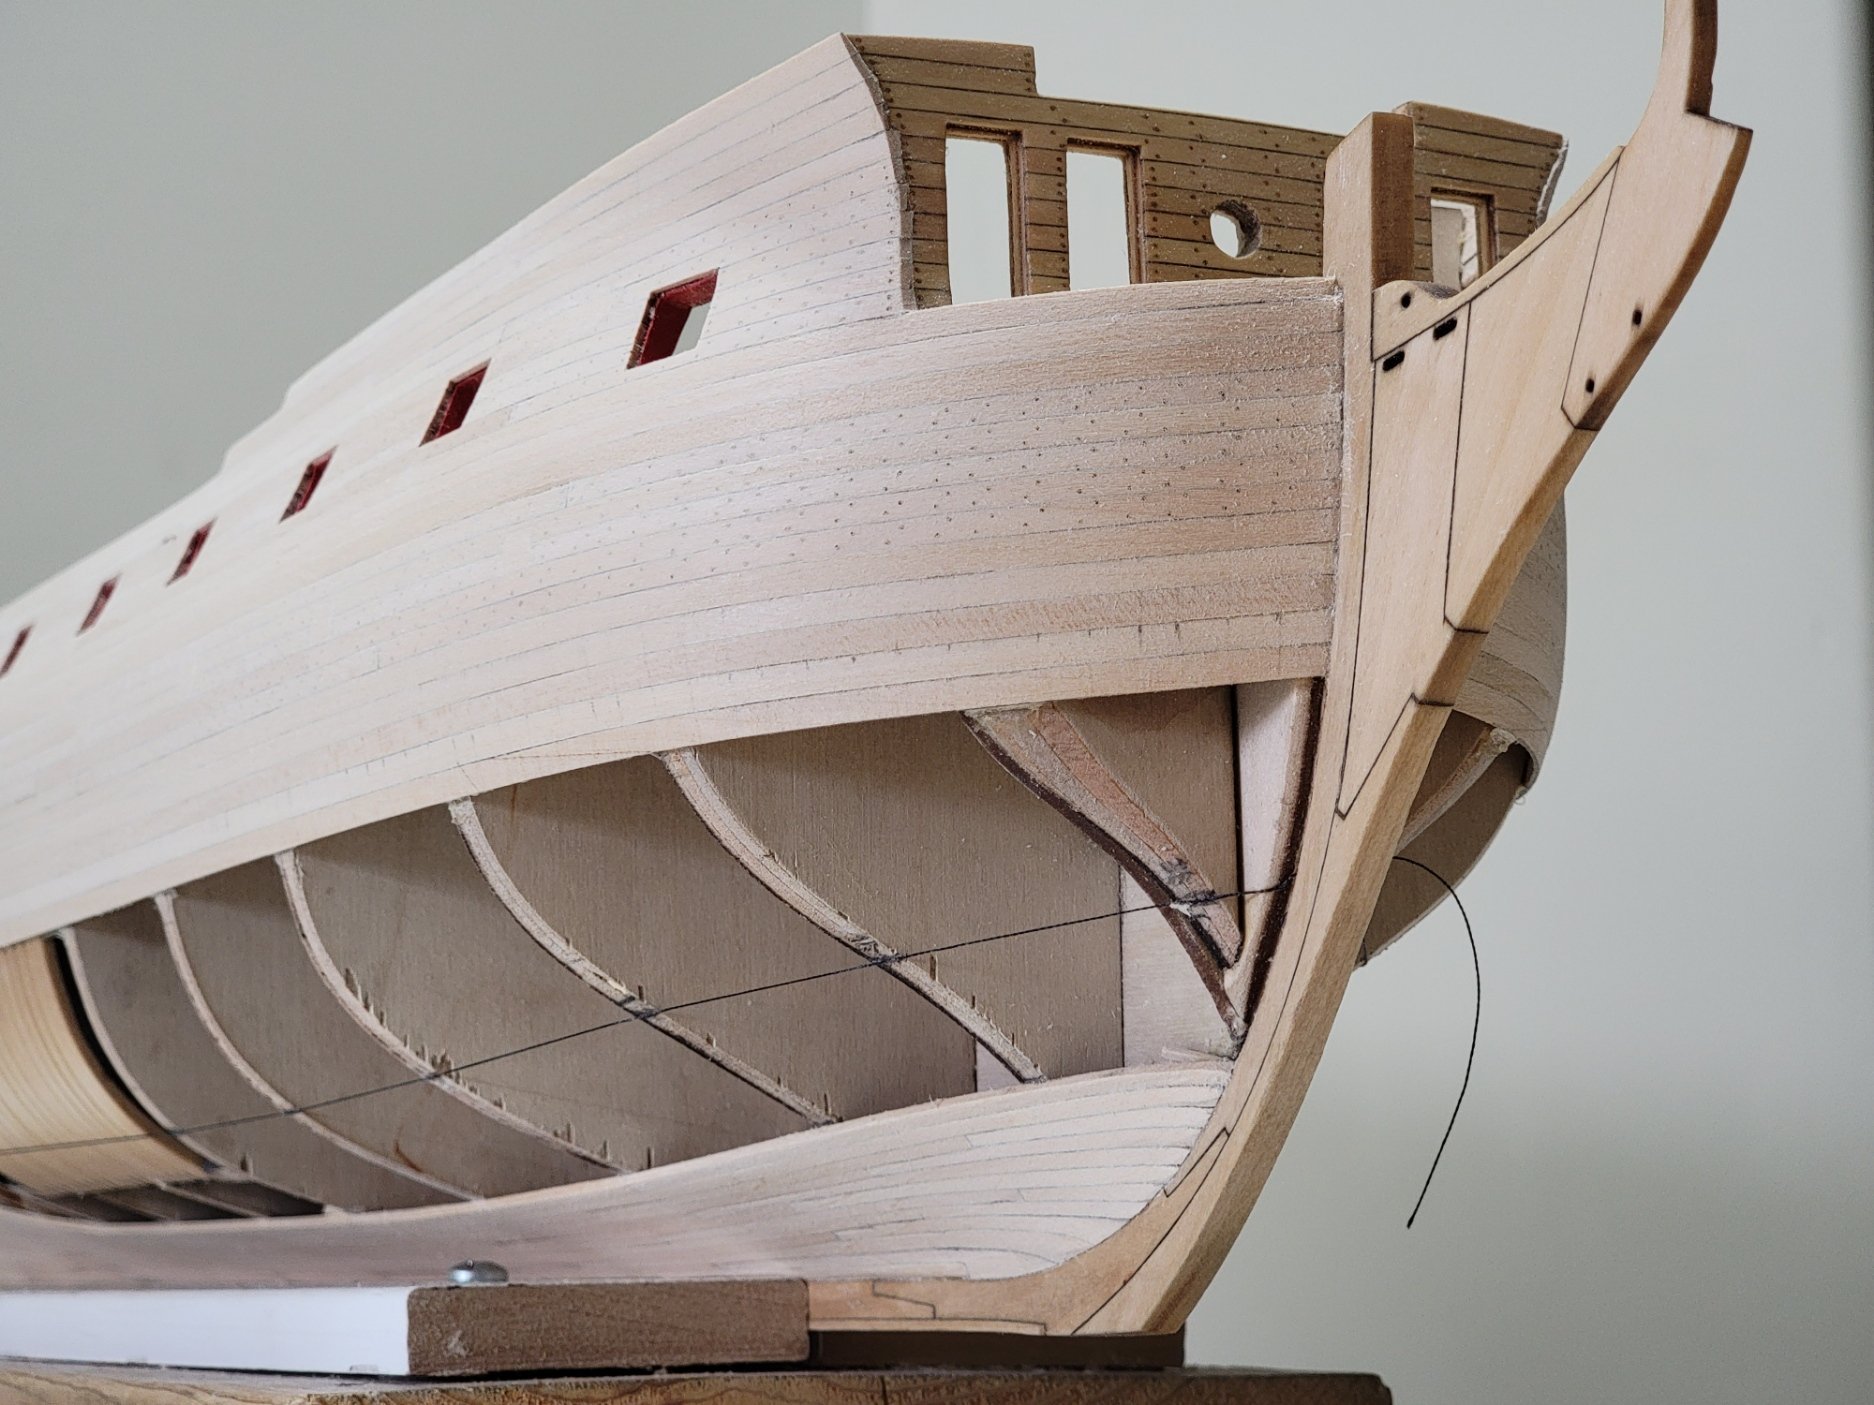
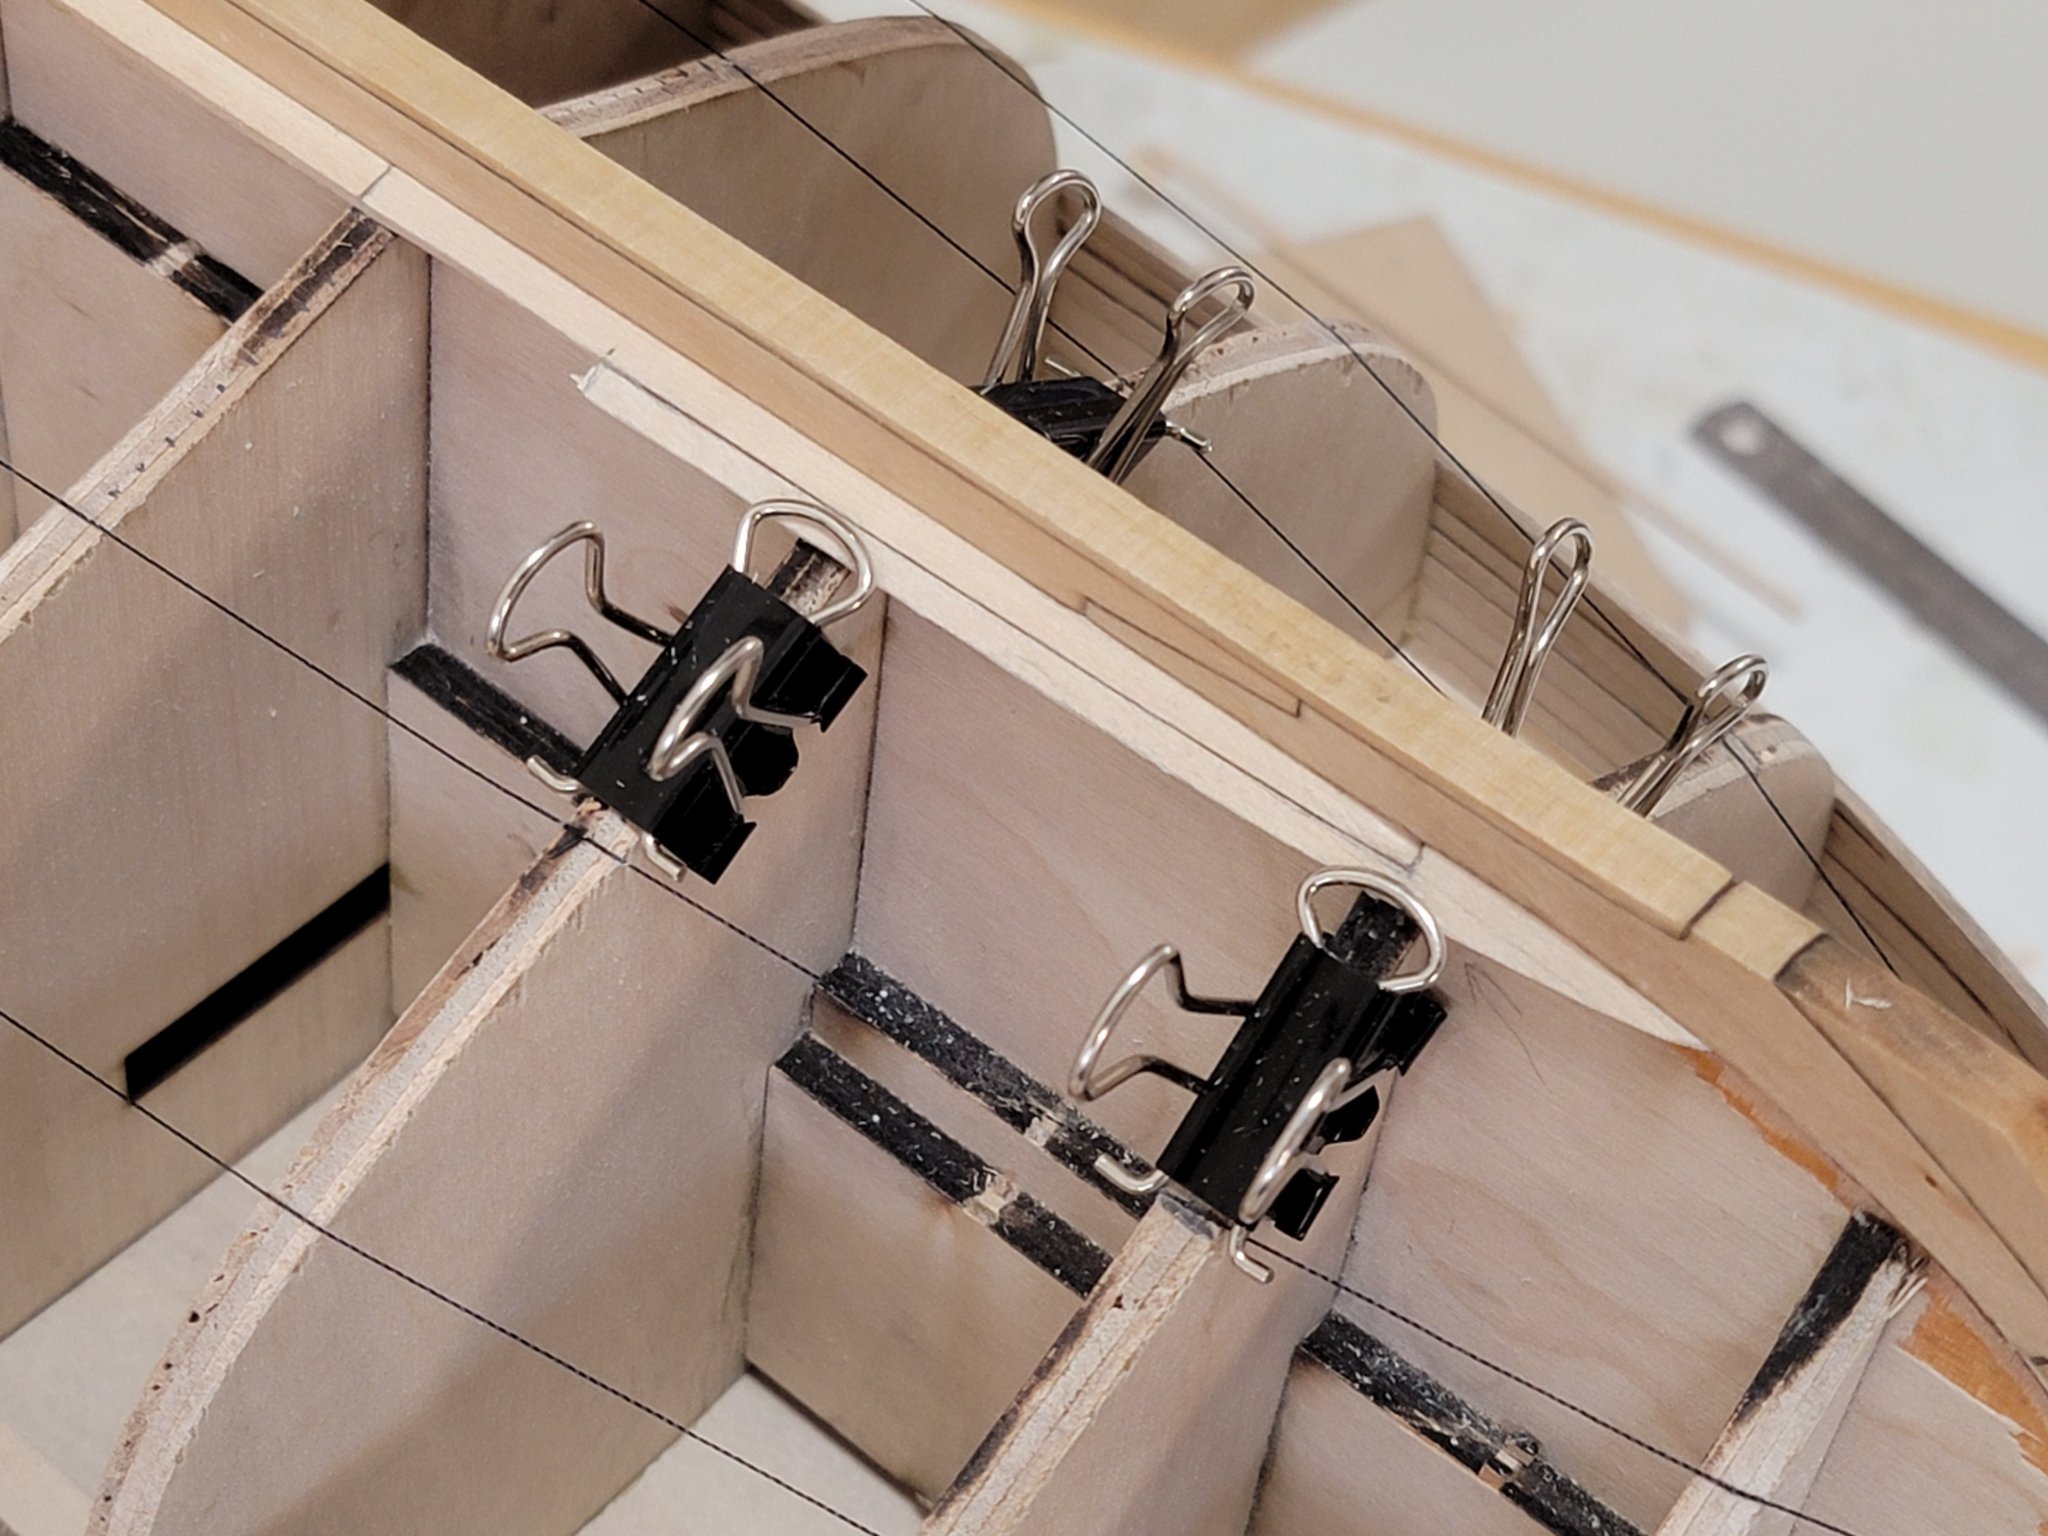
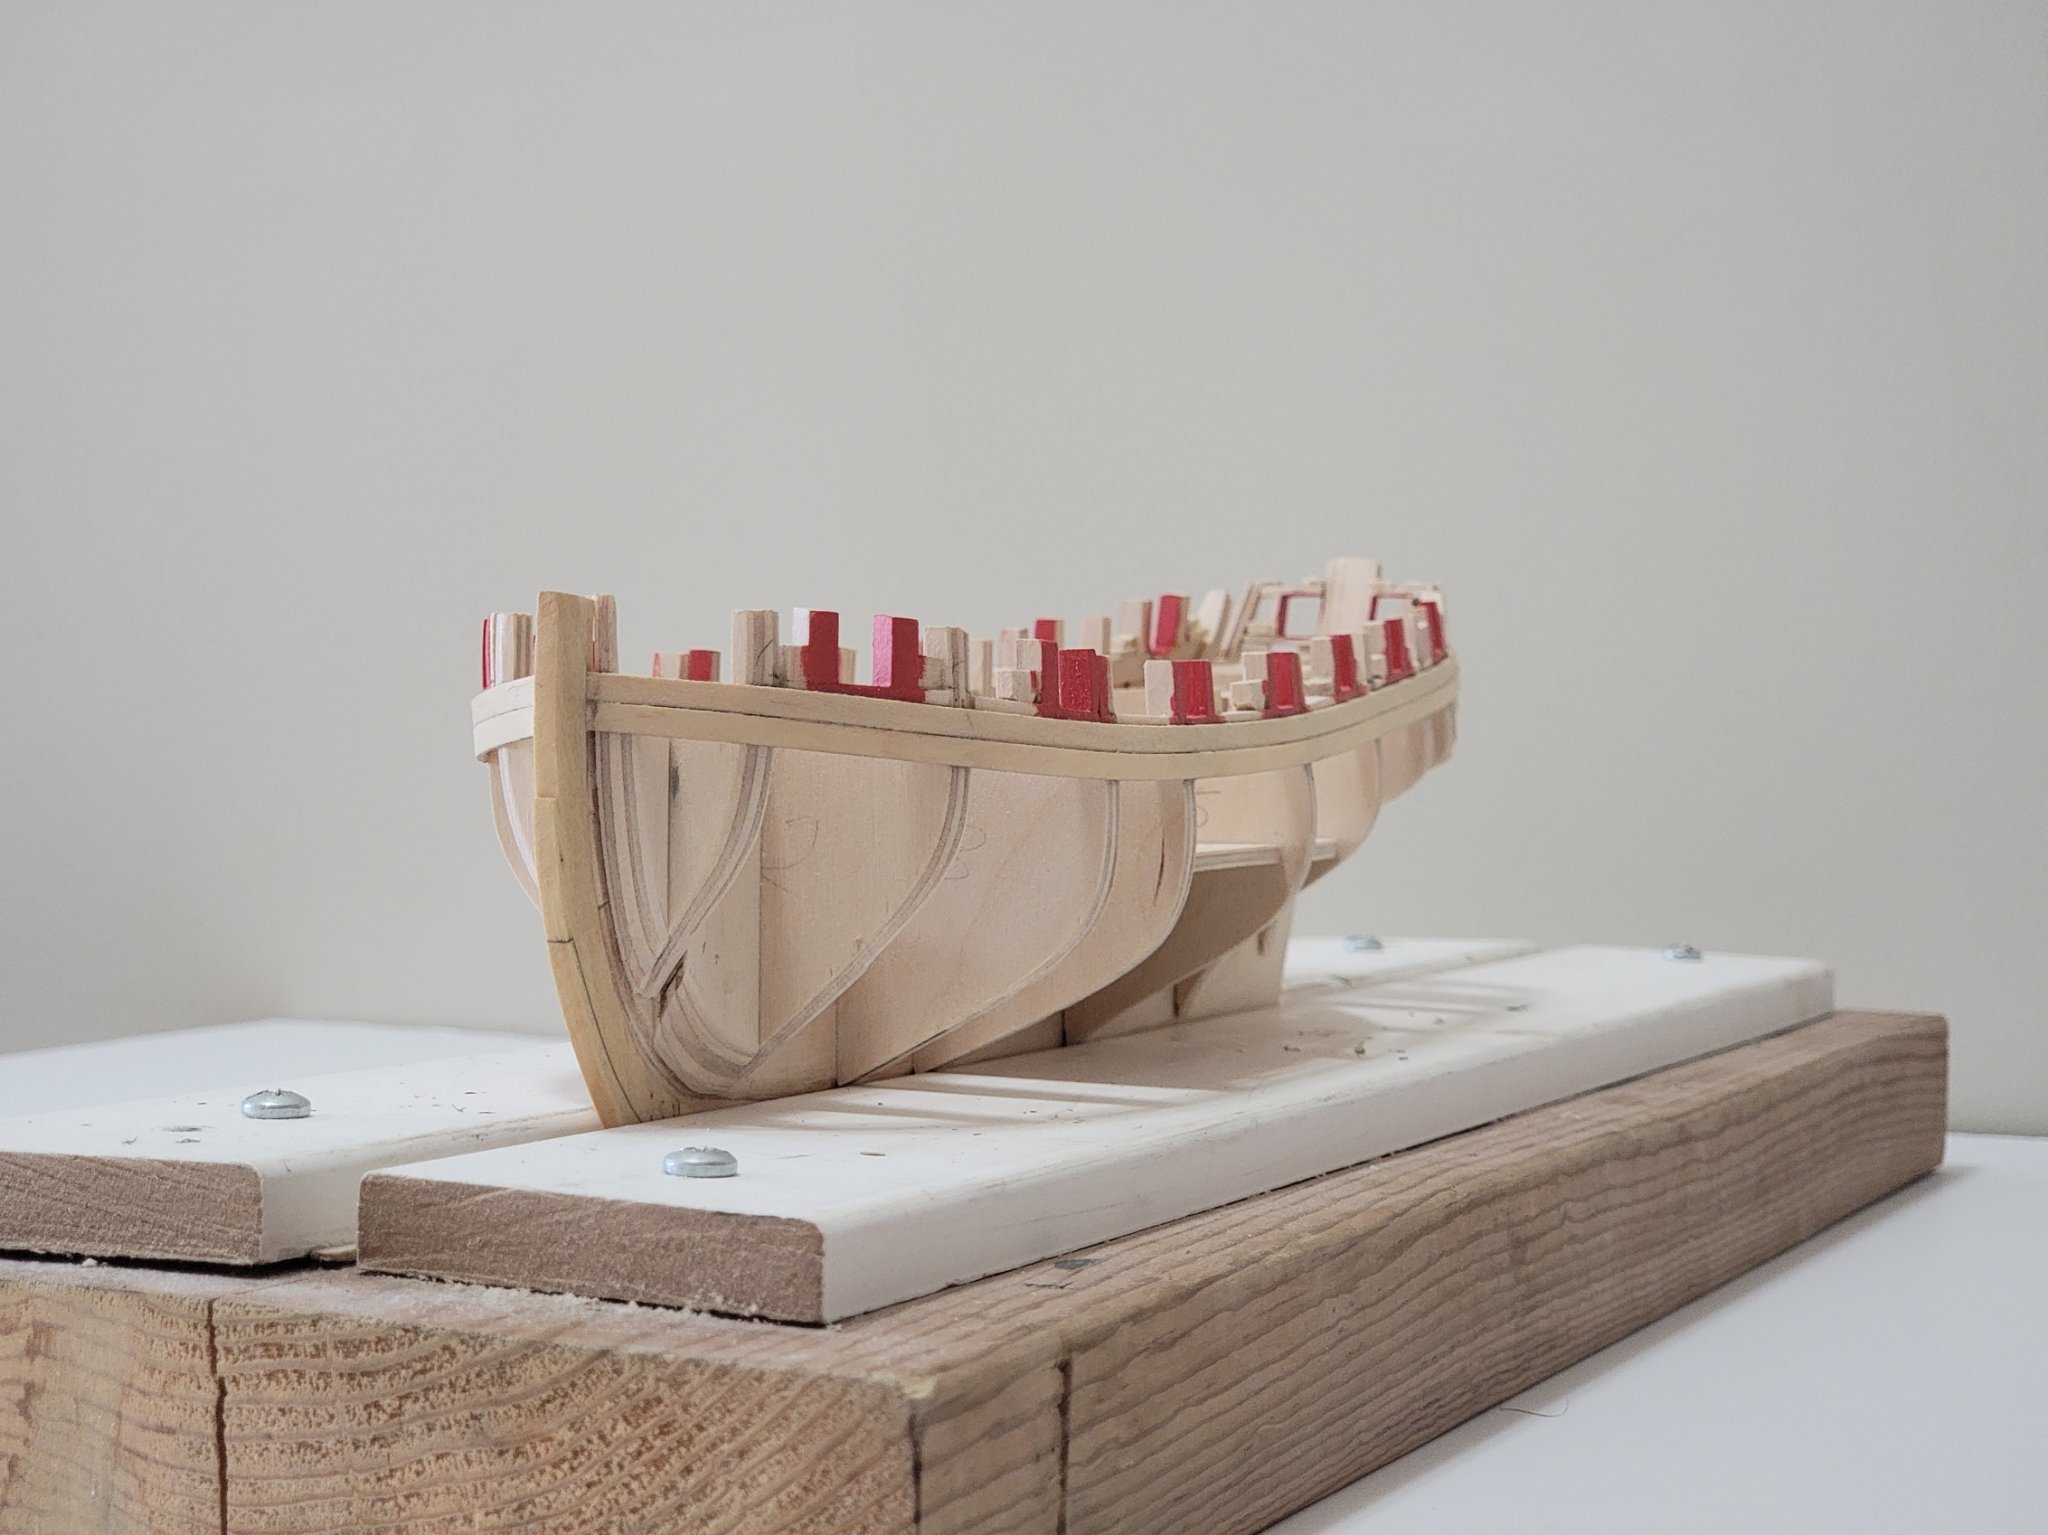
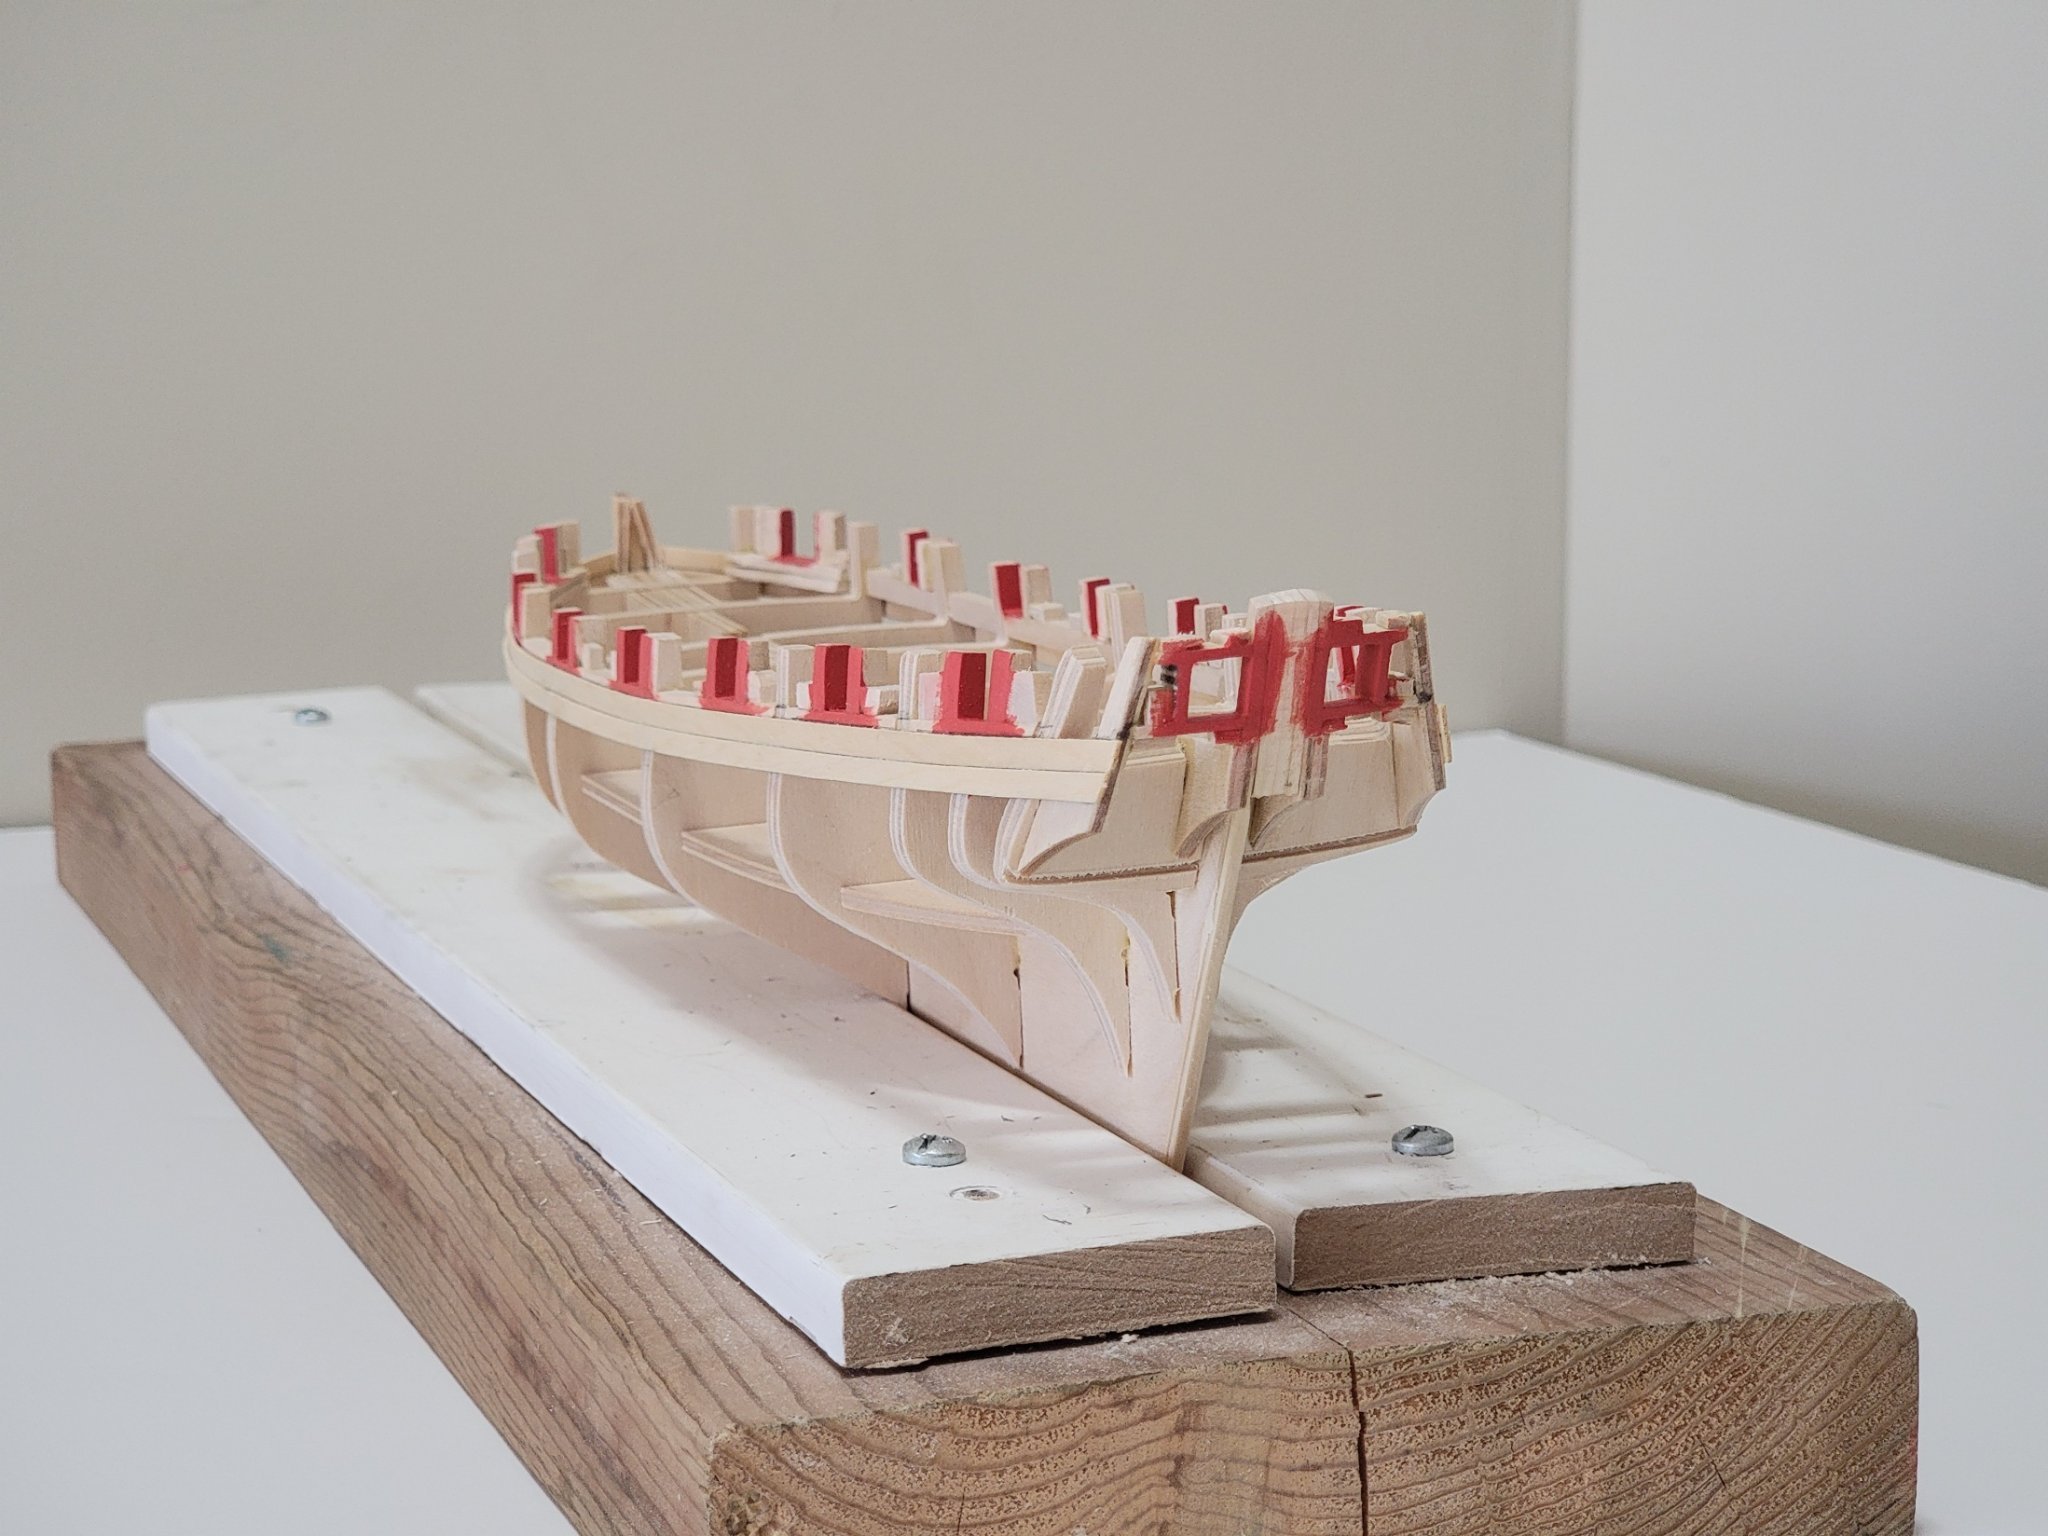
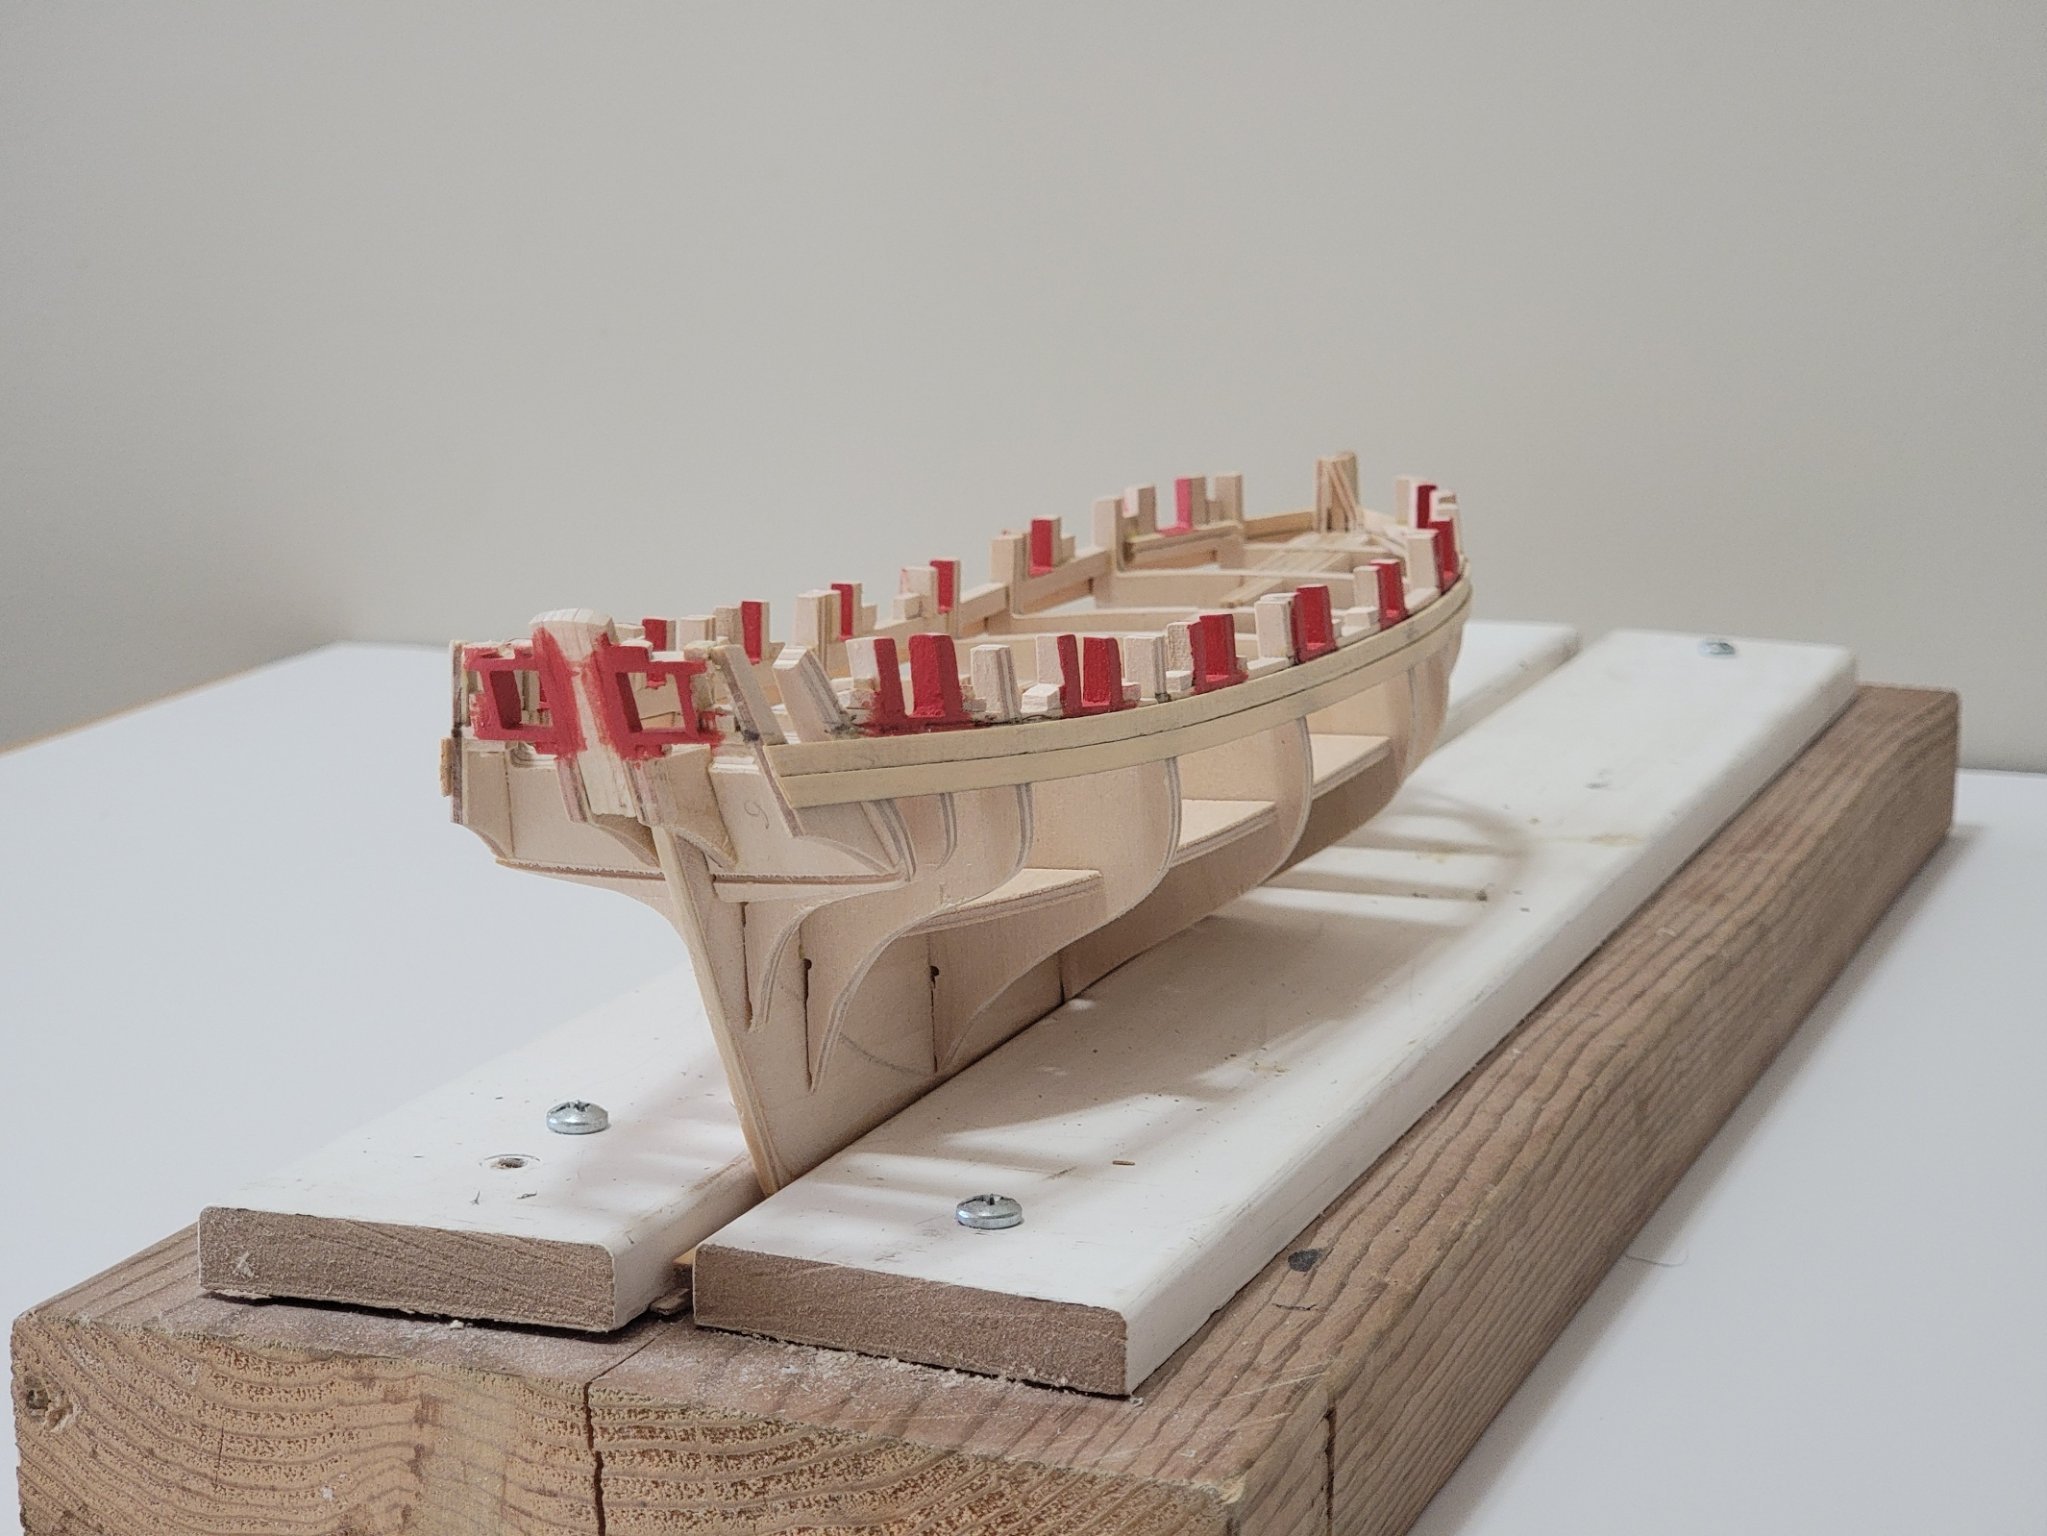
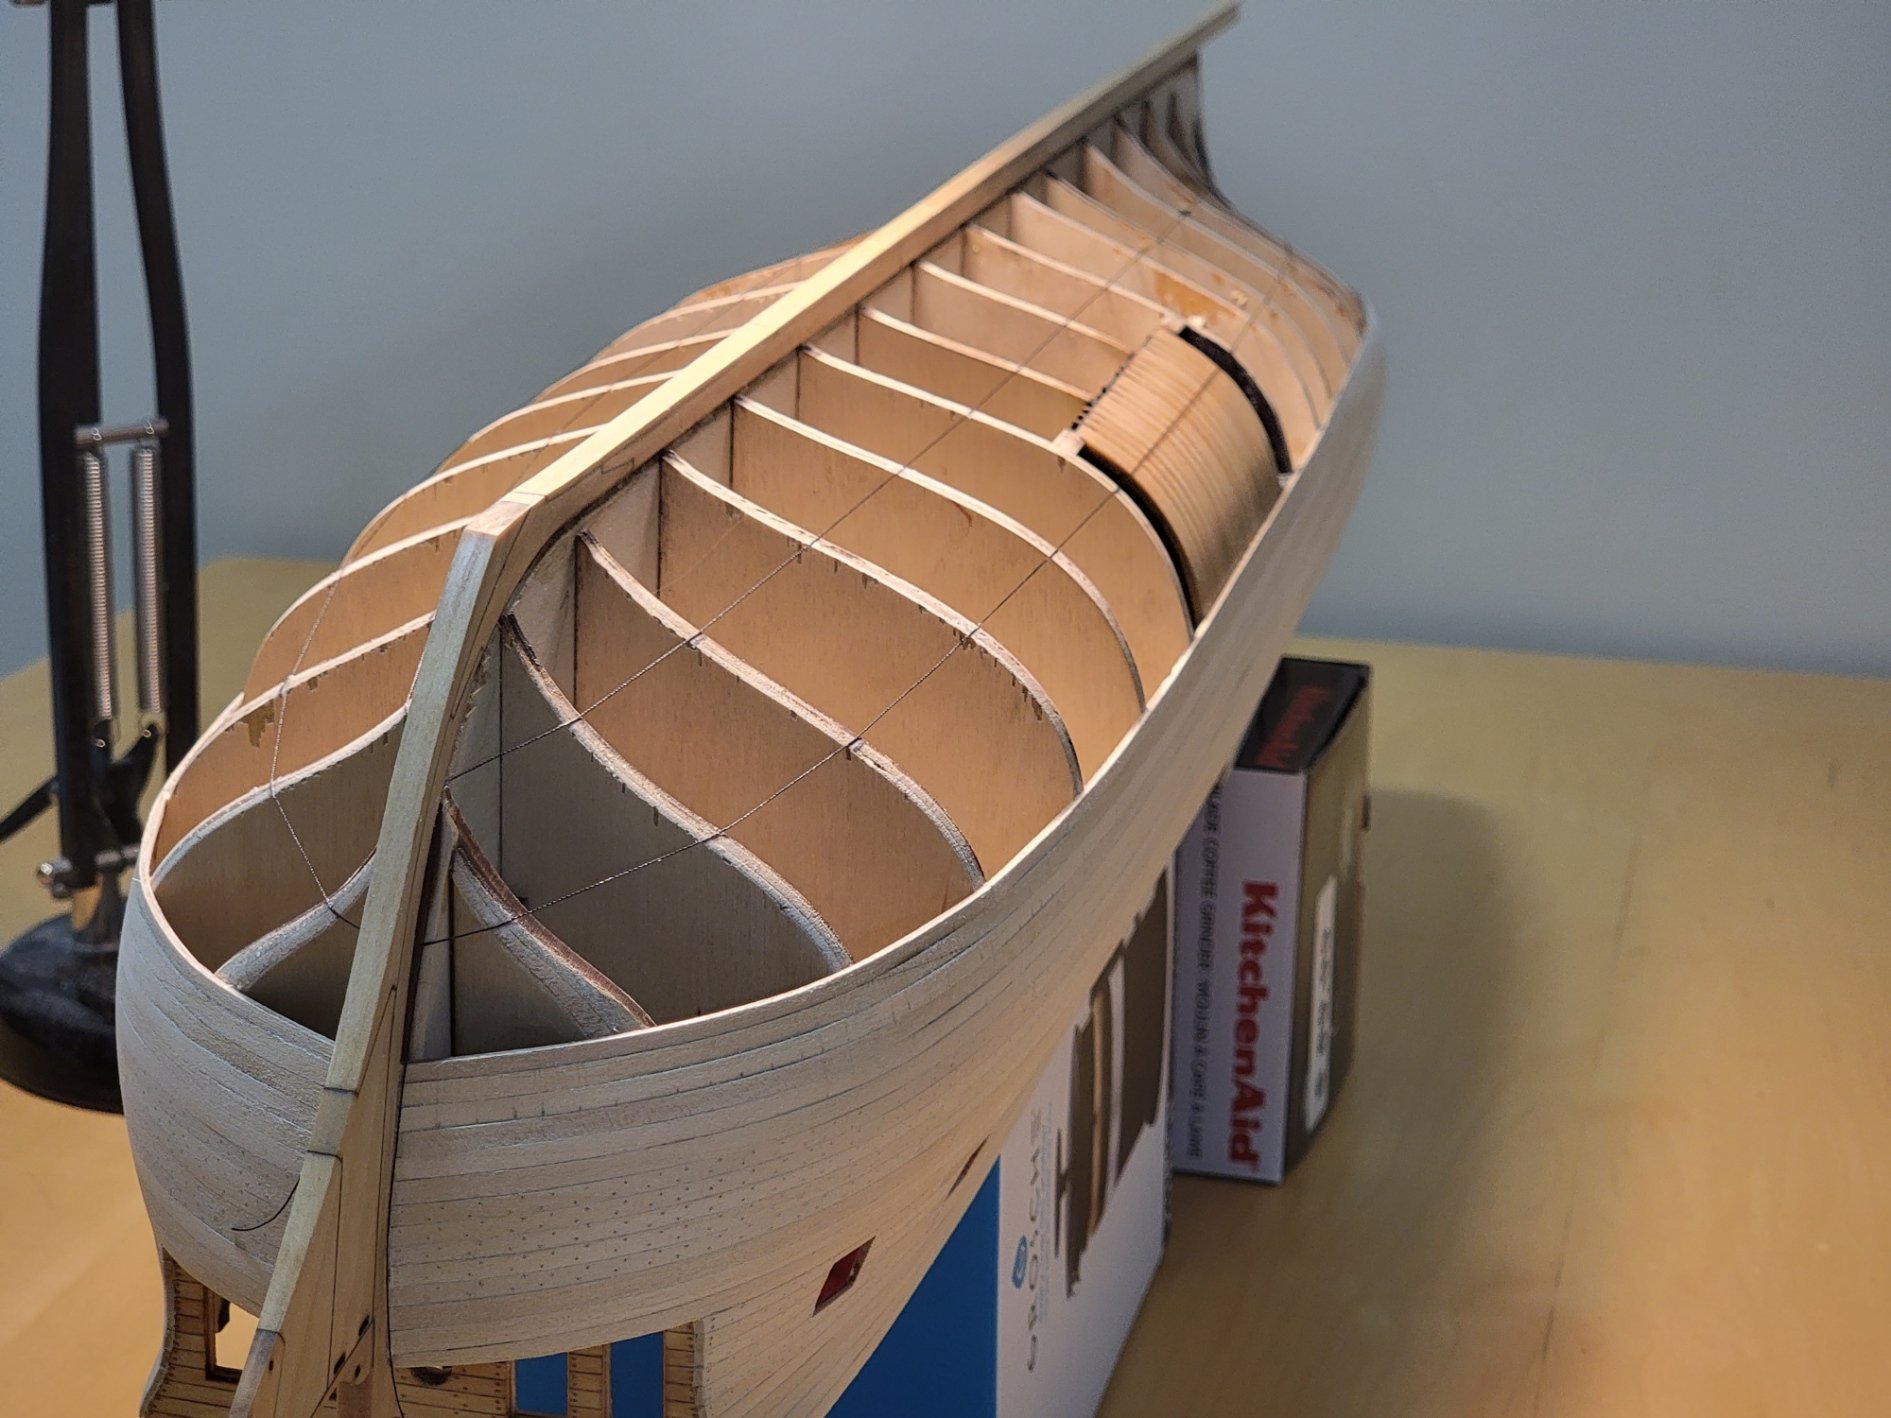
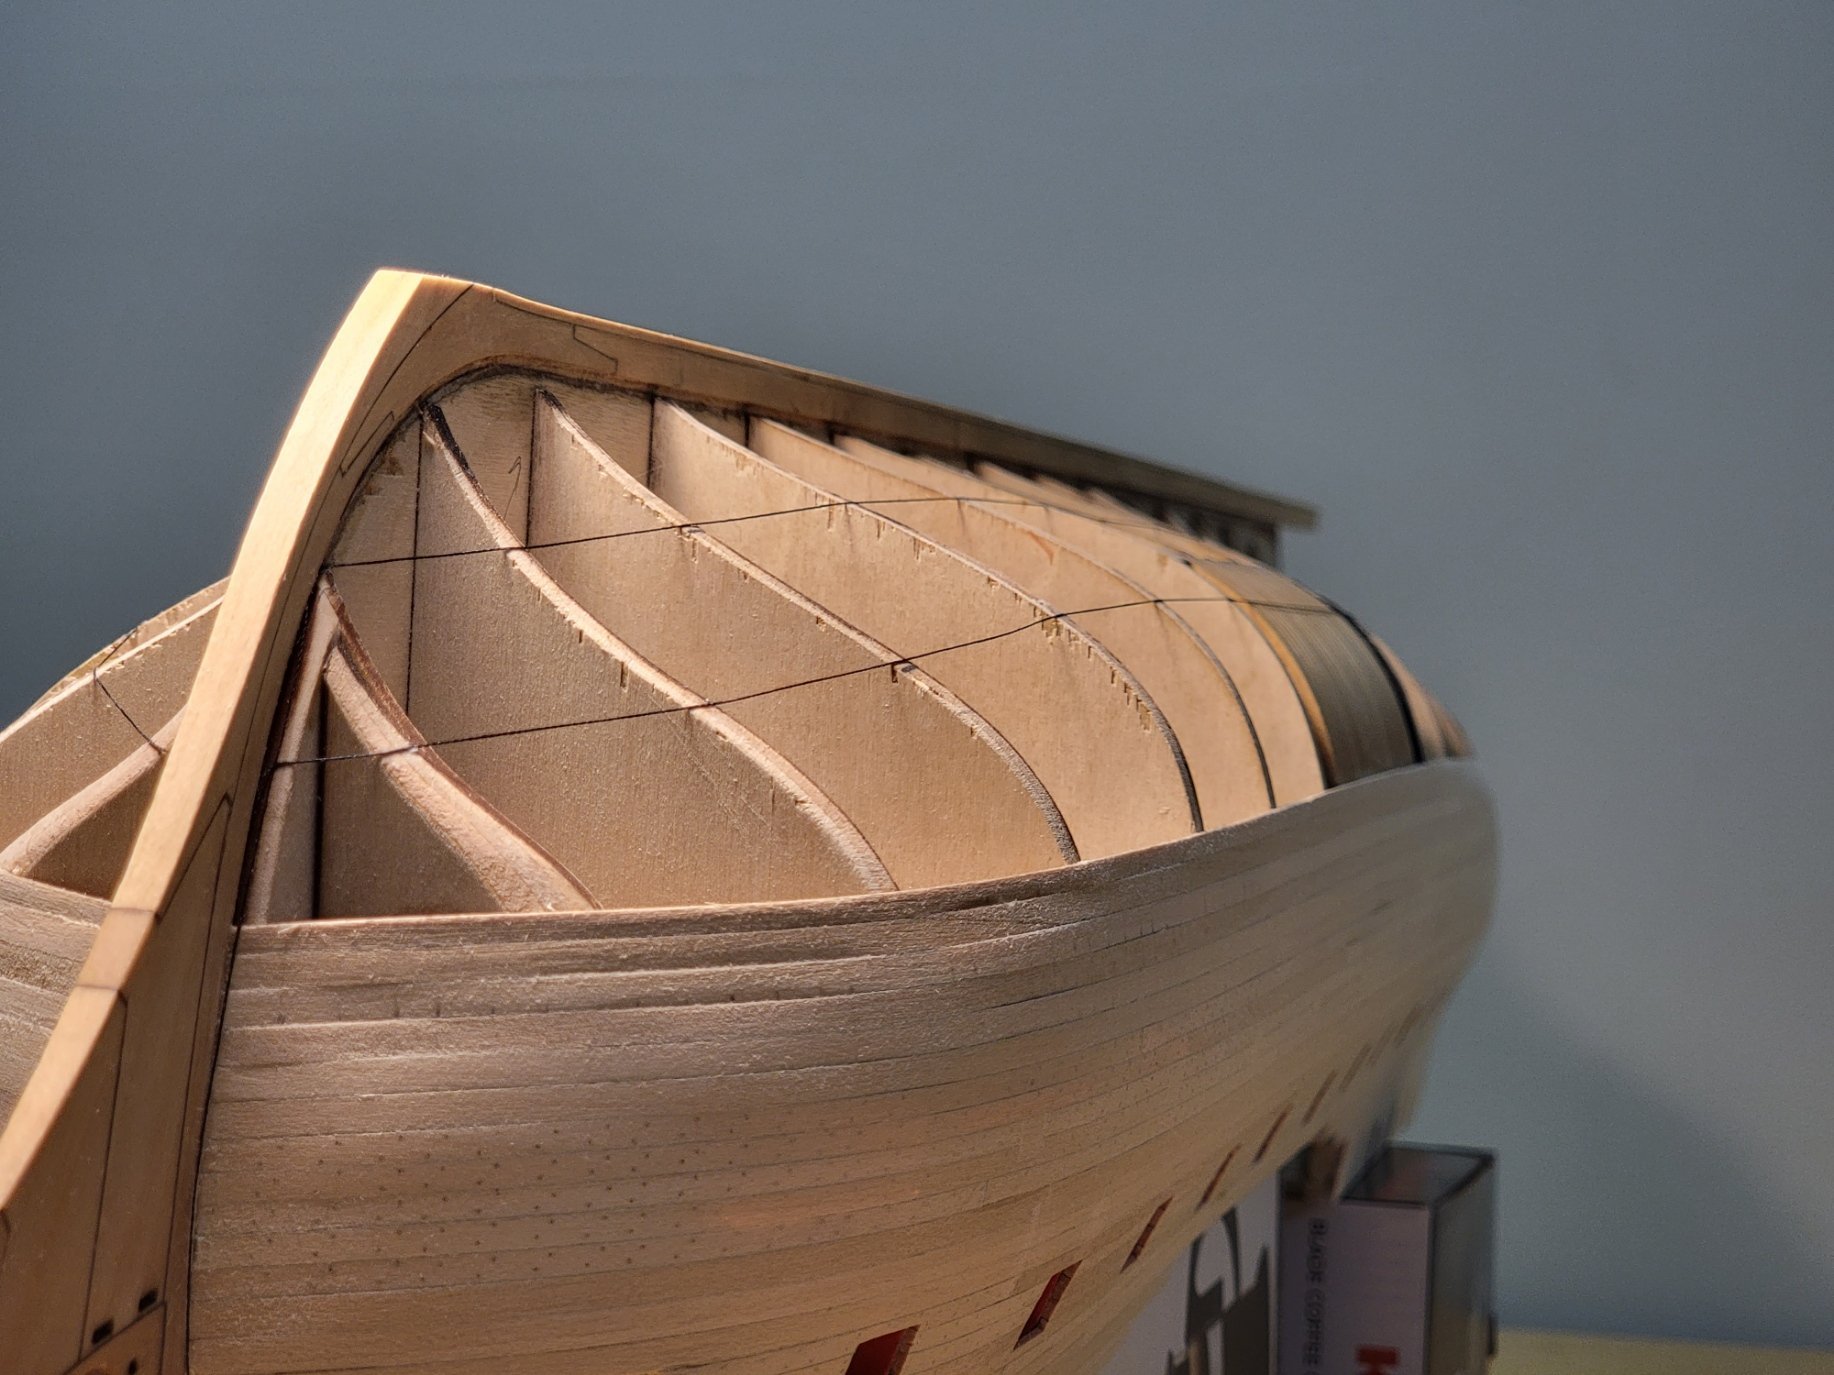
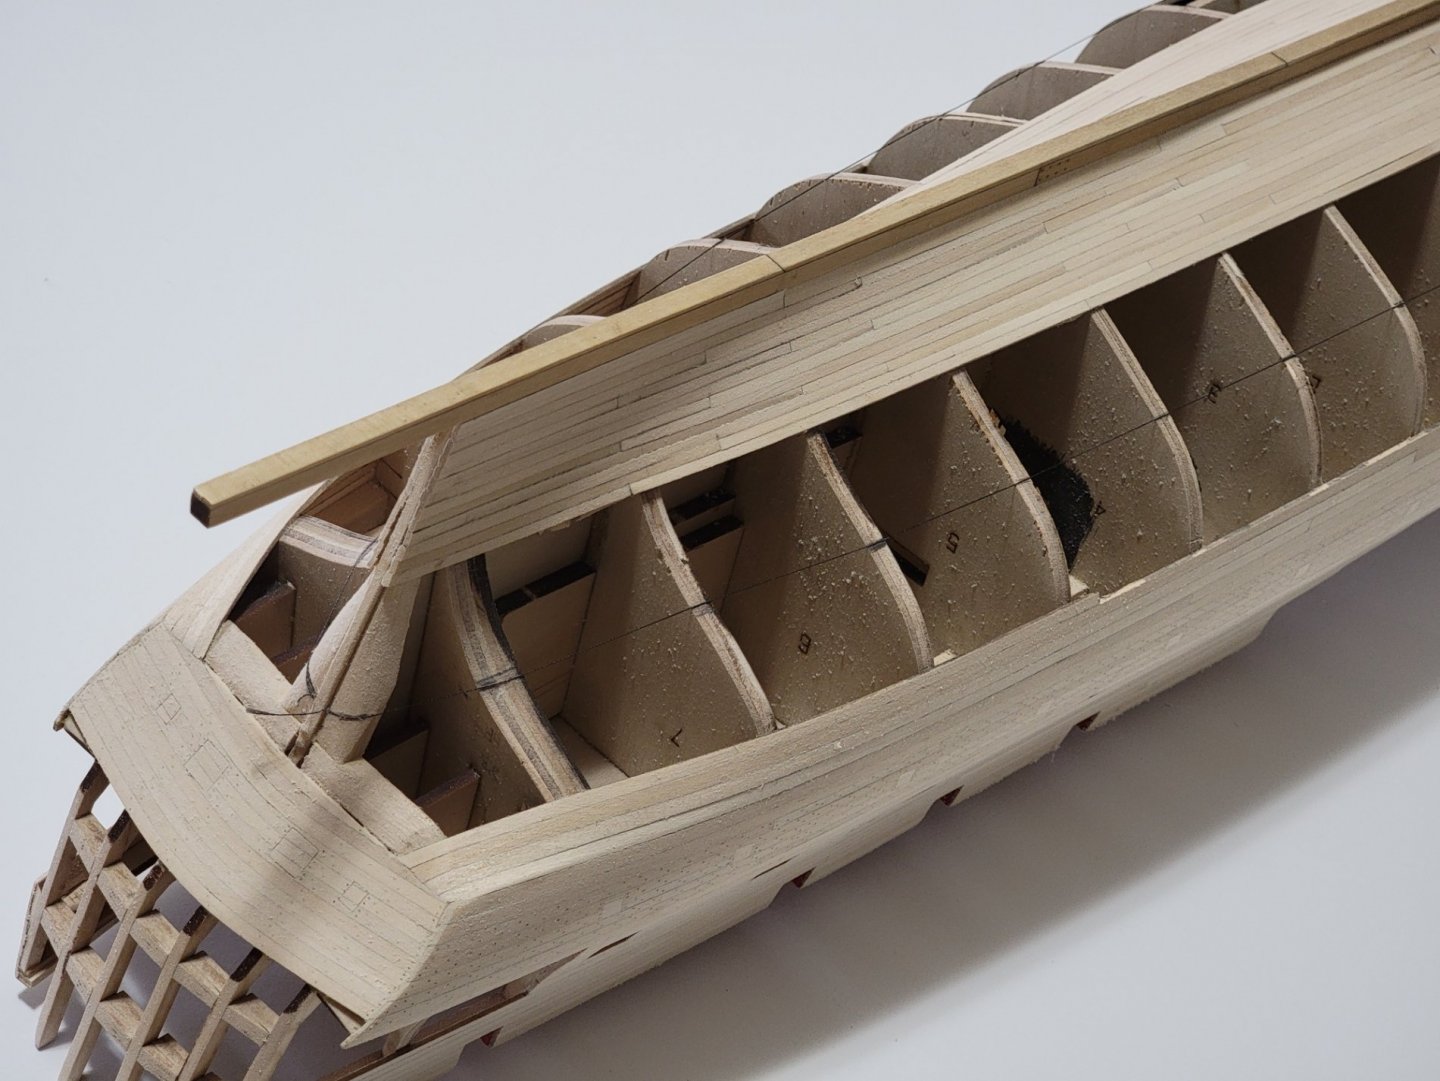
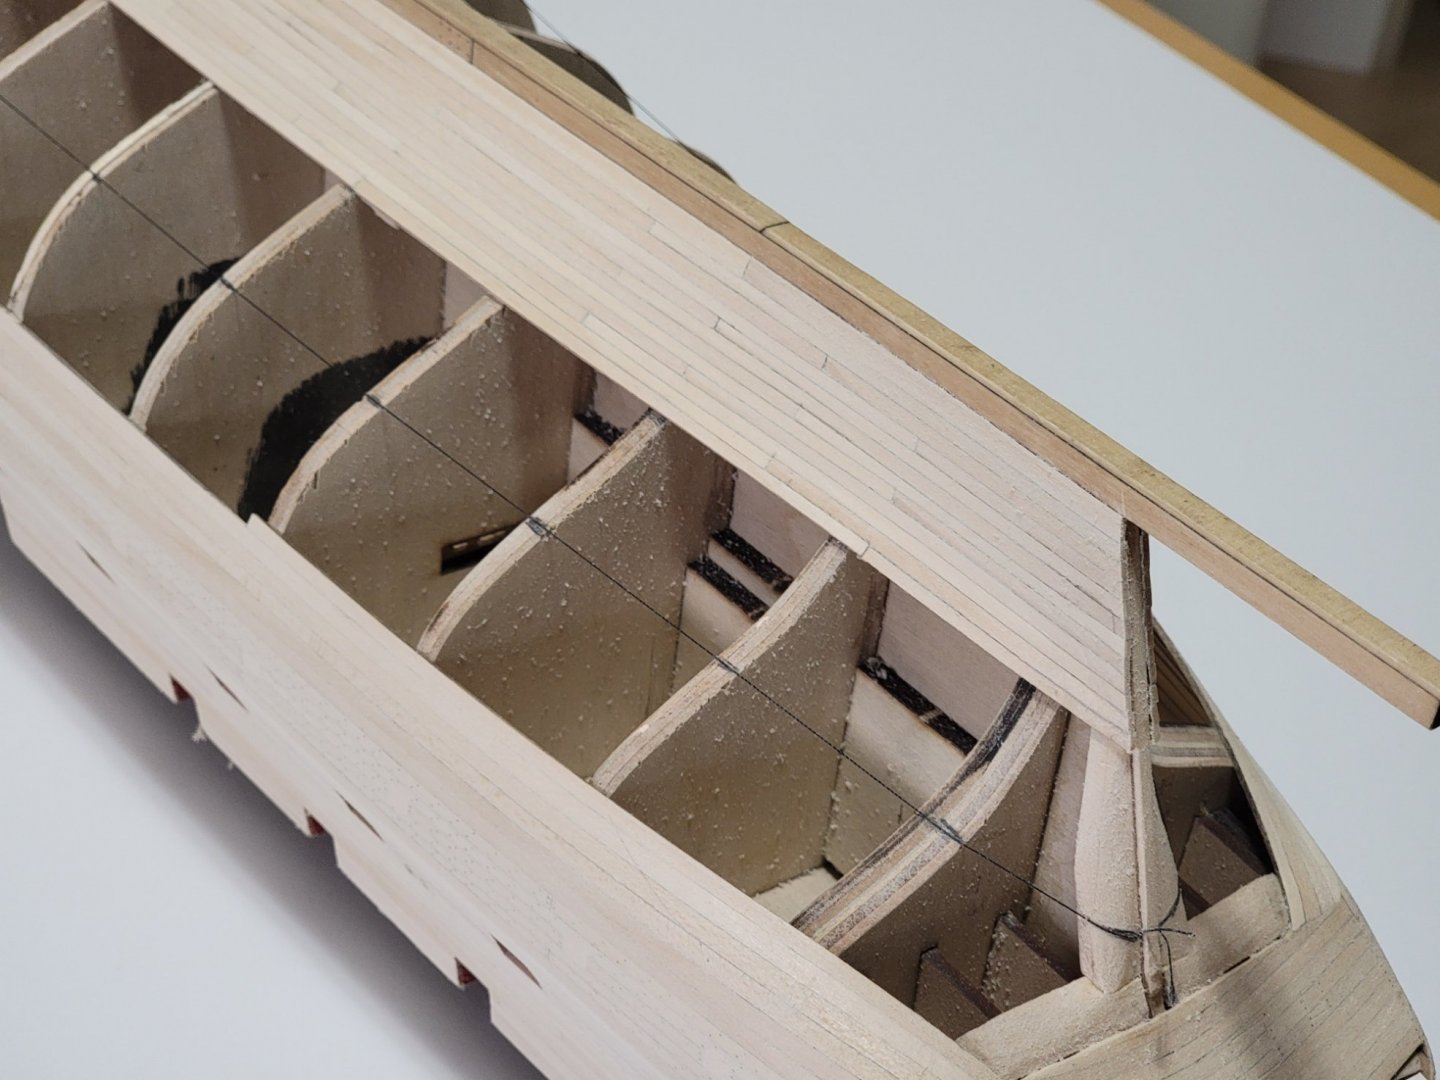
I made some more tweaks to the strings after turning the hull the right way up. And from David's help, I managed fixed the areas at the stern. Here are some pictures of the lining out stage before I dive into planking: I think I may start planking soon now, just very nervous of the overall process. Hopefully I can pull it off! But please do let me know if you guys spot any other areas of concern 🙂


-
I believe you can use acetone to dissolve the glue for the decking. I have not done this before so I am not 100% sure how it will turn out. It may require some careful work to not spread it everywhere. Looking forward to seeing your deck with the Alaskan cedar 🙂
-
Thank you for pointing that out, Michael. I did not catch that! I found that the reason the string does not flow nicely there is because the 7th bulkhead is actually slightly higher than all other ones (about 1 mm), so I will rectify this before continuing by gluing some thin wood pieces on it. Thanks again, I would have completely missed that! Hi Bob, yes I think that is the main difference. Since I am using basswood I am not sure if I can bend in 2 dimensions (edgewise and lengthwise) without the plank cracking (if I soak/steam it after edge-bending then the strip will get back to its original shape). I think Chuck's method works best for wood species like Alaskan yellow cedar, boxwood (and all the good stuff 😄) since you can bend it lengthwise easily when it is dry after being edge-bent, but I could be wrong. So I plan to use Antscherl's method for the bow and stern area by spiling and cutting the planks from a basswood sheet, and using the milled strips for everything else.
-
It's exactly between Alaska and NC 😁 The hull looks amazing! Thank you for detailing the method on the application of the WOP. I'll be using it once I finish planking.
- 345 replies
-
- 3
-

-
-
- Duchess Of Kingston
- Vanguard Models
- (and 1 more)
-
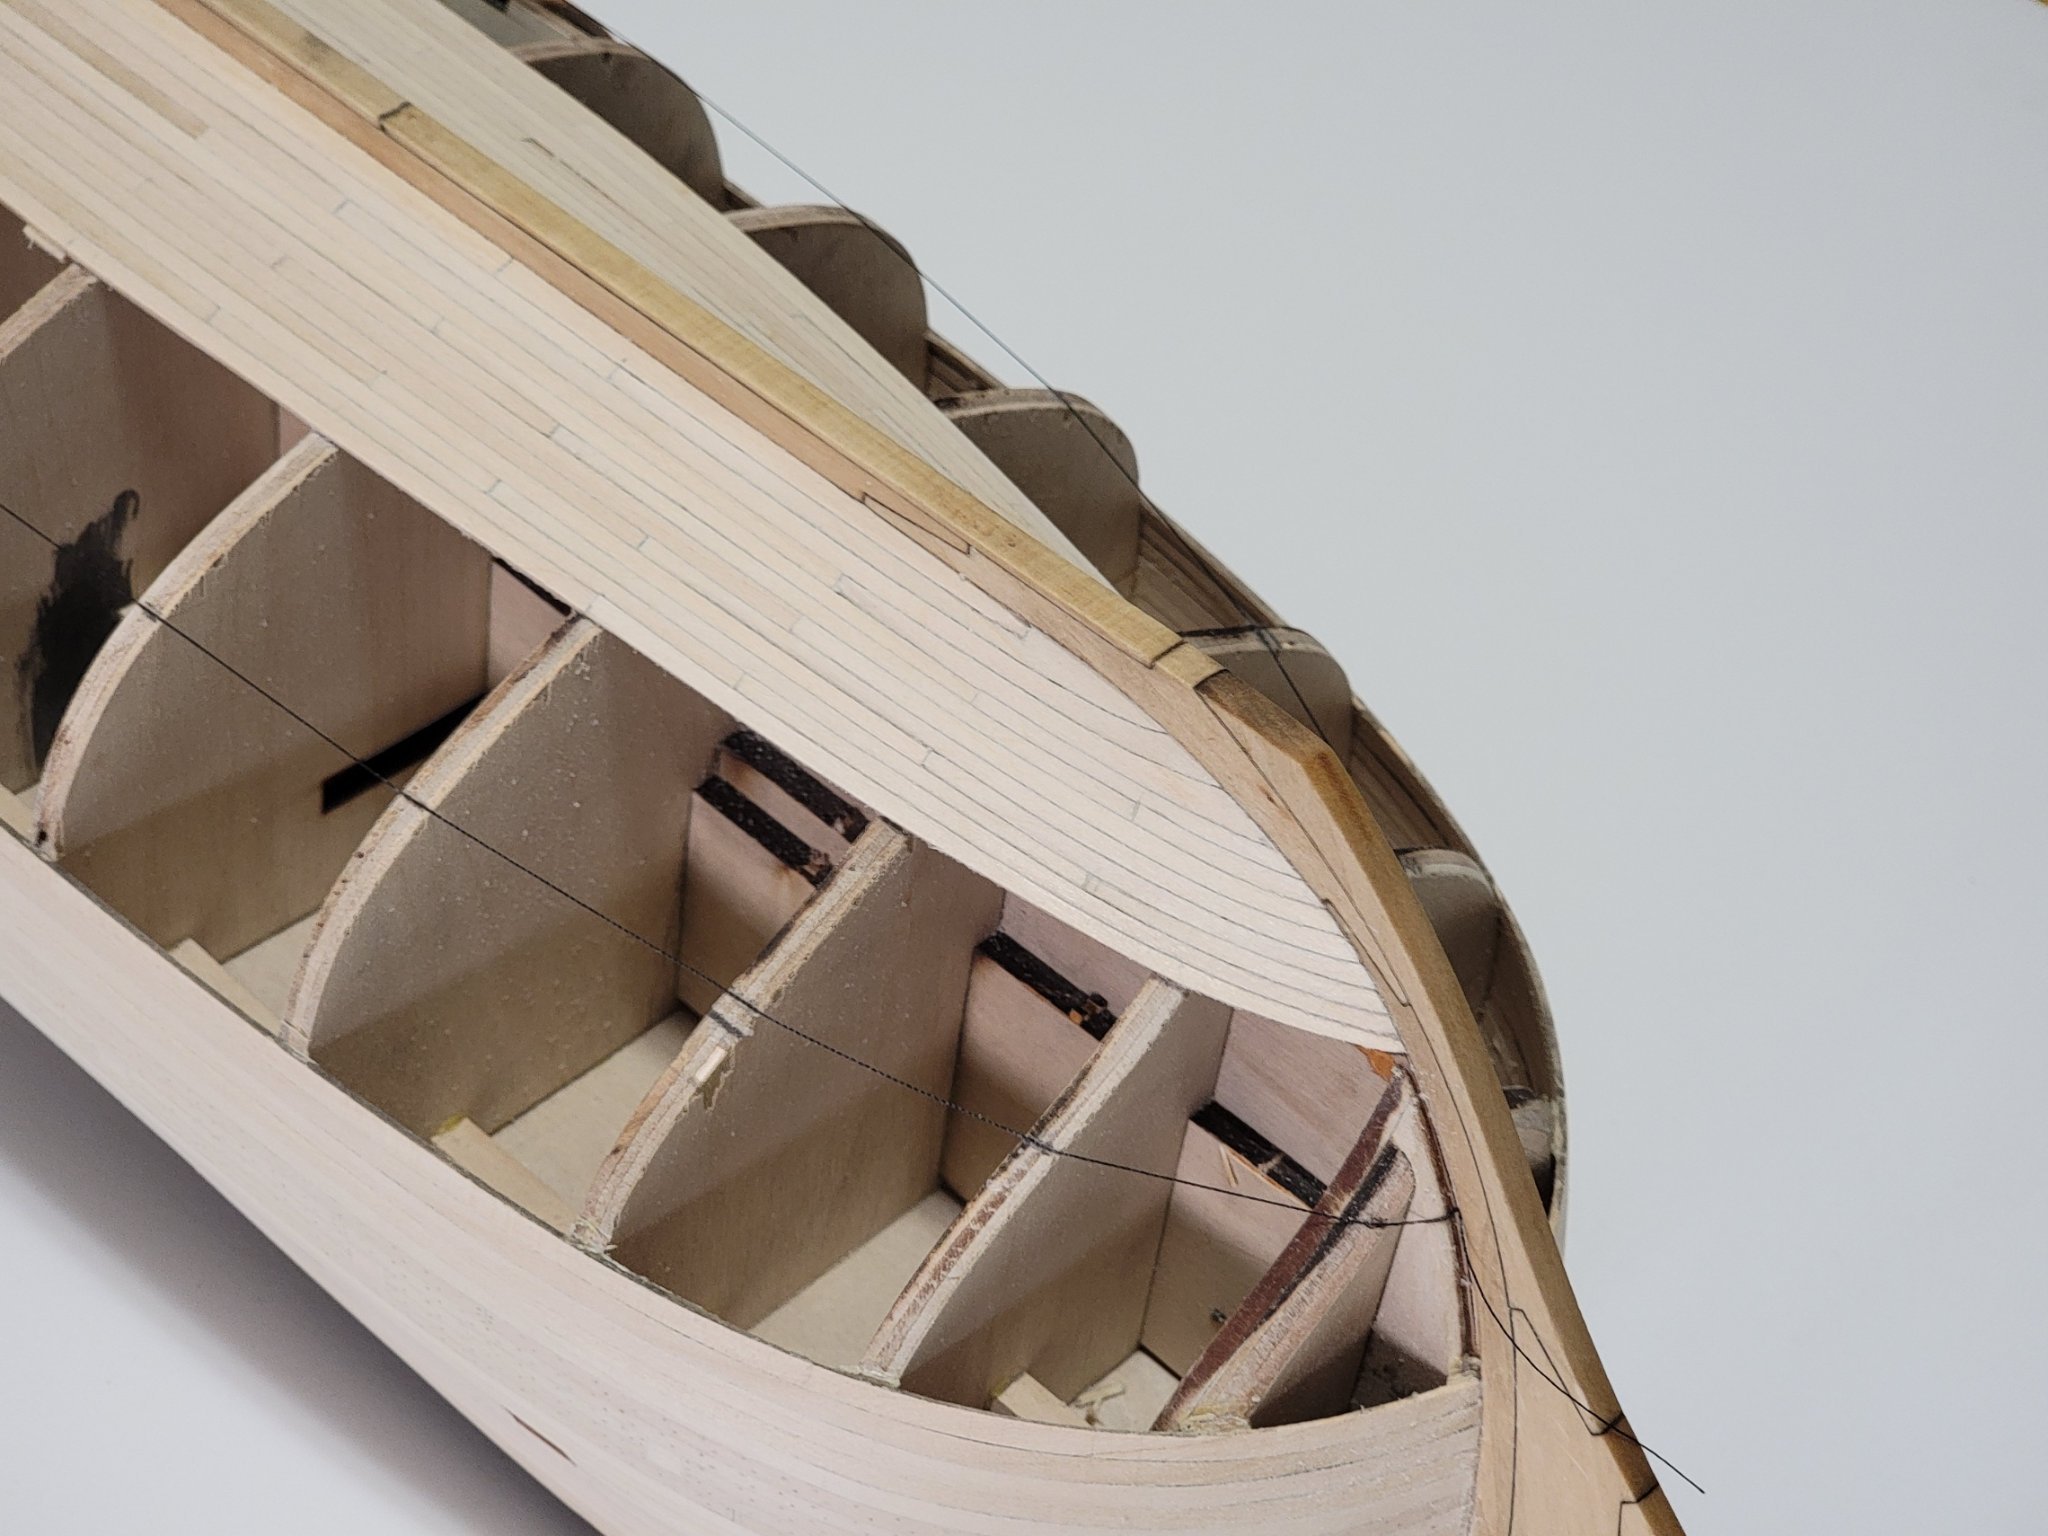
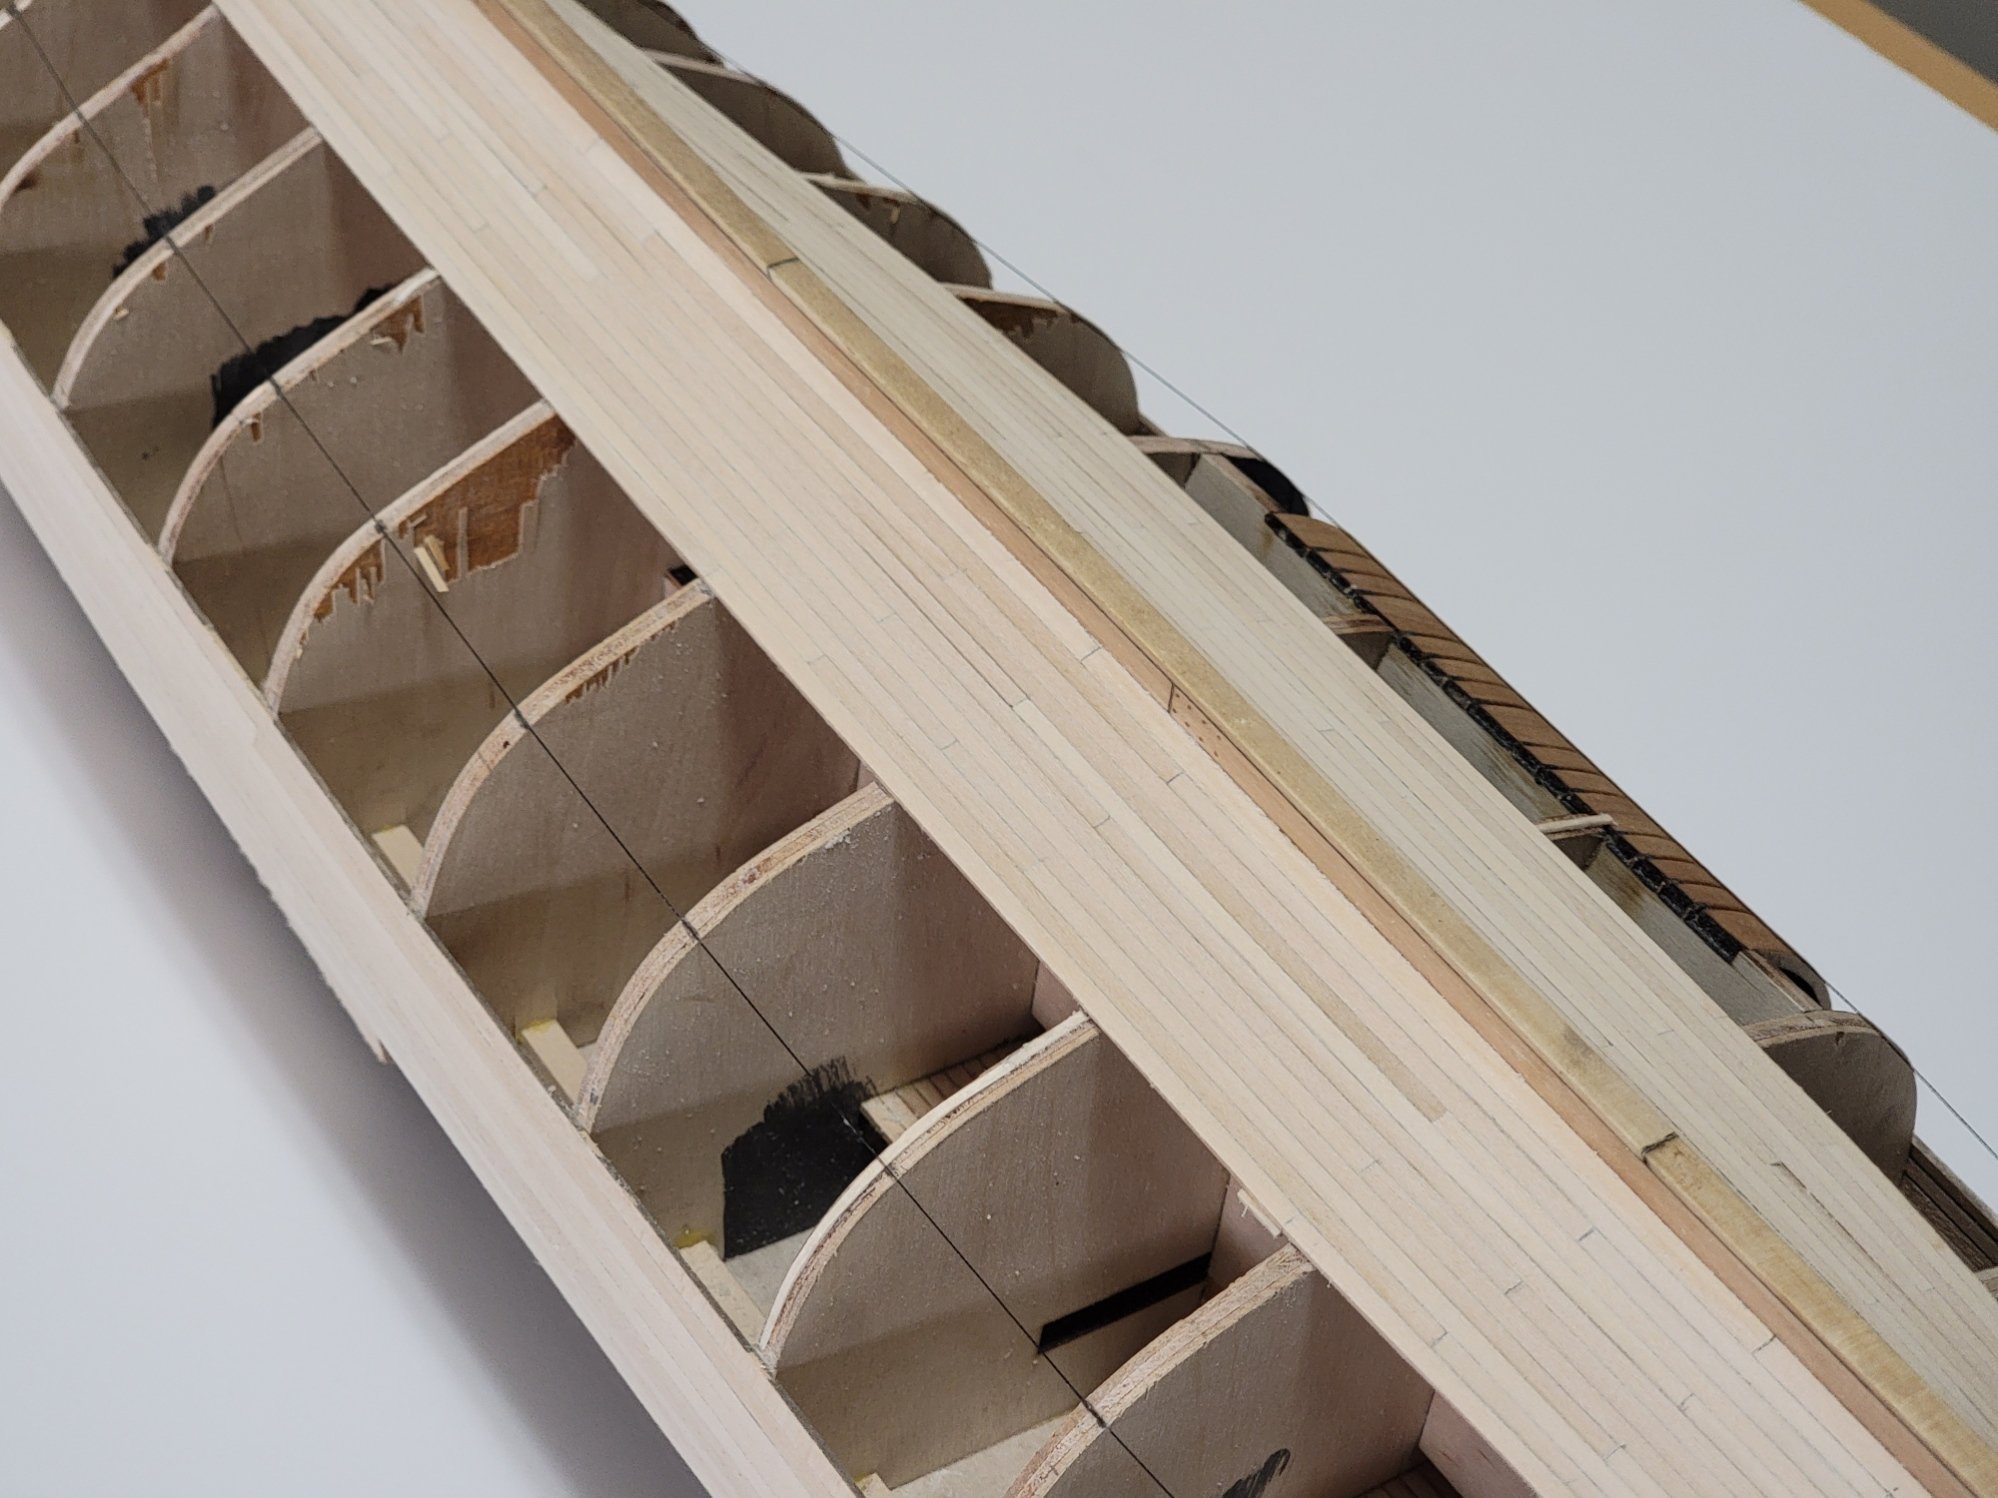
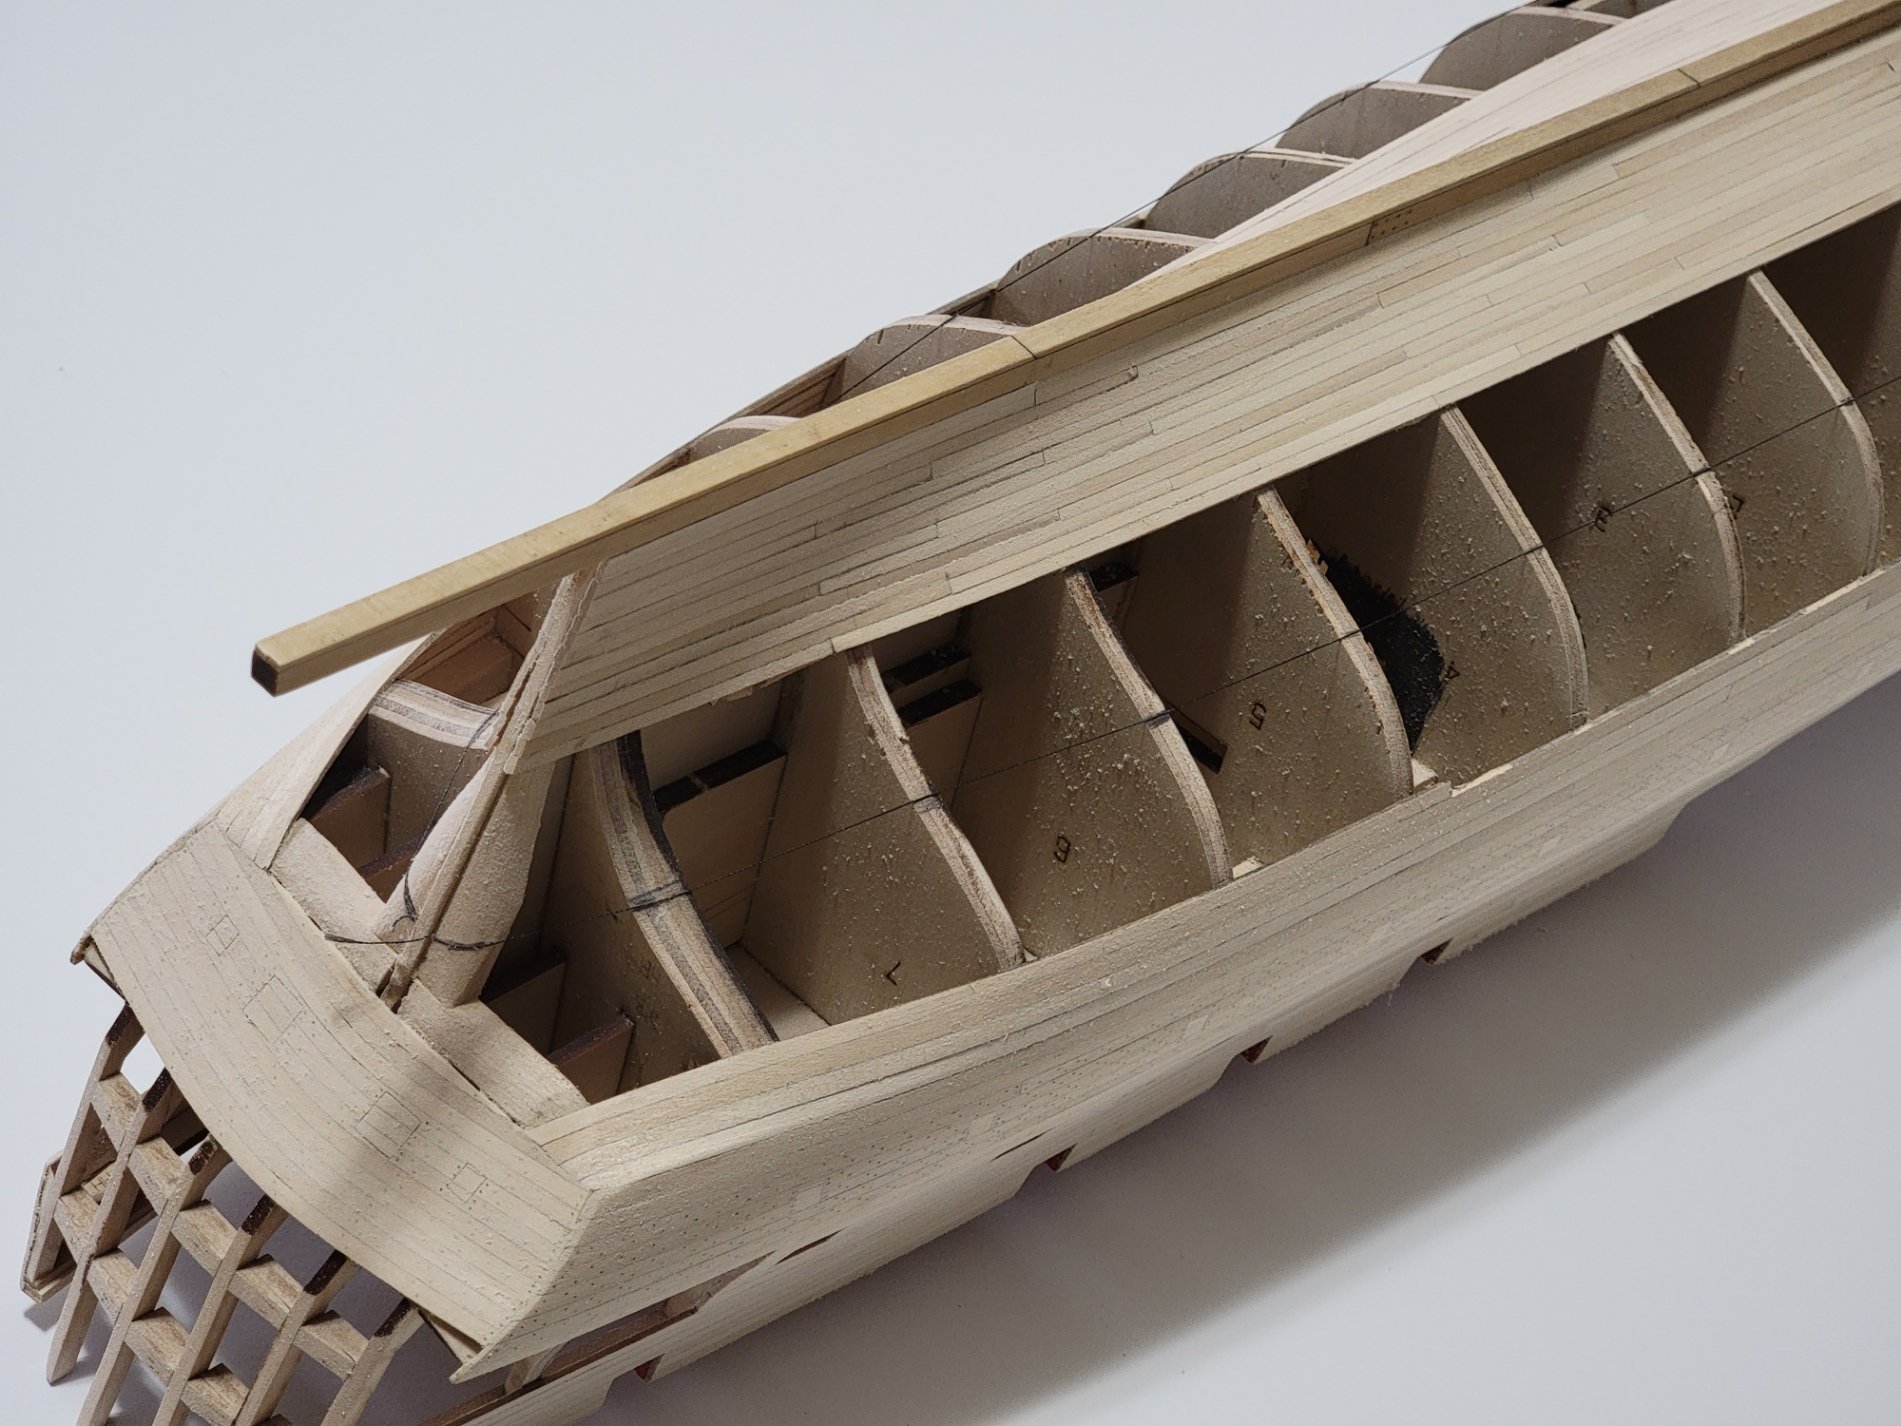
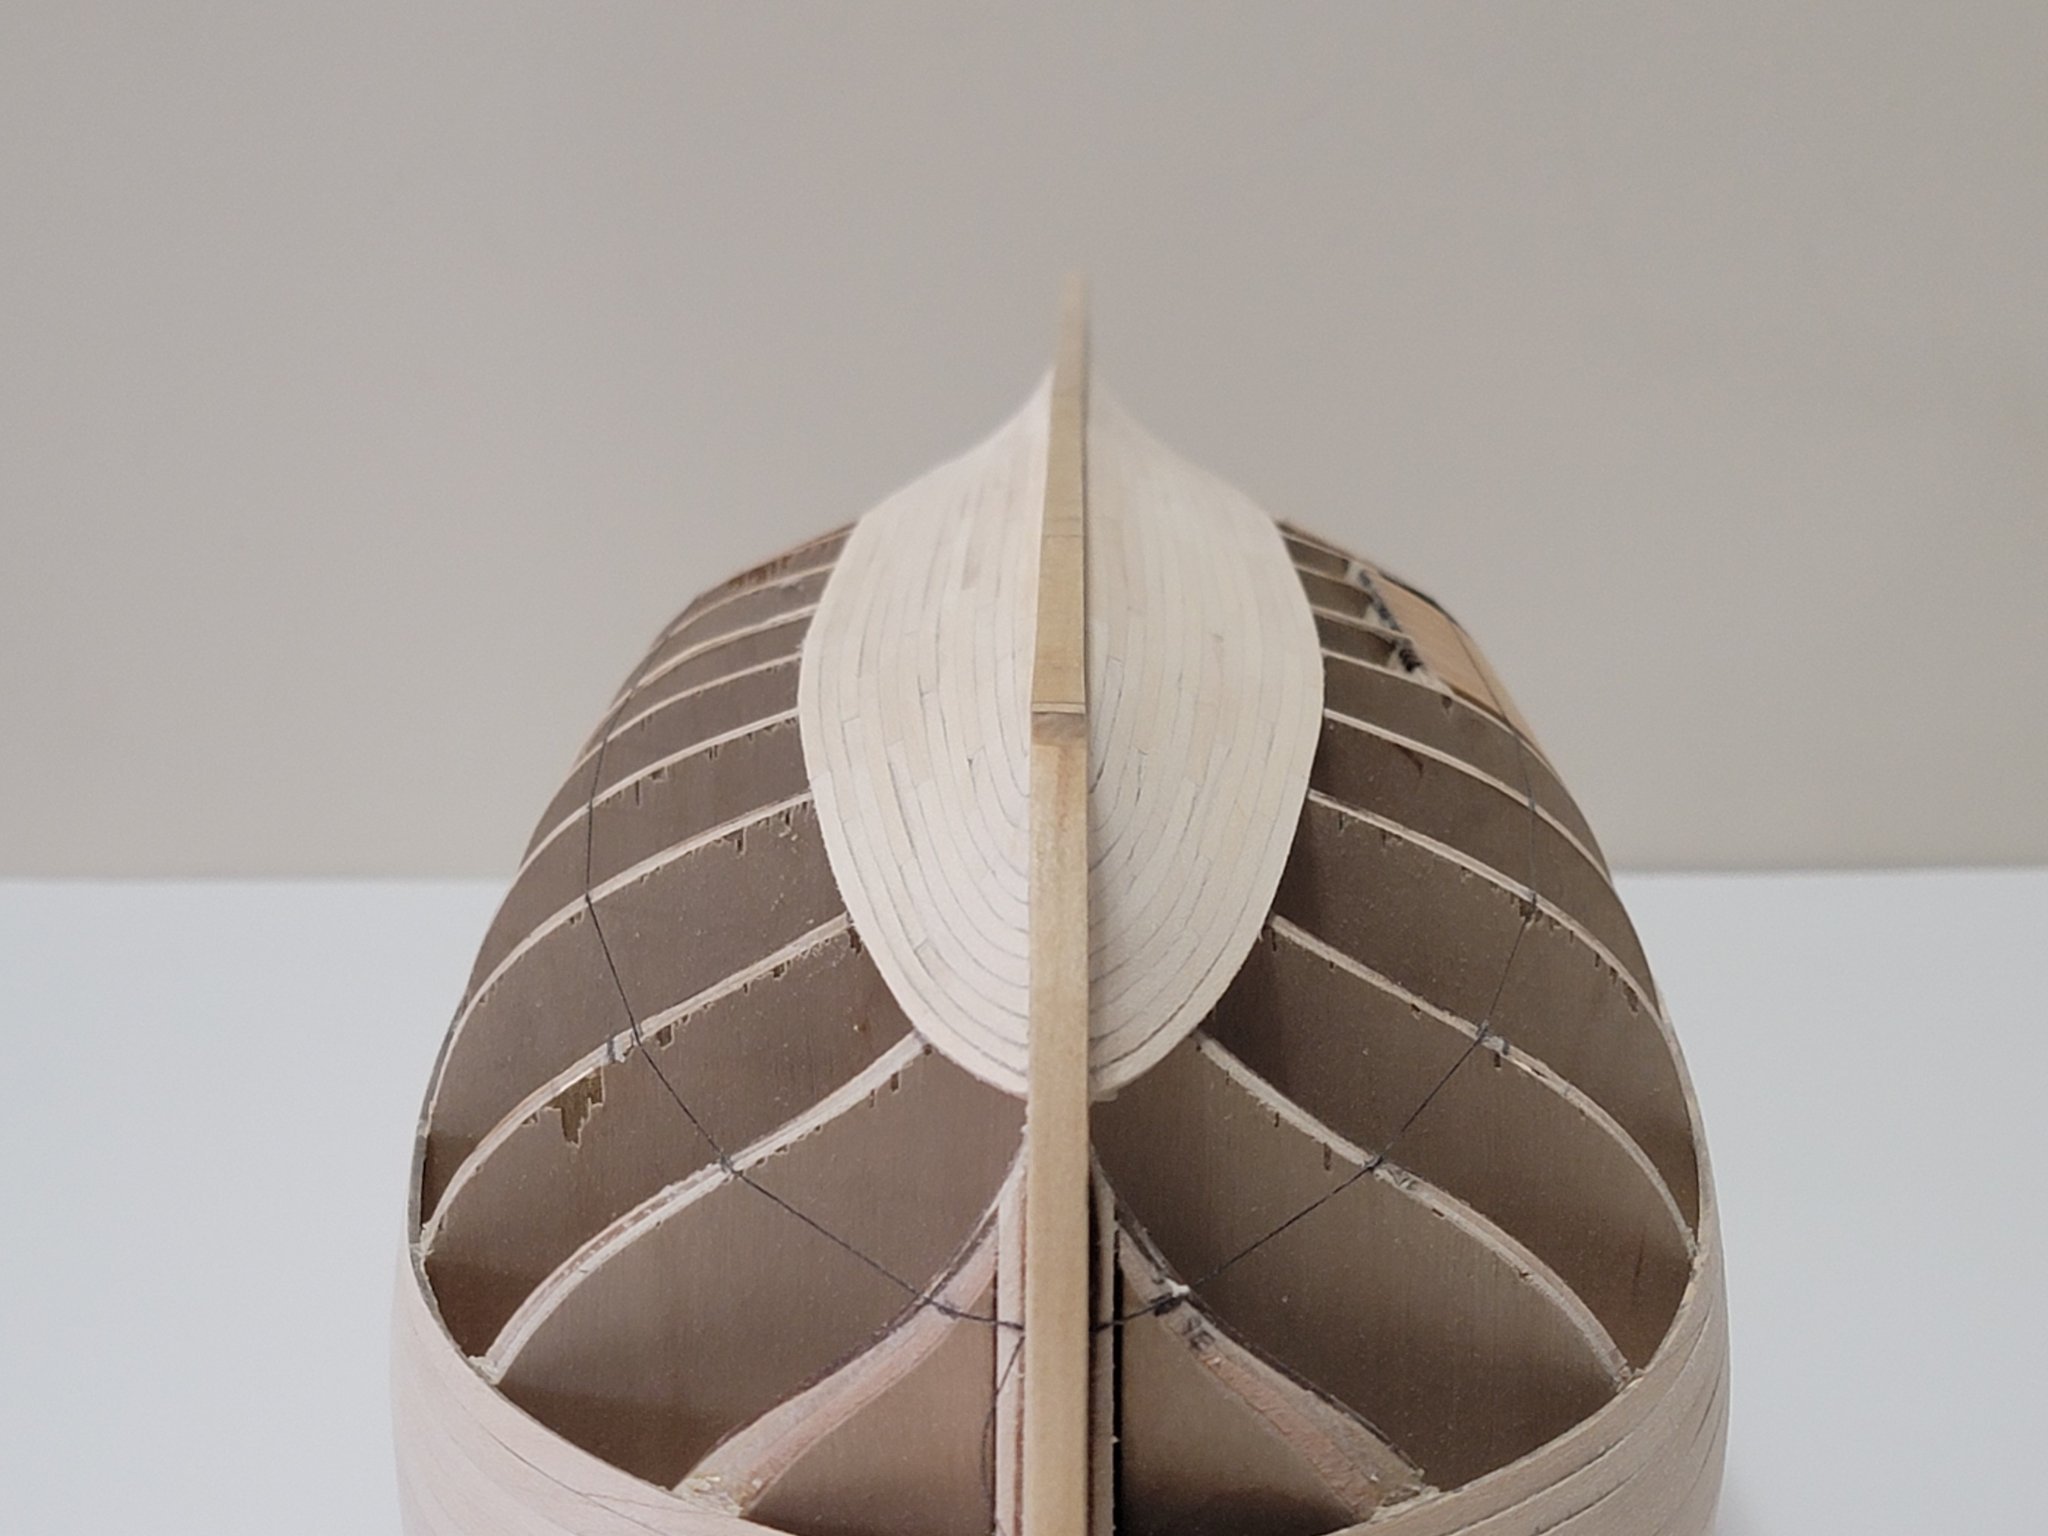
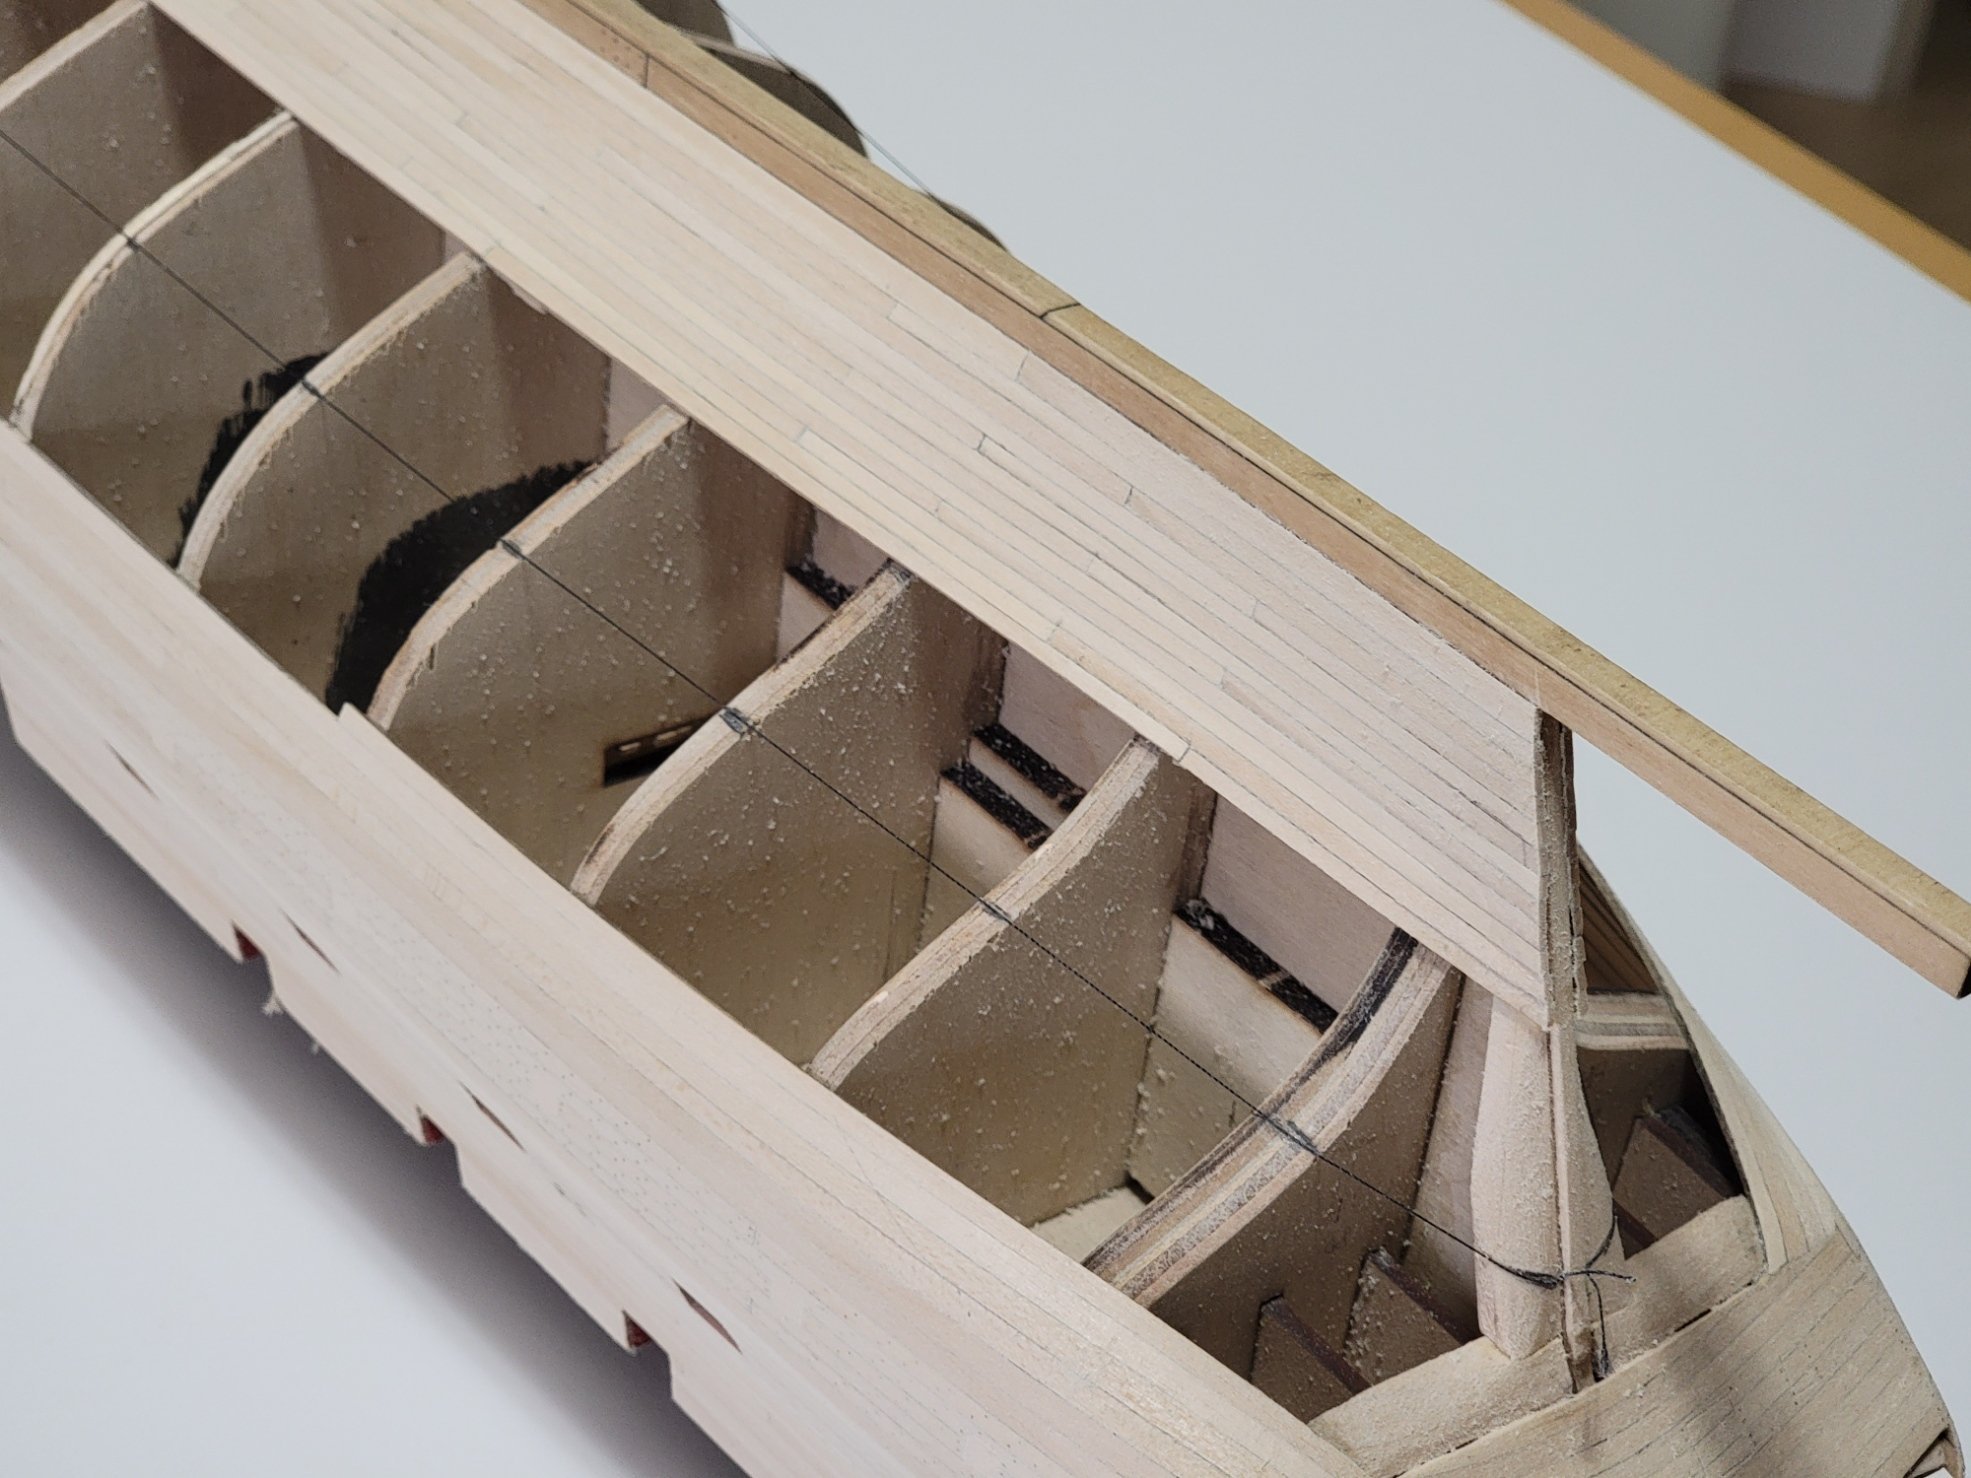
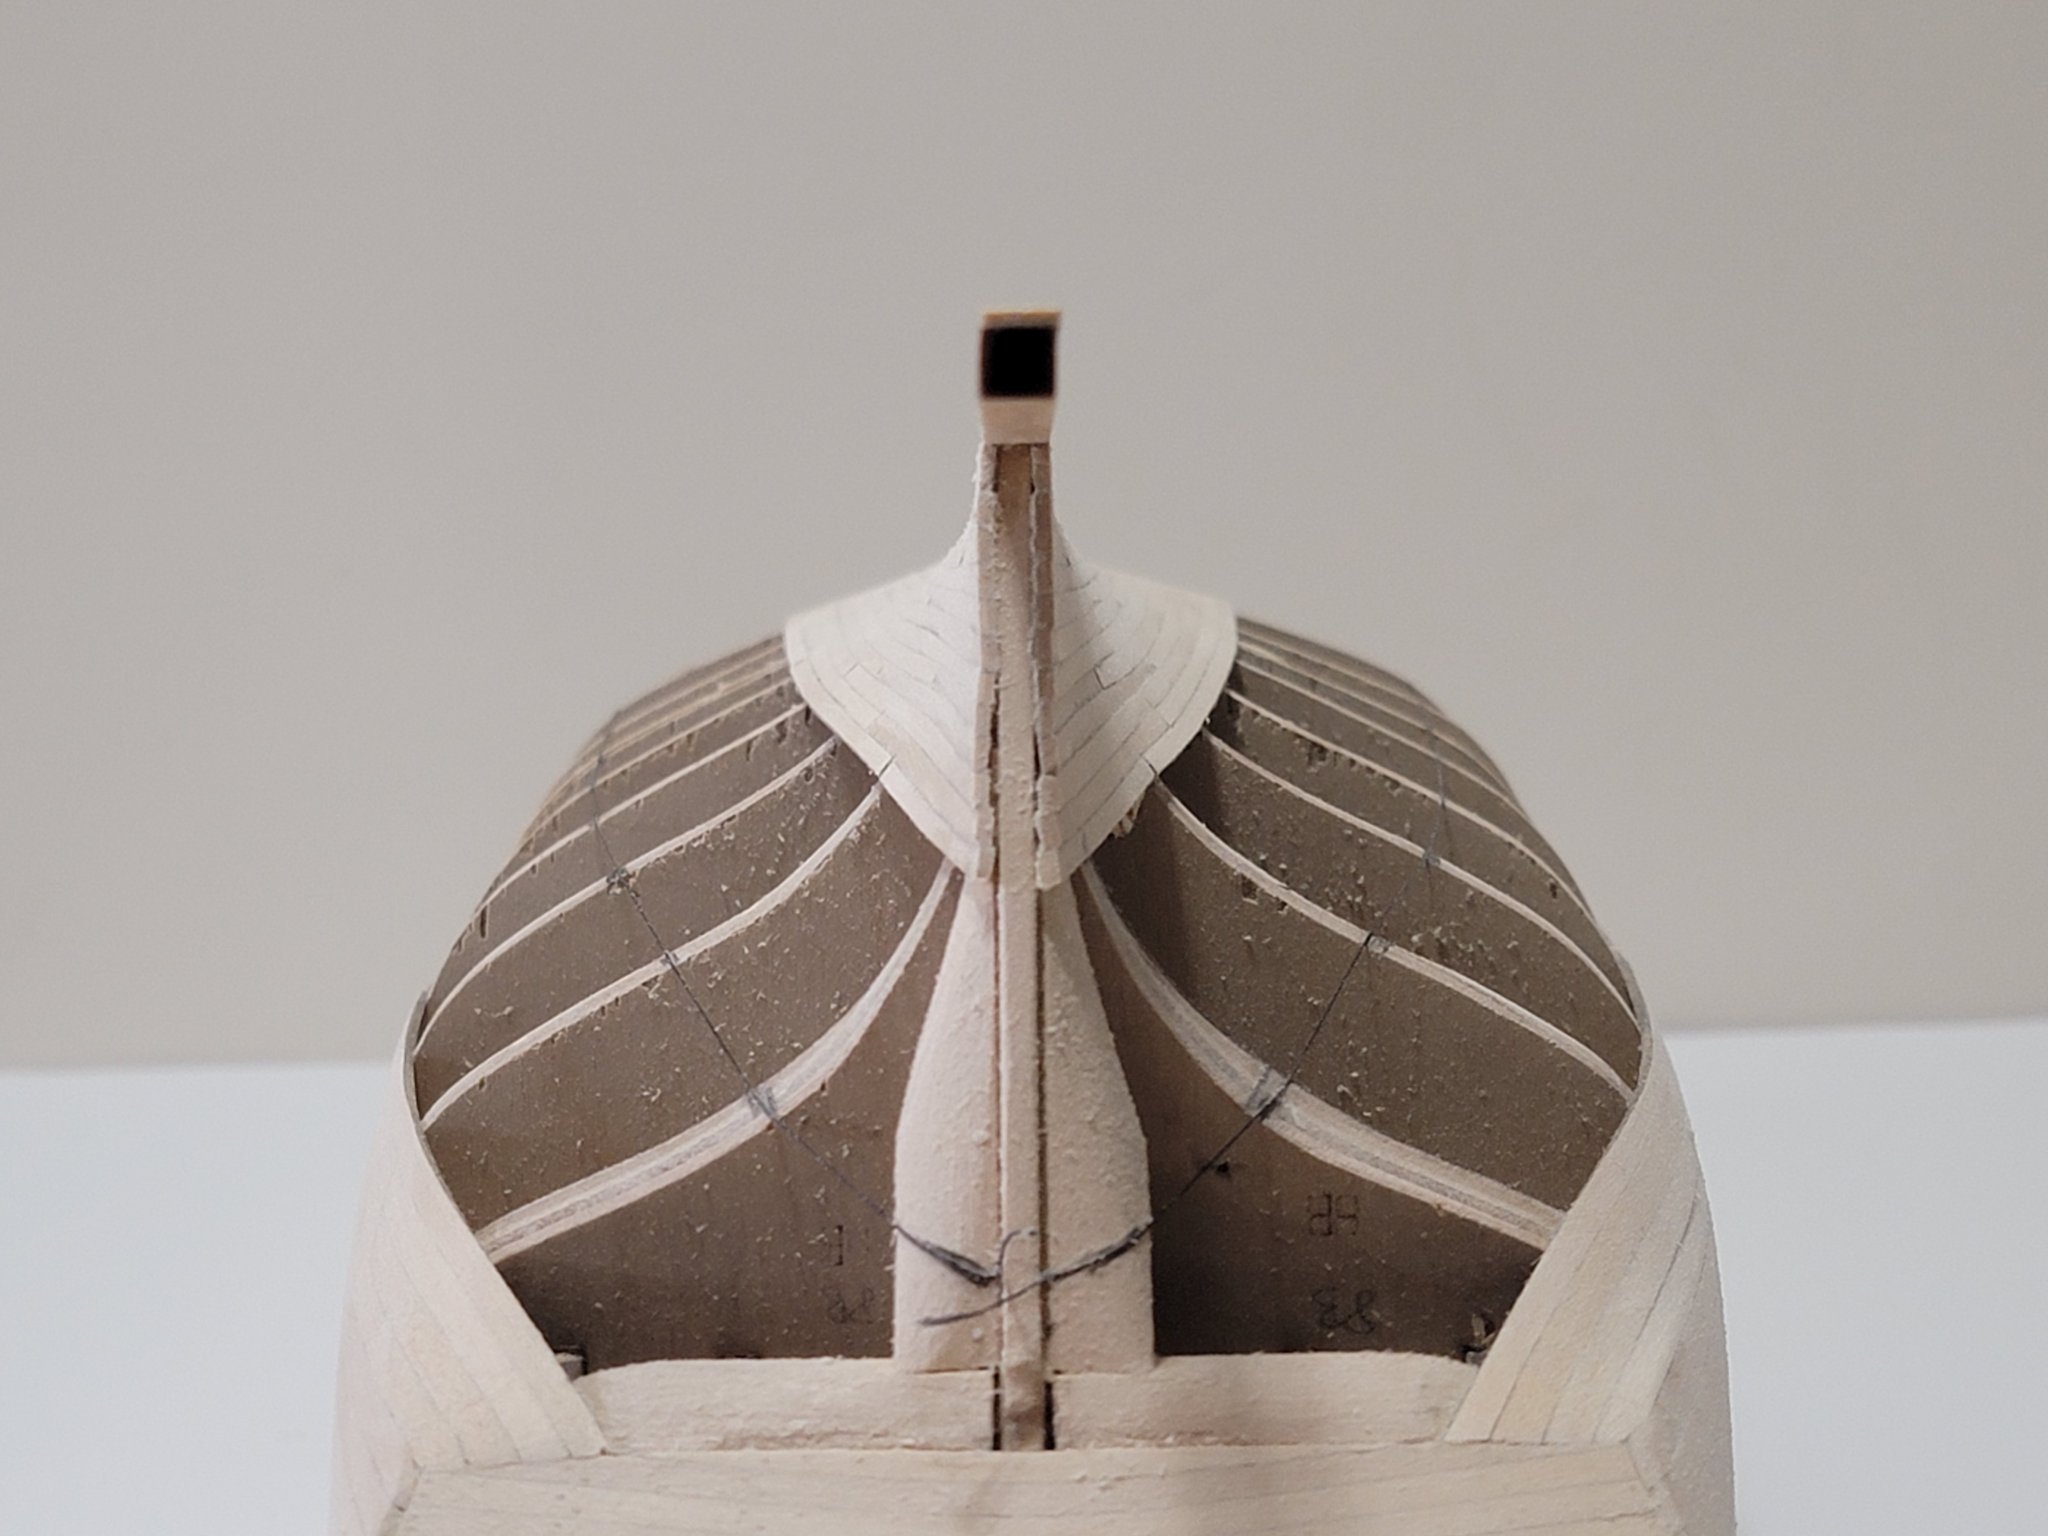
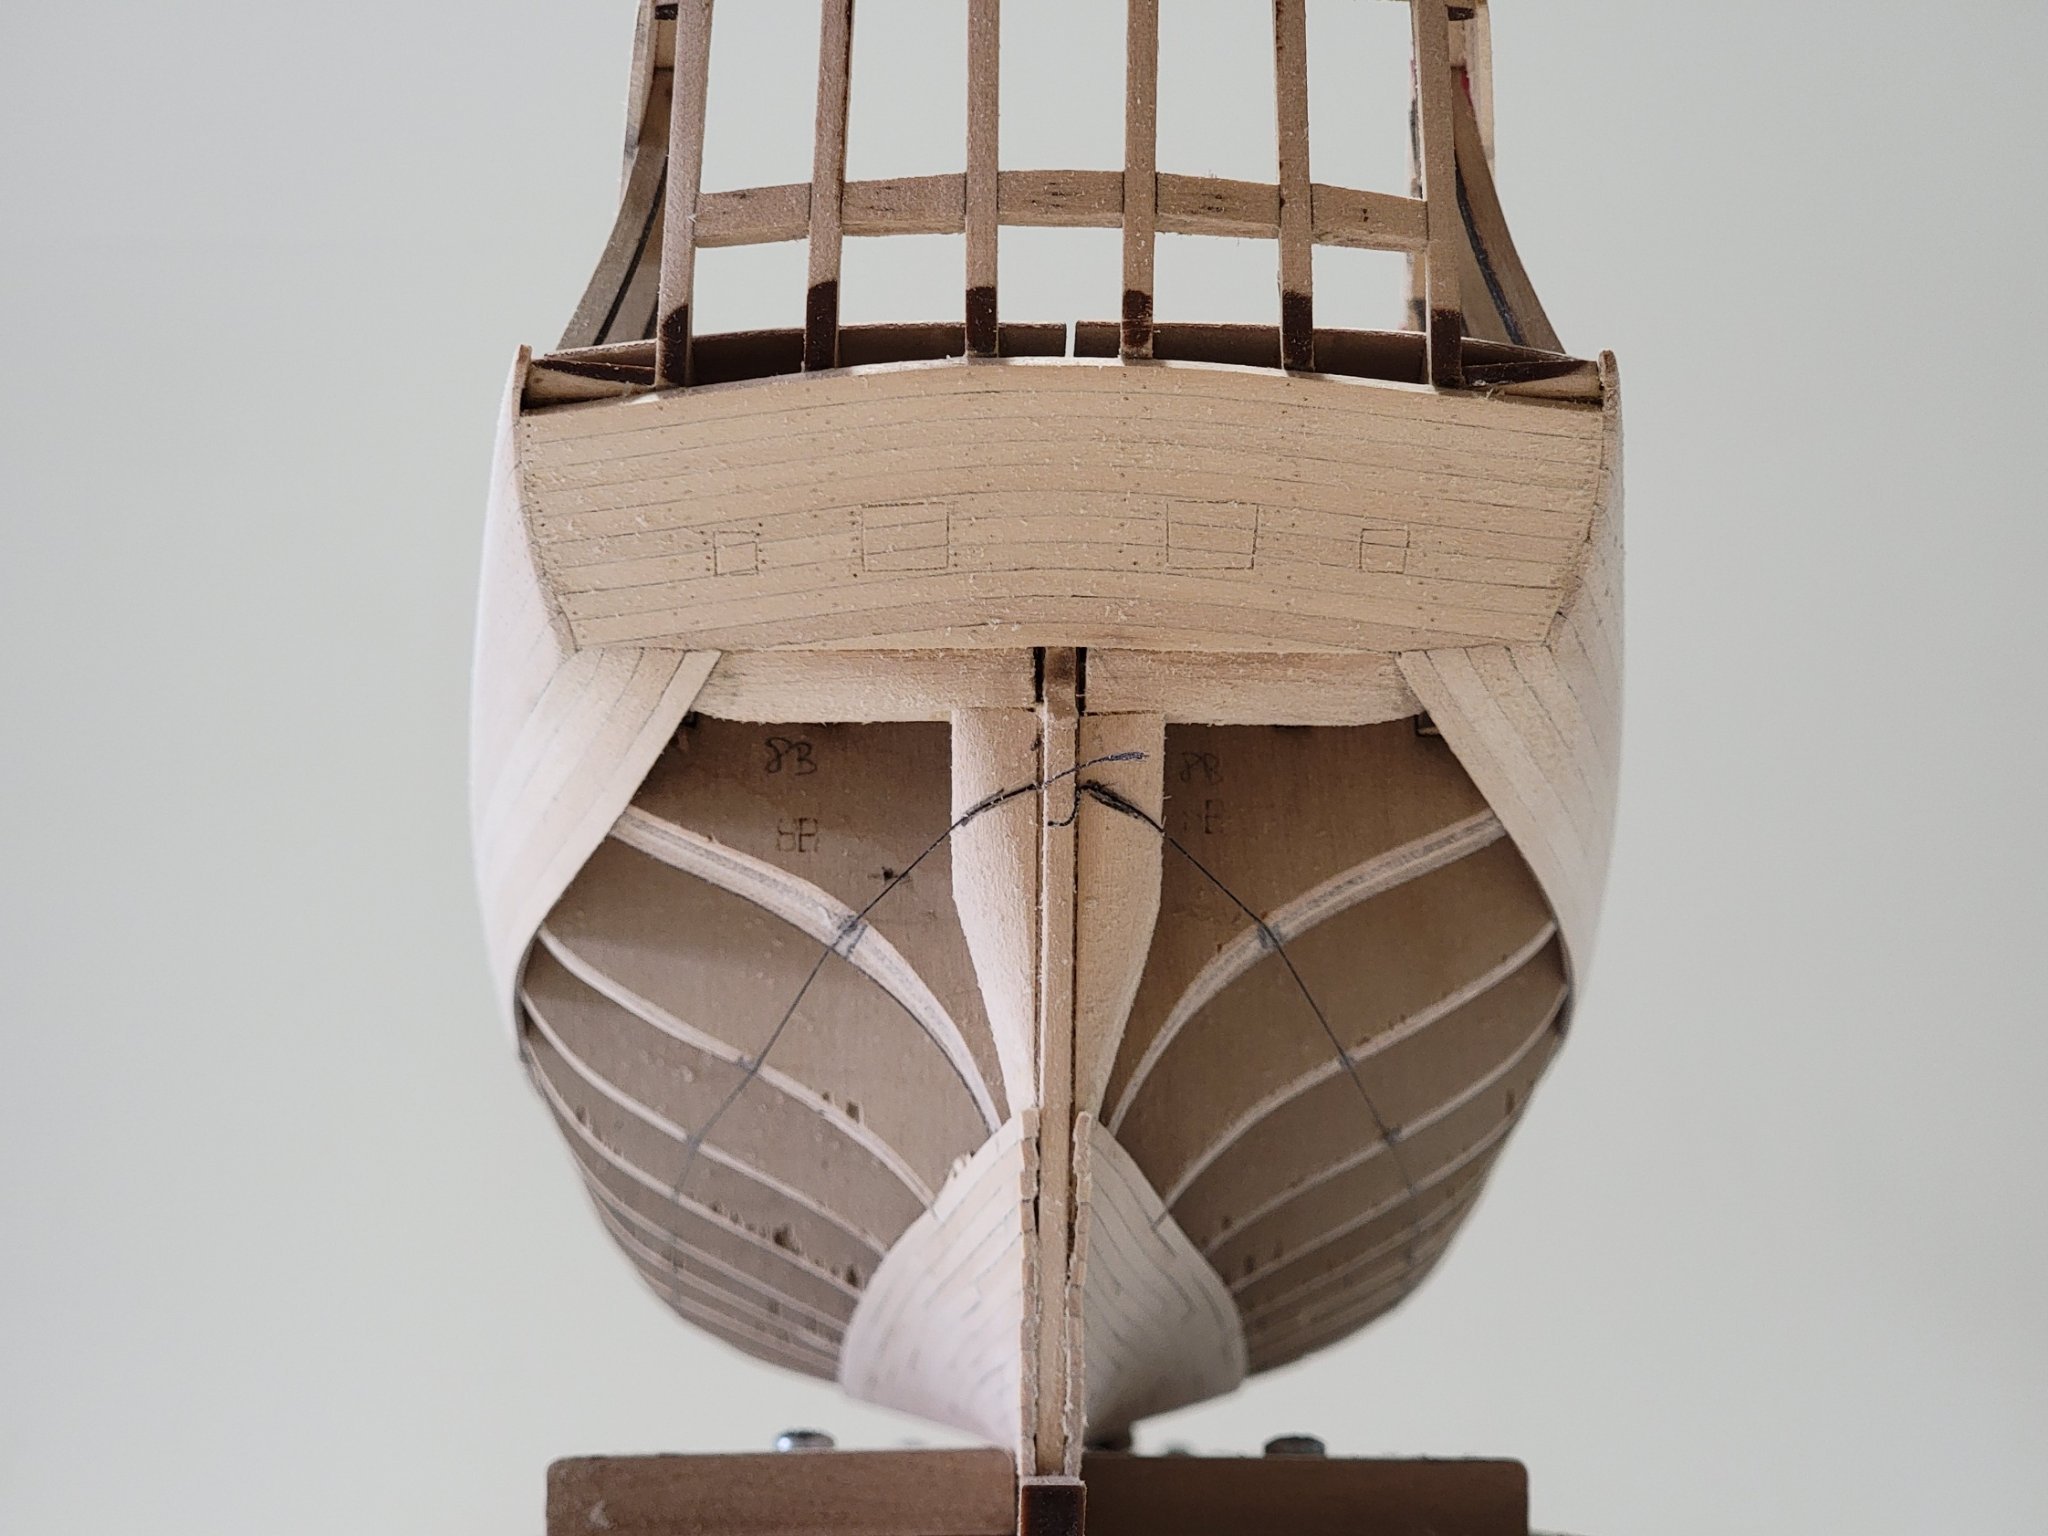
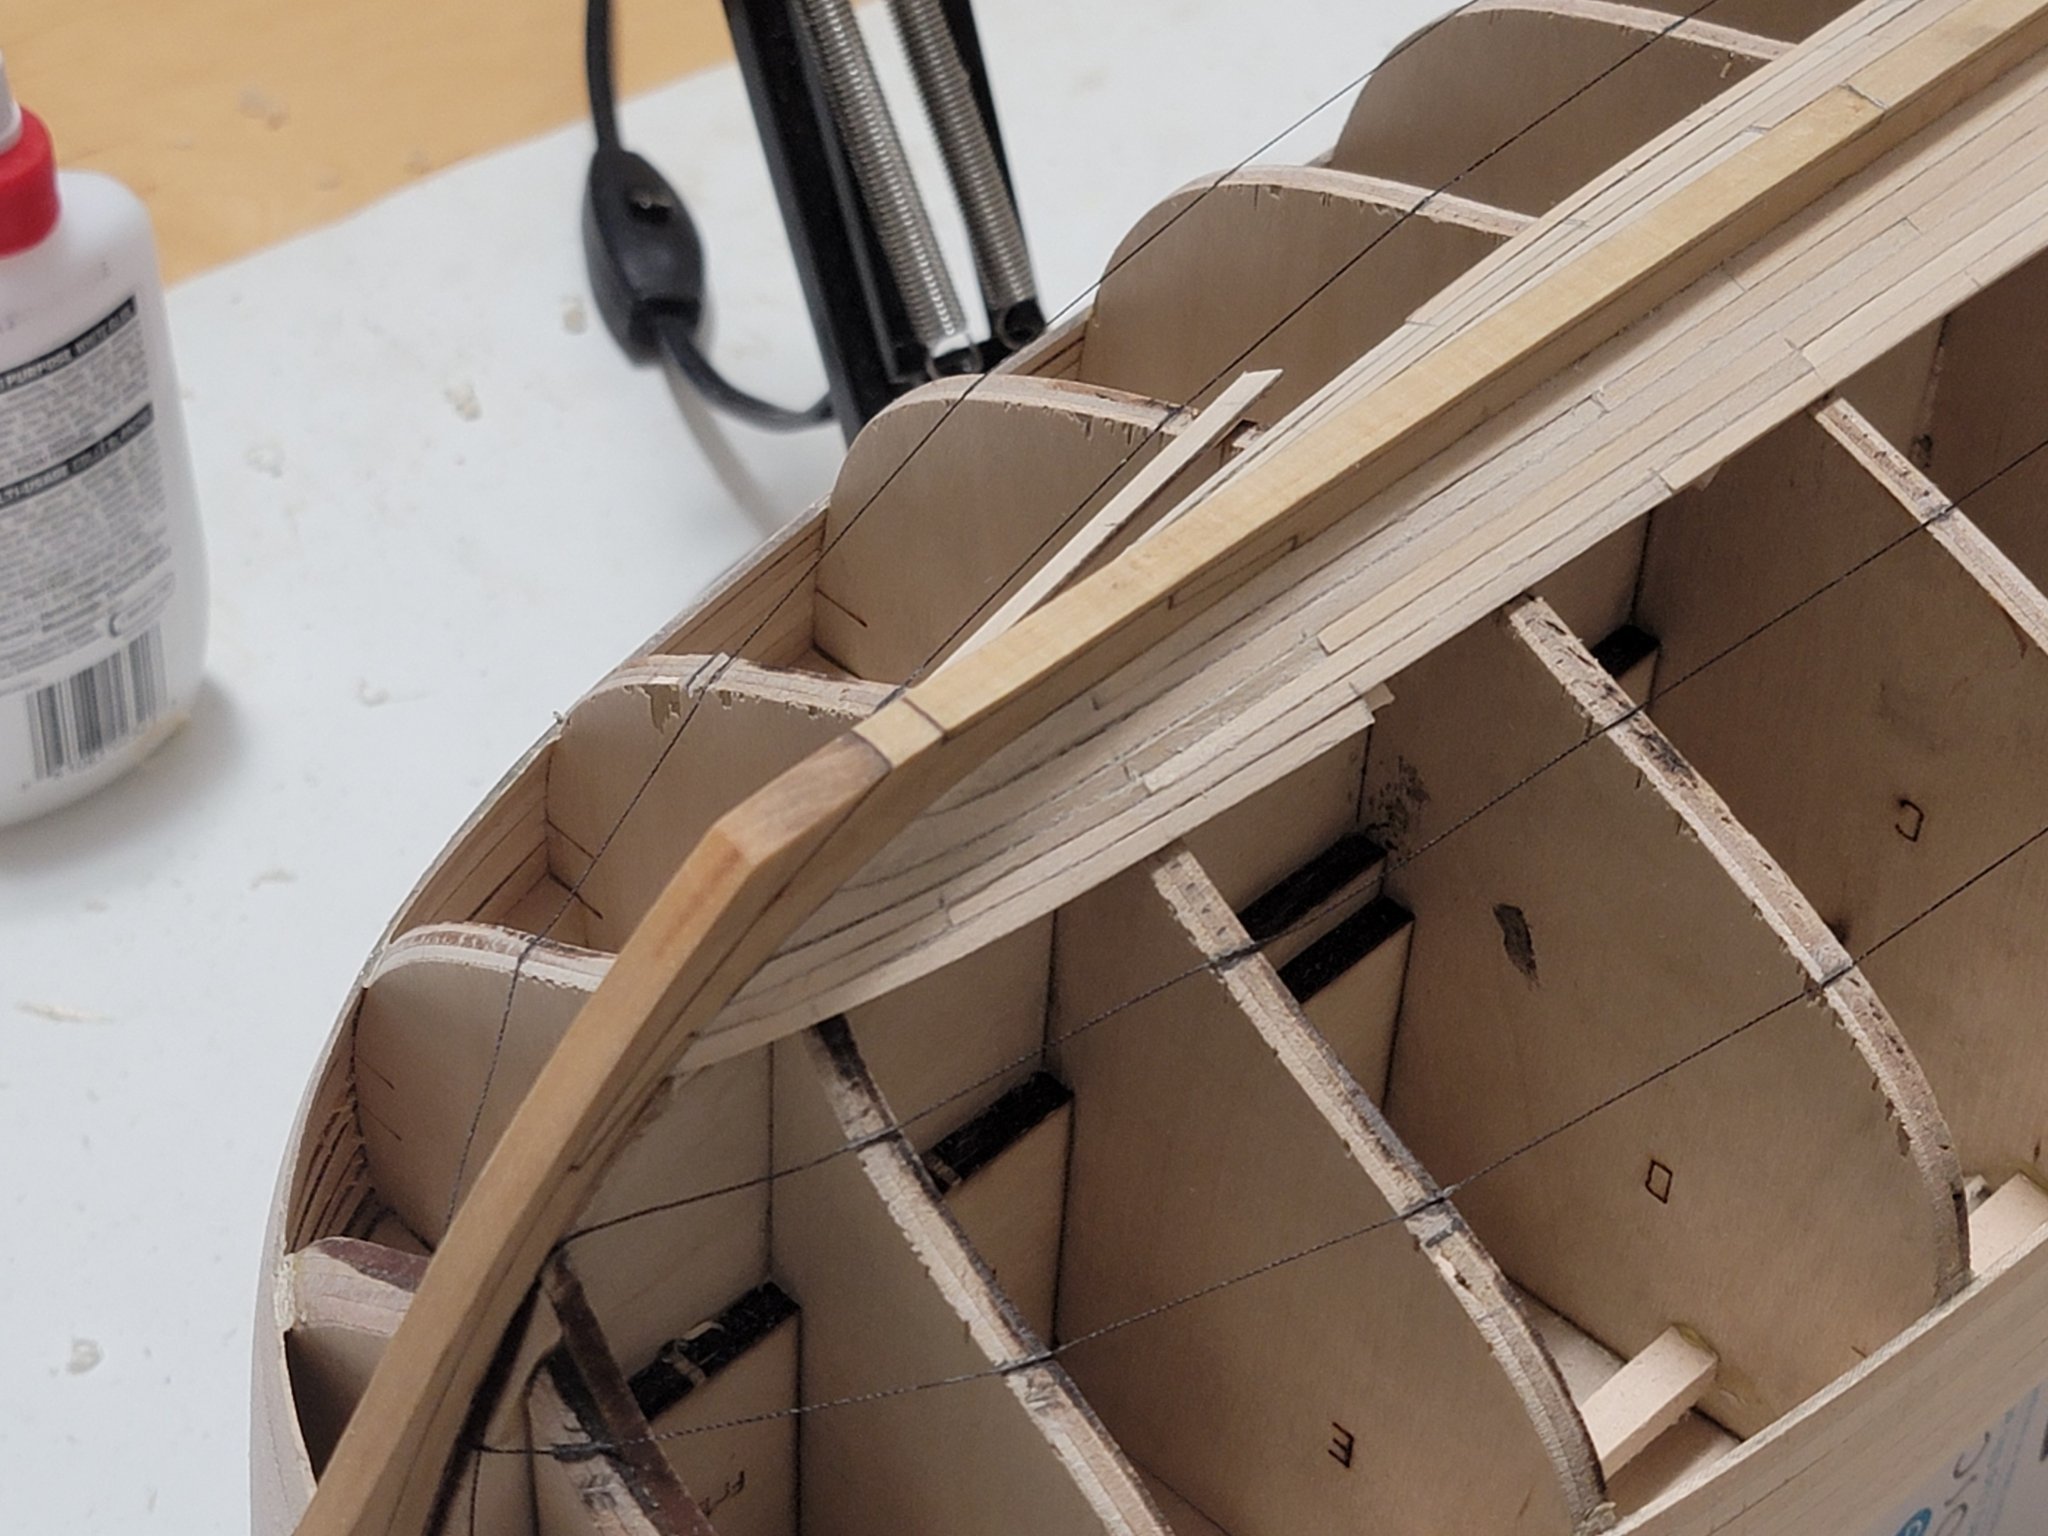
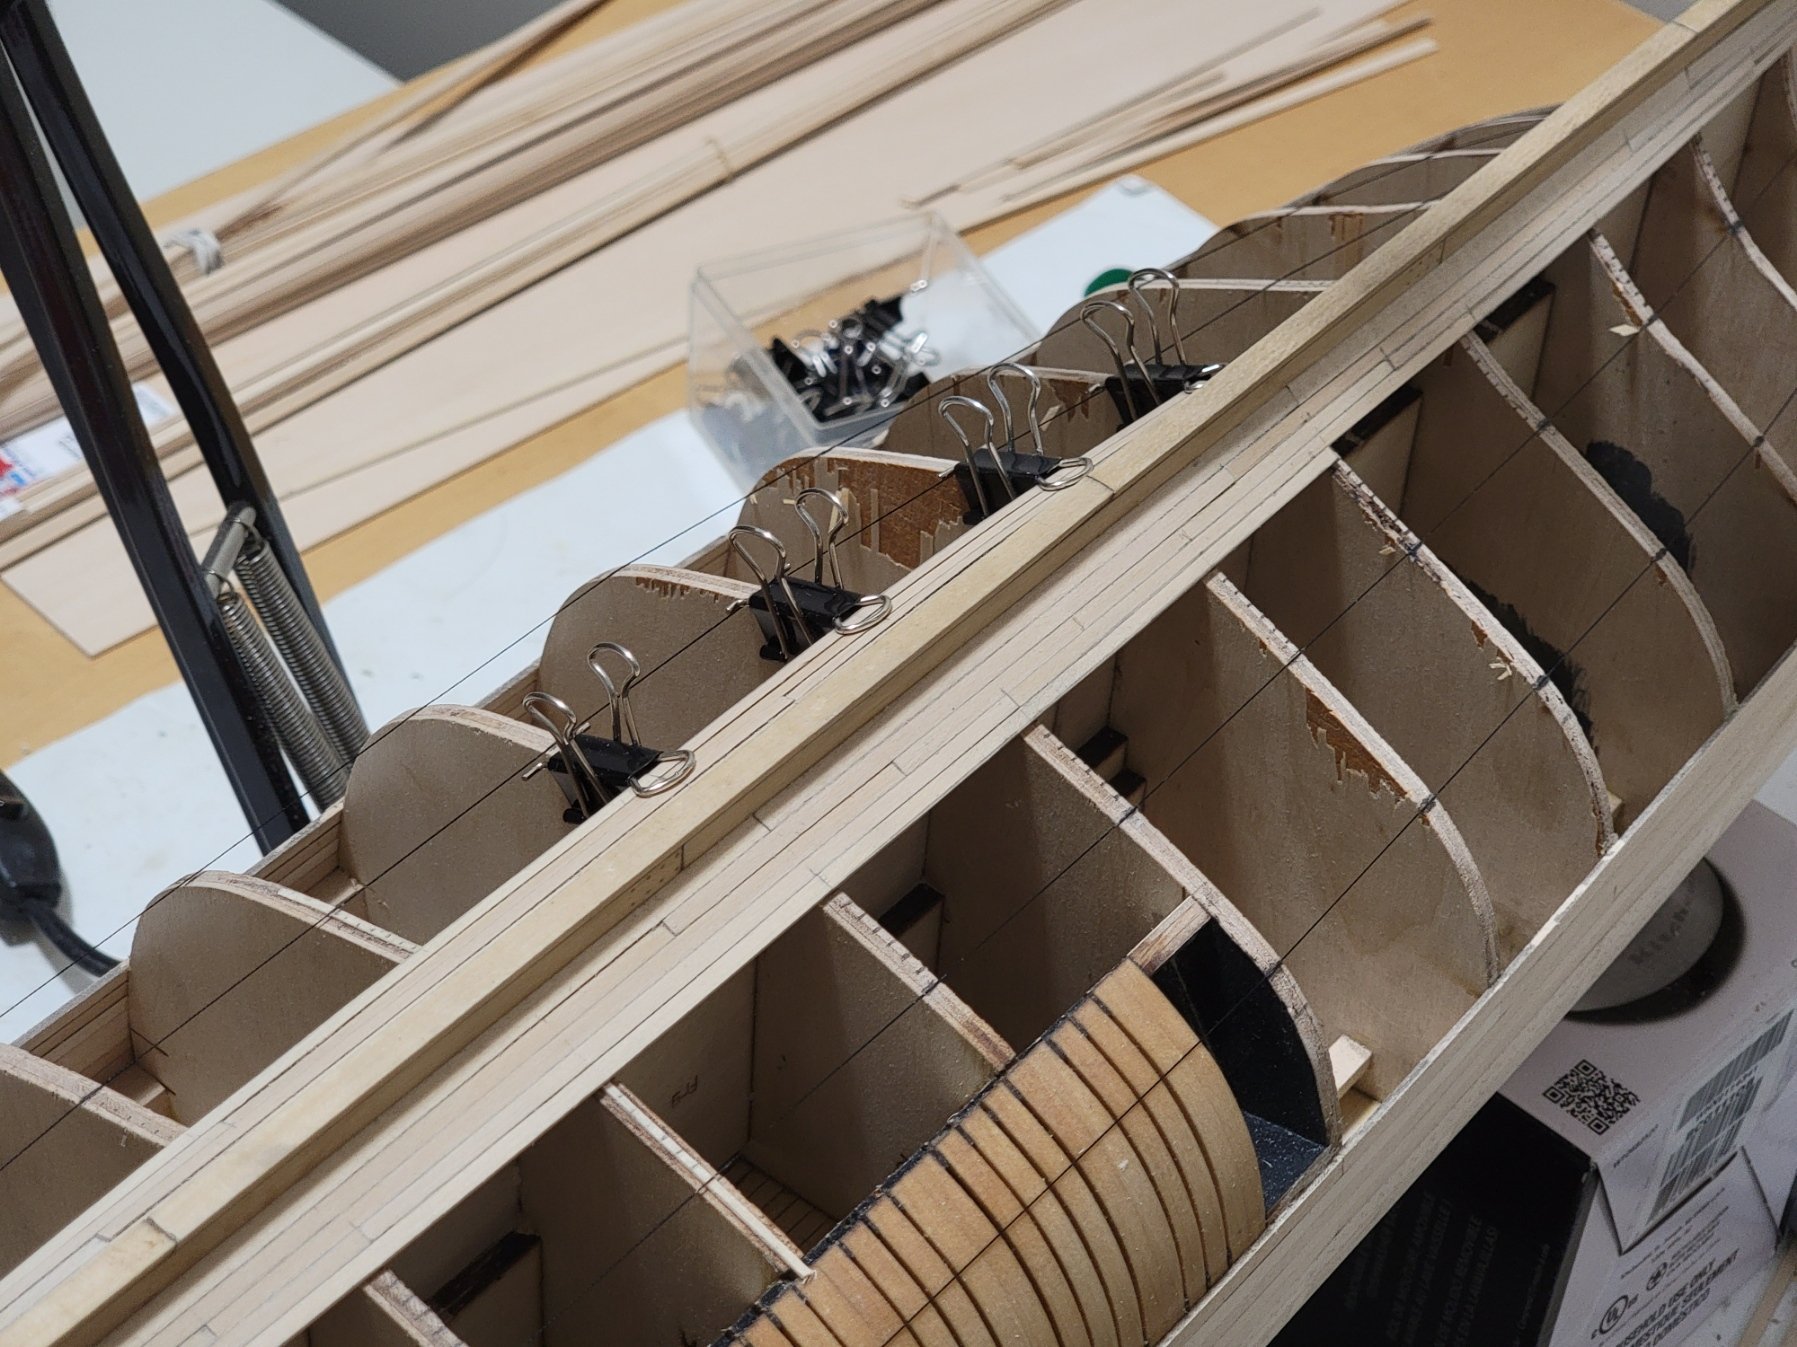
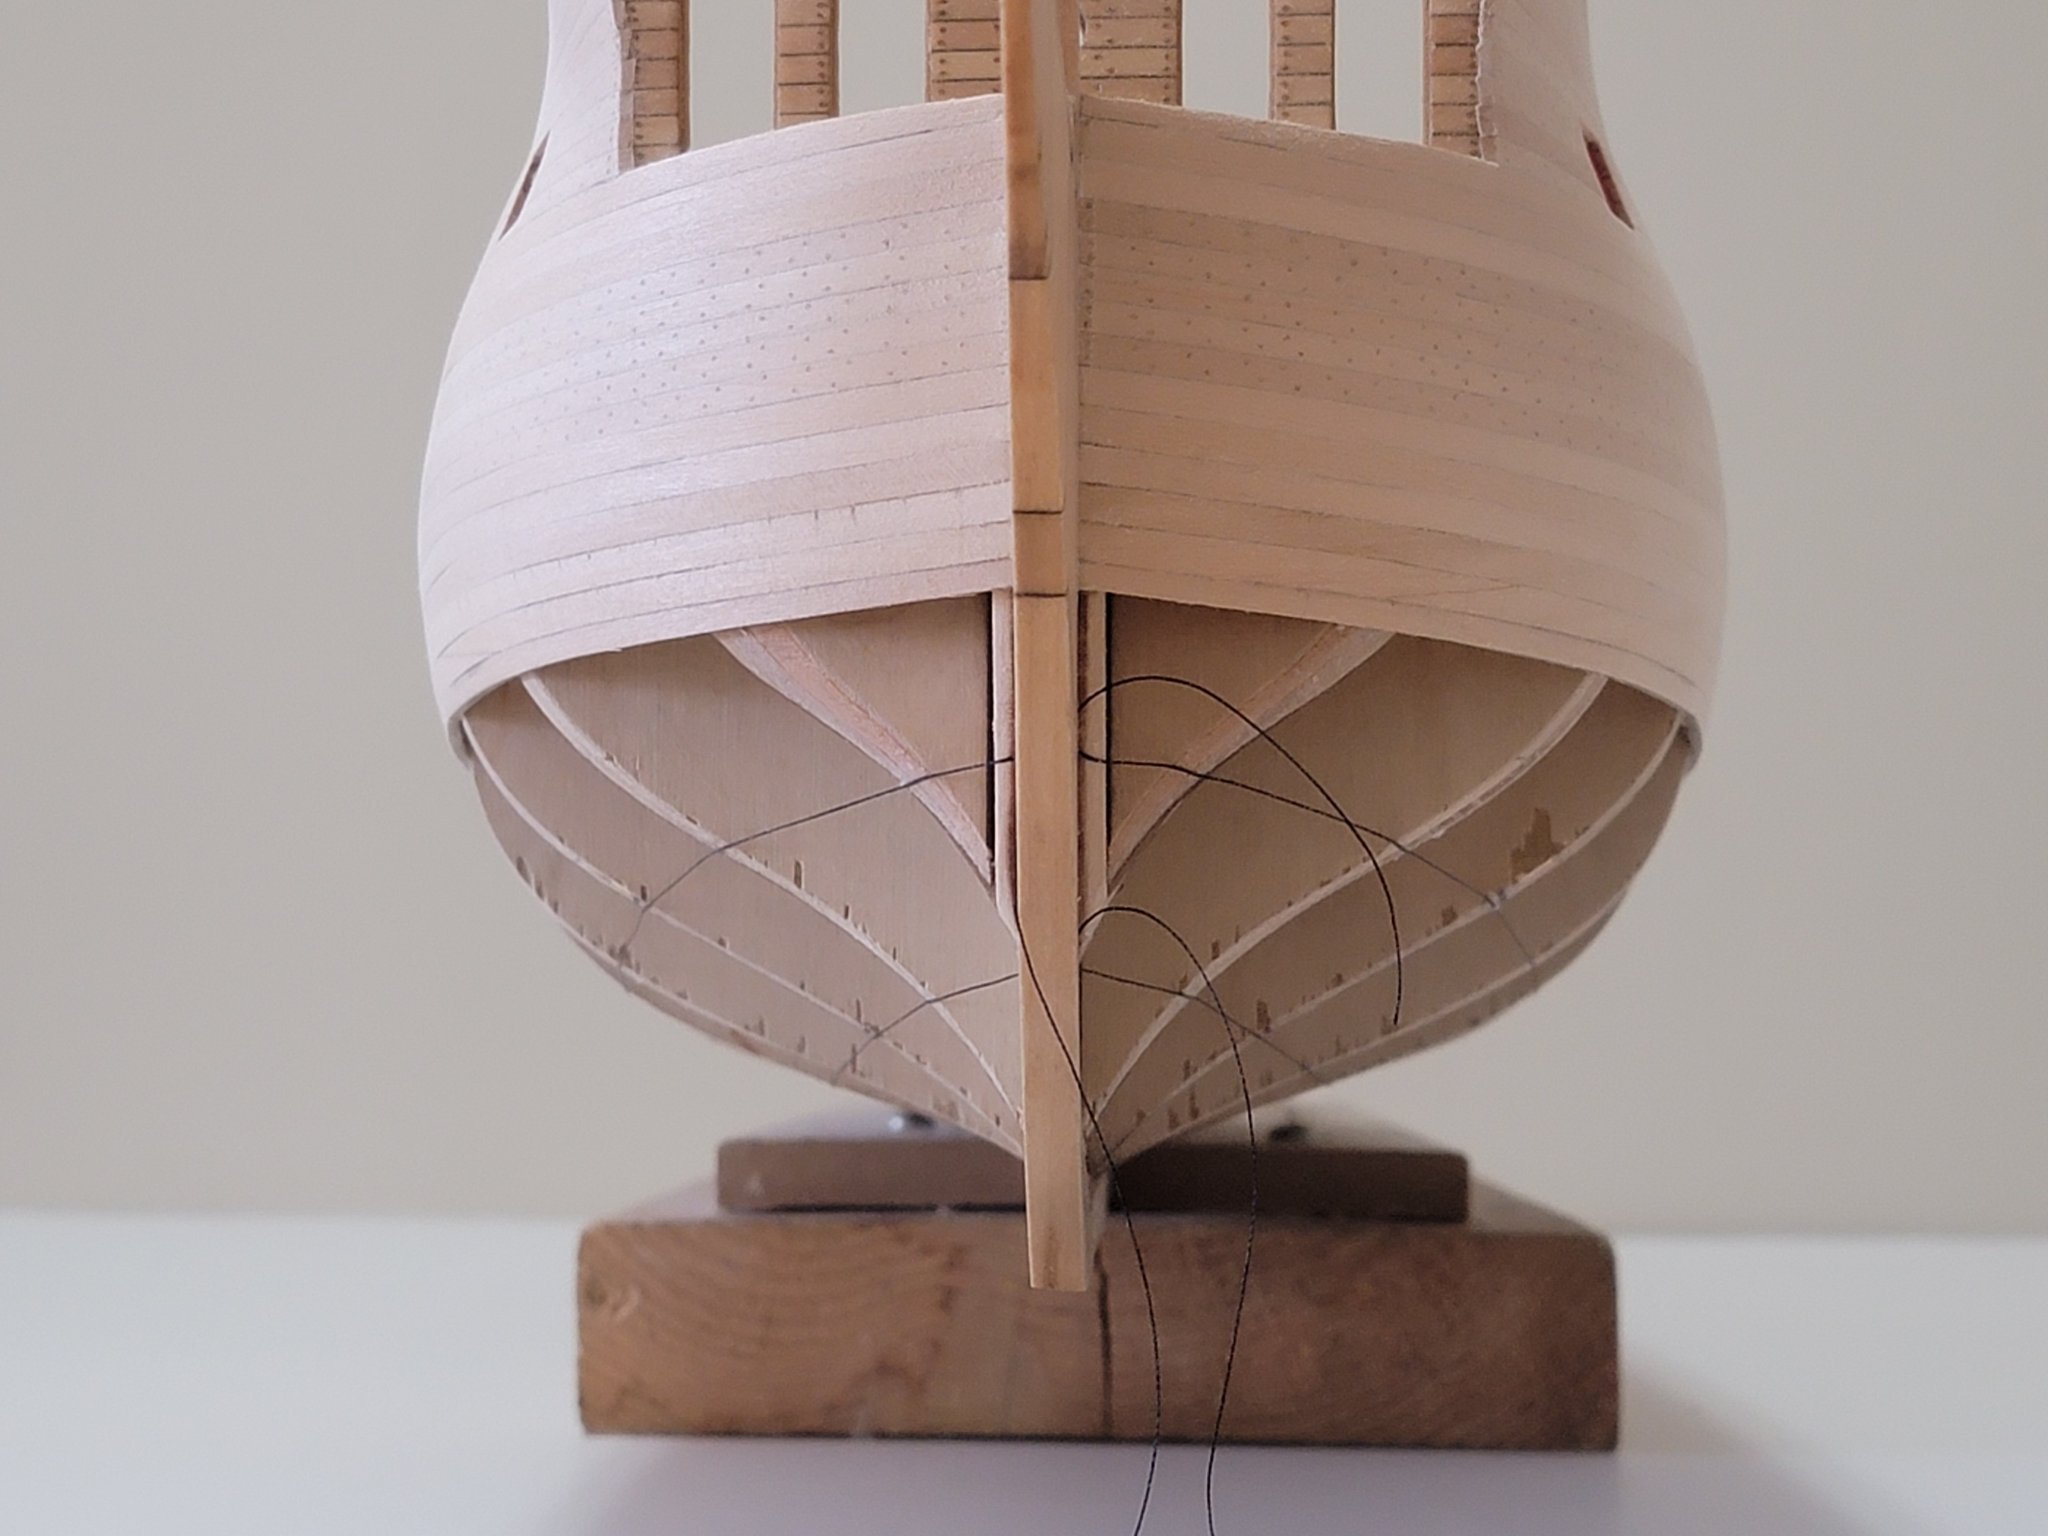
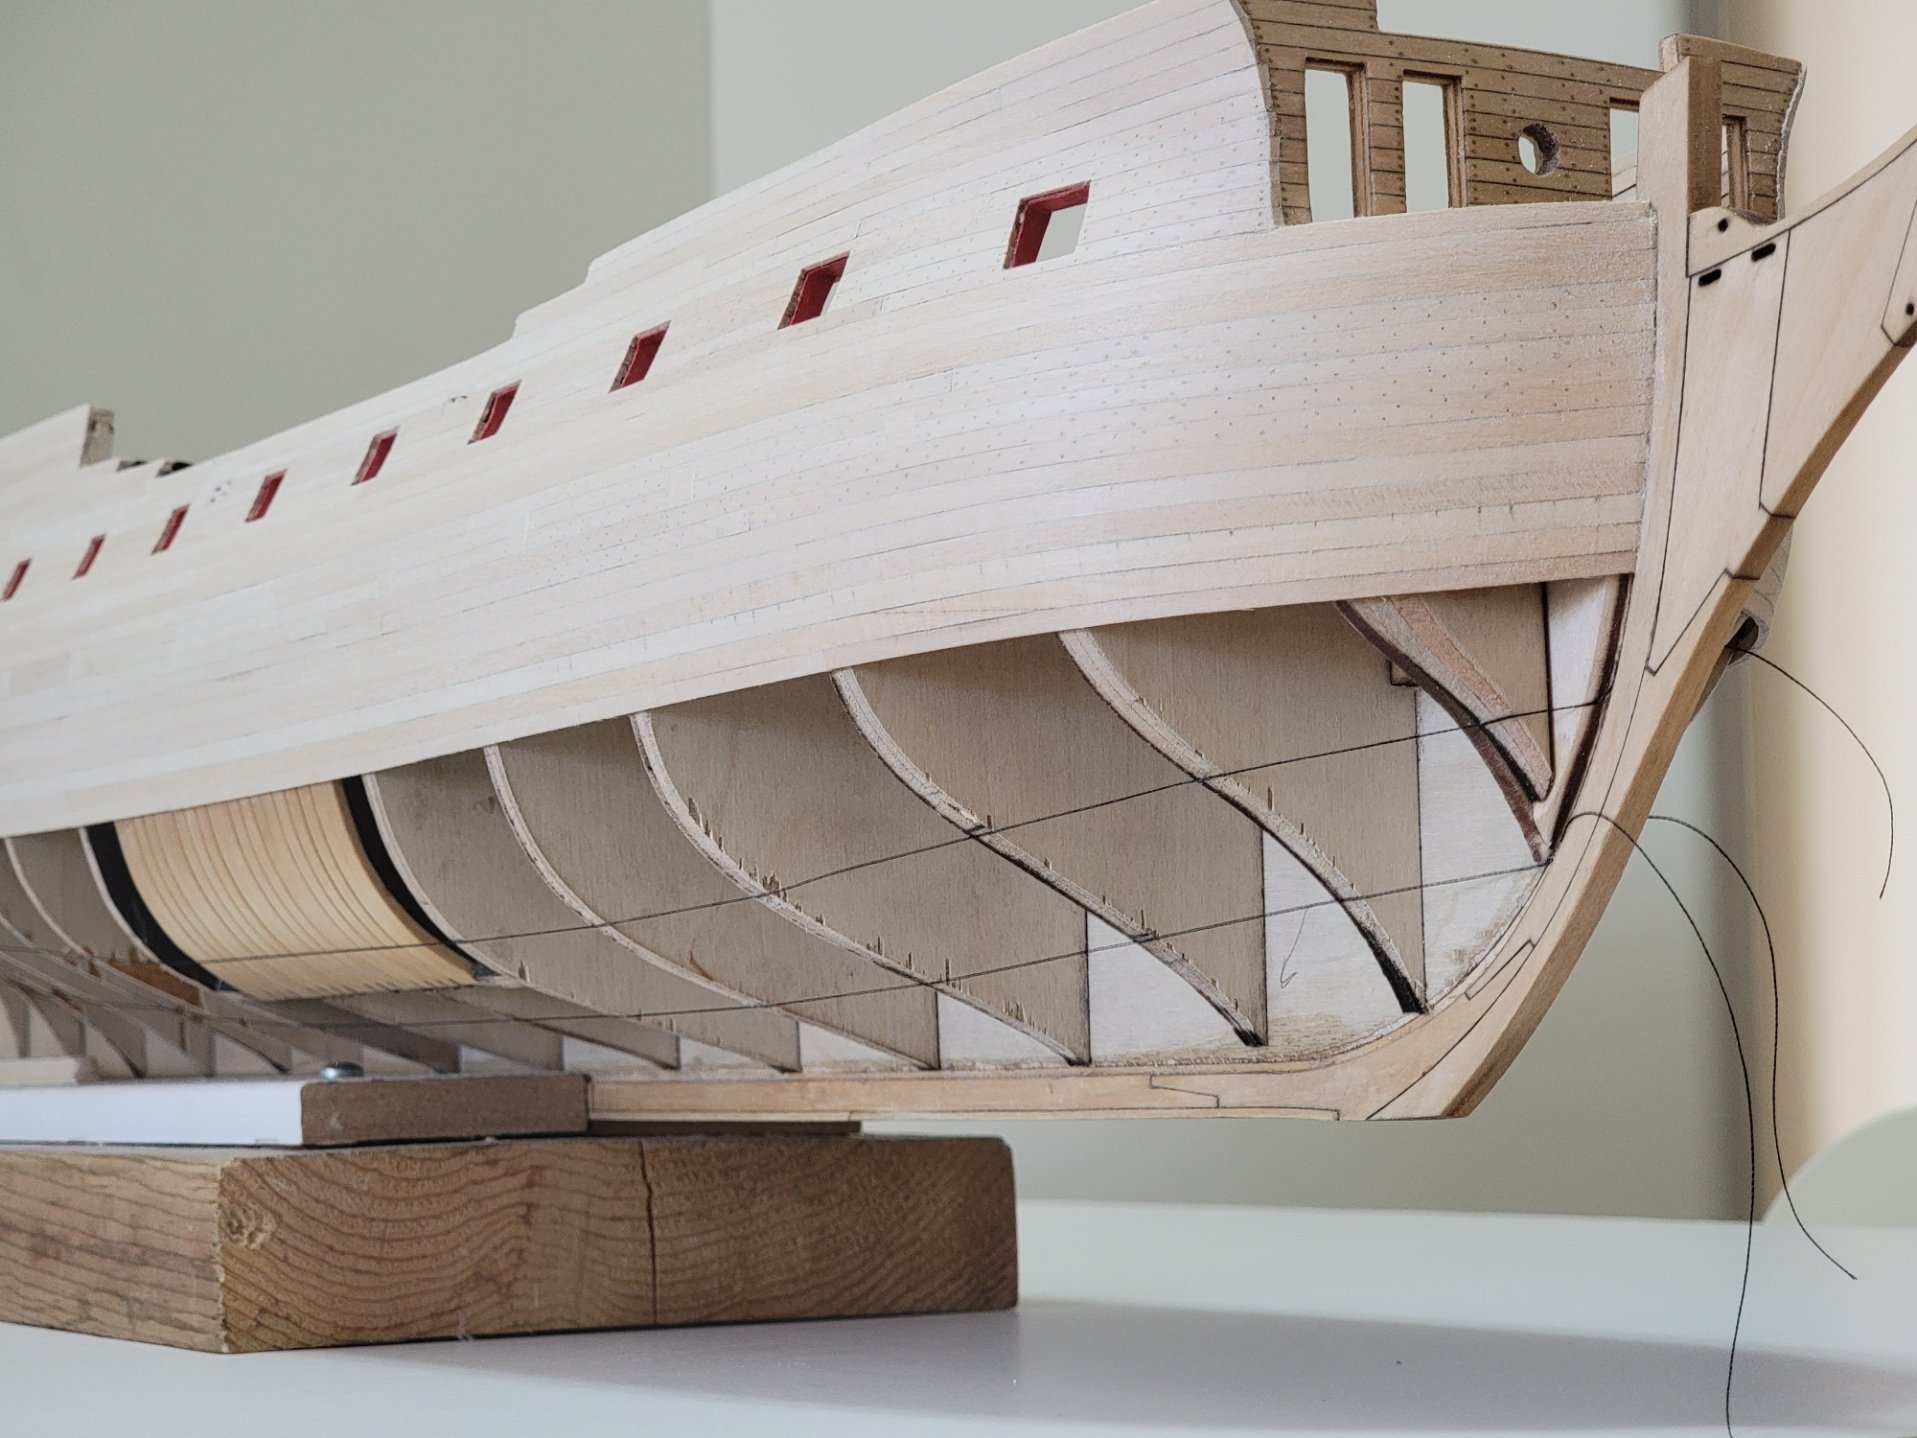
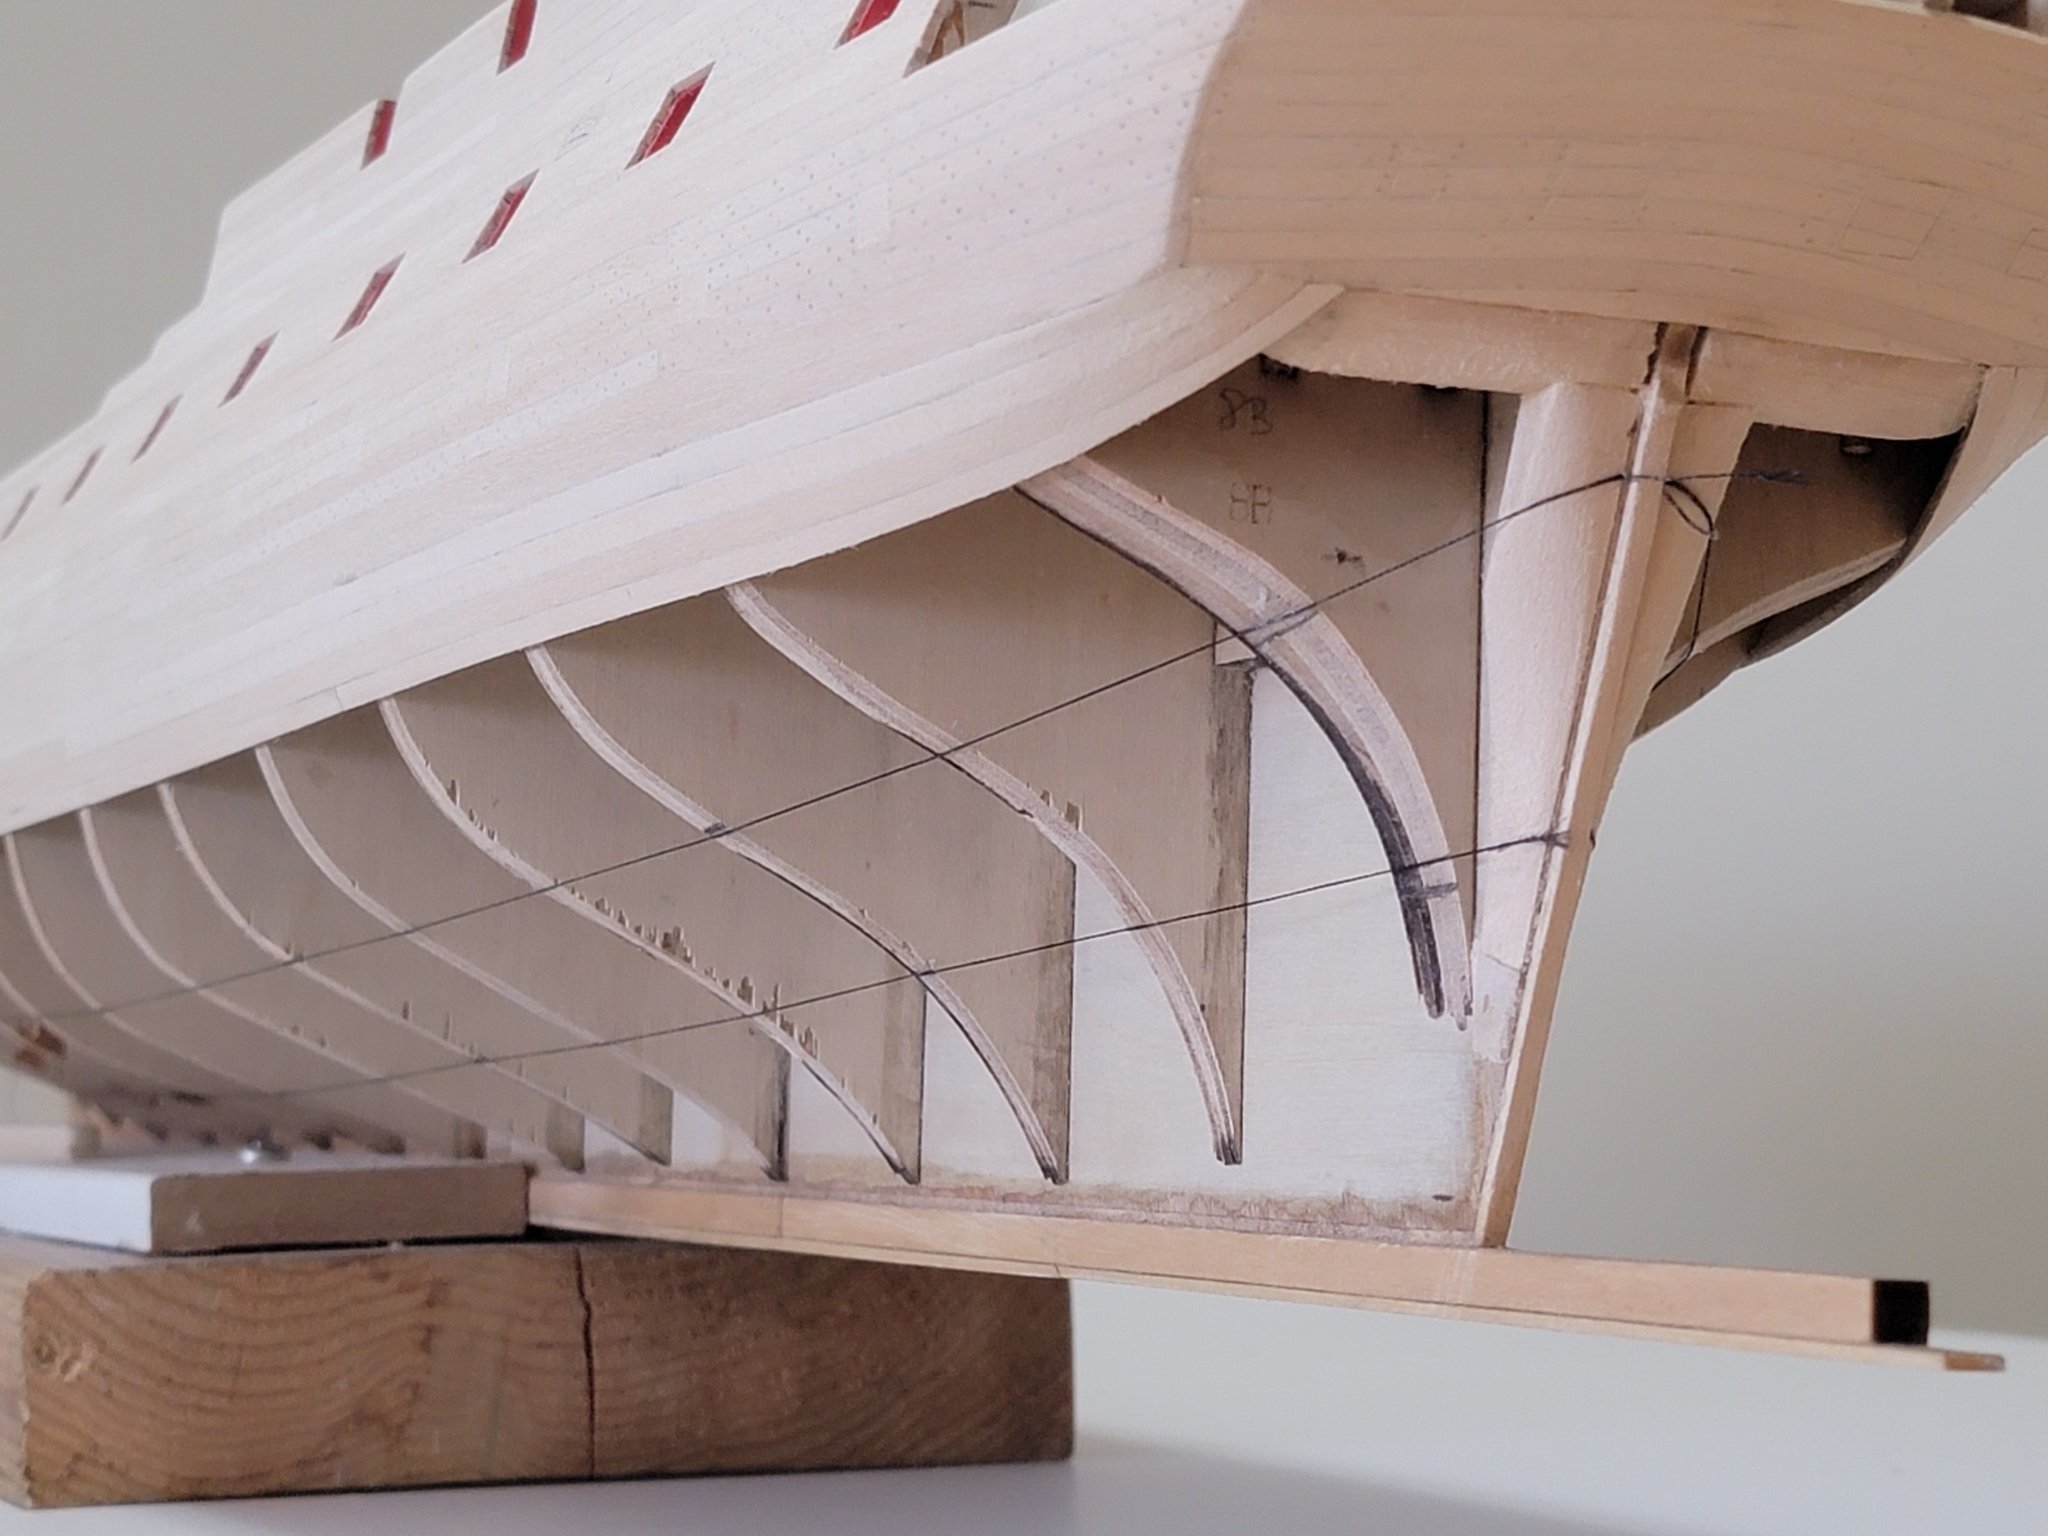
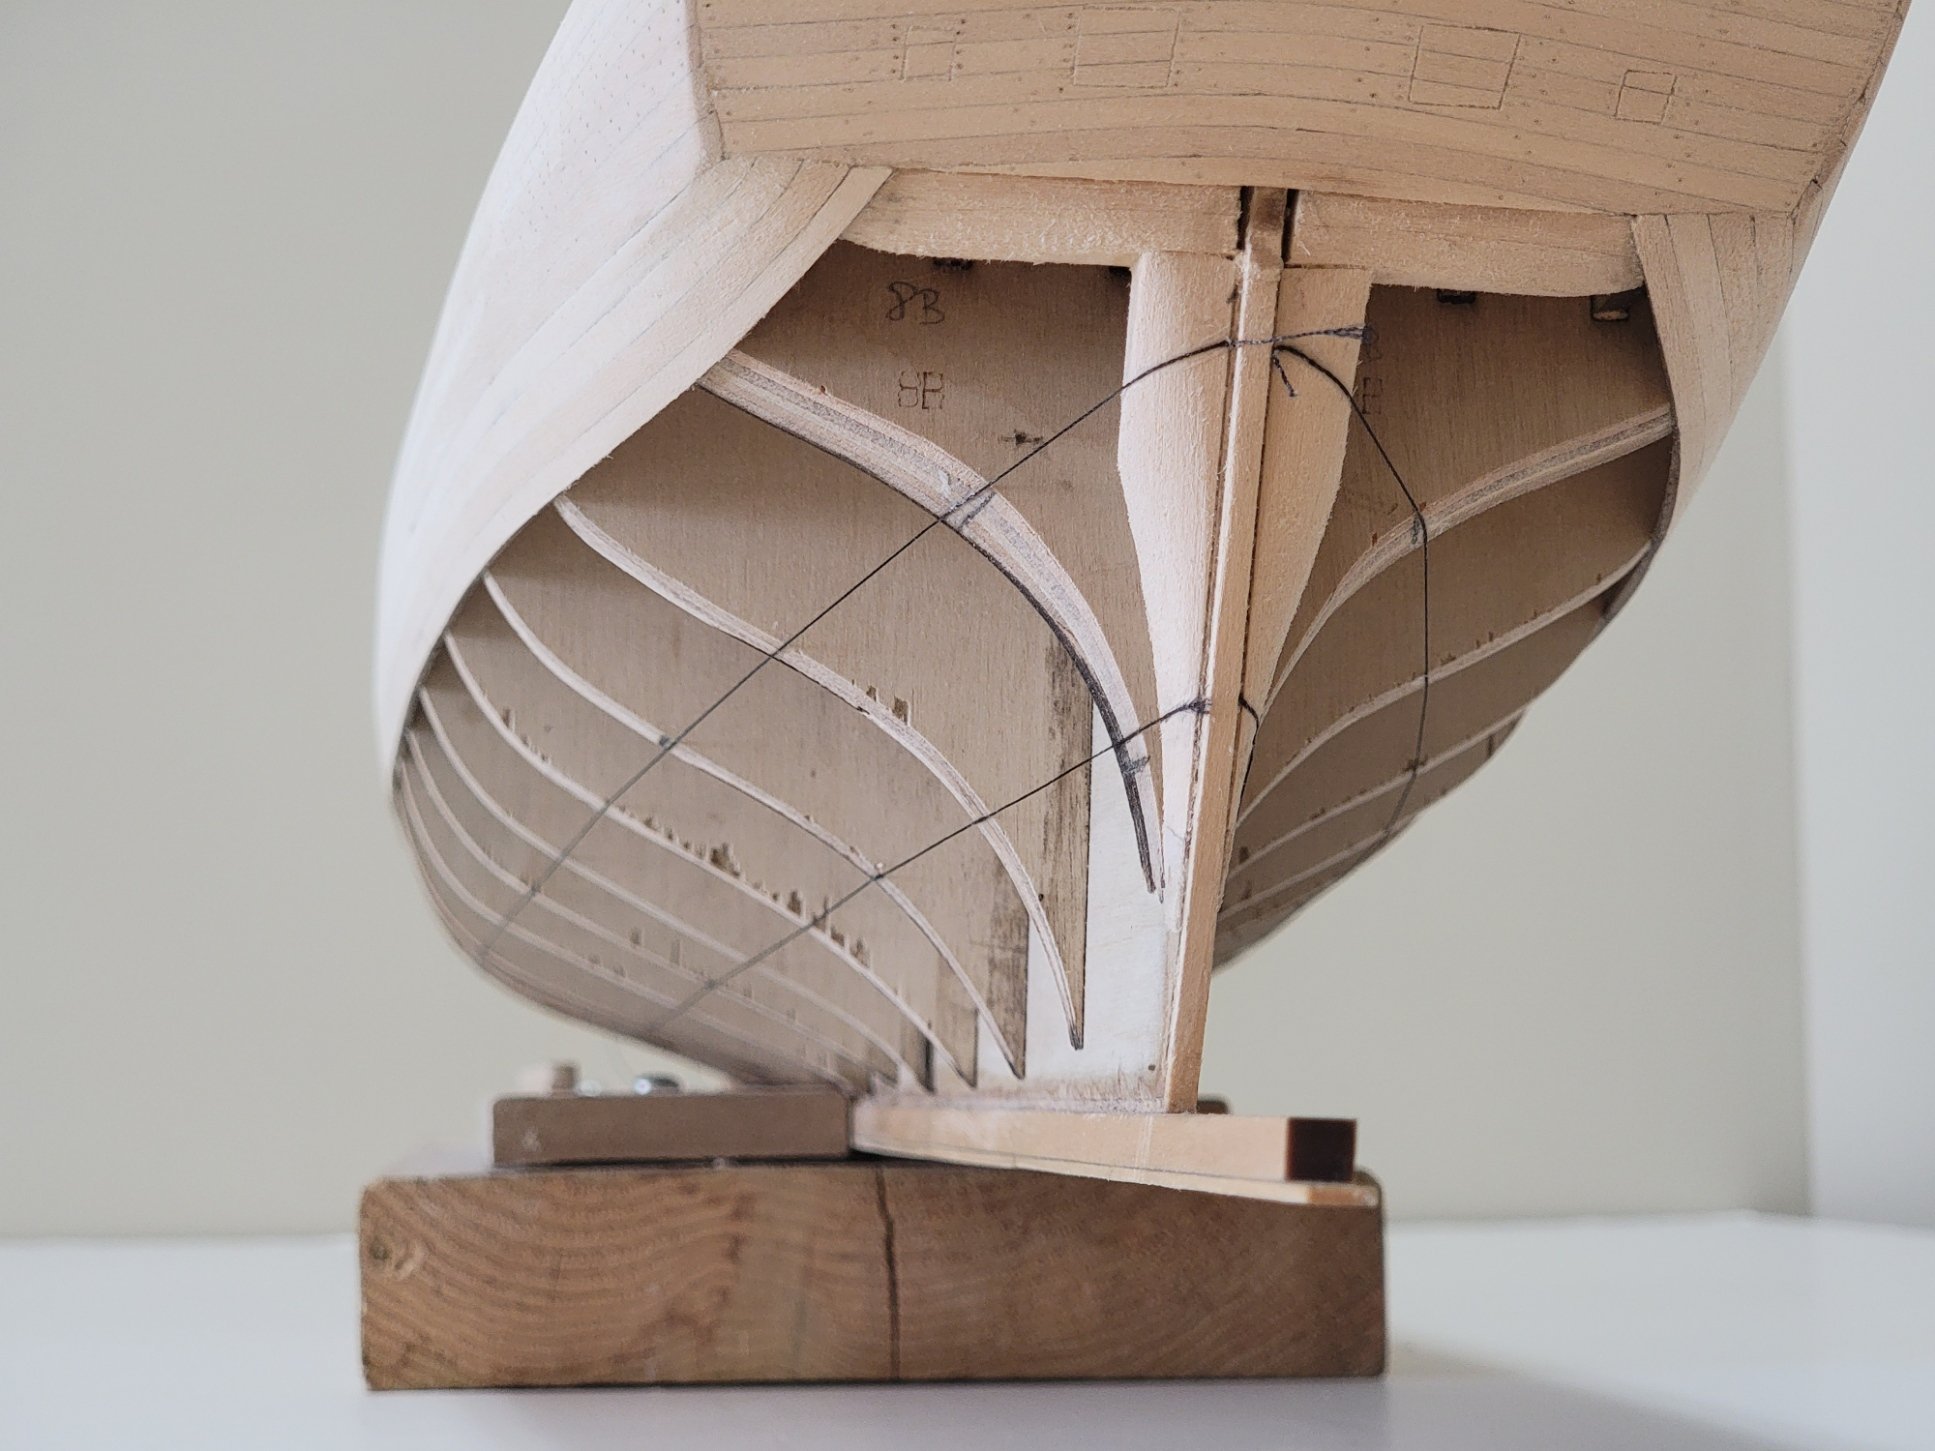
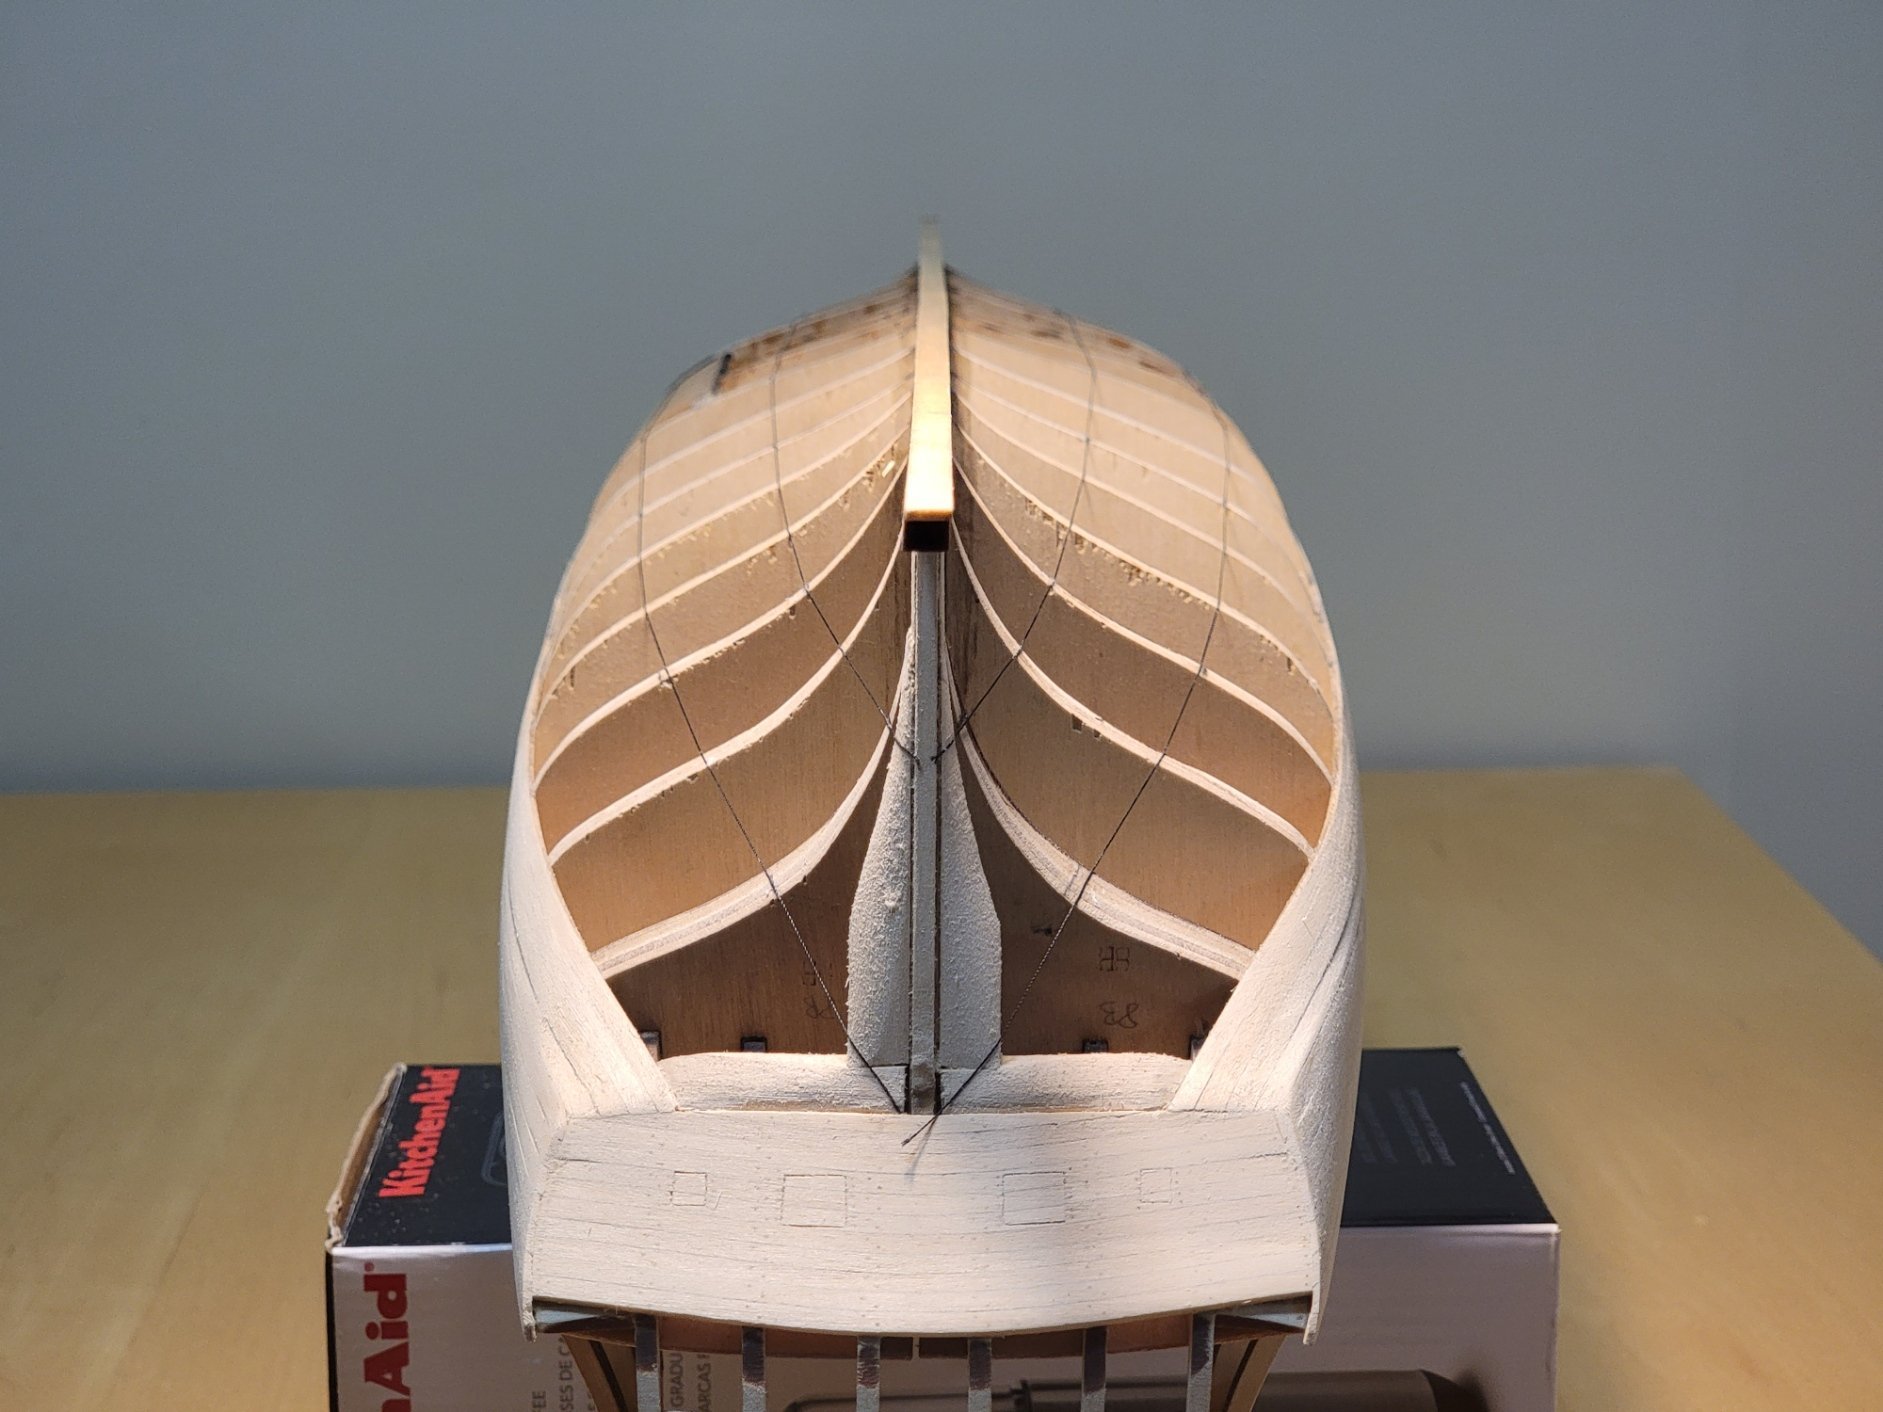
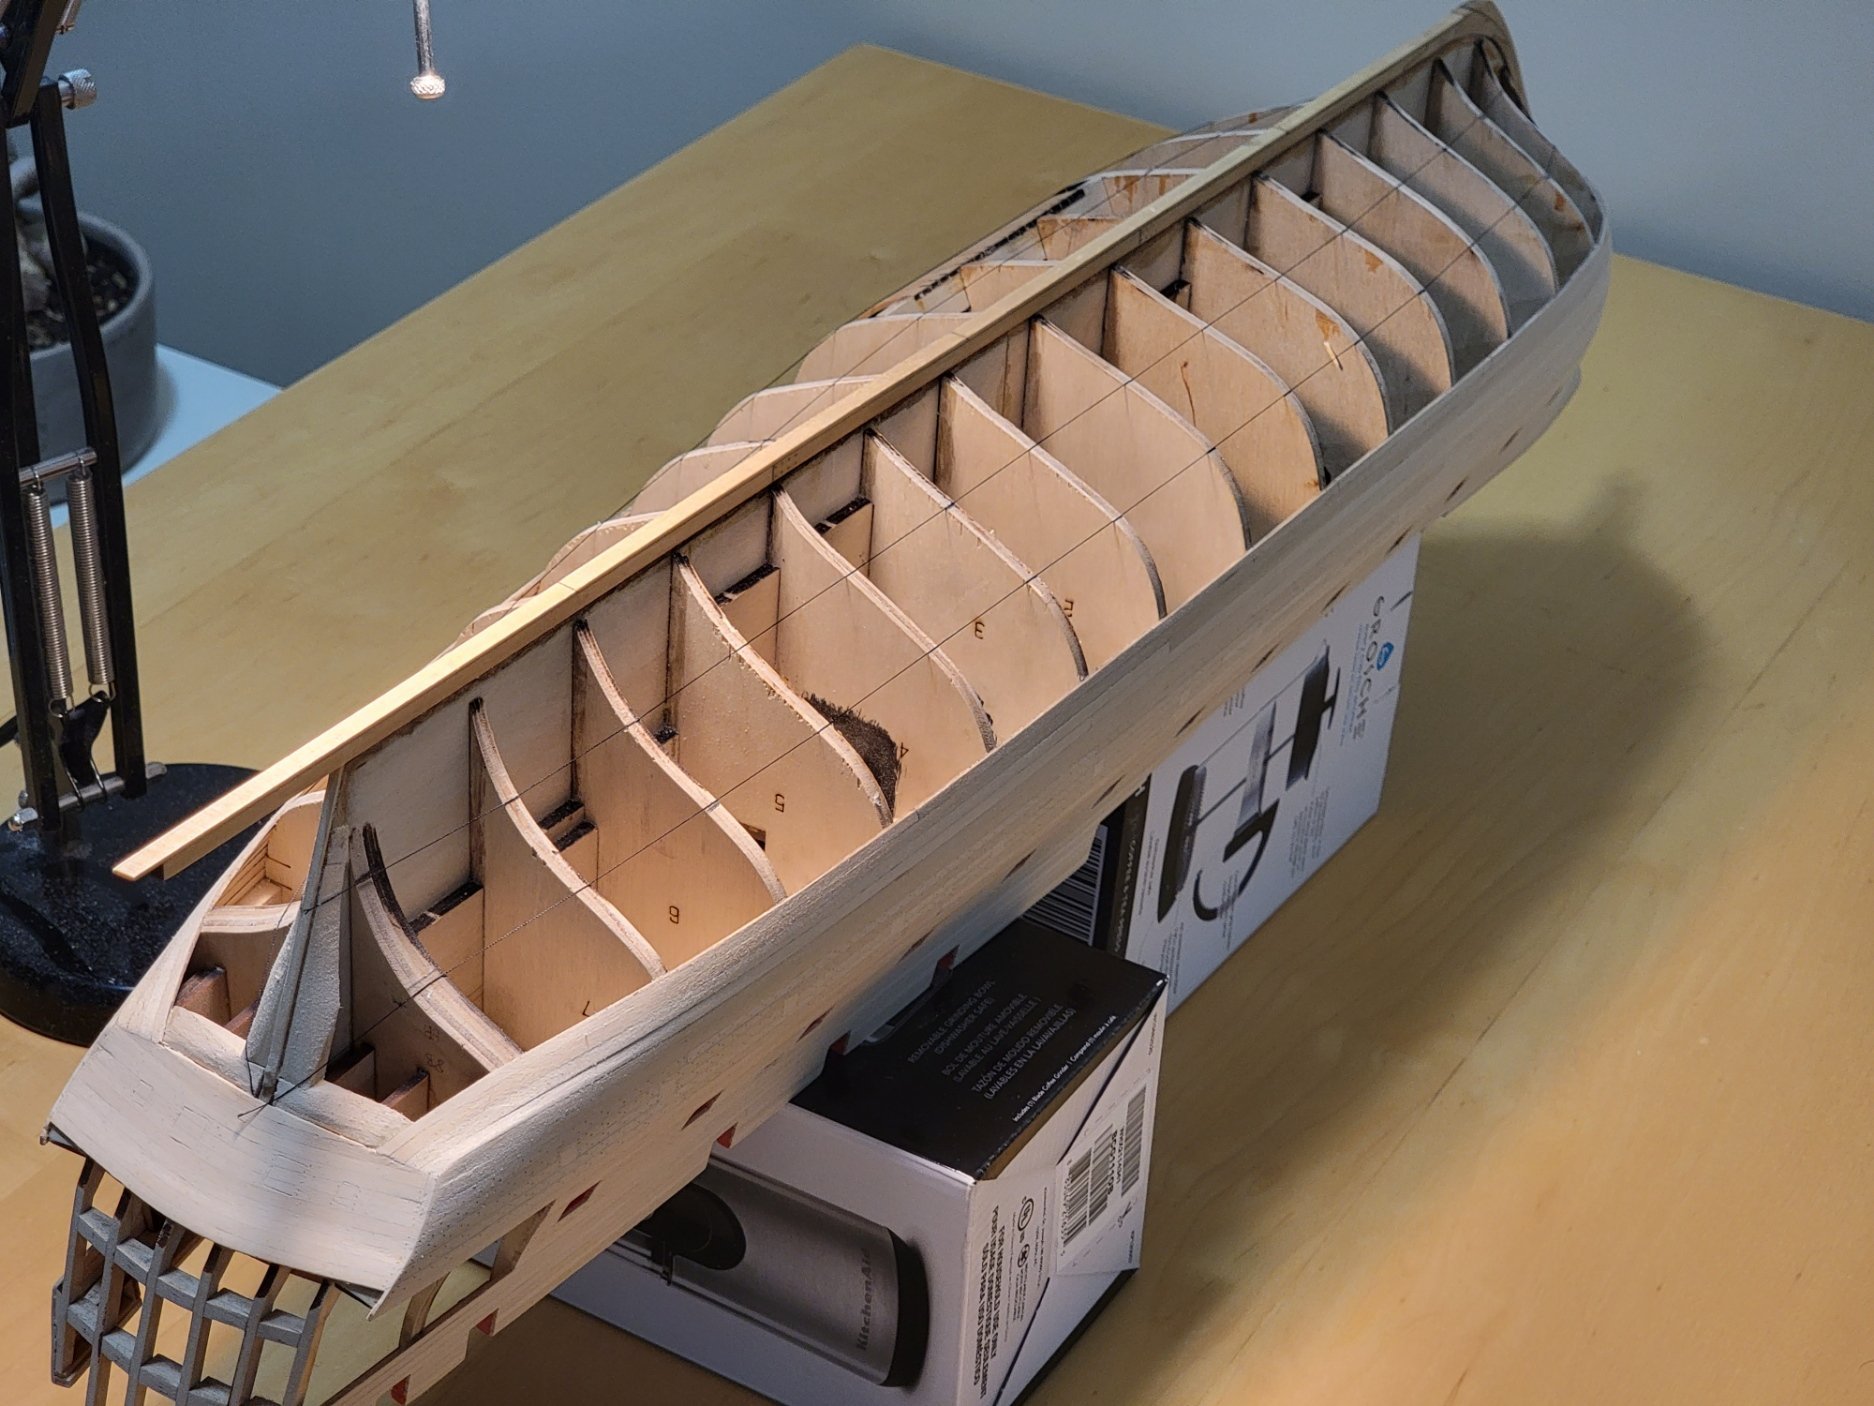
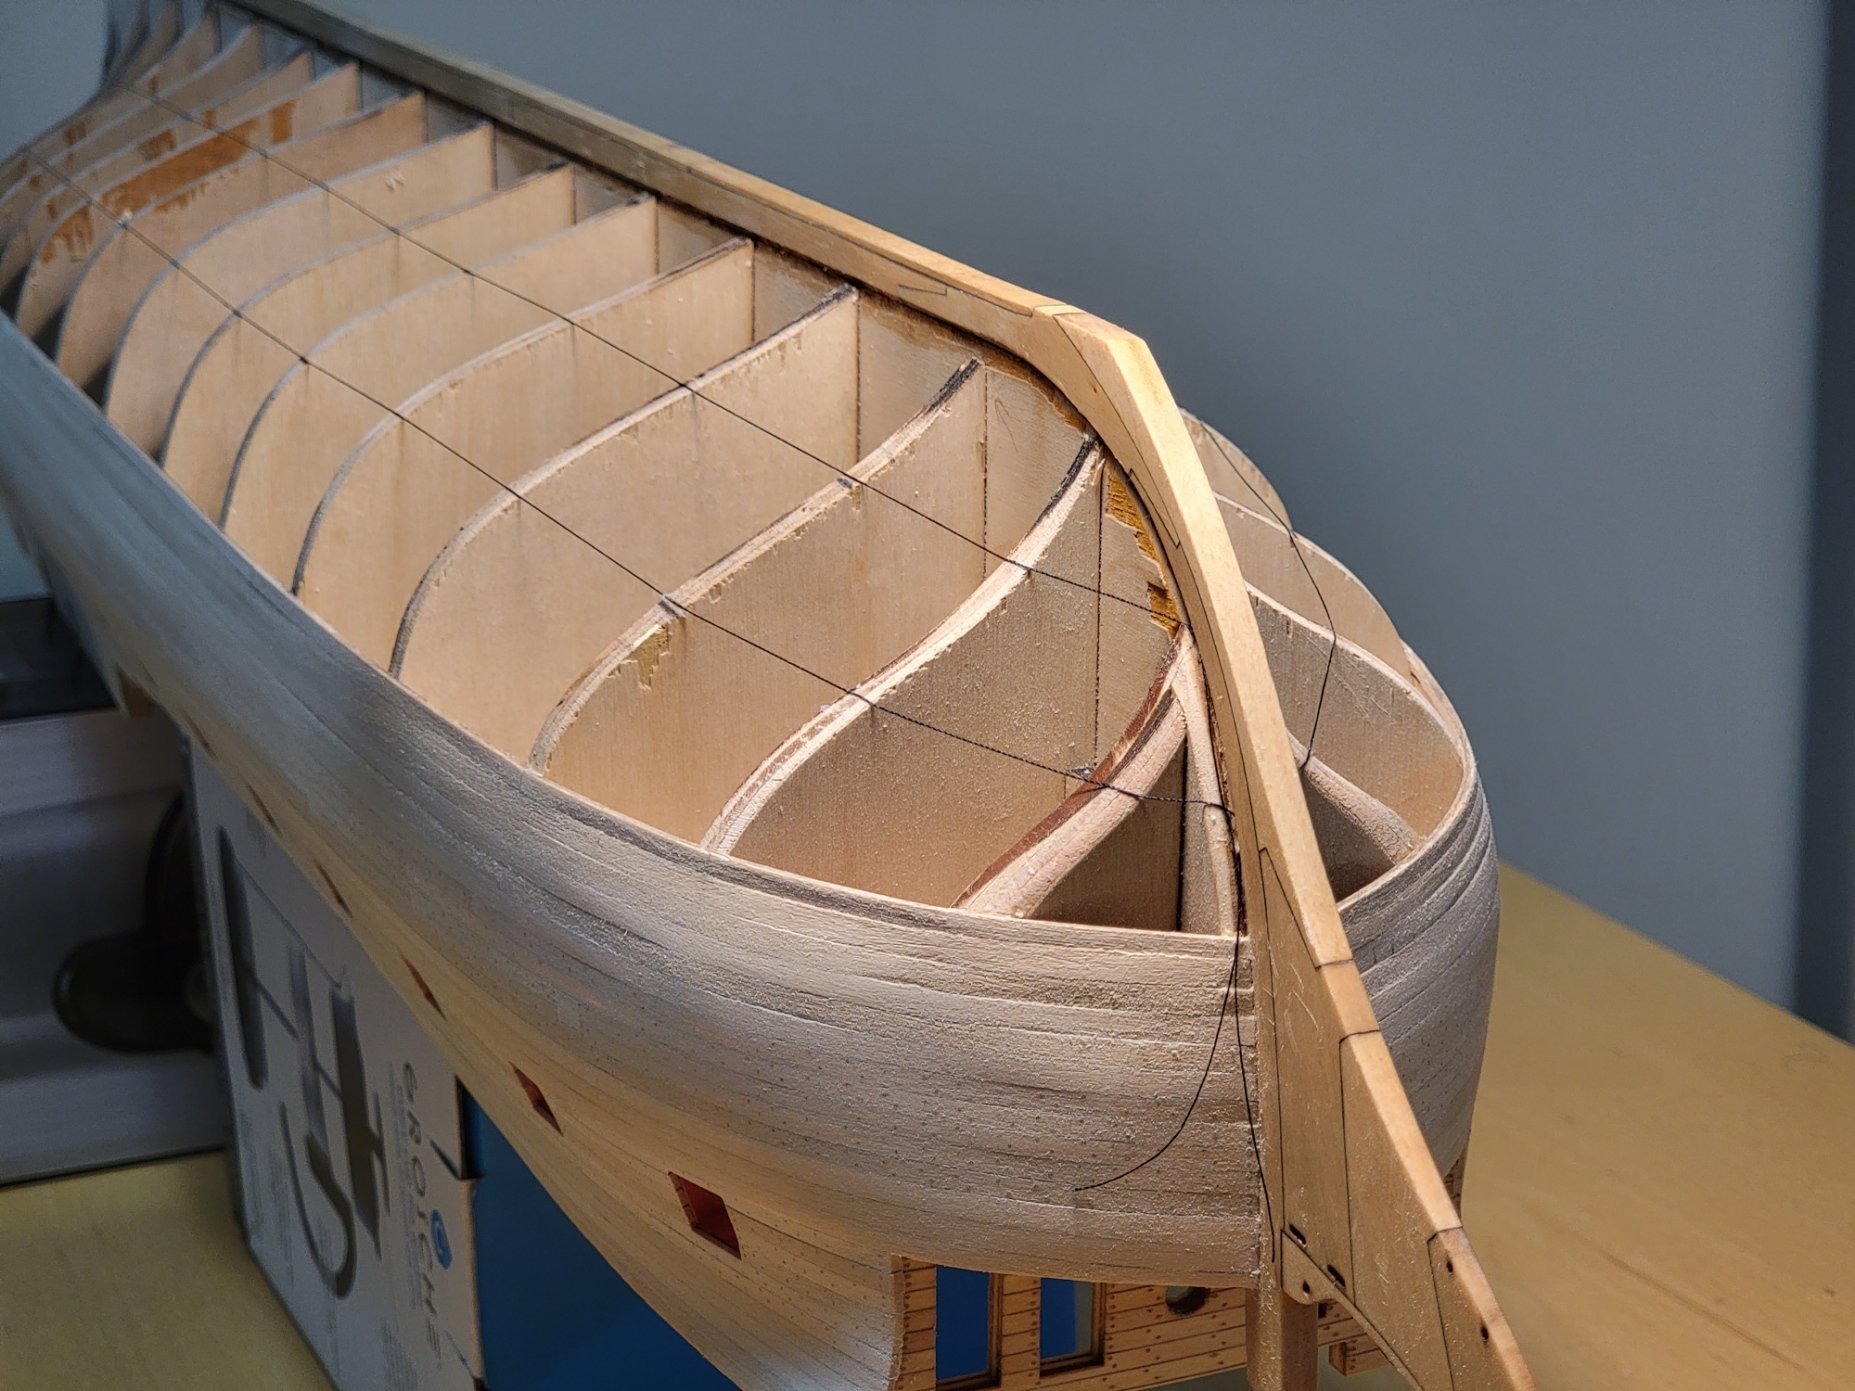
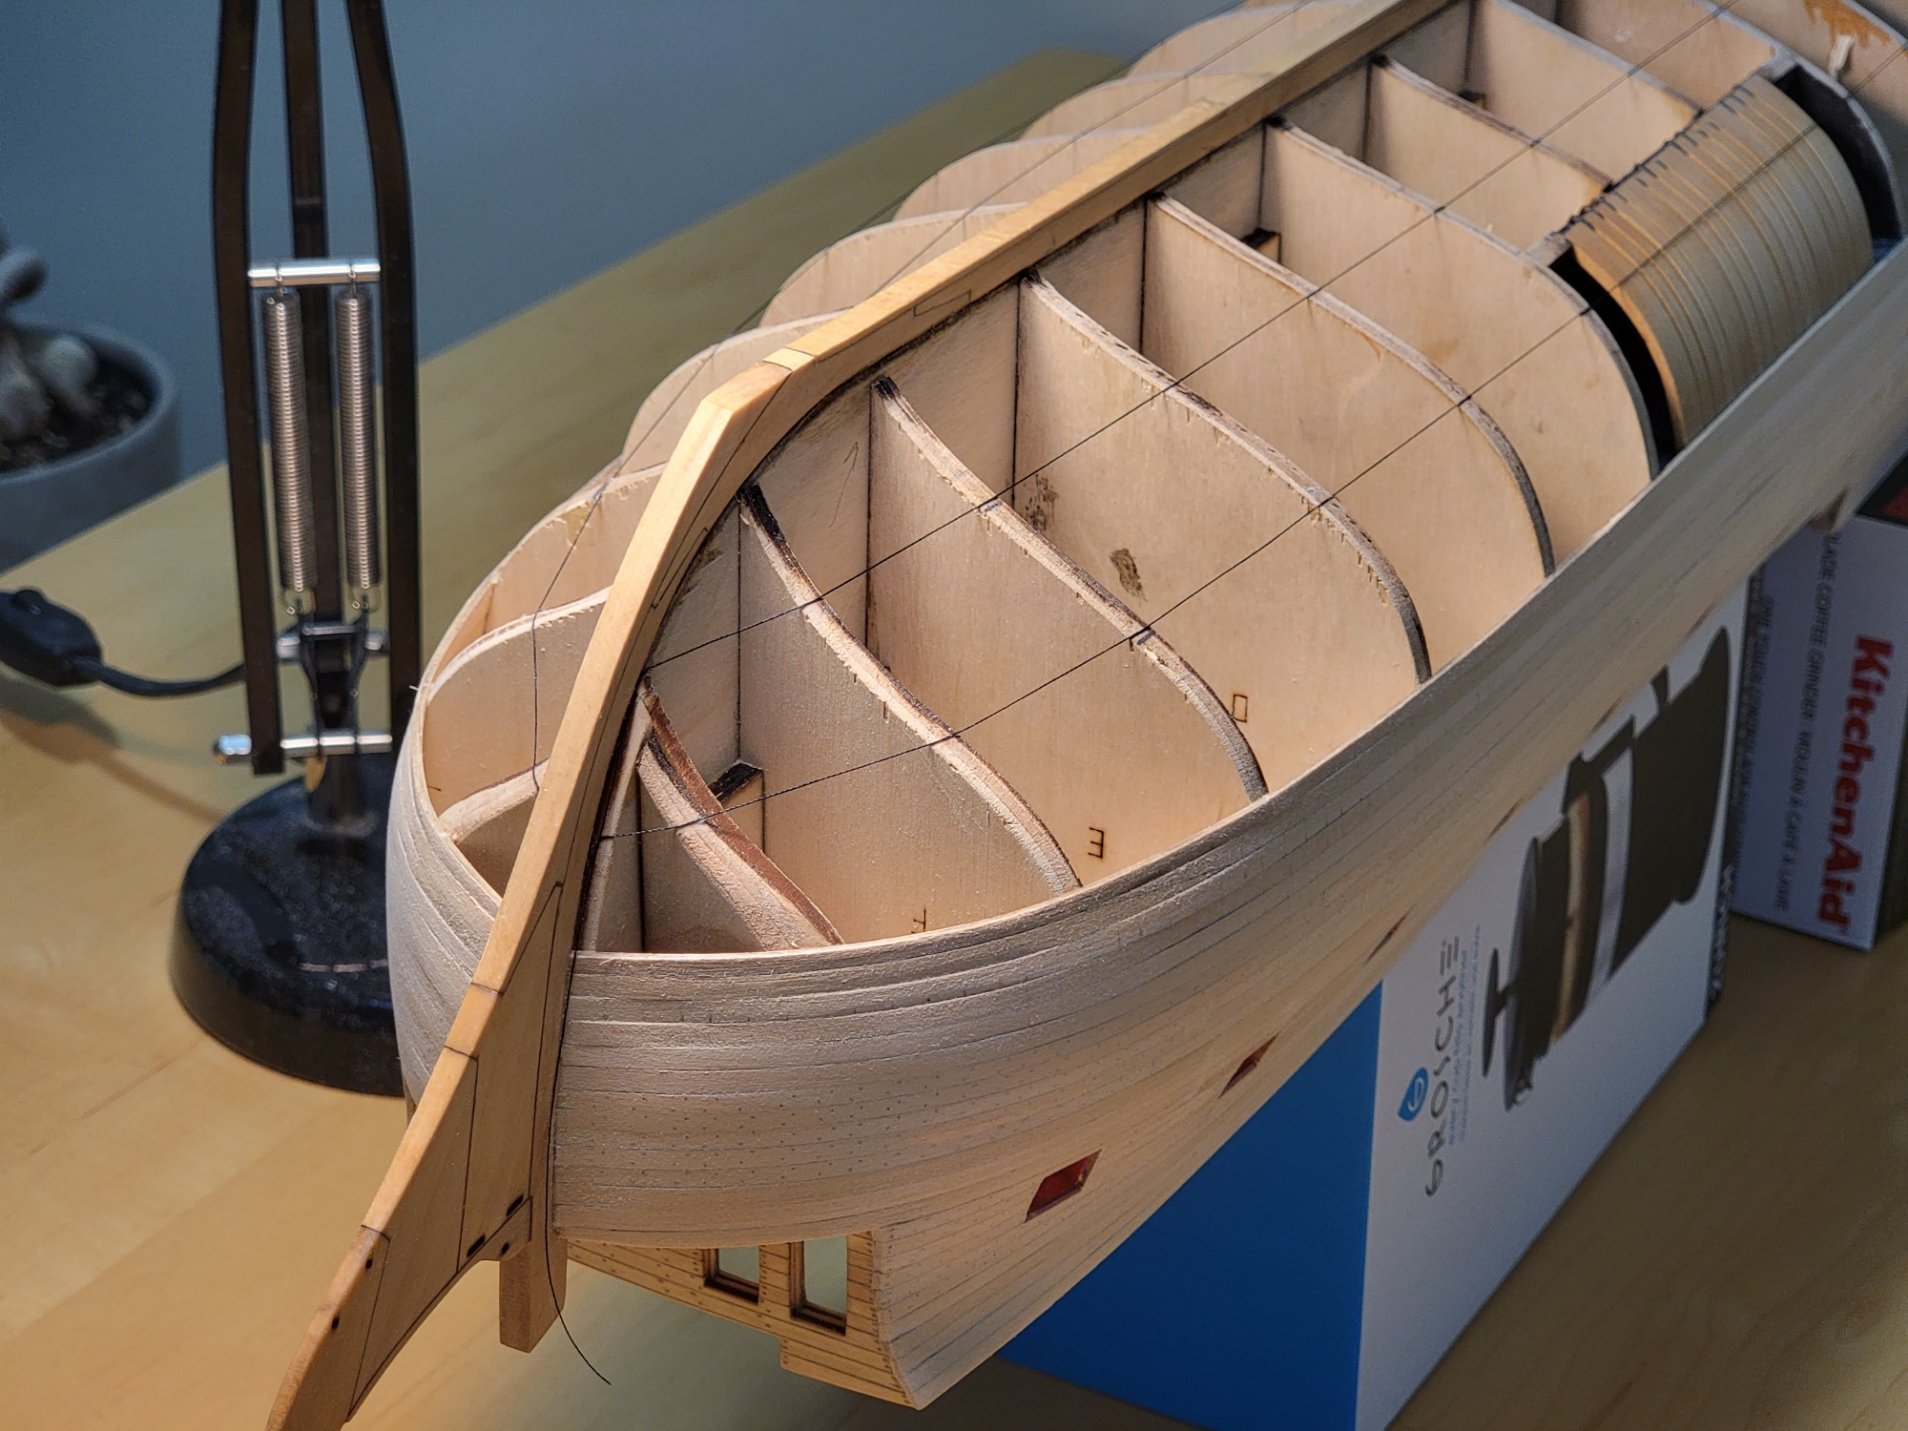
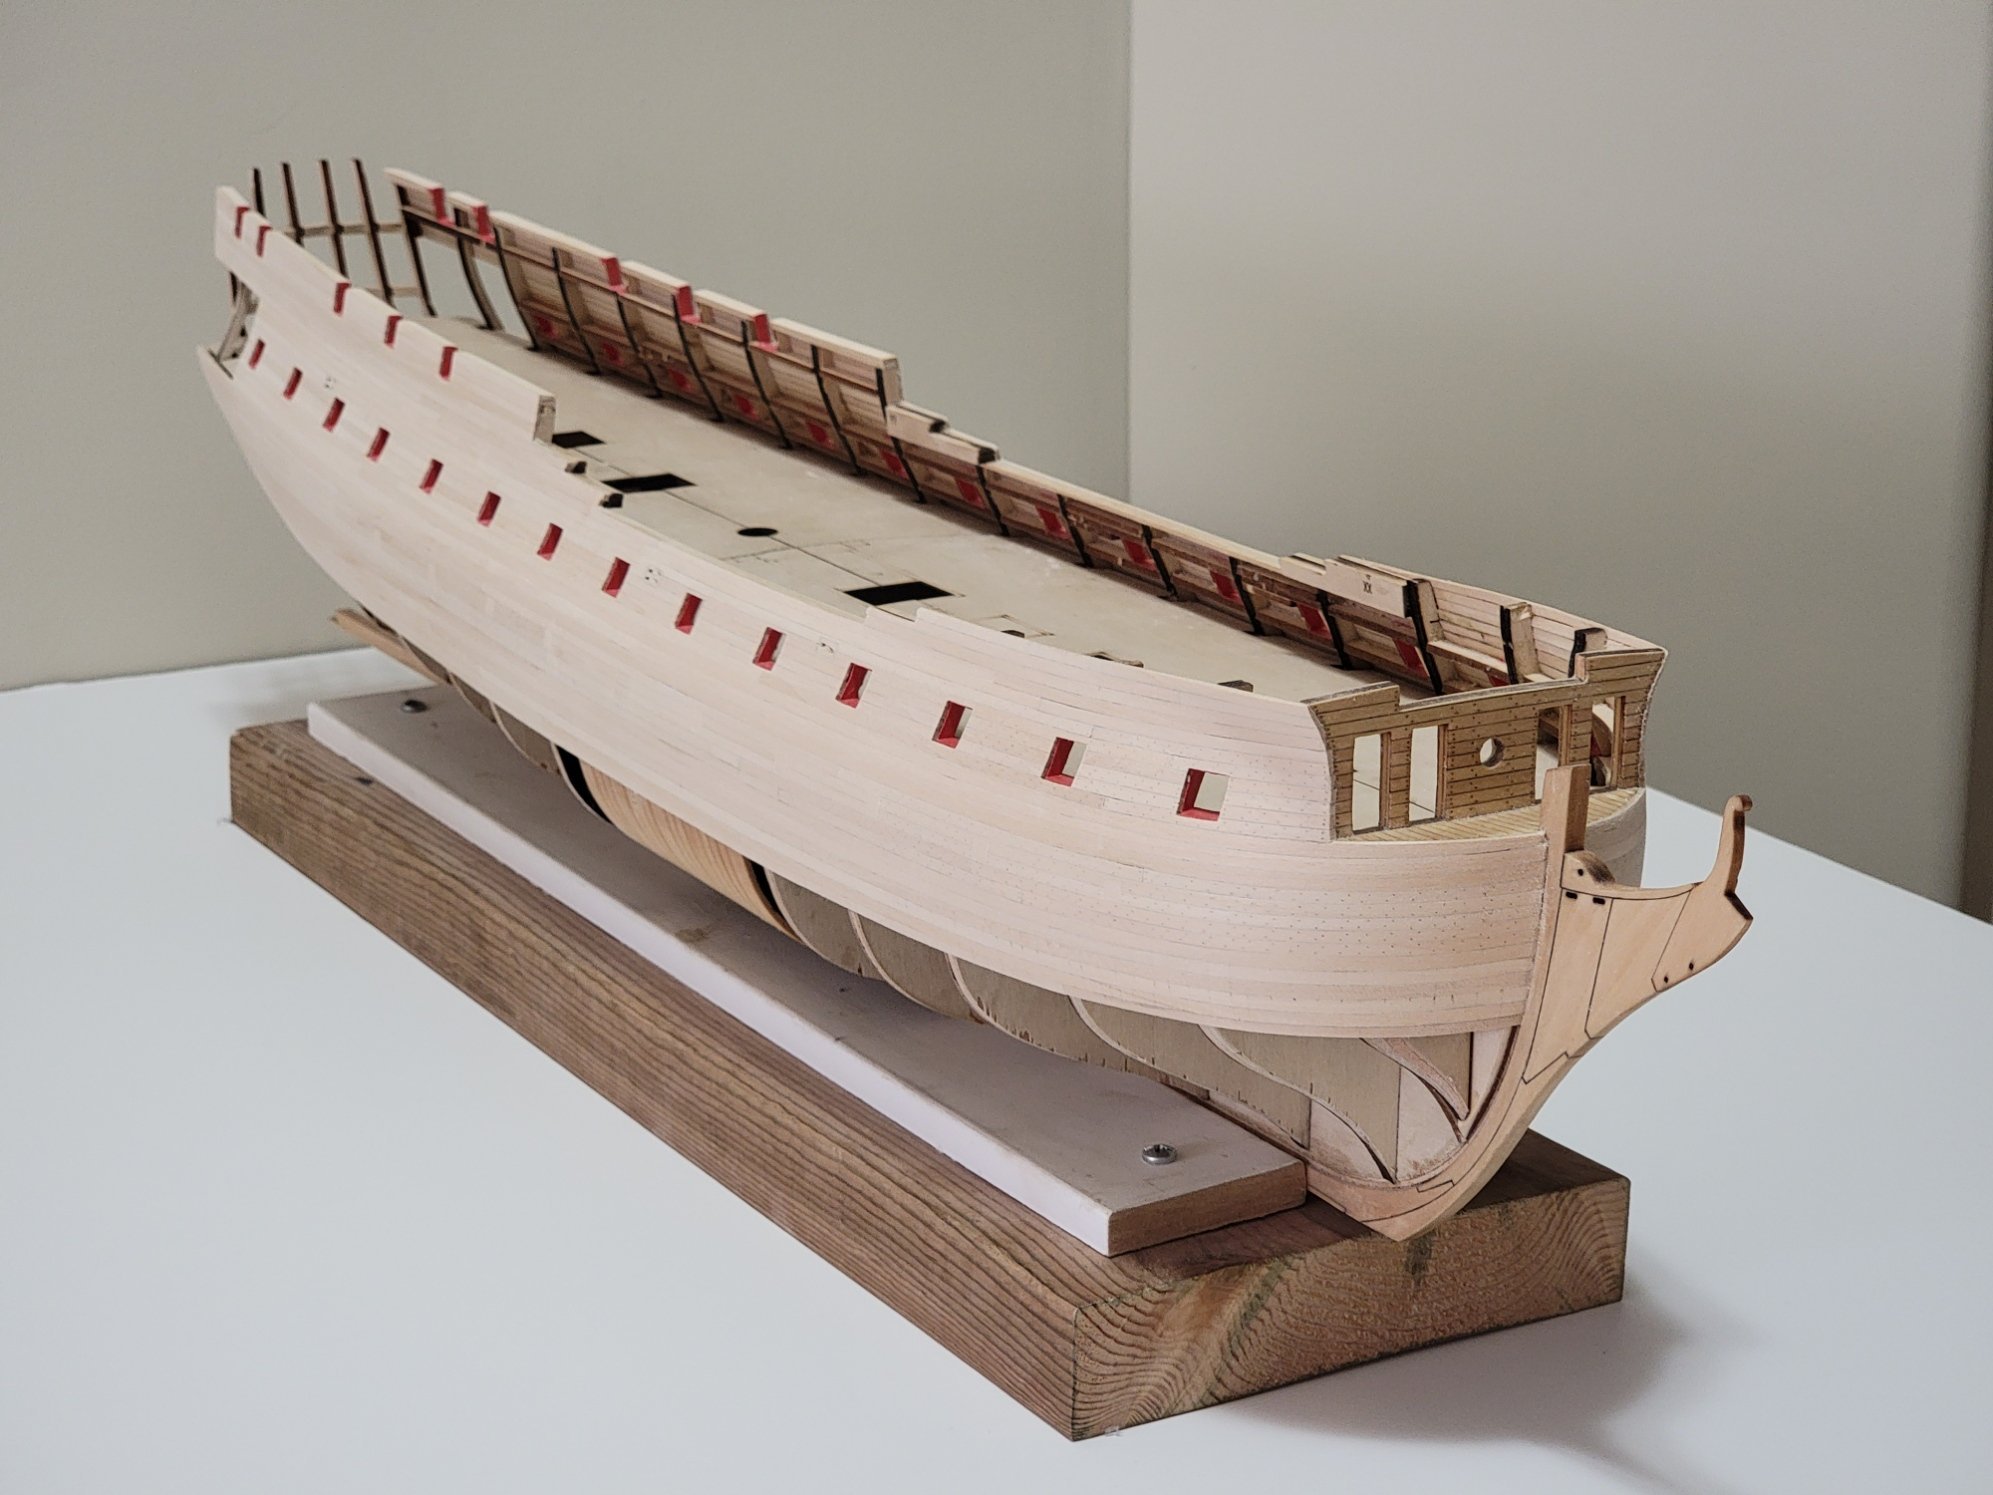
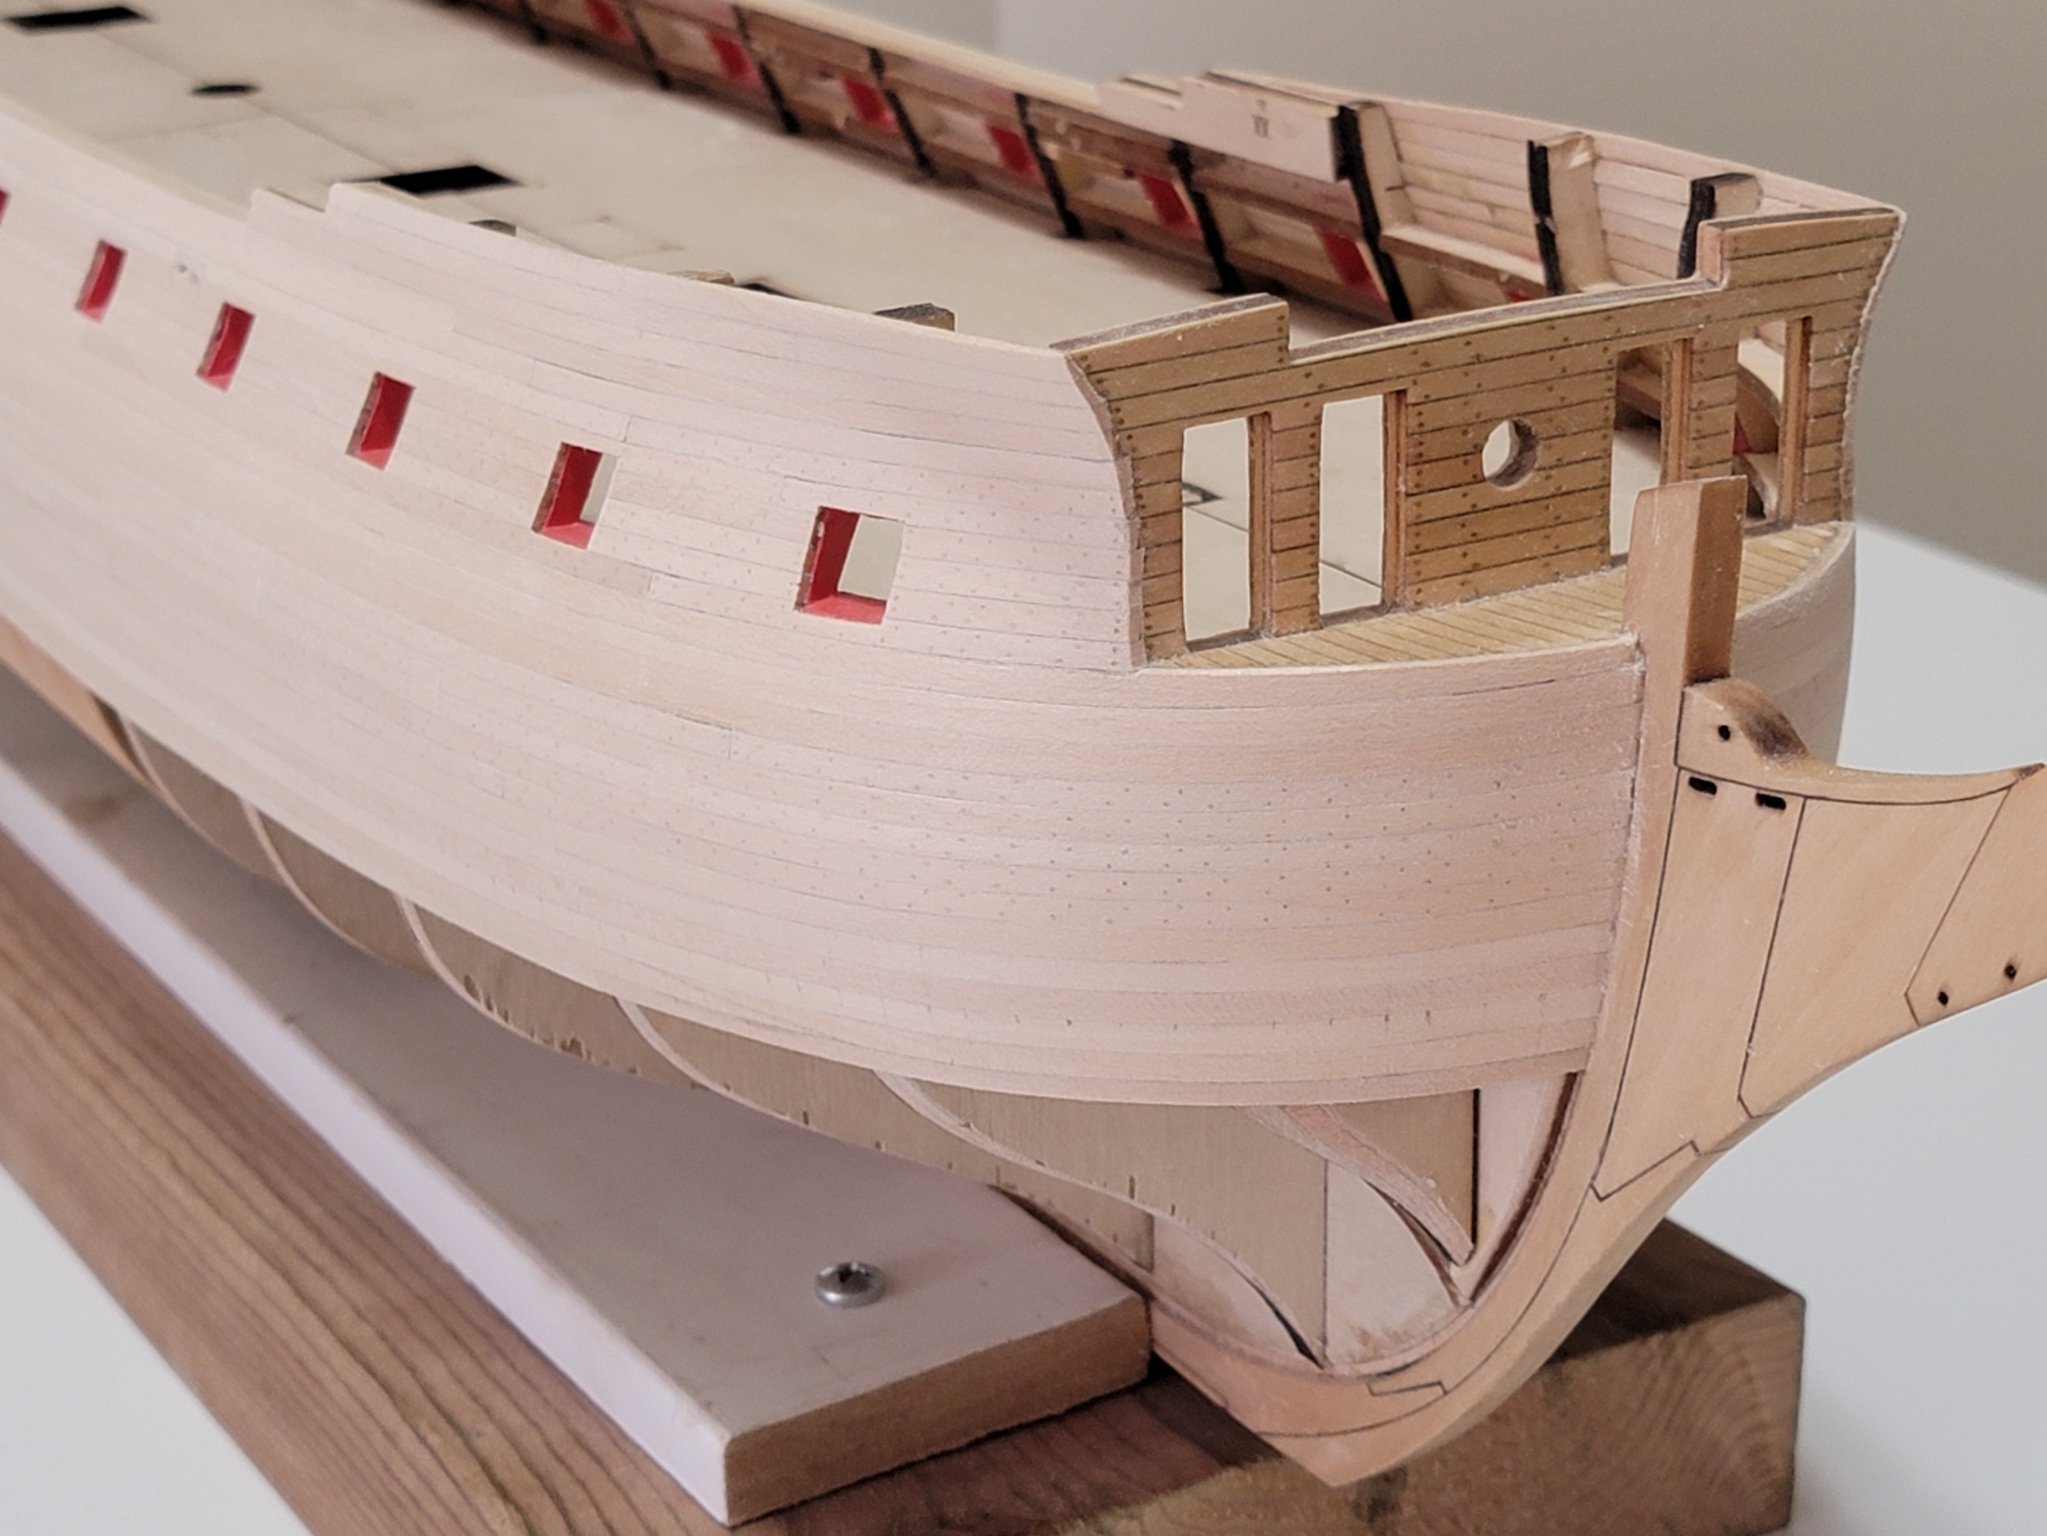
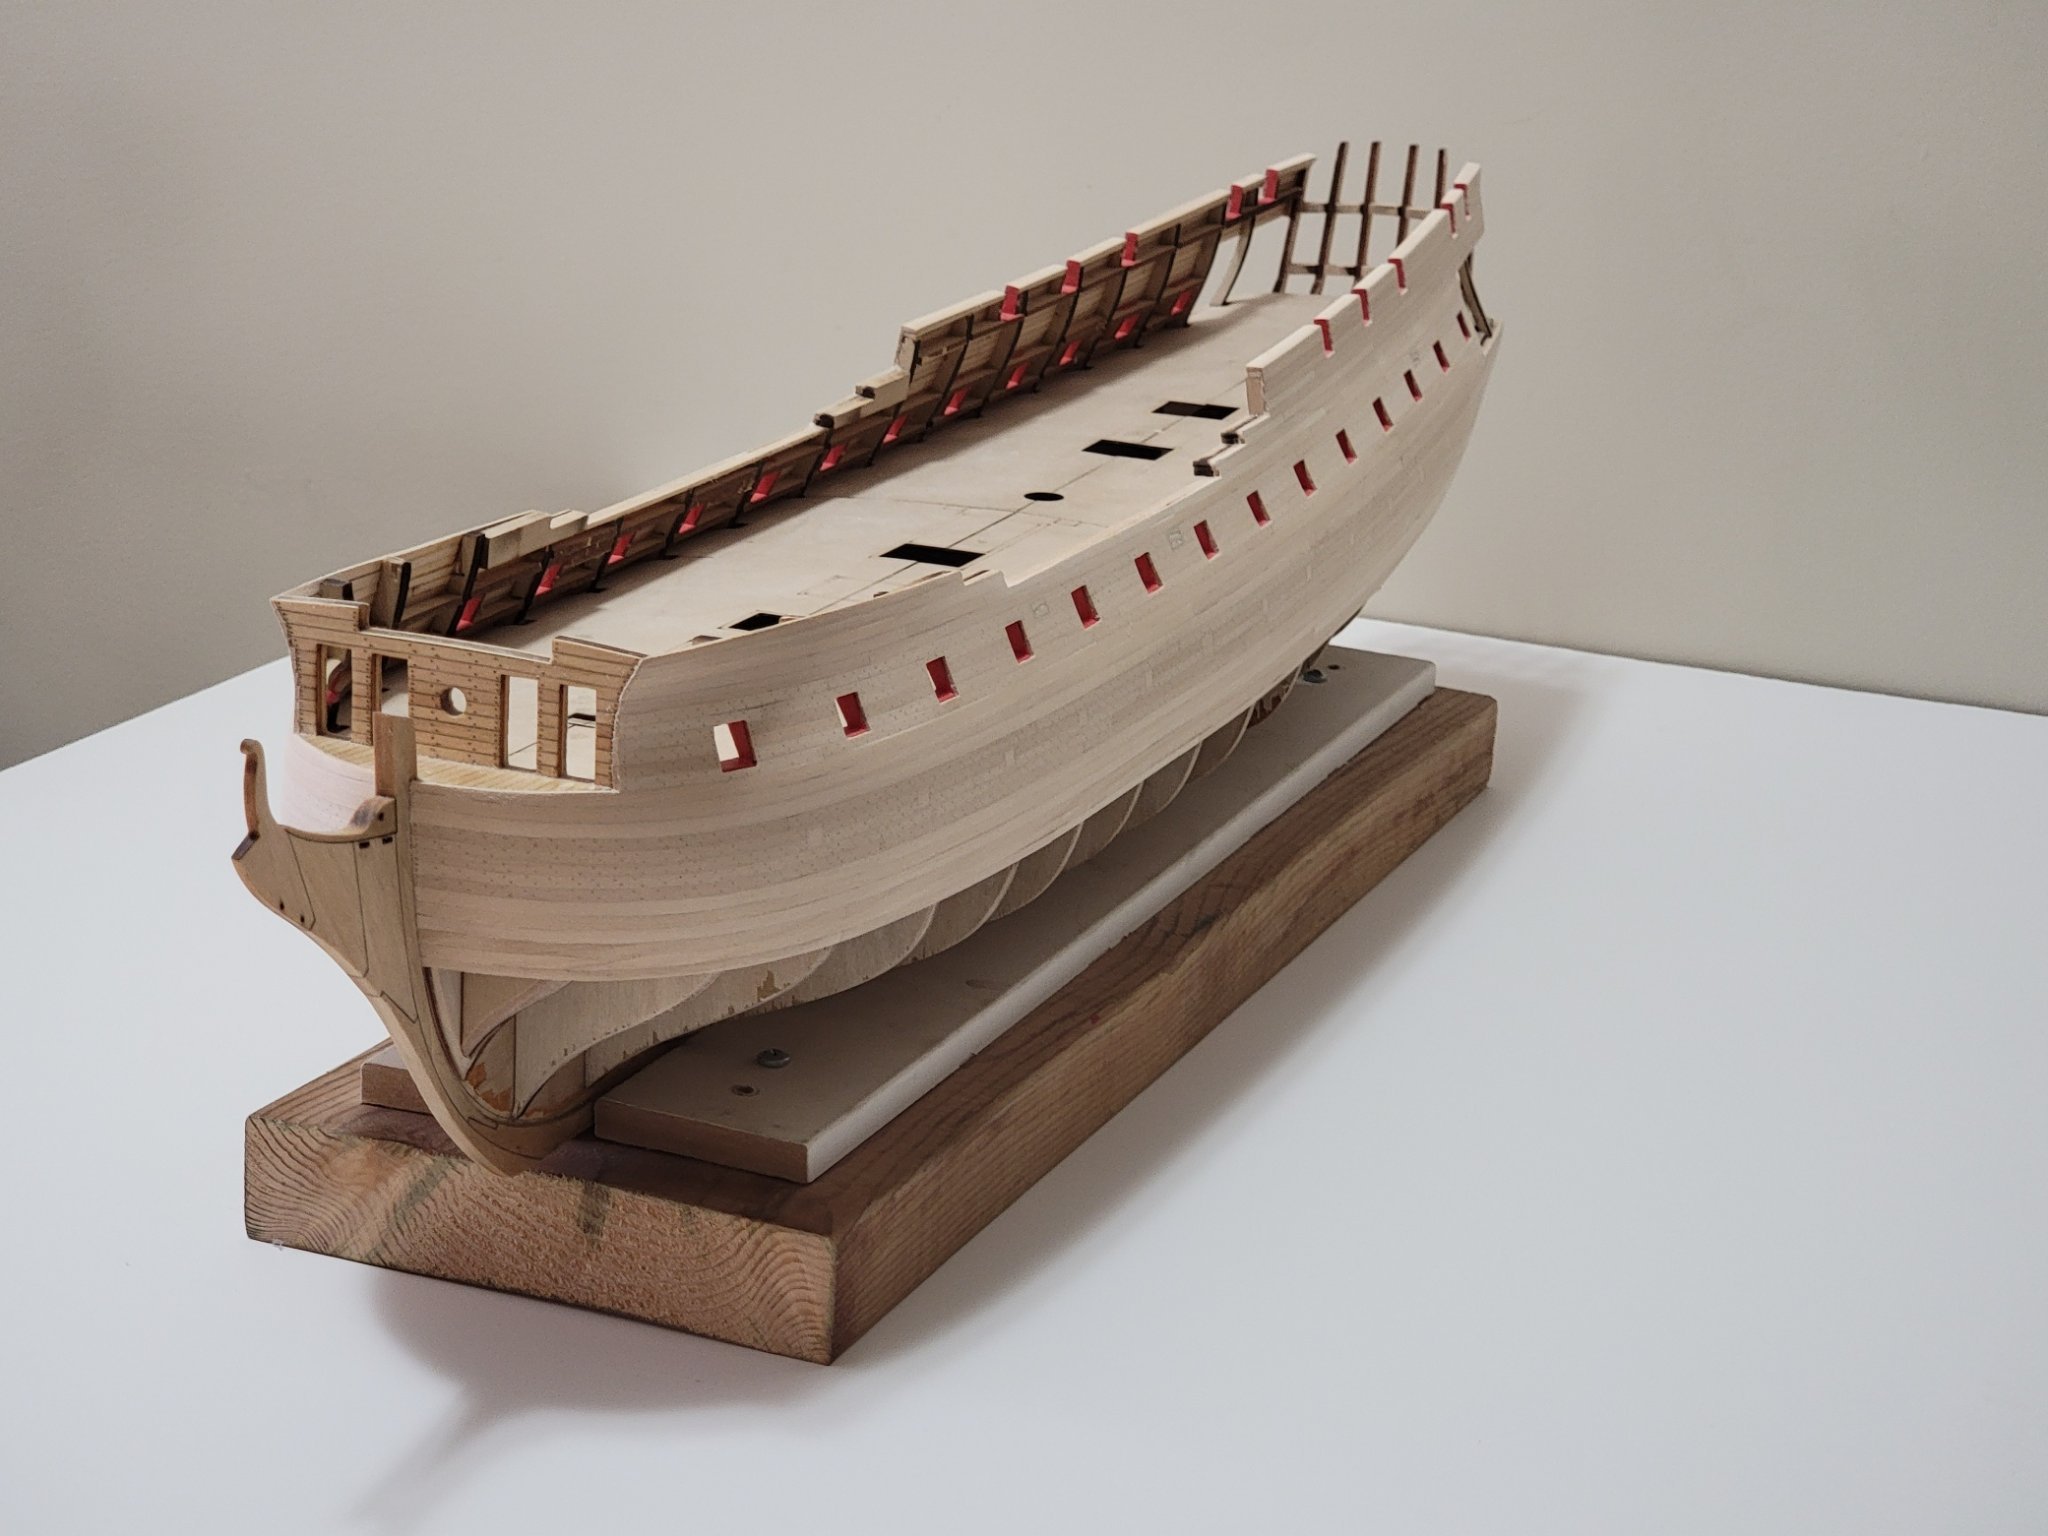
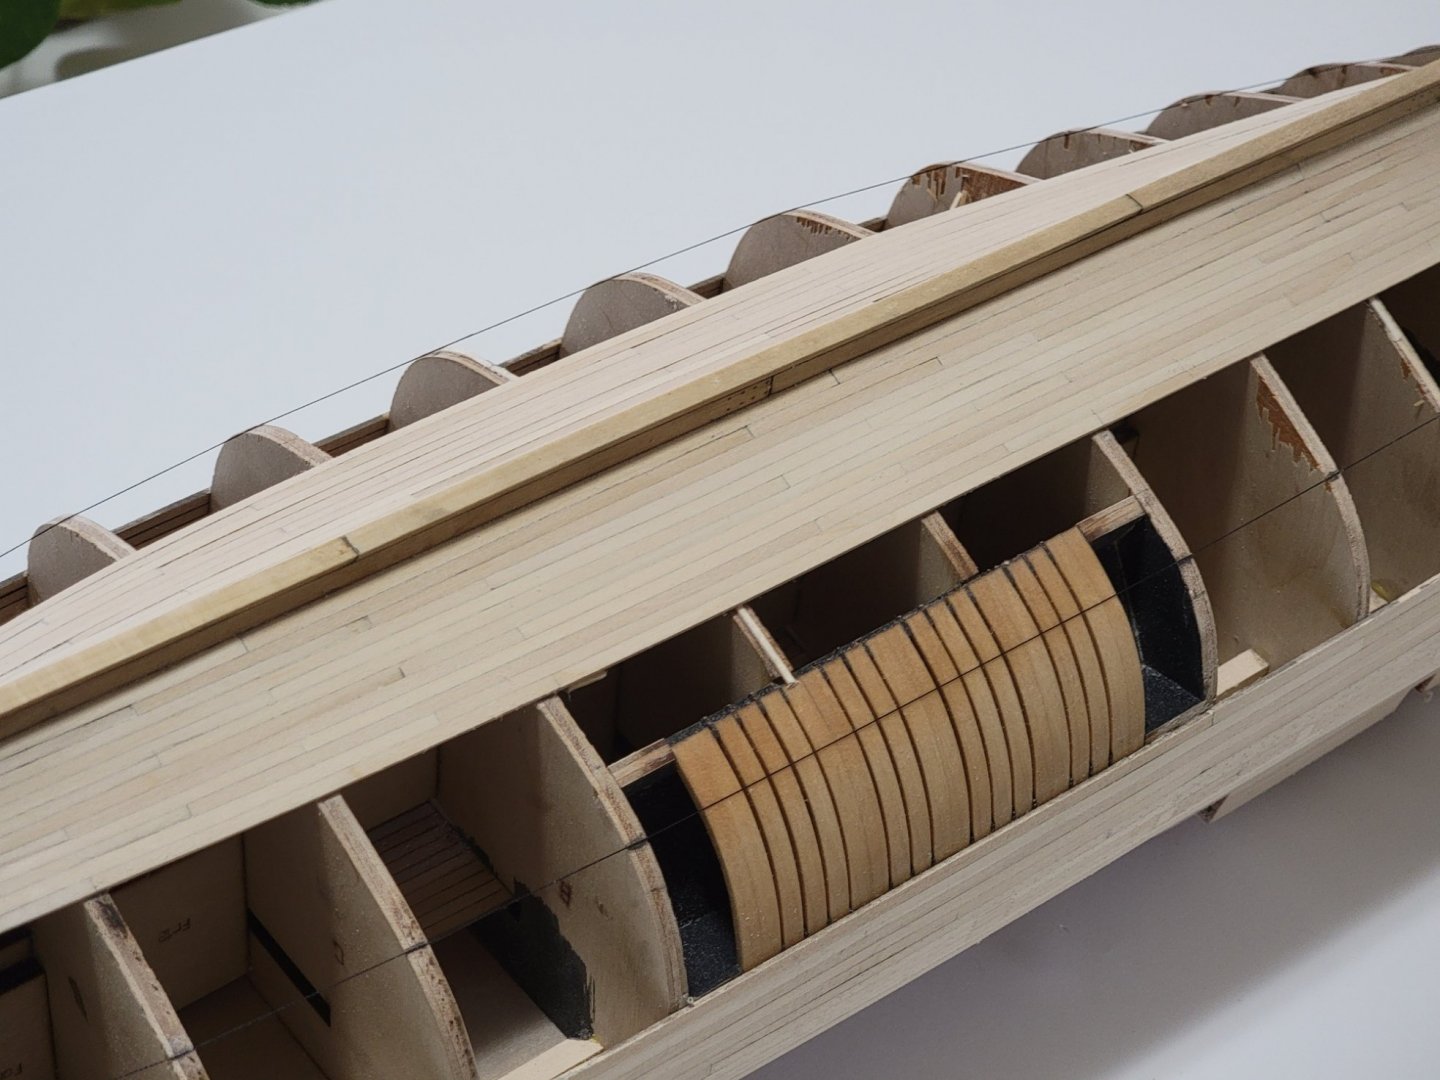
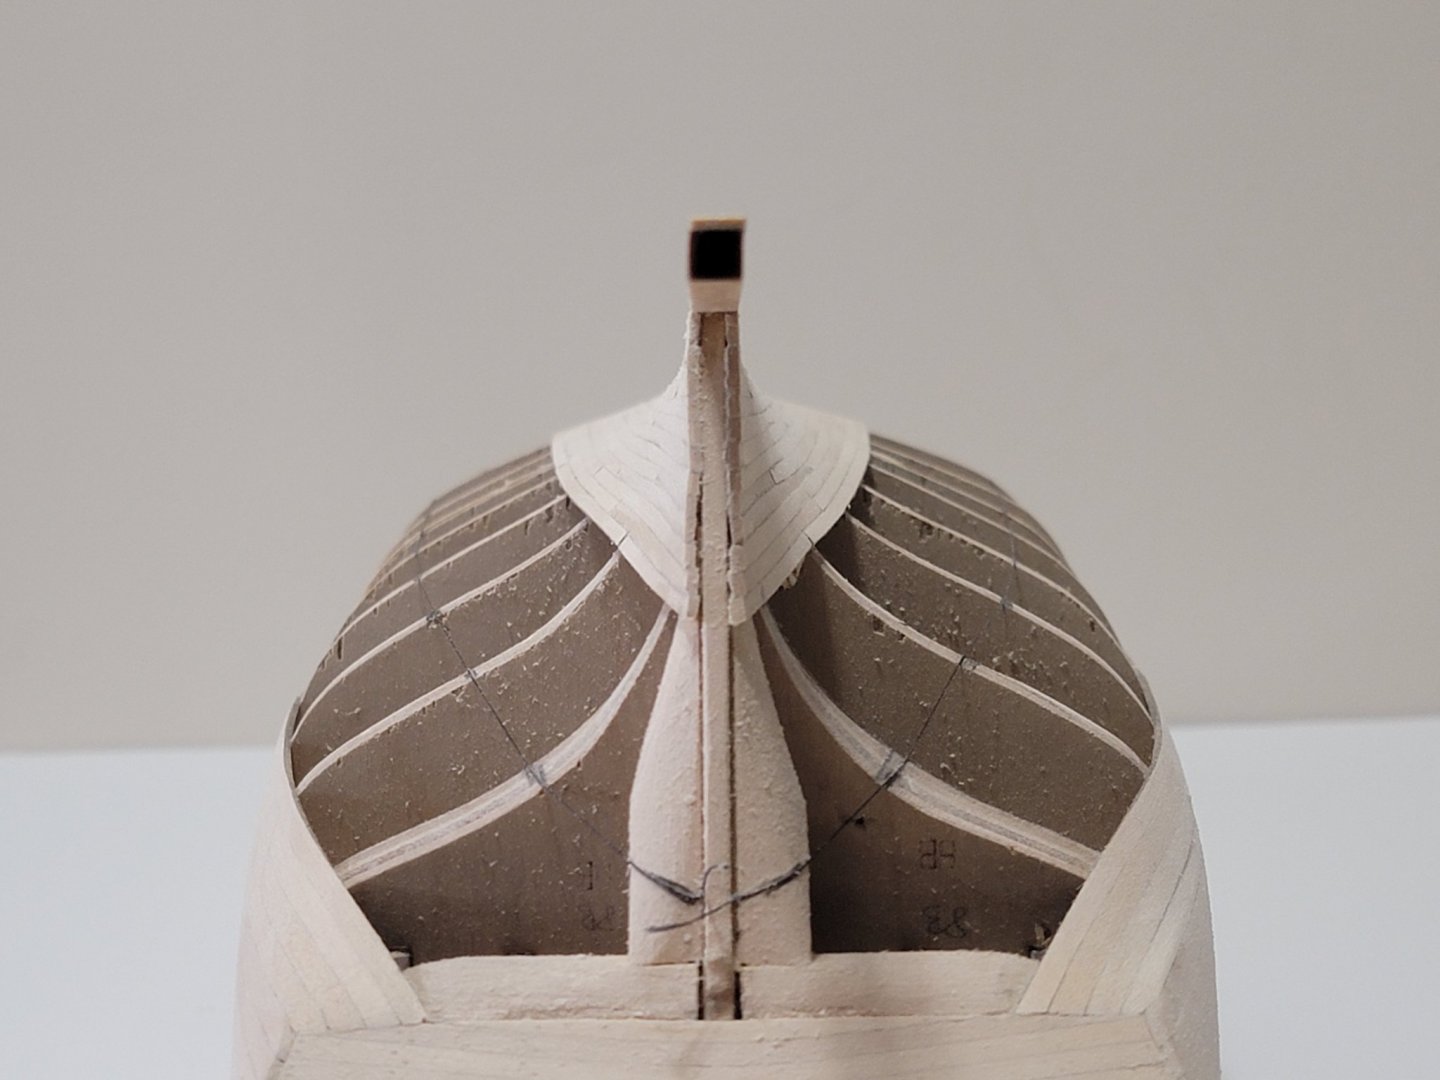
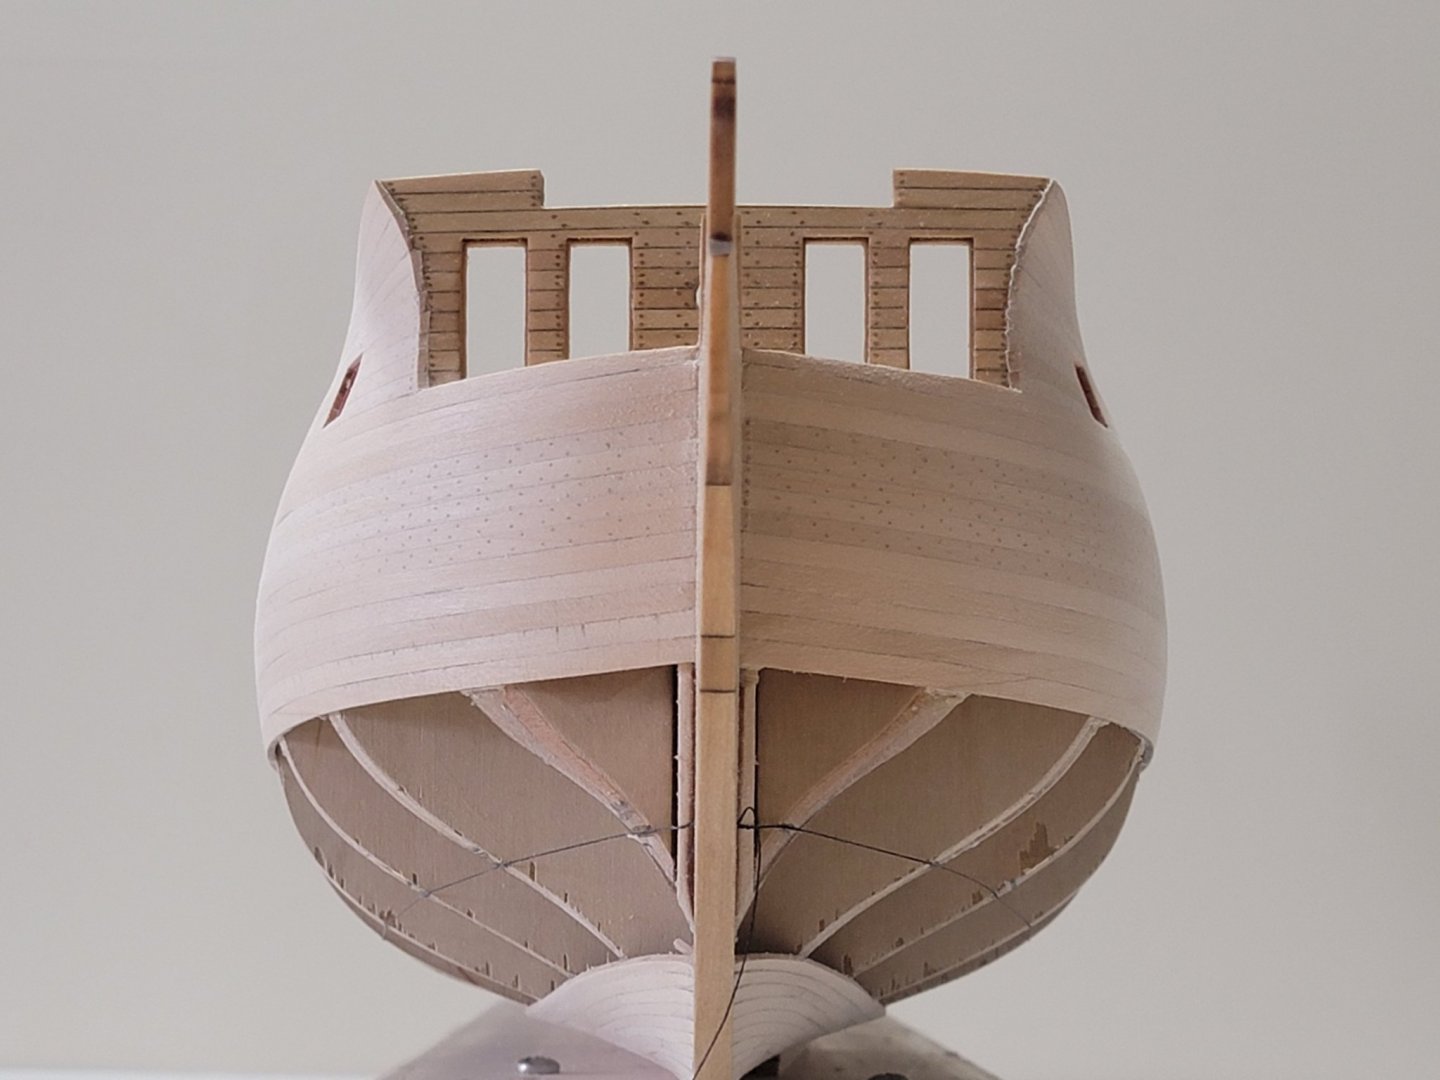
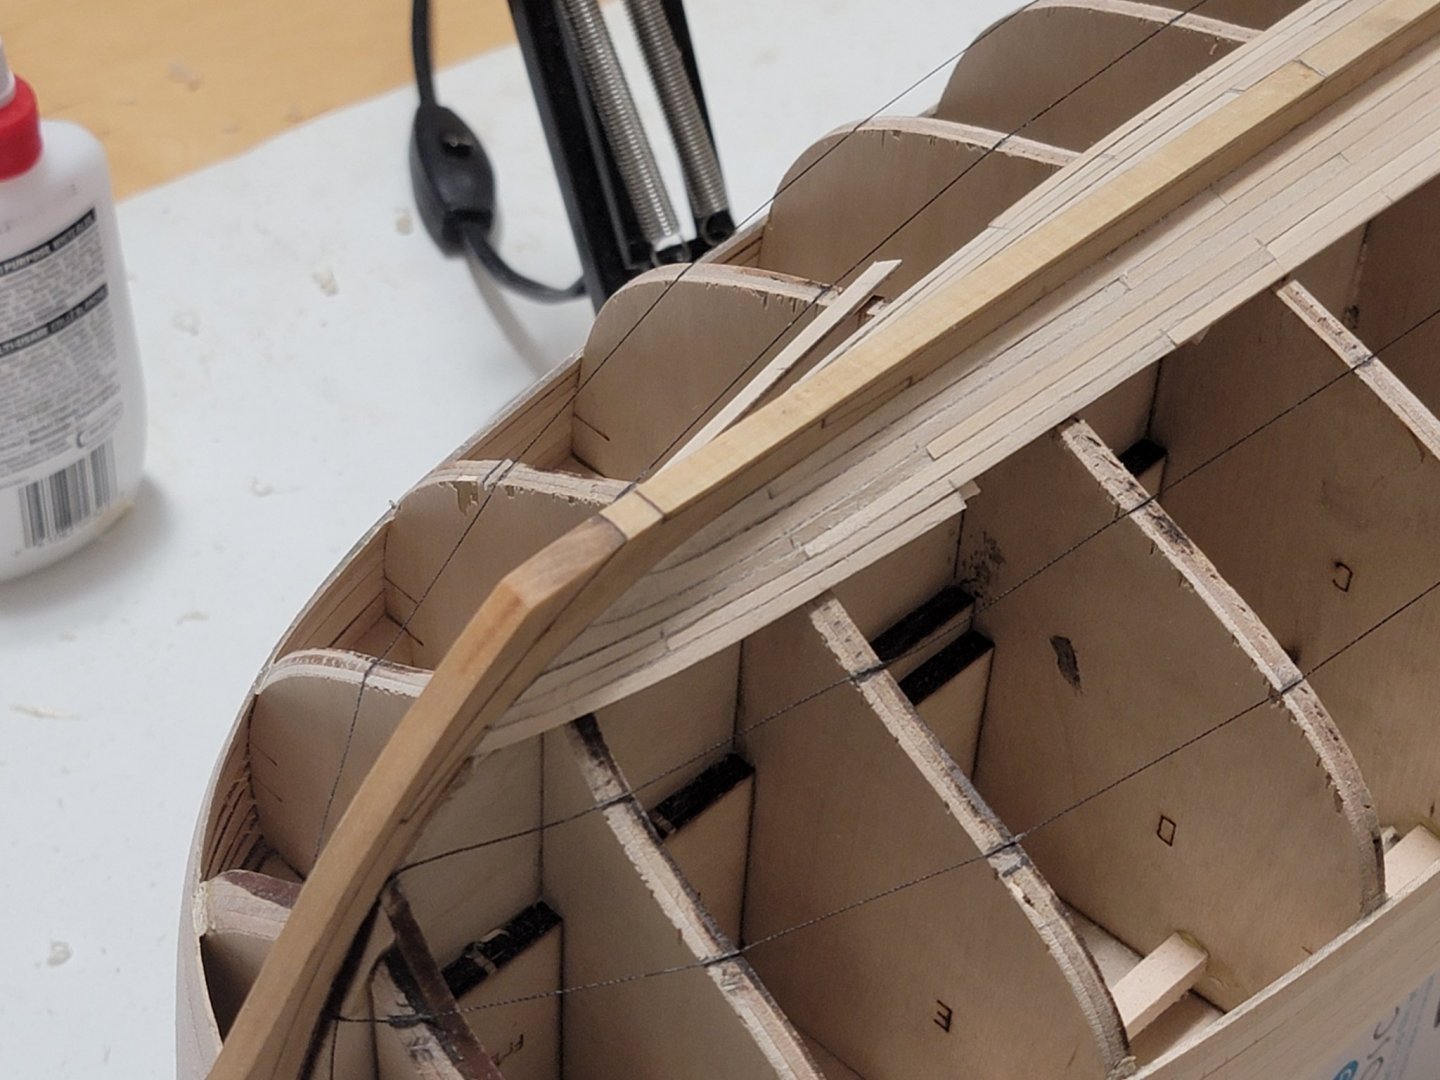
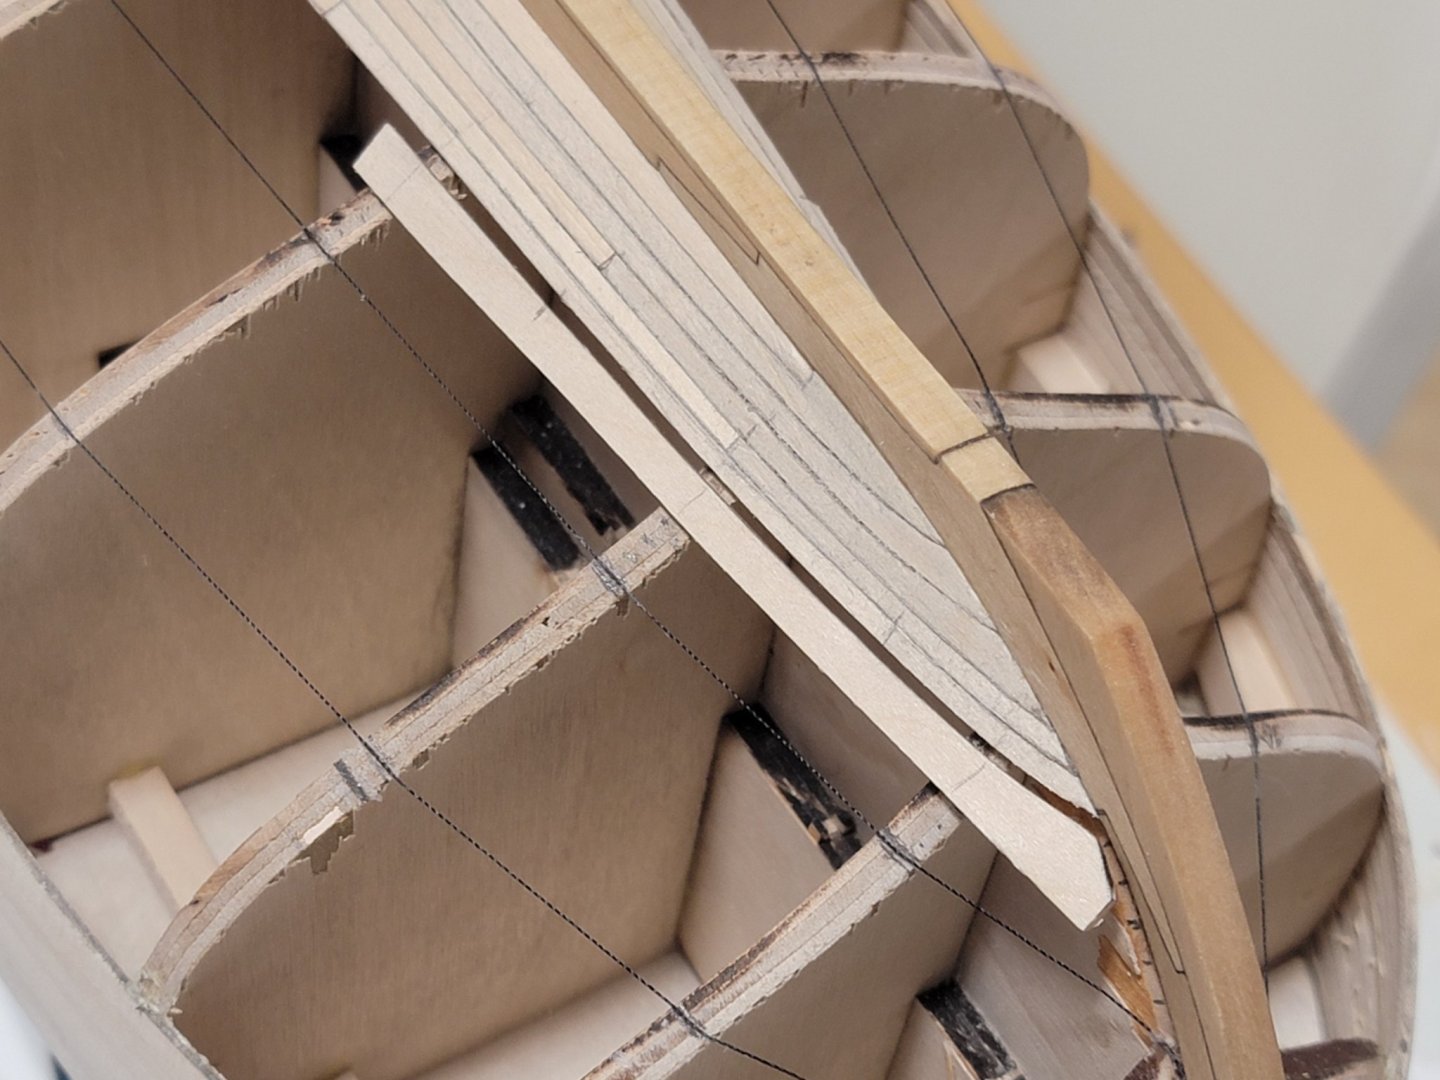
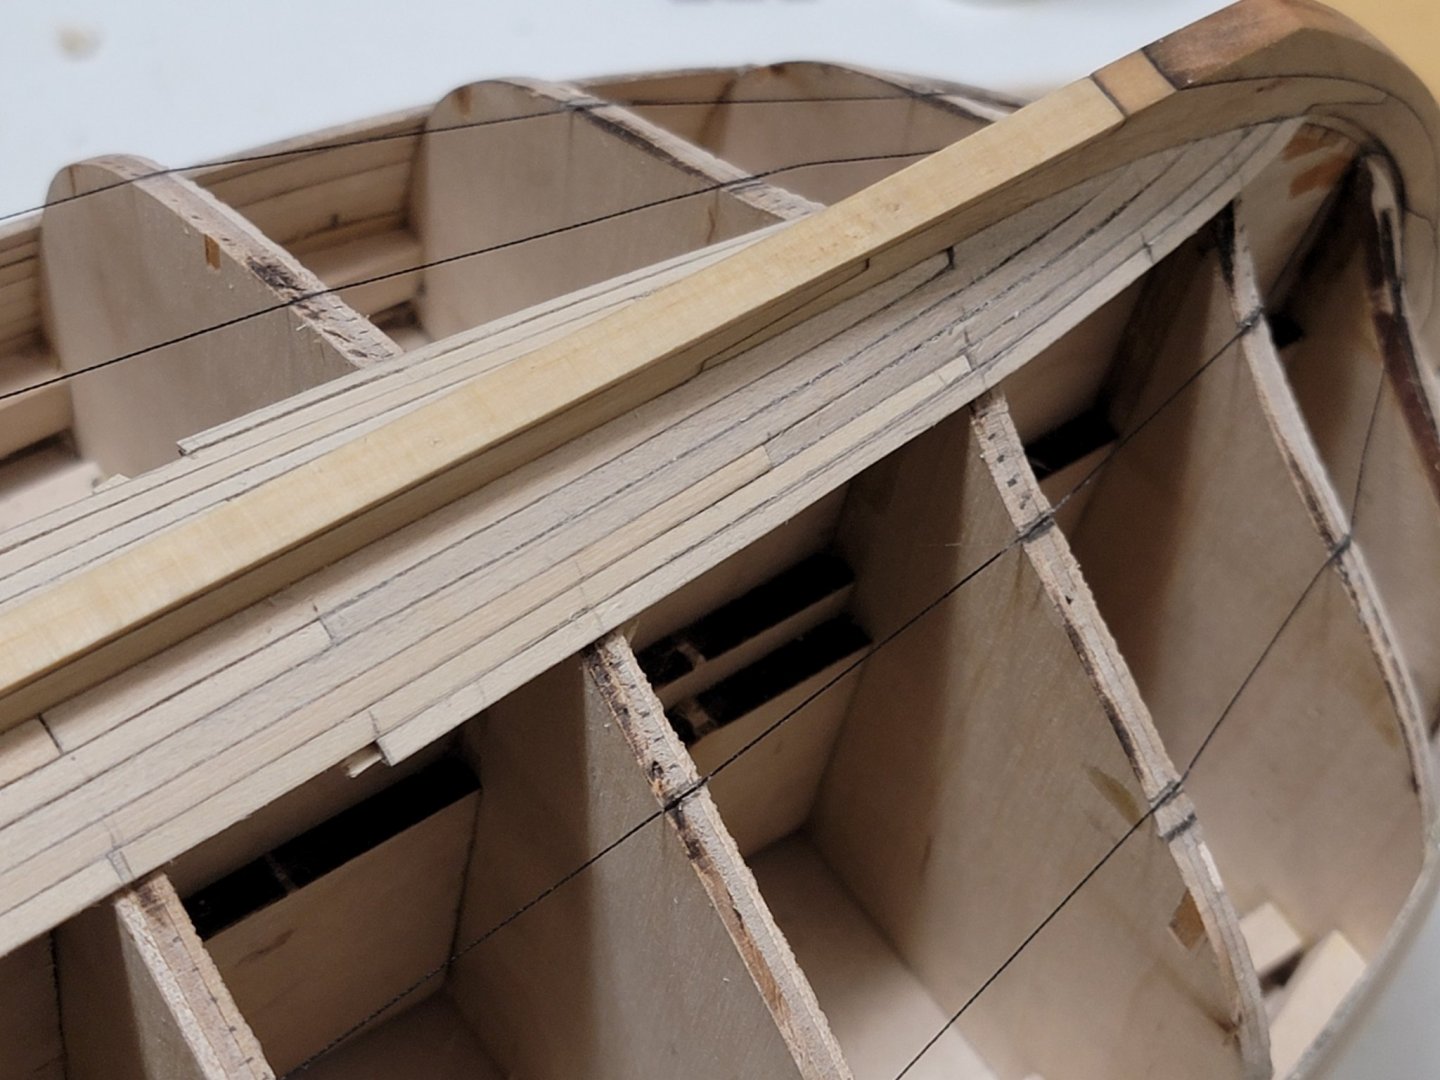
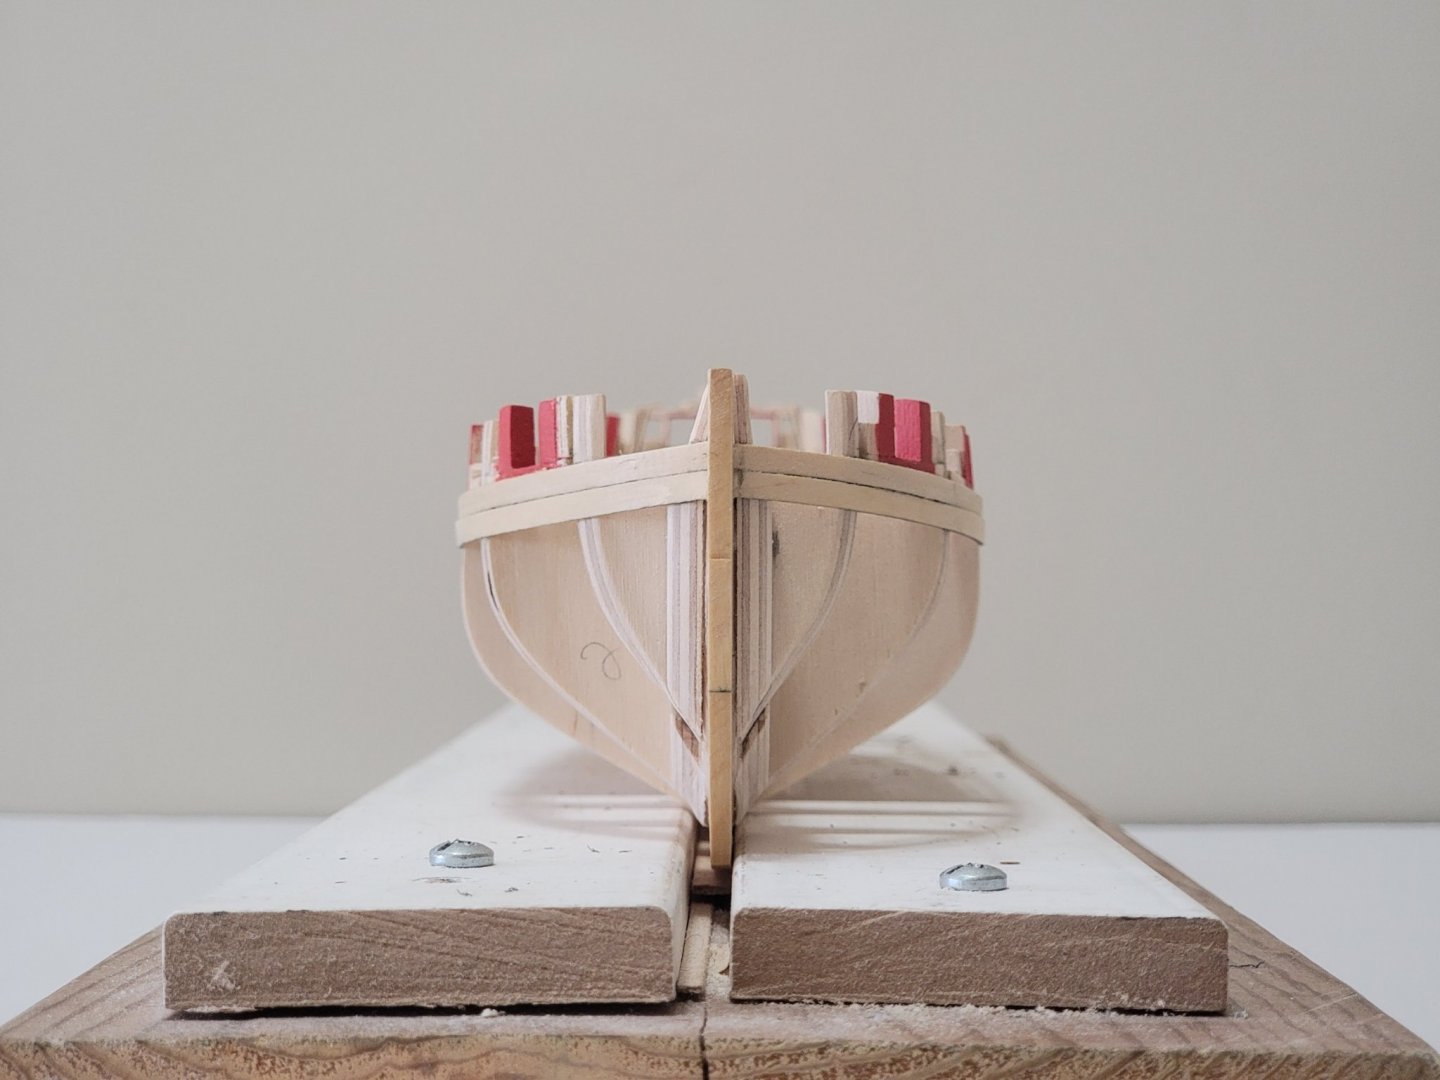
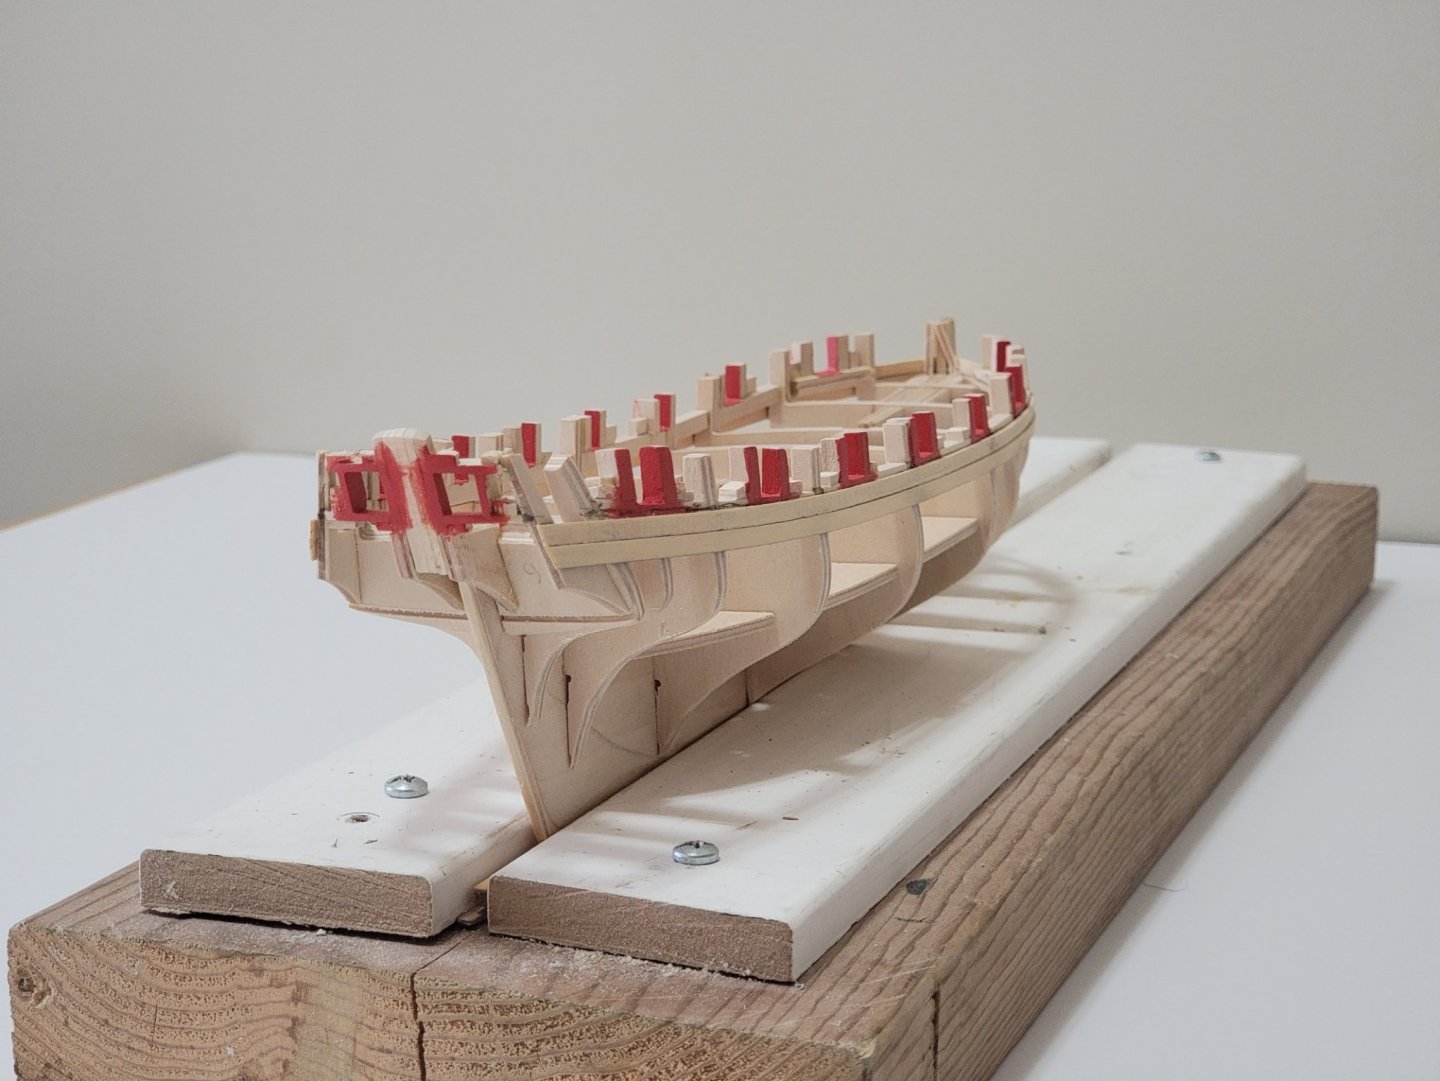
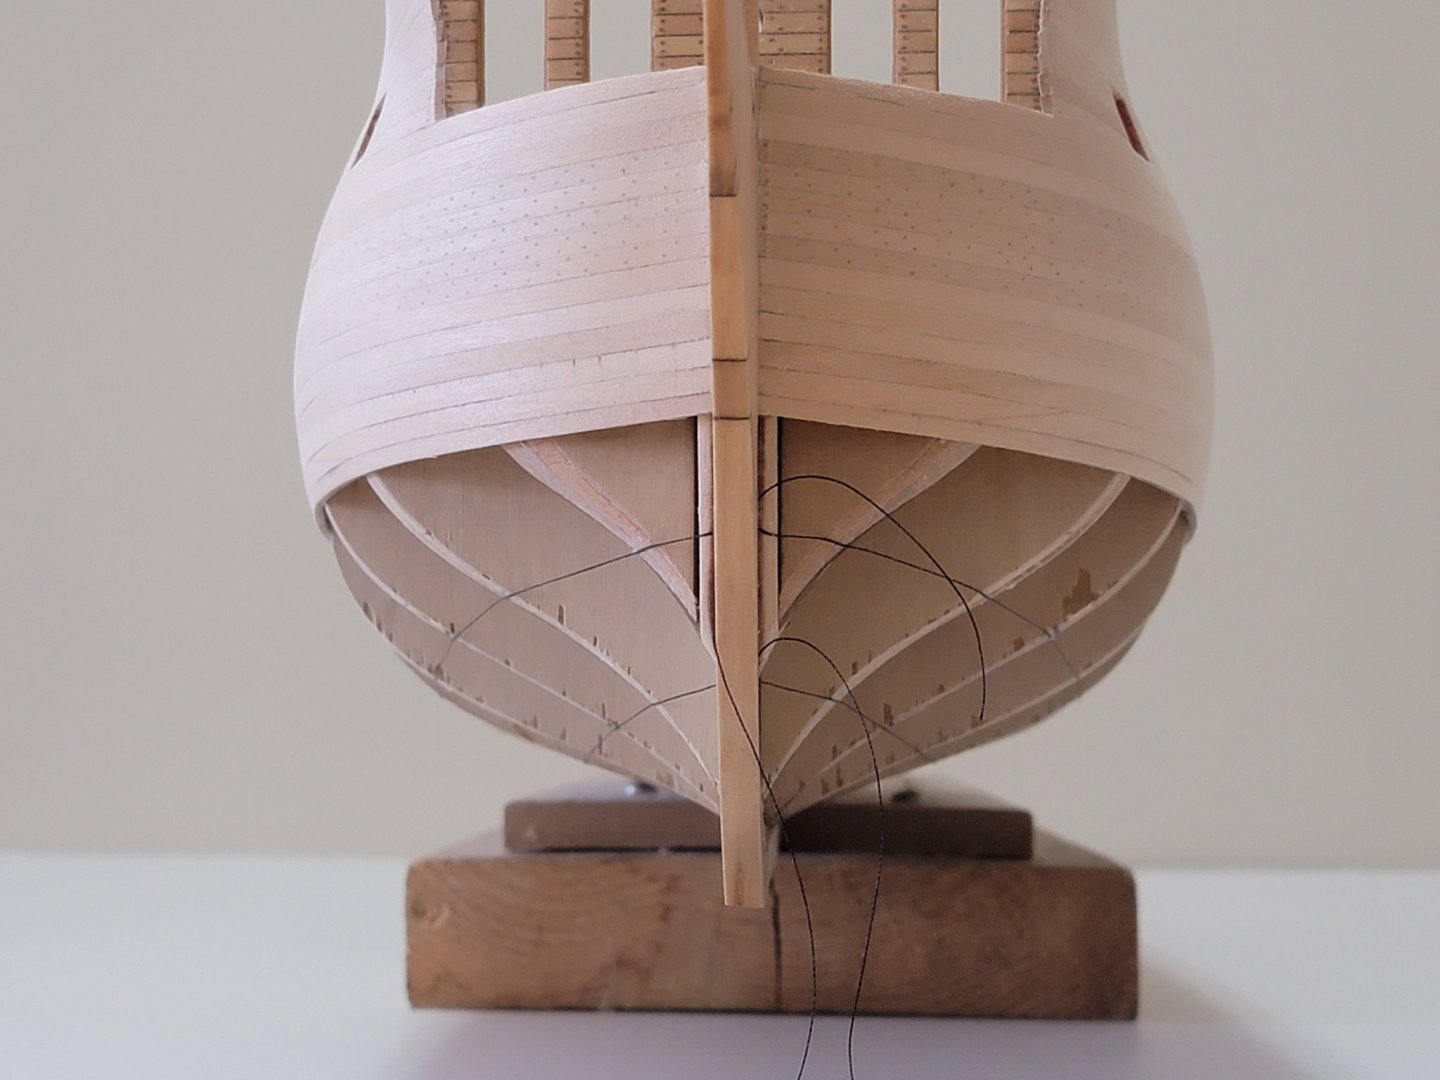
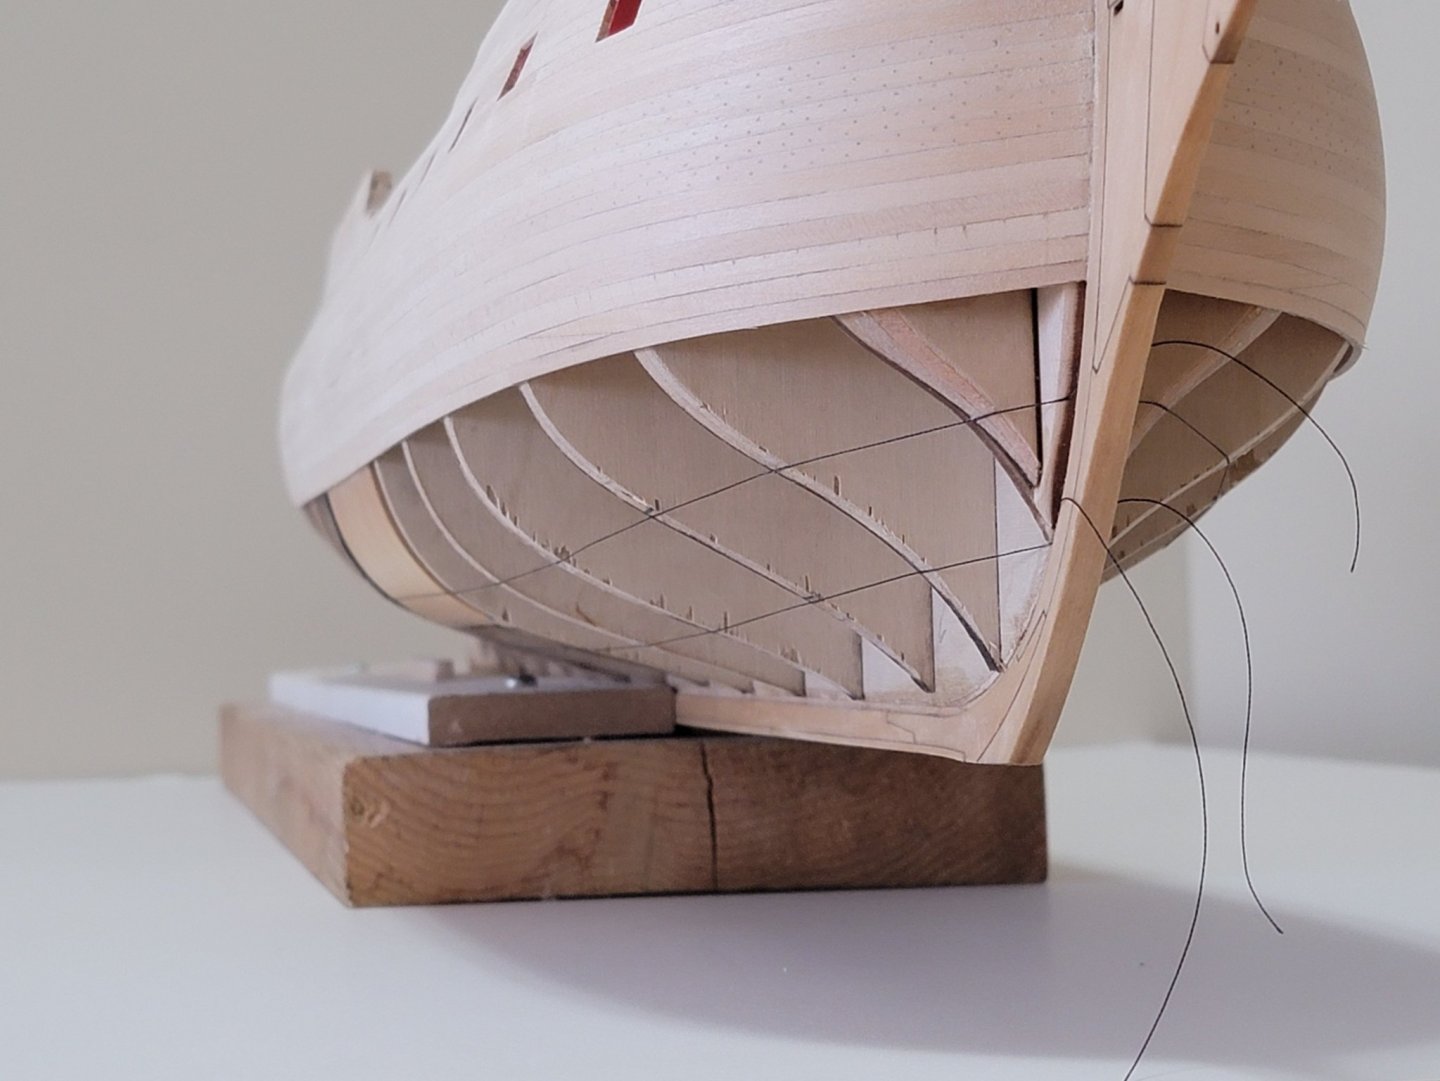
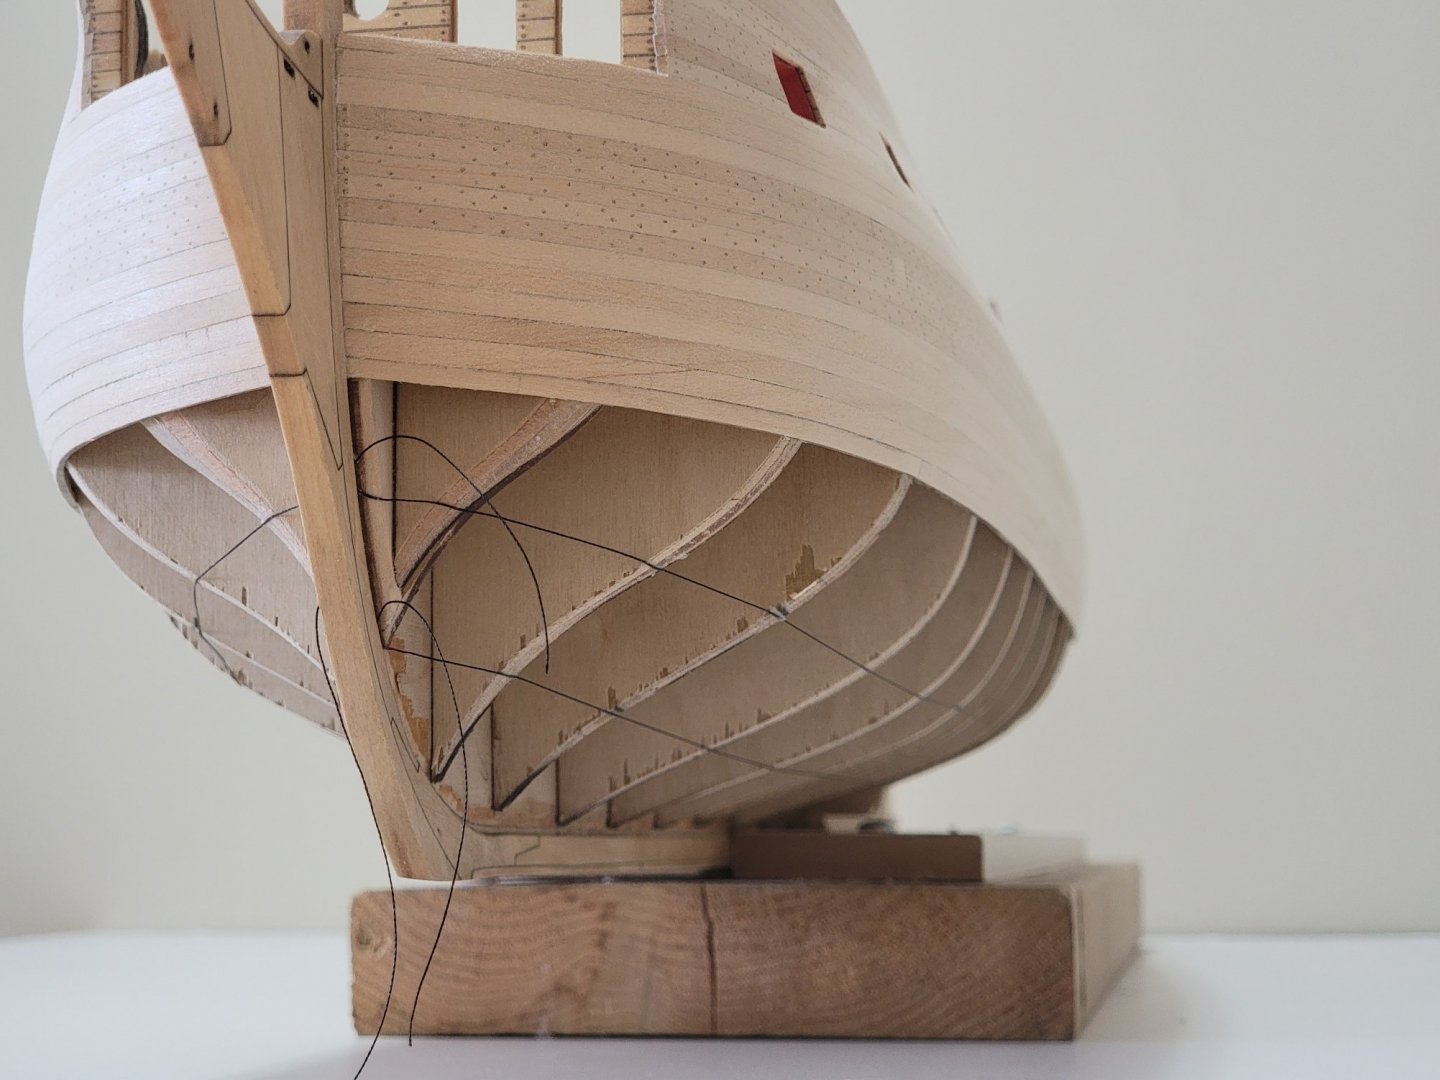
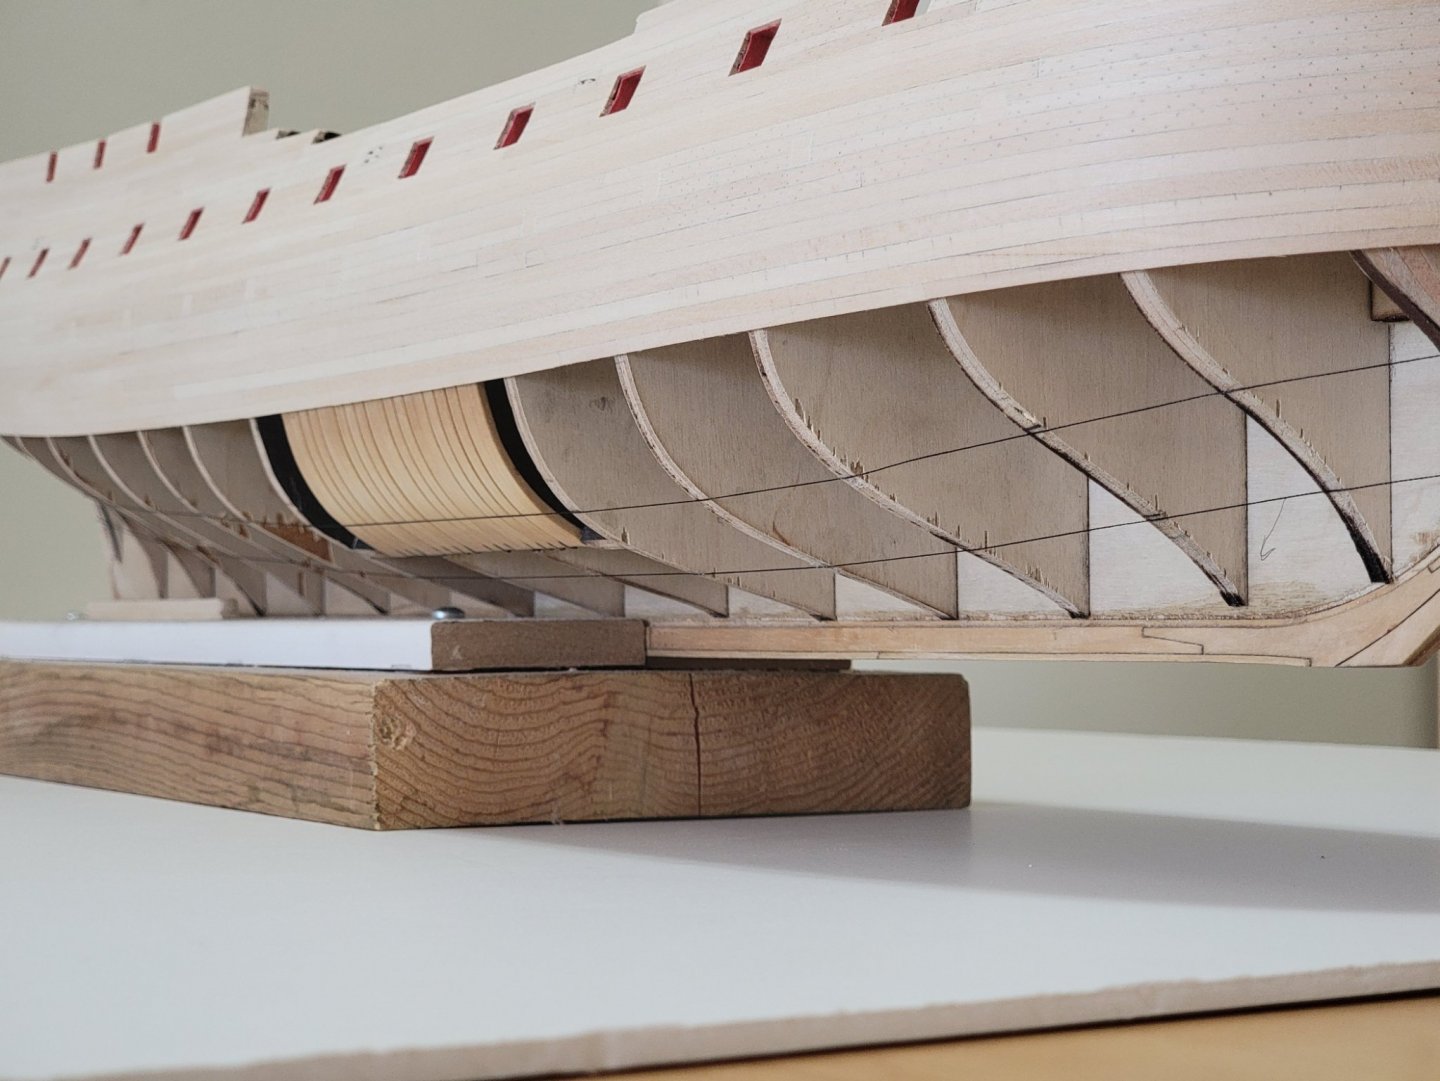
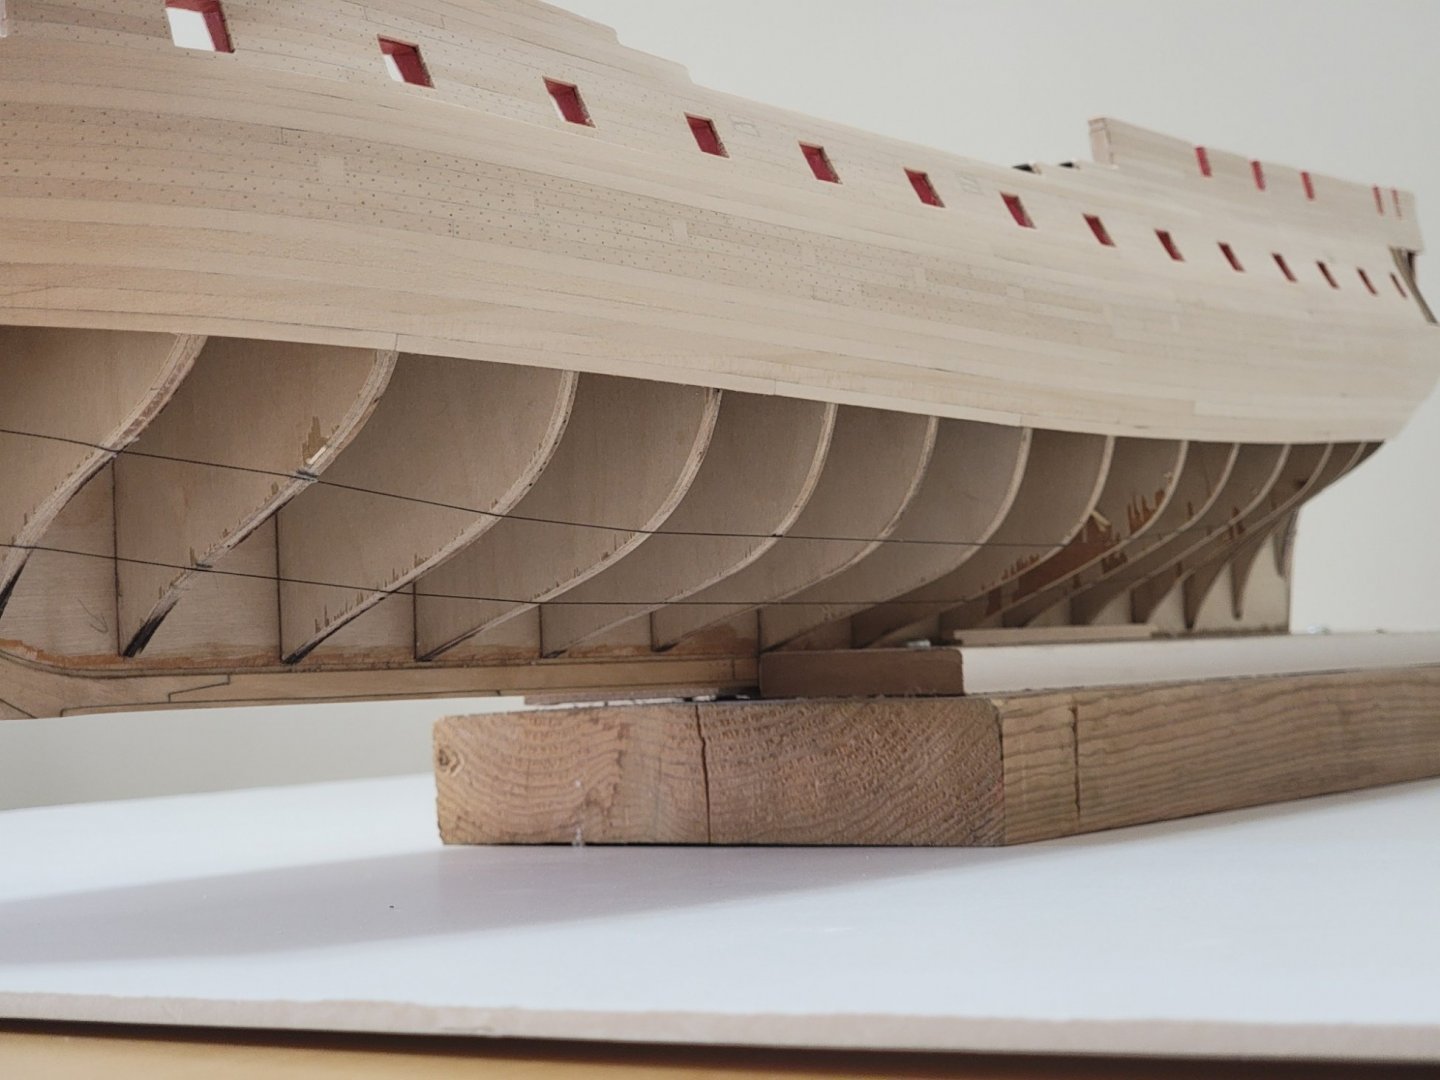
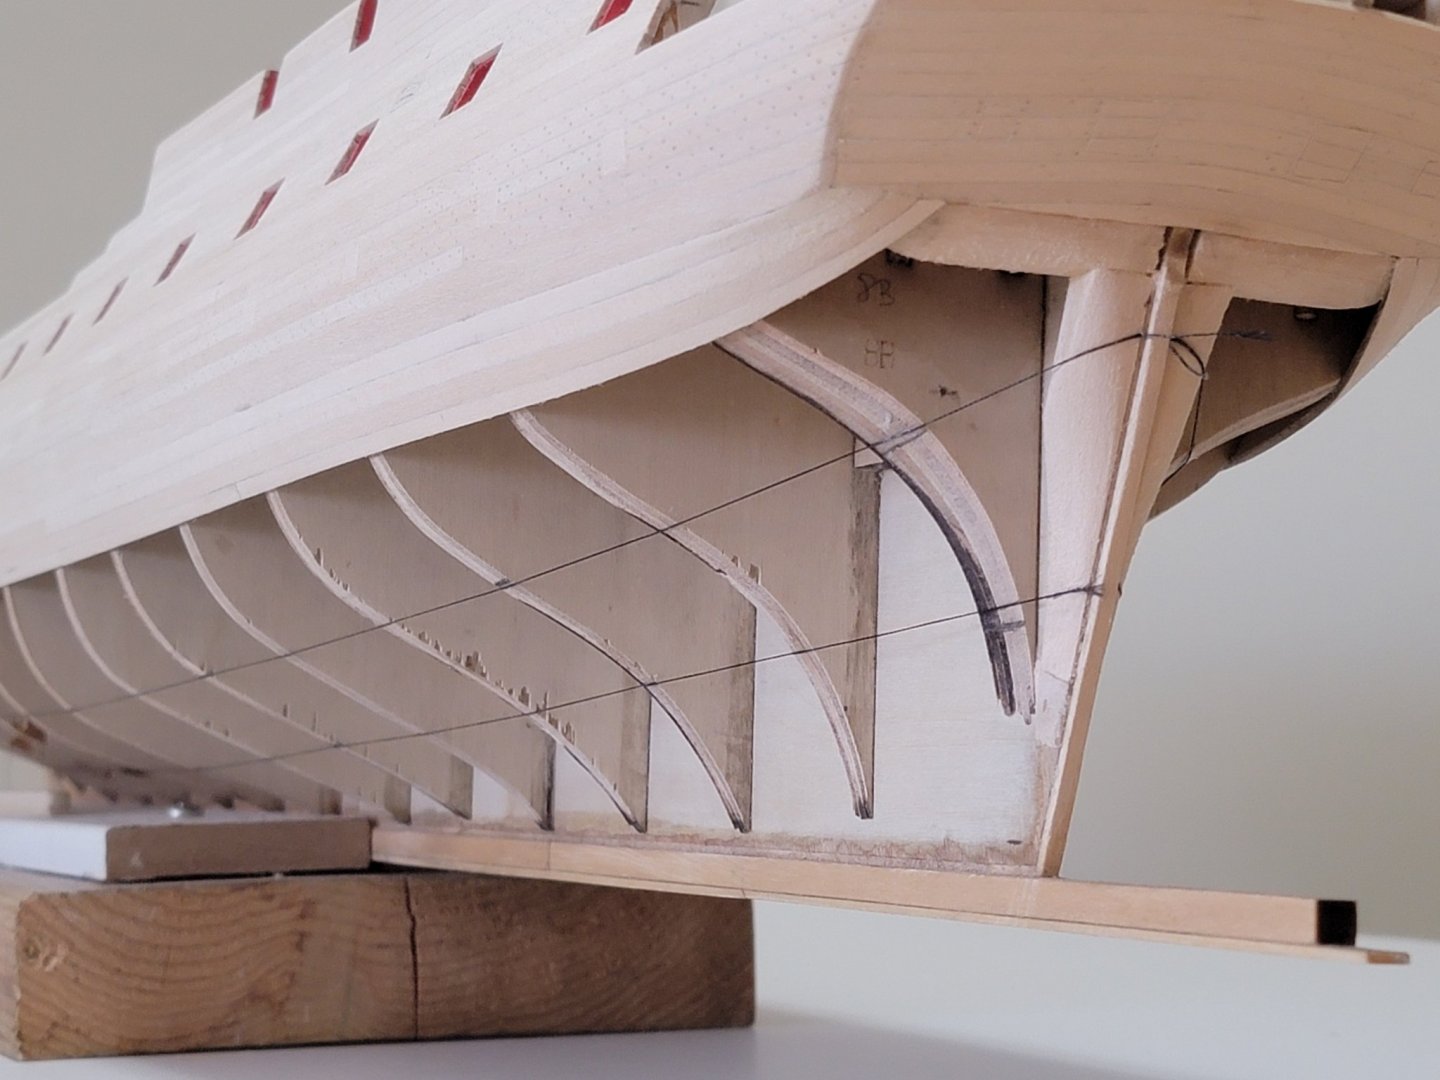
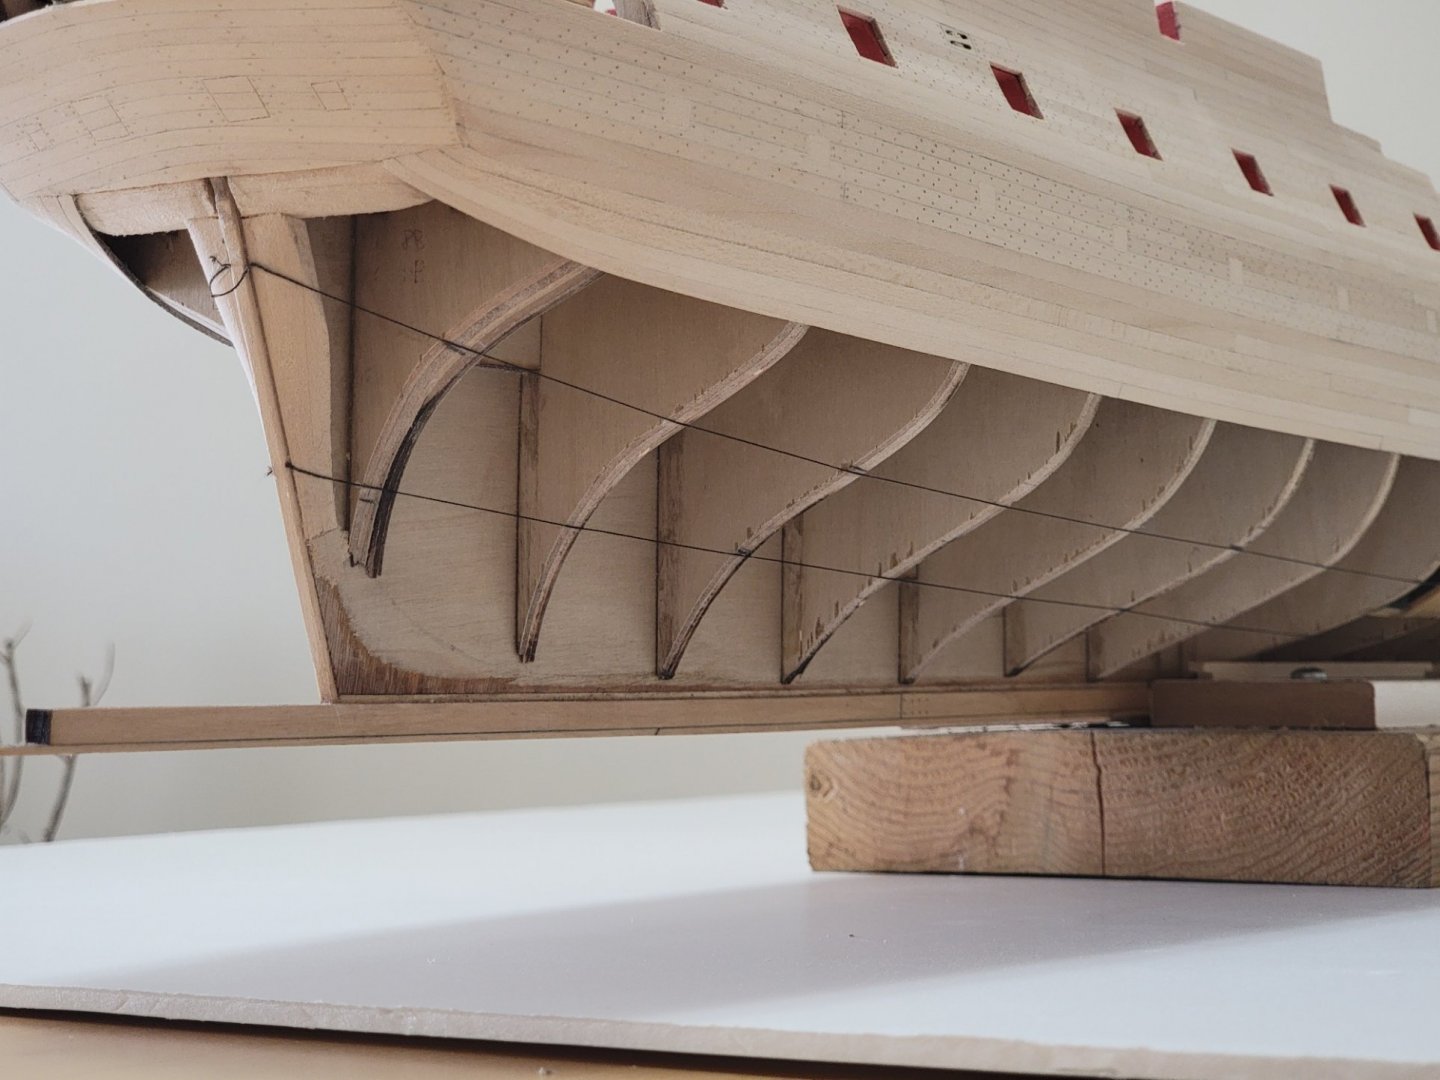
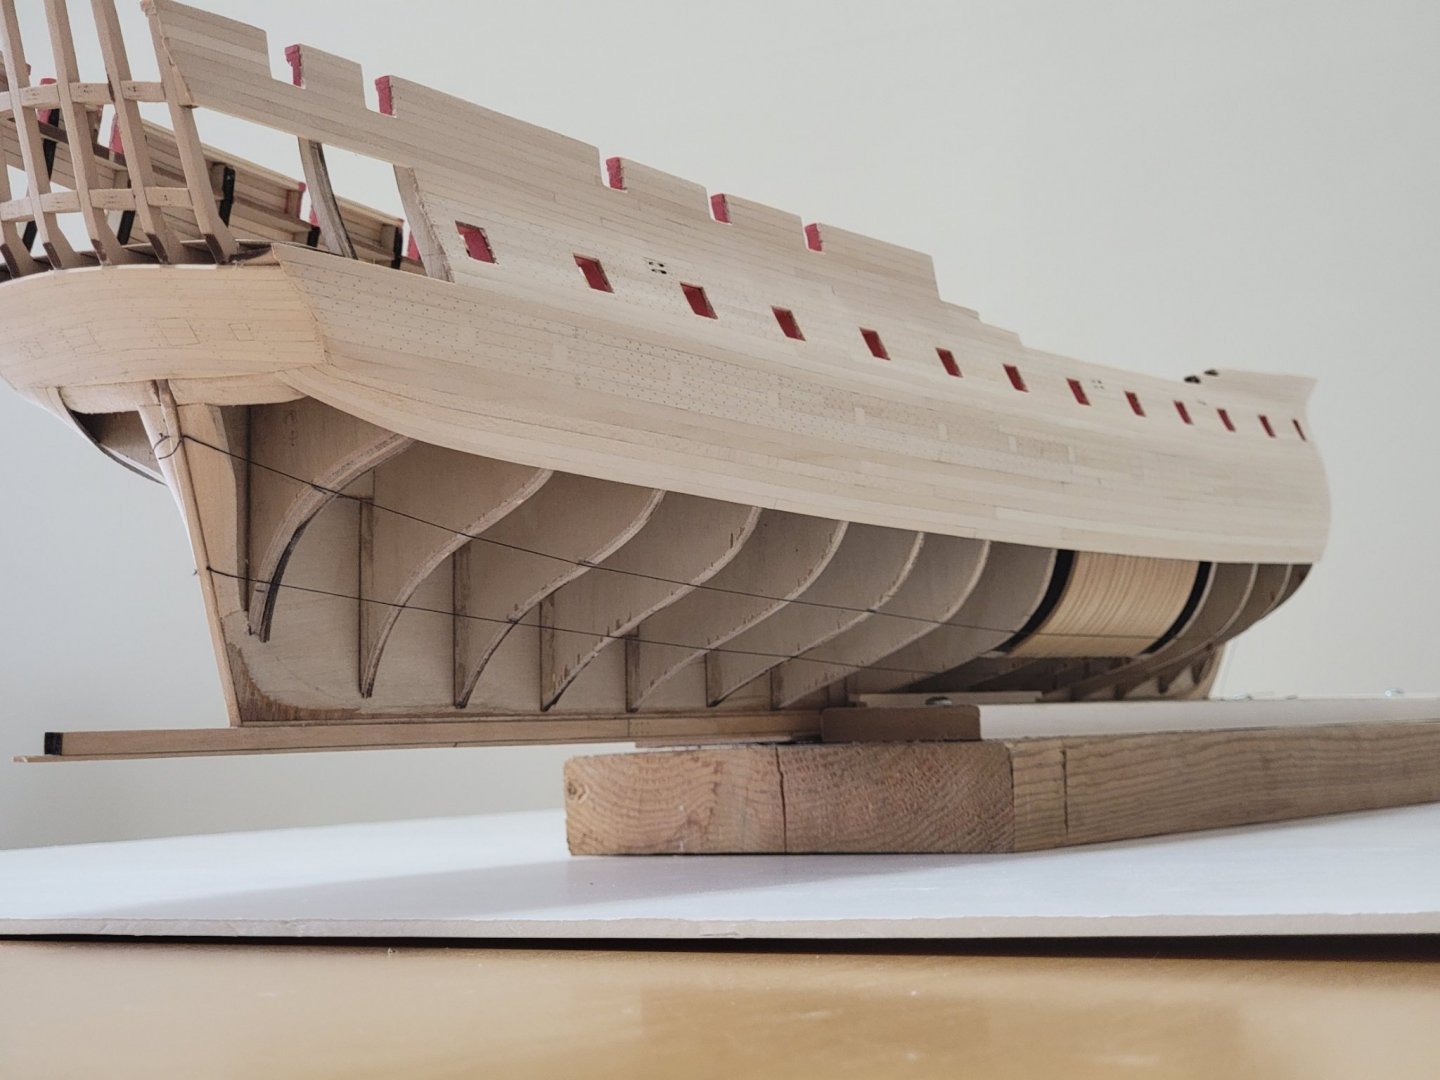
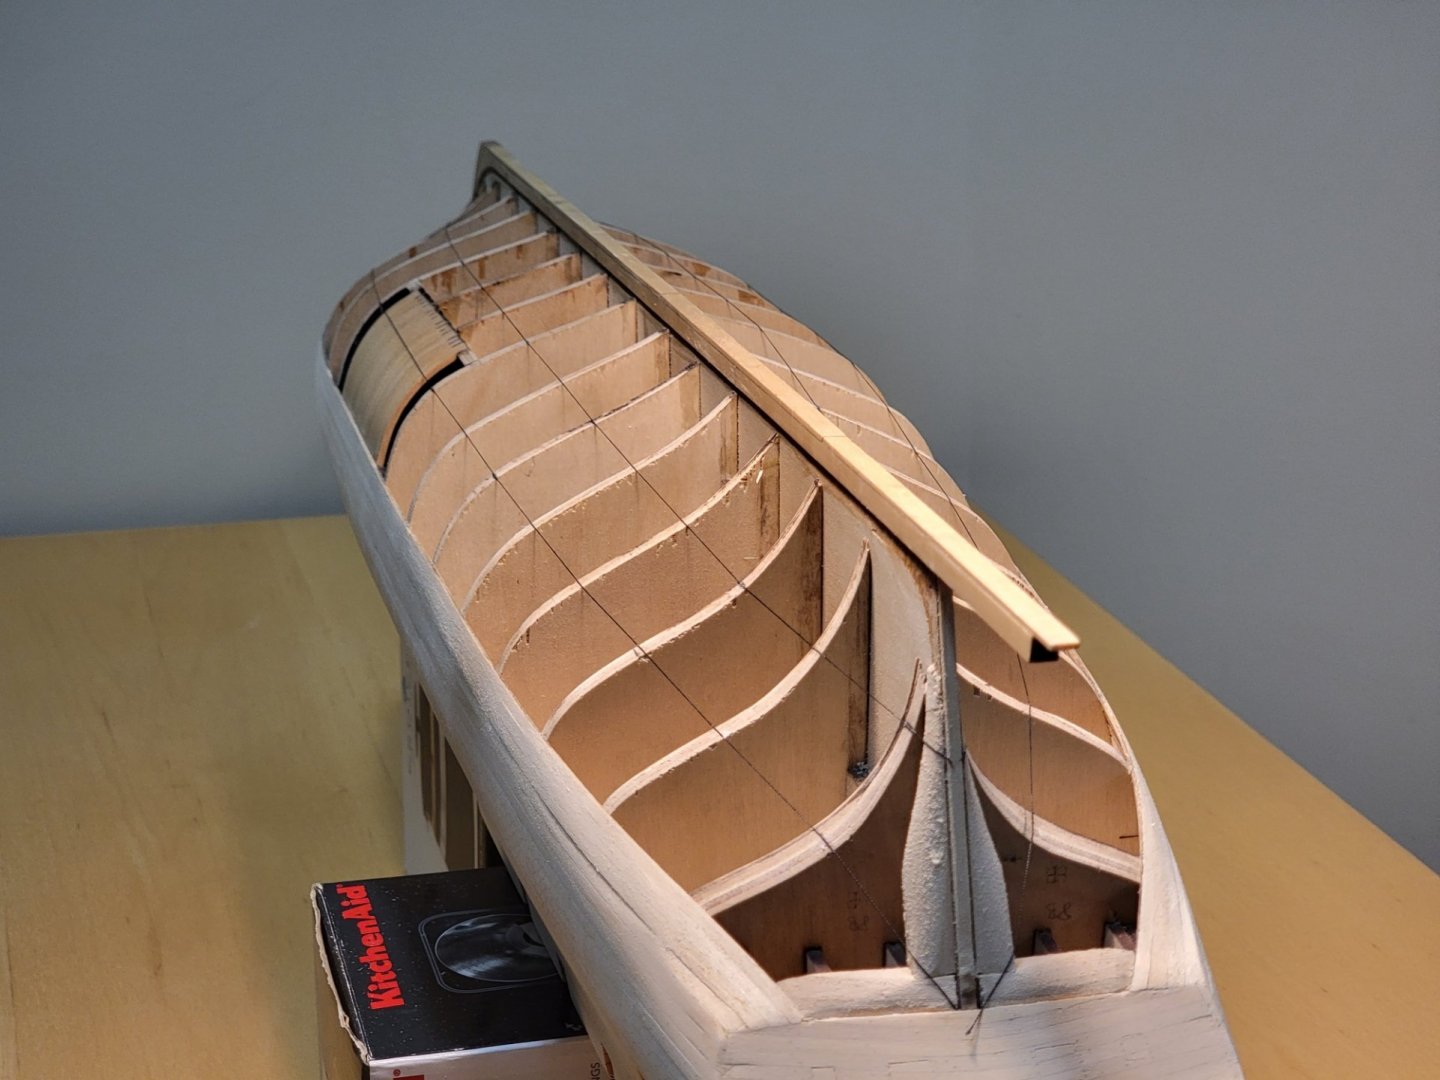
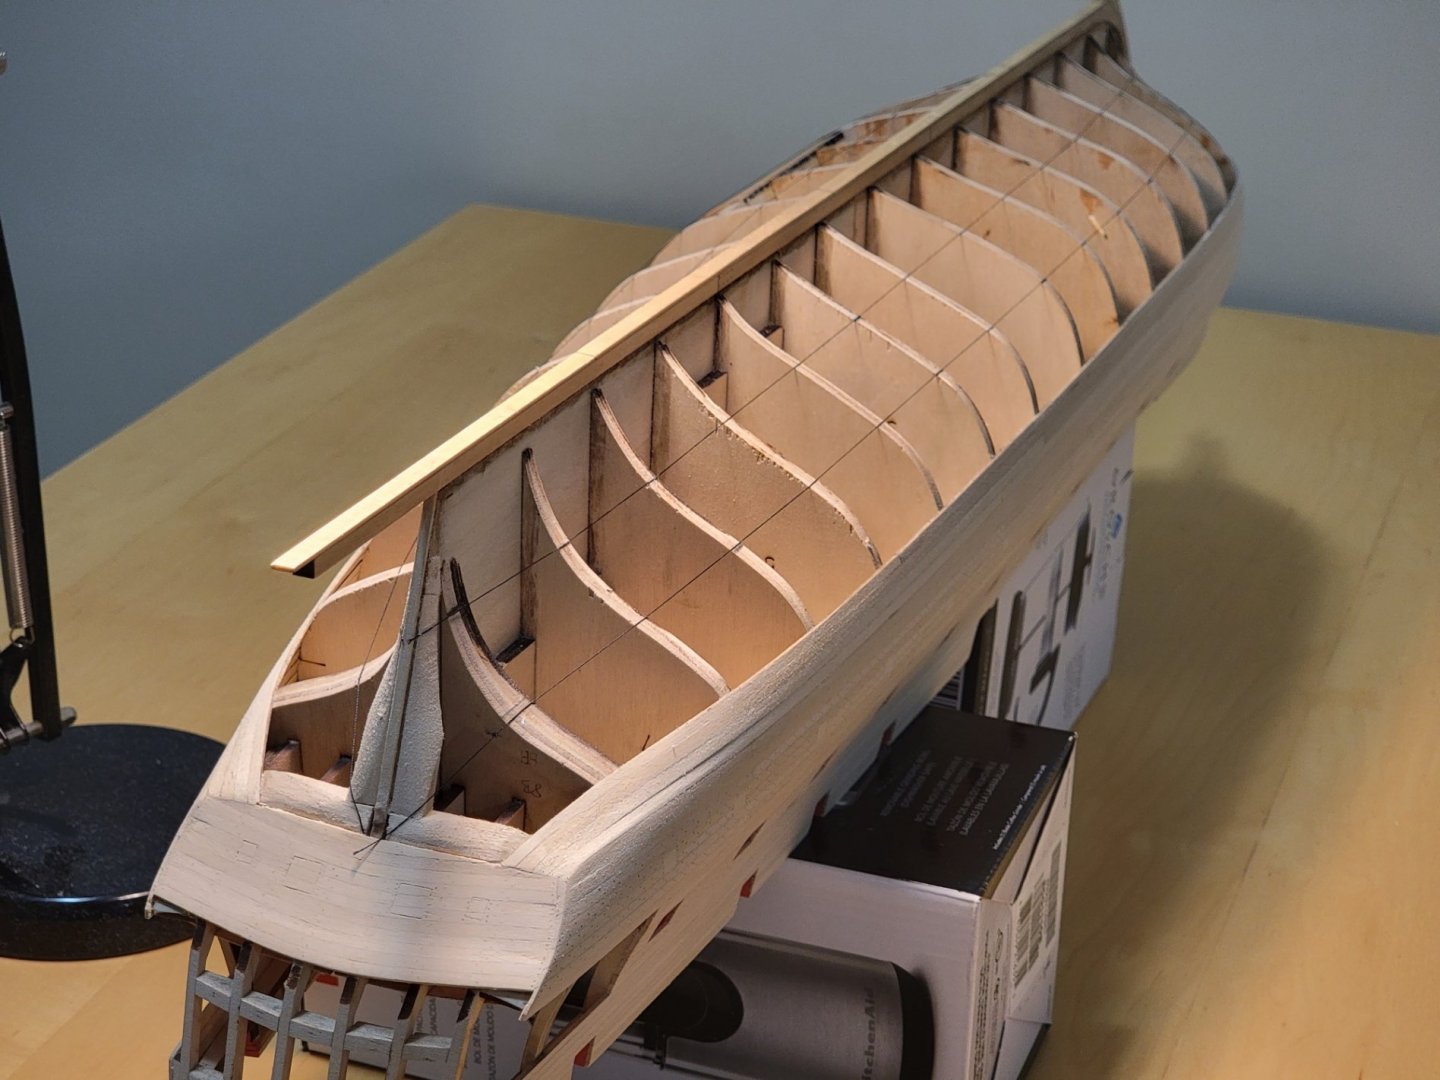
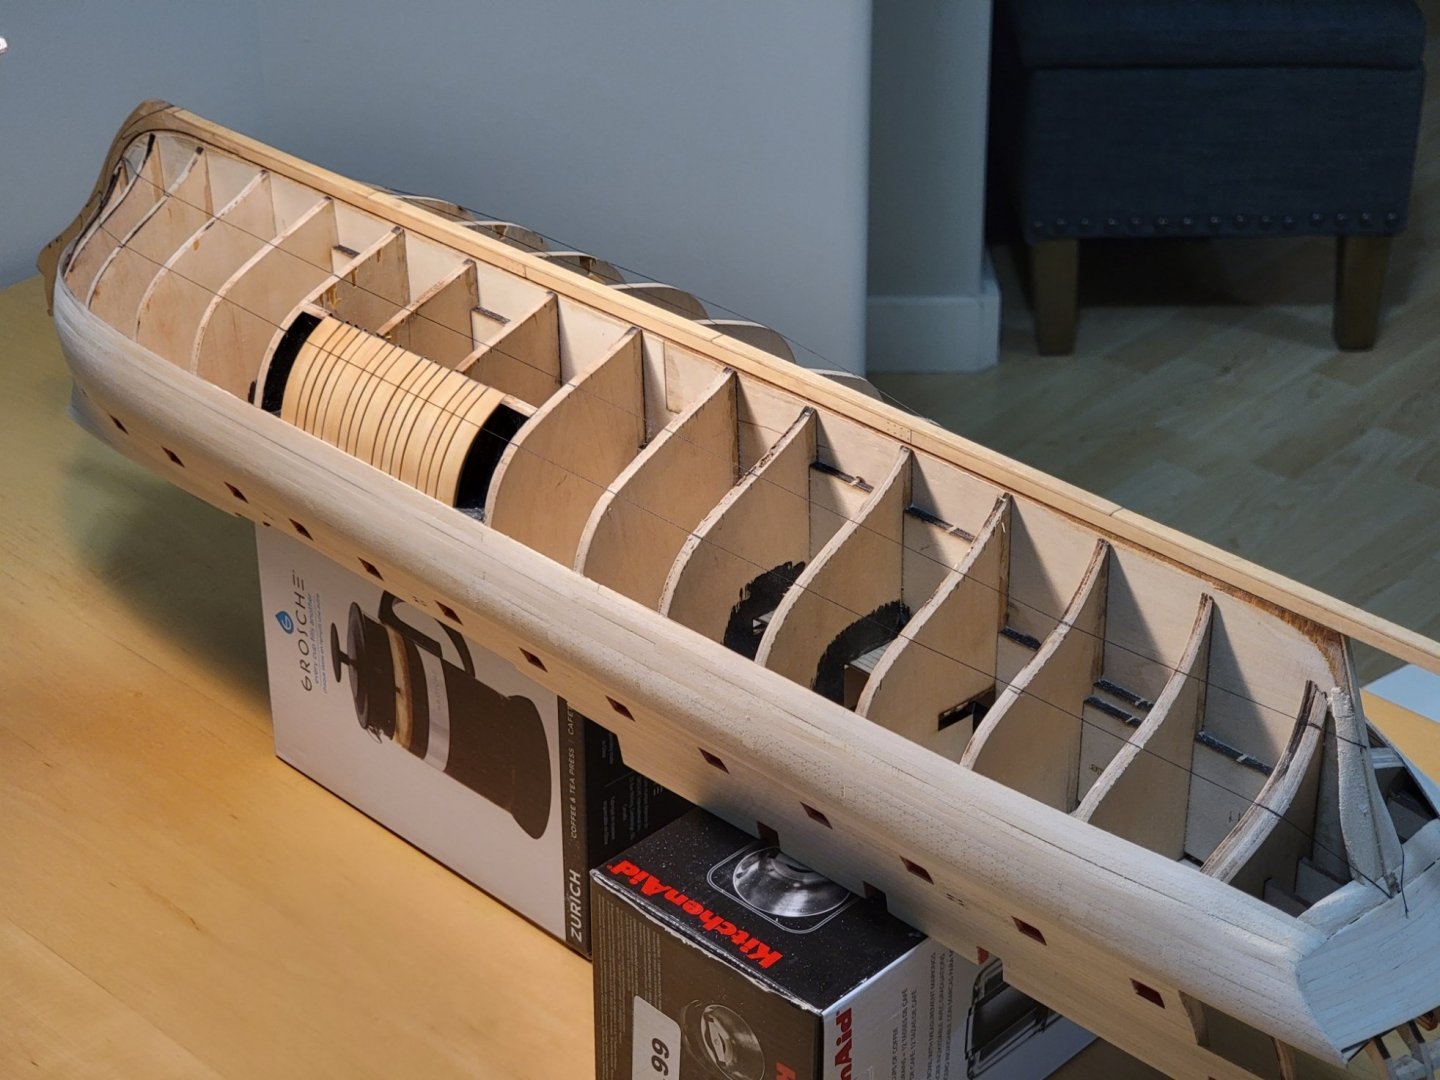
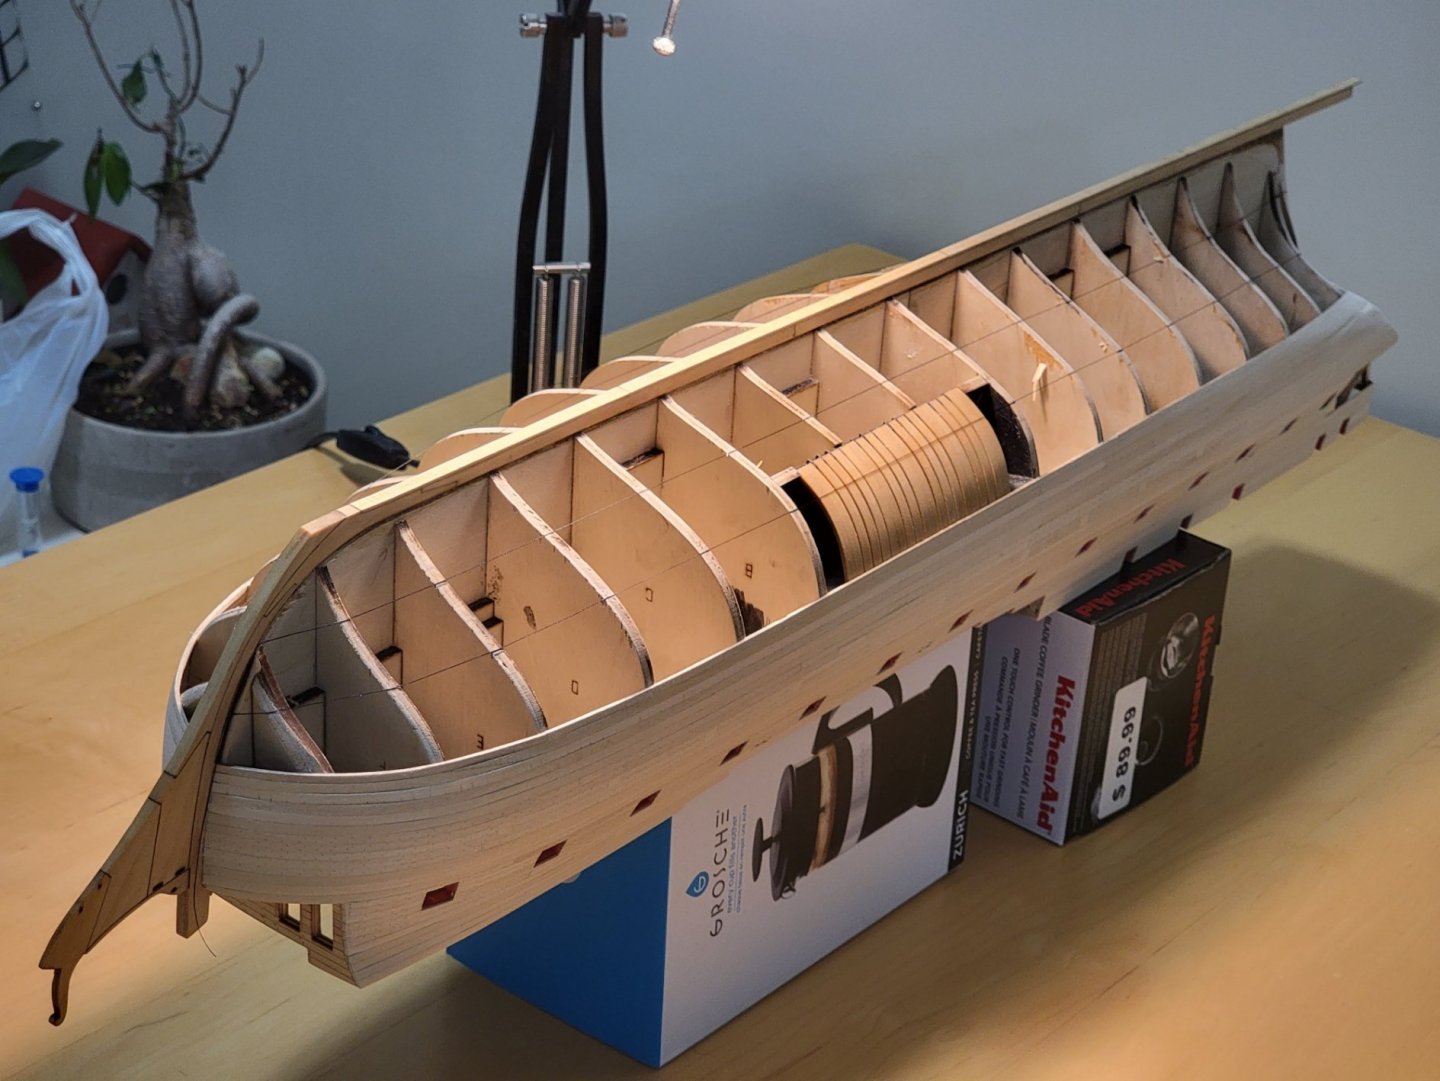
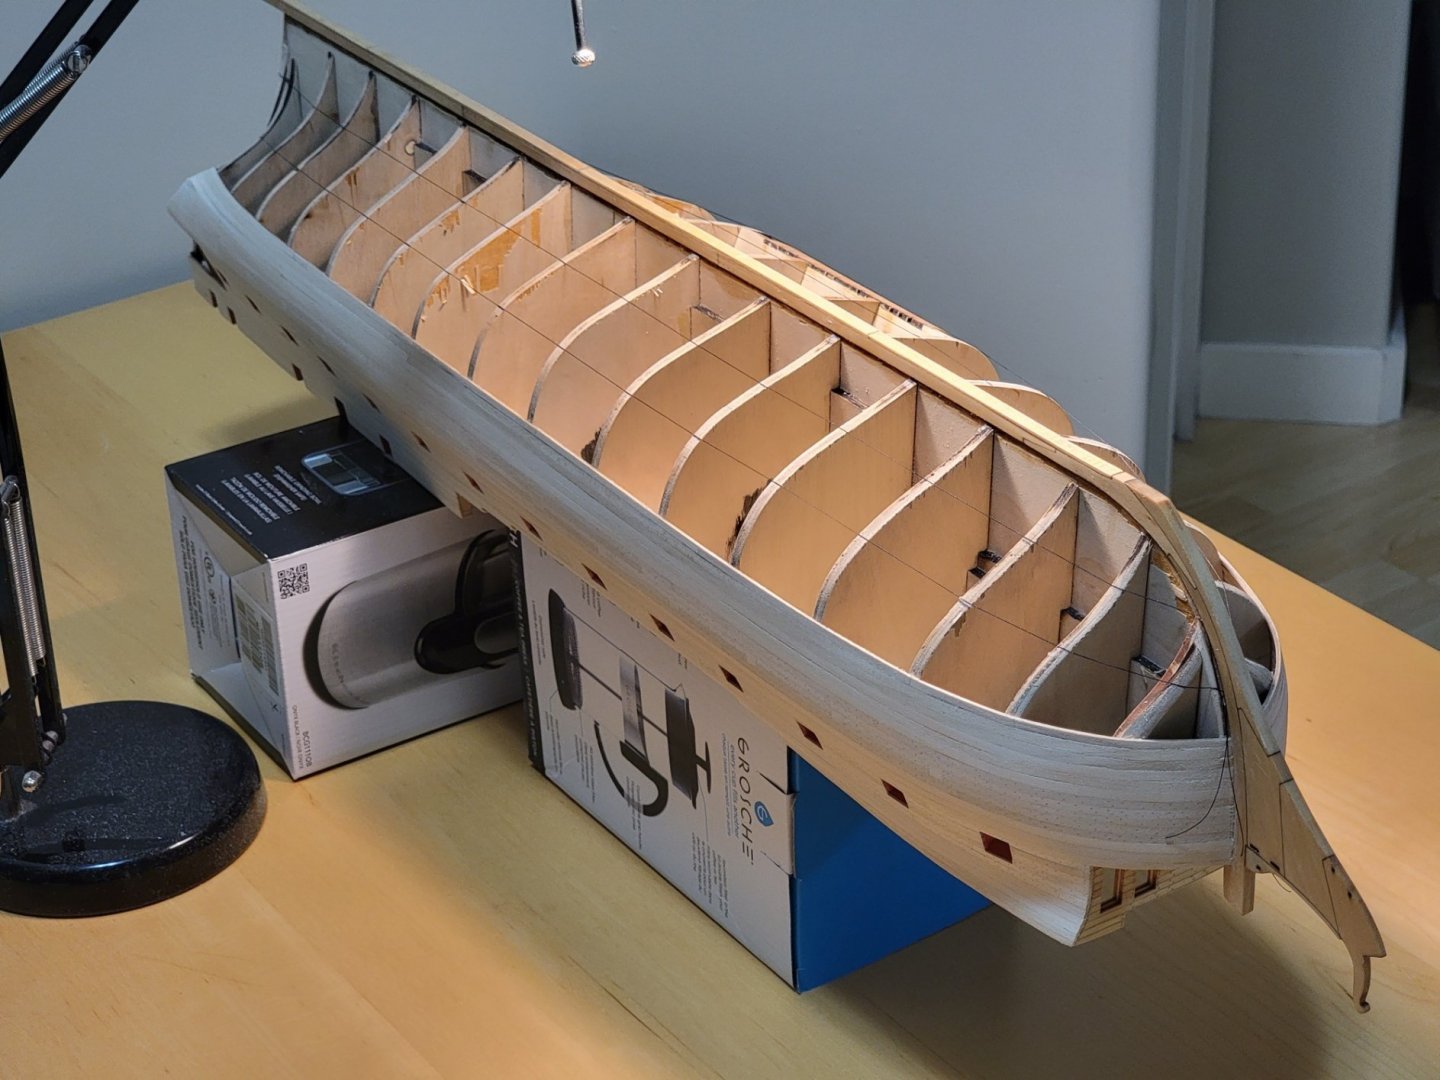
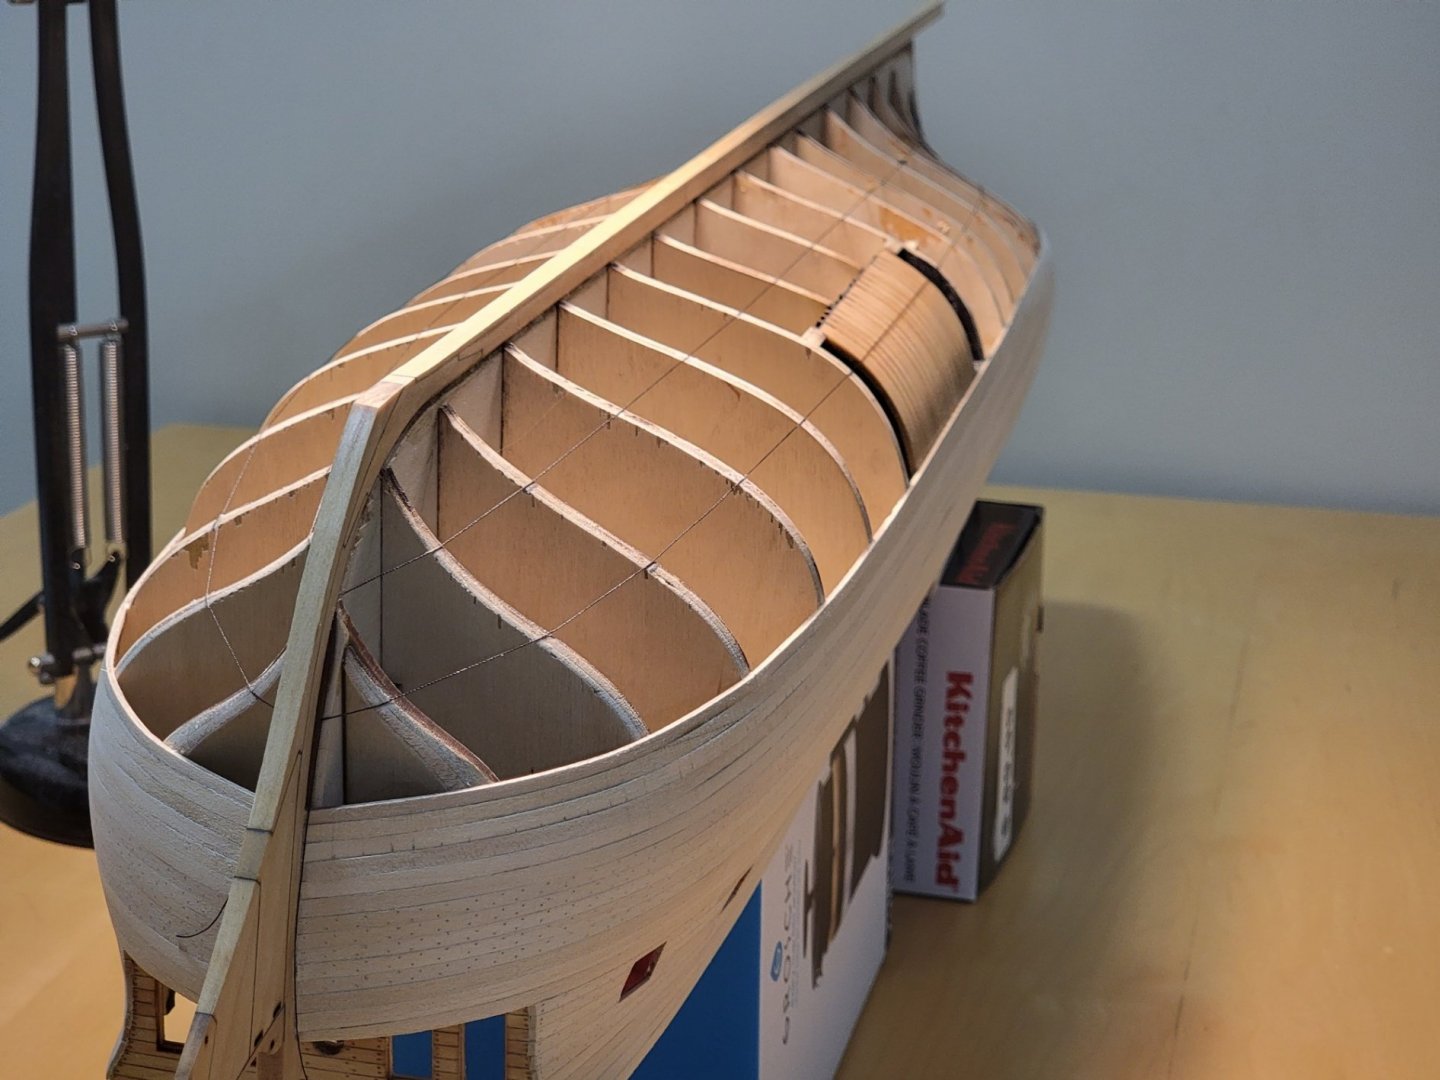
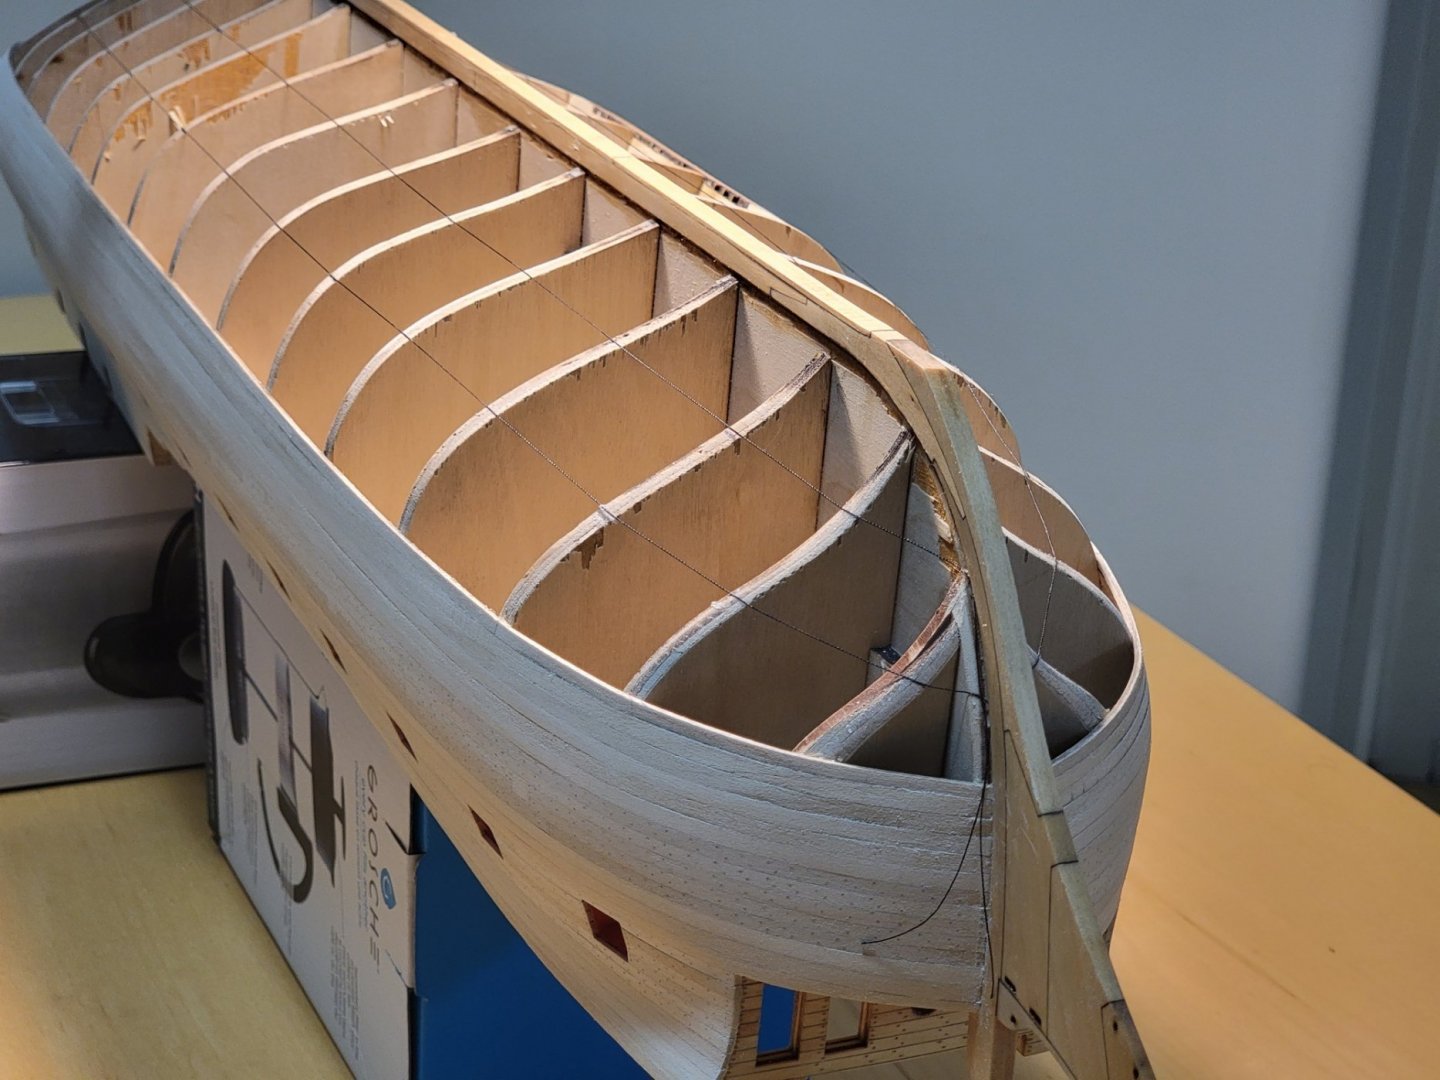
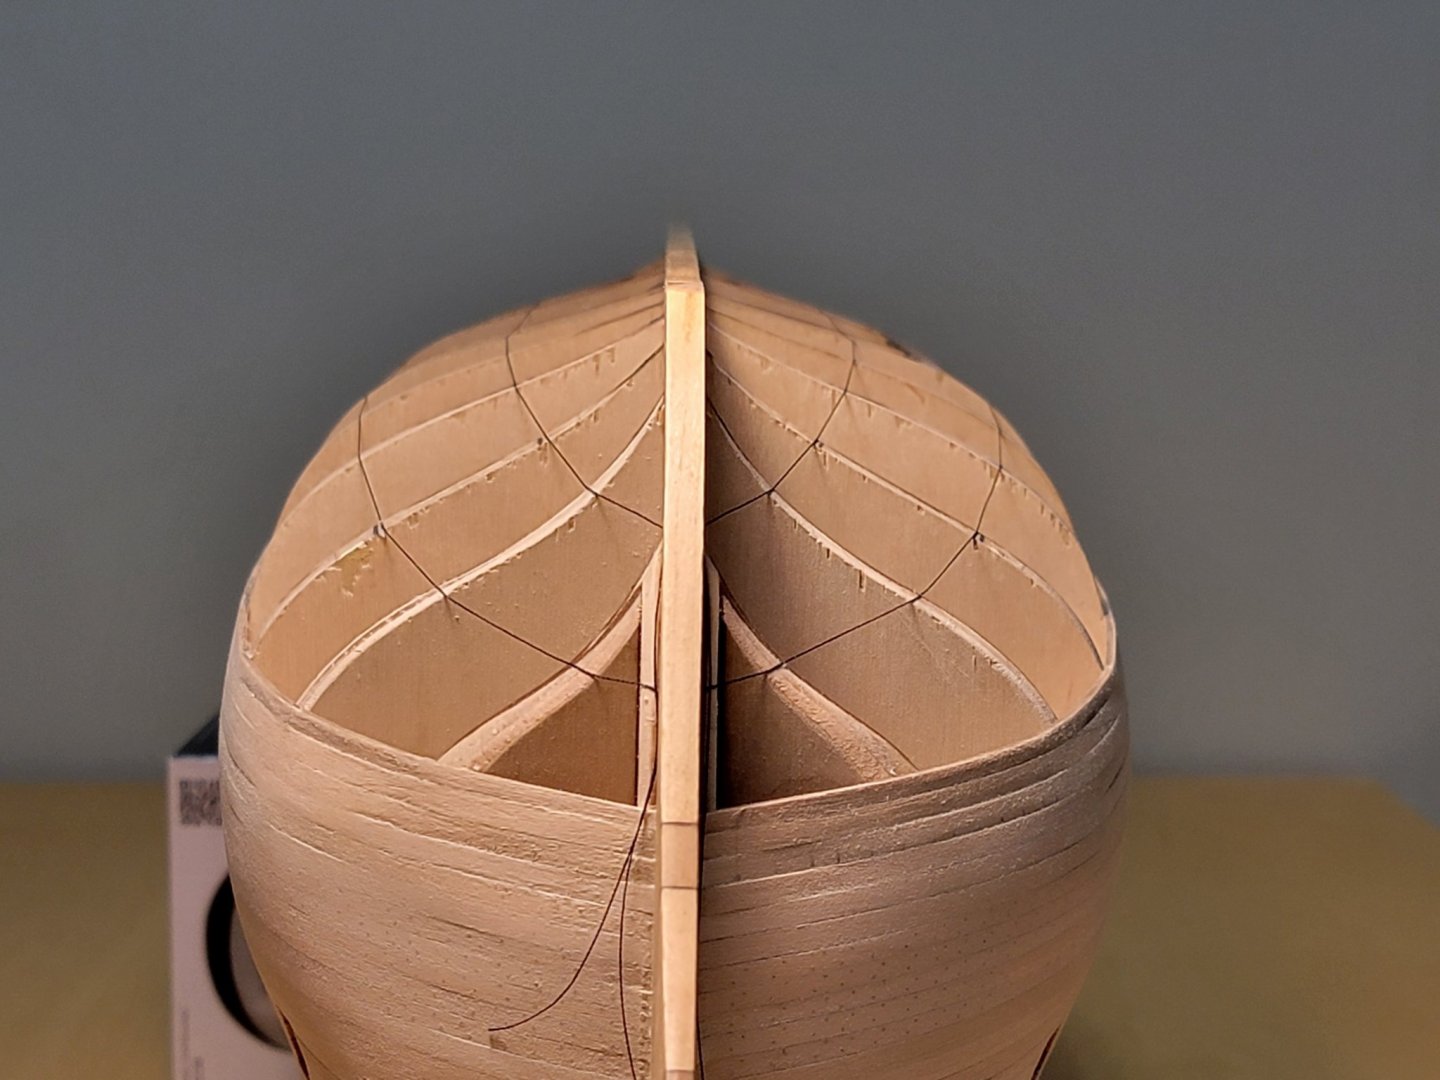
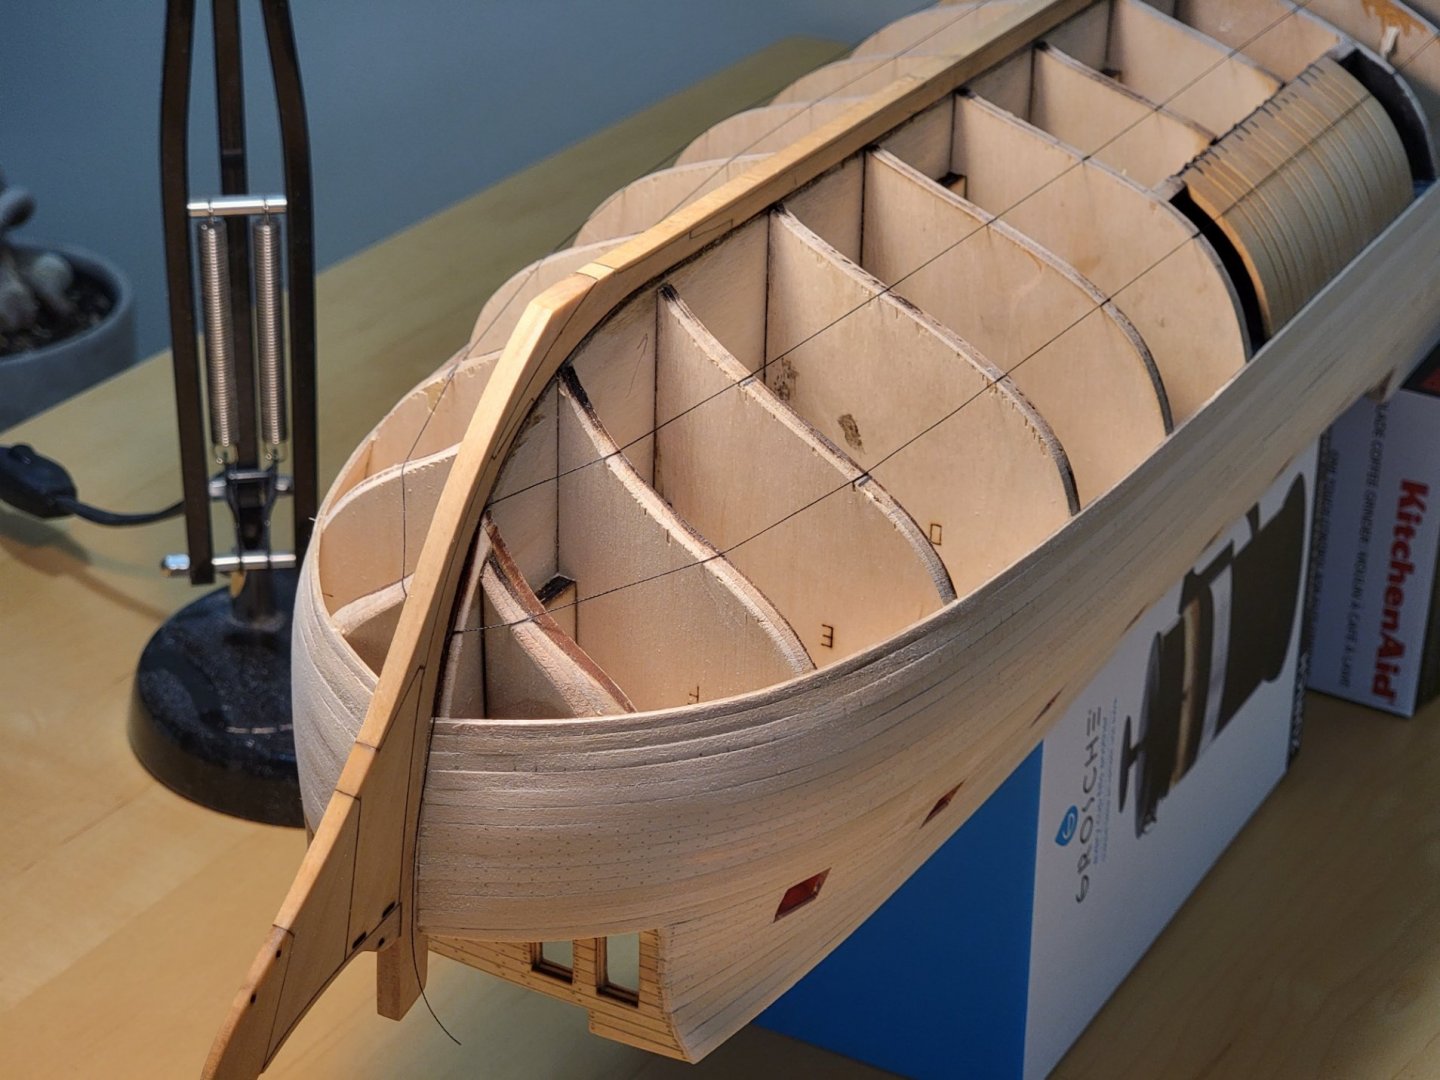
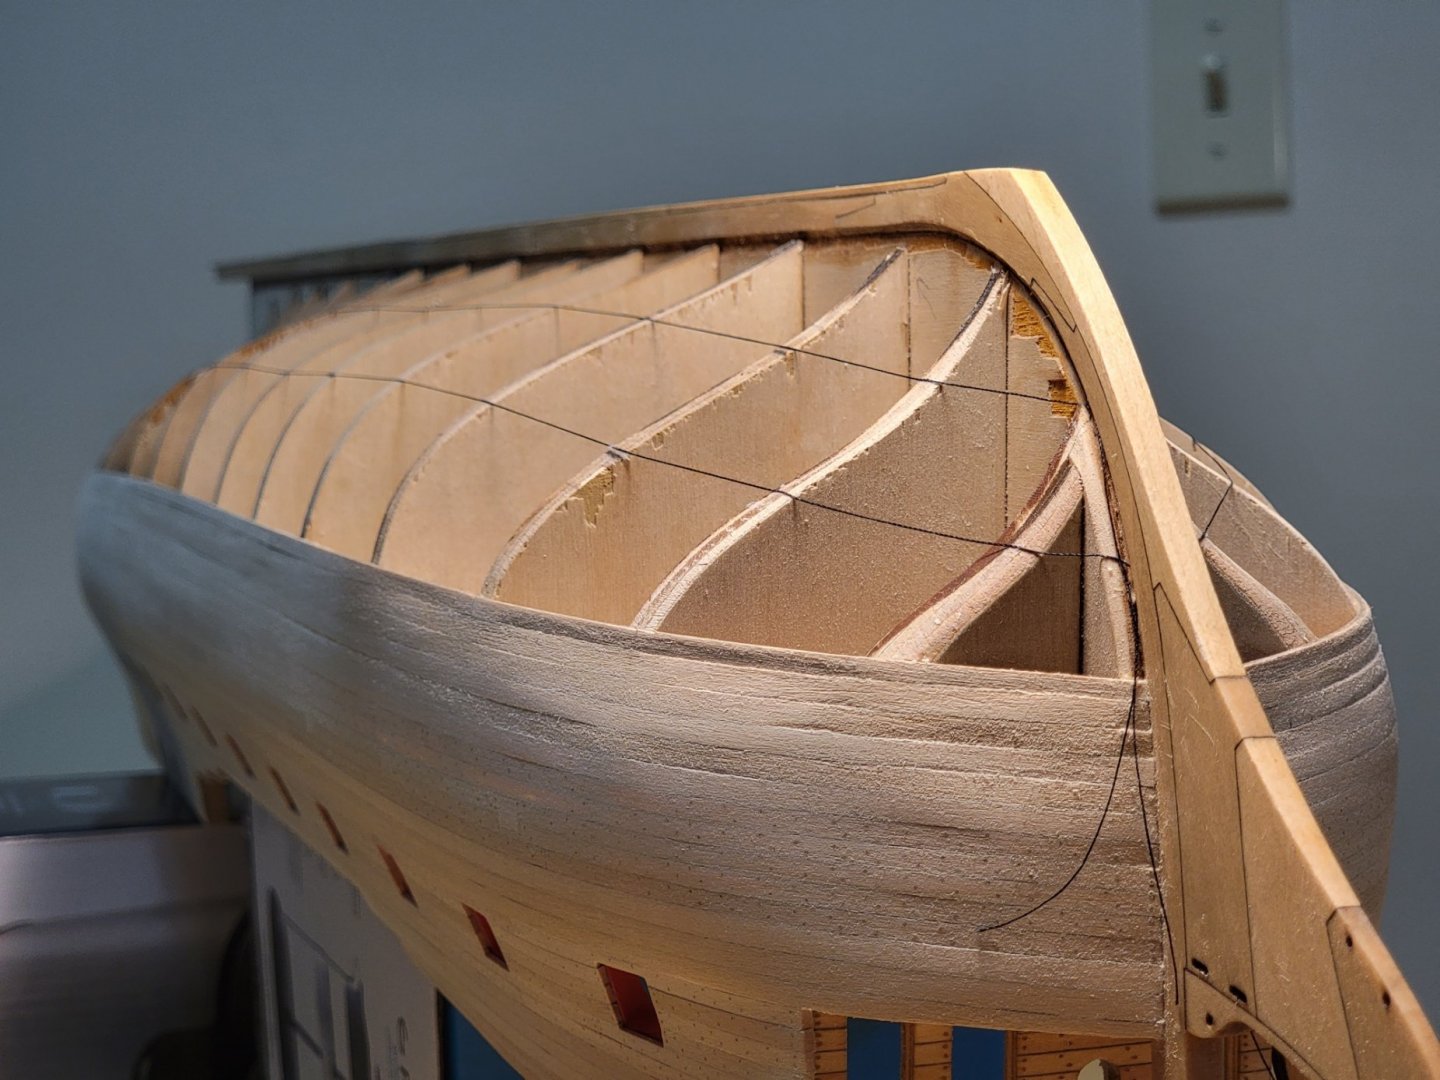
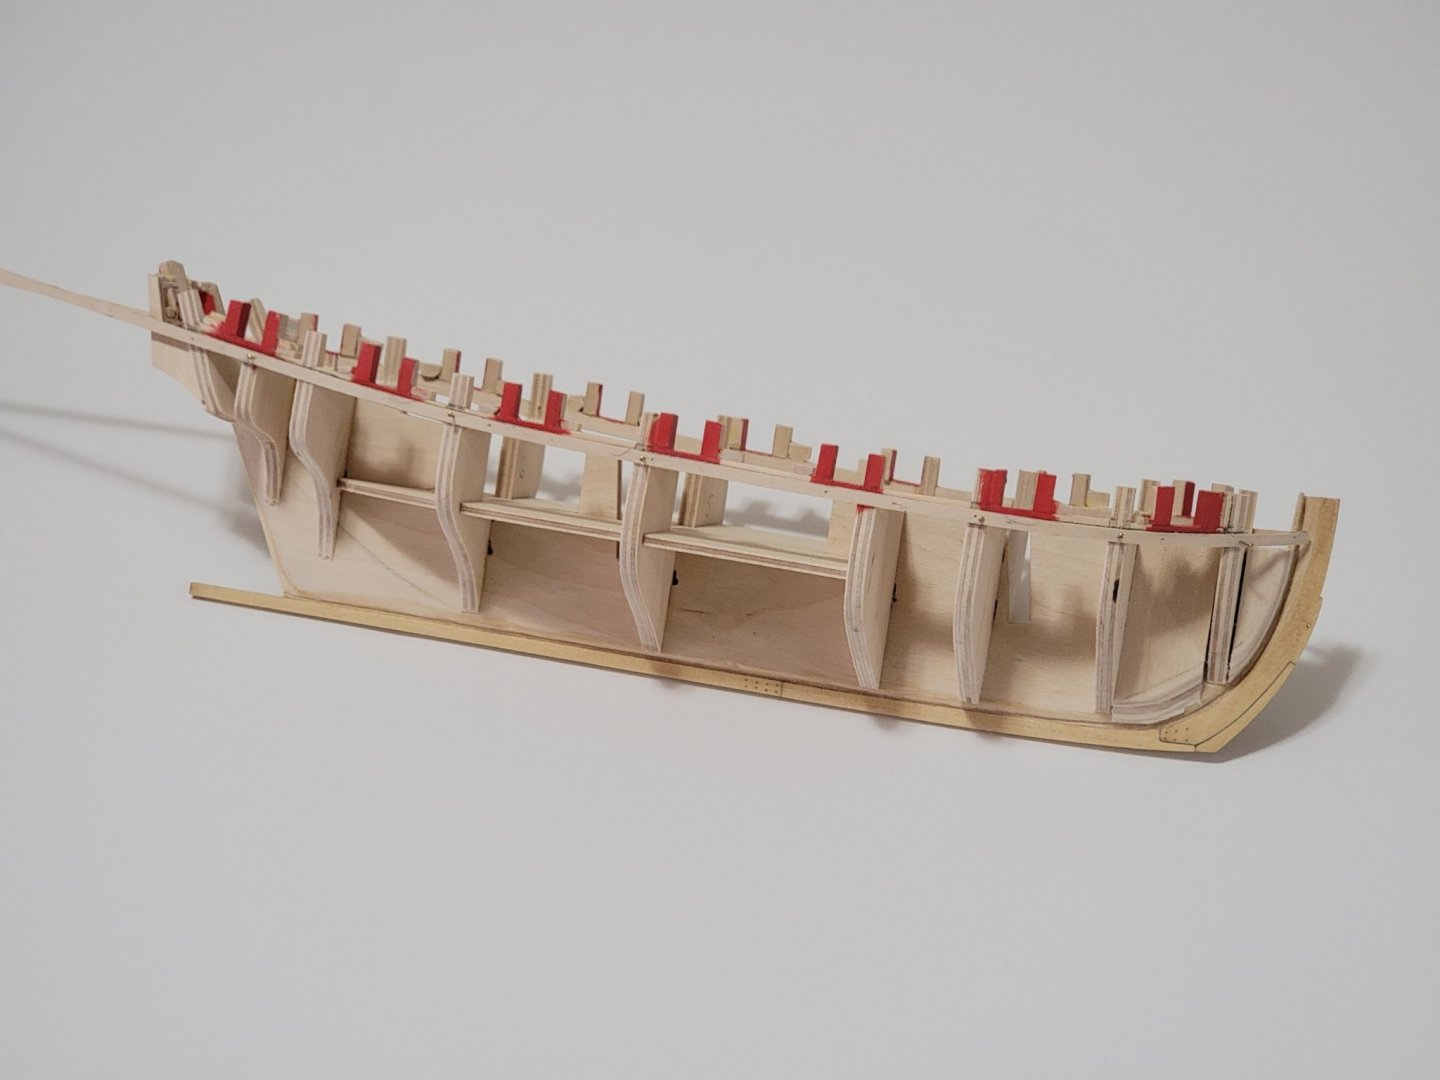
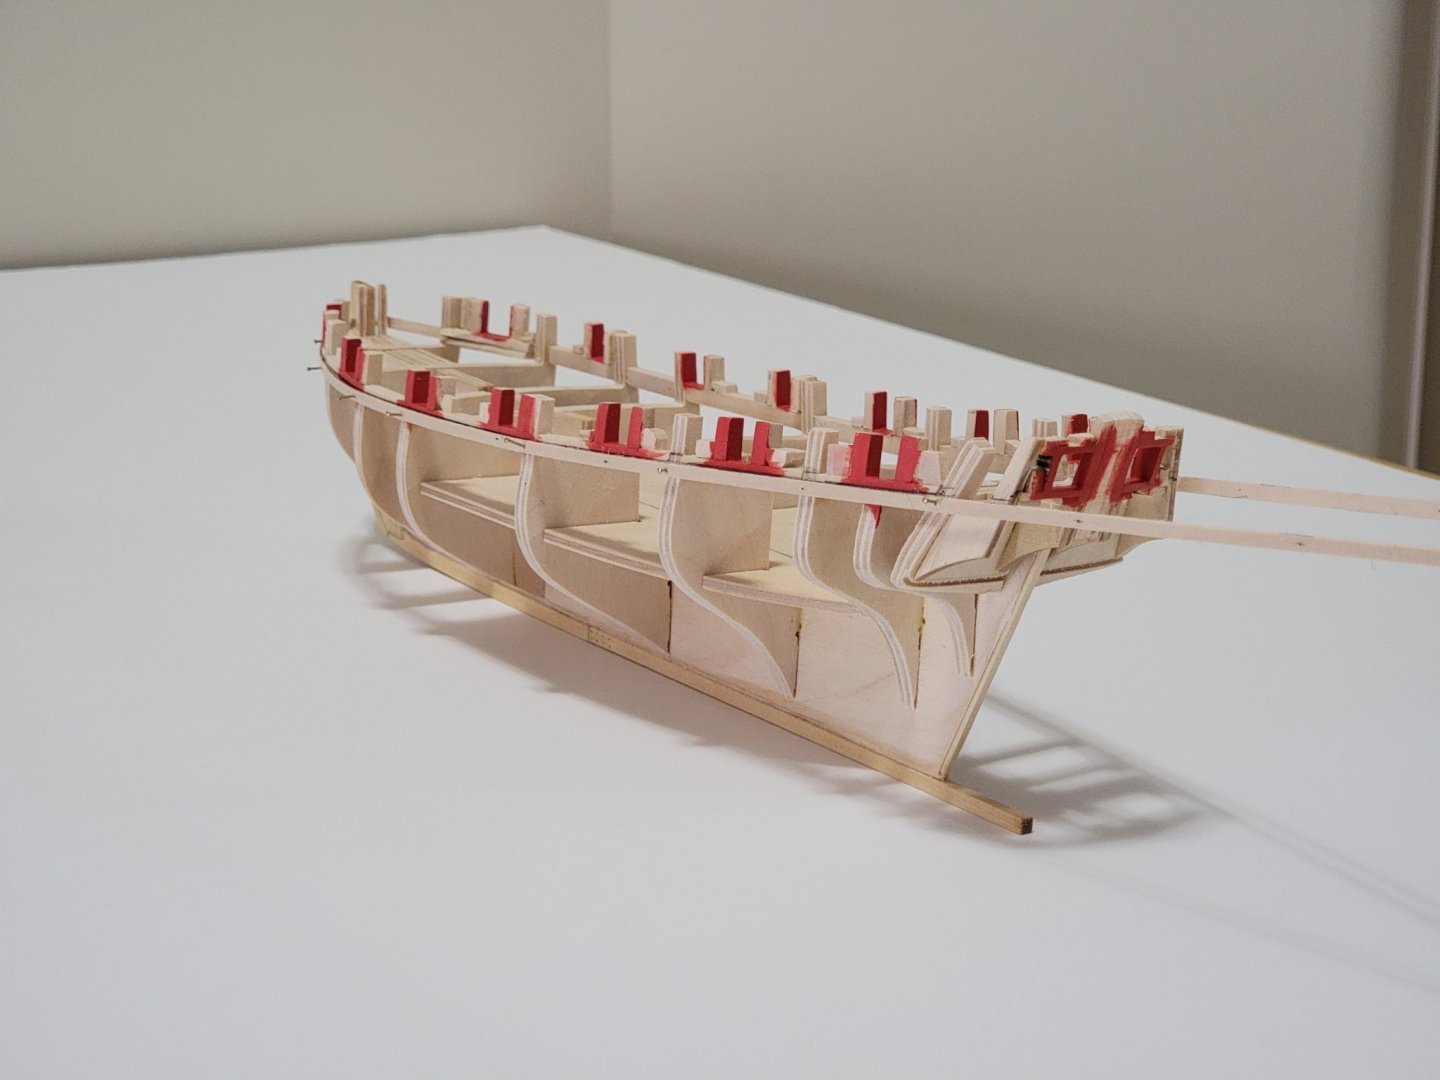
In case I forgot to mention in my previous posts, I am following David Antscherl's guide for planking below the hull which I got from http://www.admiraltymodels.com/Tips.html: Planking_primer.pdf I finished lining out the hull with some black thread, dividing it into three bands (I chose three since I calculated I will need 33 planks across the hull, which divides nicely by 3). Here are a bunch of photos showing different angles of hull. Please let me know if you guys see any issue with threads not flowing nicely, it will be much easier to fix the threads now than after when I start planking 😅 I will probably wait for a bit to work up the nerve to start the planking process.... Very very nervous on how it will turn out!


-
My first thought seeing the wood was that it resembles waves. Nice find! Looking forward to seeing how the model looks on it.
-
Hi Ken I know what you mean regarding the lack of a false deck. It is tricky to get things aligned when there is not much support underneath the planks. In my build, filler blocks between the bulkheads acted as the false deck for majority of the decking. The parts with gaps were framed for stability for the deck. @Overworked724 deviated from the instructions and glued in a thin sheet of wood which acts as a false deck. See: A suggestion I have is to redo the deck area with a false deck underneath for easier decking. I know this will increase labor time but it will be well worth it, especially when hundreds of hours go into building a model. Then lay down the decking to see its layout before gluing any planks in. That's what I did here: Once you are satisfied with the layout then glue the planks in. The decking really makes a model ship stand out, so I would advise taking it slow and planning each step I hope this helps you out! Maybe others here also have other suggestions you may take into consideration. Also, those boxes are a work of art! I am really liking the colors and finishing. Thank you for sharing the photos with us 😀
- 100 replies
-
- 3
-
-
- Syren
- Model Shipways
- (and 1 more)
-
Thank you Moonbug! And thanks all for the likes as well 🙂
-
Loving the new avatar pic! All the pictures look upright. What I found works is to open the picture in the photo application, then use the snipping tool to copy the picture and then paste it here. I think it rotates based on how the camera is orientated (I only face the issue if I'm taking portrait photos). Anyways, this is a great start and thanks for showing us your longboat model. She's very beautiful 🙂
-
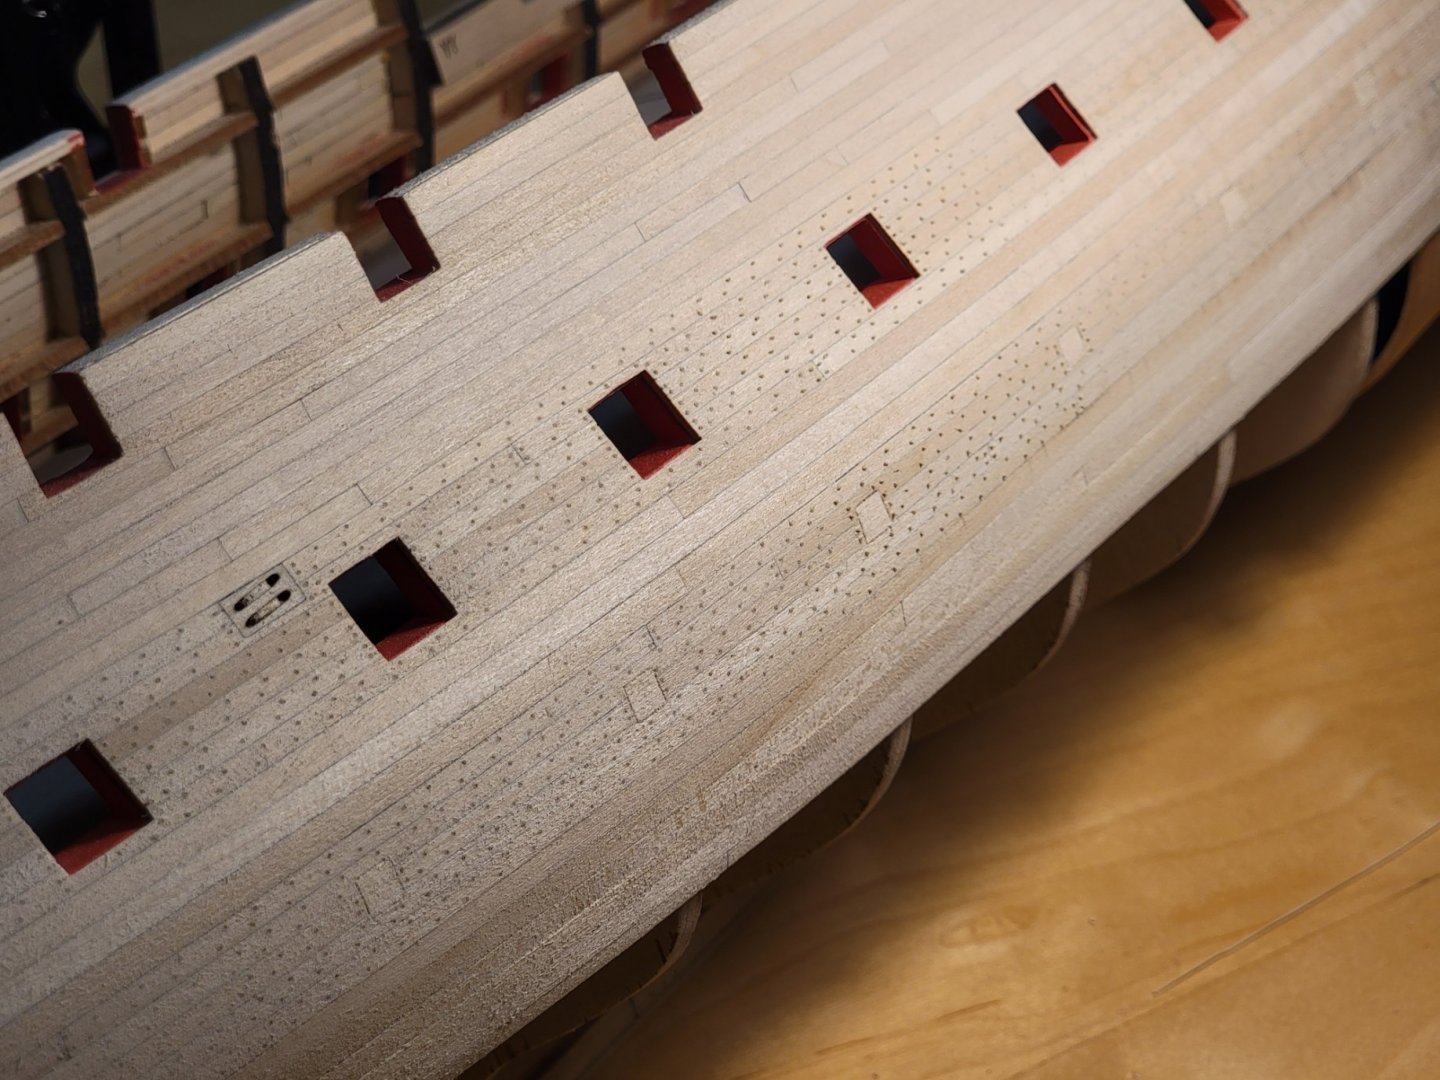
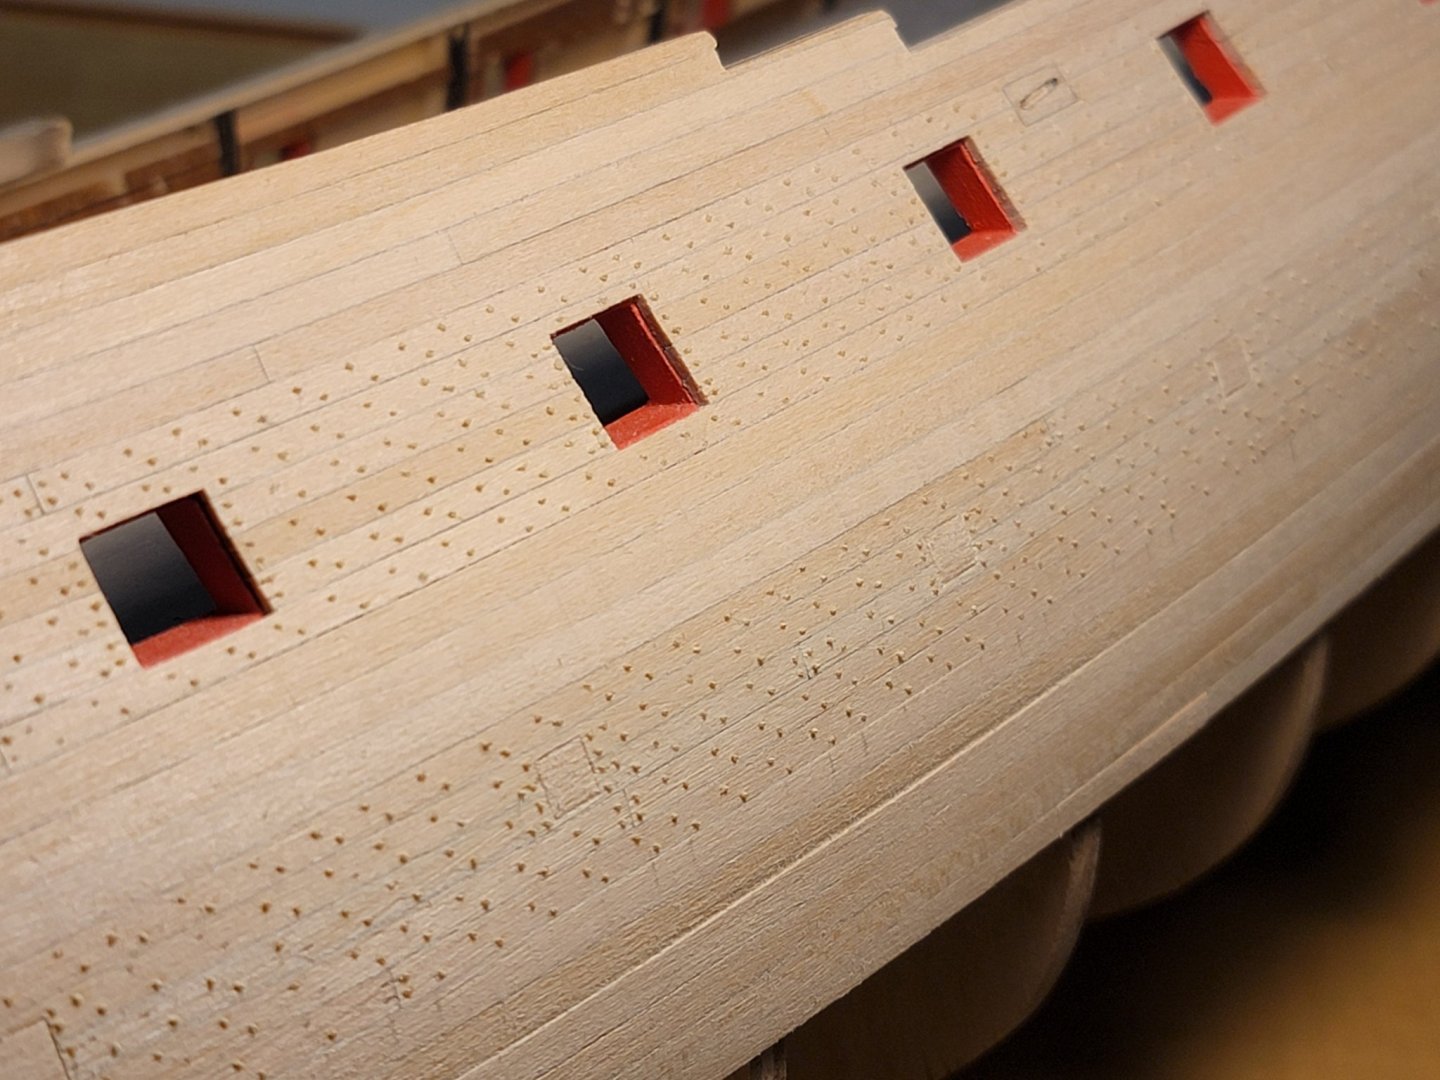
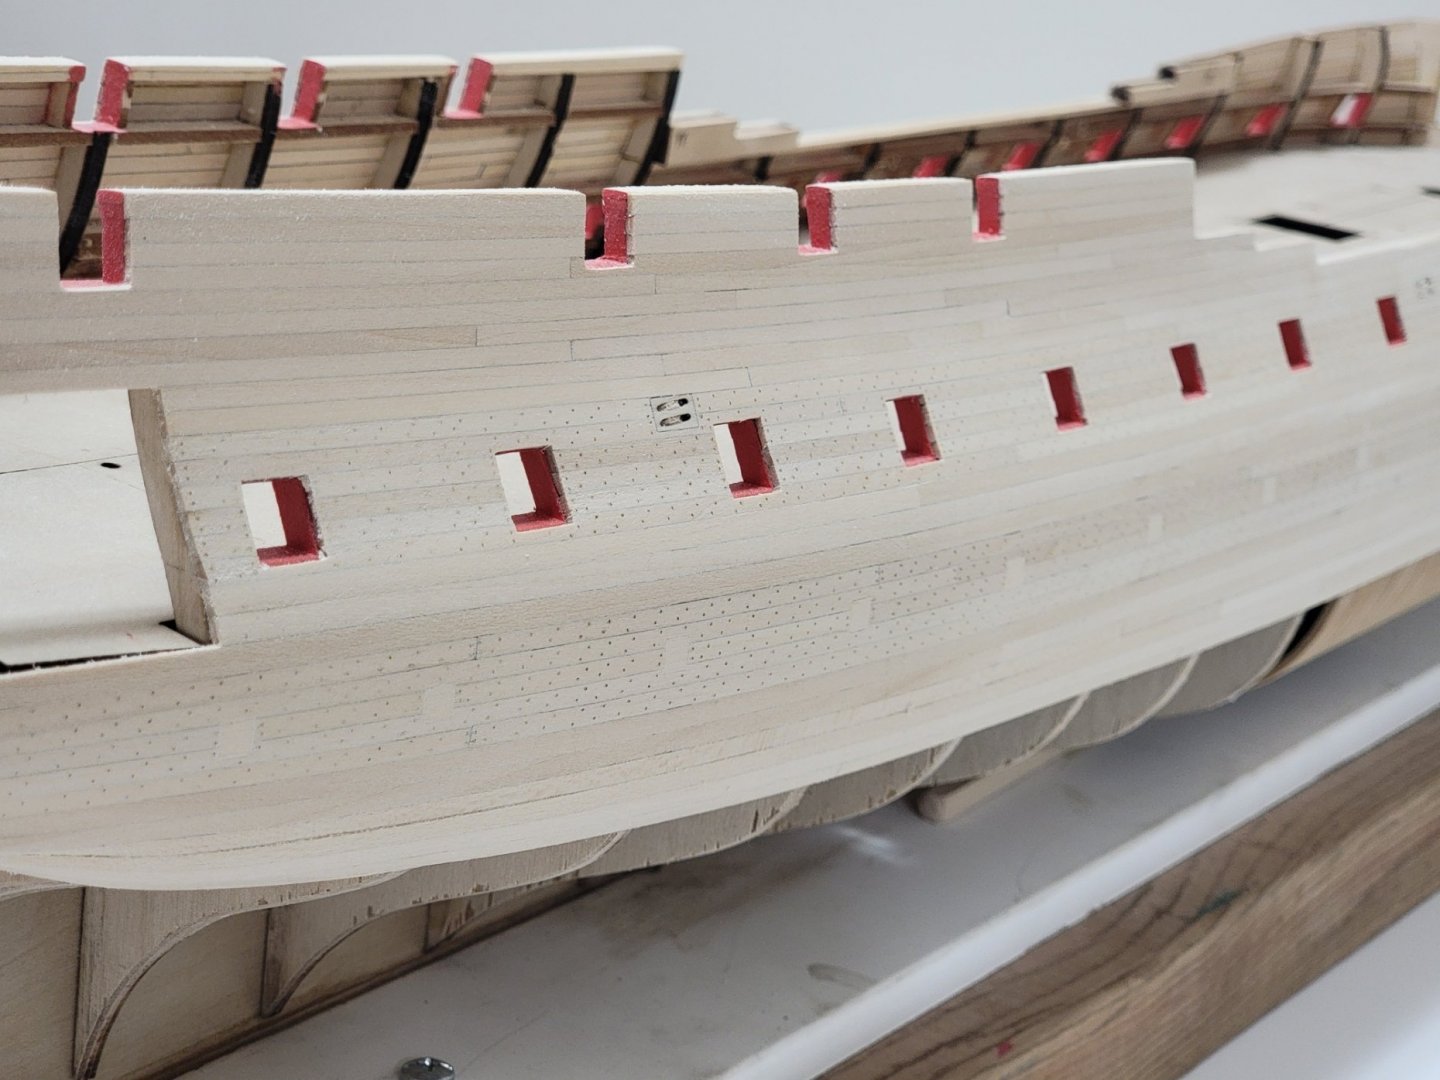
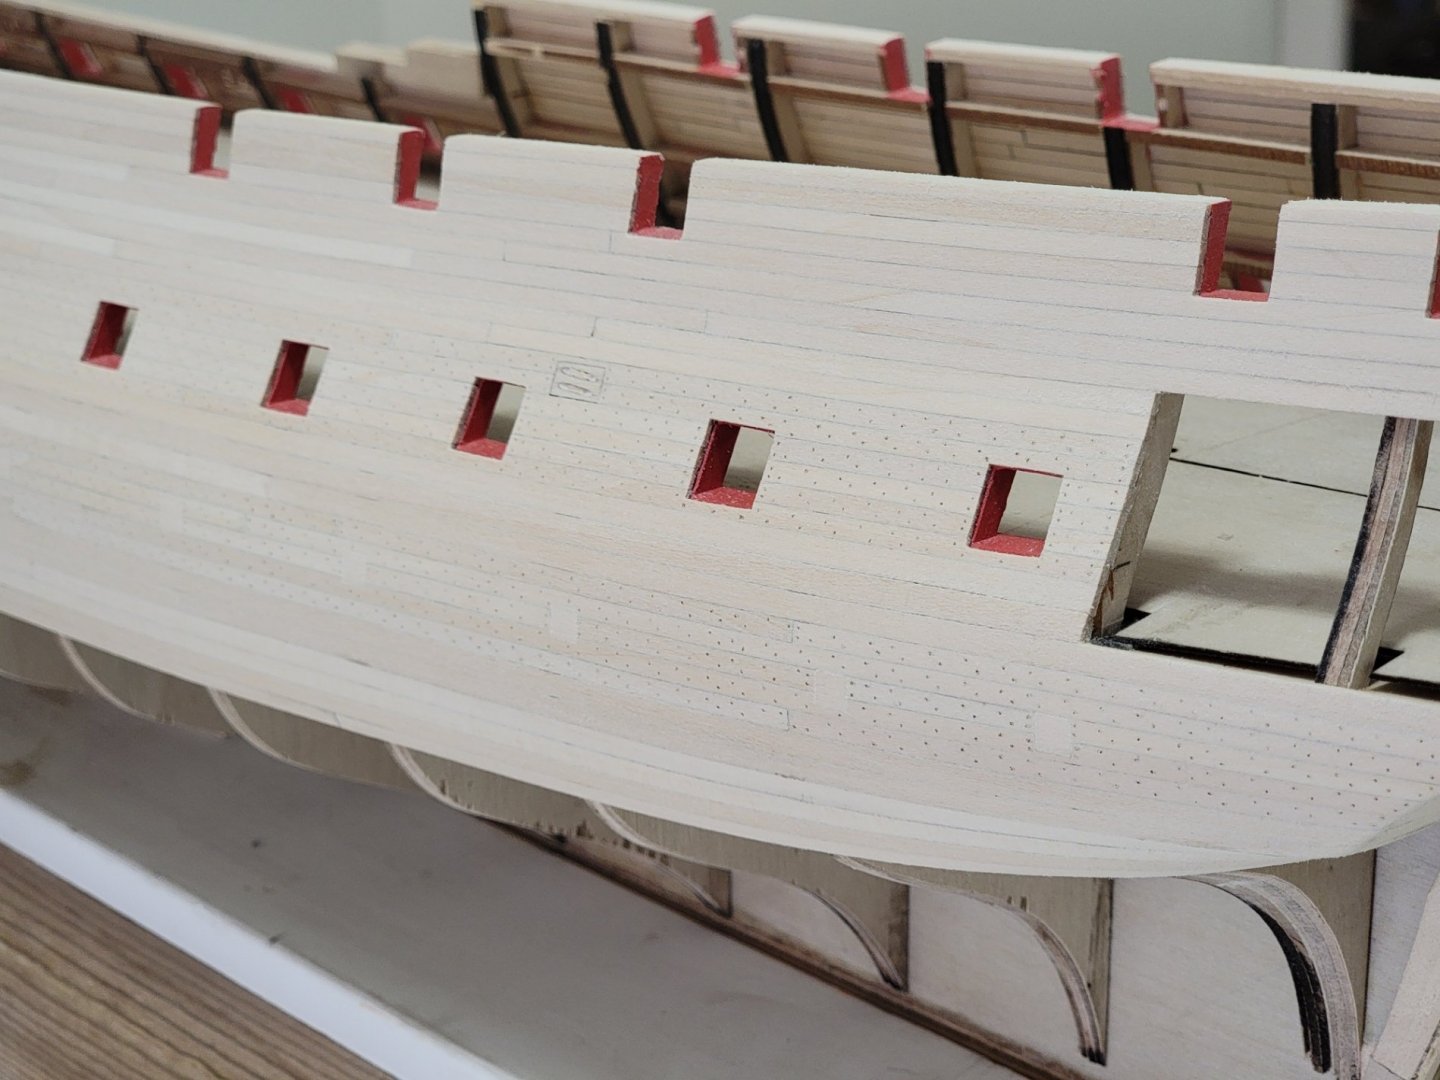
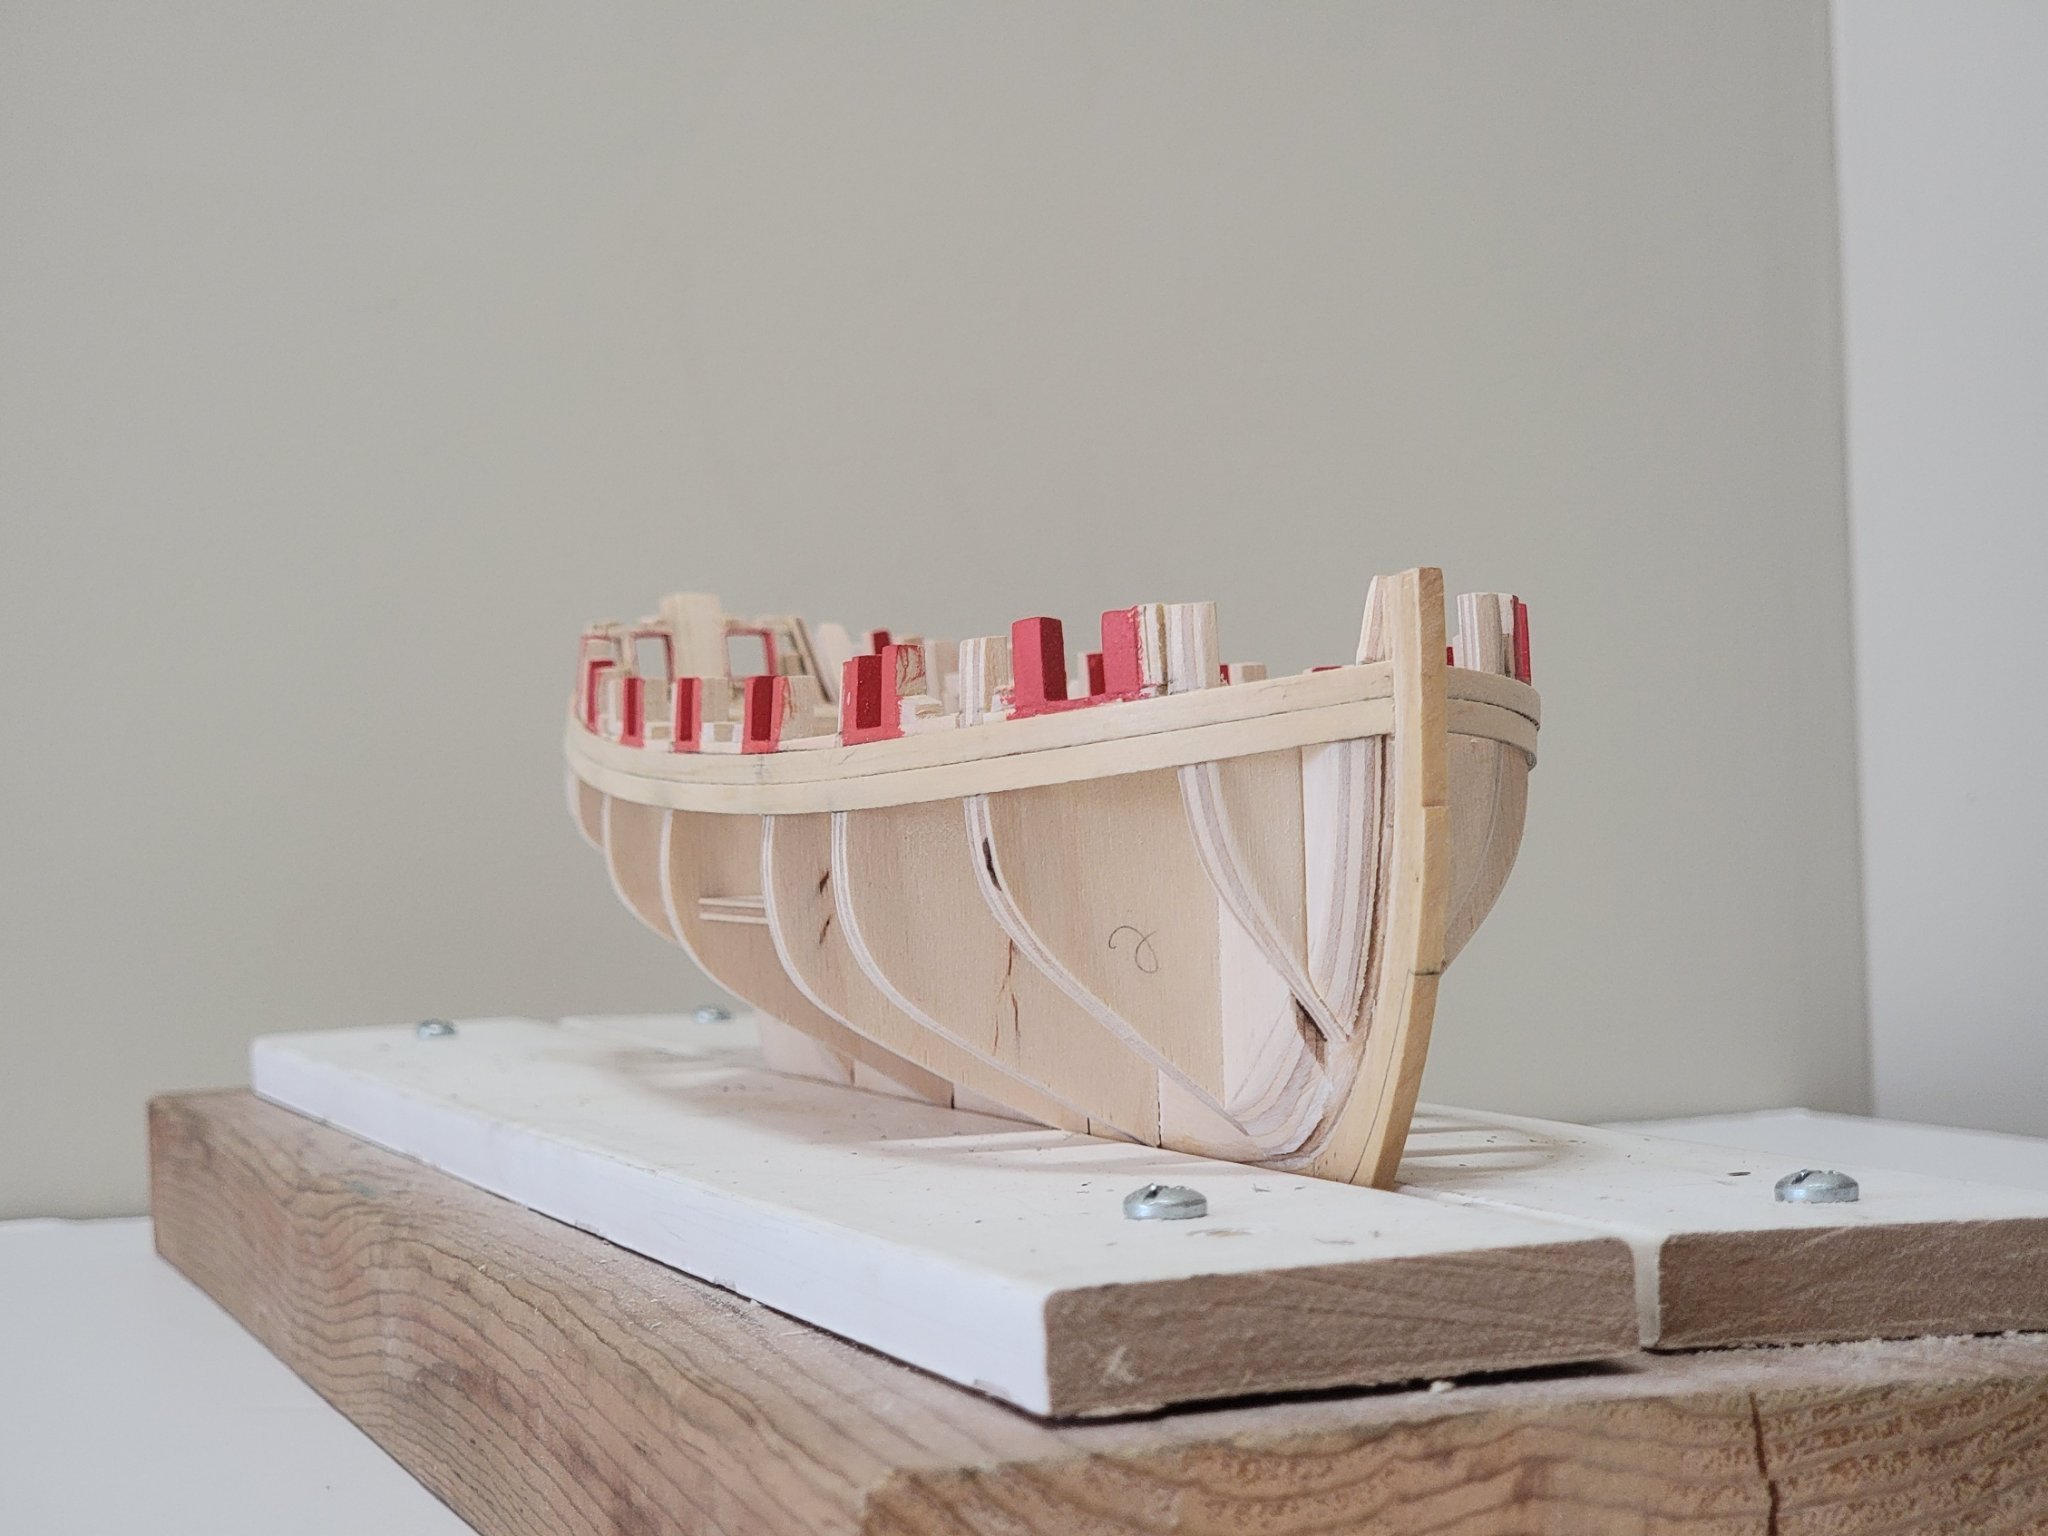
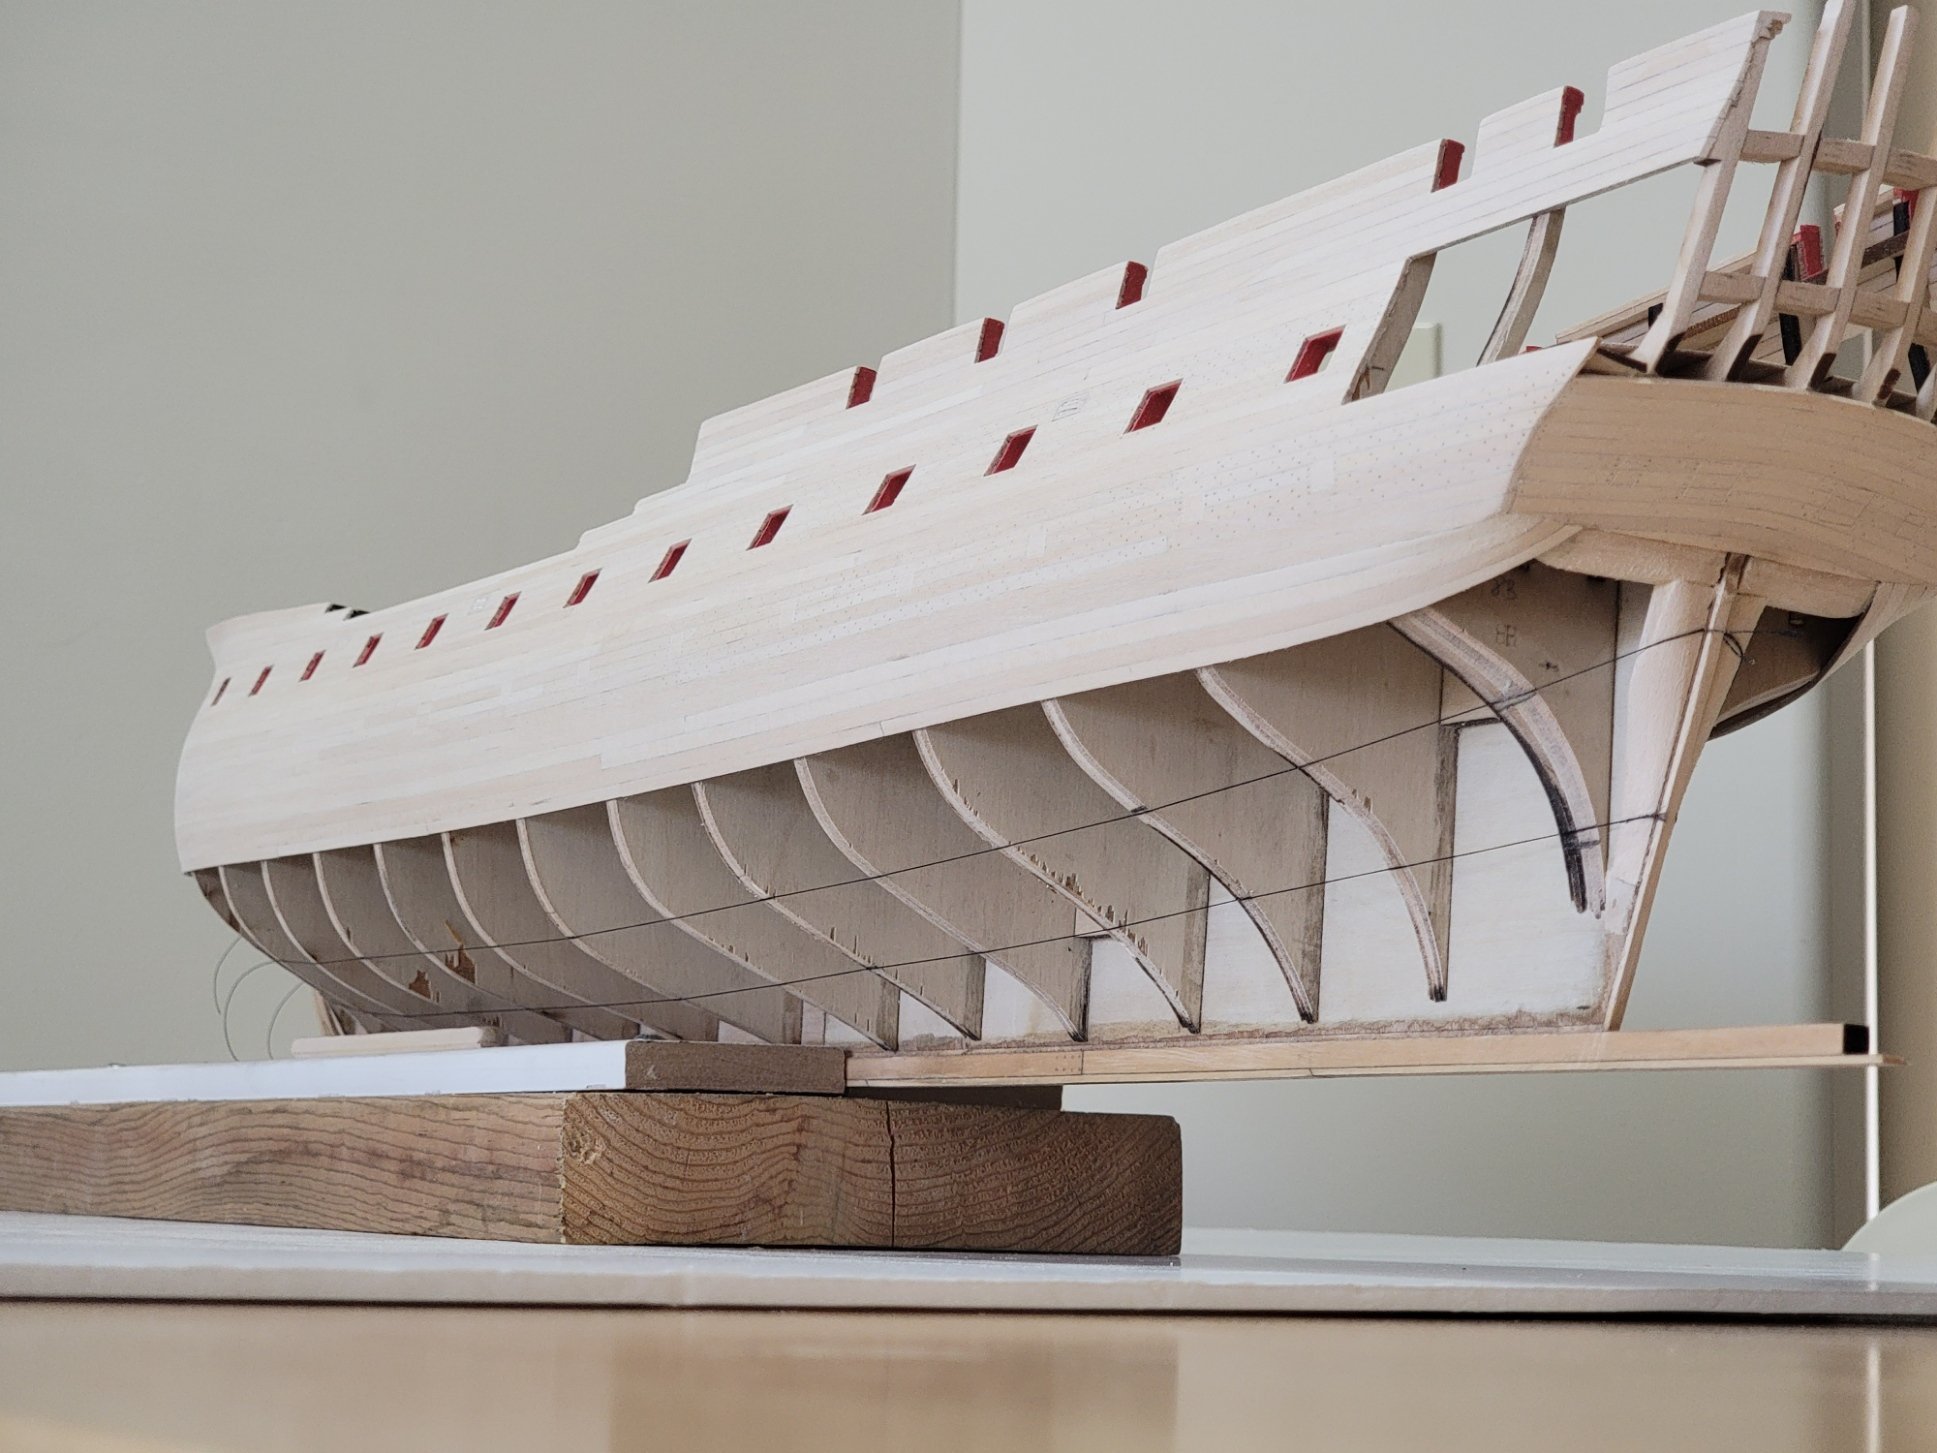
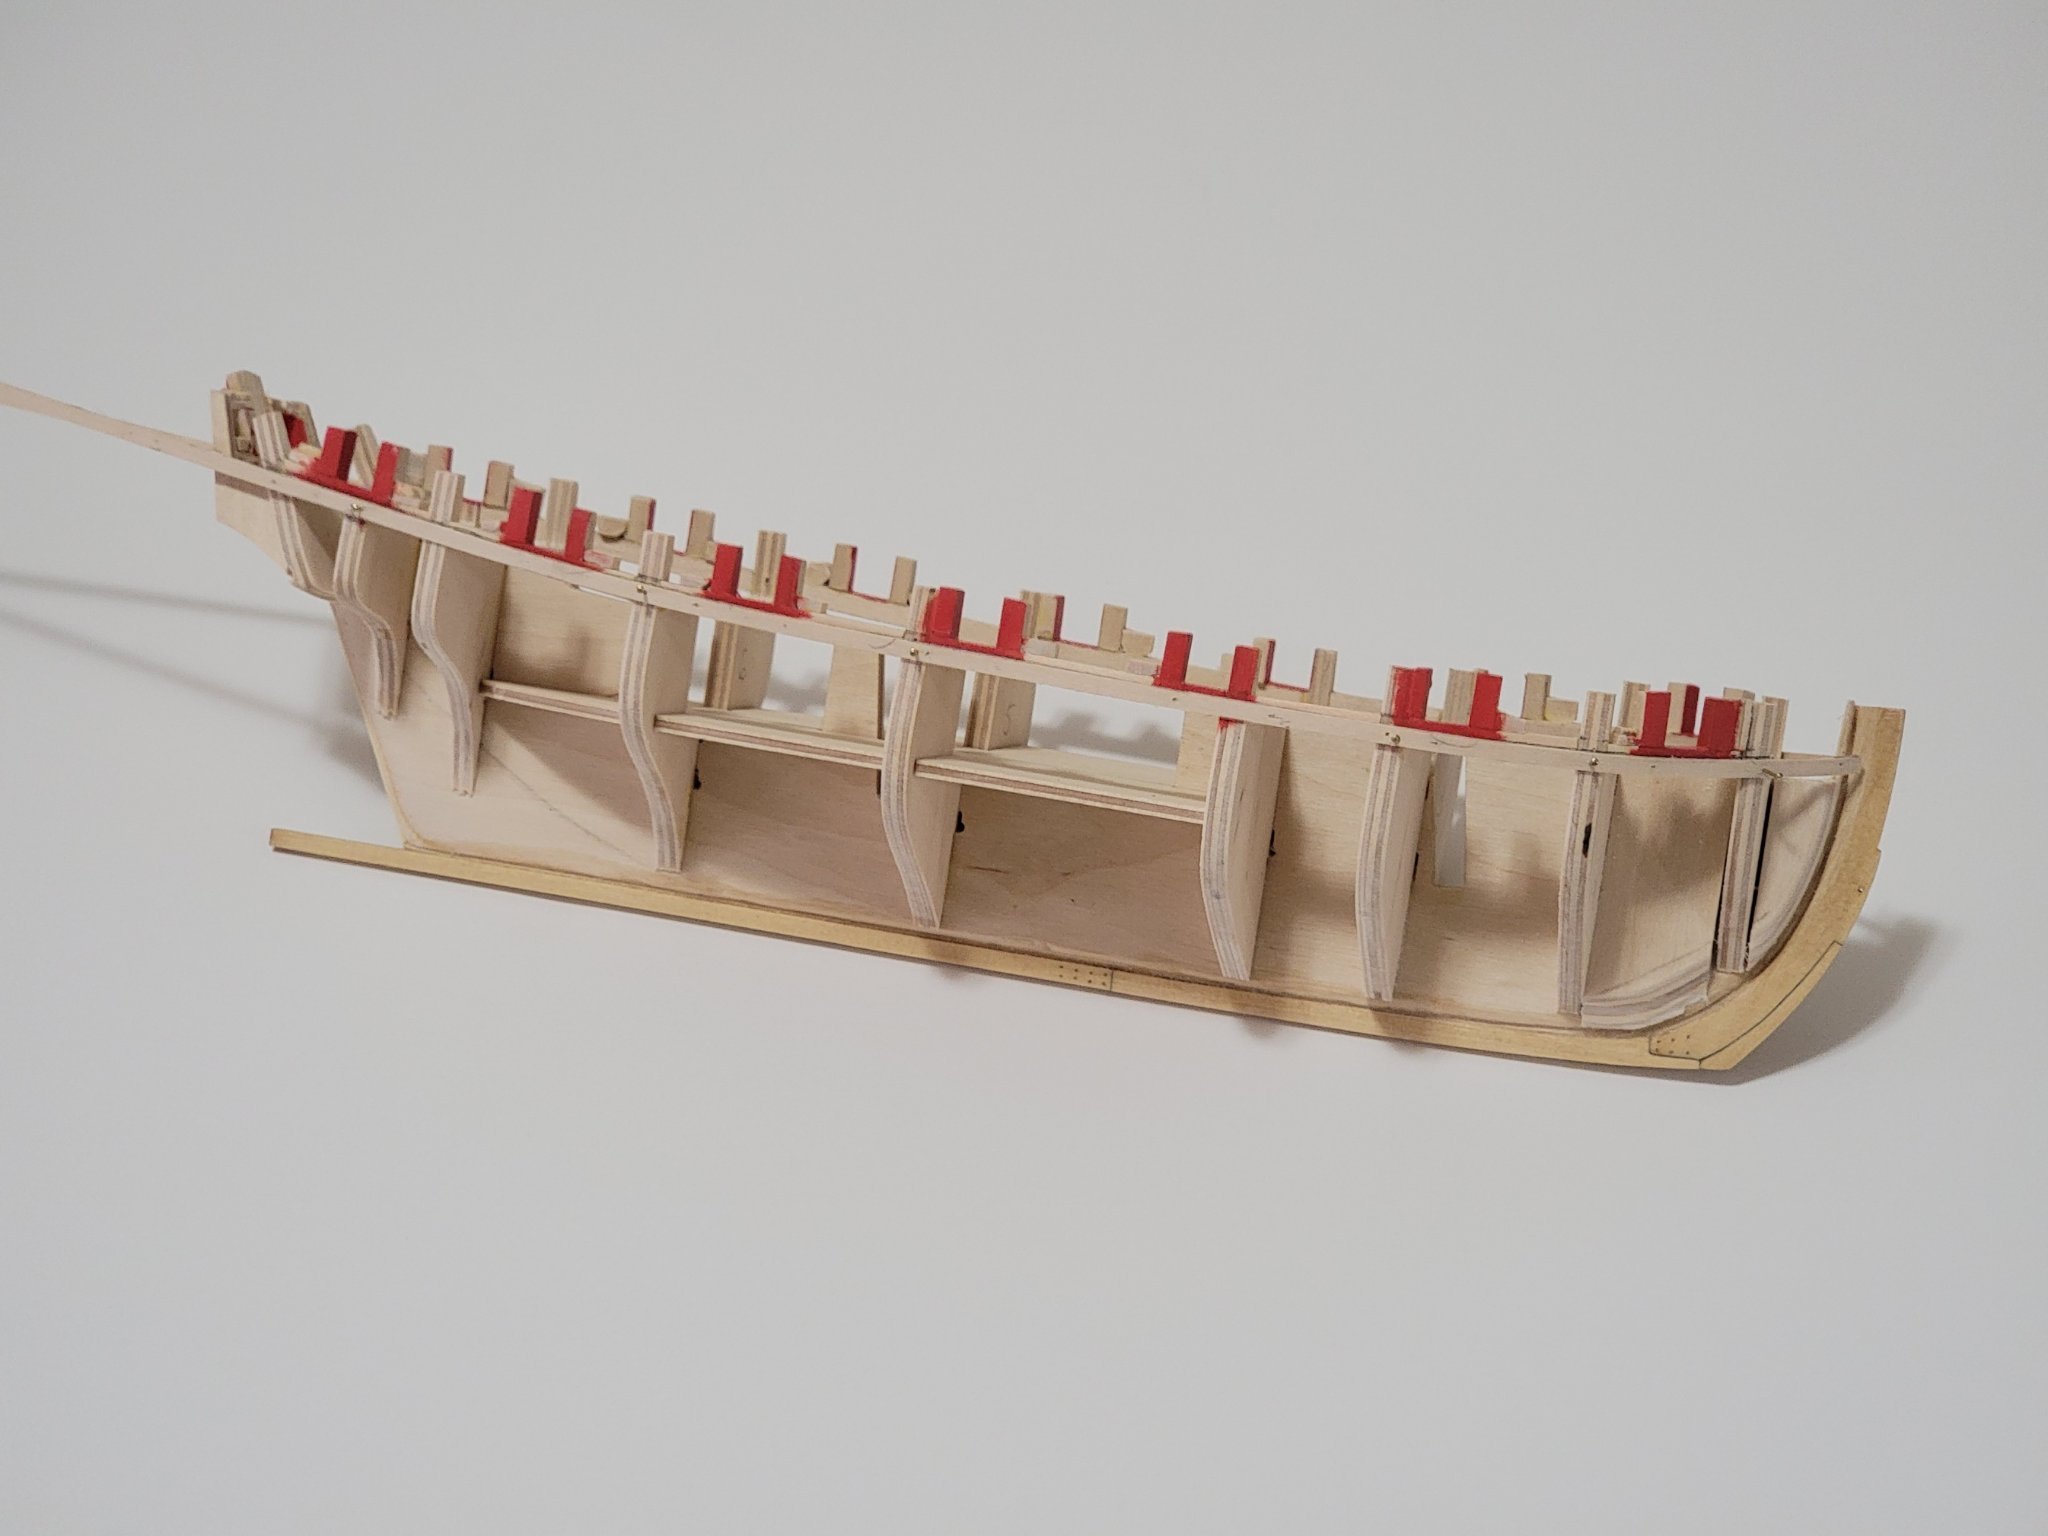
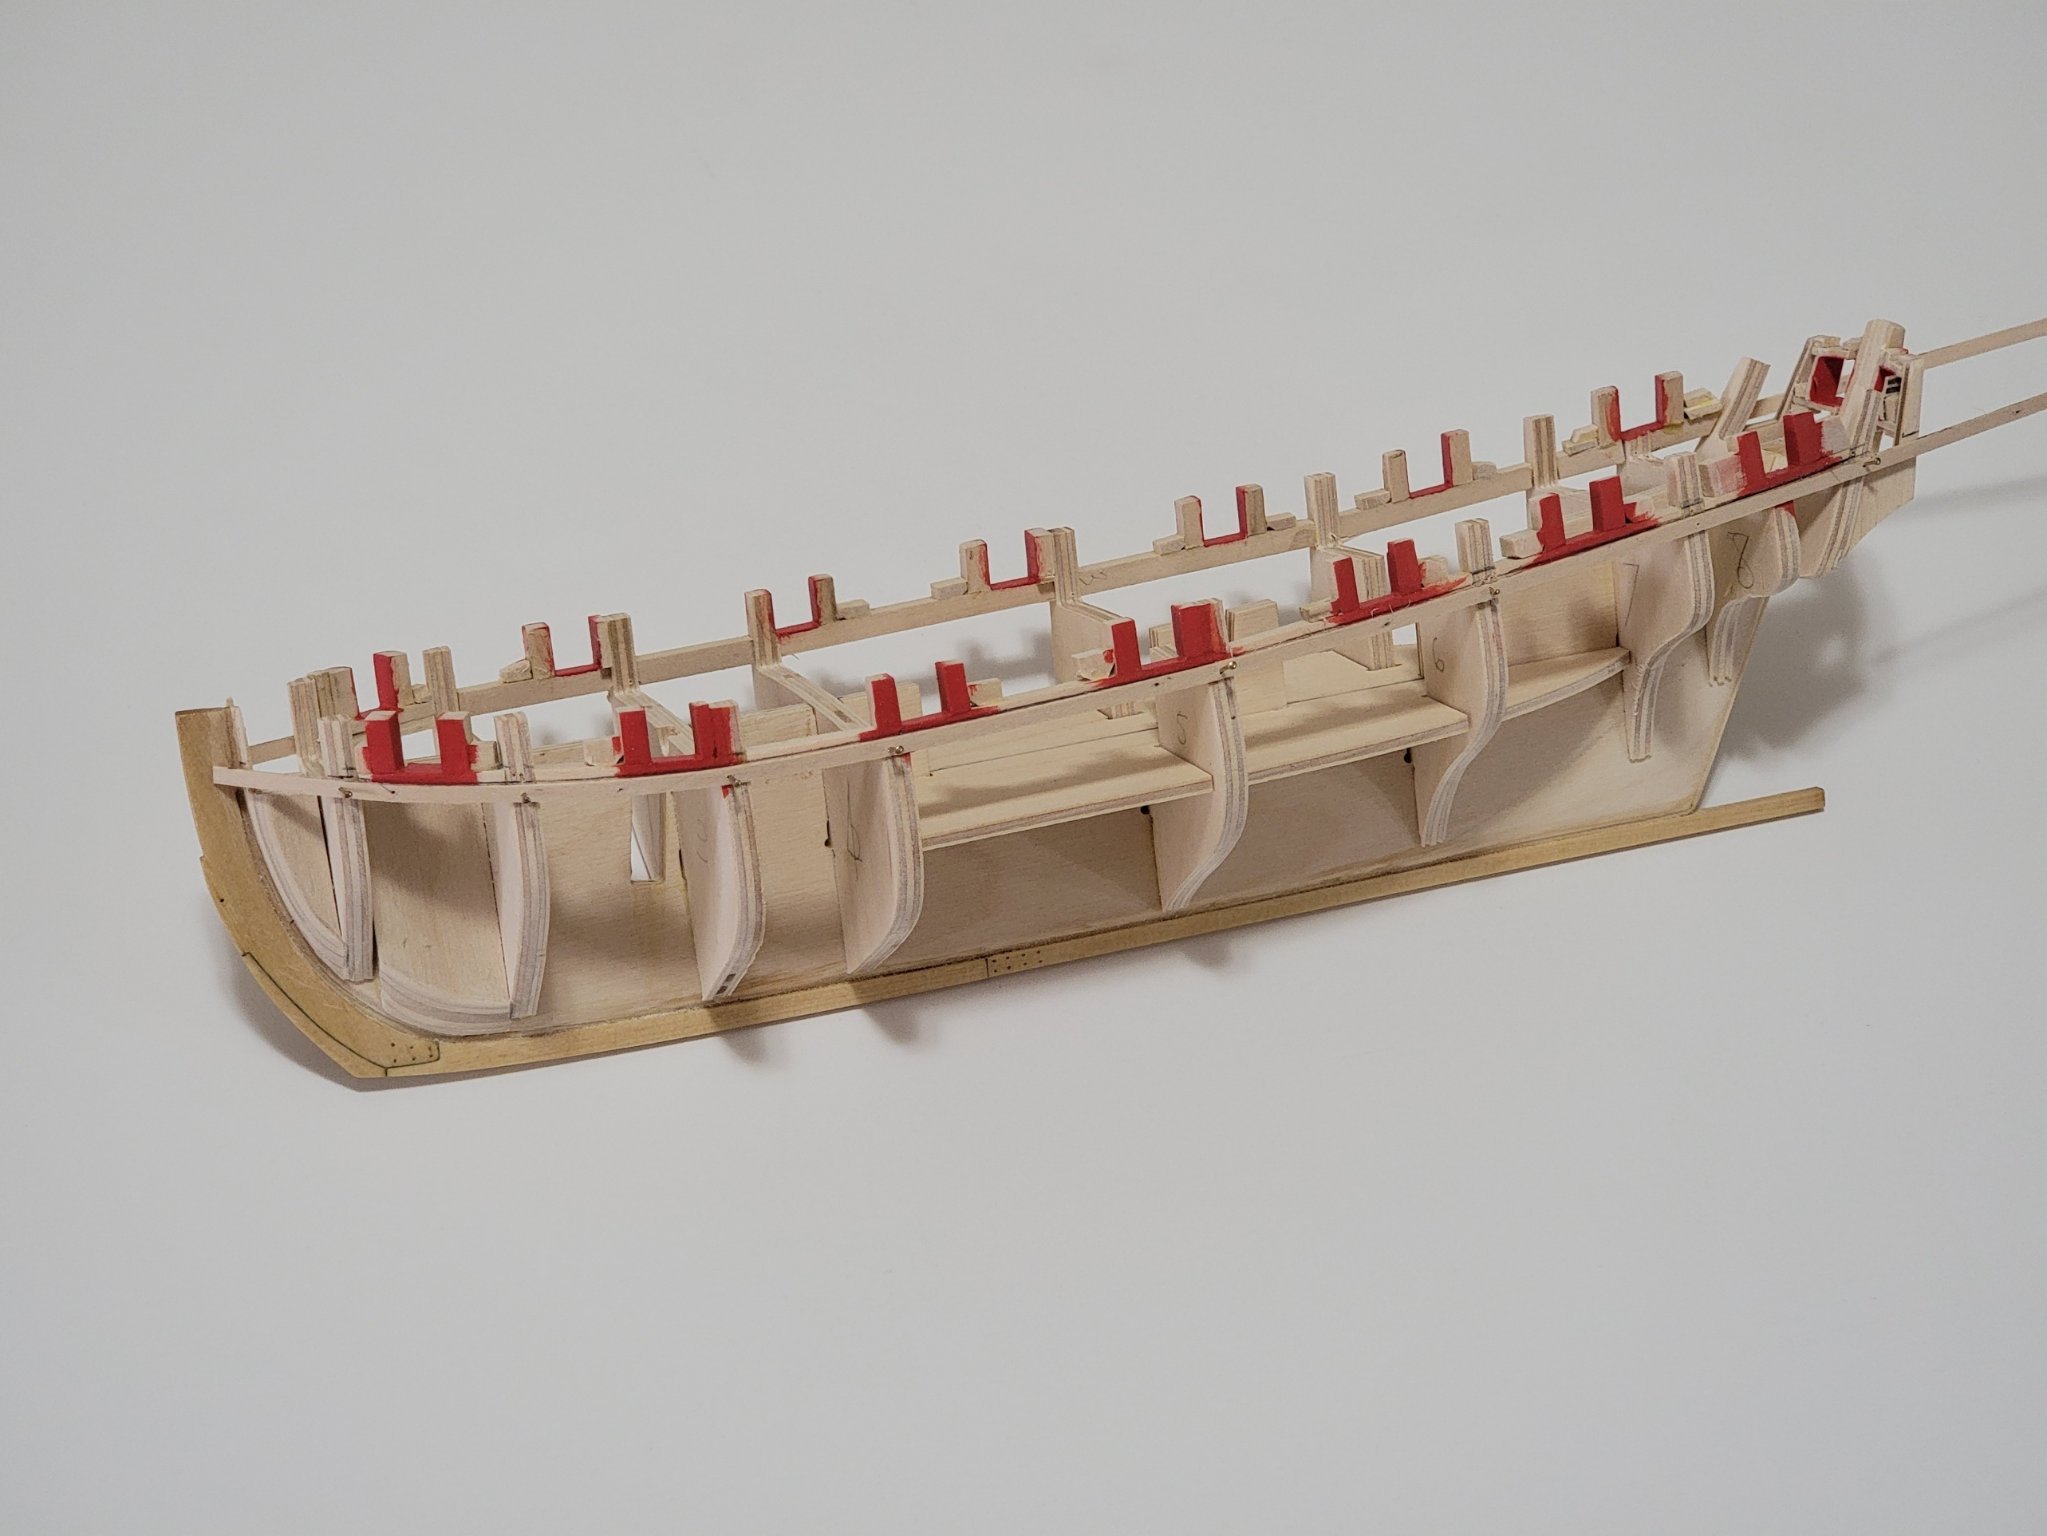
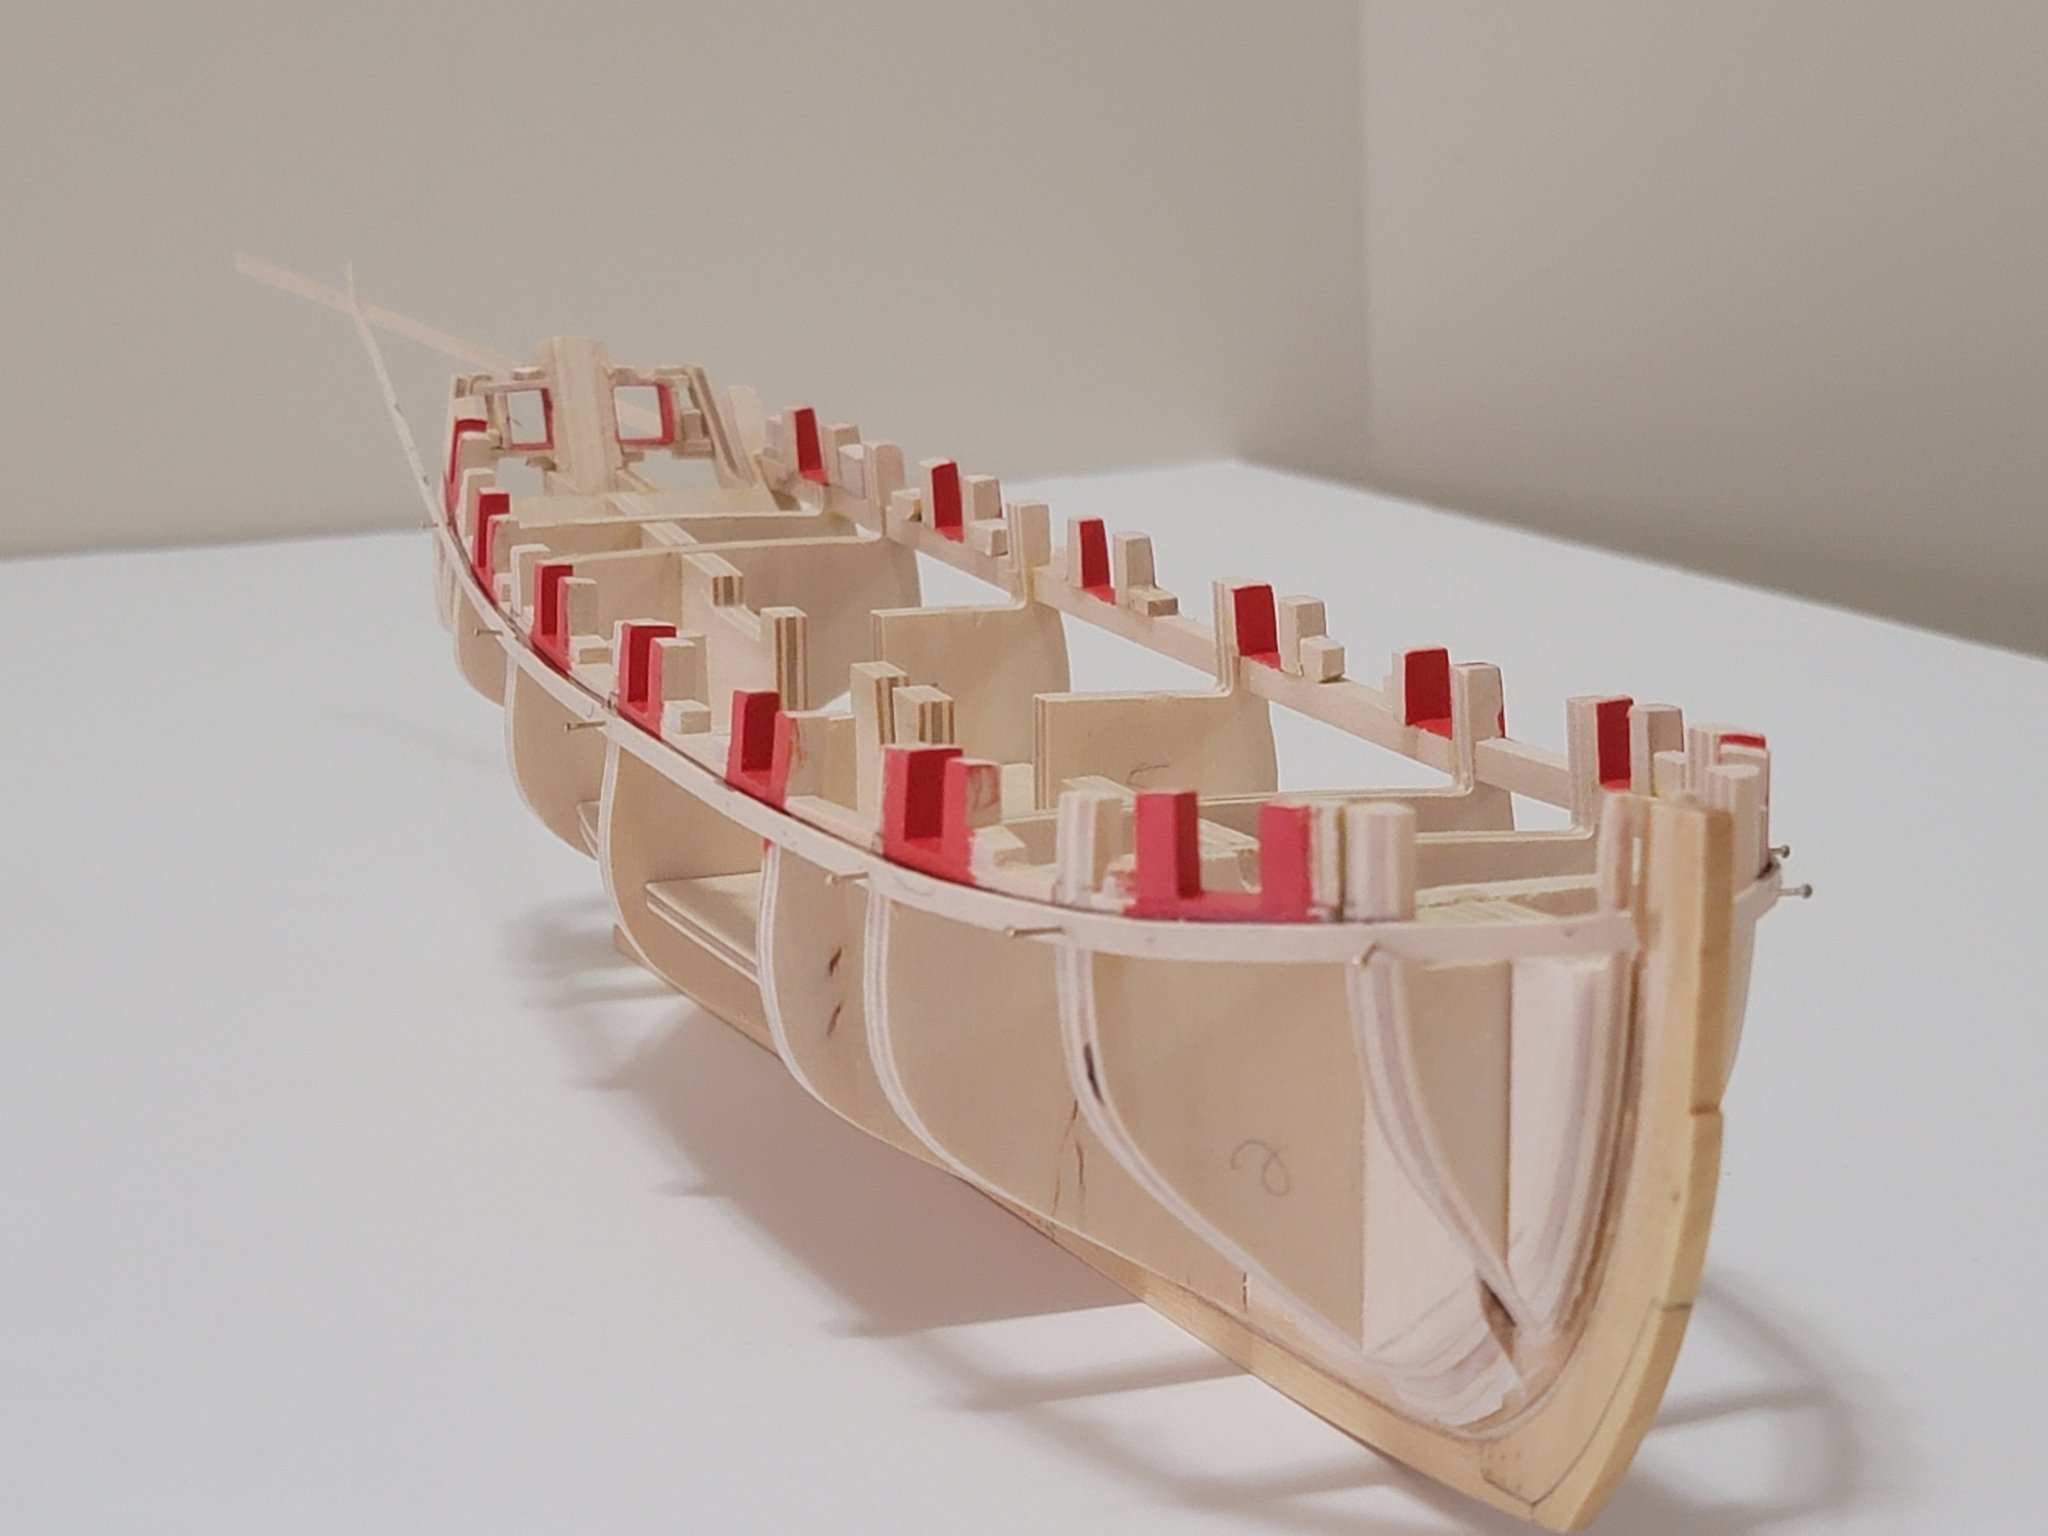
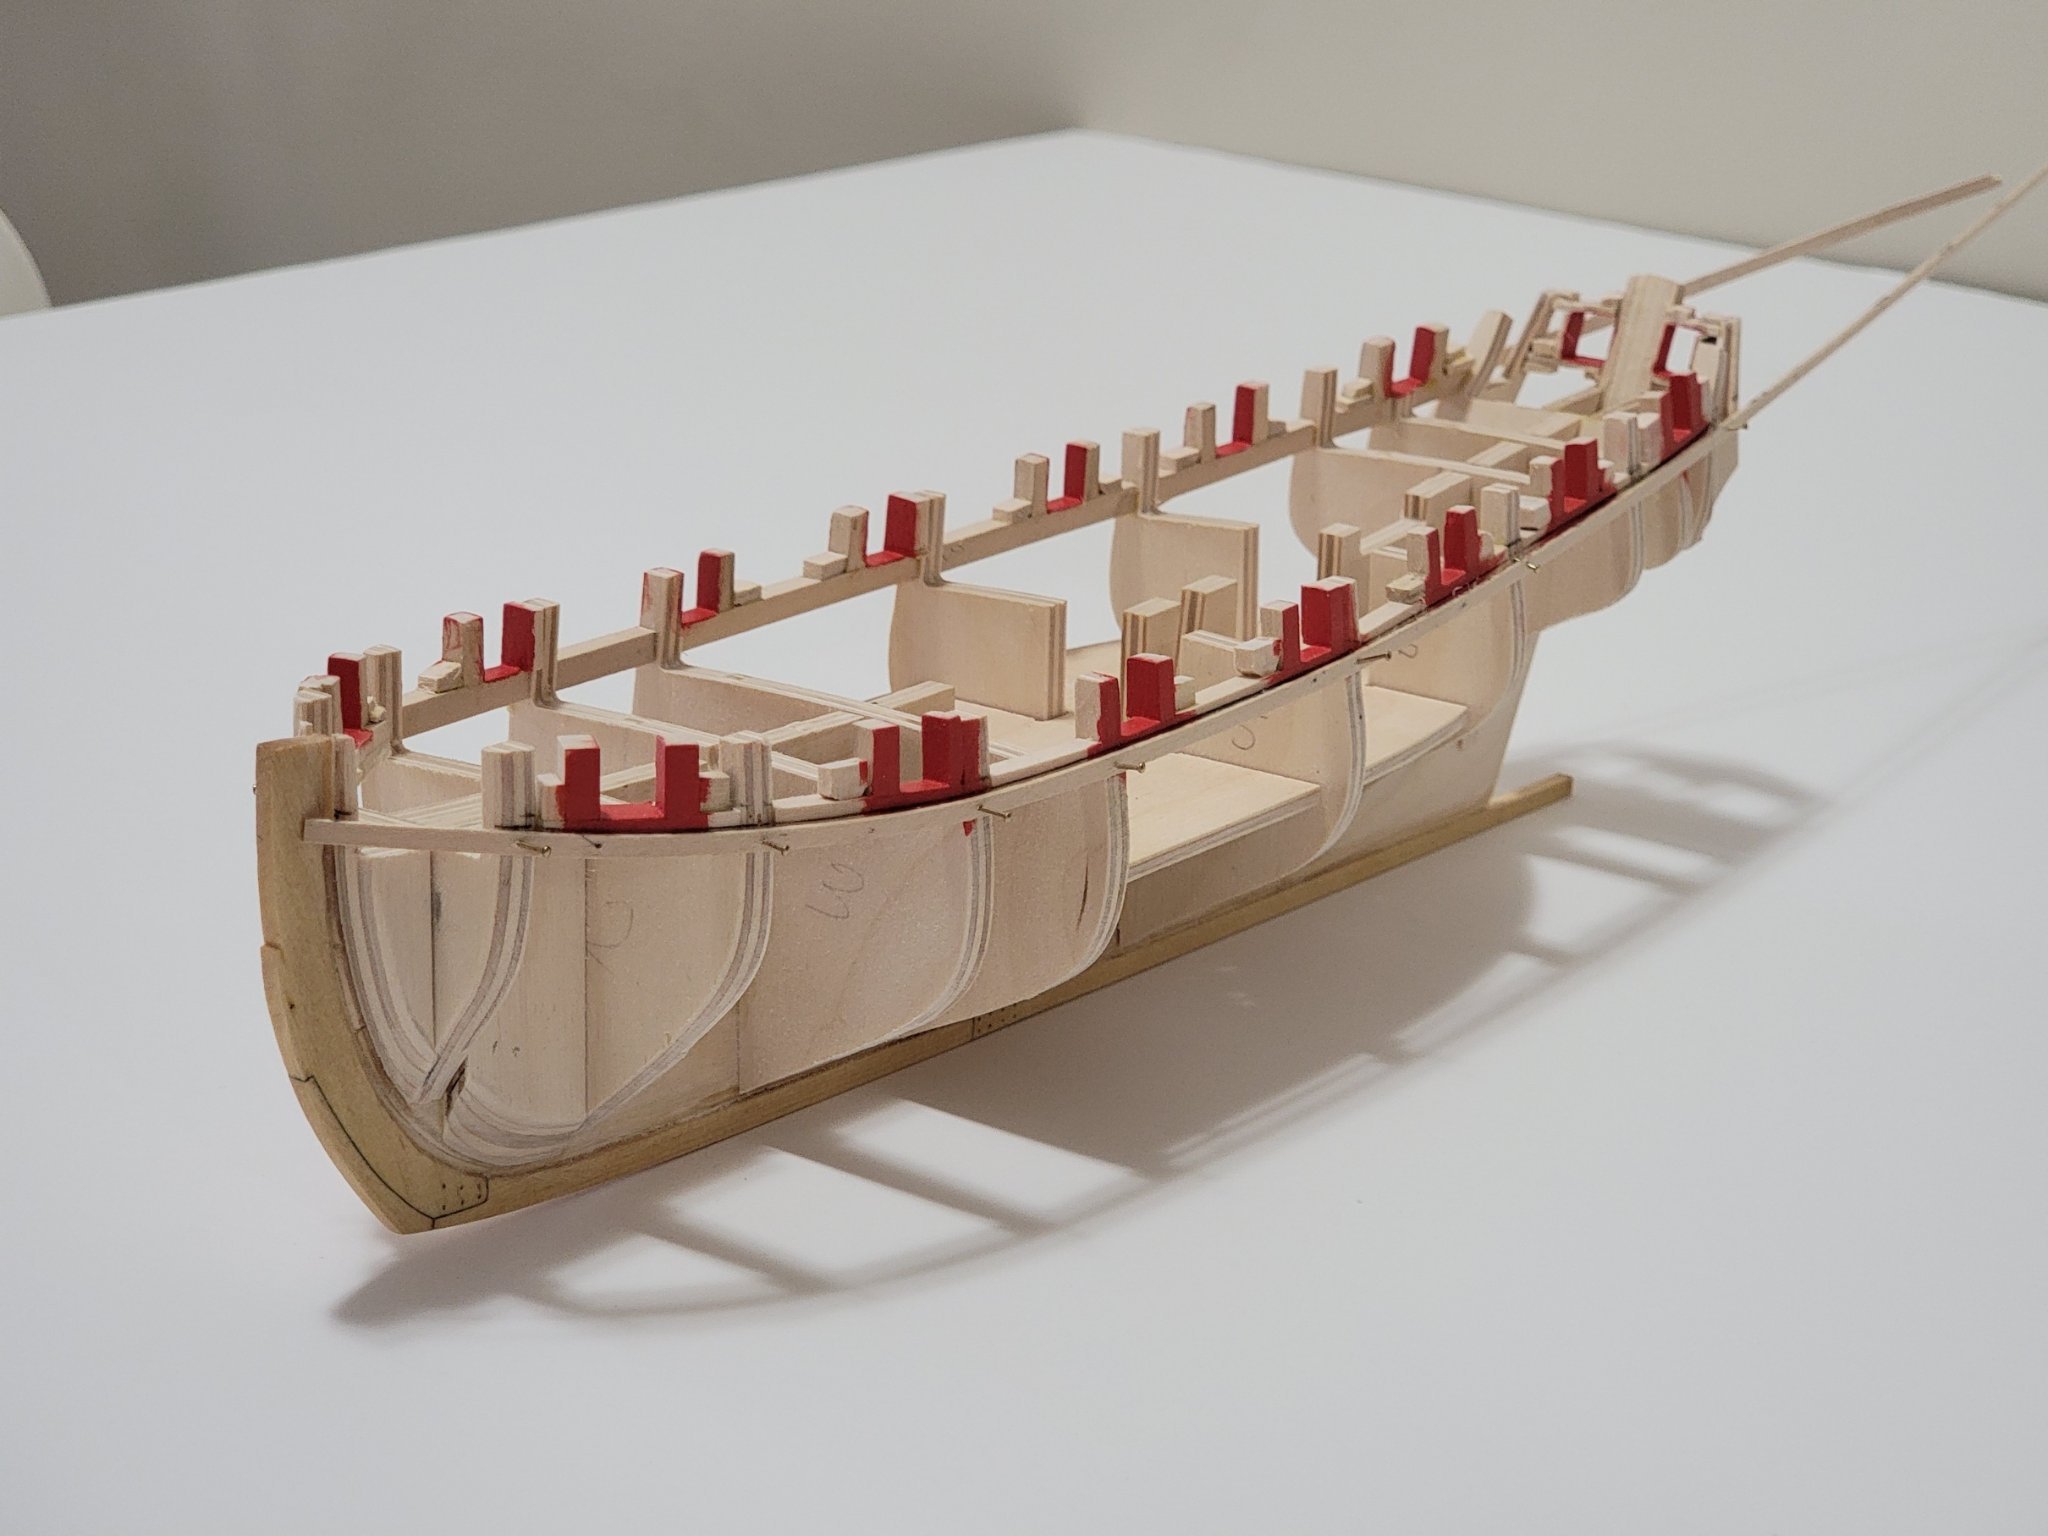
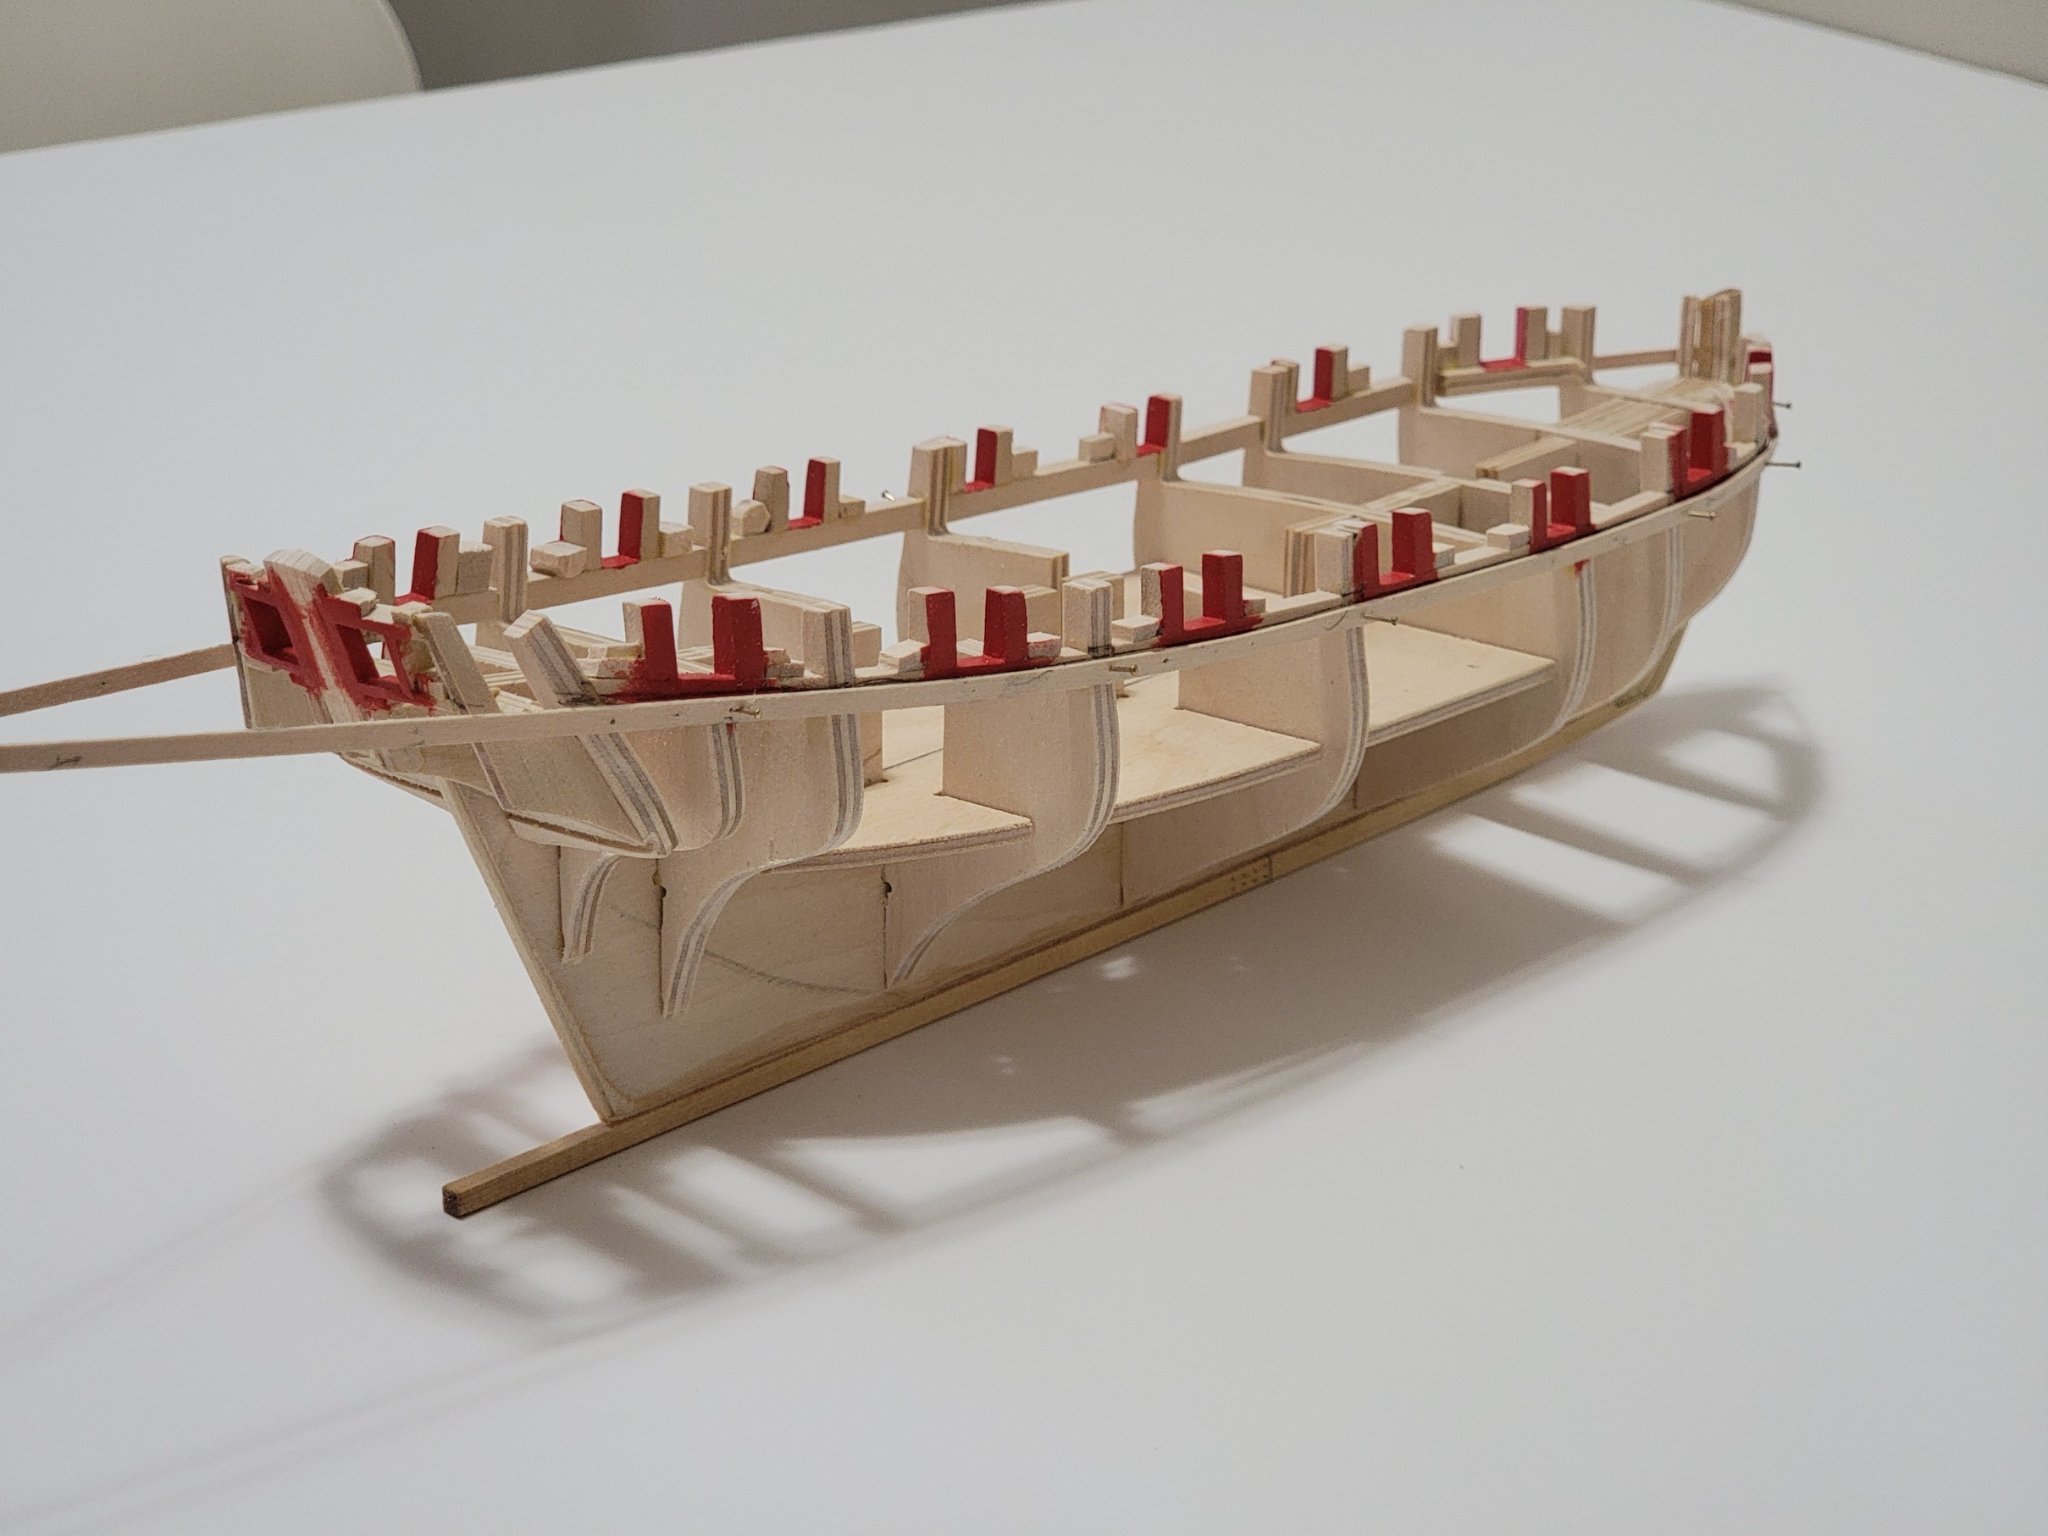
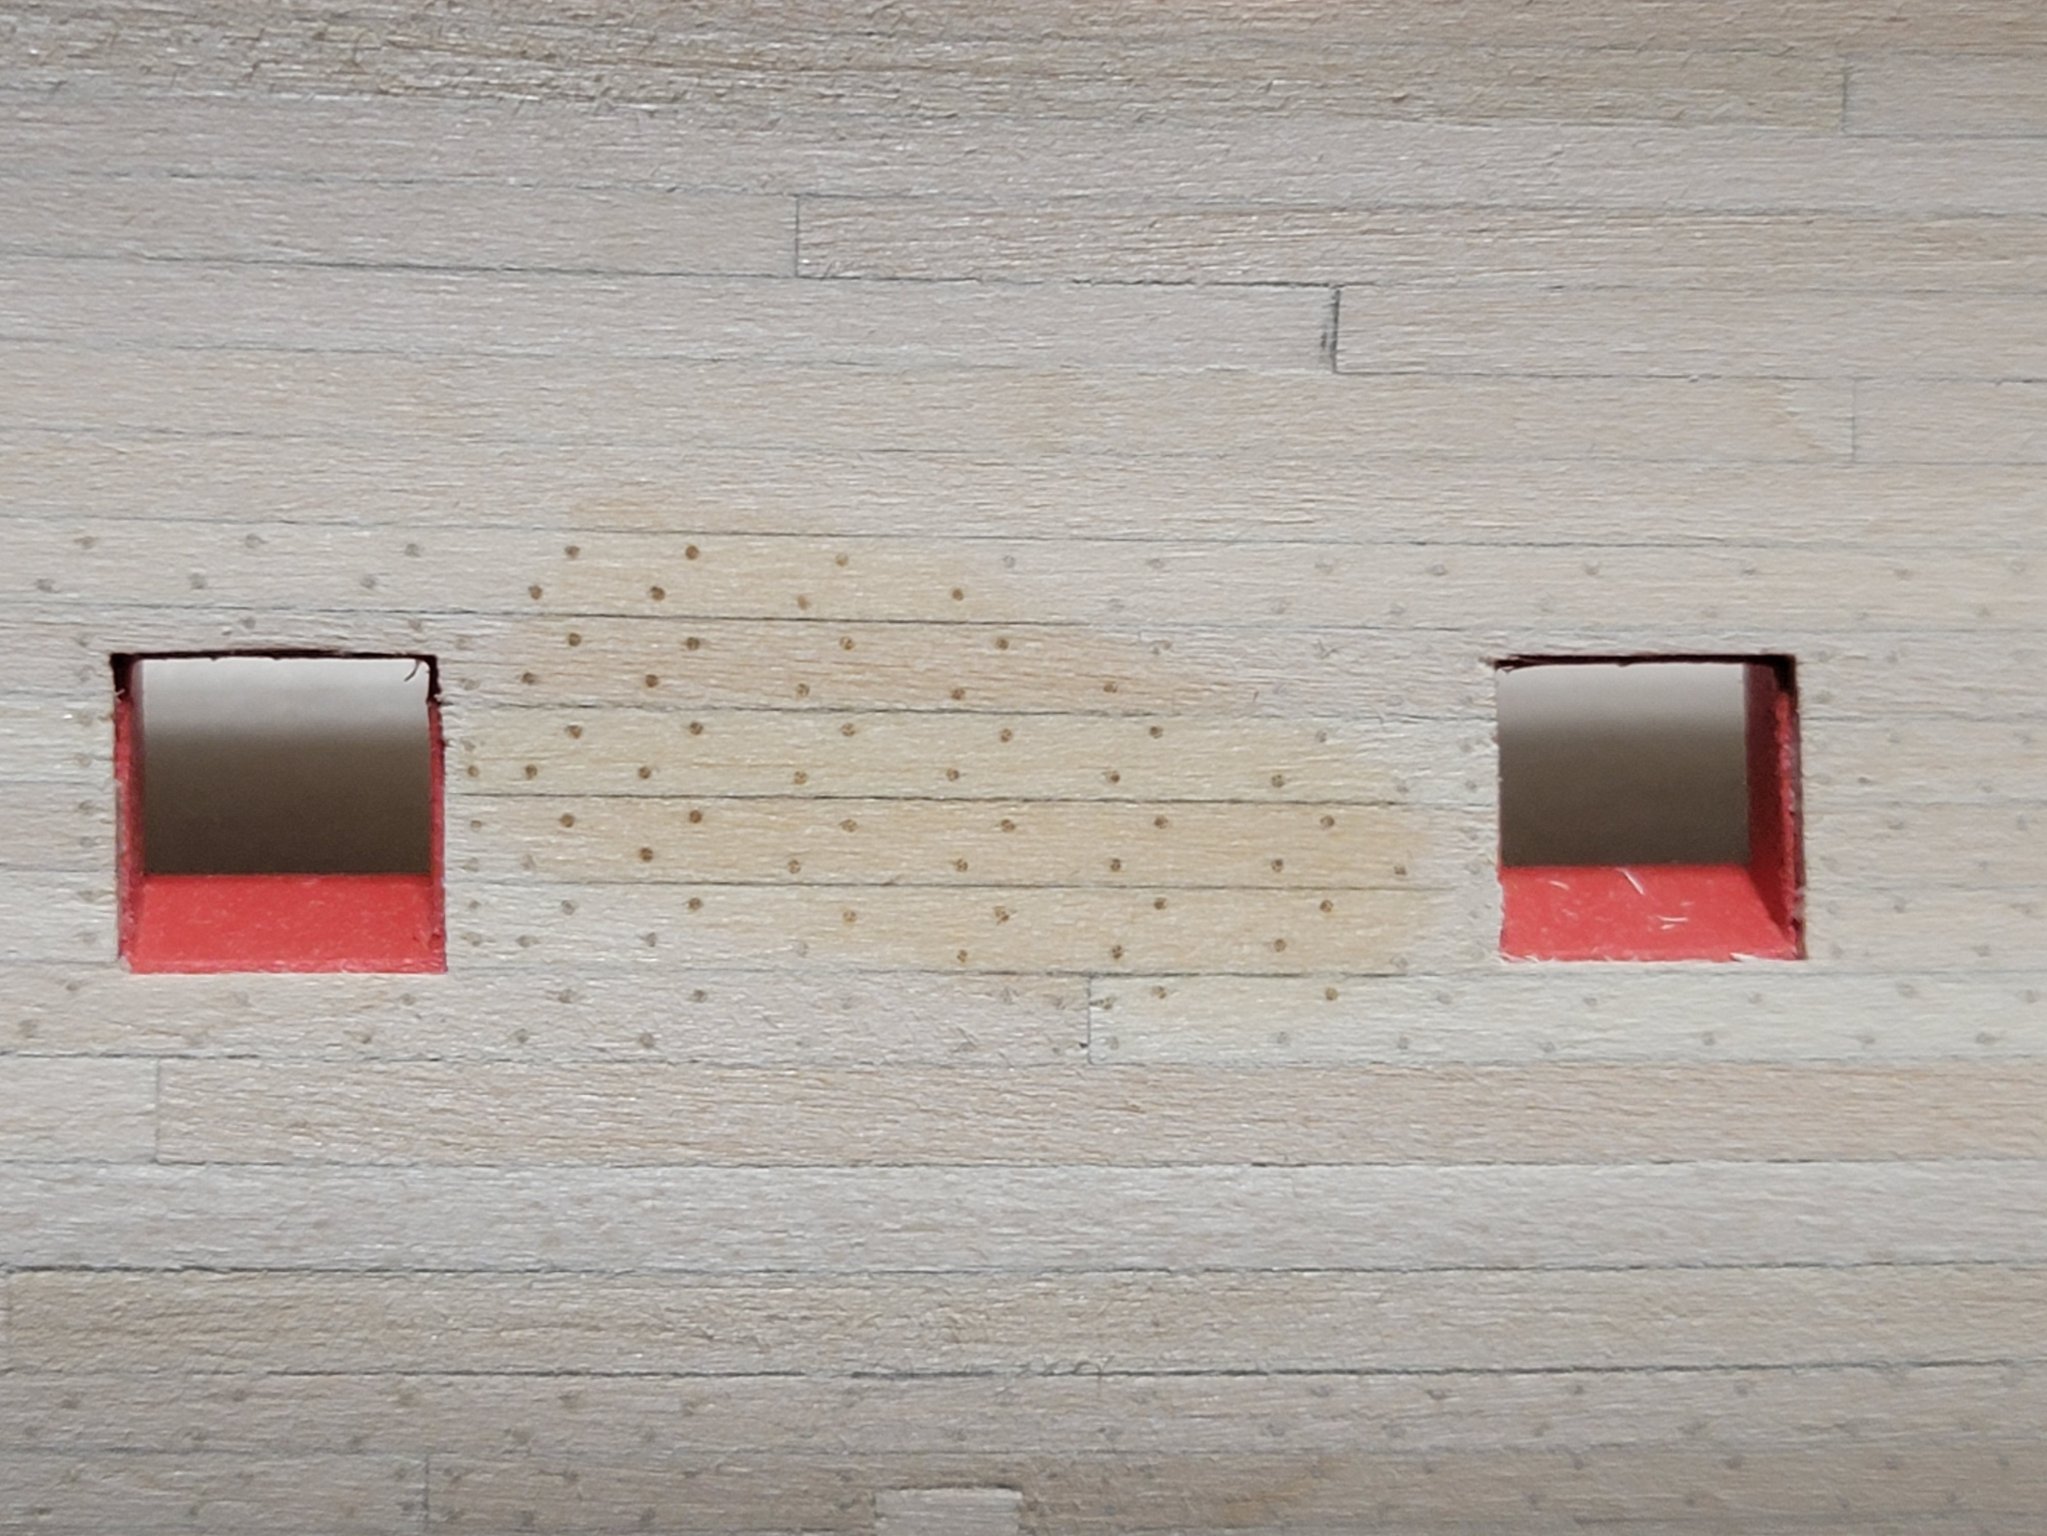
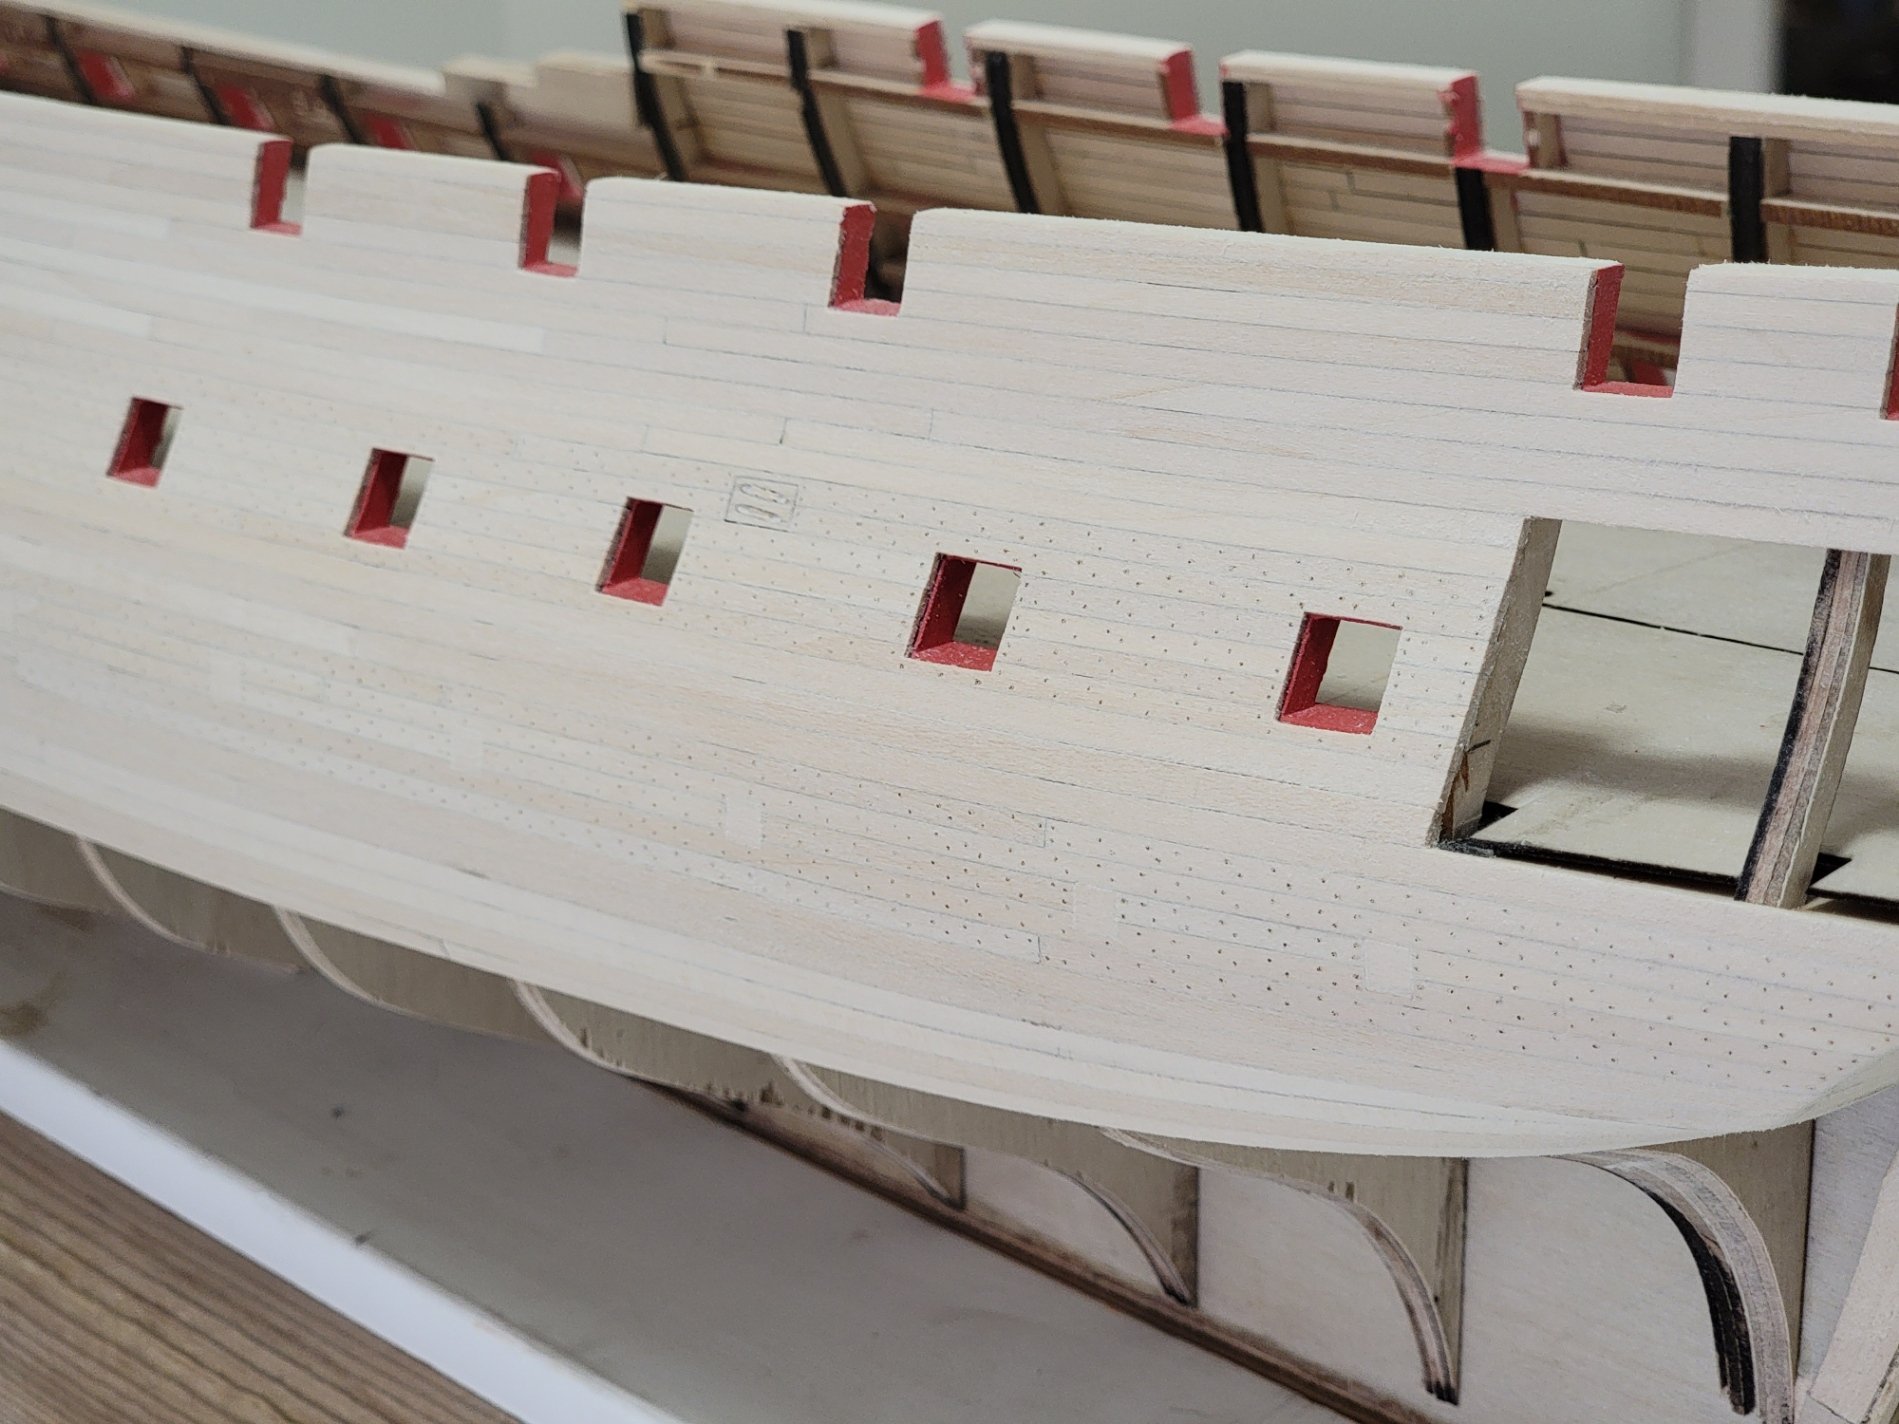
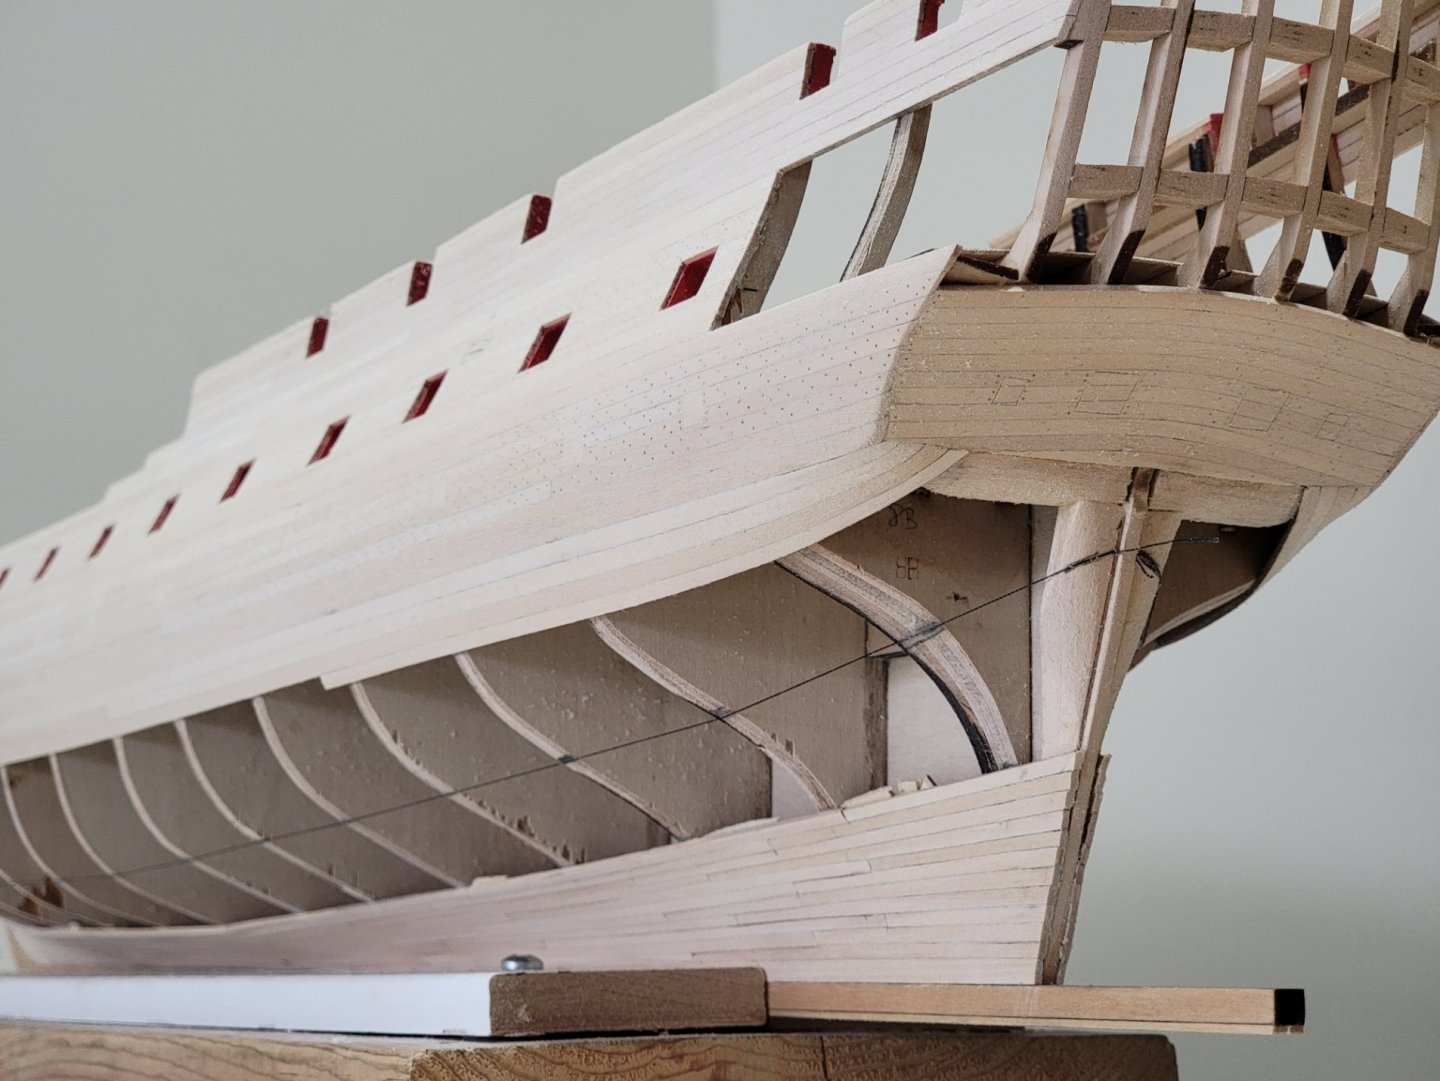
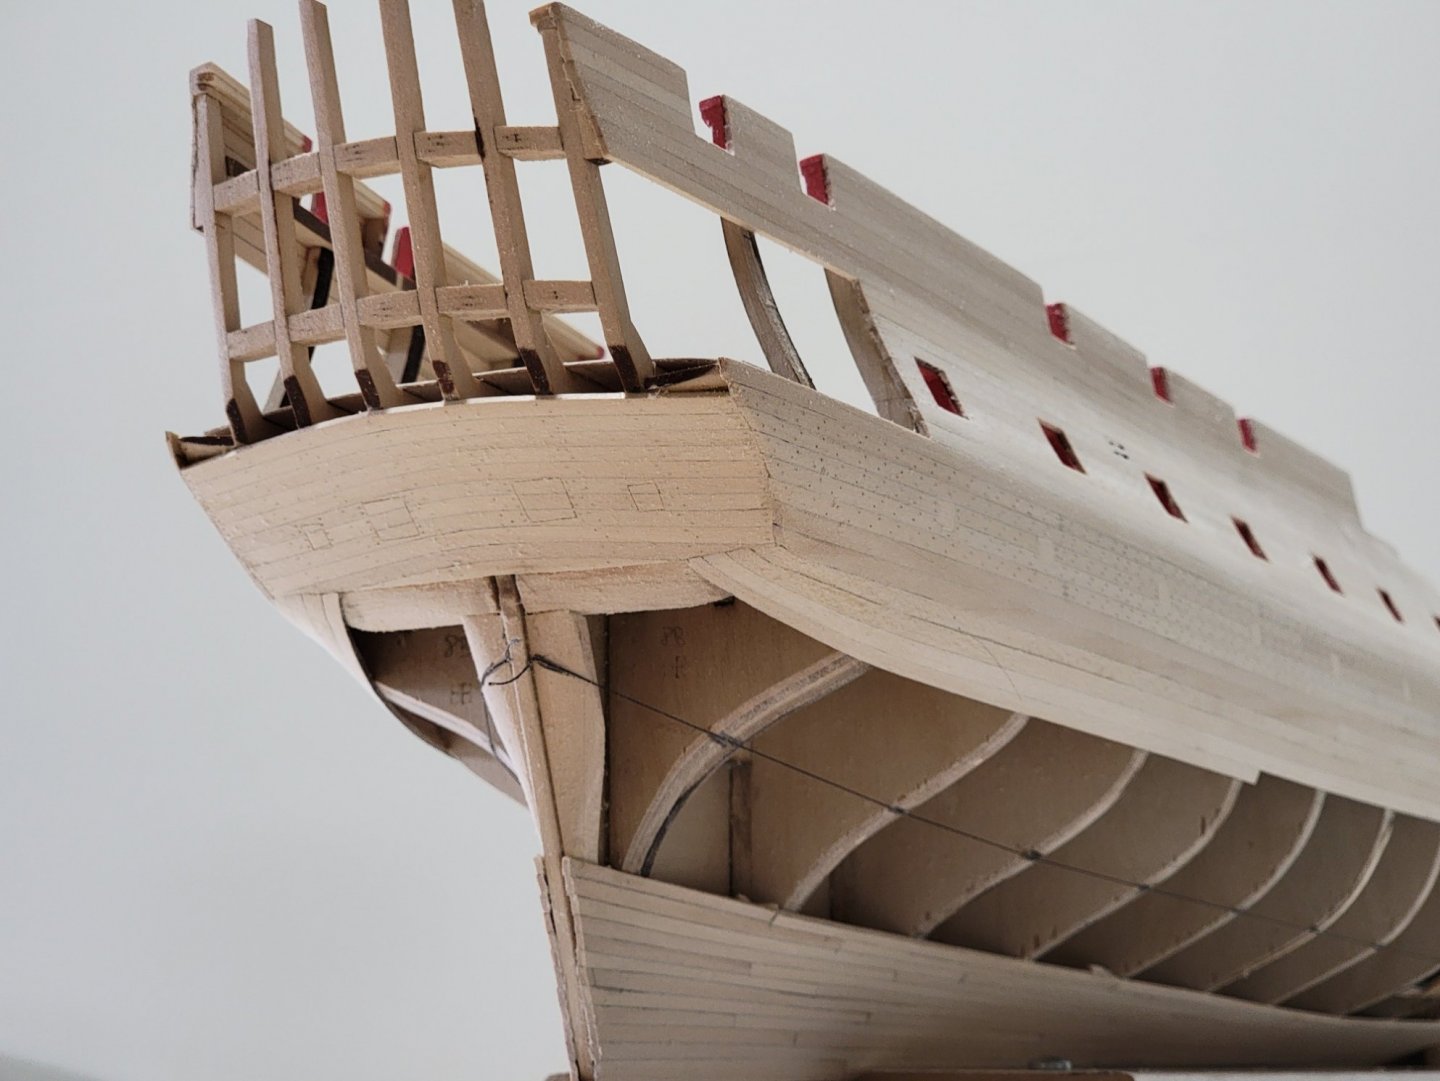
Very little progress since I mainly wanted to finish up treenailing the Confederacy 😉 I painted the gun ports red, and marked the upper locations of the wale. I will now start planking the wale and around the gun ports. I will start with the lower deck later since I am excited about the planking 😁


-
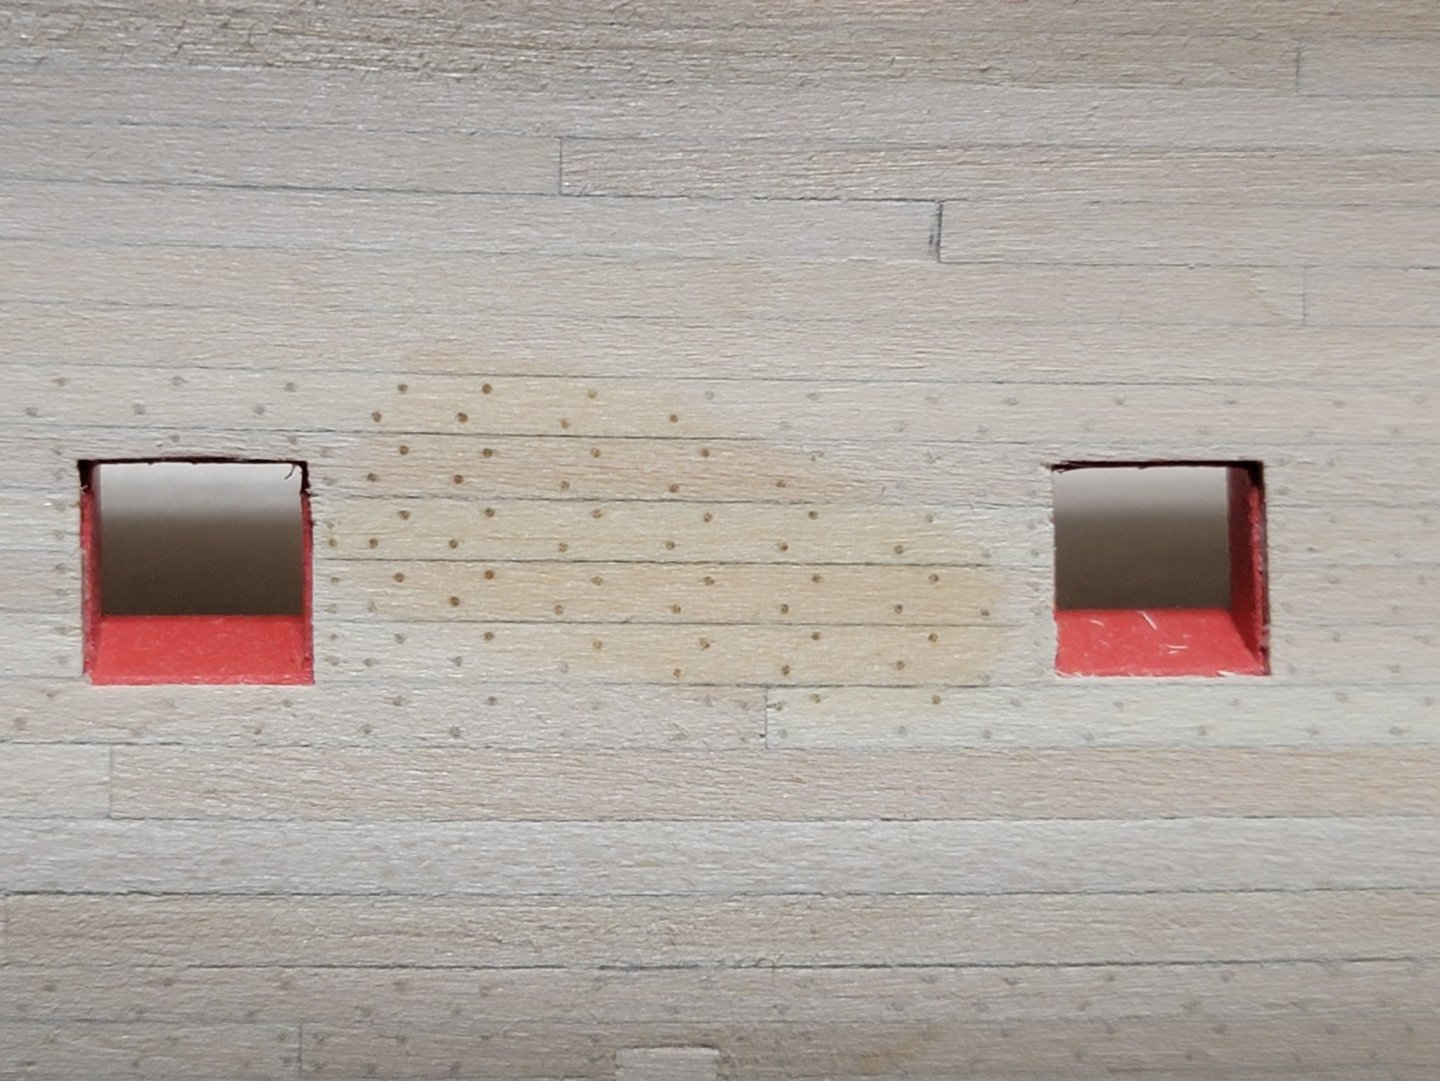
After many hours, I finally finished treenailing the planks! Well, I will need to do one more round for the channel wales, but right now majority of the treenailing is done. After completing one side, I learnt it is better to randomize treenailing the last bit of the bamboo skewer so the transition between two bamboo skewers is not very apparent. Even though the colors of the skewers match, the cross-section appearance is slightly different. I hope once I apply the Tung oil finish, the transitions between the skewers do not show much. Here are some snapshots I took of the WIP: Applying a bit of water shows how they may look after applying the Tung oil. Here you can see the clear divisional line where I began using a new bamboo strip (between the 2nd vs 3rd columns of where I applied the water). Lesson learnt! Next time I will be sure to randomize the the treenails at the transition area. I did that for the portside area and I can not see any clear transition lines. After treenailing, I sanded all the planks with medium then fine sandpaper. Here is how she looks right now: I am now thinking of starting to plank the lower hull area. I bought some 1/16" basswood sheets so I can cut the planks to shape instead of edge-bending. I may also start installing the channel wales but let's see!