realworkingsailor
-
Posts
3,274 -
Joined
-
Last visited
Content Type
Profiles
Forums
Gallery
Events
Everything posted by realworkingsailor
-
AHS Centaur http://en.wikipedia.org/wiki/AHS_Centaur Andy
-

Best glue for rigging: CA & GS-Hypo
realworkingsailor replied to Beef Wellington's topic in Masting, rigging and sails
Although I've got both types in stock at home, I've been using the regular orange stuff. Haven't tried the purple stuff yet.... Should make a point to.. Andy -
To further my earlier remarks... You have managed, far more than any other interior shot I've seen so far (on the entire MSW), to take us literally into the ship yard. I like how the graceful sweep of the planks draws the viewers eyes towards the details around the mast step, and even though it's probably only a few inches in reality, it seems like a hundred feet. Without a sense of scale, you somehow manage to convey the massiveness of the timbers, the intricacies of the joinery, and moreover, the accuracy of your construction. Incredibly well done. You really should get that one printed and framed. Andy
- 3,618 replies
-
- 8
-

-
- young america
- clipper
- (and 1 more)
-
That last photo, I think, qualifies as the most stunning of the build so far. Absolutely amazing! Andy
- 3,618 replies
-
- 6
-
-
- young america
- clipper
- (and 1 more)
-
Looking forward to following along your next build... I see lot's of possibilities for your kitbashing/superdetailing abilities! Now as for a chair....... **Eyes Mark seated comfortably** Nah... I'll just grab my own.. Andy
- 69 replies
-
- 2
-
-
- fair rosamund
- occre
- (and 1 more)
-
My Serving Jig
realworkingsailor replied to Artificer's topic in Modeling tools and Workshop Equipment
Any time Glad I could come up with an understandable explanation Andy -
My Serving Jig
realworkingsailor replied to Artificer's topic in Modeling tools and Workshop Equipment
(Refer back to BE's Picture) If the two gears that hold the thicker rope (at the top) are mechanically isolated from each other, the turning action of one does not get translated through the thick line to the other. This will create a twist in the thick rope, and also if you put any tension in the serving thread (the thin stuff) you'll stop the thick line from turning altogether. To counteract this, the gears need to turn at the same rate. This is where the bottom gears and shaft come in to play. By mechanically connecting both ends of the thick rope, they now turn at the same rate, eliminating the twist and allowing for an improved, tighter, serving. Andy -
My Serving Jig
realworkingsailor replied to Artificer's topic in Modeling tools and Workshop Equipment
The whole point of the lower shaft is so that both parts holding the line being served turn at the same time. This prevents building a nasty unwanted twist in the line. Andy -
Really great job, Augie! I wouldn't go fishing too much... who knows what the ravenous mob might do if you don't drop them a picture of progress now and again... Andy
- 2,191 replies
-
- 3
-
-
- confederacy
- Model Shipways
- (and 1 more)
-
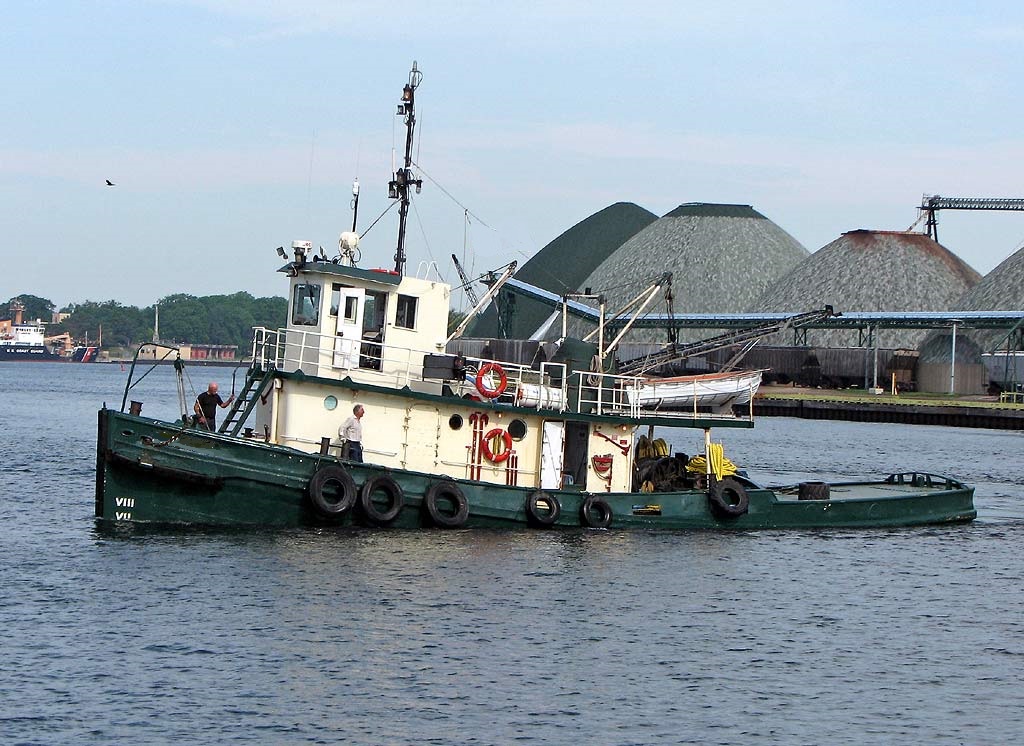
Yup, at 109 years (built 1905), this old tug is still hard at work around the lakes.
-
Heh... FPSOs.... easy to spot.... Alright, here's an oldie:

-
Looking great, enjoy the sunshine and that beer I see peeking in the background! Andy
-
FPSO Asgard A
-
Ok...... we'll leave it to the dedicated SIB modellers.... they're all a little differently "tilted" anyway (no offence intended guys) Andy
-
It really looks fantastic... I still say you should try a fully framed Swan-in-a-bottle.. (Just for the sake of sheer badness ) Andy
-
Hi Joe, Your Grenado looks like a nice build. About your transom, it should have a slight curve to it. Check using the quarter deck piece, it should let you know if anything is amiss. Looking forward to watching your progress. Andy
- 302 replies
-
- 1
-
-
- granado
- caldercraft
- (and 1 more)
-
dry brushing
realworkingsailor replied to stevetuck56's topic in Painting, finishing and weathering products and techniques
Dry powders, like those need an overcoat to seal them, and they are specifically for weathering. The pigments tend to be coarser than that in mixed paint, and having experience with Tamiya powders and the like, it comes out clumpier. With paint, you have very fine control over the amount of colour applied. Dry brushing, as has been stated, is used for highlighting raised features, or in some cases making a 3D effect, not necessarily weathering. For example, on my Pegasus build, when it came to doing the photo etch friezes I first sprayed them yellow ochre, then dry brushed them white. Had I had my head a bit more about me at the time, I should have done the white highlights from the top, and used blue to dry brush from the bottom. This would have produced light/shadow effects over the flat surface. Andy -
Riiiight... so you're next build is what? A fully framed Swan class sloop....... in a bottle? Andy
-
Hmm... I don't know.... your background doesn't look quite watery/rocky enough..... Oh... you mean the boat... Aside from the masts/flag staffs, looks like a dead on match to me! Andy
- 326 replies
-
- 1
-
-
- vinal haven
- steam ship
- (and 1 more)
-
Sweet! Looks Excellent! Your workmanship is fantastic..... (never mind how big the scrap bin gets! ) Andy
-
Old decals are pretty much a lost cause. There are products out there for restoring old waterslide decals, but I've never heard of anyone having much success. The problem with old decals, is not only does the adhesive expire, but the film becomes very brittle, so even if you managed to get them to slide off, they'd just fall to pieces. You can try making your own replacements with a dry transfer lettering set, and with some new blank decal paper. Woodland Scenics makes several letting sets in different fonts and sizes, and you can get blank paper from Micro Mark. Or if you really have patience, you can get decal lettering sheets from Micro Scale. Andy
-
Coppering was not done on boats built for the lakes, it wasn't needed. And given that the average life expectancy of a lakes boat was 7 to 10 years, not worth the expense. As for the list I have of sloops/cutters on Lake Ontario, 6 guns is a bit of an odd number.... Missisauga, Sloop, 8 guns, 1759 (May not have survived until the war) Charity, Sloop or Schooner, 1770 (6 swivels) Caldwell, Sloop, 2 guns, 1777, (6 swivels) Mowhawk, Cutter, 18 guns, unknown build date, civilian requisition? Source: "Legend of the Lakes", A. Britton Smith, 1996, pp 94 I've seen other sources with slightly conflicting information as far as build dates go. These ships, in fact all vessels on the lakes also had a large roll in moving goods around the lakes, and during the revolution, refugees. Most would have been probably designed a bit more like heavily armed merchant vessels. If it wasn't for the number of guns, I'd say yours could be the Caldwell. Contemporary paintings (in the same book as mentioned above) show a raised poop deck. Hope this helps a bit. Andy
-
I have a list of ships operated by the Provincial Marine, on Lake Ontario during the period. I'm not sure what operated on the upper lakes at that time. How many guns does your model carry? Andy