realworkingsailor
-
Posts
3,271 -
Joined
-
Last visited
Content Type
Profiles
Forums
Gallery
Events
Everything posted by realworkingsailor
-
Nope, you got it.
-
Nope, and nope... This one's proving a bit hard to nip in the bud..... Andy
-
Er...... Not quite.... Sorry....
-
It's not embarrassing.... Just not correct I'm afraid....
-
Hmmm.... Time for a hint, perhaps? Part of her still exists. Andy
-
It's a head scratcher, that's for sure Andy
-
No weaponry on her (except perhaps the odd shot gun carried by a hunter taking passage).
-
When it comes to multiple identical vessels in the same fleet.... I prefer the "carpet bomb" approach.
-
Blue Funnel Line "A" Class vessel: "A" Boats Built In the Fleet Tons Adrastus 1953 Dutch Flag. 7,859 Aeneas 1947 Scrapped in 1972. 7,641 Agapenor 1947 Trapped in the Suez Canal 1967. 7,664 Alcinous 1952 Dutch Flag. 7,799 Antilochus 1949 In the fleet 1973. 7,635 Ascanius 1950 Left the fleet 1972. 7,692 Astyanax 1948 In the fleet 1973. 7,654 Atreus 1951 In the fleet 1973. 7,800 Autolycus 1949 In the fleet 1973. 7,635 Automedon 1949 Scrapped in 1971. 7,636 Calchas 1947 Lost through fire 1973. 7,639 Clytoneus 1948 Scrapped in 1972. 7,620 Cyclops 1948 In the fleet 1973. 7,632 Elpenor 1954 In the fleet 1973. 7,757 Eumaeus 1953 Dutch Flag. 7,681 Laertes 1950 Dutch Flag. 7,664 Laomedon 1953 In the fleet 1973. 7,684 Lycaon 1954 Dutch Flag. 7,859 Table from: http://www.rhiw.com/y_mor/blue_funnel_home/a_boats/a_class.htm Andy
-
 I'd say also leave off the trunnions as well, just mould a little dimple as a drill start point. They're easy enough to make with wire afterwards. Andy
 -
Just a thought, what about casting the canon barrels as halves in a flat open mould, and then gluing them together? Andy
-
Helps keep them from gumming up the air brush. Chances are, that mix is something the creator came up with that works well in his air brush. A friend of mine uses a one brand (Can't remember off hand if it was a Badger or a Paasche) , and has no end of trouble with acrylic paint (enamels or lacquers are no problem for him). He gets about 15 to 20 mins of spray time before he has to disassemble and clean out the mechanism. More than anything, it's an issue with his particular model brush, rather than the brand itself. I have a Grex and have never had any trouble with acrylics. Andy
-
I agree with Robbyn. I would love to replace the timber in some of the kits I have bought (and who knows I may even try scratch building something in the future), but I also find your ordering system a bit... well... awkward, even more so than some since I'm not American. I know others further afield than myself have made it work, but it would be nice if everything could be done online. Andy
-
Done the pneumonia thing myself.... It's going to take about 6 months or so before you are really fully recovered from it. Take it easy your lungs will be pretty scarred. Model ship building should be great therapy.. Andy
-
Gulfmedic1, sorry I missed your post. My ratio was about 1:1, thinner to paint, and I used clear Windex. Remember to keep the bottle well sealed, out of direct sunlight and upright. If things appear to be getting a little thick, just add a bit more thinner to regain the consistency you desire. Incidentally, as of last March, the paint was still good, so that's now well over a year. Andy
-
I think your source is a little off, he has the historic details correct, but it was the Aurora that fired the first shot of the October Revolution. The Potemkin mutiny was in 1905. The ship itself was eventually scrapped in 1923 (after being rendered useless by British and White Russian forces).
-
Yeah, still at work.. got another month to go. I was looking at the end-on shot (the second, vertical, pic you posted)... maybe my eyes are still crossed..... Andy
-
Maybe it's just an optical delusion on my part.... but it looks like the top gallery sticks out more than the bottom It could just be lack of sleep too.... The side view looks great, however. Andy
- 1,616 replies
-
- 1
-

-
- caldercraft
- agamemnon
- (and 1 more)
-
ahem... cough..flagonthestern...cough cough.....
-
Pin pushers for planking?
realworkingsailor replied to Landlubber Mike's topic in Modeling tools and Workshop Equipment
I find these are slightly better in some cases: http://www.micromark.com/spike-insertion-plier,8242.html Andy -
Yup, 100 years ago.
-
Alright... this should be a good one.... (I hope) Andy

-
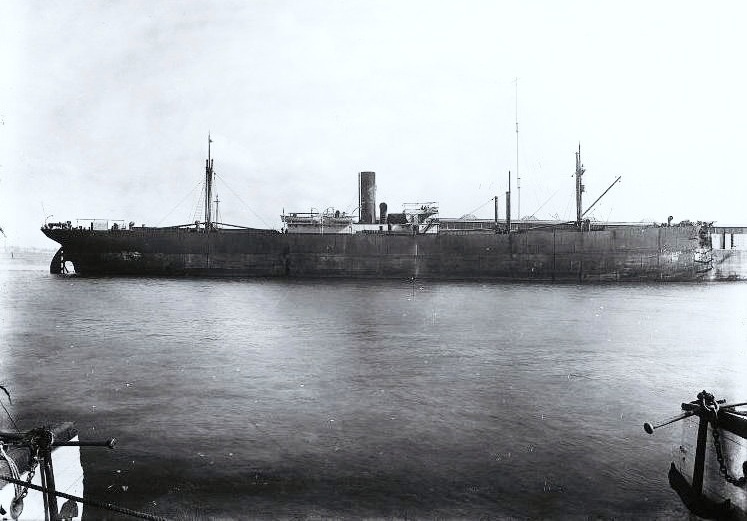
AHS Centaur http://en.wikipedia.org/wiki/AHS_Centaur Andy
-
Best glue for rigging: CA & GS-Hypo
realworkingsailor replied to Beef Wellington's topic in Masting, rigging and sails
Although I've got both types in stock at home, I've been using the regular orange stuff. Haven't tried the purple stuff yet.... Should make a point to.. Andy -
To further my earlier remarks... You have managed, far more than any other interior shot I've seen so far (on the entire MSW), to take us literally into the ship yard. I like how the graceful sweep of the planks draws the viewers eyes towards the details around the mast step, and even though it's probably only a few inches in reality, it seems like a hundred feet. Without a sense of scale, you somehow manage to convey the massiveness of the timbers, the intricacies of the joinery, and moreover, the accuracy of your construction. Incredibly well done. You really should get that one printed and framed. Andy
- 3,618 replies
-
- 8
-
-
- young america
- clipper
- (and 1 more)