Supplies of the Ship Modeler's Handbook are running out. Get your copy NOW before they are gone! Click on photo to order.
×


realworkingsailor
-
Posts
3,181 -
Joined
-
Last visited
Content Type
Profiles
Forums
Gallery
Events
Everything posted by realworkingsailor
-
 I was going to say... aren't you supposed to be rigging a Goth' somewhere? You're only delaying some form inevitable outcome.... Andy
 -
HMS Royal William by kay
realworkingsailor replied to kay's topic in - Build logs for subjects built 1501 - 1750
Wow..... I can't manage anything more than an absolutely stunned Wow.... I'll be sure to follow your updates Andy -
Mmmmmmmm.... tedious..... Nice though...
-
I have to agree with the impressive assessments.... You're doing to amazing things with this kit (although you're almost to the point where the term "kit" could be used loosely) Andy
-
Now...... Where have I heard that before....
-
I suspect the getting a few may refer to mosquitos? Hope the beer was cold enough for you
- 1,668 replies
-
- 2
-

-
- syren
- model shipways
- (and 1 more)
-
I wish I could tell you exactly what I'm using, but the spool's label has long ago been lost. Near as I can tell it is some sort of very fine button thread, found in a very old sewing kit many years ago.... *** help me if I run out.... Andy
-
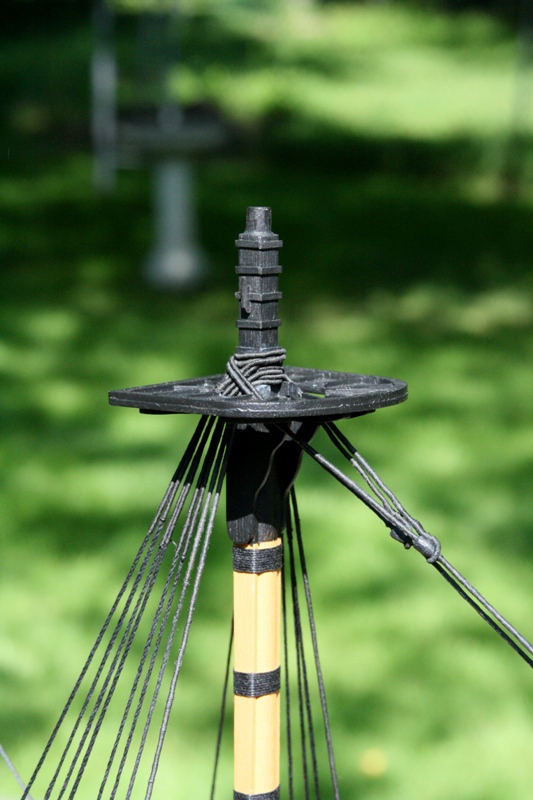
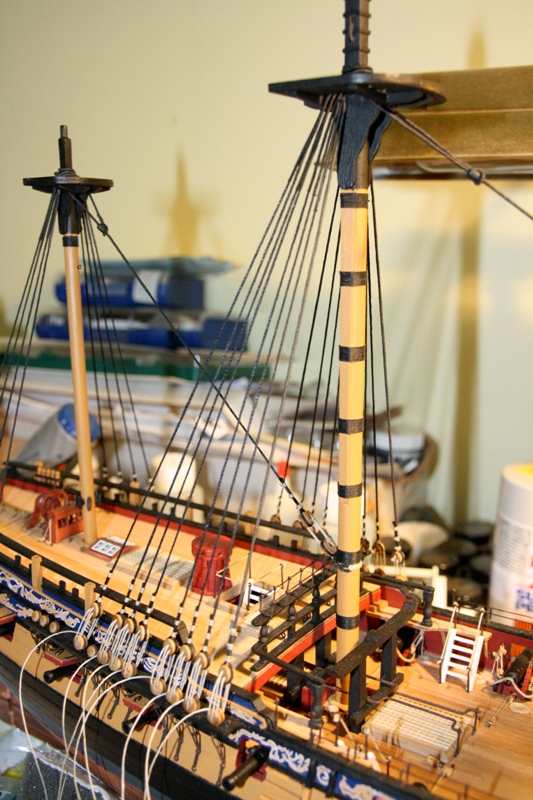
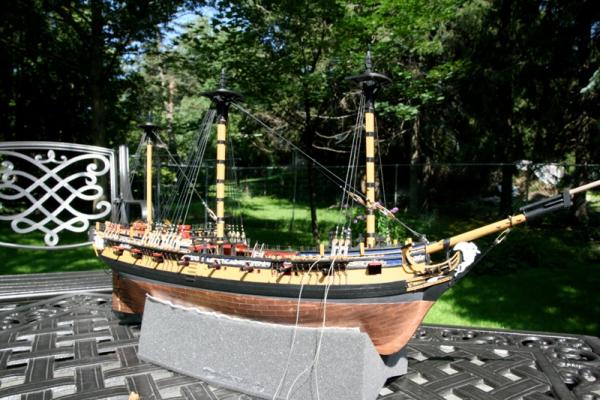
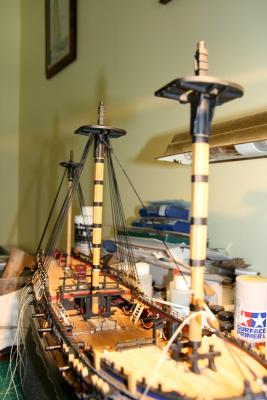
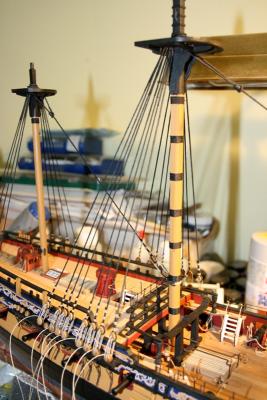
So I'm still waiting for my ship to come in.... litterally.... Well... last update had her arriving in the canal early-ish tomorrow morning... In the mean time, I've not been idle. Trying to get as much done as possible before I go. Installed the main preventer stay and started working on the foremast shrouds. I think the foremost shroud counts as the longest served piece made yet. The cut splice wasn't nearly as hard as I first imagined, it just took a little figuring out. The overlap opening is 30mm in case anyone is wondering. Anyway, some photos out in the sun again, seems you folks like this sort of thing... Andy


-
If you notice, in the photos, all my lanyards are still hanging long. This is so I can carefully adjust everything at the same time. Get all the tensions equal between the shrouds and stays. The only tricky one sofar has been the mizzen mast, it's a bit thinner and more flexible, the main seems to be more of a tree stump. Takes a lot (excessive) of force to make that one bend. Andy
-
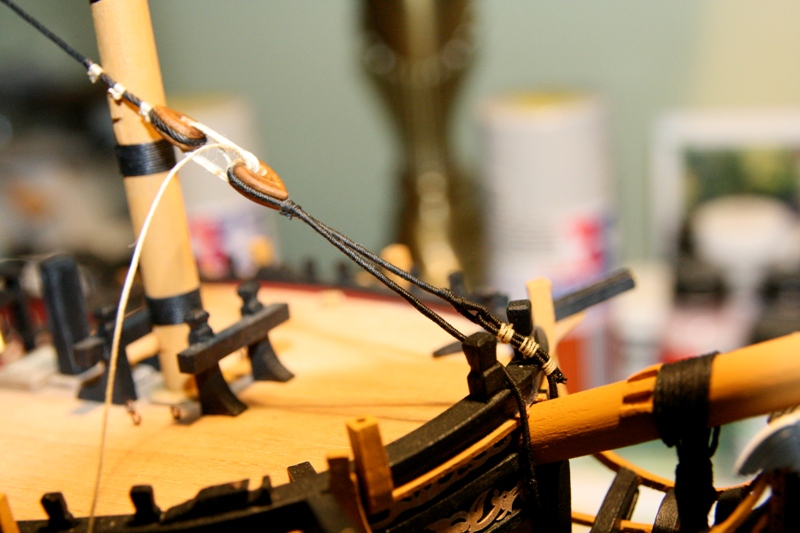
To be honest Sjors, there's no trick to my seizings... They're all just a bit of knot trickery. I start with a clove hitch turned inwards, then add a turned in half hitch below and another above. Finally tie the ends together with another hitch, secure with glue and trim. All the knots are on the inside and virtually invisible to anyone looking (as you've so nicely proven). Easy to do and neat and effective. Andy
-
Meh... No need to rush, you're doing just fine at your own pace. You'll get there when your ready and not before.... Otherwise it just becomes an RTF (Rush To F!£#) Andy
-
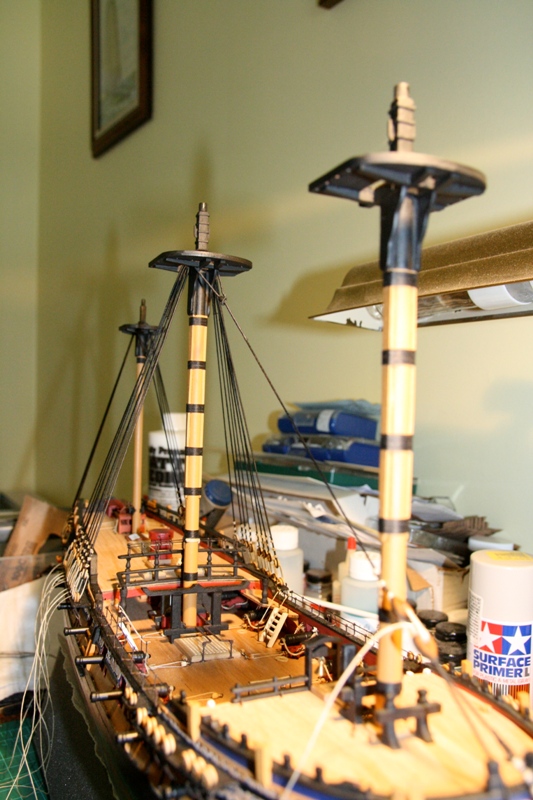
Thanks guys Ferit, it is easier to do the masts like I am.... And safer too. Easier to set up the shrouds, I can seize them together on the bench as opposed to in place; I can also slip a pair over them mast without having to run them through a small gap. Safer in that I have less small fragile bits aloft to get snagged on as I work around the lower rigging. From another perspective, it's a little less daunting because you only see the short term goals directly in front of you, you can see each phase as you need to see it. A bit like trying to eat a whole party sized pizza by yourself in one sitting, rather than putting some away for later. You'll get there just the same... Andy
-
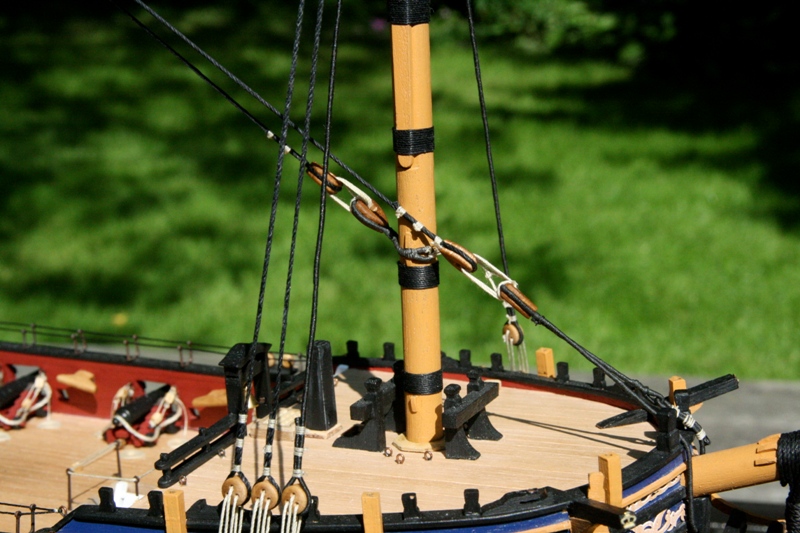
I had a look at various rigs for gaff peak halyards.. Seems like when rigged like yours, it could also have a block on the static wire. So you could have a sister block, or two separate blocks joined at the strop. It you google image search "gaff peak halyard" there are some great images of various arrangements. Either way, she looks great. Andy
-
First off... the ship will be delayed... so I have a 24 hour stay of execution.... And now for my update.... Finished the main lower shrouds. all that's left is to cinch up the lanyards and make them fast. Managed the main stay as well. Odd little bit that main stay collar. Made it to the lenght specified in TFFM IV but it seems a tad long. Well... I'm not going to worry about it too much. It's in...and I'm not changing it. Another odd thing about TFFM IV... how the top ends of the shrouds are to pass around the masts.... I read the text and it describes doing it in the way I have done.... yet looking at the photos in the book.... it's backwards from that.... So anyway... I know what I have to do in the future.. I do expect to be back home in September, good modelling weather... so I'm looking forward to getting the lower mast rigging done and banging away at some ratlines... (yeah... I'm crazy.. but I do like rigging....my own ships.... ) Andy

-
Thanks everybody, for you well wishes. I'll try and have an update before the end of the day (I do like to go away leaving no one in doubt as to my Peg's status... ). Andy
-
Yup.... That would be the easiest solution.... Add another row between the ones you already have. Have you also considered using a card template? (Maybe you are but didn't show a photo of it.. ) Andy
-
Eh, yeah... Same company... It's usually not supposed to be like that for those of us with permanent seniority and an assigned ship... And the reason why my gear is in Montreal.... If there was any kind of "normal" I would be going back to my assigned ship when she is expected to fit out (in a couple weeks)... But now I have to haul my backside over to... Well ... You all have the story already.....
-
So you've jumped back here again... How long before Augie's rigging spiders have you trussed up like a Christmas ham?
-
Well.... We all knew this day would come.... I have been summoned to return to work... I leave Wednesday afternoon sometime... I first have to fly to Montreal to pick up my work gear (that I left on the ship I was assigned to, and is currently laid up there), then fly back to Toronot and join another ship in the Welland canal.... Andy
-
Hank, if you don't mind me asking, from whom did you purchase your lathe.... Online retailer or direct from Proxxon USA? Andy
-
Grant.... Those winds... "Head" winds..... Uh... "Tail" winds..... Or some combination of the two?
-
Welcome to the big table.... (Not to be confused with that Other muddy table occupied by those two weirdos.... They seem to think they're important or something..... )
-
Ahhhhh.....I see..... This may take a while....