mikegr
Members-
Posts
827 -
Joined
-
Last visited
Content Type
Profiles
Forums
Gallery
Events
Everything posted by mikegr
-
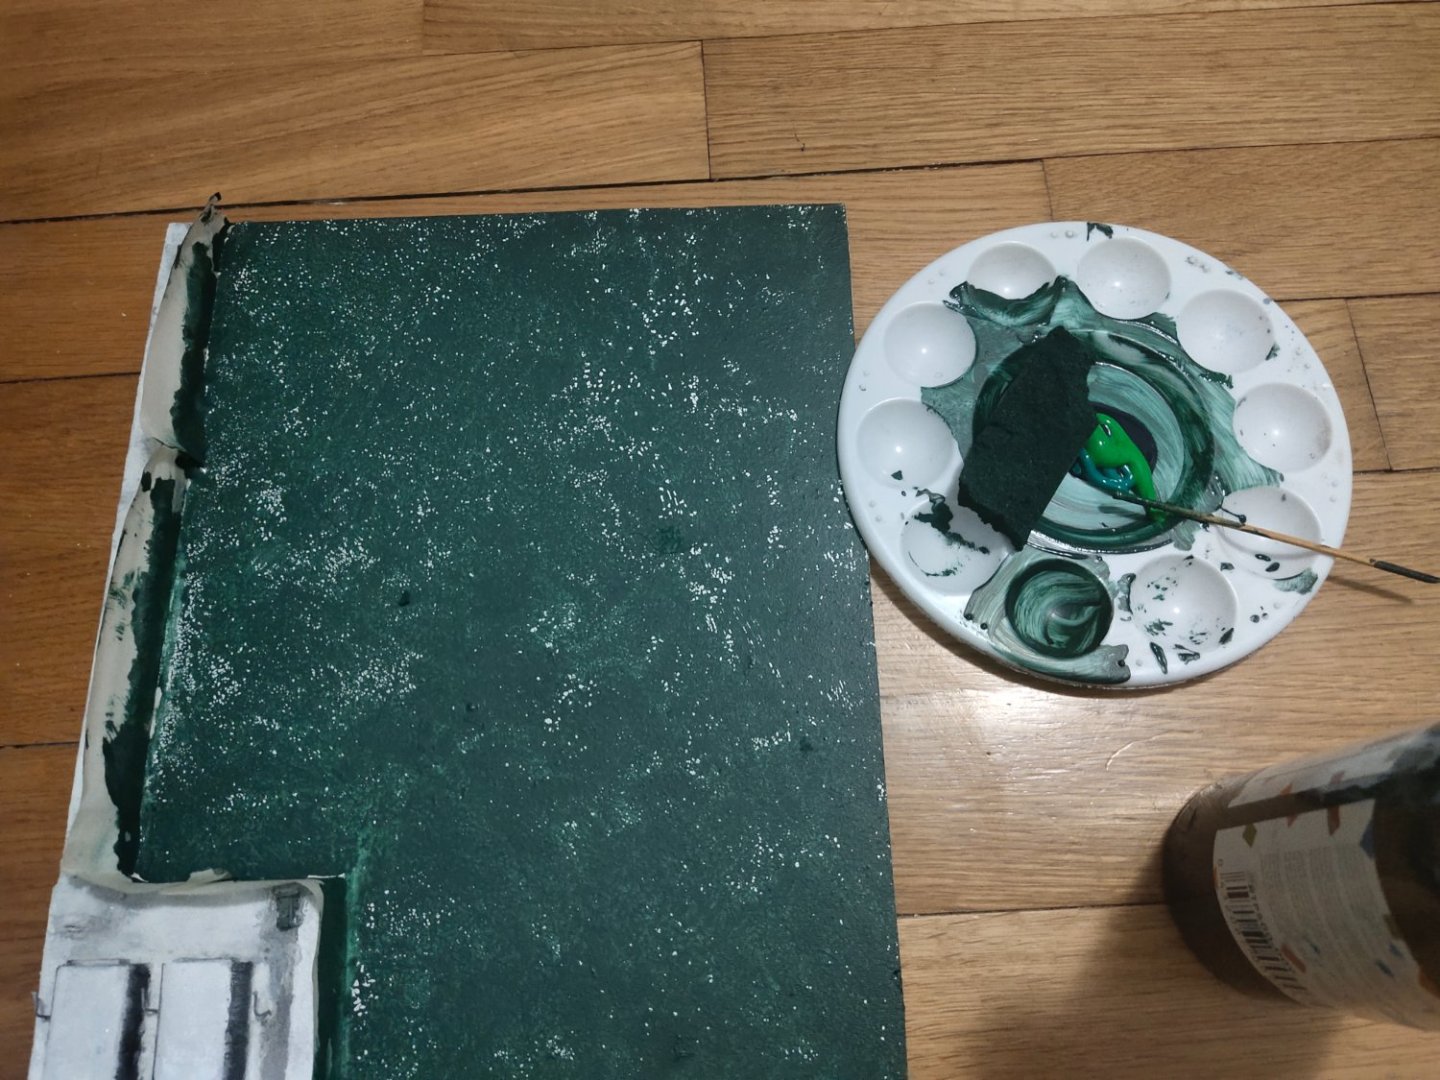
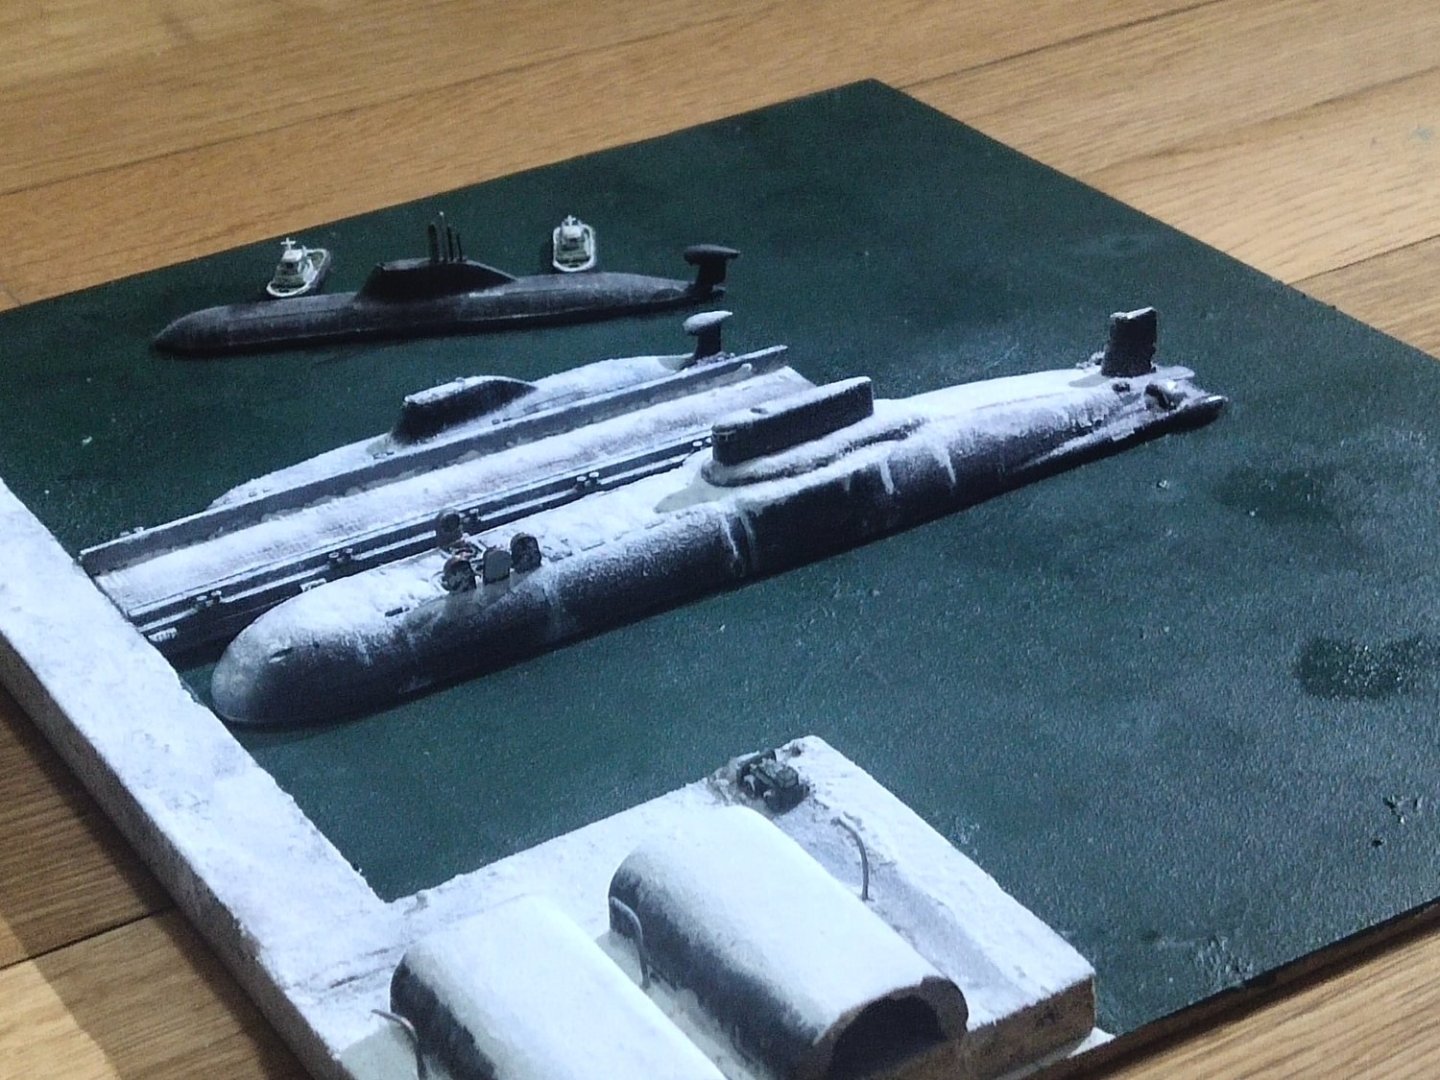
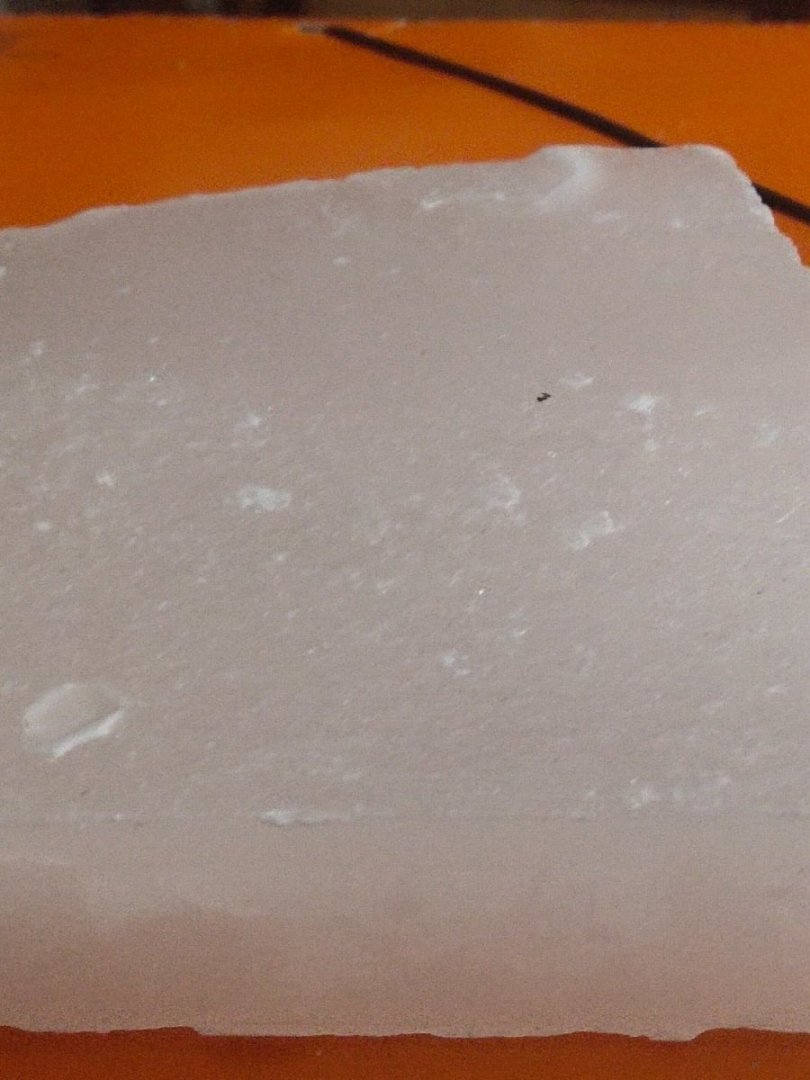
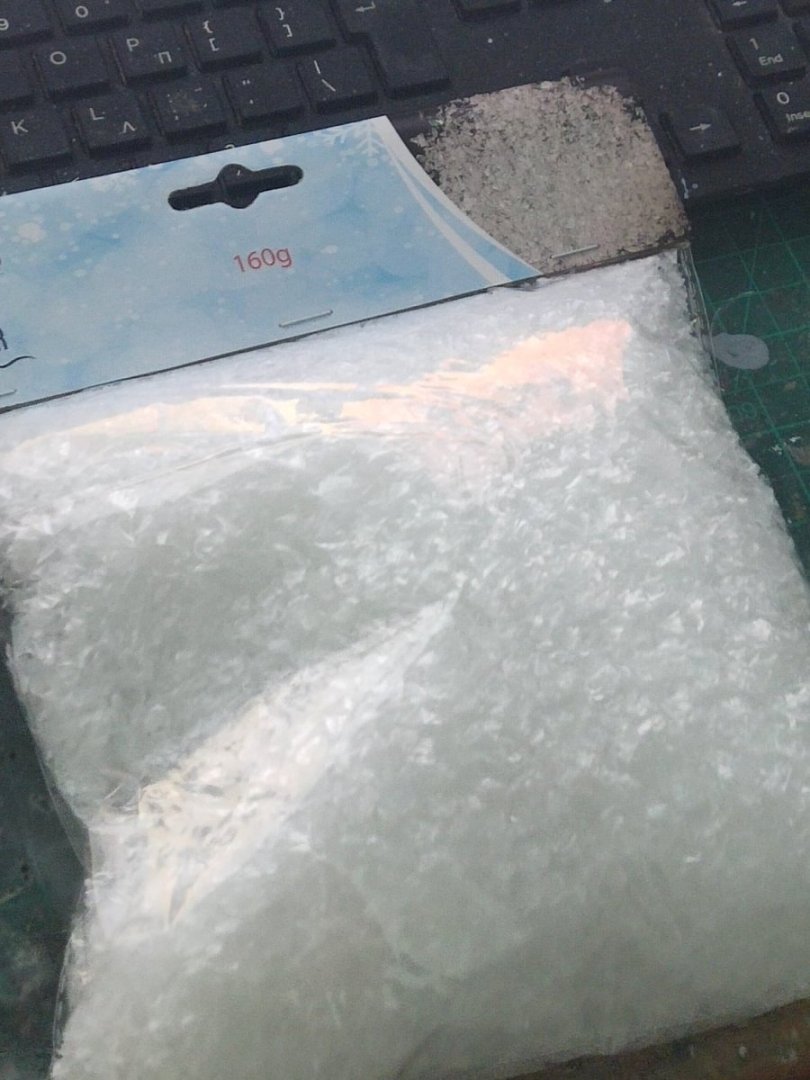
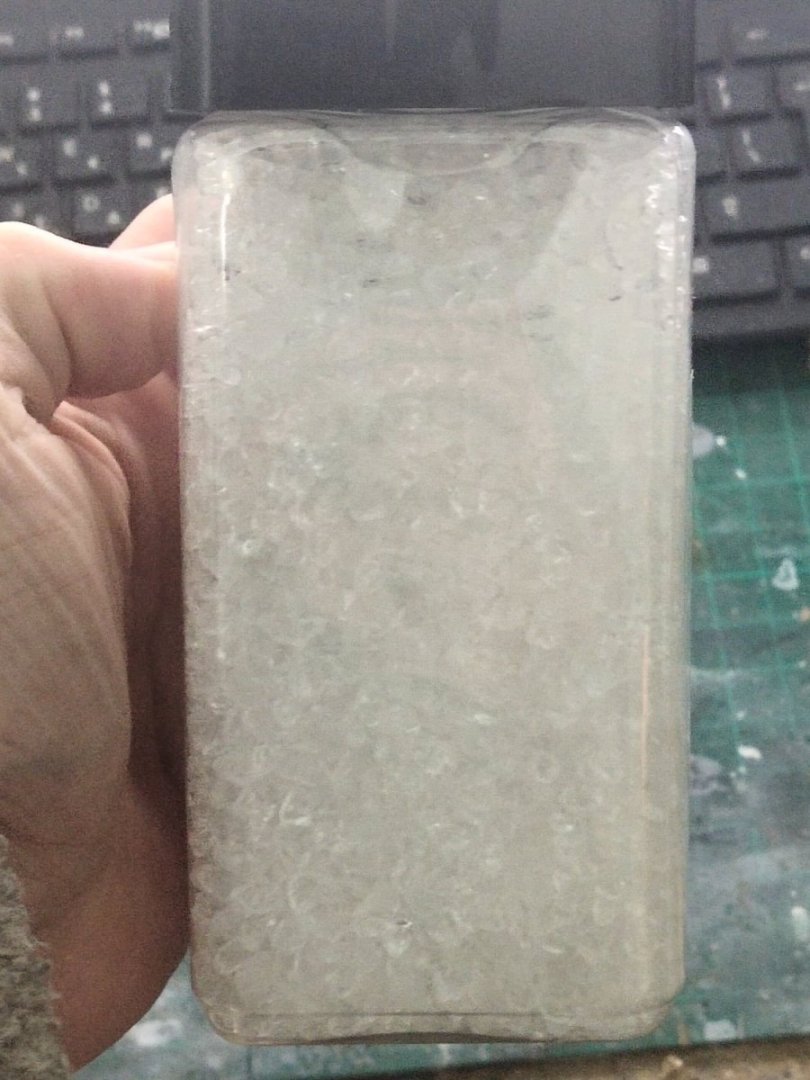
Next phase was the painting of the sea bed. Boring to deal with airbrush I mixed dark ocean blue with green at 1 to 1.5 ratio. Took a piece of sponge, dipped in, then used it to paint the base. Sencond attempt with reversed paint ratio. Finally some brush work to fill in white gaps. Since most area would be covered by ice such a procedure is too much but I was in the need to experiment as always and see how it looks. For the ice formation I got i some other materials except those in hand. A block of paraffin. With icy semitransparentcolor plus some white paint may give a realistic look. Ice flakes. Not sure if I use them, will see. Finally while its Christmas and stores are loaded I accidentally found this on a nearby toy store: ice rocks. For a 1,5 euros a pound it was an easy choice. Perhaps I may have stacked up materials for all my icy dioramas in the future. Perhaps not.
-
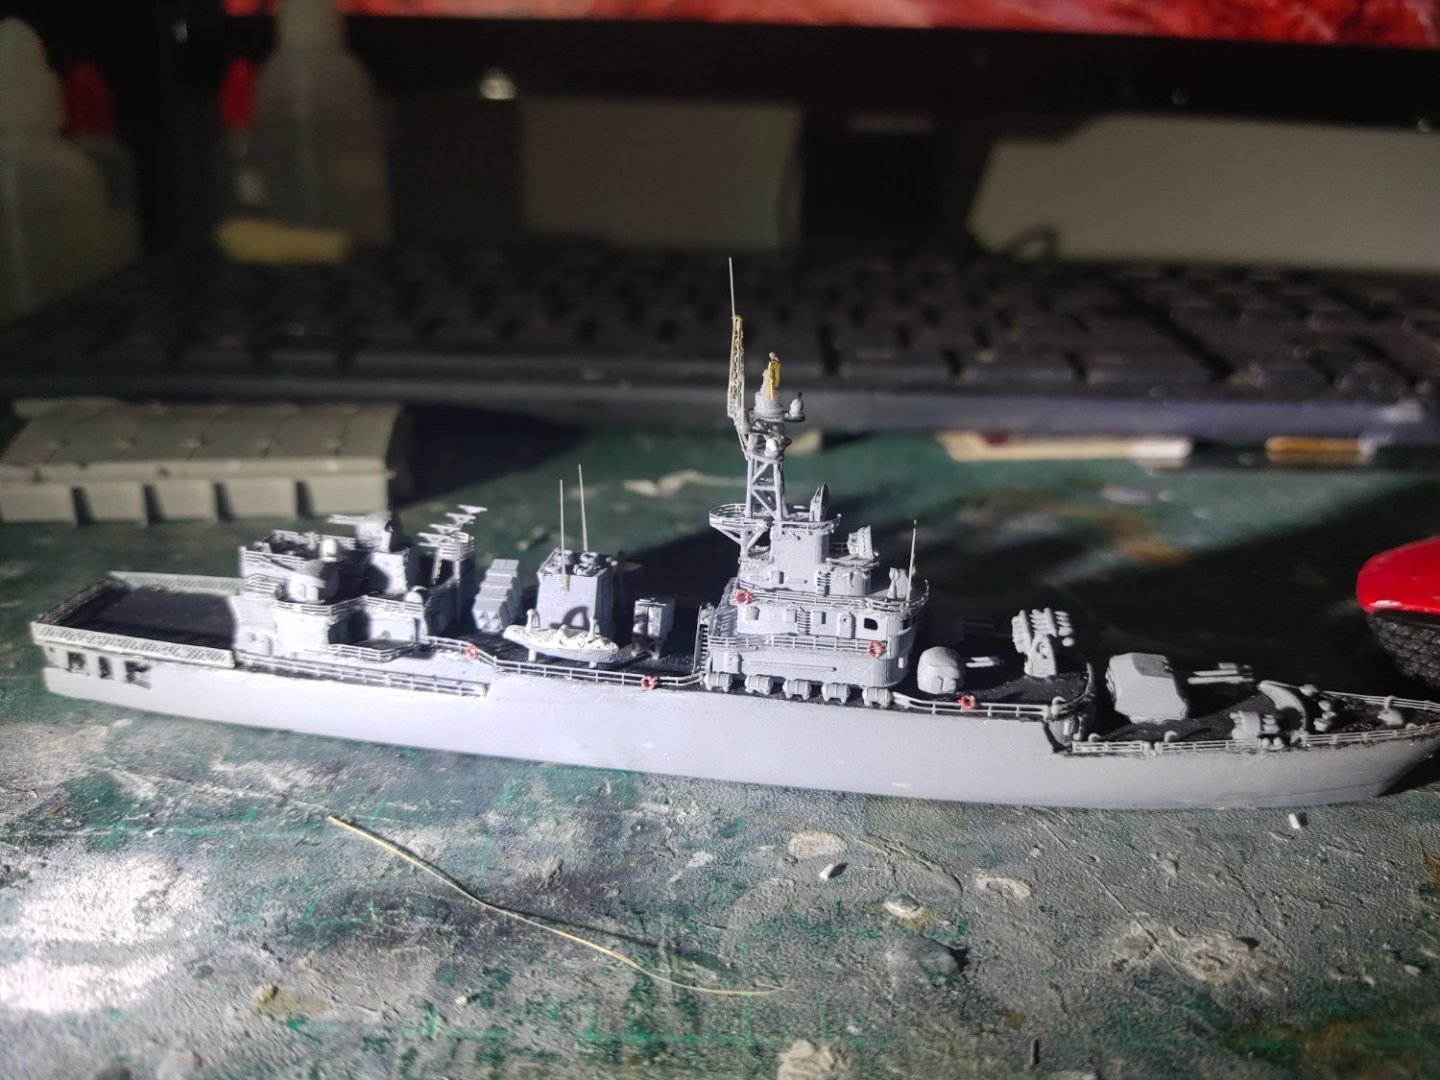
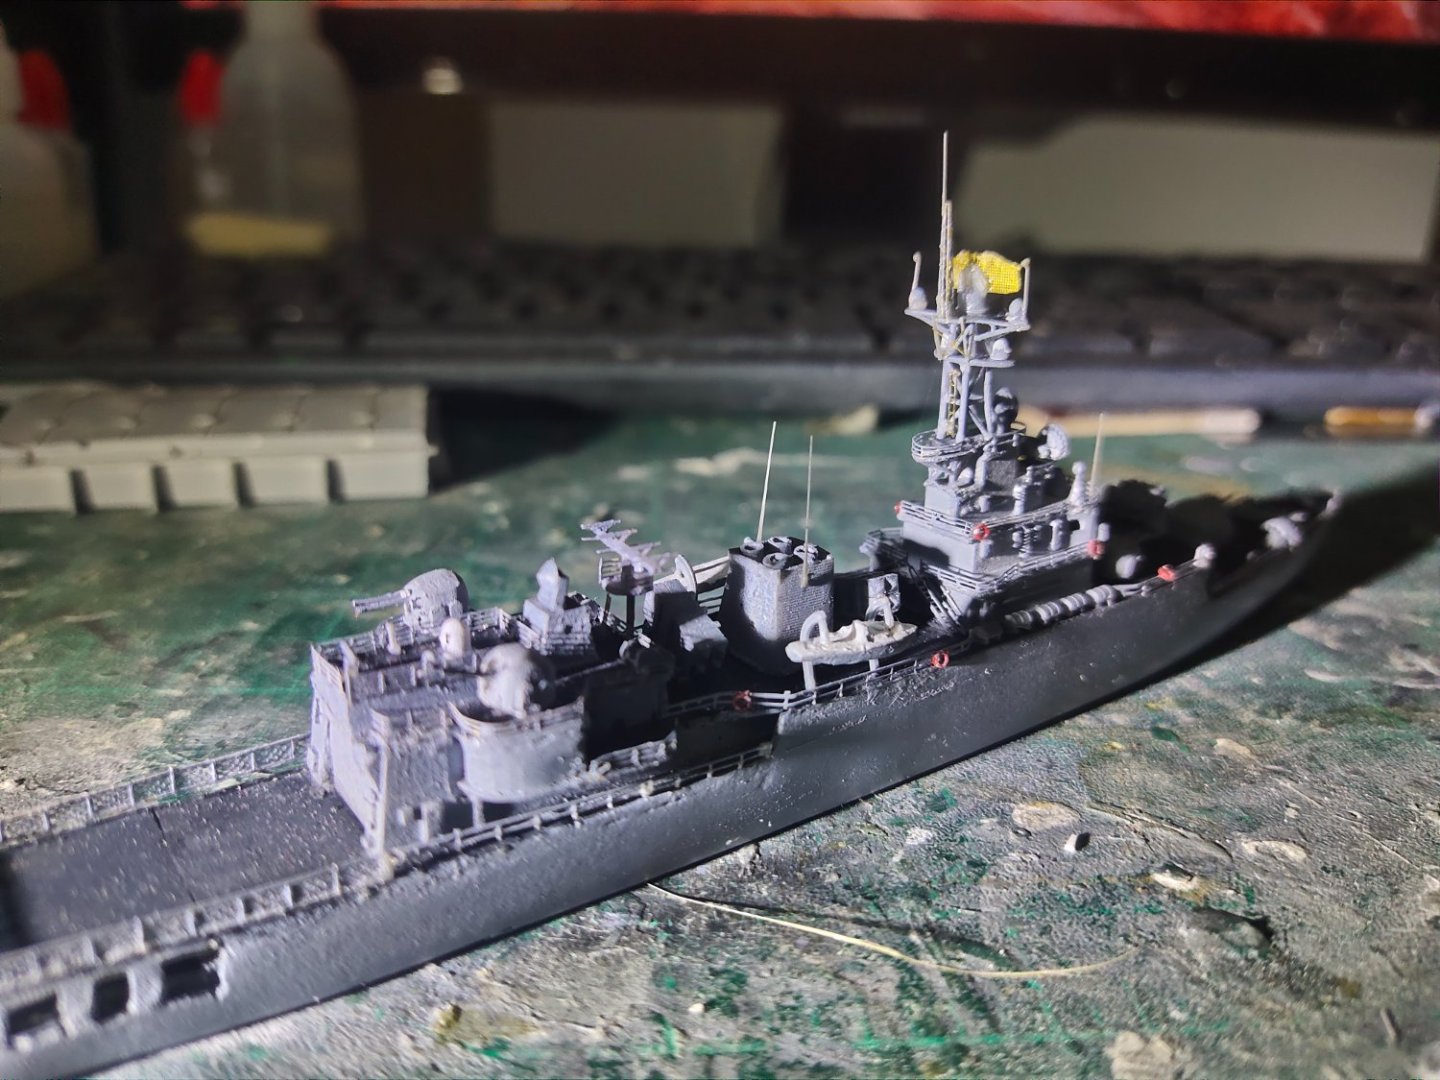
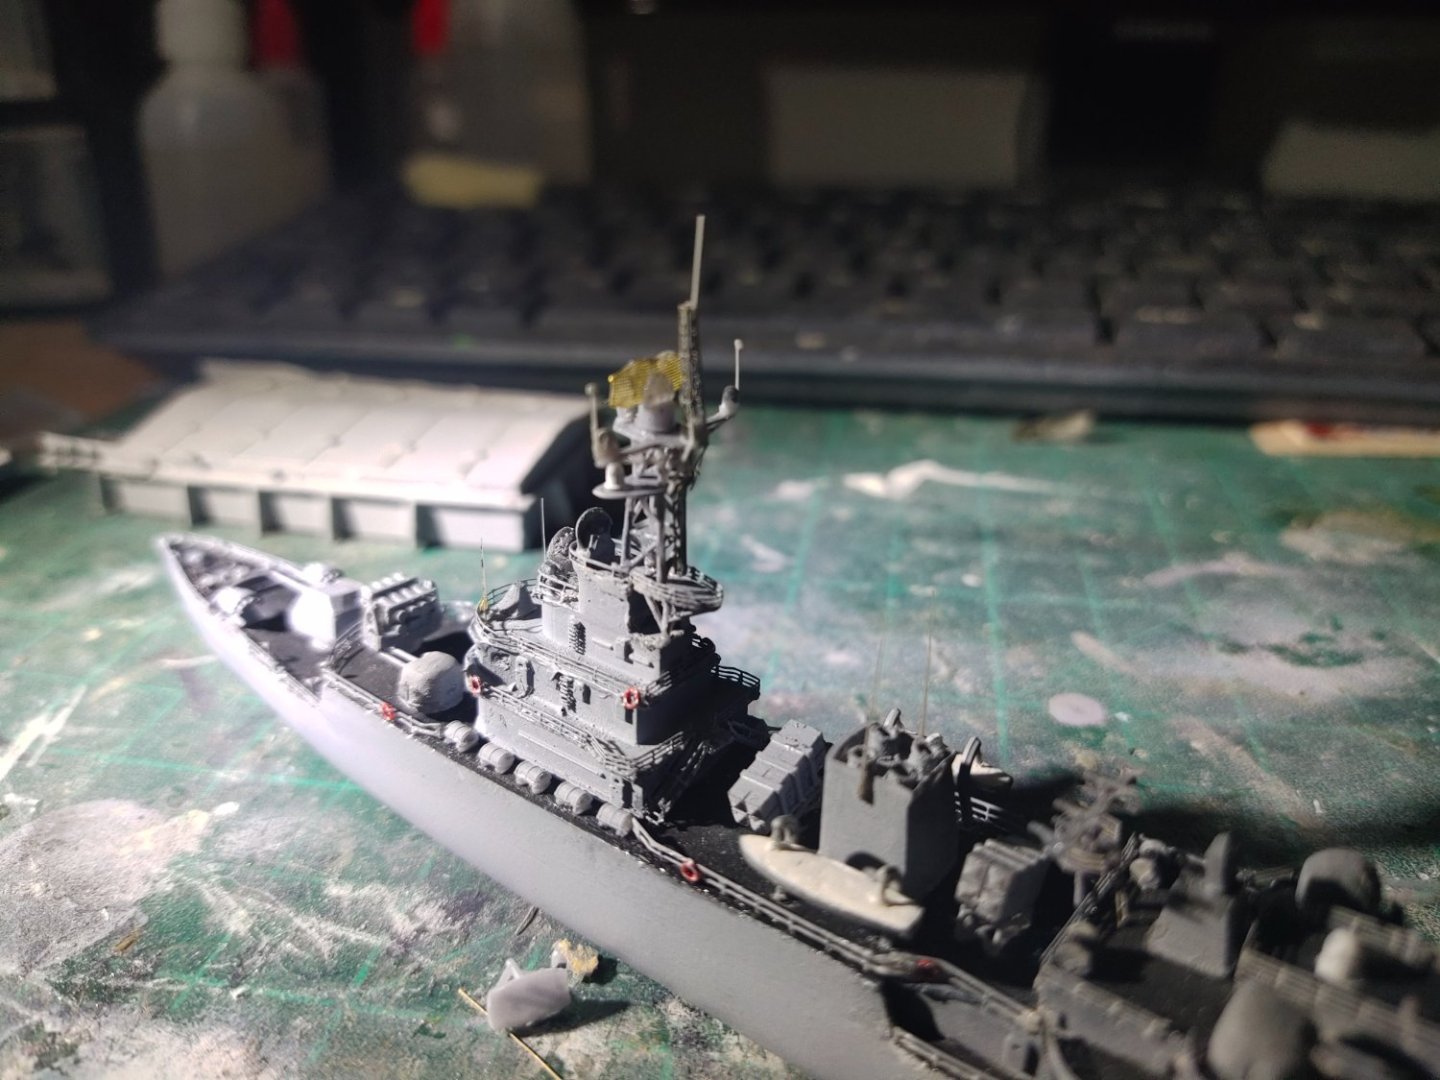
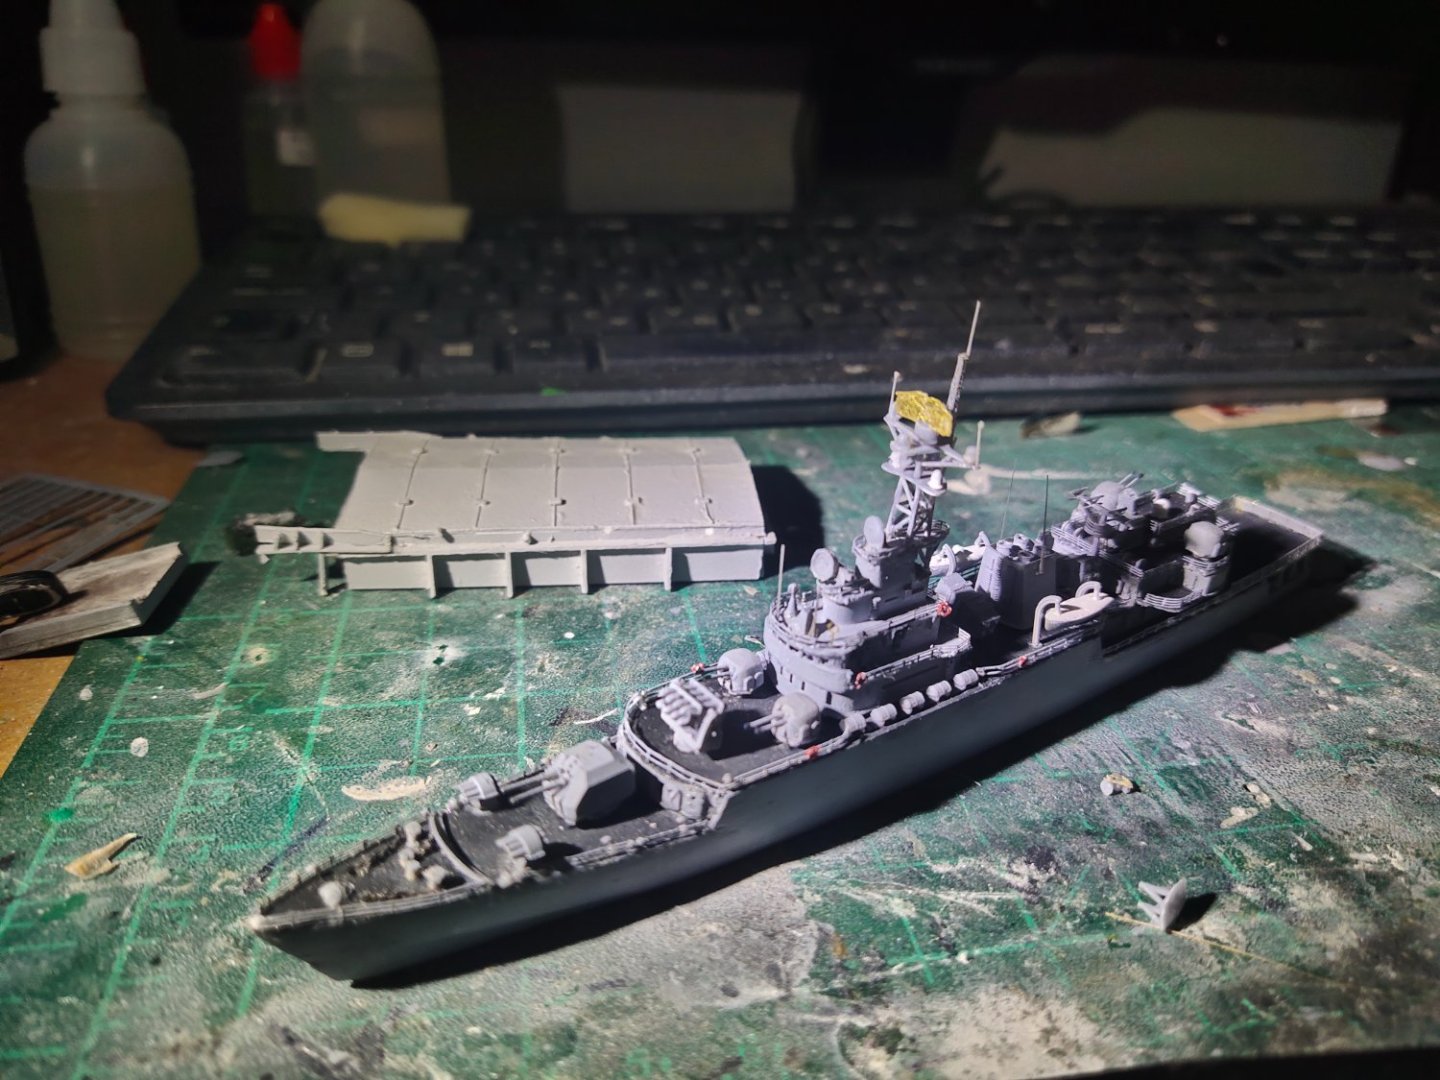
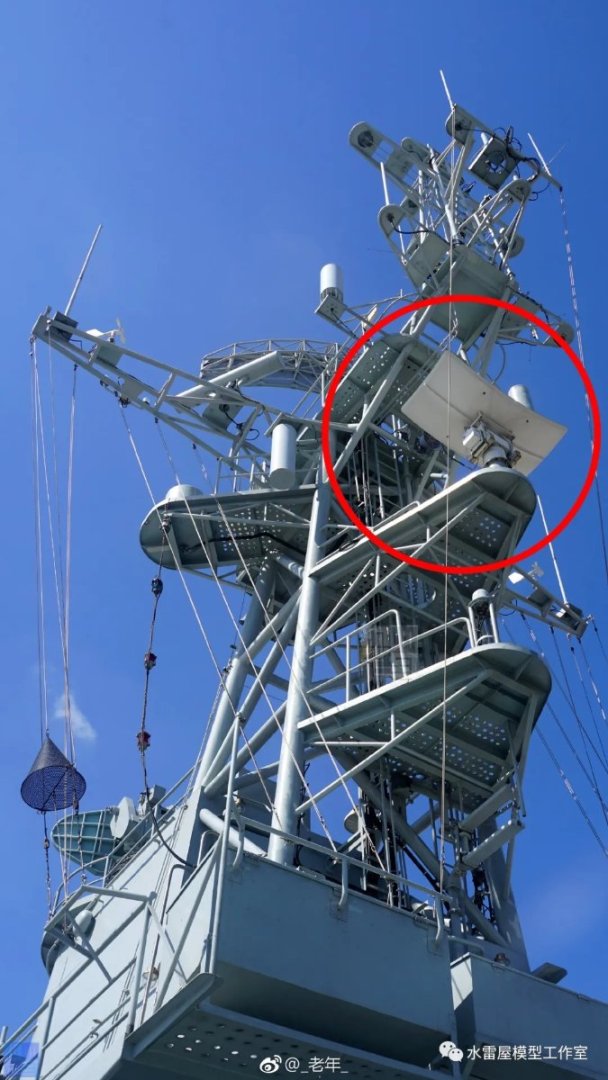
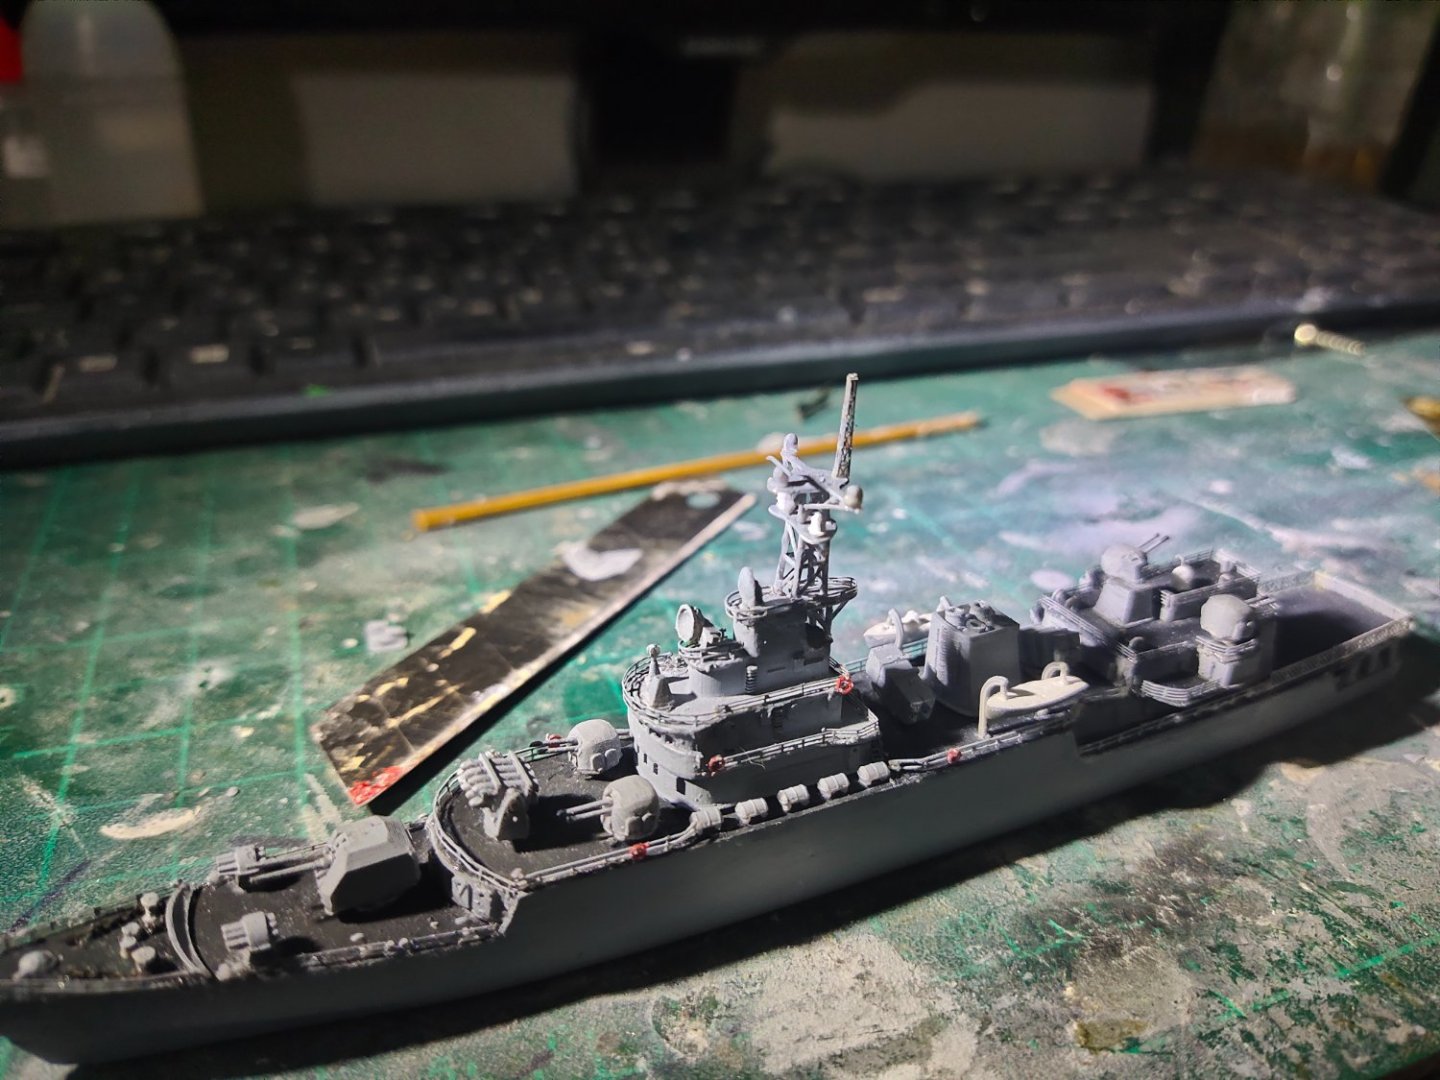
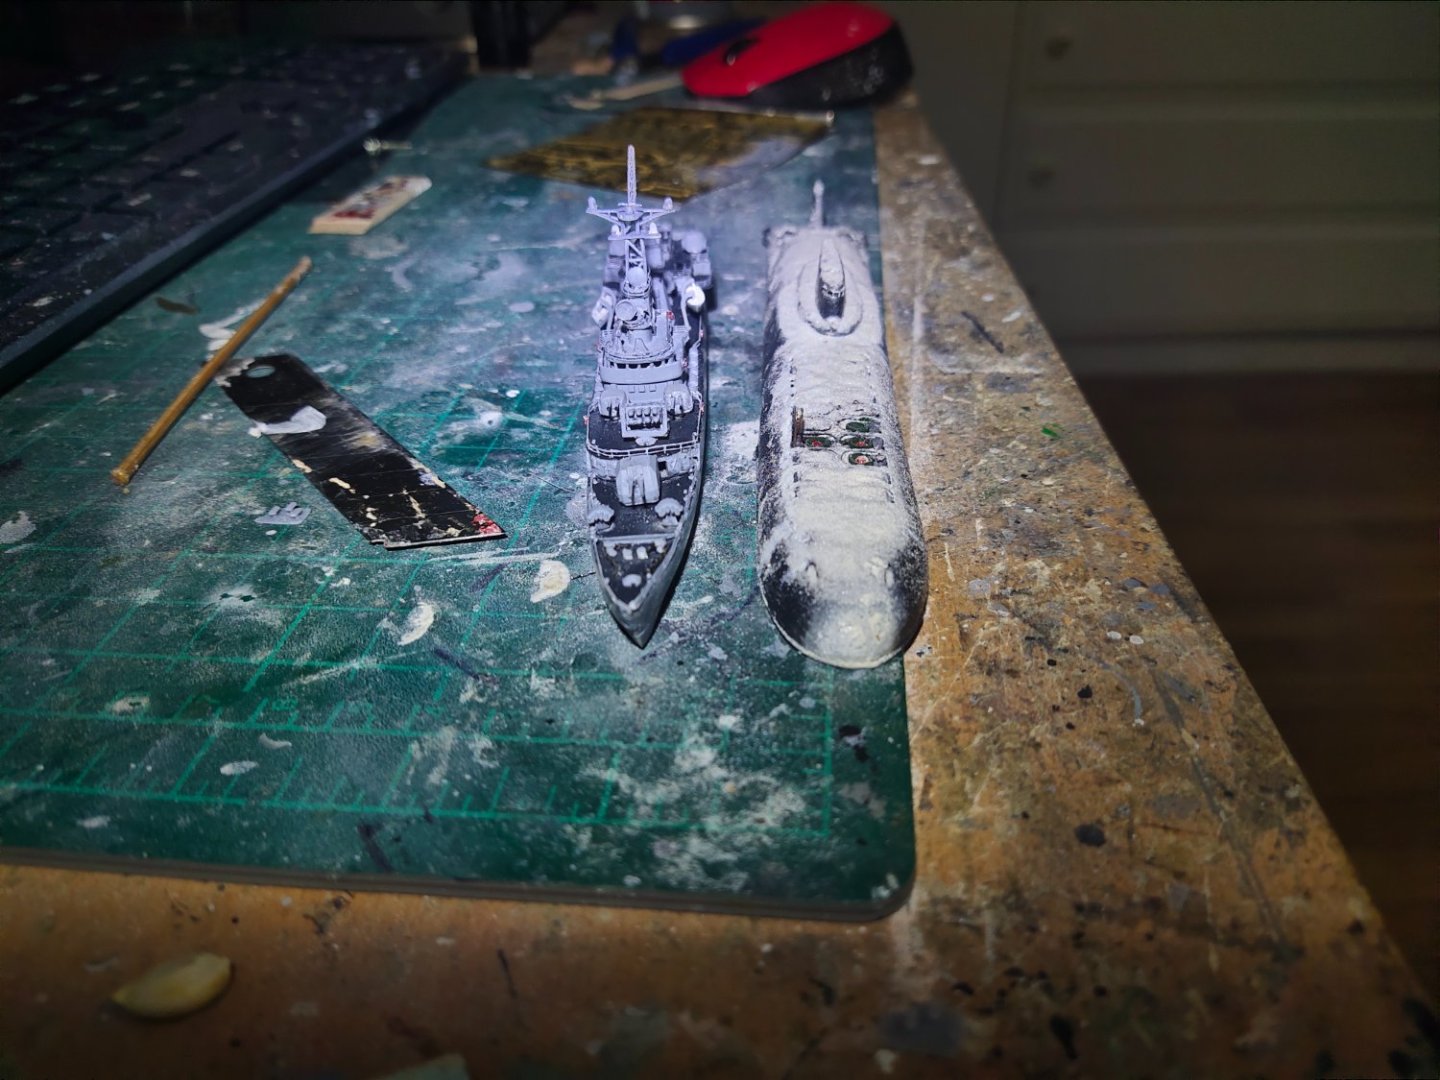
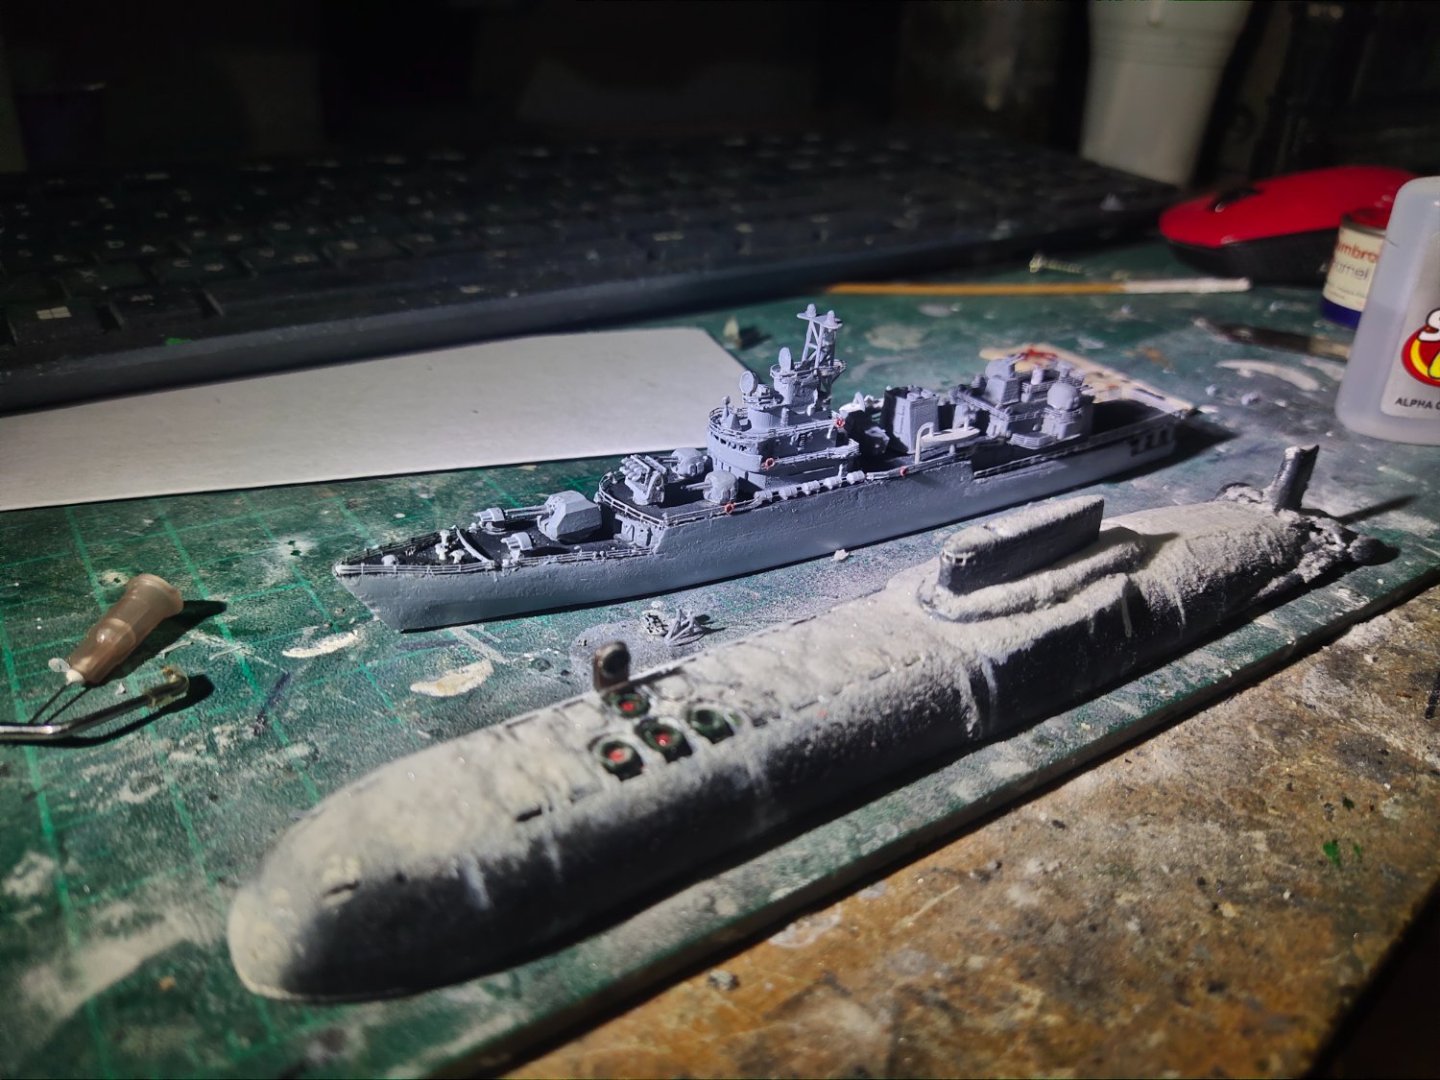
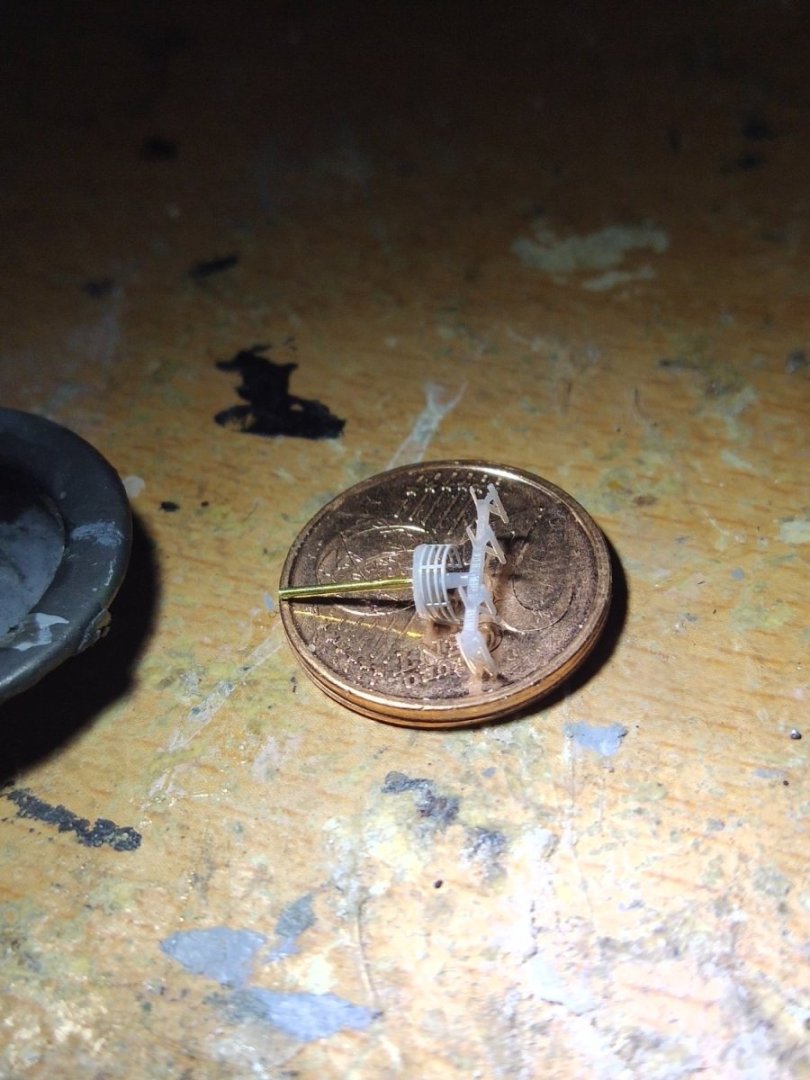
Α small update on the main mast as the last part was added. In a larger scale it could be a model its self with such complexity. In 1/700 is much simpler. I need to add the main radar. The most similar item in my stash is the SPS 40 but proved too big to fit on the platform. So I look for alternative. A shot with a Typhoon class sub. This is in 1/950 Once again thanks for the support on this tiny unfamous project.
-
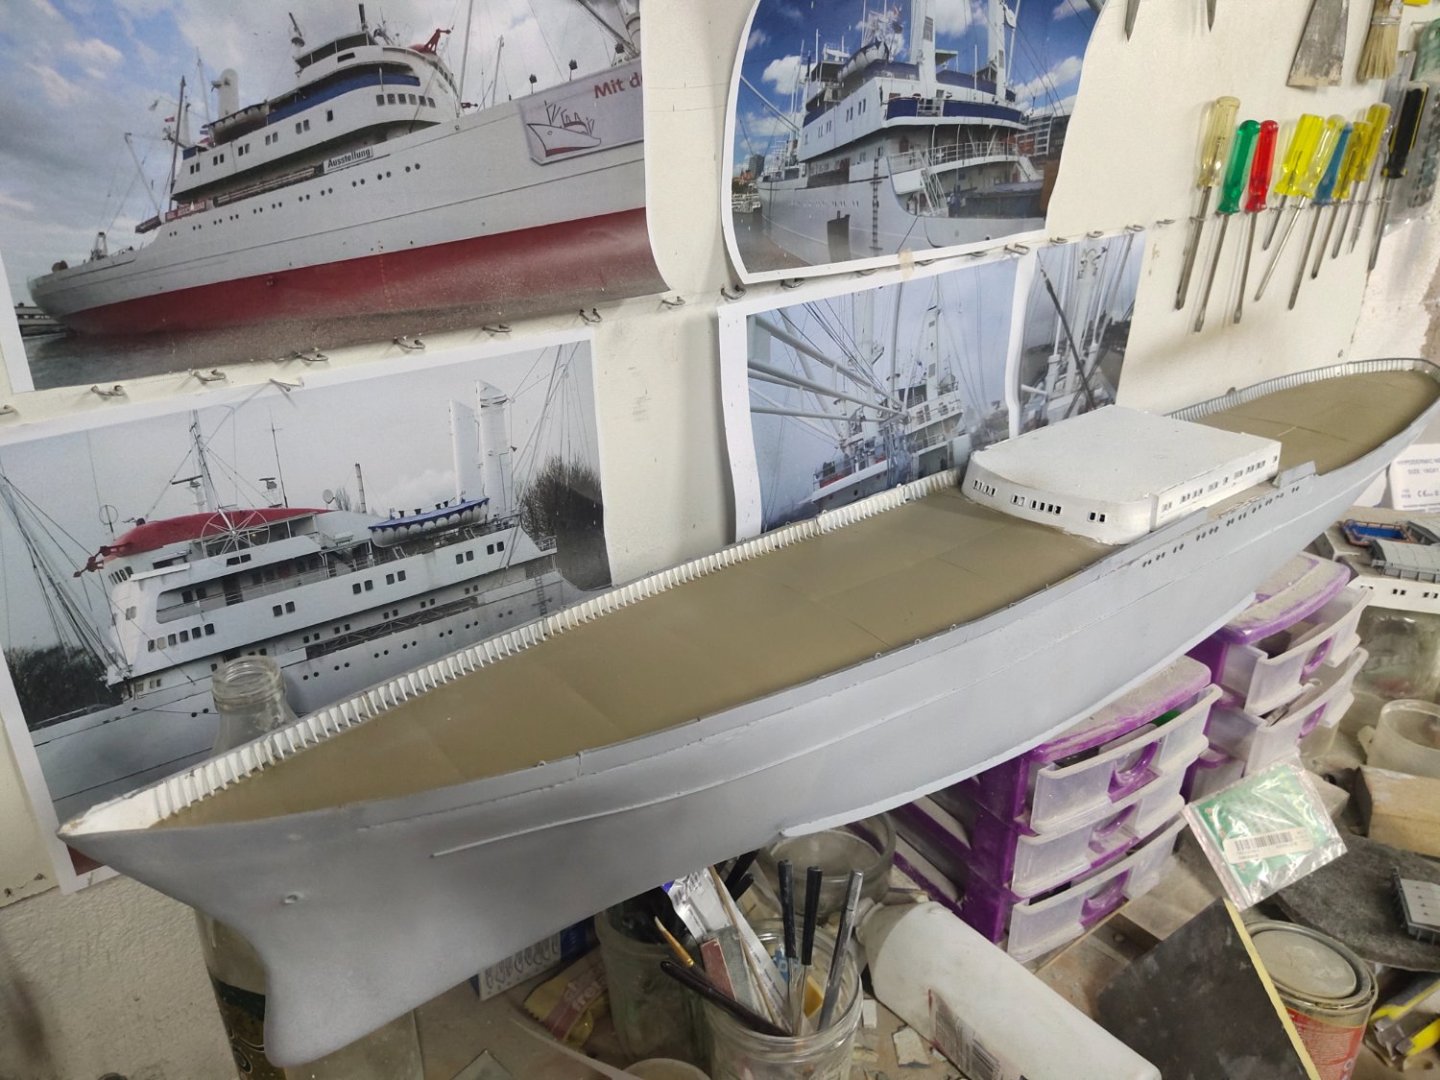
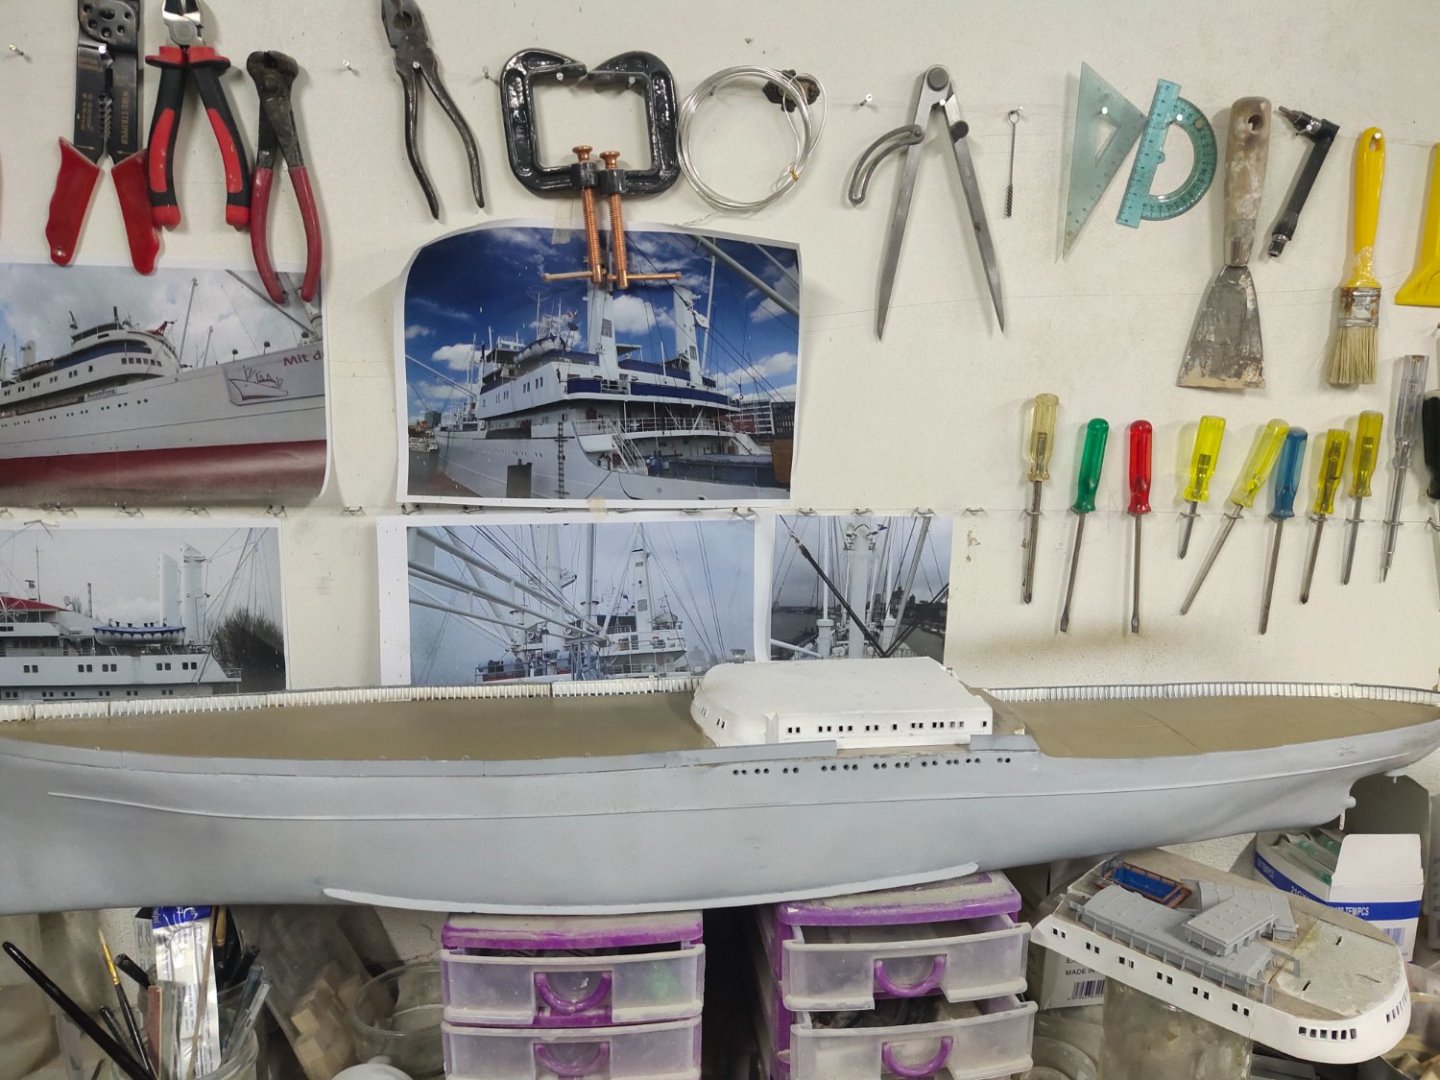
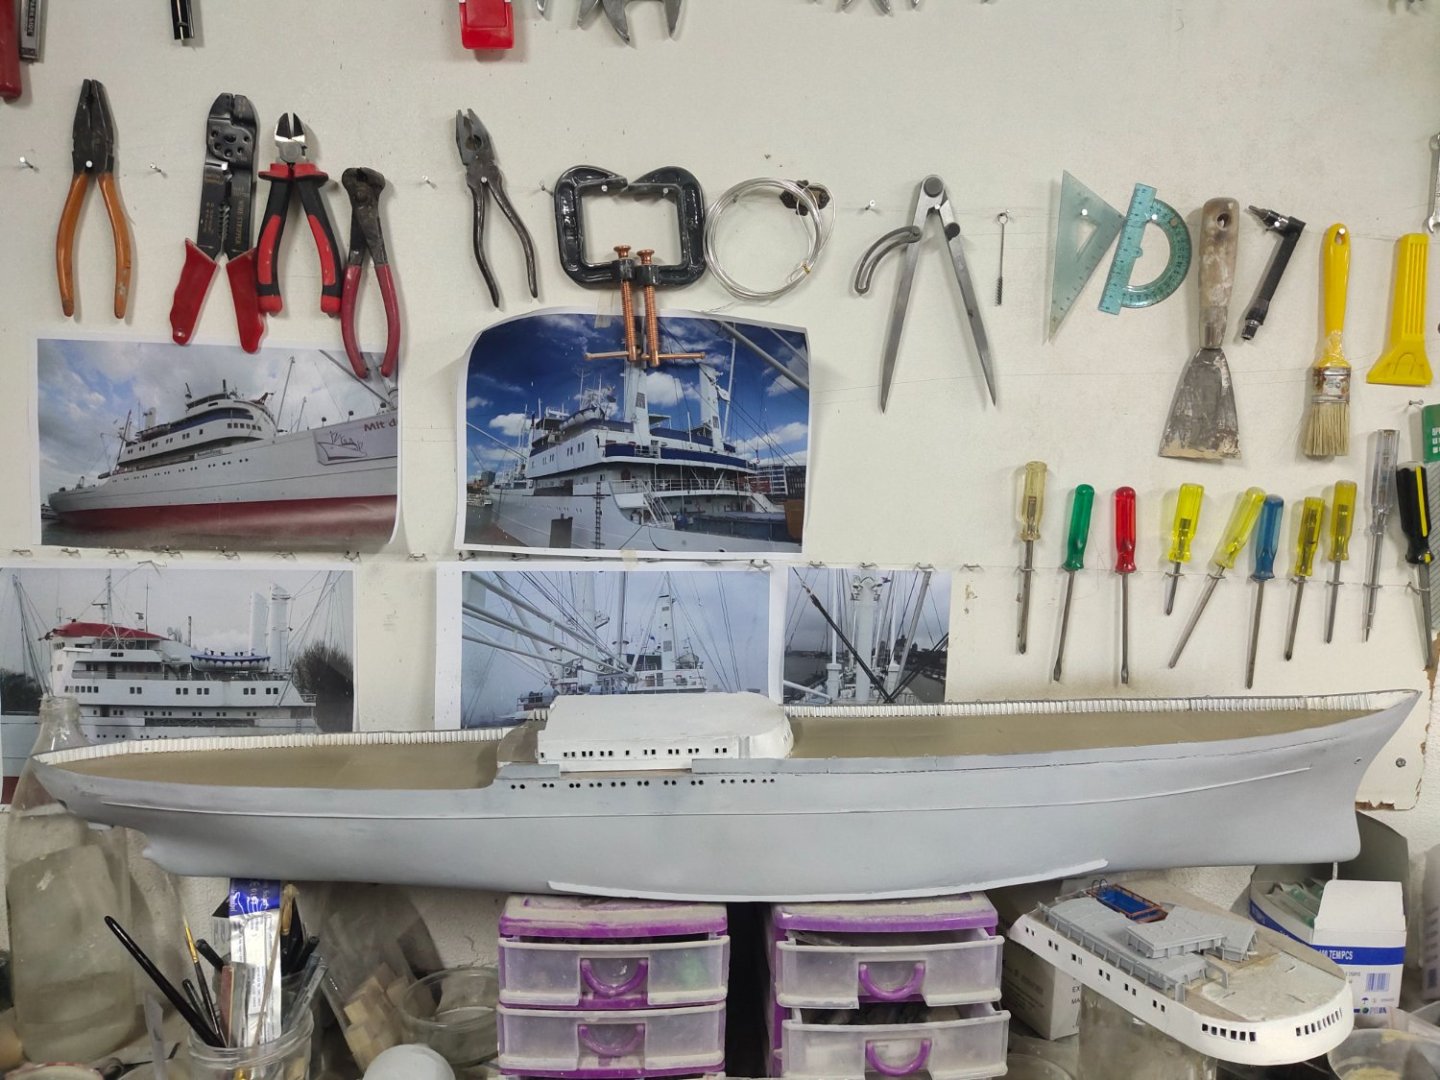
Cap San Diego by mikegr - 1/160
mikegr replied to mikegr's topic in - Build logs for subjects built 1901 - Present Day
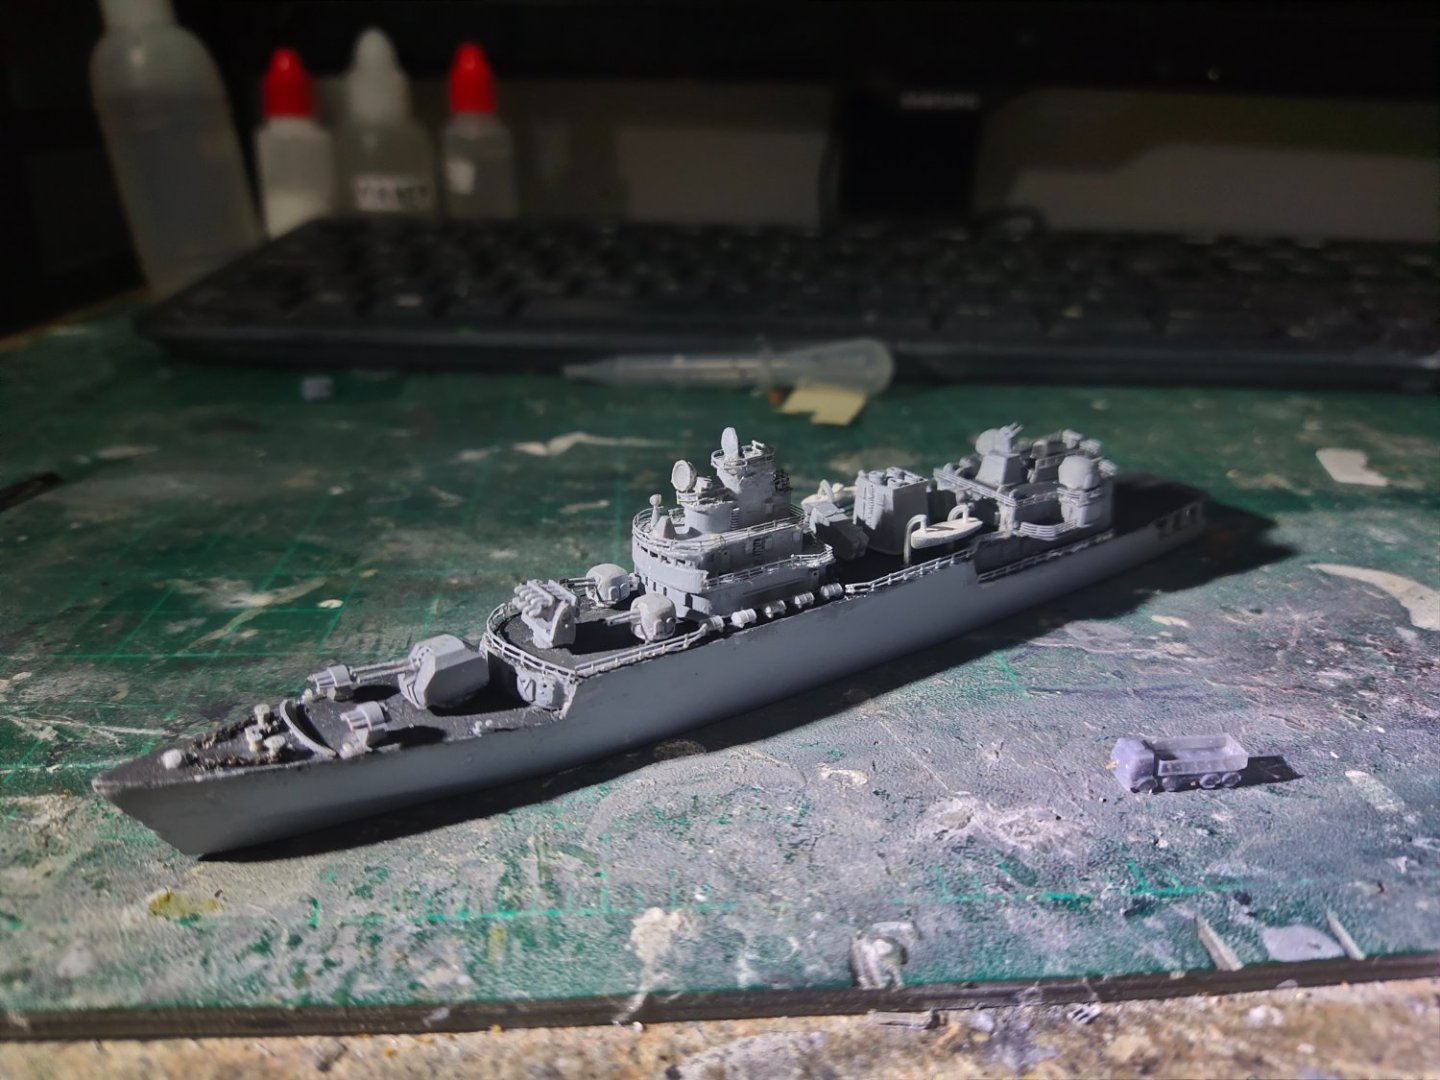
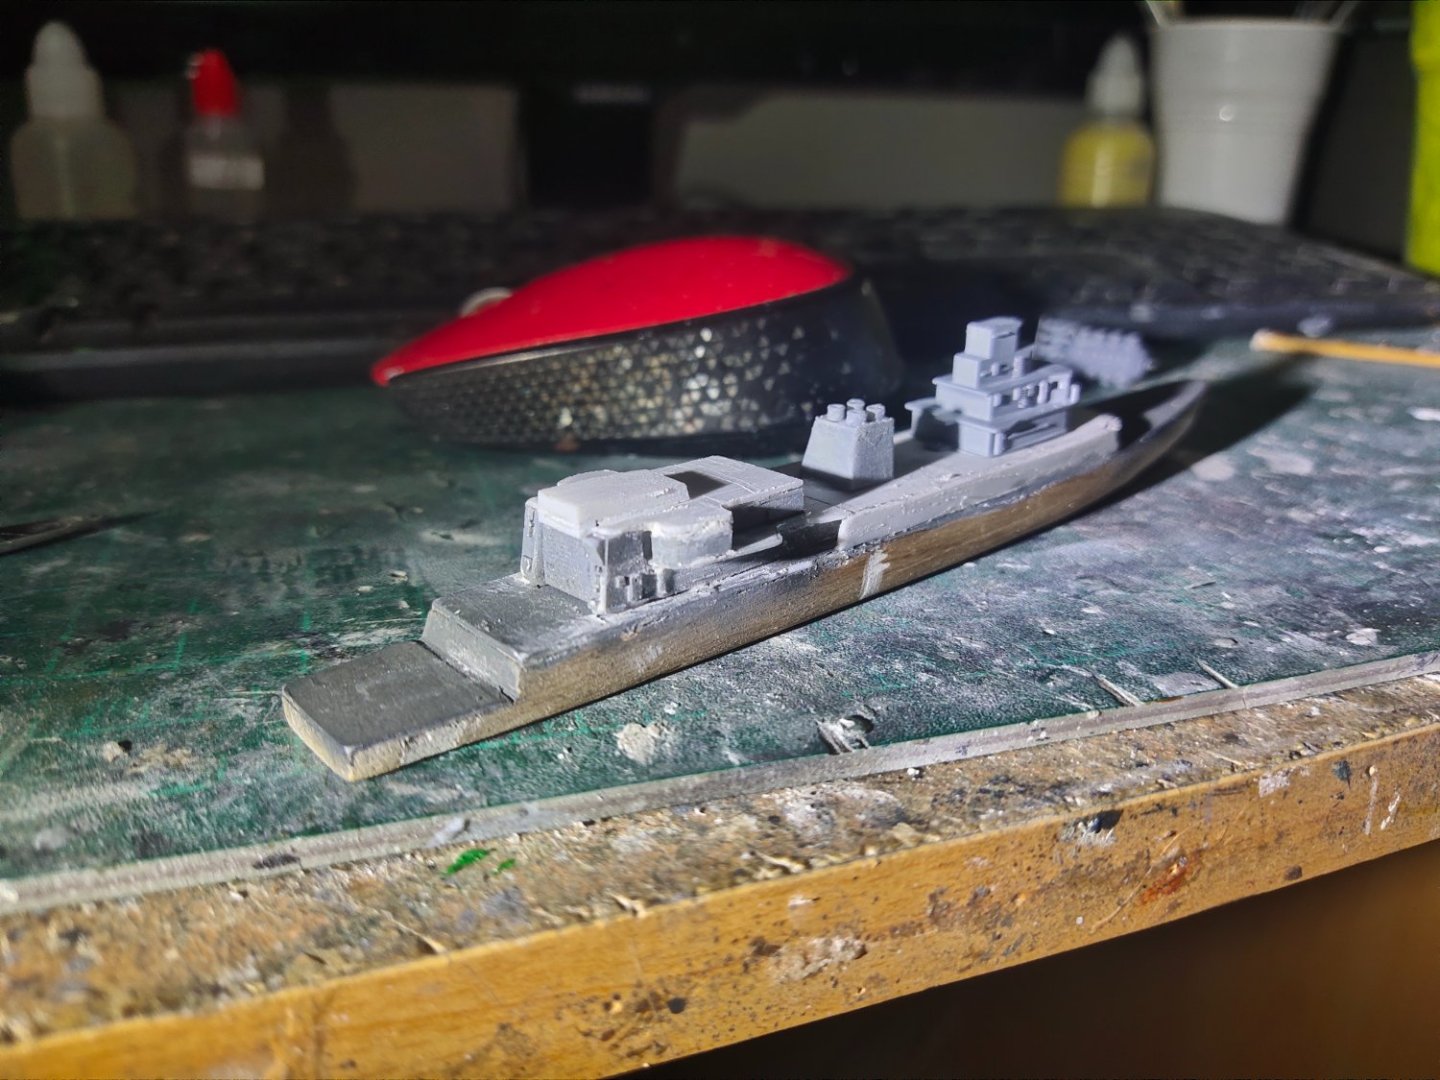
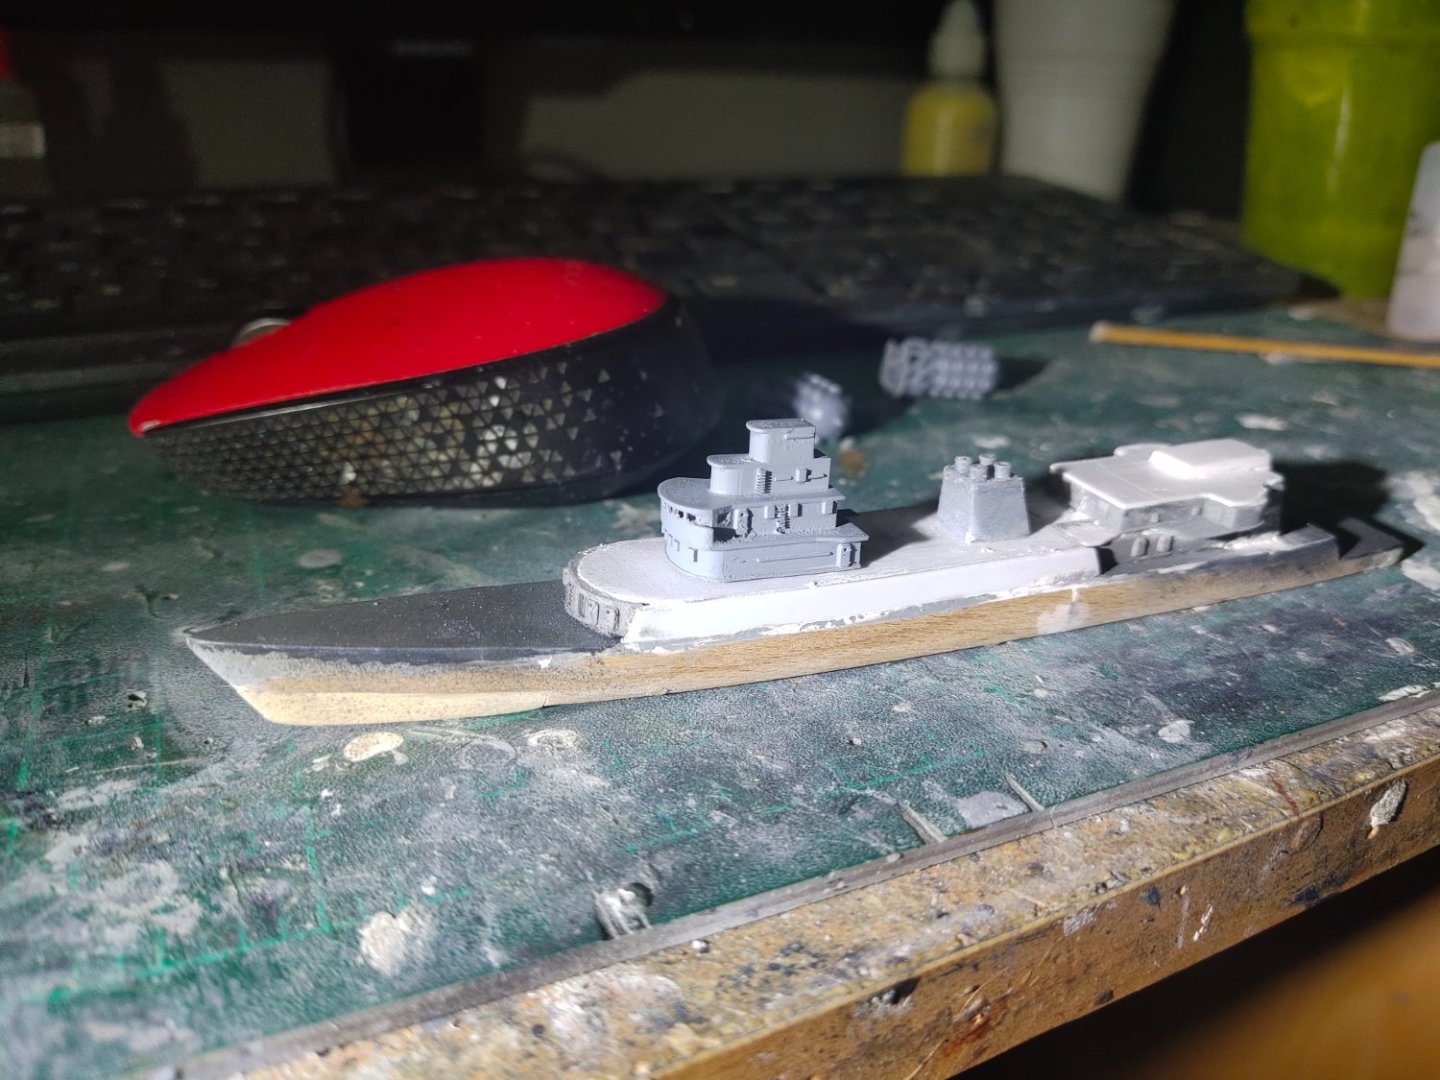
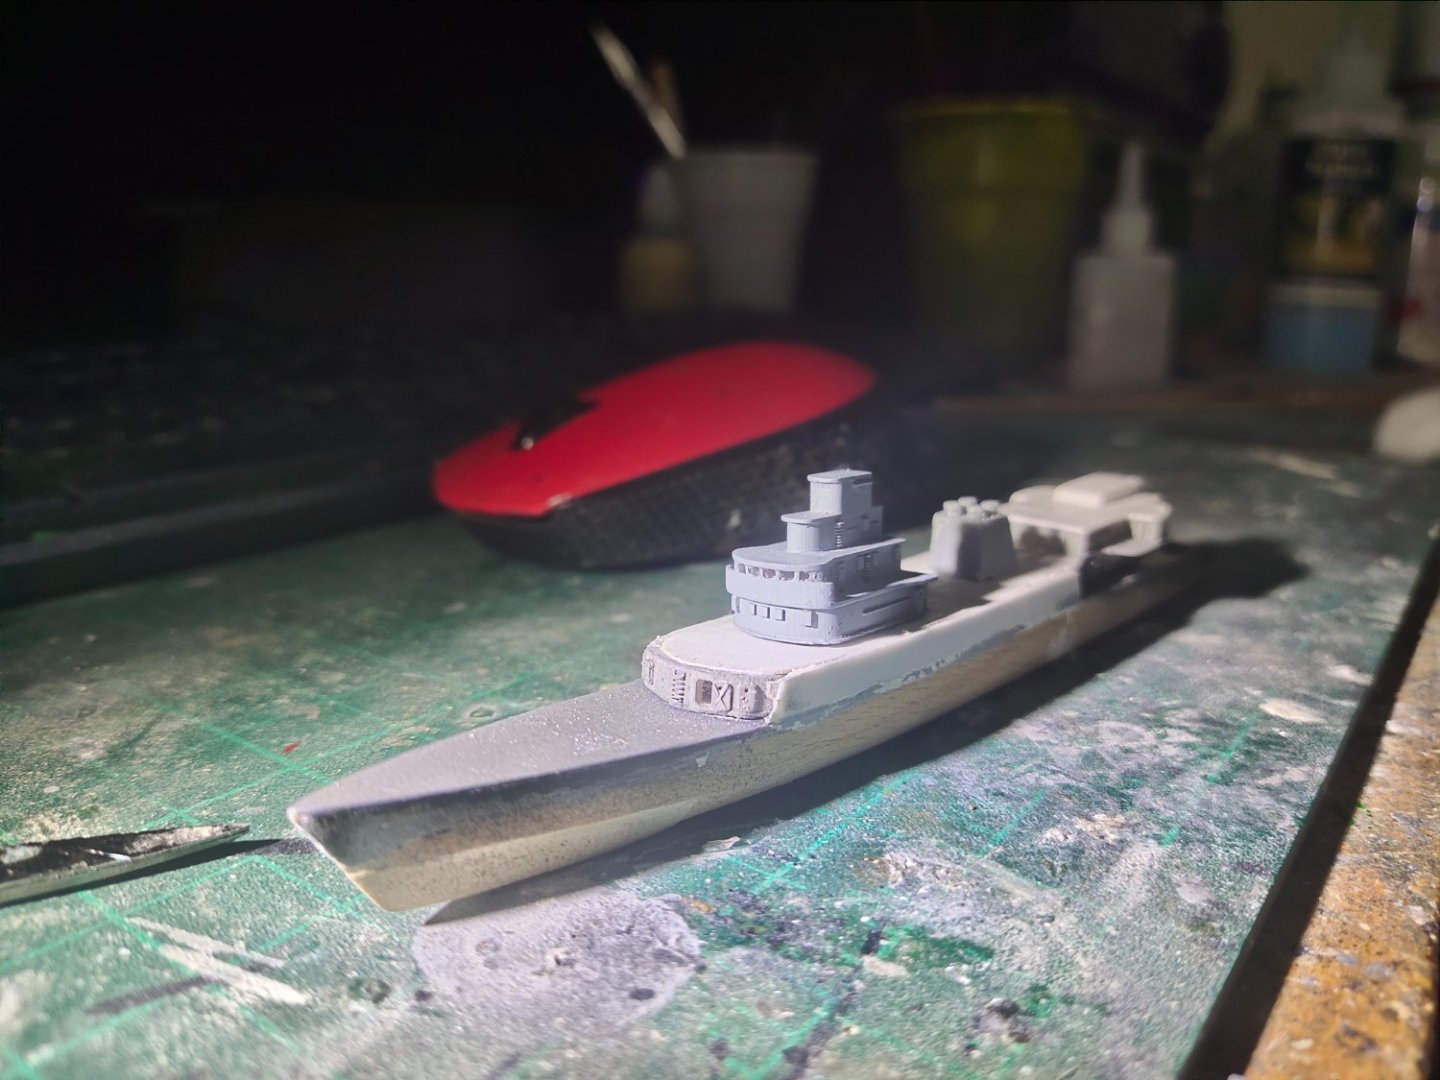
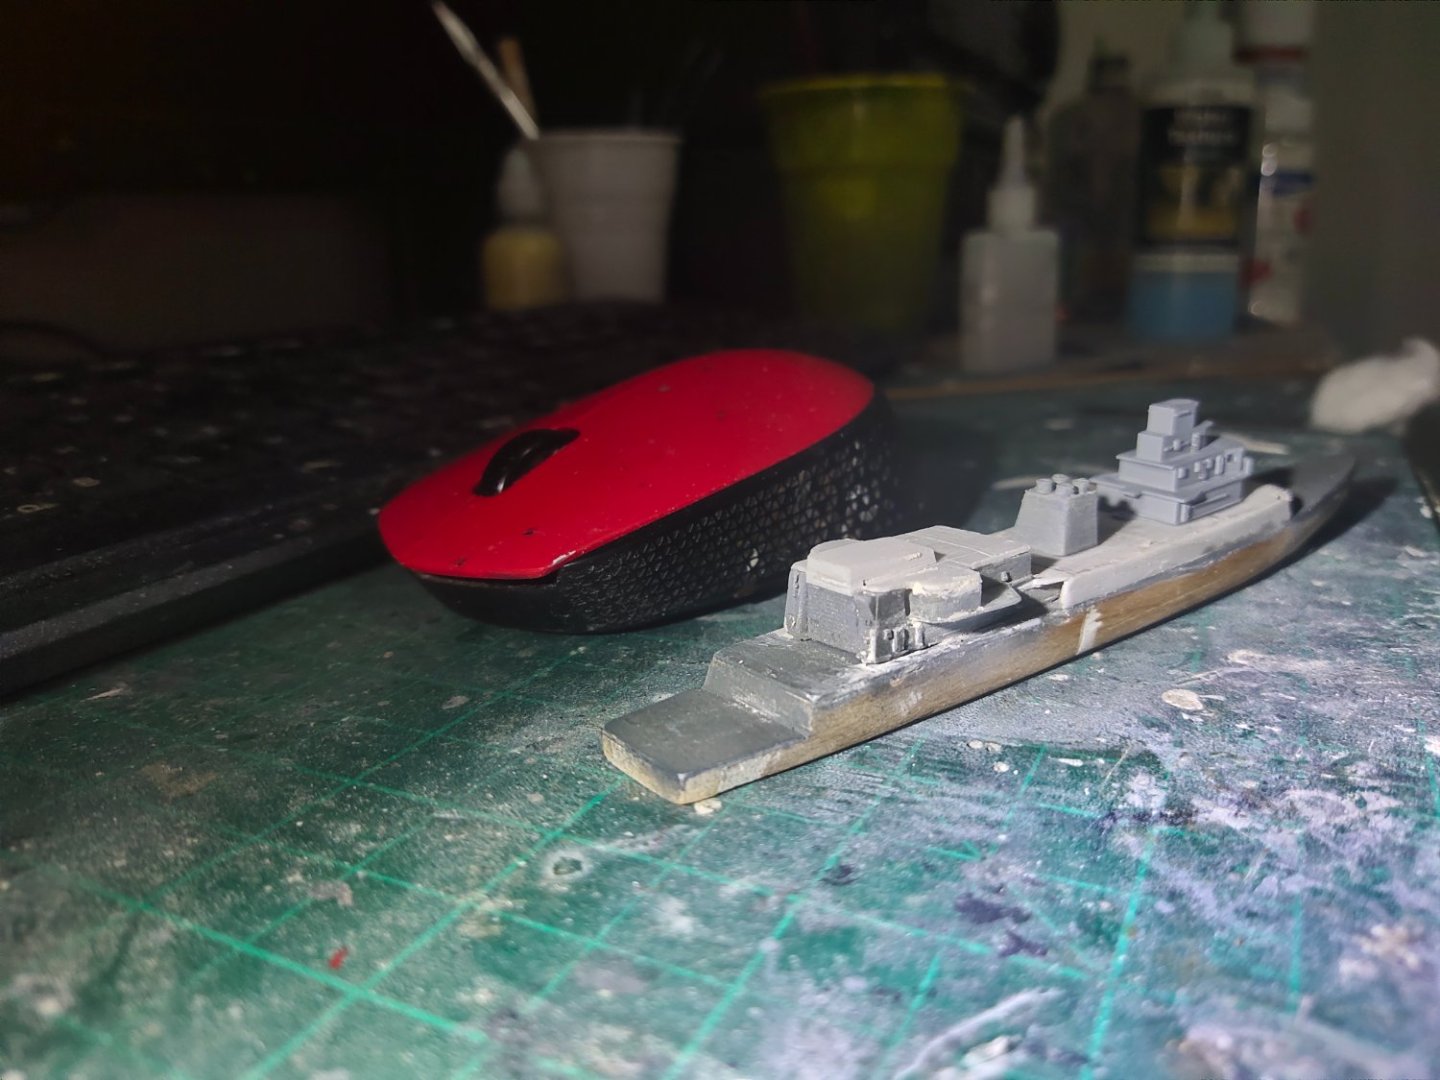
Santa Claus came and brought me a finished hull. I contribute a bit too. After 3 bottles of primer the salvaged hull is saved. Its not going to be perfect neither the model will be any away. -
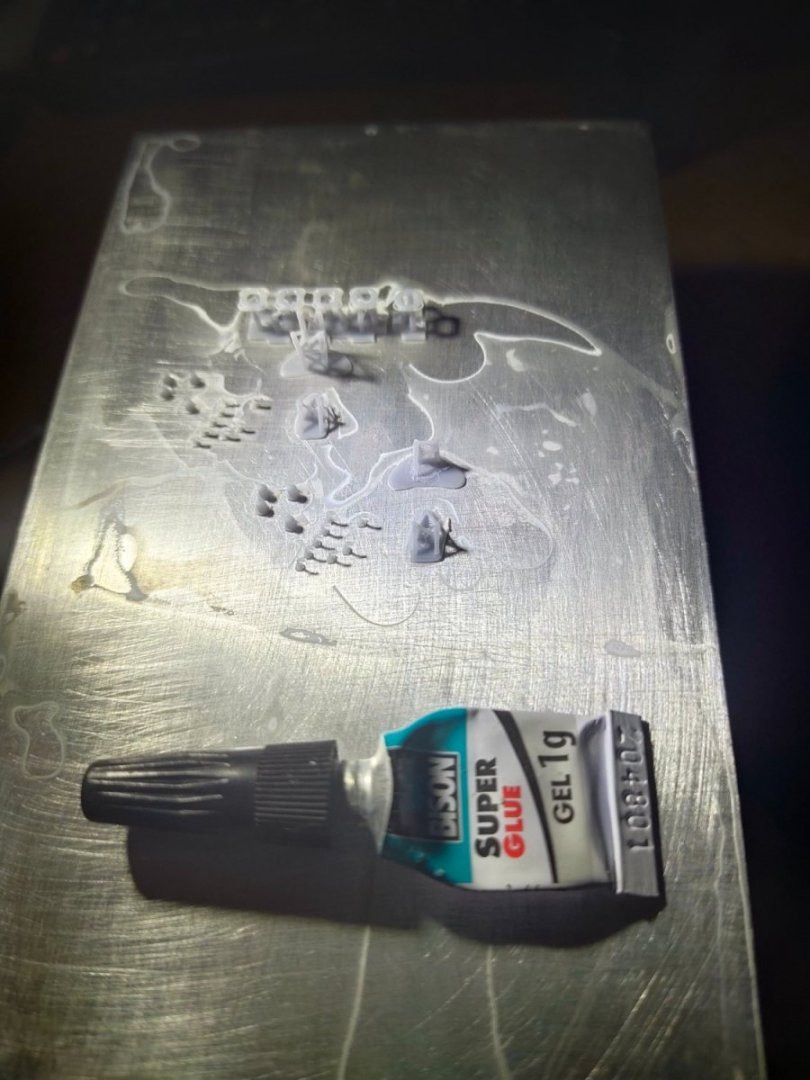
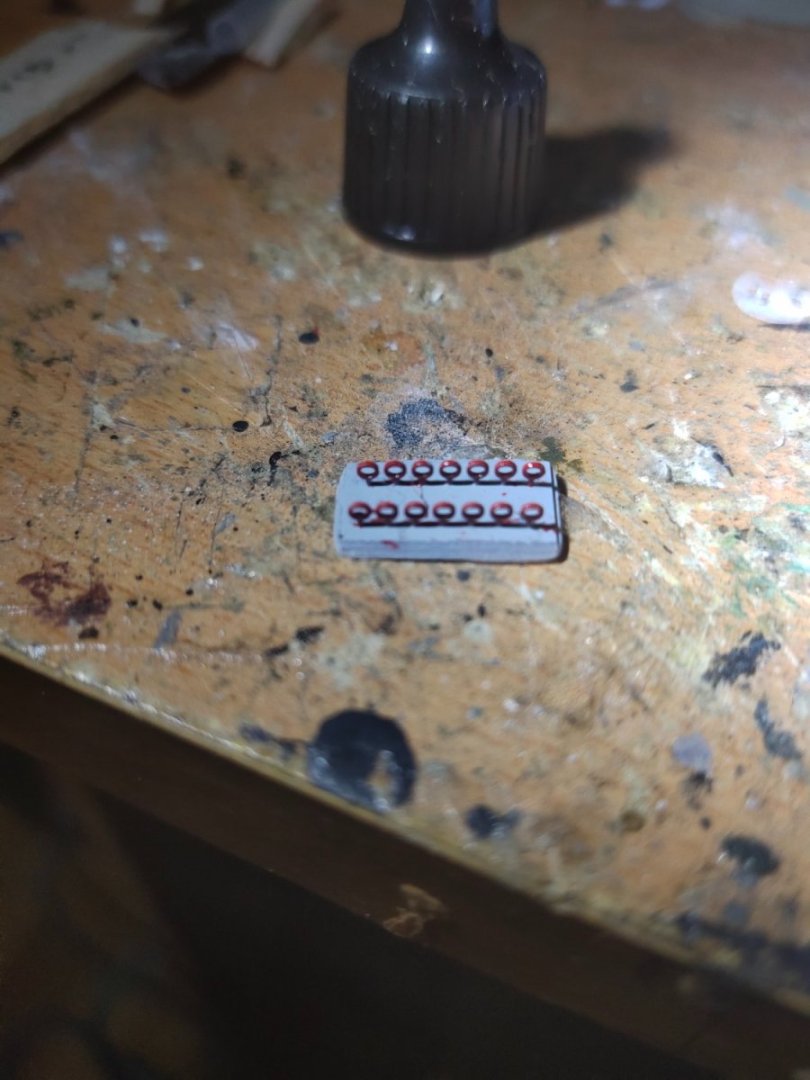
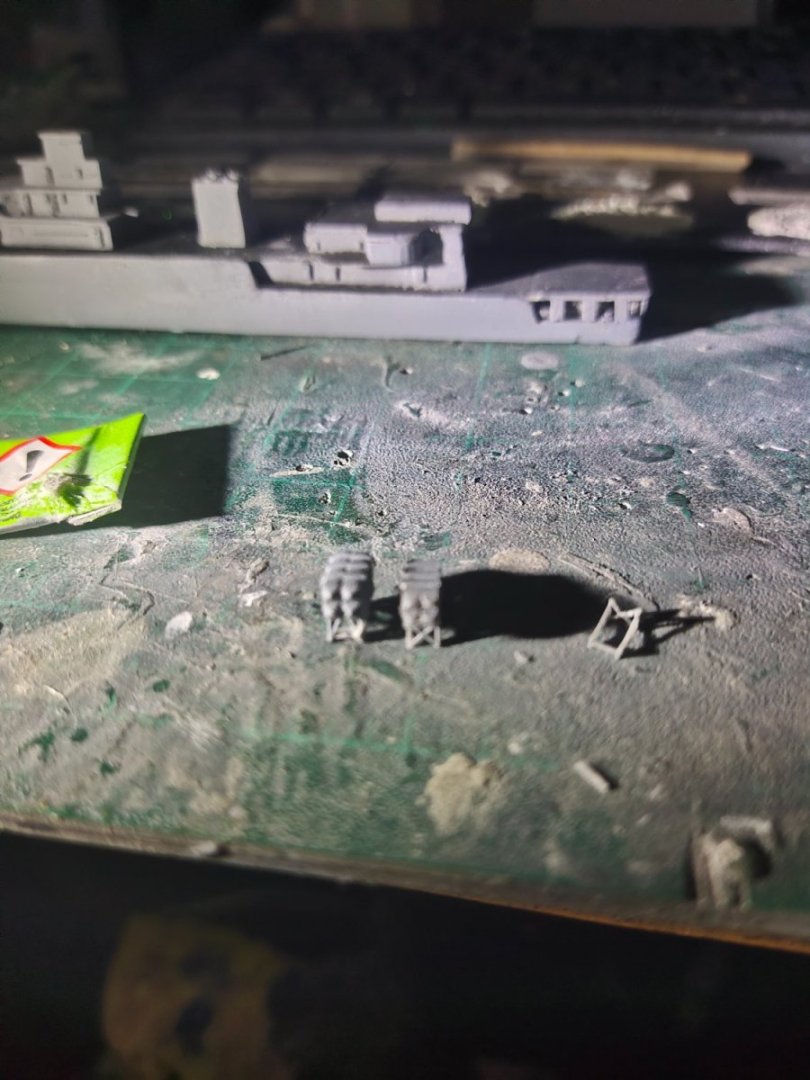
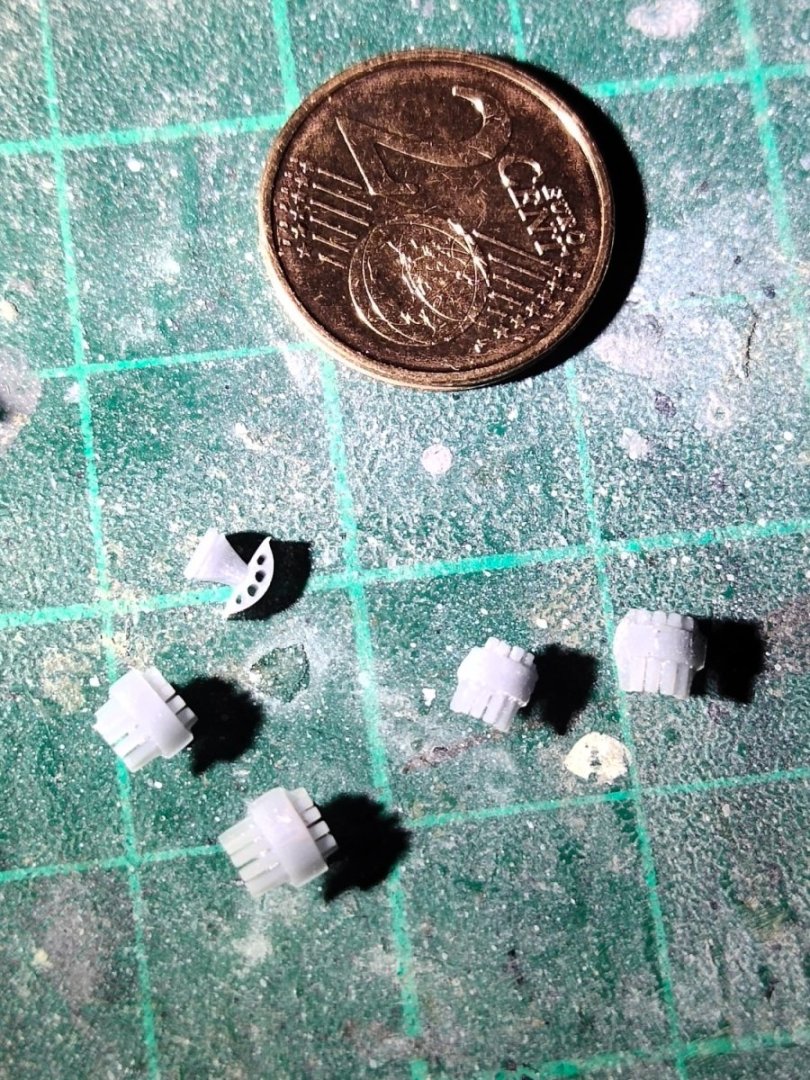
I thank all members for the encouraging comments and likes. Therefore I decided to step up with the details. Radar base and mast is not the only addition. I also printed and fitted some air vents especially at the bow. 2mm in height each, you can see at the building plate along with radar parts and some test print life rings in 1/350.
-
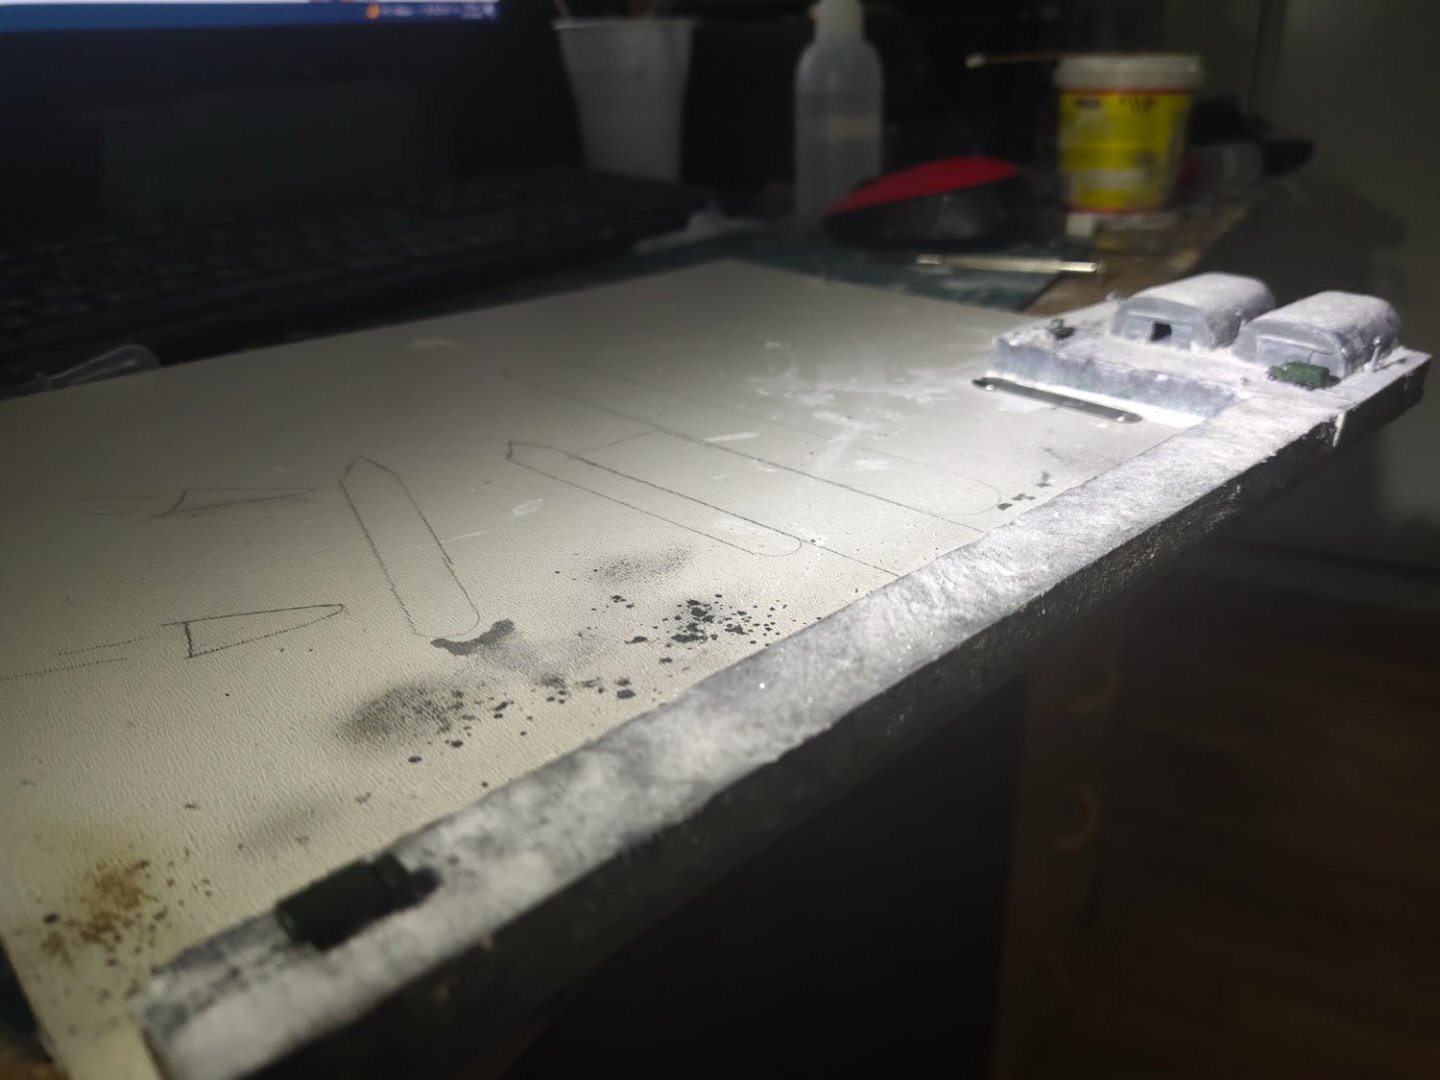
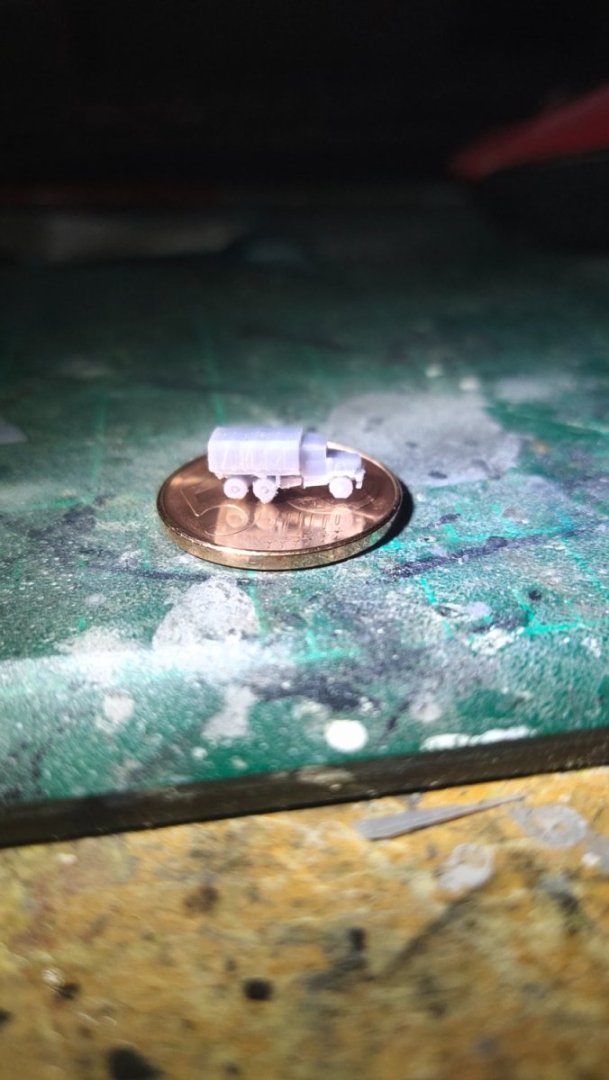
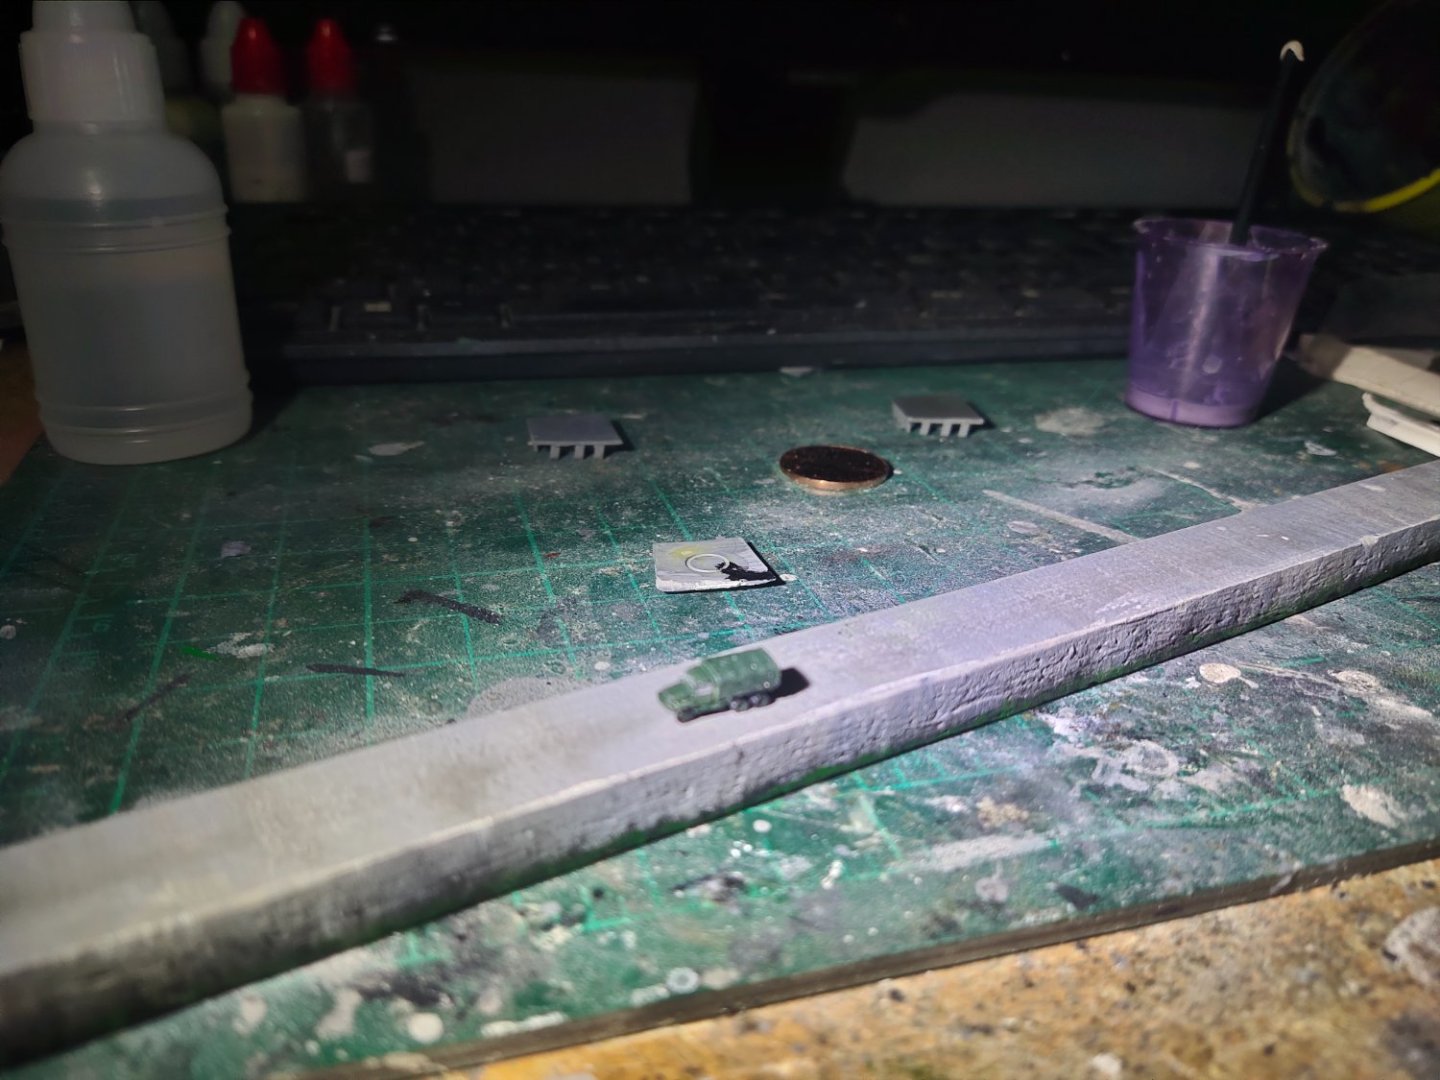
Thanks for the encouraging comments and likes. I need to experiment a lot because it is the same materials that will be used for making sea waves. I decided to add some motion but figures at that scale is out of question. So I added some vehicles. A light coat of gel was given, then microballoons sprinkled over , thicker in some places, less in other. A bit of white glitters added, I like the shinny effect on light. Some putty on the base to fill a gap. Gel is not dried yet but I couldn't wait for tomorrow pics were taken today.
-
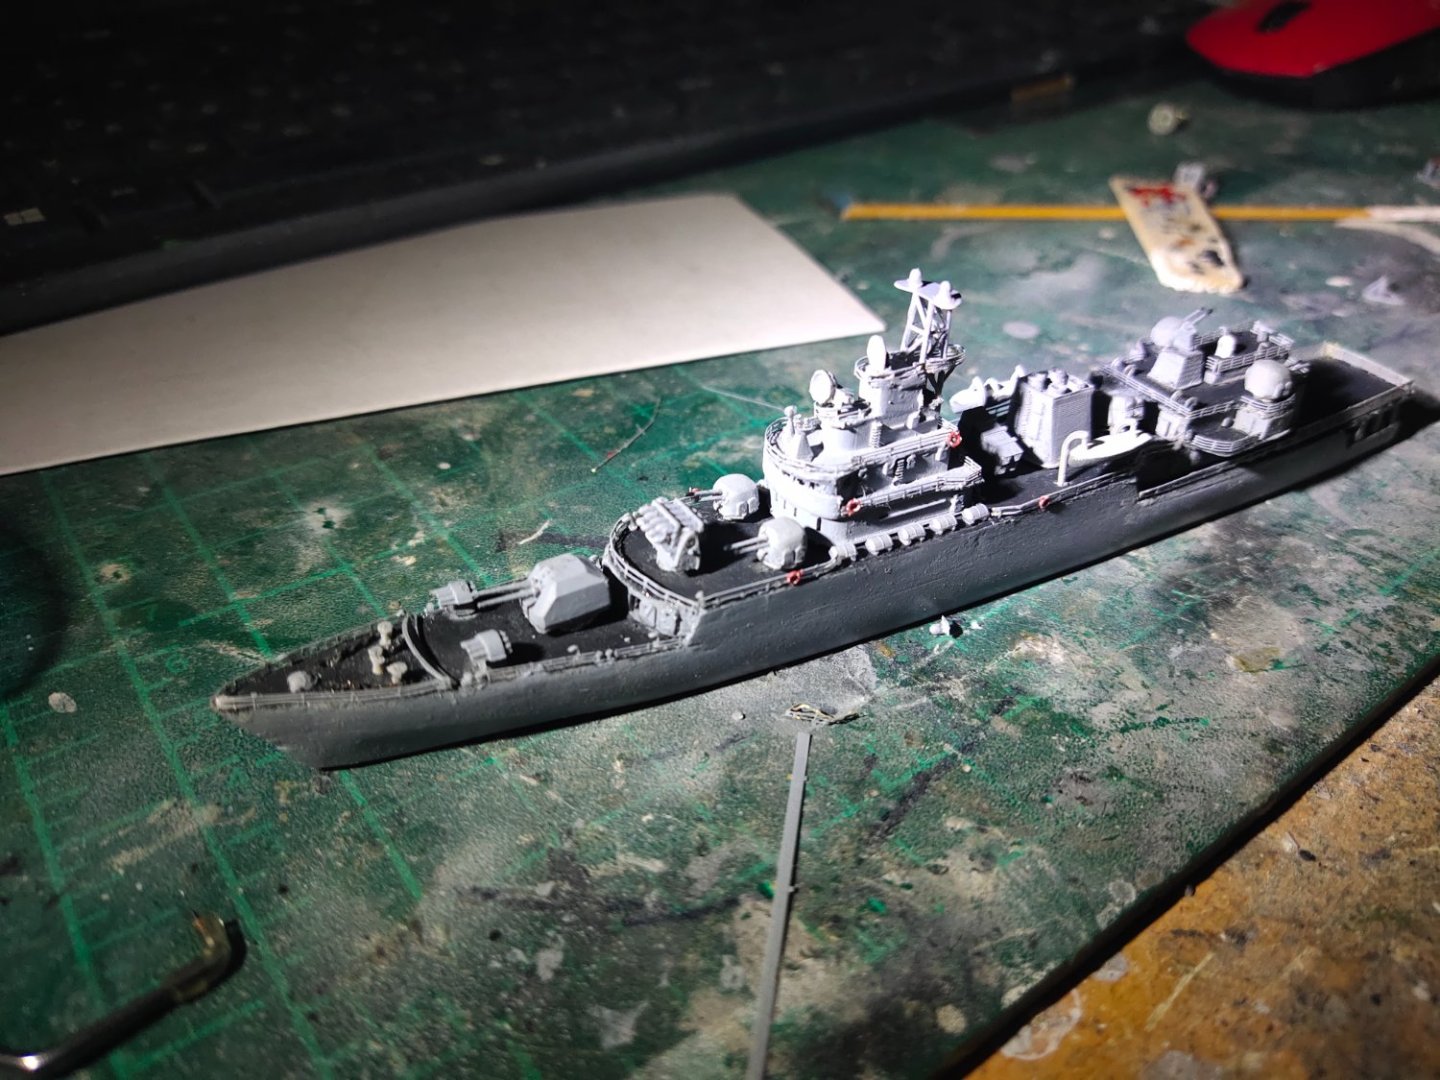
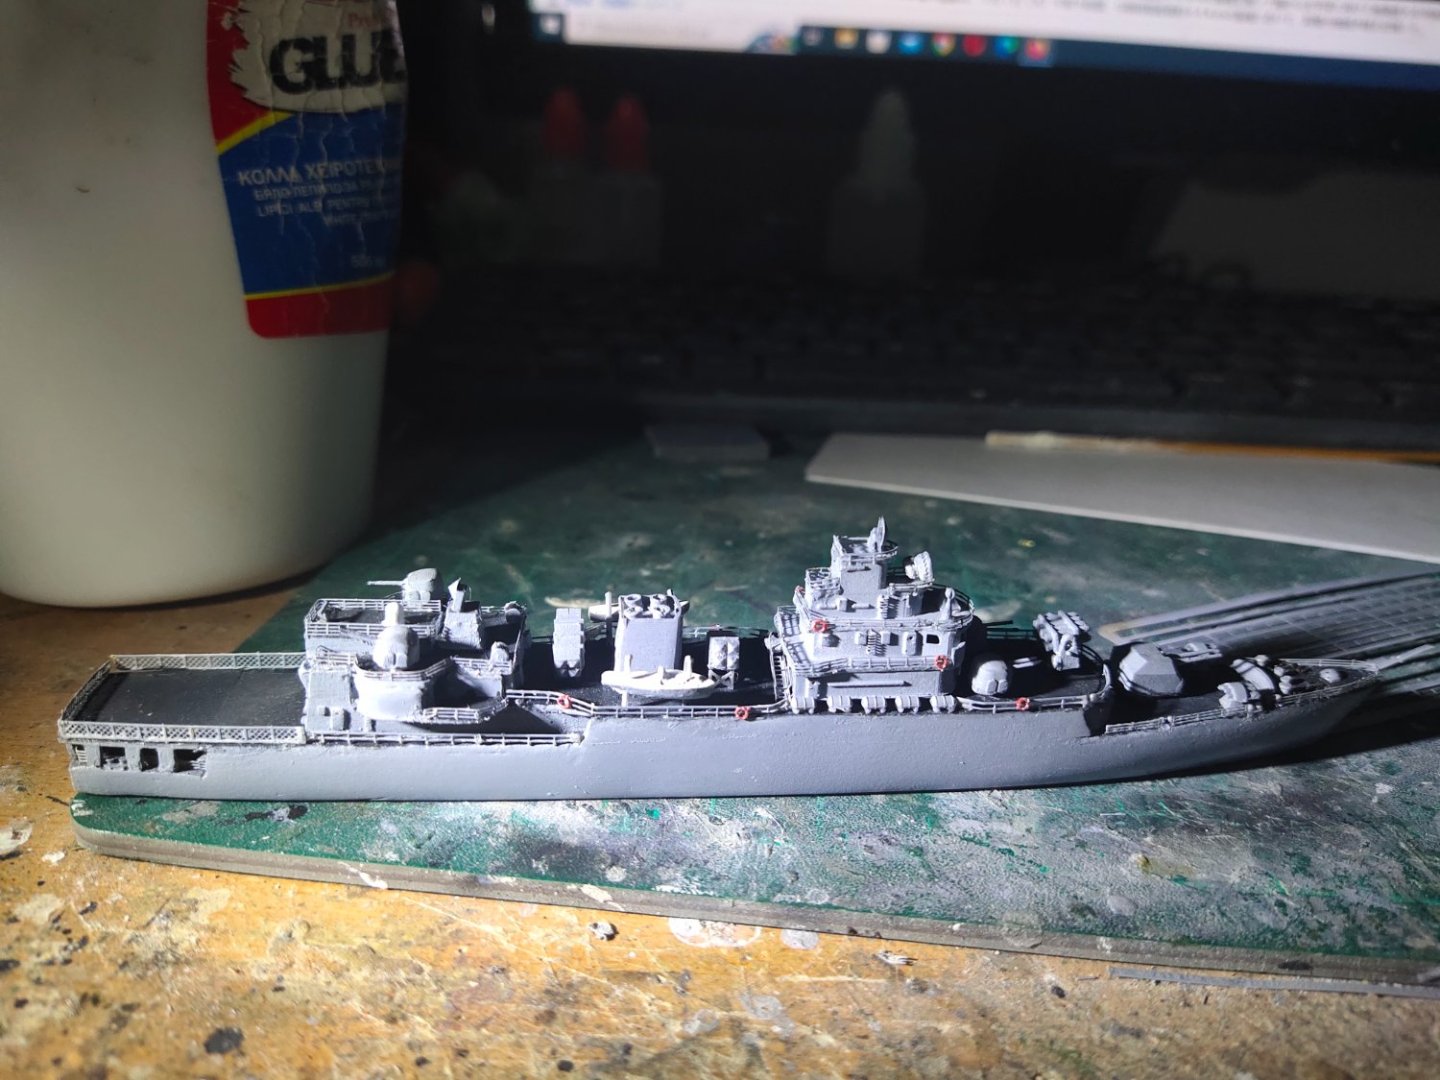
I almost done railings today. More work than I estimated. Fortunately there won't be any in my next project. After installing them I had to check carefully for shiny brass spots and repaint them over with tiny brush. I also printed the rear type 517 radar but it will be placed upon completion since it looks quite fragile.
-
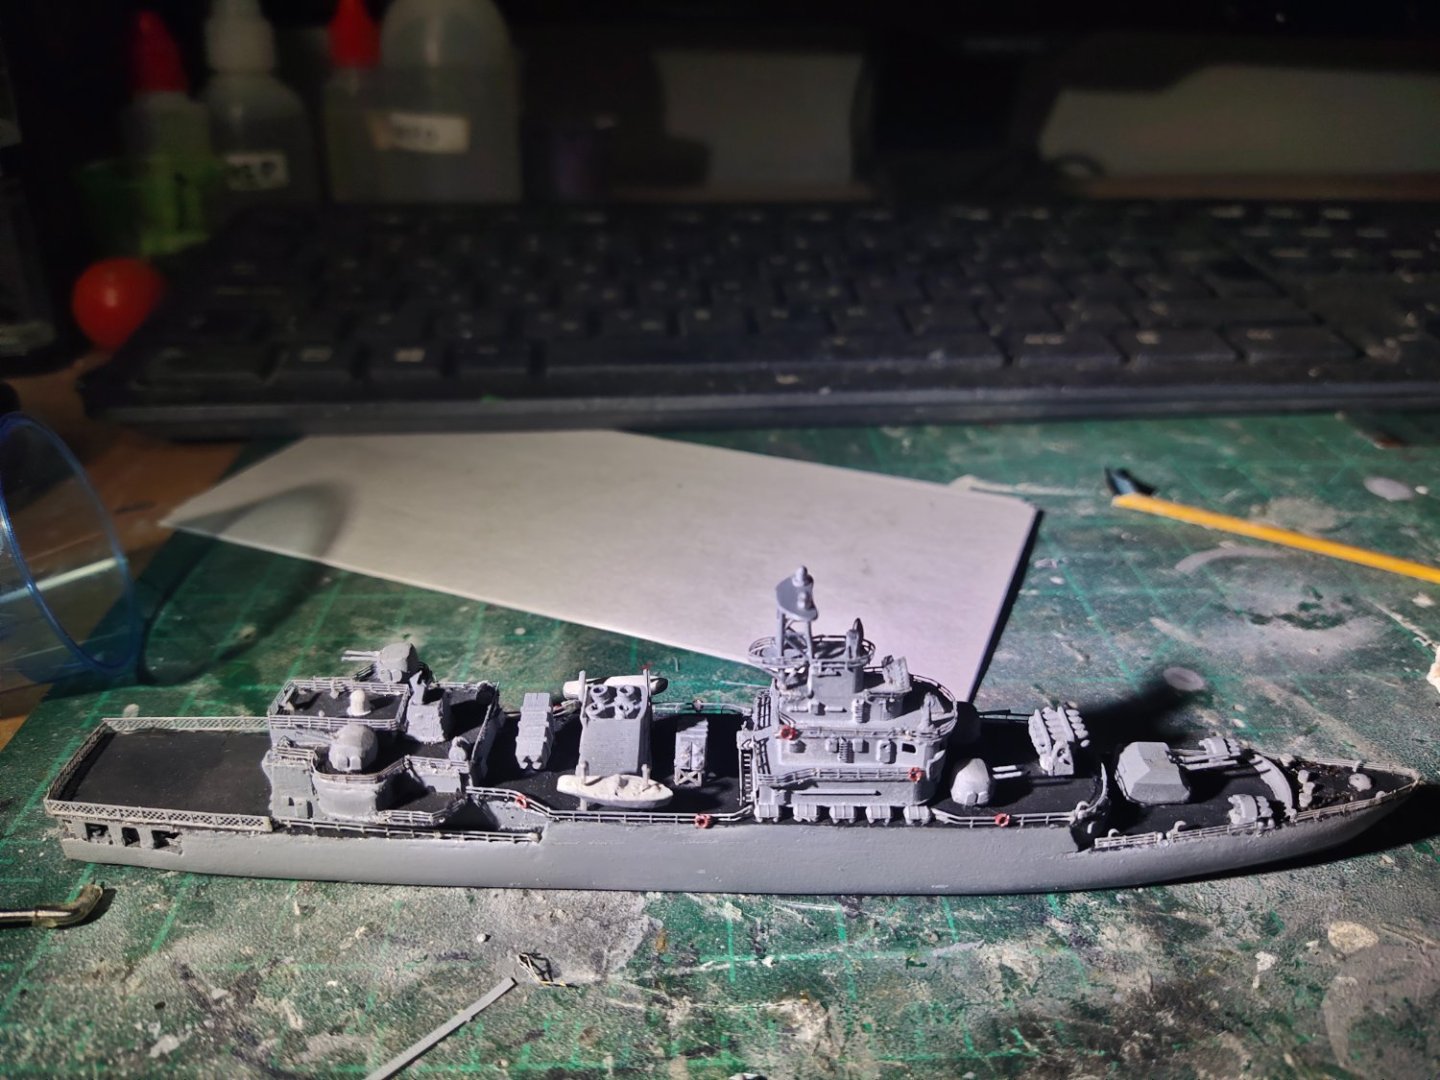
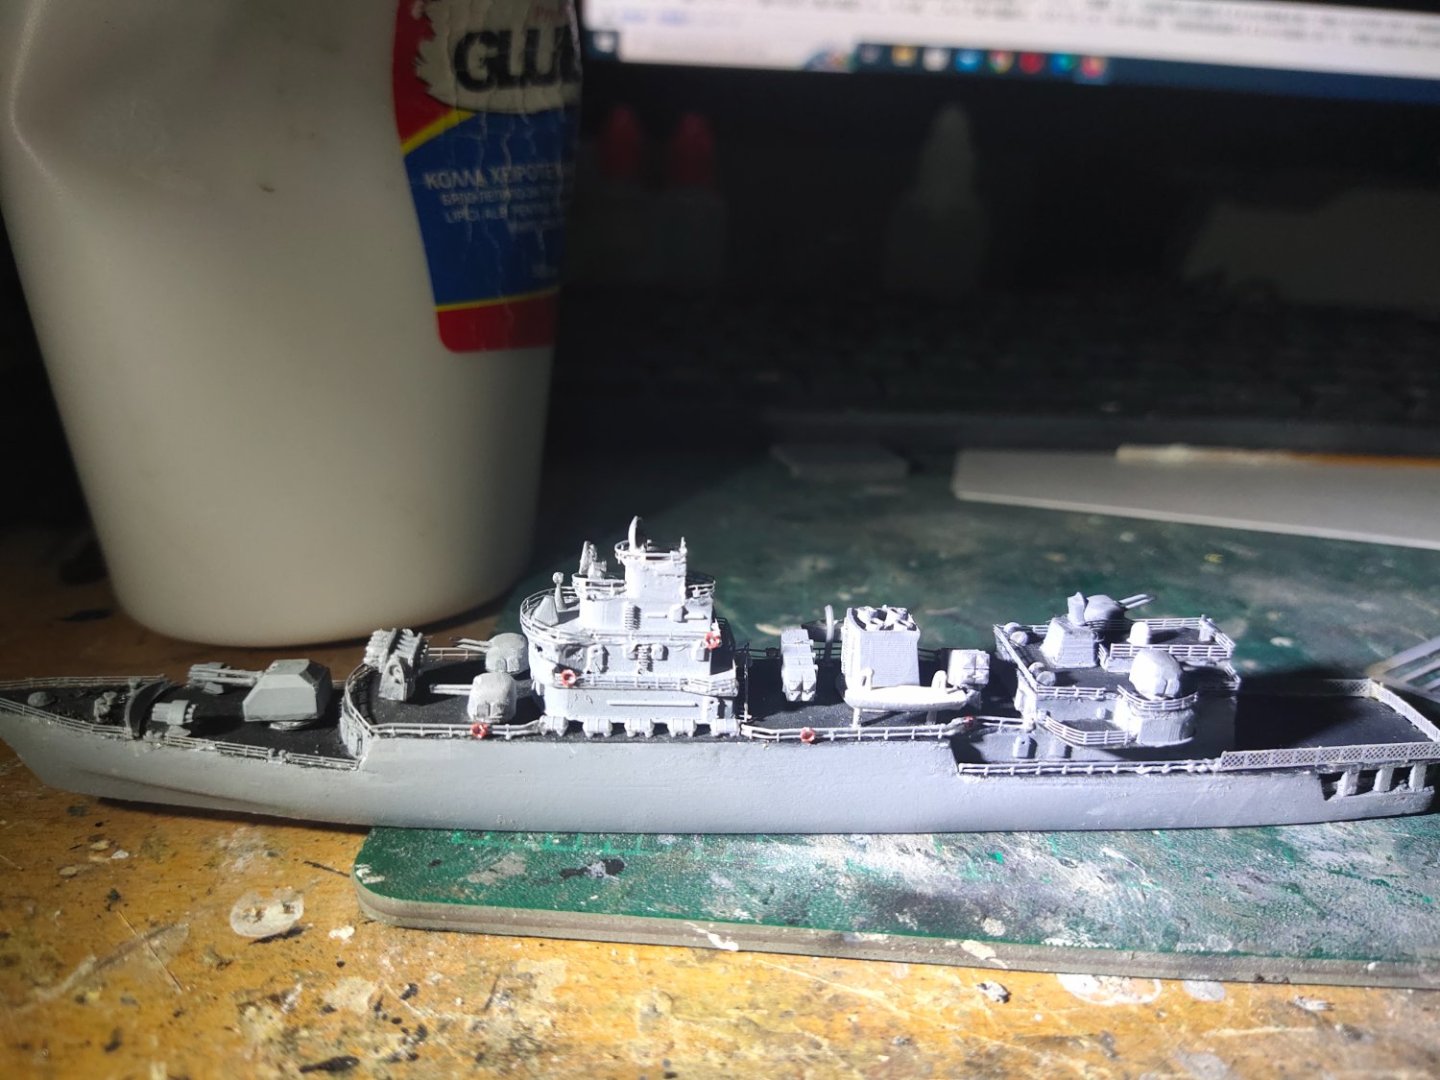
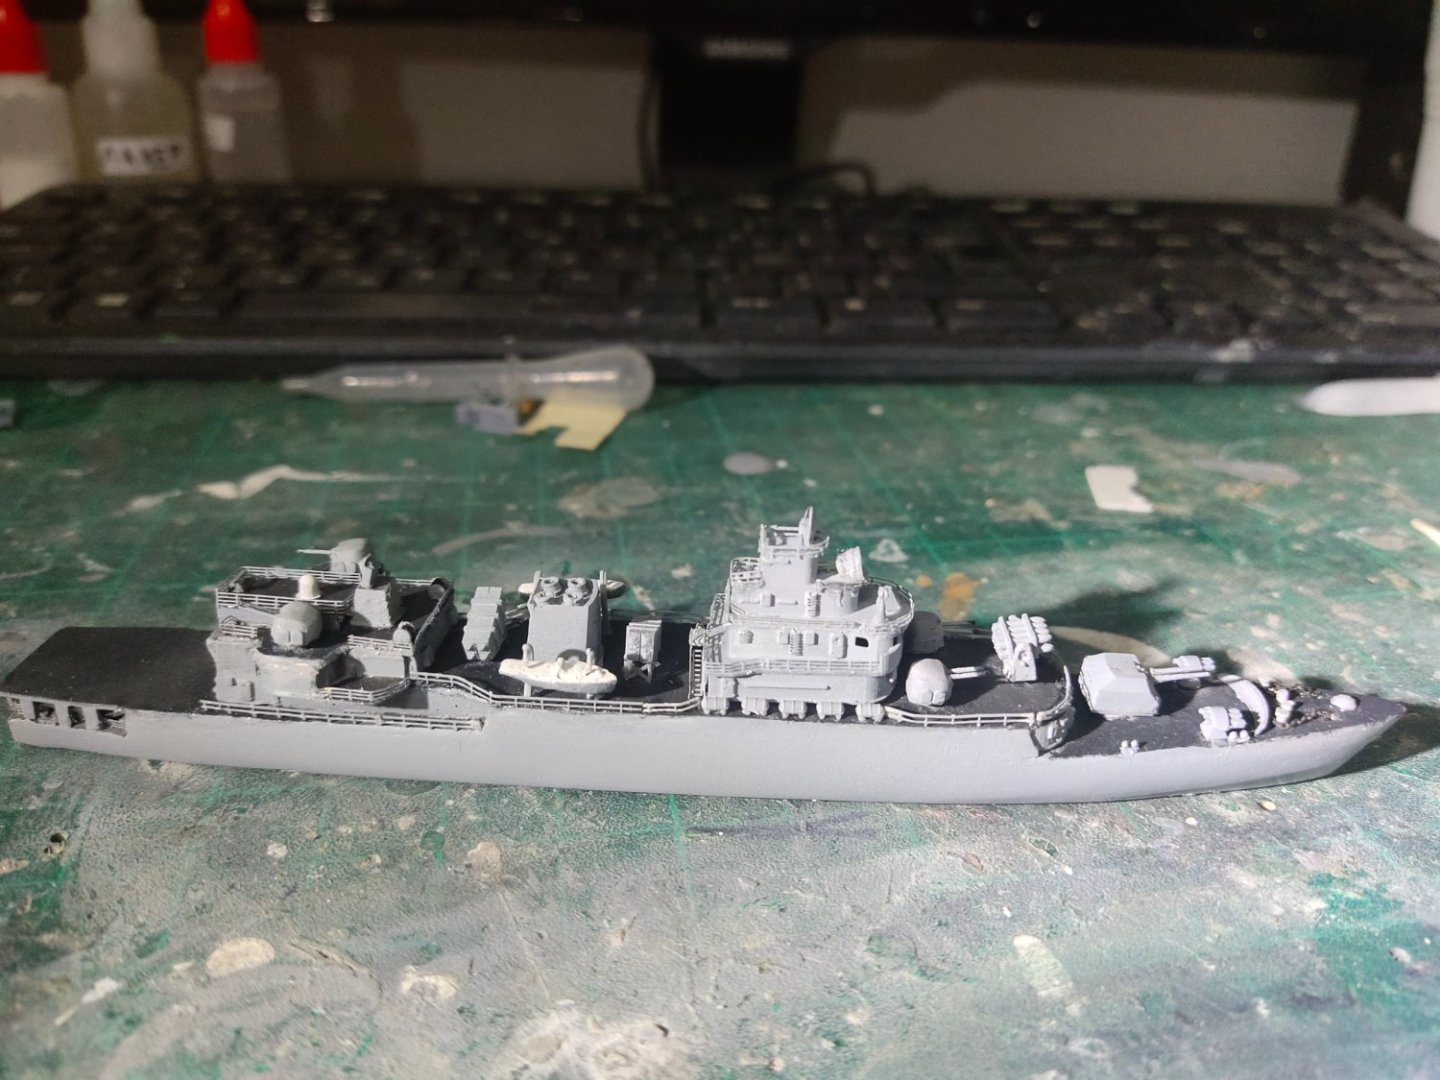
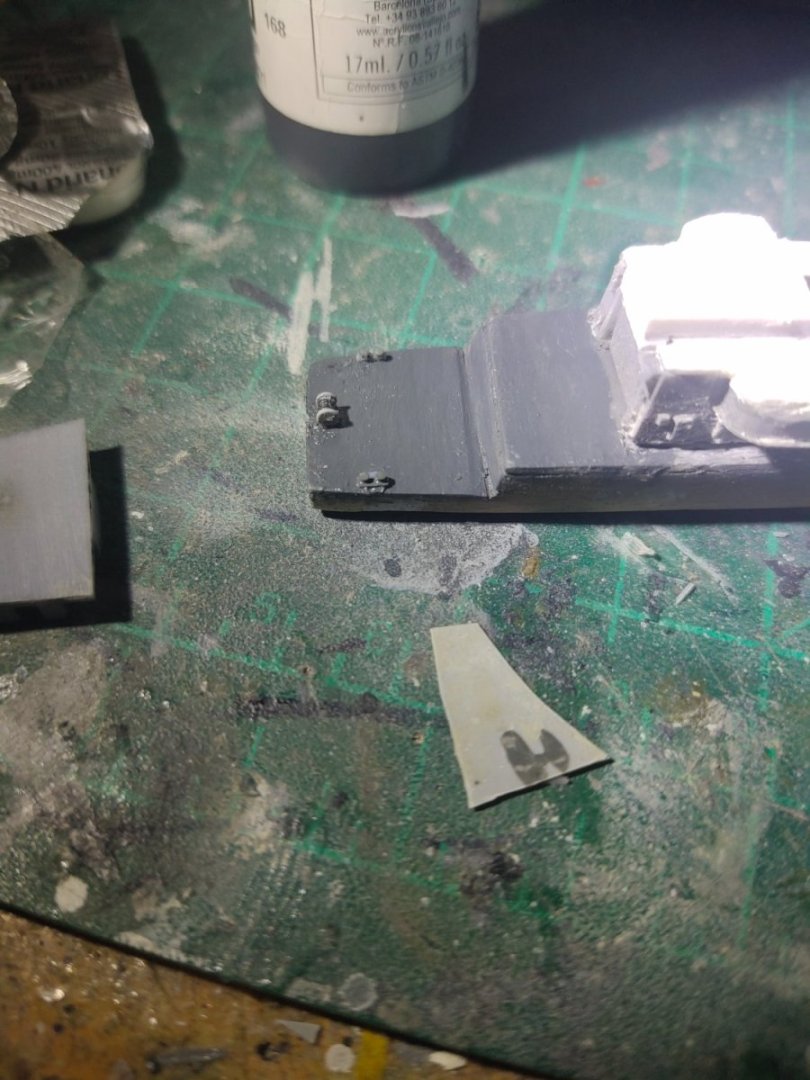
Because I work with resin therefore o use CA this makes a mess on painted decks. This gives me an idea of how special resin kits must be treated. After making some paint corrections with brush I added more details, like bollards, anchor chain and machinery as well as secondary antennas over hangar. What left is 4 ladders and railings. Then I have to deal of how to make the main radar mast as well as the unusual shape of rear type 517 radar
-
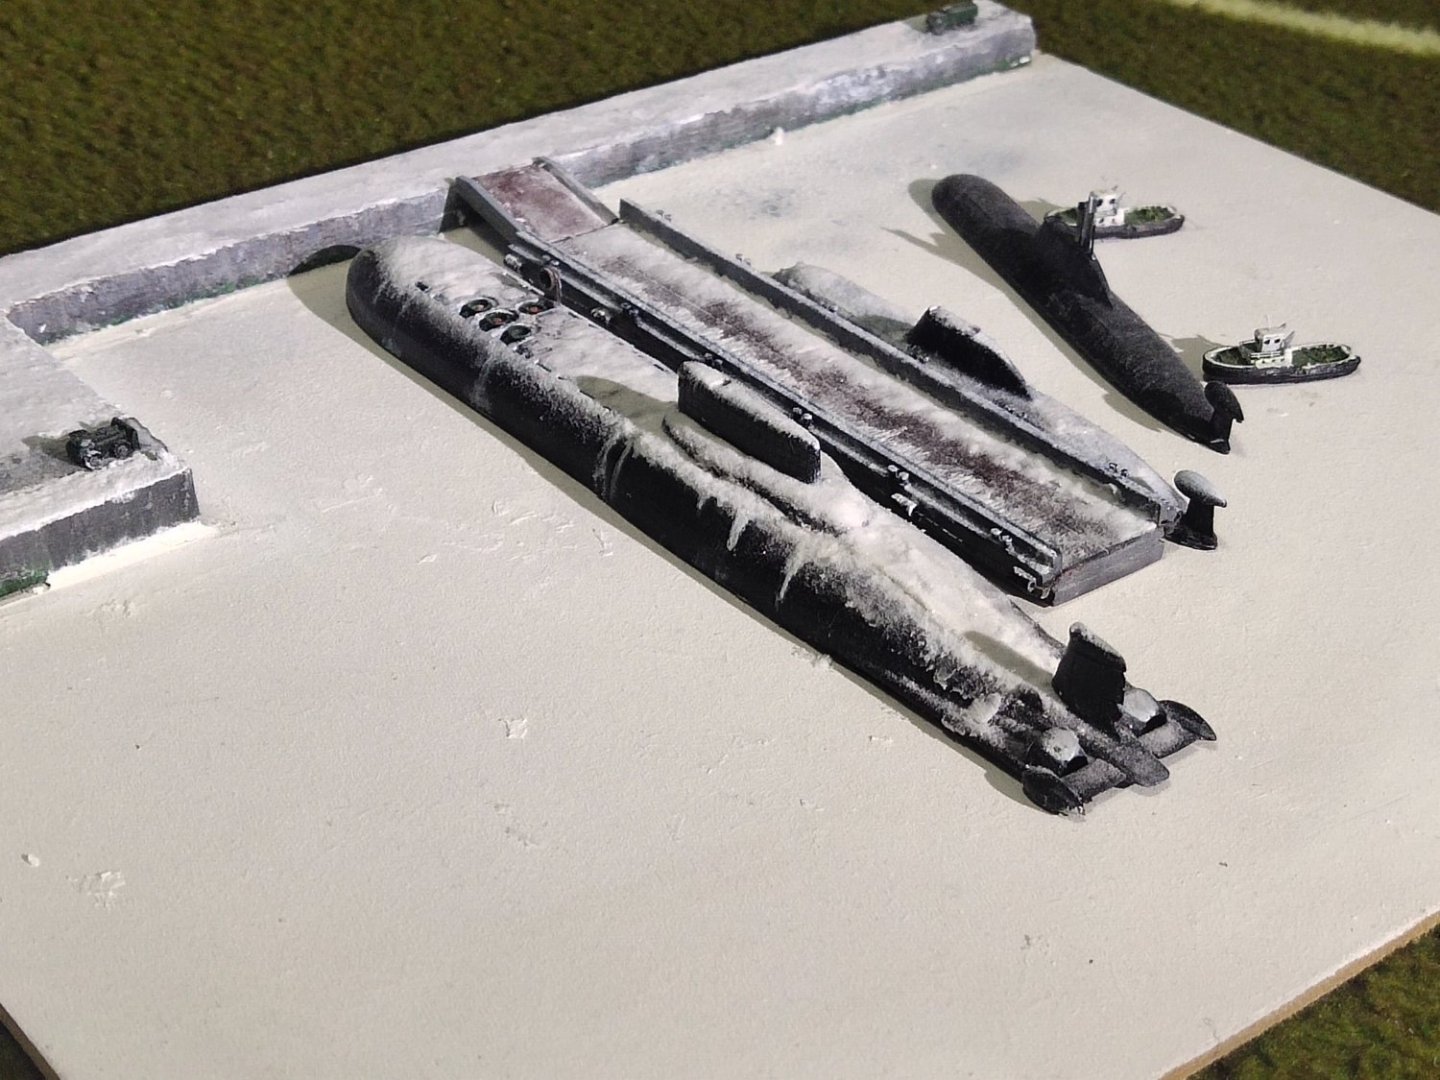
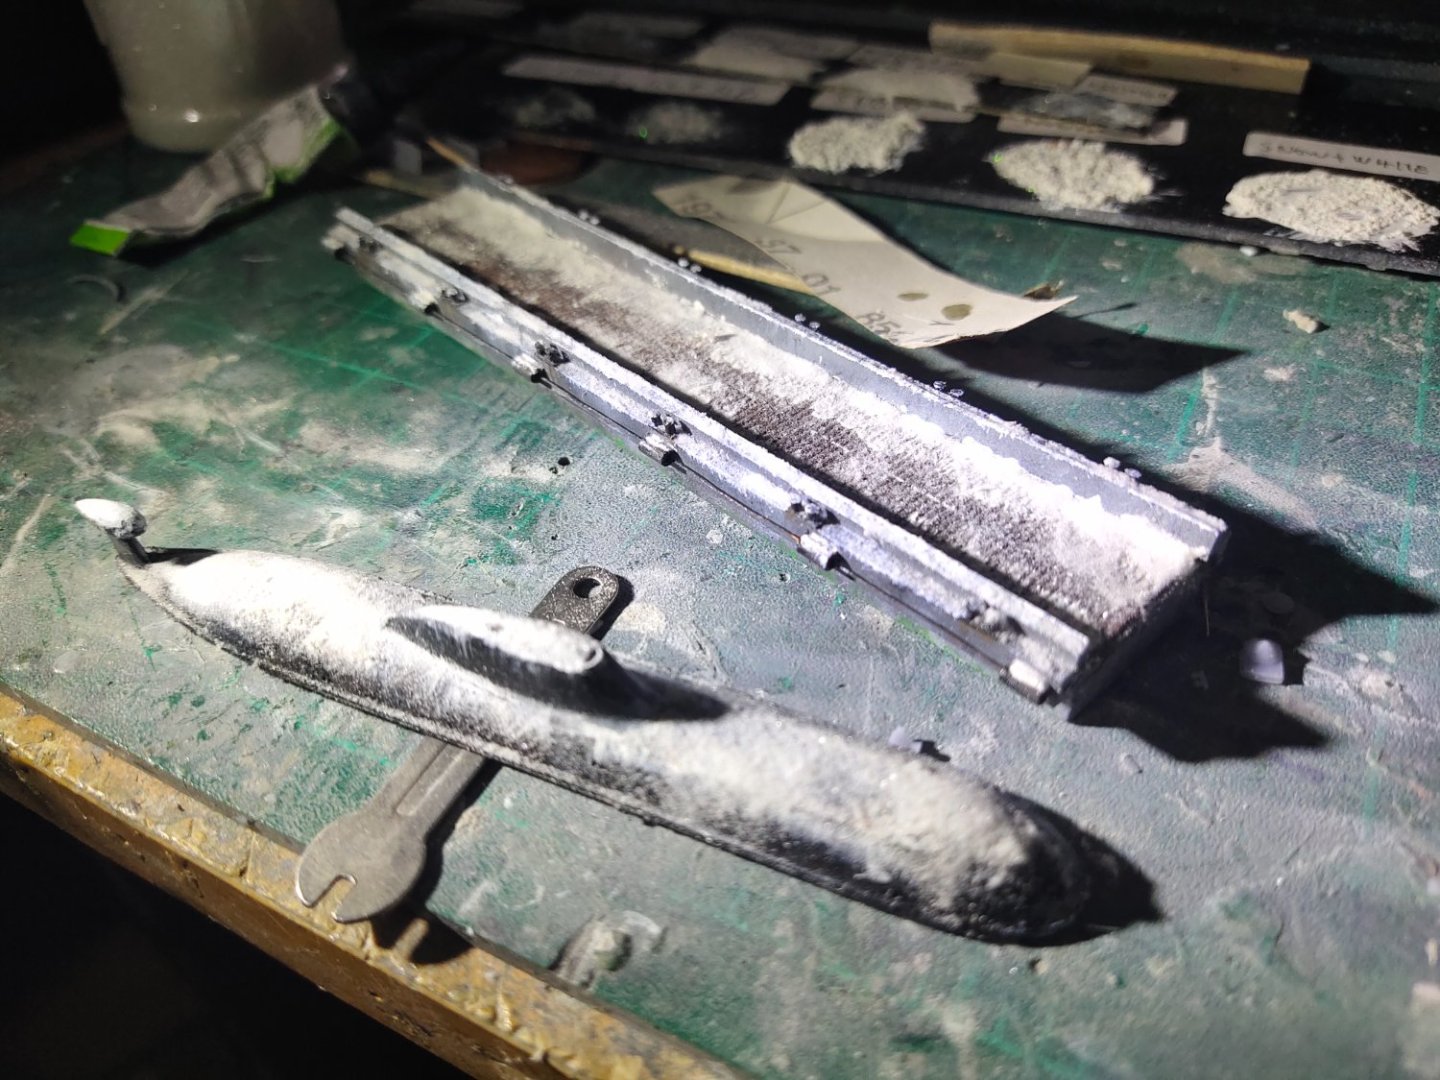
Some pics on daylight. I added some gel and microballoons at the middle of the dockyard to create an ice effect. At the edges I poured microballoons over paste to represent snow accumulation. A small amount of white glitters added for extra shine effect. Extra snow added on Akula as well. For the roof top microballoons plus few glitters over paint did the job. I will restart the base, with less snow and more icy surfaces. Typhoon needs to be re worked also. Note on Akula, resin has warped already.
-
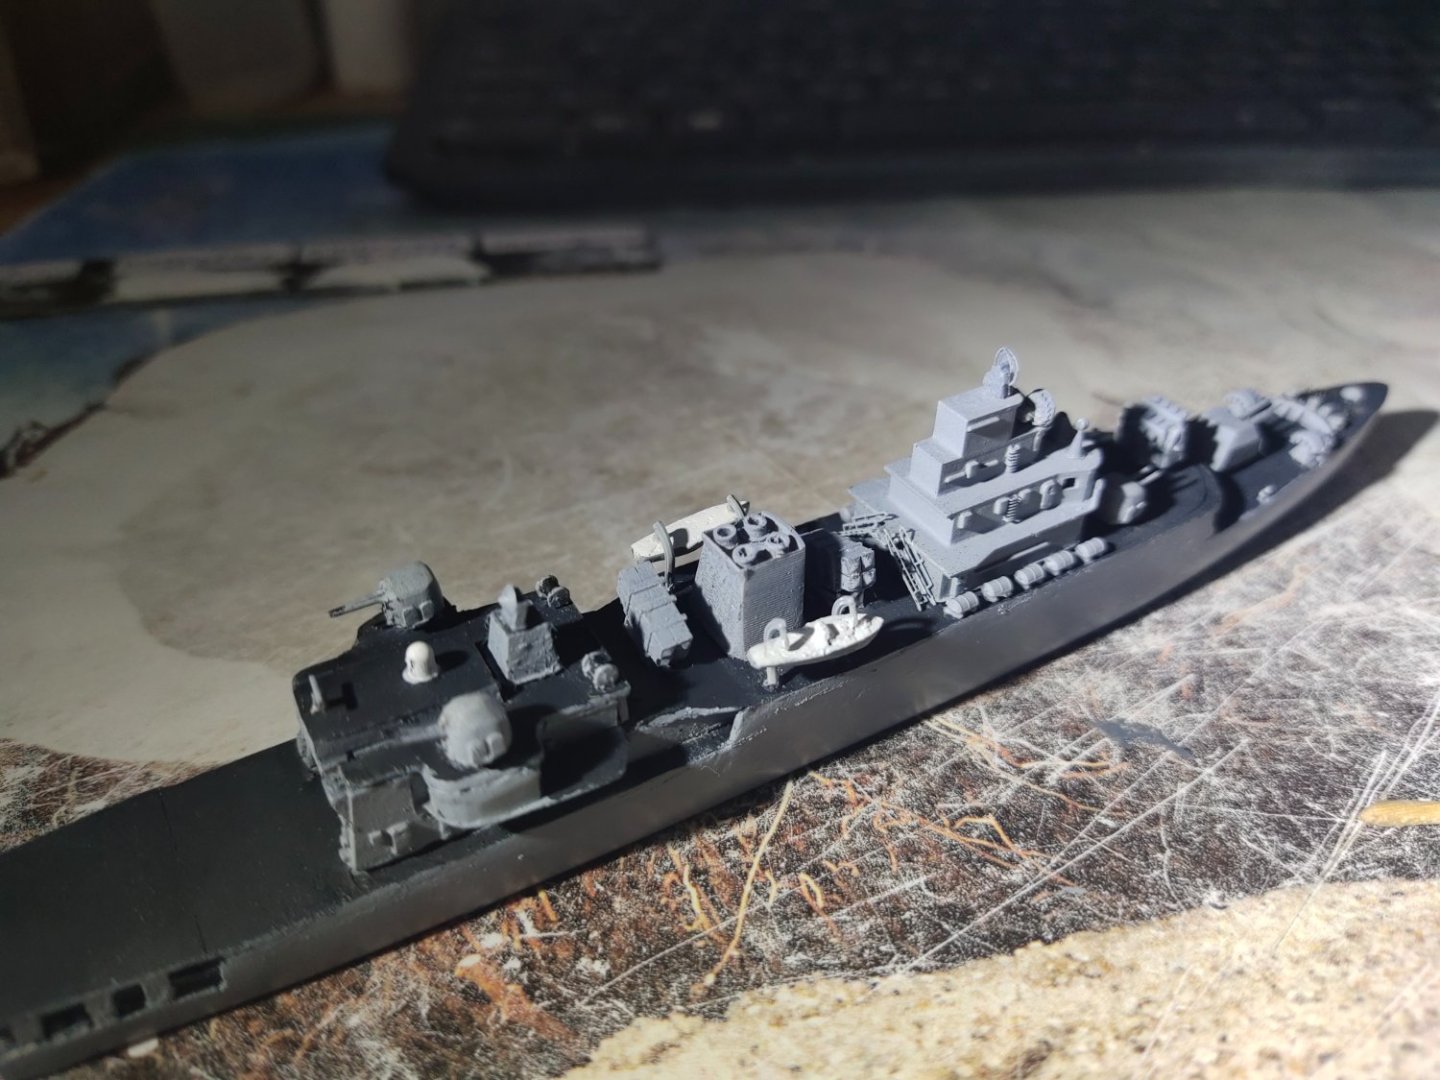
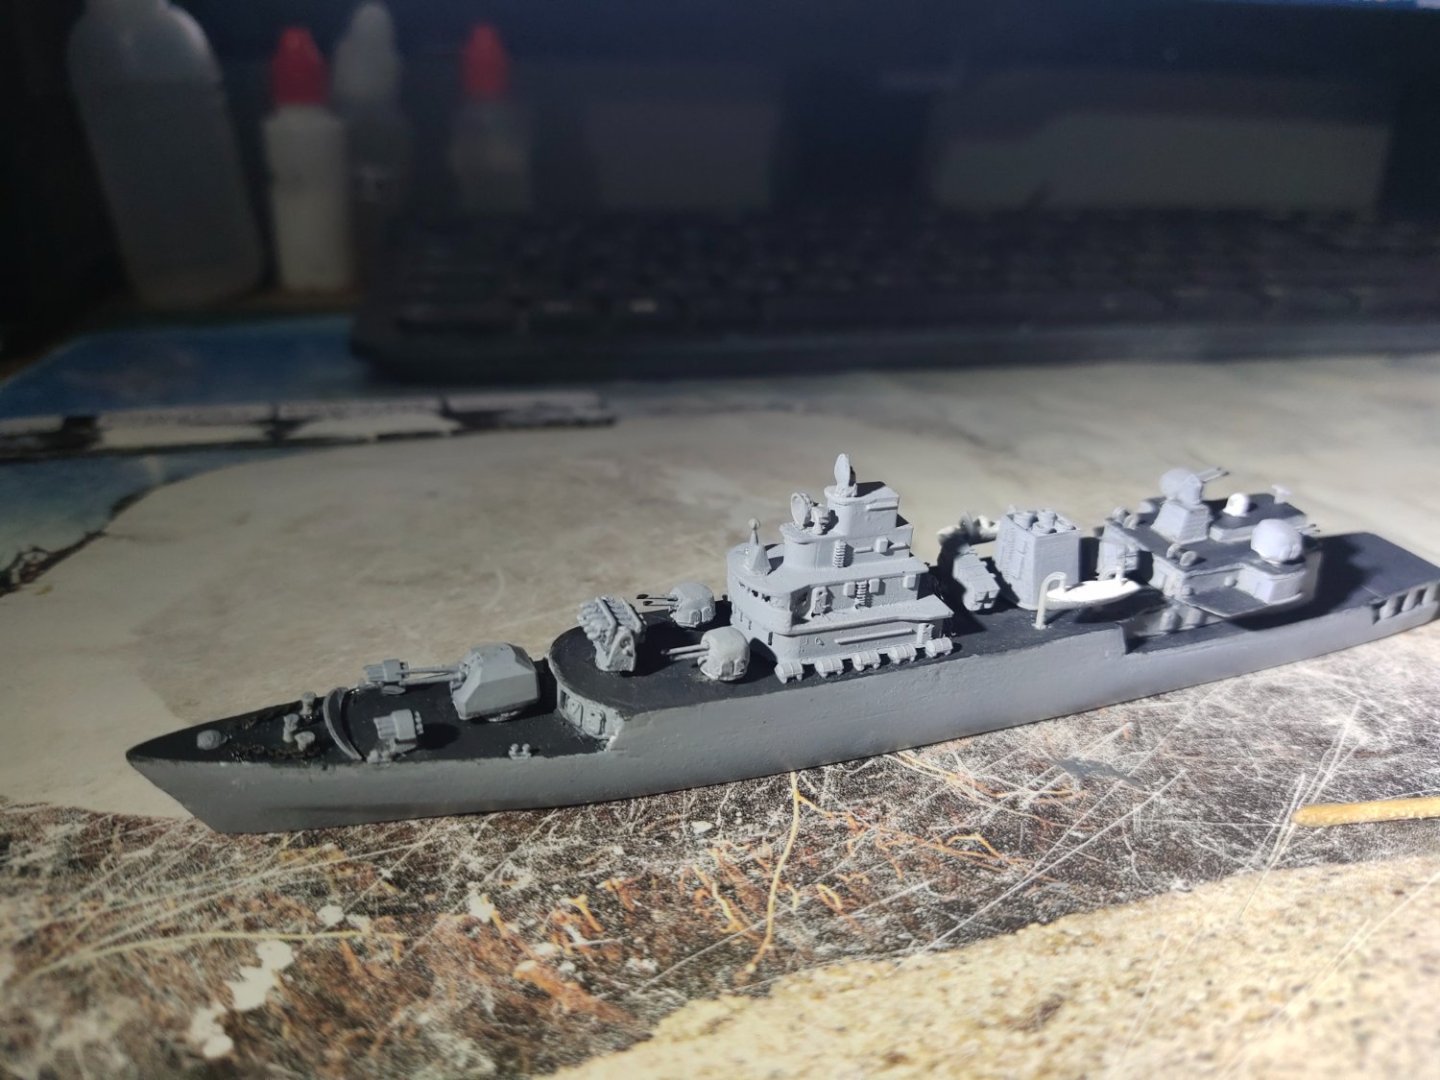
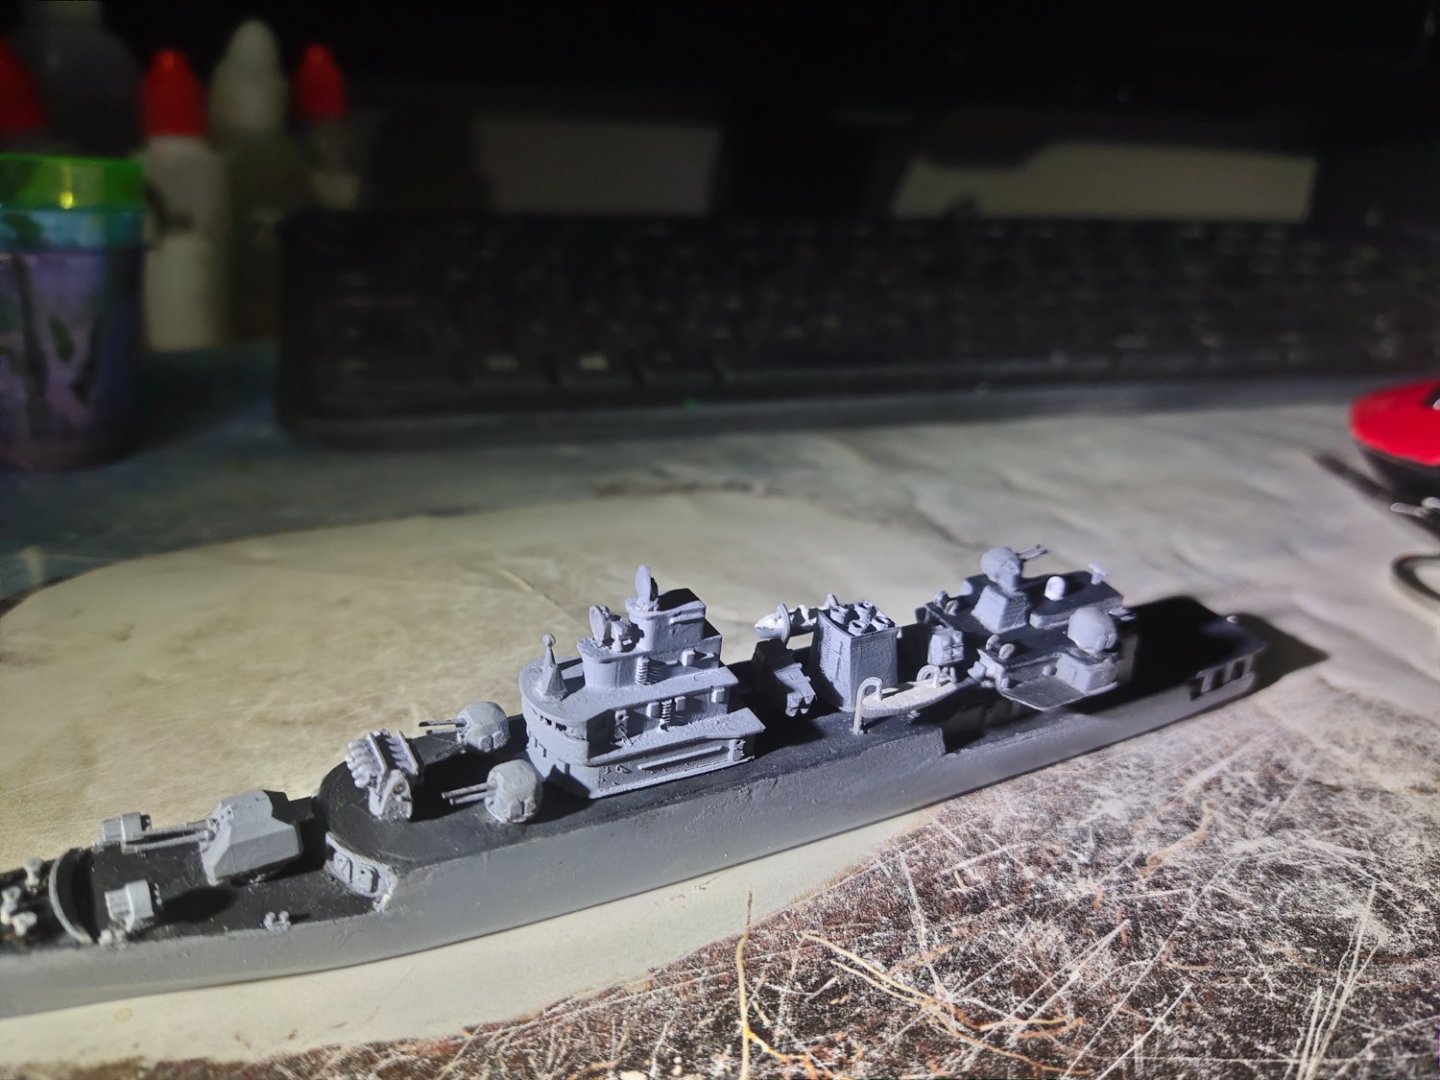
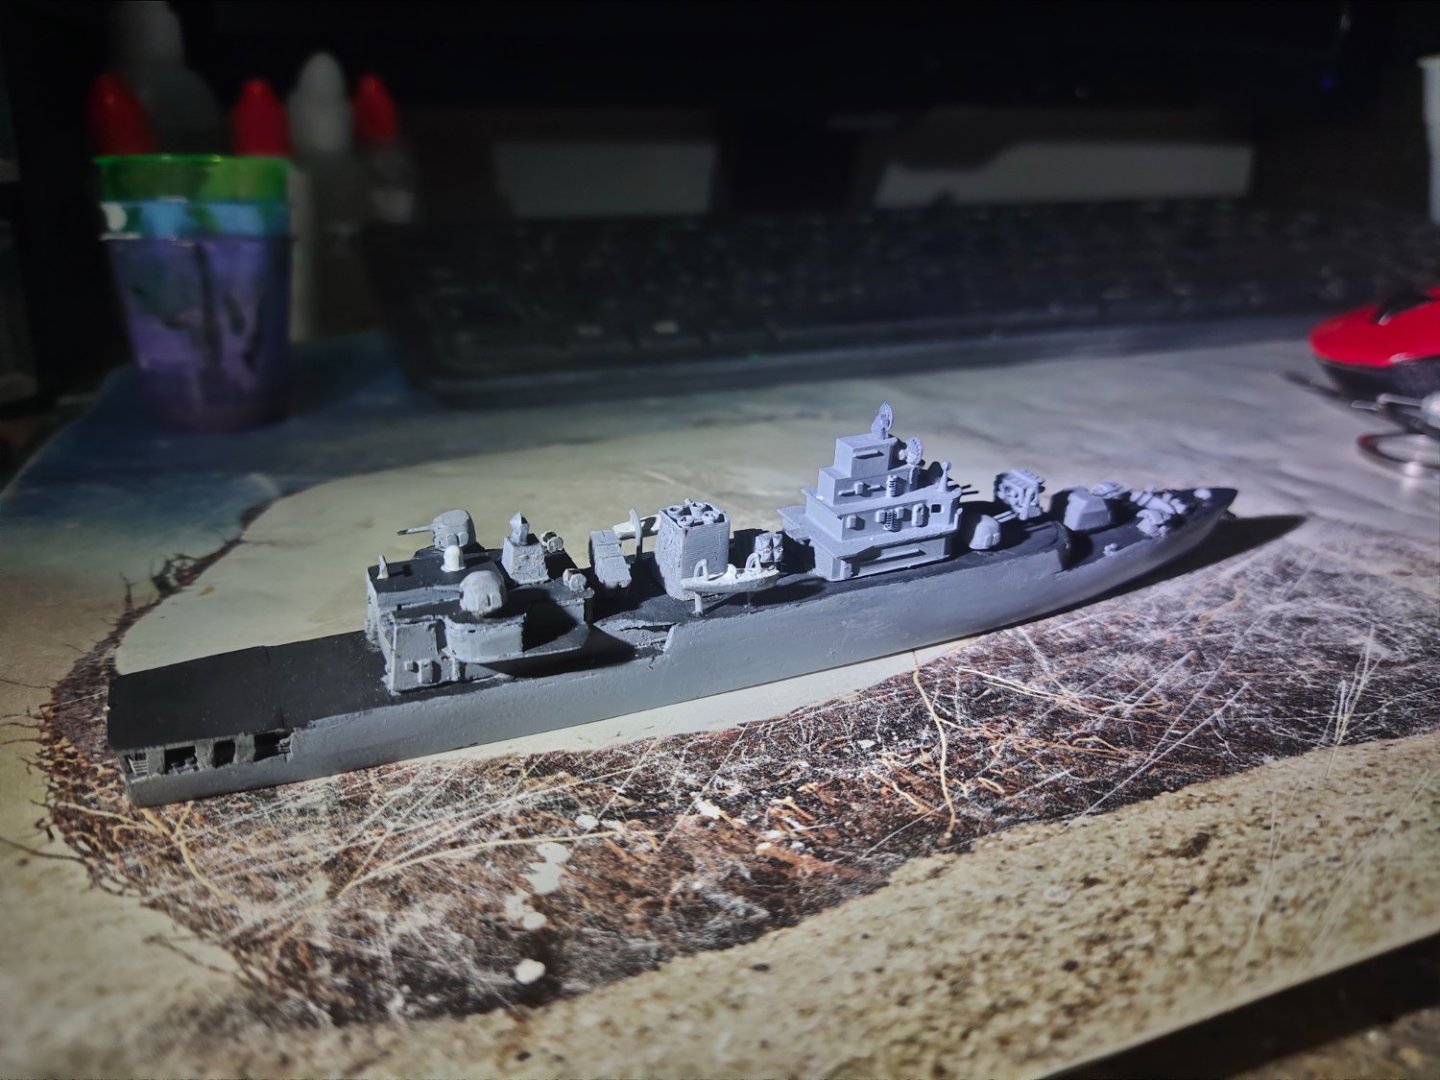
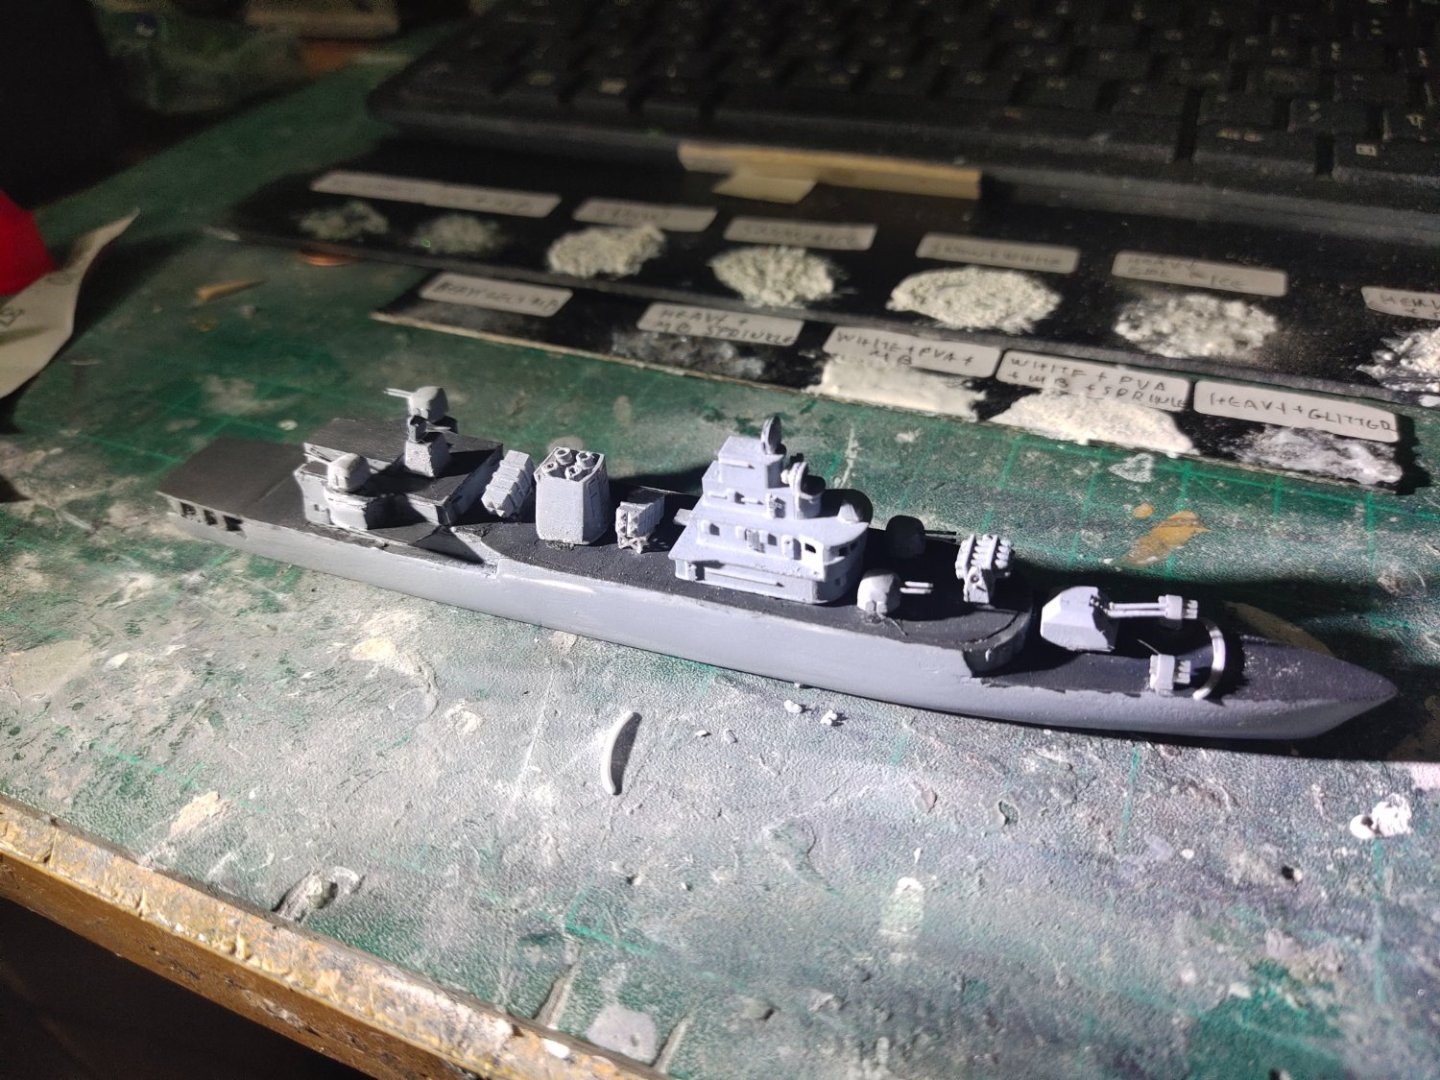
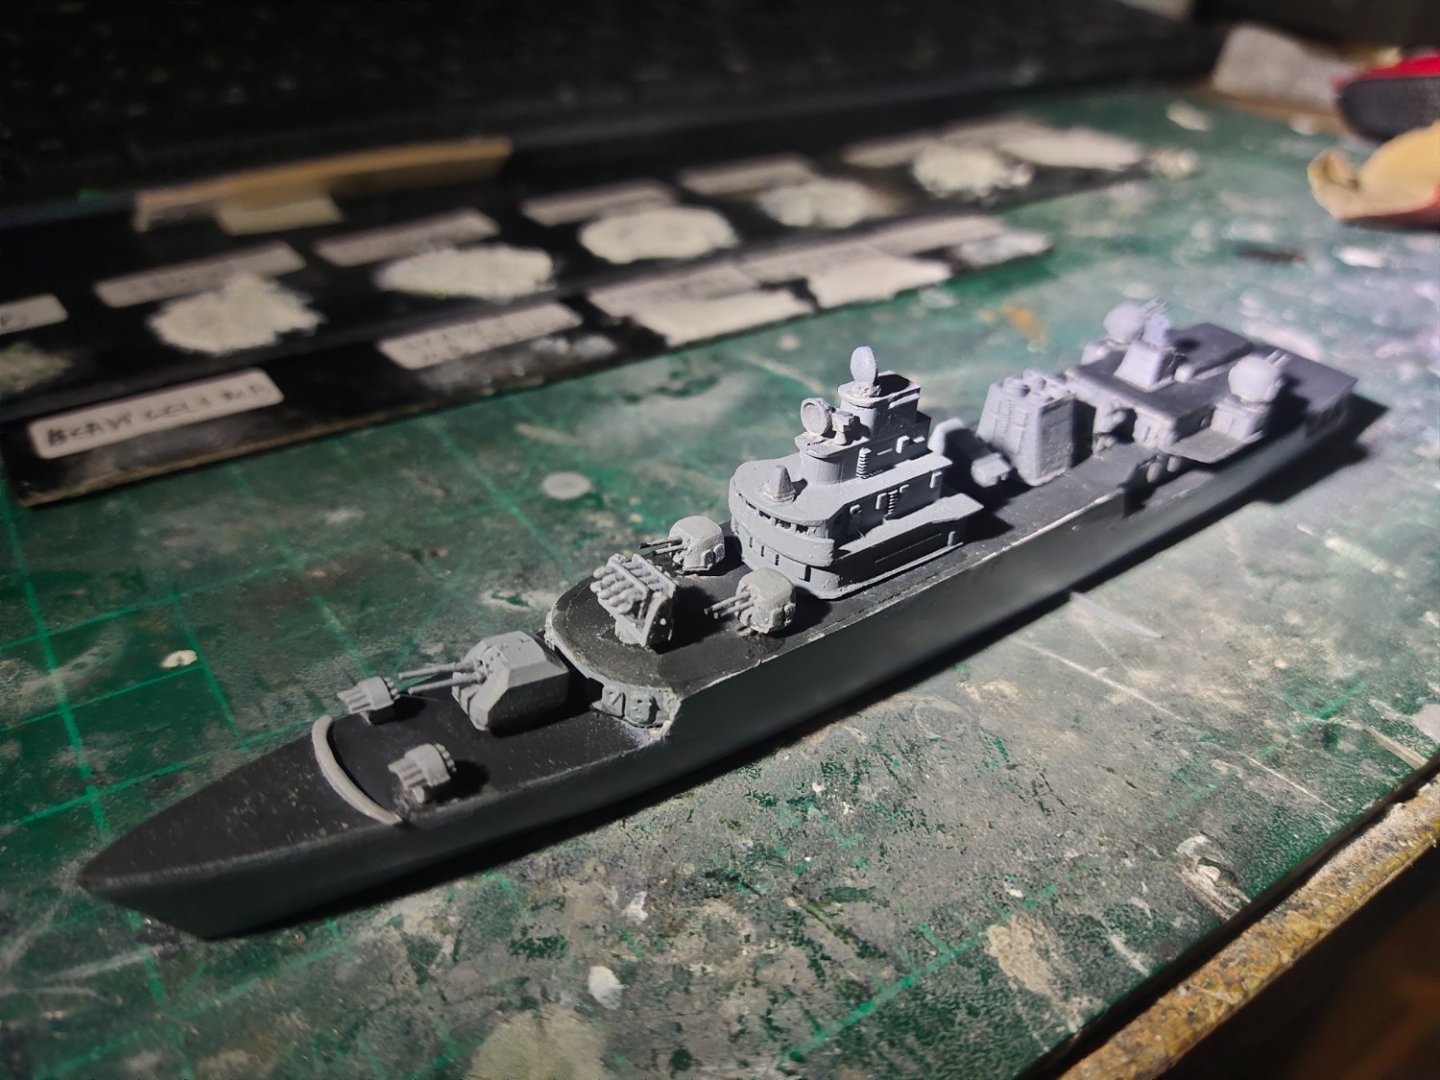
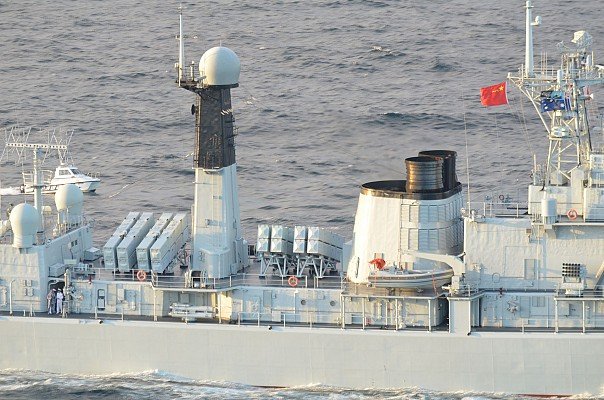
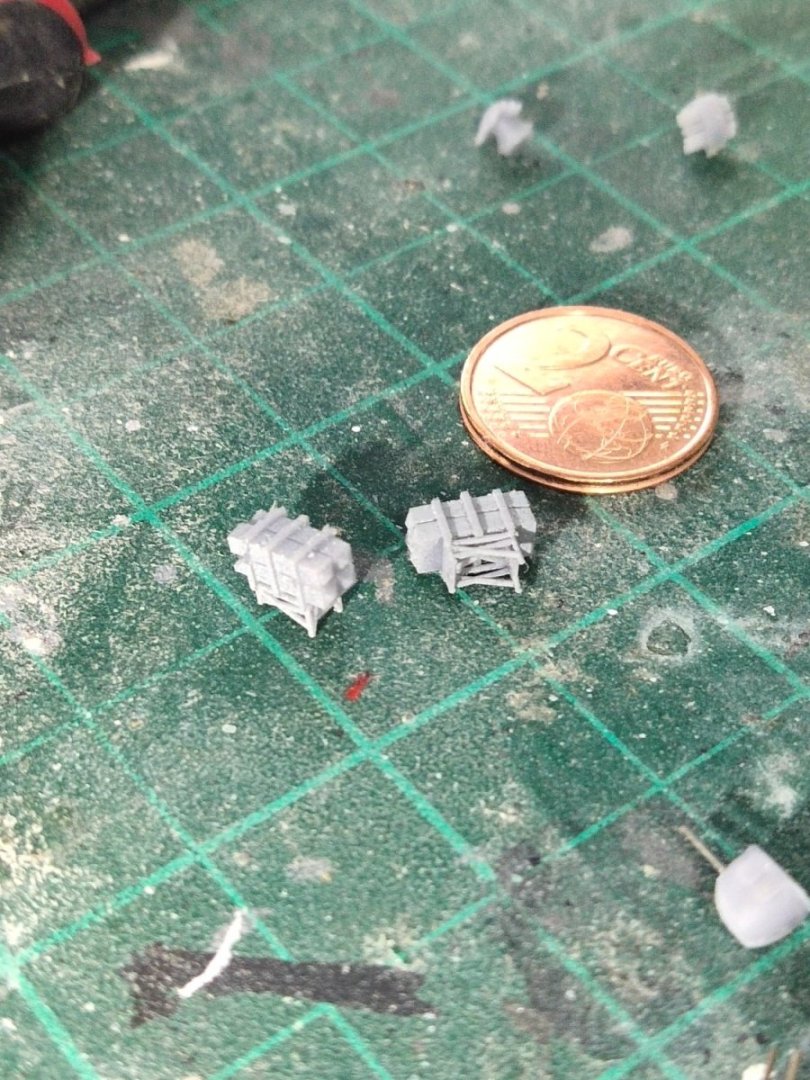
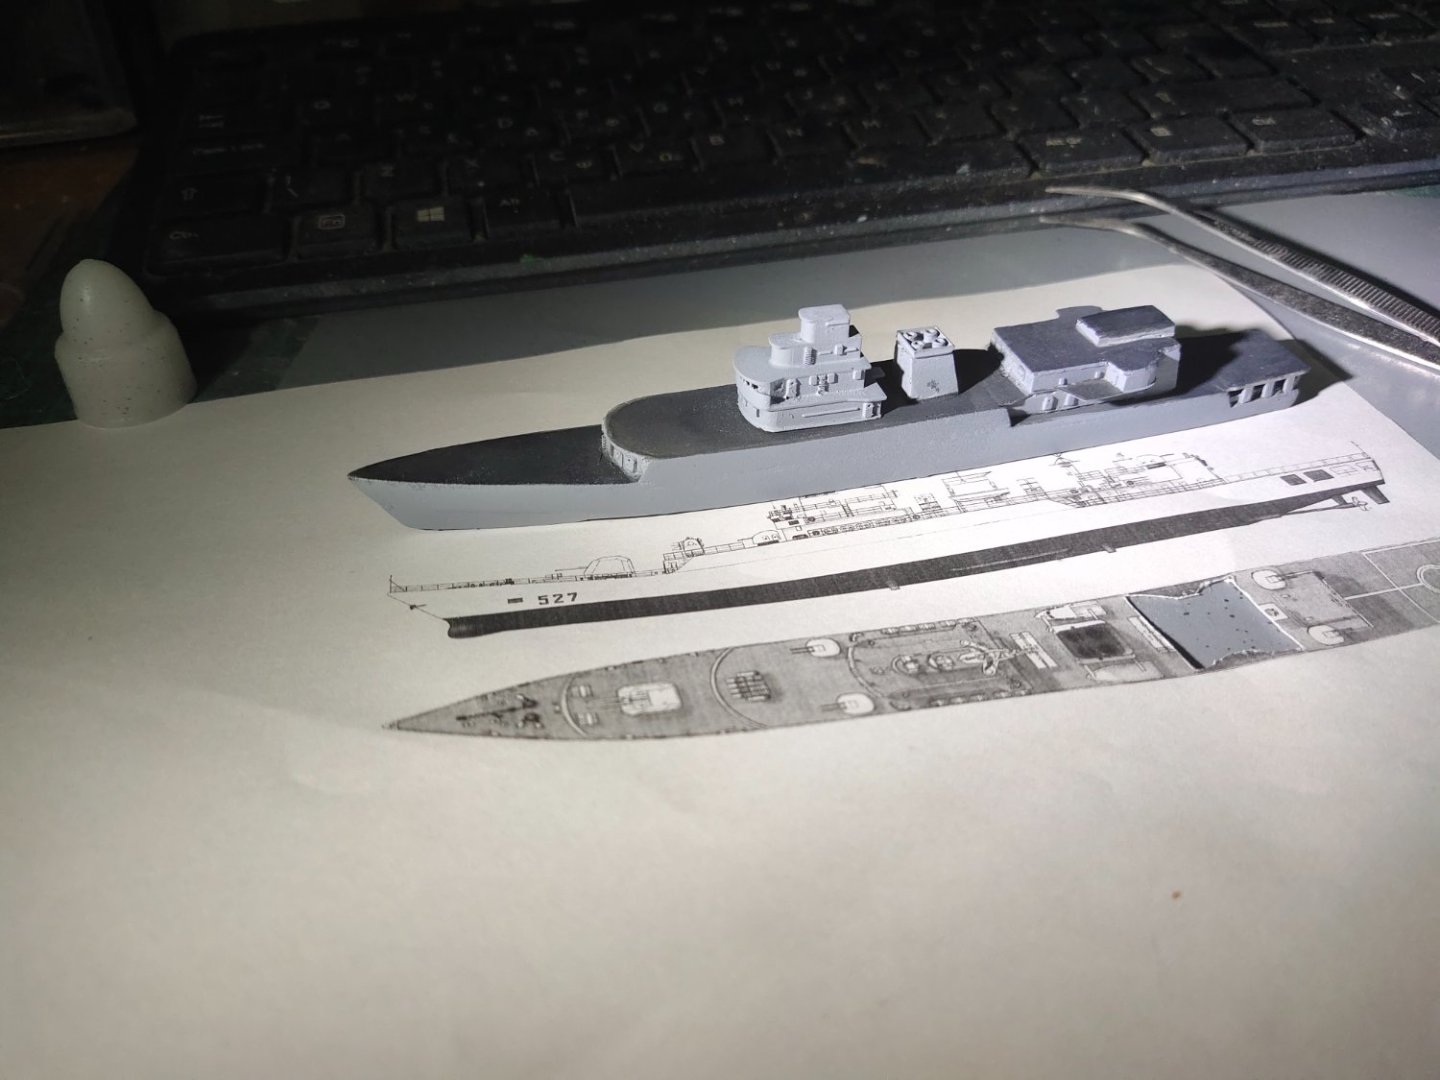
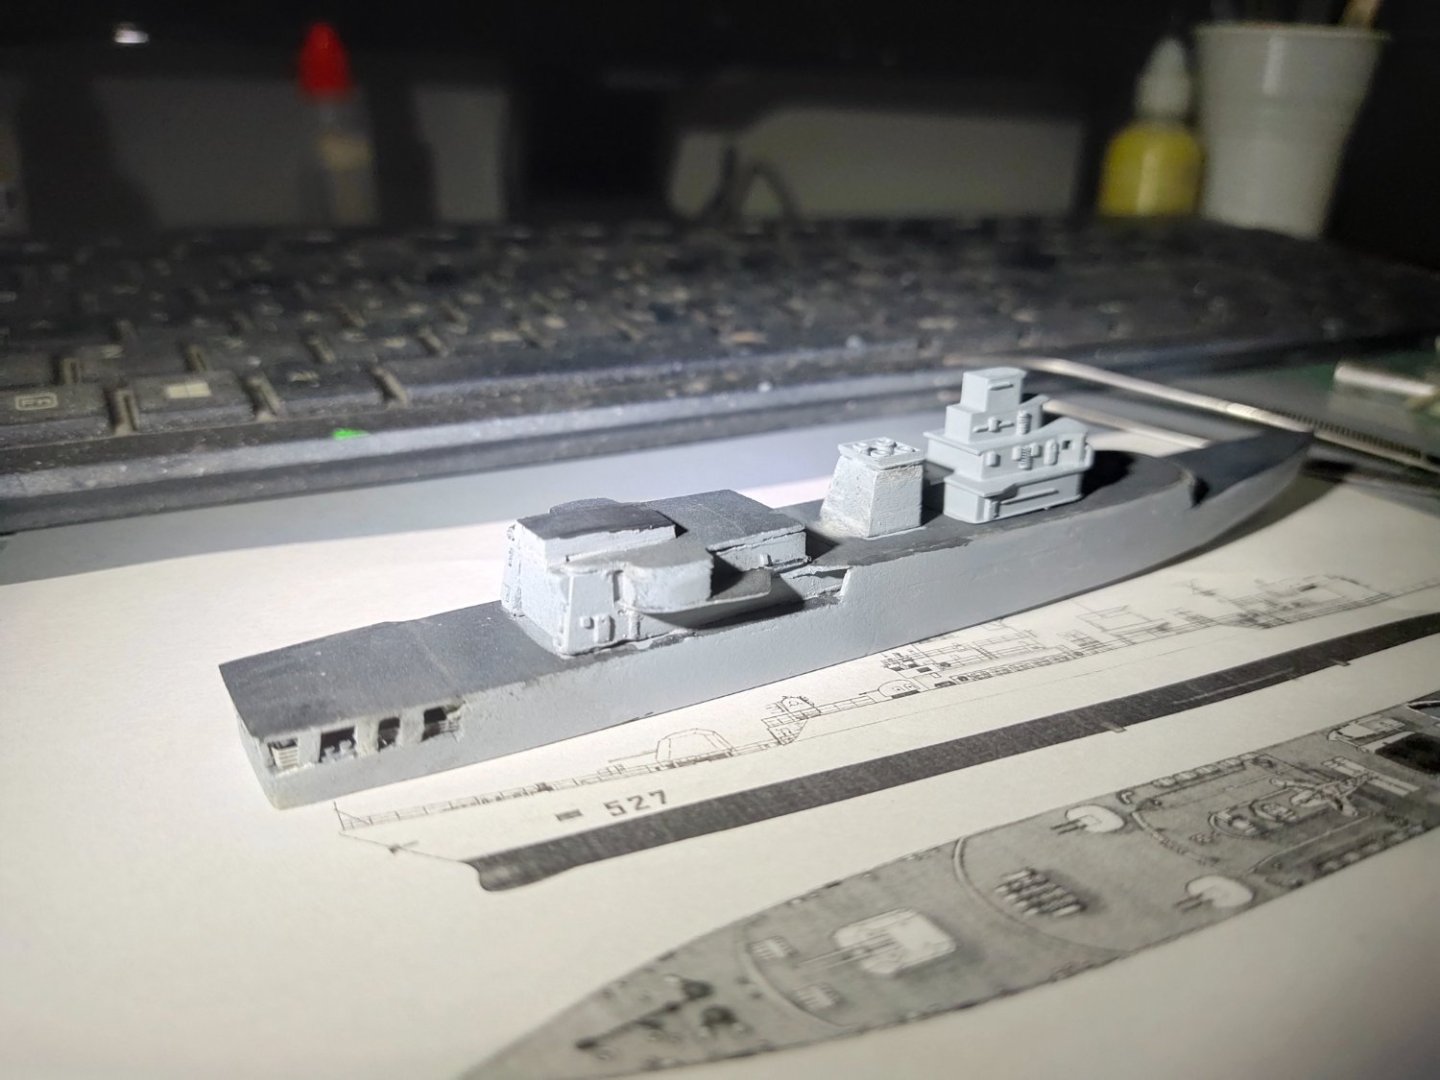
Fitting doesn't lie. Hangar proved too long thus space between this and funnel wasn't enough for the SSMs to be fitted. I had to shorten it by whole 5mm. Funnel had to be repositioned as well. Not easy process when deal with CA glue and resin. Plastic deck broke and had to be repaired. Funnel was re printed with added details, hand ladder and grills. Also SSM boxes were reprinted 1mm narrower. The base is a separate piece very delicate, almost transparent. Its shorter, to give a correct lower firing angle. Also secondary AA was given a haircut by one mm. Finally their type 345 radar was fitted as well as the 347G radar for the main gun, at the very top of the superstructure.
-
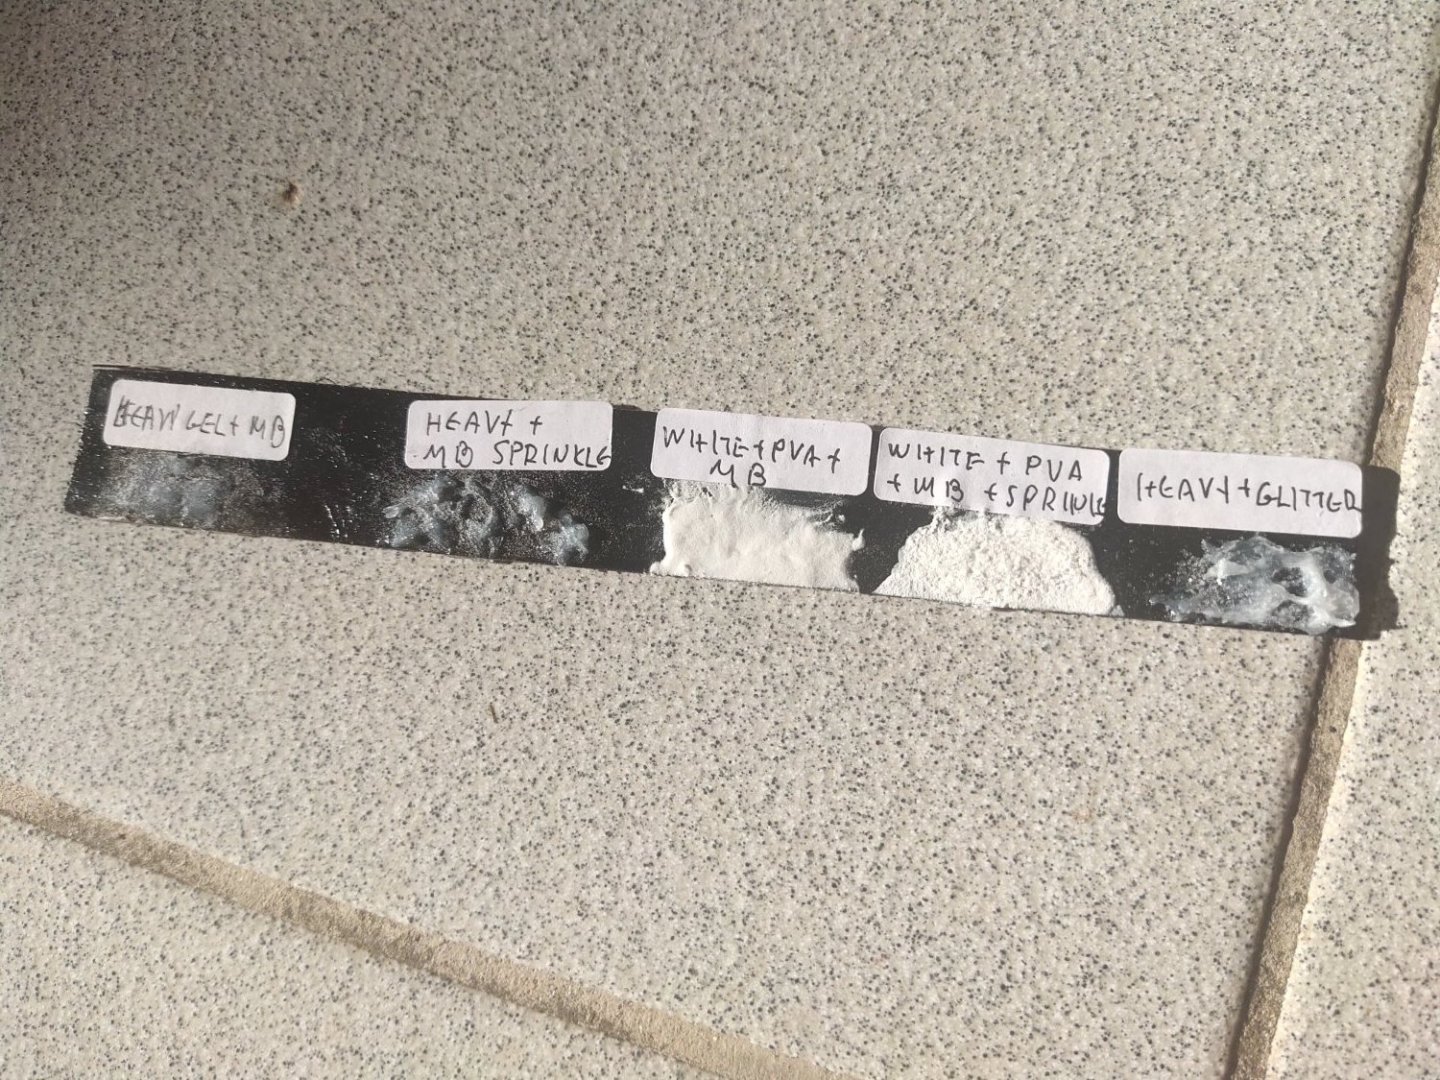
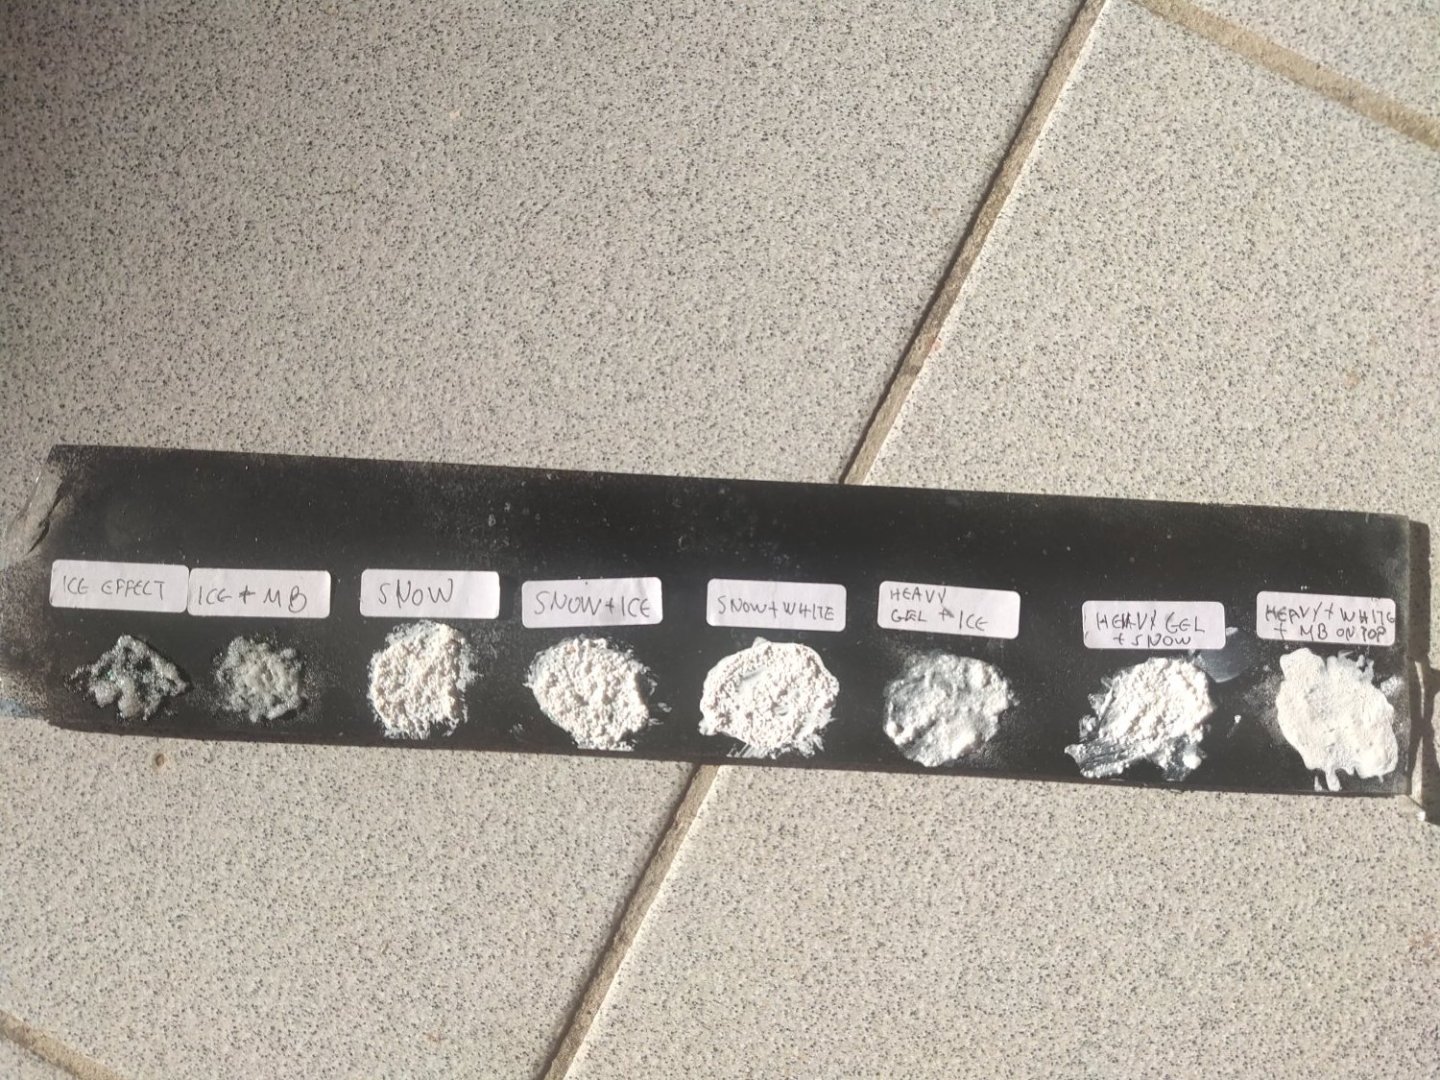
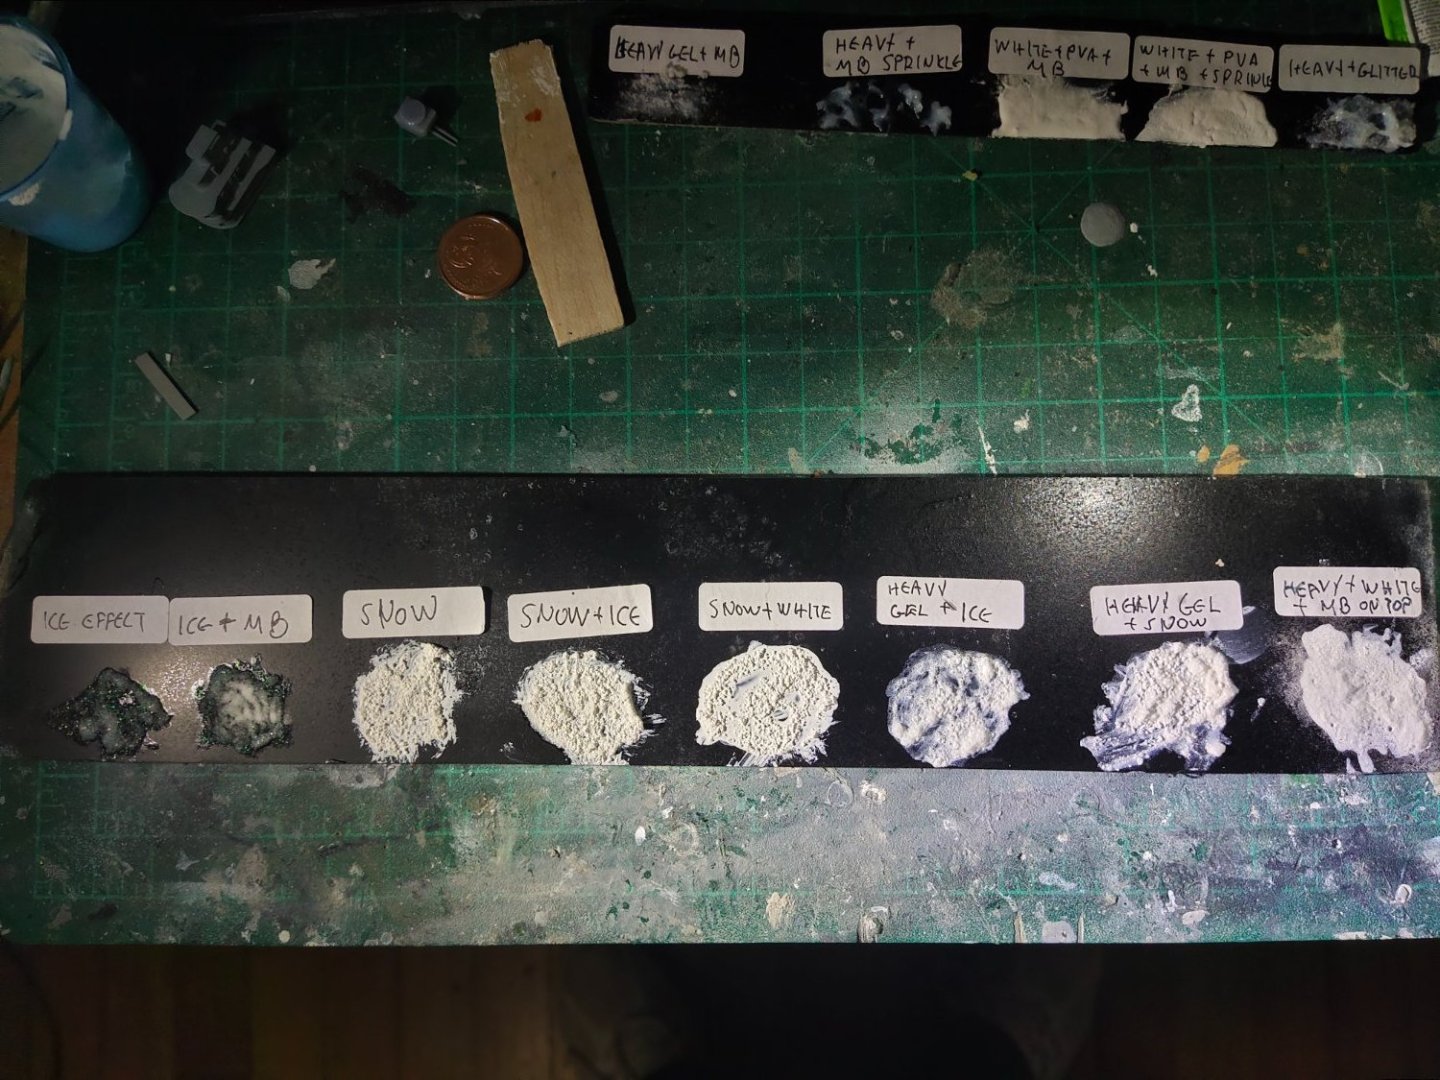
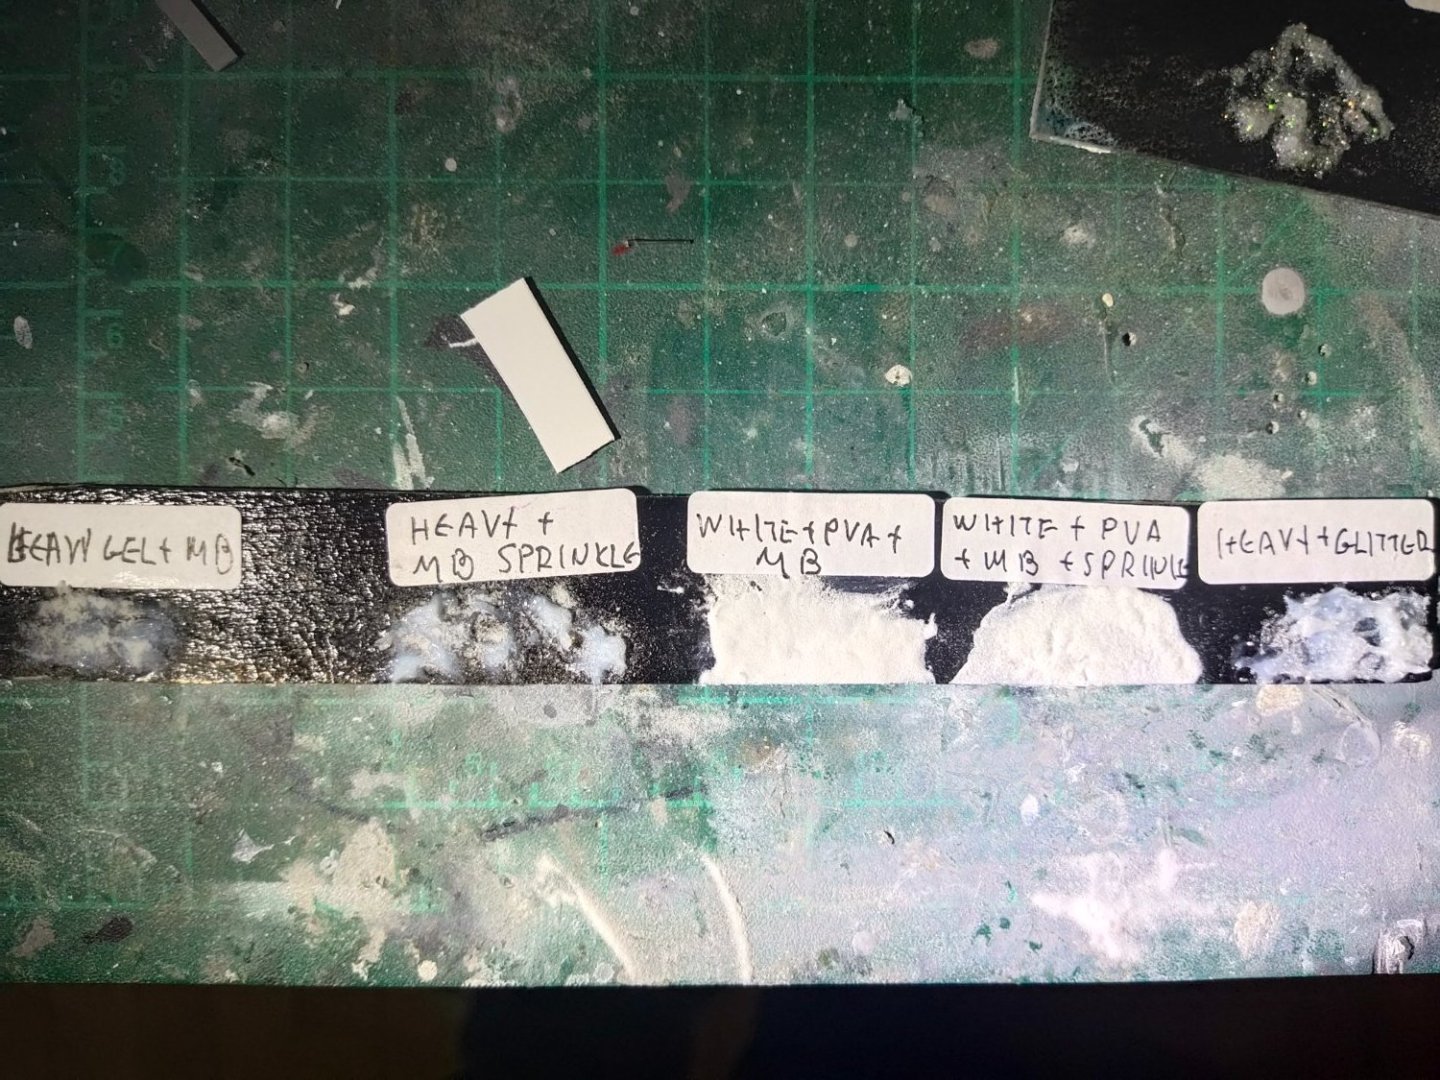
Progress has paused because I decided to have some education about ice and snow. At large surfaces even in that small scale I find that it takes more that paint job, no matter how perfect will be. I got some extra materials on hand. Ready made snow paste, ice paste and micro balloons. I added some more usual staff like heavy gel, PVA and paint. From left to right -Ice paste -Ice paste with microballoons -snow paste -snow and ice paste -heavy gel and ice paste -heavy gel and snow paste -heavy gel, paint and microballoons sprinkle on top -Heavy gel and microballoons -heavy gel and microballoons sprinkle -paint, PVA and microballoons --paint, PVA and microballoons sprinkle -heavy gel and white glitters. Ice paste gives a good shiny transparency but big colorful glitters reduce realism. This is an artcraft paste not a modeling one. Microballoons proved a fantastic material. White and shiny like crystal because its actually crystal powder. Gives a nice effect when sprinkled on other pastes but even if added alone. Tomorrow I will post more pics on day light.
-
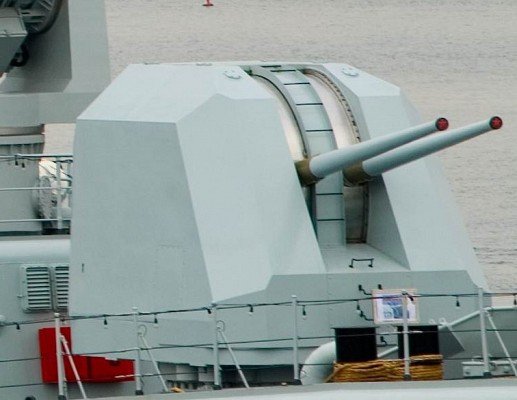
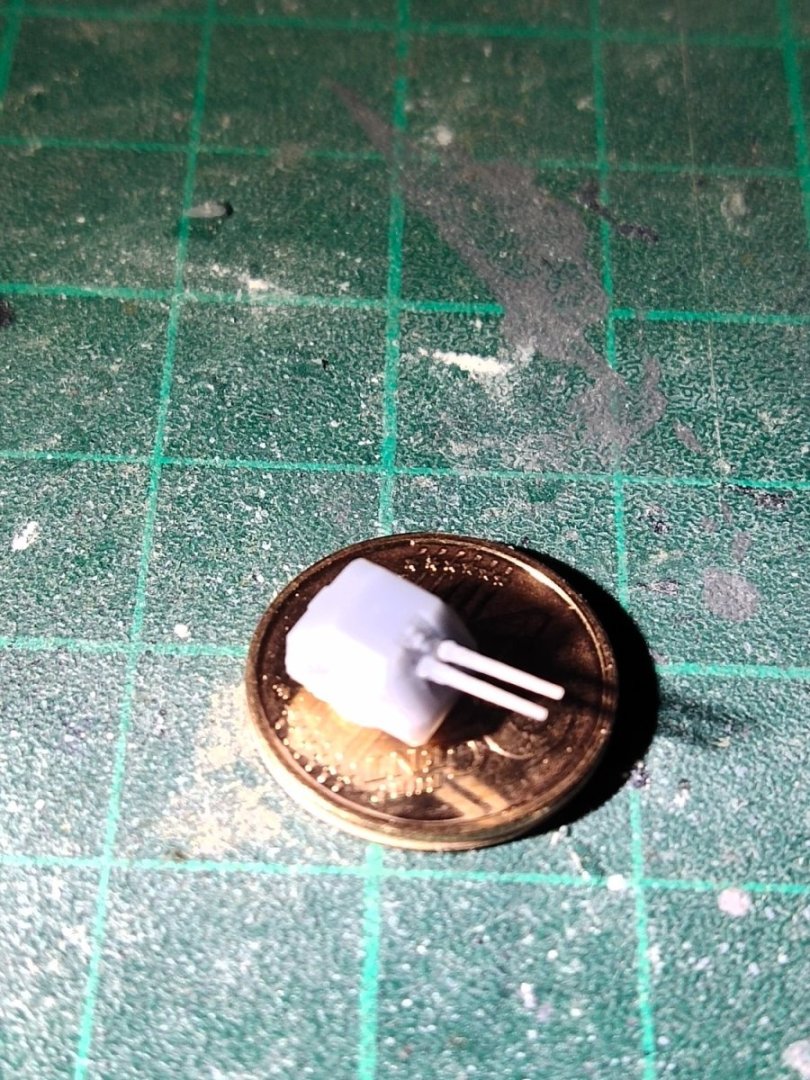
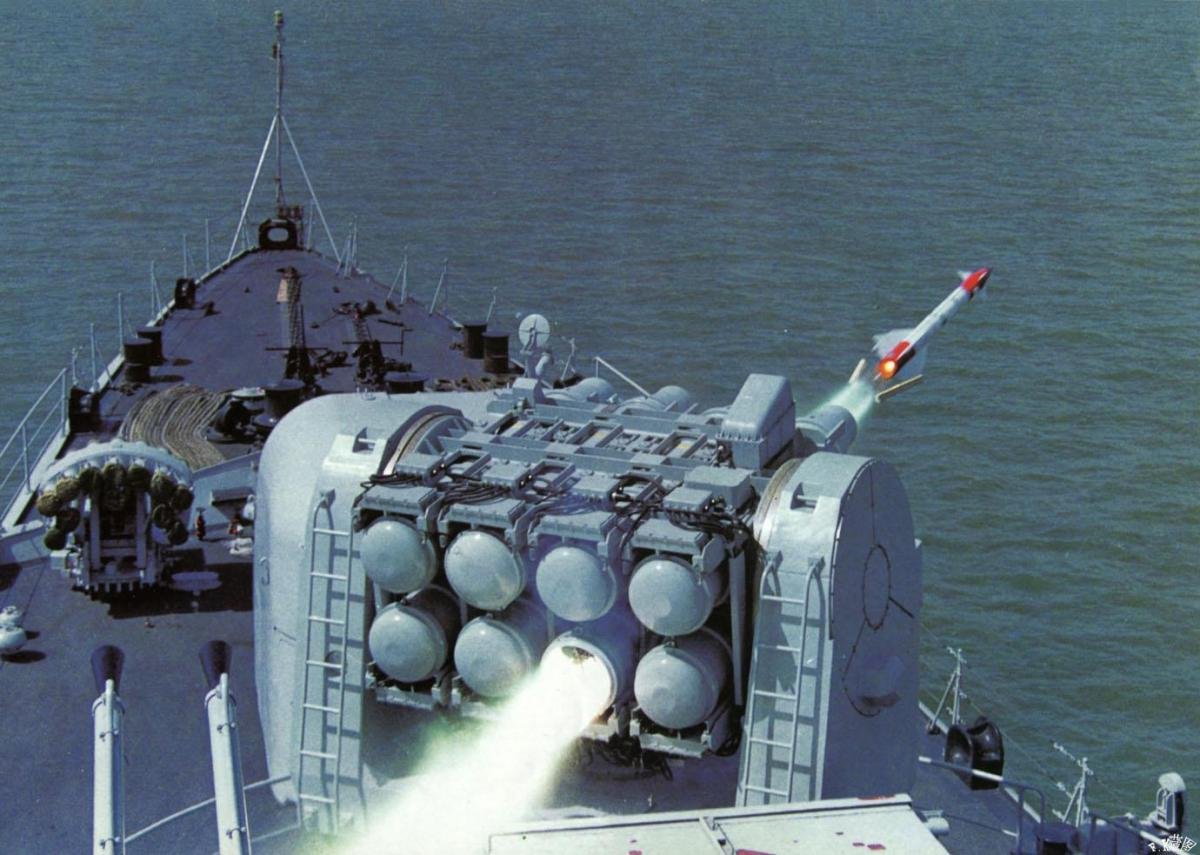
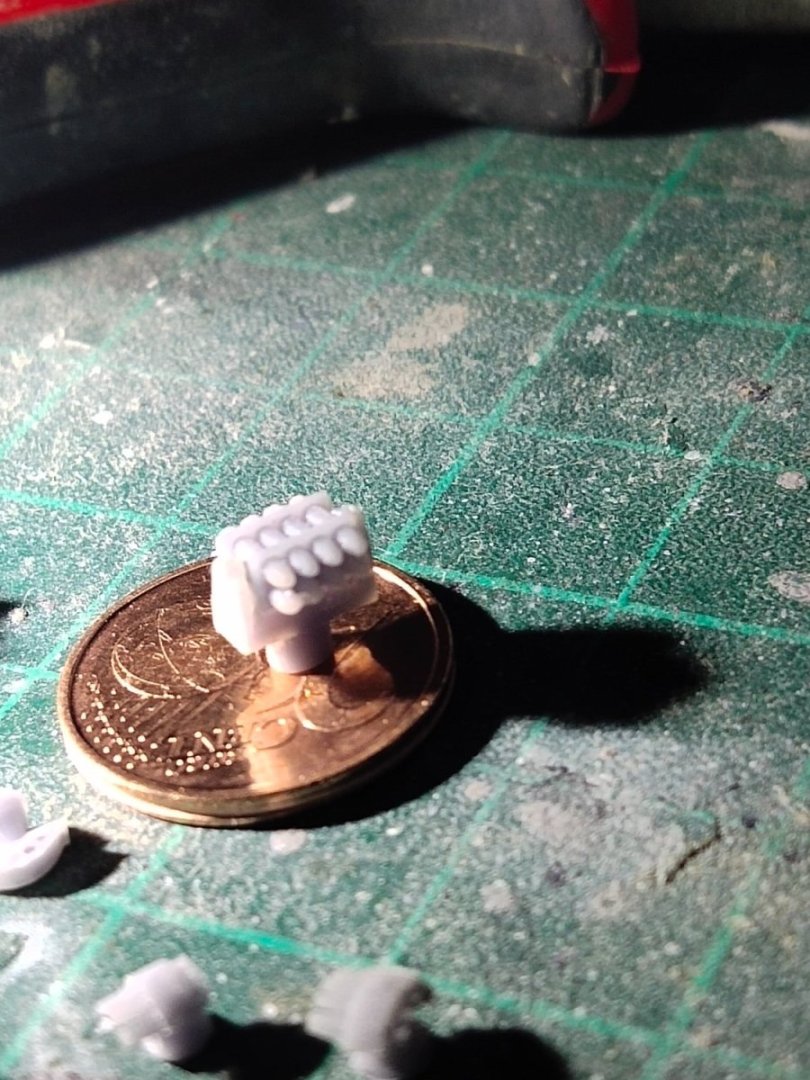
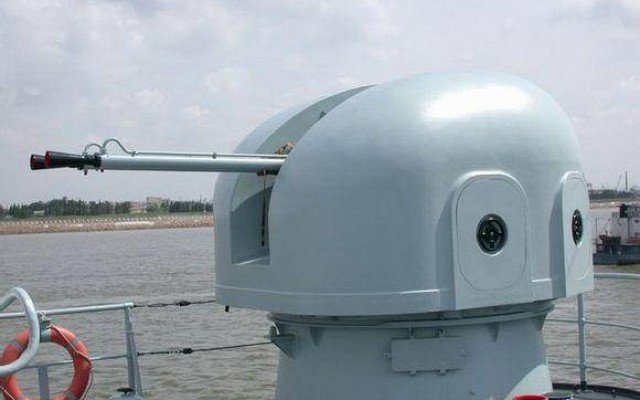
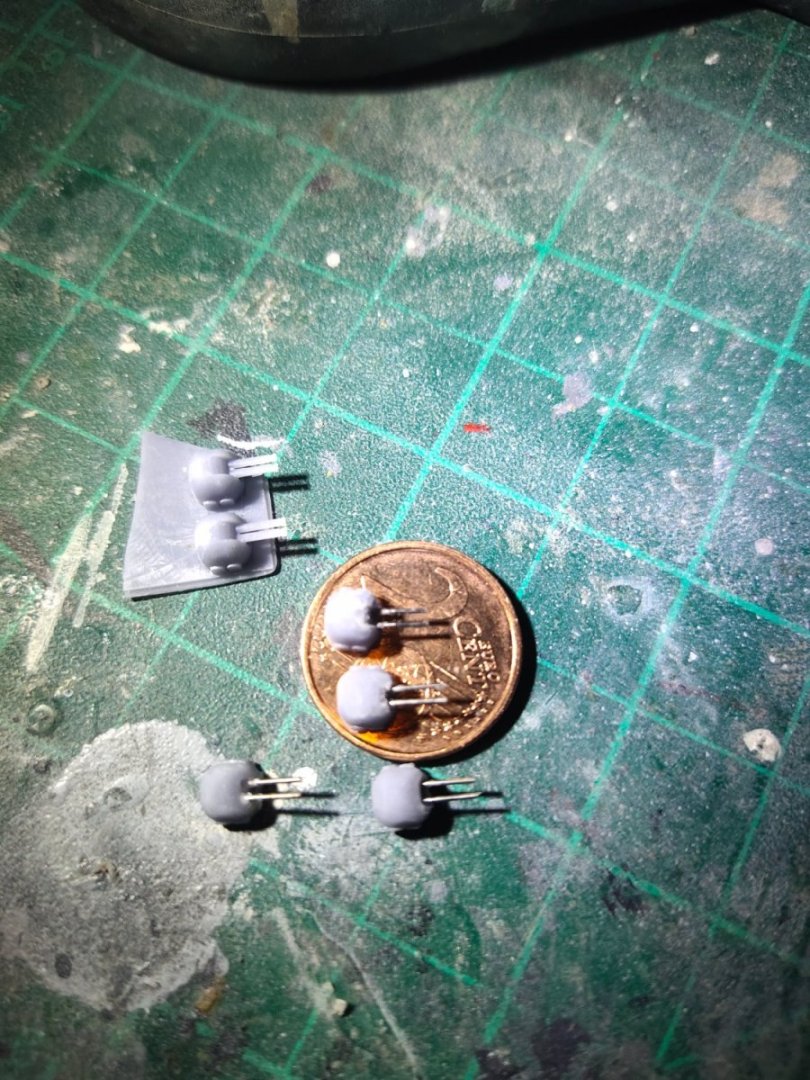
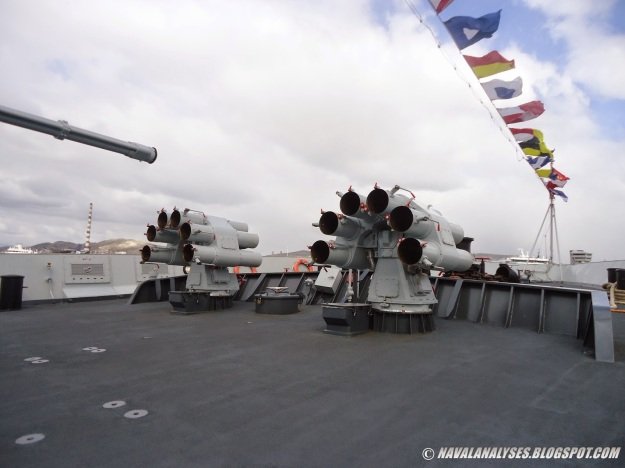
Armament. Type 79 4" Gun. This is the improved second stealth version thus the complex shape. I took a Mk38 5" gun file and modify it. Although proved too complex for my skills it turned close enough to the real thing. Barrels shape was also good and conical Next was the YJ 83 SSM Launch boxes. I made them a bit wider to make sure that every detail would be printed. I was happy to see that the base was printed with good accuracy so no PE parts would be needed Next was the HQ 7 short range SAM. This is replaced by HQ 10 a RAM style weapon. Easy to design and print. Air defence provided also by Type 76 37mm twin gun. Its elliptical shape proved too much for my design skills. After a week of trouble I printed a hemisphere shape and sanded it down with 600 grit sand paper. I replaced barrels with 0.4mm sterile needles and you can see the difference. Finally the 3200 ASW Rockets. Printed in 2 pieces. Plan was to fit 6 individual needles at the holder but holes proved to fragile. Not for my skill. I reprinted in one piece then printed again 15% bigger to have a better detailed quality. Hard to achieve accuracy without some over scale, thats why model companies can't avoid it I guess
-
A not so used bult in this forum. Sounds exciting.
- 9 replies
-
- German
- Battleship
-
(and 1 more)
Tagged with:
-
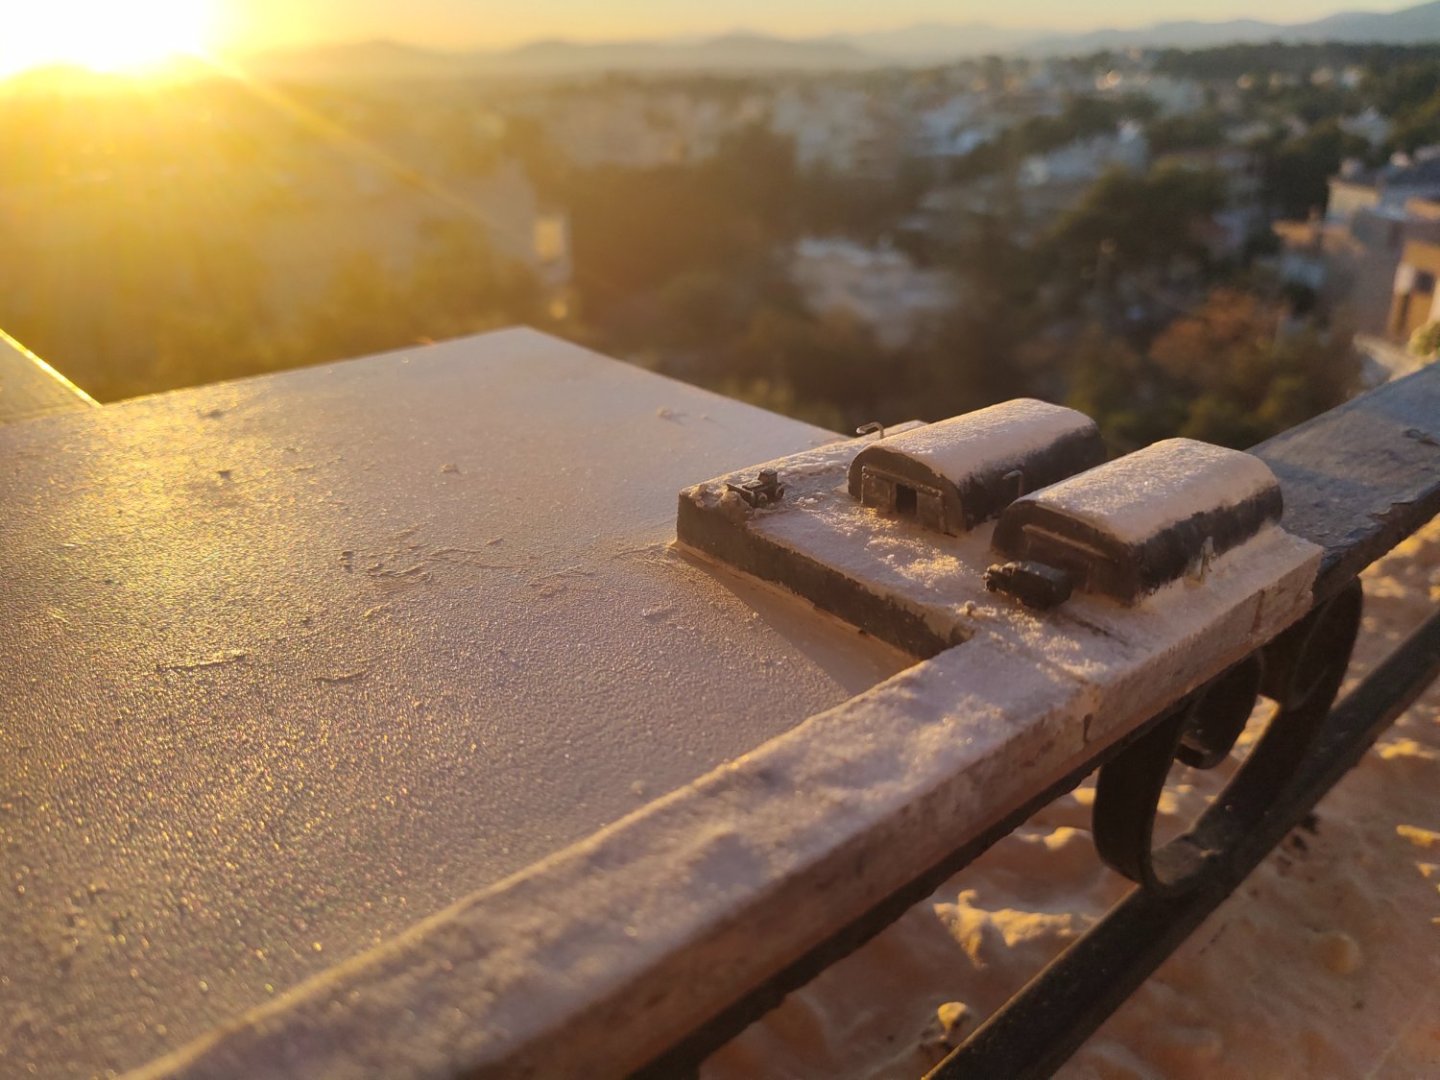
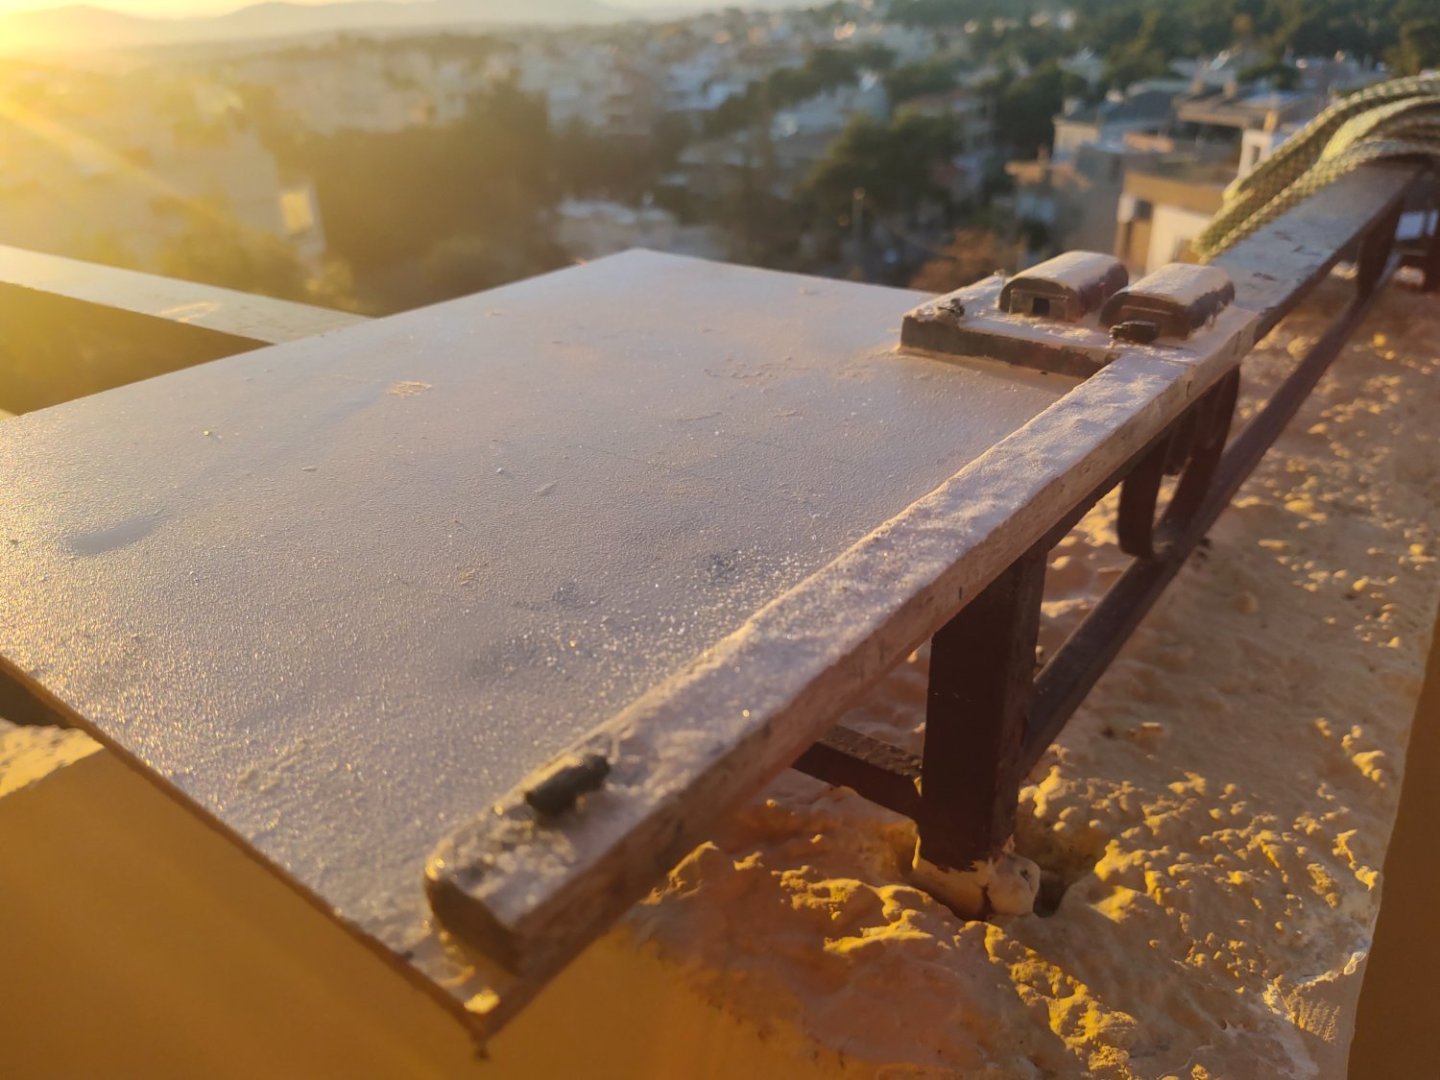
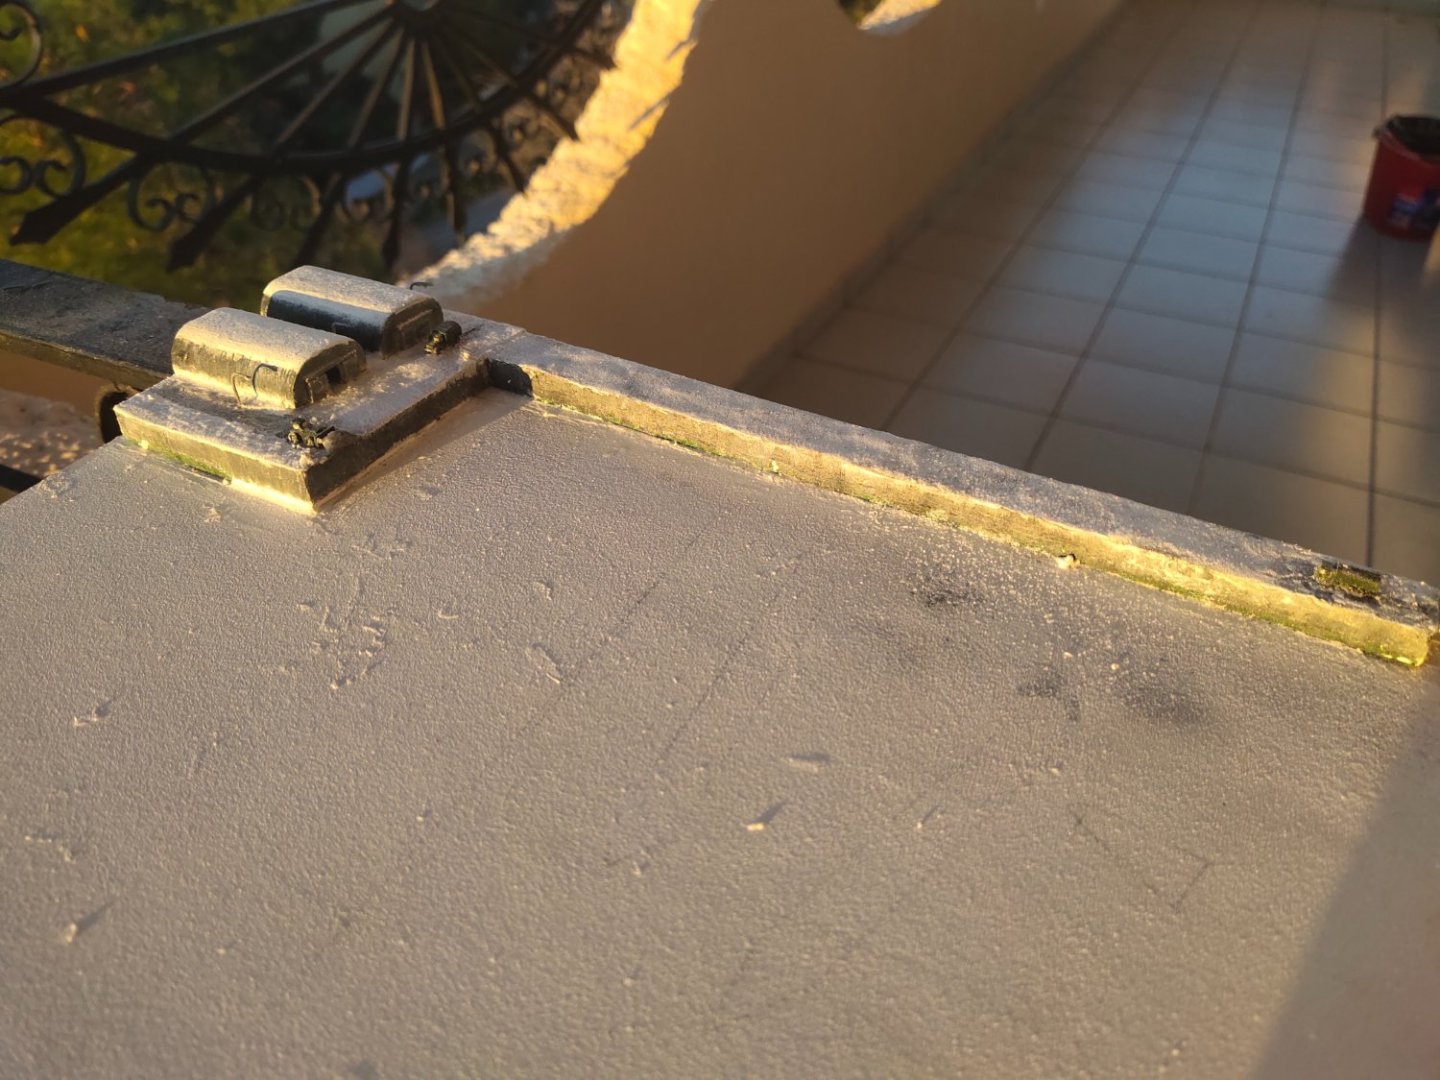
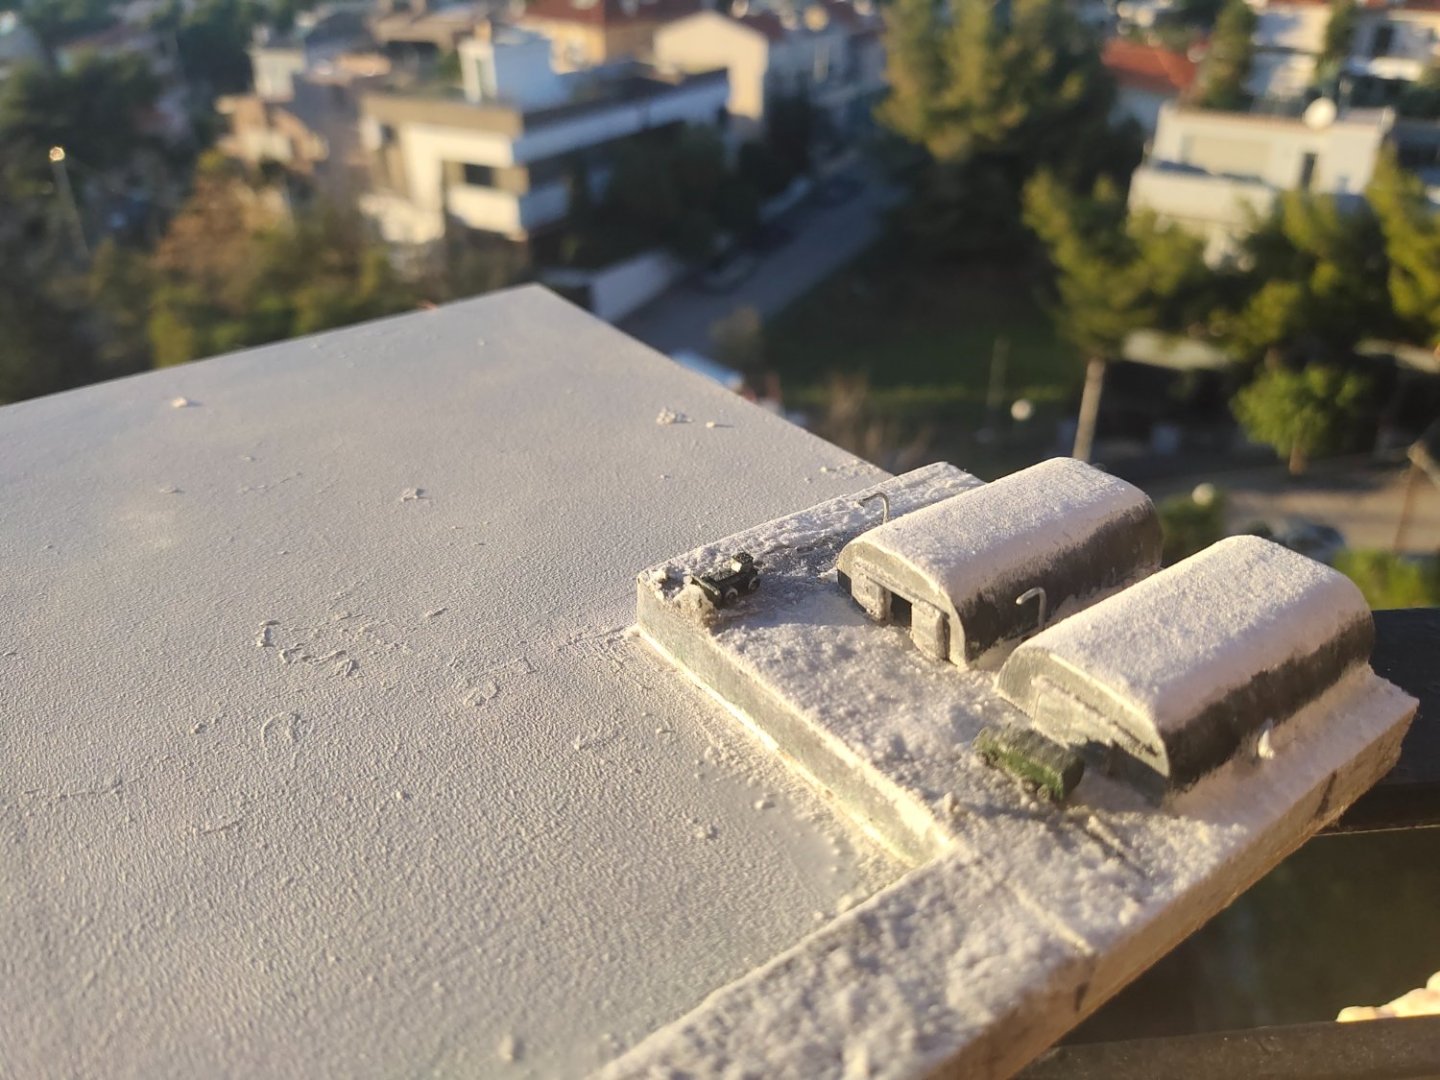
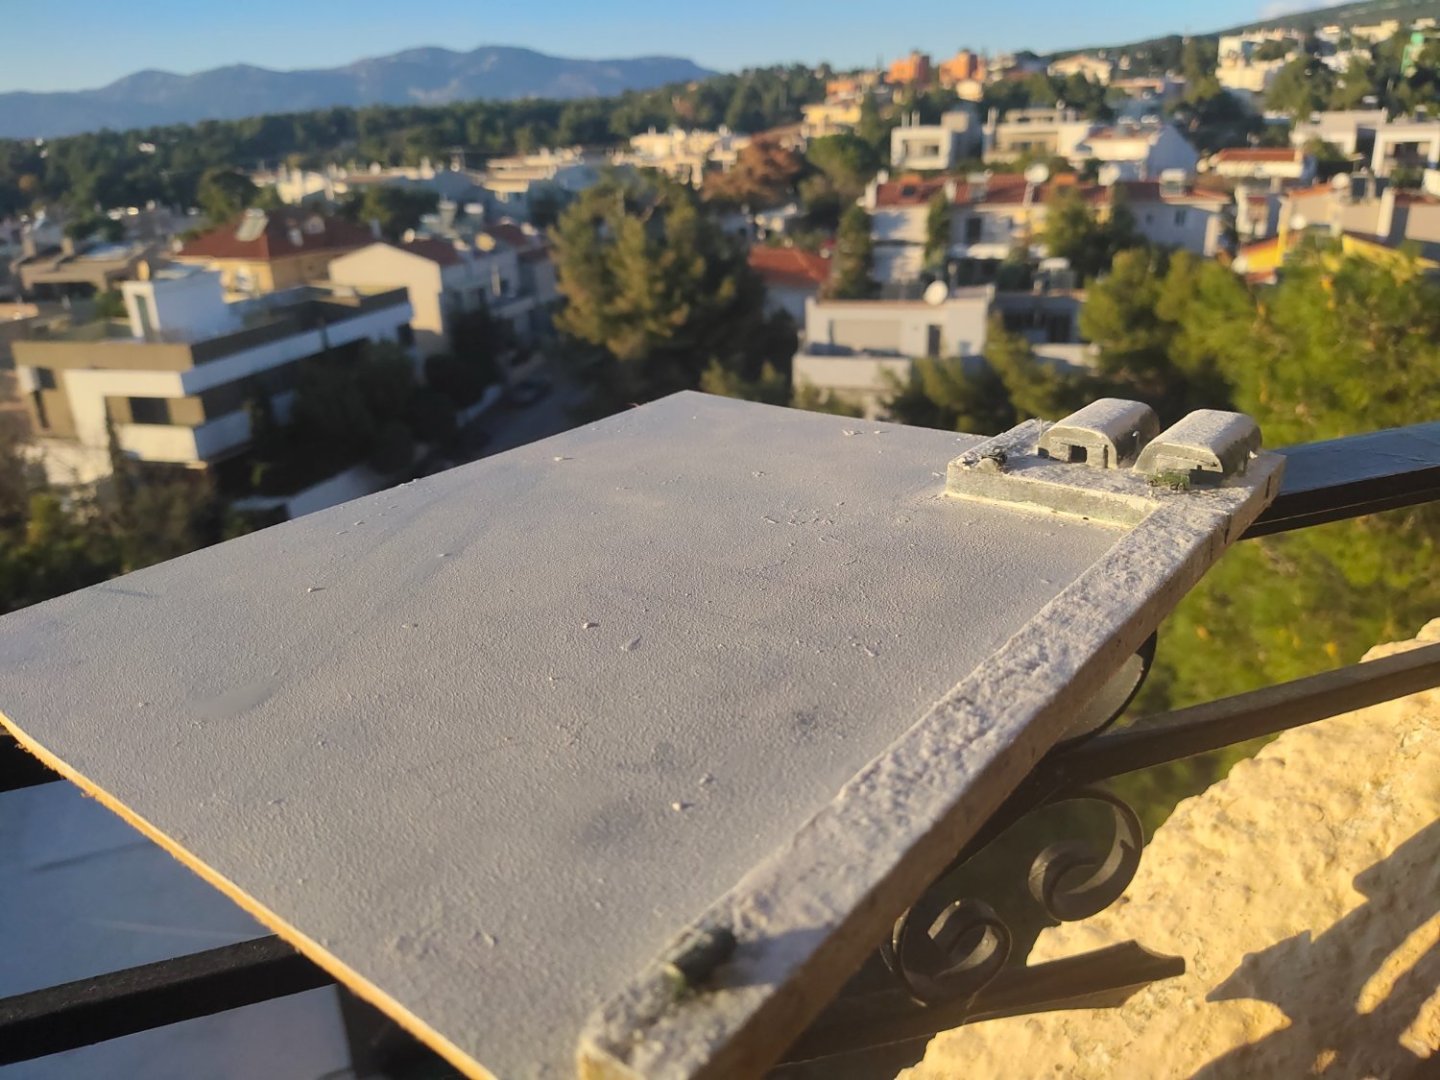
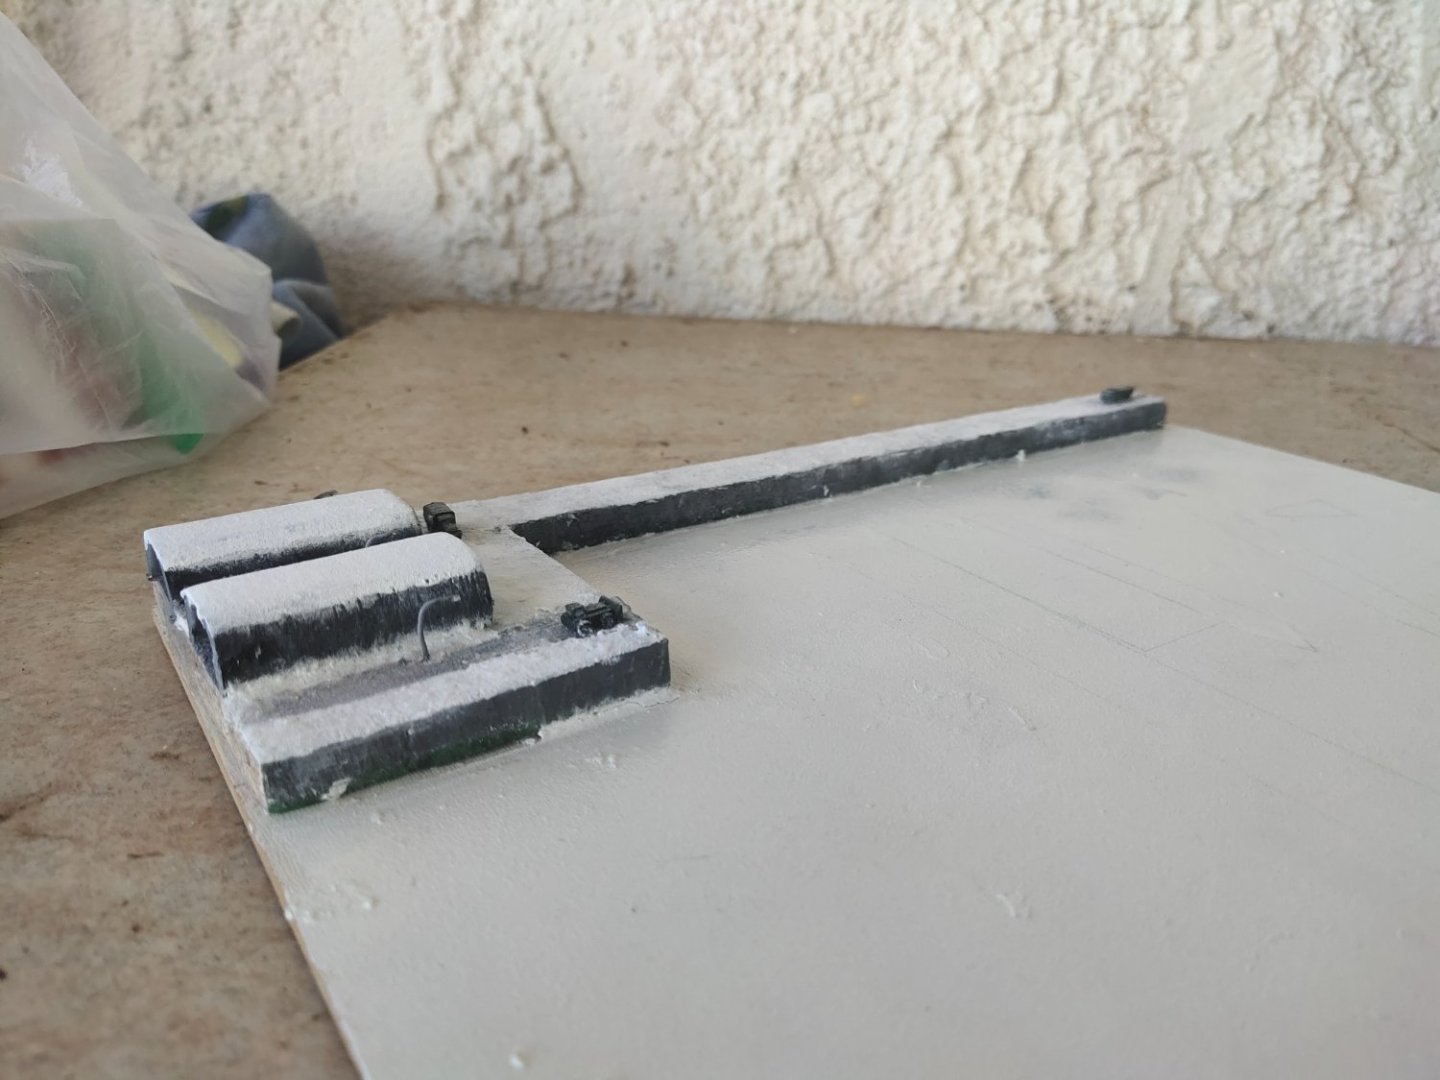
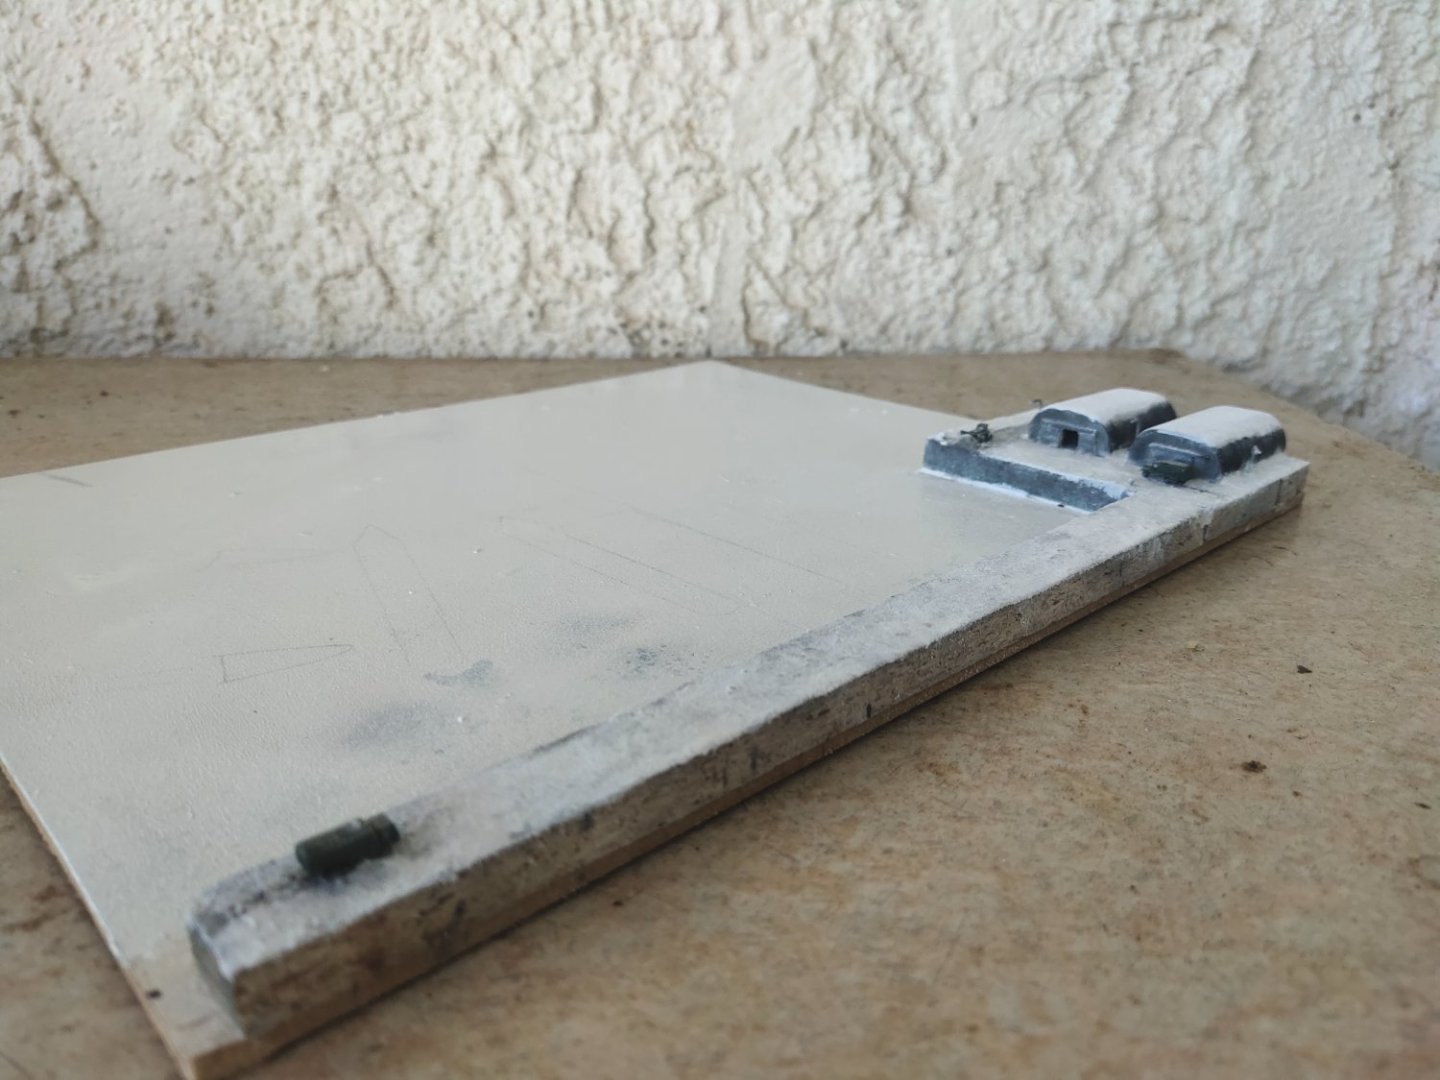
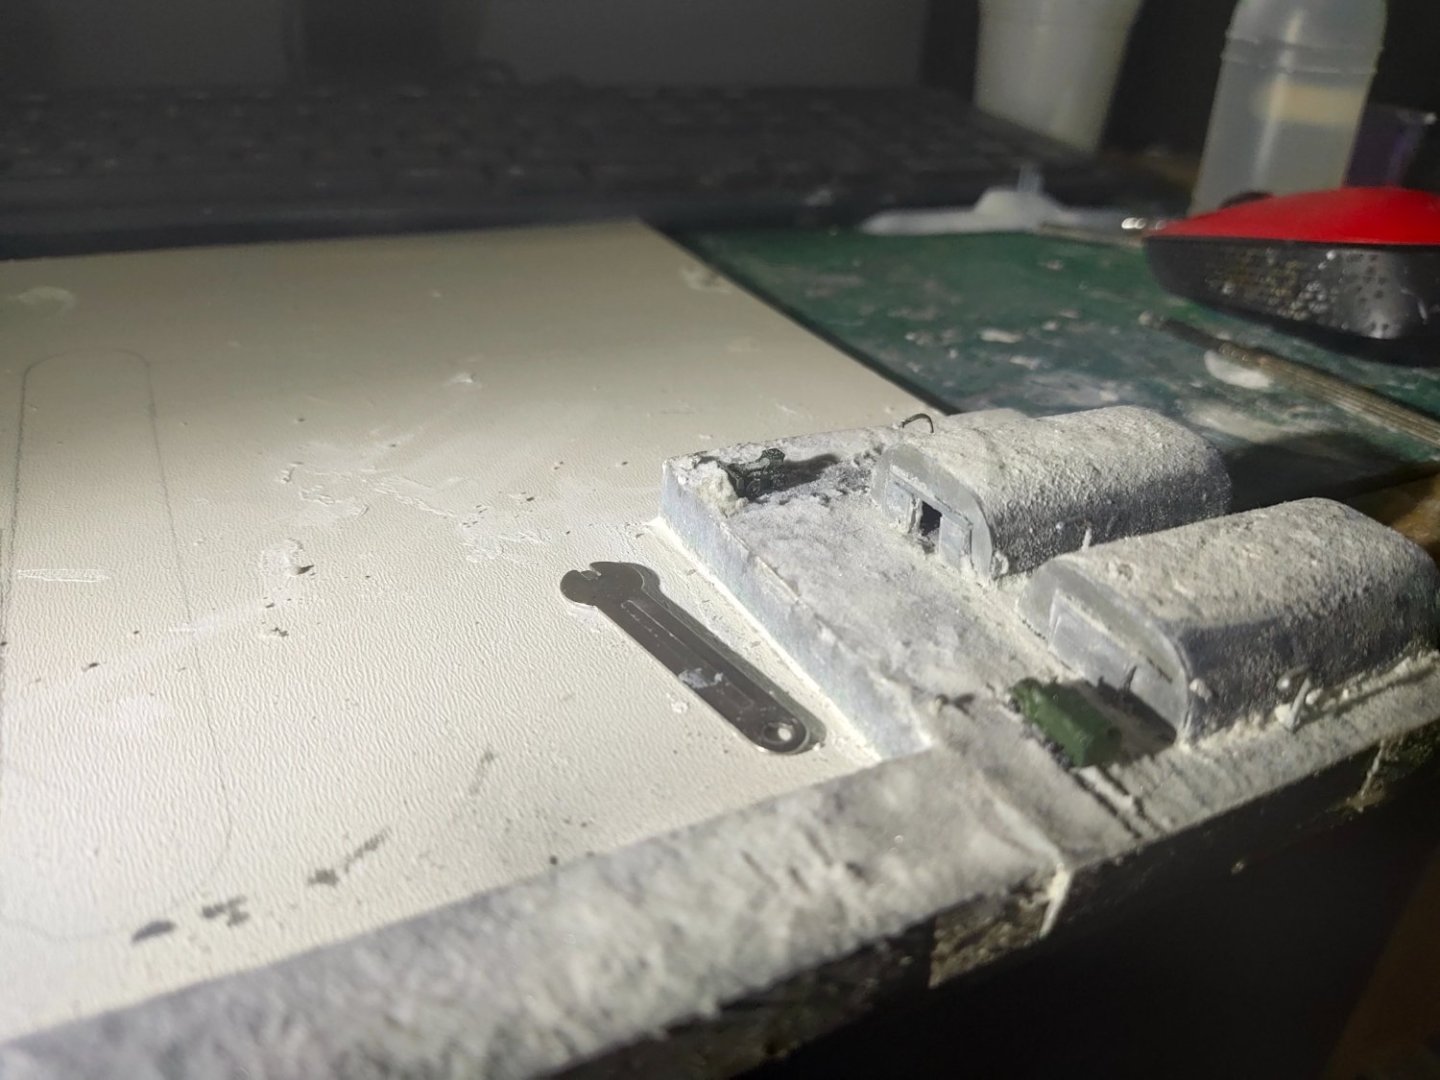
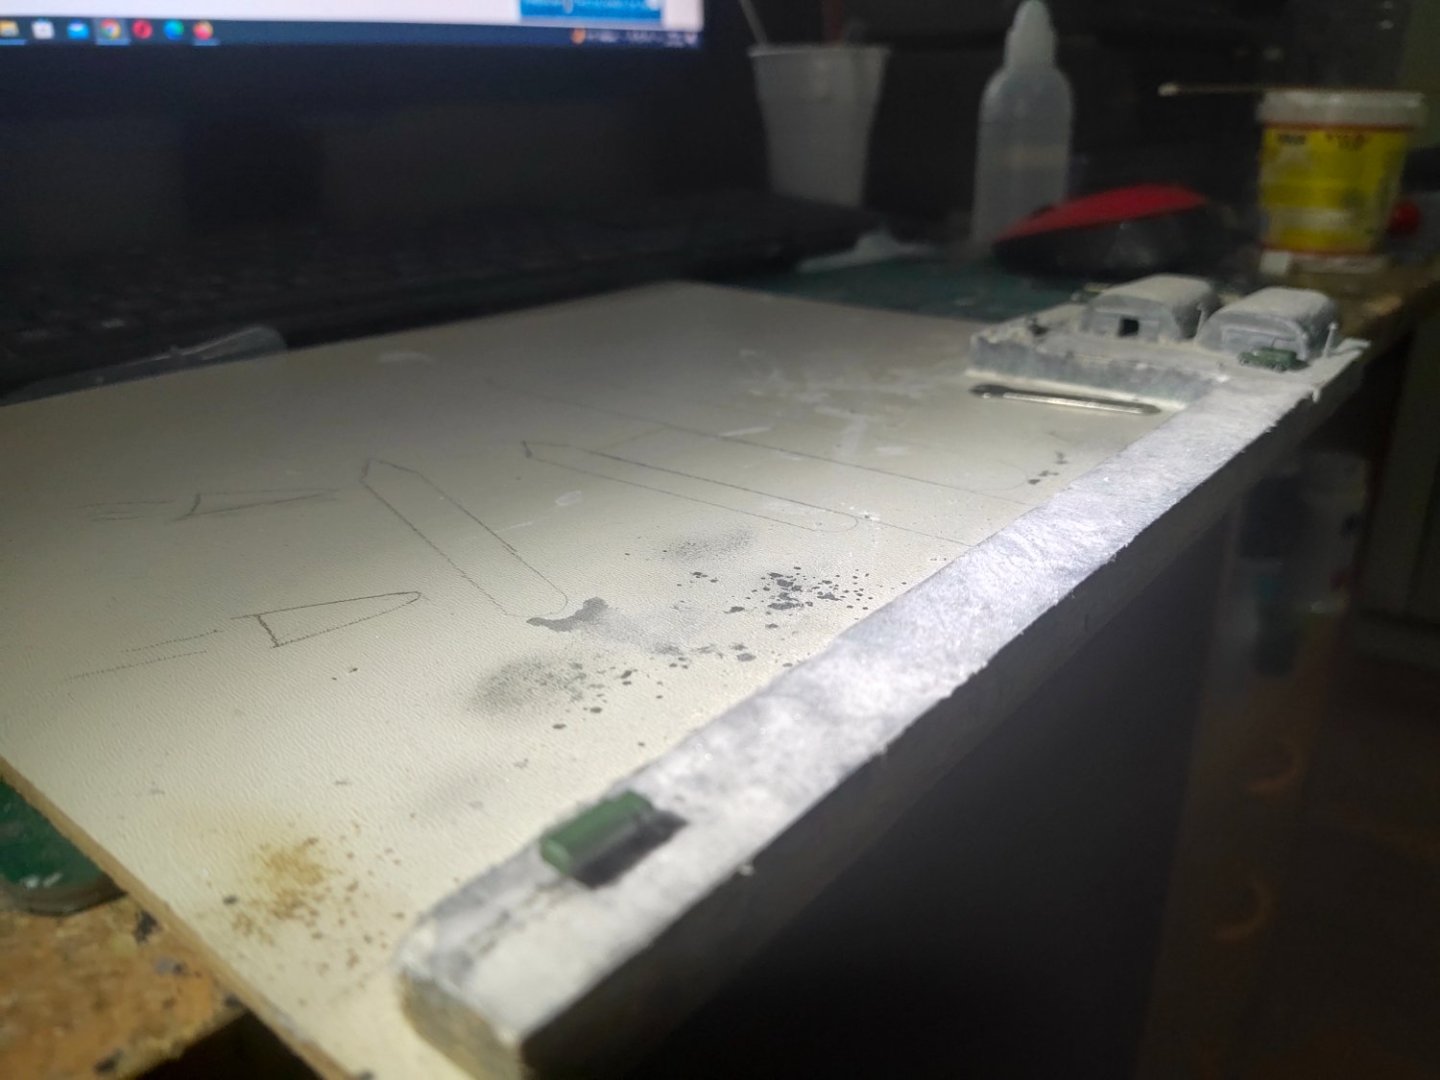
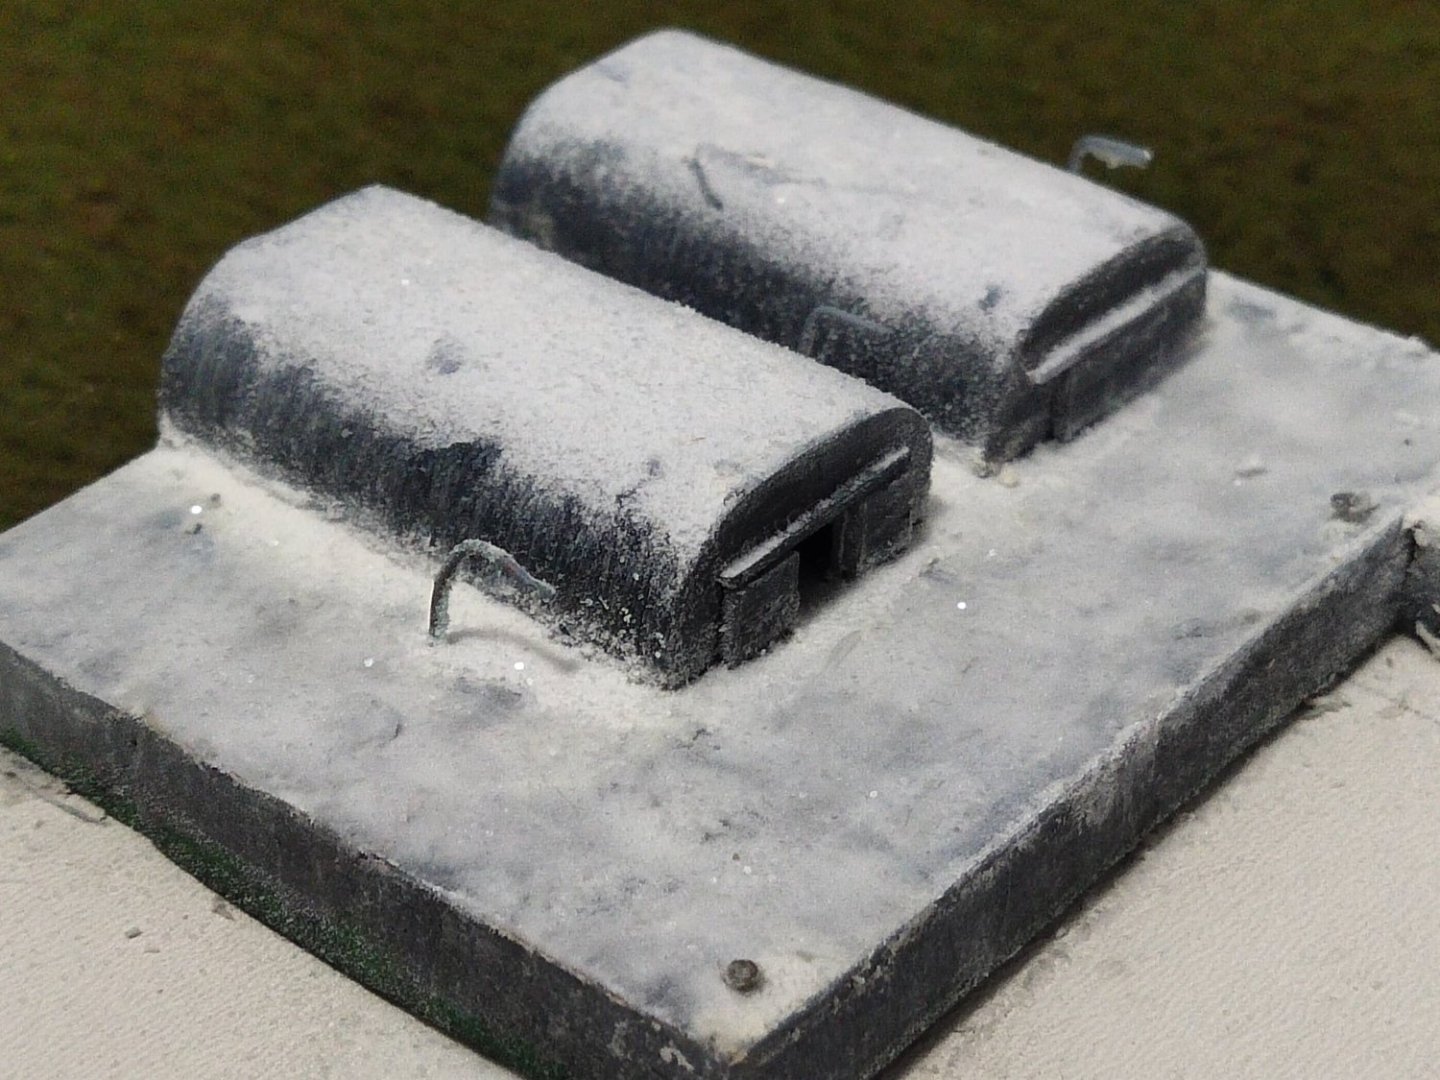
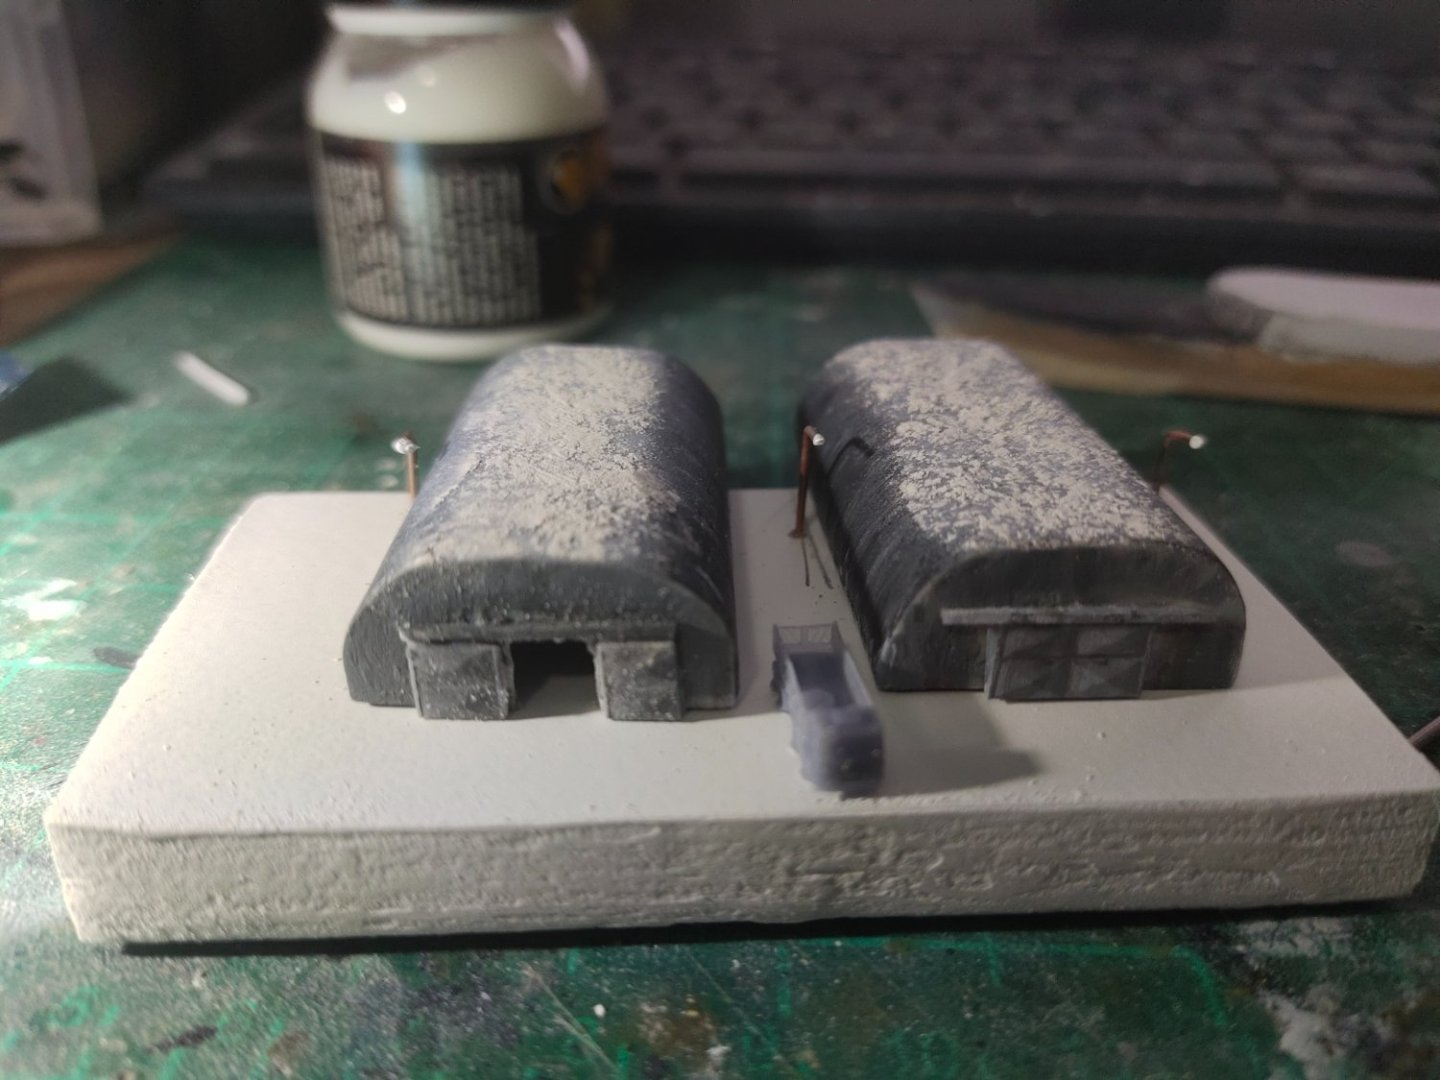
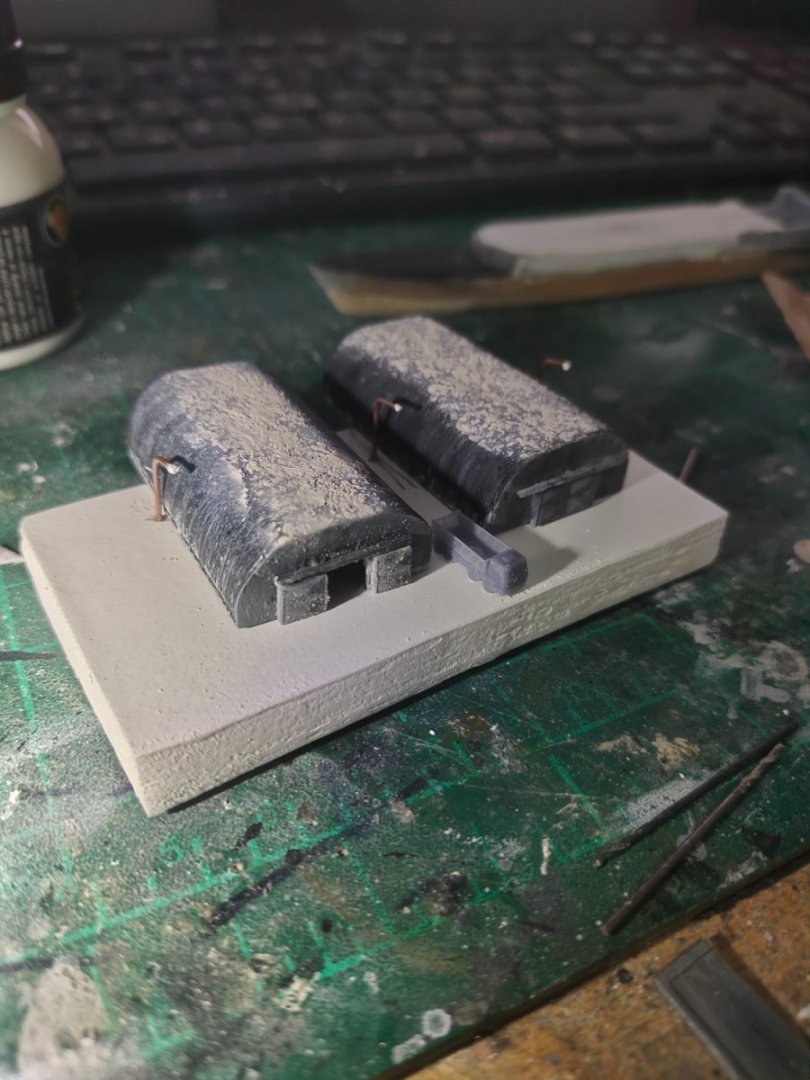
Thanks for comments and likes Instead of using problematic white I used a spray can to paint the dock. Then I will use shades of gray, gradually to erase the snow. So basically its the opposite technique comparing to submarine painting. Let's see of this works well. Doors on shelters replaced with other type. Light were added. I need to extend the dock because the truck can't turn and the buildings won't fit
About us
Modelshipworld - Advancing Ship Modeling through Research
SSL Secured
Your security is important for us so this Website is SSL-Secured
NRG Mailing Address
Nautical Research Guild
237 South Lincoln Street
Westmont IL, 60559-1917
Model Ship World ® and the MSW logo are Registered Trademarks, and belong to the Nautical Research Guild (United States Patent and Trademark Office: No. 6,929,264 & No. 6,929,274, registered Dec. 20, 2022)
Helpful Links
About the NRG
If you enjoy building ship models that are historically accurate as well as beautiful, then The Nautical Research Guild (NRG) is just right for you.
The Guild is a non-profit educational organization whose mission is to “Advance Ship Modeling Through Research”. We provide support to our members in their efforts to raise the quality of their model ships.
The Nautical Research Guild has published our world-renowned quarterly magazine, The Nautical Research Journal, since 1955. The pages of the Journal are full of articles by accomplished ship modelers who show you how they create those exquisite details on their models, and by maritime historians who show you the correct details to build. The Journal is available in both print and digital editions. Go to the NRG web site (www.thenrg.org) to download a complimentary digital copy of the Journal. The NRG also publishes plan sets, books and compilations of back issues of the Journal and the former Ships in Scale and Model Ship Builder magazines.

