
whitejamest
-
Posts
213 -
Joined
-
Last visited
Content Type
Profiles
Forums
Gallery
Events
Everything posted by whitejamest
-
 Okay, that's pretty fantastic. Especially the fact that you made the rope yourself at Chatham!
- 857 replies
-
- 2
-

-
- Sphinx
- Vanguard Models
- (and 1 more)
-
Great progress on a fascinating kit. But I have to ask - is there a large scale carronade in the background of the second photo?!
- 857 replies
-
- 1
-
-
- Sphinx
- Vanguard Models
- (and 1 more)
-
Thanks very much Gregory and Derek, I appreciate the comments. And thanks for the likes guys.
-
Wow, I guess I just assumed it was airbrushed because the finish was so nice. Even better.
-
That is some extremely neat, crisp water lining. I would be terrified to bring an airbrush near the model, but your results look impeccable.
-
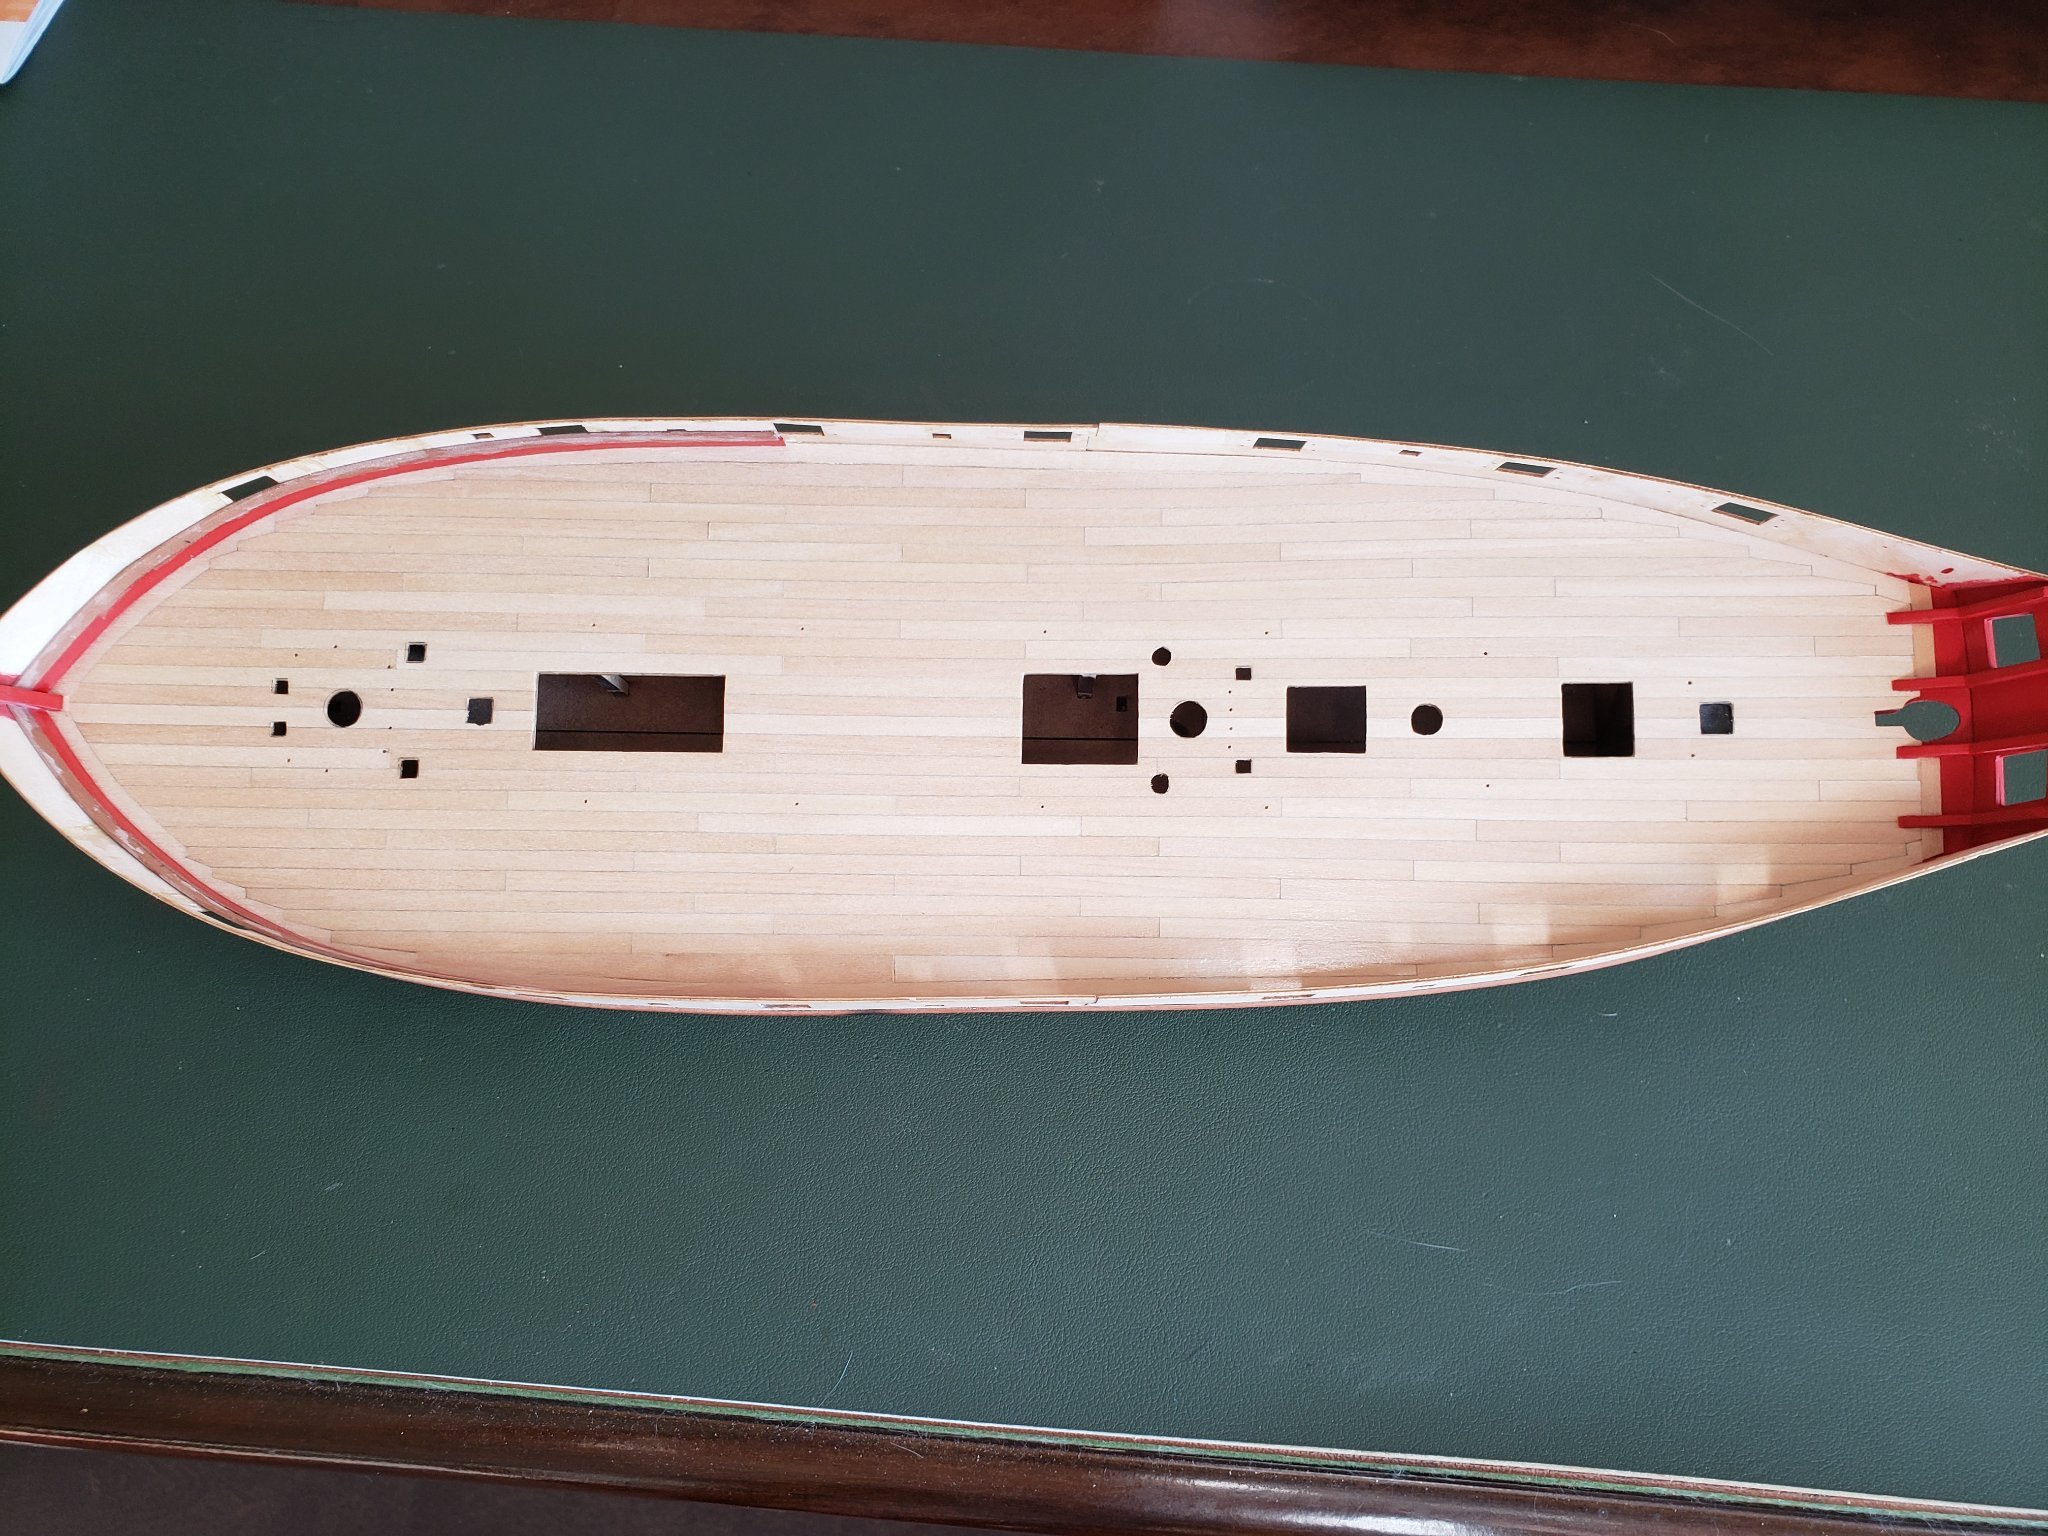
Well, if I had the decision to make all over again, I'm not sure I wouldn't just go with the laser etched deck that came with the kit, and save myself some trouble. But at least it's done now and I can move on to another step. (And then come back to the deck to do a little more touch up after I've got some emotional distance from it...) Deck planking in basswood, varnished in Minwax water based Polycrylic - which is actually rather glossier than you can see in these photos. Next up: planking the inside bulwarks.


-
It's an absolutely gorgeous finish, and I'm very glad to have this log to look through as I plod my way through my own build at a snail's pace. For tips and instruction, added details, and sheer inspirational eye candy, I couldn't ask for better. I too would like to take a crack at HMS Sphinx some day, and I am pleased to think that by the time I am finishing HMS Speedy, you'll be wrapping up that build!
- 725 replies
-
- 2
-
-

-
- vanguard models
- speedy
- (and 1 more)
-
Fantastic detail and workmanship, and I love seeing these close ups.
- 725 replies
-
- 3
-
-
-
- vanguard models
- speedy
- (and 1 more)
-
I'm disappointed in the Viking Venus' lack of joggling, but I think they did a nice job on the caulking between the deck planks. Was that the pencil lead method? The anchor cables look to be lying very nicely with your glue treatment. Do they wind up stuck down to the deck by the glue, or just sitting obediently?
-
Beautiful work, extremely neat and tight.
-
A beautiful model, beautifully photographed. Really top notch.
- 778 replies
-
- 4
-
-
- cheerful
- Syren Ship Model Company
- (and 1 more)
-
Thanks very much Gregory, Spyglass and Derek. I appreciate the encouragement.
-
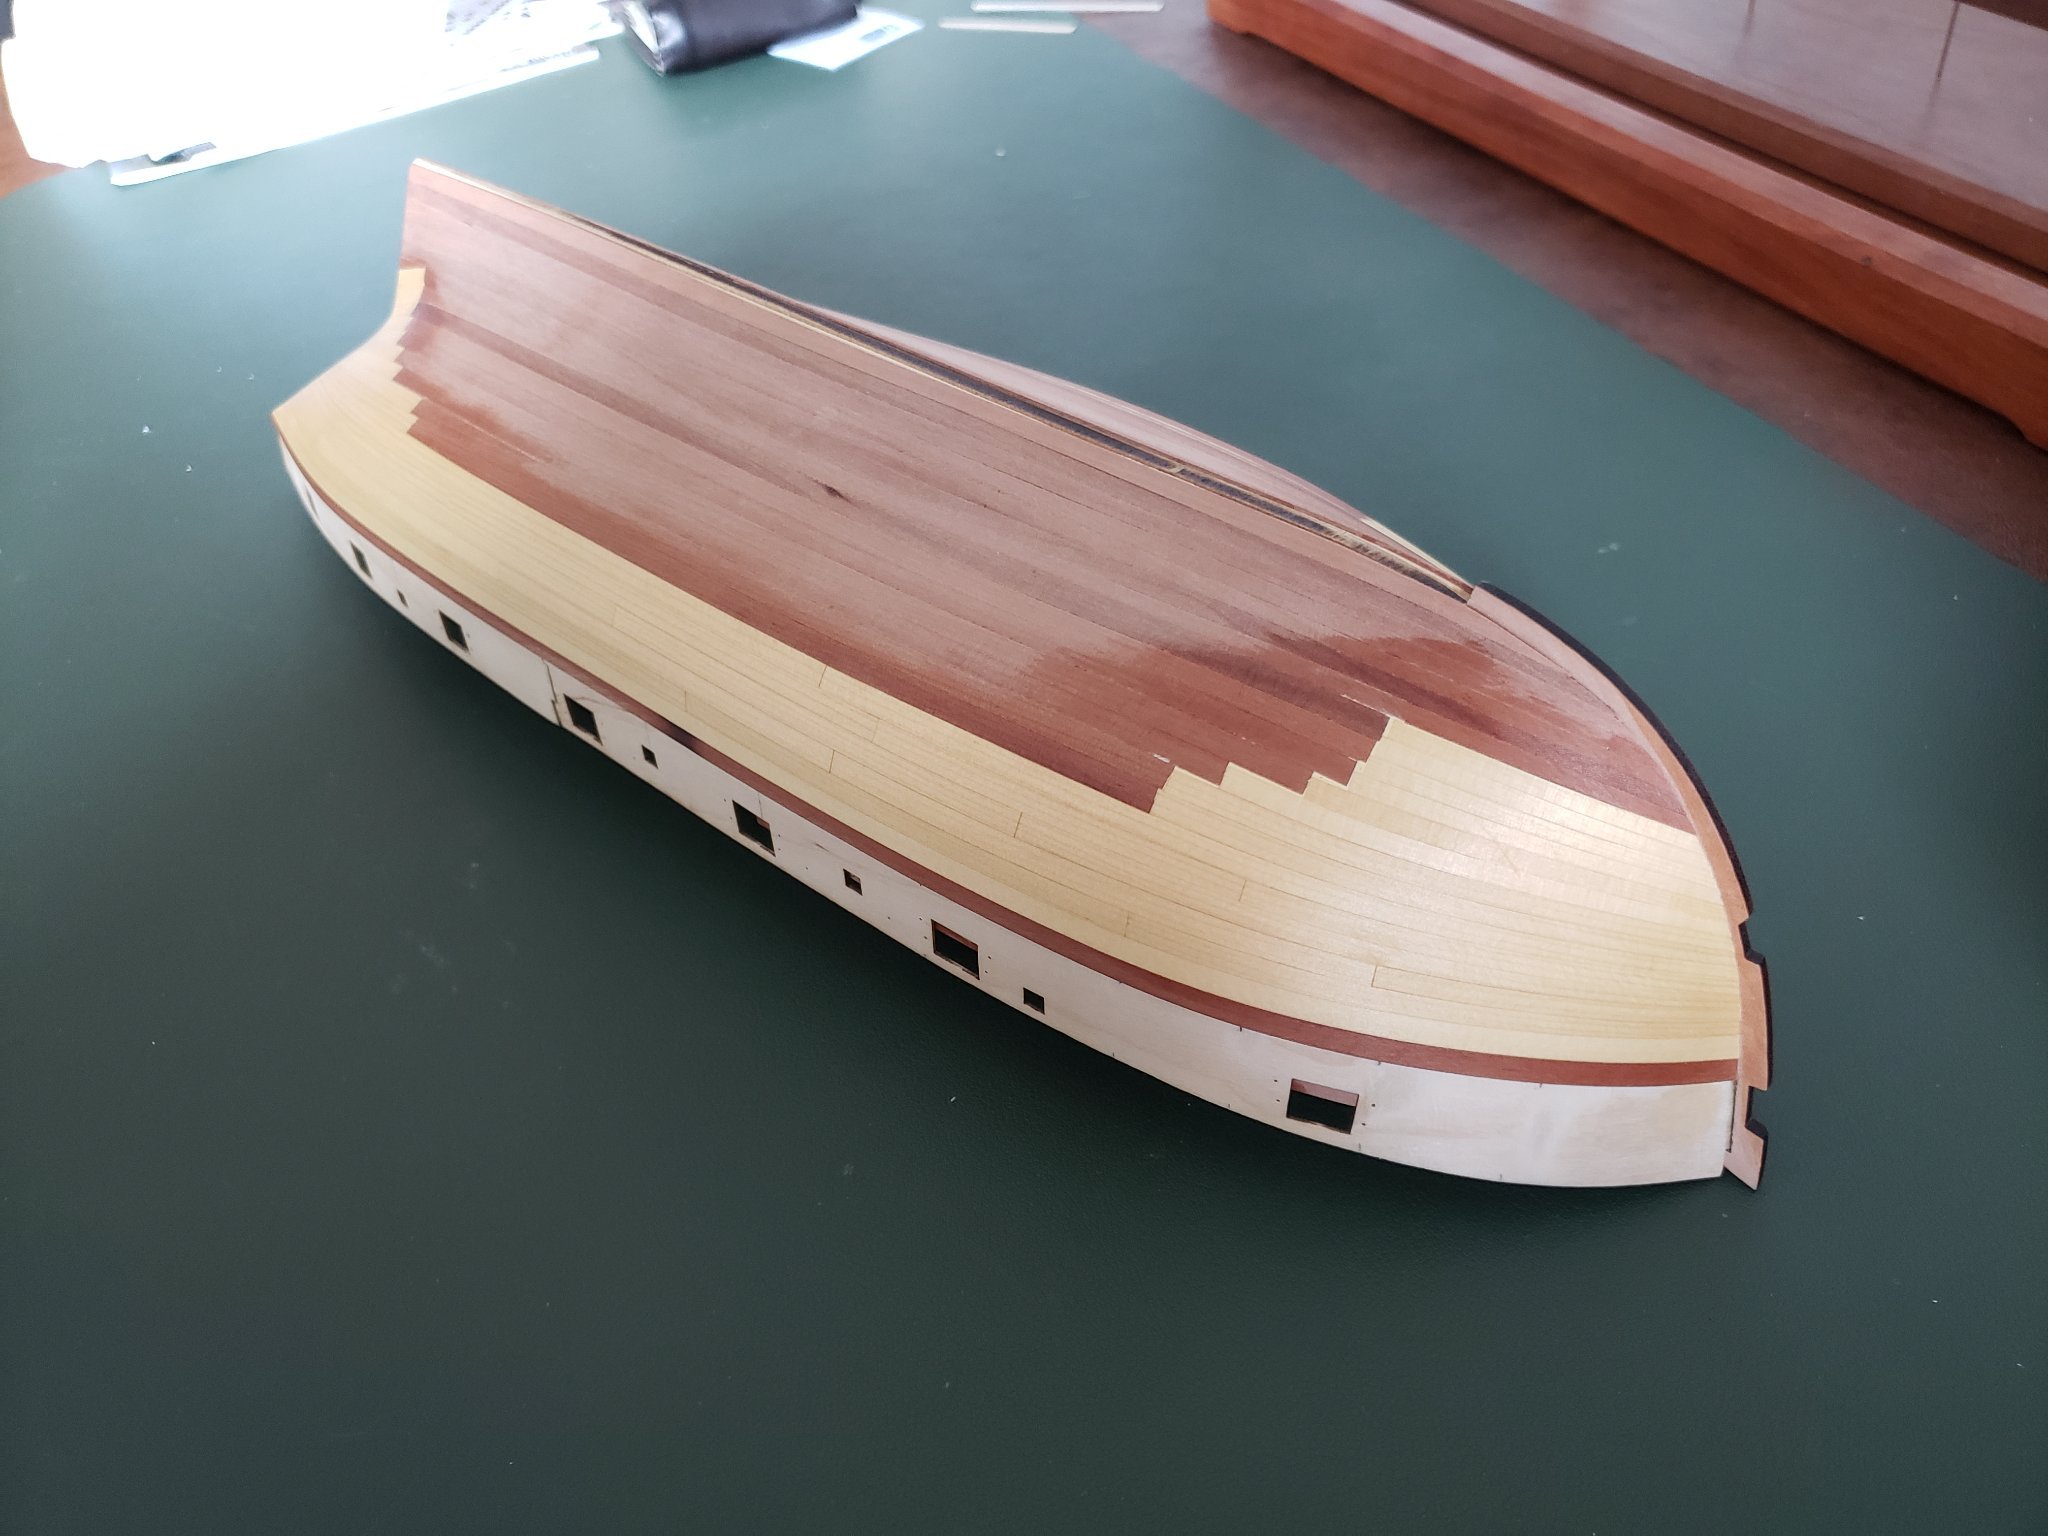
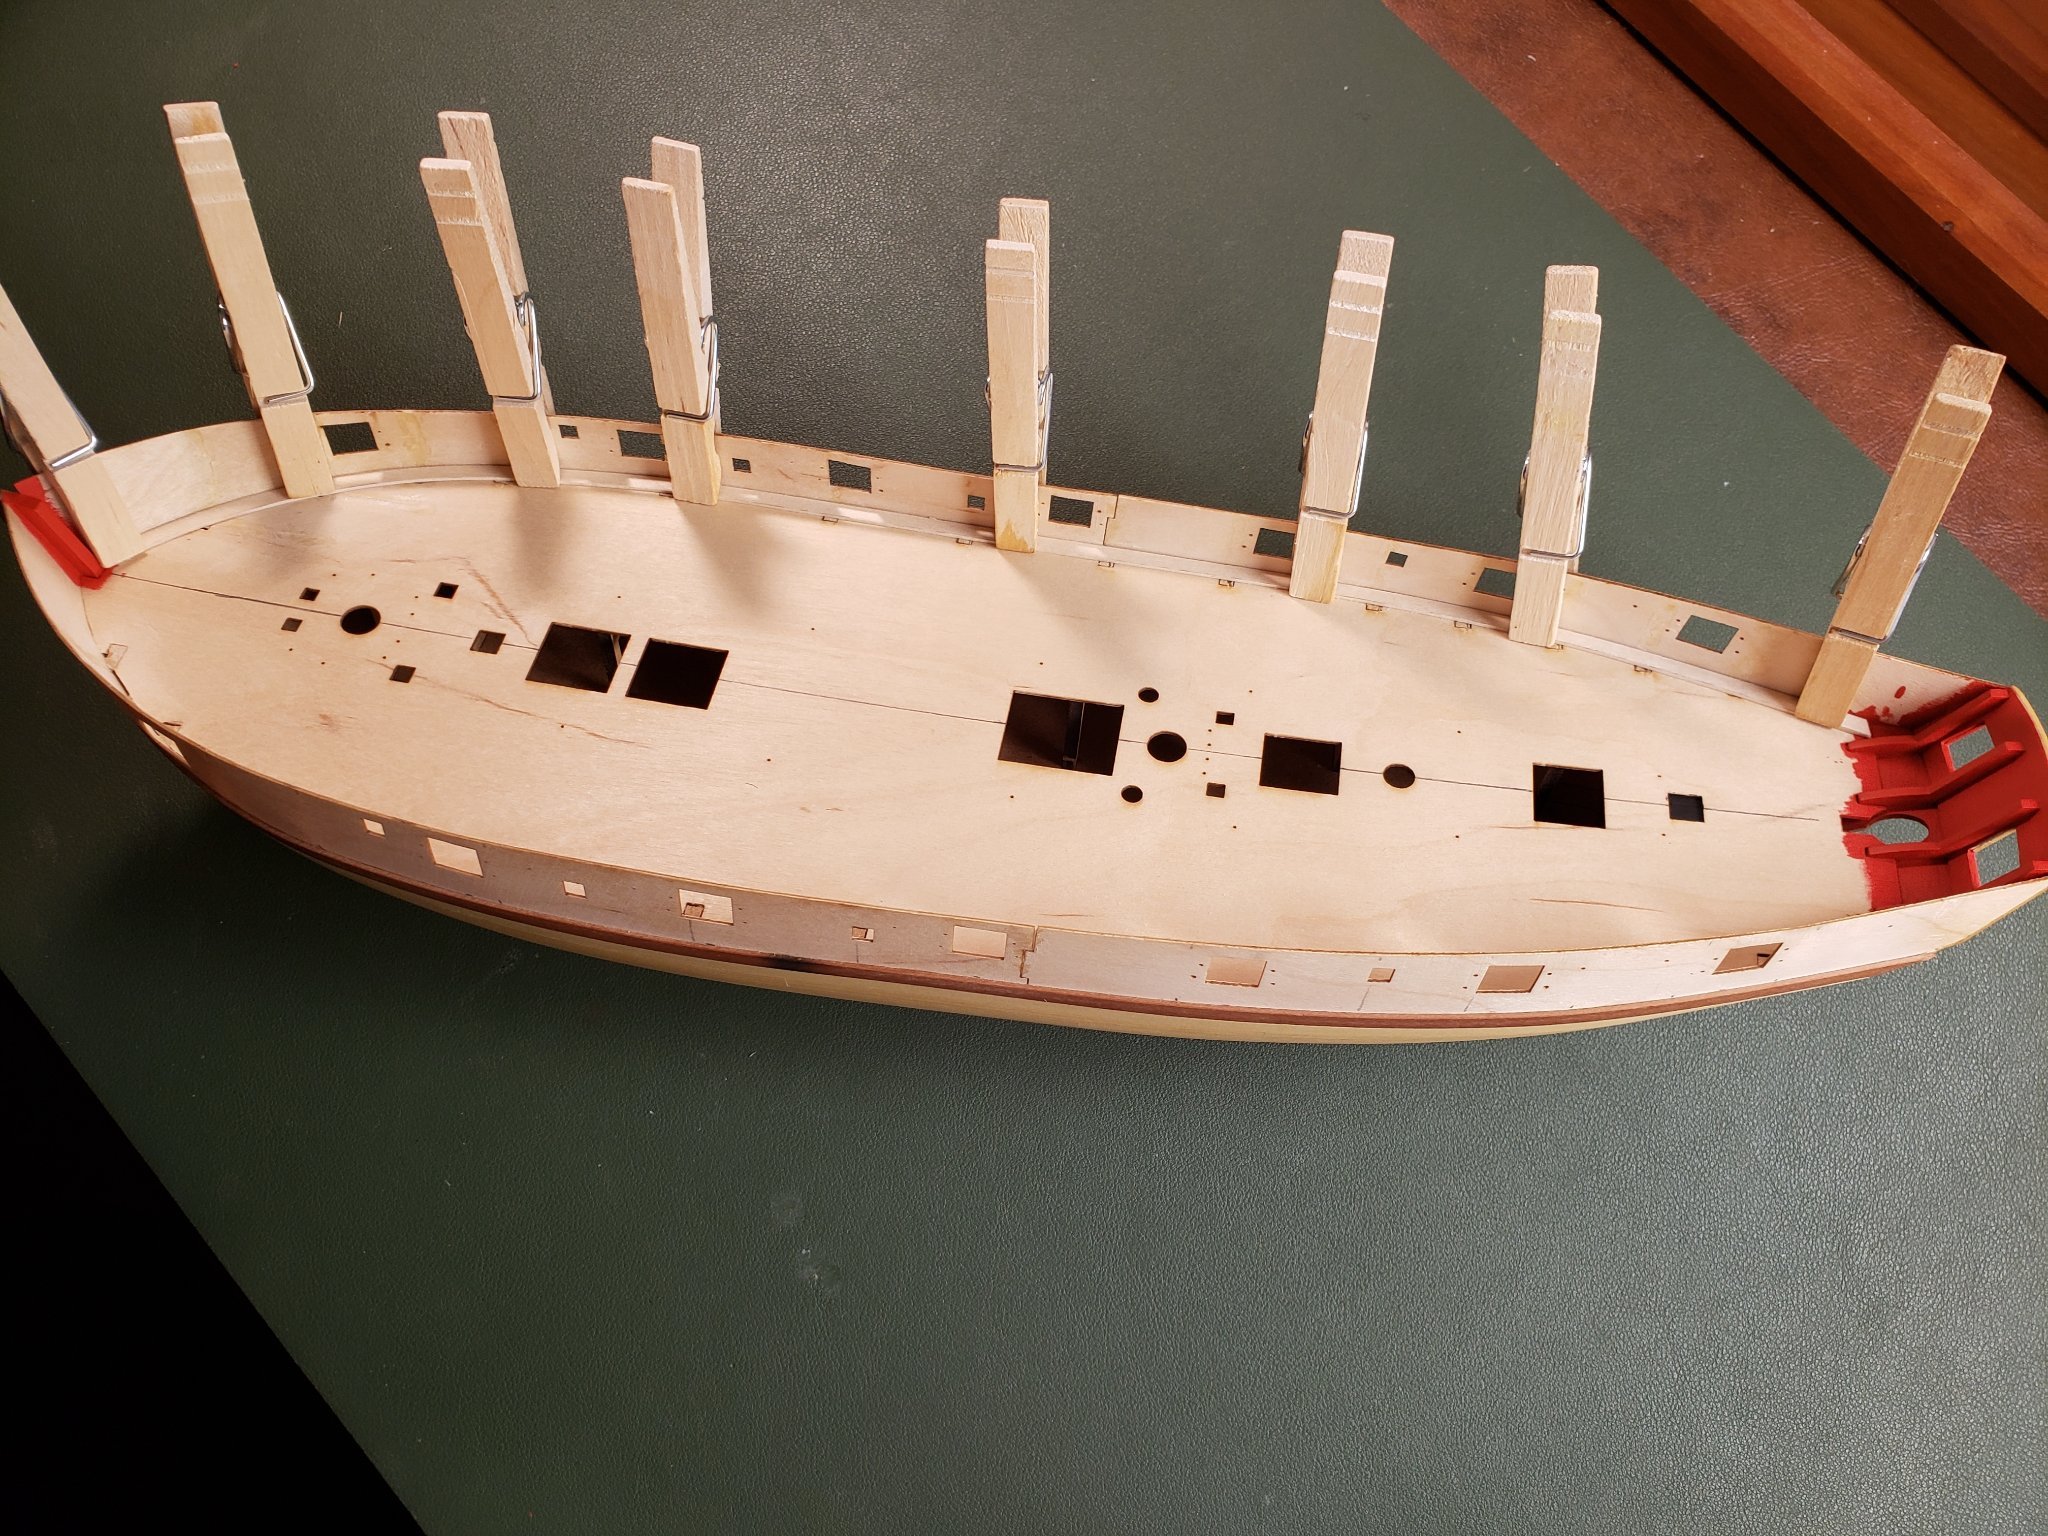
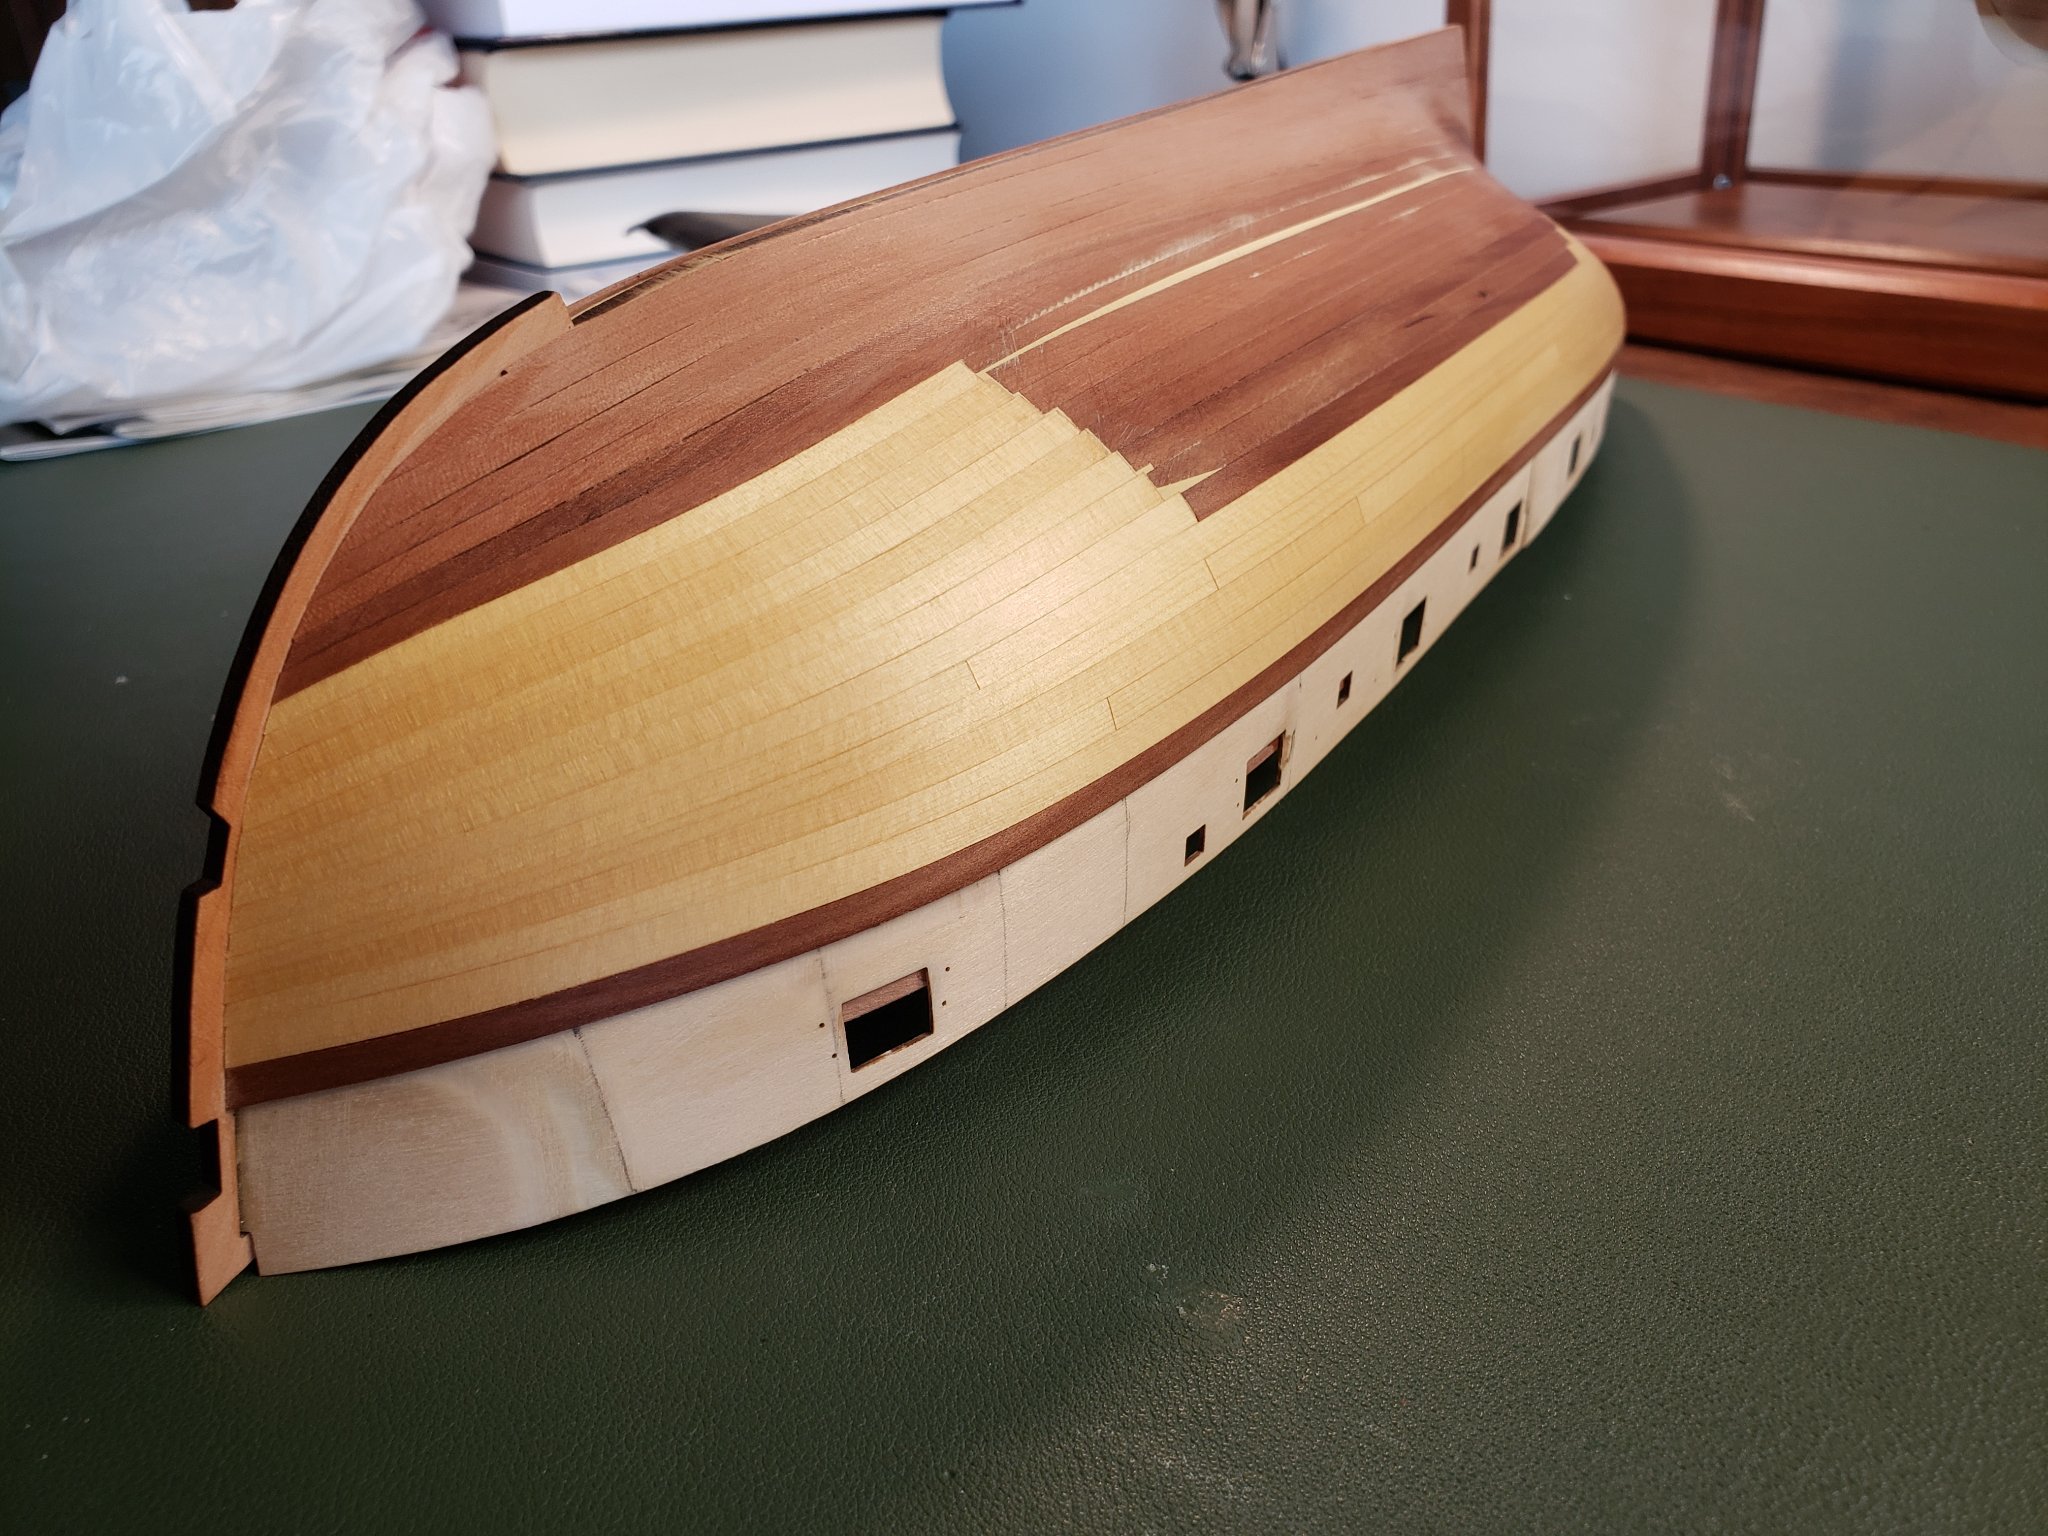
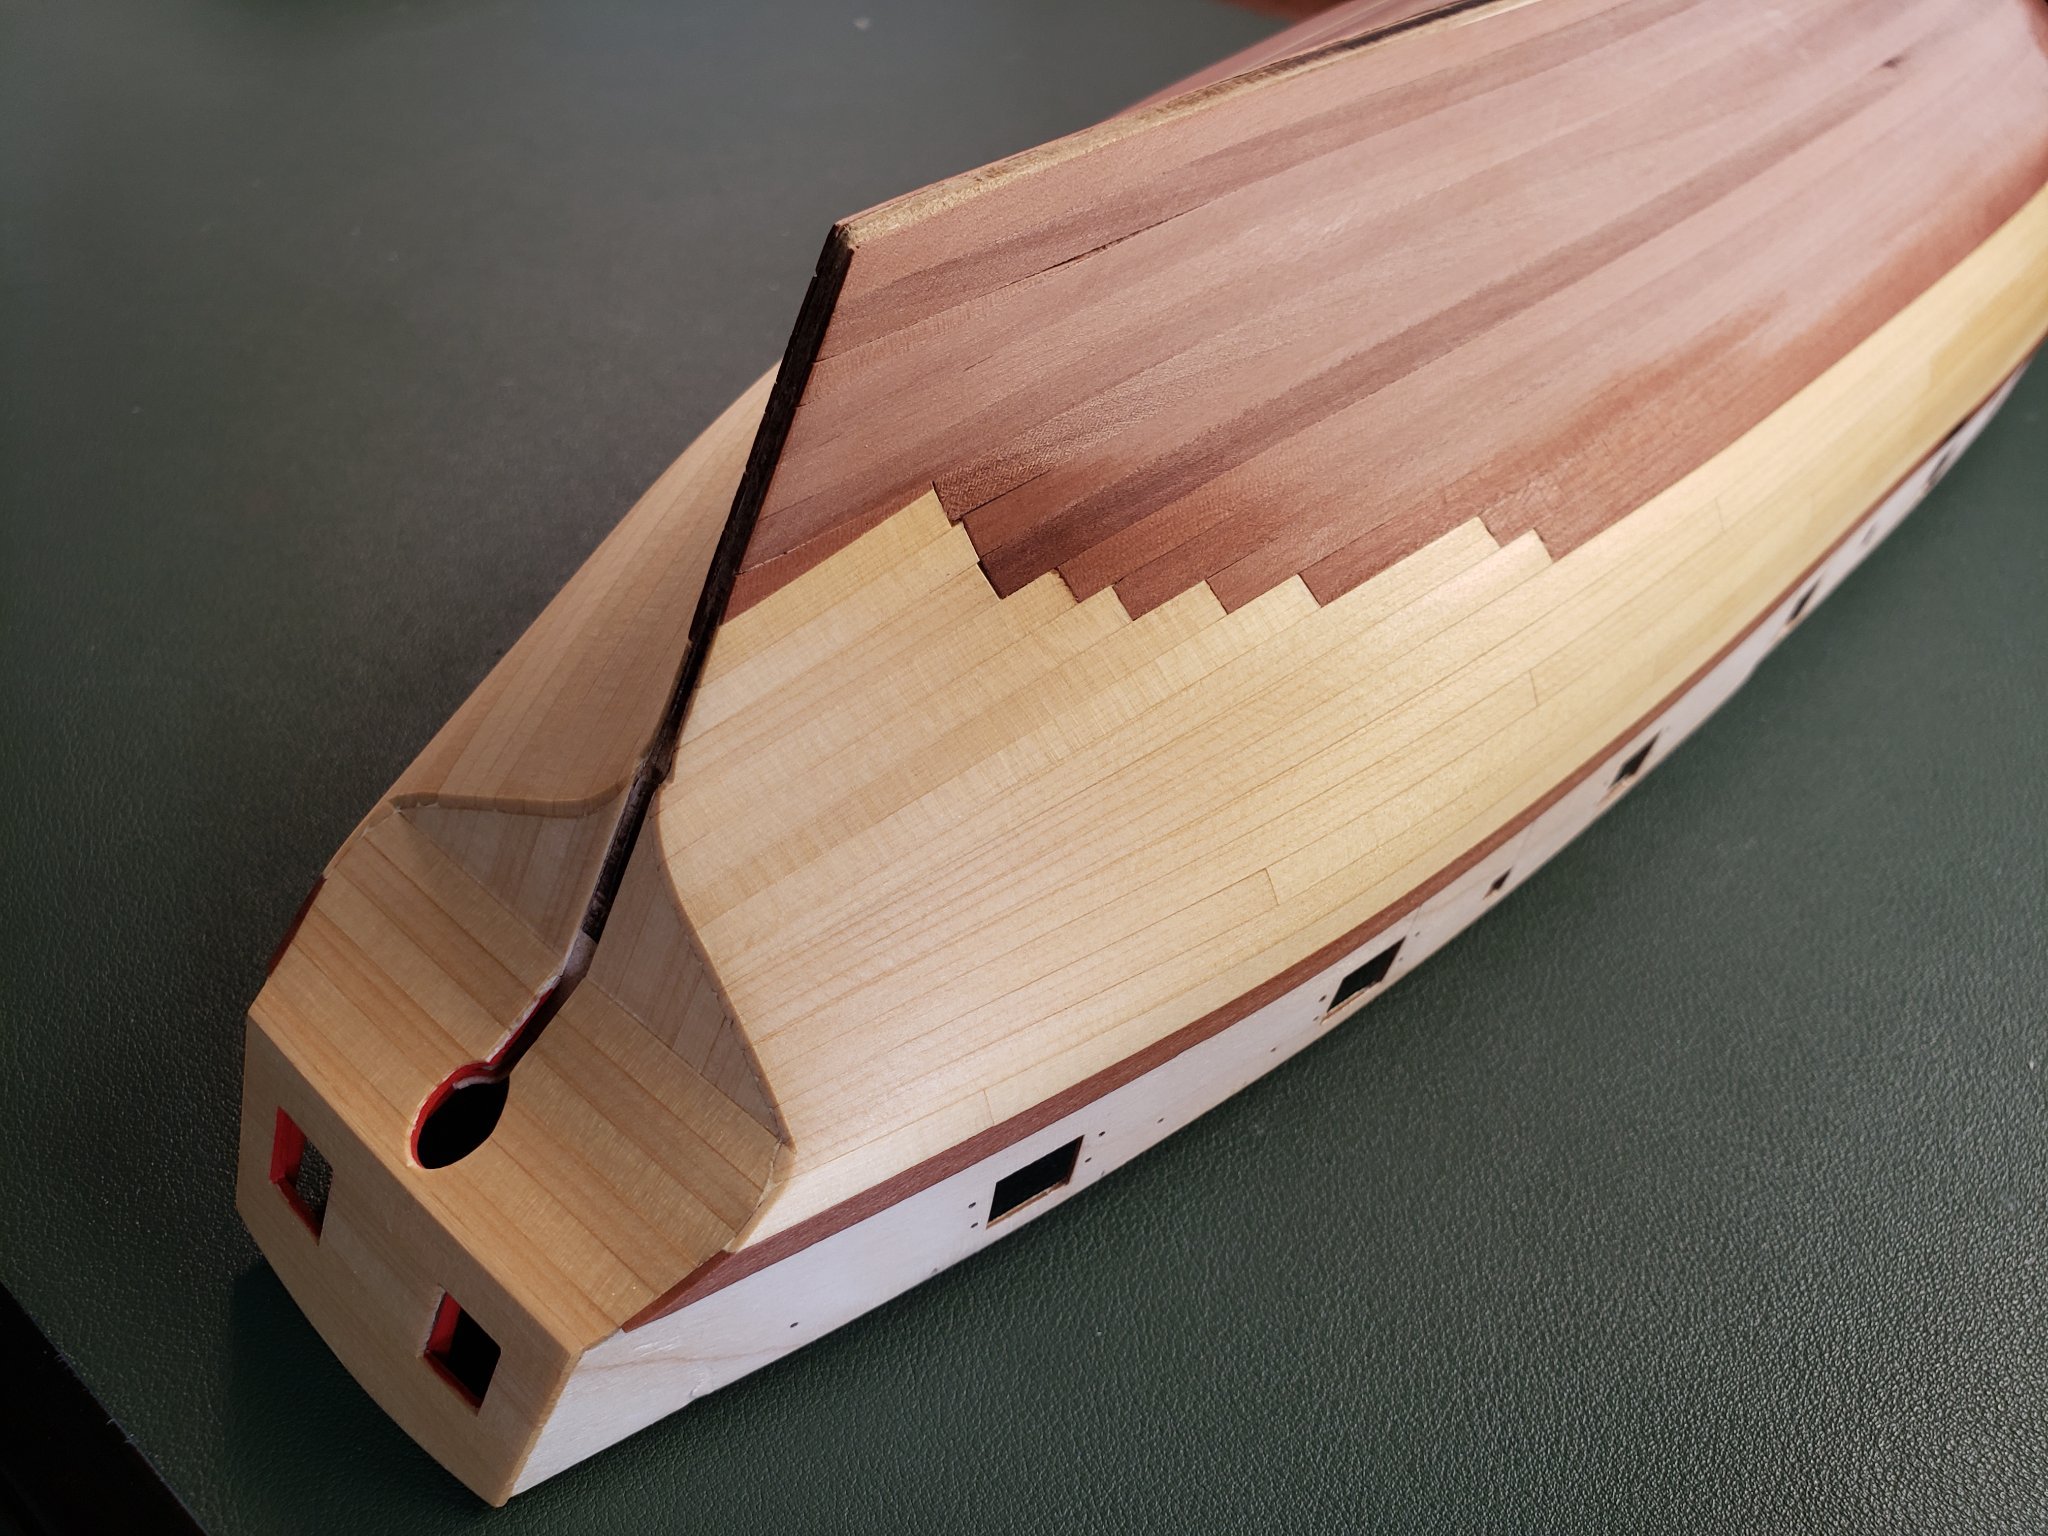
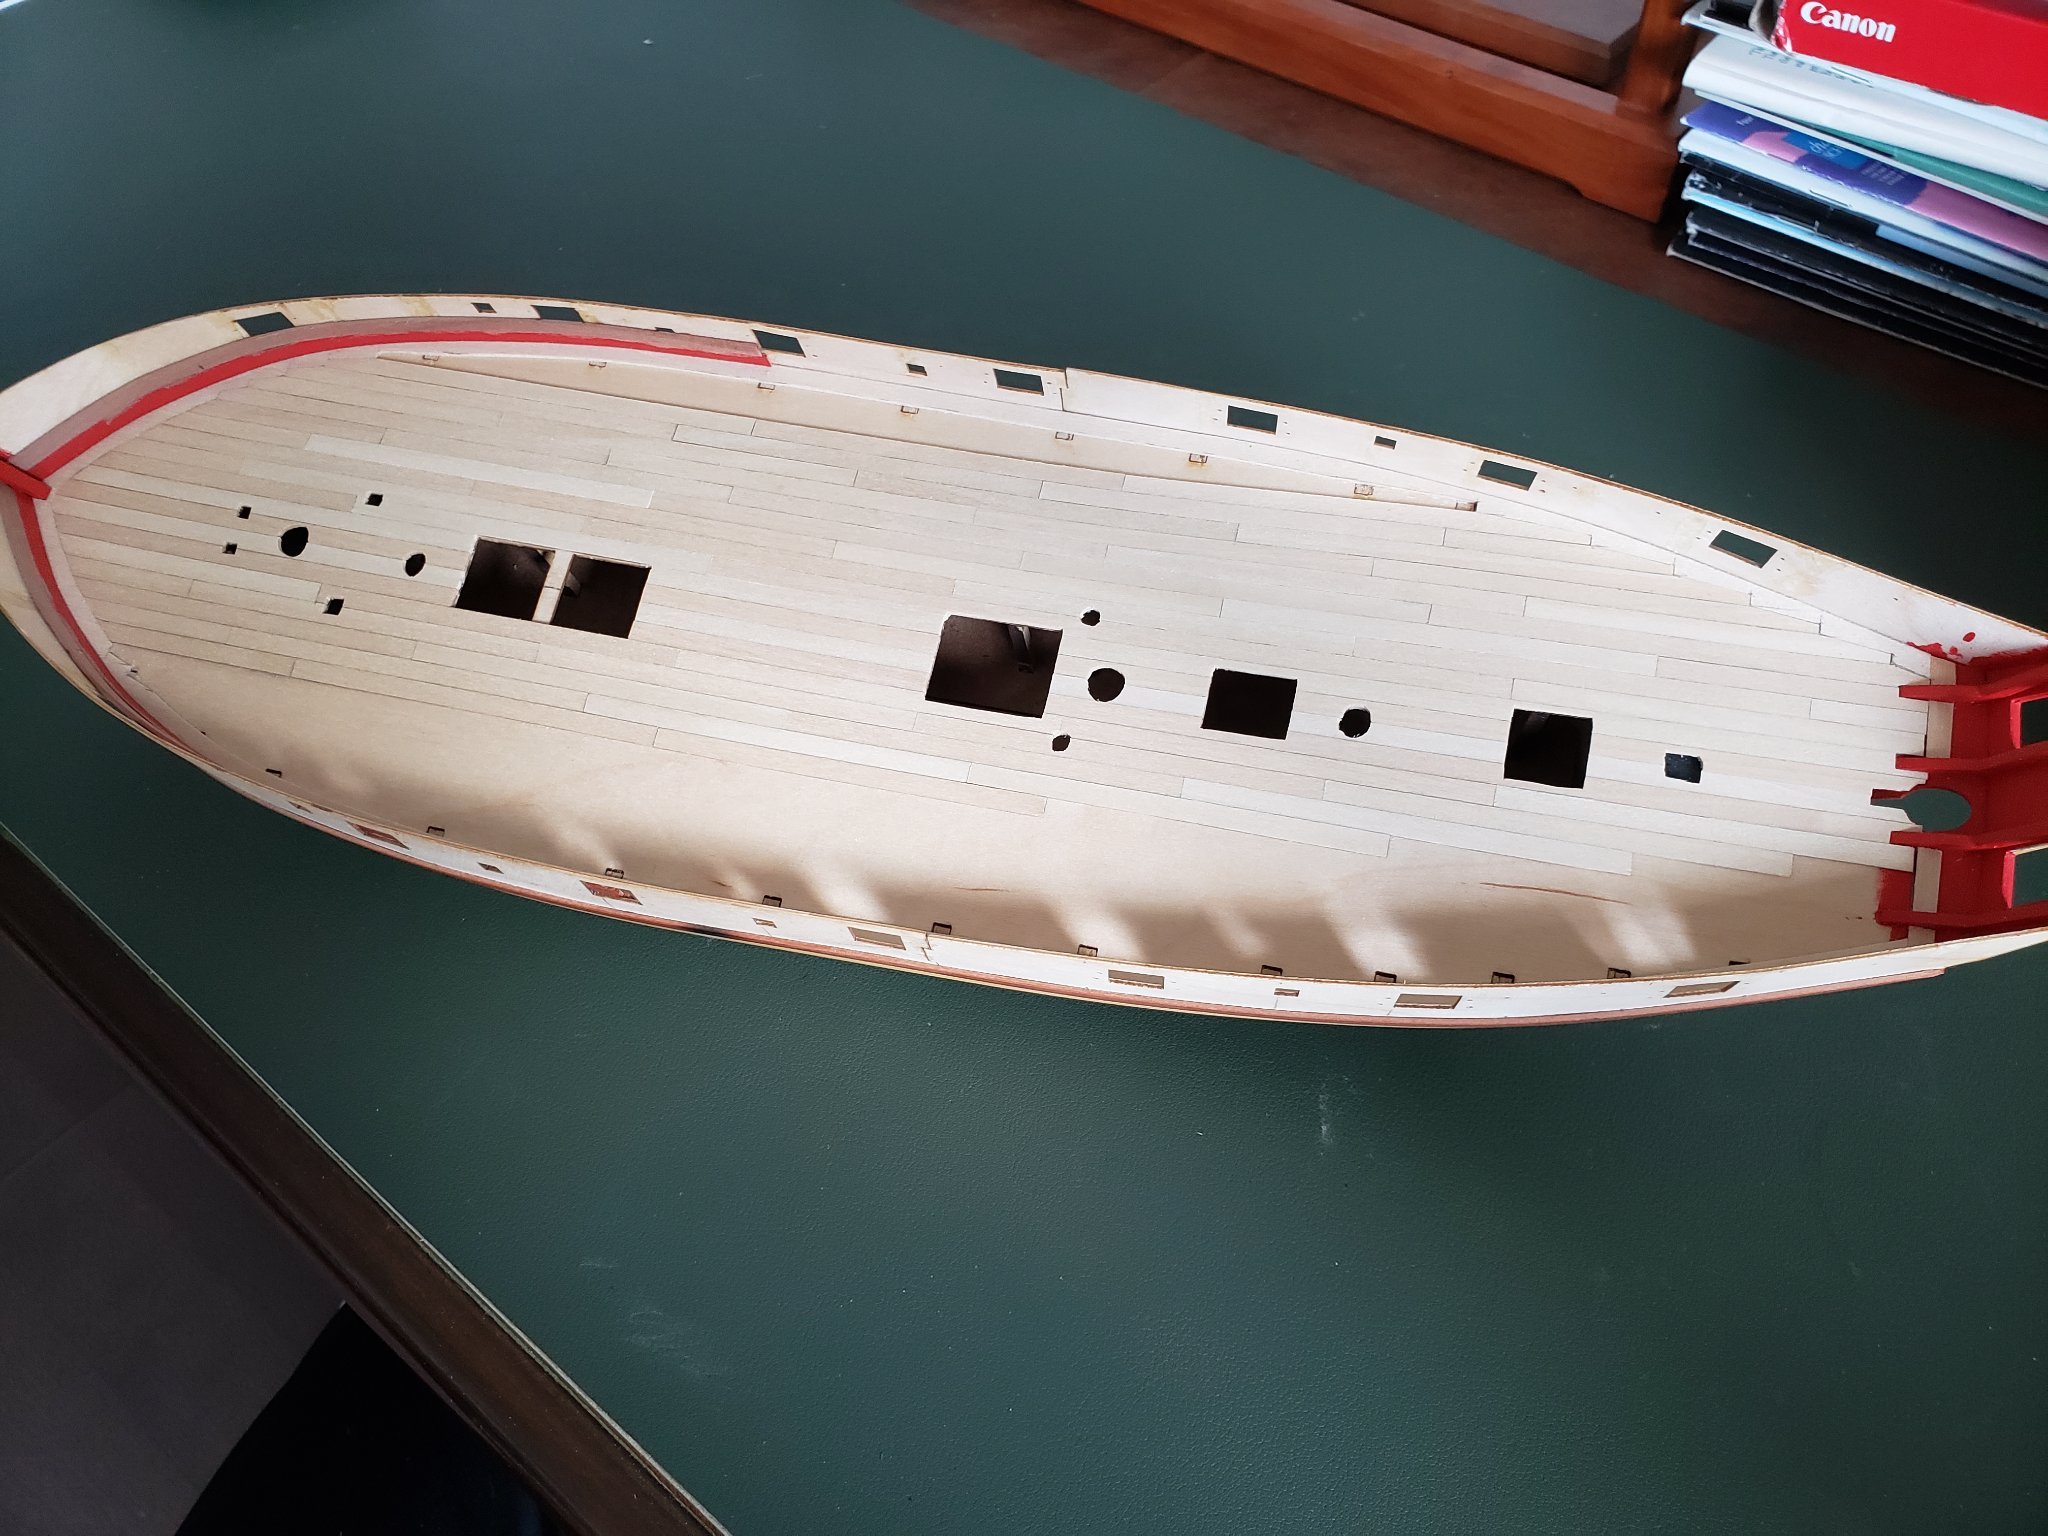
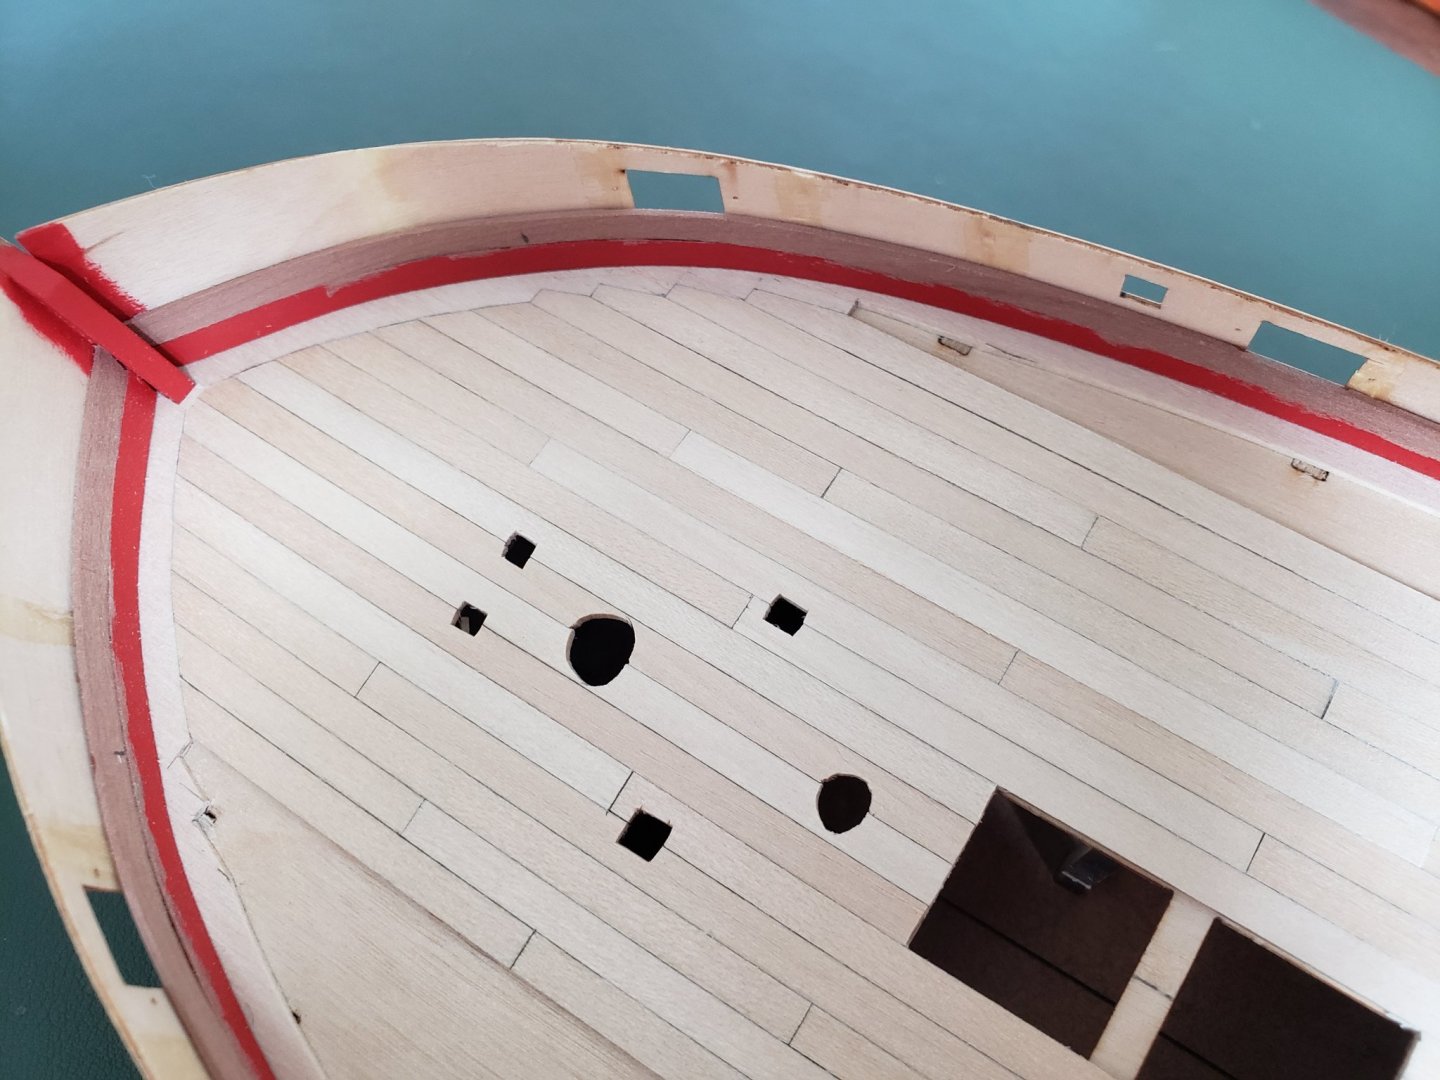
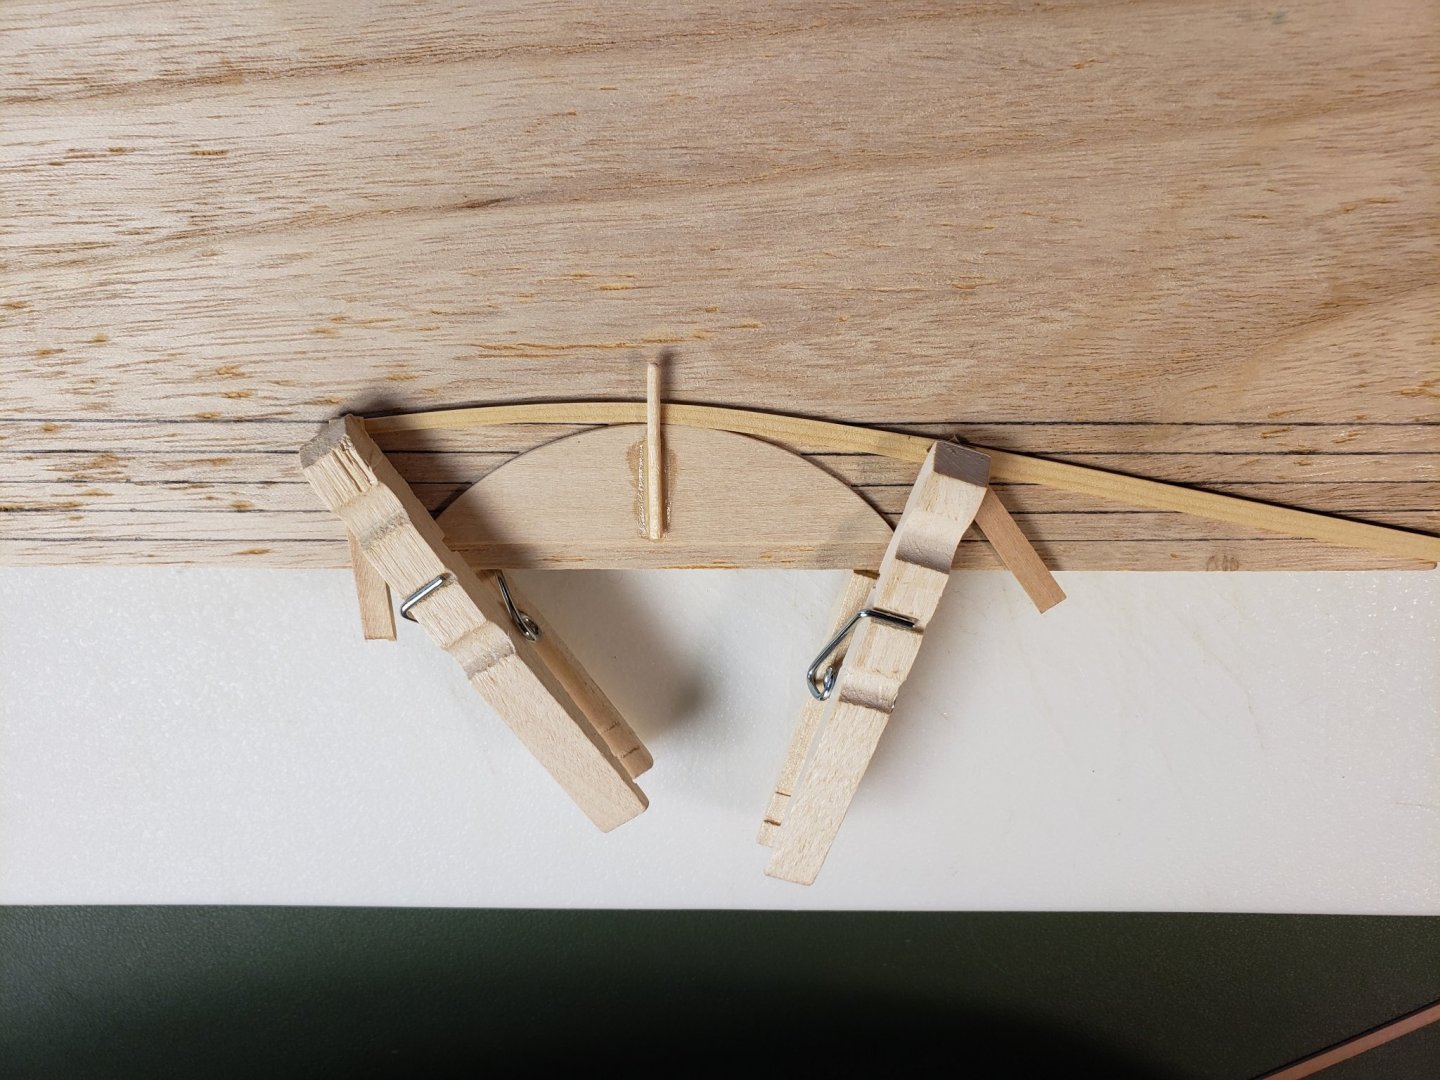
Well, this is probably starting to look like an abandoned build, but it is in fact alive and well. Really. Life has intervened in a variety of ways to slow me down, and when you're as slow a builder as I am that makes for a remarkably slow pace indeed. I'm also pretty bad about documenting progress, and I have only just gotten around to taking more photos. So where was I? At this point I have (mostly) completed the second planking below the wales, though I have some more sanding and cleaning and filling to do lower down. You'll see in the photos that I opted to conserve my supply of yellow cedar planking (Gregory, I want to make the best use of your lovely cutting work!) by using the kit-supplied pear wood planks below the water line, where they will be invisible beneath the copper plating. I've rubbed the planks with tung oil to treat them. ...Now that I set about writing this post, I am realizing how long it has been, and how much I left out. I didn't even post a picture of the little jig I made to help me bend planks. That looked like this: Not exactly a very refined tool, but it helped. I thought adding the lines to the base would help me judge how far I was bending. Those proved unhelpful and unnecessary. A lesson for next time. Anyway, here are some shots of the planking. I staggered the plank joints where they will be visible, but didn't continue doing it as I worked lower down on the hull, since I think those joints would be invisible. NOTE: For anyone intending to do as I have done and mix pear wood and a lighter wood, take care with your sanding. I didn't think about it ahead of time, and as I sanded the hull I worked darker pear wood dust into the seams between the cedar planks, which emphasizes the seams more than would otherwise be apparent. Not an absolutely enormous problem, but if I'd turned on a few more brain cells beforehand I would have been more careful. Also: You'll see here I did the uppermost plank in pear rather than cedar. I had the long pear planks from the kit, and I figured it would be easier to get a smooth curve by doing that plank in one single length, rather than a few shorter cedar pieces. It should be hidden by a painted second layer of wale planking, and hopefully invisible. That was by far the most planking I have ever done, and I needed to catch my breath for a while after that. Unfortunately then I had an ill-timed bout of hubris and ambition, and having seen Derek's lovely work on his Speedy deck, I thought I too would skip the photo etched piece provided with the kit and do my own deck planking. Not sure I would repeat that choice now that I am neck deep in that process, but it's too late to turn back now! I'd never created margin planks for a deck before, so I set about it exactly as the instructions in the 18th Century Longboat described the creation of the cap rail for that model. I traced the outside of the photo etched deck piece on a sheet of basswood, and then made lots of marks a consistent distance inward from that perimeter. Then I cut out the rails, sanded them into more graceful curves and glued them in place. Here is one of the margin planks being glued in place. I had to wait for a little to get some basswood planks in the mail, so after gluing the margin planks in I installed a couple inner bulwark planking pieces on either side to get a feel for how that will go. The lower planks will be done in two pieces, and my thought there is to hide the joints beneath one of the guns. And then I set about the deck planking. Which hopefully will clean up a lot better when I sand it all smooth. Otherwise I'll do a lot of filling work. You can see I have only roughly cut out the various holes for the deck fittings at this point. Here is a close up shot of the joggling. I've tried to follow the photo-etched piece in where the joggling starts. And that's where I am now. I hope I'll have some updates on a completed deck sooner rather than later.


-
Happy Anniversary, she's shaping up really beautifully. (This is clearly an opportunity to give her a new modeling tool as an anniversary present...)
- 778 replies
-
- 2
-
-

-
- cheerful
- Syren Ship Model Company
- (and 1 more)
-
Your Speedy photographs were already great eye candy Derek, so more of them can only be a good thing. Looking forward to seeing them.
- 725 replies
-
- 3
-
-
- vanguard models
- speedy
- (and 1 more)
-
It's looking absolutely beautiful!
-
I wonder if the expectation was that opportunities to use fireships would be few and far between, and so for most of its life the vessel would be expected to serve the same purposes as others of its size - convoy duty, commerce raiding etc. Then if the opportunity presented itself, you had a vessel on hand designed to maximize the potency of a fire attack. Comet was afloat for almost two decades before she was employed at Dunkirk Roads.
-
They look really great, and once again I am glad you are posting in such detail.
- 725 replies
-
- 1
-
-
- vanguard models
- speedy
- (and 1 more)
-
You sir - in approximately 7 years time when I have finished my Speedy model - can take my money. Seriously though, this looks like it will be such a neat kit. Looking forward to it.
-
Not only is the model looking beautiful, your practice ratlines should make it much easier to reach things on top of your kitchen cabinets! I will also be stealing your idea of the little platform at the bow of the boat to cover the MDF. That's a nice solution. I think the boat will look great whether you paint it below the waterline or leave it bare. I'm a little bit caught in the doldrums as I struggle through my second planking, so looking at your wonderful results is a nice bit of inspiration to push on.
- 725 replies
-
- 1
-
-
- vanguard models
- speedy
- (and 1 more)