
whitejamest
-
Posts
213 -
Joined
-
Last visited
Content Type
Profiles
Forums
Gallery
Events
Everything posted by whitejamest
-
 Very nice, they really look they have some metallic heft to them. And I feel like I have been in that guy's position before.
- 840 replies
-
- 5
-

-

-
- winchelsea
- Syren Ship Model Company
- (and 1 more)
-
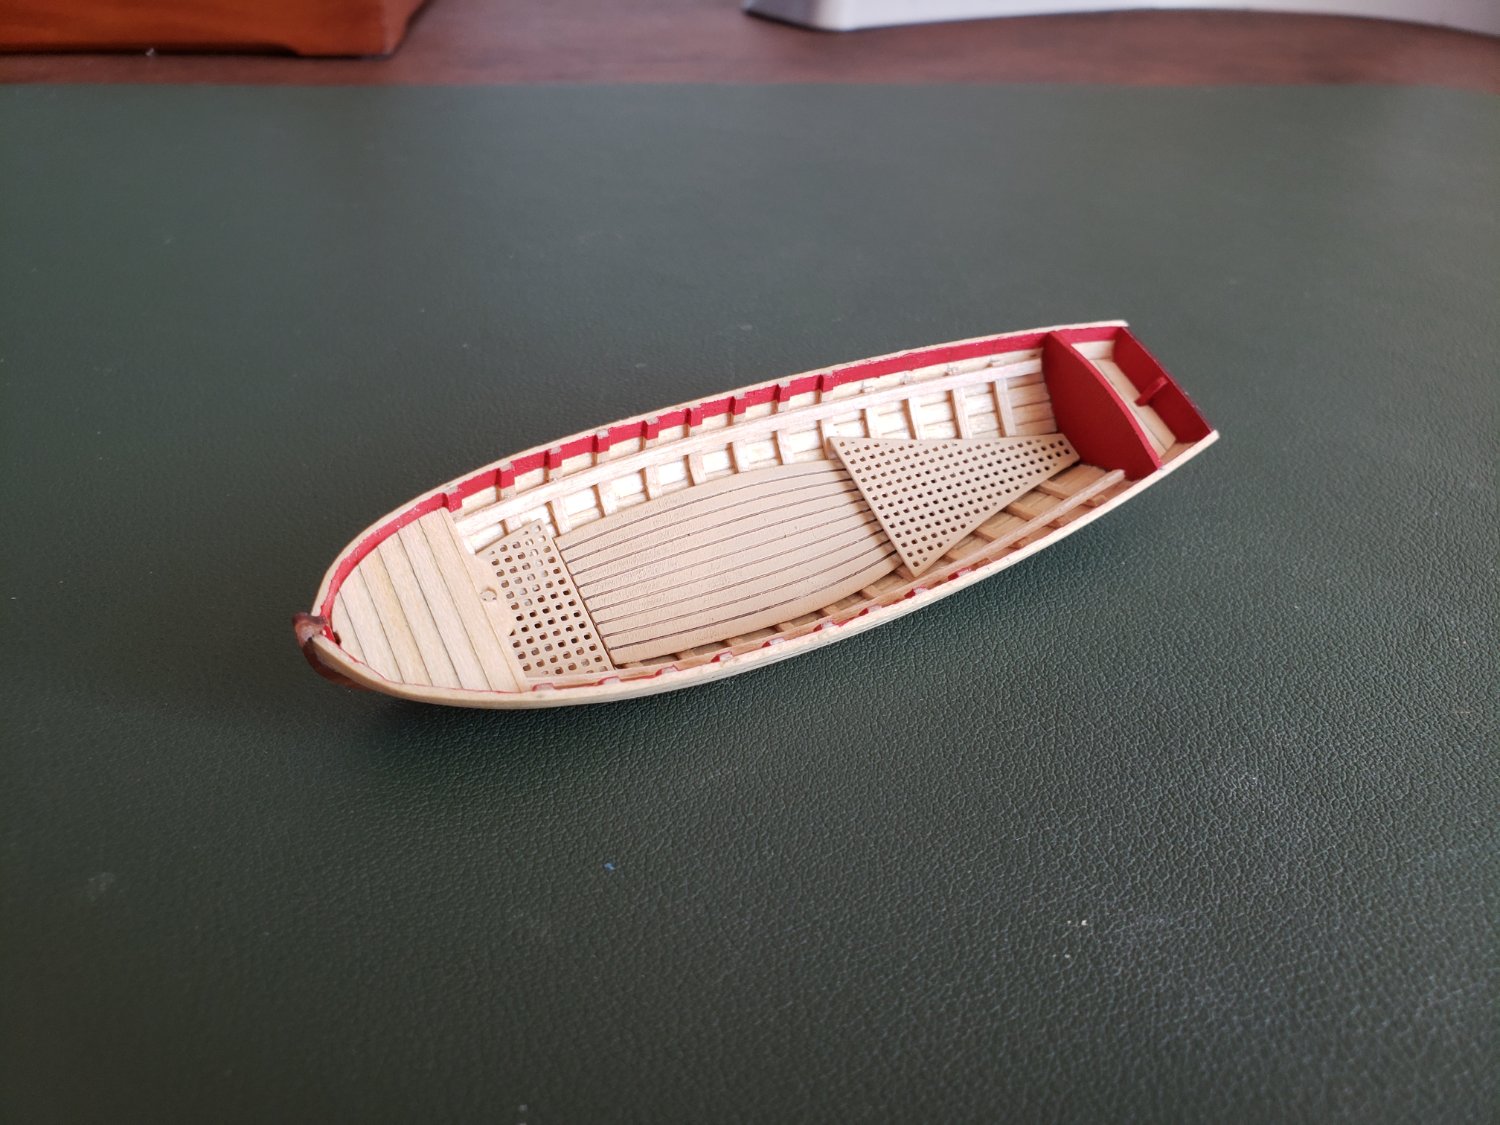
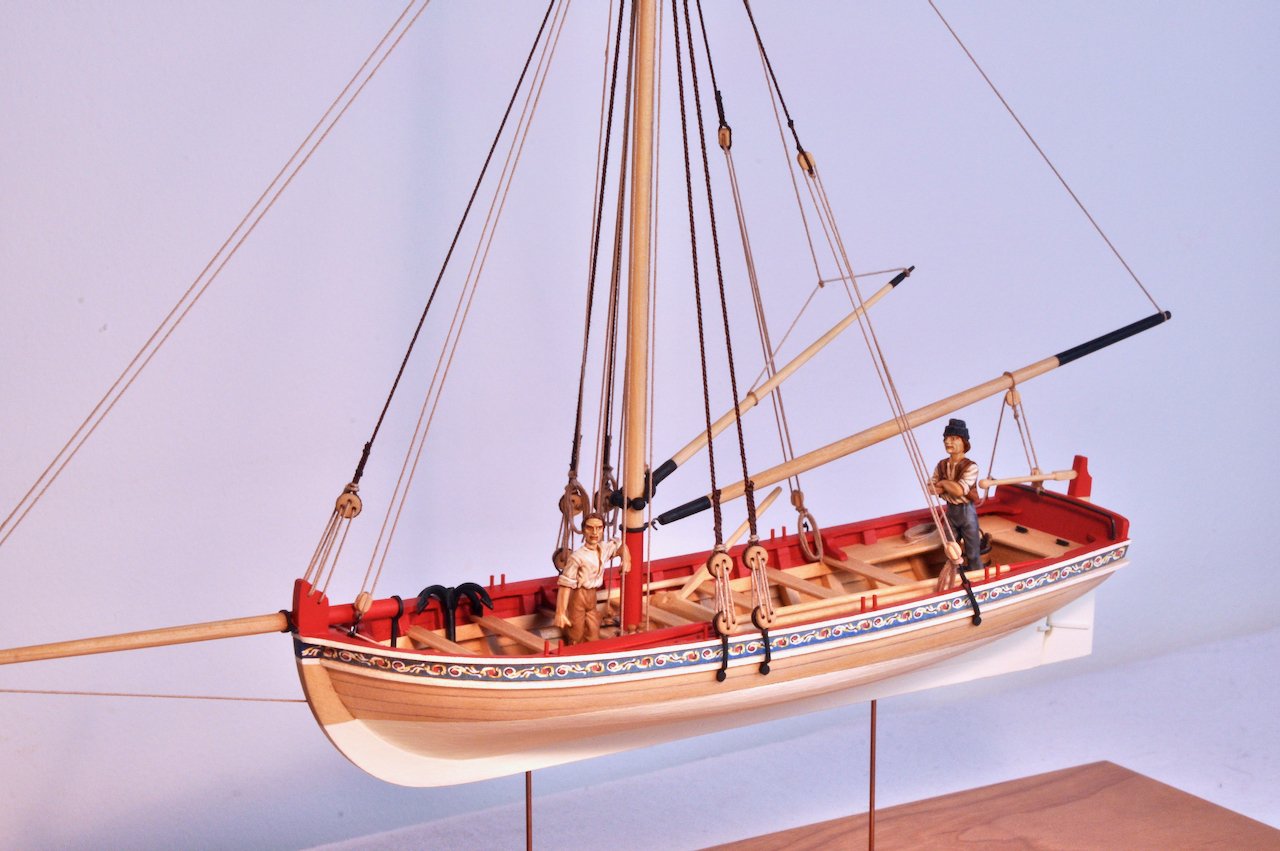
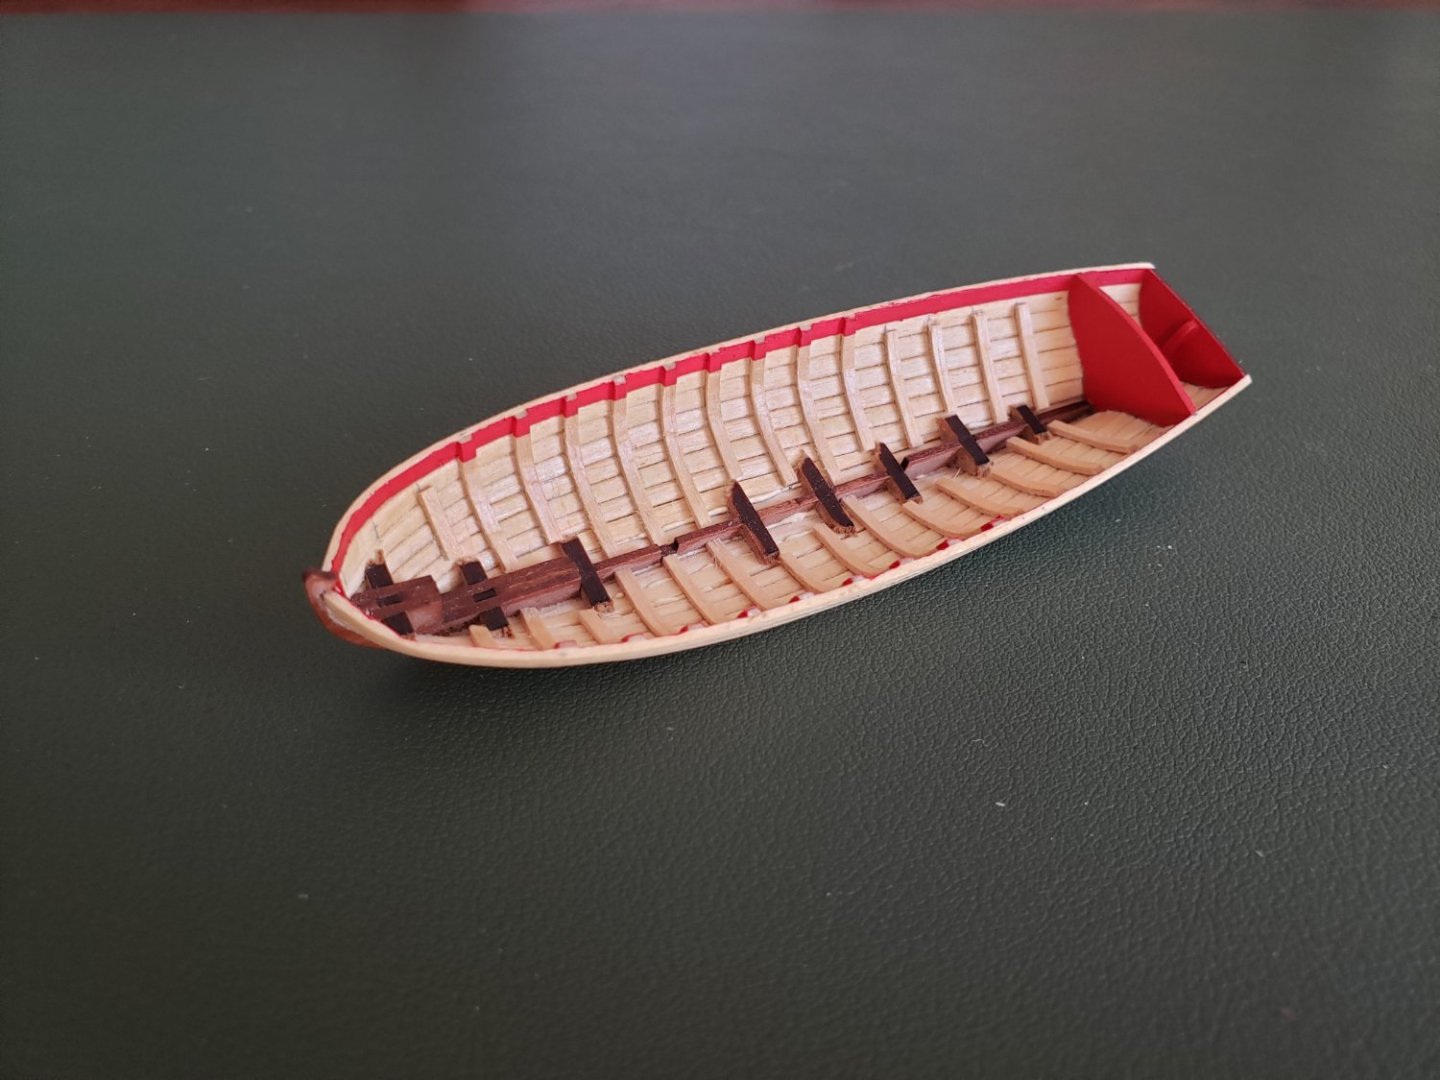
Thanks for the kind words Glen, I have admired your work on Flirt, Cheerful and Winchelsea. And if you go back to rig Flirt I will certainly be mining your log for tips. I agree that Derek's build log is a gold mine for anyone working on Speedy. On the subject of standing on the shoulders of the more capable, I have found @Blue Ensign's rigged version of this little yawl very inspiring, and am eager to make an attempt in the same vein. Between his photos and descriptions and the images in the back of the Anatomy of the Ship volume for HMS Pandora, I have some good guidelines for how to rig this boat. What I do not know is what exactly sprit sails such as this boat would carry would look like when furled. Does anyone happen to have any good images of furled sprit sails?
-
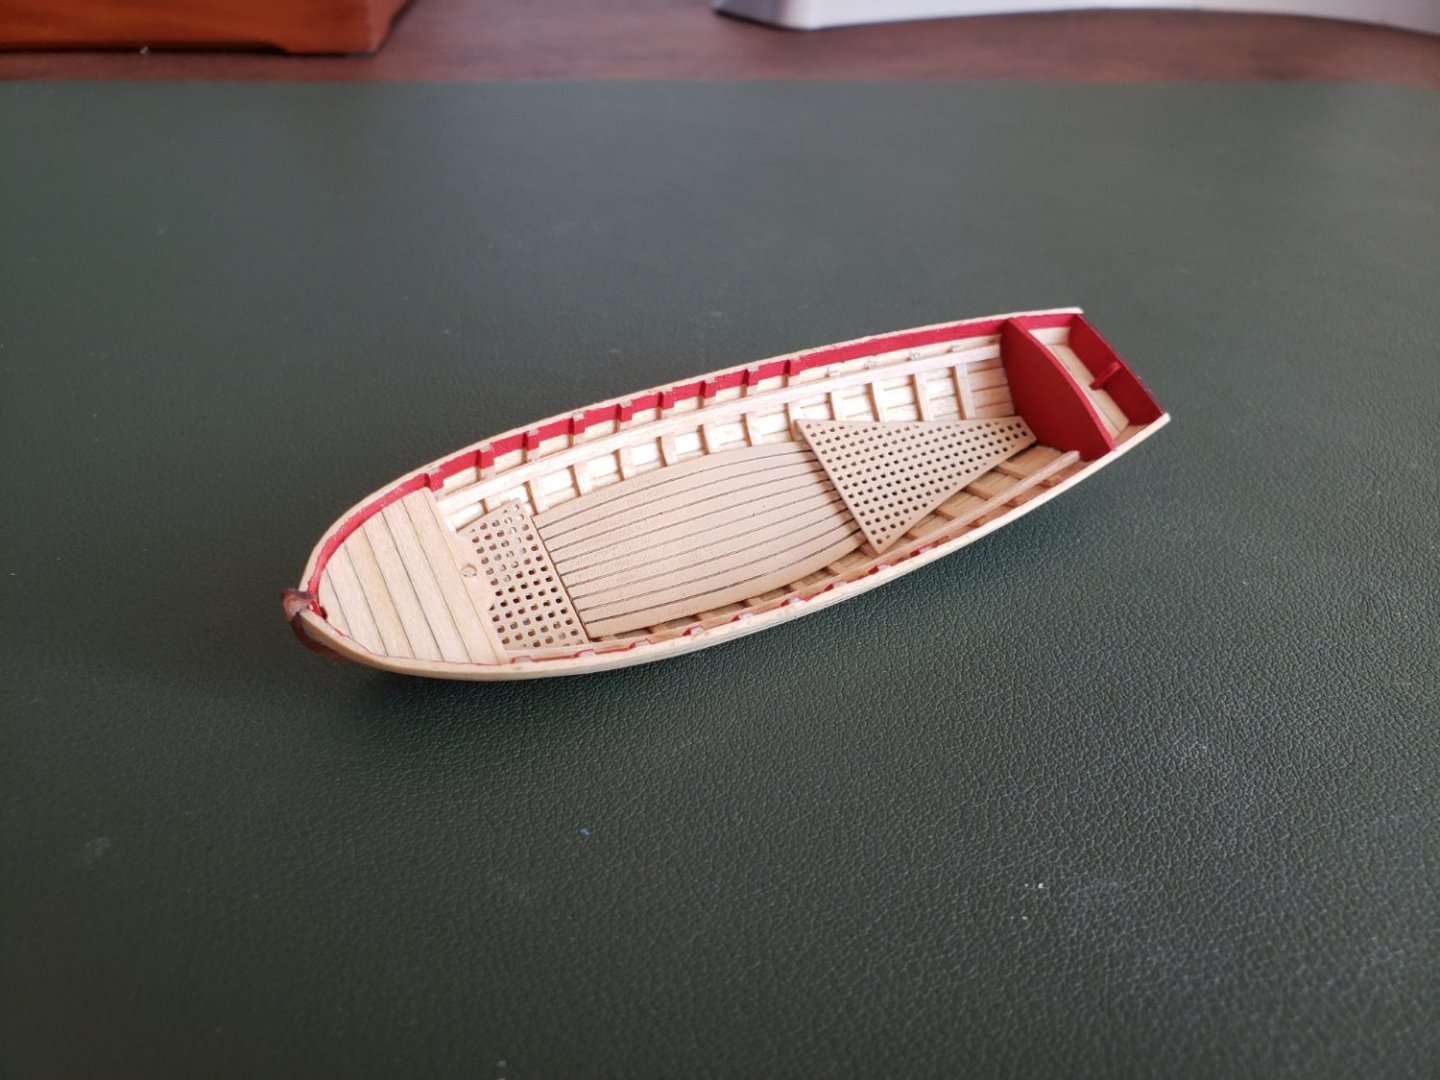
Moving things along, I have now painted and added the brass photo etched deck pieces, as well as the seat support strips and the bow and stern platforms. Those I remade from basswood to match the rest of the planking. I just glued planks together, traced the shape of the laser cut pear pieces, and then glued braces to the underside before cutting and shaping. I also "painted" super glue around the perimeter of the mast hole, on the under side of the bow piece, to help discourage splitting. It will still be a fragile point though. Next up I will be working on the thwarts.
-
Looking very sharp, and it's good to see her underway again.
- 142 replies
-
- 2
-
-
- alfred
- solid hull
- (and 2 more)
-
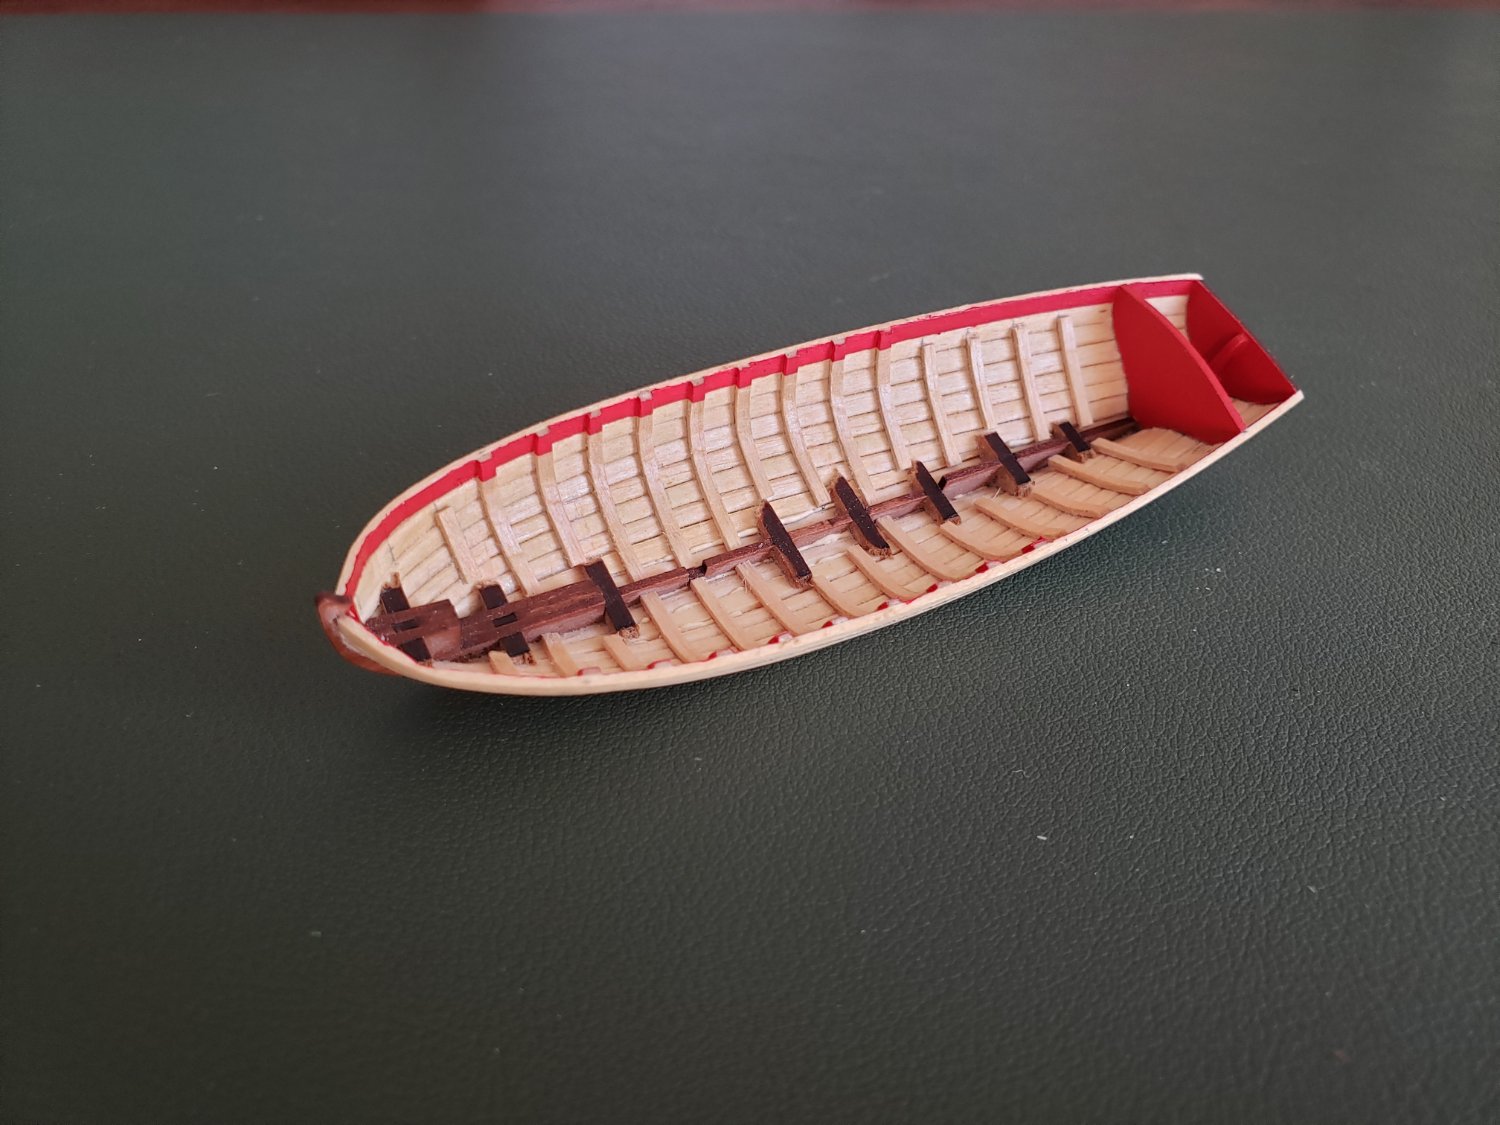
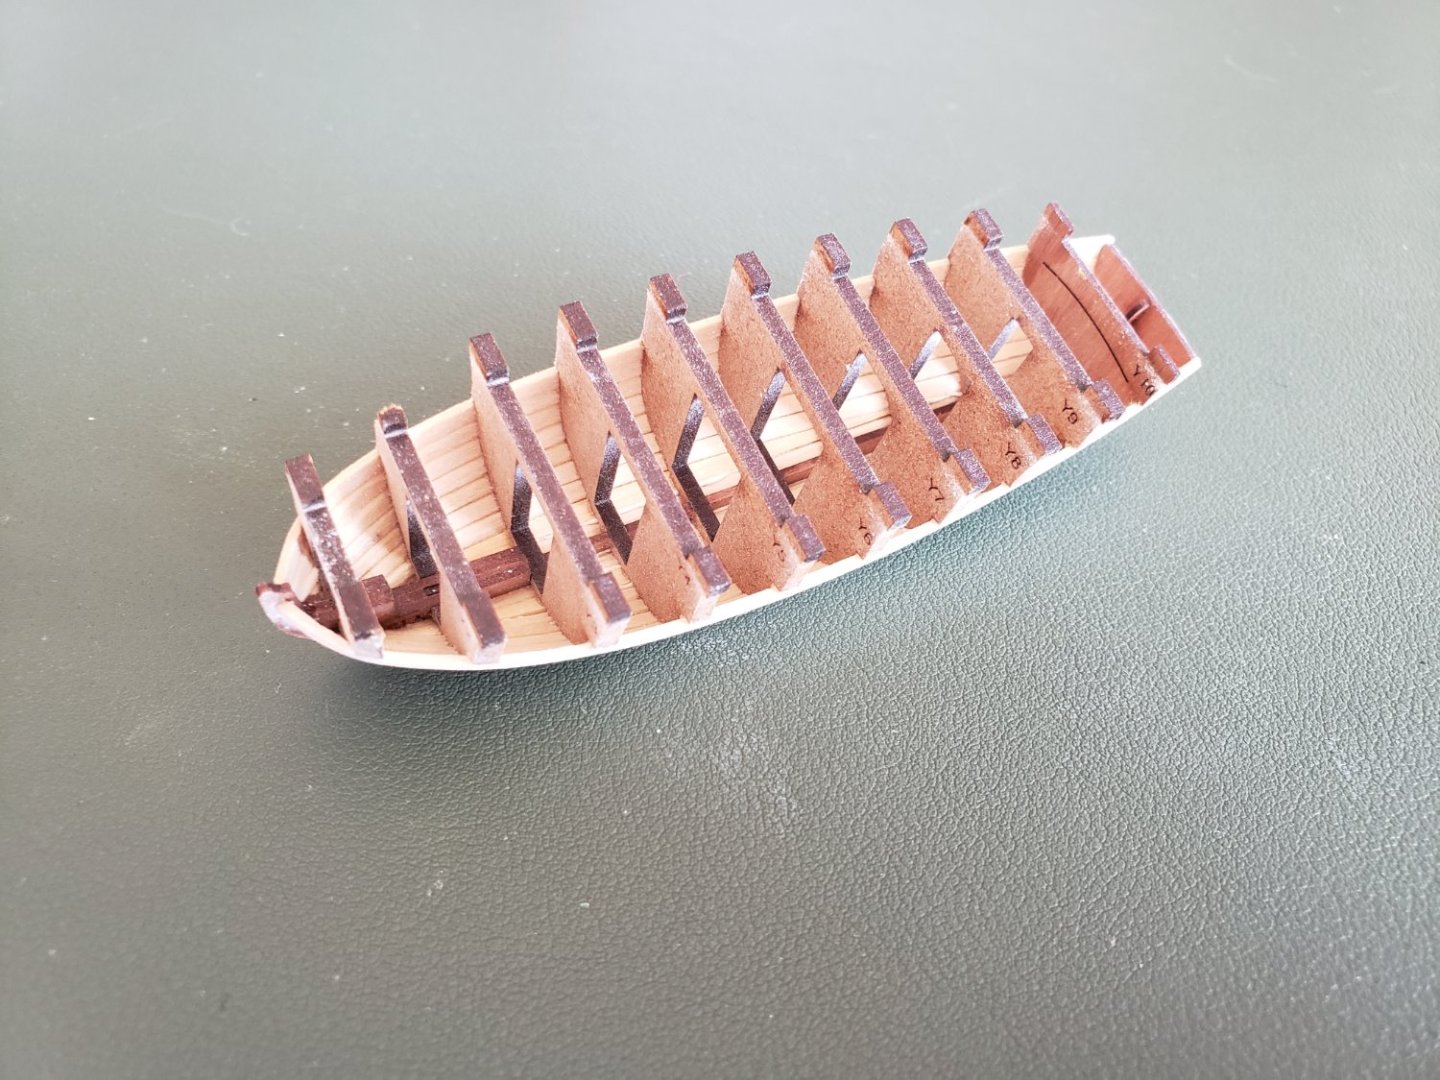
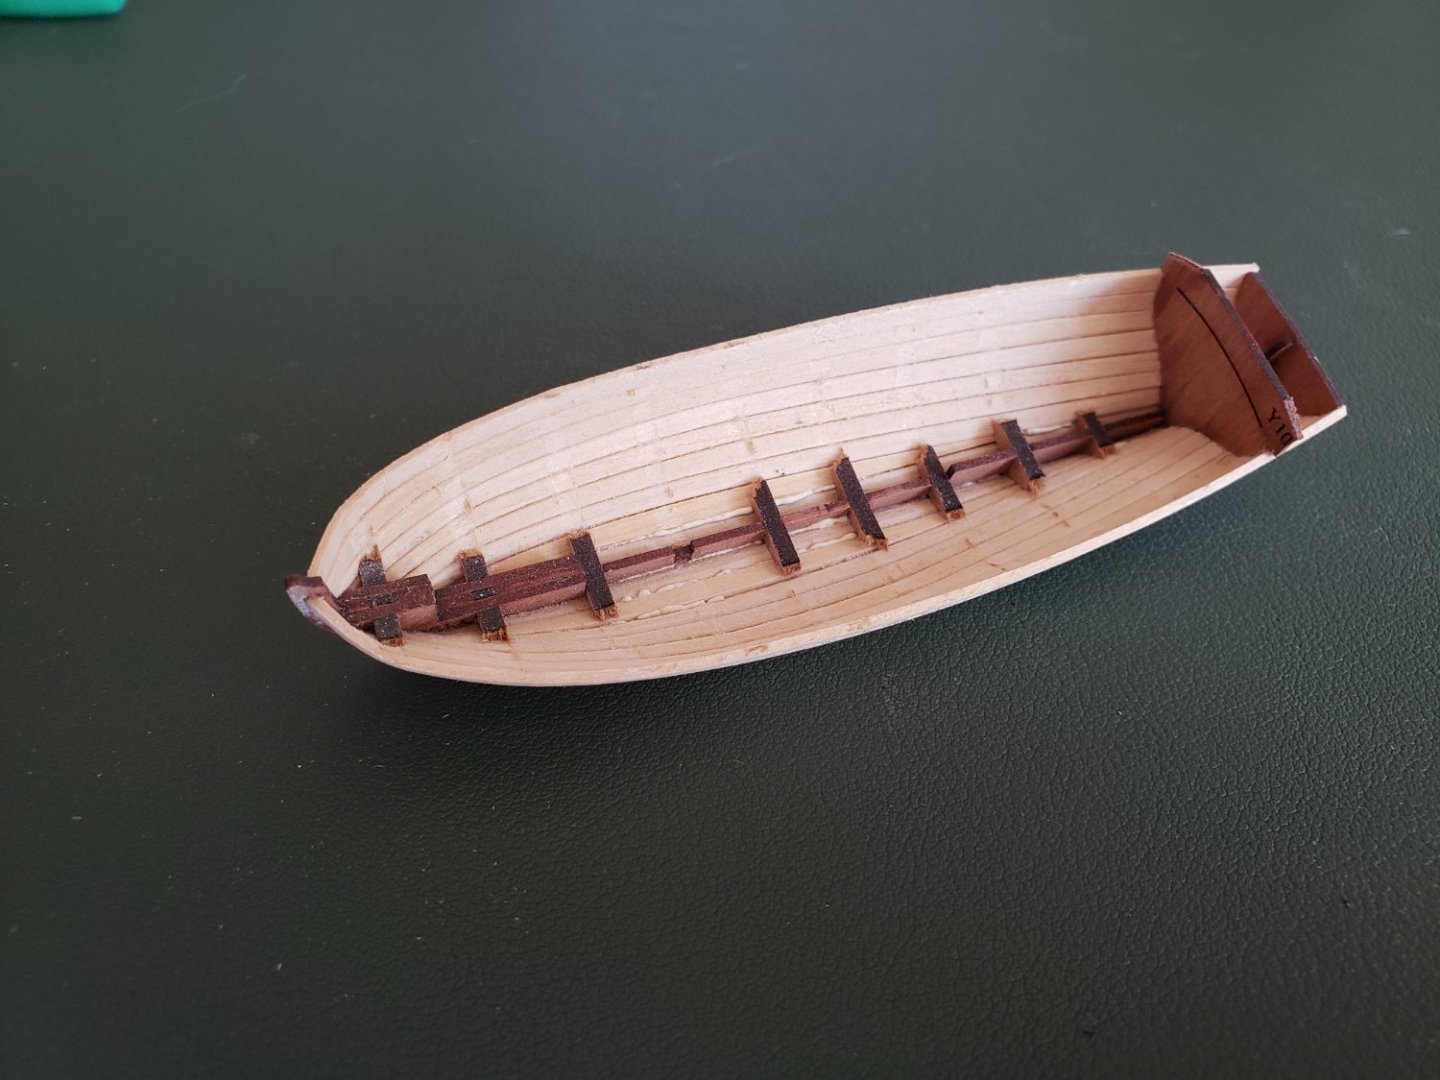
Thanks for the likes guys. Here's a mini update on this mini kit. I've added in the ribs and painted the inside of the first planks, as well as the bulkheads. The next step will be to add the seat support strips, and then I will paint up the brass deck sections to hopefully match the basswood in color. At least as close as I can get it.
-
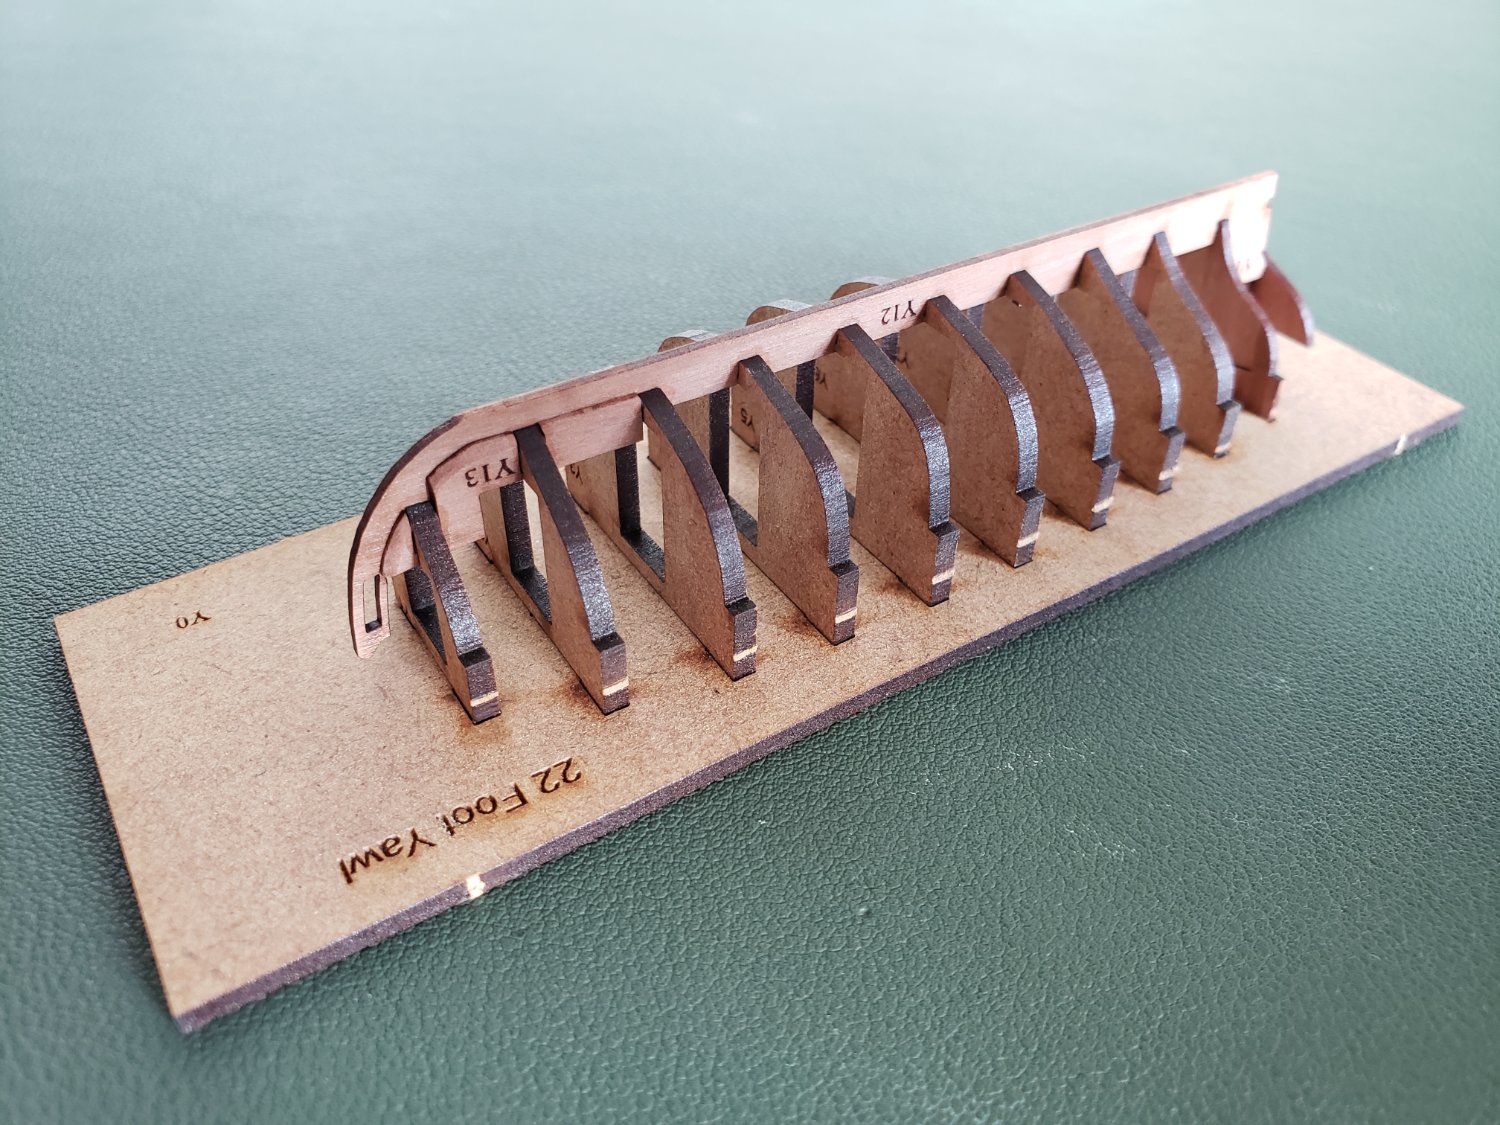
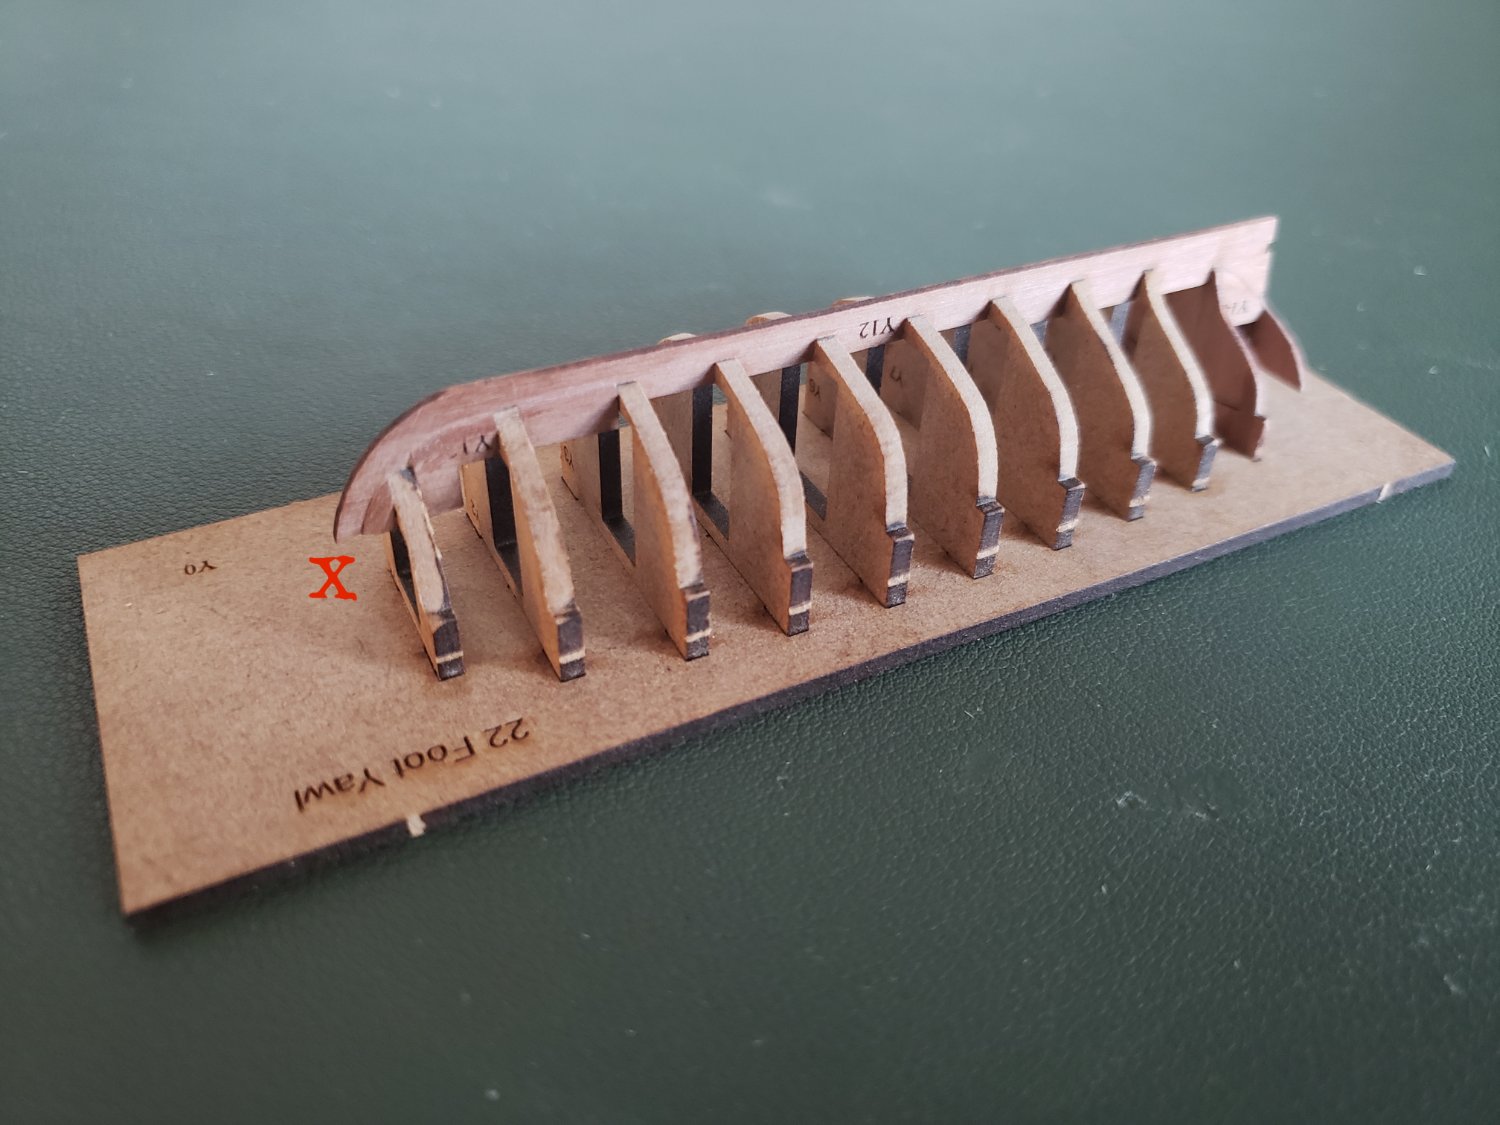
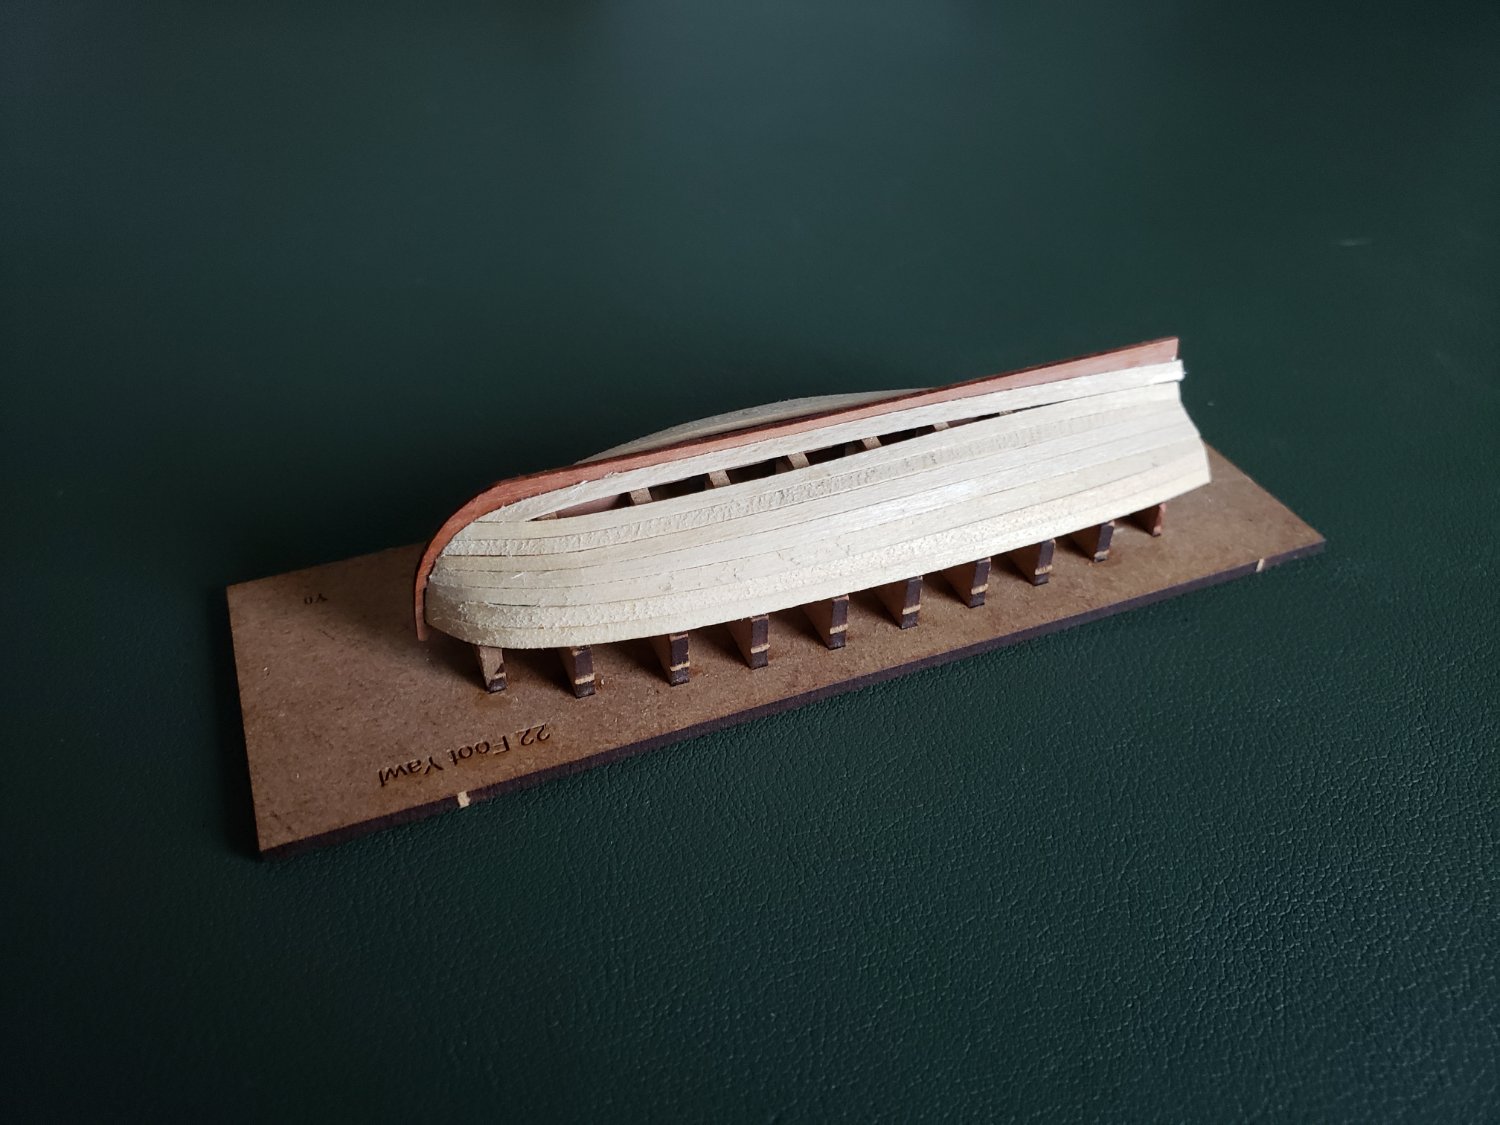
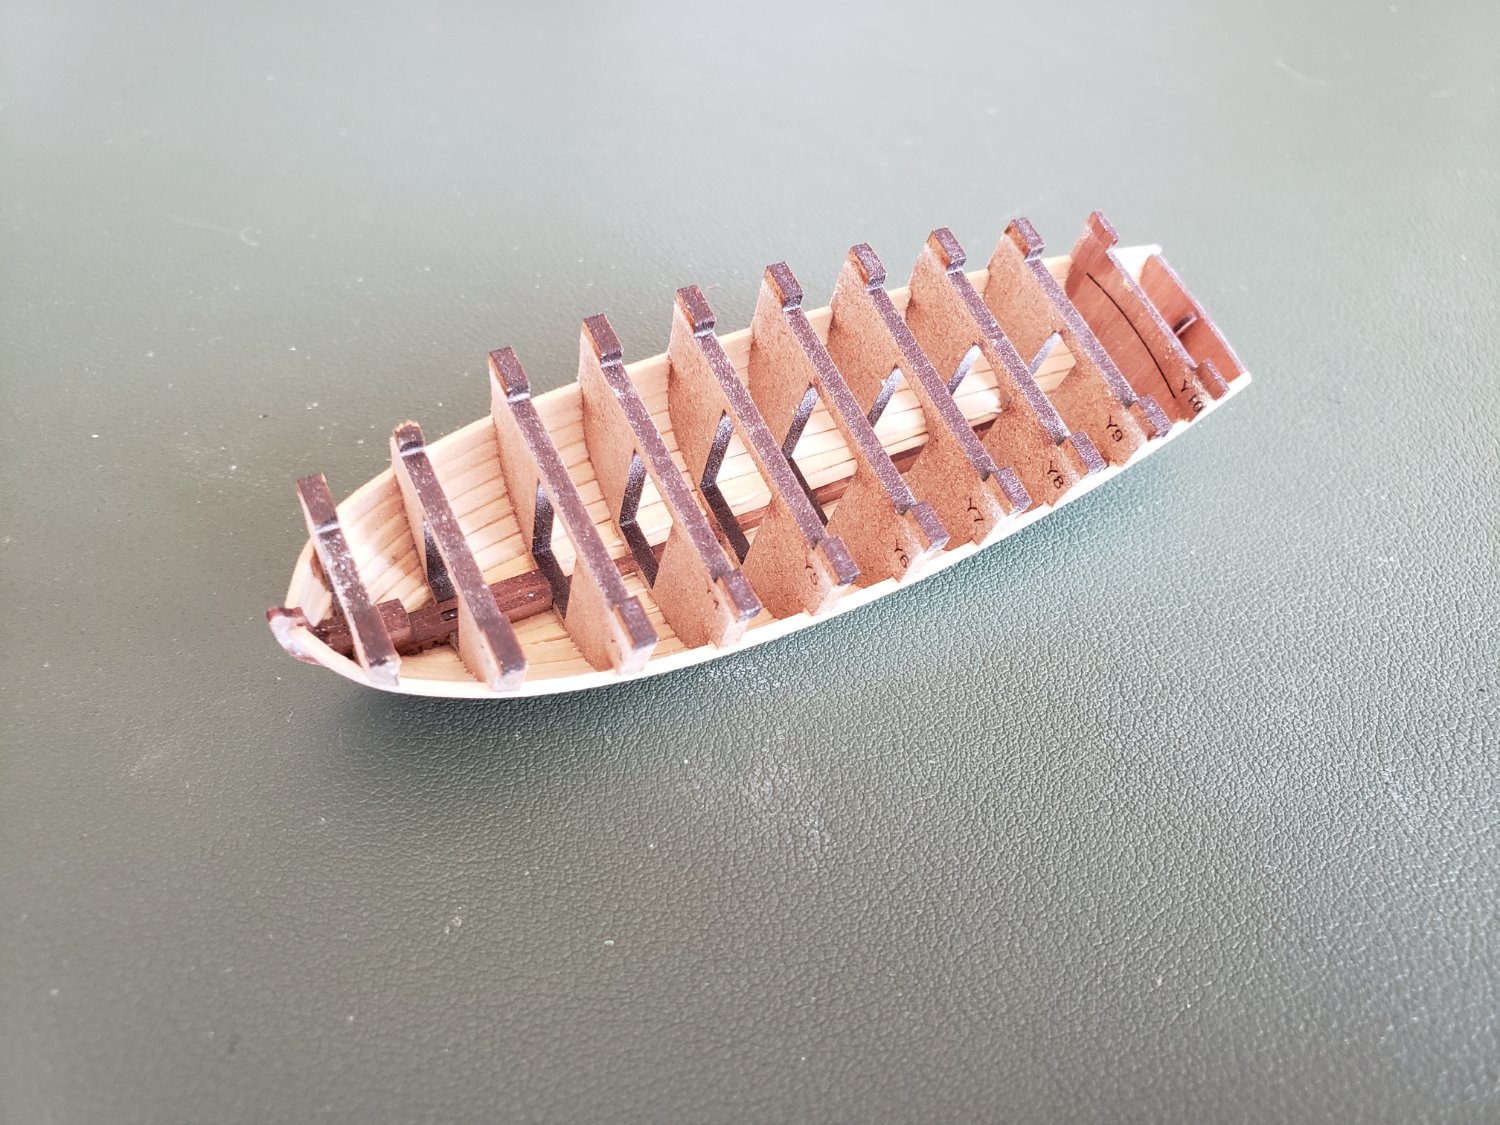
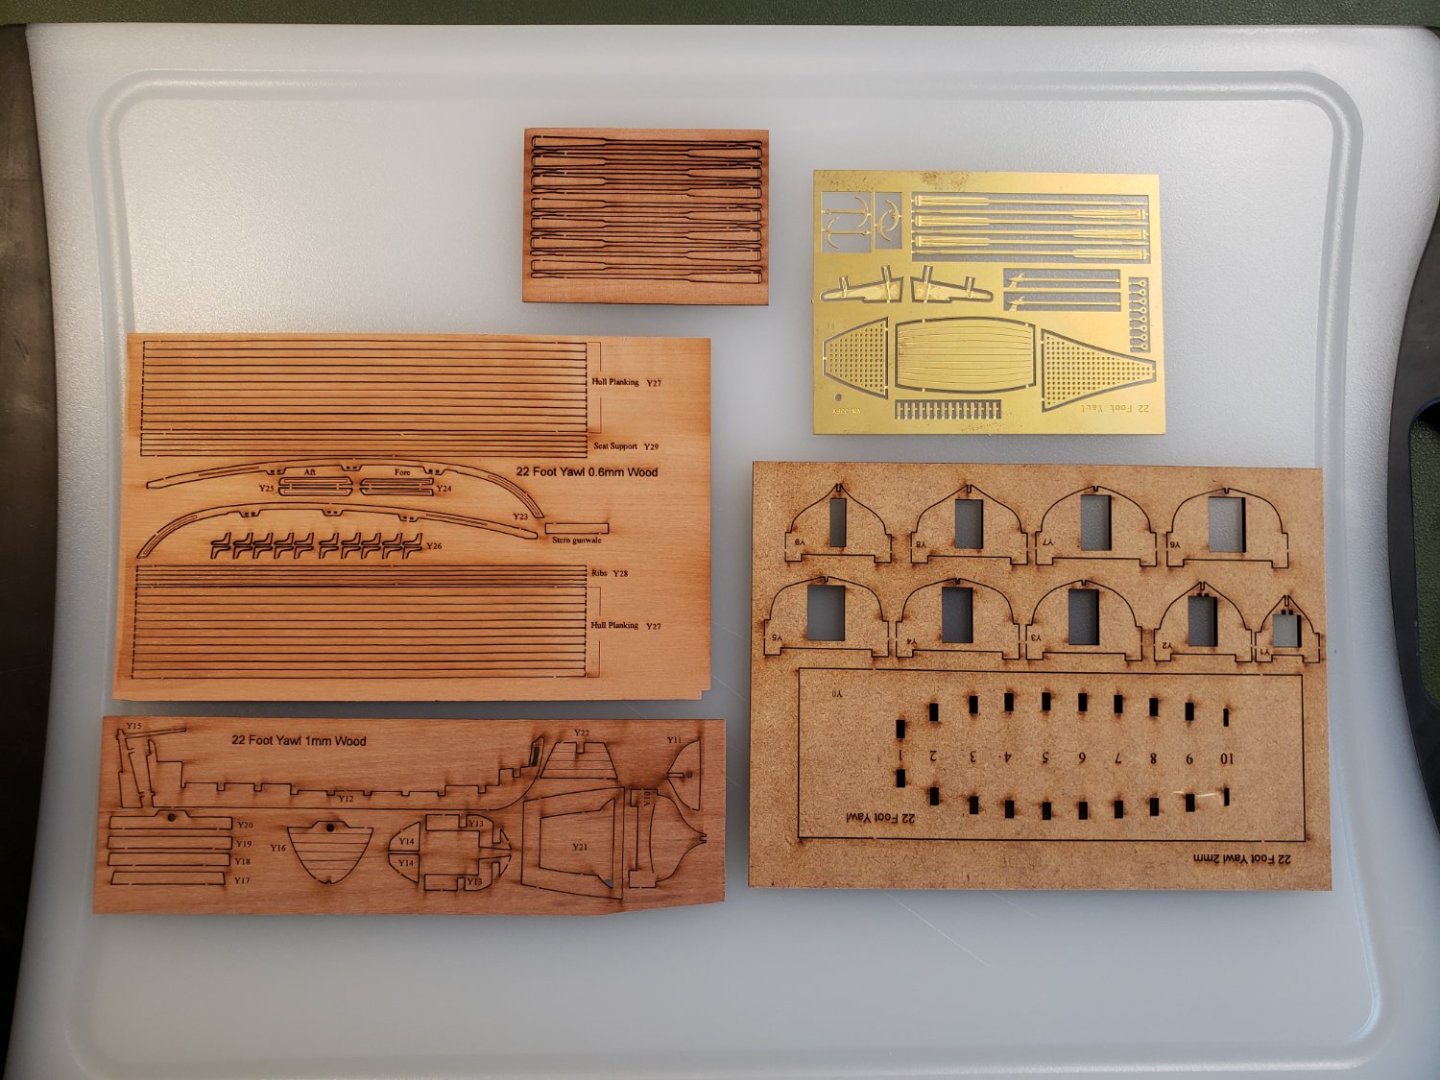
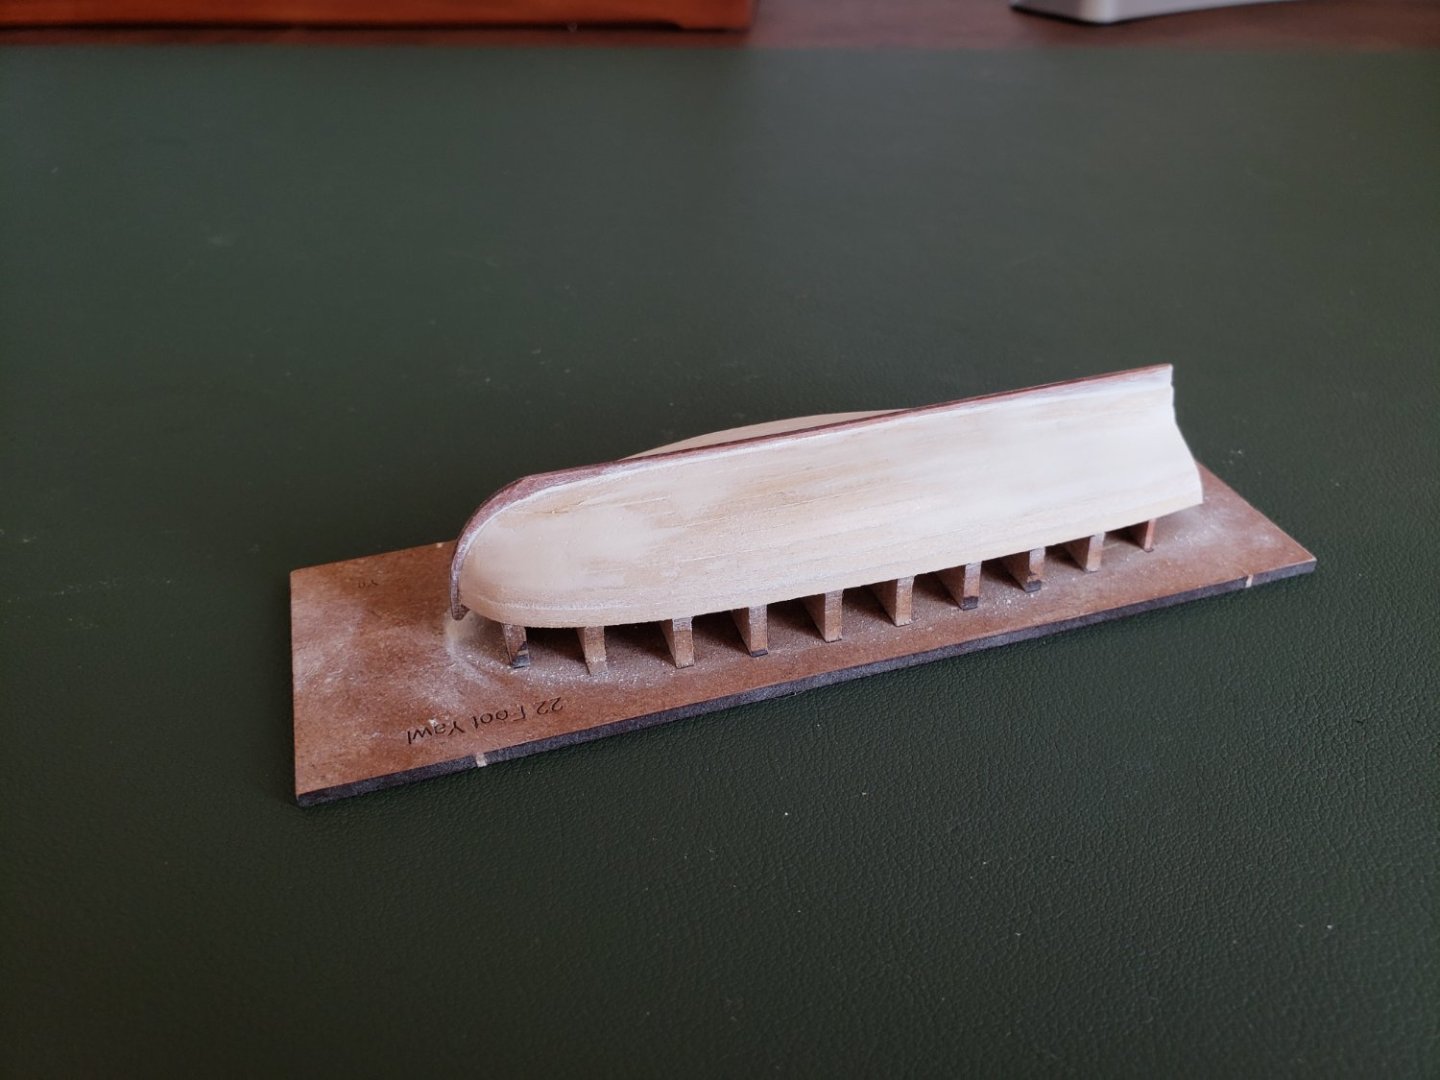
Well, it's been a little while - just over a year since I updated this log. It was not my favorite year. There was a lot of difficulty and loss, as for so many people. My model making mojo was at a low ebb, and I just couldn't manage to work on projects. But I am slowly getting back into the swing of things. Eventually, far down the line when the Speedy is finished, I would like to display it with a boat right up alongside, because that does so much to give a sense of scale. To that end I purchased the 22 foot yawl kit from Vanguard Models, and I decided that working on that boat now would be a good way to get moving again. A lot of people have included these little kits in their larger build logs, so I imagine these are already pretty familiar to many. They are small and fiddly, but they look well designed for what they are, and I've seen great results from others' efforts. So I'll give it a try. The entirety of the kit: 1 laser cut mdf sheet, 3 pear and 1 brass. I decided to replace the pear wood planking with basswood, just because I like the lighter color and it will go with the choices I've made for Speedy better. Here the mdf bulkheads are laid out on the base, but not yet fixed with glue. The two pear wood bulkheads are not pictured. Next, the pear wood keel is slotted into place, and glue is brushed into the joints. Note the reinforcements pieces by the bow. There are a couple smaller ones at the stern that can't be made out in this photo. Then the bulkheads are fared to allow the planking to lie flush against them. I joined the club of broken stems at this step, as many have before me. The wood is very thin here around the slot, and I was clumsy. But it was easy enough to just superglue the piece back in place and saturate the area with a little glue. Since I will be painting the entire outside I am not too worried about blemishes. Here I have laid on most of the basswood planking. I followed the practice in the Speedy manual, tapering the planks toward the bow. I did a somewhat rough job, but again I think it won't be too apparent once the hull is painted. And with a good amount of sanding and the application of some filler, we're looking a lot smoother. I used "GoodFilla" brand filler. It was harder than expected, but I think that was actually an asset. You can get a nice strong, smooth finish. Once the planking is all installed and sanded and filled, the model is removed from the base. Then the frames are broken away. They came off more easily than I had feared. I had been worried because basswood is on the softer side, and I wasn't sure how tightly the super glue would grip it. You can see the bottoms of the frames are meant to remain in place. One of them came out entirely, but that shouldn't be a problem. The small amount of filler pushed up through the gaps in the planks will be hidden under the brass deck pieces. The top of the 2nd to last frame, in pear wood, has subsequently been removed. (The two pear wood bulkheads will be painted red on the inside). Now I am sanding the interior a bit, and then I will rub it down with some wipe on poly and start attaching the simulated frames. Thanks for looking. - James


-
Hm, interesting idea regarding the hair tongs. I will give that a try. I look forward to explaining to my wife what I am doing raiding her hair accessories....
- 43 replies
-
- 2
-
-
-
- mediator
- first build
- (and 1 more)
-
The colors look great, she'll be a beauty.
-
That's lovely. Well sculpted 1/64 crew figures are something I wish were much more available. Glad you are adding some.
- 488 replies
-
- 6
-
-
- Indefatigable
- Vanguard Models
- (and 1 more)
-
It would be nice if you could add a laser cut mini-kit addon that, when you assemble it, patiently and persuasively explains to my wife why she needs to clear more shelf space for me to fit this model into our apartment. I think there would be a good market for it.
-
To add to what Gregory says, I'd recommend sealing the wood first with wipe on poly or the like. Then sandpaper will be all the more effective at removing fuzz.
-
Not many models would bear up so well under such an extreme closeup! Very nicely done.
- 112 replies
-
- 3
-
-
- Cheerful
- Syren Ship Model Company
- (and 1 more)
-
Lovely work, and great tips. I am taking notes. I suspect we in northern New Jersey have nothing to complain about compared to folks up in Ontario!
-
Very nicely done. I always assumed that the battens were there to give the sailors something to dig their heels in against as the ship was rolling around on a rough sea - since the motion would be even greater up there in the tops. But I have no idea if that is really the case....
- 142 replies
-
- 5
-
-
- alfred
- solid hull
- (and 2 more)
-
Looking very sharp. What material did you use for the wooldings?
- 142 replies
-
- 1
-
-
- alfred
- solid hull
- (and 2 more)
-
Interesting, I am a ways away from starting the copper on my own Speedy, and have no idea how I will handle the challenges of making the rows of plates fit the curves. But the adhesive copper tape looks great, very neat and tidy, so I don't think your model has suffered at all by the substitution. Will you keep the shiny new look or aim to weather it?
-
It sounds like a very interesting project TBlack. I'm a big fan of the books, and look forward to seeing your progress. You certainly have your work cut out for you though. Vincejo looks to have been a significantly larger brig than the historical Speedy, with very different lines. I almost wonder if you would have more luck modifying a kit like HMS Fly.
- 341 replies
-
- 4
-
-
- Sophie
- Vanguard Models
- (and 1 more)
-
Nice work on the transom. I like the effect of the cover slips. Hard to beat glass for replicating the translucency of glass. I'll have to remember the tungsten-carbide scribe pen, I've not seen those before. What chemical will you use on the micro applicators to clean the glass?
-
Nice neat work on the inner bulwarks, and I like the weathered look on the deck.
-
Looks like it's coming along very nicely. I'll be curious to see how the microscope cover slips come out.
-
I like the coloring on the deck, it seems realistic and still attractive.
-
Very crisp tidy work on the lines and blocks. Shaping up beautifully.