
whitejamest
-
Posts
213 -
Joined
-
Last visited
Content Type
Profiles
Forums
Gallery
Events
Everything posted by whitejamest
-
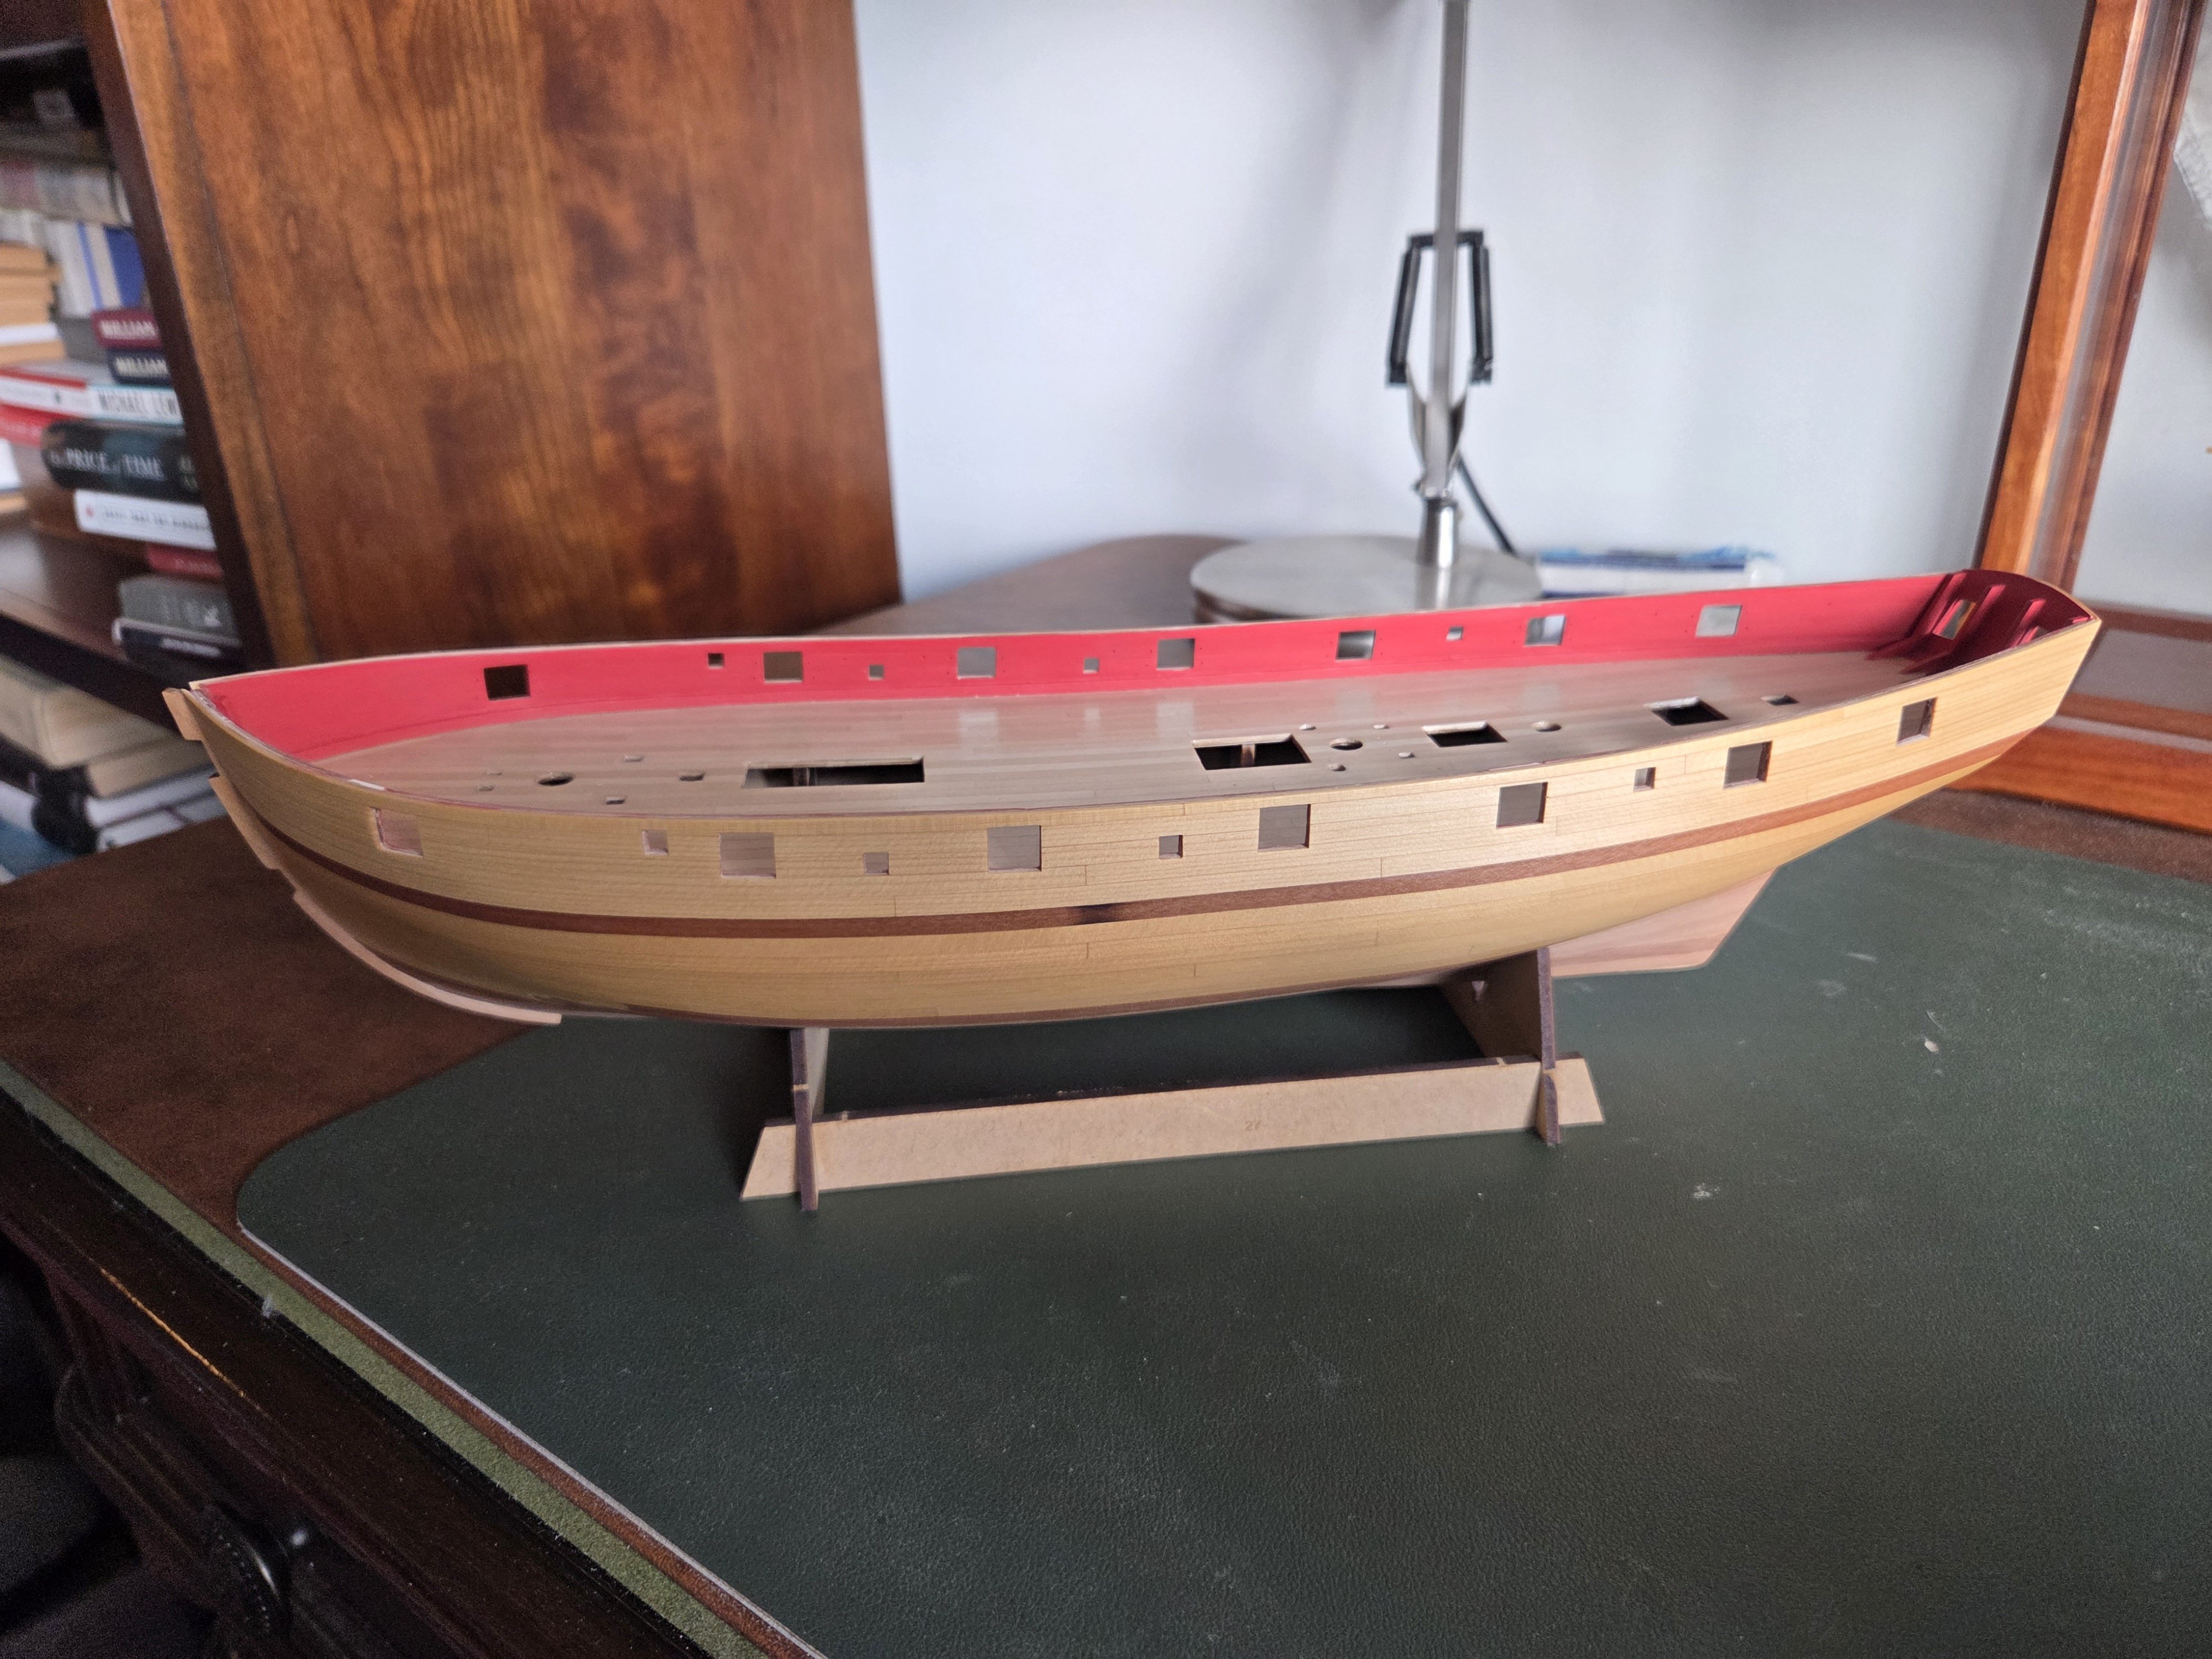
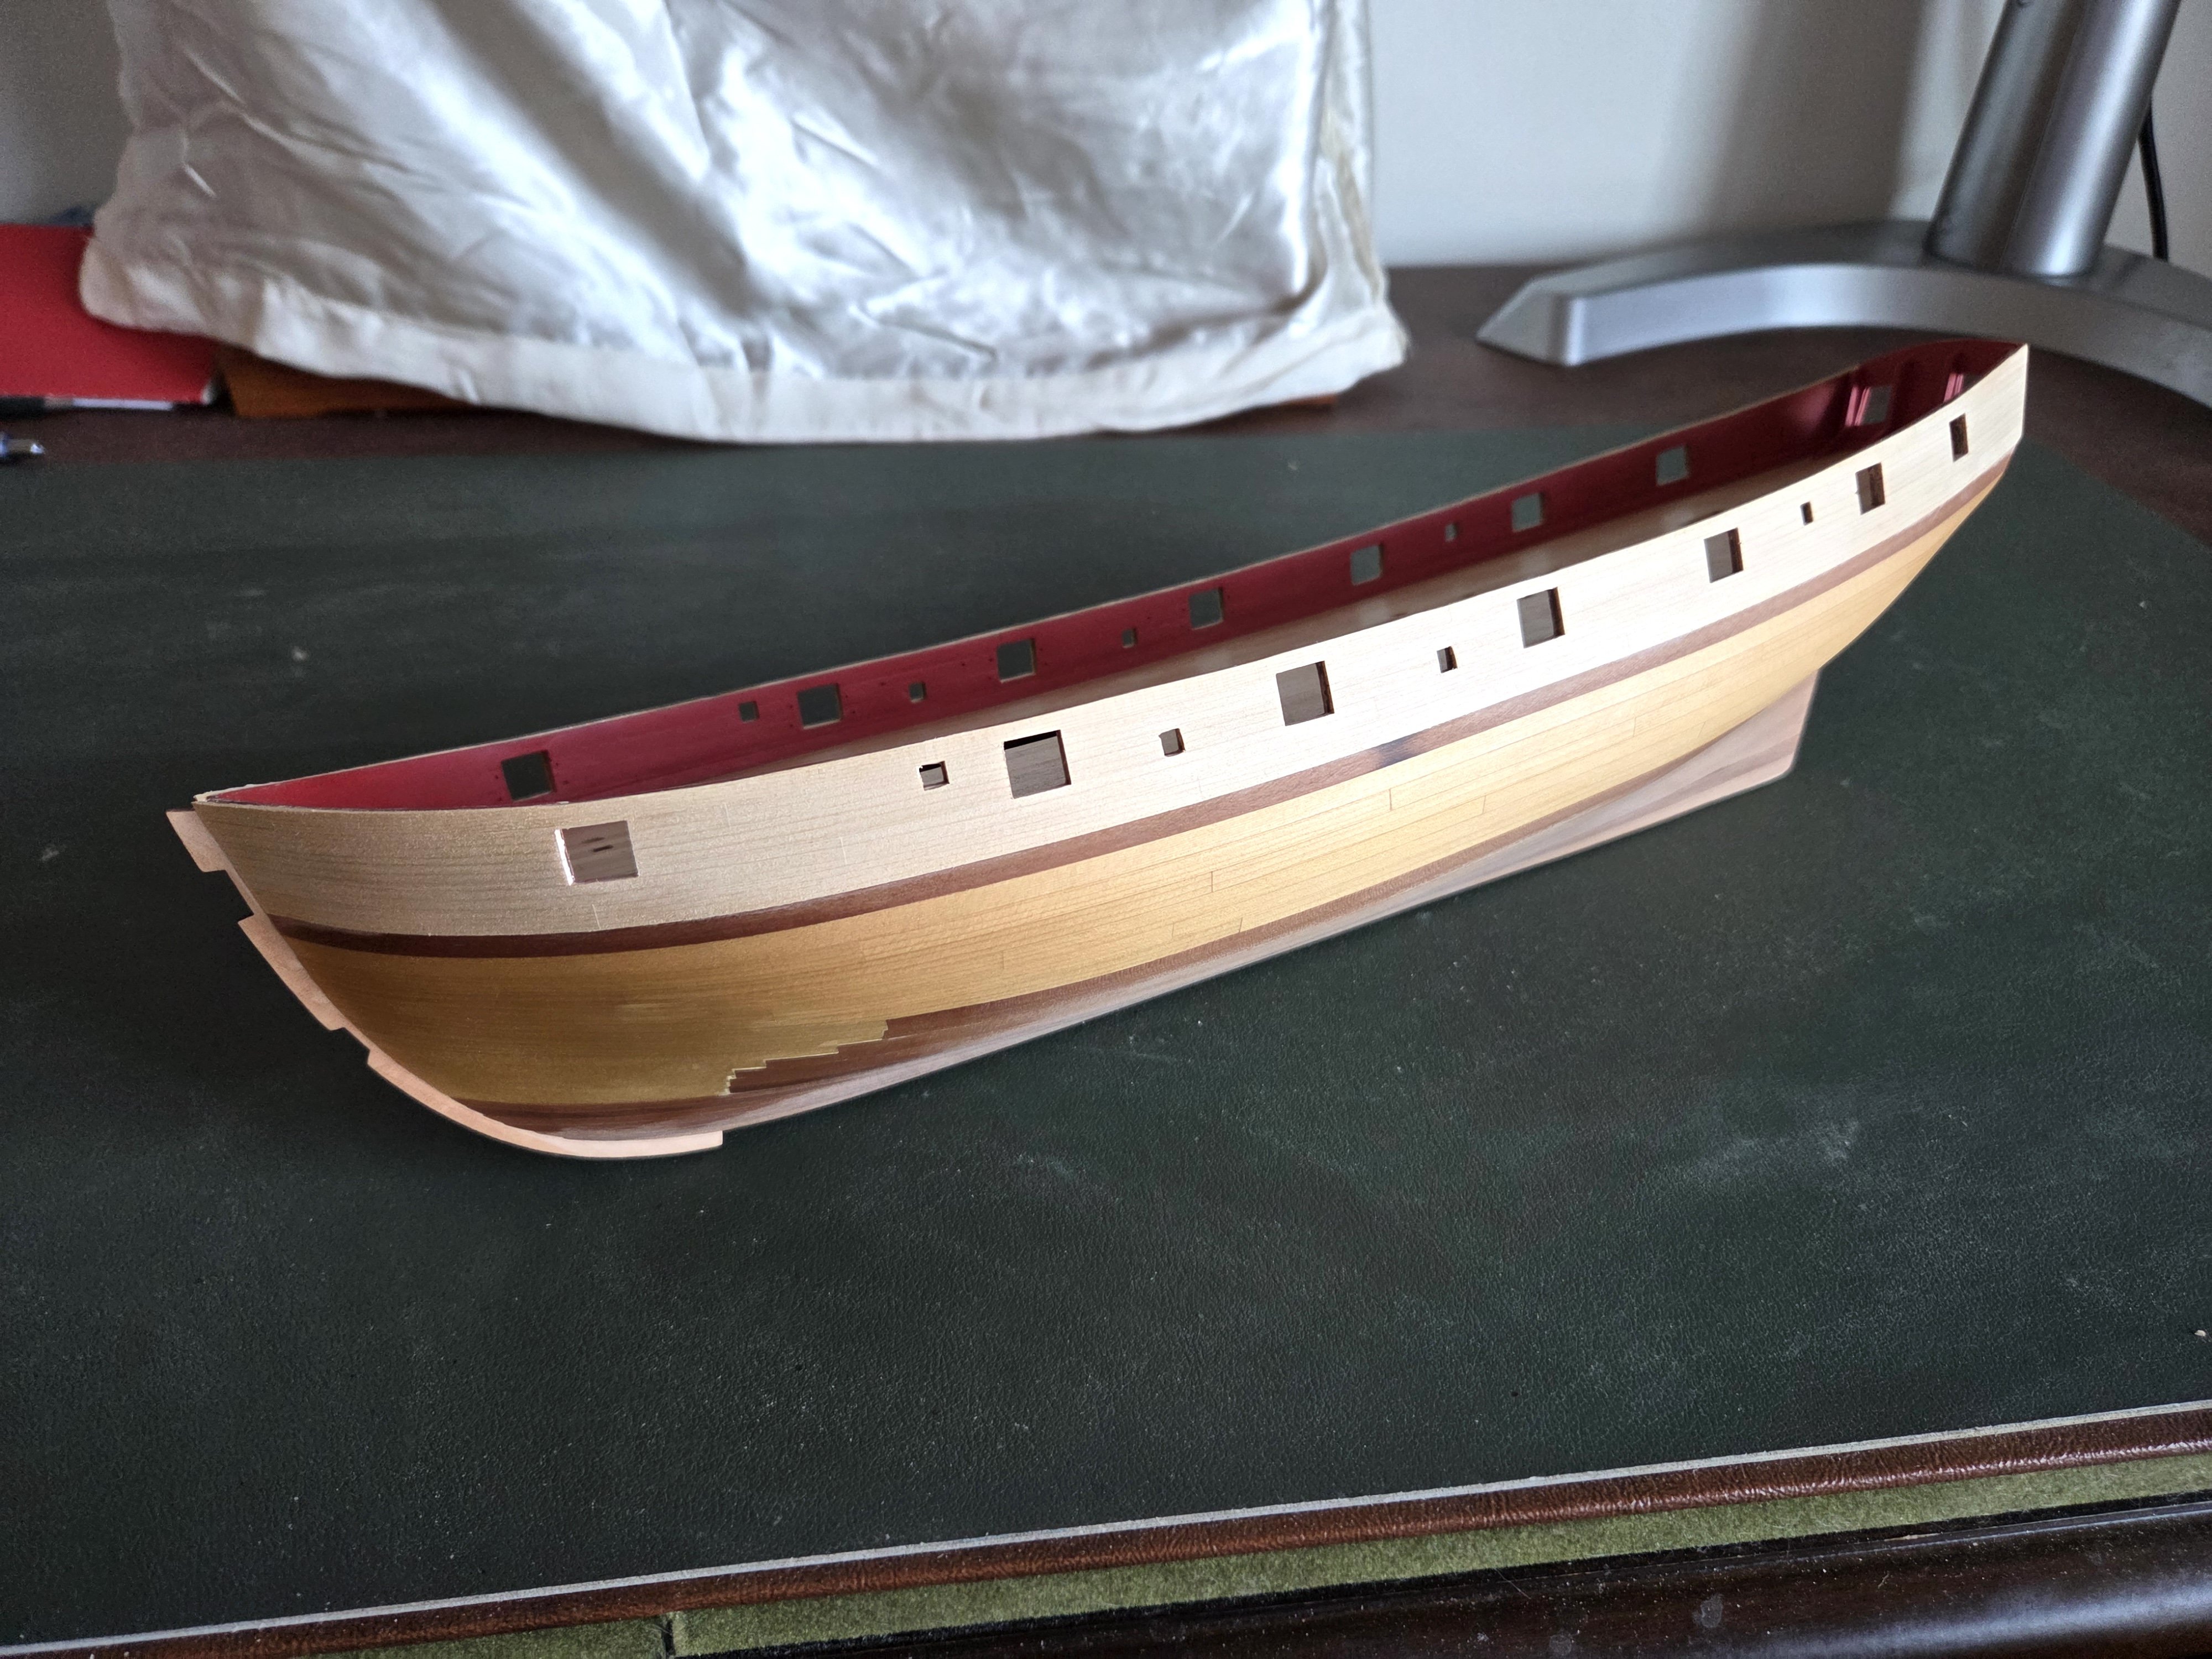
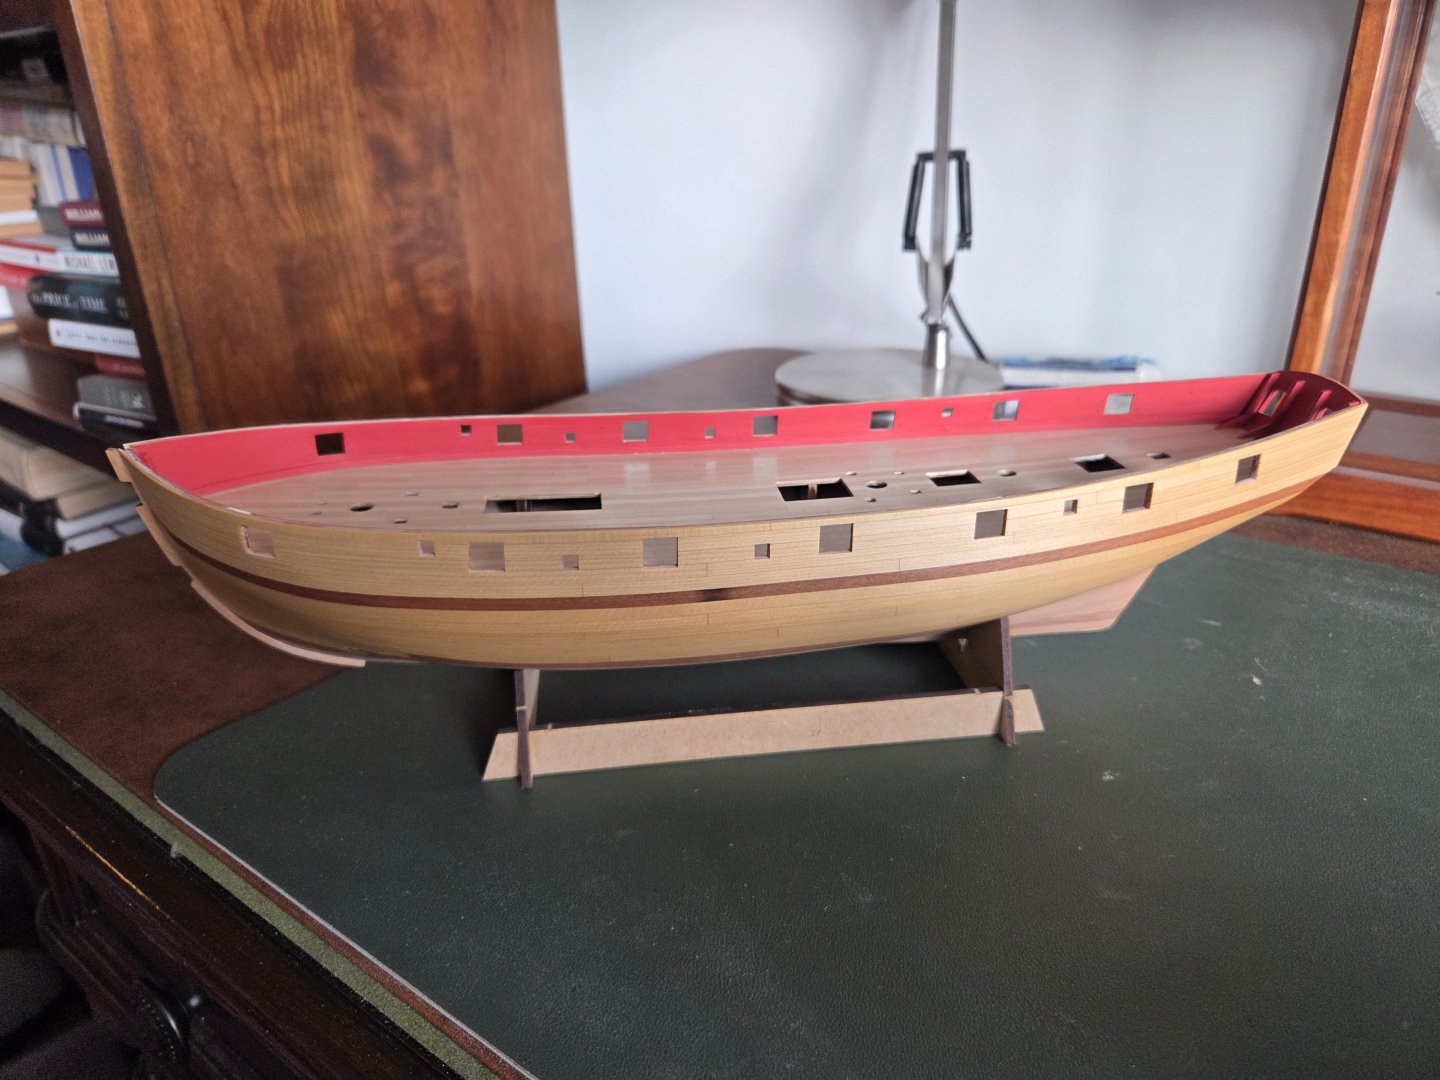
 A very small update: I have just attached the wales on each side of the hull. I trimmed them short at the stern before gluing them in place, because I was dreading having to trim off the excess after they were attached - that was how I managed to nick the transom after installing the external bulwark planking. I painted the edges of the wales before attaching, so that I wouldn't have to mask anything. Now I will do some puttying and sanding and then paint the rest. I've also added some putty to the inside edges of the gun ports, and will be sanding that down to get some (hopefully) nice smooth surfaces before painting them. I'm going to be pretty excited to attach the stem and keel soon and sternpost soon! That will feel like a big visual step forward.
-
I think in part it can depend on how hard or soft the wood around the filler is. Using a very hard filler on a very soft wood can make sanding tricky, as the wood disappears faster than the filler. Bondo is very tough, and you have to mix it to the right ratio or you can get a slightly spongy texture. I've used Goodfilla in the past and been happy with it. It's a good balance of toughness and ease of sanding to me. It doesn't crumble and flake away too easily. When I am filling very small gaps in Alaskan yellow cedar I like to use the yellowish Elmer's wood filler, because it is very easy to work with, is fairly soft and sands easily, and the color goes well with the wood.
-
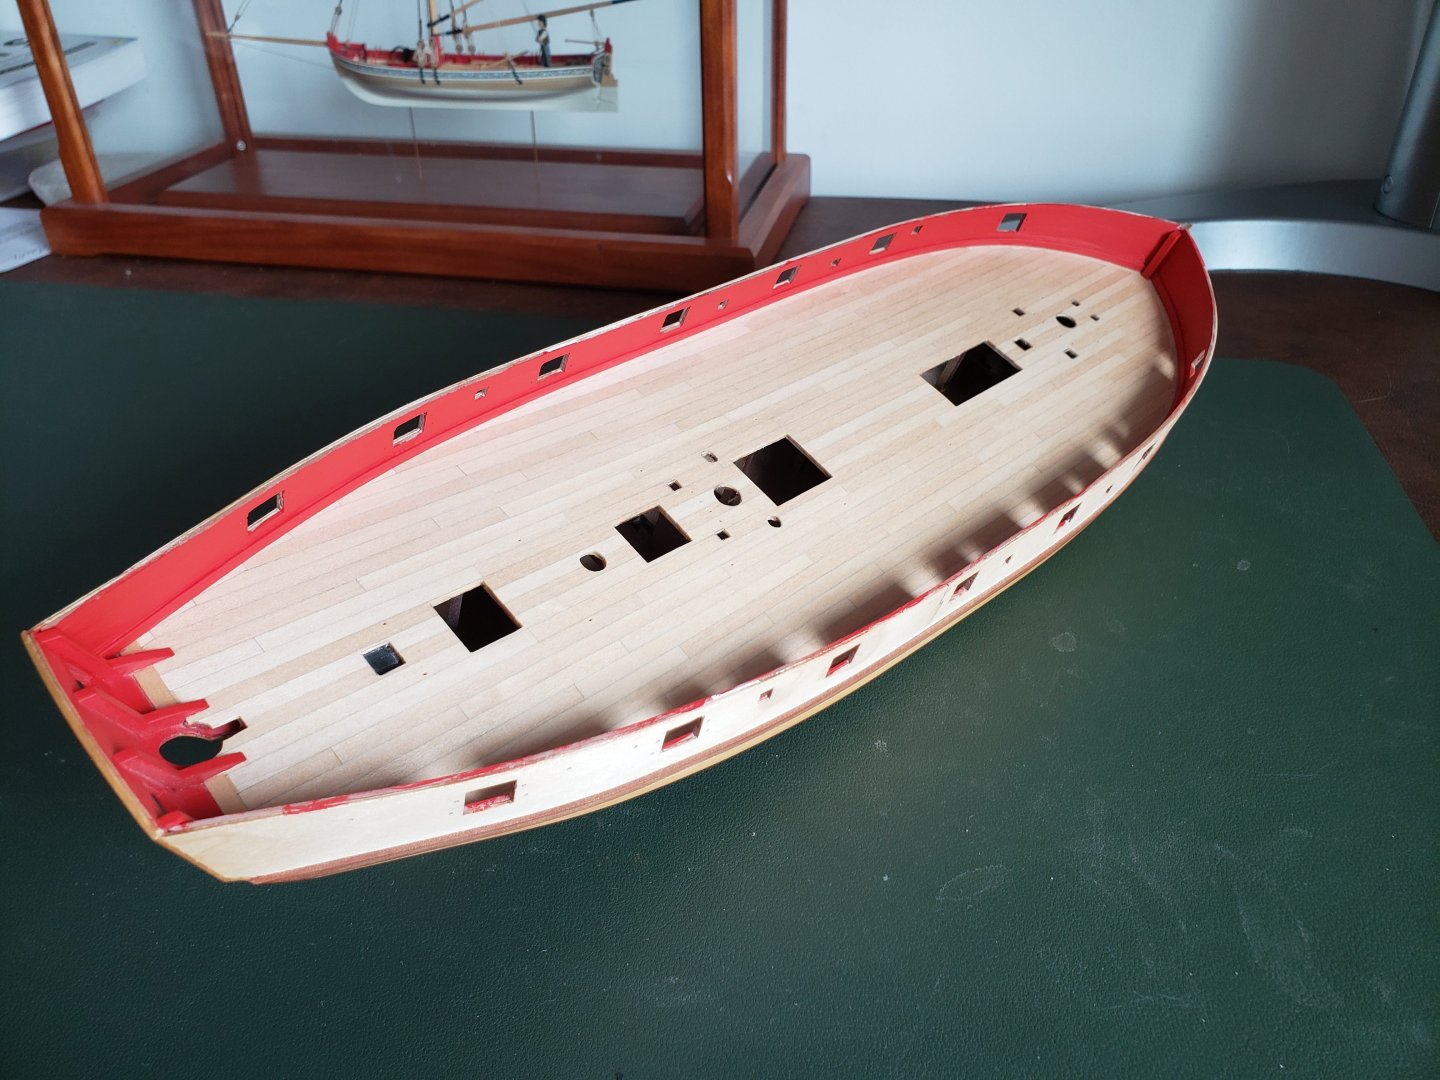
After all this time, this does indeed feel like a bit of a milestone for me on this build. Hull planking all installed, (the wales don't count, right?) and the gun ports and sweep ports cleaned up, and tung oil applied. I applied the oil to the planking below the wales so long ago that it has a slightly deeper, mellower color than the fresh part does, but hopefully that part too will mellow with a little age. I have a little repair work to do on the stern, having clumsily nicked one of the planks as I trimmed the ends of the side planking (I'll need to sand out the divot and reapply the finish) and then it is on to the wales. I am definitely going to be looking through all the Speedy logs I have already bookmarked on this site ahead of diving in to the coppering process, which is a little intimidating to me. Advice and warnings would definitely be appreciated.
-
Proof of life: Speedy has spent a lot of time in stasis, but recently has been making very slow progress. I've installed all the external bulwark planking, and am busily sanding away to smooth it all out. A little more to go there. I still need to clean up the gun ports and sweep ports, and then hope to be able to apply tung oil soon. It's going to feel like quite a milestone if I do indeed ever finish all the planking on this model!

-
I'll be following this with great interest Linus. I don't have much experience with 1/700 models, but have made a lot of 1/1200 gaming miniatures, rigged with bristles from a nylon paint brush. At 1/700 you could even add photo etched crew figures.
-
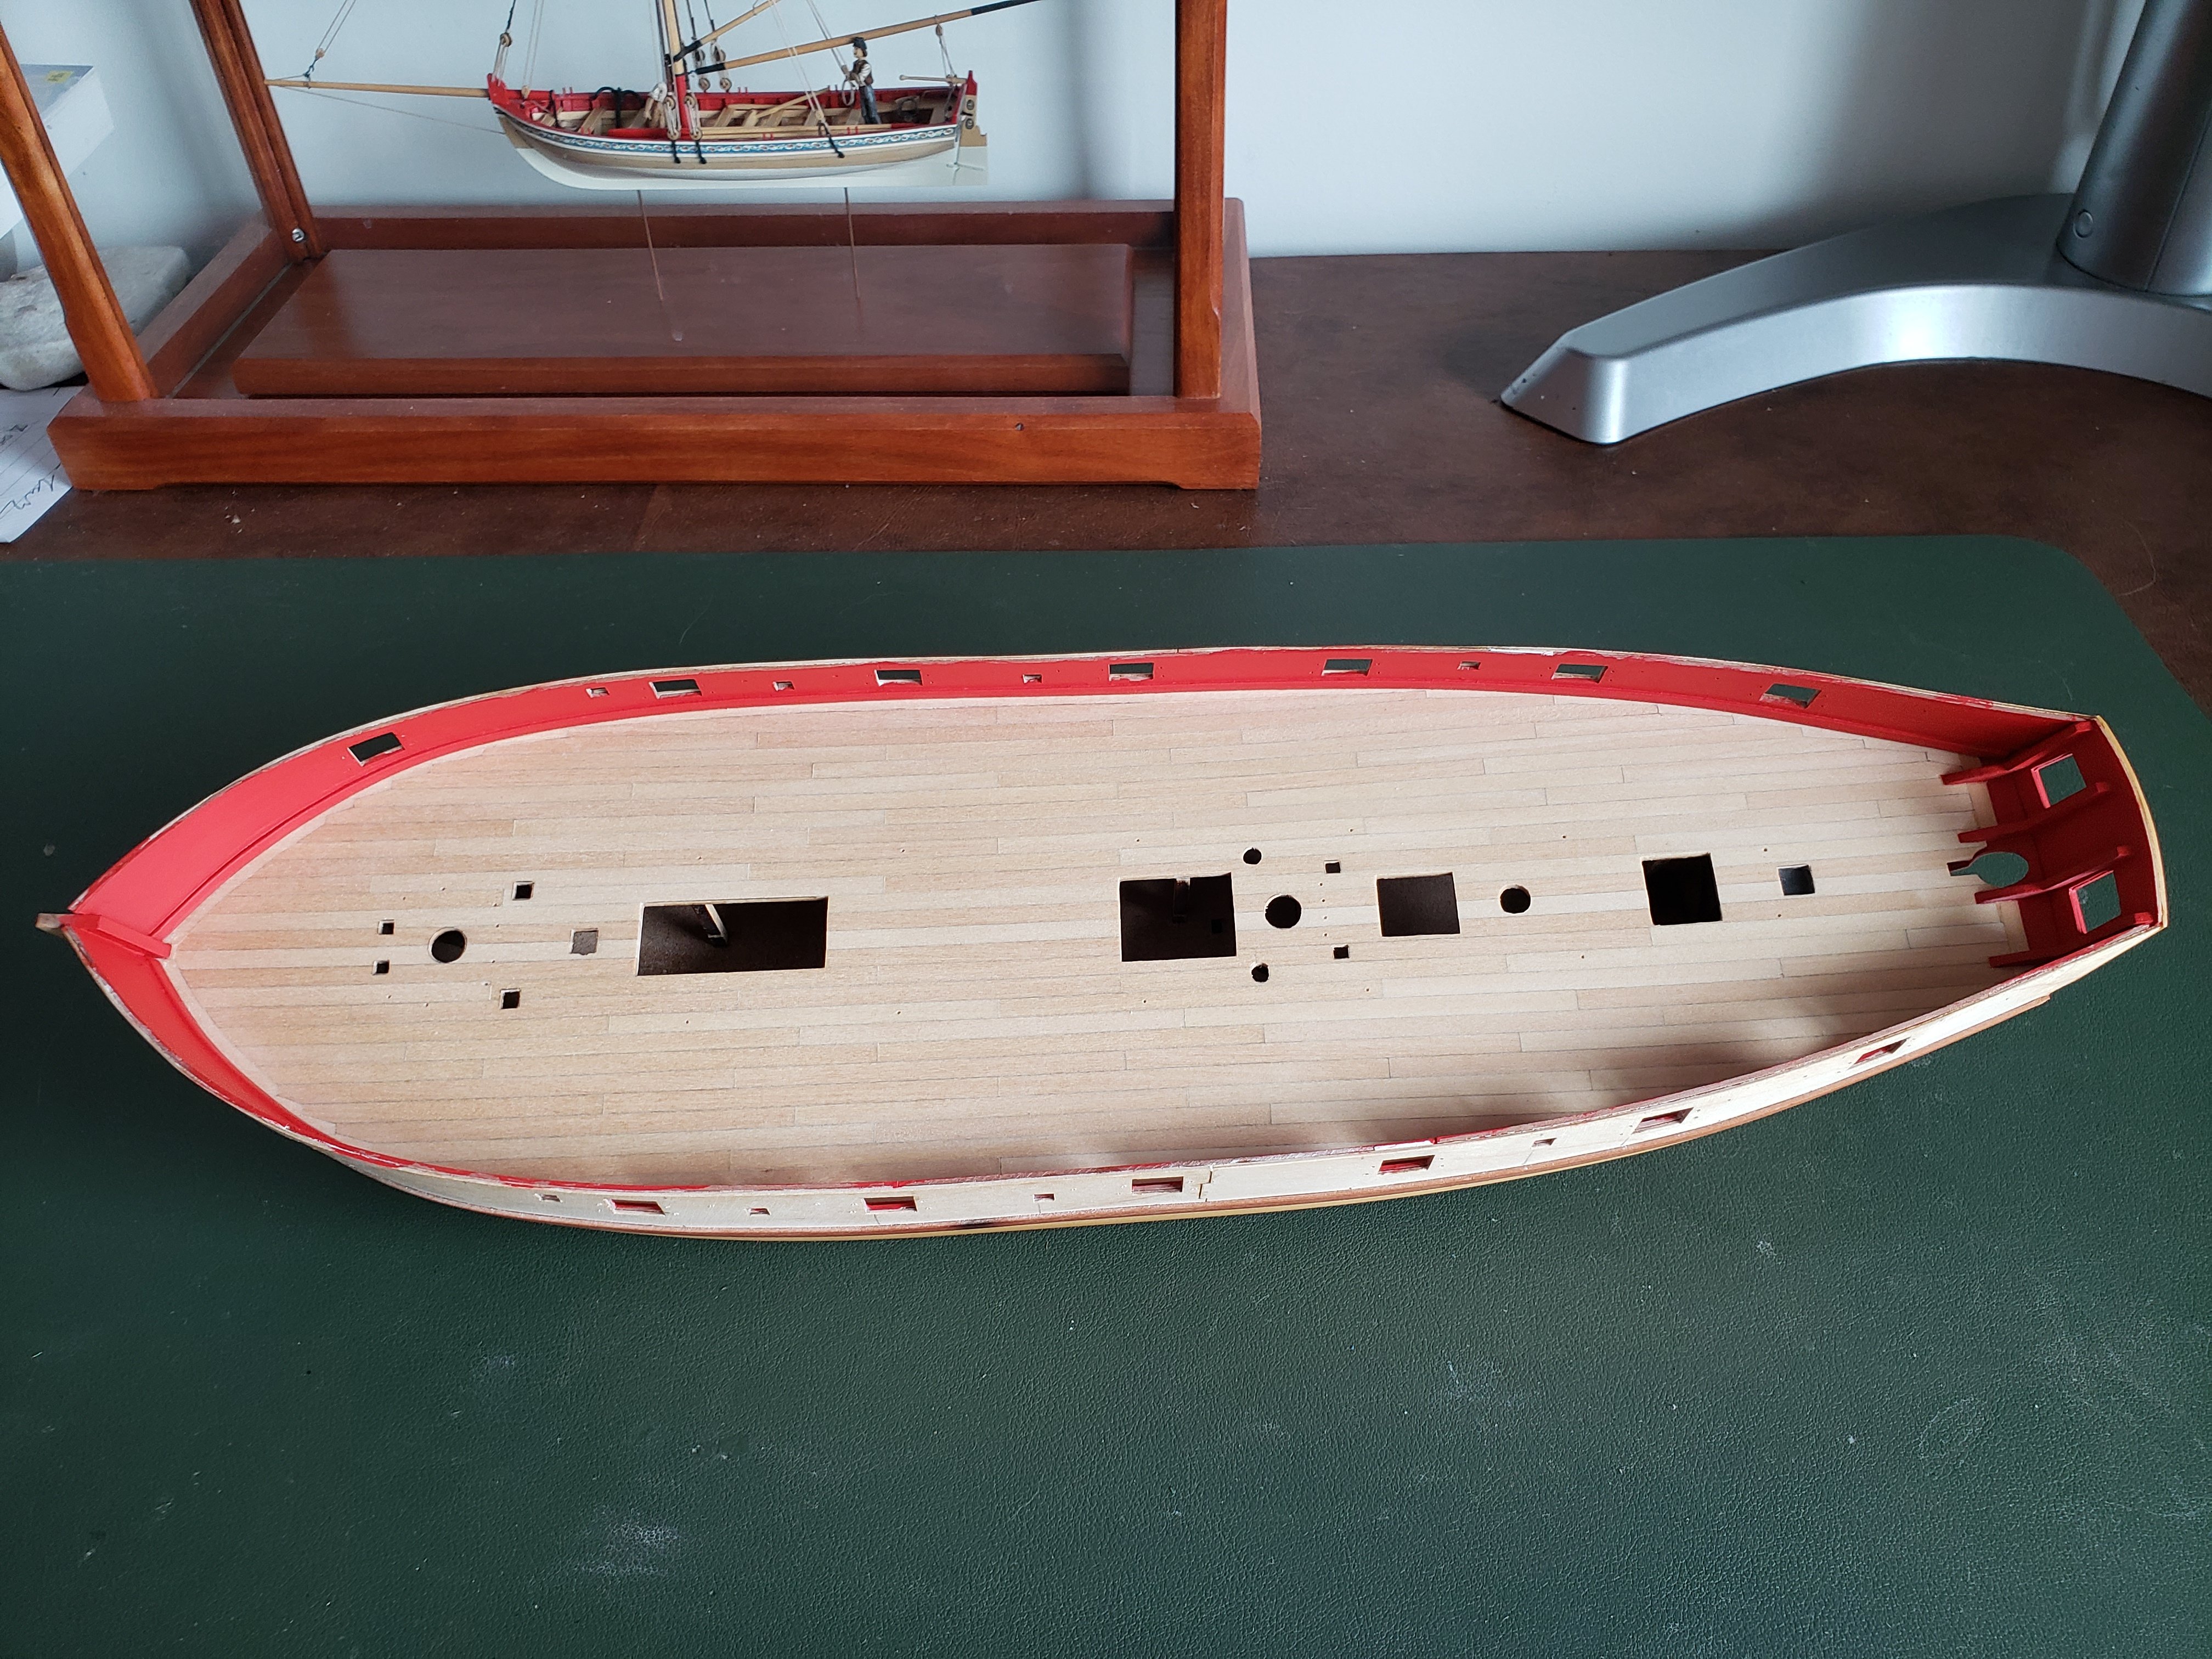
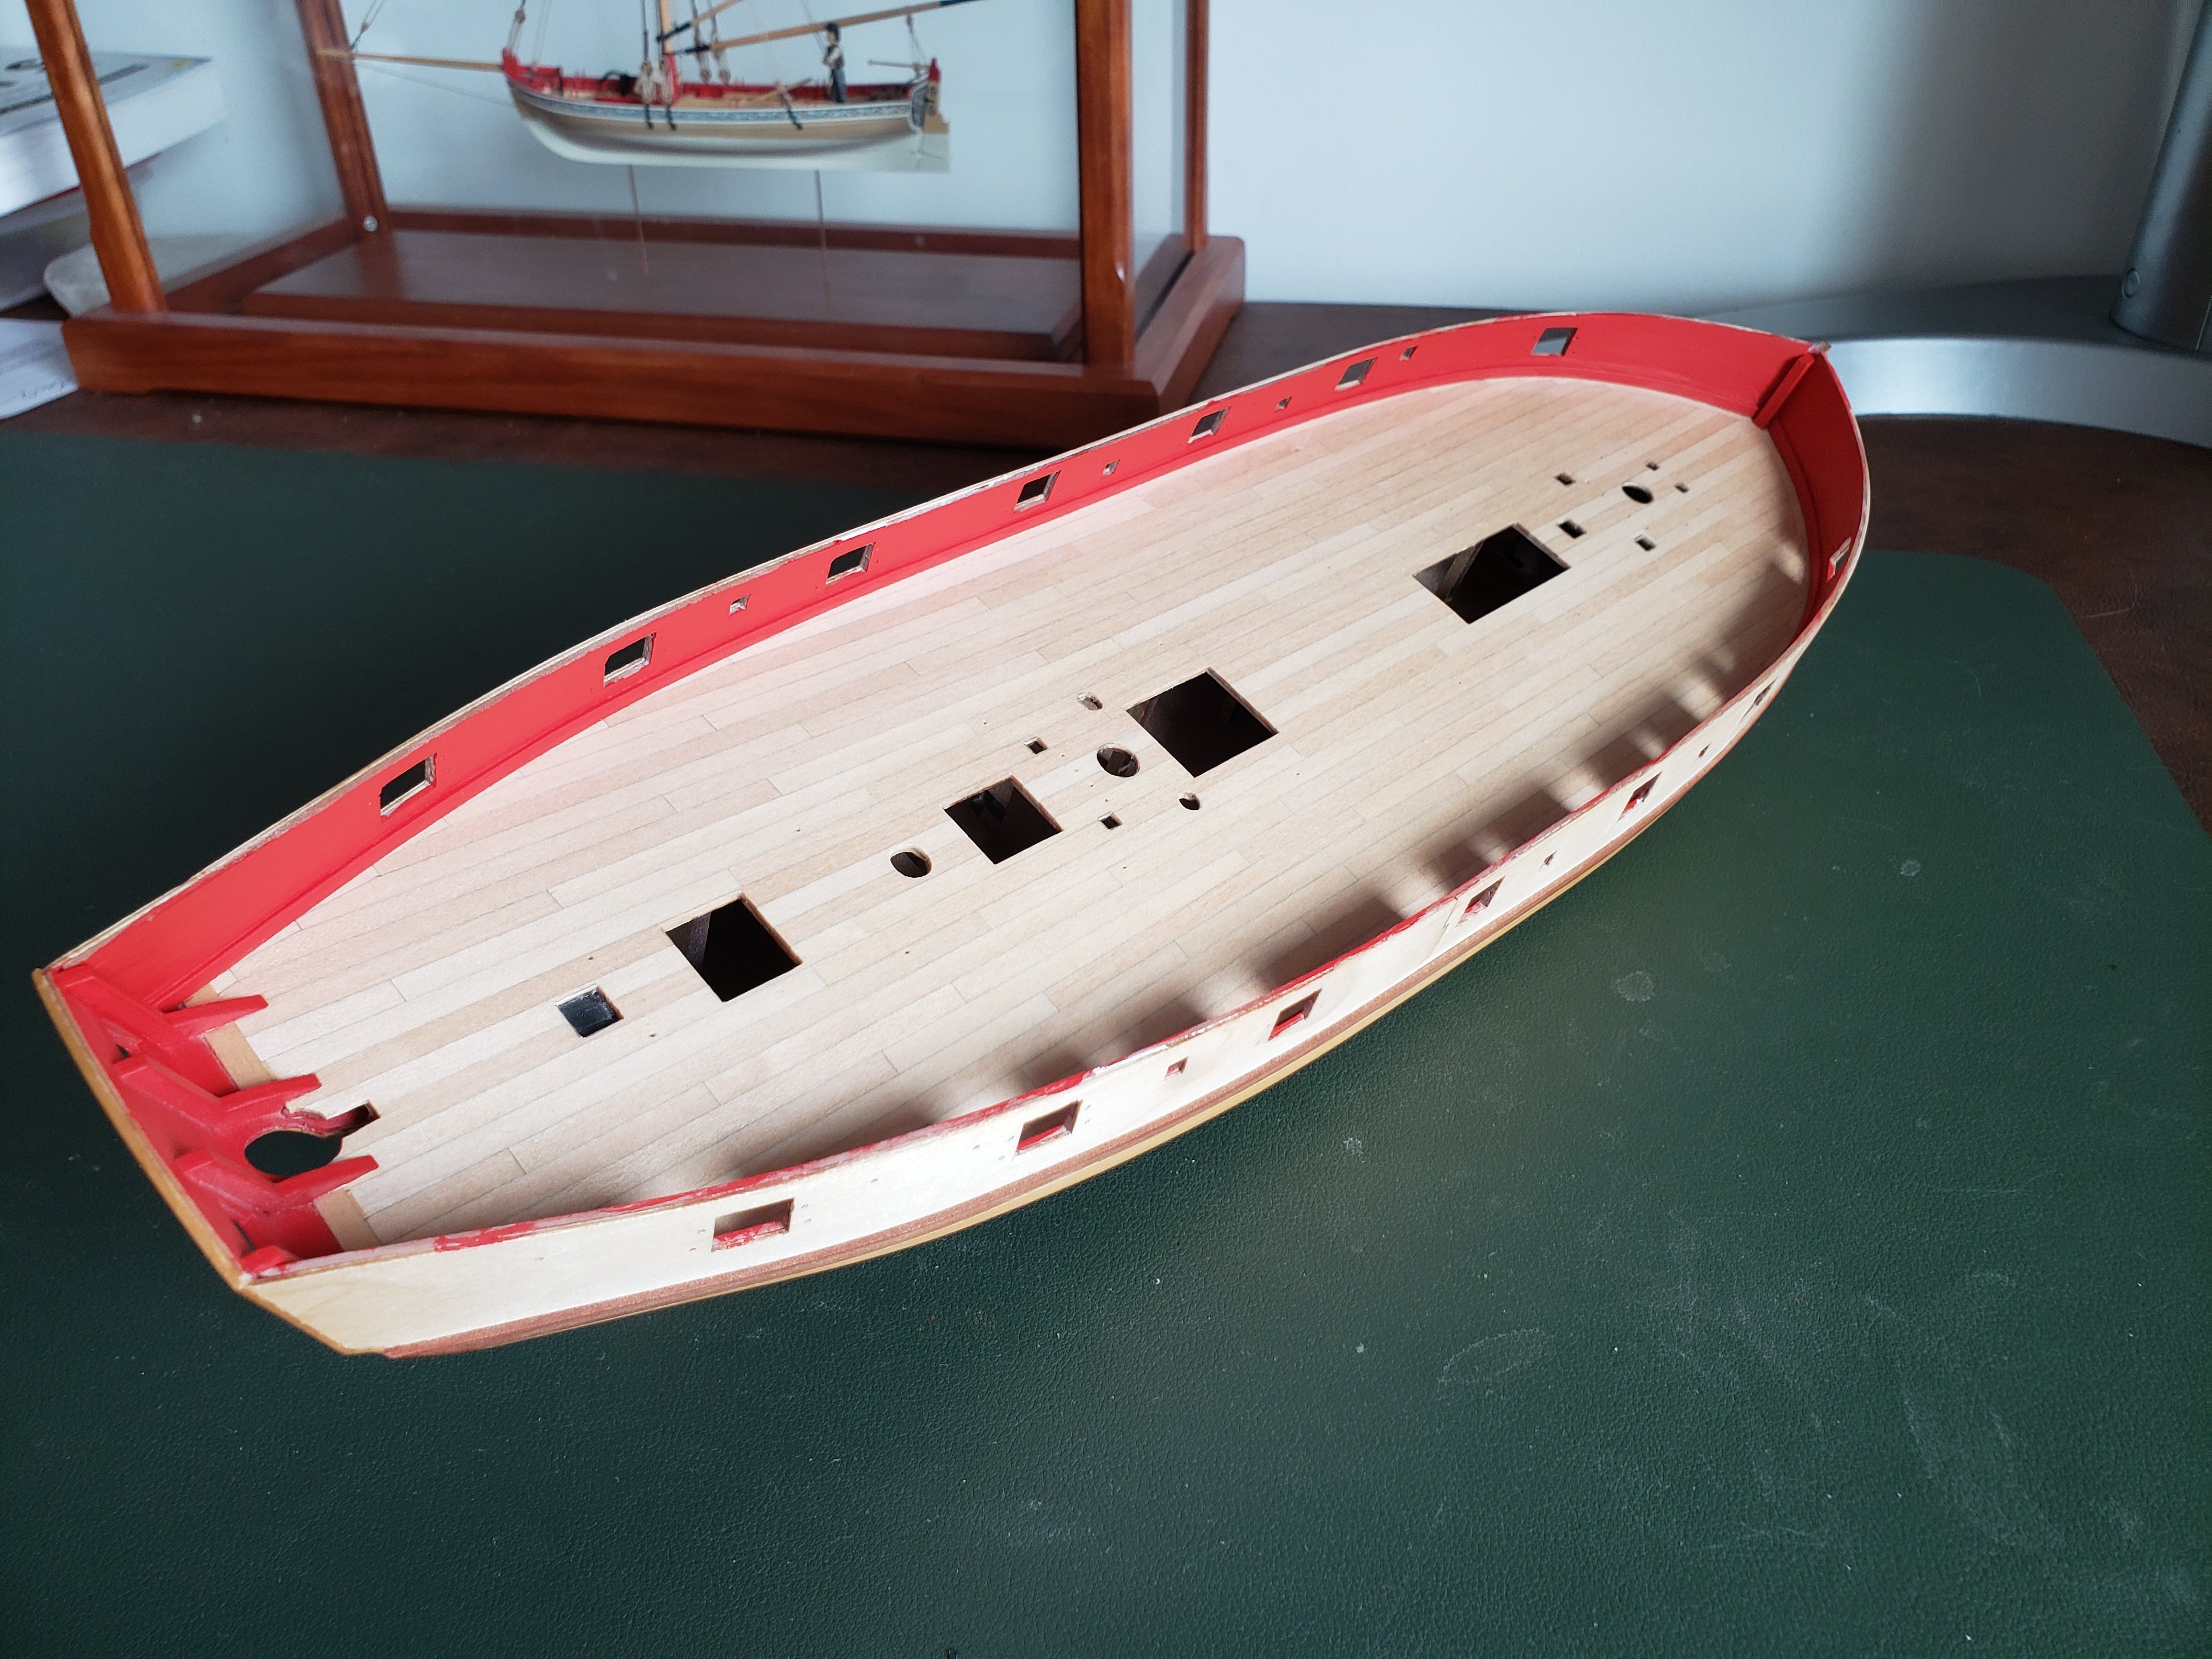
Here is a small update on a very leisurely build log. I've added the planking to the insides of the bulwarks and painted them. The paint has shown me a few areas that will need to be cleaned up a bit, and then I'll start adding planks to the outside of the bulwarks. Strange to think that I might one day conceivably be done with the planking of this model. But that's crazy talk. I did add a detail that was not part of the kit, but that I have seen several other Speedy builders add - the spirketing strip at the bottom of the bulwarks. I thought it was a very attractive feature on those other models, and it wasn't hard to make. For what it's worth, I think if I were doing this step over again, I would probably not use pear wood. It's pretty tough stuff, which makes cutting out the gunports a little more laborious, and takes a little more elbow grease to sand down. If the intent is for the wood to be entirely hidden under paint, I think basswood would probably have been an easier way to go. Just something I'll bear in mind the next time I am planking inner bulwarks.

-
Thanks for checking in, I appreciate it. I coincidentally just recently started up again, slowly adding planks to the inside of the bulwarks. I hope to have some more pictures to post soon.
-
I think your planking looks very nice, and when all the copious amount of detail is added to the inside, you won't even see most blemishes that are catching your eye now. And in any event they are probably far more noticeable to you than to anyone else. I think you have a great looking hull. If I can offer more unsolicited advice, getting the tops of the frames a lot thinner will help you a lot when you move on to making the cap rail. Otherwise it ends up being much too thick and out of scale.
-
Something that I found handy at this step was to take a cylindrical plastic pen cap, cut it down to a length that spanned just a couple ribs, and then glue semi coarse sandpaper to the outside. It gave me a small sanding drum that could get into tight spaces. It was a bit of a pain to hold in my fingers while sanding, but it helped. Your boat is coming along very nicely.
-
Really sharp looking, I love the colors.
-
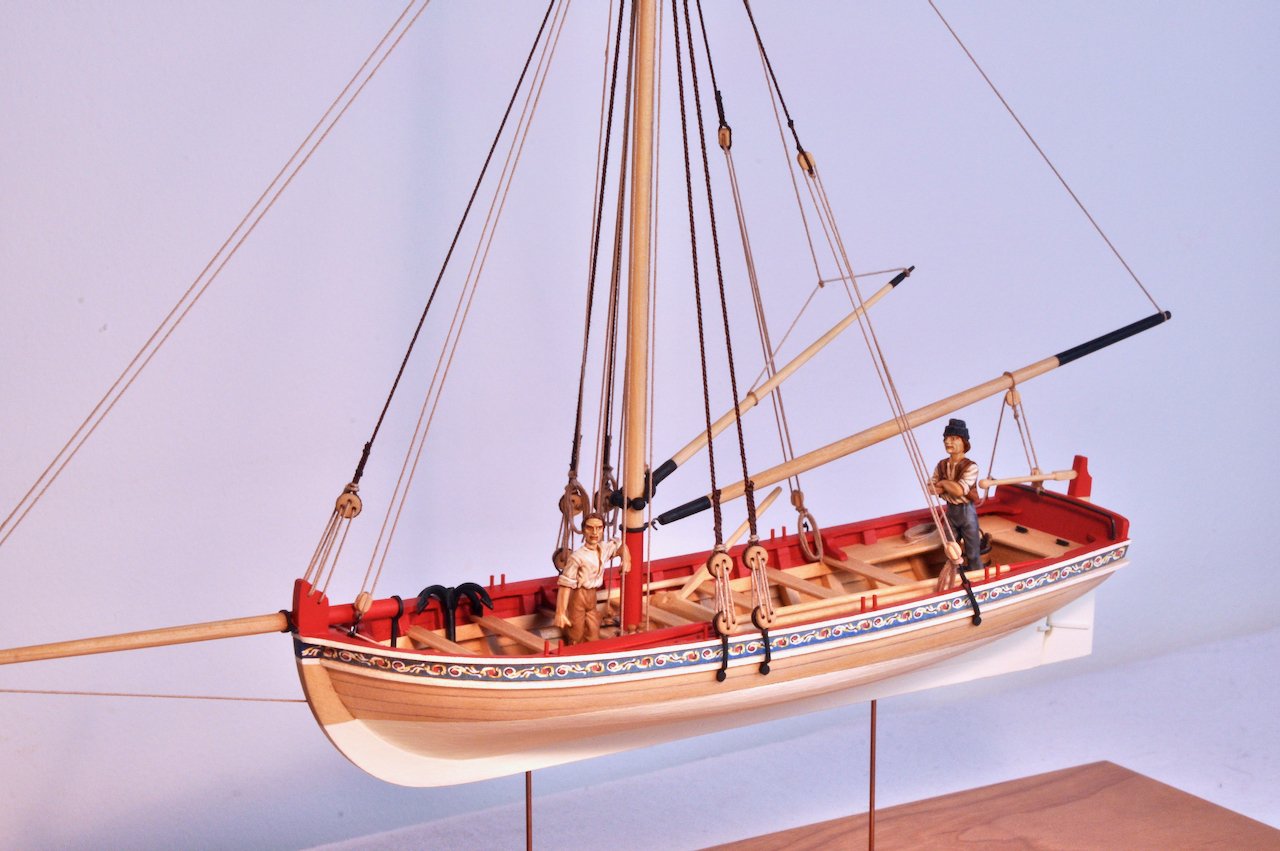
Looking lovely. I'll be watching your sail work with a lot of interest, as I hope some time in the distant future to do the same for my own Speedy. I think silk span will suit you very well.
- 144 replies
-
- 1
-

-
- HMS Speedy
- Vanguard Models
- (and 1 more)
-
Personally I like the Minwax Natural look, though neither is a bad option. Nice looking deck, well done.
-
I have no experience with those particular figures, and will be curious about what you learn if you do go that route. I know 28mm figures tend to be a bit on the beefy end for 1/64 scale ship models, though it depends on the manufacturer. The chunkier ones I think are more like 1/56 or so. Perhaps the 25mm figures will be a better fit. Definitely way too small for 1/48 though.
-
I had the pleasure of going aboard her just this past weekend. I look forward to seeing how the kit comes together.
-
That's a fantastic looking boat. And I think the brass tubing for the shafts of the oars has come out well, nice idea.
-
I would pay Muffin a great deal if she could teach my own supervisor a similar attitude. The boat is looking beautiful. You do very neat work.
-
The planking looks lovely, and the striping effect just enough to say yes, indeed these are individual planks. The strength will increase drastically as soon as you have added a few of the simulated frames.
-
That is some very sharp, neat planking, well done. She will be a beauty. Also it's a contractual obligation to break a few delicate pieces on these little kits, so much better to get that out of the way early on.
-
Thanks very much for the kind words Aliluke. They are definitely fun kits. I hope you'll post pictures of your launch build. I'm sure it will be a lovely complement to your Fly.
-
What you say sounds very plausible to me Allan. I think on a kit like this it might not be terribly hard to adjust the oarlocks - cutting the protrusions off the laser cut rim pieces and reattaching them to align with another thwart. Delicate work, but doable. They don't have to bear up to stress. I wonder, on boats where the oarlock is not made of removable thole pins but consist of gaps in the gunwale, would those still have been present on both sides symmetrically, or would they alternate from one side to the other, one per thwart? Eventually I'll be working on Speedy's cutter, which has gaps rather than pins.
-
That's an interesting point Allan, and not one I had thought about while working on the kit. I just followed the kit design, which looks to me to be based on the diagrams in the "Anatomy of the Ship: HMS Pandora" book, or something similar anyway. There the breadth of the yawl is listed as 6'9". Measuring this model at its widest I find it is a little under 35mm, so around 7'3" in this scale. (We'll have to make some allowances for everyone's build coming out a little different, and the delicacy of sanding thin laser cut parts.) Is that wide enough for double banked oars? I have no idea. The point that having a single oarlock per thwart, rather than two on every other thwart, would give the oarsmen much more space makes sense to me. Definitely something I'll consider on the next boat, thanks,