


Papa
-
Posts
1,241 -
Joined
-
Last visited
Content Type
Profiles
Forums
Gallery
Events
Posts posted by Papa
-
-
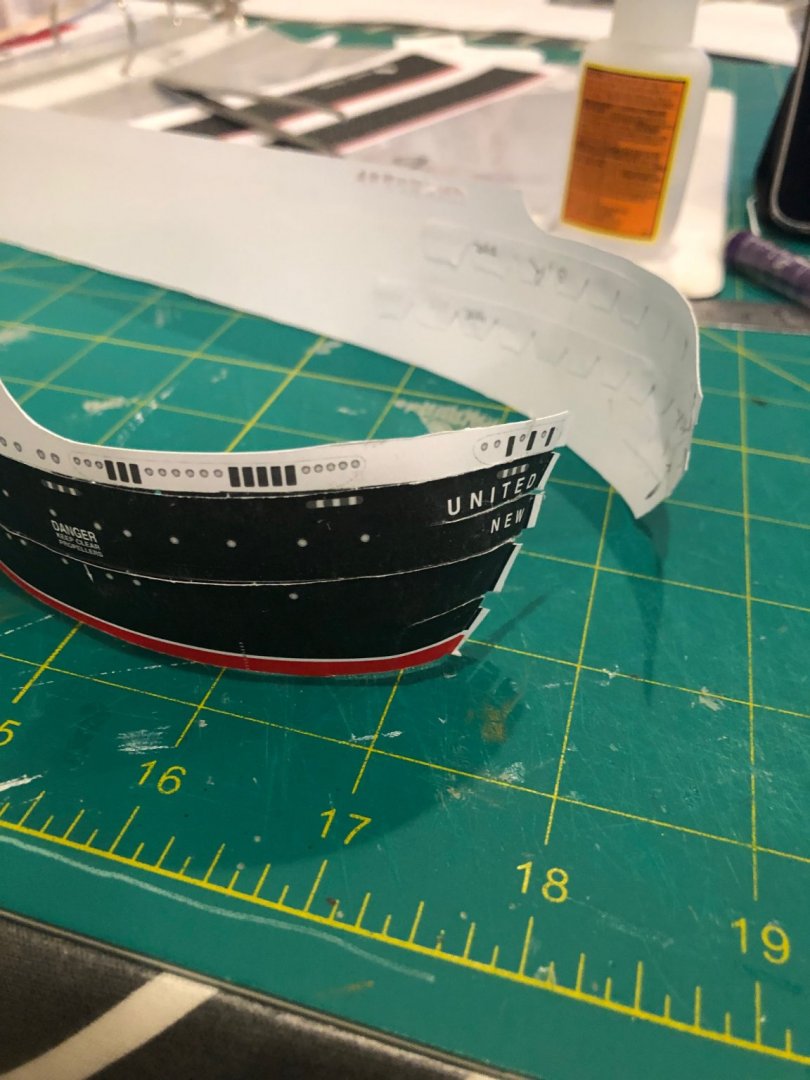
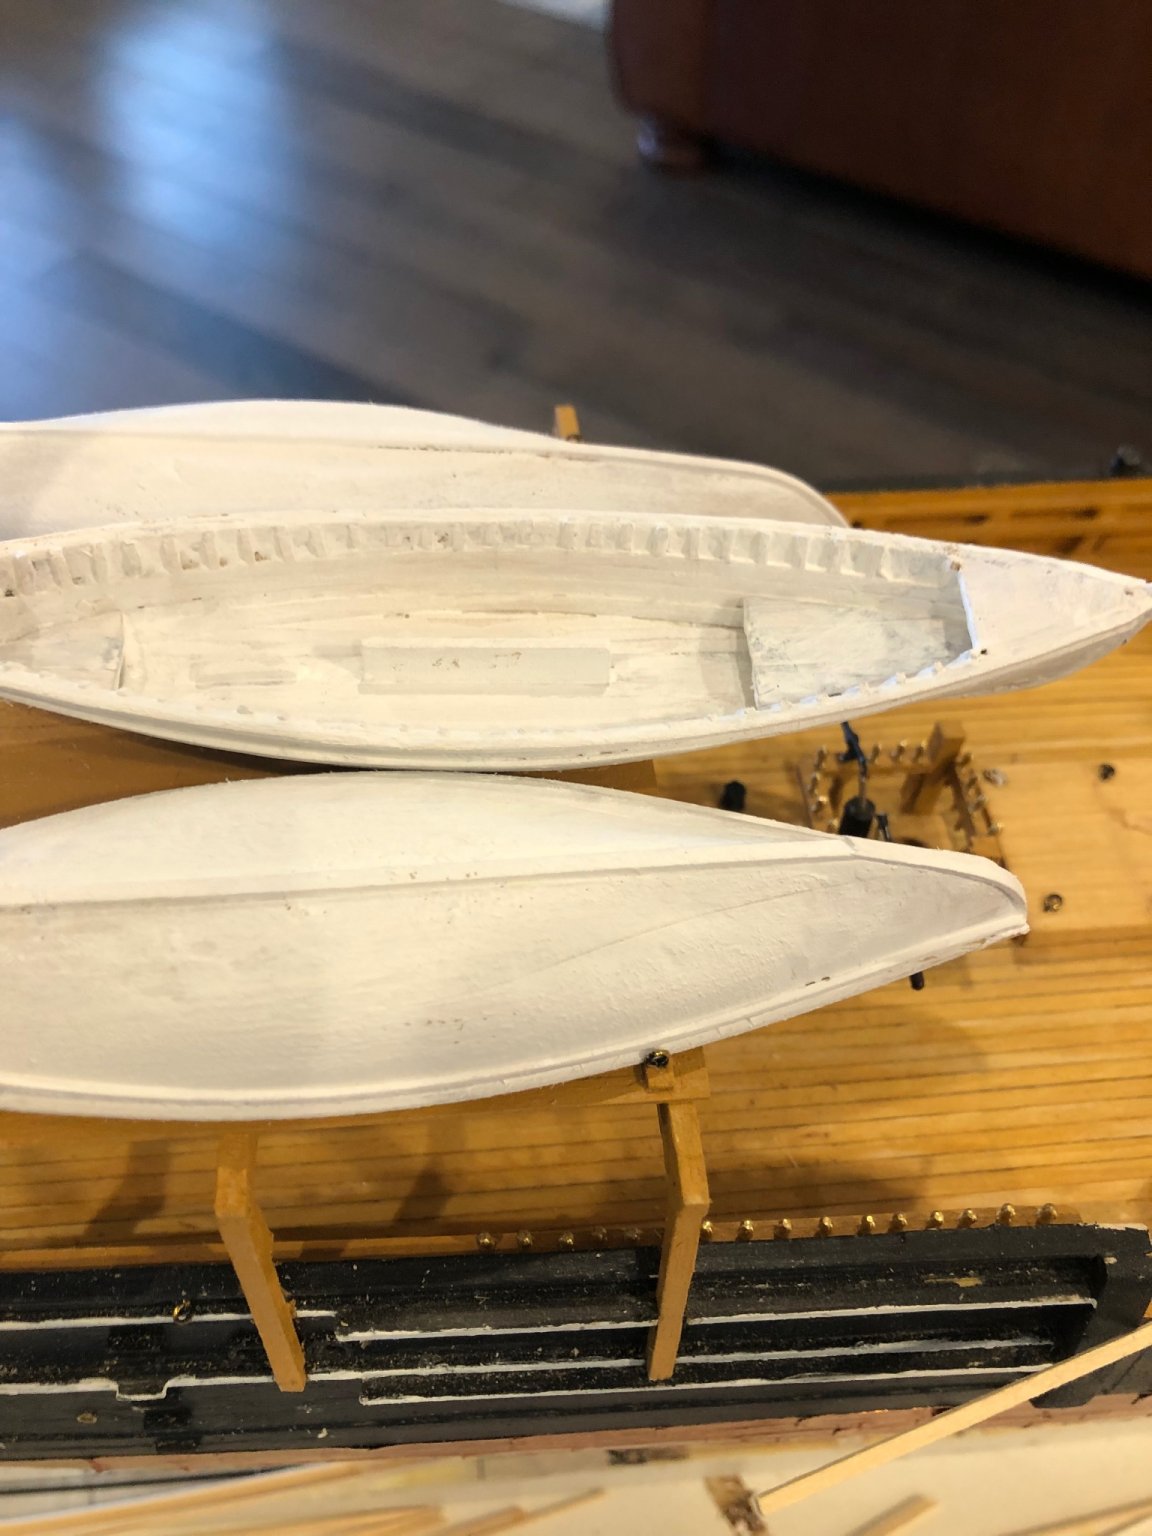
The hull skins at the stern have wedges cut out (kind of like darts in sewing) to shape the stern to the frames. On my first attempt I tried to glue the skins on and close the wedges with the tabs at the same time. Bad idea! And the stern was grossly misshaped. This time I glued the tabs and shaped the stern first. The stern is much better now, at least off the ship. It was still a ridiculously complicated job to get the skin attached smoothly. The port side is in, but not as smooth as i’d like. Not looking forward to the starboard side. 8 more hands would make it easier. Maybe with a few dozen more paper ships i might get the hang of it.
- GrandpaPhil, mtaylor, Canute and 2 others
-
 5
5
-
-
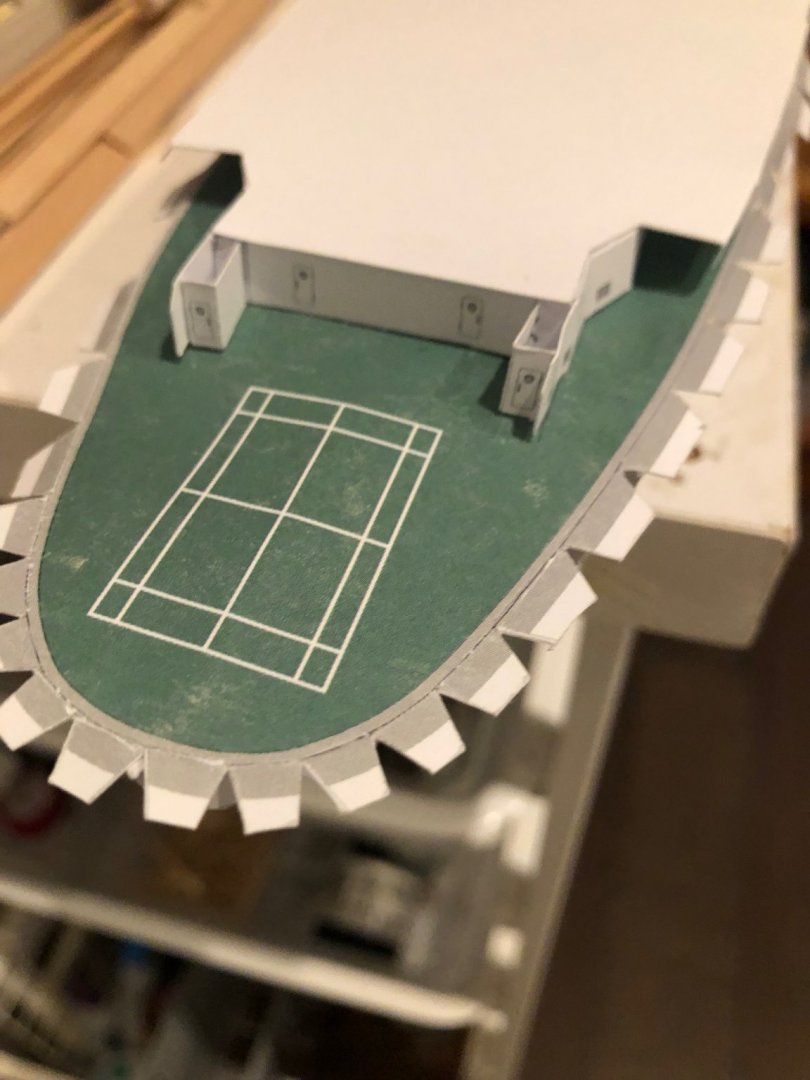
It isn’t obvious from the picture, but I misinterpreted how this aft cabin was laid out; the little doors look weird. I discovered the error when the next deck level went on with the ladders. I got it correct on this second attempt to build the United States
- GrandpaPhil, hof00, Canute and 2 others
-
5
-
I would hazard a guess that you are the only person on this site with a Herztsprung-Russell poster on the wall! I figured you had to be an astronomer, but i see from the profile you are an historian and amateur astronomer. Good luck on the Swampscott dory build. I grew up in Saugus, MA, right next door to Swampscott!
Ron Gove,
(Papa to my grand daughter)
-
I never heard of “craft paste”. Is it like spackling paste?
-
-
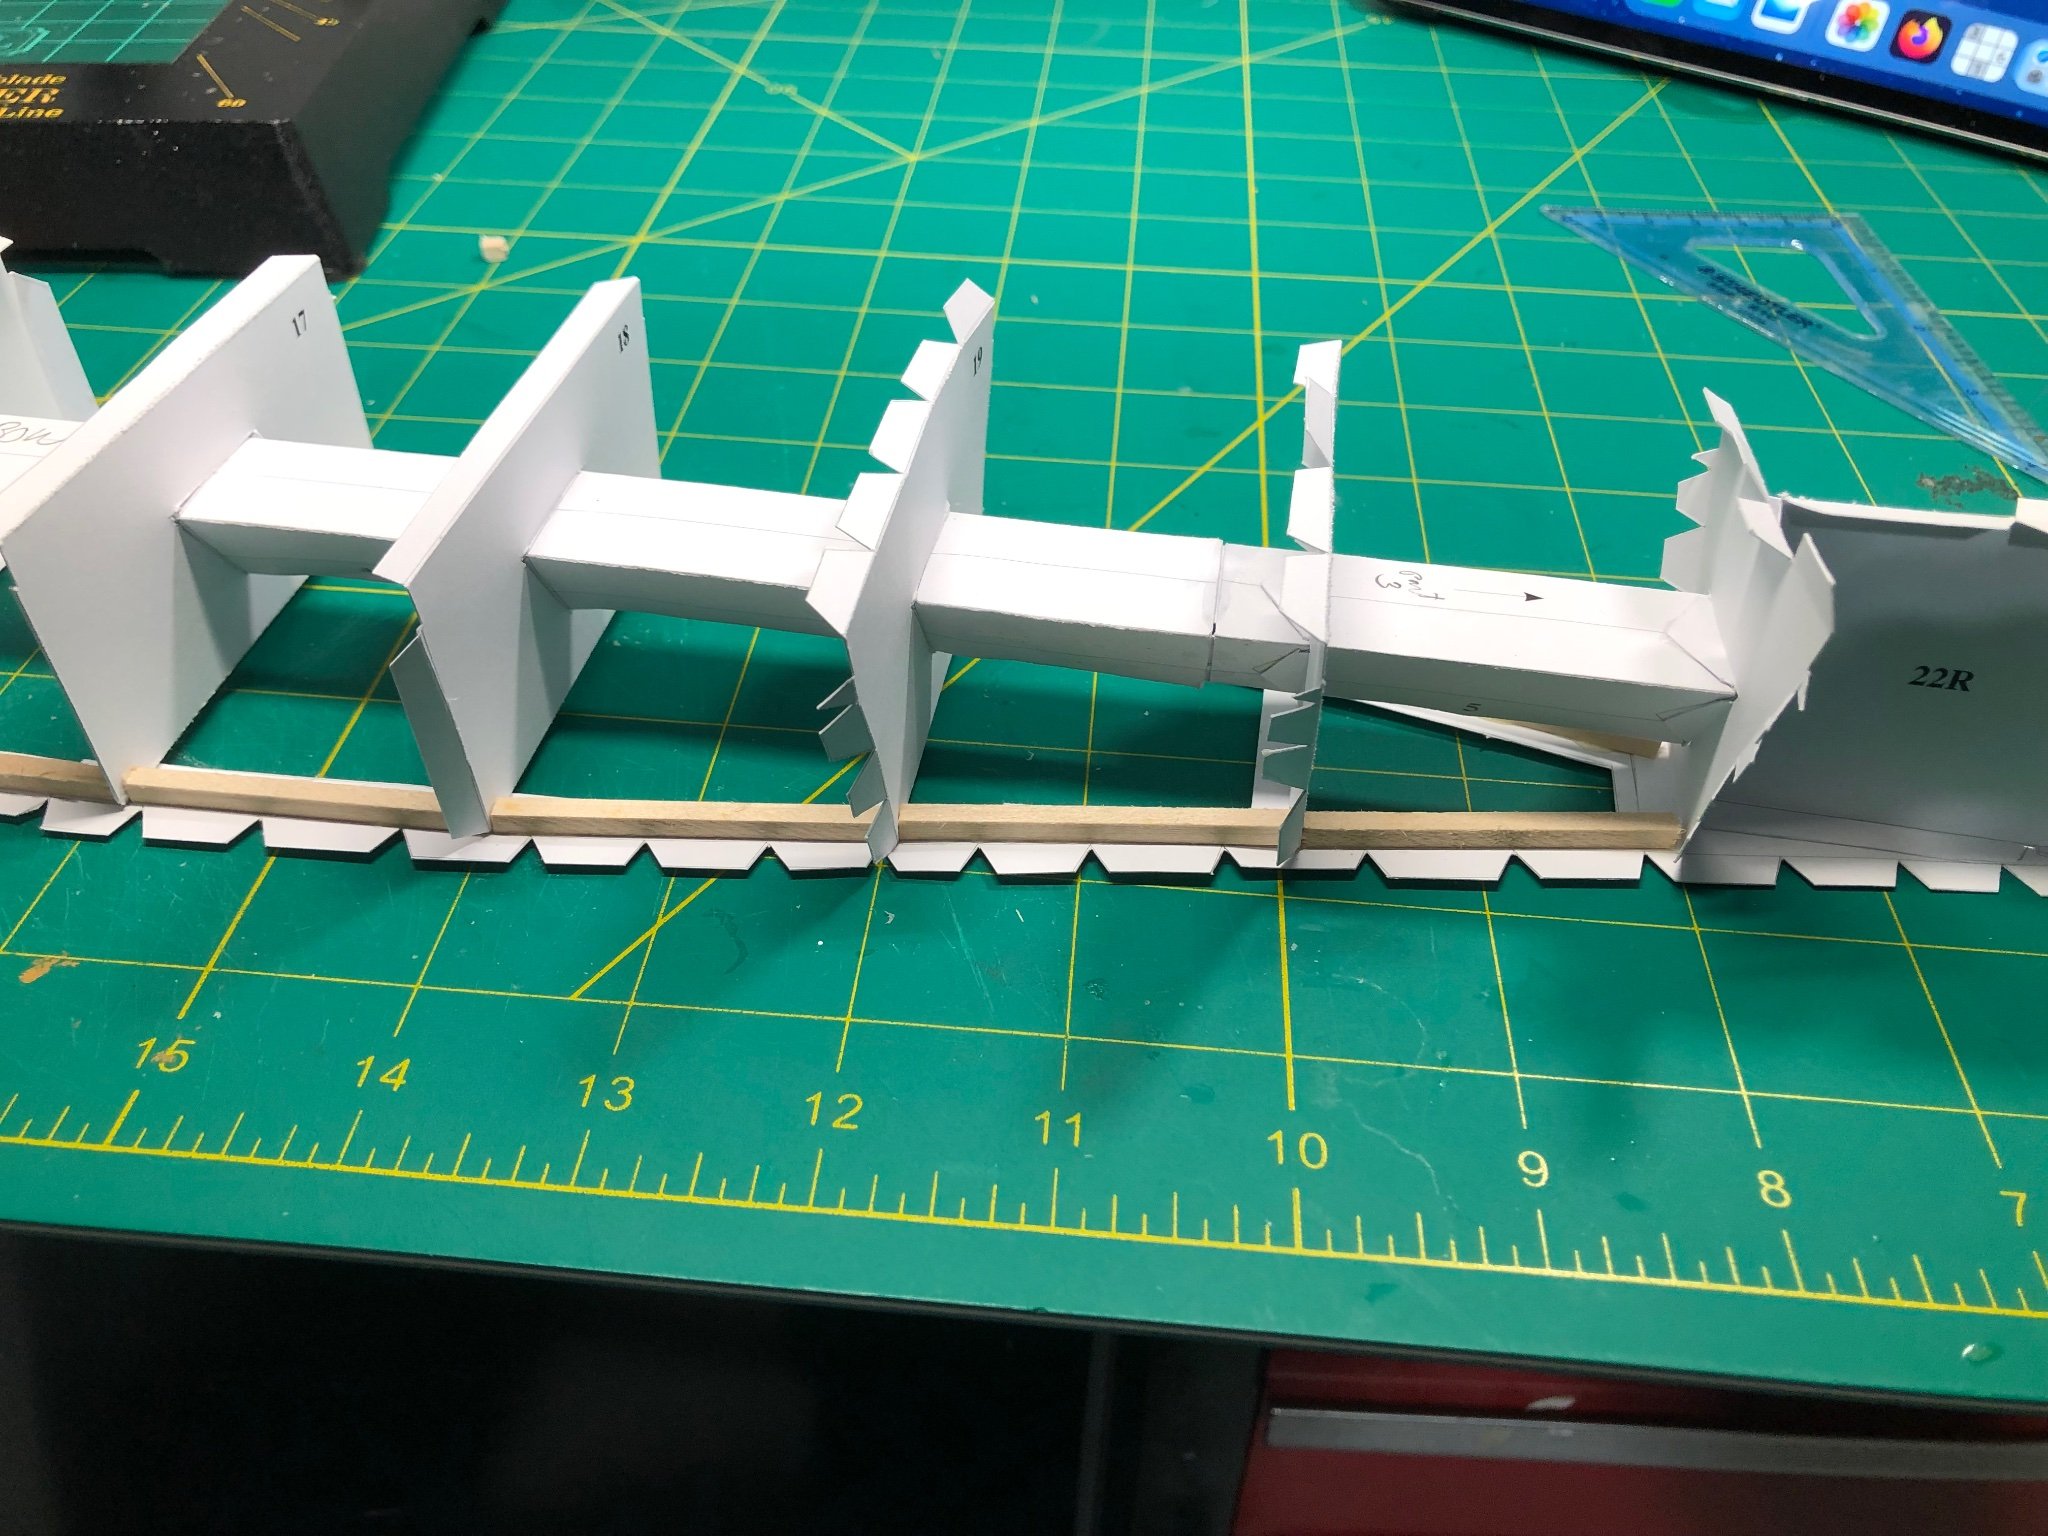
If i may add another hint learned through trial and error. Don’t try to glue too many tabs at once. They just will not stay in place and everything gets out of whack. For example, on the frames i would add a bit of glue and firmly attach one of the 3 tabs to the “false keel”. Once that set, i’d glue the second. Etc. Likewise, in gluing the long waterline piece i glued one frame at at time, and one side at a time. It was slow work but everything stayed aligned. After about 3 frames i decided to add the reinforcement stripwood. One tab, one strip, one side. Then the next. It took a while😀 but i am pleased with the result.
-
I added some 1/8” sq basswood to add rigidity to the water line

-
-
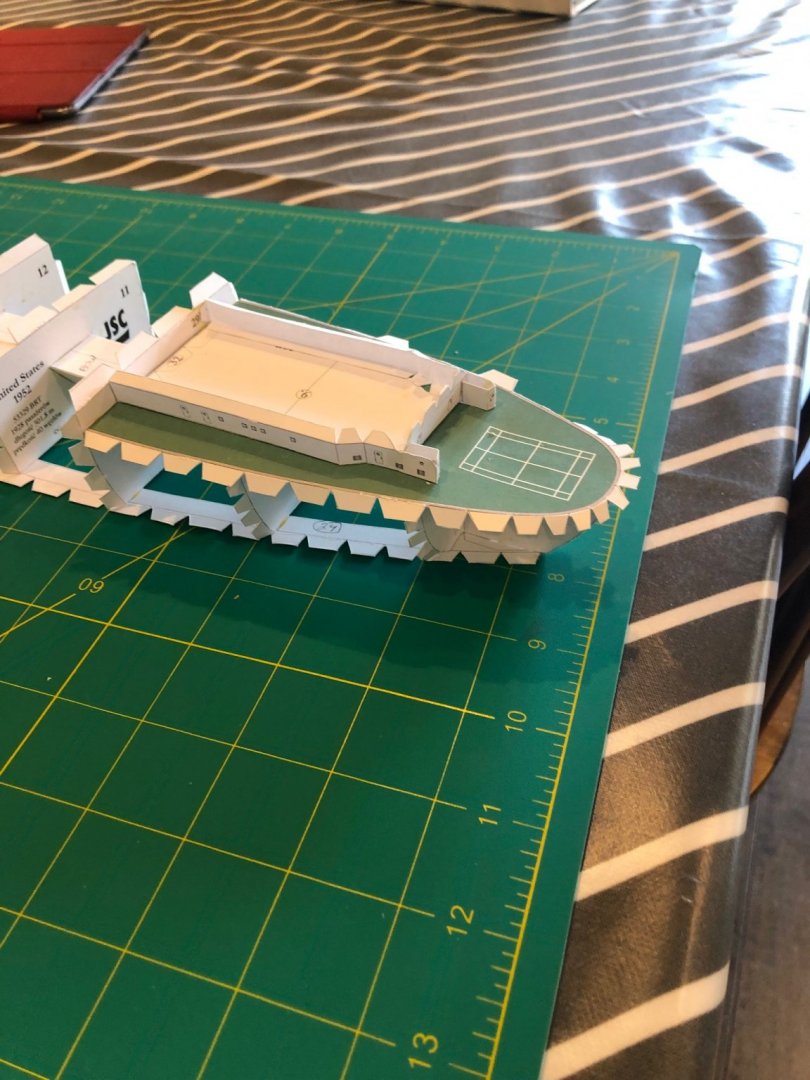
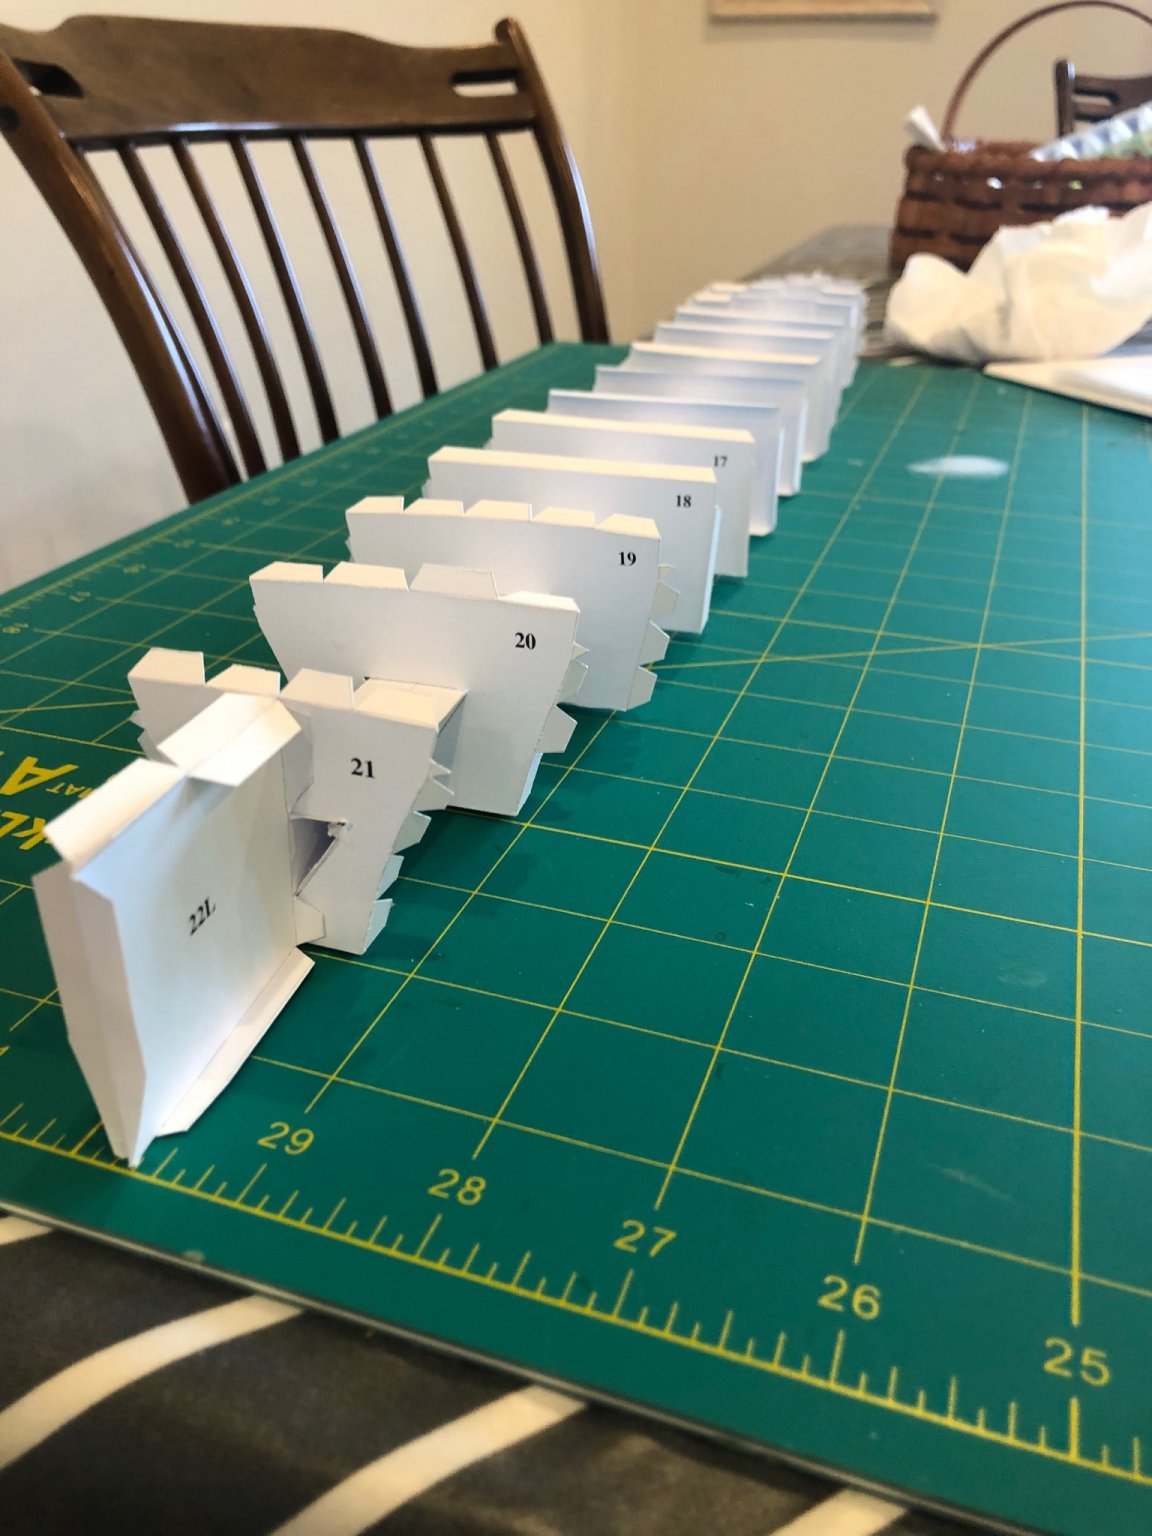
Most of the frames are now in place. It looks neater and straighter than my first attempt.

-
-
14 hours ago, John Ruy said:
Very nice work! 👍Thanks. 😃
-
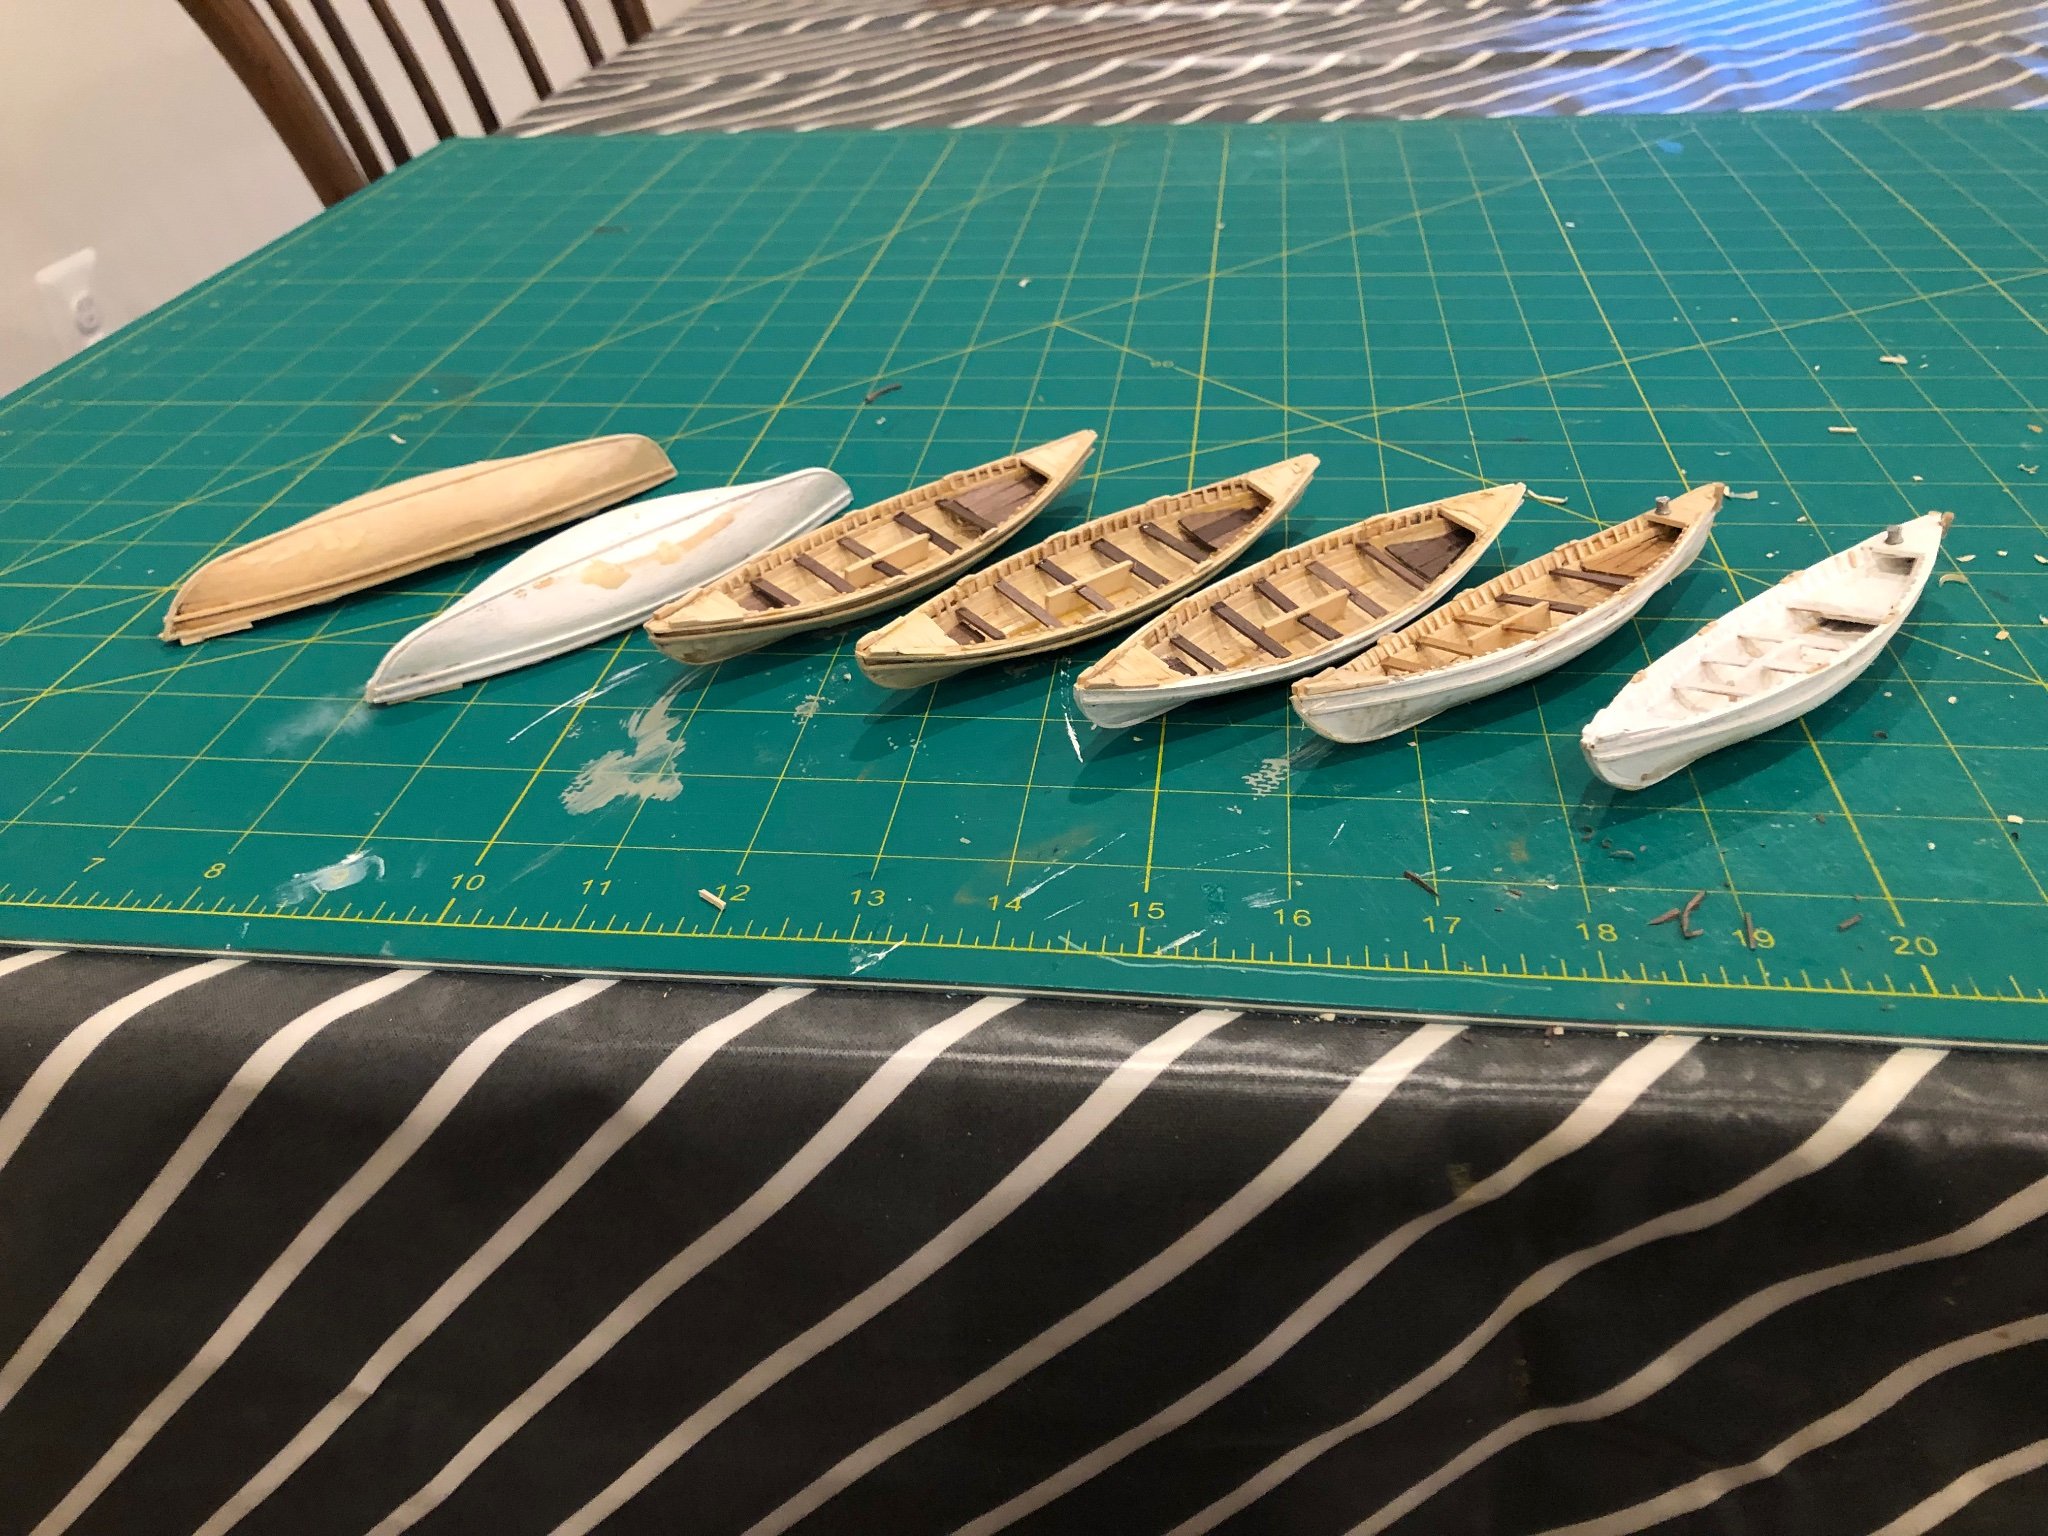
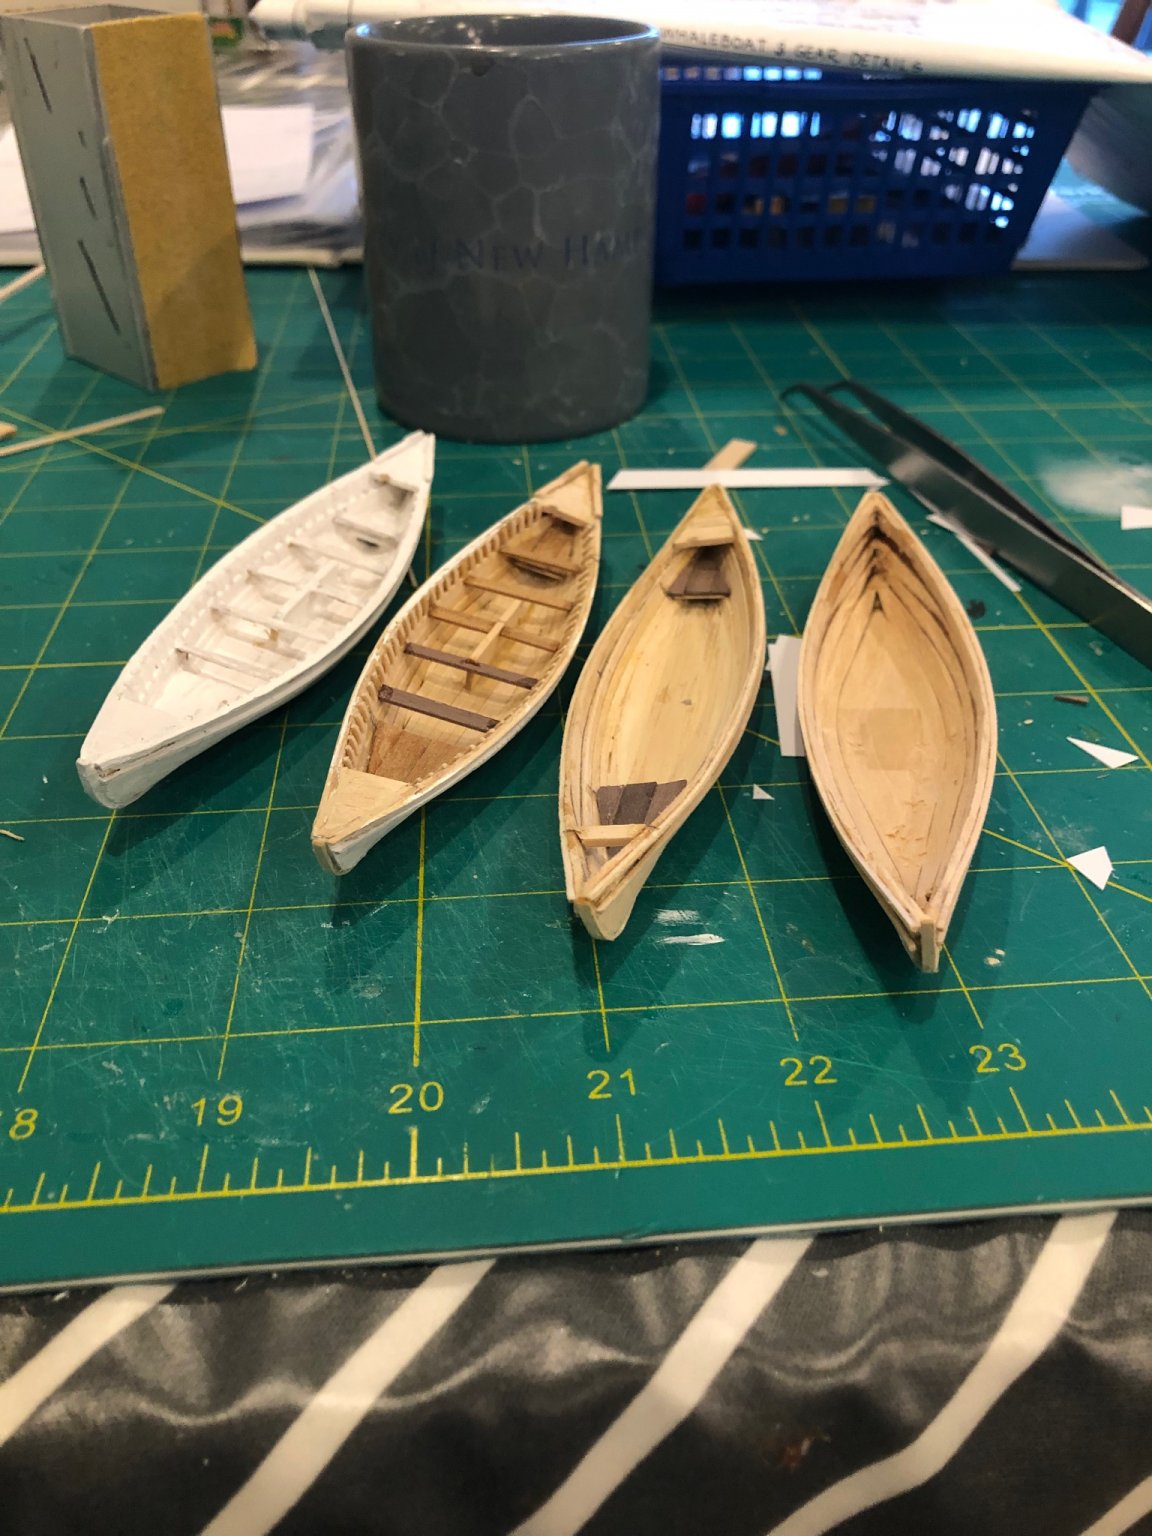
Here are 4 whale boats at various stages of completion.

- David Lester, gieb8688, John Ruy and 1 other
-
4
-
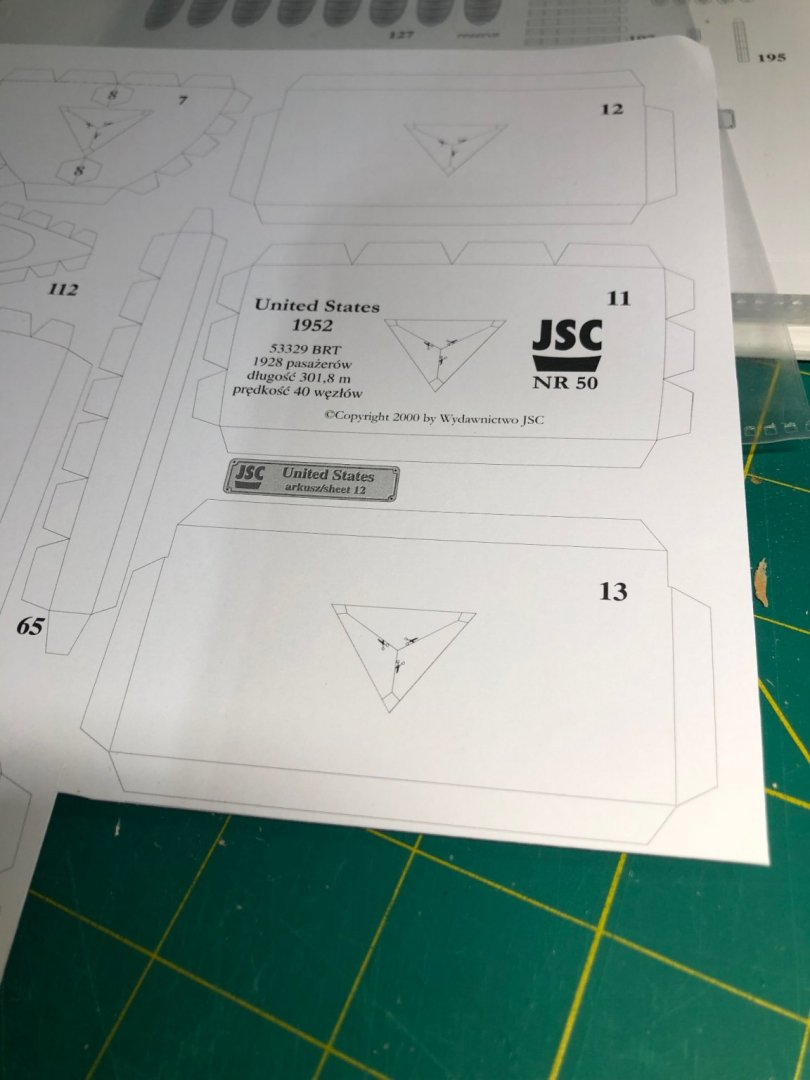
Today i received my new copy of the United States liner card model from Poland.
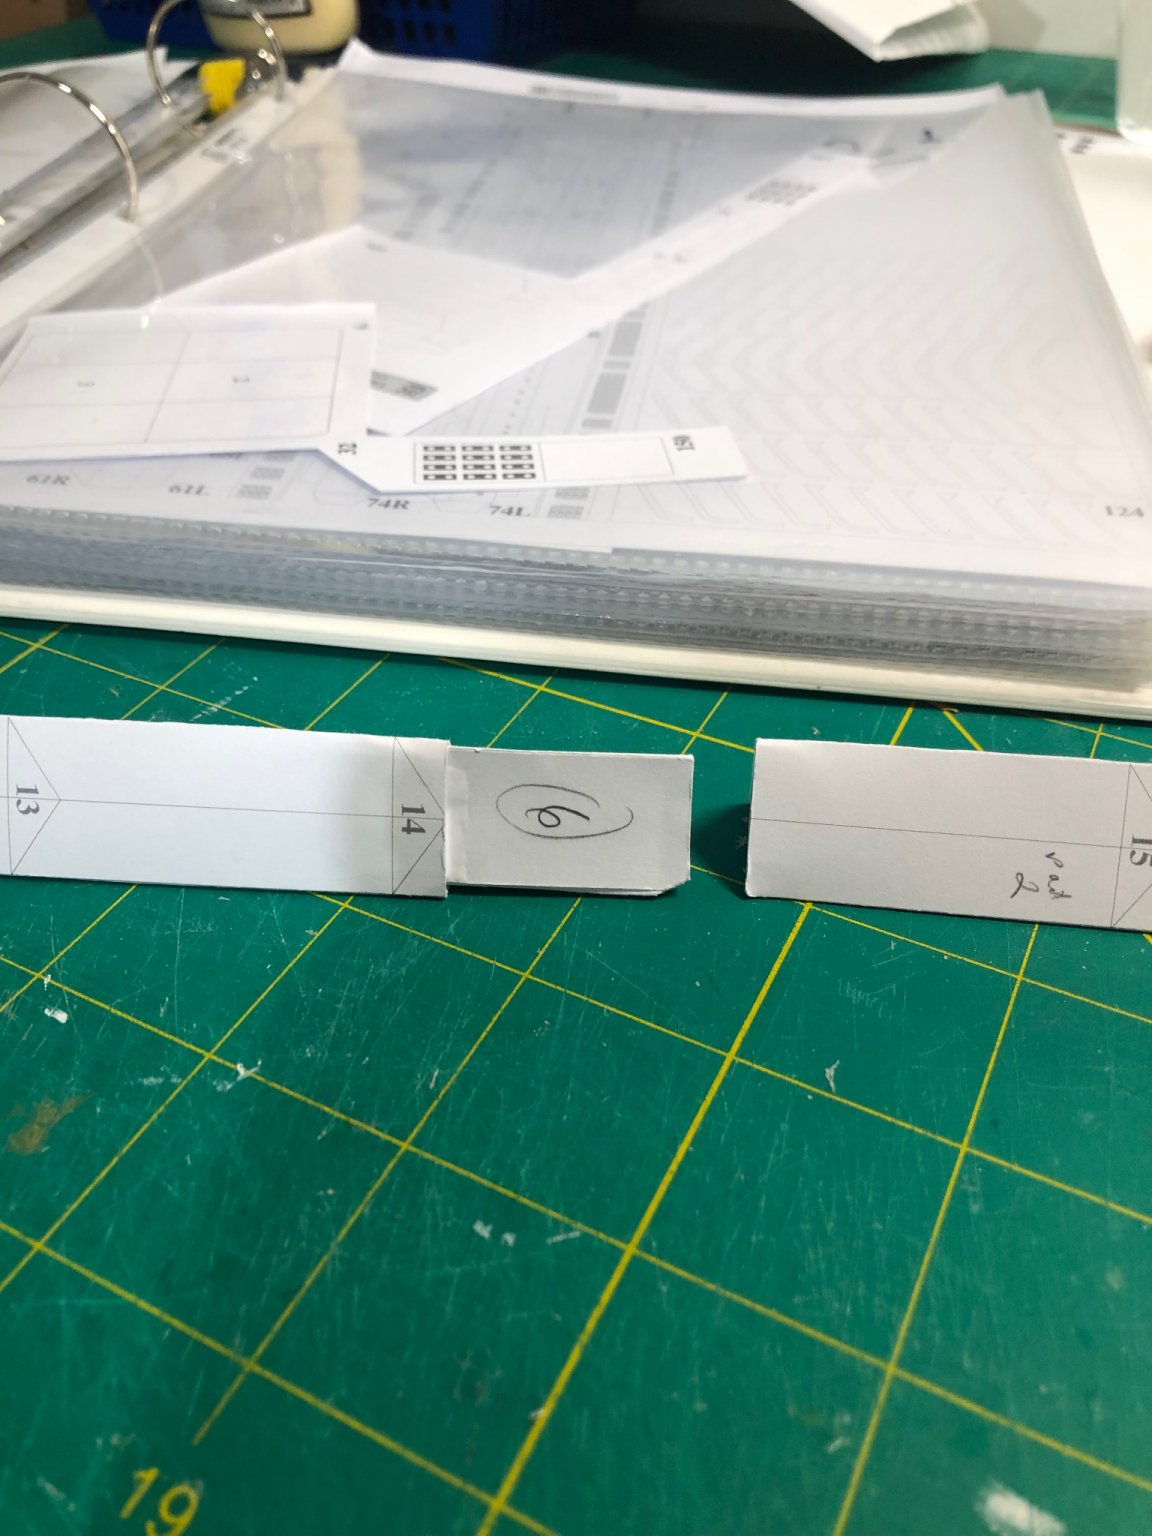
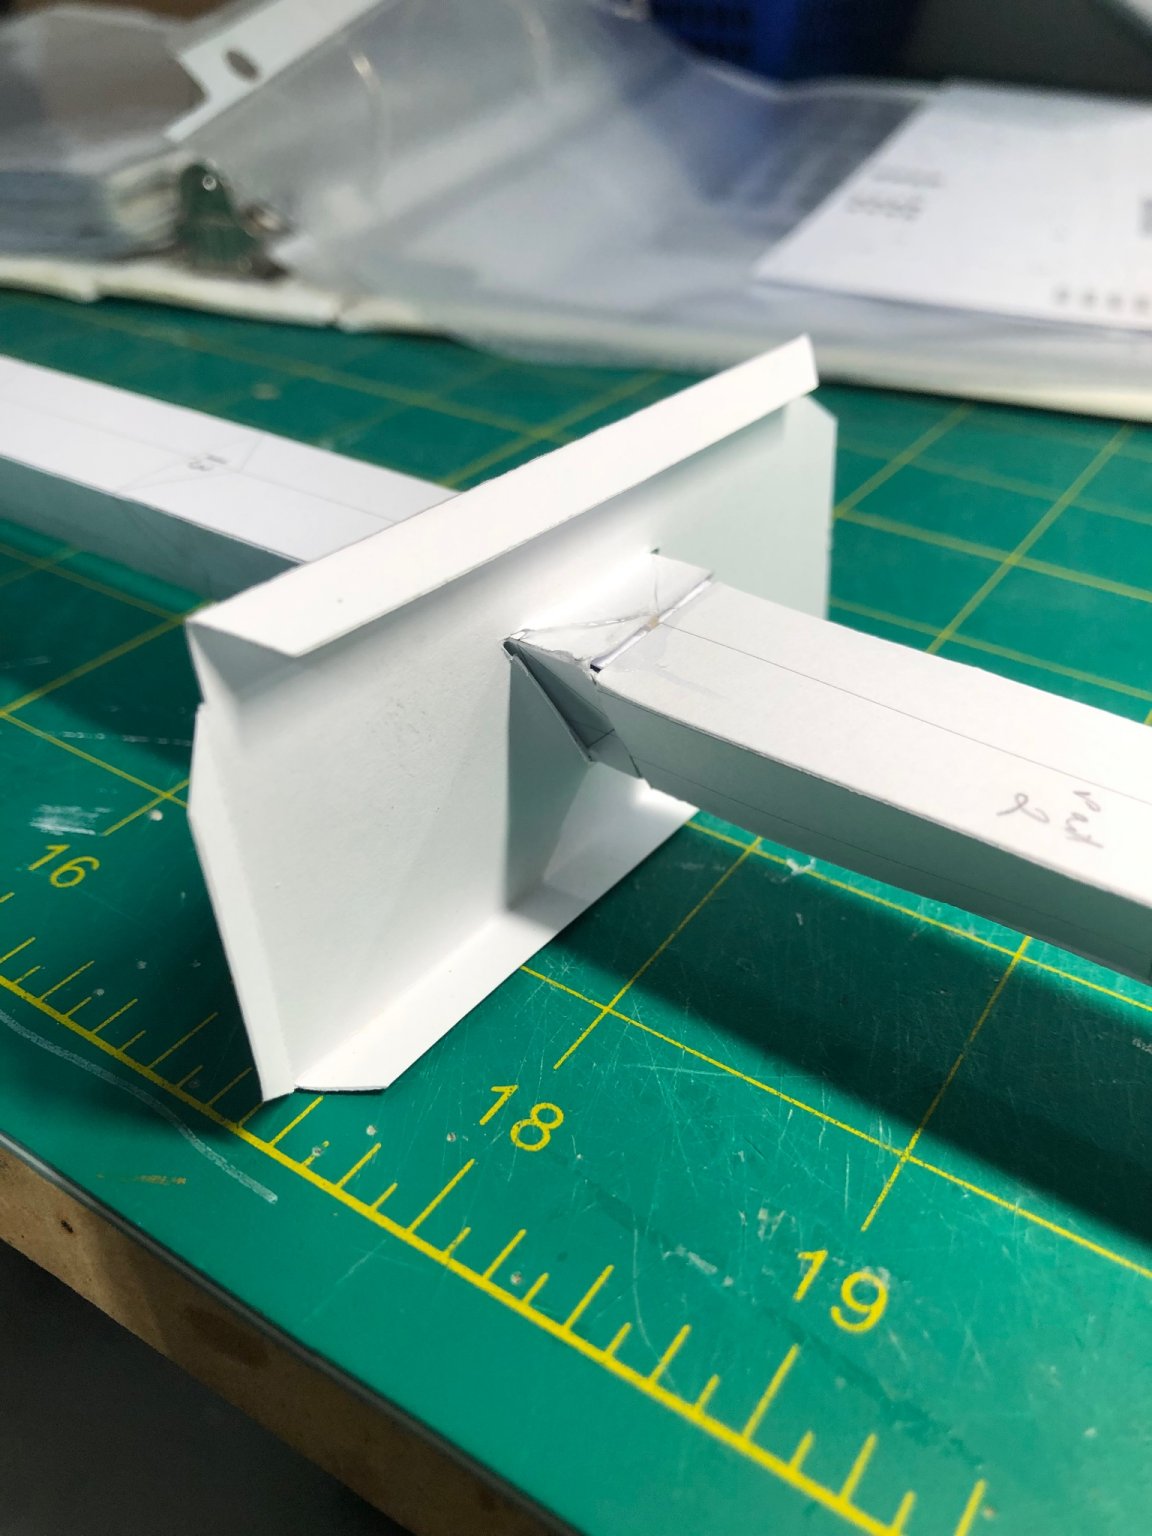
1. Photo shows how to properly join the beam sections, using tabs #6. I missed this the first time.
2. Note the triangular section in the middle if the frame, 13. In my first build, I didn’t realize there were 3 tabs in there needed to attach the frame to the center beam until i had cut the center out of about half the frames. I had to jury rig new tabs. 😳. I learned my lesson and am doing it correctly this time.3. i also learned that i need to write the part number on each part when cut out. Doesn’t take my 78 year old brain long to forget what part is which.


-
-
I am genuinely curious 🧐
- AiDi, mtaylor and Keith Black
-
3
-
16 hours ago, AiDi said:
have masters in theoretical physics and my interests focus around the geometrical foundations of quantum and classical field theories
This comment makes we wonder how many of our fellow ship modelers are in the sciences or engineering. I have a PhD degree in mathematics.
- AiDi, Keith Black and mtaylor
-
3
-
-
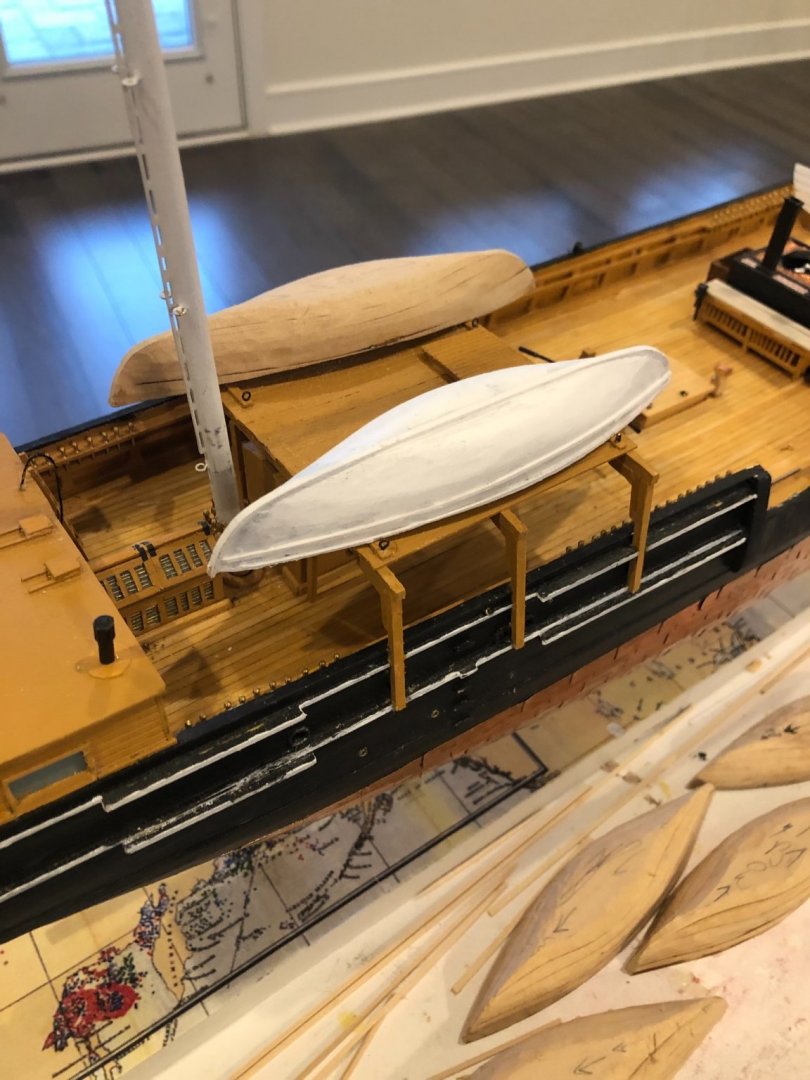
Love the well-worn look of the try pots etc
-
-
Not sure why i even said “slow”. Perhaps subconsciously because I probably don’t have enough years left to finish all my projects😃
-
Without the United States in my cue, I’ve gone back to the whale boats. making slow progress.
- marktiedens, Tigersteve and John Ruy
-
3
-
On 9/20/2021 at 1:00 PM, domcath said:
What size scribed sheets did you use and where did you but them?
If you are referring to the deck houses, i got the scribed sheets at model expo i think. 1/32 scribing
-
Error creep has reach the point where i am stopping the build. I have ordered a new copy of the kit from JSC. Once I receive the new copy I will restart the build log from the beginning.
- mtaylor, Canute and Old Collingwood
-
3


United States by Papa - JSC - 1:400 - CARD
in - Kit build logs for subjects built from 1901 - Present Day
Posted
I did get some Aleen’s tacky glue. I like it.