


mgatrost
-
Posts
24 -
Joined
-
Last visited
Content Type
Profiles
Forums
Gallery
Events
Posts posted by mgatrost
-
-
Thanks for taking us along on this wonderful journey.
- mtaylor, Mr Whippy and Blue Ensign
-
 2
2
-
 1
1
-
-
-
What a great opportunity to bring a hobby that we all love, but most people know nothing about into the light.
- JpR62, scrubbyj427, tlevine and 3 others
-
6
-
-
-
Looking great, will you be putting the sails on?
-
-
-
5 hours ago, jpalmer1970 said:
He is also the presenter of the Mariner's Mirror, the podcast produced by The Society For Nautical Research and Lloyds Register Foundation.
I just checked out the podcast and it looks like there’s a lot of good listening on there. Only problem is which one to listen to first.
- Canute and jpalmer1970
-
2
-
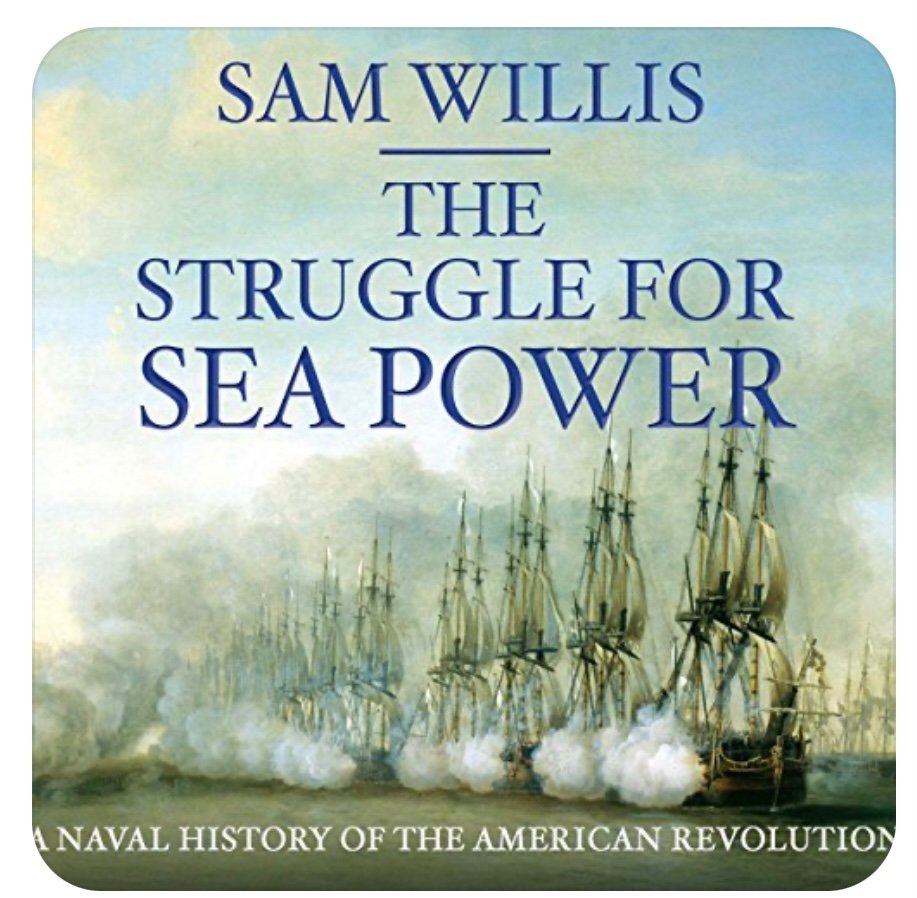
The Struggle for Sea PowerA Naval History of the American Revolution.
By Sam Willis
Release Date: Feb 15, 2016
Publisher: HighBridge, a Division of Recorded Books
This is great listen / read about the role that naval warfare played in the war for American Independence. It goes into depth about the benefits and shortcomings of sea power and how it affected the American, British, French, Spanish, Dutch and Russian Navies. The epilogue was just as interesting, covering the political fallout after the war and how this affected the counties involved. There is even a short mention of Pellew.
I know I’m biased when it comes to anything about ships but I think anyone would find this book very entertaining.- Canute, chris watton, Rik Thistle and 1 other
-
4
-
-
I’m continually in awe of your work. I didn’t realize this level of craftsmanship was even possible.
- billocrates, Knocklouder and mtaylor
-
3
-
5 hours ago, chris watton said:
Around 8 weeks, I should think
")
I have been taking pics during the build for the manual, and most of the hull is now done.
Like Grecian, the channels are slotted and glued into place, as are the inner bulwark fittings like the pin rail and cleats - no need for drilling and pinning in place on this one.
Great I should have Speedy done just in time to start this one.
- Oboship, hollowneck, chris watton and 2 others
-
5
-
-
Beautiful work as always, I’m always excited when I see you’ve updated us.
- markjay, Mr Whippy, hollowneck and 3 others
-
6
-
Thanks so much for sharing the design / build process. It’s really interesting to see how all this comes together.
- chris watton, mtaylor, thibaultron and 3 others
-
6
-
On 7/24/2022 at 8:01 AM, Ryland Craze said:
Nice start. Thanks for sharing your build with us.
Thank you.
-
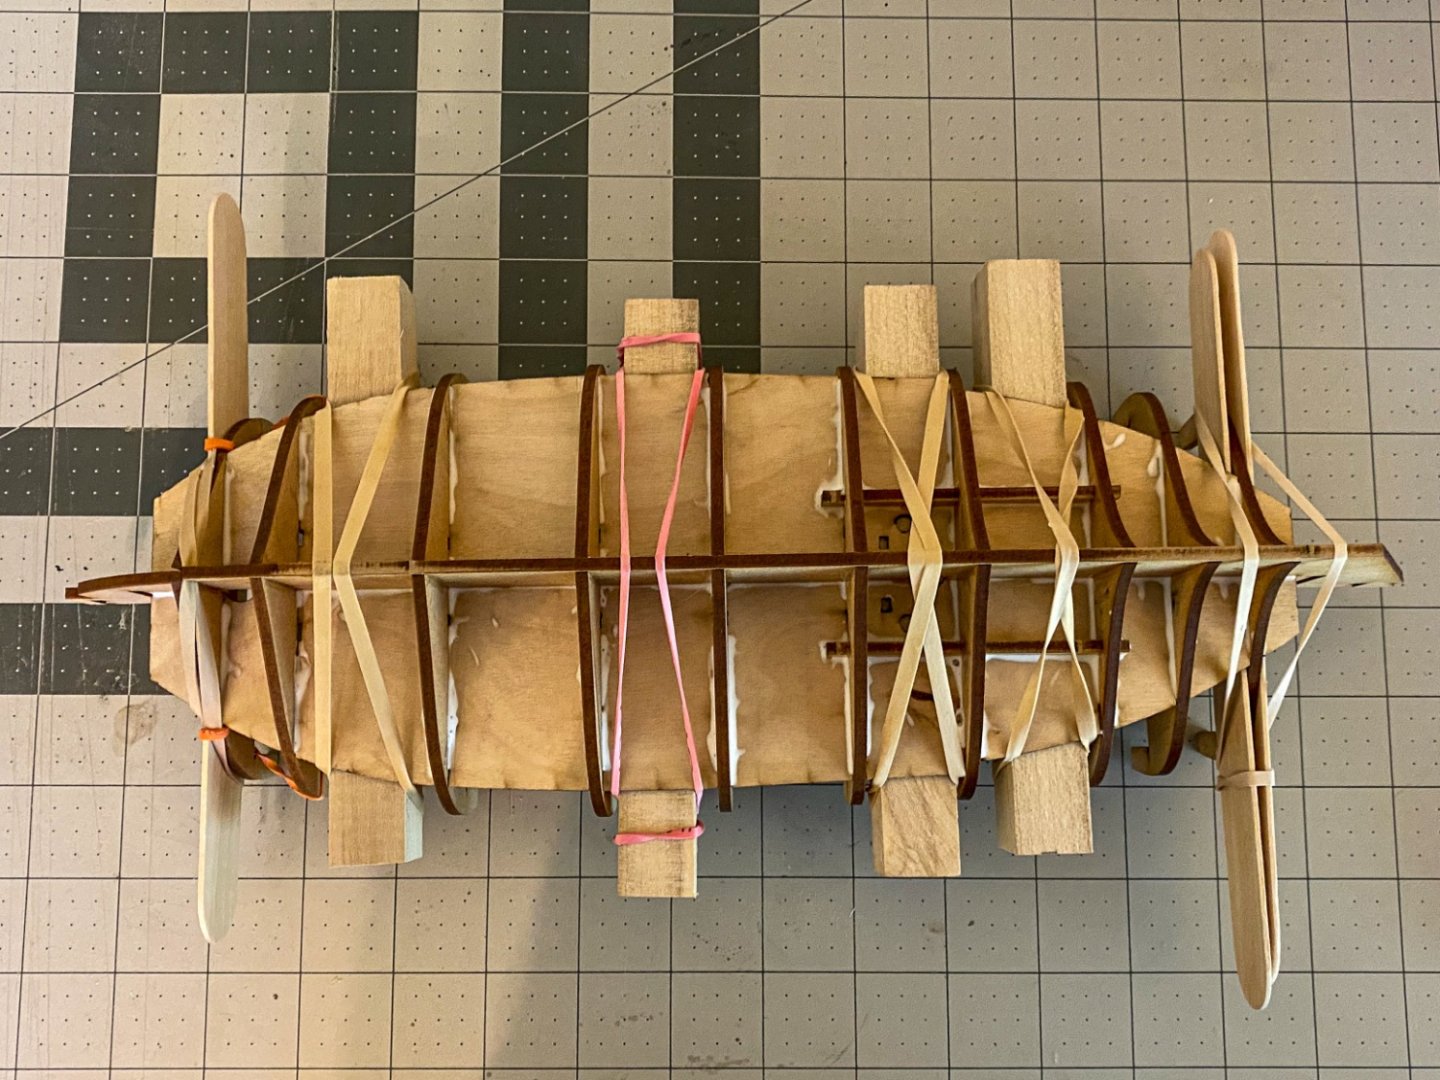
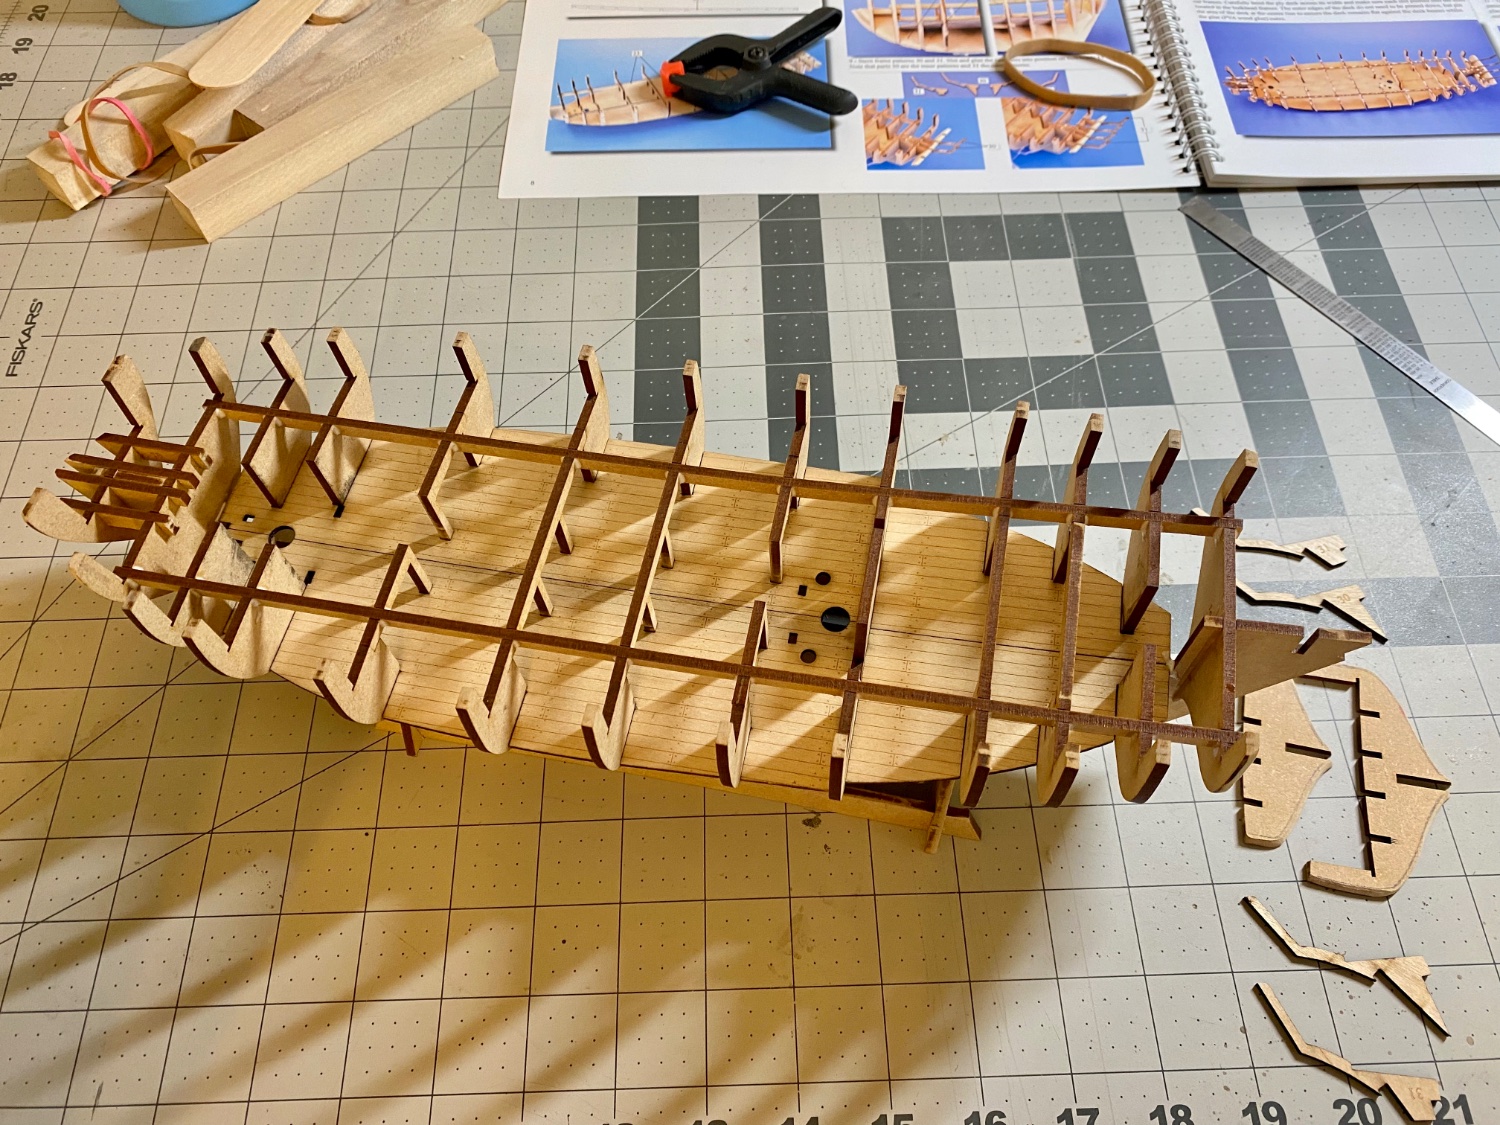
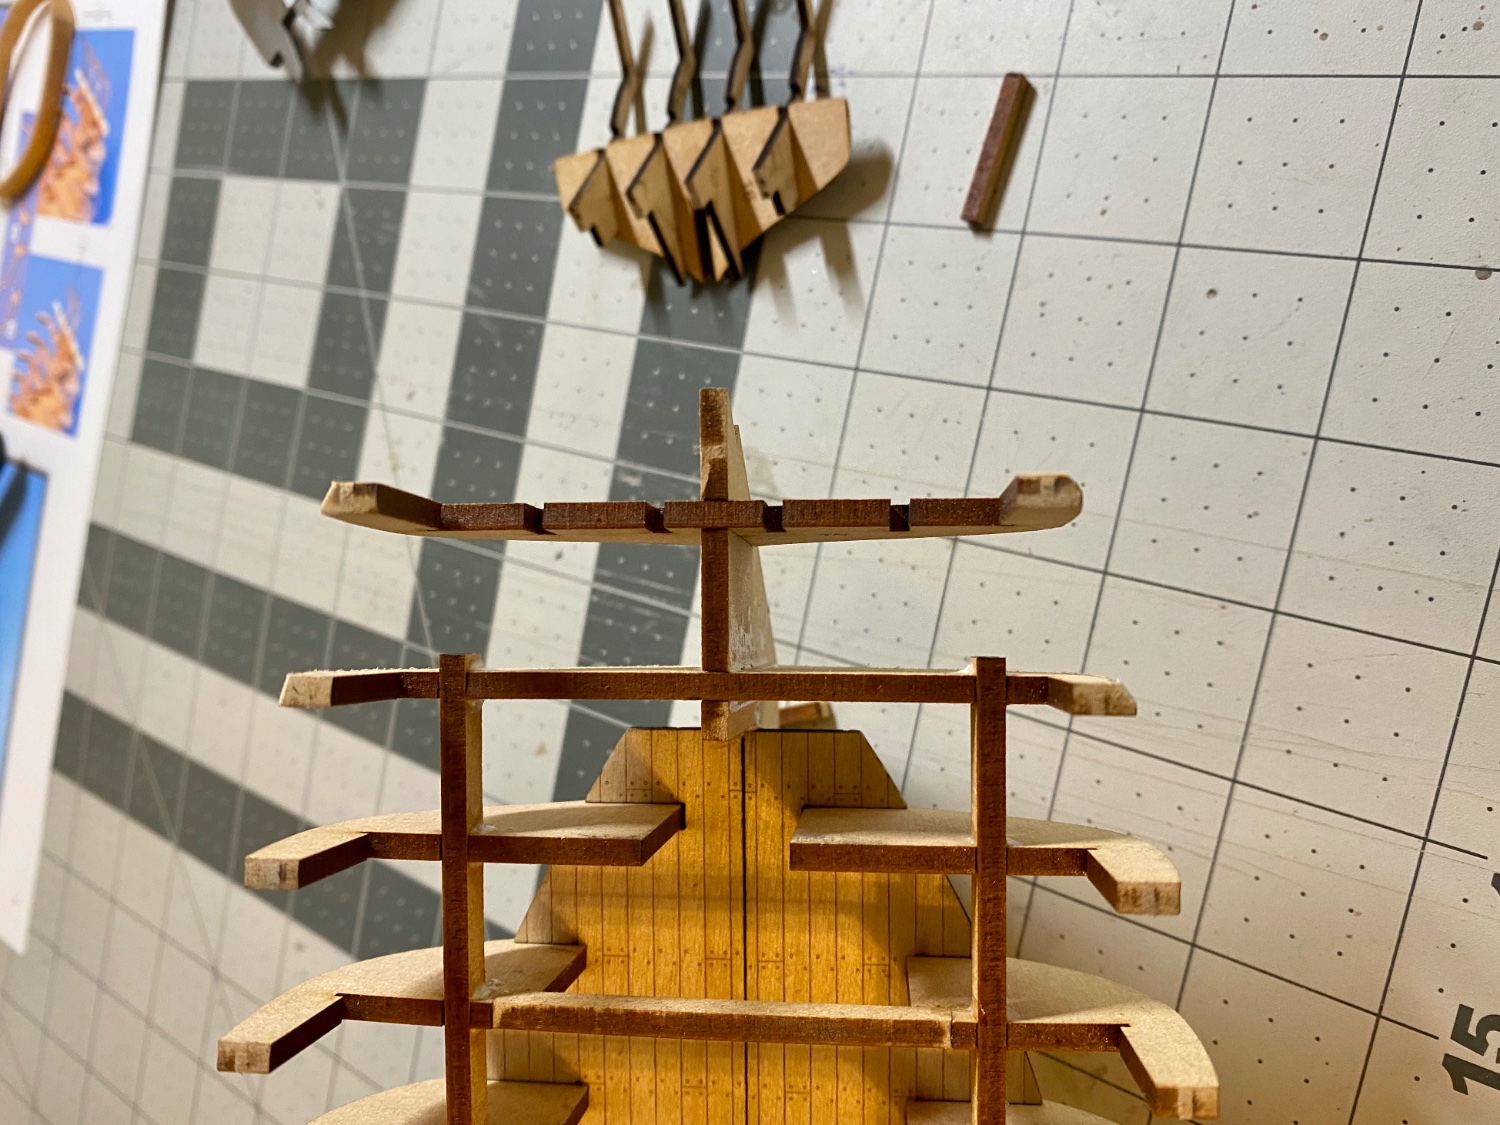
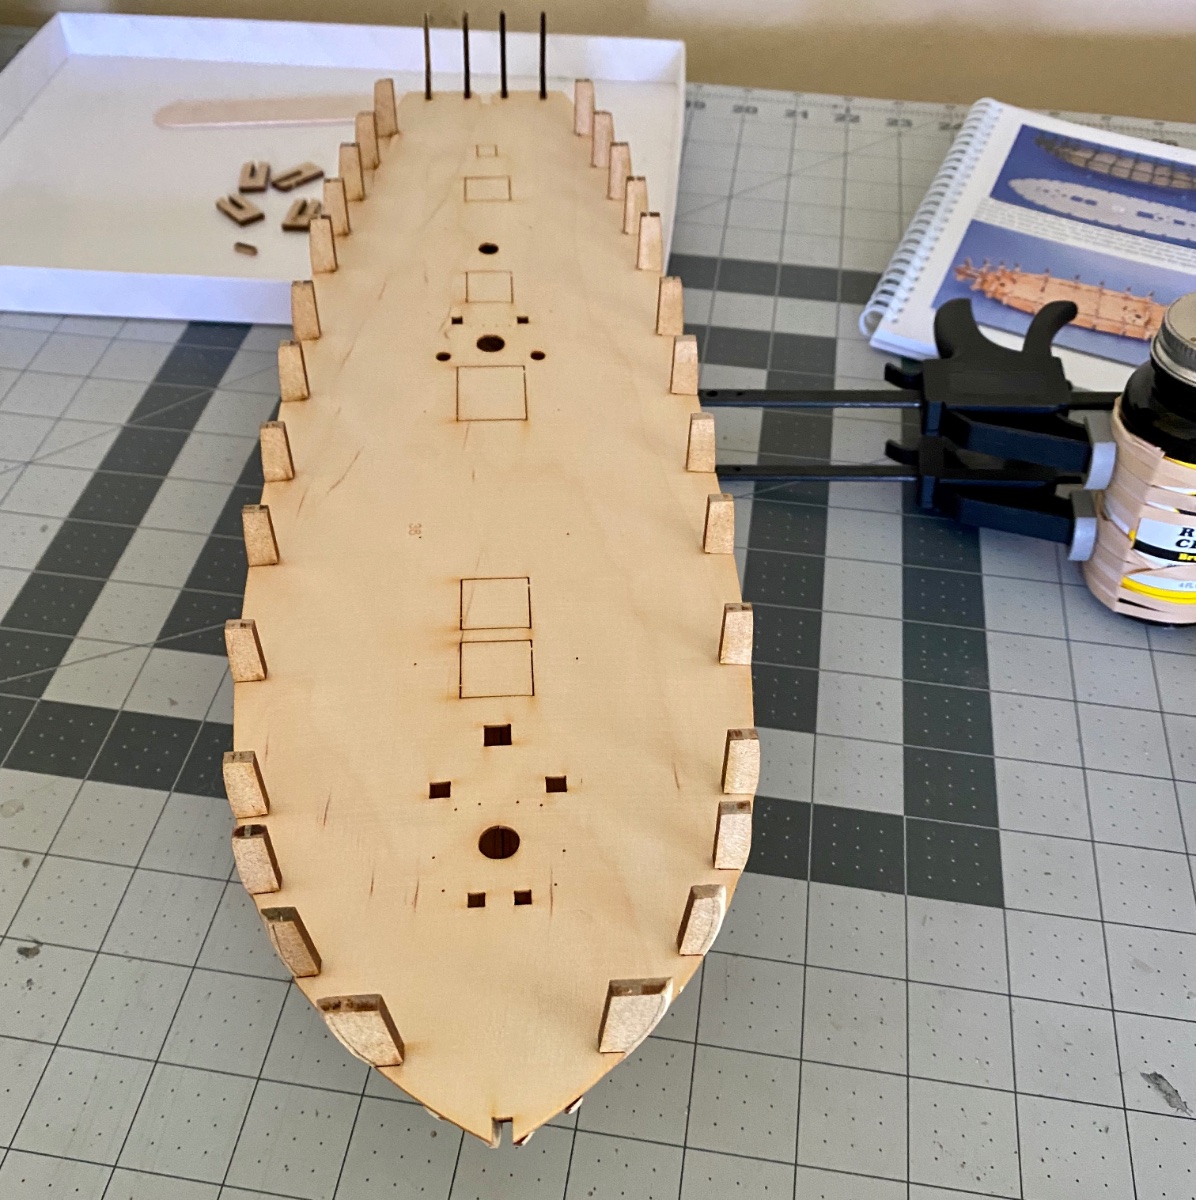
I’ve made a little more progress on Speedy.
2. Hull Construction 4-14
I bevelled and glued the bow bulkheads and patterns.
Glued the deck beams

followed by the stern bulkheads and stern frame patterns

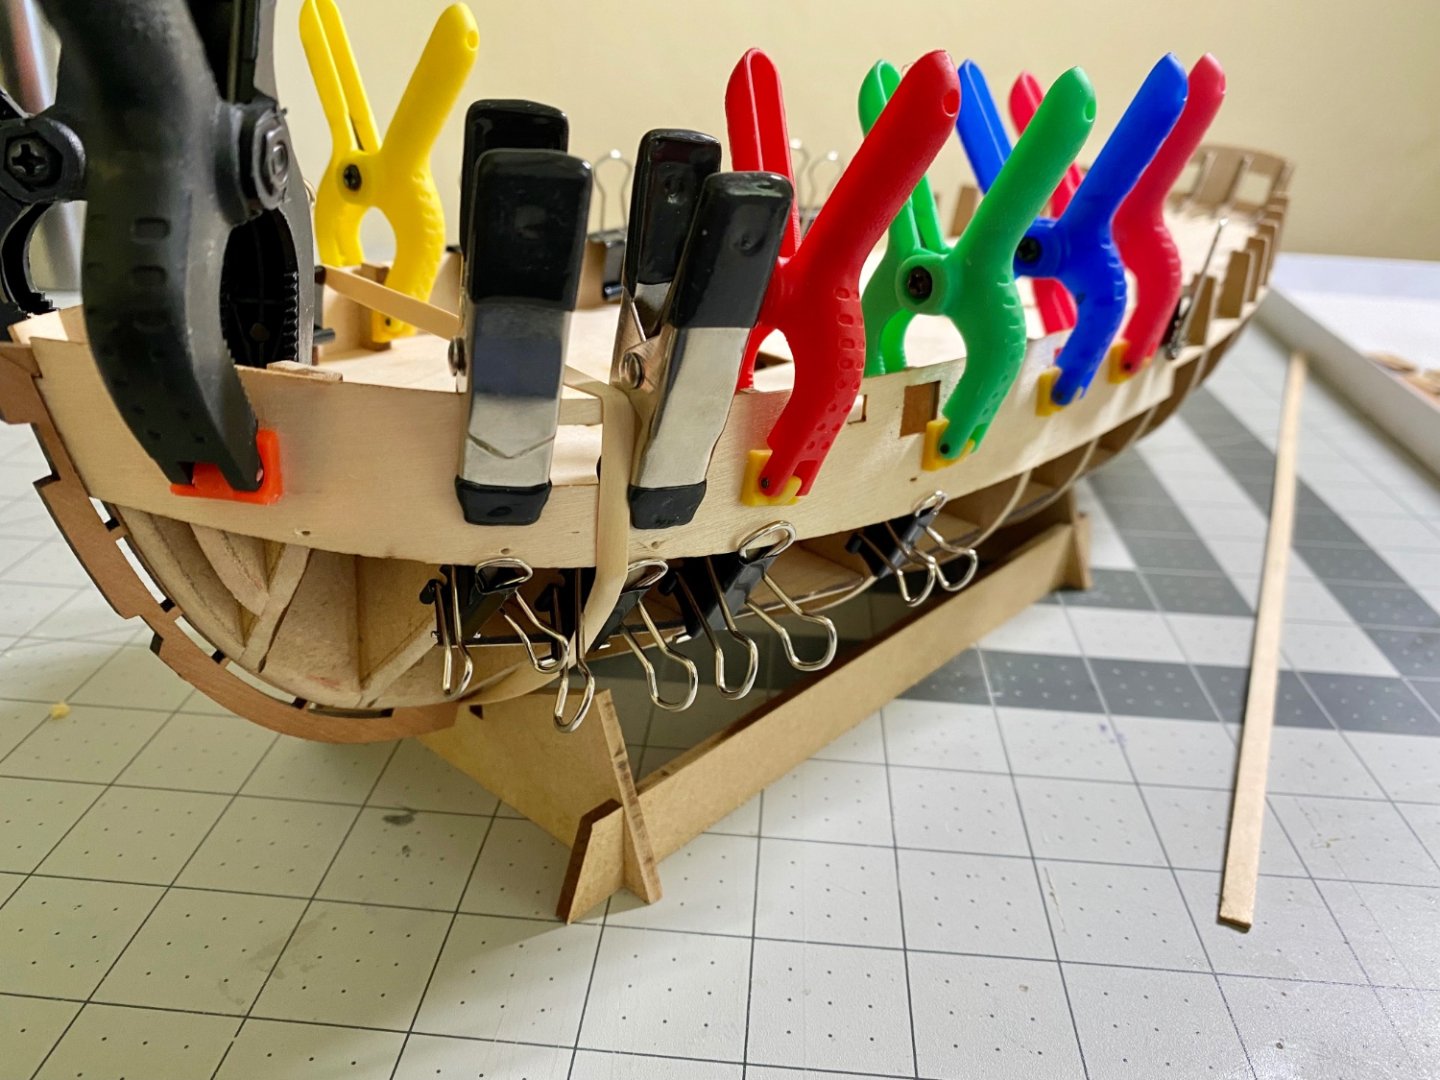
Fitted the main deck, it was a little nerve racking squeezing it between the bulwark frames but it snapped into place and really helped stiffen up the stern frame patterns

I then temporarily placed the rudder post and then added the stern counter and board.
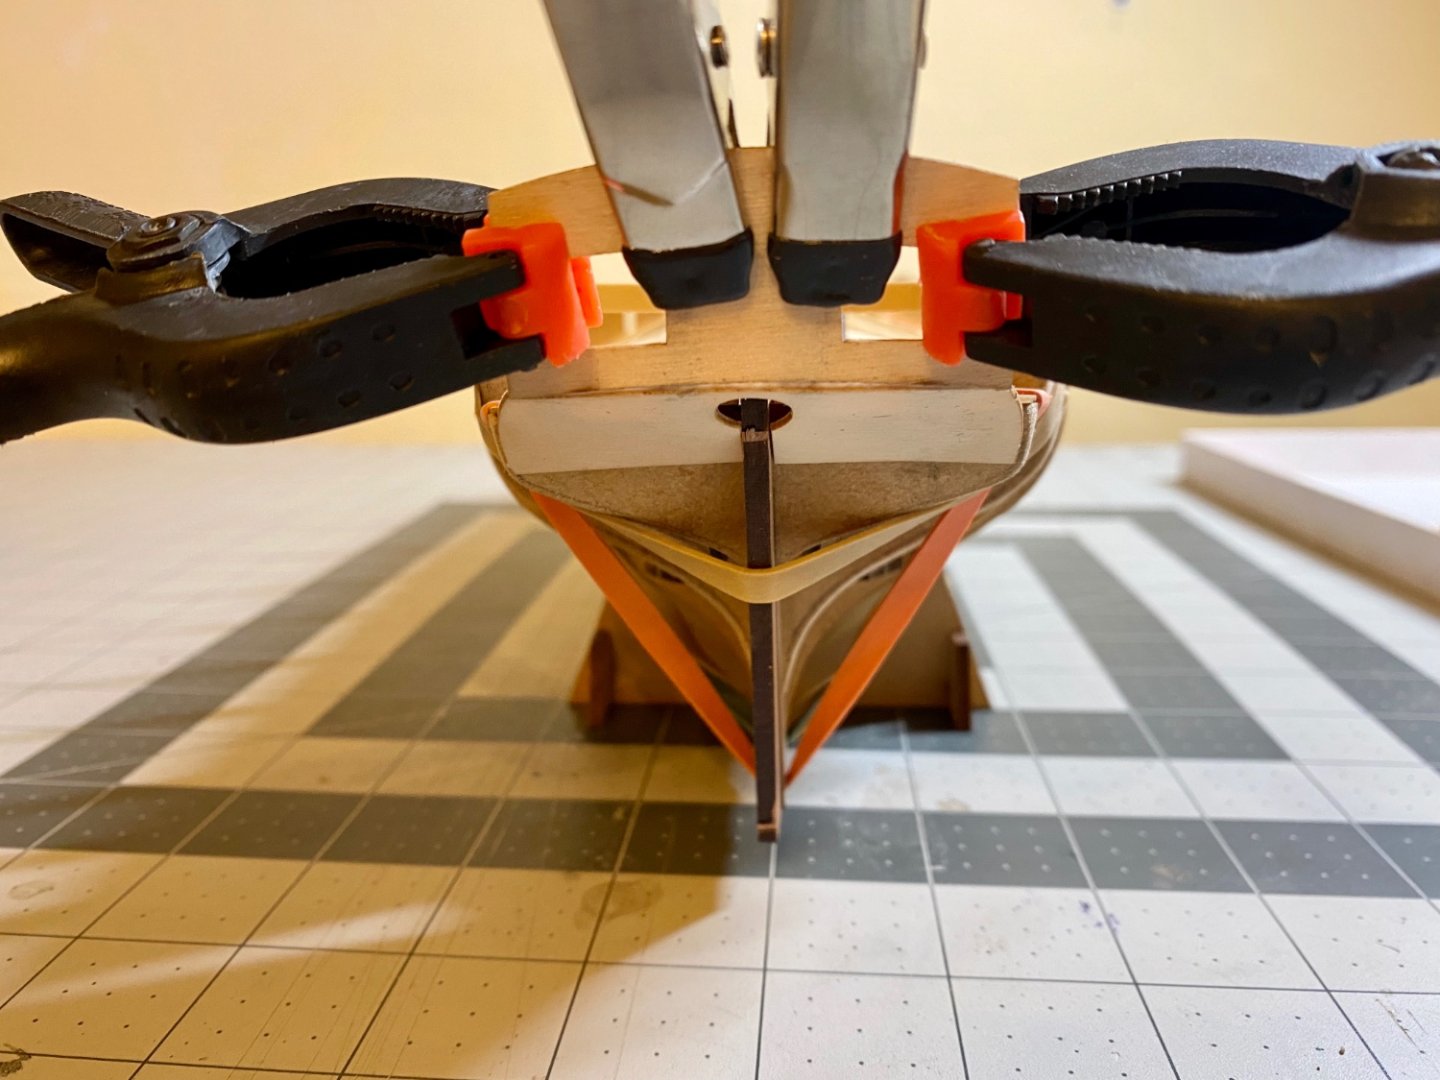
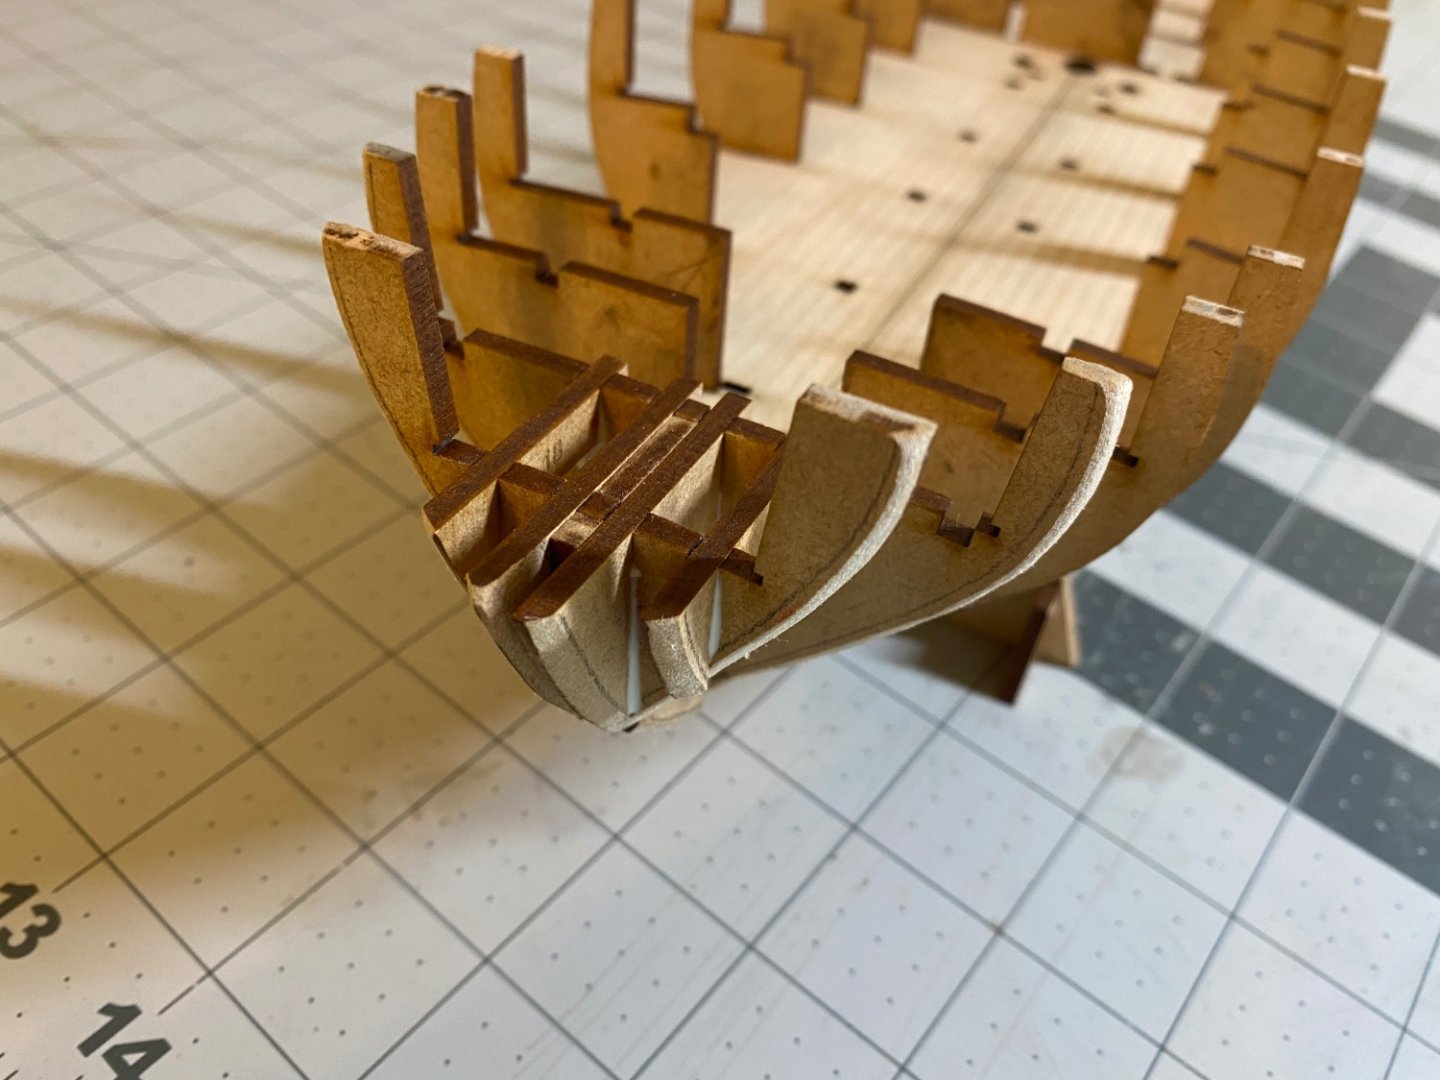
After fairing the hull frames I finally added the inner stem post and gunport patterns.
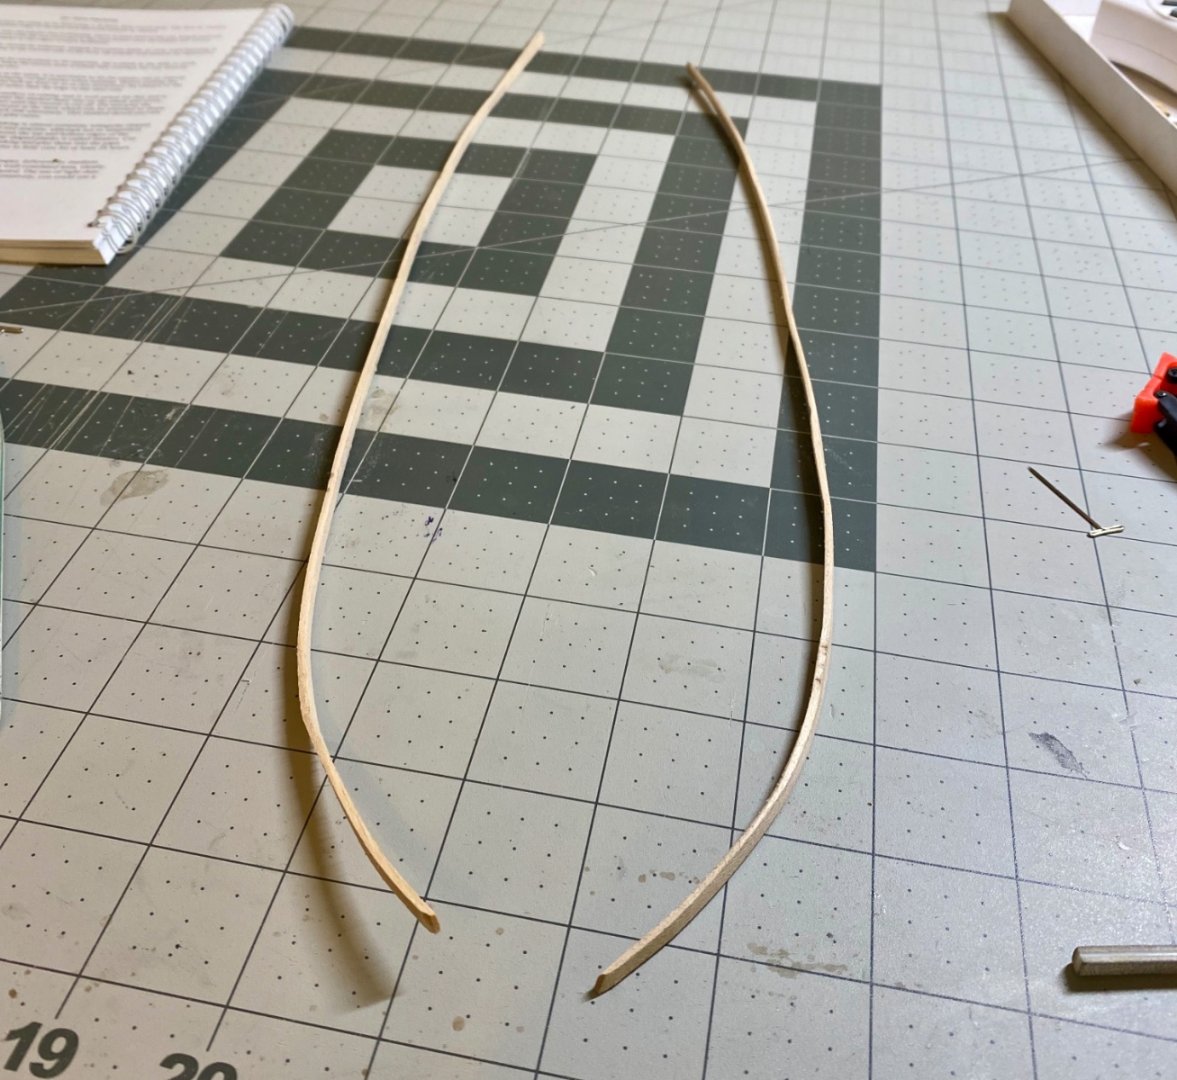
On to the first planking. I’m looking forward to improving my skills in this area. On Lady Nelson I started off planking with the best of intentions but by time I was done I was starting to wonder why I do this to myself 🤣. Hopefully this time it goes a little smoother.
-
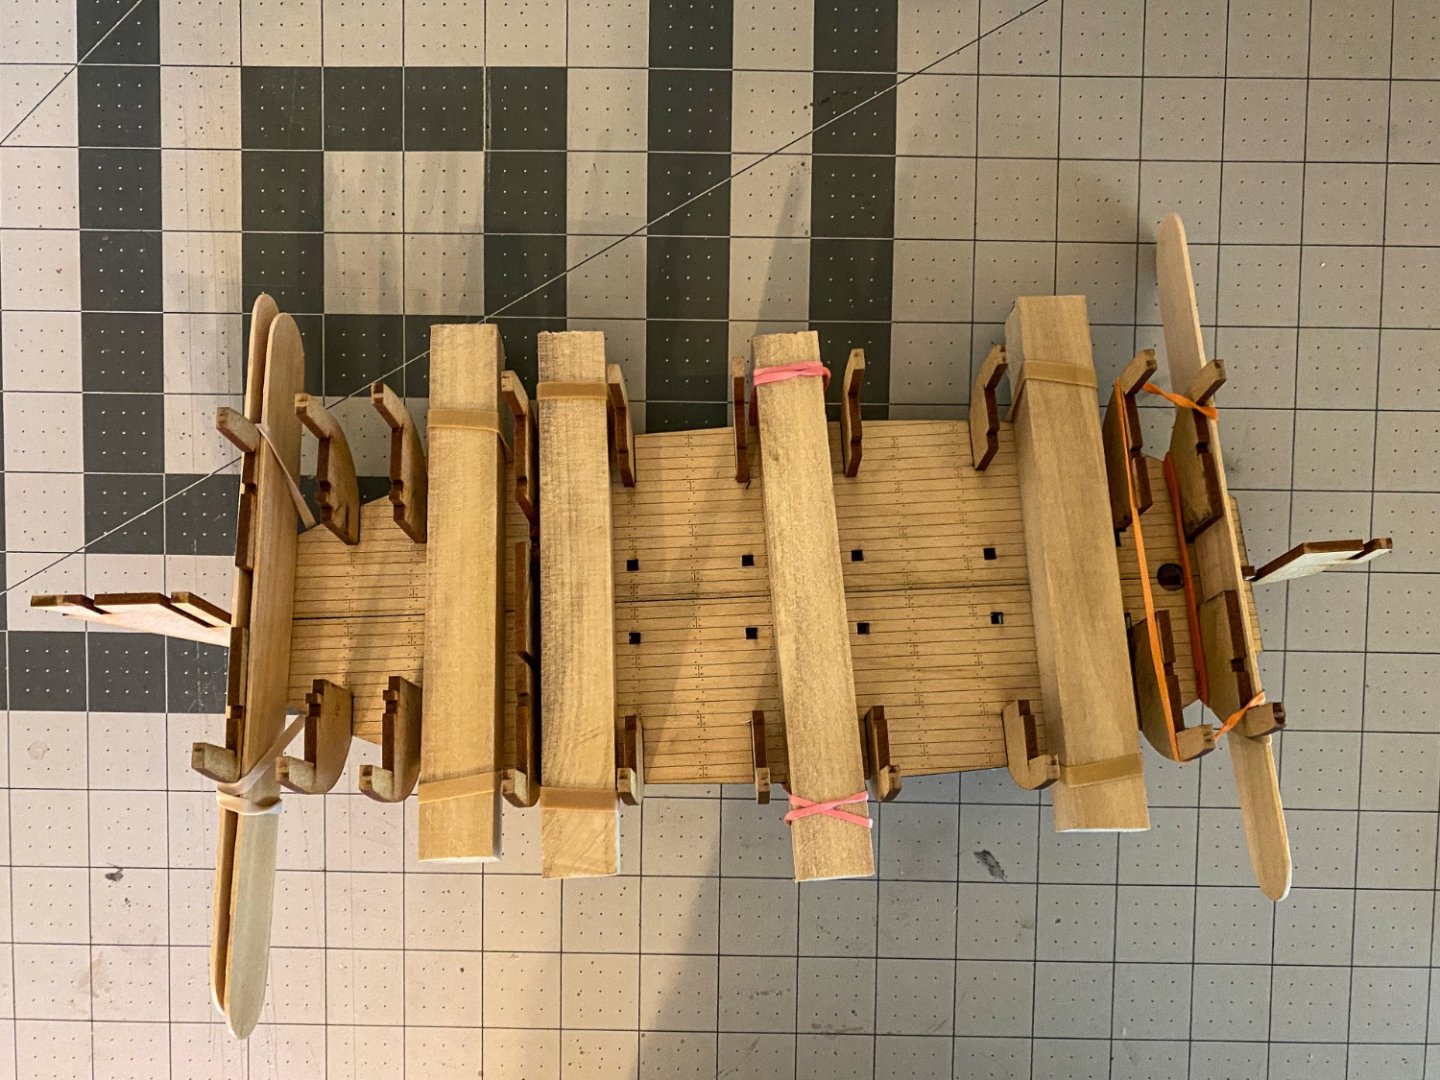
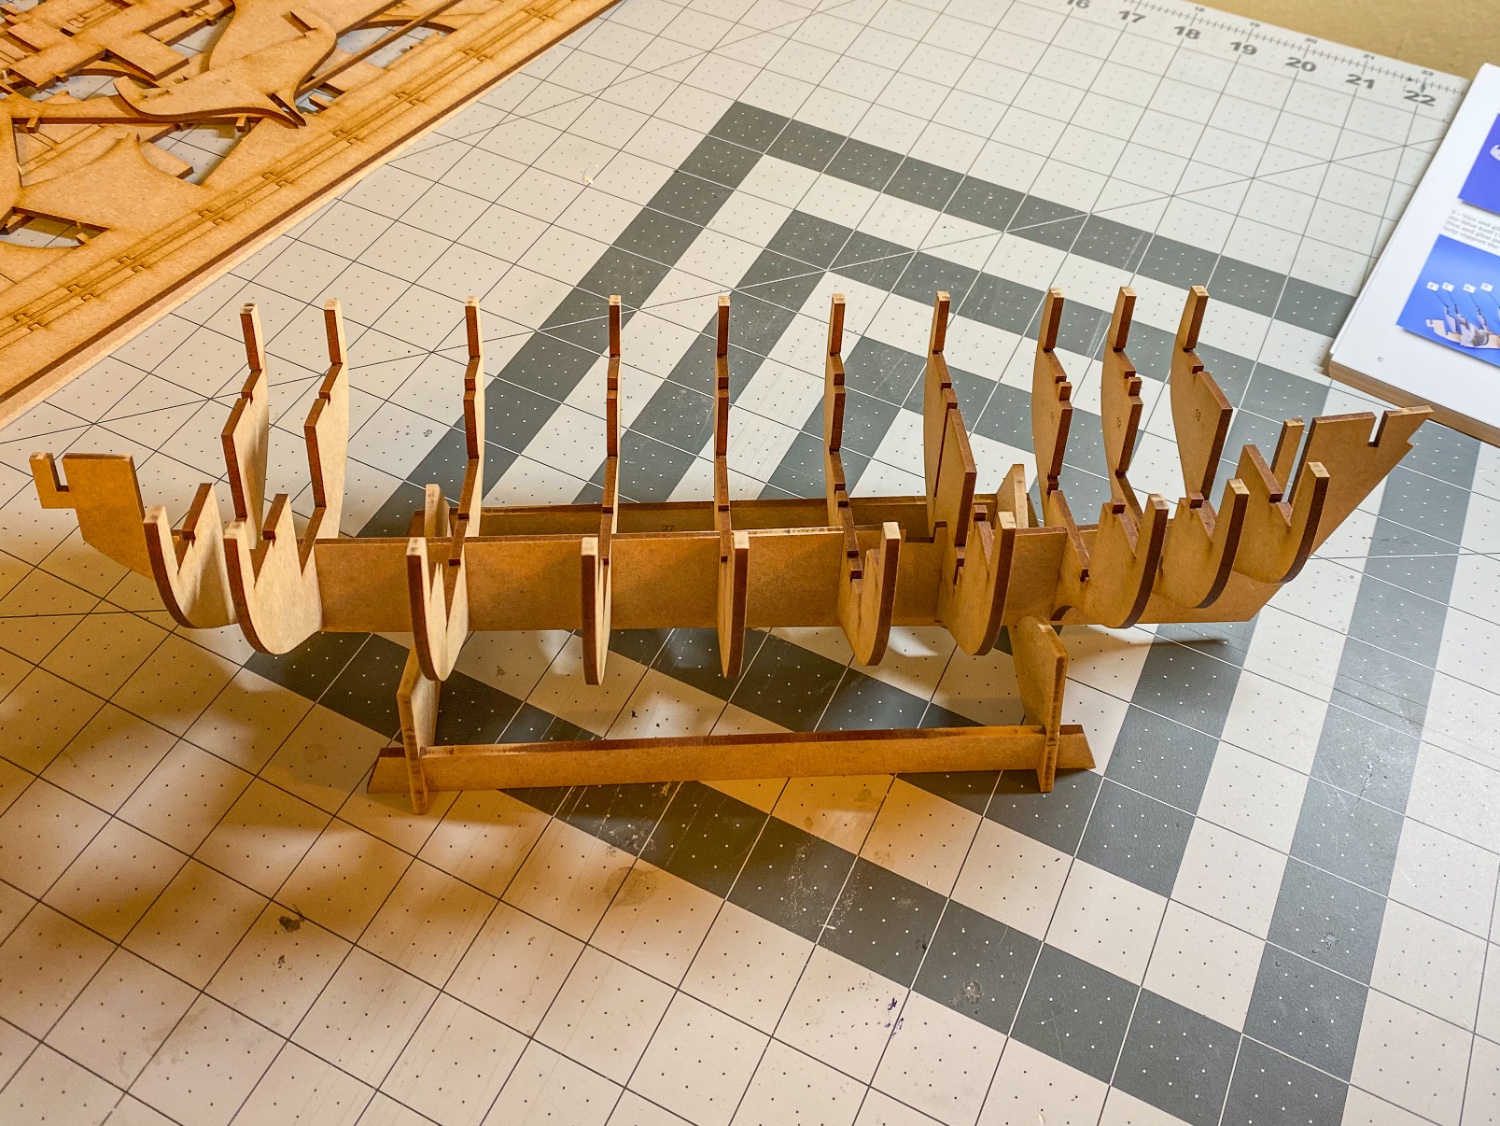
1. Hull Construction 1-3
I've started the Hull Construction. First I dry fitted bulkheads 4-13 onto the false keel and then the lower deck step patterns onto the bulkheads before fitting the lower decks before gluing everything into place. I was really impressed with how tight the clearances are on all the laser cut parts. It really is a giant jigsaw puzzle.


I wish I'd have cleaned up the laser char on the lower deck seams. I realize this won't be very visable though.
- chris watton and ccoyle
-
2
-
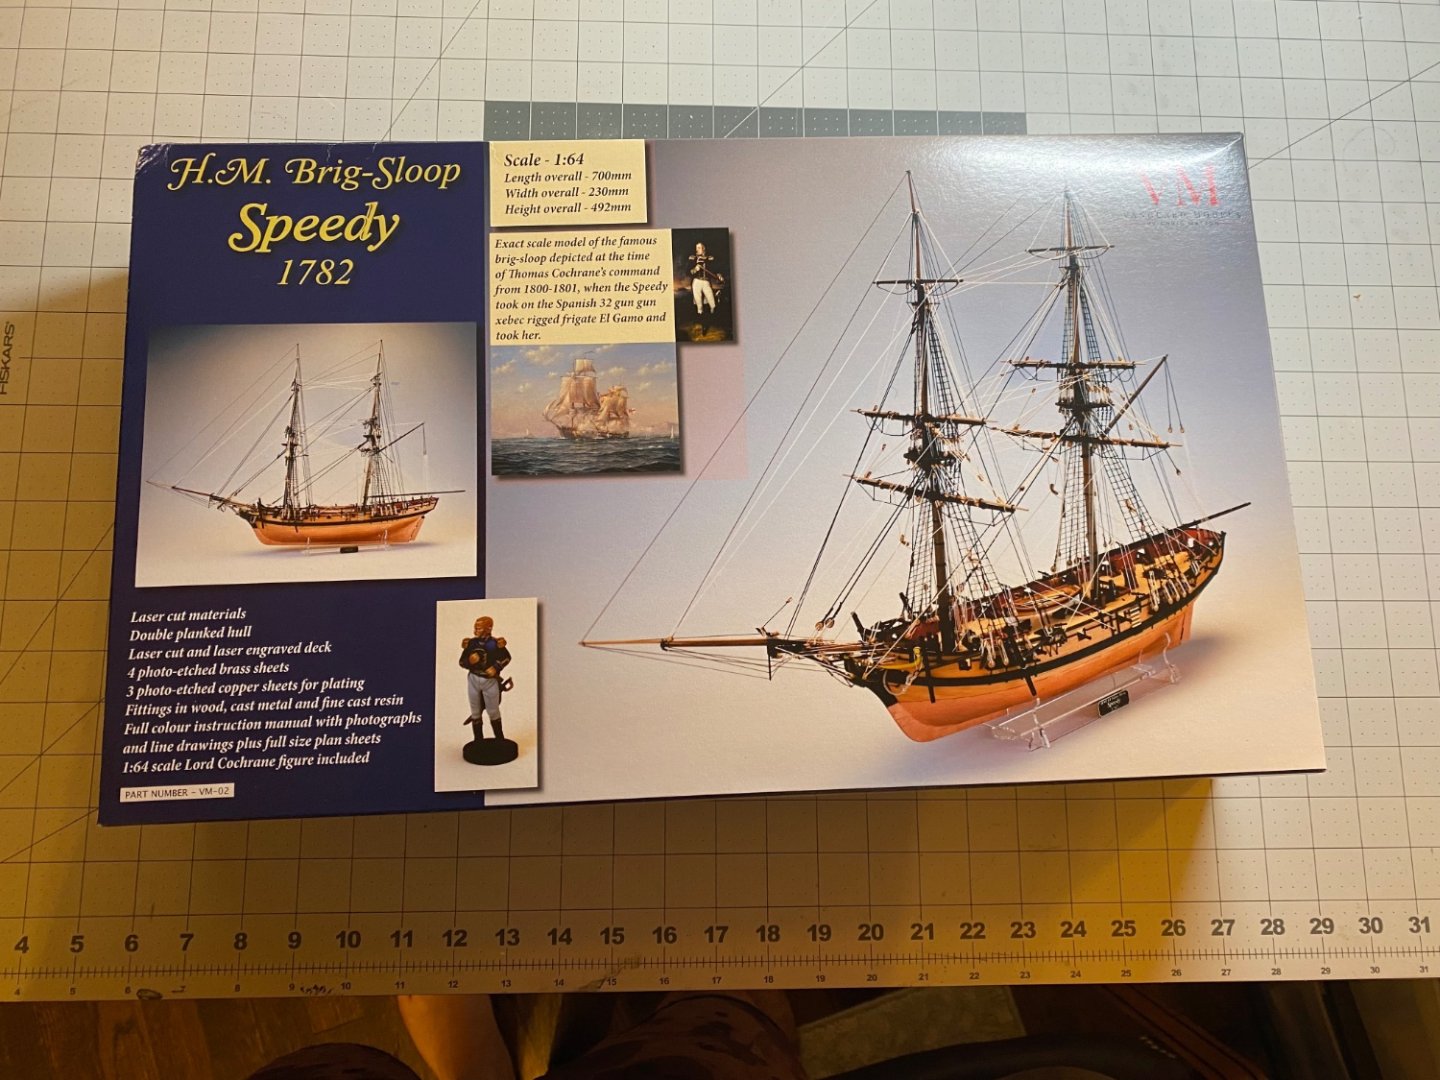
Hello Shipmates
I thought I'd share with you my build of Vanguard's HM Brig-Sloop Speedy. This is the 3rd wooden model ship I've built over the past 2 years but the first one I've posted on here. The prior two being Occre's Polaris and Amati's Lady Nelson.
I ordered this directly from Vanguard figuring it would take a week or two to make it to Phoenix AZ so I was pleasantly surprised when it showed up on my doorstep in Phoenix Arizona 3 days later. My first impression upon opening the box was how well it was packed, it really spoke volumes about how much pride they take in thier kits.
The cover art on the box is beautiful.
The kits packaging
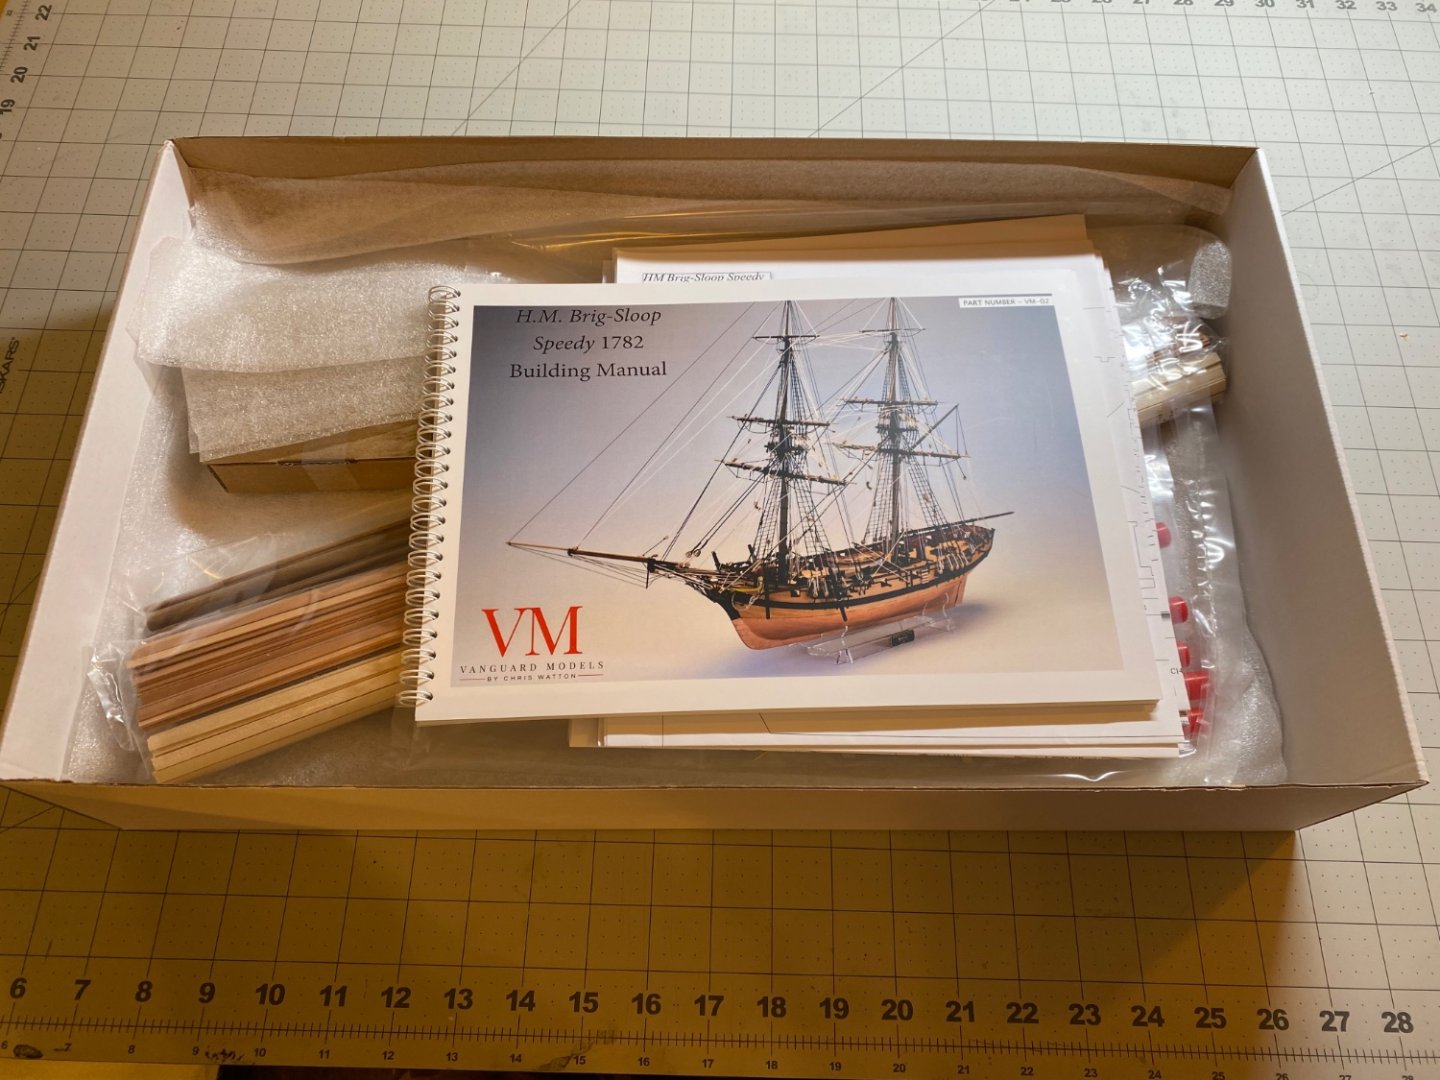
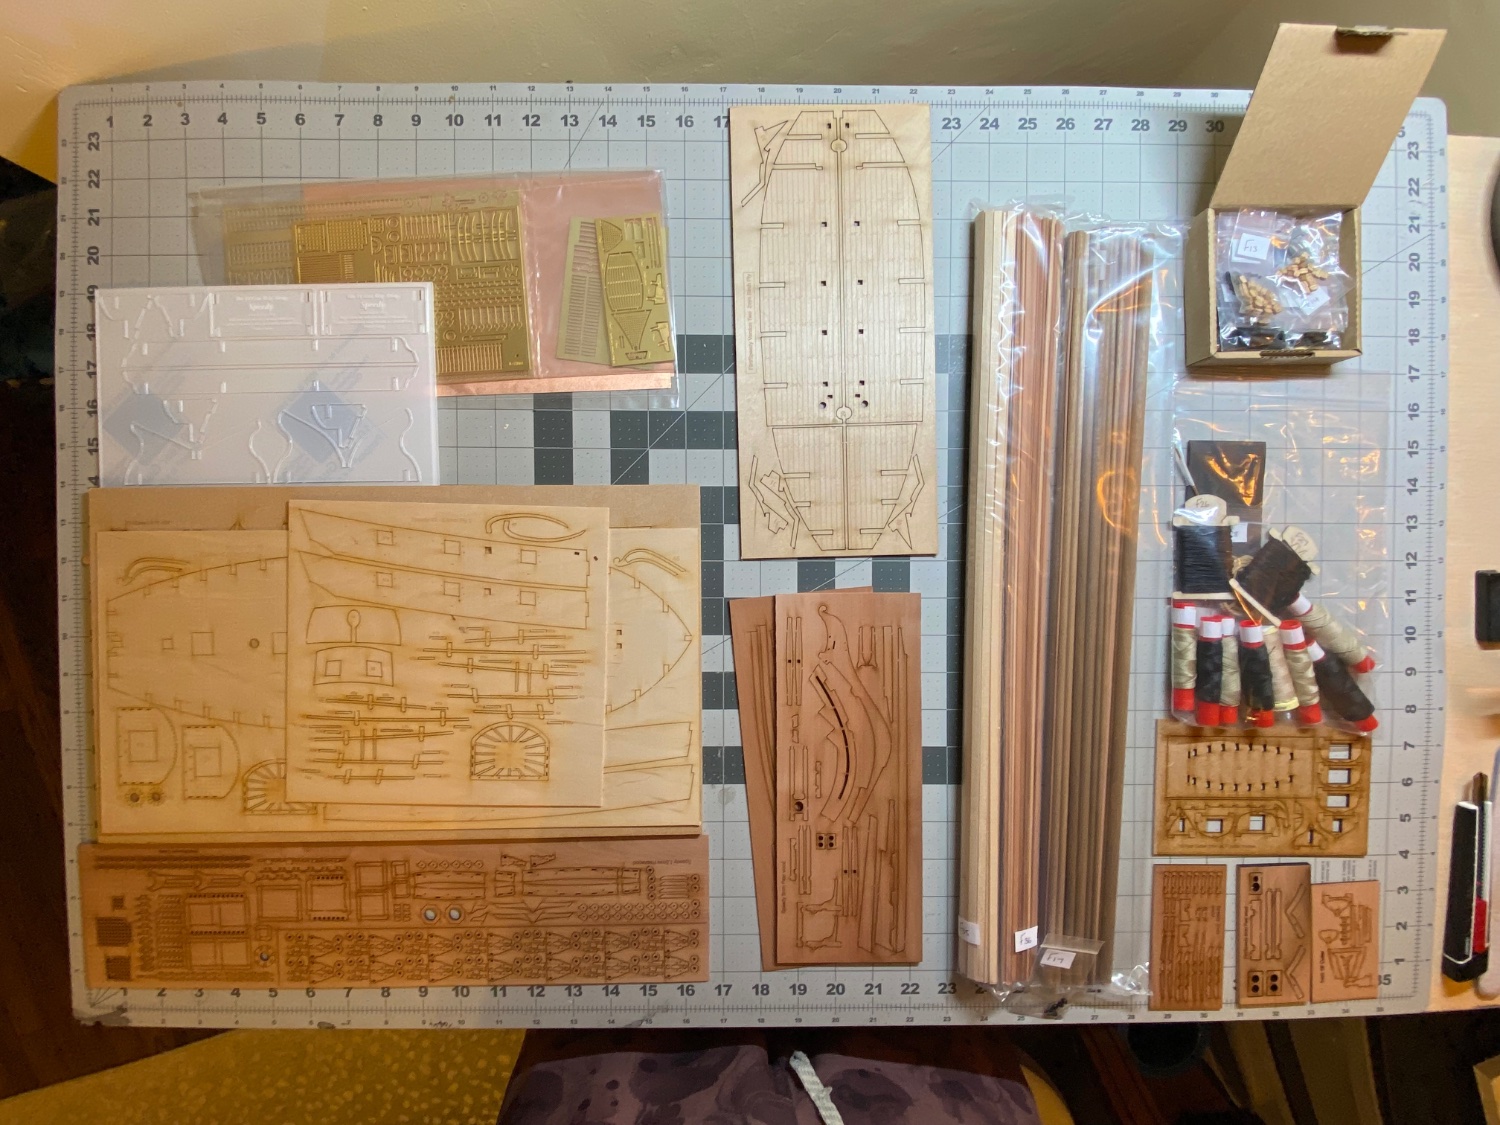
Most of the parts laid out.
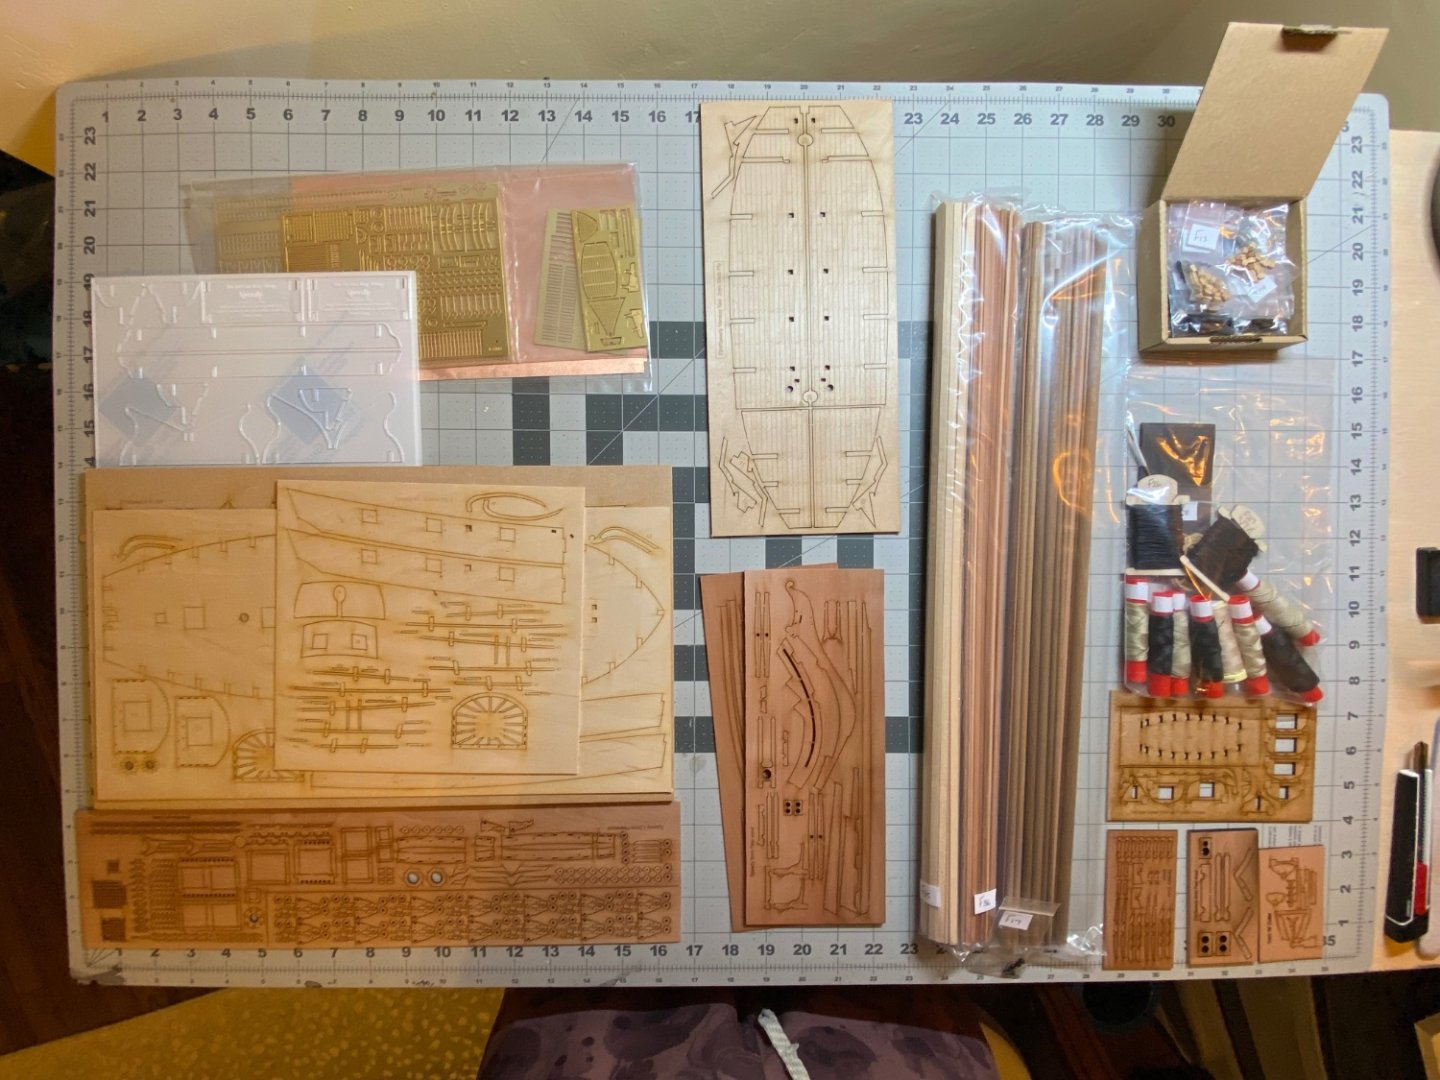
Thanks Martin
- ccoyle, Oldsalt1950 and Ryland Craze
-
3


USS Constitution by mtbediz - 1:76
in - Build logs for subjects built 1751 - 1800
Posted
She’s coming along beautifully. It’s amazing you are able to create from scratch on a daily basis.