Supplies of the Ship Modeler's Handbook are running out. Get your copy NOW before they are gone! Click on photo to order.
×

NAZGÛL
-
Posts
1,365 -
Joined
-
Last visited
Content Type
Profiles
Forums
Gallery
Events
Everything posted by NAZGÛL
-
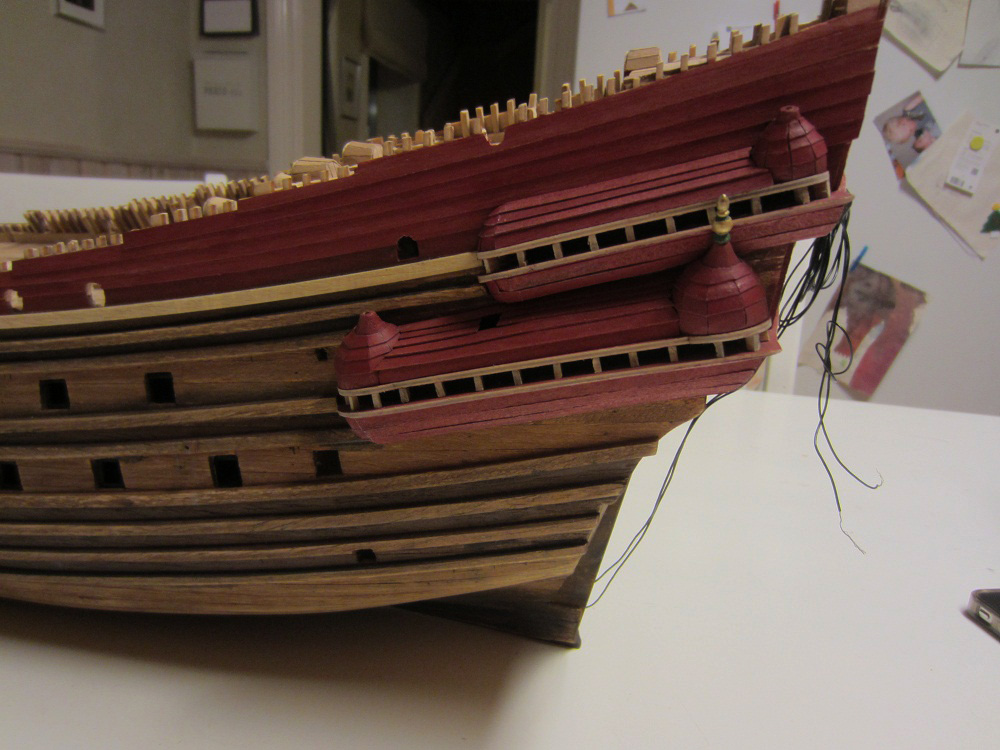
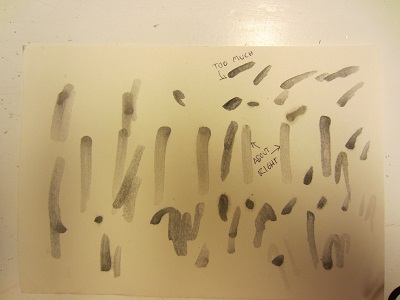
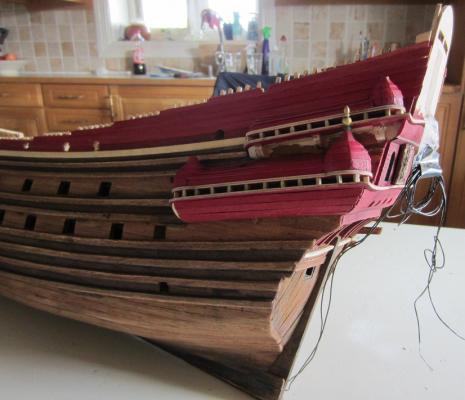
 Part 2: Drybrushing I use lightgray on the red areas to give depht and vibrance to the paint. On the brown I drybrushed gray and other brown nuances. You can experiment with this, and I could have used a brighter red, to make it look sunburnt. I like how the gray makes it look, and it blends the red with the brown hull. 1. Mix 2 drops of white acrylics with a tiny touch of black. Wet an old brush that you can use and abuse for this. 2. on a paper rub the brush until its amost completely dry. Test it on something dark with an edge , and when you rub the brush against it, it should leave a really small ammount of paint on the edge. 3. Rub the areas you want to have the effect on. Do it little by little to get controle. /Matti
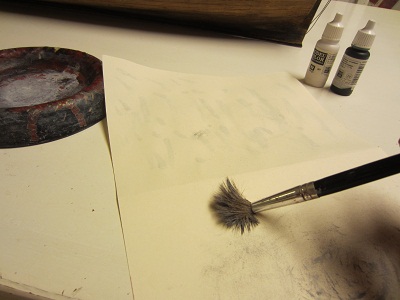


-
No problem, Buck! For thiis I used a medium sized brush, round, pointy with pretty hard hairs. If I want to make patterns,its good for controle, but soft enough for giving smooth coats. But thats just personal preference, go with what you like. I prefer to use the same brushes as much as possible, so I only use like three kinds, basically small, medium and large. That way Im used to them. /Matti
-
Ok, heres a little walkthrouh how I like to apply washes and drybrushing. I prefer acrylics for it, but oils work as well, some would argue that it works better. But acrylics works best for me, and Im used to mix and apply it. I can also let my kids help me without any nasty fuems and mess. Part 1 Washes 1. I put on some nice music or a podcast, Filip och Fredrik´s podcast works best. And if its a weekend, why not have a glass of wiskey or brandy at hand. 2. I put water in a plate and a small drop of black acrylic paint on the edge (usually I make a mix of brown and black, but I dont want the red to look brown here). When I work I can then easily get more or less black on the brush by going close to the paint or the more clean water. For me a mix that is a little like tea, but black (obviously) works best for this kind of model. 3. Every time I take more of the wash on the brush I make a stroke on a paper to make sure its not to dark. If it goes on to dark on the model by accident, quickly add water on and spread it out. If you paint unpainted wood be aware that it absorbs the paint right away, so avoid mistakes and make light washes layer by layer. 4. Paint a small are at the time, but dont stop in the middle of a area but find a natural edge or corner, that way the wash will go on smoothly and evenly. 5. Let it dry, acrylics only take a few minutes. Make as many layers as you want untill you are happy. For some reason I usually end up making two layers when washing this model, because I make them light to not get them to heavy. Next up is the drybrushing. /Matti


-
Great pic Jan! /Matti
-
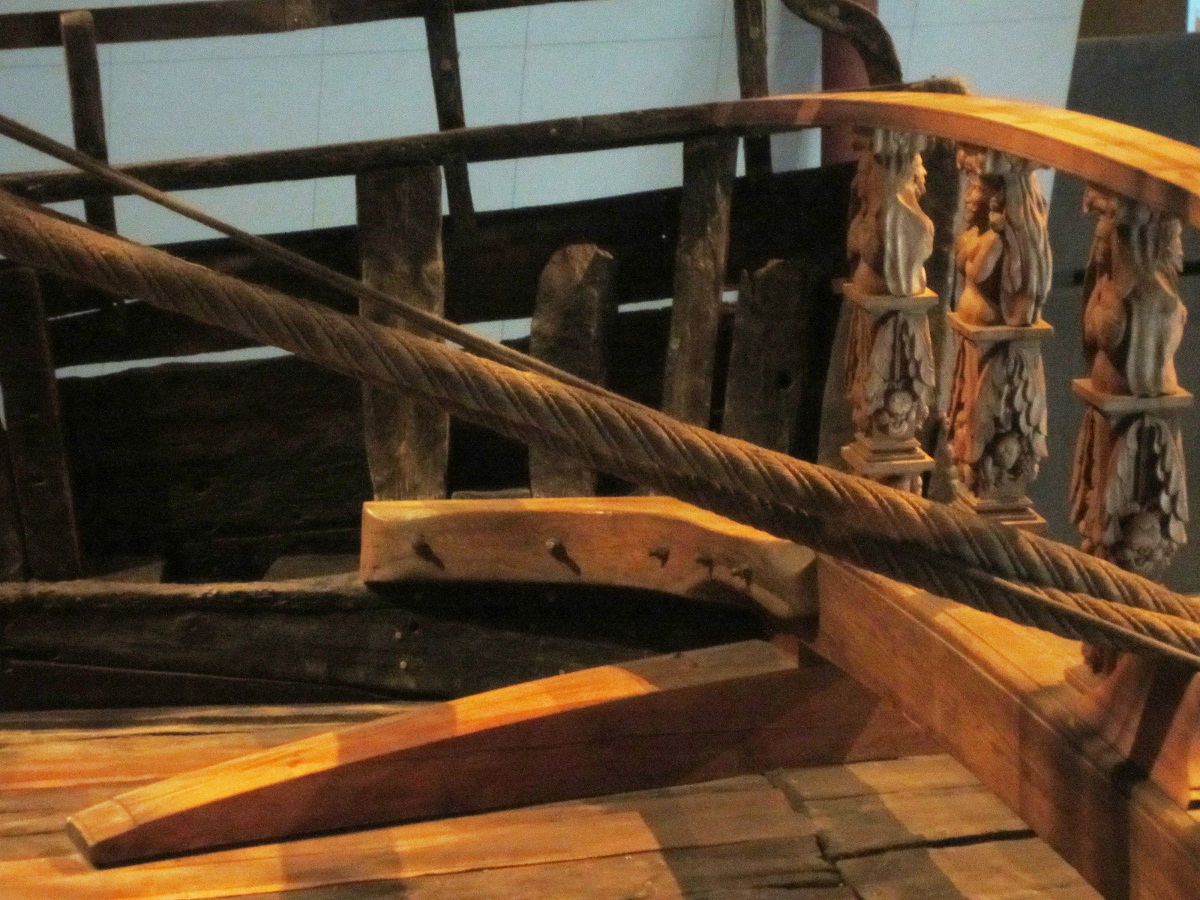
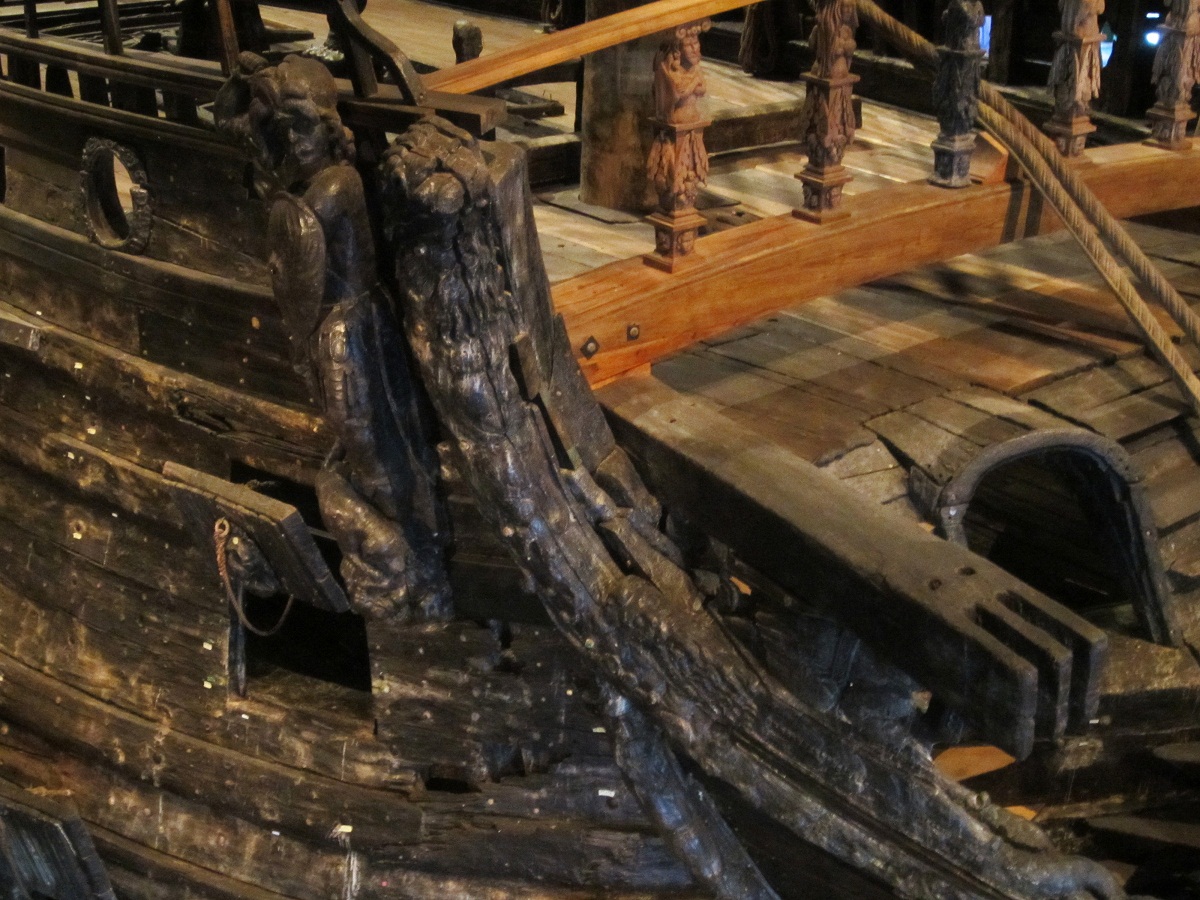
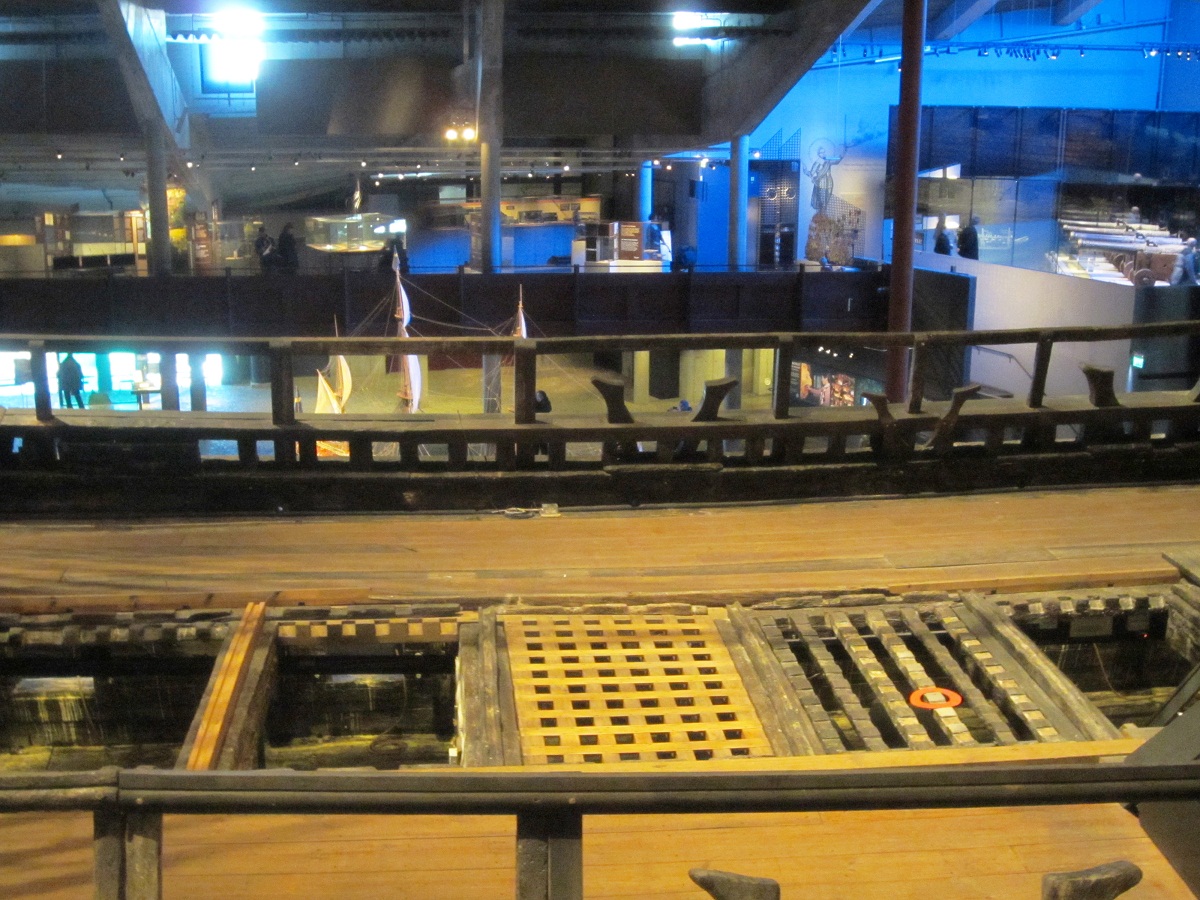
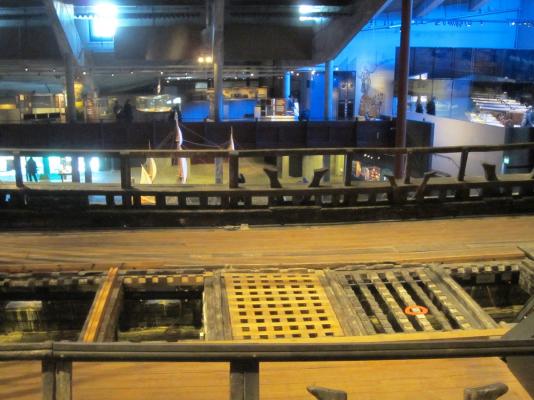
Cheers Ferit! Michael, I agree with your logic that they should need something to hold together if they where to be moved. Still I cant see any nails there. But my eyes could be tricking me on this one, as I never managed to see the nails holding the deck planking on the original either, and they should be there right? They must be rather small and blend with the planks. Ive been wondering about these invisiable nails for a while, as they are easy to spot on ships like Kalmar Nyckel. To me it looks like Vasa at the museum is not chaulked (maybe to preserve her?) and that could explain this? Or the low light is tricking the eye and the camera. If anyone knows it would be great! Here are pics I took of the weatherdeck, I couldnt see any nails on my visits to the museum either: /Matti


-
The new made grating has no visiable nails as far as I can tell. If there are nails, they are so small, they dont show up on the pic and not as prominent as on the 1:10. I hold the new made details on the real ship higher then the 1:10. Its easy the best model made, but it has a few errors. I found a picture of one on the Kalmar Nyckel replica and it has no nails either. Landstöm has a drawing without them, but he could of course have left them out. Would they be visiable in 1:75? But I enjoy builds done with artistic freedom, its like a signature only very, very few would notice at all. If you like them, go for it. /Matti Edit: you could search for pics of the Batavia replica. I think they would have those details right, and to me it looks as they based a lot off their construction on Vasa. The pics Ive seen only show covered gratings though.
-
Thats looking superb, Nigel! It looks so professional and it comes together very nice with the whole ship! /Matti
-
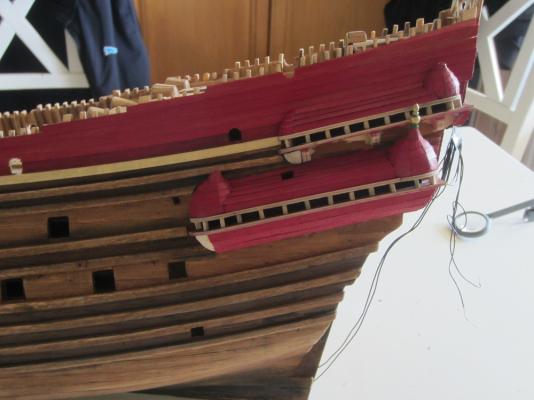
Cheers guys! The yellow wale was washed with a diluted wash applied in the pattern I wanted with a detail brush. The black acrylic wash is good IMO as it gives a grayish tone to it all, giving it realism. I have a lot on my plate at work now, so the progress slowed down a bit. I have done the bottom parts of the upper galleries now. It was a little work to get a good fit against the towers but it worked out better than I had hoped. I need to focus on the ship as I have less time and energy at the moment, so I dont think Ill do a vid. But I will wash and drybrush the new parts soon, and I take pics on how I do it. Keep in mind that things like these painting techniques differ from modeler to modeler and Im sure there are other ways to do them. There are many tutorial vids on these subjects. I use the same way as on plastic models, but with very diluted washes to get control of how the wood reacts to them. i also use small brushes and do one area at the time. I guess that was a misstake I did when I started to do washes, that I did it to heavy on the whole model. I like to think that only a small wash can make a big difference on how you see the model. Ill post the pics soon. /Matti
-
Nice work! The white lines work really well. /Matti
-
Ah, I see what you ment with tea. You were talking about the threads, and I was talking about the threads and the wood and metal parts. My tips above wasfor the black hard parts. /Matti
-
Now were talking! /Matti
-
Havrefras huh! Didnt know that. Were modelling with food now? Damn... /Matti
-
Make it irish, and Im game! /Matti
-
Tea huh? That works? If not go for hobby acrylics paint. Im used to Vallejo, but the cheap hobby acrylics (flat) Ive tried works as well. I just like to use what I know works. Just drop of black and bigger drop of brown in water (amount like maybe half a glass). Apply with brush and wait a few minutes to dry. Repeat til you are happy. You can then drybrush them, id go with gray on that subject. When replicating metal, add some rust brown here and there, where it looks natural. If doing that, add the drybrush coat last. Sorry if I gave tips that you allready know of. Looking forward to see updates! /Matti
-
Looking nice! Do you plan to add any washes on them? I think it would work well with really dark brown/ black acrylic washes, to make them look old and flat and blend with the rest of the ships look. Thanks for showing how you did the parts! /Matti
-
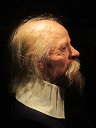
Cheers Nigel! Yeah, the work when painting and building is different so its good for variation. Painting the figures is a little hard on the back also, as I have to sit in the same position long times. Also if it turns out ok, it gives a boost for continuing the build. /Matti
-
Very nice! Ive said it before, I think its a nice combination with painted sculptures on unpainted wood! I like the muted colors you are using on the sculptures, it gives scale and works really well. /Matti
-
Lovely! I like that ship model very much and your work on it is great. /Matti
-
Very nice! I like the pictures showing the stages. Work looks perfect. /Matti
-
Nice! The red works very well with the wood and figures! /Matti
-
Happy birthday! /Matti
-
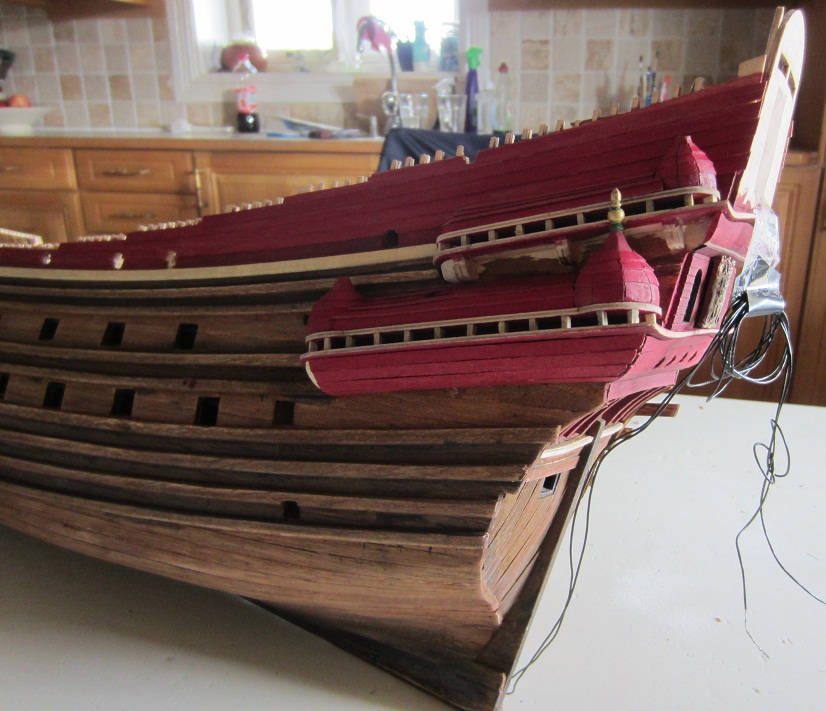
Thank you Frank! I use acrylics for drybrushing and washes. For drybrushing this red I mixed a light gray, almost like a light primer. The washes for the red is plain black but very diluted. Normally I would have more of dirt brown, but I dont want the red to go brown in this case. I also used lots of different pastels on the brown hull, to give it many nuances and life. Its great for filter effects. For me the big difference from plastic models is that the wood absorbs everything when weathering. You cant really change your mind like you can on a plastic model, where you pretty much can start all over. But thats also fun and gives an edge to the painting proccess. /Matti
-
Cheers buddy! Yeah its a fun stage now, when she starts to look like she will when finished. I started adding the stern pieces and galleries a while back, not knowing if it would fit in the end, so its a good feeling to finish them and see that they fit and that I could get the lines I wanted. Just finished the basic shape of the lower galleries. After they are done, I think Ill do the stern sculptures before starting with the beakhead. That way I dnt have to paint to many at once and keeps the energy in the build. You can see the weathering effect on the yellow wales. I made running lines like if she had dust on her and it then rained. I tried to make it subtle. /Matti
-
Wasa by Lin Feng - Sergal - 1:60
NAZGÛL replied to Lin Feng's topic in - Kit build logs for subjects built from 1501 - 1750
Nice!!! The waetherdeck looks really nice and those gunports are great!