-
Posts
3,160 -
Joined
-
Last visited
Content Type
Profiles
Forums
Gallery
Events
Everything posted by Gregory
-
Just curious, since you have apparently researched this well. I asked about the planking of the transom of English longboats in this topic. Has your research turned up any information in this regard?
-
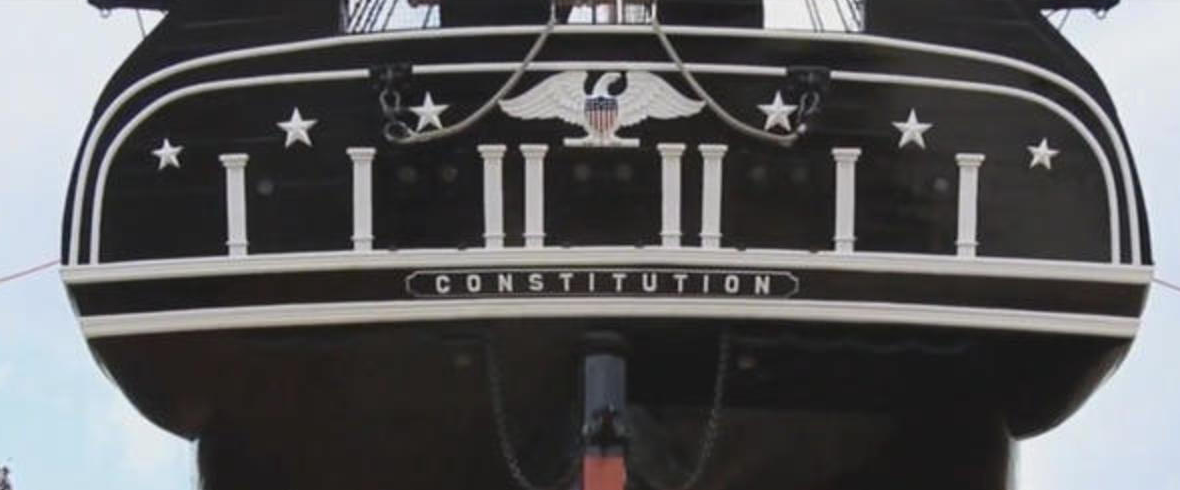
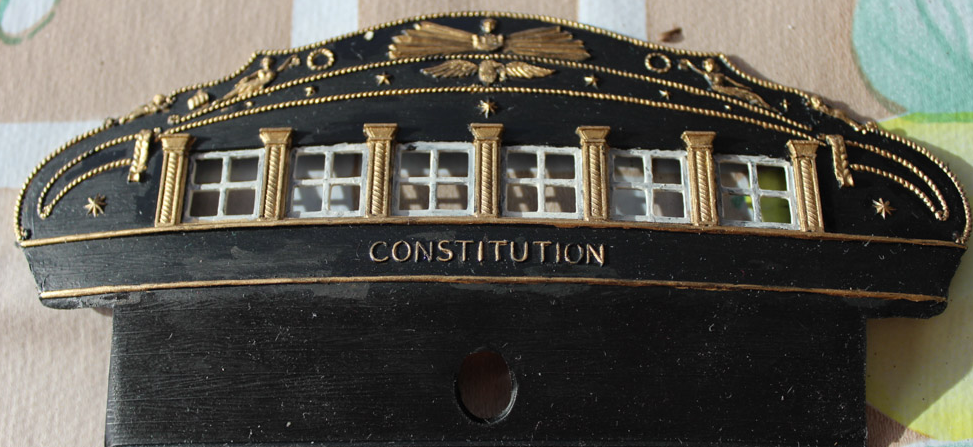
I believe the plans for the Revell kit were drawn by George F. Campbell and is a loose interpretation of the Hull model. Hull model Revell stern. This is a photo from 1945 that should be the same as the 1927 restoration. It is not much like the Revell kit but very similar to the current configuration. This document form the Constitution museum, says the latest restoration was an effort to restore the 1812 configuration, but does not mention what the present appearance of the stern is based on. https://ussconstitutionmuseum.org/wp-content/uploads/2015/12/1833-2010Restrtns.pdf If there is contrary evidence I stand to be corrected.
- 14 replies
-
- United States
- Revell
-
(and 1 more)
Tagged with:
-
You should try to source some other model rope for your boat. Three or four different sizes each of light ( tan ) and dark brown, based on the scale of your kit. Dark for standing rigging, light for running. There are tables and references regarding the size of various ropes and lines, but with a model it can be sufficient to go with what looks good. Heavier ropes for the lower masts and yards, and getting lighter as you go up. Syren or Ropes of Scale are great sources. Or you could think about making your own..
-
Not too serious.. Your workspace is way too clean..😁
- 362 replies
-
- Amati
- Lady Nelson
-
(and 2 more)
Tagged with:
-
What's affordable ? Here is a 1:24 model of a Yawl that might be a basis for your 4th boat.. Falkonet F0503 Four-Oared Yawl XIX Century $150 This 1:24 Sailing yacht come in at $800 COREL CORSARO II WOOD SHIP MODEL KIT There is not a lot of variety at 1:24 scale that I am aware of. What kind of size when built are you looking for? This information would be useful when looking at kits at various scales.. Common popular kit scales are 1:72, 1:64 and 1:48 .
-
What kind of budget do you have? The Master Korabel 'Avos' at Crafty Sailor, is a nice kit with very good instructions a very builder friendly design and you will get free shipping at that price point. MSW member and sponsor @etsinko who is the owner of the store has a nice build log where he shows how he did a nice job on the sails. The information could be very useful if you decide to go with another kit. @Peta_V also has a very good build log. Just another option for you. PS Here is a great sail making tutorial that you could adapt to any project.
-
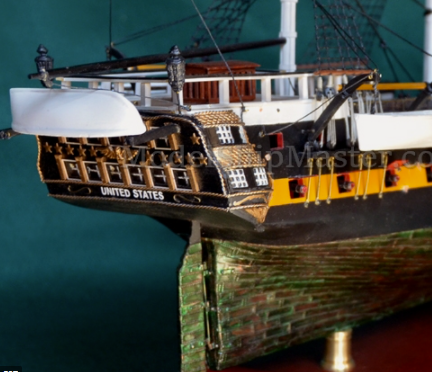
Do you have another angle of the quarter galleries? They look a lot like the Constitution model and not the United States.. But it might be the angle of your pictures..
- 14 replies
-
- United States
- Revell
-
(and 1 more)
Tagged with:
-
I never suspected it was made from a single piece of wood. That it why I asked about the planking method. Dziadeczek's solution after Boudriot is a place to start. I wonder if the English might have done it differently. Is diagonal planking a possibility. I'm curious as to what kind of framing underlaid the planking.
-
Photo Orientation
Gregory replied to stuglo's topic in Using the MSW forum - **NO MODELING CONTENT IN THIS SUB-FORUM**
You might look here: If you don't have iPhone, not sure what other issues people have. -
Most of the longboat kits have a solid piece for the transom. I assume on the actual boats this would not have been a solid piece and would have been built up with some kind of planking involved. Anyone aware of any references that covers this? I'm guessing some kind of framework with horizontal planks.. Or, would there be some other arrangement?
-
See my signature! 😁 Welcome aboard!
About us
Modelshipworld - Advancing Ship Modeling through Research
SSL Secured
Your security is important for us so this Website is SSL-Secured
NRG Mailing Address
Nautical Research Guild
237 South Lincoln Street
Westmont IL, 60559-1917
Model Ship World ® and the MSW logo are Registered Trademarks, and belong to the Nautical Research Guild (United States Patent and Trademark Office: No. 6,929,264 & No. 6,929,274, registered Dec. 20, 2022)
Helpful Links
About the NRG
If you enjoy building ship models that are historically accurate as well as beautiful, then The Nautical Research Guild (NRG) is just right for you.
The Guild is a non-profit educational organization whose mission is to “Advance Ship Modeling Through Research”. We provide support to our members in their efforts to raise the quality of their model ships.
The Nautical Research Guild has published our world-renowned quarterly magazine, The Nautical Research Journal, since 1955. The pages of the Journal are full of articles by accomplished ship modelers who show you how they create those exquisite details on their models, and by maritime historians who show you the correct details to build. The Journal is available in both print and digital editions. Go to the NRG web site (www.thenrg.org) to download a complimentary digital copy of the Journal. The NRG also publishes plan sets, books and compilations of back issues of the Journal and the former Ships in Scale and Model Ship Builder magazines.


