


AJohnson
-
Posts
2,052 -
Joined
-
Last visited
Content Type
Profiles
Forums
Gallery
Events
Everything posted by AJohnson
-
 Keith, I am very sorry to hear of your loss, terrible to lose a child no matter their age, not as you say how it should be. I hope in time you find comfort once again in your build, but understand it has lost much meaning for you at this sad time.
 -
“Interesting” is one way of putting it! Such a complex shape, to get your brush into every nook and cranny. 🤔
-
Another thing to consider is this “waste” often ends up useful for making bits and pieces for scratch built items and details. I keep all my laser cut sheets in a box, you never know when they might come in! 😉
-
Same issue happened on the Matt/Satin finishes on my build. I needed to touch up a sprayed area and it never looks the same when brush applied; it’s how the tiny bits of pigment lay when drying and the thickness of the paint layer compared to brush applied, all down to the reflection of light. Two choices, mask up again, flat down your first coat and reapply or try a varnish. However the varnish option is never 100% effective - ask me how I know! 🤣 Regarding the worry about masking tape on already spray painted areas and lifting paint, one option is to try a loose paper mask held just off the model. Tear a ‘rough’ hole in the paper so you feather the spray edge to help blending and try masking all other areas with tissue that won’t stick to your existing paint. This isn’t an option near light contrasting paints, say near your white rubbing band. Good luck! In all the years I’ve painted models (mostly plastic aircraft before I fell down the MSW Rabbit 🕳). I can count on one hand those models I am happy with the finish of, so you are not alone. Keep up the good progress 👏
- 62 replies
-
- 1
-

-
- Nisha
- Vanguard Models
- (and 1 more)
-
I’m more from the “Uri Geller” school of ‘magic’ as my lighthouse is a bit “bendy” in places! 🤣🤣🤣 But yes I agree, I am also in awe of people like Chris and the Polish Paper Ninja’s 👏😲 I’m at the Karate Kid “Grasshopper” stage, but having fun trying something new. 👍
-
That looks good, same as you I just used a light rub of Danish oil to bring out the deck details. 👍
- 62 replies
-
- 2
-
-
- Nisha
- Vanguard Models
- (and 1 more)
-
Absolutely not, not my scheme really, I’m just copying the “Pilgrim” I reference on my log and like the contrast of the inner bulwarks and plain timber heads. I don’t think these hard working craft had much in the way of decoration or colourful schemes beyond some white trims, rubbing streak and maybe some scrolling or a name at the bow. Though who knows the more successful skipper/owners might have indulged in the odd embellishments.
- 62 replies
-
- 1
-
-
- Nisha
- Vanguard Models
- (and 1 more)
-
Yep, I get my primer and undercoating rattle cans from DIY or Car service places.
-
Hi, regarding painting the key is preparation before the final paint coats. Rubbing down sanding, filling and then a primer coat and repeat. I did that process several times as there is nothing like a layer of paint to draw attention to surface imperfections. 😨 For the primer a rattle can is fine if used carefully, more thin coats than a single heavy coat. If the undercoat is good then brush painted top coat is perfectly doable. Just use good quality artist brushes, flat brushes not pointed. I personally use enamel paints mostly but also acrylics from brands like Caldercraft. Again don’t try and cover in one if brush painting, a few thin coats are better, but obviously this takes patience. If you are nervous of doing this on your Nisha, build a mock section using scrap planks (sanding, filling and priming it as the model) and practice on that first. Good luck! There is a painting hints and tips section on MSW.
-
Sound advice from Craig, some masking tape to protect the Bow/stem and keel whilst fitting/shaping/sanding the second planking would help. (I damaged the very tip of the stem on my build - don't worry we all do it! 😏) Once I had worked out how much to taper the planks I worked from the bow back, getting the front to sit in as neat as possible, as Craig said, some of the inside edges of the planks at the bow might need shaving thinner so they sit snug into the Bow Rabbet.
-
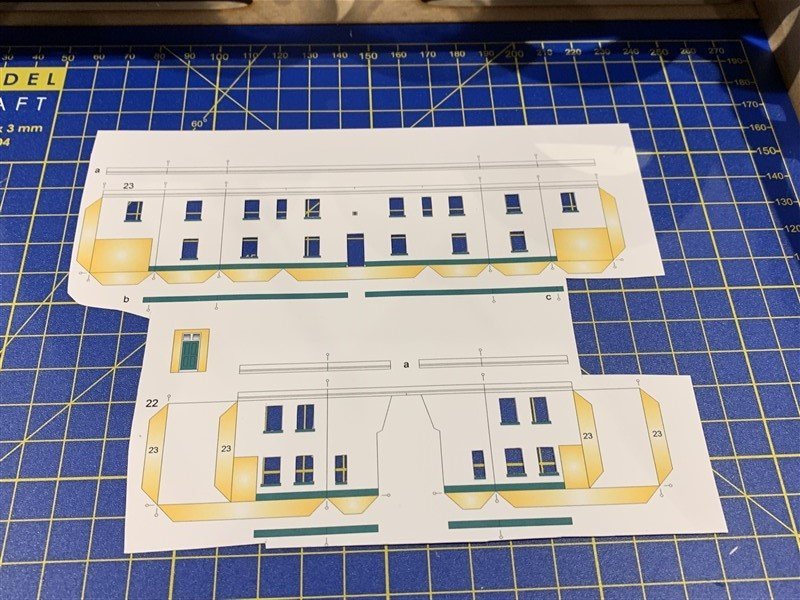
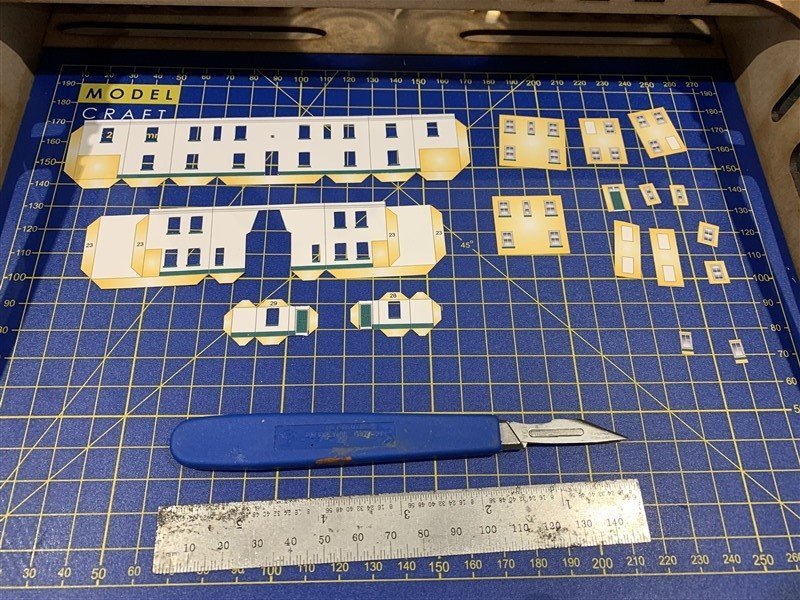
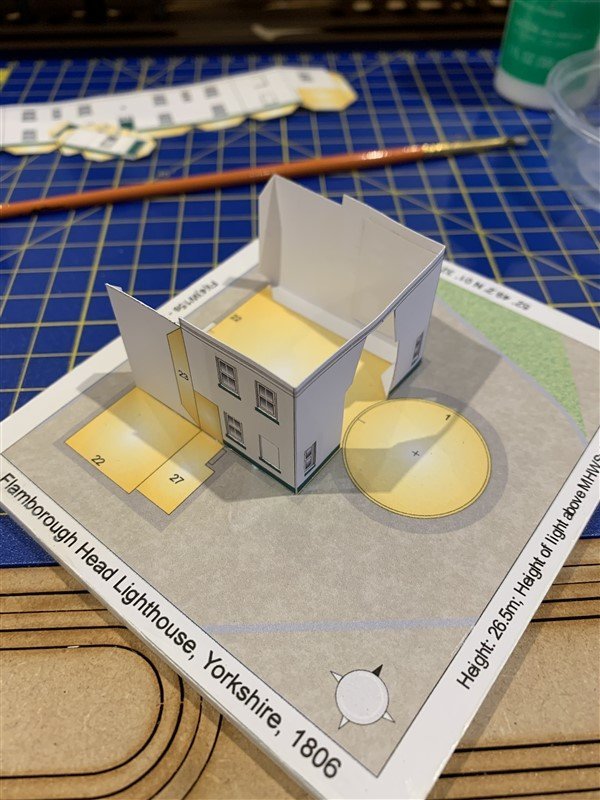
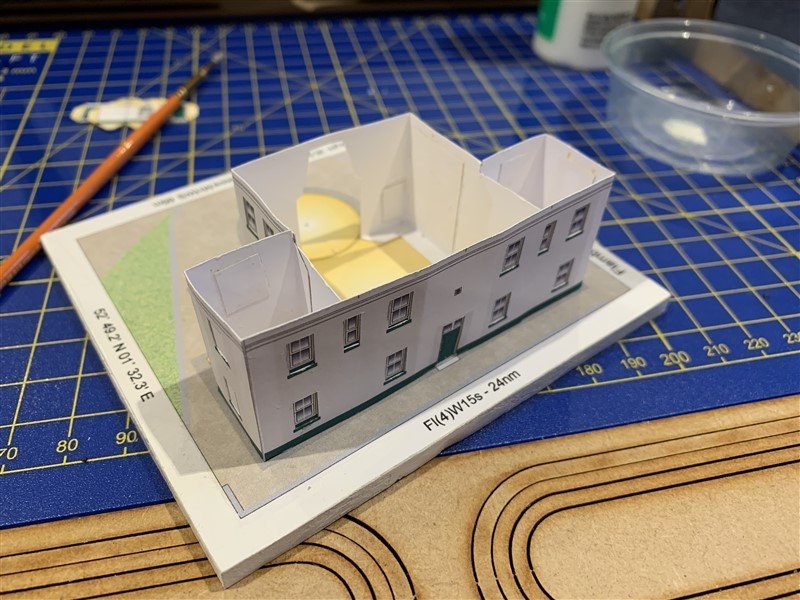
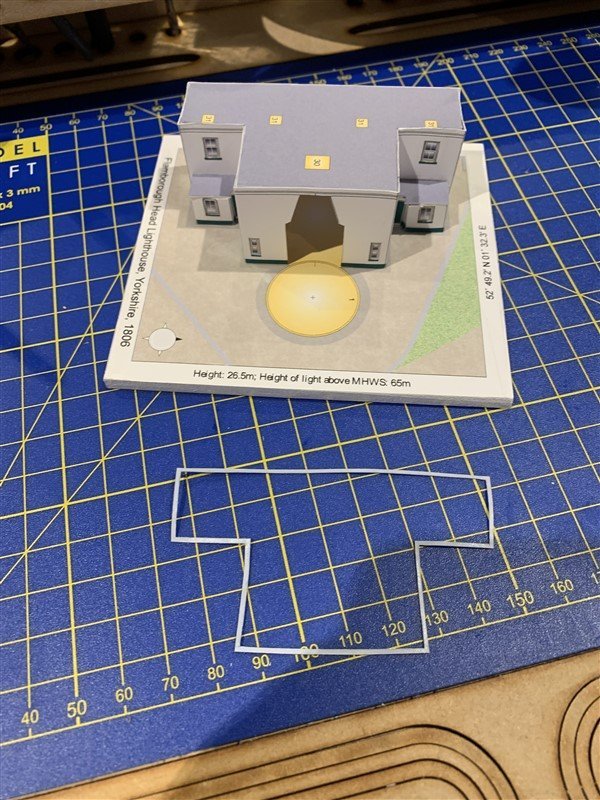
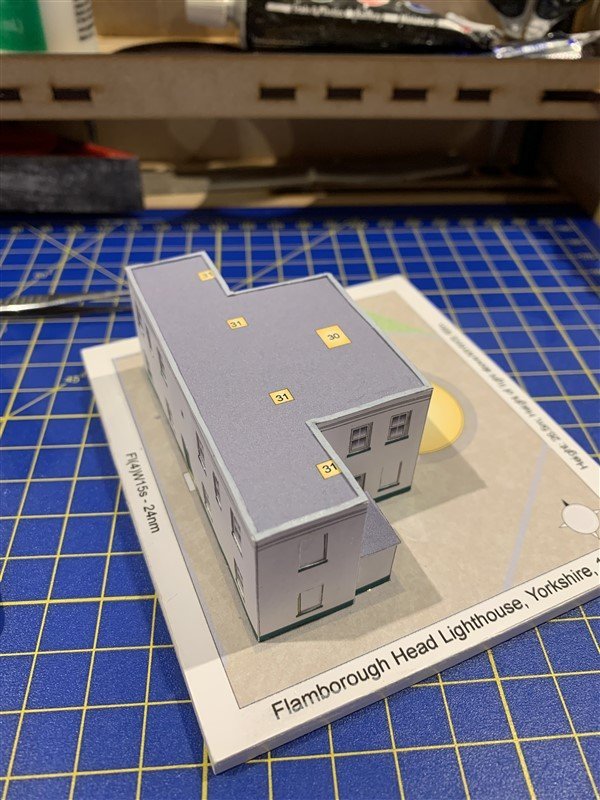
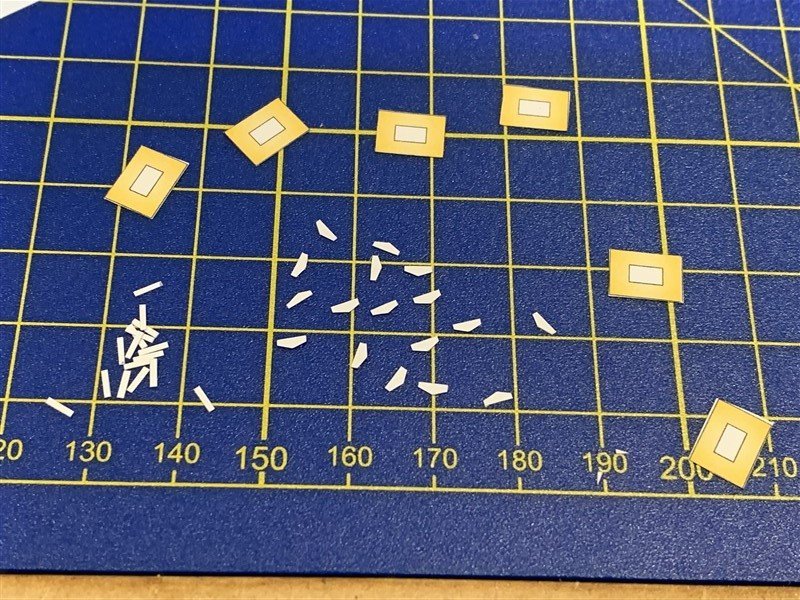
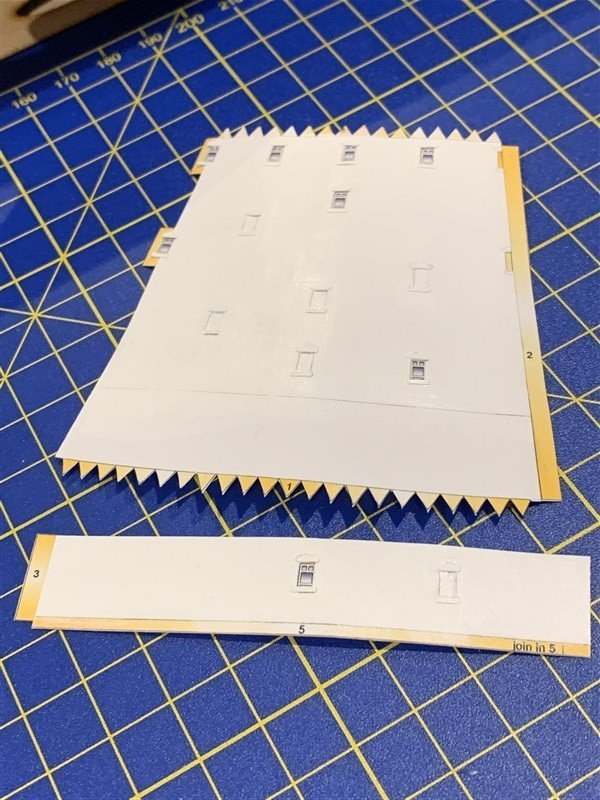
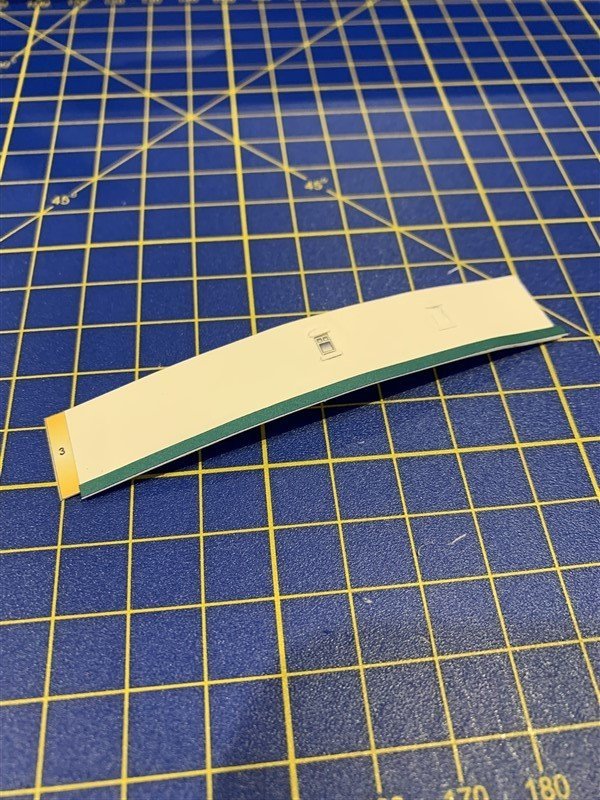
Moved on to the Keeper's dwellings. Firstly as with the tower I cut out the printed windows and glued in the optional recessed windows. These still need to be painted white at the edges and have window sills added and this time painted green. I will do this at a later stage as there is also a green plinth around the whole perimeter of the building. Also scored the folding edges before cutting the walls out. The instructions get you to the rear part of the dwellings first part #22 (nearest the tower) as this part has two internal extensions that help reinforce the front part of the building. This all went fairly straightforwardly, with the exception of the two small (and very tricky - for me that is) porch extensions and small flat roofs. I've made a bit of a 🐷's ear of these, but the glue stuck so well and quickly, trying to readjust them made some sections of the card delaminate and others tore. 😖 Deep breath and carry on - this is my first card kit and so not expecting it to be a looker! 😆 Final part for this session was adding the roof to give the whole assembly some rigidity. The fiddly part of this was the roof capping part #25. This was very thin and needed pre-painting along the cut edges to match the pale grey. If I could do this again, I would not have tried to keeping the whole part in one piece, as it was difficult to keep in shape, so cutting it into two or three sections might have made things easier - another lesson learned. 👍
- 30 replies
-
- 13
-
-
Same experience here, that particular plank was the hardest. As and Andy and Craig mention the planks above and below are approx. 90 degrees different in section. Don’t be tempted to try and twist it, as the guys have said sand it to shape and if you are painting filler is your friend!
-
Welcome to MSW, nice looking model! 👍
-
Very good, a real sense of achievement for you hopefully after your brave decision to re-start the planking and it has turned out so much better! 👏 Good luck on the second planking and do please keep us updated on your progress! 😁
-
Your “Nisha” looks great Andy, you have done great job. 👏 Whats your next project? 🤔
- 32 replies
-
- 1
-

-
- Nisha
- Vanguard Models
- (and 1 more)
-
Hi Dan, thank you for your comments. As for the bulwark stanchions, the positions where they were to be glued after painting were protected by strips of masking tape and then peeled off. (The thicker lining style masking tape) That way there was a ‘wood - to - wood’ contact surface for them (as we know paint and glue are not good friends). I did find that after priming and painting the position marks were still visible on the inner bulwarks, so no need to worry about them disappearing unless you put loads of thick paint on.
- 206 replies
-
- 5
-
-
- Vanguard Models
- Brixham trawler
- (and 2 more)
-
Agreed, even if ‘Indy’ does edge a few hundred north of this due to material costs, then there is no comparison.
-
Chris you are never going to please all of the people all of the time. Having experienced just one of your smaller kits from your “Vanguard” incarnation and have a few built and on the shelf from your Caldercraft years. I know your heart is in producing the best you can for the ‘hobby’ builder. Some look down on “kit” builders (even on MSW) but they are the overwhelming minority. All I know is even if I do a scratch build a model in the future, it is on the foundations provided by you when I built your great kits over the years. So guesstimating your “Indy” might be in the range of £1,500ish.to £2000+ that broken down into the hours of absorbing “hobby” time to build it makes your kits a bargain compared to Golf / Gym membership or a few visits to decent restaurants. I know there are some on MSW who will say that will buy loads of power tools to make something from scratch, that is true but overlooks personal circumstances and space for a workshop, not something we all have. Please follow your gut/heart for your future developments, be it inspired by Hornblower or History, we are in your wake! Whilst my kids live at home there might not be room at the Inn for an “Indefatigable”, but I might squeeze in a 36 or 38…. Keep us posted. 👍👏
-
Ah unfortunately I can't use that as an excuse Steven as Paper Shipwright tell you! 😆 - Four flashes and a pause of 15 seconds, then repeat.
- 30 replies
-
- 12
-
-
Oh no, I actually hadn’t thought about it, but it is so obvious now, doh!🤦♂️ What have you done, I’m going to have to think about that….. 🤣
- 30 replies
-
- 10
-

-
-
Or one of the Lively/Leda Frigates? - "Macedonian", "Shannon", "Trincomalee", just saying (hoping!) one year.... 😁 🤞
-
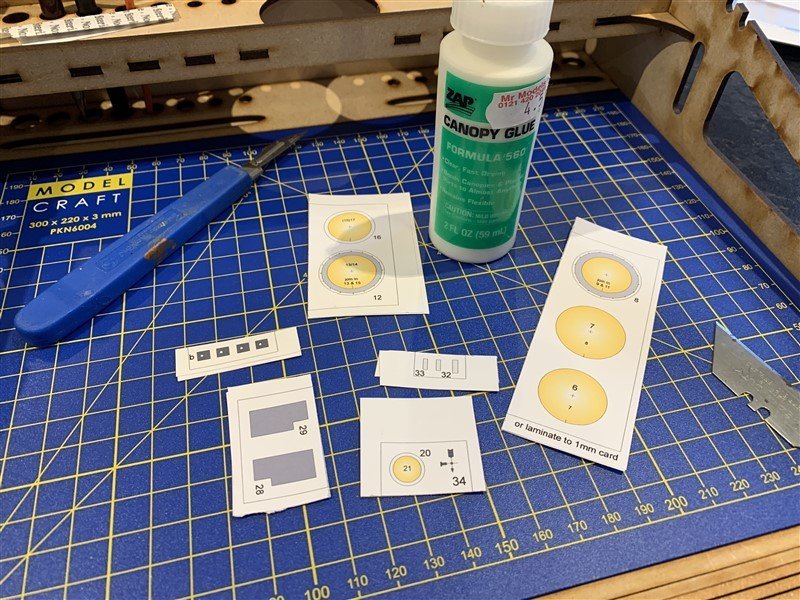
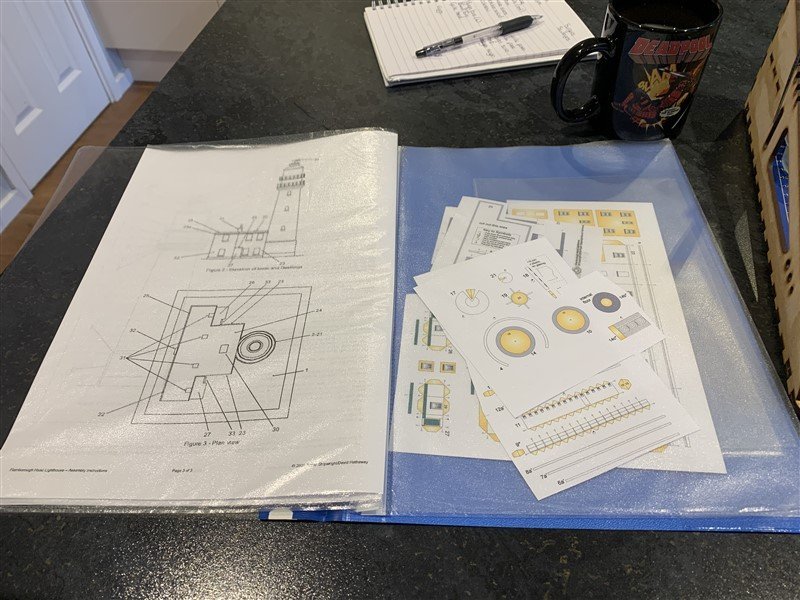
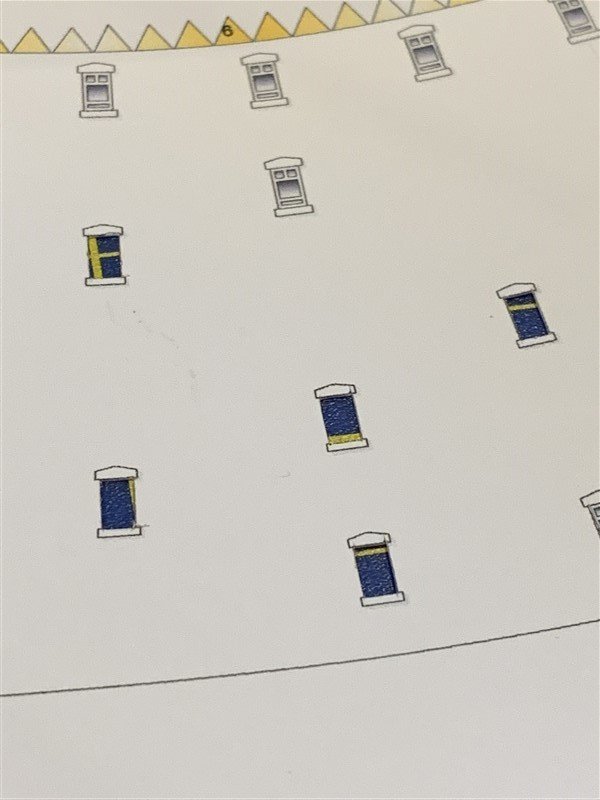
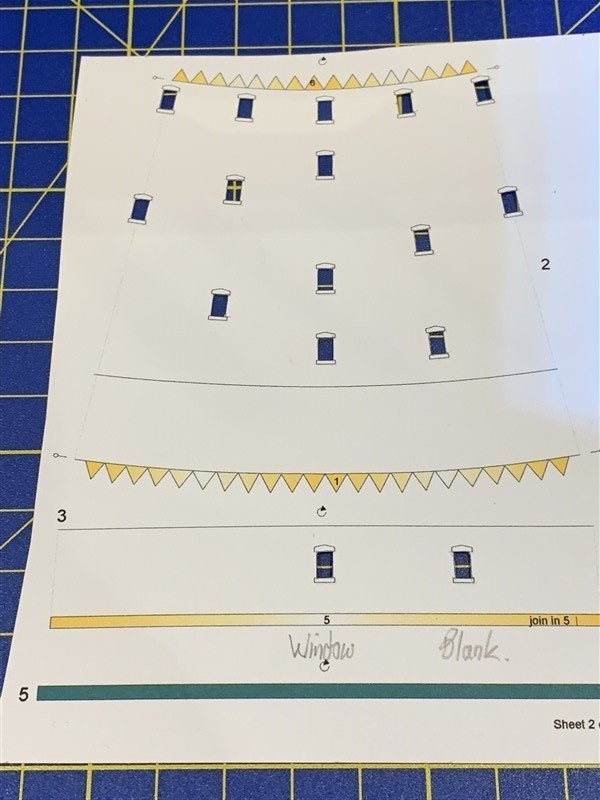
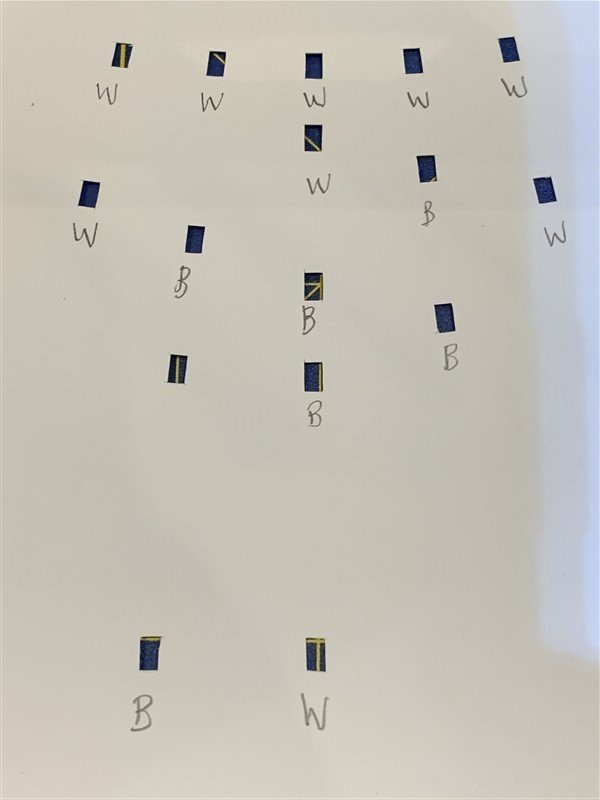
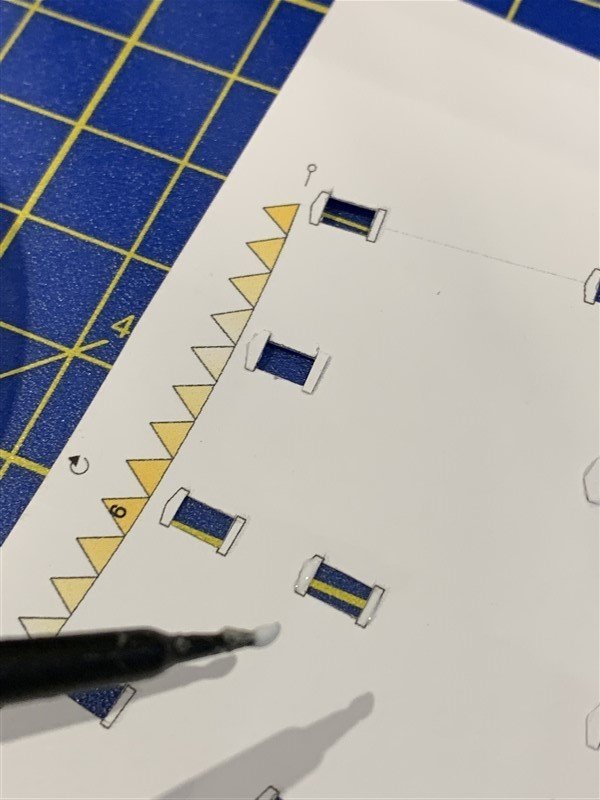
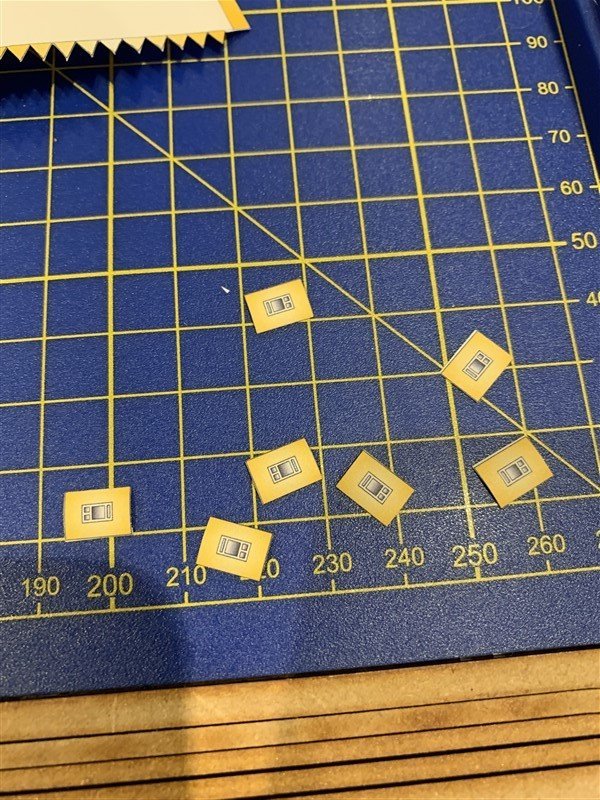
The build has commenced! As mentioned at the start I had cut out the base board and glued it onto some dense fibre board and cut this to size and painted the perimeter border white. My new fixative spray arrived earlier today, so everything was given a coat to help protect the printing. I did some easy laminating first; some parts (like the tower gallery bases need to be thicker than the rest of the parts so you need to score a fold line and glue them together first. These have been left to dry flattened between some heavy books. Others building card models have recommended Canopy glue and it does seem to work very well - almost too well in fact, it grabs very quickly! I very quickly decided I need to pinch one of my daughters homework folders to keep everything safe and flat, away from accidental spillages and the like, as card doesn't clean up so easily as plastic when you spill your tea/coffee/beer... plus it helped me to organise the instructions and parts into the "Tower of Doom" and the Keeper's house. First stage is to assemble the main tower, but first there is the 'option' to use some windows to provide some 3D relief rather than just the printed windows on the outside of the tower. There are optional windows provided to do this if you wish. Looking at this I thought why stop at recessed windows? So I set to make my own Lintels and Sills for the windows, by cutting out little strips from the same card, gluing these on in the position of the printed versions. (Fortunately remembering to log on the reverse the location of actual windows and 'blanks' - a rarity for me the think of such things in advance!) At the end of that process there where some faint remains of the printed black lines I didn't want to see, so I painted the outside in Acrylic white. I finished off the session with attaching the hidden fixing strips and cutting out the saw-tooth tabs ready for assembling the tower, but I will leave that for the next session when everything is dry.
- 30 replies
-
- 17
-
-
You are making excellent progress there, well done. 👍 and interesting to hear about your comparison for a beginner compared to the Fifie. As for breaking parts, if your not breaking any you ain’t trying hard enough! 🤣 I think the stern counter should sand and fill okay and as you are painting it will be hidden, my only other comment from the pictures is to make sure the combined thickness of the first and second planking matches the rabbet parts added at the stem and stern, poss more sanding back of the first planking might be needed? 🤔
- 62 replies
-
- 2
-
-
- Nisha
- Vanguard Models
- (and 1 more)