


AJohnson
-
Posts
2,054 -
Joined
-
Last visited
Content Type
Profiles
Forums
Gallery
Events
Everything posted by AJohnson
-
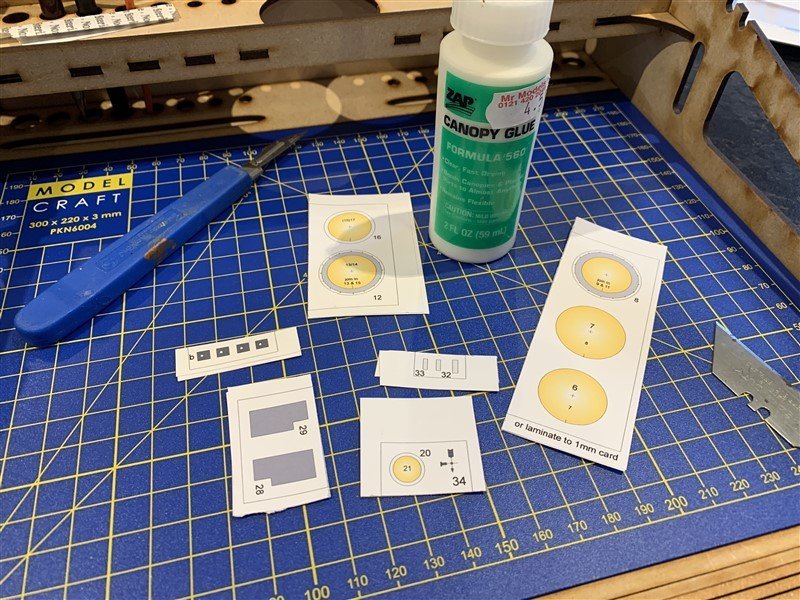
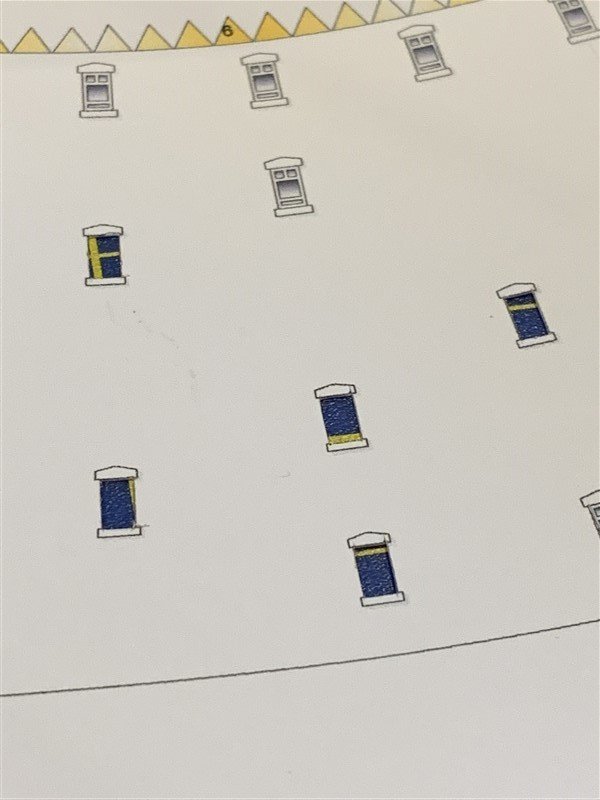
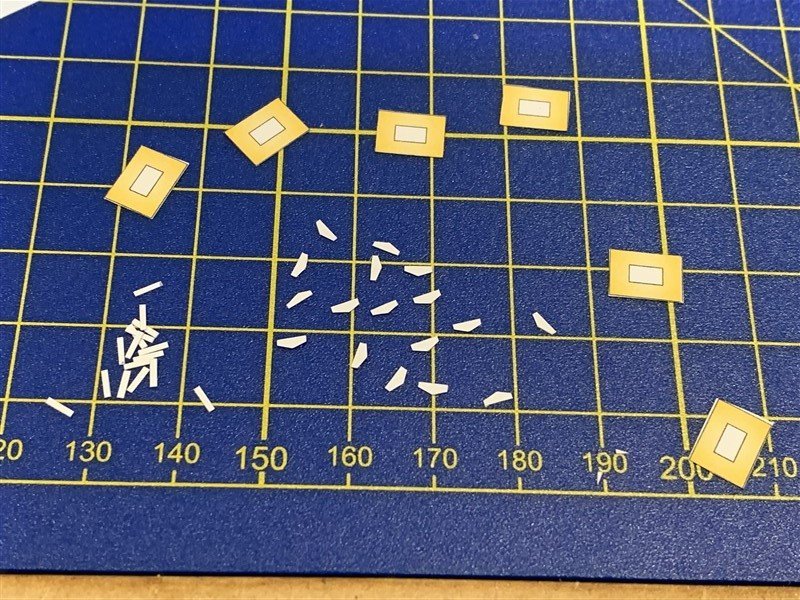
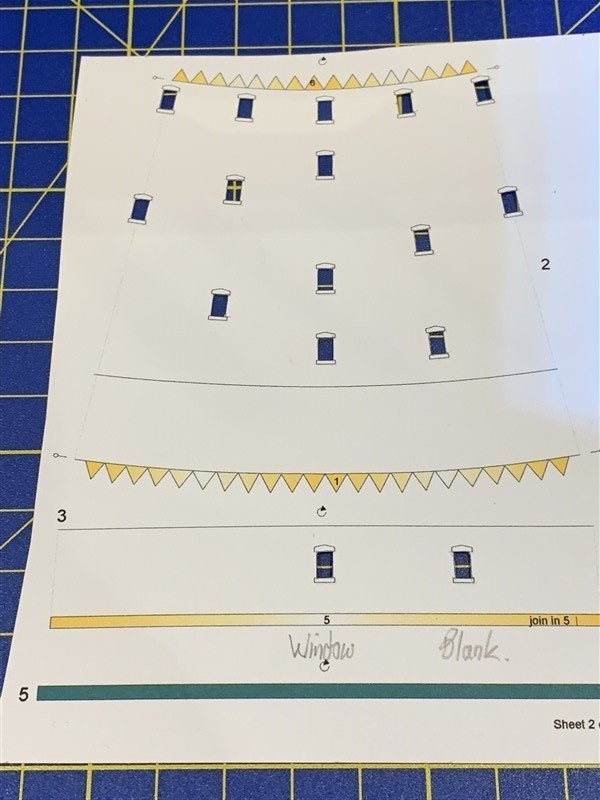
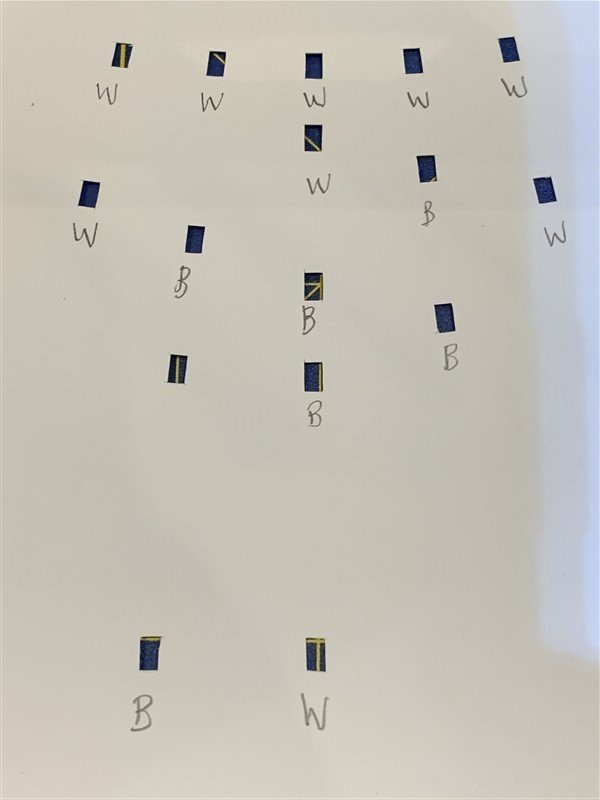
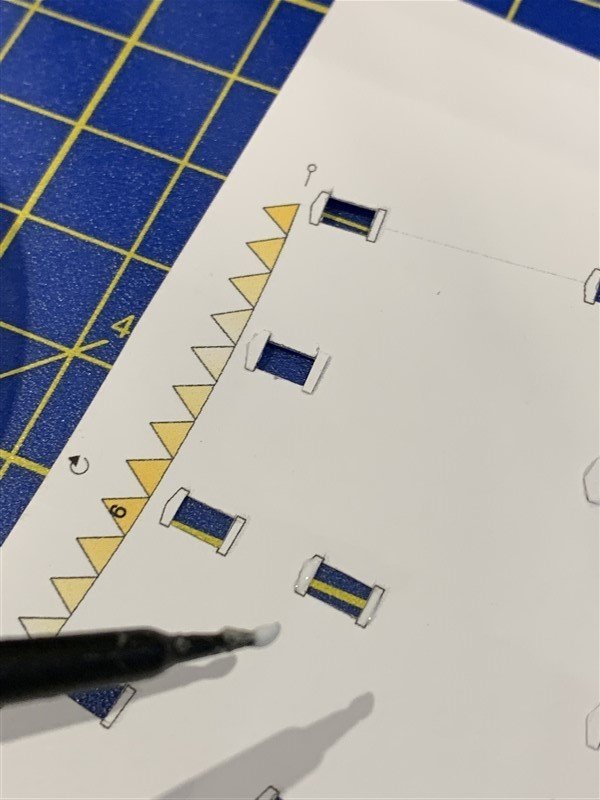
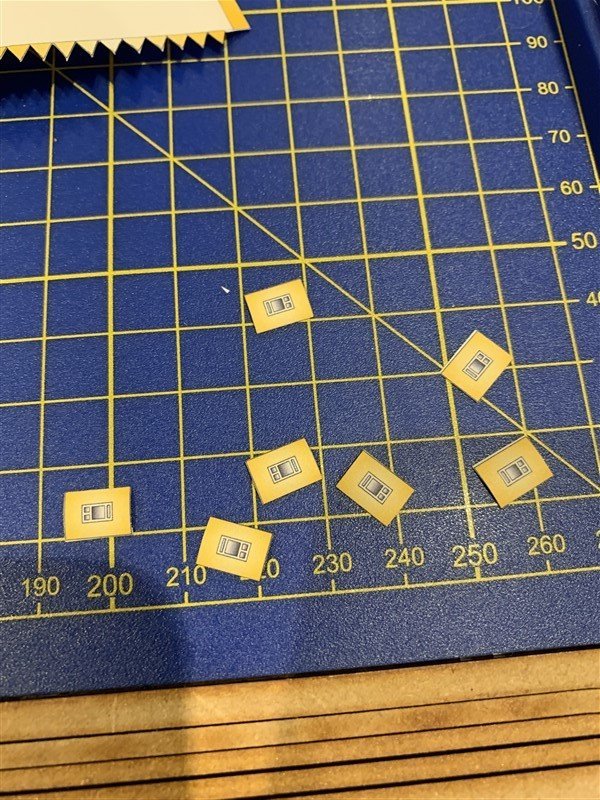
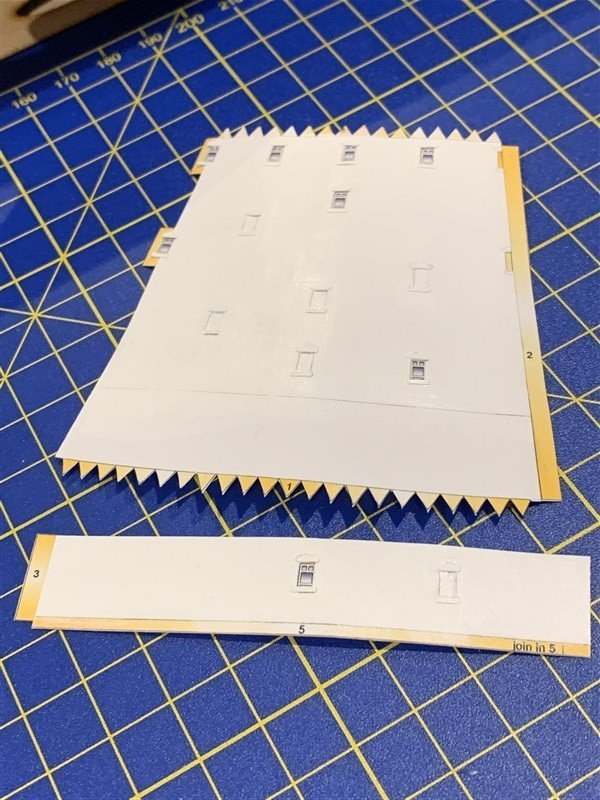
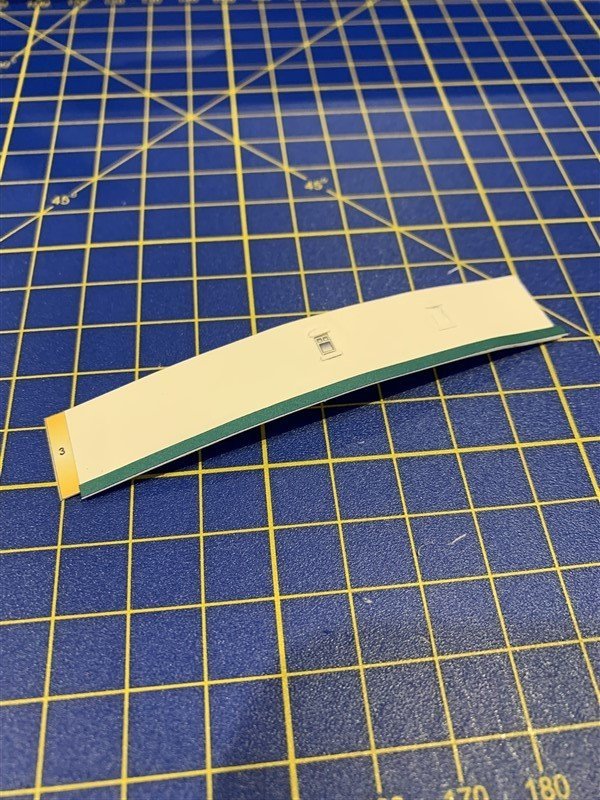
 The build has commenced! As mentioned at the start I had cut out the base board and glued it onto some dense fibre board and cut this to size and painted the perimeter border white. My new fixative spray arrived earlier today, so everything was given a coat to help protect the printing. I did some easy laminating first; some parts (like the tower gallery bases need to be thicker than the rest of the parts so you need to score a fold line and glue them together first. These have been left to dry flattened between some heavy books. Others building card models have recommended Canopy glue and it does seem to work very well - almost too well in fact, it grabs very quickly! I very quickly decided I need to pinch one of my daughters homework folders to keep everything safe and flat, away from accidental spillages and the like, as card doesn't clean up so easily as plastic when you spill your tea/coffee/beer... plus it helped me to organise the instructions and parts into the "Tower of Doom" and the Keeper's house. First stage is to assemble the main tower, but first there is the 'option' to use some windows to provide some 3D relief rather than just the printed windows on the outside of the tower. There are optional windows provided to do this if you wish. Looking at this I thought why stop at recessed windows? So I set to make my own Lintels and Sills for the windows, by cutting out little strips from the same card, gluing these on in the position of the printed versions. (Fortunately remembering to log on the reverse the location of actual windows and 'blanks' - a rarity for me the think of such things in advance!) At the end of that process there where some faint remains of the printed black lines I didn't want to see, so I painted the outside in Acrylic white. I finished off the session with attaching the hidden fixing strips and cutting out the saw-tooth tabs ready for assembling the tower, but I will leave that for the next session when everything is dry.
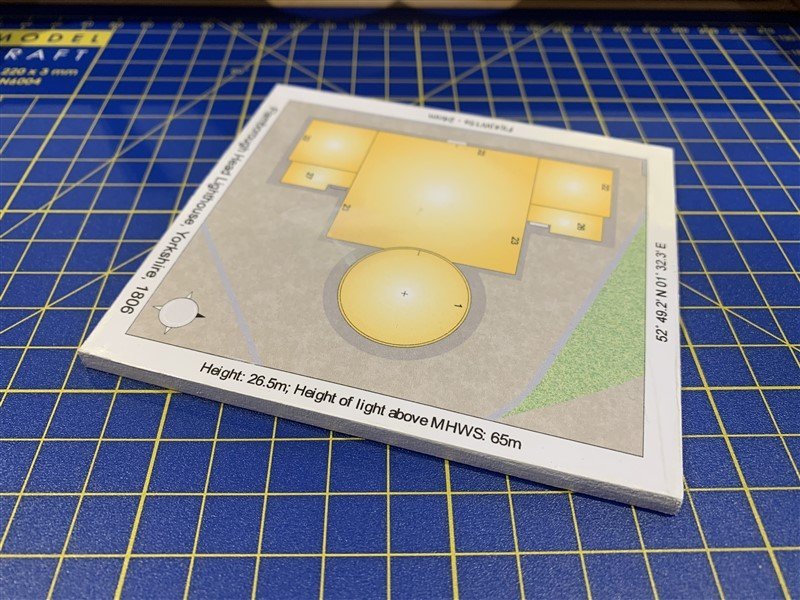
- 30 replies
-
- 17
-

-
You are making excellent progress there, well done. 👍 and interesting to hear about your comparison for a beginner compared to the Fifie. As for breaking parts, if your not breaking any you ain’t trying hard enough! 🤣 I think the stern counter should sand and fill okay and as you are painting it will be hidden, my only other comment from the pictures is to make sure the combined thickness of the first and second planking matches the rabbet parts added at the stem and stern, poss more sanding back of the first planking might be needed? 🤔
- 62 replies
-
- 2
-
-
- Nisha
- Vanguard Models
- (and 1 more)
-
Ah, okay Chris 👍🏻 I wouldn’t want to attract the ire of the shipping gods, we want to keep the ‘non-ship’ subculture under the radar! 🤣
-
There is quite a fleet growing here on MSW of little Vanguard working craft. 😀
- 62 replies
-
- 1
-
-
- Nisha
- Vanguard Models
- (and 1 more)
-
Very nice Andy, on the home stretch! 😃
-
Well done, what a beautiful little boat. 👏 Looking forward to seeing your “Nisha” take shape next. 👍🏻
- 42 replies
-
- 1
-
-
- vanguard models
- lady eleanor
- (and 3 more)
-
Salutations and felicitations from England
AJohnson replied to smtm2013's topic in New member Introductions
Welcome to MSW Steve! 👋 -
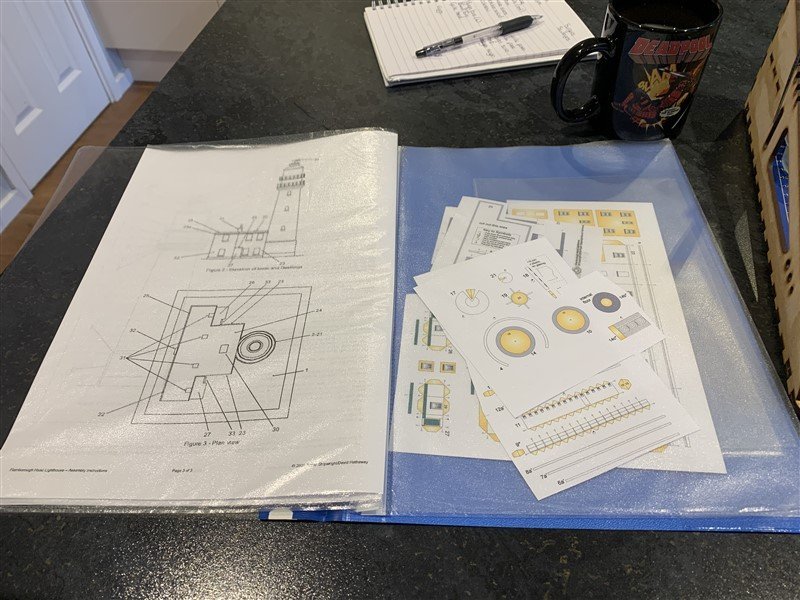
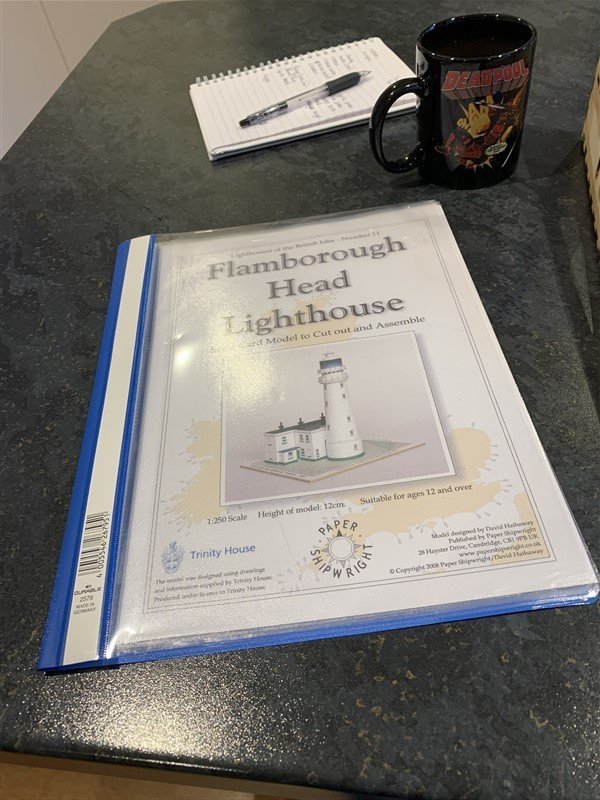
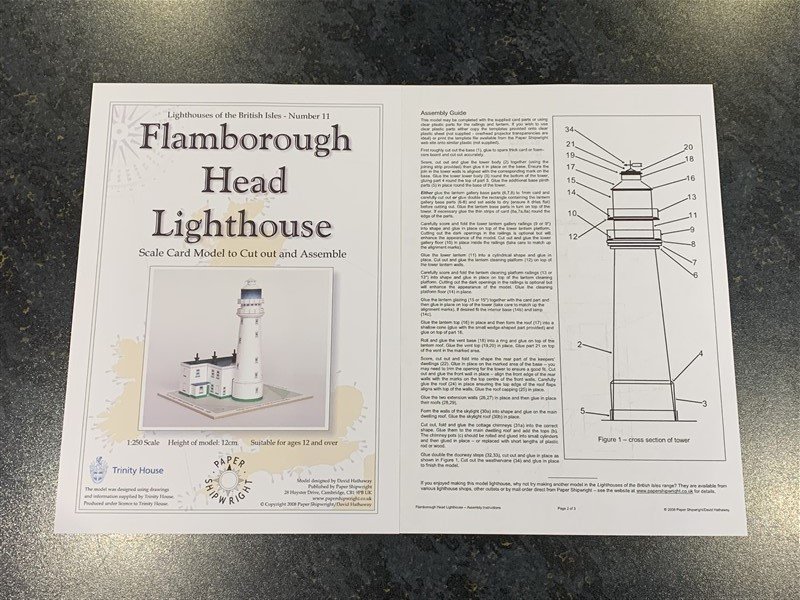
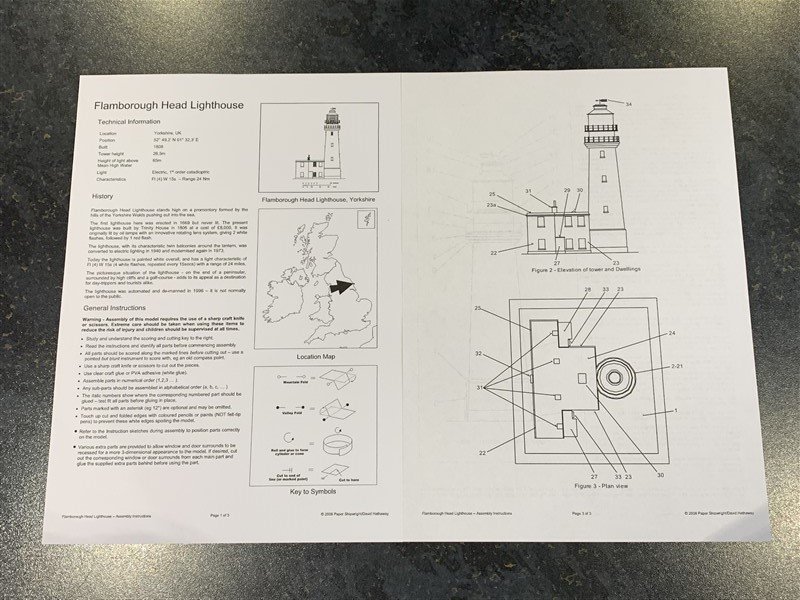
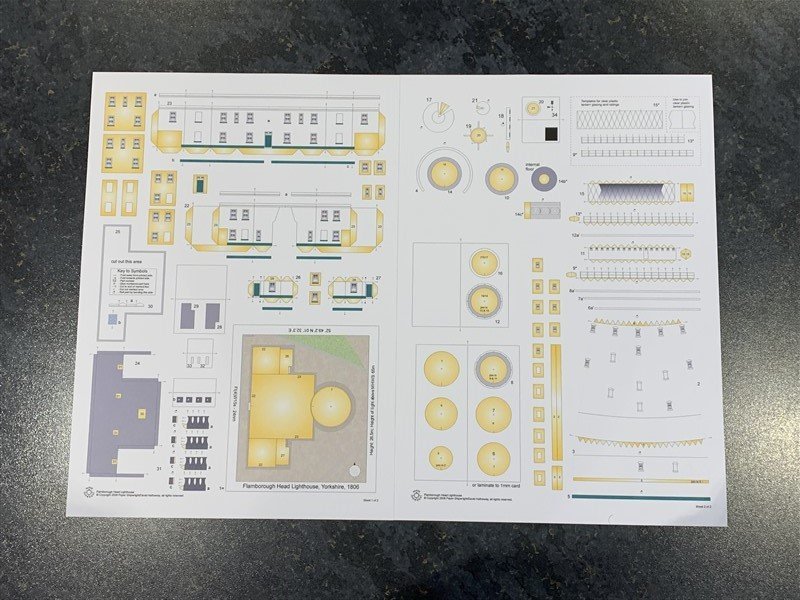
Evening All, Starting a build log for something new to me, a card model! I have been inspired by the logs on MSW of various people turning humble card and paper into masterpieces - not least Chris Coyle and his many tutorials on how to get started - I will be following these for my builds for sure. 👍 I bought a couple of kits from Paper Shipwright, a Clyde Puffer and this Lighthouse, I'm glad I did as I opened the packaging for the Puffer and nearly fell off my chair, there are just loads of tiny pieces to cut out and laminate. So very quickly decided a lighthouse with a square base building might be the better option for my first model. Baby steps and all that... So what I received today was An introduction sheet with a little history of Flamborough Head Lighthouse and general instructions on how to proceed and key symbols to look for in the instructions. The instructions themselves form the next sheet accompanied with two labelled diagrams showing the parts. Finally the two A4 sized card sheets with all the parts on that need cutting out. First step was to seal the sheets with fixative as recommended by Chris in his tutorials, but my can is fairly old and splatters a bit, so I have paused this until I get a fresh can. I did a tiny test area and the fixative does darken the colours slightly, so I do need to do this before I can look at trying to match these colours with paint on the various edges that are going to need it. I did manage to cut out and glue part No.1 (the ground plan) onto some 5mm thick dense fibreboard as my base and painted the edges white. So I will leave things there until I can 'fix' my sheets. Until next time!
- 30 replies
-
- 13
-
-
Hi Jonathan, nice careful work and well planned. 👍 And good news about your asparagus crops, love asparagus, griddled with Parmesan shavings and good balsamic vinegar. 😛
- 38 replies
-
- 2
-
-
- Nisha
- Vanguard Models
- (and 1 more)
-
The hull shape looks quite similar to Nisha, as you have built both, do you think it will be the same second planking wise?
-
I do like a Hellcat and the Cats mouth adds to the unmistakable deadly lines. The 1/24 Airfix was a beast, so a 1/33 scale one is going to be impressive! 😲
- 150 replies
-
- 12
-
-
Hi Jonathan, Great to see another "Nisha" join the fleet! 😃 Do not worry, I have stopped counting the number of times I have broken my "Nisha" 😆 Good save by making replacement parts! 👍 (Pulling up a virtual chair to follow your build.) 🍿
- 38 replies
-
- 2
-
-
- Nisha
- Vanguard Models
- (and 1 more)
-
Very nice Dave, was wondering where you’d got to! Very nice set up. 👍 I also work in the garage but find I need heating and I had an insulated door fitted to replace the old Henderson crinkled metal one.
-
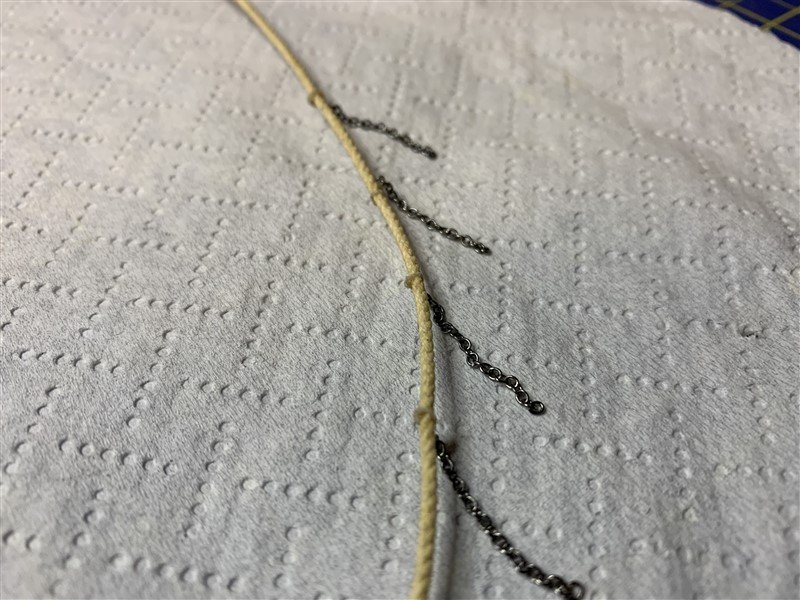
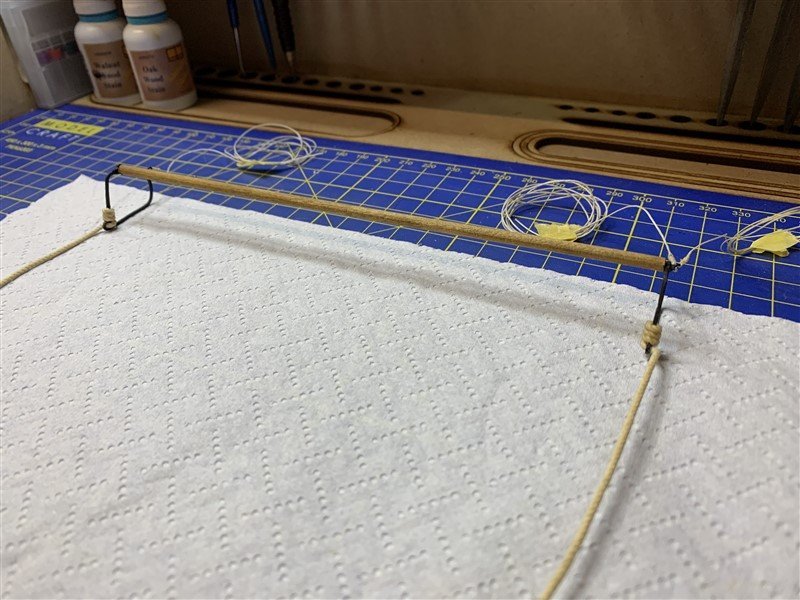
My rigging avoidance tactics are coming on a treat and the trawl beam and heads are now assembled and I have attached a ground rope, complete with chain "ticklers" and bridles; including the smaller Dandy bridle used to help bring the aft trawl head alongside. I have tried out the position of the trawl beam/head assembly on the model to see how it would be stowed. According to Edgar Marsh the forward trawl head was lashed securely in between the middle and aft shrouds and the aft end chained at the stern where aft head overhung the taffrail, to avoid the whole rig falling inboard in rough weather, which from the size/weight of it would have been a serious problem! Next up I'm trying out some netting for the actual trawl, I hadn't realised for some reason just how big this was going to be! 😲 The trawl beams according to Marsh were anywhere from 20 to 50 ft long; depending on the individual trawler. "Nisha" was 'middling' size wise, so using the distance from shrouds to just past the stern gave me a scale 38 ft beam, which seems okay. Again according to Marsh the actual nett was twice the beam length, so at 1/64 scale it will be just over 1ft / 300mm long! I think therefore I am going to display it rolled up under the beam! 😆 Thanks for the likes and comments. 😁


- 206 replies
-
- 15
-
-

-
- Vanguard Models
- Brixham trawler
- (and 2 more)
-
Very good reef points, did you do a knot near the sail on each side? I’m about to do some reef points and wondering how to do the knots at the sail end. 🤔
-
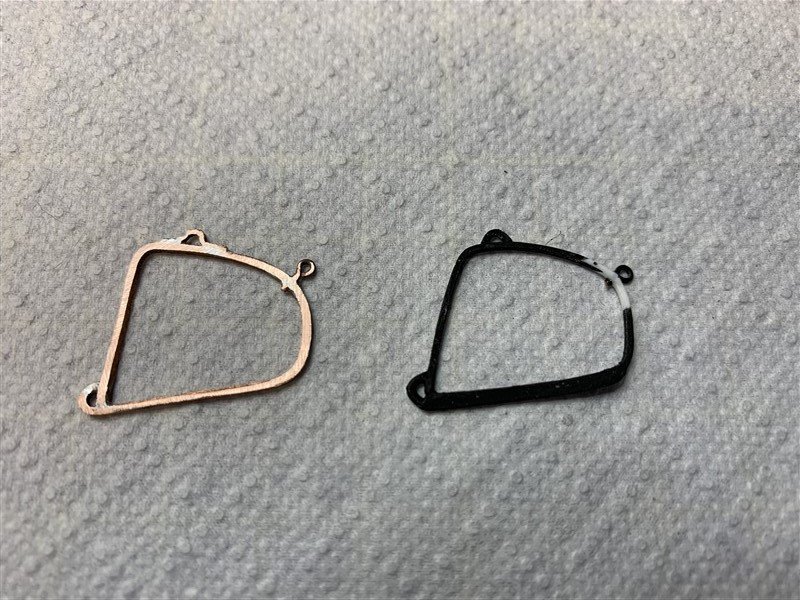
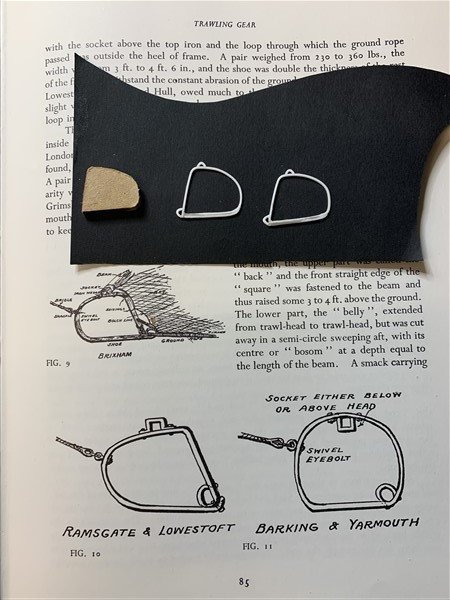
My misgivings about the styrene trawl heads were justified and one of them sprang apart whilst painting and sanding. A sure indication that they were going to be a problem when I tried to attach the trawl beam, ground rope and netting, they were just too delicate. I initially went for styrene rod just out of shear habit formed by years of plastic modelling, but styrene is not adequate for wooden model boat building it seems, well nothing like this anyway. I had considered buying some square section metal, but my Dad suggested just hammering some copper wire into shape, so this evening in an attempt to save a few pennies I set off to try that, using some old earthing wire I happen to have in the garage. It was actually easier to shape than I imagined by using a hammer on the top of a vice head and being soft wire it bent around the same timber former that I had used for the styrene versions. Next I pinned the loosely formed wire into shape and soldered, followed by a spell of filing flat and cleaning up. A couple of other details added were the trawl beam socket; again formed from the same shaped wire and the shackle eye-bolt, for this I file a slot into the wire then used a rigging eye bolt and soldered that into place. A case of one step forward, no - that is one step backwards, then one step forward again, but at least I tried something new in the process!


- 206 replies
-
- 12
-
-
- Vanguard Models
- Brixham trawler
- (and 2 more)
-
Looking absolutely lovely Andy. Your soon catching me up! 😲
- 32 replies
-
- 1
-

-
- Nisha
- Vanguard Models
- (and 1 more)
-
Kit Review Paper Shipwright Kits: A General Overview
AJohnson replied to ccoyle's topic in REVIEWS: Model kits
Well Chris your current USS England build and this review have tempted me to the ‘dark side’ and I have ordered a couple of Paper Shipwright models, to have a go at this form of modelling I haven’t done before. This site is addictive, just need more time to do all these lovely projects 🤣 -
Glad to see you back building Will, after having had Covid. 😀
-
Wow, those a re very good looking sails Dan! 👏
- 90 replies
-
- 1
-
-
- Model Shipways
- muscongus bay lobster smack
- (and 1 more)
-
Hey another little “Nisha” build log, I will follow along to this latest addition to the growing fleet of “Mumble Bees”. The advice you have had so far is sound, if you can take a deep breath and pause to absorb the planking techniques of edge bending and tapering planks available on MSW, then things will go better we promise! We are all here to help on MSW, just give yourself time to absorb how it’s gone and if you can’t face taking the planks off just yet you can always do some of the more straight forward assemblies like the hatches and winches and keep in a “creative” mode before going back. I often jump to something easy to do whilst pondering a more difficult stage in a build. Just need time for ideas to sink in, there’s no rush. Excellent progress so far, keep at it! 👏😁
-
Those pumps are very good Trond, Nice details you are now adding to your build. 👍
-
Very neat looking planking Craig! 👏
-
Update for this evening is a little progress on the sails and also a start I have made on the trawl gear, I've not had as much time working on "Nisha" as I would like, the Admiral has got me doing another garden project at the moment! I'll post pics of that over in the "Gardening" section of MSW when done. The sails have been a lesson in patience, I've painted them using my airbrush and a mix of enamels to give me the worn red colour I was after. I need to add the rigging and blocks and some reef points. I have been testing these various stages; including using Letraset style rub on lettering for the Sails on my prototype sail at the top of the 'Sails' picture. Then I think I will set to the desired bend/shape and spray with matt varnish. The "Trawl Heads' are from 1mm square plastic rod, bent around a wood former, heated and then cooled into shape. These are based on description and dimensions from Edgar Marsh again. I'm not too sure on them yet, I might have to get some brass rod of the same section and try my hand at soldering. These plastic ones might be a bit too delicate to rig a beam and net to. I'll carry on for now to see how things progress; good practice for sorting out the various trawl elements, but can see myself having to learn a new skill soon! Thanks all for continuing to follow and support.

- 206 replies
-
- 14
-
-
- Vanguard Models
- Brixham trawler
- (and 2 more)
