

Patrick Matthews
-
Posts
391 -
Joined
-
Last visited
Content Type
Profiles
Forums
Gallery
Events
Posts posted by Patrick Matthews
-
-
A couple related topics: Corded vs. cordless, handheld vs. flex shaft.
I appreciate the merits of a Foredom, and the lower cost of corded units vs. cordless... but unlike a jeweler and to a lesser extent a display ship modeler, I'm a free-range modeler... have to be, when models are 5 and 6 feet long! I'm up and down the bench, working from above and below, and I'd be lost without my cordless rotary.
My trusty Dremel 800 cordless just died after some 15 years service, so I just popped for Dremel's new top of the line unit, the 8260. 12v, and brushless for better efficiency/longer battery life, yay. Do I need the Bluetooth communication capability so I can use my smart phone to check on the battery condition?
Uh, no.
And did I choke just a bit on the price, knowing that throw-away rotaries can be had for one Andy Jackson?Uh, yep.
But then I thought about how important this tool is to me. Even made me remember one day as a kid trying to get started in serious model railroading, when I was hanging out in the local model train shop, having a bull session with the owner and another regular customer. "What's the most useful tool to own?" I asked. The regular said he'd be lost without his Dremel!
And then I looked at how much I paid for a decent airbrush... the new Dremel is on par with that. So the trigger got pulled and I'm just waiting on the package to arrive. Desperately waiting, because in the meantime I'm spending scores of minutes whacking on things by hand when the rotary would take care of the job in seconds!
In the picture below, my defunct cordless Dremel is highlighted while I pose with the latest big project.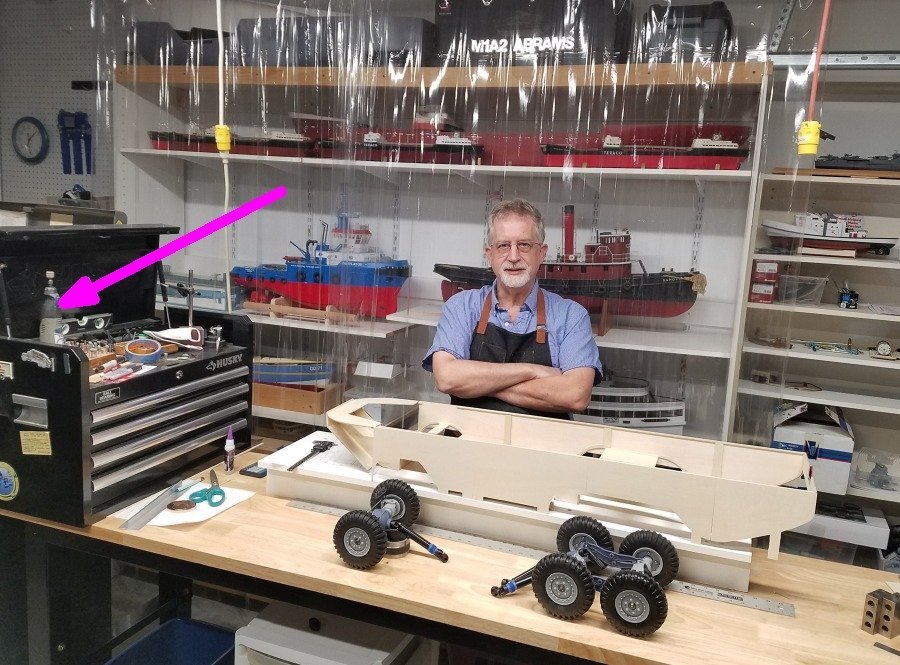
-
5 hours ago, mtaylor said:
Do you have a drill press or milling machine? Pretty easy with one of those to drill holes where you want them. If using a Dremel, do a search for their press. Be careful on those though as the ones with plastic parts are basically useless.
??
Yes I do have a mill, but I think you're thinking of the wrong holes. I'm talking about through the "knuckles" or barrels, where the hinge pin goes. That would take at least a 3 inch long drill bit of only 0.025" diameter, and even if such exists, it wanders off center as it goes deeper. -
4 hours ago, No Idea said:
Nope, it is 10mm wide, I'm after more of the 5mm wide stuff.
-
-
On 8/2/2021 at 2:34 AM, henrythestaffy said:
...Not sure where .8mm comes into it but the mentioned size is well within the capabilities of a resin printer and with a coat of brass leaf paint you have a hinge...
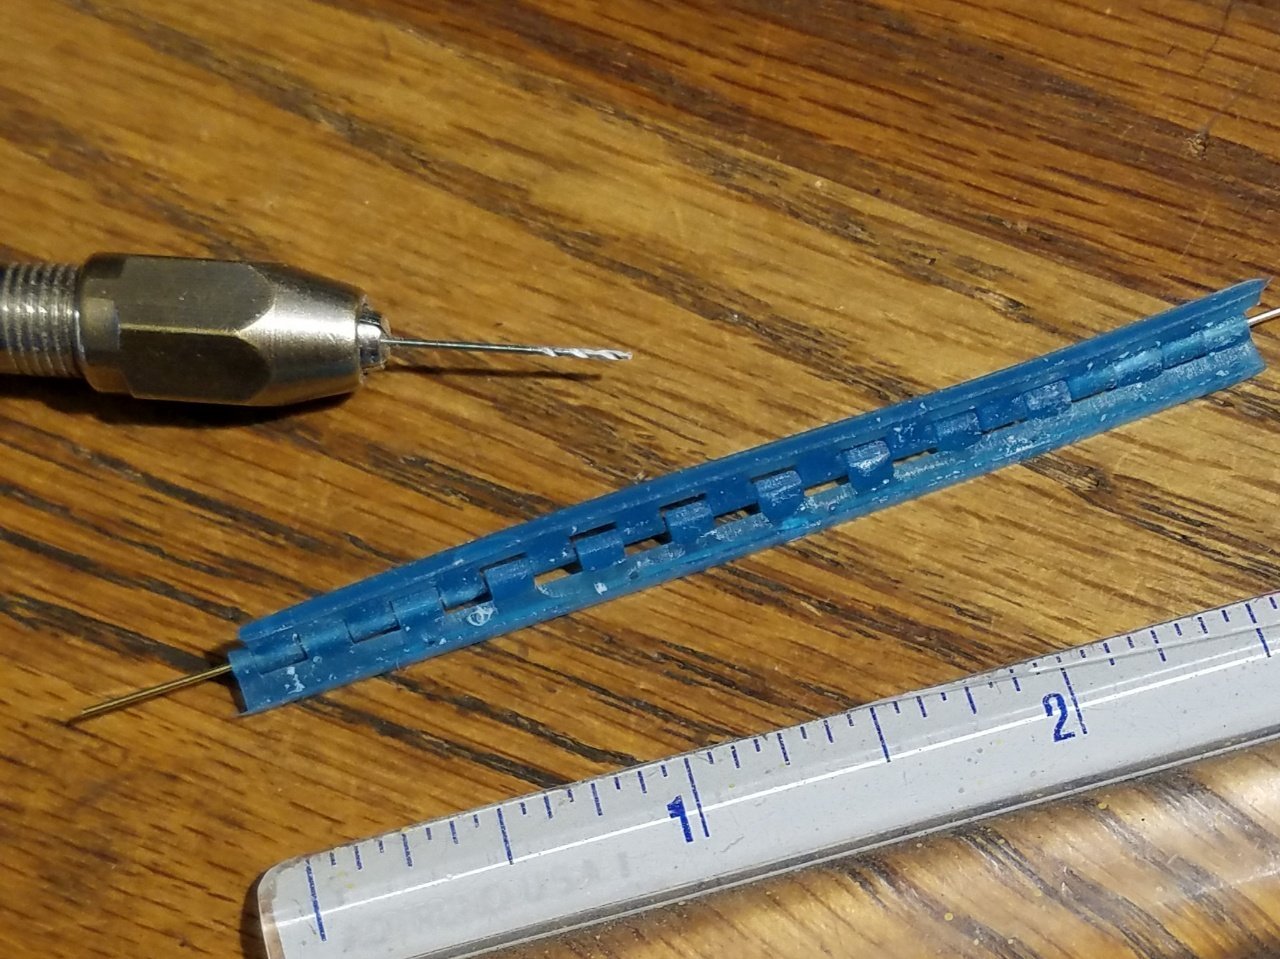
The .8mm refers to feature size, like wall thickness. More applicable at commercial printers like Shapeways. With my new home resin printer and high strength resin, I'm comfortable with 0.5mm (0.020"). Any smaller might print but is too delicate to handle.
I just tried printing a short piano hinge, about 1/4" wide (open), with 0.020" wall thickness. The biggest problem is that holes tend to fill up, and there's no practical way to drill them out beyond about 1/2" at either end. Even if I had a long drill bit (with 0.025" diameter), it goes off center after drilling a couple eyes.
-
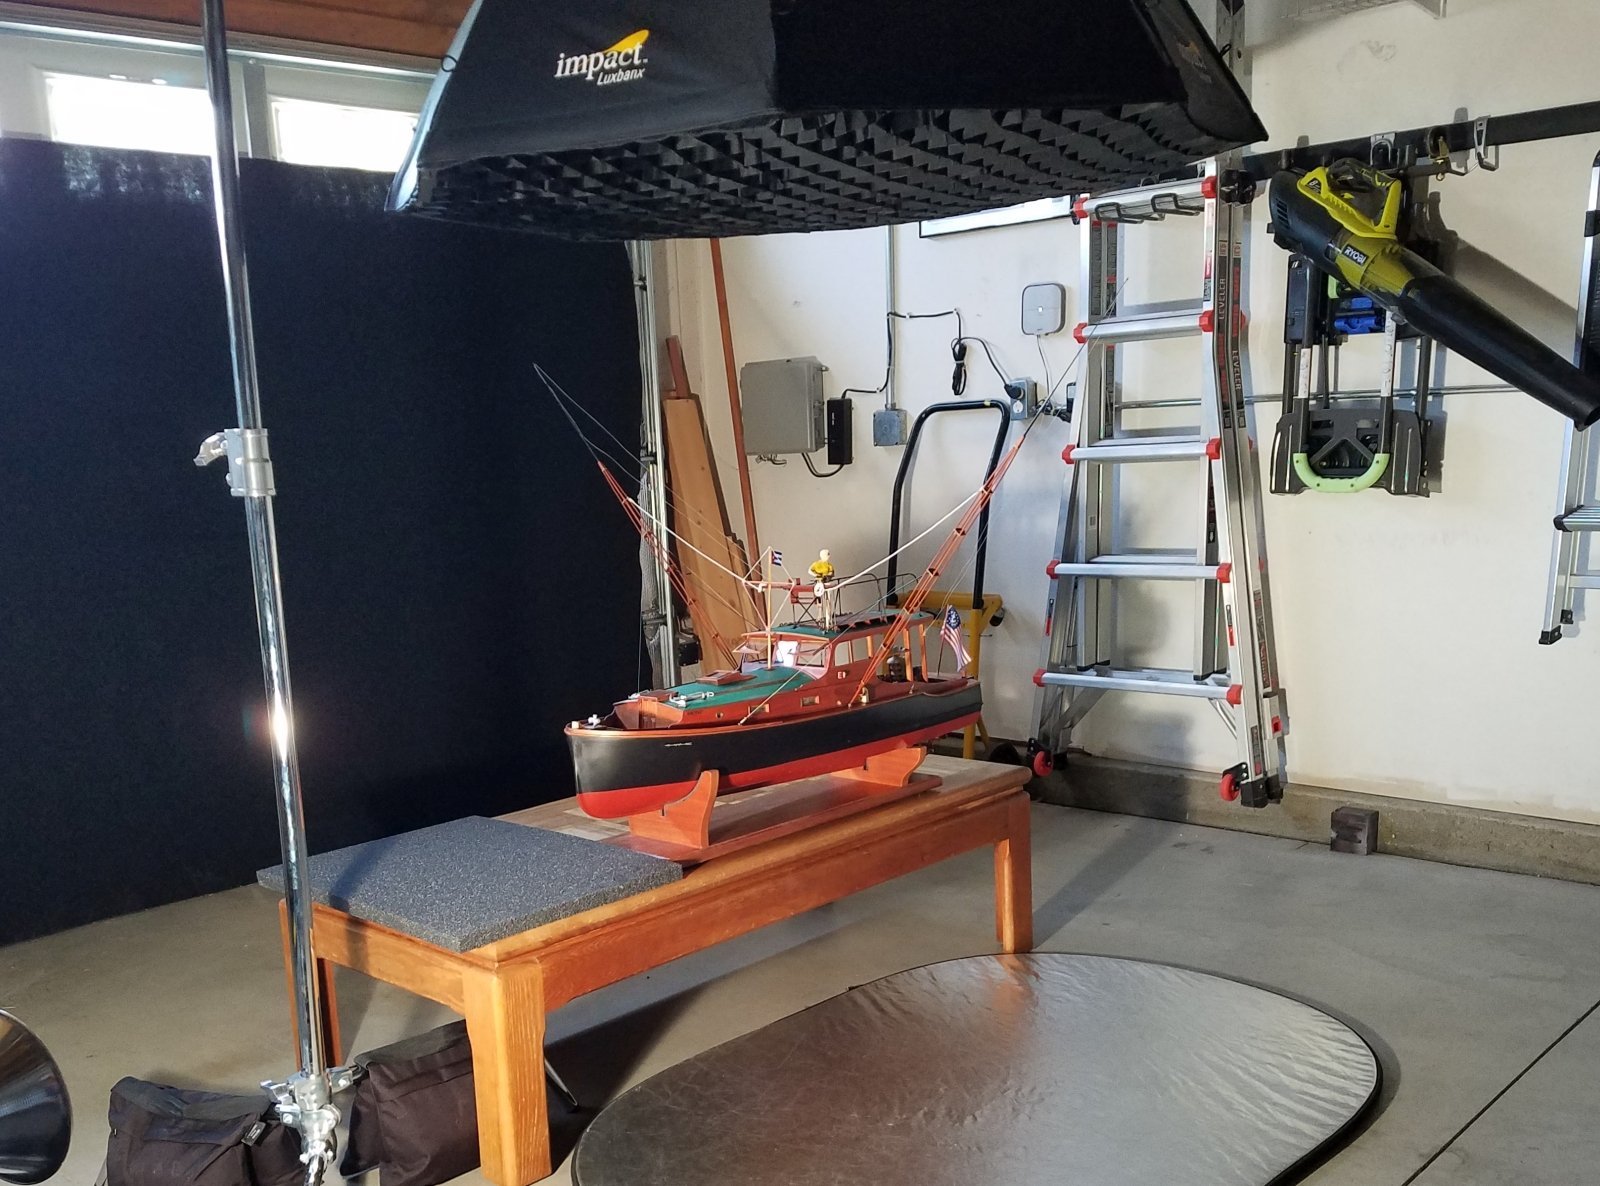
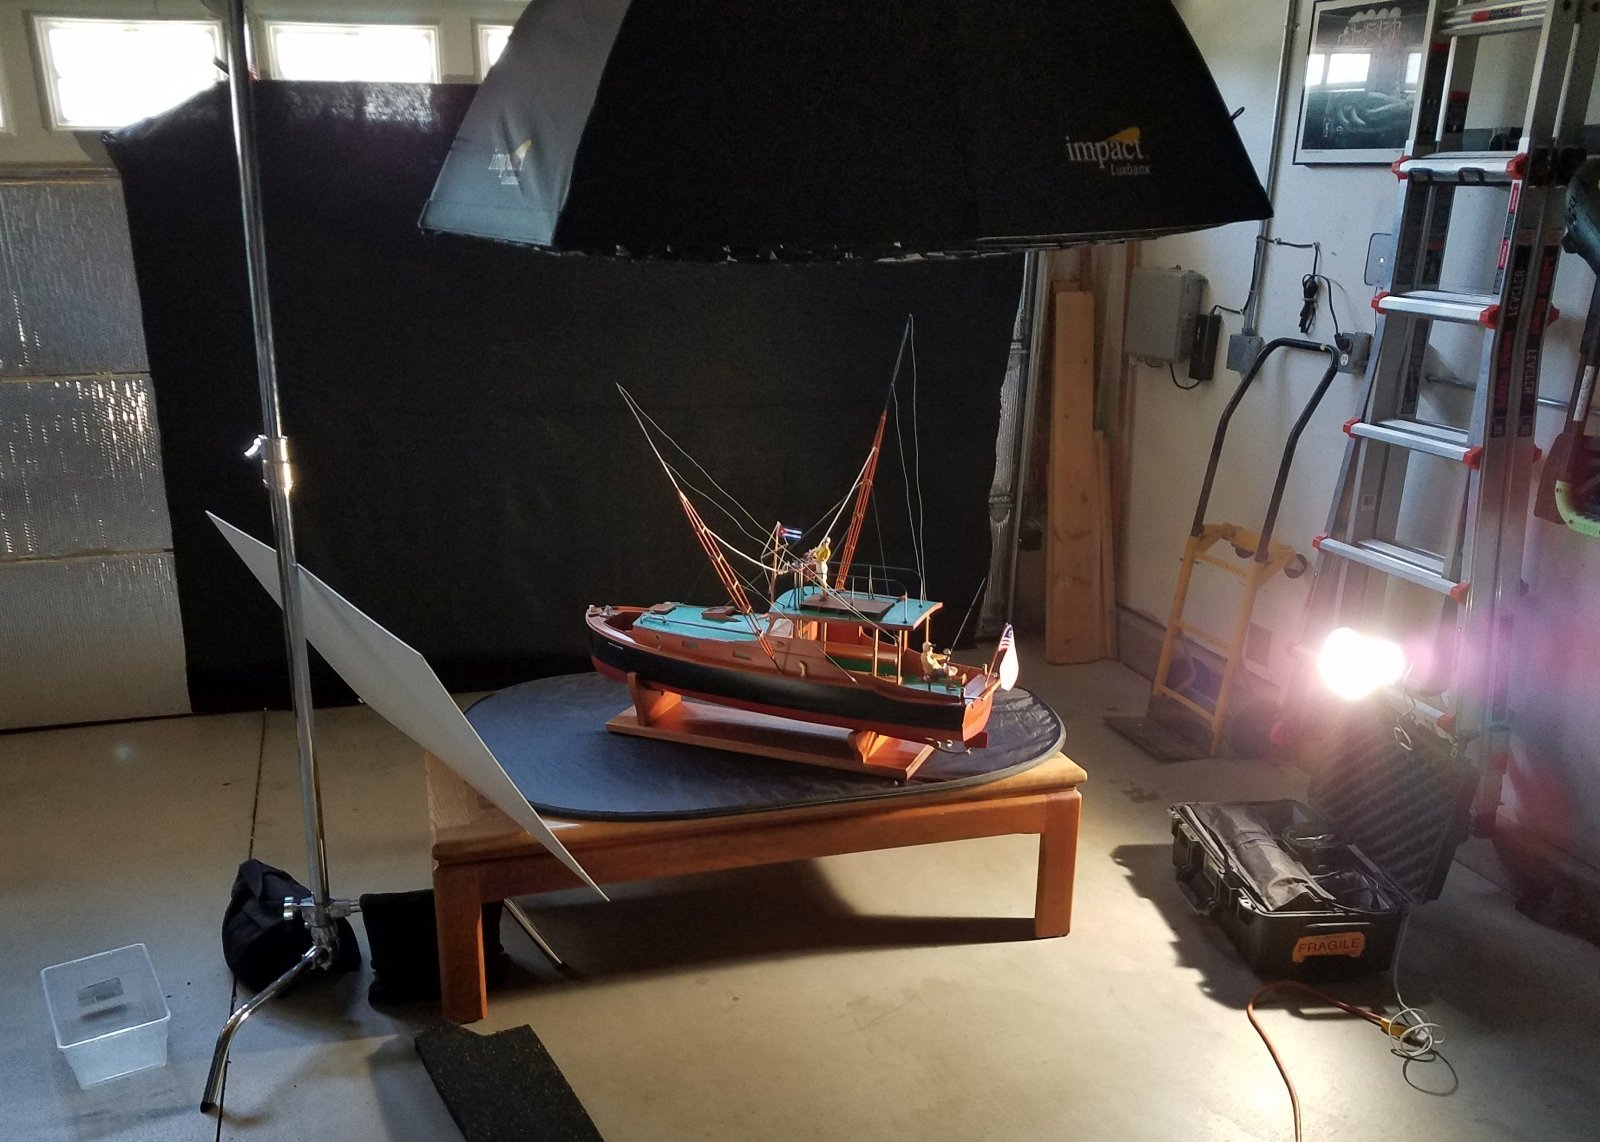
I've taken plenty of photos of my models, mostly in-process on the work bench. Sometimes I'll make an effort to take some beauty shots, always with so-so results. But my brother, who is a pro photographer, showed me some tricks using my PILAR model. Am I likely to pick up the same tools he has? Not too likely, but a lot of it actually isn't too much of an add, assuming you already have a decent camera.
My impromptu lesson took place in my garage, with a big piece of black fabric for a back drop, and a coffee table to hold up the model.
The main "tool" was a soft box- a big umbrella like thing with diffusers and a strobe inside. This was arranged over the model to rain soft parallel light down from above. We played with a reflector panel to get some bounce-fill, and even resorted to an old photo flood to fill in a dark spot. The process had a lot of trial and error: take a shot, examine it, adjust the lighting, it was all magic to me.
It was hardly a complete studio, but we made do with it to get some decent shots. See more in the scratch build gallery under PILAR.
My brother Wil doing his thing in the garage:

Better view of the soft box and reflector:

Using an old flood to fill in:

... to get results like this:

-
There are various ways to handle and store the IPA. First, realize that the used IPA will contain uncured resin after a wash. And therefore, it stinks like resin. So you want a good seal on your container. I use plastic pickle jars:
https://www.amazon.com/LOCK-HPL933BT-Pickle-Container/dp/B06WD1F7HD/
I don't own a wash/cure, too much bother.You can use the IPA several times no problem. Maybe keep two jars for 1st & 2nd wash. You can leave the IPA in the sun to solidify dissolved resin, then strain with coffee filters. Some invest in distillers to get the best cleaning of the IPA.
- thibaultron, lmagna and mtaylor
-
 3
3
-
re: Water Washable... proceed carefully. It is NOT OK to wash parts in the sink and down the drain! Your wash water, containing uncured resin, needs to be treated like hazardous waste.
I only use IPA, it's just not a problem. High volume users may have more to deal with, but there are techniques, read up on it.
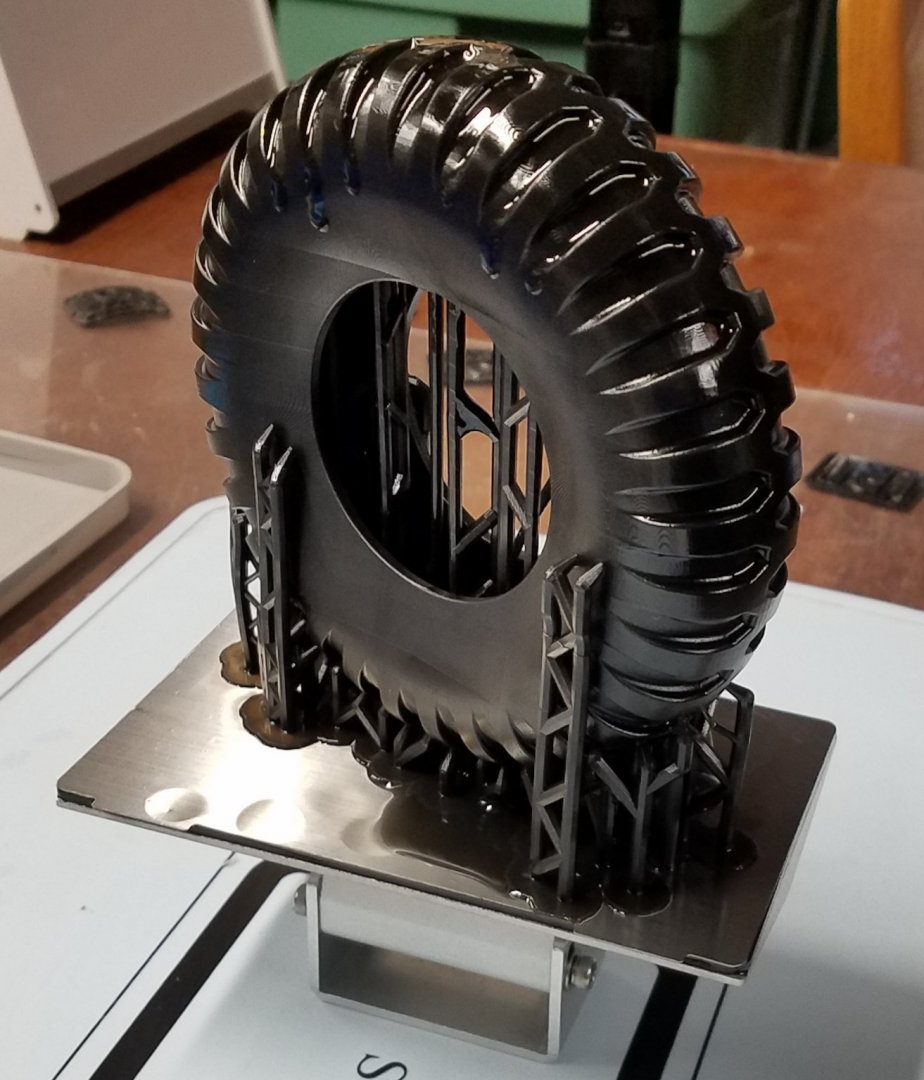
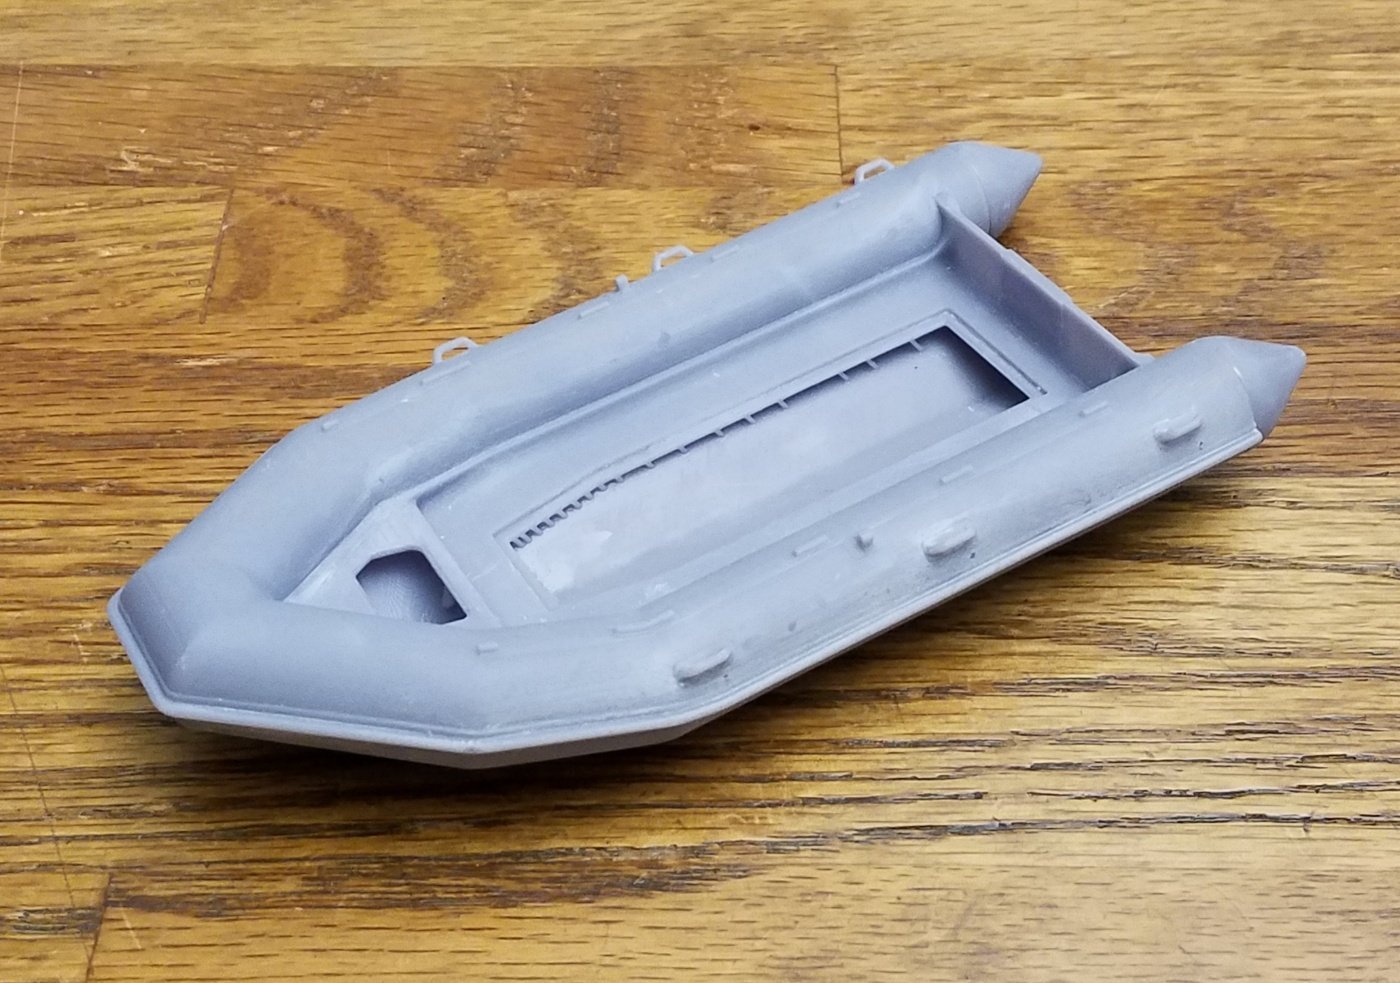
My latest part, and it's marine related- for a DUKW! A 5" OD tire printed in flexible resin:
.
-
-
-
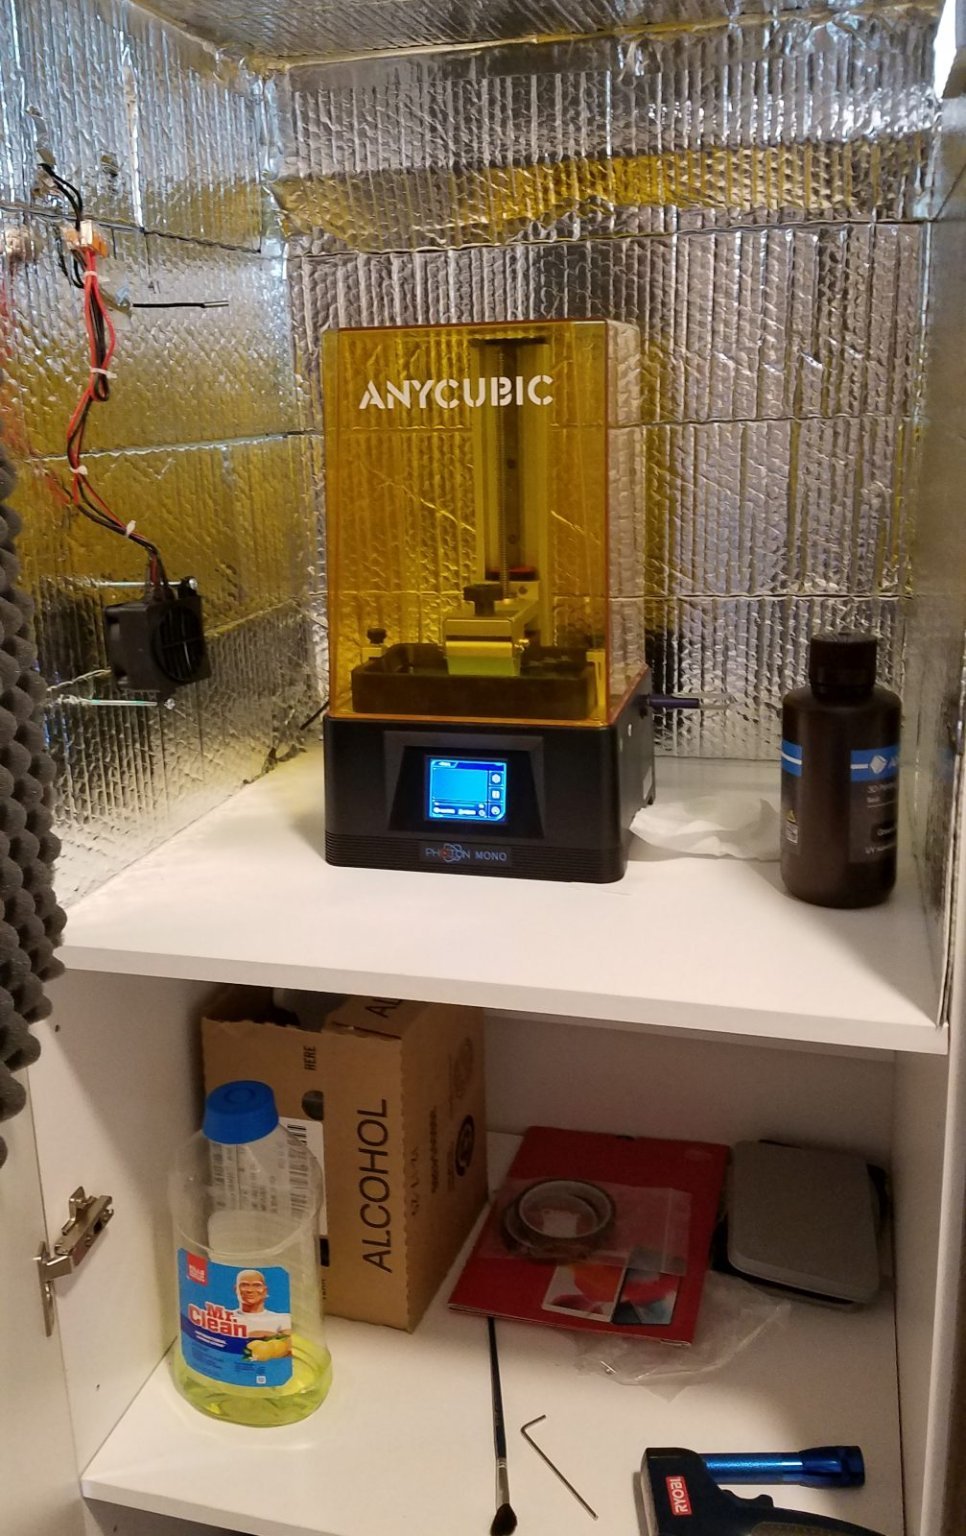
I have done A LOT of 3d printing, mostly with fine detail parts sourced through houses like Shapeways. Whenever someone asked me what kind of printer I had, the answer was NONE- because affordable home printers had such horrible resolution and finish. Don't mess with the overhead I said, let Shapeways do that, and you'll get better parts to boot.
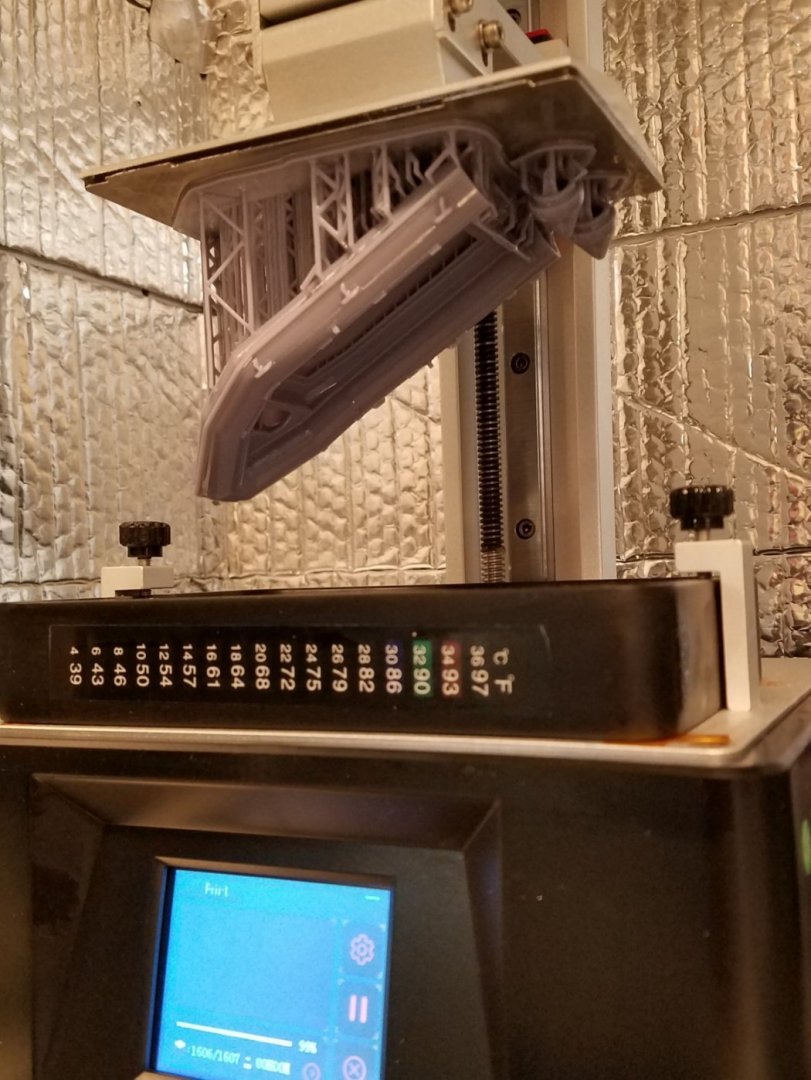
That's different now, with the new bottom-up LCD resin printers. And now I own one!
My little printer and a typical part:

-
-
There's a whole book to write regarding preparations for RC use, all best done before getting too far along... not only motor and prop, but prop tube and bearings... ballast, how much and where to put it... battery choice and how to mount it... wiring... steering linkage and servo... access to EVERYTHING, as everything needs to be serviced... and super important, waterproofing. I would never consider floating a wood planked hull that doesn't have a fiberglass outer skin (and not just resin- actual glass in there).
-
Thanks. F360 is as bad as the others, not only for the learning curve and hull lofting, but also its basic competence. But it's free and I make do, with a fair amount of cussing.
- CDR_Ret, thibaultron and mtaylor
-
3
-
A trend in CAD design is to get away from dependence on paper drawings. For while we had "CAD is the Master", which meant "we'll give you a paper drawing, but you need to build to the 3d model in the CAD file"- for example, working directly from that model to create CNC tool paths. And now we even have "CAD IS the drawing", where you get no paper at all!
Fusion 360 seems to lean that way- it has powerful 3d modeling and CNC elements, but they really dumbed down the 2d print making capability. To the point where you really have to jump through some hoops to make a traditional ship drawing that bench-top model builders can use.But I figured out those hoops.
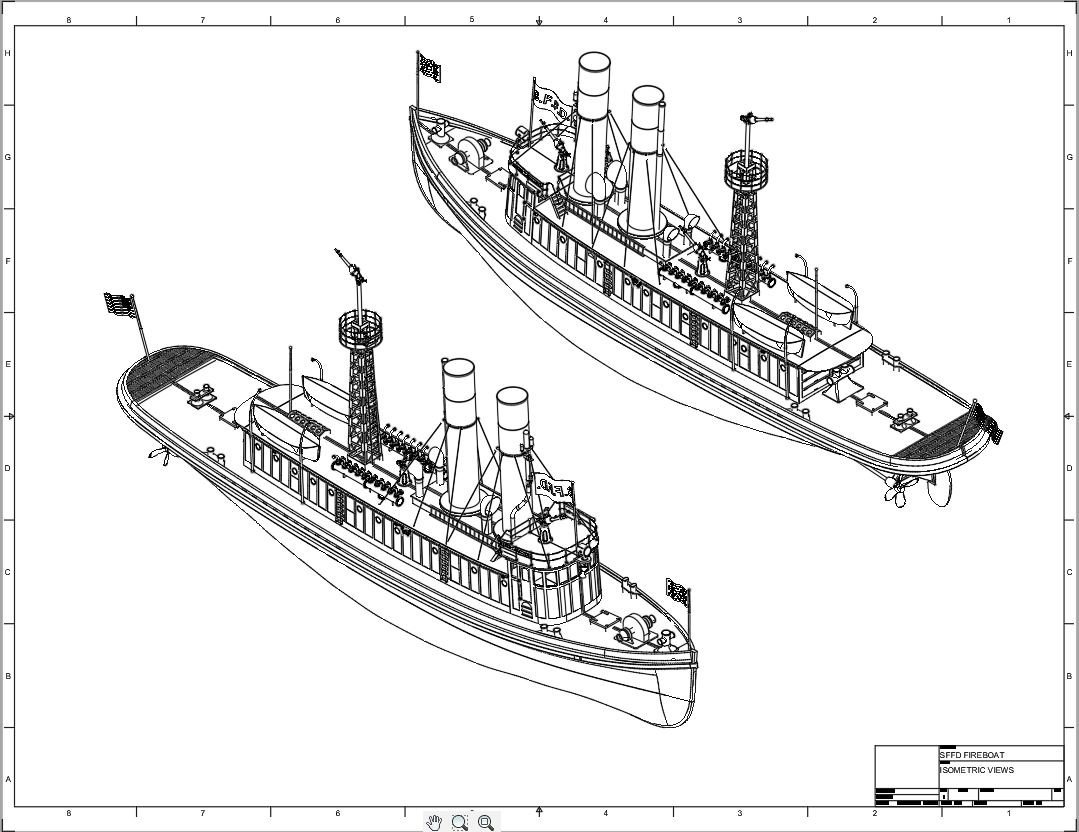
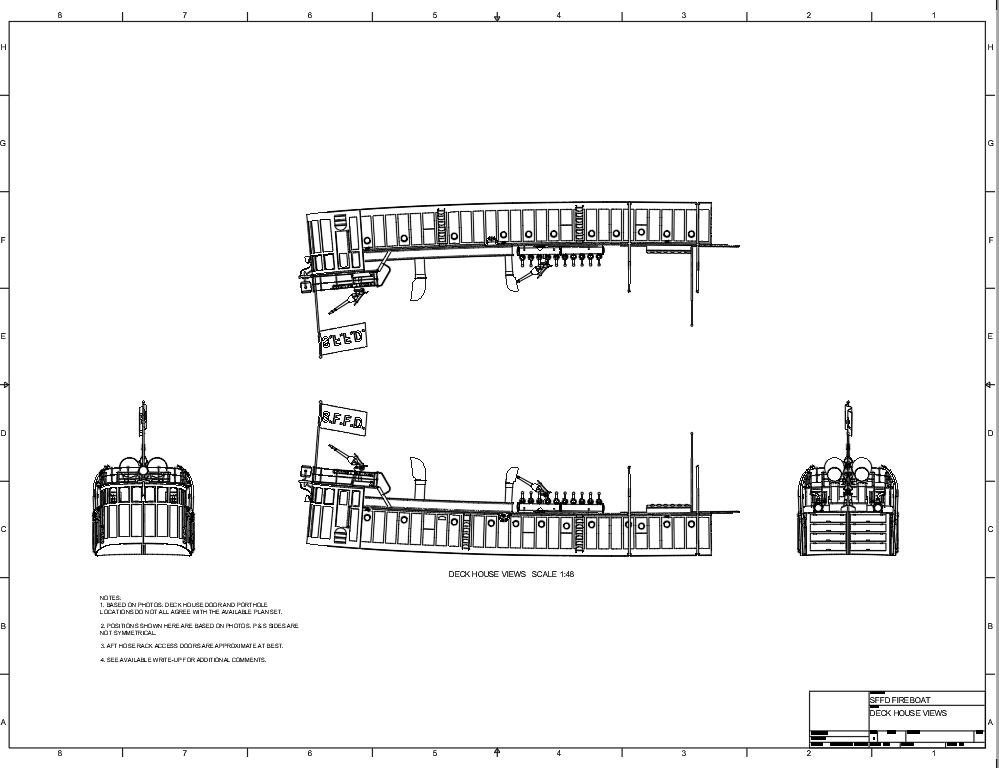
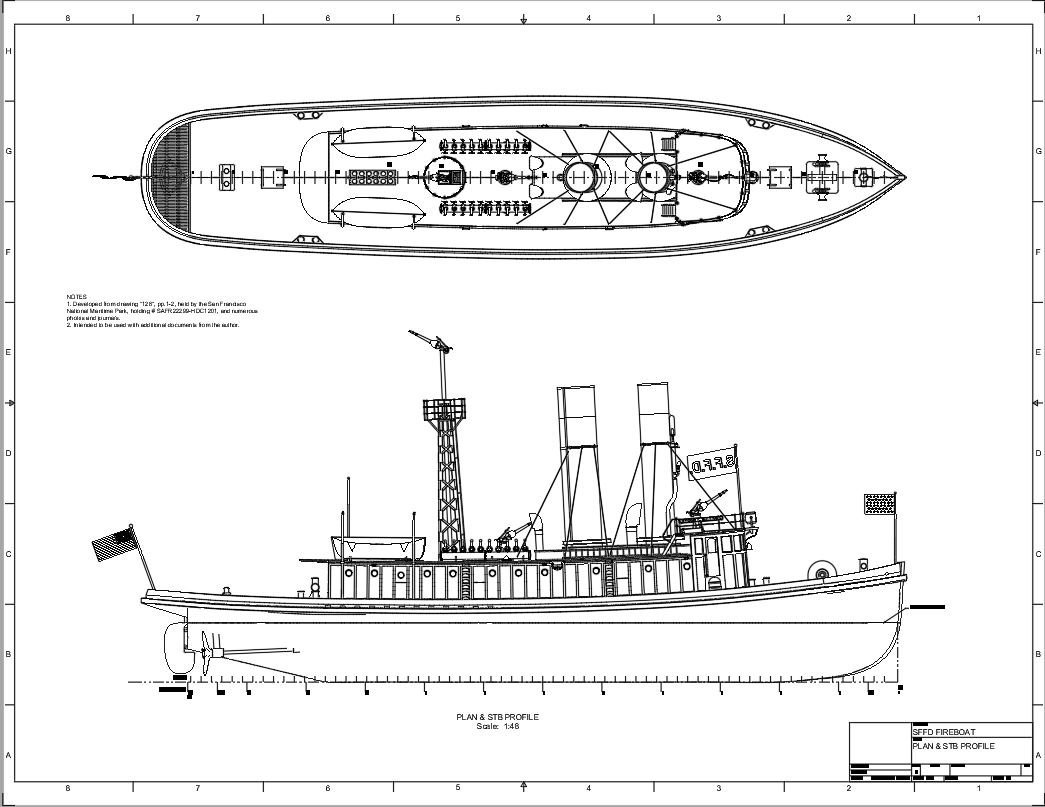
And- I'm finding that I can easily add views that might not be included on traditional drawings, where the old draftsmen actually seemed to worry about how much paper they used. Here are some examples, with isometrics, starboard AND port side views where it matters, and body sections drawn to both sides (no need to wrassle with flipping paper templates inaccurately around the centerline!).
These examples from my San Francisco fireboat project.Full "E" size drawings will be posted soon, these are thumbnails:
Body sections on BOTH sides:

Isometric views:
P&S views of the asymmetrical cabin door layout. And front and back, too:
And a traditional view:
- mtaylor, Nautical 1 and thibaultron
-
1
-
 2
2
-
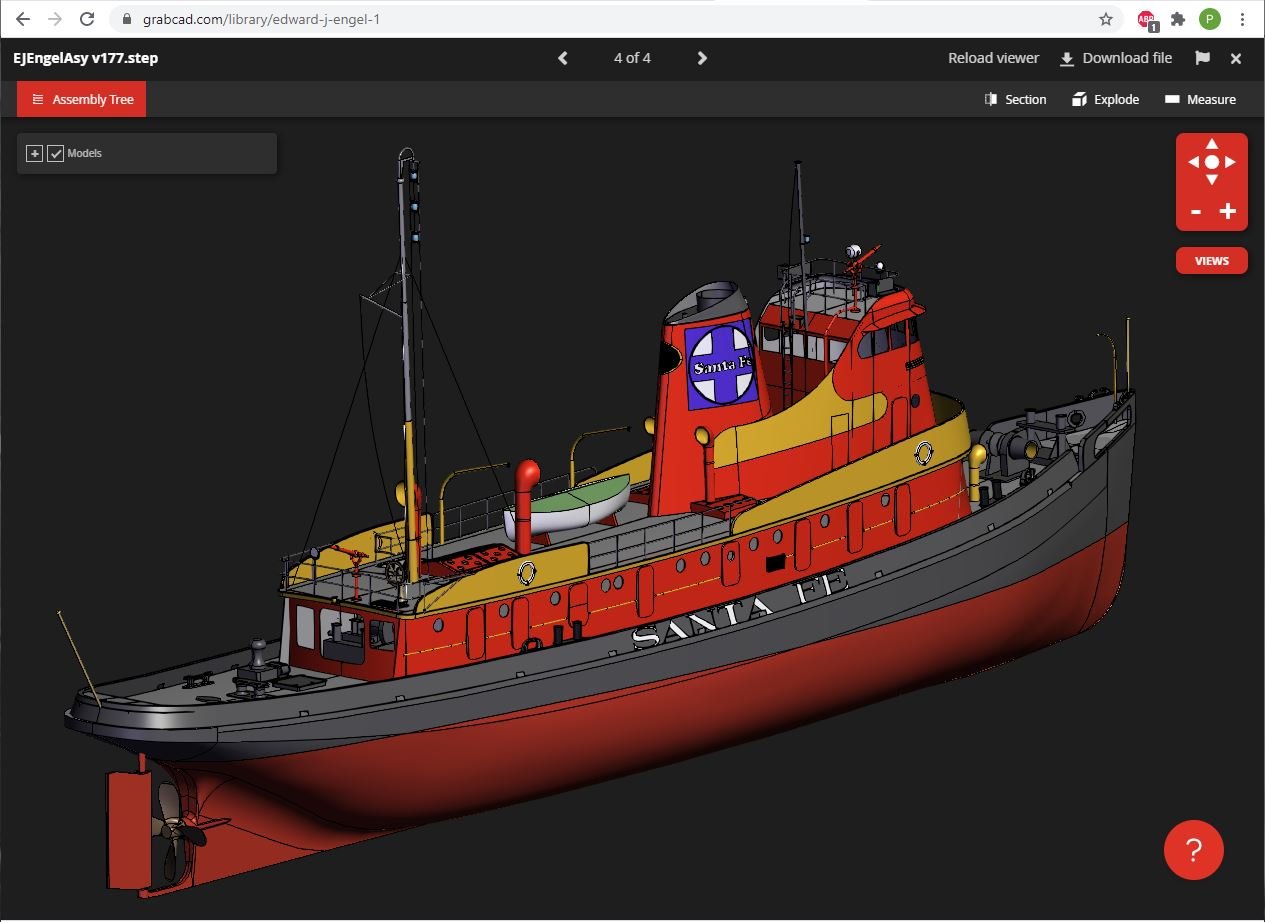
Discussed in more detail up in Plans Research, but I've been modelling the 1945 Santa Fe tug "Edward J. Engel" in Fusion360.
The purpose of the model is mostly just to pin down the overall shape and component placement, based on existing fuzzy prints from period marine engineering journals. Much can be improved, and I hope to do so. The model as drawn is not suitable for 3d printing, but I have put it up on GrabCAD for free. You can spin it around and download it at:
https://grabcad.com/library/edward-j-engel-1
- scrubbyj427, jmiba, wefalck and 5 others
-
8
-
With recent changes by Autodesk, the free version of Fusion360 can't save files to DXF, which you could use in most laser cutters. The paid version will allow this though- you make your sketch, generate solid parts from that, make a 2d drawing from the solid, and save an appropriate view as DXF.
Regarding the print shops- you can have confidence in their printing ability the first time through. Unlike with the cheap filament printers, their processes are robust and well dialed-in. But yes, you do need to design a good part to begin with! And you need to be familiar with the main types of printing, which each have their benefits and challenges.
- thibaultron, mtaylor and Canute
-
3
-
Even with free s/w like Fusion360, much can be accomplished:
- mtaylor, Canute and thibaultron
-
3
-
I used to have access to CATIA through work... but now retired, I must satisfy myself with Fusion360.
In CATIA:

Part of Fire Fighter in Fusion360:

- thibaultron, Canute and mtaylor
-
3
-
I've been designing and sourcing printed parts for some 11 years now. I still do not own a printer, as I don't want it to become the hobby itself. No interest in maintaining the equipment, tweaking it, and otherwise being encumbered by it, just to get sub-standard results. So I pay more and and just get my parts from pros, like Shapeways and Sculpteo. And these pros keep a stable of different types of printers, whatever is best suited for the job. FDM if you like making wicker chairs, multi-jet, true SLA, several flavors of SLS, and even waxes for investment cast parts. Have yet to pop for laser-sintered metal parts, though I did some back in my working days.
Two models I did, with almost 100% printed parts:

-
Thanks Kurt.
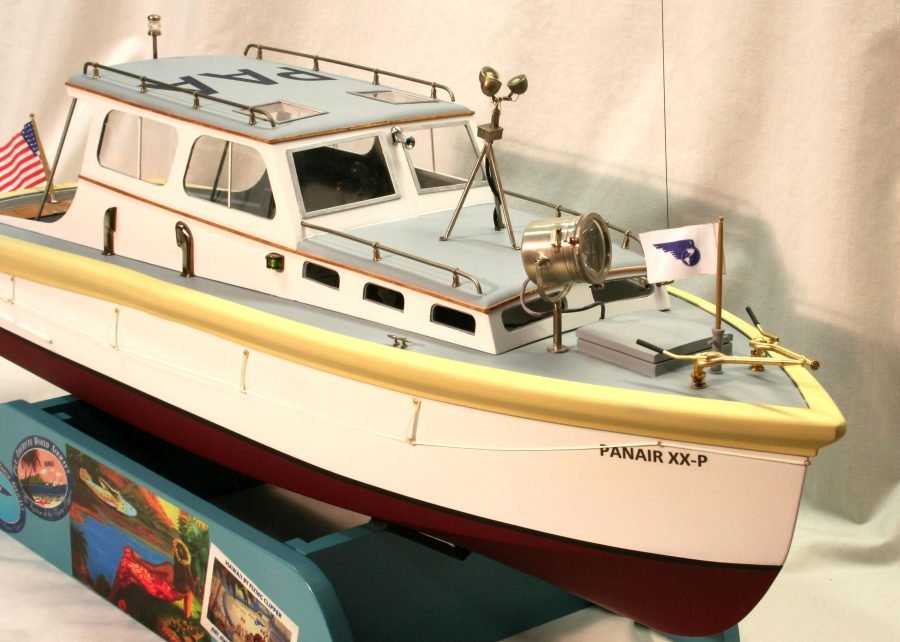
Indeed, and Wes Wheeler has big hopes for it. While he has detailed measurements from the original Pilar, the new boat differs in many significant ways... just as with the movie "replica" previously featured in Wooden Boat, it should not be used as a reference for models of the original Pilar. Much like BMW's version of the Mini vs. the original Mini Cooper!
- thibaultron, mtaylor and kurtvd19
-
3
-
-
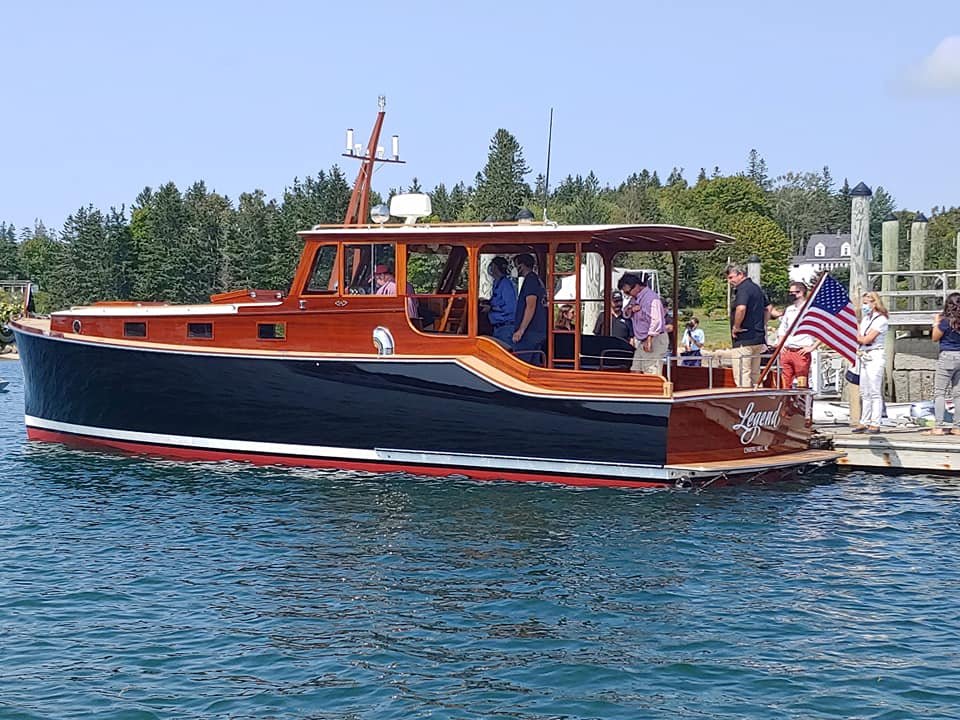
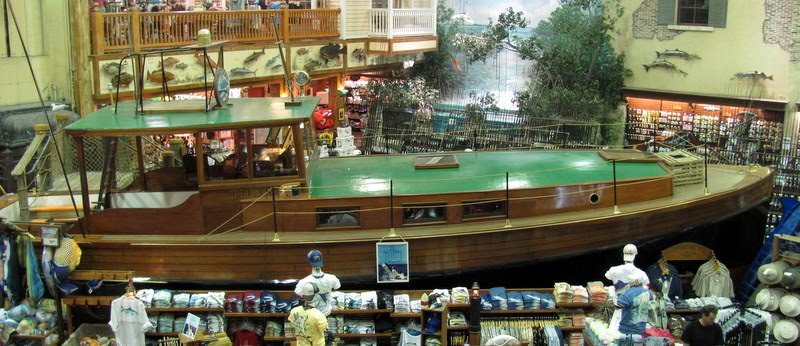
But don't look at it too closely, that's NOT Pilar. Another boat converted to loosely resemble Pilar, but wrong in major ways.
Also don't look too closely at Wes Wheeler's modern interpretation of Pilar, it too is different in many ways, not at all a replica.
Also don't look too closely at the thing in the BassPro shop in Florida, it is neither Pilar nor even a Wheeler.

-
A while back I did a repair job on an Ingram towboat model, and noticed that it seemed to have a thick build of hard paint, which I assume was epoxy or automotive 2k. I imagine that a nice self-leveling epoxy could be an expedient way to achieve a smooth surface on a wood model of a steel boat.
Does anyone know if this is a typical trick of the commercial trade?
.
Some of the damage, but the paint could take a beating!
All better now


3D Printed Plank Cutter
in Modeling tools and Workshop Equipment
Posted
Nice!
Most of these choppers use the single edge blades, strong, sharp and easily sourced by the hundred.
Consider that the work surface will get chopped too, a deeper and deeper canyon will develop. On my 20 yr old home grown chopper, I use magnetic sheets to secure a steel rule when needed. It's about time for me to change it...