Rustyj
-
Posts
2,538 -
Joined
-
Last visited
Content Type
Profiles
Forums
Gallery
Events
Everything posted by Rustyj
-
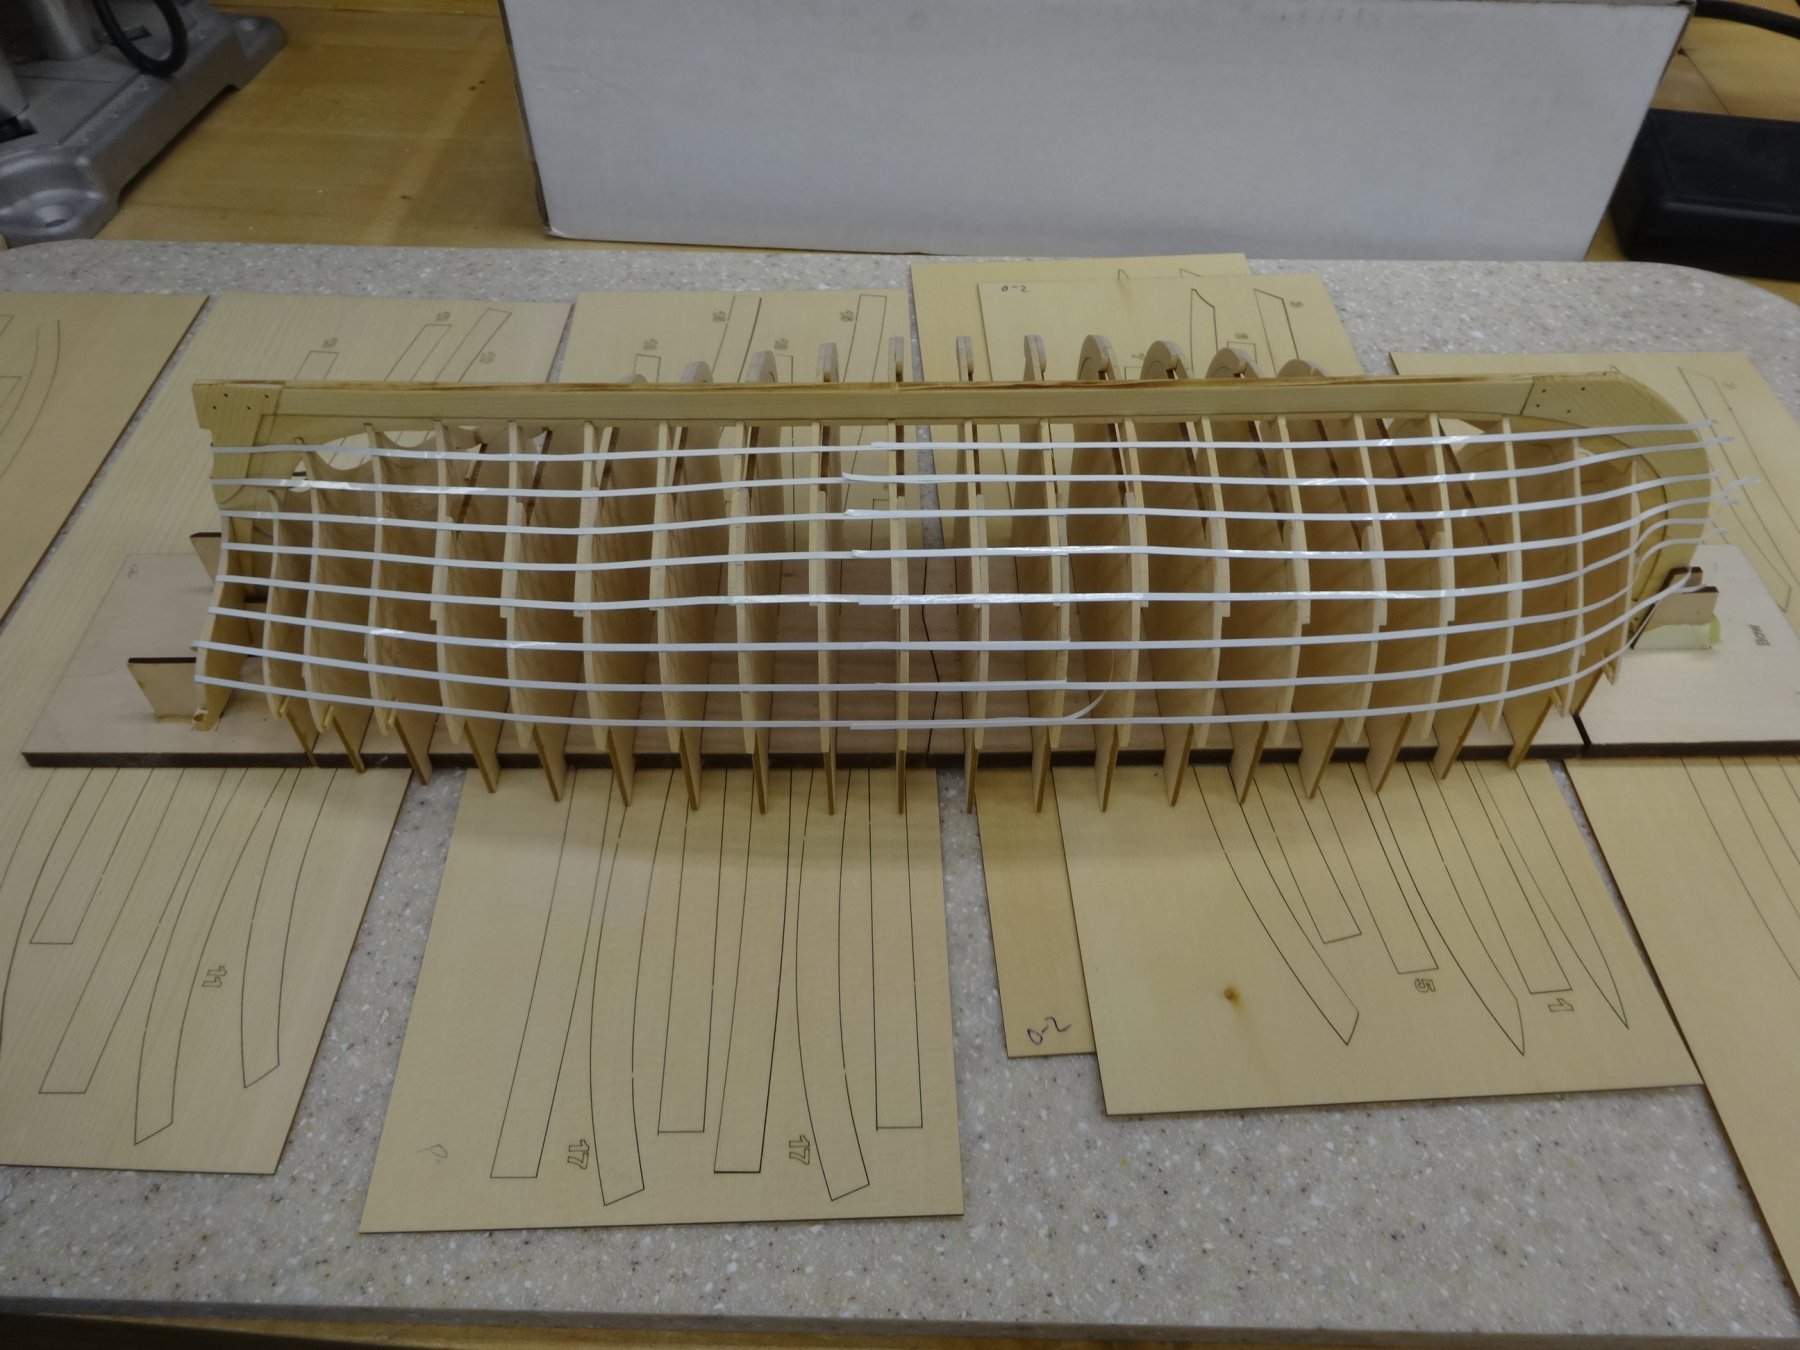
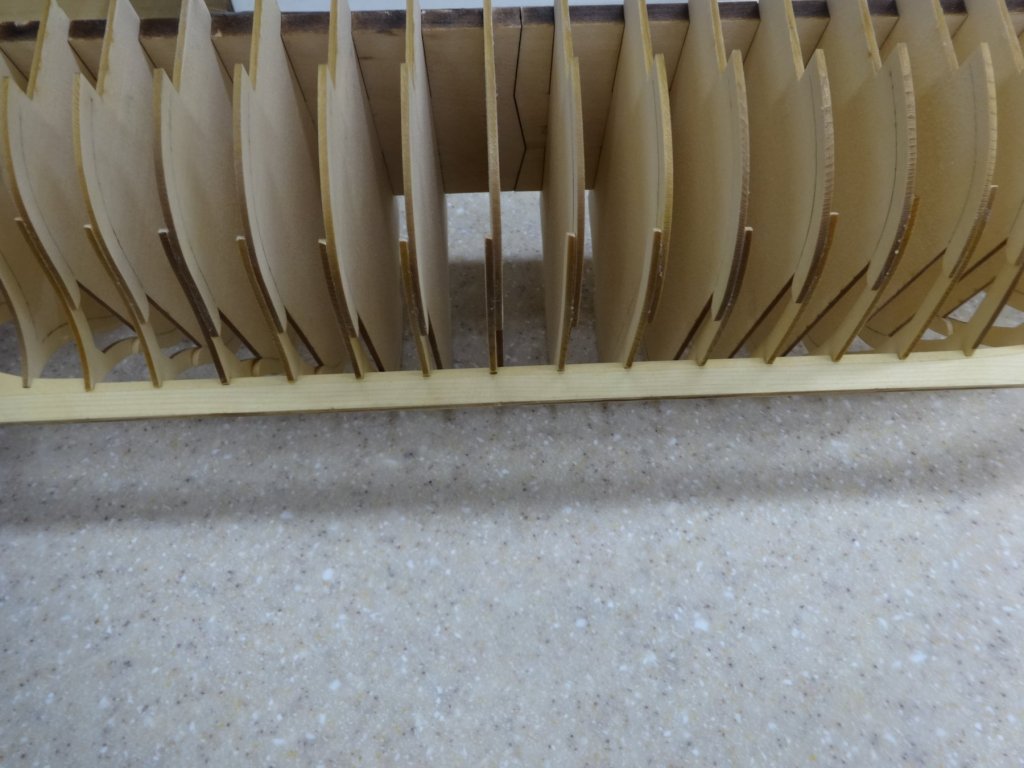
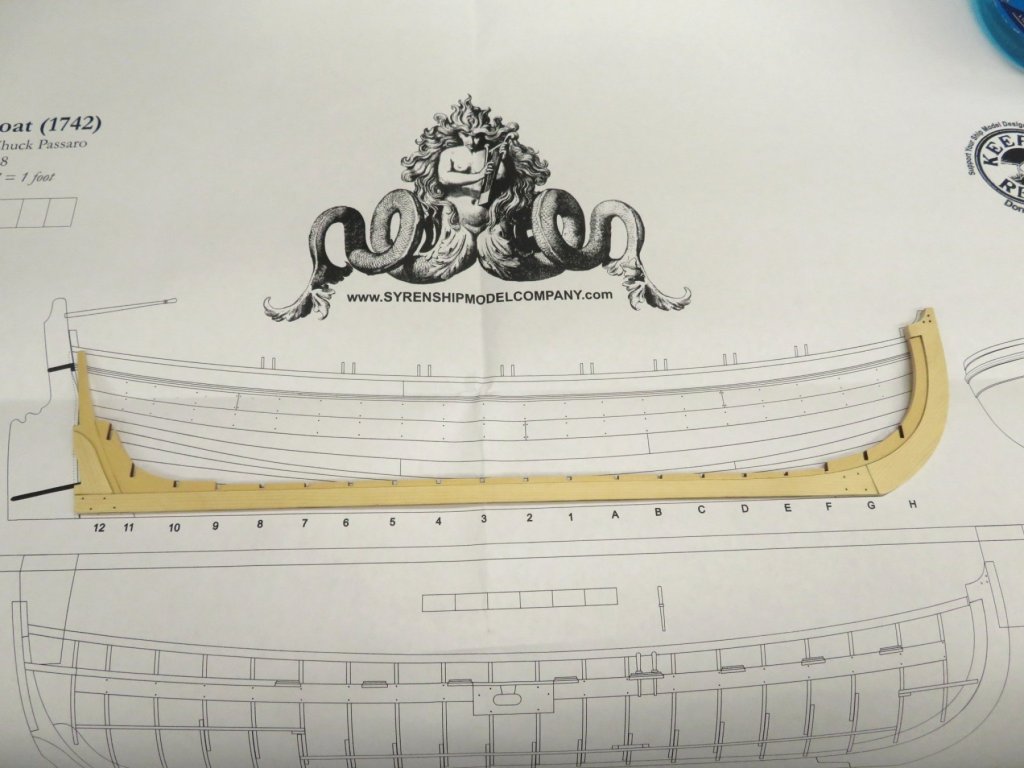
 Boy that is beautiful! I've faired the frames and added the tick marks as instructed. I also used some pinstripe tape to "line off" the run of the planks. I used a batten to check the frames as I went. I used 220 and 320 sandpaper. Slow and gentile. This is the initial laying out of the lines. I'll tweek them to get a nice run and the mark the frames.
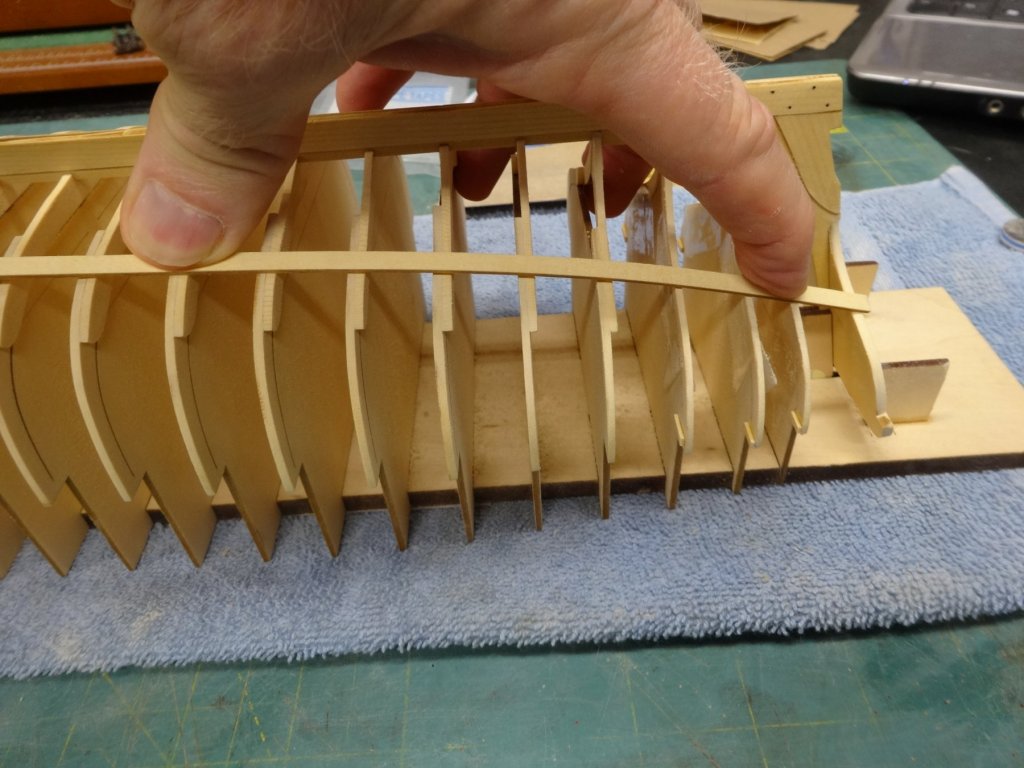

- 152 replies
-
- 9
-

-
- medway longboat
- Syren Ship Model Company
- (and 1 more)
-
Hi Jim, When I did mine all but one matched up which showed me I had that one frame slightly off center. I compensated for that when I lined it out.
-
Great start Jim! Enjoy your trip!
-
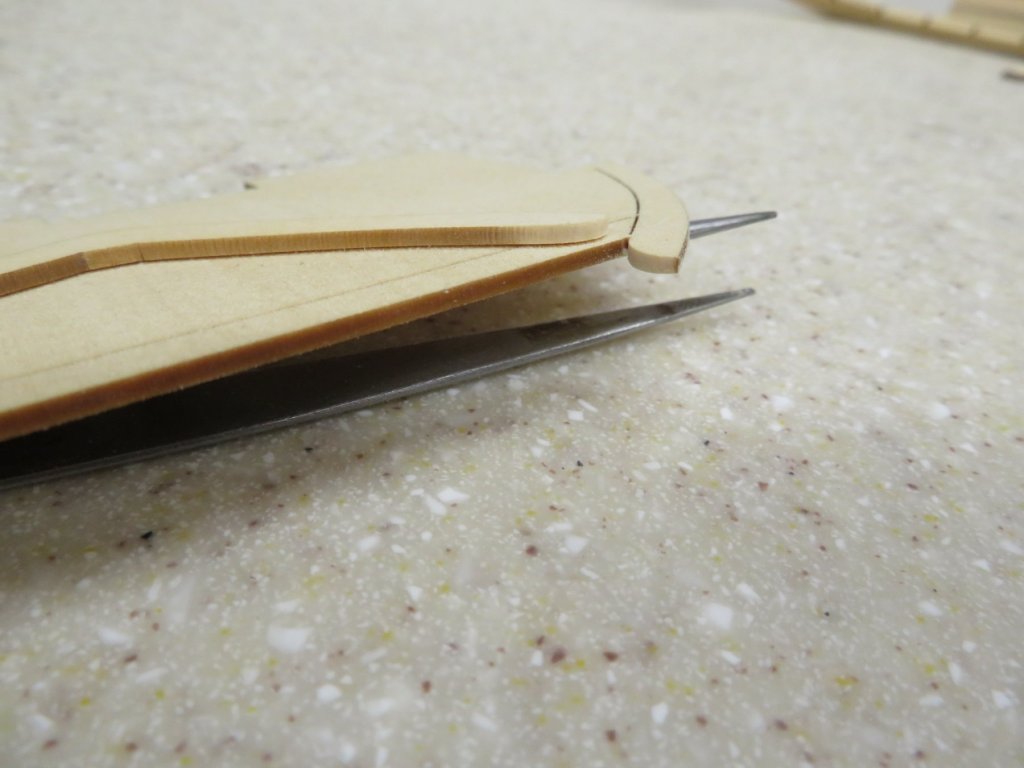
Hi Jim. Ok you made me curious and that can be a bad thing for me. I have finished fairing the stern area so I did a test removal of the additional strip placed on the frame. I took my x-acto and slowly stripped the piece off and when almost to the frame I gently finished with a sanding stick. As you can see you can barely see where it was. I'll leave the others in place and once I get to the eight row of planking I'll remove the others. I hope this helps you.

- 152 replies
-
- 8
-
-
- medway longboat
- Syren Ship Model Company
- (and 1 more)
-
Yes Jim slow is the way to go. I have to constantly keep telling myself that too.
-
Hi Rob, Thanks and I look forward to seeing your progress. Thanks Chuck. I'll probably jinx myself now but everything has been going together like a charm! Hi Jim, Chuck said add them so I did. Really I used thin, 1/32', thick cedar from the kit and it should cut easily. Also I'm confident that if they do show I can remove them later. I would rather have to do that then risk breaking a frame fairing them which I'm currently doing. So far so good.
- 152 replies
-
- 1
-
-
- medway longboat
- Syren Ship Model Company
- (and 1 more)
-
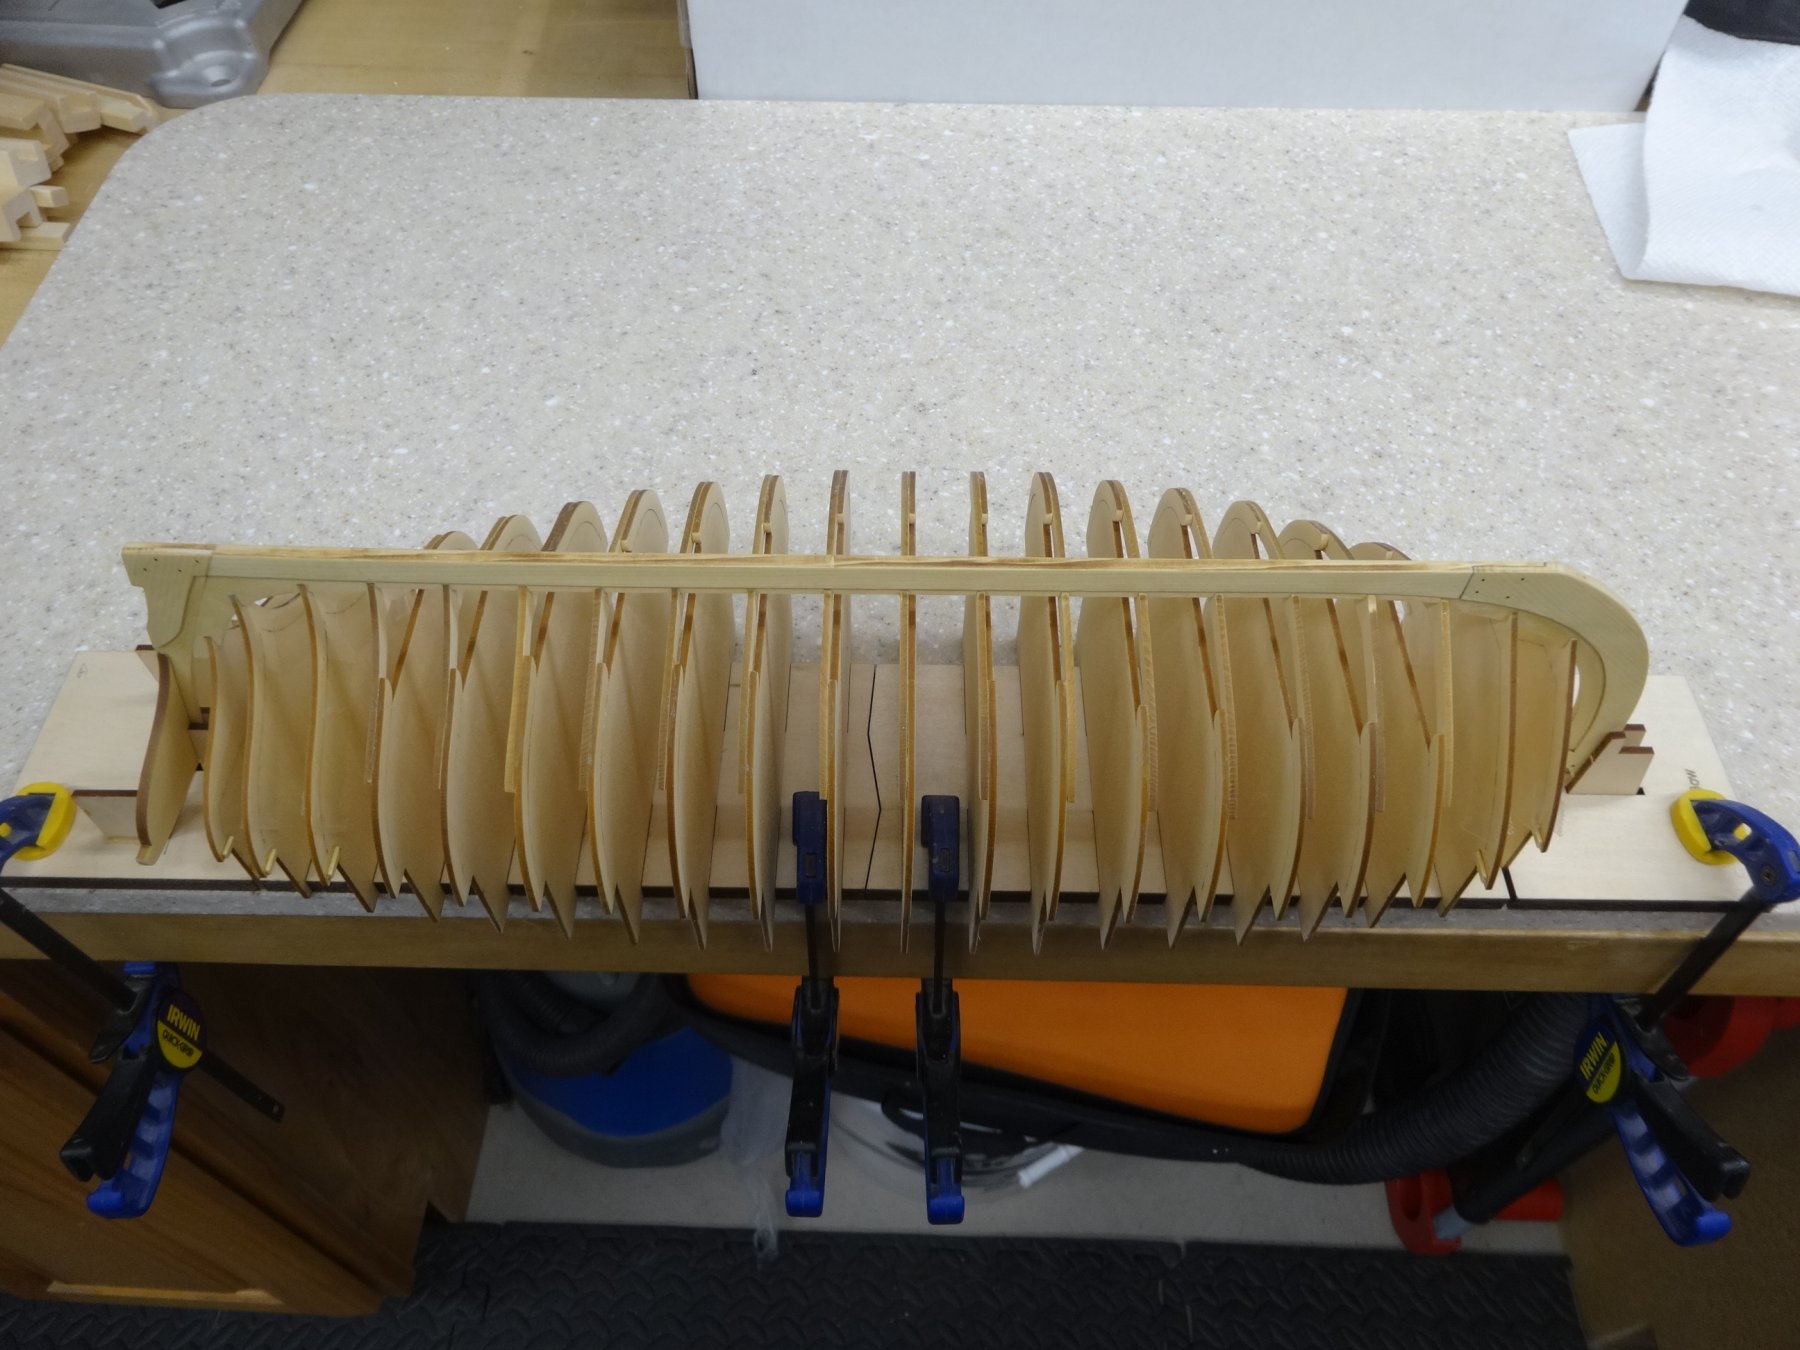
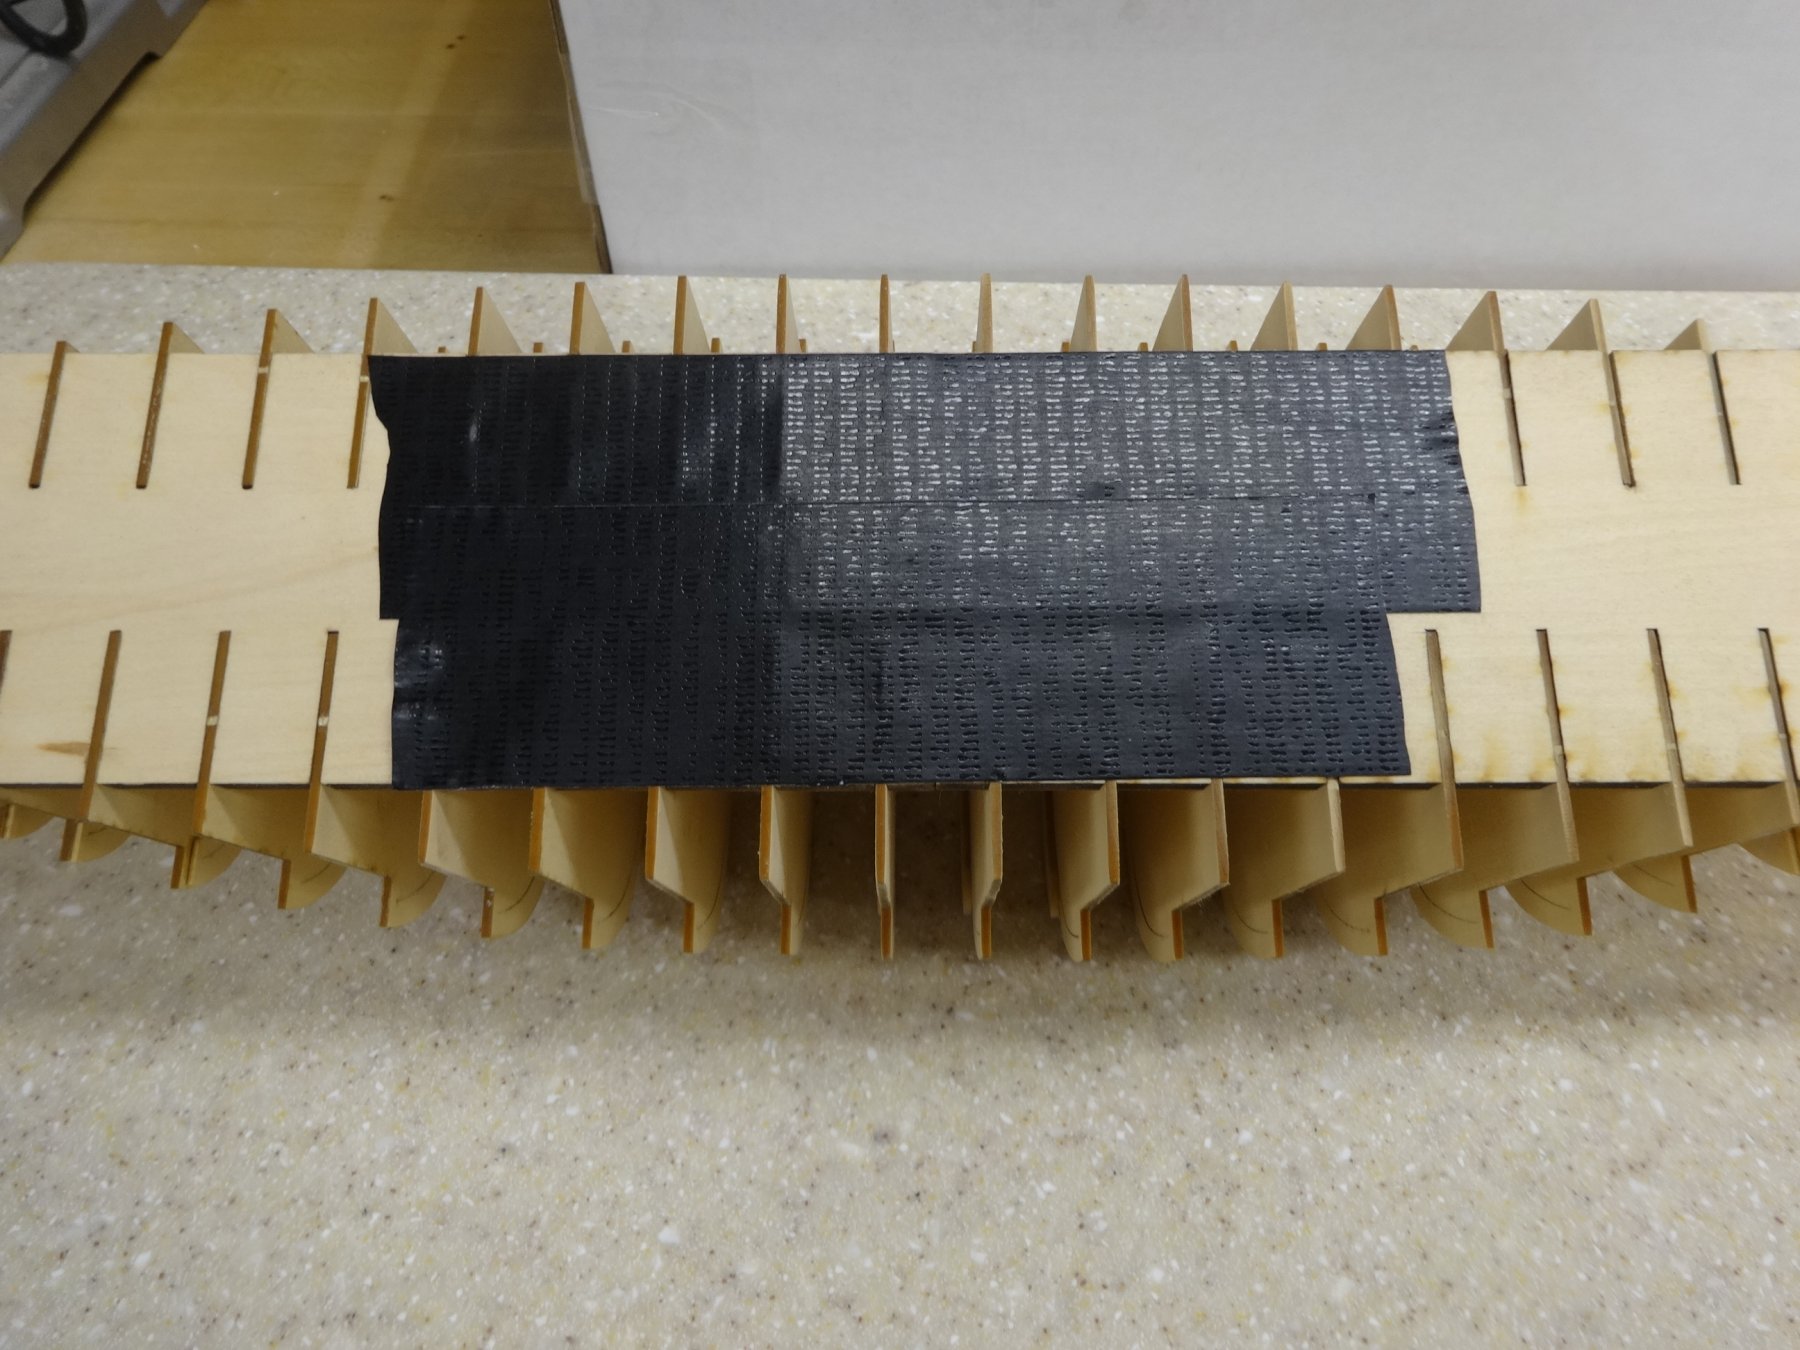
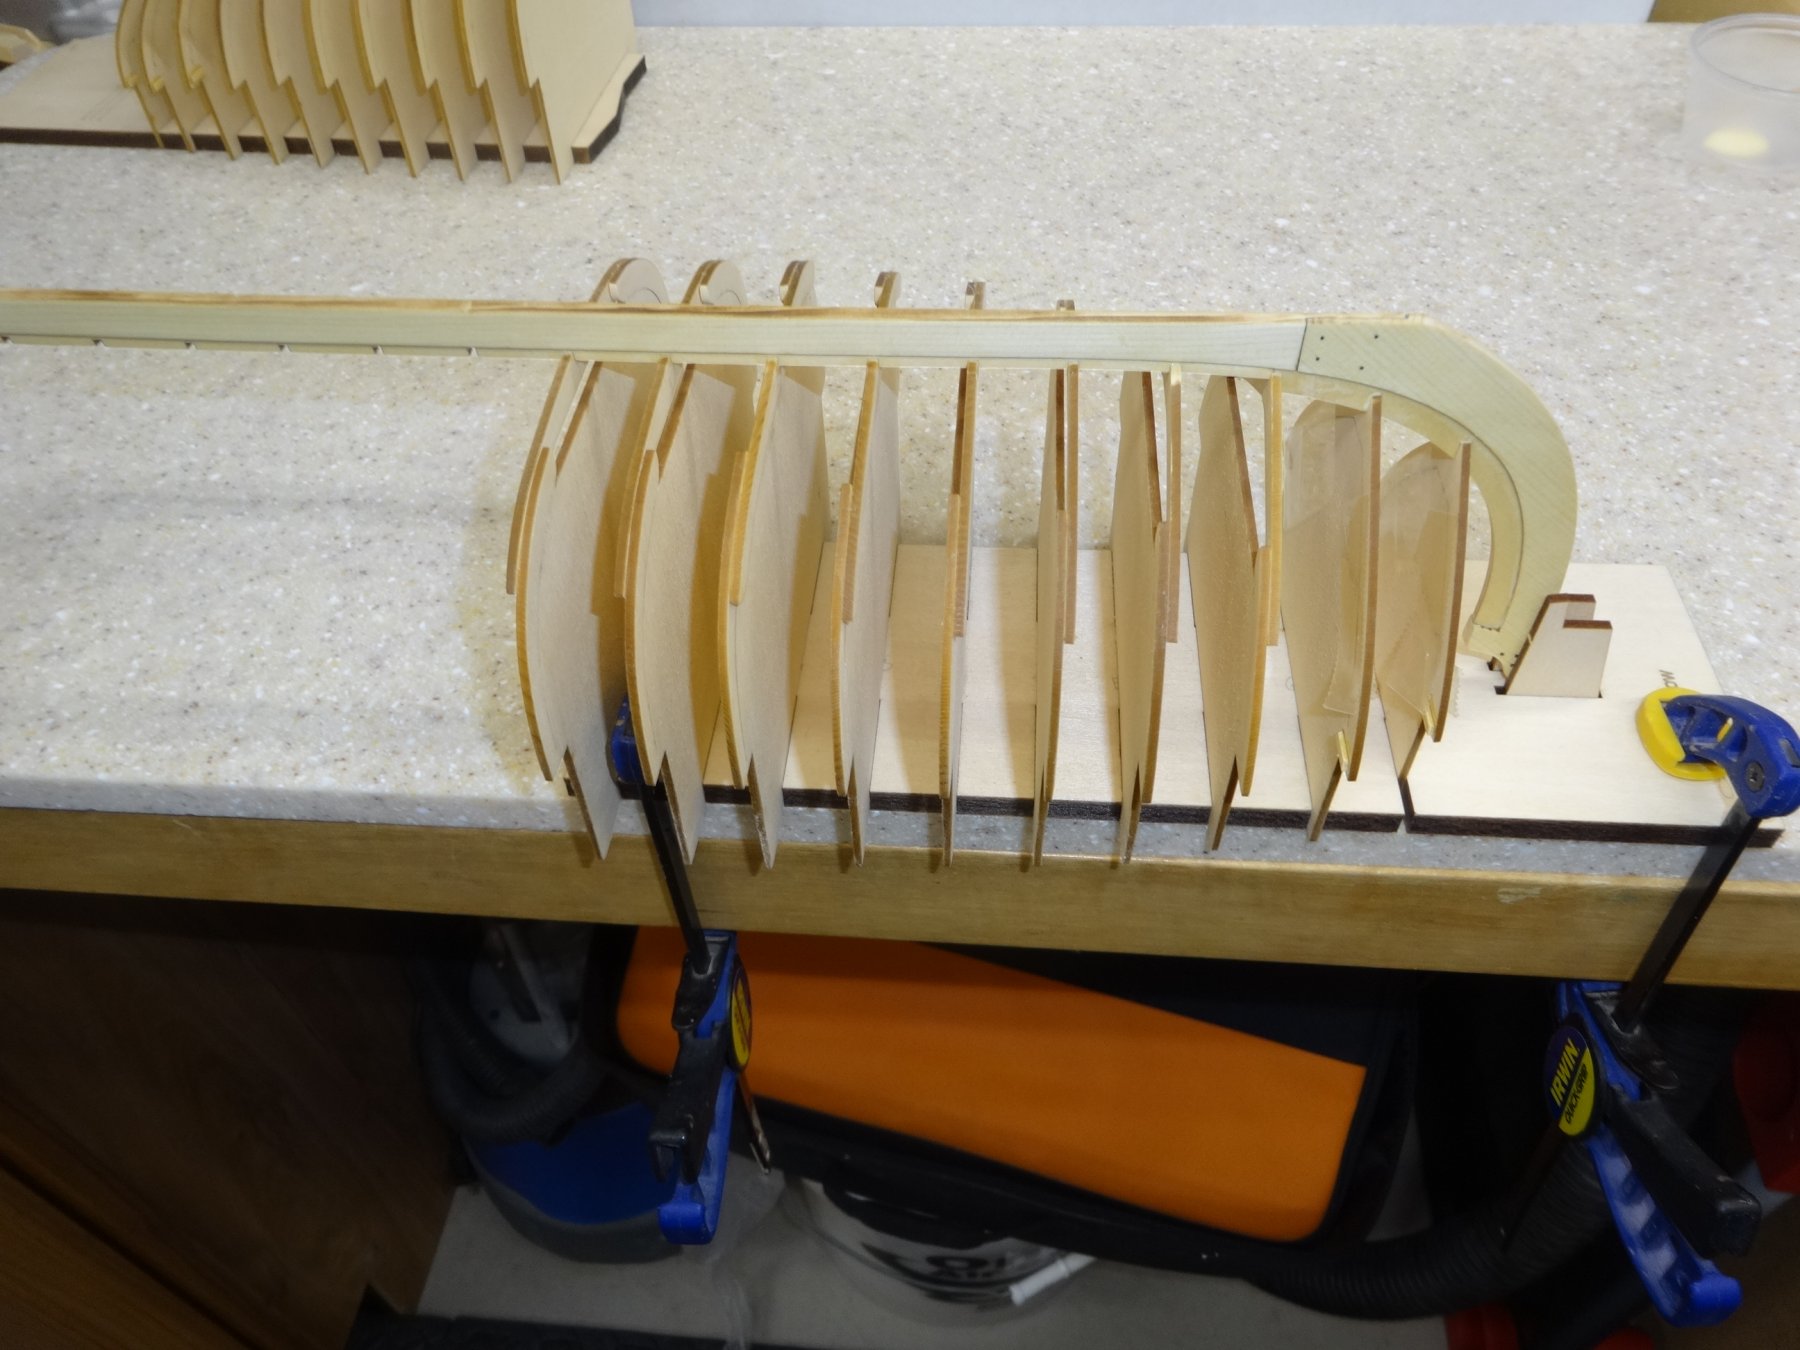
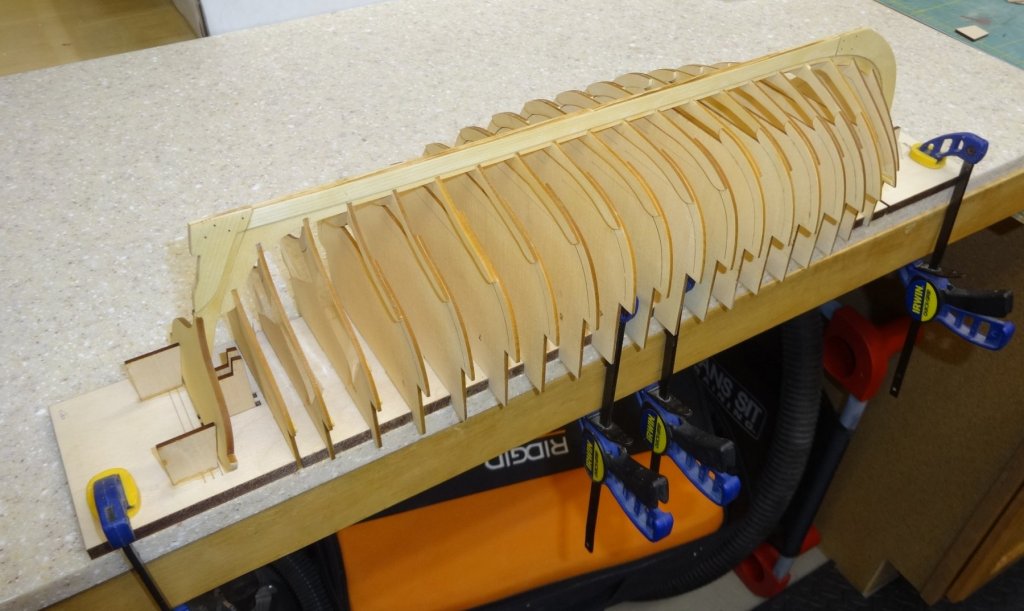
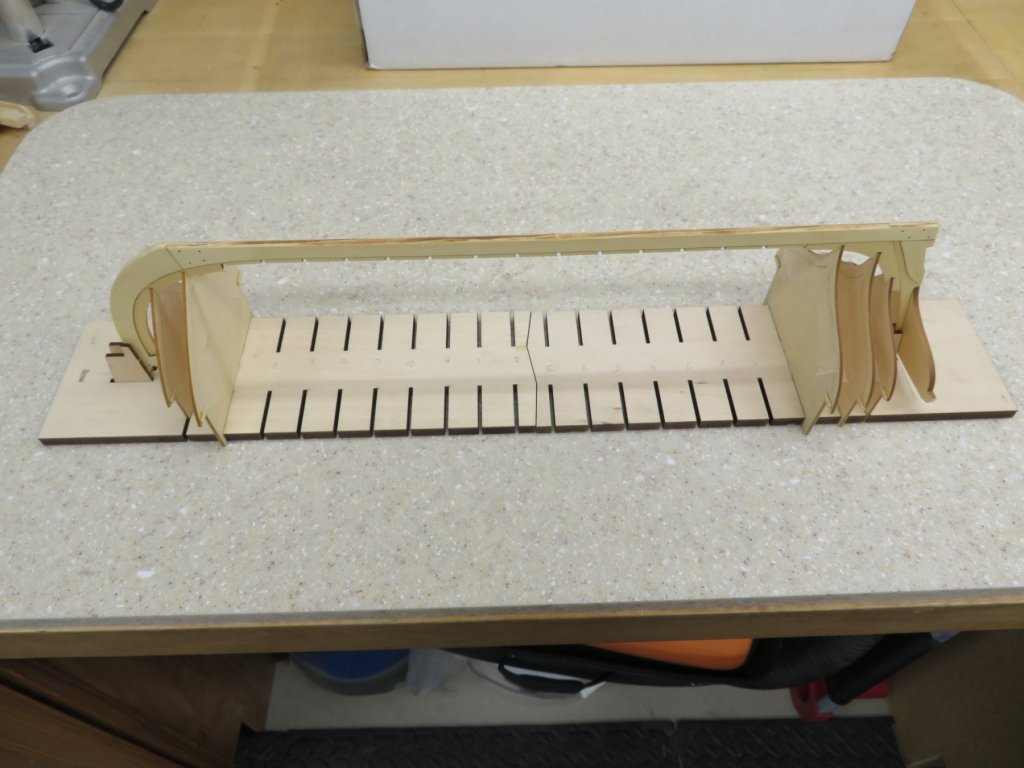
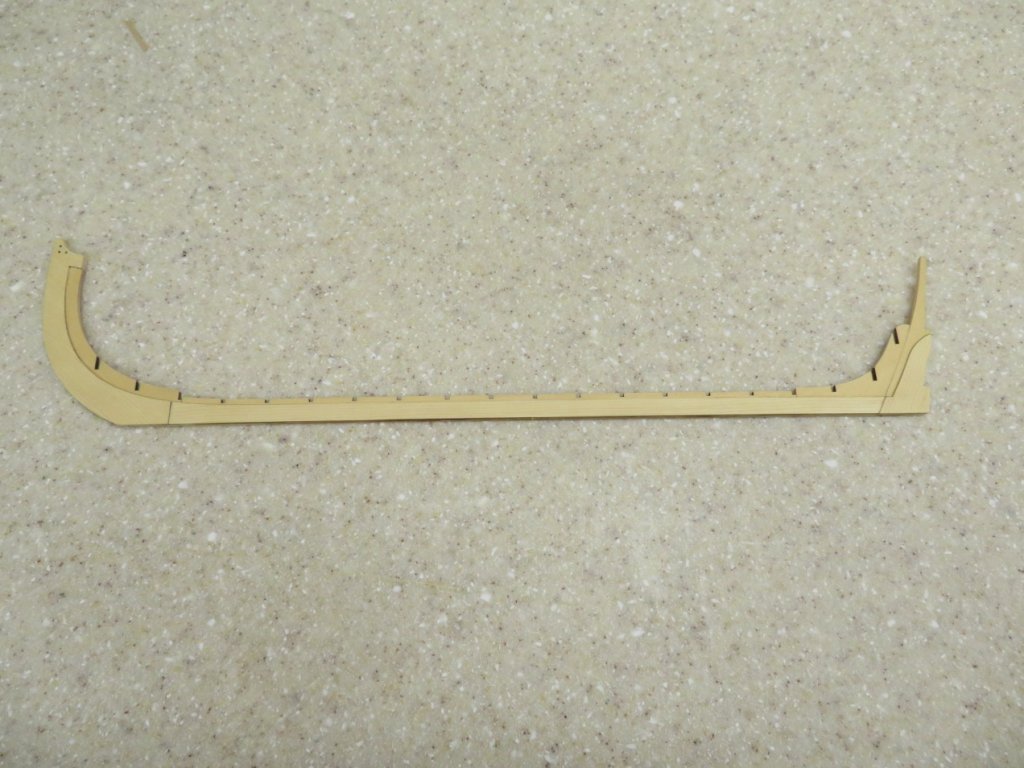
All the frames have been added to the keel, dried and both halves of building board taped together with the ever popular duct tape. Next it's time to delicately fair the frames. I will be sanding them with 220 and 320 grit sandpaper.


- 152 replies
-
- 18
-
-
- medway longboat
- Syren Ship Model Company
- (and 1 more)
-
Congratulations Chuck. Looking forward to seeing your progress.
-
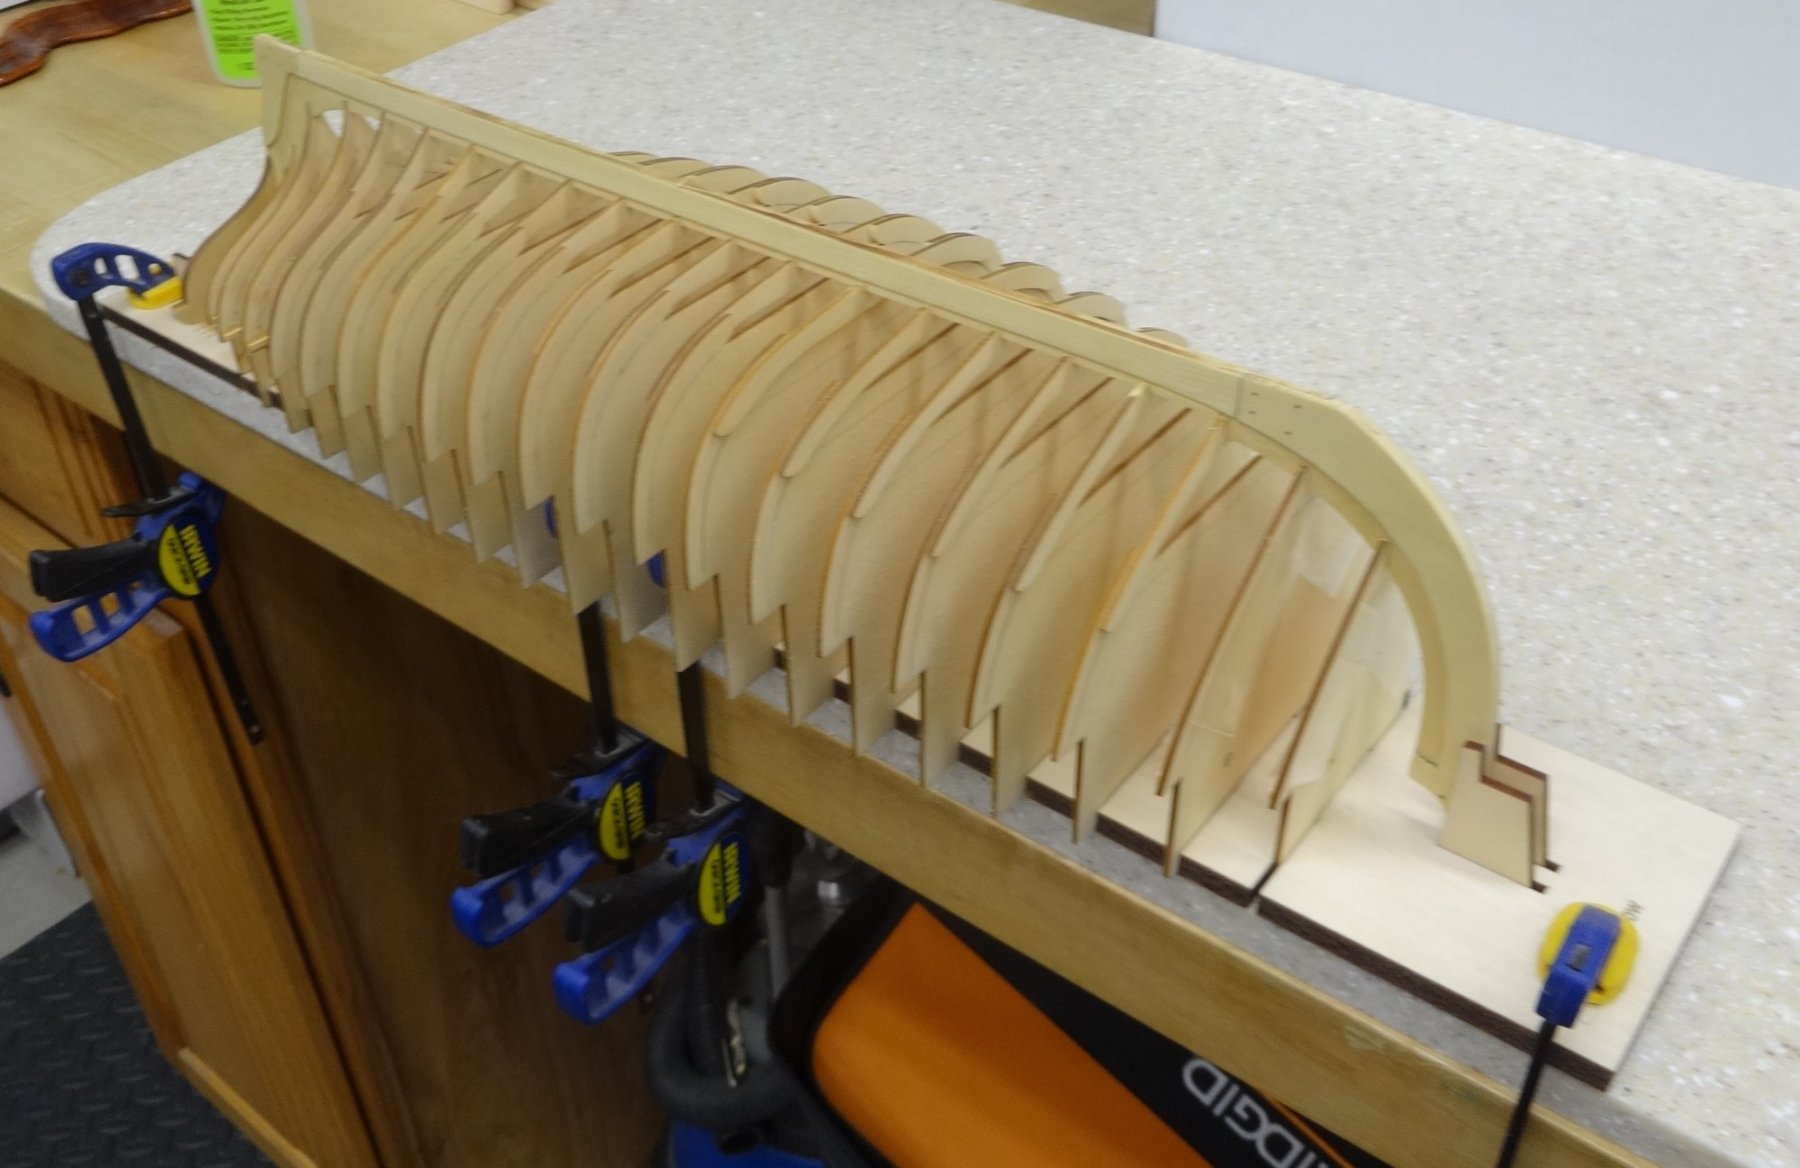
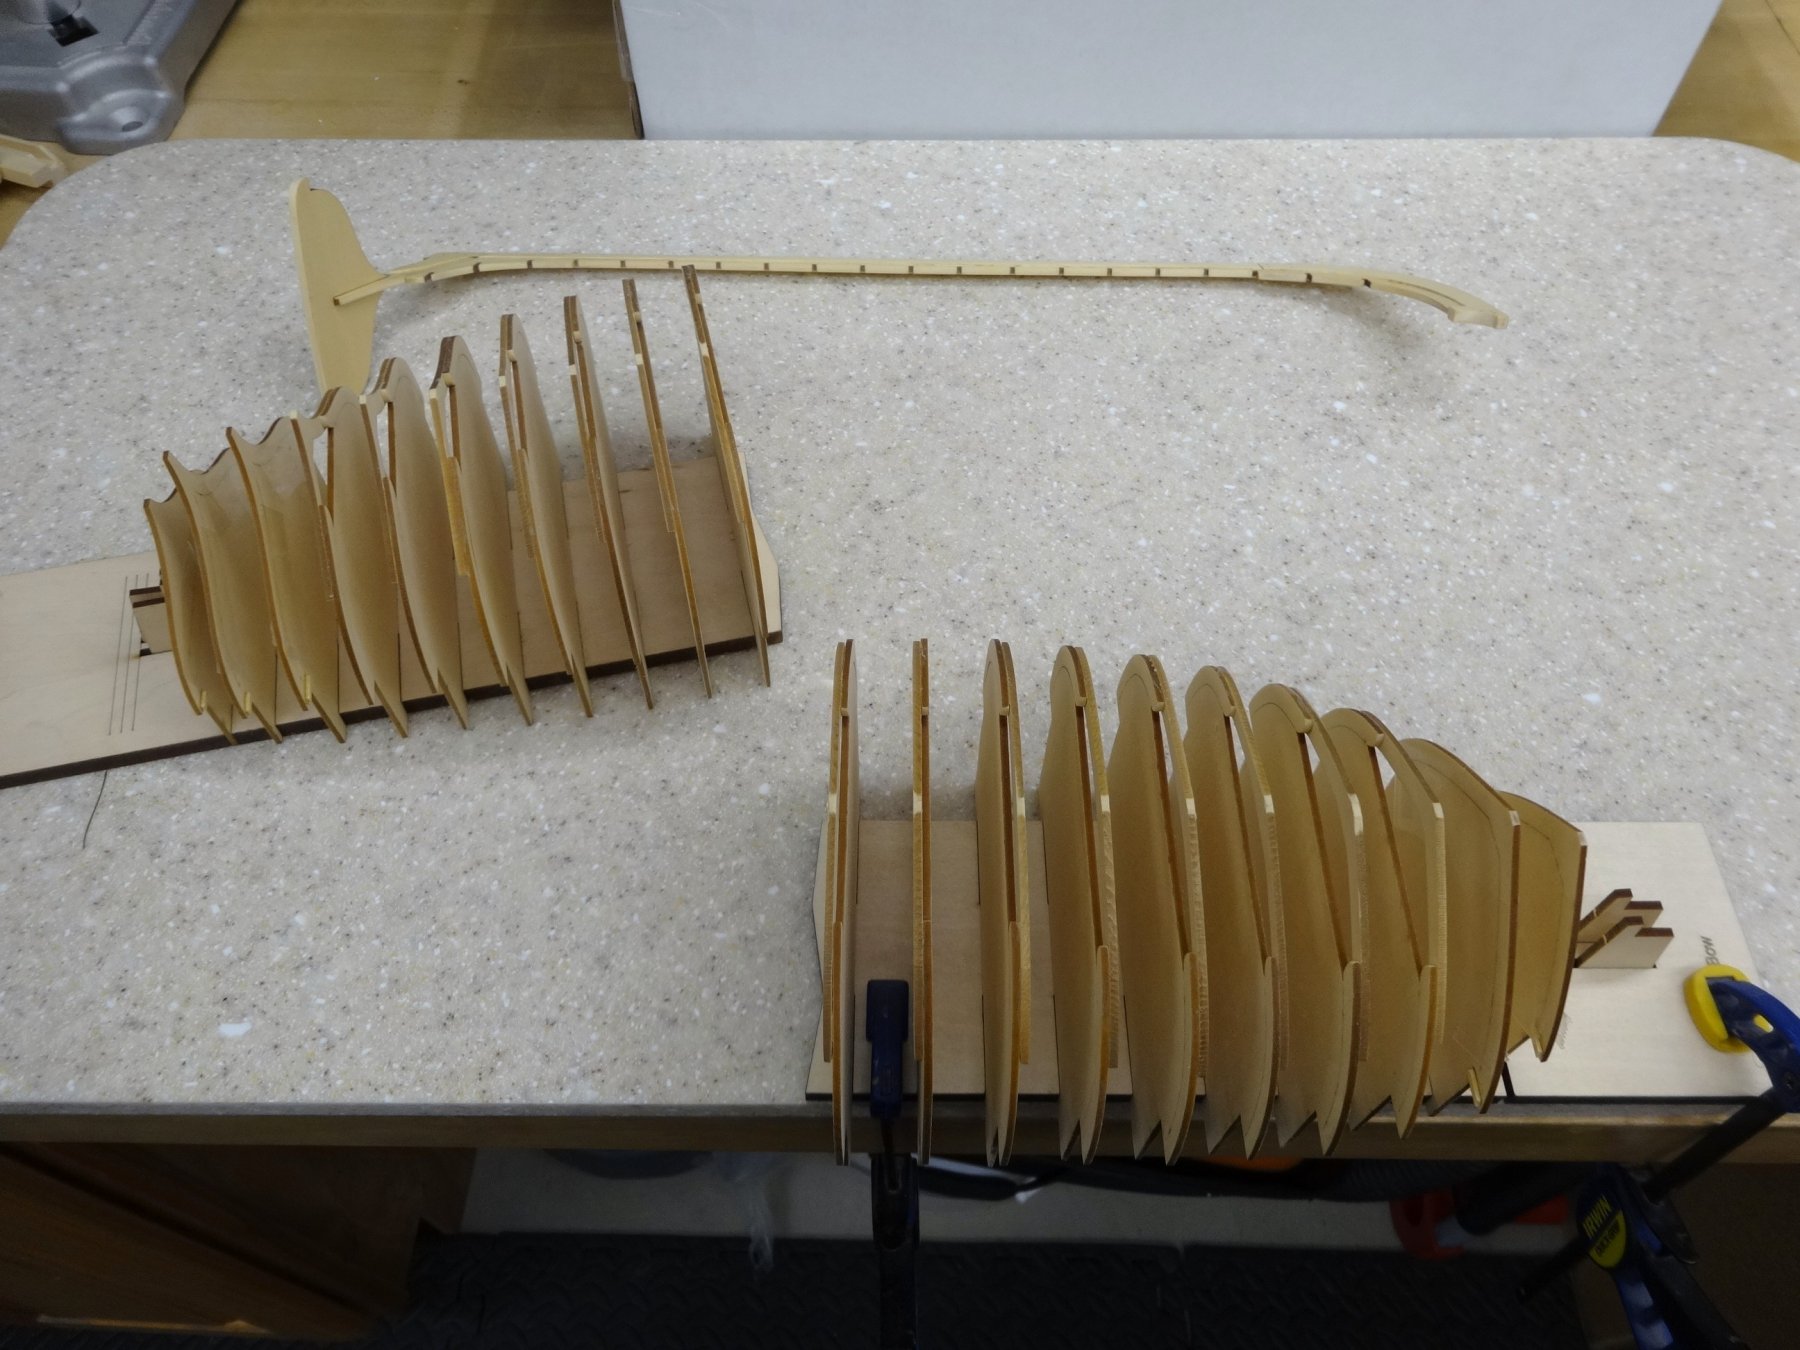
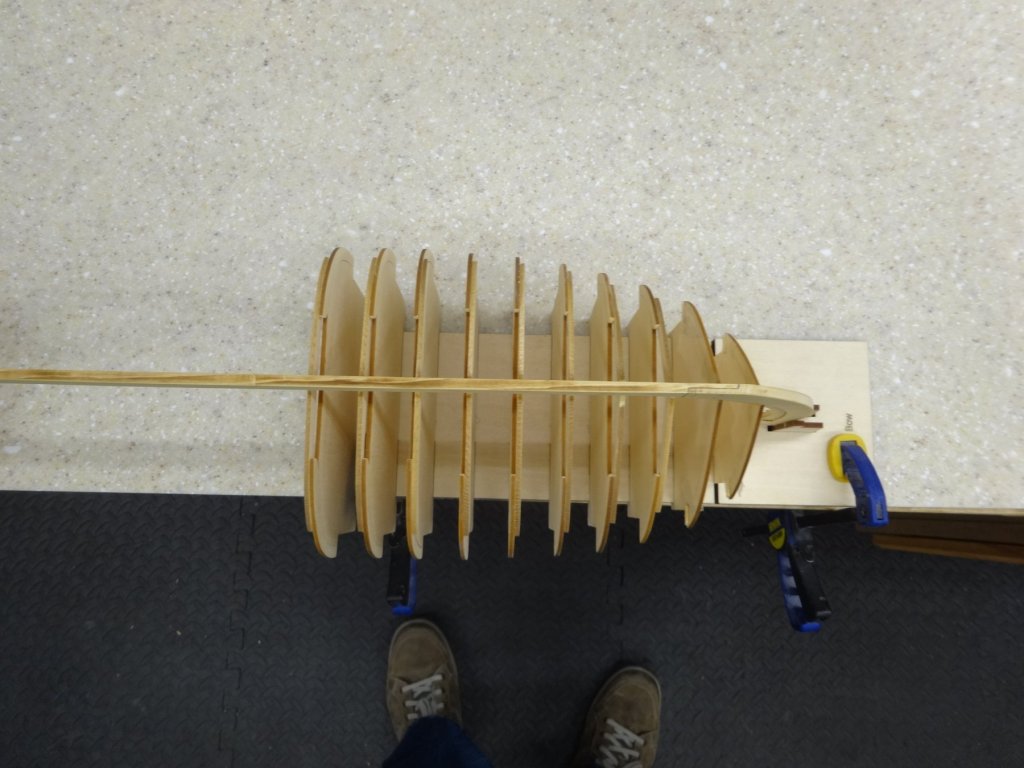
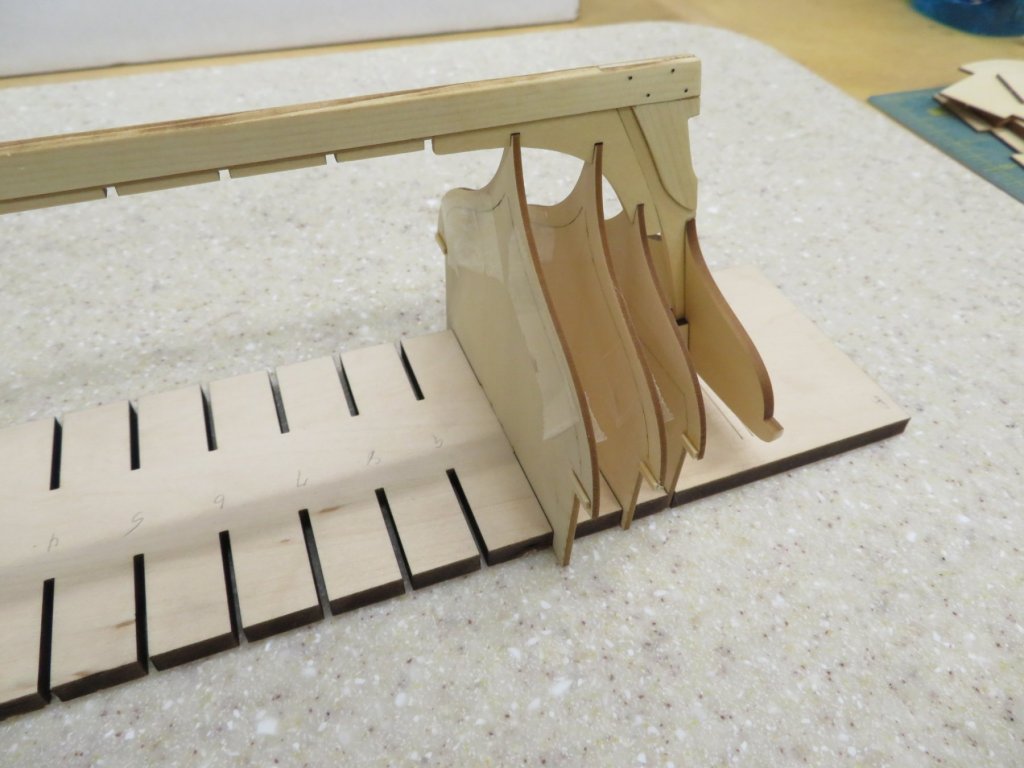
Cold, dank miserable weather has settled in and that means .............More Shop Time!!!!!! All of the frames have been completed and each one went together without any issues. I then proceeded to test fit them to the building board and the keel. Just like the first single frames adjustments only needed to be made to the building board slots. They all had a nice snug fit but slid out nicely so hopefully when the time comes to remove them from the building board all will go smoothly. The fore frames are glued to the keel and drying. The aft frames will be glued in later today once the glue has set. I am using titebond glue and having built the Royal Barge this kind of seems like a larger deja vu moment. Thanks for stopping by.


- 152 replies
-
- 14
-
-
- medway longboat
- Syren Ship Model Company
- (and 1 more)
-
Thanks for testing and reporting the results.
-
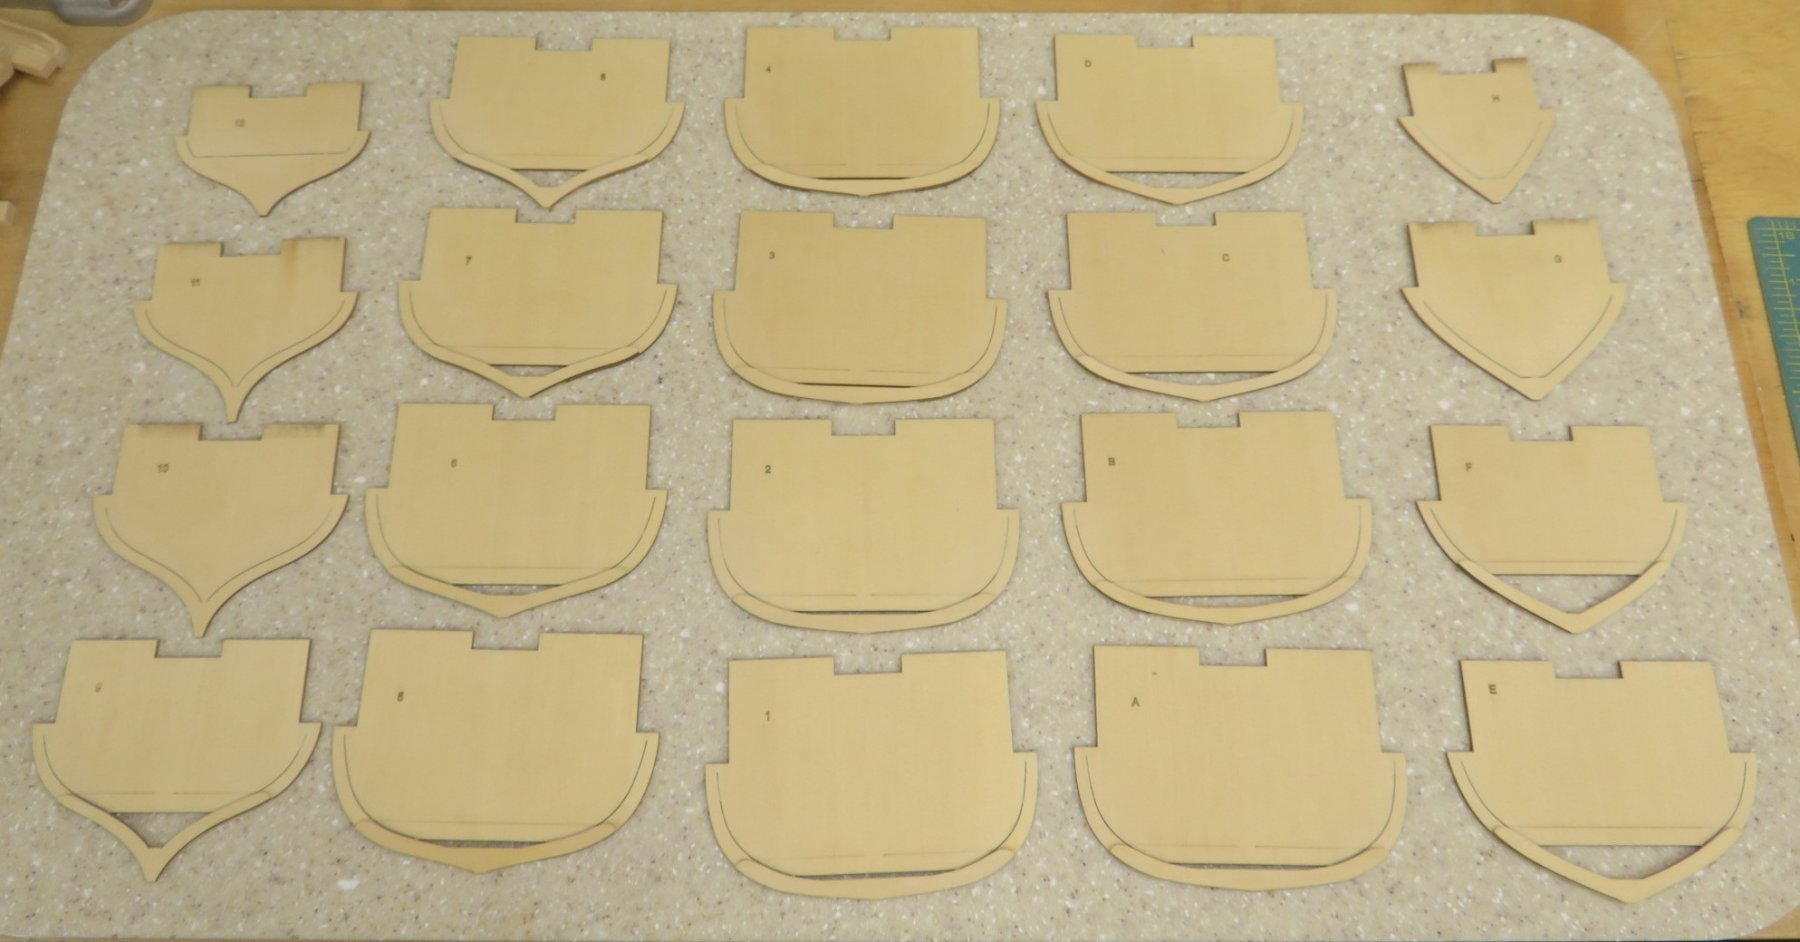
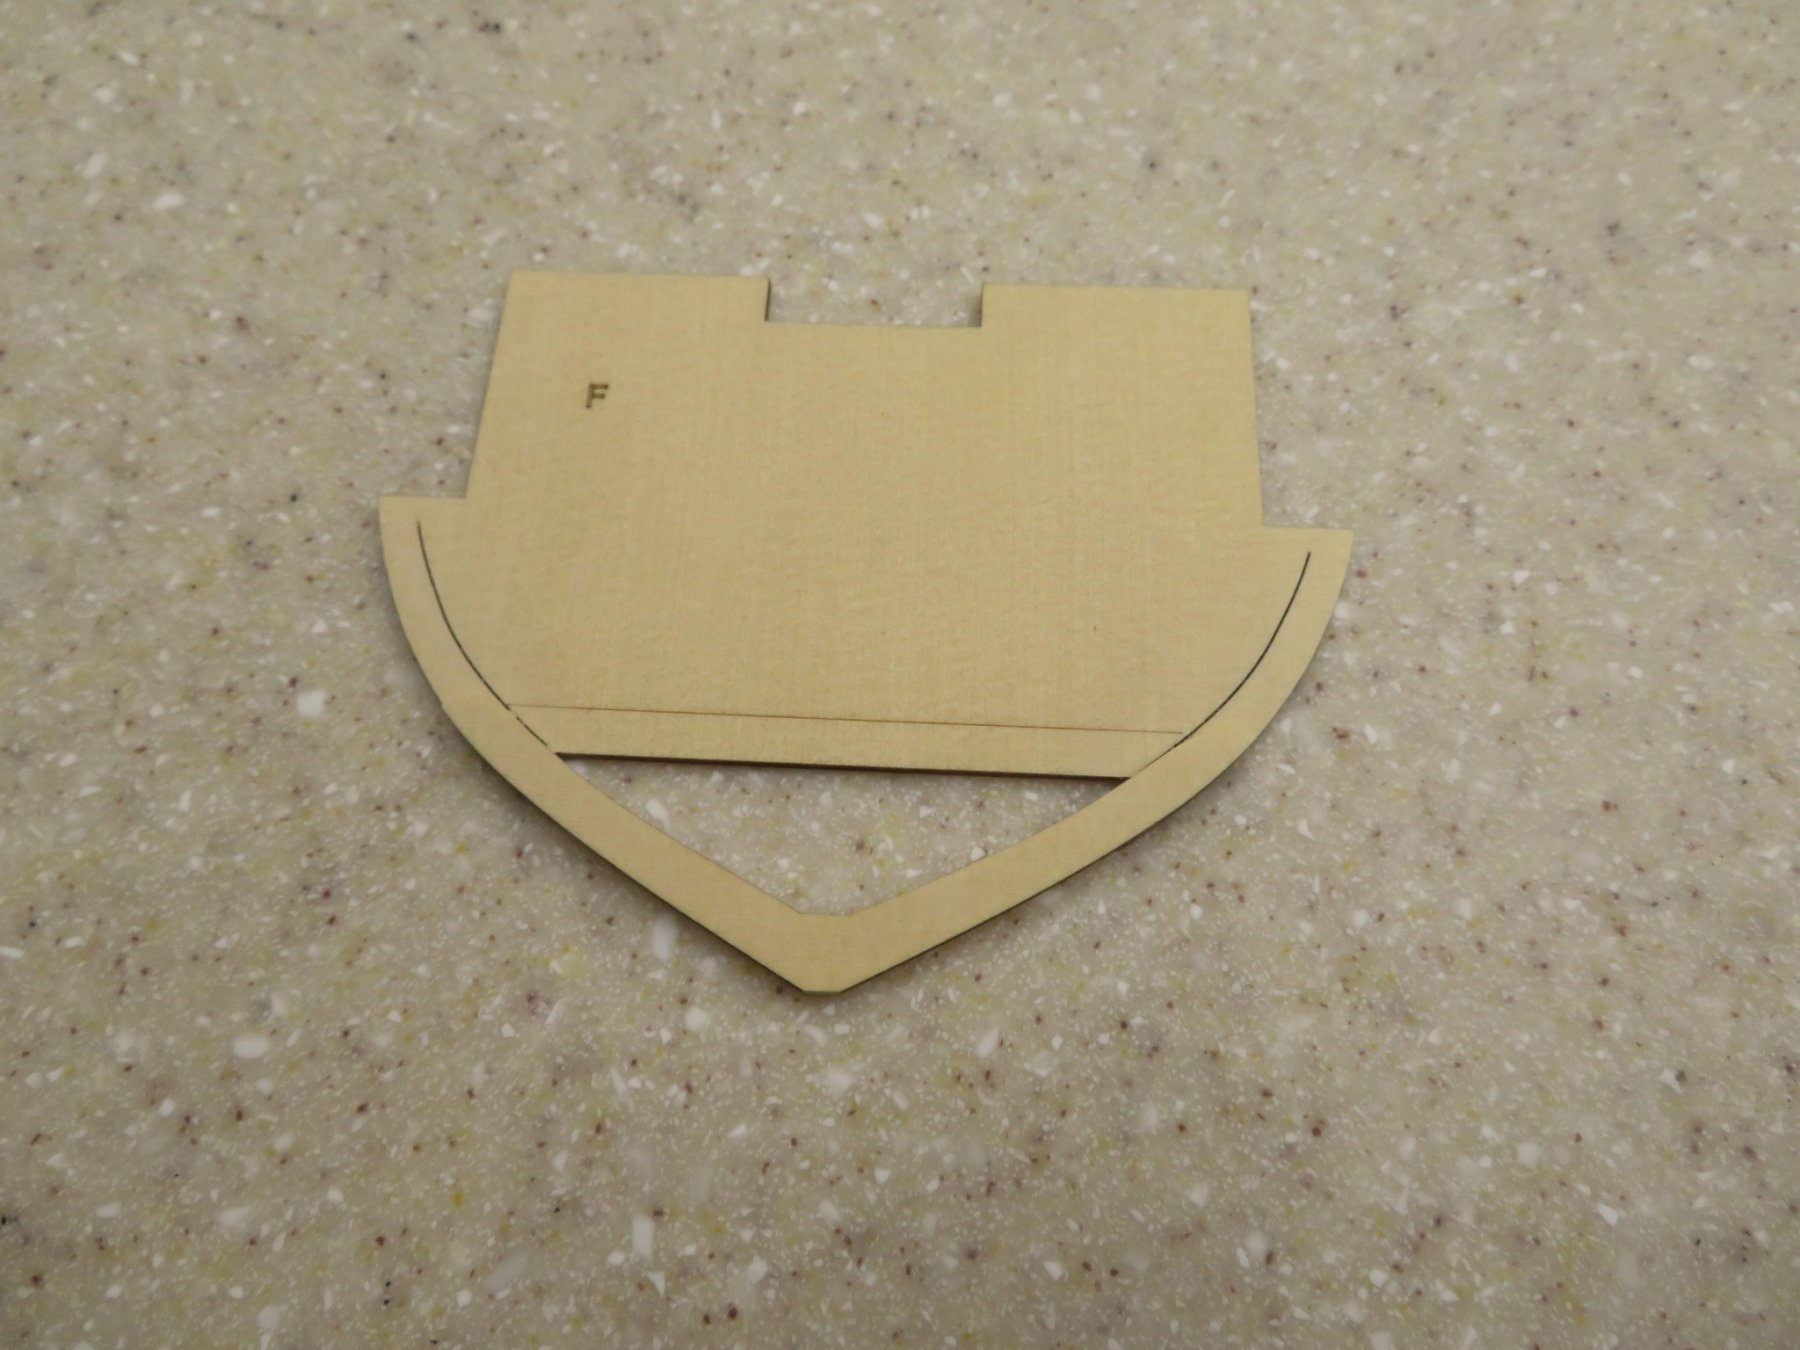
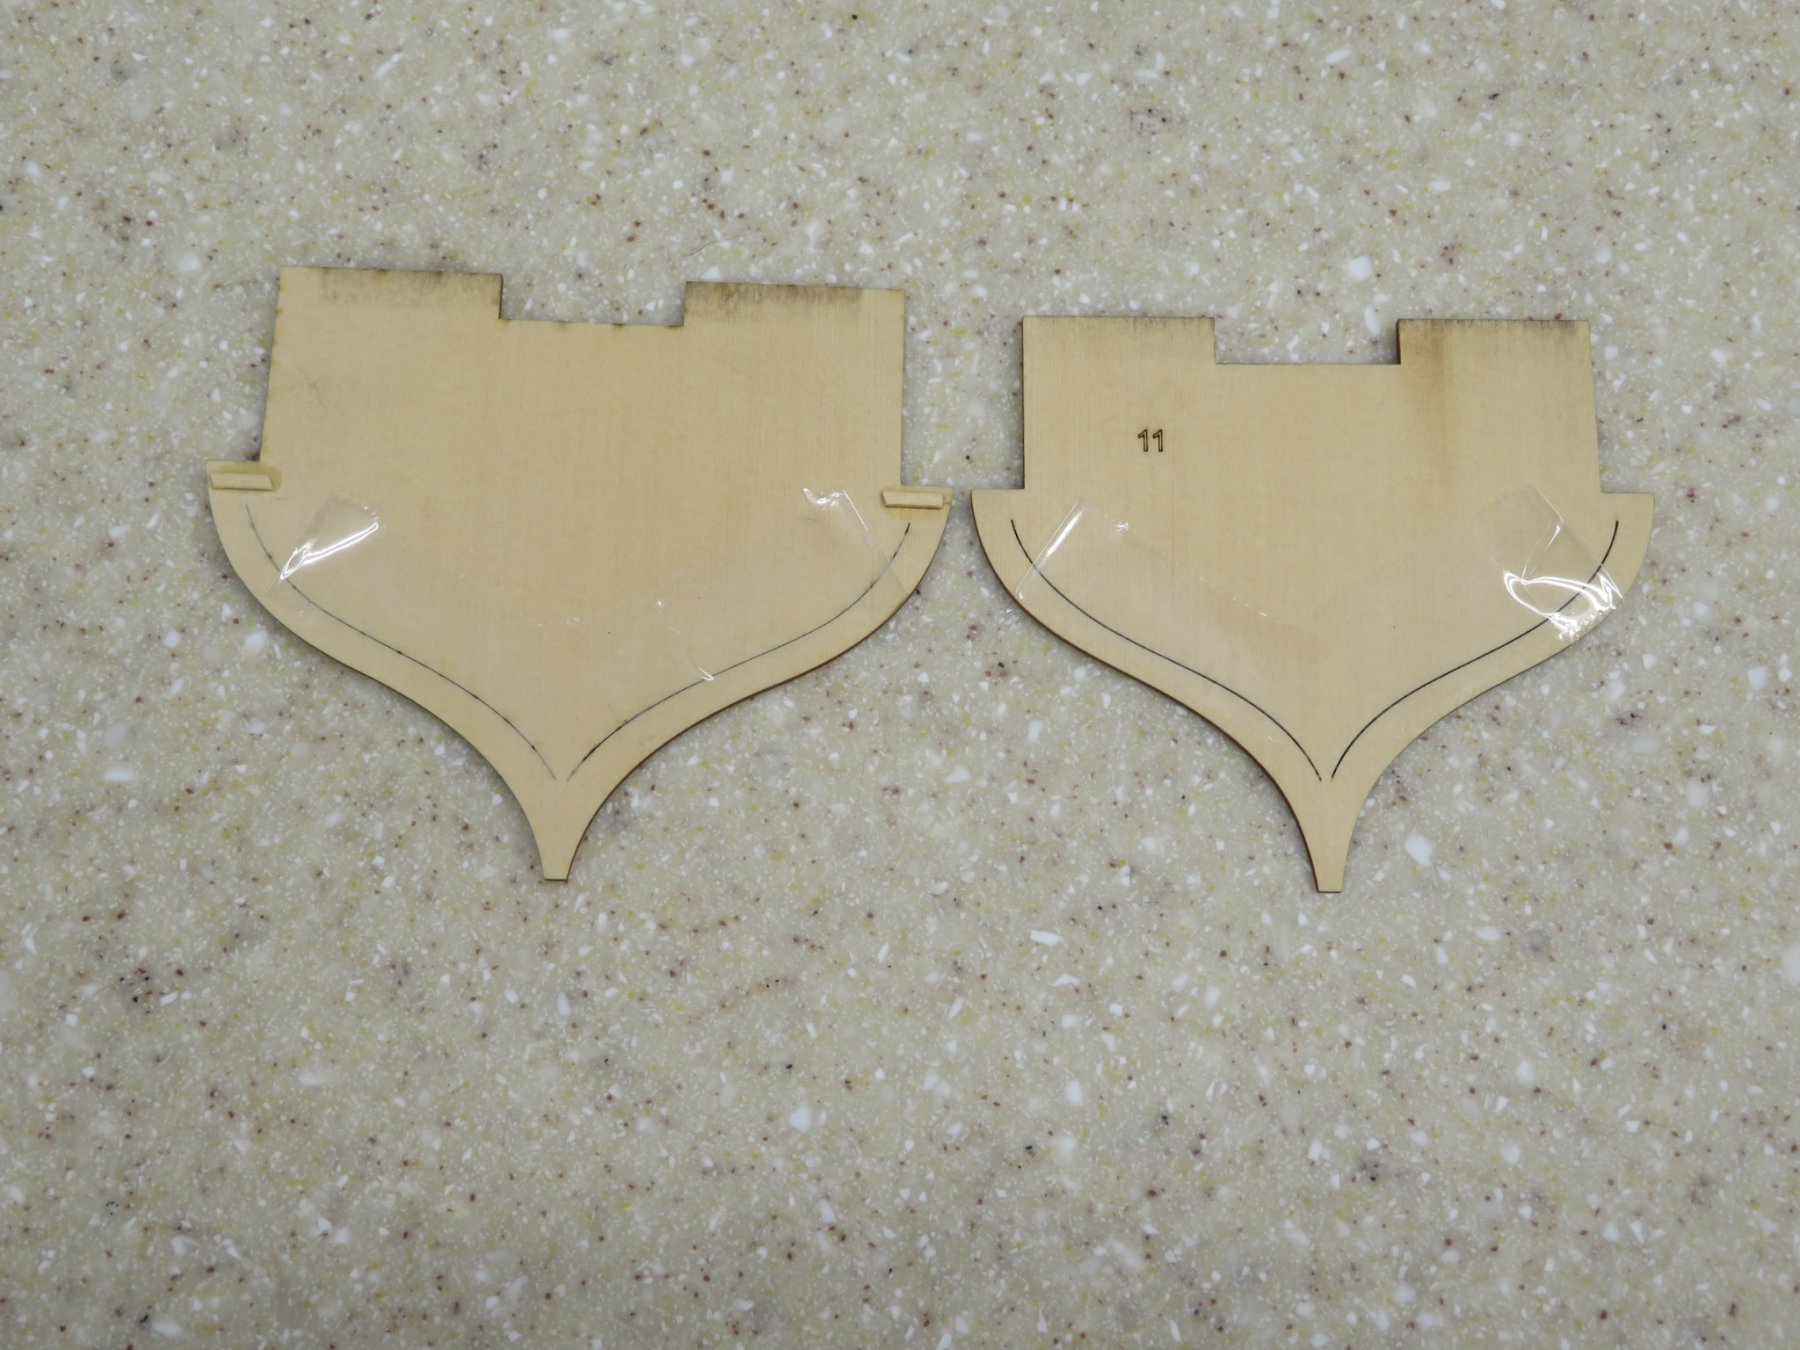
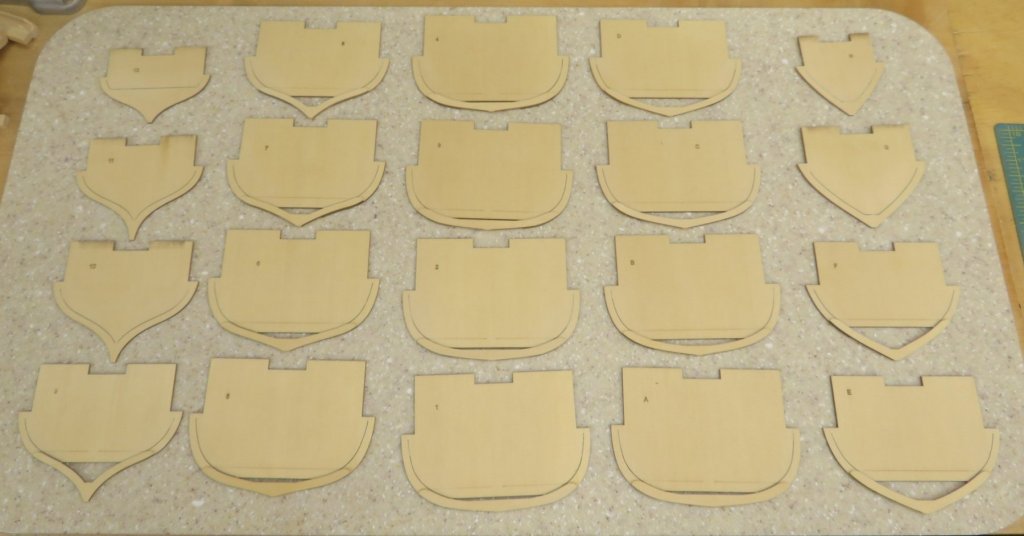
I've prepared the five single frames and test fit them to the building board and the keel. The frames needed minor sanding to fit the building board and no adjustment to fit the keel. I've started to assemble the two parts frames. The floor and top timbers only need a little sanding of the laser char. Take it from past experience that forgetting to do this makes for extra work later on. Here is the first frame ready for assembly and then assembled. The laser reference line makes lining the the top timber and the floor much easier. One down fourteen to go!


- 152 replies
-
- 11
-
-
- medway longboat
- Syren Ship Model Company
- (and 1 more)
-
Hi Chuck. Very nice design. For myself I like the natural wood color look best.
- 421 replies
-
- 6
-
-
- medway longboat
- Syren Ship Model Company
- (and 1 more)
-
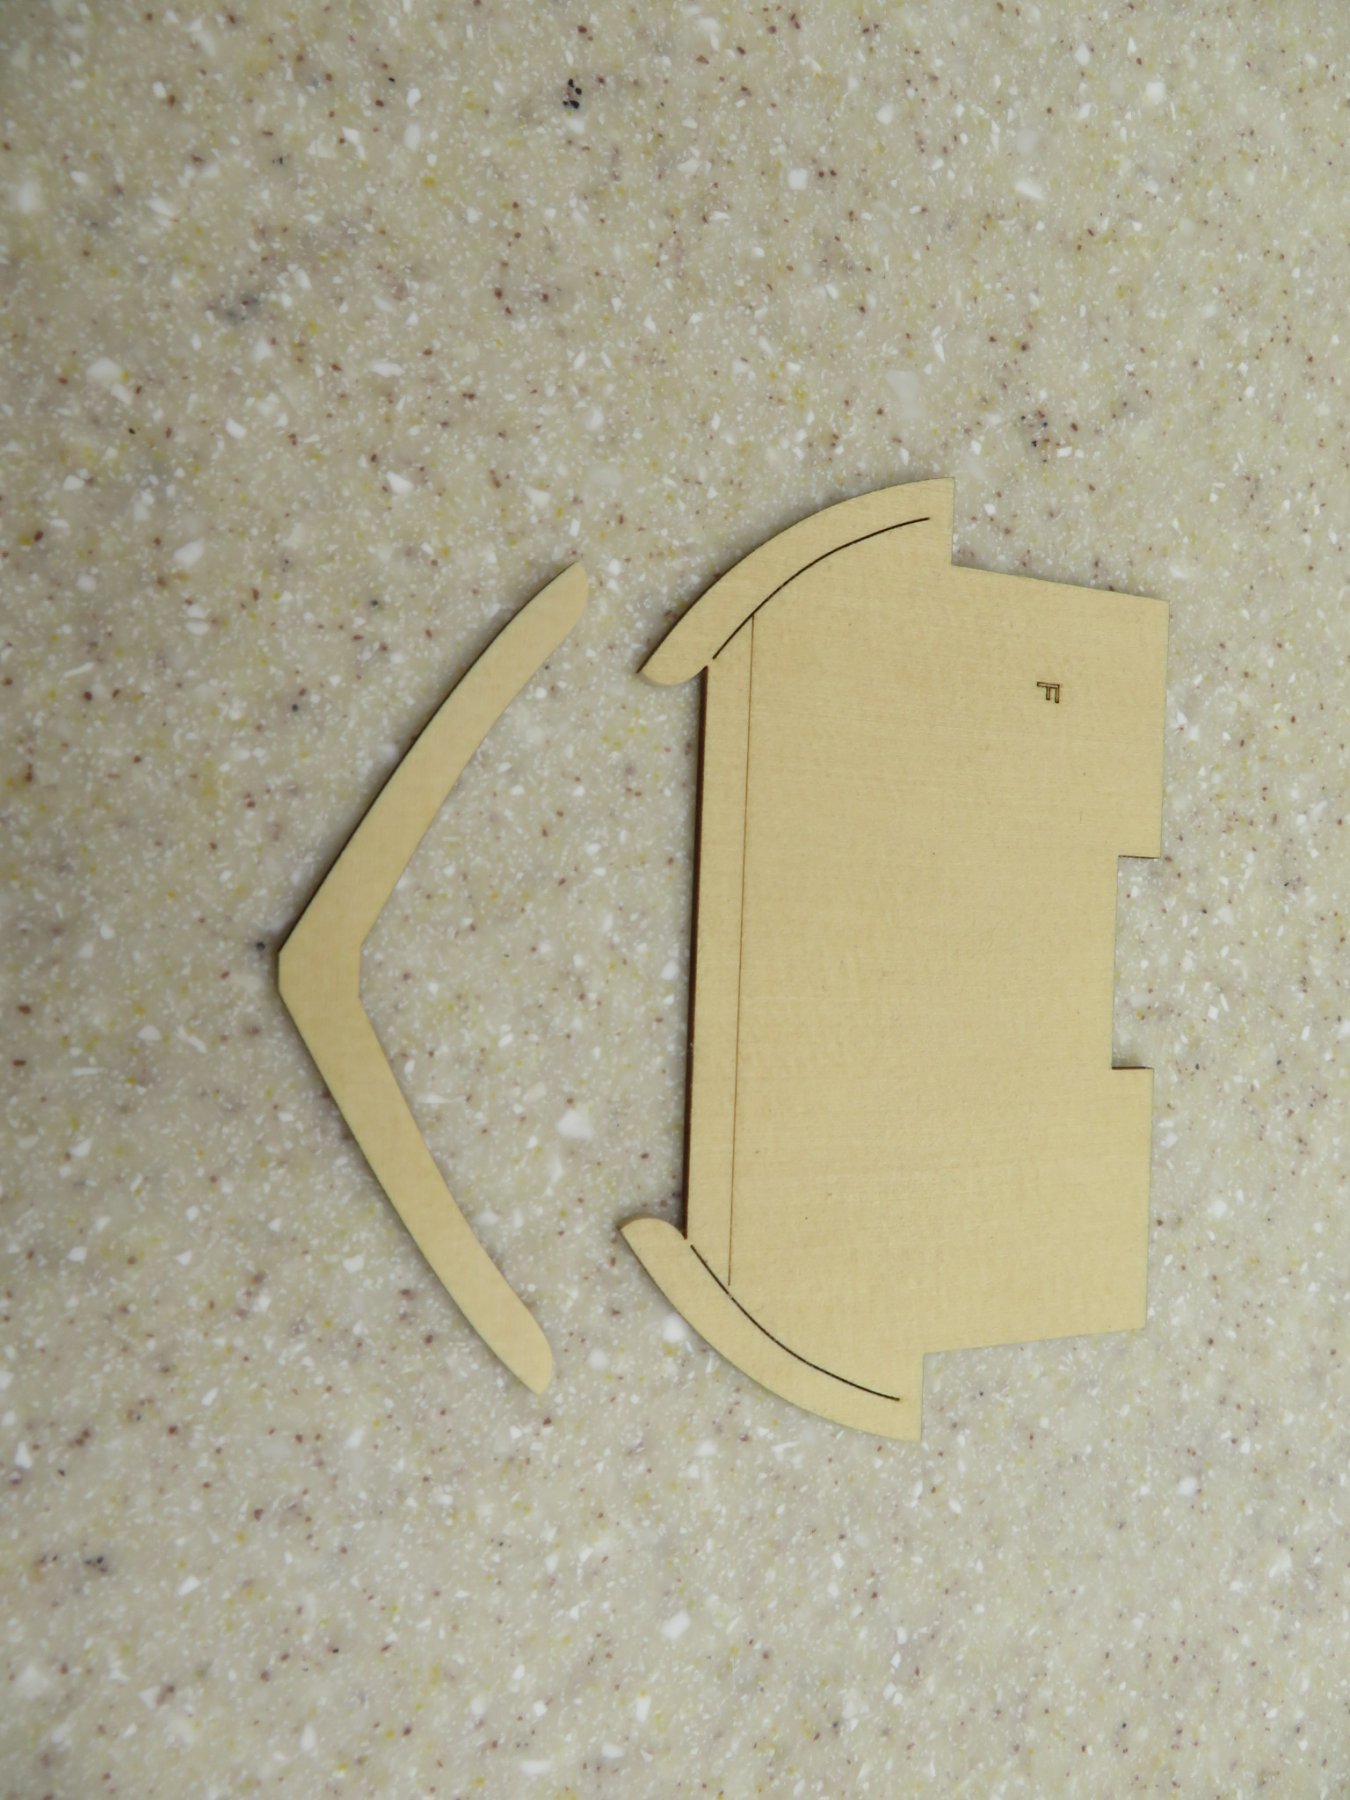
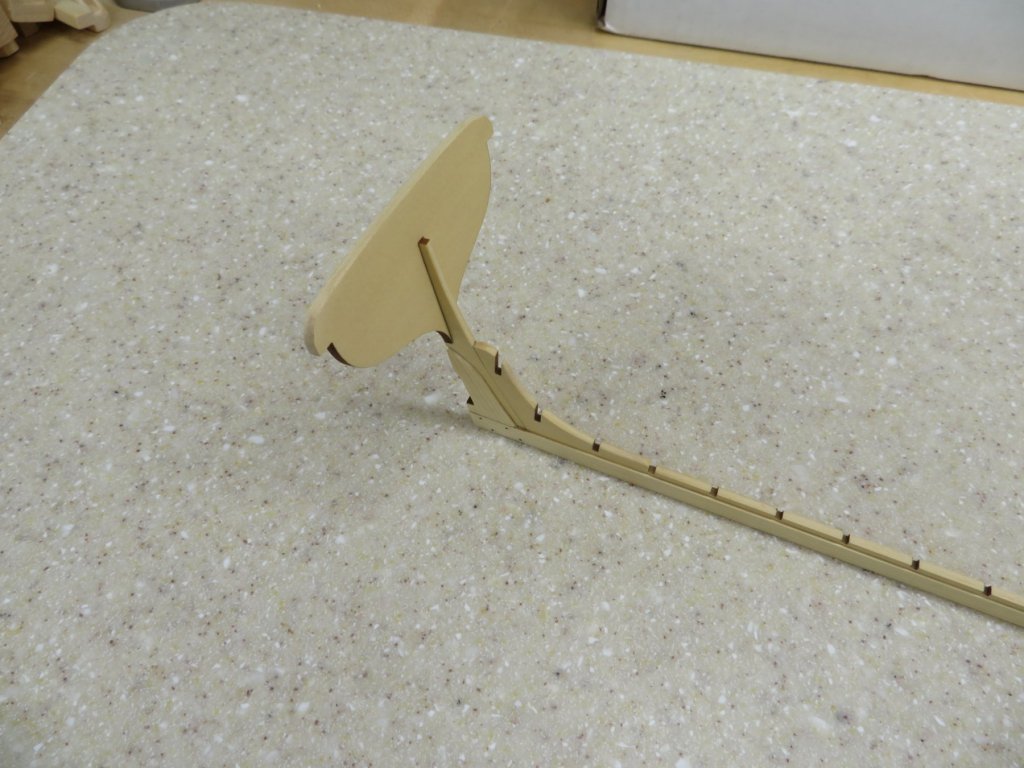
The fun continues!!!!!! I have glued the transom to the stern post being careful to keep it perpendicular to the keel at a right angle. I've now started on the various frames. First I'll prep the 5 one piece frames. To temporarily strengthen the frames heavy packing tape was placed across the laser cut seam. It is placed on both sides with little folded over tabs for easy removal. Also a small piece of wood strip was glued across the top of the frame. These frames are thin and delicate especially if you heavy handed like me.These wood pieces will not be seen once the model is planked . One of the frames with tape and strip wood added. After this there are 15 two piece frames to make.

- 152 replies
-
- 8
-
-
- medway longboat
- Syren Ship Model Company
- (and 1 more)
-
I would think that like other water based finishes the water based version of wipe on ploy may raise the woods grain. I would test it on scrap pieces first.
-
Thanks Kurt. Already put it on my "tool I need" list. Also the key to your statement "unless you screwed up the math" which is one of my specialties.
- 152 replies
-
- 2
-
-
- medway longboat
- Syren Ship Model Company
- (and 1 more)
-
Thanks Jeff, Michael and Chuck and all the likes! The saw works real nice once you get it set properly.
- 152 replies
-
- 1
-
-
- medway longboat
- Syren Ship Model Company
- (and 1 more)
-
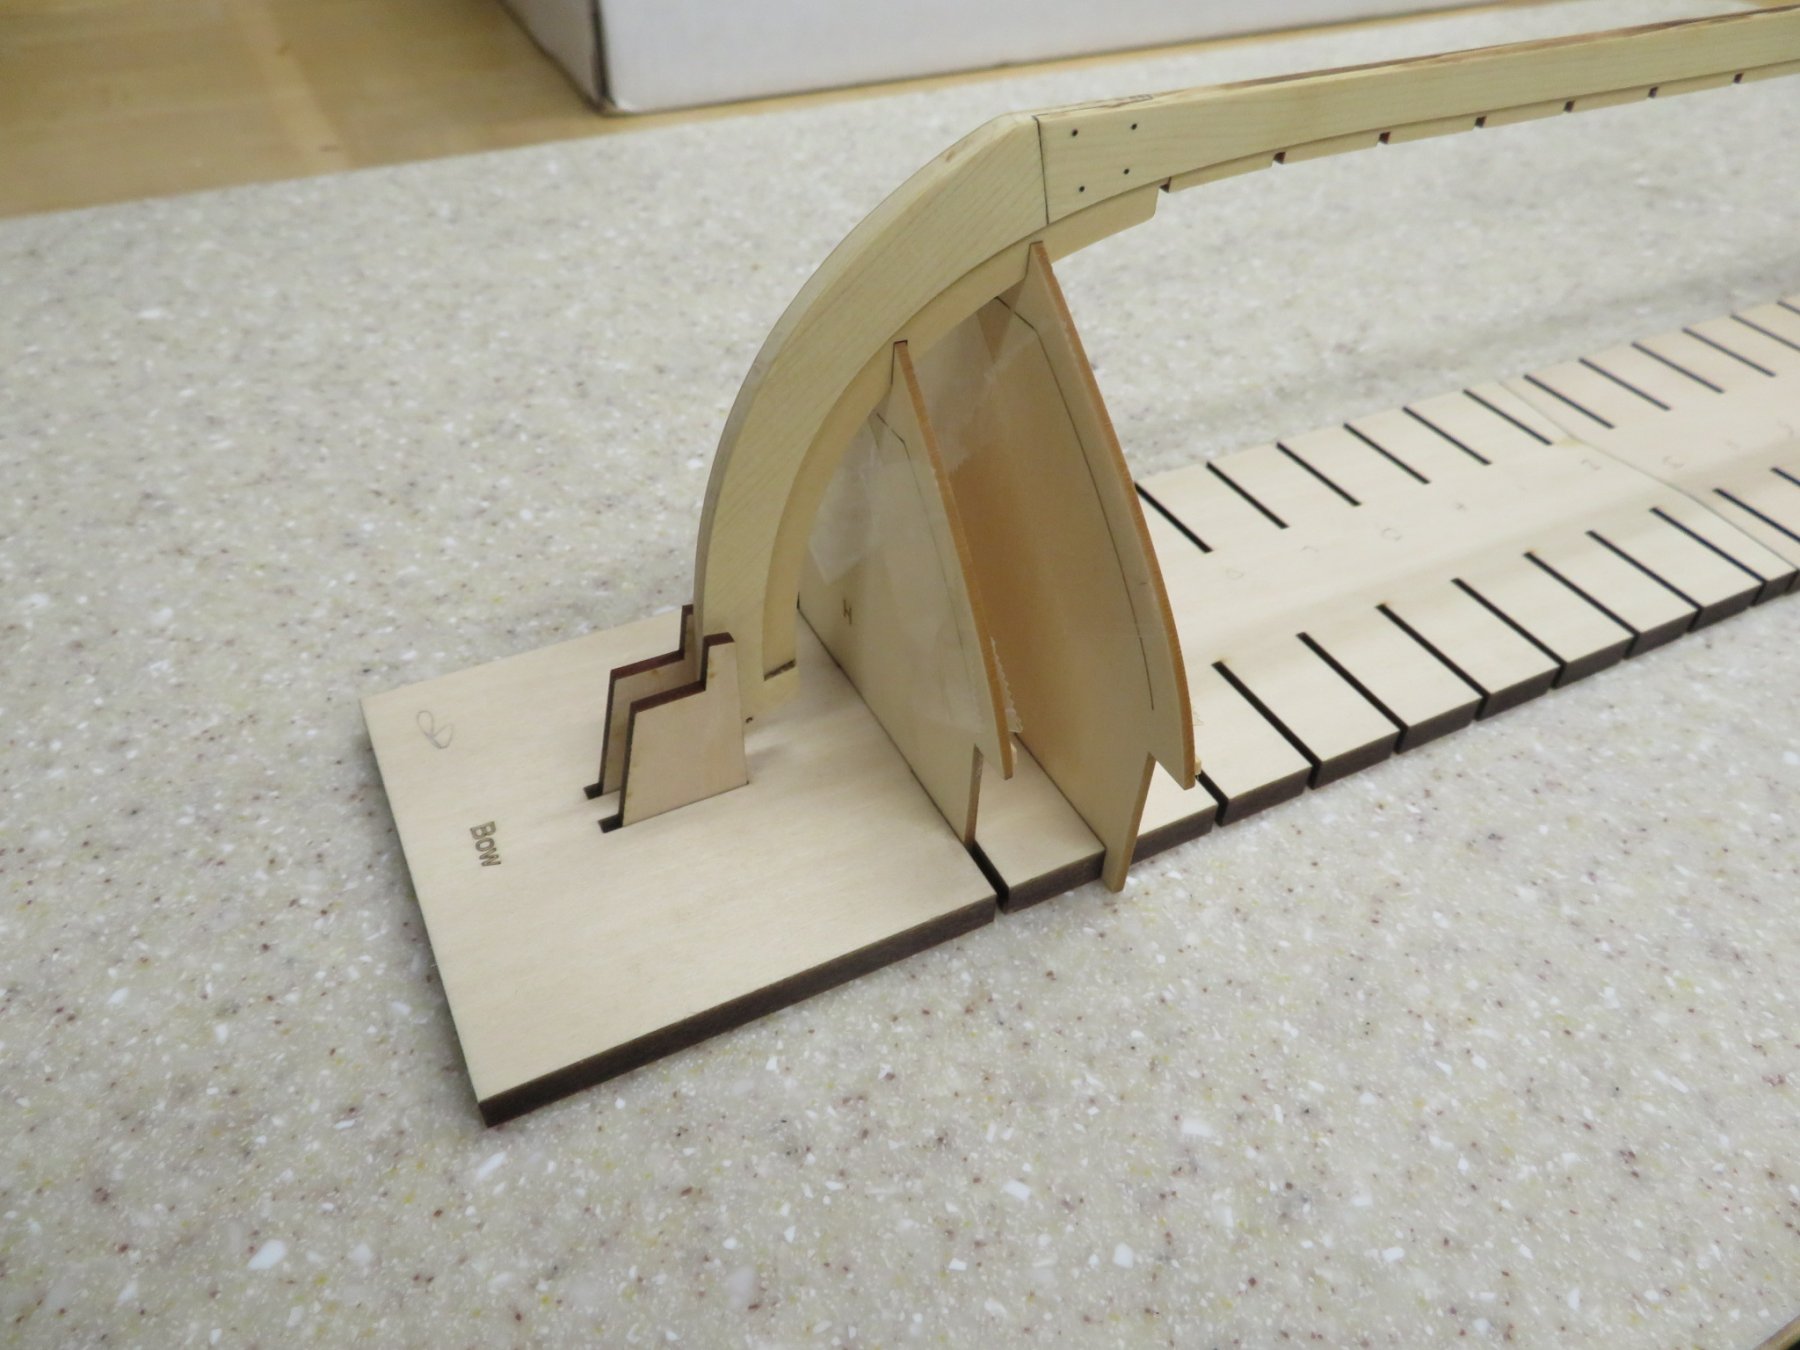
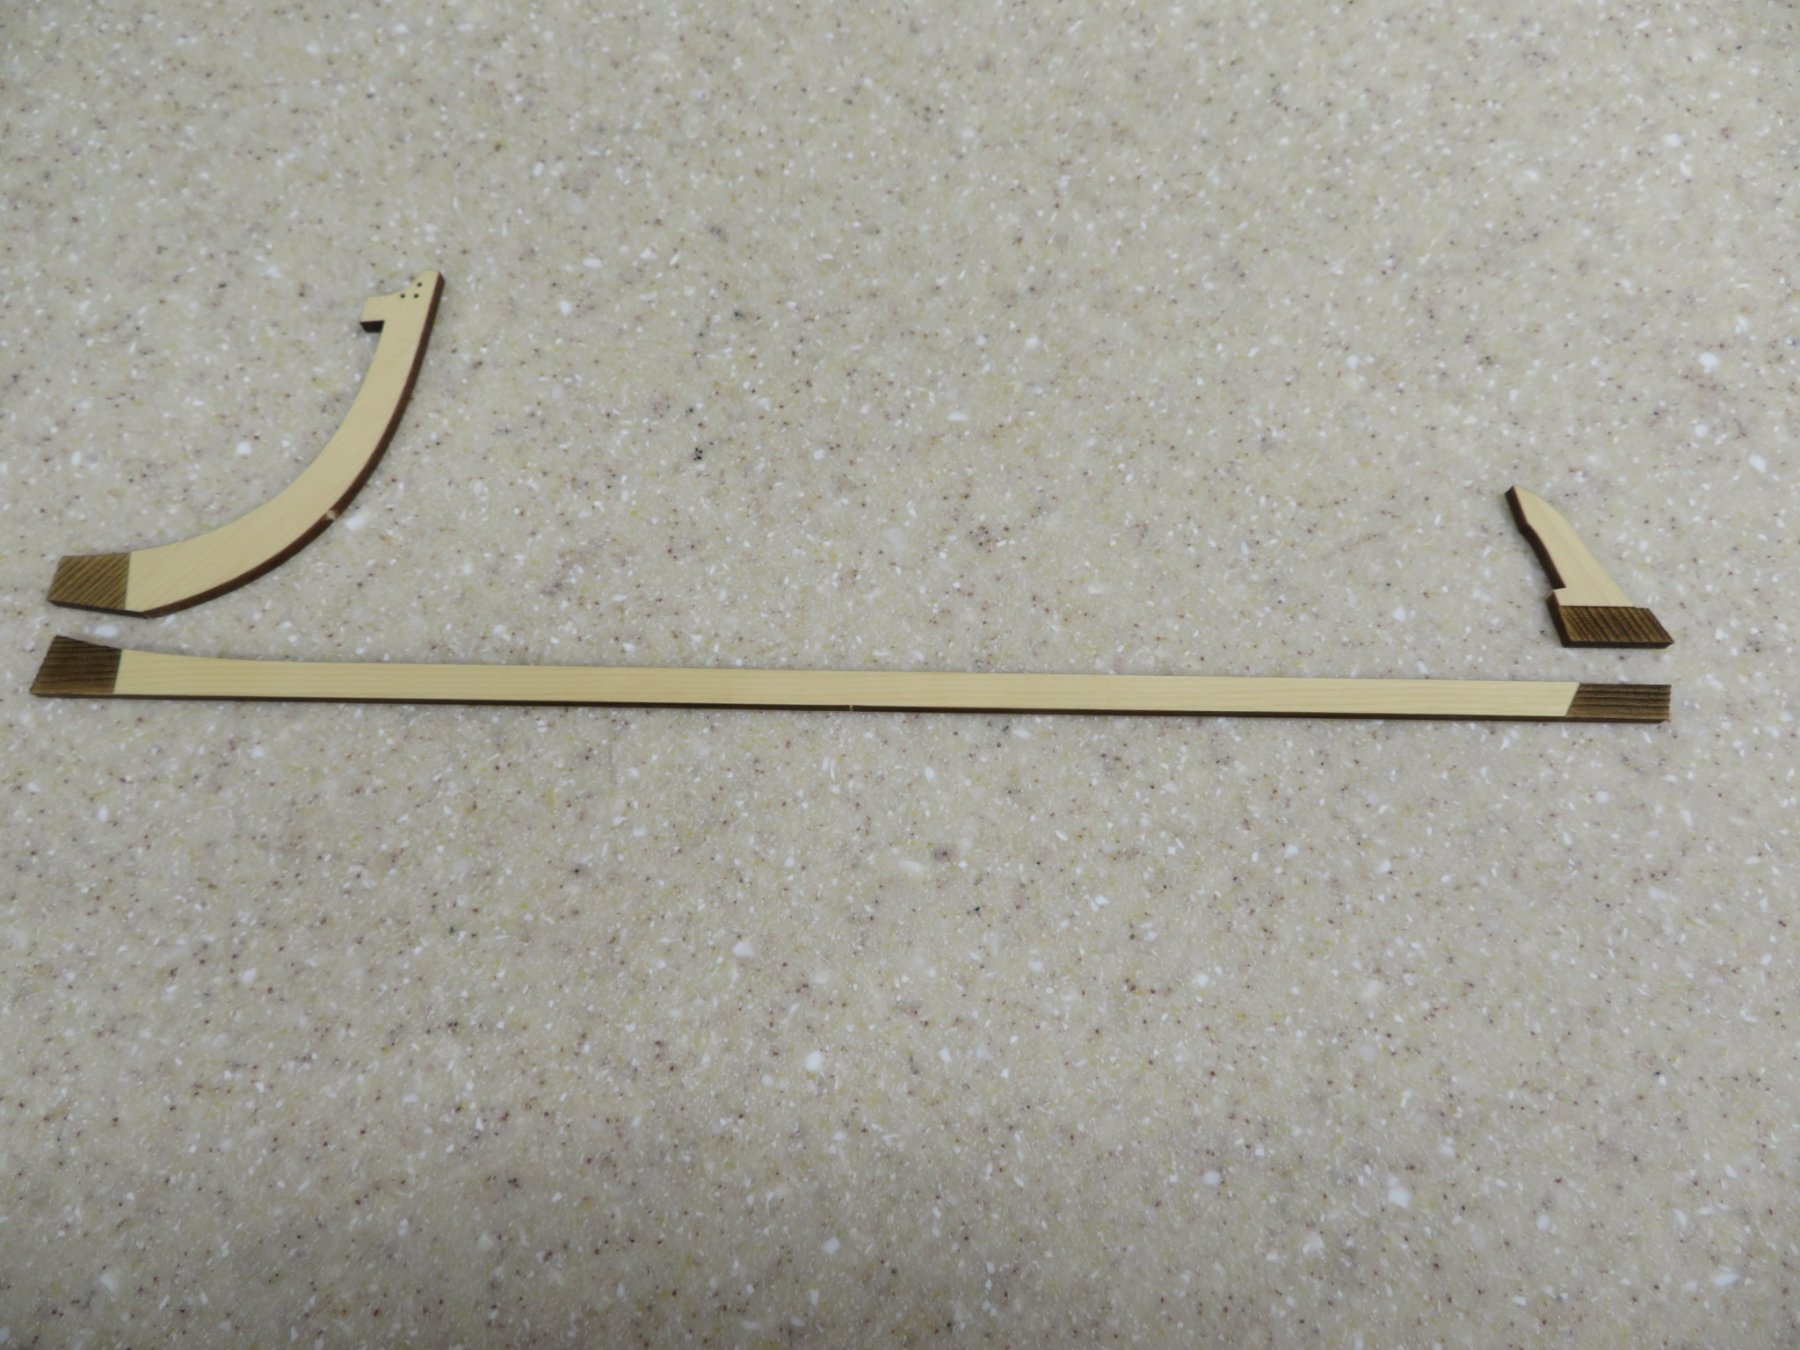
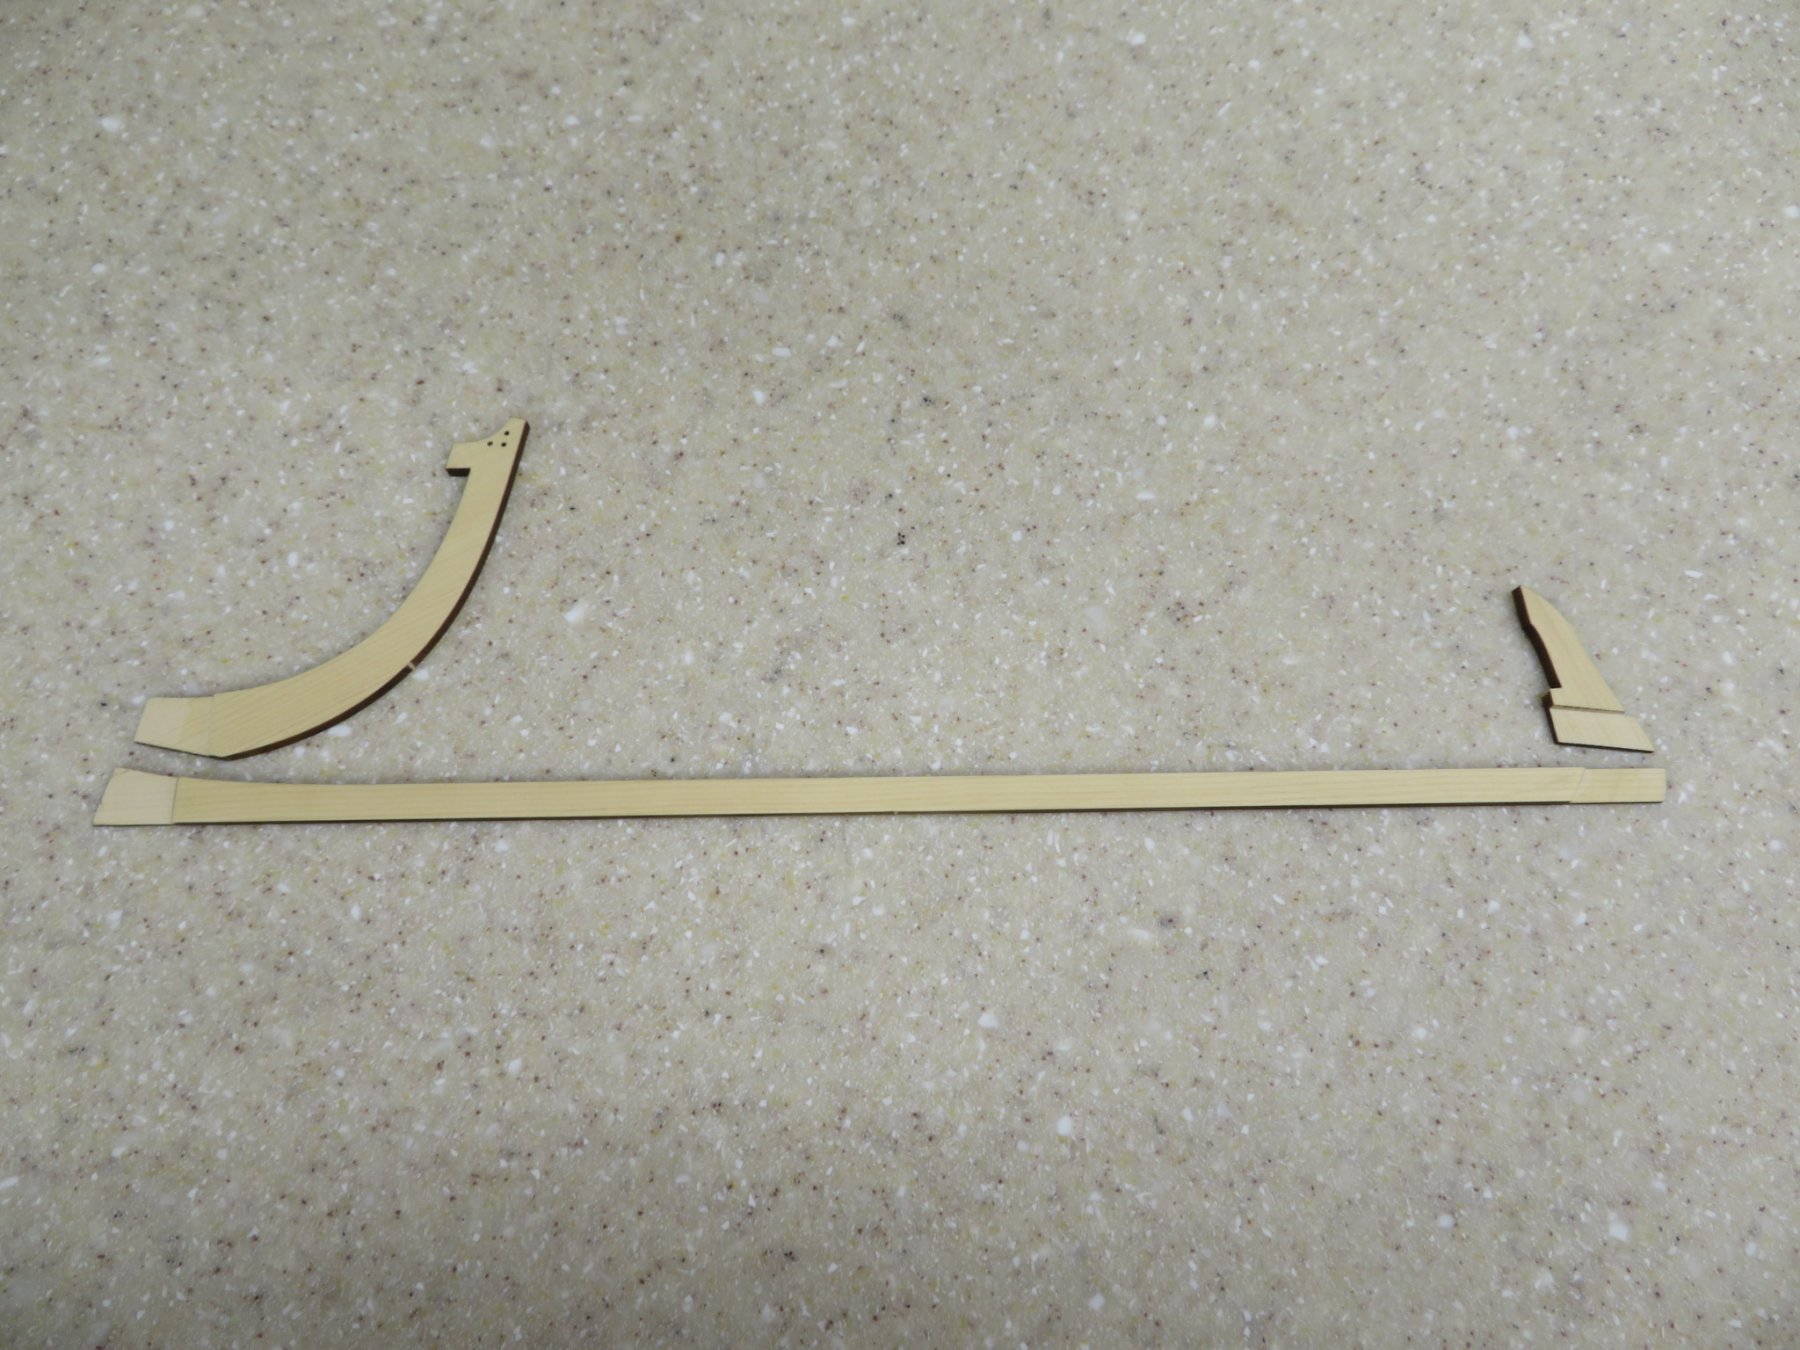
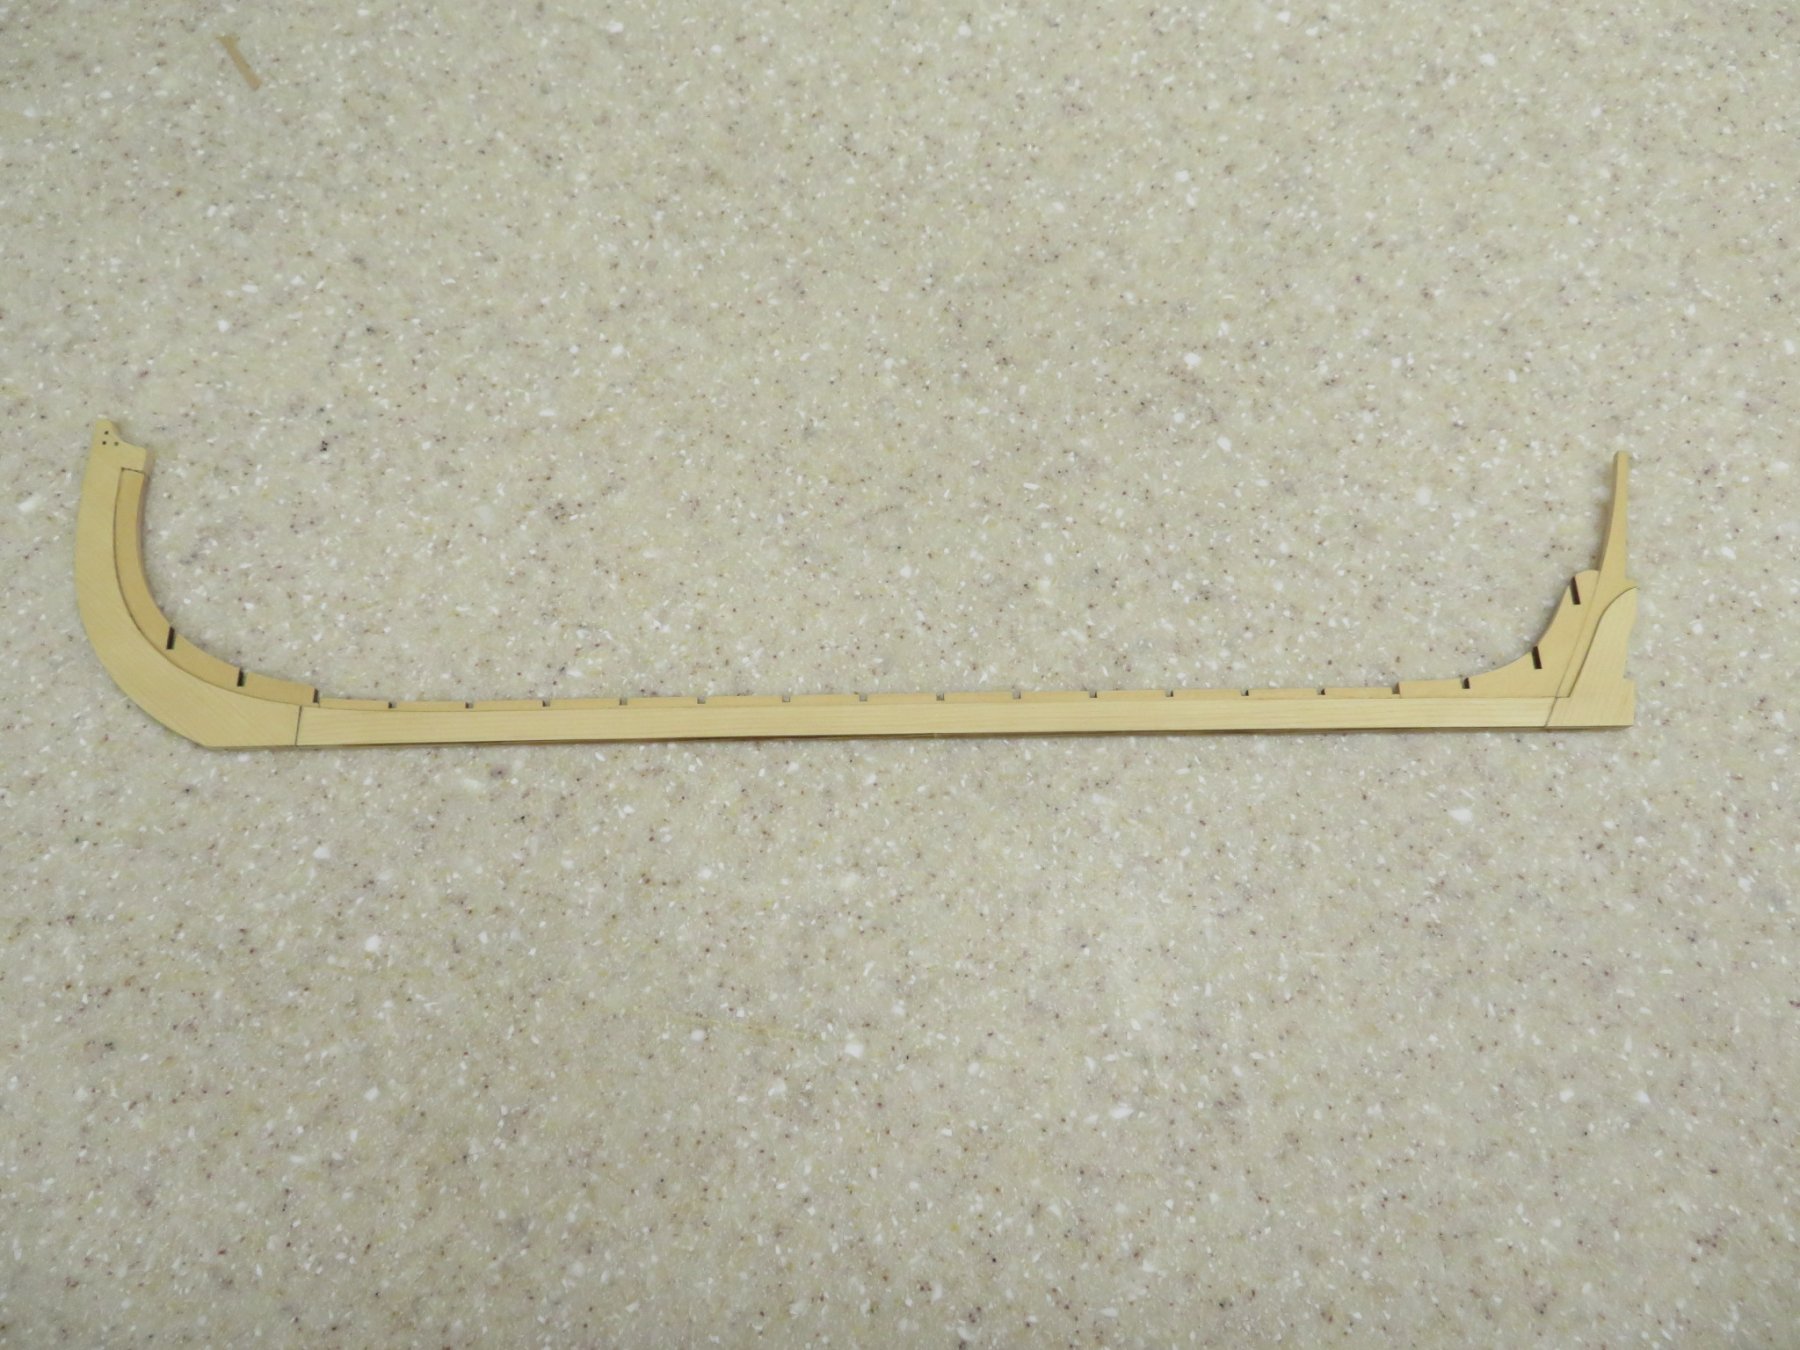
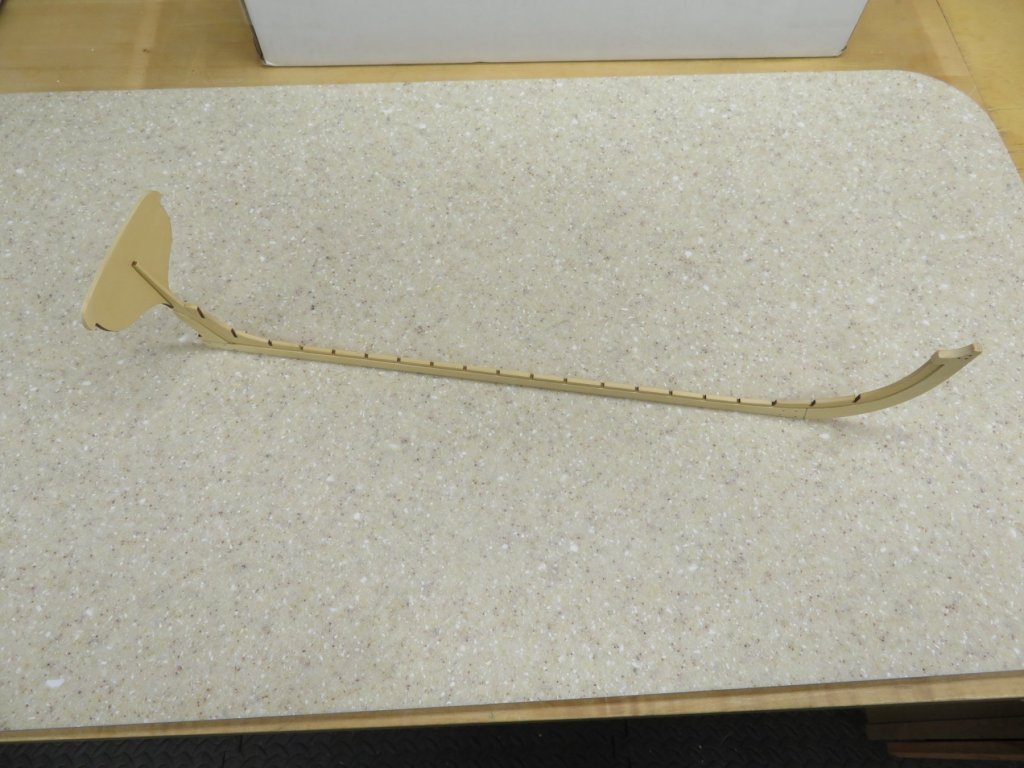
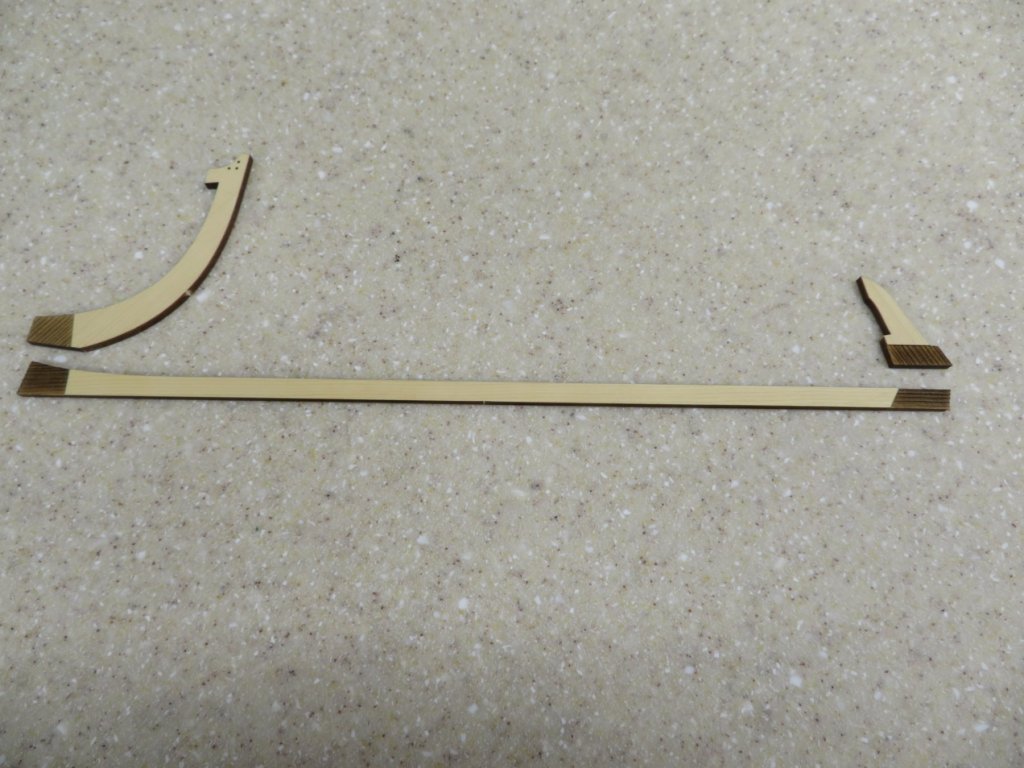
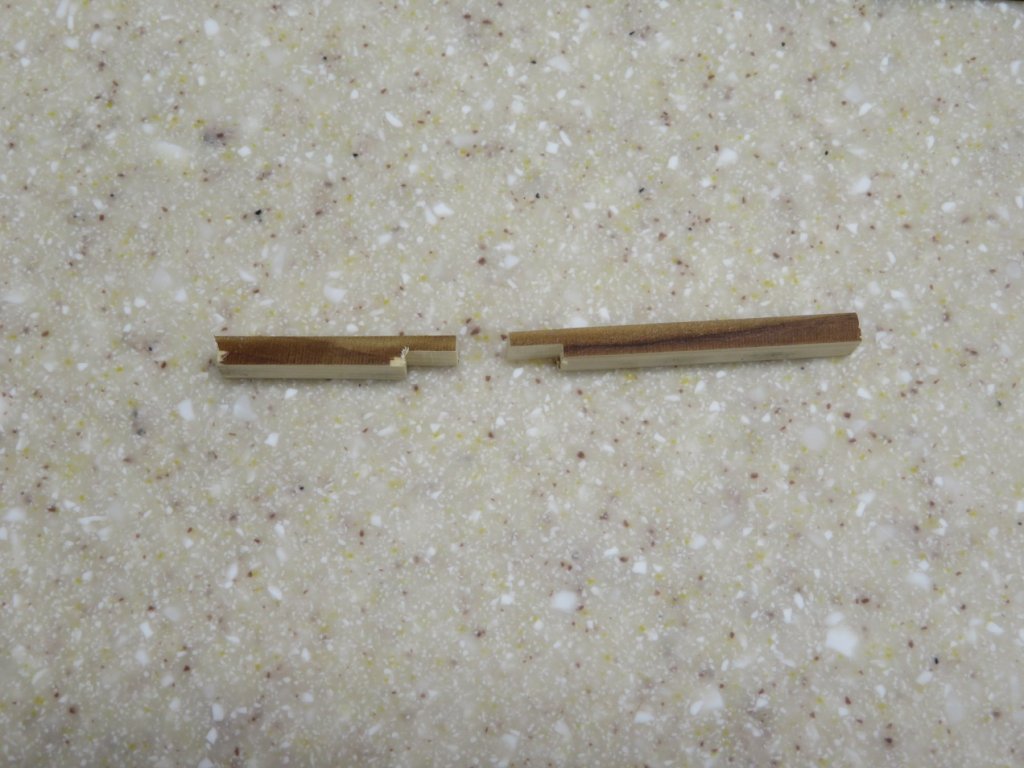
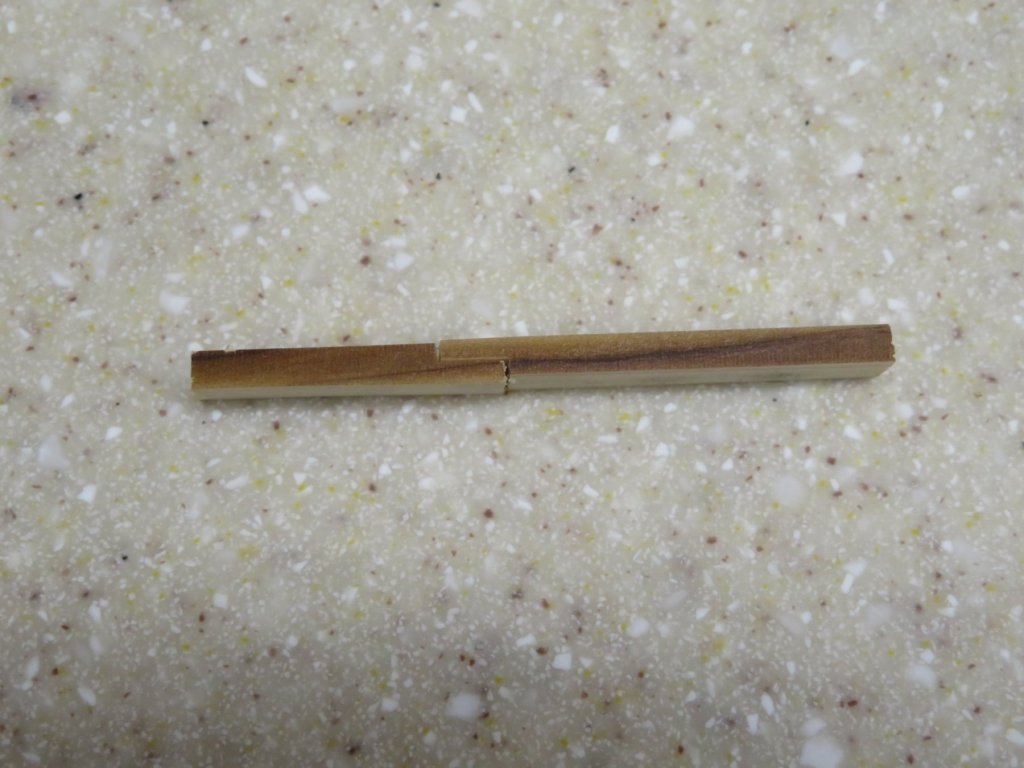
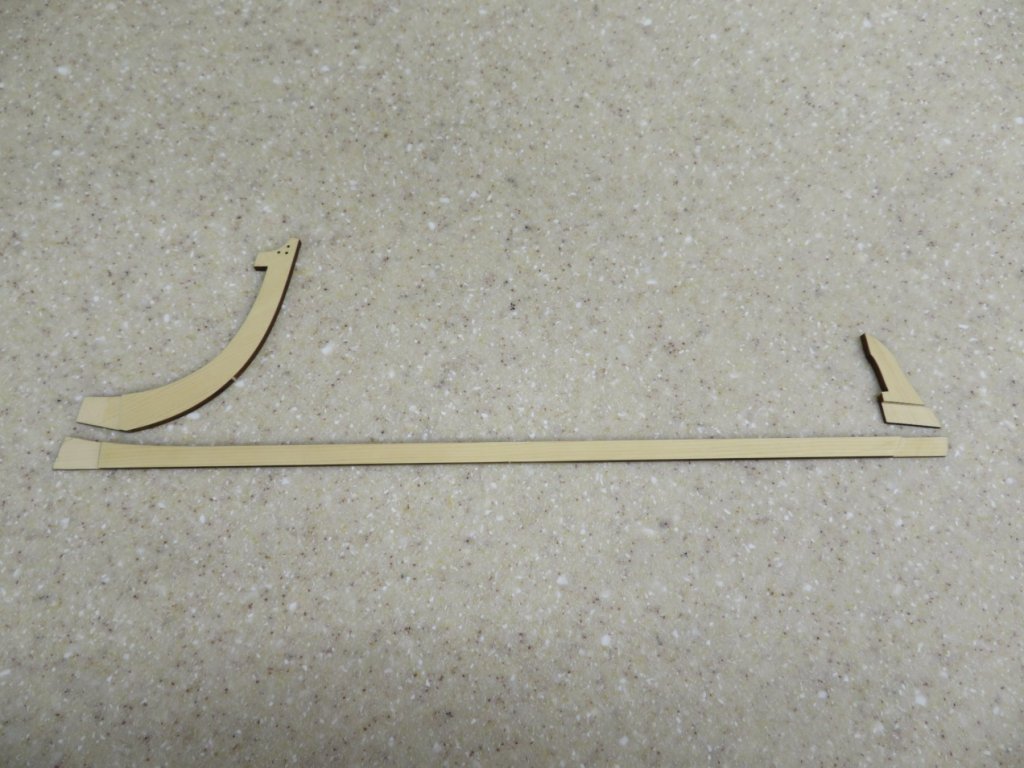
Hi All, Here is my first update on the Medway Longboat. I didn't have a huzzywutchet but I did use my Byrnes table saw. I set the blade height and did a test cut with scrap wood from the keel billet. Once I had the depth set correctly I "milled" the keel pieces. I left them a "hair" thick and then filed them to a smooth fit. I then glued them up and added the four 3/32" notched keel pieces leaving a 1/32" rabbit on each side. I followed Chucks recommendation to add the bow piece first then the two pieces at the stern and lastly the long piece to the top of the keel. They all fit perfectly with no sanding adjustment needed. Bolts were simulated using black monofilament that was supplied with the kit. Next up is to add the transom and the begin assembling the frames. Great kit with very precise fitting pieces. Another Syren gem!
- 152 replies
-
- 20
-
-
- medway longboat
- Syren Ship Model Company
- (and 1 more)
-
Nice start Rob.
-
Nice joint work Ryland. Having it scored with the laser really helped me.
- 263 replies
-
- 1
-
-
- Medway Longboat
- Syren Ship Model Company
- (and 1 more)
-
Hi Mike, The first planks are looking real nice. Good tight seams. Well done.
-
Thanks Chuck, Having a quality kit and great plans and instructions sure make it a lot easier! Hi Joe, Thanks for the kind words. I might be persuaded to stop by with it. Thanks everyone for the likes too! Very much appreciated.
- 120 replies
-
- 5
-
-
- queen anne barge
- Syren Ship Model Company
- (and 1 more)
-
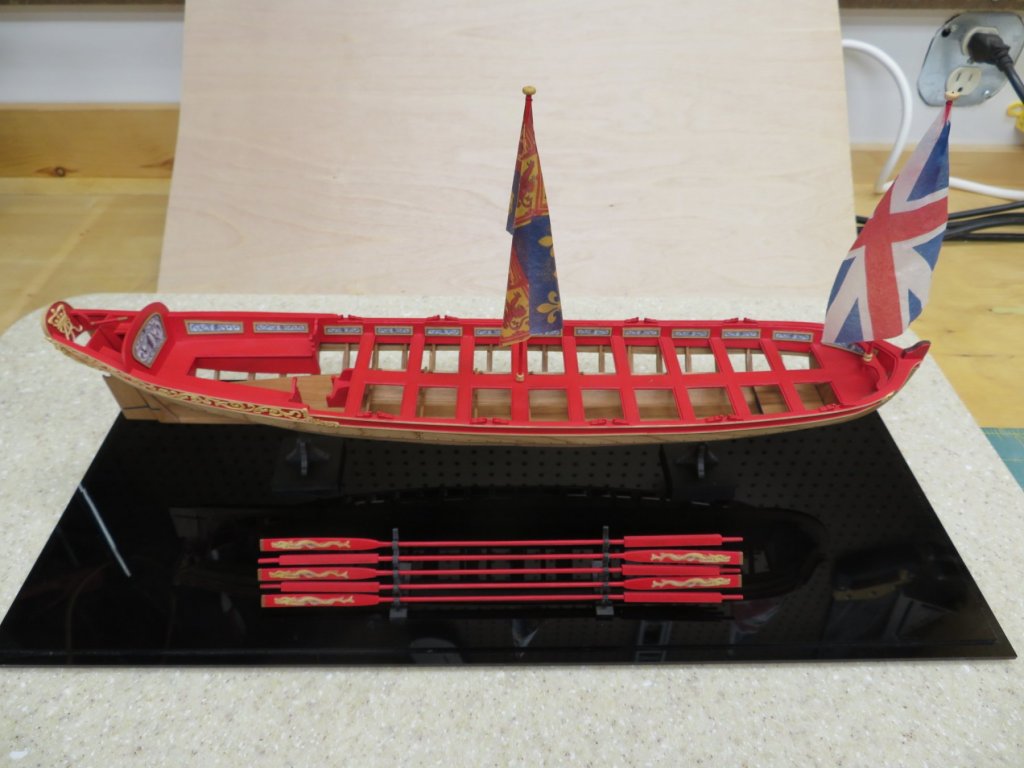
Ok after much delay I've finally got the display case and mounted the barge! This is a wonderful kit and a lot of fun to build. Thanks Chuck.
- 120 replies
-
- 18
-
-
- queen anne barge
- Syren Ship Model Company
- (and 1 more)
-
Great work on the masts and the start of the rigging Bob. Always a joy to watch you rig a ship!
- 359 replies
-
- 3
-
-
- prince de neufchatel
- model shipways
- (and 1 more)