Rustyj
-
Posts
2,535 -
Joined
-
Last visited
Content Type
Profiles
Forums
Gallery
Events
Everything posted by Rustyj
-
 Thank you Mike, Chuck and alde and all the likes. With the pictures I just take them on whatever surface the model may be at. I don't set up a dedicated area to take them. Maybe someday I will.
- 310 replies
-
- 3
-

-
- cheerful
- Syren Ship Model Company
- (and 1 more)
-
That is one cruel tease! But then again it has been 9 years in the making so I guess one more week isn't too bad.
- 290 replies
-
- 1
-
-
- confederacy
- frigate
- (and 1 more)
-
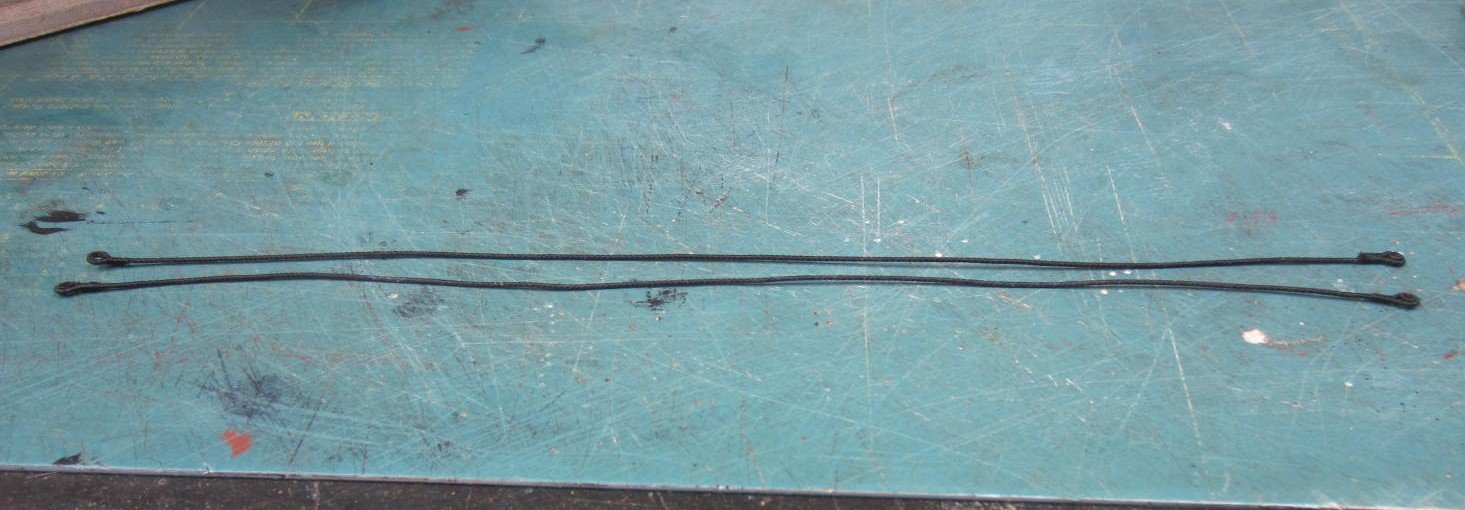
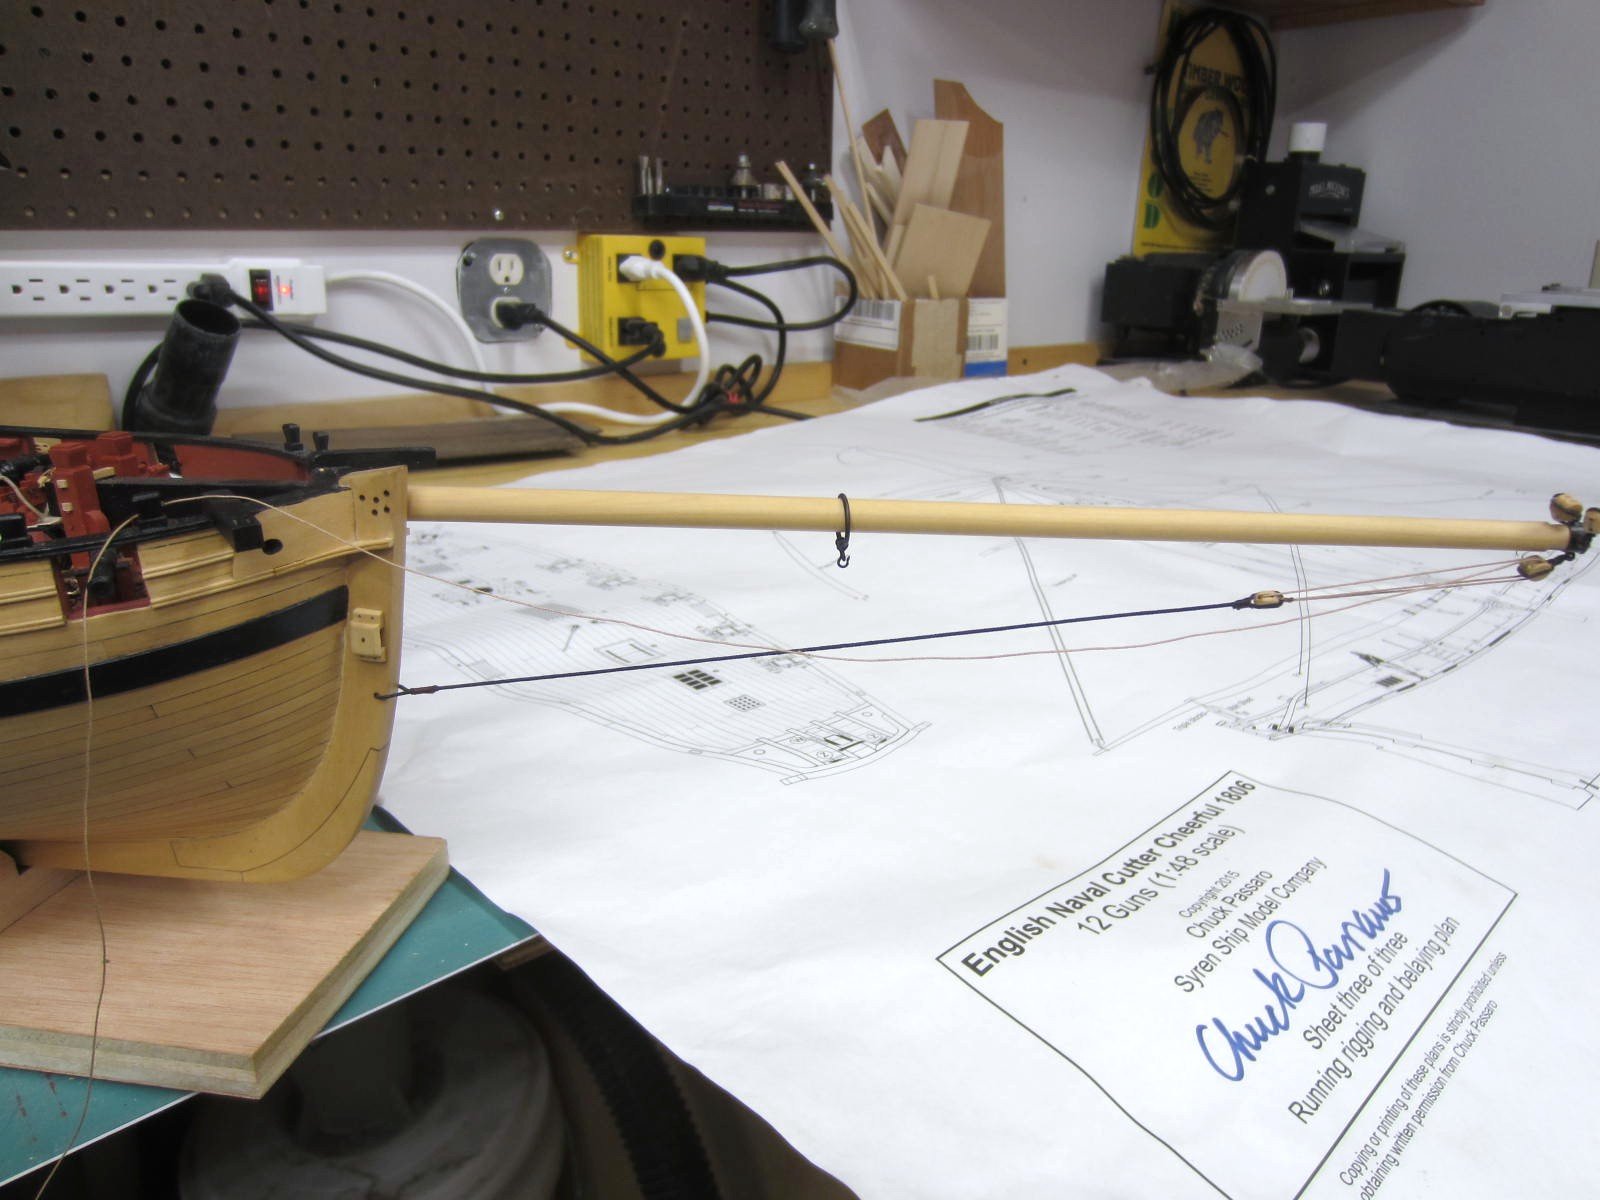
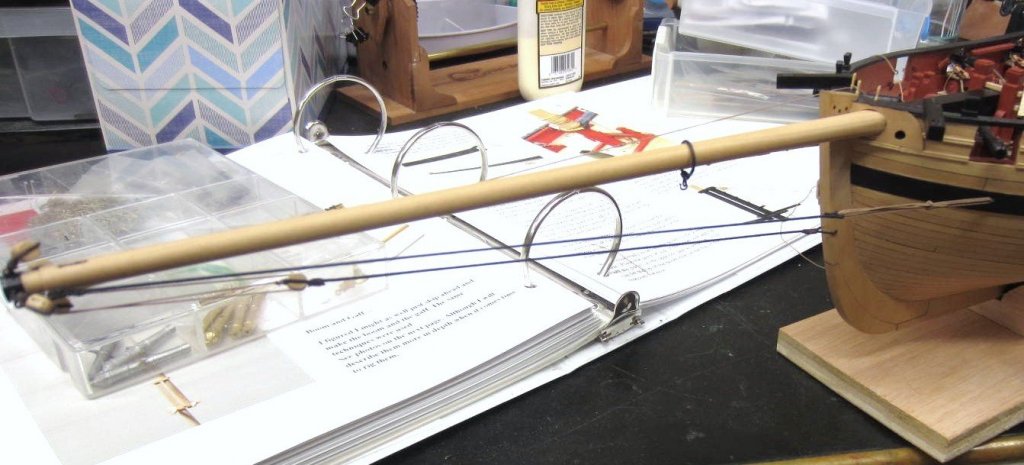
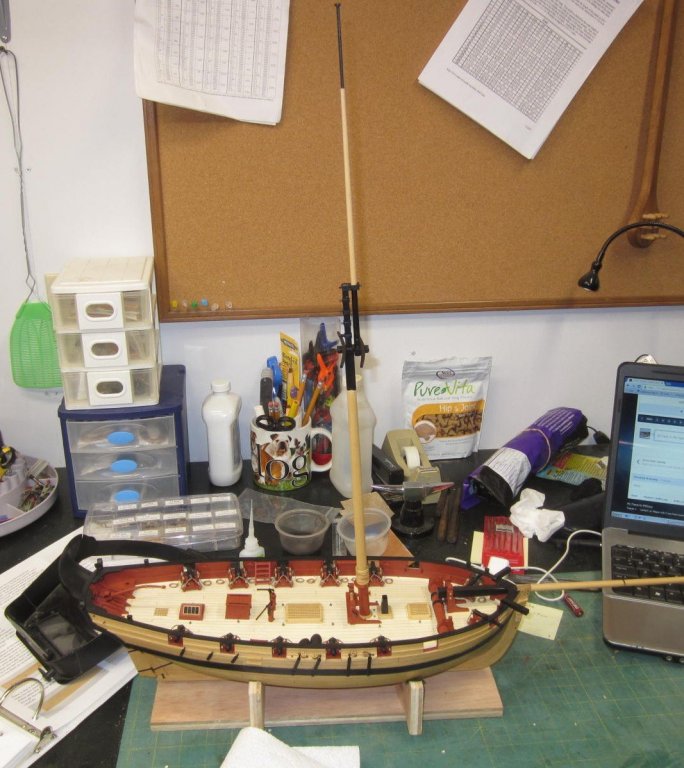
Hi all, I've completed the Bowsprit Guys. The thimbles are made from Albion Alloys thin walled brass tubing, 1.6mm. The guys are .025" rope served with #100 thread. As you can tell photography is not my strong suit. Need to work on it more! Next up is setting the mast and hanging the boom and gaff.


- 310 replies
-
- 23
-
-
- cheerful
- Syren Ship Model Company
- (and 1 more)
-
Thank you Pat and Nils and thanks for all the likes too. Michael I will leave them natural. I did apply one coat of wipe on poly to seal them though.
- 310 replies
-
- 5
-
-
- cheerful
- Syren Ship Model Company
- (and 1 more)
-
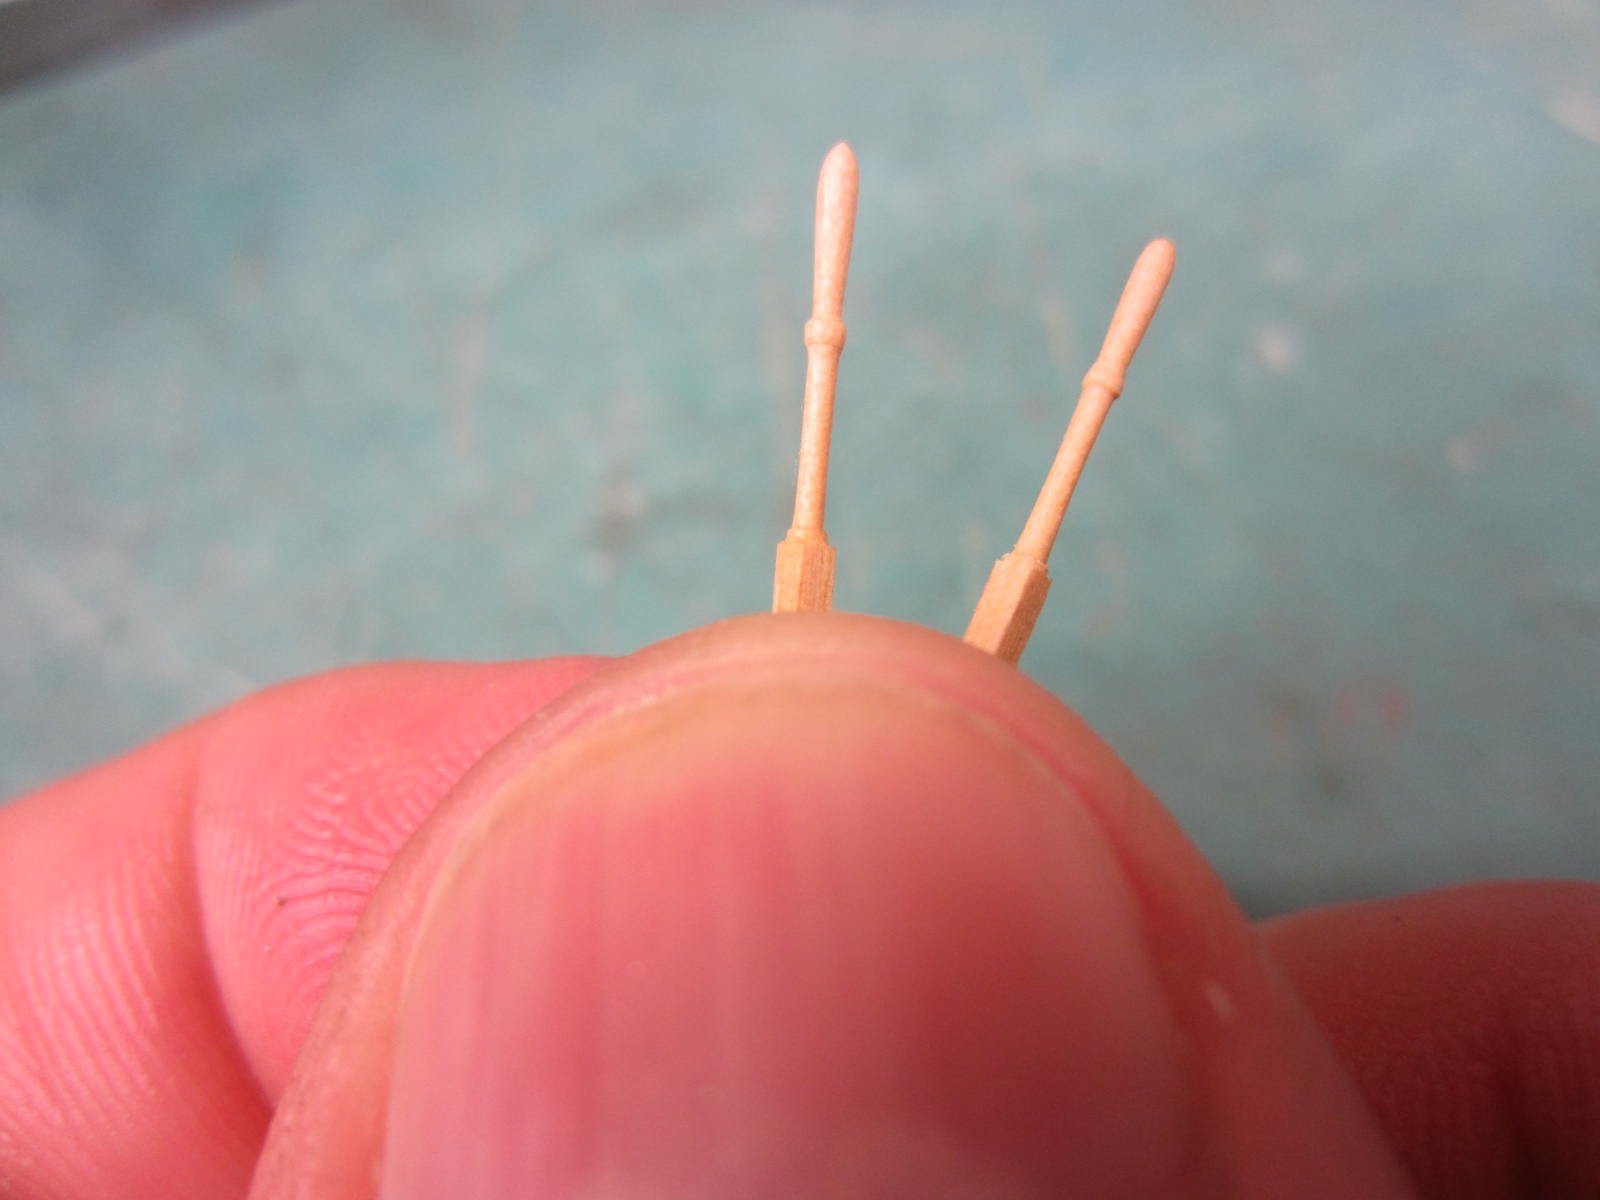
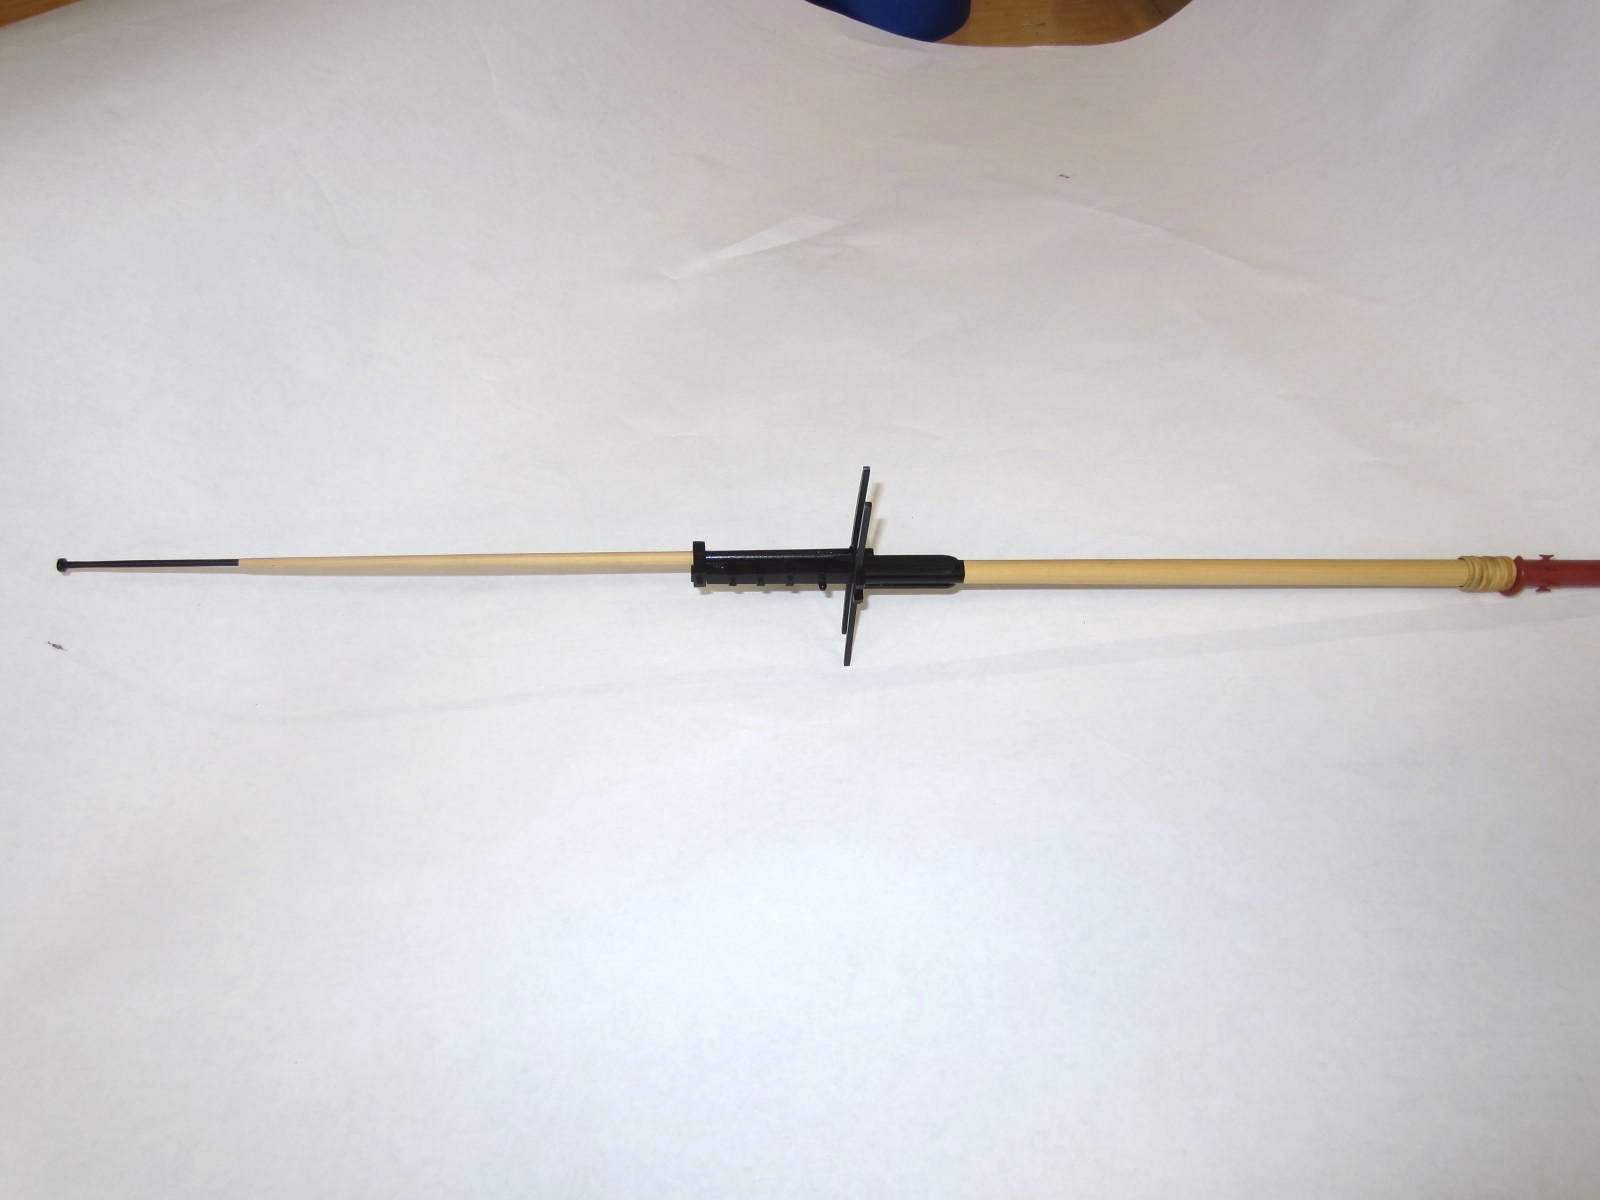
Ok I didn't think I needed to break out the lathe to do these small belaying pins so I did as Chuck did. Can't go wrong doing that. I cut some 3/64ths square boxwood, chucked it in my dremel and using files made some belaying pins. The success rate was about 50%. Hmmmm.......Looks like I need to do some dusting!

- 310 replies
-
- 25
-
-
- cheerful
- Syren Ship Model Company
- (and 1 more)
-
Hi Ben, Welcome back and I'm both glad to see your work resume and the model surviving the summer!
-
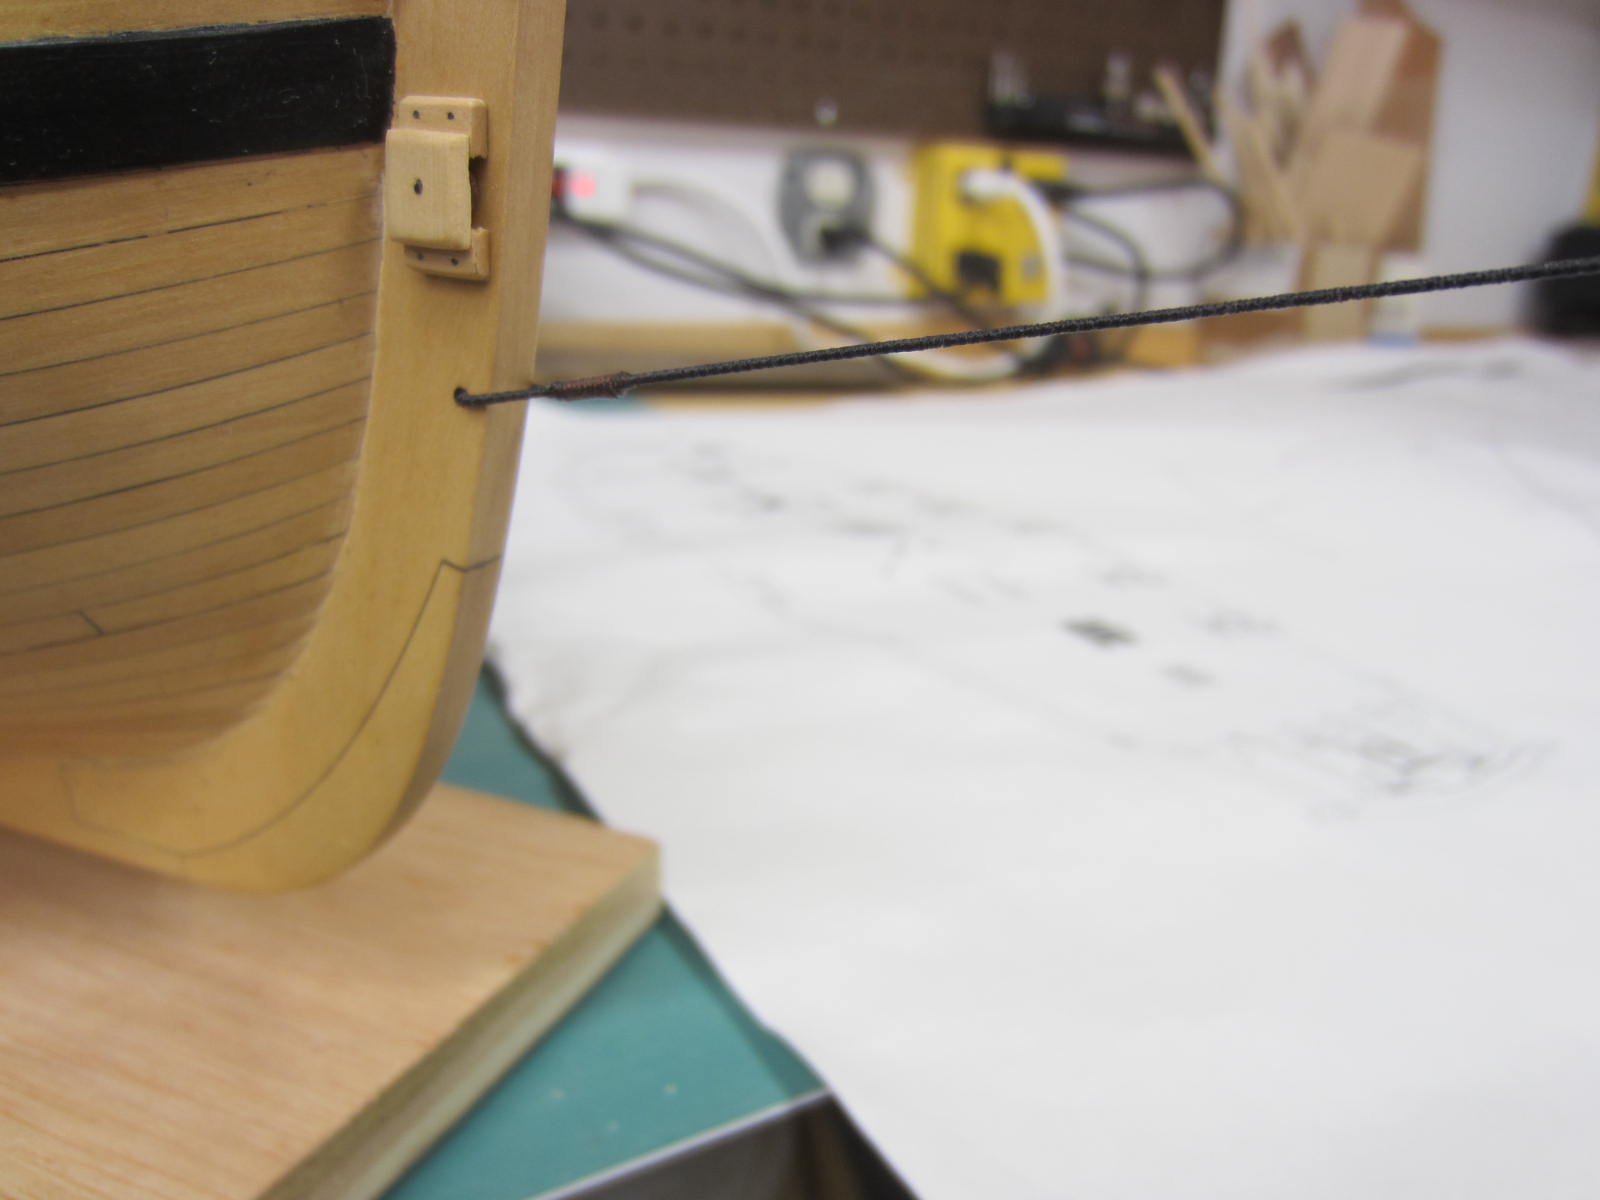
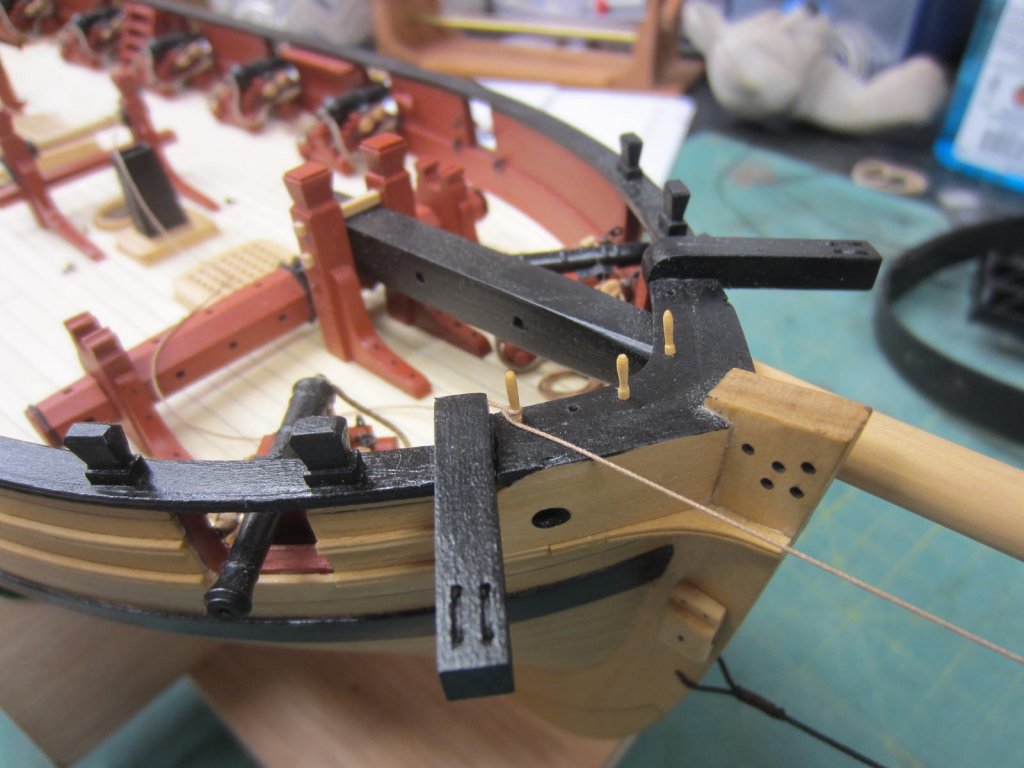
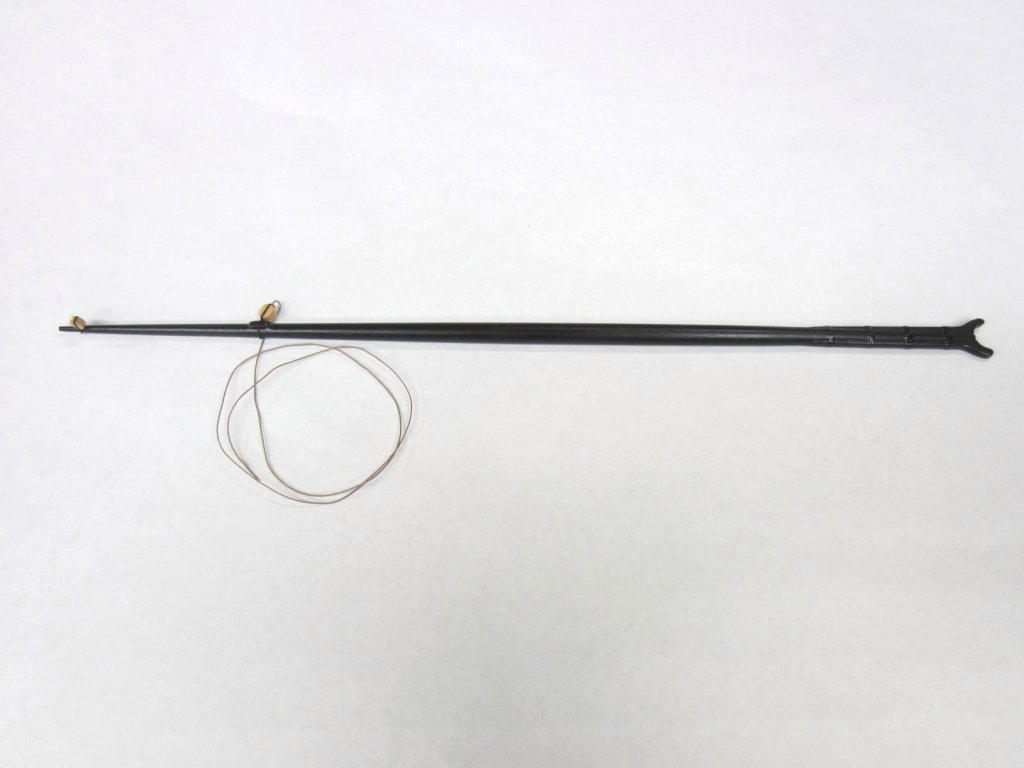
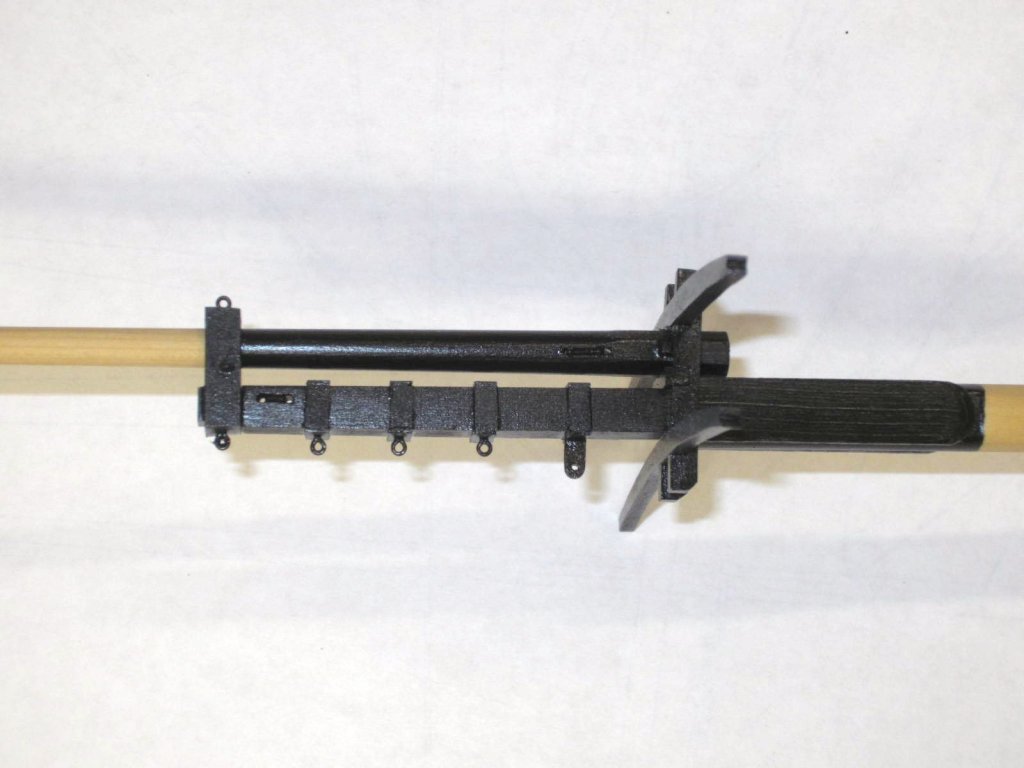
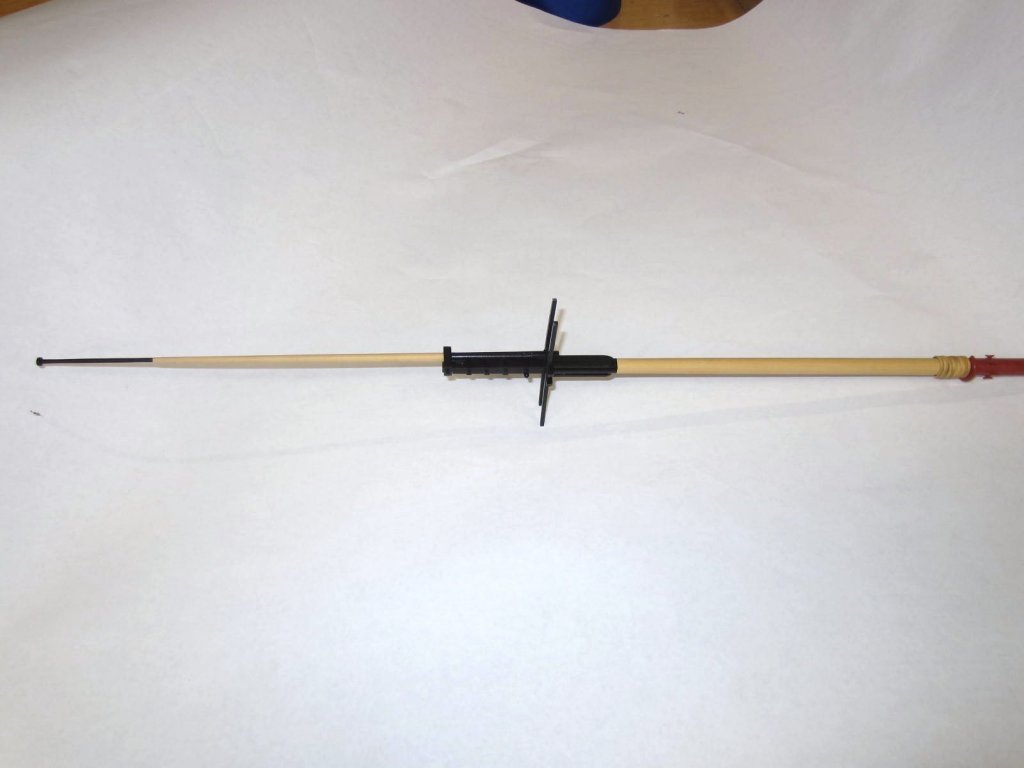
Thanks Chuck, Your plans and directions make it a whole lot easier. Thank you Eric. I see your doing some good work on the Syren. Nice job on the coppering the hull. I love that Model. It was my first scratch build. Thanks Jaxboat. I used the table saw to cut the grooves. Trust me there have been many rejects before the final ones made it to the model.. OK I put the Syren Ship Modeling traveler ring on the bowsprit. I then served some .025 rope for the bobstay with a 3/16" single block seized to one end. The opposite end was fed through the stem and seized. Some .012 line was attached to the bobstay block and fed through the lower double block on the bowsprit. At this point I discovered I had no belaying pin to secure the line to! Head slap. Ok now it's time to make some belaying pins!


- 310 replies
-
- 19
-
-
- cheerful
- Syren Ship Model Company
- (and 1 more)
-
Hi Druxey and Pat. Thanks for stopping by and thanks for all the "likes".
- 310 replies
-
- 2
-
-
- cheerful
- Syren Ship Model Company
- (and 1 more)
-
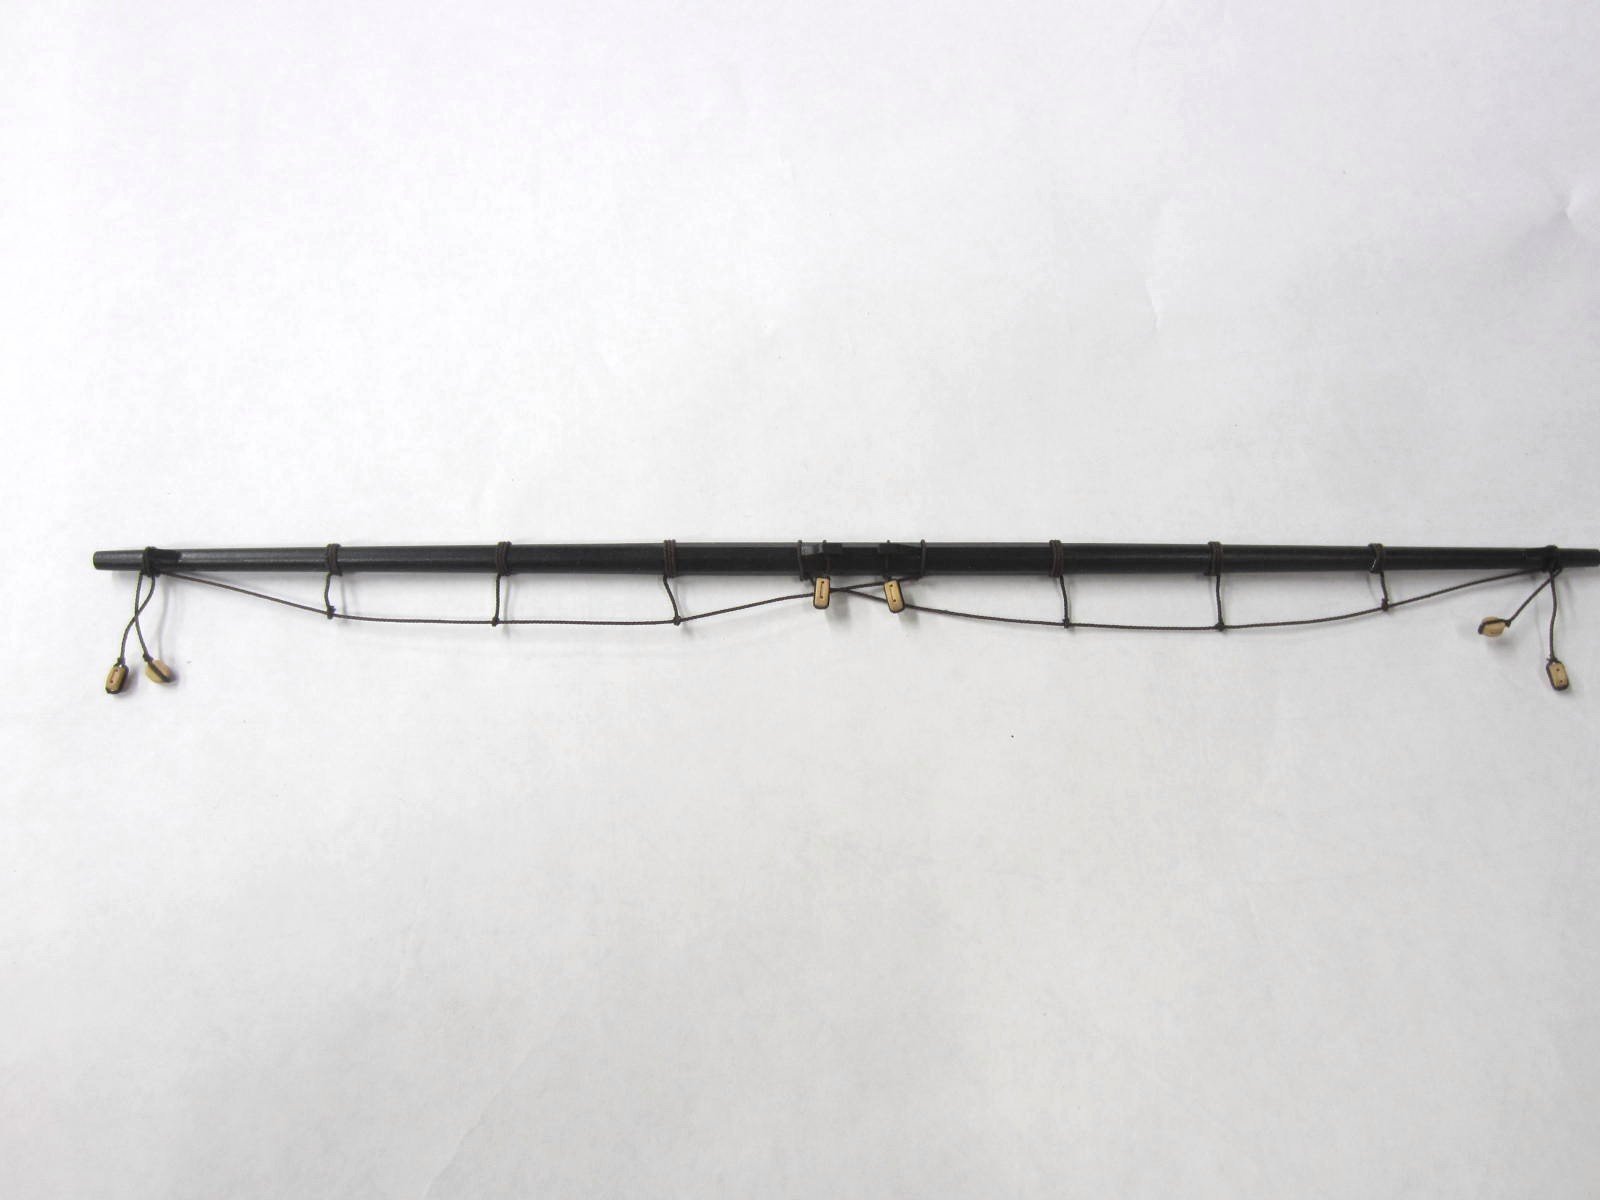
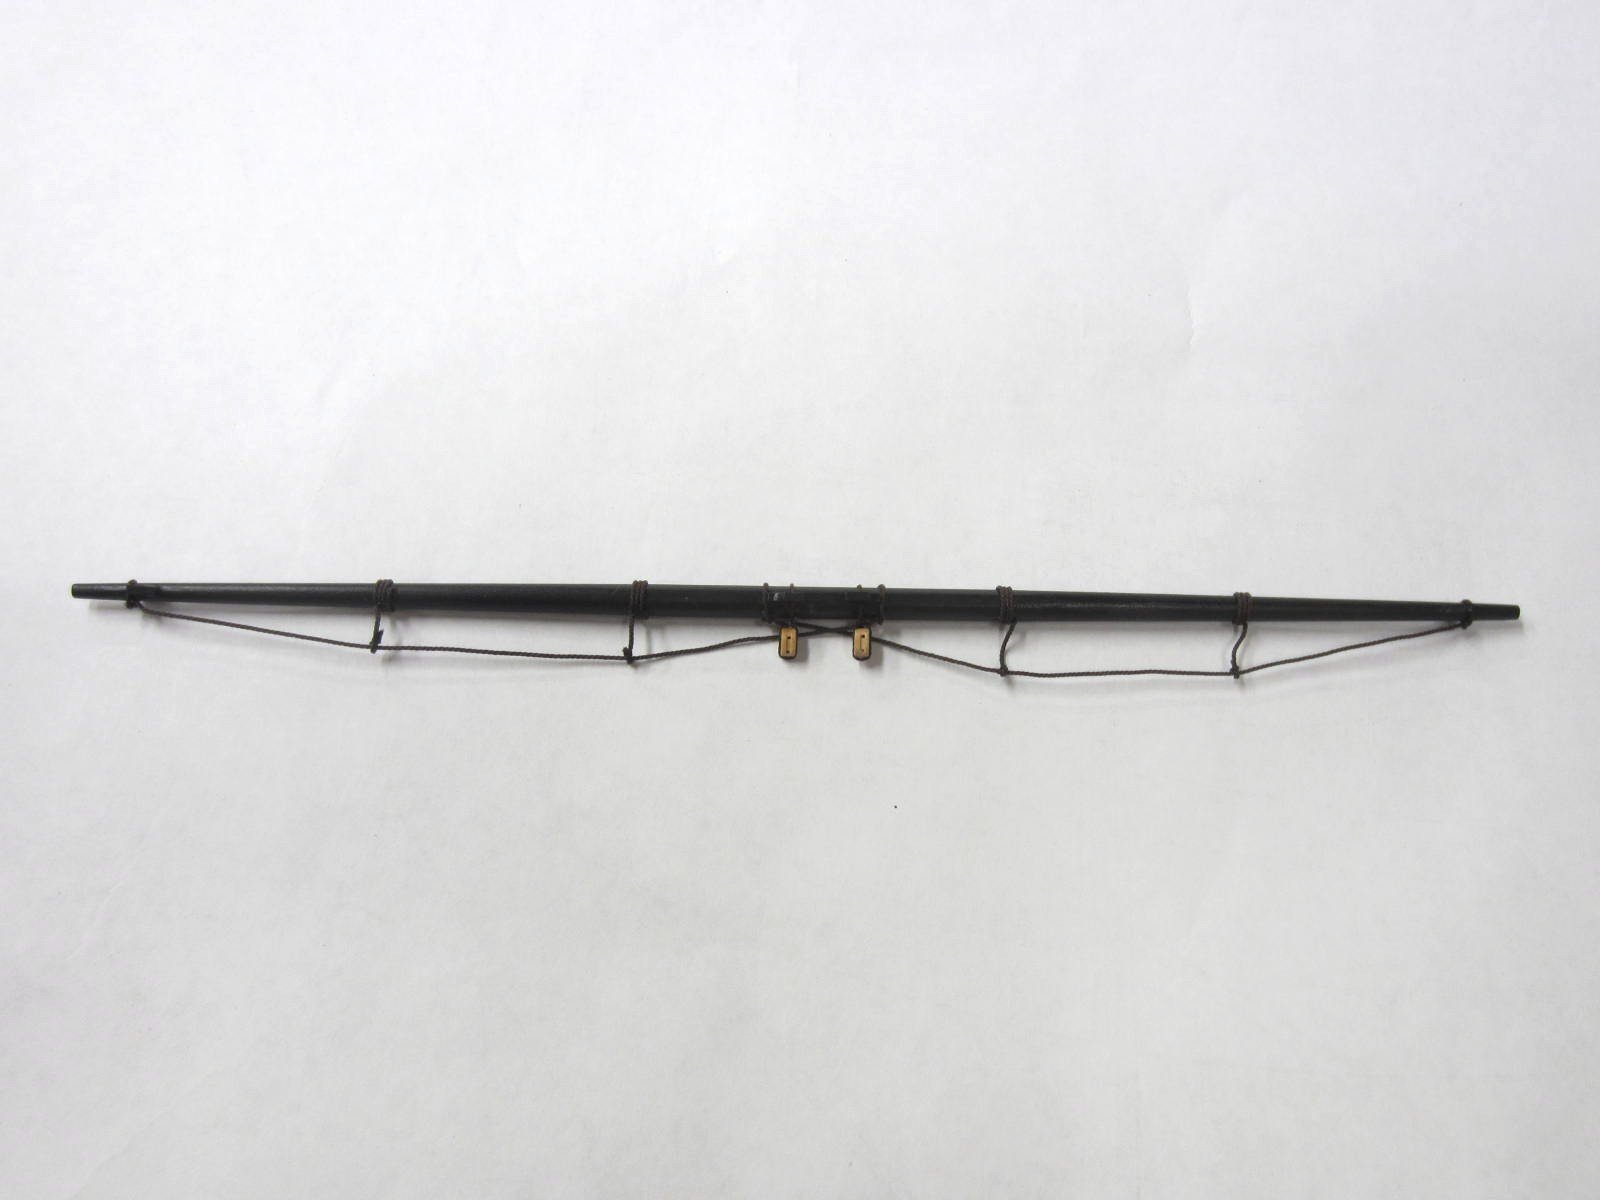
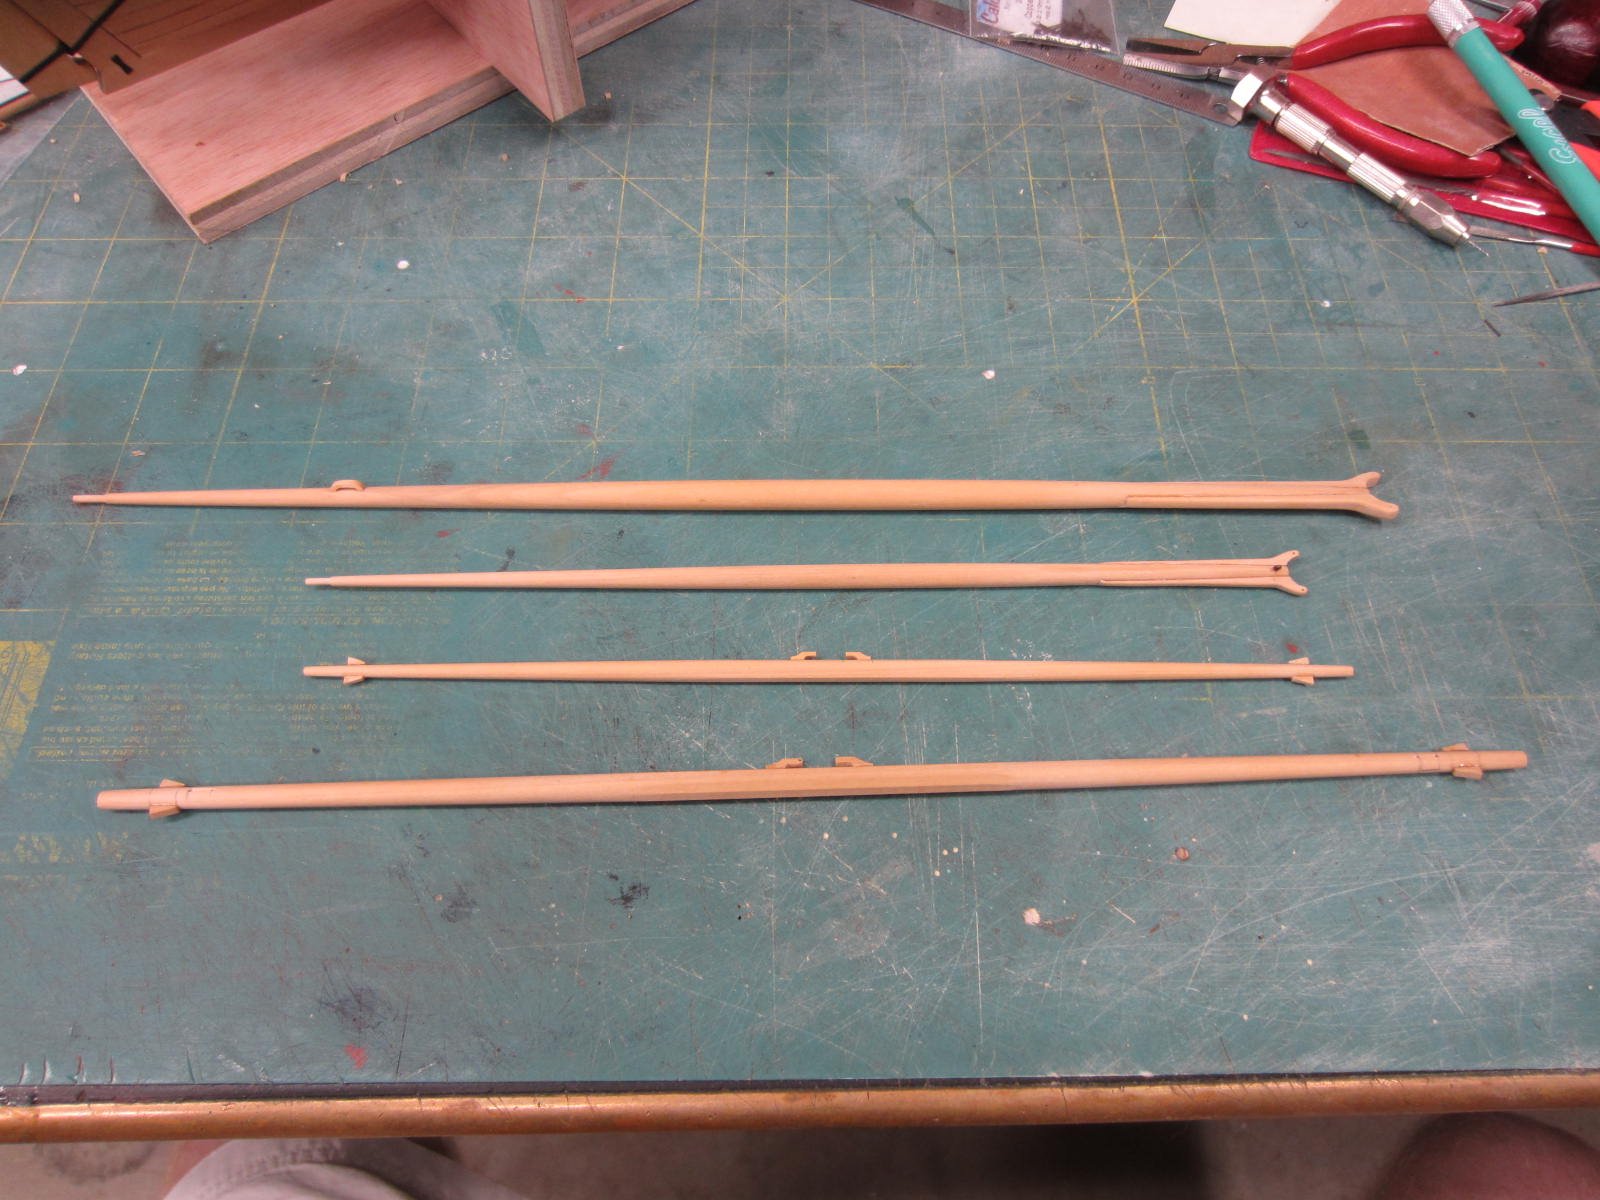
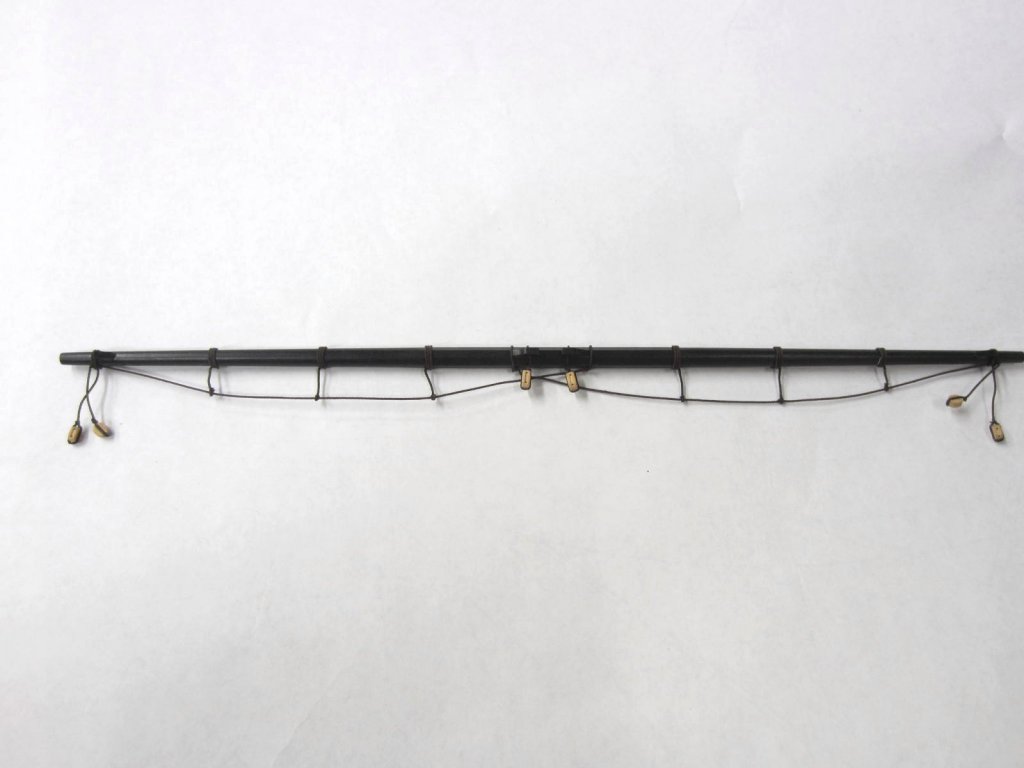
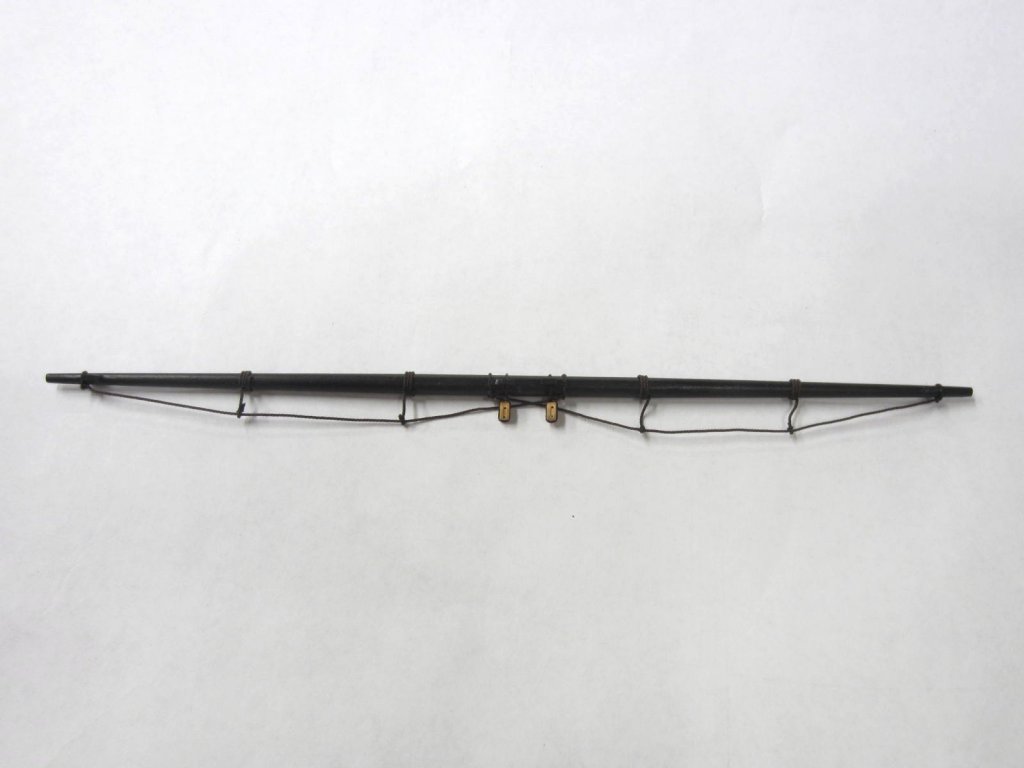
Ok I said I'd more for the weekend! I just didn't say which one. The two yards have been completed. Blocks, foot ropes etc have also been attached. Next up I have to breakout the original Syren Serv-O-Matic and try serving line for the first time.
- 310 replies
-
- 14
-
-
- cheerful
- Syren Ship Model Company
- (and 1 more)
-
Hi Glenn, I'm glad to see you've finished her. I'm pleased to say I've enjoyed many of your builds over the years and this one was no exception. Hopefully you'll find something in the future that interests you and we can enjoy your workmanship some more. My best to you.
- 101 replies
-
- 1
-
-
- victory models
- amati
- (and 2 more)
-
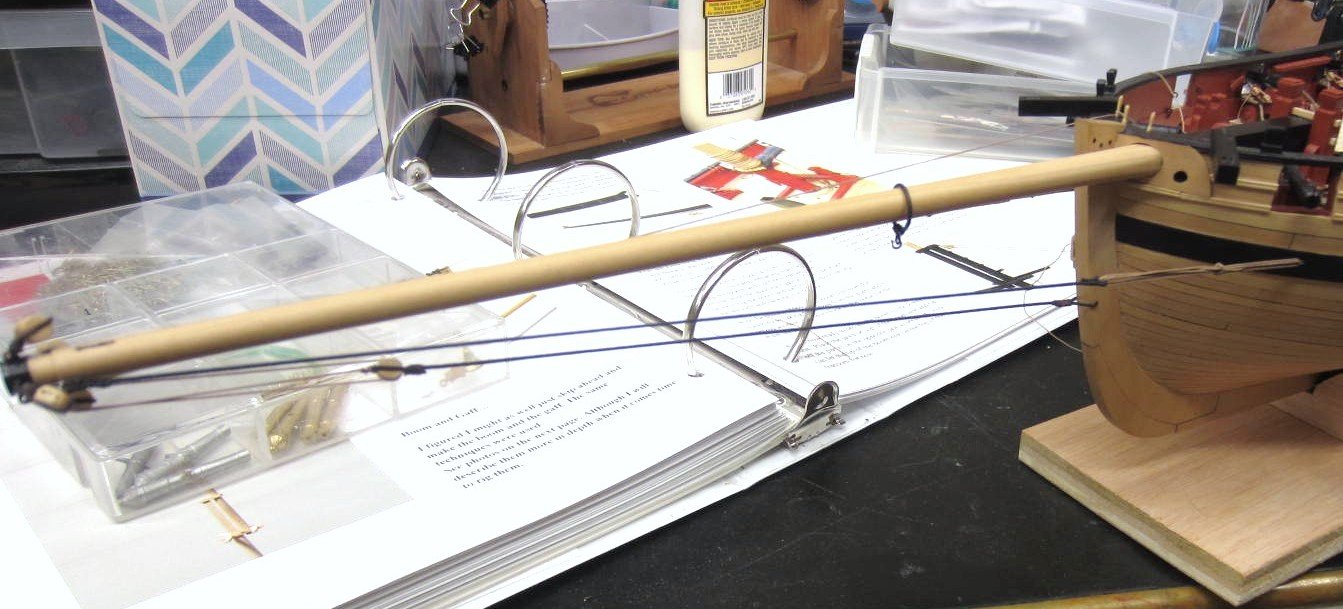
Thanks Bob,, Glad you're safe and sound in Chicago! Hi Mike, Not sure if the thimbles or seizing will be the most fun! Thank you alde. Plus all the likes too. Here the boom and gaff have been completed. More to come by the weekend!
- 310 replies
-
- 11
-
-
- cheerful
- Syren Ship Model Company
- (and 1 more)
-
HI Grant, Great work my friend. Your innovation, skill and hard word produced a wonderful model. I eagerly await the "sea trials".
- 339 replies
-
- 5
-
-
- dumas
- Chris-Craft
- (and 3 more)
-
Hi Mark, It's tedious, slow work but the effort is well worth it. Looking real good.
-
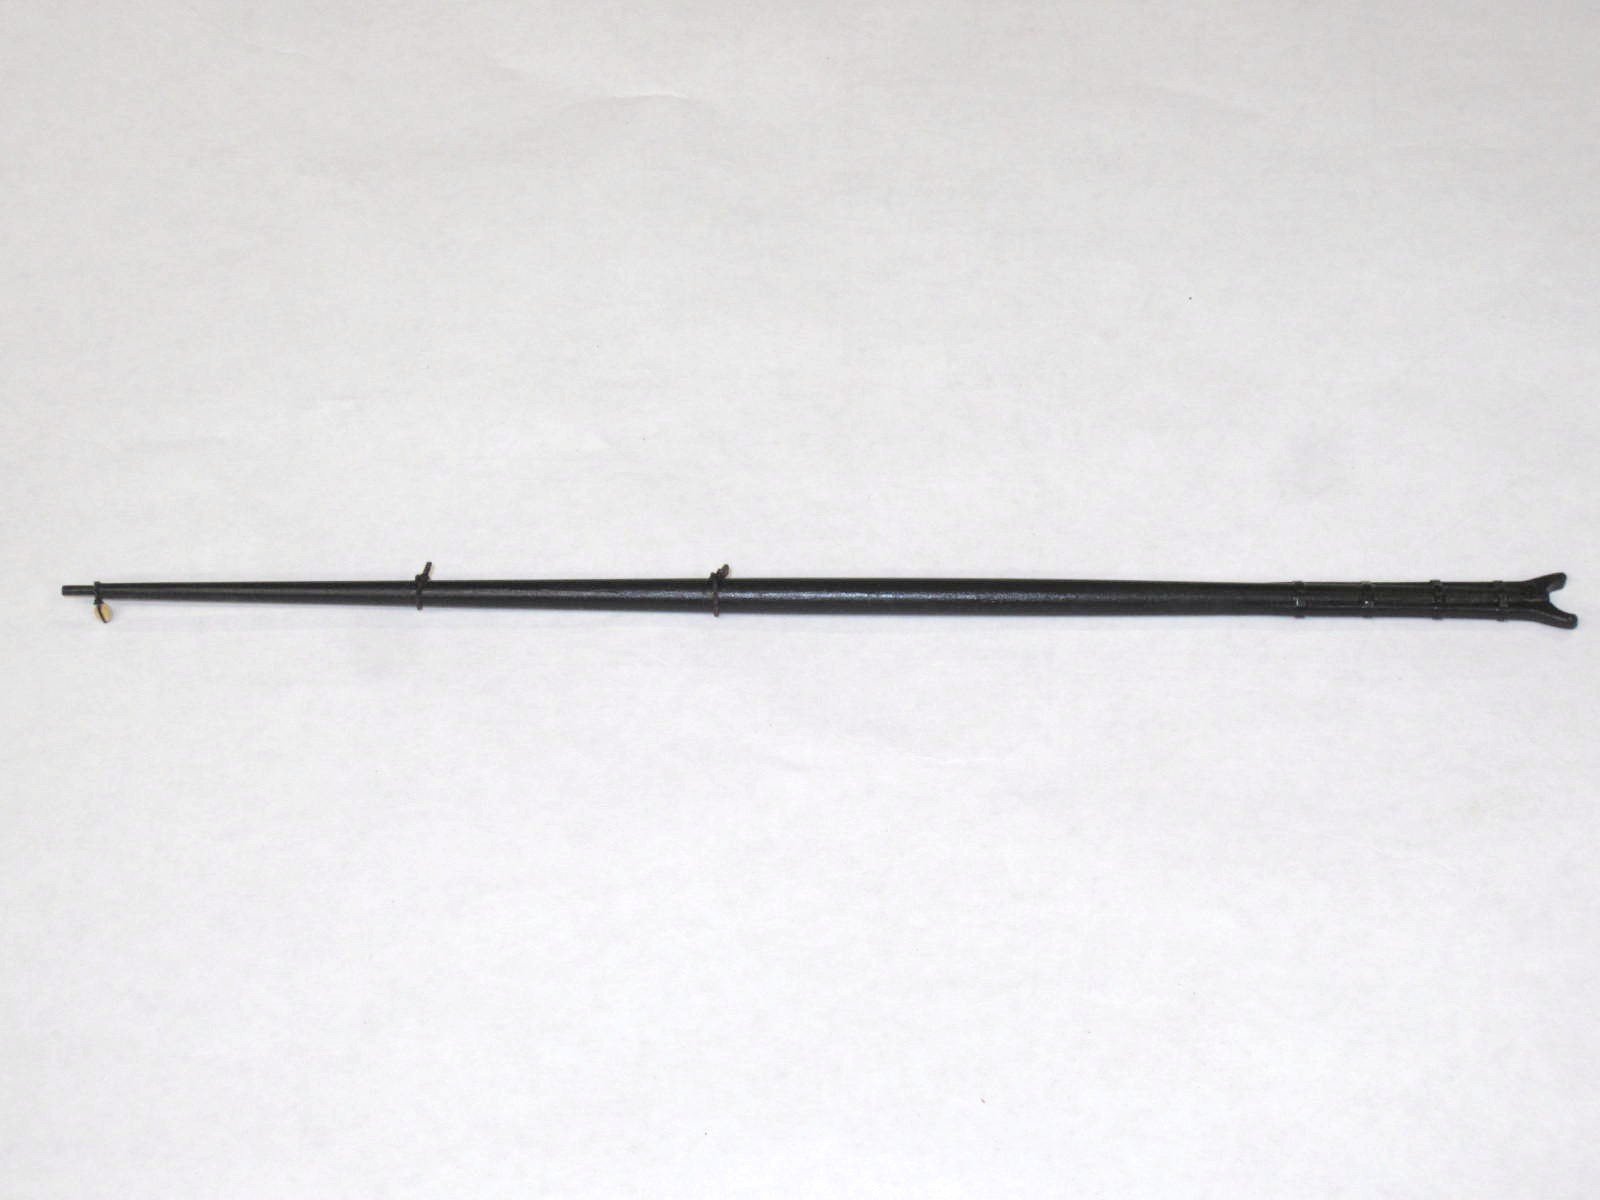
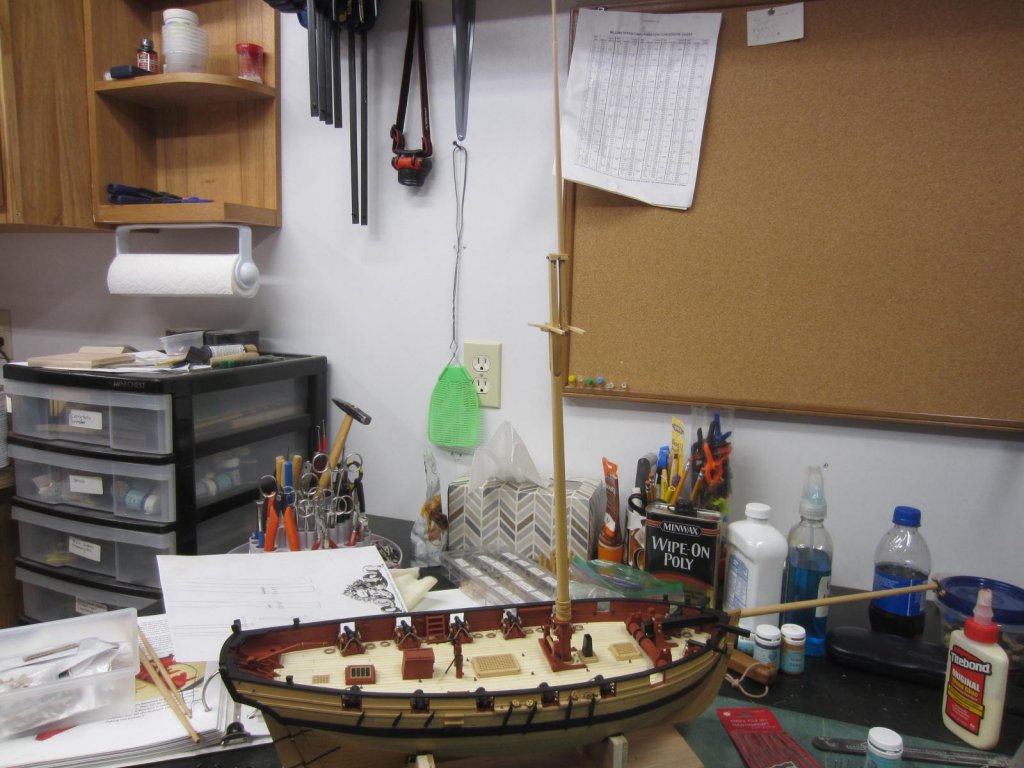
Thanks Dirk, Joe, Grant, Pat, and Elia for stopping by and the kind words. Also thanks everyone for the likes. The mast has been painted and assembled and dry fit back in place. I'll continue fitting out the yards next. Then it's time to learn to make thimbles and seize line!
- 310 replies
-
- 23
-
-
- cheerful
- Syren Ship Model Company
- (and 1 more)
-
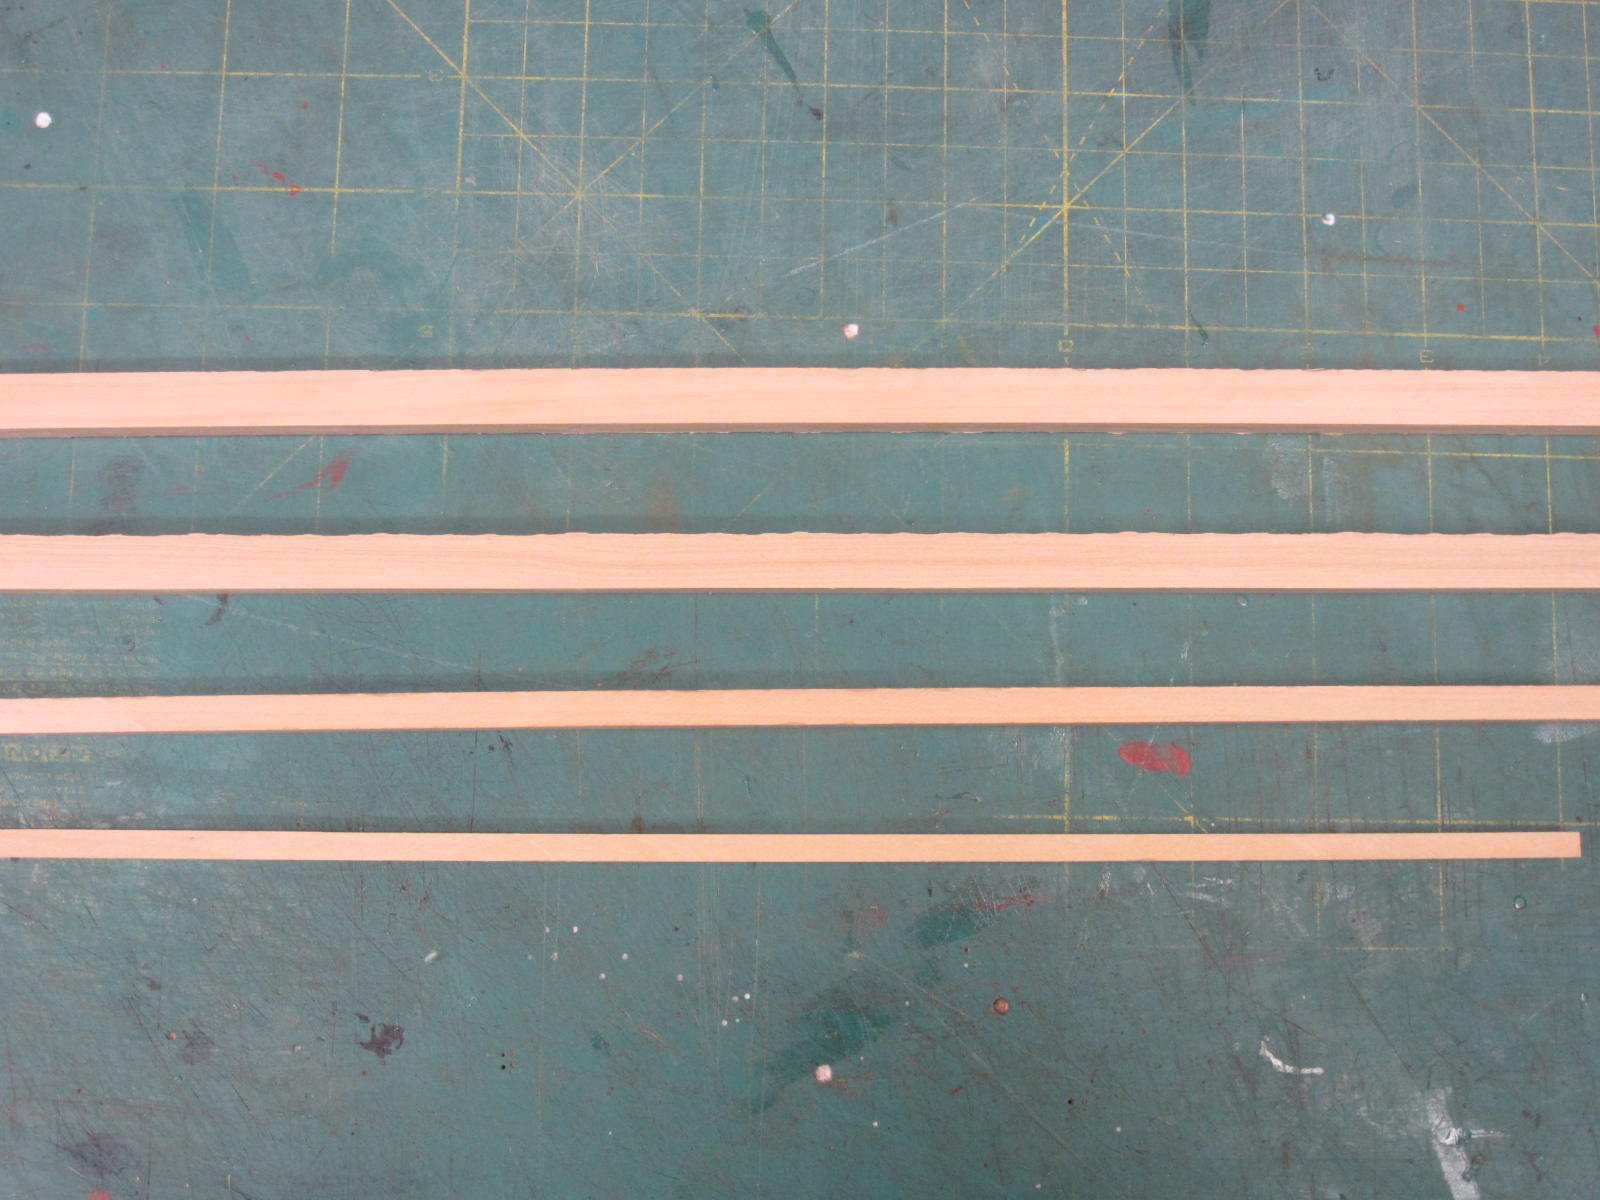
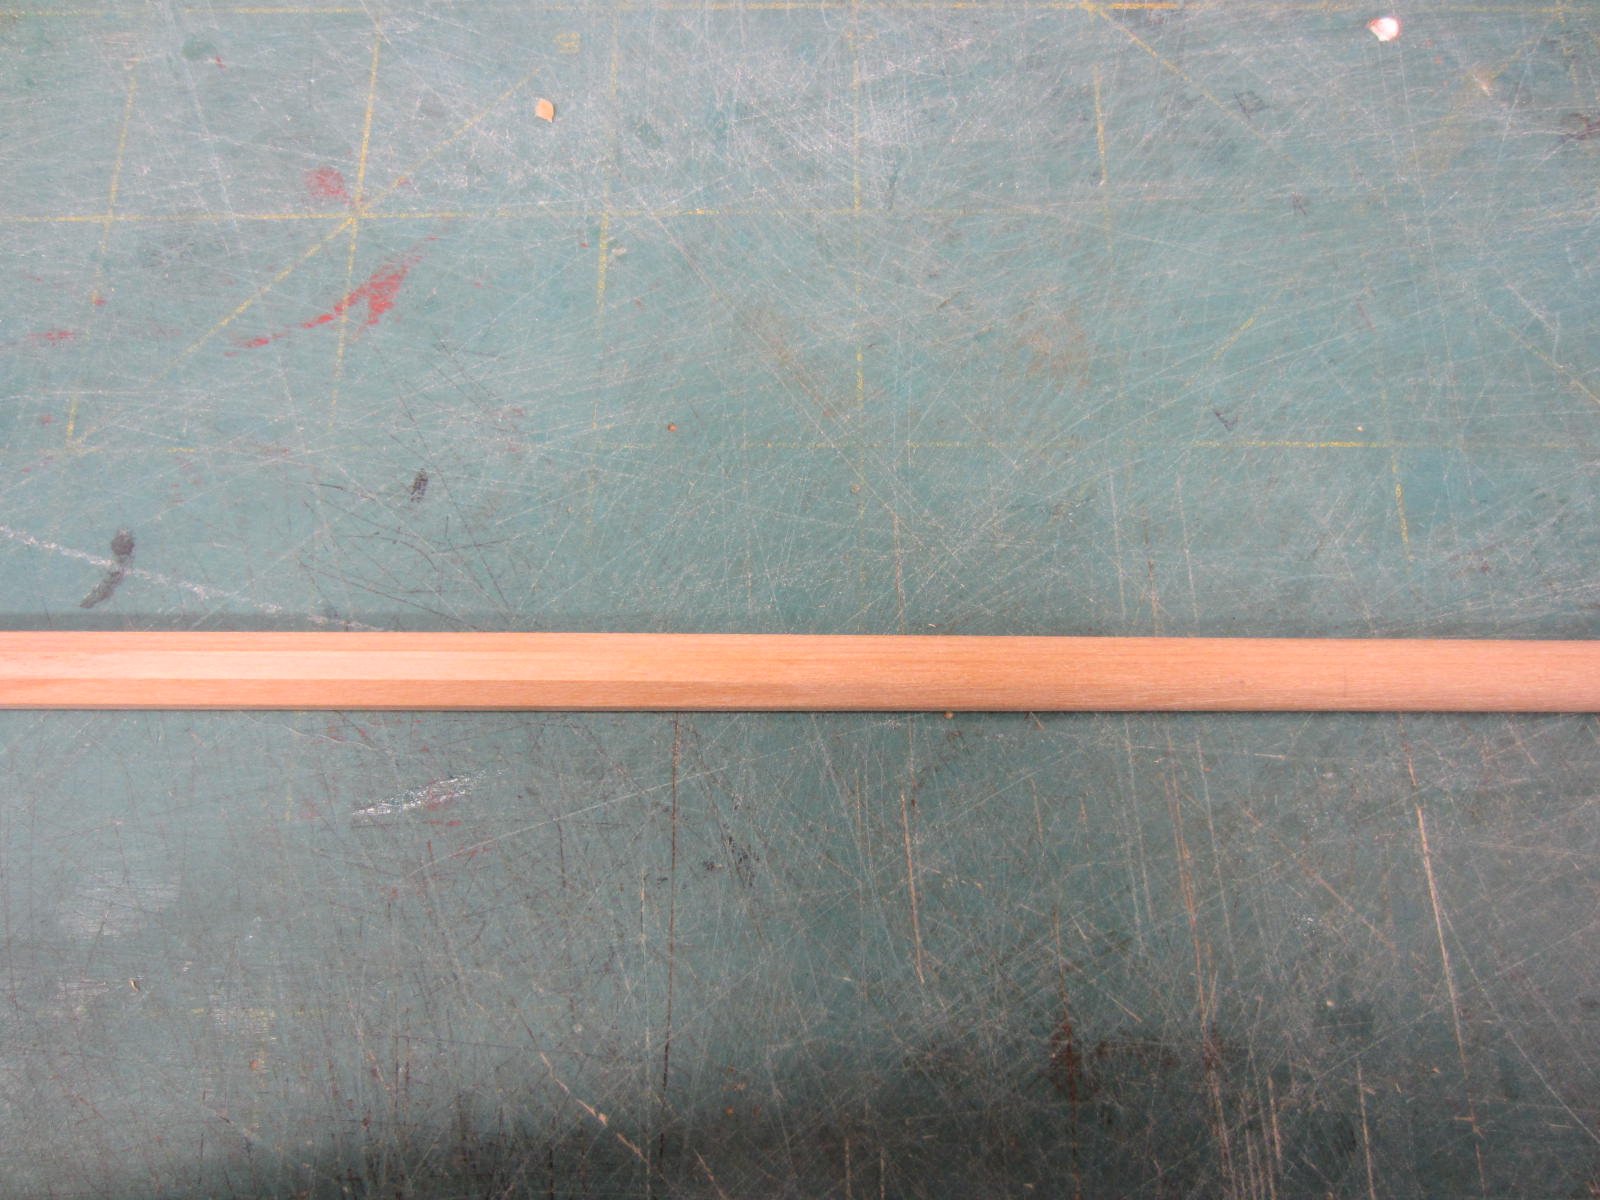
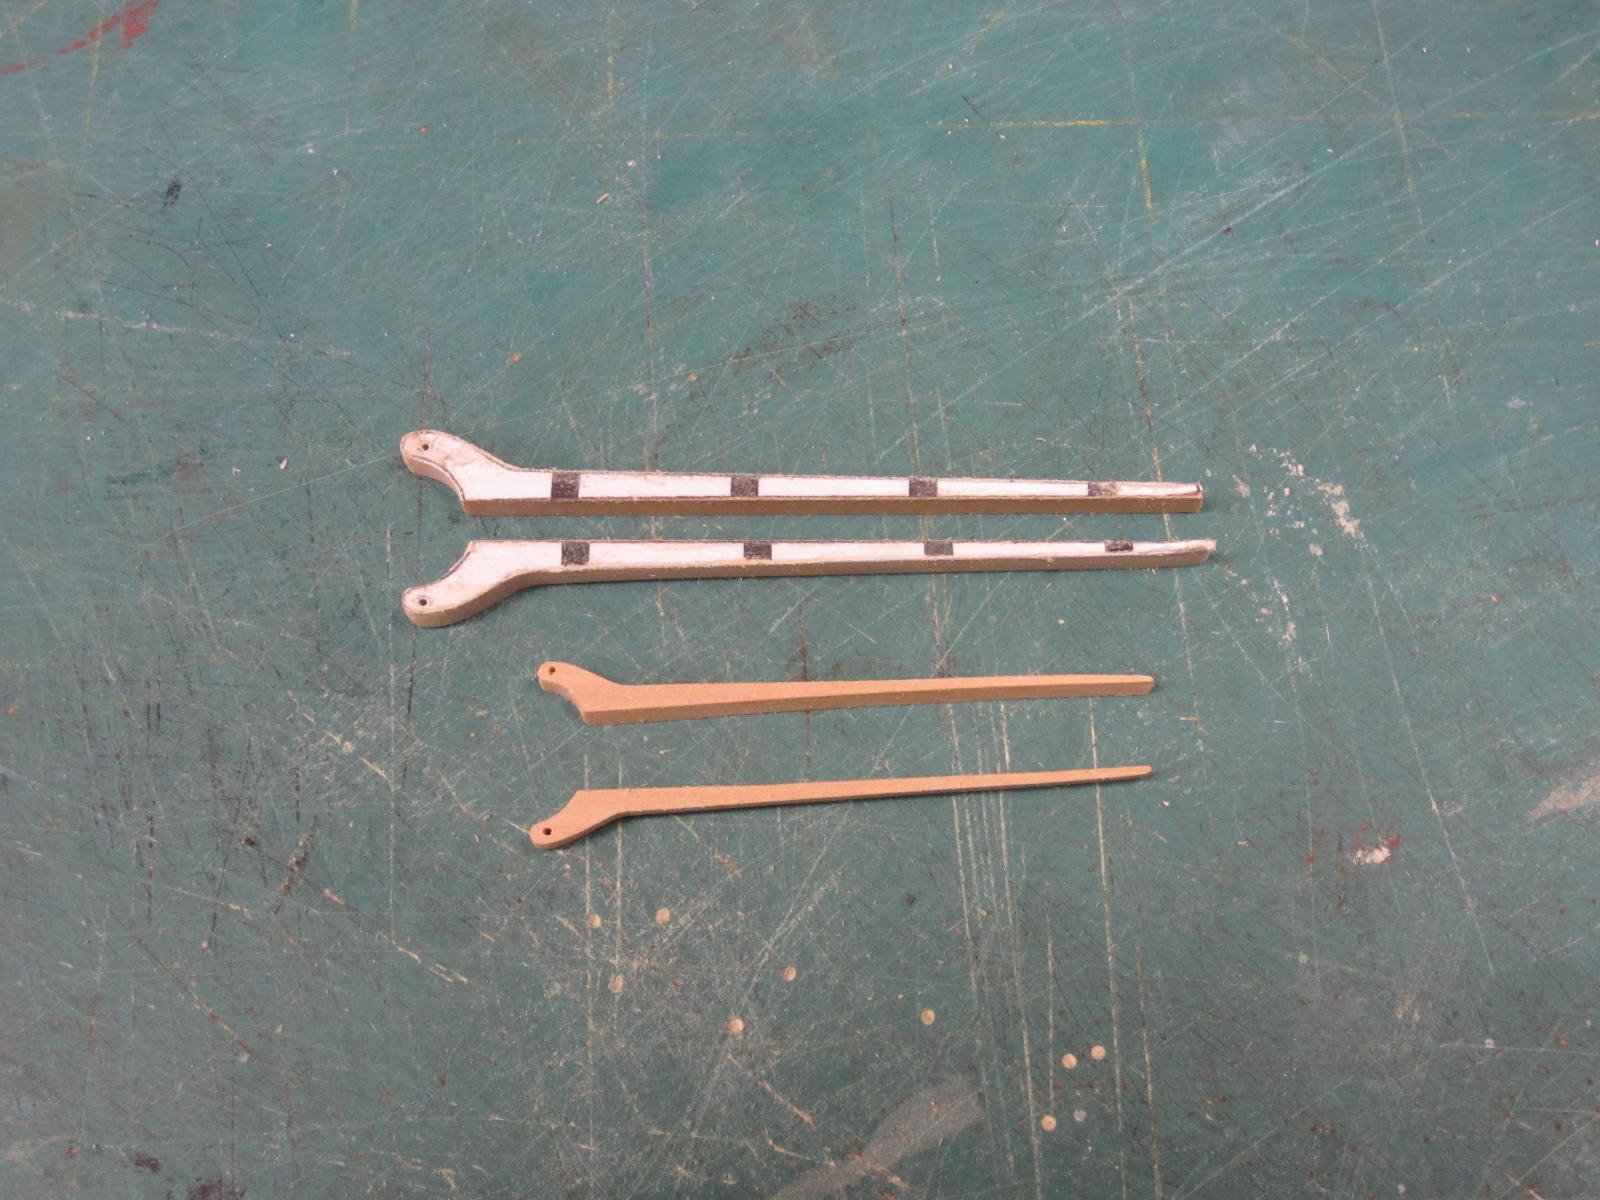
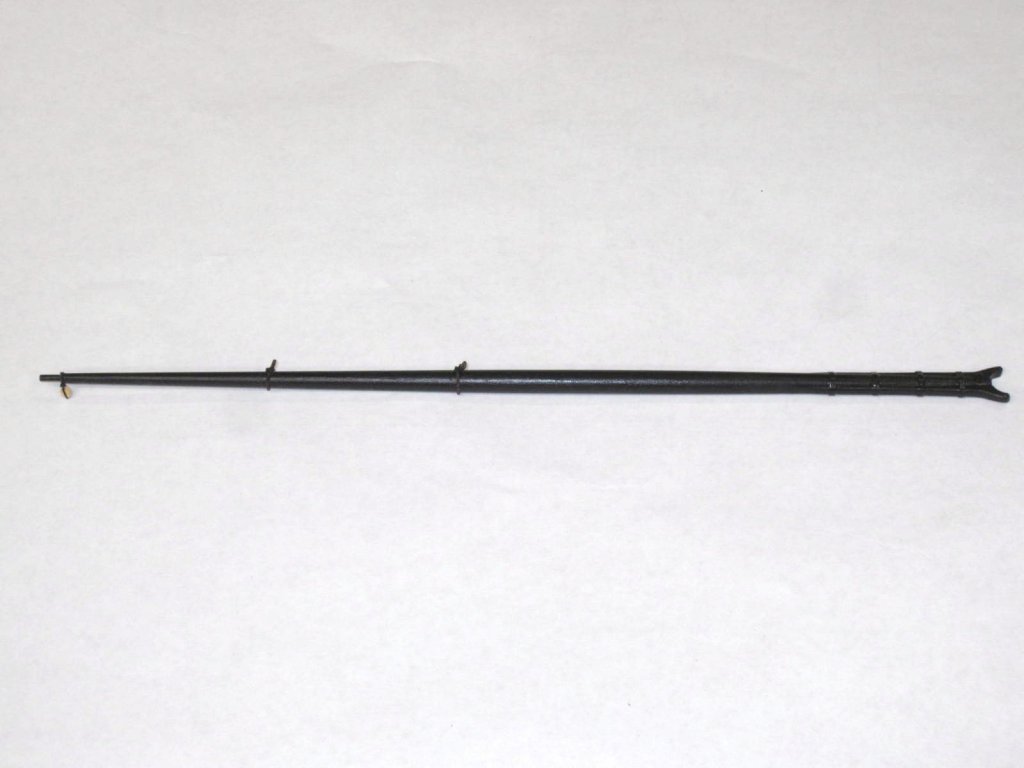
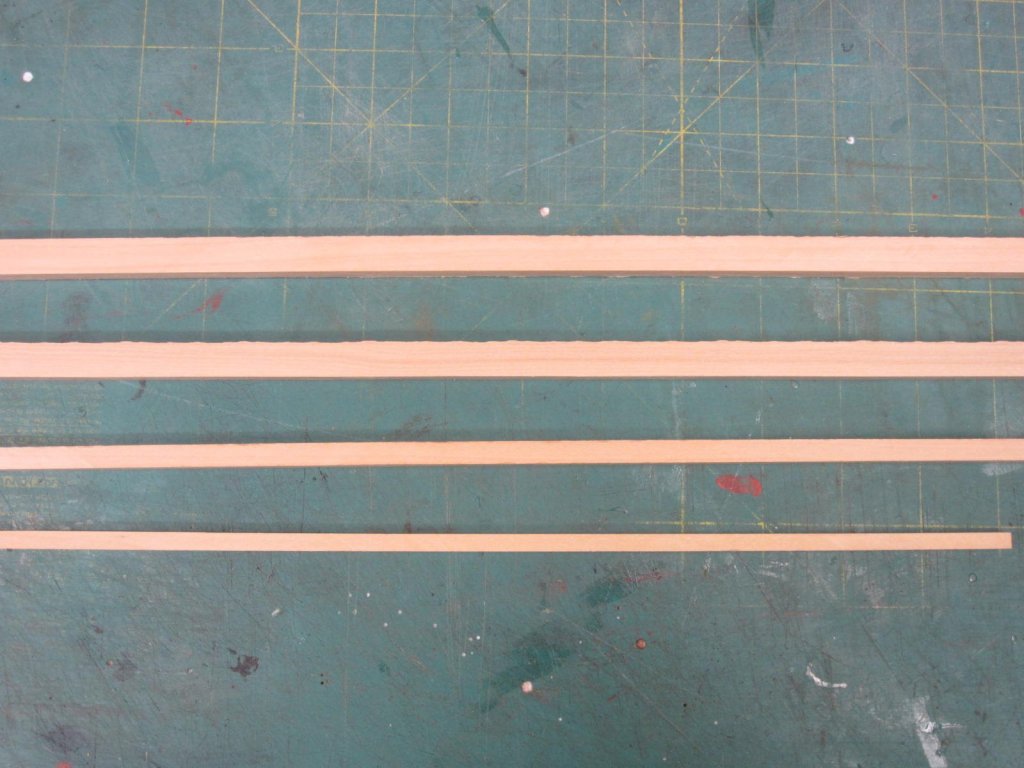
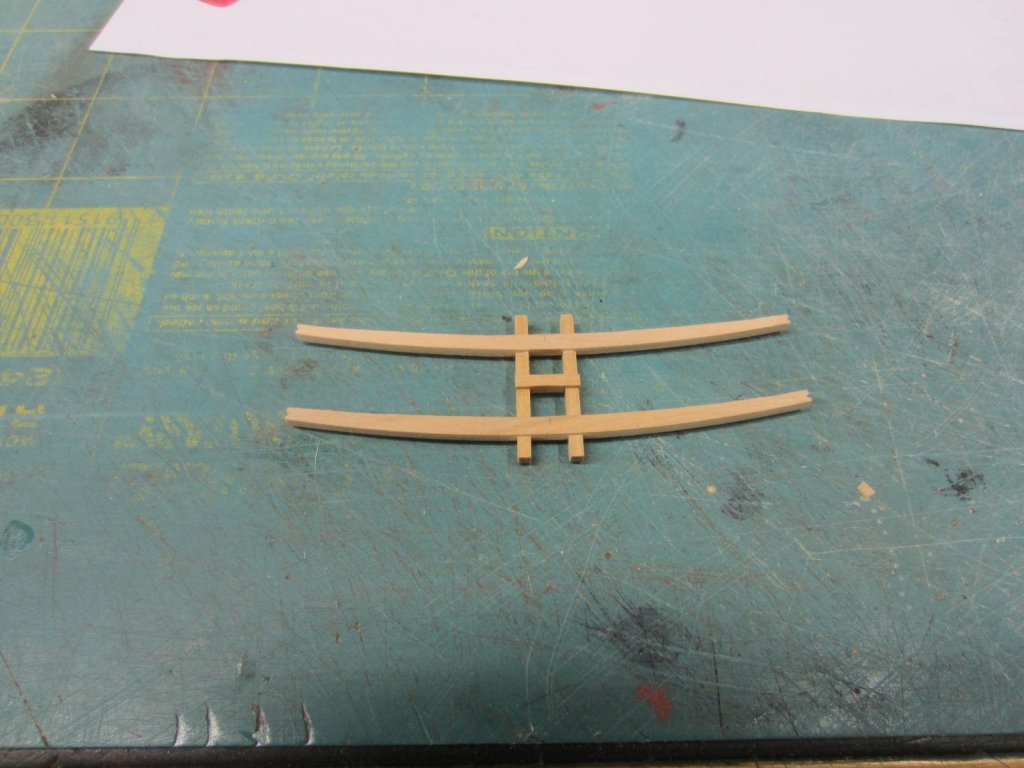
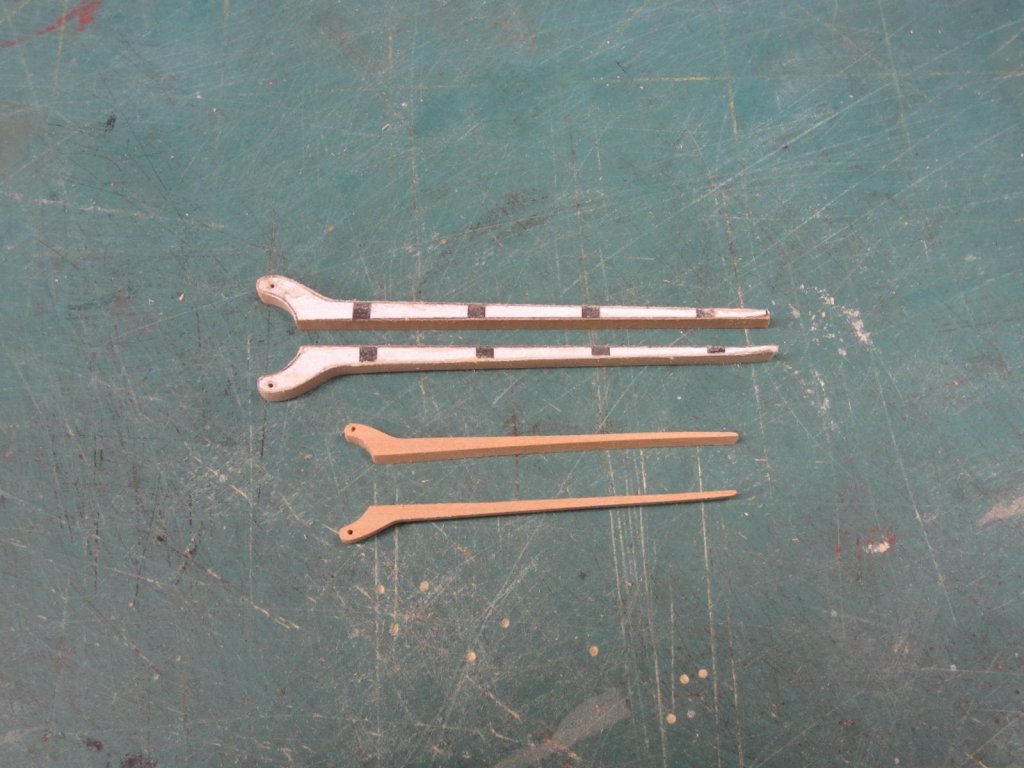
Hi all, Been real busy this summer with vacation, family commitments and working the last 4 weeks straight hasn't left a lot of time for modeling. I did pop in and out of the shop from time to time a few minutes at a time. To make the various masts, yards etc I took some boxwood cut into square stock and shaped them. The mast dry fitted. Next I'll be painting and attaching blocks and foot ropes. It's great to be back in the shop and doing what I'm supposed to be doing!


- 310 replies
-
- 28
-
-
- cheerful
- Syren Ship Model Company
- (and 1 more)
-
Yessssssss! Ah it's great to see you back at the Winnie. I know it's hard to imagine but I'm sure v2.0 will exceed your great work on v1.0. Yippee!
- 1,784 replies
-
- 7
-
-
- winchelsea
- Syren Ship Model Company
- (and 1 more)
-
Hi Chuck, Everything is looking so fine. I love it. The powders sure seem the way to go. Guess it's time to get some! Thanks
- 269 replies
-
- 7
-
-
- Queen Anne Barge
- Syren Ship Model Company
- (and 1 more)
-
Looking great Chuck. I can't wait to add it to my " collection".
- 269 replies
-
- 6
-
-
- Queen Anne Barge
- Syren Ship Model Company
- (and 1 more)
-
Hi Bob, You've been busy while I was away. As usual some great workmanship and it was a pleasure catching up on your log. I agree making parts multiple times and the continuous sanding, test fitting and sanding again is truly one of the pleasures. Keep up the good work!
- 682 replies
-
- 4
-
-
- halifax
- lumberyard
- (and 1 more)
-
Mike your workmanship is first rate . Also your pictures will be a great reference if I ever get there!
- 452 replies
-
- 4
-
-
- cheerful
- Syren Ship Model Company
- (and 1 more)
-
Hi Bob, I just got caught up and you are proceeding along, as always, very nicely.
- 682 replies
-
- 2
-
-
- halifax
- lumberyard
- (and 1 more)
-
Very nice Mike. Wanna make a bunch more?
- 452 replies
-
- 5
-
-
- cheerful
- Syren Ship Model Company
- (and 1 more)