Rustyj
-
Posts
2,535 -
Joined
-
Last visited
Content Type
Profiles
Forums
Gallery
Events
Everything posted by Rustyj
-
 Very nice Augie! Isn't amazing how we create something like that and then cover most if it?
- 2,191 replies
-
- 1
-

-
- confederacy
- Model Shipways
- (and 1 more)
-
Hi Bob, I had a free moment and got caught up on your progress and as to be expected your workmanship is outstanding. I too really like the way you used minimal planking so the framing and lower deck work can be seen. You made it flow very nicely and not look chopped up. Well done. Hey Sam, Bob might not want to design kits but he would be great at proofing a kit prior to release!
- 1,477 replies
-
- 1
-
-
- essex
- model shipways
- (and 1 more)
-
Hi Chuck, You could bend the 3/32" but it would be a lot harder to work with. When I mill the 1/32" x 5/32" for the black strake I will make the thickness slightly oversized. That helps me when I final sand it I will have the correct thickness and not too thin!
-
Thanks Augie and Bob. Hi Ben, The only issues are from my failings. Everything else is spot on. Sweep ports oh I can't tell you how happy I was when Chuck said they were not on this model! Hi Chuck S. There are four strakes of wale planking. The second layer of planking will be 5/32” x 1/16” strips just like the first. The black strake will be 1/32” x 5/32”. In the instructions Chuck notes that "At the bow, the total thickness of the black strake was less than 1/64” as it butted into the stem. The wales were left only slightly thicker than that." Thanks all for you visits and all your comments and likes.
-
Hi All, I have been plugging away at the port side planking. I have completed most of the first l ayer of planking and given it a quick sanding with some 120 grit sandpaper. Once it is finished I'll sand it down to 400 grit and then add the second layer for the wales. Then it's over to the starboard side! It's always slow going this time of year but that's ok.


-
Hi Augie, very nice work there. Then it's on to more fun planning the deck.
- 2,191 replies
-
- 1
-
-
- confederacy
- Model Shipways
- (and 1 more)
-
Hi Ben, I just got caught up and you seem to be making some nice progress and learning a lot too. Very nice work. Have a safe one and I'll impatiently await your return.
-
Hi Sjirs, no filler on this planning job. She'll not be covered by anything. Hi Augie, yeah this was a one step forward and several steps back moment! Hi Ben. Best I can figure is it was due to a heavy dose of stupidity and a good sized portion of dumb *** thrown in. Seriously........no wait that was being serious. What I think happened was that when I fared the bow area I sanded away the two fore most markings for the run of the planks and when I replaced them I'm sure I screwed them up. Add to that I probably then ran the batten strip a little high and then I let the first plank also run a little high. Add all those little highs together and you end up with a run one plank too high. Every thing aft of that was on target so that is my assumption. And we all know what happens when you assume. I agree Grant. If it's something that's not so critical and you mess it up you can just throw it out and make another. I'll now leave something as sensitive as planking to moments when I have more time. Thanks all for the likes too.
-
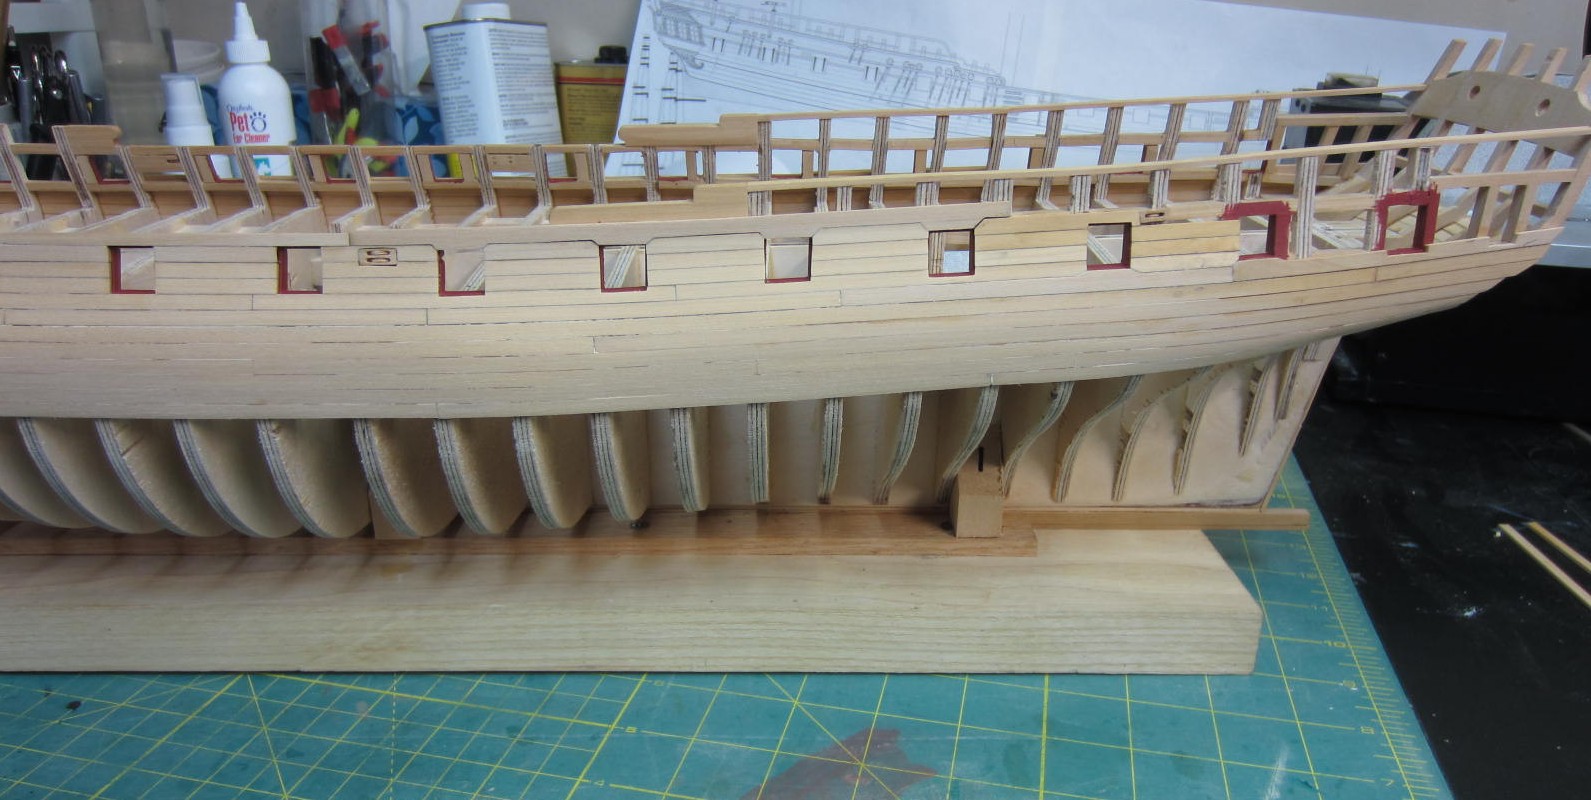
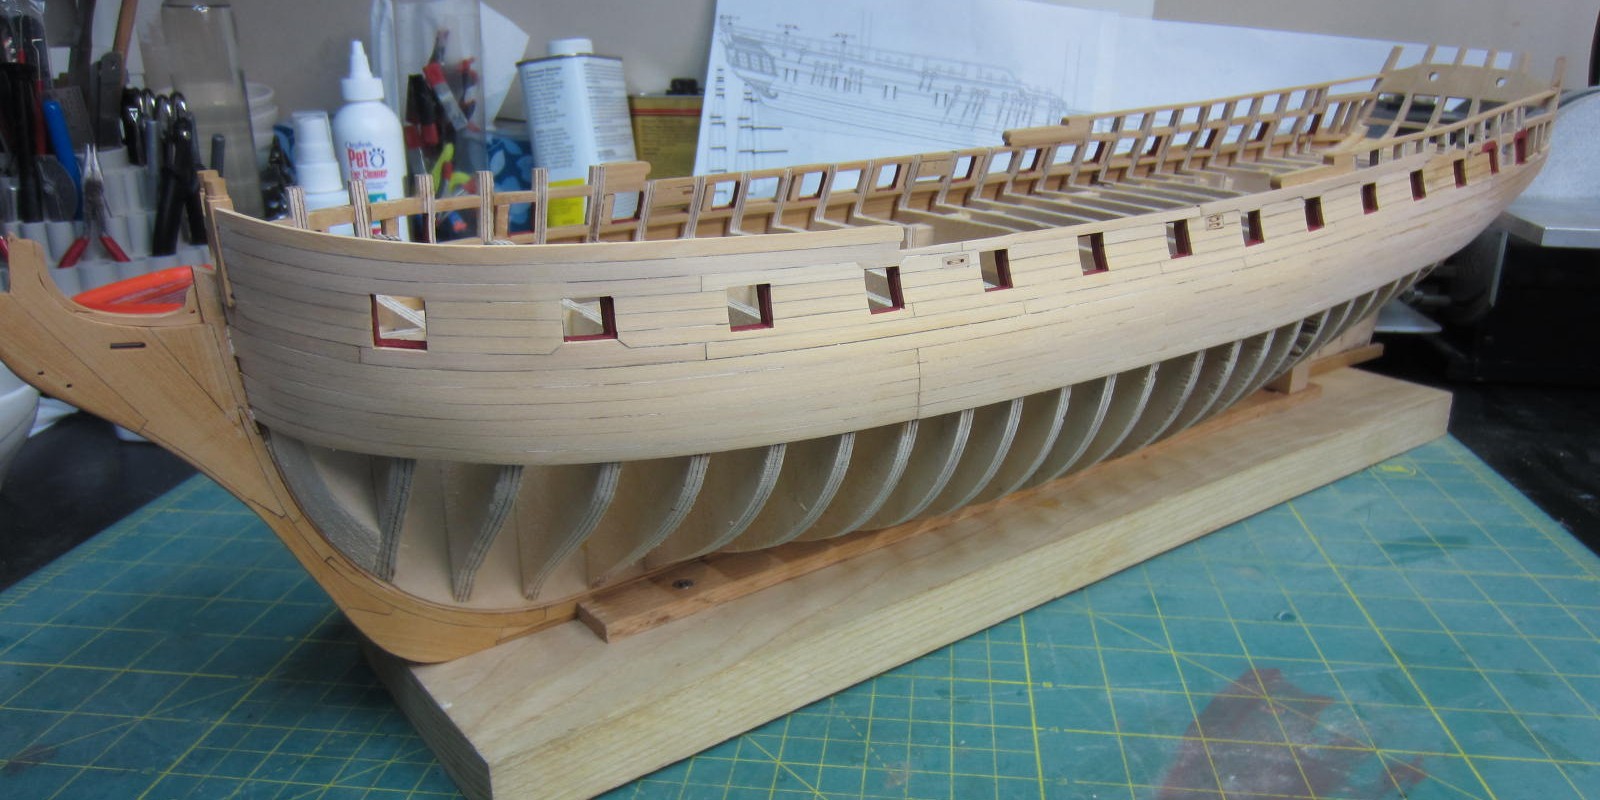
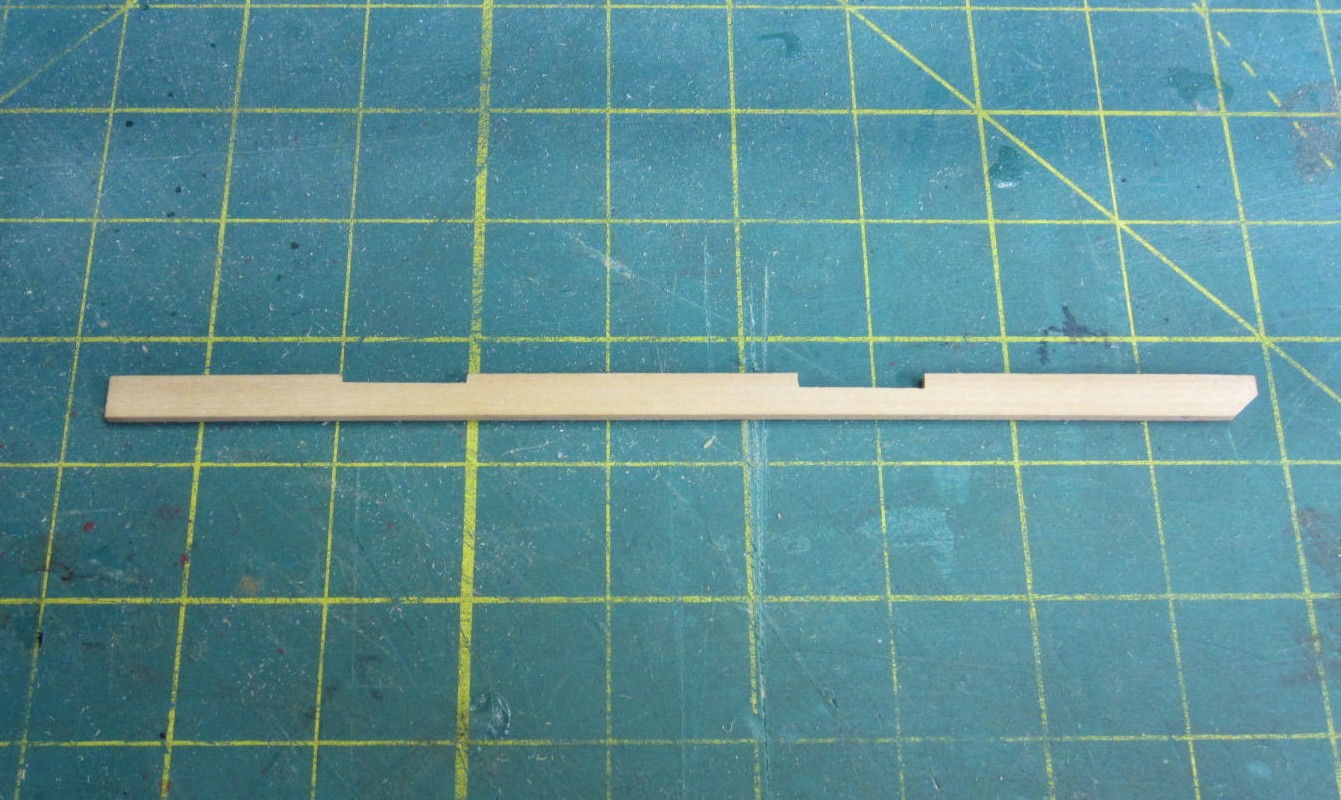
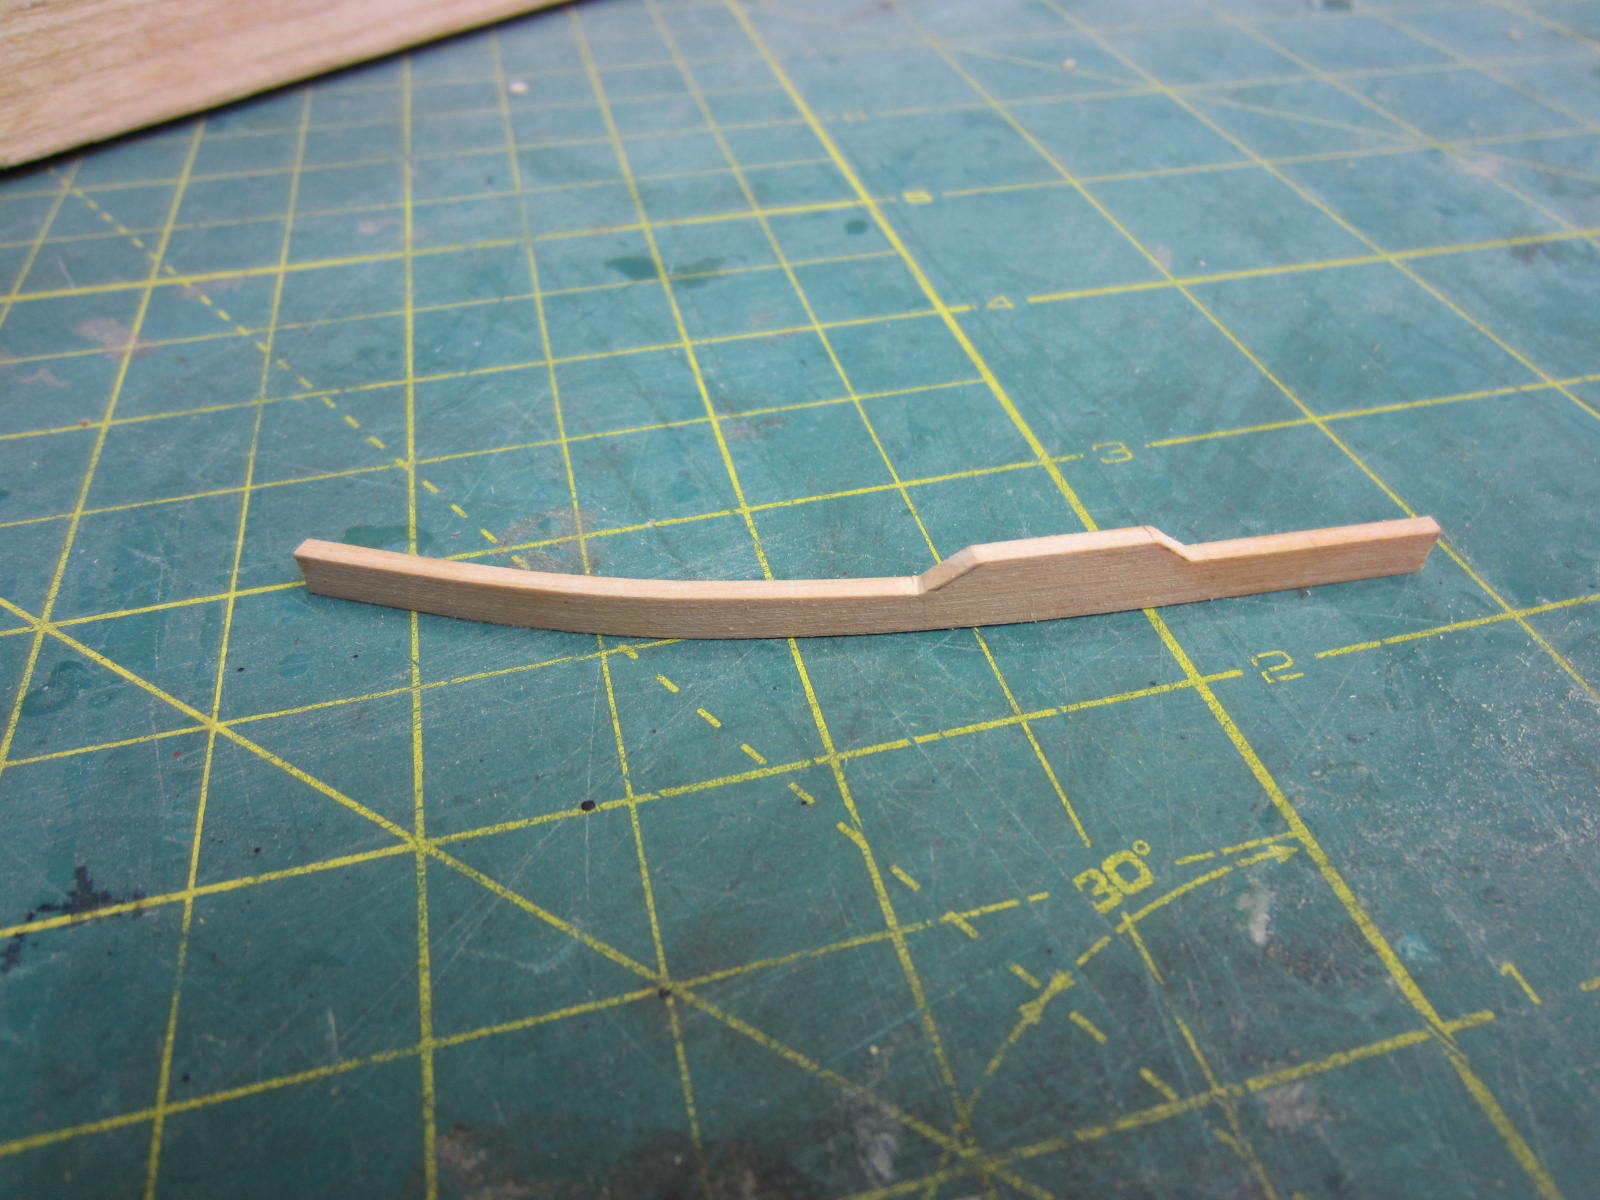
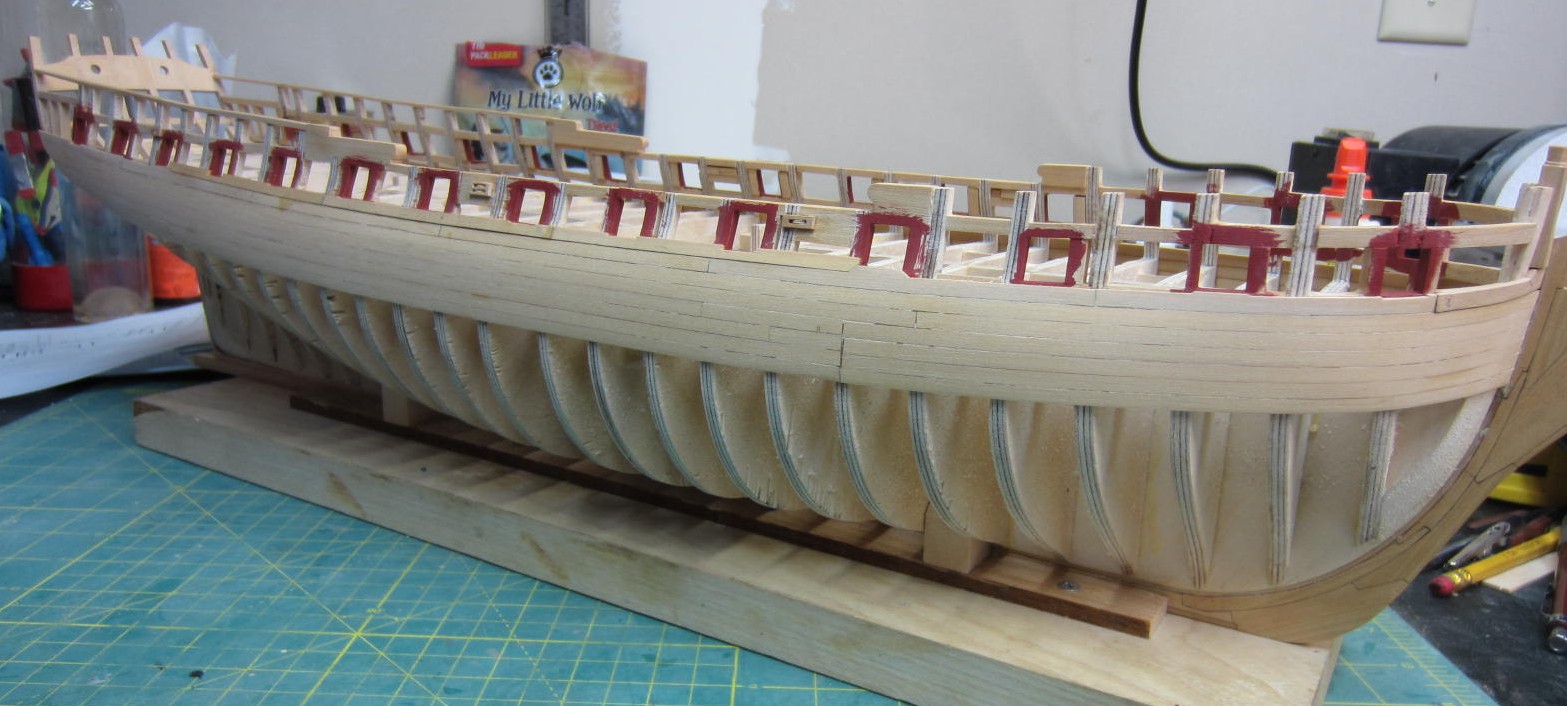
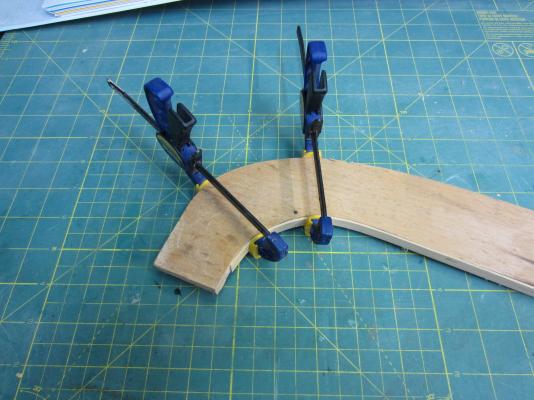
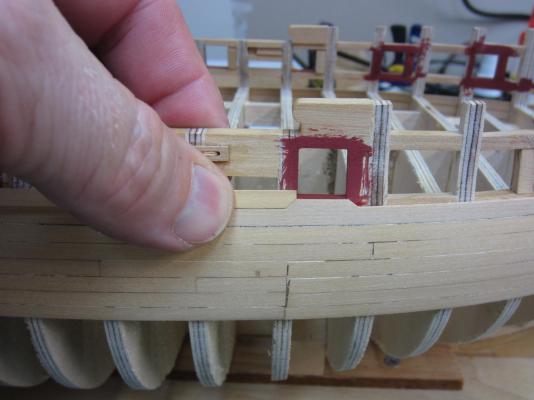
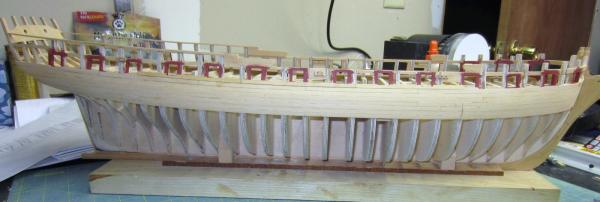
Hi Dave! Thanks for stopping by and I know you will love building this one! Sorry there hasn't been much activity on the build log. There has a lot going on and I've only been able to pop in once in a while. I had a bathroom renovation I had to do as well as the other "normal" spring time duties that required my attention so shop time suffered. Now most of you know, and I've done it before, when your busy with activities other than modeling you should not try to steal time to work when you can't devote your full attention. Rushing in the shop and grabbing a few minutes here and there seemed like a good idea butttt..... Now I'm sure you can feel the "oh crap what have I done" story coming here! I started laying the first five rows of planking. The first plank on the model is the first strake below the wales and then the next four rows are the base for the wales. Sooooo after placing these first planks I notice that my planking wasn't running the same as Chucks. Now that's not too unusual as I can't come close to planking as well as he does. But after going back and looking at Chucks pictures and the plans I notice the rise of my planks at the bow was too sharp. I don't know how I messed it up. (Did the same on the Confederacy! Duh!) I pouted for a day and then sucked it up and set about correcting my boneheaded mistake. Not the first and certainly not the last! So to correct this I went back to around the 7th bulkhead where the run was true, ripped the planks off and reran the planking. Although not perfect it is much closer to where it needs to be. Thank goodness that the second planking of the wales will cover the cut line or I would have had to rip the full run off. Of course I had to do this to both the port and starboard sides as they matched. Here are some pictures of the planking in it's rough state as she sits right now. Also to get the curve correct for the hull planking I took the plans and cut the shape of the hull out of a scrap piece of wood and was able to bend two planks at a time. There was a little "spring back" but for the most part they fit very well. Ok the plan now it to keep my head out of my butt and proceed with as few errors as possible! * Please note that censors severely edited the language in this post to maintain a "G" rating *


-
Hi Chuck, there so many pieces parts in there I couldn't count that high. I did get the bit I was after though!
-
Hey Remco and Sjors, the work is not scary but some of us are!
-
Hi Sjors and welcome aboard! I'm not traveling at a very fast pace right now. Spring has finally sprung and shop time is getting less and less. Also I've followed your work and you could come over to the "dark side" too. Hi Ben, I really like the Oneida products but there other brands out there too that you can also look into.
-
Hi Bob, Thank you for your kind words. Hi Alan, Well you could I say I did do it in halves or in this case about an eighth. Oh scratch building is a lot of fun but I also enjoy a good kit bash here and there too. Already in progress is the HMS Winchelsea a Chuck Passaro design.
- 421 replies
-
- 1
-
-
- granado
- bomb ketch
- (and 2 more)
-
Hi Ben, very nice workmanship! Hey if you can get it to work cutting notches off the model then well done. Me I had to do them afterwards to get them straight. Good luck on the bollard timbers! I'm sure you'll do just fine.
-
US Brig Syren 1803 by danri - Scale 1:64
Rustyj replied to danri's topic in - Build logs for subjects built 1801 - 1850
Hi Dan, Very nice work and I will enjoy watching you complete her! -
Thank you Daniel. I'm glad you enjoyed it. Hi druxey and thank you! Hi Sjors, Thank you and you never know where you will find me lurking around! I have gone back and found the missing pictures. I replaced them from page 21 forward. I hope I got them all. Again thank you all for your kind remarks.
-
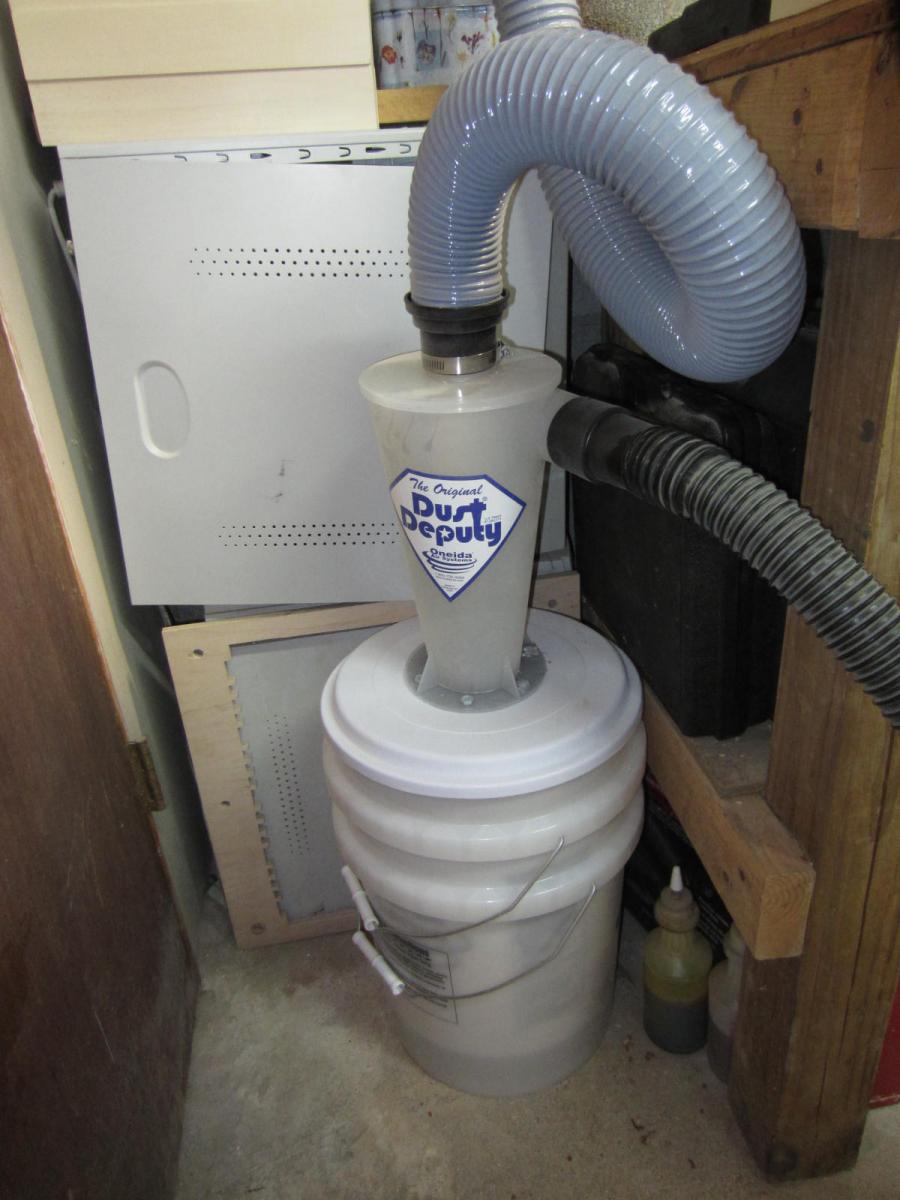
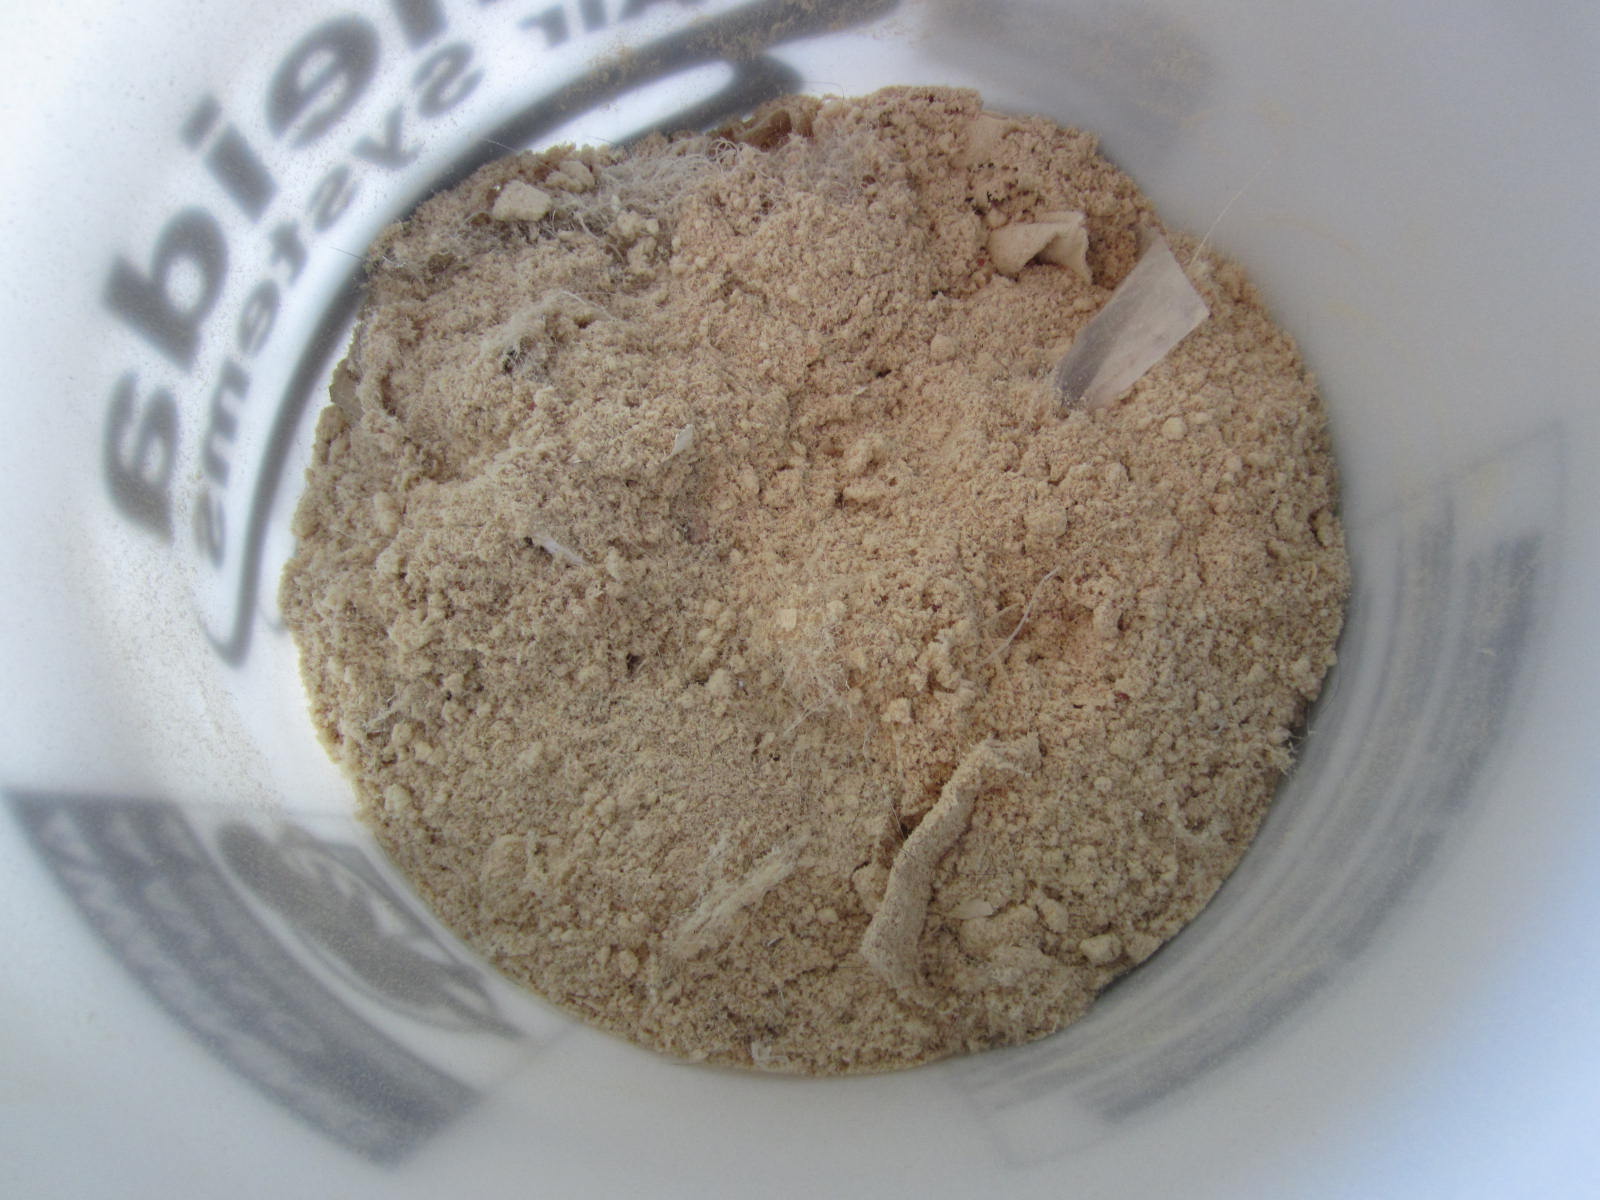
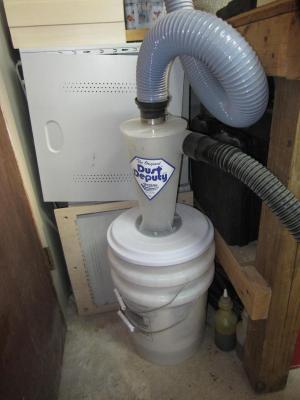
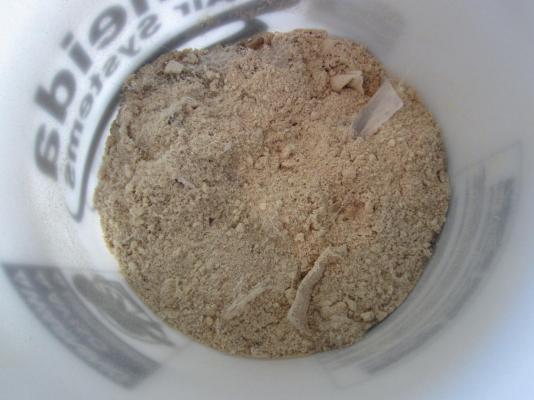
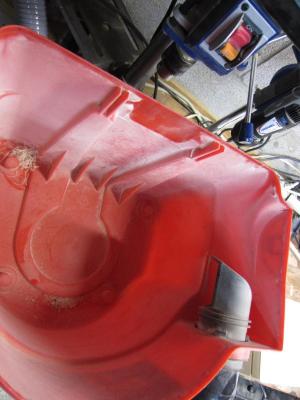
Thanks Bob. Ah the planking. That is going to be one of love hate relationships I'm afraid. Hi Pete, Thanks for stopping by and it's always nice to hear from you. Well I'm sure you can tell I've been away for a few days and also busy now that spring has finally decided to show up. I was cleaning the workshop in preparation of starting the planking when I sucked a bit up. So I figured it was a good time to see how my experiment was going. Back on MSW 1.0 Elia mentioned that he had a Oneida Systems Dust Deputy hooked up to his vacuum and it worked well separating the dust and wood pieces and keeping them from clogging the vacuums filter. So this past Christmas the Admiral got the Dust Deputy for me and I hooked it up in early January. Usually after a month's worth of heavy cutting and sanding I have to clean my filter as I start losing suction. It's now been 4 full months and no loss of suction. I took it apart and measured a little over 7 inches of saw dust and debris in the bucket. I opened the shop vac and there was almost nothing in it. I took the filter off and there was just a thin layer of dust on it that I blew off and it was as good as new. Now I have no interest in this company but if you have clogging issues like I did I recommend giving it a try. http://www.oneida-air.com Ok the shop is clean and it's supposed to rain Thursday and Friday so hopefully I'll get some shop time!

-
Yeah that would be fun but you would not want to put that baby in your lap!
- 1,477 replies
-
- 1
-
-
- essex
- model shipways
- (and 1 more)
-
Hi Bob, Again a first rate job on the deck framing and good catch on the pumps. Even knowing the scale I sometimes forget how small some of the deck pieces are and then you put the penny in there and it seems huge! Great work and explanations! Also "almost" done for me is the portion or part I'm working on at that moment. Keeps me from thinking about the 1-2 years I may have in a single project.
- 1,477 replies
-
- 2
-
-
- essex
- model shipways
- (and 1 more)
-
Hi Bob, Well done indeed!
-
Thanks all for the likes. Hi Floyd, Chuck is making me look good not the other way around. Any kit that has Chucks plans and instructions (Syren & Confederacy) could become a scratch build. They are that good. I'm sure that if someone has a couple of models under their belt they could build the Winnie too! Hi Augie, That is the same red I used for the Confederacy. It is Red Ochre from Admiralty Paints. Thanks again all!
-
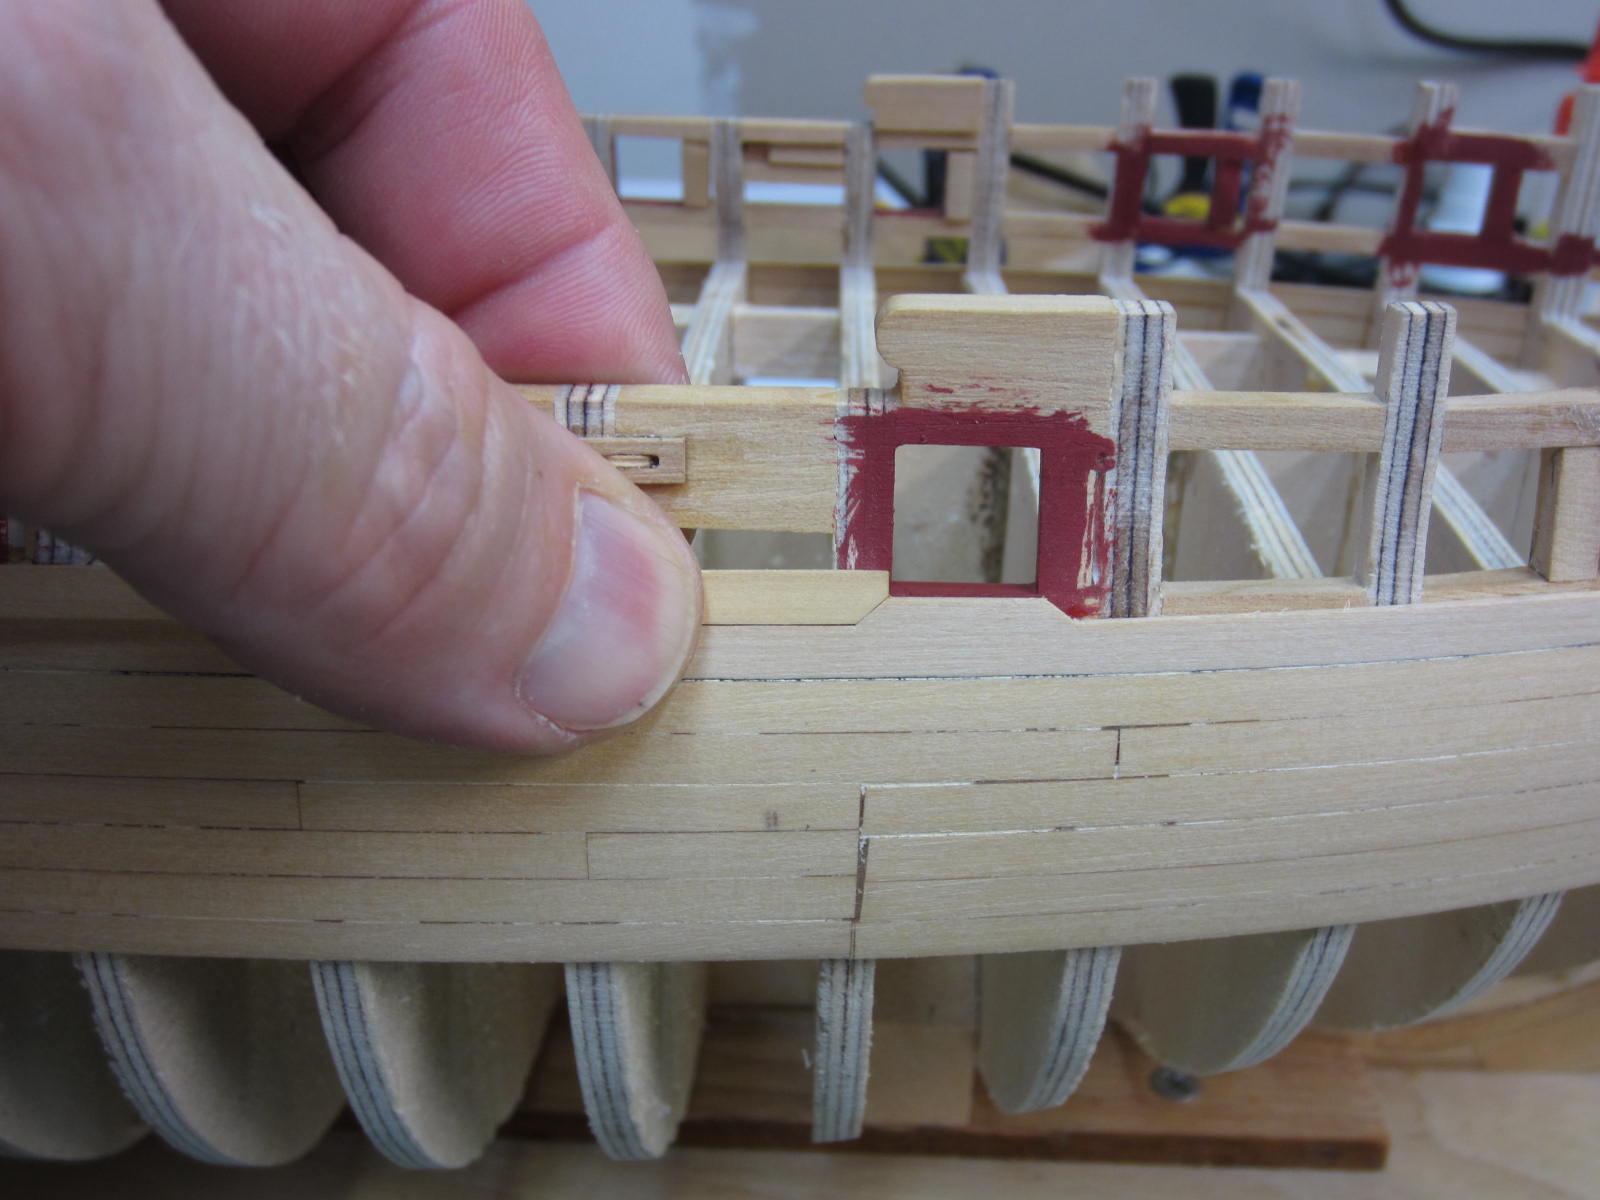
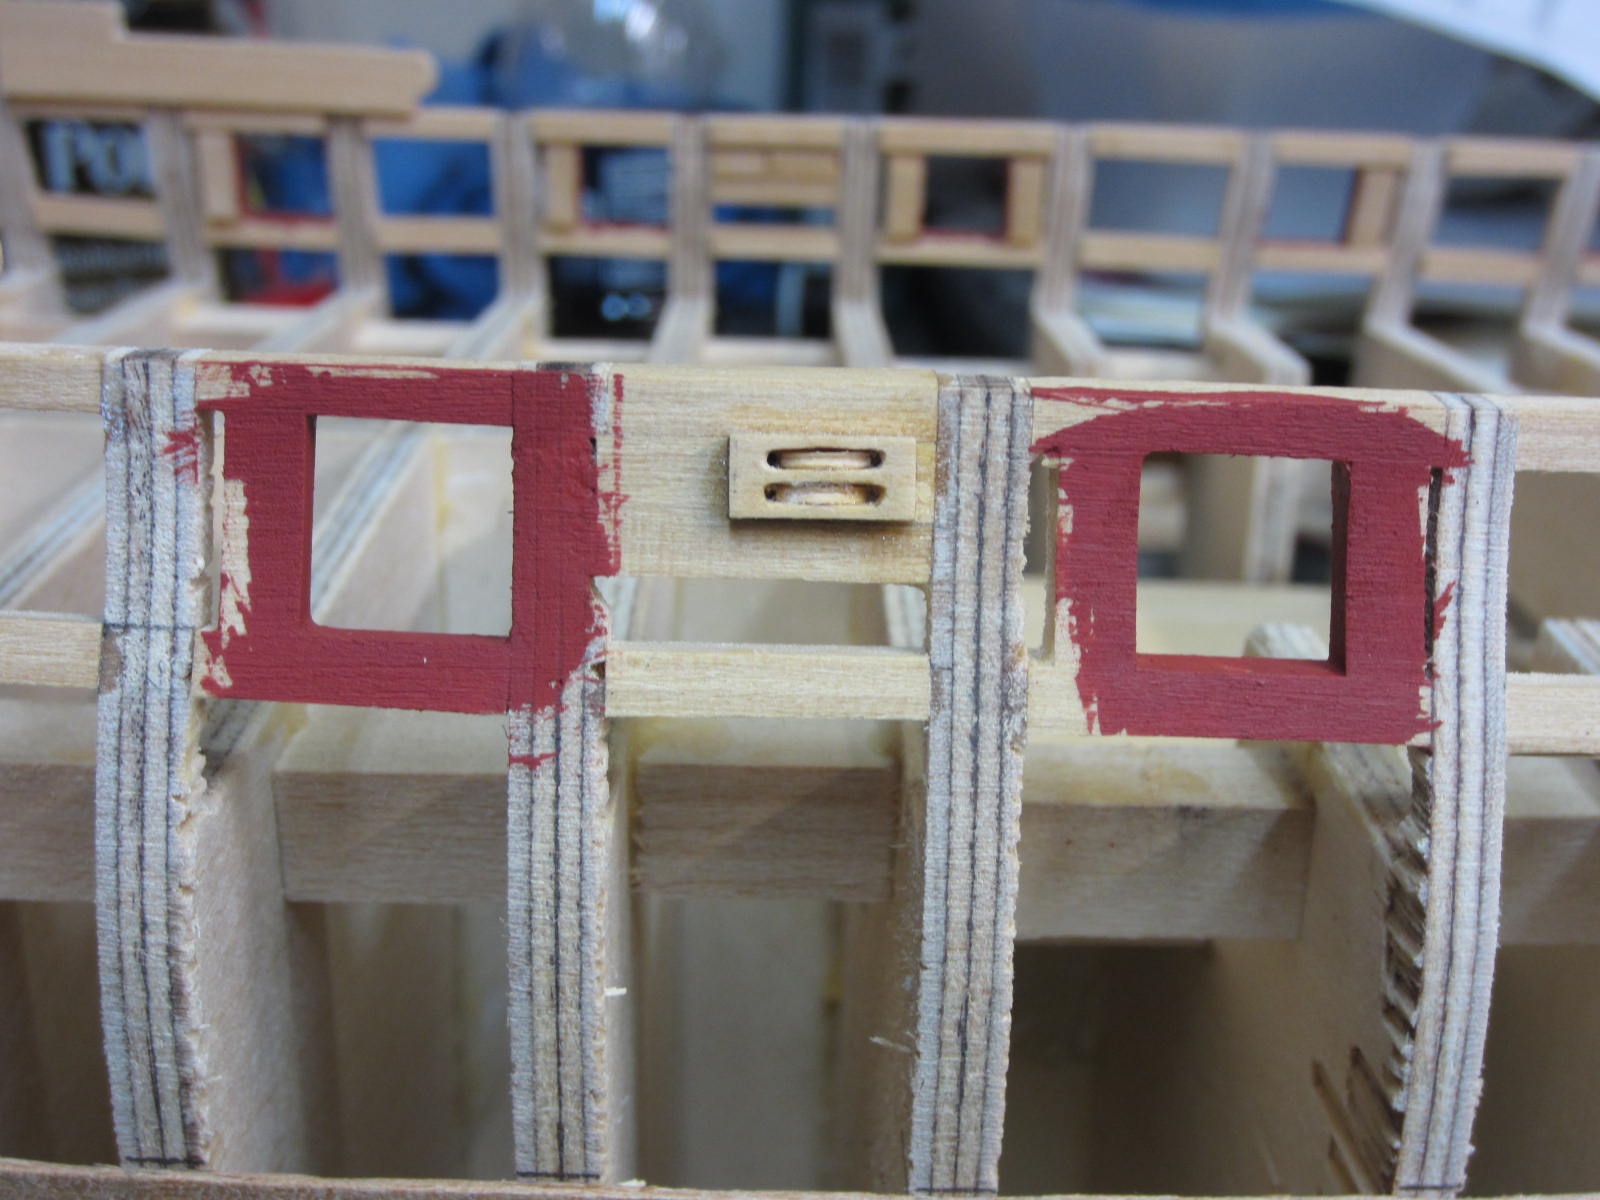
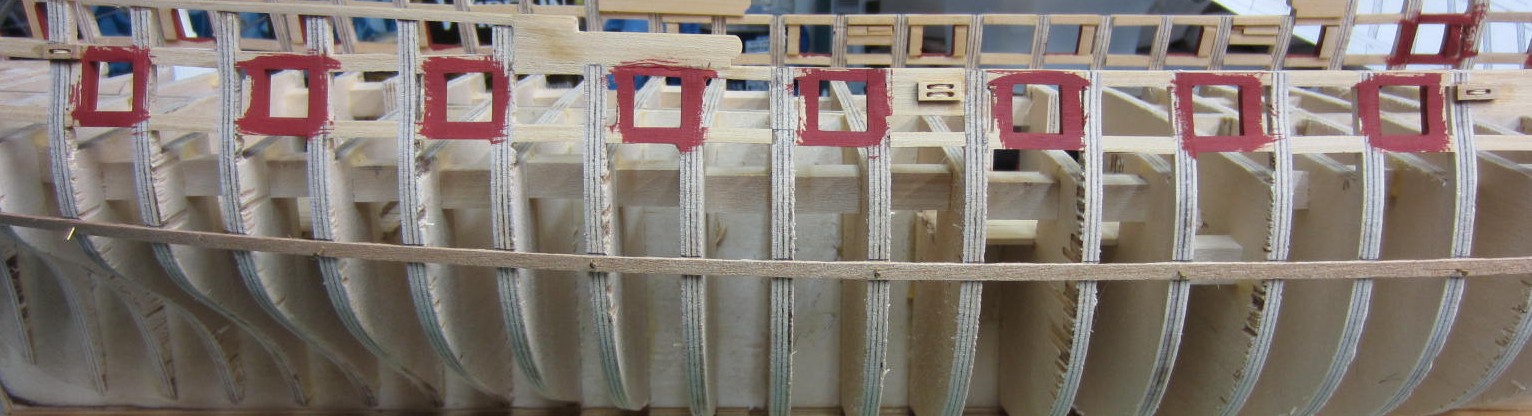
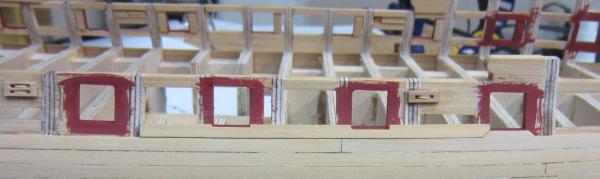
Now it is time to add the fixed blocks to the outside of the hull. These blocks are simulated and do not pass all the way through the hull. A small hole was drilled at each end and then the center cut out to make the sheave slot. A small piece of wood was then fit into the slot with a groove cut into it to simulate the sheave. The blocks are then placed against the hull, the sheave hole position was marked and then the hole was drilled through the hull. This will ensure proper alignment when placing the inner block later on. The gun port opening have their first coat of paint applied and you can also see the batten strip attached to the hull marking the location of the first row of planking.


-
Mark, I can still hear the crackle of the tazer in the air! Thanks Michael and Jeff. Thank you Nenseth, I didn't realize some of the pictures had gone astray. I will see what I can do to identify and repost them.
-
Thanks Antony. Very much appreciated. Yeah Ben I can just picture trying to stuff it in an over head. Thats not to mention the fun I'd have with the TSA. Sir what is that you have packed in that box. Why it's a bomb......groans while prone on floor with several persons piled on top.....vessel.
- 421 replies
-
- 4
-
-
- granado
- bomb ketch
- (and 2 more)
-
I want to thank you all for your kind words. It is very appreciated!