HOLIDAY DONATION DRIVE - SUPPORT MSW - DO YOUR PART TO KEEP THIS GREAT FORUM GOING! (Only 13 donations so far - C'mon guys!)
×


Rustyj
-
Posts
2,530 -
Joined
-
Last visited
Content Type
Profiles
Forums
Gallery
Events
Everything posted by Rustyj
-
 Hi Antony, Thanks and a Happy New Year to you! Gary, thank you so much for that information and your kind words.
 -
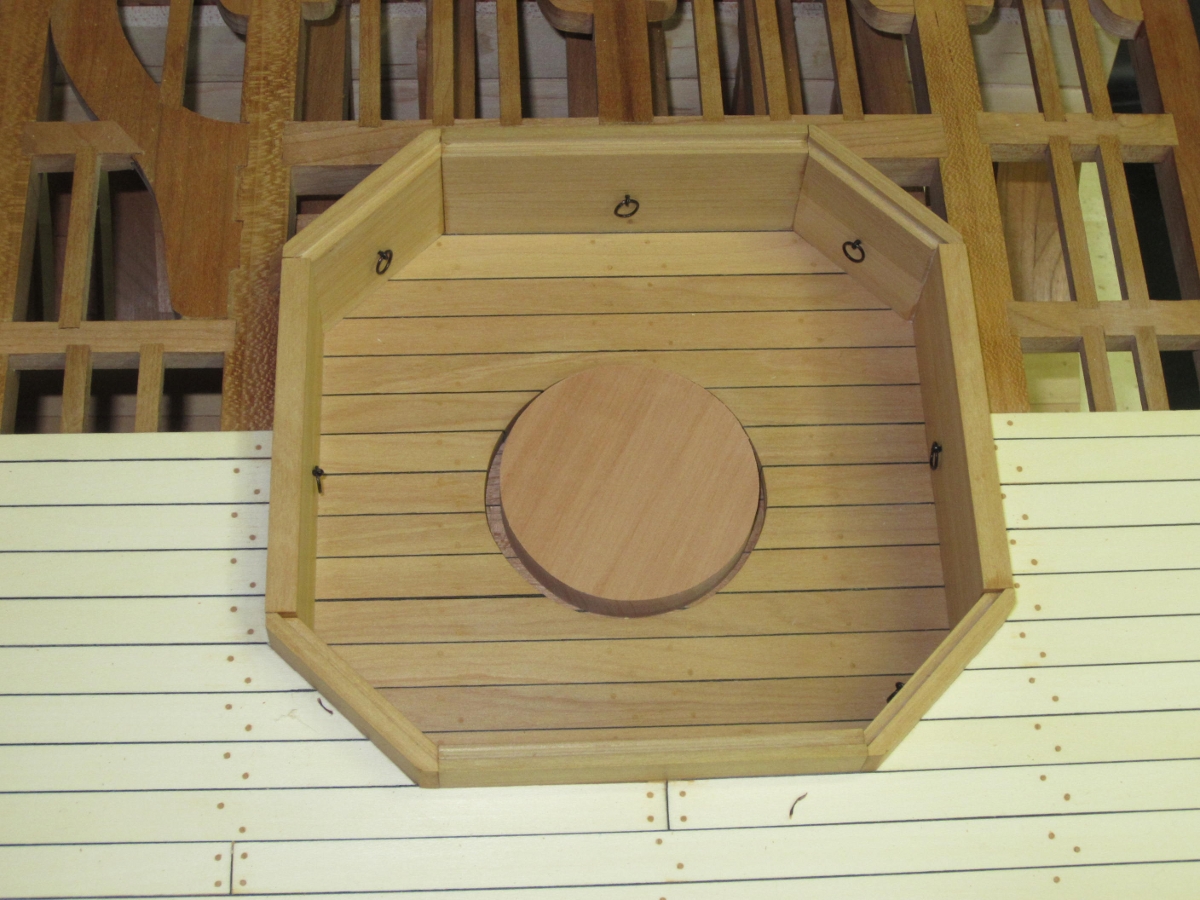
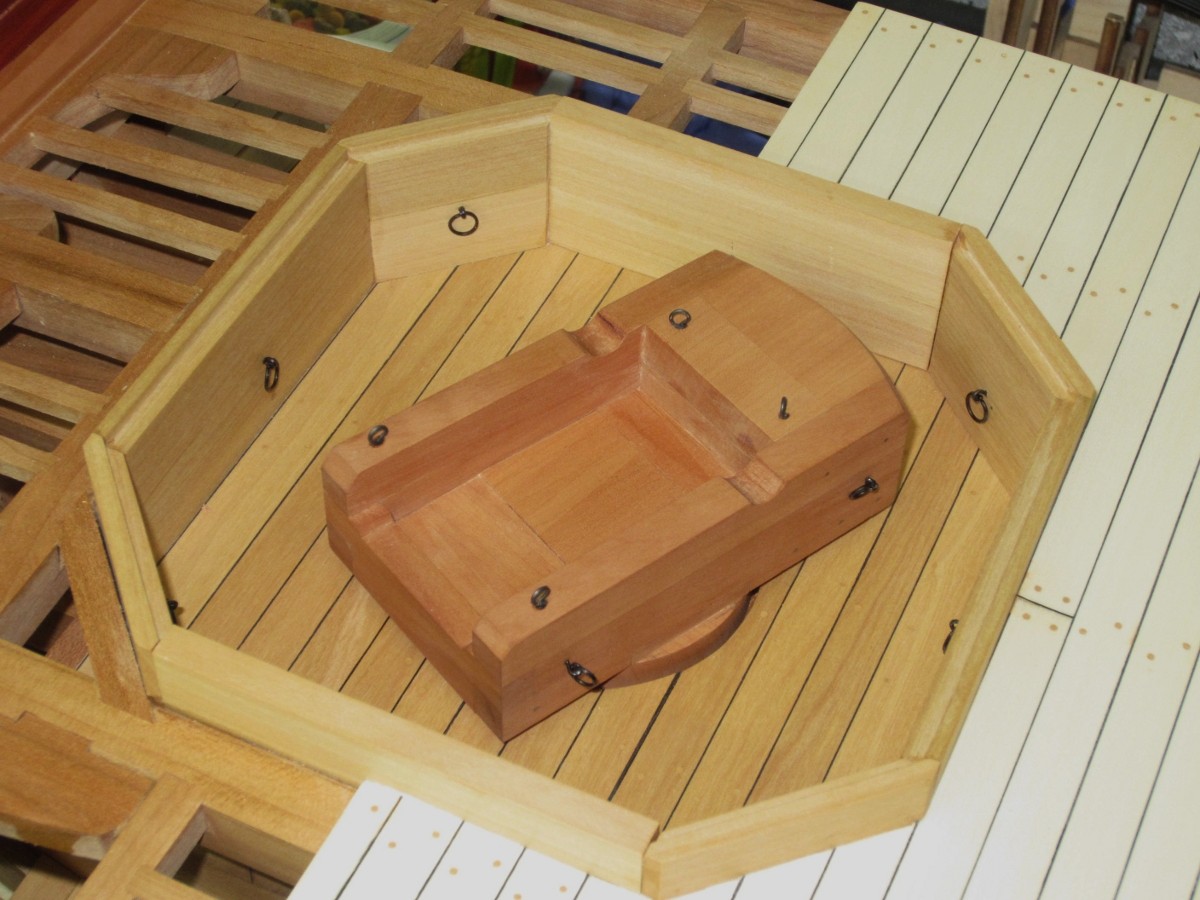
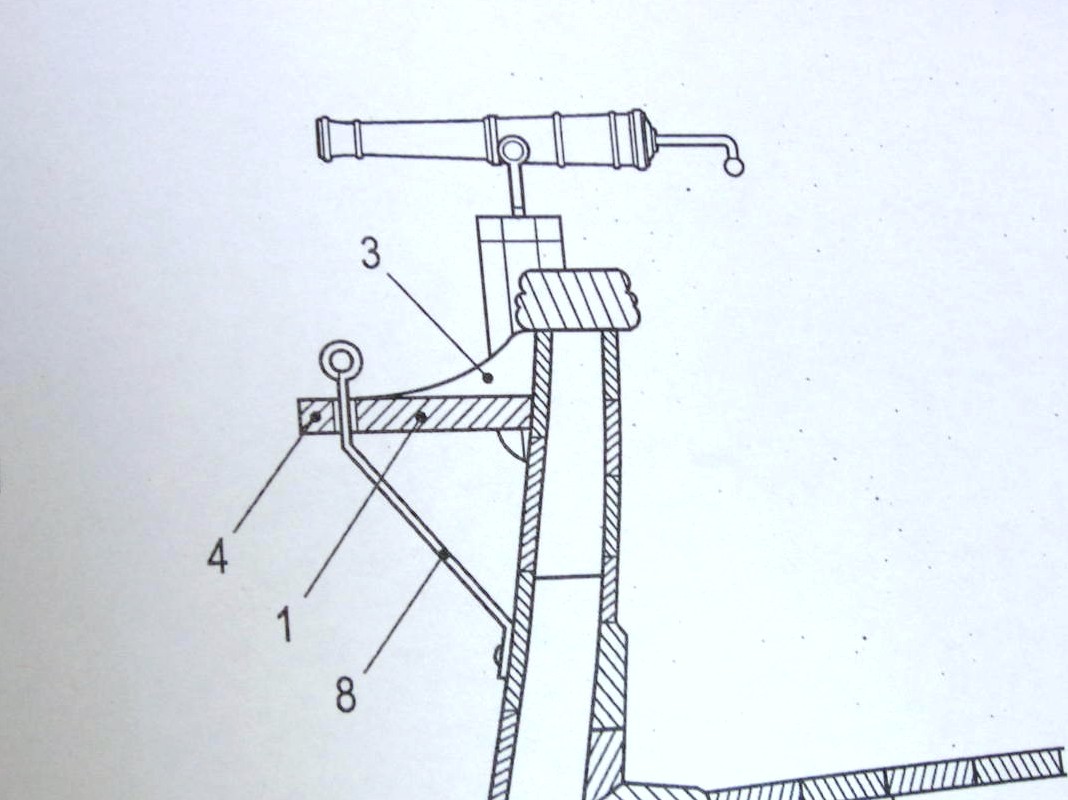
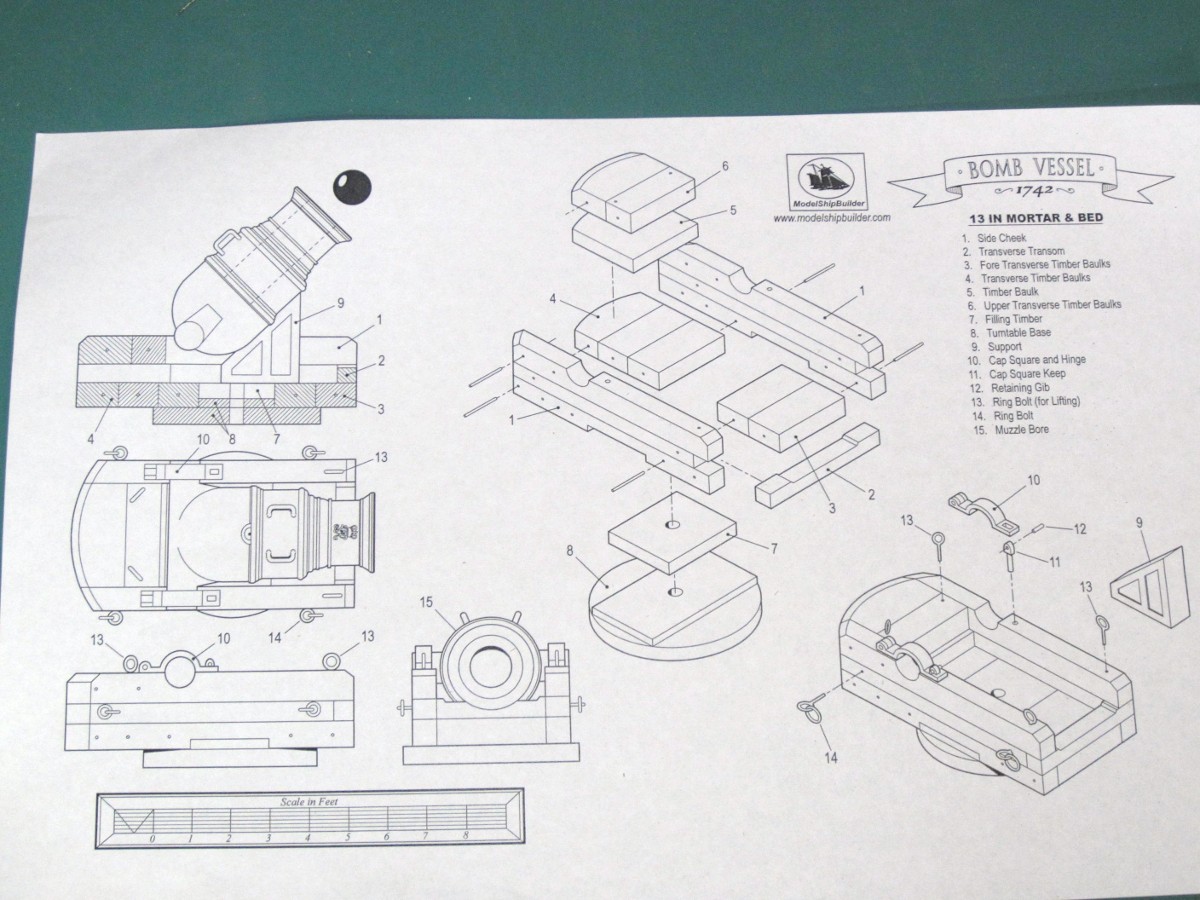
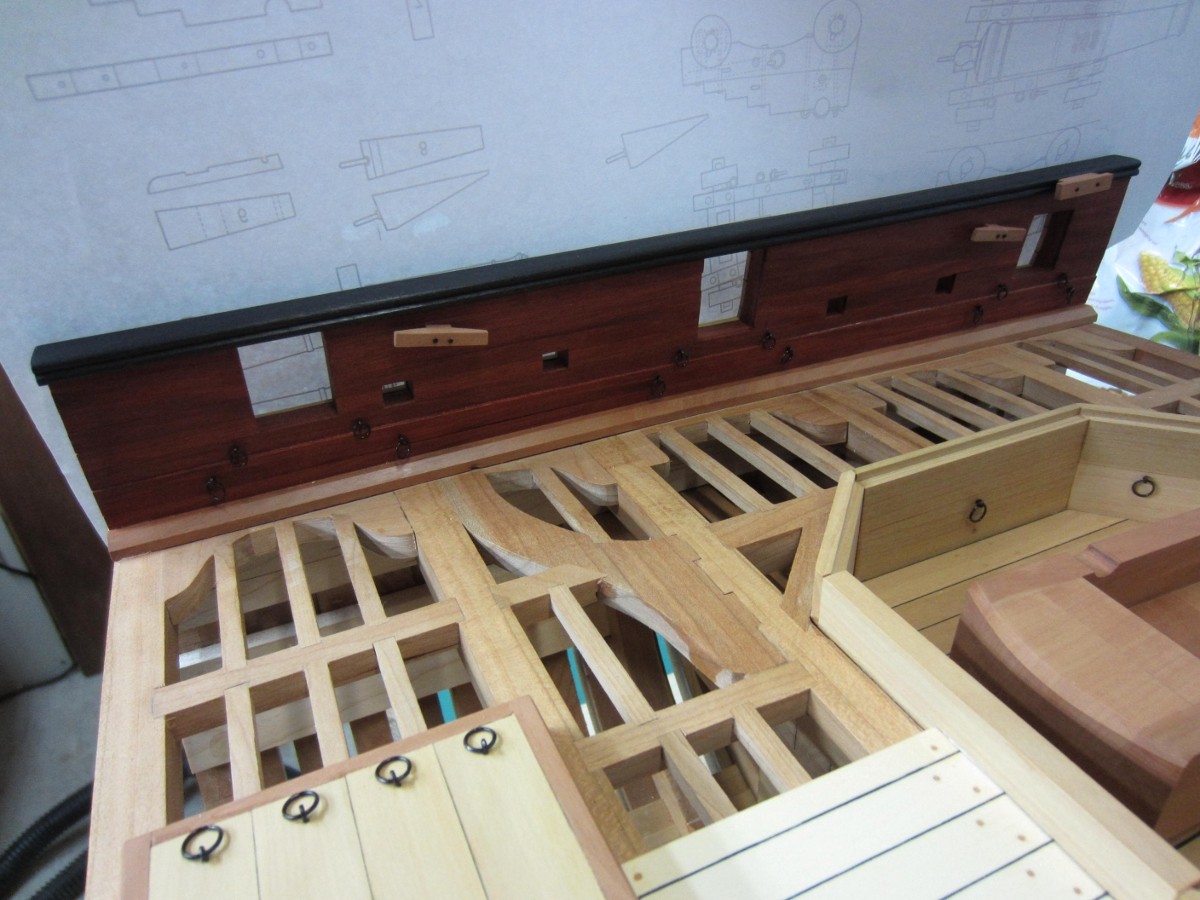
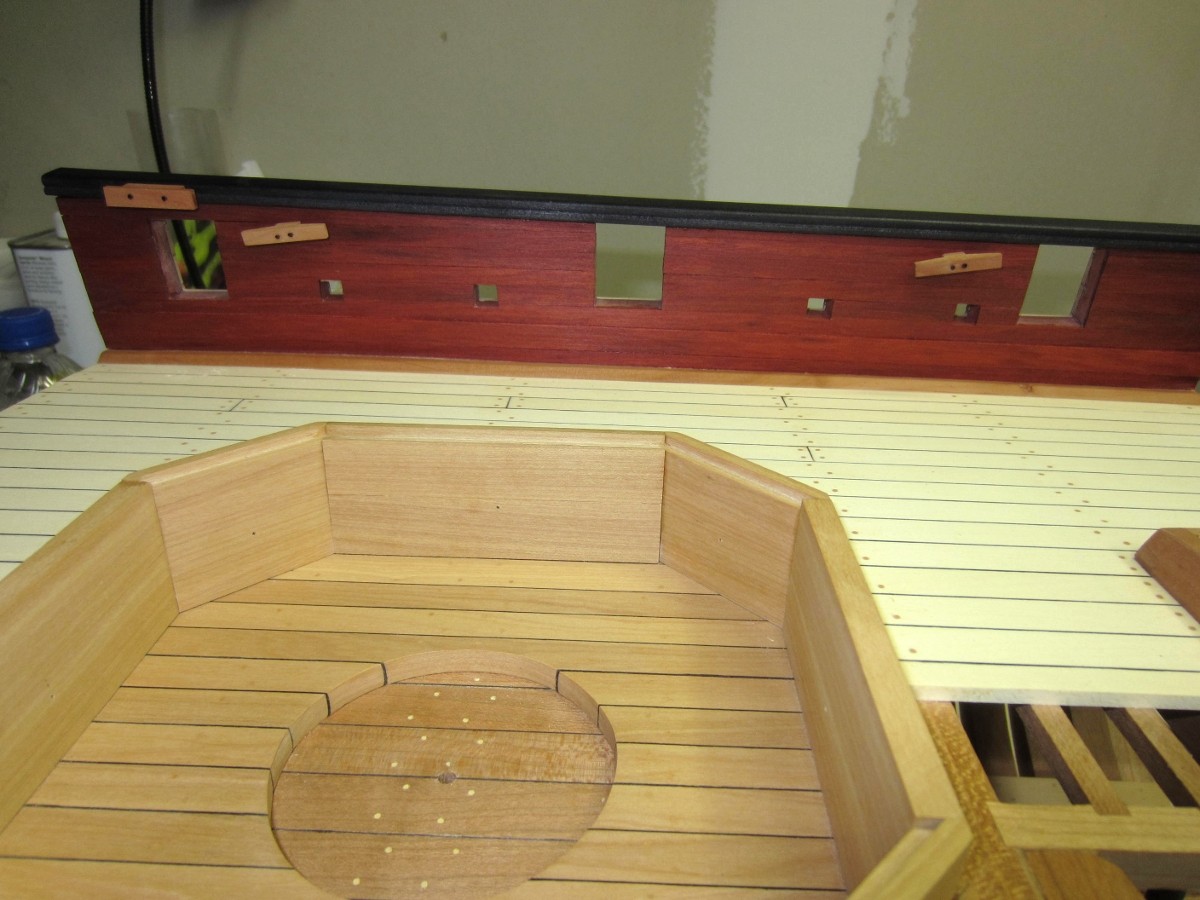
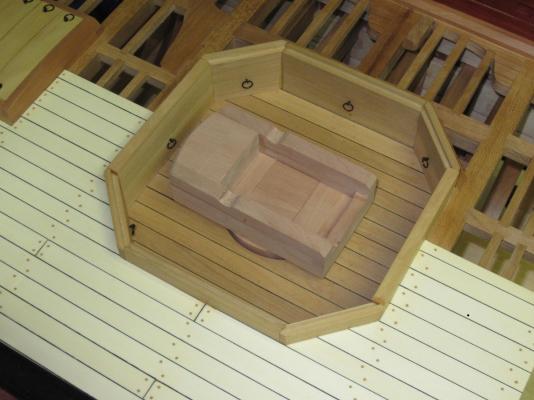
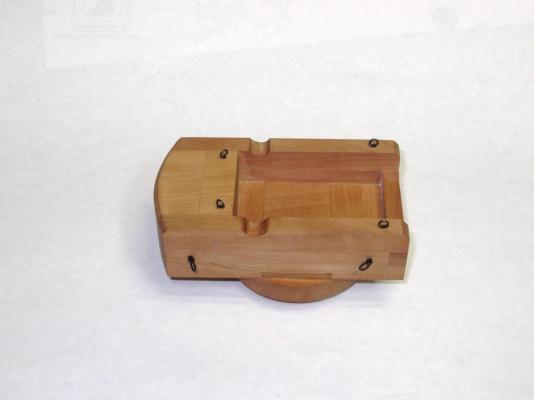
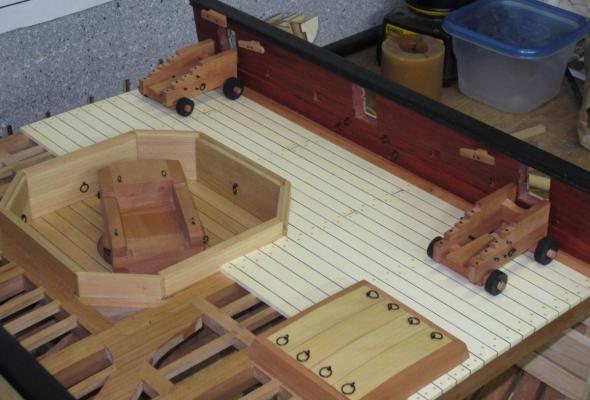
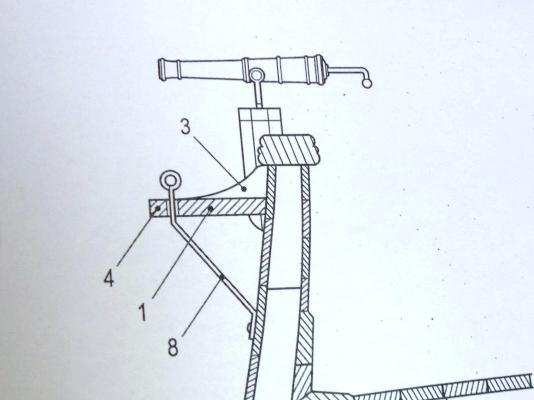
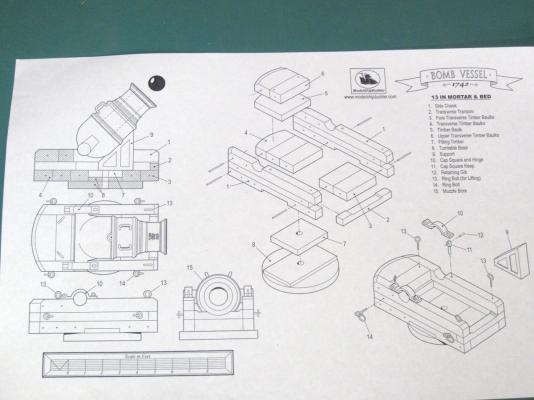
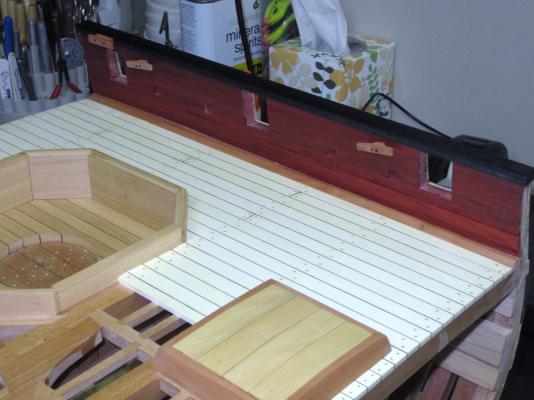
Hi all, Thanks for stopping by and all the likes! It’s really nice having a couple of days off with no obligations. You can really get some fun stuff done. I assembled the main mortar carriage. It was pretty straight forward and like the deck and beams below, very thick and rugged. I have held off on the cap square and hinge until I have a cannon to match it to. Now looking ahead to the chain plates here are two pictures showing how the plans depict them. My question to you is would they be like that or would they be “links” like I did on the Confederacy? Thanks


- 421 replies
-
- 17
-

-
- granado
- bomb ketch
- (and 2 more)
-
Hi Ben, Remco’s “hours of fun” will be joyfully measured in thousands not hundreds. This is a great model and I know you will do a wondeful job on it.
-
Hi Bob, She’s coming along very nicely. I understand what you are saying about switching to something a little more “fun” once in a while but then there are good points for just diving in and getting those pesky treenails done.
-
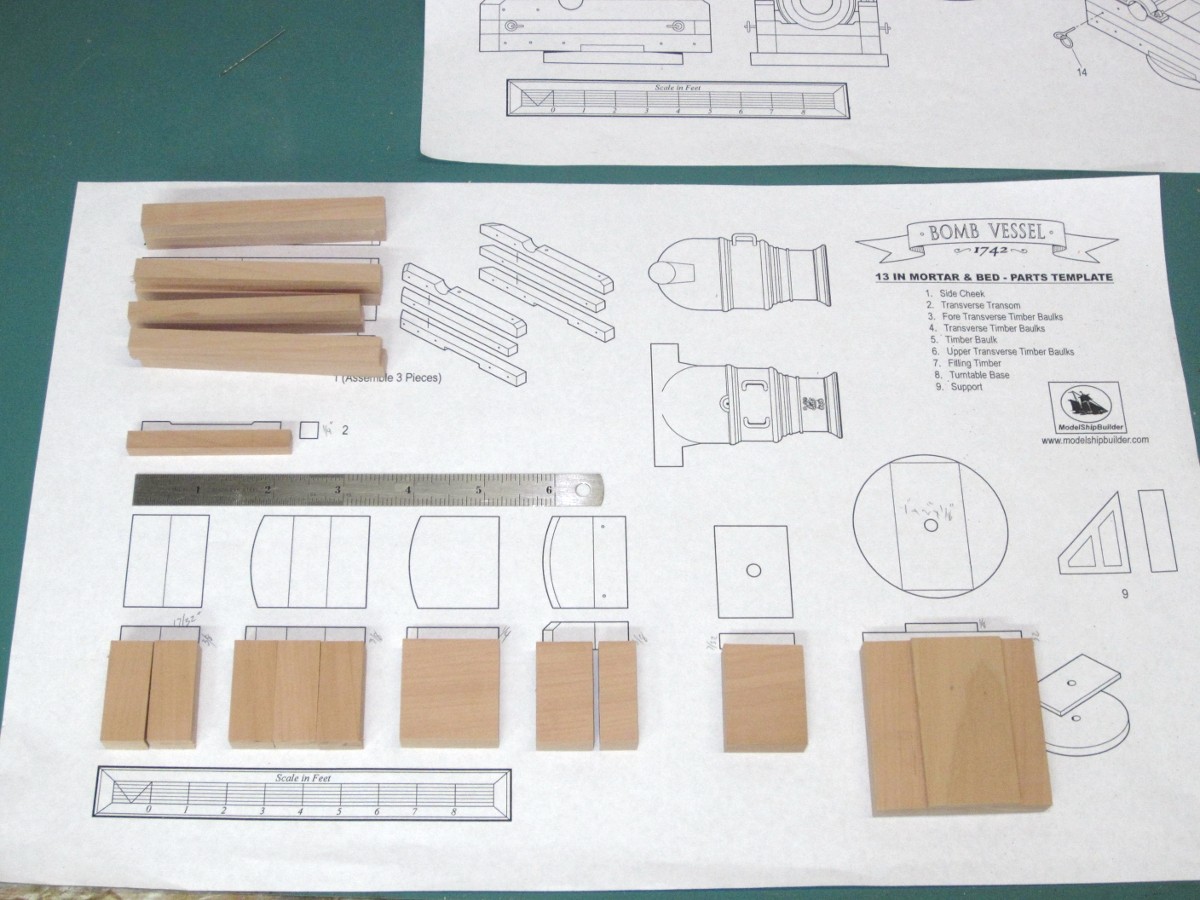
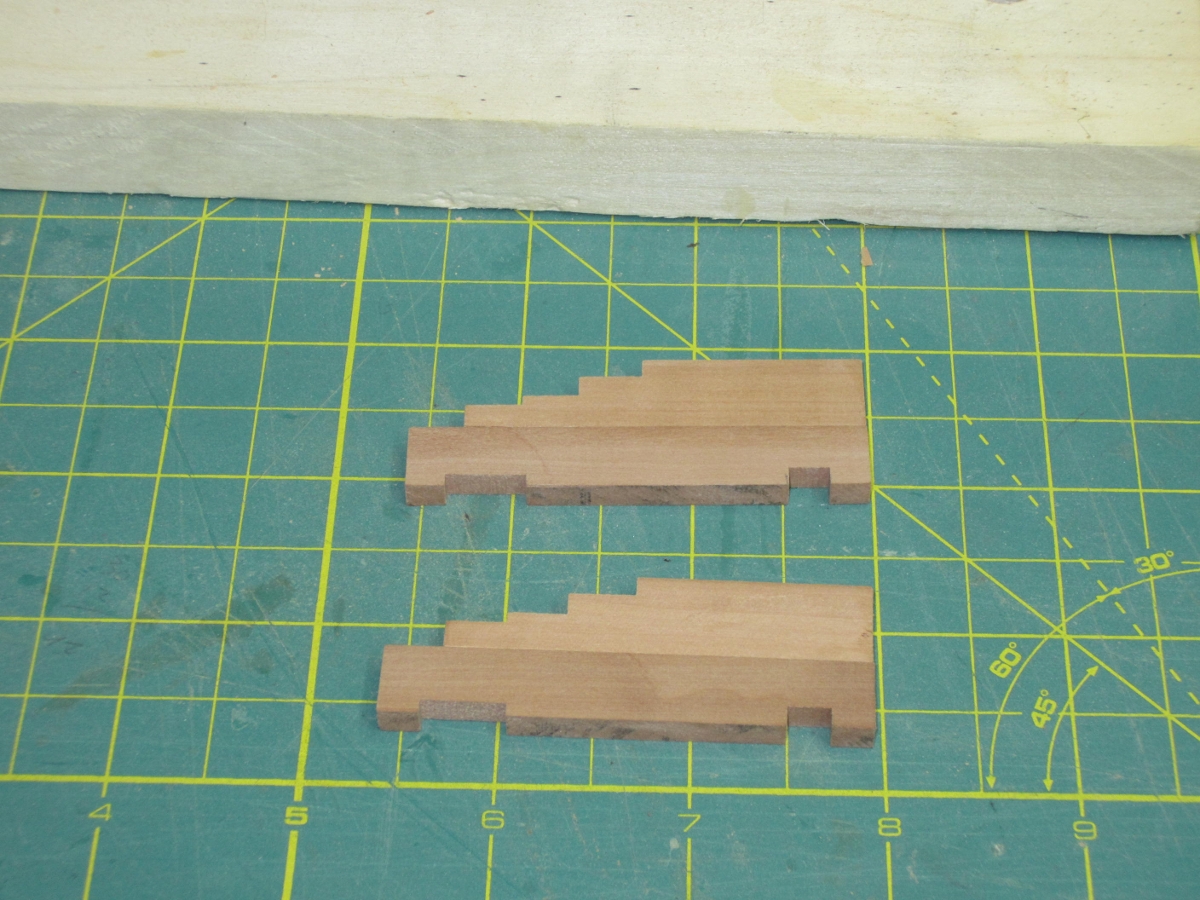
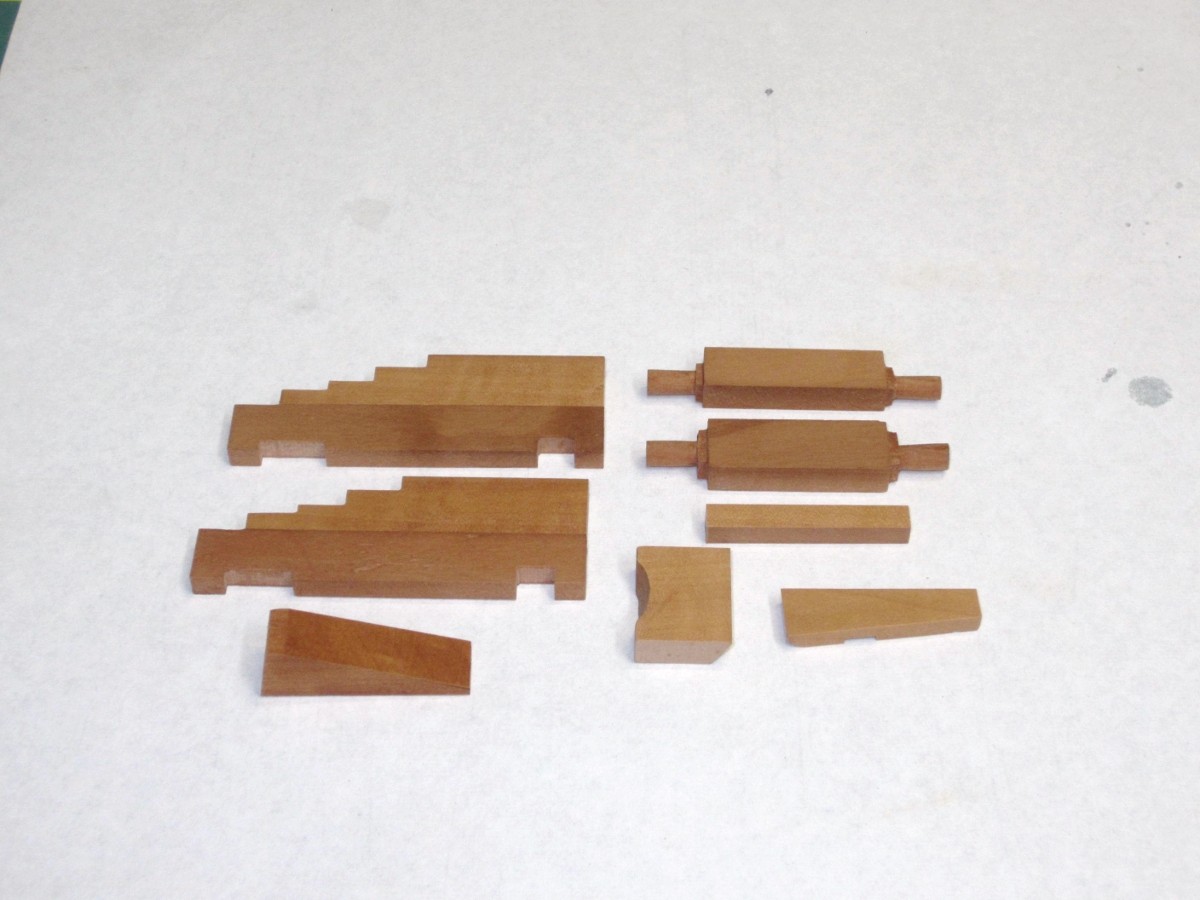
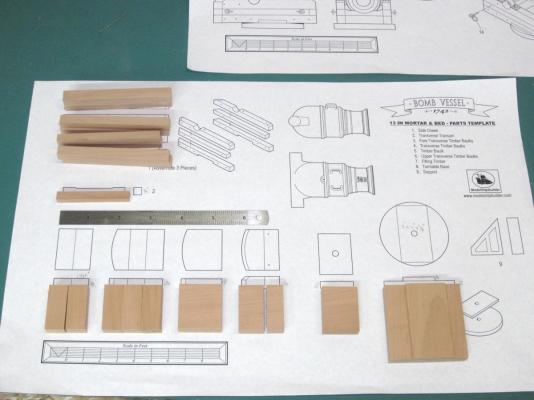
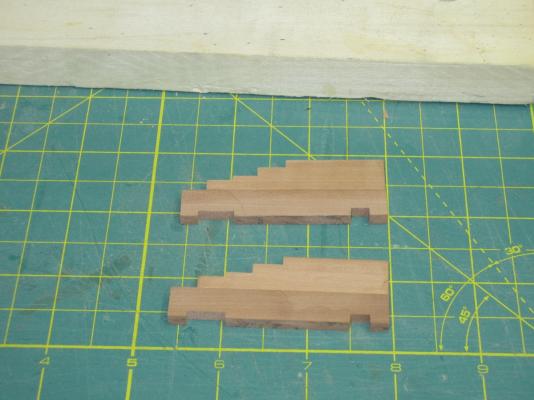
Thanks for all your visits, likes and comments. Thanks Augie. Yeah I constantly go huh when I measure the plans and it calls for a piece to be ¼” thick x ½” wide! Thank you Paddy and the same to you and yours! Grant and Joe, I’m only on chucks and already its self centering or not, 2” or 3”, get a combination of both, man talk about sensory overload. And this is only the start. I haven’t even looked at the other 100 options! Thanks Bob, Yeah if all goes well once I make the barrels I’m sure I’ll use both of them. I also noticed that they don’t show the blocks or line. Gotta figure out what sizes they should be! Thanks Chris. I can speak to the disk sander and for scratch work I wouldn’t be without it. I’m just glad to see you can get some time to spend on the Confederacy with those cute kids of yours. Here are the plans for the mortar carriage and the pieces cut from swiss pear and ready for shaping.
- 421 replies
-
- 13
-
-
- granado
- bomb ketch
- (and 2 more)
-
Hi Augie, You’re still doing some fine work I see. Everything looks spot on and couldn’t be better. You know the best thing is you’re only about half way done with the planking. So much more fun yet to go! Really though your approach of slow and steady is working great. Some of us who tend to move at too quick a pace suffer for it. Well done as usual! Happy New Year!
- 2,191 replies
-
- 1
-
-
- confederacy
- Model Shipways
- (and 1 more)
-
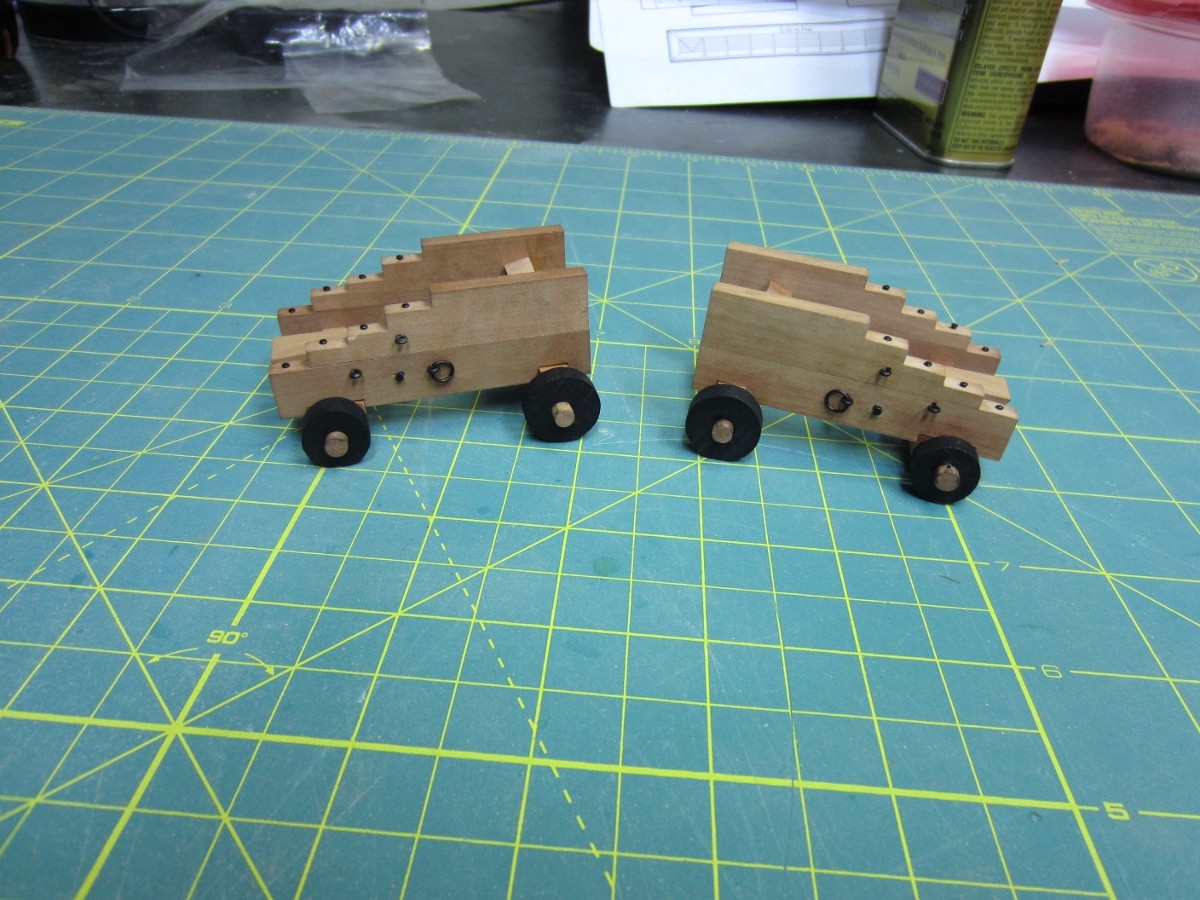
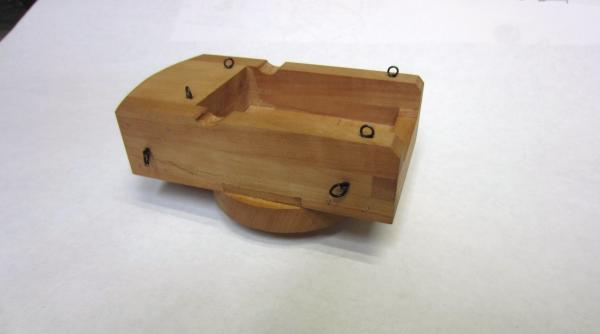
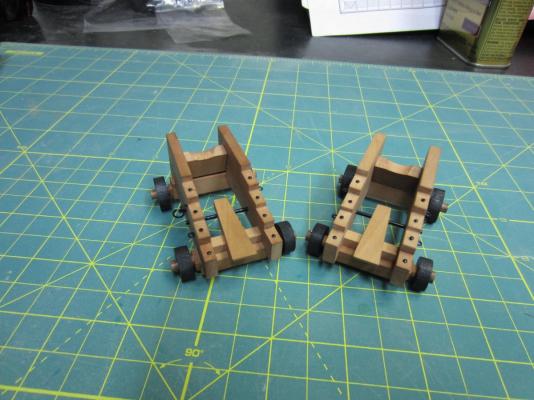
Happy New Year to all of you! Hi Grant, Like I’ll have any issues wanting to get more accessories! OK I’ve been looking at the three and four jaw chucks and I realize that I will eventually need both types. The one thing I am unsure about is if the self centering chucks are better than the regular jaws chucks. From what I’ve read self centering is nice and handy but the independent jaws allow for more “accuracy”. What types do you use? Hi Ben, Thanks for stopping by. As I said above I will get a 4 jaw chuck just not sure which type yet. You know you don’t have to wait. We can take that plunge together! OK onto the fun stuff. Here is the starboard side with all the assorted ring bolts in place. I made them from some 20 gauge wire I had on hand. I also figured I don’t need cannon barrels to make the carriages so I started on them. They are made from swiss pear. I made two just in case I decided to add a second cannon. I figured it was easier to make them together instead of having to go back and make a second one.


- 421 replies
-
- 16
-
-
- granado
- bomb ketch
- (and 2 more)
-
Thanks Gary, very much appreciated. I am off to read about power feeds.
- 421 replies
-
- 1
-
-
- granado
- bomb ketch
- (and 2 more)
-
Thanks Mark. Beware of what you ask! Hi Grant, Yes I’ve been convinced that if I am going to get a lathe it will be a Sherline. Thanks Joe. Floyd. The hatch framing is swiss pear and the hatch boards are boxwood. Ok as I said at some point I will obtain a Sherline lathe. Because of size constraints I am leaning towards the Sherline Model 4000 3.5" x 8" (overall length 24”) lathe as opposed to the Sherline 4400 3.5" x 17" (overall length 32”) lathe. That extra 8” footprint would eat up a lot of space though the added distance between centers could come in handy. I guess the first item is to figure out is the size. 8” center or 17”. So what do you think?
-
Len; As usual your work is great. Love it!
-
Thanks for your kind words Tim. The sheer rails have been added as well as some of the cleats the plans call for. Next I have to make a bunch of ring bolts and then the gun carriages. No Guns yet but I might as well as start on the carriages Also the quest for a lathe continues. I have ordered the Tabletop Machining book by Joe Martin and will read up on lathe usage as well as annoying some of you with dumb questions.

- 421 replies
-
- 10
-
-
- granado
- bomb ketch
- (and 2 more)
-
Thanks Joe and Mark.
-
Thanks Mark and Grant. Having never used a lathe before or even seen one used, I never thought about the fine control needed for small parts.
- 421 replies
-
- 1
-
-
- granado
- bomb ketch
- (and 2 more)
-
Hi Augie, Lots of thoughts but not much progress. I’m still cussing my brother who was a tool and die maker. He retired and moved to NC and doesn’t have any of his tools anymore! I’m lusting over the Sherline 4000B Lathe Package but the Proxxon DB 250 Micro Woodturning Lathe is much more in my price range. Then between the two you have the Taig MicroLathe II. I know the Proxxon is only a wood lathe but how much metal would I turn? Then also I could use it for now and sell it later if I decide to upgrade to a metal lathe. Oh the problems of semi retirement. If I was still working fulltime I’d just work some OT and pay for it.
- 421 replies
-
- 2
-
-
- granado
- bomb ketch
- (and 2 more)
-
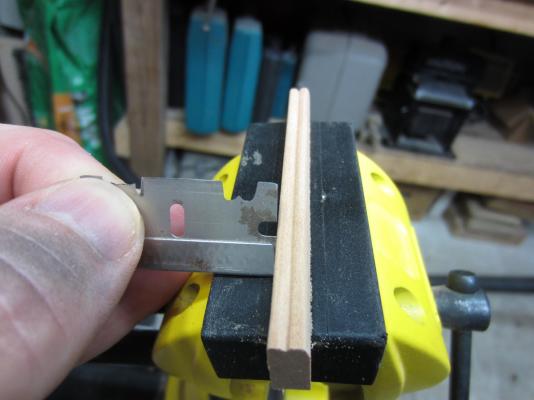
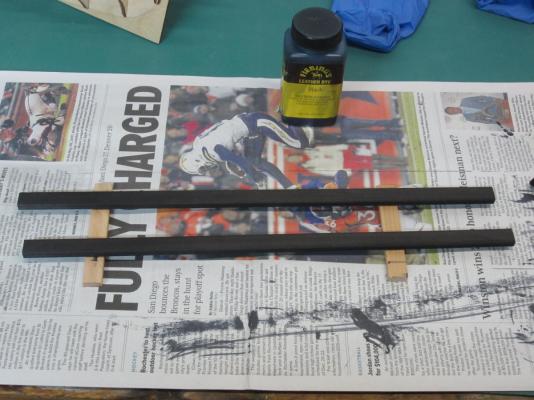
Hi Jakob, Yes she is going to be a big one. The sheer rail was cut from cherry as it’s hard enough to hold an edge but soft enough to make scraping the edge easier. I used a dremel and files to first remove the razors edge and then cut the shape into the old blade to make a scraper. After many passes I obtained the edge I wanted. I then sanded it smooth, stained it with Fiebing’s and left it to dry. After it’s good and dry I’ll rub it down and apply a coat of wipe on poly.
- 421 replies
-
- 9
-
-
- granado
- bomb ketch
- (and 2 more)
-
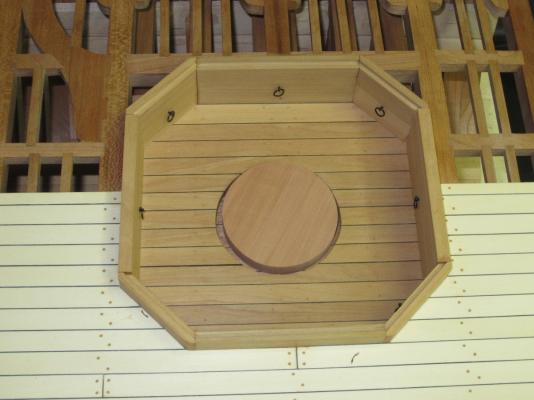
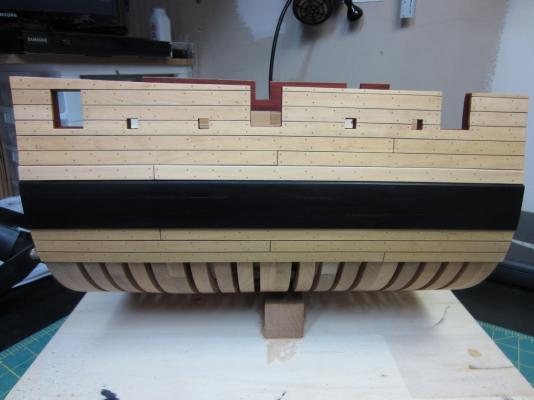
Nothing spectacular, just plugging along here. Holes drilled for treenails, holes filled with boxwood treenails, everything sanded down to 400 grit sandpaper and one coat of wipe on poly applied. Now I have to make the cap rail and start working on some of the cleats and gun carriages.
- 421 replies
-
- 8
-
-
- granado
- bomb ketch
- (and 2 more)
-
Sorry Floyd, no work till Monday! Yippeeeee!
-
Hi Gary, Every time I stop in to see your work it just takes my breath away. Simply wonderful. I hope your Christmas was a great one.
-
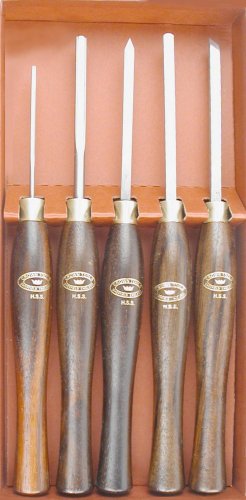
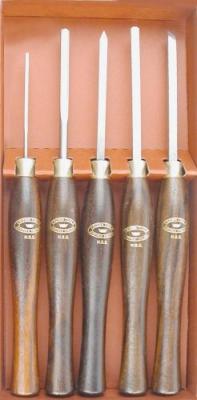
Thanks Grant. Although Santa’s fund had already be allocated, thus no lathe under the tree, he did leave me a Crown Mini Turning Set of miniature lathe tools with 3-3/4-Inch 95mm H.S.S. blades and 6-Inch 152mm rosewood handles with brass ferrules containing: 1/8-Inch 3mm Gouge, 1/4-Inch 6mm Gouge, 1/16-Inch 1.6mm Parting Tool, 1/4-Inch 6mm Skew Chisel and 1/4Inch 6mm Round Nose Scraper. These will make a nice start and could be used with a “drill press lathe” until I can whine enough to get a lathe for my birthday! Well everything has been cleaned up, grandkids have all returned to their home, and now it's shoptime!
- 421 replies
-
- 5
-
-
- granado
- bomb ketch
- (and 2 more)
-
Thanks Paddy and the same to you!
-
Spot on Augie! You are doing a great job and a Merry Christmas to you and yours.
- 2,191 replies
-
- 1
-
-
- confederacy
- Model Shipways
- (and 1 more)
-
A Merry Christmas to you too Antony and good luck with the carving too.
-
Thank you all for stopping by and for all of the likes. Hi Ben, Thanks. It’s really fun using multiple woods. Hello Jakob. Thanks for joining this motley crew and your kind words. The starboard side is now complete. Now it’s time to drill a lot of holes and make some treenails. No work or playing in the shop for the next couple of days. I also want to wish a Merry Christmas to everyone and their families here at MSW! See you again soon!

- 421 replies
-
- 5
-
-
- granado
- bomb ketch
- (and 2 more)
-
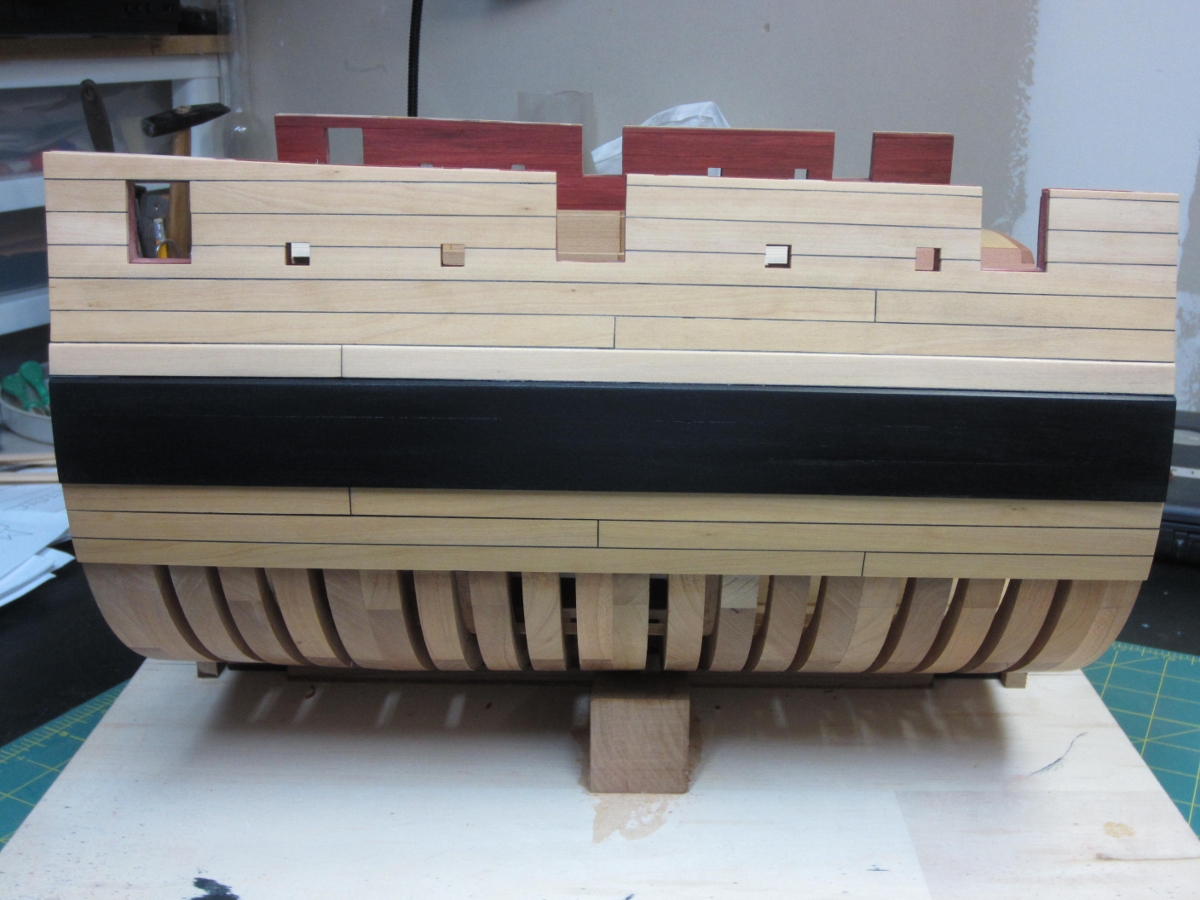
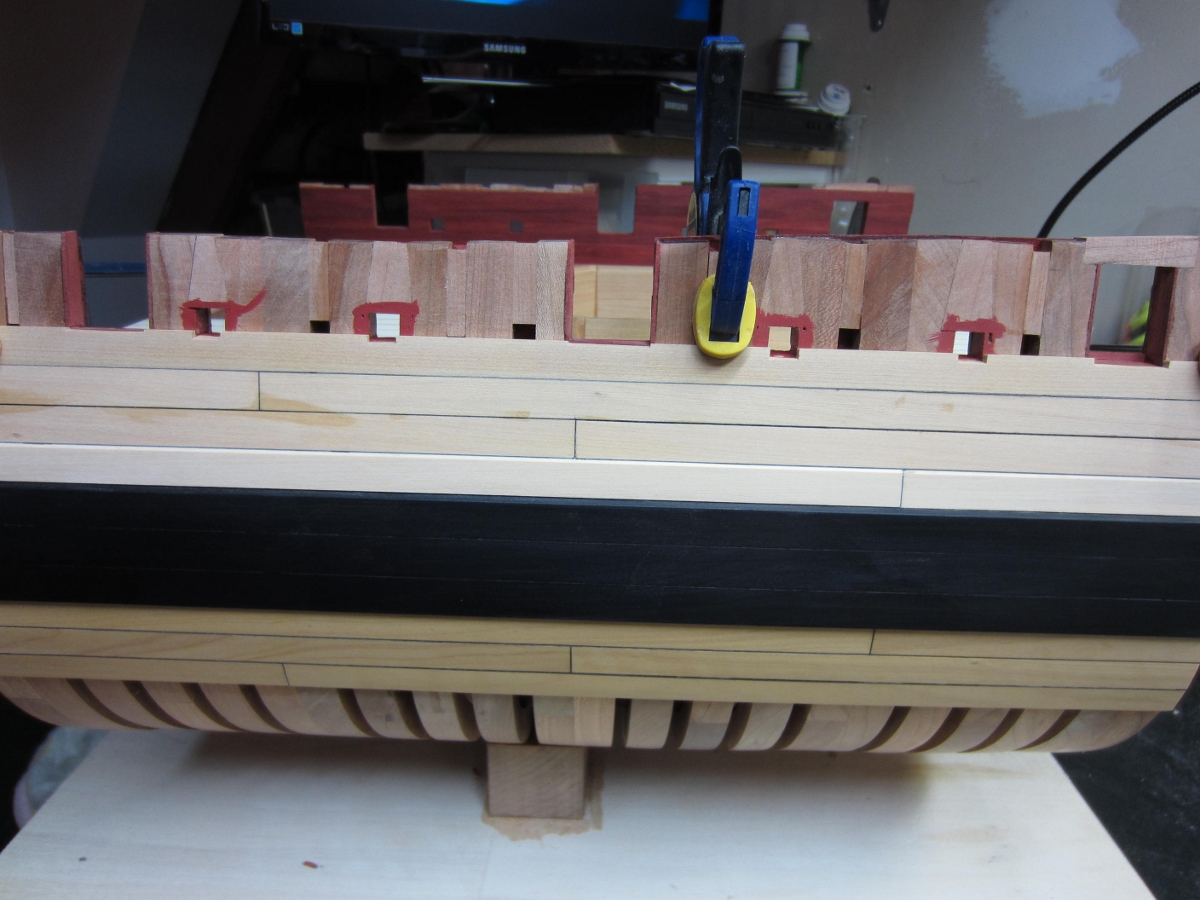
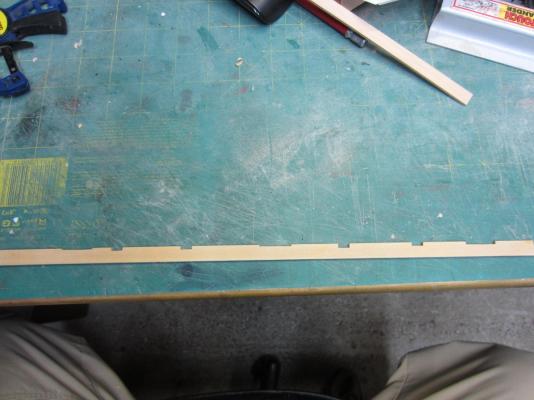
Thanks for the tip Mike. Now I just have to “accidentally” tear a sheet so I can give it a try. Had a good stretch of time in the work shop. I have been planking above the wale. Very straight forward until I got to the sweep ports and gun port openings. Then I had to notch the plank. It was a slow process of take a little off, check, take a little more and recheck. After several times it worked out. Now its time to plank the starboard side and then a bunch of treenailing.


- 421 replies
-
- 11
-
-
- granado
- bomb ketch
- (and 2 more)
-
I absolutely would Floyd. Just have to time it for when his wife is out!
- 421 replies
-
- 1
-
-
- granado
- bomb ketch
- (and 2 more)