yvesvidal
-
Posts
3,641 -
Joined
-
Last visited
Content Type
Profiles
Forums
Gallery
Events
Everything posted by yvesvidal
-

Vincent Black Shadow by CDW - Revell - 1:12 Scale
yvesvidal replied to CDW's topic in Non-ship/categorised builds
So Craig, are you postponing the building of the Pocher Alfa Romeo, in favor of the Revell kit? Yves -
Thank you Kevin. Things are not moving very well.... I am struggling to build a very simple stand to display the ship. I need to do that before finalizing all the hull details. Yves
-
Curtiss BF 2C-1 by CDW - FINISHED - Hasegawa - 1:32 scale
yvesvidal replied to CDW's topic in Non-ship/categorised builds
Did you use the Camel Yellow from Tamiya or something else? Yves -
Curtiss BF 2C-1 by CDW - FINISHED - Hasegawa - 1:32 scale
yvesvidal replied to CDW's topic in Non-ship/categorised builds
I agree completely with Craig. The planes developed during that time period were very interesting and full of good and crazy ideas. I would call it the Golden age of aviation around the world, and it is regrettable that so few kits be made available, especially in large scales. And yes, these yellow painted planes and the big Seversky belly planes are just wonderful to assemble and look at. Yves -
Interesting Build log for sure. I like the choices you made and your approach: Fun must dominate the build, otherwise, it is just punishments. Yves
- 154 replies
-
- 5
-

-
- Enterprise
- Trumpeter
- (and 1 more)
-
It is indeed very glossy. Great job. Yves
-
Very unusual and exciting models. As you are planning to build a diorama, it is going to be intense !!! Yves
-
Amazing !!! And what a great and unusual presentation. Yves
- 200 replies
-
- 5
-
-
- Transport No. 103
- Hasegawa
- (and 4 more)
-
I think the front axle is a must. The nice wooden steering wheel can be purchased later on.... Yves
-
Craig, I happen to have the exact same kit on my shelves.....waiting. I will watch your assembly with a renewed interest. Yves
-
This is going to be a small monster at that scale. I have always enjoyed those big-belly planes from the 30-40's. Yves
-
Barncave Shipyard by mbp521 - Scale 1:1
yvesvidal replied to mbp521's topic in Non-ship/categorised builds
You should hire a couple of Mud specialists (usually from Mexican descent) to finish your drywalls. They are experts with the mud and will finish everything in less than a day. Then you can paint and seal all this dust and fibers. Yves -
Bellissimo!!! I love the two different sides and perspectives. What a great idea. Yves
-
Very clean work. It will be a beautiful ship. Yves
- 122 replies
-
- 1
-
-
- Artesania Latina
- Pen Duick
- (and 1 more)
-
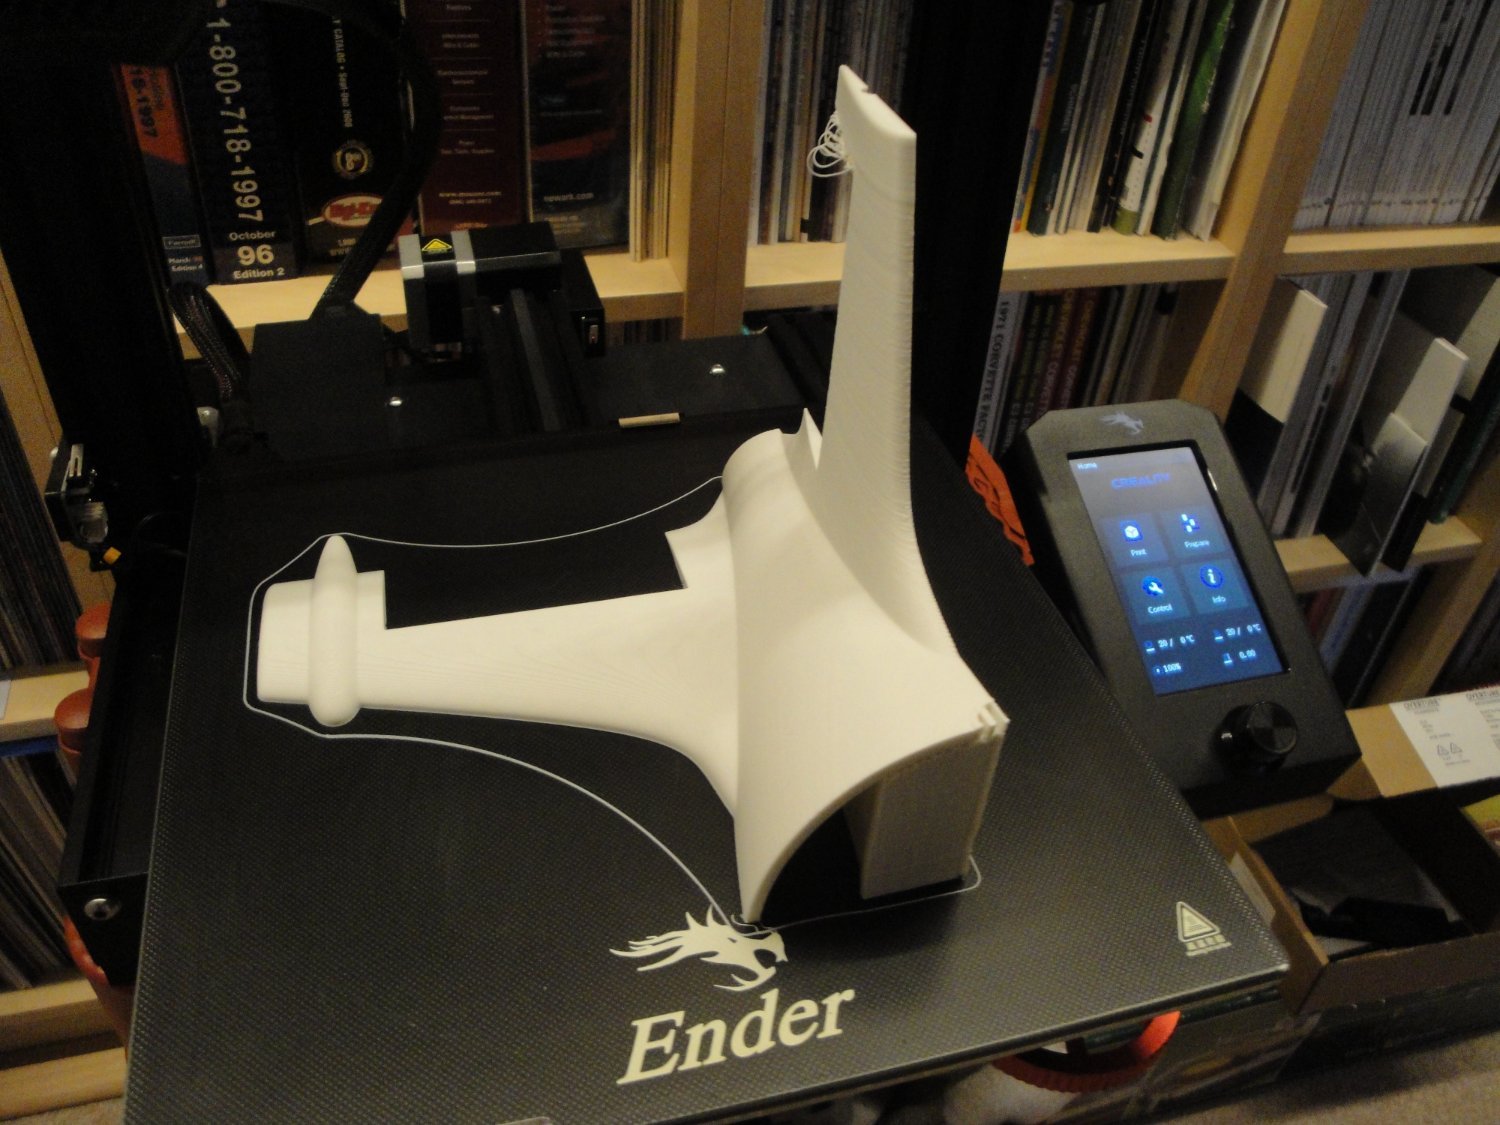
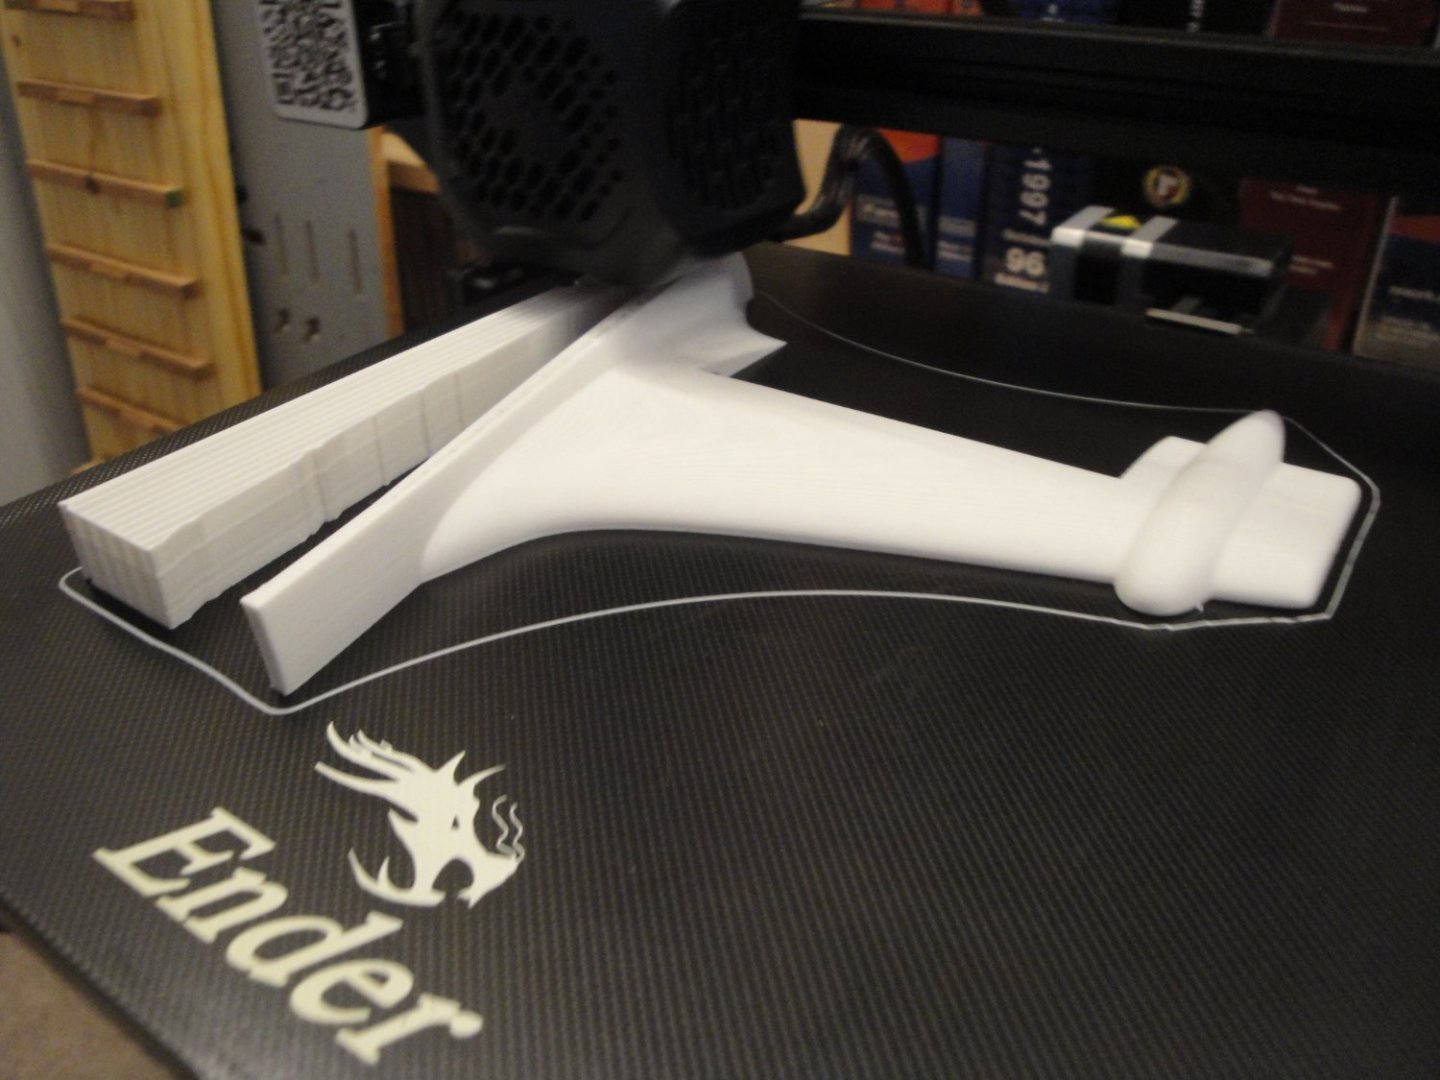
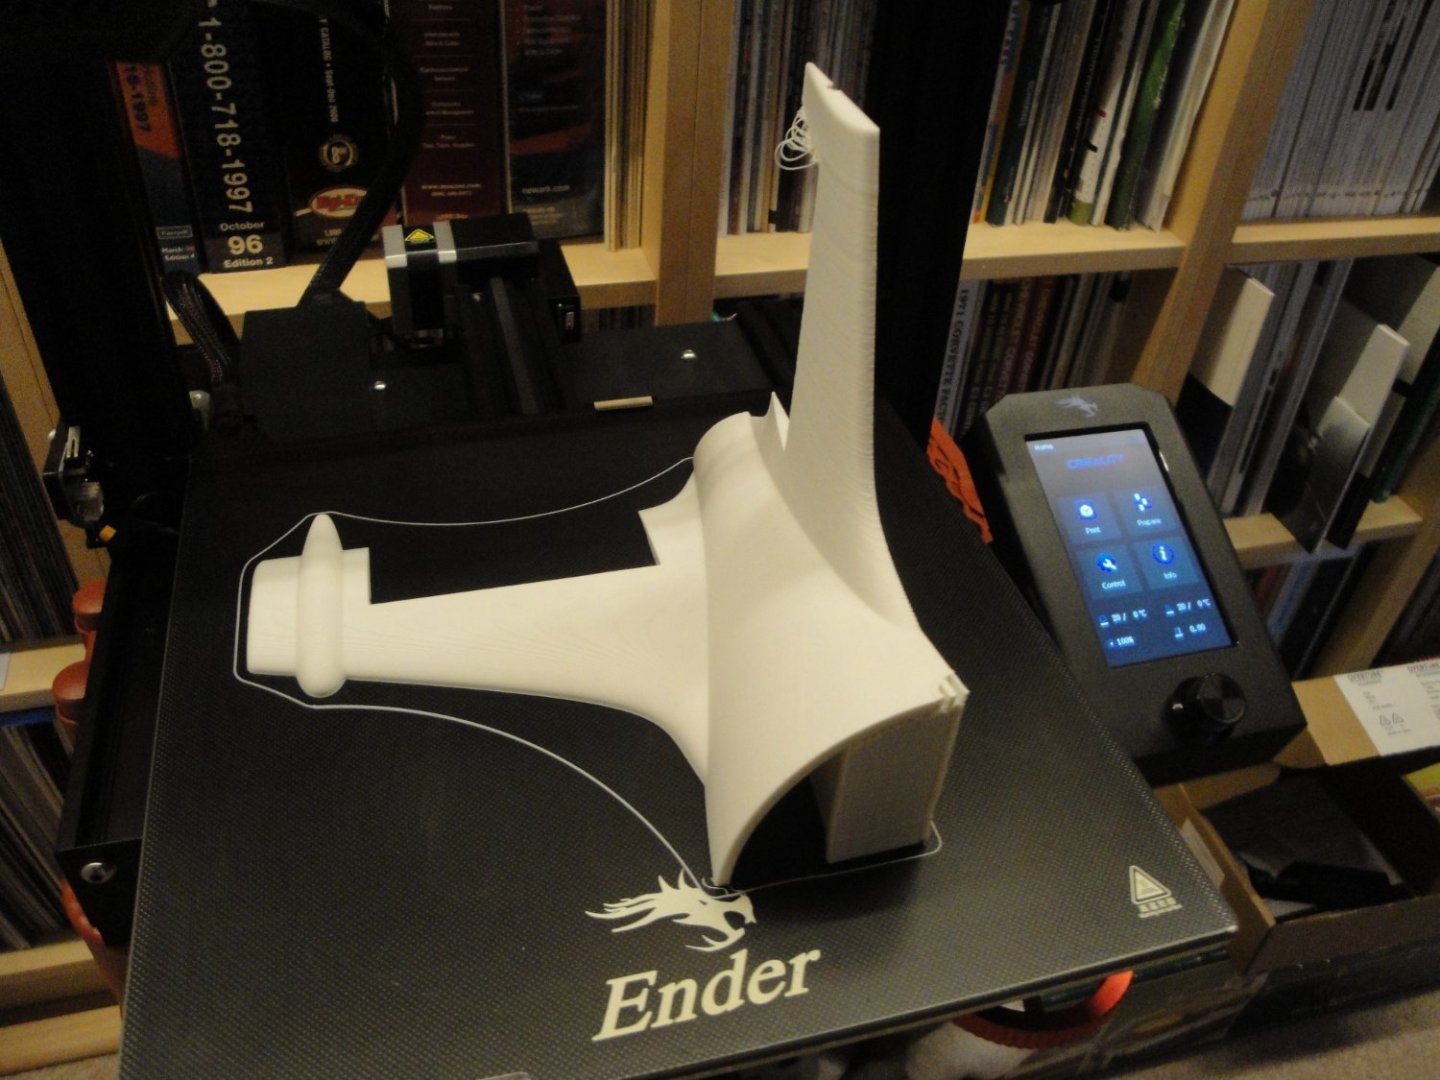
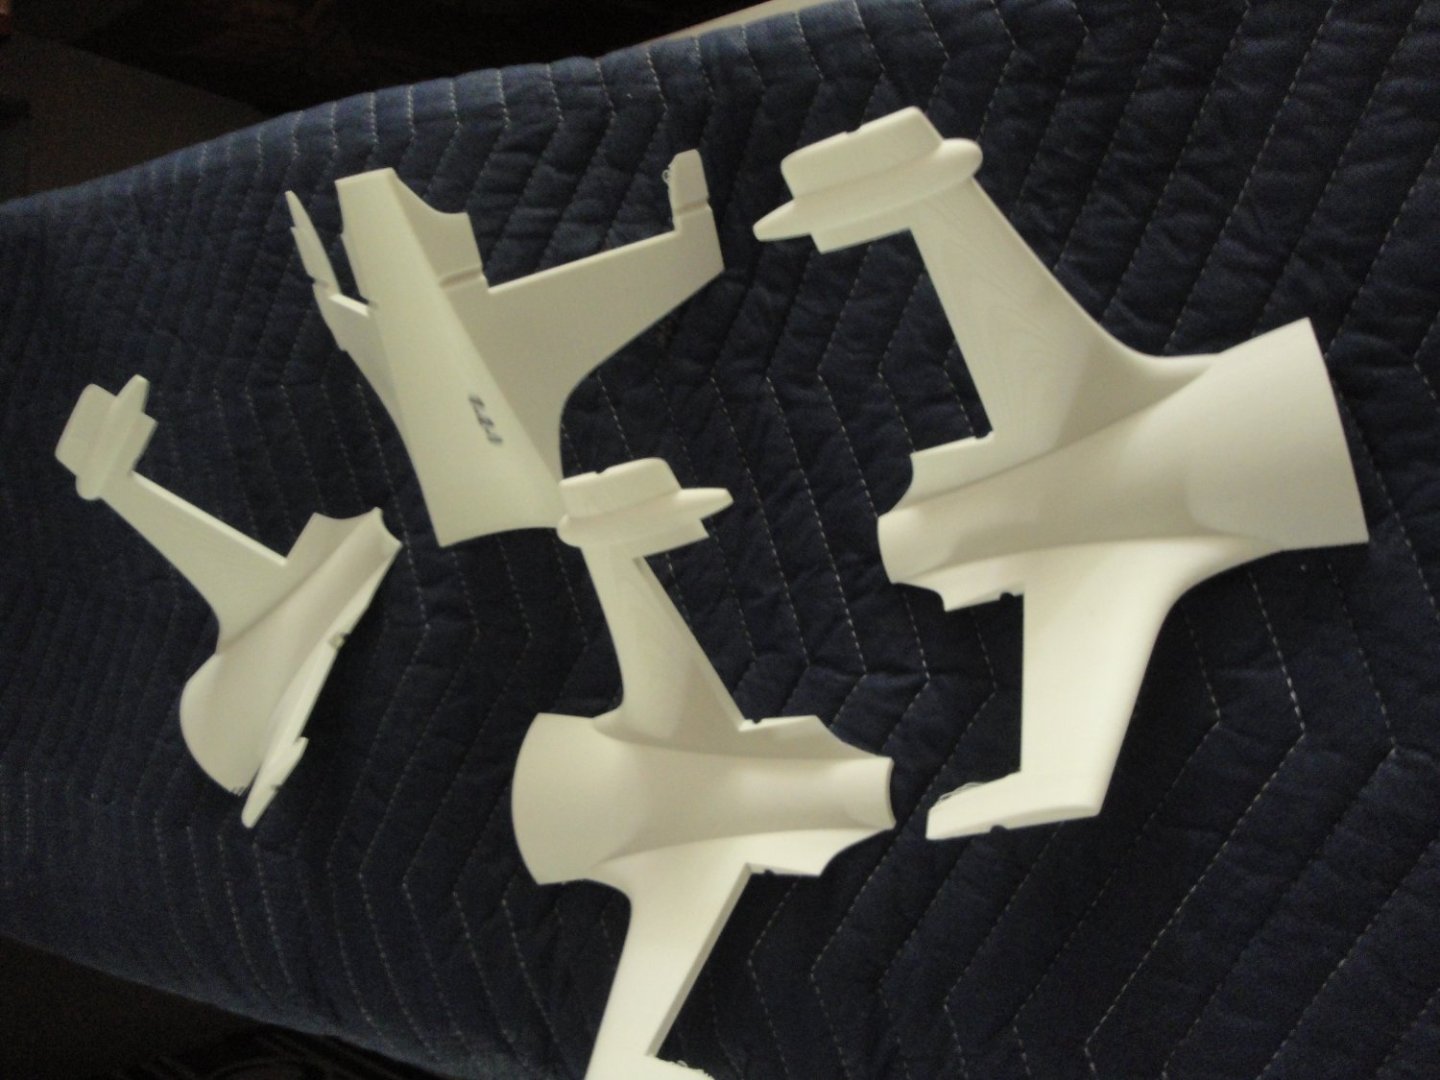
The work on the HMS Bellona is temporarily halted for various reasons (dog and cat inside the house....). In the meantime, I got the itch of continuing this large project which was placed on hold for way too long. The next step is to work on the stern and the diving and steering planes. This part is just enormous and did not fit on my small Creality printer. I had to cut it in 5 pieces: four wings and the rear section: Above is one of the wings being printed. Below, it is almost finished: The four parts will be glued vertically first, and then horizontally: Before assembling the tail to the main hull, I need to work on a way to anchor and display the hull on a base. With a complete hull 6 feet long, I need to think about something relatively light that will allow the full beauty of this incredible machine. Yves

-
Curtiss BF 2C-1 by CDW - FINISHED - Hasegawa - 1:32 scale
yvesvidal replied to CDW's topic in Non-ship/categorised builds
Craig, You probably have already read that thread, but this Canadian guy has made all four (if not five) of these old Hasegawa 1/32 kits. That may give you some ideas on which paints to use and other details. He uses the Yellow Wings decals (RIP) and the Vector engines. https://forum.largescaleplanes.com/index.php?/topic/61231-yellow-wings-forgotten-models/ Yves -
Curtiss BF 2C-1 by CDW - FINISHED - Hasegawa - 1:32 scale
yvesvidal replied to CDW's topic in Non-ship/categorised builds
Yes, I am afraid the Yellow-Wings company went belly up during the Plandemic. You may be able to find other 1/32nd decals of different planes and adapt them to your Curtiss. Yves -
Curtiss BF 2C-1 by CDW - FINISHED - Hasegawa - 1:32 scale
yvesvidal replied to CDW's topic in Non-ship/categorised builds
Great idea. I have this kit in my stash and I will be delighted to see you build it. There are some excellent decals produced for this kind of aircrafts. The name escapes me...something like yellow wings... Yves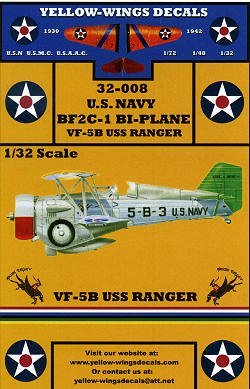
-
BMW is doing the same with their Oil-Head engines: lots of oil in the pan and a radiator to cool it. That is all it takes. Yves
-
You turn that old Nichimo kit into a piece of art. Congratulations. Very nice collection that you have, already. Yves
-
What a fine and racy model! The bowsprit in itself, doubles the length of the ship. It exudes elegance and performances. Yves
- 80 replies
-
- 6
-
-
- Grecian
- Vanguard Models
- (and 3 more)
-
Superb with its sails. What a comeback for this model !!!! Yves
- 84 replies
-
- 2
-
-

-
- Corsaro II
- Corel
- (and 1 more)