-
Posts
3,622 -
Joined
-
Last visited
Content Type
Profiles
Forums
Gallery
Events
Everything posted by yvesvidal
-
Yes, it will not be an easy task. But the sentimental value will give you dedication and fuel to restore these models. Yves
- 6 replies
-
- Statenjacht
- Billing Boats
-
(and 1 more)
Tagged with:
-
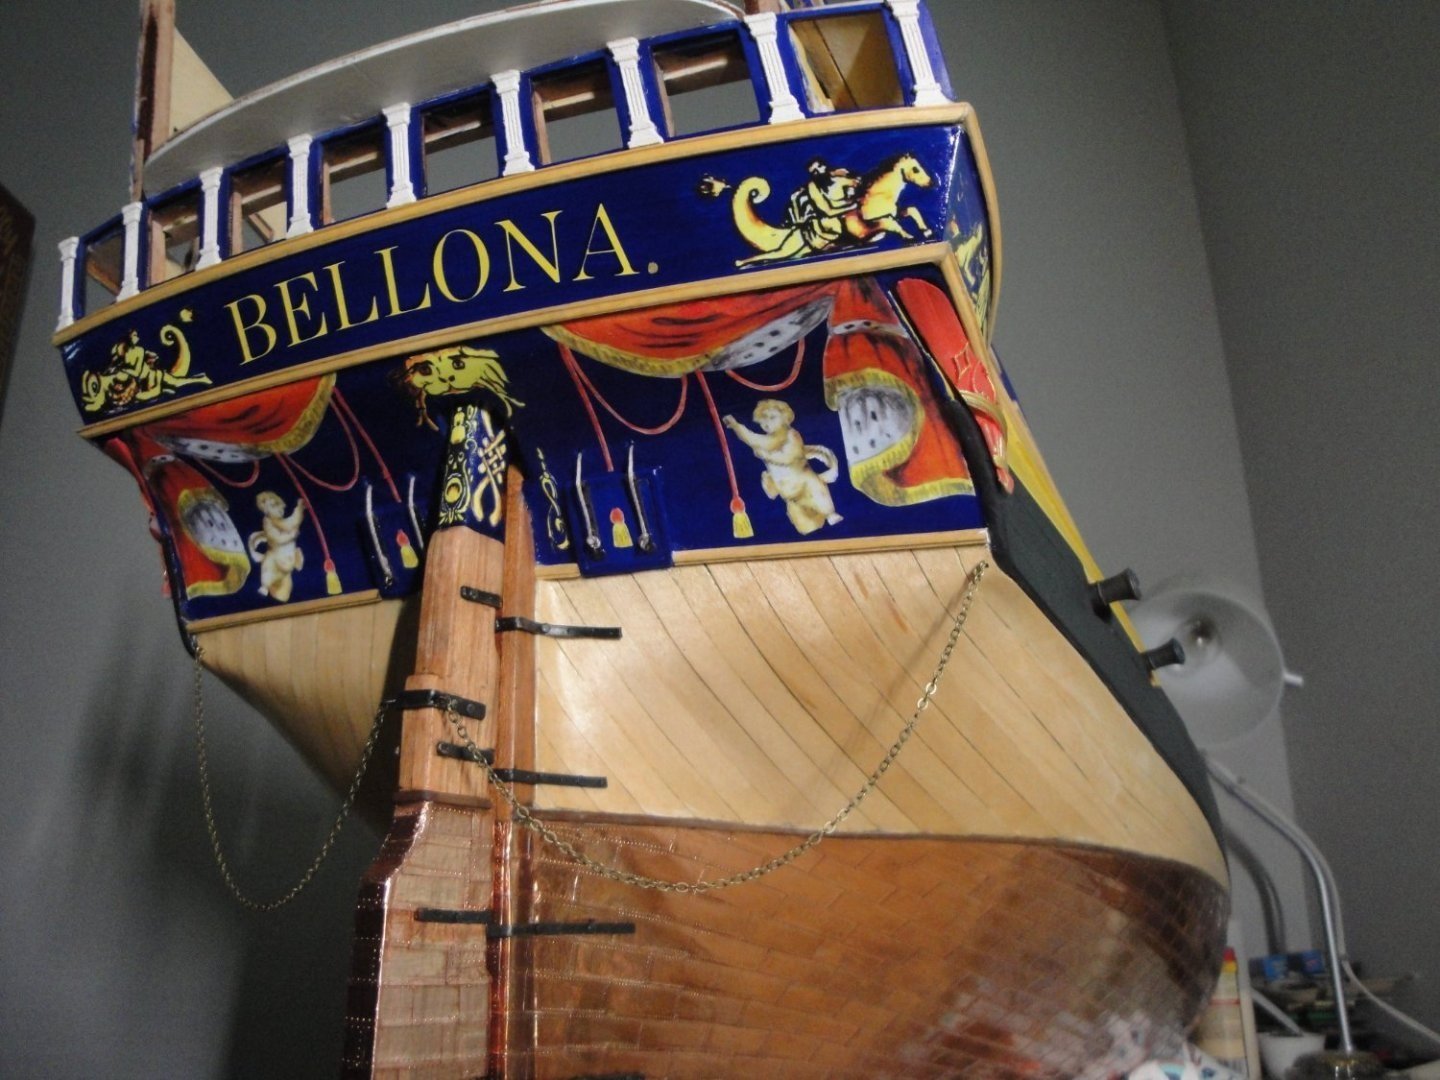
I realized that I have not provided an update in a long time. Most of the time has been spent doing non-related model building activities and trying to replicate on the starboard side, what was done on the port side, during a previous post: Overall, a lot of the same thing.... The quarterdeck is now complete with all the guns in place: Decals are delicately set along the side of the hull: As usual the hull is prepared with multiple coats of Future Floor Gloss. Then the decals are installed with SOL (by Micro-scale), followed by one or more applications of SET (also by Micro-scale) ...or is it the other way around....SET and then SOL....and finally sealed with multiple coats of Future Floor Gloss. I like the glossy results but if I get tired of it, a coat of mate clearcoat can always be added, to tone down the numerous paintings done on the hull. A few more pictures.... With the exception of the railing on each side and rear of the poop deck, the stern is pretty much complete. At that stage, I need to now shift my focus and work, on the bow: Yves
-
I love your Emma C Berry with full sails. It truly changes the look of that little fishing boat. Yves
- 1,129 replies
-
I pity the other modelers, entering this contest..... They stand no chance. Yves
- 225 replies
-
- I Love Kit
- Hood
-
(and 2 more)
Tagged with:
-
Now, you need another display case, just for the medals... 🙂 Yves
- 174 replies
-
- prinz eugen
- trumpeter
-
(and 2 more)
Tagged with:
-
Wonderful Craig !!! And well deserved. Yves
- 127 replies
-
- Akitsushima
- Pit Road
-
(and 2 more)
Tagged with:
-
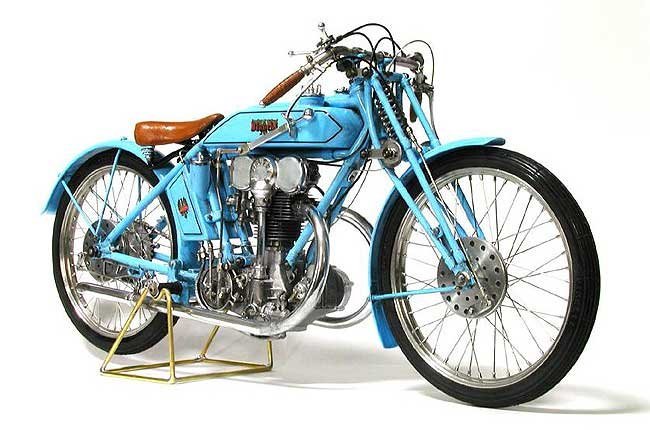
Ras, do not feel bad about some mistakes. We all do them. Now, for the ultimate perfection in building these difficult kits, a Japanese modeler Kim, is in my humble opinion the BEST motorcycle modeler on the planet. Take a look at his web site: http://kimshouse7015.com/ In Garage 2, near the bottom of the page, the Freccia Celeste kit is built and presented: I have drooled over Kim's pictures so many times.... Ras, I am presenting this work as a reference of what can be achieved with these kits and a lot of extra parts. I still admire your work and sympathize with your struggles in trying to put together these very old Protar kits. Yves
About us
Modelshipworld - Advancing Ship Modeling through Research
SSL Secured
Your security is important for us so this Website is SSL-Secured
NRG Mailing Address
Nautical Research Guild
237 South Lincoln Street
Westmont IL, 60559-1917
Model Ship World ® and the MSW logo are Registered Trademarks, and belong to the Nautical Research Guild (United States Patent and Trademark Office: No. 6,929,264 & No. 6,929,274, registered Dec. 20, 2022)
Helpful Links
About the NRG
If you enjoy building ship models that are historically accurate as well as beautiful, then The Nautical Research Guild (NRG) is just right for you.
The Guild is a non-profit educational organization whose mission is to “Advance Ship Modeling Through Research”. We provide support to our members in their efforts to raise the quality of their model ships.
The Nautical Research Guild has published our world-renowned quarterly magazine, The Nautical Research Journal, since 1955. The pages of the Journal are full of articles by accomplished ship modelers who show you how they create those exquisite details on their models, and by maritime historians who show you the correct details to build. The Journal is available in both print and digital editions. Go to the NRG web site (www.thenrg.org) to download a complimentary digital copy of the Journal. The NRG also publishes plan sets, books and compilations of back issues of the Journal and the former Ships in Scale and Model Ship Builder magazines.


