HOLIDAY DONATION DRIVE - SUPPORT MSW - DO YOUR PART TO KEEP THIS GREAT FORUM GOING! (Only 13 donations so far - C'mon guys!)
×


yvesvidal
-
Posts
3,590 -
Joined
-
Last visited
Content Type
Profiles
Forums
Gallery
Events
Everything posted by yvesvidal
-
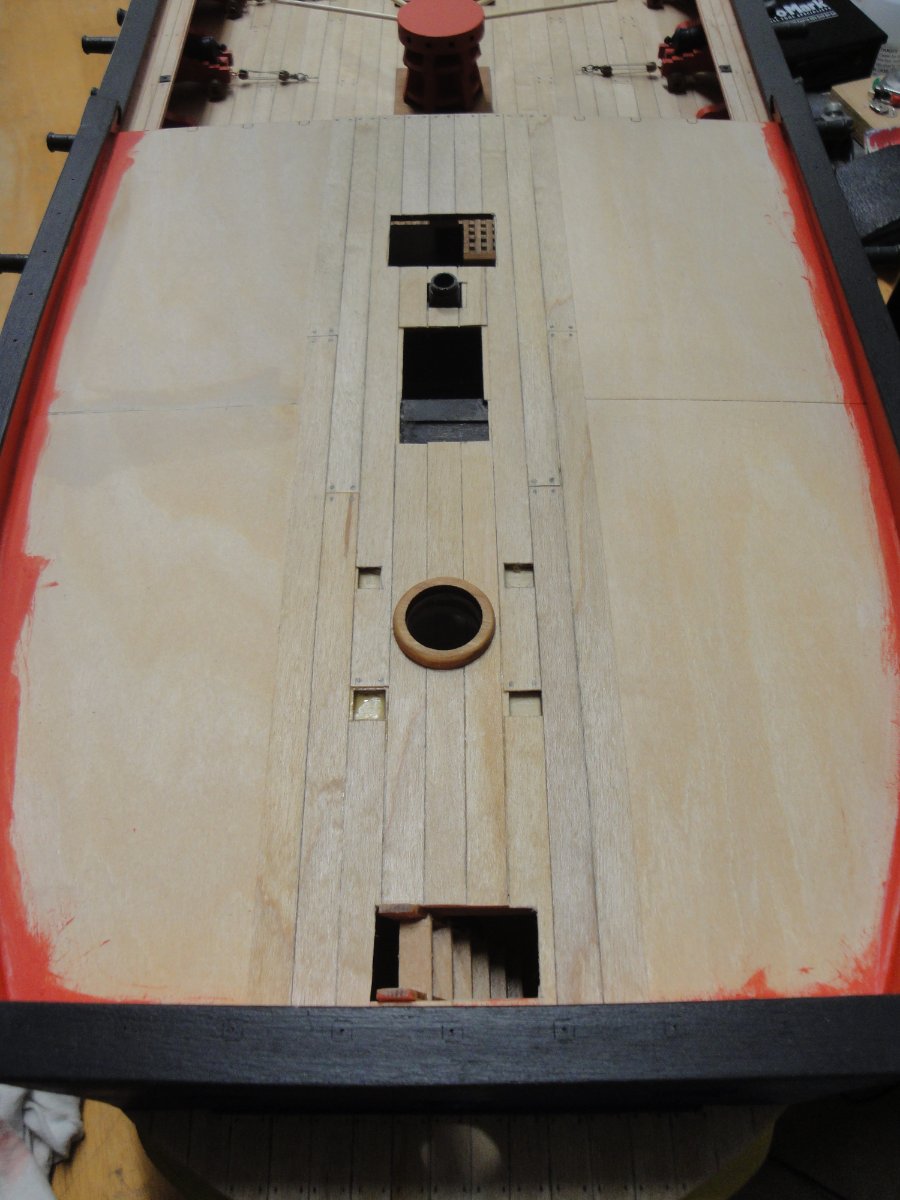
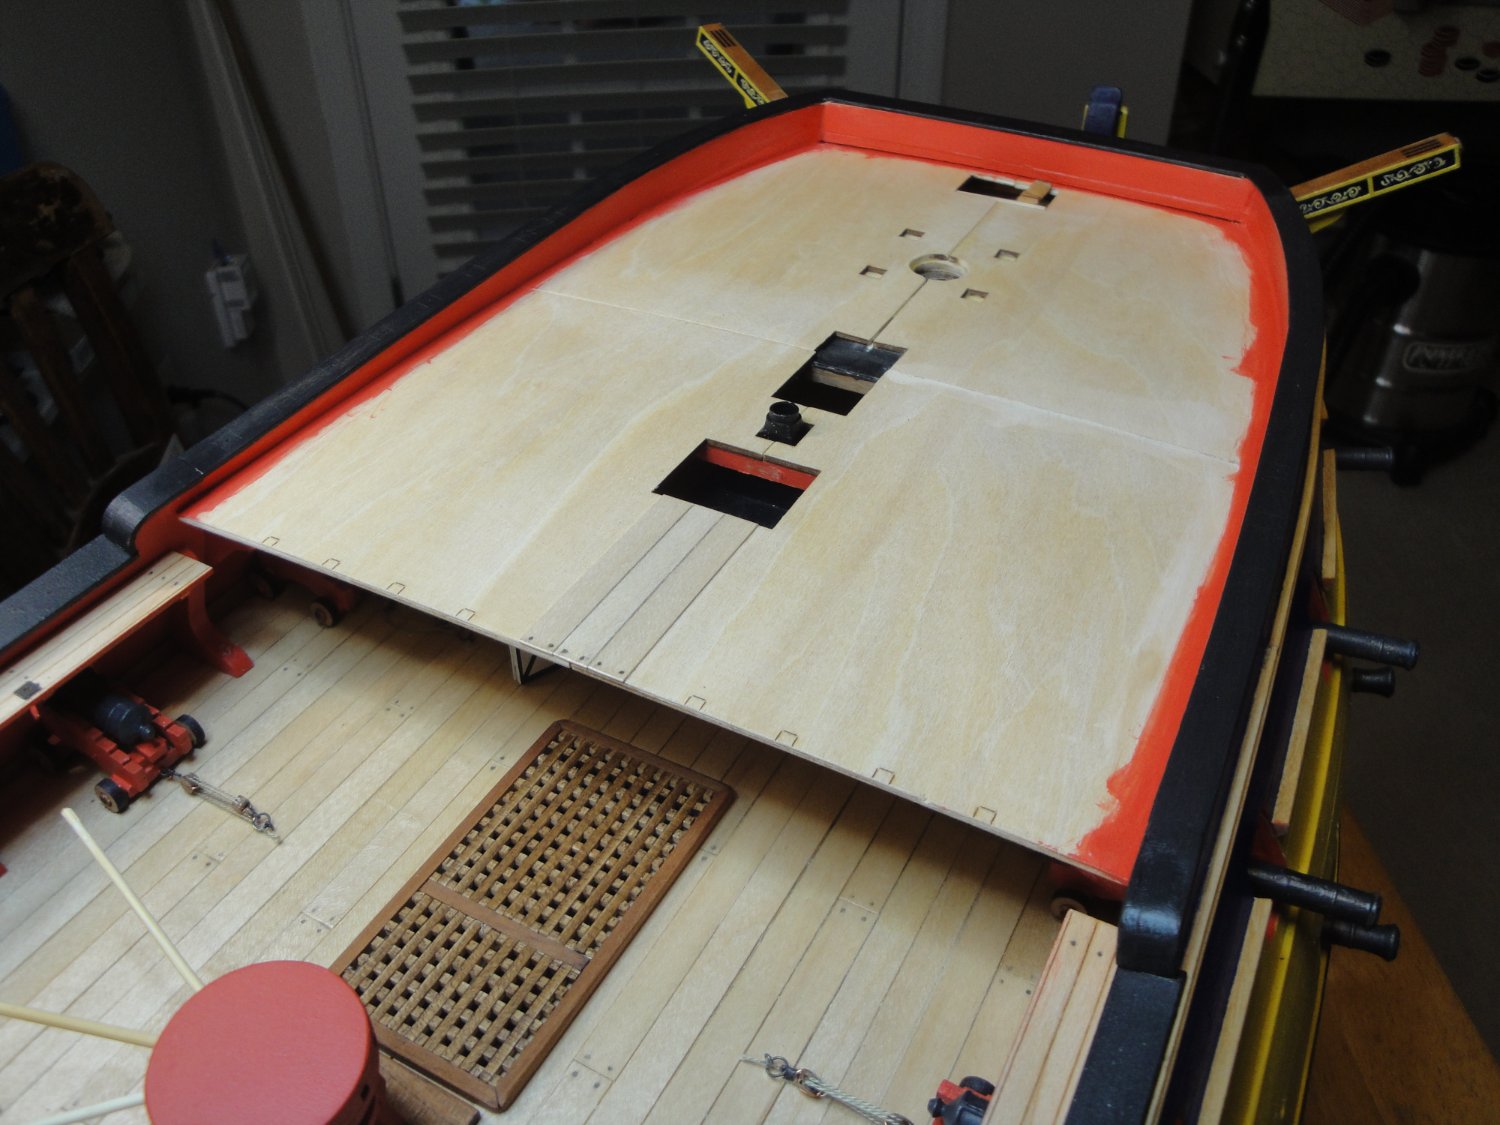
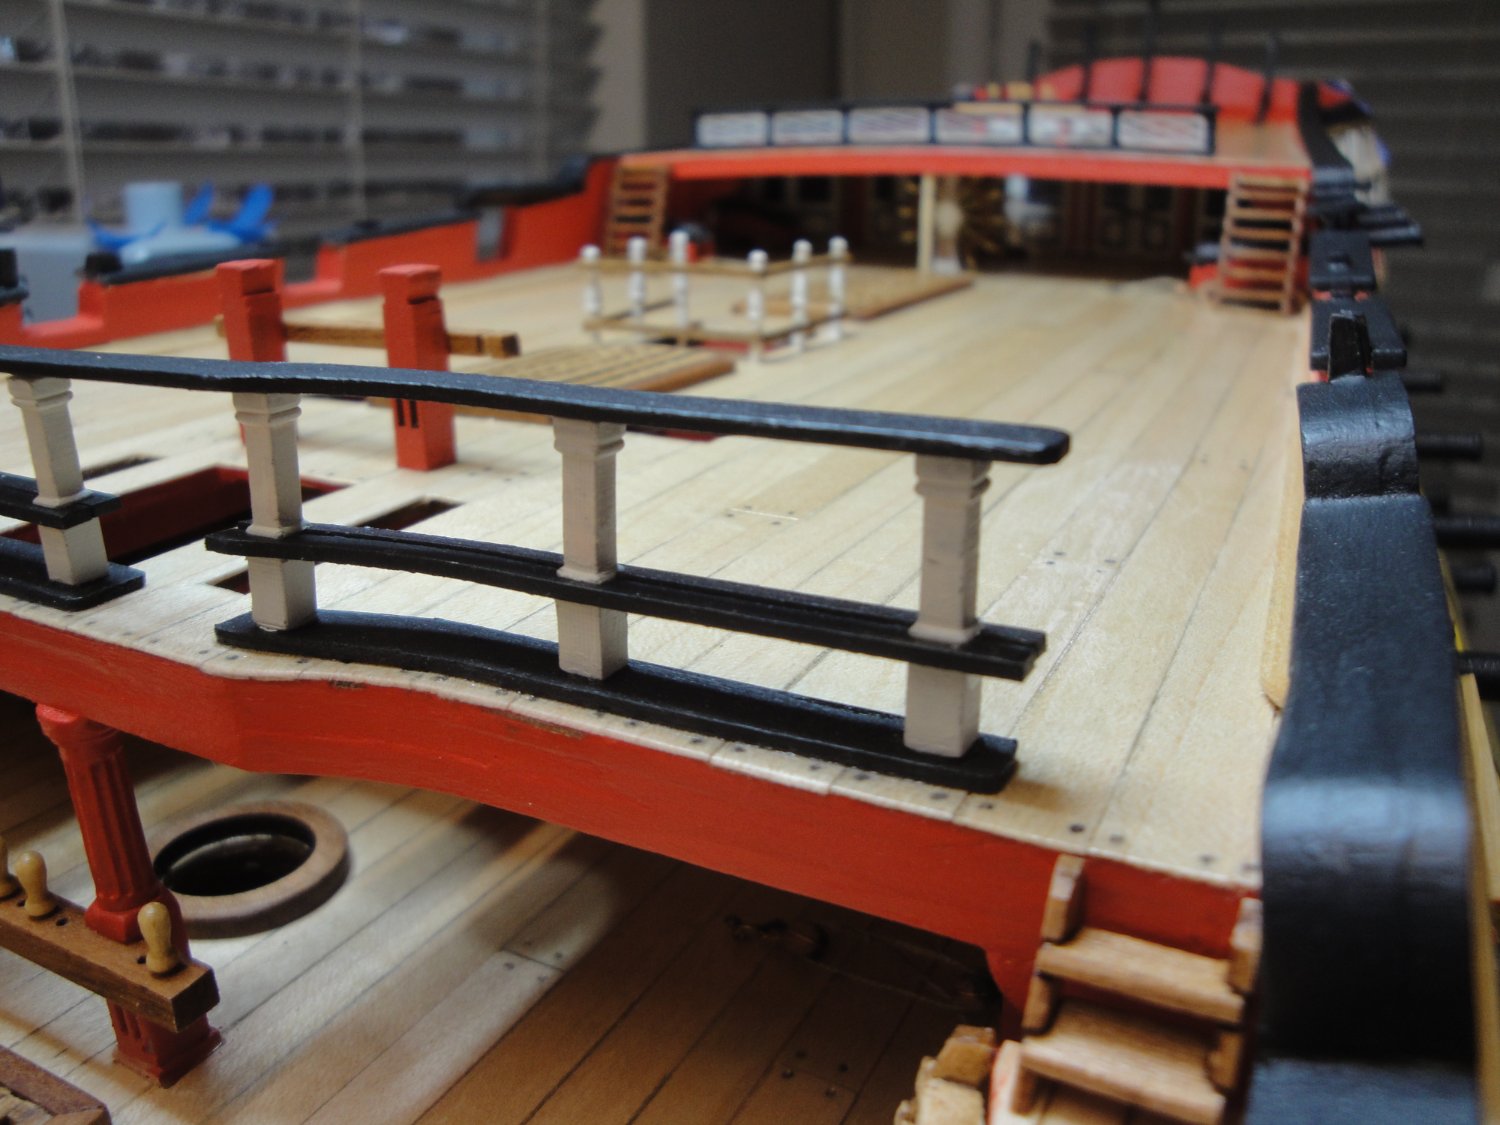
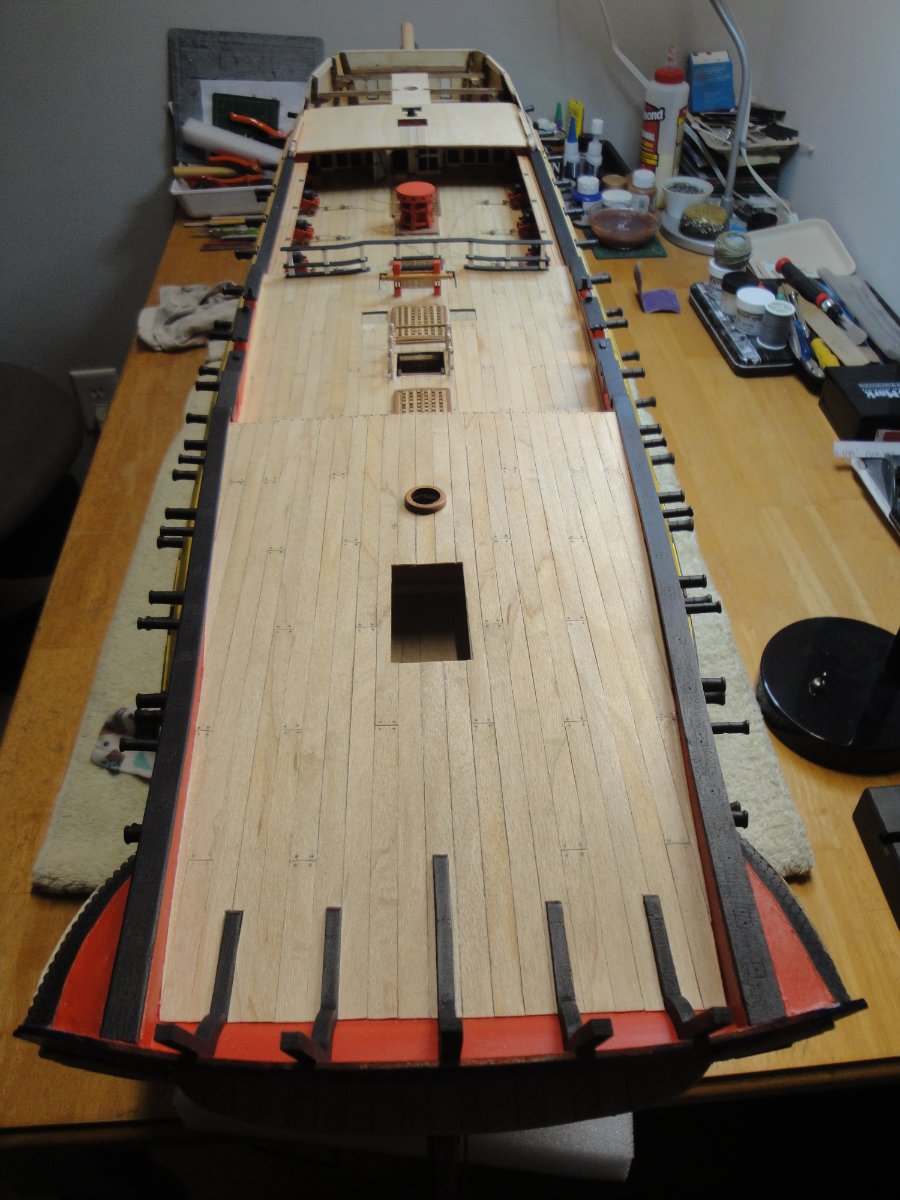
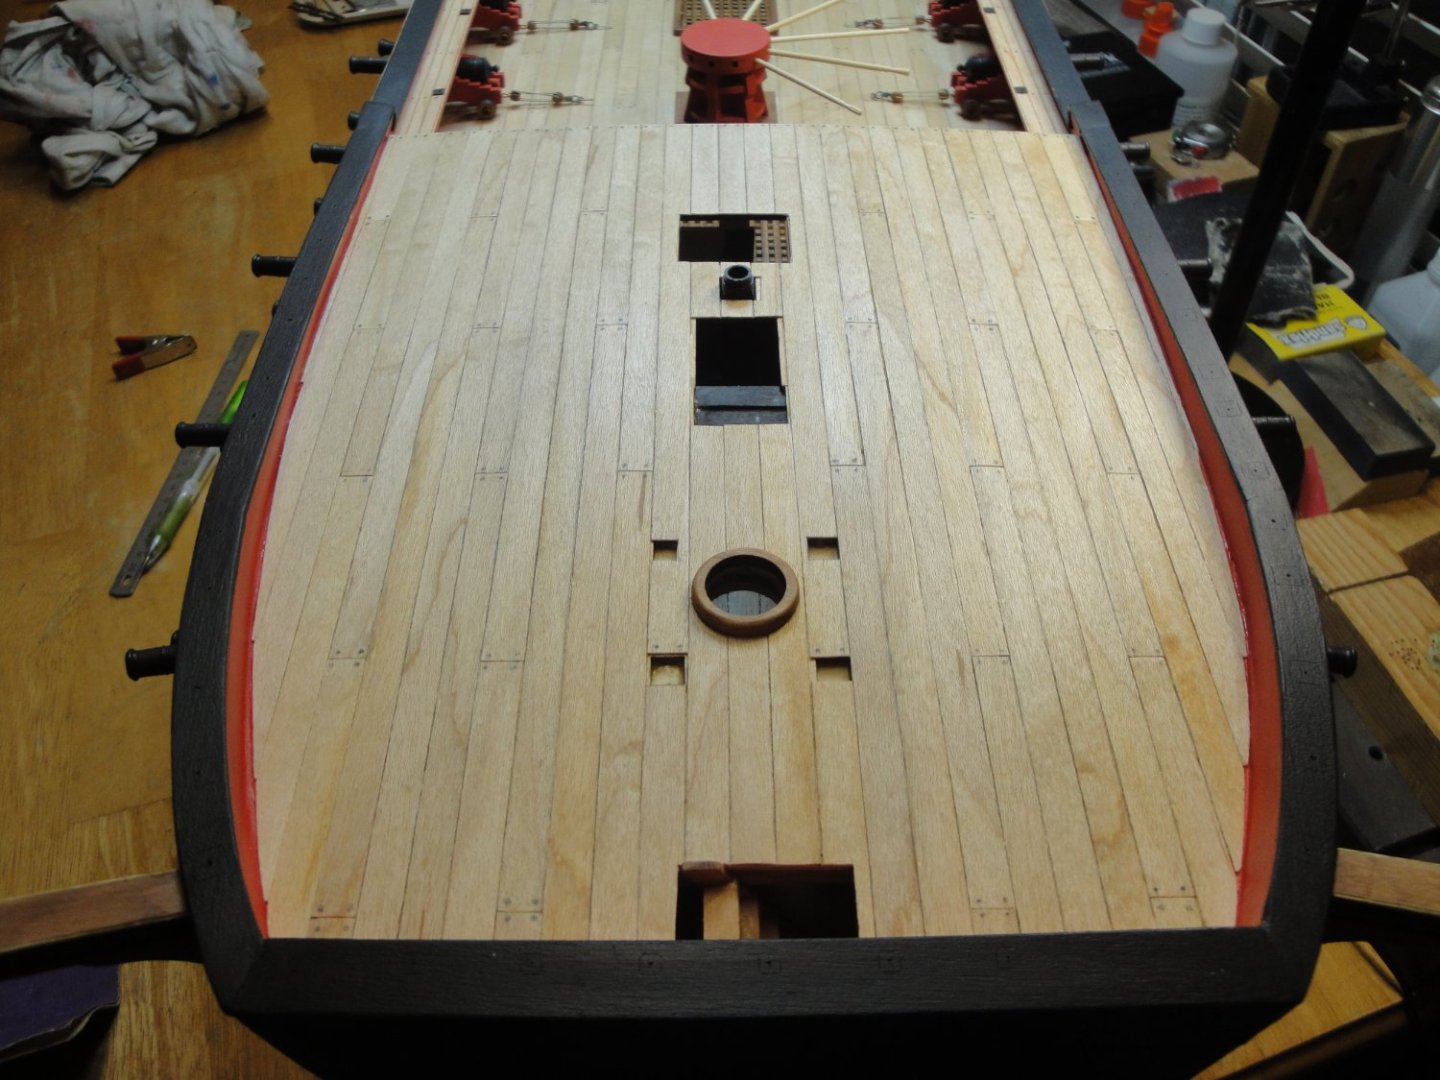
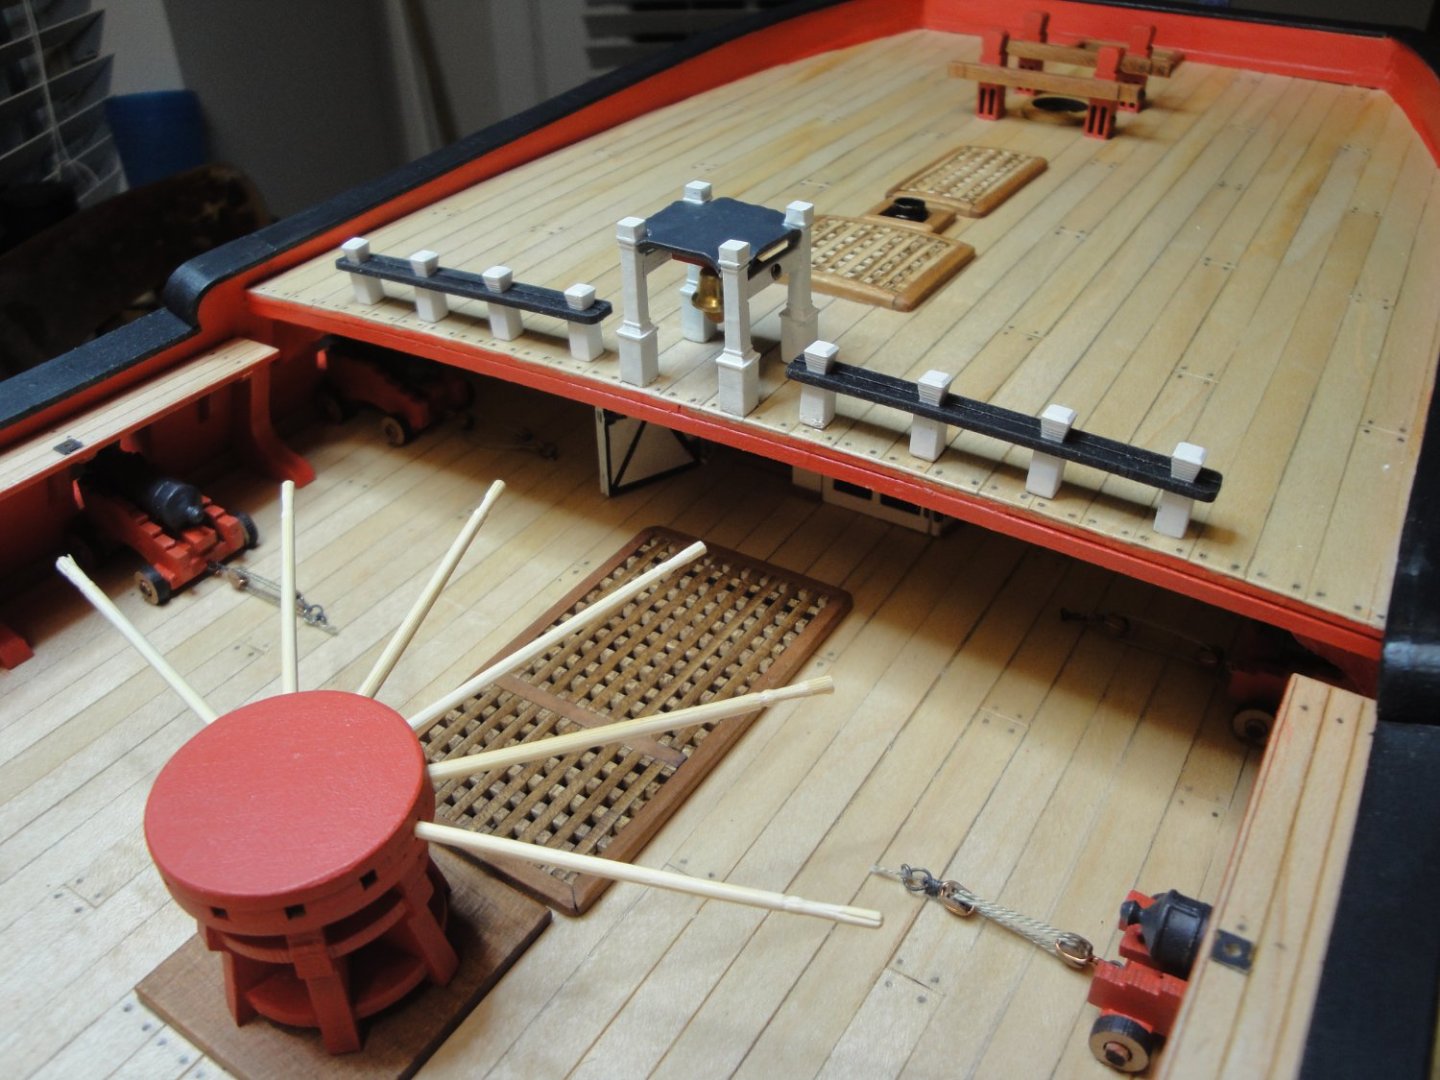
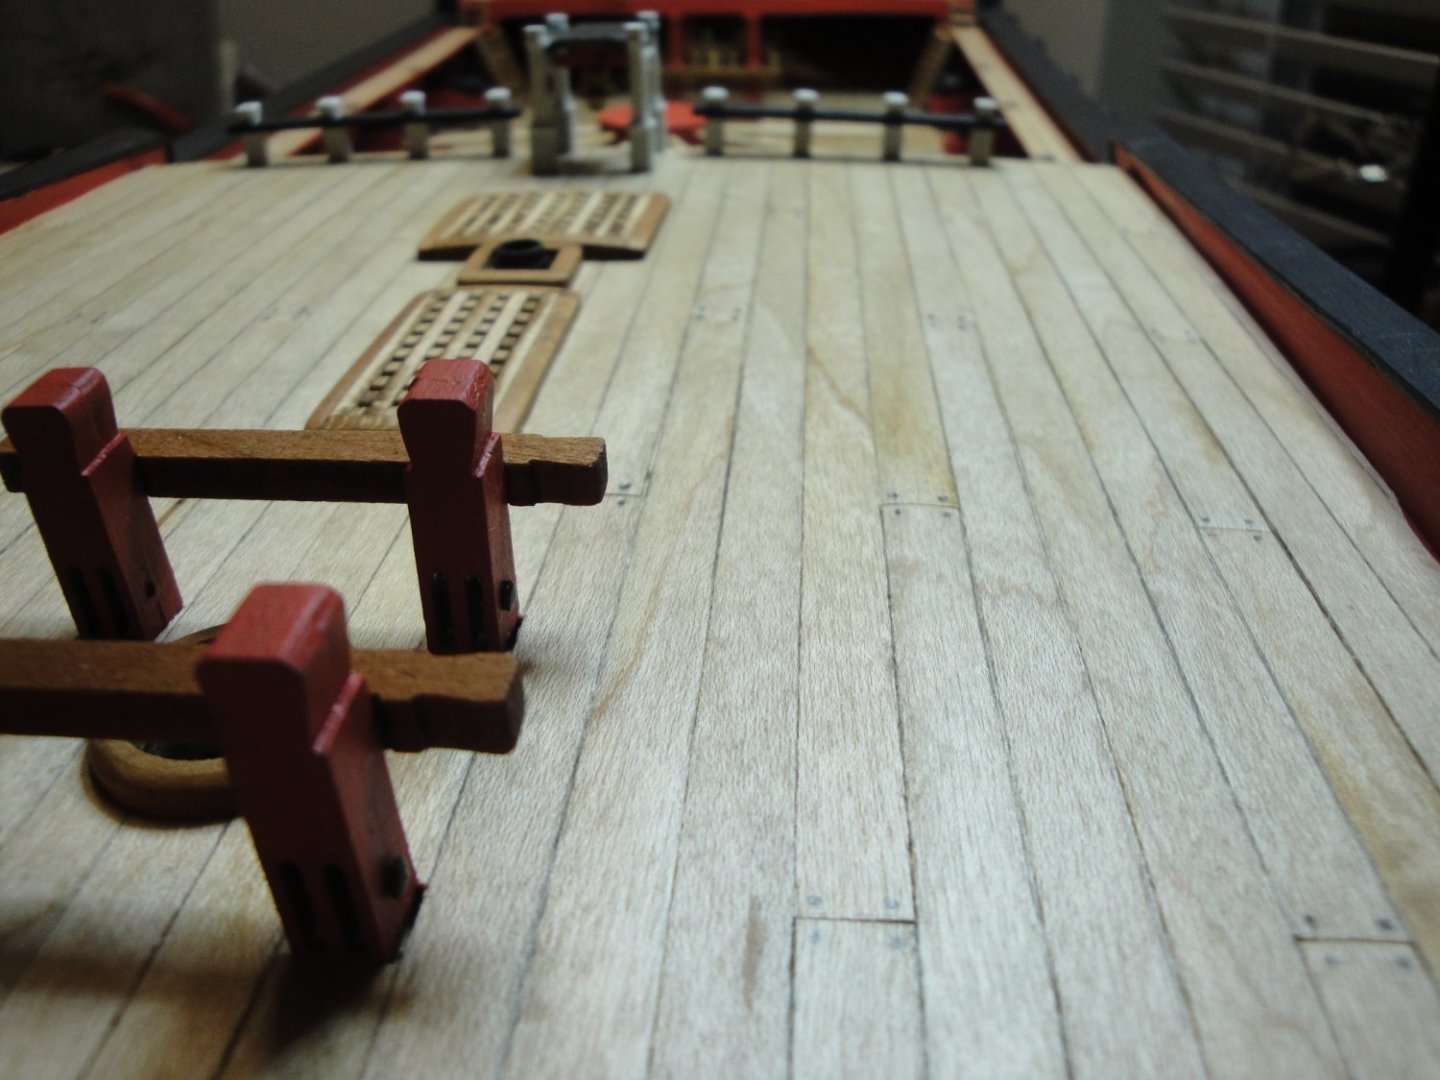
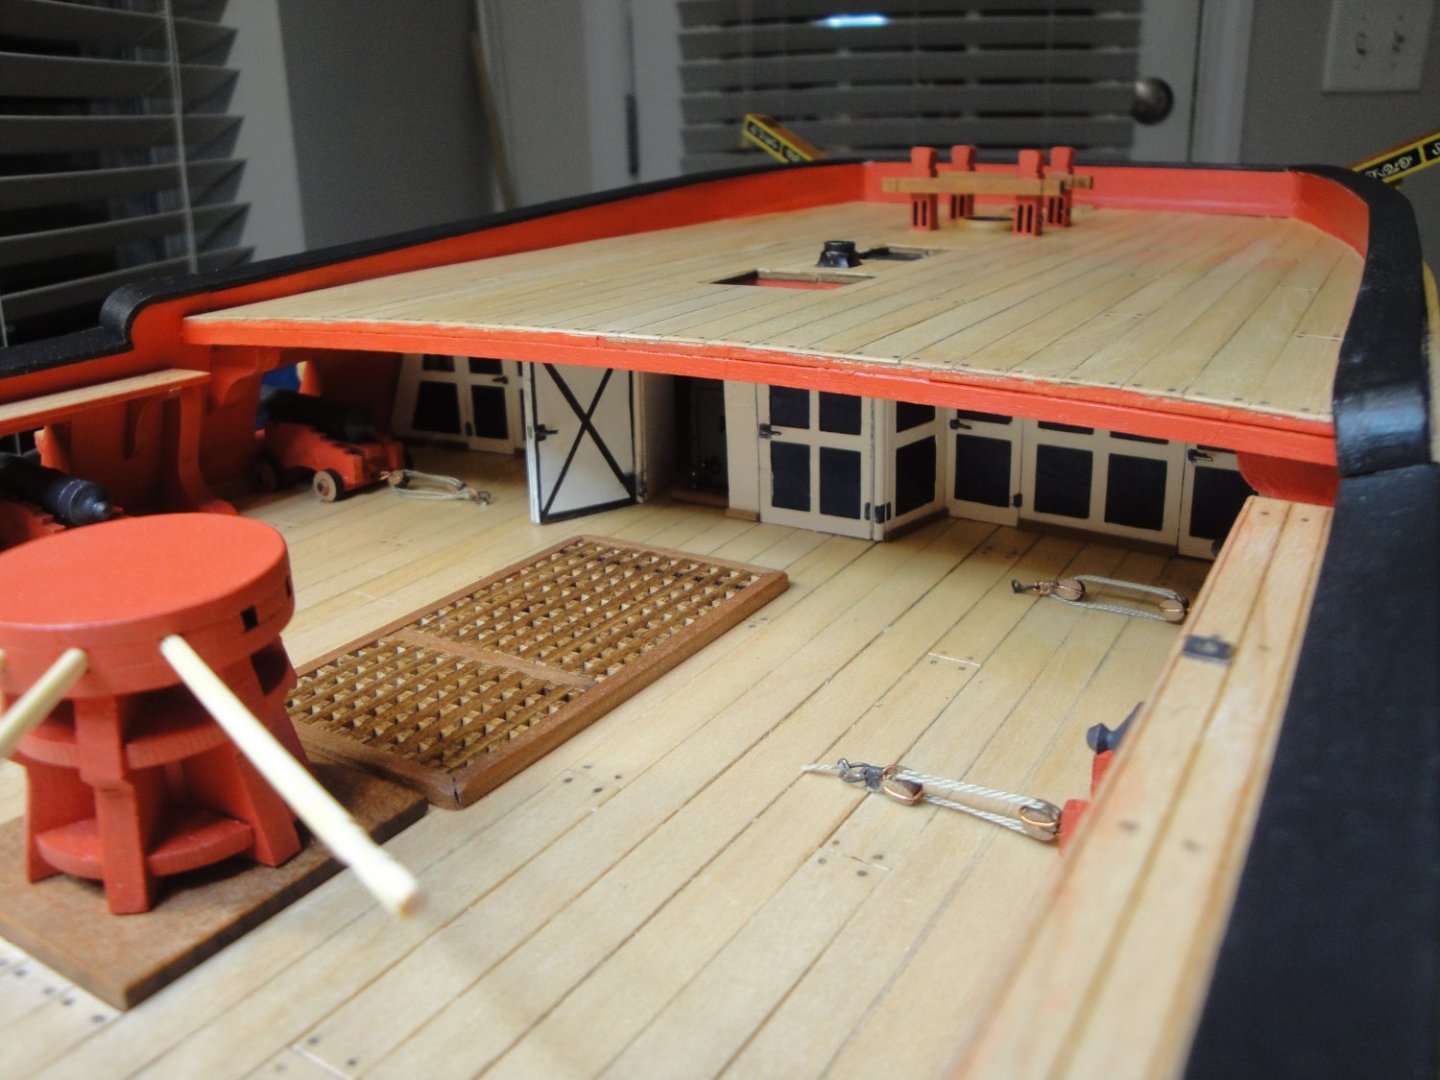
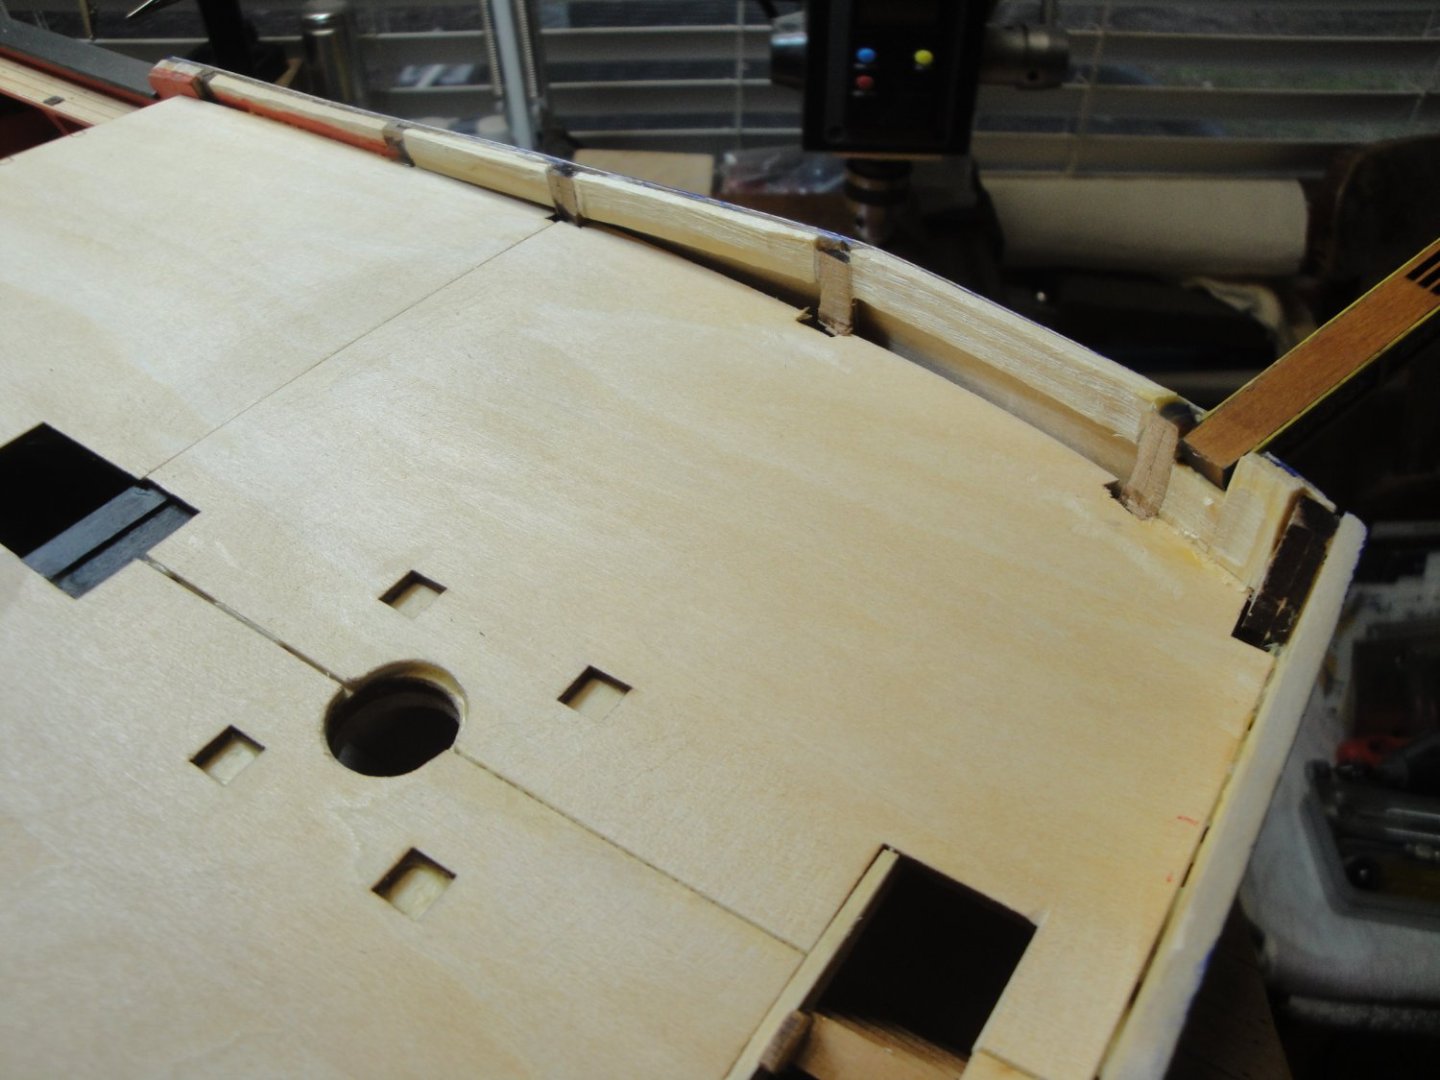
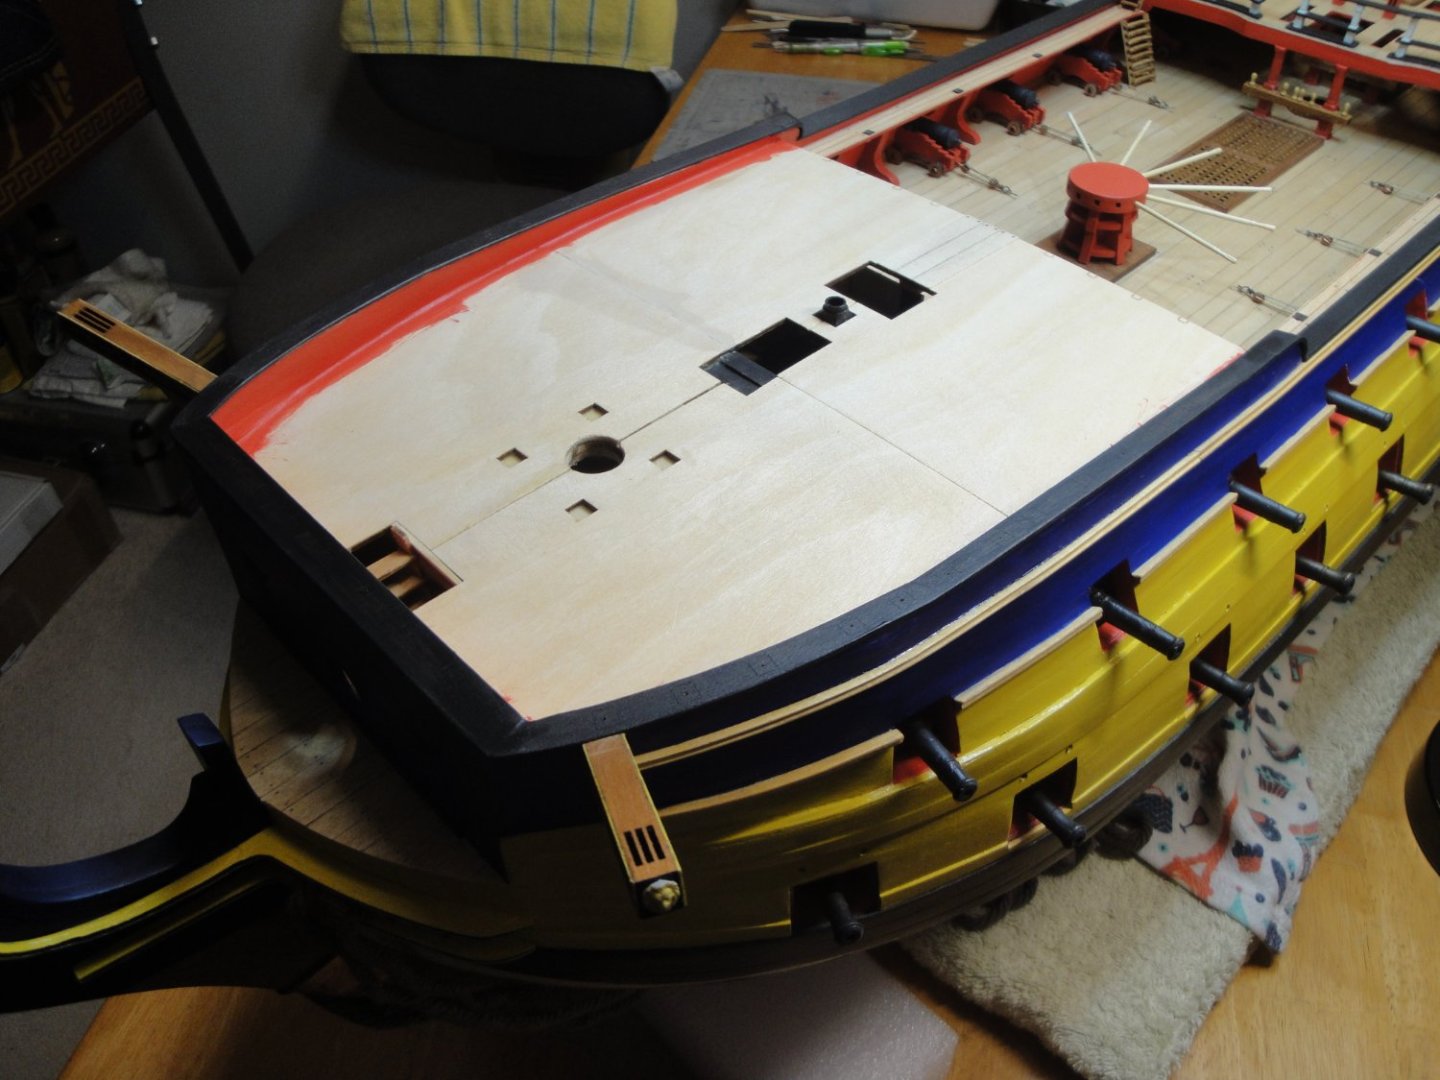
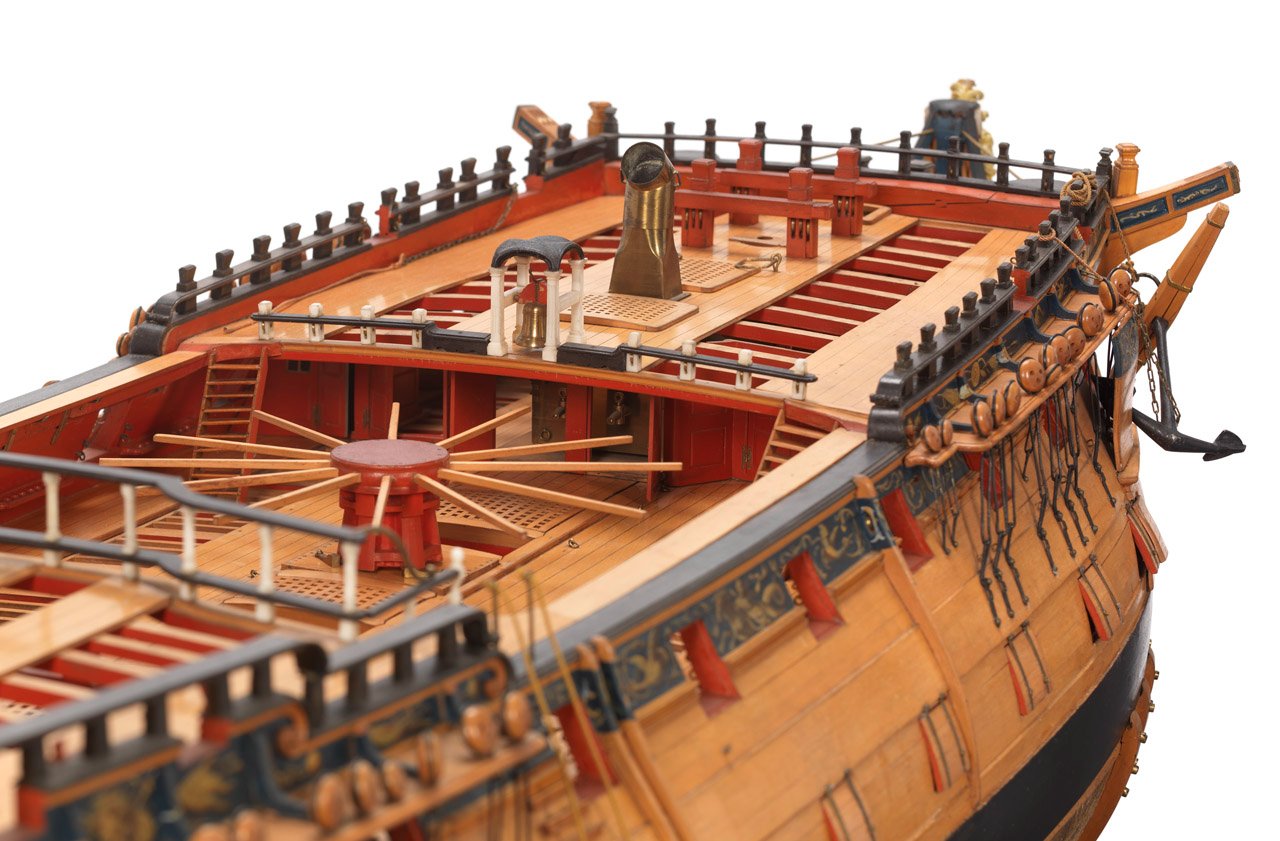
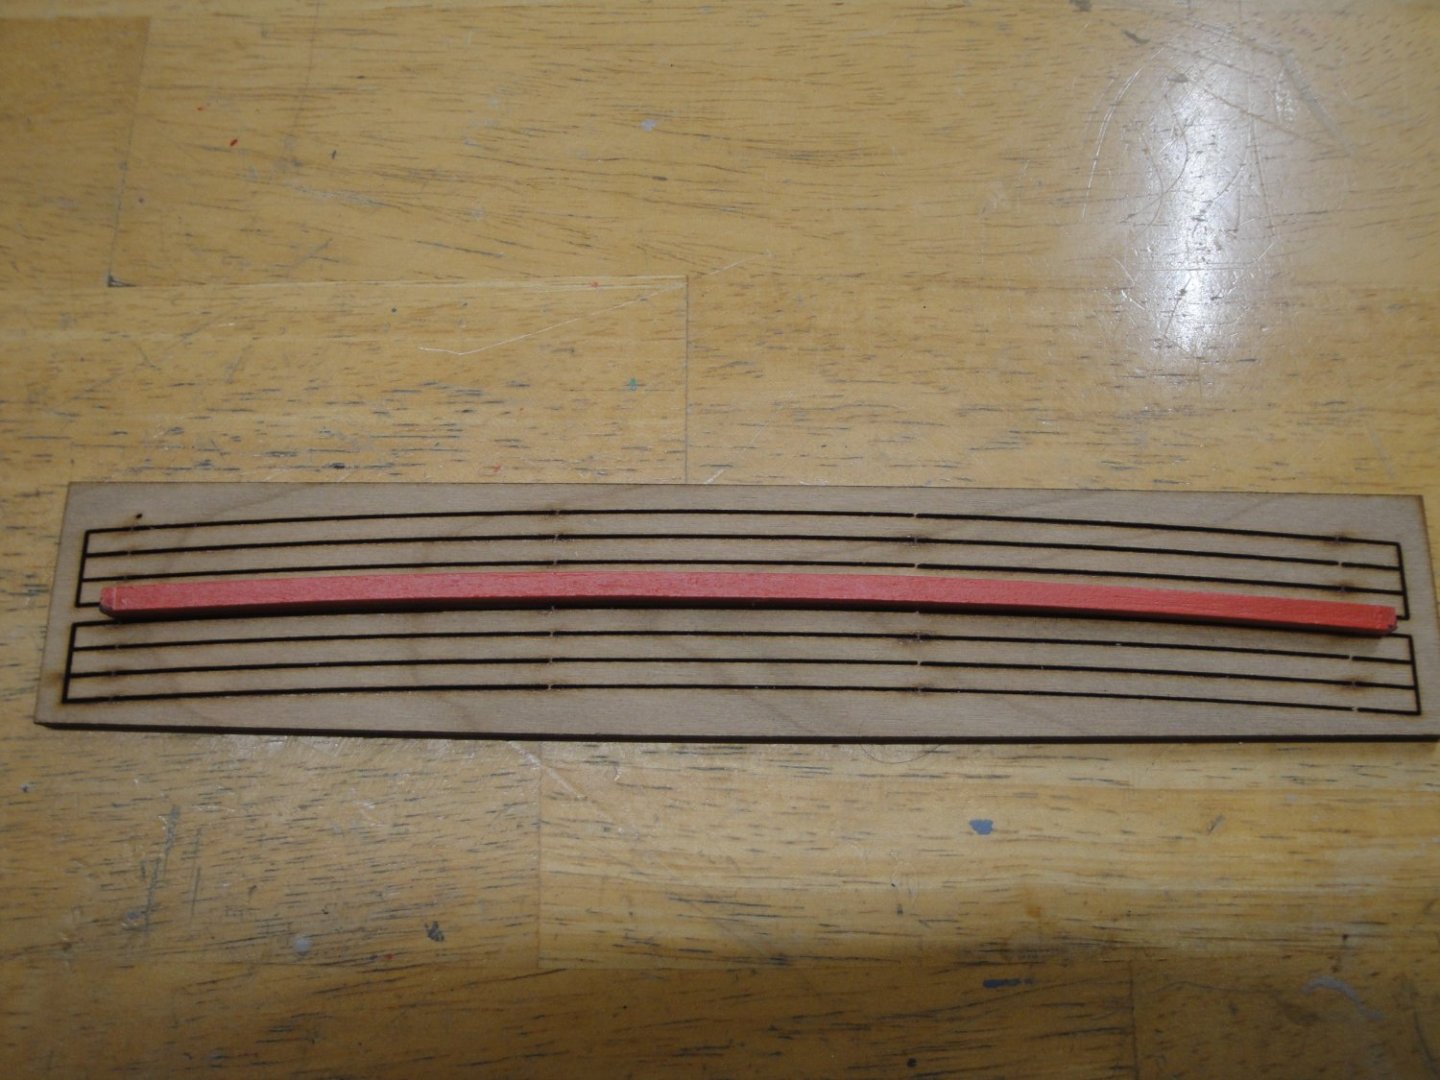
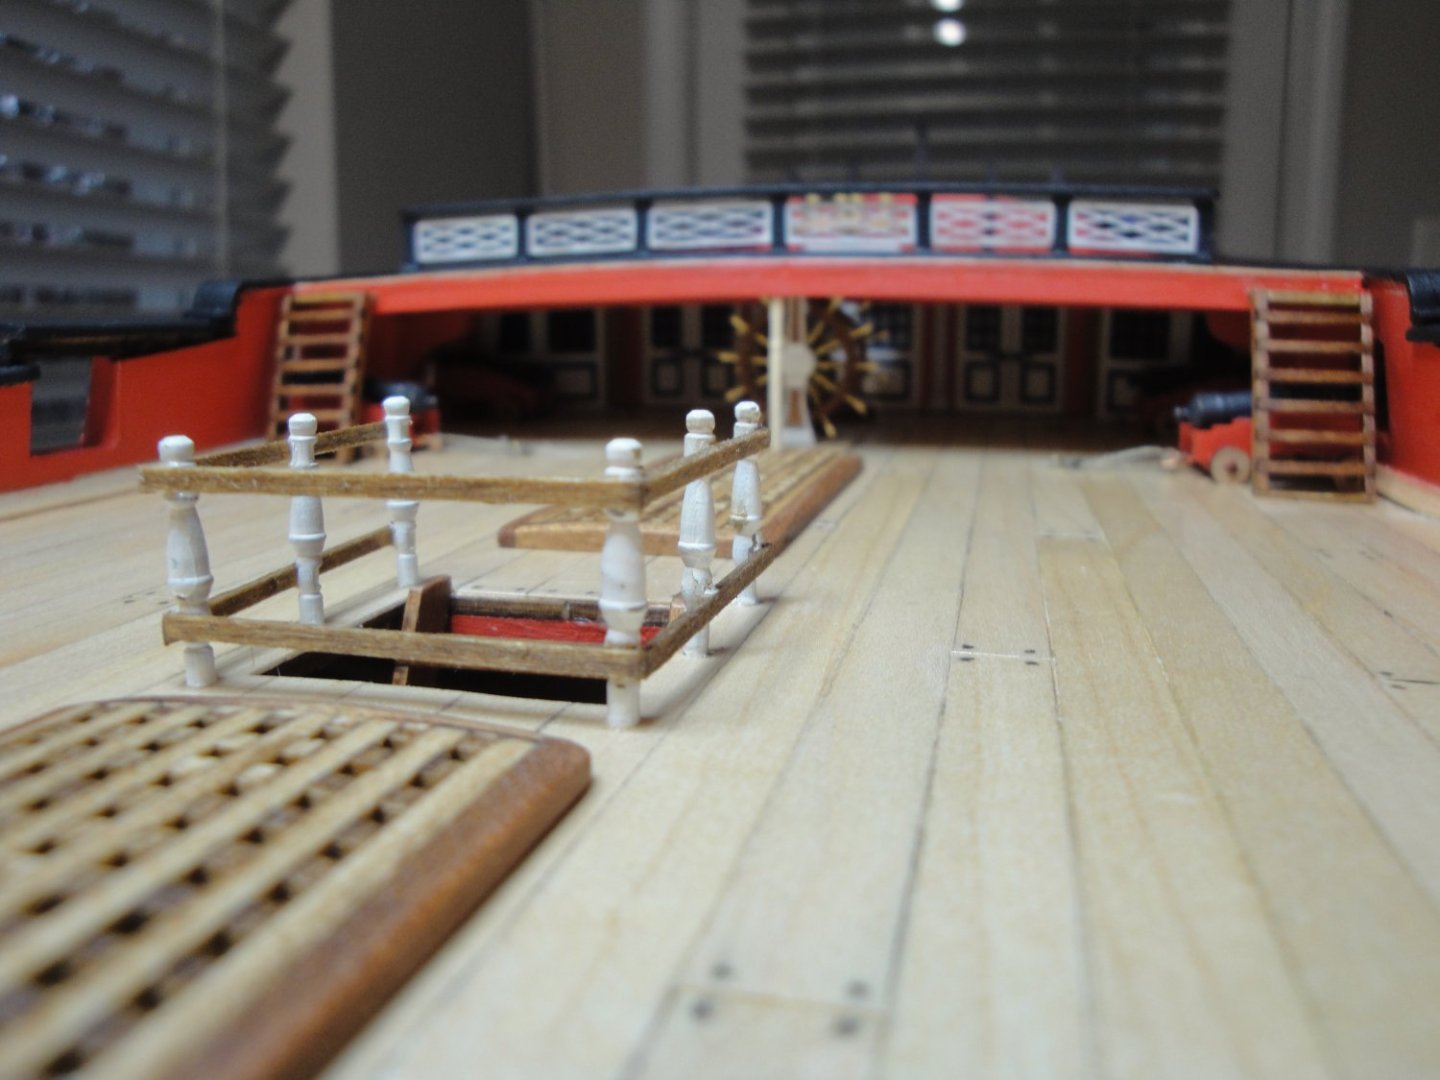
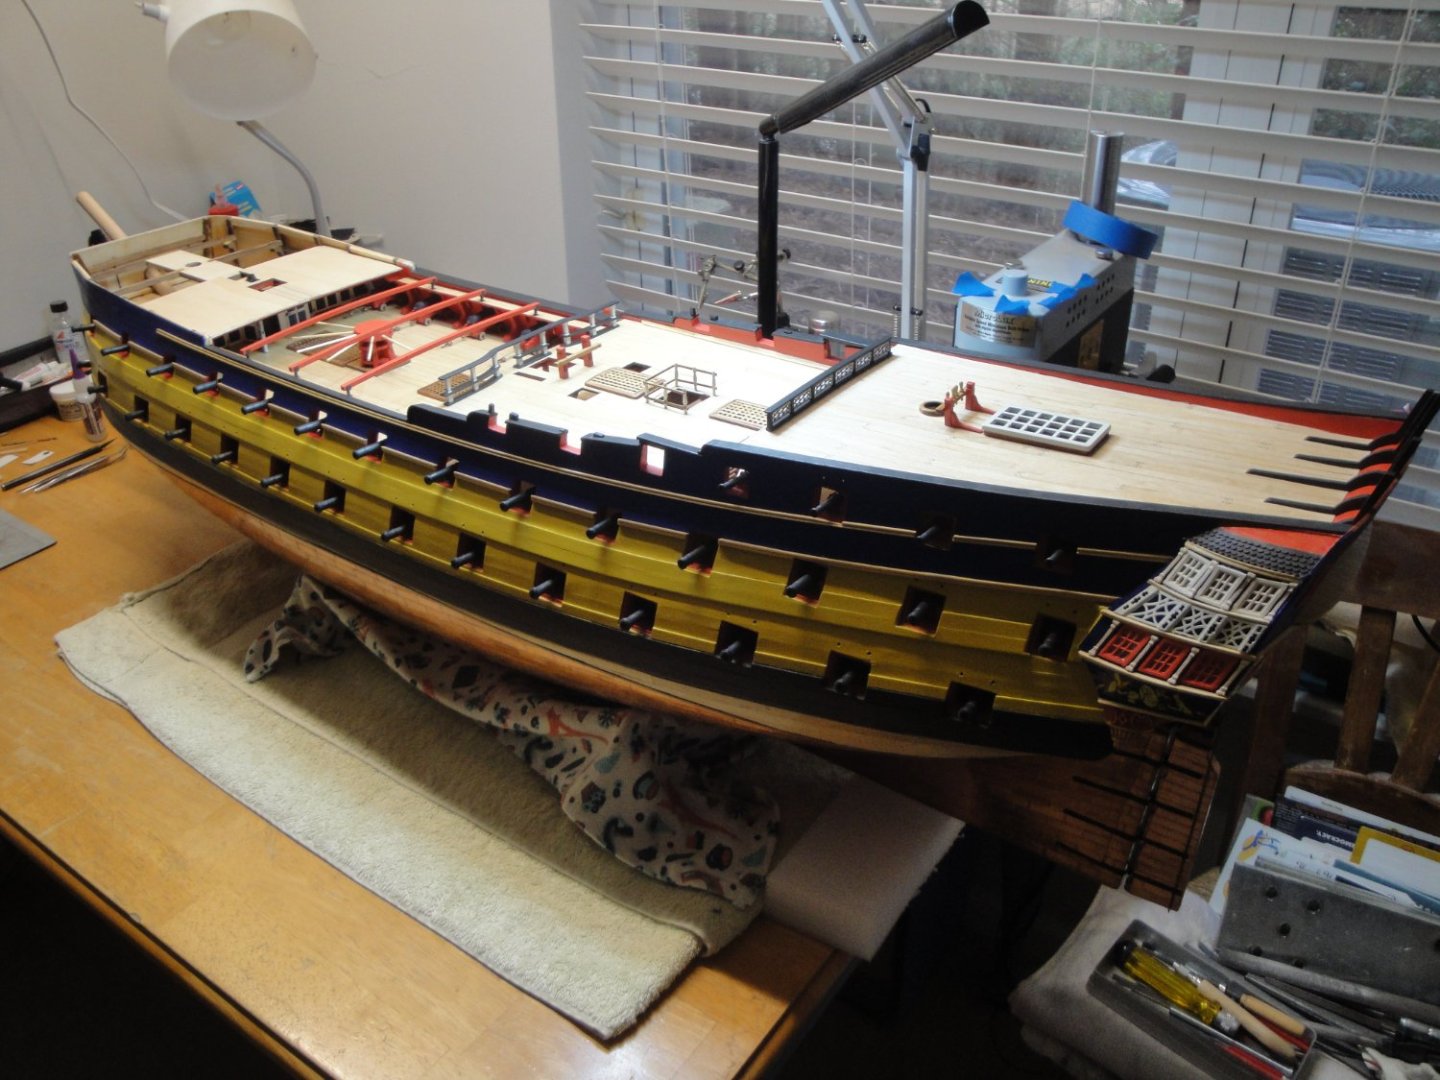
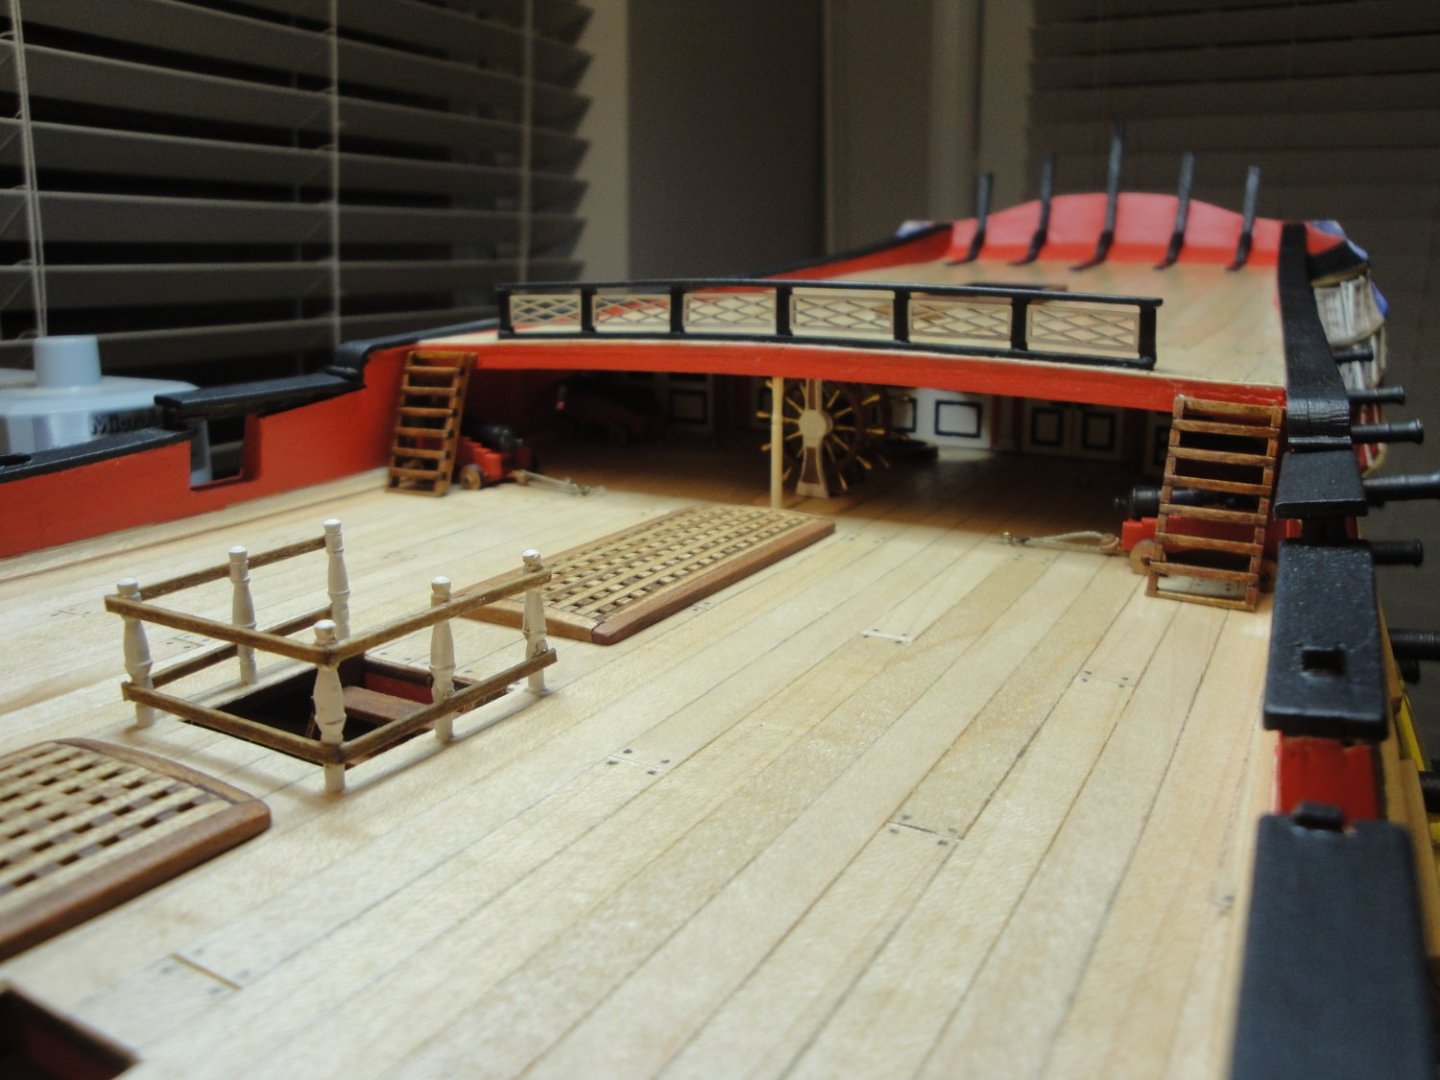
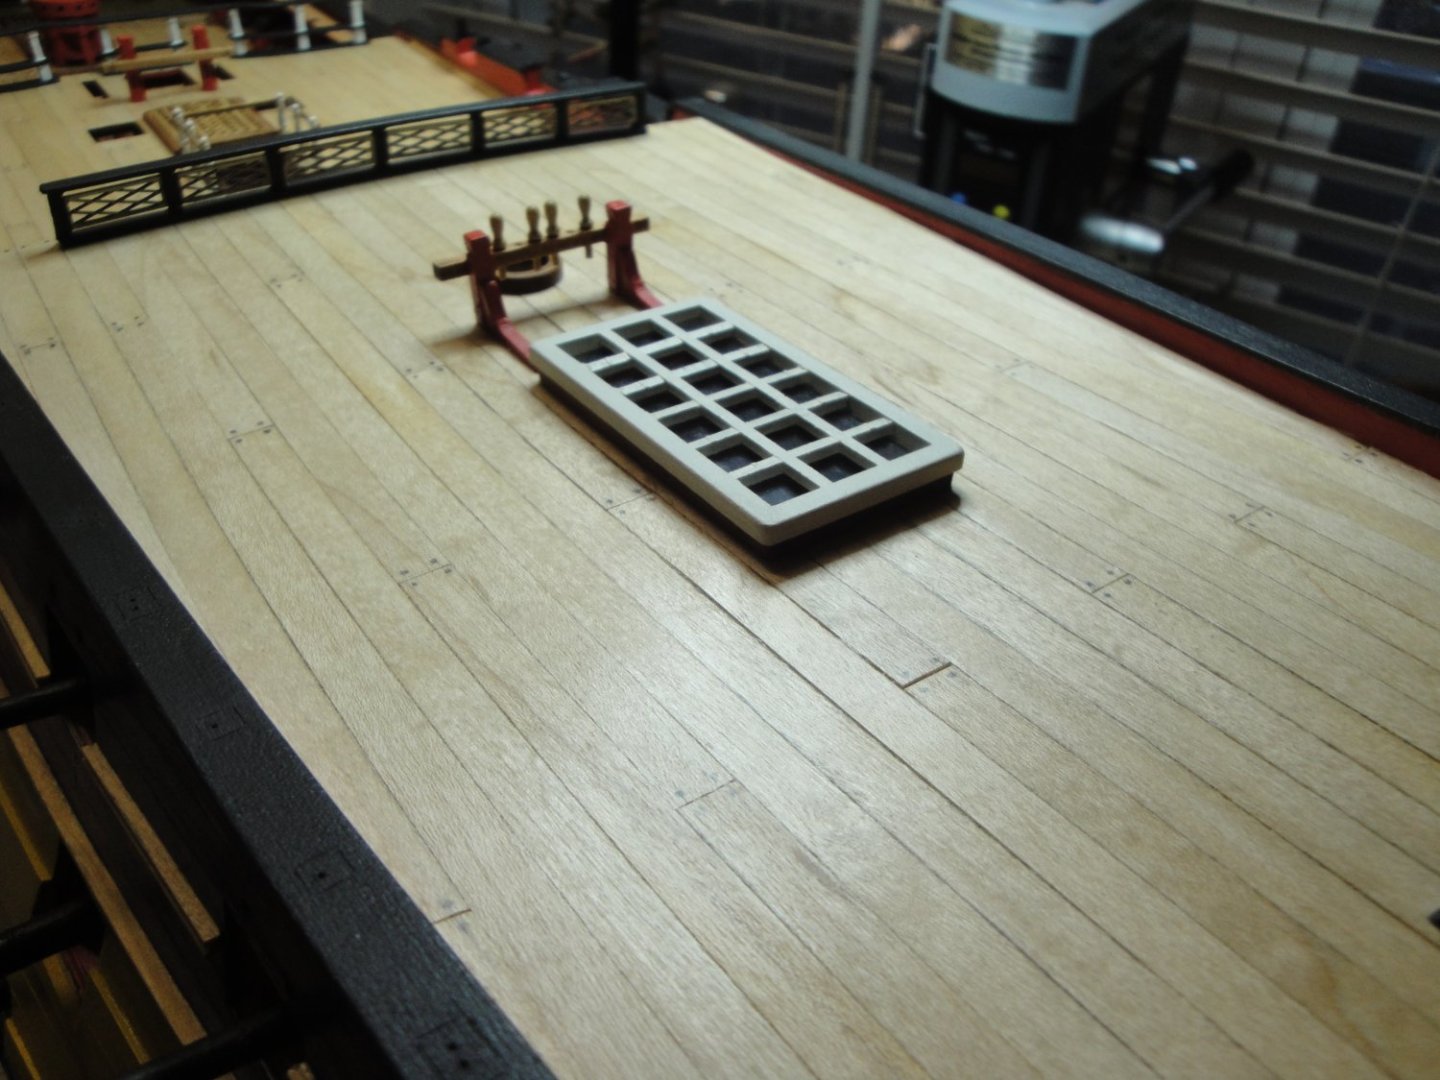
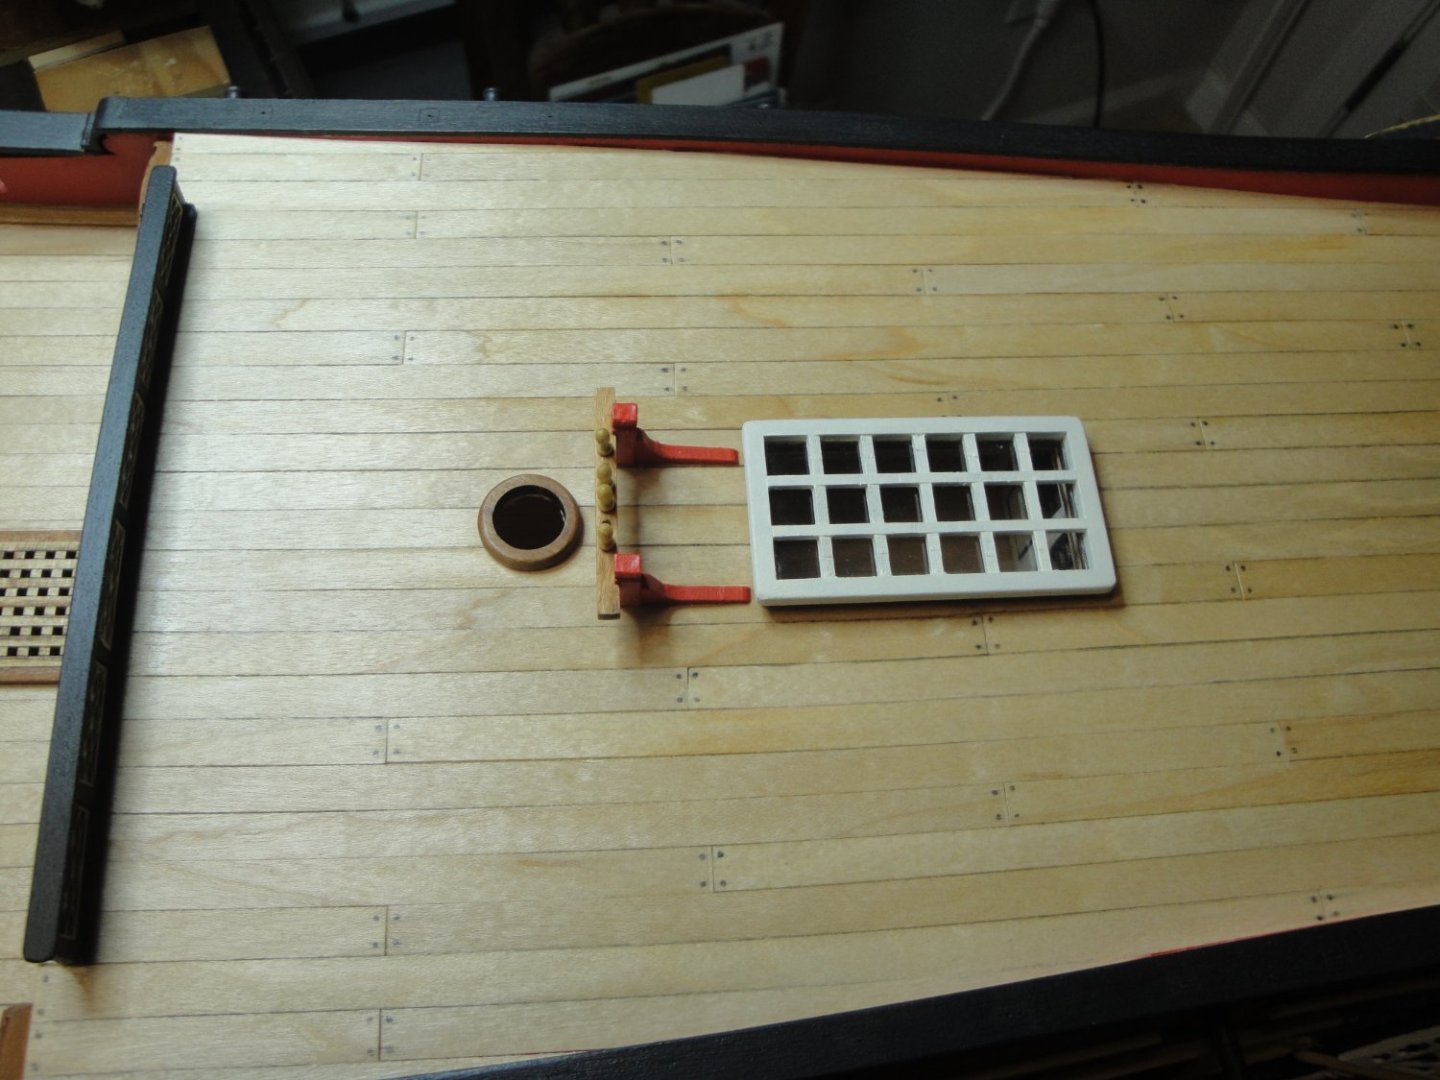
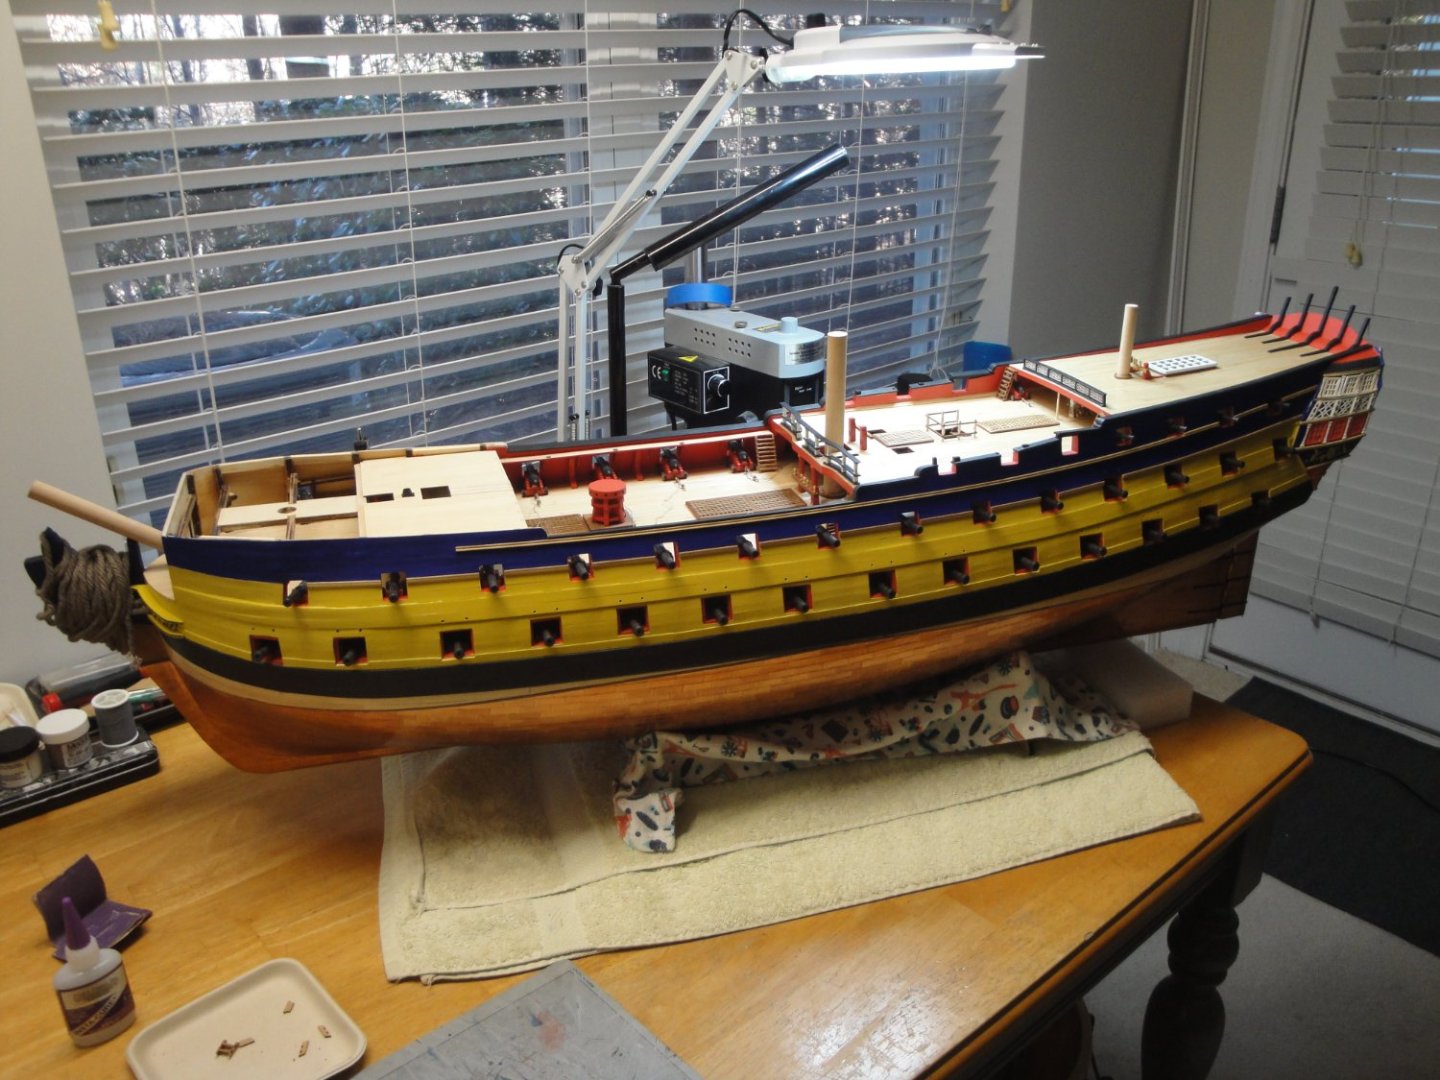
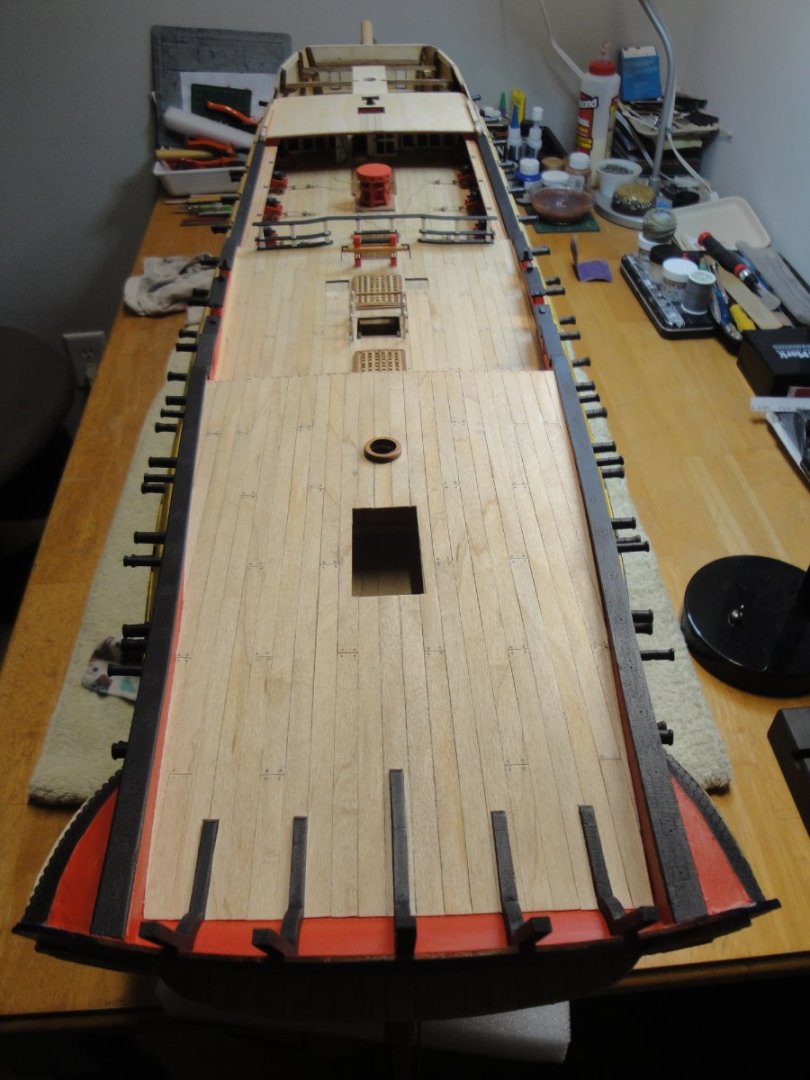
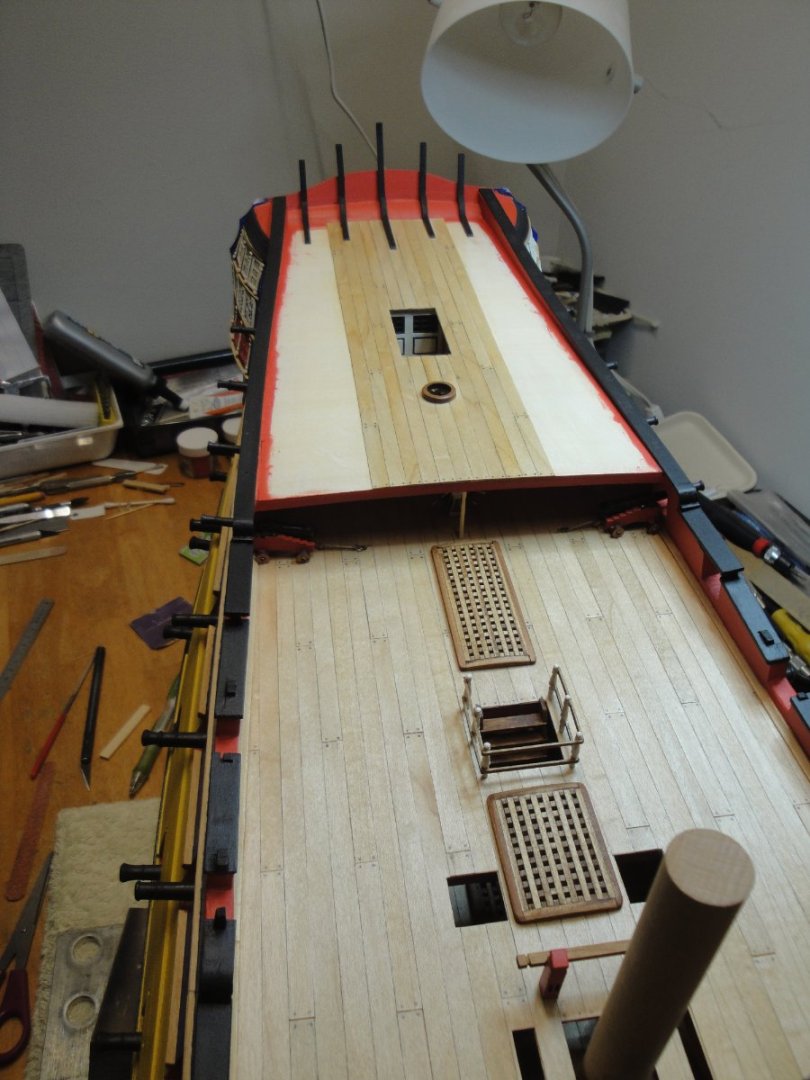
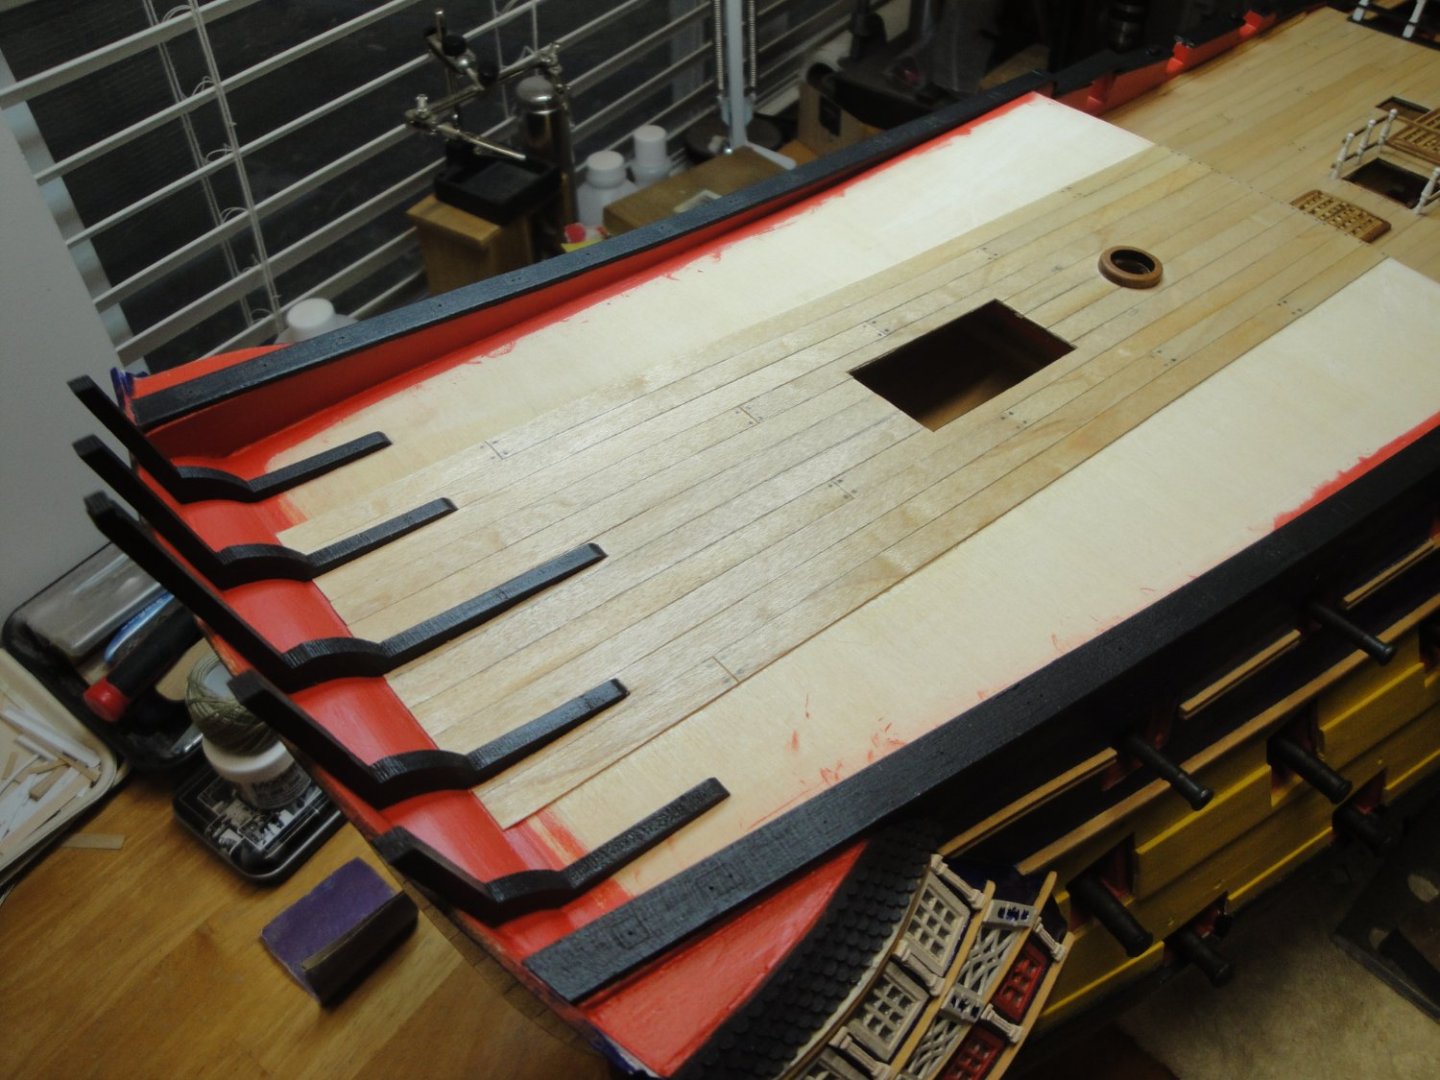
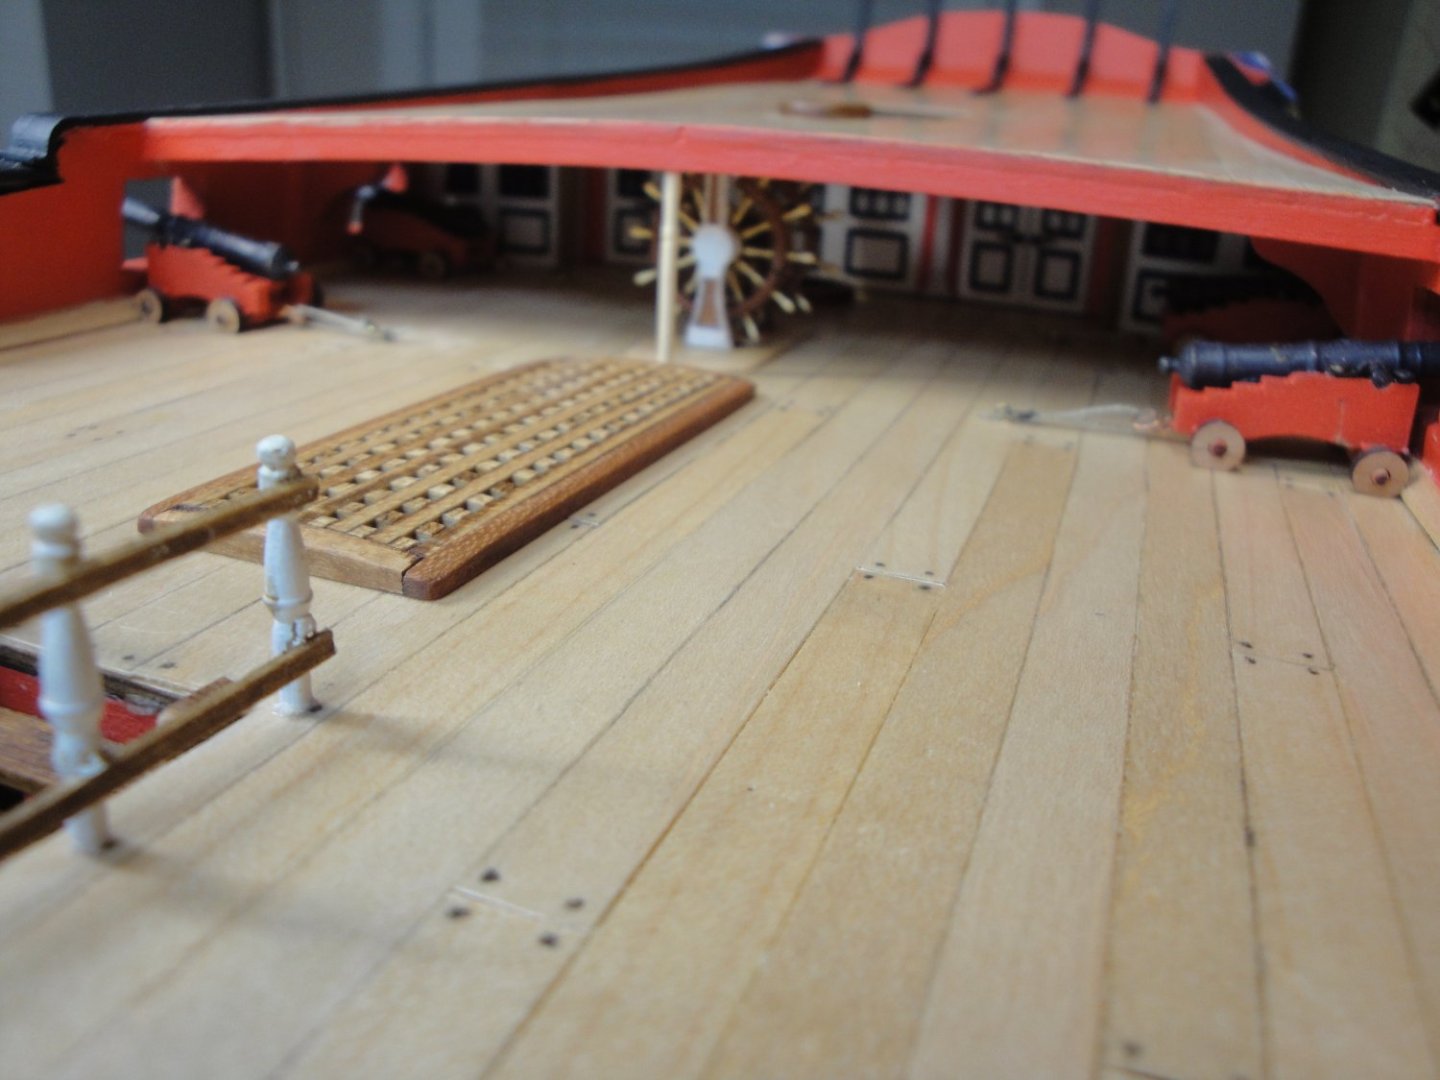
 Finally, the planking can be started. As usual multiple coats of Wipe On Poly give that warm and nice finish to the maple floor. To be as close as possible to the magnificent model of the Maritime Gallery, I added a small beam at the rear edge of the forecastle. This is done with a 3 x 2 mm strips, painted and glued in place under the subfloor. It finishes in a more realistic way, the edge of the deck. The Forecastle is equipped with two hatches, the box for the stack, a Belfry and some stanchions: The Belfry is a little kit in itself, quite delicate to put together and the bell can be actuated for real. No sound gets out of it.... Overall view of the Bellona model: Yves
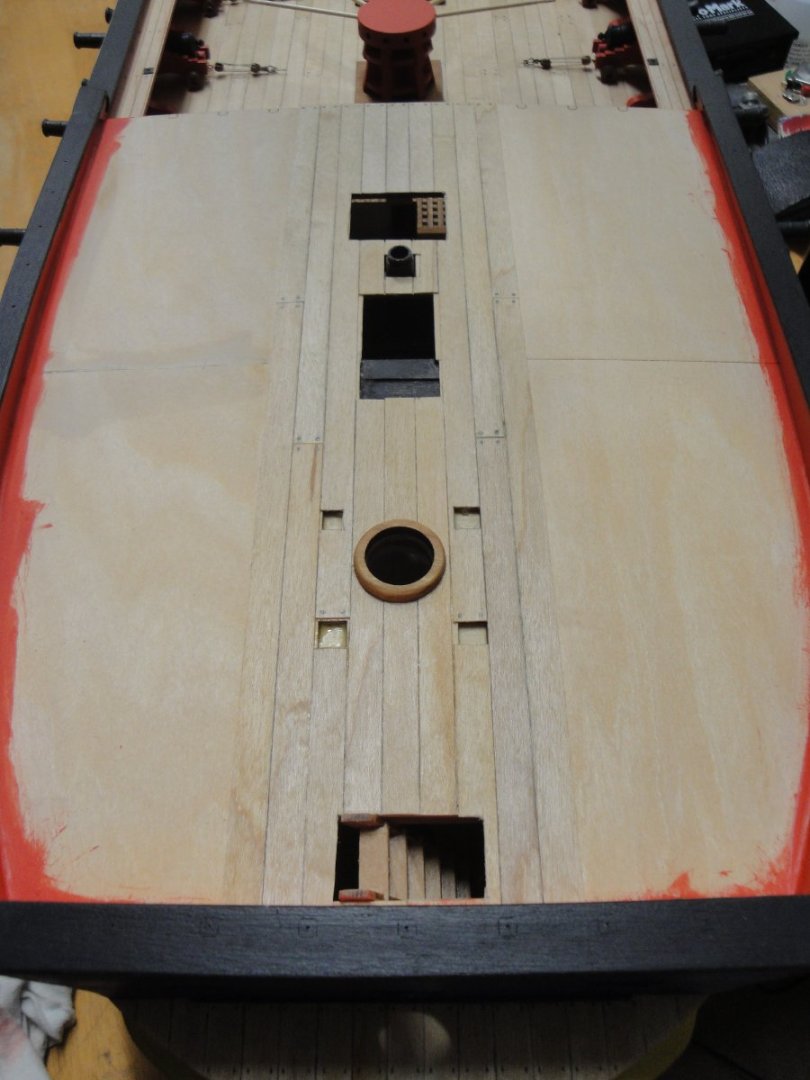


- 507 replies
-
- 21
-

-

-
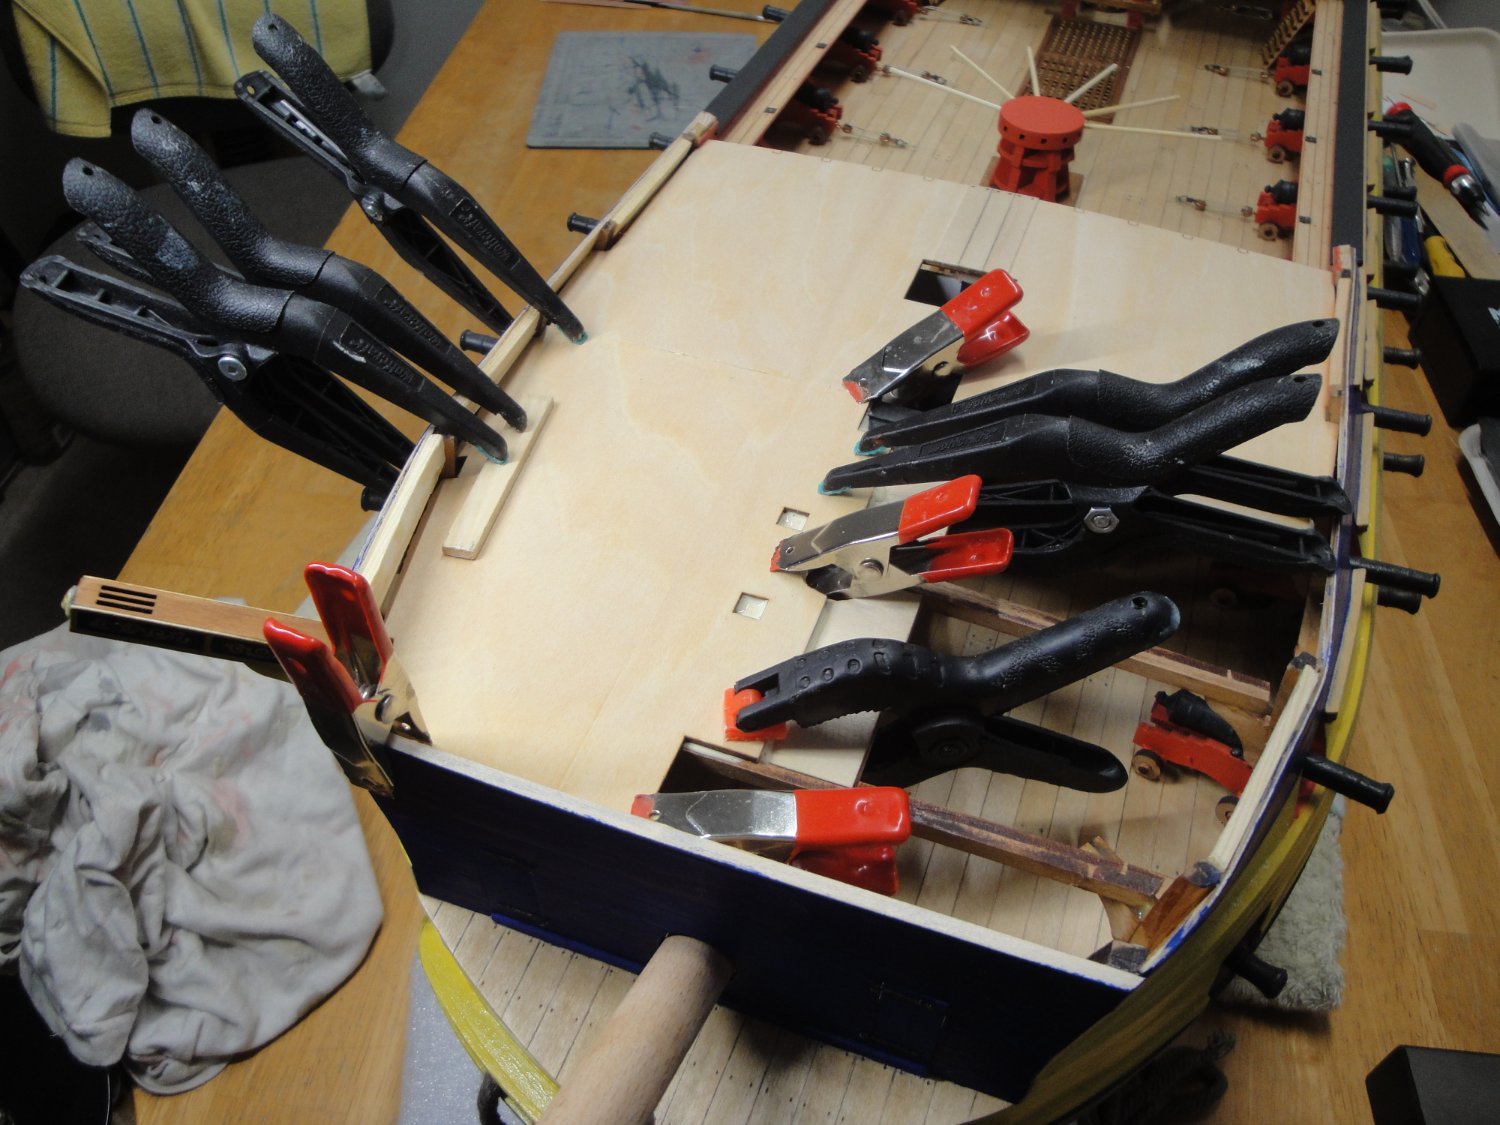
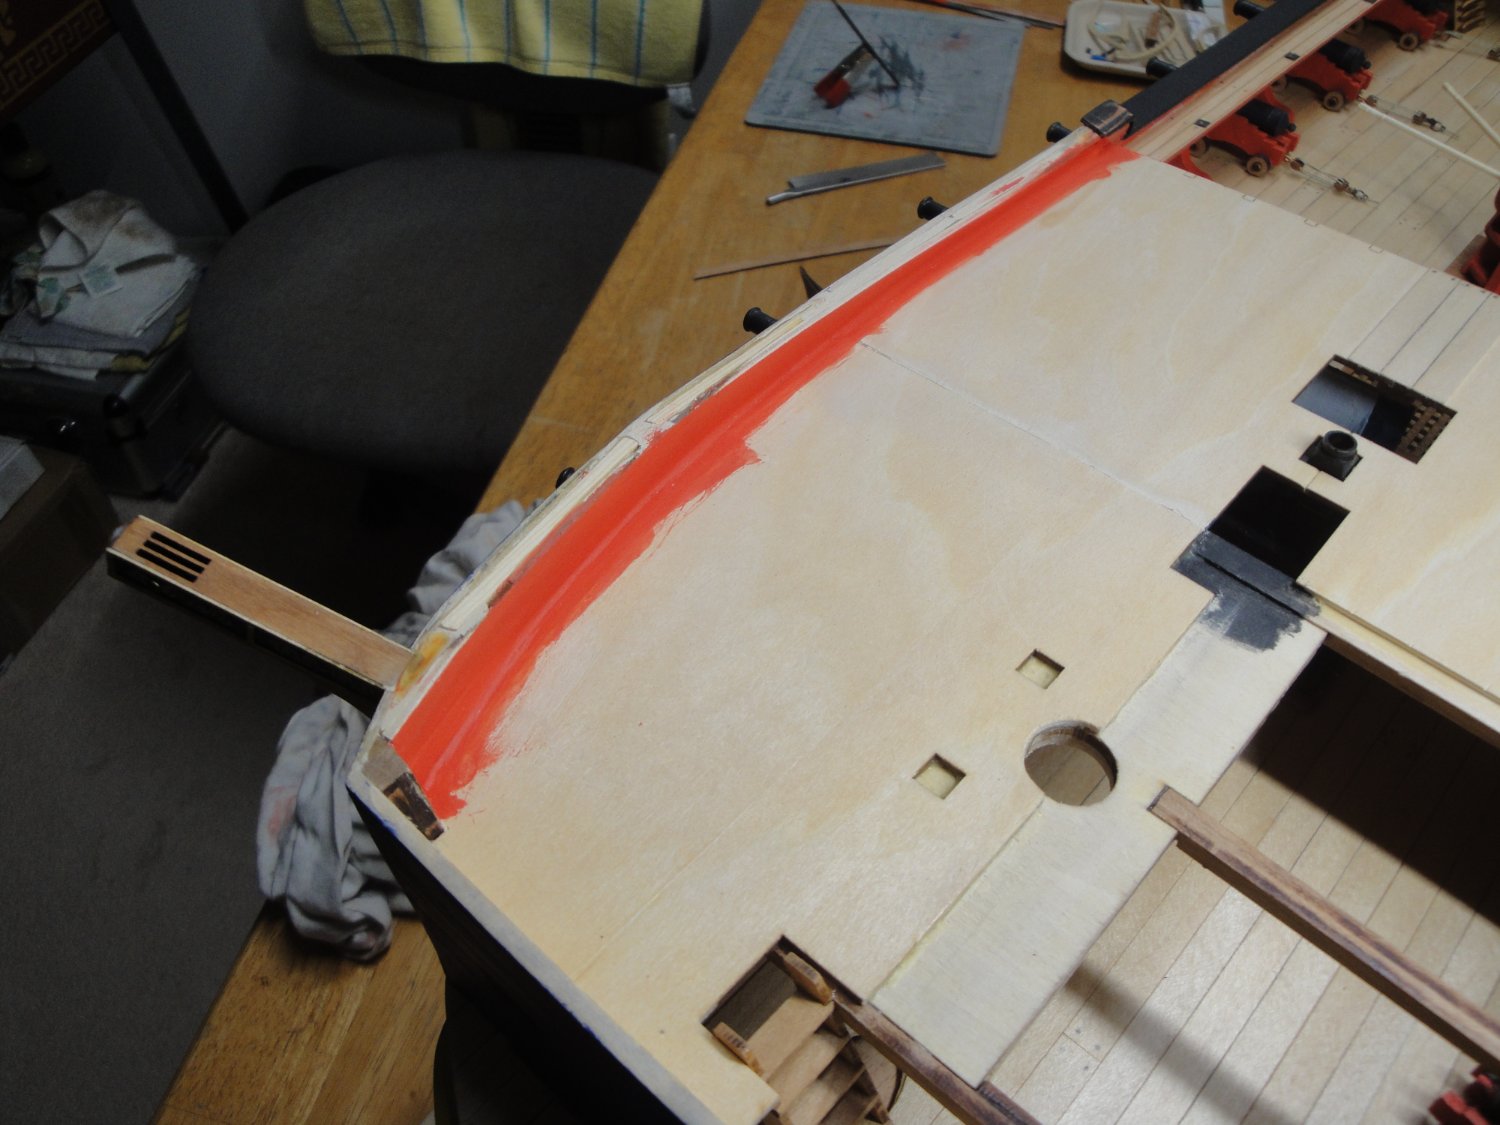
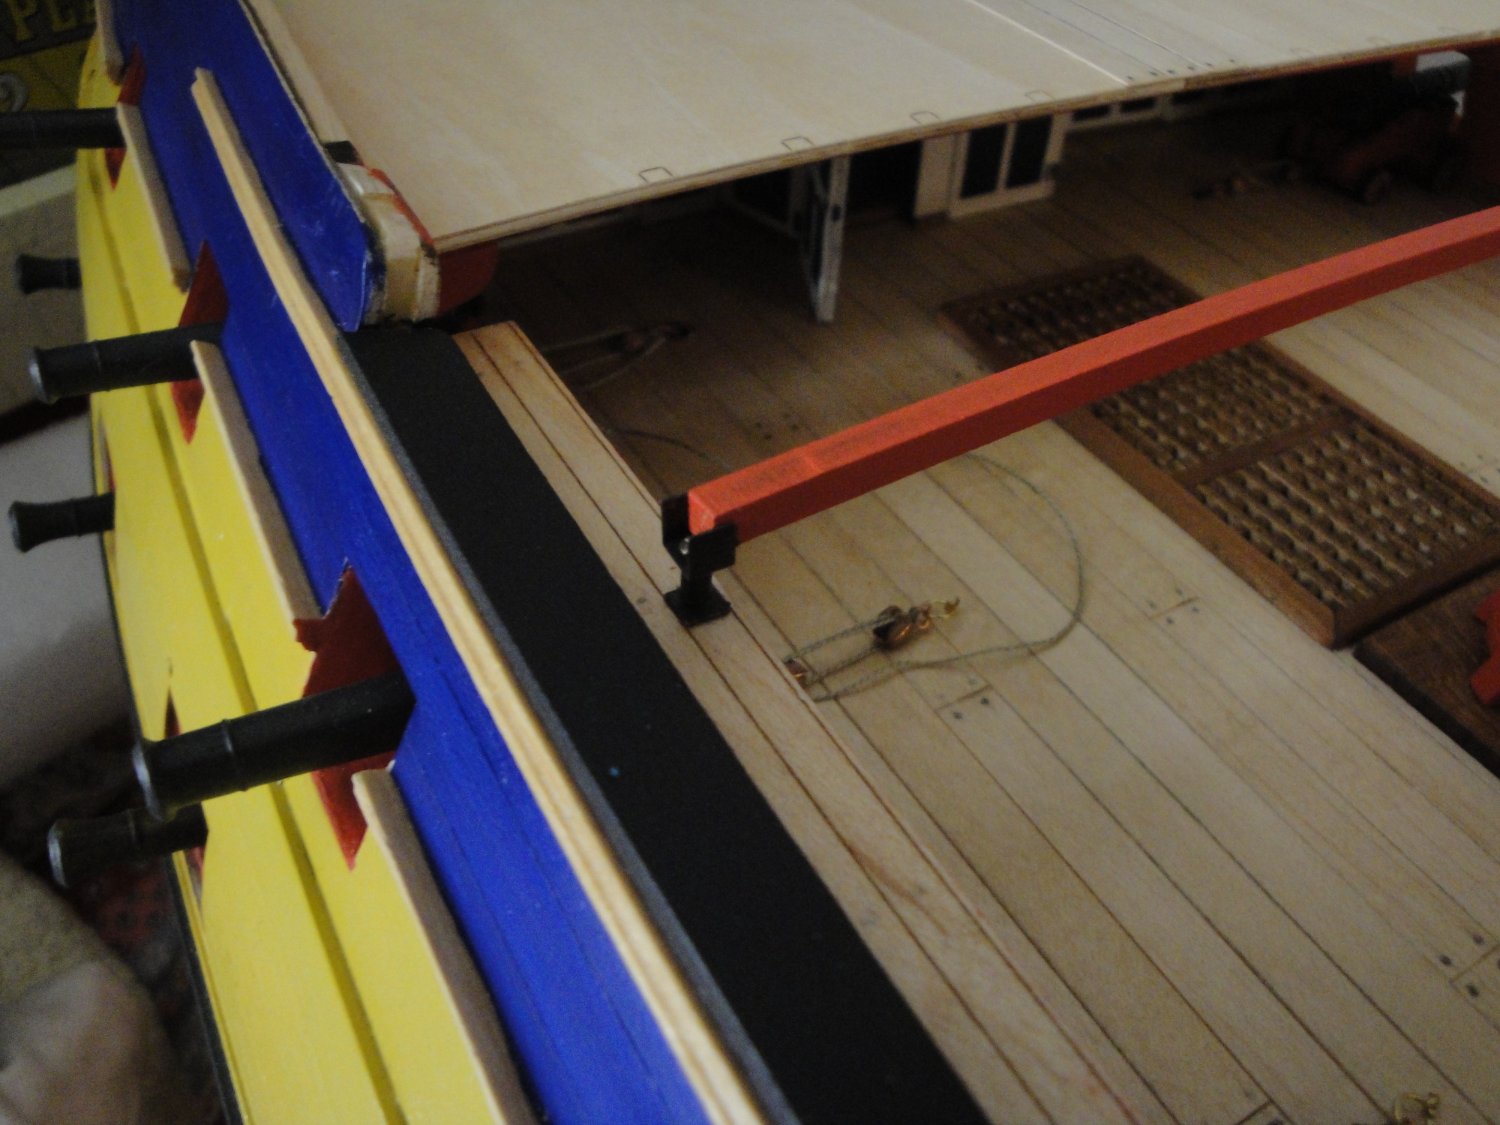
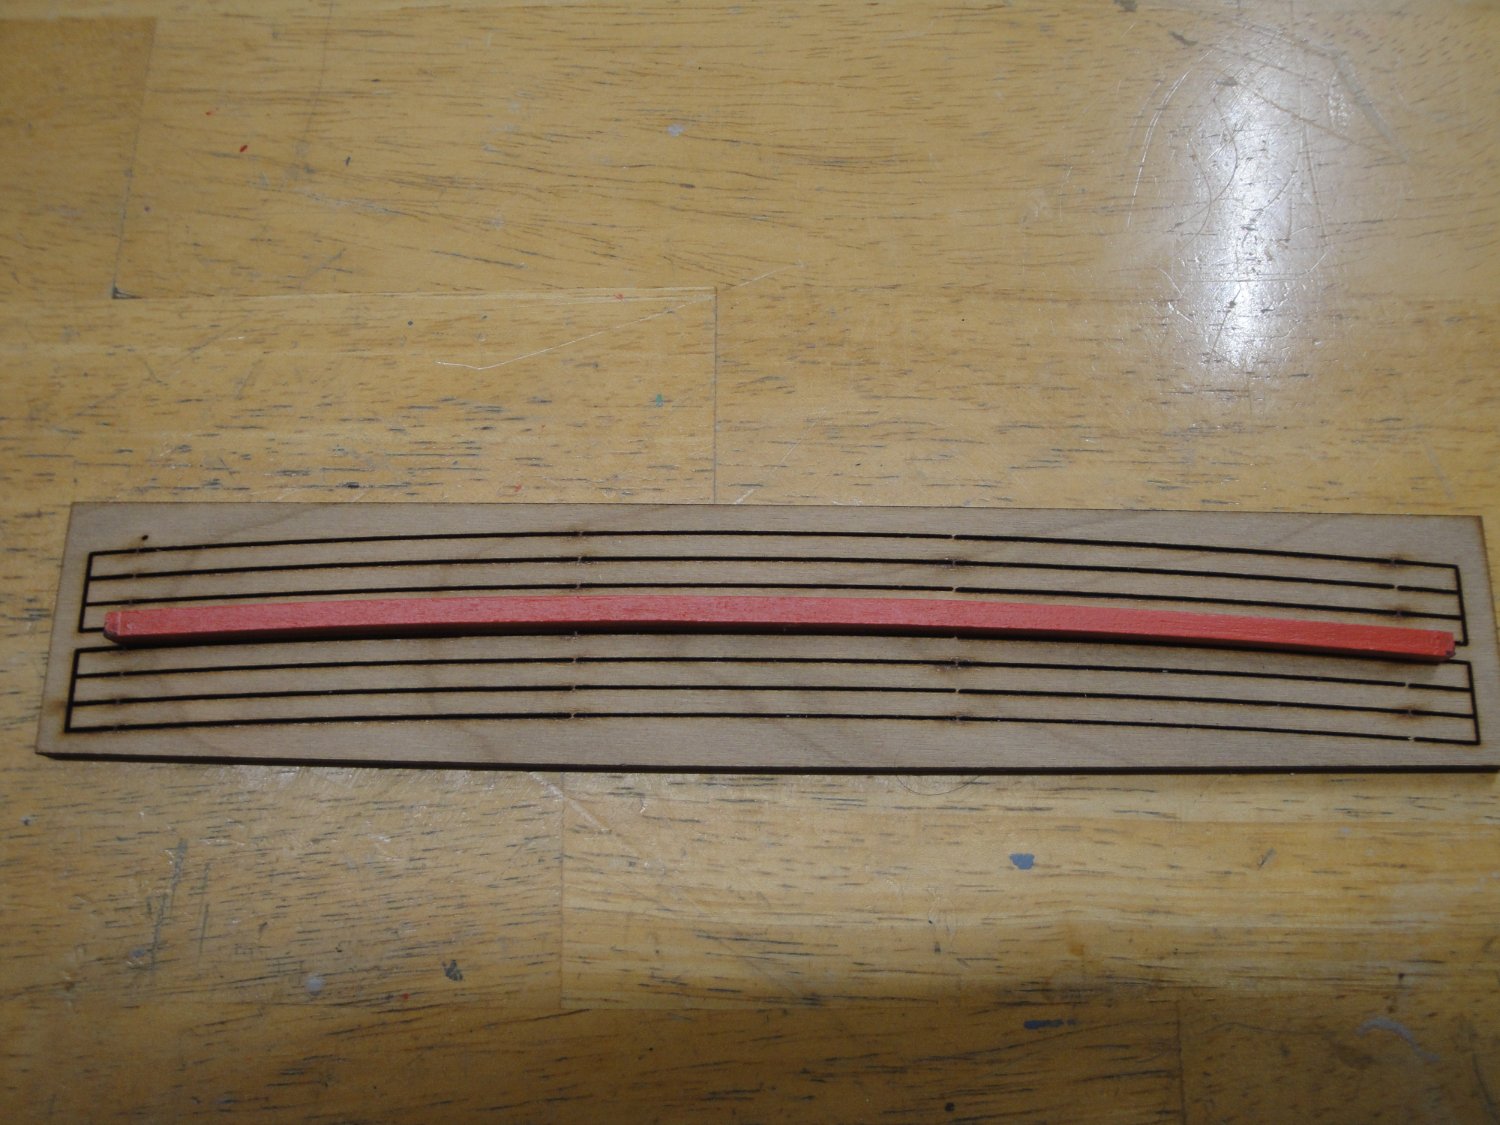
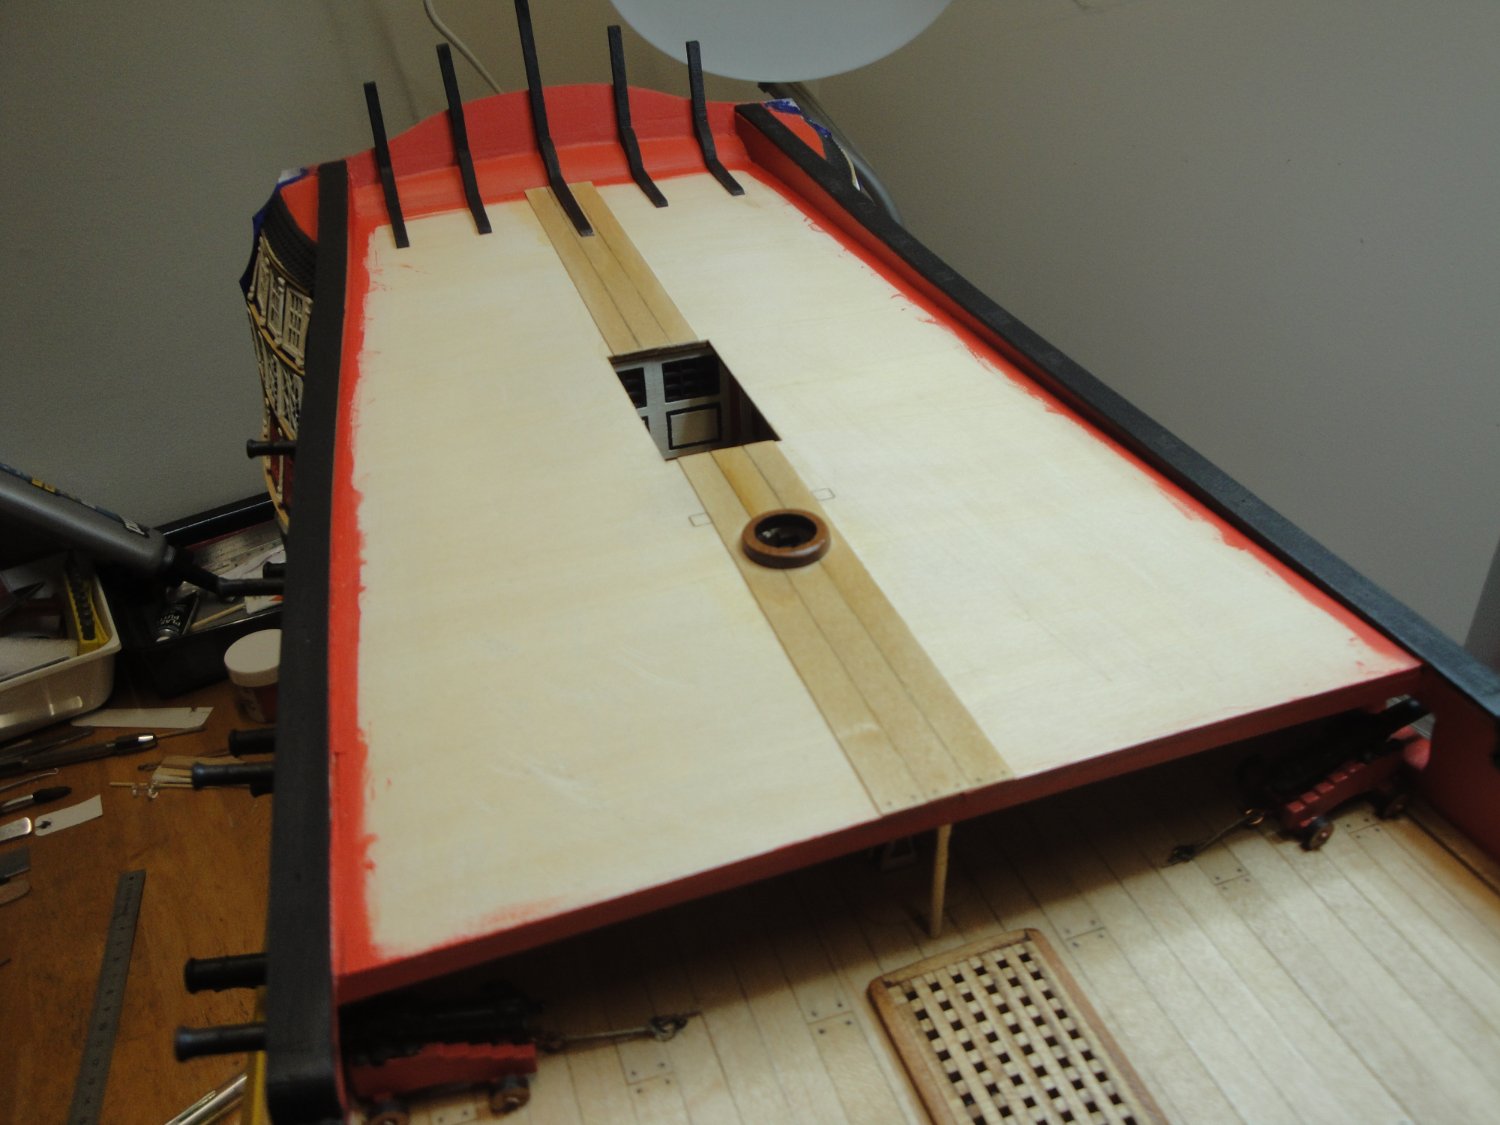
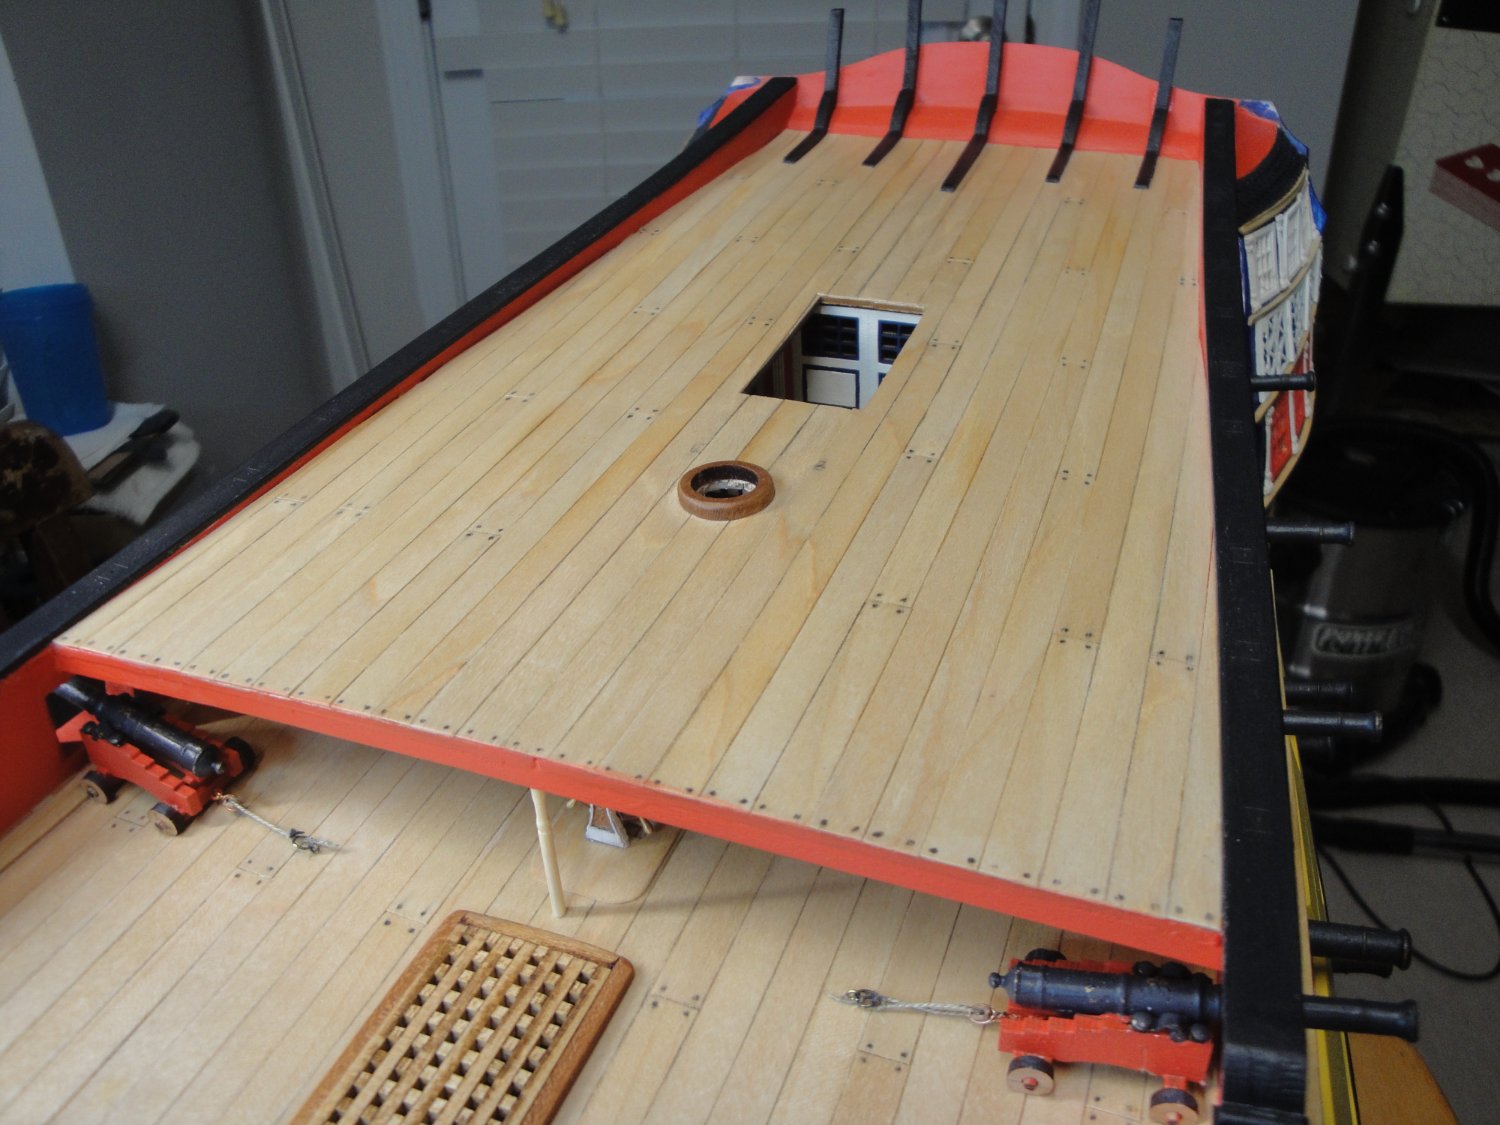
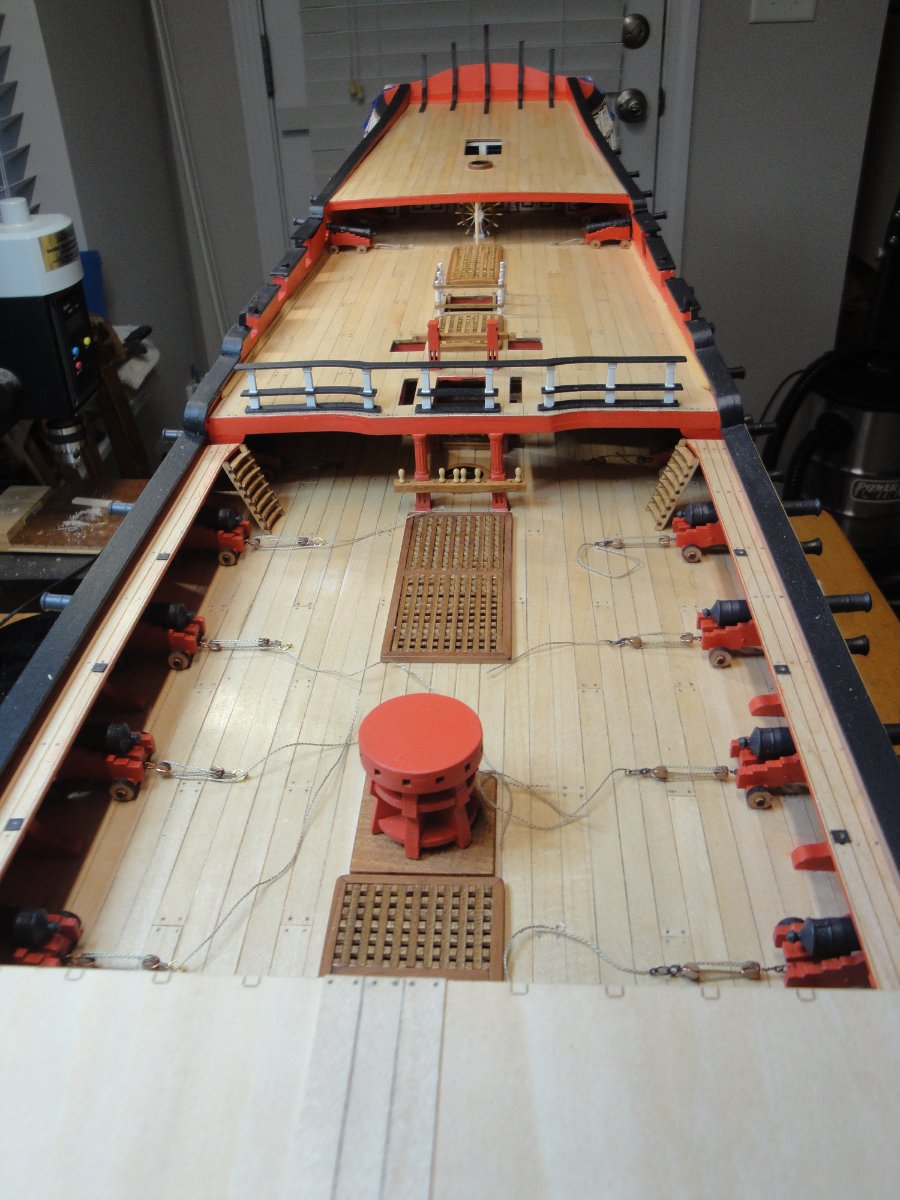
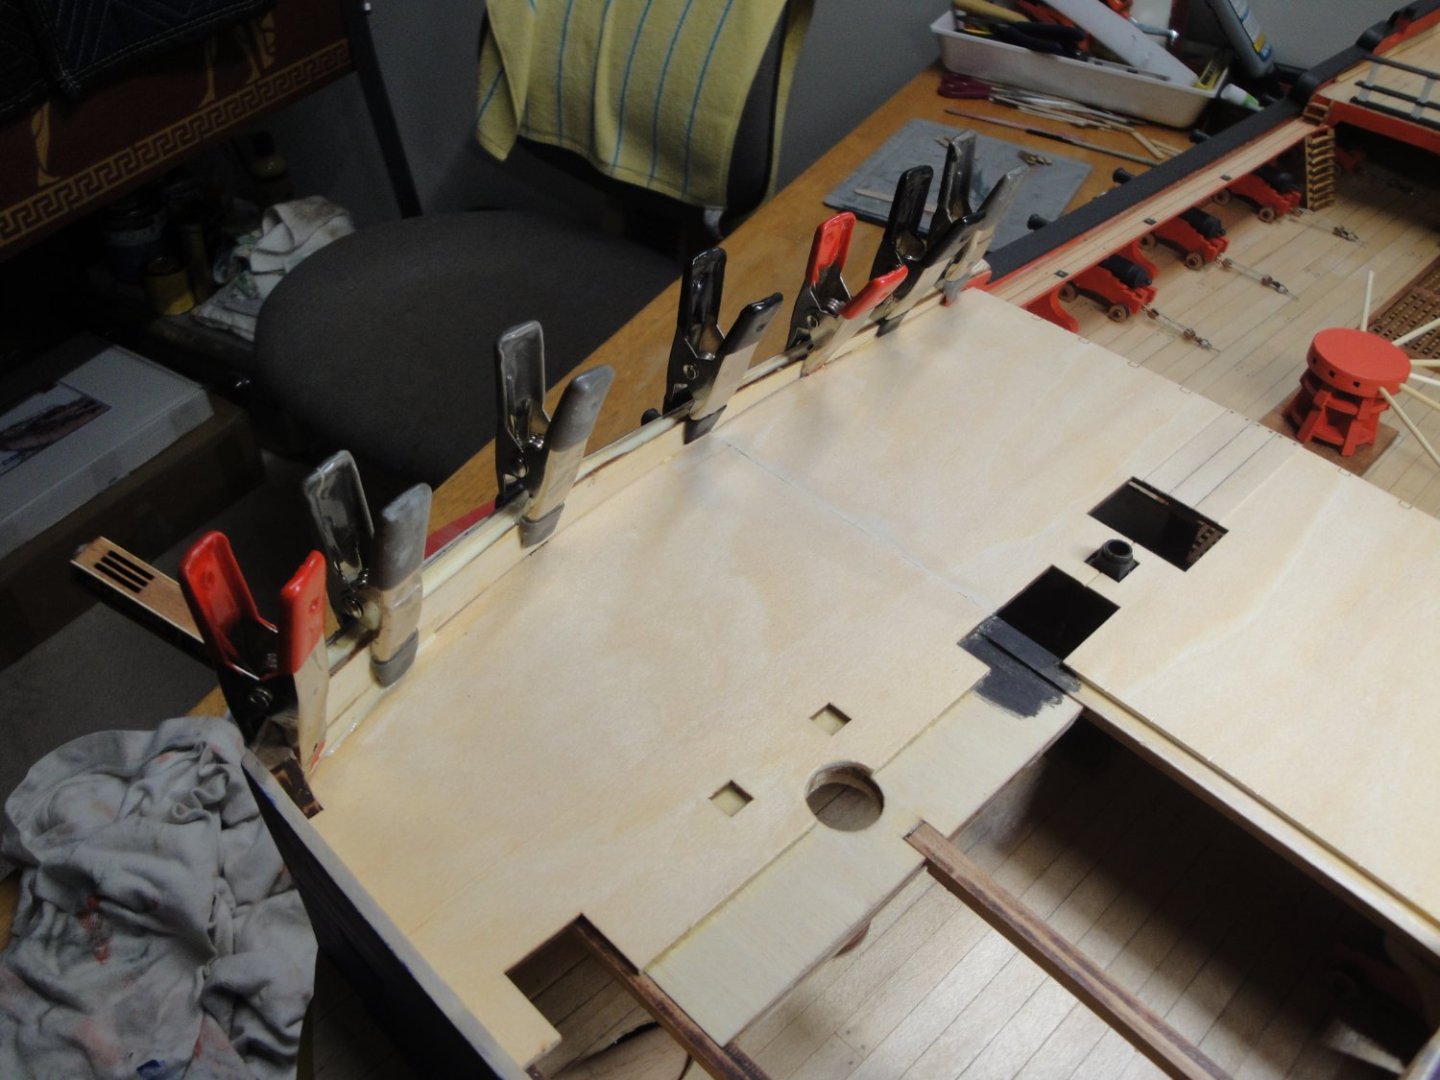
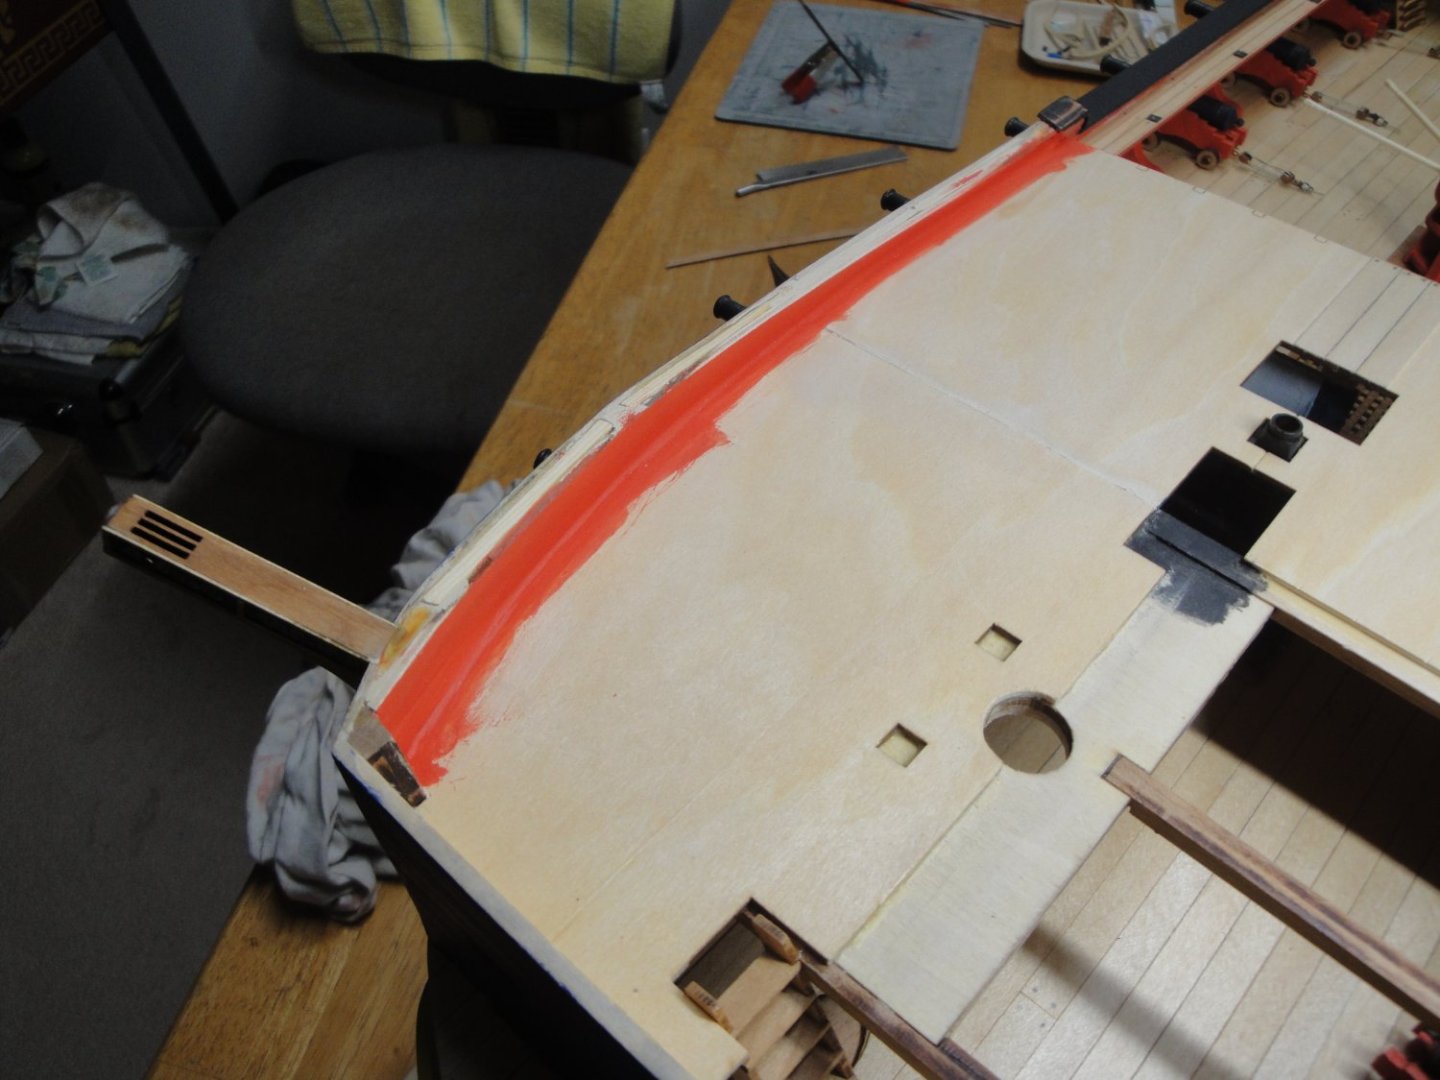
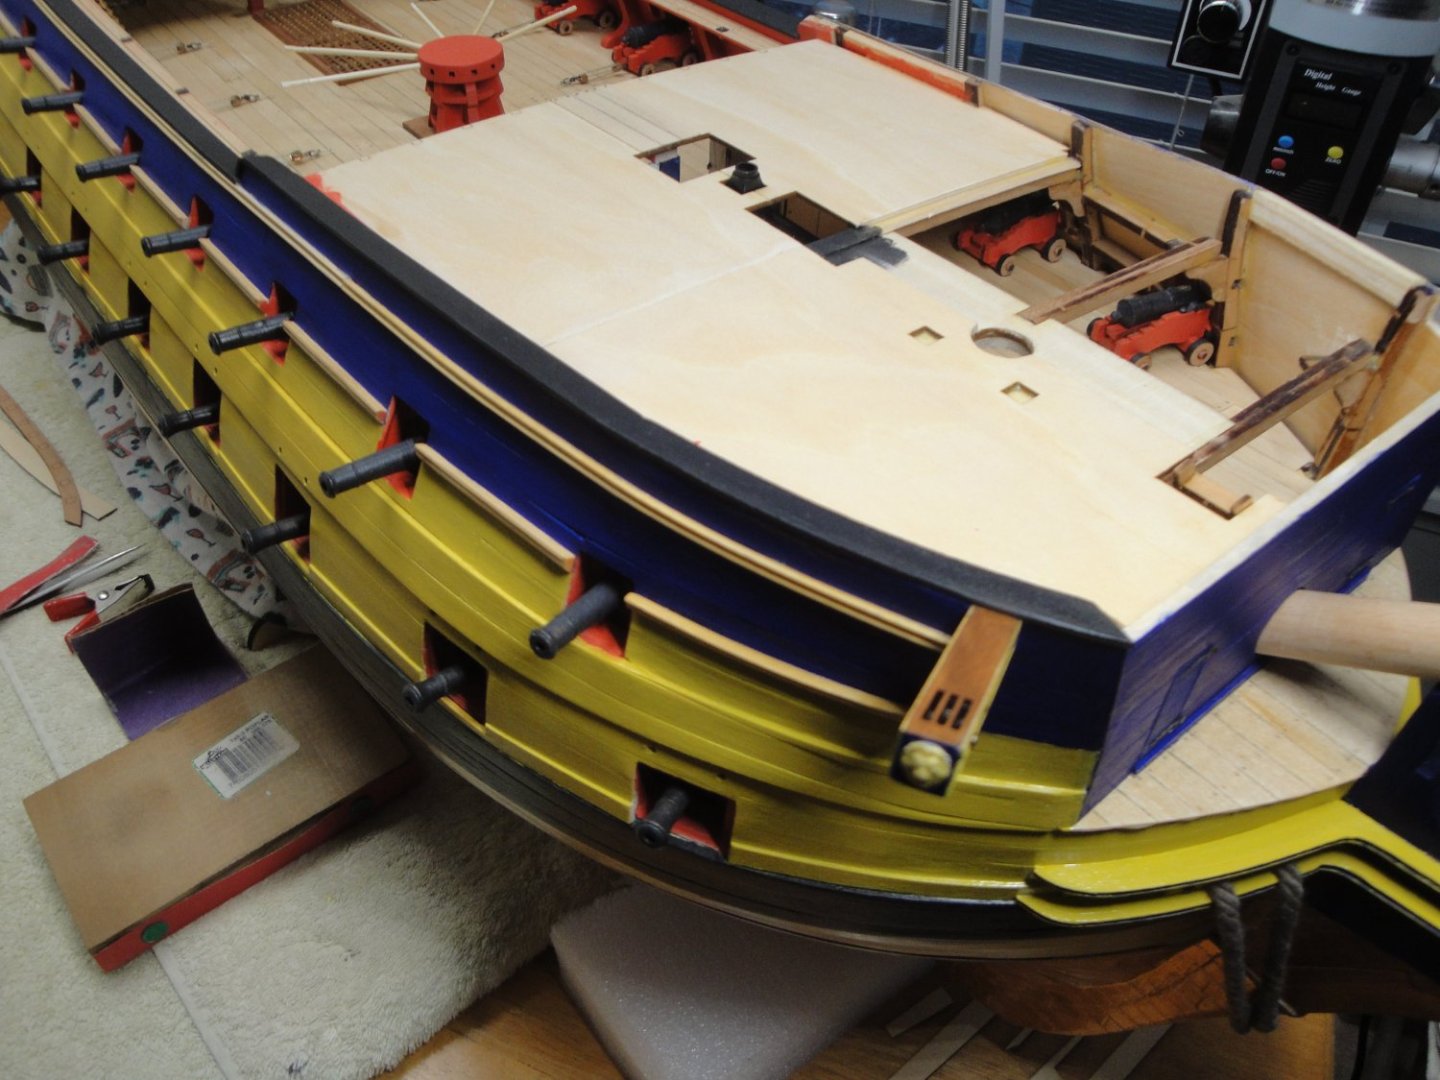
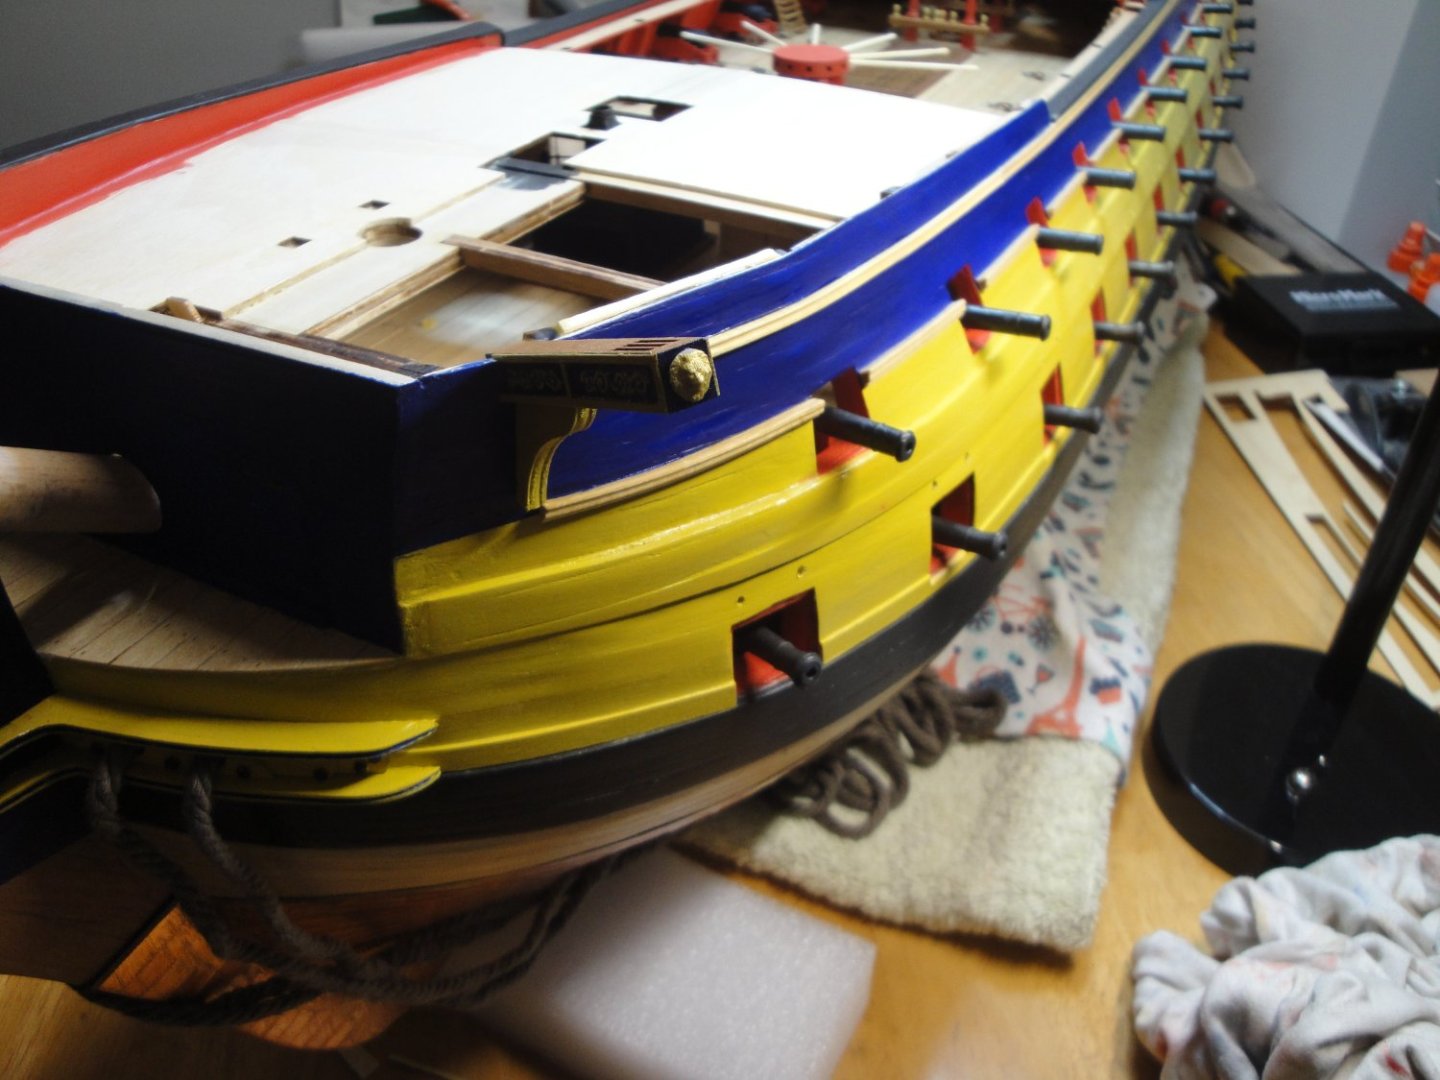
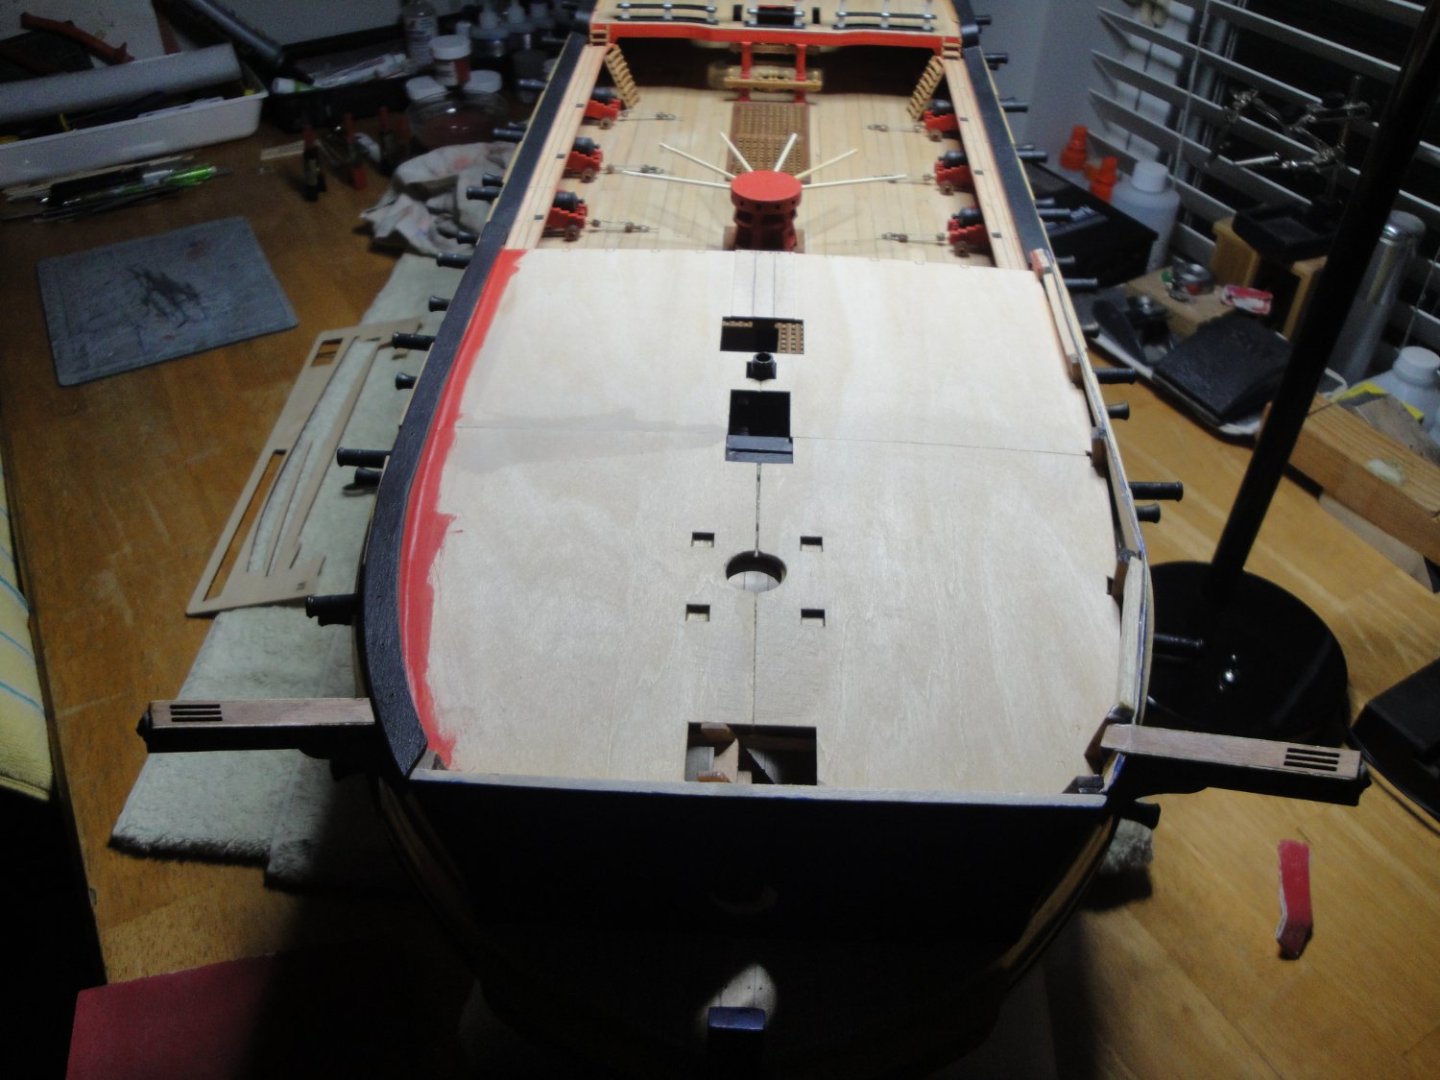
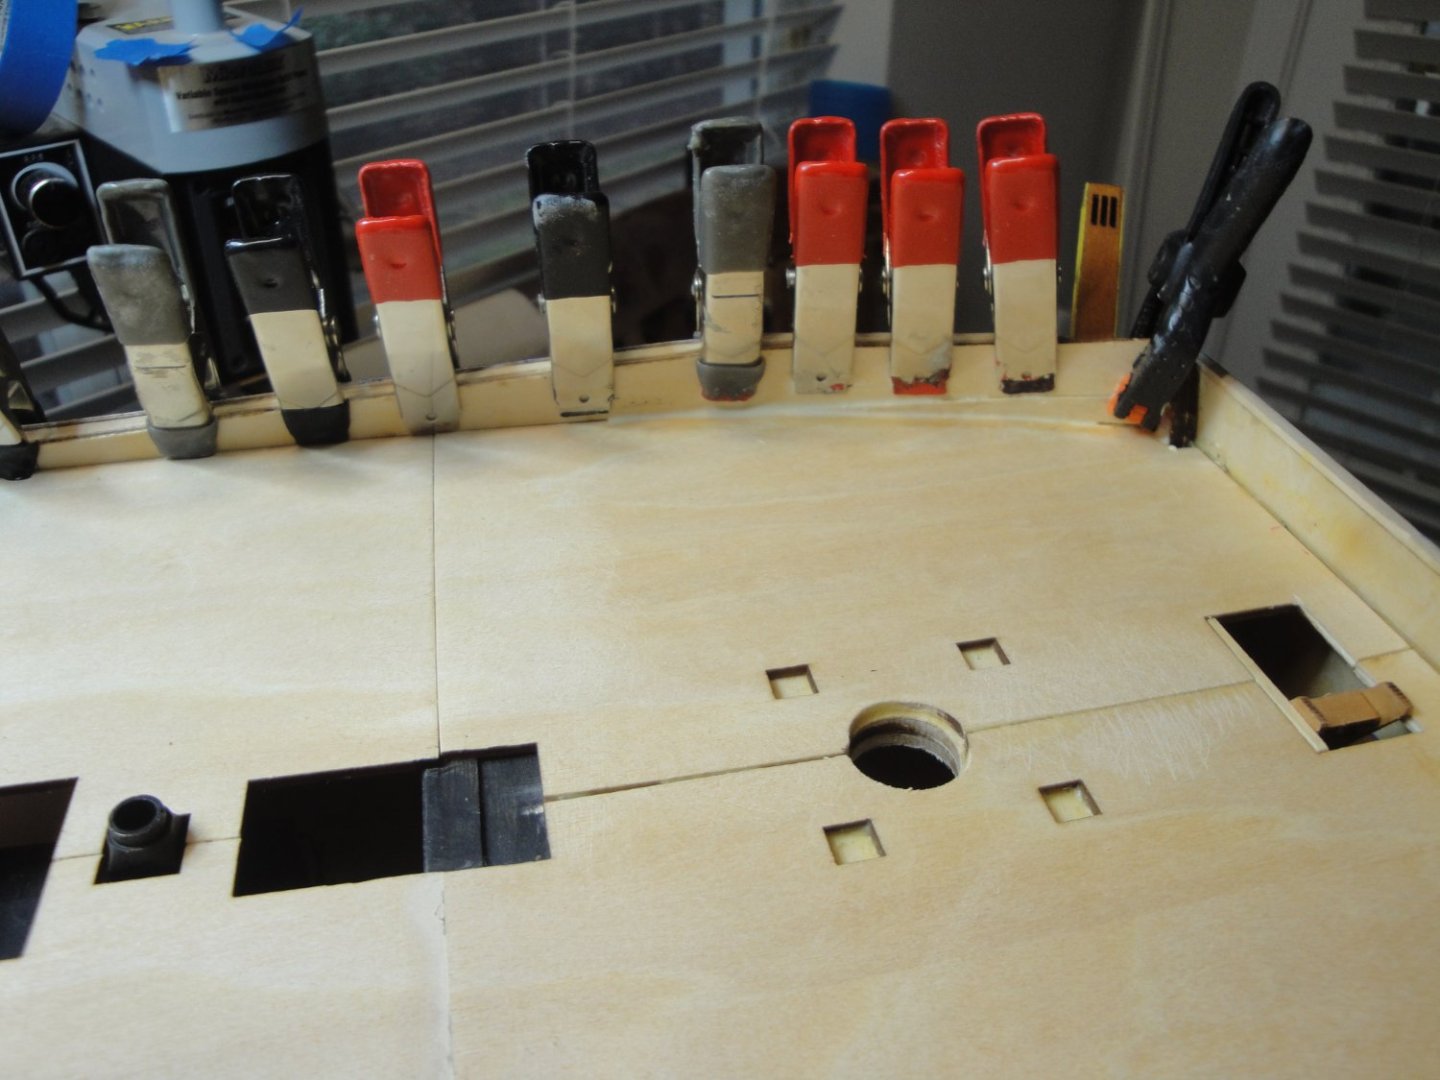
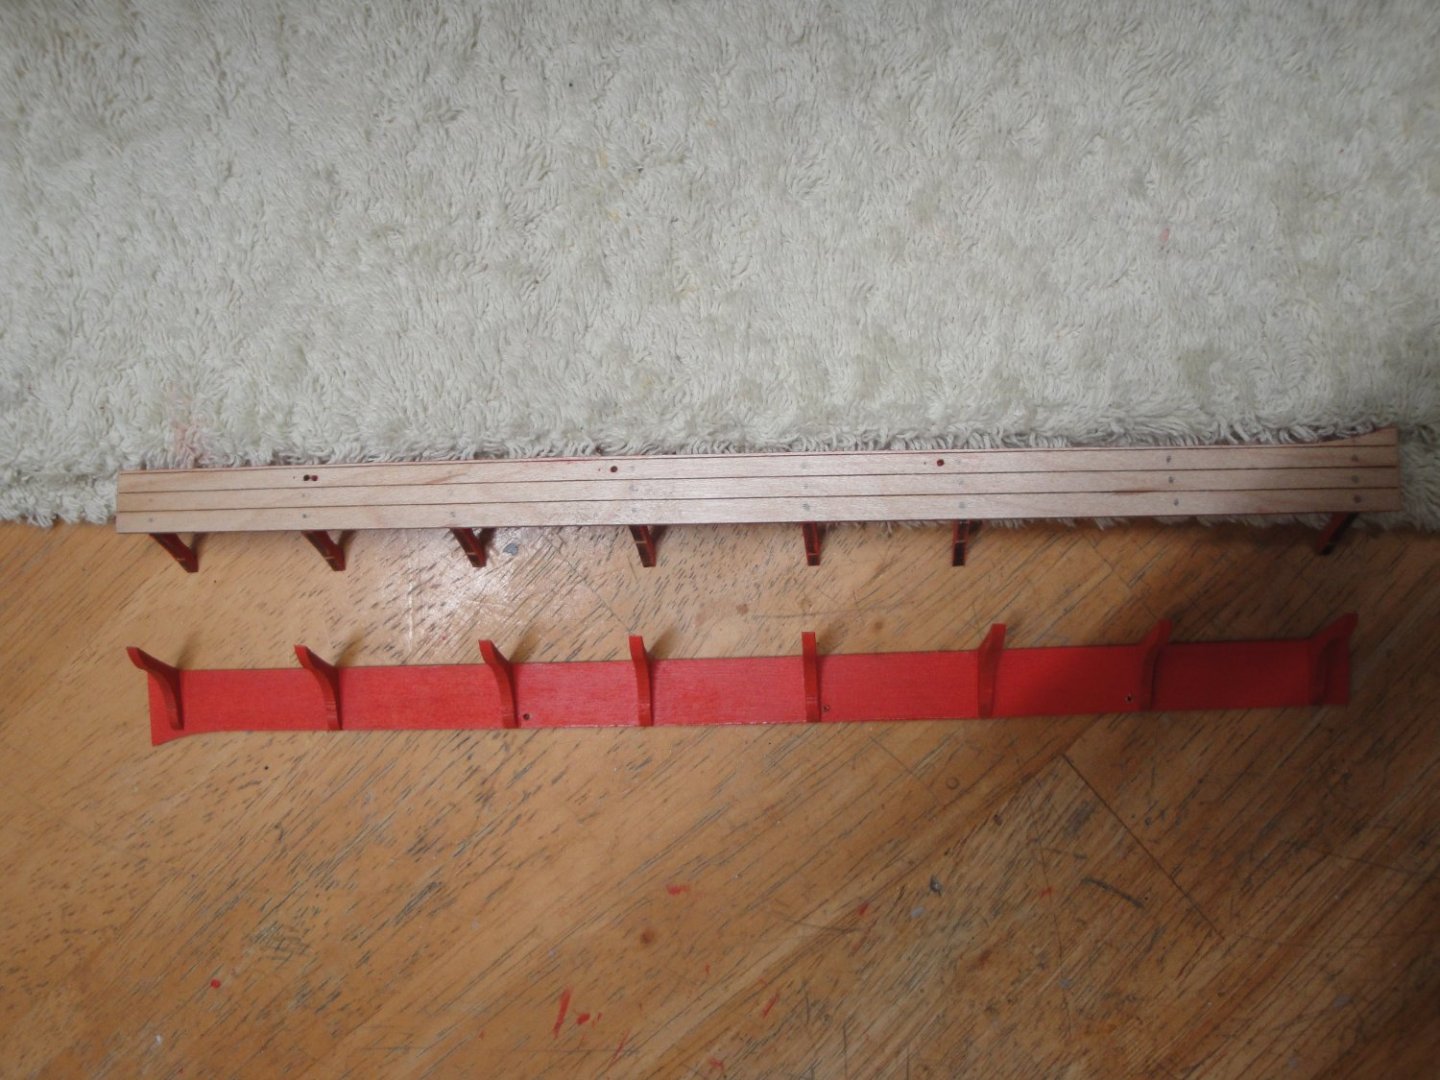
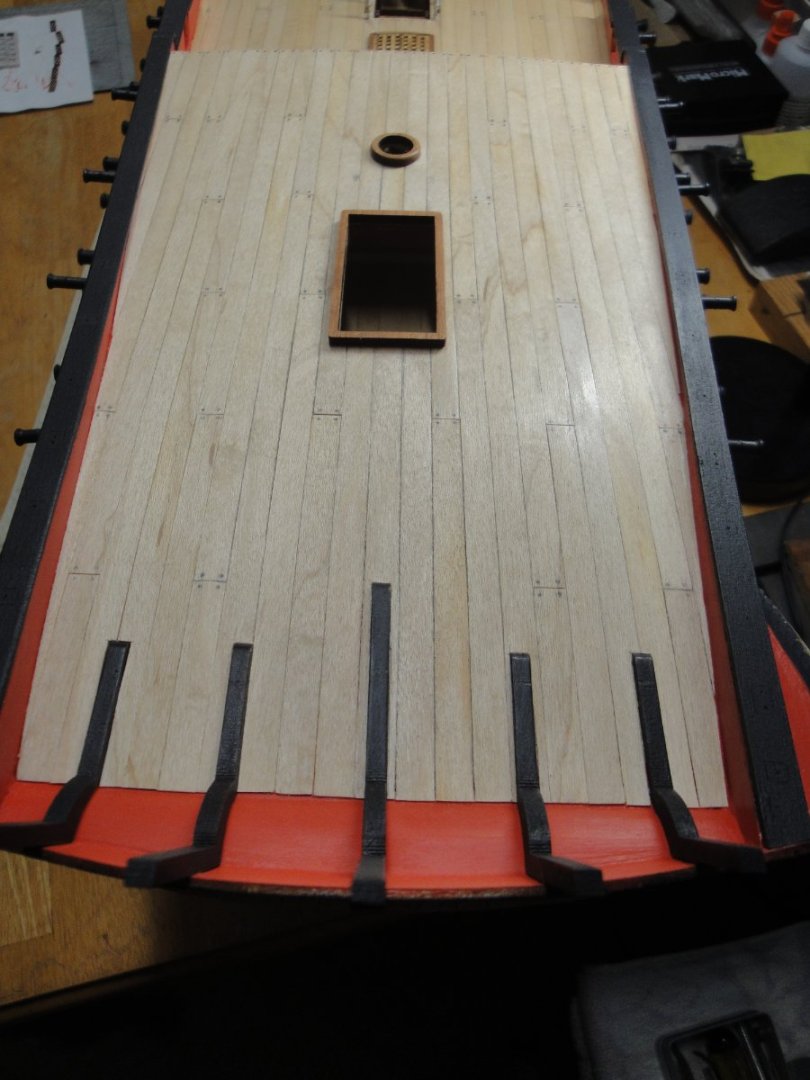
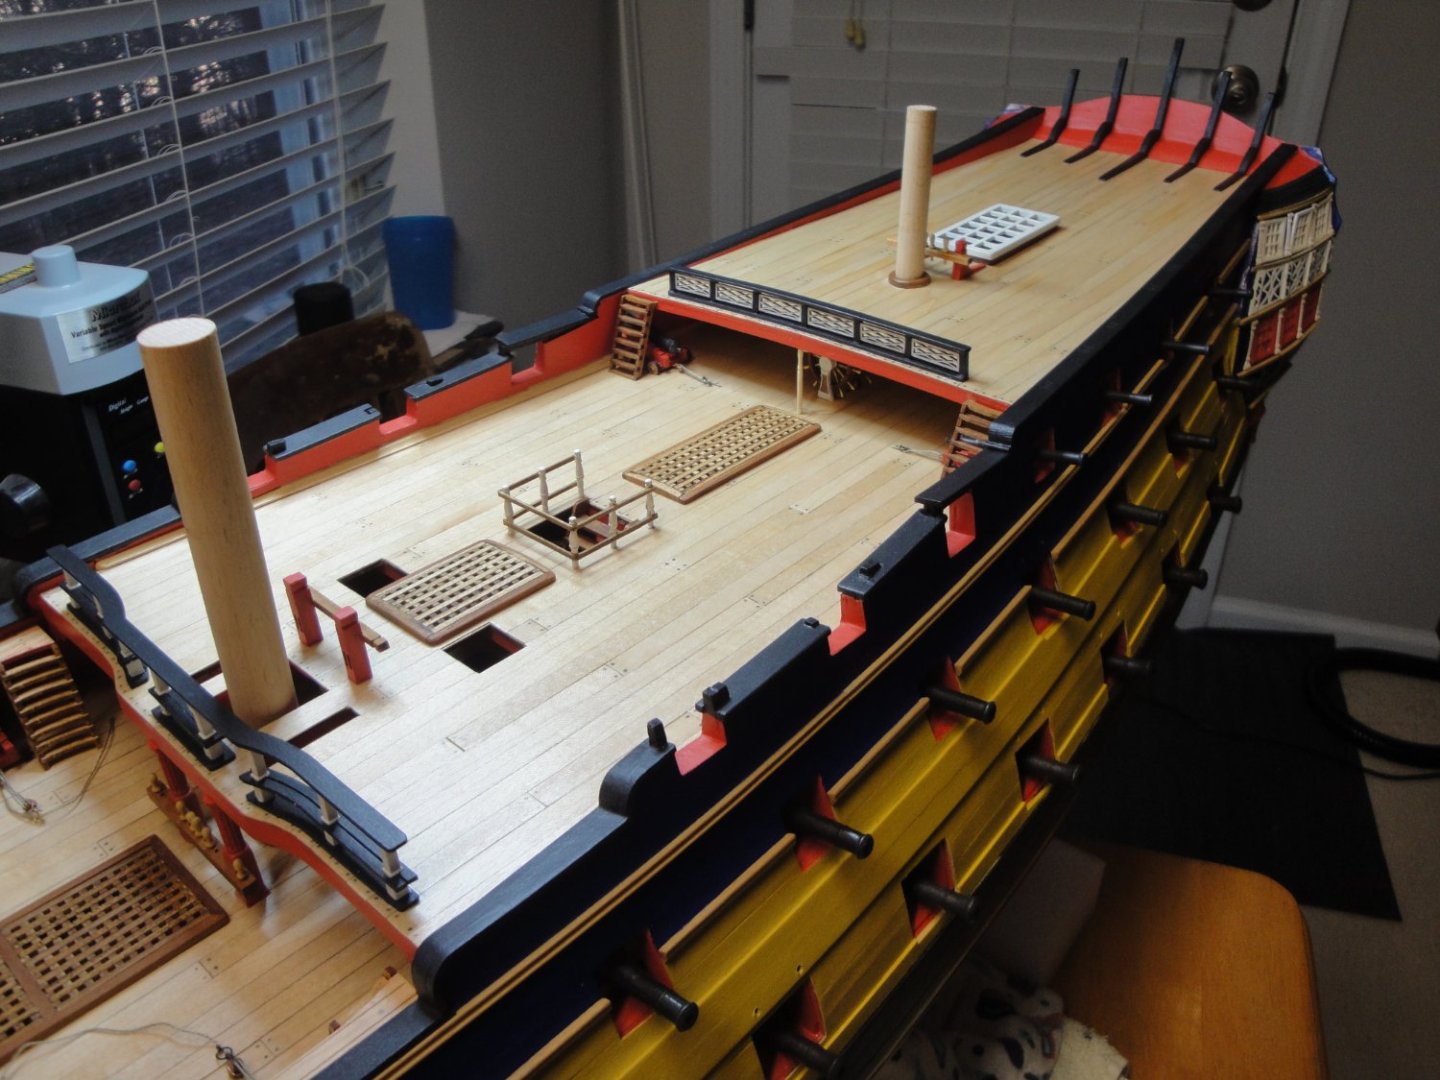
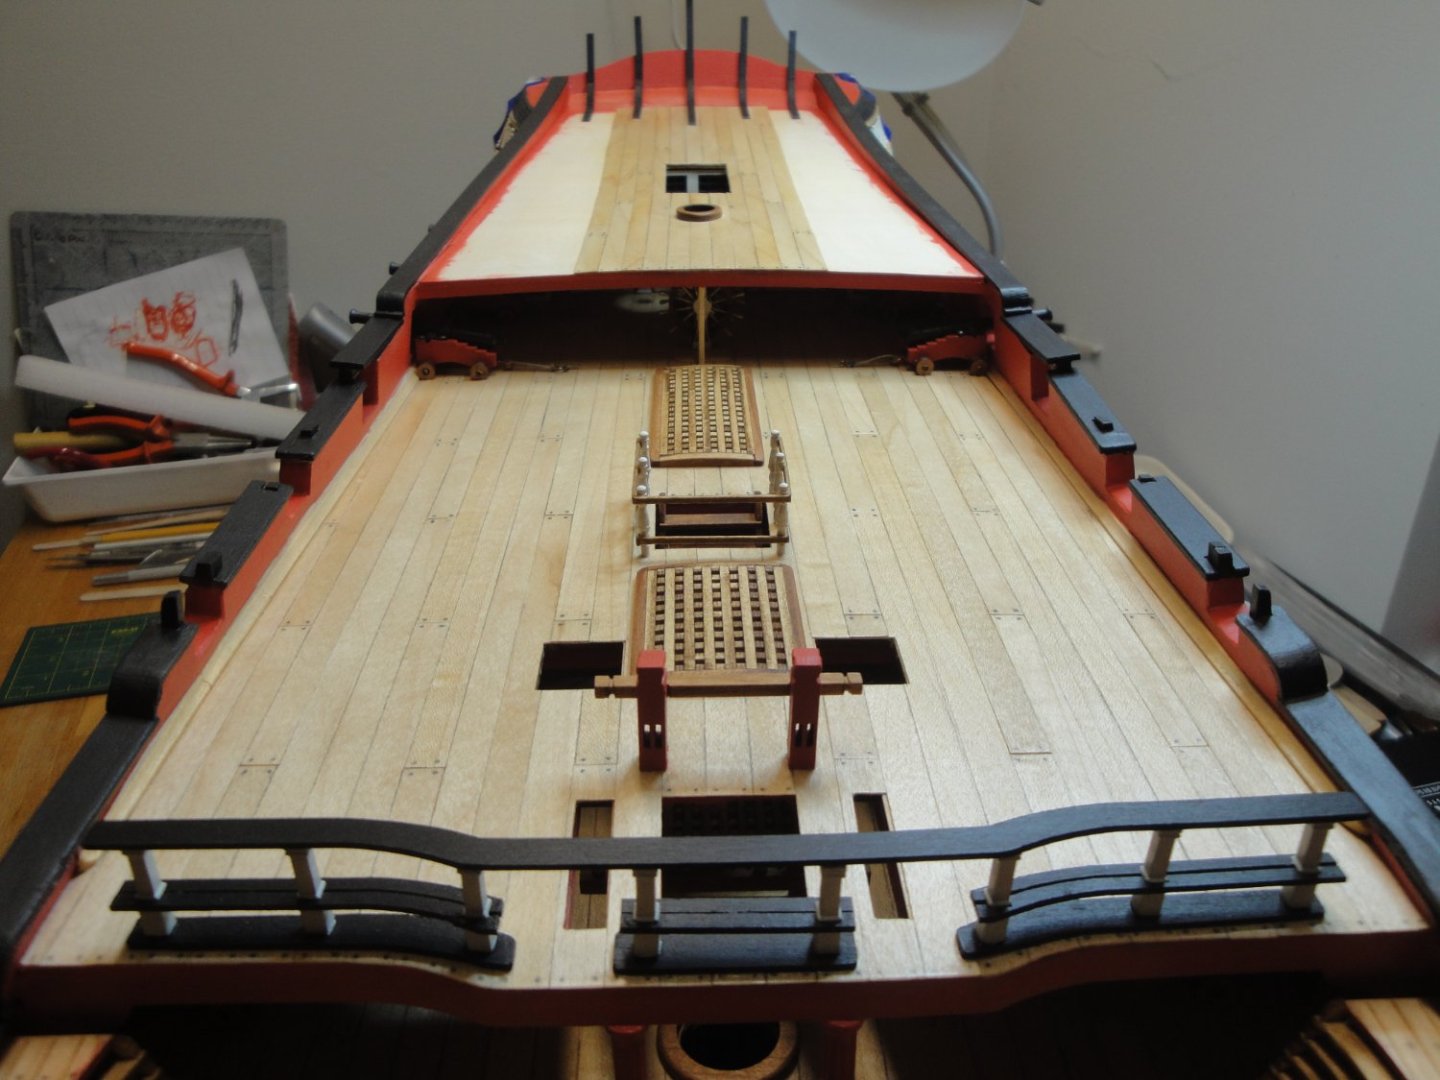
Time to build the Forecastle. Planking of the Forecastle is normally the last step of Session #4. However, we have left long time ago the official instructions and are taking a different path. Before installing the sub-floor of the Forecastle, you need to place the rails along the hull and the bow. Before doing the rails you need to install the Catheads. Totally different from the official instructions. In the picture above, the cathead has been installed and the two rails along the hull and the bow, cut to length and installed by clamping them with the open hull on the other side. Afterwards, the subfloor can be glued: After installing the subfloor, you have to prepare the bulwark: These do not fit because of the curves and the way the ship has been built and do require some adjustment and additional coverage. Railing is next: Here again, the large part is cut in two to allow a better fit with the curvature of the bow. For the other side, we will follow the same approach: cathead, rails, subfloor, bulwark, railing. The bulwarks are filled with additional pieces of wood for extra strength and to provide a perfect seating for the railings. Yves


- 507 replies
-
- 12
-
-
Interesting project and interesting approach in designing the kit. I suppose each culture/country has its own way of doing things. We do not see Japanese wood kits very often, and this one seems like a puzzle to put together. Yves
-
Dehavilland Mosquito by Edwardkenway - Tamiya -1:48
yvesvidal replied to Edwardkenway's topic in Non-ship/categorised builds
That is a wood cleaner.... I am not sure if it is going to work. You need the Floor Gloss kind. Yves -
Well done Kevin. I like it when you can see some planks, through the paint. These were workhorses, not sleek modern yachts. Yves
- 38 replies
-
- 6
-
-
- Lady Eleanor
- Vanguard Models
- (and 1 more)
-
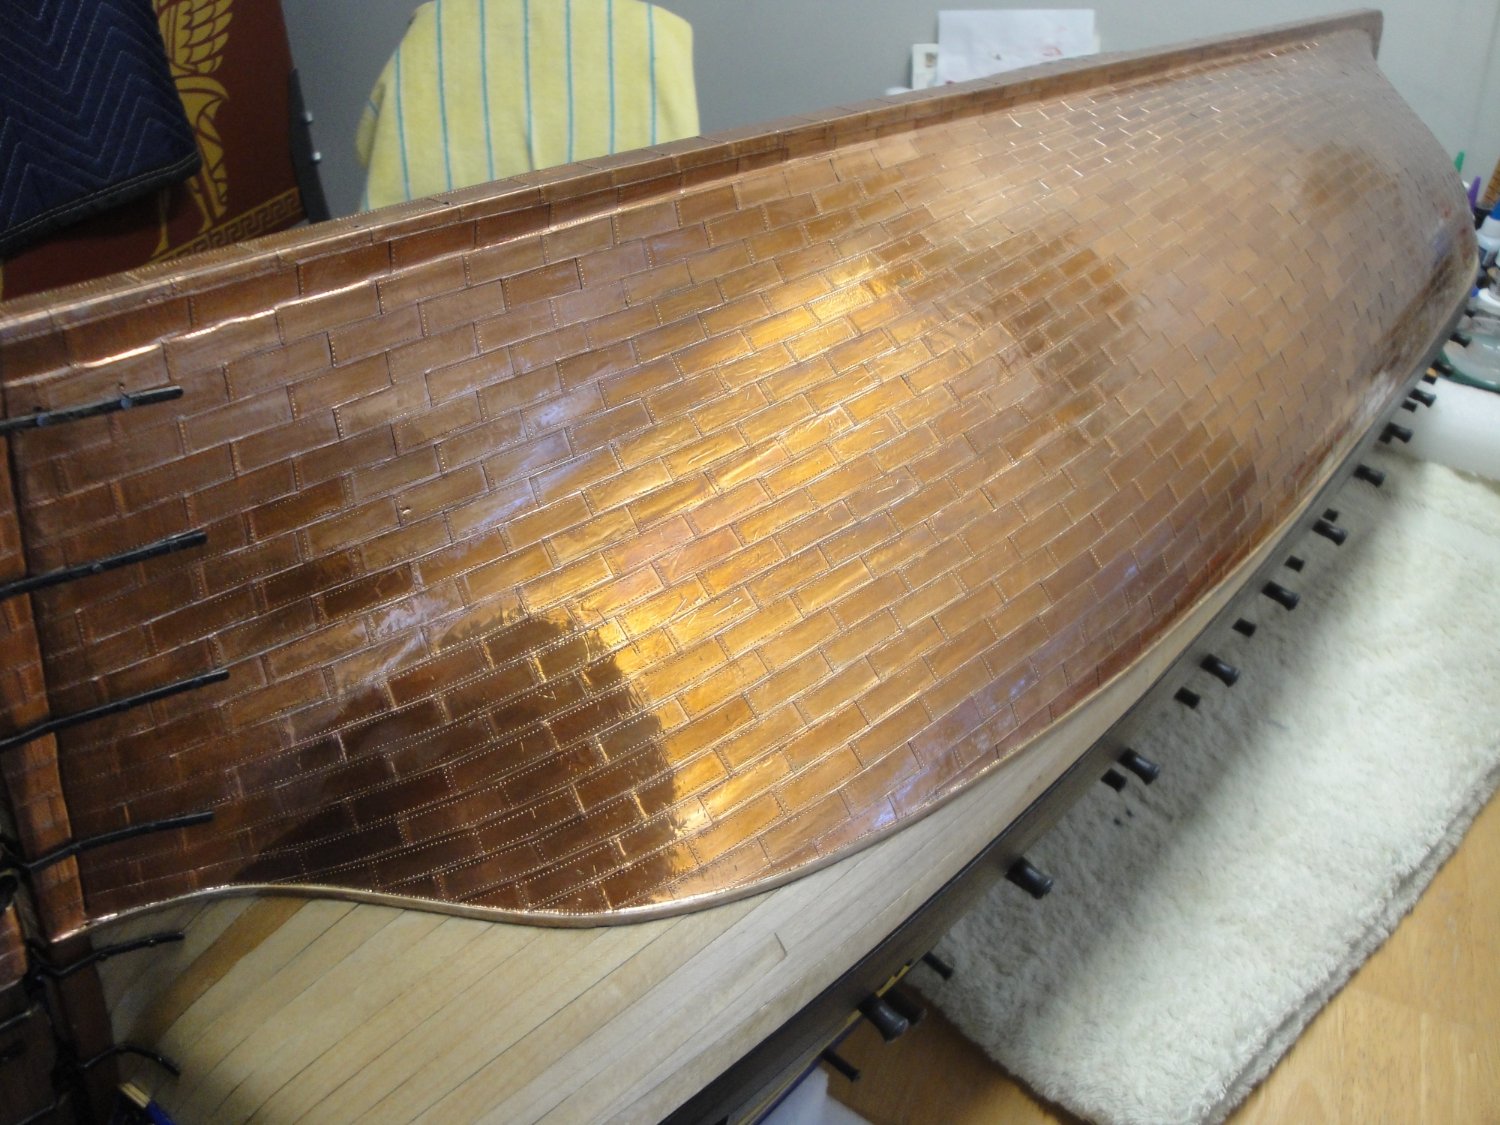
I have had some success with Future Floor on the Bellona hull. After a few months and multiple manipulations, the copper is taking its natural course with very little tarnish. I do not know if you can find that chemical in the UK. Most likely. Yves

- 488 replies
-
- 9
-
-
- Indefatigable
- Vanguard Models
- (and 1 more)
-
Once you cover it with clear coat, it should last a decent time. I think that is what John intends to do. Yves
-
I agree with you Chris, this would be the ultimate Assembly Guide for that specific model. Very well illustrated and excellent references throughout. Yves
- 114 replies
-
- 1
-
-
- Pride of Baltimore II
- Model Shipways
- (and 1 more)
-
These kits can be a little bit on the crude side at times, but you are doing a fantastic job with them. Yves
-
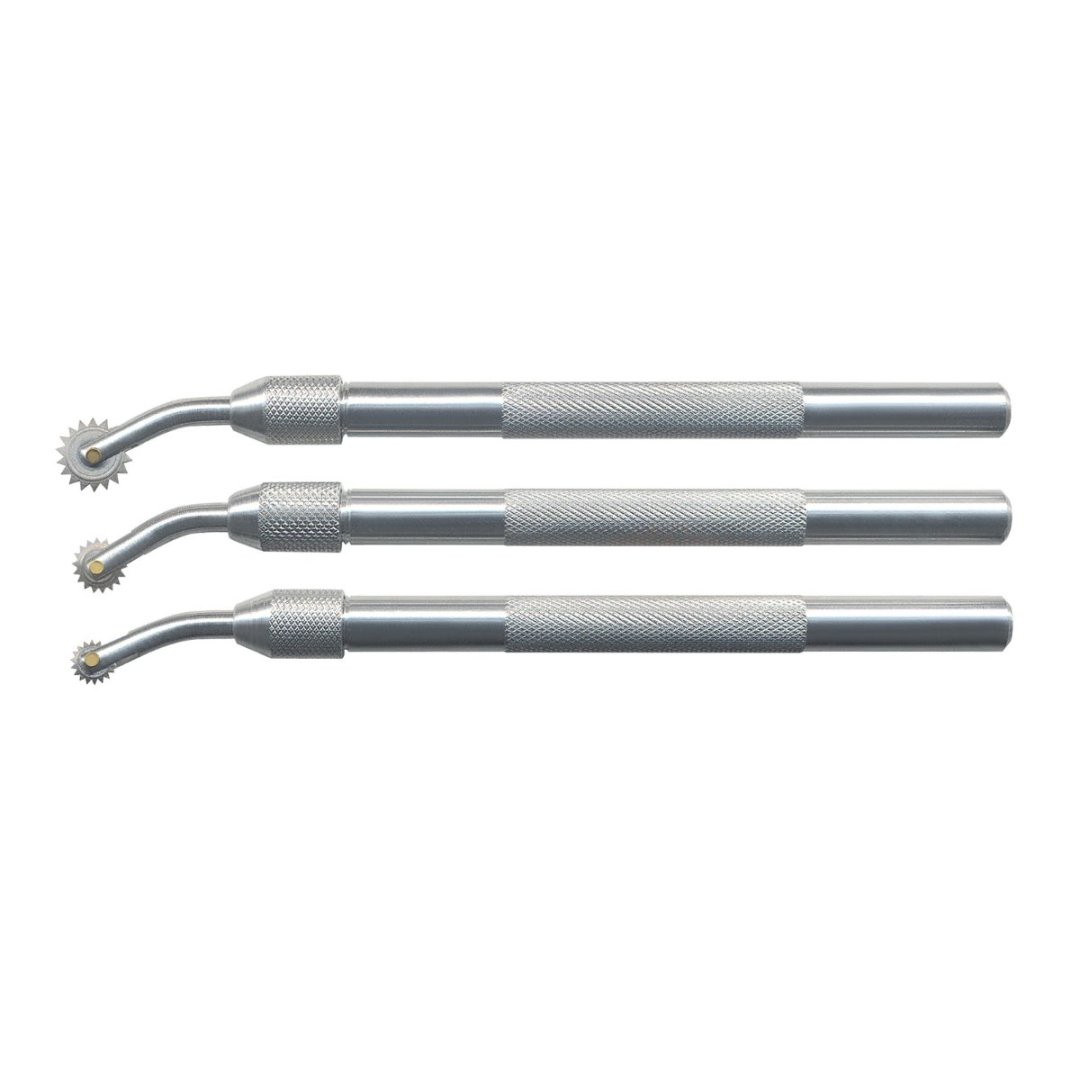
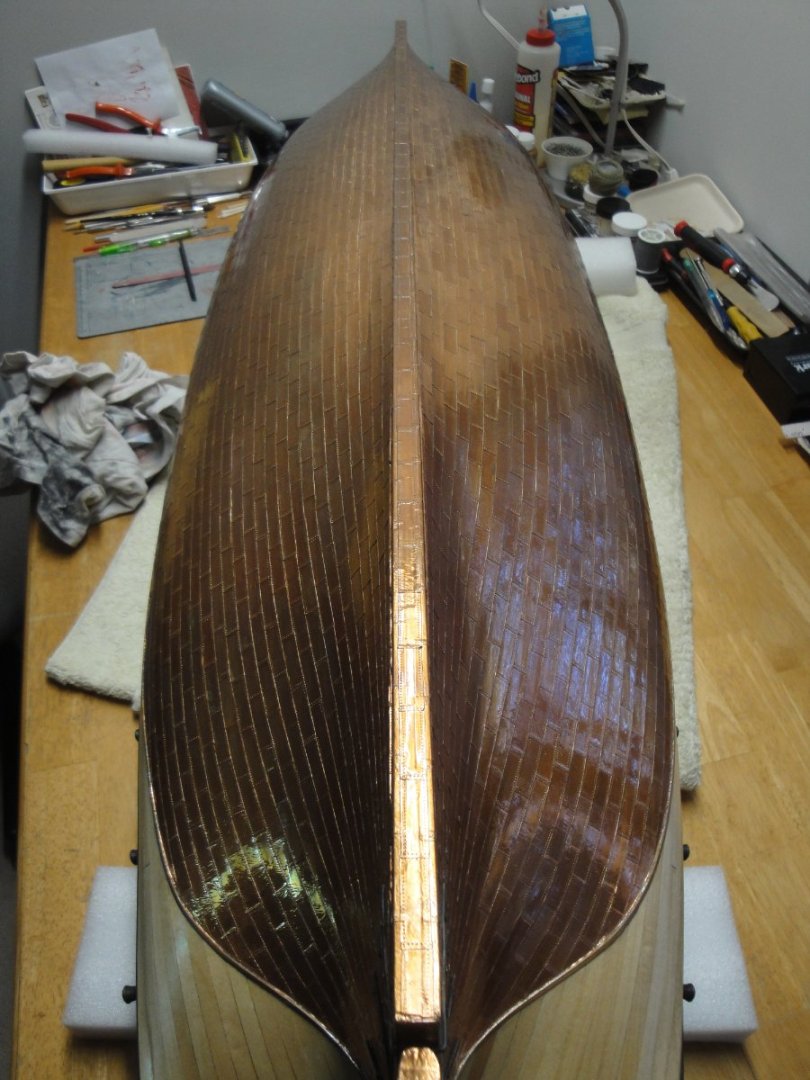
Hollowneck, I did not use that medieval torture tool for the Bellona. I used a pouncing wheel, driven by a ruler to mark each tile (25 mm x 8 mm) one time on each side: That was not too bad, in retrospect. Yves
- 488 replies
-
- 8
-
-
- Indefatigable
- Vanguard Models
- (and 1 more)
-
After coppering the massive hull of the Bellona, I swear by the Copper Tape and the rivet tool (wheel). The tape is flexible enough to accommodate all the slight imperfections and you do not have to use CA glue. I taped 2400 plates after stamping them with the wheel (9600 passes). Finally, the cost of the tape is about 1/10th the price of the copper tiles. Yves
- 488 replies
-
- 7
-
-
- Indefatigable
- Vanguard Models
- (and 1 more)
-
Don't give up Andreas. You are doing great with this difficult model. Yves
-
Thank you Allan, but yes I am aware of these pictures. For the Quarterdeck, I used this one: For the forecastle, I will be using the following picture: Yves
-
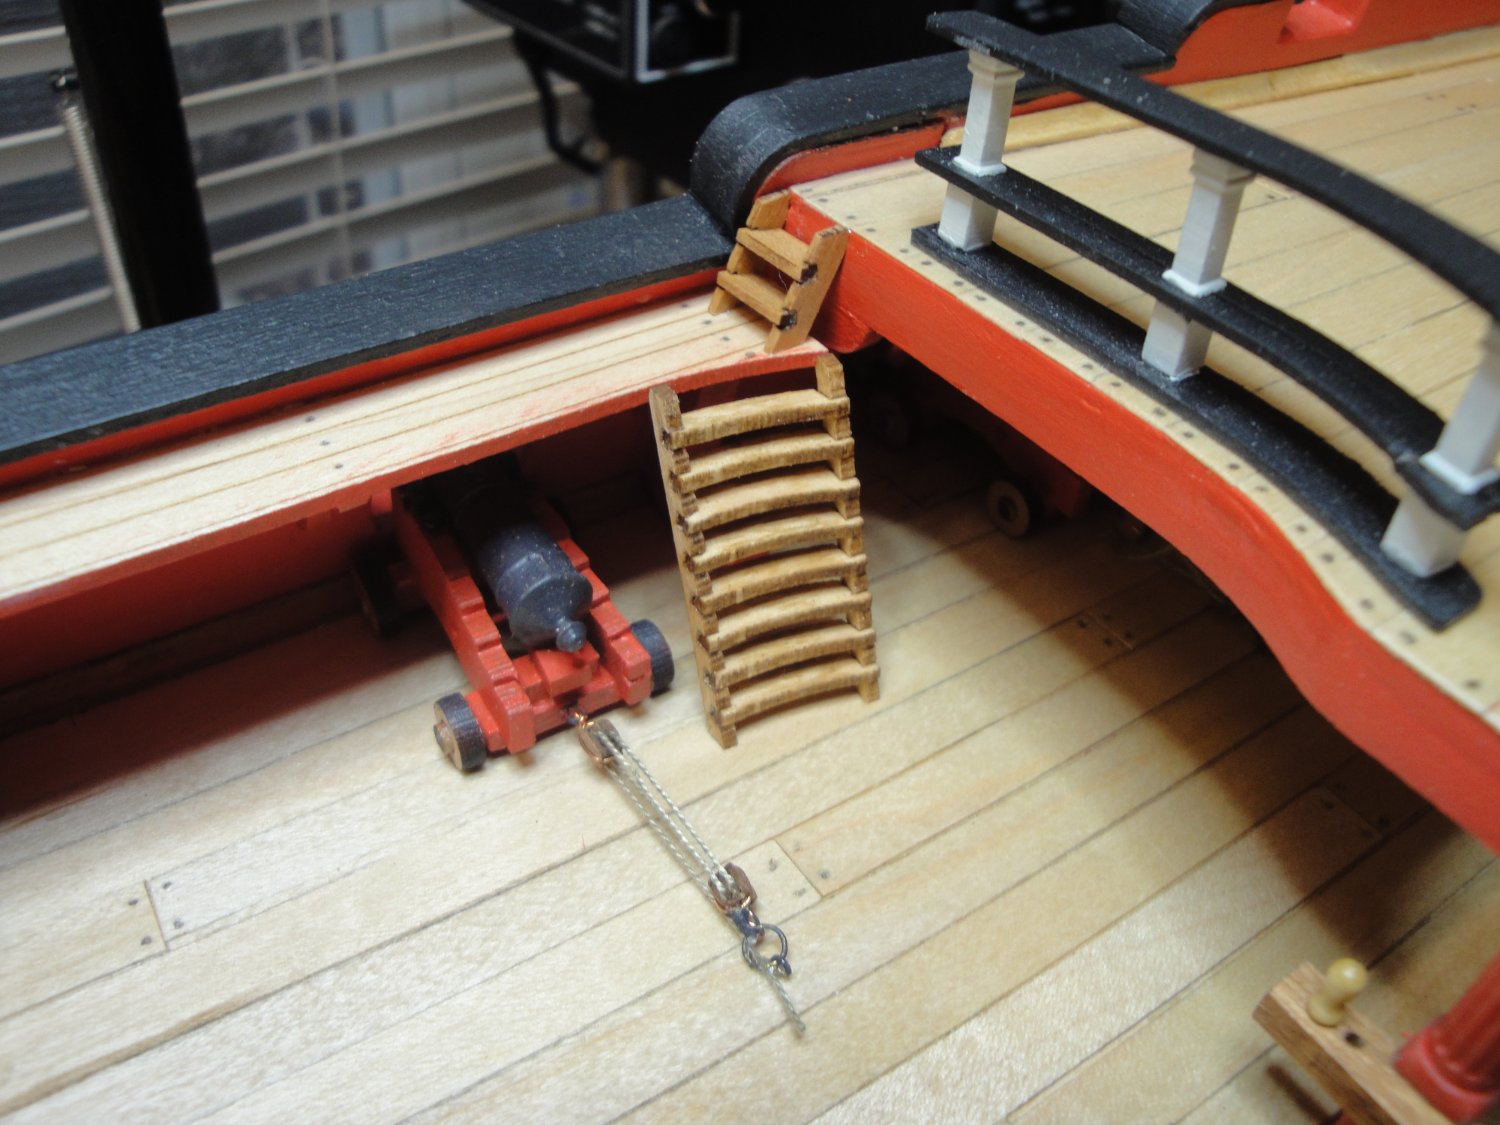
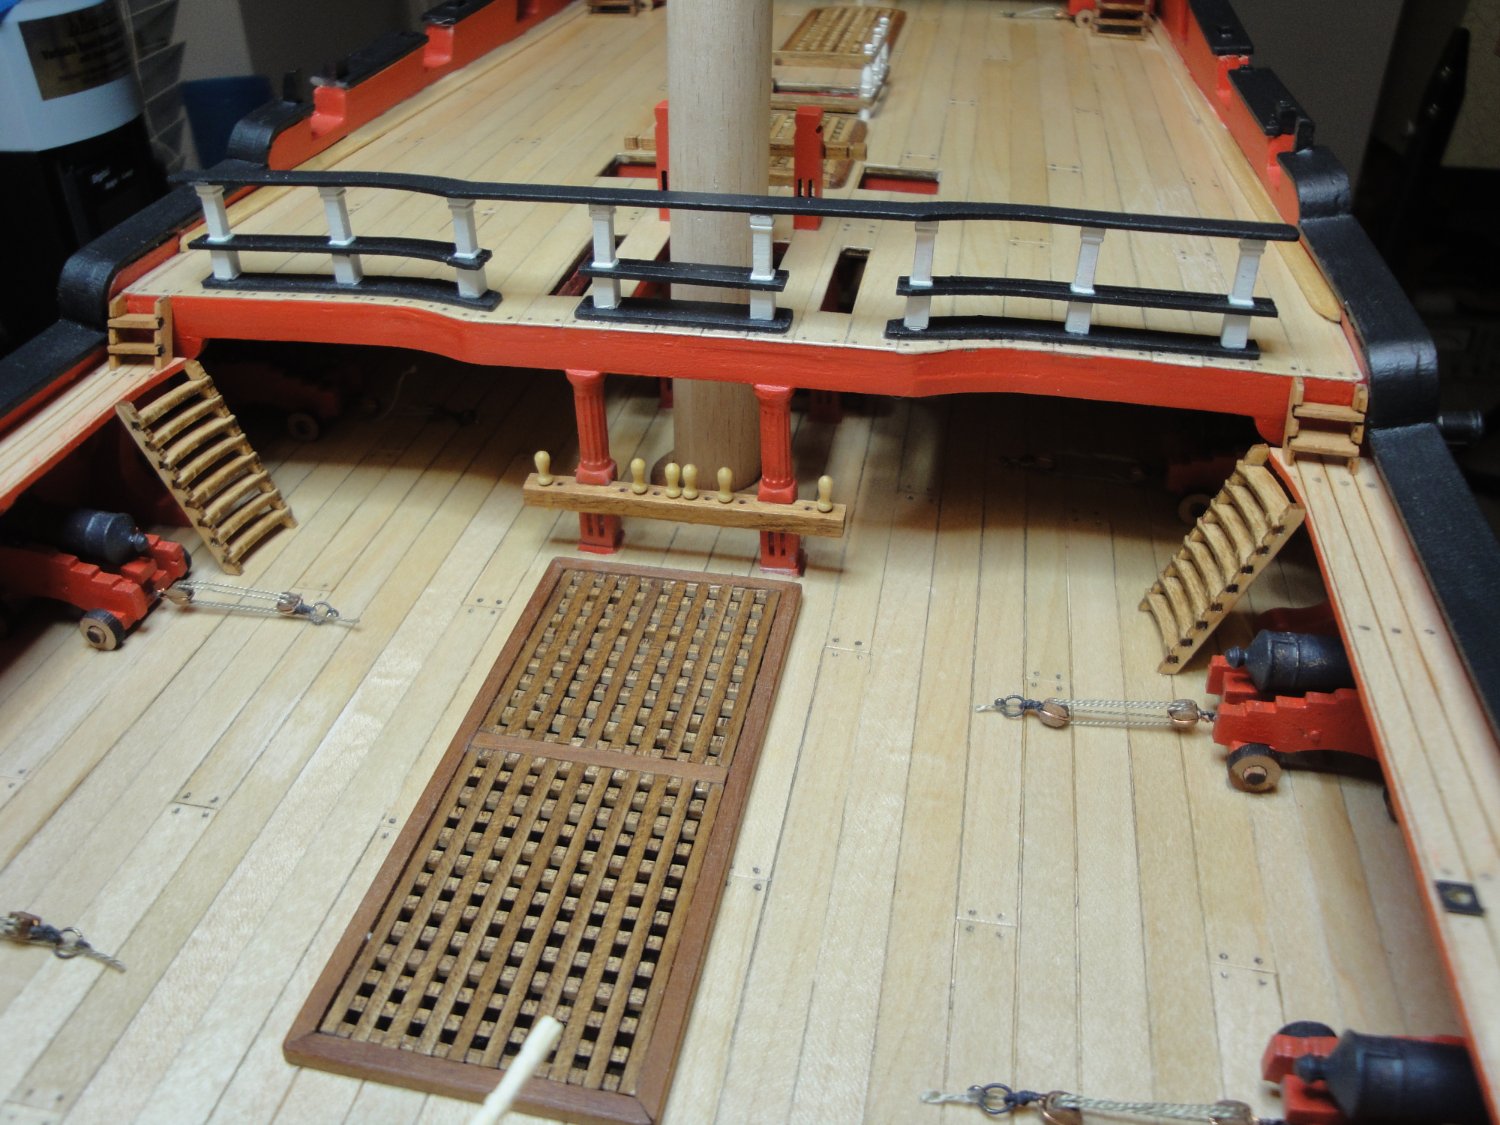
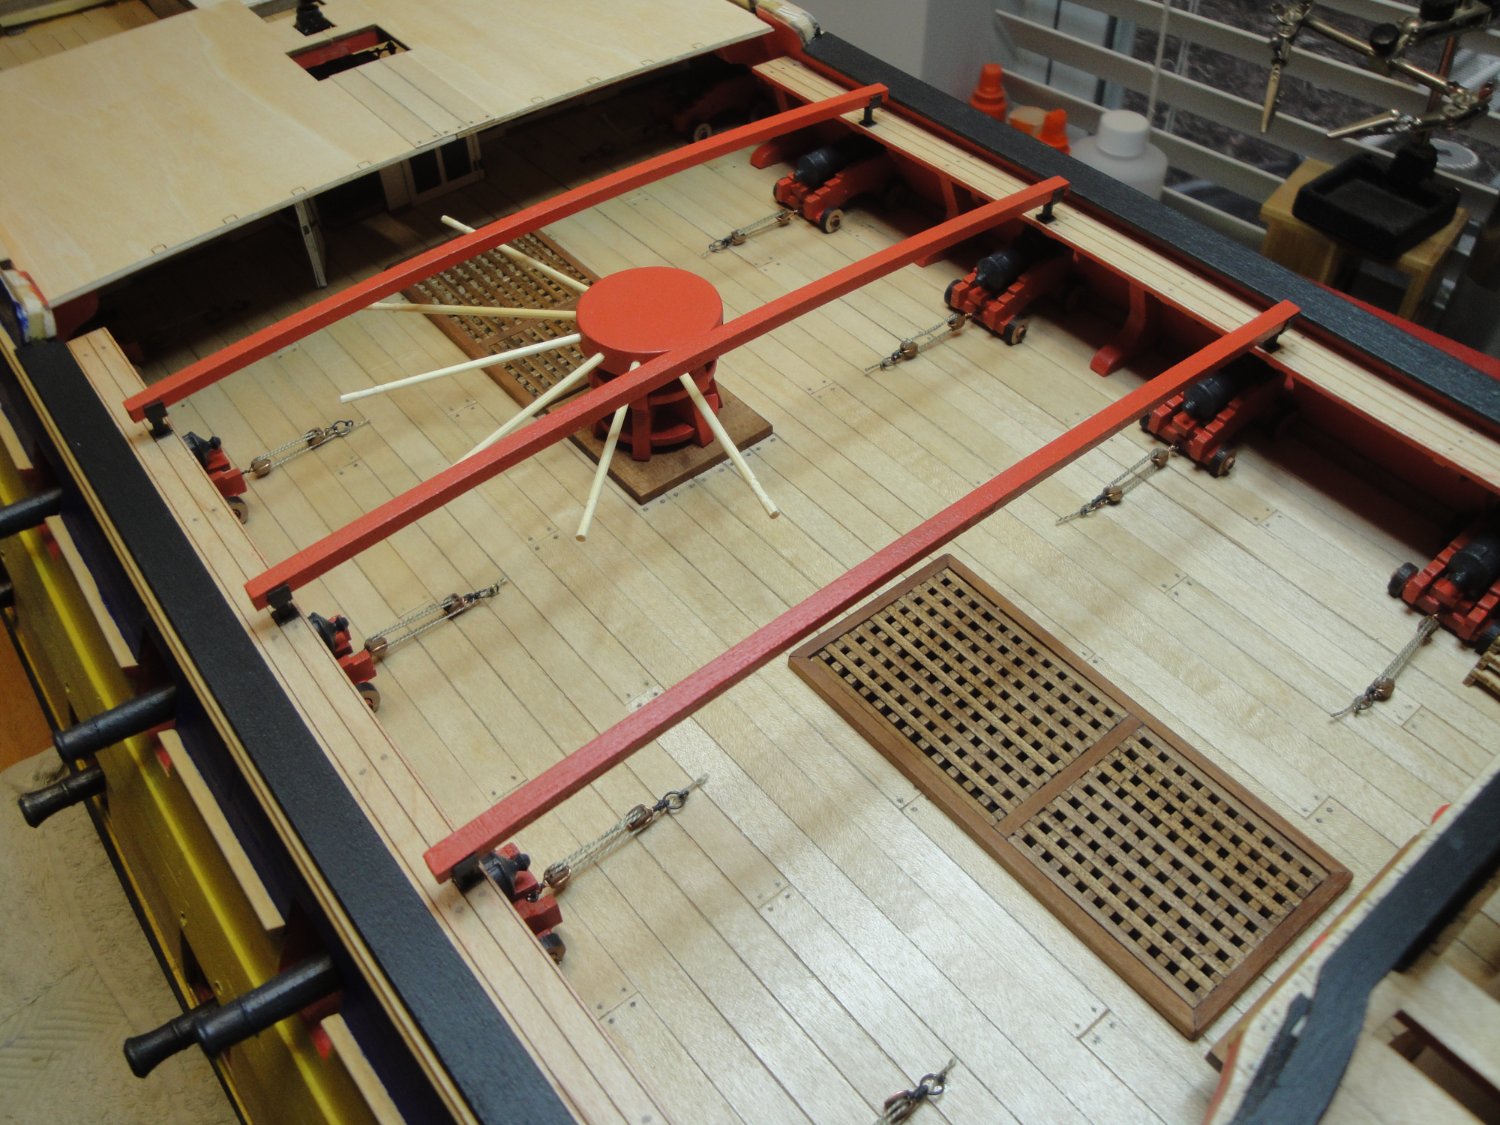
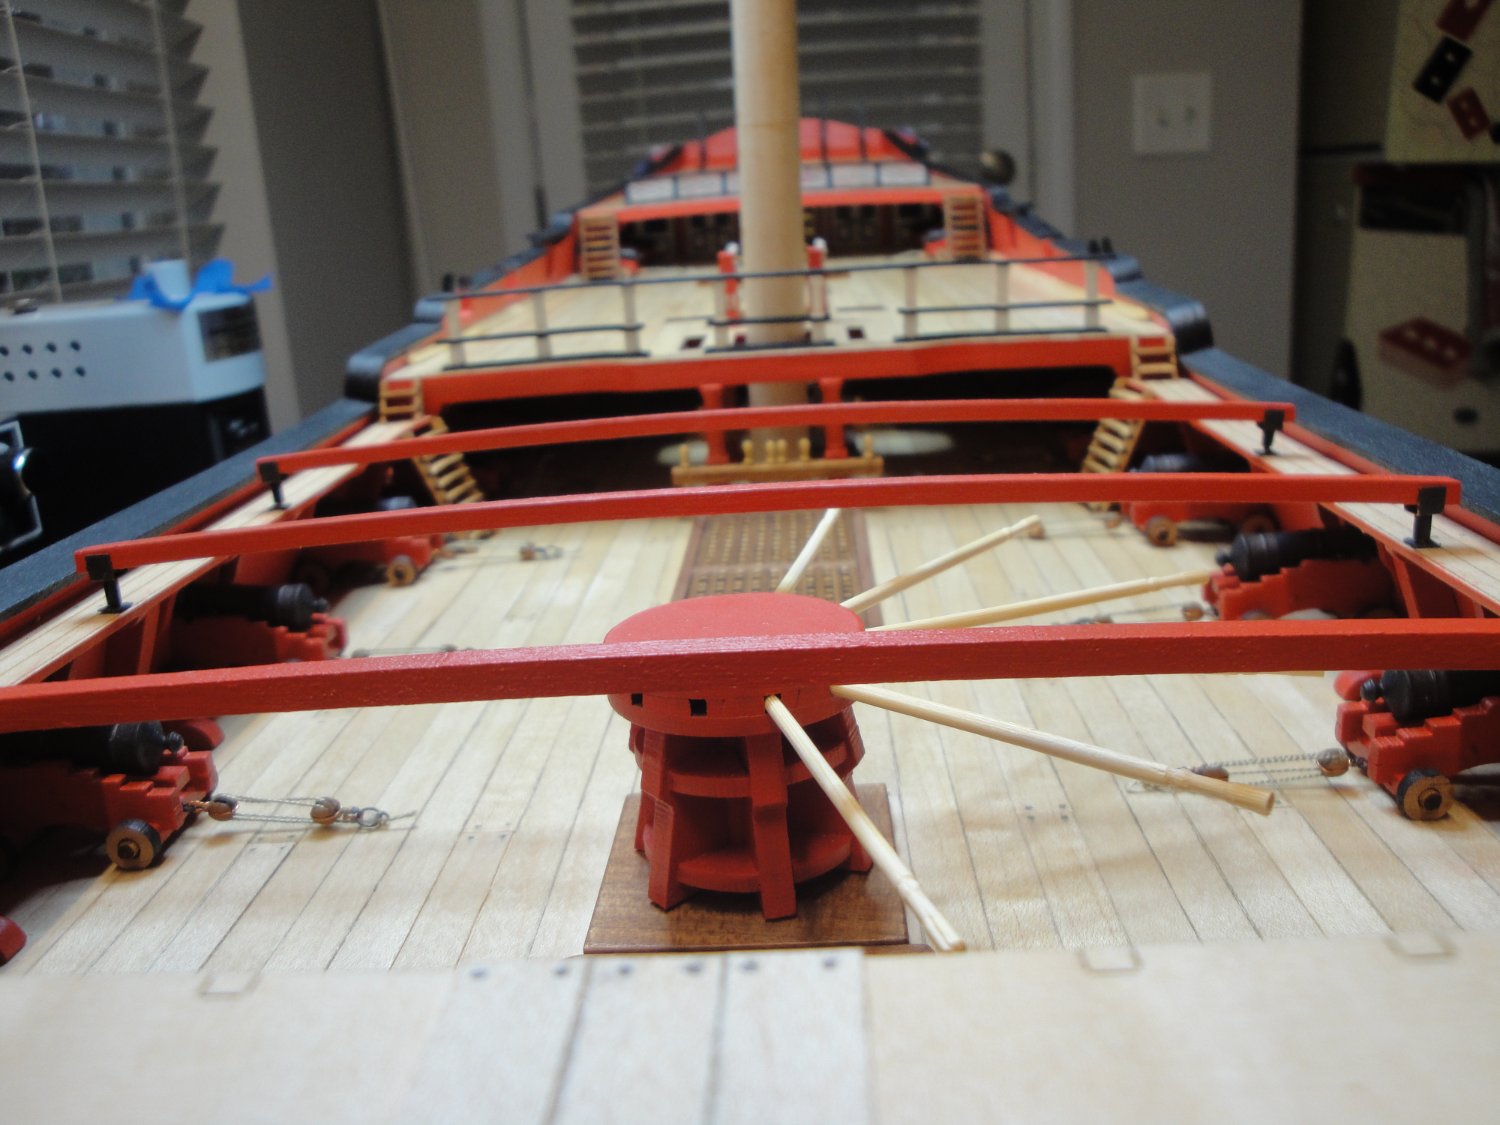
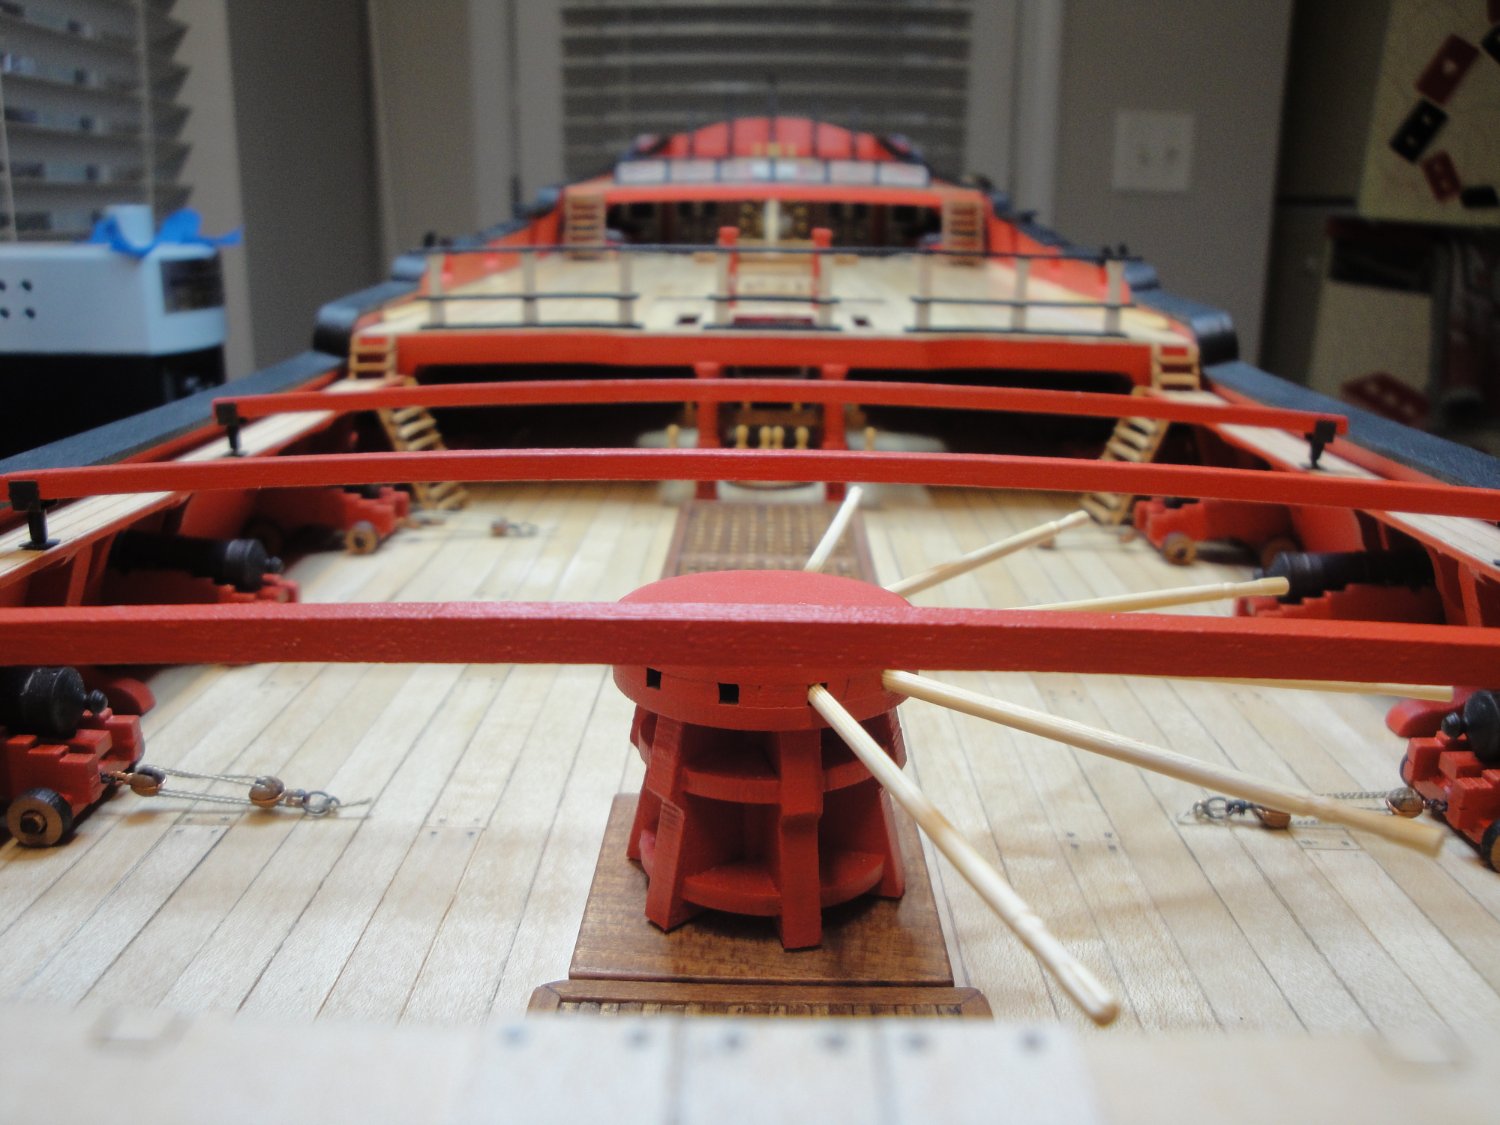
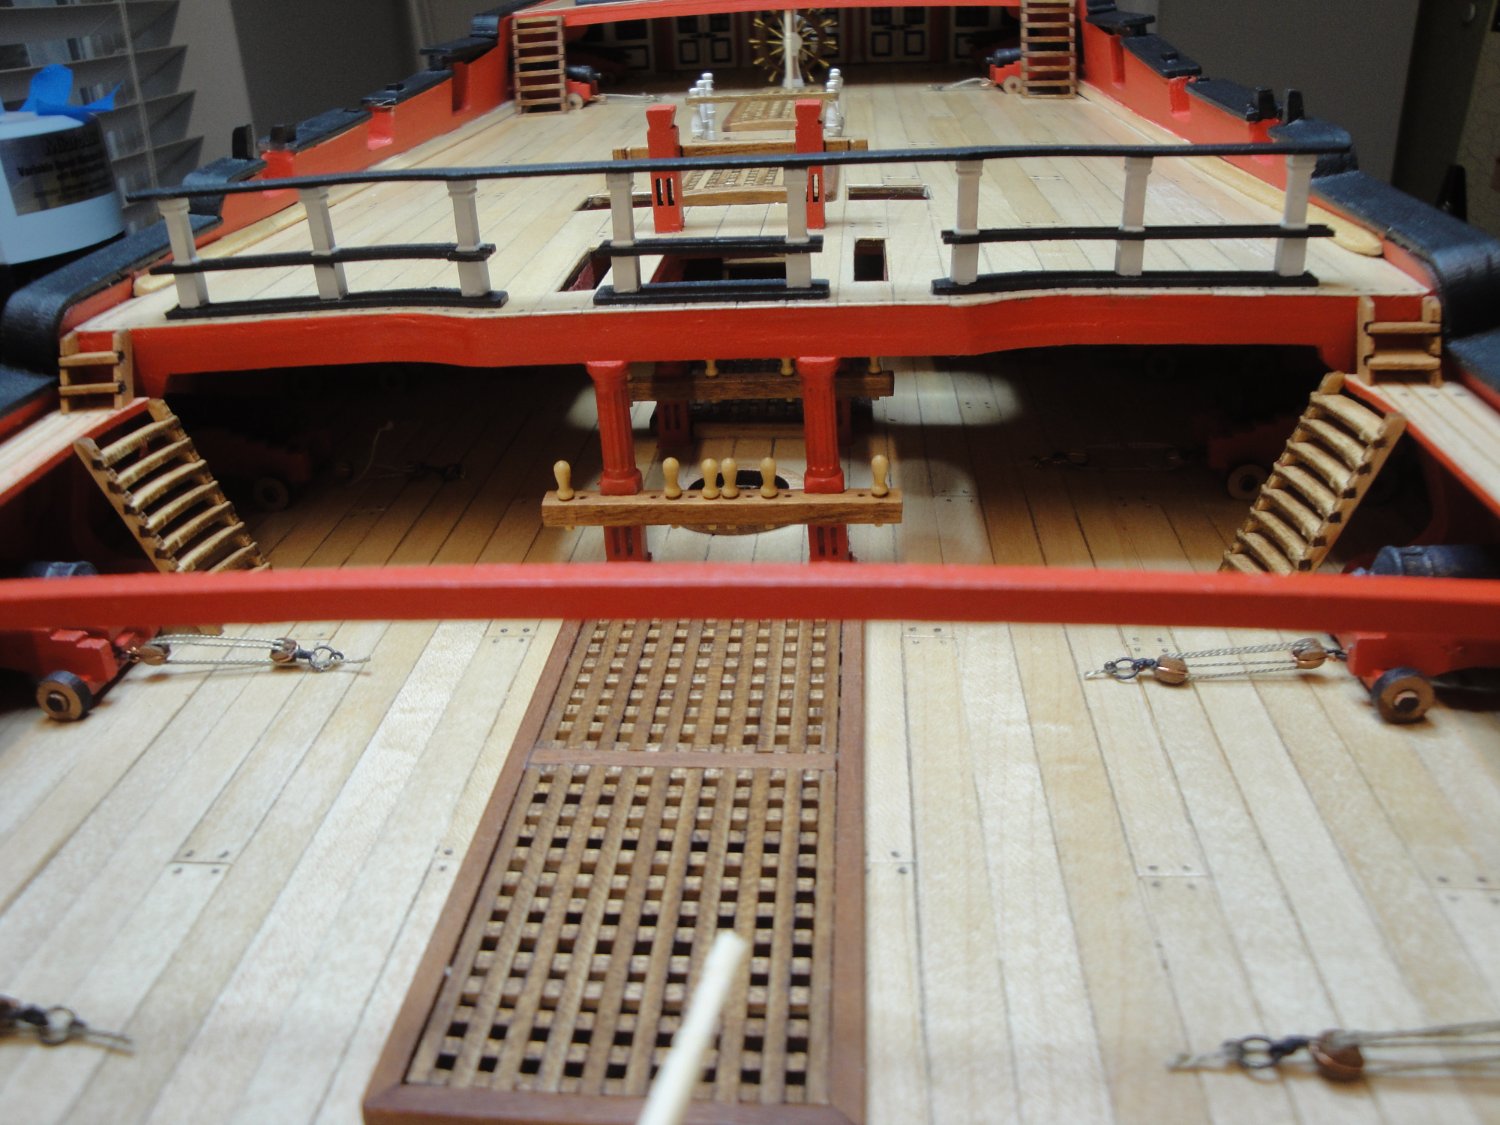
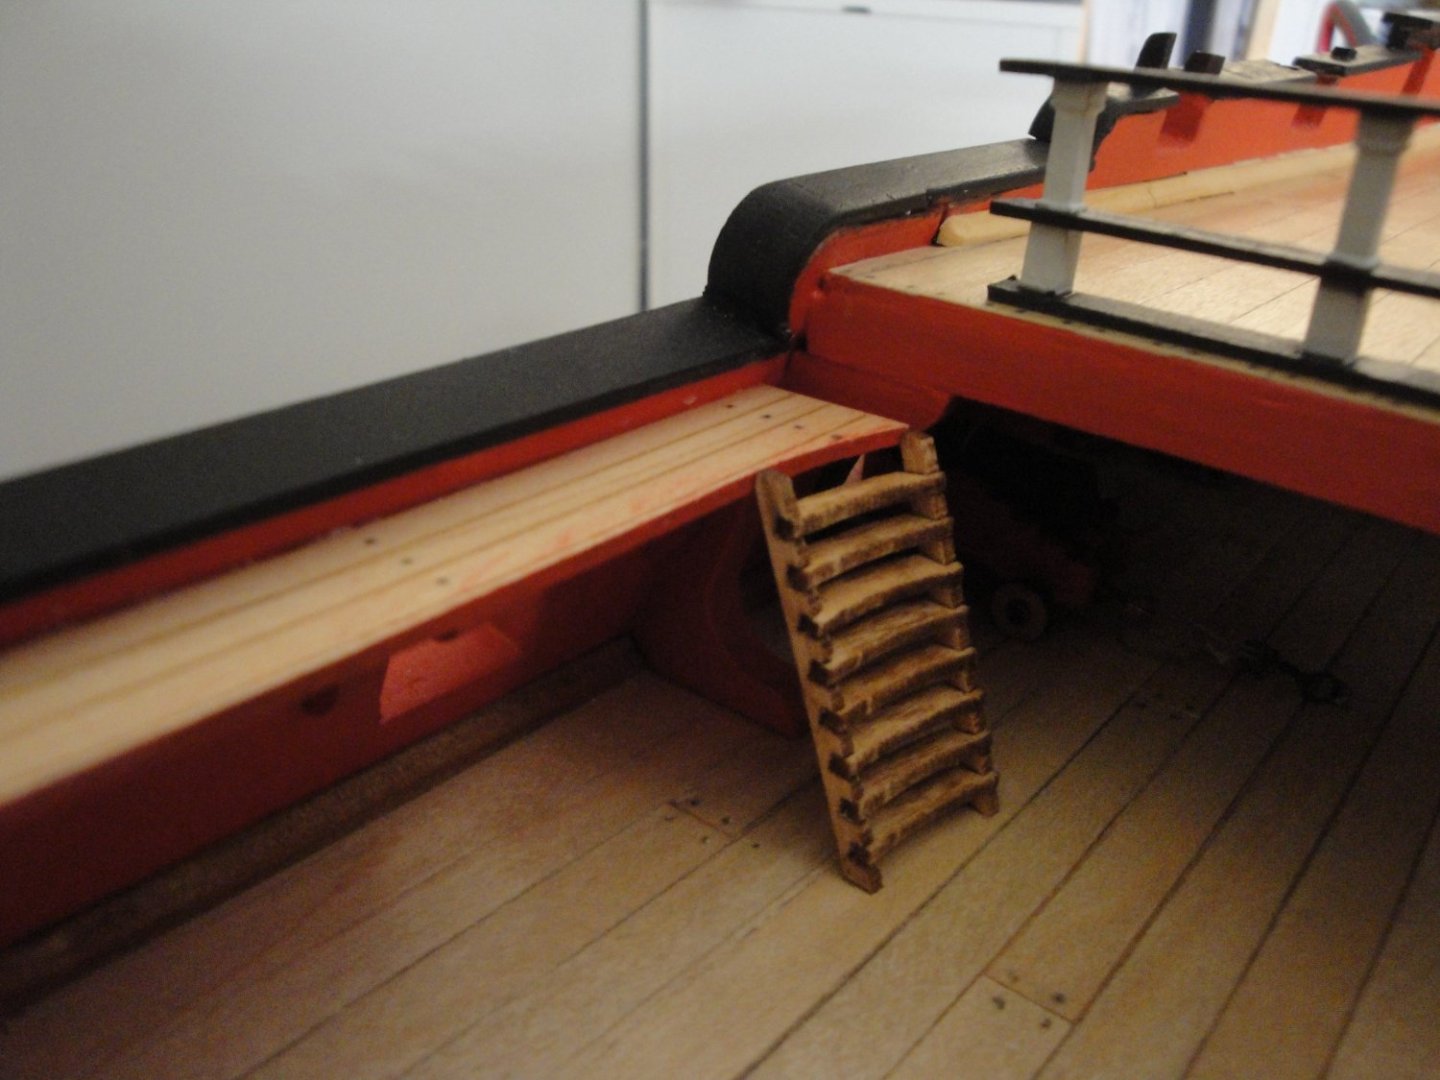
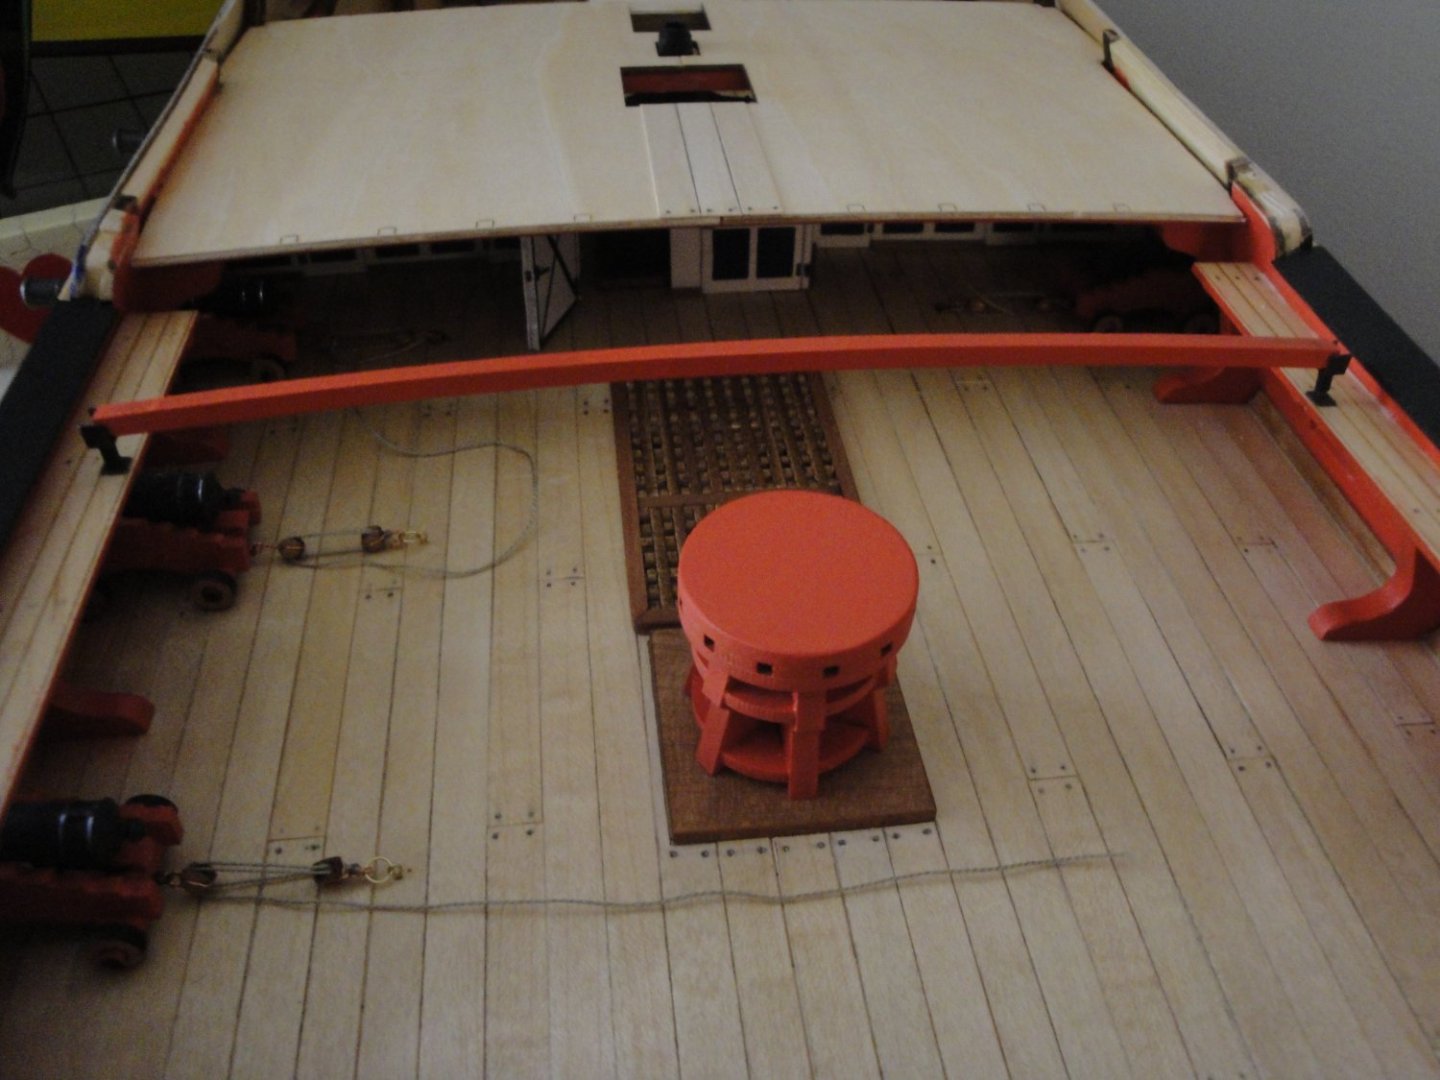
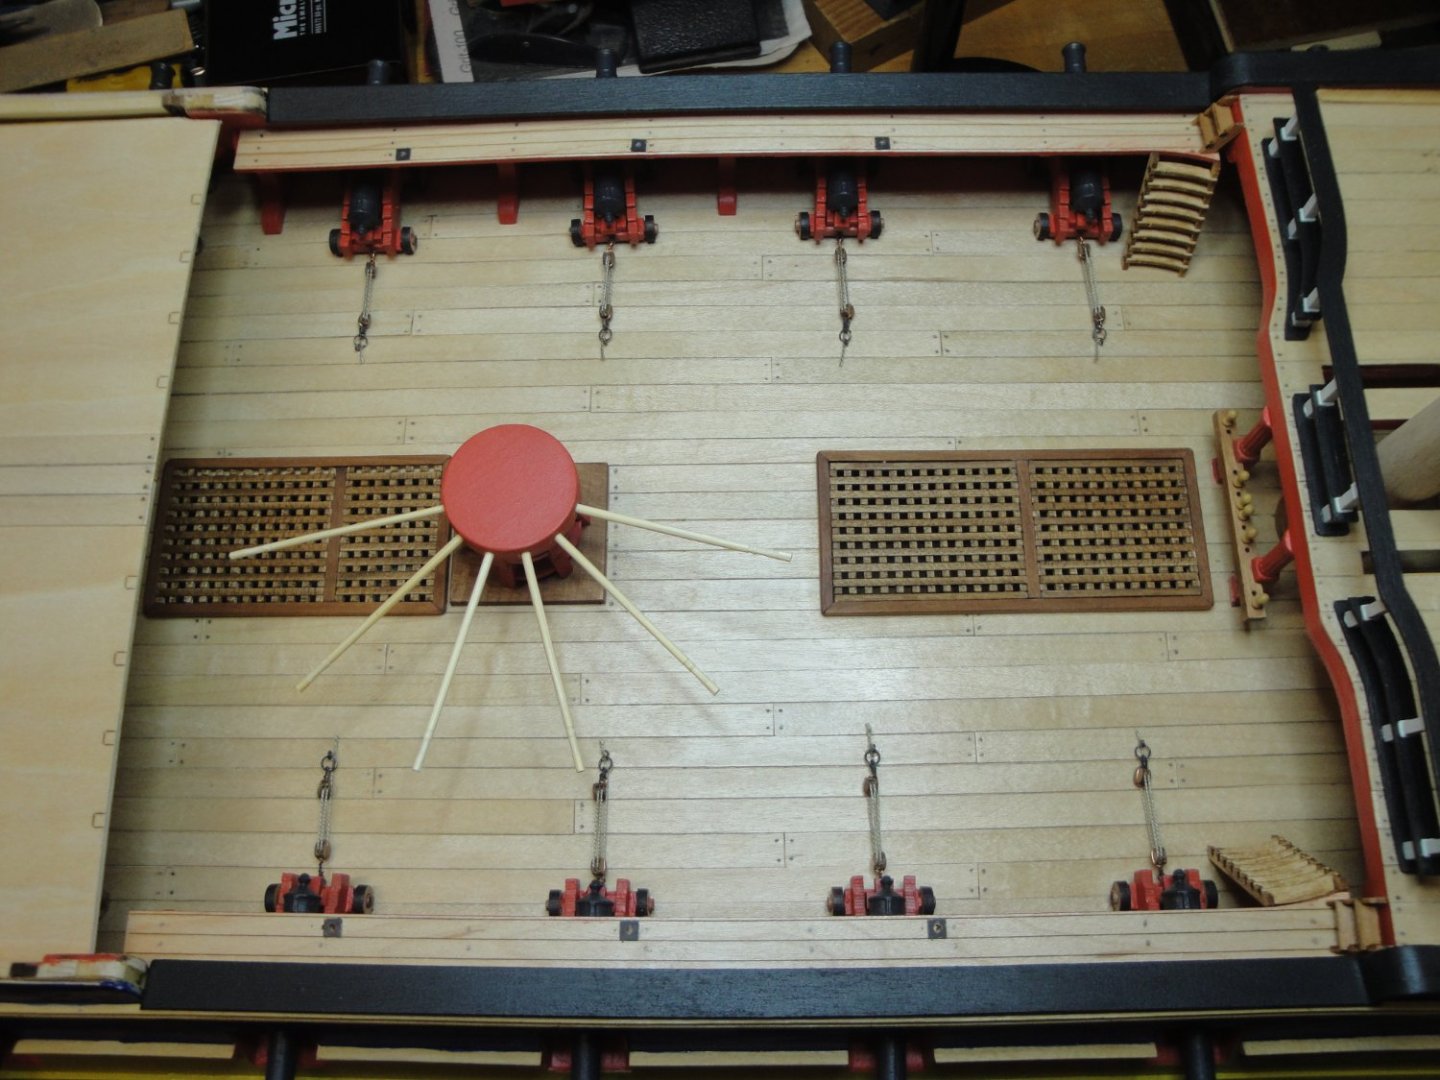
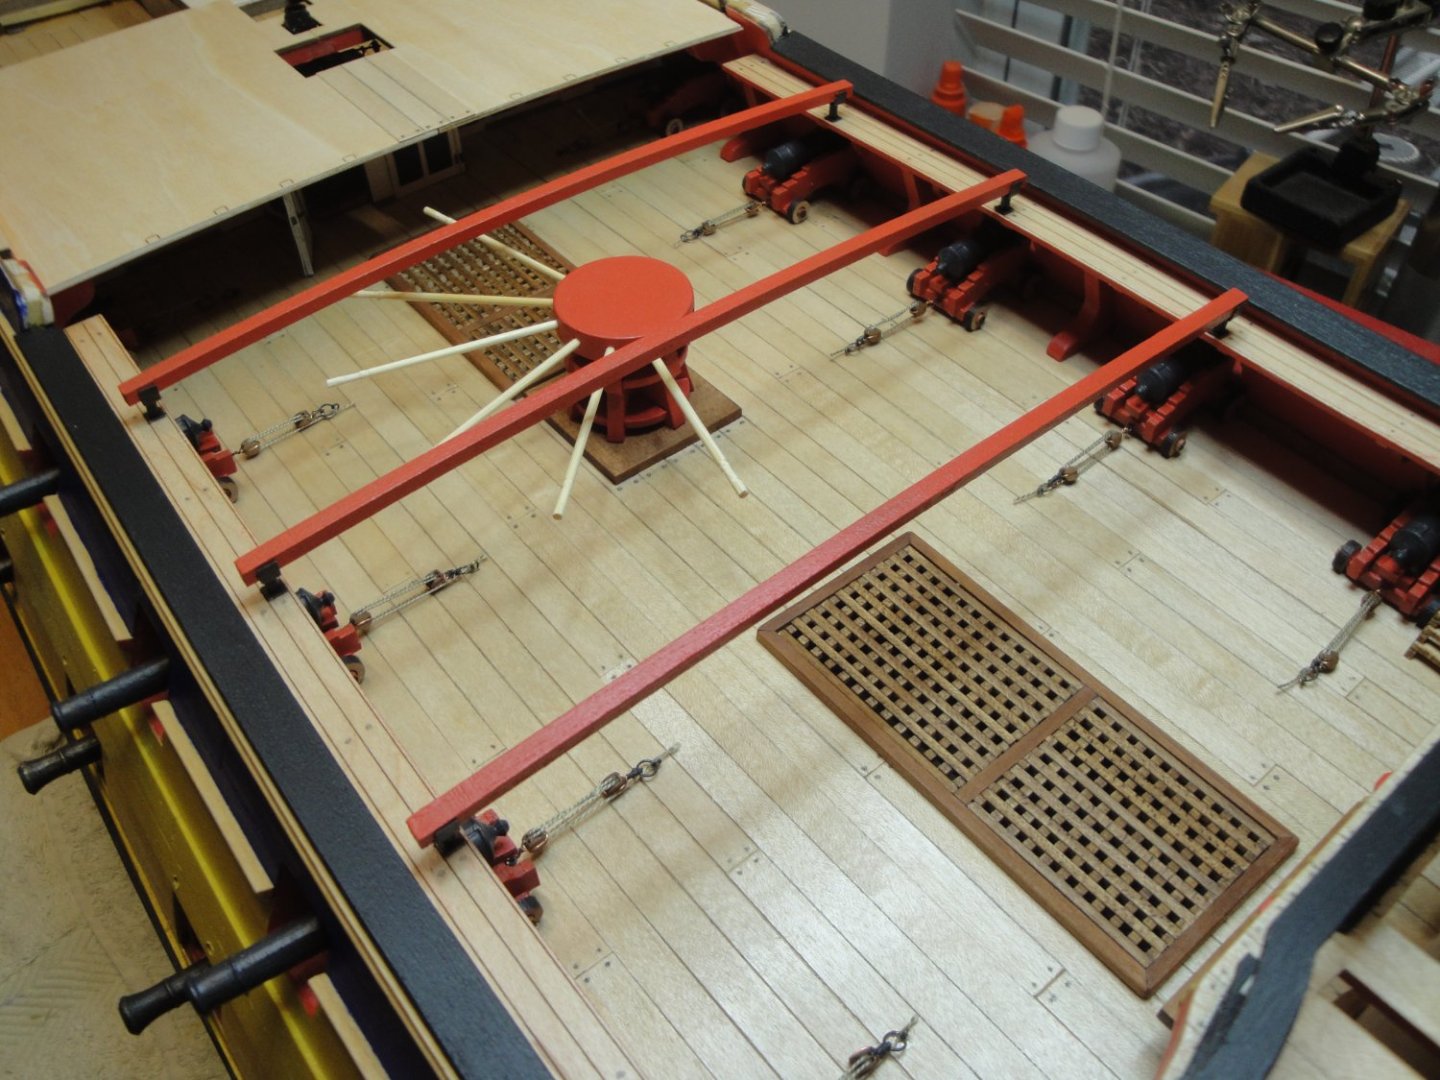
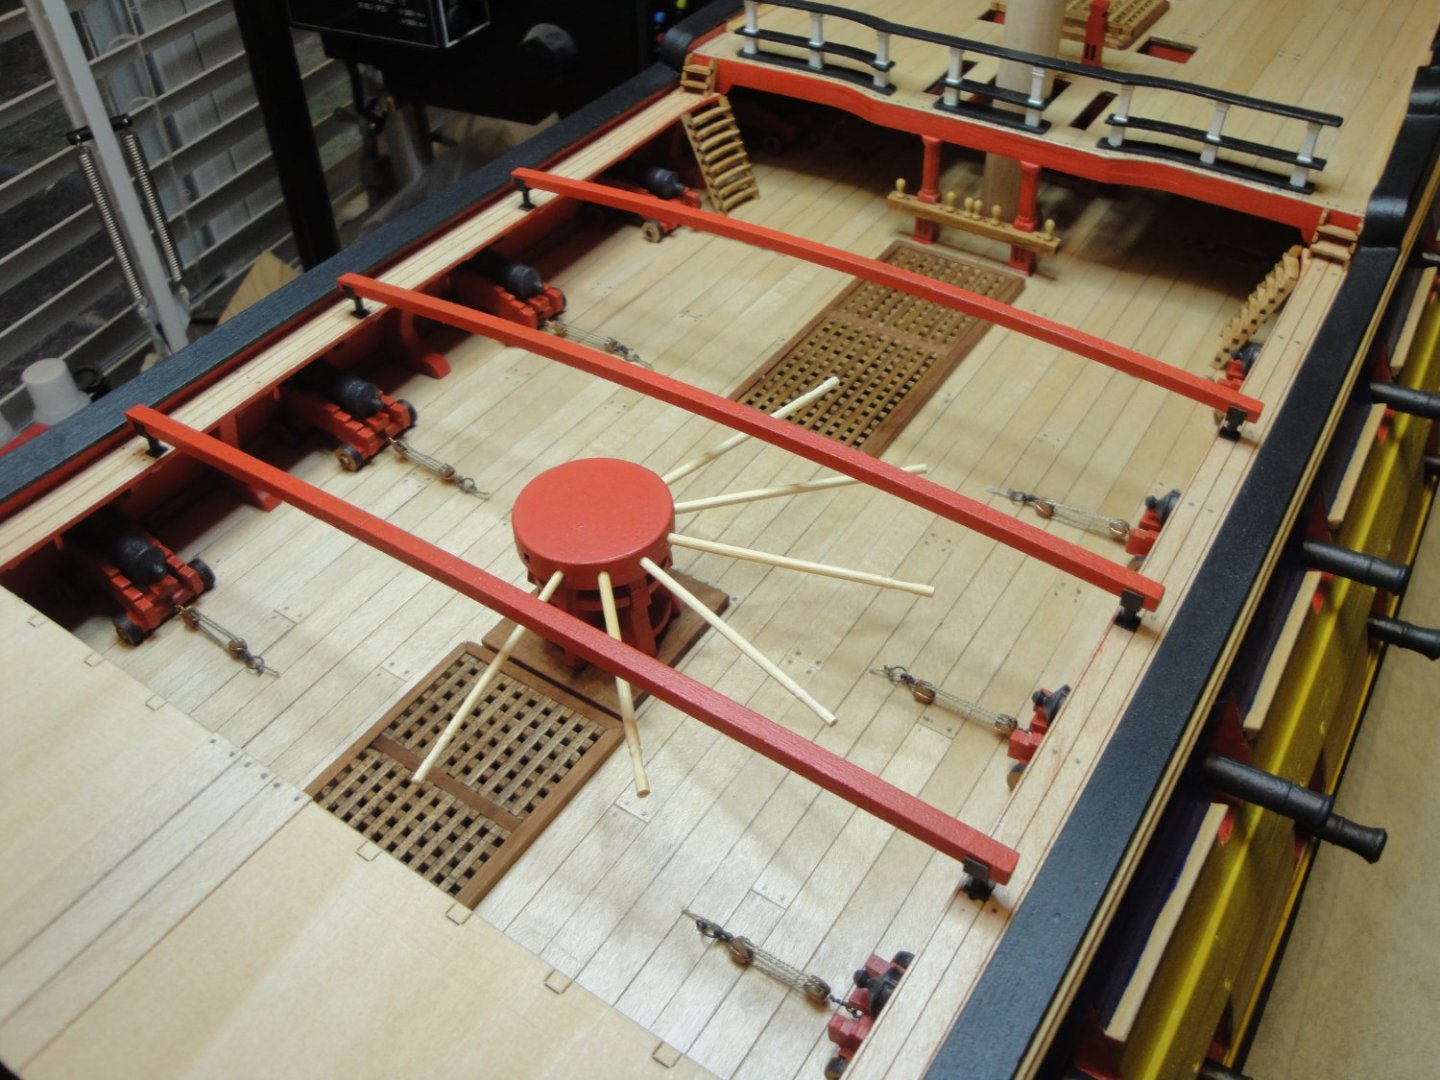
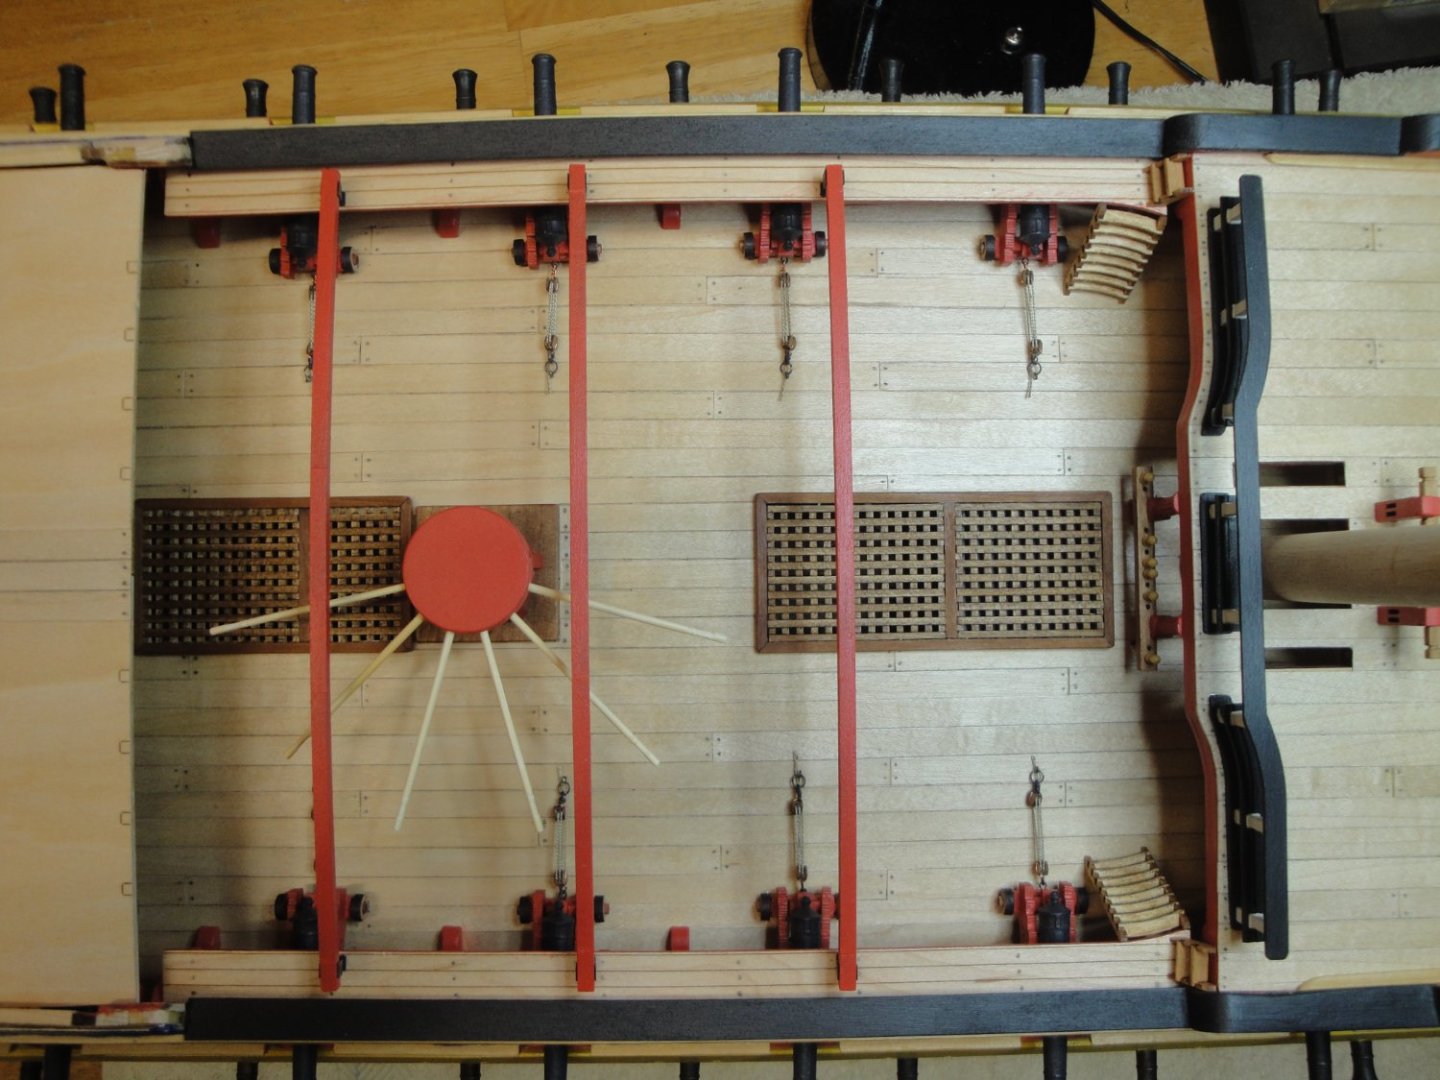
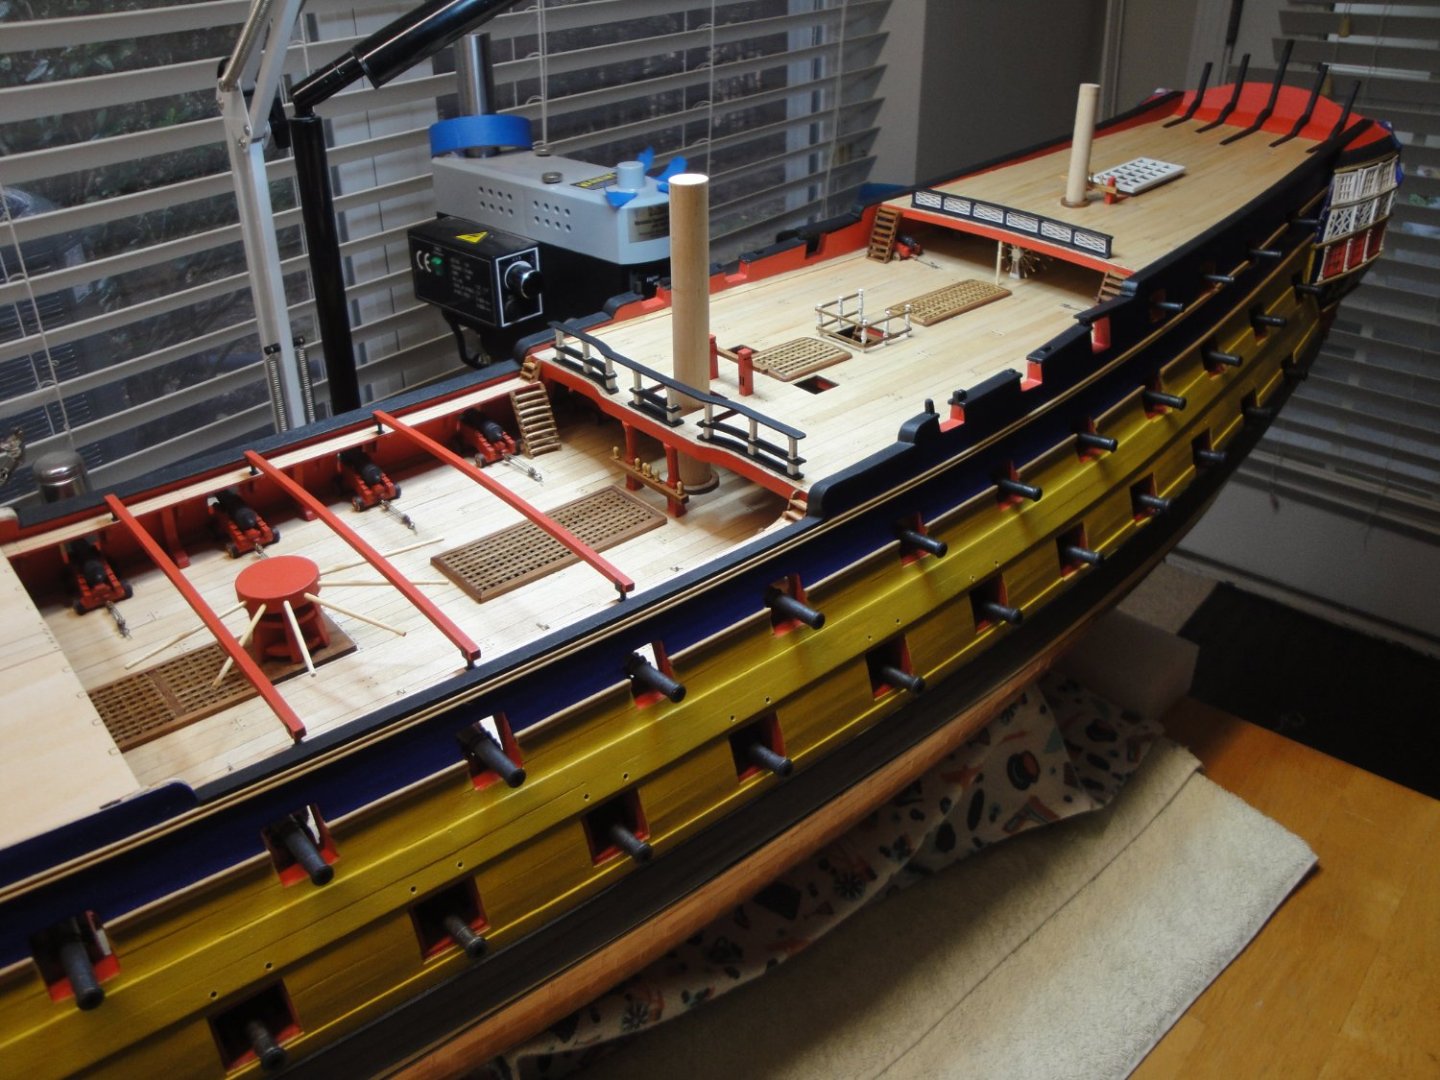
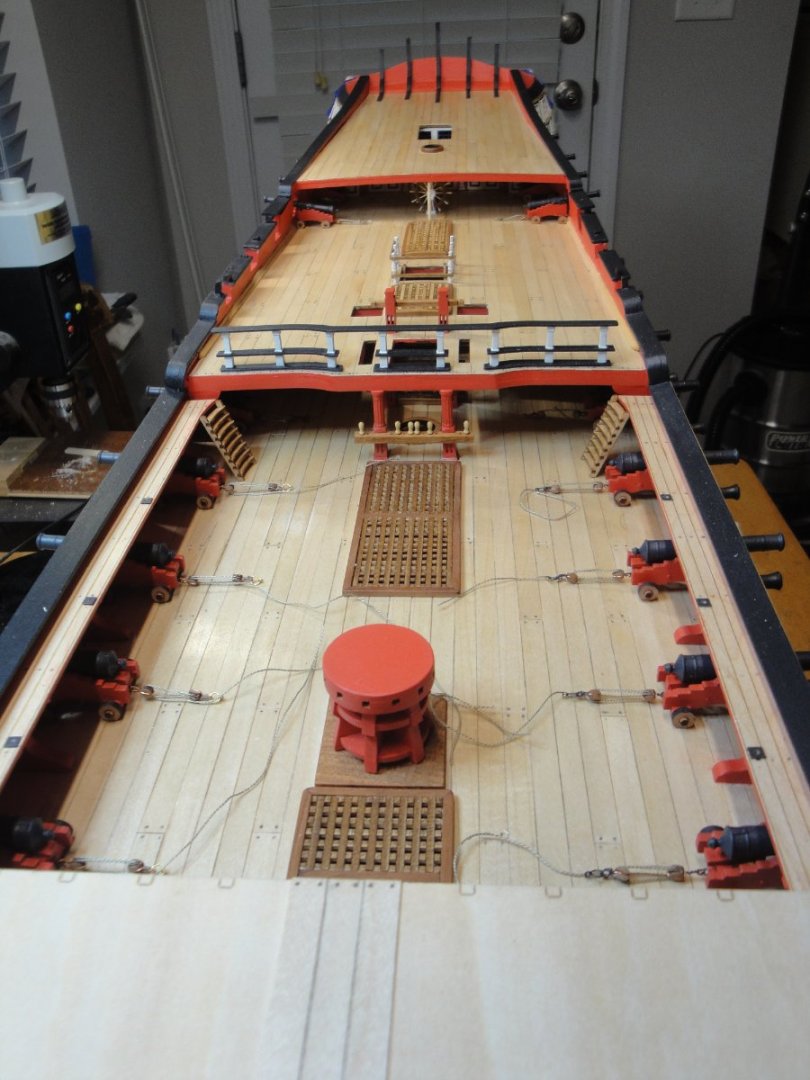
Some progress on the mid-ship section. This part took some time for completion because of two major issues: lack of ladders to go from the gangways to Quarterdeck/Forecastle and the length of the booms supporting the long boat and pinnaces. Fortunately, Tom from CAF Model was very quick to correct the problem and sent me some extra parts to remedy the situation. The assembly of the gangways is done in the following way: It is overall very delicate, but once glued to the bulwarks, it is not too bad. The first issue is illustrated below: How do you go from the gangway to the Quarterdeck (or Forecastle, for that matter)? Obviously, something is missing. Tom was kind enough to design some small ladders with 2 or 3 steps and that solves the issue: The second problem was the short length of the booms used to stow the pinnaces: About 5 mm on each side, were missing. Again, Tom designed for me six additional booms to remedy the situation: One of the kit boom was used as a beam at the front of the Poop deck. Overall, we now have a mid-section that looks decent: I have only assembled half of the main capstan, as I need room to work on the forecastle. Overall views: To complete the quarterdeck, I still need to assemble six small guns: Et voila the entire beast. Time to migrate the working crew to the boom and forecastle: I hope you are enjoying the progress of that huge model, as much as I do... :-) Yves


- 507 replies
-
- 18
-
-
-
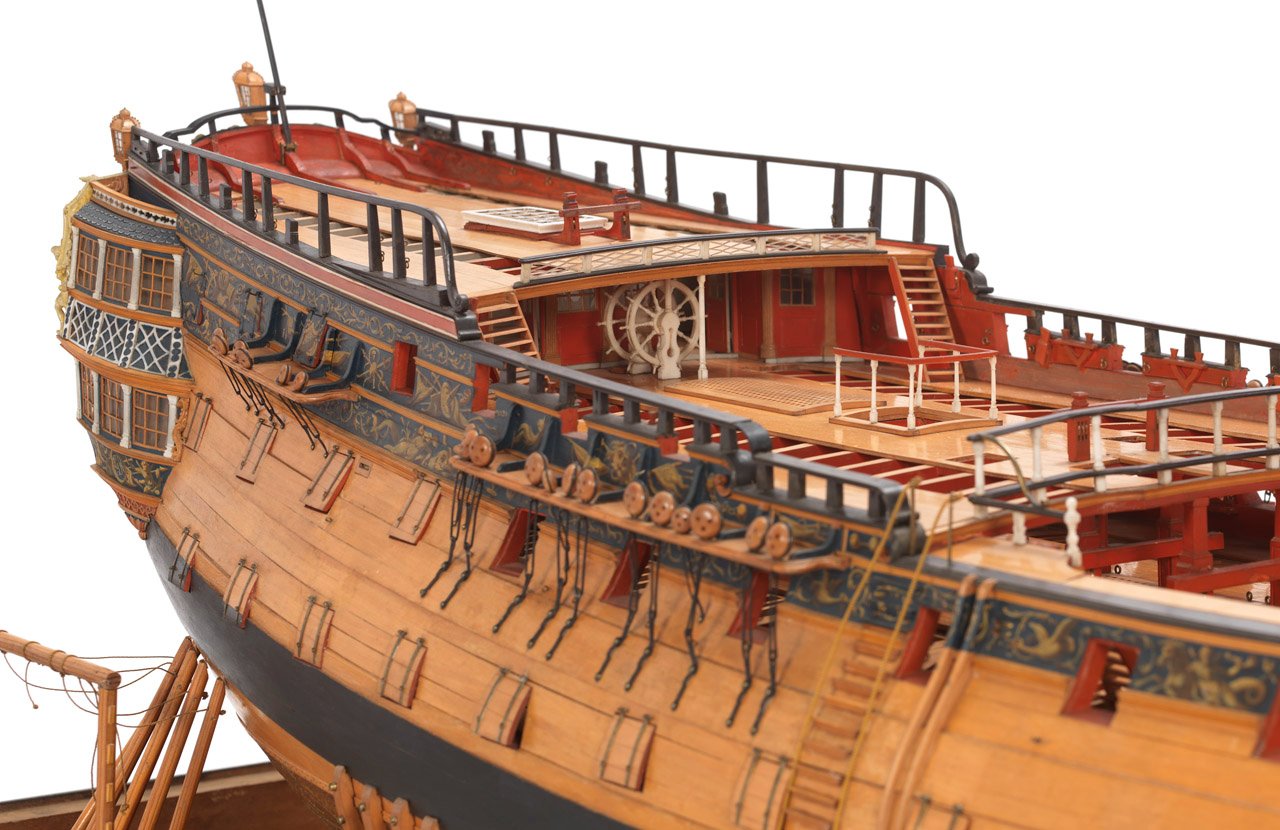
I am now working on the top of the Poop deck. But before doing that, I have to flip the hull to access in a more comfortable position the ceiling of the rear balcony. That delicate operation is done with the help of a friend. The hull is now close to 20 pounds in weight and all the protruding guns are very fragile: The Copper tape has been doing great after a few months and is gaining that reddish golden color that makes it so attractive. Most likely, this is the last time I will have to do this kind of acrobatic stunts. Of course, having the Poop deck bulwarks, full and re-unforced, allows to flip the heavy hull without any damages. After working and finishing the ceiling, the top of the Poop deck can now be completed: The kit does not provide chicken coops and other cages for animals and birds to be installed on the Poop deck. Poop deck Railing... Ladders.... These are too short from the kit. I had to modify them and add an extra step on the top. The veranda to provide light into the main cabins.... and the bitts for the mizzen mast: Overall view of the Quarterdeck and Poop deck: I think it is time to move to the middle of the ship and mostly to the bow..... Yves


- 507 replies
-
- 24
-
-
-
So, Valeriy, who is the lucky (and wealthy) recipient of your model ? I suspect you built that model as a commission. Yves
-
What a nerve wracking story !!! Maybe the primer did not react correctly with the paint you used.... Overall, you saved the day and a few blemishes make the model more realistic. Yves
- 114 replies
-
- 1
-
-
- Pride of Baltimore II
- Model Shipways
- (and 1 more)
-
Allan, I just used the first picture of Post #362 and tried to represent the beam located above the wheels. I think it is a nicer way to end the poop deck. I also went back for the past two pages and made some corrections to the vocabulary. Thank you Allan for being thorough and forcing me to look up the right terms to describe the various parts of that ship. The lack of description and technical terms in the provided instructions does not help to learn all these new terms. Yves
-
Allan, you are correct: Dinghies was an extremely poor choice of vocabulary. I should have said Long Boat, Pinnaces and Cutters. Thank you for the correction. Yves
-
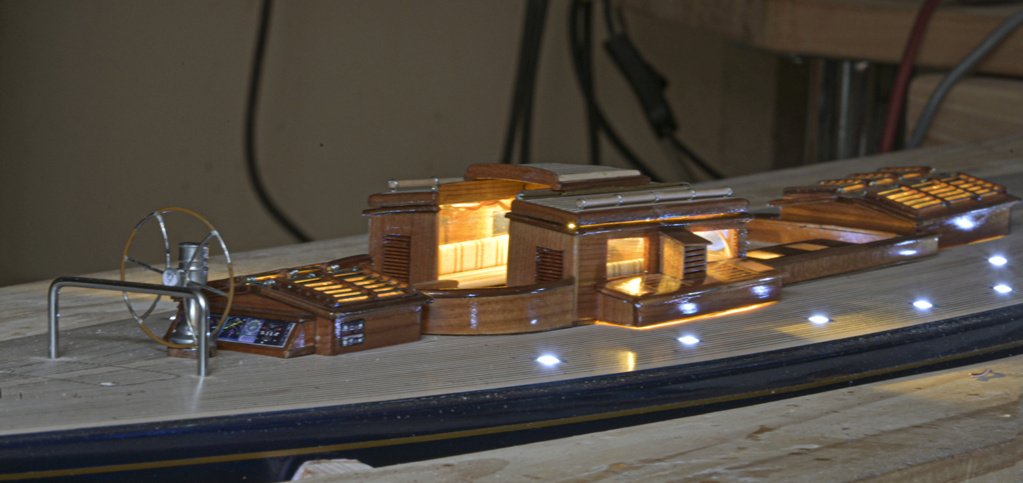
You could have used small 3 mm or 2 mm White LED. It is probably too late to wire the inside of the hull and I am not exactly sure what these prisms are for: Light tunnels to bring sunlight in the lower decks or Display light when the vessel is in a port. A French modeler used that technique on his superb 1/32 Amati Endeavor Class-J: Yves
-
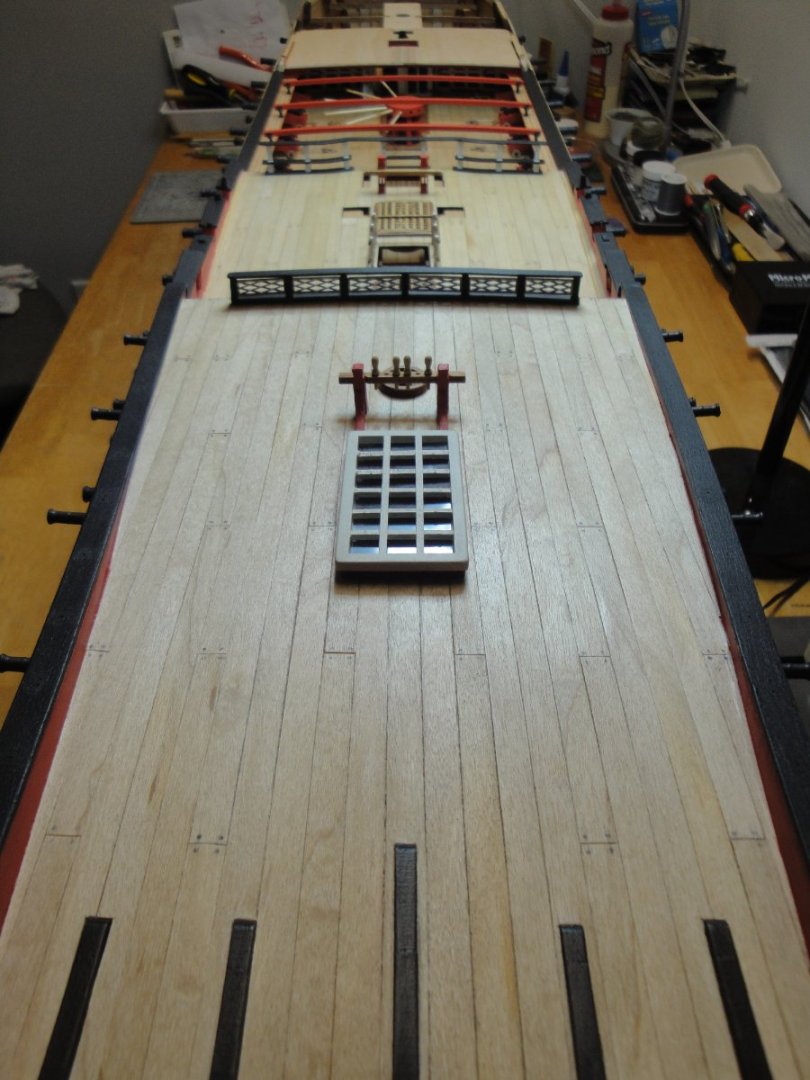
The planking of the poop deck is finished. A few more coats of Wipe-On-Poly and it will be perfect (at least in my eyes): Various pictures showing the implementation: Finished: Merry Christmas to all members of MSW !!! Yves


- 507 replies
-
- 16
-
-
-
With such jig, you are ready for mass production 🙂 Great work, it looks sharp and neat. Yves
- 57 replies
-
- 2
-
-
- marisstella
- batelina
- (and 1 more)