


Craigie65
-
Posts
410 -
Joined
-
Last visited
Content Type
Profiles
Forums
Gallery
Events
Posts posted by Craigie65
-
-
-
6 hours ago, Gregory said:
helpful
Gregory,
You are absolutely right for a cutter, but I think Speedy and Flirt are square rigged?
- AJohnson, jpalmer1970 and Gregory
-
 3
3
-
The rigging does look daunting when it is complete. But building it up line by line, mast by mast it becomes relatively straight forward. Vanguard instructions will keep you right.
If you don’t have it Lennarth Petersson’s Rigging Period Ship Models is a good investment. Whilst there is no text the drawings are very clear and are a good supplement to kit drawings.
- AJohnson and jpalmer1970
-
2
-
That lathe is a godsend!
not sure I would have taken the fixtures off, may prove tricky to get back in.
looking forward to seeing the Grecian taking shape. This and the new cutter are soooooo tempting, but I will never get them past the Admiral!
- jpalmer1970 and AJohnson
-
2
-
-
-
-
Wonderful how you turn out these new vessels. You are a machine Mr W!
Very interesting design. Looking forward to seeing this one being developed
- AJohnson, chris watton, mtaylor and 1 other
-
4
-
-
-
-
Glomar,
sorry when you said you were having problems with tying knots I assumed you meant the block.
Do you mean how the line runs?
The rigging in the bottom left starts with the line being seized to the becket (you can just about see the small loop in the plan) at the bottom of the block tied to the boom. It is then led down and through the lower block, back up the and through the top block, back down to the bottom block and then through the top block. The line is led to belaying point 2 which is the rail at the back of the ship. The first plan you posted shows the belaying point. You will find it helpful to dip the running end of the rigging thread in CA to create a needle - it make it easier to pass through the blocks. Also watch for the blocks twisting - the ropes should be parallel. If they twist it usually means you have threaded the line through the block back to front!
The one attached to the mast runs from the bottom eyelet, then follow the arrows down through the first block on the boom and back up to the lower block on the mast and so on until you lead the end to belaying point 4, at the foot of the mast.
Does that help?
-
-
But I would know it’s there😉
- Obormotov, mtaylor, chris watton and 1 other
-
4
-
Great progress.
I was thinking of of adding stanchions around that orlop companionway. Looking at your gundeck there would be almost nothing to see. I guess Chris had already thought of that!
-
That’s a great spot from a quick snap!
I had real trouble with the stanchions - I did not have a mini plane and found it difficult to get a decent octagon just by filing. I always meant to go back and finish the other side. Then Pegasus sailed in and I moved on. I did add the swivels to her and the stanchions were a breeze with a veritas mini plane. I still have the swivel guns, maybe one day!
- AJohnson and HardeeHarHar
-
2
-
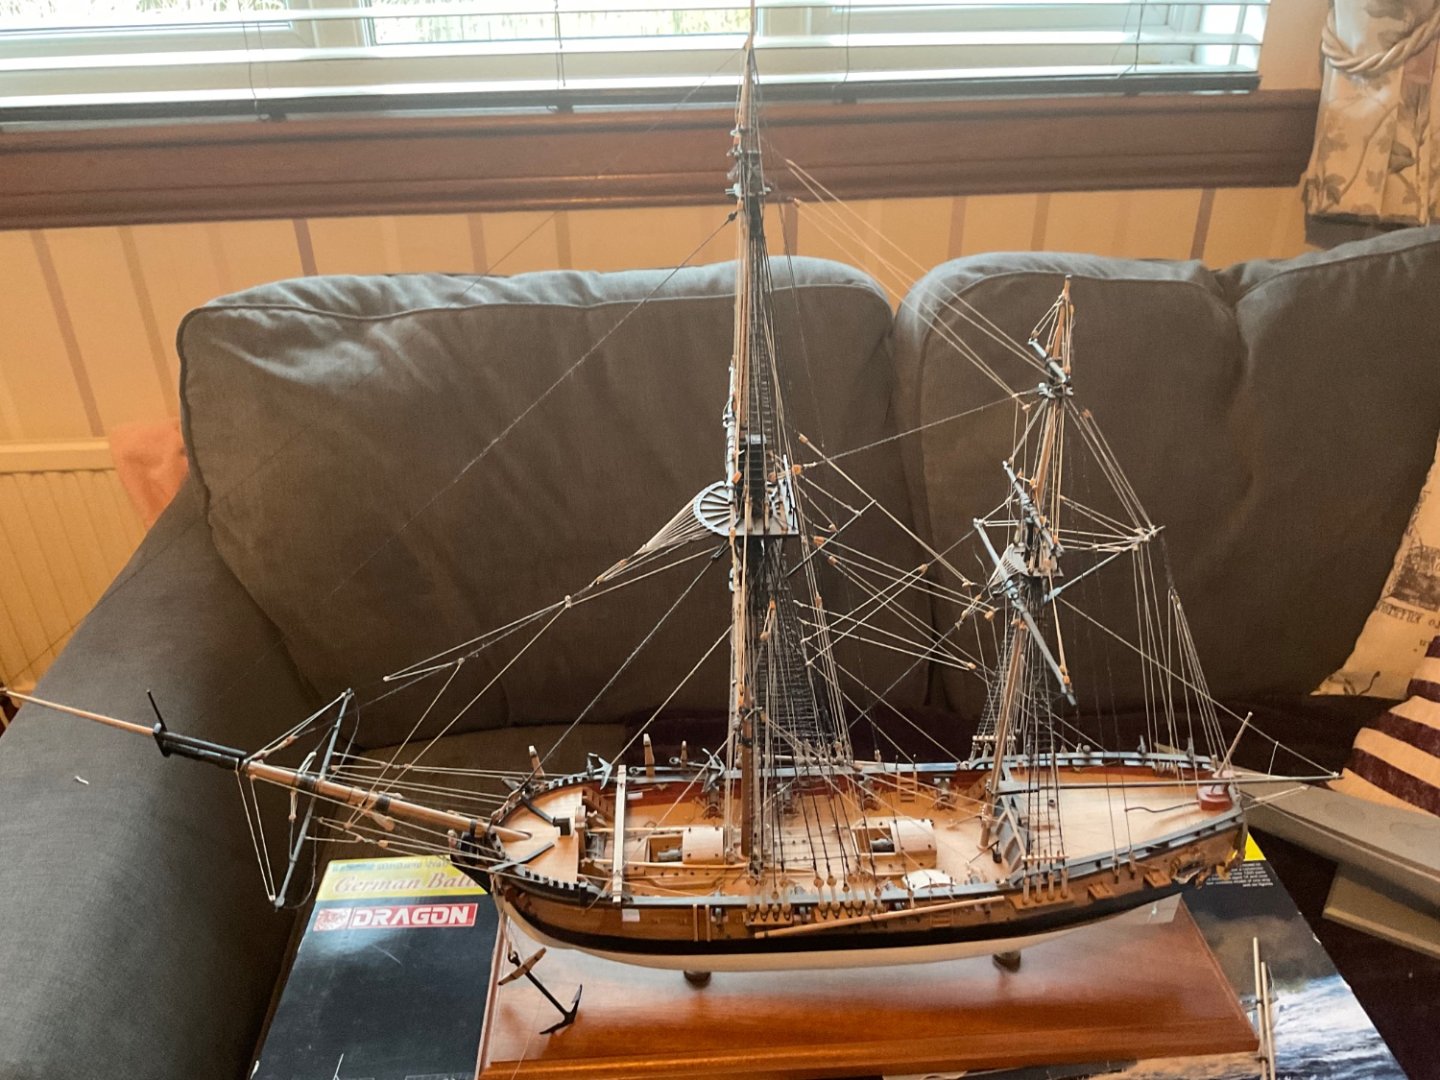
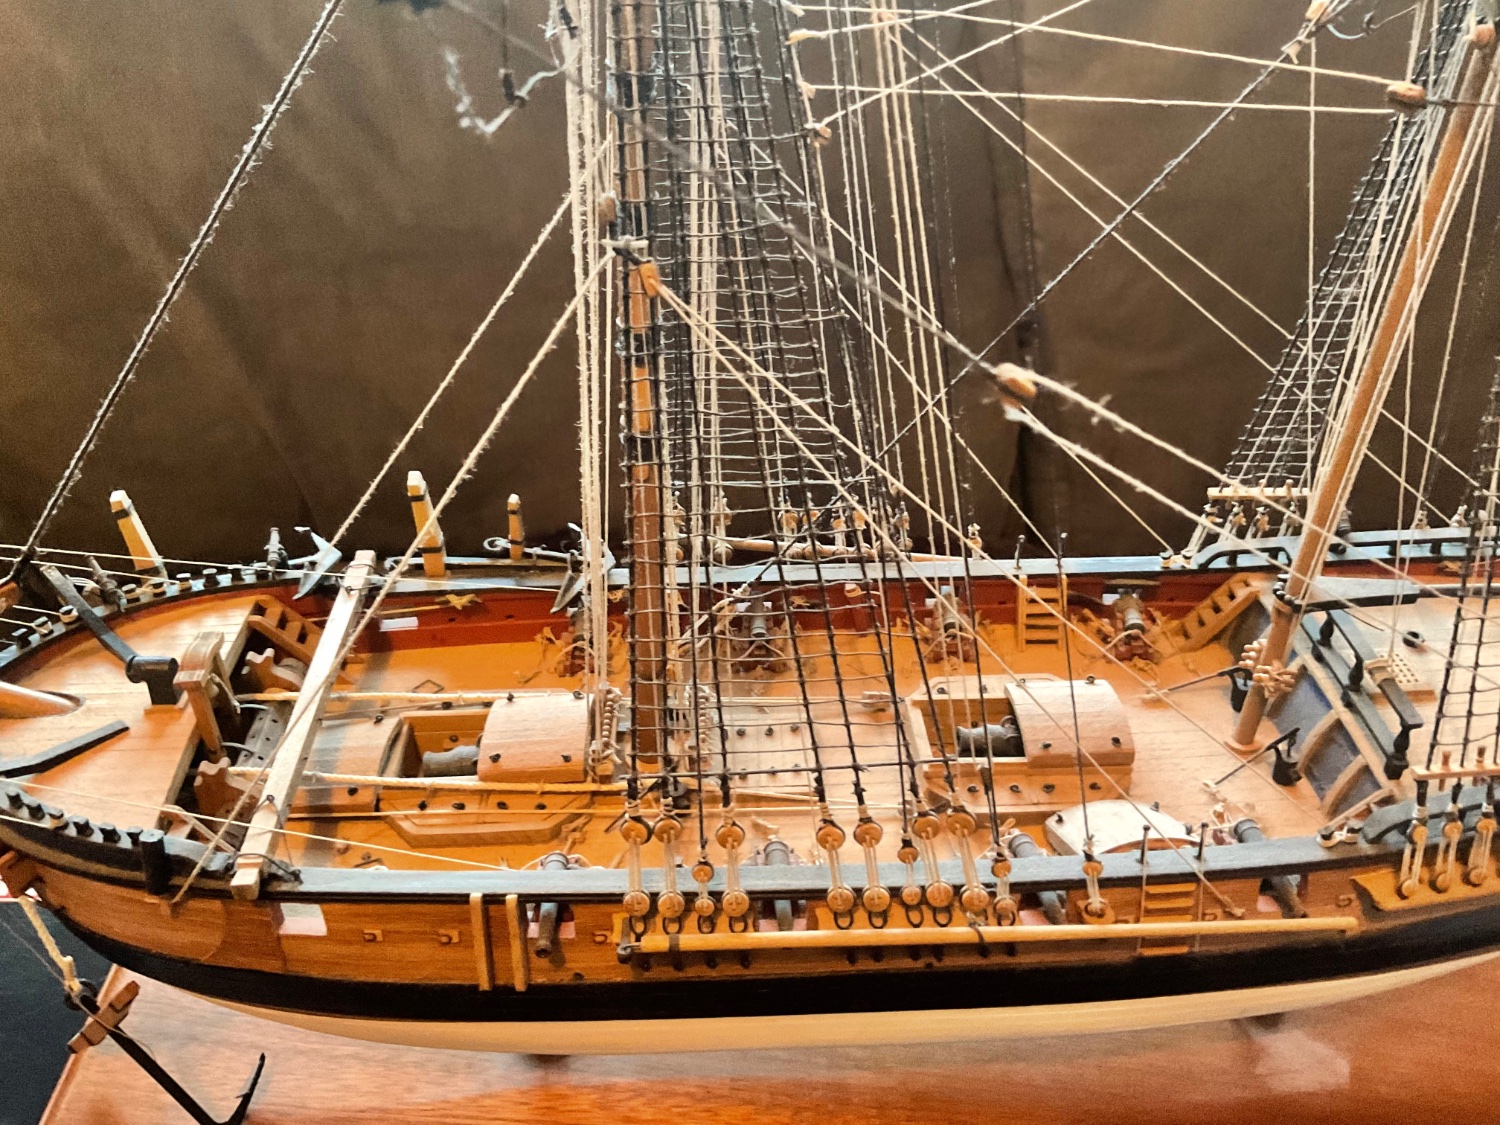
A bit dusty and in need of a wee bit of maintenance

- Peanut6, GrandpaPhil, Knocklouder and 5 others
-
7
-
 1
1
-
-
-
Meh, not bad 😂
Seriously, really well done.
As I said before this is the gold standard for building this kit. A master class.
You really have made it your own, Andrew!
- Ryland Craze, AJohnson and king derelict
-
2
-
 1
1
-
-
A lovely ship to build.
If you have not done so already I would read @Blue Ensign build log. It is a masterclass in building this kit. I know I shamelessly copied some of his ideas.
-
-
Those are lovely boats, Dan. The colours work well together. You should be very proud of your fleet and your skills.
I think you would enjoy the challenge of one of Vanguard’s smaller warships - HMS Alert looks a sweet little model. With the instructions online you can always look to see how involved the build would be.

HM Cutter Alert by DB789 - FINISHED - Vanguard Models - 1:64
in - Kit build logs for subjects built from 1751 - 1800
Posted
Excellent work.
Nice touch with the ensign.