popeye the sailor
-
Posts
16,007 -
Joined
-
Last visited
Content Type
Profiles
Forums
Gallery
Events
Everything posted by popeye the sailor
-
 well....we did get a small glimmer of the pin rails John.......they blend well with the deck layout. really sweet progress, the rudder and tiller looks great! Merry Christmas.......hoping you and the admiral have a wonderful holiday season
- 745 replies
-
- 3
-

-
- francis pritt
- mission ship
- (and 1 more)
-
I get a lot of that clear cello included in kits.........but I've also hoarded clear cello packaging that some products are packaged in. it comes in different thicknesses........mostly flat, but if your looking for a particular shape, you might find it easily as well. some of it doesn't cloud when using CA or acetone based adhesives...best to do a test before hand though. wonderful progress Michael........I hope Judy is home for the Holidays. glad to hear she is feeling better Merry Christmas, my friend....the best for you two this season!
-
very nice looking hull Mark.........like Michael said, if you used another type of wood, you wouldn't have gotten such a sweet finish. you've achieved so much here........tell that inner critic to take a hike!
-
super nice work on the interior..........ever do the bridge on the Enterprise? {Star trek}. very well thought out........love it!
- 434 replies
-
- 4
-
-
- pelikaan
- beamtrawler
- (and 2 more)
-
nice progress on the engine Ben. really good detail work
-
sweet looking build J..........are you going to put either a number on the bow, or does the boat have a name? none supplied with the kit?
- 105 replies
-
- 1
-
-
- picket boat
- model shipways
- (and 1 more)
-
catching up Jesse.......really coming along nicely making good progress too!
- 1,306 replies
-
- 4
-
-
- syren
- model shipways
- (and 1 more)
-
looks super on the mantle Jason
-
thanks Patrick..........very soon
-
if I'm not careful Frank.........if I'm not careful thanks for the good word my friend
-
thanks for the kind word and the likes. feels good not having to worry about the boat getting lost in the clutter thanks Frank.........sadly, no on the Goth.....I still need to access the damage from her latest fall from the shelf a few weeks ago {my doing} thanks John.........I wanted something unique....and keeping in mind that techniques back then were not as refined as they are now-a-days thanks Brian........I could go on about the detail I've added......and the fact that some of it came from the Corel kit. the ship's boat was actually plastic.....it got planked over. I think Billing and Corel go hand in hand as far as quality goes.......and in the hands of folks who see more in a kit {like we do}, added detail is an absolute must you and J are a tough act to follow thanks J.........I think I'm past the half way point........I think?!?! chain plates.....masts, yards, rigging.........yea...it will be a while yet
-
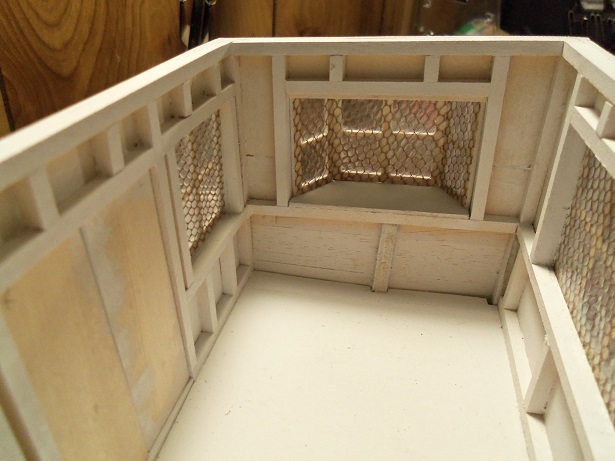
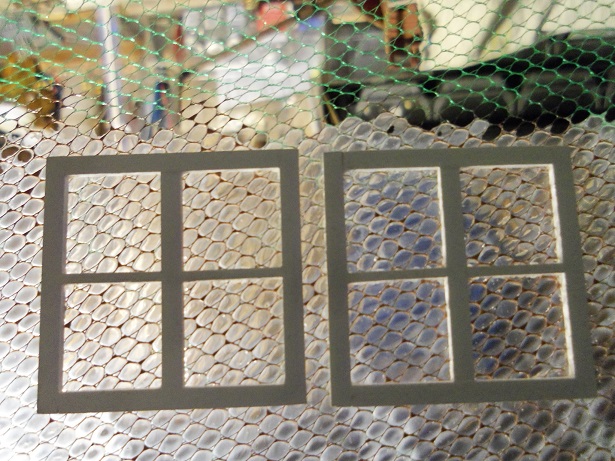
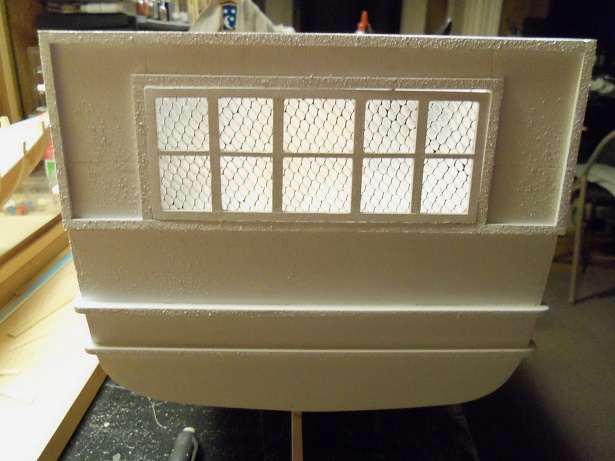
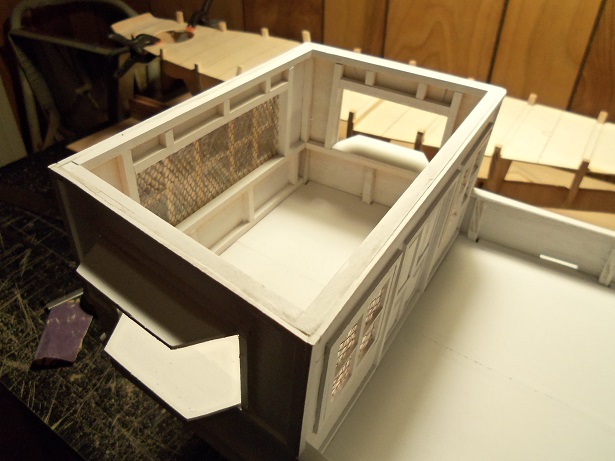
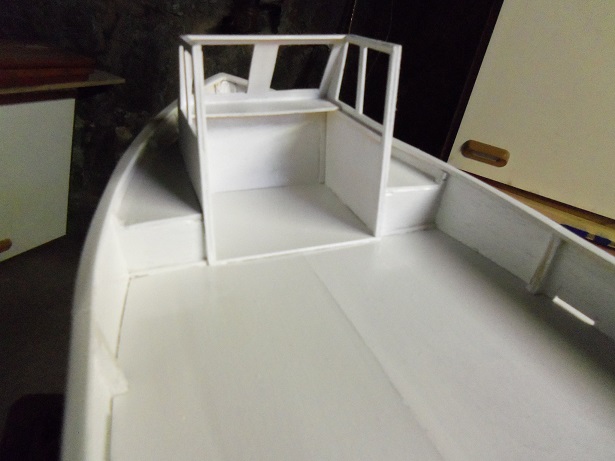
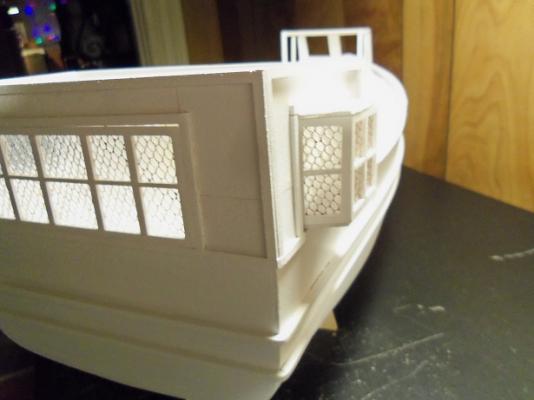
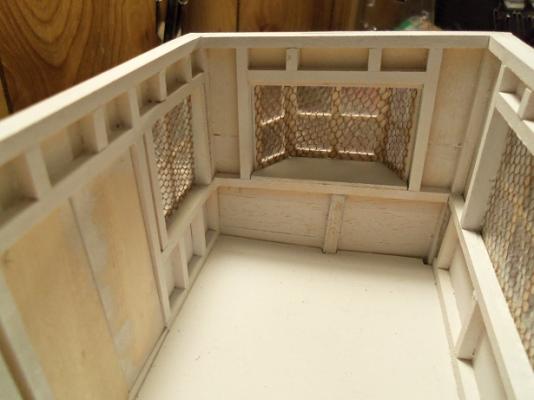
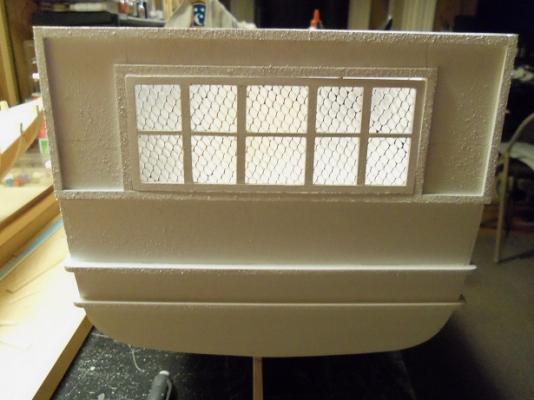
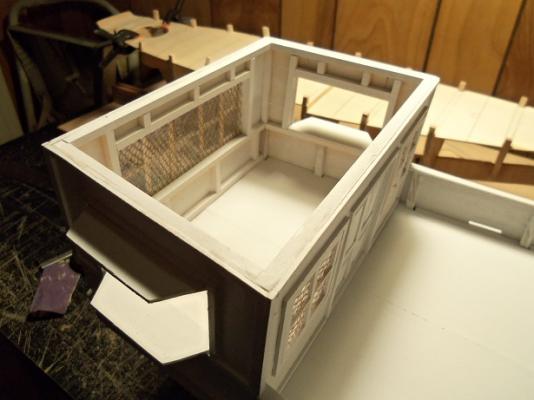
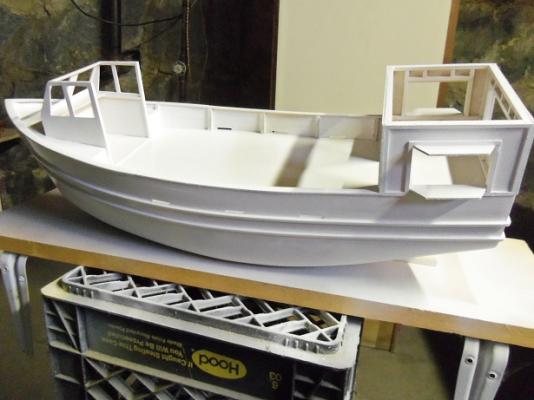
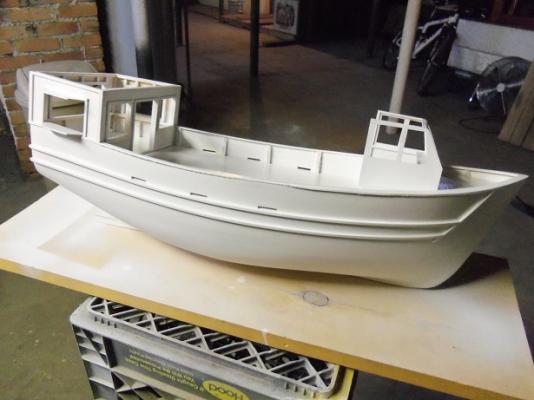
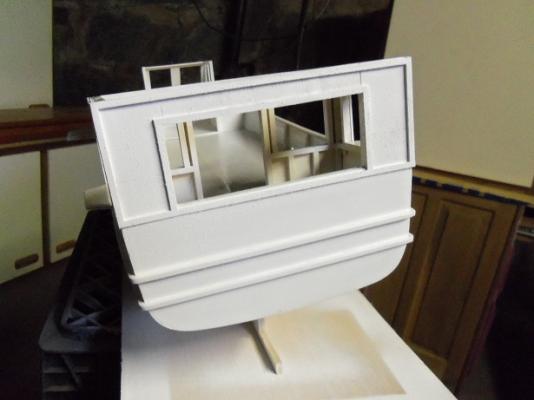
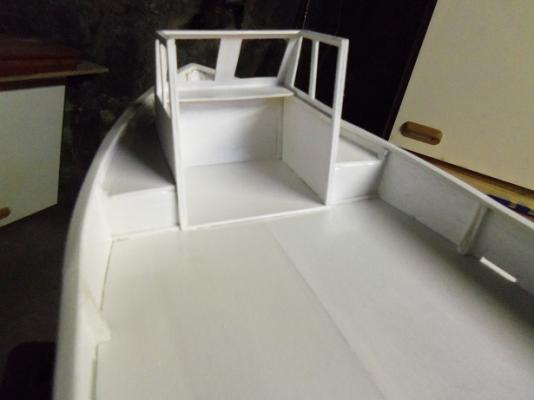
thank you very much John and Michael. I bought a pack of colored markers......I plan to color in the small areas of the netting. I'll see how close to stained glass I can get thanks Patrick..........I'm going to see how it goes....but that's what I'm shoot'in for. I'm going to make the roof removable. I can store the battery packs in there........more to come, I'm sure I got the starboard windows cut out........still got to fit them better. got some pictures here for ya looked into the top to get this one....... didn't think it was close enough to show the interior..........stuck the lense of the camera in the port side opening...and fired one off thanks for the fine comments and the likes

-
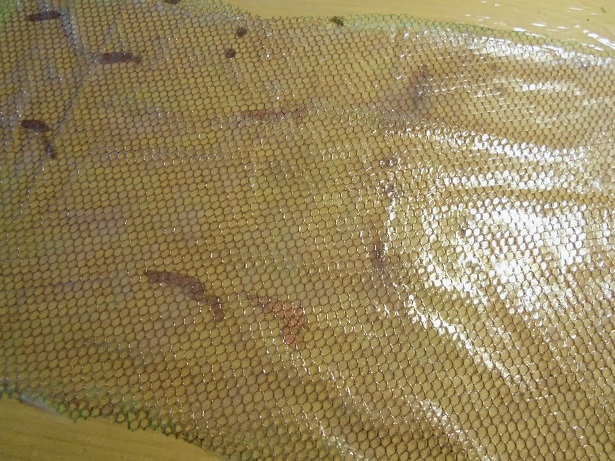
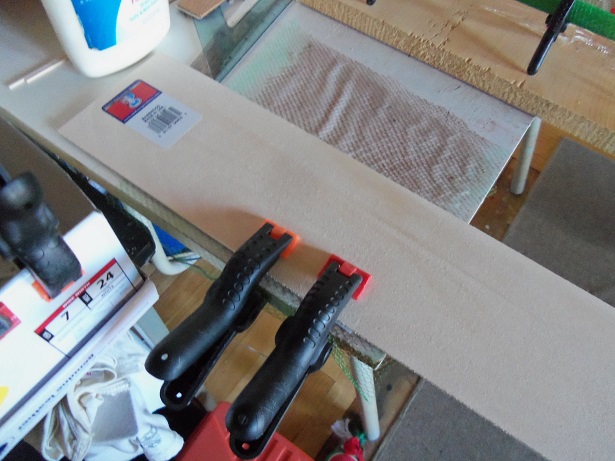
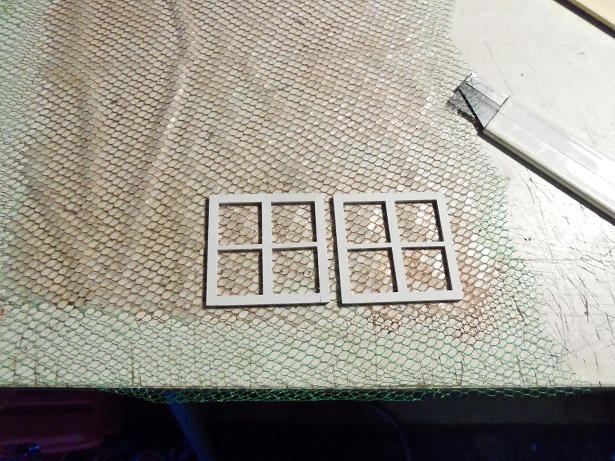
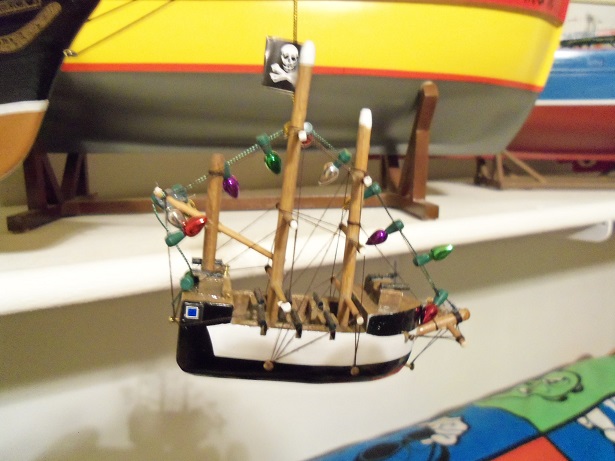
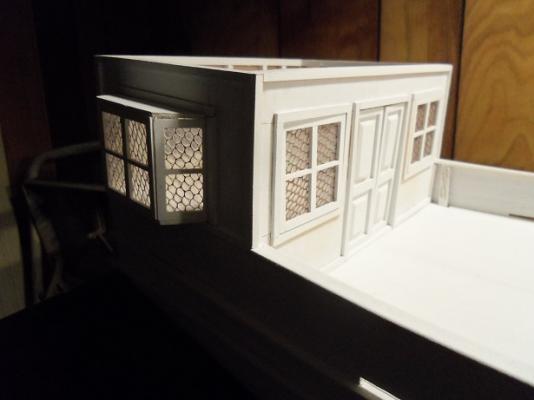
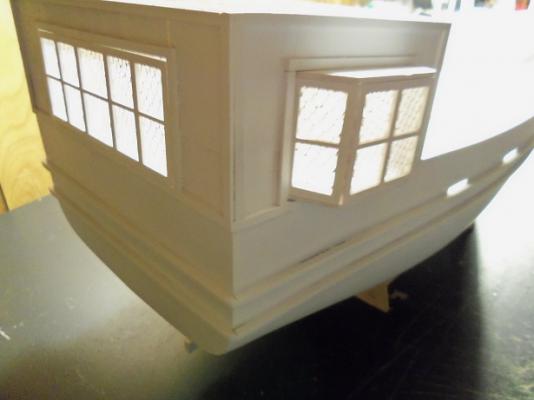
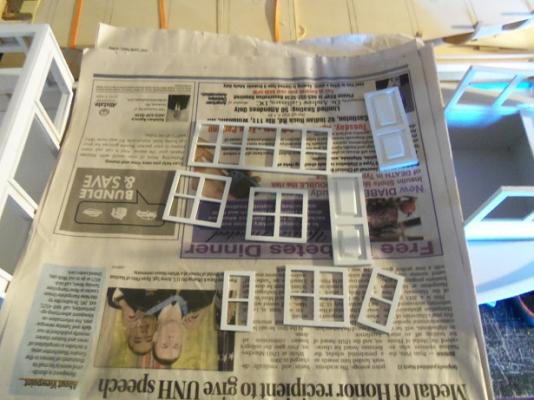
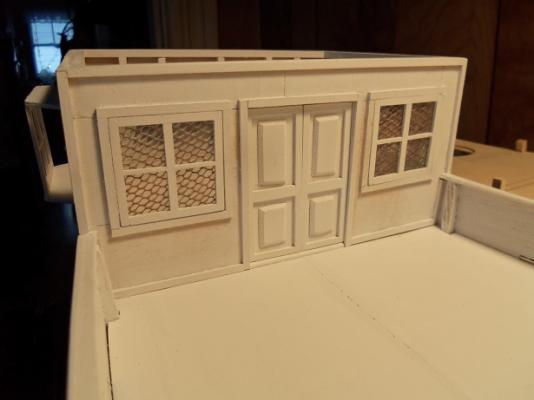
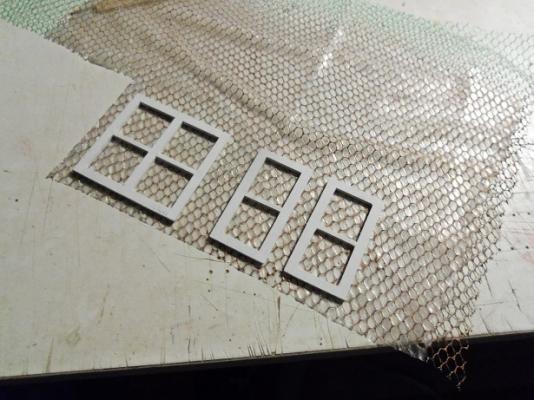
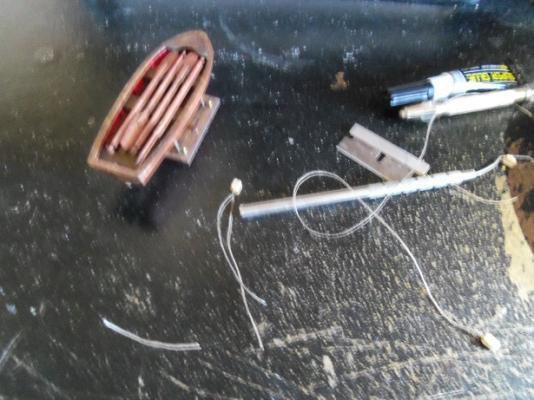
gee.......I have some time to myself........now, what do you suppose I oughta do ? by george........I think I'll do a little play time! I did try my experiment with the Testor's Window Maker........this time I used a board {seen earlier, I think}. after painting some more netting, I used plastic wrap to act as the barrier. I know........the window maker will stick to it........I'll try to remove it after, but if it don't come off.....so be it. it will be fine icky-may! the netting was stretched over it.......as best as I could get it. I used up almost the whole bottle.........just as well, it's pretty old. I did find out that it's water soluble....washed my brush out after I was done I'll get a fresh bottle in the near future. there is a little bit of wrinkling......but not as bad. you can see how clear it turns........this is still a little tacky. well......anyway, I couldn't wait. I still had to make the windows for the port side, but I took all of the other windows down cellar and gave them a primer coat. to insure that the wrinkles wouldn't be a bother, the two front windows were cemented down in a position, so that they would flatten them. I took a piece of 1/8 flat stock and clamped it on top of the windows to act as sort of a pressure plate. as for the door knockers.......they were cleaned up a little, stuck on a piece of tape and painted flat black. after they were dry, they were dry brushed with gold the clamps were removed........I gave it an hour or so.......and this is what the windows looked like. the white glue did activate the glazing......they were stuck to the table {not too bad}........but the table has a Formica top and they came up easily I like 'em........can't see through them. it would have been cool to do some interior work.........perhaps I'll do something down the road [i'll do a mock up with the window maker later and show you all what it looks like}. as a matter of fact, I gotta start thinking of a roof {wouldn't be a warming house without one}. anyway......here's what the windows look like now in a dry fit. I have one more process to do to them........I told the admiral....and she told me I wuz nutz! as I was doing this stuff, I sent the stern window to the press........here's what it looks like. I have today off as well.......gonna try to get some more done, but I have Christmas shopping to finish up on. the starboard side windows went to the press next. I have enough here to do the port side windows. I also have to look at shingles...........not the itchy kind either {not any fun at all}........I have an idea....you'll see very soon oh........before I forget..............my son bought me an ornament this year. it was fine when he first showed it to me, but when I took it out to put on the tree, the bow lights had come loose. a quick tie with some thread and some CA took care of the problem, and it now hangs in the tree hope everyone's holiday is running according to plan ENJOY!!!


-
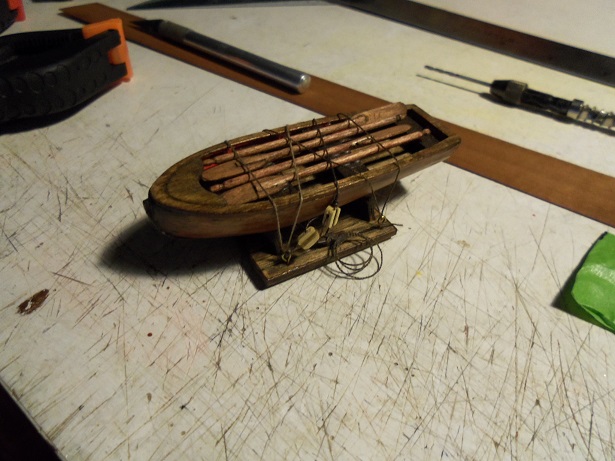
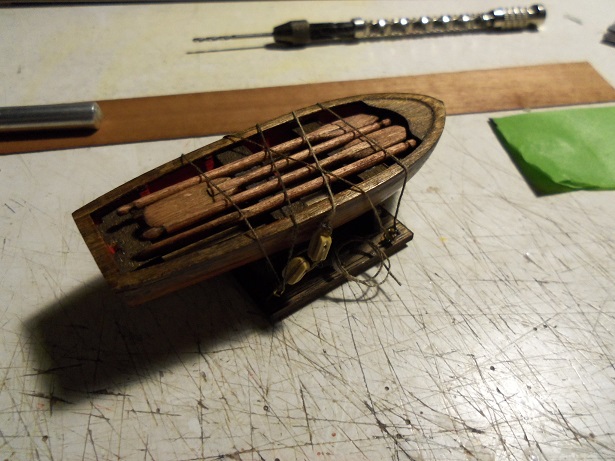
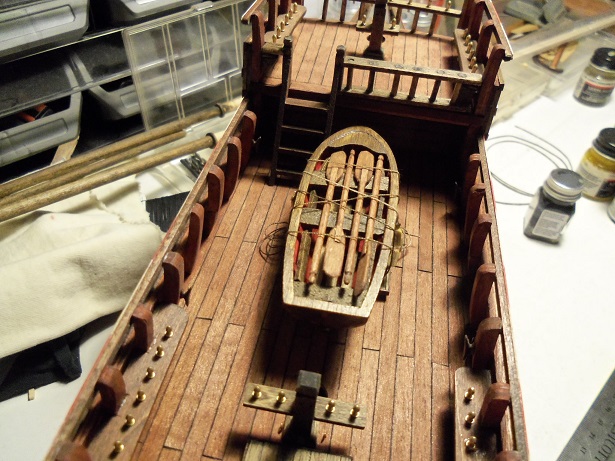
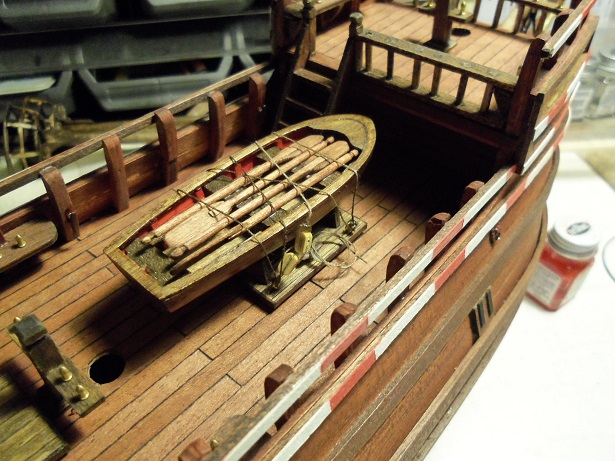
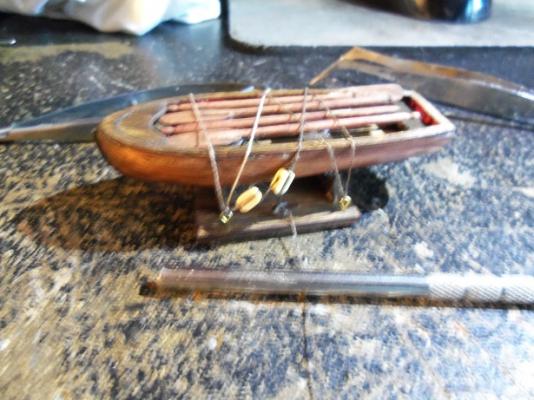
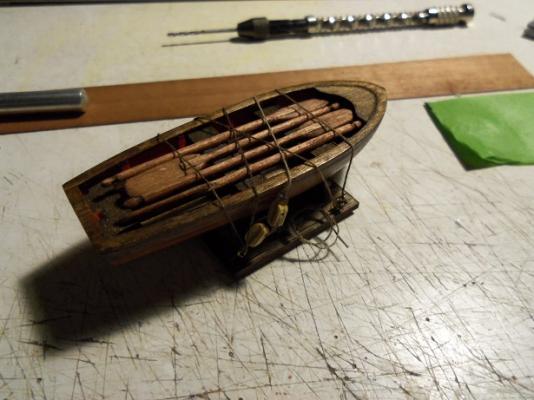
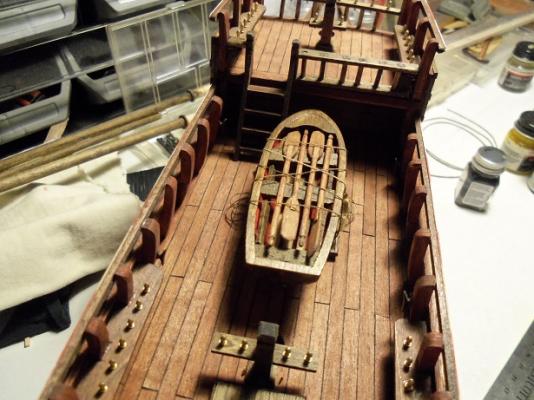
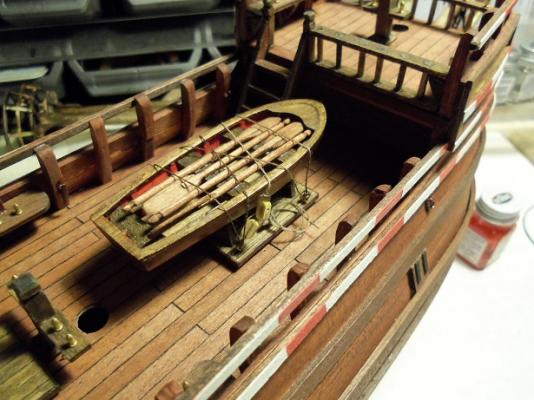
it's been a while..........the ship's boat has been on the table long enough. I didn't have any 2 mm blocks on hand......just what they gave me in the kit. I used what I had. I had stained some rope {thread} to give it some age.......didn't think that white lashings would look right. it's done in rope and tackle.....one on each side, in kind of a cris cross style. I added a couple of cleats to the hold to tie the lashings off. these first two pictures aren't that great.......I did this on my desk, since there was no room at either table. this is what I started off with........I made up more rope as I went along. really have to build up my inventory of blocks. one side done and tied off to the cleat. after both sides were done, a couple of rope coils were made to hide the end of the rigging at the cleat. from here, it was cemented on the main deck. there is a little more that needs to be done, and then the masts can be set in place.

-
is this aluminum foil Bob? you could try the dull side out......it would be rougher and would take primer.
- 348 replies
-
- 3
-
-
- pequot
- cable ship
- (and 1 more)
-
riveting and weld seams may not be prominent detail, but it would be considered texture. thinking back to the early plastic model, rivets and seam lines weren't even tooled into the molds. they were bland......wood modeling is no different really. even if they were to get flattened down, they would still be seen. in wood modeling, we try to add in these textures to give them realism.........expanding the medium out of the 'wooden ship' box. looking very good so far
- 348 replies
-
- 4
-
-
- pequot
- cable ship
- (and 1 more)
-
very nice Patrick..........gonna look awesome when you make the actual structure. really like where your going with this
-
late to the party Mark............congratz on such a wonderful job! the hull looks great! the wood may have been more porous in those areas......I wouldn't sweat over it.........unless you inspected all of the wood, it would be hard to get a uniform color. now you need to get the other side looking the same, then you can raise that glass. I'll be raising one for ya! sweet look'in finish!
-
hey there Bob...........I finally caught up to you! what a fine looking build you have here. the hull looks super........interested in seeing how you do the metal hull look. I'll pull up a chair
- 348 replies
-
- 3
-
-
- pequot
- cable ship
- (and 1 more)
-
nice progress Patrick.........good start on the bulkheads and walls. are you going to have each deck removable, to show the lower deck?
-
sorry to hear about your dad Greg........hope he gets better for the Holidays {although you may celebrate it differently that we do here}. kinda hard to have the Christmas spirit when there is so much sickness around me, when here I am, sitt'in here as right as rain.........I hold out hope for all of you fine folks. I hope you all find that little bit of joy that's reserved....just for you thanks for the good word........I have to work this morn, but I hope to get a bit of table time in........I want to do a mock up of the windows, to show what I have in mind bear with me
-
that would be treading the same dangerous waters that I seem to be treading..........sounds crazy.........but it sure is fun!
- 434 replies
-
- 3
-
-
- pelikaan
- beamtrawler
- (and 2 more)
-
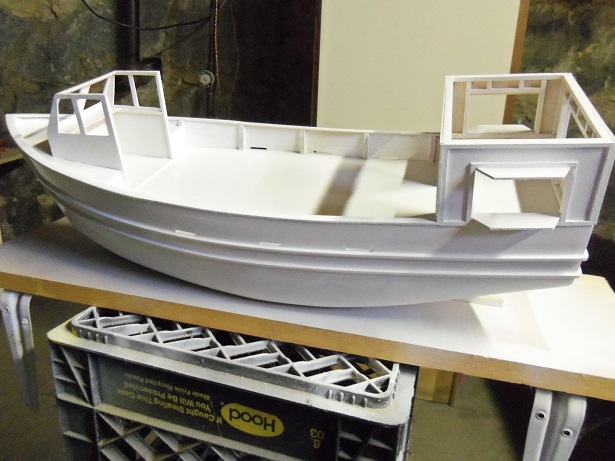
thanks for the likes........it has a good base for what will come next Thanks John.........it'll look better once I can get some real color on her..........still conferring with my color coordinator. I'll have to check it out Bug.........looks interesting as well. the reason why I'm going through with this madness, is the copper netting will resemble the stained glass look that I want. I will do a mock up and show you what I thinking....I have another sheet of netting painted and ready to do the process again. this time I will try and stretch it to get the wrinkles out. thanks for the idea there is a WalGreens nearby.
-
I just came up from the Cellar.........the primer work is done I was surprised with the coverage......lots of nooks and crannies here.

-
that's OK Patrick.........we'll put A/C in the windows instead!