popeye the sailor
-
Posts
16,007 -
Joined
-
Last visited
Content Type
Profiles
Forums
Gallery
Events
Everything posted by popeye the sailor
-
 thanks Patrick.....it's all covered.....I just wish I had the gumption to do more tonight.......work prevails. I'll try to get the progress pictures up
 -
thanks everyone for the nice comments and for the likes I'm not sure John........it was a thought I had. I was also thinking about a clock.......I'll do something, I'm sure
-
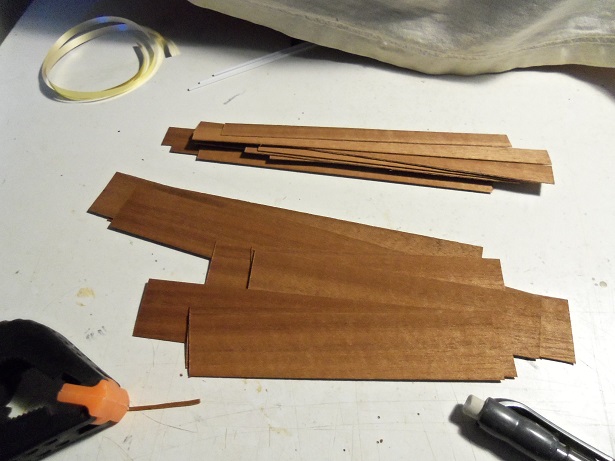
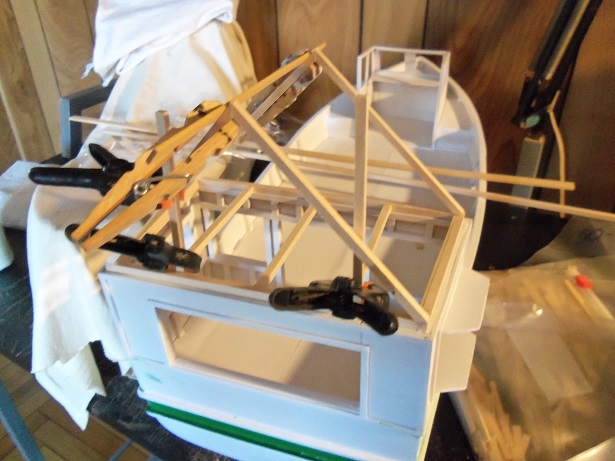
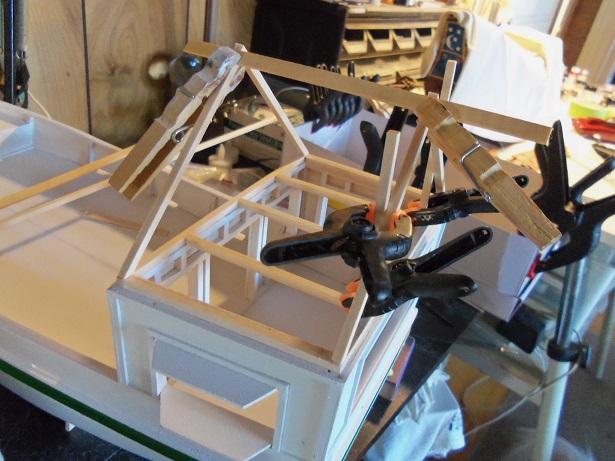
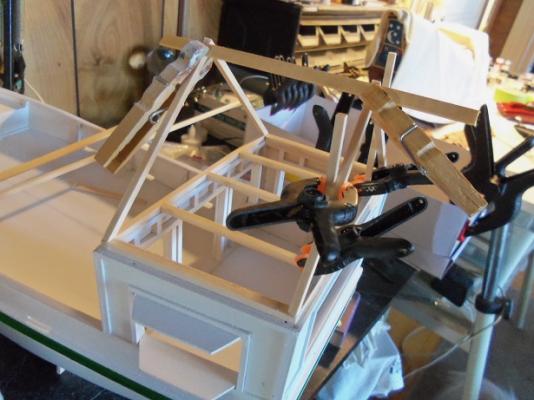
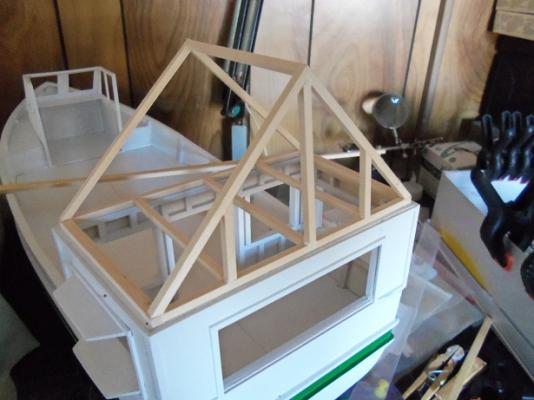
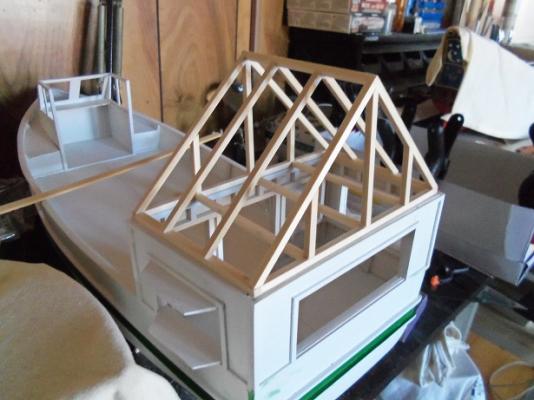
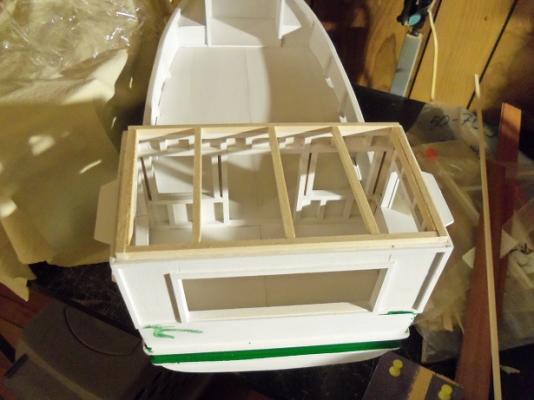
what a taffy pull.........which way do I go.....! I want to finish painting the hull.....but I can't do that.......I need to build the roof! the windows are still another chink in the armor...........do you know.......neither of the two major grocery chains in our area carry future floor wax! not to worry though.....I think I found something that will work...this isn't over yet! in the meantime......I started to cut up the mahogany strips to create the shingles. so, that's another ongoing process. I don't need super long pieces......it will make things easier. since the roof is such a big issue with getting the boat painted, I'll put together the main part of it and finish it while the paint work is being done. the base is together......next is the front and rear eves the front was made in advance.......once cemented in place, the back one was created. later, the peak beam was cemented in. then I did some framing foe the back fascia. then some framing for the front fascia roof rafters were the next to add to the roof. next will be to get some covering on it.........I think with what I've got here, to cover it will be plenty strong enough.


-
slowly but surely my friend! she's really beginning to take shape I don't think it's a bad thing to jump around.......some of my beast ideas come to me like that. you'll also get to see if one aspect will work with another...or if it will need some tweaking. keep going, your doing a fine job!
-
quite a bevy of boats you have there! there is no understatement of the quality that you've put into them. "peg" looks great in her new house. congratz on the finish, and thank for allowing us the pleasure of seeing your talent and skill
-
awesome looking life boats Jens.........never knew that there were two sets on board. nicely done. there are folks that have used the plastic ones as jigs here on the site.........I've just planked over them with thin strip. really like the way you did that
- 188 replies
-
- 1
-

-
- cutty sark
- billing boats
- (and 1 more)
-
I can't imagine a Victory as a snap kit Frank stranger things have come down the pike.......... thanks for the good word ! thanks Wayne...........anything for my grand sons!
- 44 replies
-
- 5
-
-
- black diamond
- revell
- (and 2 more)
-
to learn to scratch produce parts is a useful tool.......with the quality control some manufacturers supposedly have, it a wonder why there are shortages hope you at least get the cannons........the frames can easily be dealt with
-
look'in good KP.............love the old car
-
the kevels look really good Piet........I have to make a couple for my Half Moon {they were missing in the kit}. deck's looking pretty busy
-
thank you all for the nice comments and all of you who hit the like button work has me busy at the moment.......it will be refreshing though getting back to the table, and able to get back to my builds. I can't wait for the boys to see it thanks one 'an all
- 44 replies
-
- 6
-
-
- black diamond
- revell
- (and 2 more)
-
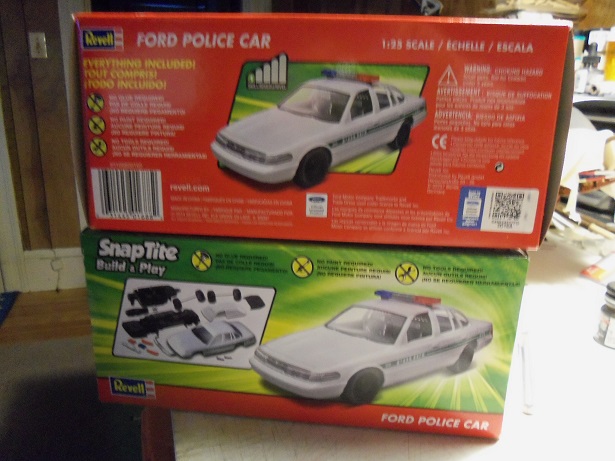
thanks George......too bad they're still too young to play with paints. that's why I chose car models.......these particular kits, they throw them together and they can play with them. I don't think they can grasp the concept of leaving them on a shelf nice to meet you JLuebbert......I'm glad you enjoyed this little build. actually, the scale helped out a lot....otherwise I'd be drilling through masts. thanks for the good word John I didn't mean it to be, but it turned into another example, that it really doesn't matter what level the kit is......anyone can take a kit and make it what they want it to be. I've been partial to the advanced beginners kits that Billing's puts out.......but I did the Nordkap too, and that was an expert kit. I bashed it just as much as any other kit I can hear the first question the boys will have......where are the sails? the box art shows the model with sails........it should be fun telling them that the sails are furled. the rigging will be another one, I'm sure I'll let you know what happens I thank everyone for joining in with me on this one. I didn't do the best paint work, and hardly any detail.....but the rigging proved to be fun...and I know the boys will get a kick out of it. I really appreciated all the kind comments
- 44 replies
-
- 6
-
-
- black diamond
- revell
- (and 2 more)
-
very nice Cutty build Jens.......lots of great techniques and detail. welcome to the Cutty club!
- 188 replies
-
- 1
-
-
- cutty sark
- billing boats
- (and 1 more)
-
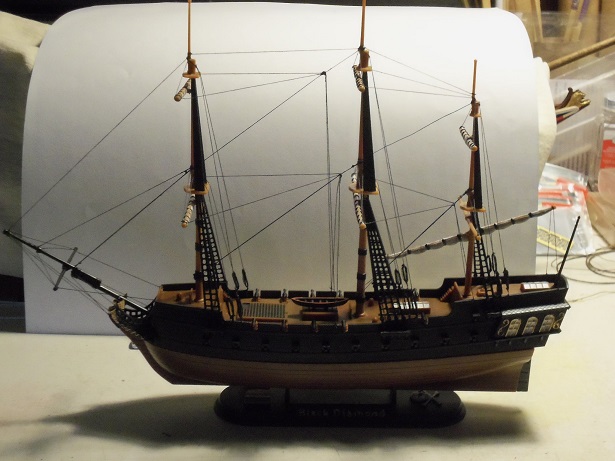
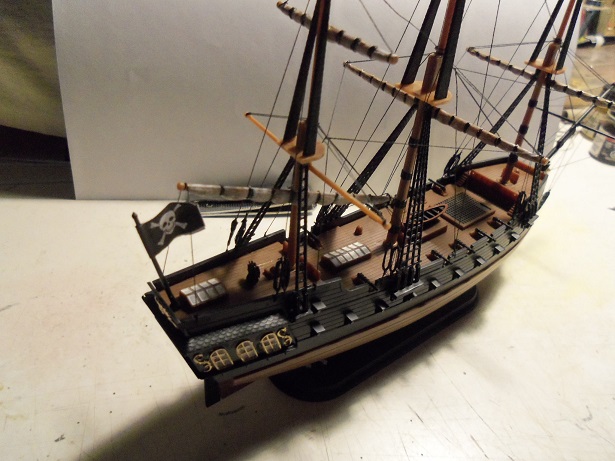
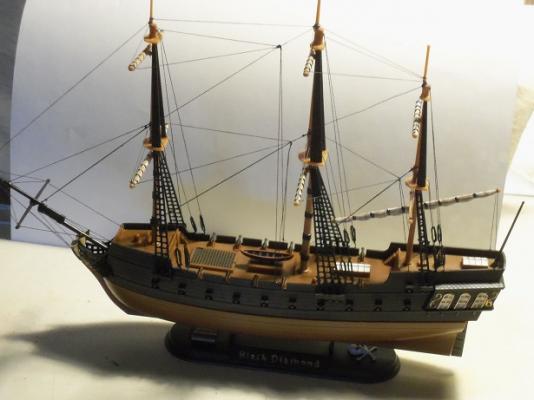
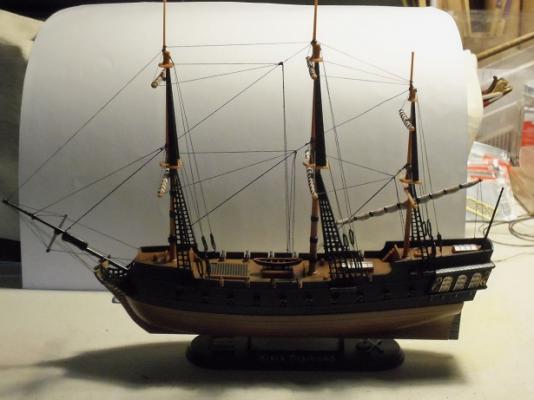
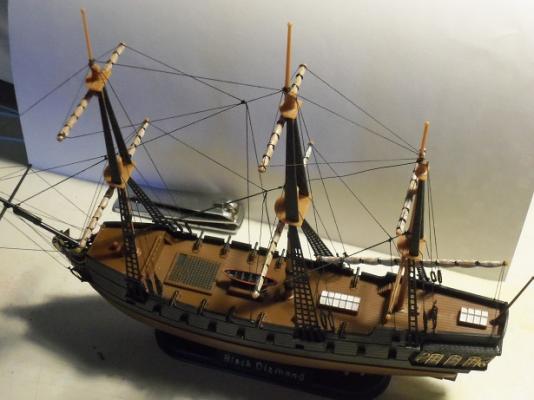
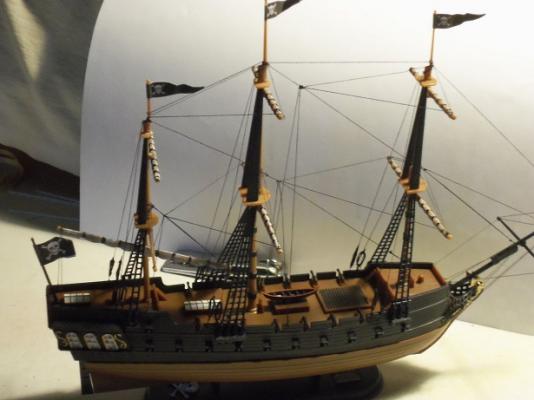
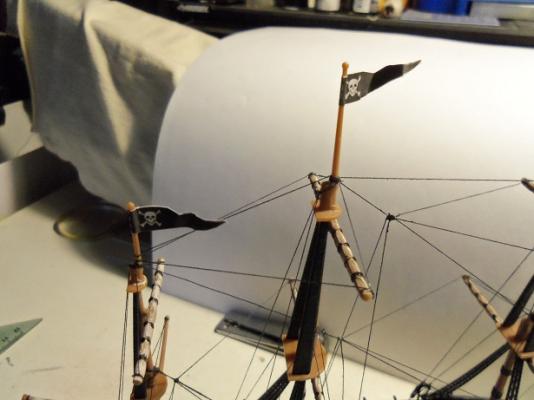
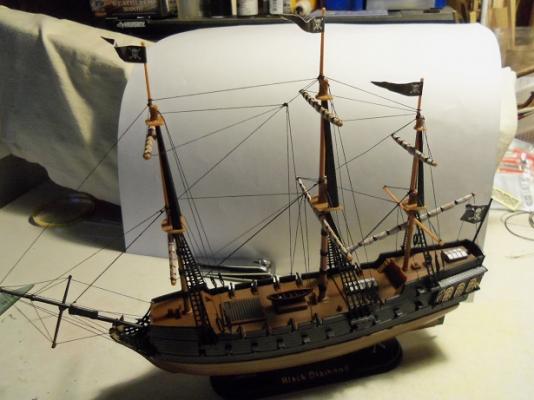
I think I did enough on this little project......it looks very busy, just the way it is. I had thought of taking some of the Cutty sails that I have in a box {I have a lot of extras}, and cut them down. but I chose to do them as furled sails, and to be honest......I think it looks fine. the hull bottom was cemented onto the stand.........and then the top section was cemented on the hull bottom.here are some pictures of the finished ship: Oh crap.........I forgot something! the flags! I hurried to cut them out and put them on............NOW,........I am finished! so now I am totally finished. the only thing left now, is wait for the boys to come over , to see it. then I can spring these on them:


- 44 replies
-
- 12
-
-
- black diamond
- revell
- (and 2 more)
-
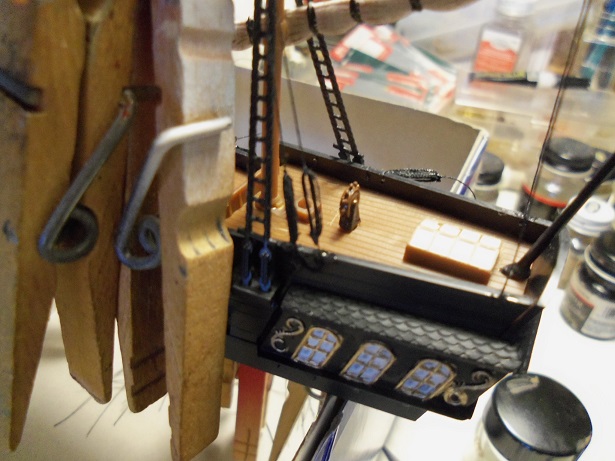
thank you Piet......I try my best on every model I do yes Patrick.......those are the last set of windows for the Jingle Belle......not finished or painted. I'll be getting back to them shortly yepper Nenad........if there were, it probably would have taken the fun right out of it. thanks for bearing with me on this........and everyone who hit the like button
- 44 replies
-
- 6
-
-
- black diamond
- revell
- (and 2 more)
-
much nicer with the paint and woolings.......really looks super!
-
I'll be glad to print them up for you......if anything, it will give you an idea of what the parts look like. give me a bit.
- 11 replies
-
- 3
-
-
- jolly roger
- plastic
- (and 2 more)
-
any suggestions........do they have a Wal-Mart DC over there? I could relocate! I can just imagine what the admiral would say John. she would hate to leave the grand kids so far, all we are really getting is the cold.......here in New Hampshire, there is hardly any snow on the ground. our last snow was only an inch or two. actually, I think it's these paints........they might be getting old. they don't have a very good cap either.......I've opened some, only to find that they have dried, or turned to jelly. my inventory of these paints is beginning to dwindle....soon, I'll be back to using model master again. thanks for the good word John.......if you hear of a Wally that needs a good tech.......I'm their man!
-
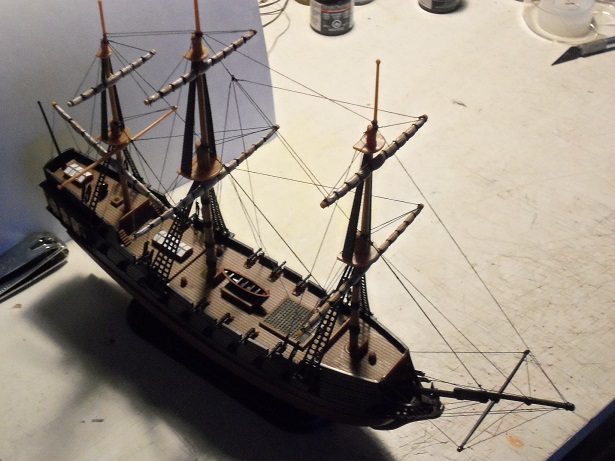
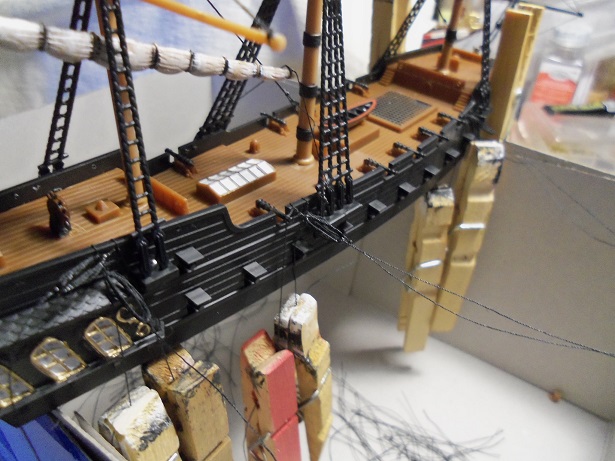
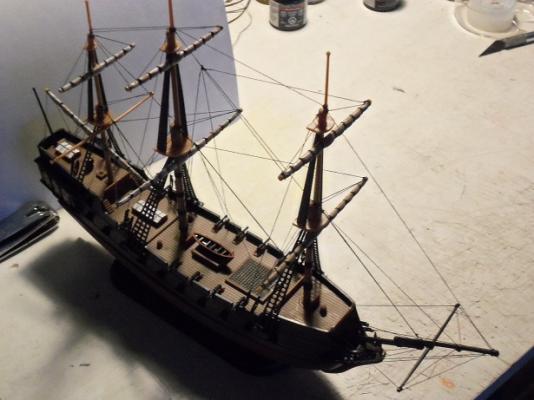
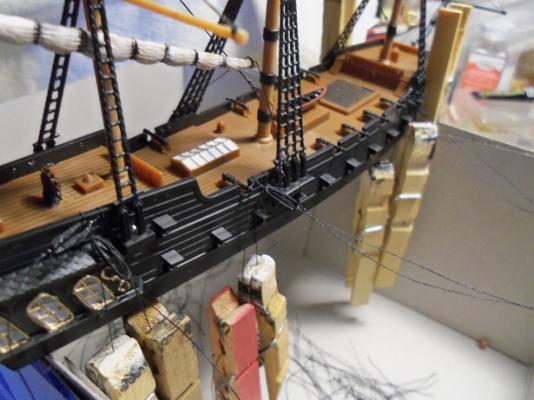
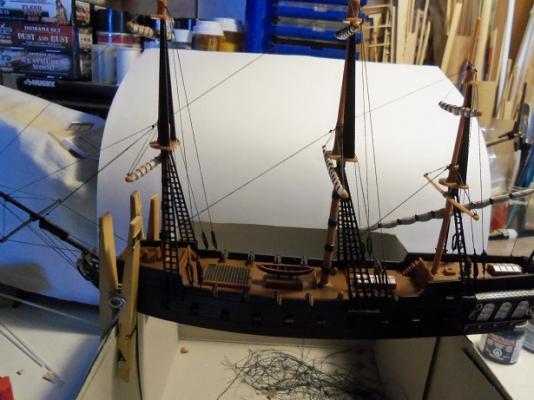
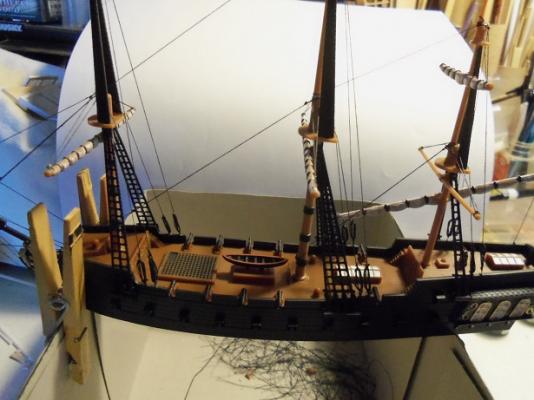
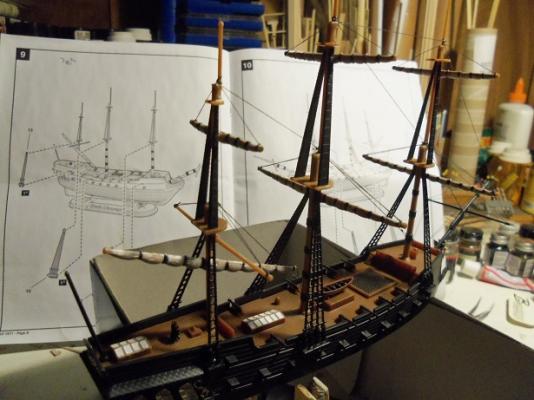
I started on it right after coffee....and during the second cup. on the starboard side, I tied all the long threads through the holes that I had drilled the day before. I didn't cement these just yet, in case I had to make adjustments. on the port side, the short threads were tied. these were cemented and when dry, the top thread was cut off. as you can see, I set them up so they would stand up on the bulwark. it would make it easier to terminate the long thread. the long thread was then rigged into the mast and down to the port side, where it was tied off on the dead eye assembly it was associated with. finished...starboard side still not cemented yet.......the back stay assembly looks like this. once they were all tied, cemented, and trimmed.......all of the back stays look like this. the braces were next. I did the aft braces. these didn't come out too bad........I then thought.....is there such a thing as fore braces? as much as I know, they are fastened to the front of the yard {tip}, but I'm not sure if they are rigged at the mast tree, or to the yard tip of the leading mast. Example........fore mast yards - to a fore stay........main mast yards - to the fore mast or yards......mizzen mast yards - to the main mast or yards. I'll do some looking into this......I think it would be neat to add them in. I think though, that on a larger scale model, there are pulleys attached to the tops for these lines.......without any place to rig them on such a small scale as this........I'll be rigging them however I can. I do have to say though......the rigging really changes the model

- 44 replies
-
- 13
-
-
- black diamond
- revell
- (and 2 more)
-
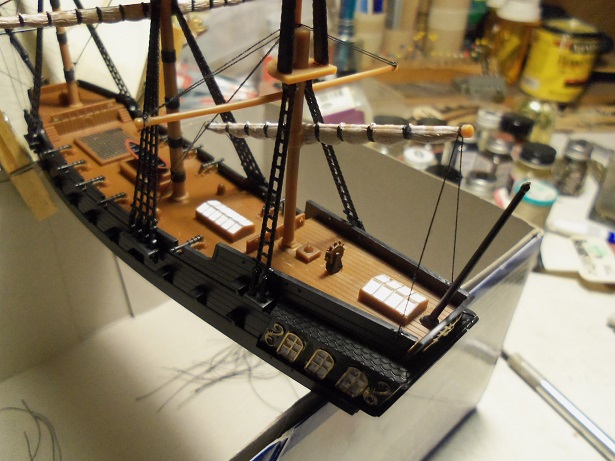
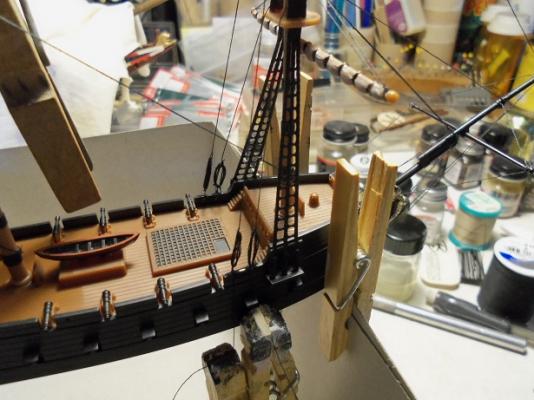
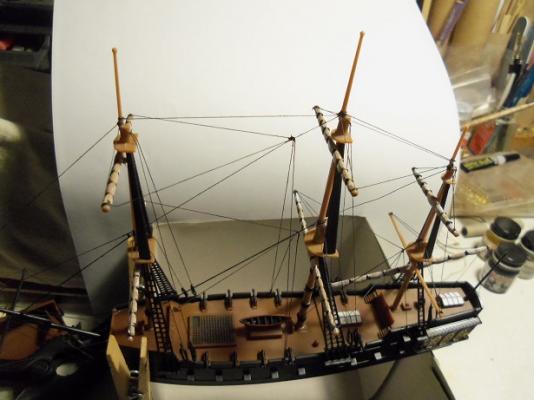
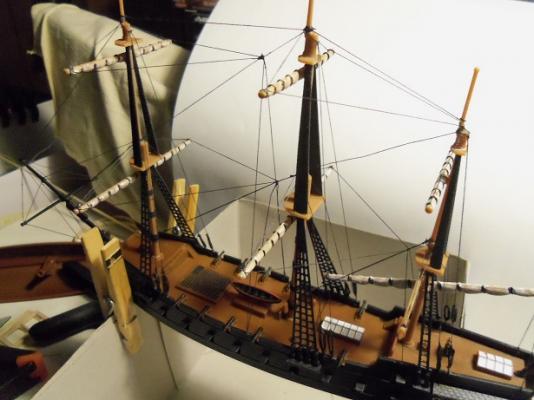
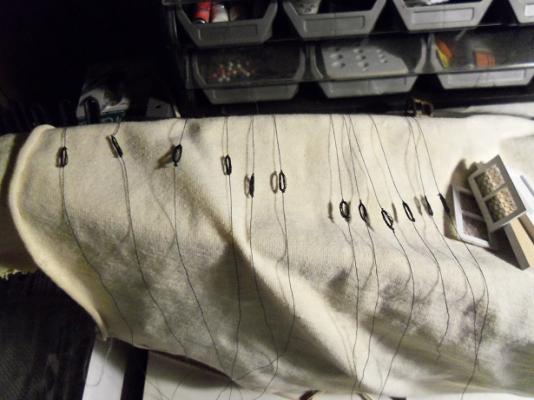
I tried to finish her in one more update, but it was not to be. making those 12 dead eye assemblies for the back stays was a real trip! I had a few failures along the way too {I found that if you don't tie the correct threads, they fold up when taken off the tube}. all of the yards have the lifts done. then I added the vangs to the aft end of the lanteen yard. I was going to do a pulley assembly for them too, but I just kept it simple. dealing with uncooperative paint and running an errand or two, by dusk, I had this many done. I had the six 'long threads' for one side, and two of the 'short threads' for the other side. by bedtime, I had them all done. I'll get'em on tomorrow


- 44 replies
-
- 9
-
-
- black diamond
- revell
- (and 2 more)
-
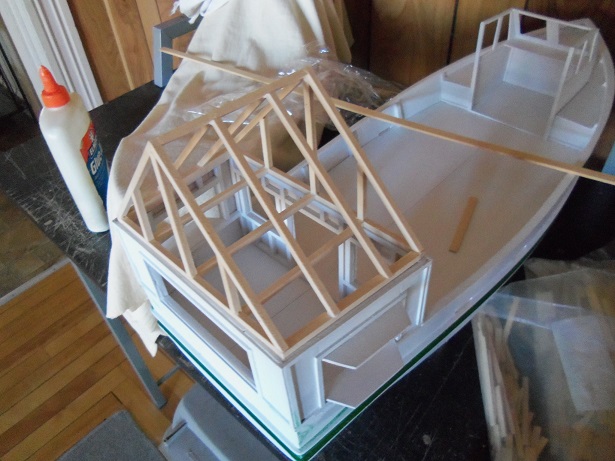
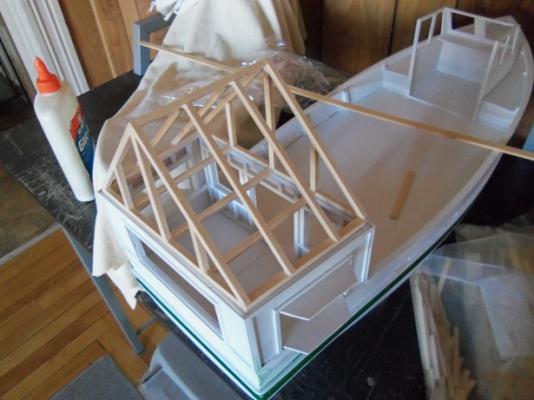
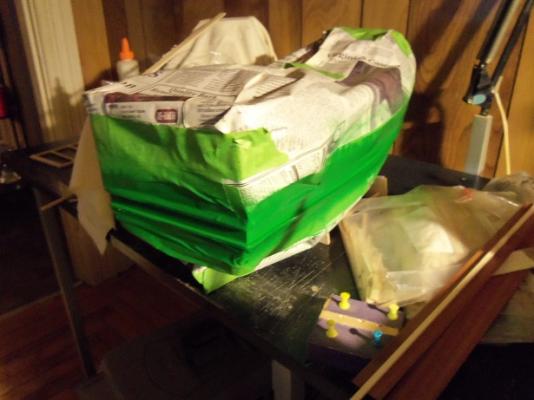
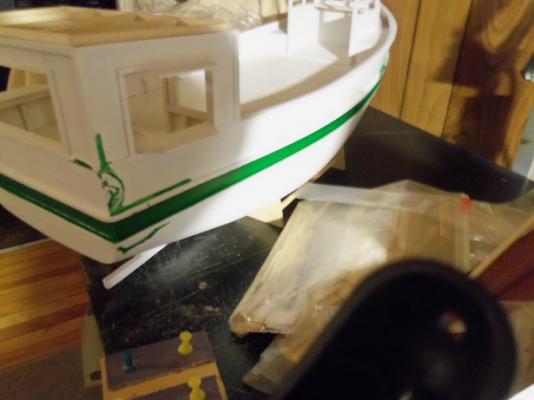
I was hoping to get more accomplished here.........to get a good start on the exterior. I set up the paint area in the cellar.....a little cool, but with the furnace nearby, it should come out alright. I'd just bring the hull upstairs after wards, like I did last year. after a lively debate with my color coordinator, I decided on the emerald green. Brunswick Green seemed too dark for a festive Holiday. anyway, I masked off the hull except for the field between the rails.......this is to be painted emerald green. the outer area will be painted bright red.......both of these colors are Billing's colors. the bottom will be dark drab......which is model master. whether it was the temp down there or the paint, I'm not too sure........but it was like run city! I took a rag and wiped it all out before it had time to dry. I even changed the mix.......thickening it up a bit more.......made no difference! I went back upstairs and got a 1/4 oz bottle of the Testor's green........luckily, it was pretty much the same color hue as the emerald green. I let it set down there for a while, flipping it over from time to time. then I brought the hull upstairs I gave it a little more time to cure before removing the masking. I was not pleased to see that some of the paint ran under the masking. I'll just let her totally dry, sand down the runny areas, mask up the green area and give it a quick primer touch up. as for the roof, I couldn't go much further with the hull being painted, so I added some tabs on the inner sides, to aide in centering it on the structure, and added center trusses. I will add soffit plates on the two opposing sides and then I can start framing it.
-
yea, it's hard when there is conflicting info.........I think you made a good choice.
- 1,350 replies
-
- 3
-
-
- constitution
- model shipways
- (and 1 more)
-
Cutty Sark by NenadM
popeye the sailor replied to NenadM's topic in - Build logs for subjects built 1851 - 1900
Nenad.......the stand looks awesome! I love the two color variation. with a few strips of felt, ans she'll be complete BTW.........whoever made that second throne was ill!- 4,152 replies
-
- 5
-
-
- cutty sark
- tehnodidakta
- (and 1 more)